-
Posts
638 -
Joined
-
Last visited
About rvchima
- Birthday 05/12/1951
Profile Information
-
Gender
Male
-
Location
Asheville, North Carolina, USA
-
Interests
rubber-powered model aircraft
model ships
stained glass
woodworking
orchids
Recent Profile Visitors
-
 KurtH reacted to a post in a topic:
HMS Sphinx 1775 by rvchima - Vanguard Models - 1:64 - 20 Gun Sixth Rate Frigate
-
 mtaylor reacted to a post in a topic:
HMS Sphinx 1775 by mugje - Vanguard Models - 1:64
-
 BrochBoating reacted to a post in a topic:
HMS Sphinx 1775 by rvchima - Vanguard Models - 1:64 - 20 Gun Sixth Rate Frigate
-
 schooner reacted to a post in a topic:
HMS Sphinx 1775 by rvchima - Vanguard Models - 1:64 - 20 Gun Sixth Rate Frigate
-
 schooner reacted to a post in a topic:
HMS Sphinx 1775 by rvchima - Vanguard Models - 1:64 - 20 Gun Sixth Rate Frigate
-
 chris watton reacted to a post in a topic:
HMS Sphinx 1775 by rvchima - Vanguard Models - 1:64 - 20 Gun Sixth Rate Frigate
-
 mugje reacted to a post in a topic:
HMS Sphinx 1775 by rvchima - Vanguard Models - 1:64 - 20 Gun Sixth Rate Frigate
-
 Ryland Craze reacted to a post in a topic:
HMS Sphinx 1775 by rvchima - Vanguard Models - 1:64 - 20 Gun Sixth Rate Frigate
-
 Ryland Craze reacted to a post in a topic:
HMS Sphinx 1775 by rvchima - Vanguard Models - 1:64 - 20 Gun Sixth Rate Frigate
-
 wvdhee reacted to a post in a topic:
HMS Sphinx 1775 by rvchima - Vanguard Models - 1:64 - 20 Gun Sixth Rate Frigate
-
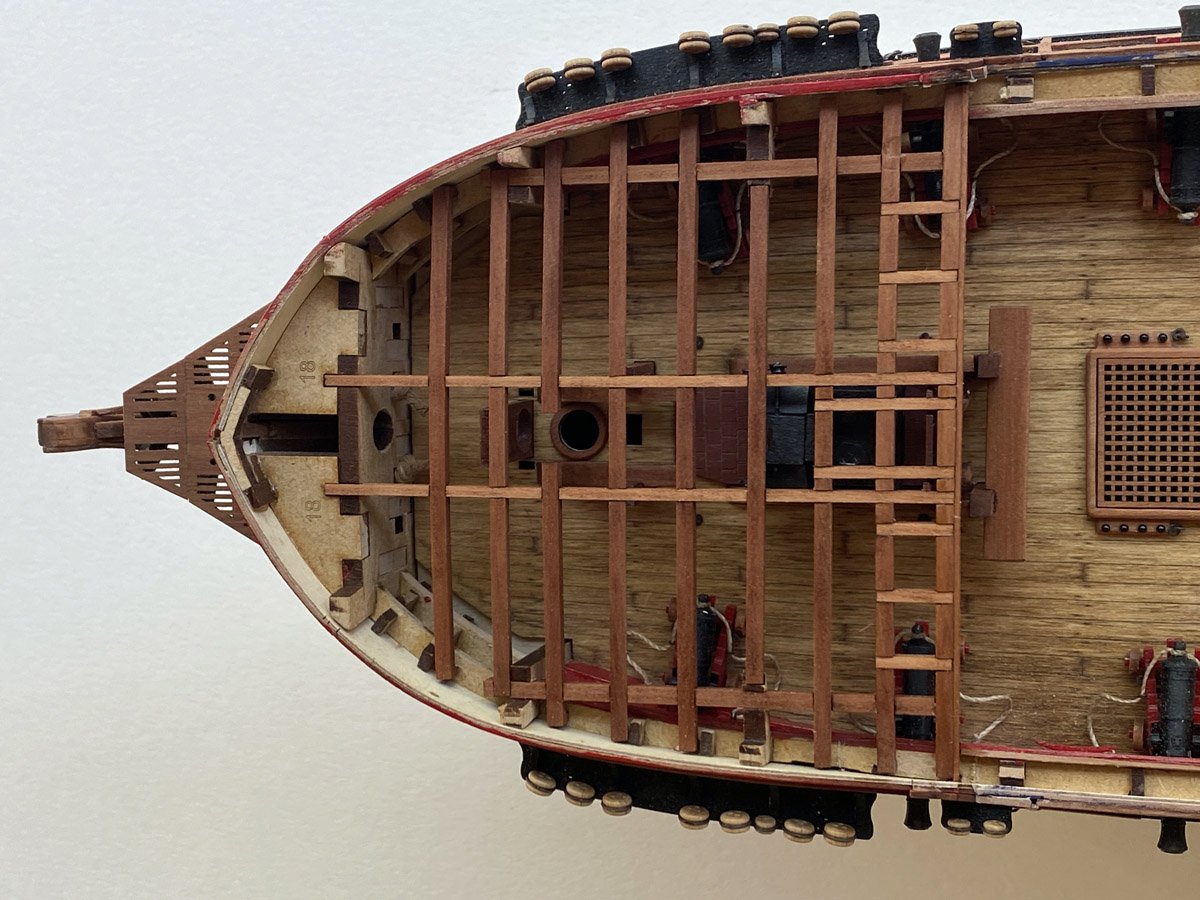
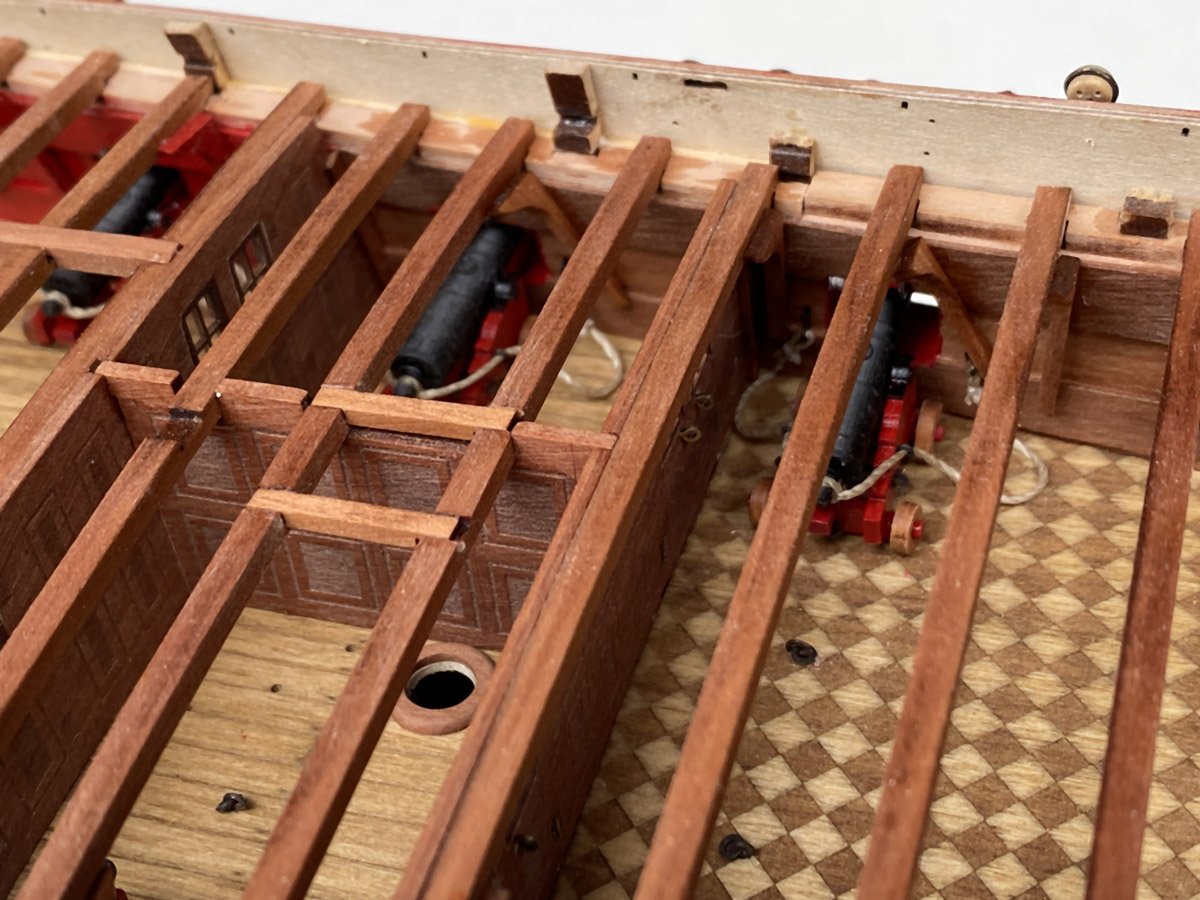
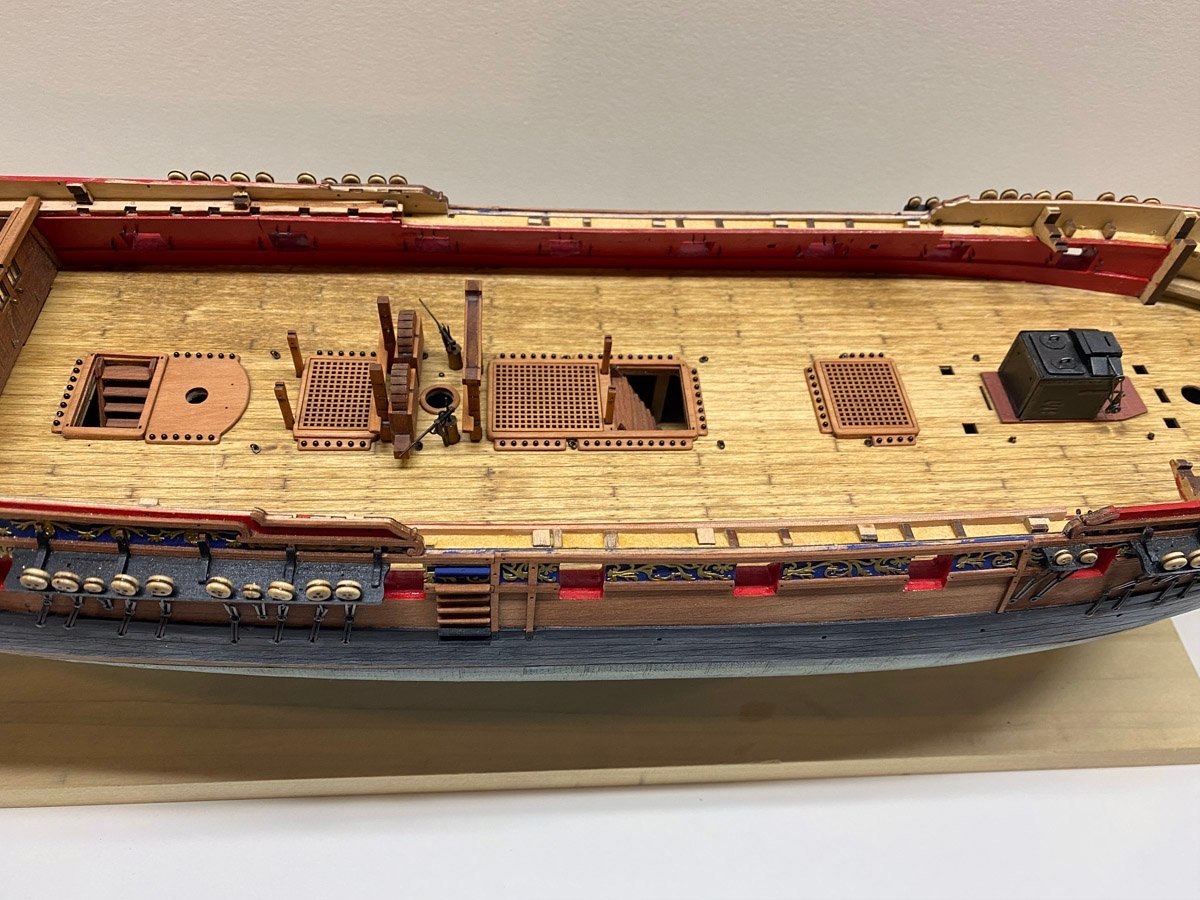
Forecastle Beams Installed My quarterdeck beams all ended up about 2mm too long and had to be trimmed on each end to fit. I did build the hull with the recommended jigs in place so I don't know why the parts were off. The forecastle beams dropped into place perfectly. I really hate to cover this all up.
- 78 replies
-
- Sphinx
- Vanguard Models
-
(and 1 more)
Tagged with:
-
 rvchima reacted to a post in a topic:
Chris Watton and Vanguard Models news and updates Volume 2
-
 rvchima reacted to a post in a topic:
HMS Flirt by wvdhee - Vanguard Models - 1:64
-
 rvchima reacted to a post in a topic:
HMS Flirt by wvdhee - Vanguard Models - 1:64
-
 rvchima reacted to a post in a topic:
HMS Sphinx 1775 by mugje - Vanguard Models - 1:64
-
 rvchima reacted to a post in a topic:
HMS Sphinx 1775 by mugje - Vanguard Models - 1:64
-
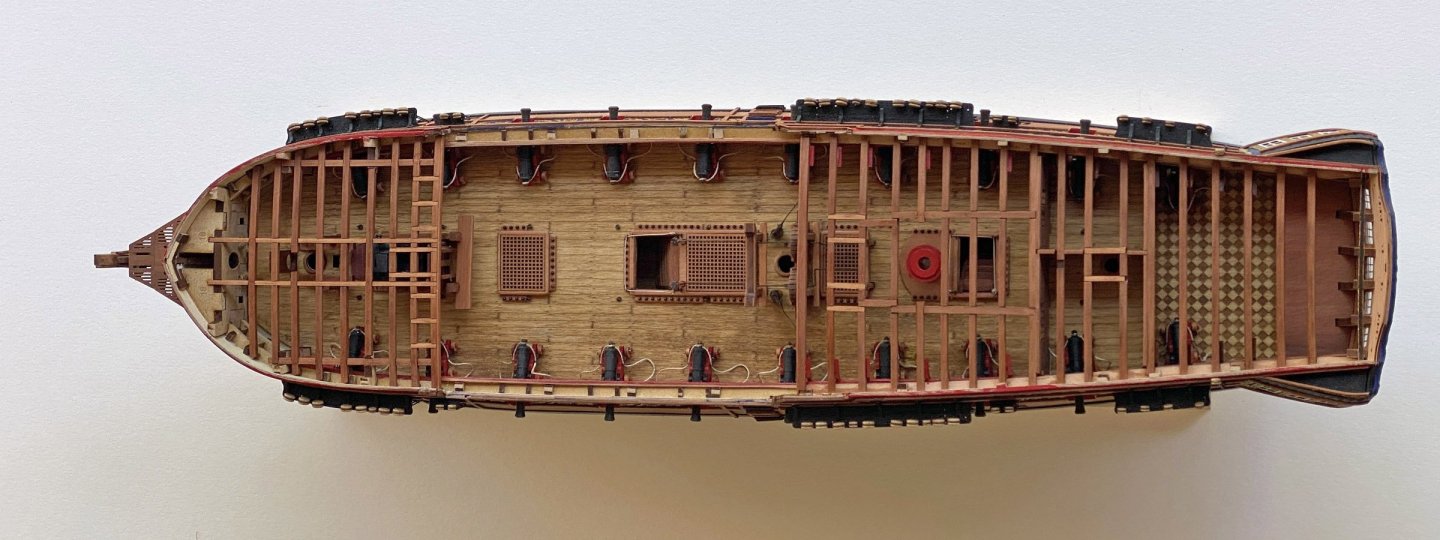
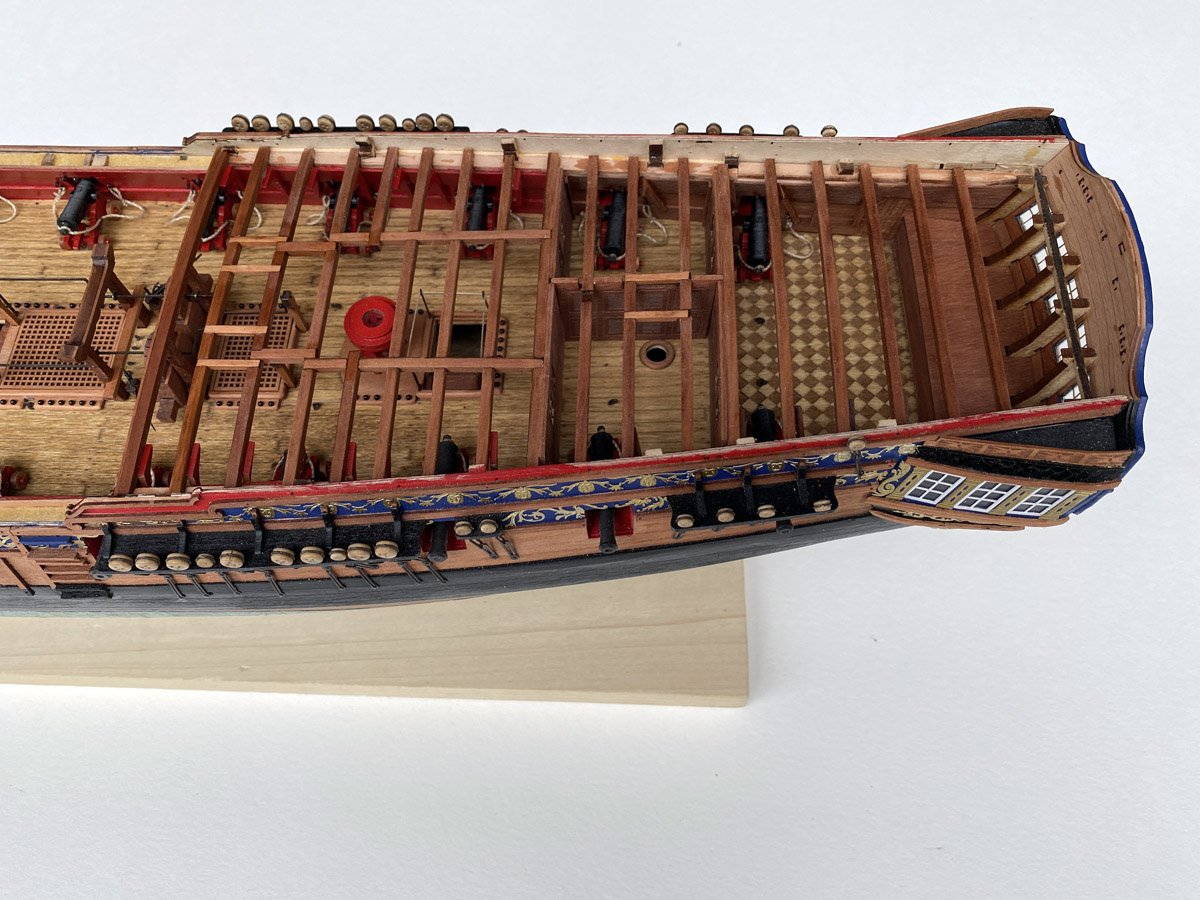
Quarterdeck Beams Installed - 308 Hours, 122 Days This was another satisfying task. I added the optional hanging knee braces below the beams, sanded most of the laser char, and finished all the pear wood with Watco oil stain. Yes, I know most of this won't be seen, but the pear wood is just so pretty that I can't resist.
- 78 replies
-
- Sphinx
- Vanguard Models
-
(and 1 more)
Tagged with:
-
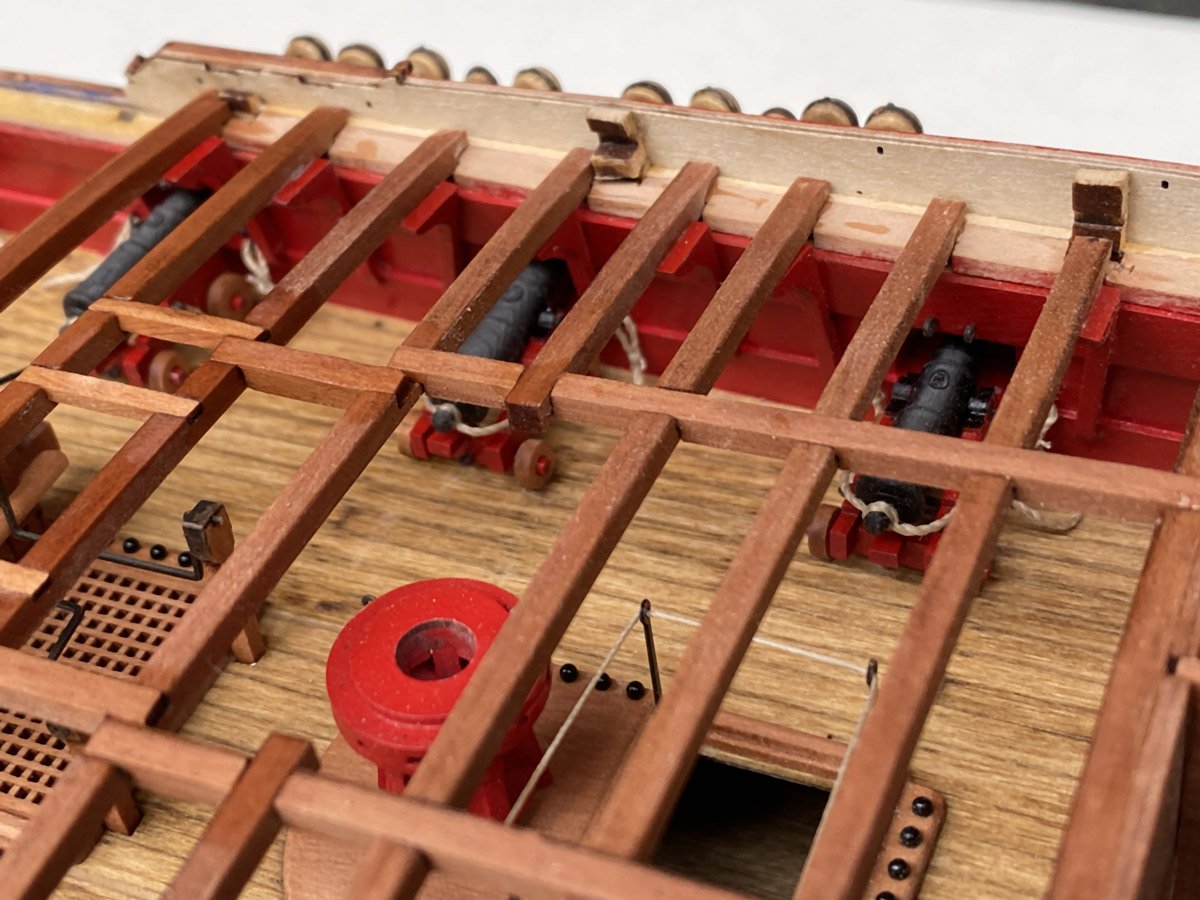
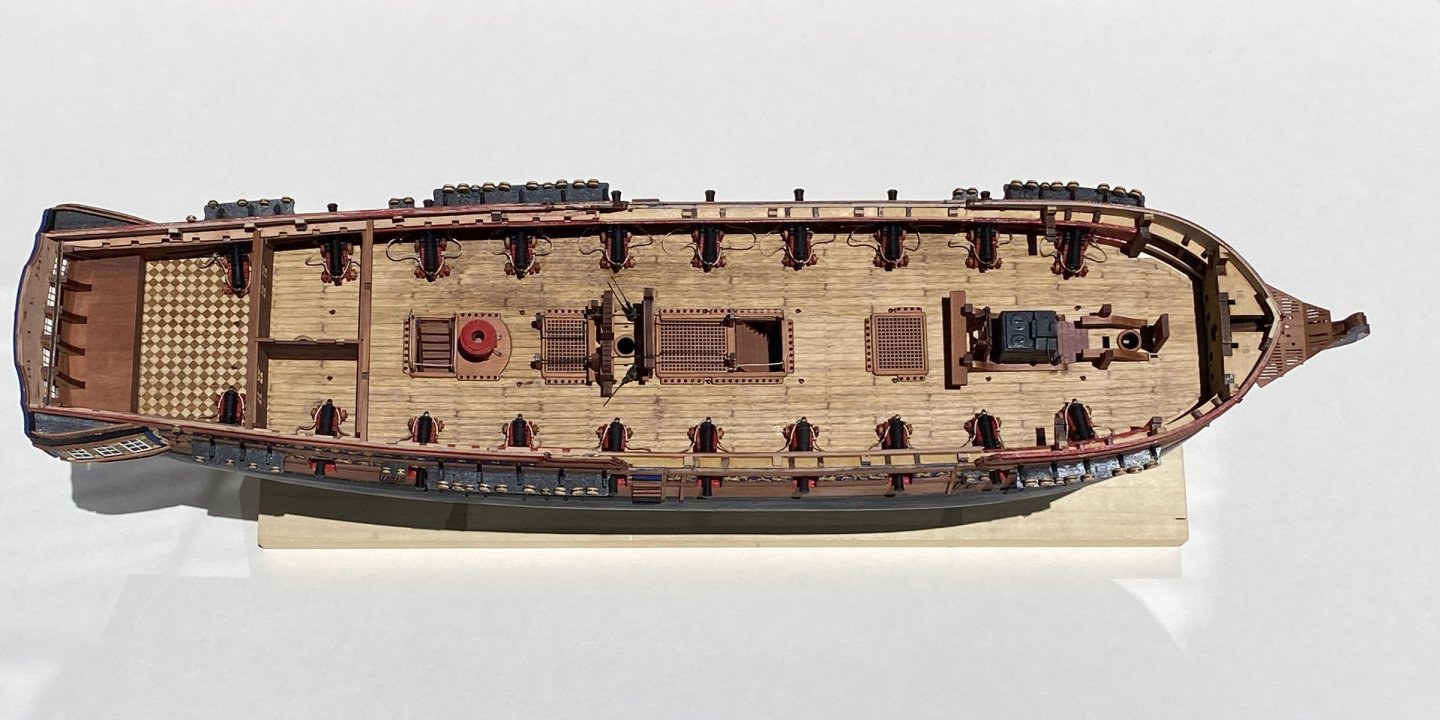
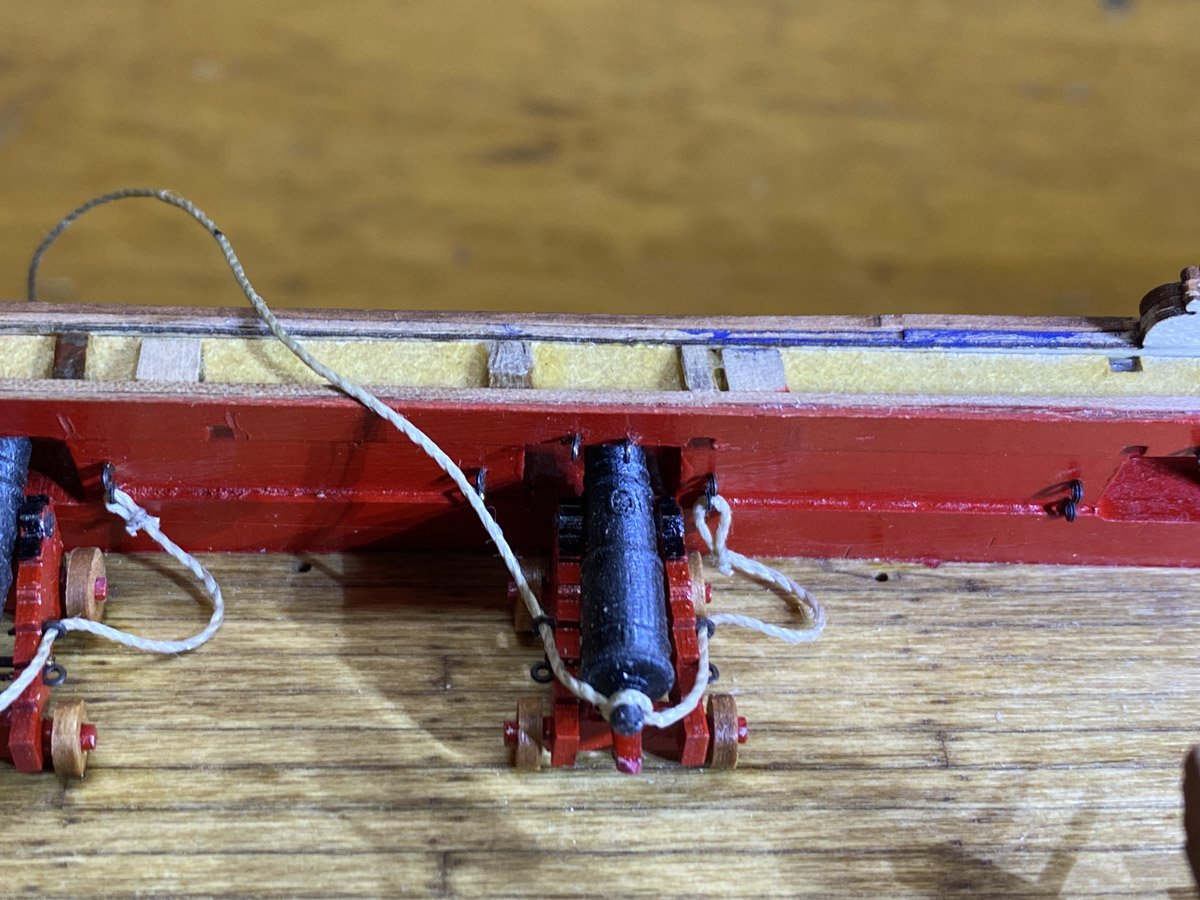
Cannons Installed with Breech Ropes This took another 12 hours over 3 days. About 27 hours to build and install 20 cannons. Now it's time to cover them all up with another deck.
- 78 replies
-
- Sphinx
- Vanguard Models
-
(and 1 more)
Tagged with:
-
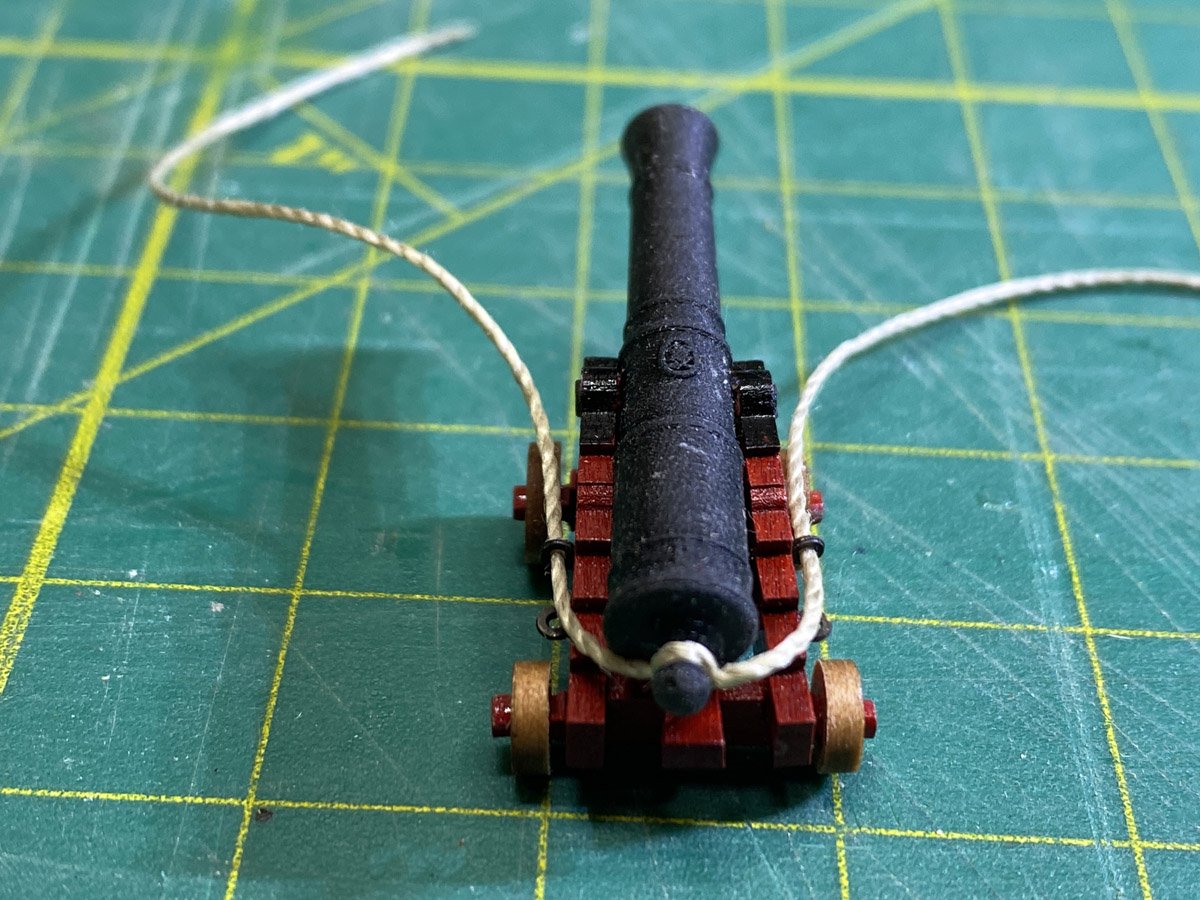
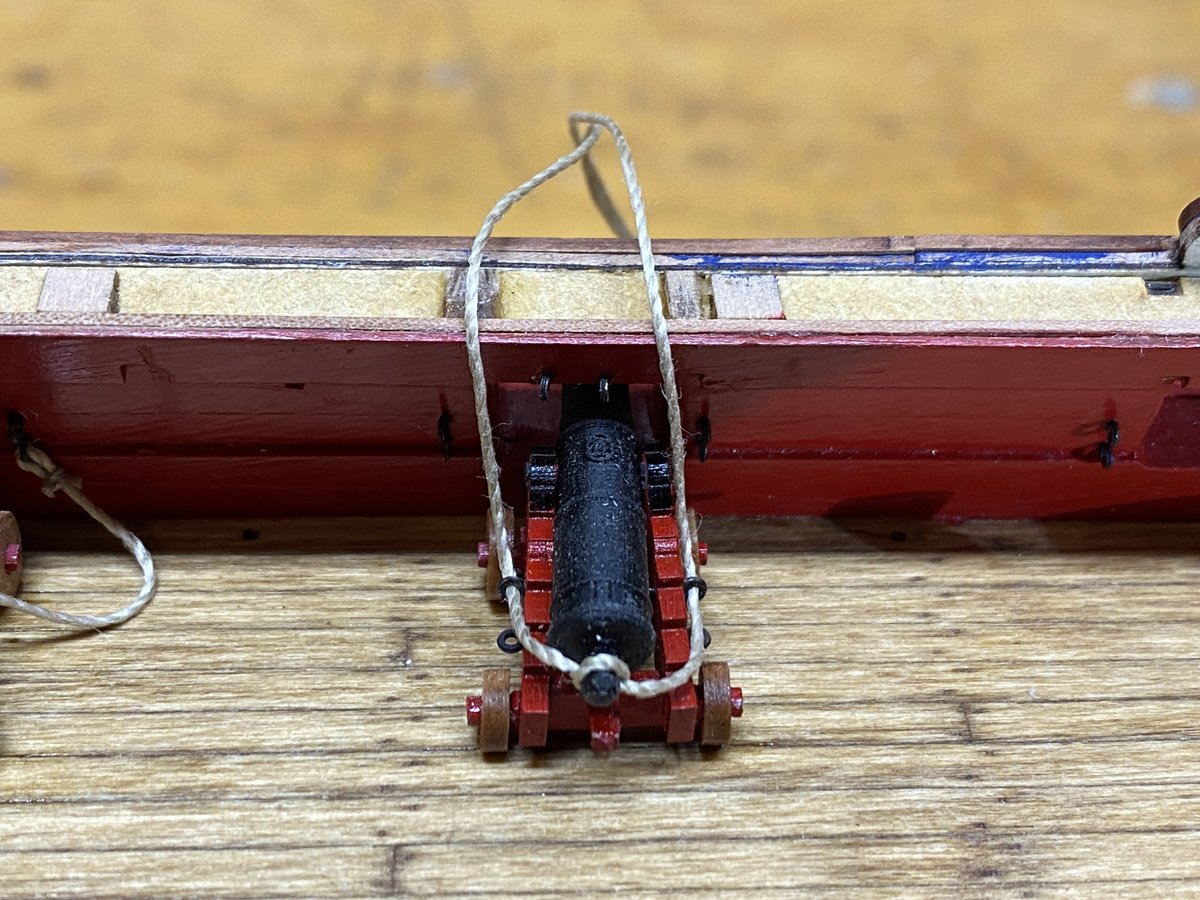
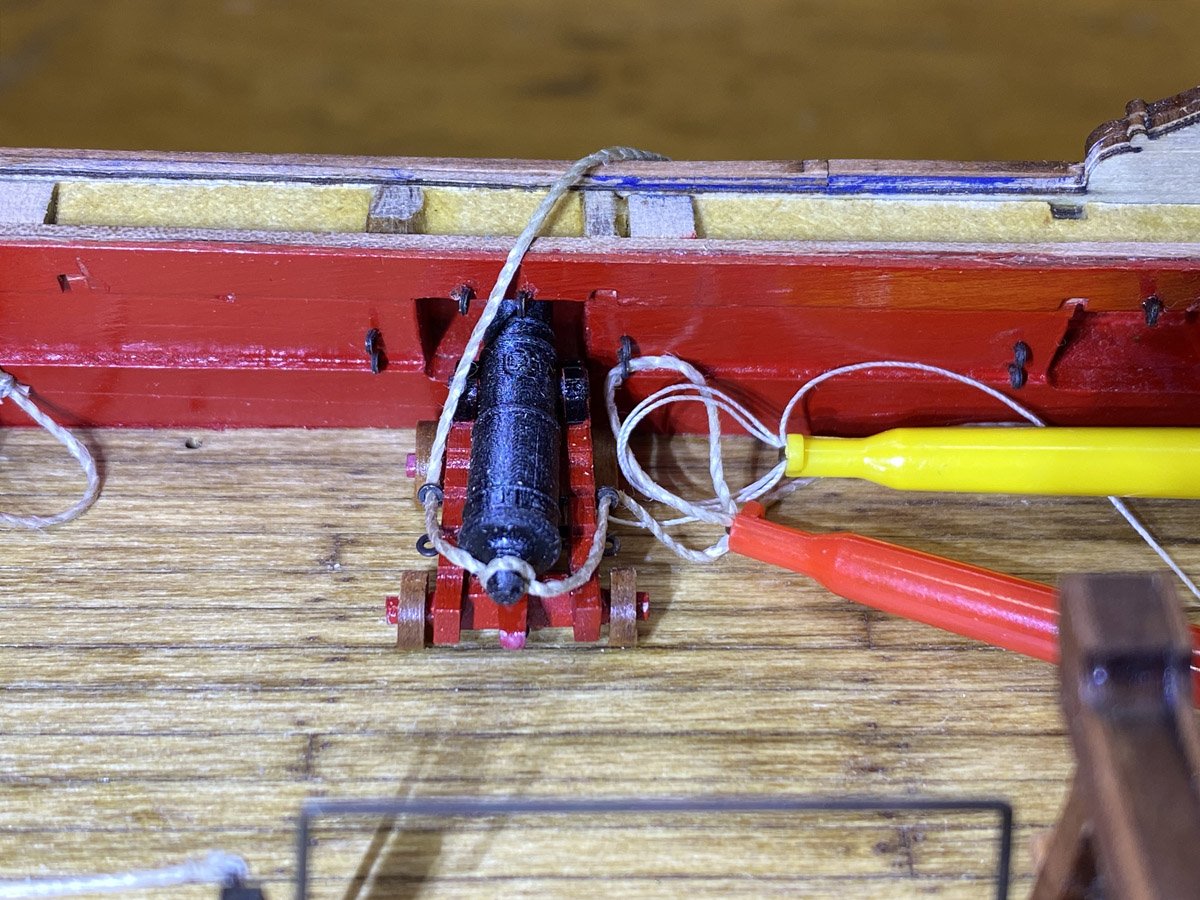
Breech Ropes As suggested, I am rigging the breech ropes to the cannons off the model. I just use a single knot under the barrel with a spot of CA. Then I glue the cannon to the deck. The ends of the breech ropes must go through the eyebolts and get tied with much thinner thread using a single clove hitch. It is quite difficult to tie a clove hitch in that tight space, but it is MUCH easier to tie a clove hitch in your hands by overlapping two simple loops. There is an excellent animation of the procedure here. I hold the clove hitch with an electronics test hook clip, then put the breech line through the clove hitch, through the eyebolt, and back through the clove hitch. I grab both ends of the breech line with another test clip (red.) So now I have a clove hitch around the breech line as desired. I release the yellow clip, snug up the clove hitch, add another single knot and a spot of CA for safety, release the red hook, and trim the ends. Fairly painless.
- 78 replies
-
- Sphinx
- Vanguard Models
-
(and 1 more)
Tagged with:
-
 rvchima reacted to a post in a topic:
HMS Sphinx 1775 by mugje - Vanguard Models - 1:64
-
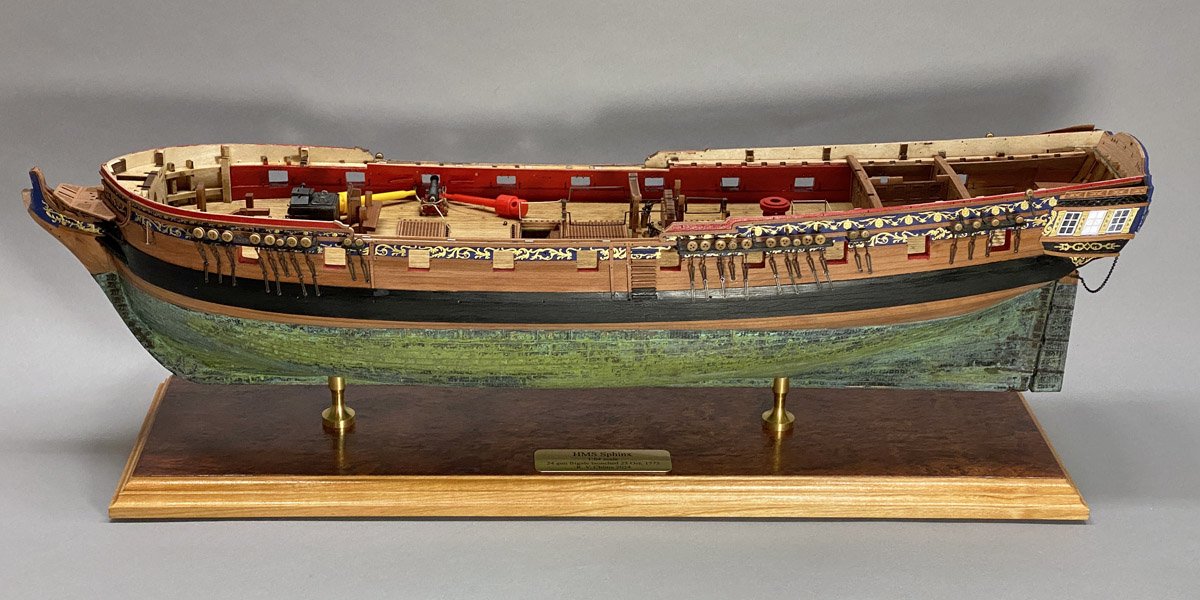
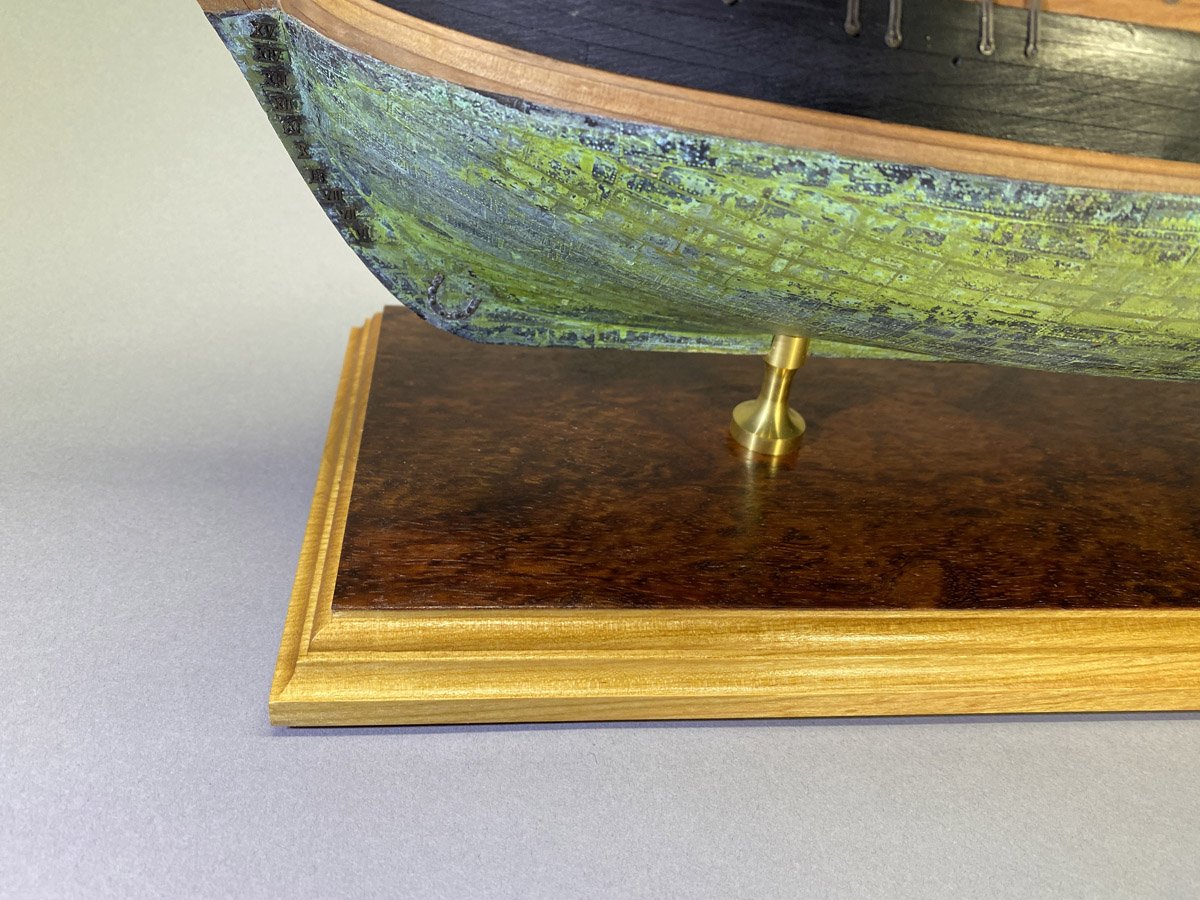
A New Base The outrageous patina on my copper hull needed an equally outrageous base. I made one out of a light cherry with a Bubinga veneer, finished with Watco natural oil and several coats of Minwax wipe-on polyurethane. I have been ordering brass name plates for all my models from a vendor on Amazon. The temporary base will go back on while I am working. I have just started to rig the breech ropes for the cannons. @Thukydides posted a brilliant description of a jig for rigging the cannons off the model here. However, the instructions for the Sphinx had me install the eyebolts around the gunports about 20 pages ago, so I will have to do that rigging in place.
- 78 replies
-
- Sphinx
- Vanguard Models
-
(and 1 more)
Tagged with:
-
- 78 replies
-
- Sphinx
- Vanguard Models
-
(and 1 more)
Tagged with:
-
 rvchima reacted to a post in a topic:
HM Cutter Alert by Thukydides - Vanguard Models - 1:64 - first build
-
 rvchima reacted to a post in a topic:
HM Cutter Alert by Thukydides - Vanguard Models - 1:64 - first build
-
 rvchima reacted to a post in a topic:
HM Cutter Alert by Thukydides - Vanguard Models - 1:64 - first build
-
 rvchima reacted to a post in a topic:
HMS Sphinx 1775 by rvchima - Vanguard Models - 1:64 - 20 Gun Sixth Rate Frigate
-
Eclipse We had a solar eclipse today, 87 percent coverage where I live but only briefly visible through the clouds. I managed to get one decent photo with my old Celestron 90mm spotting scope with a solar filter and an iPhone holder.
- 78 replies
-
- Sphinx
- Vanguard Models
-
(and 1 more)
Tagged with:
-
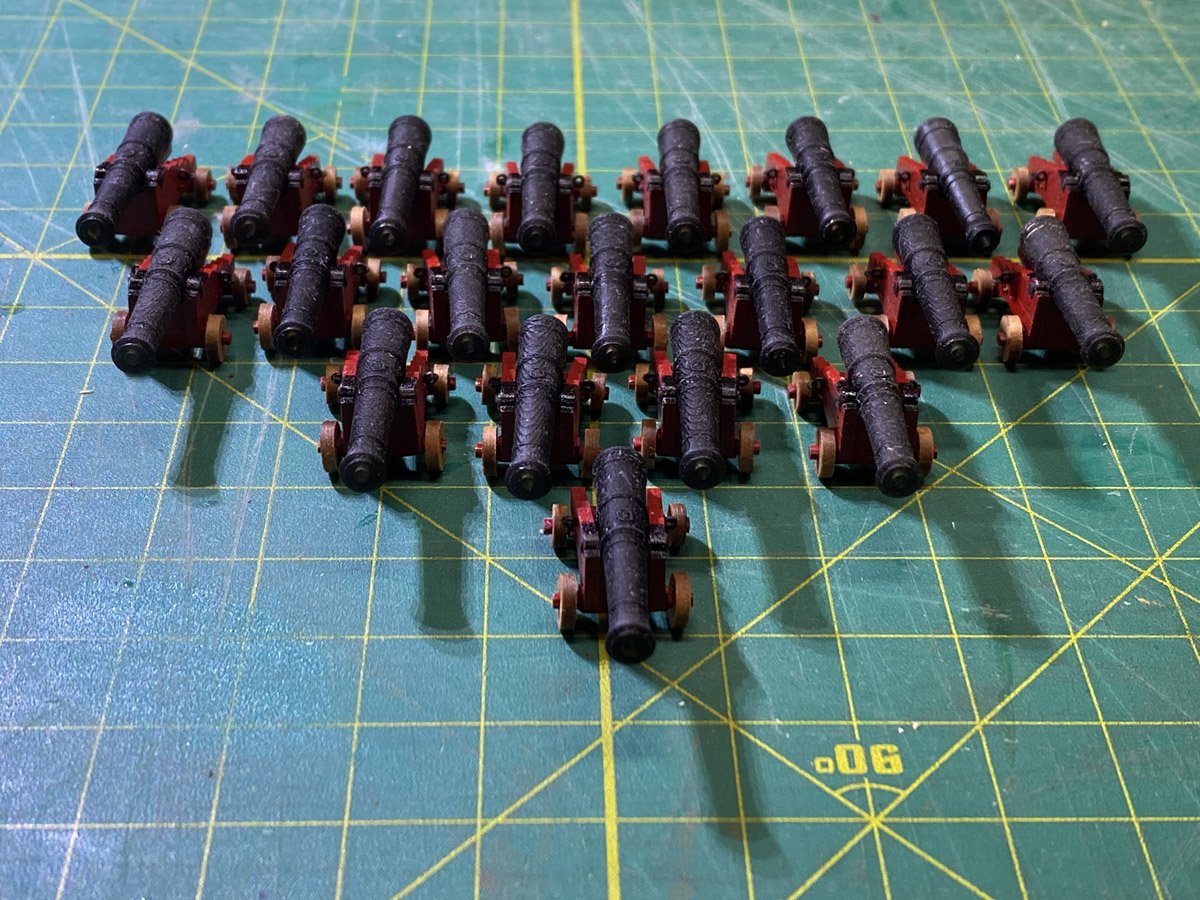
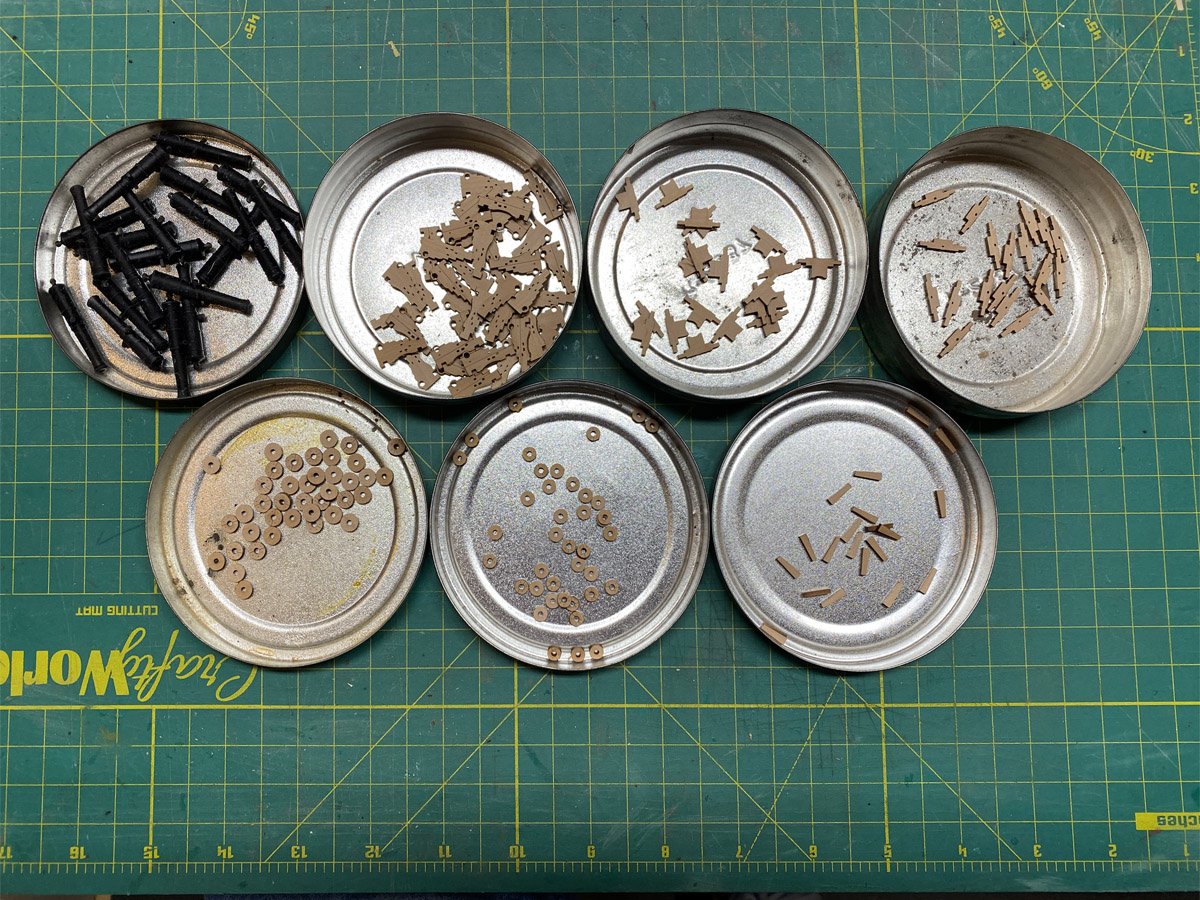
Cannons In my last post I wrote how much I was enjoying this build but I'm not looking forward to this next part. At least she's not a first rate.
- 78 replies
-
- Sphinx
- Vanguard Models
-
(and 1 more)
Tagged with:
-
rvchima started following HMS Flirt by wvdhee - Vanguard Models - 1:64
-
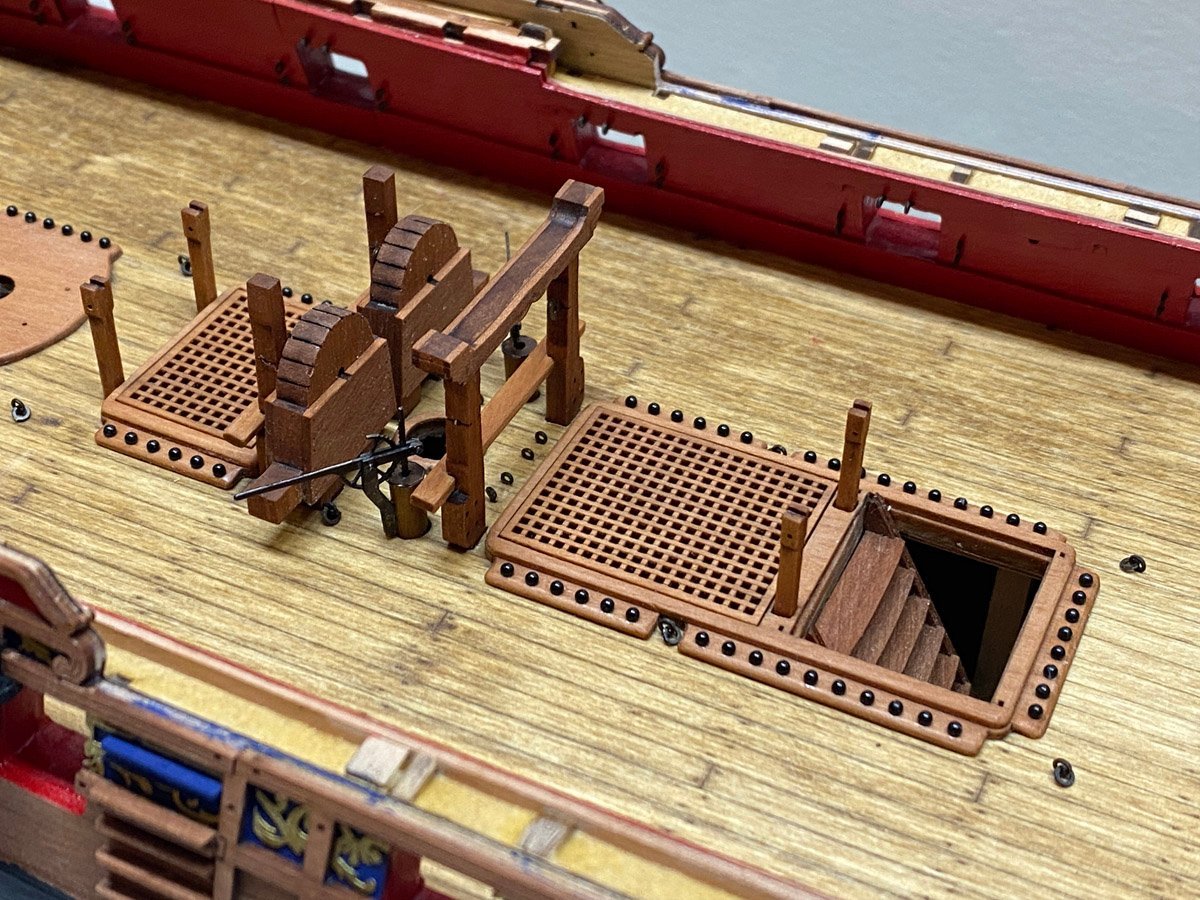
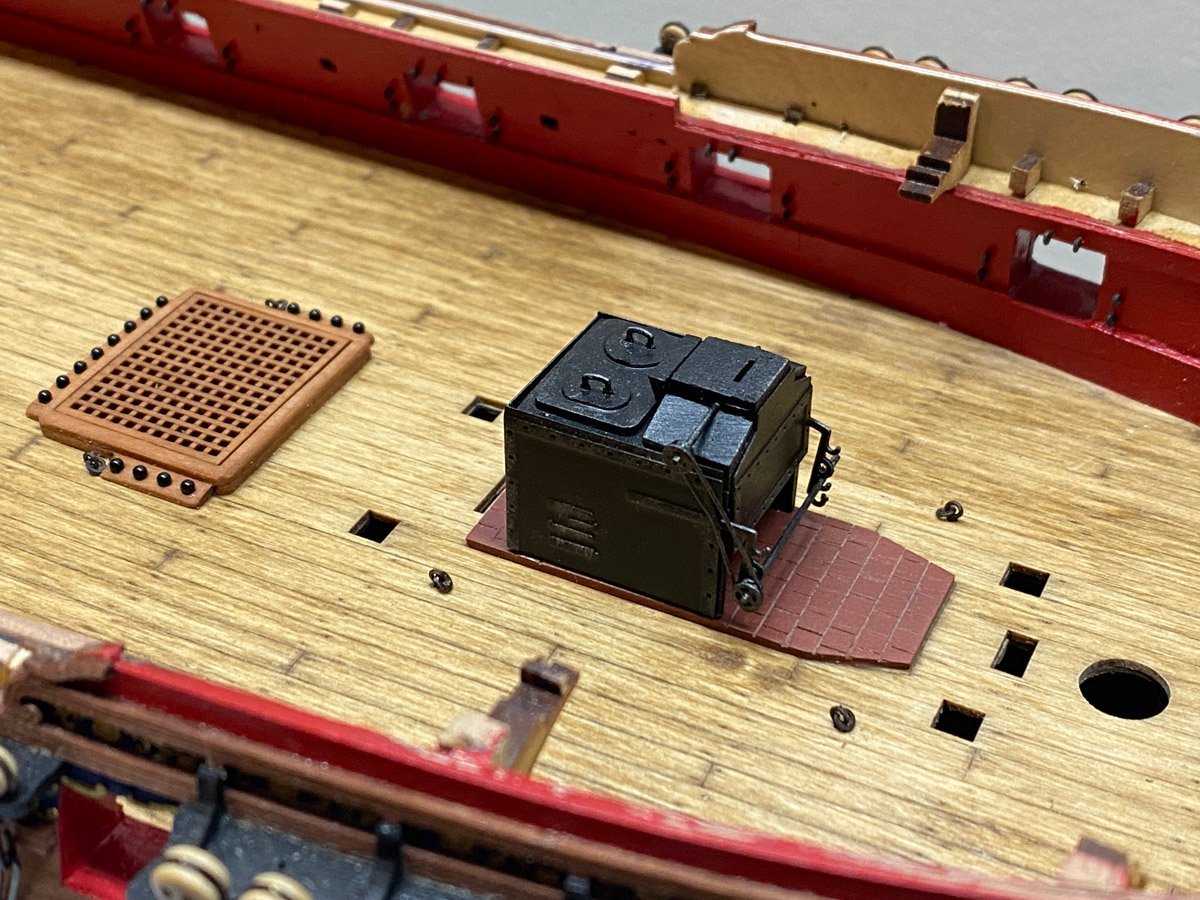
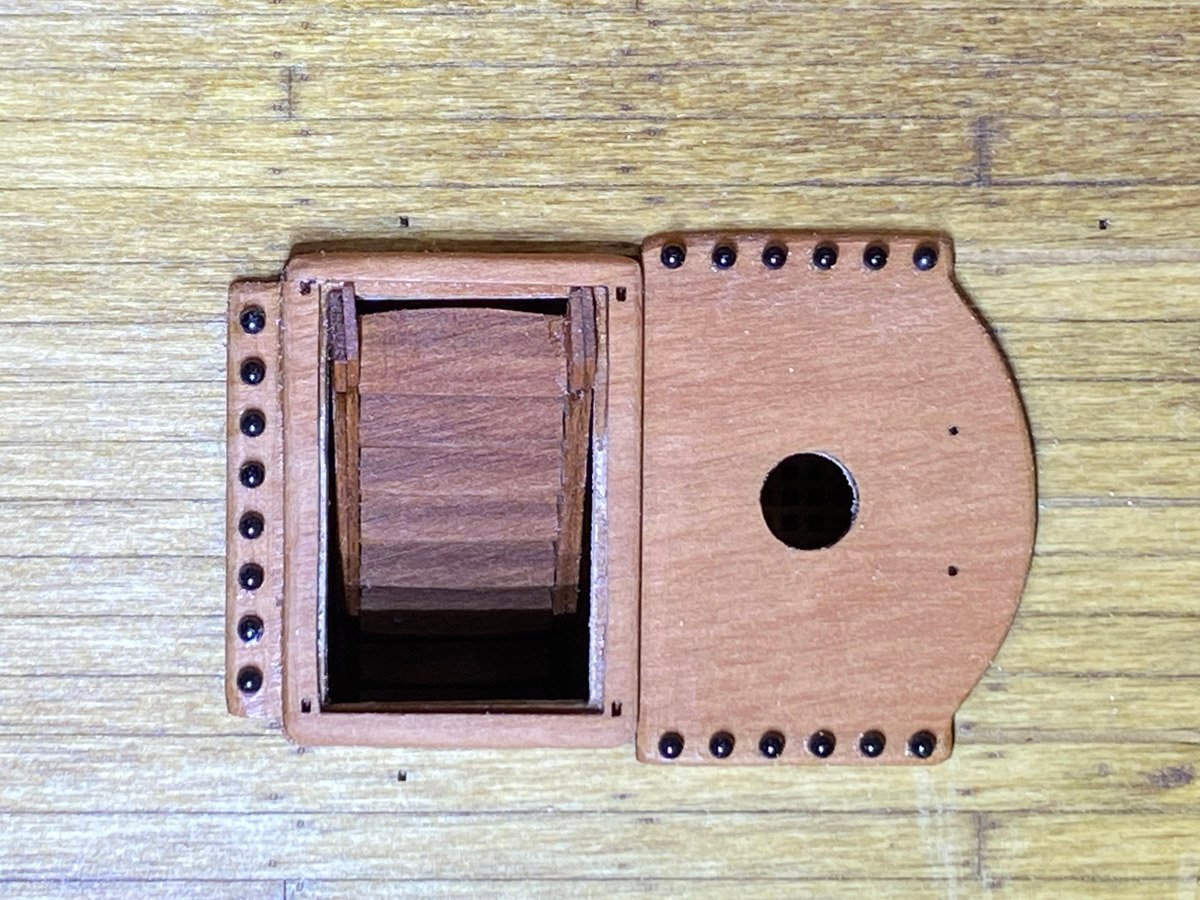
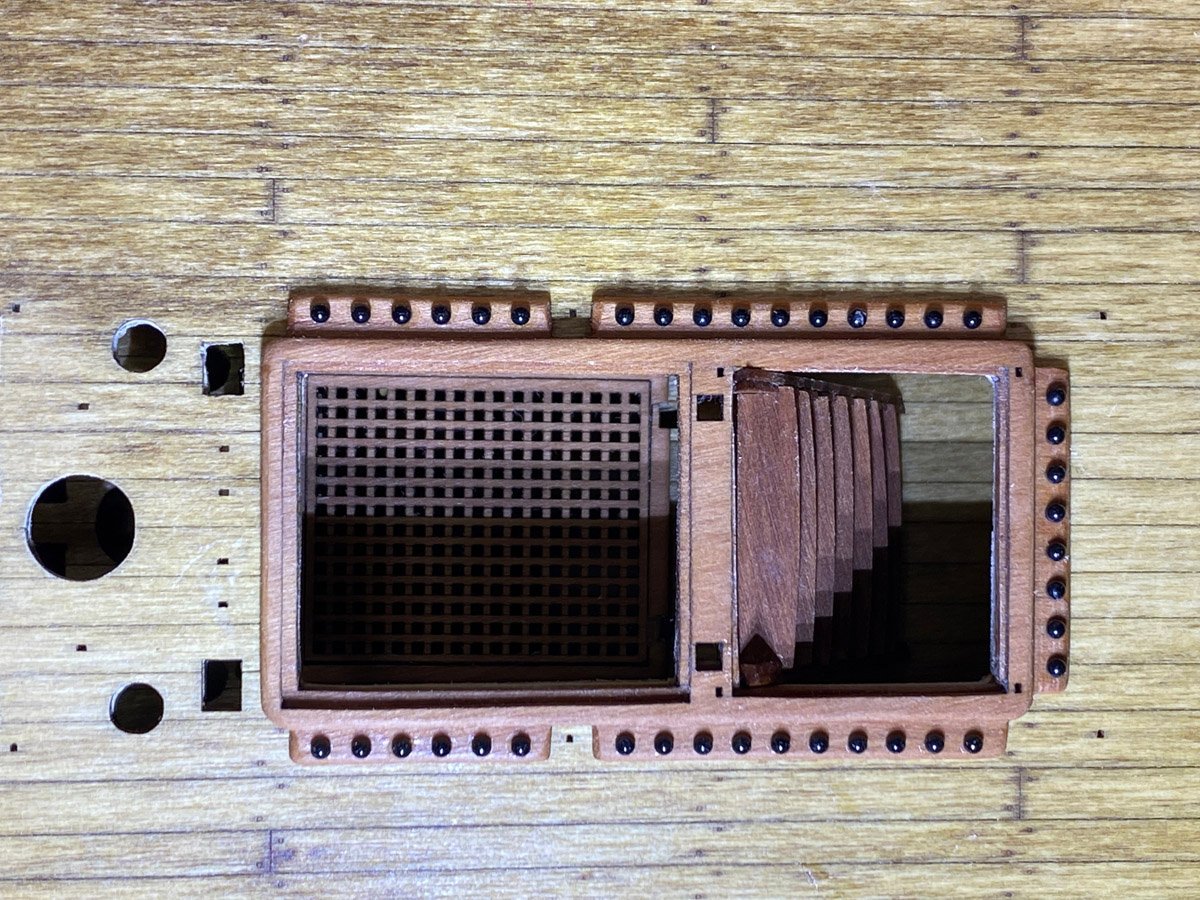
Chain Pumps, Hand Pumps, Grates and Finally the Stove This part of the build is quite enjoyable. Each little component adds something interesting to the model. I built the stove almost two months ago and finally got to install it, and to jump ahead three pages in the manual past those instructions.
- 78 replies
-
- Sphinx
- Vanguard Models
-
(and 1 more)
Tagged with:
-
DomFischli started following rvchima
-
Interview with Chris Watton in Nautical Research Journal If you haven't seen it already, there is a fascinating interview with @chris watton, designer of the Sphinx kit, in the latest issue of Nautical Research Journal. When I was looking for a new project I was debating between the Diana by Caldercraft and the HMS Fly by Amati. Moderator @ccoyle told me that I had a good eye because both models were designed by Chris Watton, and suggested that I consider the Sphinx. After reading the article I realize that I could have chosen any number of kits and that Chris would probably have designed most of them. The only thing missing from the article is a photo of Chris' private collection. My house is getting crowded. Chris' house must be a museum.
- 78 replies
-
- Sphinx
- Vanguard Models
-
(and 1 more)
Tagged with:
-
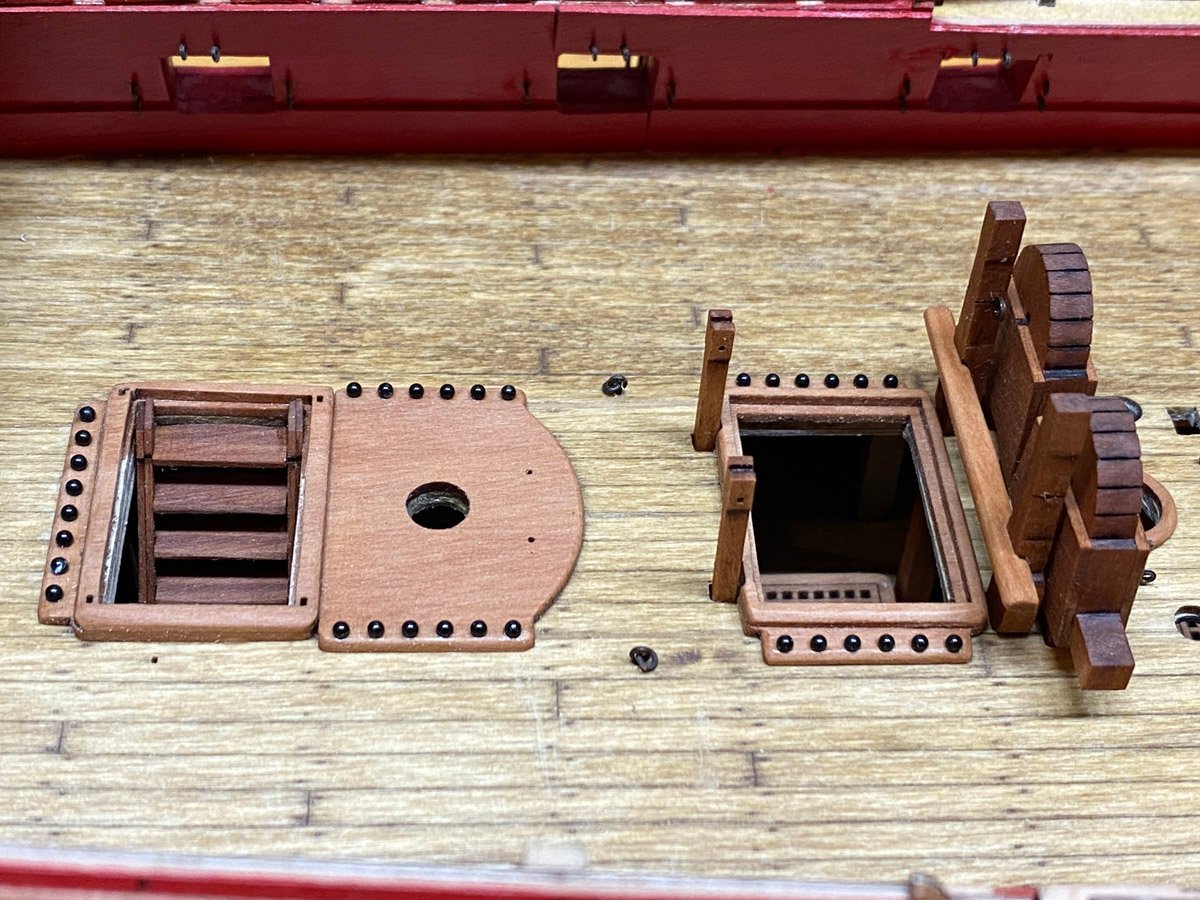
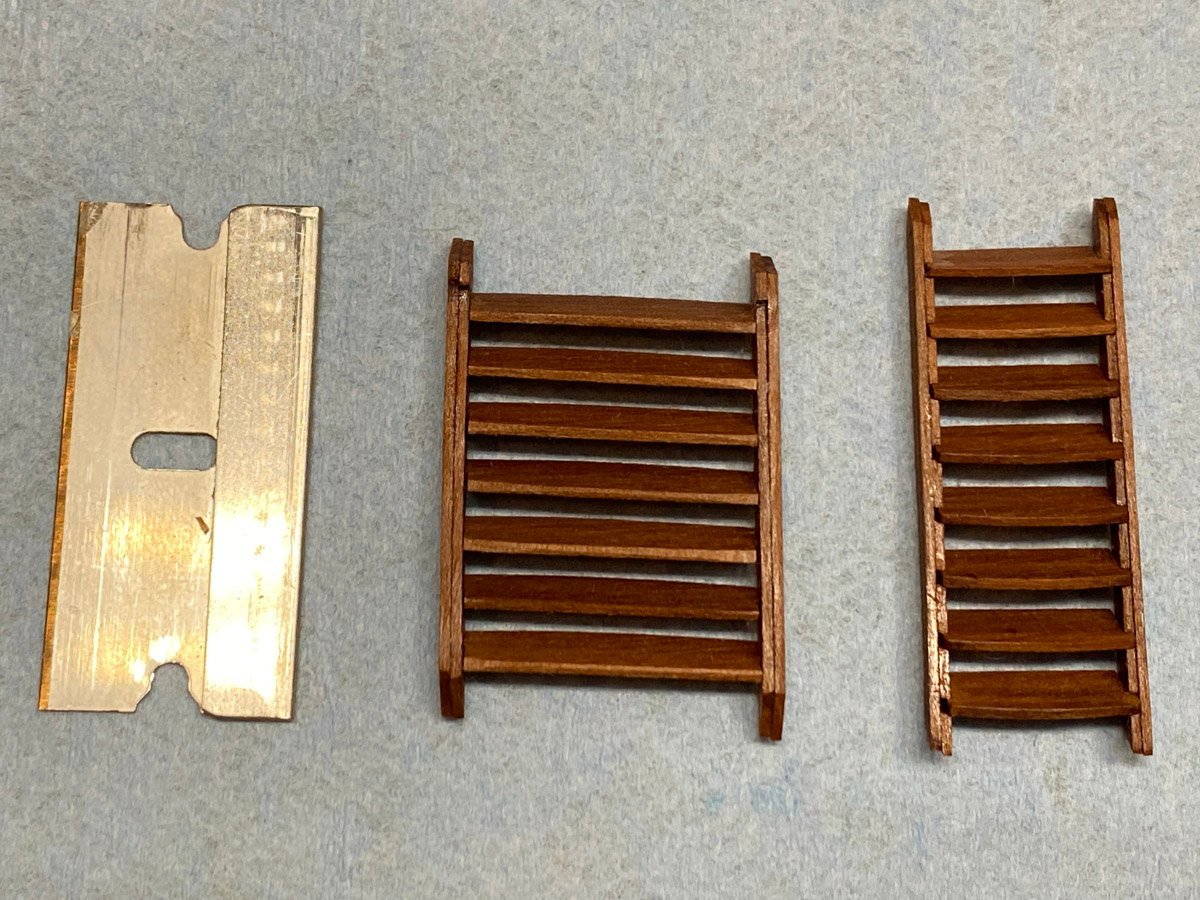
Thank you Thukydides. The patina is more intense than I ever imagined but I like it. I was hoping for a visually striking model (even if not quite historically accurate) and it is certainly turning out that way. By the way, do you have another name besides Thukydides? Two Ladders - Never to Be Seen Again Chain Pumps and Supports
- 78 replies
-
- Sphinx
- Vanguard Models
-
(and 1 more)
Tagged with:
-
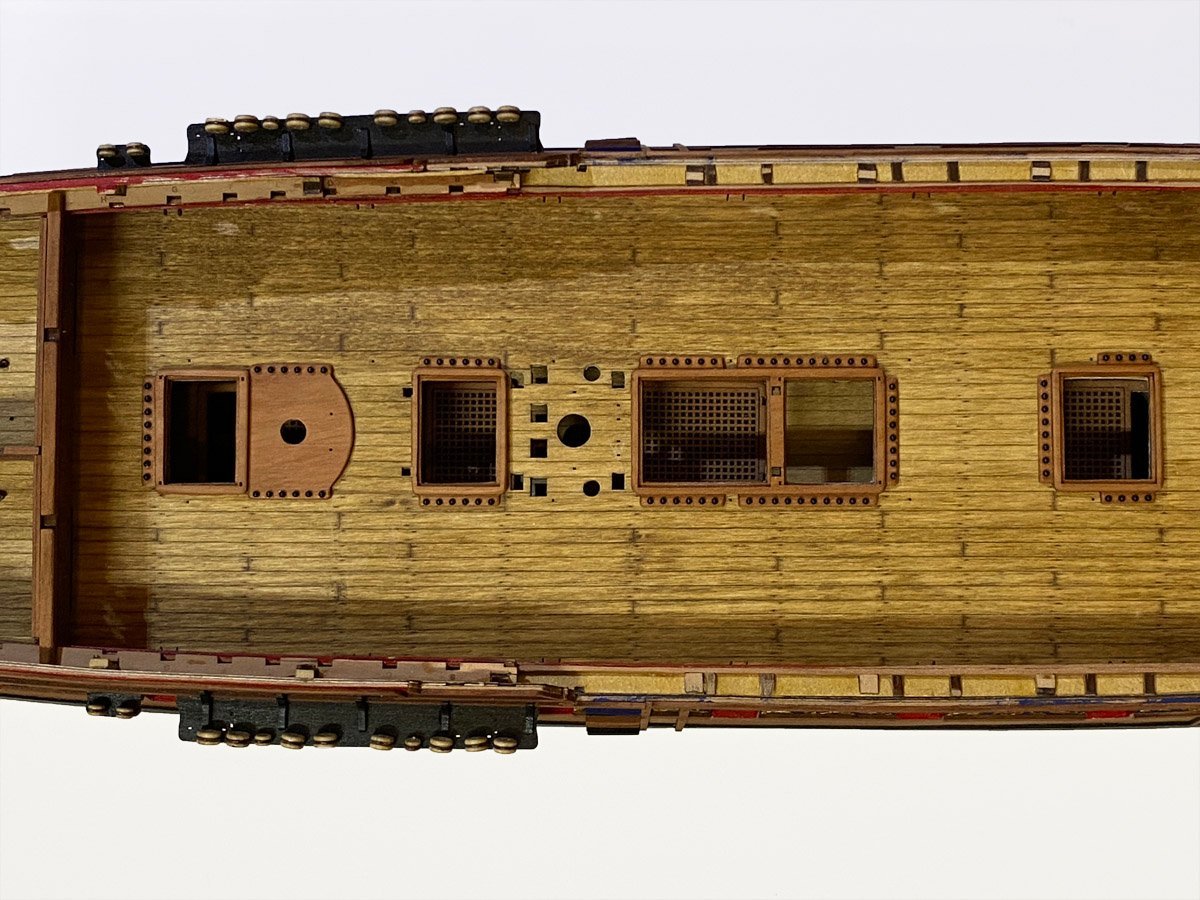
4 Hatch Coamings and 88 Cannon Balls I figured it would be easier to place the cannon balls before the coamings were installed.
- 78 replies
-
- Sphinx
- Vanguard Models
-
(and 1 more)
Tagged with:
-
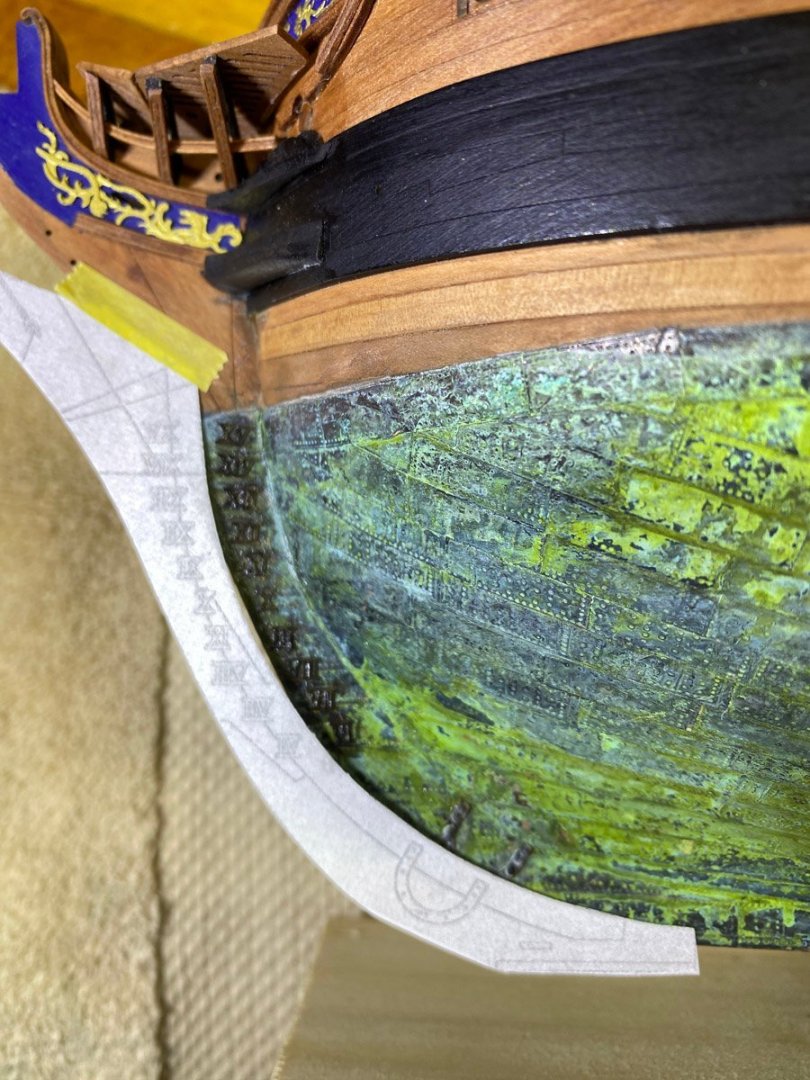
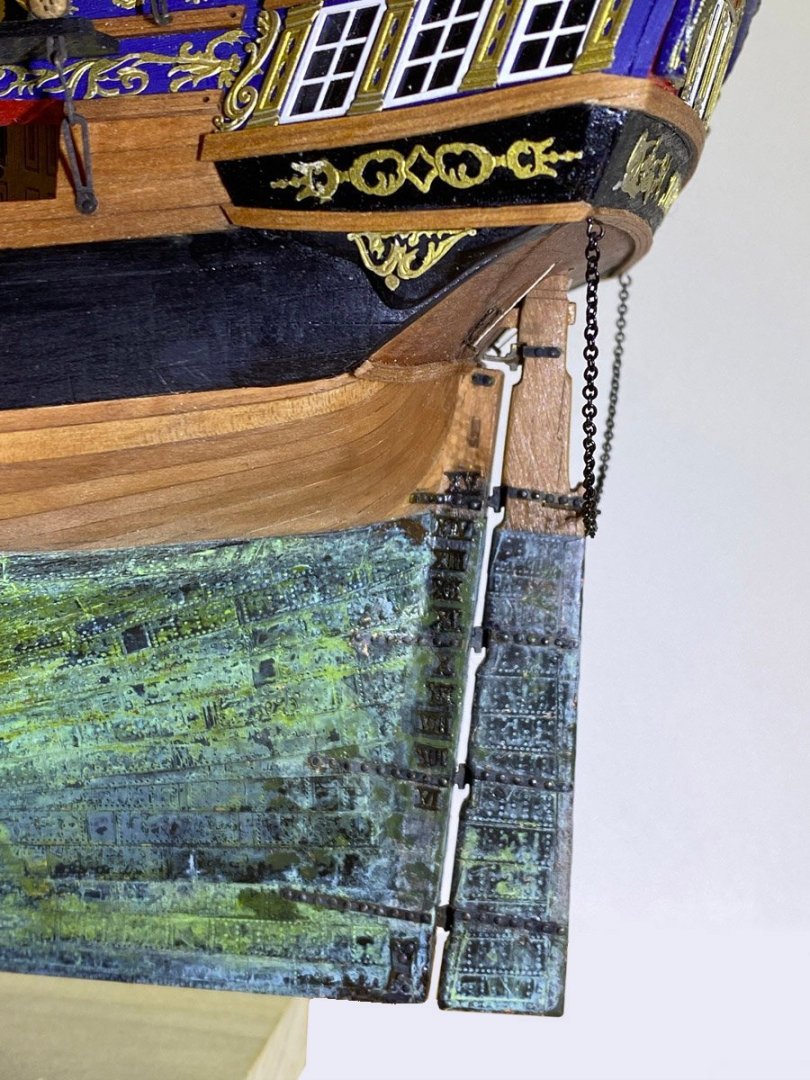
Outside of the Hull (Finally) Complete The rudder, displacement numerals, and random reinforcing plates are now attached. The rudder was hard because of about 120 nails holding the gudgeons and pintles. Those parts are non-functional - the rudder is actually held in place by 5 PE pins. A while ago I mentioned that my rudder wouldn't fit past the rudder post so I removed 1/4" at the top. Now the top pin has nowhere to attach. And with the pins the rudder was now a few mm wider and wouldn't tip in place. I had to use my trusty rotary tool to enlarge the hole in the hull, which is what I should have done in the first place. I glued the displacement numerals with CA. The plans showed the starboard side so I did that first using a cutout copy of the plans for placement. For the port side I made a mirror image of the pattern with Photoshop and started gluing. After a while I realized that Roman numerals look the same forwards and backwards, but XI is not the same as IX. So I had to remove and reverse a few numerals. That removed the patina, which turns out to be fairly delicate. I touched it up with random green and black acrylic. When I attached the copper plates I covered up the holes for the horseshoe and keel plates. I laid the paper cutouts in place, poked a pin through a marked hole, and hit the corresponding hole through the copper on the first try. Amazing!
- 78 replies
-
- Sphinx
- Vanguard Models
-
(and 1 more)
Tagged with:
About us
Modelshipworld - Advancing Ship Modeling through Research
SSL Secured
Your security is important for us so this Website is SSL-Secured
NRG Mailing Address
Nautical Research Guild
237 South Lincoln Street
Westmont IL, 60559-1917
Model Ship World ® and the MSW logo are Registered Trademarks, and belong to the Nautical Research Guild (United States Patent and Trademark Office: No. 6,929,264 & No. 6,929,274, registered Dec. 20, 2022)
Helpful Links
About the NRG
If you enjoy building ship models that are historically accurate as well as beautiful, then The Nautical Research Guild (NRG) is just right for you.
The Guild is a non-profit educational organization whose mission is to “Advance Ship Modeling Through Research”. We provide support to our members in their efforts to raise the quality of their model ships.
The Nautical Research Guild has published our world-renowned quarterly magazine, The Nautical Research Journal, since 1955. The pages of the Journal are full of articles by accomplished ship modelers who show you how they create those exquisite details on their models, and by maritime historians who show you the correct details to build. The Journal is available in both print and digital editions. Go to the NRG web site (www.thenrg.org) to download a complimentary digital copy of the Journal. The NRG also publishes plan sets, books and compilations of back issues of the Journal and the former Ships in Scale and Model Ship Builder magazines.


