-
Posts
64 -
Joined
-
Last visited
Profile Information
-
Gender
Male
-
Location
Wisconsin
-
Interests
Pre-war automobiles, esp. Model T's.
Recent Profile Visitors
-
 Tidbinbilla reacted to a post in a topic:
USS Constitution by JSGerson - Model Shipways Kit No. MS2040
-
 Tidbinbilla reacted to a post in a topic:
USS Constitution by JSGerson - Model Shipways Kit No. MS2040
-
 Der Alte Rentner reacted to a post in a topic:
USS Constitution by Tidbinbilla - FINISHED - Model Shipways
-
 Der Alte Rentner reacted to a post in a topic:
USS Constitution by Tidbinbilla - FINISHED - Model Shipways
-
 Tidbinbilla reacted to a post in a topic:
USS Constitution by JSGerson - Model Shipways Kit No. MS2040
-
 Tidbinbilla reacted to a post in a topic:
Constitution by Geoff Matson - Model Shipways 2040 - 1/76 scale
-
 Tidbinbilla reacted to a post in a topic:
Constitution by Geoff Matson - Model Shipways 2040 - 1/76 scale
-
Der Alte, I had never built a wooden model ship before starting the USS Constitution. Bob Hunt''s practicum was critical in me enjoying and being able to complete my build. Along with that, it was the numerous builders and their build logs that made a major difference! Best of luck! Dave
- 1,348 replies
-
- constitution
- model shipways
-
(and 1 more)
Tagged with:
-
 Stevenleehills reacted to a post in a topic:
USS Constitution by JSGerson - Model Shipways Kit No. MS2040
-
 Tidbinbilla reacted to a post in a topic:
USS Constitution by JSGerson - Model Shipways Kit No. MS2040
-
 Tidbinbilla reacted to a post in a topic:
USS Constitution by JSGerson - Model Shipways Kit No. MS2040
-
 Tidbinbilla reacted to a post in a topic:
USS Constitution by JSGerson - Model Shipways Kit No. MS2040
-
 Snug Harbor Johnny reacted to a post in a topic:
USS Constitution by Tidbinbilla - FINISHED - Model Shipways
-
 Tidbinbilla reacted to a post in a topic:
USS Constitution by JSGerson - Model Shipways Kit No. MS2040
-
 Bill Morrison reacted to a post in a topic:
USS Constitution by JSGerson - Model Shipways Kit No. MS2040
-
 Stevenleehills reacted to a post in a topic:
USS Constitution by JSGerson - Model Shipways Kit No. MS2040
-
 Tomculb reacted to a post in a topic:
USS Constitution by JSGerson - Model Shipways Kit No. MS2040
-
 KurtH reacted to a post in a topic:
USS Constitution by JSGerson - Model Shipways Kit No. MS2040
-
 Nirvana reacted to a post in a topic:
USS Constitution by JSGerson - Model Shipways Kit No. MS2040
-
 Tidbinbilla reacted to a post in a topic:
USS Constitution by JSGerson - Model Shipways Kit No. MS2040
-
 yvesvidal reacted to a post in a topic:
Copper plating any advice on the jig
-
Jon, Bob Hunt may be right about most people not noticing the details but for the countless numbers of us who have and are building these models, that detail is greatly admired and appreciated. Keep up the fantastic work - it an inspiration for us all!! p.s. Upon completion of my Conny this year, I realized I found a wonderful hobby 50 years too late in life! I loved putting her together but it put a strain on my eye sight and motor skills...
-
You got that right about all that planking being eventually covered -up with copper. All the filling, sanding, etc will not be seen by anyone. I treated that part of my hull like it was a panel being restored in one of my antique cars. Sanded with 220, applied glazing putty, sanded with 400, then 600 grit!
-
JS I followed the instructions to build the case 2 inches over exact W,L and H. I measured Height from bottom of display board. W = 21 1/2 H = 38 L = 53 1/2 The case base was 2 inches more for W and L. Whatever you choose to display your ship, I hope that it will show all the excellent detail you are doing on the gun deck!! Super job!!
- 55 replies
-
- constitution
- model shipways
-
(and 1 more)
Tagged with:
-
Tidbinbilla started following USS Constitution by ERS Rich - Model Shipways
-
As a final act, I built a display case for the ship. Used up some old, beat-up walnut that was stored in a dirty out building. After lots of gluing, planing and routing, I had enough material. Used Plexiglas and added LED lights. Now, she's all dressed up and nowhere to go - still looking for proper display place!! Thanks again, Dave
- 55 replies
-
- constitution
- model shipways
-
(and 1 more)
Tagged with:
-
Thanks. One of the advantages of being retired - more time than money!!!
- 55 replies
-
- constitution
- model shipways
-
(and 1 more)
Tagged with:
-
The ship is finished!! It's been an exciting and challenging 20 months. When first starting off, I never thought I'd complete it. When looking at the 8 sheets of drawings, I felt completely intimidated! But taking it slowly and one step at a time, the task was done. One thing that I did not expect was how undertaking the project would "suck all the air out of the room". After a while, it became an obsession, in a good way! A few lessons learned: Robert Hunt's Practicum was well worth it, especially for a novice like me. I made a lot of small mistakes that most of the general public would not notice but would be easily noted by people who follow this forum. The ship will be behind glass and never in any type of public display, so I can easily live with them. I installed as much rigging as possible on the masts and yards before installing them on the model. It was a tangled mess at time, but in the end, much easier than trying to install line, blocks, etc. with mast/yards in place. I did pin the yards, boom and gaff to the masts. I installed my pin rails too close to the bulwarks - there wasn't enough room at times to wrap the lines around the belaying pins. Make really sure the fife rails are securely fixed to the deck. I gave all the painted surfaces a coat of semi-gloss finish - really brought the colors to life! I found a needle threader that feeds into a hole in the direction of travel - just the opposite of most needle threaders! It worked great in tight spaces! Purchasing a set of "helping hands" really proved useful. Now its on the building the display case. The base and pillars have be made; the cover has been rough cut. Next is routing the channel for plexiglass and assembly. Photos to follow. Thanks a million for the words of encouragement and help. It's been a great ride!! Dave
- 55 replies
-
- constitution
- model shipways
-
(and 1 more)
Tagged with:
-
2020 has been a good year for model ship building. I managed to complete the installation of the standing rigging before year end. No real drama here - just followed the Practicum most of the time. After installing the rat lines, I think it is time to finish building the display case now that I have the actual dimensions. Happy New Year! 202ONE!!
- 55 replies
-
- constitution
- model shipways
-
(and 1 more)
Tagged with:
-
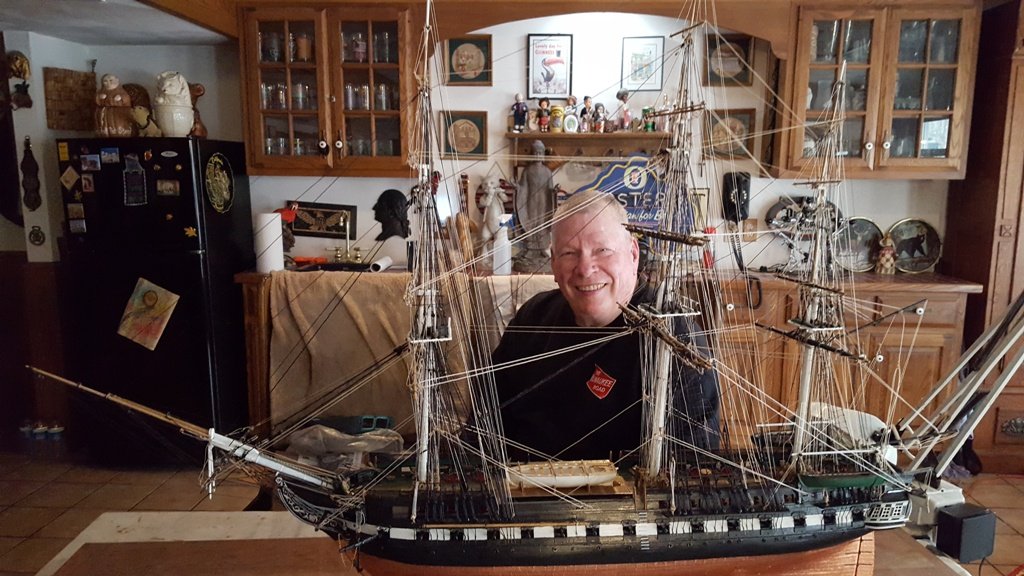
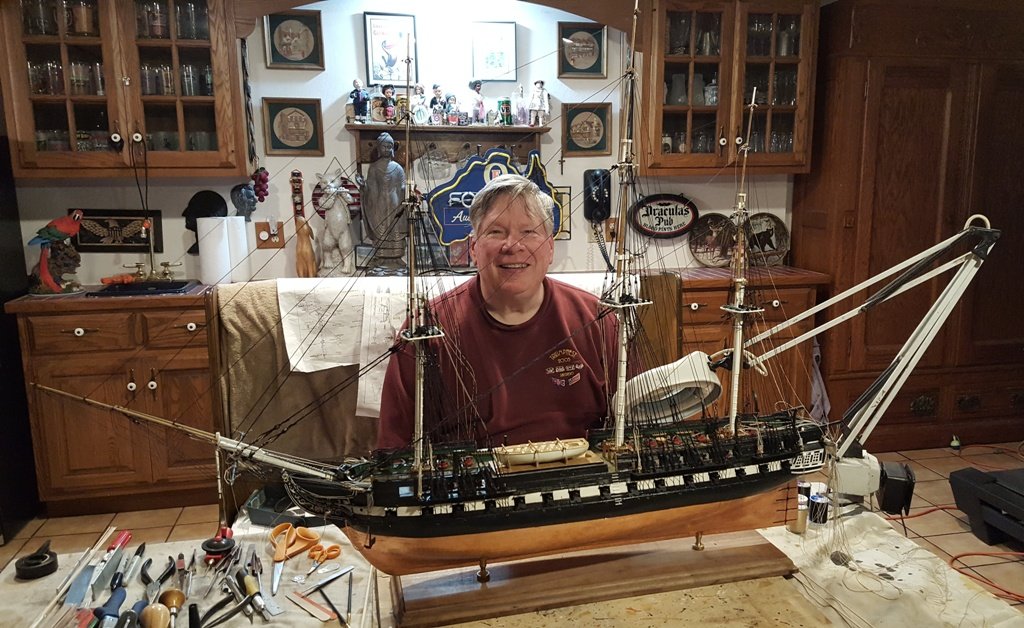
It's about time for an update. I've been able to accomplish quite a bit over the past several months. The mast and spars are complete. I decided to attach as much standing and running rigging as I can before installing the masts and yards, most due to my fear of damaging something when trying to attach something with all the rigging in the way. In the back ground you can see the "waterfall" of rigging from my yards. Now I'm into a whole new phase. The masts are glued in and connecting up the shrouds has begun. It's fun - taking my time and plodding along...
- 55 replies
-
- constitution
- model shipways
-
(and 1 more)
Tagged with:
About us
Modelshipworld - Advancing Ship Modeling through Research
SSL Secured
Your security is important for us so this Website is SSL-Secured
NRG Mailing Address
Nautical Research Guild
237 South Lincoln Street
Westmont IL, 60559-1917
Model Ship World ® and the MSW logo are Registered Trademarks, and belong to the Nautical Research Guild (United States Patent and Trademark Office: No. 6,929,264 & No. 6,929,274, registered Dec. 20, 2022)
Helpful Links
About the NRG
If you enjoy building ship models that are historically accurate as well as beautiful, then The Nautical Research Guild (NRG) is just right for you.
The Guild is a non-profit educational organization whose mission is to “Advance Ship Modeling Through Research”. We provide support to our members in their efforts to raise the quality of their model ships.
The Nautical Research Guild has published our world-renowned quarterly magazine, The Nautical Research Journal, since 1955. The pages of the Journal are full of articles by accomplished ship modelers who show you how they create those exquisite details on their models, and by maritime historians who show you the correct details to build. The Journal is available in both print and digital editions. Go to the NRG web site (www.thenrg.org) to download a complimentary digital copy of the Journal. The NRG also publishes plan sets, books and compilations of back issues of the Journal and the former Ships in Scale and Model Ship Builder magazines.


