dashi
-
Posts
248 -
Joined
-
Last visited
1 Follower

Recent Profile Visitors
1,761 profile views


-
 jud reacted to a post in a topic:
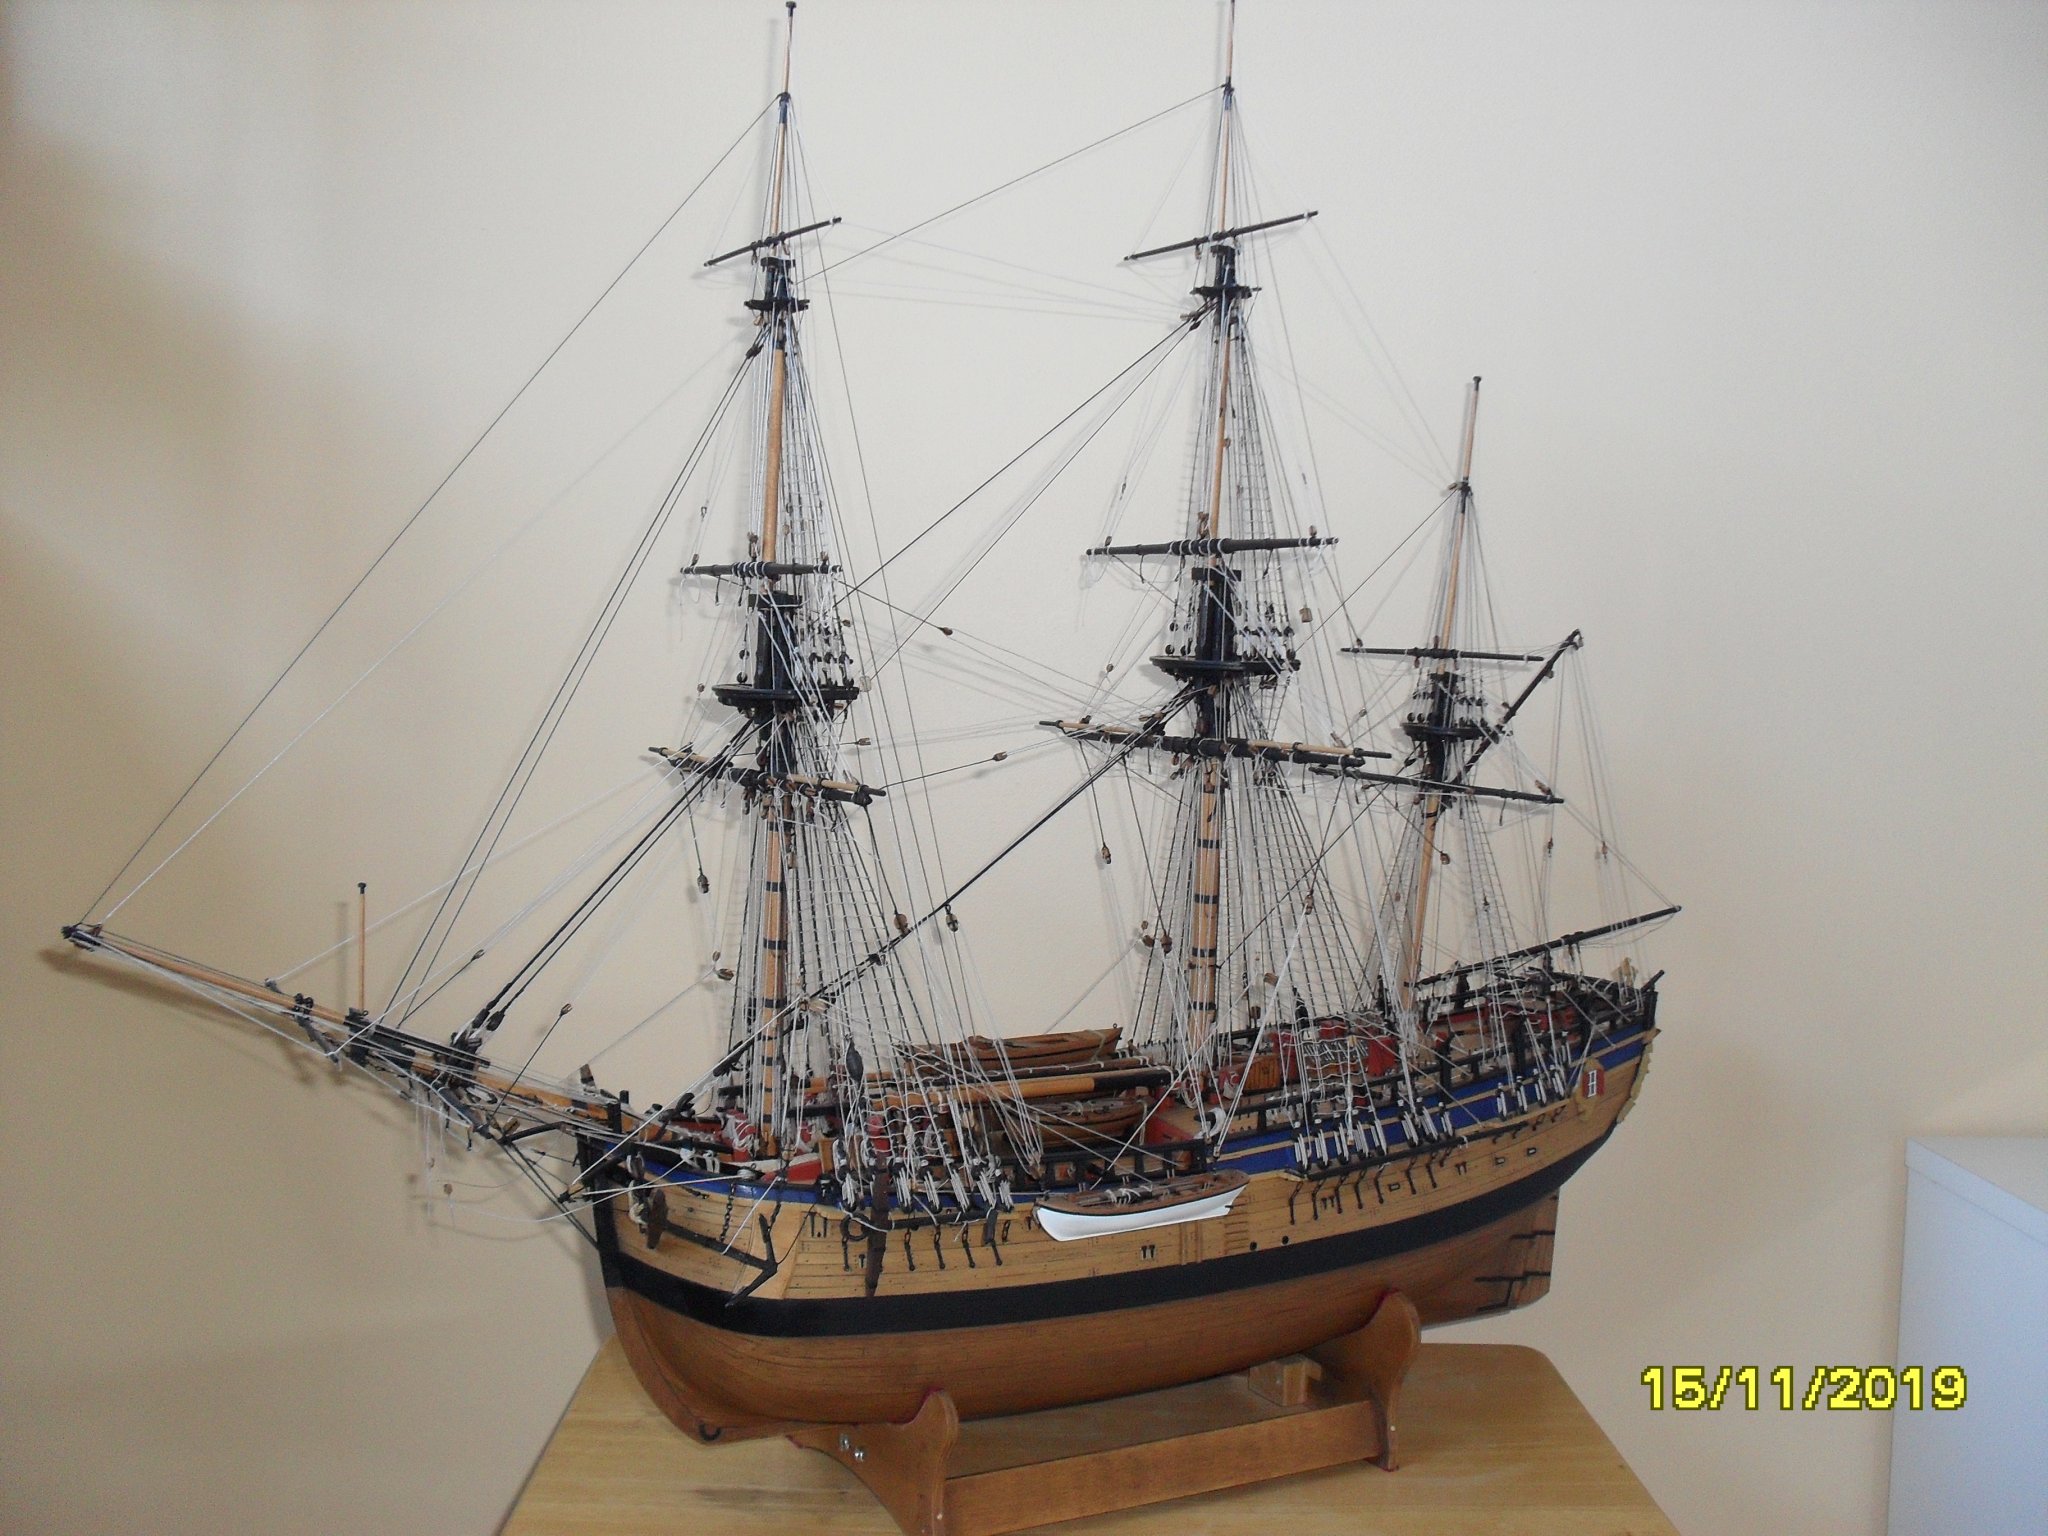
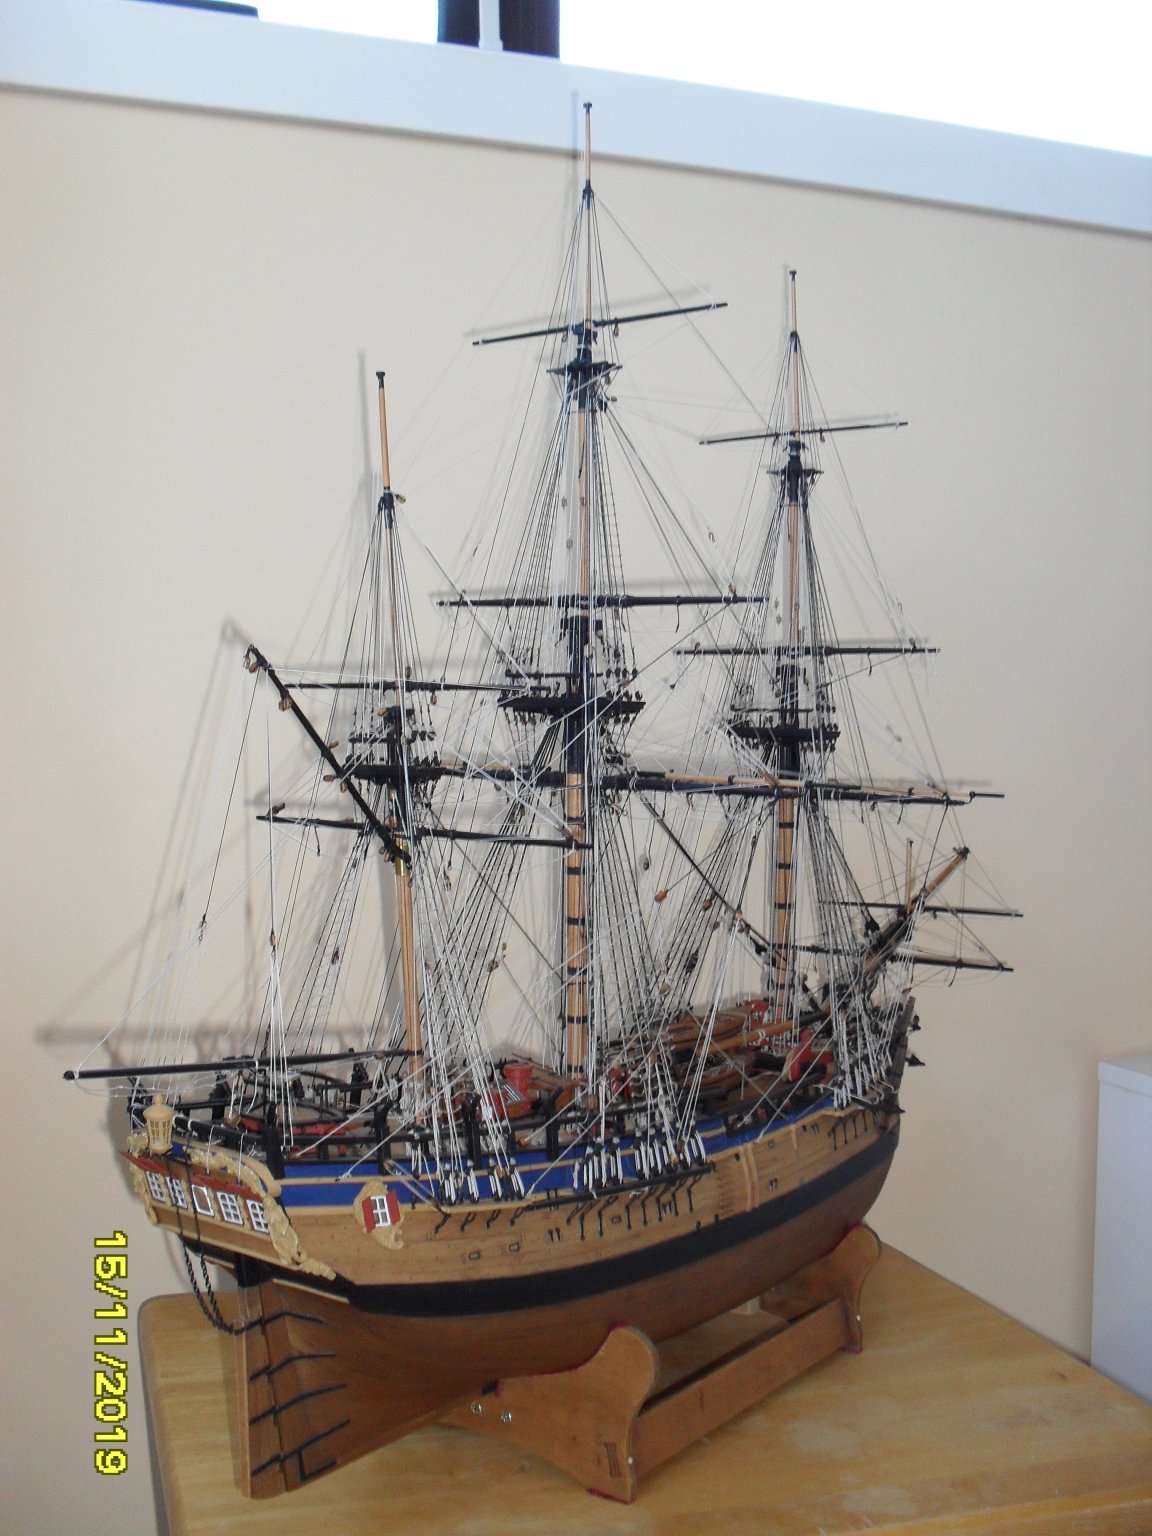
HM Bark Endeavour by dashi - Caldercraft - scale 1:64 - 1768-71 - bashed kit
jud reacted to a post in a topic:
HM Bark Endeavour by dashi - Caldercraft - scale 1:64 - 1768-71 - bashed kit
-
clogger reacted to a post in a topic:
HM Bark Endeavour by dashi - Caldercraft - scale 1:64 - 1768-71 - bashed kit
-
 Thanks shopaholic ☺
 -
dashi reacted to a post in a topic:
HM Bark Endeavour by dashi - Caldercraft - scale 1:64 - 1768-71 - bashed kit
-
dashi reacted to a post in a topic:
HM Bark Endeavour by dashi - Caldercraft - scale 1:64 - 1768-71 - bashed kit
-
Retired guy reacted to a post in a topic:
HM Bark Endeavour by dashi - Caldercraft - scale 1:64 - 1768-71 - bashed kit
-
mugje reacted to a post in a topic:
HM Bark Endeavour by dashi - Caldercraft - scale 1:64 - 1768-71 - bashed kit
-
Thanks Pat, Hubert and Mugje, yes same wood. I used a pigmented stain for the brown stuff and unstained above the water line.
-
dashi reacted to a post in a topic:
HM Bark Endeavour by dashi - Caldercraft - scale 1:64 - 1768-71 - bashed kit
-
dashi reacted to a post in a topic:
HM Bark Endeavour by dashi - Caldercraft - scale 1:64 - 1768-71 - bashed kit
-
dashi reacted to a post in a topic:
HM Bark Endeavour by dashi - Caldercraft - scale 1:64 - 1768-71 - bashed kit
-
Hubert Boillot reacted to a post in a topic:
HM Bark Endeavour by dashi - Caldercraft - scale 1:64 - 1768-71 - bashed kit
-
mugje reacted to a post in a topic:
HM Bark Endeavour by dashi - Caldercraft - scale 1:64 - 1768-71 - bashed kit
-
Thanks for the likes and Dwight and Pat for your kind comments ☺
-
JpR62 reacted to a post in a topic:
HM Bark Endeavour by dashi - Caldercraft - scale 1:64 - 1768-71 - bashed kit
-
dashi reacted to a post in a topic:
HM Bark Endeavour by dashi - Caldercraft - scale 1:64 - 1768-71 - bashed kit
-
BANYAN reacted to a post in a topic:
HM Bark Endeavour by dashi - Caldercraft - scale 1:64 - 1768-71 - bashed kit
-
dashi reacted to a post in a topic:
HM Bark Endeavour by dashi - Caldercraft - scale 1:64 - 1768-71 - bashed kit
-
Captain Slog reacted to a post in a topic:
HM Bark Endeavour by dashi - Caldercraft - scale 1:64 - 1768-71 - bashed kit
-
GrandpaPhil reacted to a post in a topic:
HM Bark Endeavour by dashi - Caldercraft - scale 1:64 - 1768-71 - bashed kit
-
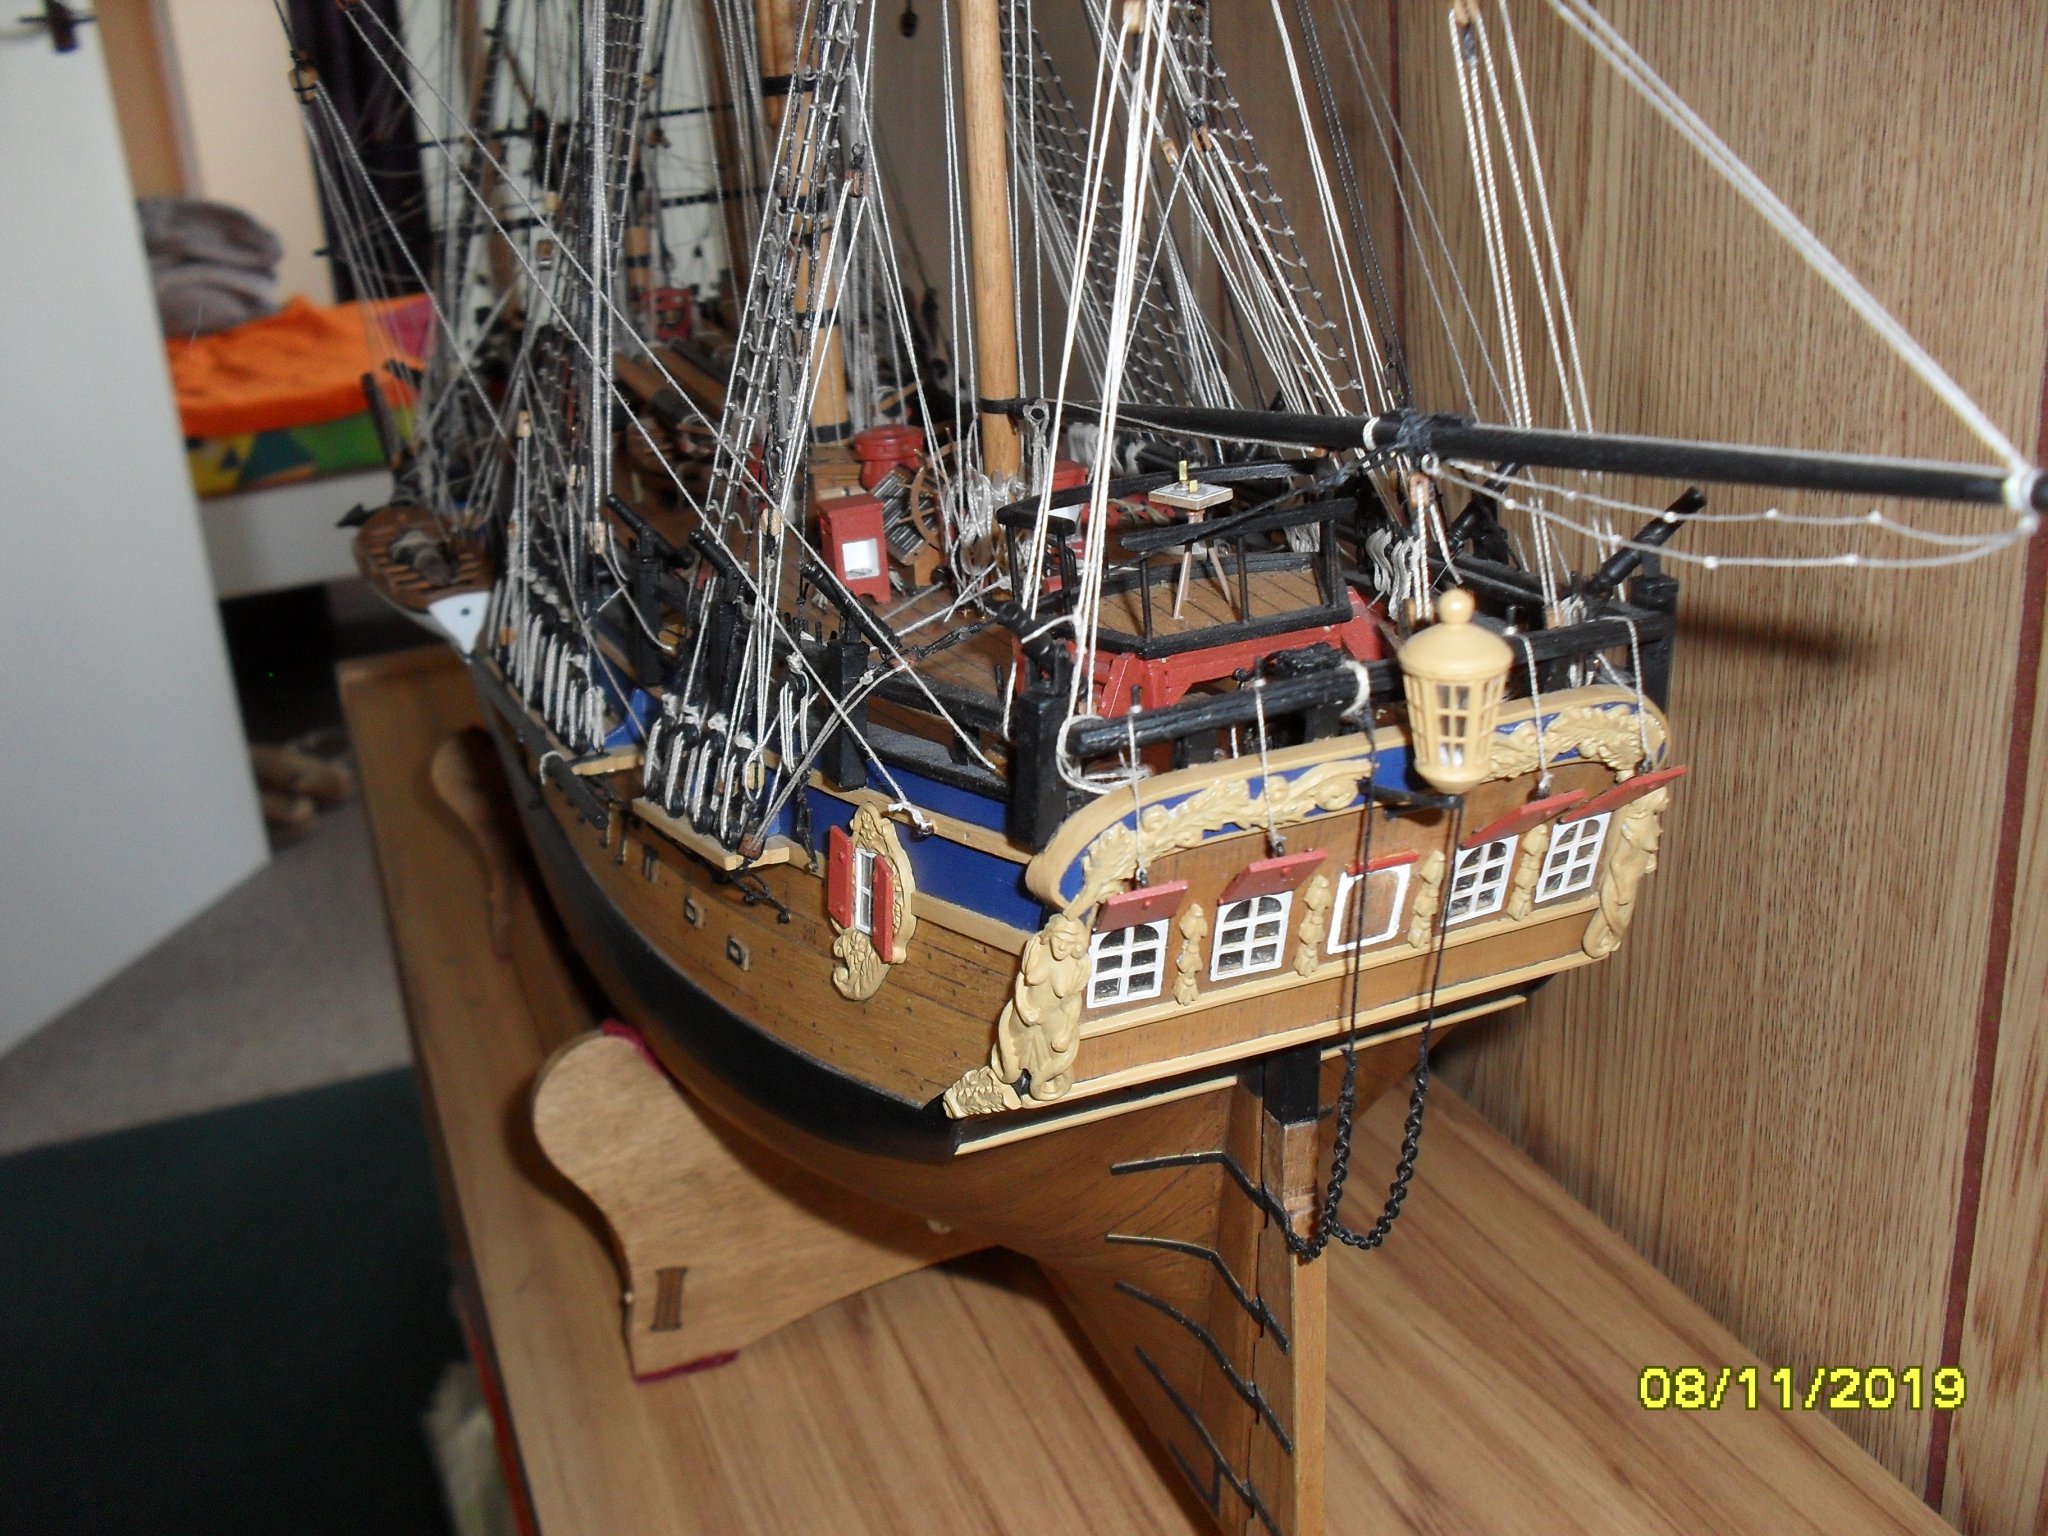
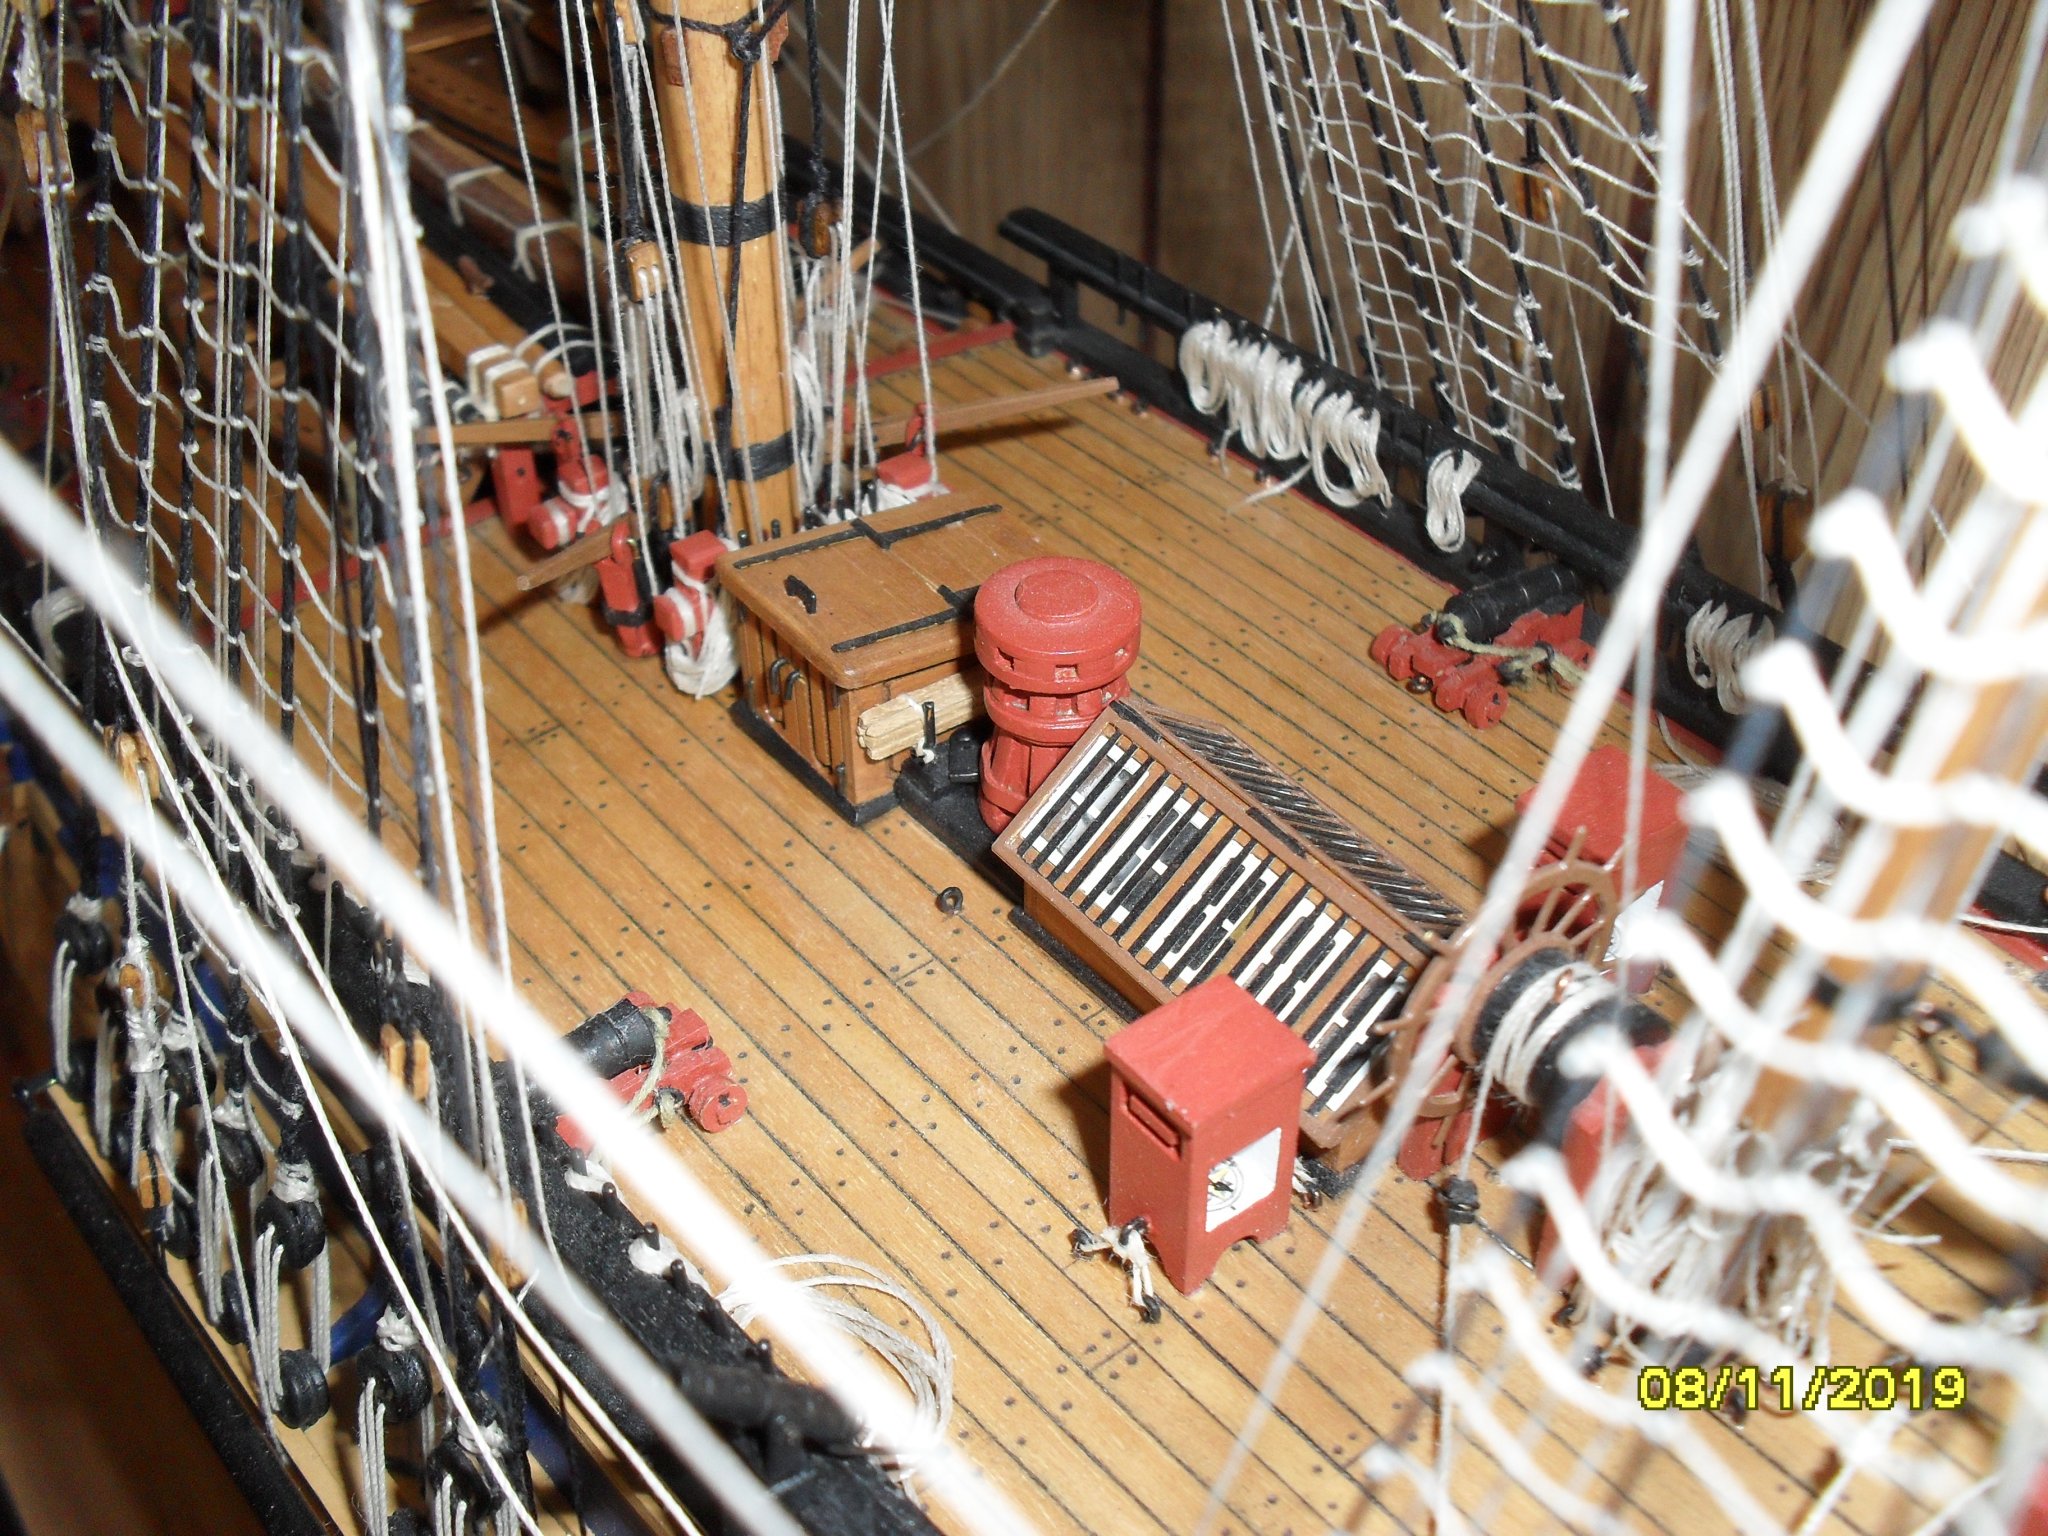
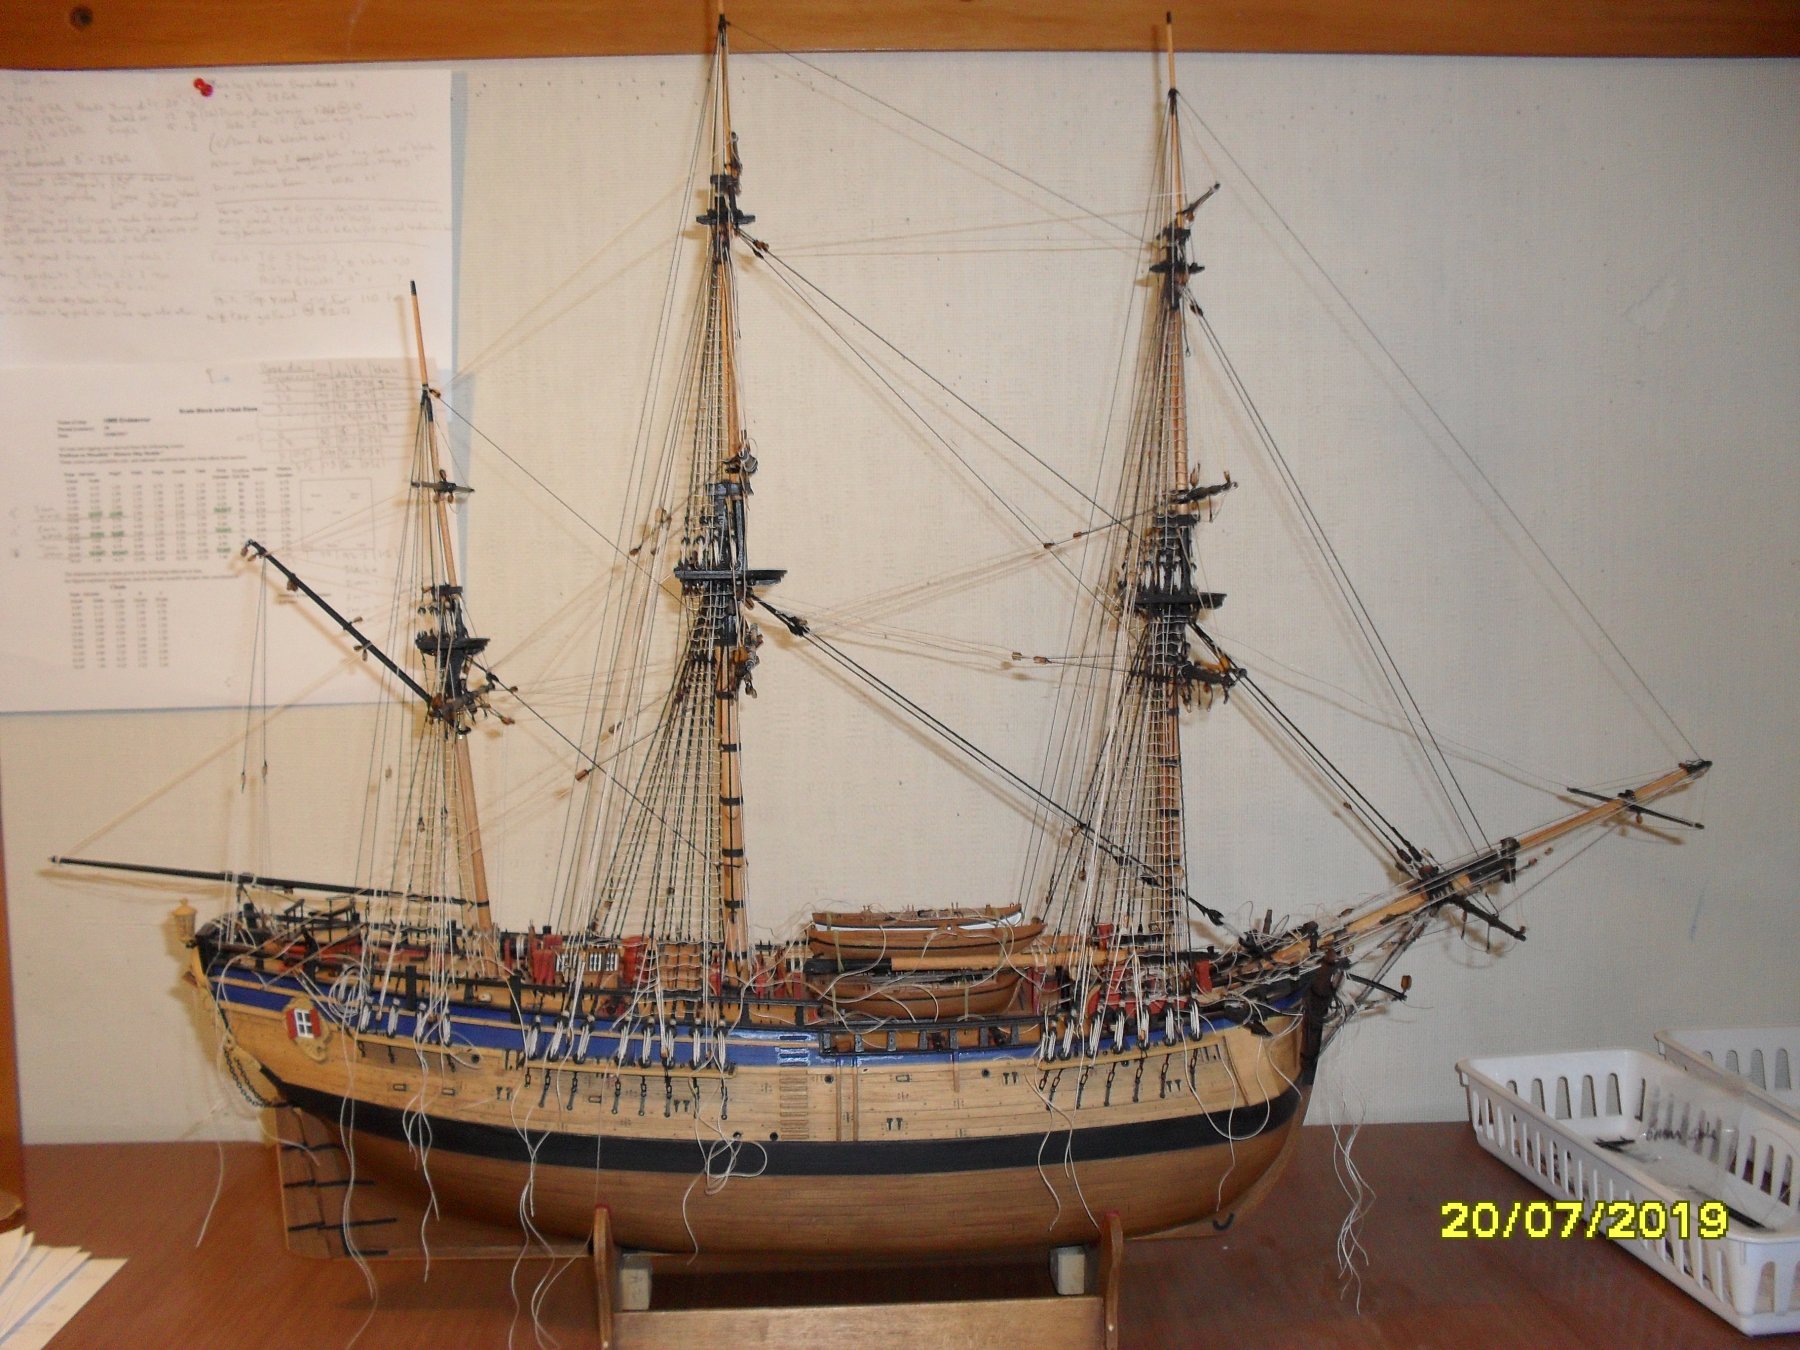
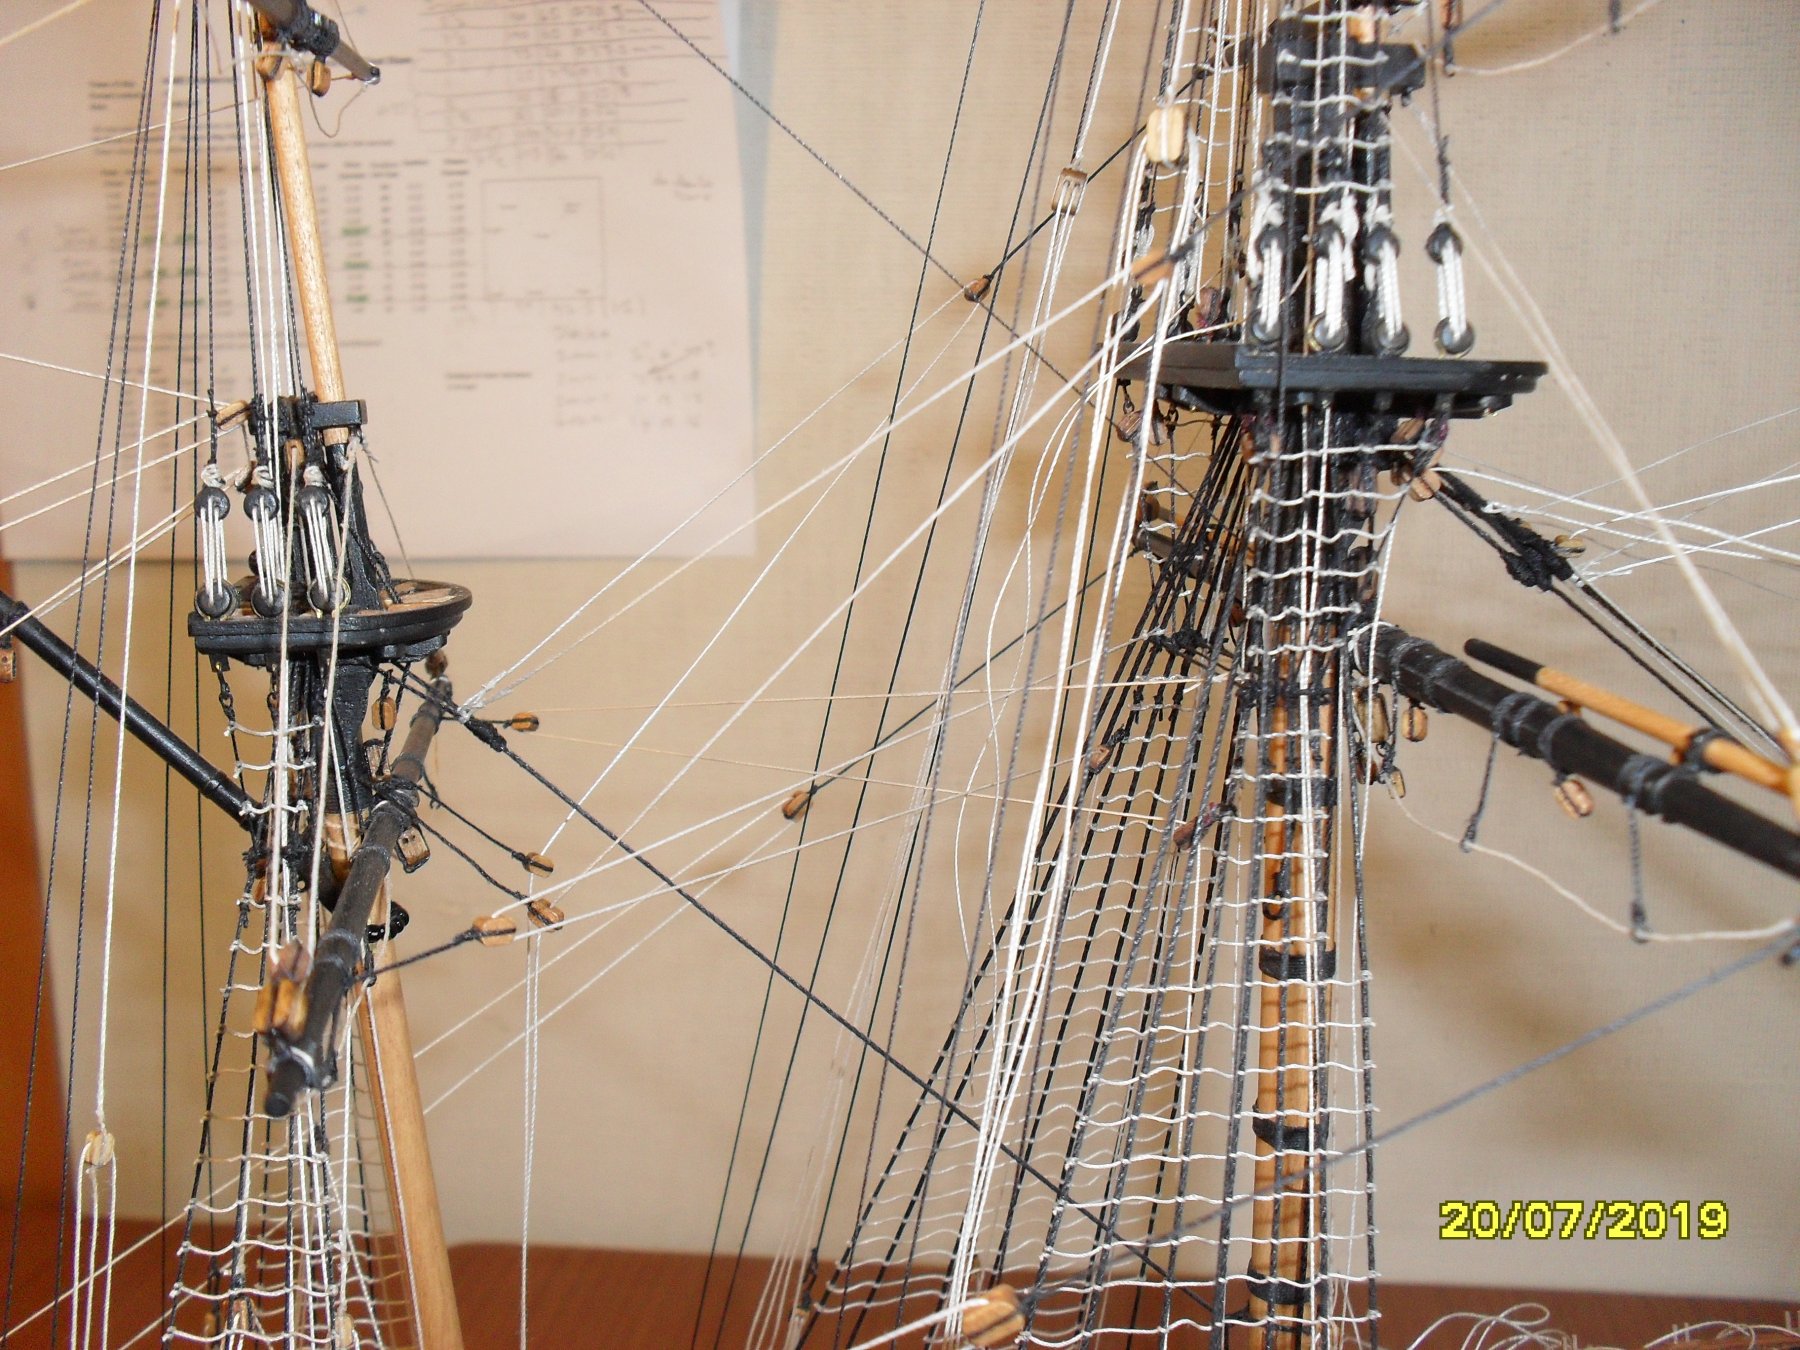
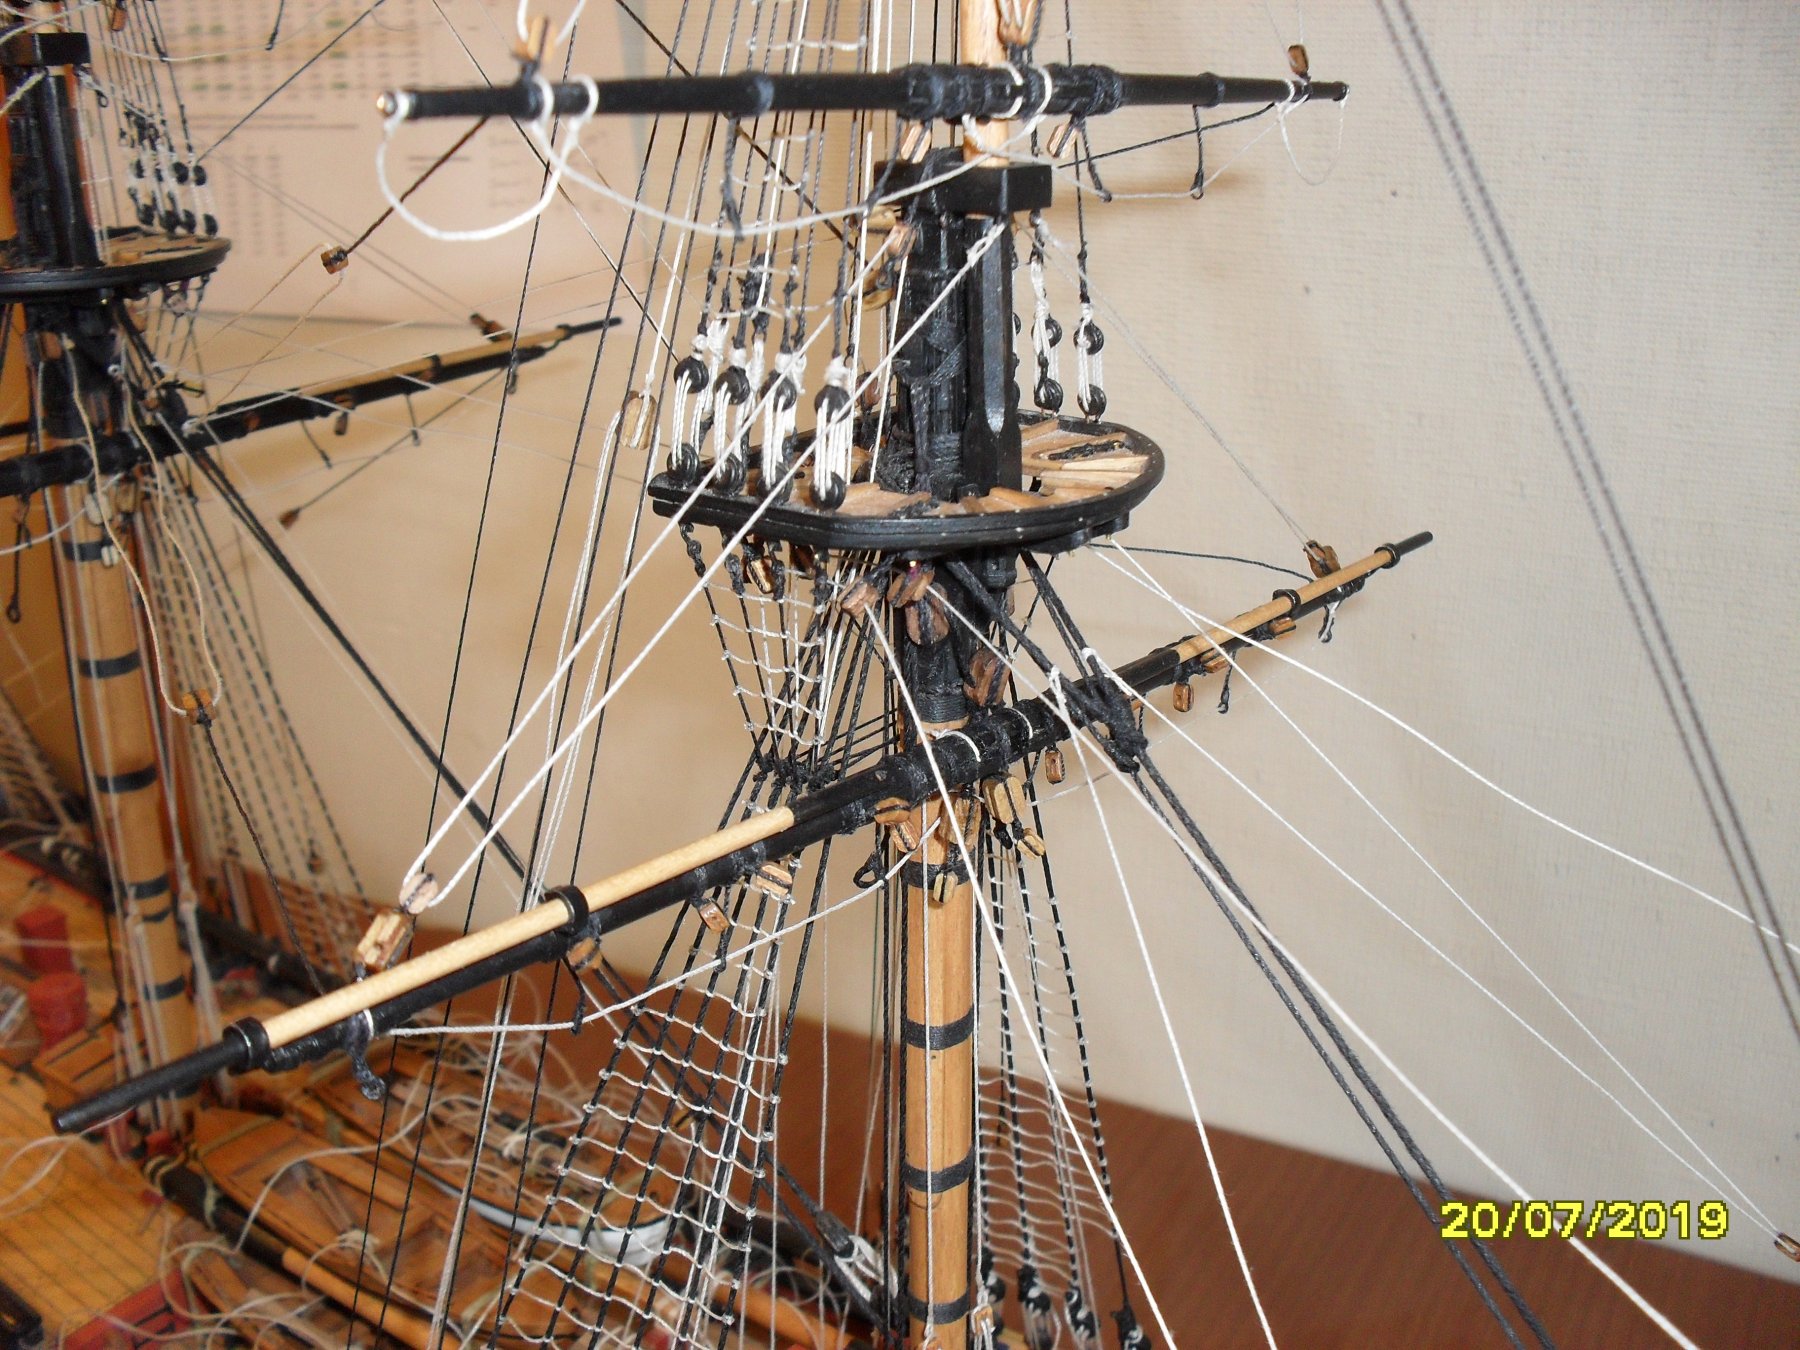
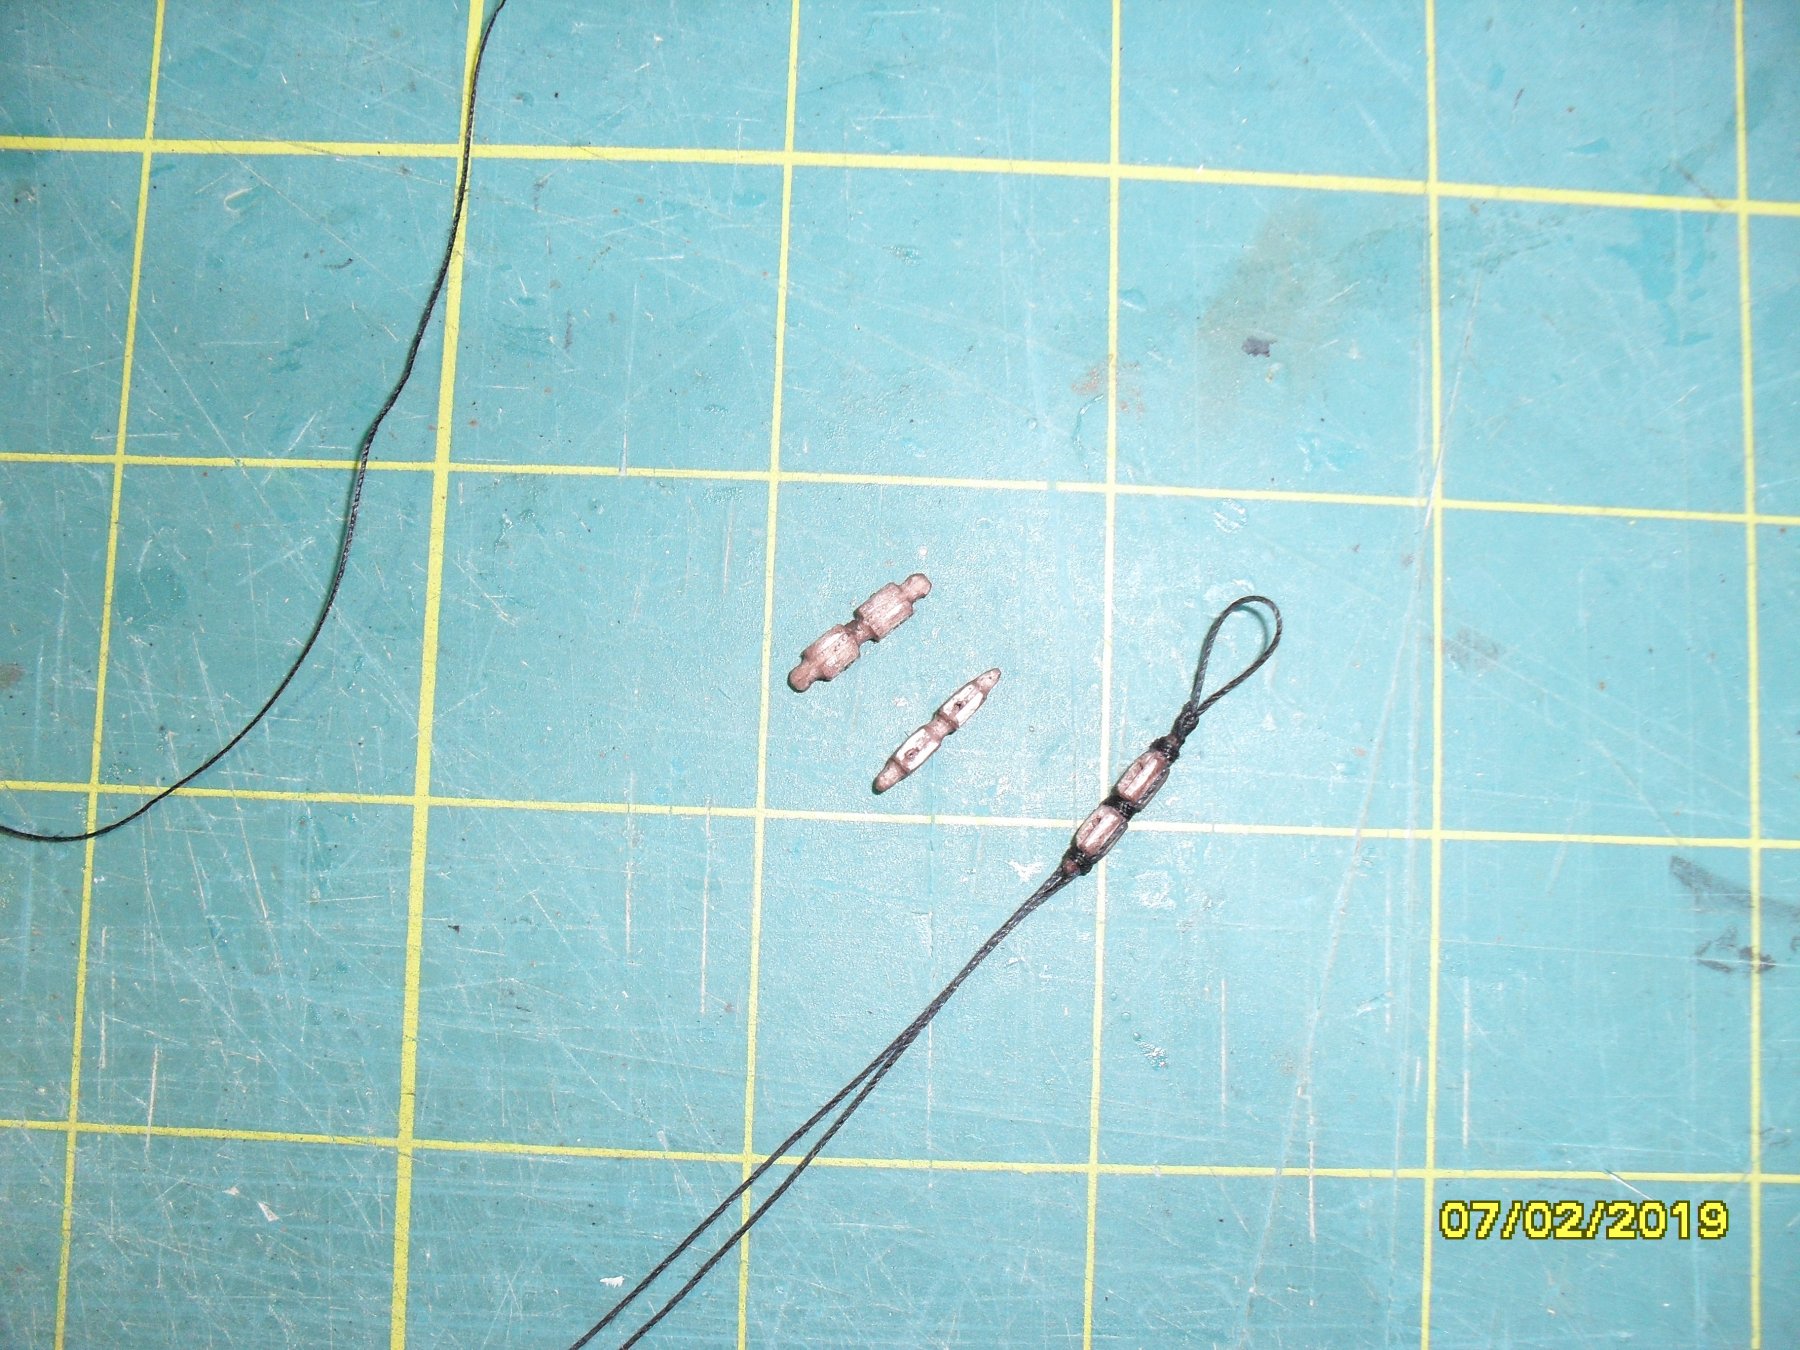
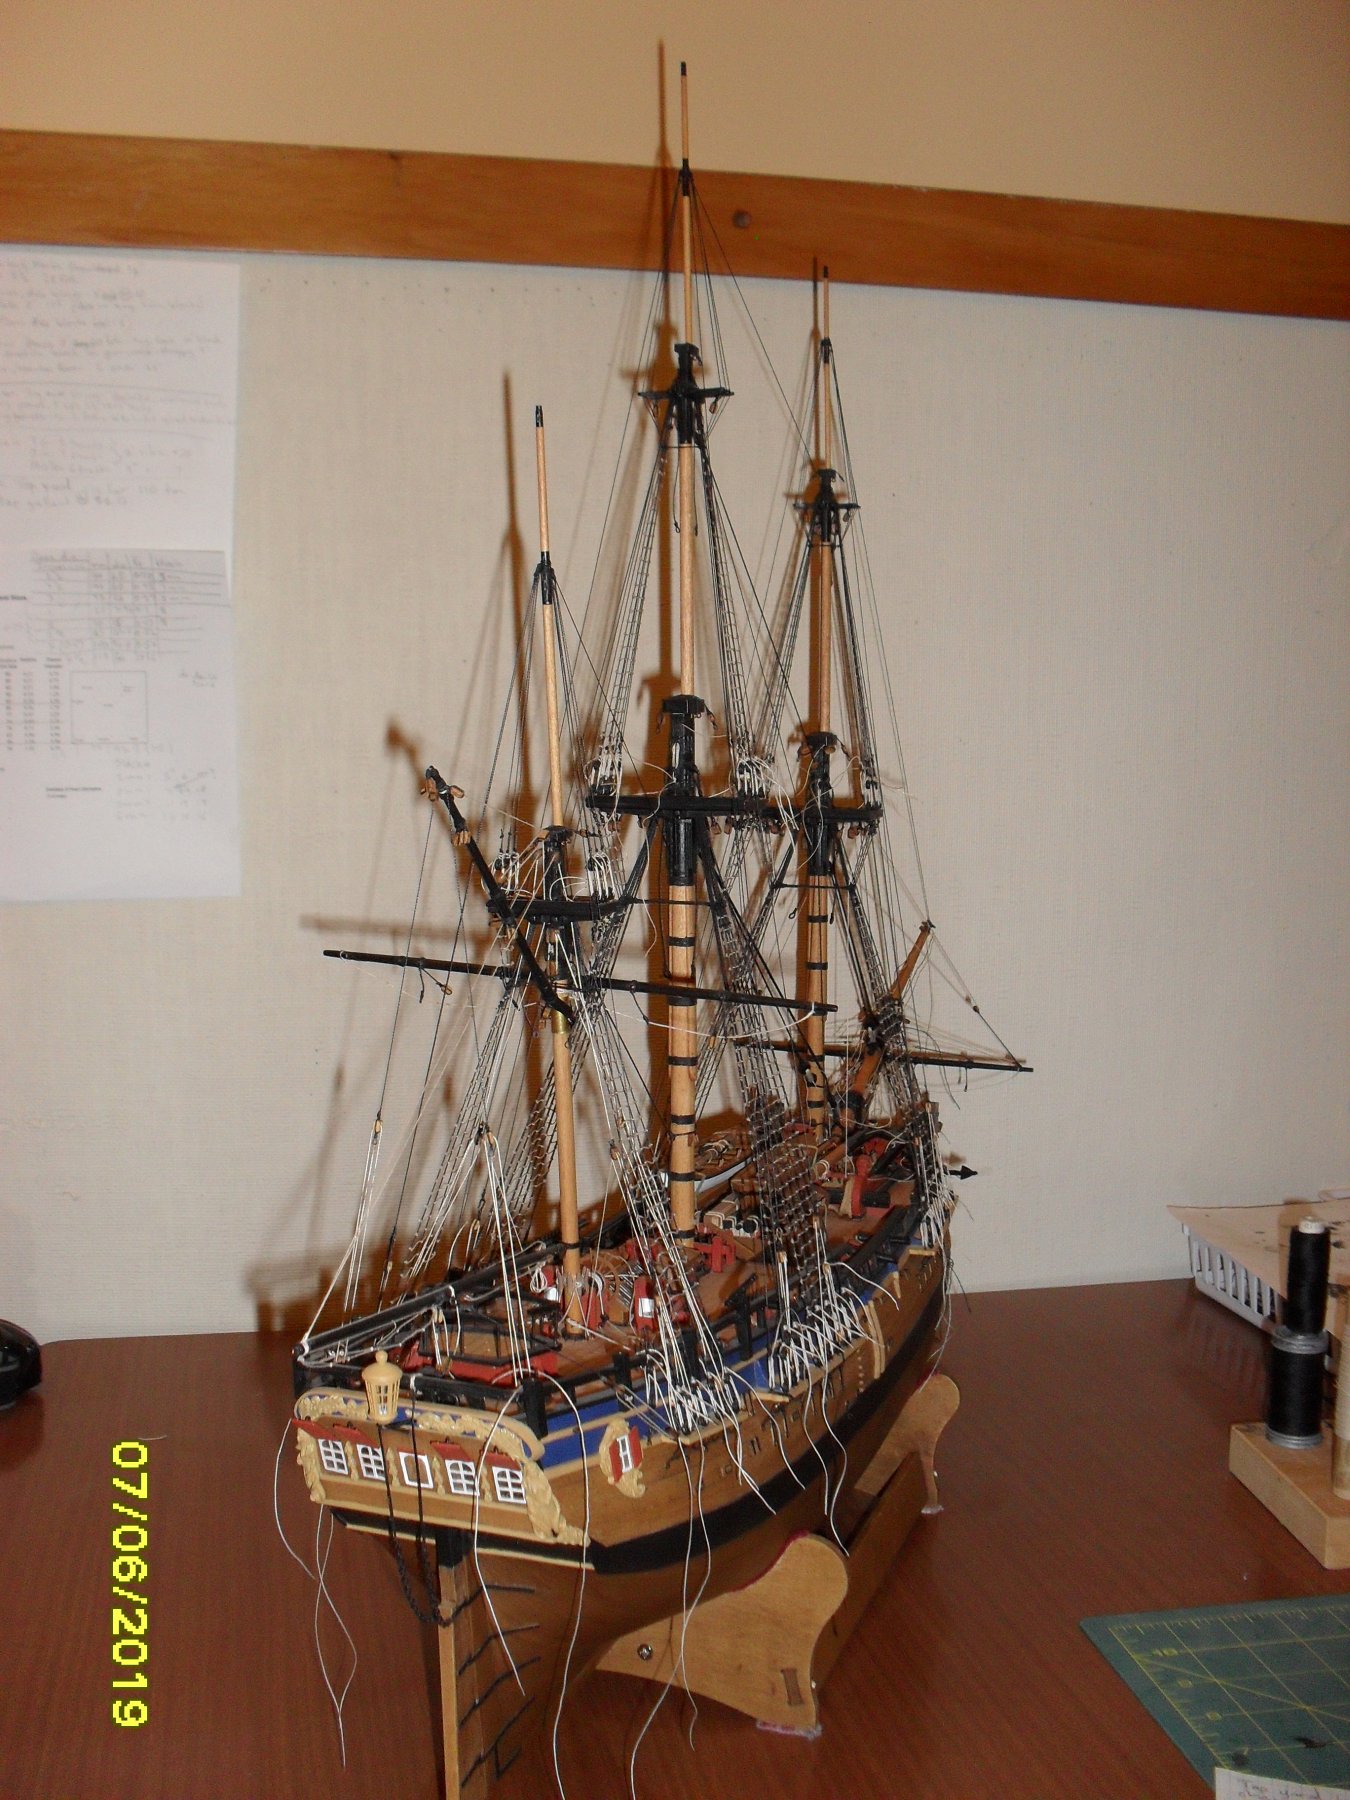
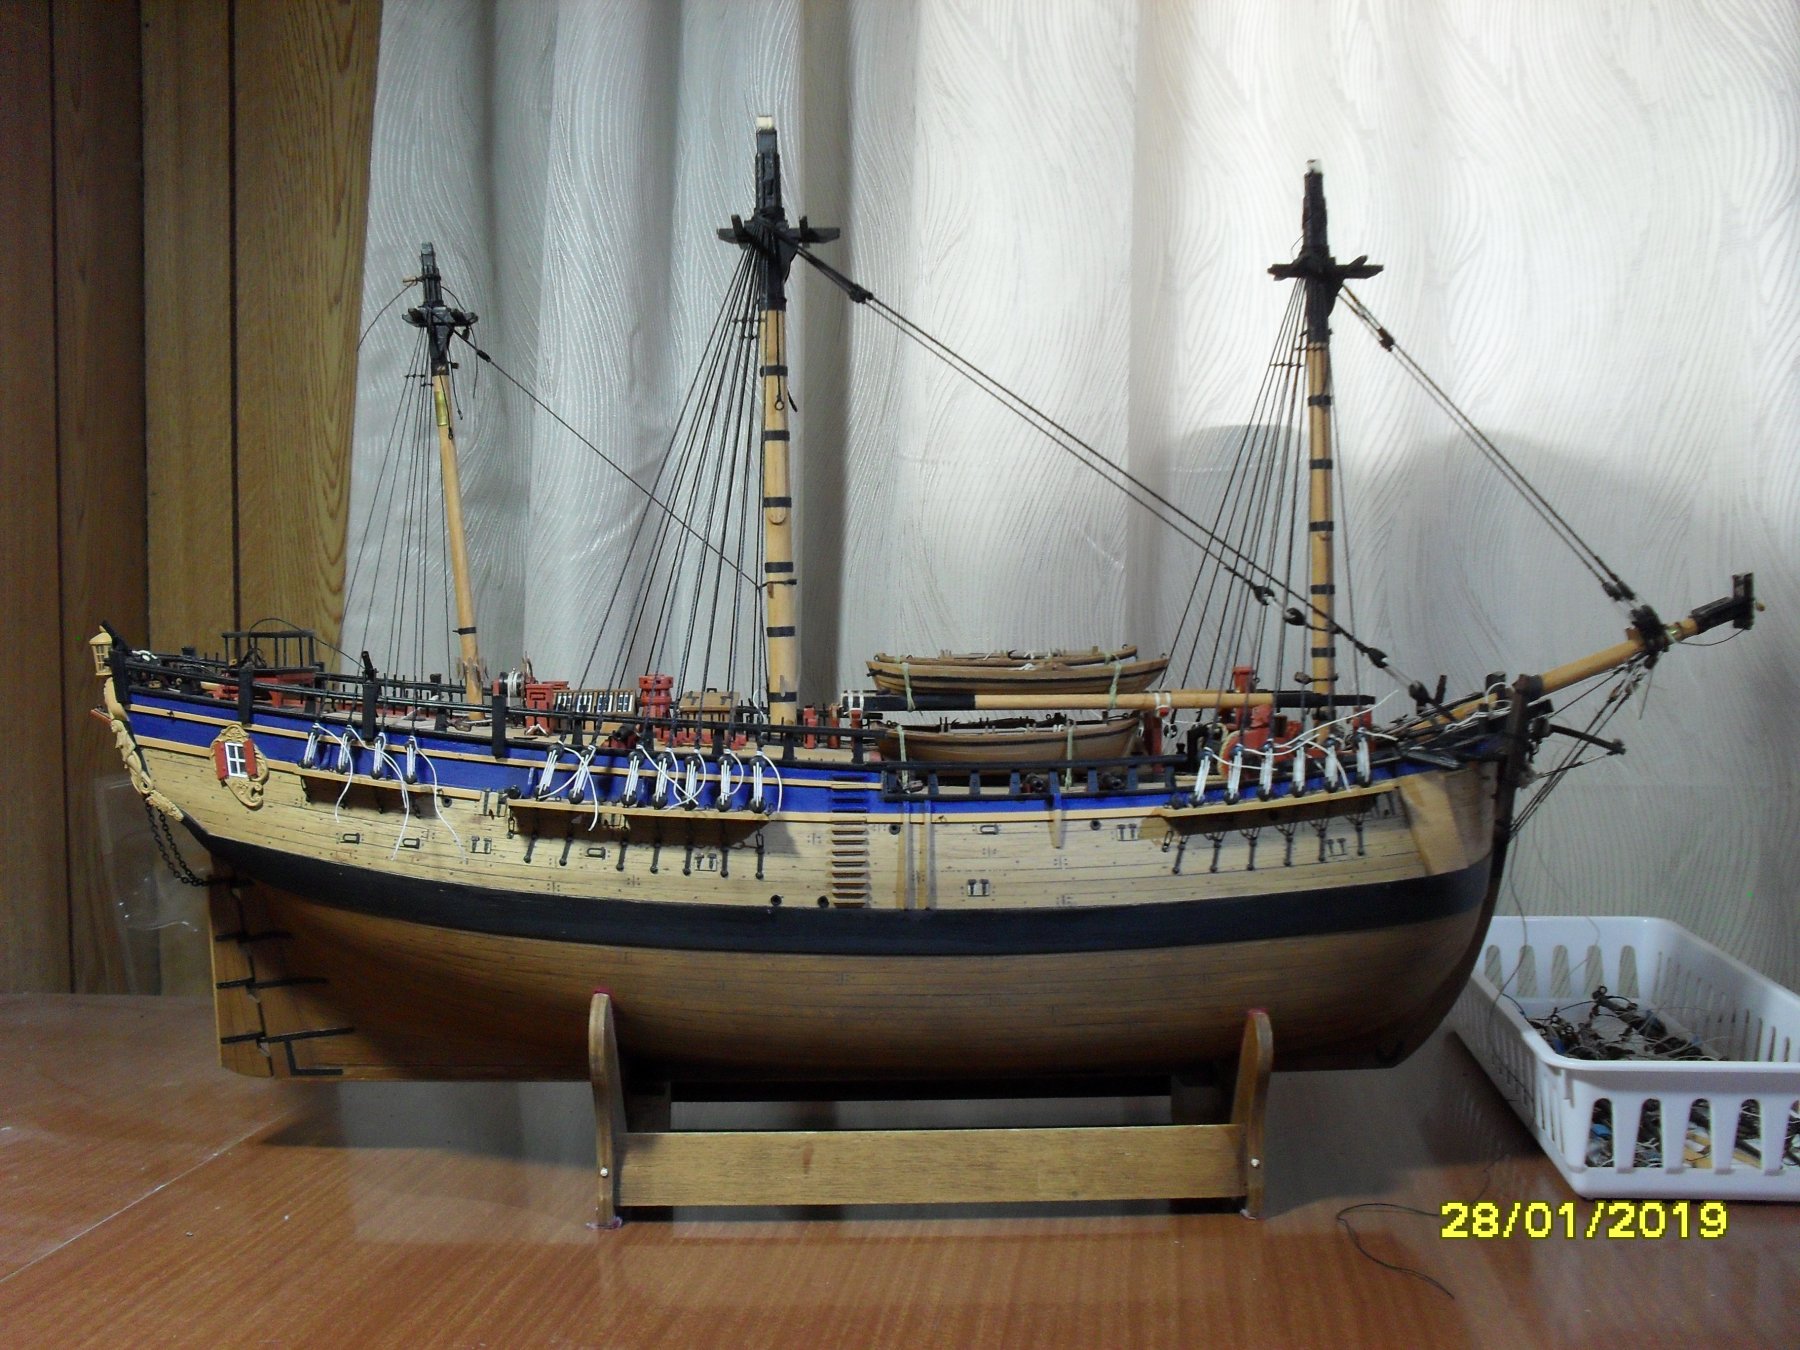
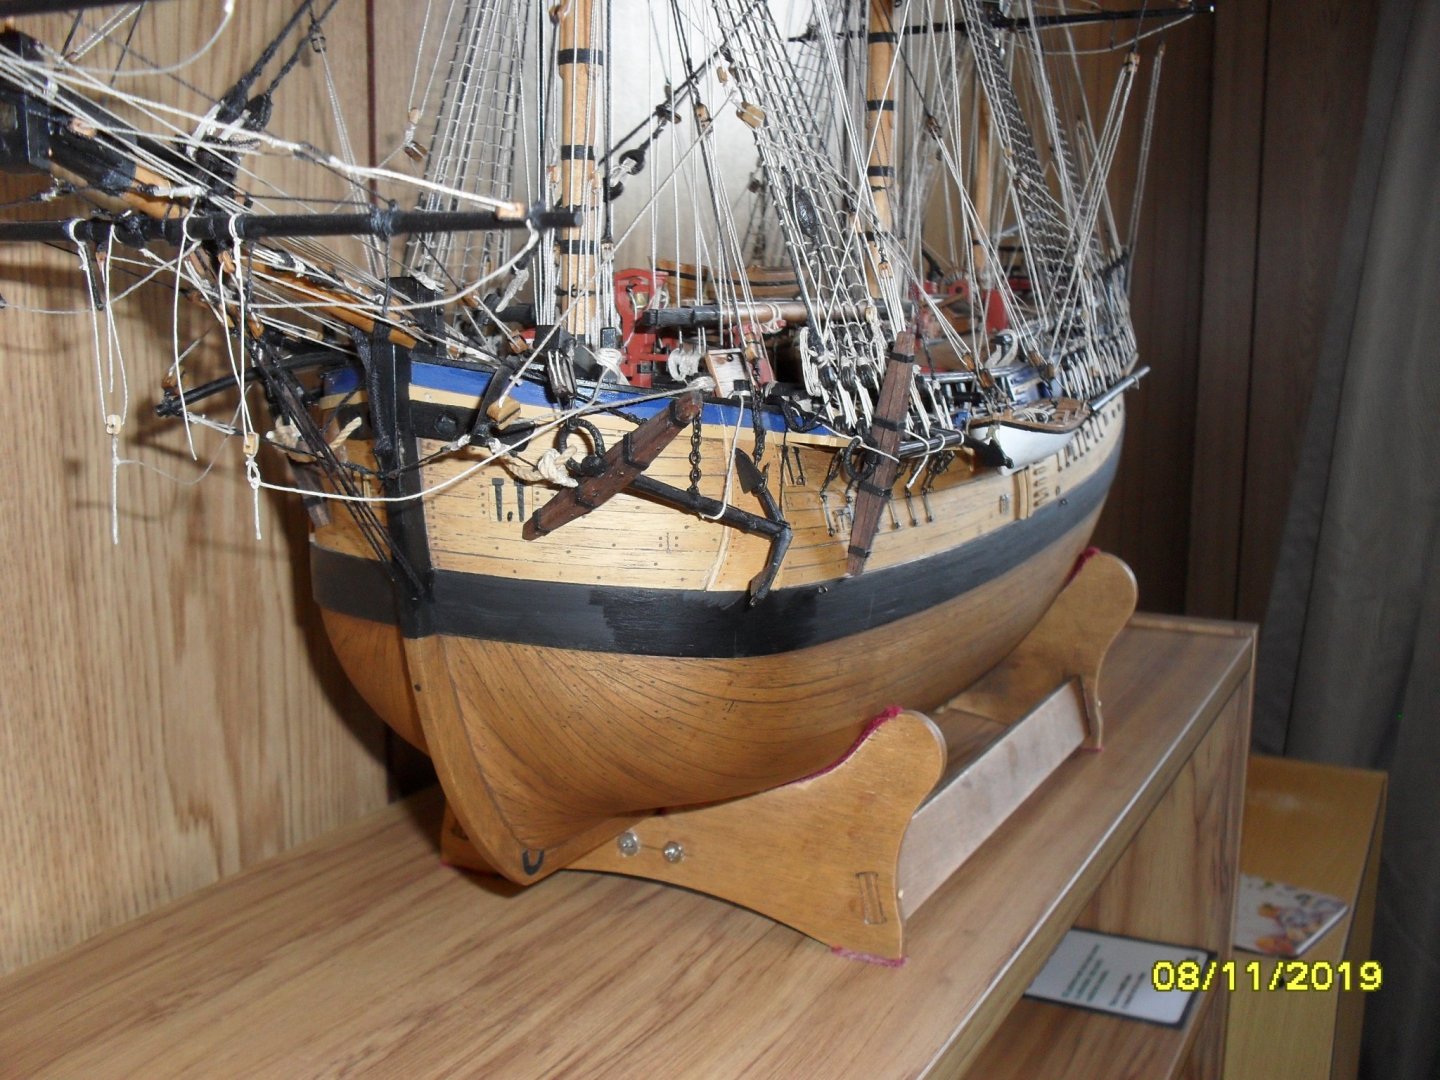
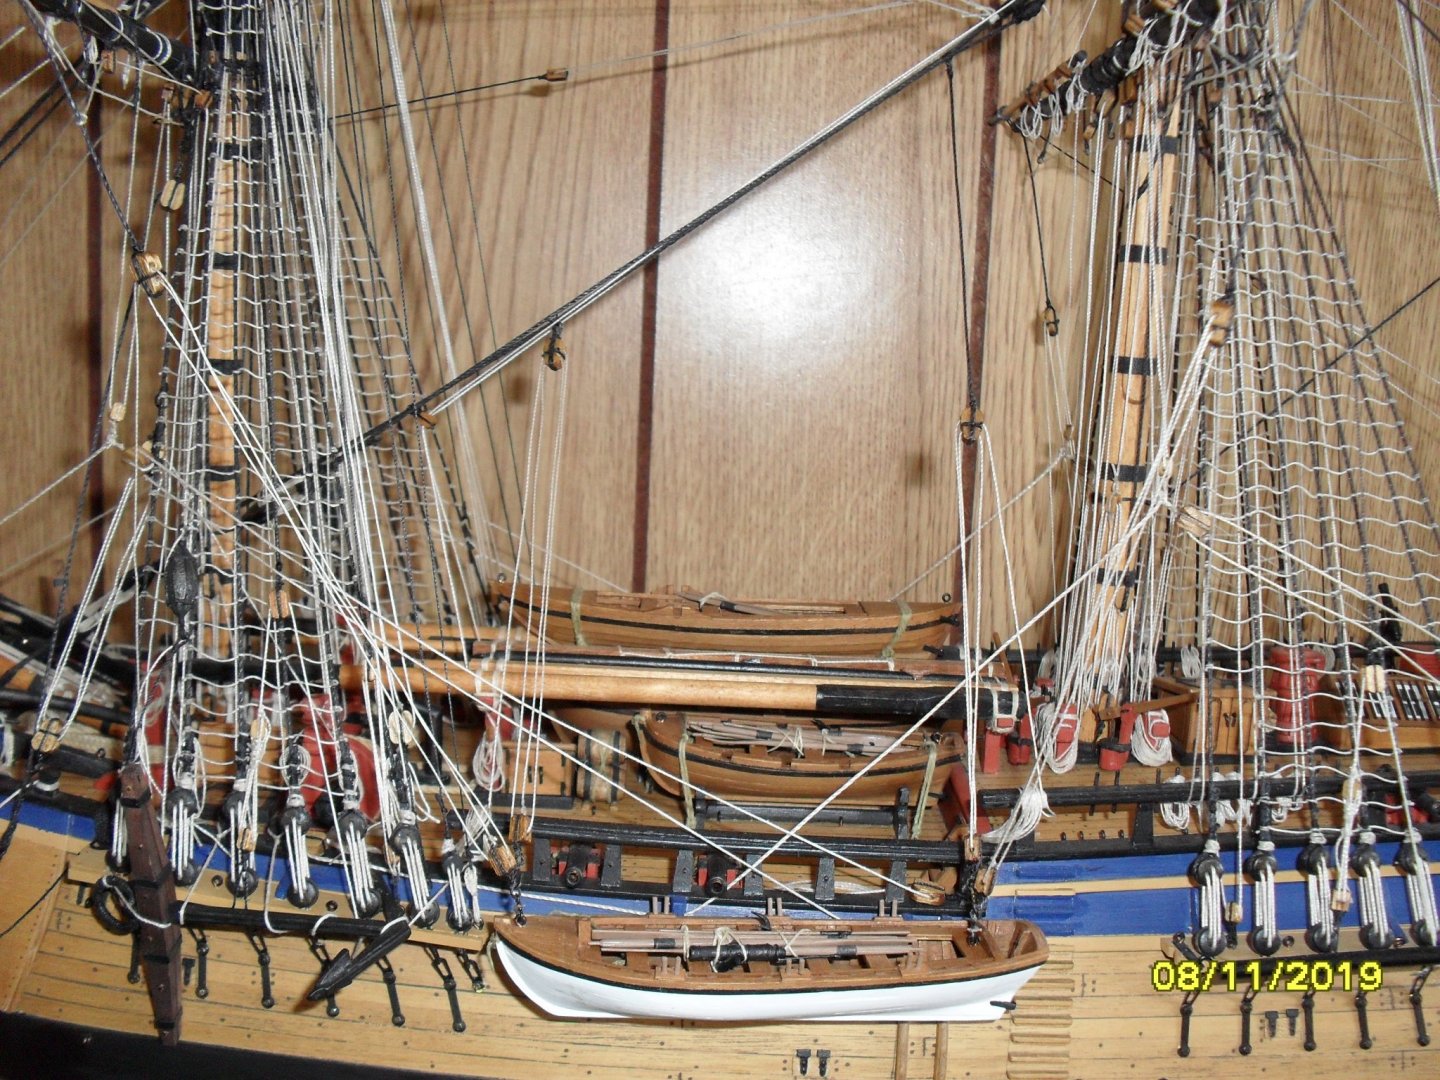
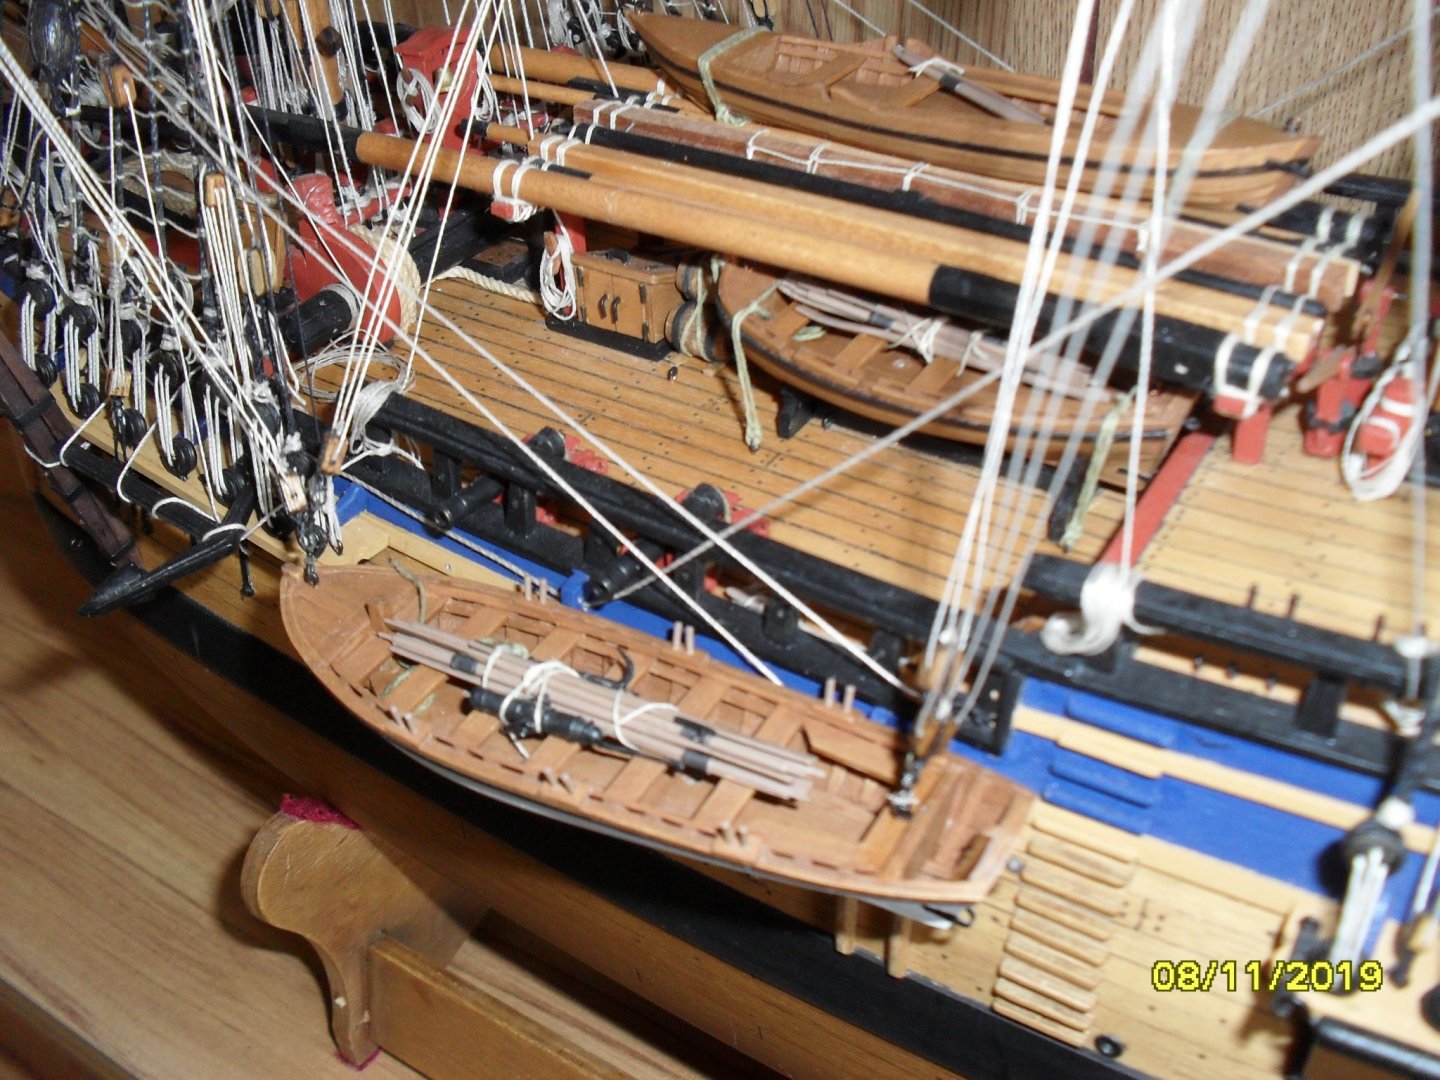
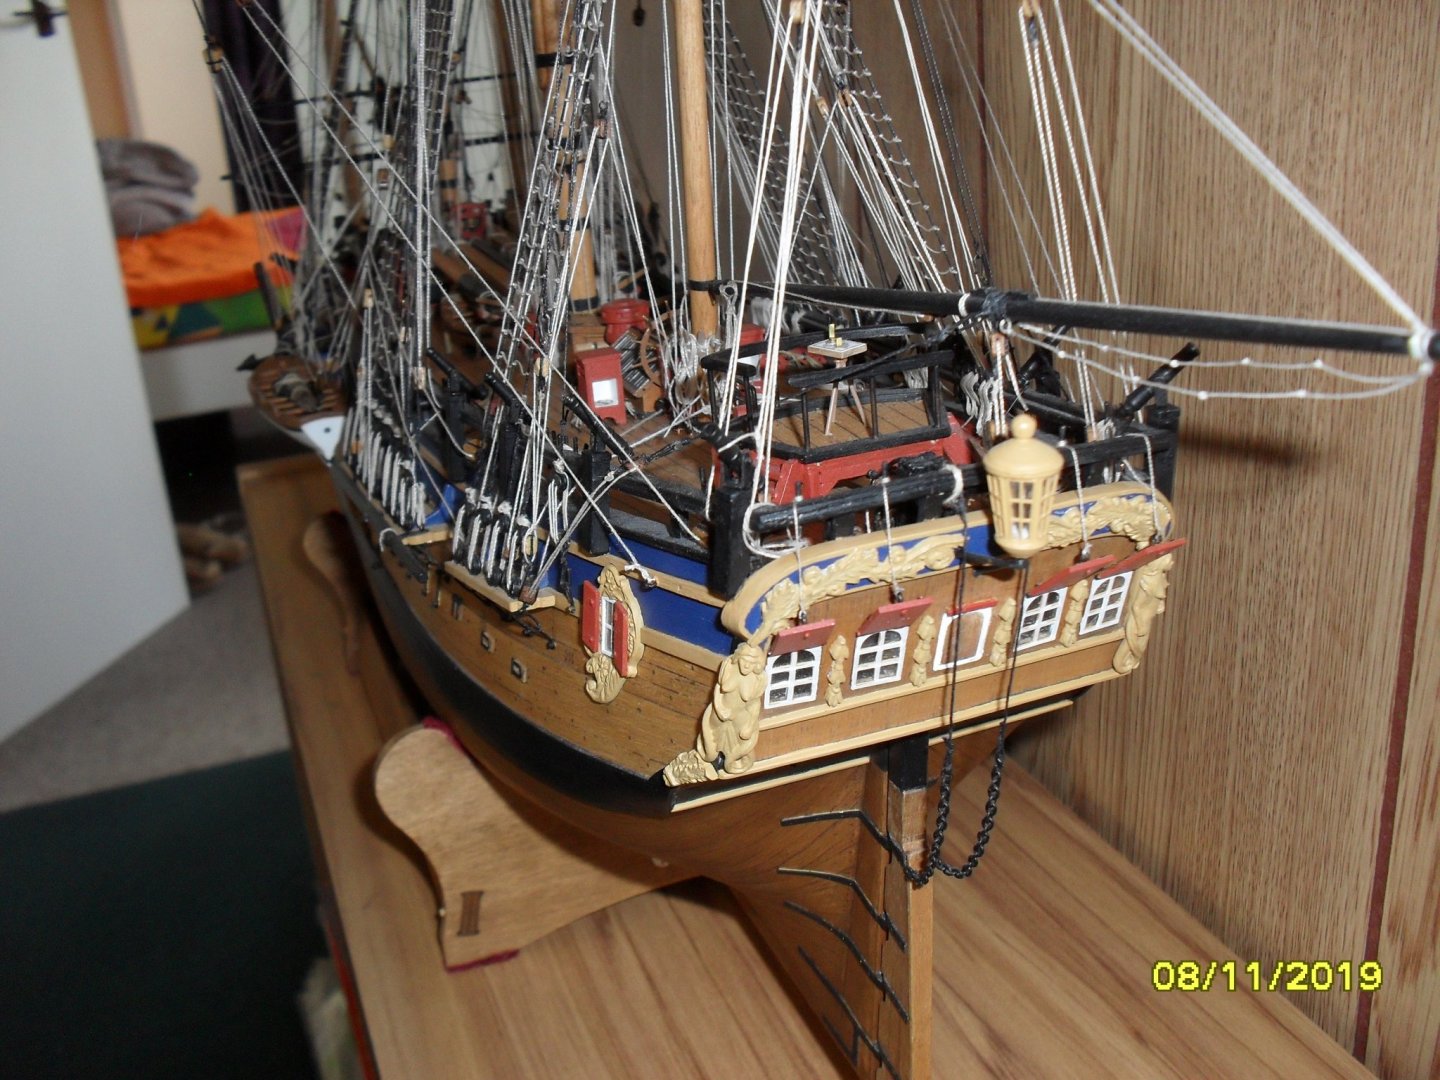
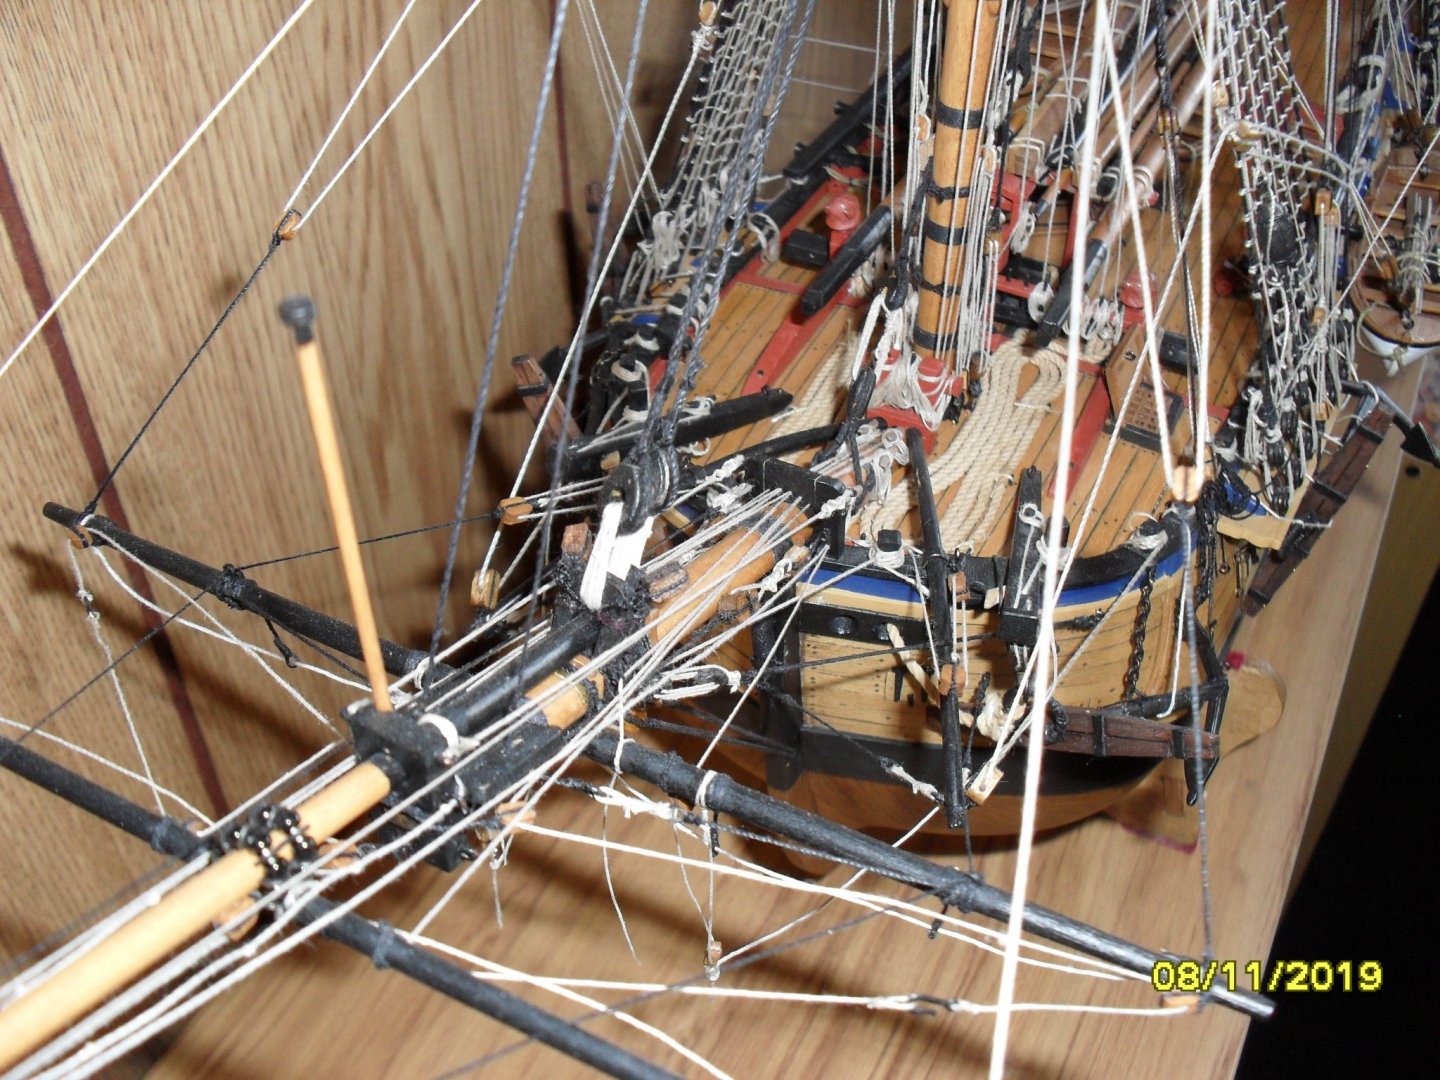
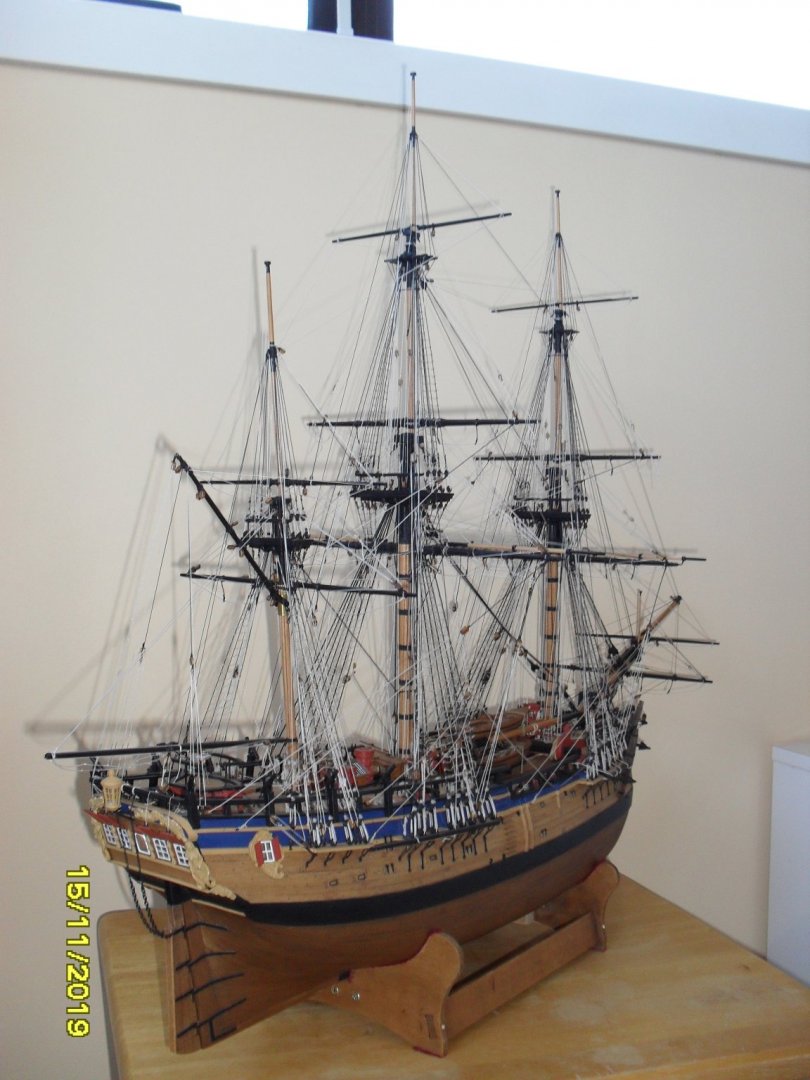
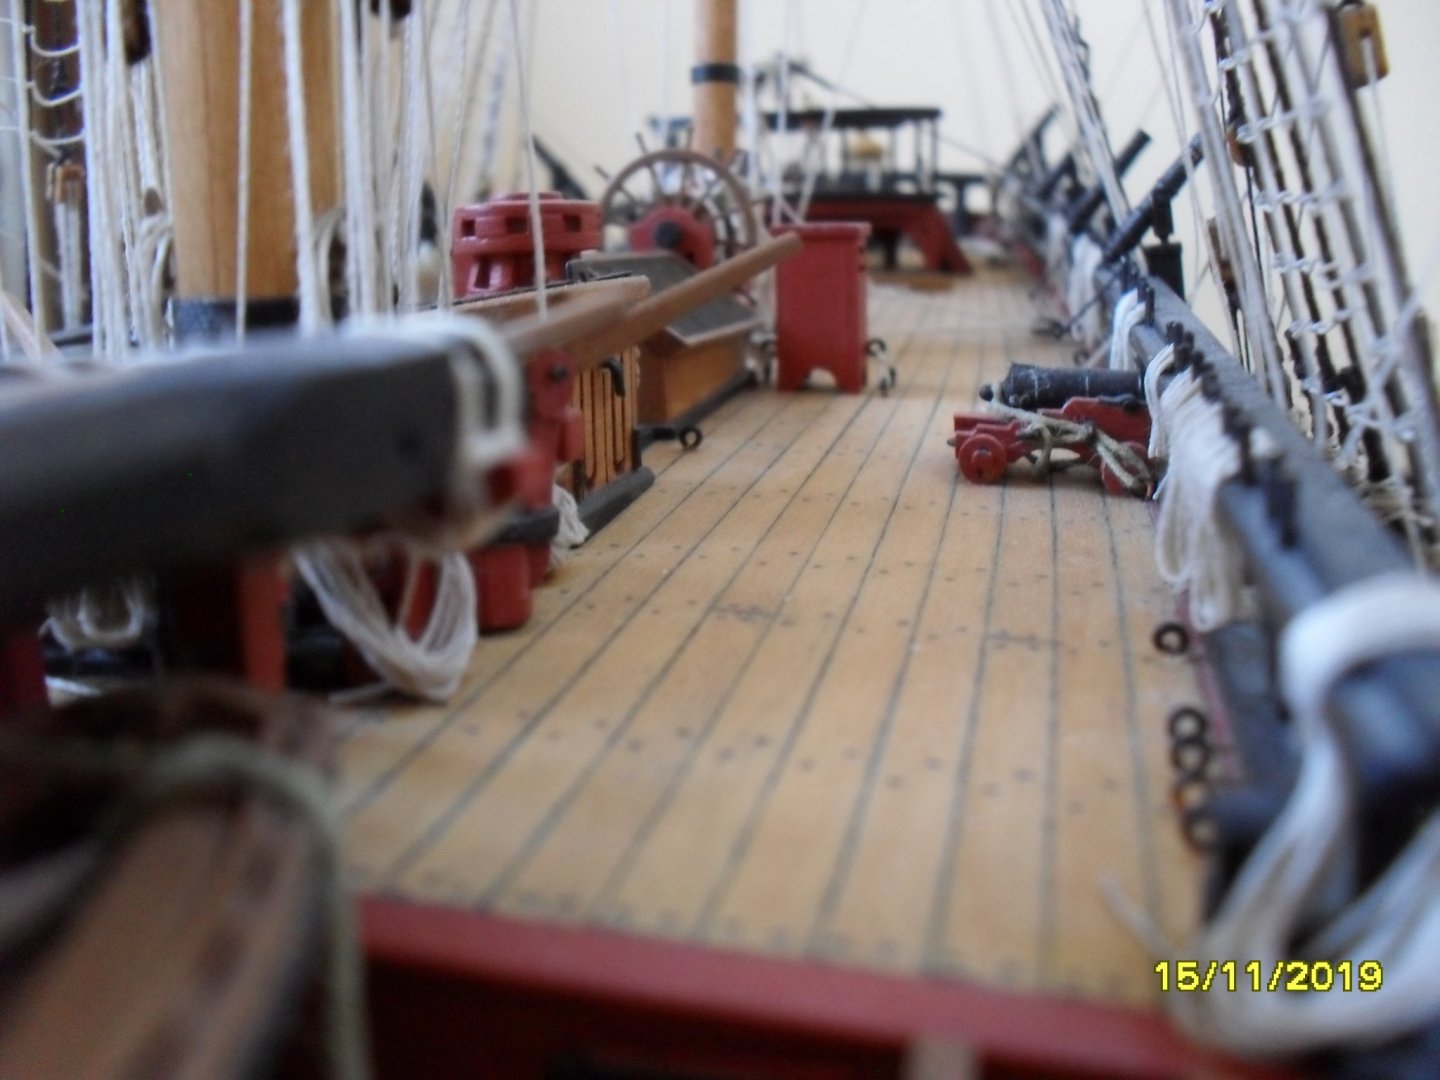
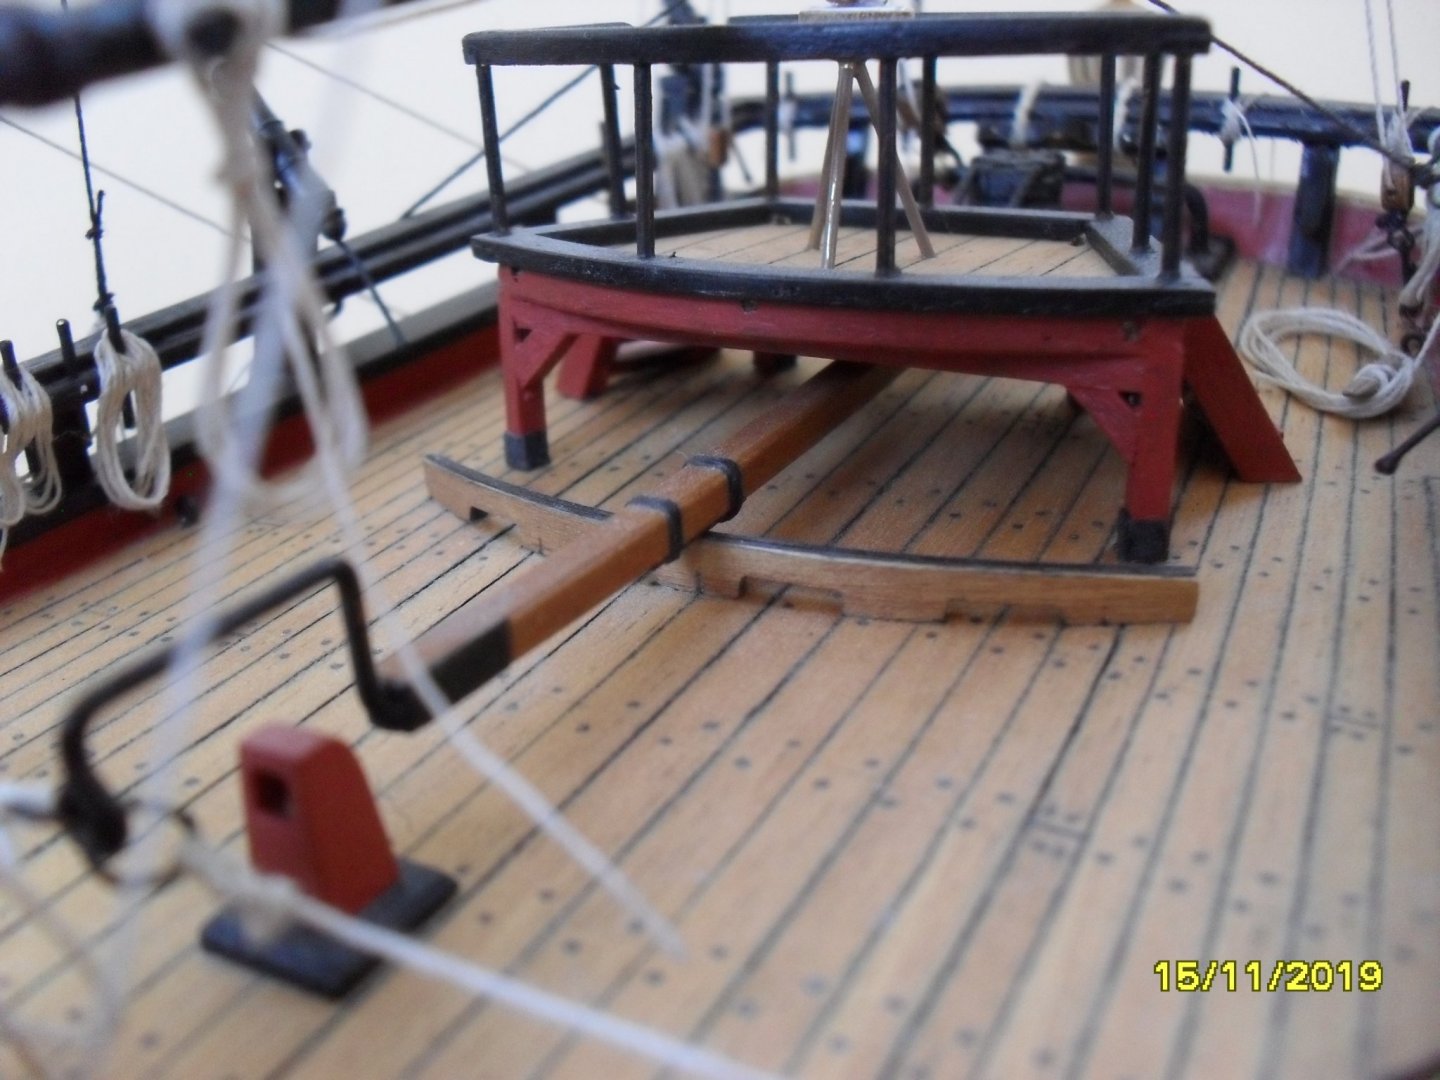
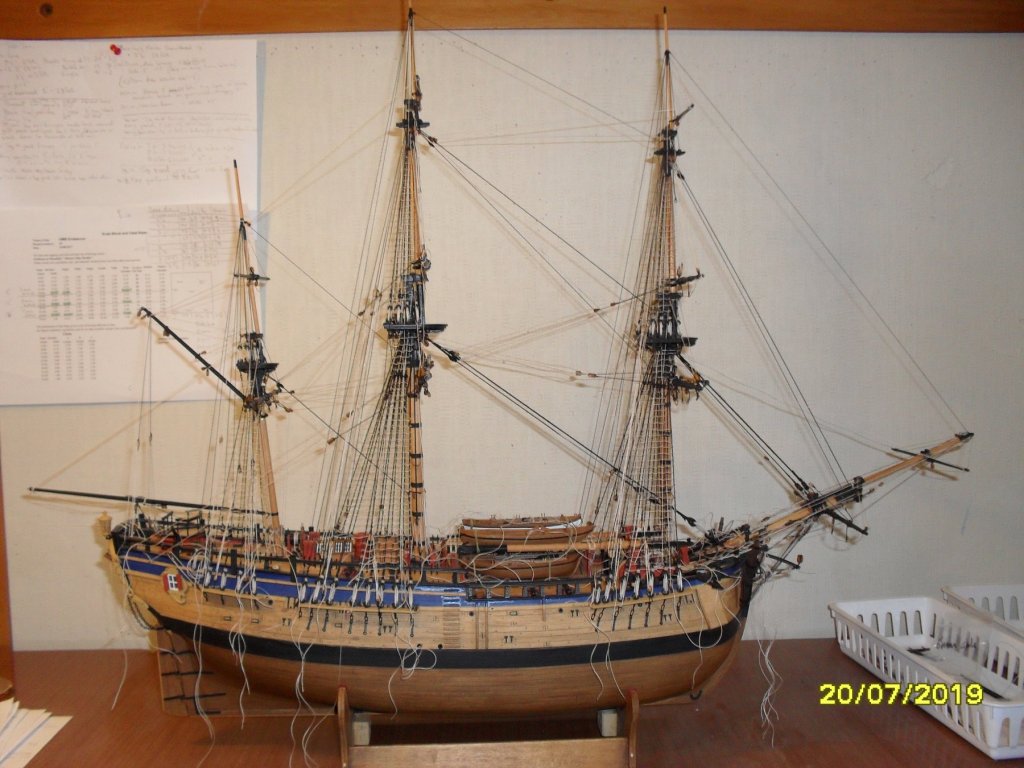
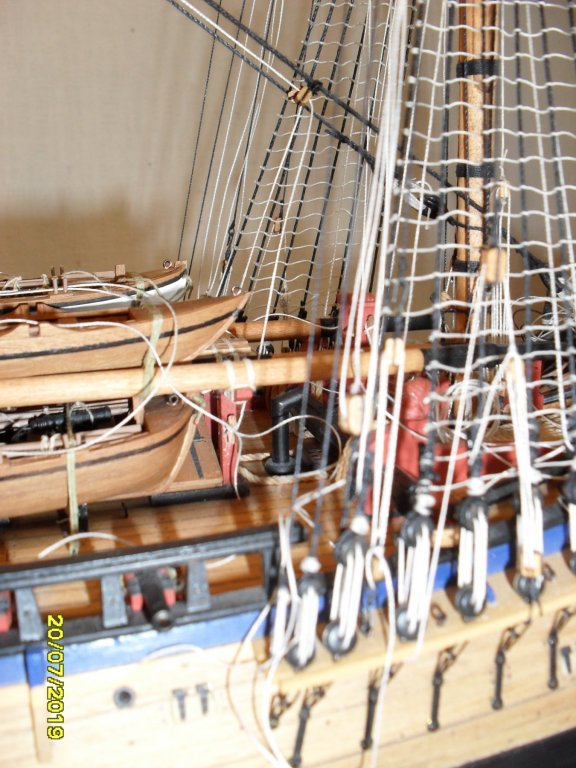
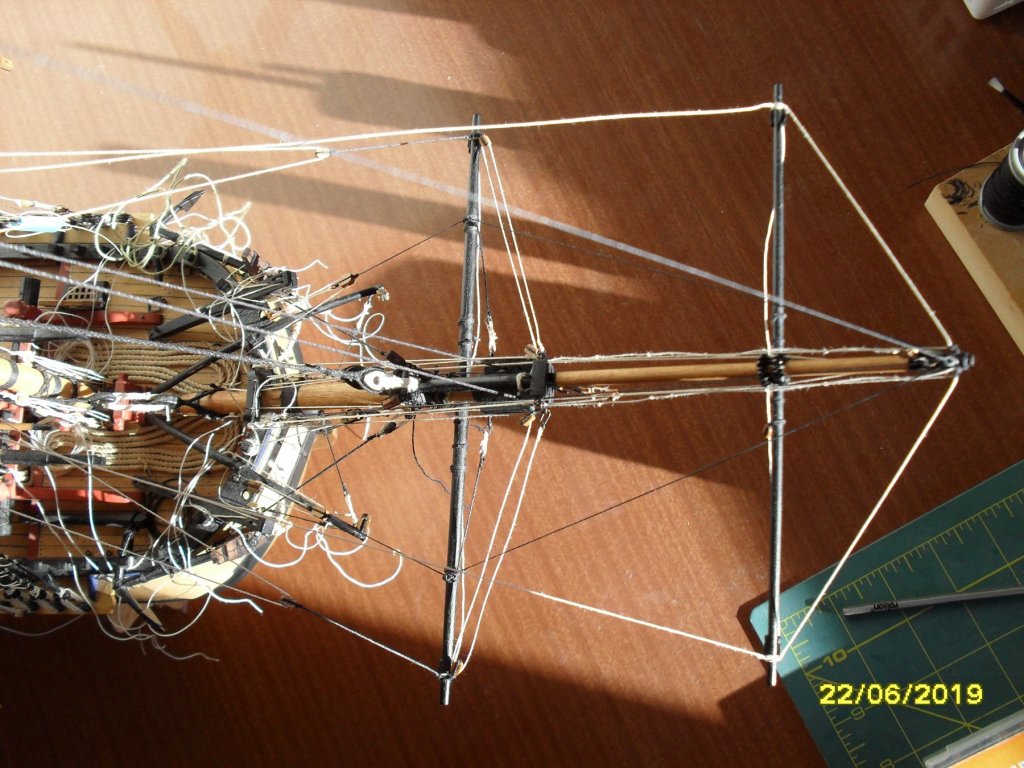
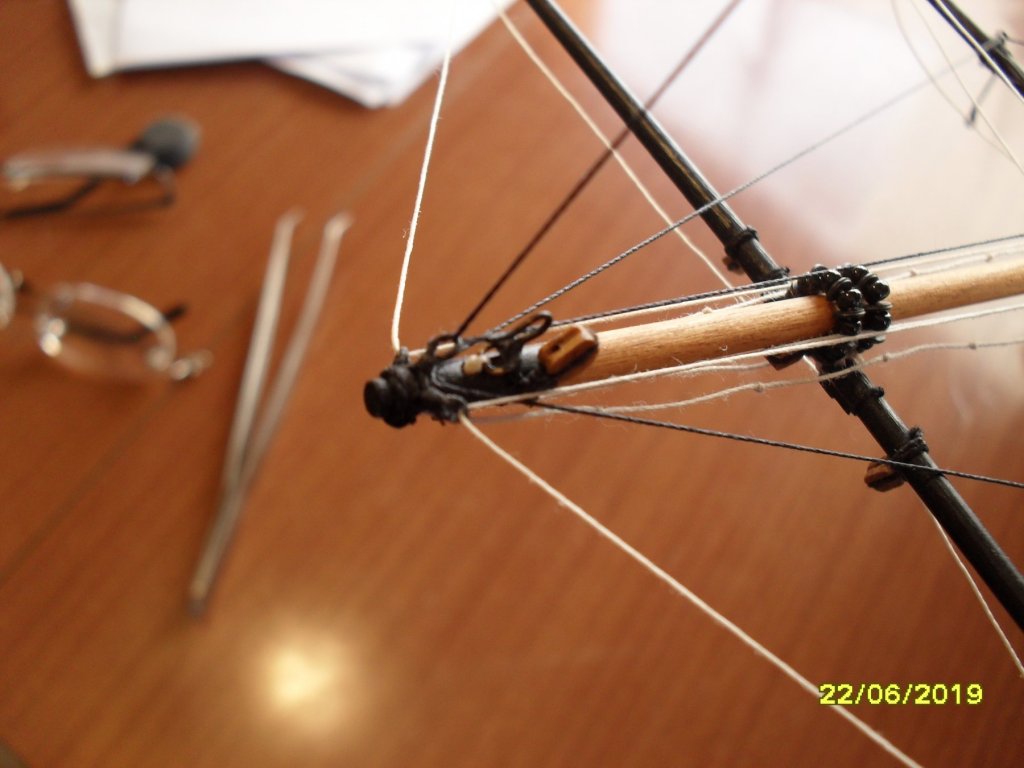
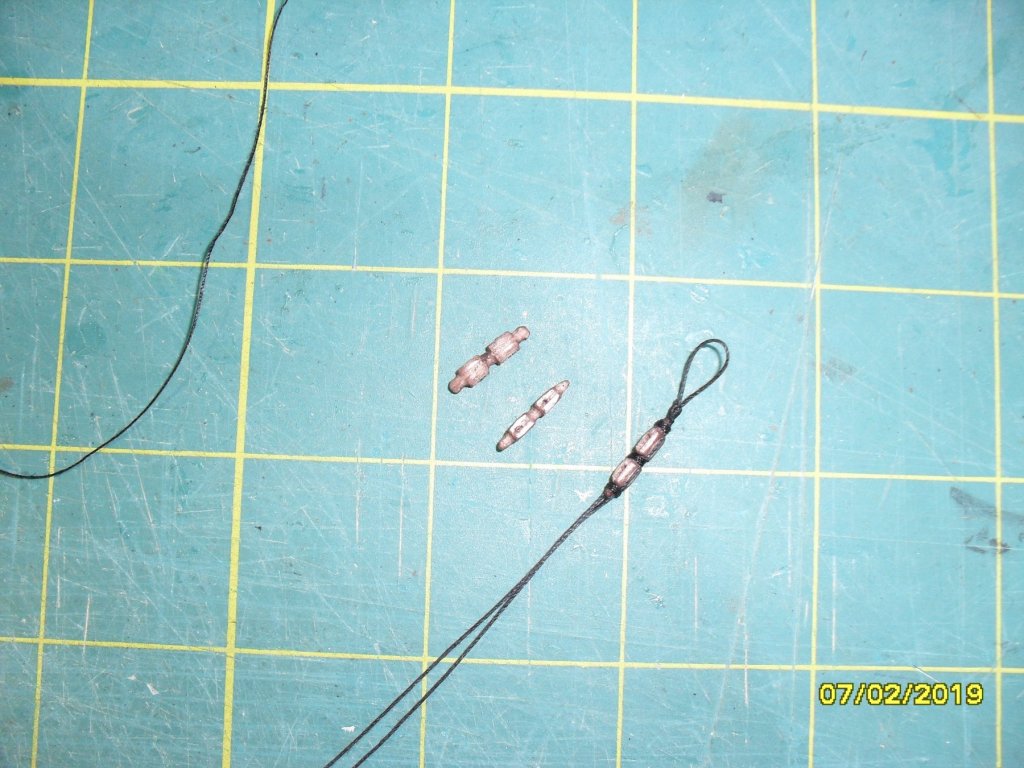
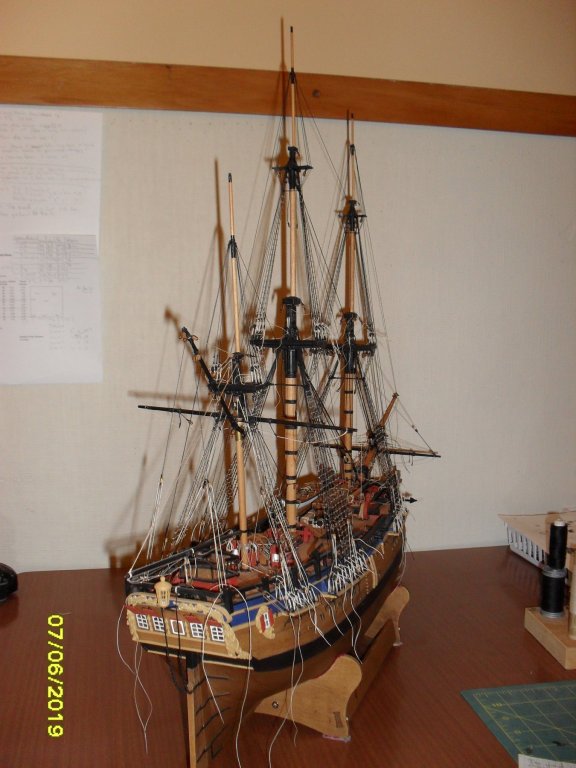
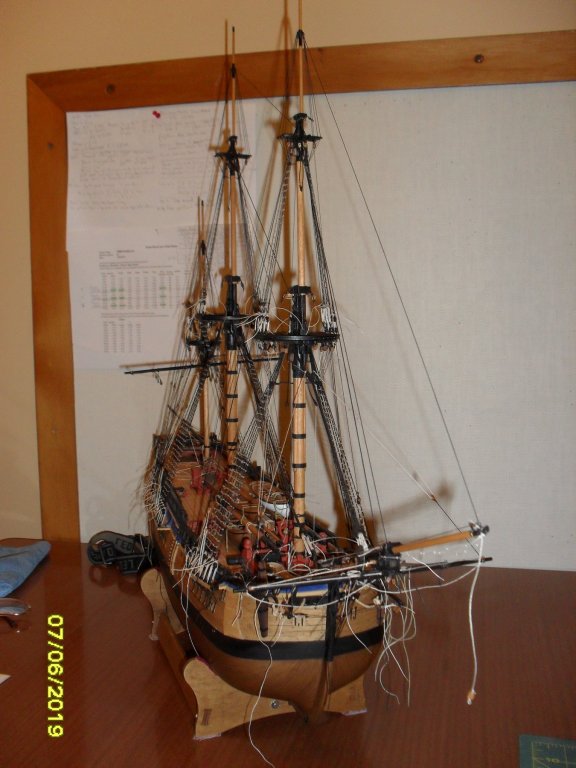
With the exception of sails, name plate and case this build is finished to my best ability and interpretation of contemporary drafts, shipwright practices, drawings/paintings, british naval ship building practices, and Cooks log with special attention to the tiller support built by Cook while in Queen Charlotte Sound New Zealand, and the mizzen driver/spanker boom. I wanted to make sails and even bought the cloth, but unfortunately due to declining health cannot make them, so have run the sail rigging with the exception of bowlines. The nameplate is in the winds and a case at this stage is outside my budget, so a can of compressed air will have to suffice to keep the dust from collecting. I bashed the bouys and in lue of sails the port anchor and pinnace are shown in the process of being raised using relevant fish/yard/hatch and stay tackles. As there were several methods of tackle used to raise the anchor I went with the simplest which was suggested for small ships. Only the pinnace hull was painted white as an experiment to test the effectiveness of white lead paint against sea worm, so the ship and rest of the boat hulls were protected using 'brown stuff' as Cook refers to it. I'd like to thank everyone here for their build logs, support and encouragement in helping me over the 4 years it's taken to complete this build. Cheers and safe sailing Dashi


-
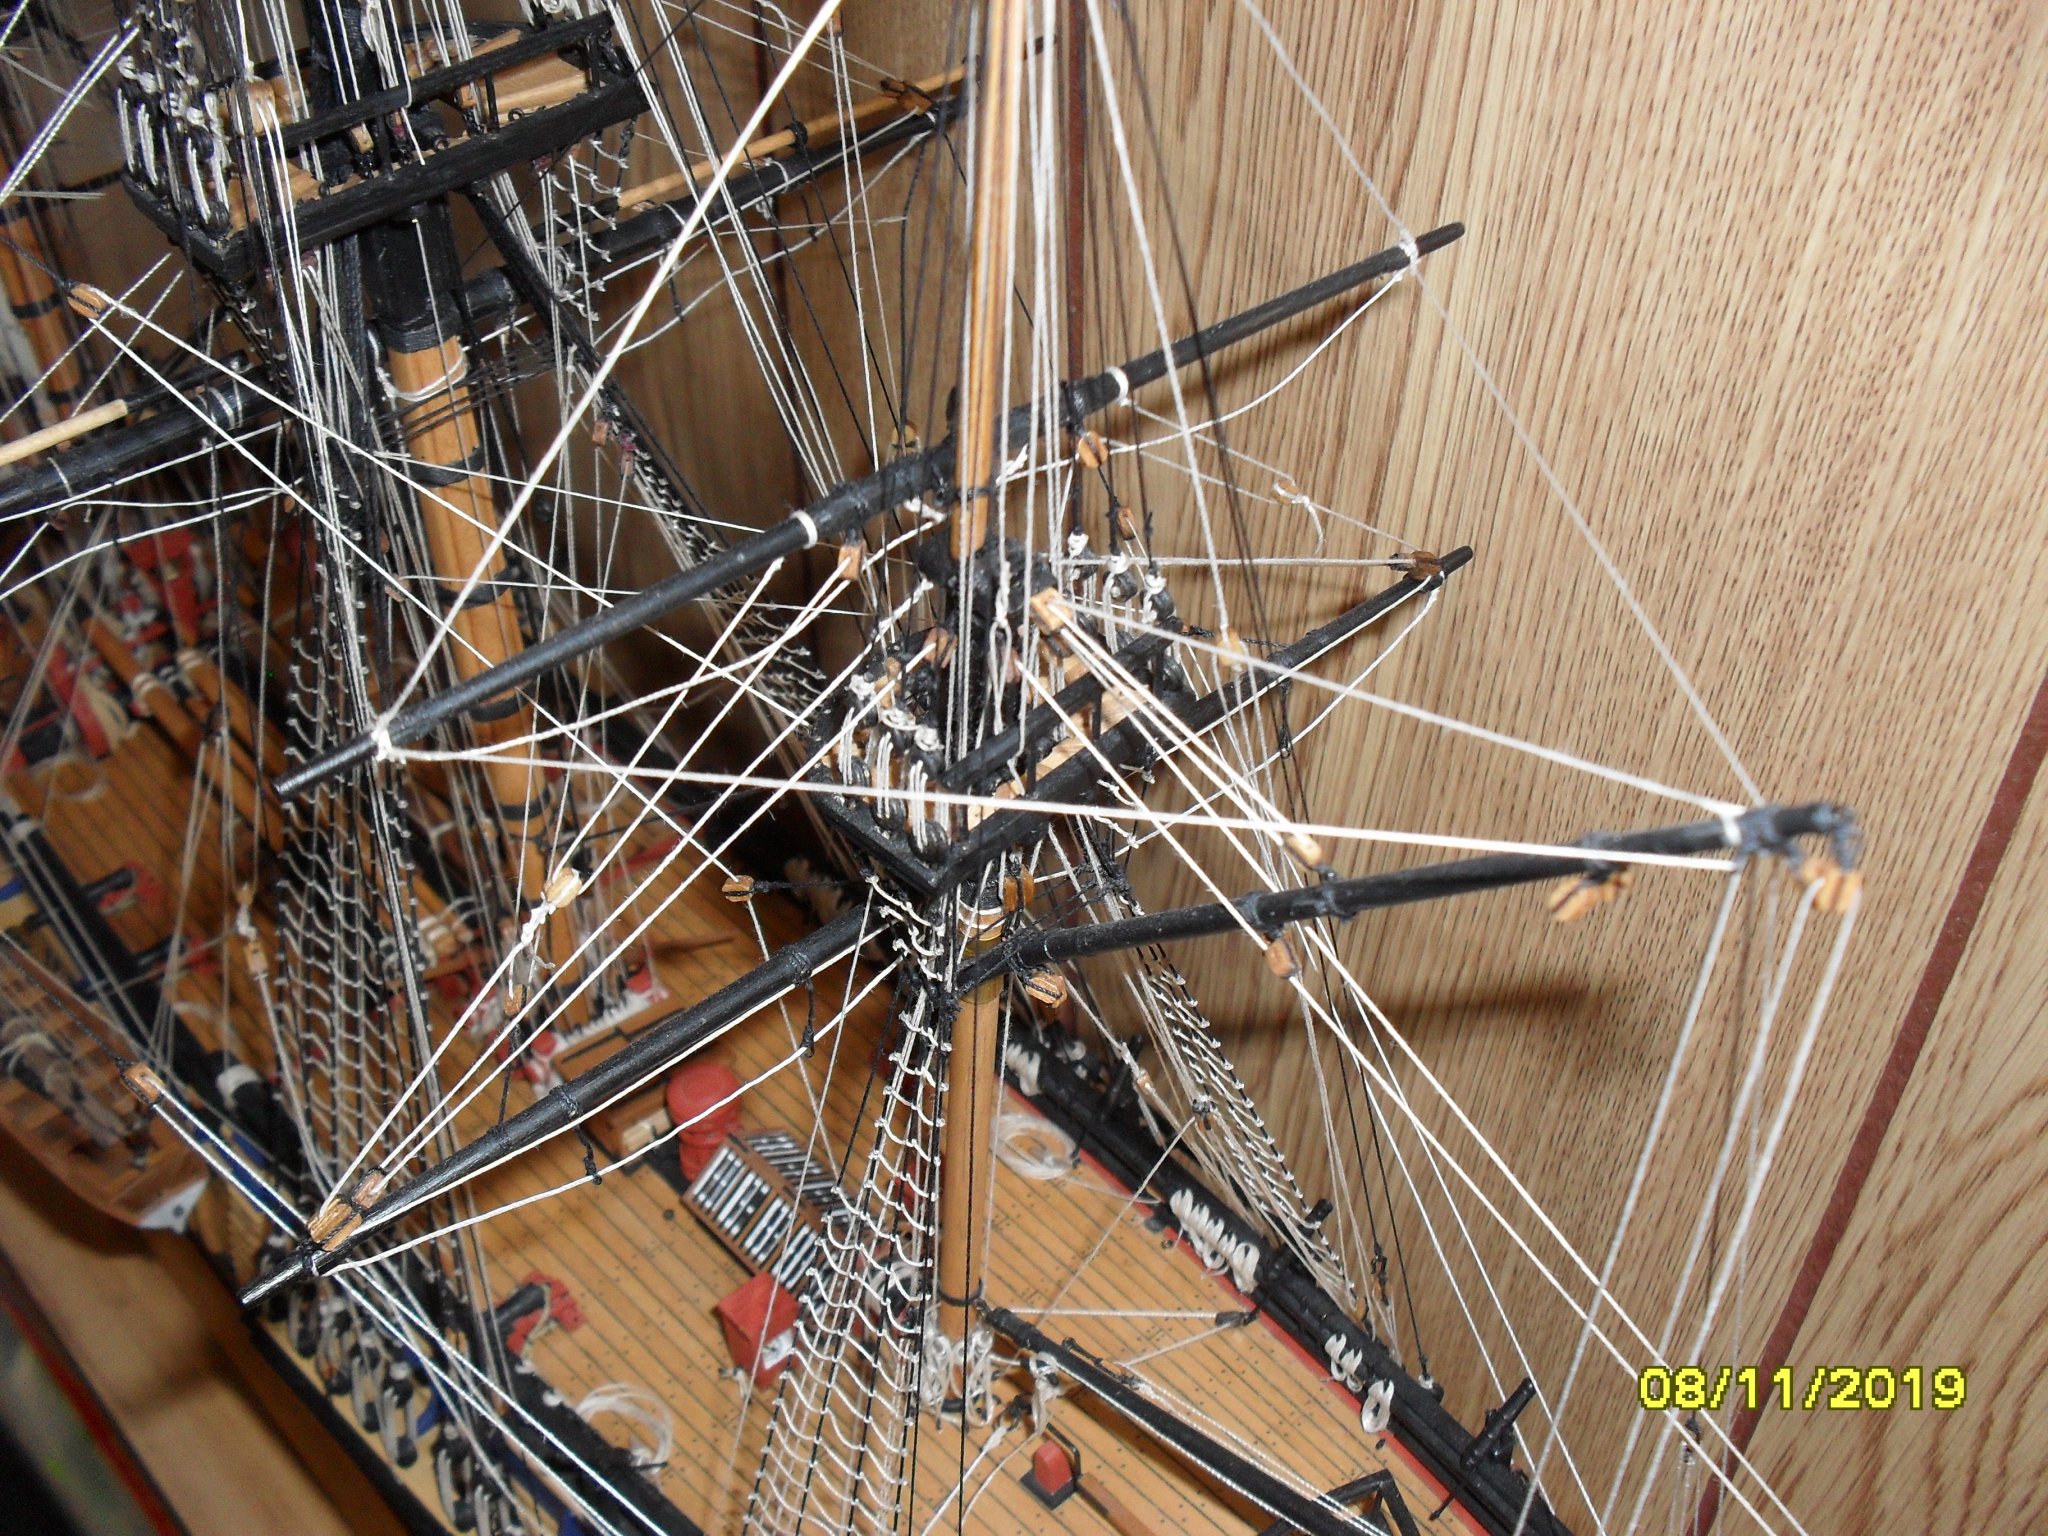
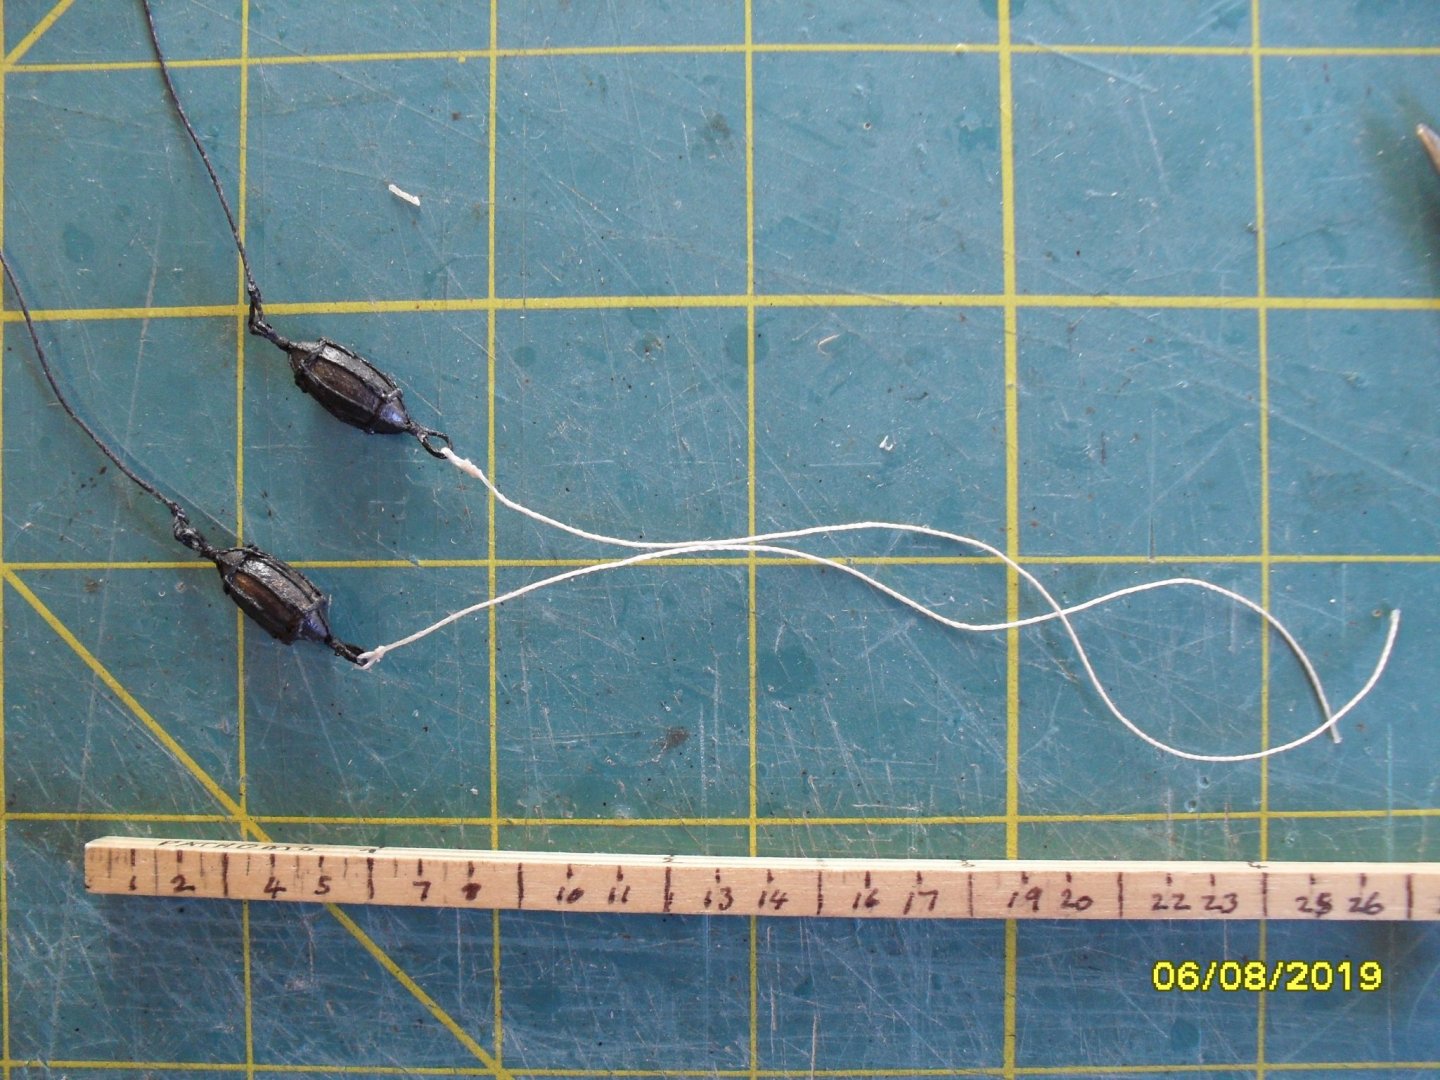
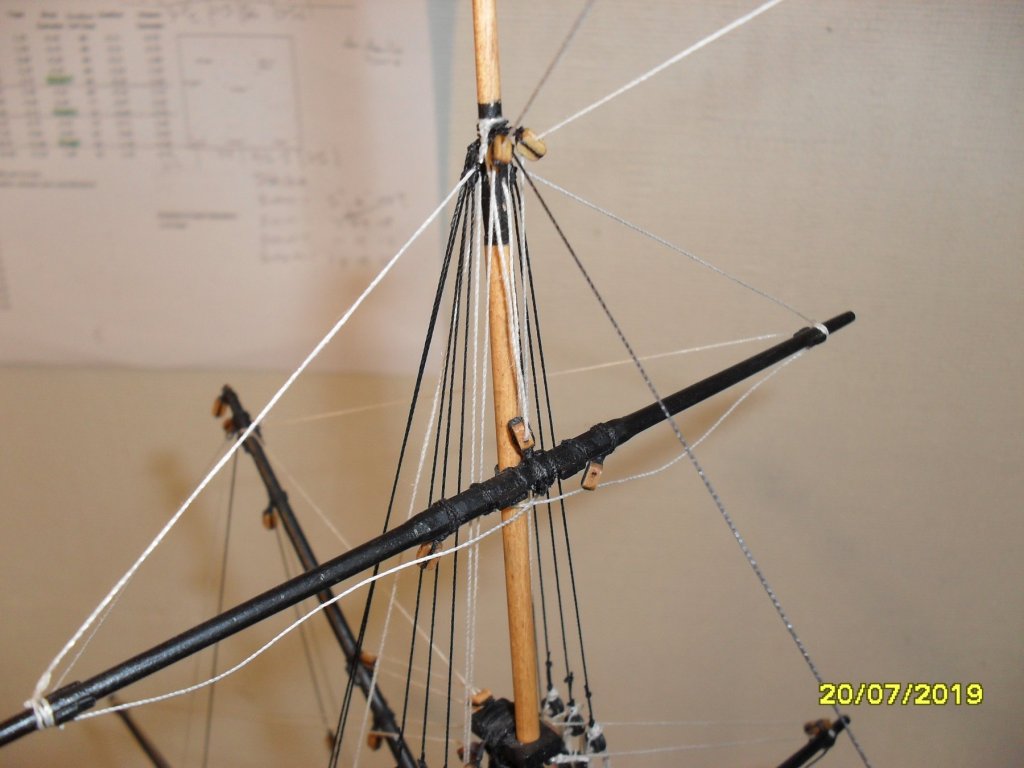
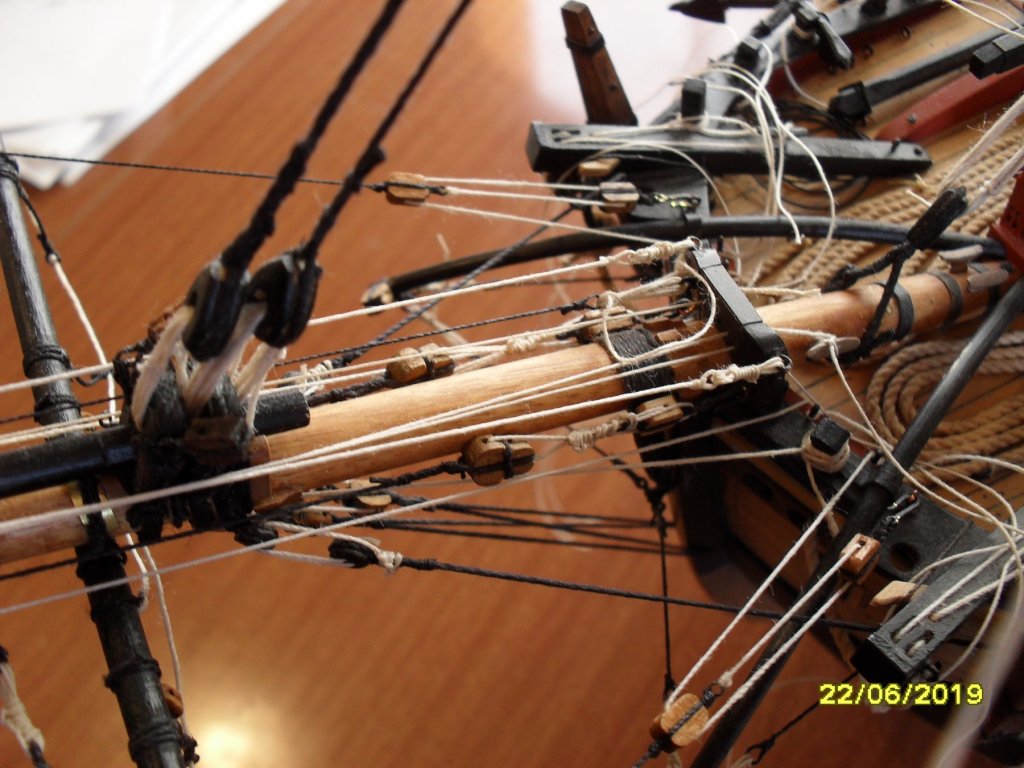
Thanks for all the likes and Chris and Dave for comments, yes more ropes and blocks with some rework to the top and lower sail sheet quarter and yard blocks swapping them out for 6mm which better fit 1/64 scale 14-16 inch blocks. The kit only supplied 5mm so had to purchase approx 26 x 6mm single blocks plus some doubles for top yard ties. Also while doing this corrected the lift block lashing to the yard sheet blocks as per Steel. Chris I hope my photos are some help, I have followed as best I could David Steel 1794 and made the gallant topping lift shroud thimbles where required using a small brass rod with a lower seizing pushed up tight to the shroud seizing then fixed with ca glue twisting the rod so it doesn't stick while the glue sets and then removing it to form the thimbles. Udate: Yard running rigging complete, next the sail running rigging without sails.


-
dashi reacted to a post in a topic:
HM Bark Endeavour by dashi - Caldercraft - scale 1:64 - 1768-71 - bashed kit
-
dashi reacted to a post in a topic:
HMB Endeavour by Pat Lynch - FINISHED - Artesania Latina
-
Hi Pat, just found your build and she's coming along nicely, looking very neat and clean. Dashi
-
dashi reacted to a post in a topic:
HMB Endeavour by Pat Lynch - FINISHED - Artesania Latina
-
She's looking great. This was my first build and I think you are doing a much better job than I did, well done.
-
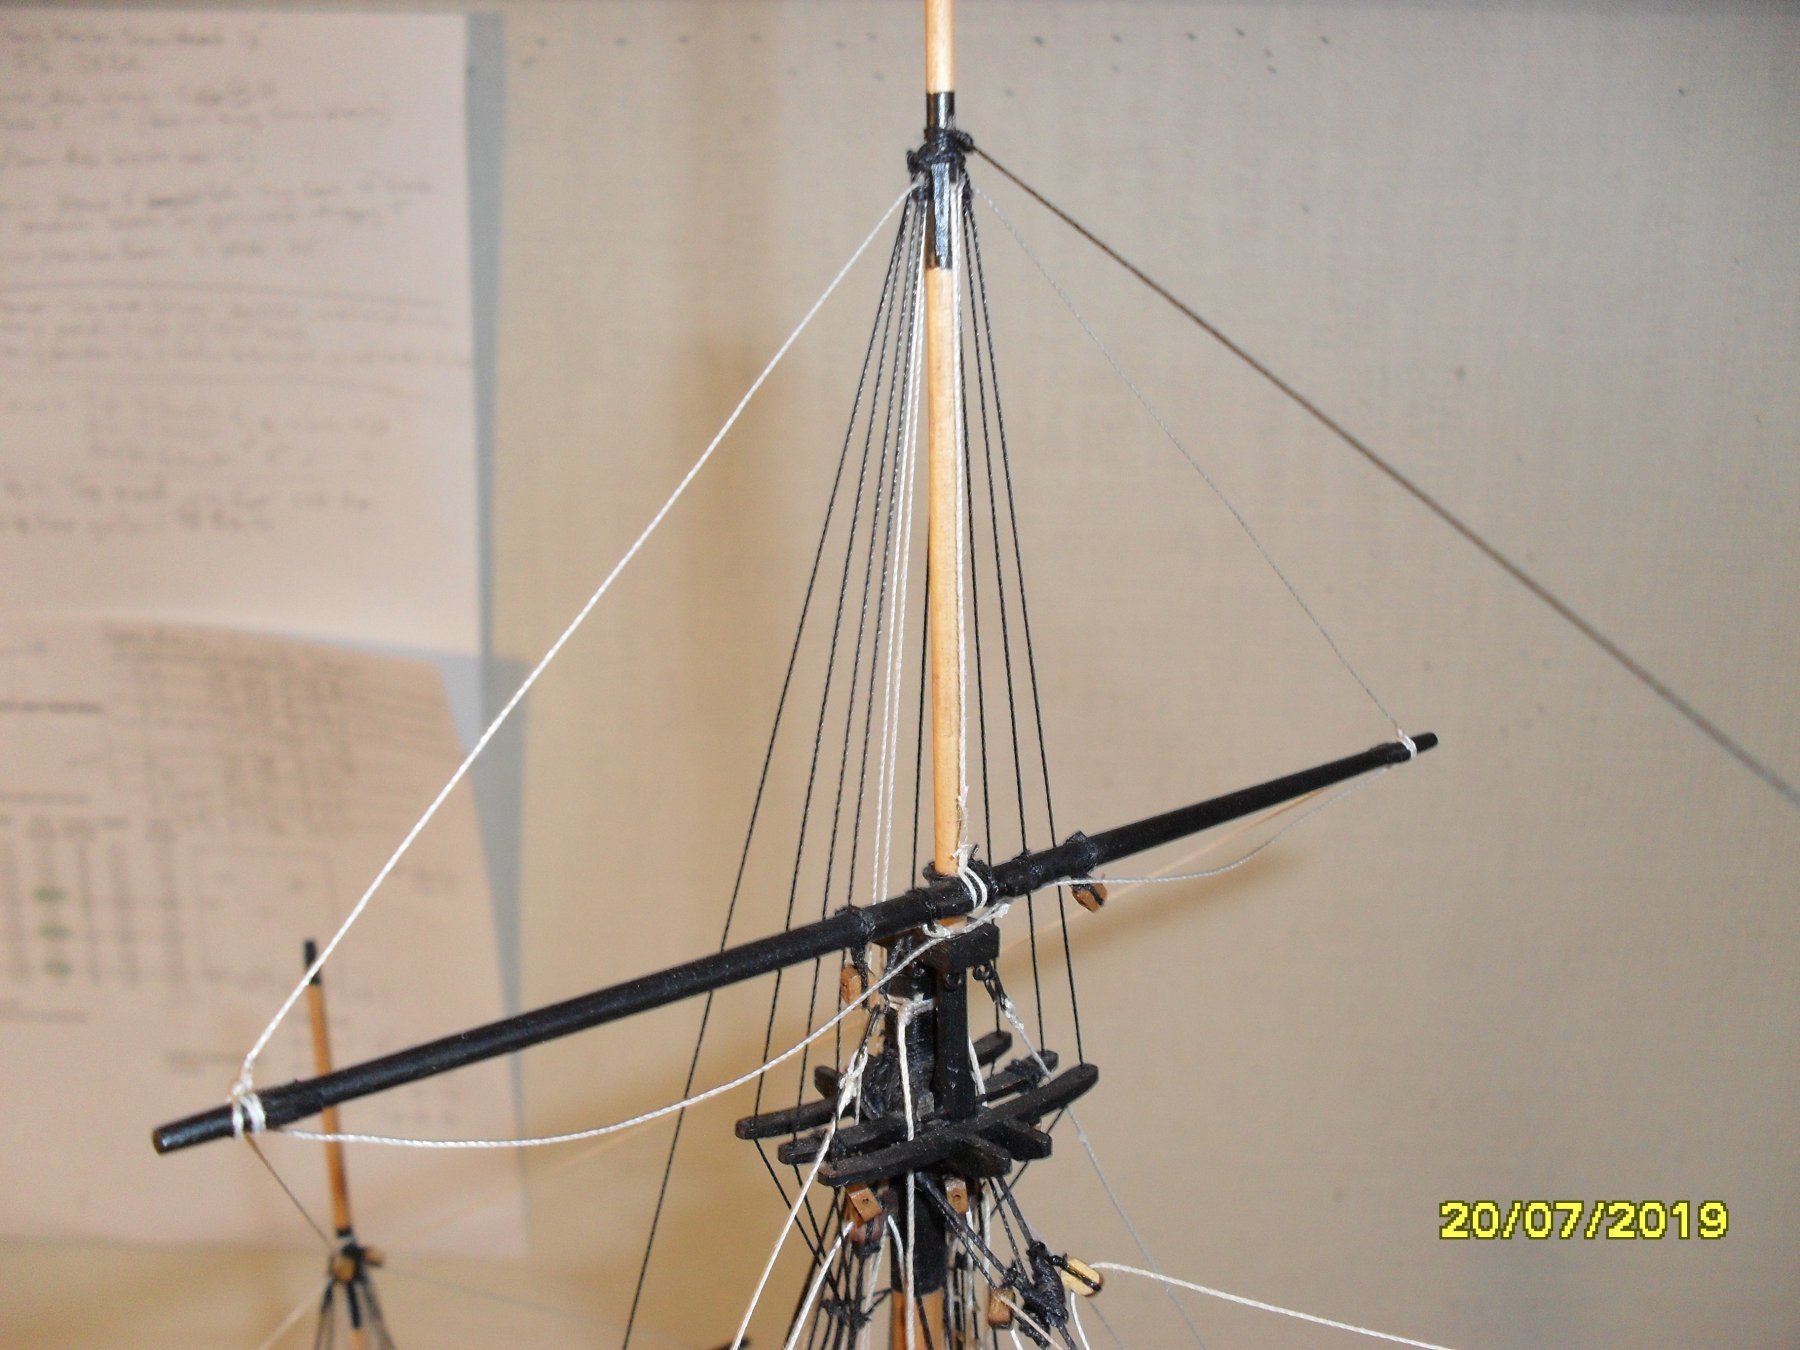
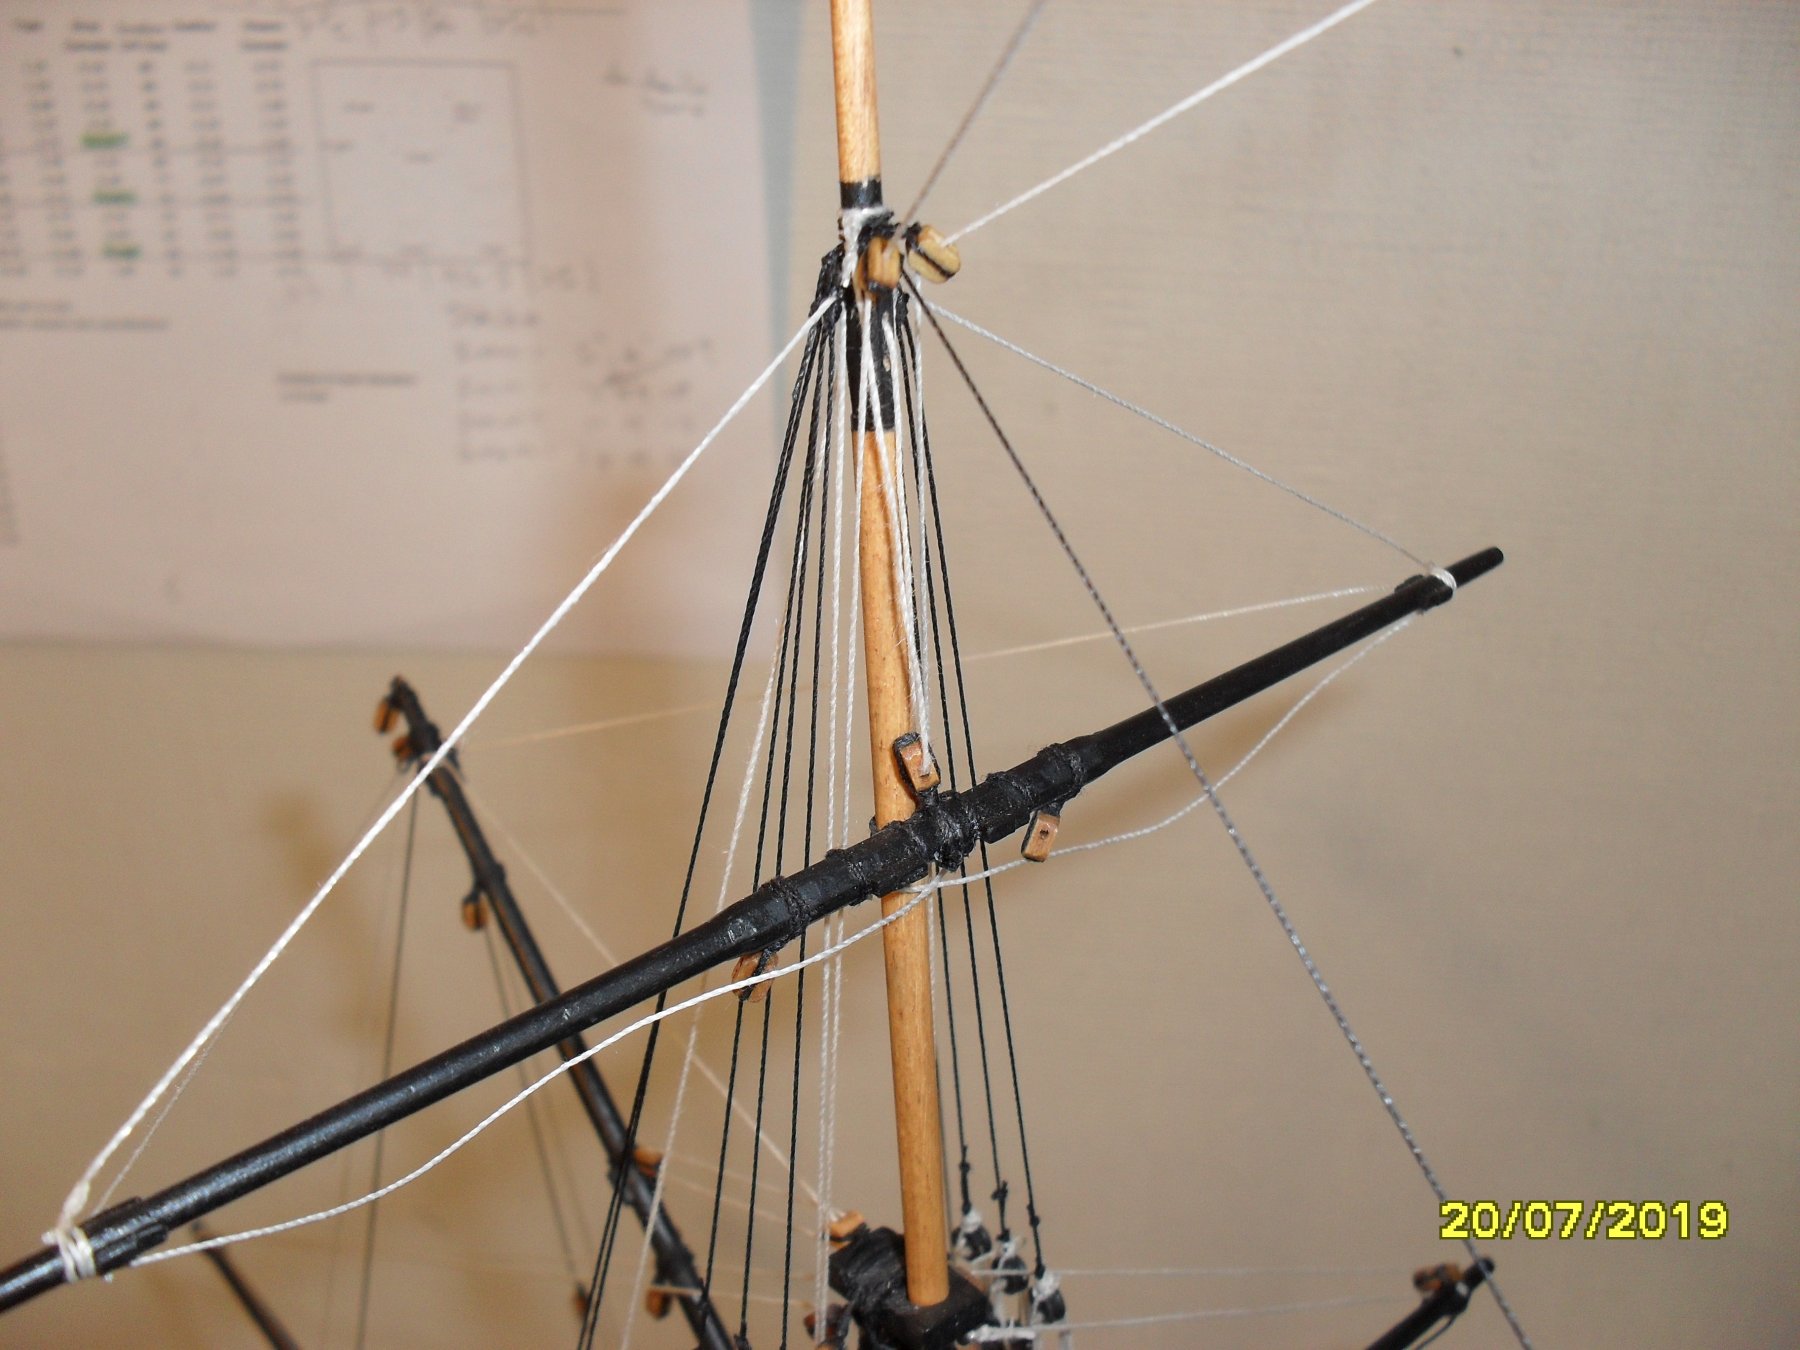
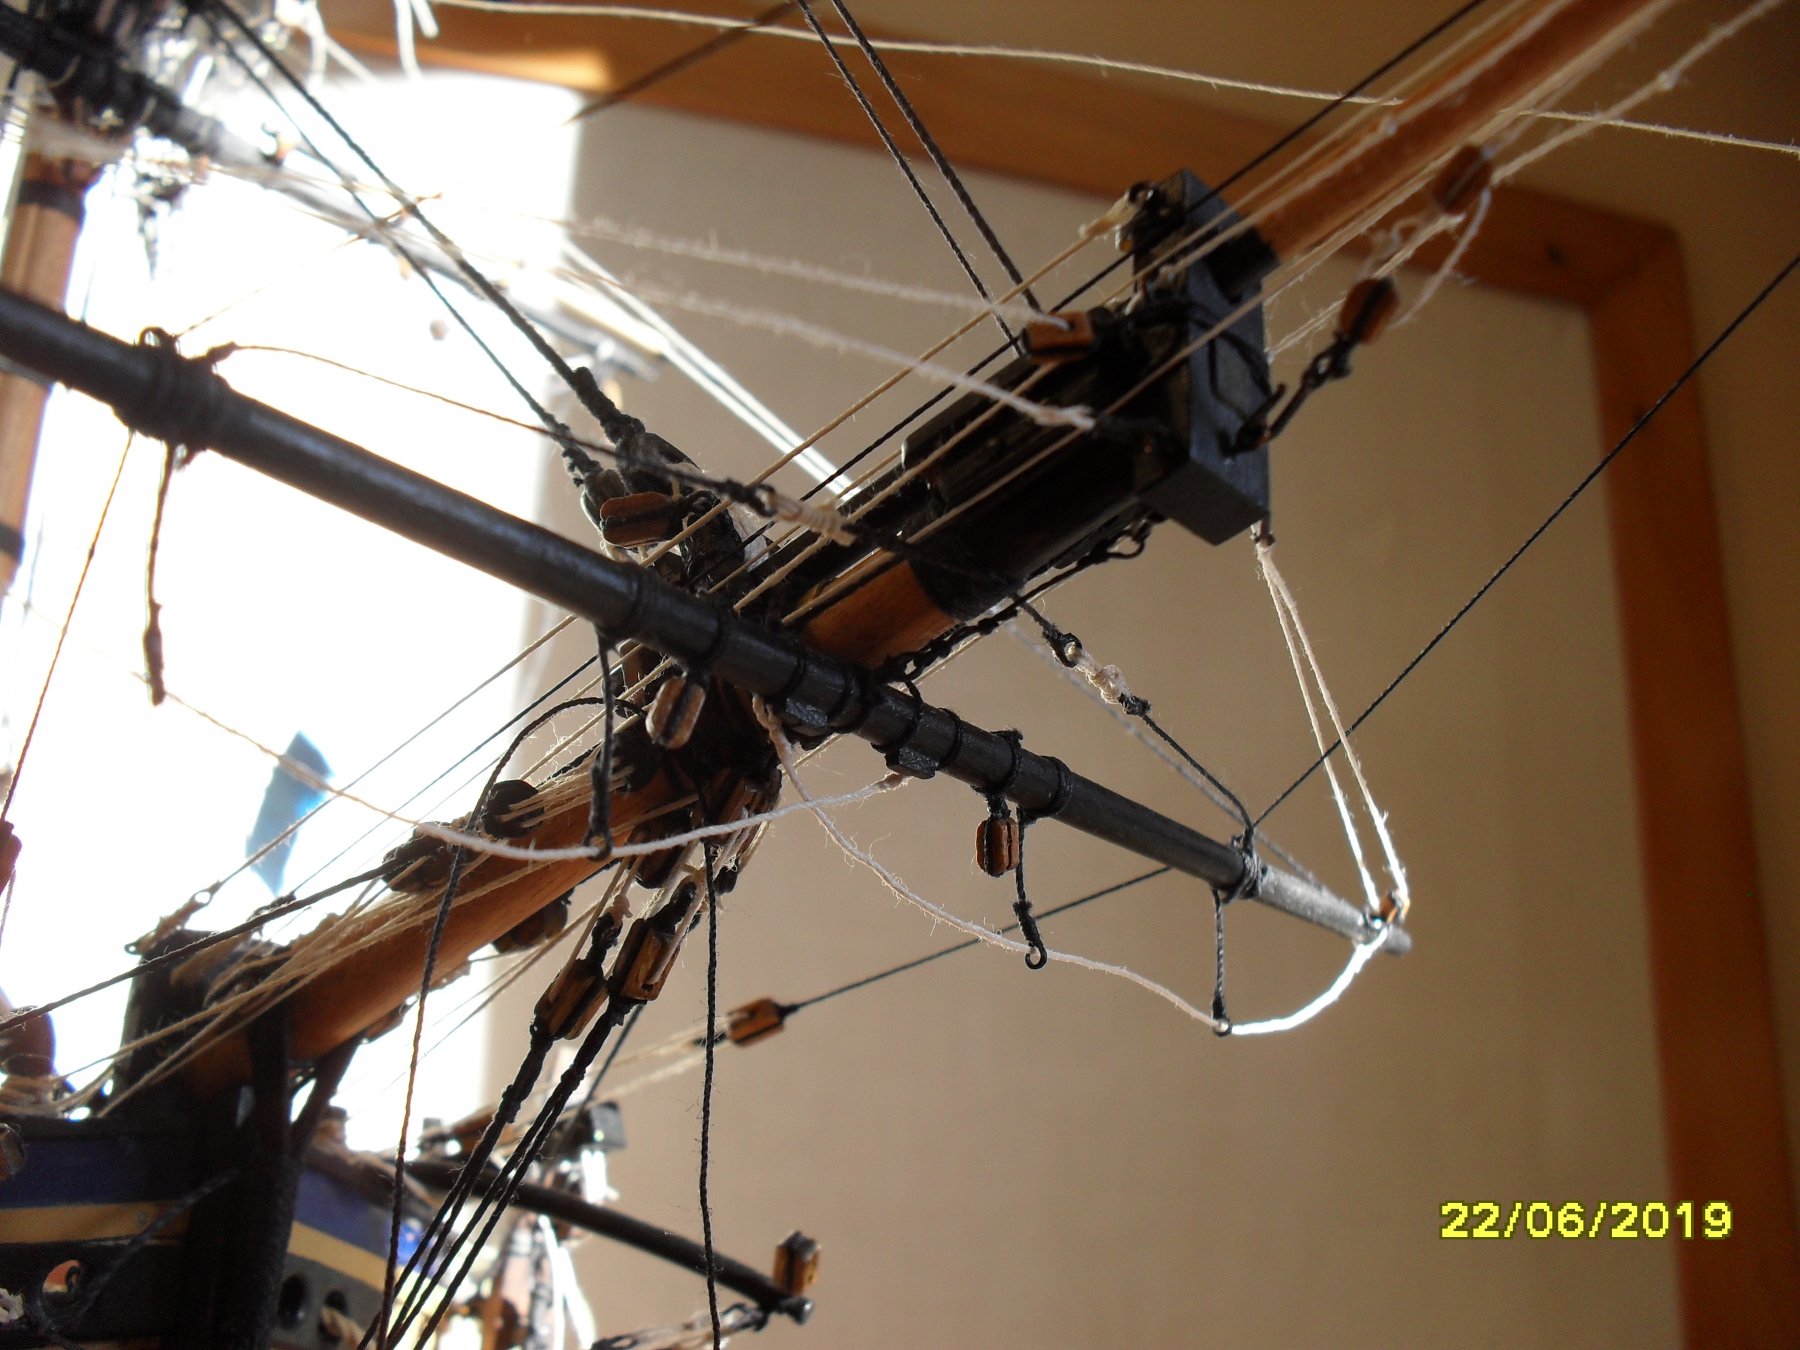
Thanks for the likes and looking in, and Pat and Dave for your comments. Sprit yard and top sprit yards rigged (except sail rigging) as per my interpretation of Steel 1794. Fore and Main lower yard tyes and truss pendants rigged as per my interpretation of Steel 1794.
-
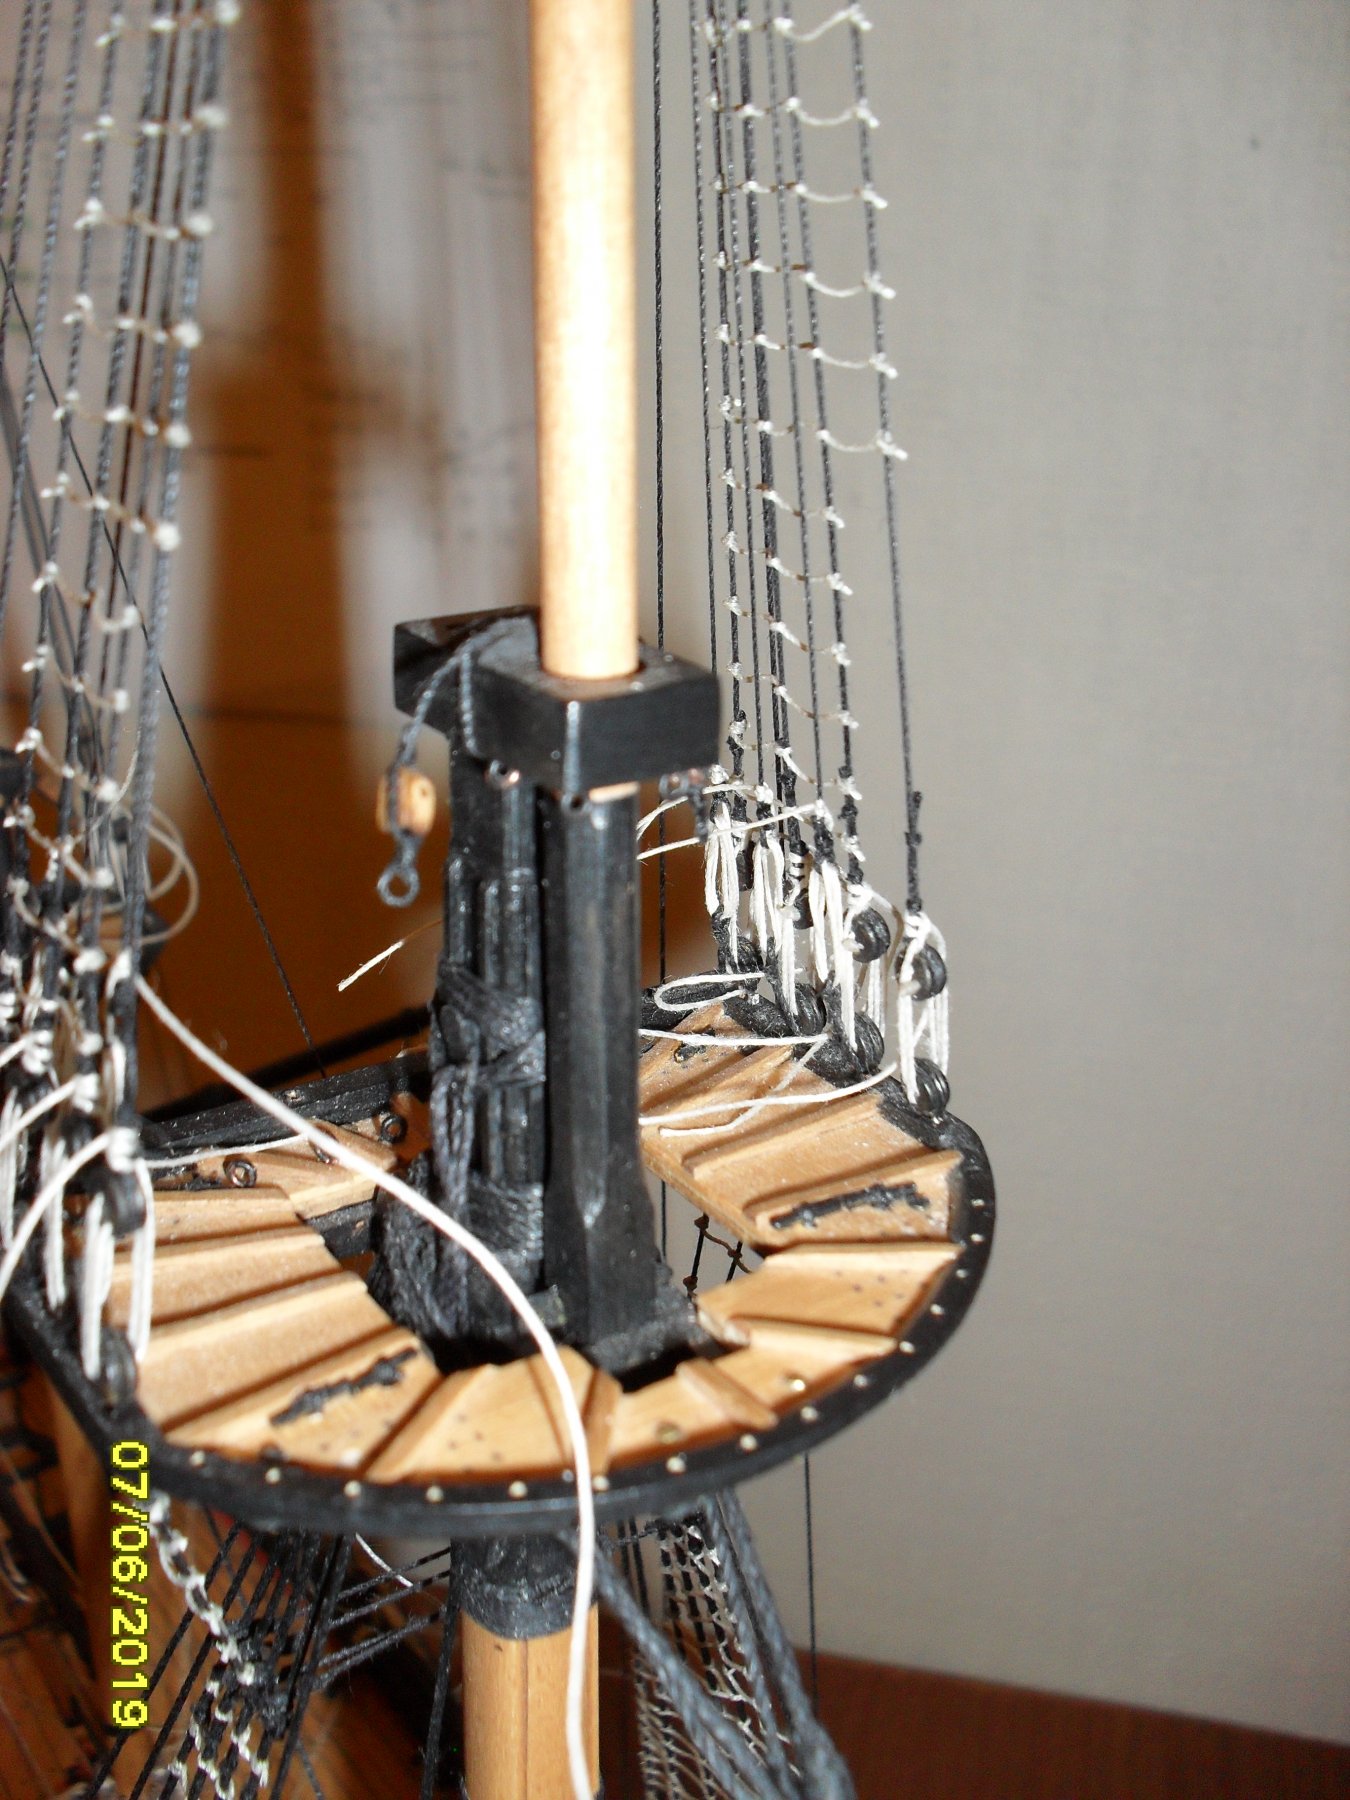
Thanks for the likes and comments. Update: Standing rigging completed and now onto fitting the yards. To keep the ratlines level and even I used 5mm graph paper which I pegged and leveled to the shrouds. 5mm works out to about the 13inch gap required. Also I interpreted Steel as having the upper and lower 6 ratlines only tied to the shrouds that are futtocked (the futtock staves being only across the lower shrouds for the above futtock shrouds) then the ratlines are tied to all the shrouds in between.


-
Very nice Steve 👍
-
Mast Lengths and their above deck heights for HMB Endeavour
dashi replied to dashi's topic in Masting, rigging and sails
'Ship-builder's Assistant by William Sutherland London 1726' Druxey this pushes the practice of stepping the mizen mast in the lower deck instead of the keelson back to at least 1726, the early 18th century. Therefore IMHO when considering the evidence to hand I don't think it unreasonable to conclude that due to the stated length of Endeavour's standing mizen mast that it was indeed stepped in the lower hold instead of the keelson! Ship builder's assistant by William Sutherland London 1726 Cheers Dashi- 63 replies
-
- 2
-
-
- HMB Endeavour mast lengths
- above deck mast heights
- (and 3 more)
-
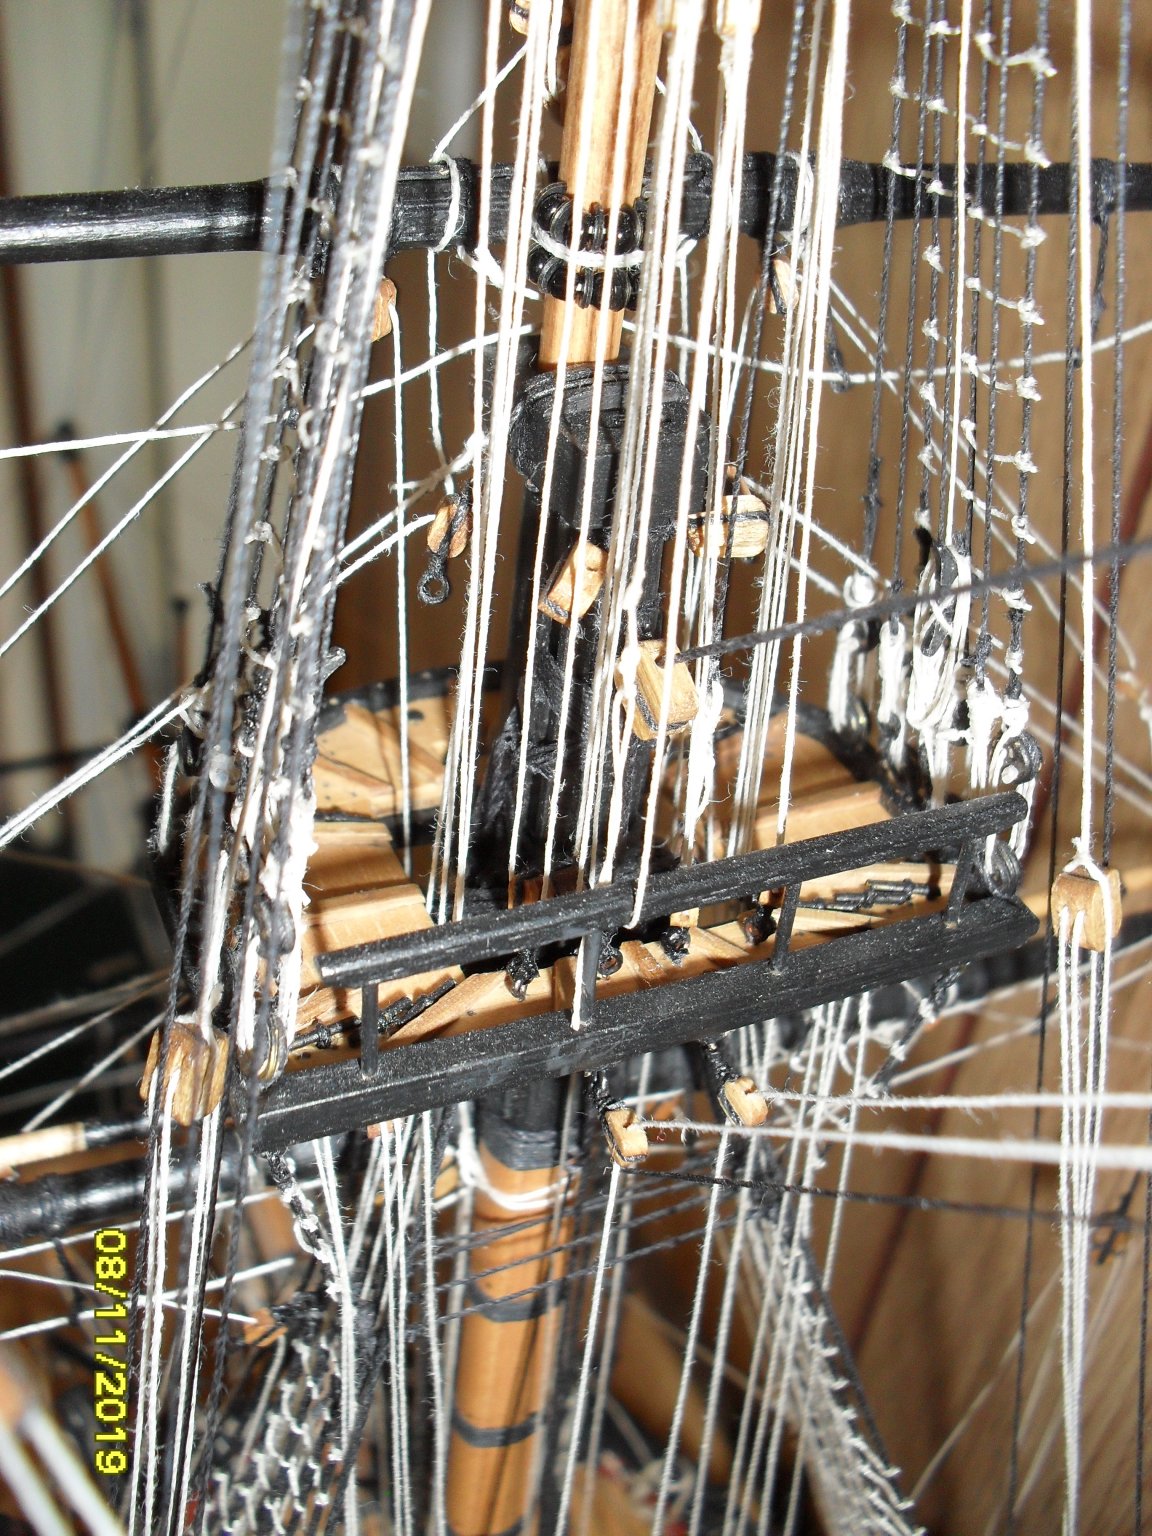
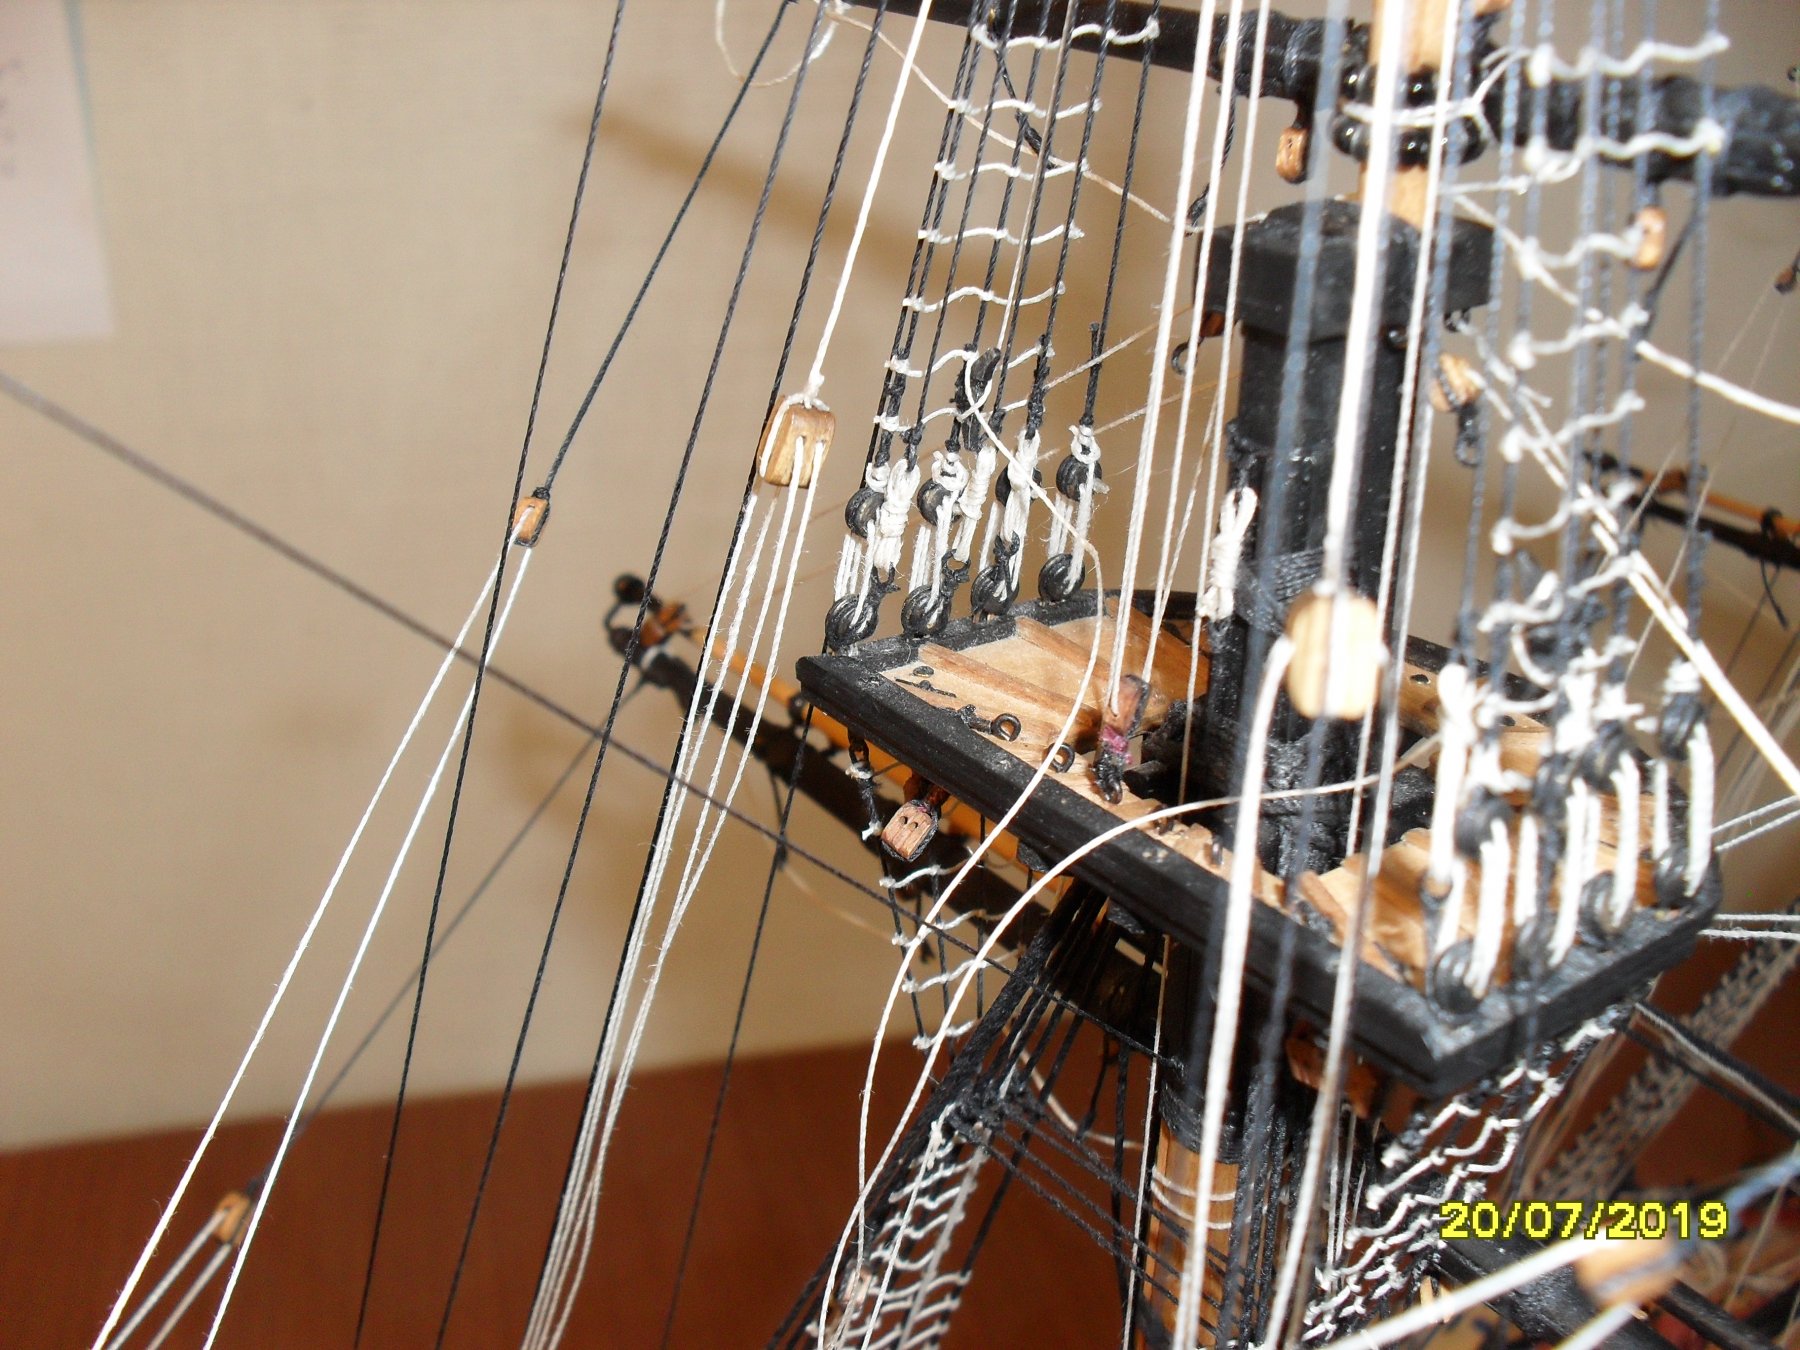
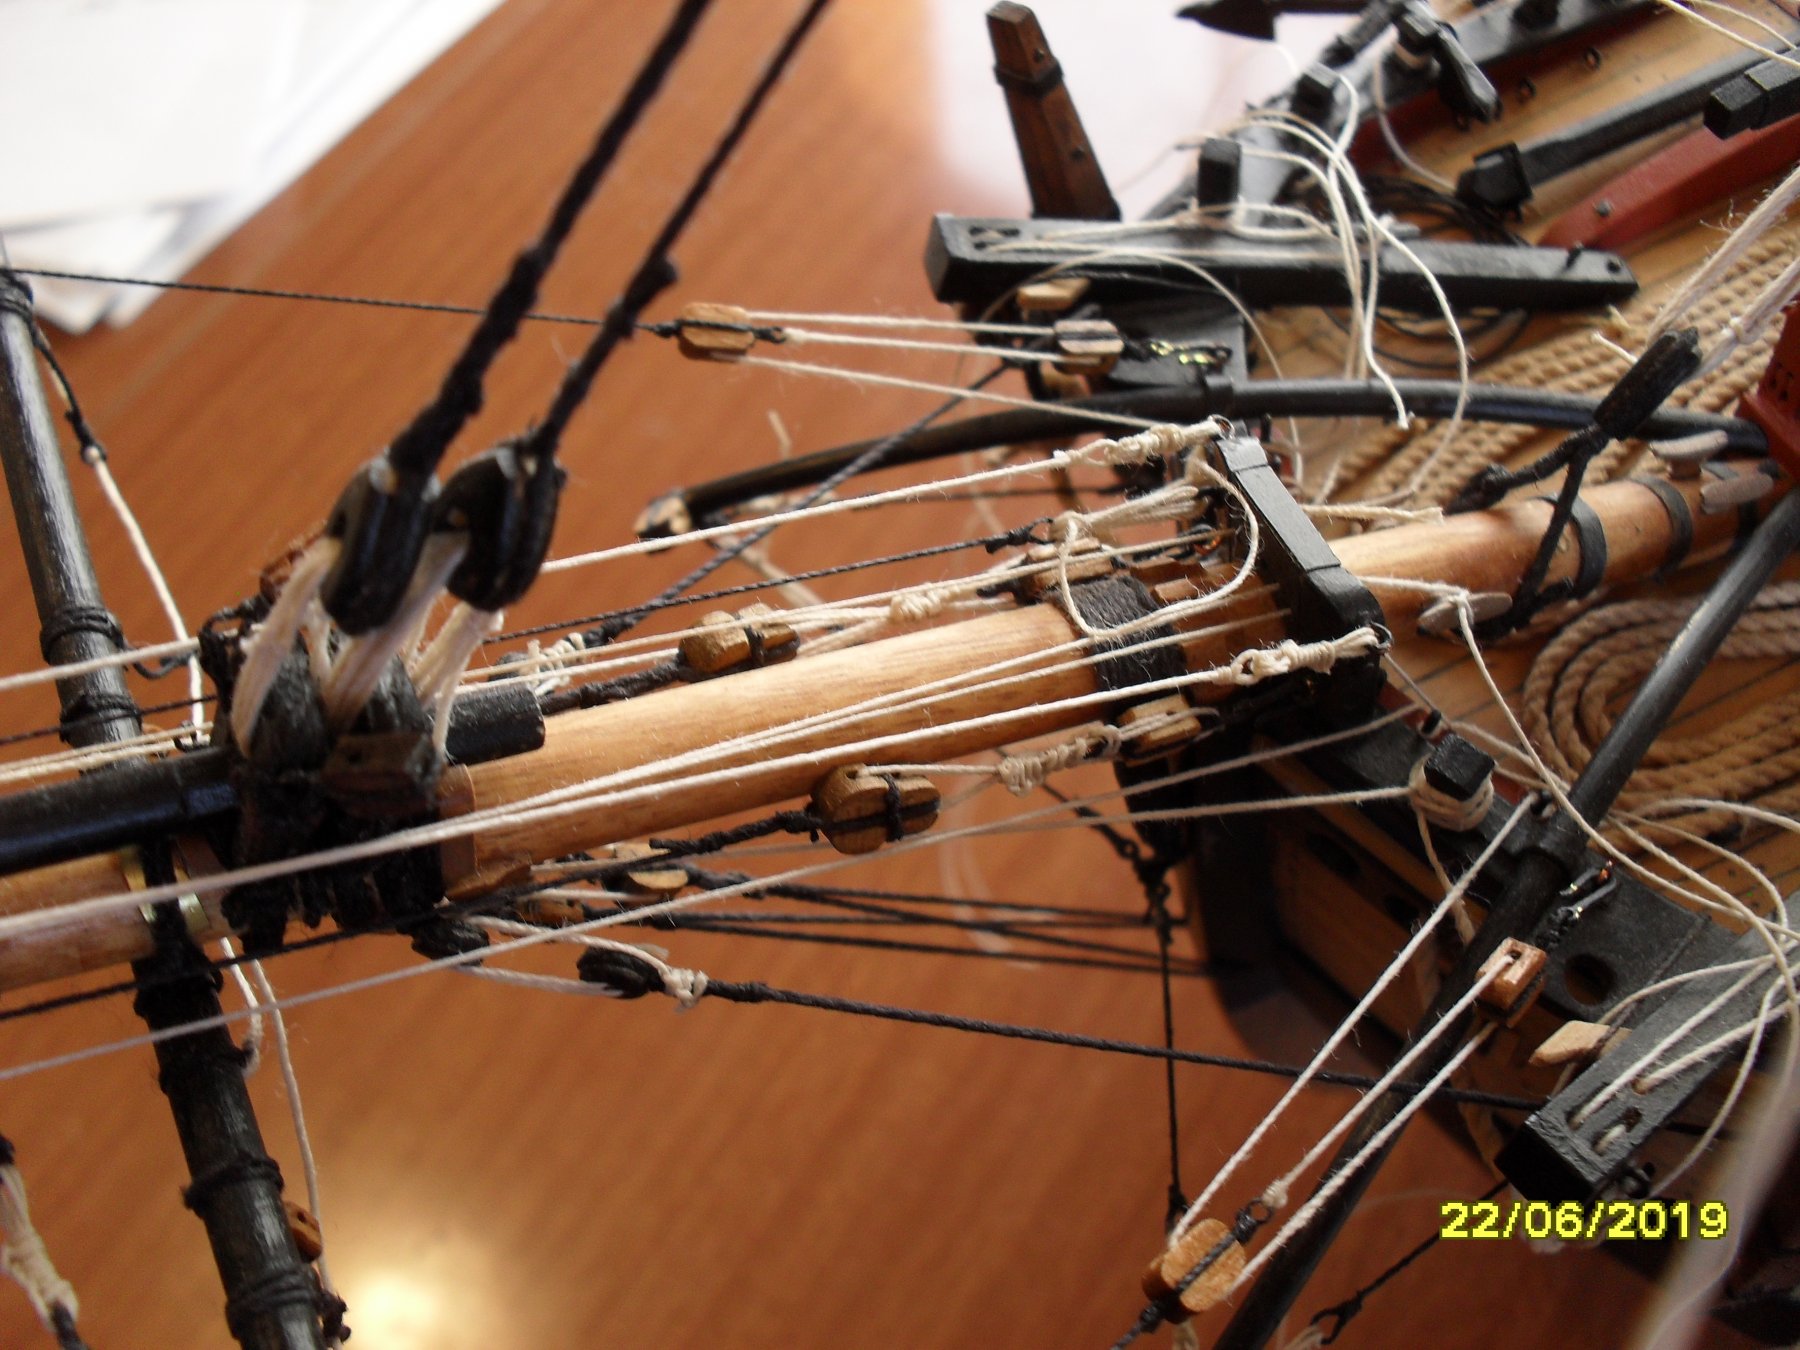
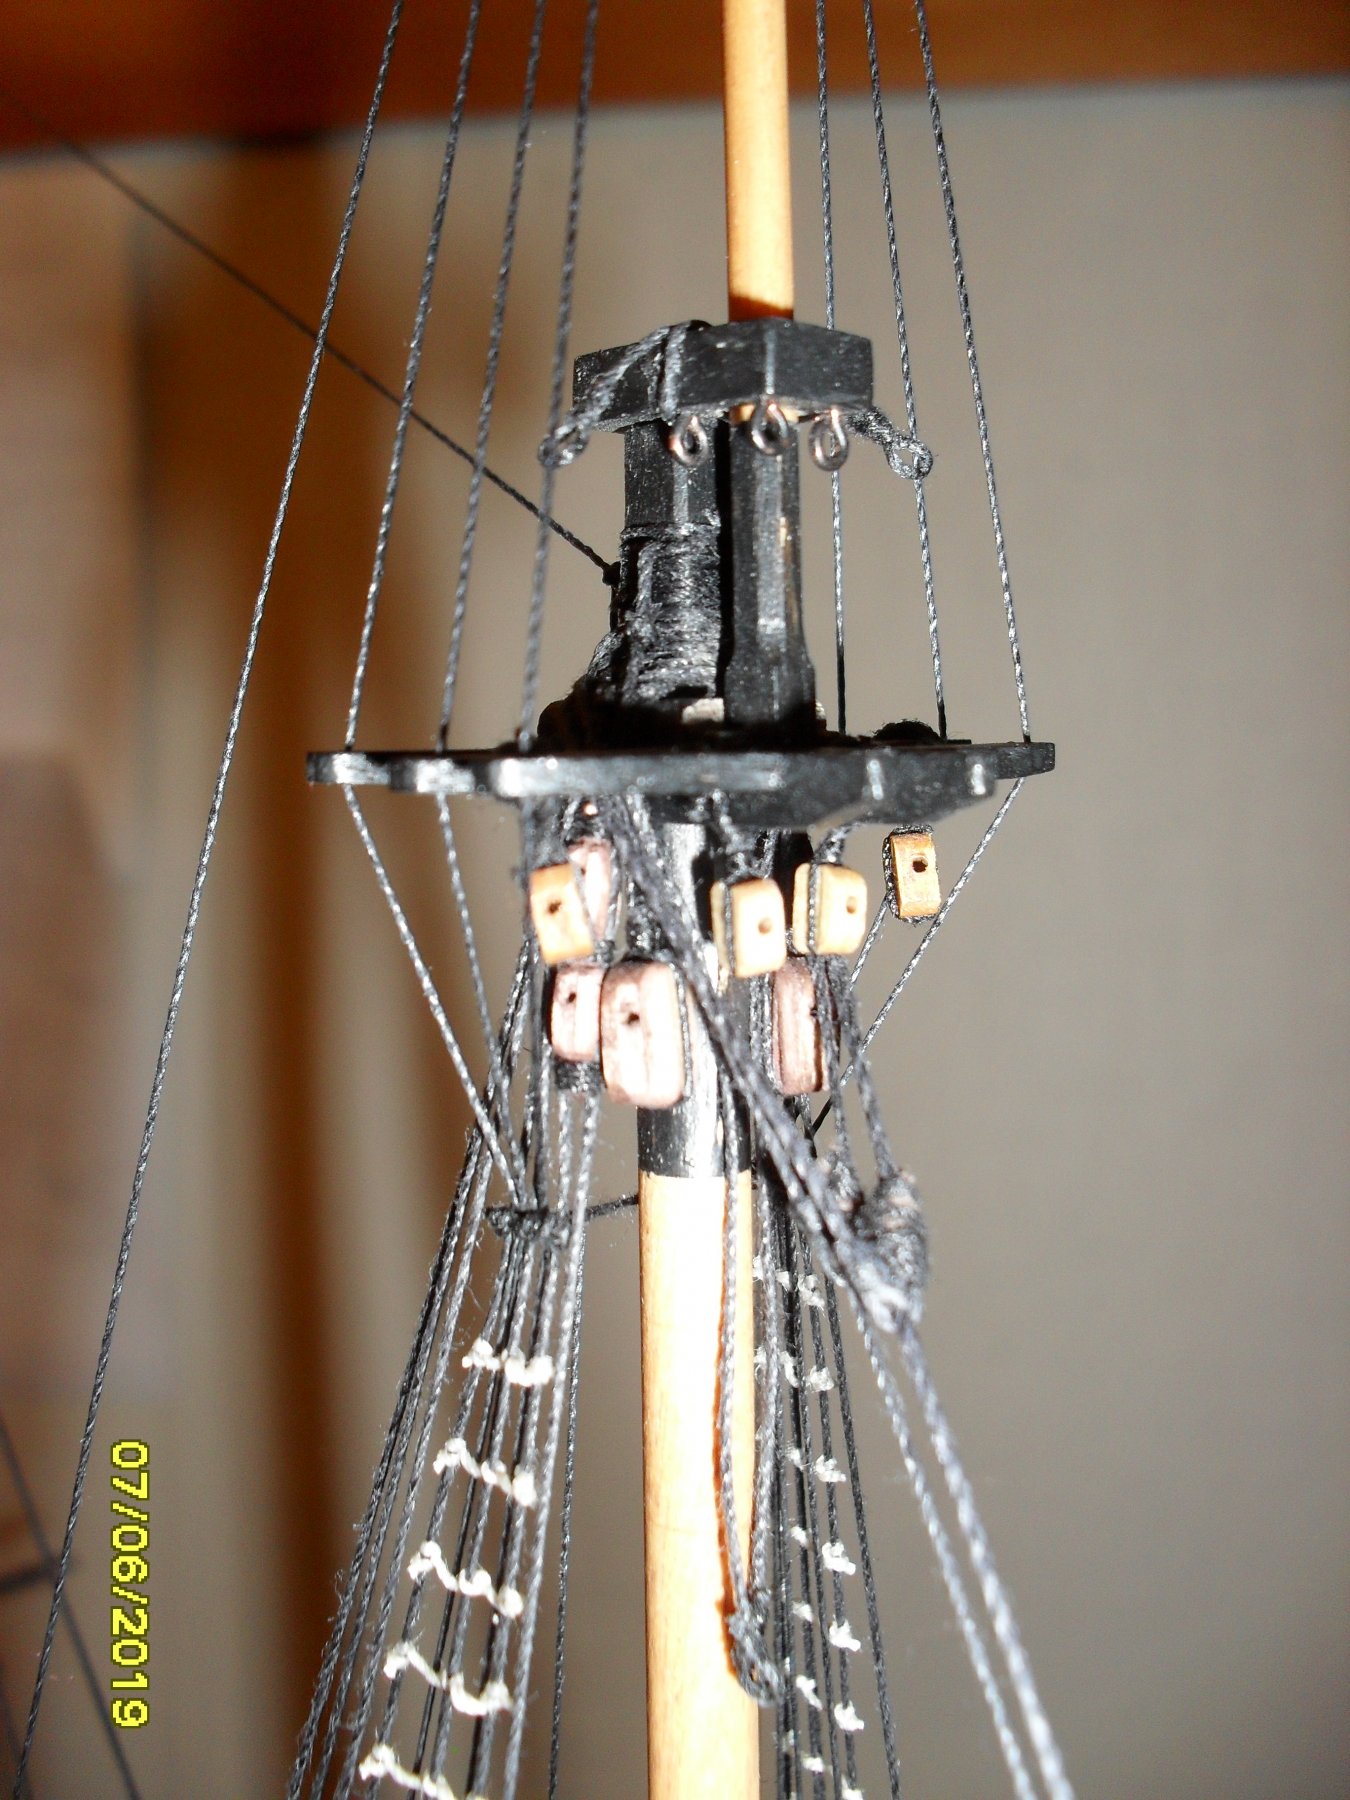
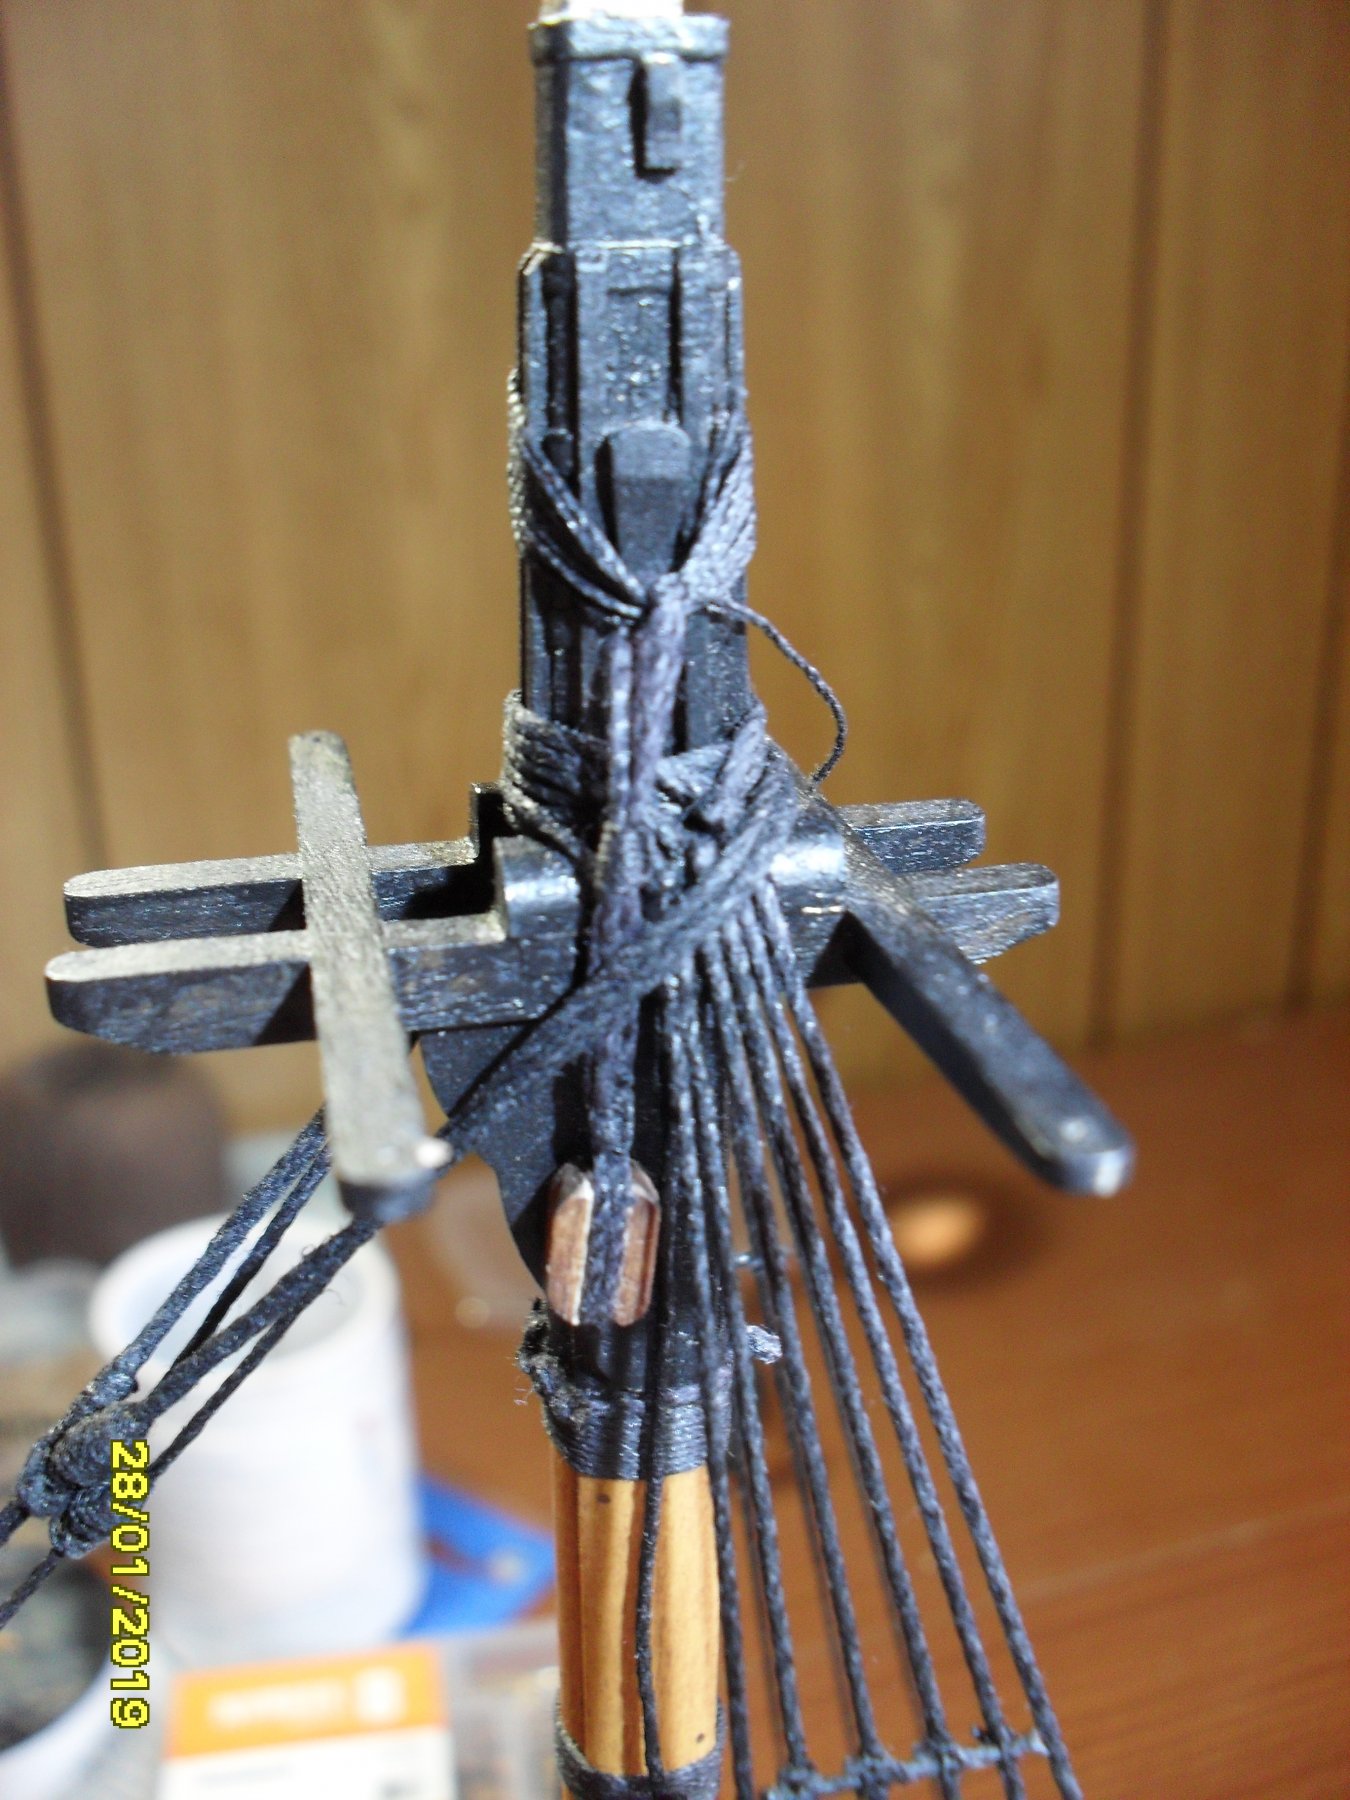
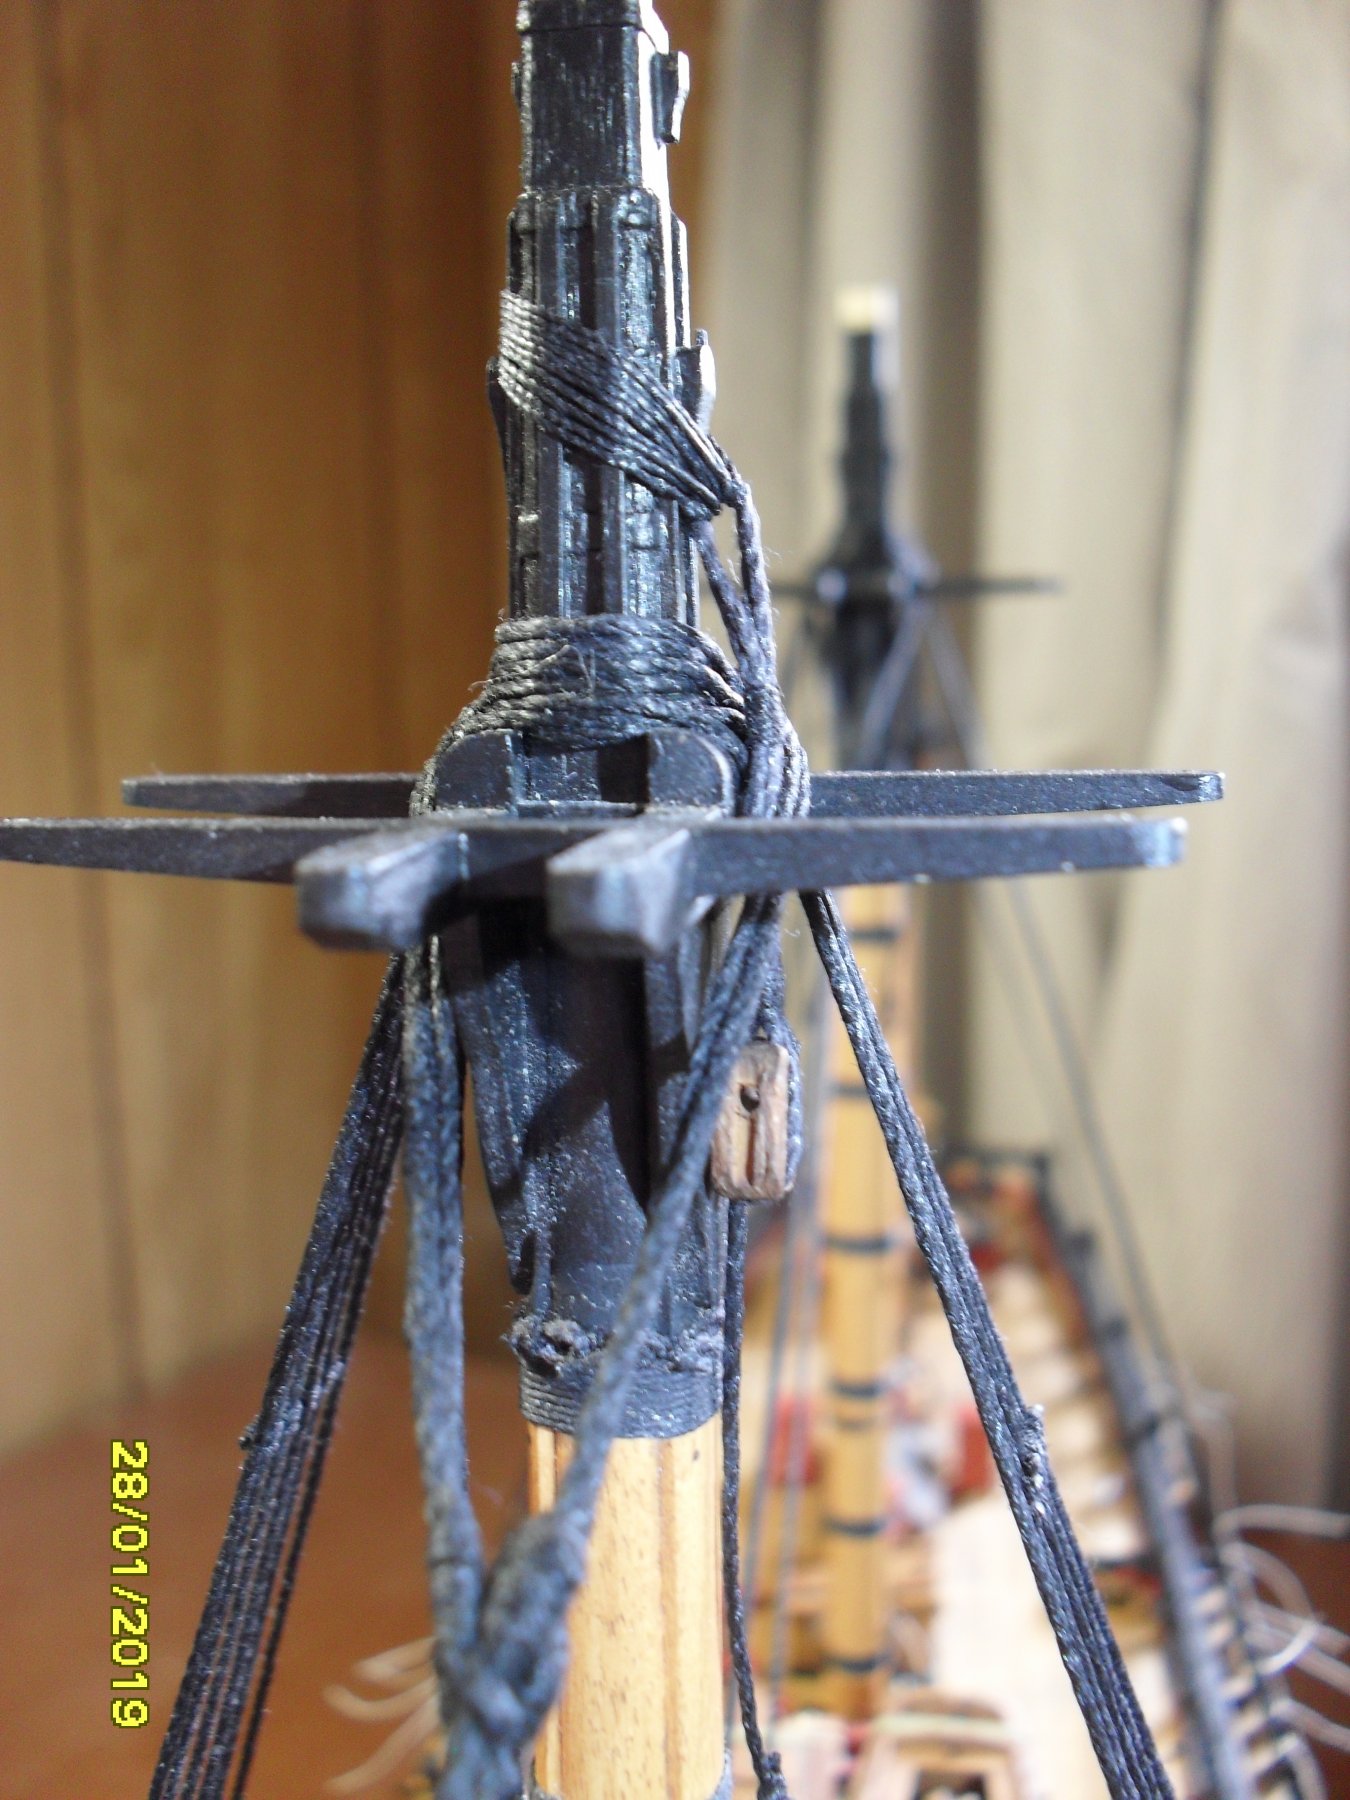
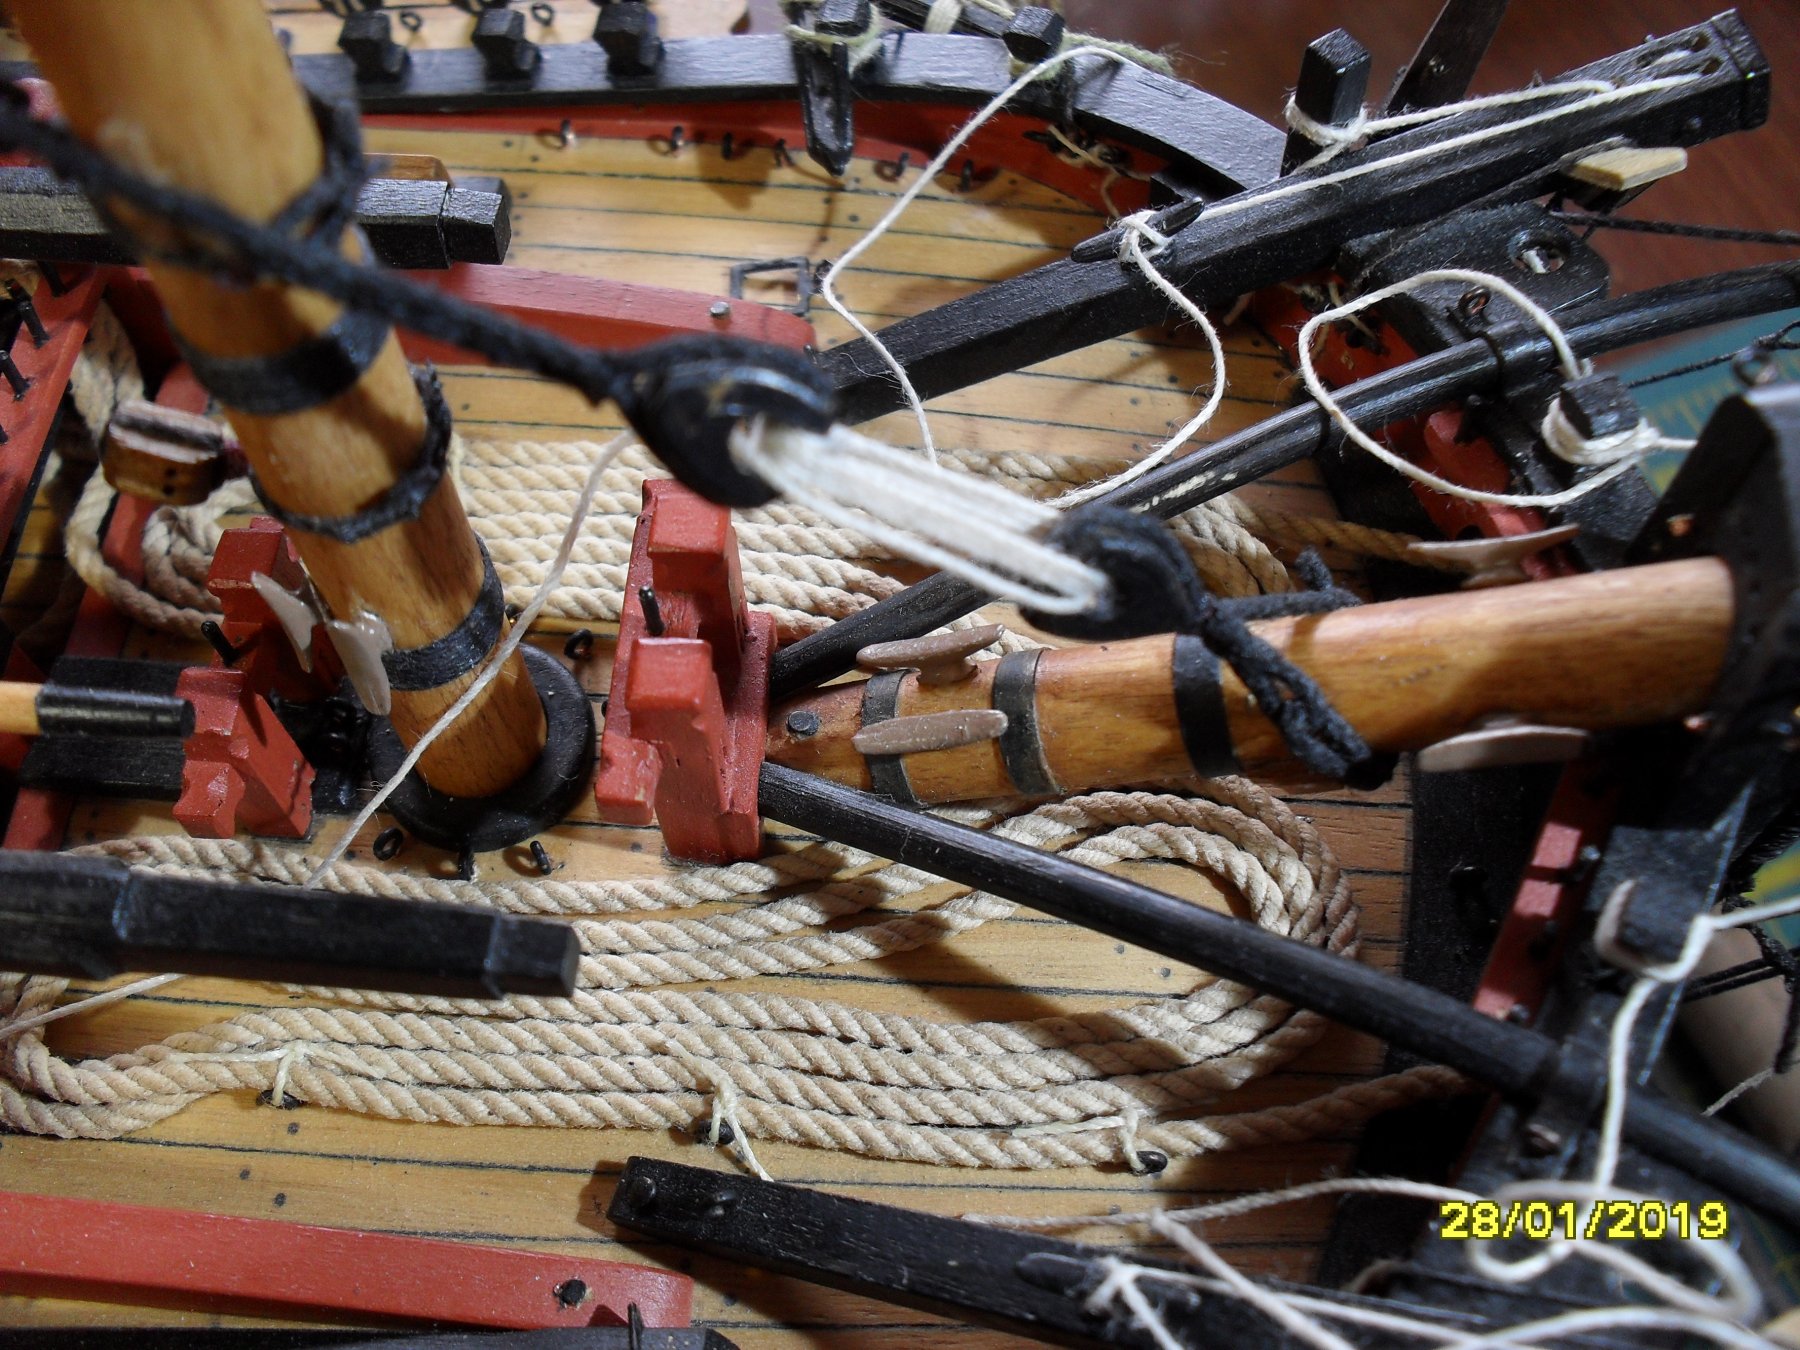
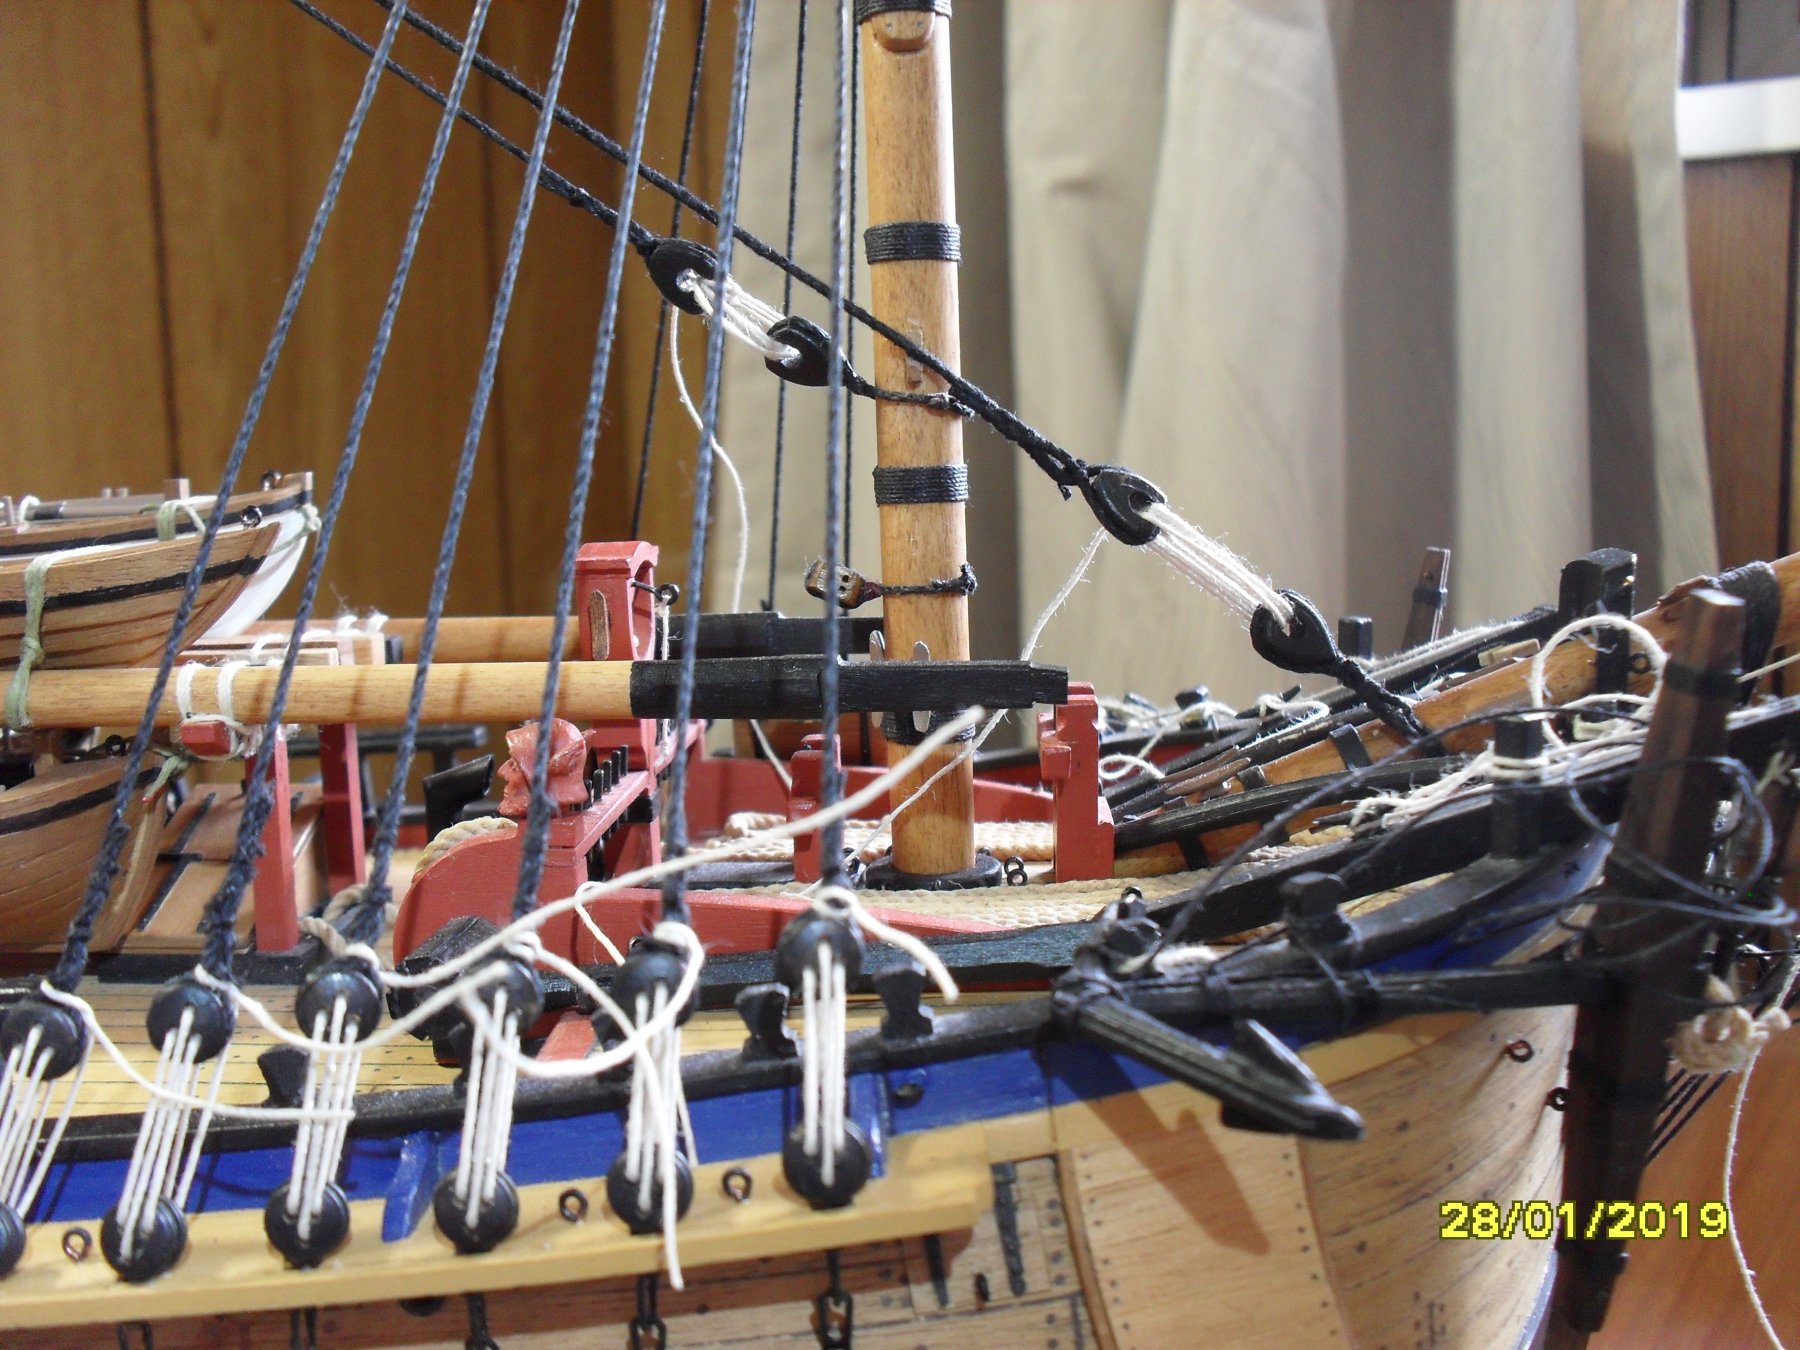
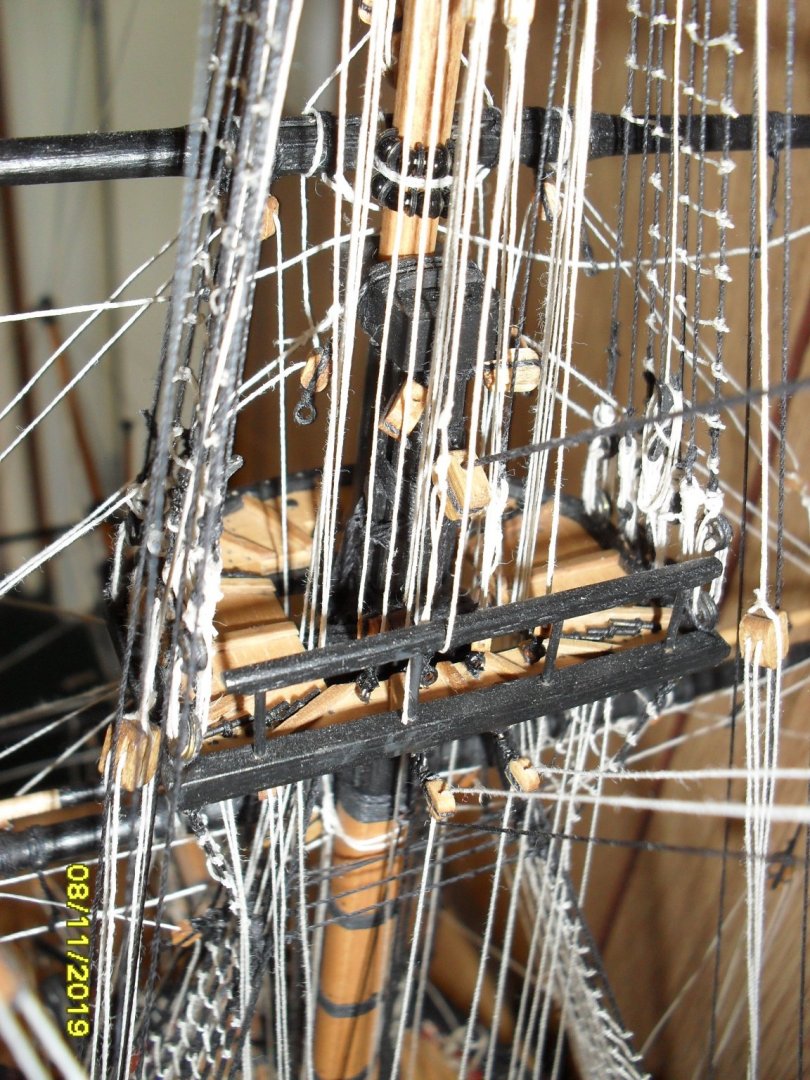
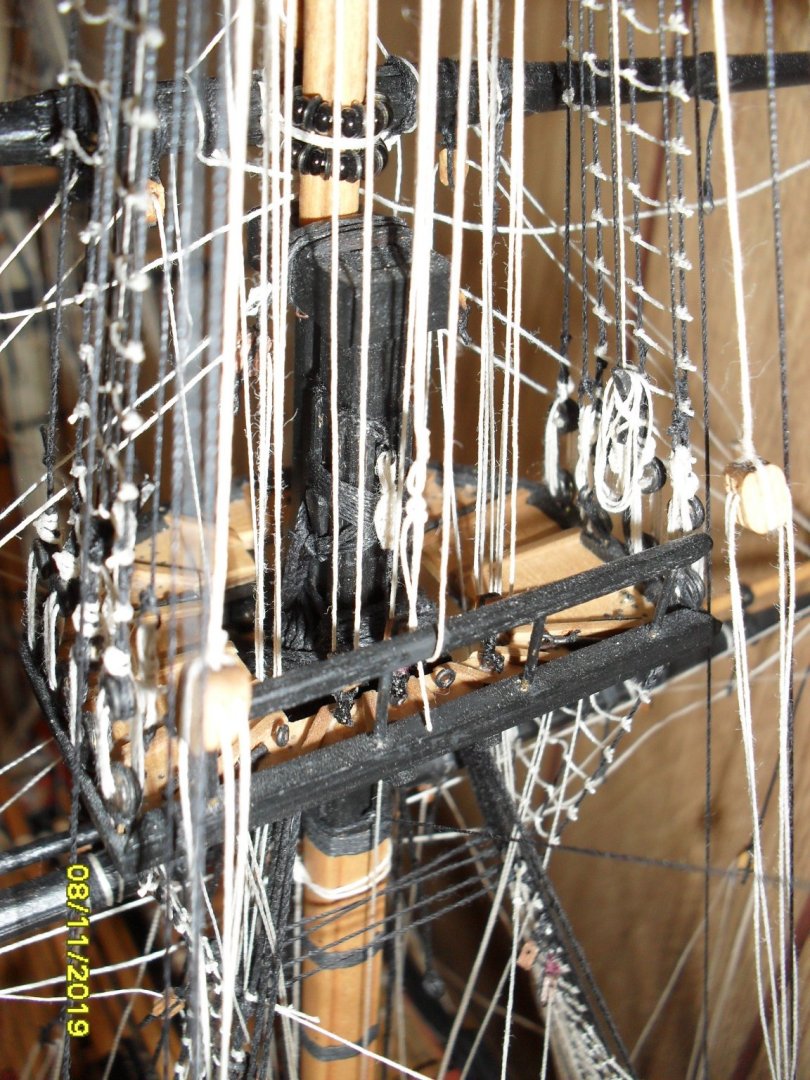
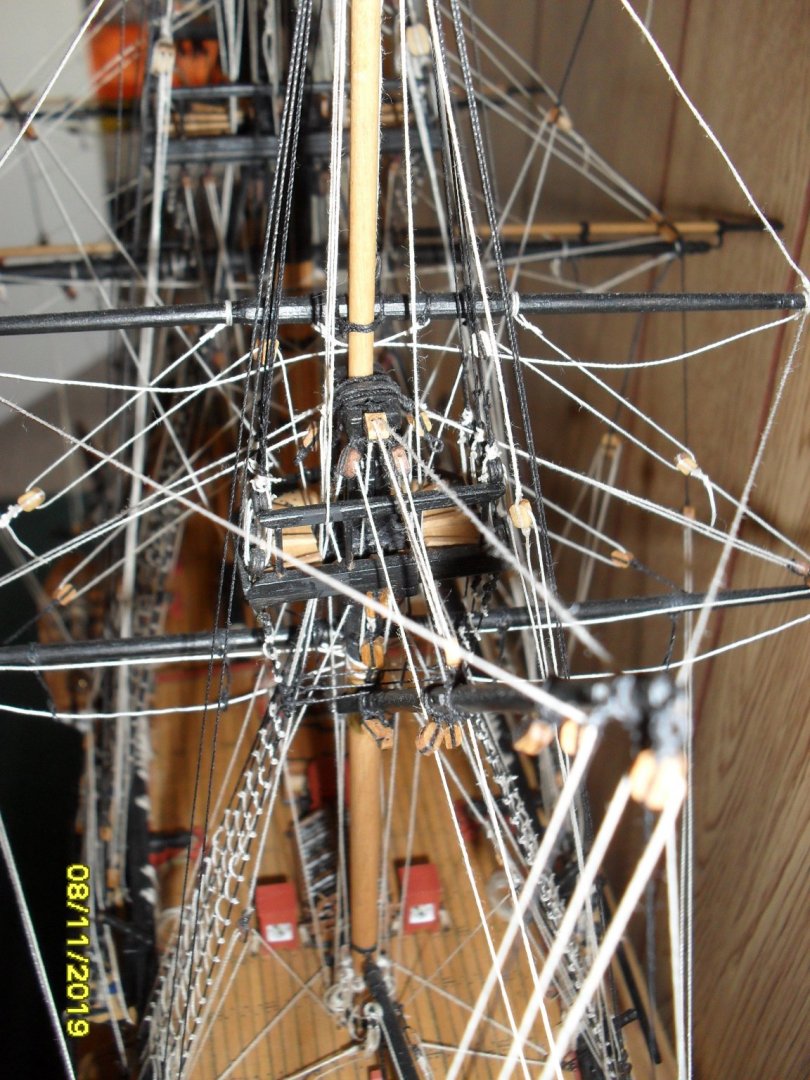
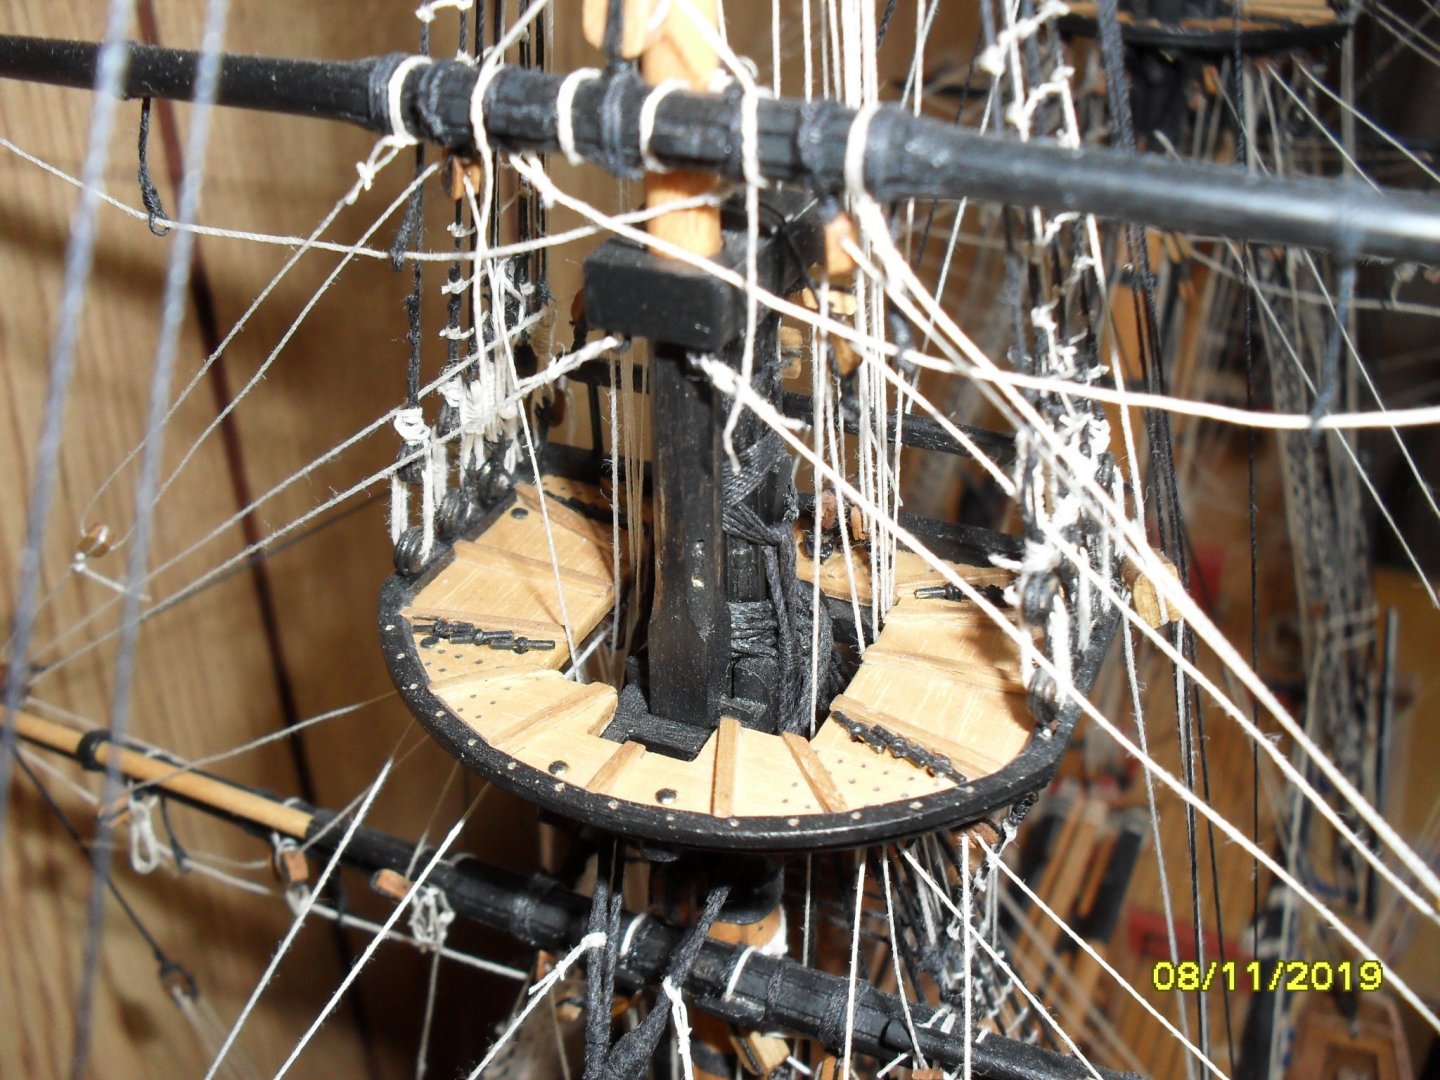
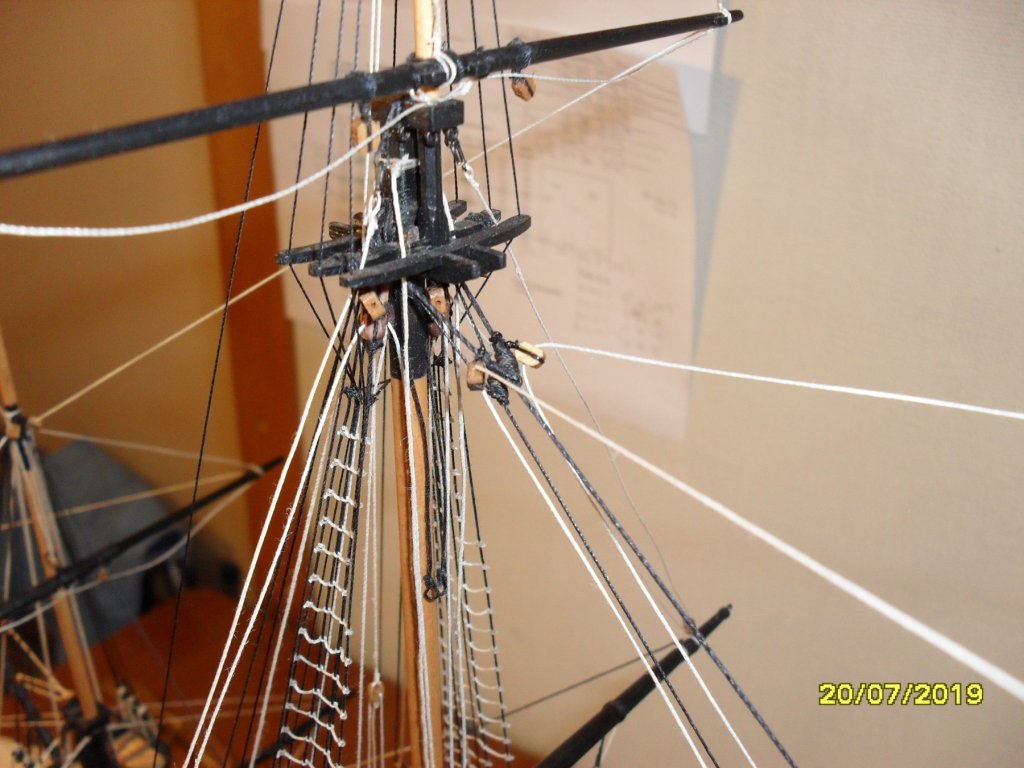
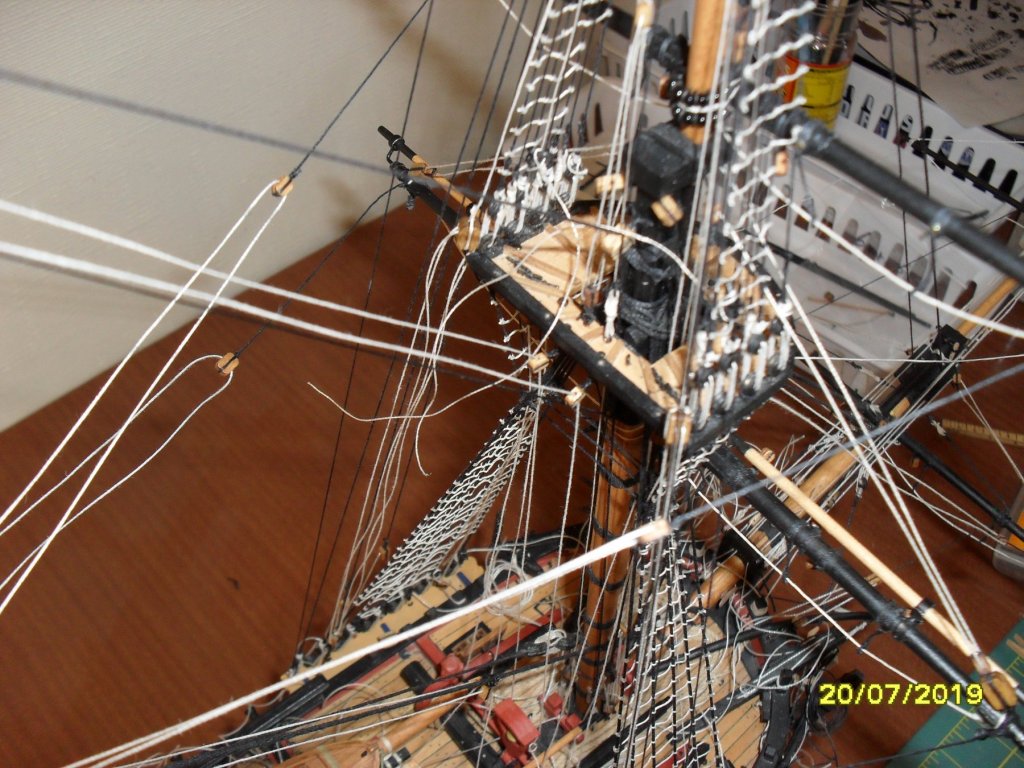
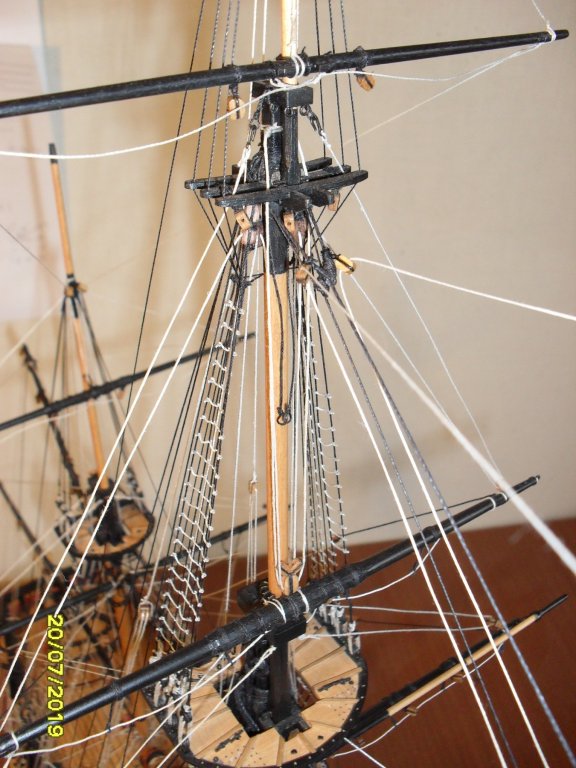
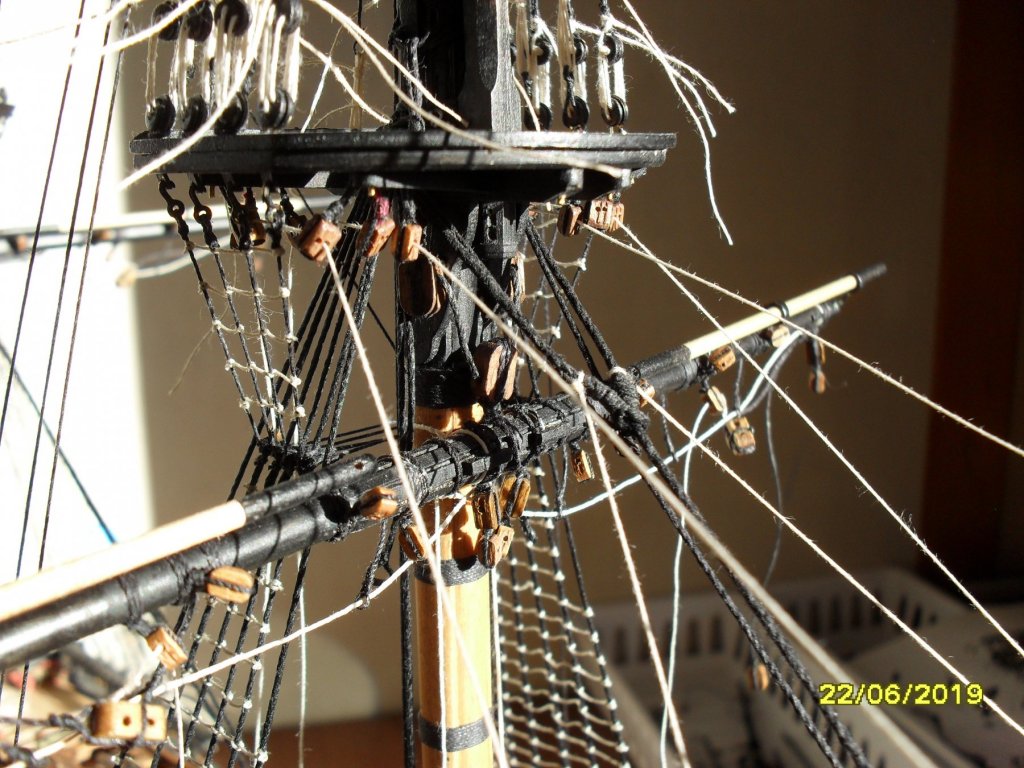
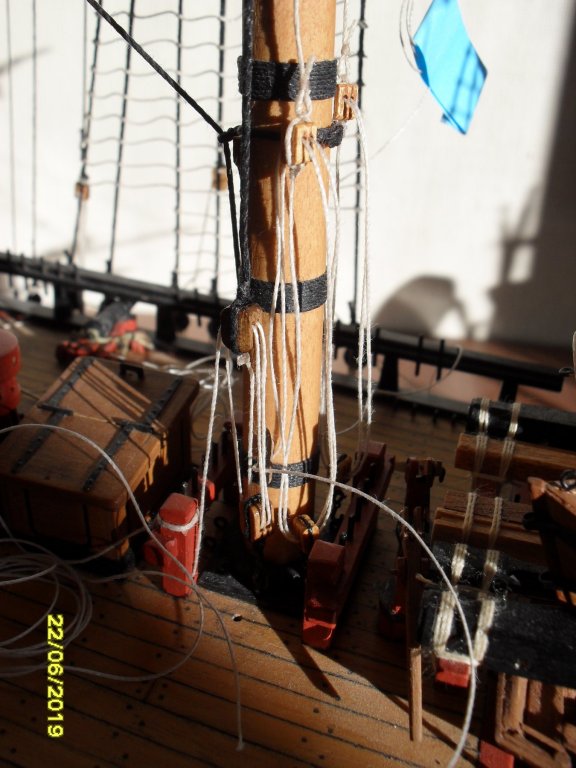
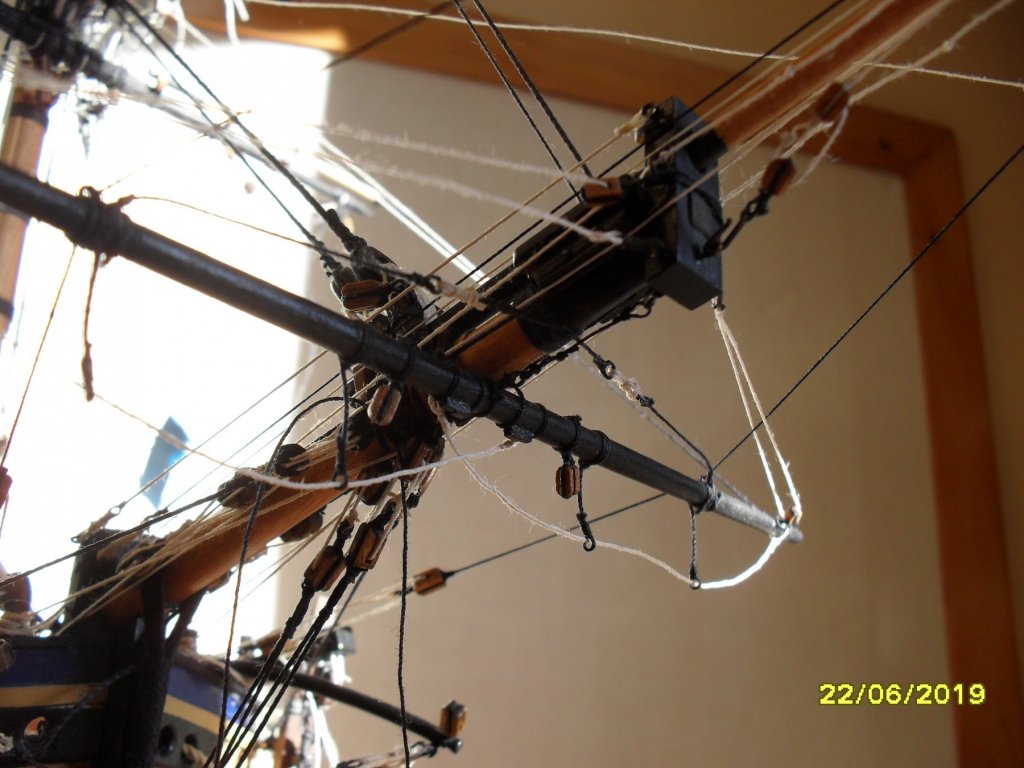
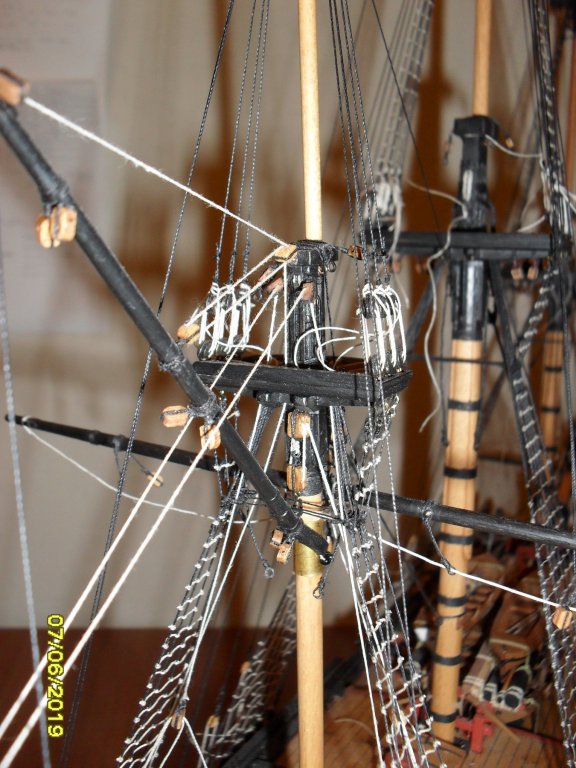
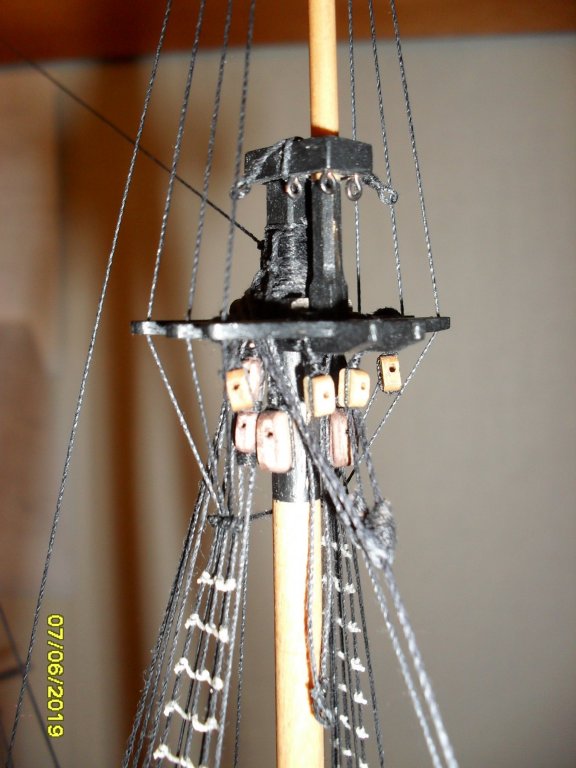
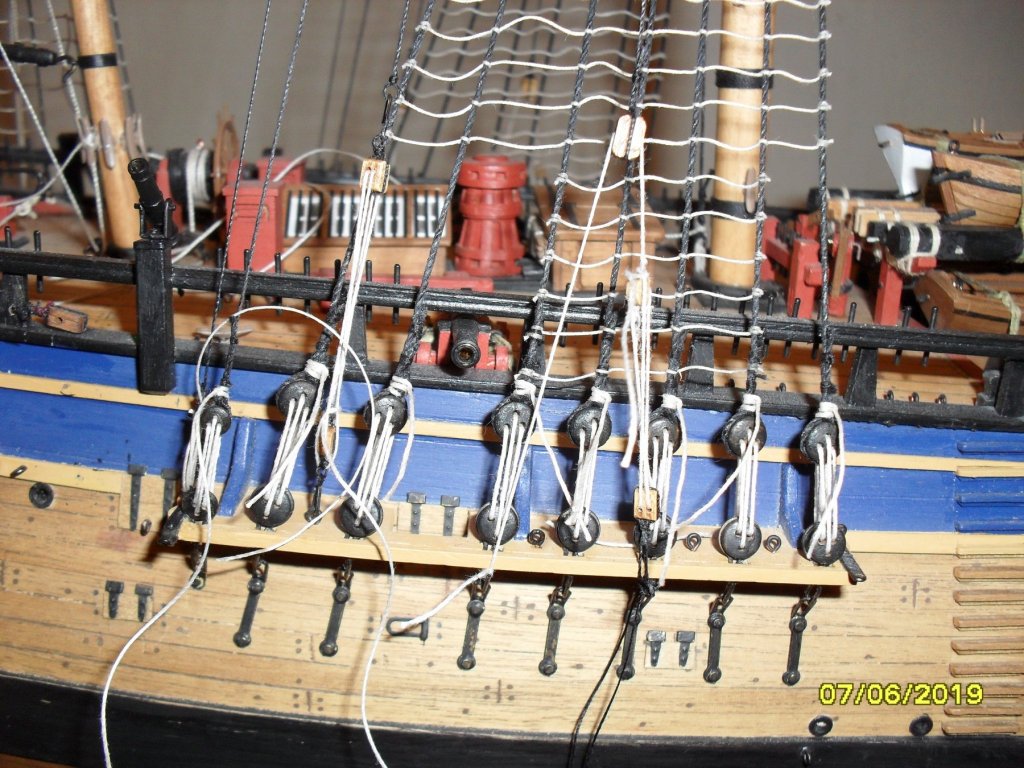
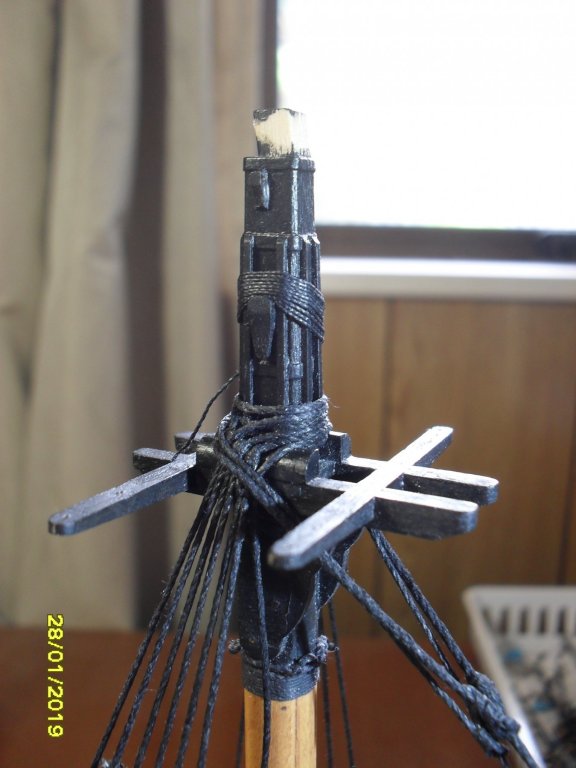
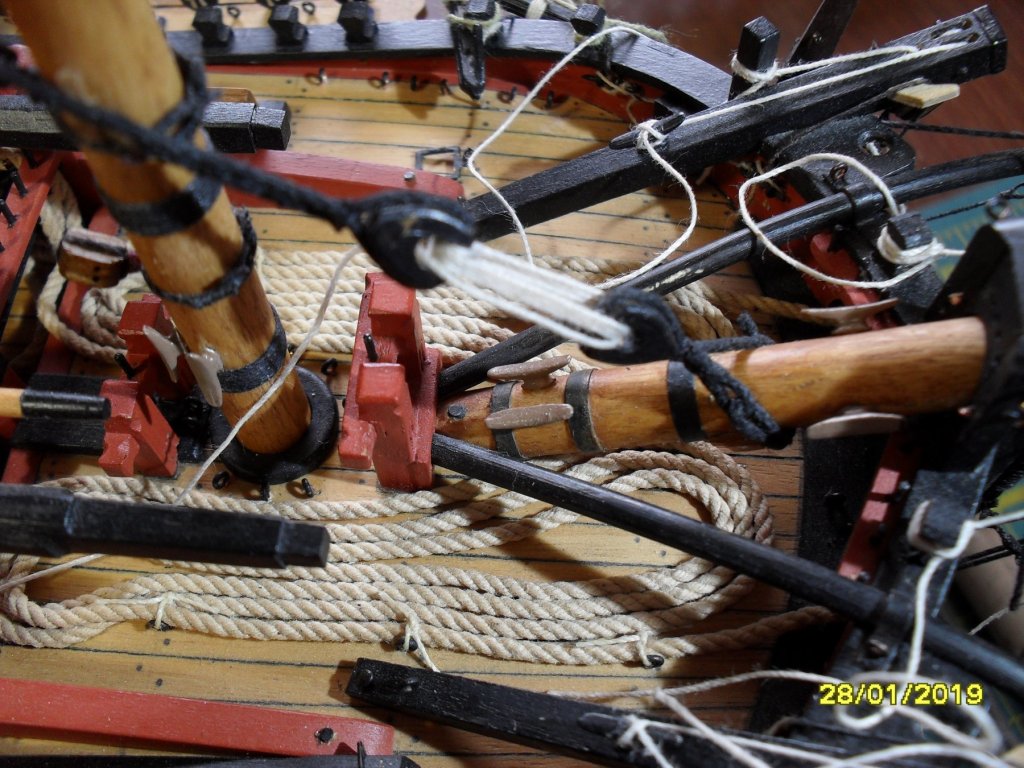
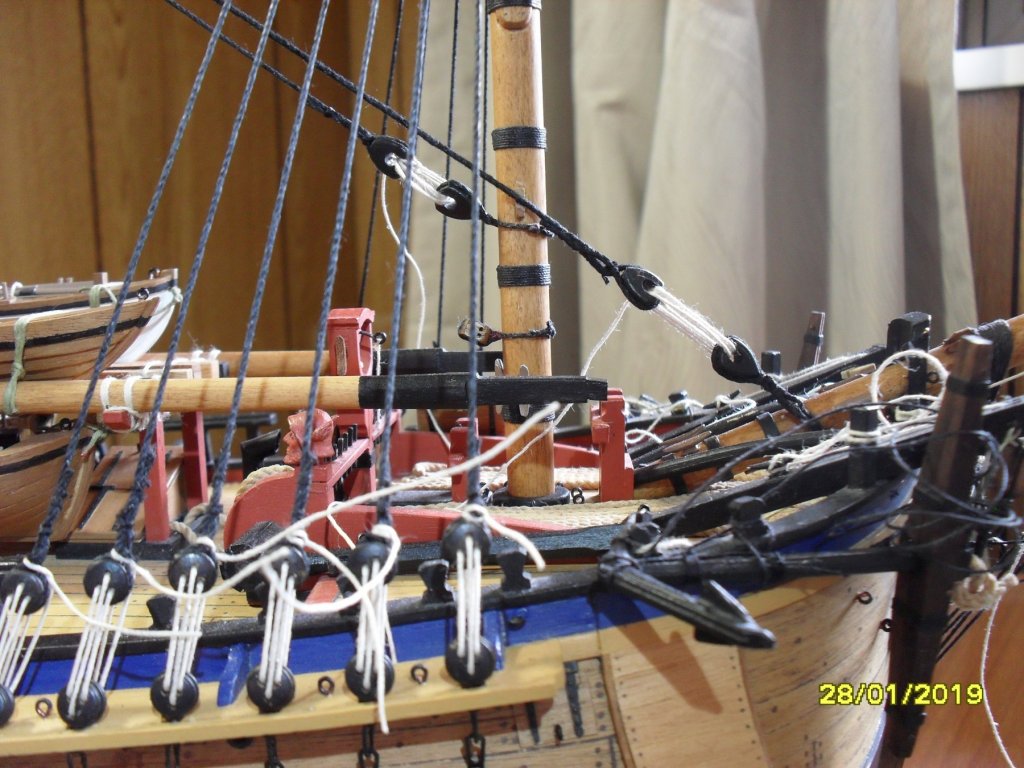
Thanks for the likes, and thanks Sam, do you have a build log for your Bounty? Updates: Jeer blocks and Corrections. Jeer blocks: Here are the photos showing the re run of the stays around the head [as stated in previous post] along with the first jeer block lashed to the head. The strapping for the jeer block according to Steel is 5" so used 0.75 black thread doubled and made it's length 1 fathom [6ft] so the blocks sit at a nice height below the stays and above the yard. The lashing around the mast is 3" and 28 fathoms long or 14 fathoms per side until it's used up and well stopped, so used 0.25 caldercraft black cord which wasn't supplied in the kit. I basically clamped the jeer block in position with the strapping eye touch the base of the jeer cleat and held the lashing in place above the opposite cleat with my finger as I passed the cord around keeping it pulled firm and even. I will fix it all in place with diluted white glue when done. Corrections: A major oversight of mine early on was to have the main stay collar too close in to the fore bits which resulted in the preventer stay collar around the fore mast being below the height of the stowed boats which would fowl the mid/main stay sail if used. So moved the main stay collar up the bowsprit to give enough clearance for the preventor stay and mid stay sail. Where the main stay passes the fore mast was exactly on the preventor collar cleat so filed an angle groove for the stay to rest in. Fortunately I used white glue for the collar cleats so used water to soften the glue and cleanly removed them from the mast for repositioning. Main and fore shrouds: Before adding the jeer blocks I thought it best to review my lower rigging as I don't want to be removing them. I wasn't comfortable with the first top mast standing back stay on a large dead eye and the after standing back stay on a small dead eye on the channels, when they are both the same size rope. It seems more likely with the dead eye configuration that there was only one pair of standing back stays for the top masts on the small dead eye at the aft end of the channel, because in addition to these on the topmasts there are the breast back stay and shifting or 'weather back stay' as Cook refers to it, which still leaves 3 pair of top mast back stays. Endeavour did have problems with the top mast back stays. The sheer plan of the 'Wasp 1812 in the National Maritime Museum' http://collections.rmg.co.uk/collections/objects/84386.html which is close in size to Endeavour, seems to bear this configuration out with one pair of standing back stays for the topmasts and two pair of standing back stays to thimbles for the top gallant masts [which I will do]. So have added the extra shrouds to the fore and main masts on the large deadeyes as can be seen. Cheers dashi


-
Thanks for the likes and kind comments. For me it's very much 2 steps forward and 1 step backward because not only am I making more mistakes (like accidentally cutting my main stay in half... eyes not so good some days) It's a very steep learning curve for me also as I'm slowly getting familiar with Steel and Lever and having to re do a lot of my earlier work. So Dave I think you might cross the finish before me and Thunder that's very kind of you, but please don't take what I've done or written to be correct as I may have mistakenly misinterpreted, or overlooked something. Currently I'm redoing the blocks that hang under the tops inline with the replica top photo Dave provided on his build log, which accords with Steel's discriptions. And whilst looking at the replica and Victory tops noticed I had the stays wrong around the head's so a simple fix to correct. I'll post some pics soon I hope. Cheers dashi