JRW1970
-
Posts
12 -
Joined
-
Last visited
Recent Profile Visitors
761 profile views


-
 Ron B reacted to a post in a topic:
Bluenose by JRW1970 - Model Shipways - Kit #2130 - 1:64
Ron B reacted to a post in a topic:
Bluenose by JRW1970 - Model Shipways - Kit #2130 - 1:64
-
Elijah reacted to a post in a topic:
Bluenose by Worldway - Model Shipways - Scale 1:64
-
Elijah reacted to a post in a topic:
Bluenose by Worldway - Model Shipways - Scale 1:64
-
 Thanks for the heads up Derek. Studying the plans more carefully now. Wonder why less scuppers on one side?
 -
Looking good mate, I particularly like your scuppers and the approach you took in making them. I am going to do this for mine as I am at the same stage as you now. One question did you gang port and starboard planks together to get a consistent result and if so was there any probs doing it that way. Just looking out for pitfalls.
-
JRW1970 reacted to a post in a topic:
Bluenose by Nirvana - Model Shipways - Scale 1:64
-
Nirvana reacted to a post in a topic:
Bluenose by Worldway - Model Shipways - Scale 1:64
-
mrshanks reacted to a post in a topic:
Bluenose by JRW1970 - Model Shipways - Kit #2130 - 1:64
-
Tigersteve reacted to a post in a topic:
Bluenose by JRW1970 - Model Shipways - Kit #2130 - 1:64
-
Tigersteve reacted to a post in a topic:
Bluenose by JRW1970 - Model Shipways - Kit #2130 - 1:64
-
Looking very nice Derek, much better than my quarter deck. I too struggle/ed with the nibbing and will apply tinted putty in the gaps and try to blend everything together with a little stain.
-
JRW1970 reacted to a post in a topic:
Bluenose by Nirvana - Model Shipways - Scale 1:64
-
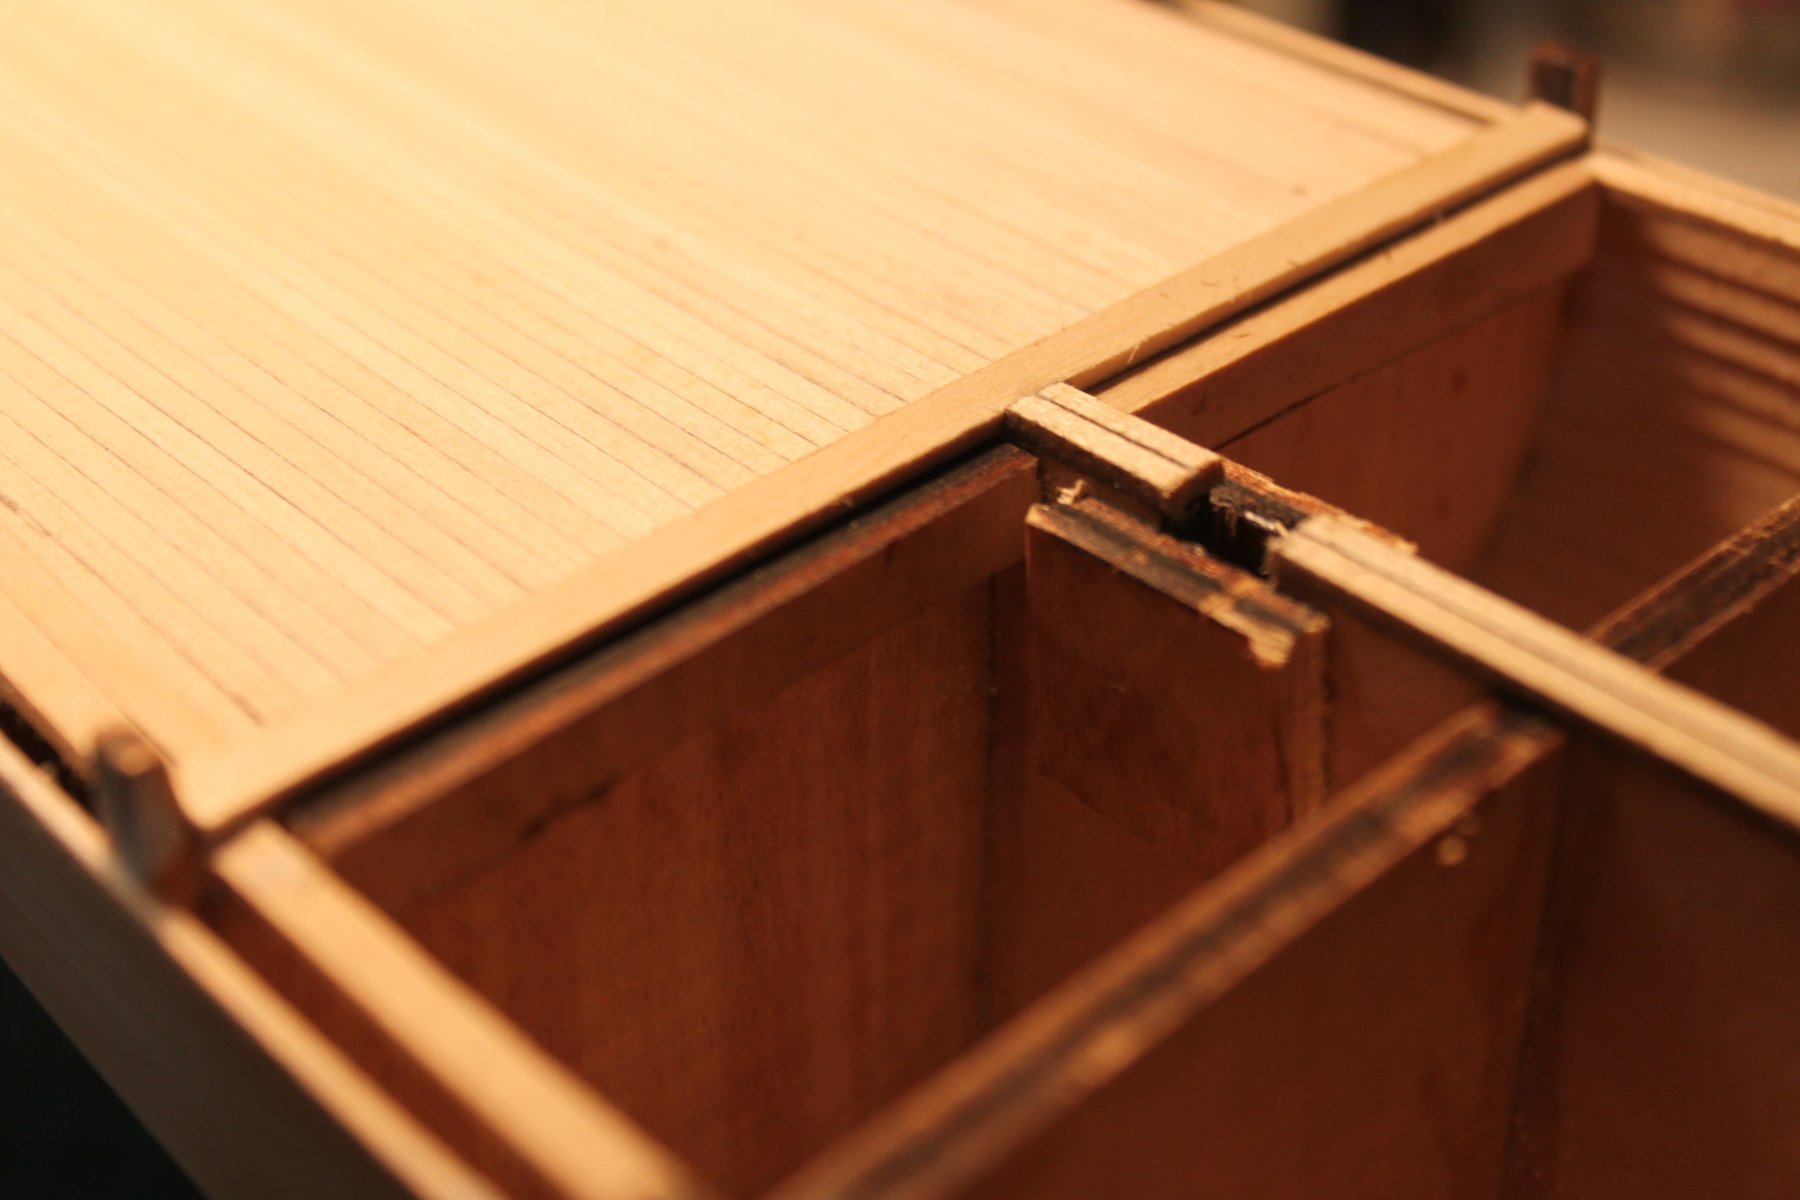
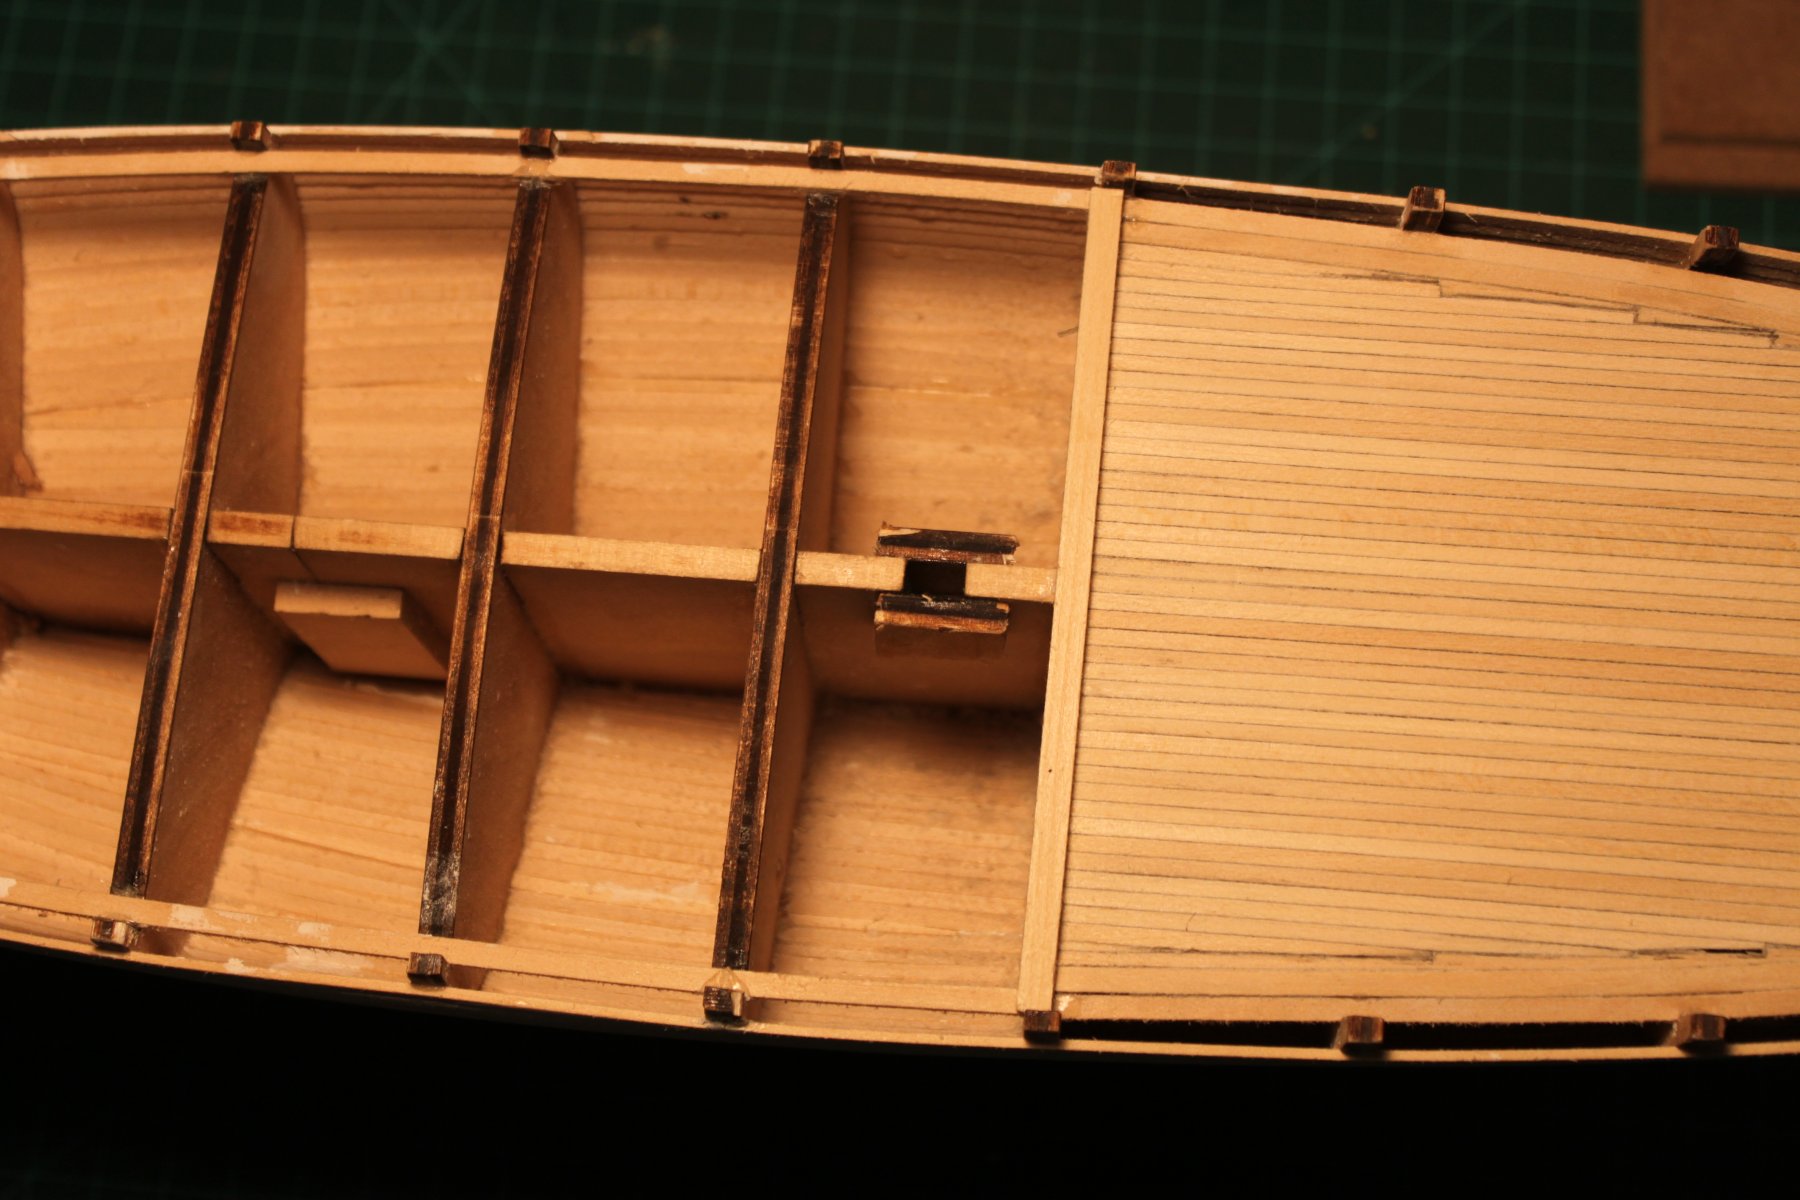
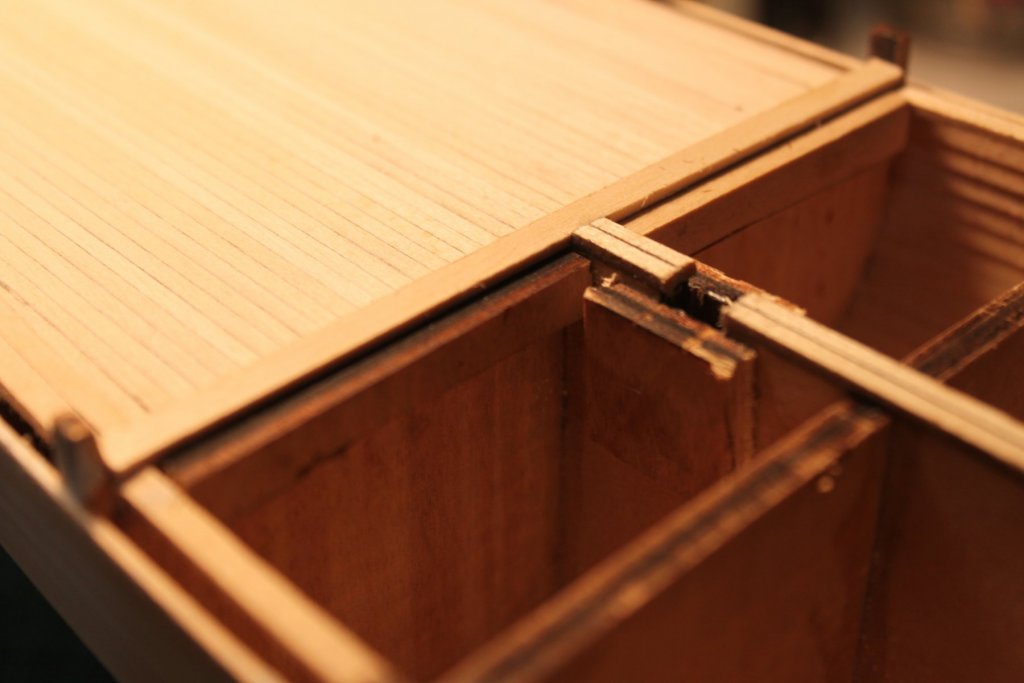
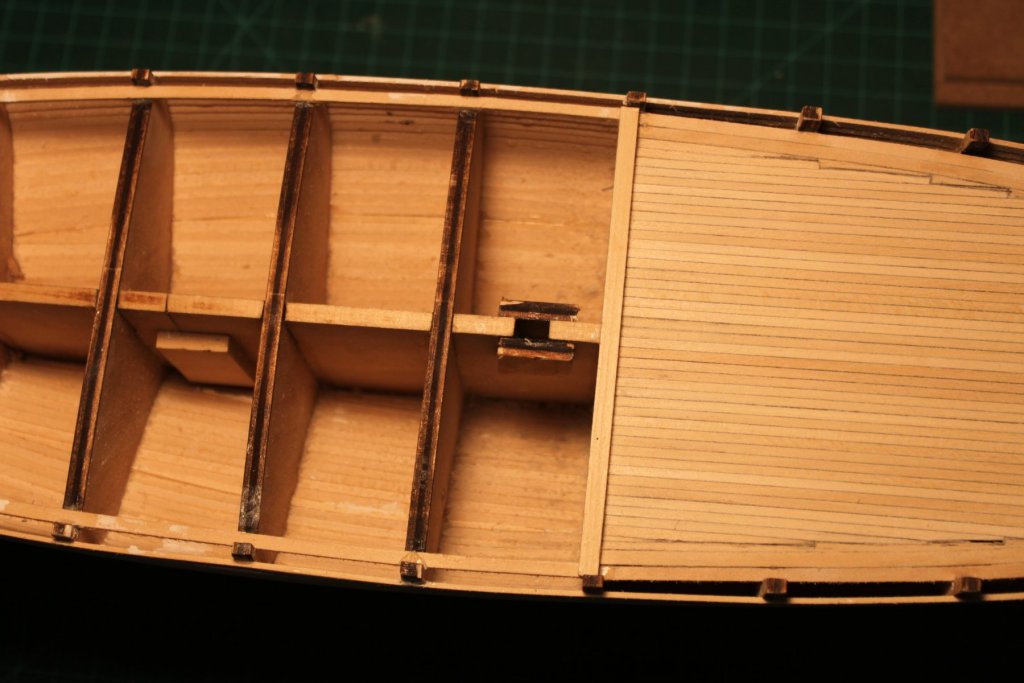
Greetings Shipmates, thanks for the views and likes. It certainly helps a beginner like me to stay focused and not get discouraged knowing that someone took the time to read my posts, seeing there are so many other better, completed or whatever Bluenose builds on here or to get lost amongst the other great builds. Chapter 4 the planking of the quarter deck is now complete. I had a few problems with the plank tapering but I think overall it went well. After the mast pieces had dried i installed the great beam and once the two centre planks had been laid down the centre of the keel I decided to add two ply offcuts level with the deck so the installed beams would be flush with the great beam as I was concerned about no support being there for the decking and that it would sag over time or would make it difficult to keep level especially when sanding the deck. Again I had problems with the nibbing. Maybe I am not meant to be a nibber! Once the whole deck had been installed it was sanded through the grits starting with 80 grit and finishing with 320 grit. I will putty with tinted filler both decks and re-sand, then stain them both to hopefully blend everything in. I still have a little bit of work to do (as stated above) before starting chapter 5, however I have to shut the shipyard down for 5 weeks whilst I go on family holidays to Hawaii, New York, Washington, Orlando Disneyland, a Disney Caribbean cruise and San Francisco then back to Australia and work to pay off the credit cards! Hopefully I will get to a few hobby shops whilst there to sample the wares. Any suggestions guys and gals? Onto the pictures. Great beam added. Mast supports added 2 ply ledges added so that the decking will be level with the great beam and not sag Tapered decking installed Nibbing deck installed Sanded through the grits to 320


-
Thanks for the tip Steve will keep it in mind.
-
JRW1970 reacted to a post in a topic:
Soleil Royal by Hubac's Historian - Heller - An Extensive Modification and Partial Scratch-Build
-
piter56 reacted to a post in a topic:
Bluenose by JRW1970 - Model Shipways - Kit #2130 - 1:64
-
Yours aye,
Jason Wright
Never give up the ship!
Current build:
Bluenose 1/64 - Model Shipways #2130 - Bob Hunt Practicum
Waiting in the shipyard:
Pride of Baltimore 1/64 - Model Shipways #2120- Bob Hunt Practicum
Fair American 1/48 - Model Shipways #2015- Bob Hunt Practicum
Rattlesnake 1/64 - Model Shipways #2028- Bob Hunt Practicum
HMS Victory - Panart #738- Bob Hunt Practicum
Completed builds:
None yet
-
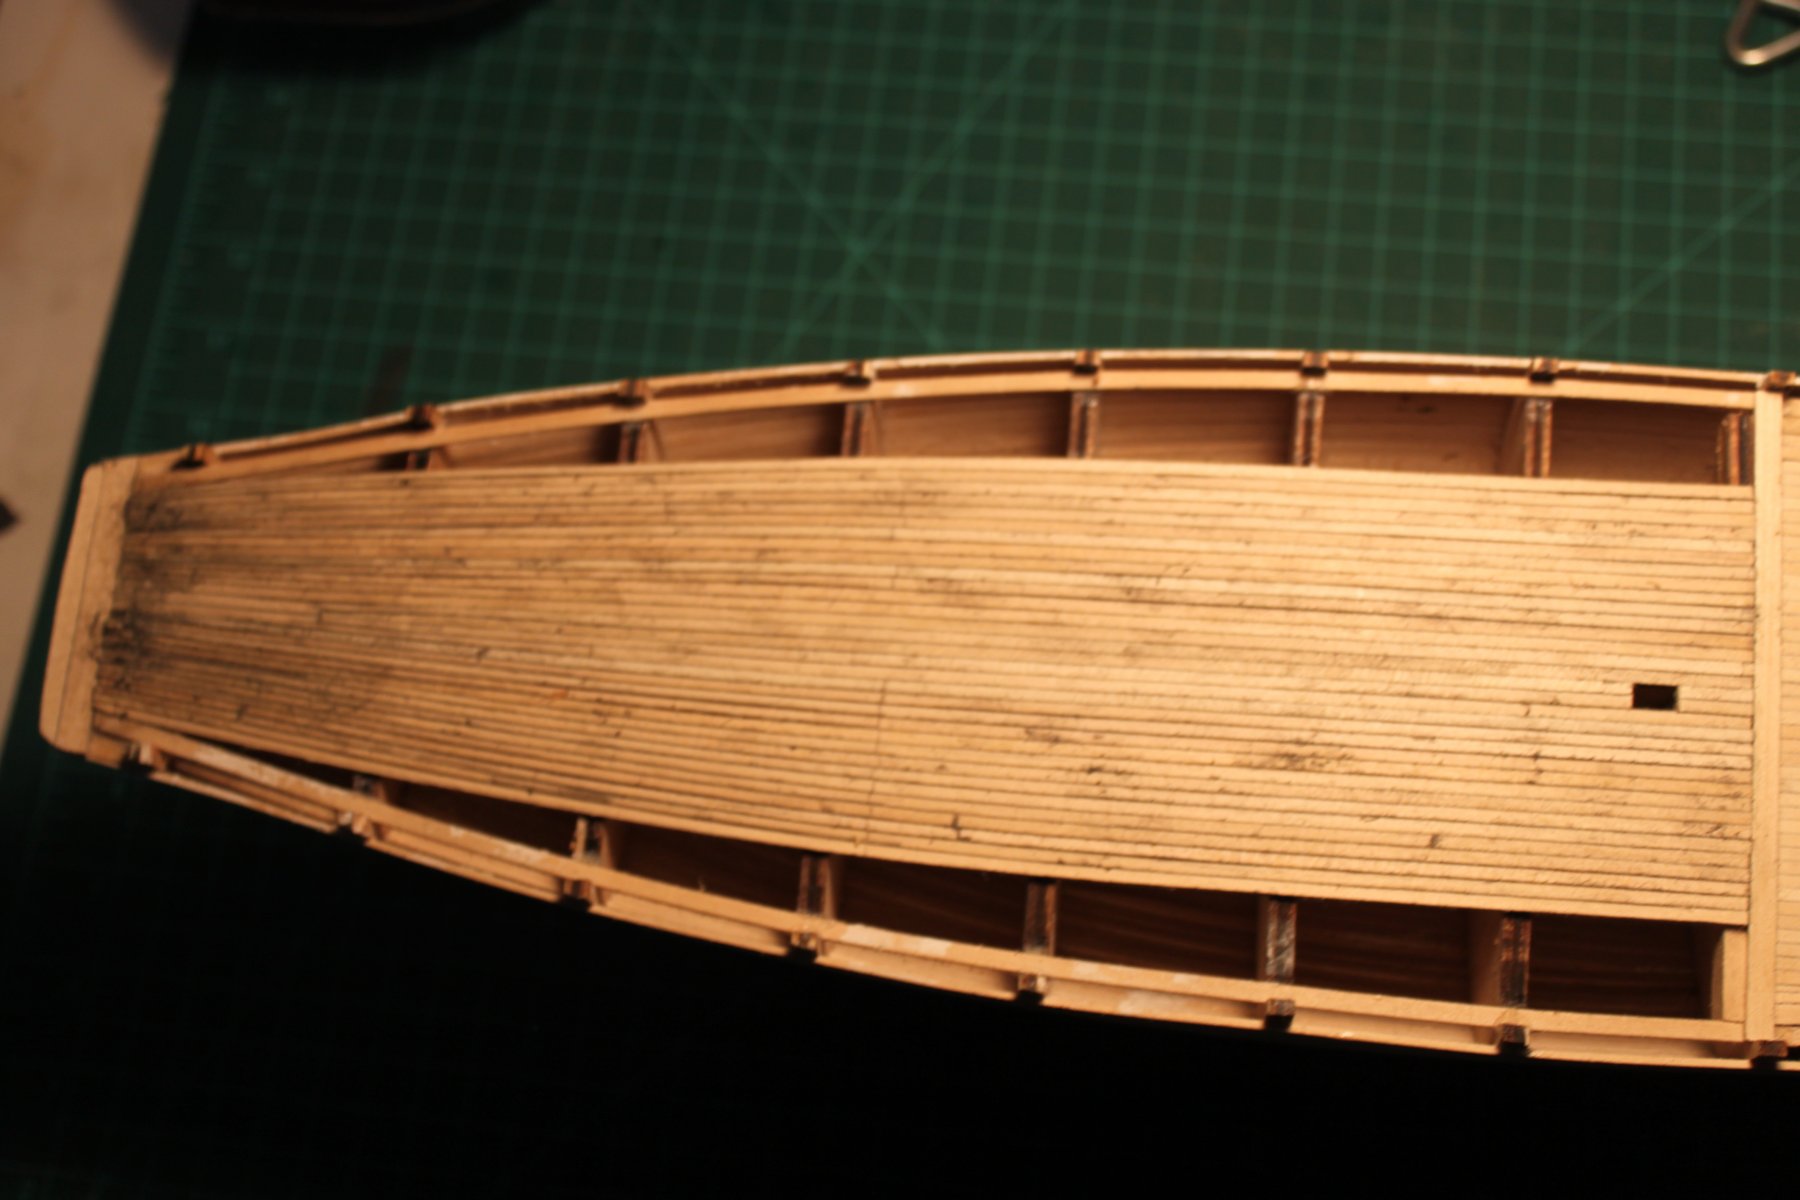
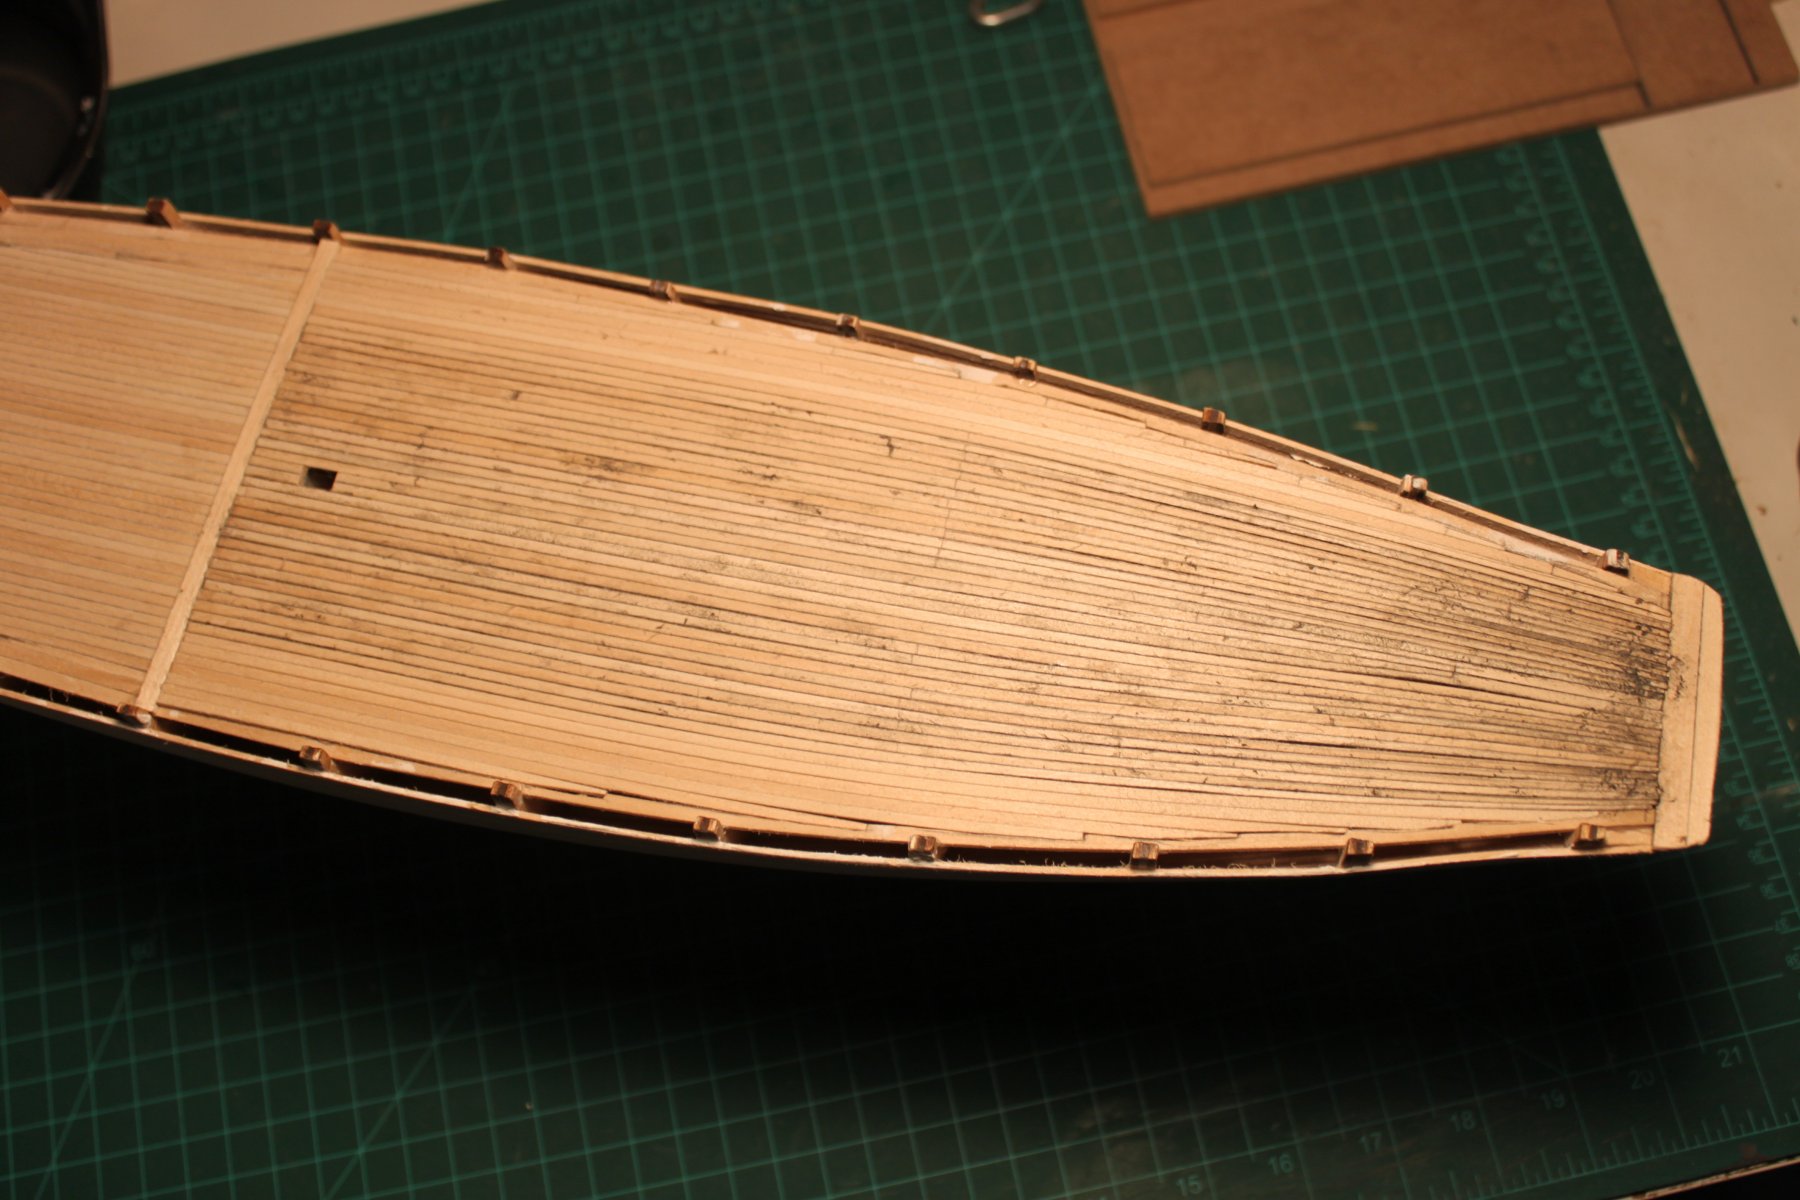
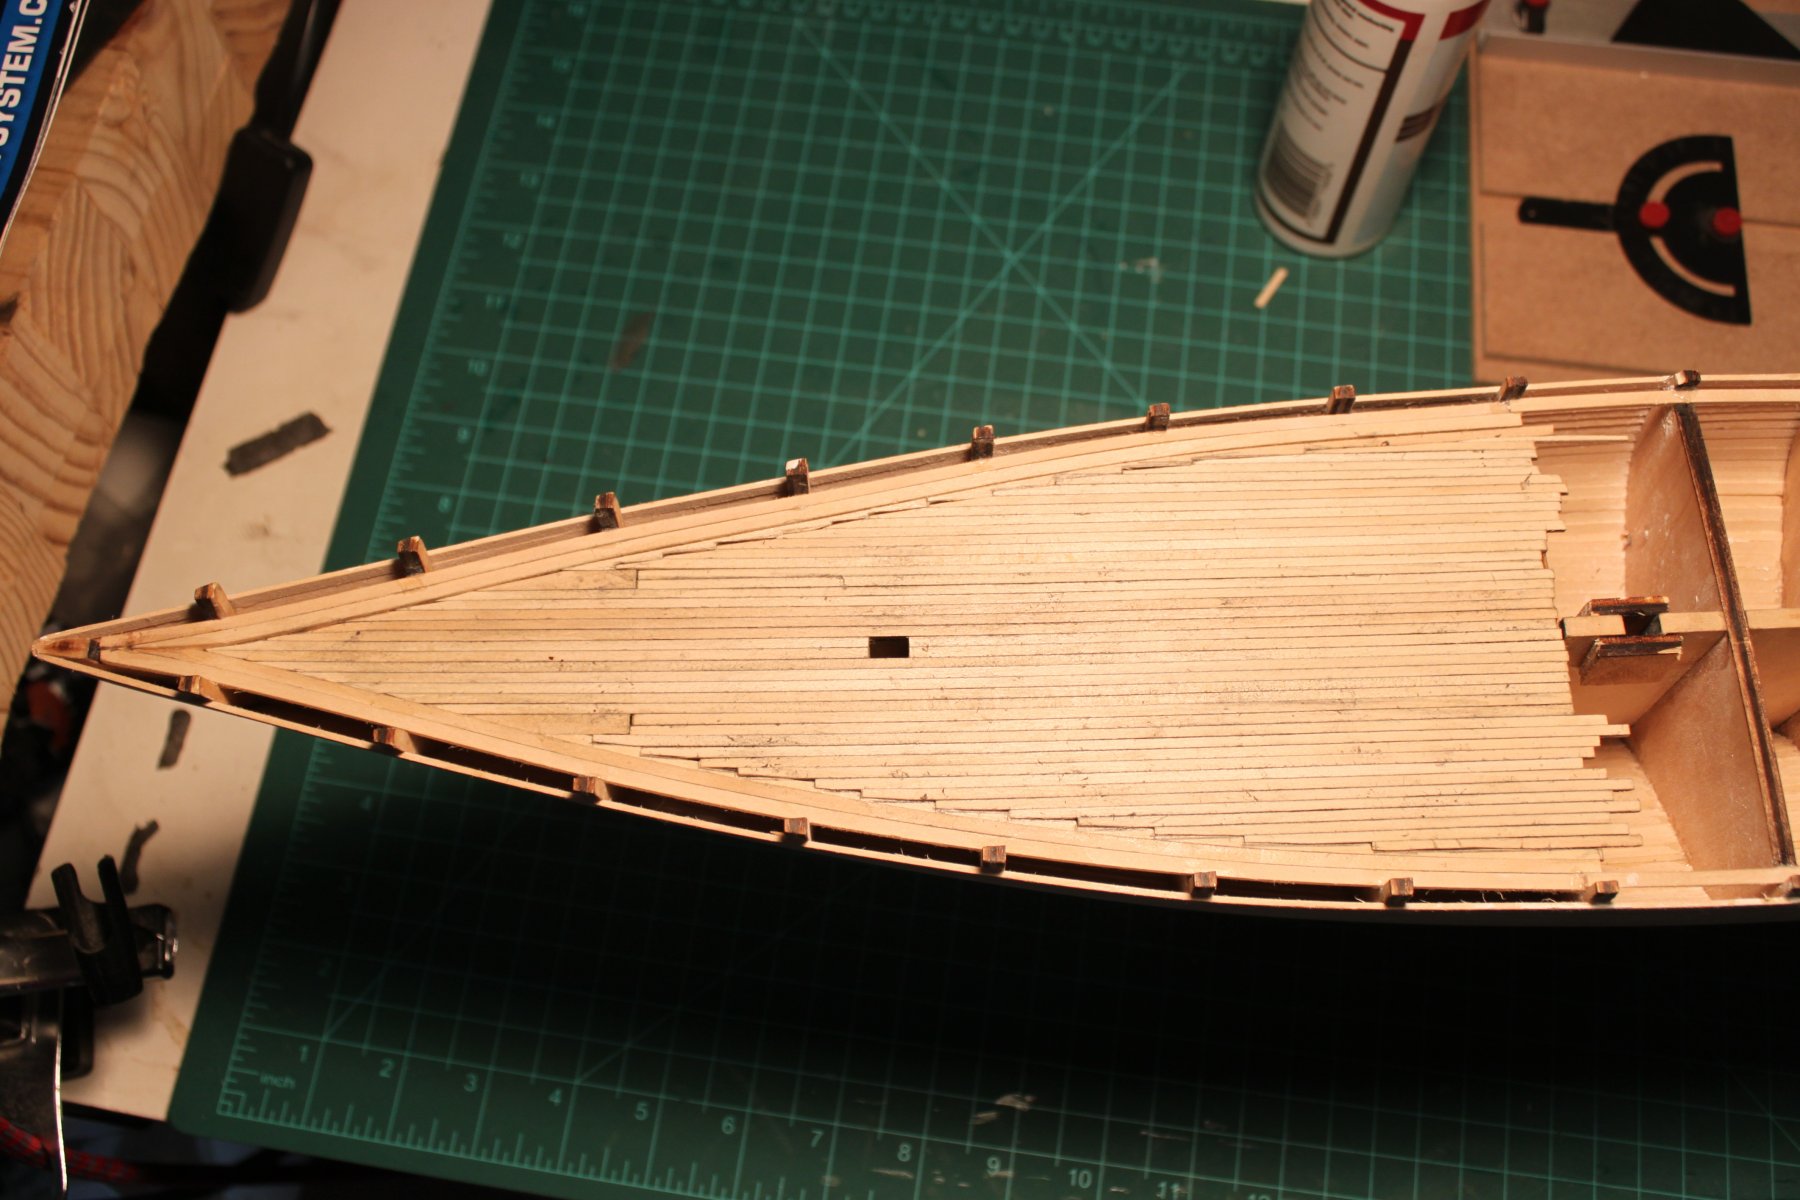
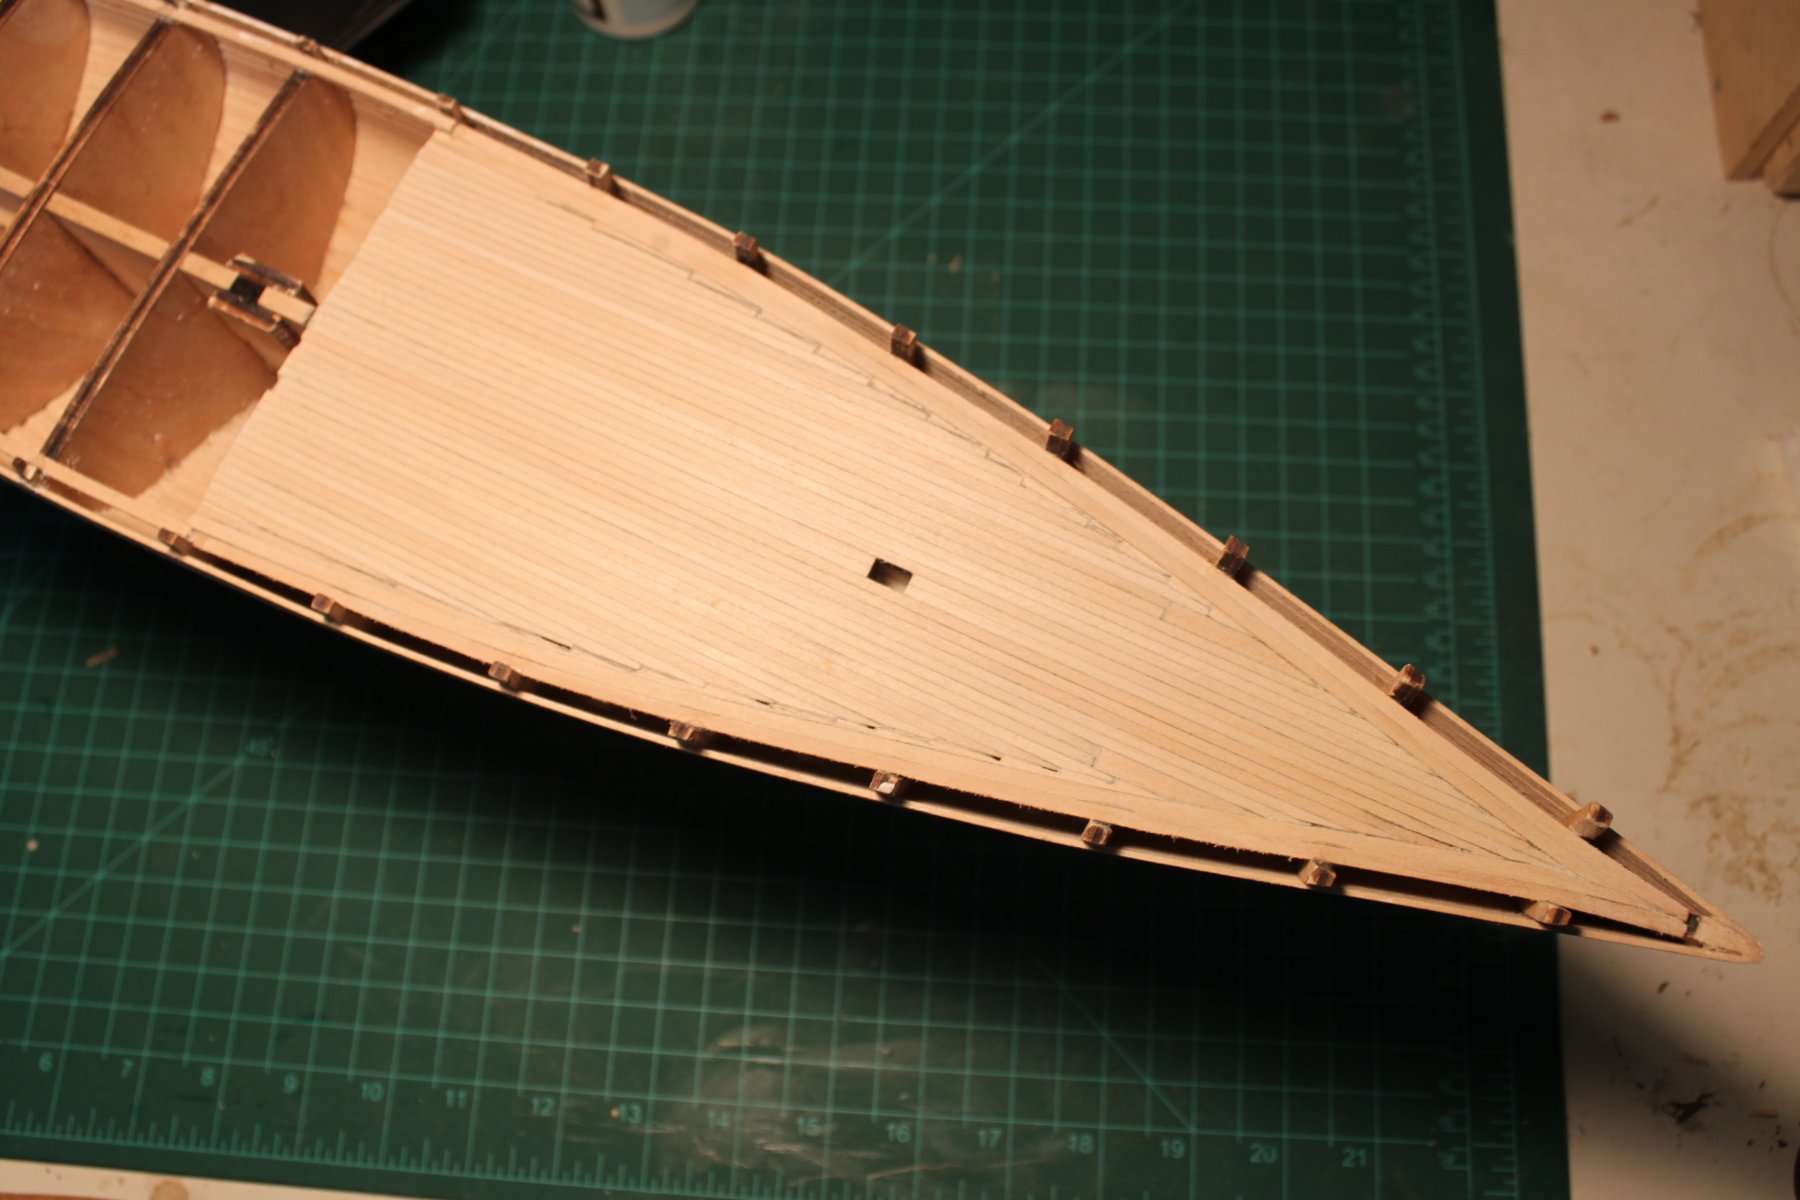
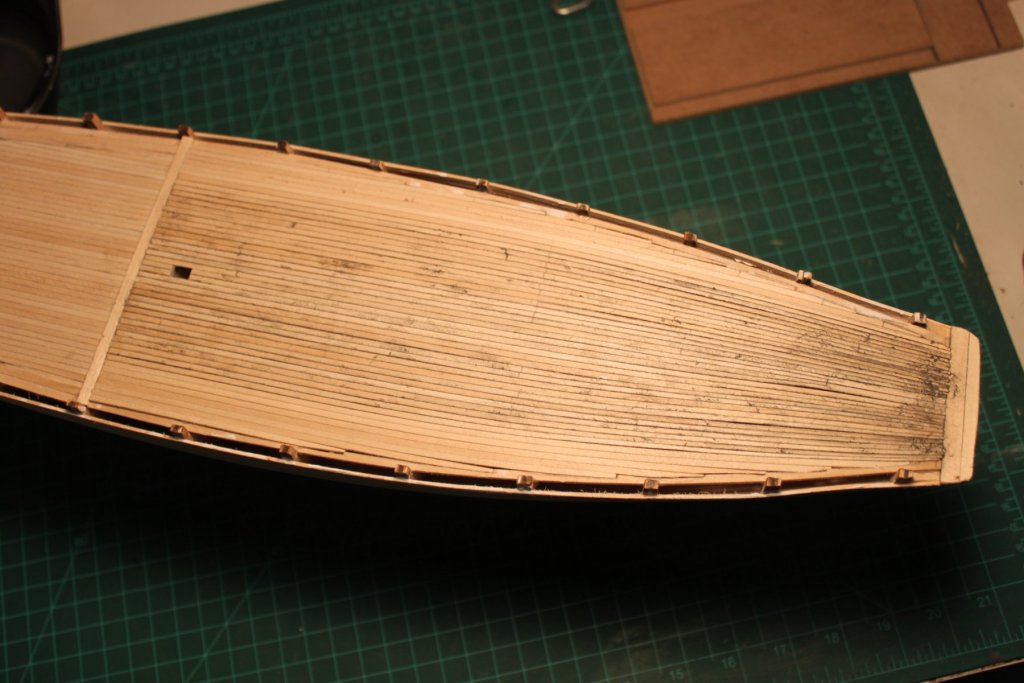
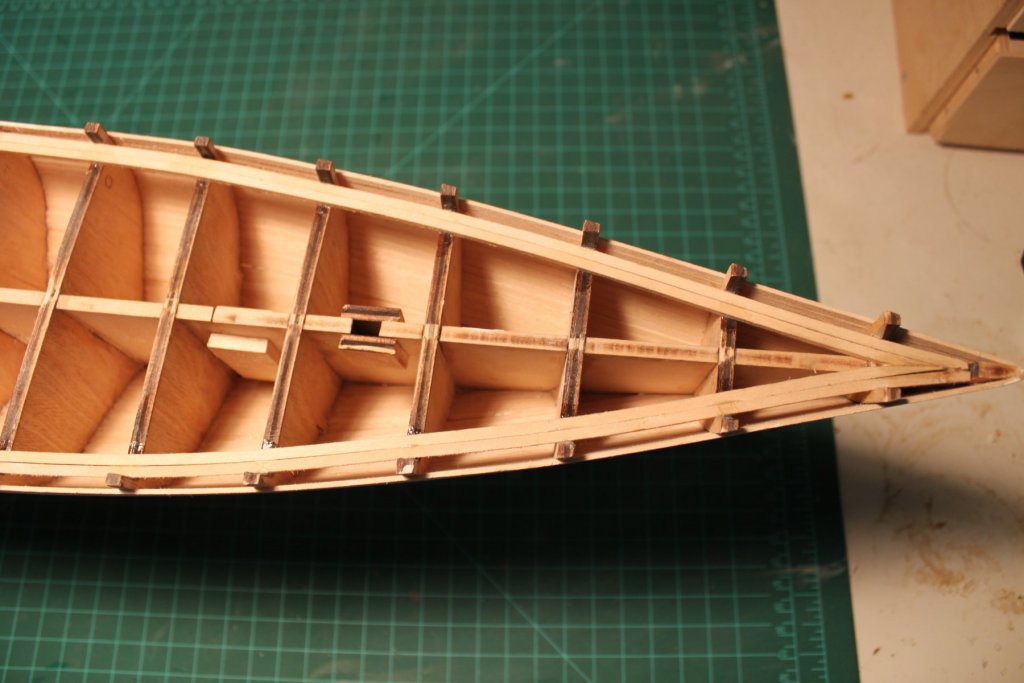
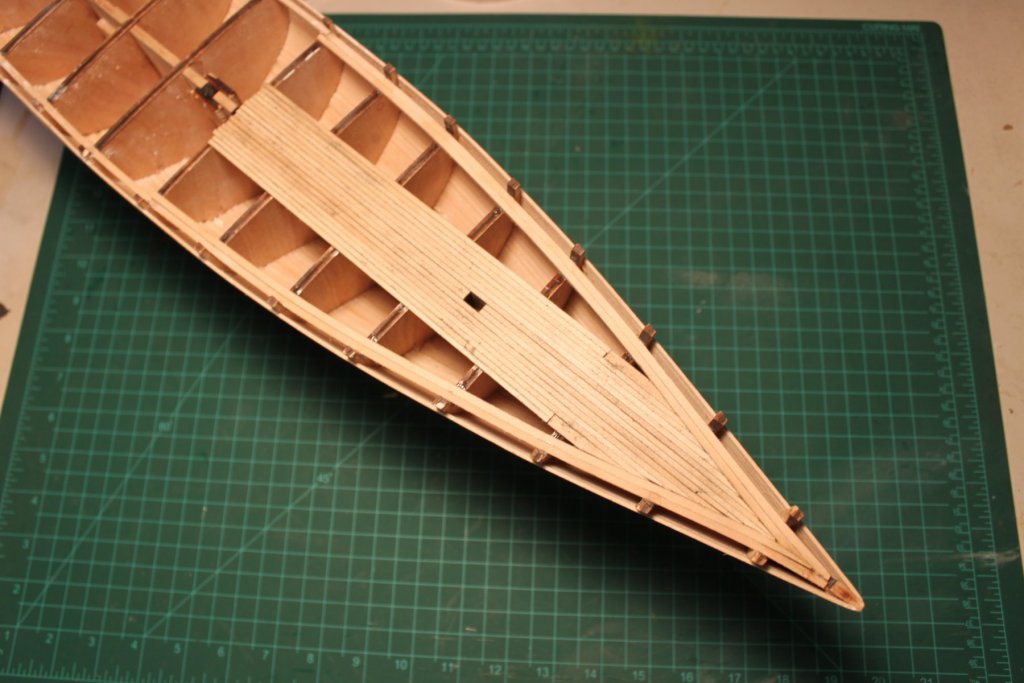
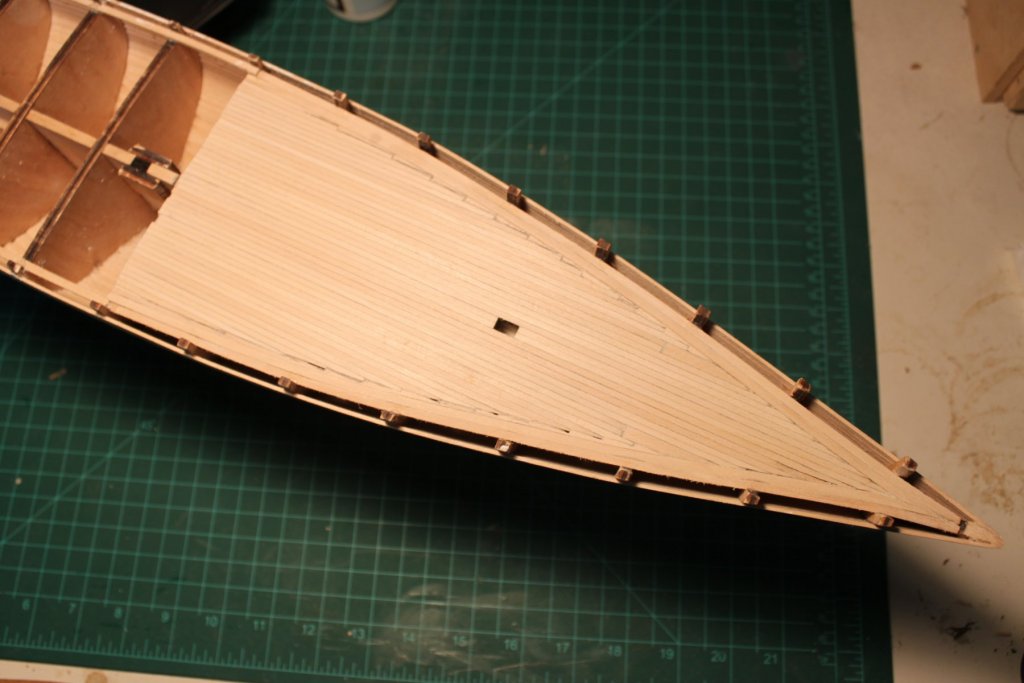
Chapter 3 of the practicum completed. I'm not completely happy with my nibbing planks there are a few minor gaps, the plan is to complete the quarter deck planking and then fix any minor blemishes up with tinted putty and then stain the decks to hopefully blend in and hide anything that might stand out and then hope that the deck furniture, rigging and dories hides the rest. But it has been a good learning curve and if there's one thing I have learned that is to have more patience and dry fit sand dry fit and I really need to learn to take my time, read the instructions, study the plans and read and reread the practicum before cutting any wood! Hopefully all the lessons learnt on chapter 3 will help me with chapter 4 planking the quarterdeck and less filler required later. Onto the pictures. Yours aye, Jason Wright Foredeck state prior to planking commencing 2nd waterway added Straight decking completed Nibbing decking completed Trimmed and sanded through the grits to 32o


-
Elia reacted to a post in a topic:
Bluenose by JRW1970 - Model Shipways - Kit #2130 - 1:64
-
Elia reacted to a post in a topic:
Bluenose by JRW1970 - Model Shipways - Kit #2130 - 1:64
-
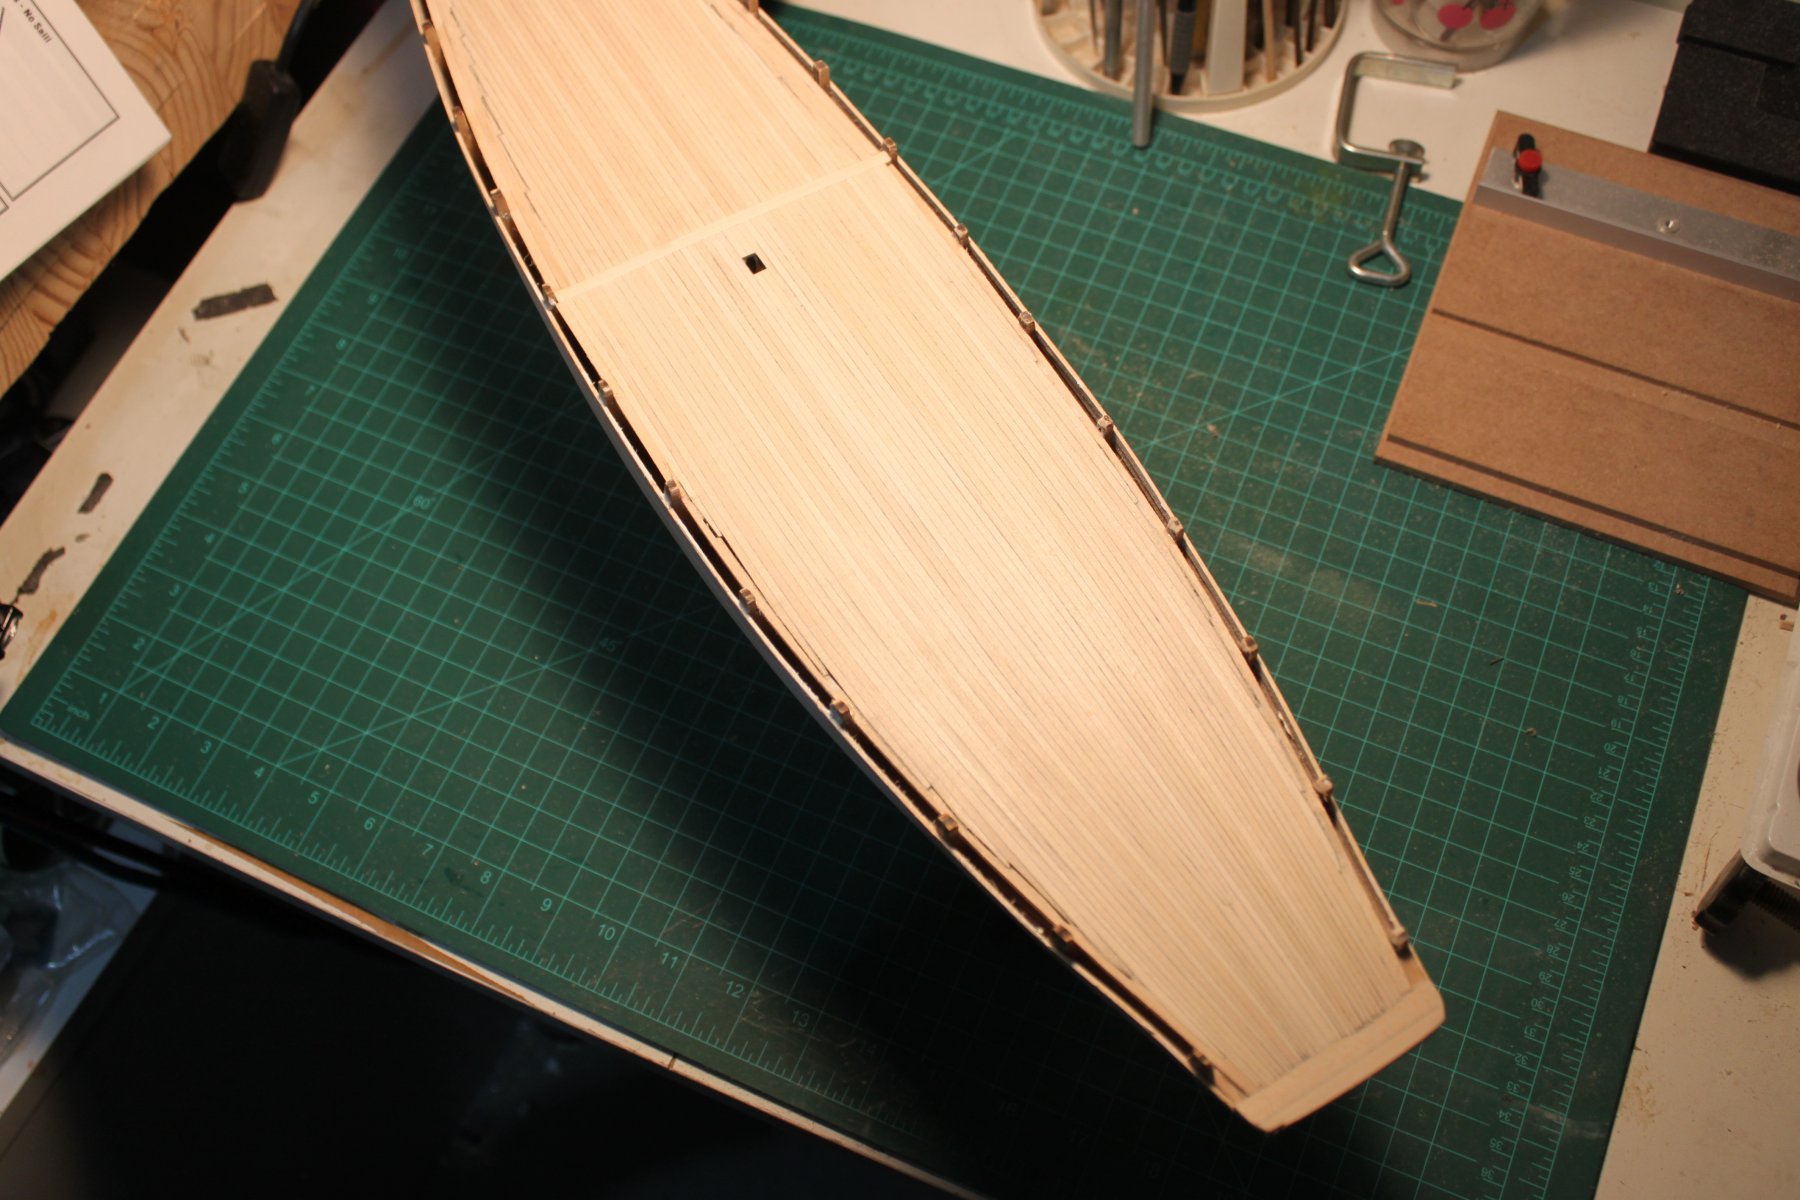
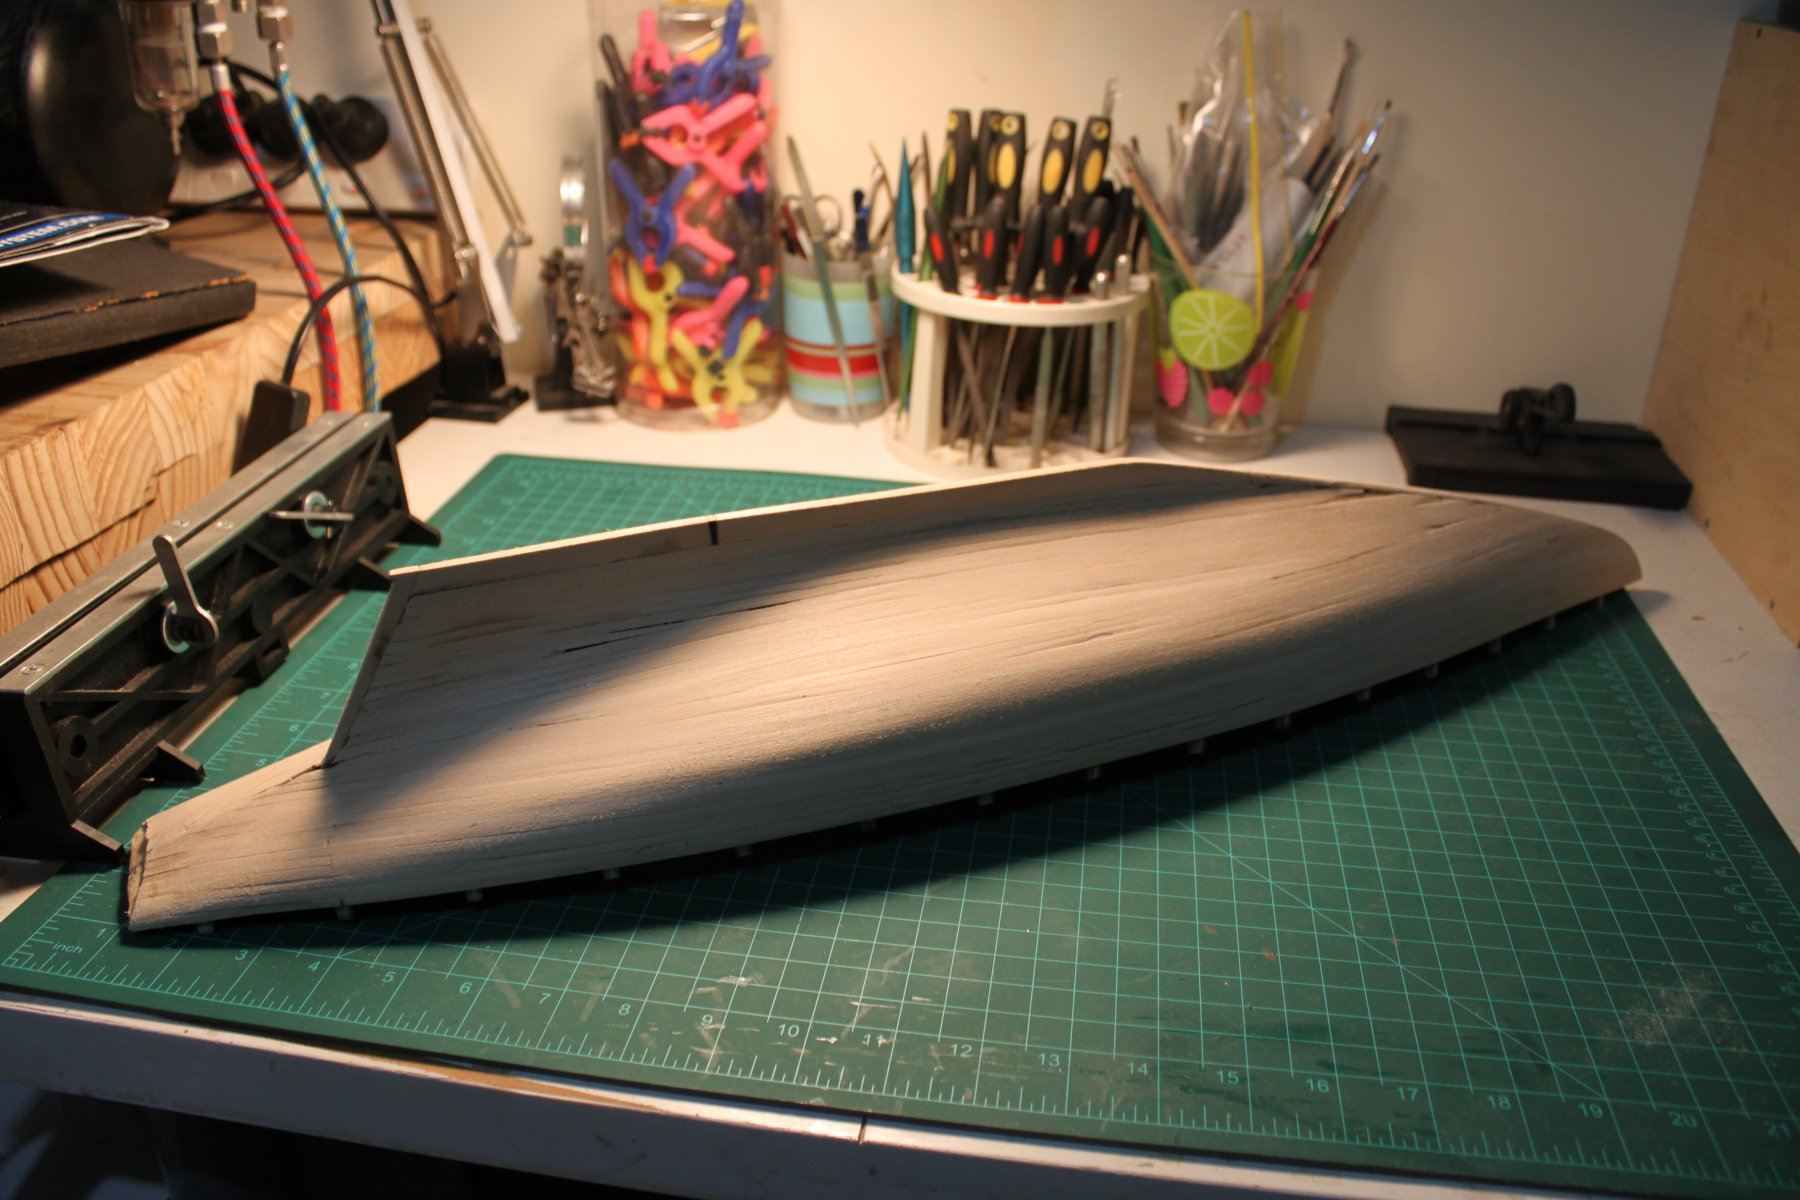
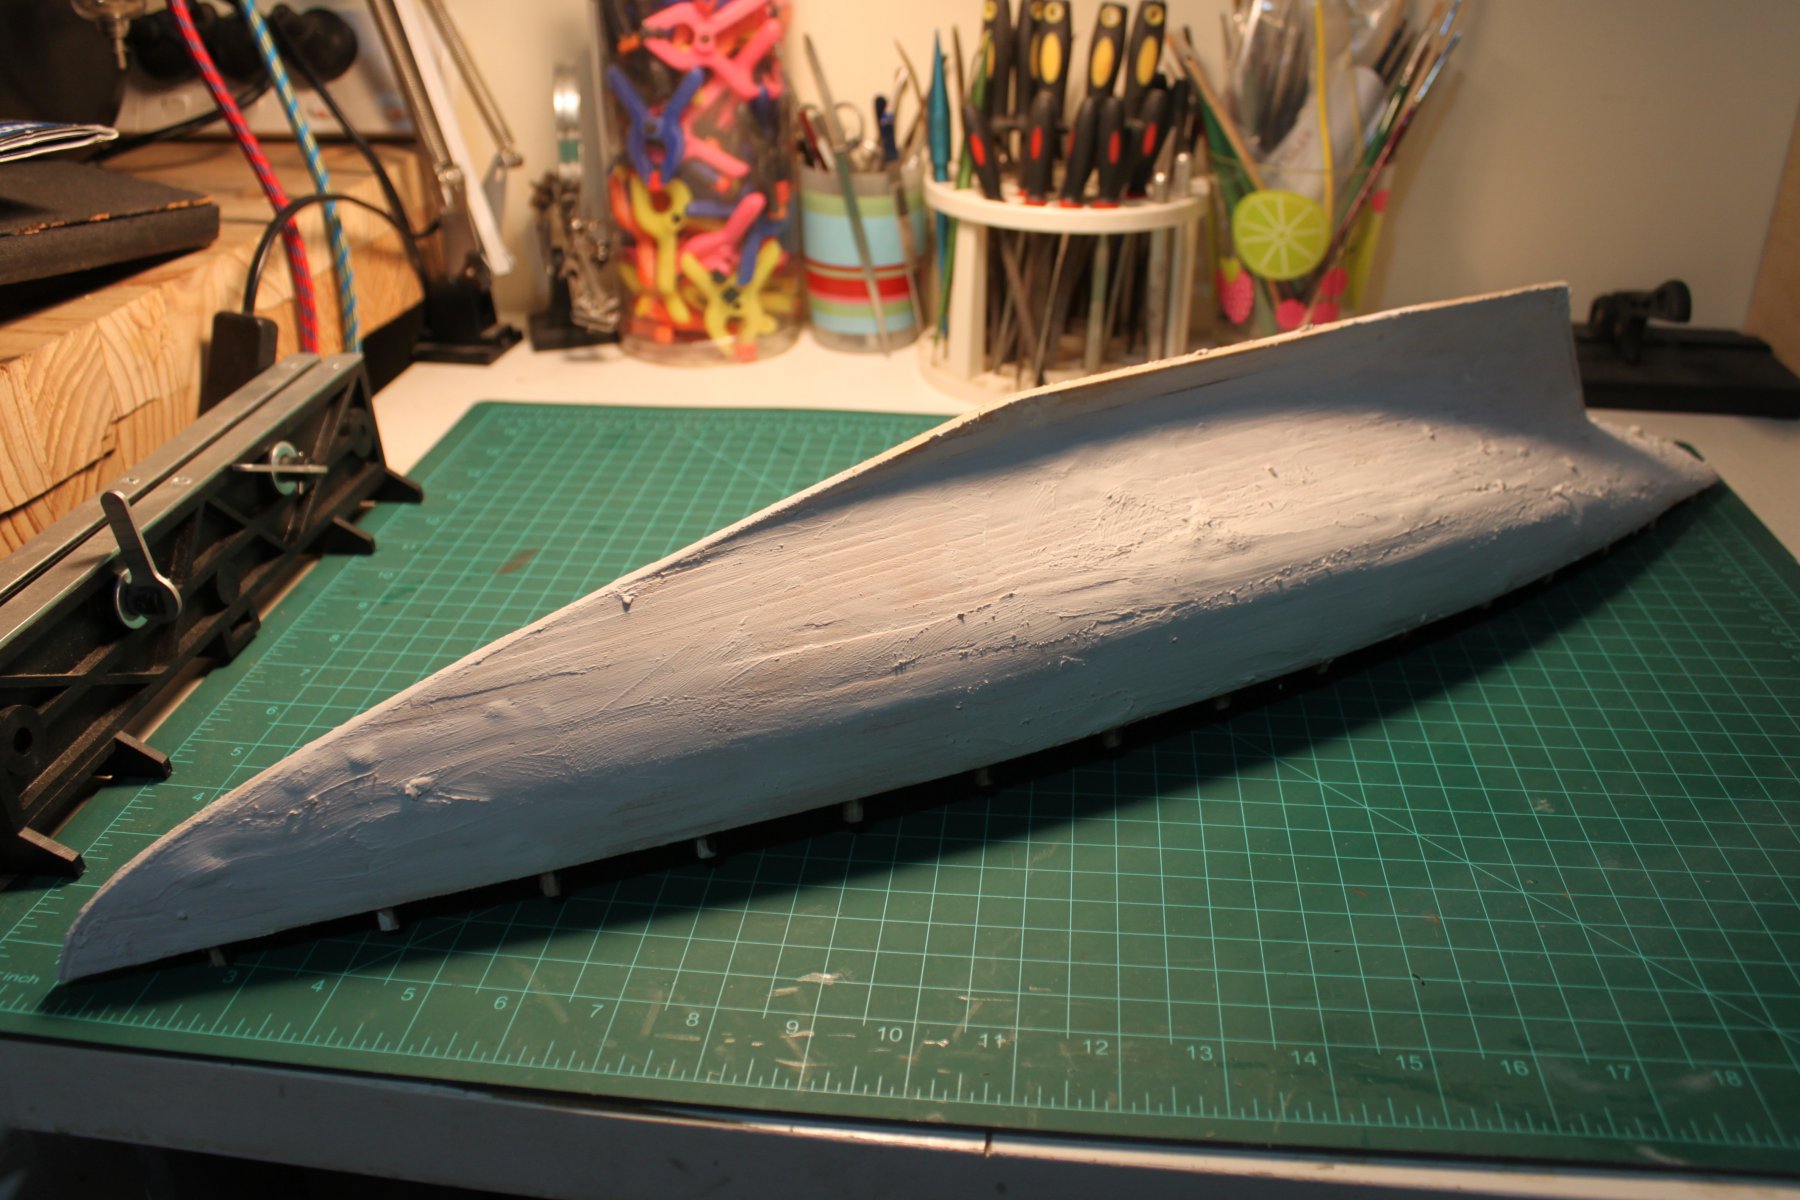
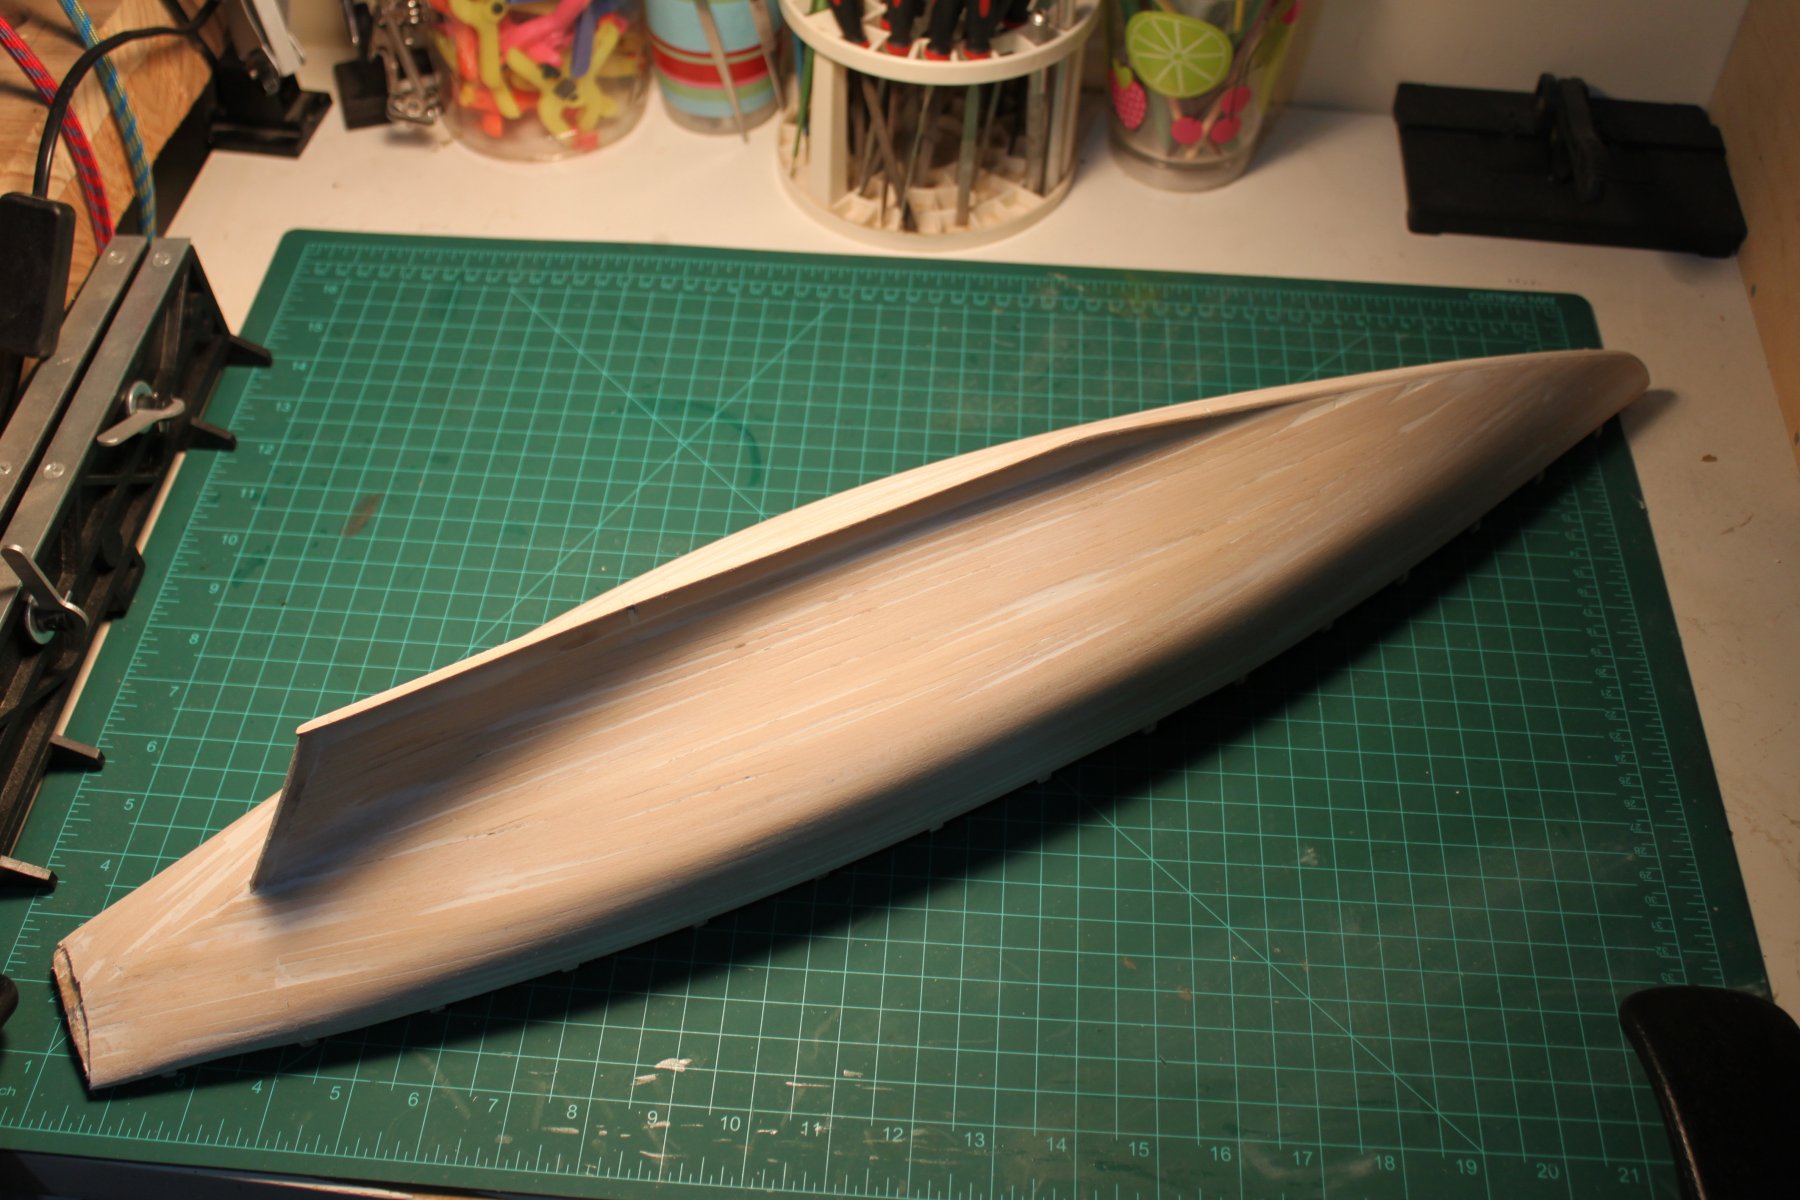
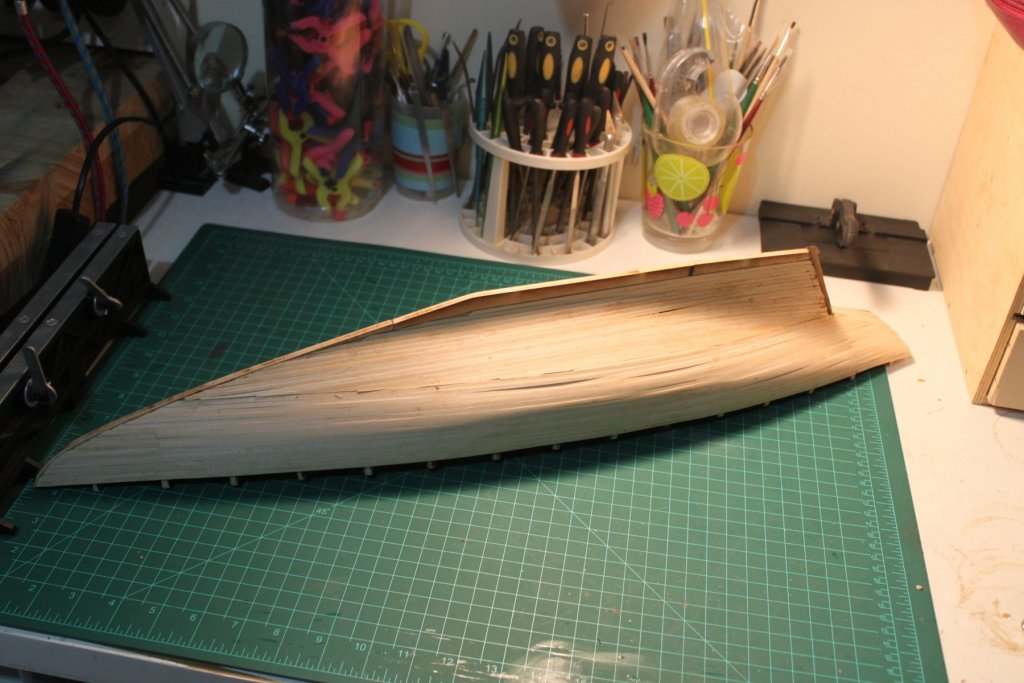
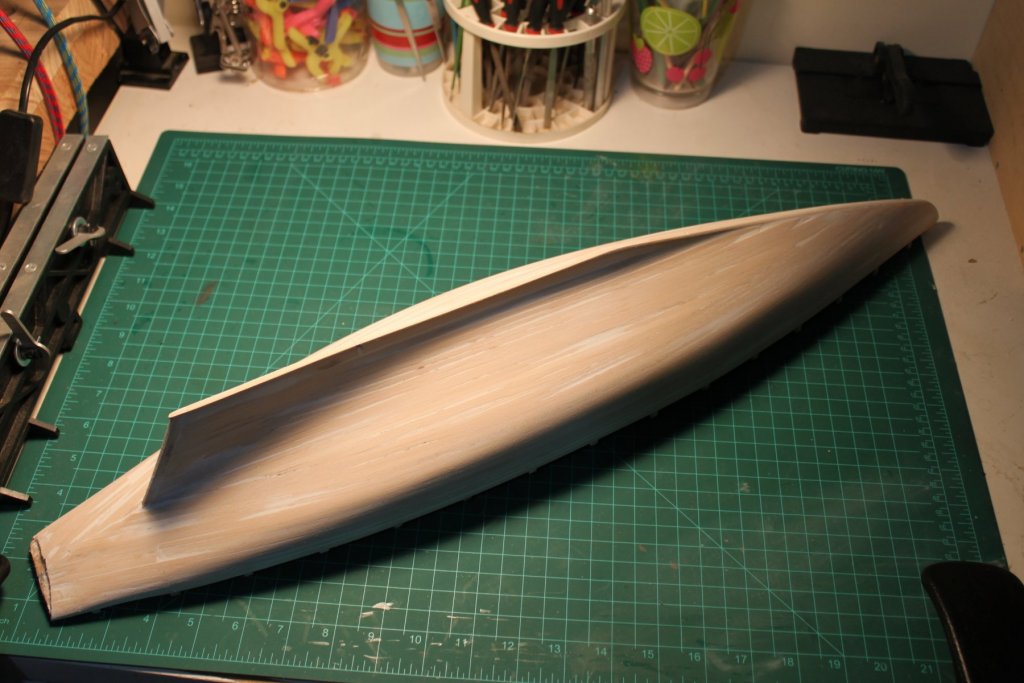
Greetings ship mates, I have been away from the shipyard so long that I hadn't even realised that is over a year since I posted anything! This was mainly due to moving house and resetting up the shop, breaking my arm late last year but mainly I got discouraged with my hull planking efforts that I was totally willing to give it all up and left the hull to sit in the back ground of my hobby station and build some other models mainly bit part magazine offerings. Then I got an email from Bob Hunt saying that he was starting a new website and this for some reason sparked my interest again. So I dusted off the old girl, gave my self an upper cut and a stern talking to and got back into the ship yard and started building again. The new mantra - I'm a beginner, ask for help and advice where needed and that I am allowed to make mistakes! I have finally finished planking, sanding, wood filling and final sanding my hull! Basically chapter 2 of the practicum is finally finished. Filler maybe the modellers best friend with regards to filling those gaps in hulls but one thing I have come to realize: I maybe too harsh on myself, especially as a beginner. The amount of filler left is a lot less than I thought there would be. Wood filler should come with a male health warning - if you do not ever want to incur the wrath of the MRS do not sand inside anywhere even in the garage! The dust gets everywhere! Anyway onto the pics, not very exciting but a milestone has been reached now onto chapter 3 - Planking the Fore Deck, just a few minor touch-ups to do where filler got onto the top of the model then I will start the decking. Yours aye, Jason Wright Planking completed, looks a mess right now Sanded to 80 grit looking a lot better Filler applied - works wonders to hide a multitude of errors Final sanding to 180 grit - looks a lot better now and more like it is supposed to be representing


-
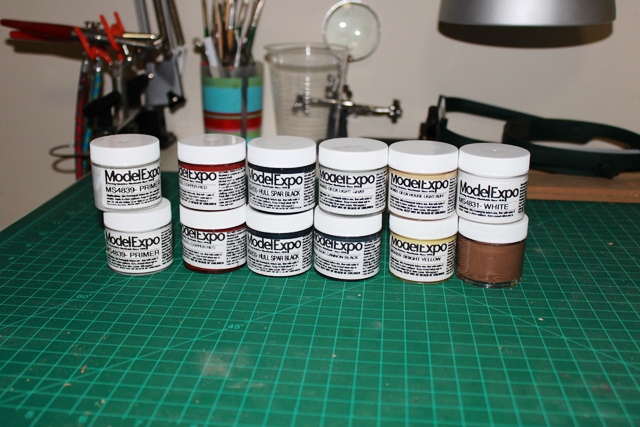
Ahoy shipmates, I have been back in the shipyard after a lay off with the man flu. I have completed fairing the hull and adding some filler blocks to the stern area. This completes chapter 1 of the practicum. Next chapter planking the hull. The pictures show the progress up to this point. Also whilst I was dying a slow miserable death with no sympathy from the MRS the postman came through and delivered the paints I require to complete the model and hide the multitude of mistakes that I am bound to make along the way. Next stop the hardware store for some filler to fair the hull after planking and then there should be no more interruptions for supplies until the ship is completed. Fingers crossed, famous last words etc... Yours aye, Jason Wright Never give up the ship.

-
Hi JBH3, sorry for the late reply but I have been laid up with man flu, which is the worst disease known to man. I got the practicum from Lauck Street Shipyard from Mr Robert Hunt, a simple search on the interweb thingy will set you right there. As to whether the practicum is worth the money, the first question would be what is your ship building experience? If it is like mine none, then yes it is worth it as the kit plans and instructions are a bit vague in some areas and the practicum picks up on these issues. But the one thing to remember is this is his way of building ships and just as there is many ways to skin a cat there are many ways of building a ship. He even admits that there are somethings that he did not model on the ship and to use the plans and instructions if you wish to model them. I am only working my way through Ch 1 at the moment and so far it is a wealth of knowledge to a newbie like me as it has many pictures of the building process that you can not get in the instructions. Is it worth the money? If it helps me to make a good complete model that I would be happy to display on the shelf, and learn some new techniques with a good logical way to build ships so I can build some more in the future, than yes. You will also gain access to his model webpages but he did state recently that he is not going to continue this after the current lease (or what ever you get for webpage) runs out sometime in the near future. Hope this helps you out and happy modelling. Yours aye, Jason Wright Never give up the ship.
-
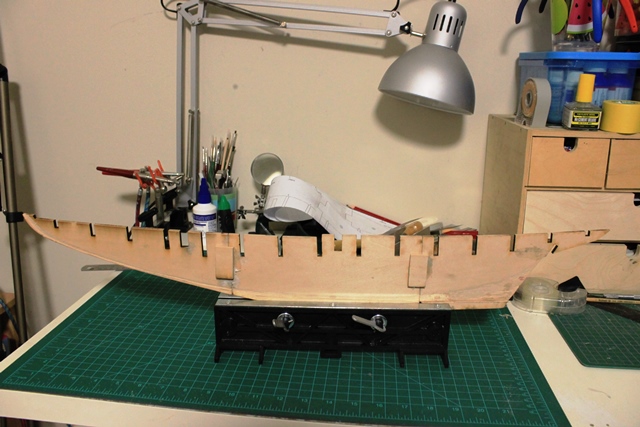
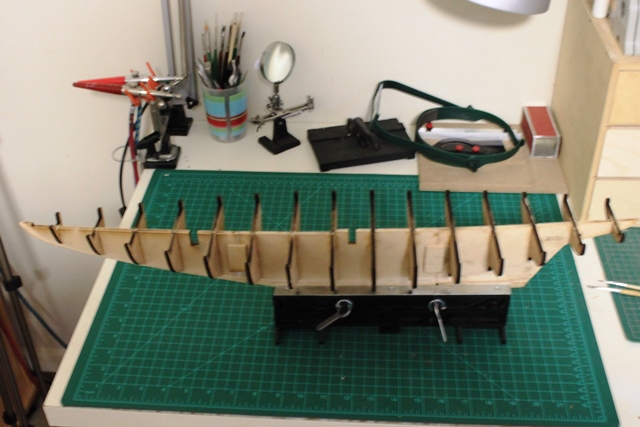
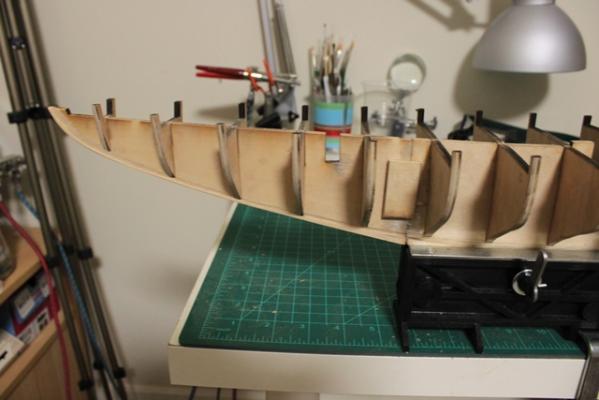
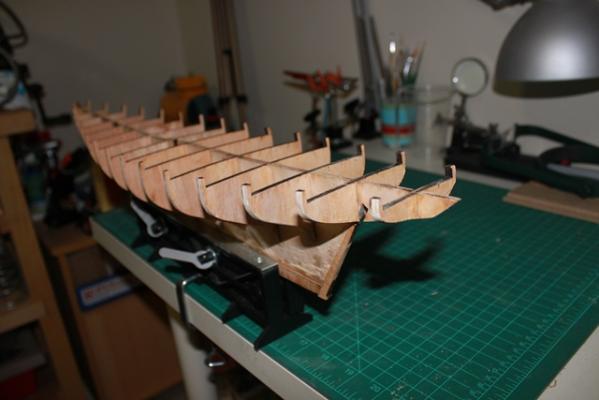
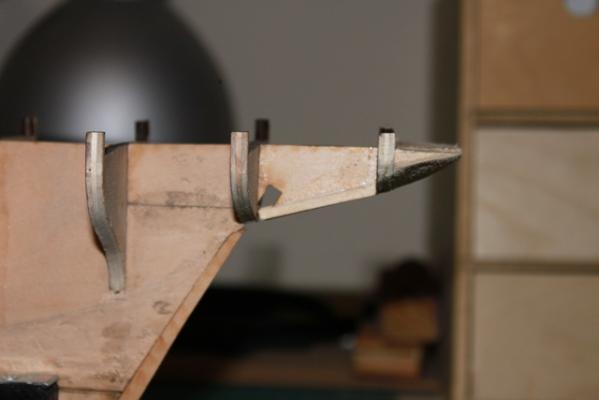
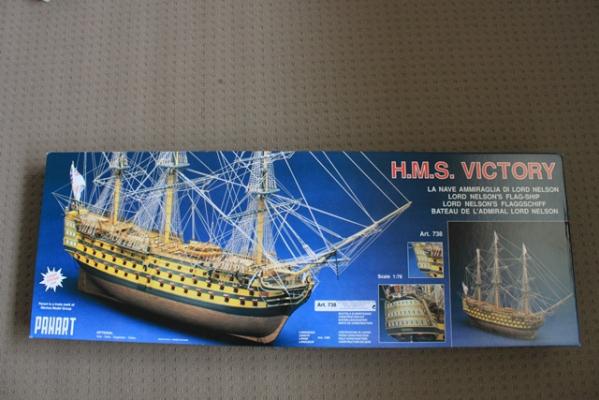
Greetings Shipmates, a start has been made in the shipyard. The keel has been assembled and the rabbet cut. I first made two copy of the plans showing the bearding line and the rabbet and cut one on the bearding line and one on the rabbet line and by positioning them onto the keel was able to trace the respective line onto the keel with a pencil. Then the rabbet was bevelled using a palm chisel. All was going well until I got too close at the stern and actually went through the plywood and had to glue it back on so hopefully it will not affect the outcome. The frames were cut out, dry fitted, checked, and adjusted as necessary and then glued into final position. Now the whole assembly is drying and tomorrow will be ready for fairing. Oh the joys that I have to look forward to! On Saturday 28/11 it was my birthday and the Admiral must have thought that I was a good little boy all year and surprised me with a Panart HMS Victory Art. 738 this is the deluxe edition with the coppering and photo etch etc. Who is a happy boy now? But it will be a couple of builds until I get enough experience to tackle the grand old lady and do her justice. I am following Bob Hunts practicum and it has been very useful as the plans are a bit hit and miss and the other reference by Frank Marstini - Ship modelling simplified, which builds a Bluenose, does not even have cutting the rabbet in it - well my copy doesn't anyway. However from reading all these references, they all have some contradictions and some things left out or not modelled but when they are all combined and with the tips and builds on here I have been able to come up with a plan of what will hopefully be a complete and accurate model. Onto the photos: The first photo is the hull with rabbet cut. The second photo is all the frames installed ready for faring. The third photo is the Panart HMS Victory. Next step faring the frames and completing the hull ready for planking. Yours aye, Jason Wright Never give up the ship.


-
JRW1970 reacted to a post in a topic:
HMS Diana By Barbossa - Caldercraft - Scale 1:64 - The 1794 Attempt
-
OK in an effort to make the pictures reveal themselves I have reposted them, then I am diving into the shipyard to make some saw dust. Yours aye, Jason Wright Never give up the ship.


-
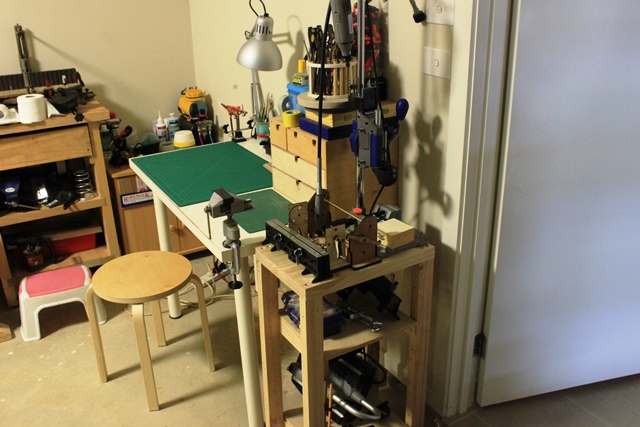
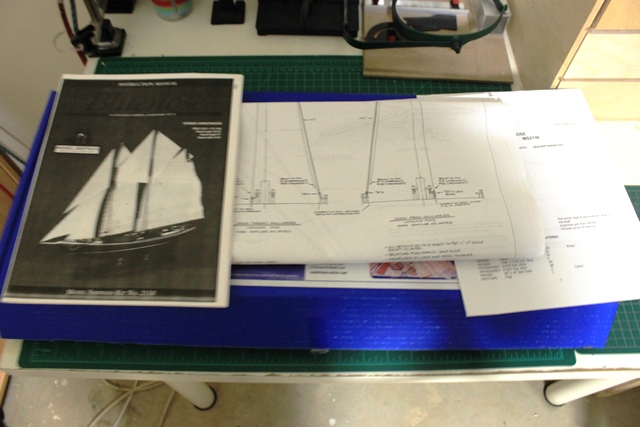
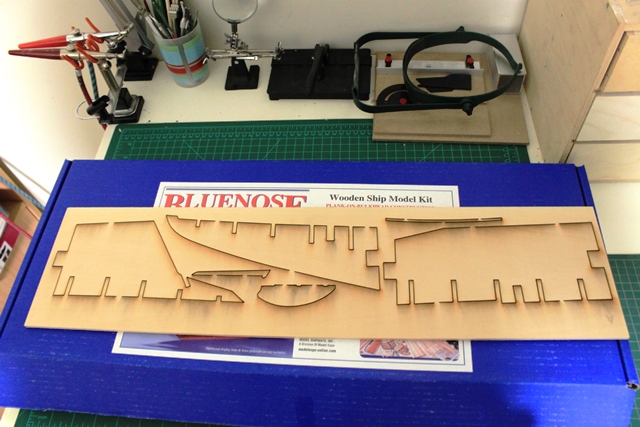
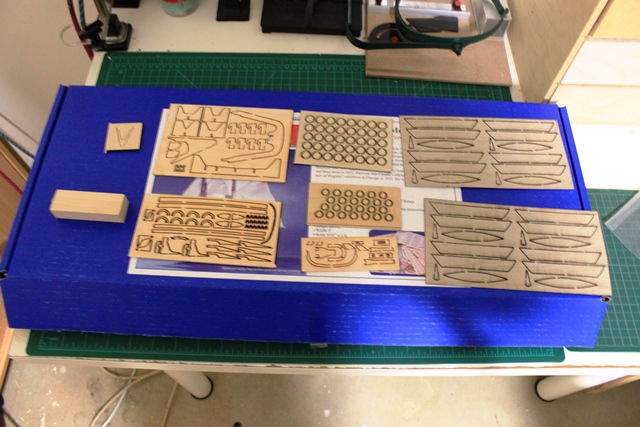
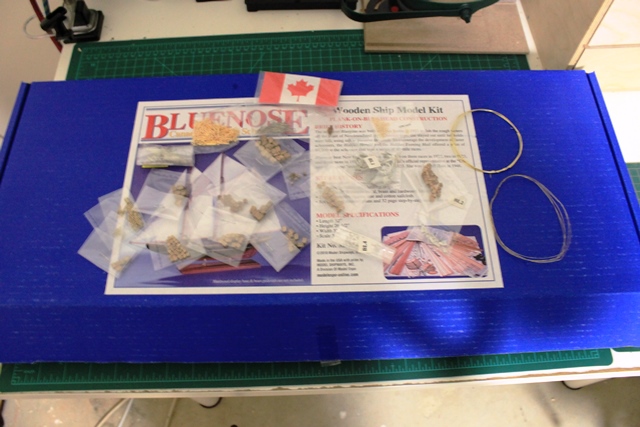
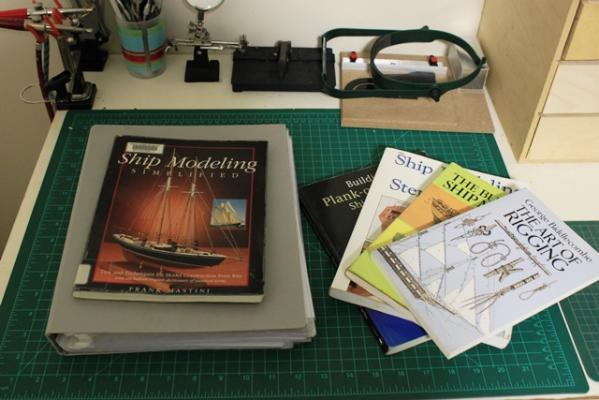
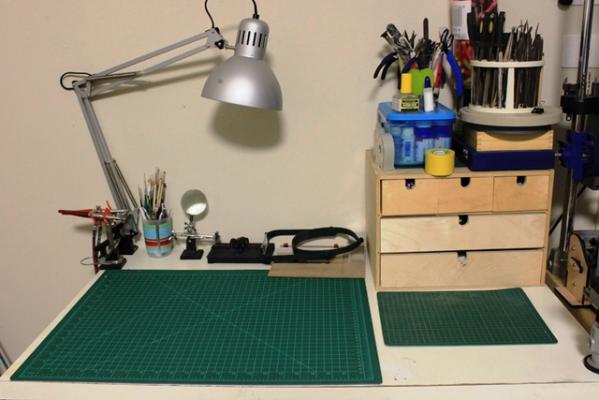
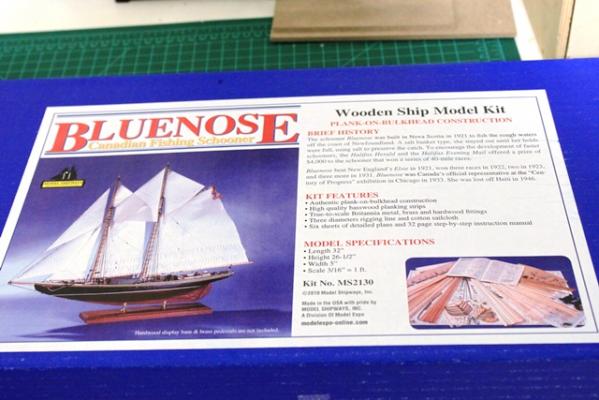
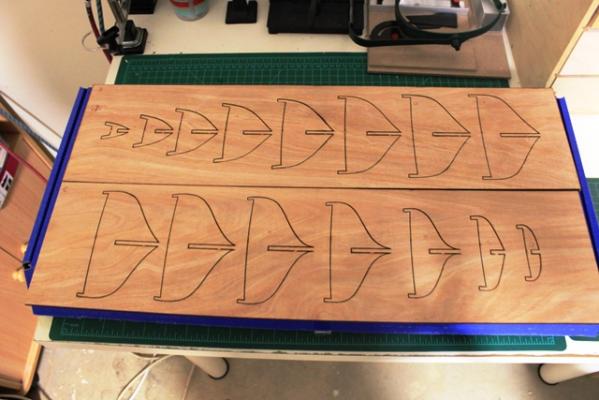
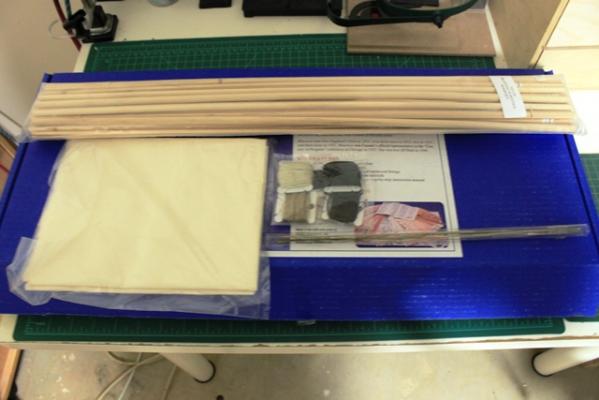
Greetings Shipmates, this is a day of firsts for me. My first ever wooden ship build and my first ever build log to accompany it. It is my intention to post everything as it happens - the good the bad and the ugly - hopefully not too much of the later. My first build will be of the Bluenose by Model Shipways, with the help of Bob Hunts practicum, various references and of course all of your good selves, so to that end I apologise in advance for asking the dumb questions when they arise. Those advanced modellers can skip this and concentrate on those other wonderful builds that grace these pages. I will also try and make it a little humorous so I do not bore the pants off everyone and you never know I just maybe able to pass on some sort of knowledge to those that follow. Onto the kit itself, if it good bad or indifferent I have no idea as I have nothing to compare it to, however, after the jubilation of getting the package from the post office and digging into the kit like a kid on Christmas morning had subsided I came to realise the instructions provided are lacking in some details and I am glad that I have the practicum from Bob Hunt to follow as well as the other references that I have as shown in the photo section. Unfortunately it is too late in the day to start building her today, but rest assured that I will be diving in tomorrow after work and start making some saw dust. So I will ramble on a bit about the photos, as you can see I am not a photographer by any stretch of the imagination, and if someone can help me with how to post photos in any order that I want them that would be appreciated. When I posted them in numerical order they still jumped wherever they wanted and not in the order of my descriptions of them hence the clickable thumbnails presented here. 1 - an overall view of my workstation - this is the part of ship that the Admiral said I could use - where good wood goes to die 2 - another view of the desk with my Dremel station and in the back corner my spray painting/soldering station. These are the only power tools I own, this includes my woodworking that I do entirely by hand. Keen eyes may pick out Chucks seizing machine for use in future builds. 3 - the references for the build, the grey folder contains the practicum that I printed out as I am too lazy to walk from the garage to the study every time I have to check the electronic copy on computer. 4-10 - from studying and reading other builds it seems if I don't post these pictures I will never be admitted into the brotherhood of the ship, so here they are in all their glory and should be self explanatory what they are of. Thanks for looking in and I hope you enjoy sharing the journey with me. Yours aye, Jason Wright Never give up the ship.