Search the Community
Showing results for tags 'plastic'.
-
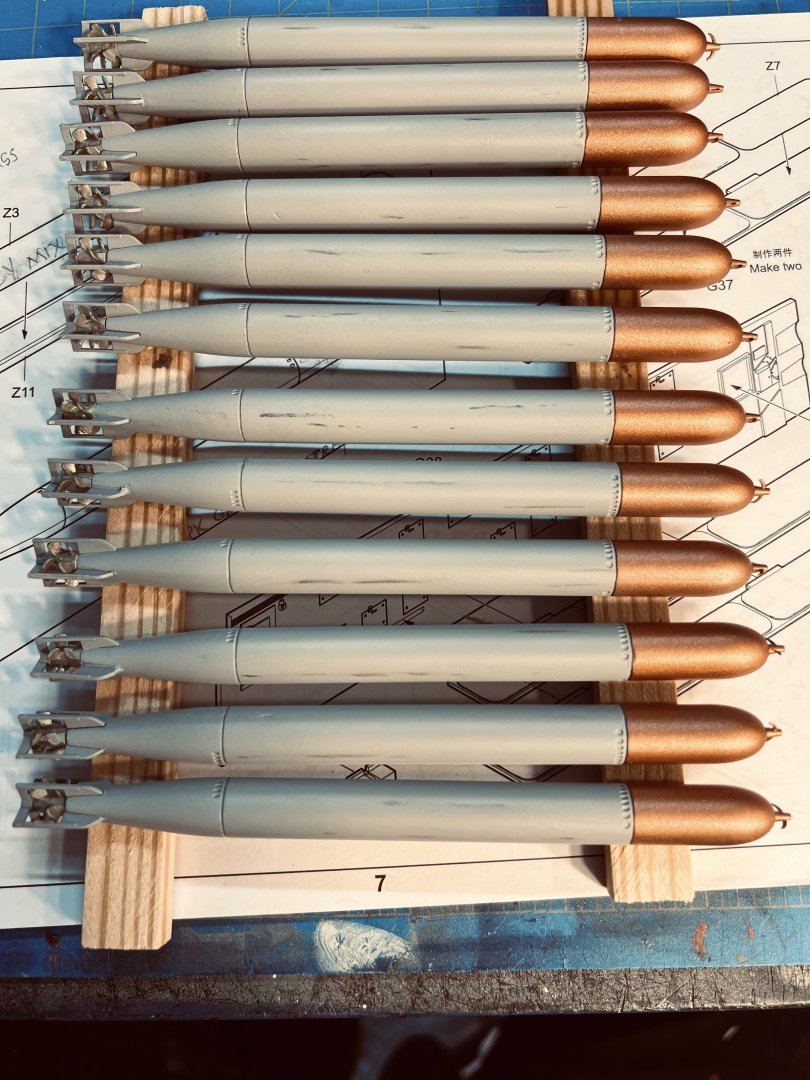
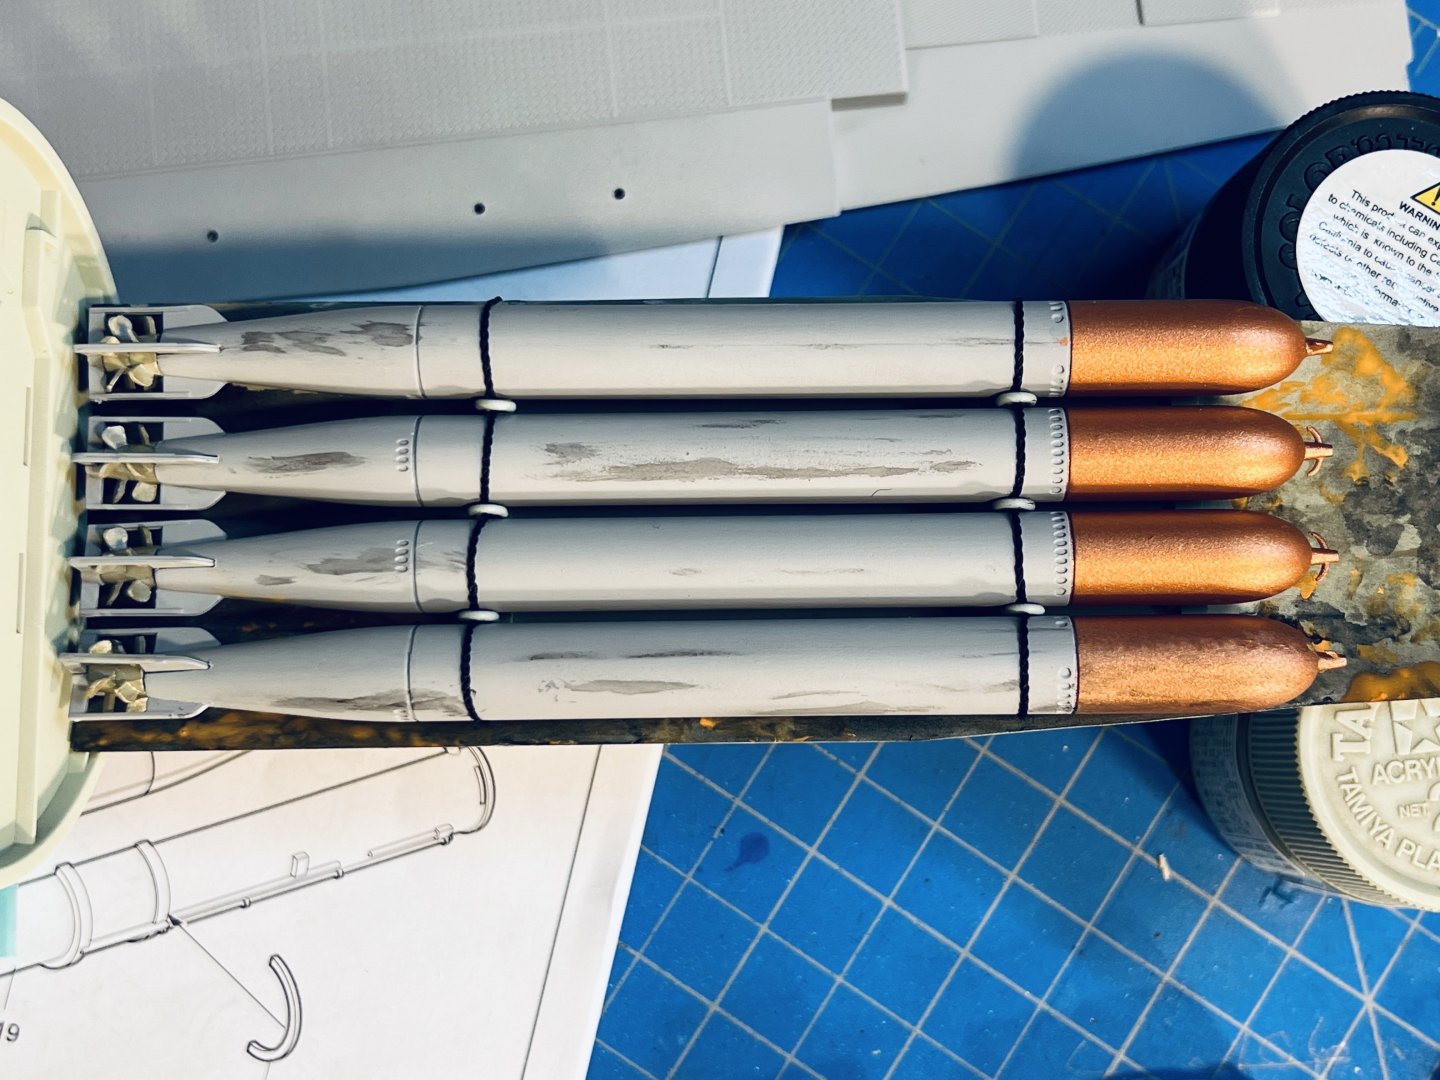
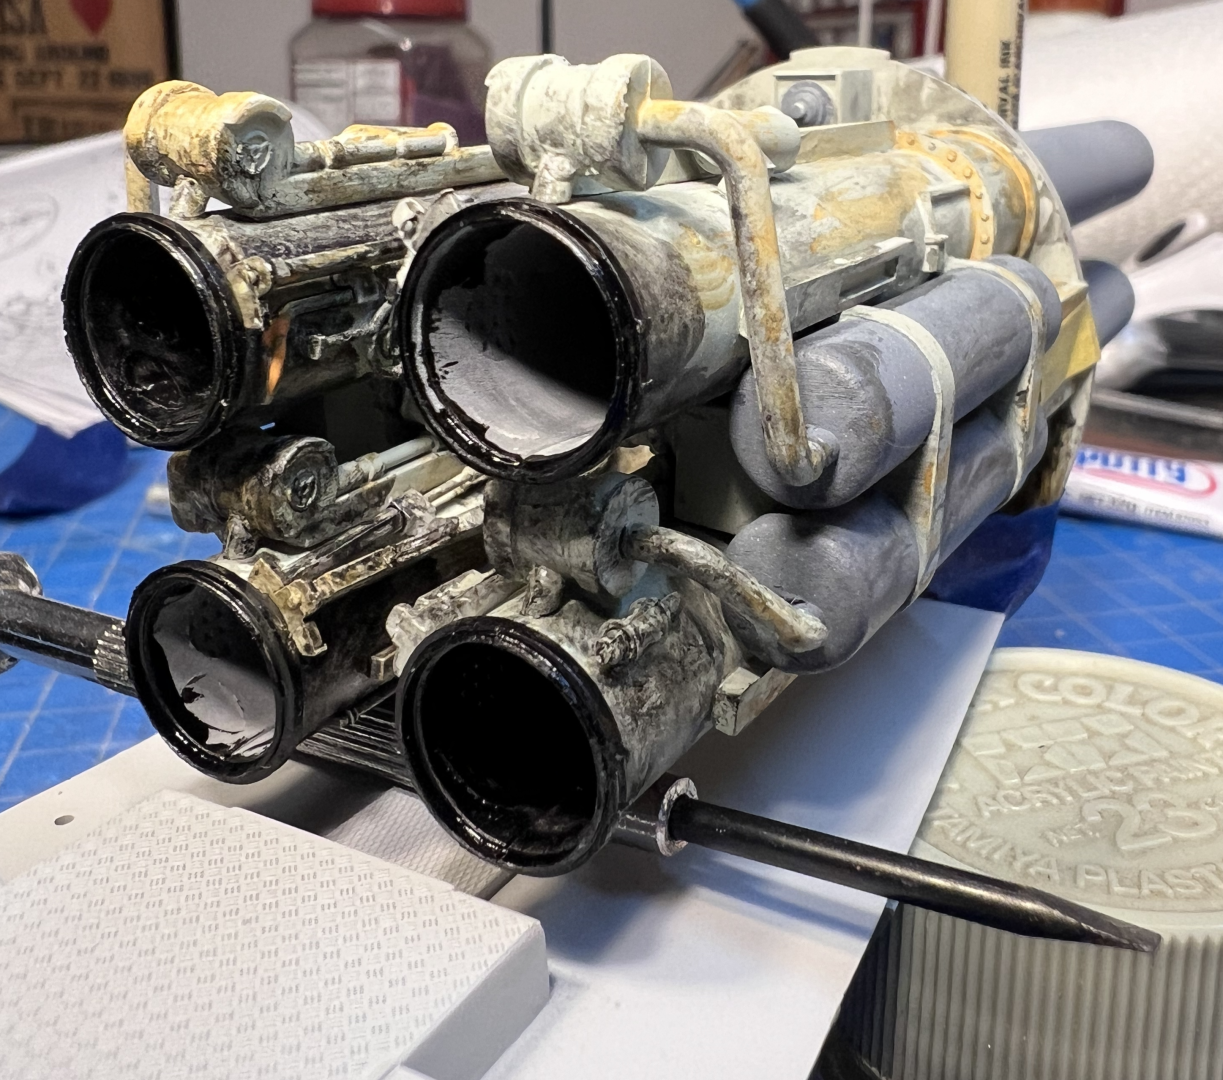
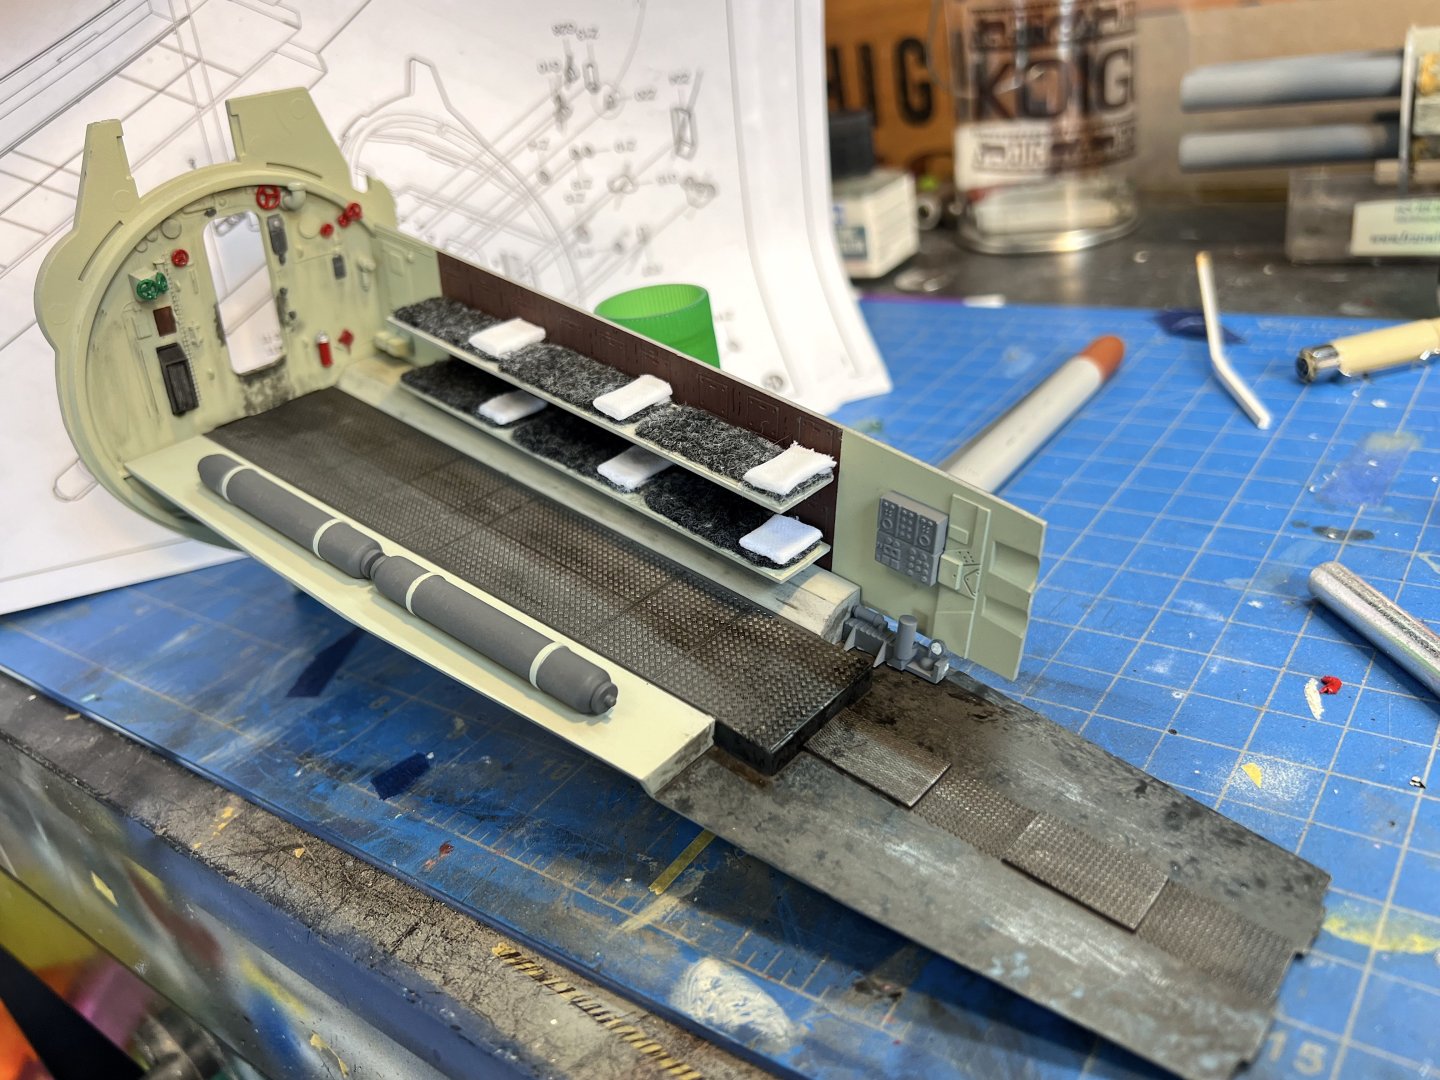
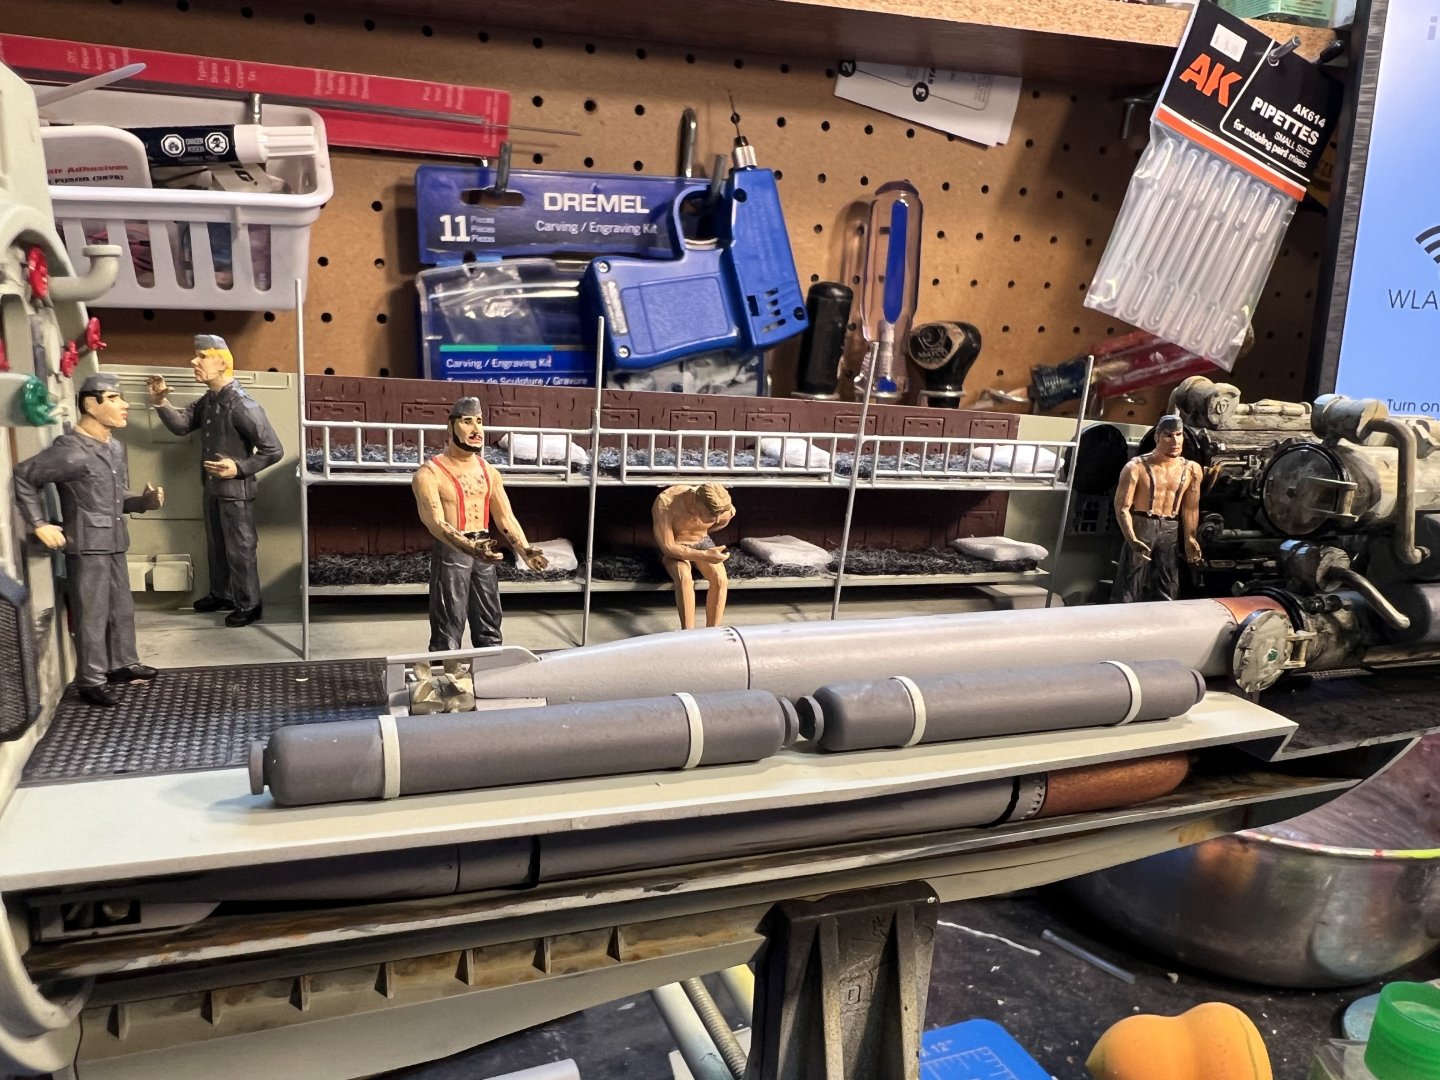
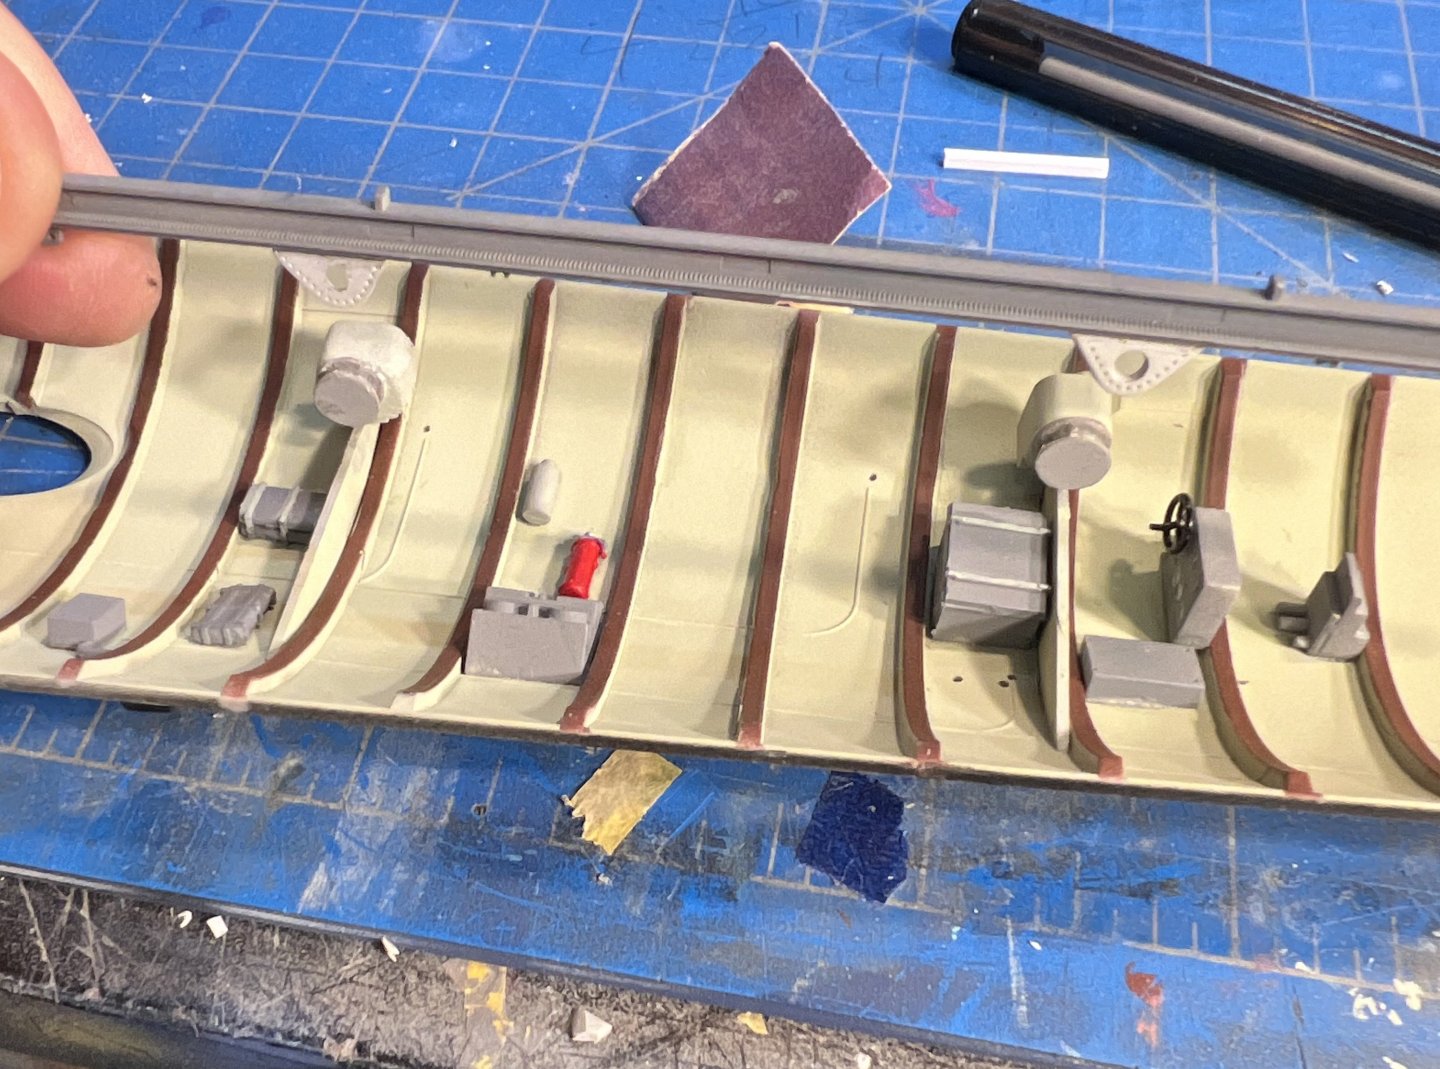
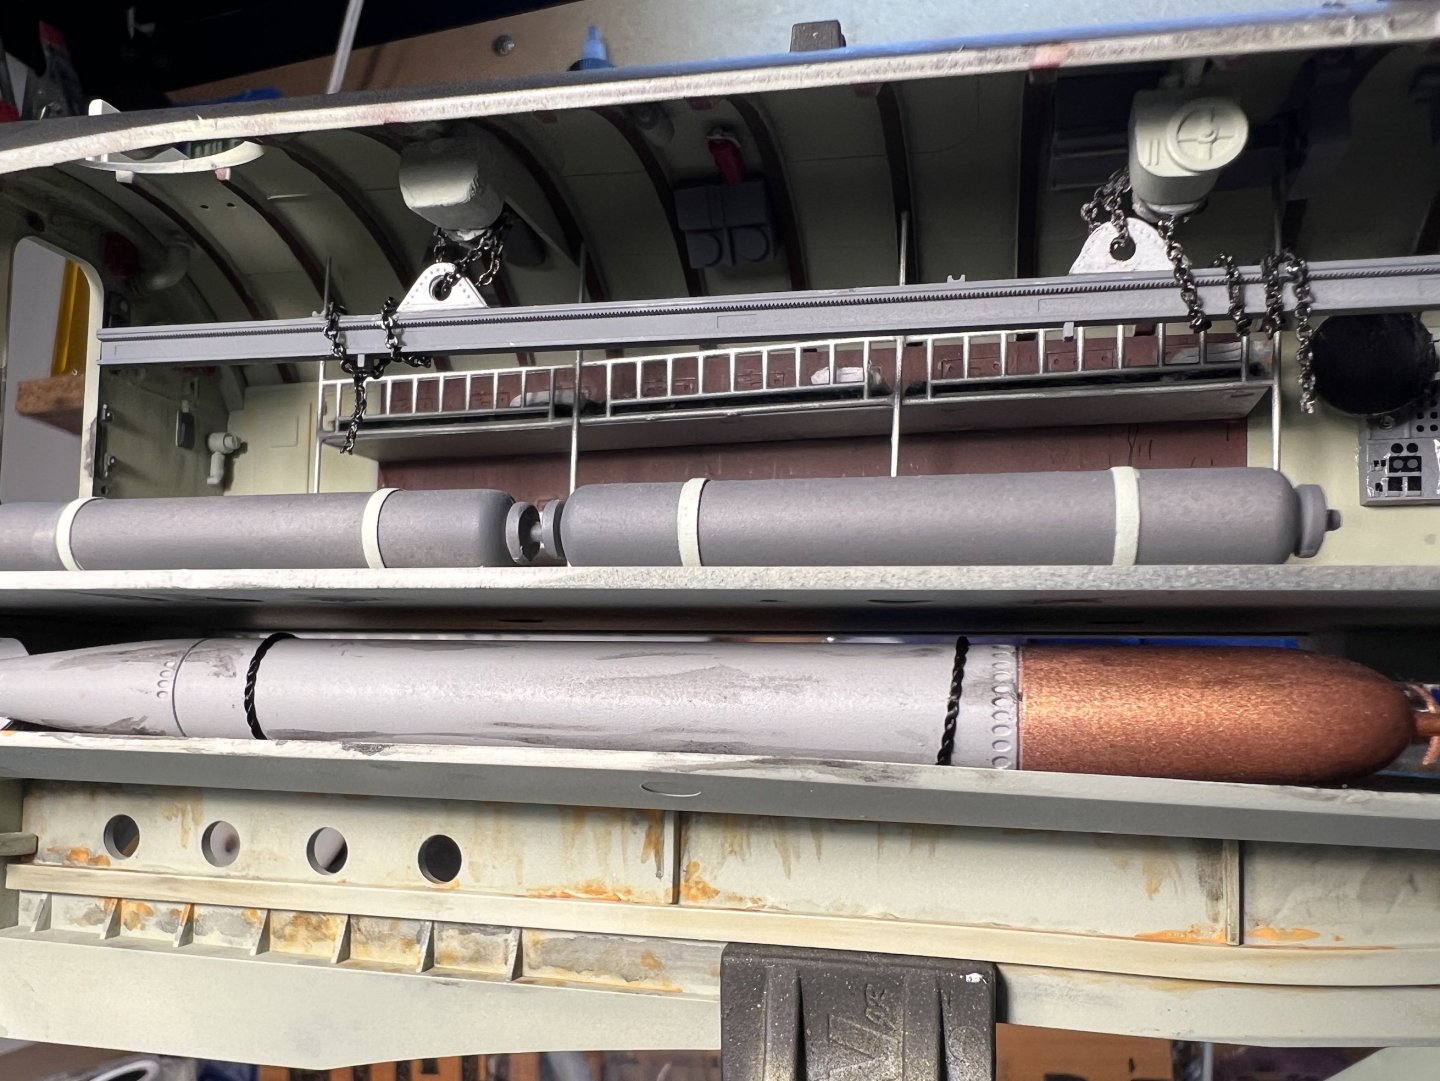
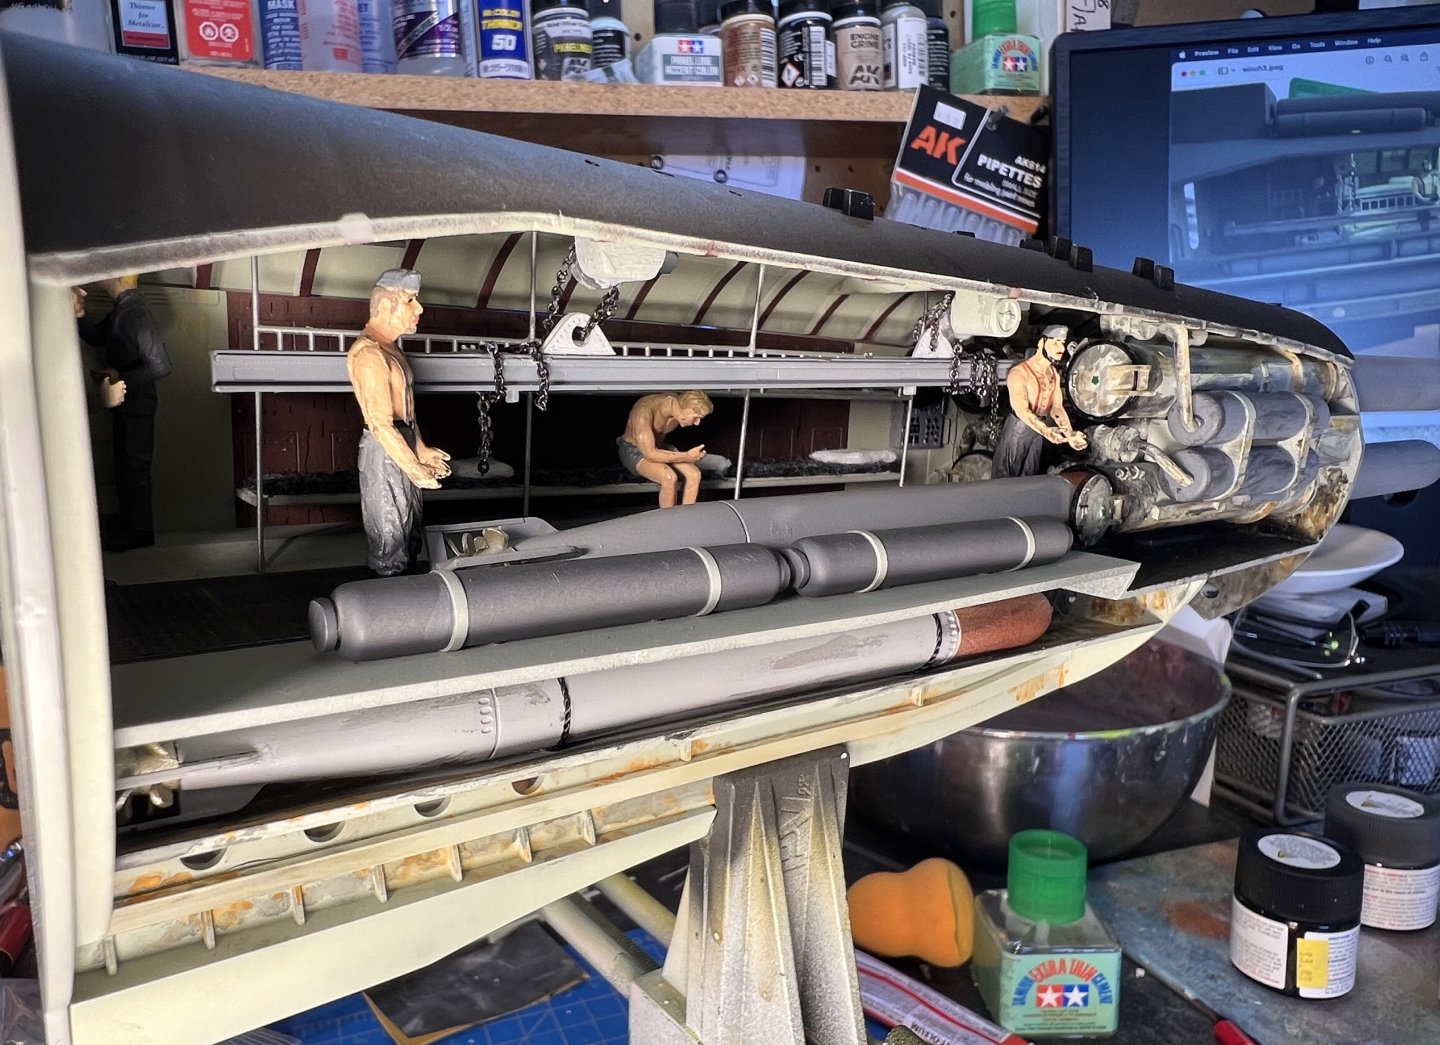
FORWARD TORPEDO ROOM I received this monster kit for Christmas 2023 and I'm heavily involved in its construction. I'll start off with the Forward Torpedo Room. Tamiya paints and AK weathering used exclusively. If you have any questions on anything, please ask and I will try to help you out the best I can. 12 "Eels" 4 spares arranged on lower tray below floor boards Forward tubes with their grease and other assorted yuck. Crew bunks with great felt and pillows made from folded white polyester. Floorboards weathered with AK bearing grease, panel liner, and ground up pastel chalks (brown & black). Crew members added You will need to scratch build a second winch unit to be used for the I-Beam on the overhead. Here, I used an ankle bracelet chain (courtesy of my wife) to use for the chains on the I-Beam torpedo lift. You can actually find these chains (ankle braclets) fairly cheap at WalMart - $3.00. I had her get another pack of them since I will be using them in the other modules. Adds a real nice touch to the module. Here we have some of the crew added.
-
Question, In the instructions it shows gluing the ship to the stand early in the build. I worry that might restrict flexibility in painting. Can/should I wait until closer to installing masts etc? David
- 61 replies
-
- Cutty Sark
- plastic
-
(and 3 more)
Tagged with:
-
The next project is this vintage 60's Airfix kit # 1908-400, this looks to be one of the first releases molded in black. This model is void of any planking so I'm proceeding with scribing in some above the waterline only, I'm not too concerned with the remainder of the hull as it will just receive some texture using 80 grit and be finished with the tallow coating, also another area in question is whether or not I want to create the round tuck, but I still have time to make that decision . Thanks for looking. Michael D.
- 101 replies
-
- Sovereign of the Seas
- Airfix
-
(and 1 more)
Tagged with:
-
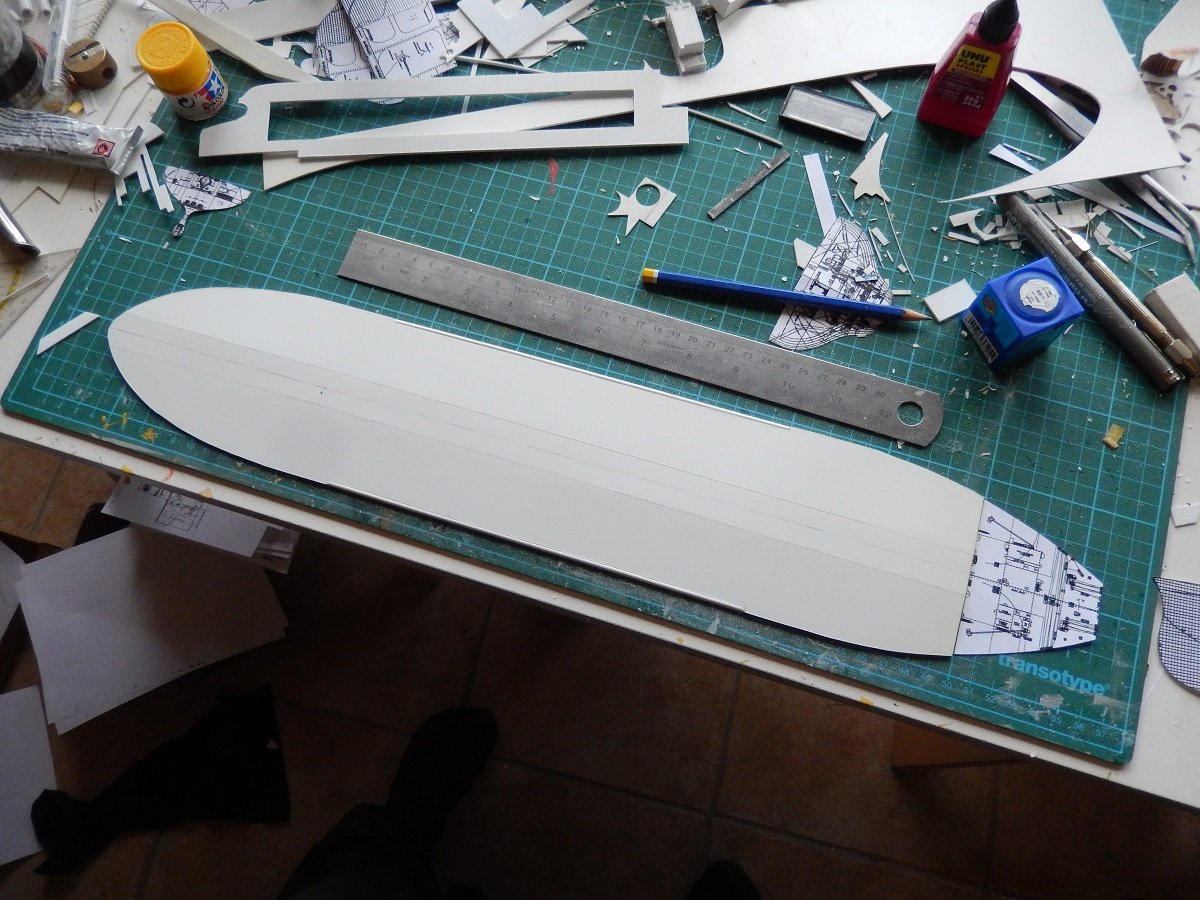
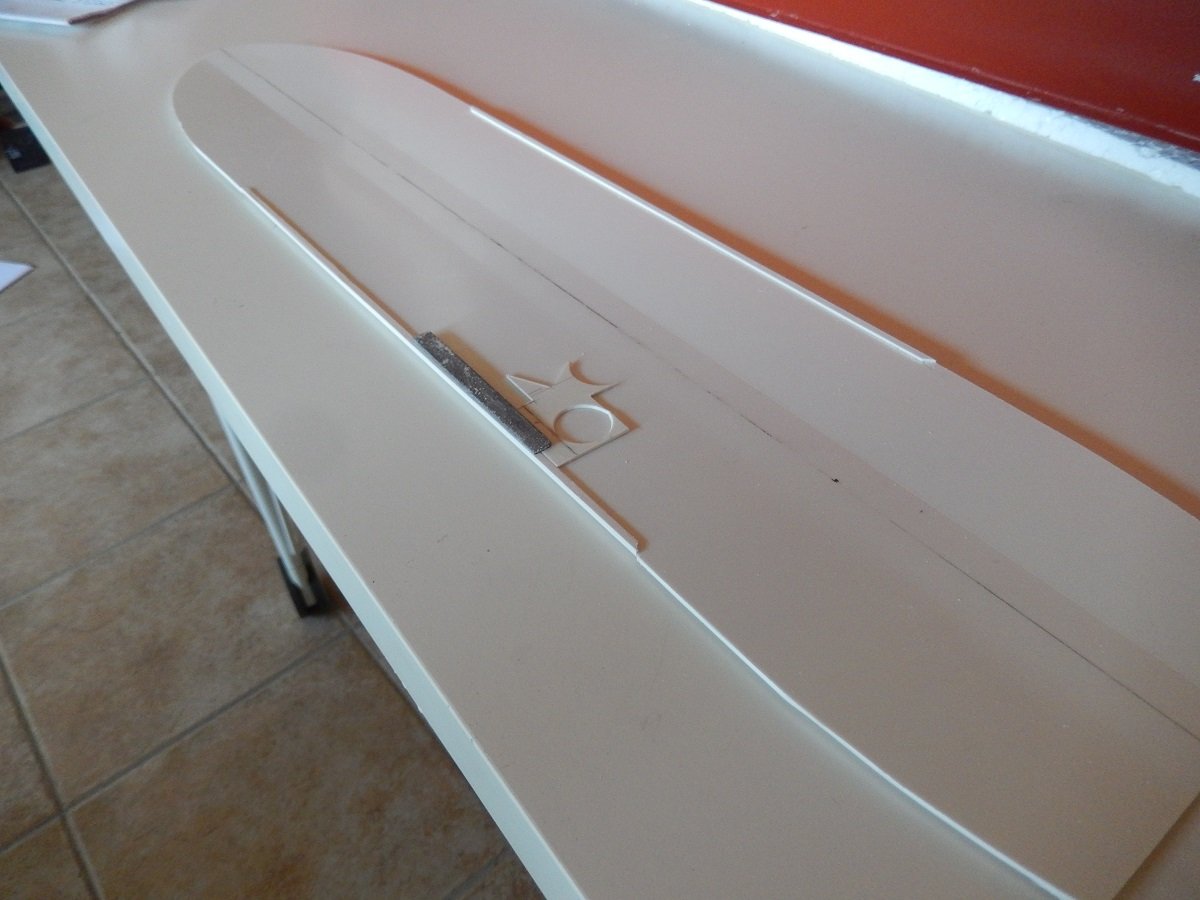
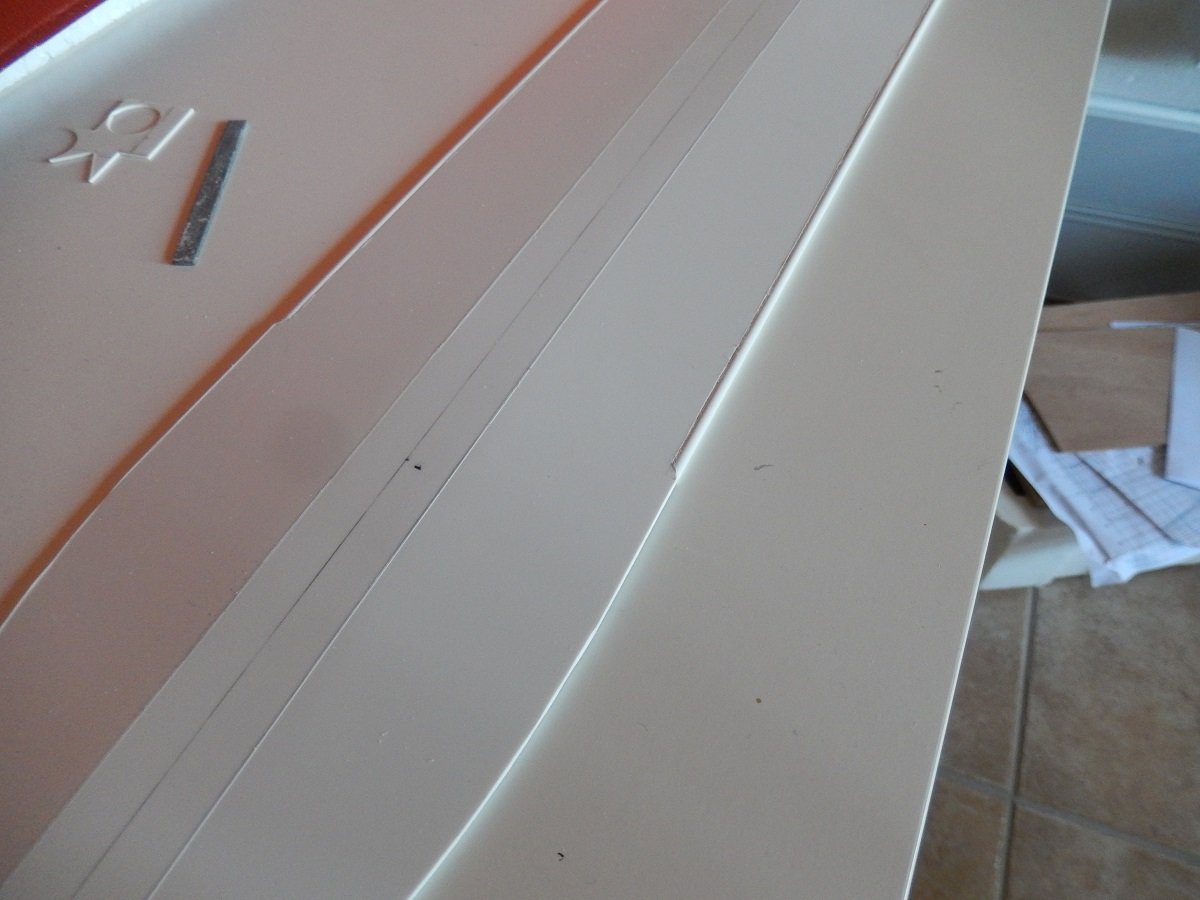
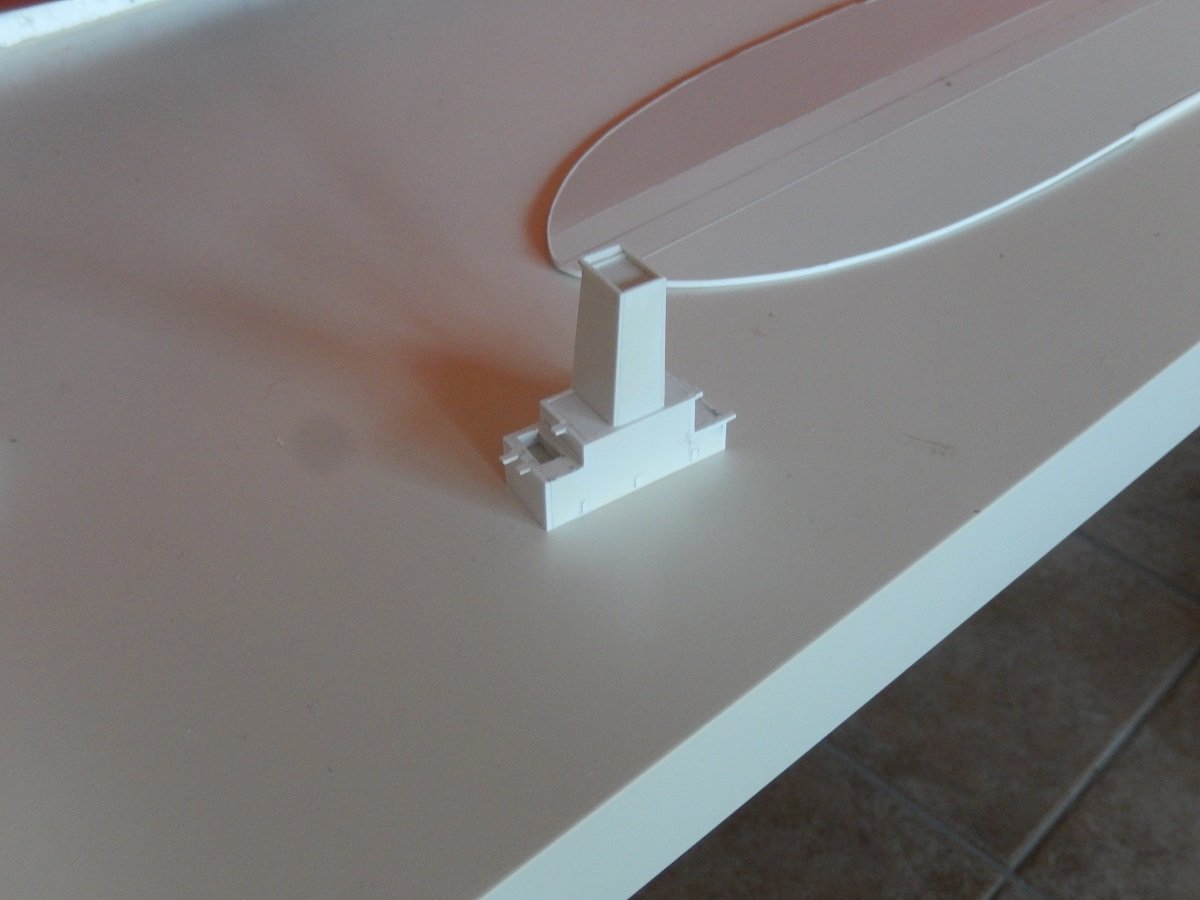
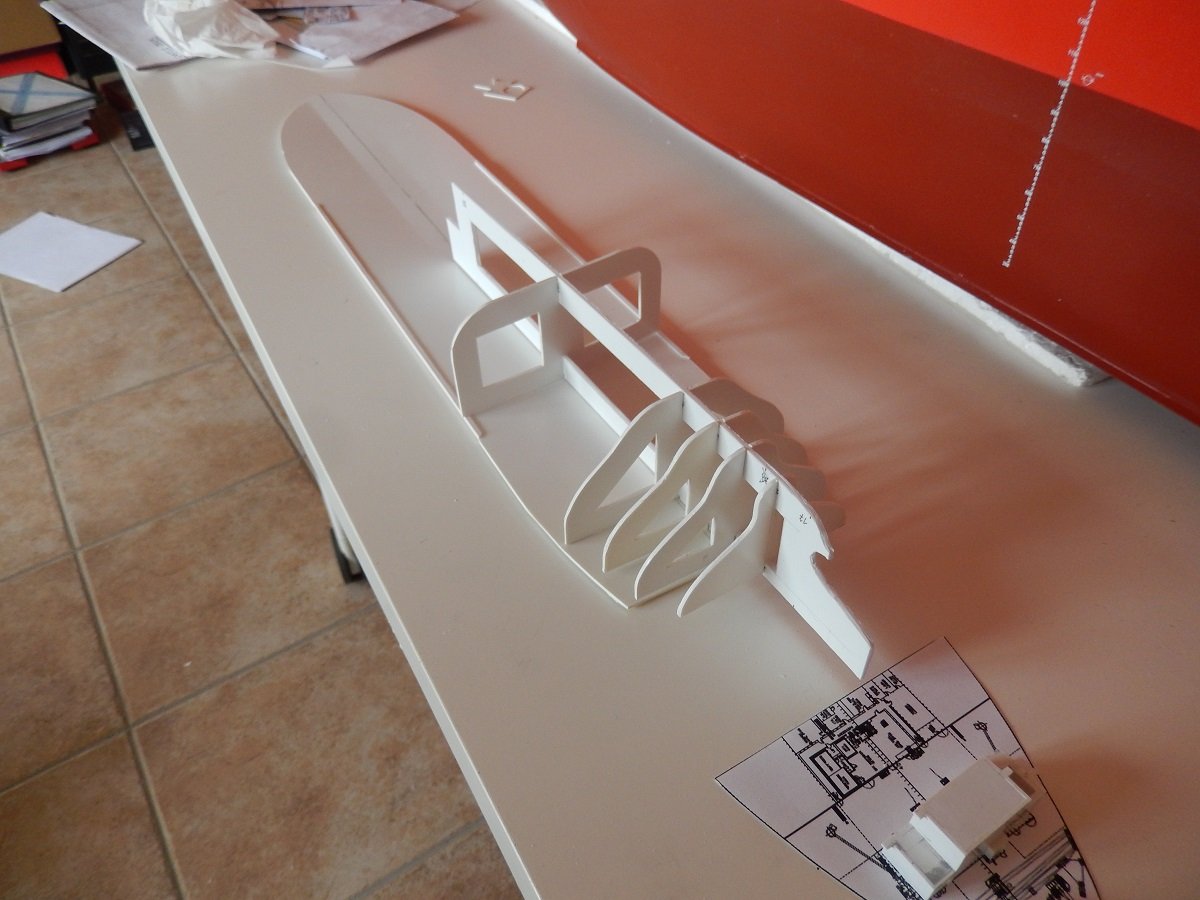
Well since I'm longer onboard, without the possibility to show new progress. I'd thought I'd fuel @KeithAug newfound love for complex piping a bit further. I consider this build, for an unknown reason, still as one of my best builds. It's an eye catcher in my display closet, probably by its color and size. As the title says, I'm talking about the TI Europe (TI standing for Tankers International, an oil tanker company pool). The TI Europe is an Ultra Large Crude Carrier, one of 4 sister ships built by the Korean Daewoo yard. They were built for the Greek company called Hellespont, but were sold after a few years to the larger company called Euronav and renamed as TI Africa, TI Asia, TI Europe and TI Oceania. TI America was deliberately left out for fears of terrorist attacks since this all happened in the beginning 2000's. When built they were the largest double hulled ULCC's in the world and still are some of the heaviest ships around. Their size, 380m (1247ft) long on 68m (223ft) wide, was huge for those days (nowadays however this is not such an exception with many container ships measuring around 400m long x 56m wide), however their full load draft of around 24.5-25.5m (80-85ft) made them huge. With that full load draft they were unable to pass Singapore Strait, the English Channel etc. in a safe way. Due to that size, they were also restricted in amount of ports that they could enter. These vessels weigh about the same as 5 US Carriers together when fully loaded. When I went onboard, we were doing Ship-to-ship transfers off the coast of Los Angeles to smaller vessels. The voyage then went to Saudi Arabia, where loading happened on buoys connected to the actual terminal by submerged pipelines. Other voyages she often did, took her to Europe, discharging part of her cargo in France before transiting the English Channel to go to Rotterdam with the remainder of the cargo. The model. I built her, using the experience I built up with frame on keel methods from plastic. Size and rigidity was the real challenge here. Since that's also an issue in the real design of such vessels, some solutions were given by the original. The main deck of the beast, can easily fit a US CVN on top of that deck. I've made the main deck of 1.5mm styrene, this was still not very rigid over such a length. However, on the real ships, the corners are rounded, this help divide the forces over a larger surface instead of a single angle. A square angle would simply break loose under such forces. To simulate this rounded corner, I cut a piece of styrene rod and glued it flush with the deck. This added to the rigidity of the deck where it was most needed (the central part). Additionally you see the deck is divided in 3 parts, creating a camber like the real ship. On the real thing, that camber is truly large as well. Then I started building up the skeleton structure bellow, using the table surface and deck to keep everything flat. At the same time I started building the (small-ish) superstructures for this vessel. That's it for today. Since I can't get home for a while, I'll continue soon.
-
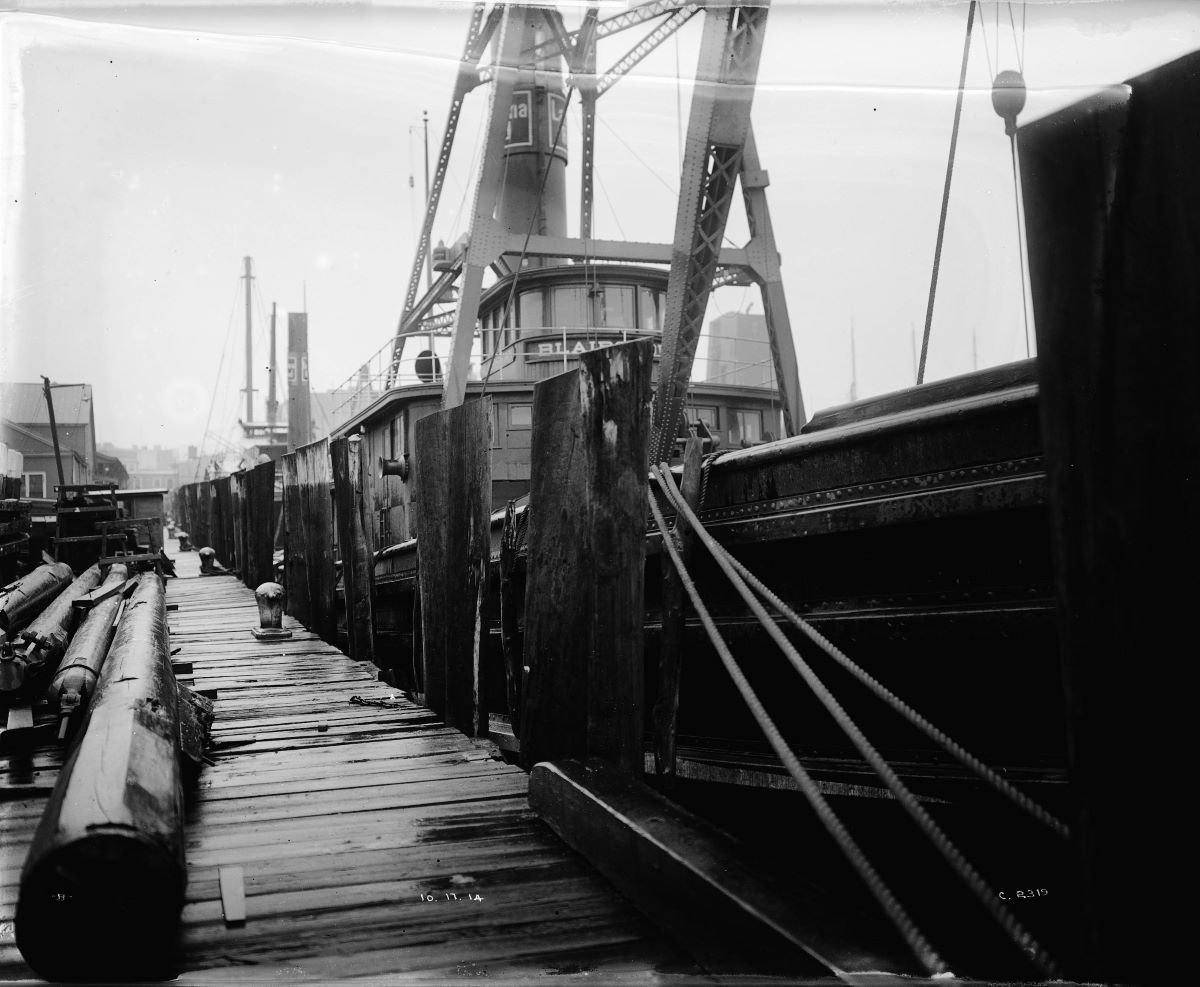
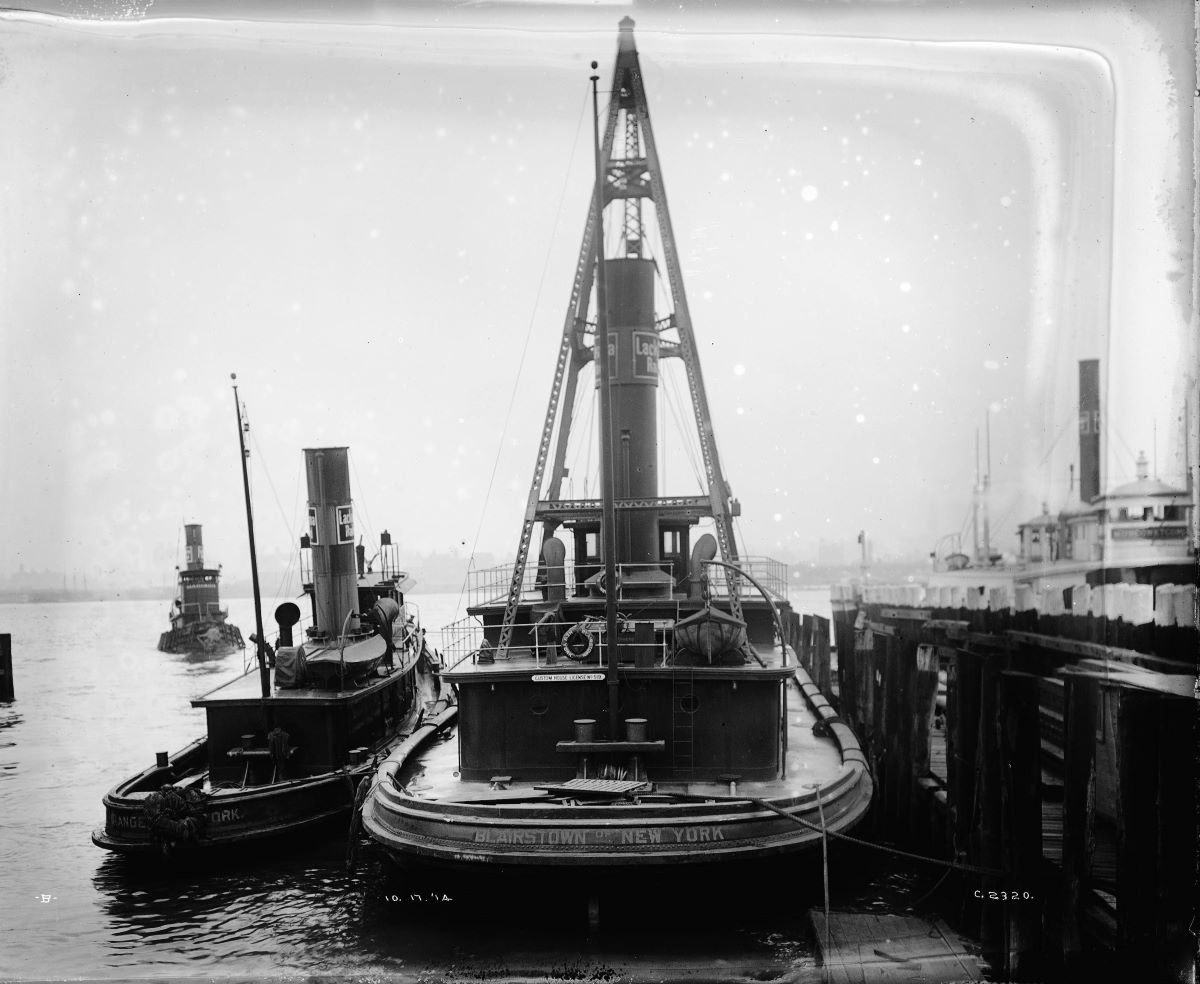
Hello everyone, Here is the start of another NY Harbor waterline model. 'Blairstown' was operated by the Delaware, Lackawanna and Western Railroad in New York Harbor from approximately 1914 to the early 50's when it was sold. She was an open decked, self-propelled, vessel equipped with a derrick boom rated for 35 tons. These lighters, being self-propelled as opposed to ordinary 'stick' lighters, were used to transfer important cargo from the railroad piers to ships around the harbor. 'Blairstown' will be built from photographs for the most part as was my previous model 'Isis'. I am preparing a crude drawing to work from using a good broadside photograph. I may paint this model as she was after she was sold to a non-railroad lighterage firm (and still working in NY harbor at least into the 1960's). The sources I am using are the same ones I used to build 'Isis' which I will list at the end of this project. Unfortunately, I only have a couple of photos that I am able to post which are of the 'Blairstown' soon after being built. My model will have among other things a pilothouse added above its former location, a narrower engine house etc. Photos below are from National Park Service, Steamtown DL&W glass plate negative collection, Watson B Bunnell Thanks, mcb
-
C.S.S Alabama, Revell 1:96 85-5621, is my next model now. I found it on Ebay. Two Men O' War were going to be my ladder to experience. After thinking it over, my time would be better served with a greater challenge. I can give the two other model kits away to a kid who wants to get started in ship model building. I bought these two books to get started with: CMS Alabama: Builder, Captain, and Plans by Charles Grayson Wolf of the Deep: Raphael Semmes and the Notorious Confederate Raider CSS Alabama by Stephen Fox What is the difference between CSS and CMS? So, the plan is to build three 1/96 scale plastic models after finishing Charles W. Morgan whaler. CSS Alabama, USS Constitution and then Cutty Sark before my first wooden kit.
-
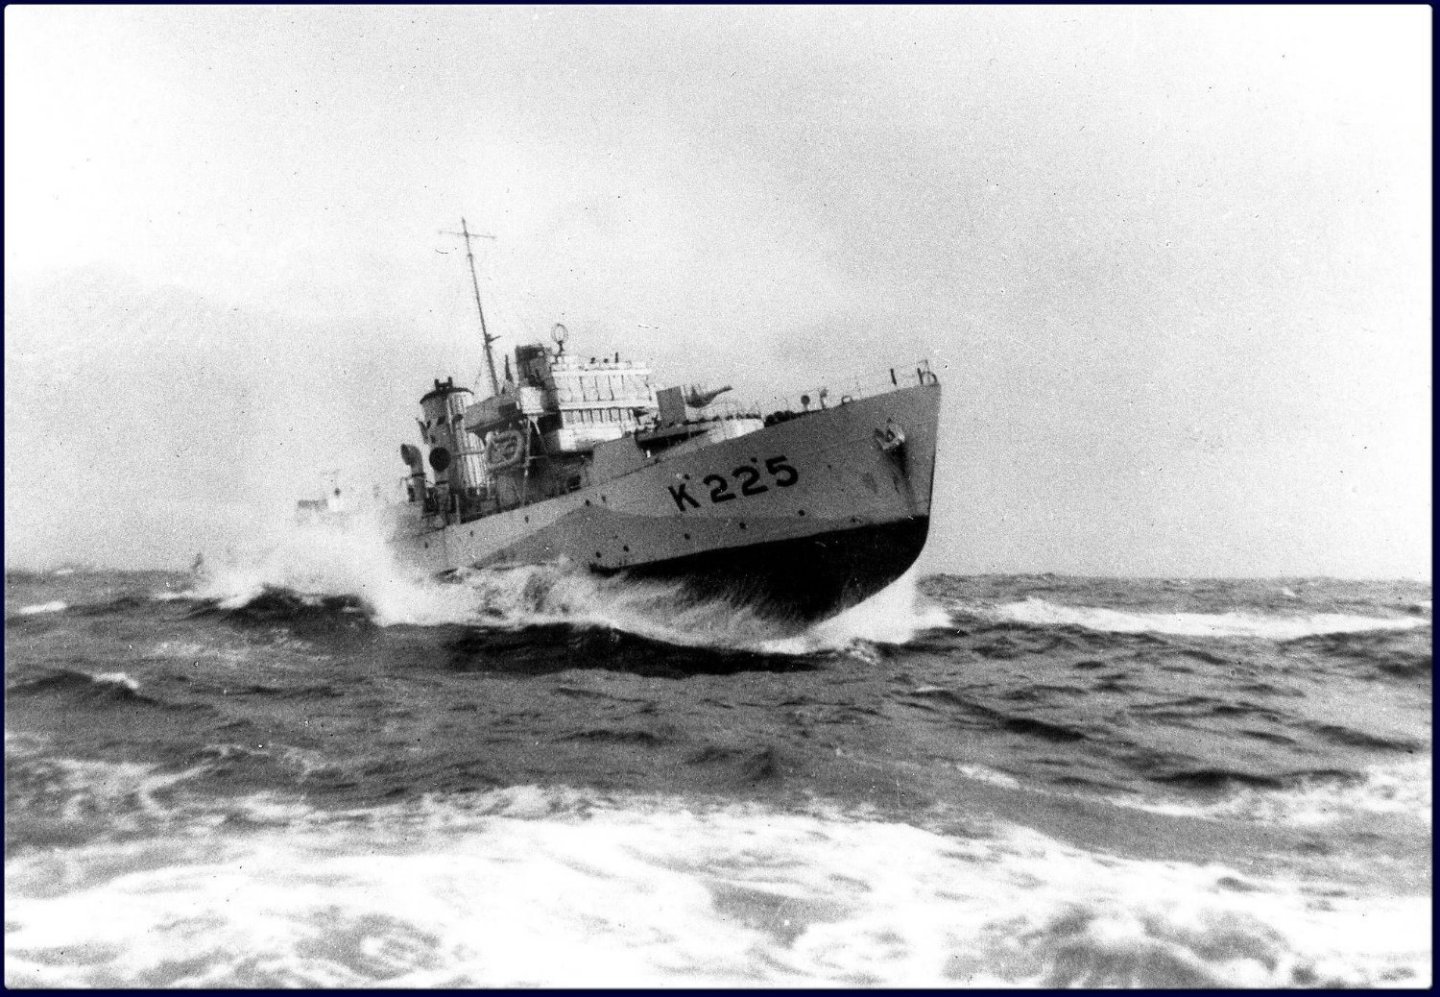
Well, its been a slow start after completing the Loarre castle. Cleaning a years worth of sanding dust off the work bench and pretty much everything else in the garage took some time. Then its been difficult deciding where to start again. I had lots of ideas and several boxes were opened and put away again. I wanted to build a ship but also wanted something relatively short but interesting with some PE to rehabilitate myself. The final choice was the Mirage Flower Class corvettes The initial choice was HMS Zinnia and I got as far as assembling the hull before realising this was a relatively early Flower and didn't have the later style bridge so down came HMS Spirea and I started again. Mirage make four Flower kits and it looks like they all share the same hull but have different decks, superstructure and details. Zinnia was an early Flower but I can't determine whether she should have had a short forecastle or not. I think its just about possible she could have been built to the long forecastle standard. She was commissioned in April 1941 and sunk in August 1941 so she certainly was never refitted The kits look quite good although there are some annoying placements of the sprue gates on the hull halves requiring some clean up before the deck can be fitted. Curiously Zinnias hull was horrible to fit together and adding the aft deck was even worse. Spirea was much better and only a tiny mount of putty was needed to smooth it out. Otherwise there are some lovely delicate details like the galley stove pipe and some clunky parts too. I am planning to use the White Ensign PE set as appropriate and some PE or resin substitutes for the armament. I've been pondering the build order, trying to decide what to assemble before the basic painting (its been a while). I think the replacement PE bridge, radar and gun tub / bandstand will be too delicate to stand a lot of handling so I decided to add the basic plastic superstructure to the deck and paint the hull first and then the deck and then follow with the superstructure and details. I may paint myself into a corner! So, the two hulls ready for primer. Spirea in front. This is my first attempt at 1/350 scale so some new techniques for me. I drilled out the portholes and the engine room ports and opened out the anchor fairleads Then some Mig One Shot black primer From here on I plan to concentrate on Spirea and work Zinnia if there is a pause. Its going to be too hard to get the wrong stuff on the wrong hull otherwise I masked the hull and added the red bilge and then sprayed the decks Next up some serious masking of the deck, paint the wooden deck sections and dip into the PE My ambition for one of the models is a diorama (I can't seem to break the habit - but it will only be a small one - honest) Here is the tease This video has motivated me and I have had the photo in mind since building the 1/48 scale Campanula Thanks for looking in. Alan
- 31 replies
-
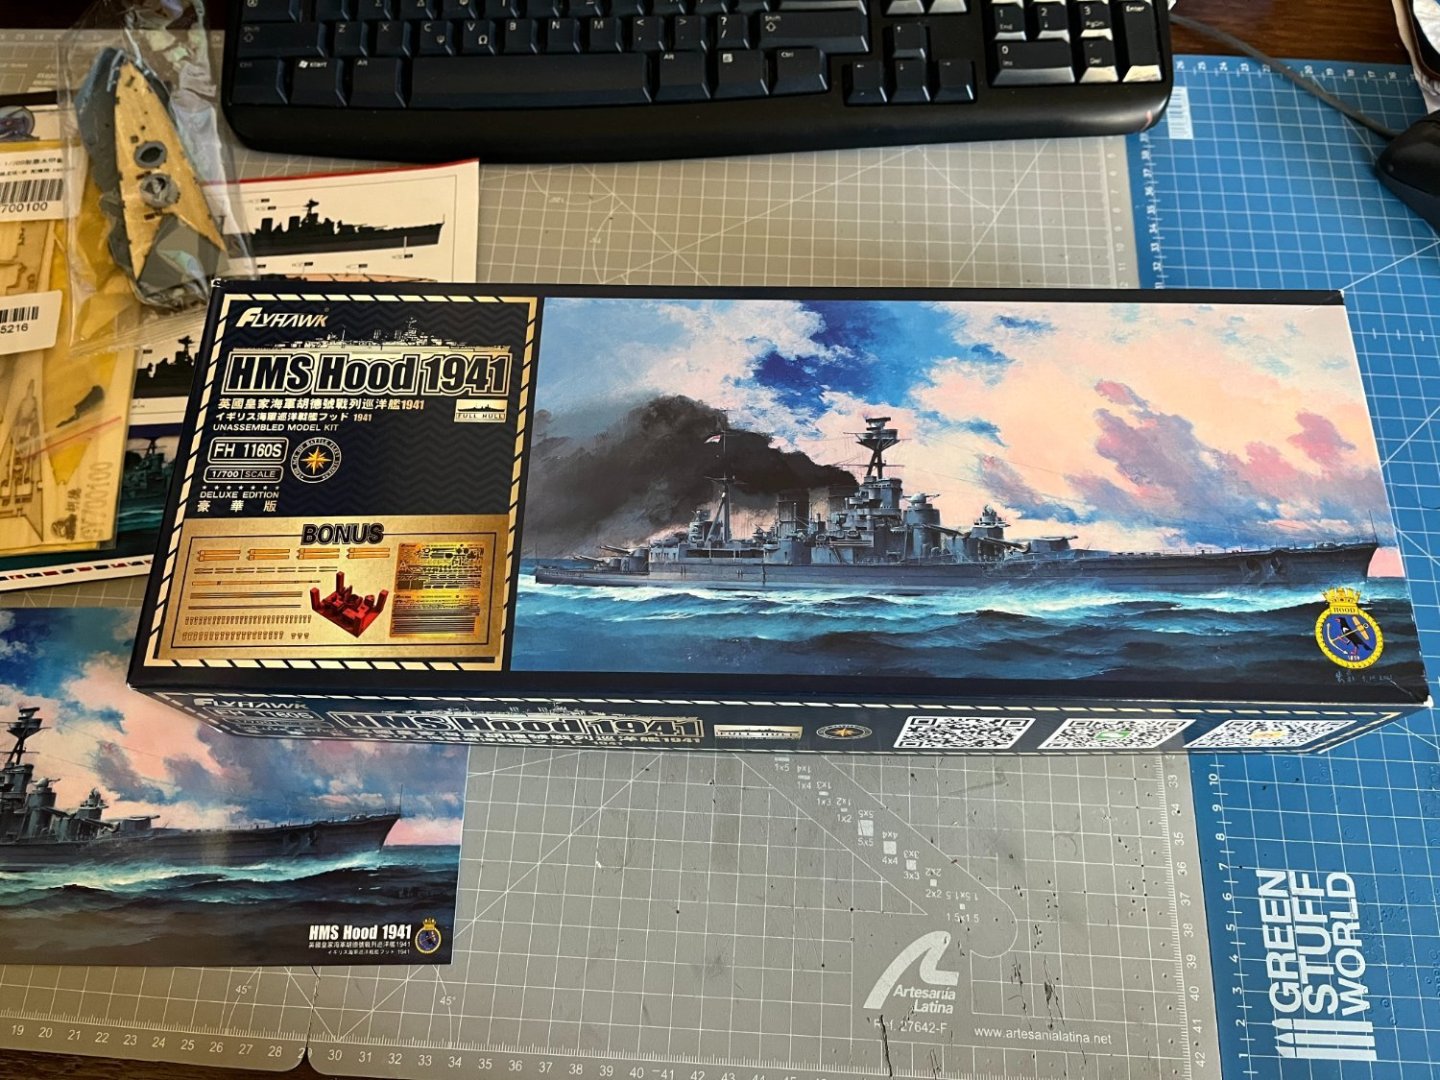
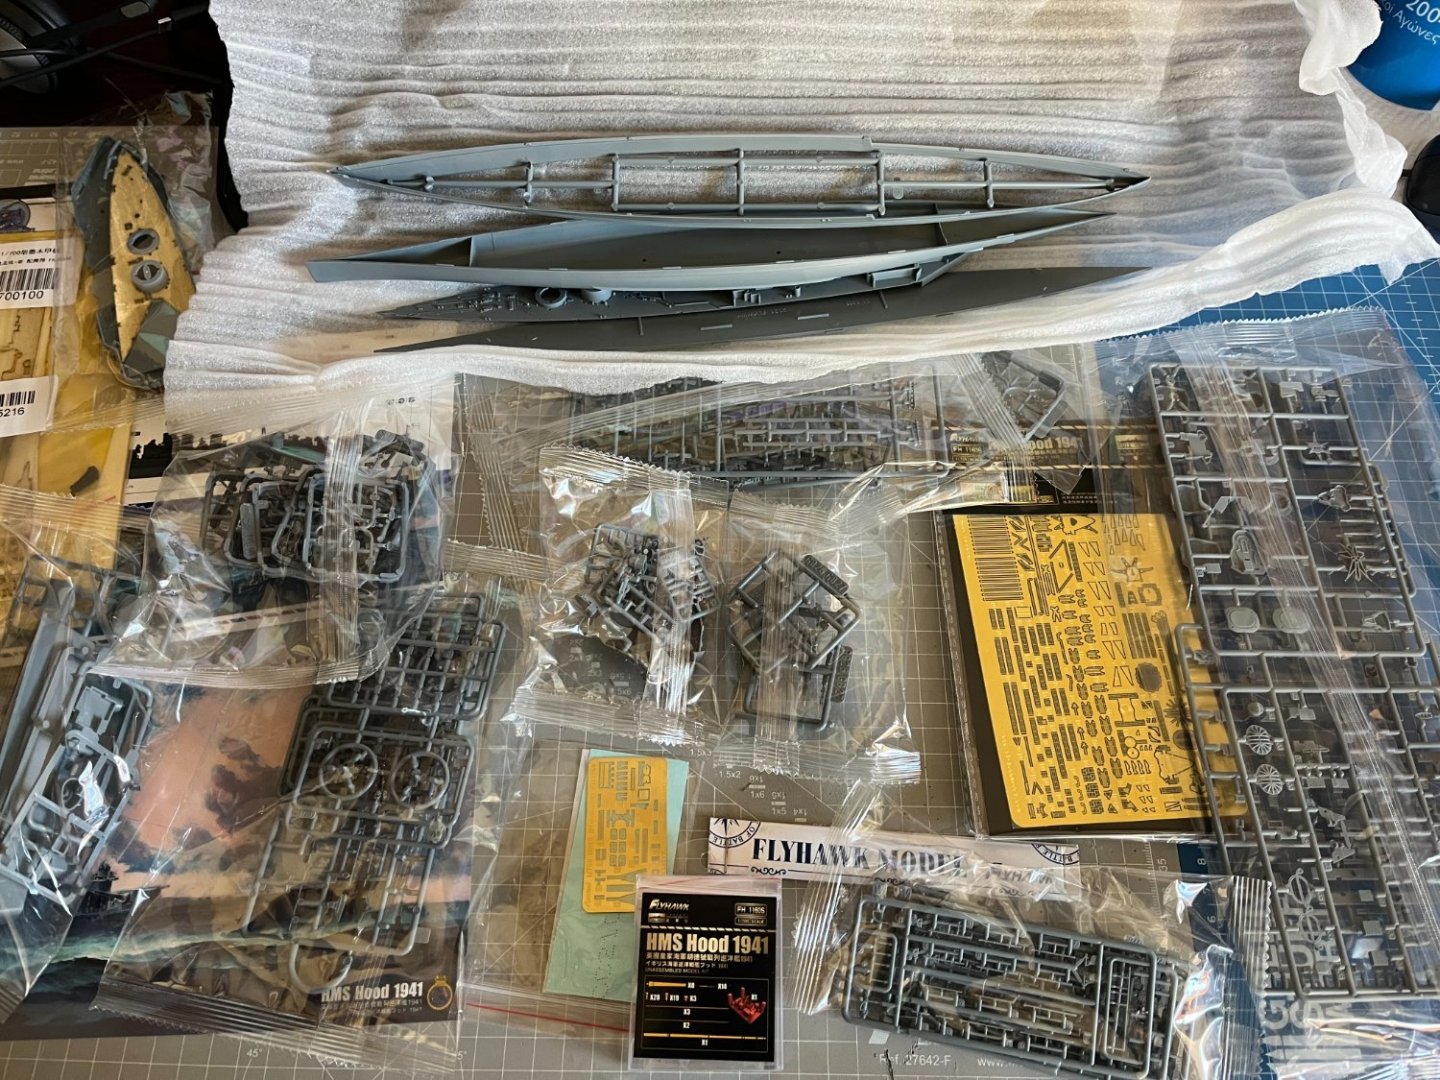
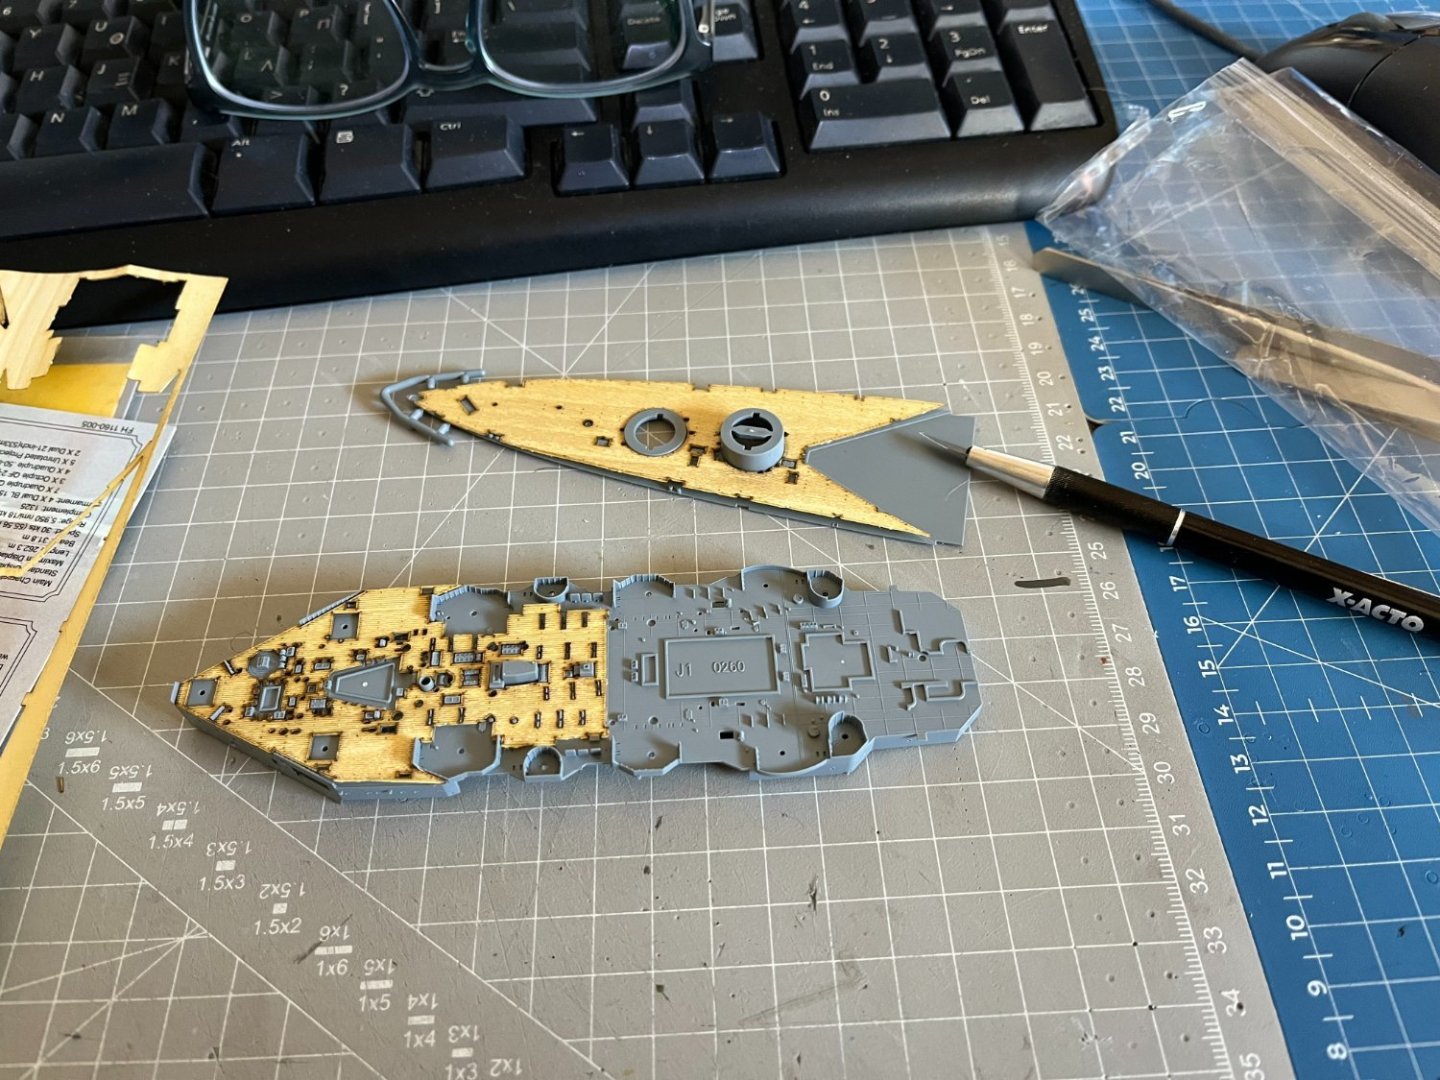
HMS Hood 1941 - FlyHawk - 1:700 After two paper models and since the weather was more suitable for painting, I started the HMS Hood. I also added a wooden Deck and masking Sheet kit at a very good price for more realism. The kit has a lot of small parts and seems to be very well detailed. First I tried the application of the wooden deck and it seems to be excellent.
-
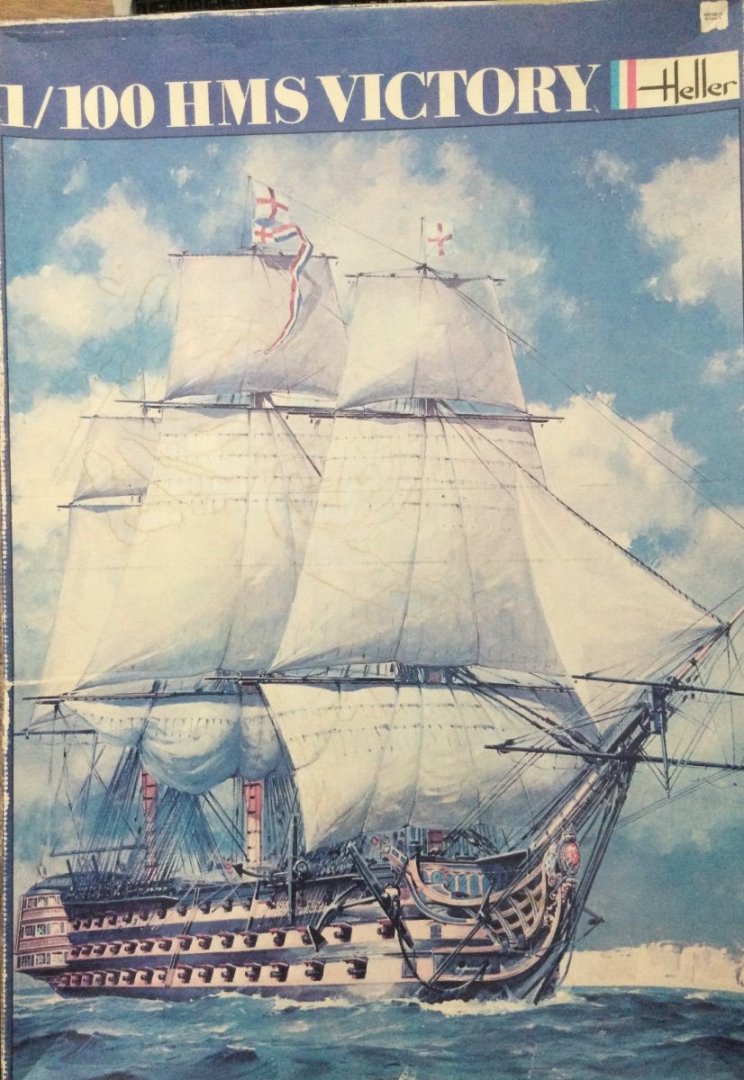
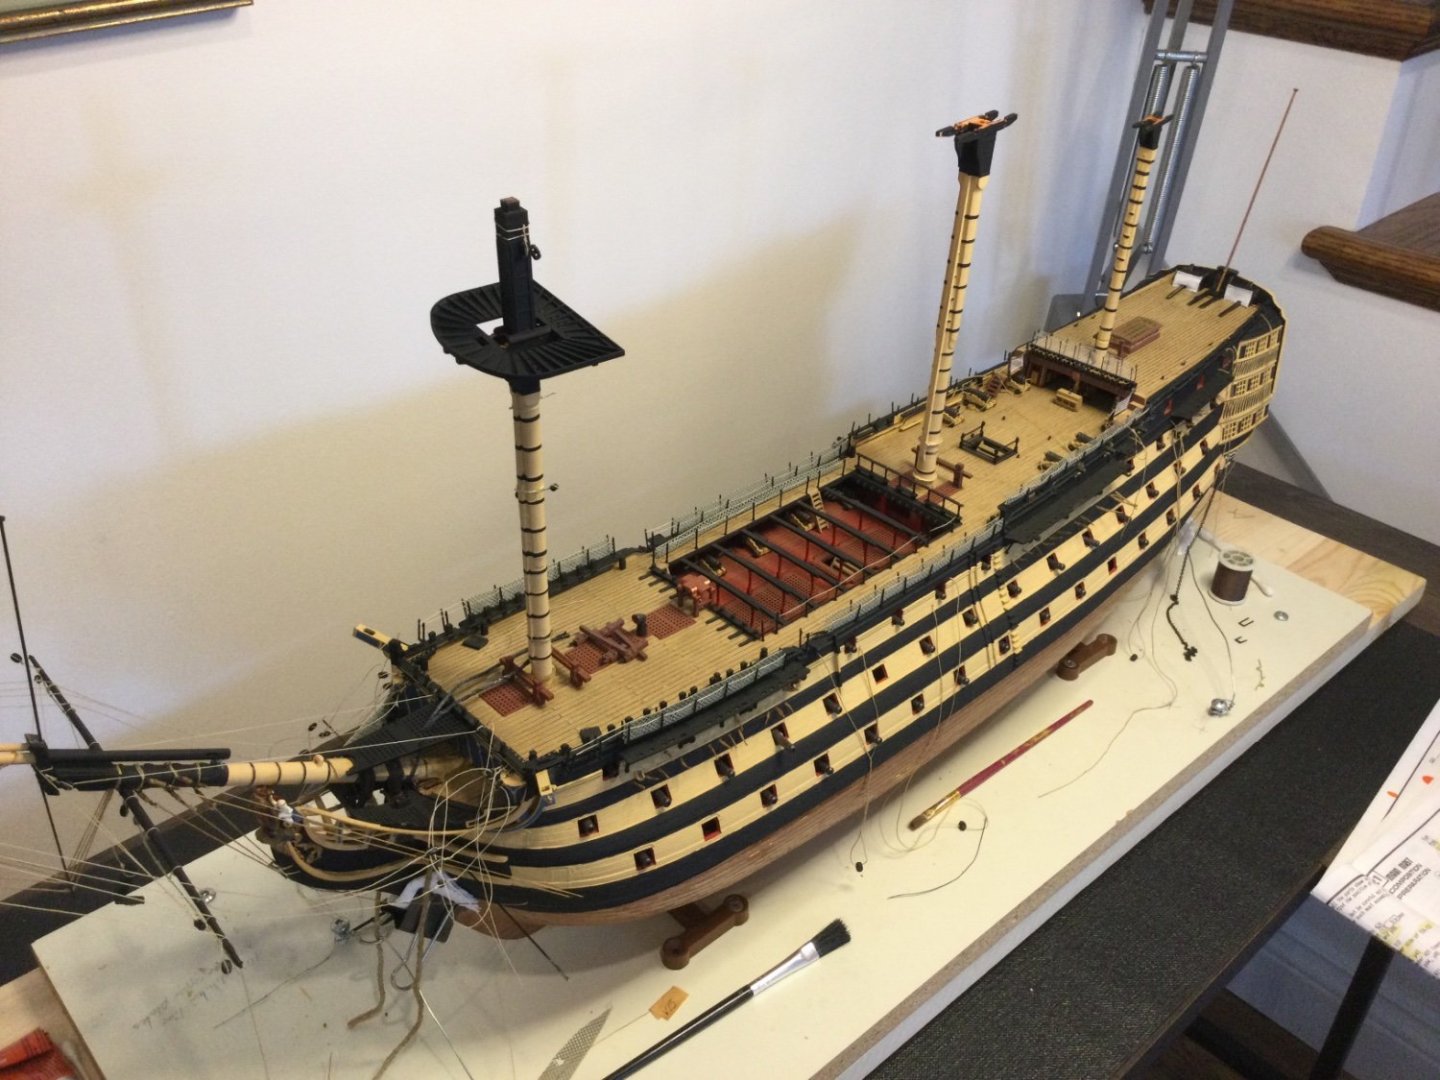
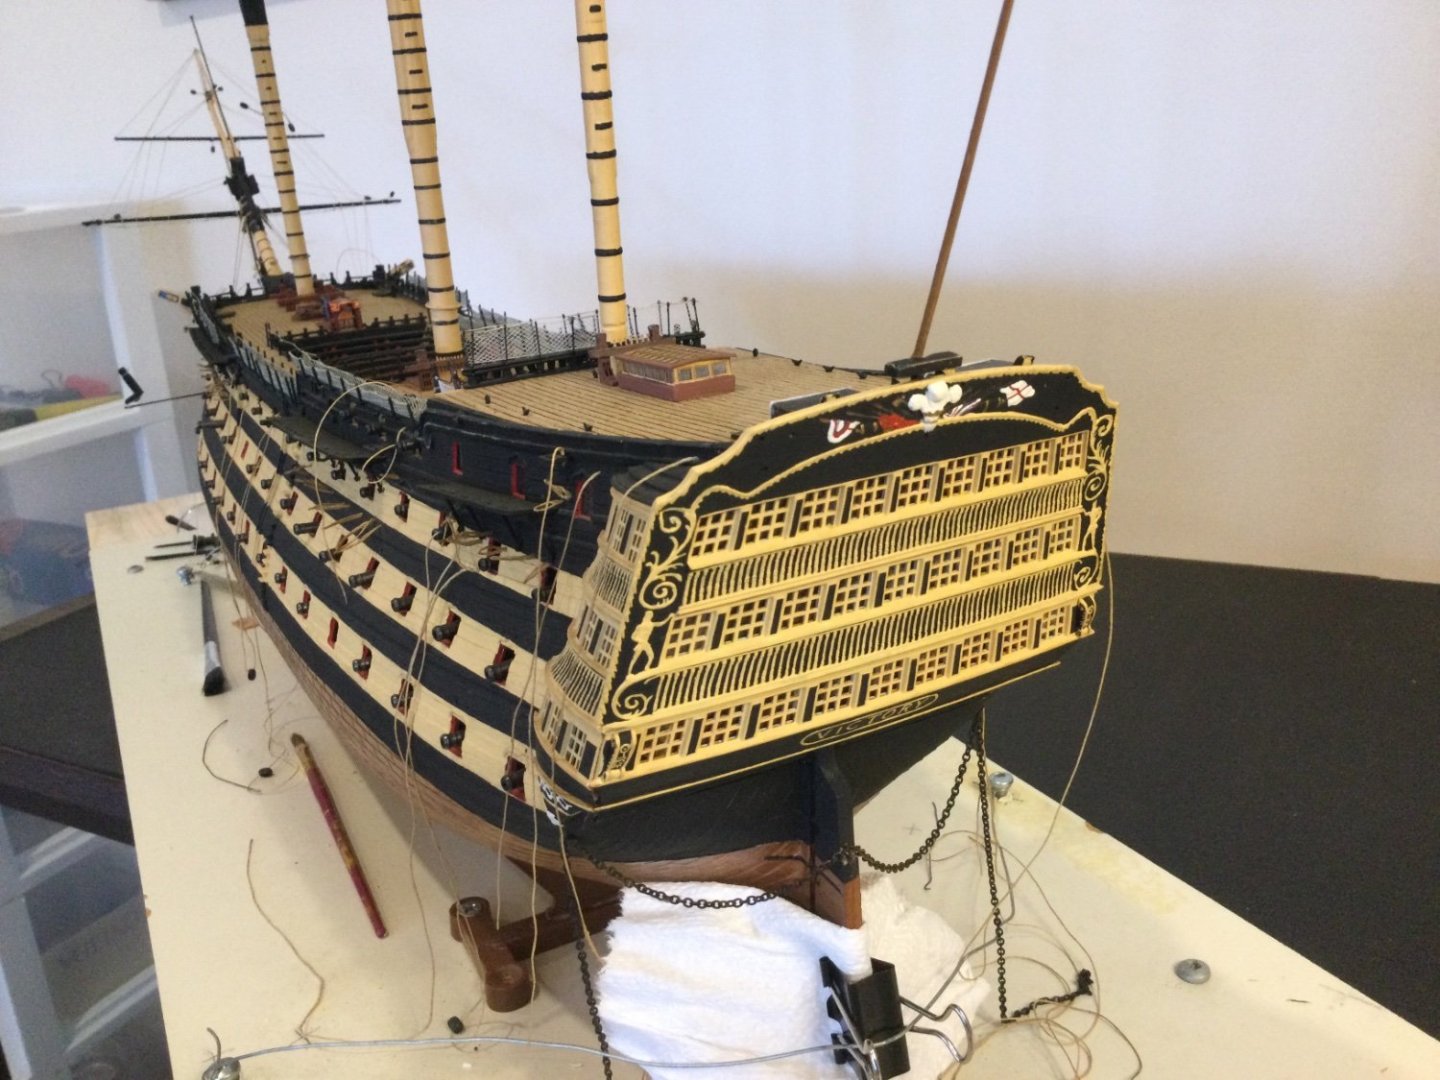
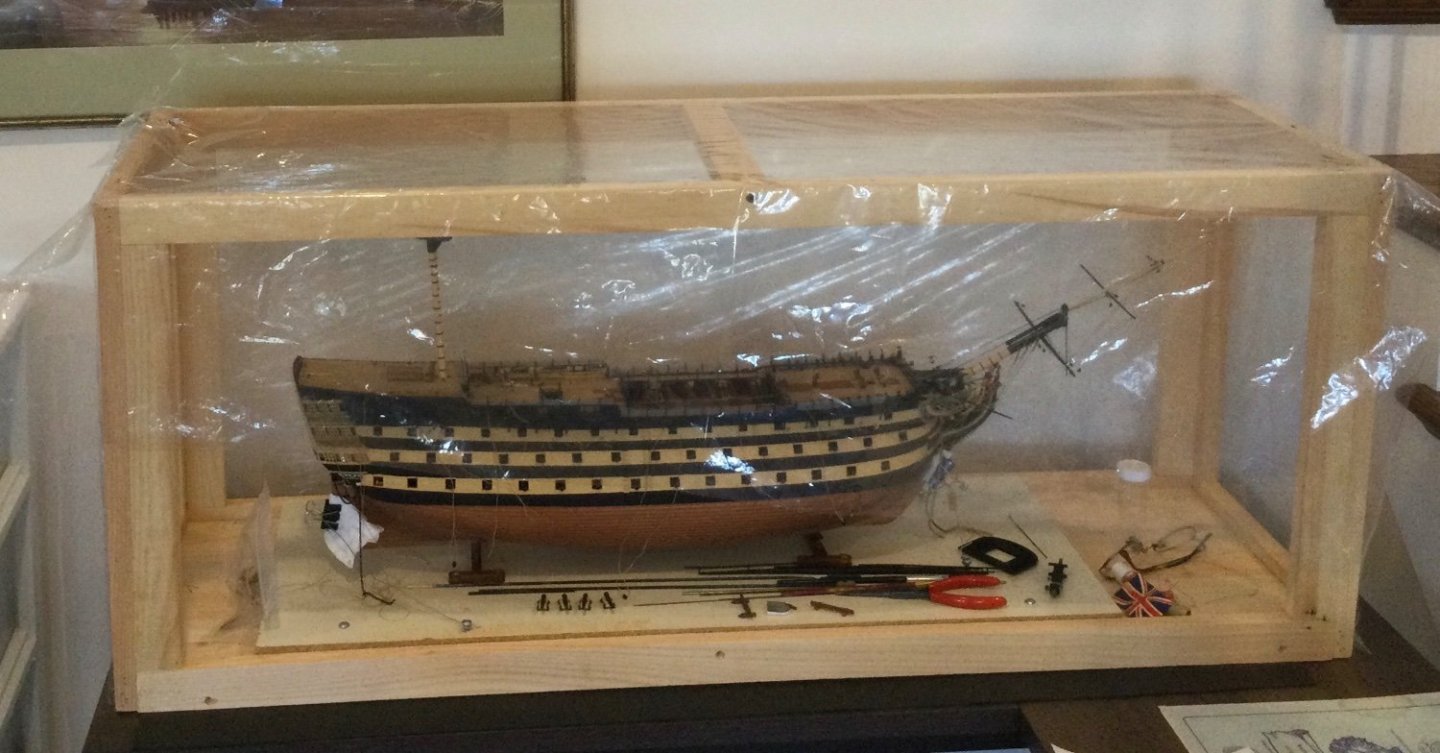
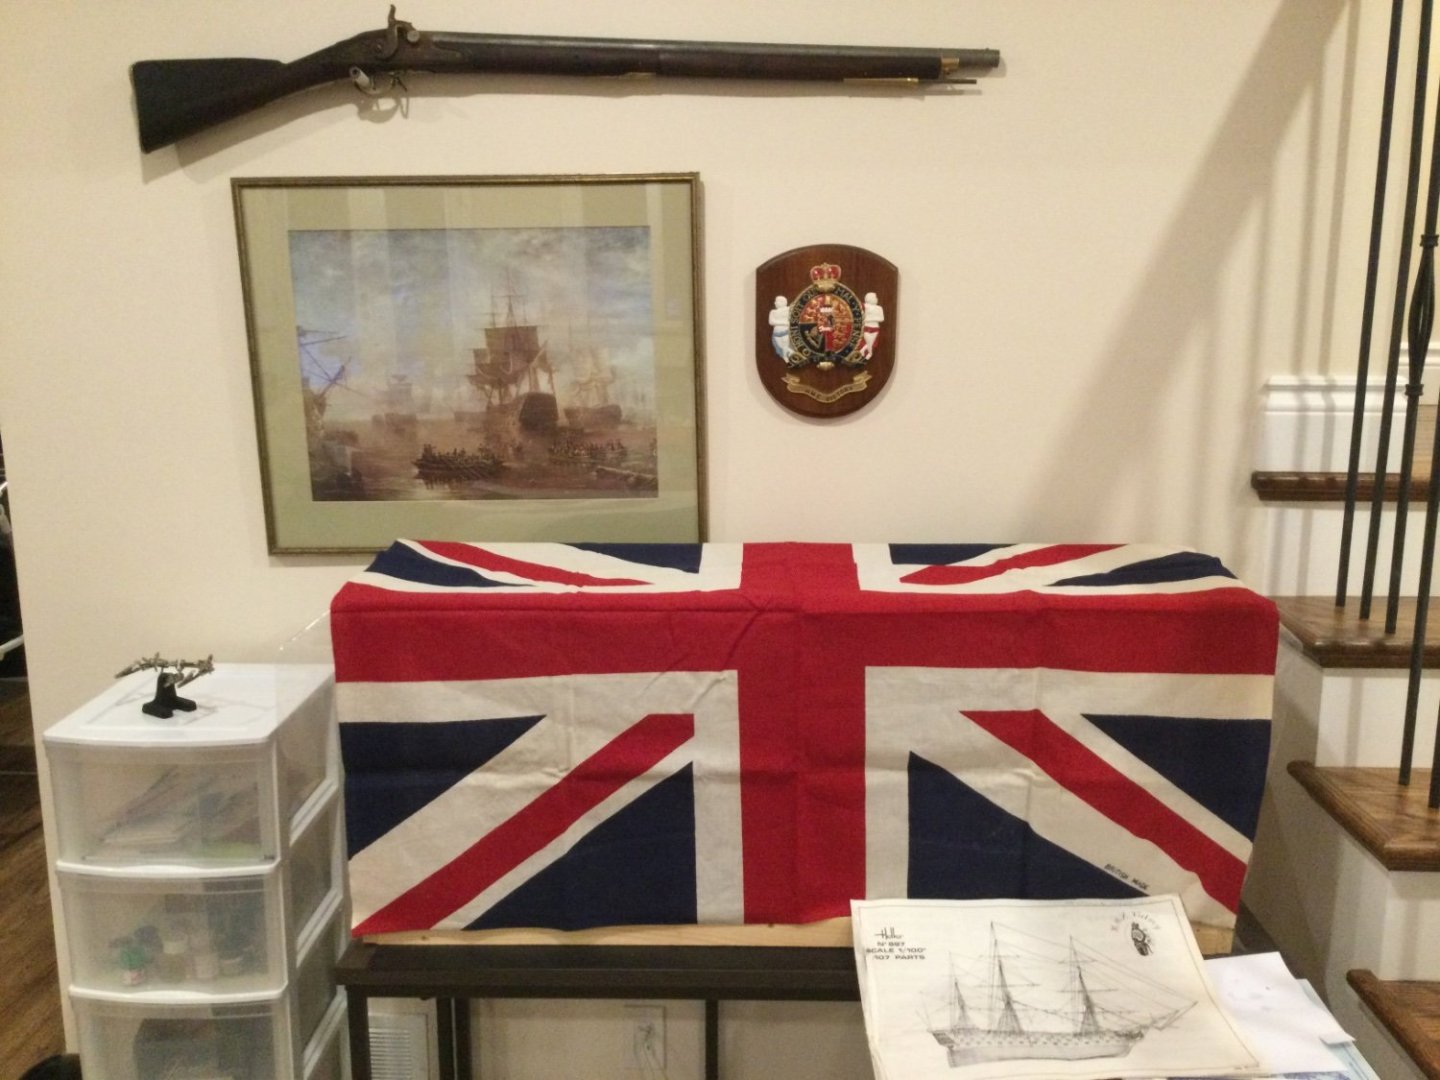
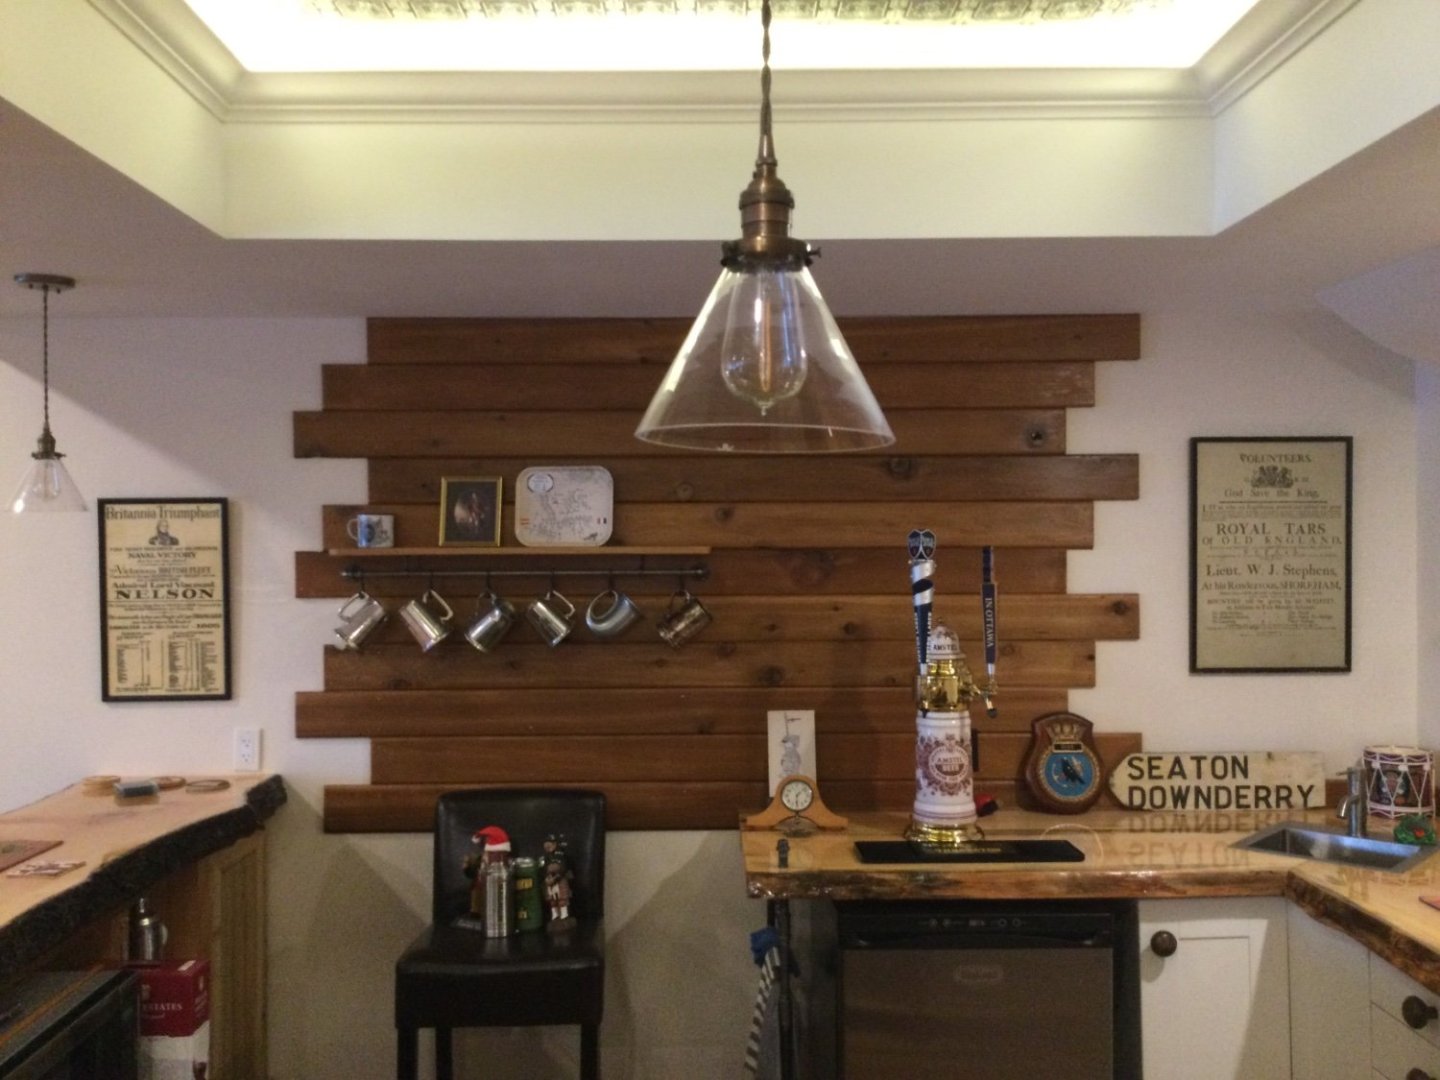
While I’m new to MSW I am not new to model ship building. In my earlier life, I built two period sailing ships: Heller 1/200 L'indomptable and the Revell 1/96 Elizabethan Man ‘O War. Sadly, these did not survive the decades since I built them. My current project is the Heller 1/100 HMS Victory. While I say ‘current’ my story is similar to that of others in this forum. I bought my kit around about 1984 but a busy career and family life meant the project became an on-again off-again proposition. Clearly, more off than on. I am now retired and motivated to push this project to completion. The hull of my model is mostly complete but the rigging is a whole other challenge and I will need help. And lots of it. Ian Grant, who completed a fabulous rendition of this model has already been immensely helpful to me. A few pictures follow: . I’m told this is a 1st generation kit, C1979. I believe Heller is now into its 3rd iteration. Hard to believe but in 1984 this kit was $CDN180! I am re-doing the bowsprit standing and running rigging since I originally rigged it per the kit instructions. That is simply no longer acceptable 😊 I’m glad I completed most of the finicky painting - aft gingerbreads, balusters, coats of arms, etc. (quoting Billy Joel) “when I wore a younger man’s clothes” 😉 Good news is, while my eyesight isn’t as sharp as it once was, my hand is still pretty steady. I built this temporary enclosure to protect the model while also helping to keep it dust free. It still managed to collect dust! My main work area (I have another for sub-assemblies) looks quite ‘proper’ with the Brown Bess musket on the wall (I fashioned a whole new forestock for it), the contemporary picture of Victory in Portsmouth Harbour and the Victory crest. My wife says it looks like a shrine…and I’m ok with that too 😁 You can tell by this picture of my bar area that I’m all things ‘Nelson’ - the Britannia Triumphant poster, the rum ration cup with Nelson’s image, Nelson’s portrait (I also have a same sized portrait of Lady Hamilton) and the battle line serving tray. Since I was a very young lad, Horatio Nelson has always been my #1 hero. In my adult life I can honestly say I have never missed recognising Trafalgar Day (Oct 21st). Whether in quiet contemplation or a raised glass. Or both 😁
-
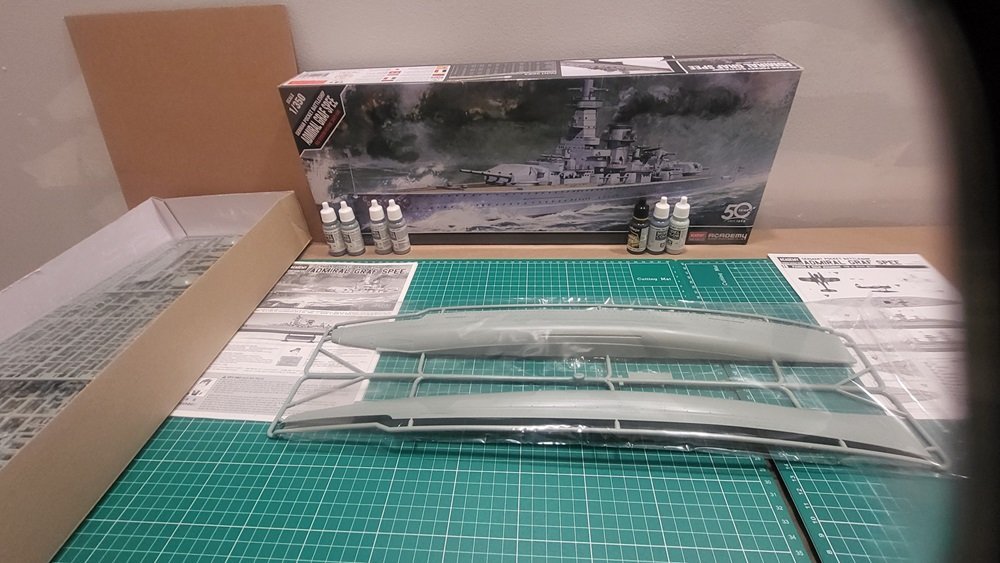
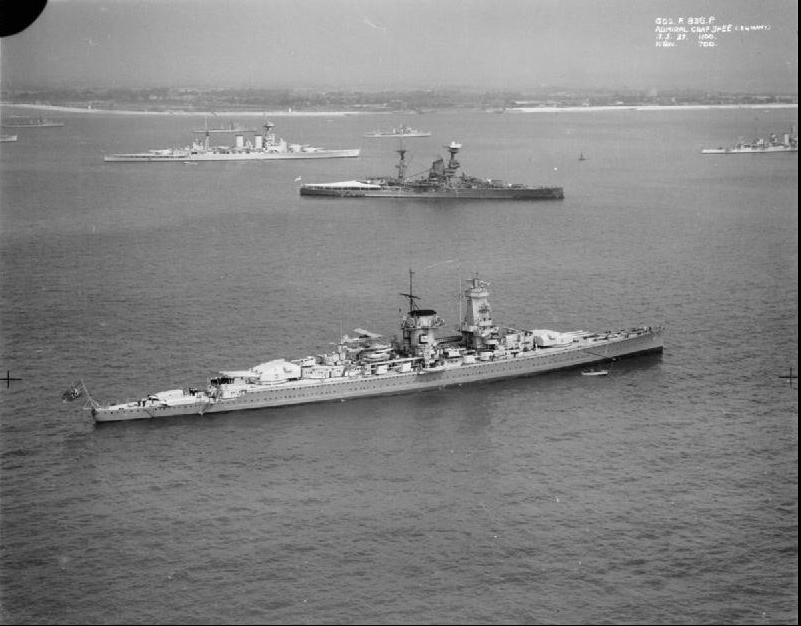
After my failed attempt at the 1:700 scale Dragon Z-39 I poked around the interwebs and found a site that presented skill levels in their reviews. ‘CyberModeler Online’ is a very nice review source. <sarcasm>Surprisingly</sarcasm>, the Dragon kits are ‘Expert’. But, the Academy Graf Spee kit I bought concurrently was a ‘Beginner’ kit. I've been lurking this site for about a year. It has kept my interest in the hobby going. So, here I go again!!! I’m going to model her as she was while ‘showing the flag’ just before WWII. She, and her captain, were caught out by the start of WWII. It is not likely a good thing to be in the wrong hemispheres (both of them) as an unescorted cruiser against the world’s best and largest navy. Her crew applied many hasty, at sea, camouflages – some of which are cool. I really like the brush painted bow wave she sported on her final sorties, but I don’t know if she also sported the fake second funnel at the same time. Regardless, she did not take fire till the Exeter, Ajax, and Achilles plinked her at the Battle of River Plate. Thus, she probably should not be heavily weathered, and she had been well cared for. That means just two main paint colors and no camo pattern. I’m going to whale this one a little bit. I mean, I paid for her a year ago so any mullah spent now just seems like a justifiable new kit purchase. I’ve never used 3D printed parts but I think working those in will be easy and effective. I could not imagine bending PE for all those secondary guns. The Eduard PE will be used for railings and for some easy PE stuff – I did OK with the Z-39, but it was difficult. The plastic rails provided in the kit provide a nice and easy template for the PE. Regretfully, the Eduard PE doesn’t have the ‘CORONEL’ plaque that was placed on the superstructure while the WEM PE does – but the Eduard instructions are derived from the Academy kit instructions and I’m thinking that will make things much easier for a noob like me. I have never tried a wood deck, but there is no time like the present and the Artwox deck seems to fit no fuss, no muss based on build threads I have read. And, I’m going to ‘nope’ on porthole covers and whatever – I want to have a win here. Another thought for the more skilled and ambitious. There is a really cool photo out there where the Graf Spee is anchored near the HMS Hood and Resolution for the coronation of King George VI in 1937. I think that will require back dating her secondaries since she was refit to include the below aftermarket secondaries in 1938. Look at this beautiful photo: If any of you see anything amiss, please comment. I have yet to click the ‘Buy’ button and will probably not do so for a couple of days. I am planning on using Squadron.com for the purchases. If anyone has better sources please inform me. They seem ok though. Aftermarket: Item Cnt Manufacturer Part No Main Guns/Turrets 1 Micro Master MM1743P 8x1, 150mm SK C/28 Kit Provided 3x2, SK C/33 Twin 105mm Dopp.LC/31 2 Black Cat Models AC350071A 4x2, 37mm FLAK SK 30 Twin, Dopp Mount 1 Black Cat Models AC350068A 10x1, 20mm FLAK C 30 2 Black Cat Models AC350064A Artwox Wood Deck 1 Artwox AW10049 Eduard 1 Eduard 53050 Paint: Color Hellgrau 50 (light gray) Vallejo Model Color 990 (light gray) Hellgrau 51 (dark gray) Vallejo Model Color 905 (blue gray pale) Happy Hunting and Pray for Me...
- 27 replies
-
- academy
- Admiral Graf Spee
-
(and 5 more)
Tagged with:
-
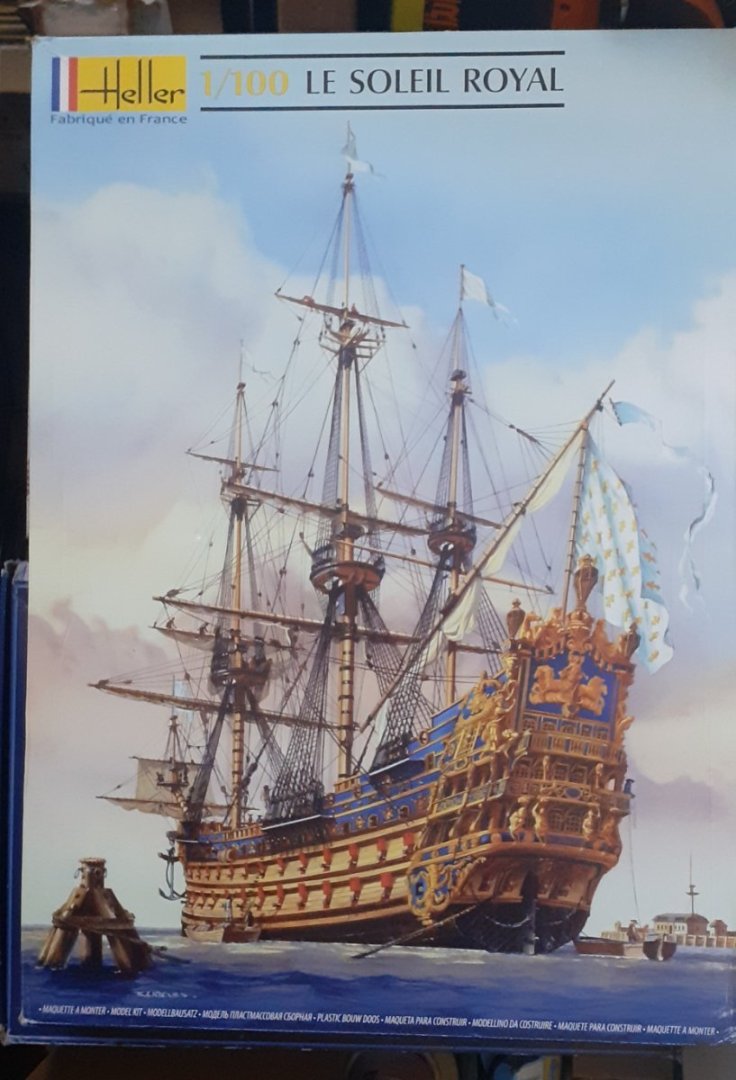
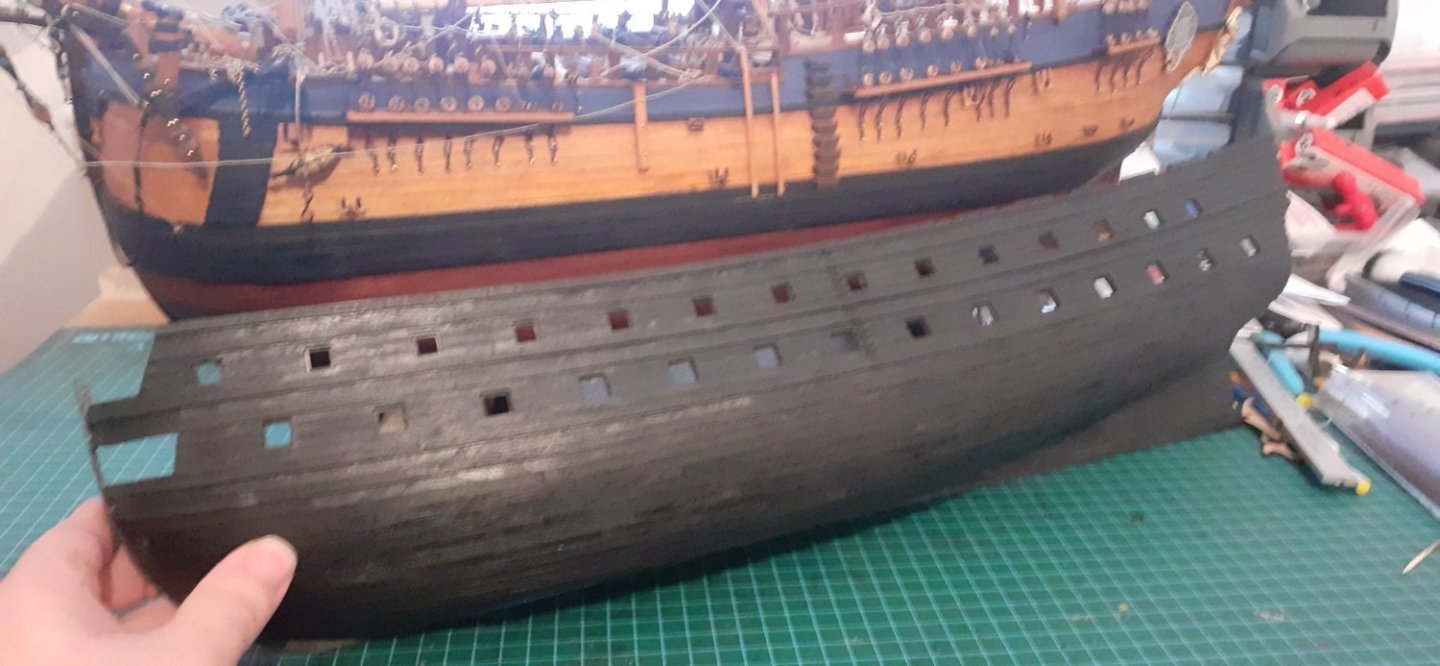
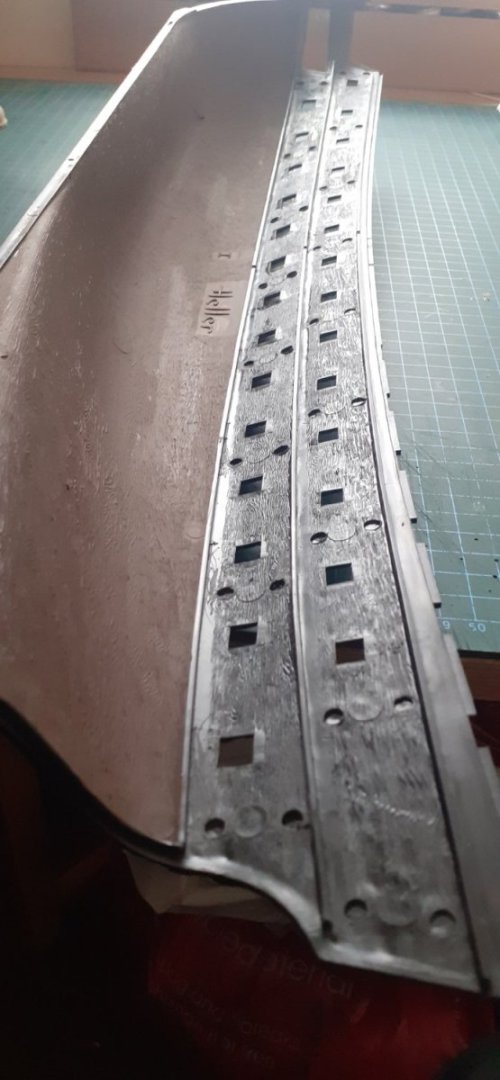
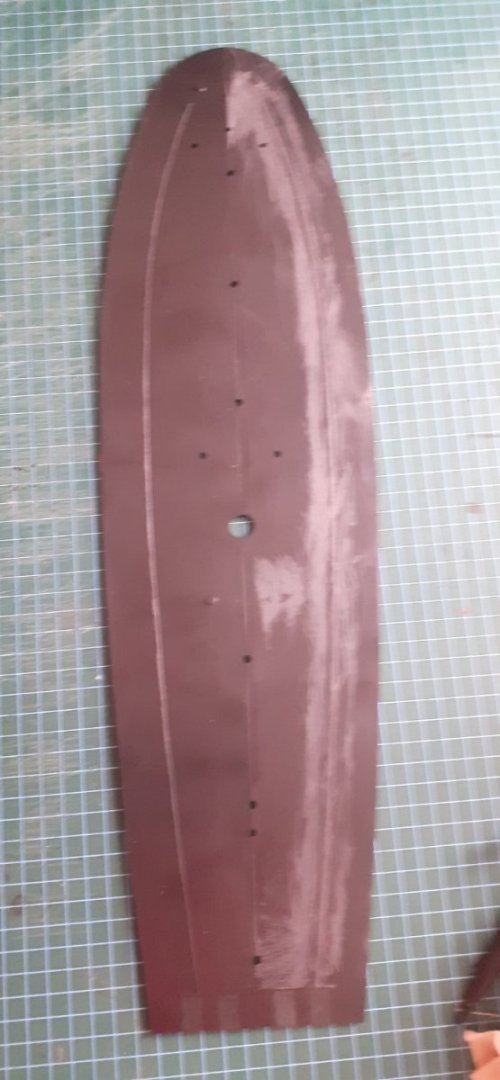
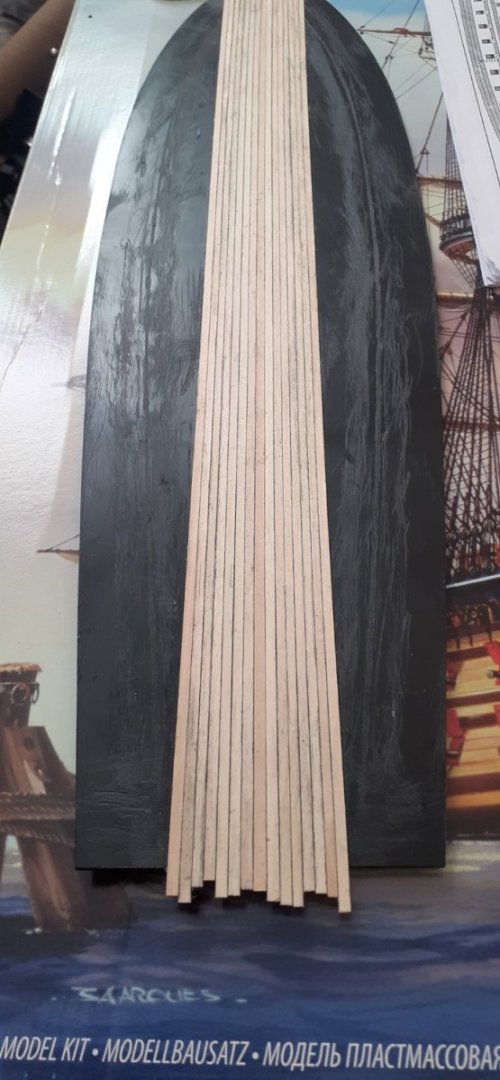
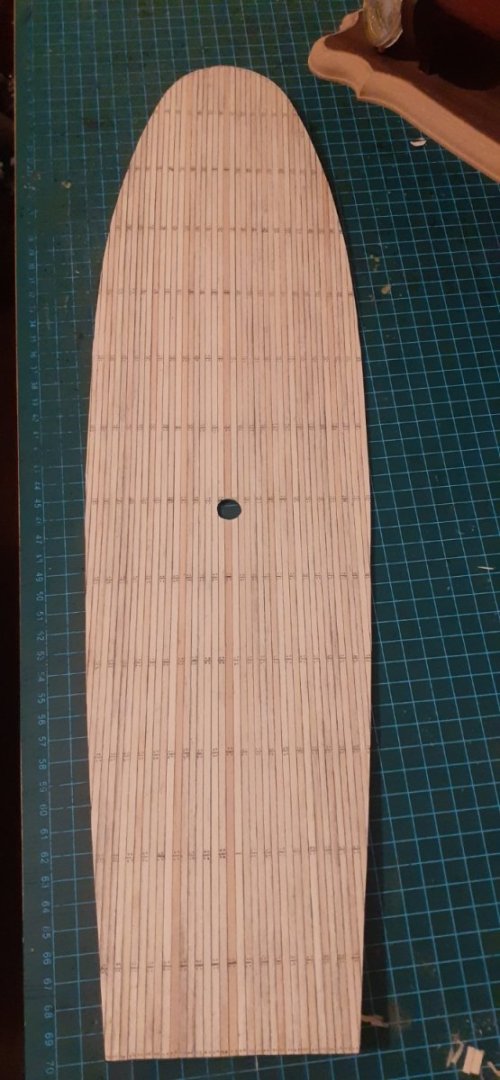
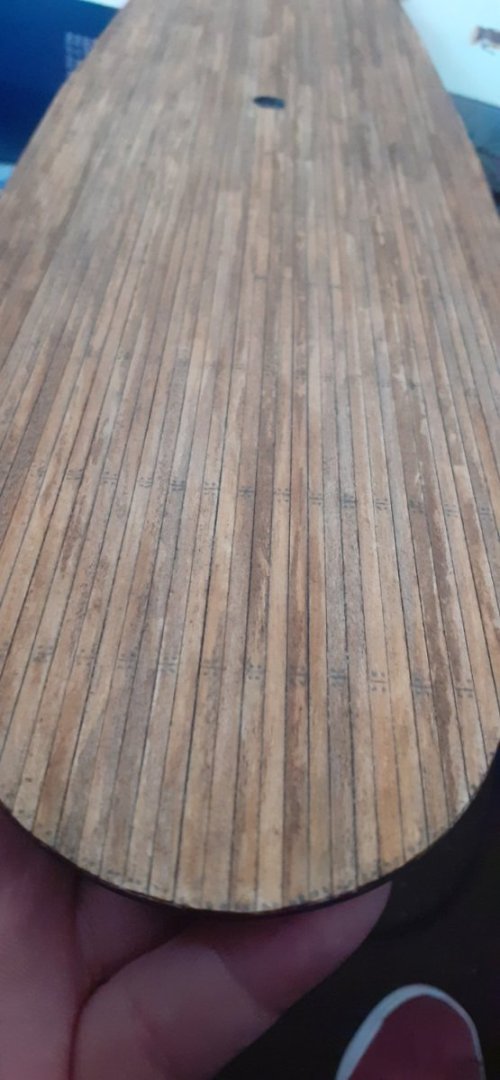
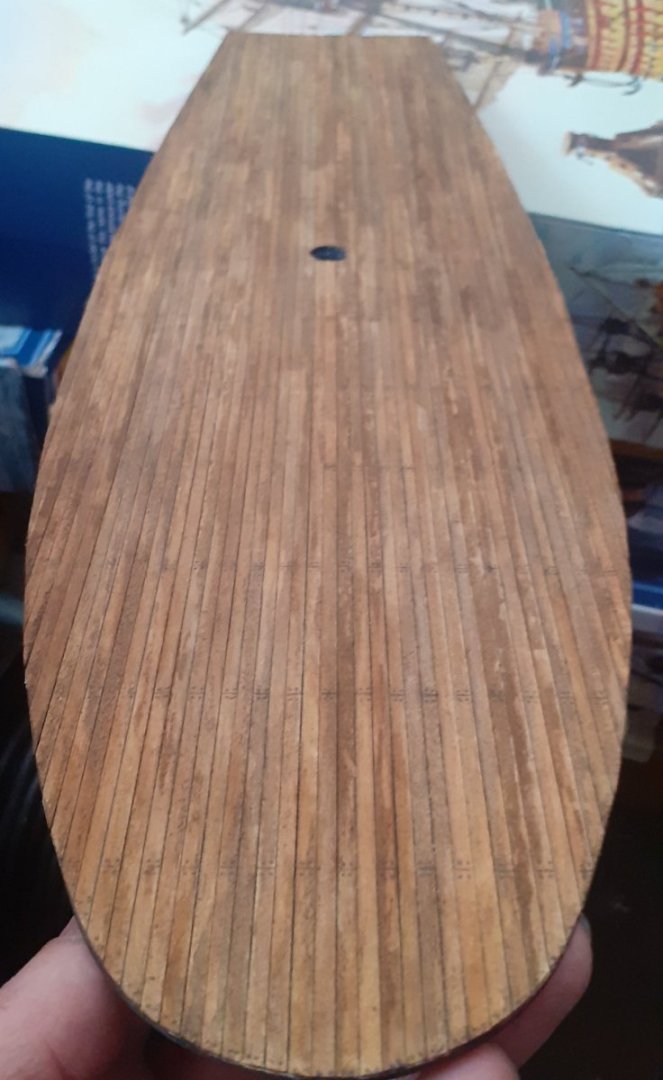
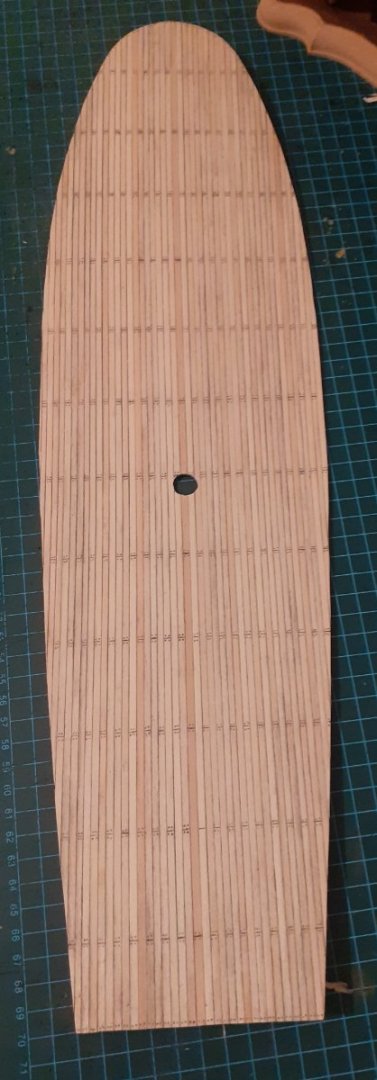
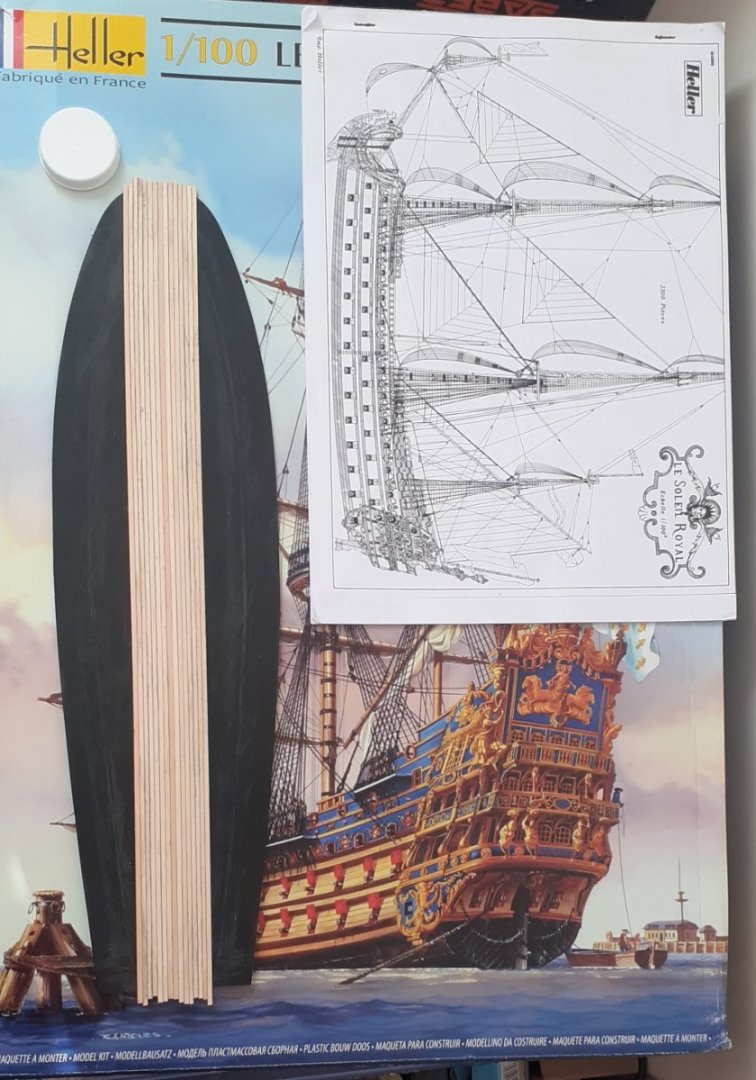
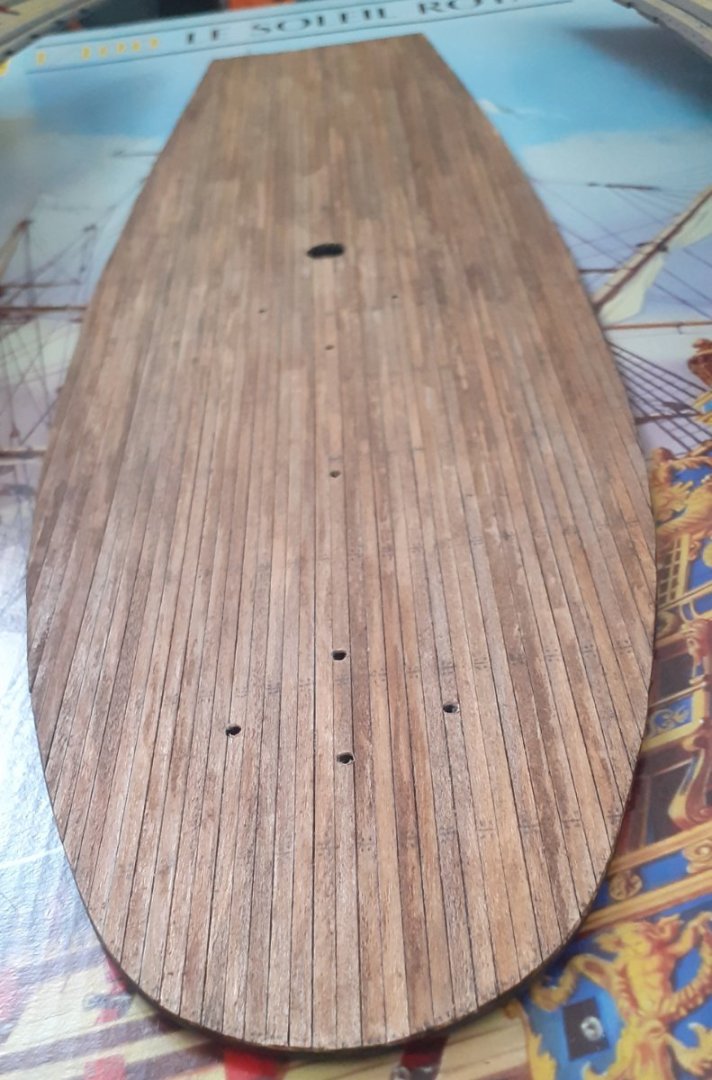
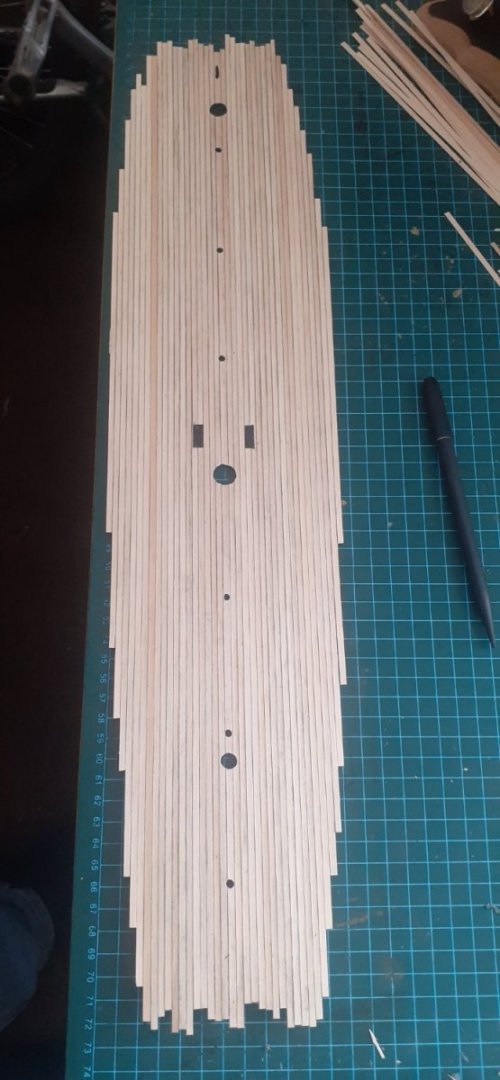
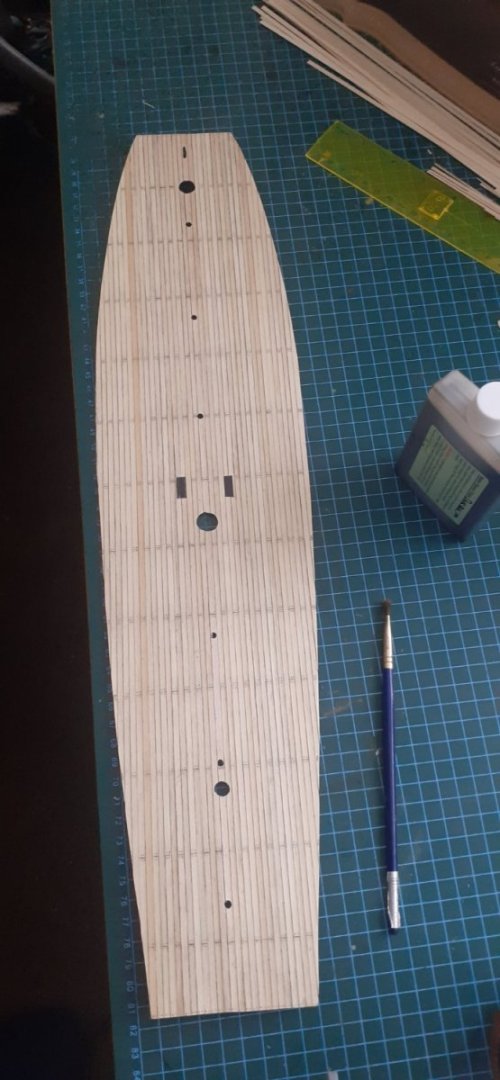
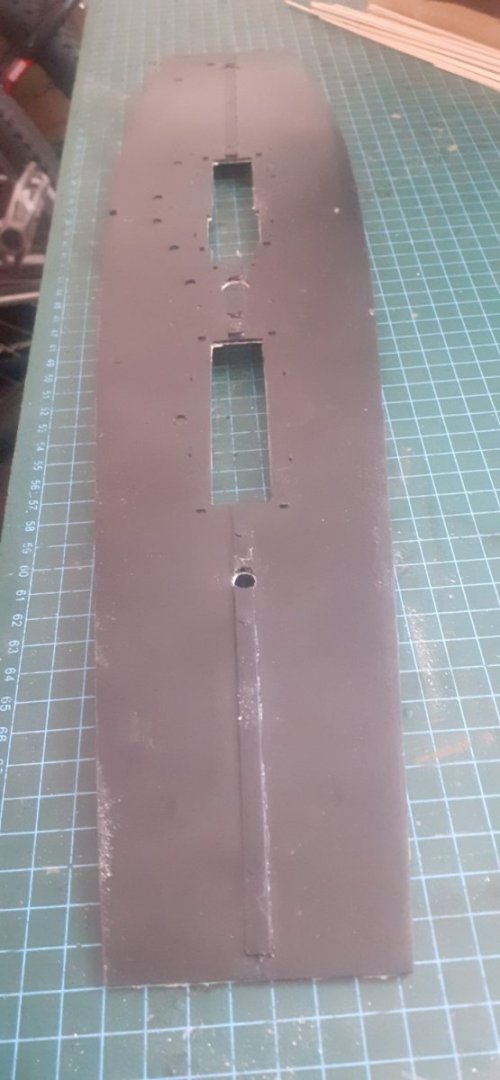
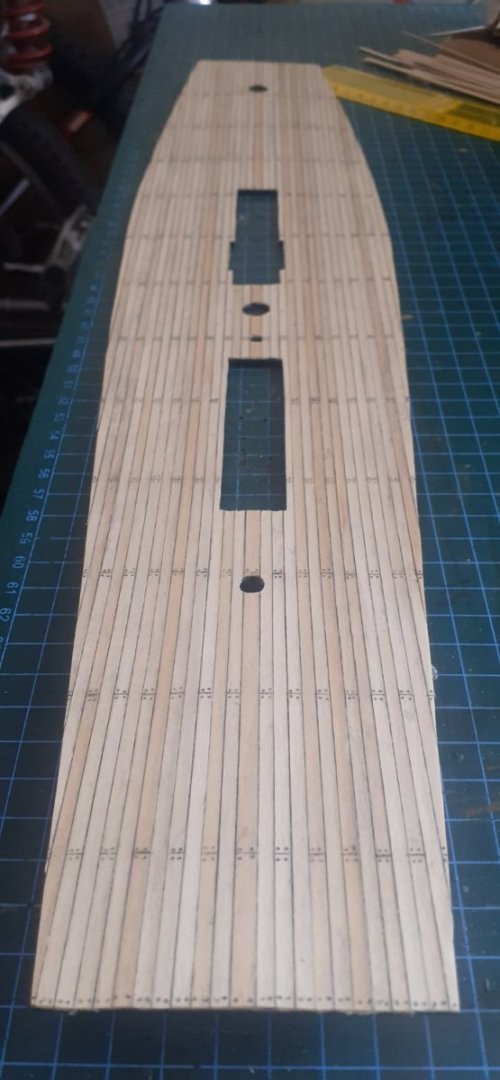
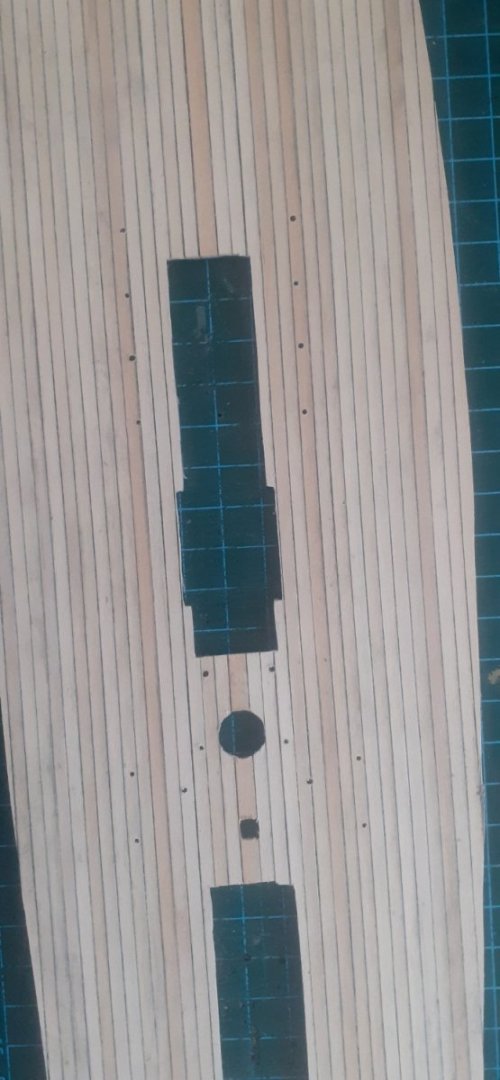
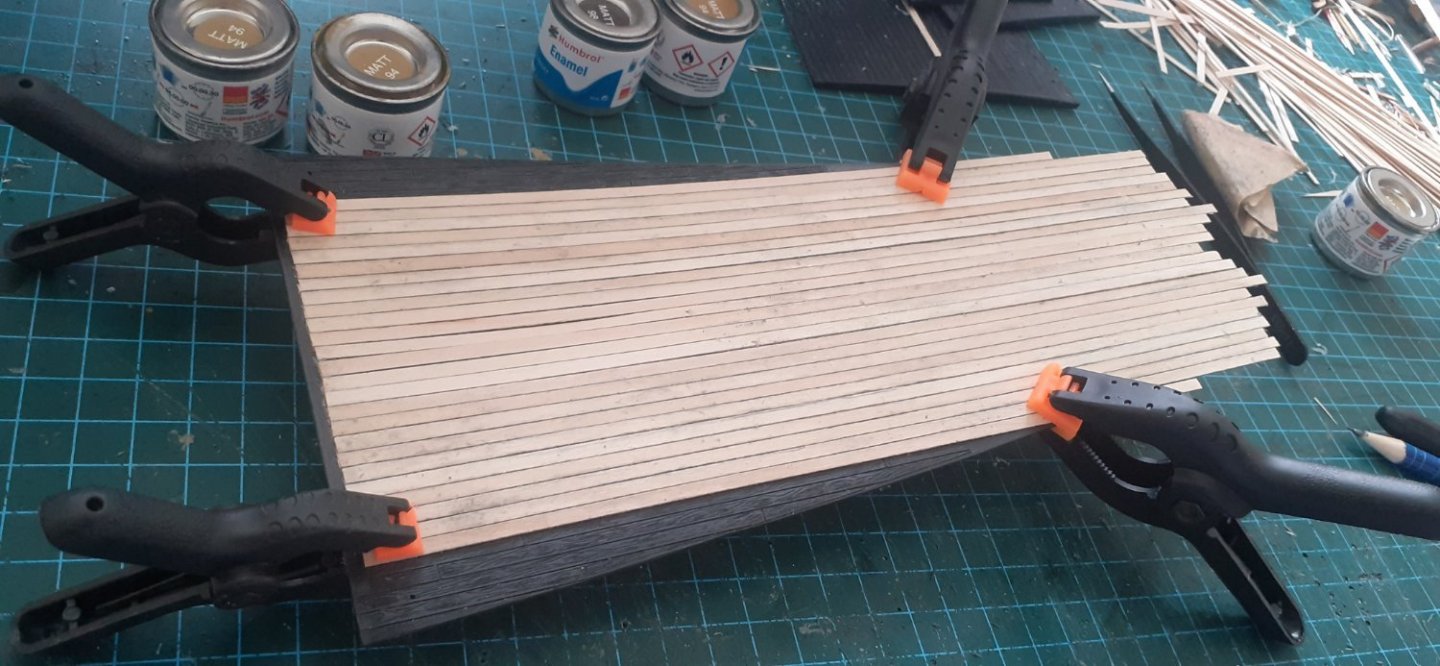
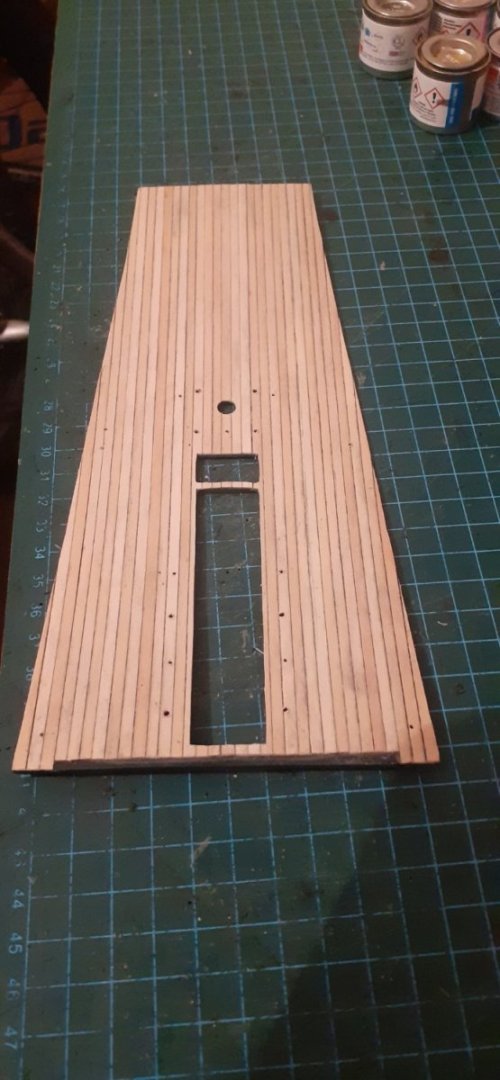
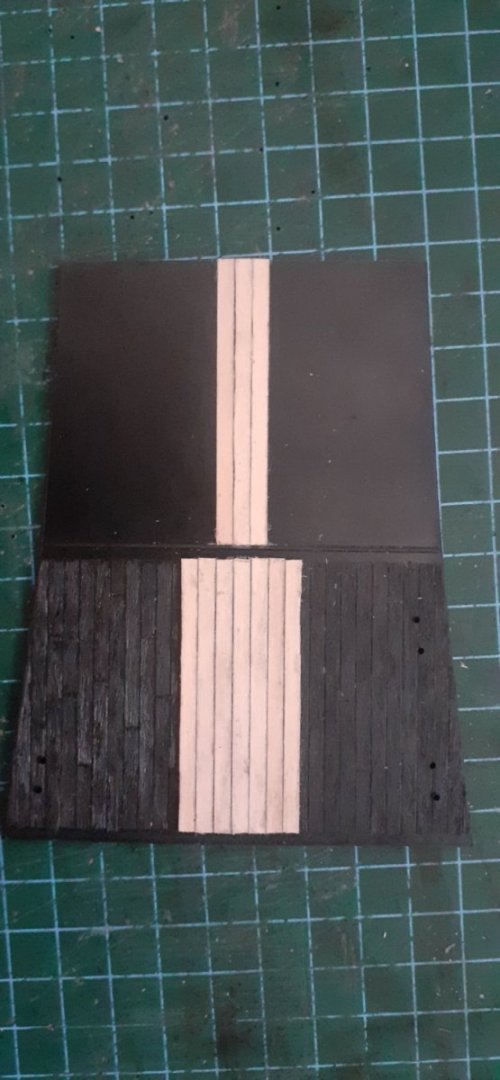
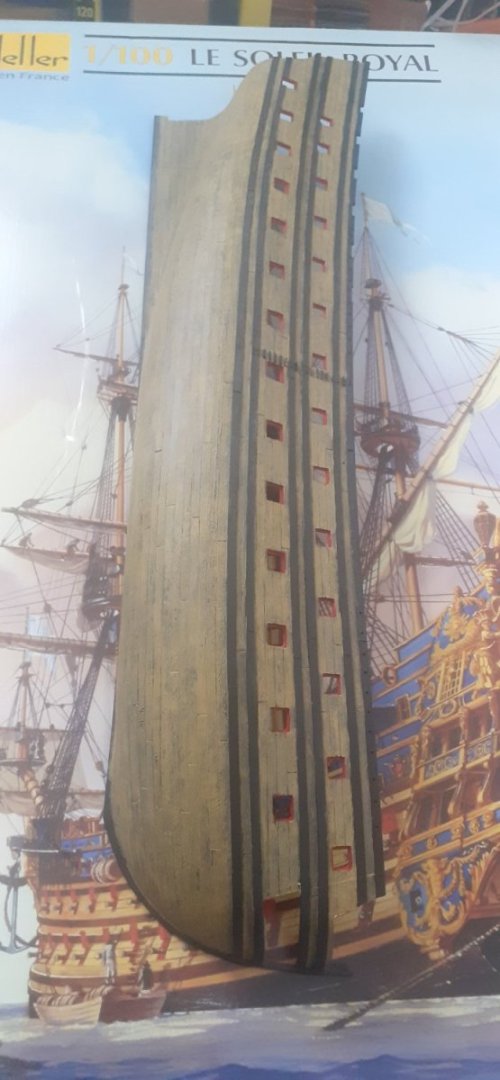
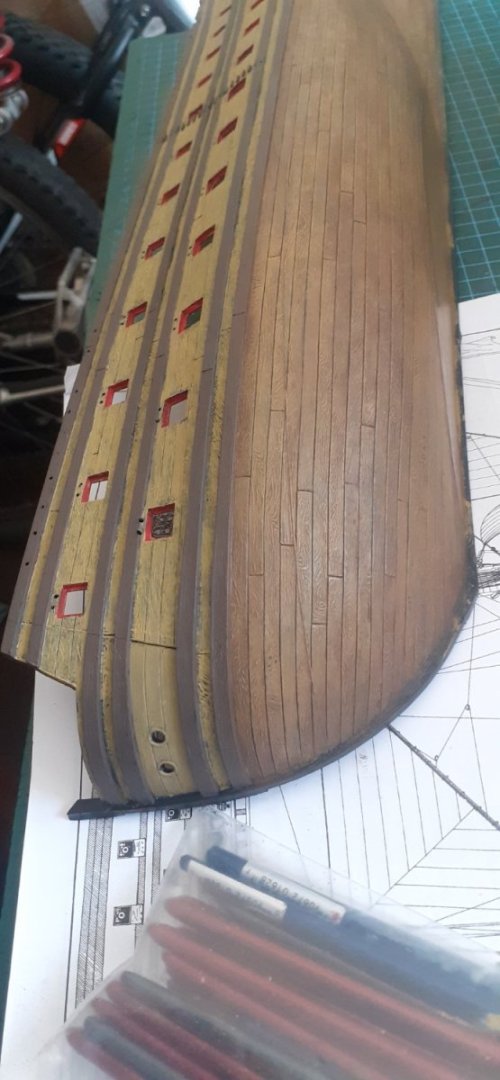
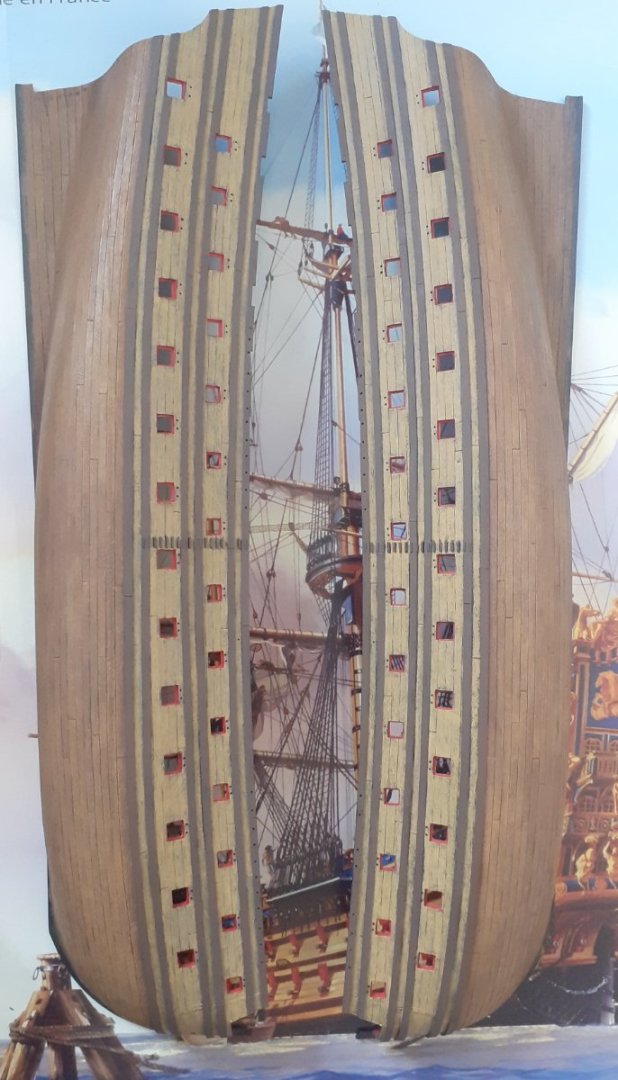
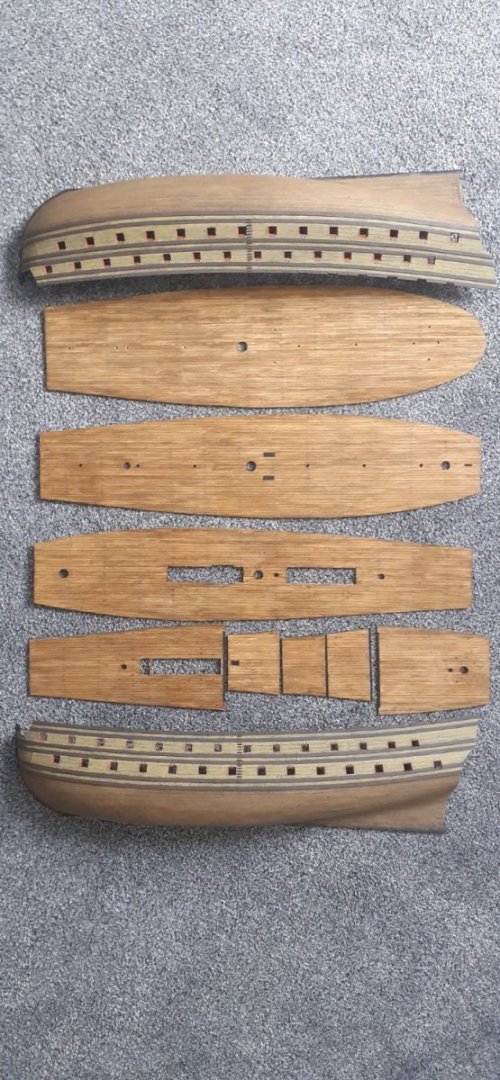
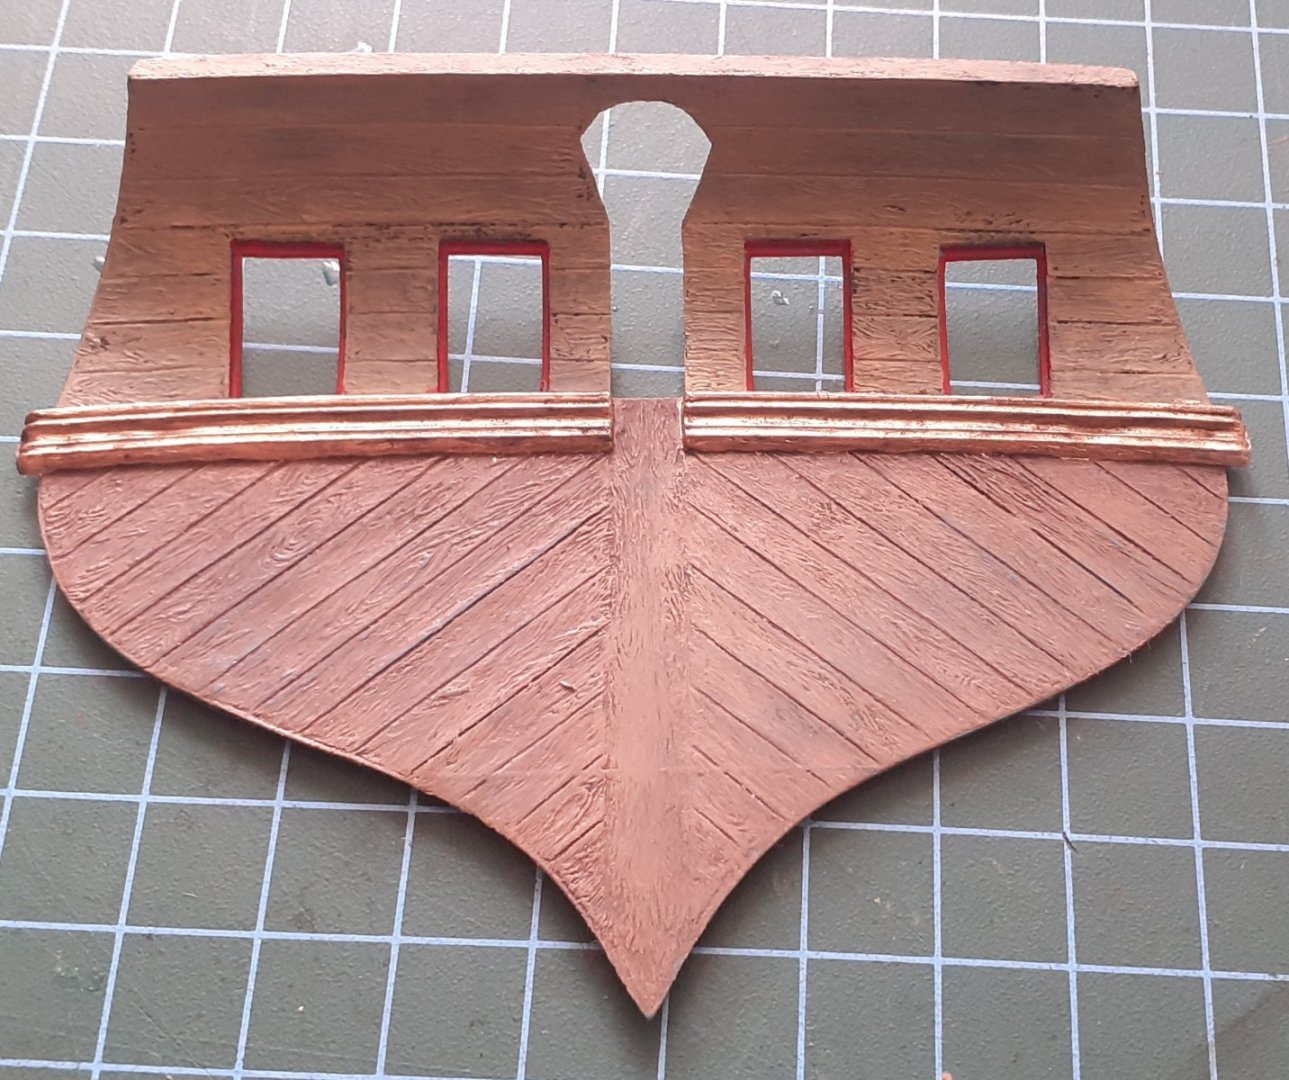
SOLEIL ROYAL - HELLER 1/100 (side project) At the moment I am refurbishing part of the house including my humble workroom. So atm I haven't technically been doing any major construction work regards to my kit. This is a big project but A SIDE ONE for me as when my workroom and other refurbish are bk to normal I will be starting a main project in wood. I actually started this a few weeks ago but didn't want to start a build log for obvious reasons, plus the fact even now I still don't have a true picture of where I will go with this, other than the fact I will be to a certain extent heavily improvising on her, which I have started. I wanted to have wooden decks throughout so I meaured the sizes of the planking on the decks, calculated how much I needed and bought in 80 x1metre lengths 3mm x 0.5mm lime wood. The planking has gone really well and I have now finished it all, I also stained this with a Dark oak stainer. The Hulls I was unsure about but went with the kit instructions using Humbrol brown yellow and a lot of drybrushing, this came out darker than expected but realising this was because the mouldings of my kit Hulls are solid black(I used the same brown yellow on my complete Royal Louis but since that mould was in white hence the colour originally close to what it should be). That said I was quite pleased with the darker finish and it gave it more of a weathered look. I thought the bottom of the Hull needed to be slightly darker though so I used a Humbrol Dark brown wash over the brown yellow and it really came up to what I wanted. I have also drilled holes in the hull sides for the addition of pulleys for the Gunport Hatches. Atm I am now just building and painting the guns. I've finished the 24lb(x24) and have just started the 18lbers. I was originally thinking to replace them all after sales but found it well nigh impossible to get the correct type of gun and in 4 different correct sizes, so I've had to stay with the kit supplied ones. I have also bought in relevant wooden Deadeyes(triangular), cloth flags and rigging thread. Looking a bit further forward I want to replace all the masts and yards with wood other than that I don't know exactly where I will go with her, other than keep painting and weathering parts, I may well add other things like metal anchors and Rudder chain etc... Apologies for the long intro and in hindsight I probably should have posted earlier, but this will be a long drawn out build a bit like this post lol... On to the photos.....
- 20 replies
-
- soleil royal
- Heller
-
(and 5 more)
Tagged with:
-
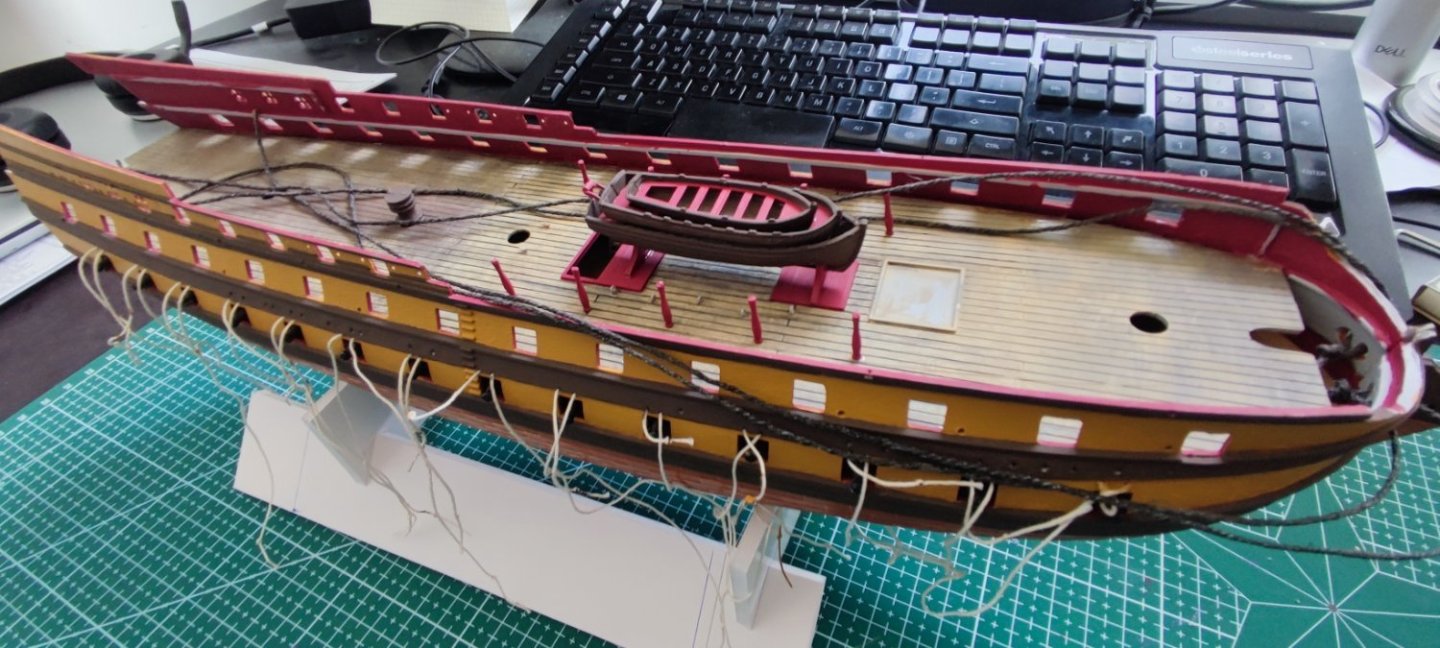
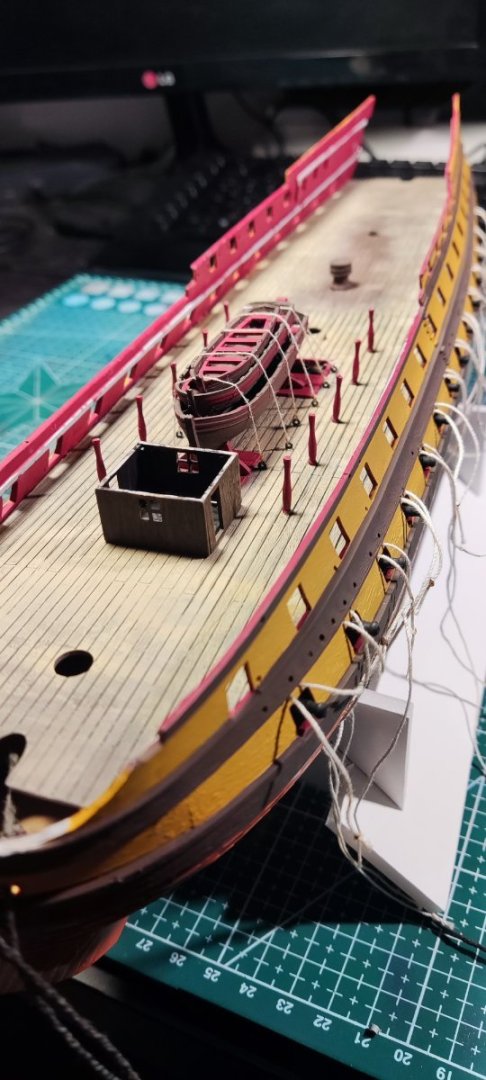
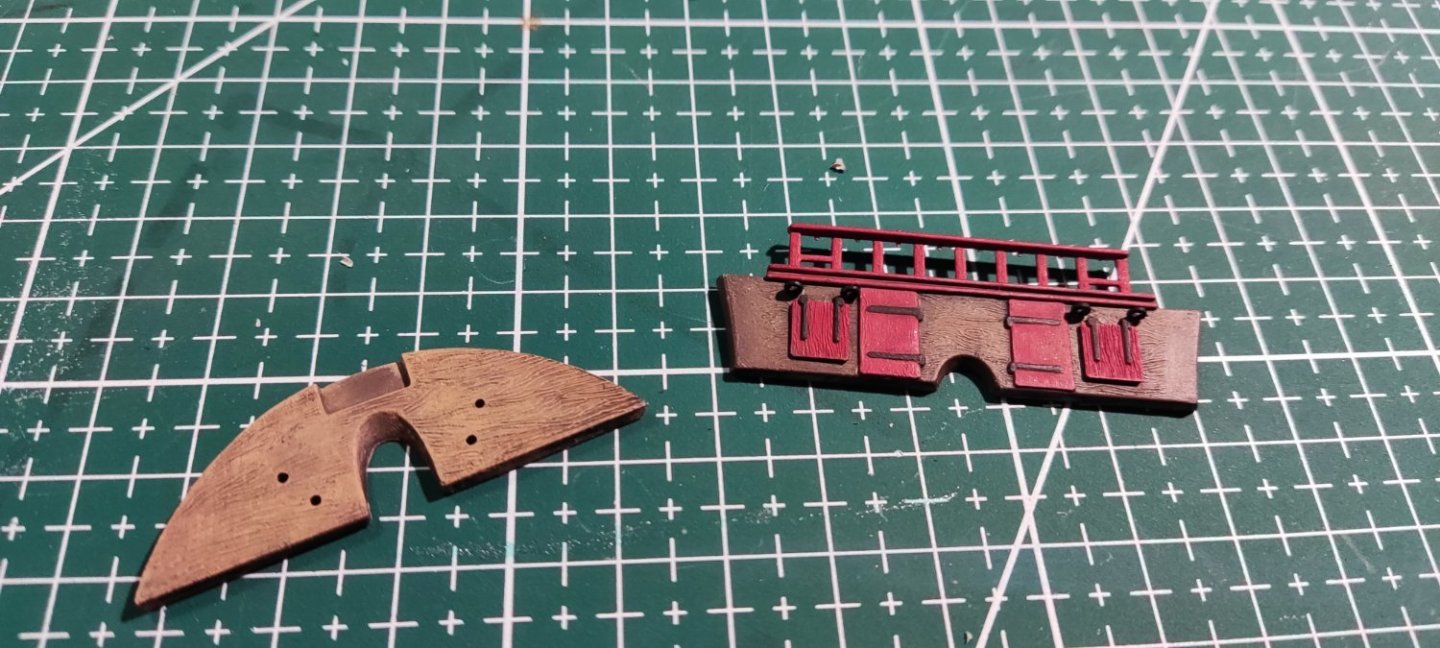
After an 18 year paternity leave I am returning to model ships with Heller's 1/150 scale Le Superbe. I am a British-born Canuck who spent many days in the 1980s at the https://www.historicdockyard.co.uk/ waiting for the ferry to my grandparents on the Isle of Wight, and am a fan of all things RN/RCN. I will be completing the kit as HMS Spartiate as I imagine she may have looked at Trafalgar. For colours I plan to use this excellent model of HMS Vanguard, as I like the blue side railings, red on the stern, and the yellow ochre sides (rather than the orange used until recently on HMS Victory). The instructions are in French, but they have an English list at the back. Still, as a good Canadian I have a smattering of French language buried away from my university days that may prove useful. I've chosen HMS Spartiate as my goal as she was one of the approx. twenty French Téméraire-class captured by the British, but one of only two that served with Nelson at Trafalgar. She then went on to serve as British flagship to the South Atlantic squadron well into the 1830s. A good, long history of service, unlike the actual Le Superbe.
-
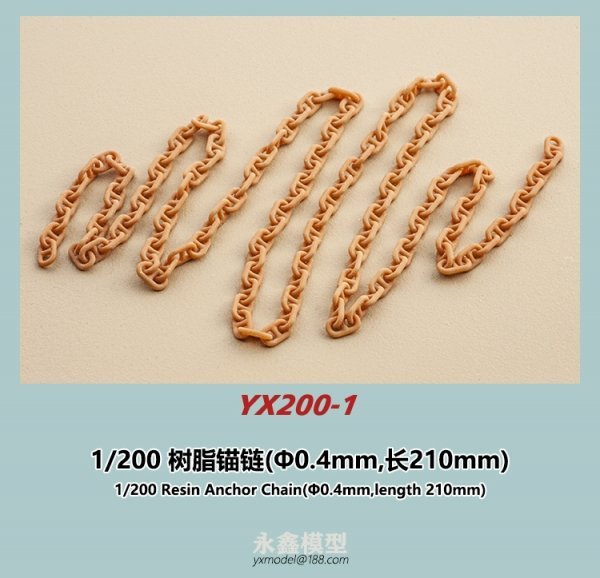
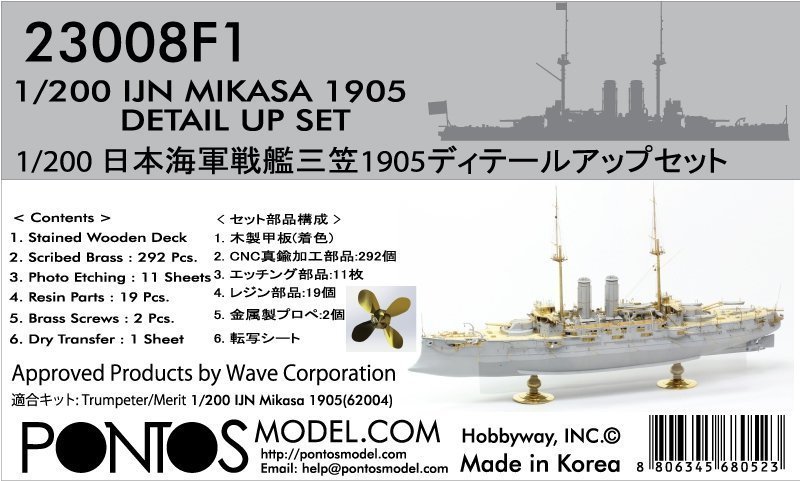
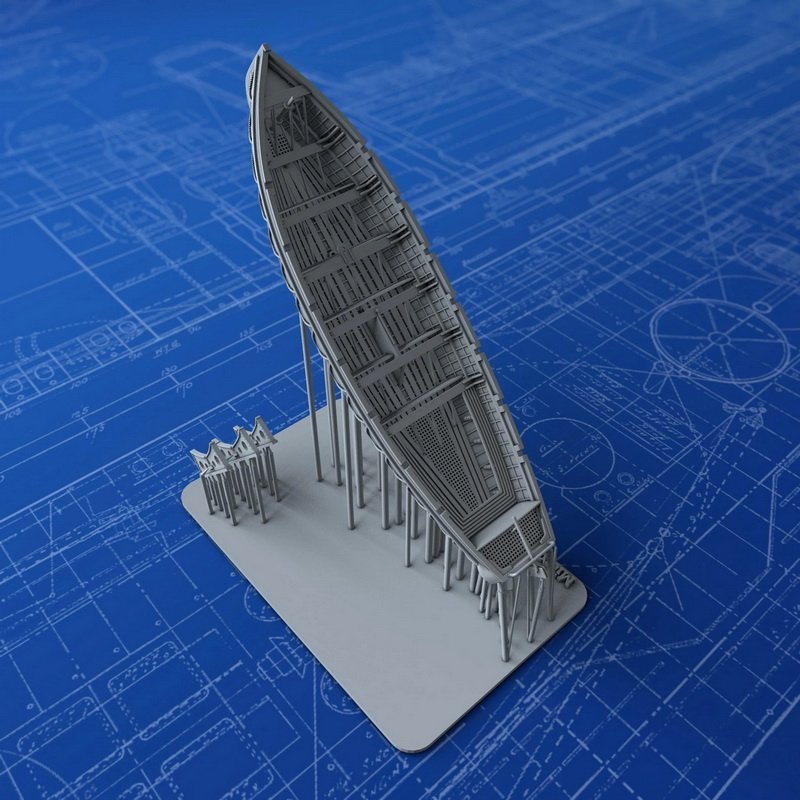
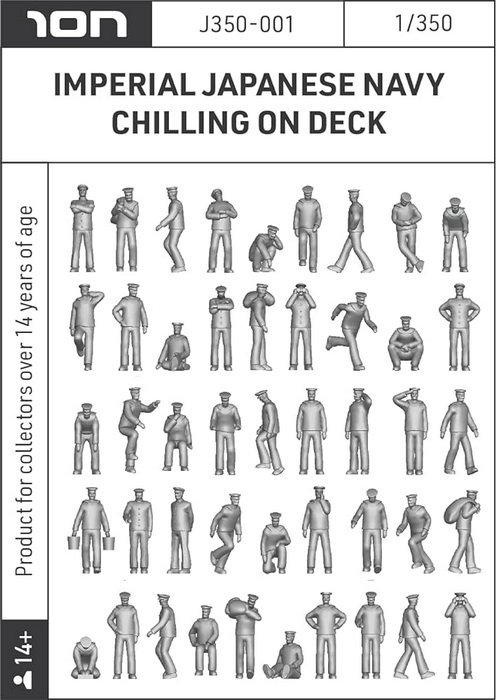
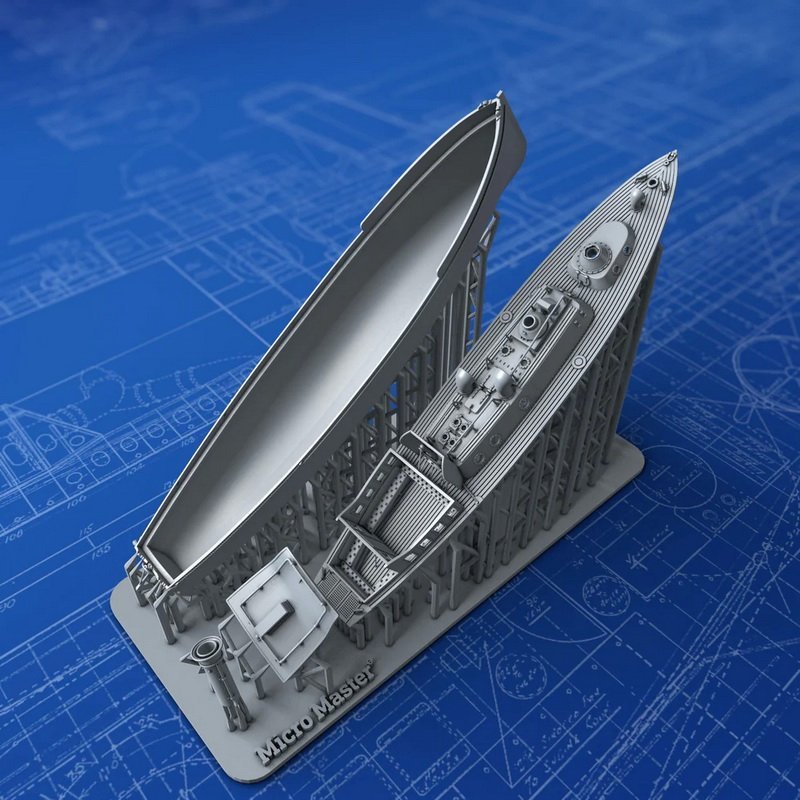
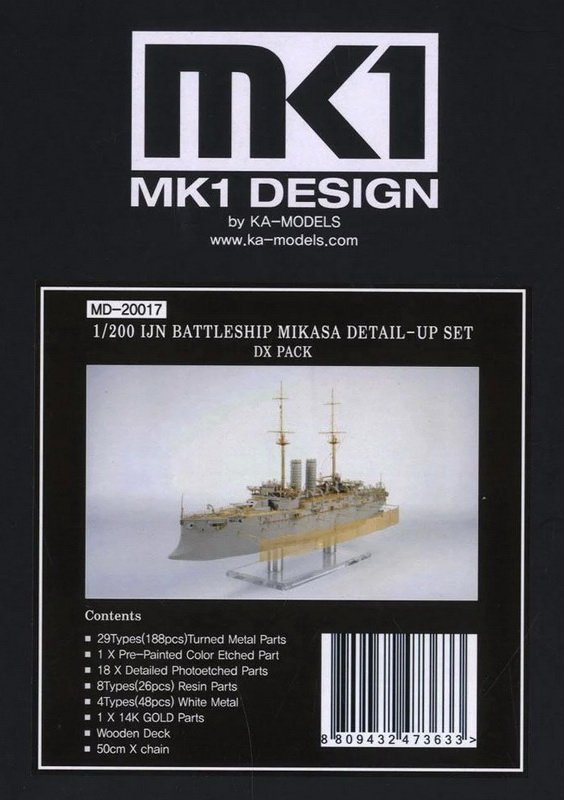
Ahoy, friends of the adhesive guild. Back to my roots, building model ships. It was a nice excursion into the Star Wars universe and I had a lot of fun. But now I’m looking forward to a real ship that I’ve had in the pipeline for a long time. The pre dreadnought battleship Mikasa of the Imperial Japanese Navy (IJN). I know, nothing new for most. There are so many construction reports about this boat and yet it remains a must for me. And that for two reasons. First there is the shape of the hull. Really archaic. Reminds me of a Greek trireme because of the suggested ram. I like it incredibly much. And on deck everything on this ship is so different than on my Bismarck, for example. Secondly, I don’t just have a Pontos Detail Up Set for this model. No, as a bonus there is also the MK1 Deluxe package from KA Models. There are a few details that are missing from Pontos. Probably not researched thoroughly enough, or what?!. But more on that later. Well, it’s going to be an etching orgy in the very first cabin. What fun. Then I would like to introduce you to the available material for this project. First of all, the model. This is available from a number of manufacturers such as I Love Kit, Wave Corporation or HobbyBoss. But everything is definitely Trumpeter, which you can see immediately when you open the box. After all, my Mikasa comes from Merit International. It’s amazing how many names this model is sold under. The picture shows the box from the company I Love Kit, as I no longer have mine. Of course there is also my favorite etched part set from Pontos. And now I’m exaggerating, I know, but this model also comes with the MK1 Deluxe package from Ka Models. I’ll explain what motivated me to do this later in my construction report. Unfortunately there isn’t much from Veteran Models for this model, but at least this: This time the figures come from the company ION, which I appropriately won as a prize for my Bismarck. It is still incomprehensible to me that the manufacturers, regardless of whether it is the model or the expensive aftermarket products, that anchor chains have double bar links. So they became worried. Let's come to another exquisite accessory that I only discovered through Jeff59´s first-class construction report. These fantastic dinghies from Micro Master from New Zealand. A little dream. So, this is the first list of ingredients for my new project. Although I can’t or don’t want to rule out the possibility that one or two particles could come along. On to the next two years of fun.
- 25 replies
-
- Russo-Japanese War
- Mikasa
-
(and 2 more)
Tagged with:
-
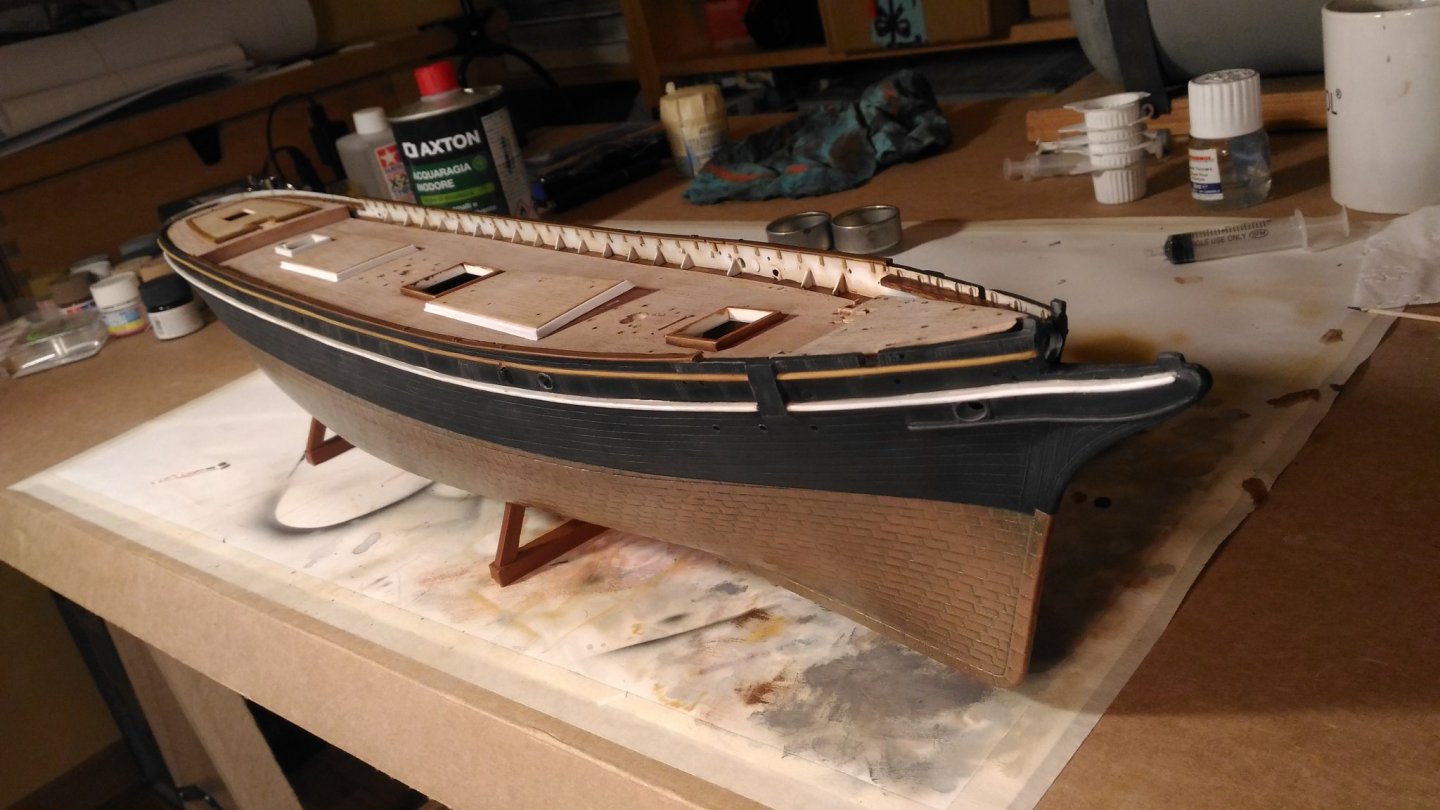
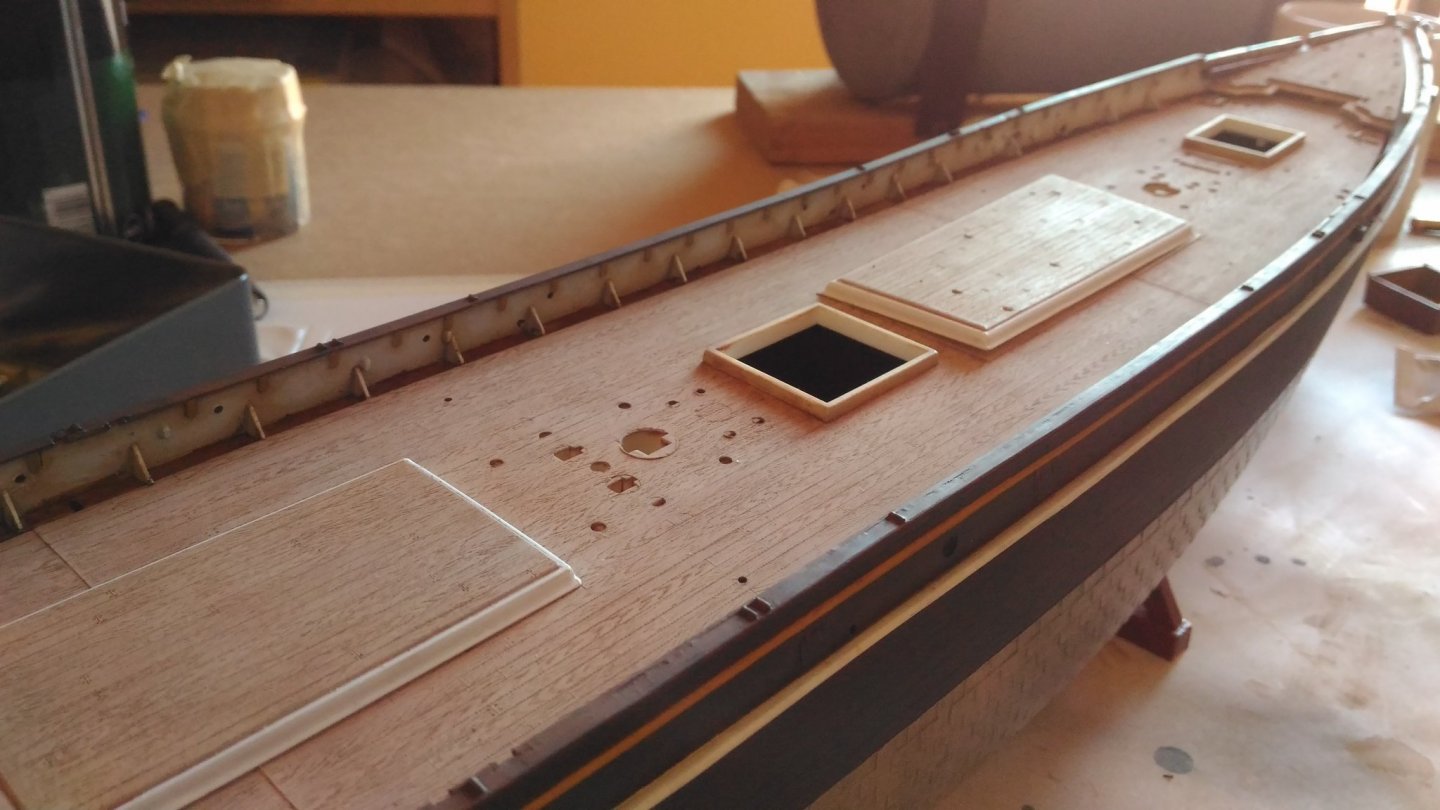
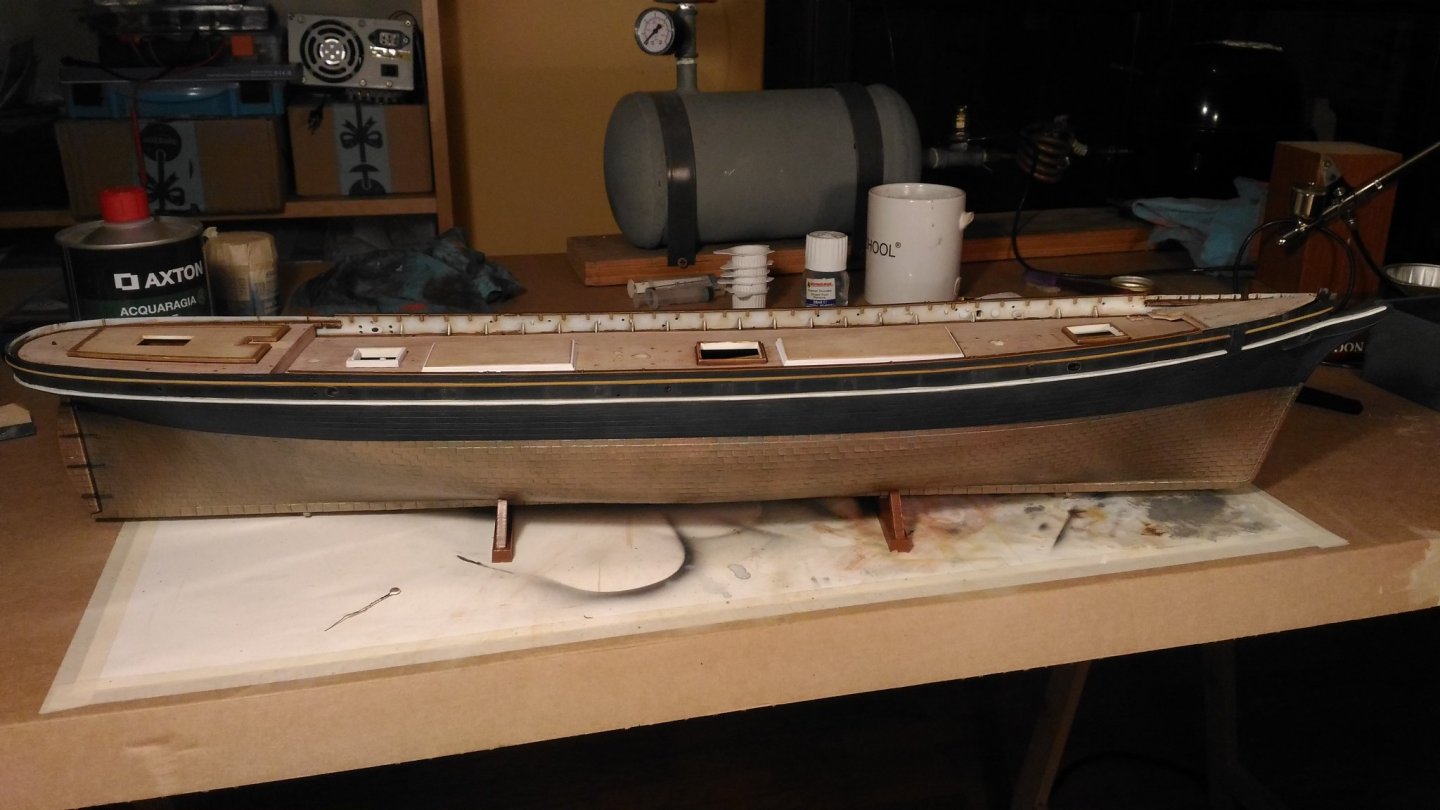
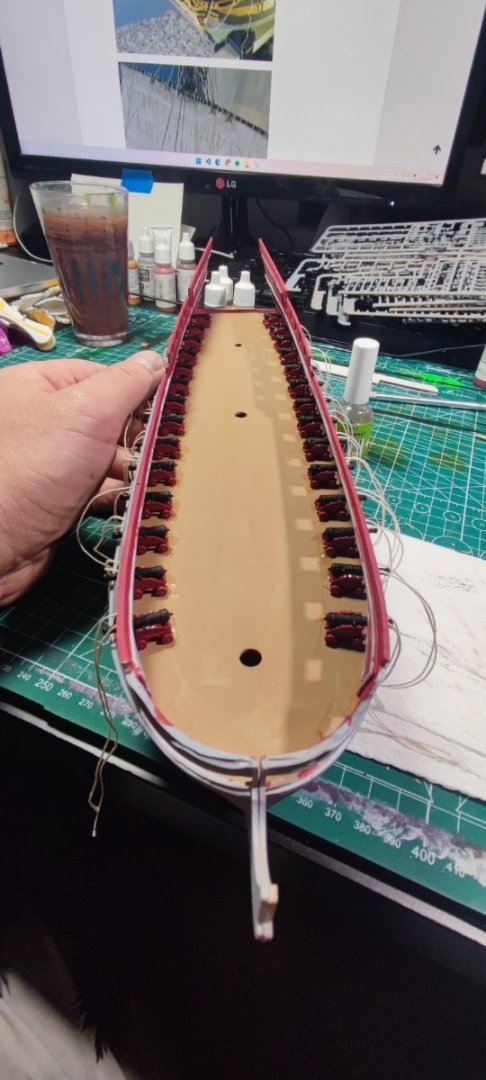
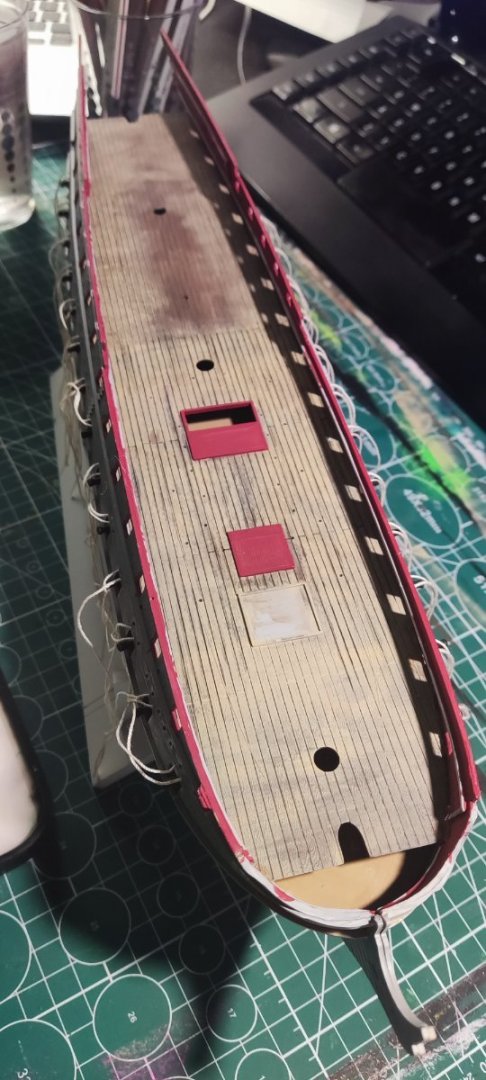
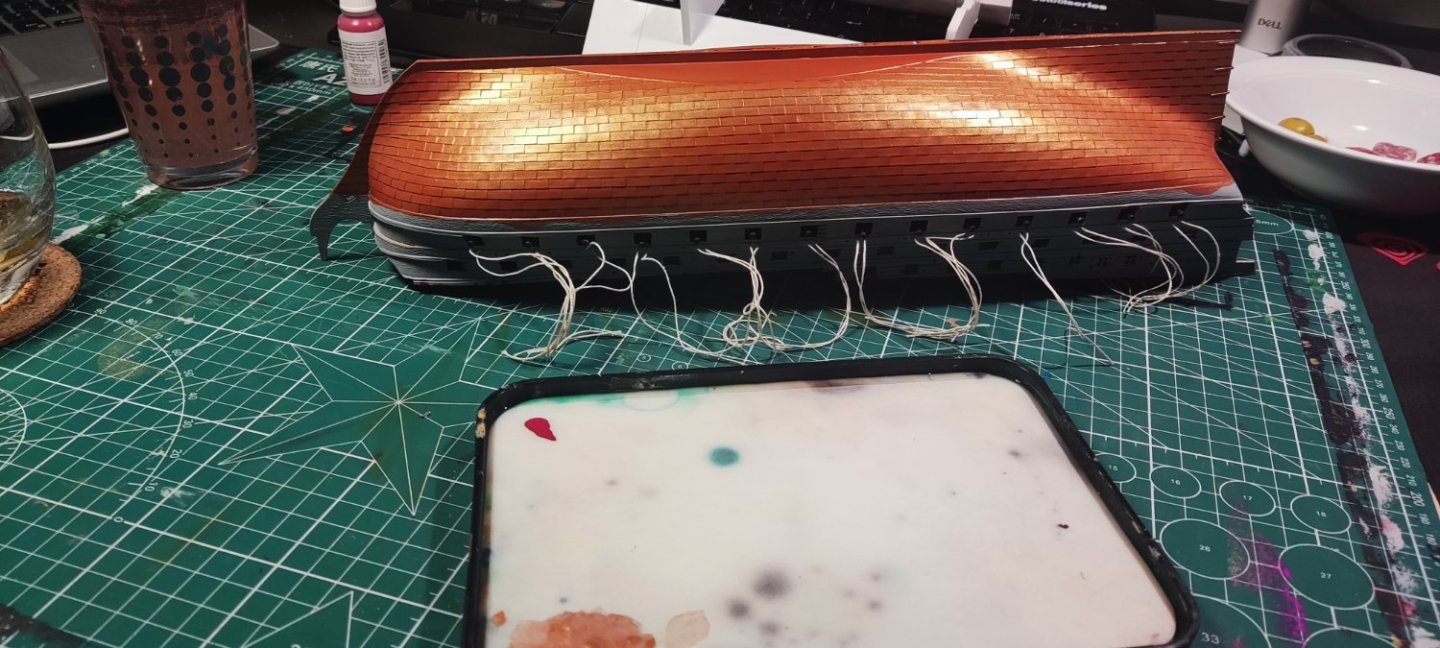
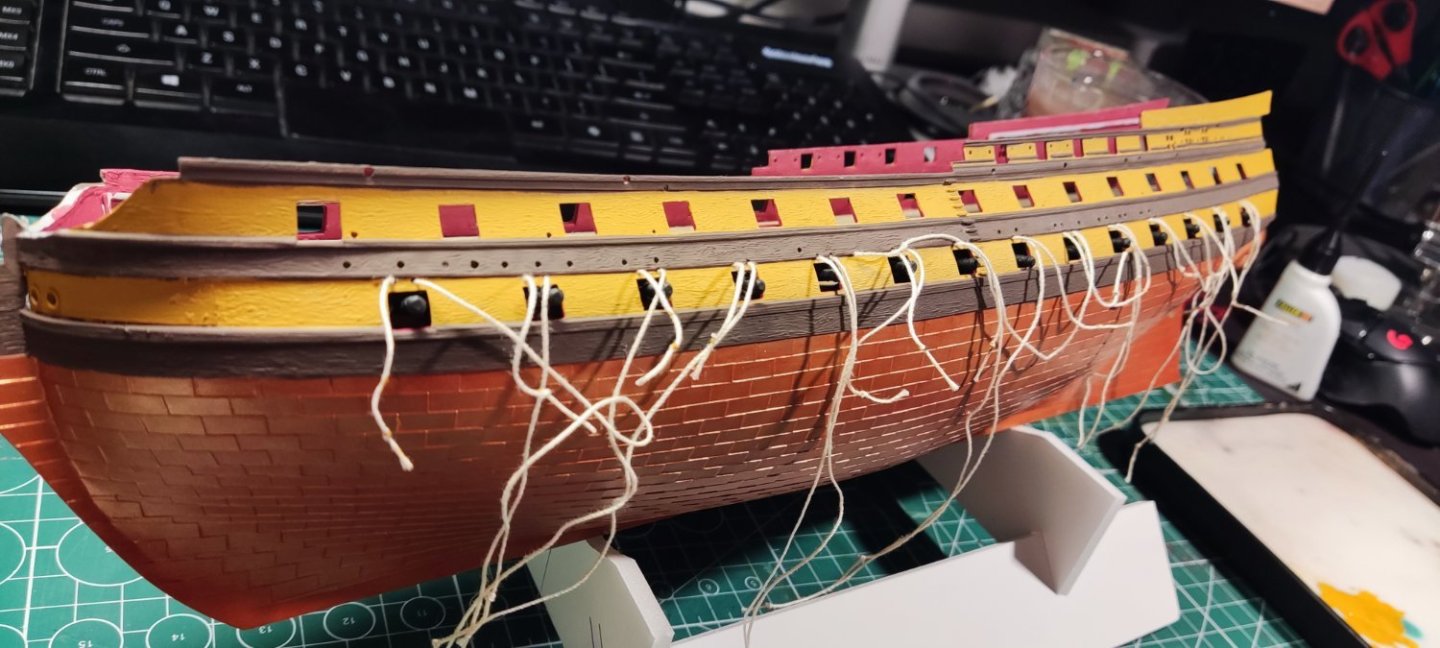
Hello everyone. This is my first model ship and my first build log here. English is not my native language, so sorry for any mistakes. I started more than one year ago but I’ll start the log from the beginning, hoping to help other members not to do the same mistake I did. As suggested by the instructions, I started from the hull: The base coat was made by airbrush, acrylic colors (gunze and tamiya), followed by oil filters, dry pastels and oil dry brush in order to simulate the wood planking and to highlight some details. Tyre black was used for the hull, highlighted with gray. A mix of copper and gold, washed with green/blue oil were used for the Munz metal planking. Buff, desert yellow and similar tones were used the base for the wood. Burnt umber filters helped to break the uniformity and bring the wood a better look (at least I hope…) and the details were highlighted by pastels and oils (remember that the detail are raised and not recessed in this old kit). That's it for now. Hope you like it and don't be afraid to criticize!
- 397 replies
-
- cutty sark
- revell
-
(and 2 more)
Tagged with:
-
Late summer 1805, the sun is burning inexorably from above, the wind is completely asleep, the sea is smooth as glass. The dispatches have already been exchanged. The master of the small cutter has just returned to his tiny vessel. Behind it there is towering the enormously massiv silhouette of the huge black and ocher striped three decker. Through the open gunports the lashed up guns can be seen. Also the officers' cabins ports are wide opened by the order of the Captain's to ensure an optimal ventilation of the hot and steamy lower decks. Clatter of activity on some guns being ran out cuts through the silence. The rumble of the heavy guns rolling over the decks and the trampling of countless bare feet and the short shouted commands supported by a multitude of hand signs originate from the ordered gundrill for new gun crews and their officers. In competition between the three decks they are fighting for the fastest rate of firing. The rest of the ships crew is occupied with cleaning and mending duties. The holystone are scratching on the decks. Above all the sails hang slack in their yards. No breath of wind moves them. They are nestled heavily over stays and fighting tops. The captain took advantage of the hot calm to put up all the canvas possible for airing. One of the studdingsails is taken in, the spar tied up with its inner end against the shrouds, in order to mend something on its fittings. Sitting on a swing seat pendent from the fore top, a crew member just is finishing painting over with ocher the originally black coloured mast loops. On the poop Captain Hardy monitors the young cadets´ training in navigation, supported by Lord Nelson, who uses the opportunity to entertain the cadets with stories of his actions and the ideas of his tactical concepts. But in the back of everybodys mind there is just one question - When will there be wind again ...
-
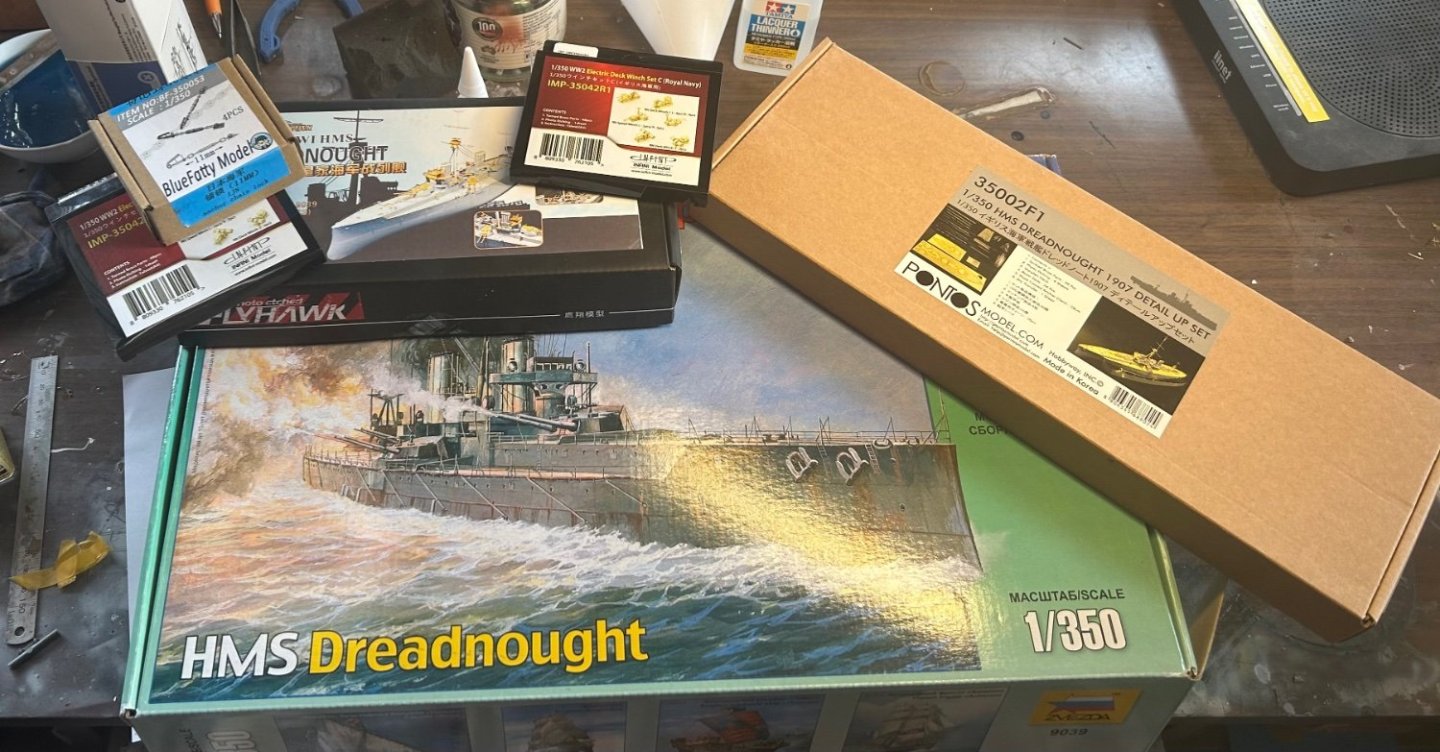
When I first built Dreadnought I did not own an airbrush and used rattle cans and paintbrushes. I was really happy with the build at the time and it’s time to redo her in a different way. hopefully better.
- 212 replies
-
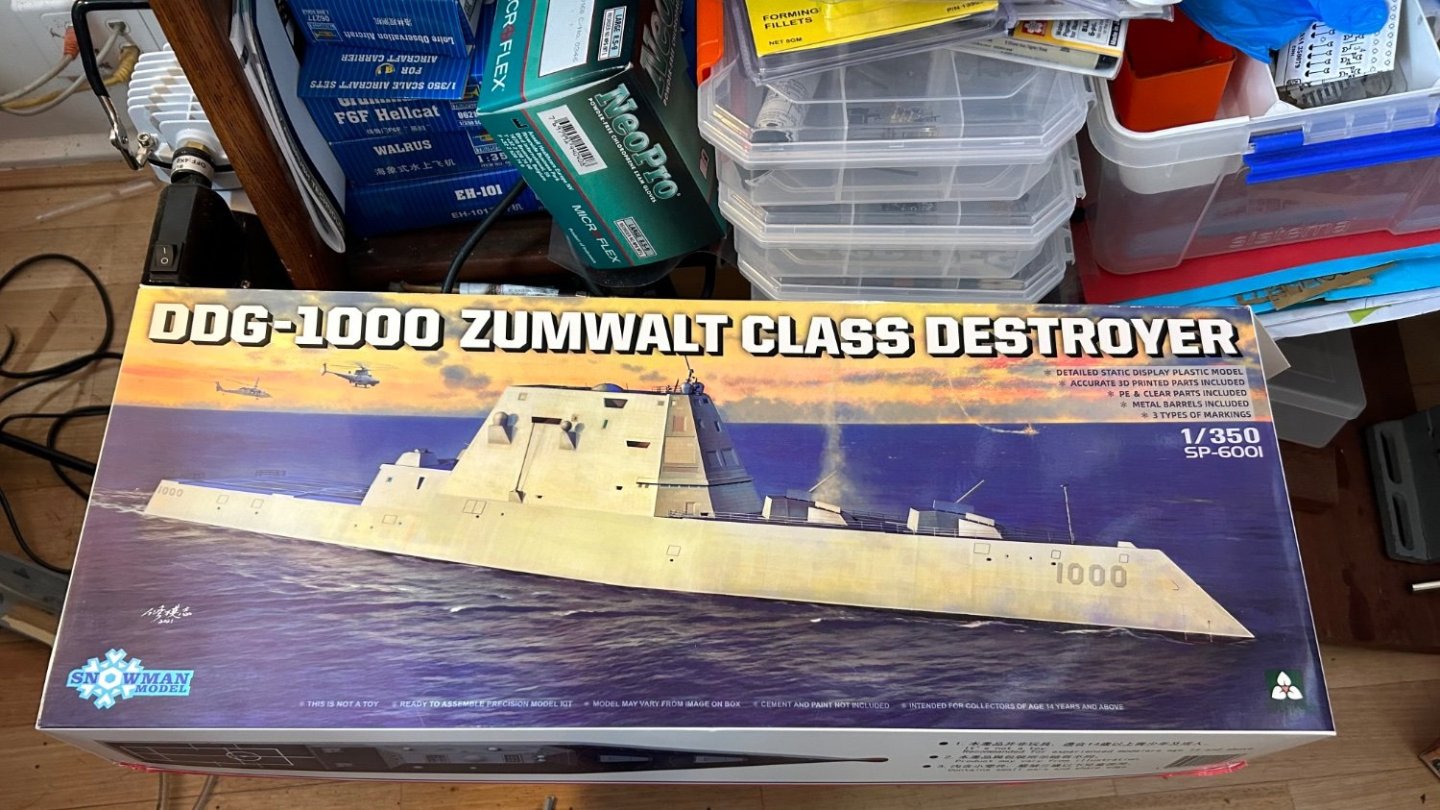
I’ve been sitting in this one for a while, and there are not that many builds out there. Eduard makes a small upgrade kit and there are some aftermarket helicopters to use as well.
- 47 replies
-
- Zumwalt
- Snowman Model
-
(and 2 more)
Tagged with:
-
After visiting Japan in 2019, and searching for a 1/200 plastic model of HMS Dreadnought, I discovered that the only remaining pre-dreadnought was still laying there, open to visitors. I found the kit at a reasonable price and ordered the Pontosset from Australia. The aim of building this kit is mainly to practice the extensive use of photo-etch in order to make a stunning model of the Bismarck. I finaly started this build, painting the underdeck bulckheads Insigna White and the floor Dark Green. Then joining the two hull halves, the bulckheads and underdeck together. Kind regards,
- 78 replies
-
- Mikasa
- Merit International
-
(and 1 more)
Tagged with:
-
I thought it's time to get my build log started, even though I haven't actually started the build yet. Soon. I've been quite busy with research, planning and start up. Essentially 50 years since I built scale models, so lots to do in preparing for this build. Start up is still in progress. Before anything else, I first off just want to put out a big thanks to Evan, aka Force9, for his very detailed and resources rich Titanic 1/200 build log. I’ve learned so much from his thread, before I even begin my Titanic, and I would have missed so much without this information. Thanks Evan. Okay. Some preliminary stuff.... This was my work station for my Academy 1/400 Titanic. All building, and the limited painting I did, was here. Not exactly conducive to the Trumpeter 1/200 version. My new workstation for the Trumpeter 1/200 Titanic. The pool table is being sequestered for a few years. That's fine. We didn't play much anyway. The son-in-law helped me carry the 4x8 plywood in yesterday. Originally purchased for the electrician to install the pool table light fixture. Stowed in the garage since. Spidey senses must have known there'd be a use for it again. The task lamp is the same one as with the small table. I just drilled a 1/2" hole in the plywood for it. Now it's interchangeable, as I will still be using the small work station. On the left, I put the binder together just yesterday and today. Some inspiration from Evan, again, on that, but I give myself credit as well for recognizing this need. Throughout my entire working career, I have always been about organization. It's half of it. Even as a Deckhand, organization was key. An organized and clean deck is a good working deck. Same goes for building models, I figure. The book on the right was recently purchased online and just arrived today. I'm optimistic this will be a valuable resource toward my build. A closer view of the "build binder". Not sure what else to call it. I'm an older salt, and thus somewhat old school. Digital pictures and screenshots are fine to a point. But, for the most part, I like the physical copy in my hand. Much (probably most) of what is in this binder are digital screenshots. Anyhow, lots going on with startup. My new Airbrush Station. The new airbrush kit just arrived today! And one more pic for now. One problem with the Spray Booth venting is insulating the gaps at the window. Been pondering this for days now (the Spray Booth arrived last week). Stuffing bubble wrap in the gaps proved to be a Mickey Mouse solution. Got the idea of foam in my head as a solution. Placed an order for some poly foam yesterday. It's coming from the US, however, so a solid resolution here might be awhile. Suggestions are welcome. Anyhoo, that's it for now. Lots more to come. I've ordered five after market kits for the model, none of which have arrived as yet. My first approach to the model itself will be addressing the hull. No brainer there, I suppose, but in particular, how to approach the hull inaccuracies and porthole inaccuracies. Regarding the portholes, I came across a tip on Gene Davis' FB page (the title of which is too lengthy to repeat) that I most likely will go with. I like it. I don't plan on using the LED lighting kit for my model and this tip appears to me to be a great option for the portholes for those modelers not doing the LEDs. Stay tuned. In the meantime....suggestions are welcome. Thanks for looking and cheers, Mark
-
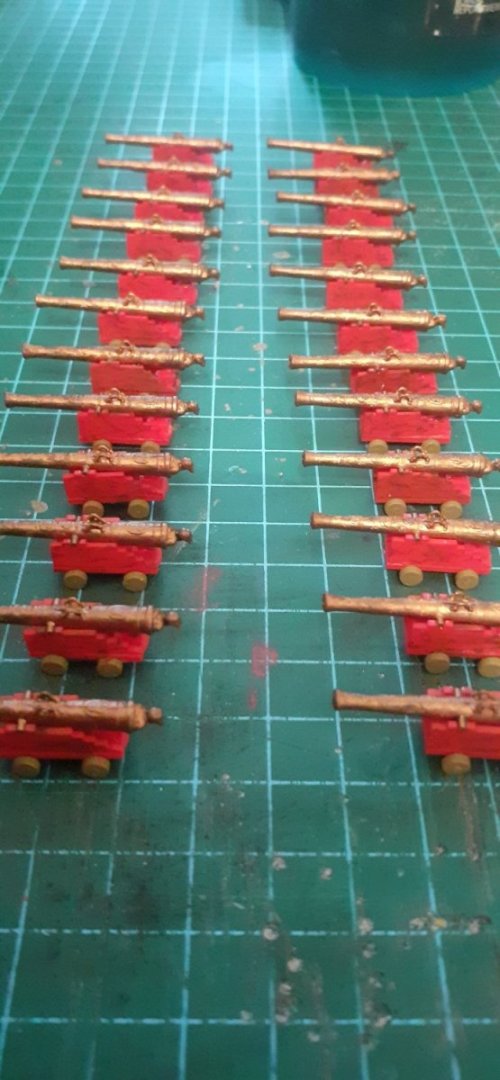
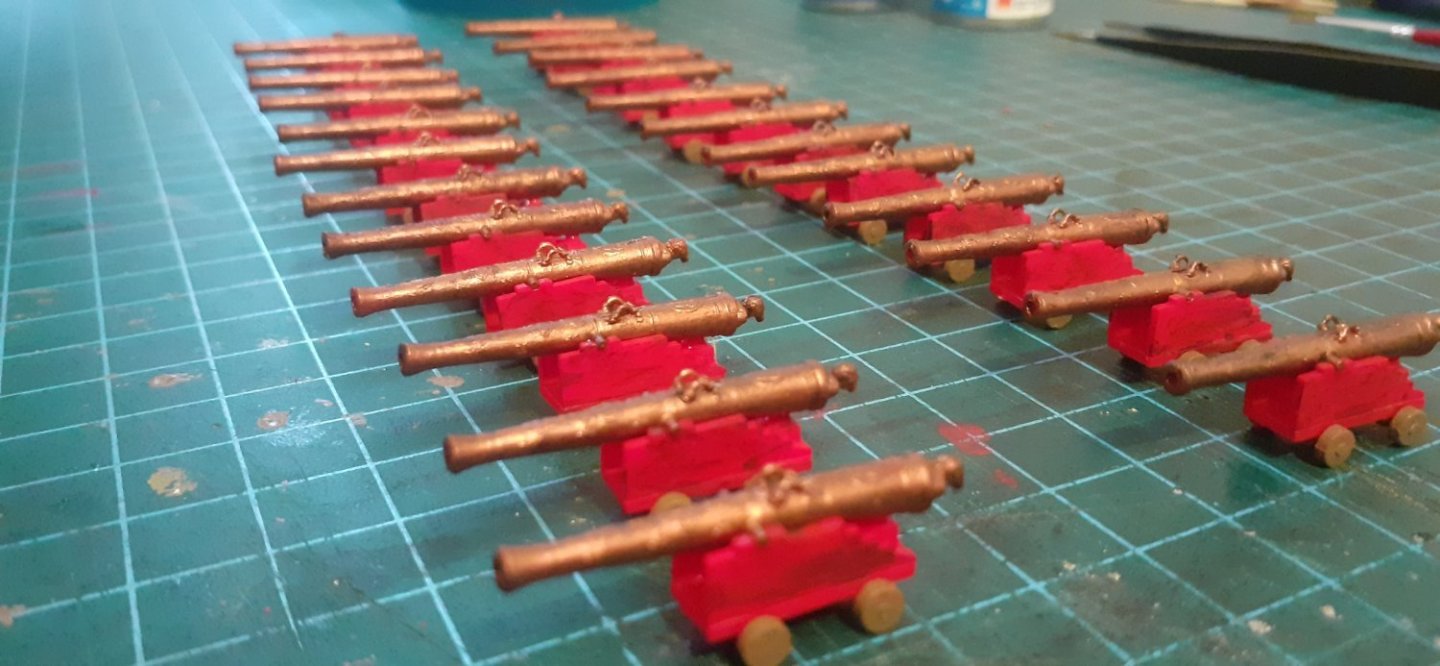
I'm new to MSW and ship building. I have done a lot of modeling over the years. And I have found out that ship building is the 'meat and potatoes', if you will, of modeling. I have lost a lot of my earlier photos of the cannon being built and the hull construction. I followed pete coleman example and others to get ideas for details. Books are needed to build these ship models if you want to even try to be accurate. I'll be submitting a lot of my photos. Many of which will be rather boring but I want to preserve them somewhere other than Facebook. All comments and tips are welcome!
-
I bought this kit online a few weeks ago, and I’m ready to start building it now. This is the biggest kit that I’ve done so far, and it was relatively expensive, so I want to get it right. I would like to try to add some chipping effects on the hull, and I have some chipping fluid from AK interactive, but I’m not sure about what colour to do the base coat in. Any help or advice would be greatly appreciated, and I’ll add some pictures once I have something worth taking a picture of.
-
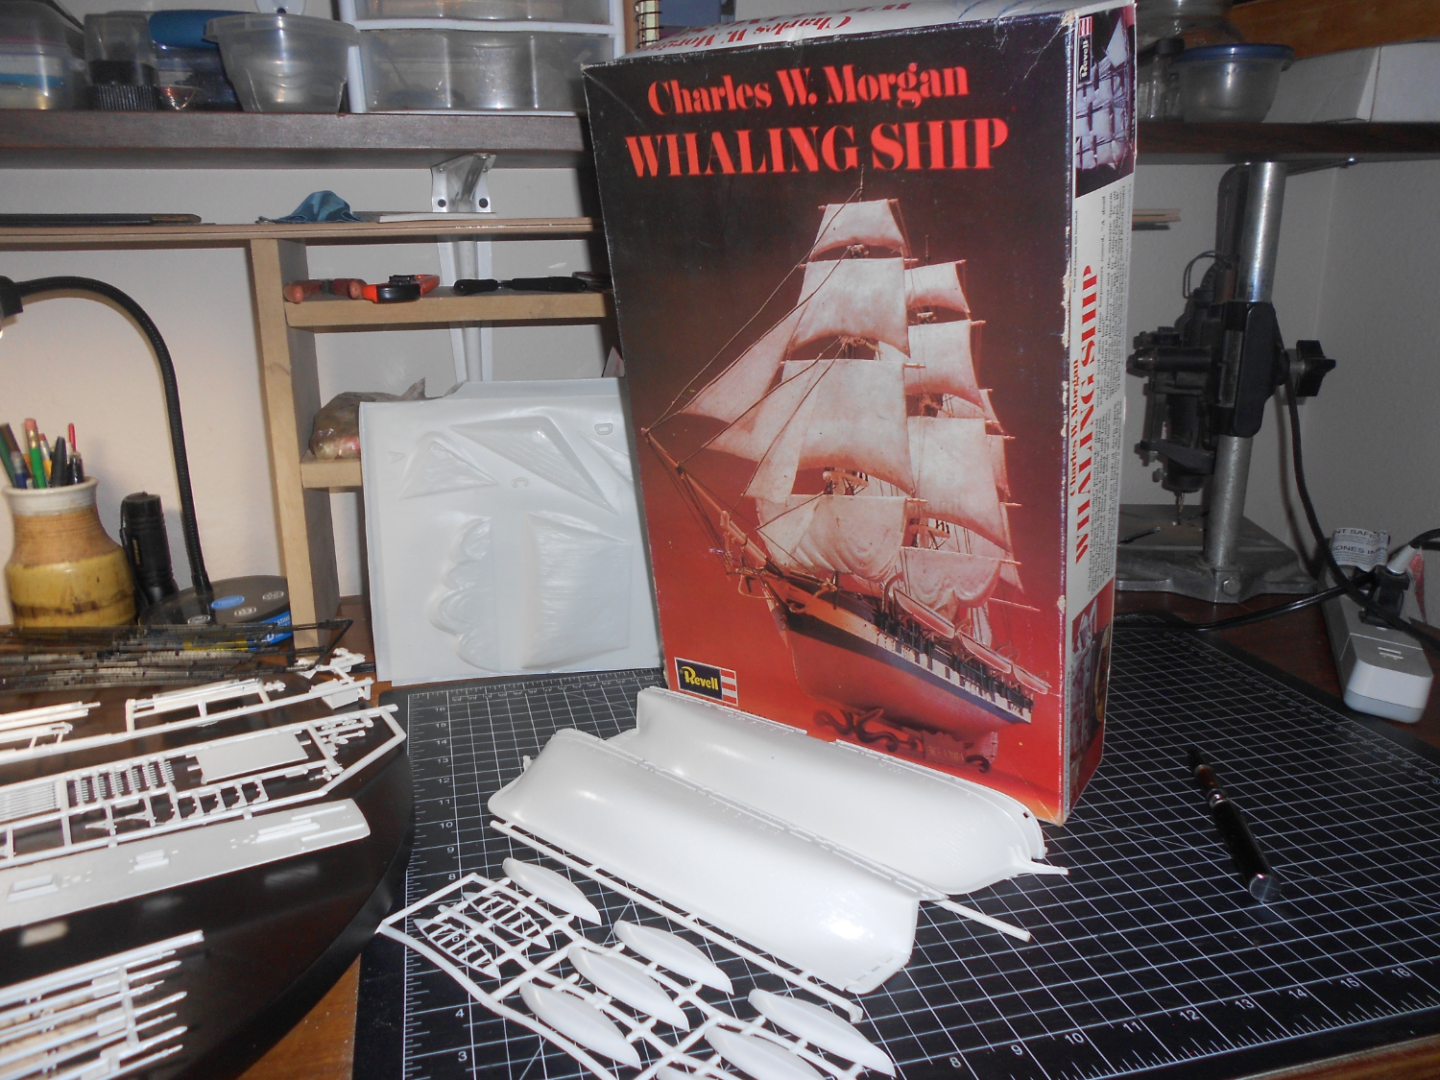
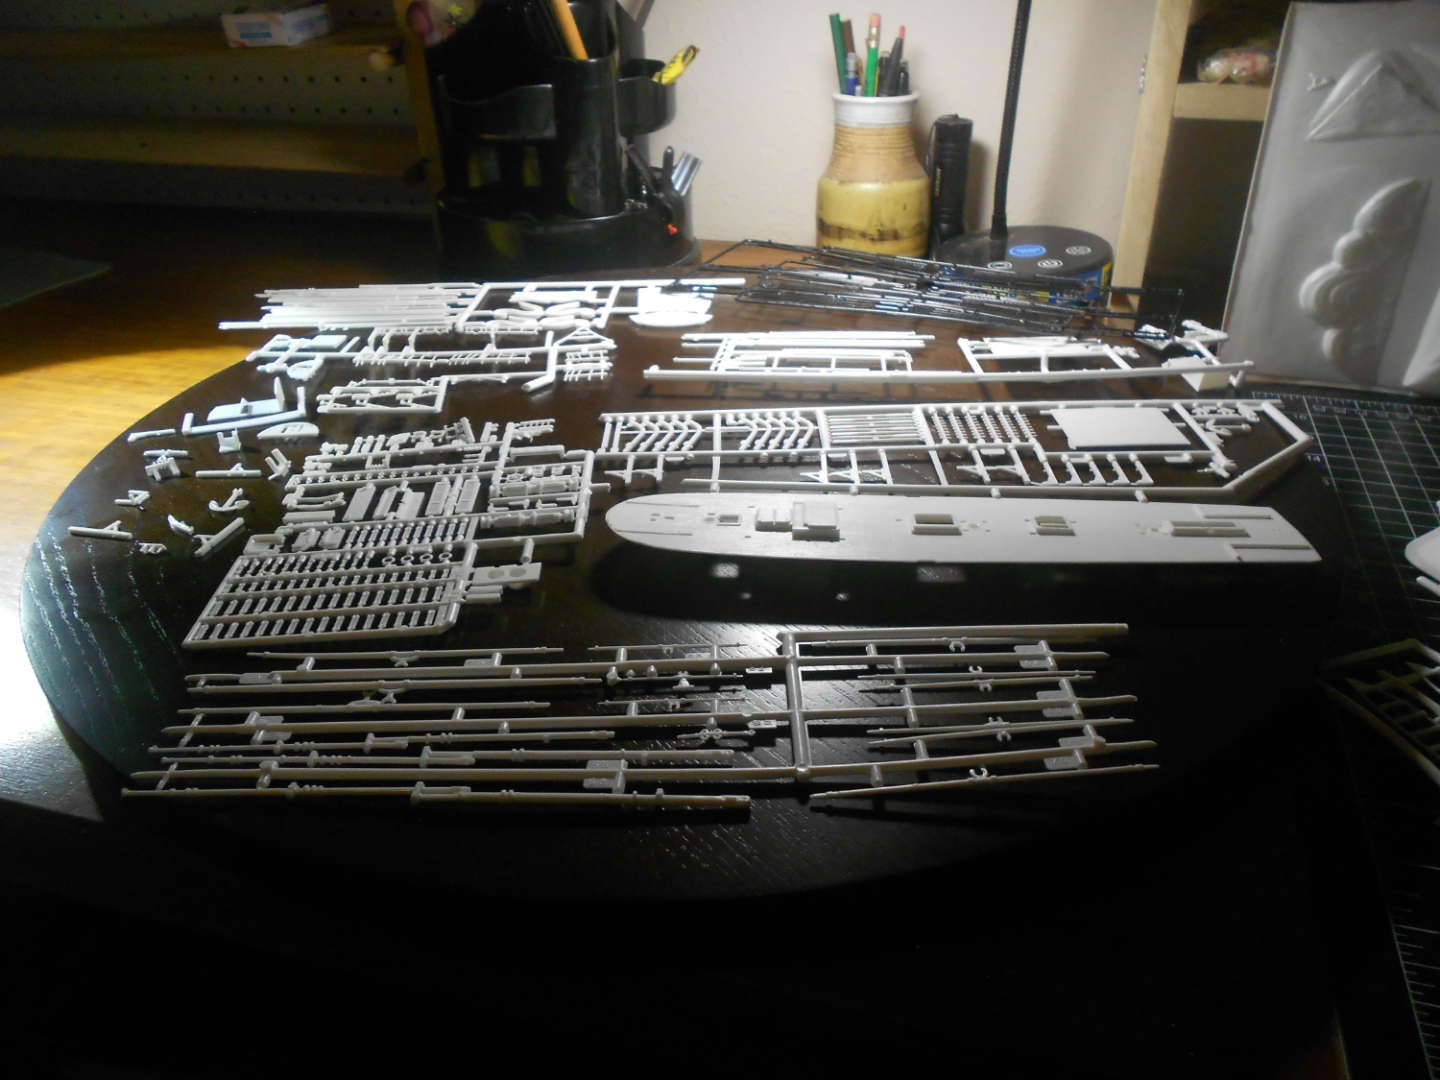
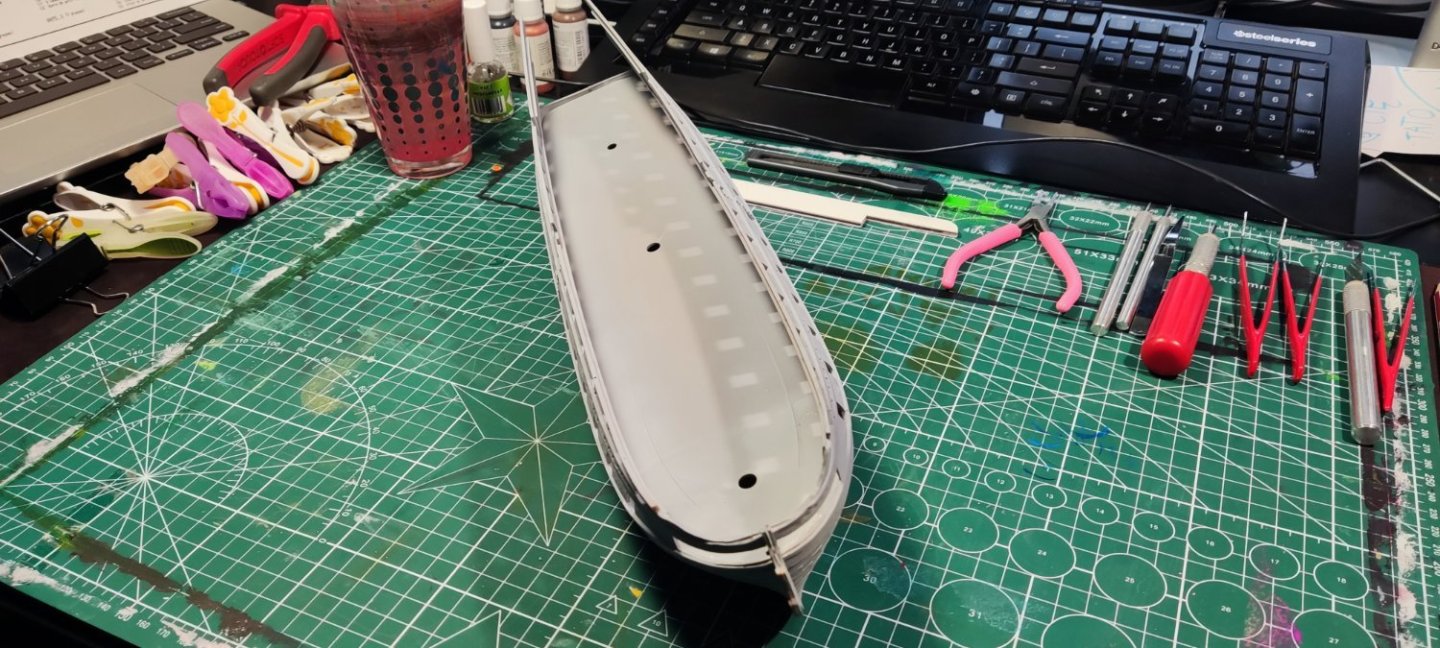
The plastic kit is H-330 1972 New box, bought off of Ebay. I washed it with Dawn dish soap and rinsed it in warm water. Debating on whether to glue the some part together before spraying Surface Primer L Gray, or, spray on the spruce first.
- 8 replies
-
- Charles W Morgan
- Revell
-
(and 1 more)
Tagged with:
-
Some time ago I received the Le Superbe kit in 1:150 scale from Heller. Since shipbuilding modeling has always intrigued me a lot, I decided to take a shot and assemble this model as best I could. While I have some experience with plastic models, I've never built a sailing ship, so I don't plan on doing a lot of modifications. This will be a very long report, assuming I have enough persistence to complete the build. As someone who lives a busy life and always in a hurry, I try to build slowly and carefully, getting as much enjoyment as possible from the process itself. Since I only build when the family is already asleep, I have a lot of quiet 🙂 However, this also causes a difficulty: I can't afford to tinker with the model as often as I would like. The man who writes the instructions for Heller should probably change profession, although just deciphering the diagrams is fun in itself. So far I'm terrified of the rigging stage, but I'm trying to solve one problem at a time. Wish me luck and persistence. I also thank you in advance for all your advice and tips. Regards, Piotr
- 26 replies
-
- Le Superbe
- Heller
-
(and 1 more)
Tagged with:
About us
Modelshipworld - Advancing Ship Modeling through Research
SSL Secured
Your security is important for us so this Website is SSL-Secured
NRG Mailing Address
Nautical Research Guild
237 South Lincoln Street
Westmont IL, 60559-1917
Model Ship World ® and the MSW logo are Registered Trademarks, and belong to the Nautical Research Guild (United States Patent and Trademark Office: No. 6,929,264 & No. 6,929,274, registered Dec. 20, 2022)
Helpful Links
About the NRG
If you enjoy building ship models that are historically accurate as well as beautiful, then The Nautical Research Guild (NRG) is just right for you.
The Guild is a non-profit educational organization whose mission is to “Advance Ship Modeling Through Research”. We provide support to our members in their efforts to raise the quality of their model ships.
The Nautical Research Guild has published our world-renowned quarterly magazine, The Nautical Research Journal, since 1955. The pages of the Journal are full of articles by accomplished ship modelers who show you how they create those exquisite details on their models, and by maritime historians who show you the correct details to build. The Journal is available in both print and digital editions. Go to the NRG web site (www.thenrg.org) to download a complimentary digital copy of the Journal. The NRG also publishes plan sets, books and compilations of back issues of the Journal and the former Ships in Scale and Model Ship Builder magazines.






.jpg.99a5b8e8c089e65f8bf377eed0fa4238.jpg)
