Search the Community
Showing results for tags 'Catboat'.
Found 7 results
-
 I purchased this kit in the beginning of 2008 and it is my first attempt at model ship building. I love the ocean and boats and have often admired the model boats that I have seen displayed. I am comfortable with woodworking tools, but I found there is a lot to learn. I am grateful that this forum exists I worked diligently on the kit for the first 3+ months and was able to complete the hull. The construction for the most part went without incident, as I learned by reading, researching, doing, and sometimes re-doing. I do remember the challenge of bending some of the hull planking so that it joined the stern authentically(?) One of the flaws is the lower part of the rudder should be pinned to the keel to allow for rudder rotation- that small "tab" of wood snapped from the rudder, so the rudder is currently unsupported on the bottom. I'm debating what to do with this In mid summer '08, I reached the point for mast and boom construction, and rigging and the sail would be next, but I wasn't comfortable with the next steps, so I put the project aside. Flash forward, Winter 2020-2021. Now I have some time and renewed desire to successfully finish this, and maybe take on another I'm comfortable with the mast, boom and gaff work, but I'm a little nervous about getting the rigging and sail right.( The rigging cleats are done) I intend to use a local seamstress to create the sail panel lines. The instructions call for three double blocks and three single blocks. Also the Blue Jacket kit instructions are excellent, but they use some boat language that make me run for the internet- I'm also going to search the Internet for pictures of single/double blocks and how they are are installed on a Catboat
- 6 replies
-
- 3
-

-
- BluJacket Shipcrafters
- catboat
- (and 1 more)
-
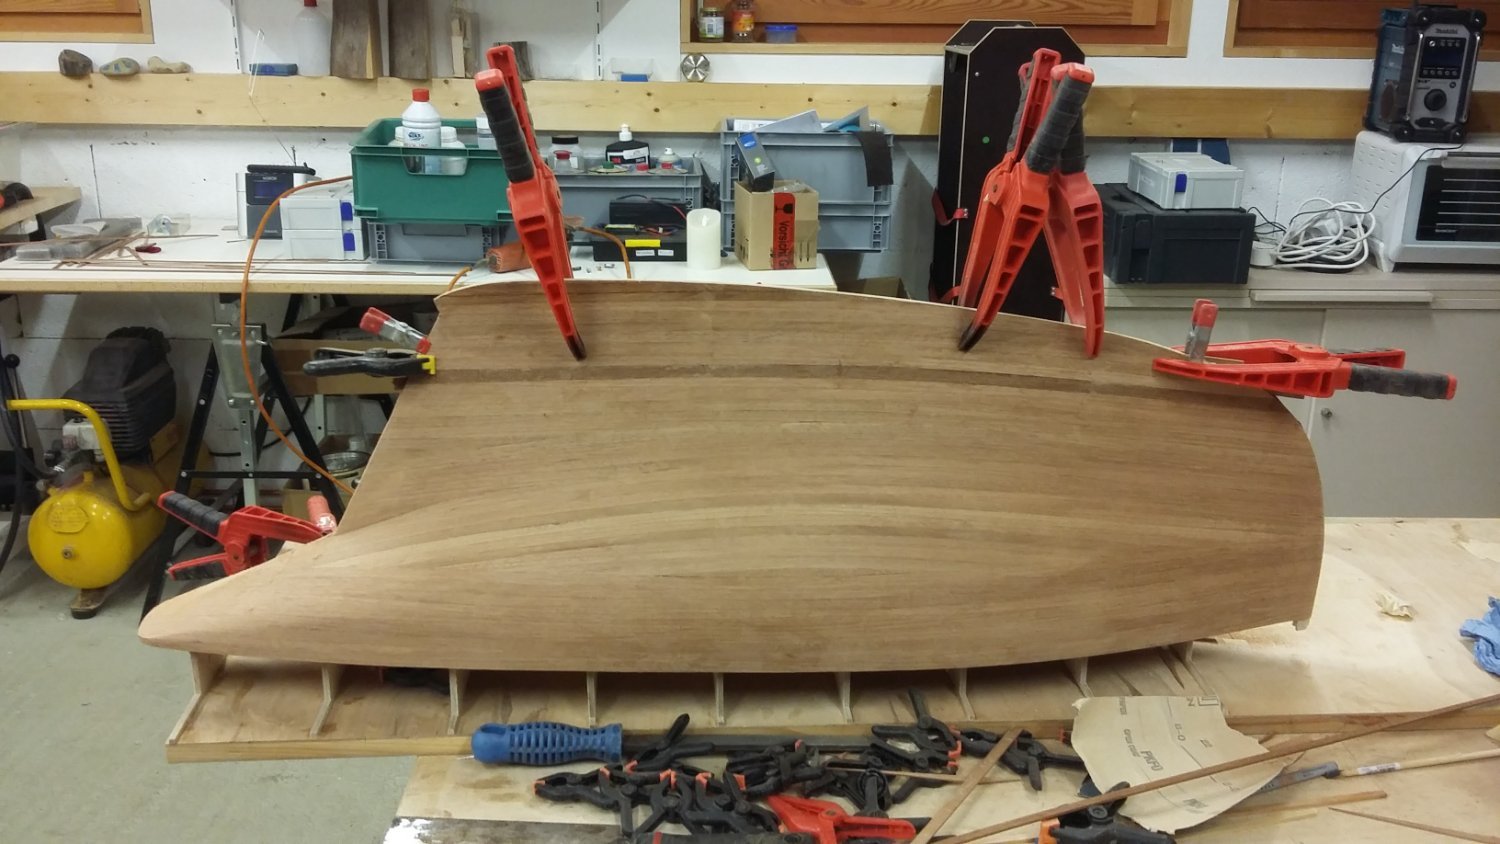
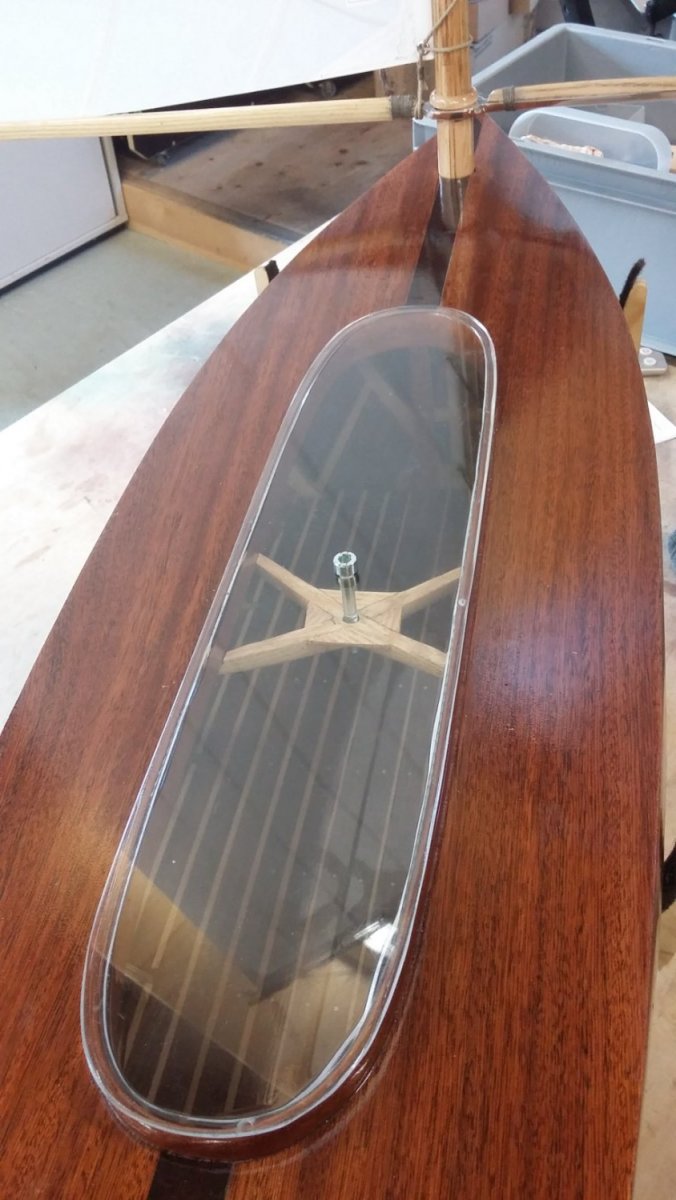
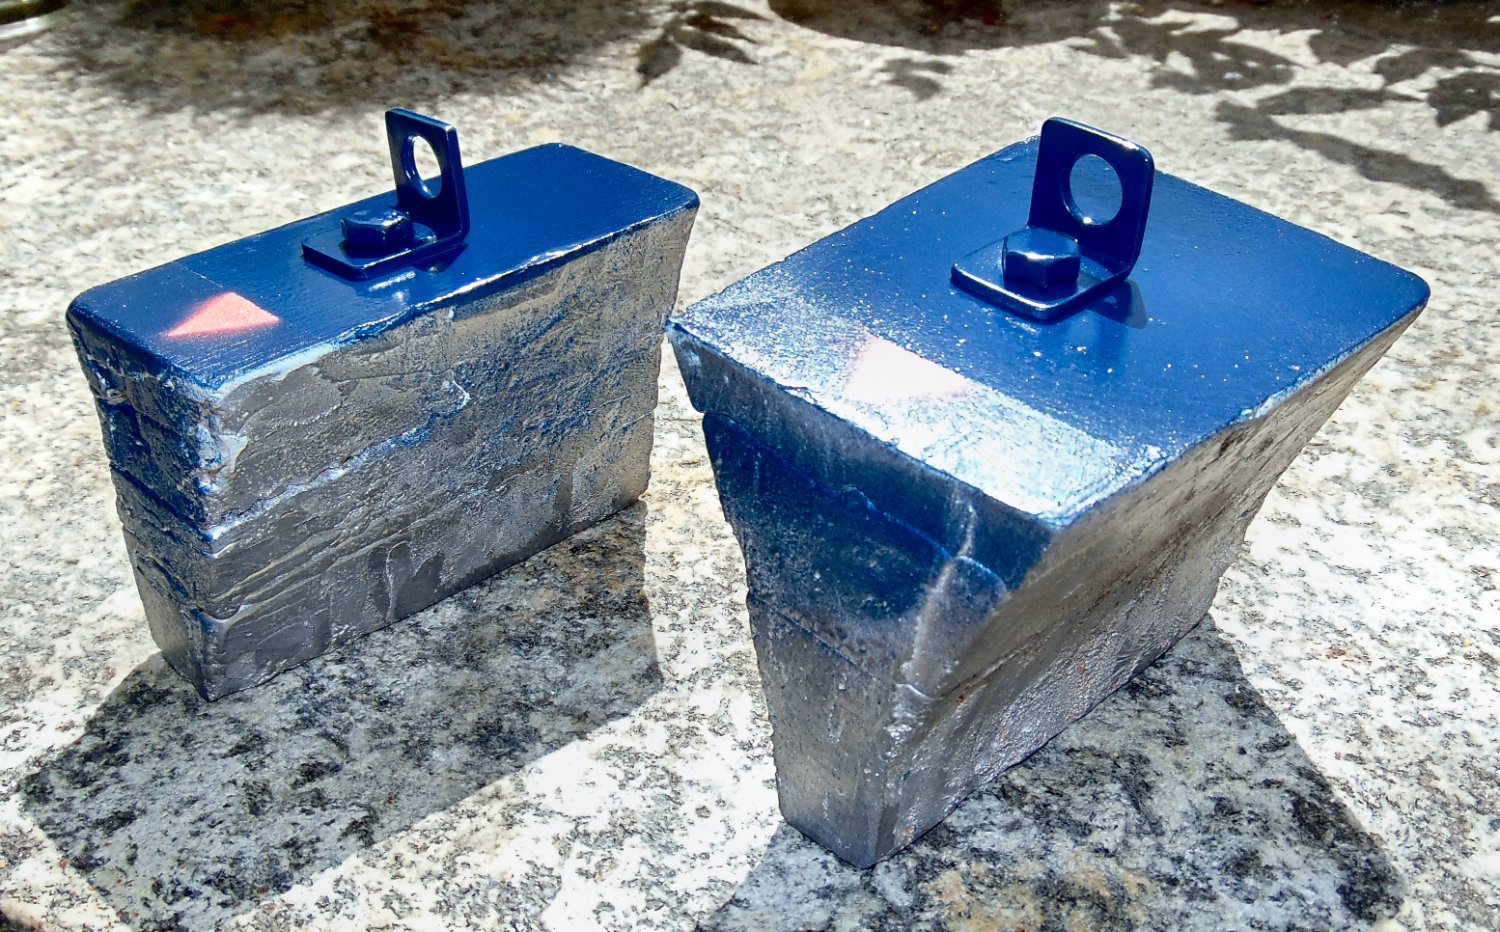
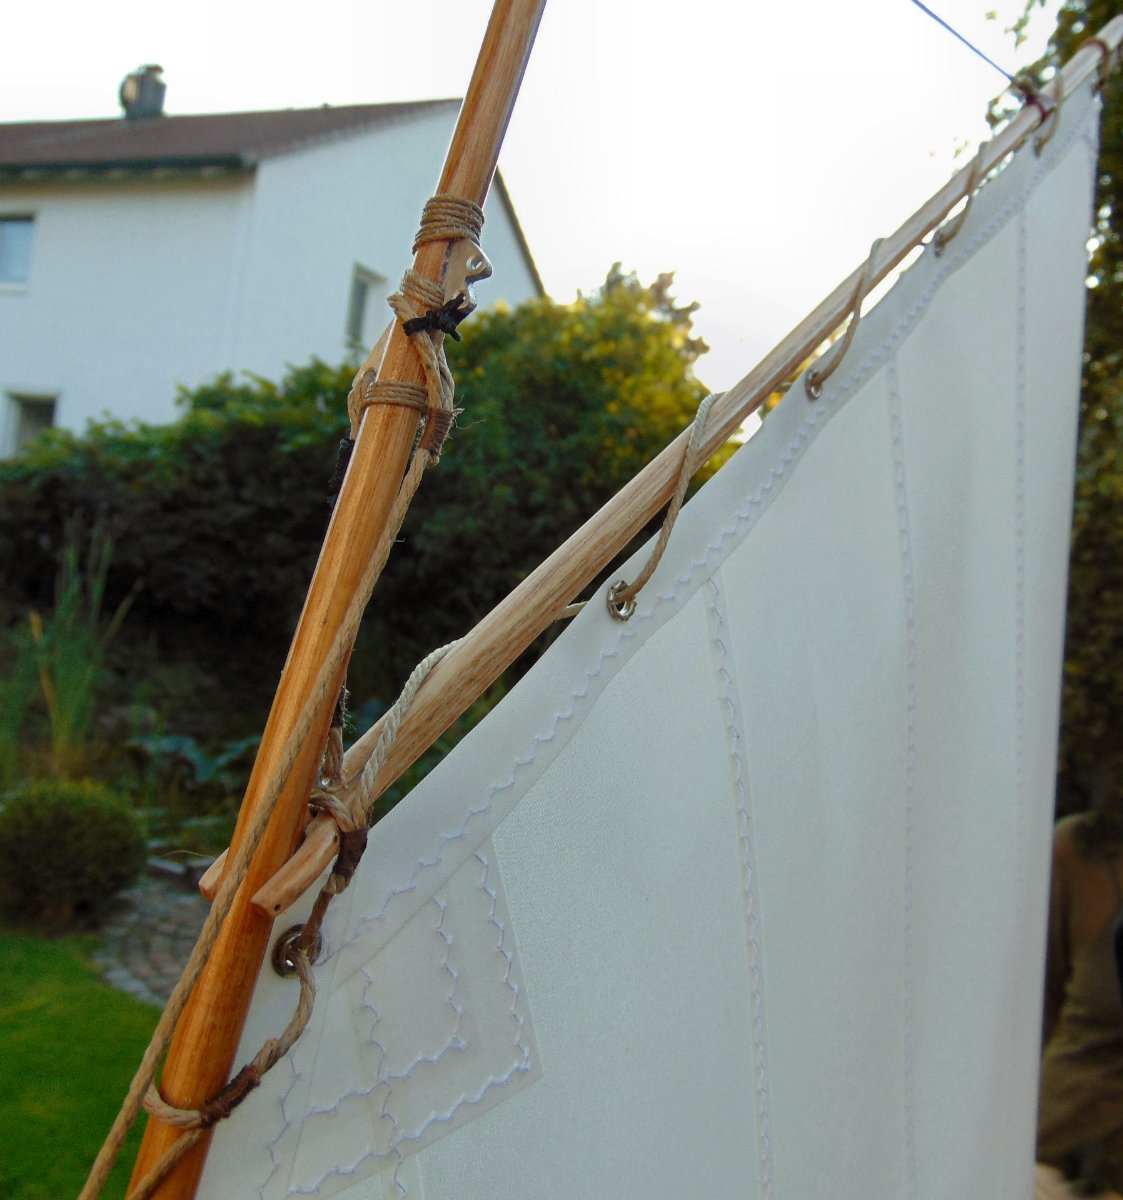
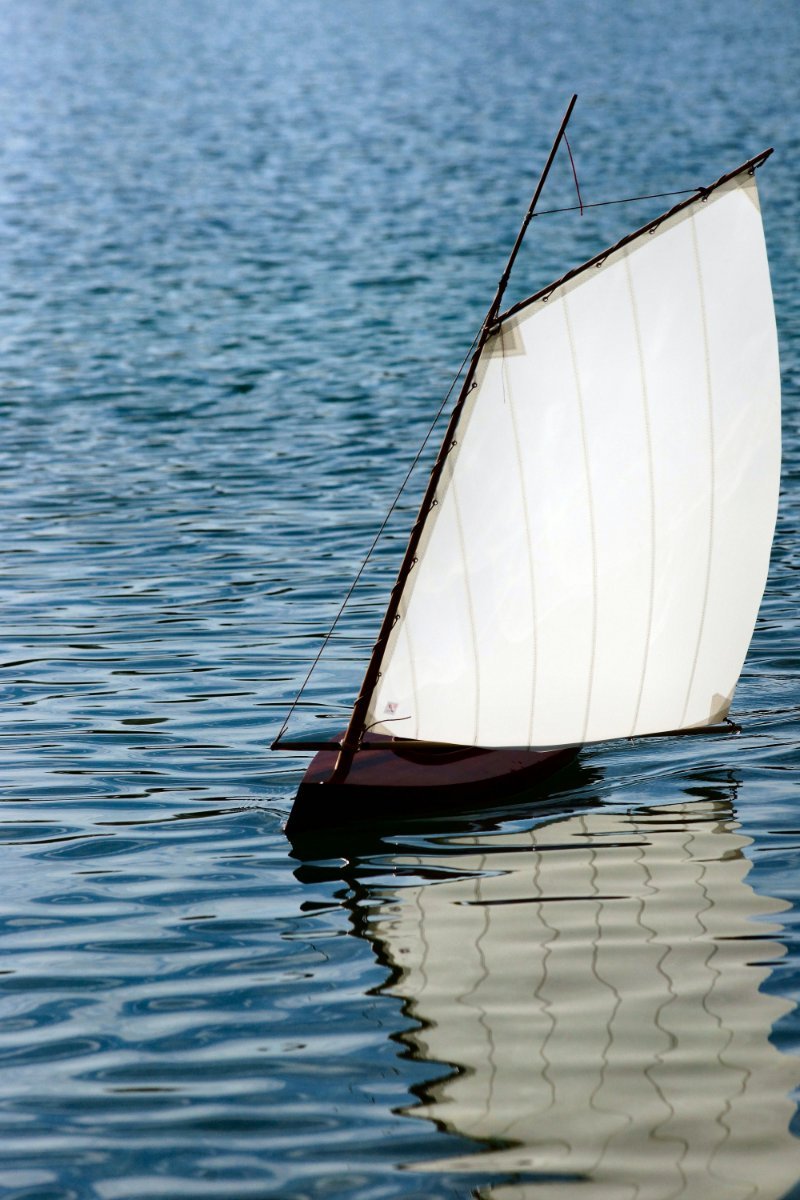
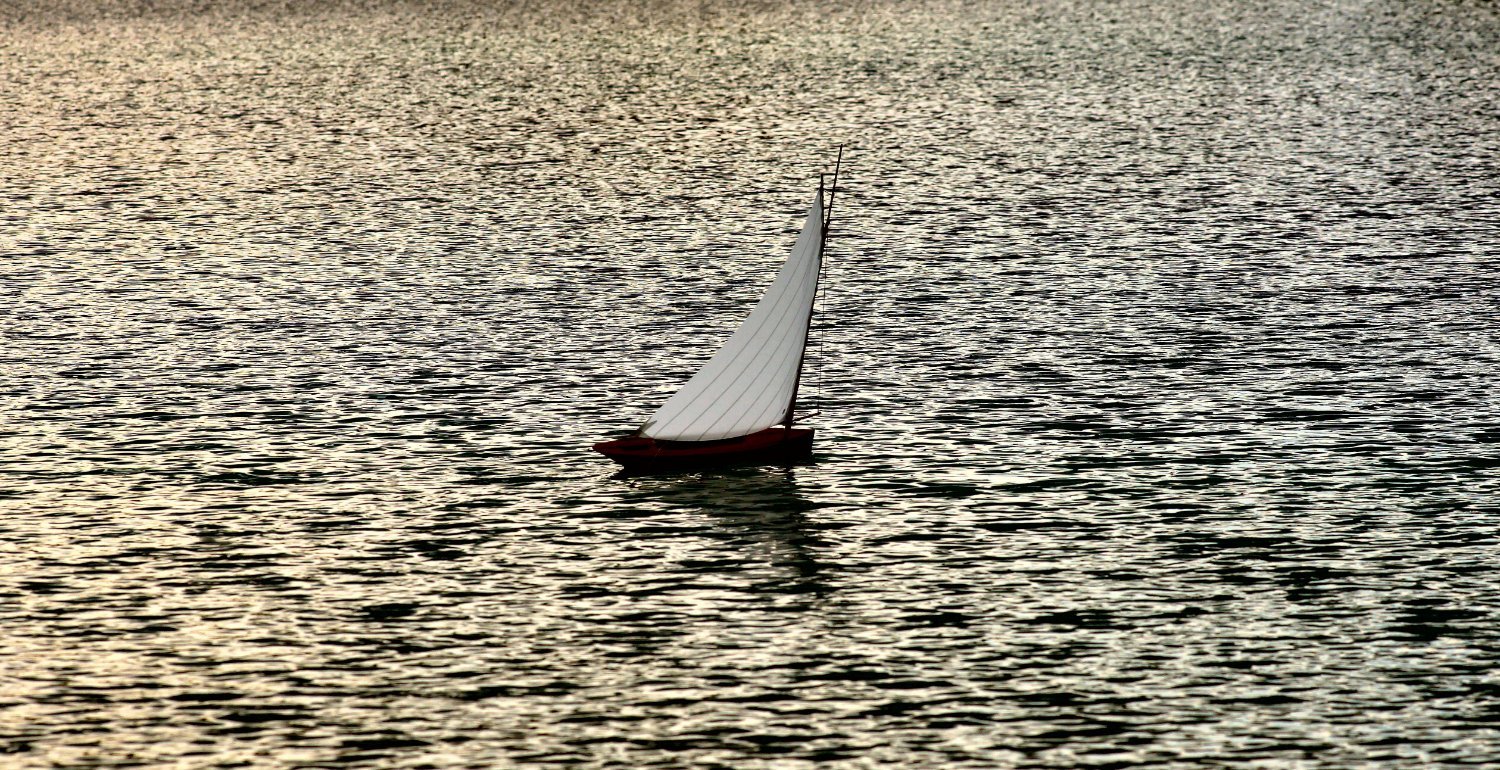
 A friend who focuses on creating modell sailboat blueprints gave me me the DXFs of the Molly. -https://www.classic-modellyacht-design.de/Englische-Yachten/Molly- The hull was build from 1,5mm mahogany only and got a transparent fibre reinforcement. The sail was done by a professional sailmaker. The ballast weighs about 7,5 kg of pure lead. It was a special task shaping the forms and pour the lead in oil sand . Molly sails already with low wind and stays stabil at moderate wind.
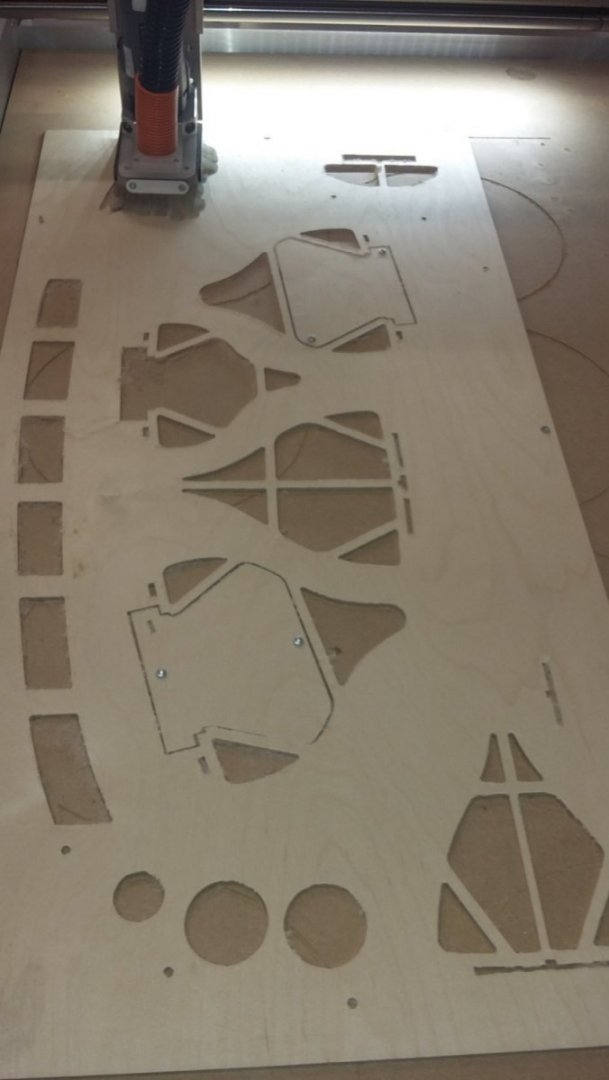


-
 This is the new project that has to be fully researched yet. There is some cursory information for this model in the Thesis by Daria Elizabeth Merwin pages 57-65 I will add information as it comes together before the build starts.
 -
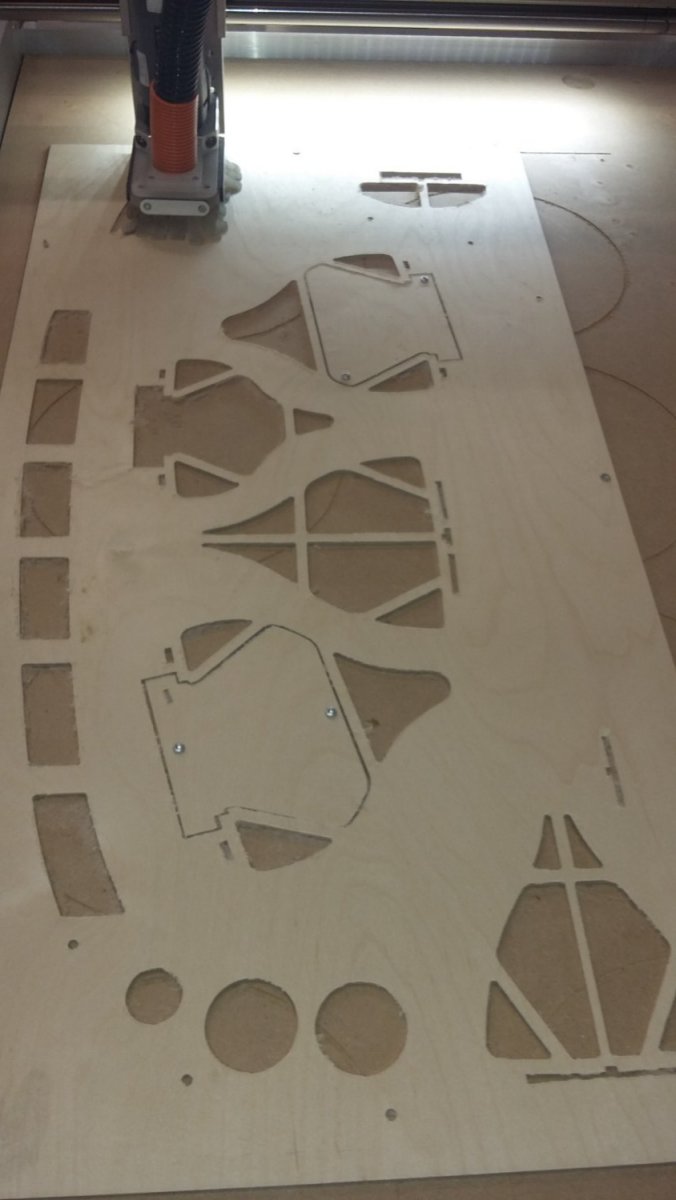
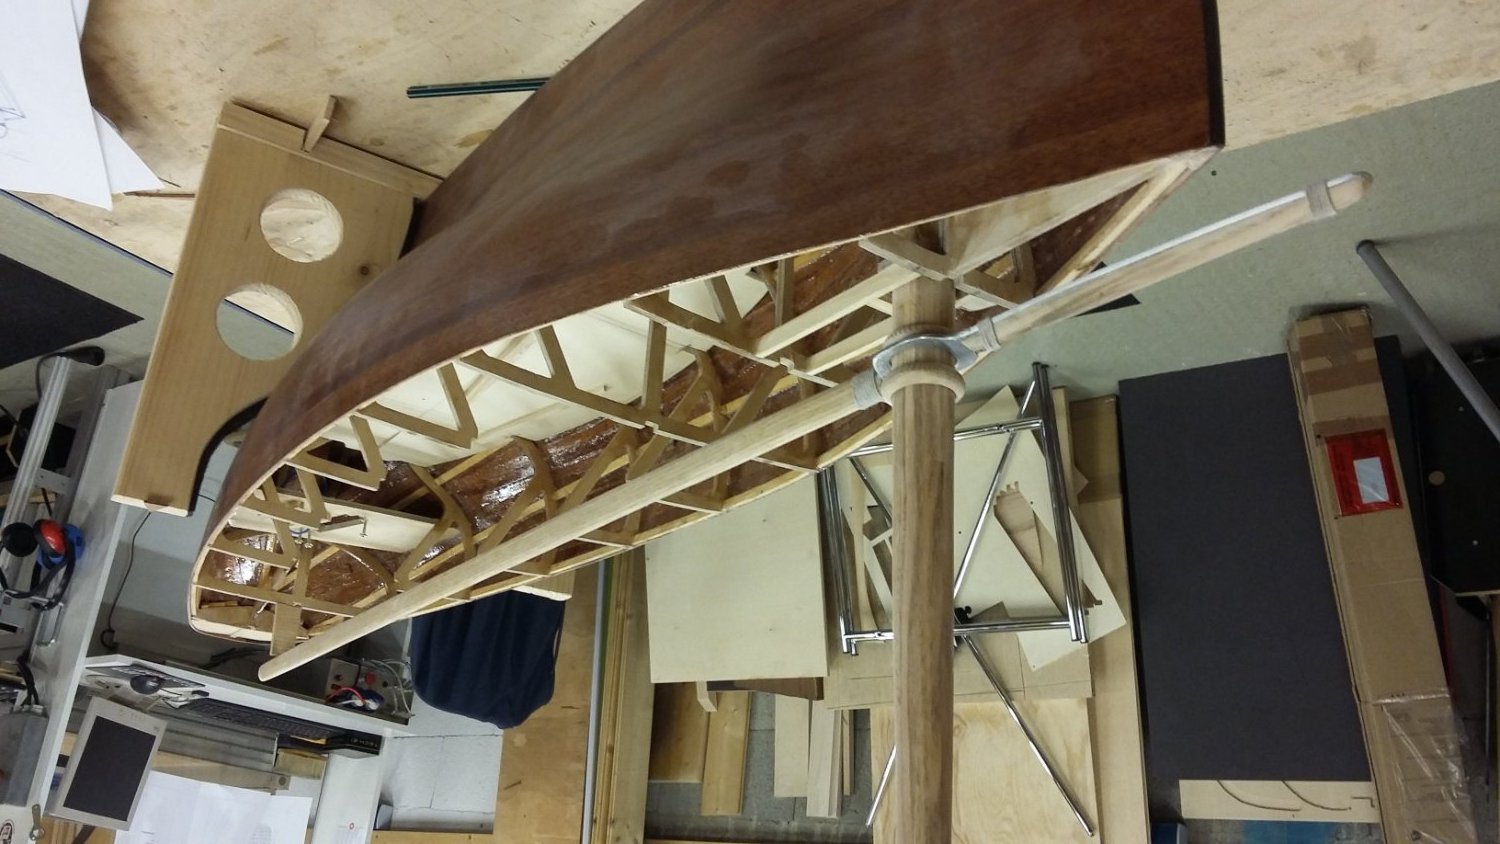
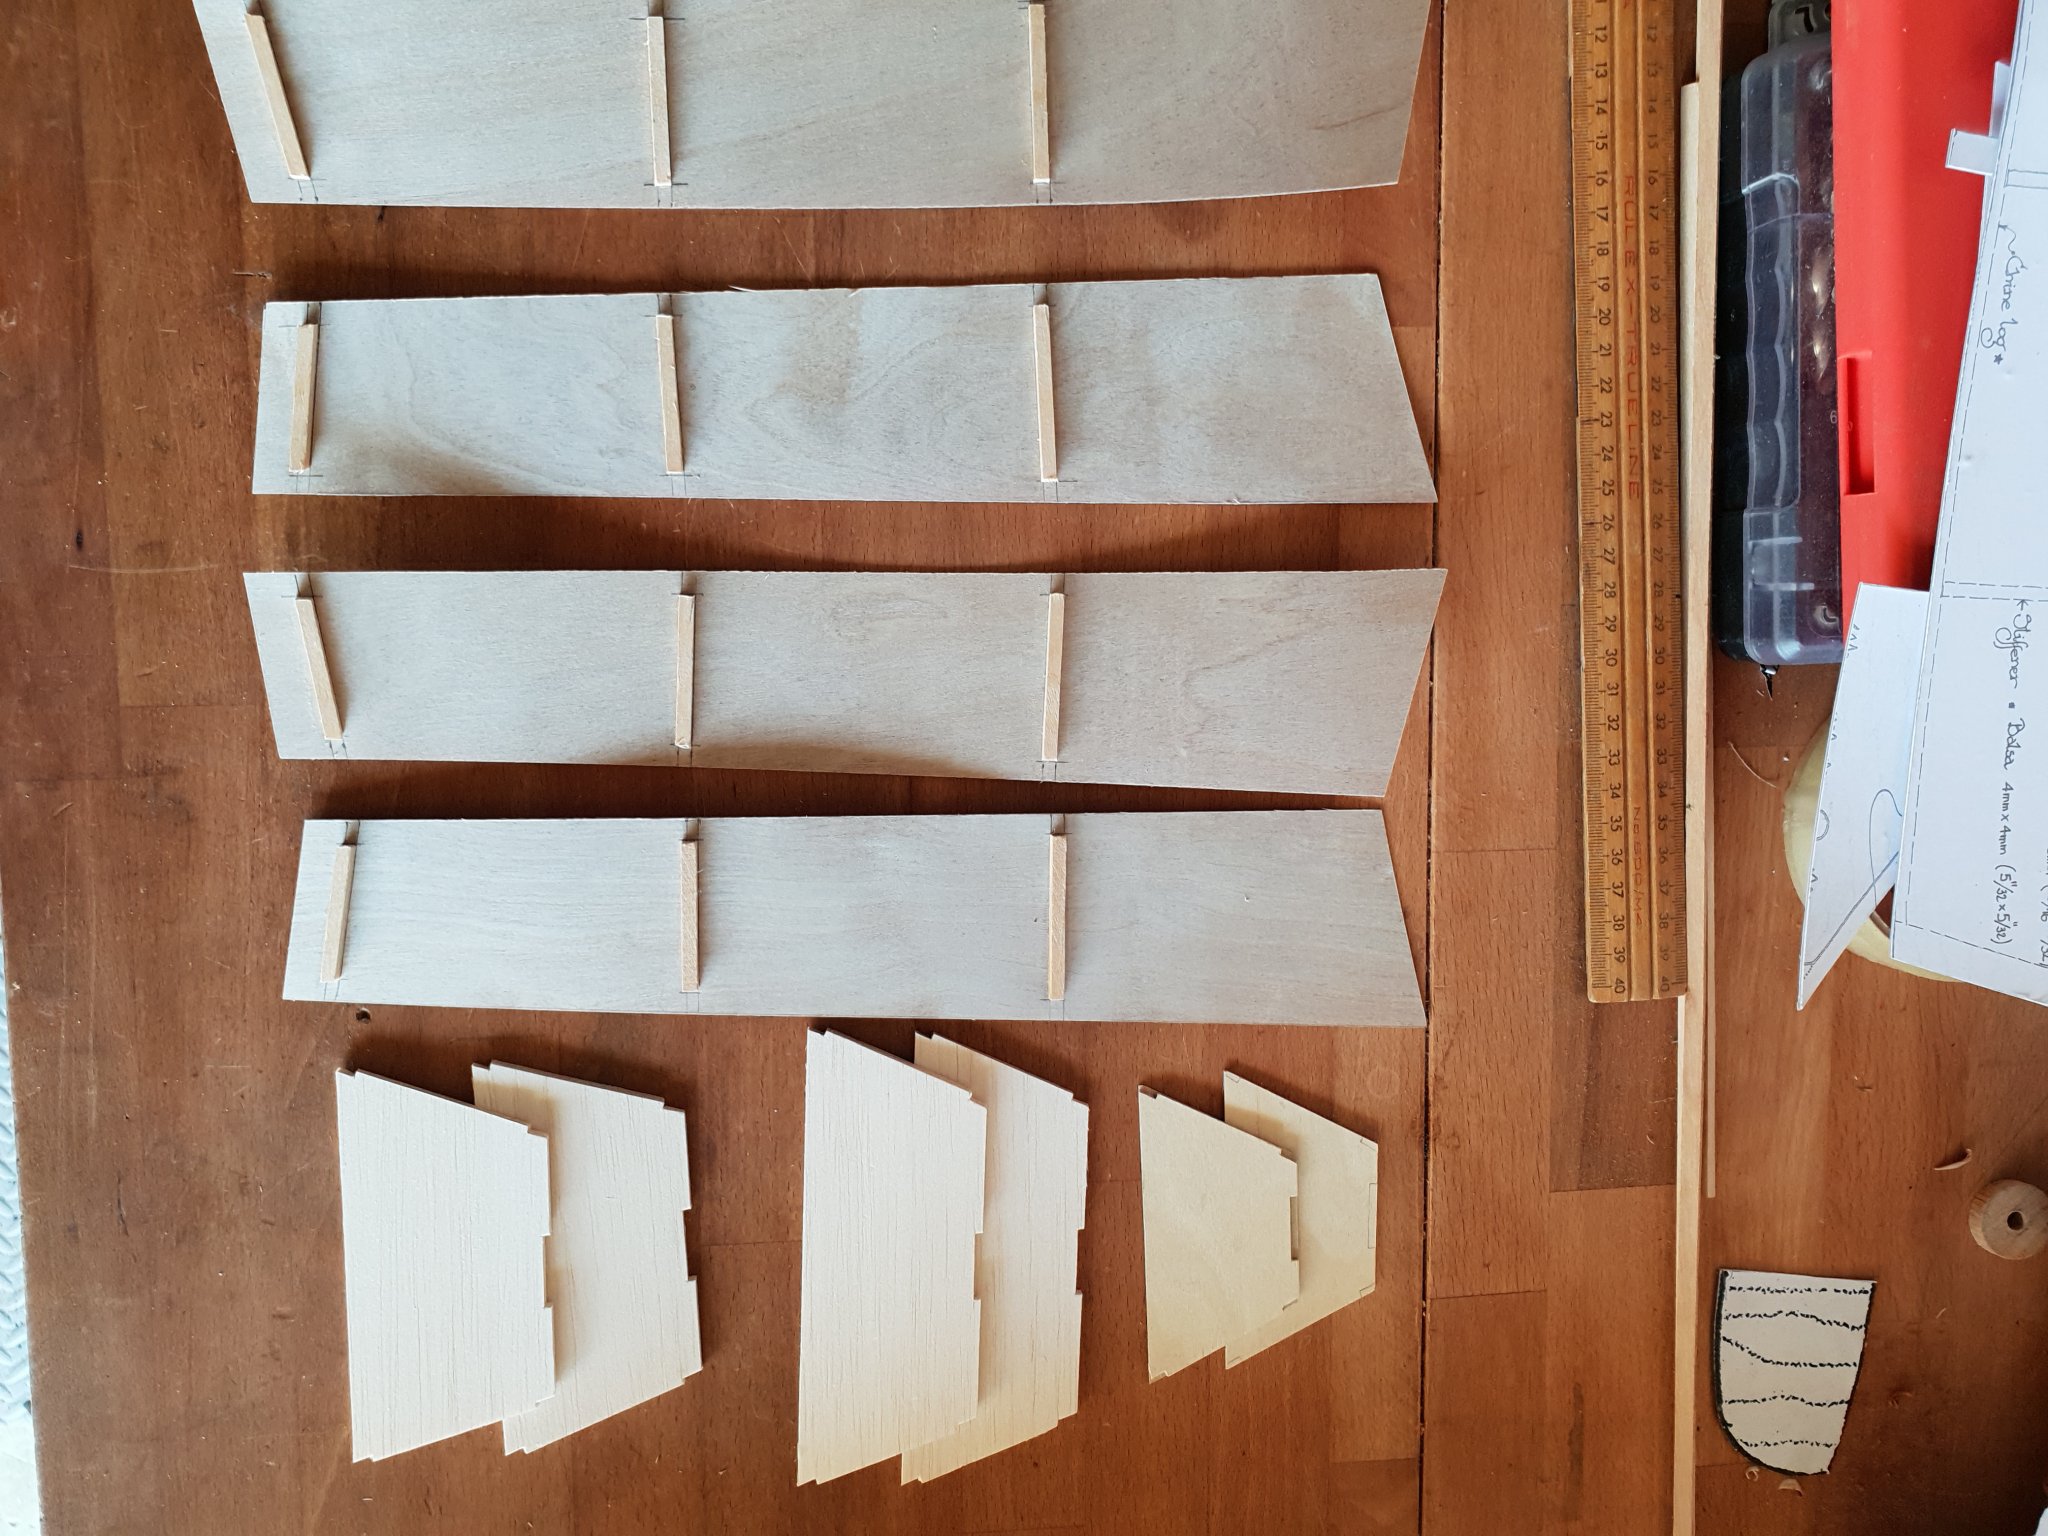
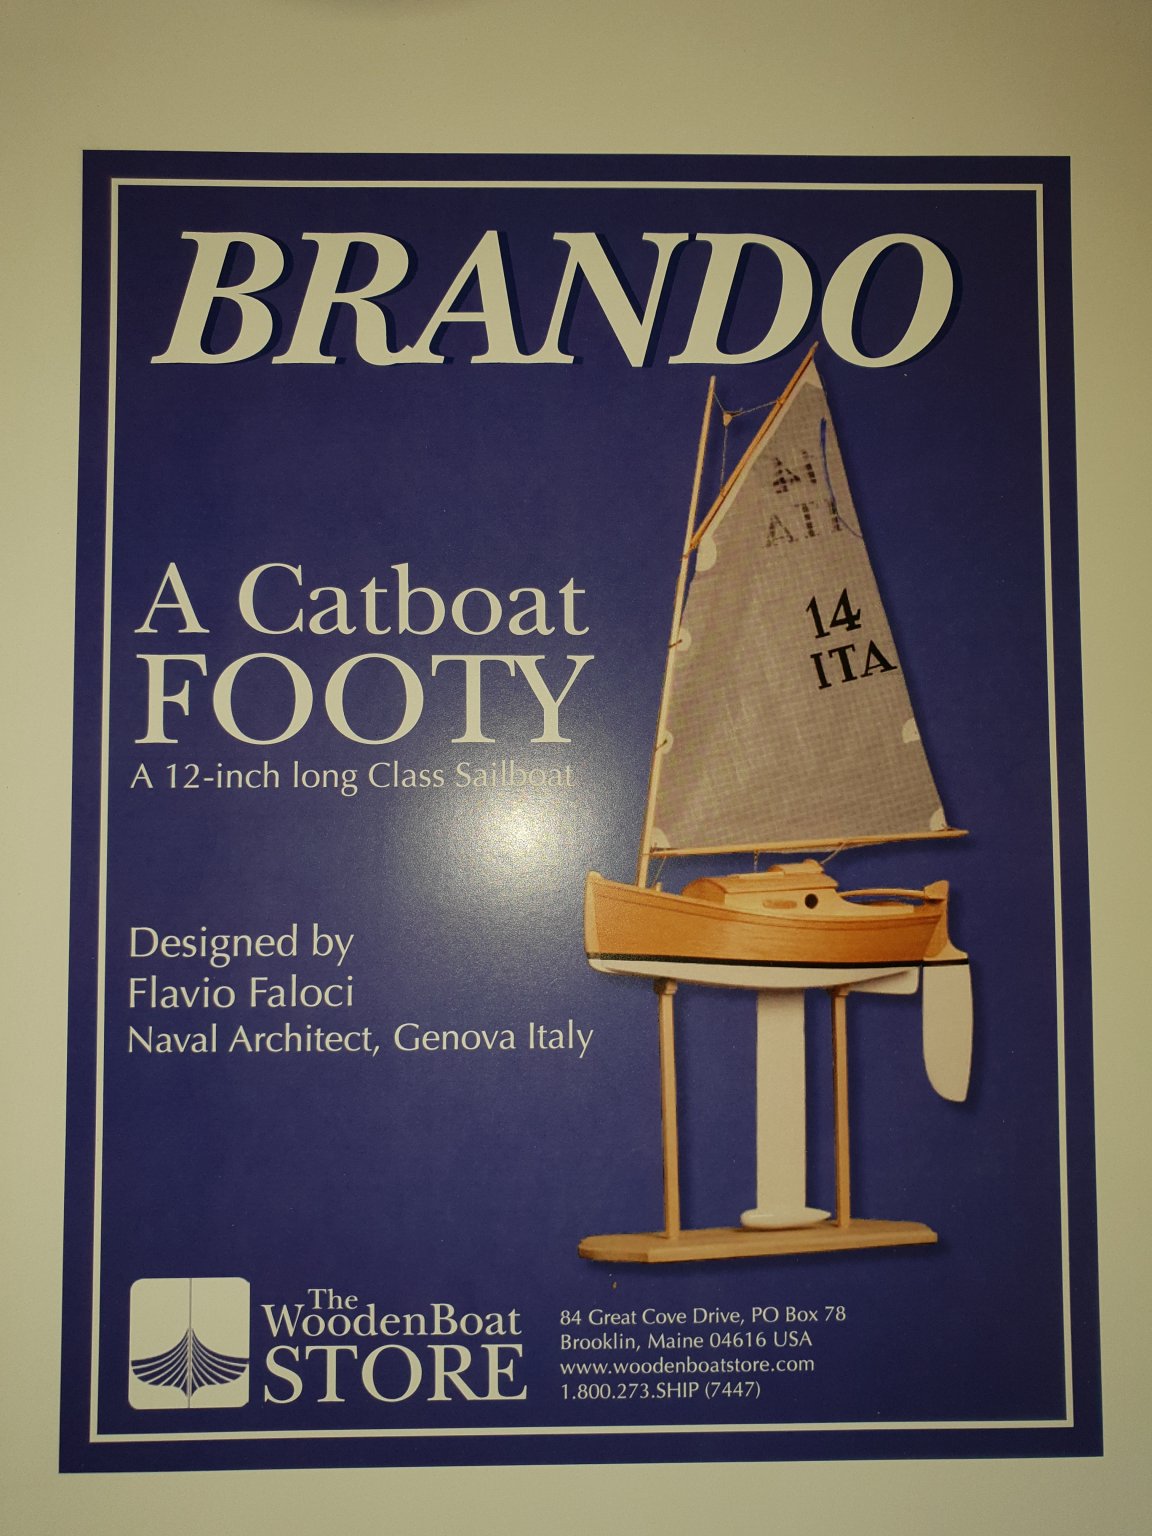
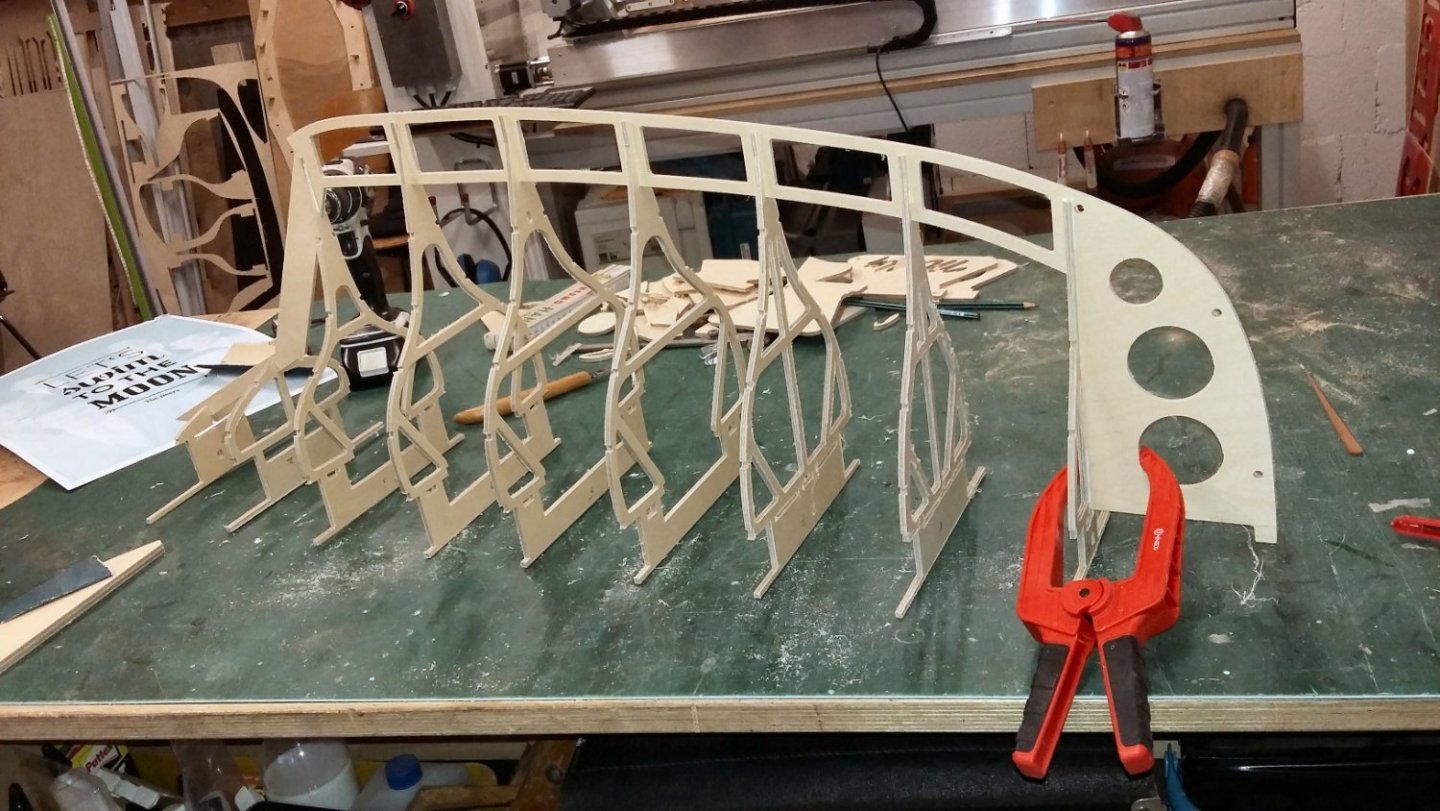
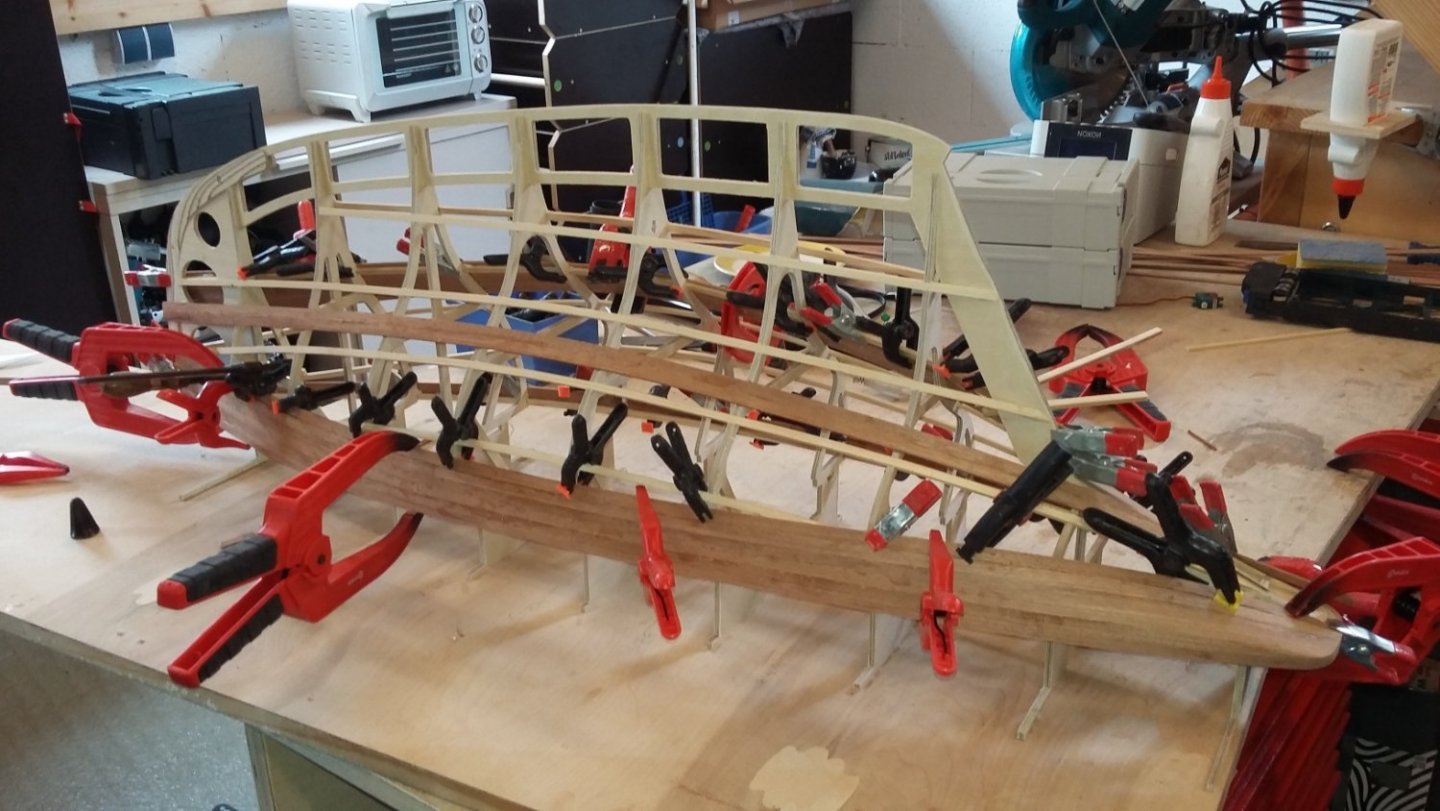
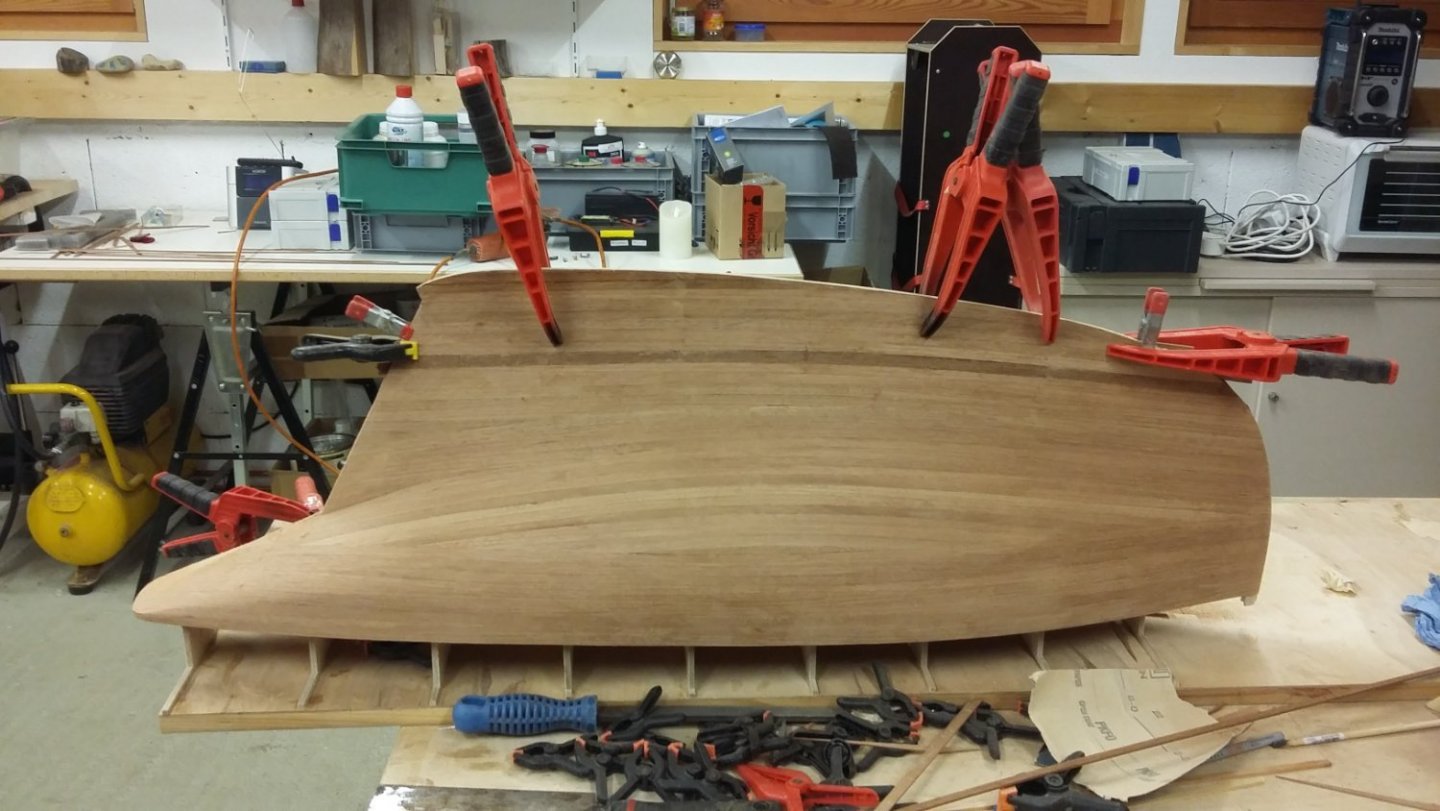
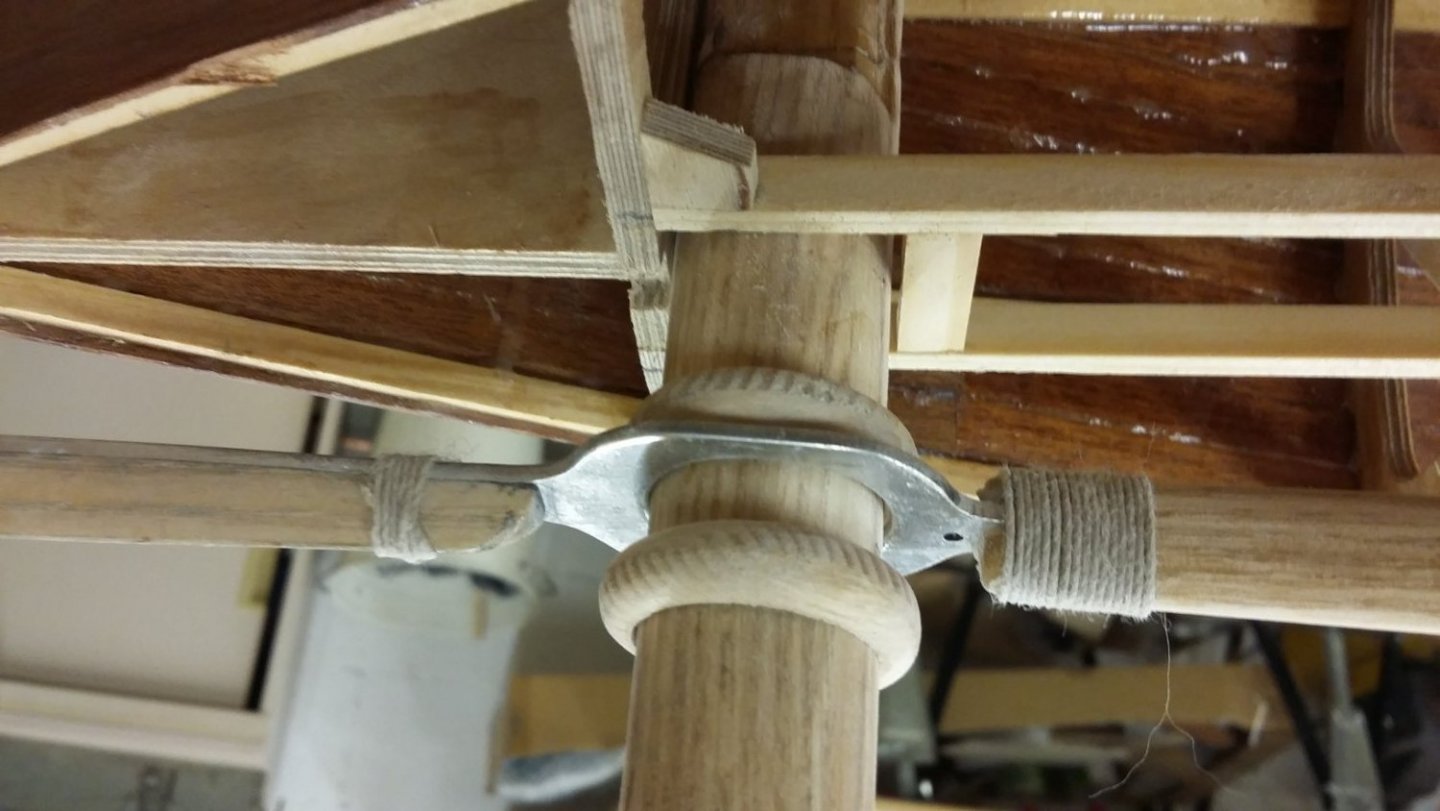
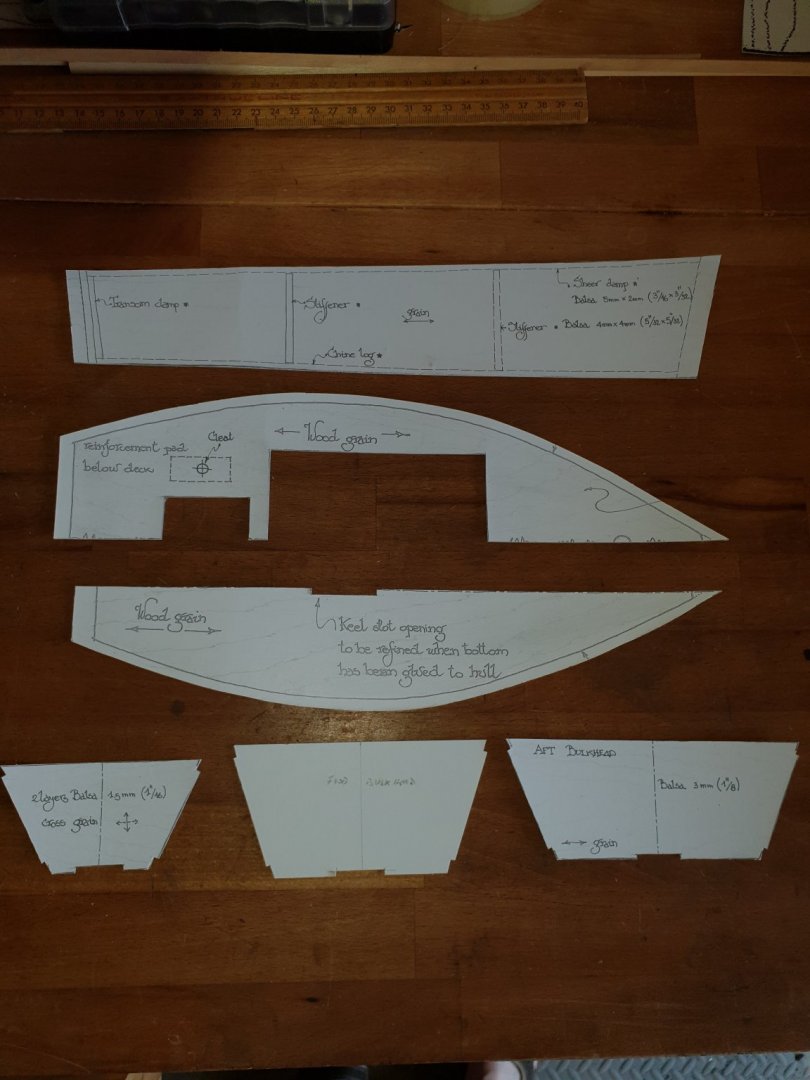
 Hello everyone. You will either be intrigued by this or bin it straight away. The foreground.... I am currently building a huge Bluenose which is going to take a very long time to finish. I wanted something to sail " now" that will not take long to build. I have learnt now that there is a " Footy " class RC sailing yacht that is a class in itself, has its dedicated set of rules, are quick to build, inexpensive, fun to build and then you get to sail them! A Footy must be one foot long and fit into a certain size box in order to compete. All Google able. Radio control today is really cheap especially two channels from sky fly. This little gem is Italian designed by Flavio Faloci a naval architect. The plans are a work of art quite literally and super comprehensive. Downloadable digitally. I have decided to make two. One for my grandson and one for the boy in me!!! Then we can go out on our bikes and sail them. I am hoping this build log will be quite quick. The model is largely built from balsa . I have varied a little by using 1/64" birch ply. Grief that was harshly expensive but it can be made cheaply from balsa. My decision! Hope you like and it catches on. Remember when you were a young kid, we dreamed of little boats this shape. It has rudder and sail winch control. The sail winch is nothing more than a Hi Tec 225 servo which has a 3.9kg high torque capability. It is fitted with a long arm. That's the winch! Full radio installation is in the plans and even tells you what Rx, which servos and batteries to use. The whole radio department just lifts out. It is an amazing design. I hope it catches on and you enjoy my build. Here you see the main hull patterns, sides and bulkheads. It will take shape later today. Flat bottomed hard chine with removable keel. Very easy. Pete
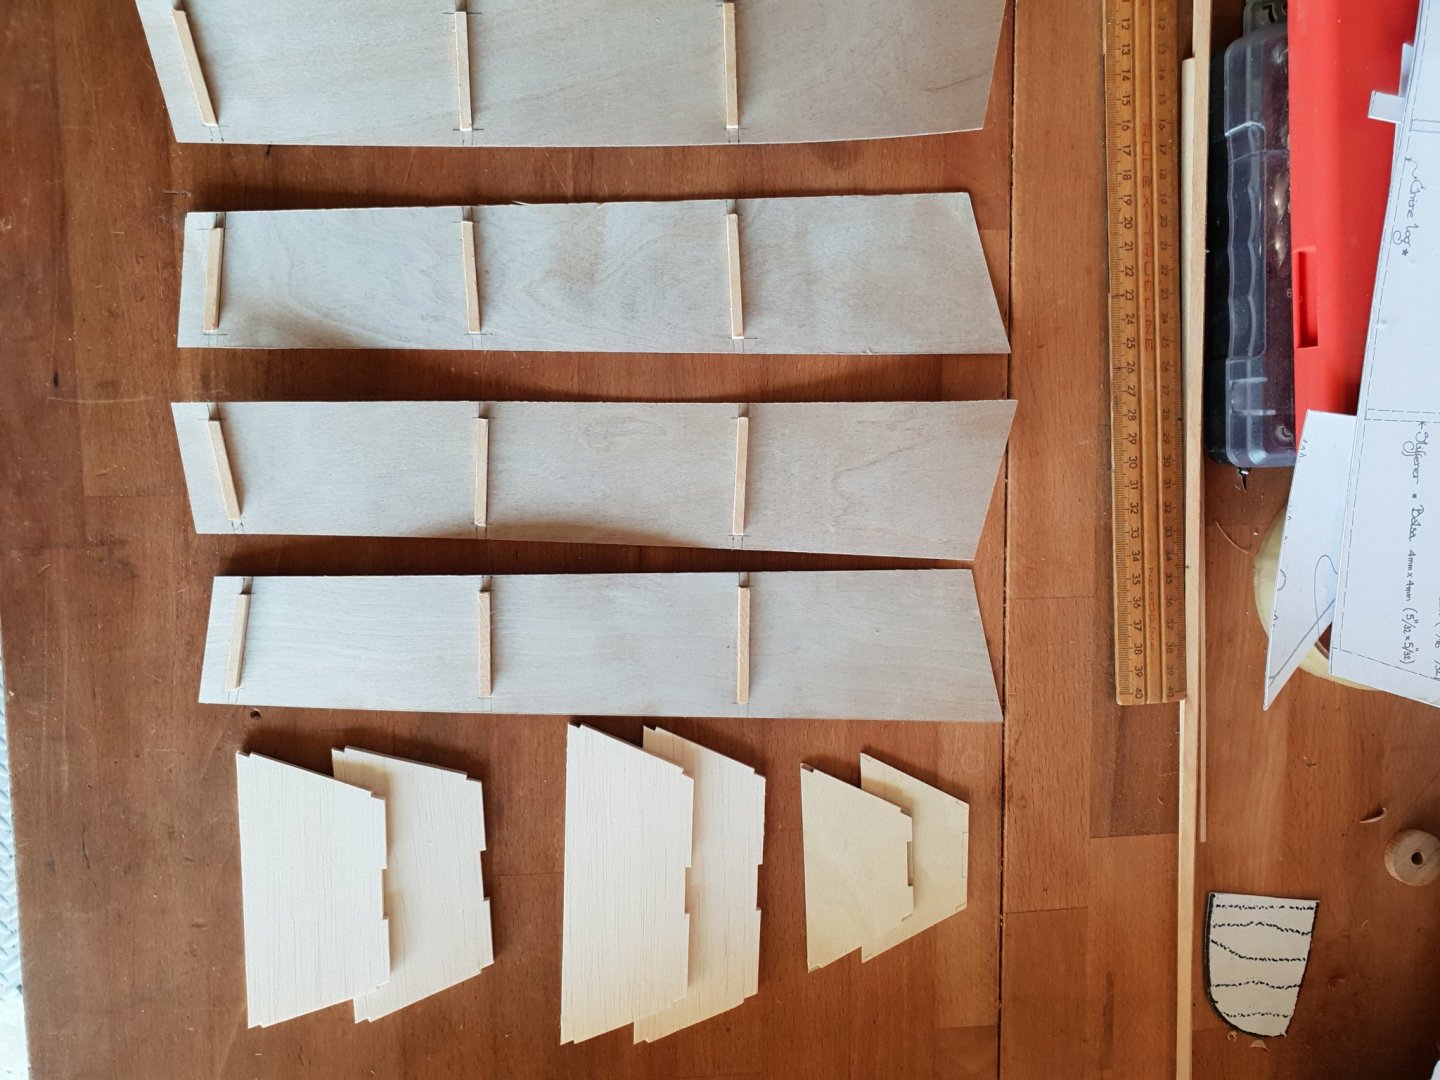

-
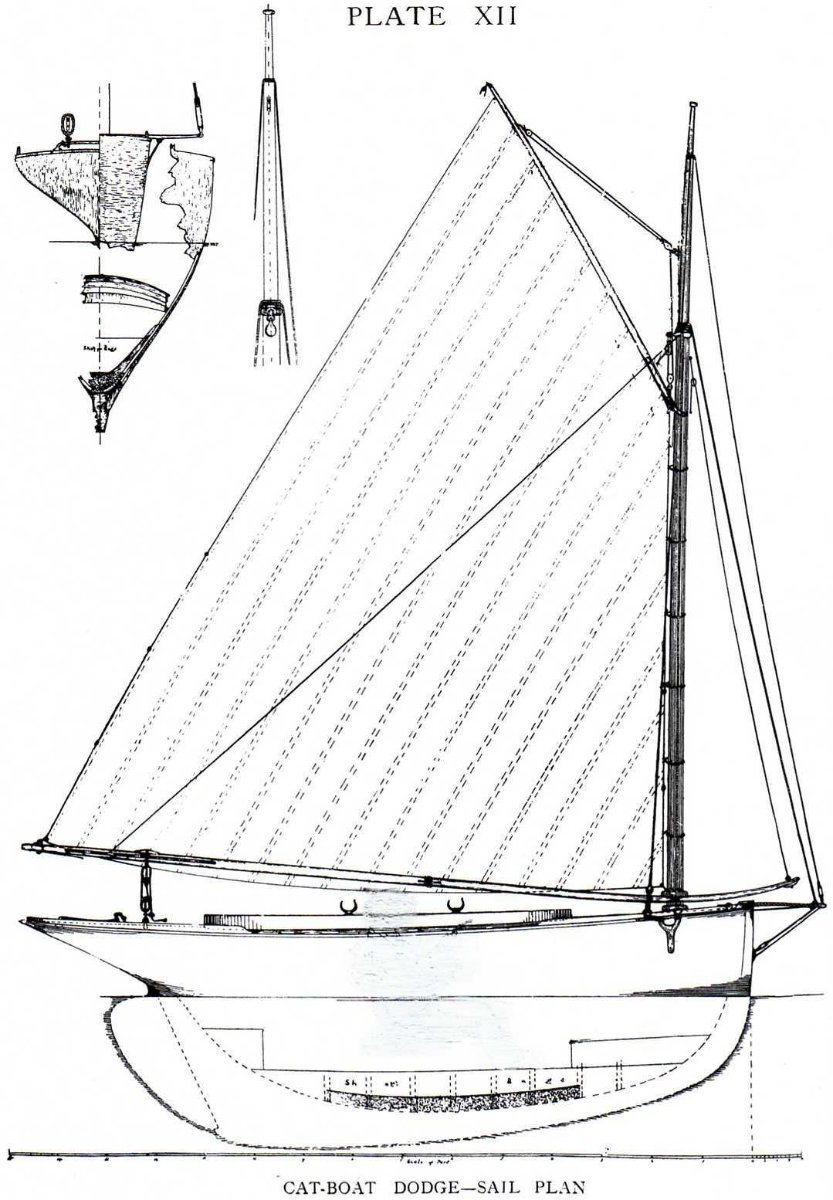
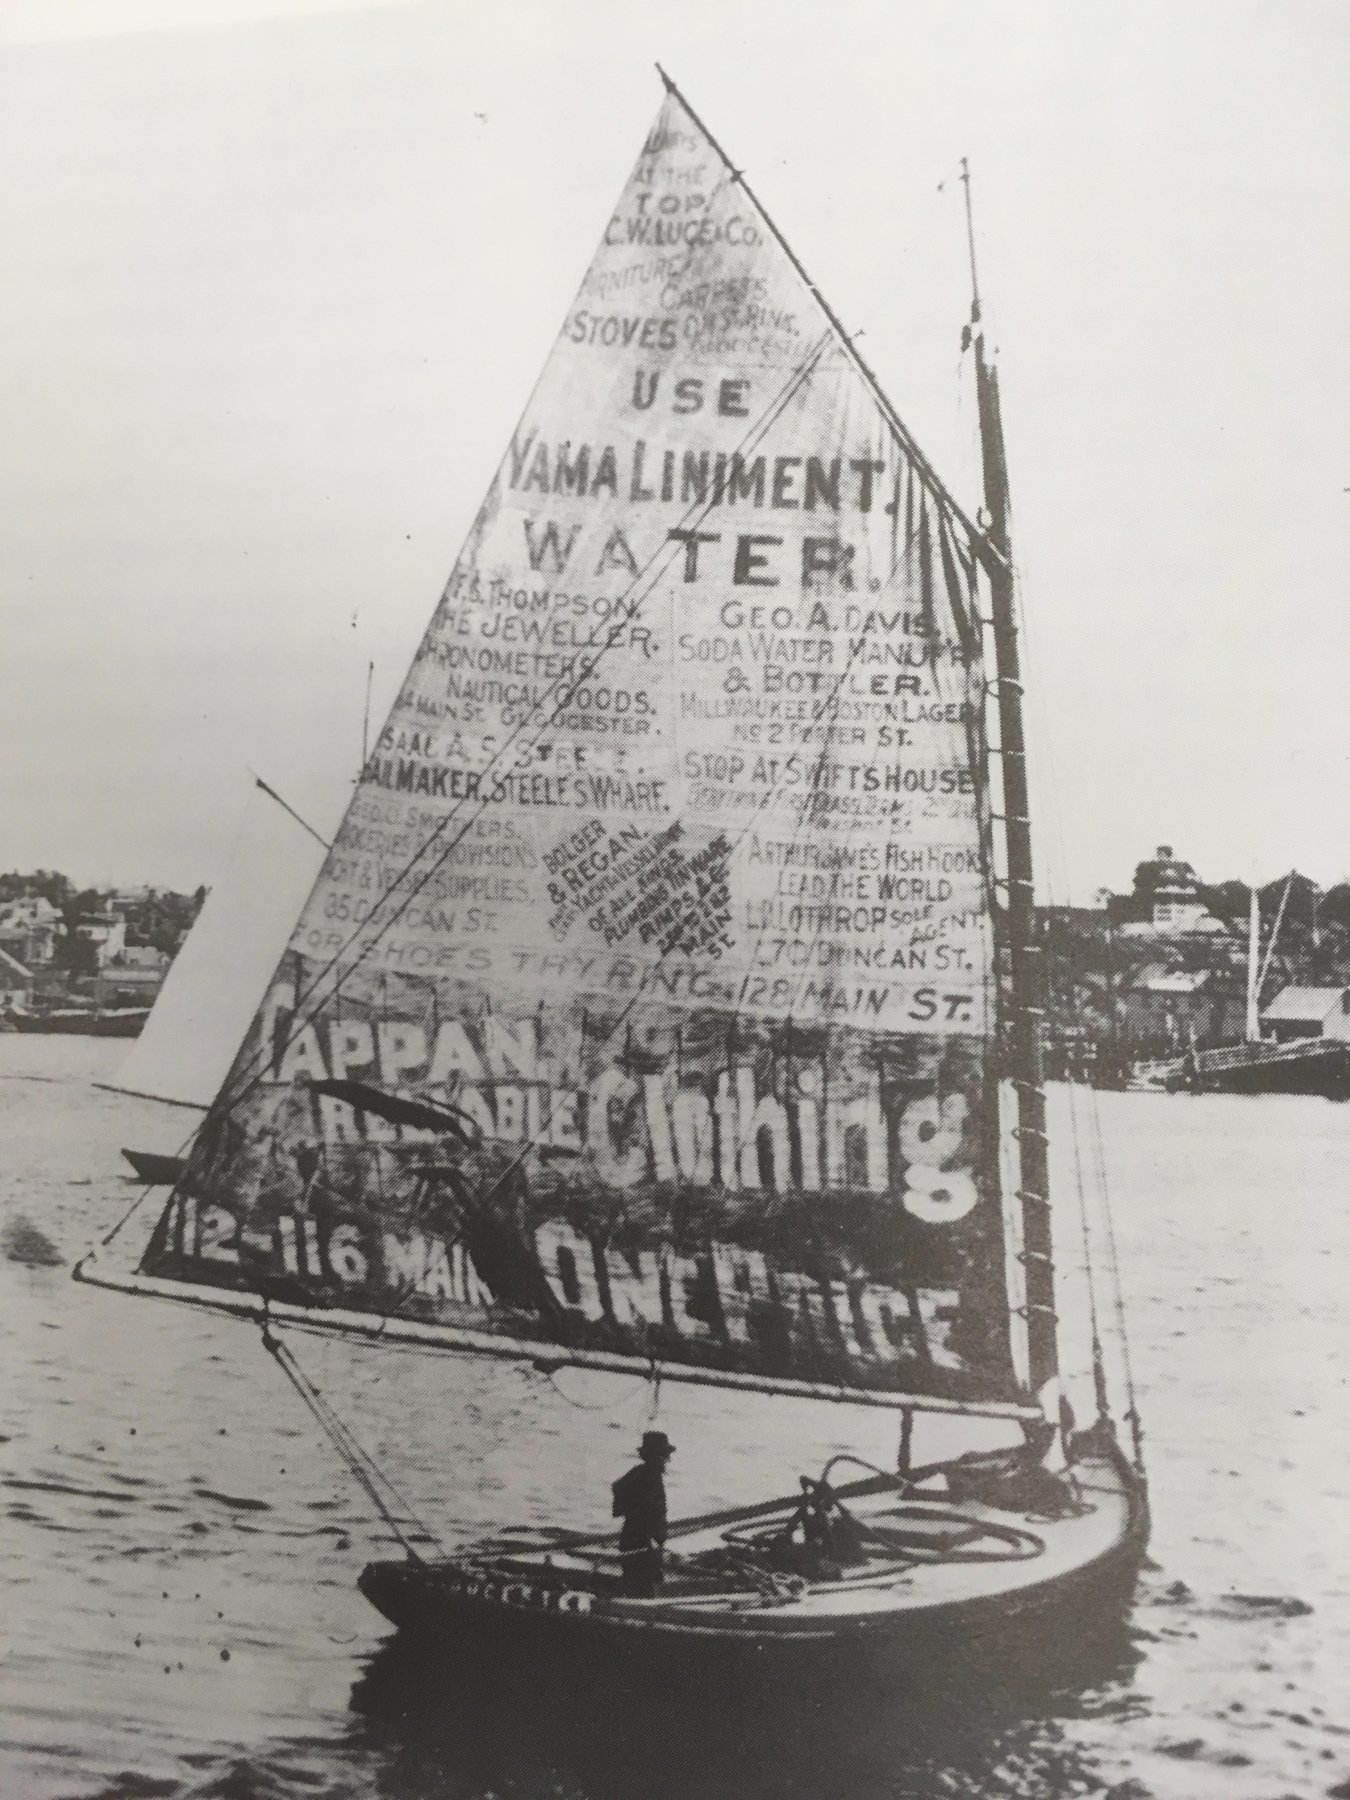
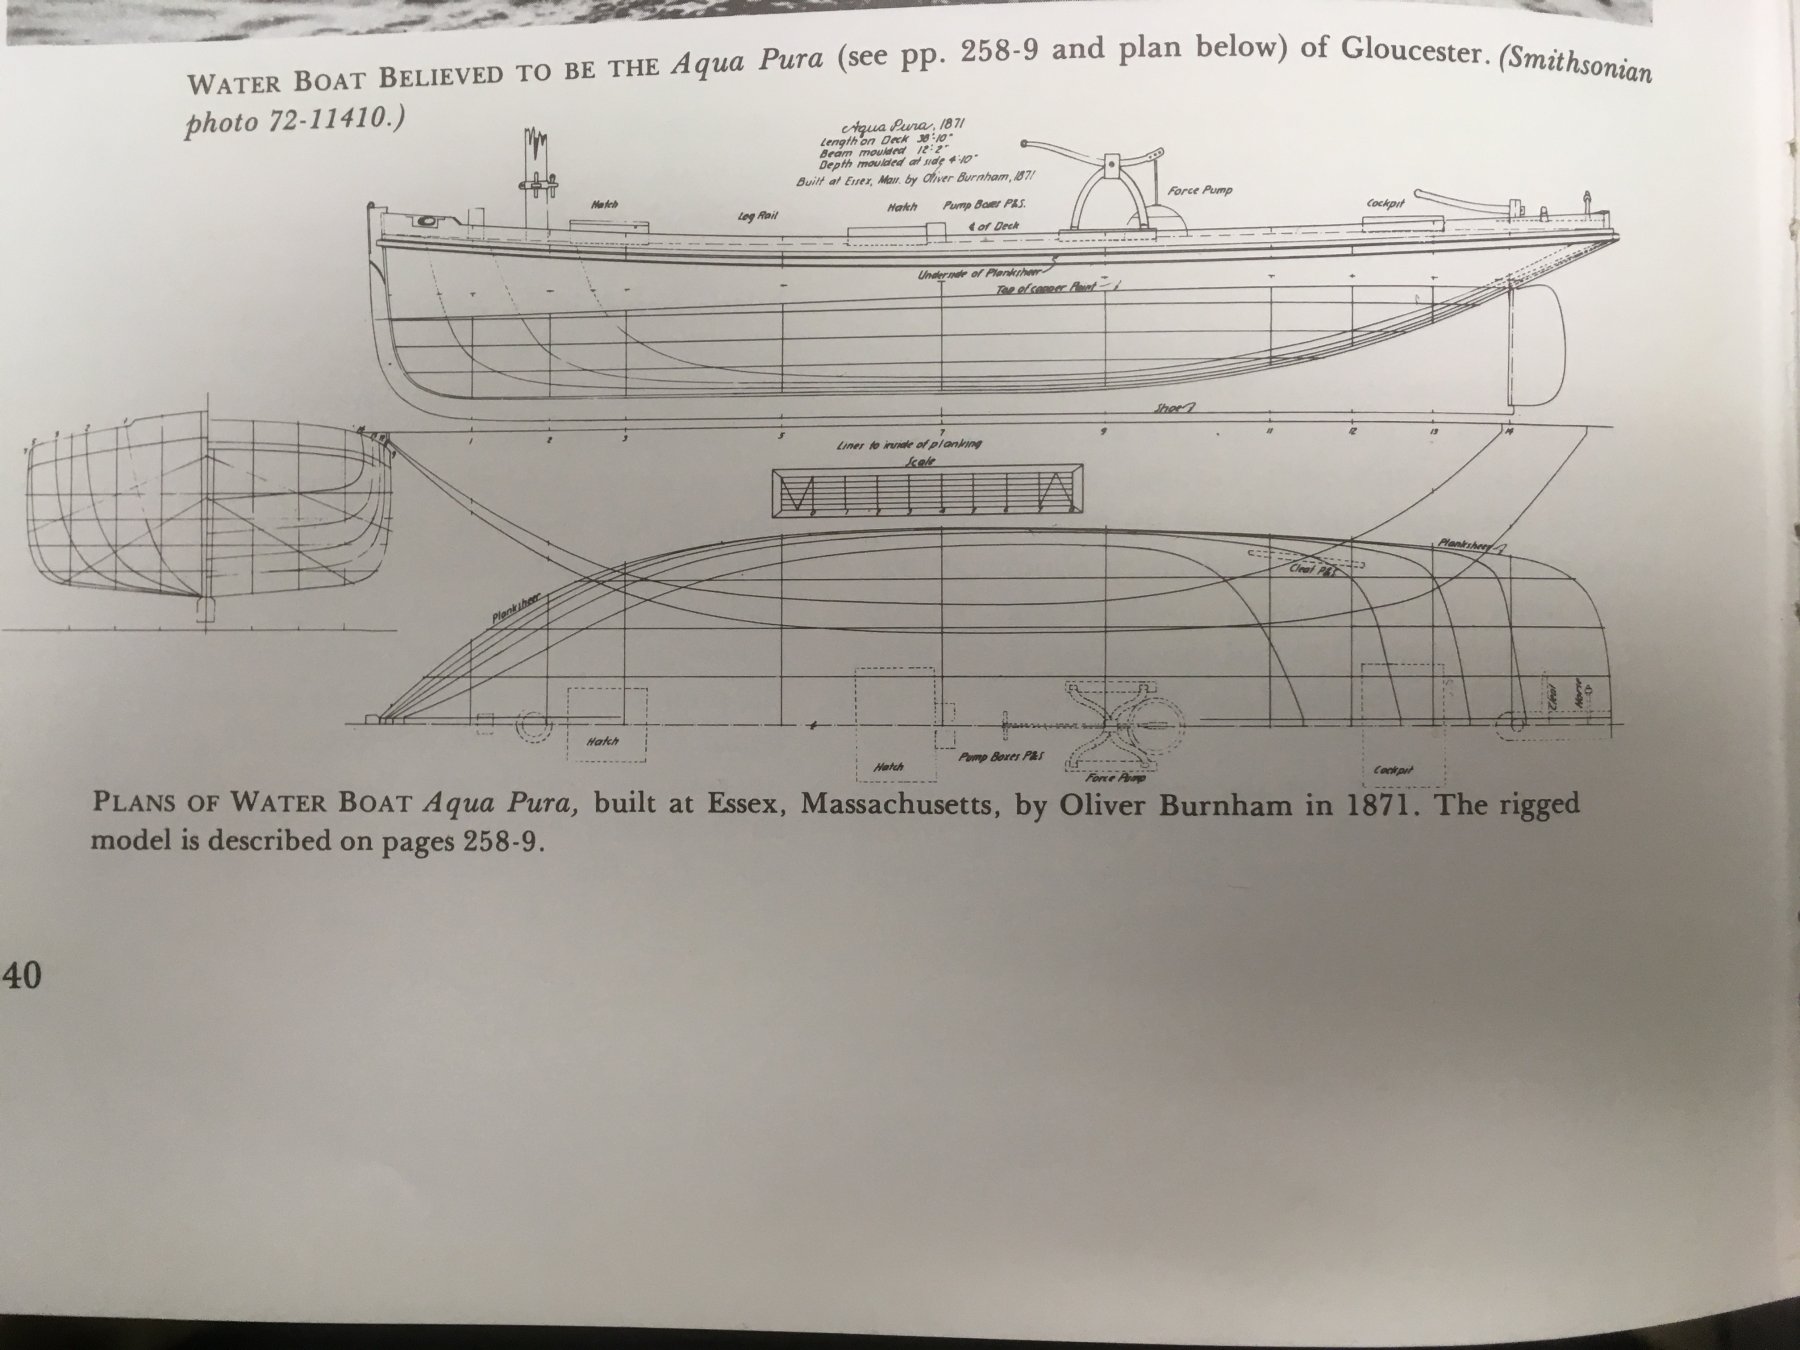
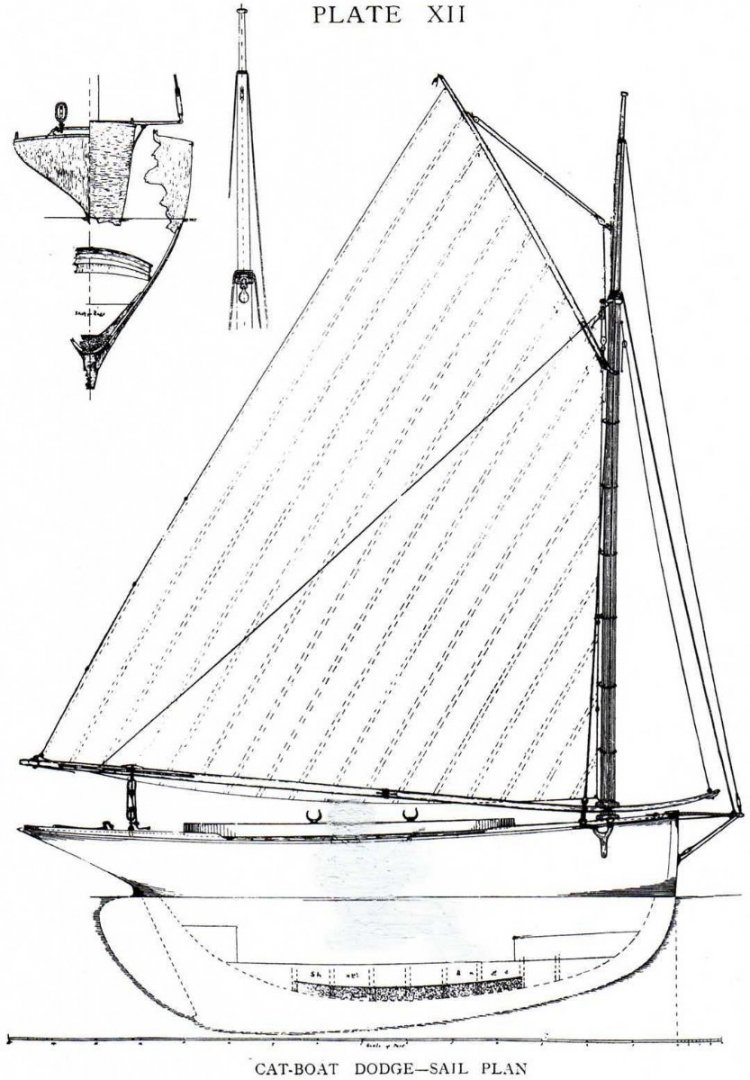
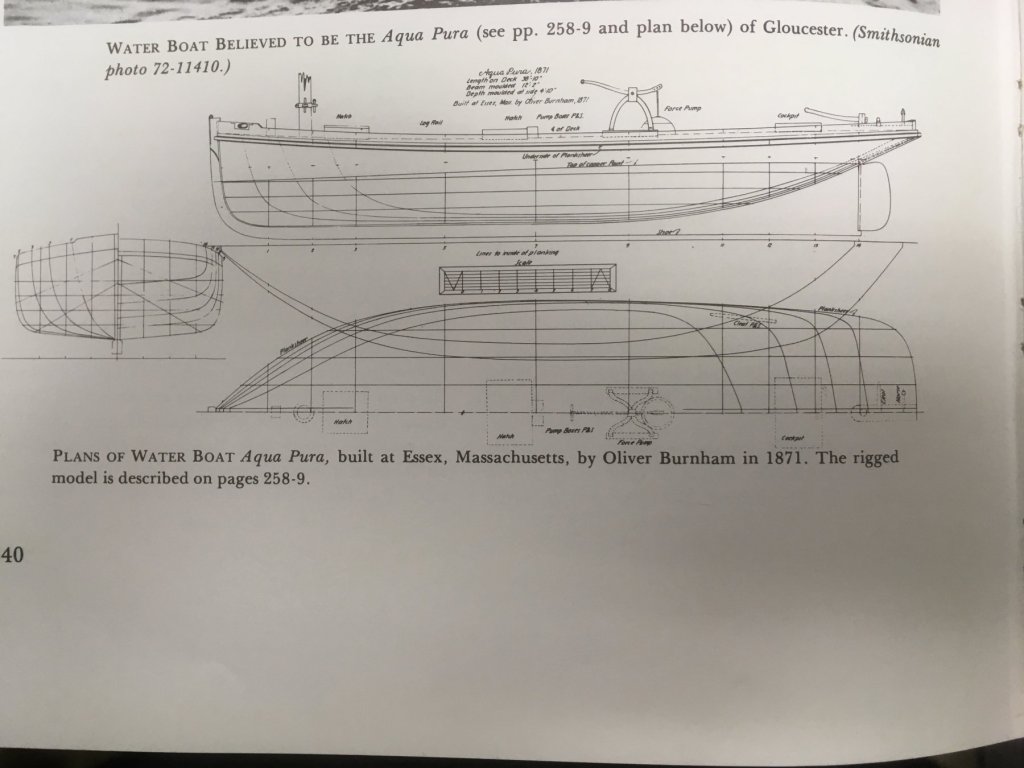
 I found an old copy of Howard Chapelle's The National Watercraft Collection on the $2.00 rack at the local used bookstore. In it I saw the following photo of a catboat in Gloucester harbor. Needless to say, the sail caught my attention. This photo is most likely of Aqua Pura, a waterboat that supplied the Gloucester fishing fleet with fresh water. These boats were commonly catboat-rigged and could carry about 150 barrels of water in a wooden tank located under the deck amidships. The water was discharged into fishing schooners' water barrels via a hand-operated pump and a long hose, both of which are visible in the photo. In 1850, one waterboat operator in Gloucester sold $7,700 worth of water to the fleet at ten cents a barrel. Aqua Pura measured 36' in length and 11.4' in beam. She was crewed by a single owner/operator who painted advertisements for local merchants on his sail. Some of the waterboats carried a limited number of 50 - 100 lb cakes of ice covered in sawdust as well. Chapelle gives the hull lines and deck arrangement here: I just finished building Corel's kit of the Shenandoah, and this will be my first scratch build. The reason I want to build this craft is a bit nostalgic. My dad was a watchmaker who had a family-run jewelers in Southern California. I grew up in the shop. My dad and grandpa and brother all repaired watches, while I repaired clocks and did engraving and simple jewelry repairs. If you look at the sail in the photograph, you'll see an advertisement for a jewelers. I lost my dad last January and miss him pretty badly. I'd like to build this boat and put him and his shop up there on the sail. I may make some other changes to the text as well. That's why I'm calling this build a fictitious waterboat. I'd also just plain like to try my hand at scratch building. I've been watching other people's work and it looks like fun. I guess we'll see. I have very little idea of how to go about this, other than that I'll be attempting a plank-on-bulkhead version of the hull. I'm sure I'll be asking lots of questions. Thanks for reading! Steve
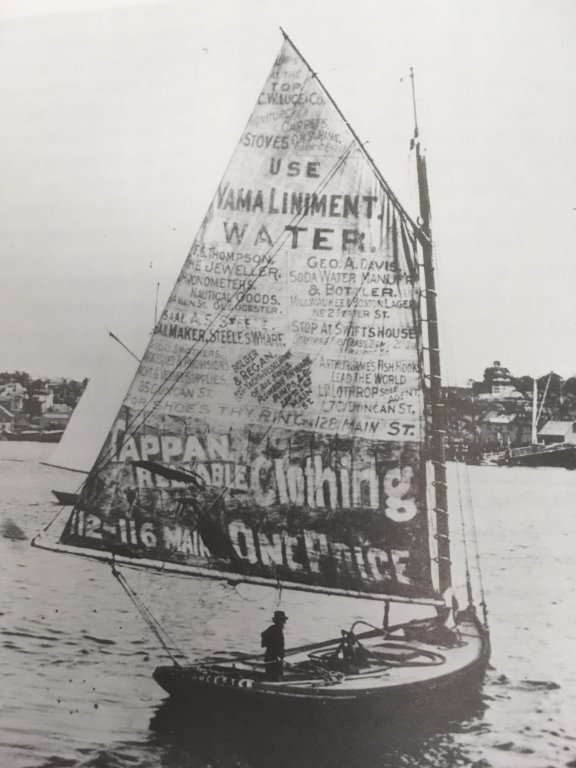
- 60 replies
-
- 16
-
-
- small
- gloucester
- (and 2 more)
-
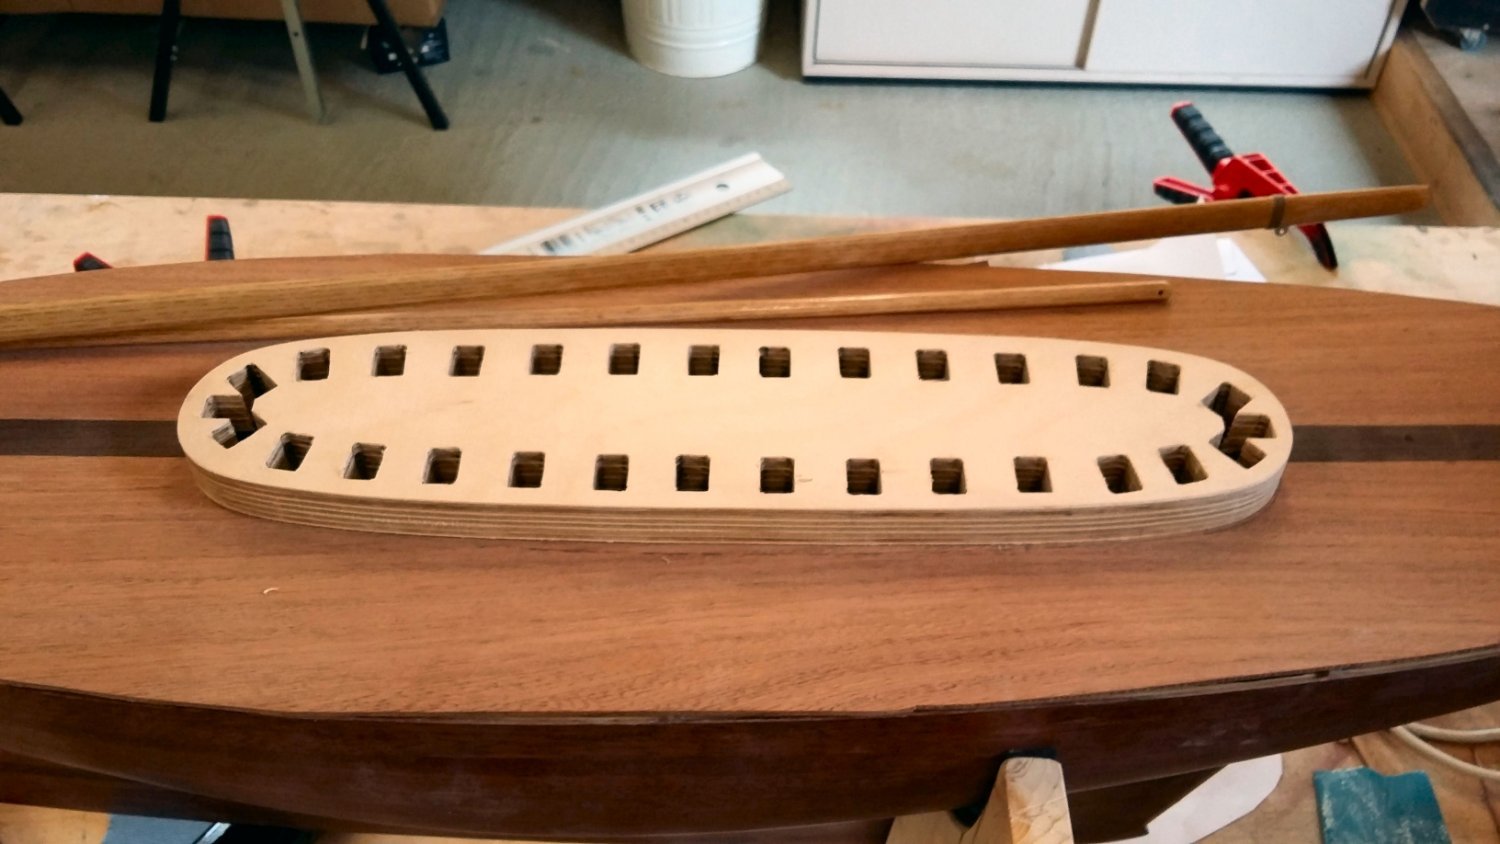
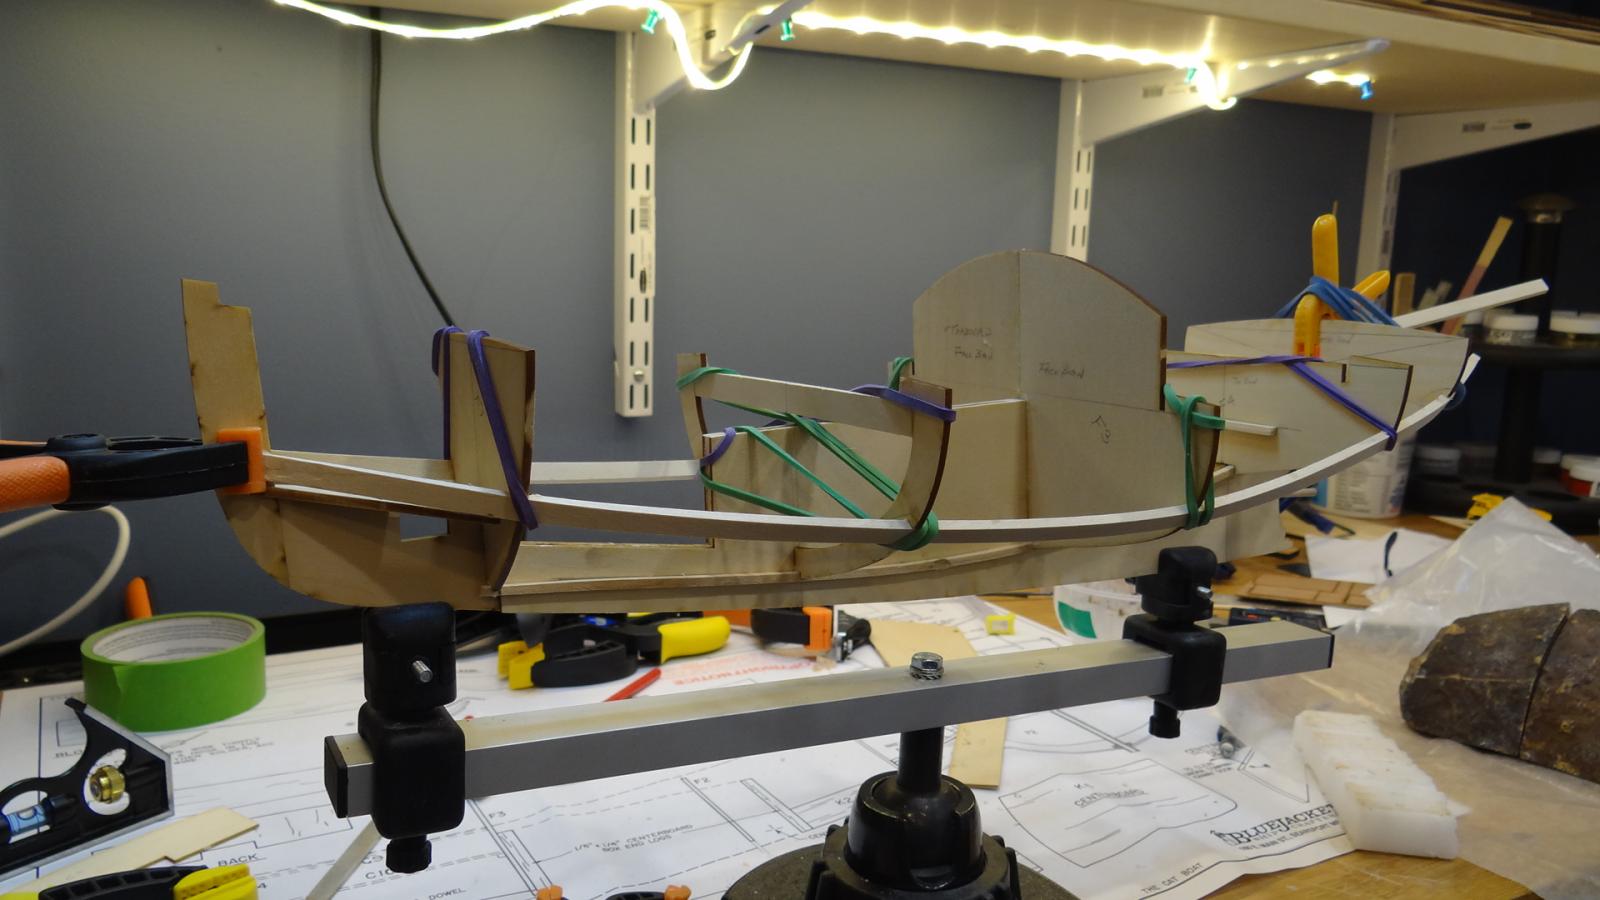
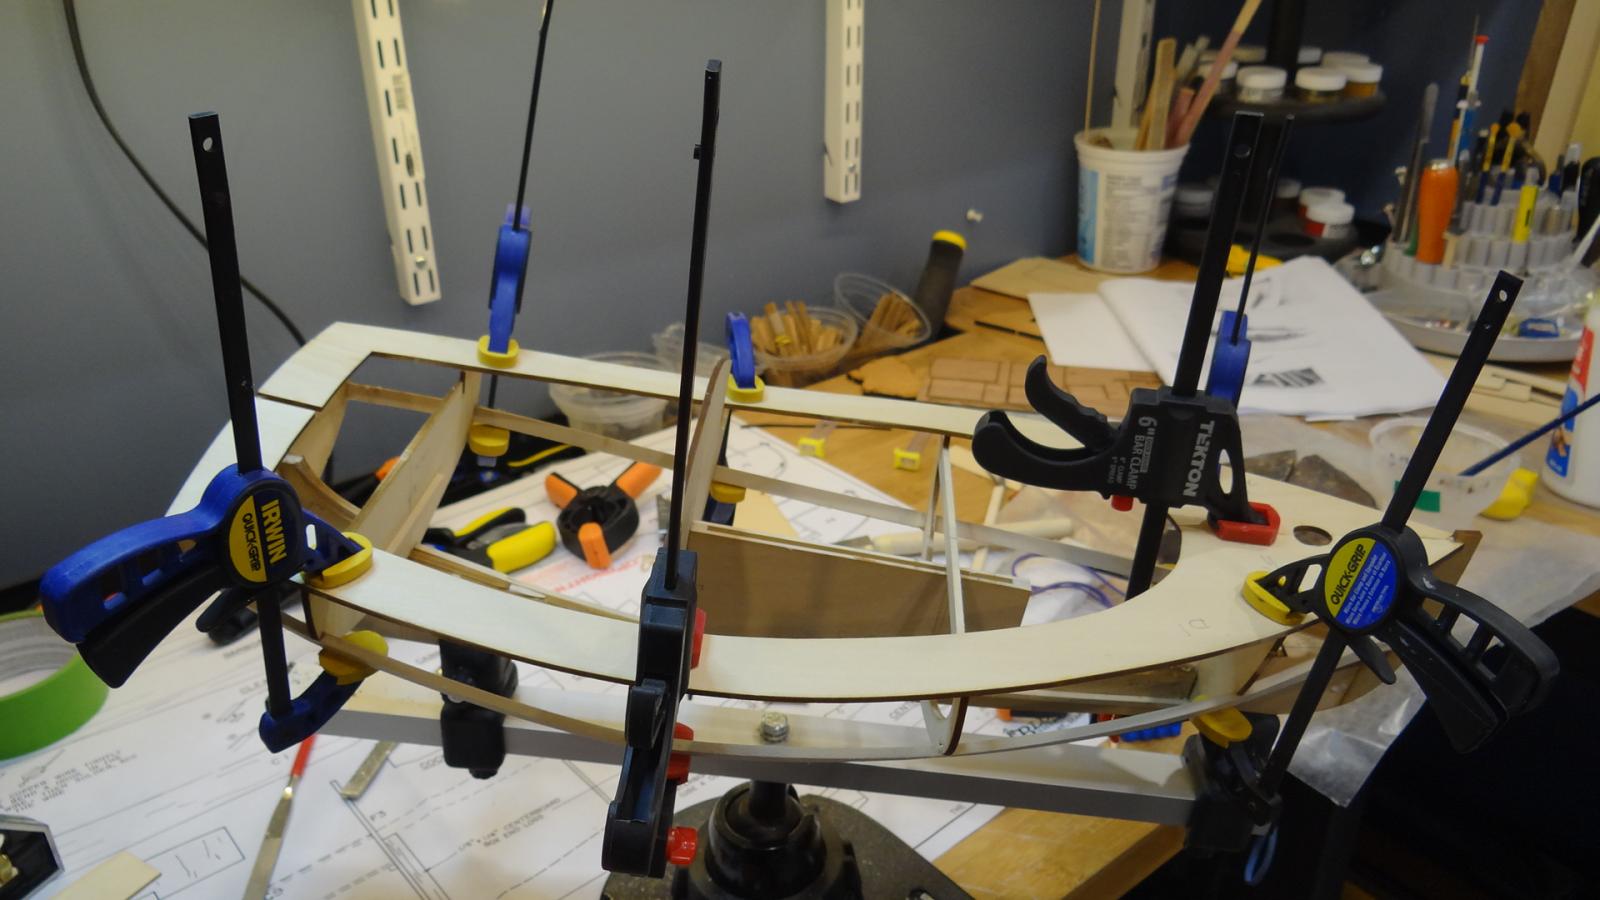
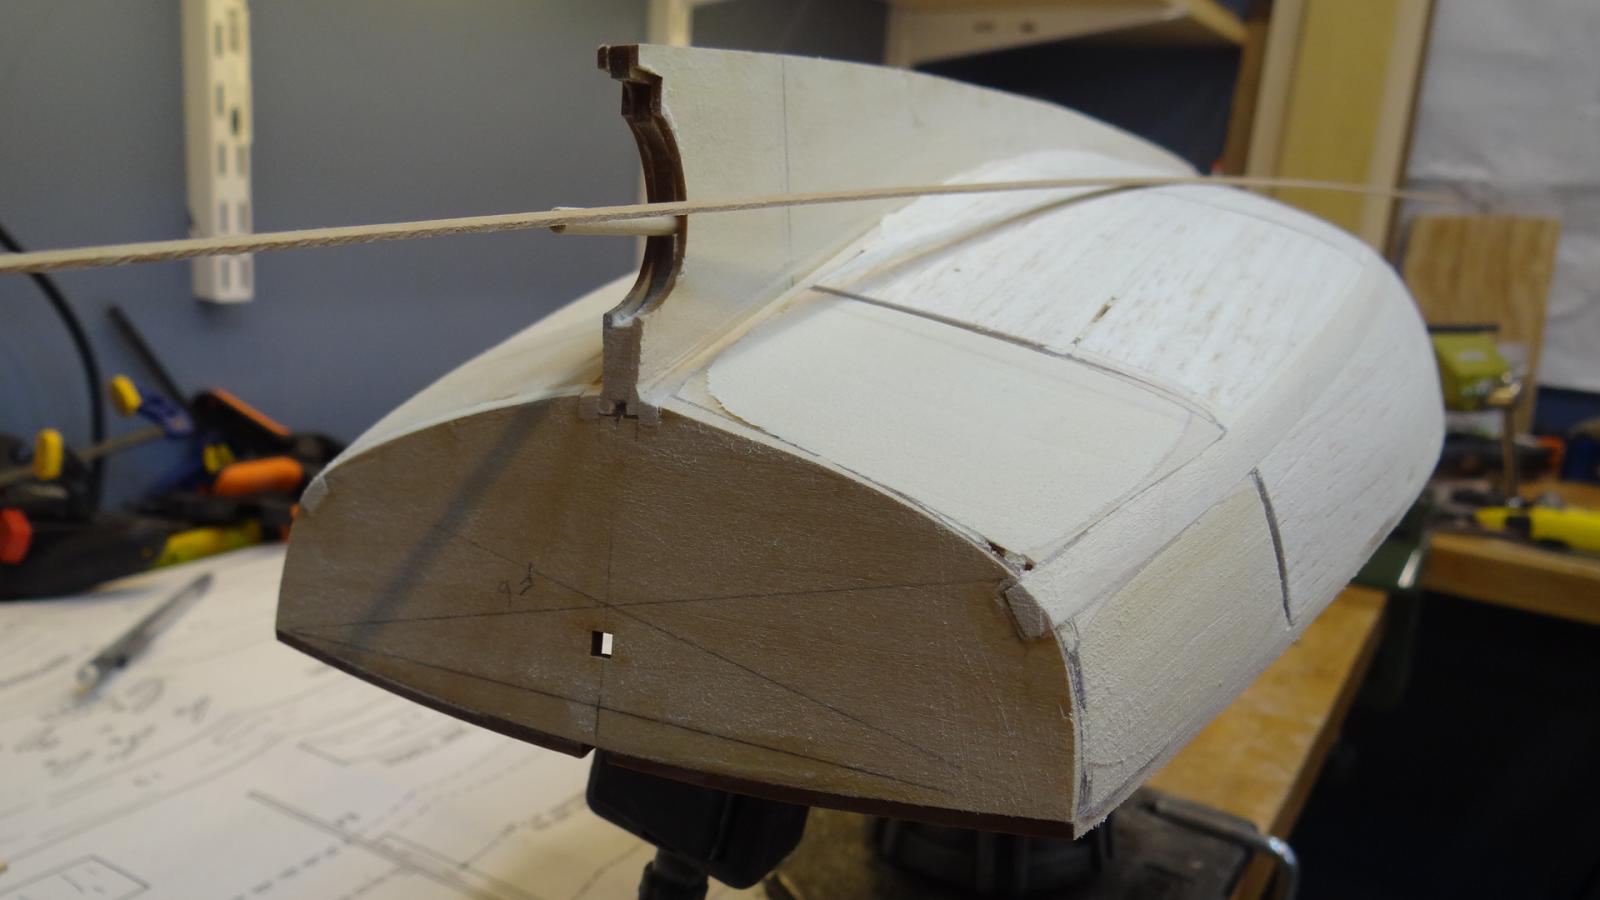
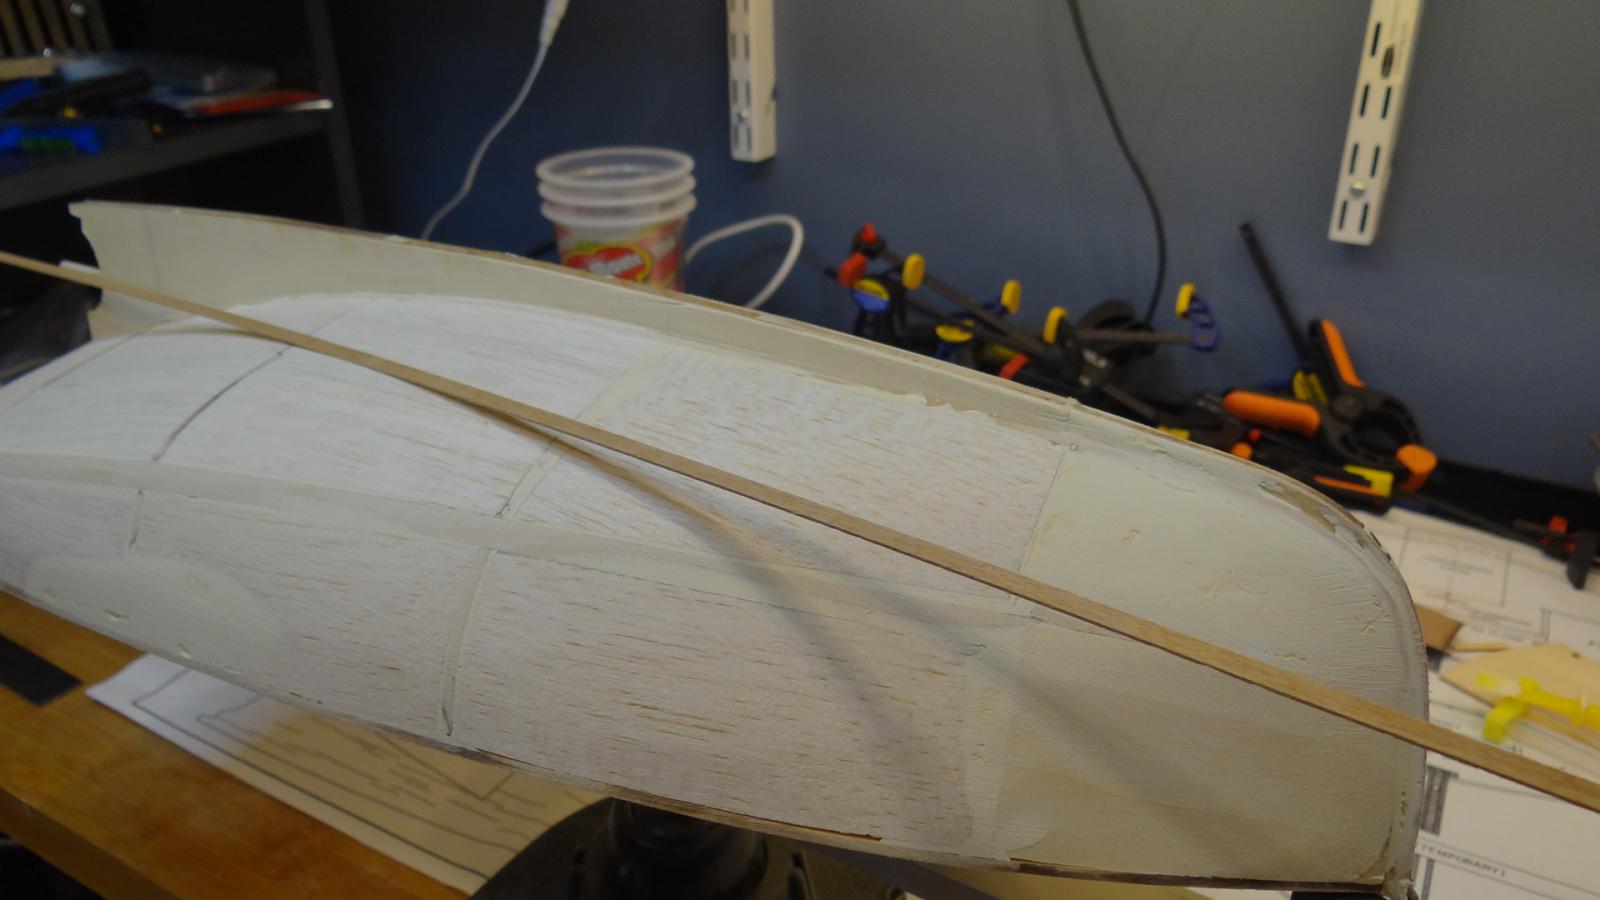
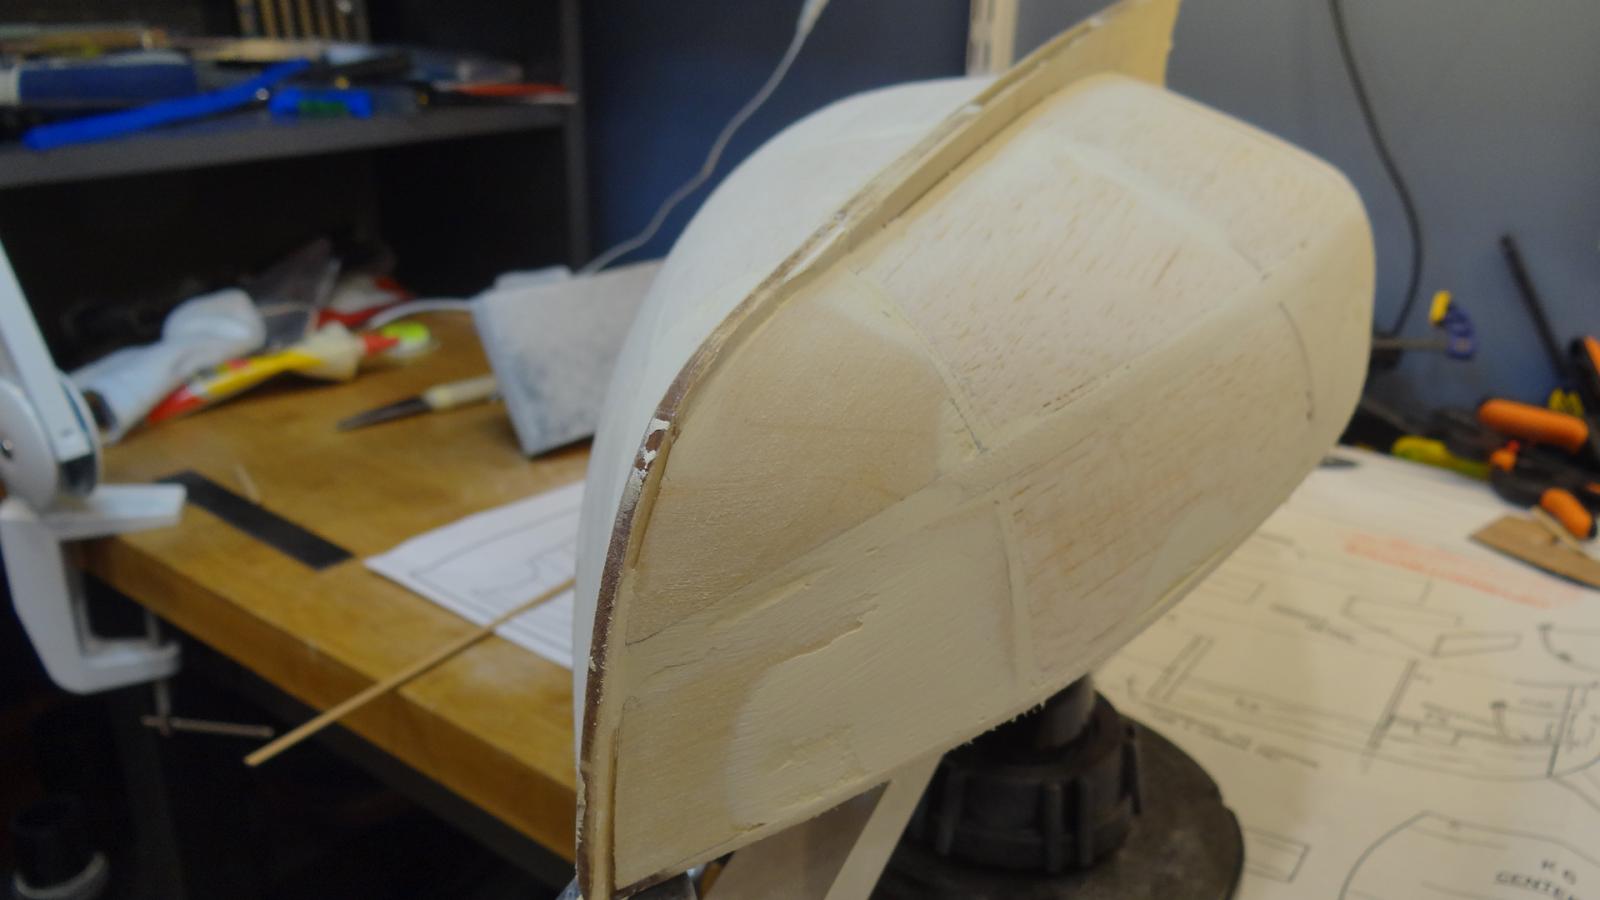
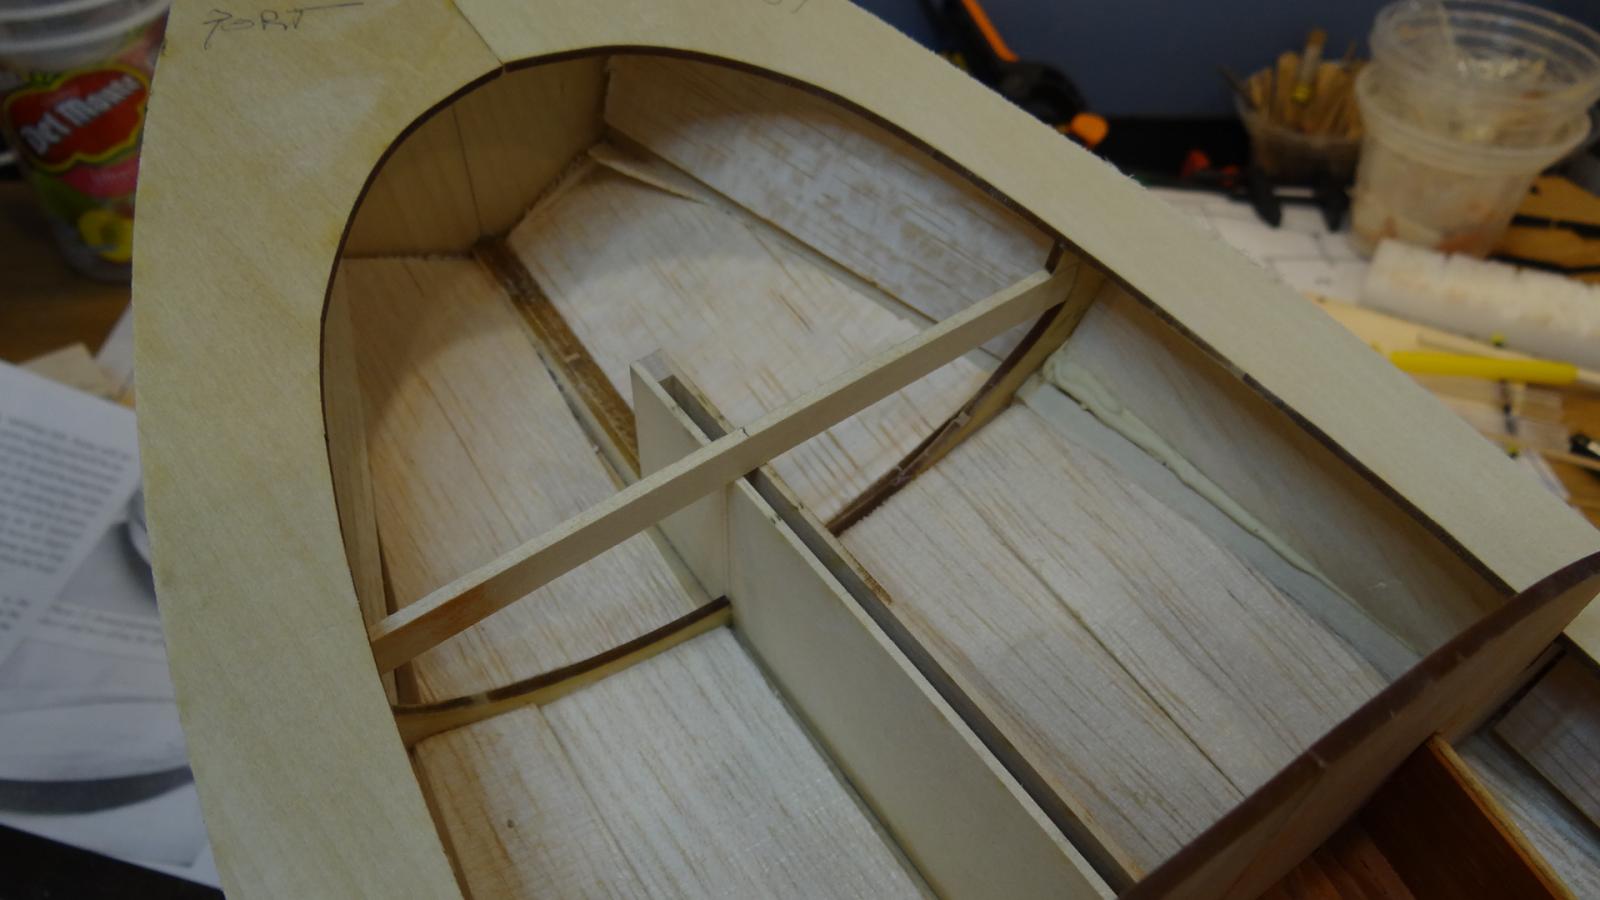
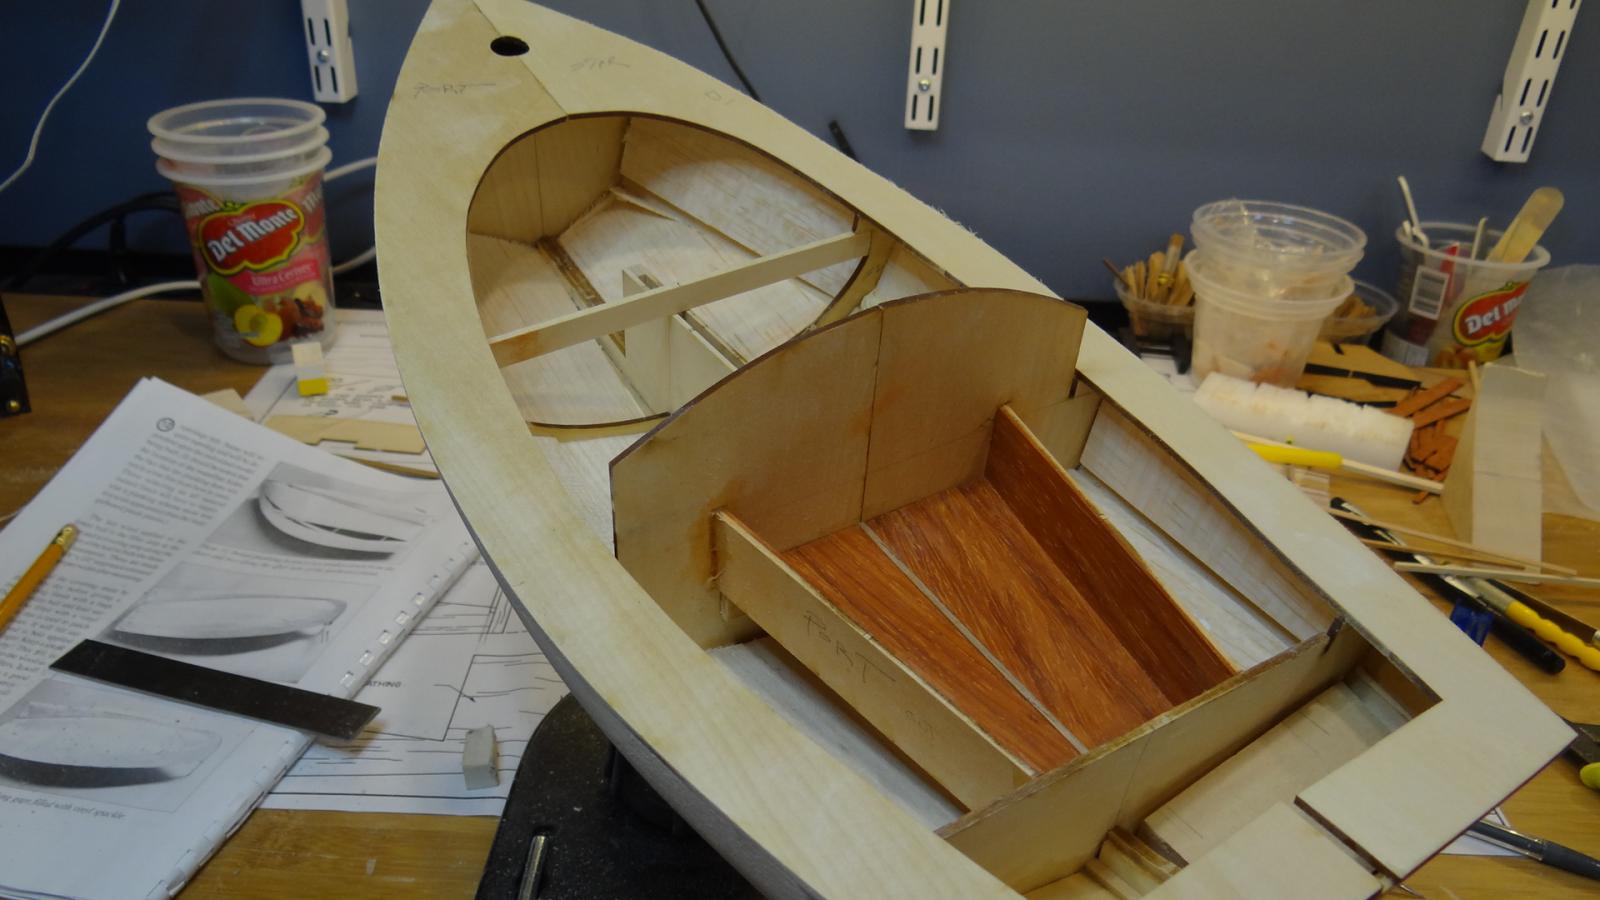
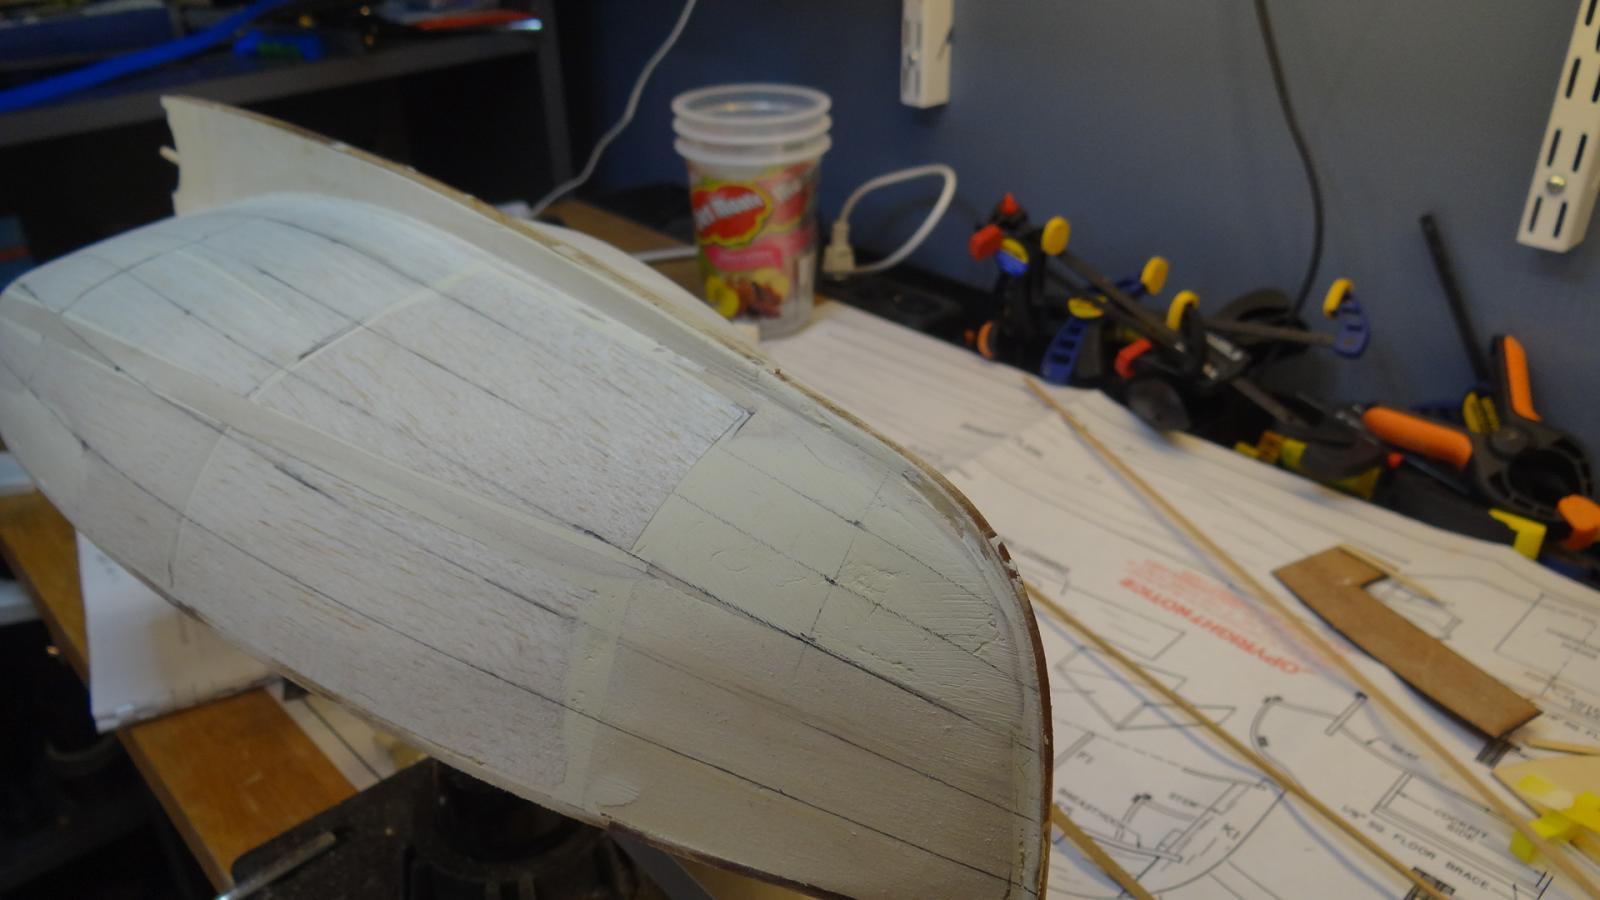
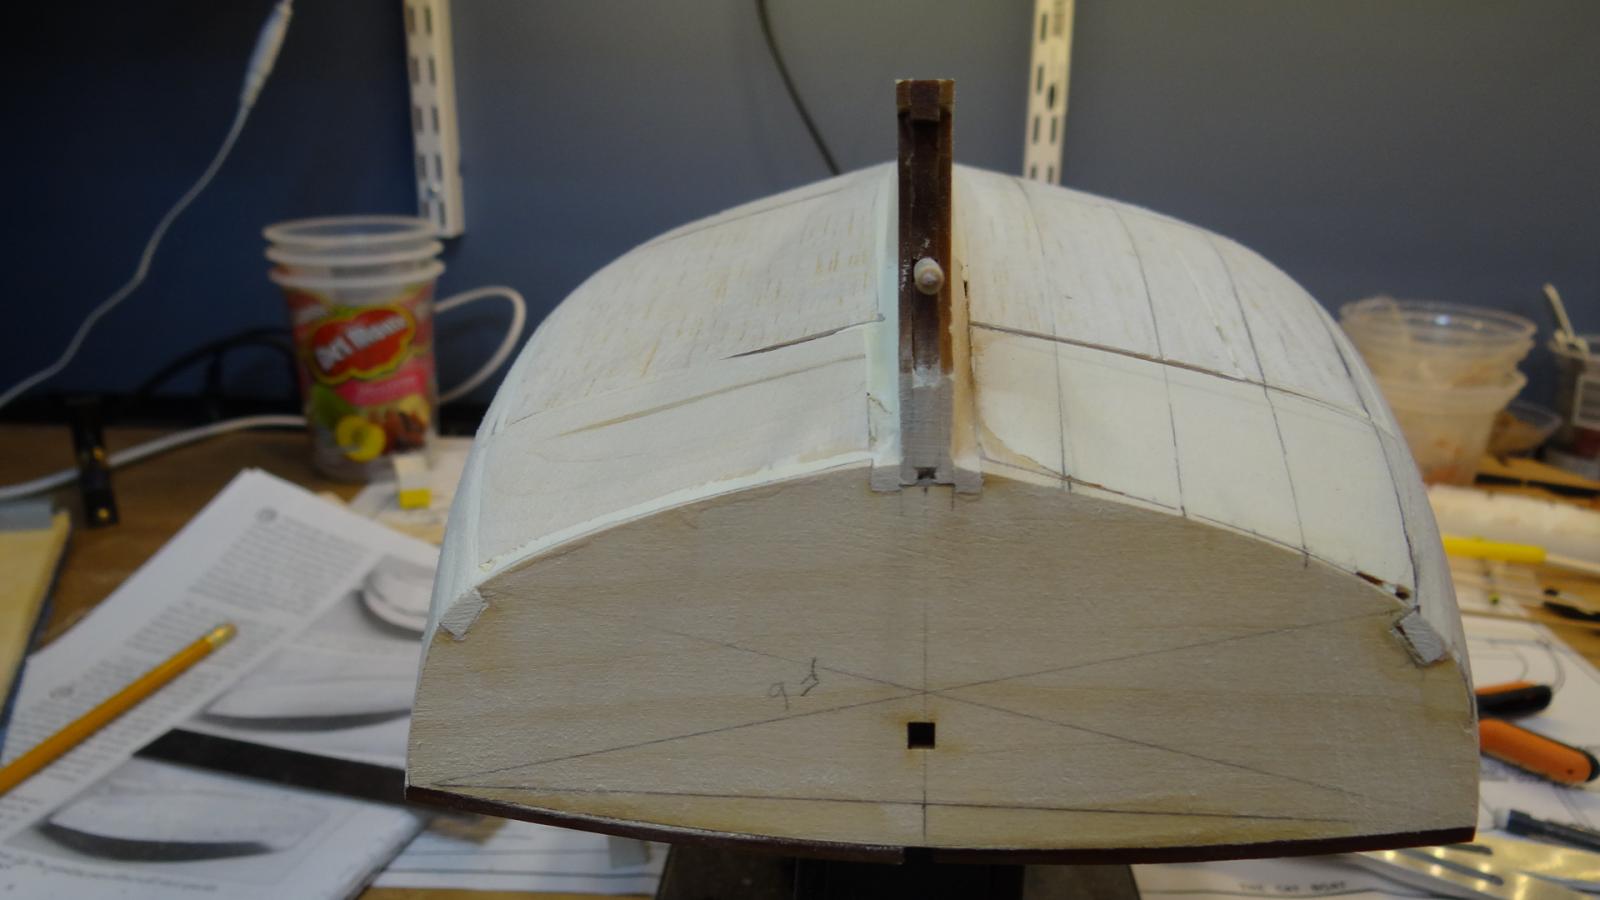
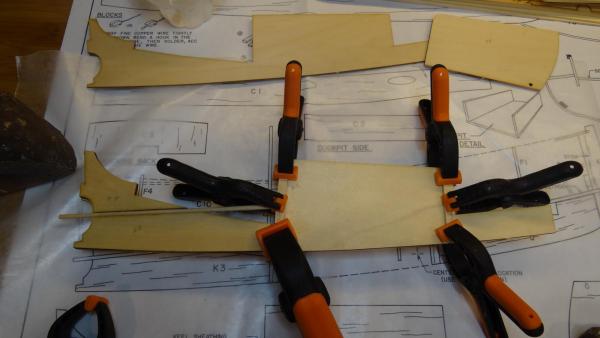
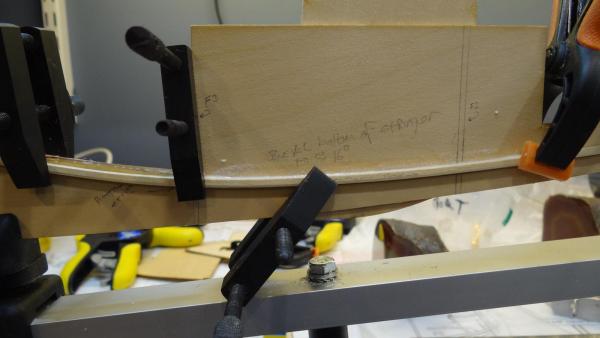
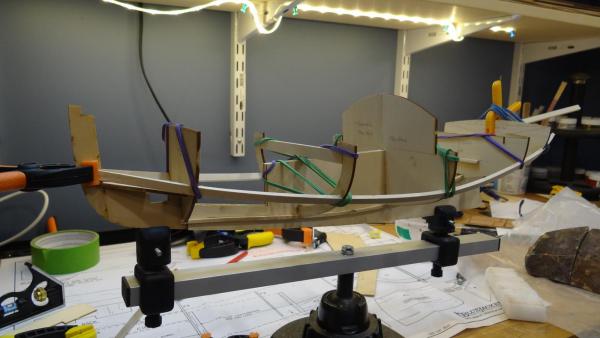
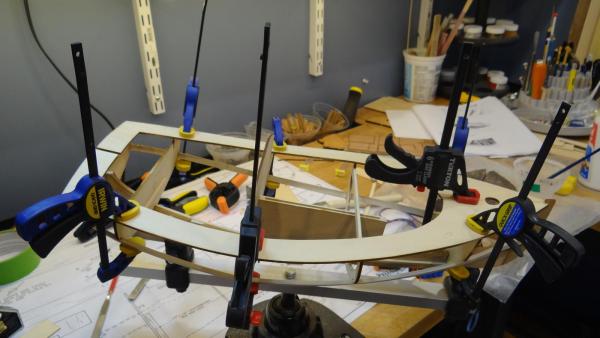
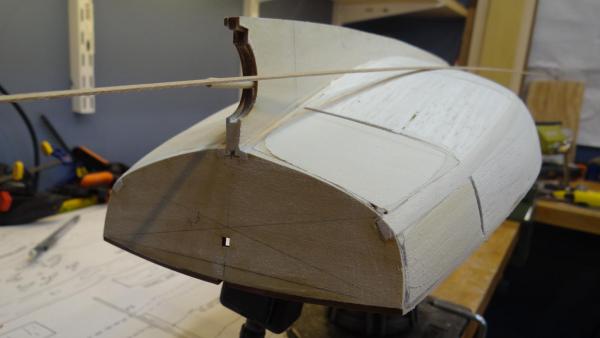
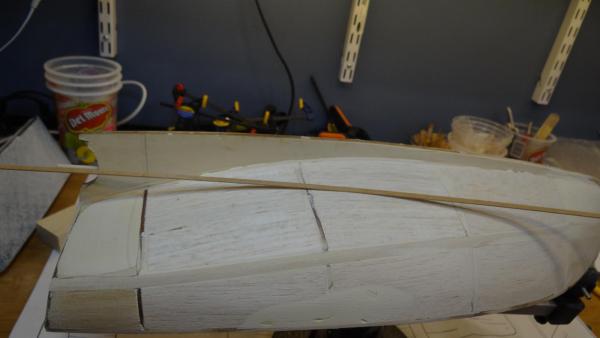
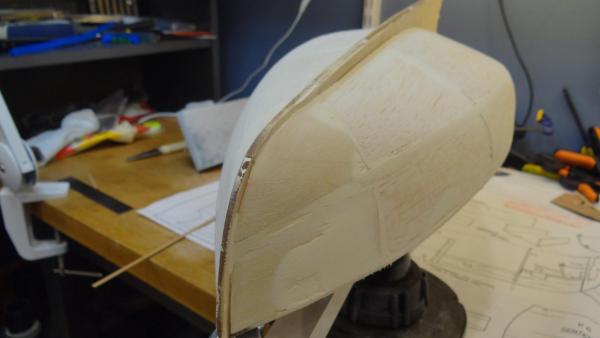
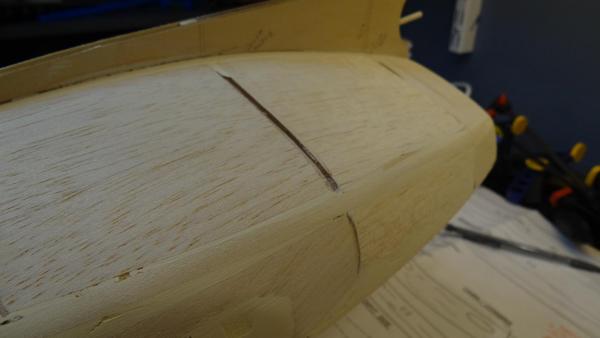
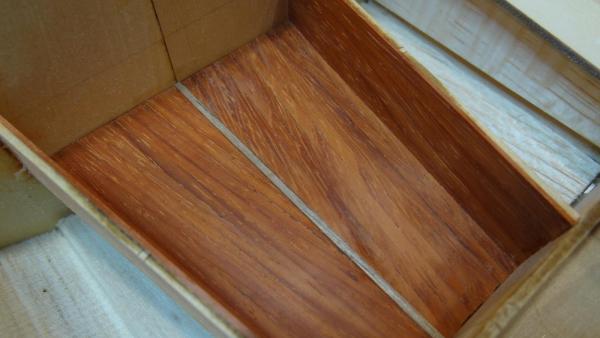
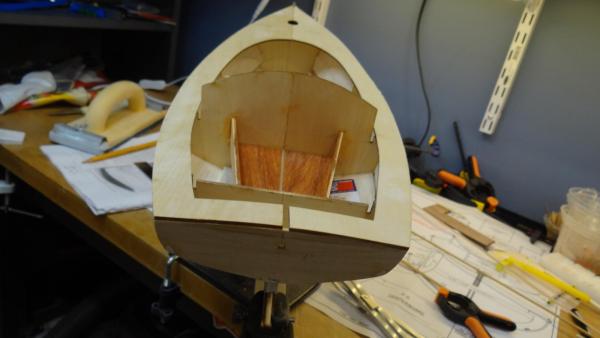
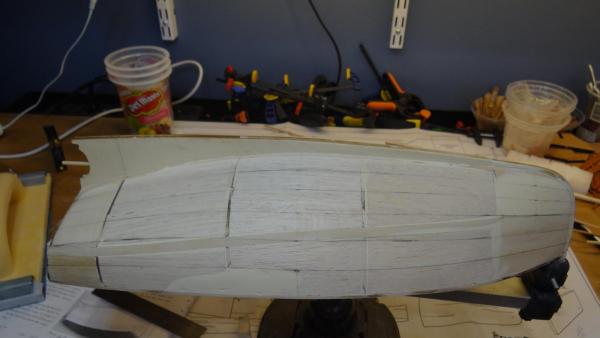
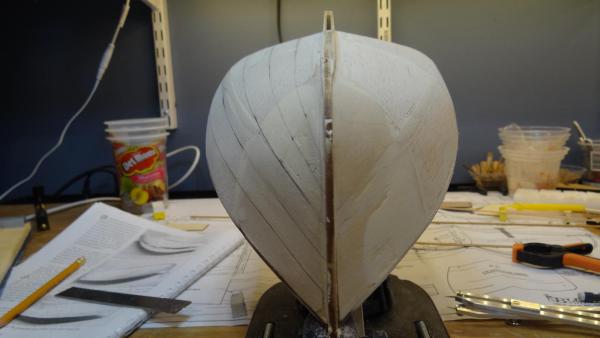
 Hi all, I thought I'd start a build log for this little Cape Cod Catboat that the Admiral gave me for Christmas. I am following Marcus's excellent build log (http://modelshipworld.com/index.php/topic/11964-cape-cod-catboat-by-marcus-botanicus-–-bluejacket-–-scale-¾”1’/#entry362573). I am using my own milled wood: walnut for the hull and deck, Padauk for the pilot house area, maple for the deck planks. I am not painting. I will not spend time repeating aspects of the kit and instructions as Marcus has already covered that. Except to say that you must be very careful lining things up, thinking things through and reading between the lines of the instruction book. I'll point out a few areas. A am still very much a novice builder and I hope that people will feel free to make suggestions to improve the model and to point out mistakes or help me head off mistakes. Anyway, on to the pictures: Box cover of Cape Cod Catboat: Centerbox construction, keel stringer assembly. Frame 2 is very delicate (they all are) but the instructions and plans could have perhaps done a better job of showing exactly where the keel stringer is to be located and therefore the frame location. In fact the temporary frame horizontal must butt against the top of the centerboard box. That may have been obvious to others but not me. Deck assembly: Filler blocks and fairing. Instead of using the kit supplied garboard strake (almost half the width of the hull, if you can call that a strake) and the limited planking and spackling approach I have opted to use balsa filler blocks between all the frames and basswood filler blocks at the bow and stern where plank torque and attachment are more important than just shaping. This took me about two days including the fairing so I don't consider that too much of a penalty. Defining Hull plank run bands: I have added plank run bands, intended to contain four, 5mm planks each at their widest point. I located the widest point on the hull using string measurement then divided that into 6 equal horizontal bands. I then divided the stern and the bow into 6 narrower equal horizontal bands. The trick was to find the correct run of one or two of the bands and the rest followed. The next step will be to mark out the port side then use my proportional dividers to define each individual plank. Does anyone see anything I may have overlooked or done wrong? Thanks for looking in, Best, Ian
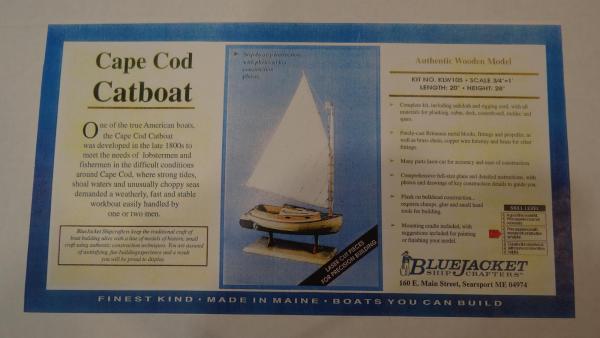


- 86 replies
-
- 13
-
-
I had a great time in Maine this summer partly because a neighbor let us use their friendship catboat. I thought it would be a great gift to build a model of it. Can anyone point me toward a set of plans for a catboat. I can modify it to make it a friendship cat. I figure ill get close to theirs and with the right paint and interior bits, no one will care about the differences Thanks Ira