Search the Community
Showing results for tags 'Chesapeake Bay'.
Found 1 result
-
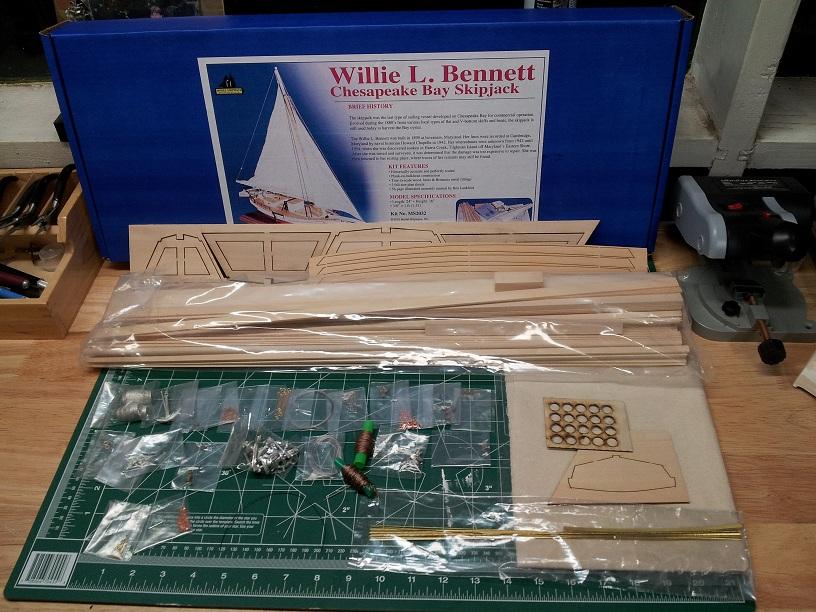
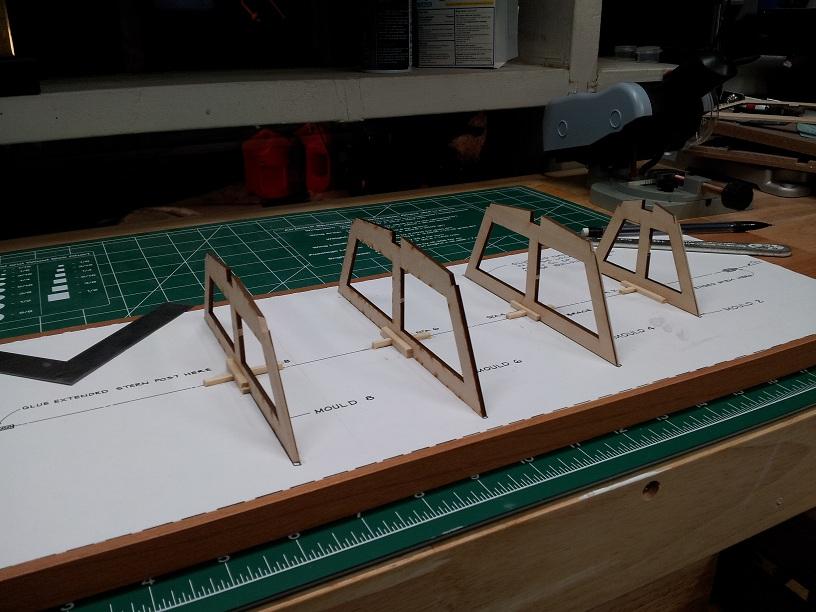
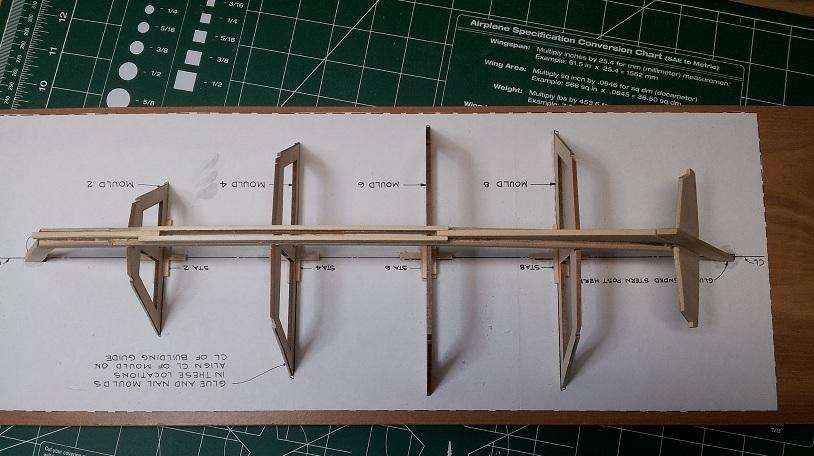
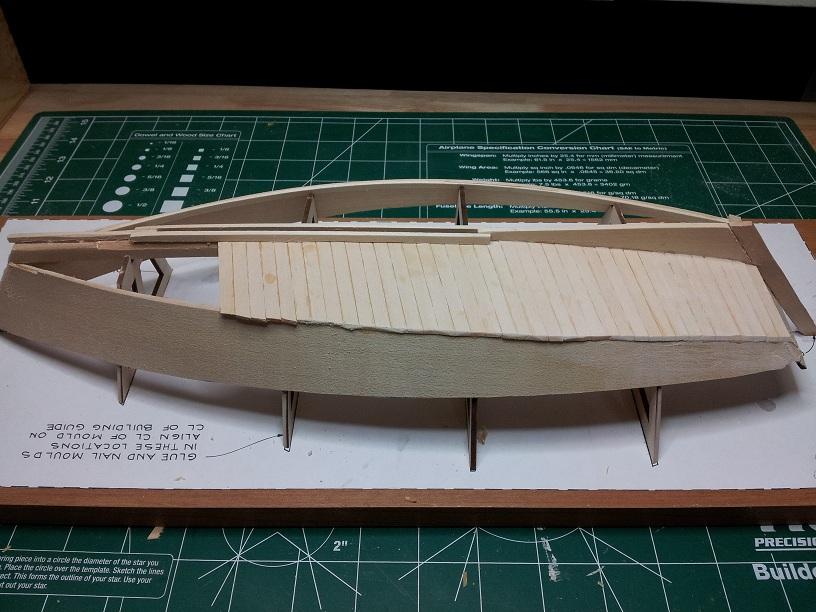
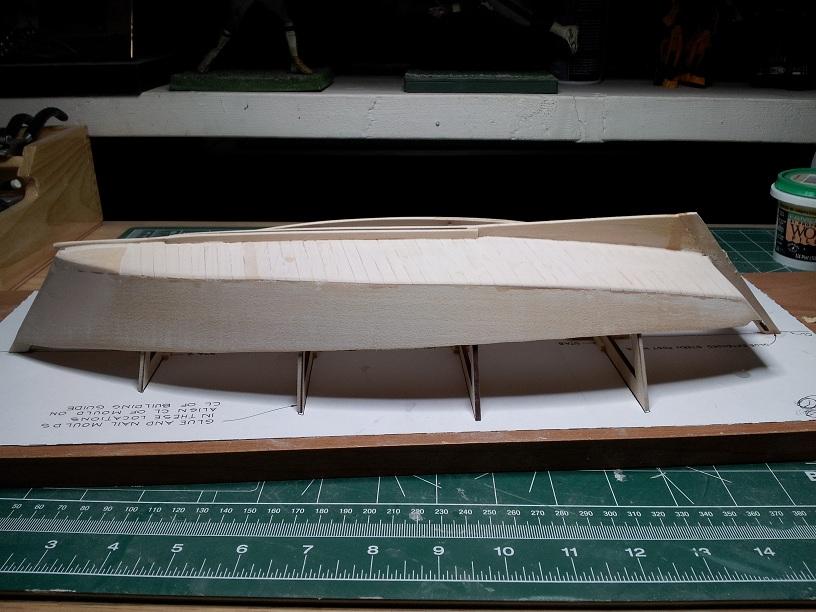
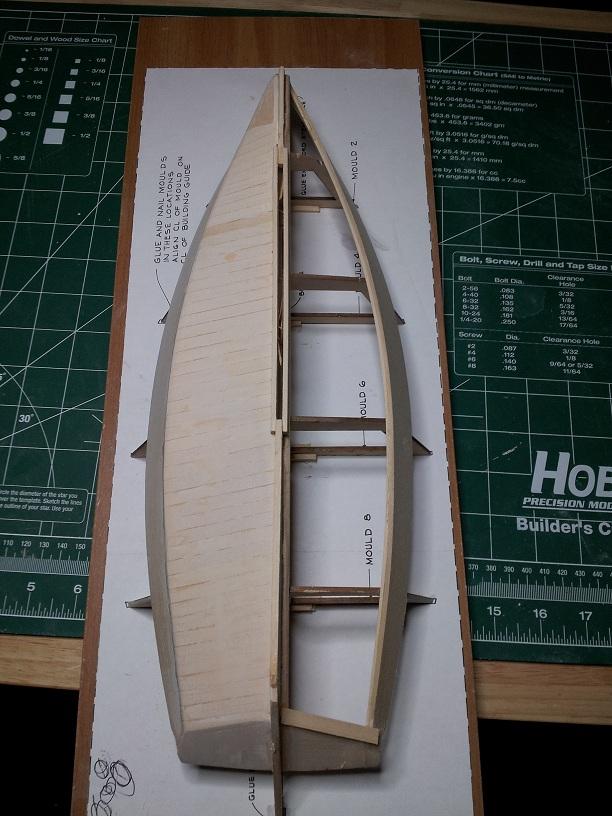
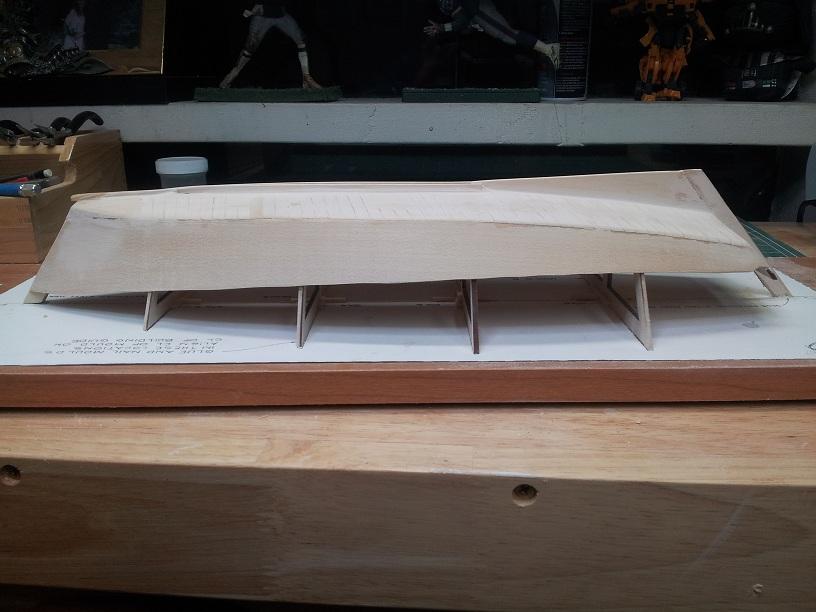
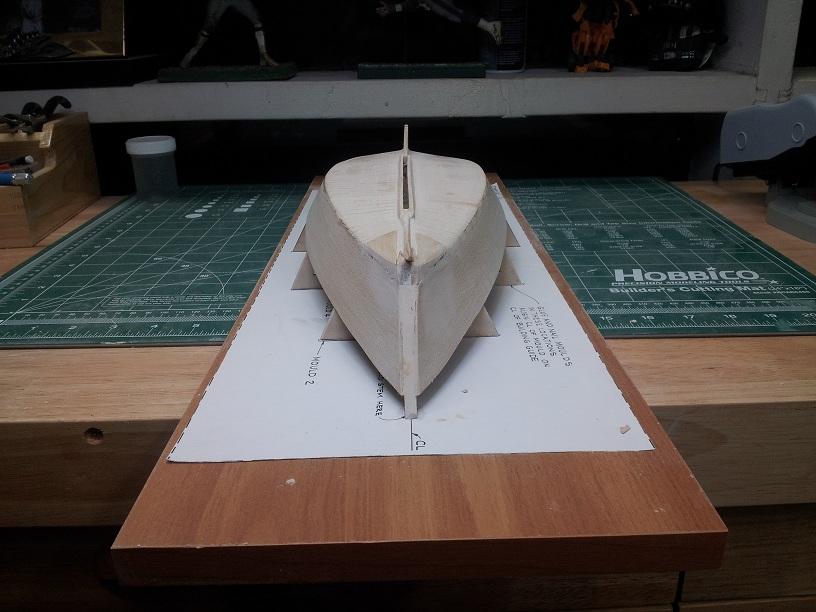
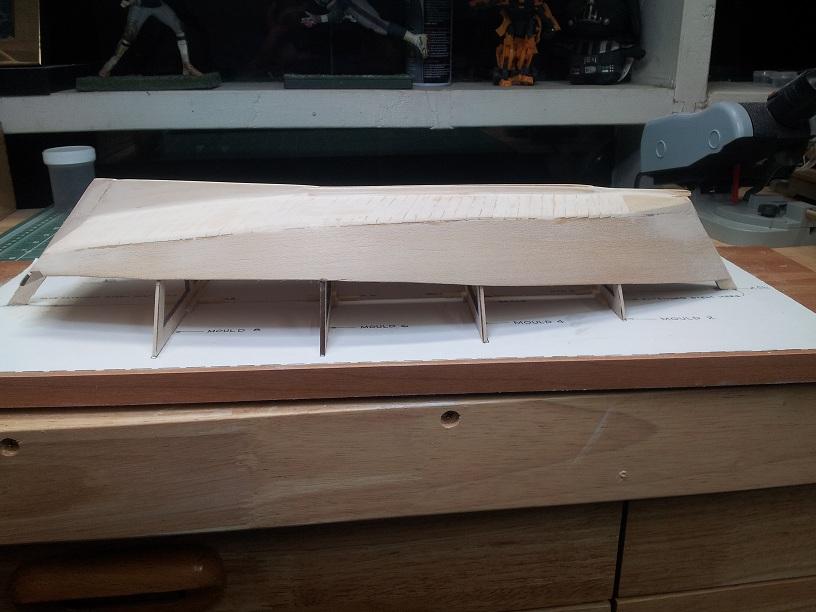
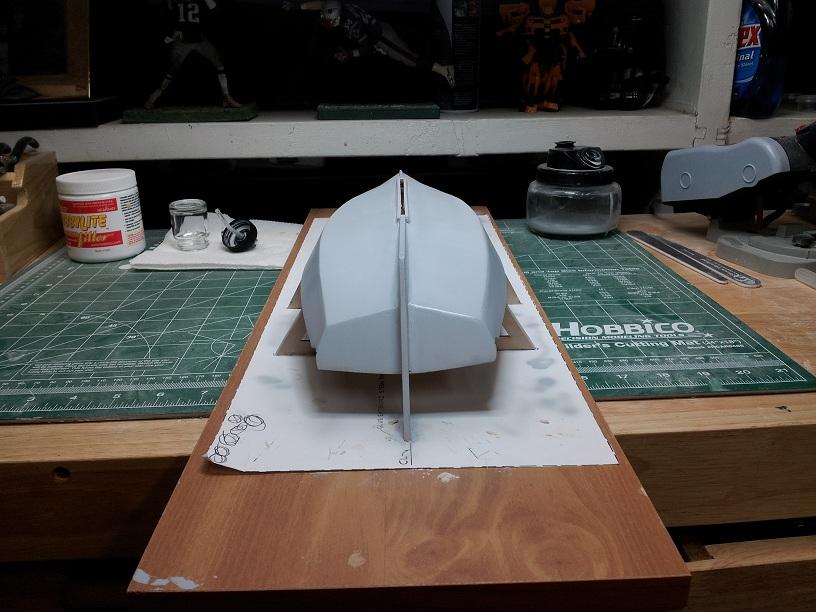
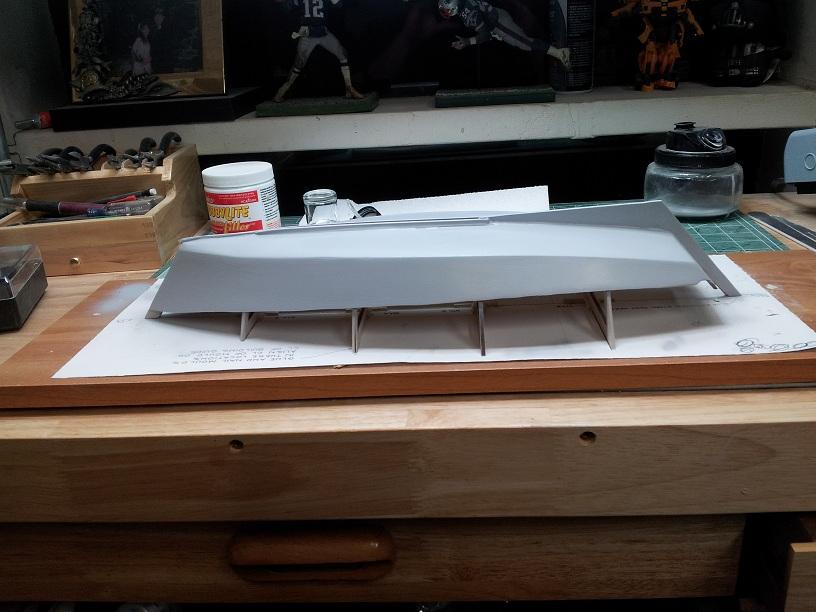
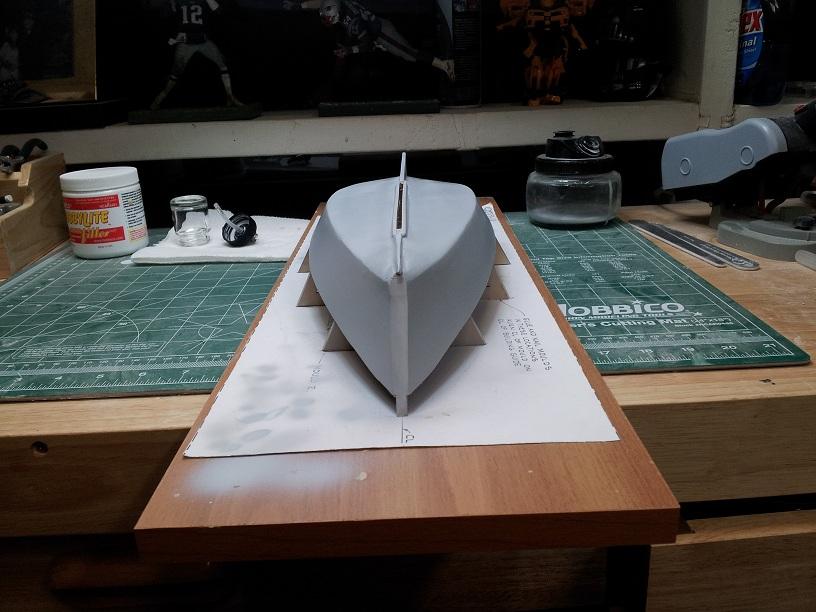
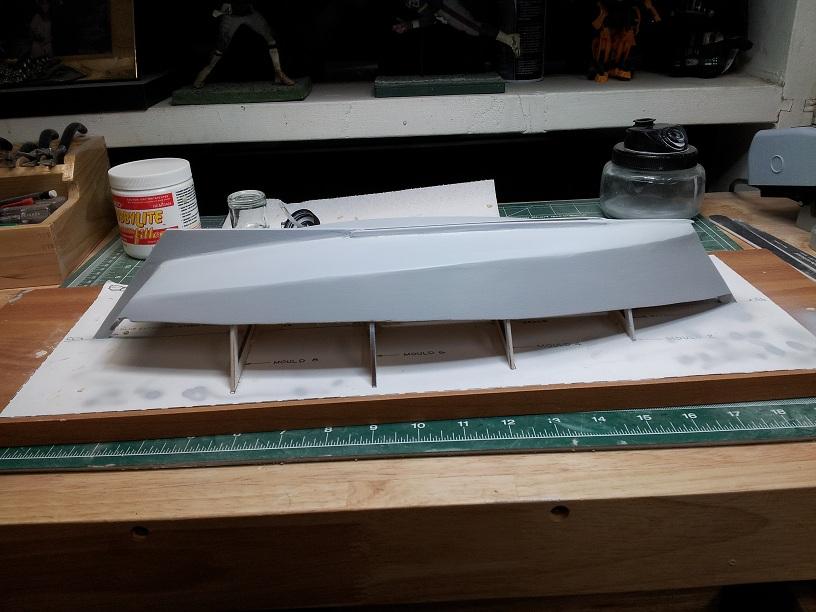
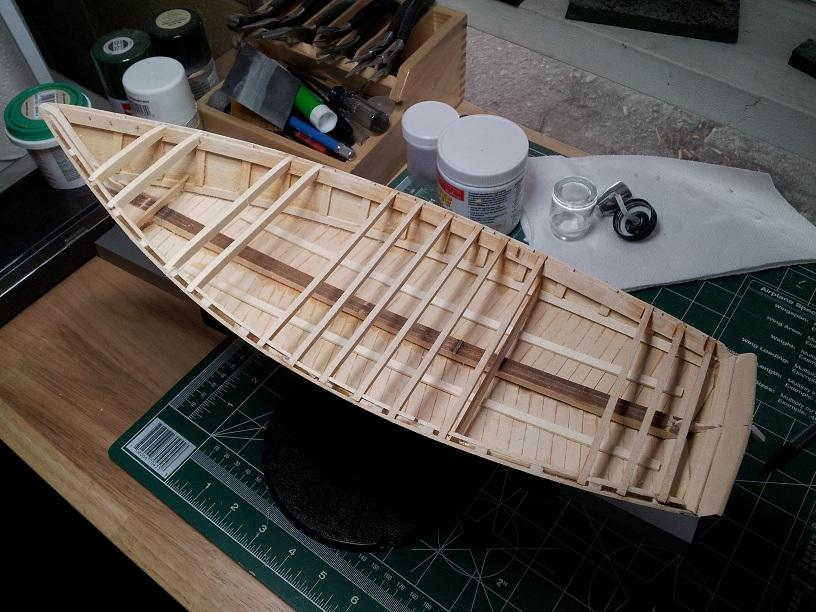
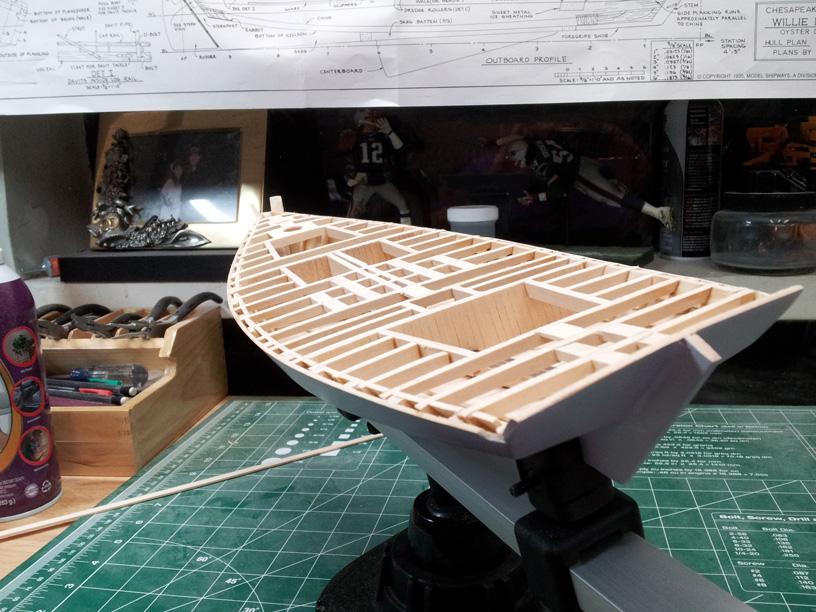
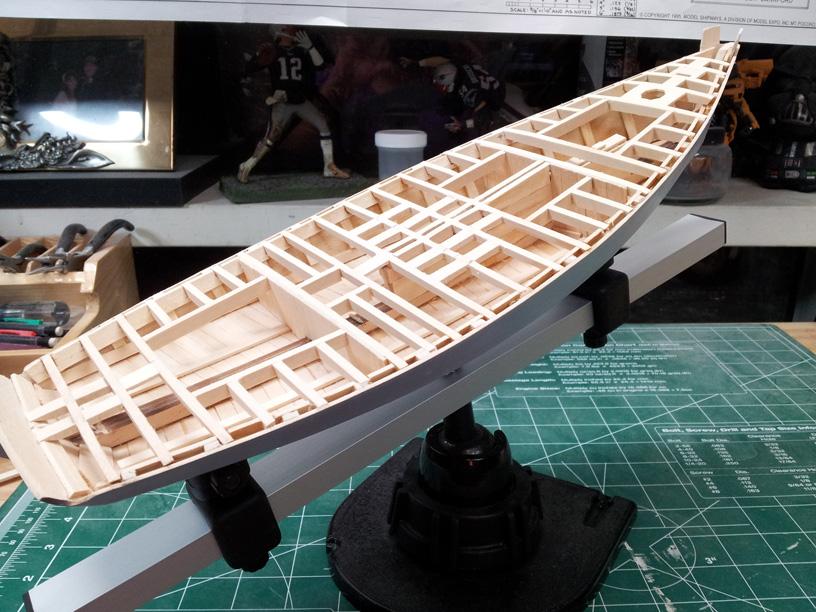
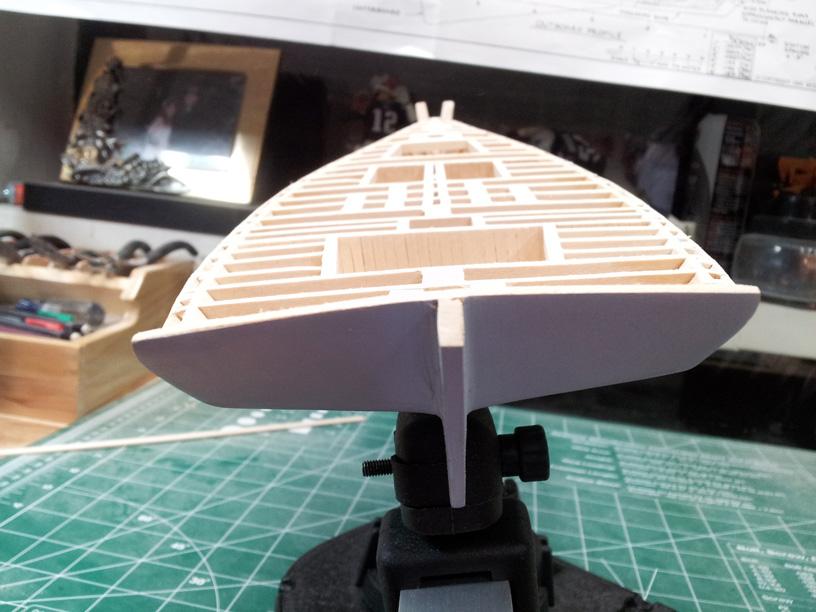
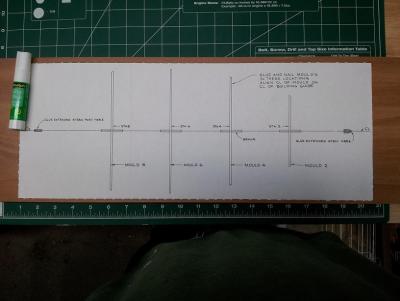
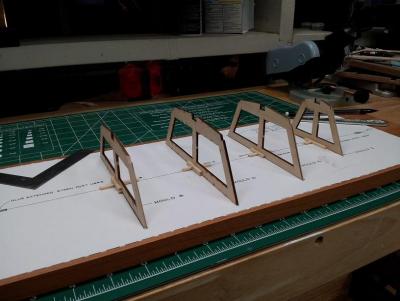
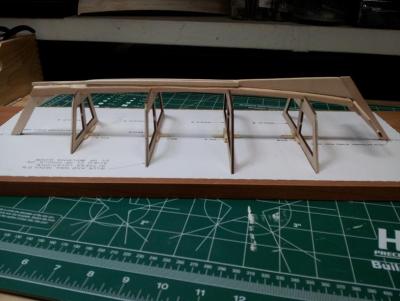
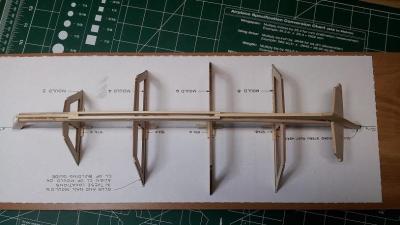
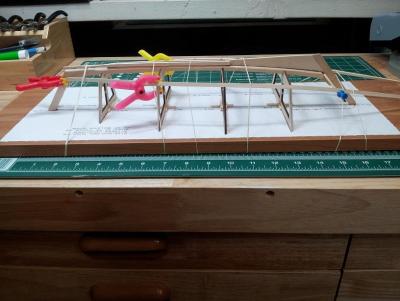
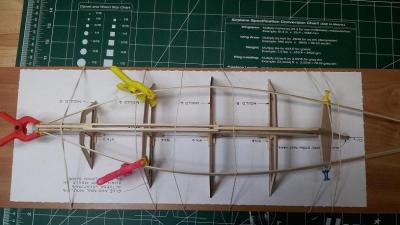
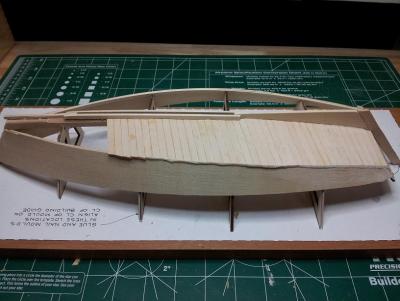
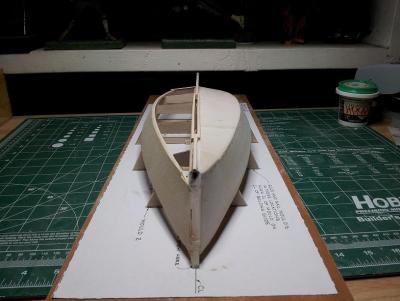
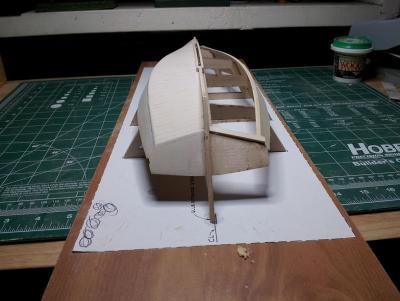
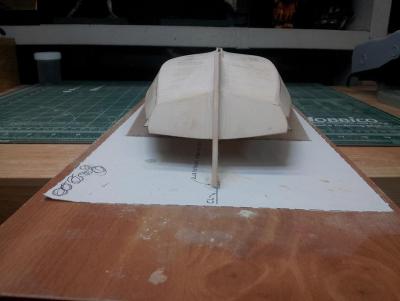
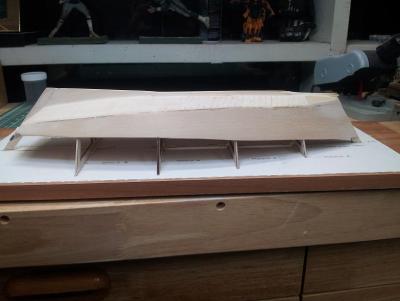
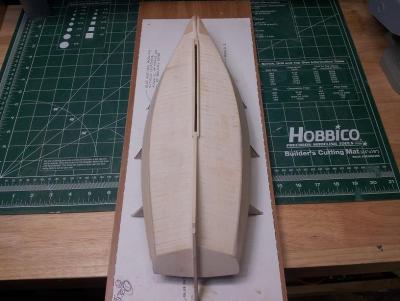
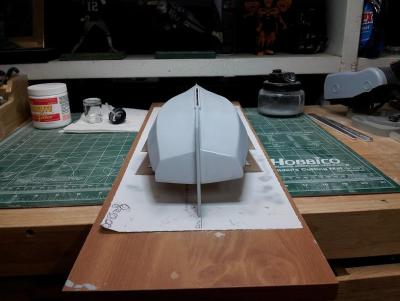
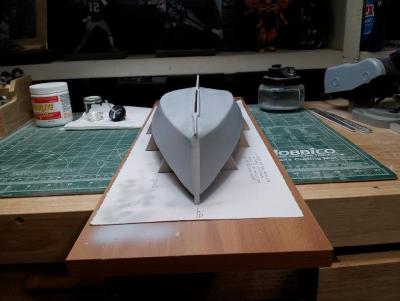
 Greetings All!! This is actually my second undertaking. My first was the Phantom which I will be putting up shortly. This was a Christmas Present from my lovely wife, and as such had to cut ahead in the Ship queue. We start with the traditional unboxing. We begin with the documentation which consists of one manual, a parts manifest, 2 large plan sheets and an errata sheet. The model is kind of a hybrid POF/POB so the contents consist primarily of strip stock, raw brass, and some laser cut sheets as well as various white cast parts which appear at first glance to be of decent quality and useable as is. Finally the normal supply of blocks, string and normal ship fittings. The instructions are not too too bad. It is quite informative with history anecdotes as well as examples of how the real ship is built. The trouble is these are intermingled with instructions on how to build them in the kit and they tend to get muddled at some points. I like the information however, being a novice, I found it confusing at points. To kick off the build a template needs to be attached to a build board which will be used to set up the build molds. I just grabbed an old particle board shelf as the build board and using a glue stick attached the template. I think next time I will use rubber cement to make it semi-permanent because at the moment I am having issues getting the template off of the board - and would like to reuse it as it is a very nice build board =). Once the template is down it is just a matter of attaching the laser cut build molds to the build board using the template as a guide. I added some spars at the base to stabilize the molds and give them some reinforcement. Once all of the molds were in place and proven square it was time to attach the keelson and chine logs. This was very straight-forward, no muss no fuss. The next part is construction of the hull shell itself. The side planks are a single piece of wood cut to follow the chine logs, bent to shape and attached stem and stern. Remember, do NOT glue them to the molds - that would be very very bad. If you should by accident you can carefully pop them off when it is time to separate the shell. *You can, to avoid getting glue stuck to the molds place some wax over them. Once you get the sides in place, time to lay the planks along the bottom of the hull. Again, pretty straight-forward. Cut and place the planks up to the chunk, place the chunks, sand and shape and walla! One Willie Bennett hull shell!! Sand, sand, sand and sand!! I went ahead and primed mine prior to removing it from the molds but there is no requirement to do so, I just wanted to be sure my hull was as finished as possible before flipping it over. Once the shell is complete and removed from the build molds it is decision time!! The next step is the deck framing. There are two ways given to go about it, the first is a basic framing and the second is a "realistic" framing. The main reason to do the second is if you want to build the ship as close to the real thing and/or plan to have it opened up or have some of the interior visible. If the latter is not the case, the basic framing is more than adequate as it just needs to support the decking. I opted to do the realistic framing including the blocking, more so for the experience than anything else. I did not however detail the bunk areas or the internals of the different wells since the ship will be in a display case and not easily accessible to move and scrutinize close enough to see the detail. The next four pics are of the framing, the first pic is actually partial framing prior to deciding which way to go. At that point I could have gone either way. The last three are the framing completed and ready for the plankshears! The BIGGEST tip I can give at this point, regardless of which style you decide to do - make sure you mark and cut the notches in the clamps which hold the deck beams PRIOR to attaching them to the hull. It is doable after they are attached, but much much easier to do after the fact - so I found out =( From here, I had to break. I was working on the plank shears trying the cuts to get a nice curve and well - let us just say I have some more practice needed! I chewed up a fair amount of wood trying to get them right so had to replace the wood. To keep working I did some work on another kit while waiting to be able to pick up the wood at which point will return to the Willie. that will be tomorrow 😃 Thank you for popping in!! And as always - whatever you do, and however you do it... enjoy it!! -Adam
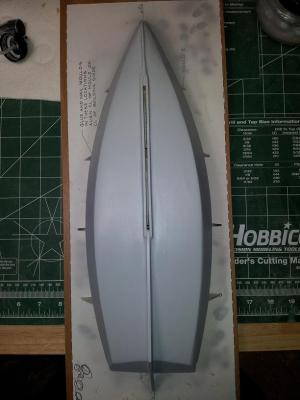
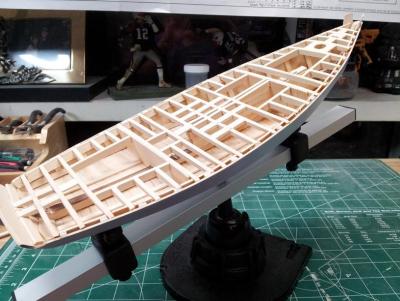
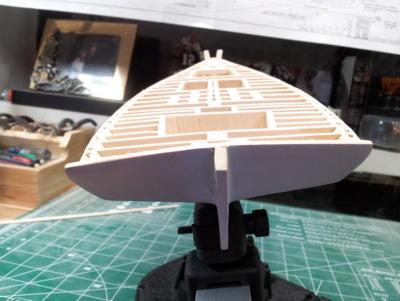
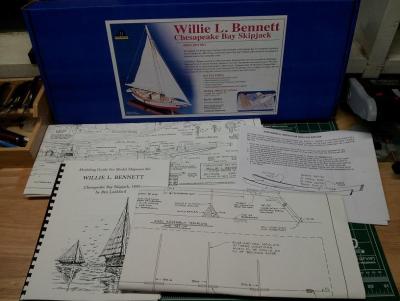


- 97 replies
-
- 2
-

-
- Willie L Bennett
- SkipJack
- (and 2 more)