Search the Community
Showing results for tags 'Krick'.
Found 4 results
-
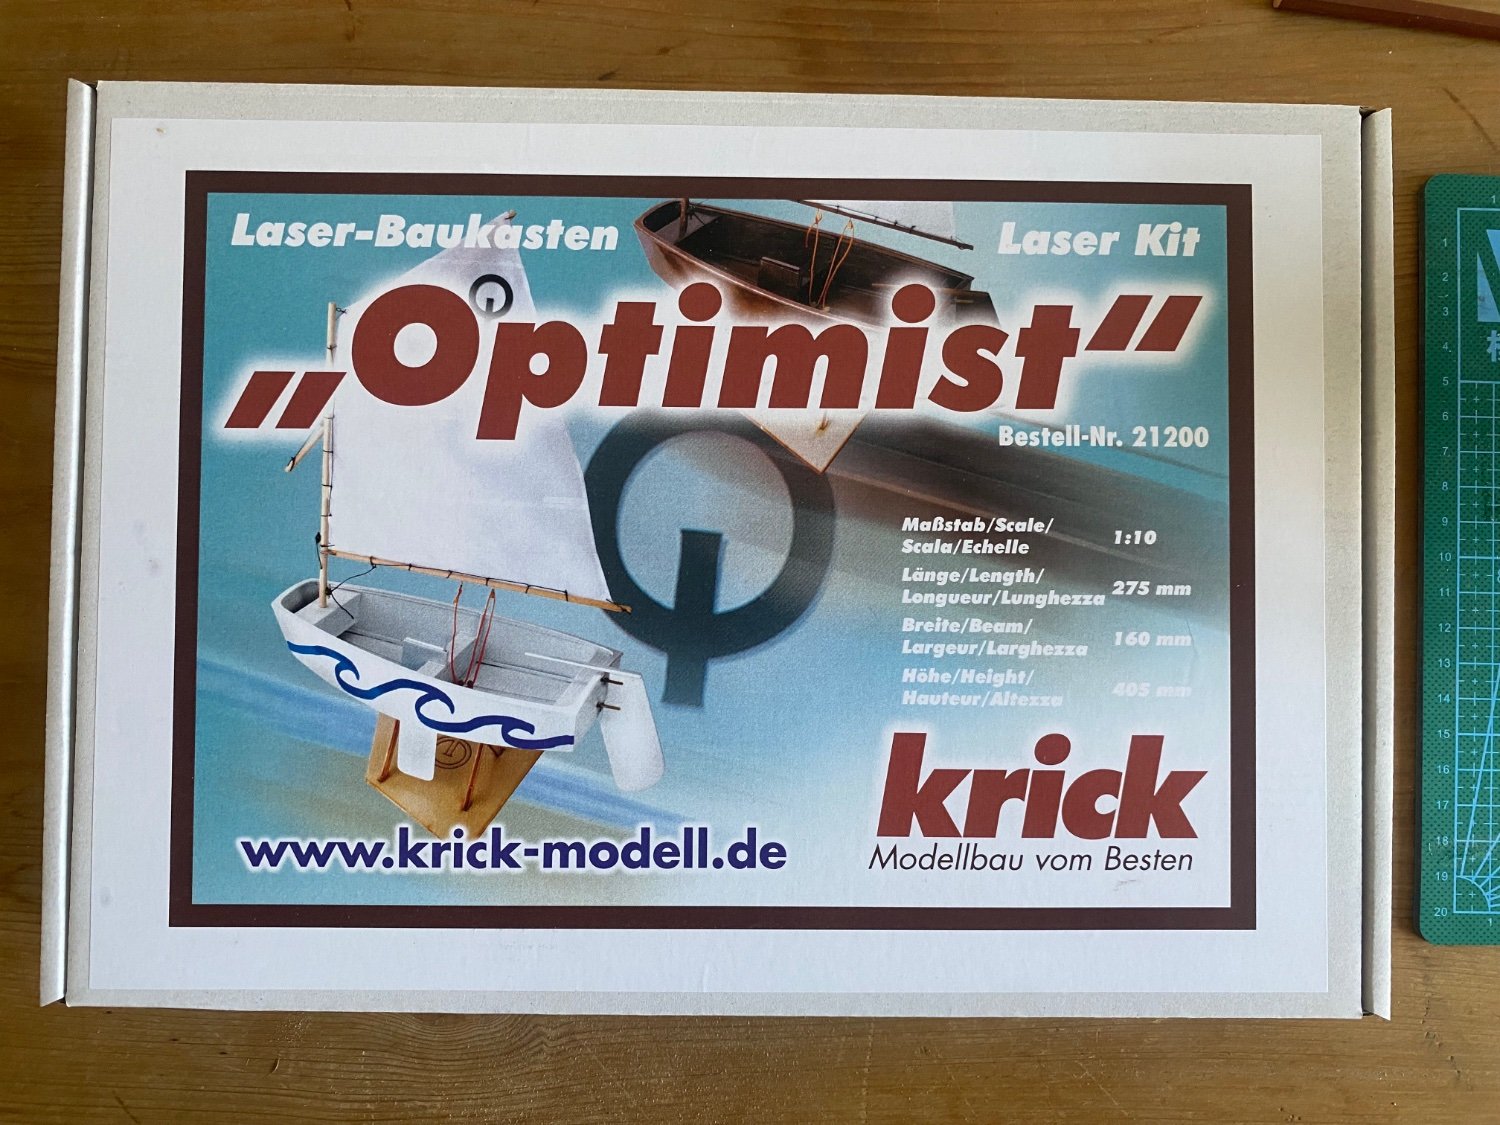
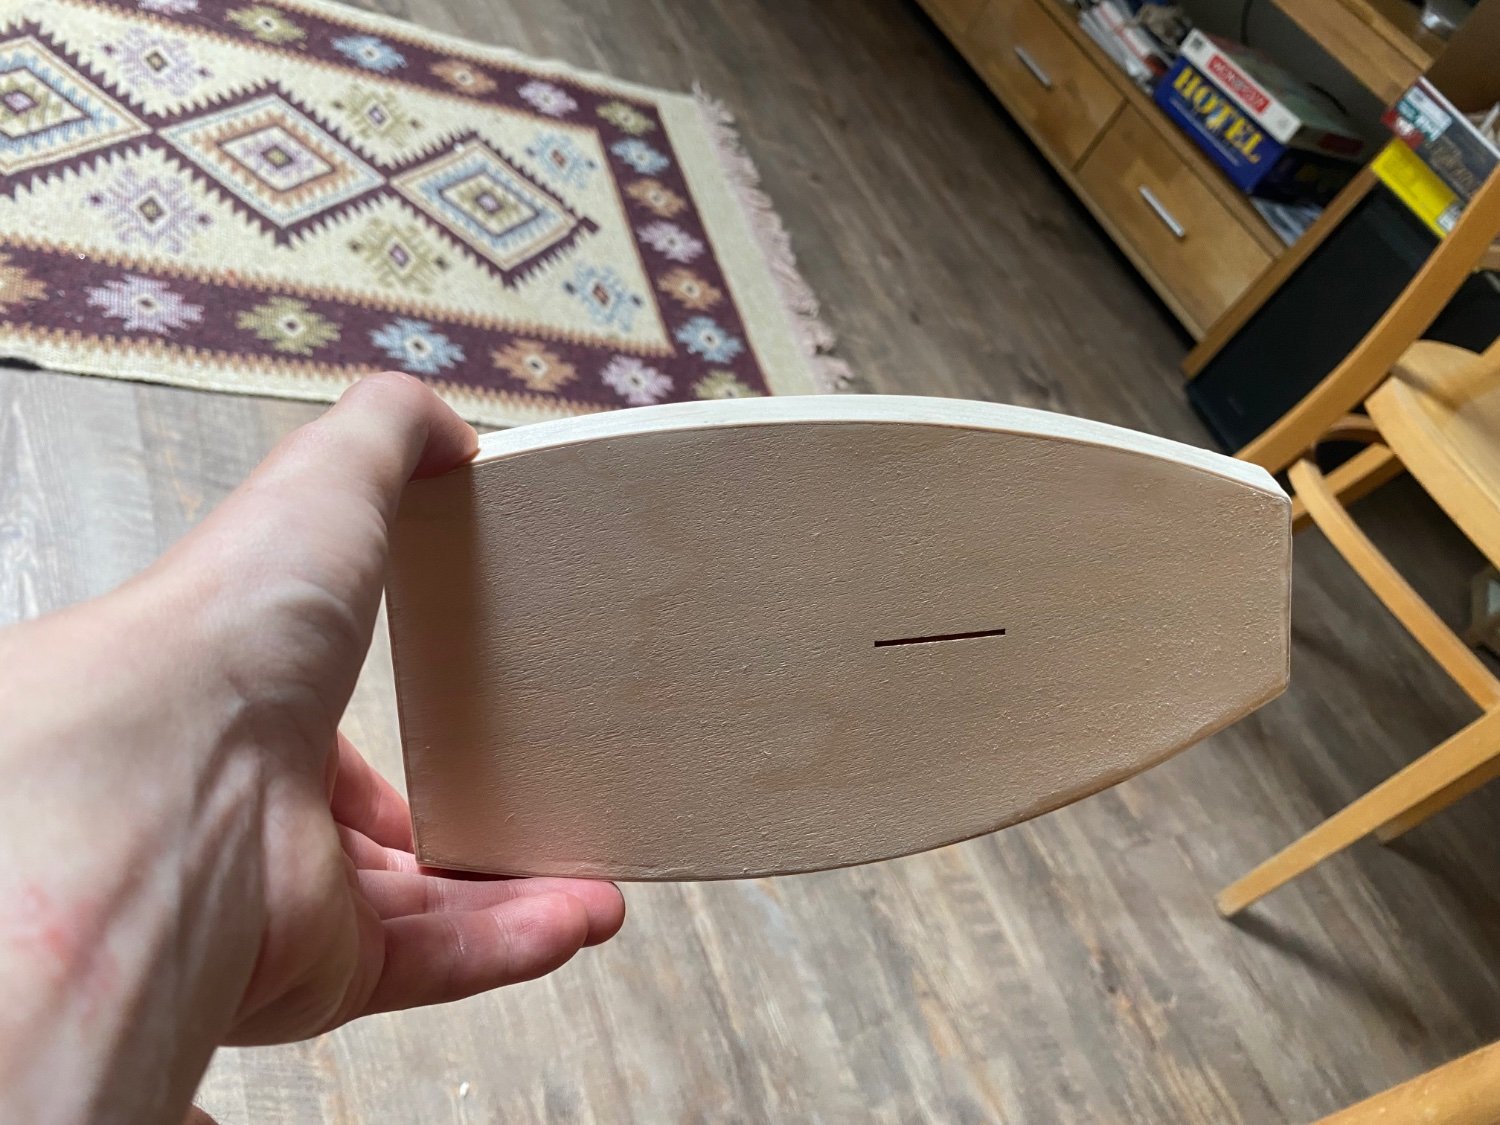
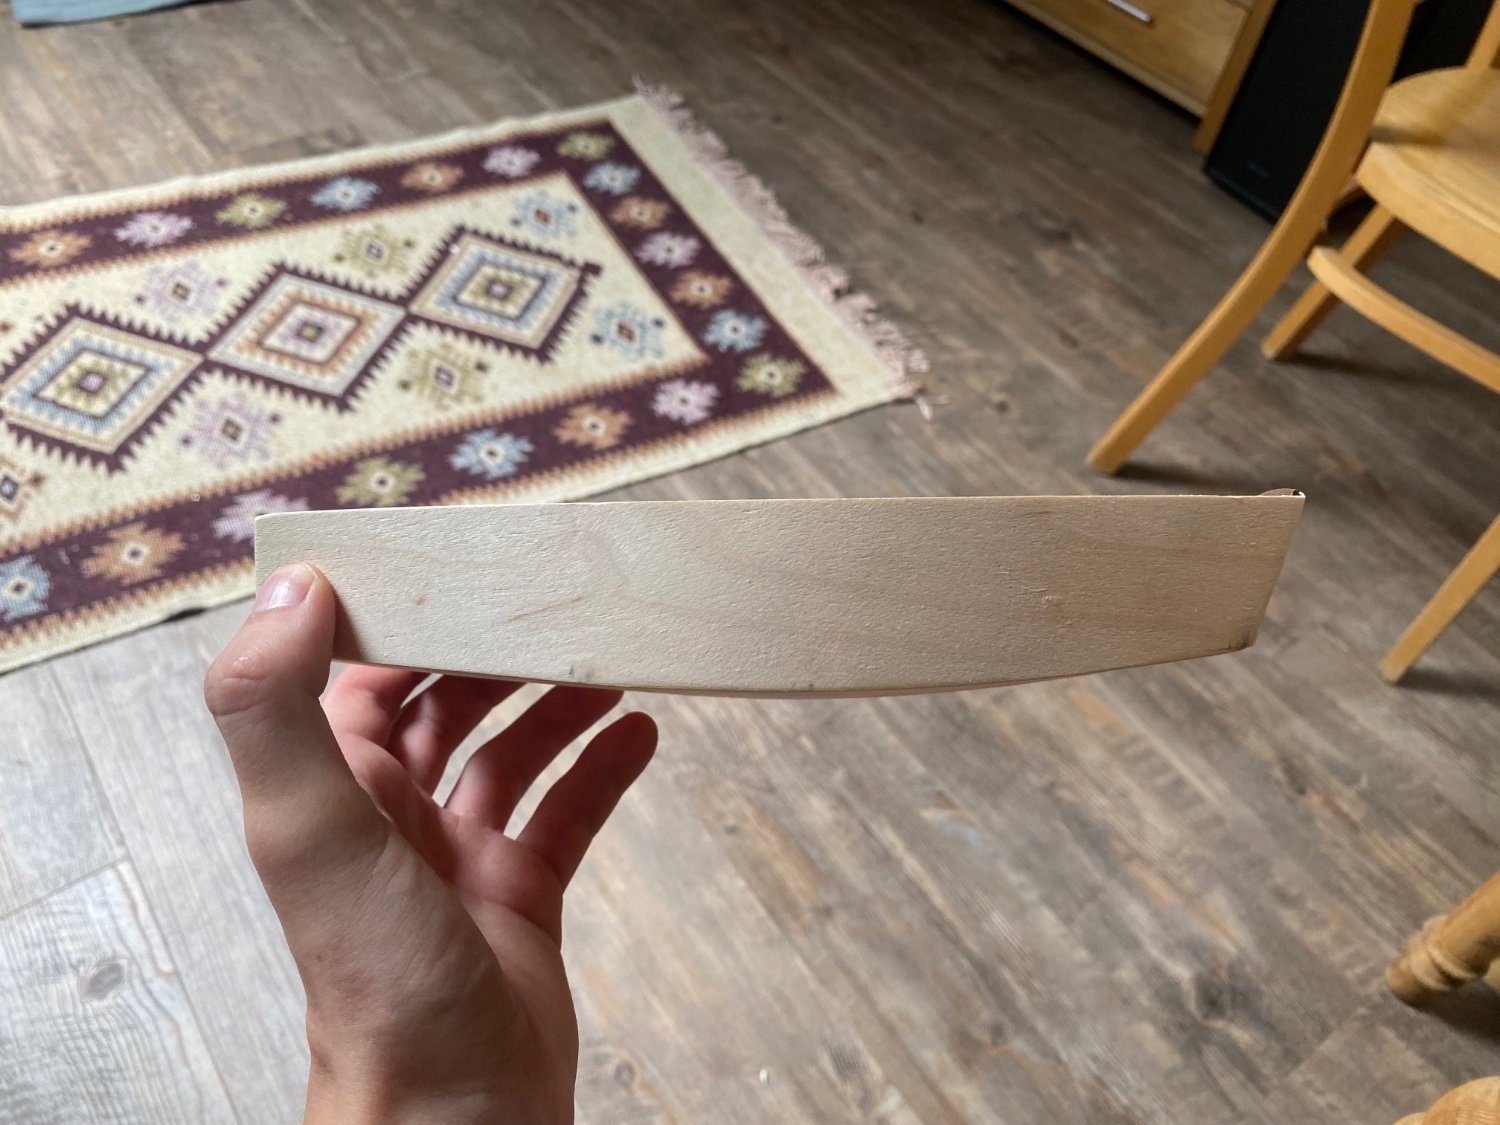
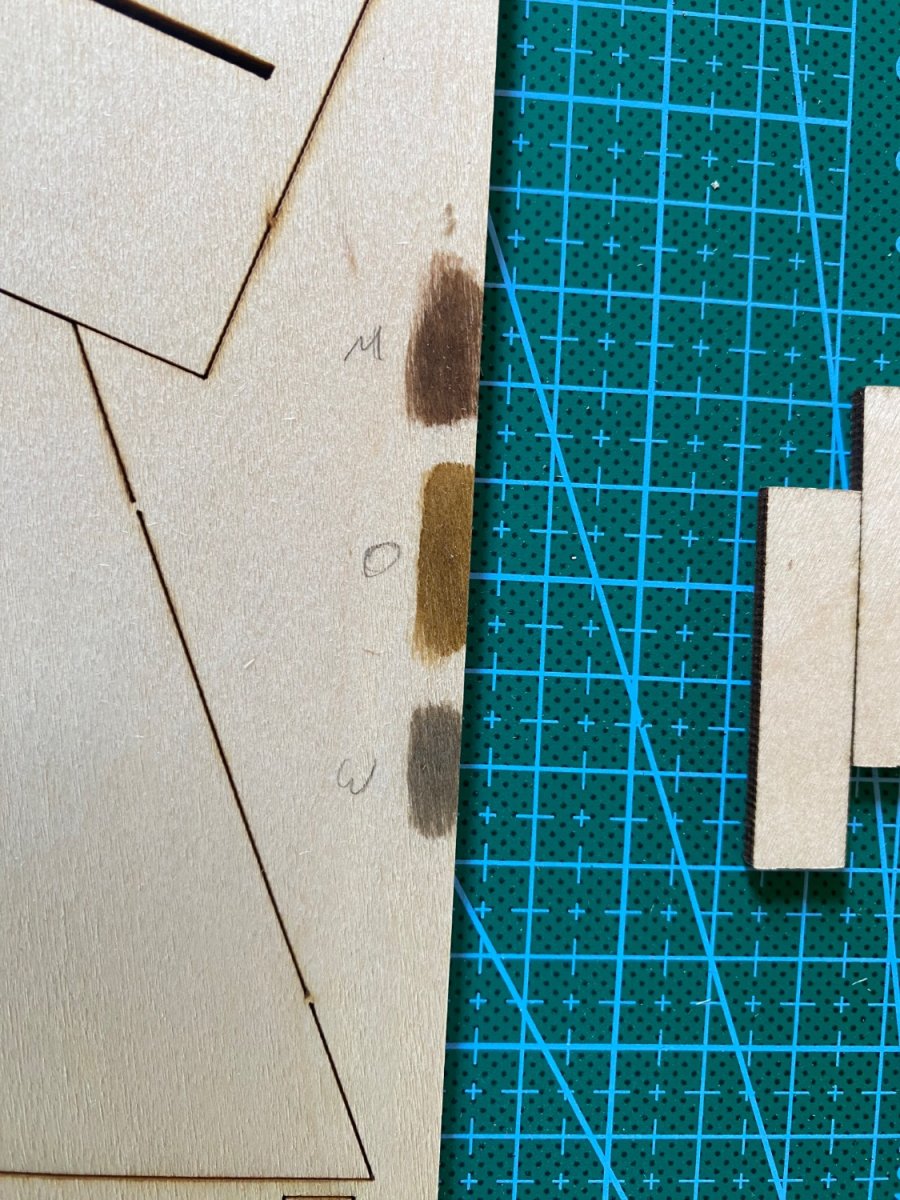
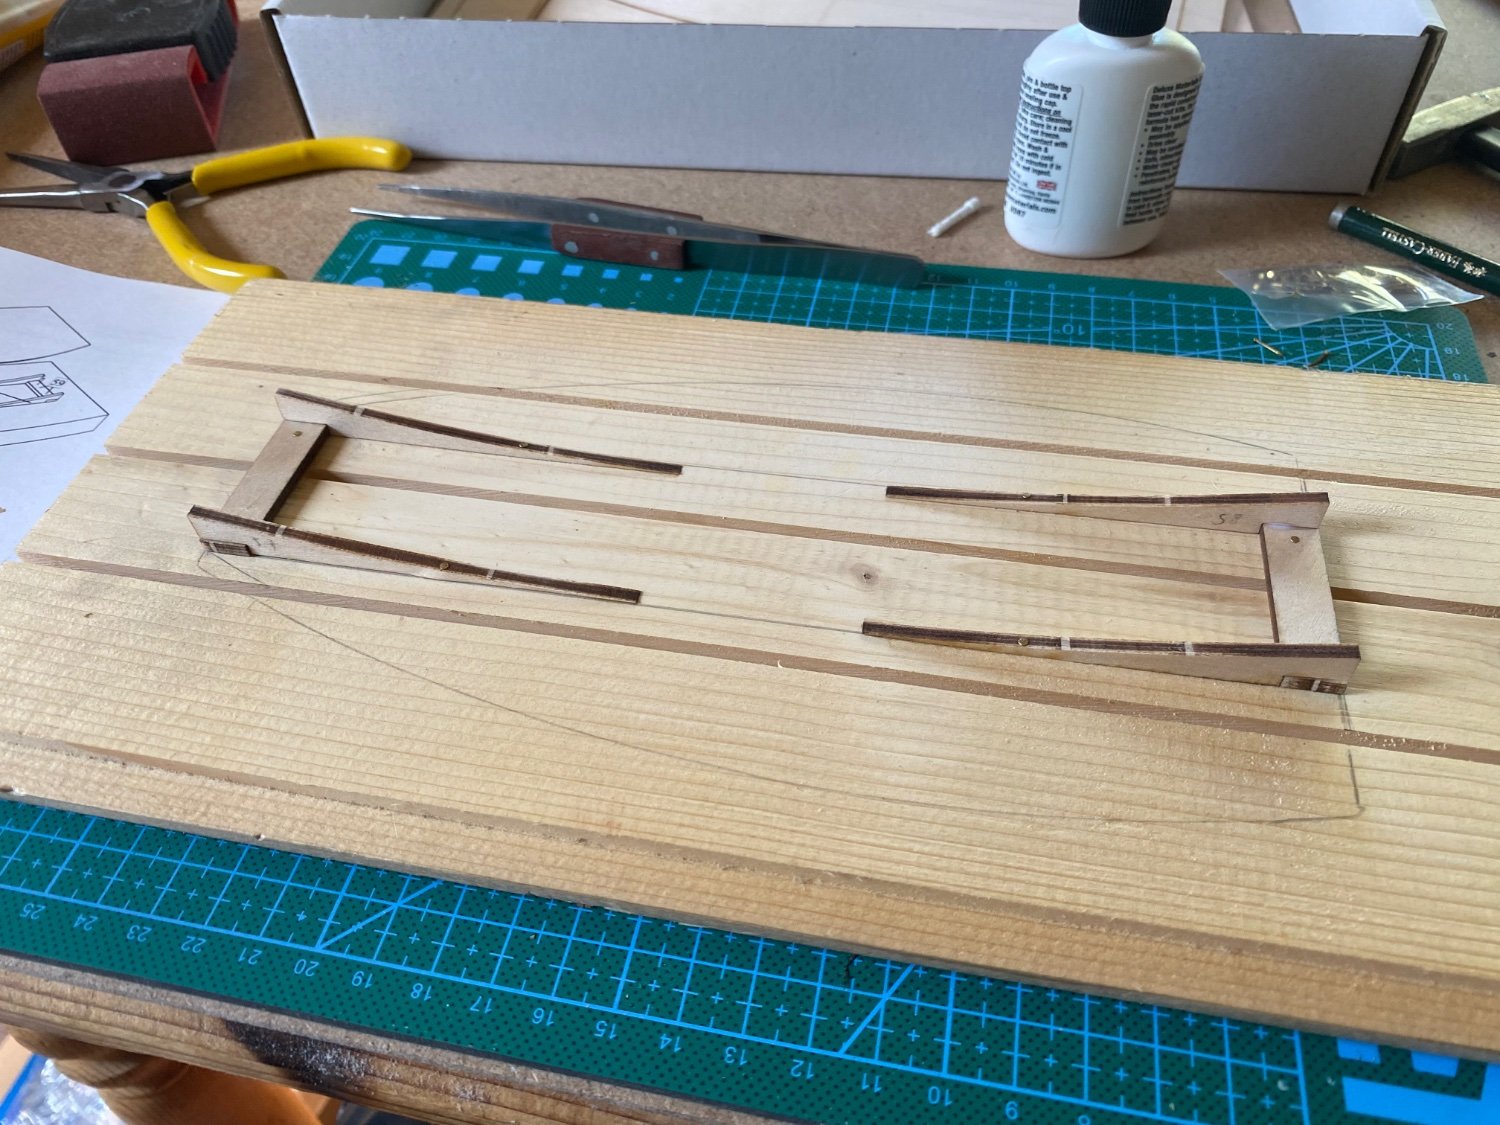
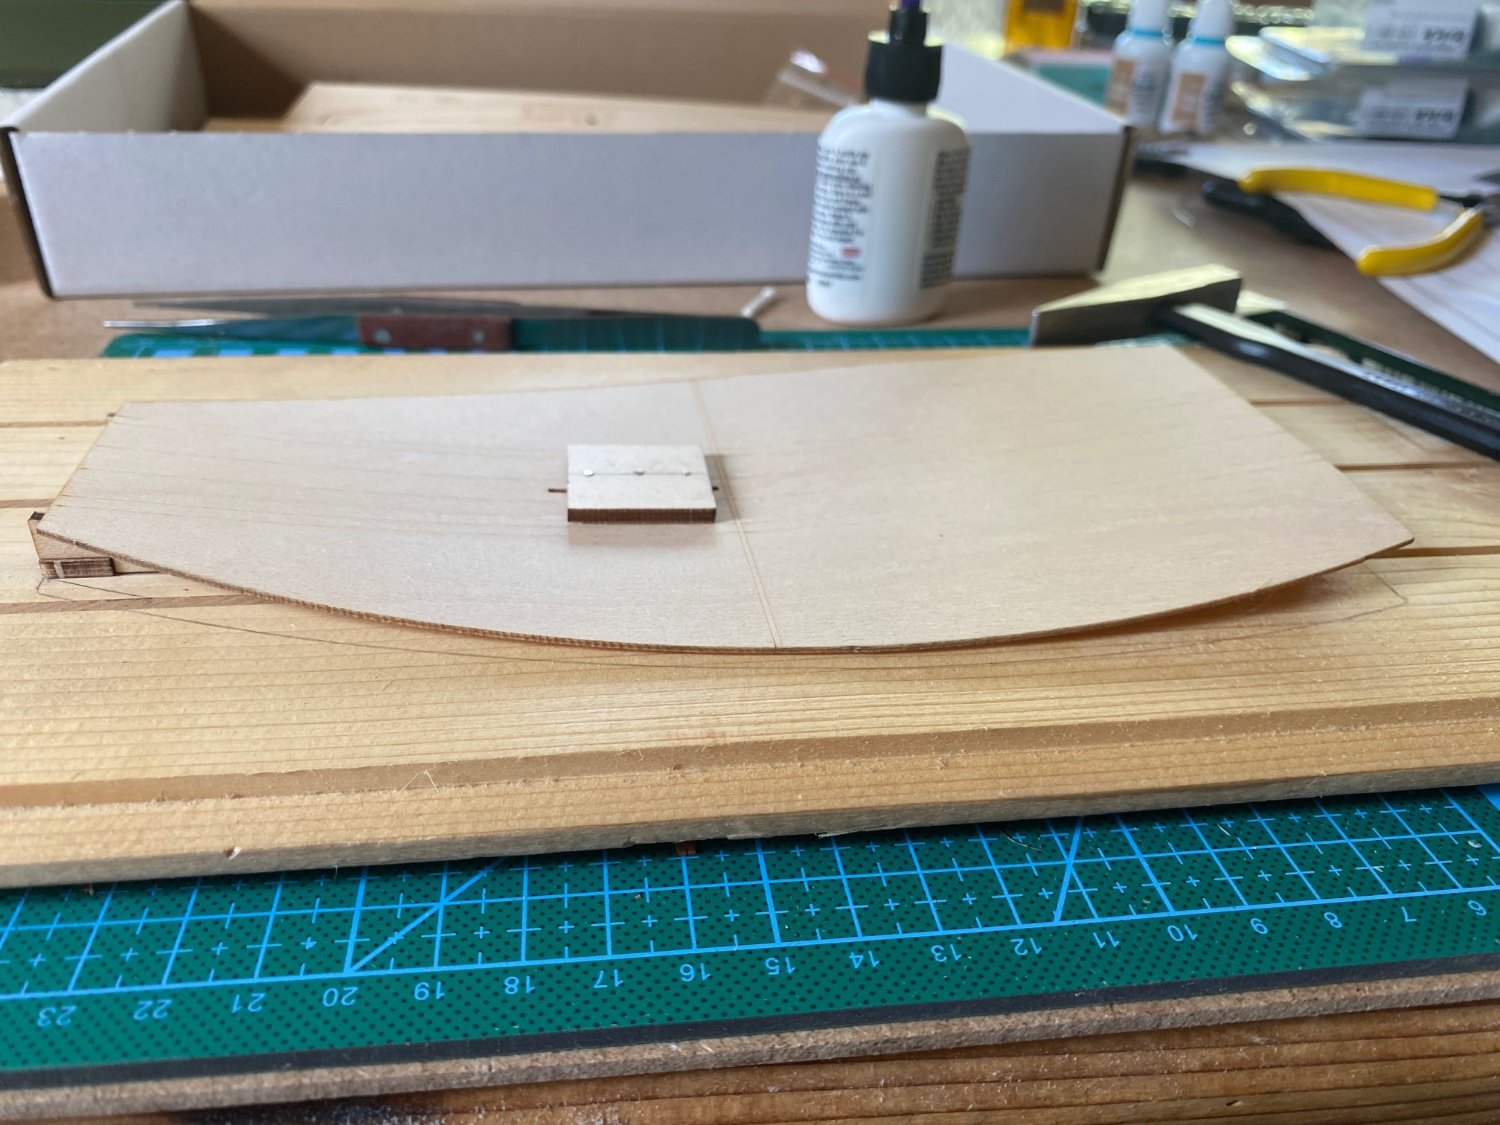
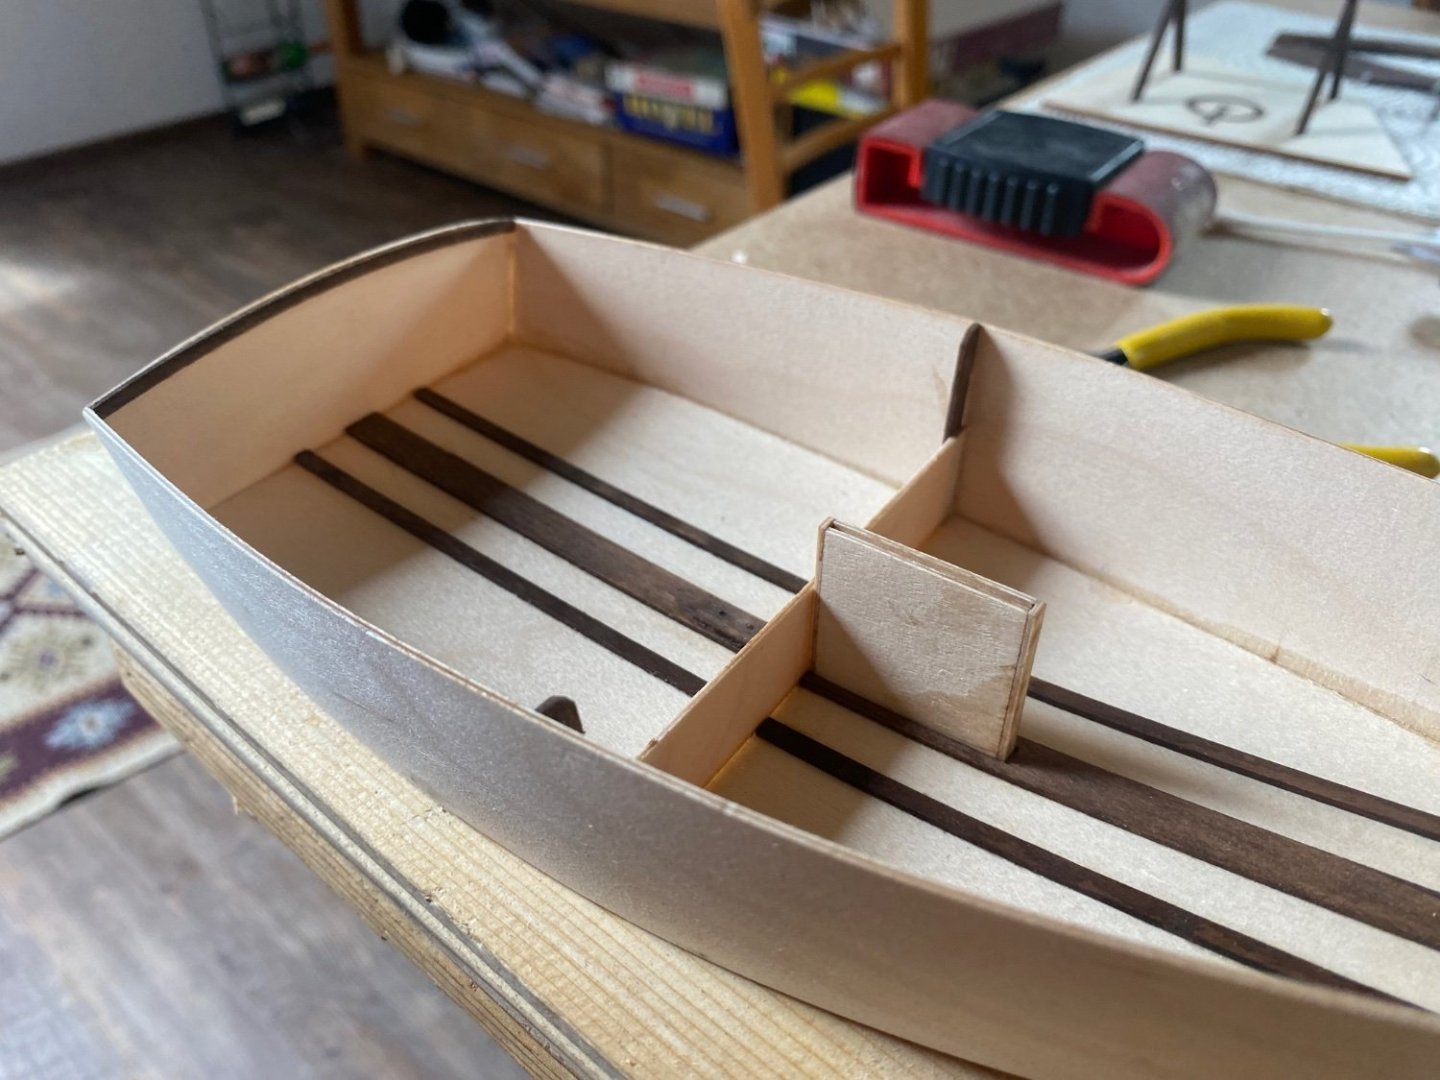
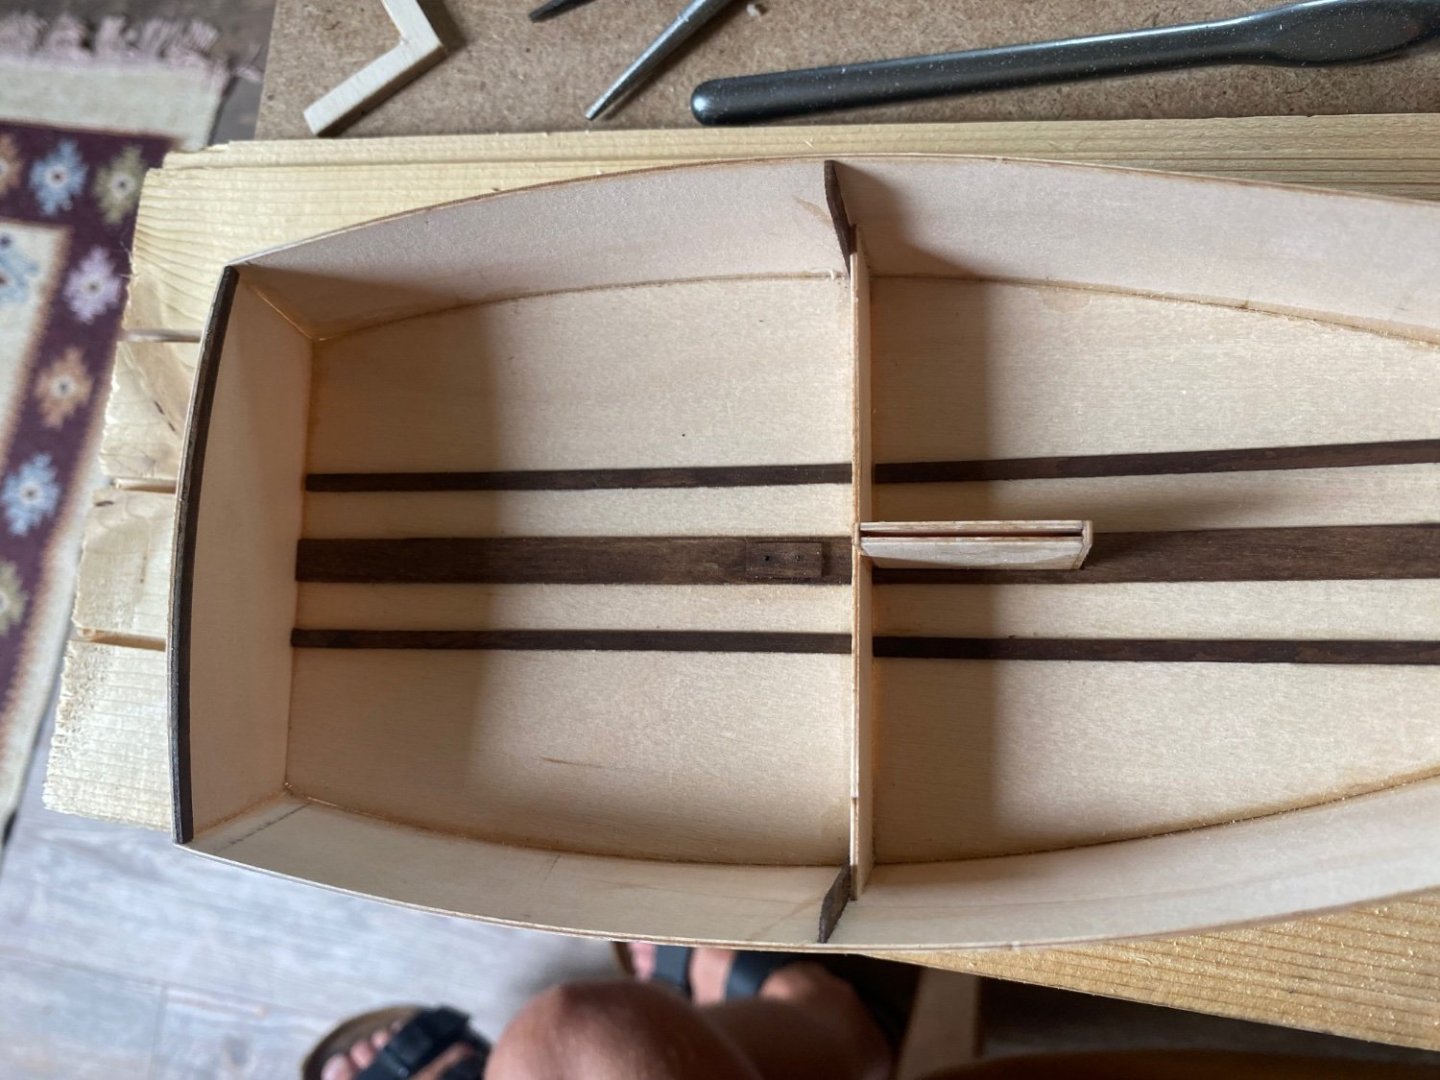
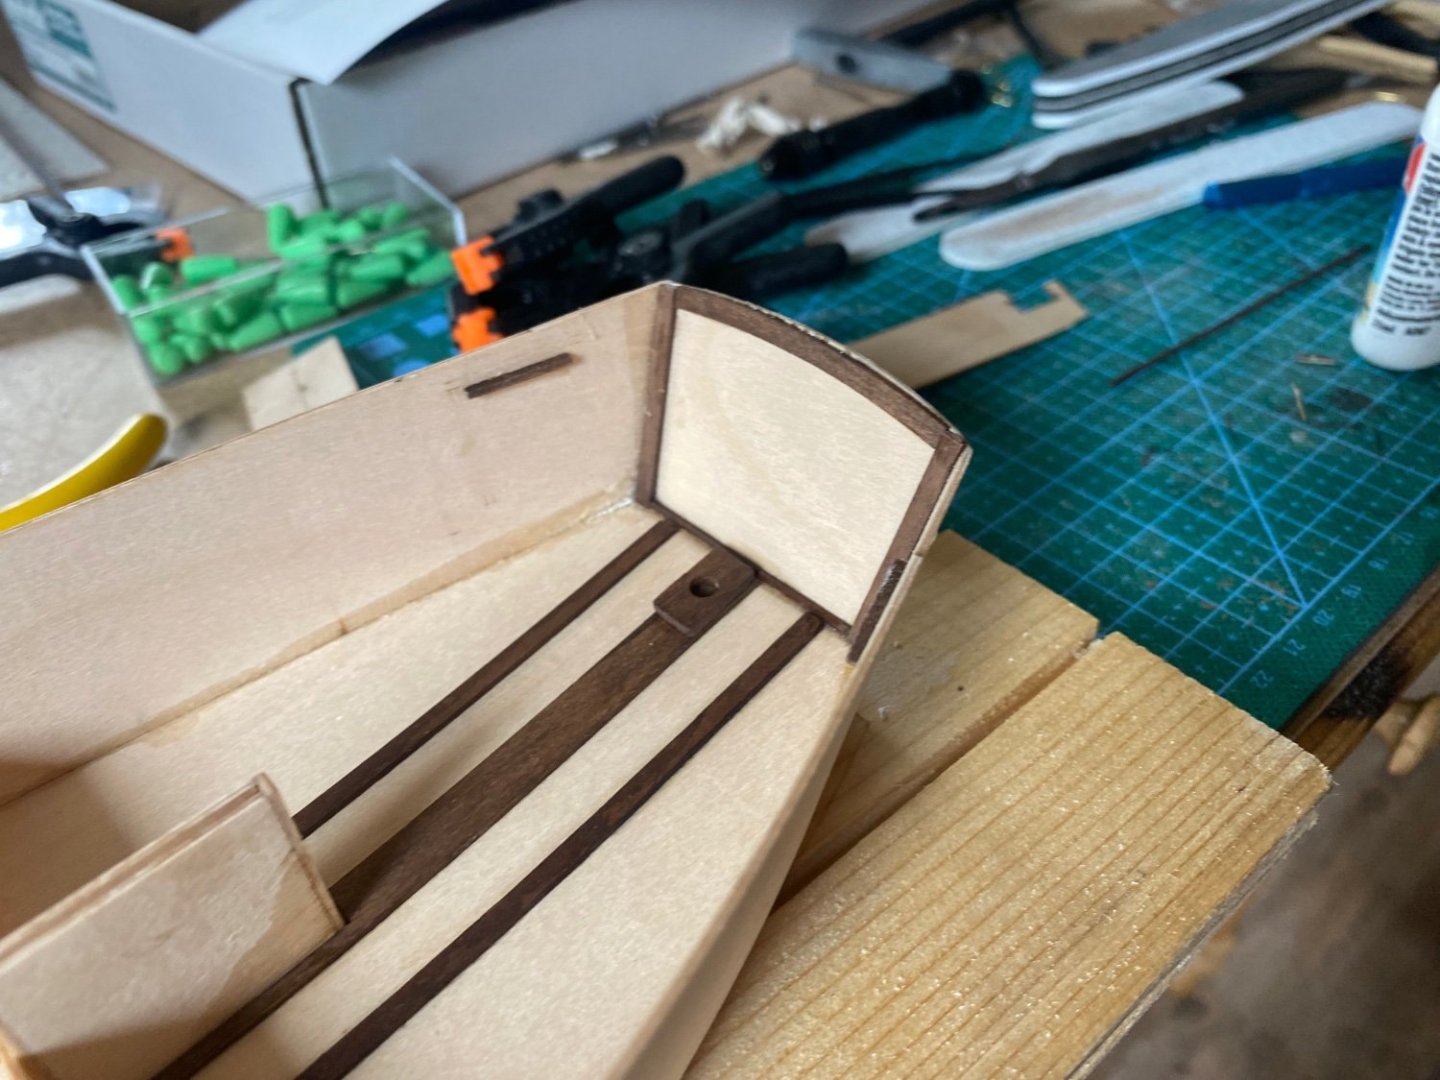
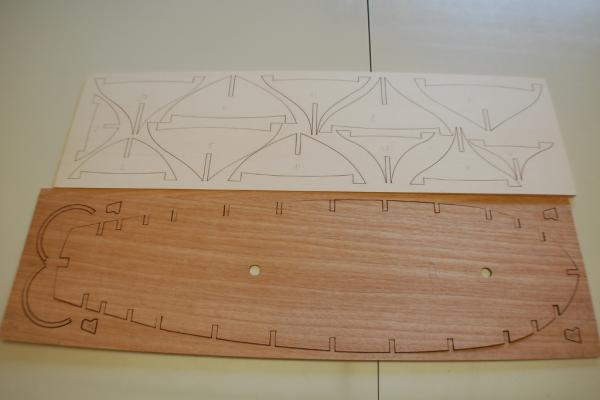
 Hello everyone, about to start my first build log at MSW with a 1:10 model from Krick Modellbau - the Optimist Dinghy. Probably the sailing ship the most people in their childhood learn how to sail with. In my home at lake constance you can see them every day. They are not the most beautiful boats looking a little bit like a swimming bath tub. The 1:10 model from Krick Modellbau comes with laser cut wooden parts, mast and bow parts as well as some detailled iron rolls and rudder suspension. I didn’t like the sail on first sight. You have to glue them together out of 5 parts and the material is quite thin…so i will probably sew m own sail. The package: I somehow did not take a lot of pictures sadly. Will do that in my next report better. From the beginning I decided to not paint this model and keep it natural. Only pickle some parts in mahagony stain to give some contrast. I also tried walnut and oak but mahagony suited the best and gives the best contrast. First step starts with buidling a slipway to get the ground plate in it’s curved shape. Fixing it with some nails through the hole for the sword box (don’t know the english word for Schwertkasten). Adding the rear plate first and the sides which have to be bended first. In the and adding the front plate. Was a little bit tricky and had to fill the edges of the front with wood filler. Shape is done and turned out good. Also added the sword box and some of the mahagony parts: looks like an Optimist already. With some glue on the wood i am not that happy but lets see how it will look when everything is placed.
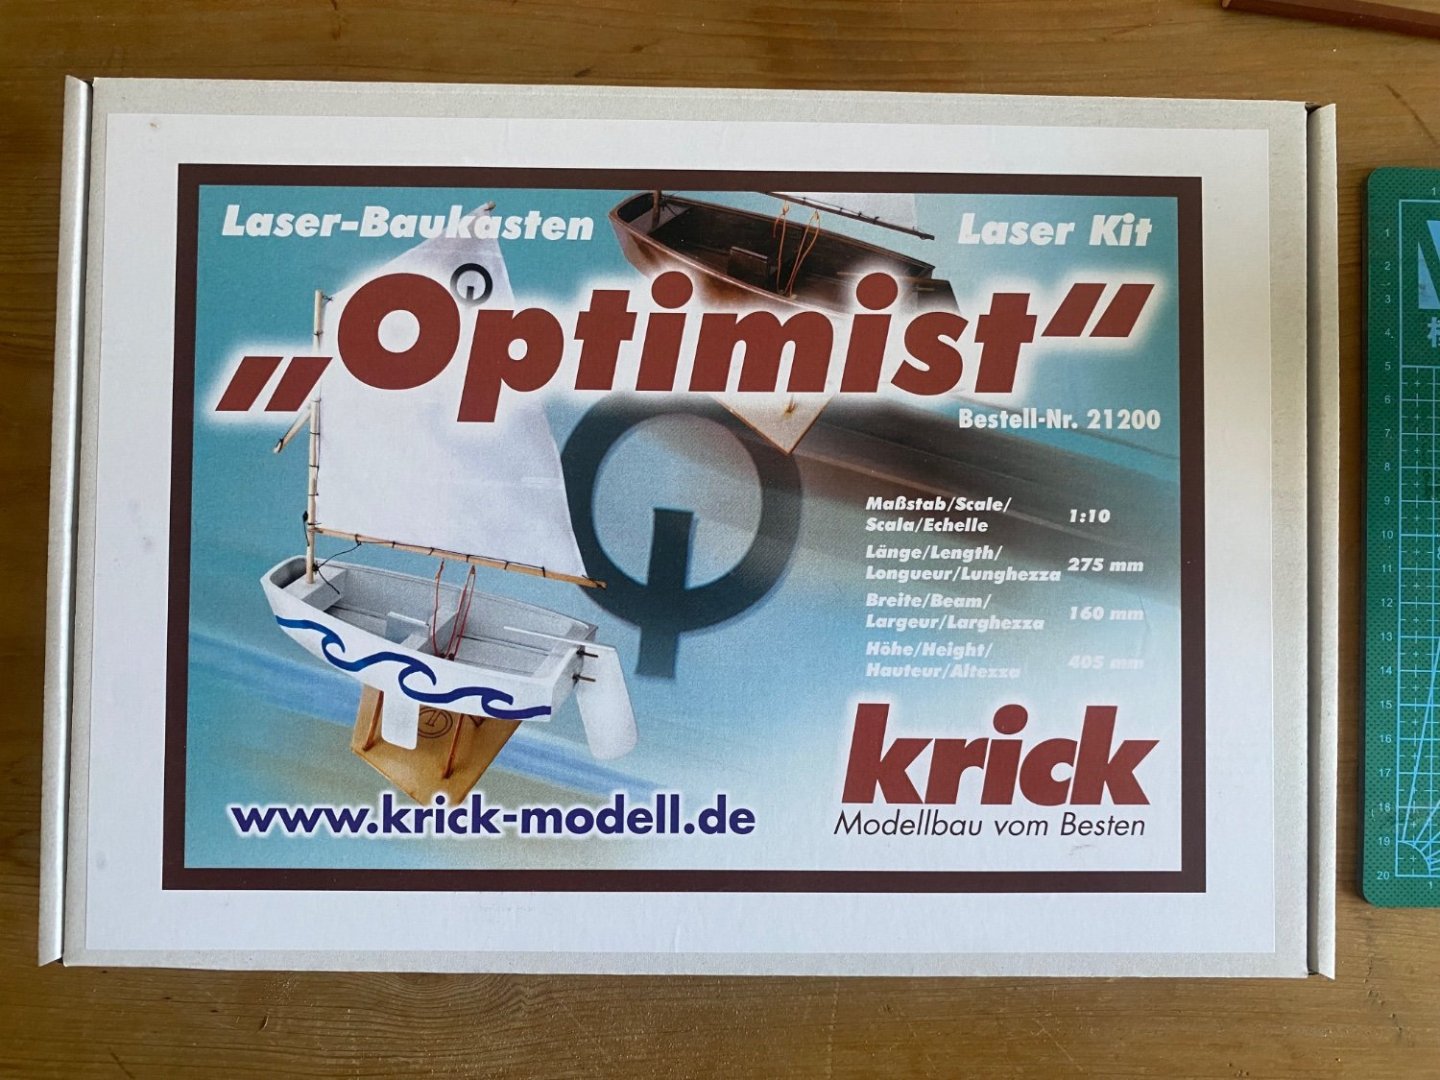


- 16 replies
-
- 3
-

-
- Optimist Dinghy
- optimist
- (and 2 more)
-
 Greetings Fellow Model Ship Enthusiasts! A few years ago I crossed Lake Michigan on the last commercial coal-fired steam ship on the Great Lakes; the SS Badger (410 foot long ship launched in 1952, a passenger and vehicle ferry crossing from Manitowoc Wisconsin to Ludington Michigan). The smell of the coal-fired boilers and my fascination with the design of the steam powered engines left me with an interest in learning a bit more about steam engines, so I set out to build a model steam engine, and then of course I figured I would need a little boat to put my engine in, which leads me to this build log. For the steam plant, I went with the "Clyde" by Miniature Steam Models (MSM) in Australia, and for the boat, I selected the "Alexandra" by Krick (German manufacturer). The Alexandra is about 3 feet long, and is a model of a English Steam Launch from 1900. I have been working on this since January; with work and kids I do not make quick progress. I have taken many photos during the build, and it being the end of November now, I will have many photos added to this build log all at once. More detail, especially on the assembly of the engine, may be found at https://www.argobuilder.com/krick-alexandra-steam-launch.html From here on out , I will try to post more regularly so the build log will follow along with the construction of the model. I would rate the Krick as a high quality model which can be greatly enhanced with some additional trim and planking work. The plywood pieces are high quality but left as-is, I think the exposed plywood edges, exposed plywood mortise and tenons, and large flat plywood surfaces, are much improved with hardwood planking and trimwork, as can be seen in the build log below. And now, on to building the Krick Alexandra Steam Launch! Jason
 -
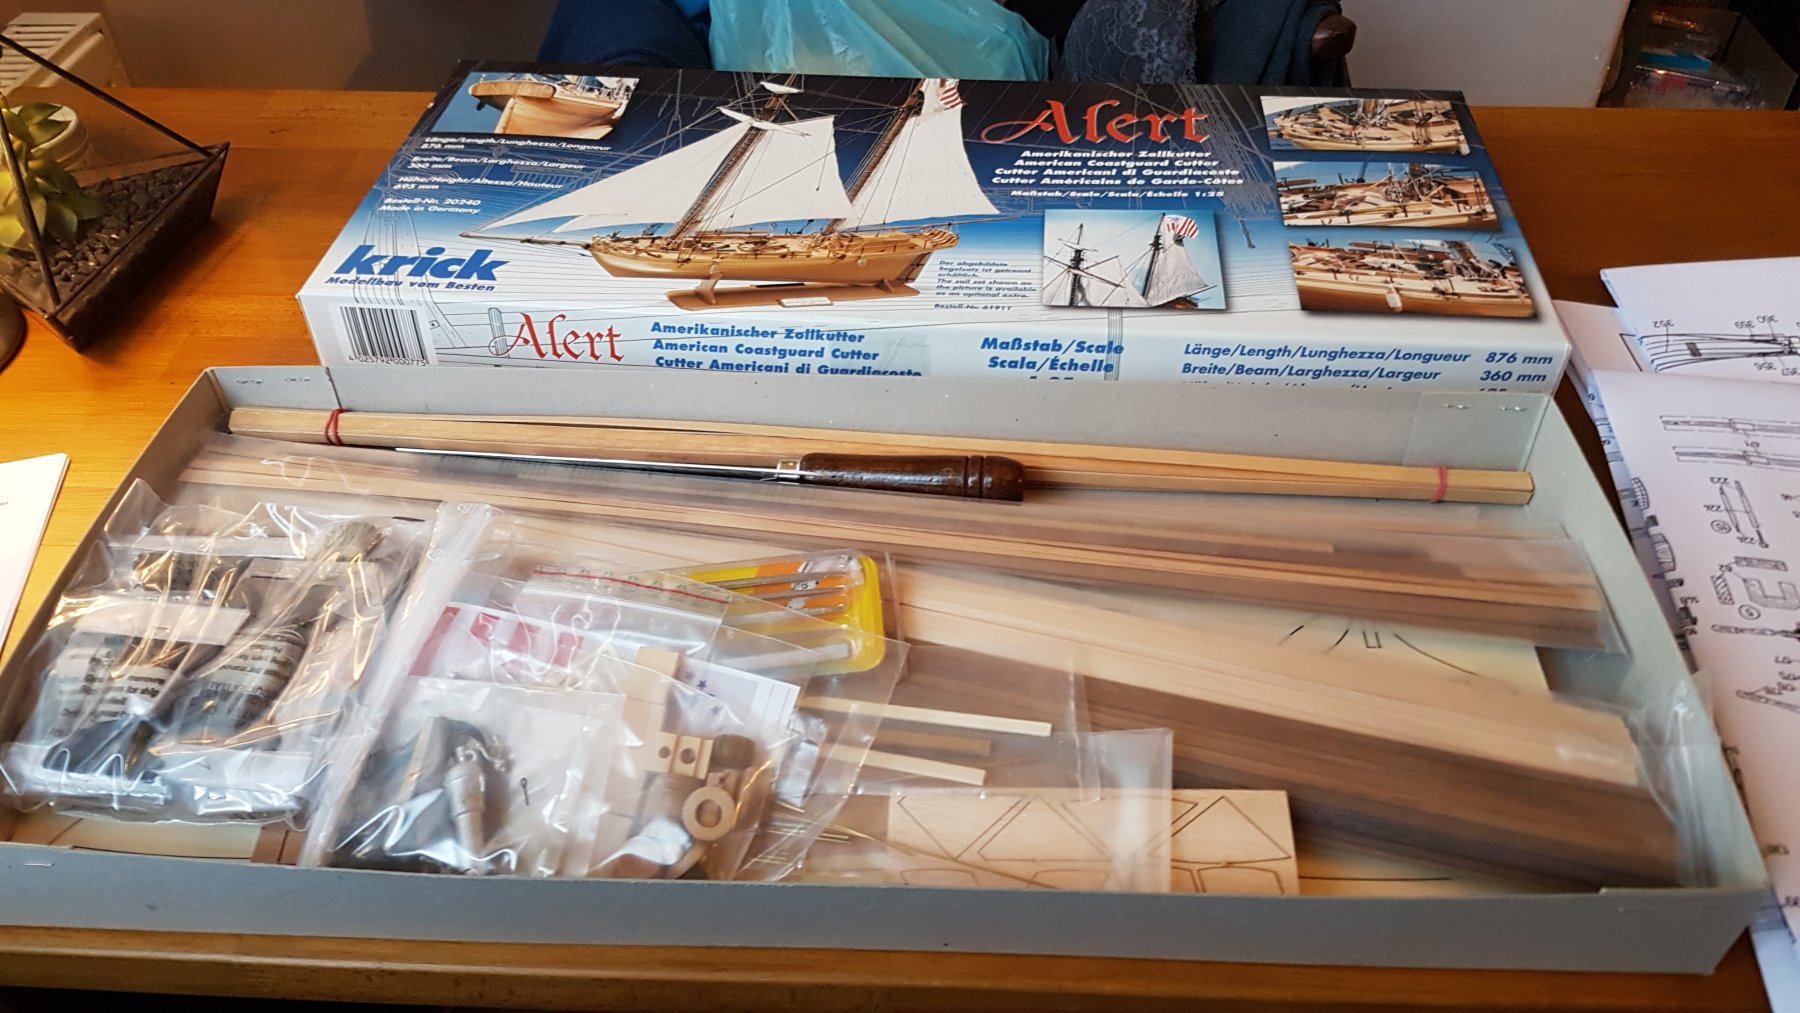
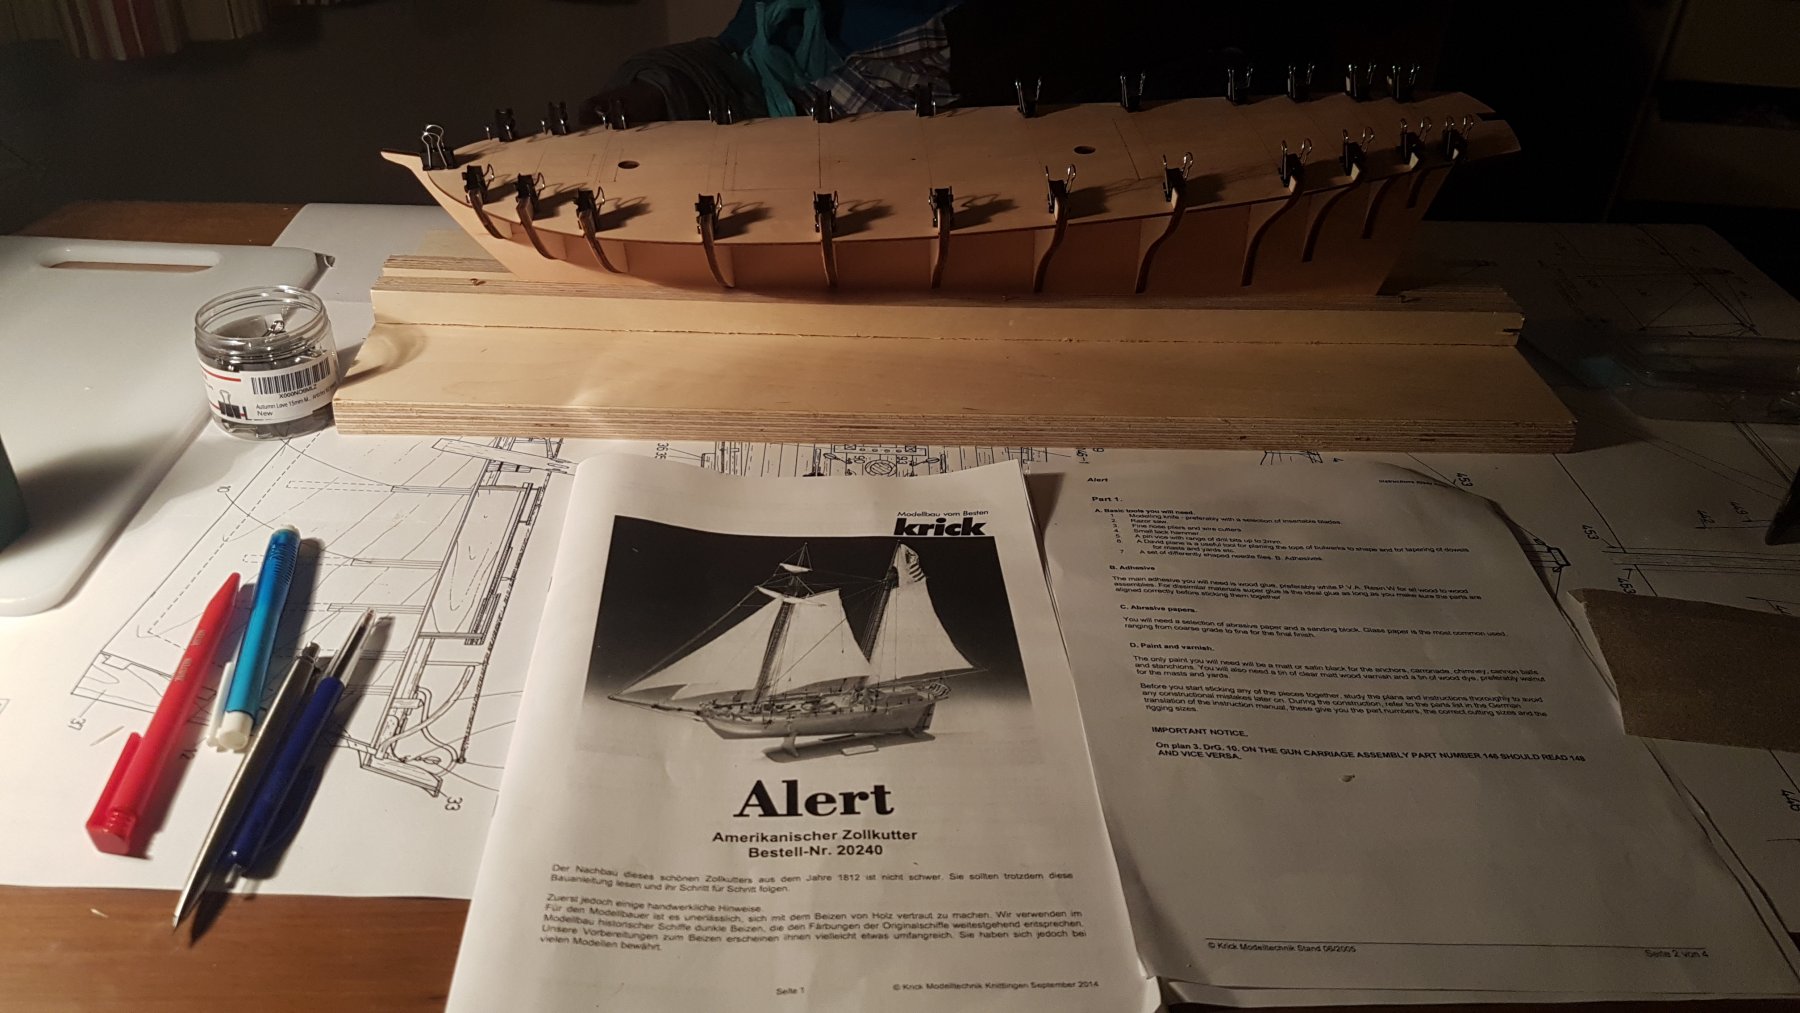
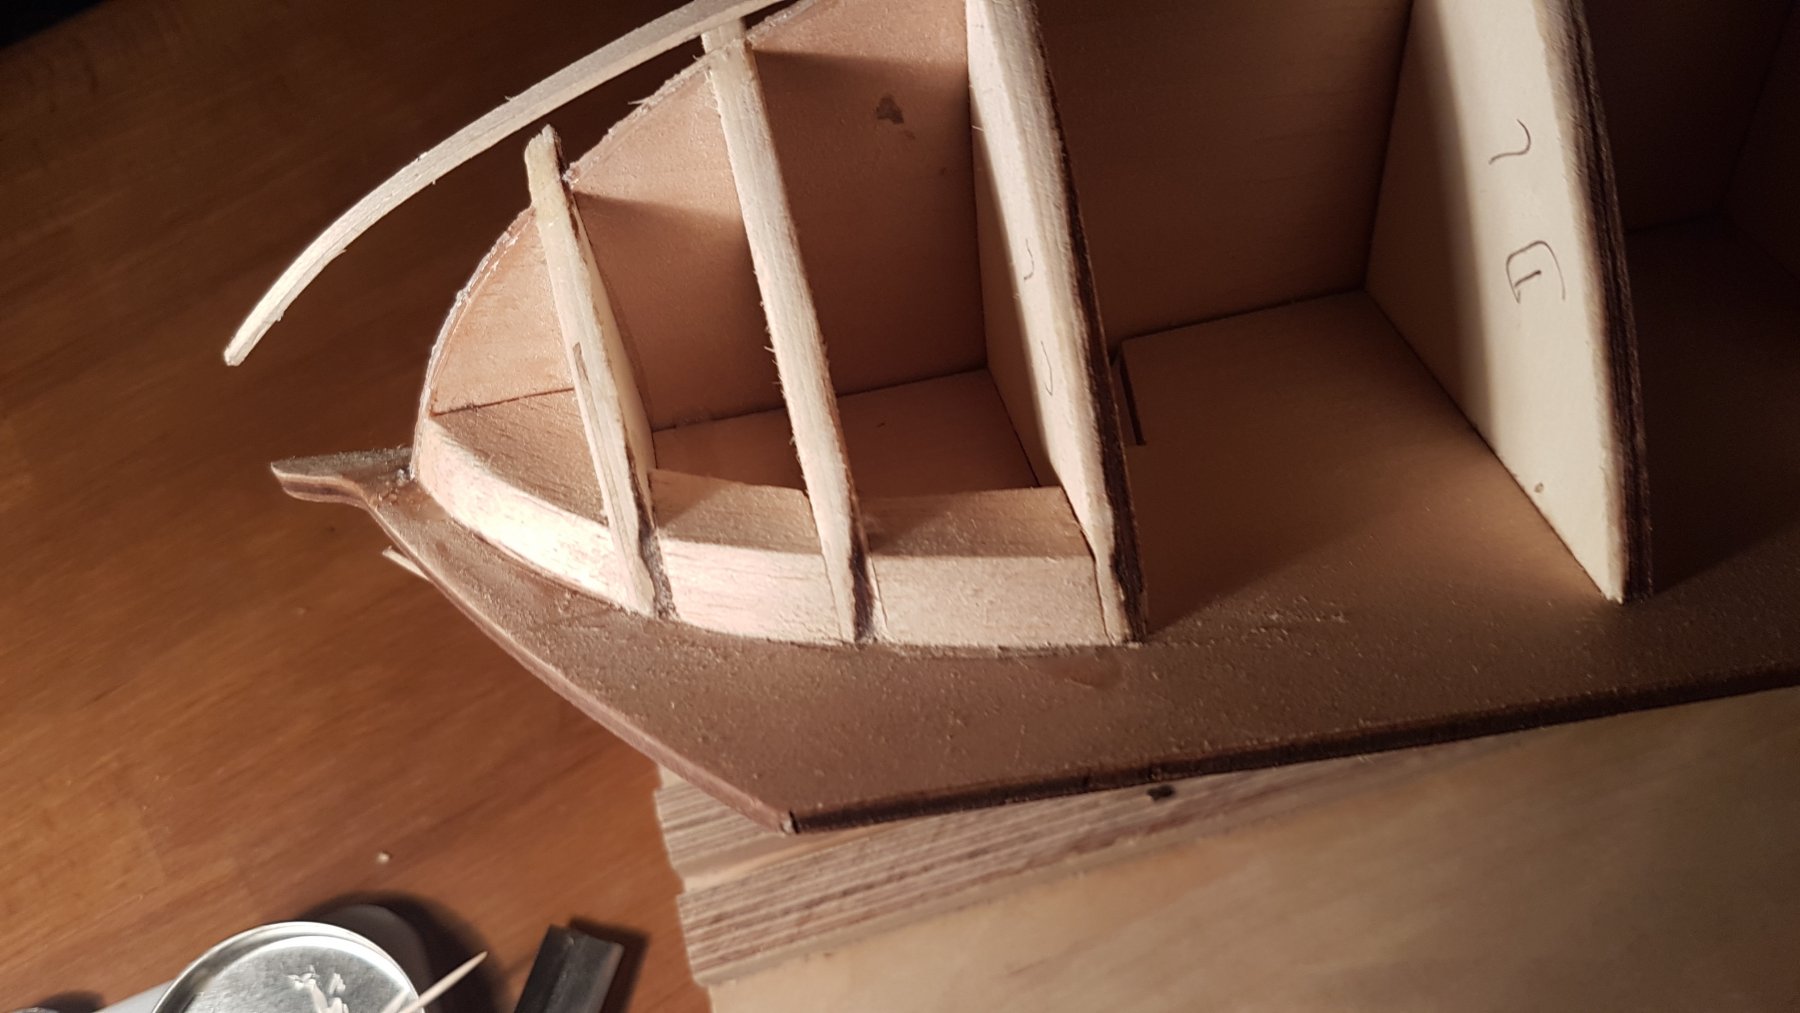
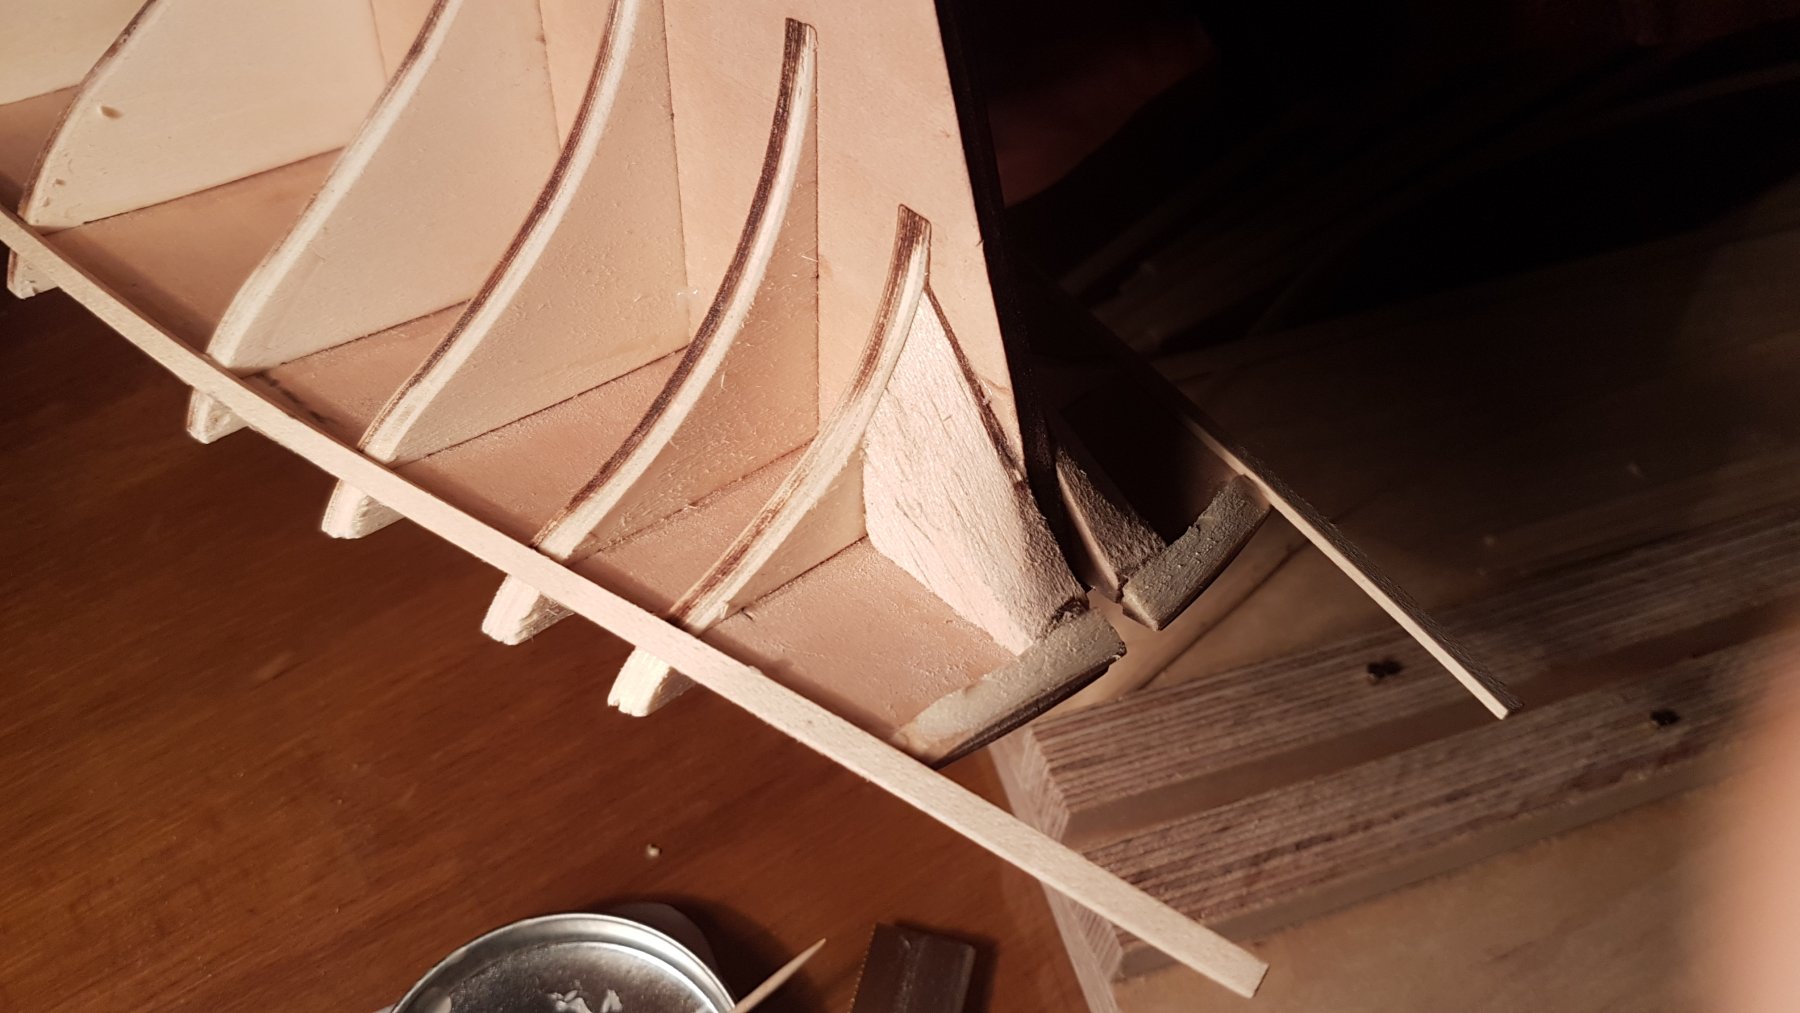
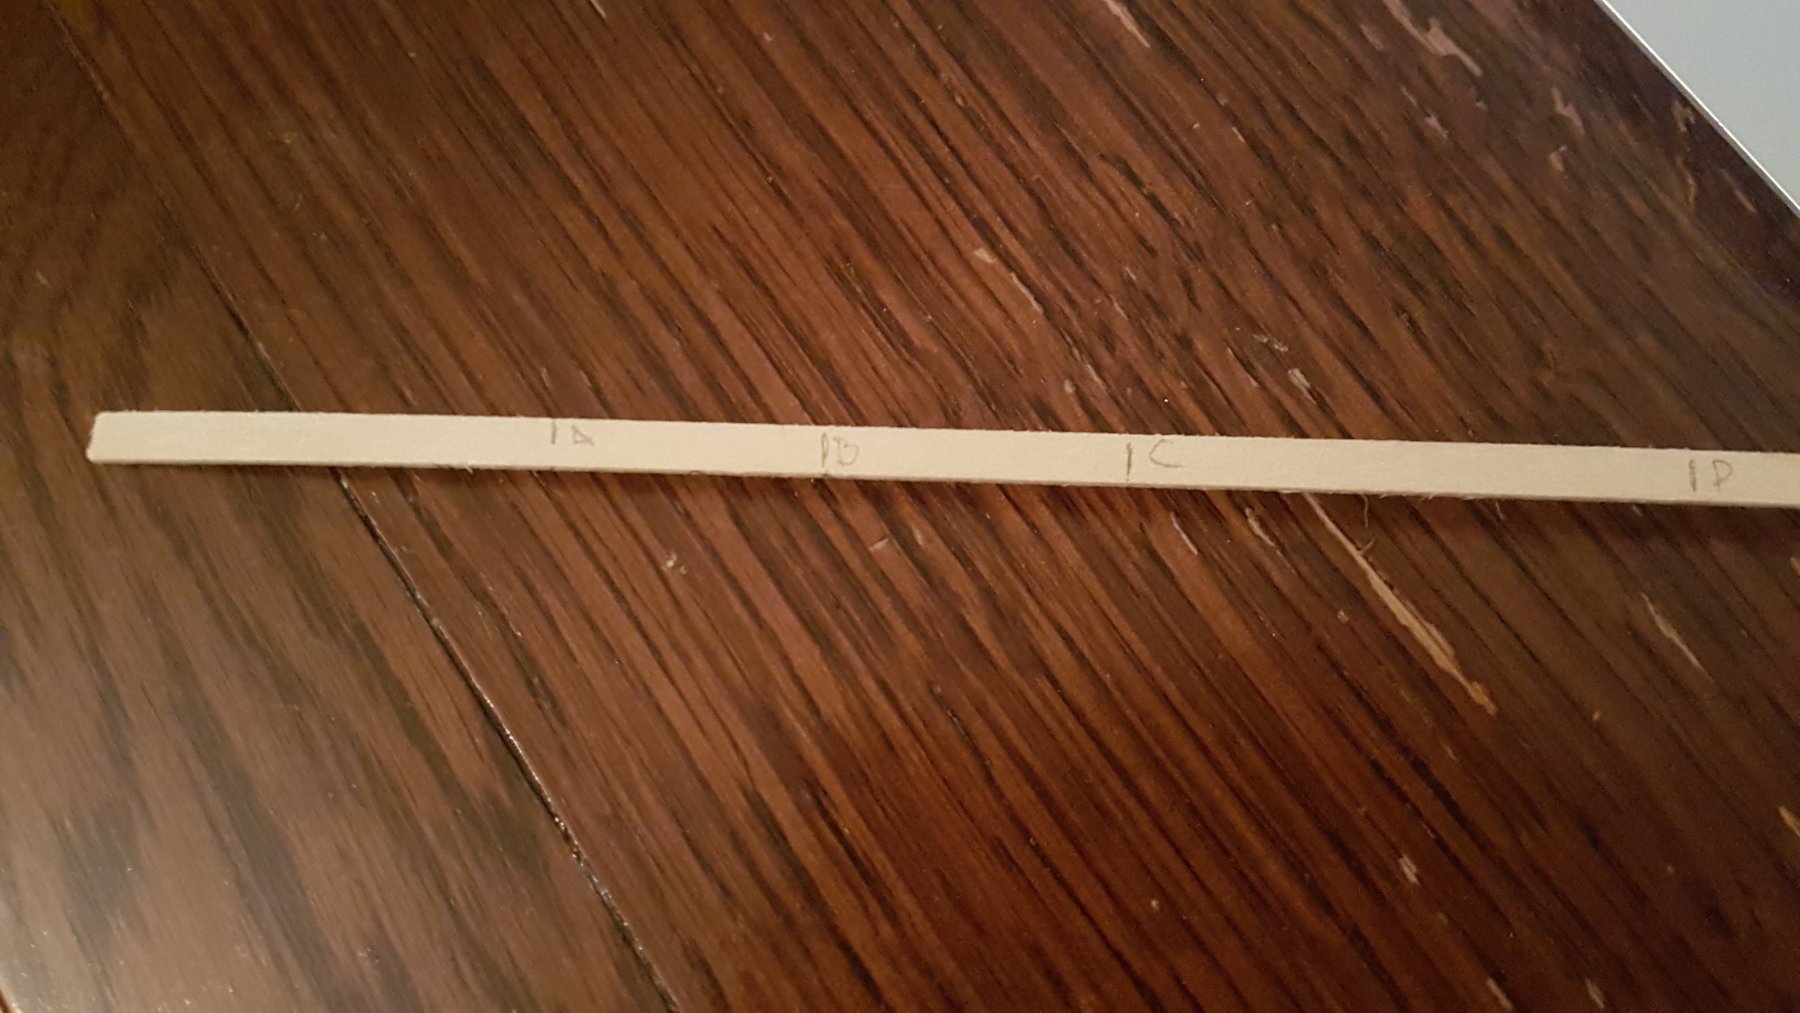
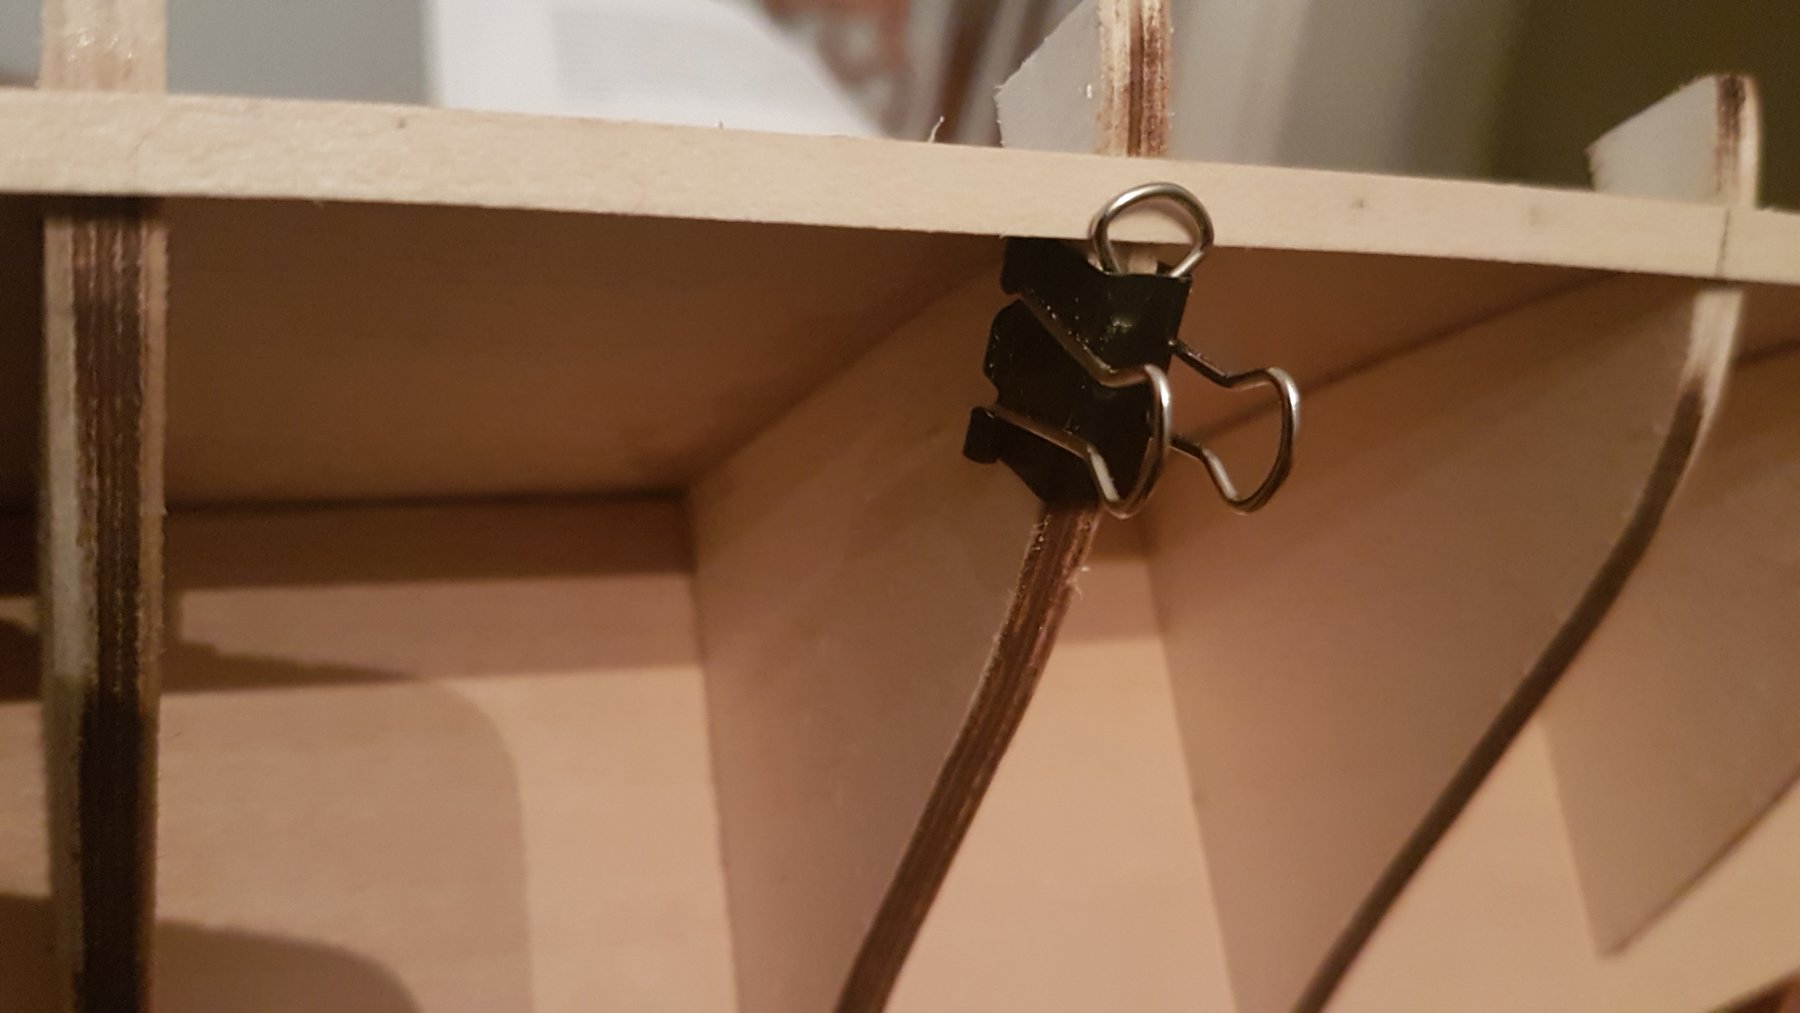
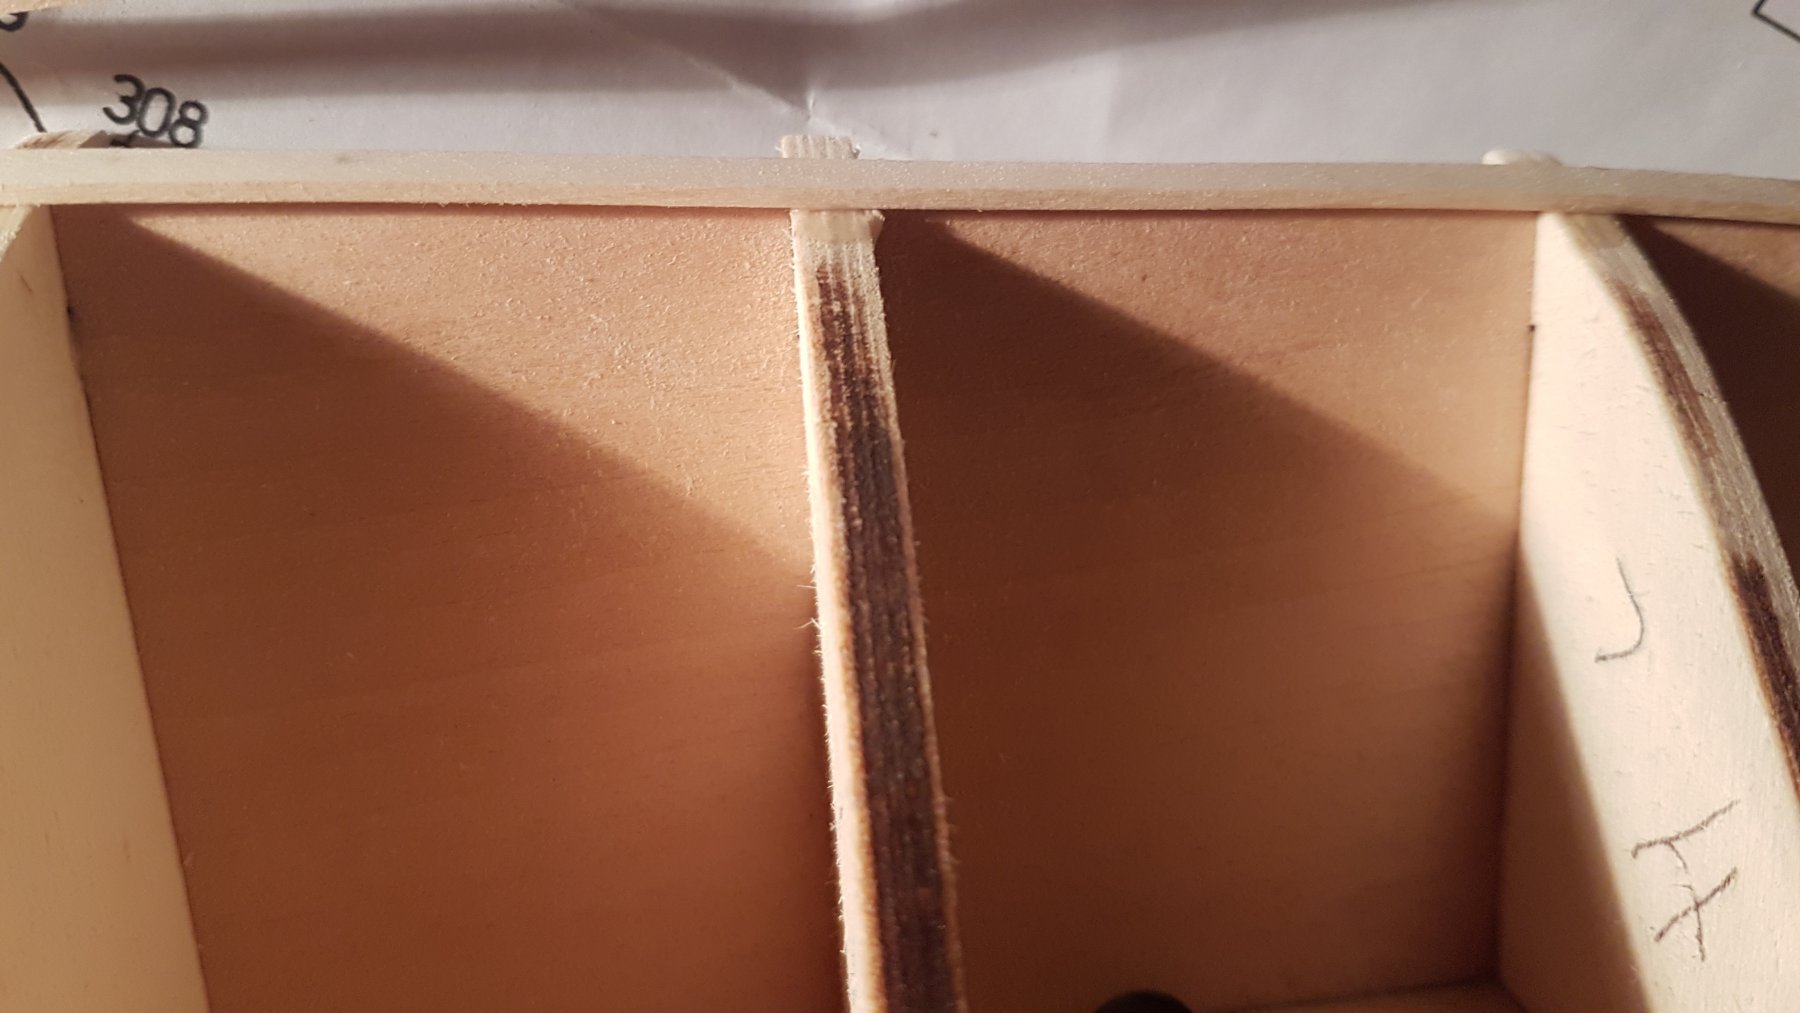
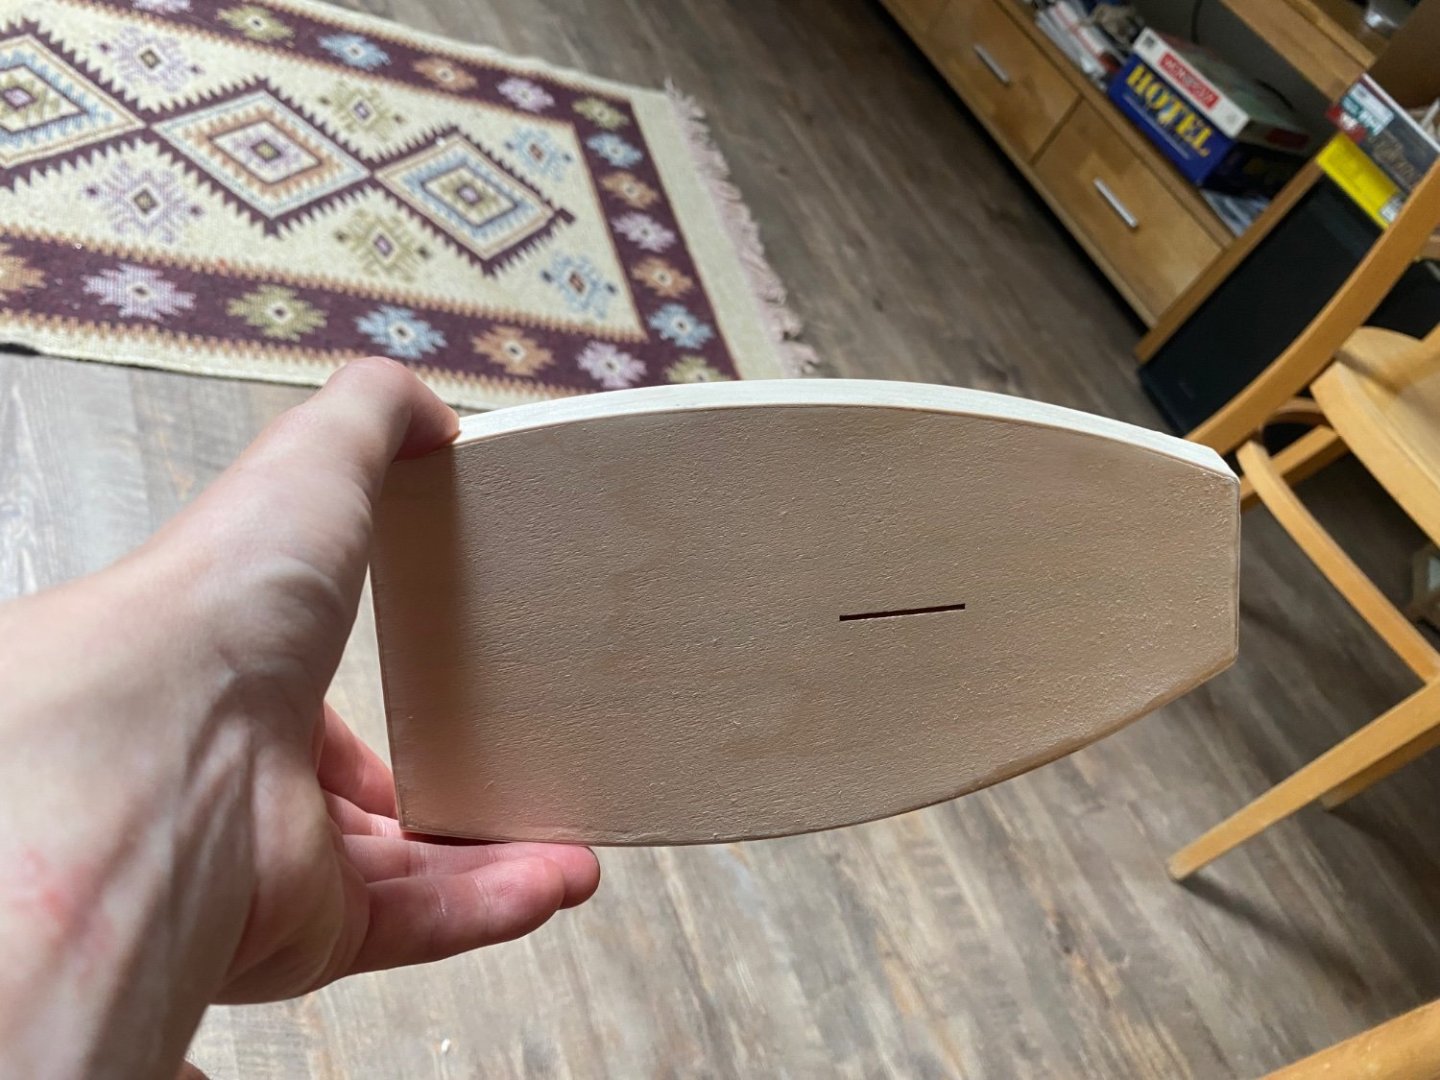
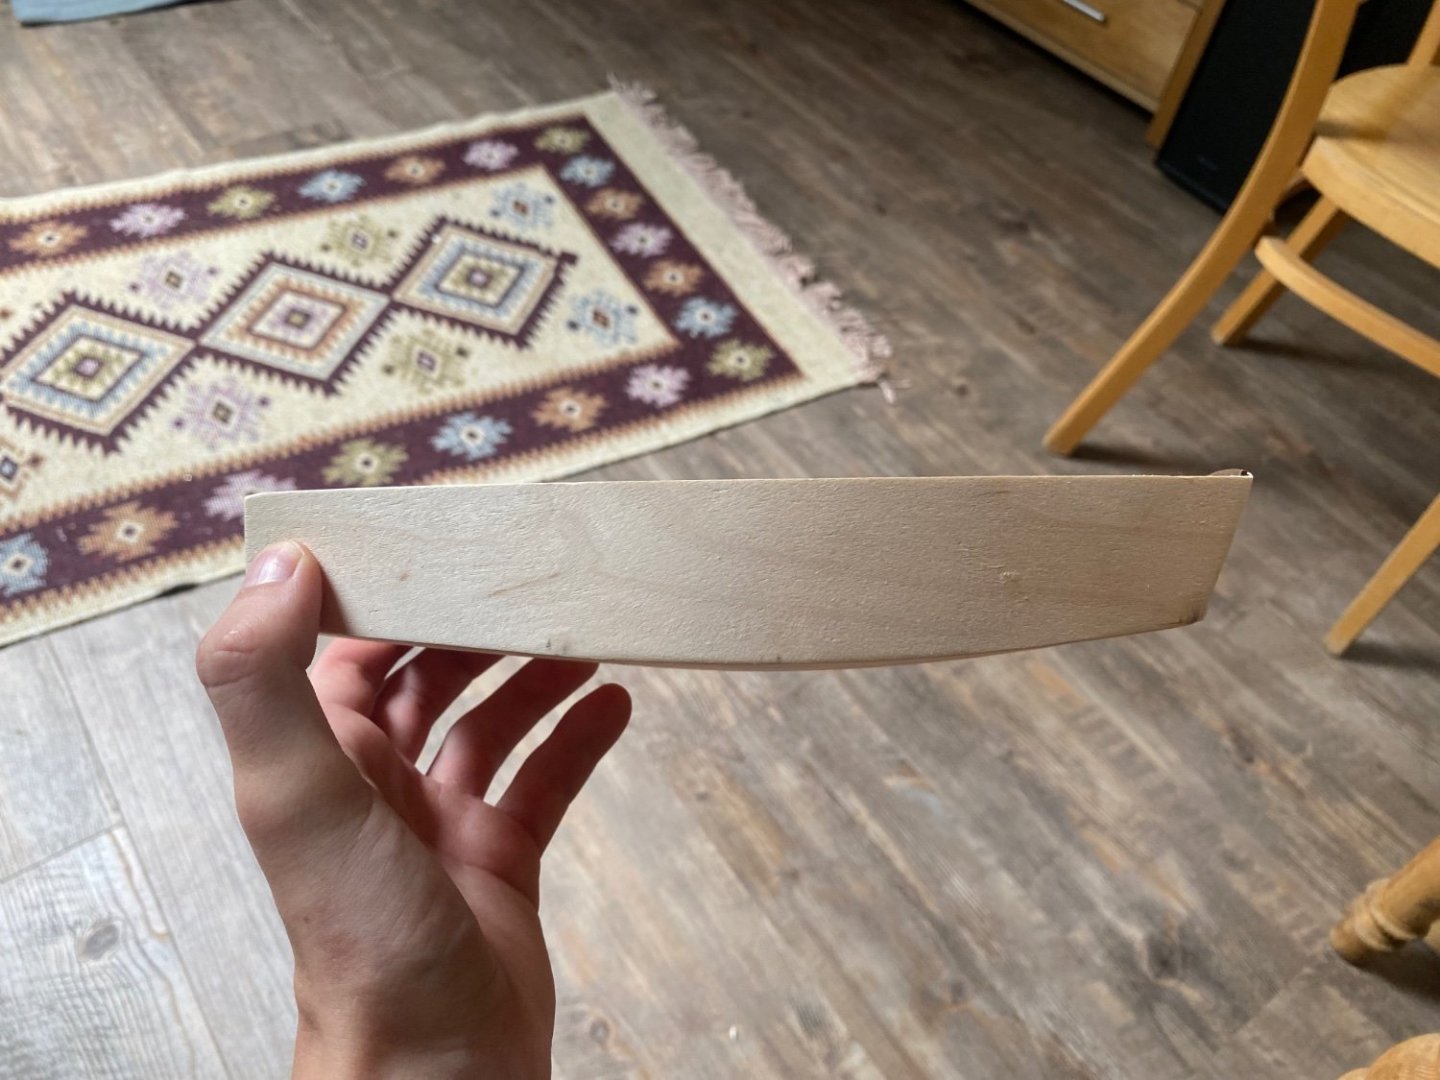
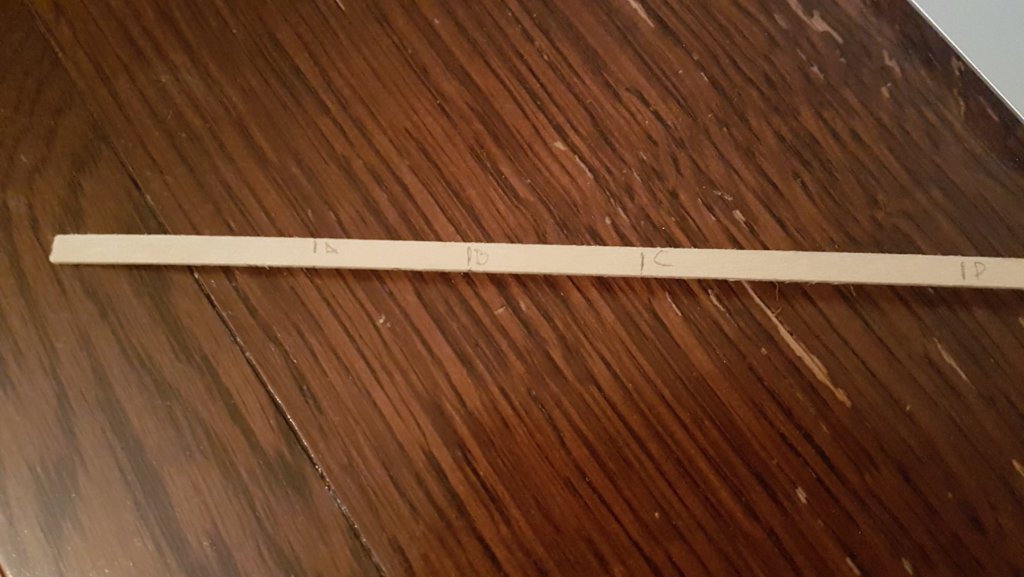
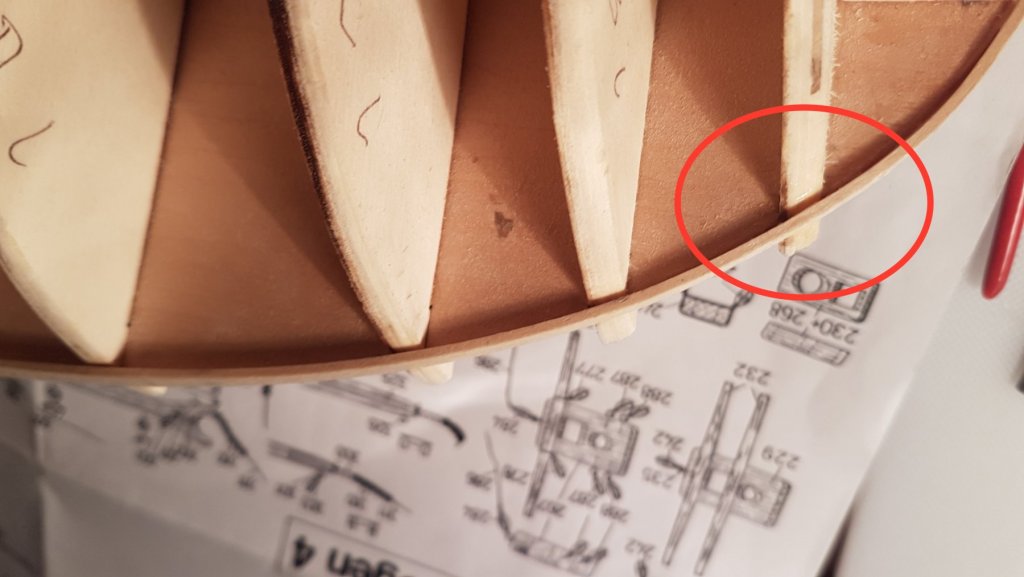
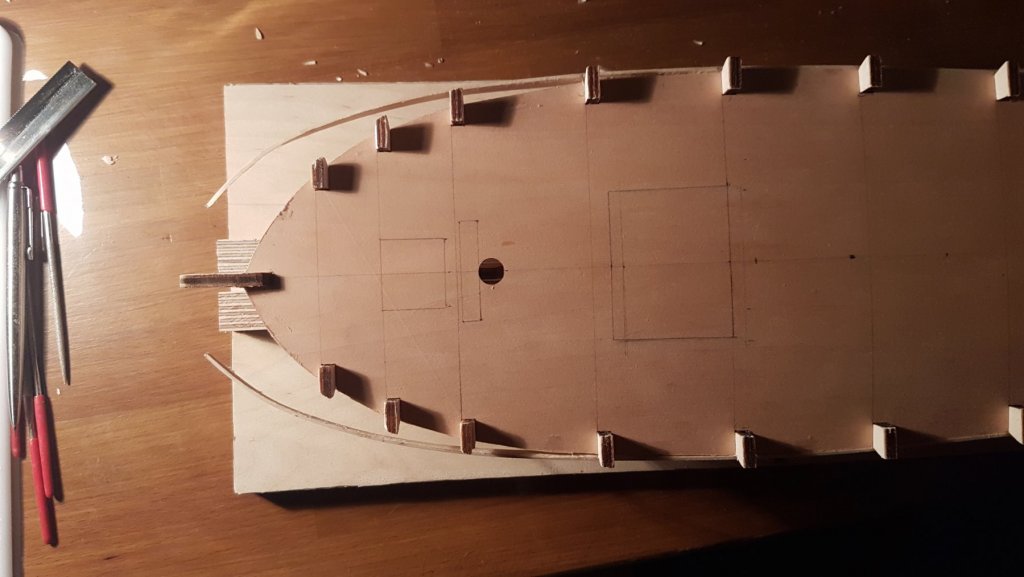
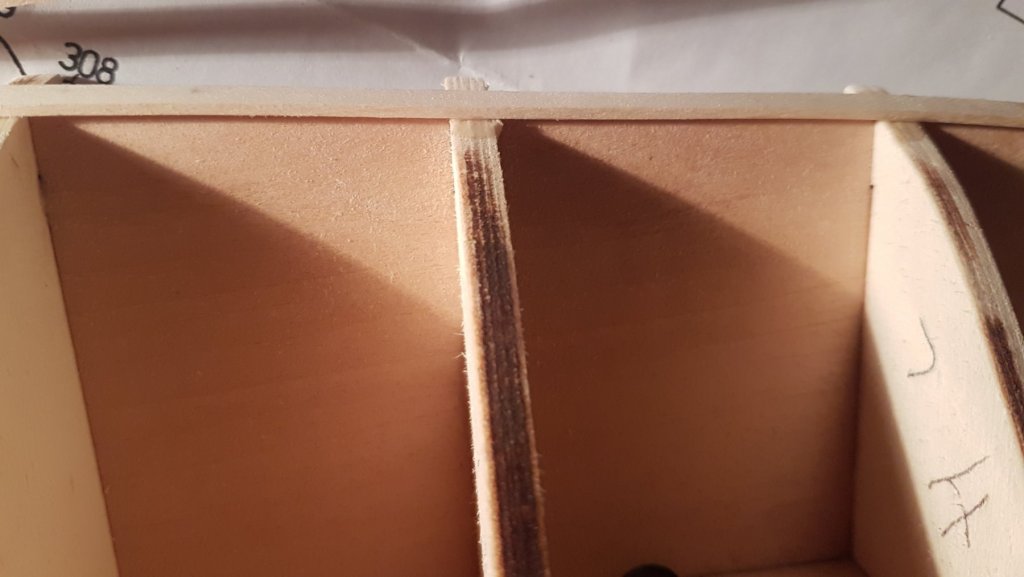
 Hello all, So this is my first model boat build. I have some experience with traditional woodworking, but this is the first model I am attempting. I wanted to create this log to help other people who are thinking about getting started get an idea of what a first build entails, and what I will be going through. I will be trying things out, figuring out techniques, making mistakes and having to fix them, which I will (embarrassingly) try to post it all here. If any of you experienced builders have some tips on any of the things I have done or will have to do, your advice will be most welcomed. I got the Krick Alert from shipwrightshop.com, it has some vague 2 page instructions in English, but the detailed instructions are in German, so this should also help anyone building this model to identify parts, and sections of the manual. Also, I'm not the most technical or knowledgeable about the different parts of a boat, so please forgive me if I don't use the right terminology. Anyway, I'm pretty excited about this project and very quickly realised it is quite the challenge. Here it goes: This is the kit. I also ordered some files and a small saw with it and it all arrived very promptly. I would certainly recommend the guys at shipwrightshop.com, at least for people in the UK. The first thing I got started with was setting the bulkheads into the keel. Some of them were a bit to tight so I had to file down (very slightly) some of them for them to fit in tightly without having to hammer them in. After dry fitting, I applied some glue and set them in place. To ensure they would sit correctly, I dry fitted the precut deck while they dried. One bit of advice would be to number the bulkheads (A, B, C, etc) before attaching them, which will make it simpler later for the planking. I have seen some people placing supports between the bulkheads but these were so tight, and being held at the top by the deck, I didn't feel there was the need for this. Once the bulkheads where in place, I sanded the top of them to be nice and flush with the top of the keel. I then took some tracing paper and using plan Bogen 2, I traced some lines and some of the things that go on the deck to make positioning them later a bit easier. Then, I and glued the deck in place. To do this I used 1.5cm binder clips which worked great. I could press down the sides of the deck which lay slightly lower than the centre and hold it down by clipping these to the top bit of the bulkheads. Pick bellow. I originally thought to buy smaller binder clips, luckily they didn't have any smaller ones, because these are a great fit and anything smaller would not fit. I then planned the bits of the deck that were sticking out of past the bulkheads. The small D-Planed worked excellent for trimming the most of it and then I did some sanding to get it to the right spot and the deck to sit flush with the bulkheads. To bevel the bulkheads, I used one dummy plank. I bent it around the bulkheads to identify where and how much of a bevel I had to put into each one of the bulkheads. I thought of and tried different ways to do this more precisely but, being such small measurements and tight in between bulkheads, I decided to just do it by eye bit by bit until I would see the plank lay flush against the whole bulkhead. For the bigger angles I used as small D-plane and then a long piece of wood (about 20cm) with some 120grit sand paper around it which would allow me to sand a couple of bulkheads at a time keeping a rough angle of how the plank would sit. I then moved to a small piece of wood (~5cm) with the same sandpaper to do the more detailed and precise work on each bulkhead. With the deck dry and the bevels in the bulkheads, I placed the bow and stern blocks that receive the planks, and then again, using a plank as a guide, I drew the curve on them and the with a stanley knife and sandpaper I shaped these to match the curves between the bulkheads. These are the front ones, parts 15, 16, 17: and these are the rear ones, parts 18: For parts 19 in the rear, finding the piece of wood to use was quite tricky but it is a 1.5x5.160mm piece of very soft wood. The only piece of that type of porous soft wood in the whole kit. I cut parts 19 slightly longer (4 of them because you need to stack 2 on top of each other, on each side), then I wetted the two for the first layer for about 10min, dried them with a cloth and bent them to roughly the right shape. I applied glue and using the binder clips I bent and held in place the first layer. Once dry, I repeated with the second layer. Once the parts were dry, I trimmed them to size and did the same as with the stern blocks (part 18). I used a dummy plank to get the right shape and this time with a flat hand file, I filed the bevel to match the right angle. See Abb. 5 Following the rough English instructions, I started looking into the planking starting at deck level, and oh my... was that a learning curve. I had about a million questions of what to do, how to measure, how to hold the planks, how to determine the bevels of the planks, etc. Some of these questions I still haven't answered, but I will let you know as I progress. Not sure if this is the right way, but here is what I am doing: First using a small bendy wire, I measured the length of each bulkhead from the level of the deck to the very end of the bulkhead. I created a chart, with the bulkheads and their distances, and then divided the longest distance by a full width of the planks. Starting from the front I labeled the bulkheads A, B, C... bulkhead H has the longest distance of 100mm which divided by 5mm, which is the width of the planks, gave me 20 planks. I then divided all of the other distances by 20, which gave me the width of the plank at that bulkhead. I took a plank, marked the position horizontally of each bulkhead and then marked the width at each bulkhead and joined the dots. Here is a pic of the guide plank I used to mark the distance of the bulkheads: The bow and stern block attachments don't have a clear length as they progress downwards, so I just continued the line from the other bulkheads all the way to the bow and stern. I put the marked plank together with another one (to match on the other side) and using the small D-Plane, I planed the planks down to the line. I then modified the binder clips following something I saw on Youtube. (Sorry, I can't remember who's video this was but all the credit goes to you "Hero" as this would have been a nightmare without this tip.) Using the modified clips and clipping the first plank against the deck, I followed the deck line glueing the plank, leaving it 1mm longer in the bow and an the rest hanging out in the stern (as you can see a few pics back). I then sawed the front to match the angle with the keel and it fitted nicely. Here, I made my first big mistake: In the bow, I tried to keep the bevel of the plank flush with the deck, which looked quite nice from above. After it had dried, I realised that this had basically forced the plank away from the bulkheads and when placing the next plank there was a huge offset. Here is a pic of the gap: So, I had to take a blade and from underneath cut along the join of the deck and the plank for the first few bulkheads to release the plank and re-glue it allowing the bevel to shift with regards to the angle of the deck, but keeping the plank nice and flush against the bulkheads. Here is a pic of the plank removed: Here is a pic of the plank sitting nicely against the bevel of the bulkheads after re-glueing: In the stern, there was so much twist, that I had let the plank curve naturally as I laid it flush against the bulkheads so I did not have to correct this. I could see the planking being one of the biggest jobs of the boat and something that requires quite a lot of time each sitting. Therefore, I have started with some of the other parts of the boat that I can progress when I have shorter amounts of time. I will continue with some of this other work I have done, and keep updating how I get on. Happy building.


-
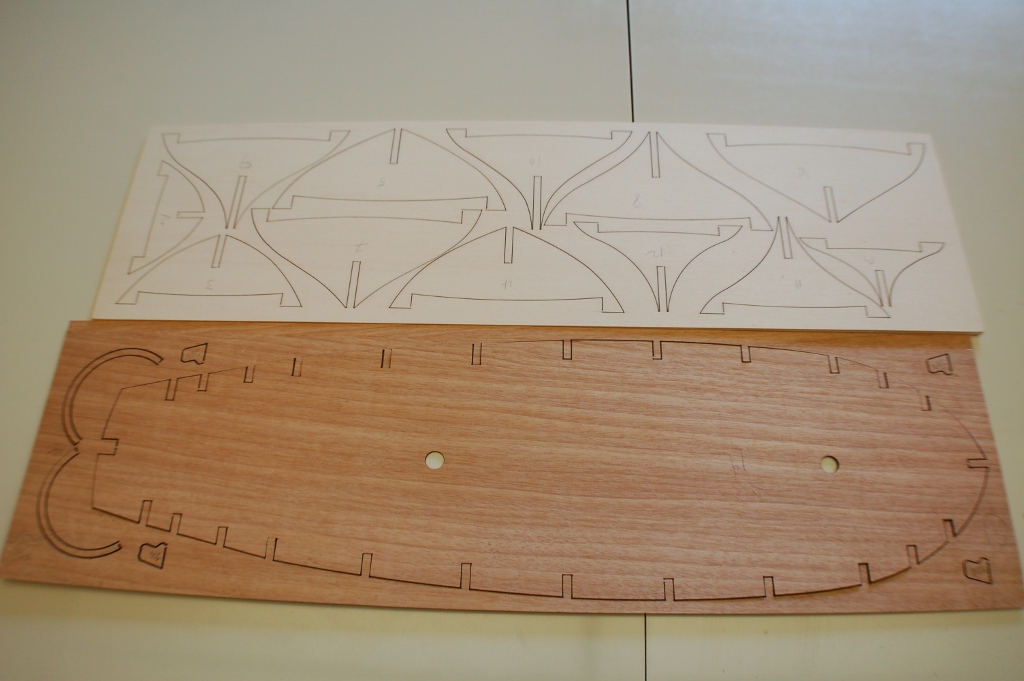
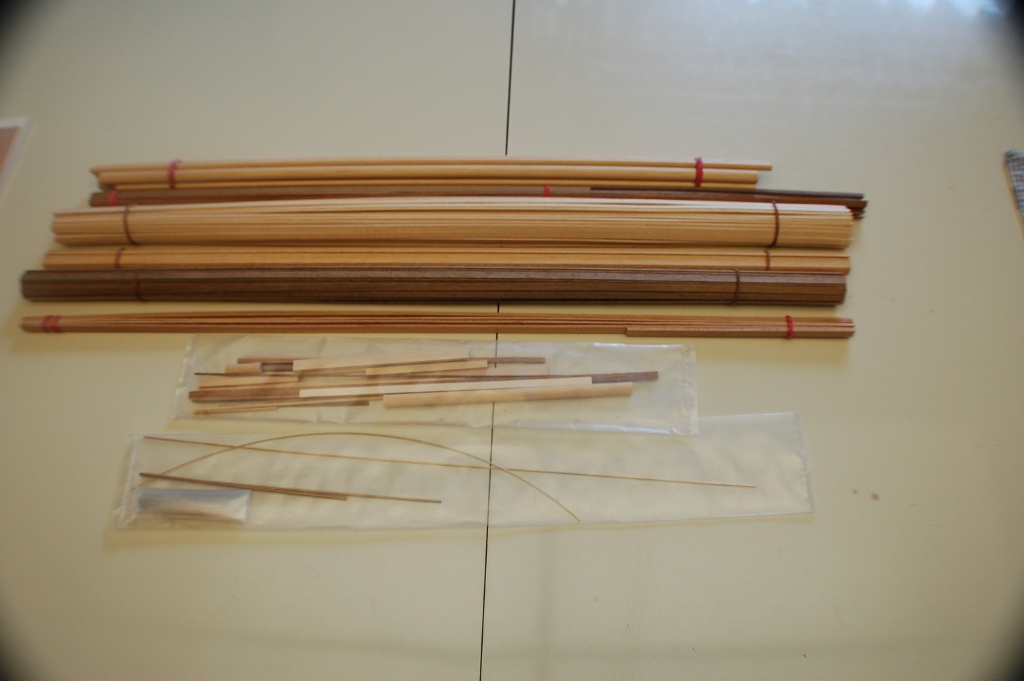
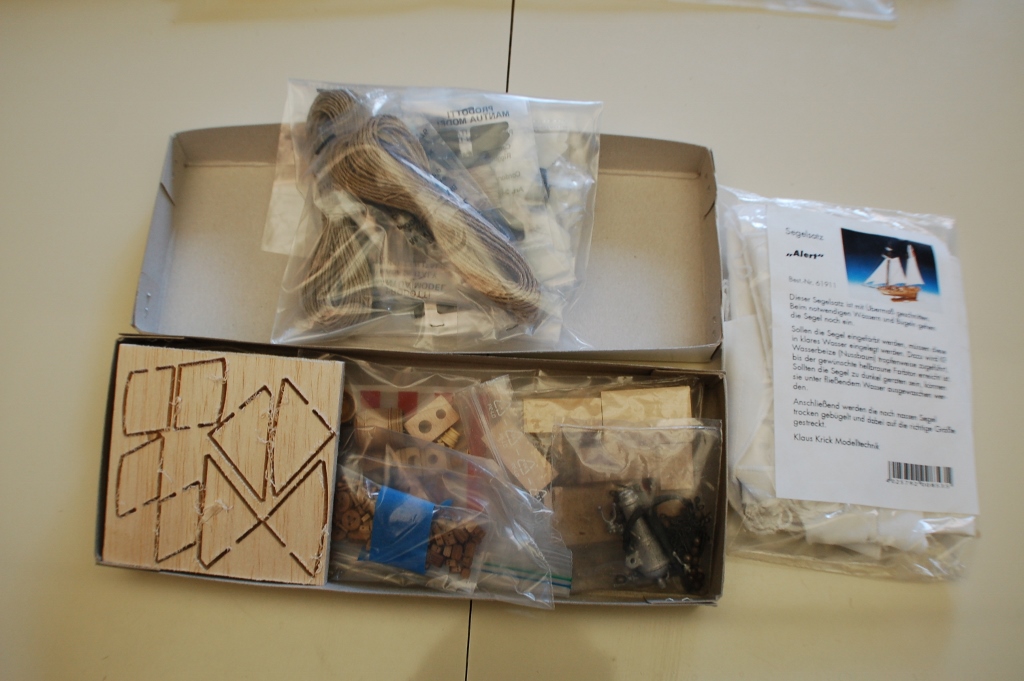
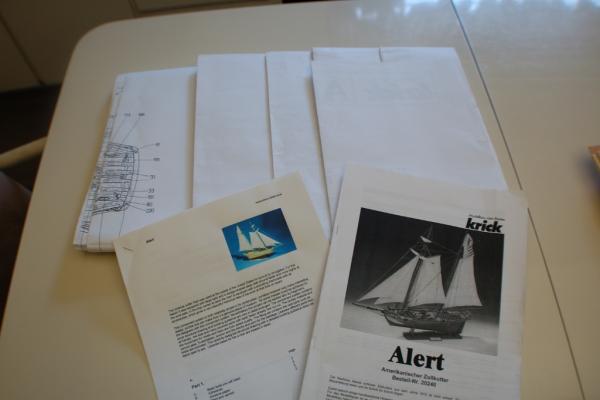
 Before I begin this build of Krick's Alert, I'm going to do a little research on this cutter. I ordered "The Naval Cutter Alert" by Goodwin. It should be here in a couple days then hopefully I can get a better look at this fine cutter, meanwhile I've taken a couple pictures of the box and parts. This is a German kit, so the instructions are in German, but they do include a sparse English version, but that's no big deal, If I get stuck, I can always ask Dirk . He did this same kit and did an amazing!! job on it. (as usual ) Anyhow,here's the pictures One thing I wish Krick would've done, is to roll the plans instead of folding them. It's really a bummer when they do that. I noticed that the keel is ever so slightly tweaked, I'm going to set the bulkheads in temporarily to see if it will pull it in . I have some box wood strip That I had purchased from Jeff when he ran a special, so I 'll probably use that instead of the supplied stock ( depending on the finish I decide on ) Here again , more than likely I will up grade the blocks and yardage with Chucks products. I purchased the sale set as an extra. After seeing it I'm not so sure I like the fabric, it seems a little on the heavy side, I don't know, maybe it's just me, but that's along way off. Frank
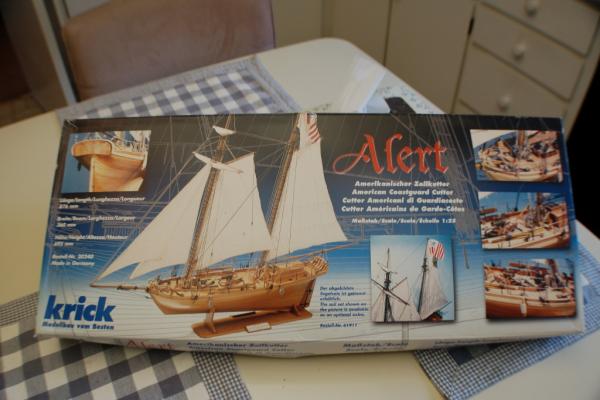


- 455 replies
-
- 17
-