Search the Community
Showing results for tags 'Lindberg'.
Found 16 results
-
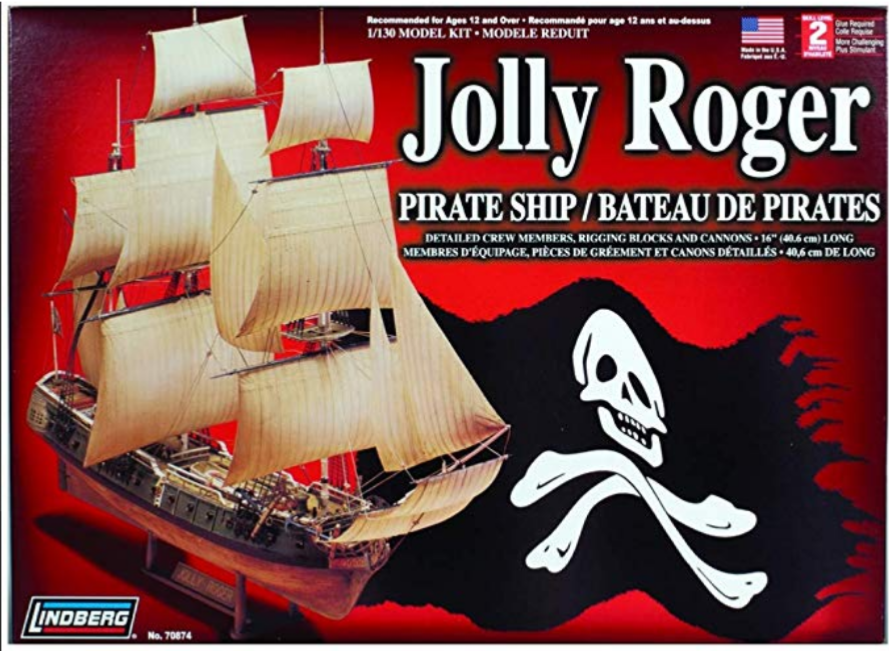
 Well I am going to try 'Start a model and finish it'. I got the Lindberg 'Jolly Roger' at Hobby Lobby with a coupon for $17. I will make some changes to the kit, add details to the gun deck, improve the masts and spars, make my own sails, and decide on which color scheme use. Improvements: add birth deck under ladders add hawse holes add gun deck capstans add officers quarters add galley stove Hope to make some progress soon Ziggy


-
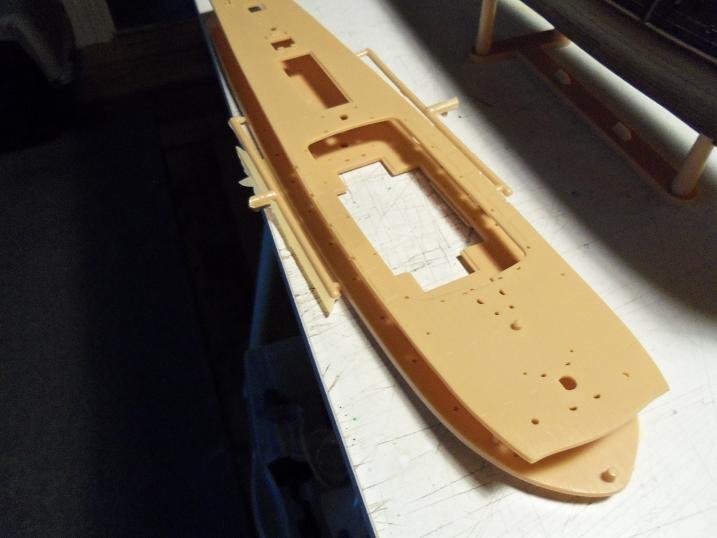
 After watching a program on Youtube about the disaster in 1934 where the White Star RMS Olympic cut in half and sank the Nantucket lightship, I started to look up the history of lightships. I then stumbled across someone's post of their model build of this same ship. I had never heard about these ships but I found the history and looks of them fascinating, and so I purchased this kit from Hobbylinc. On another site, I asked 'what year' did this kit represent? A gentleman by the name of Ron J, who is on the BOD for the Nantucket lightship, was kind enough to respond and said this was prior to it's retro-fit in 1960. So that gave me a start to research what colors were used on this vessel at that time. As of 1939, the USCG took charge of all lightships and, by 1941, colors were pretty much standardized (except lightship Huron, who's hull was black). Colors were: red hull with white lettering, white superstructure and buff (also known as spar) color stack, mast, lantern galleries and ventilators. So I will try to work with this color scheme instead of color scheme shown on box lid. I am planning to try to incorporate some lighting into this ship. By 'try', I mean to say that my electrical knowledge is Cro-Magnon basic! But again, a nice gentleman, who goes by the name of RCBoater, shared some valuable information about using a 360 LED sold by www.superbrightLEDs.com and a controller that simulates a lighthouse beacon, sold by http://www.bakatronics.com.
 -
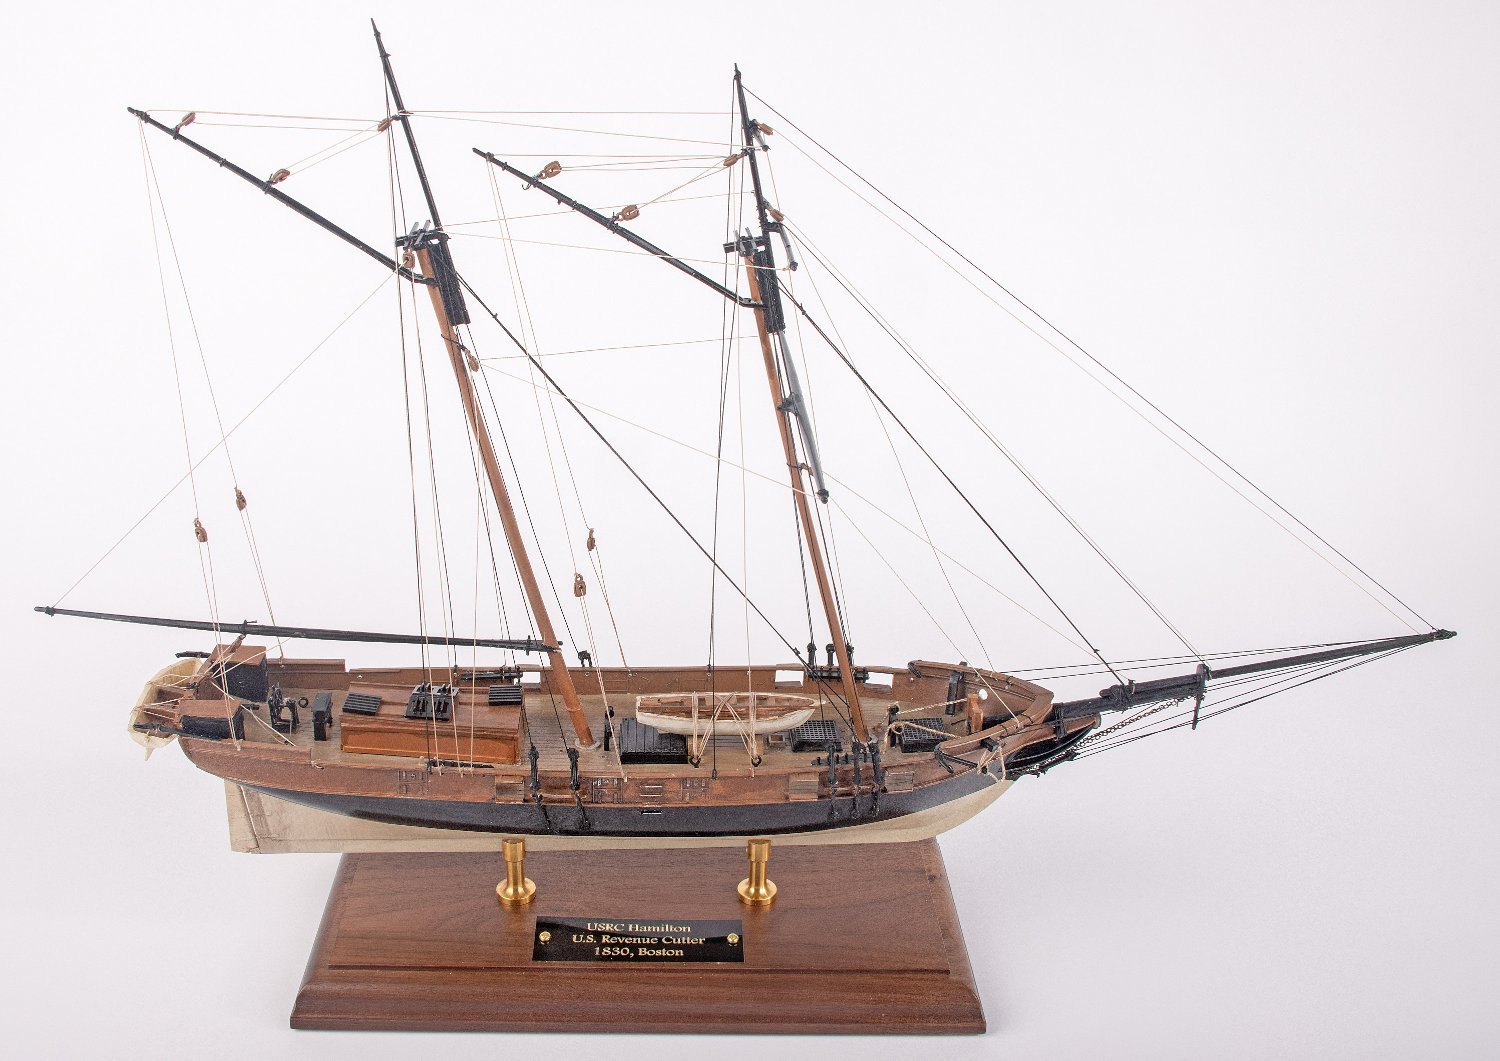
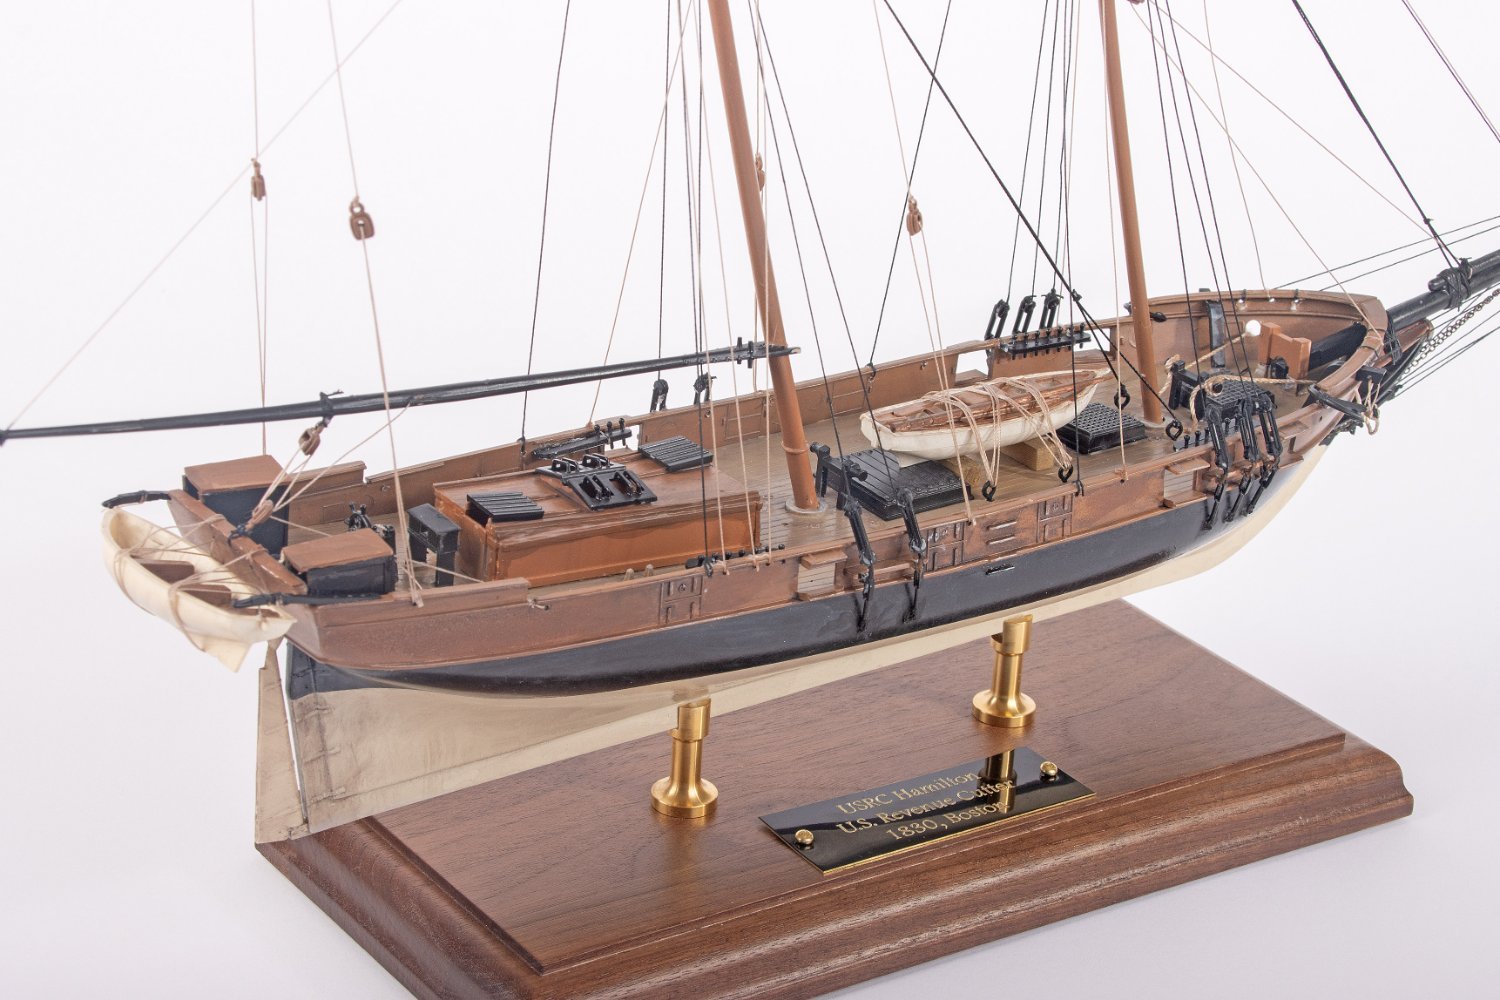
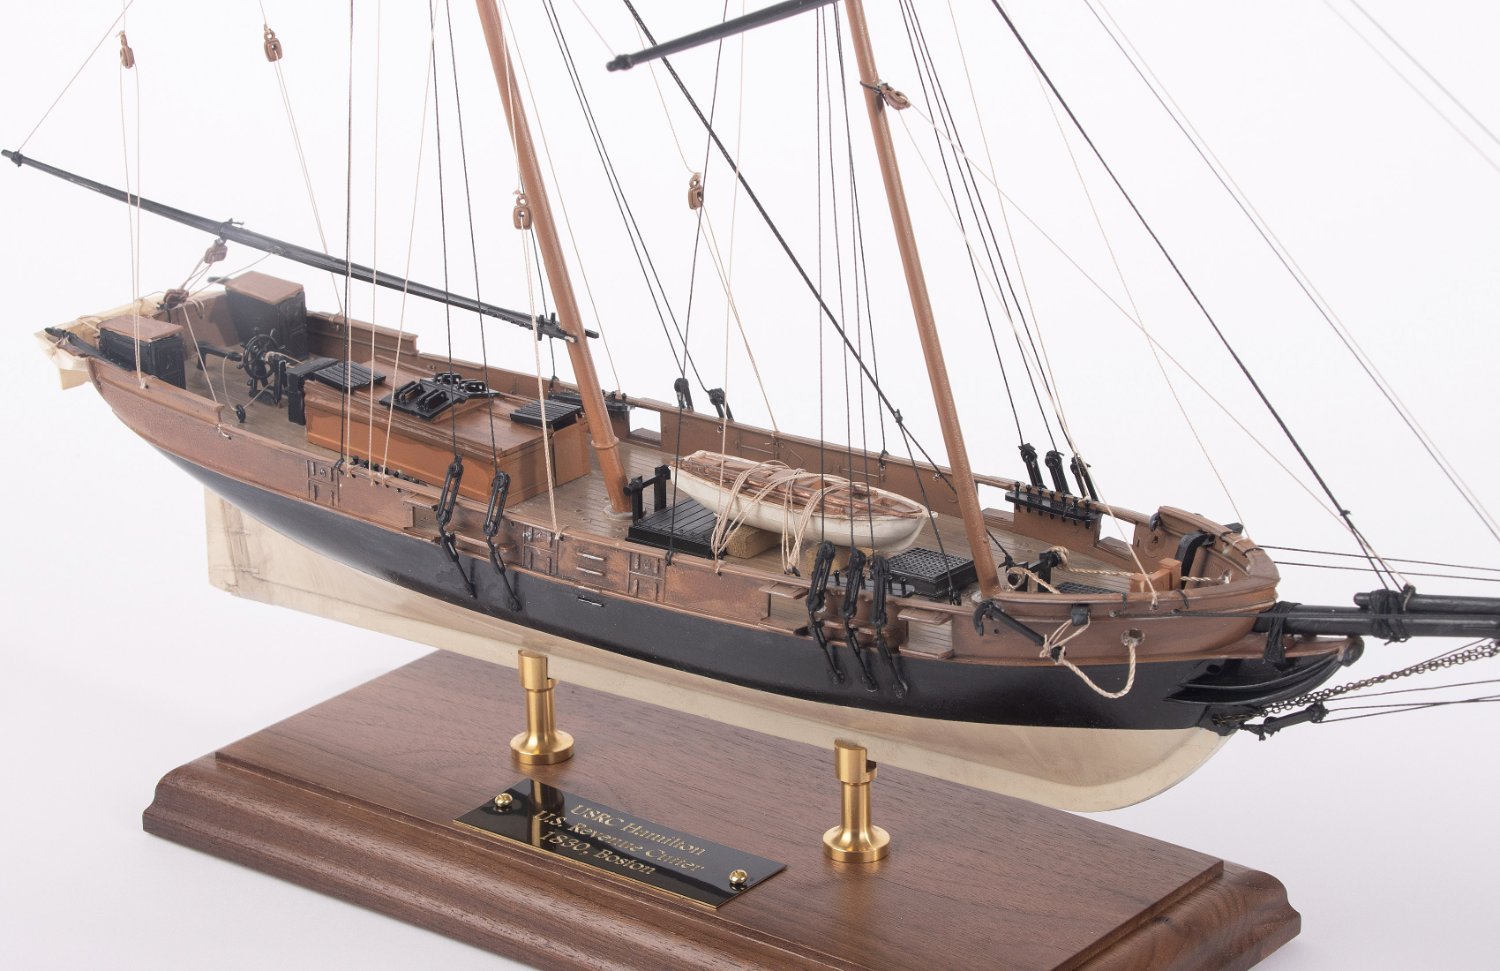
 I’m a newbie at ship modeling and doing some training-wheels plastic projects to learn a bit about rigging and model weathering techniques—on my way to building more ambitious wood kits. This is a customized version of the old Lindberg “War of Independence Schooner” (No. 70711), out of production for 30+ years, but sometimes the kits pop up for sale on Ebay. My model is inspired by the U.S. revenue cutter “Alexander Hamilton,” which was based in Boston from 1830–1850, and lost in 1853 in a storm off Charleston, South Carolina. I did not like the Lindberg cannon supplied with the kit, and I’m looking for metal cannon at the appropriate scale. I also haven’t decided how to add scale ratlines, but I now have the Model Shipways ratline kits to work with.


-
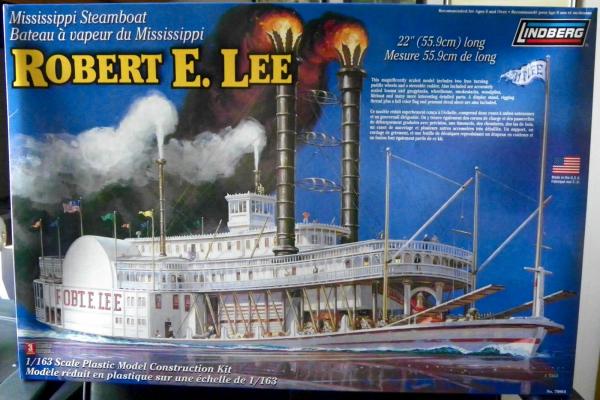
 Hello friends, I bought a like new, mint, in the factory packaging, Lindberg 1/20 Chris Craft Constellation model. I bought all the R/C components that I will need to put it on the water. I plan to build the boat as an R/C equipped model. I know nothing about R/C boats, even though at one time I owned a hobby shop and sold R/C planes and supplies. I am experienced with radio-controlled garden railroad engines. I've done over ten of those installations. I don't even have a pond nearby to float it on. I have two other build logs here, One is a Revell 1/96 Cutty Sark that still needs the rigging done. And the other is a Lindberg Robert E Lee steam boat. I know there is another build log of the Lindberg Constellation on another site and I have been reading it. As usual with me. I ask is anyone interested in another Lindberg 1/20 Christ Craft Constellation build log? My first name is Bob, so you don't have to call me bcochran.
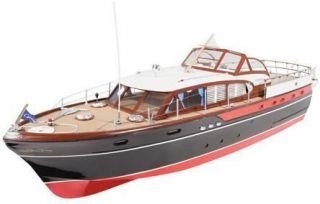
-
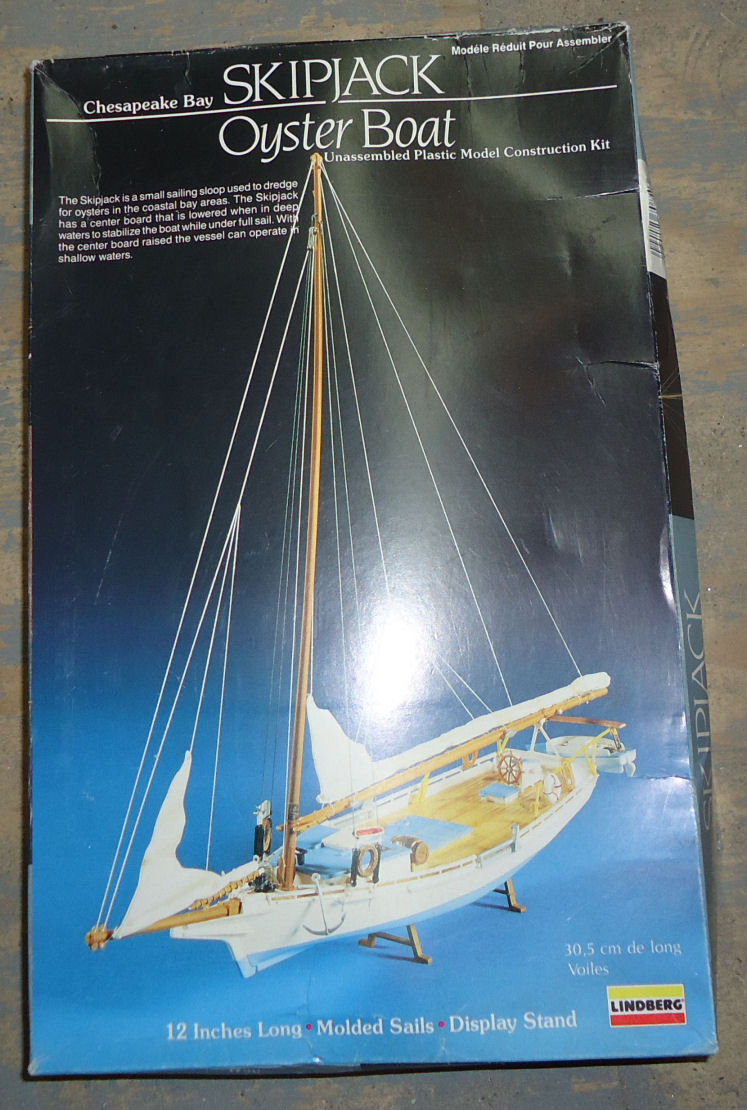
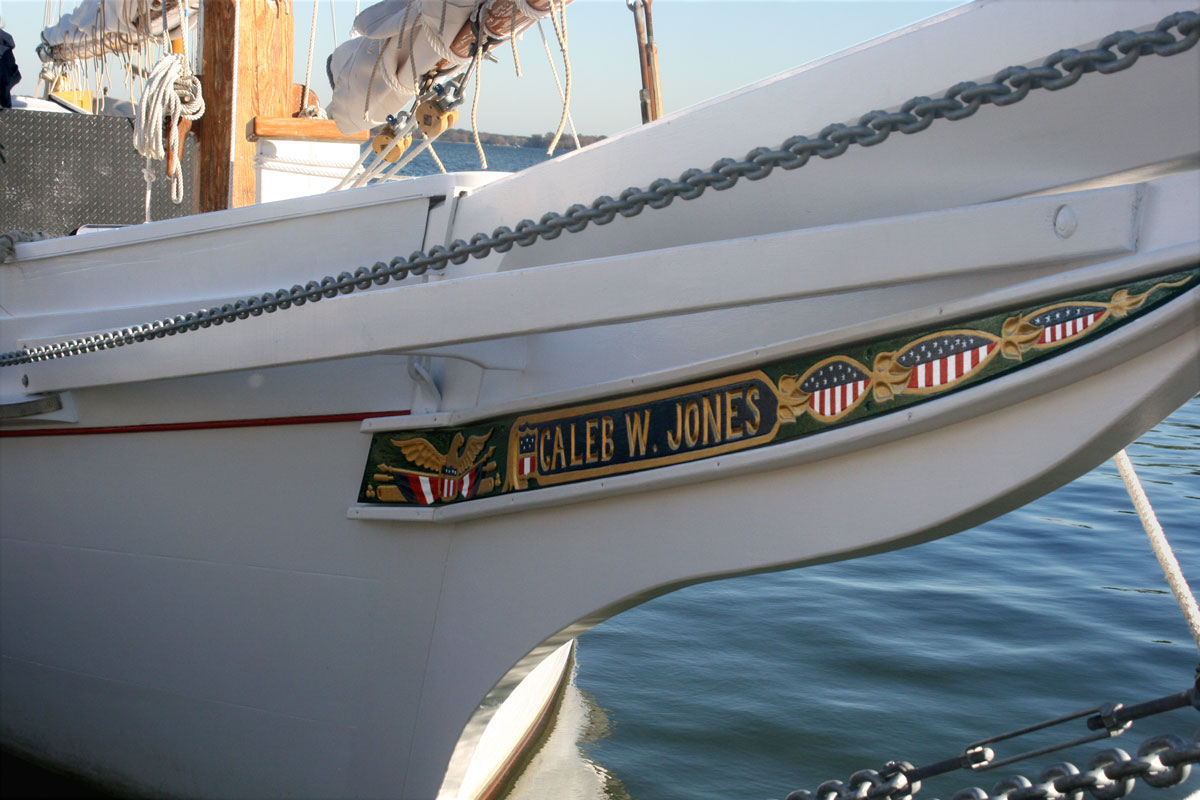
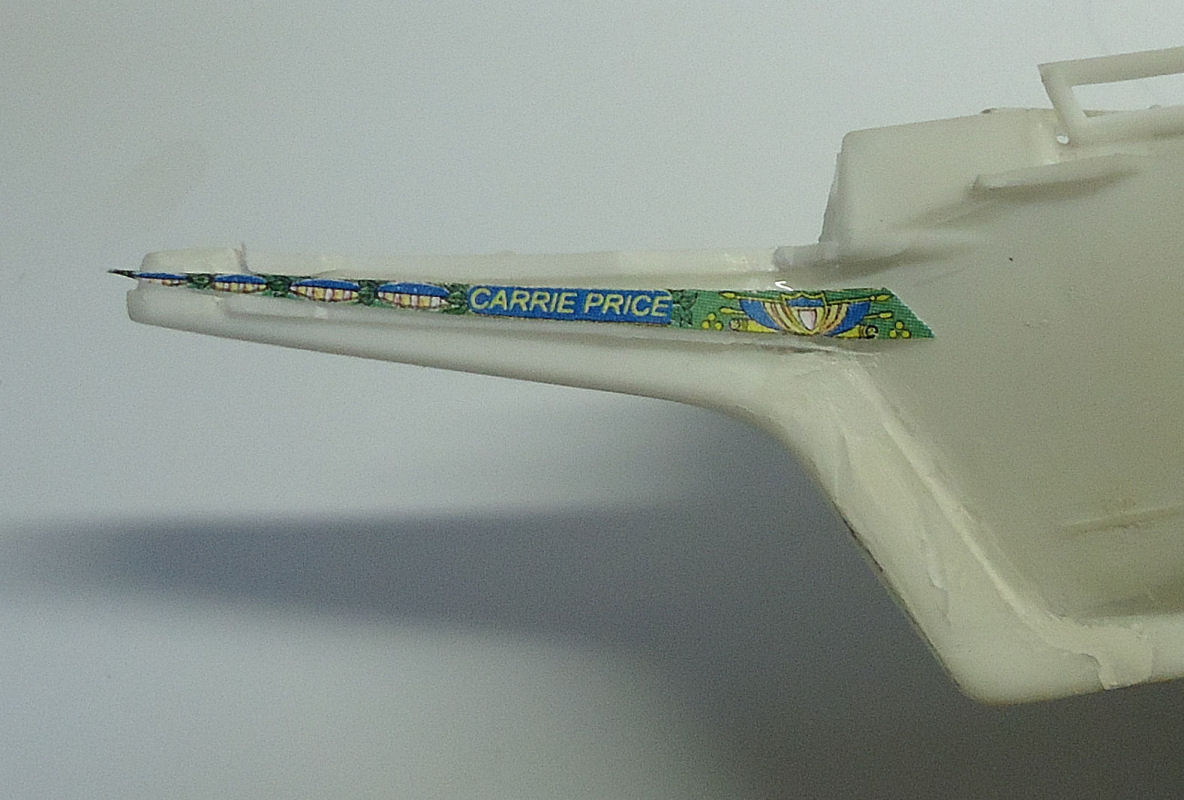
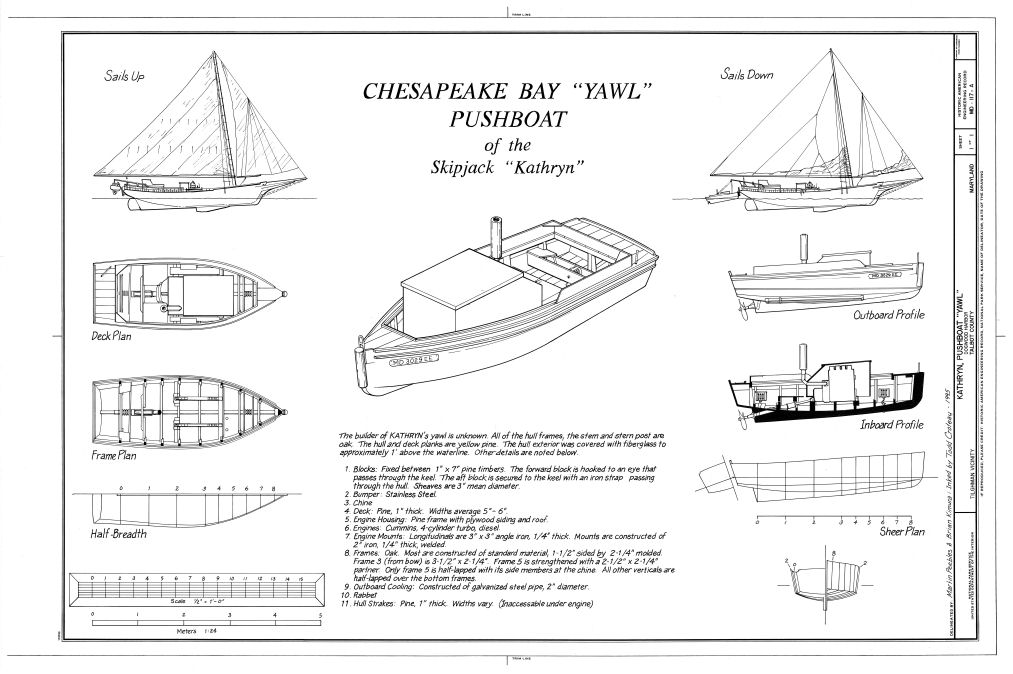
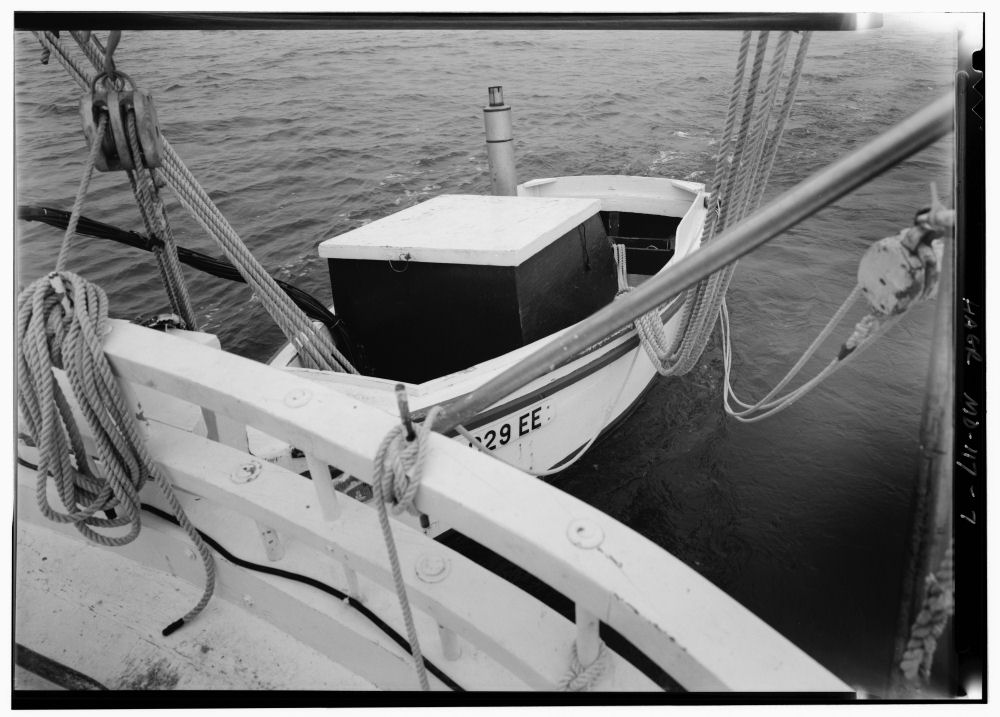
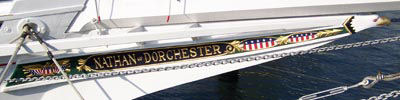
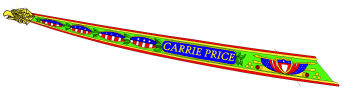
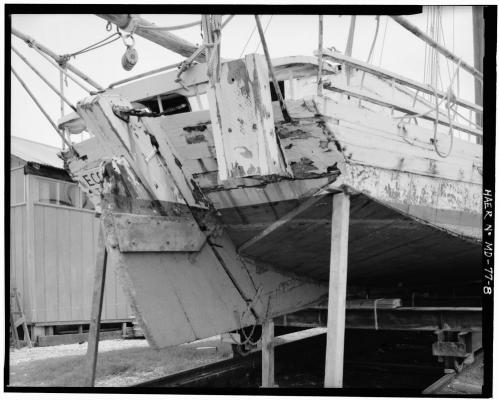
 Part 01 This is a build of the Skipjack Carrie Price using the Pyro Chesapeake Skipjack Oyster Boat model kit. After some research I found out that the Lindberg/Pyro kit is a model of the Carrie Price as recorded by Howard Chapelle. After I started the kit I found the name cast on the transom, but had not noticed it before I started my research. The Carrie Price is one of the projects in “American Ship Models and How to Build Them” by V. R. Grimwood and Howard I. Chapelle. I am using the plans in this book to build and update this kit. I am planning to depict her as build around 1895. I’m not going to make this a museum quality model, but will do my best to make it a good one. According to the Chapelle drawings the model comes as close as I could measure to 1/64th scale, the same as the book drawings. This will be somewhat of a slow build, as I am also working to expand my shed/shop, and the finished section is a mess, with “stuff” from the unfinished portion (enclosed, but no insulation, electric, etc.) piled into the finished area and my work area. Also I decided to do this build log after I had partially assembled the hull, so I will have to describe some of what I have done so far, without the benefit of before and after photos, in the first parts. I also have the help of cats in writing this build, so have to take frequent “Look, I want attention, so I’m sitting/walking/sleeping on your keyboard.” breaks. This is my first model in quite some time and my first build log ever, so please bear with me, if you decide to follow this along with me. I do not know all the correct names for all the various parts of the boat, but will do my best. Modeling suggestions and corrections to the names I use for the parts welcome! I will be using information in the Grimwood book, information I found on line, the drawings for the Willie Bennett by Model Shipways, and the book “Model Boat Building: The Skipjack” by Steve Rogers. Box Cover Art The kit is fairly close to what is shown in the drawings, but does have several problems. Here is a list of those I have found so far: Minor, but paint scheme shown on box wrong. The Chesapeake Boatmen were superstitious about painting blue on their boats, the exception being blue in the field of the American flag, or bunting. This was generally used only on the trailboard decoration. Also the decks were painted white, not left natural. Red copper paint was also the standard at the time for the anti-fouling paint. The cabin tops were generally green or a slate gray, from my research, still looking into this. The trailboards below the bowsprit were ornate, the kit has nothing decal or otherwise for them. I have no information on what the Carrie Price’s trailboards looked like, so I will use a modification of those detailed in the Willie Bennett kit. The Bennett trailboards have features that are common on examples I found of other trailboards. (besides I already redrew the Bennett’s trailboards for my own use). Additionally the drawings indicate a bird figurehead at the end of the trailboards. The Bennett has such a figurehead. I will use the same graphic as on the Bennett drawing on the end of these trailboards. I plan to print one on the end of the trailboard graphic, and then shape the profile of the stem to match. I will not try to crave a 3D figurehead. Trailboard Ida May Trailboard for Caleb W. Jones. Note the stem brace that is similar to the Carrie Prices. Trailboard of the Nathan Dorchester Port trailboard graphic I will be using for the Carrie Price. It will be about 2 inches long on the model. Here is a roughly cut print of the port trailboard placed on the model to see what it would look like. The print is cut too thin at the fore end to fit between the soon to be removed detail. Note also the original railing and knightheads. I have just started to remove the stem detailing at this point. The numbering for the points below should have started with 4,5, etc. but somehow was reset when I copied the text to this post, and I can't seem to change it. Please bear with me as I learn. As an interesting side note, if you look at the pictures of the Jones and Dorchester, the bowsprit does not rest on the stem much past the hull, on these two. I’ll have to look closer at the Bennett plans and the Rogers book. There are some major fit problems in the pieces, nothing that can’t be fixed with some putty, but they must be corrected for a good looking finished model. See the stem keel joint in the cover art picture. There is no oyster dredging equipment included in the model. This is actually a bonus for me, as she was built before the use of power dredging winches, and thus the deck casting has no marks where the winch parts might be attached. The down side is that I will have to build 2 hand powered winches, for which I have found some photos/drawings, but none with dimensions. The stem in the trailboard/rail/ bowsprit area is incorrect. I’ll explain when I get to that section. See the heavy detailing on the box top The railings in the bow and stern do not extend far enough. Rope coil castings in the deadeye and stern railing areas are terrible and incorrect, I will remove them. The mast is a little crude, but most importantly badly warped. I will have to make a new one. The boom is also warped, but I may be able to use it with modification. The casting is fairly straight side to side, but curved vertically fore and aft. The long booms on the real boats sagged, but my boom is curved up rather than down! I have not decided whether to make a new one (with or without sag), or remove the sail attachment detail from the top of the boom, invert it and remake that detail. I’m leaning toward making a new one, with detailing that matches the proportions of the ones on the mast I will have to make. The furled sails are just wrong! The jib is not too bad, in real life it would have been furled tighter, but this could pass. The main sail on the other hand angles in the opposite direction from the mast rake! The main sail is attached to the mast via mast hoops and thus the leading edge should always be close to the mast, it can’t pull away as shown in the model. I’ll make new sails, I have not decided whether furled or set. I can use the plans from my Willie Bennett kit for rigging, and sail construction. On the prototype skipjacks the bowsprit has made with a downward curved hog or bow. This was cut into the shape of the bowsprit, it was not steamed in from a straight spar. On the model the bowsprit is a straight spare. Also, as is not atypical on plastic models, the fittings on this, the mast, and the boom are cast quite massively. The model part also has no round to octagonal to square transition area, as shown in the plans. The model overall though is accurate in dimension and overall shape, a good starting point. As a note: The kit includes two ship’s boats, this is correct. The large boxes in interior are also correct. They are engine covers. Maryland law dictates that the skipjack itself may not have an engine, sail driven only. This is a measure to limit oyster harvesting in hopes of preventing overfishing. The auxiliary though is allowed an engine. If the wind is insufficient for dredging the boat, oddly enough called a “Push Boat” is lowered and used to push the skipjack. If the wind is good, the boat is not used. The second boat provided is the one used to get from the shore/dock, to a moored skipjack. The engines on the auxiliaries were generally automobile or similarly sized motors. Push Boat drawing from Nation Archives. Note the lack of a rudder. The Push Boat direction is controlled by steering lines (see below). Push Boat in operation. Note the rigging for controlling the direction of thrust, from Nation Archives. Push Boat “Thrust Pad” on the E. C. Collier, from Nation Archives I will show some small sections of the plans to illustrate where I will be making some of the modifications. Other than the hull/railing details above , most will be in the rigging area, so I will just show photos of my progress for that.


-
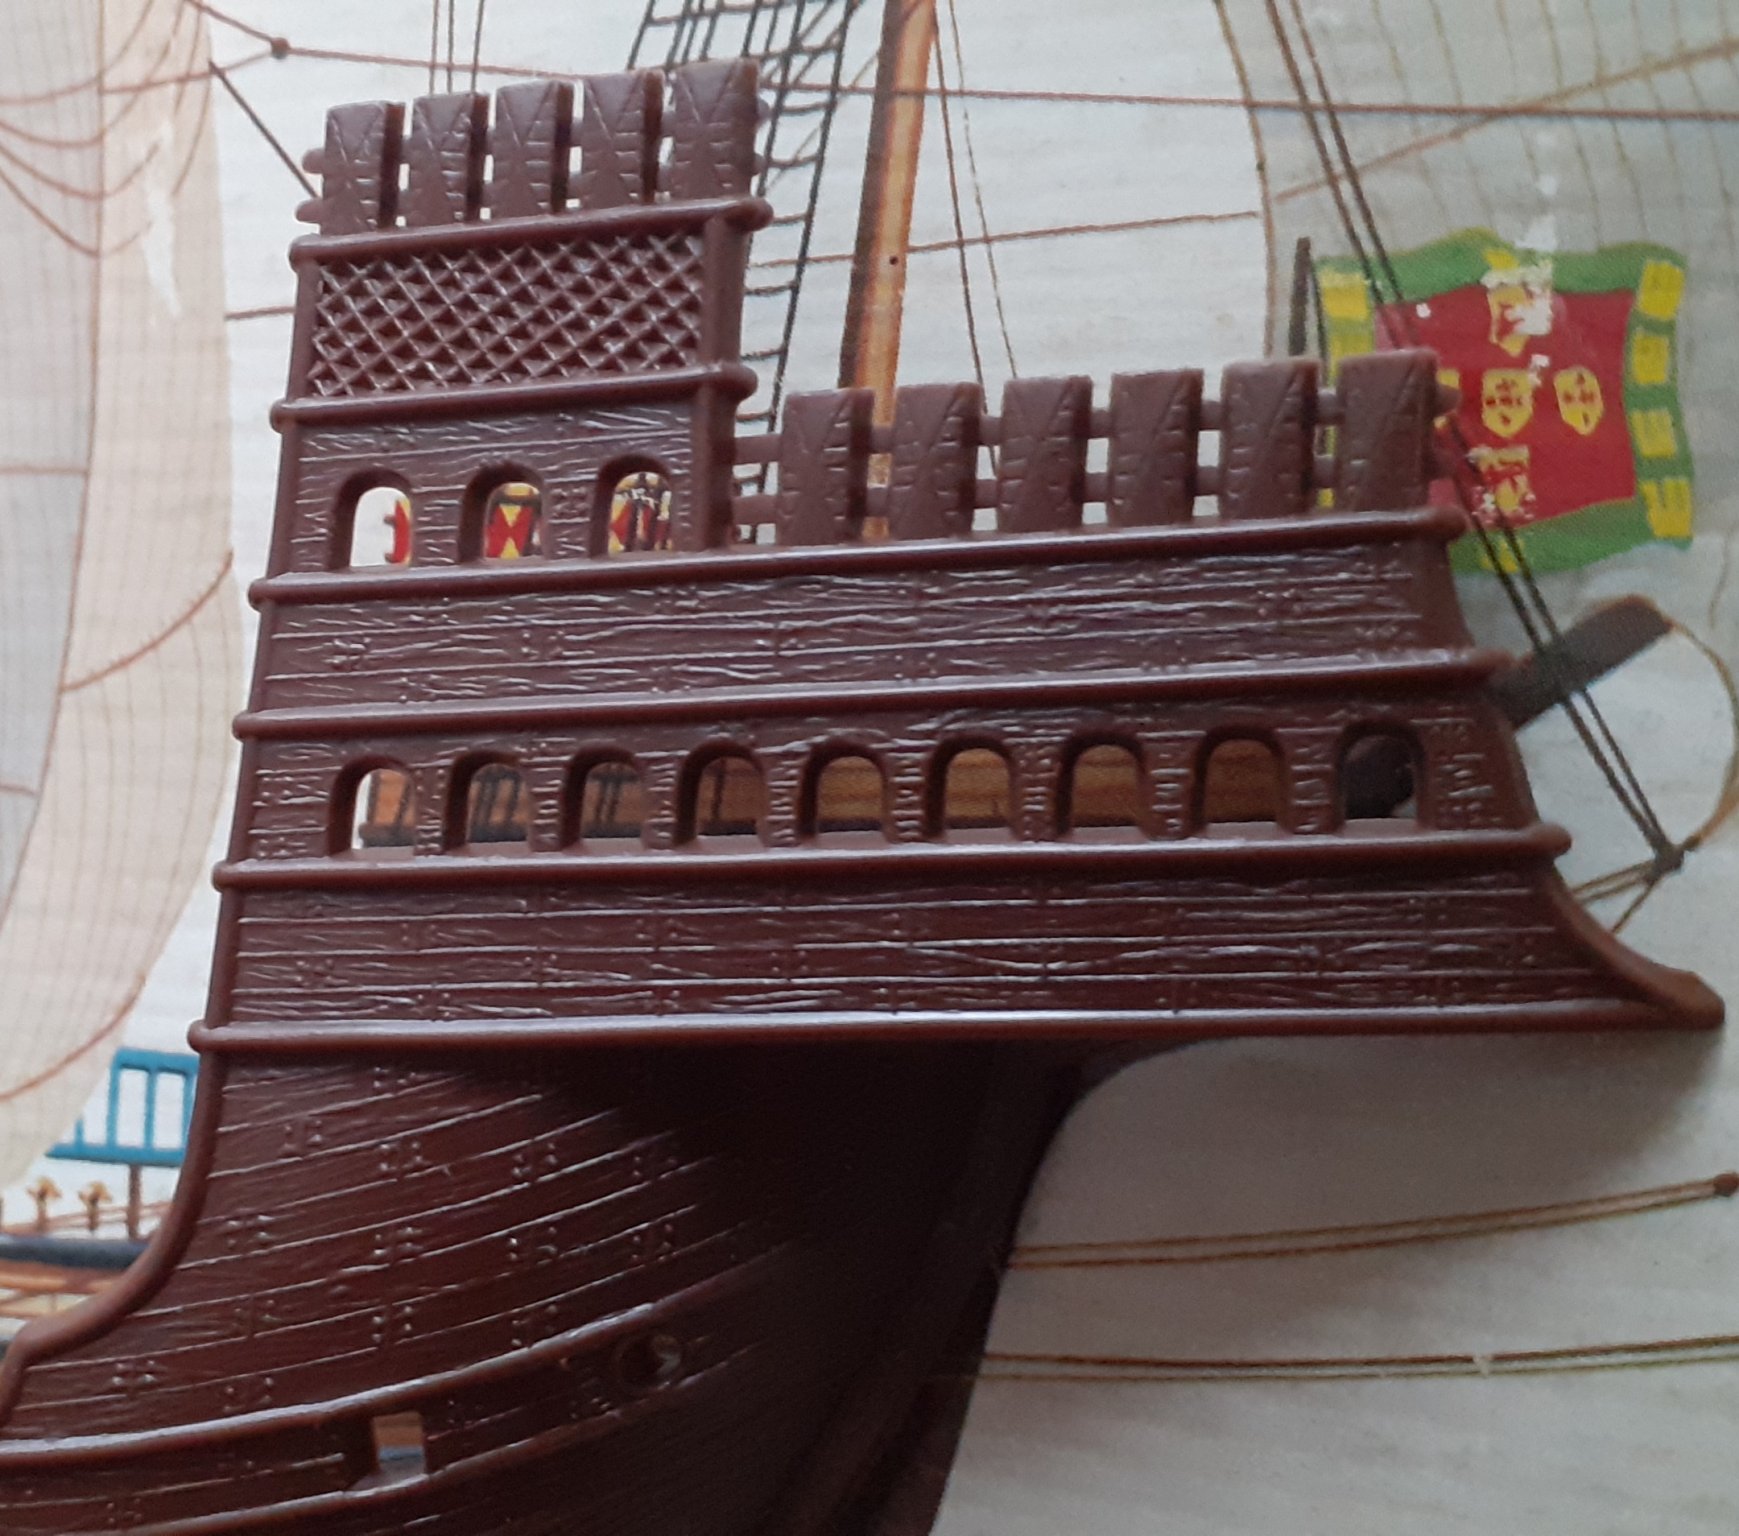
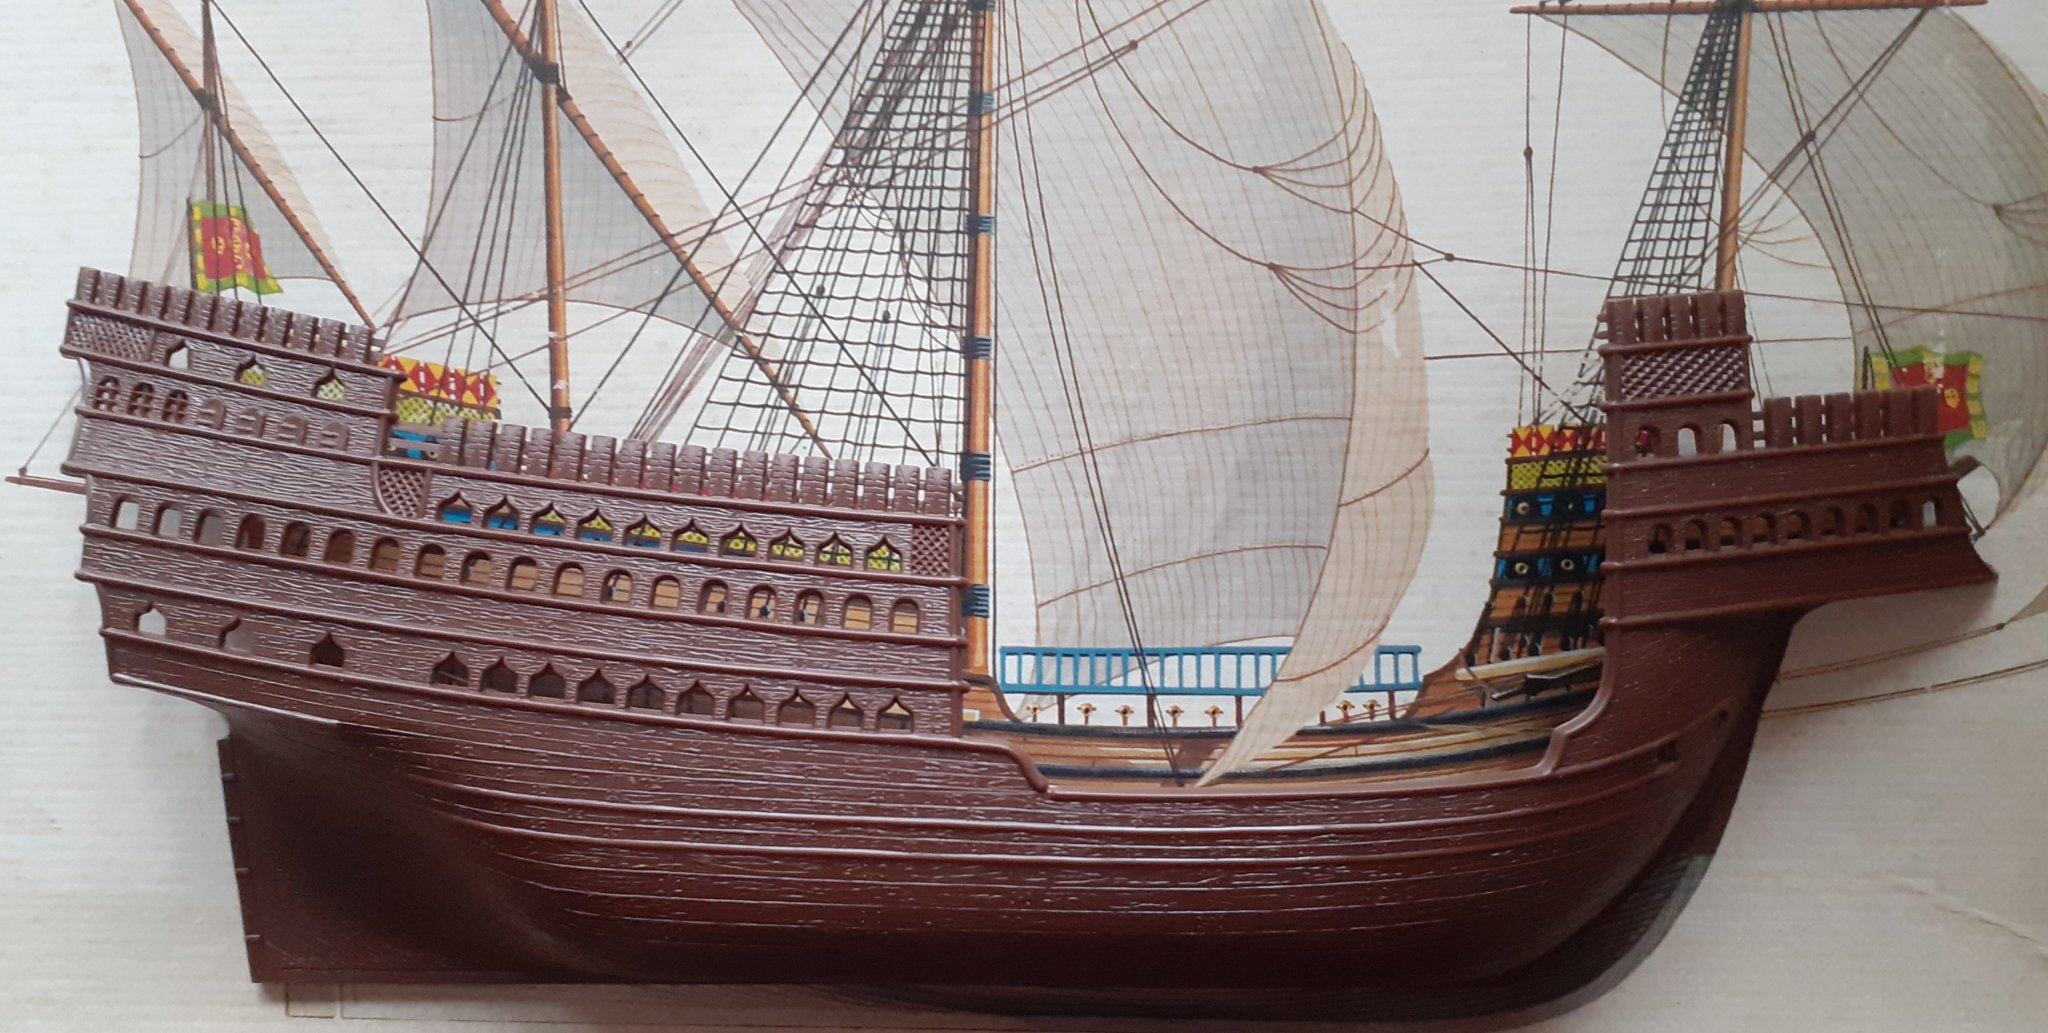
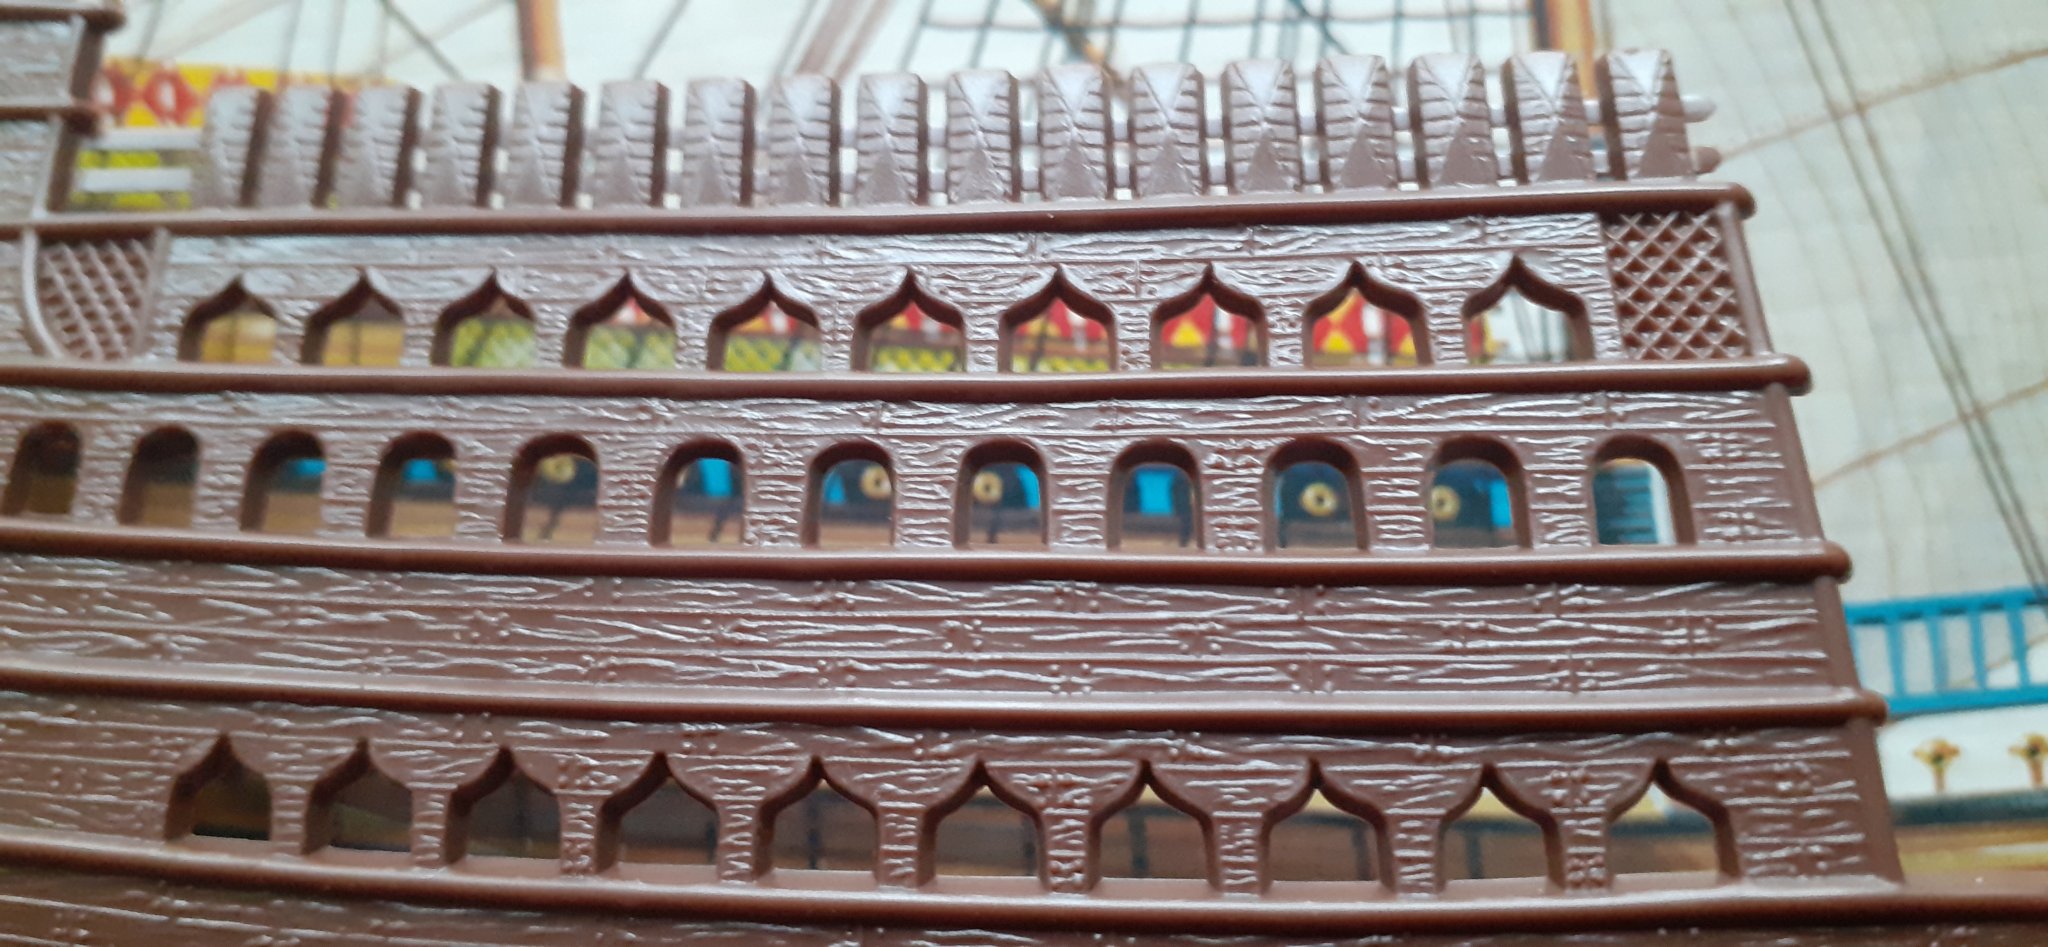
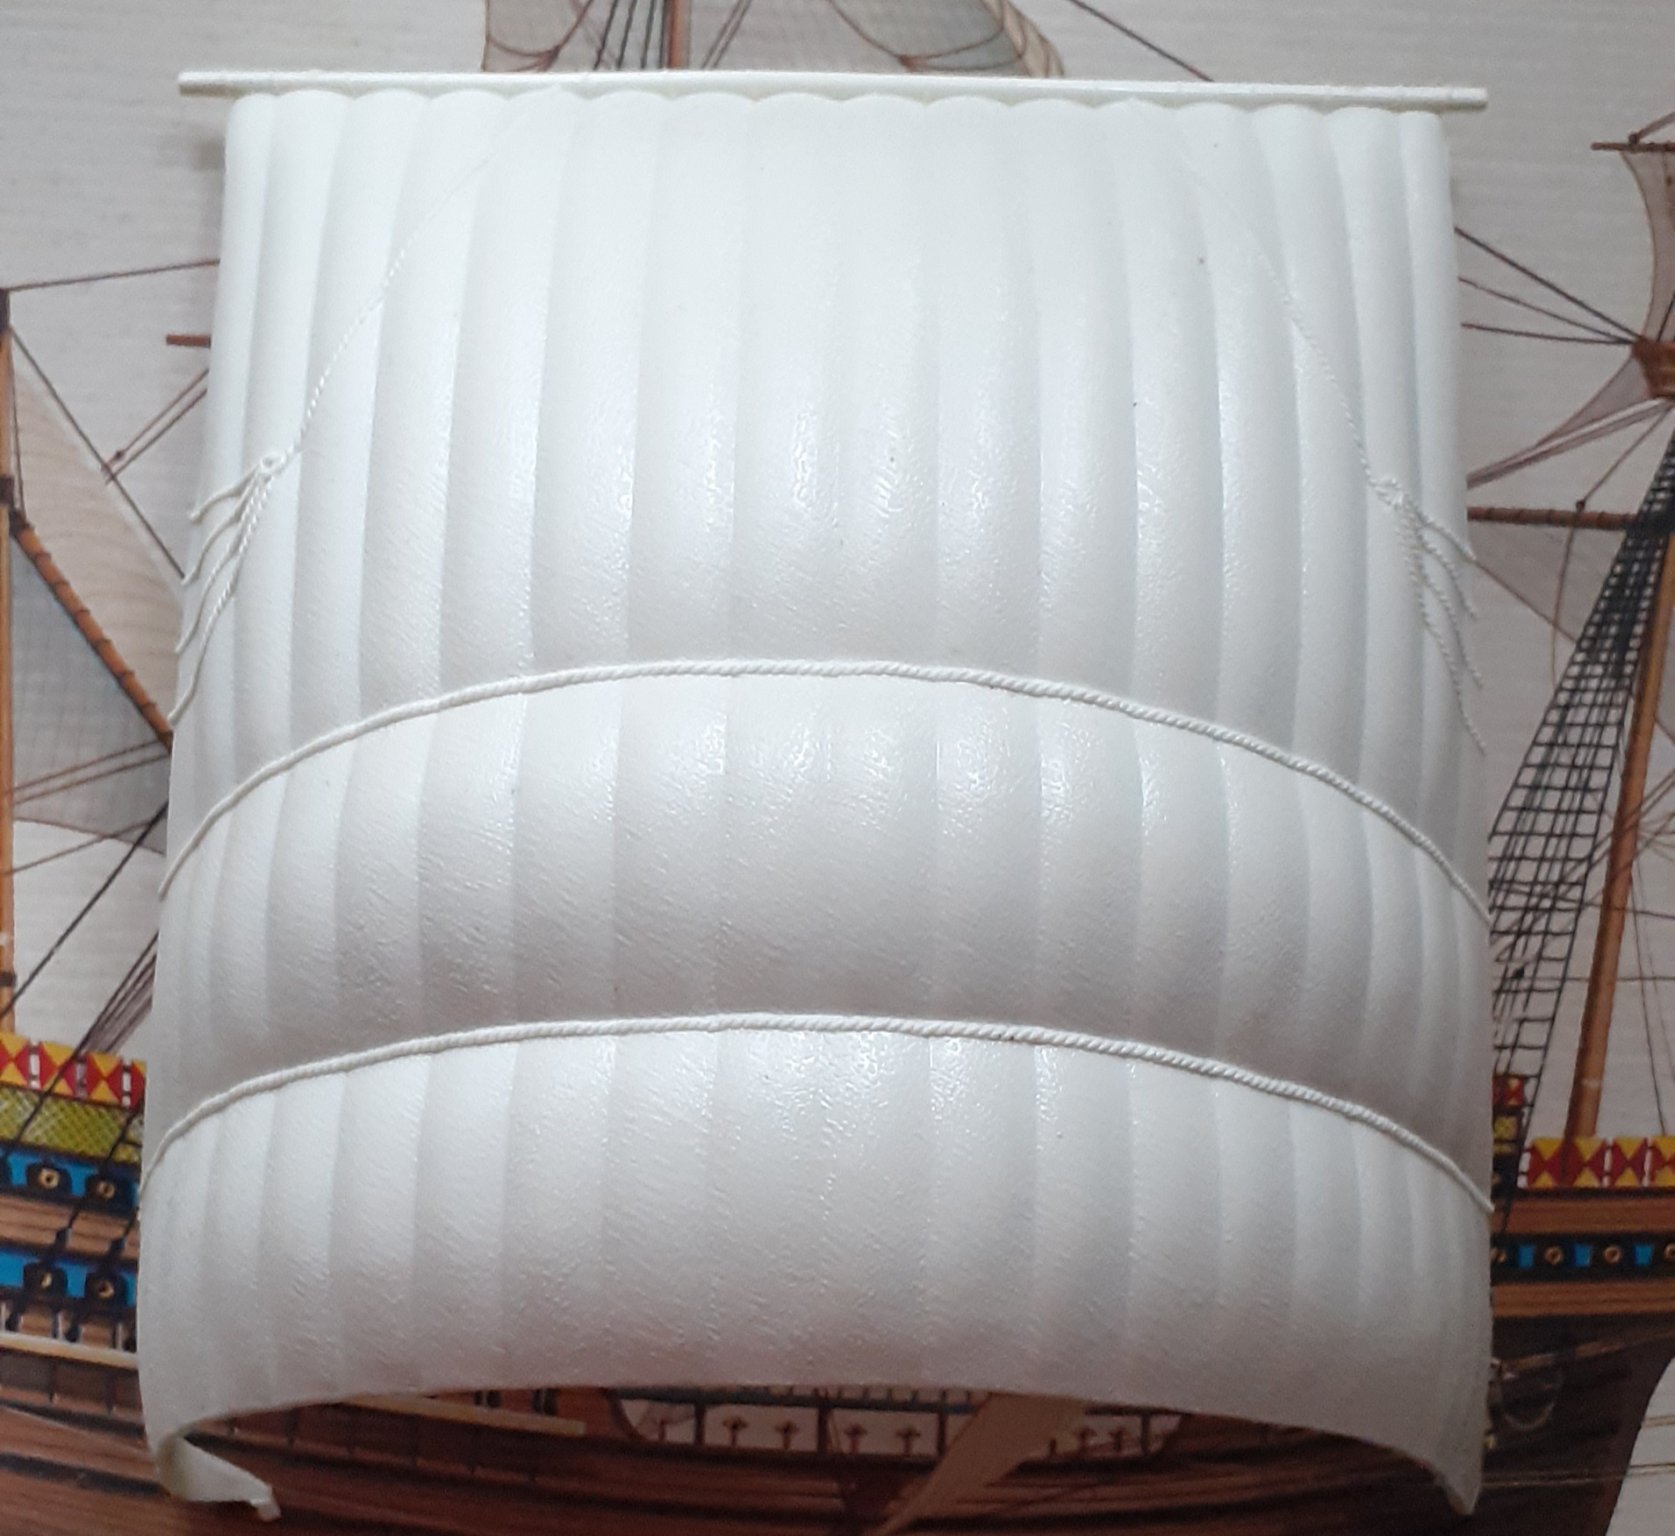
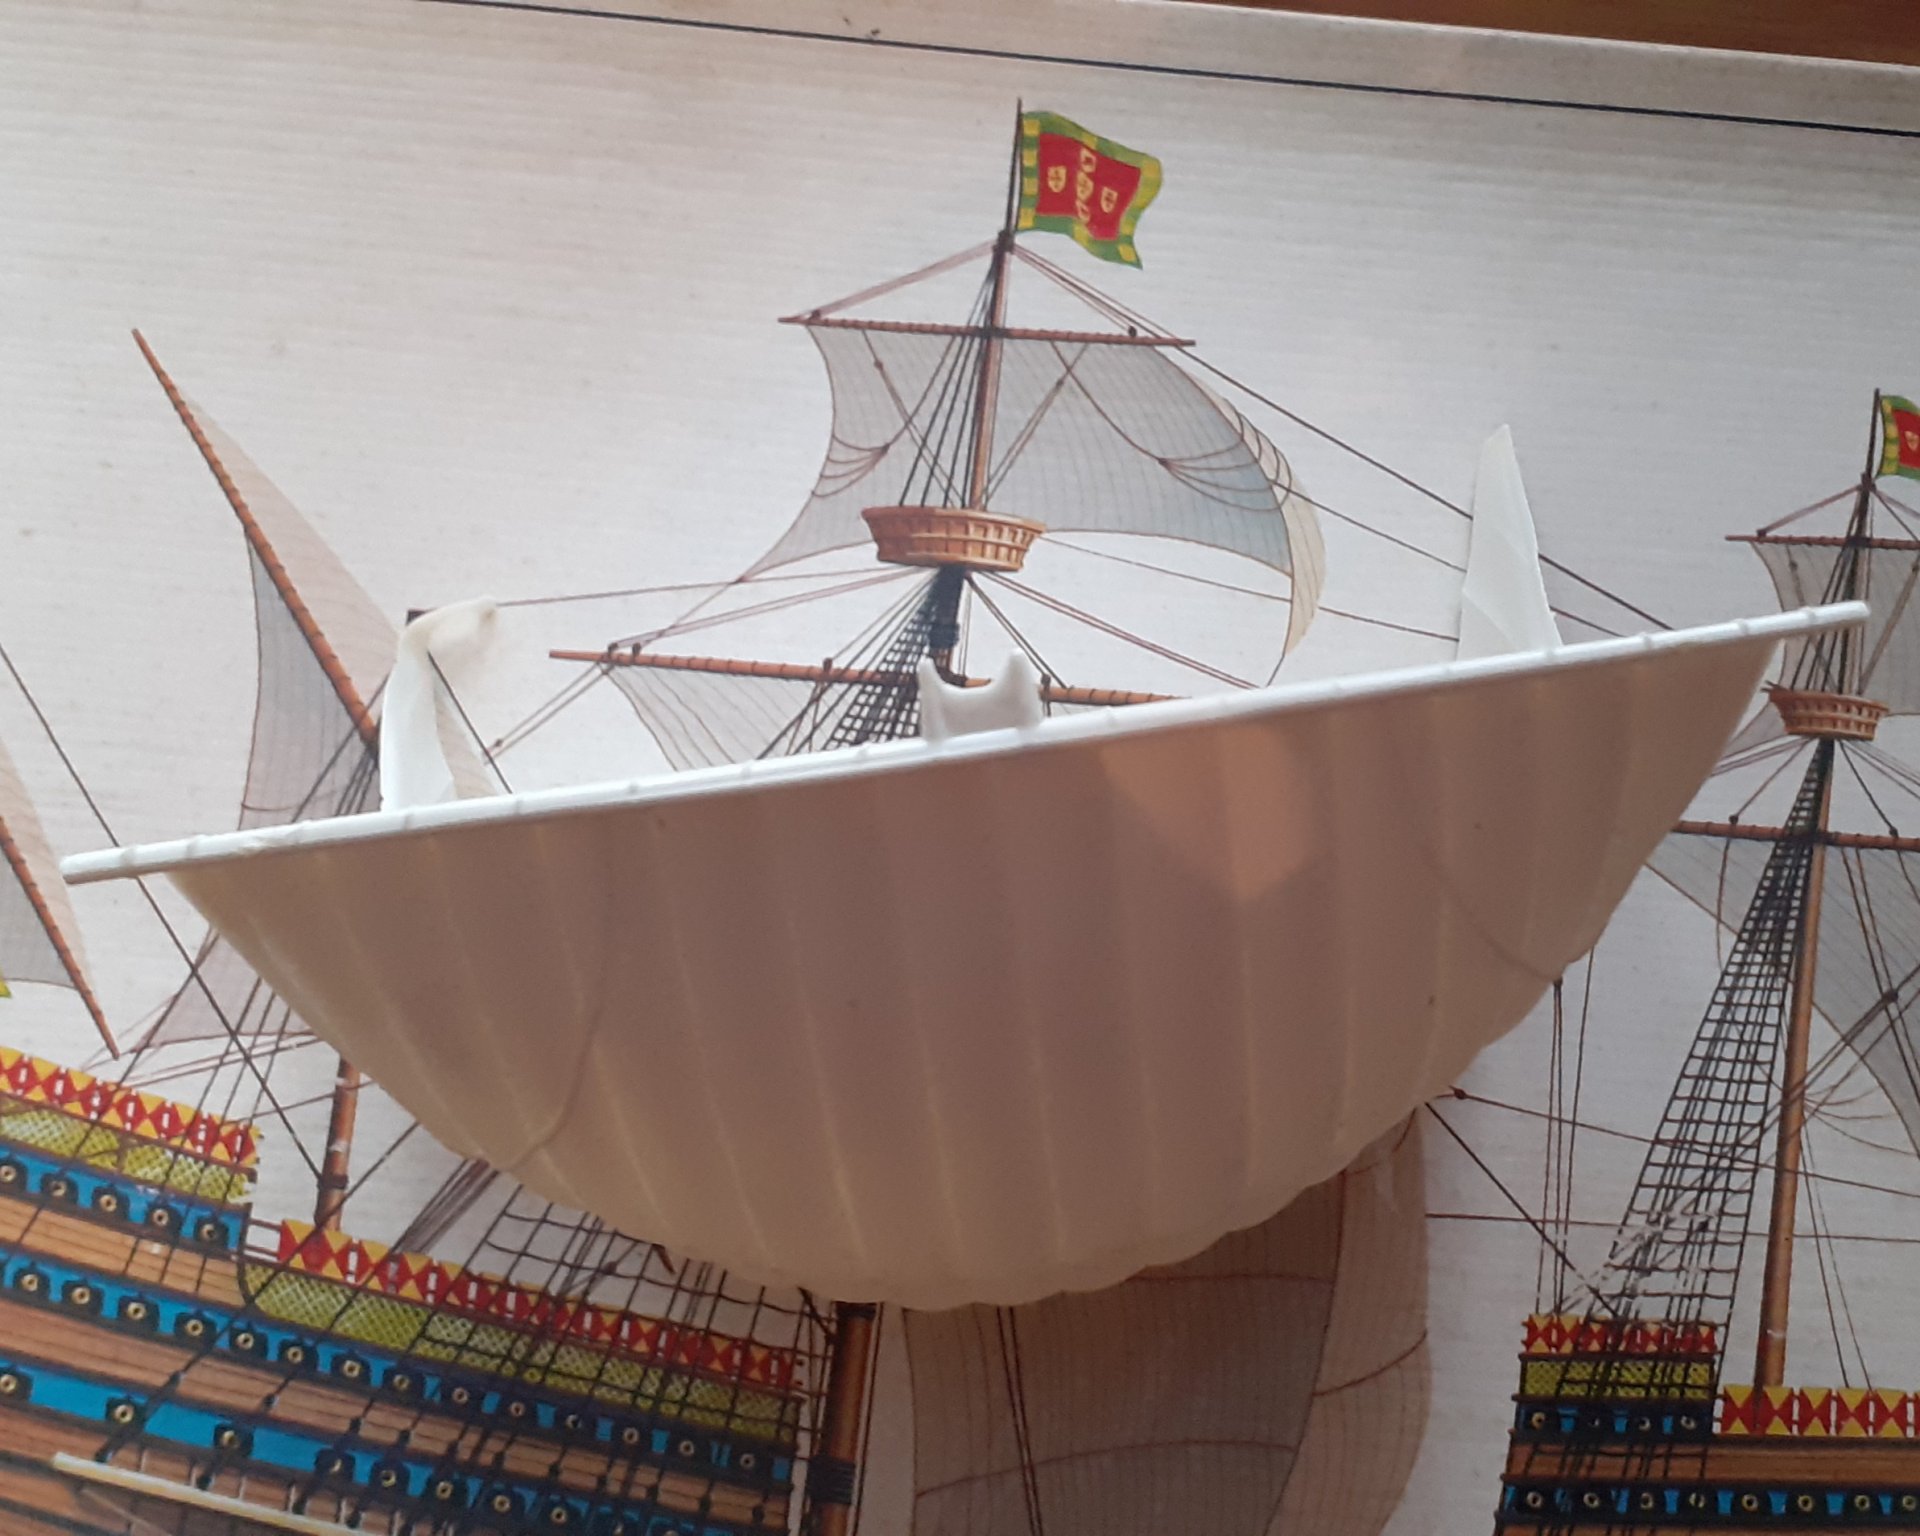
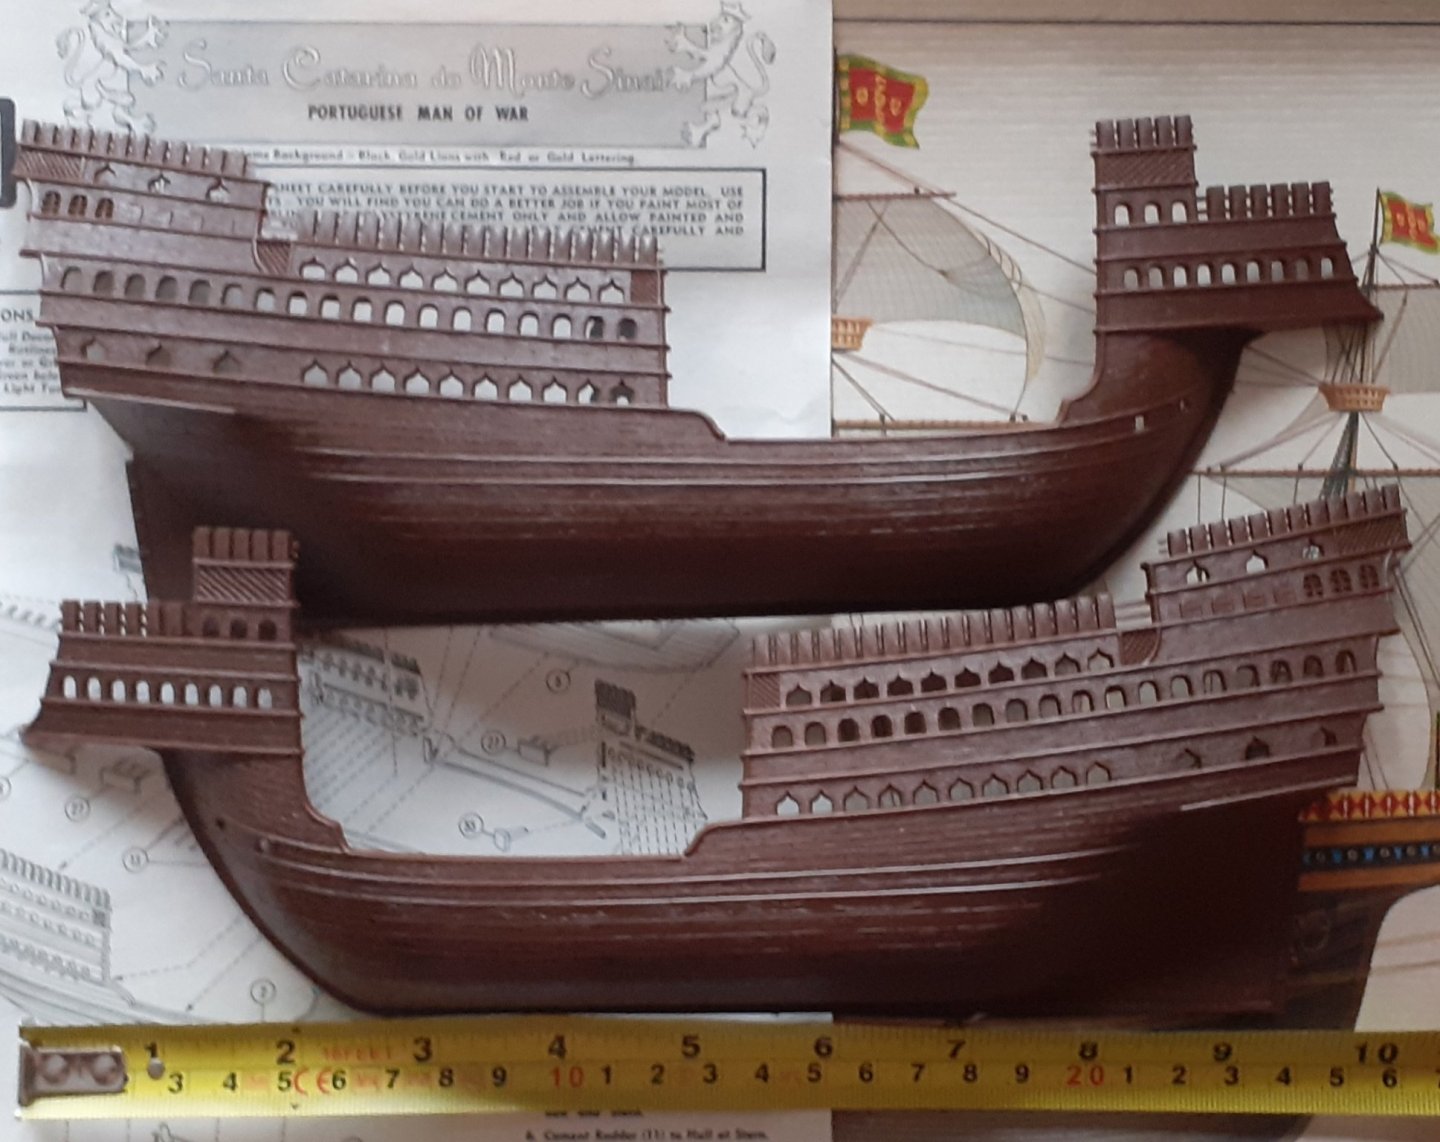
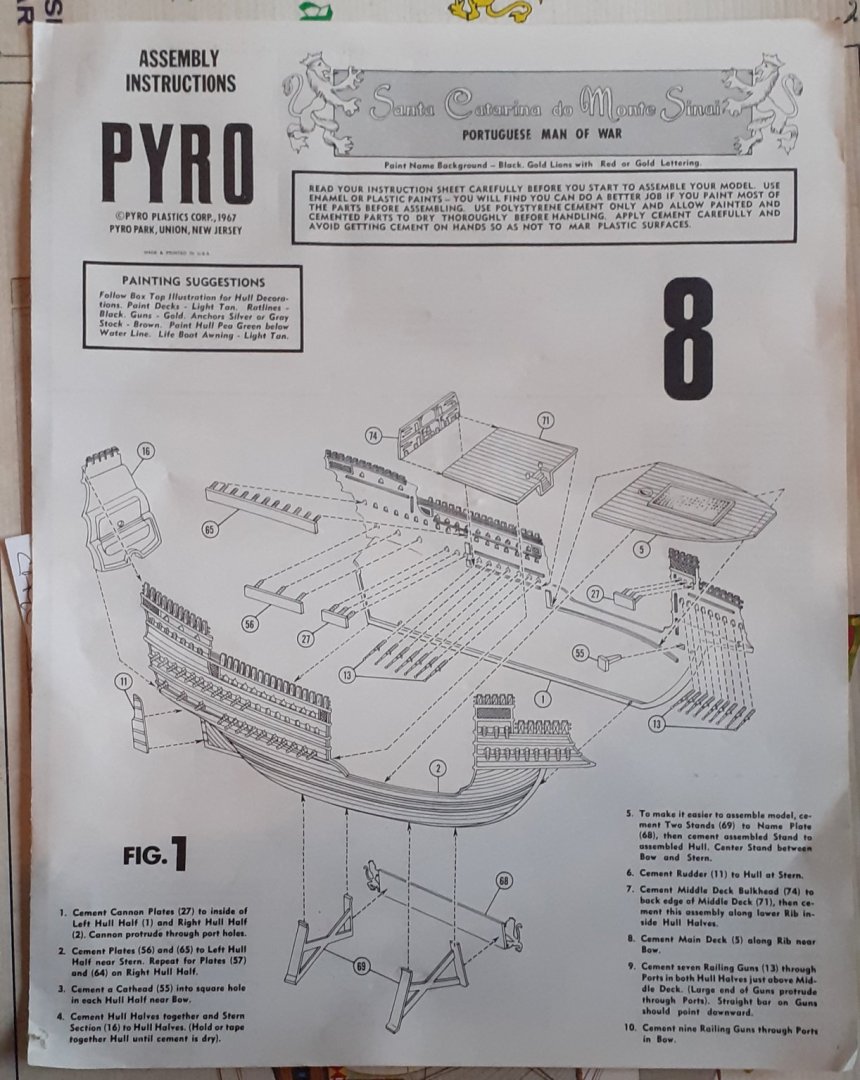
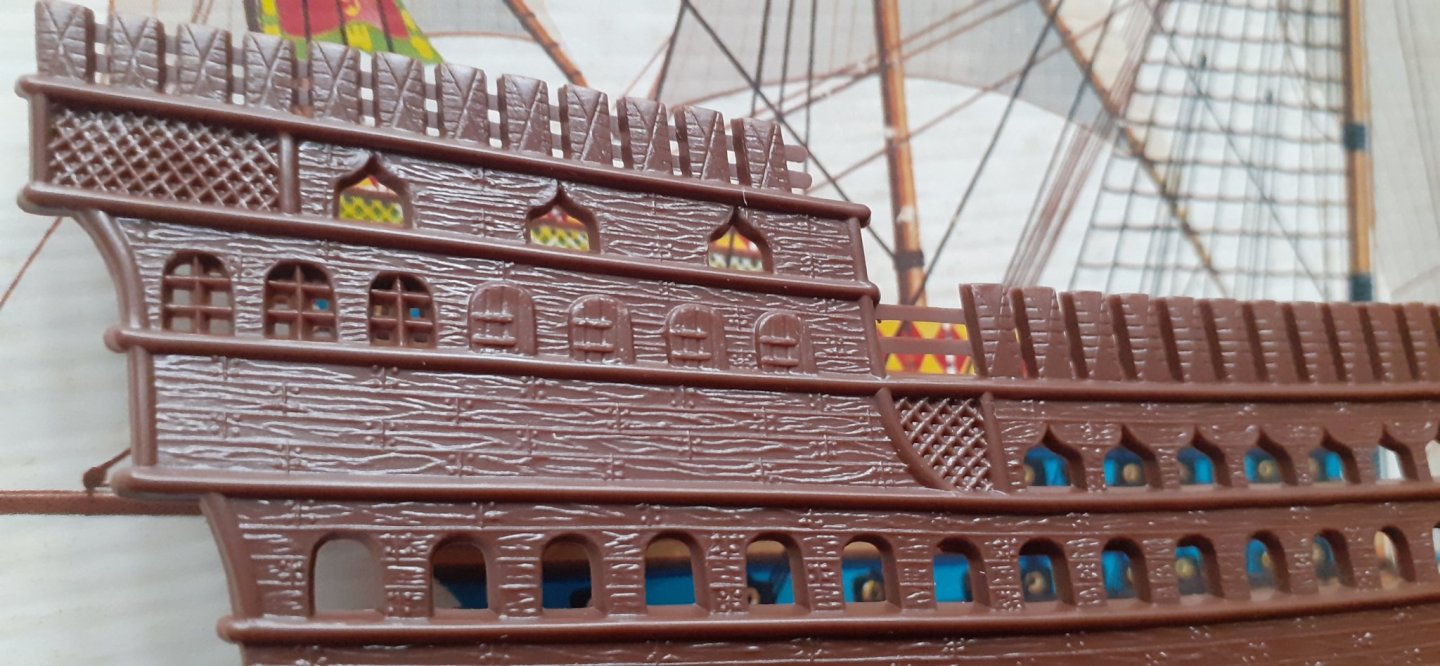
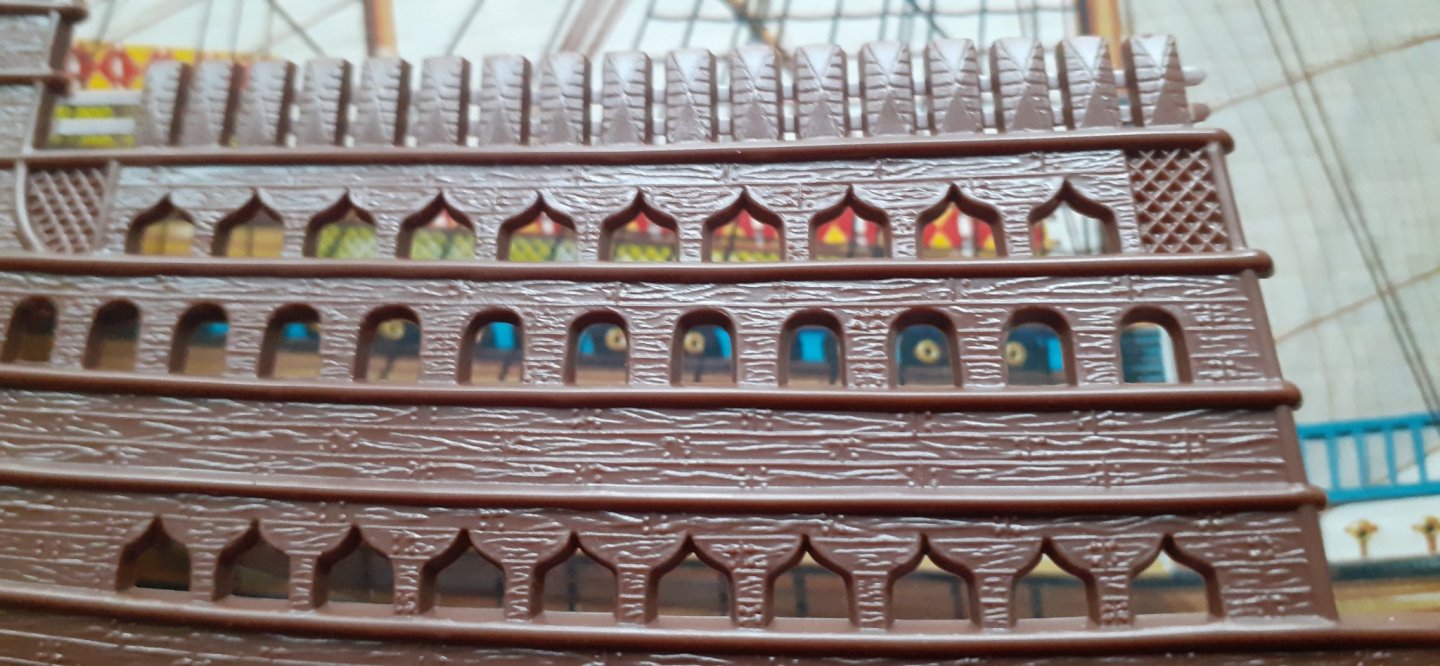
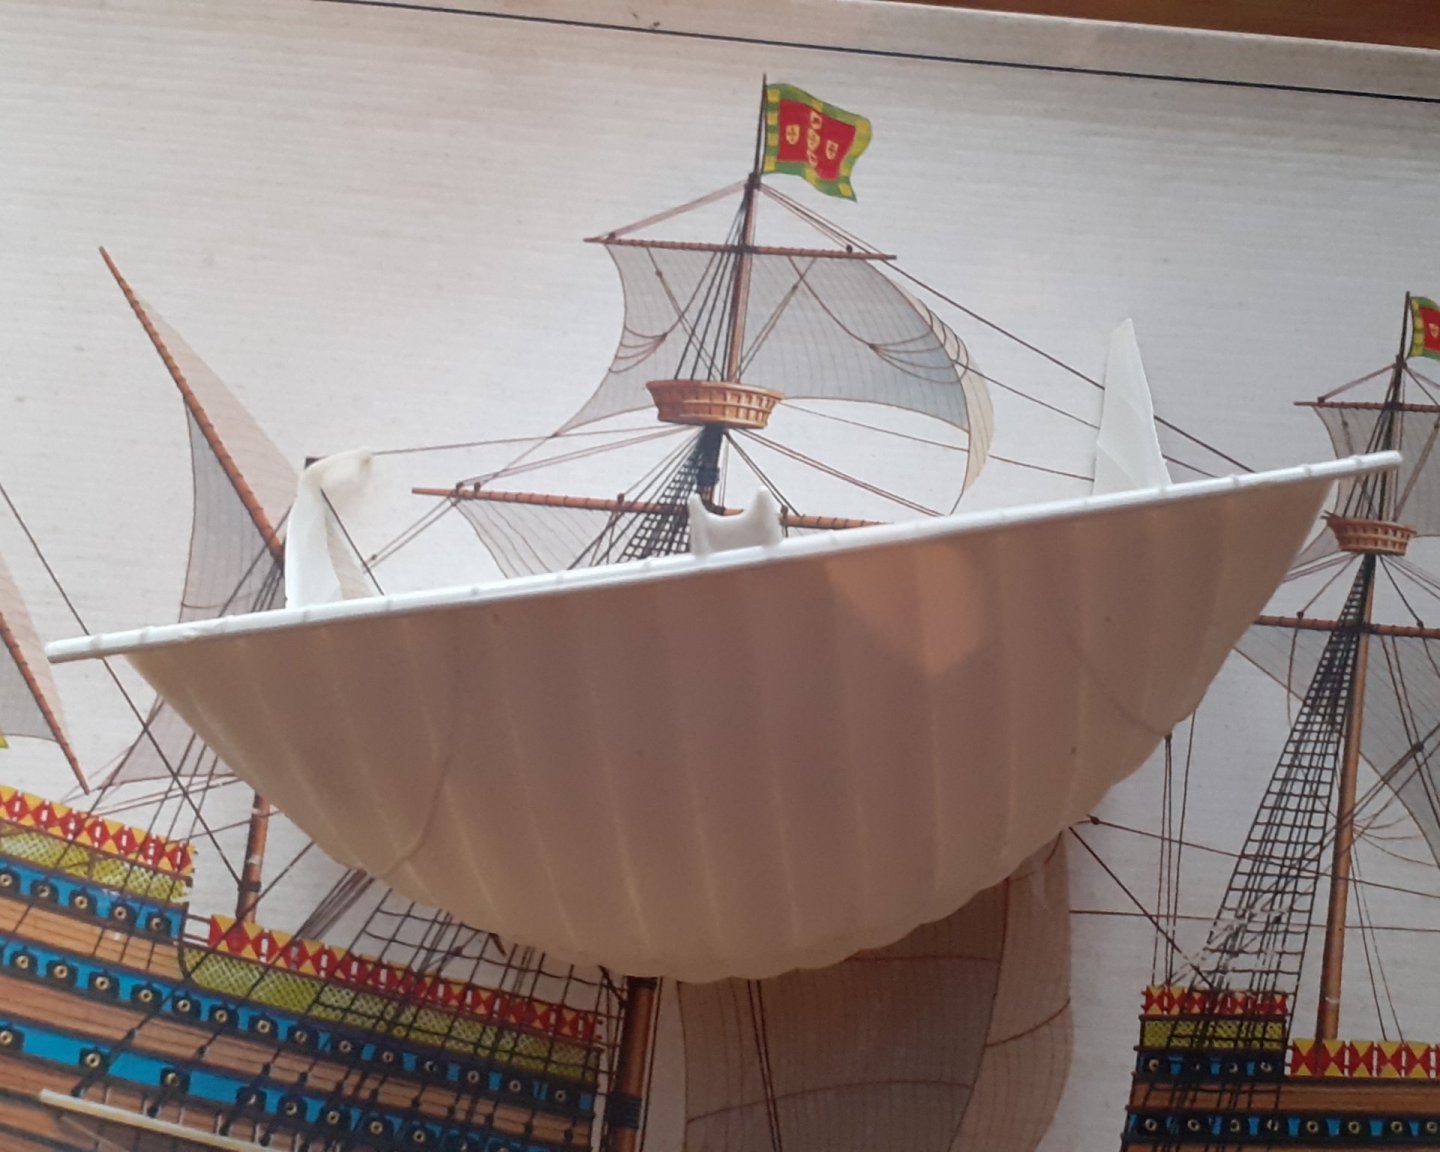
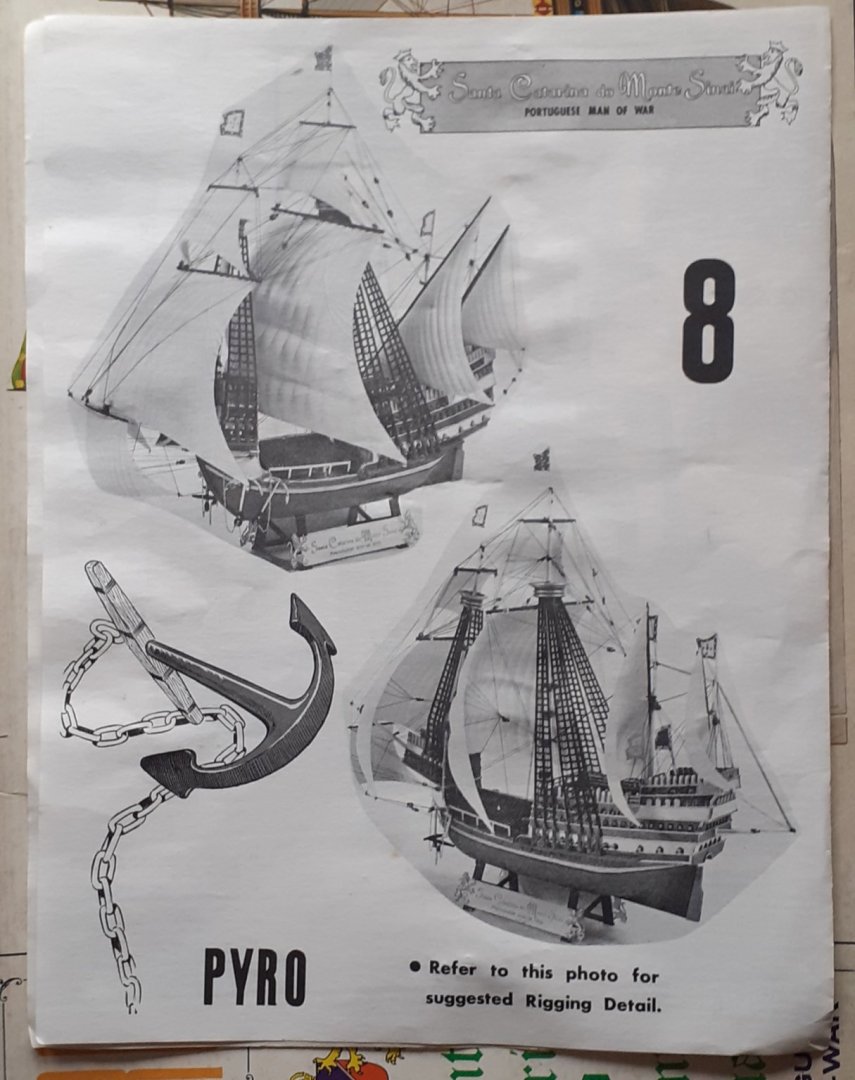
 Hi Everyone. My Next build I have opted to go for out of my stash is Vasco Da Gama's Flagship Carrack the " Santa Catarina do Monte Sinai" on his 3rd Voyage to Portuguese India in 1524. Although a smaller kit with the hull at 26cm with bowsprit and stern mast added the full length will be 41cm approx. This kit with its beautiful architectural moulding(photos below) has has the potential to be a little cracker. Albeit this is will take some time as there is a lot of very small articulate painting. I am also going to try and make New yards for the masts so I can make cloth sails for this, as much as the plastic moulded sails/yards together have good detail on them, I much prefer cloth ones. I will also have to experiment with the colour scheme a bit as actual original carrack colours seem to differ a bit every time on a different website and from the kit instructions which aren't very good. I will also have to re examine the rigging as the instructions again aren't great. I guess this will probably hold as man challenges as a bigger kit, but I really wanted to do this kit as I love the history of it and it's a step back from the normal a bit. Hopefully I will be starting this in the next couple of days if not the start of next week 👍🤺🤺🤺⚓⚓⚓
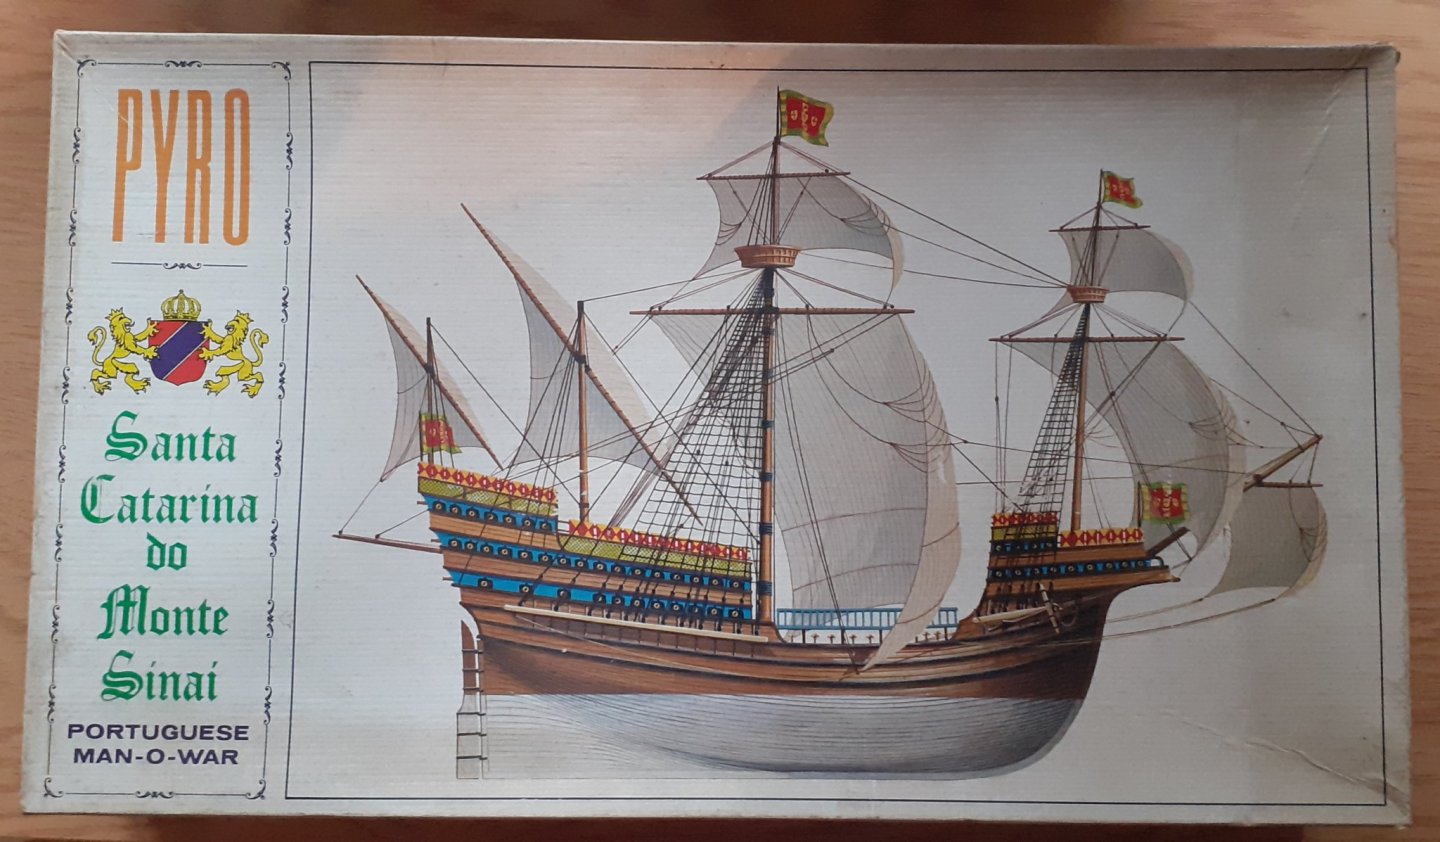


-
 I noticed this model in a local outlet store for about 40 usd and had a 15% coupon thought might as well try a plastic ship
-
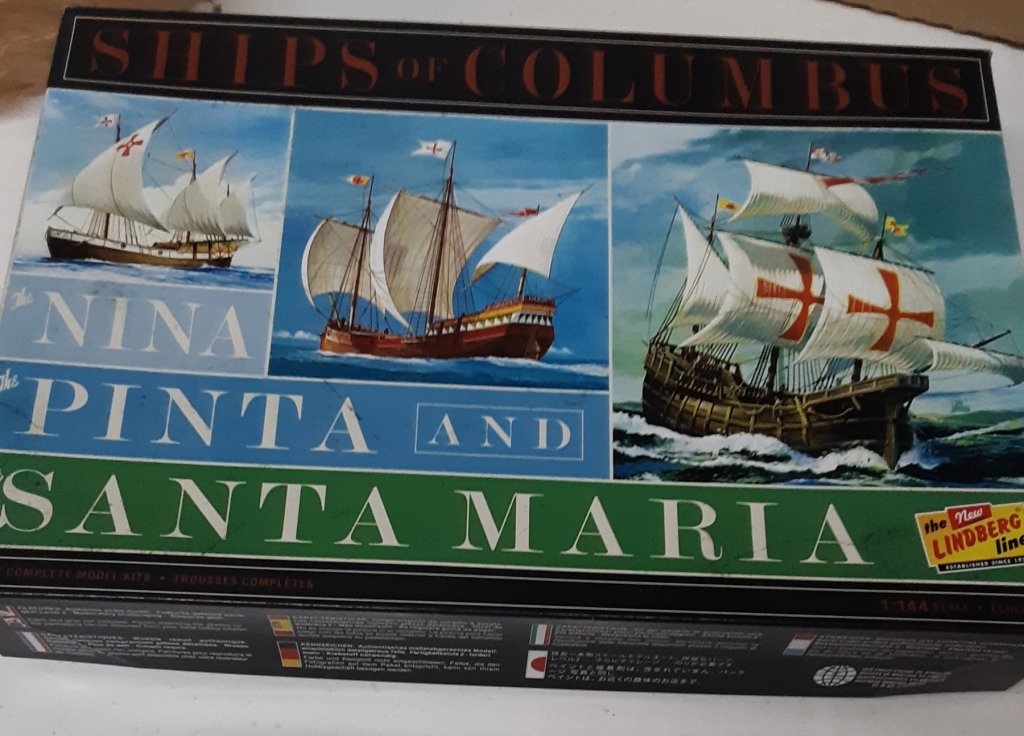
I will start my first build log on this forum with the Nina from Lindberg's Ships of Columbus. I found this kit at hobby lobby on clearance for $8.
-
 Go ahead and laugh. I like pirate ships. After doing the Revell U.S.S. Constitution as my first ship, I decided to tone it down with a level 2 ship. I have to admit this one looks tough too. The pieces are so tiny. Oh well, I enjoy a challenge. I am excited to have my first build log.
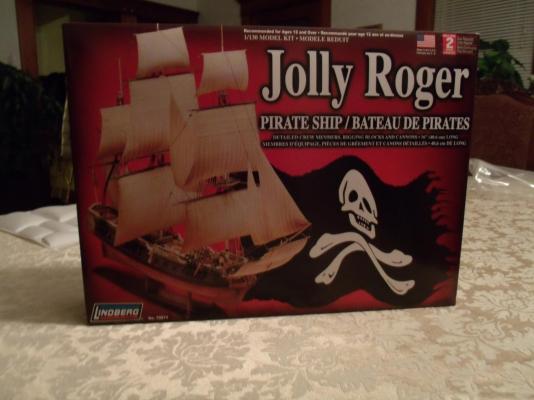
- 118 replies
-
- 9
-

-
- jolly roger
- lindberg
- (and 2 more)
-
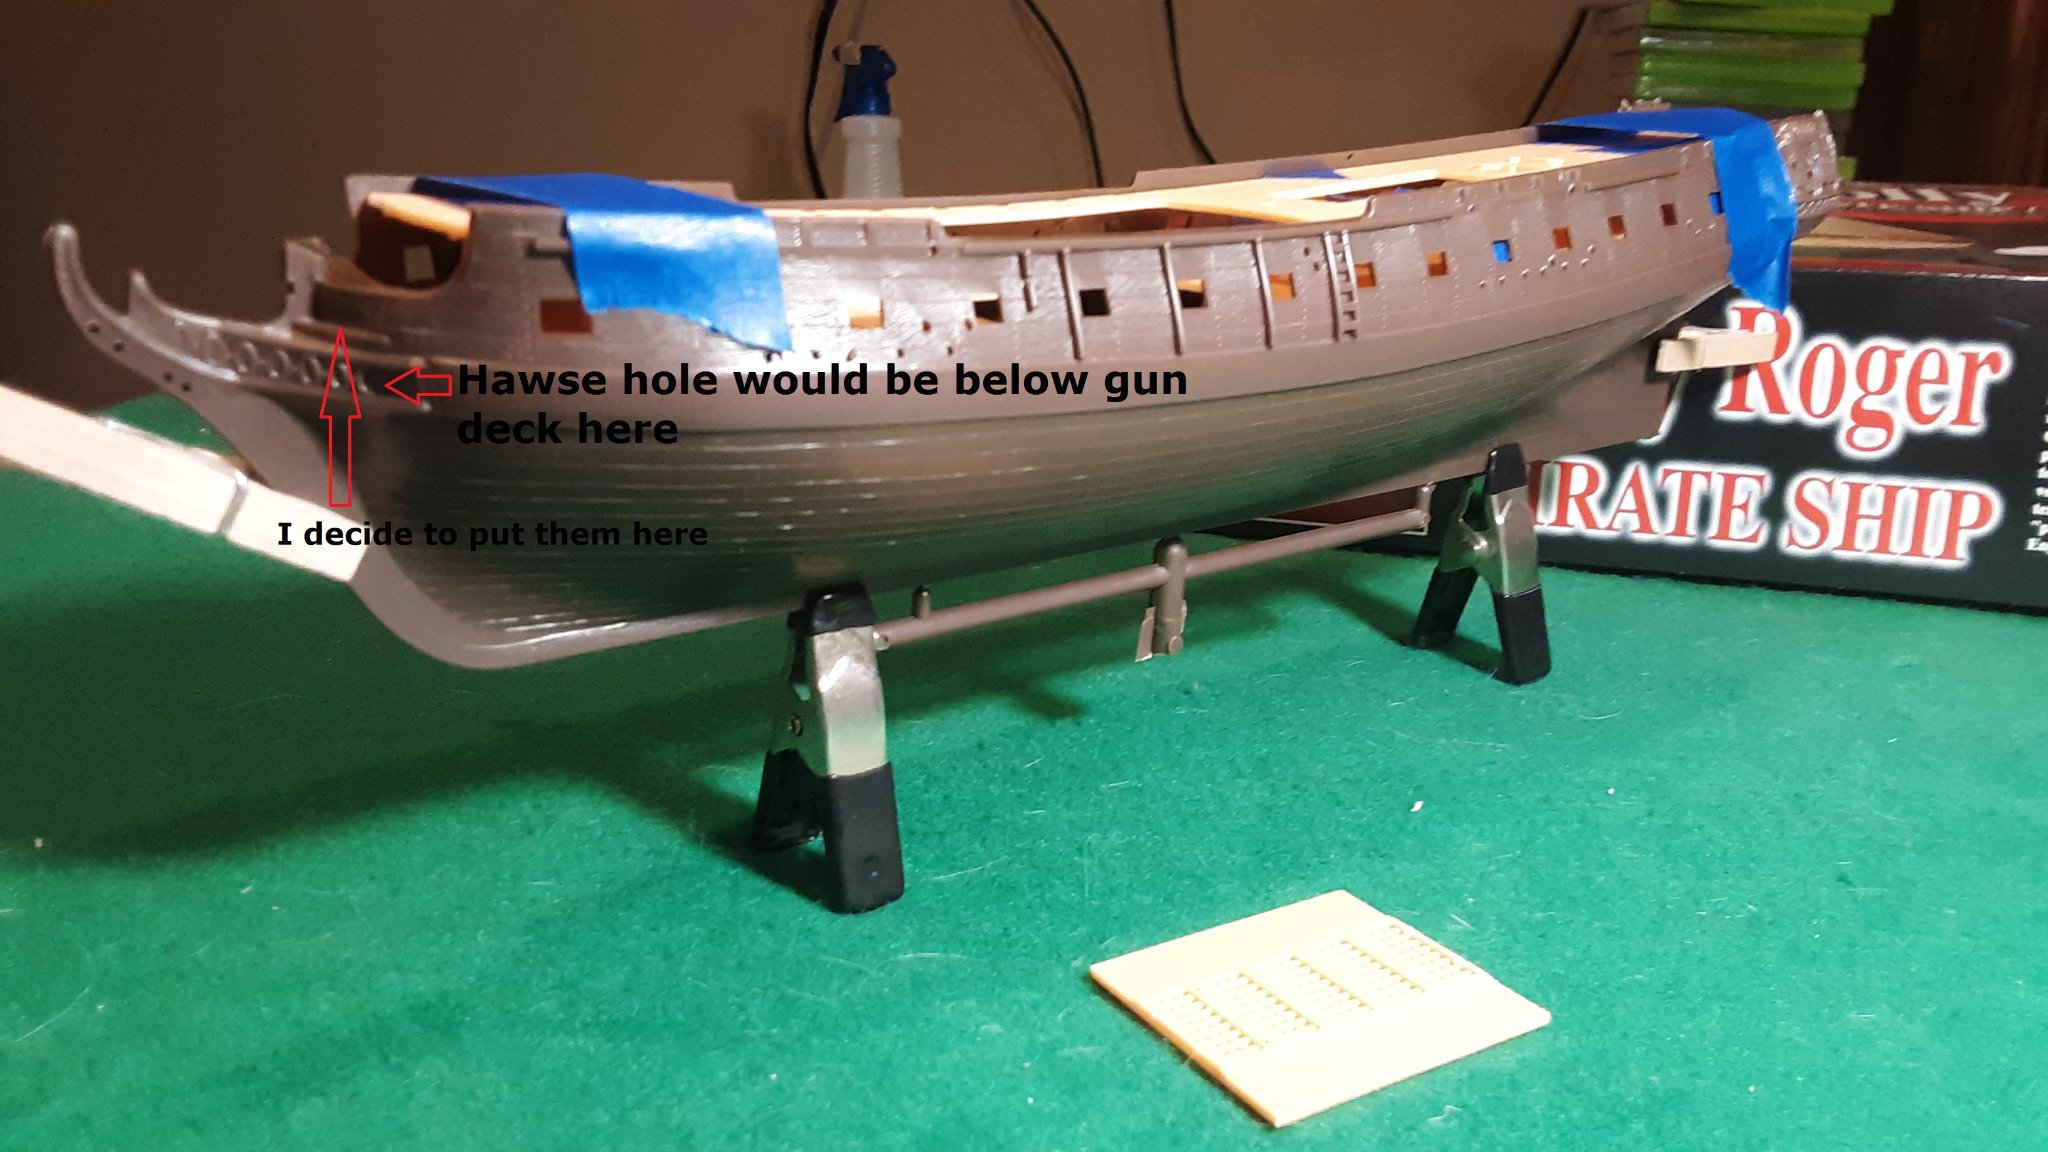
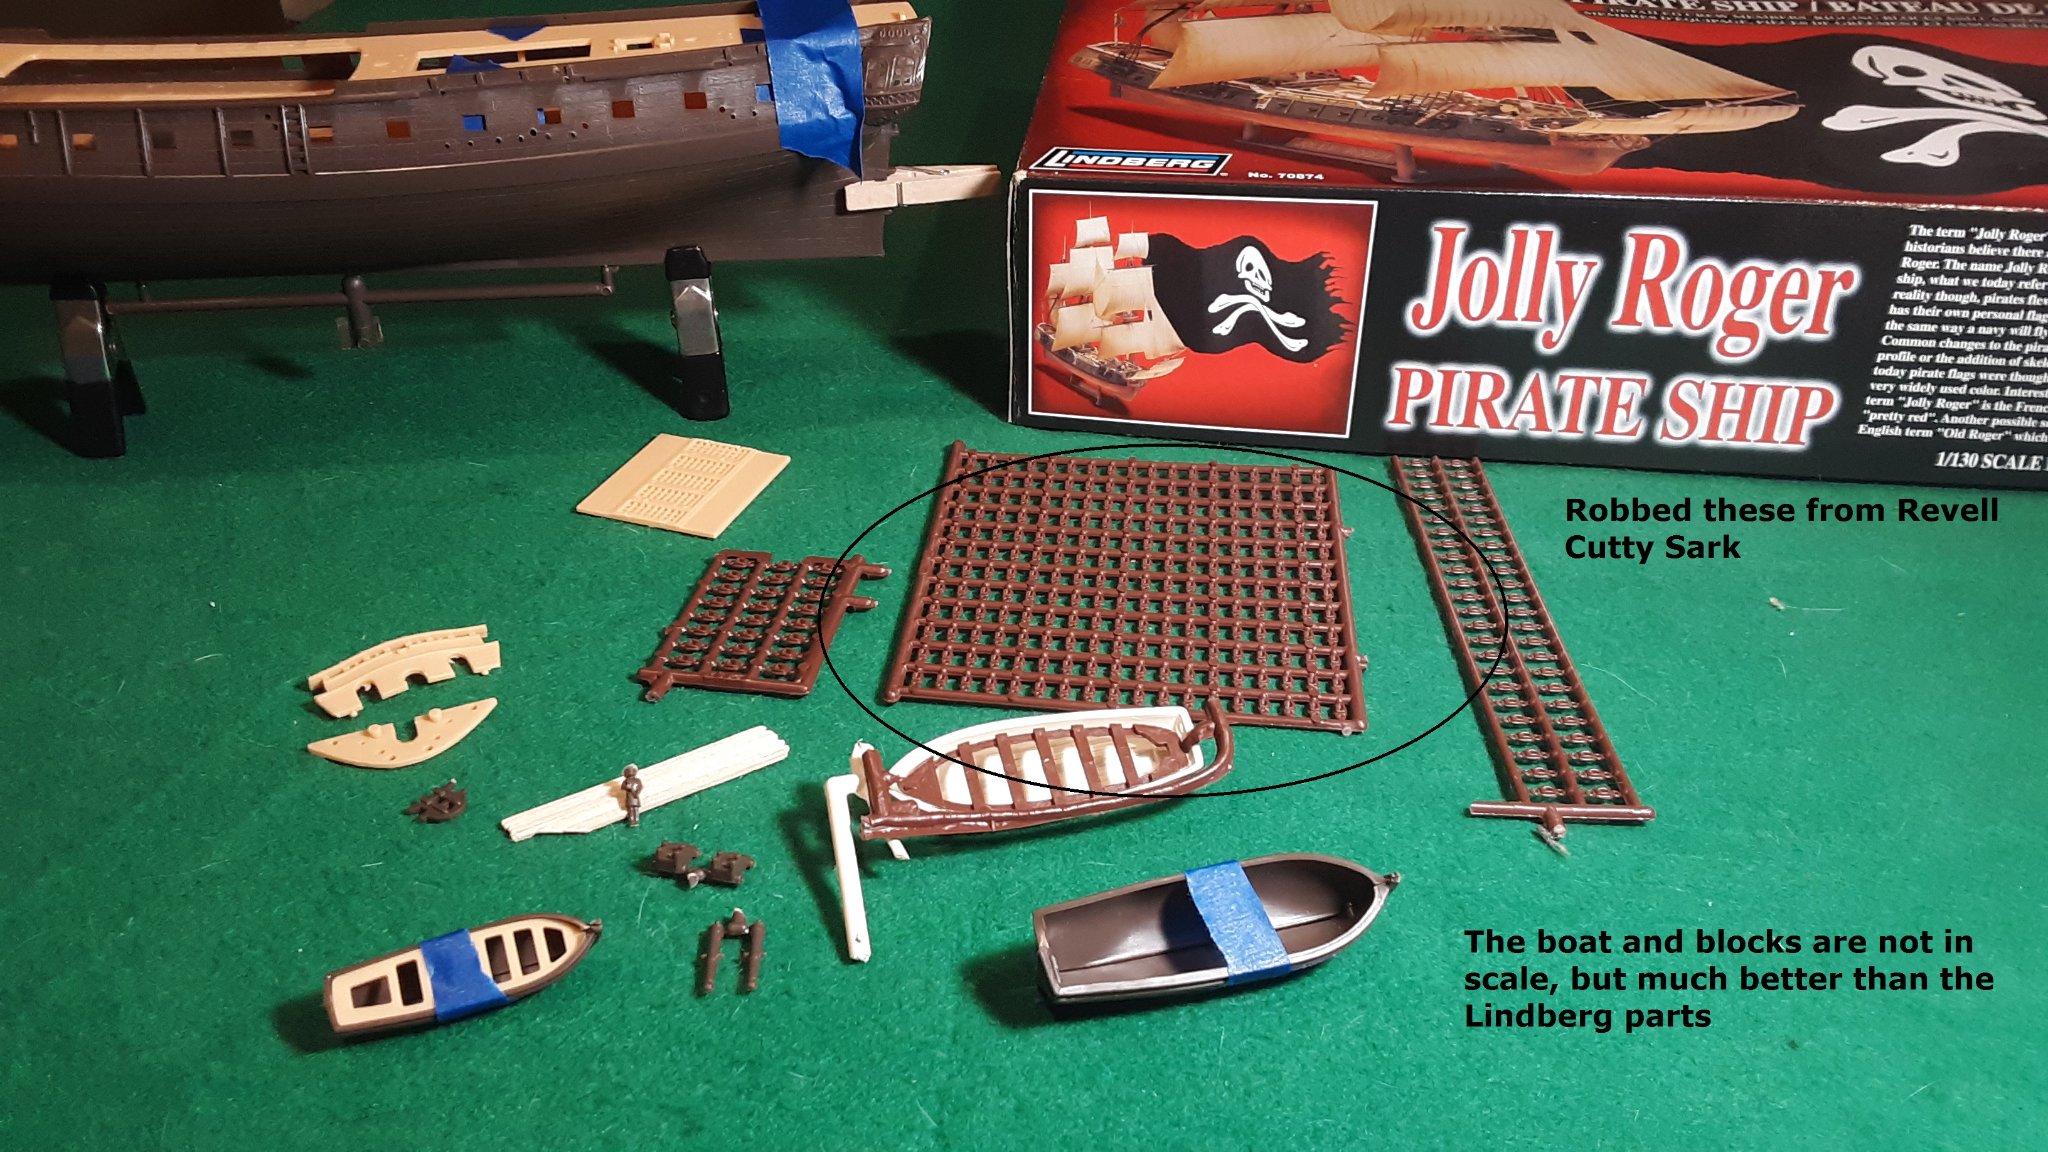
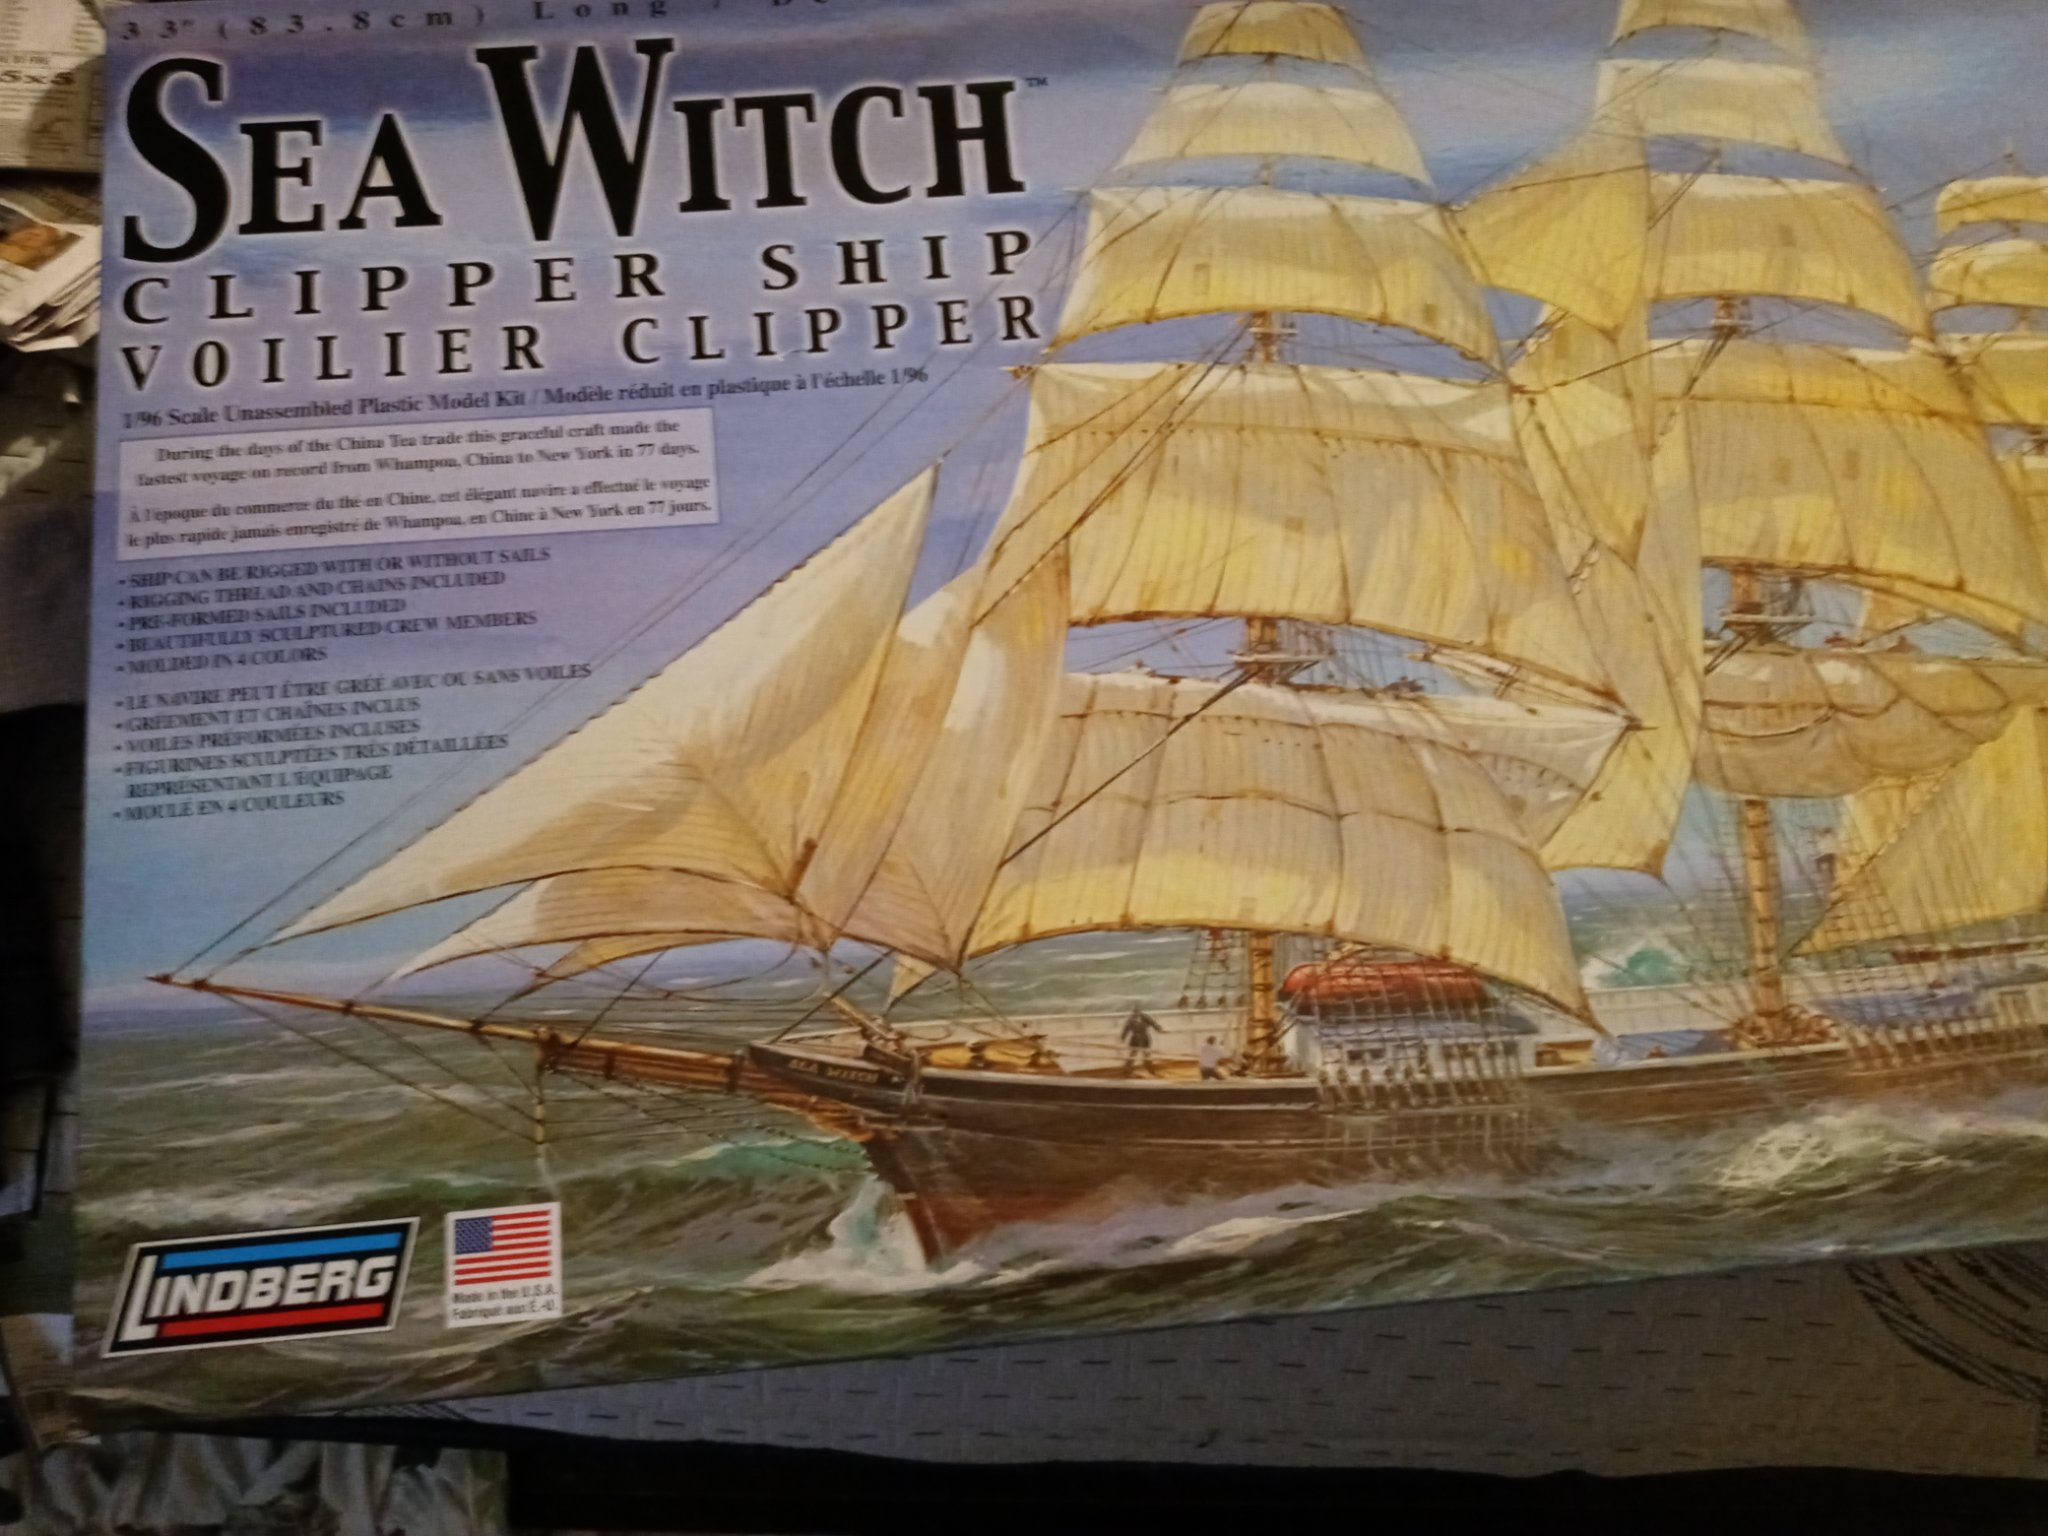
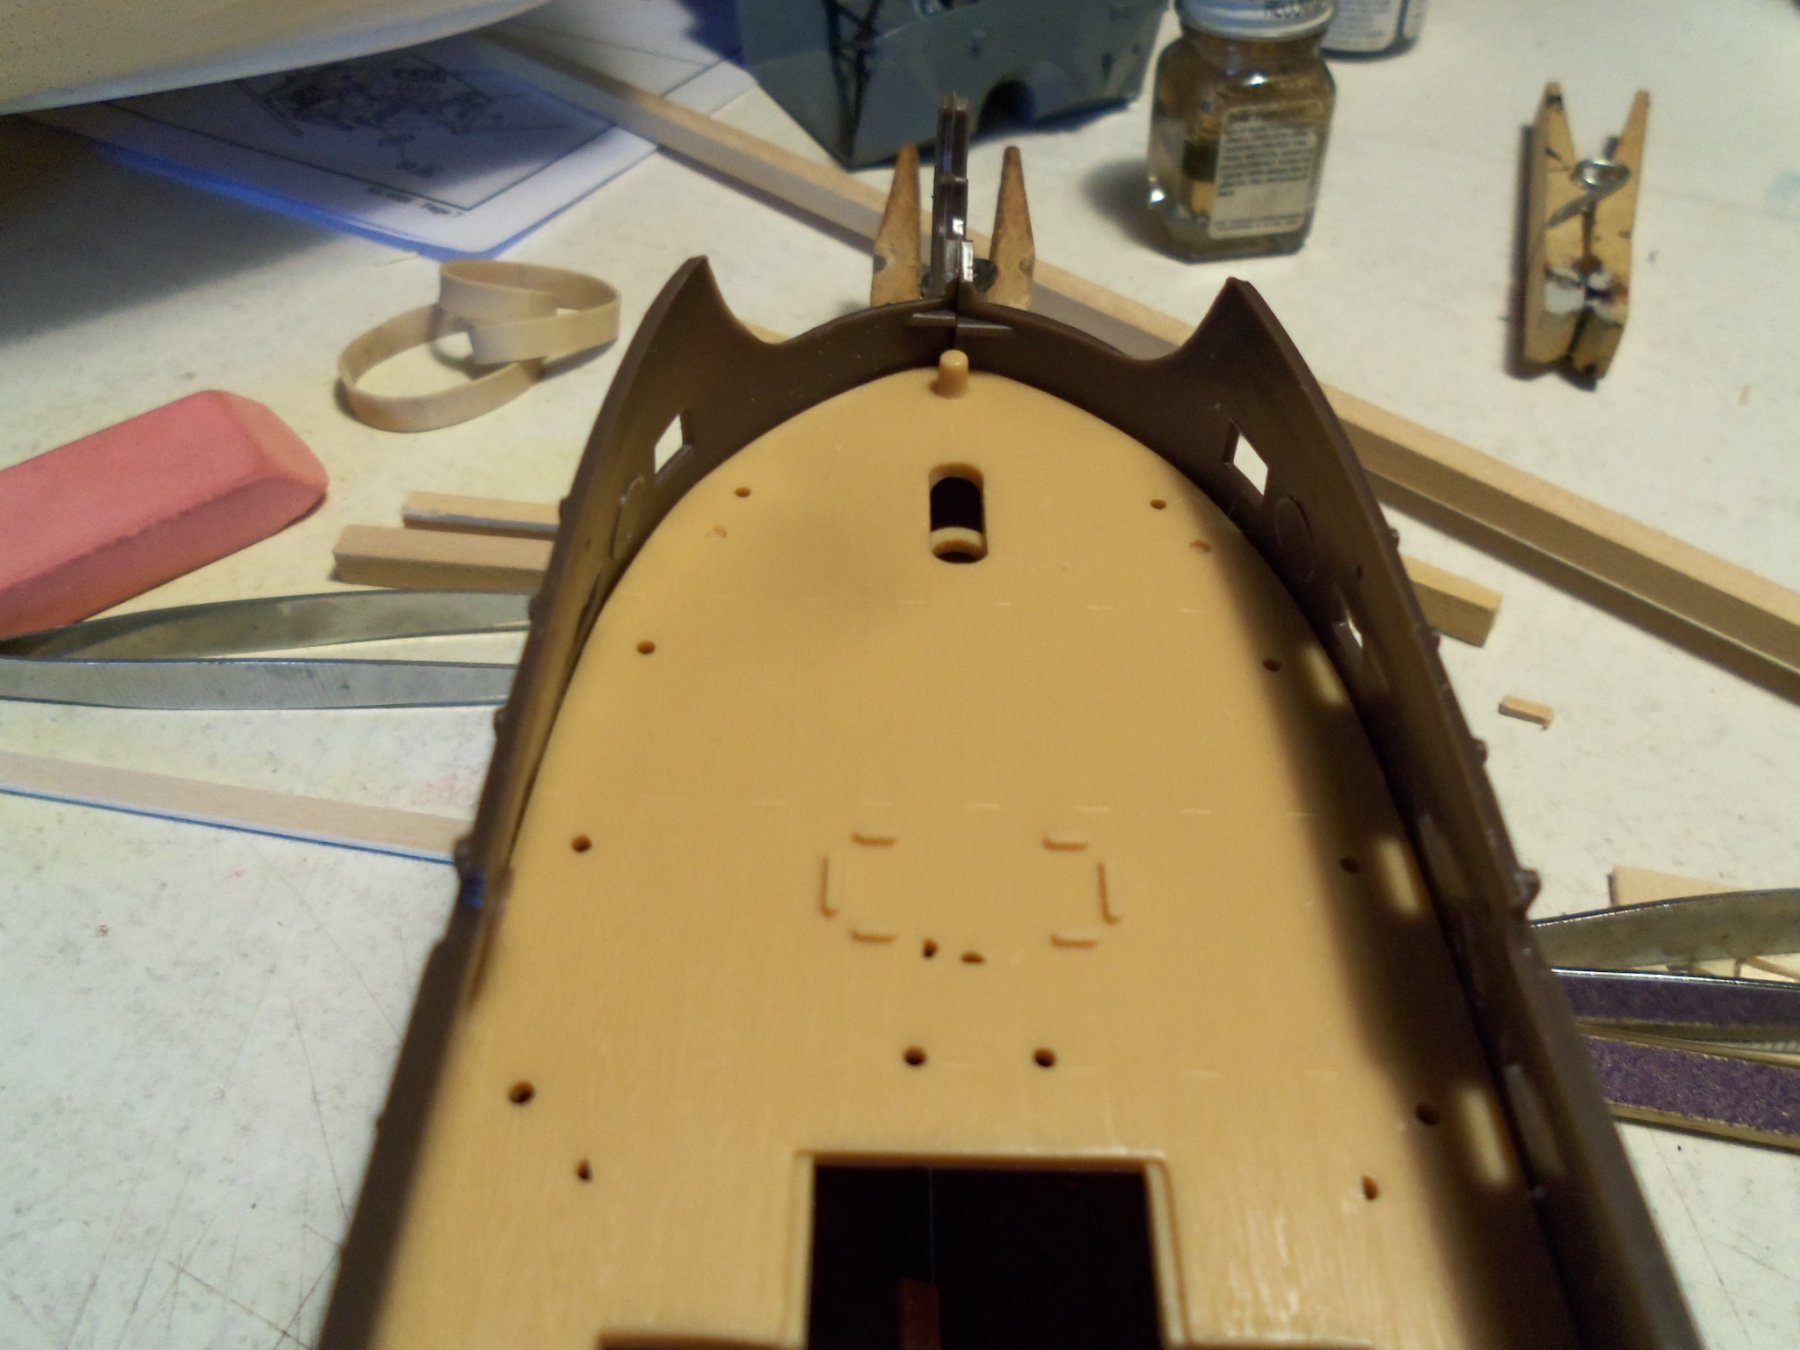
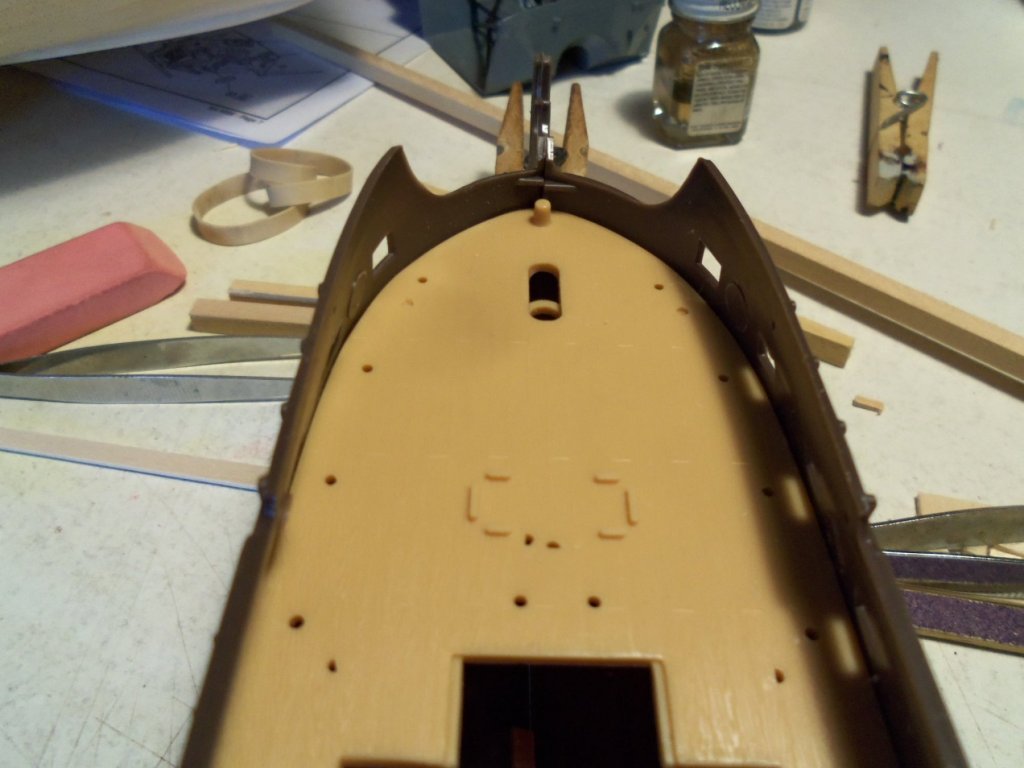
 last Tuesday.......I was suffering from work lag. it was a nasty week.....way too many trailer brake jobs! I didn't have the urge to do anything with the wood projects. Wednesday came with not much change, and I knew I had to do something. ........something I could just throw together, without much fuss. since the Jolly rogers was a kit with many problems, I figured.....what the heck, if I have to hack it up, who cares not like I was going to do a log on it, or anything I would forego a lot of painting....no need to be fancy. a few folks here has built it and experienced problems.....from decks not fitting properly......to masts not lining up in the deck wells........poor fitting parts......just a beginning. I noticed that the cannons don't line up in the ports too good. I did this when one particular build was in progress. there were no hawse holes for the anchors either. I had shown a gent where he could locate them, given how far into the build he was........I know that they should be under the trail boards, but I drilled mine out to show 'em. I'm going to go this route......at least they'll be close. I had packed her up and put her away.......and now I bring her out again. we had gone to Hobby Lobby......and saw three different kits. the admiral was puzzled.......I was looking at a large scale B24 Libby, but she said no.........ha-rumph! so I picked up some black beading thread, a roll of small chain, and I hope some stuff to do the bow and stern decorations on the Thermopylae. after we left, I remembered that I needed thinner to paint the boats {next week......I got Monday off}. so here's my try with the Jolly Rogers
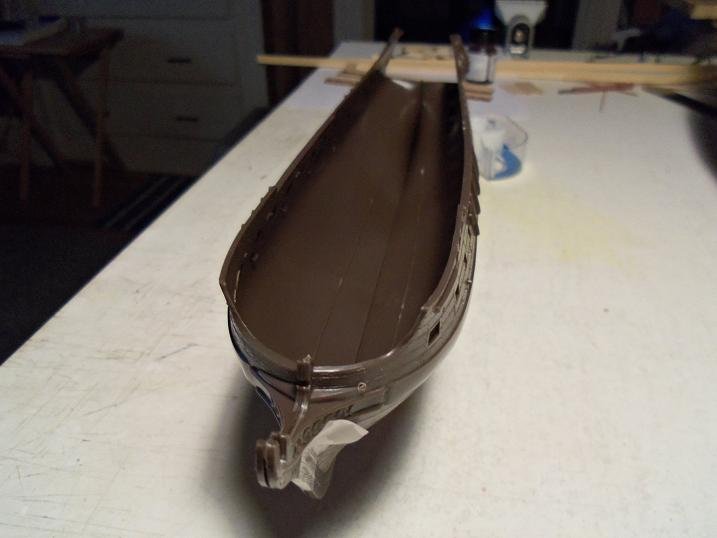

- 140 replies
-
- 10
-
-
- jolly roger
- lindberg
- (and 1 more)
-
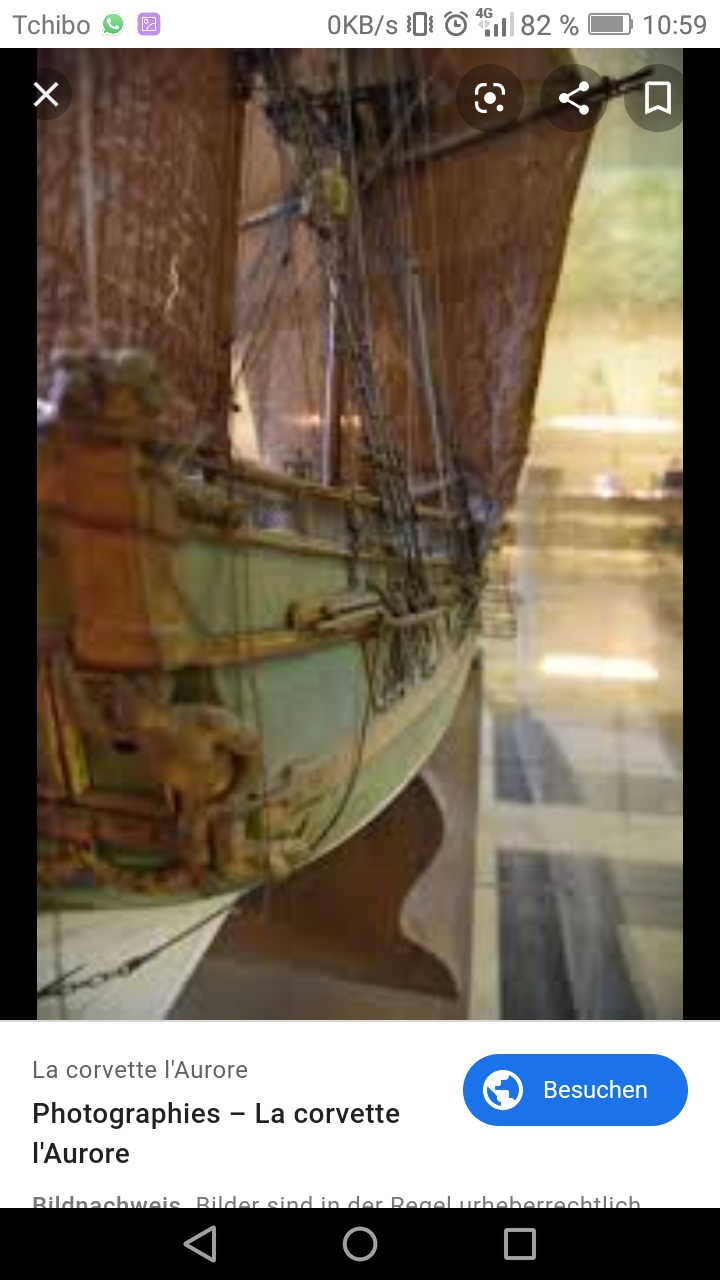
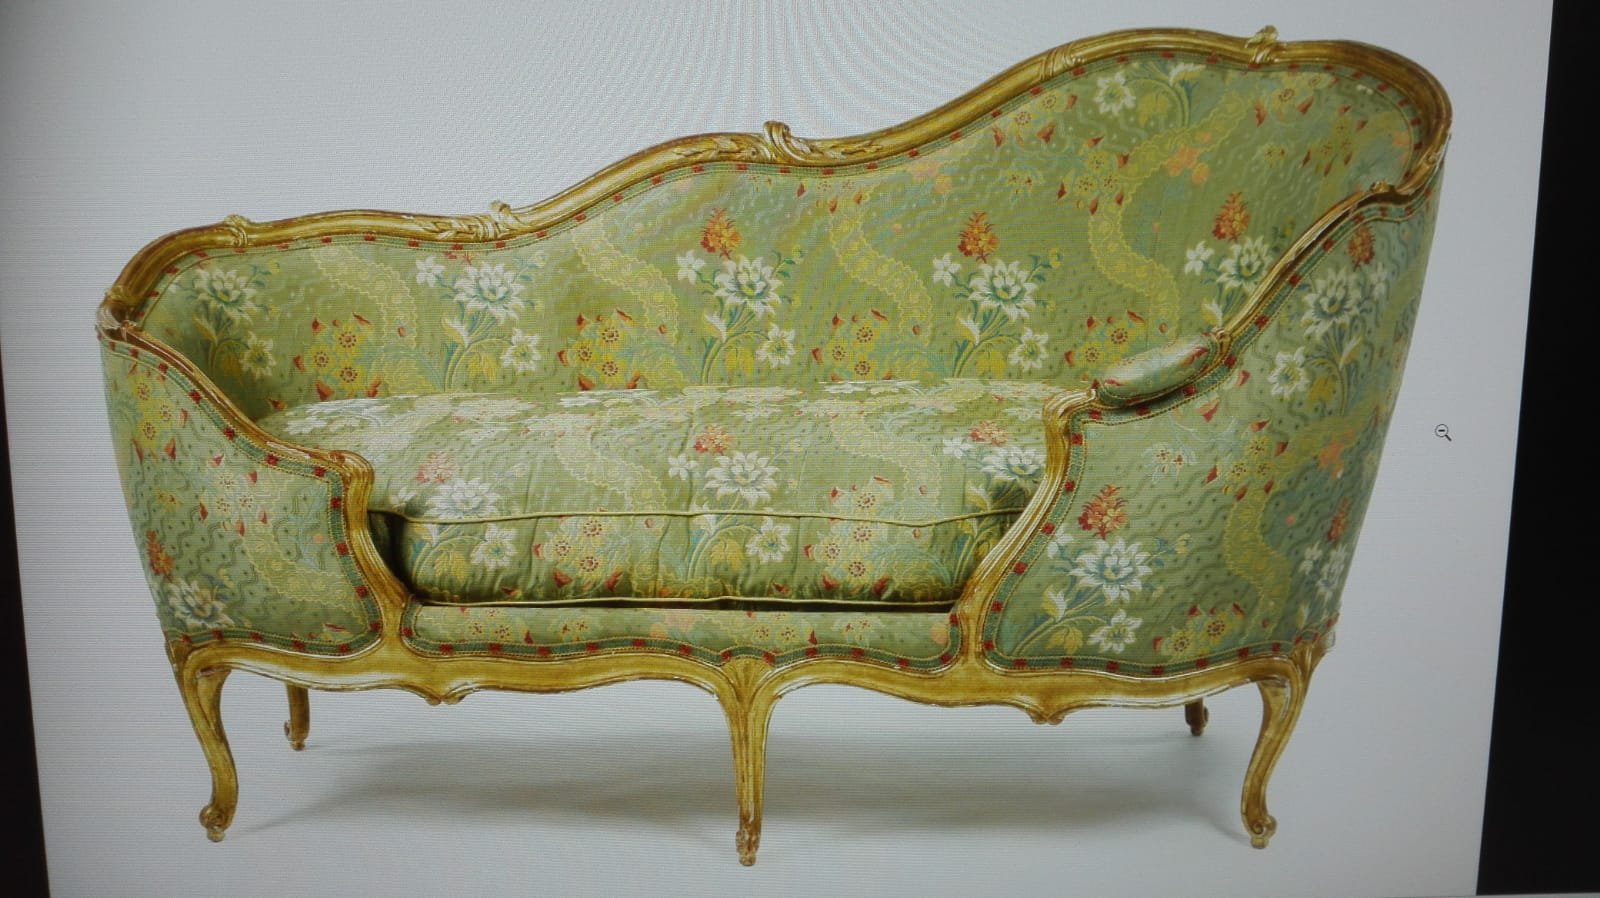
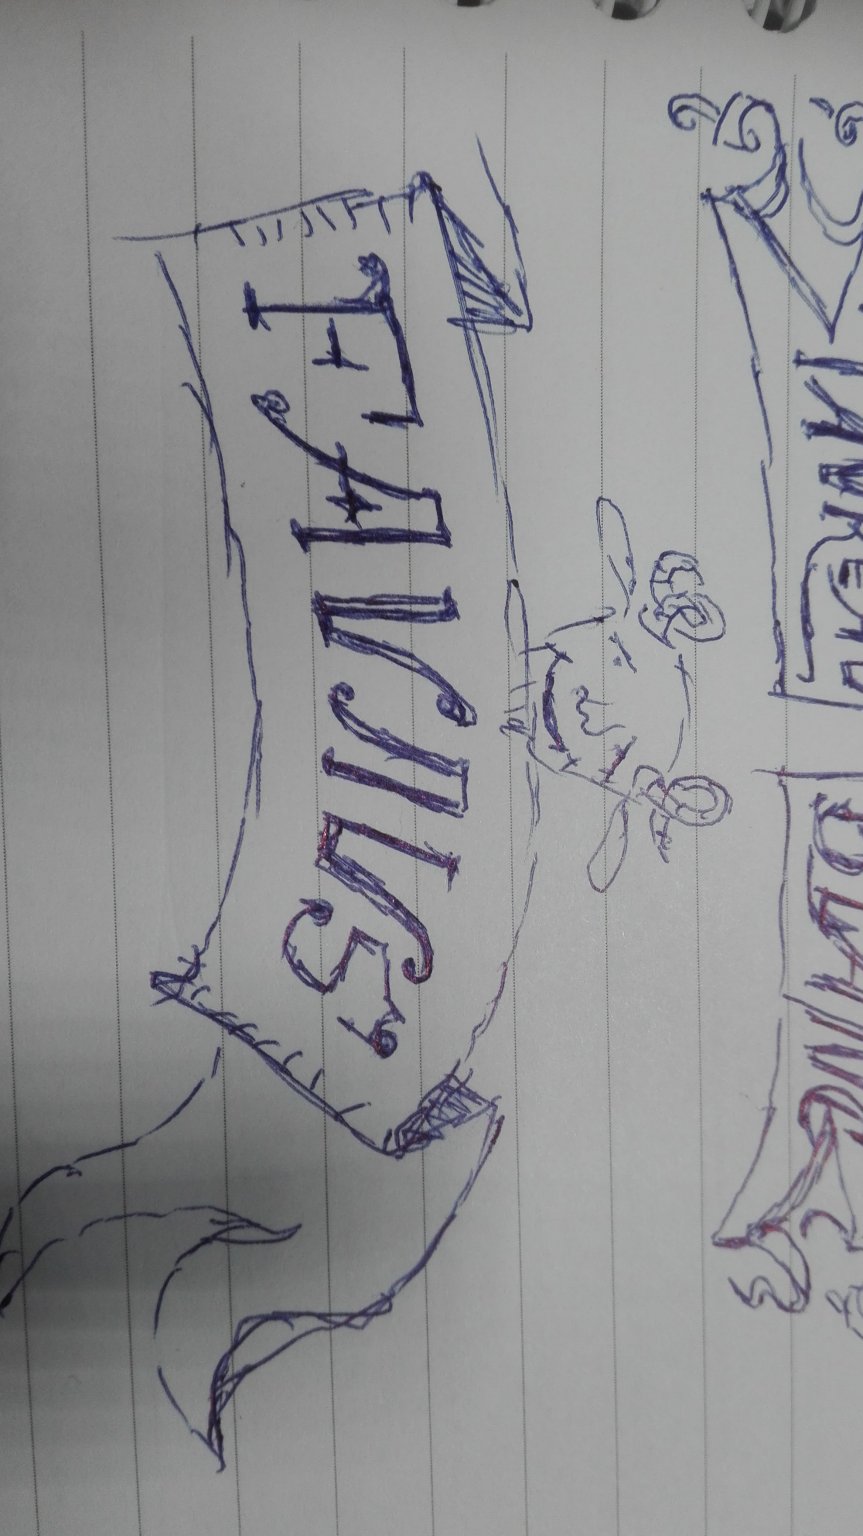
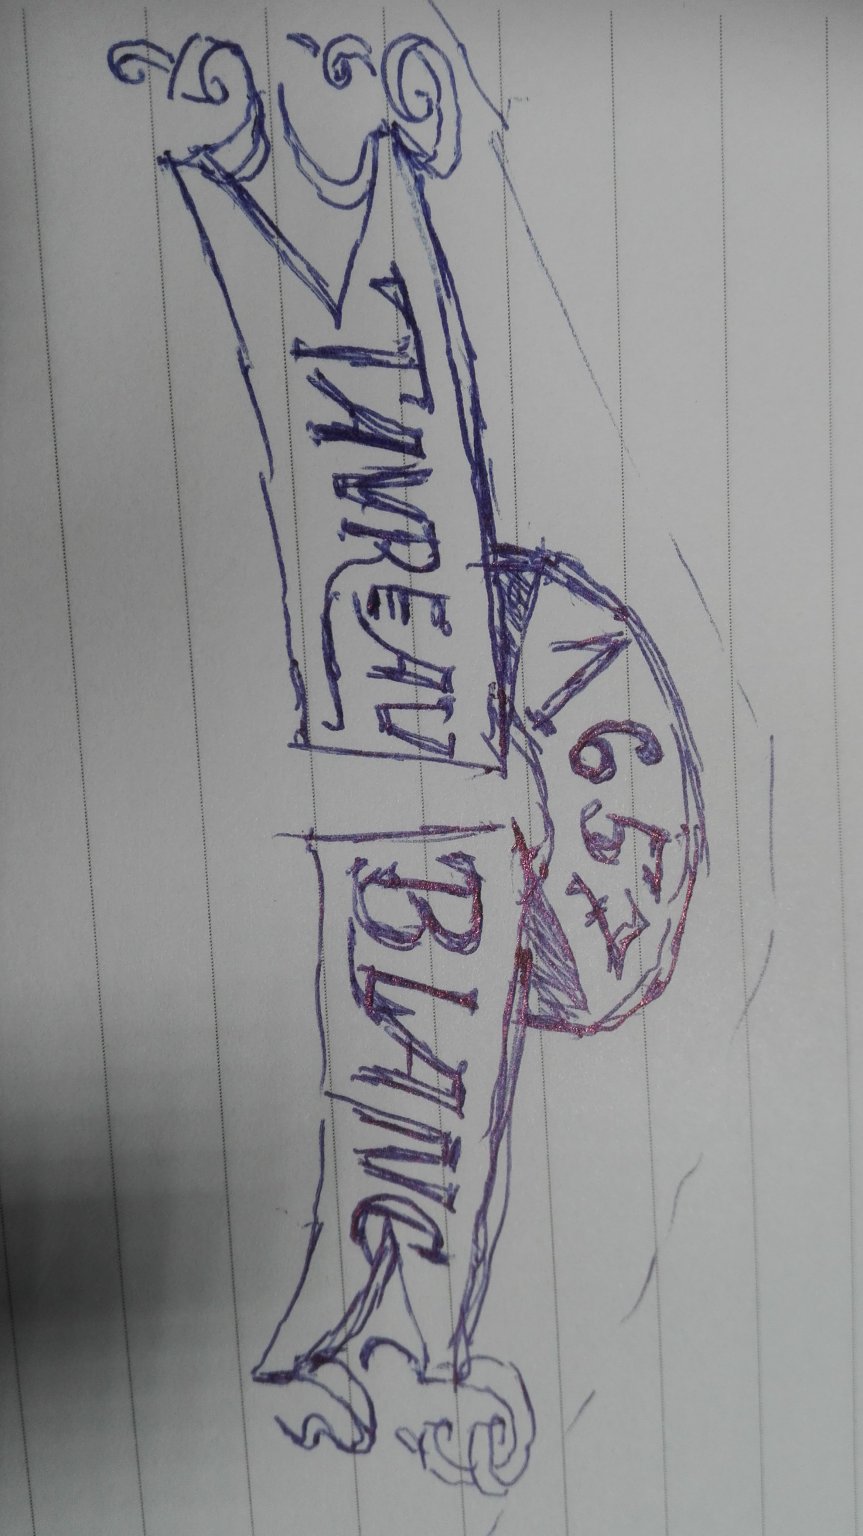
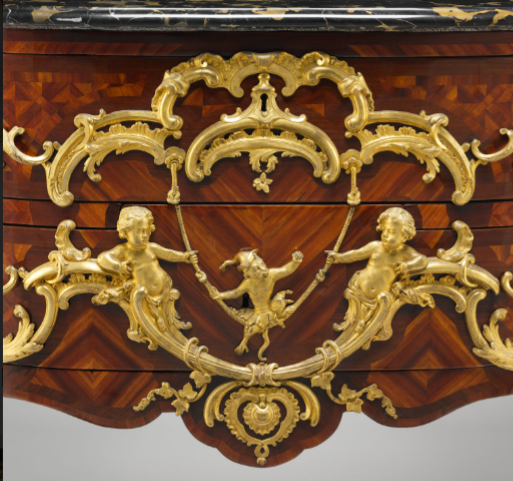
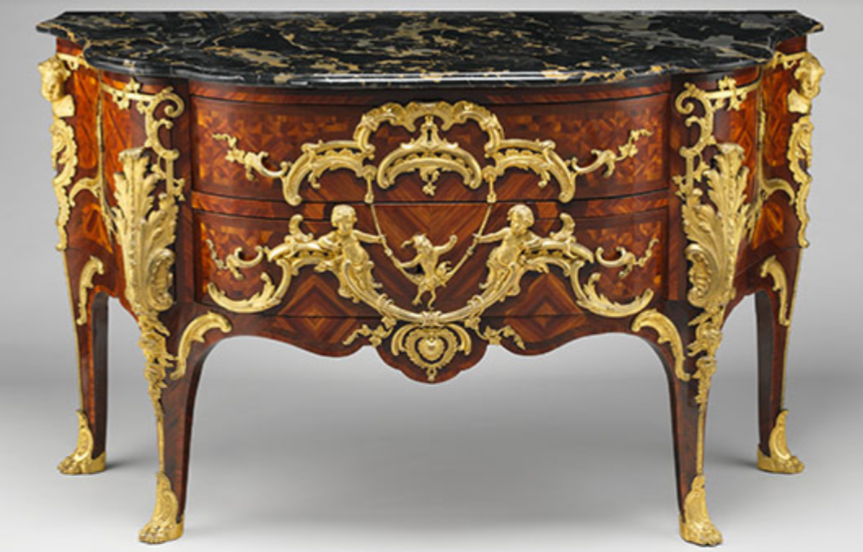
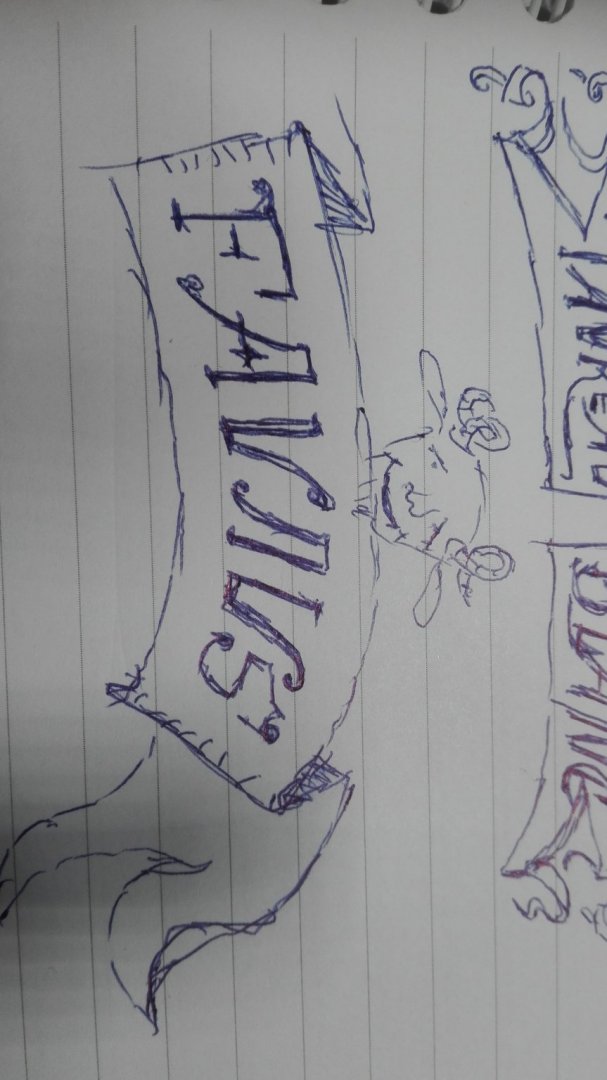
 ...and music of the epoque to give some acustic idea of my mood for this project to you. Okay, that's me! I am building at the Revell Peter Pan JOLLY ROGER when The dream of a Louis XIV. commode crossed my way and I am attacked by the beauty of a single golden detail: the FAUNUS. s a mythological figure a horned god of the forest, plains and fields; when he made cattle fertile he was called Inuus (there the link to DE ROODE BUL). He came to be equated in literature with the Greek god Pan. So the idea is to develope a freelance ship - as 20 years ago with my gardenrail locos. As I understand Dennis right with his JOLLY ROGER it is a nice basis for experimenal work, there are not very much building threats floating around in the www - so I'll use her as a trial support. FAUNUS must get a new transom and I tend to lift the aft end of the hull a bit to get a higher transom with a larger couronnament. I will try some experimental work to the craving imitation and as a Frigat de Plaisire* I can add just a little bit more akanthus leafs and gold than typicaly would be found. For the coloursheme I found a second furniture as source of inspiration. And it was already done at L'AURORE 1766. Ant the flourish green fits to the natural godness auf faun. And the figureheads prototype is also found: What I tried first was to get a nice and individual nameplate Here from the TAUREAU BLANCE- the "White Bull" the name for 2nd Revell JOLLY ROGER kit (as I decided not to build the Peter Pan film ship). And the trail to get an individual nameplate by using the A basic appearance for N and U, too. {Doodling while phoncalls can be more creative than the hole call - giving you a success that is not in the call until you realize it and turn the conversation to fun, smiling and a bit of nonsense and you end up in the business call with a pretty good result.} I know it is spleeny - but better spleeny with a smile than grumpy with a heart attack. Take care! *...and with a thirteen gun boardside you can sink your competitor d'amoure easily but soundfull on the canals of Versailles.


-
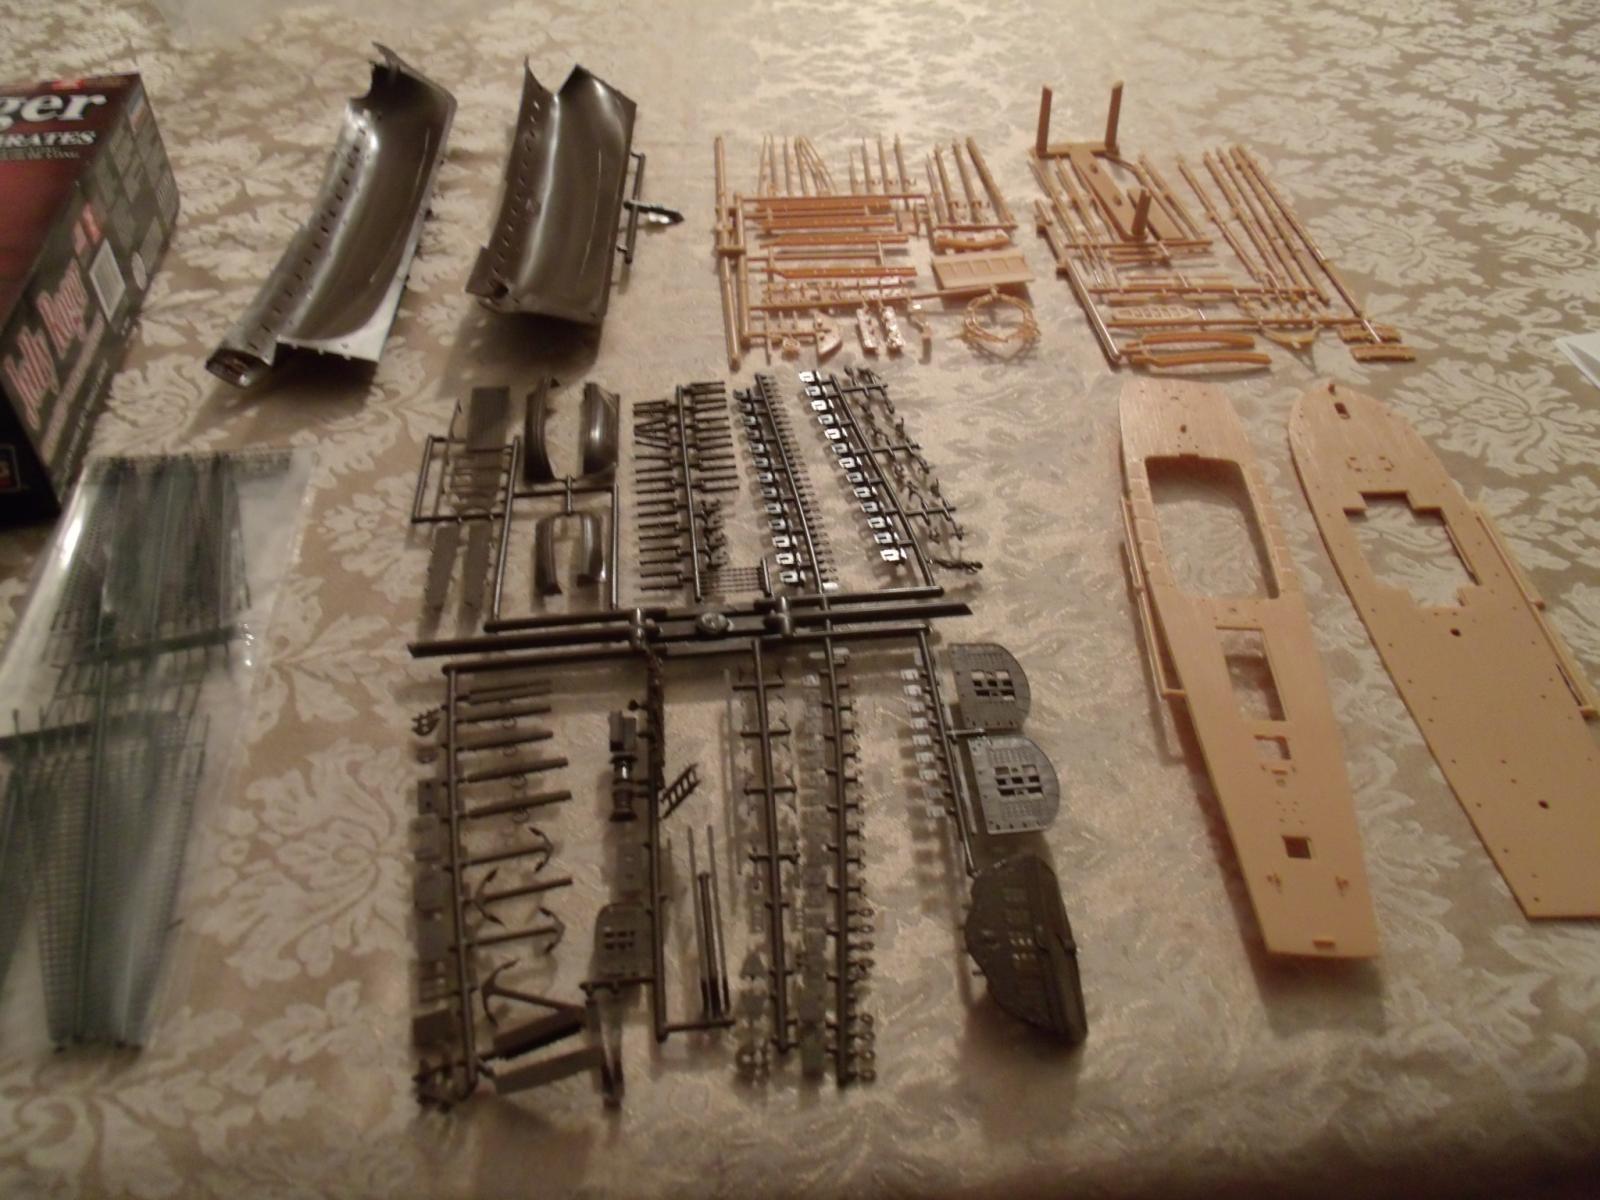
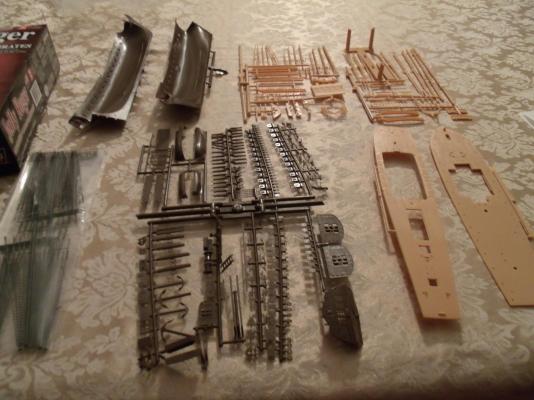
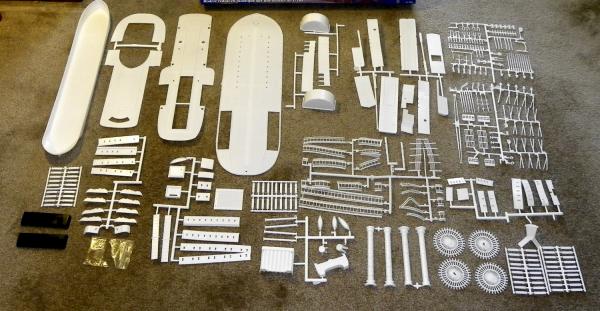
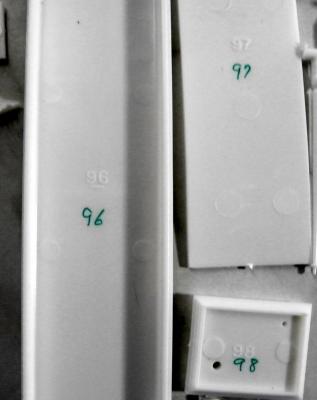
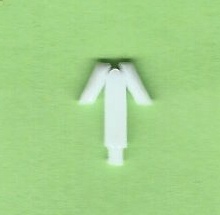
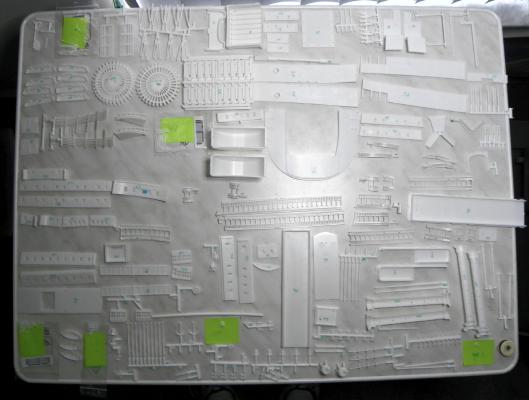
 This is my first build log. I am retired, living in Florida and here is a photo of my work space. I received the kit on Thursday, August 21, from Advantage Hobby in Champaign IL. The first thing I did was cut two 9’ lengths of the rigging thread to soak in water overnight. On Friday, August 22, I hung the rigging threads with weights at the bottom to stretch the thread. I separated each part and identified its number with a green Sharpie on the “back side” or on the adjacent tab so that they would be easier to identify. Most pieces were in fairly good condition. There was quite a bit of flash evident which will require lots of cleanup. One piece - the Jackstaff - had a curve in it. I used boiling water to reshape the part - a technique recommended by Doreltomin on the Forum. One small piece remains unidentified. It was loose in a plastic bag and cannot be found anywhere in the directions. It is 9mm from top to bottom. On Saturday, August 23, I arranged each piece in numerical order to facilitate locating them. I started to paint the names on the two Paddle Wheel Walls. Apparently, I never learned how to color within the lines! I need a much smaller brush than I used. Not a great start. I don’t know how so many of you achieve such amazing fine detail in your painting. What size brush do you use? The printed instructions are not very detailed - this could be a real challenge for me, but I’m looking forward to it.
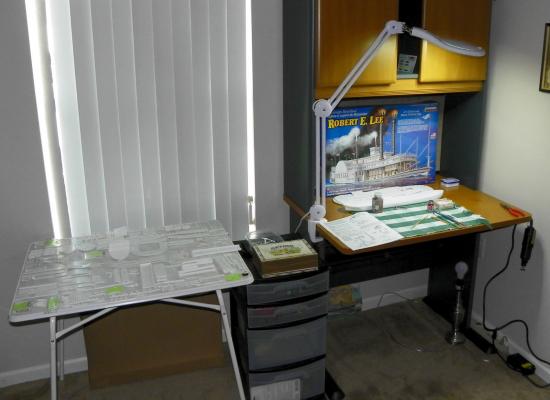

-
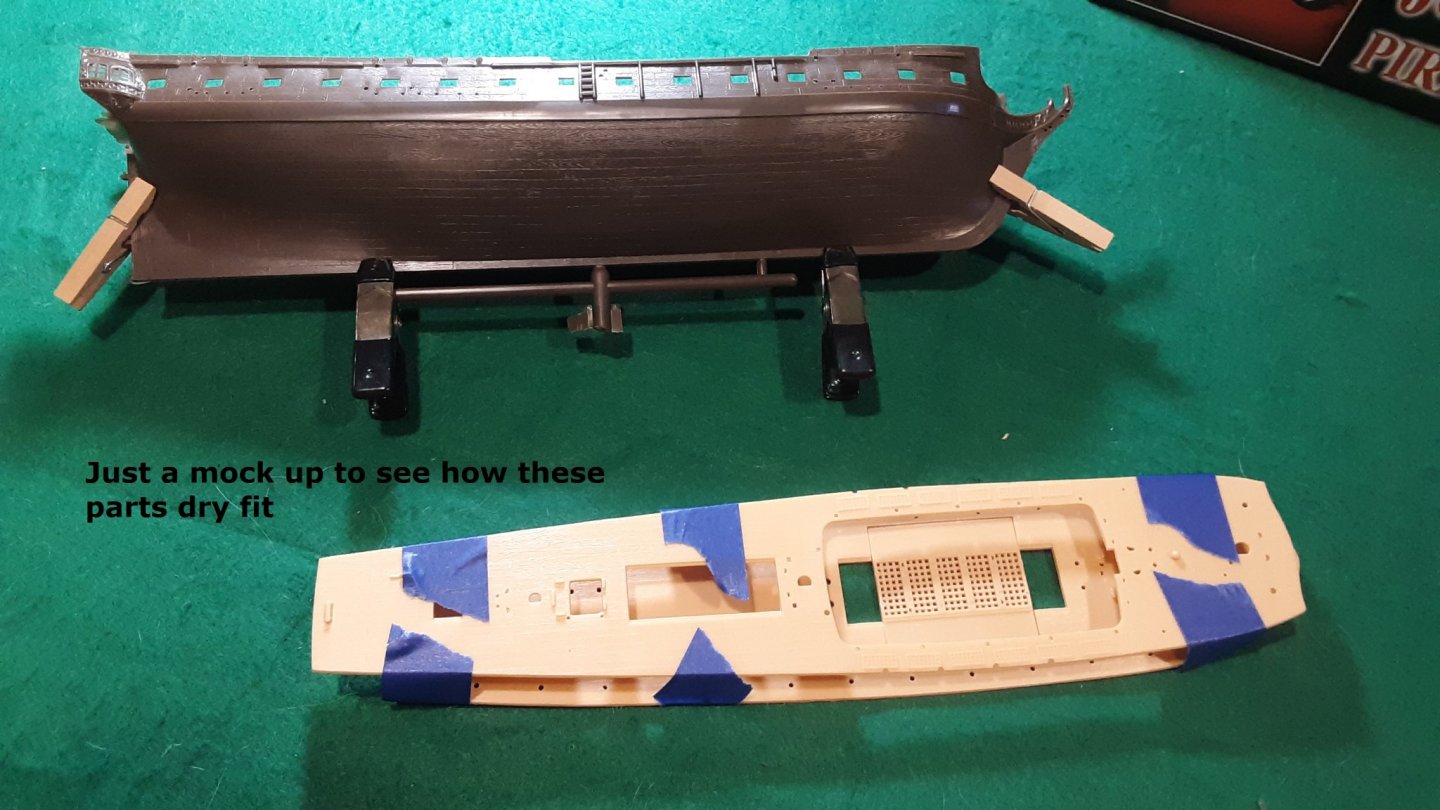
 My plan is to make a generic model of a frigate, basically following the instructions, doing things a little different as far as paint colors go... The goal is to get a feel for building models of "tall ships" with all their rigging, to enjoy the process, and to hopefully end up with something that looks good with my other ship models... I'm pleased with how it looks so far, and I'm having fun, so I'd say I'm off to a good start. I have some resizing to do on my pictures, so it might be a while before I get them up... Edit: forgot to add - I'm already in the process of rigging this ship, but I do have a few pics of the progress to share...
- 20 replies
-
- 1
-
-
- jolly roger
- lindberg
- (and 1 more)
-
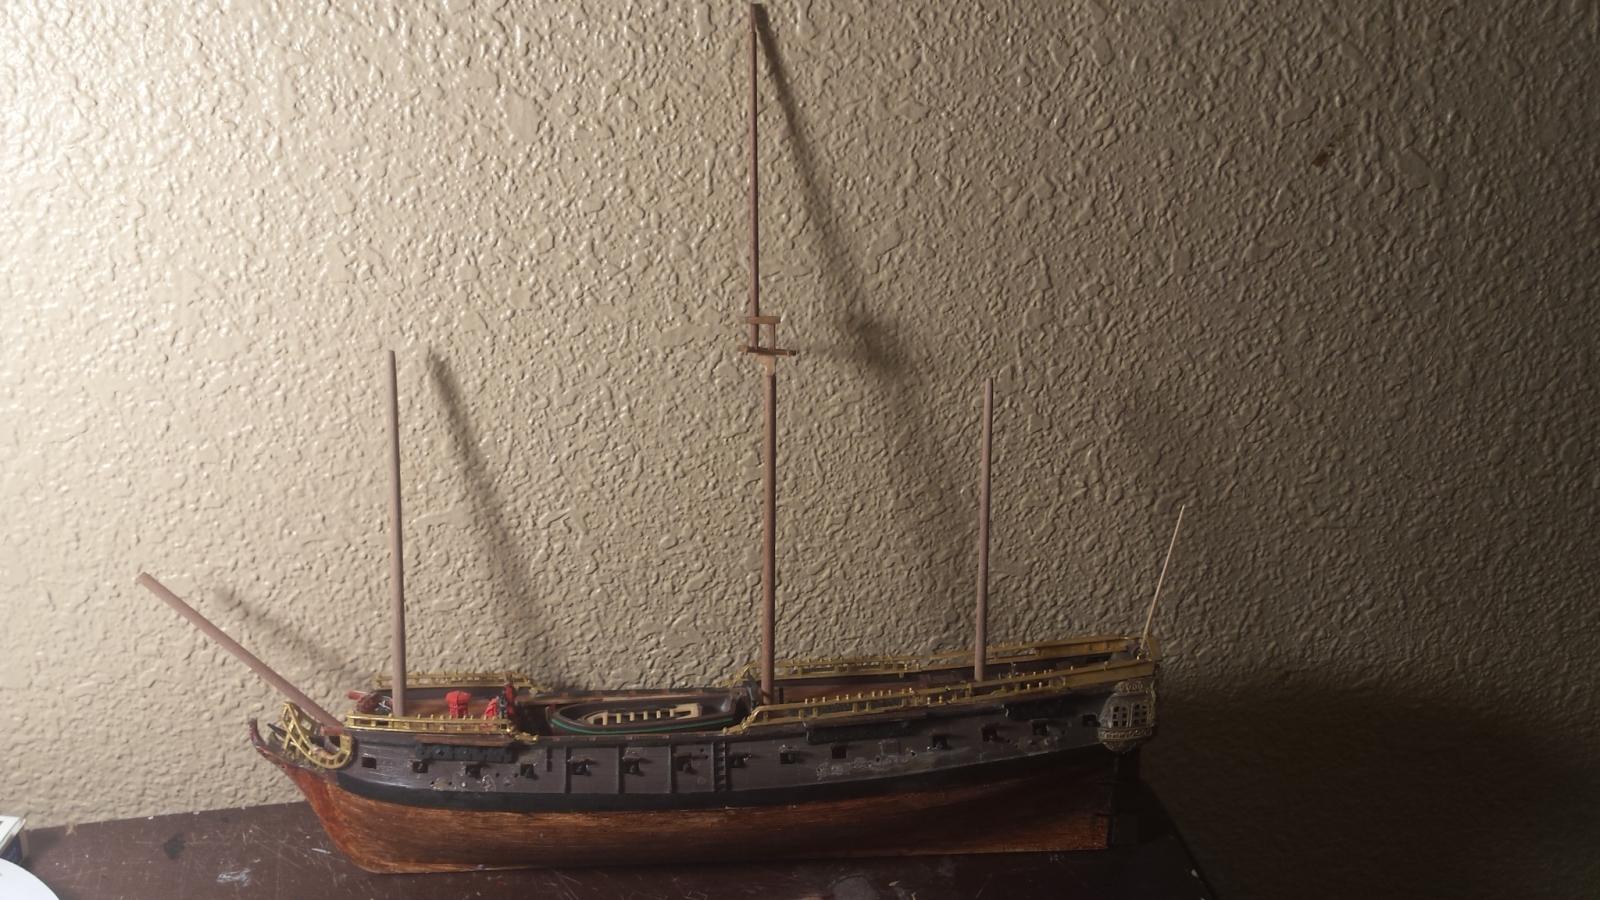
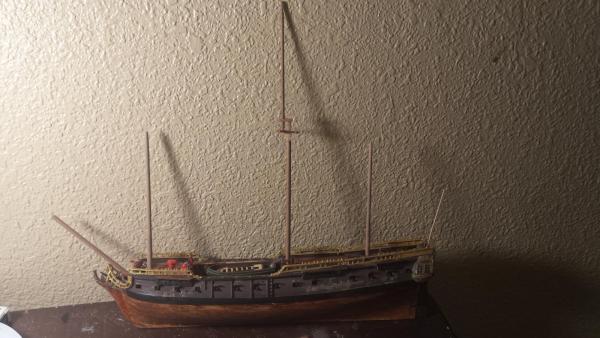
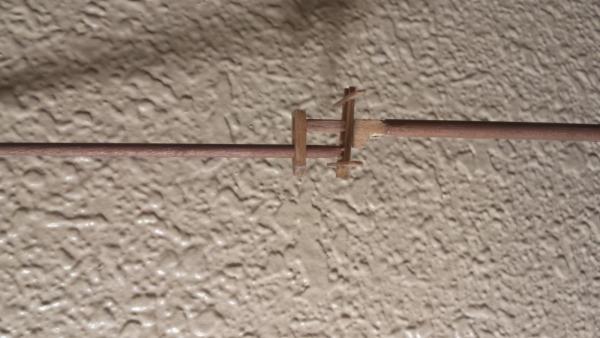
 I hope I have this topic in the right place if not moderators please correct me. I figured scratch because it's a scratch project on an already built kit. I'll explain. My first ship model ever I got when I was 17. It's a Lindberg Jolly Roger plastic kit. I was used to building airplanes at that time so I built it in a similar way with just the pieces provided and some paint. At that time I didn't add rigging. It had the back stays but that was about it. As I got more into ship in bottle building I added some rigging. I guess you can say it was ship in bottle rigged since it was just the lines with no blocks. The lines them selves weren't even totally correct they just looked ...about right. In our last move the ship got really banged up. Broken bowsprit, broken plastic sails, bent masts all sorts of problems. I've decided to restore it using wood parts all scratch built. I've always had a problem building bigger ship models. I don't know what it is. It's probably that I find them intimidating. There's a lot of parts and pieces and a lot that I have a general idea about but not a thorough knowledge of. Since I enjoy rigging and how rigging looks and works I thought this might be a good project to get my feet wet so to speak. I decided I might as well post this since I feel like I'm getting stuck and I've made some good progress so far so I'd like to continue. Here's what I've got. This is me a few years ago....7 or 8 years I think. I post it because it's one of the few pictures I have of the model as I originally built it. This was preship in bottle building. This is what I've built so far. I have the masts in place and tapered and one cross tree in place. This is the cross tree I built. I think my spacing between the lower and upper mast might be to wide. I'm open to thoughts. Still got quiet a few more to do. Also on the original model there was an additional piece to the bowsprit. In small models I glue the pieces together and tie some string around but I want this one to look right. How were those two pieces held together? I'm also open to books I should read. I tried The Rigging of Ships by R.C. Anderson but I got very lost in the, "it was built this way with a lot of exceptions" style the author used. Let me know what you think.
- 11 replies
-
- 8
-
-
- jolly roger
- plastic
- (and 2 more)
-
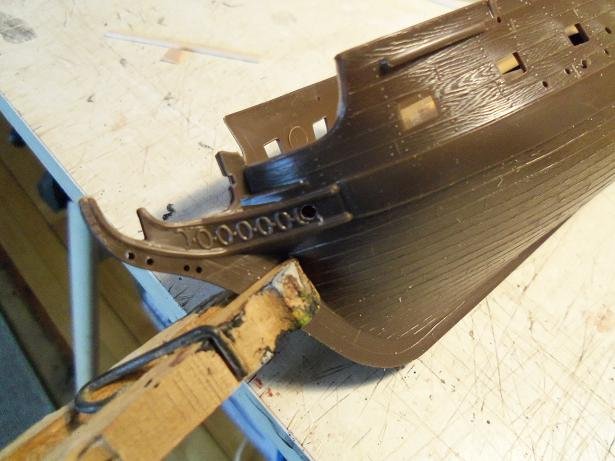
 Greetings! Newbie here. After dabbling with a couple of Age of Sail models (one is still ongoing), I finally decided to do the Jolly Roger, by Lindberg (seemed a lot simpler than my Heller 74/ Le Superbe). This kit was also known as the frigate La Flore (originally) and also the Flying Dutchman. But now it’s the Jolly Roger because all square rigged vessels with cannon have to be pirate ships. Sigh… Anyway, it was/is my intention to use this kit to create a sort of generic 18th century Royal Navy frigate, but not any specific frigate from the Royal Navy of that era. Also, I am building this as a gift for my mother (a motivation which helps all the mess pass muster with my wife), Patricia. Thus, I decided to name her the HMS Patrician. No ships of the era are named Patrician, but there is a WWI vessel called Patrician, so there’s that. Anyhow, I am working on a deadline so there are some corners I have cut. She’s a little paint-by numbers, very little nuance in the colors of the deck, fittings, side stripe, etc. And most of the yellow is not the correct ochre-color, but I think she still looks pretty good. I am now done with the hull, excepting a few touch ups. She's a little sloppy, by the standard of so many other builds I have seen, but I'm sure I will improve in time- and I doubt either of my parents will mind. Here’s some pics, early and new: I have opted not to do ropes for the gunports on this build, for the sake of speed. I will be adding the ropes for my Heller 74 however. So far I have to say the fit of this kit leaves a lot to be desired. The boards where the ratlines attach didn't fit at all, and I had to whittle down some of it to fit. Same with the bowsprit, which I have test fitted. The ornamentation near the bow (I forget the word) absolutely did. Not. Fit. So I had to take it apart and bend it into shape...sort of. Hopefully it passes muster for a newbie, and hopefully nobody will mind. There is no place to lash the boats to the deck, so I just glued a few strings around the boats and inserted the whole into place. I think the effect is pretty good, all things considered. I have also opted not to add ropes as gun tackle- hopefully no one will notice. A lot of parts needed trimming, and some didn't fit. But overall, I'm proud of her. There aren't many plastic frigate kits- especially at this scale. And the lindberg kits are very cheap. So while it is a flawed kit, I think it's a good buy. Now, I get to tackle the rigging of a Kings Ship for the first time. I will post updates as I take on this challenge!
- 55 replies
-
- 7
-
-
- jolly roger
- lindberg
- (and 2 more)