Search the Community
Showing results for tags 'Red Dragon'.
Found 10 results
-
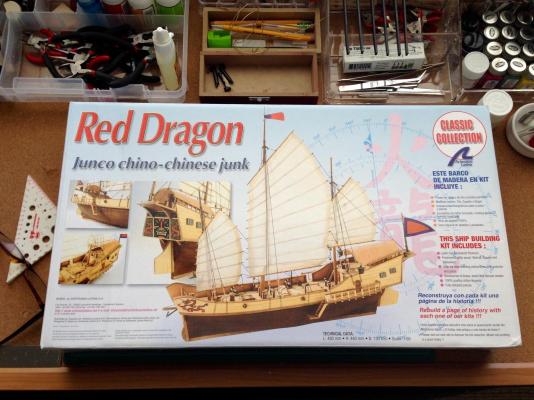
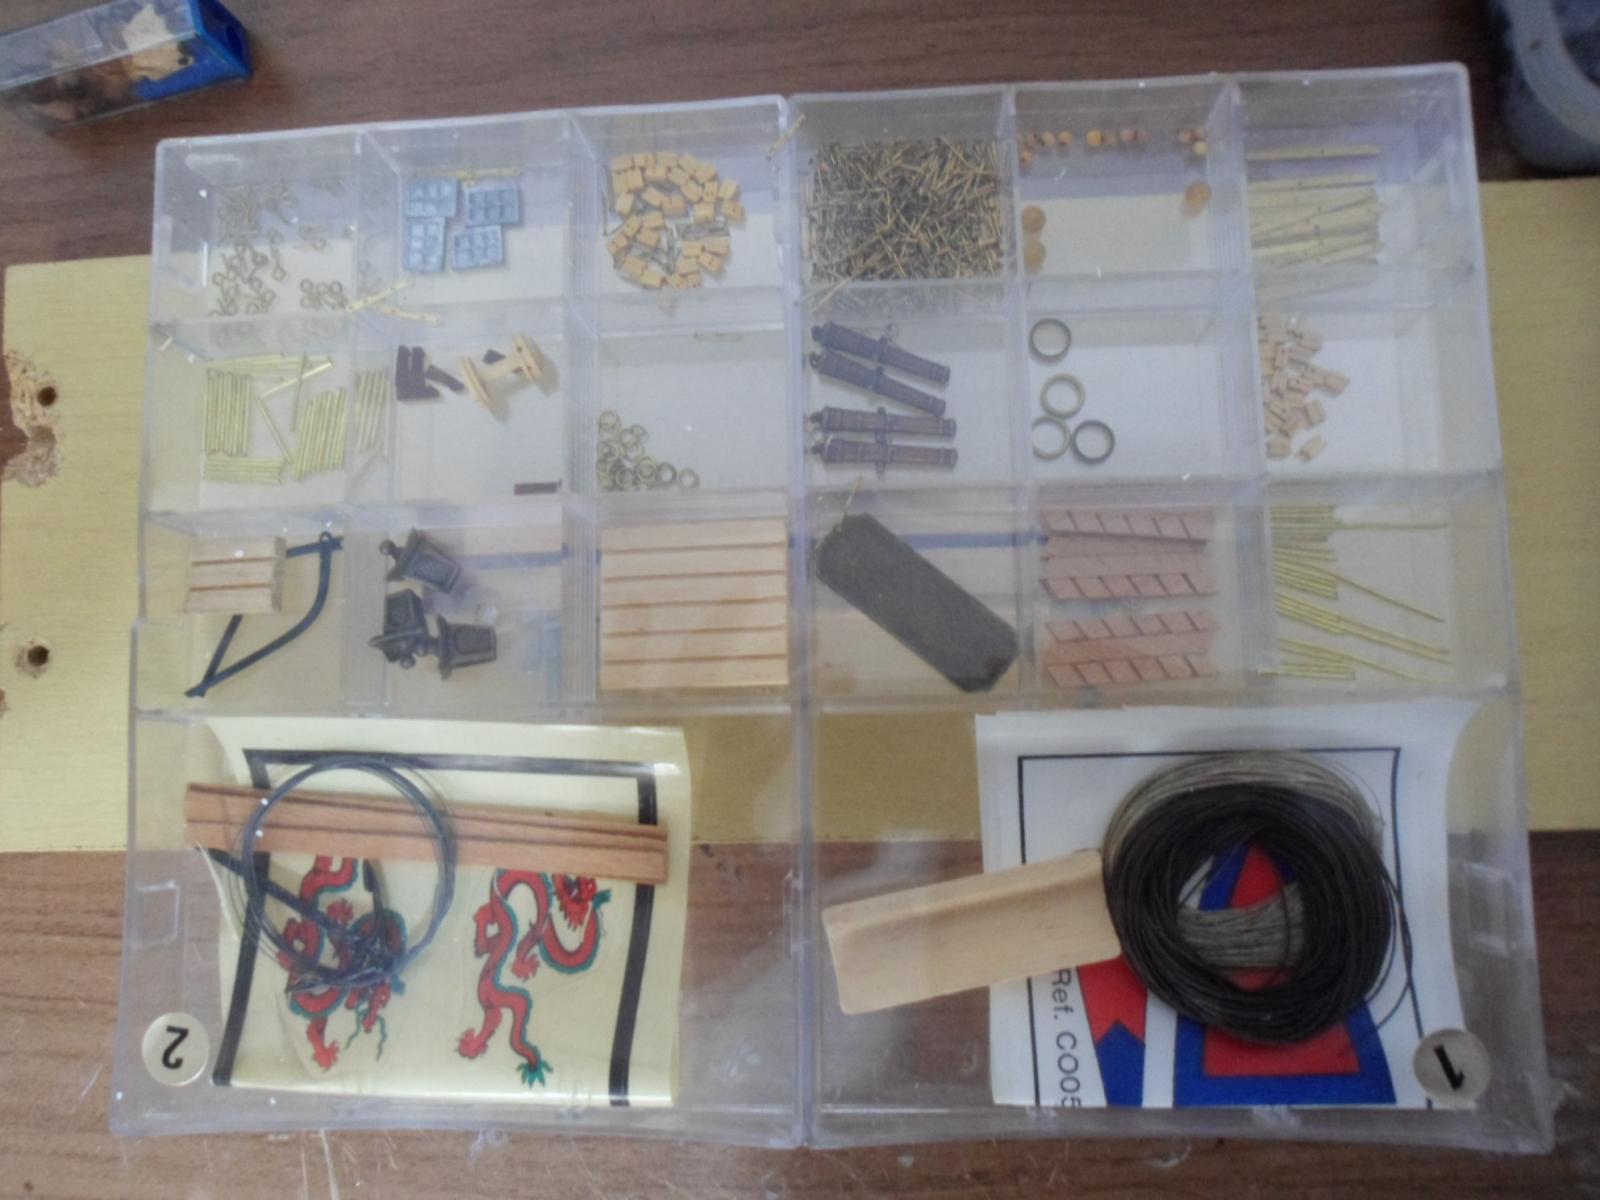
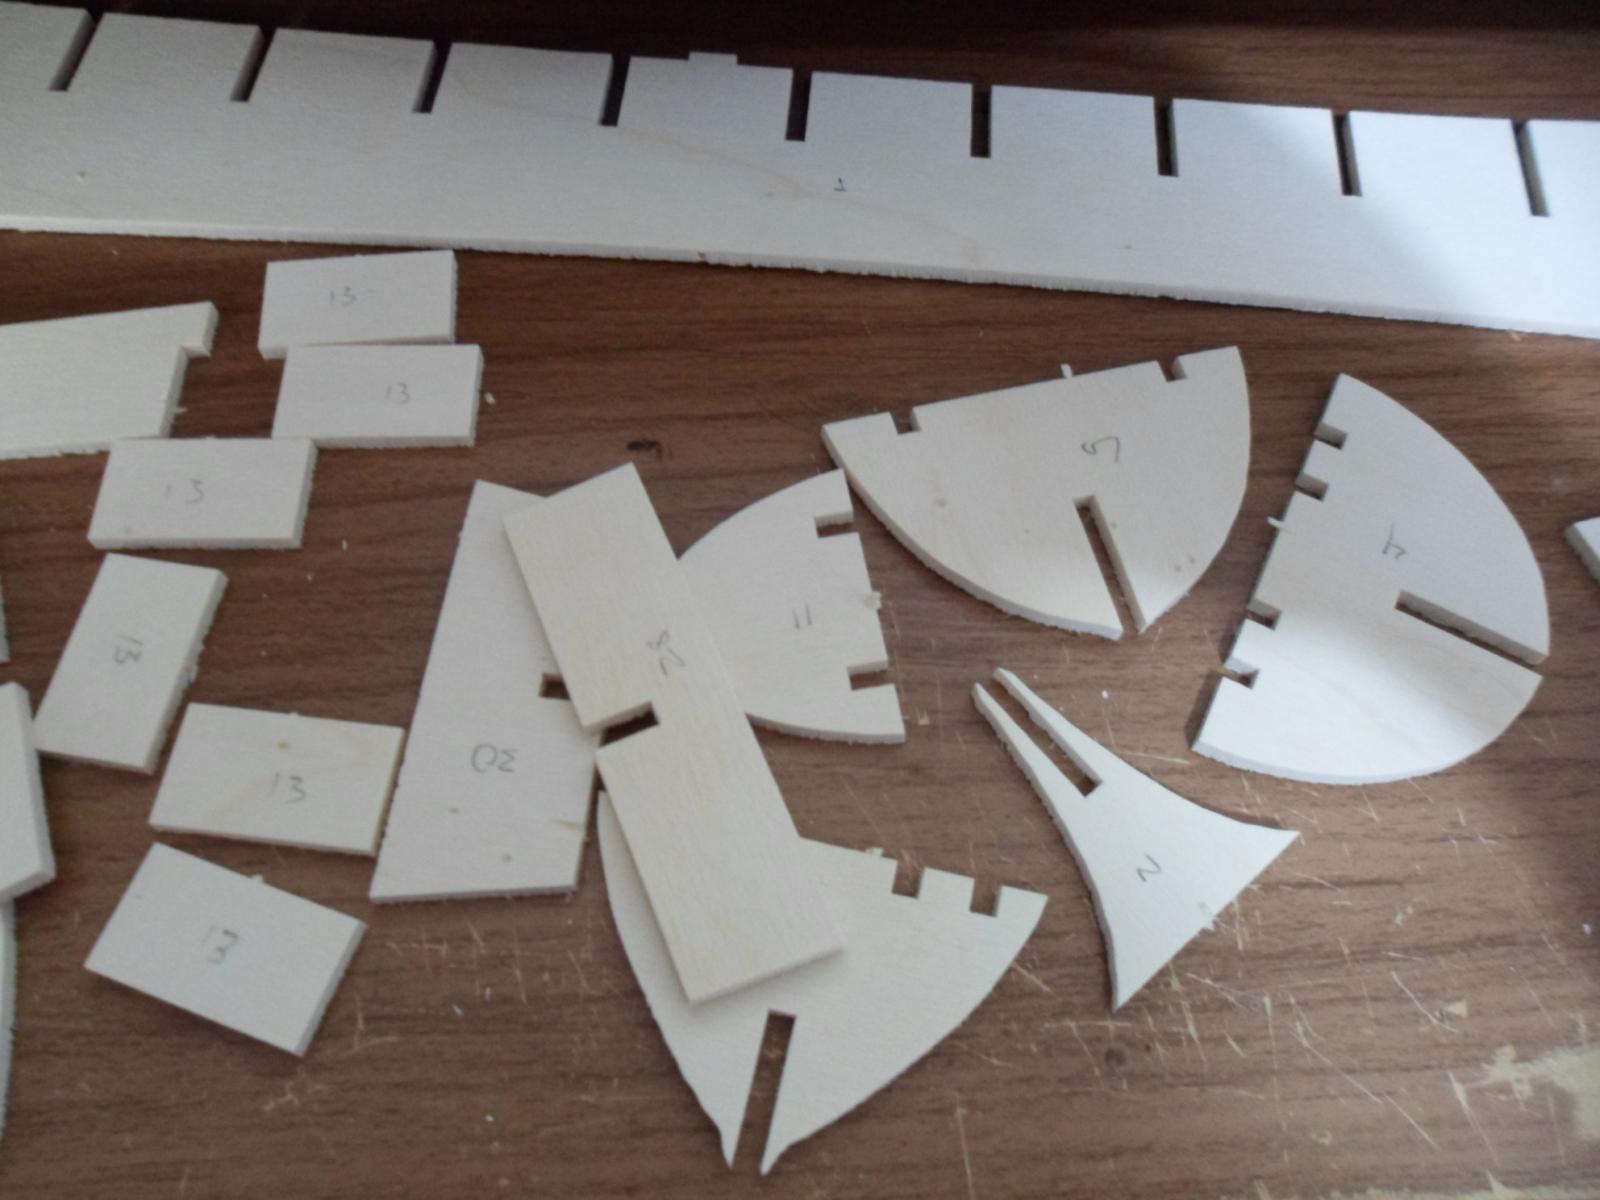
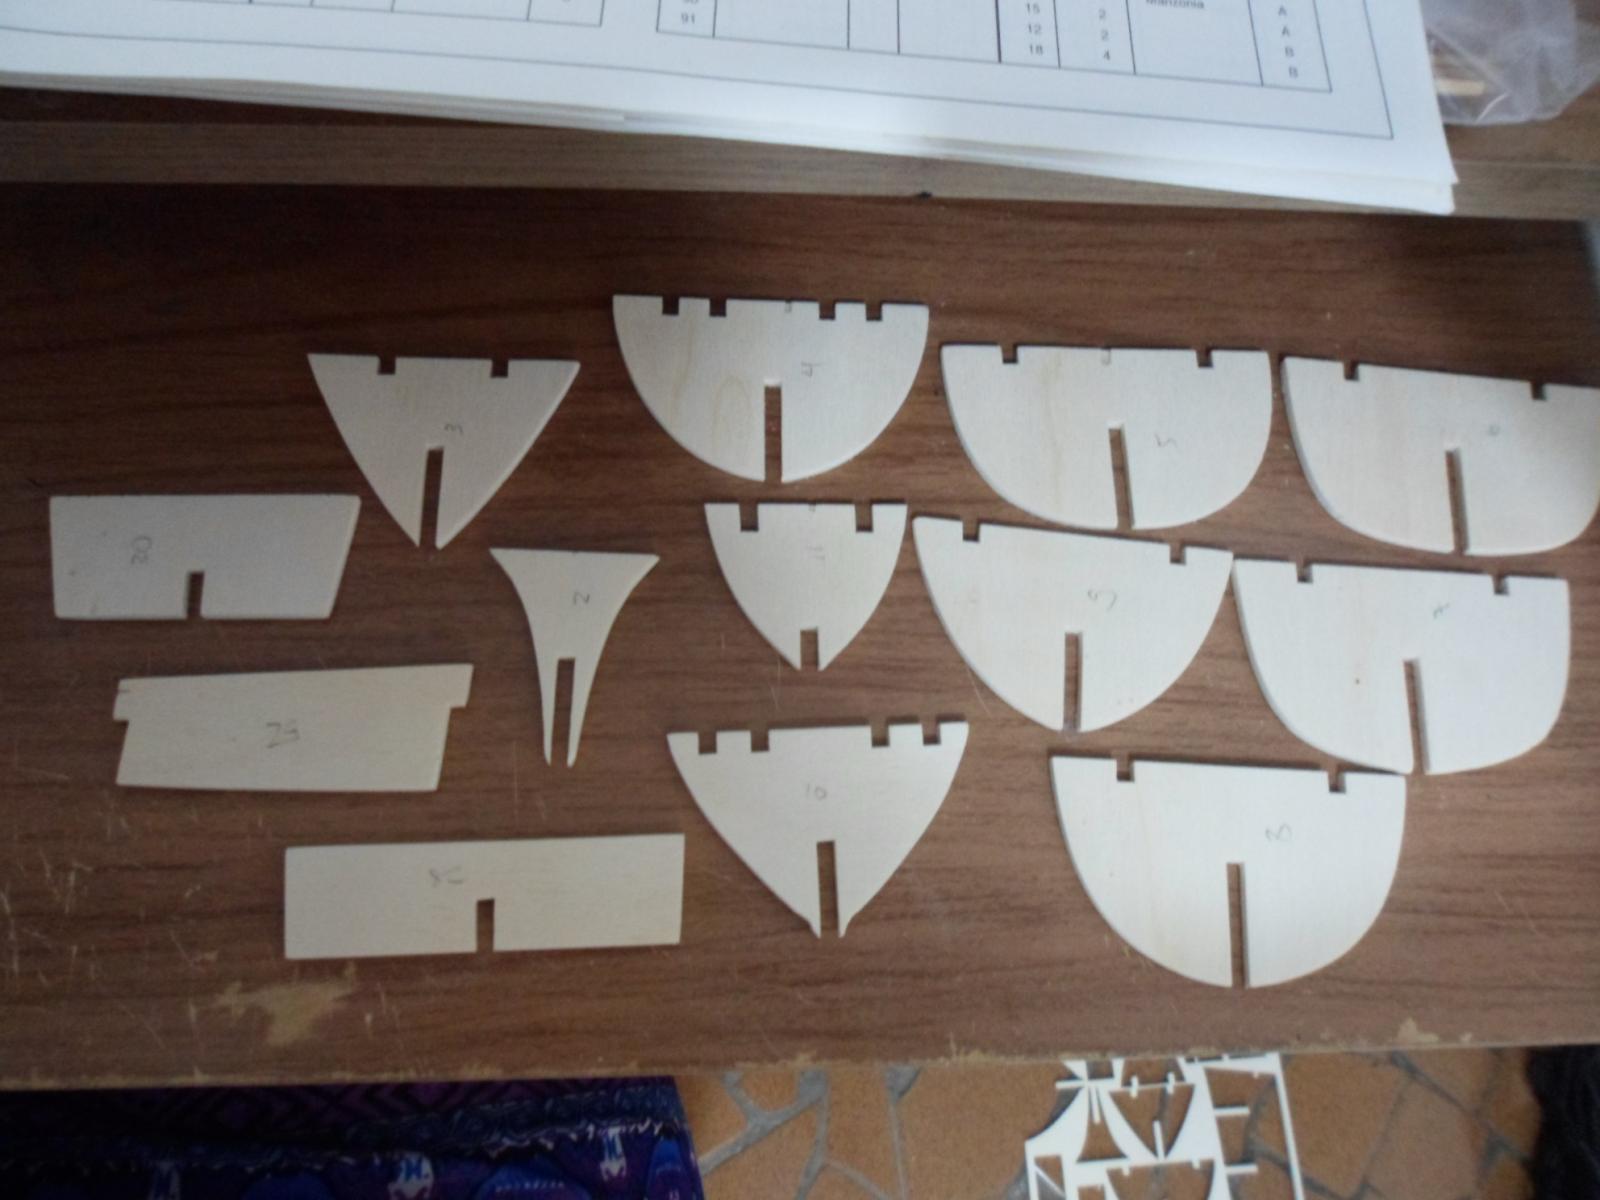
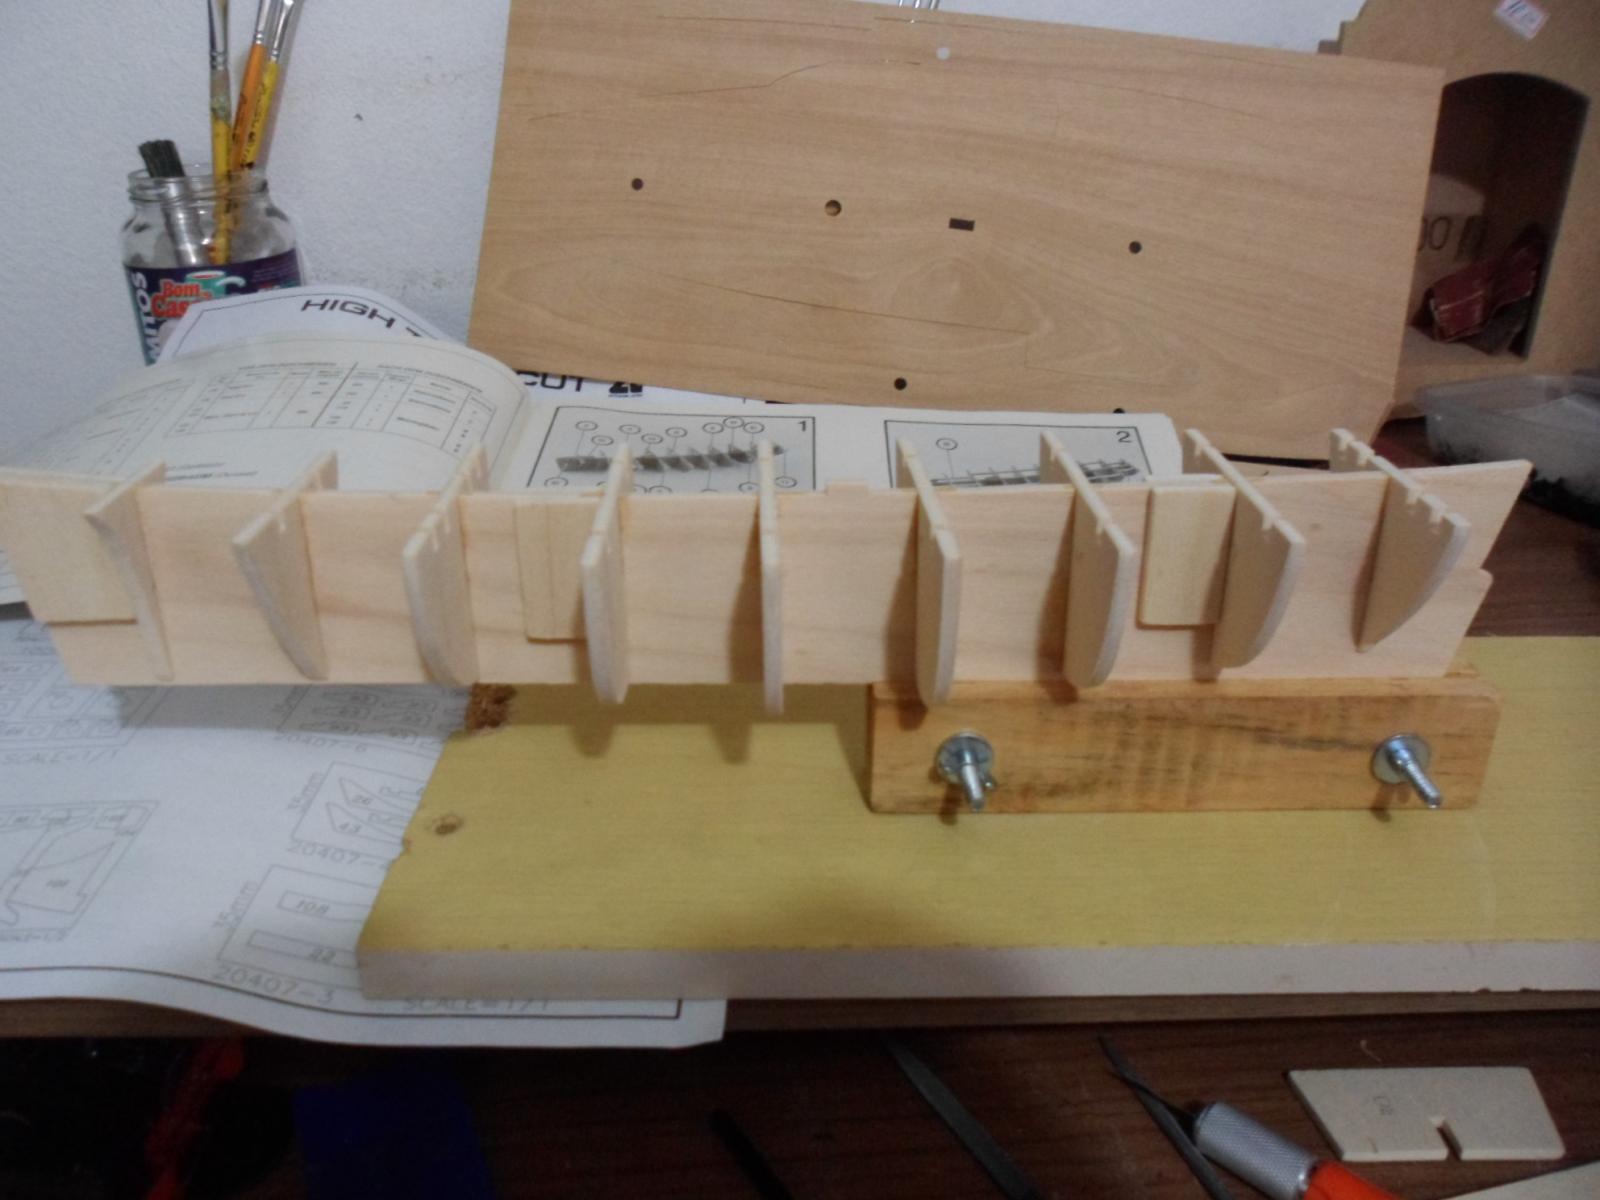
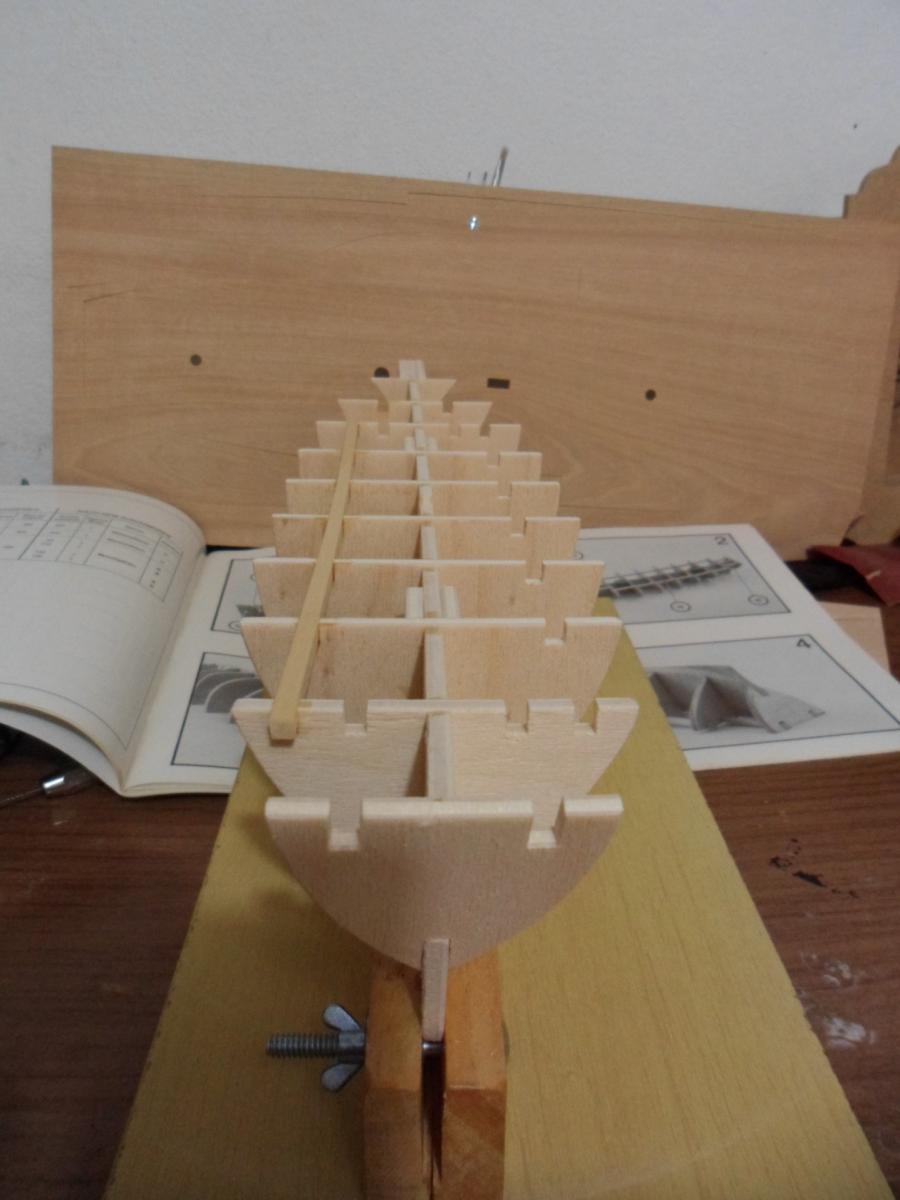
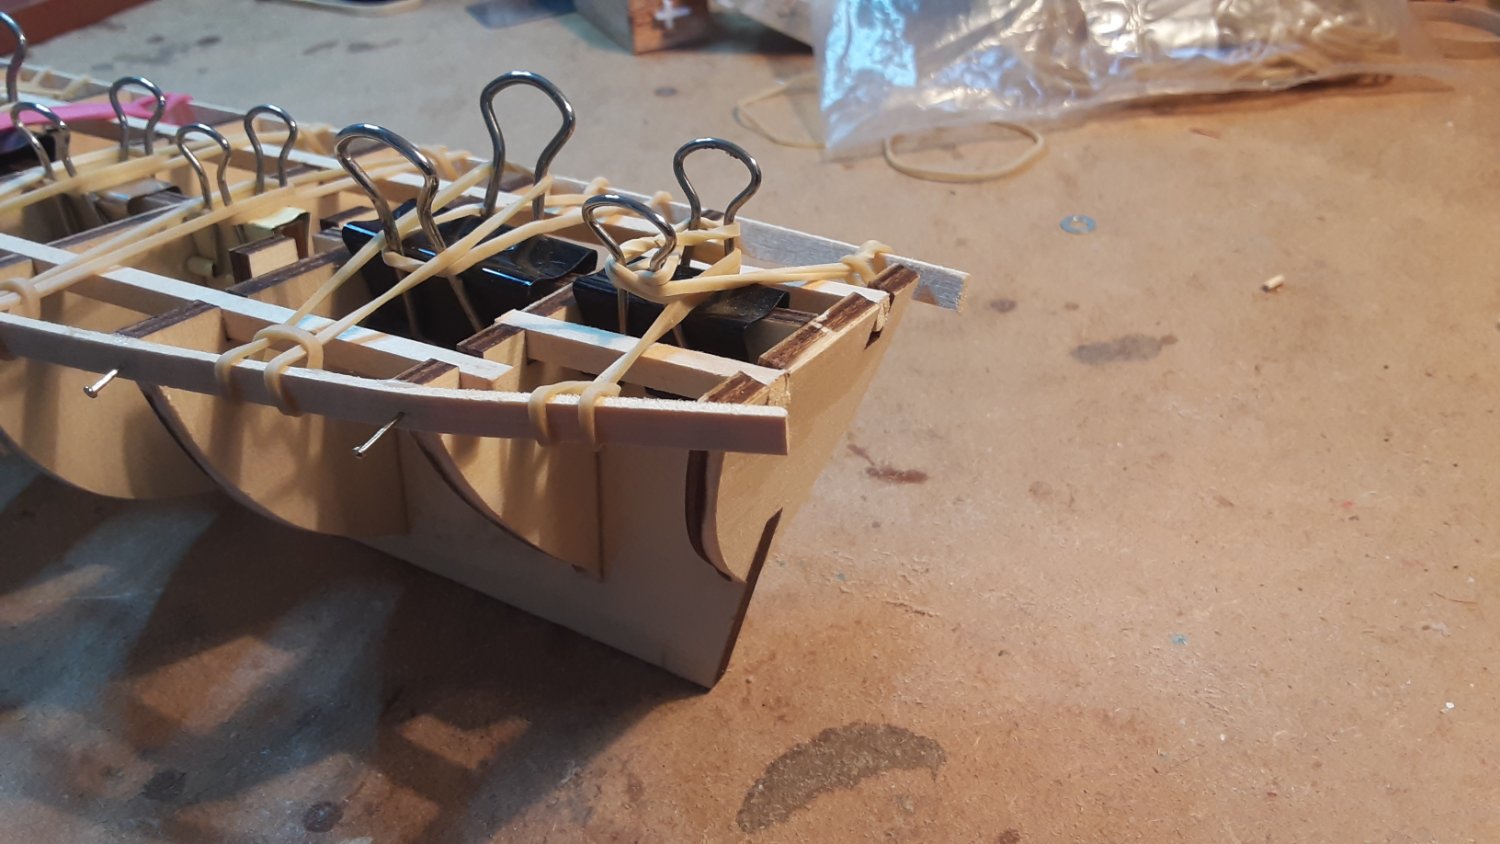
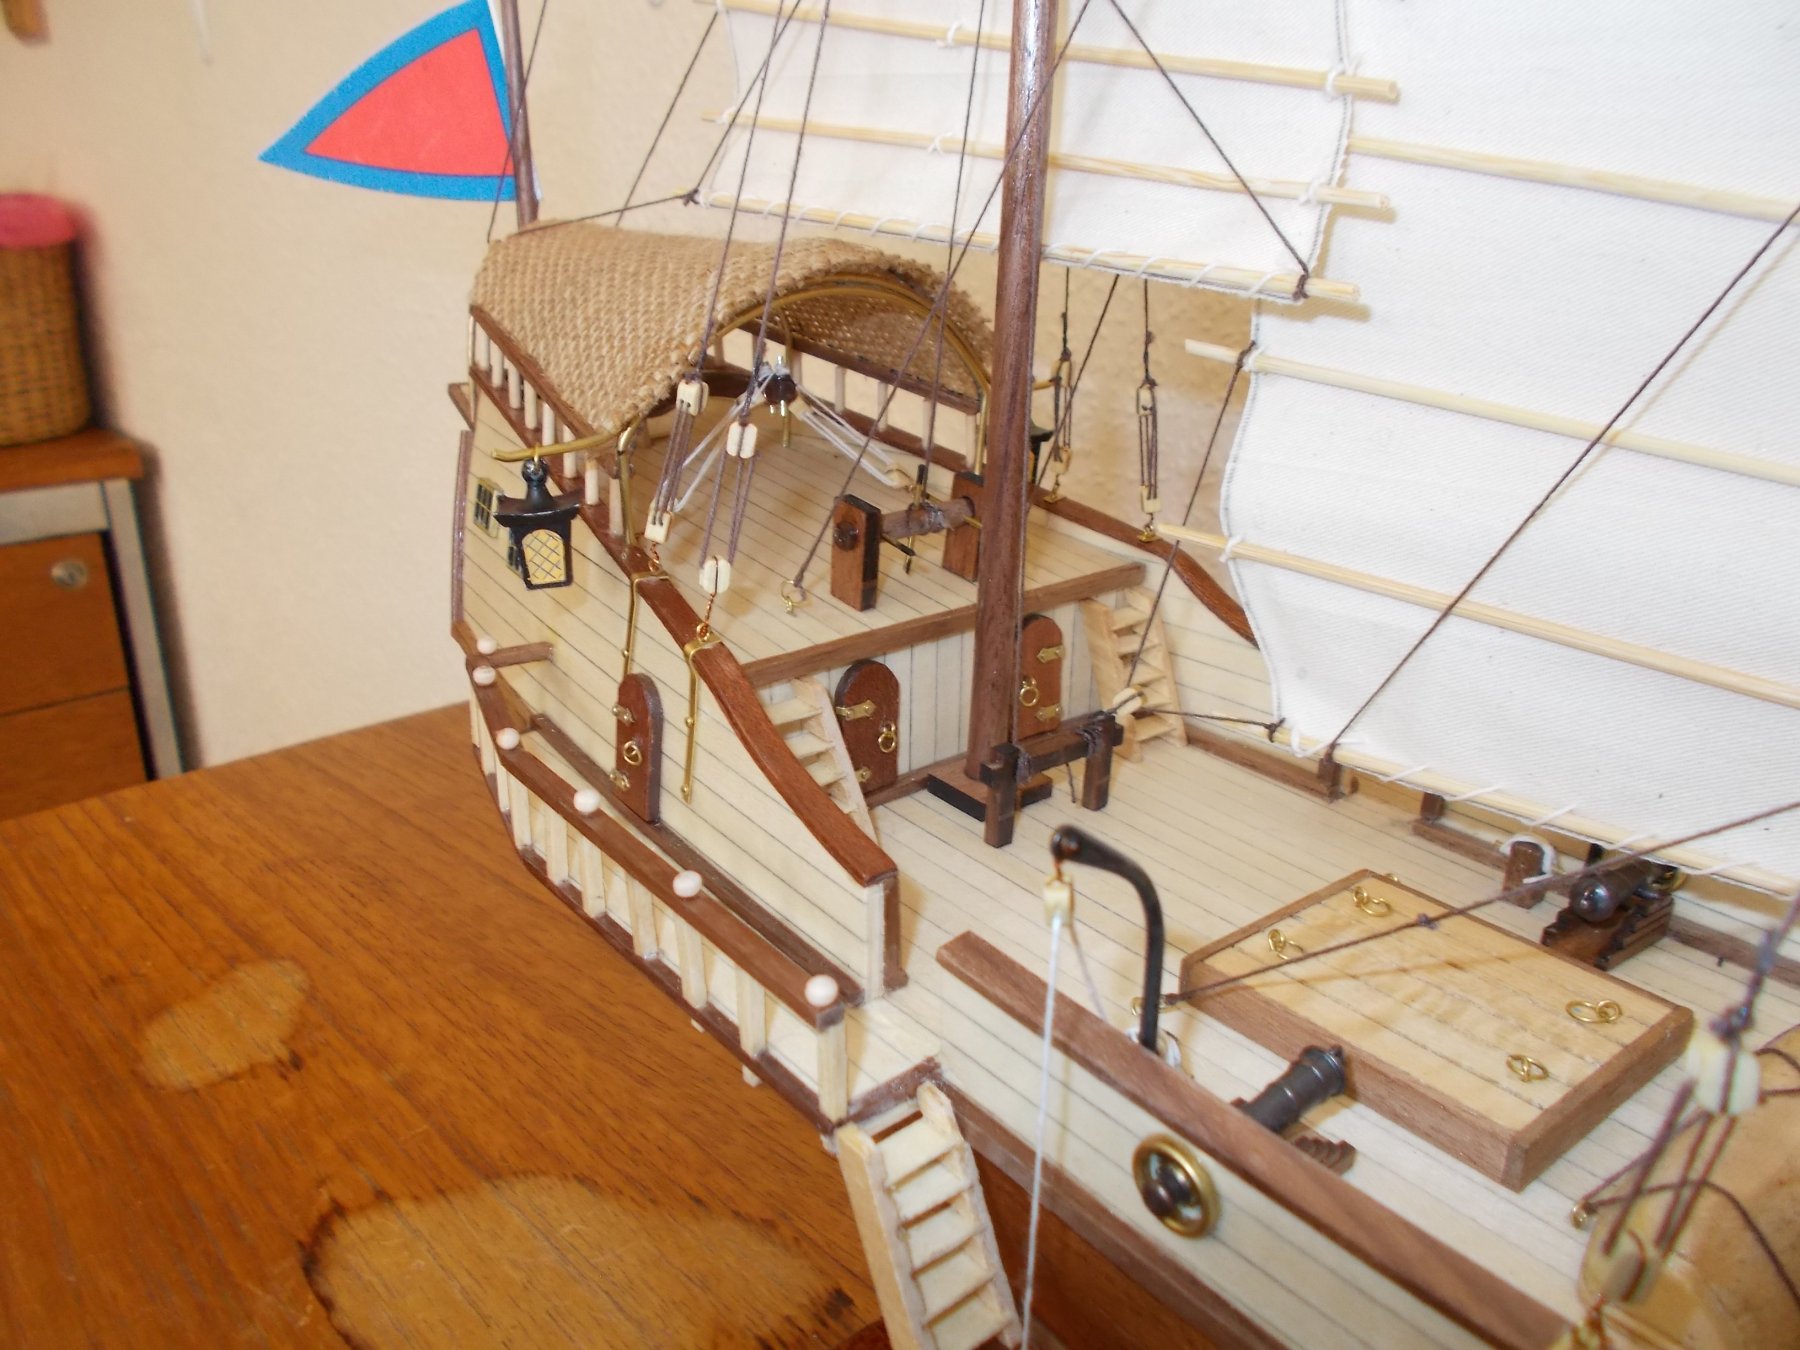
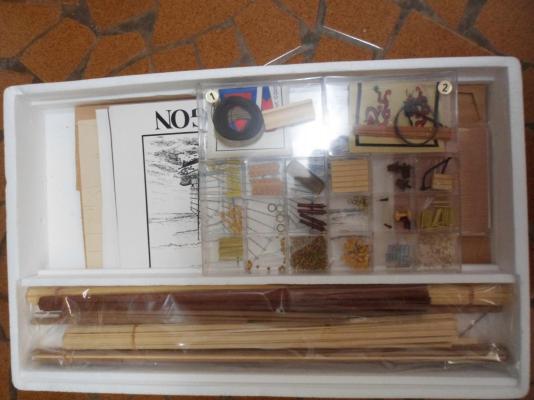
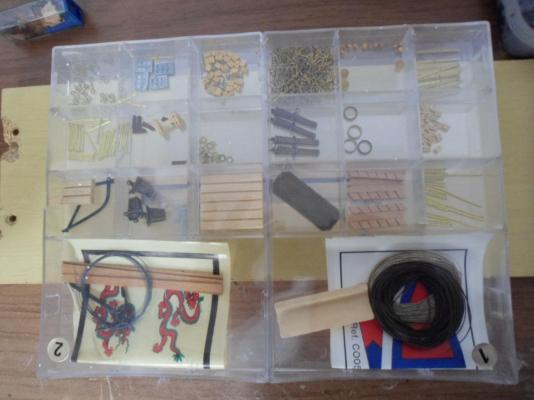
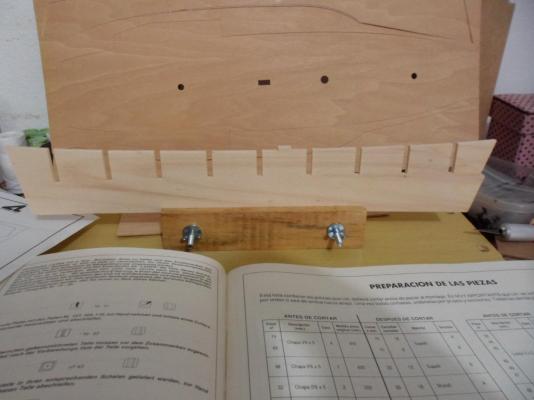
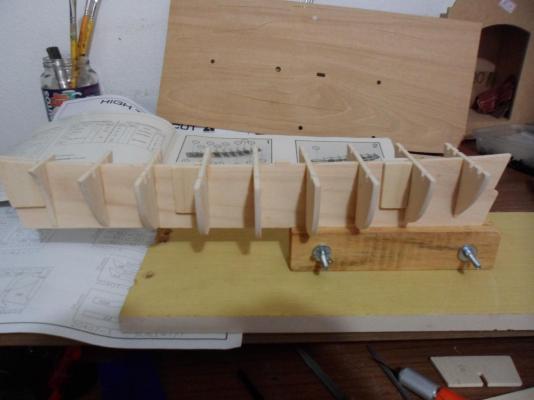
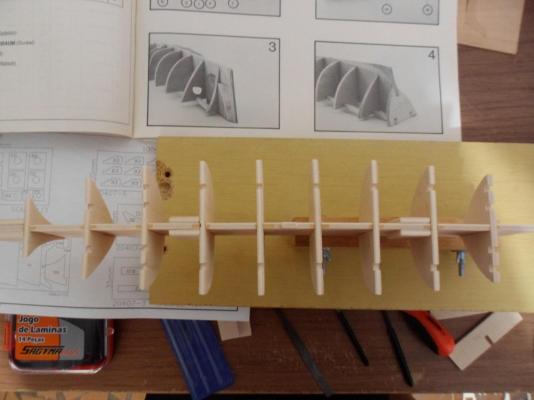
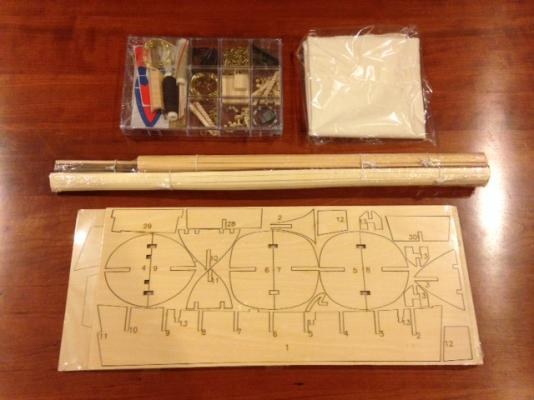
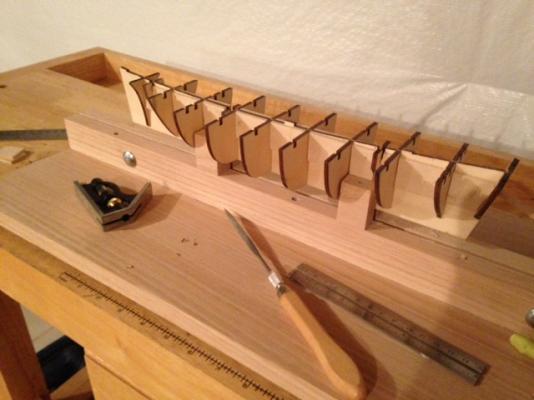
 Hi again and well, I coundn´t hold myself that much. 3 days after finishing my caravel I´m beginning a new project and hope you all enjoy it. Took me 3 months and some days to my last ship to be finally complete, and, today I started a new counter ^^ (not that I want to beat it). So, first thing first, I´ll say my impressions on the kit. I bought it from an e-bay auction. The box is a little bit worn, with some small scratches on the fringes. Since the kit is from the 80´s, there´s that look in it: Opening we can see a good care with pieces and wood, all arranged in a practical manner. My last experience was a bit disappointing regarding opening the box, cause the fittings and everything else were almost thrown in the box, with no preoccupation about the pieces´ overall look. AL, in other hand, do know how to sell it´s fish. Unboxing the fittings box I found a beaultifull set of small wooden and metal parts. Loved the distribution and care. Didn´t like the brass fittings for doors and windows, or even the lanterns - decided those will be made by me. The wood planks with pre-cut parts are easy to cut. It´s not laser cut, since in 1989 it wasn´t that common, lol. There´s a fine selection for woods, all woods. I detached the first parts to take the false keel and mount the structure. For this build I just designed a holder - Big change for better, for my last ship was builded almost in my lap, or on the kit´s base, which devastated my hull, as I saw sometime after the mistake. So, false keel on holder ready to receive framing. After cutting and sanding the frames, got numbers to them so I could follow the instructions - and make no mistakes. So, I took care to align all frames with the false keel, since some of them needed some fixing to go smooth with the keel. After that I glued them and the girders, as follows I got the impression that it was a little bit crooked and drawn a line to compare, but was just an impression. Began first planking but need to buy a small hammer, so, all paused till I buy one. Other consideration - after studying the plans I found it easy to give the ship some cabins. With a little modification on the castle I can put some nice furniture inside the ship and, following Doris inspiration, will let the windows and doors show the inside (after scratching my own windows and doors, of course). Well, that´s it!
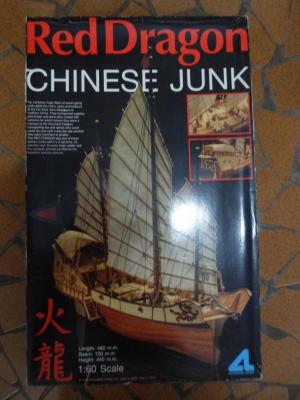


-
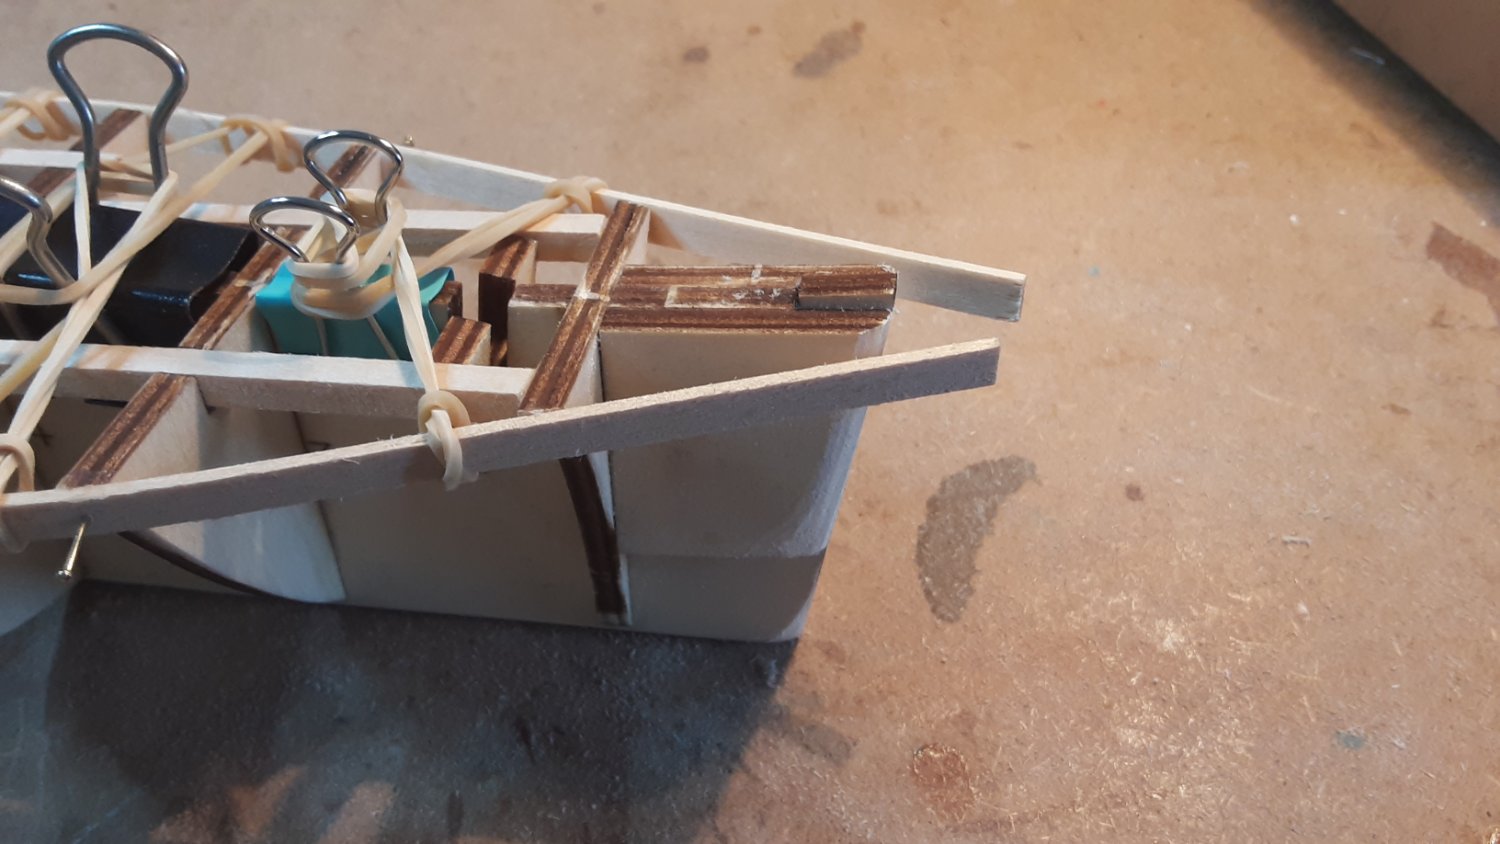
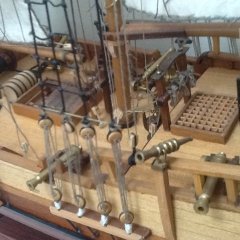
 Hello All I was given this kit by some friends who decided that I needed a change from putting ships in bottles and this was the challenge . Although I have done many plastic kits I have not attempted a wooden one and with a double Hull. Before I started I consulted the www for advice and guidance as to what is involved , found this website / forum , joined as a newbie and created this topic for tips and suggestions from the modelling experts and have made a start following the very brief instructions . I include pictures of the build so far
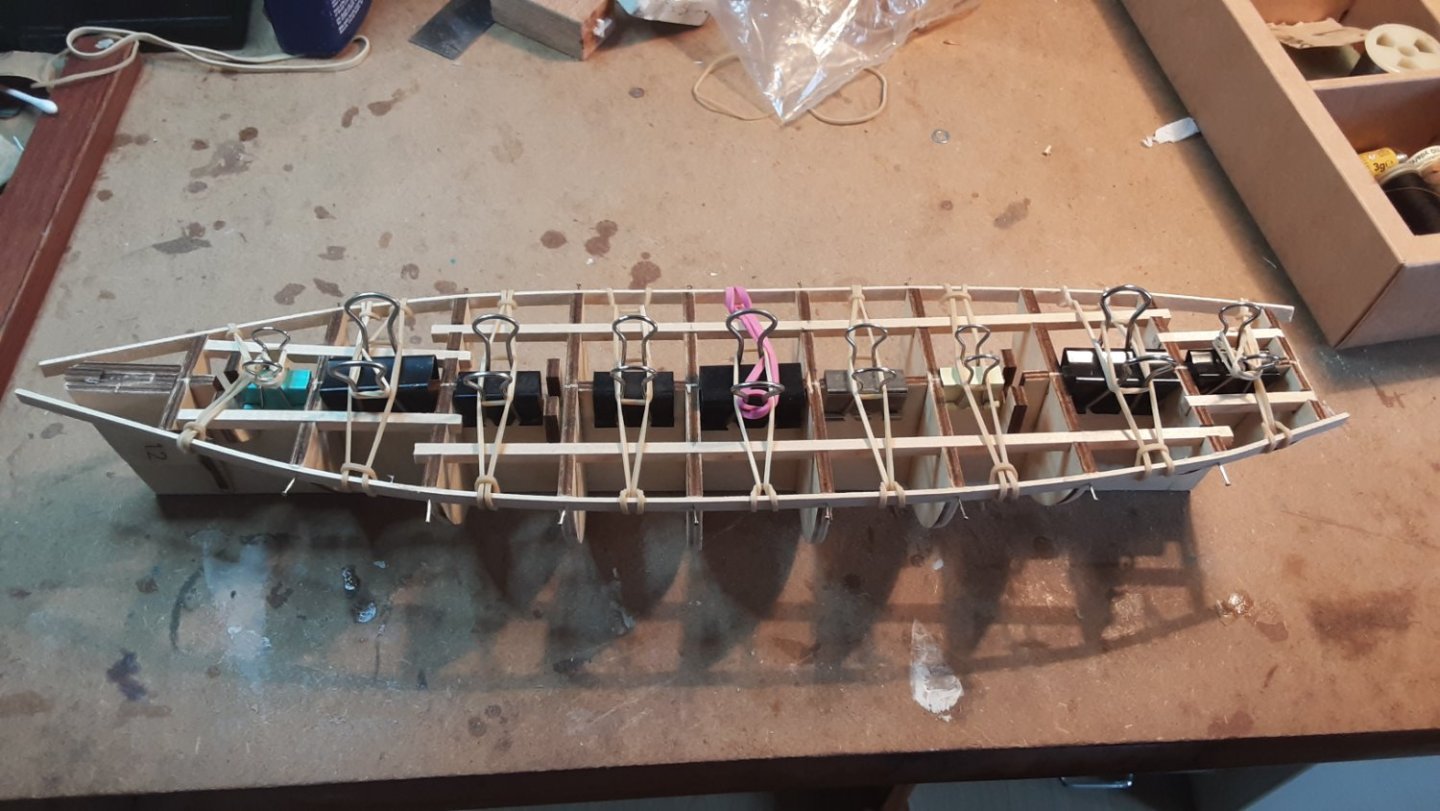


-
 Hi All, Please check out the photo montage video of my 1:60 Scale Artesania Latina's Red Dragon Armed Chinese Junk Ship. The building started on May 12, 2020 and finished on July 22, 2020. I modified the ship by using some historical junk ships as design references. Hopefully, you will like the unique build. Thank you. Photo MONTAGE of building the Artesania Latina's Red Dragon
- 2 replies
-
- 4
-

-
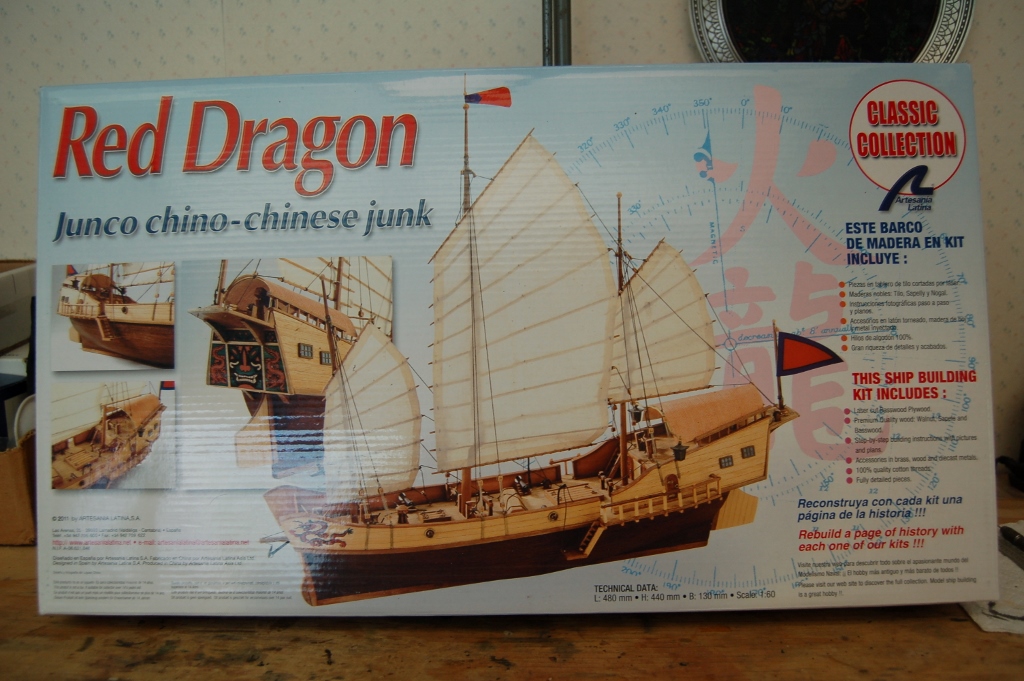
- Red Dragon
- Artesania Latina
- (and 1 more)
-
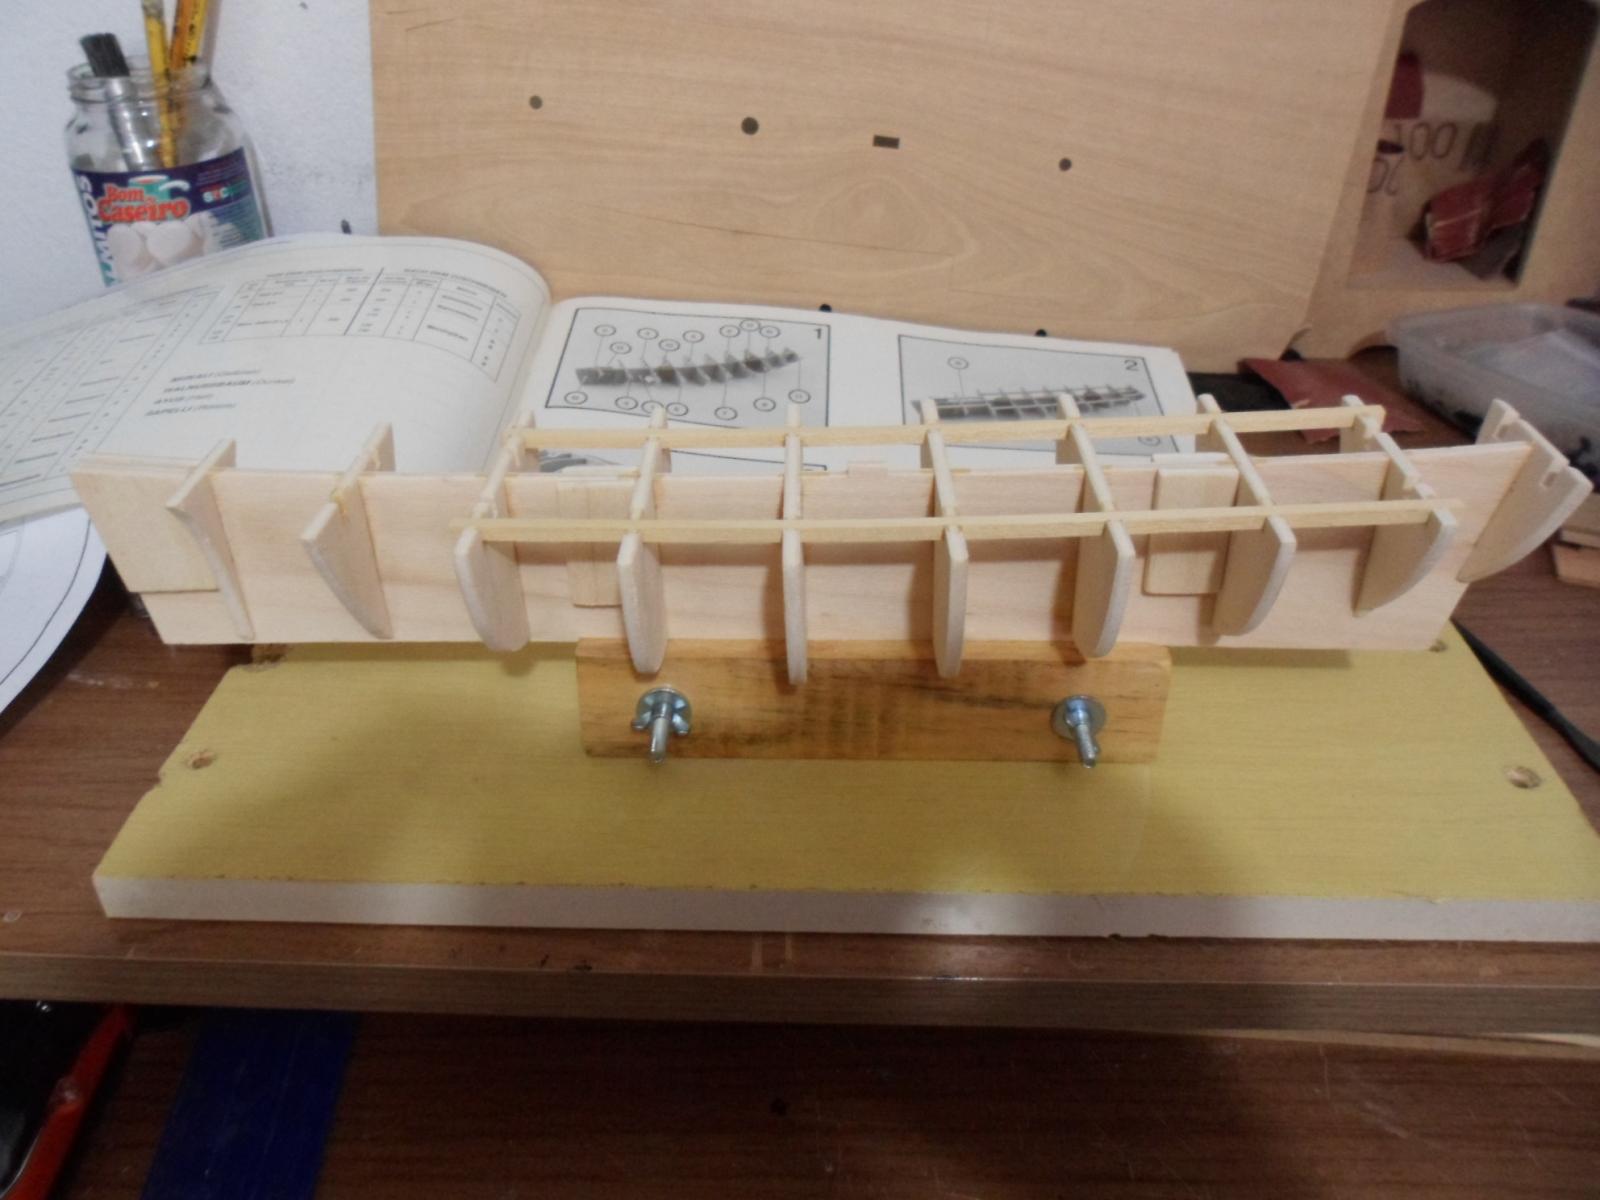
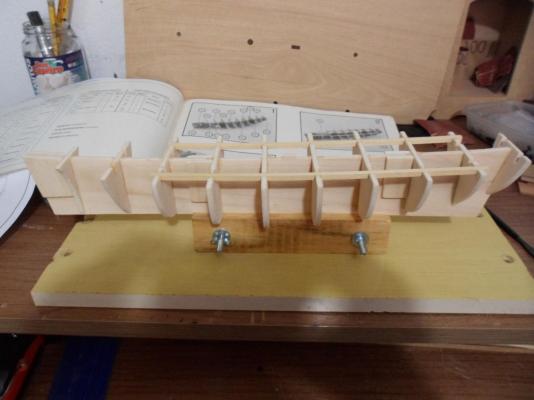
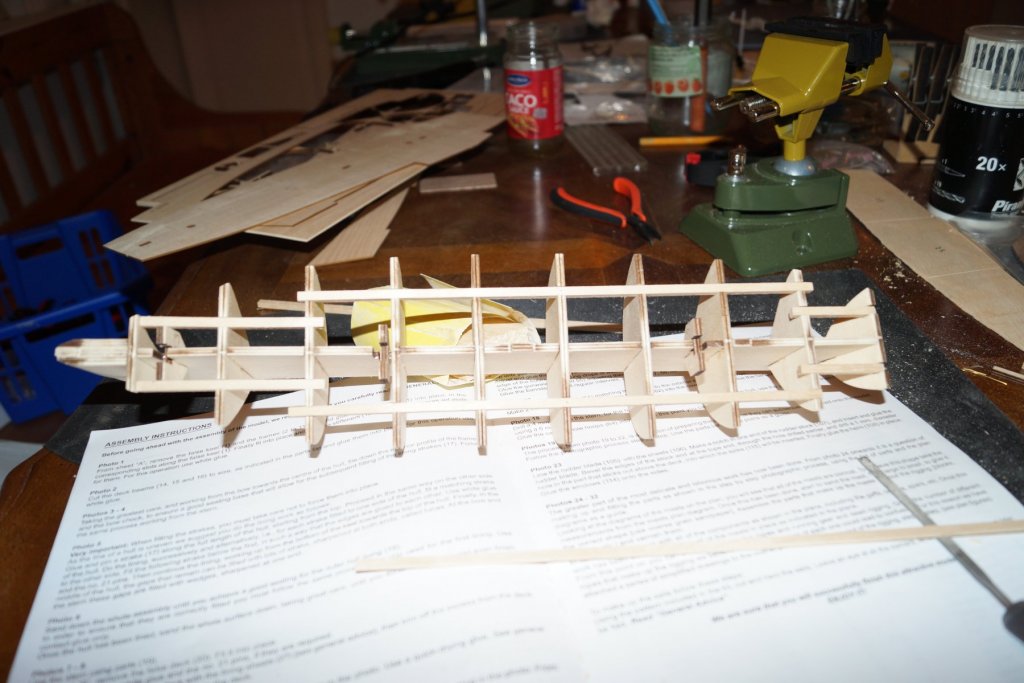
 Hi all! After my last endurance with Thermopylae I will continue with something easier. And a bit different from what I think is the most beautiful ships. I started it some time ago parallel with Thermopylae so I have allready started with the second planking abd I have prepared the decks. Now it's time to start sanding the frames Soon ready for planking I will update this log with more pictures and for those of you who are beginners like me I will try to explain what I am doing and why. This far it's not much to say other than that I put back the support girders between every frame that I glued nd when all frames was in place i glued the girders.
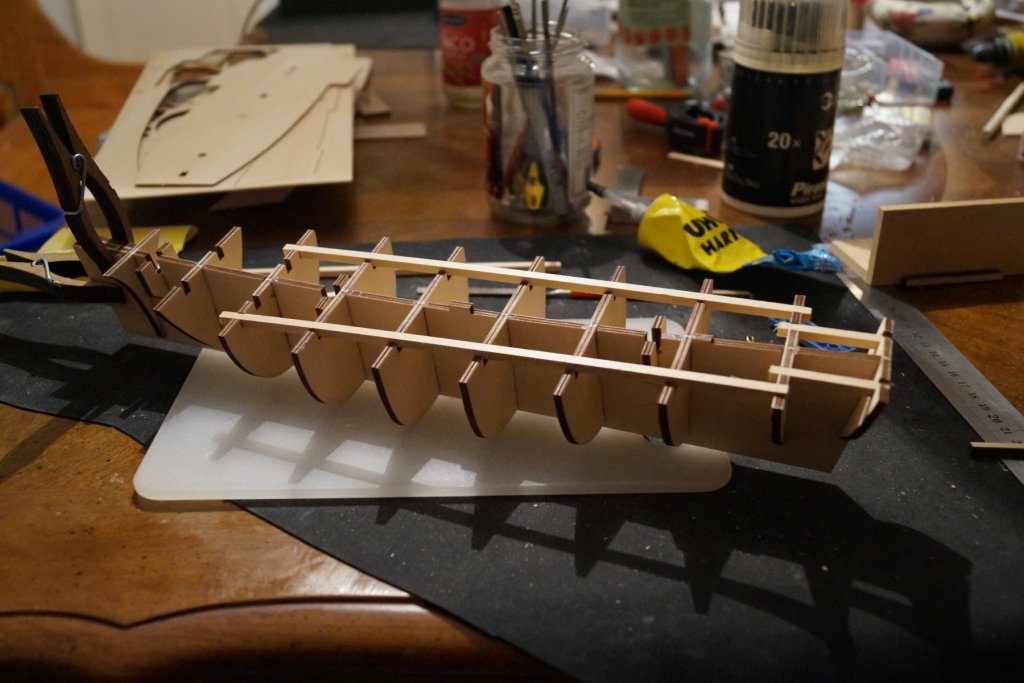
-
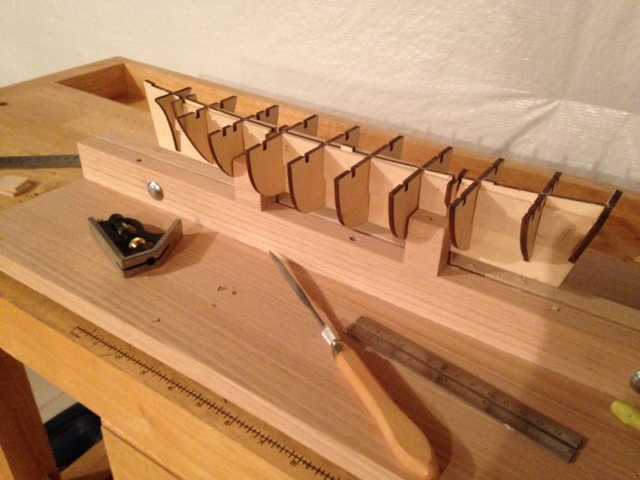
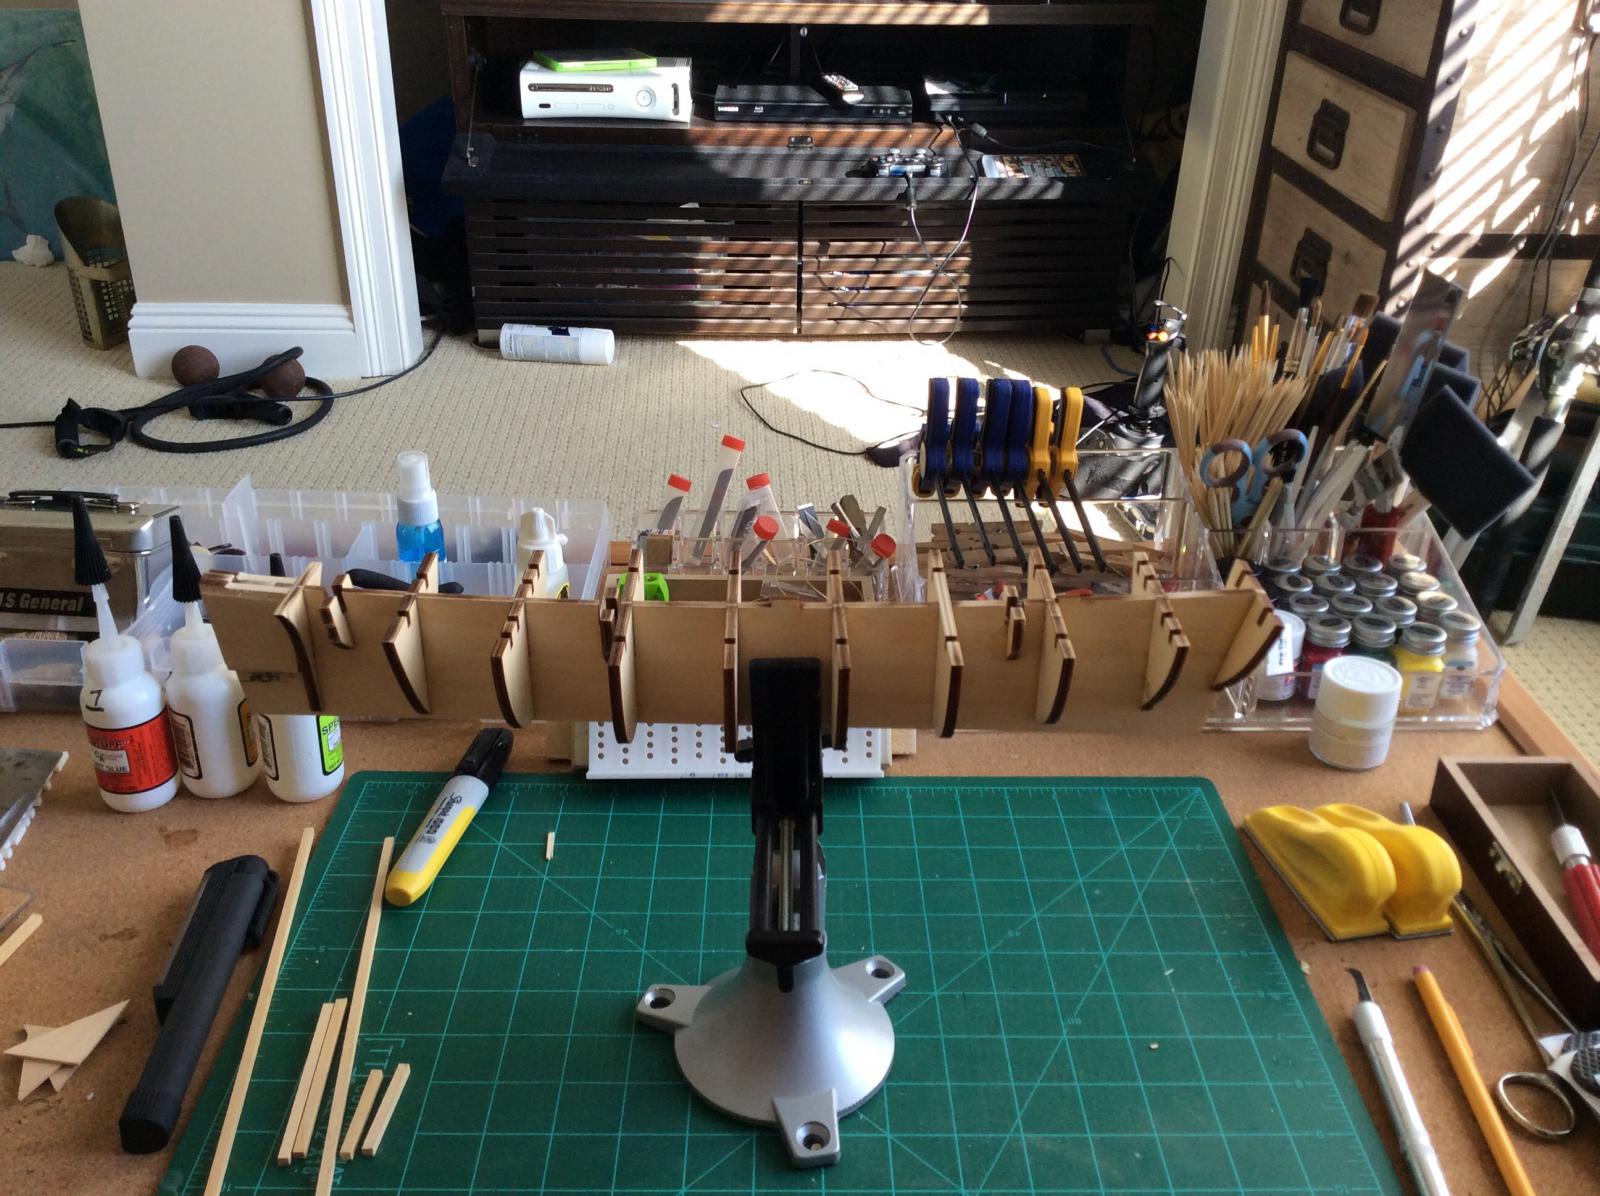
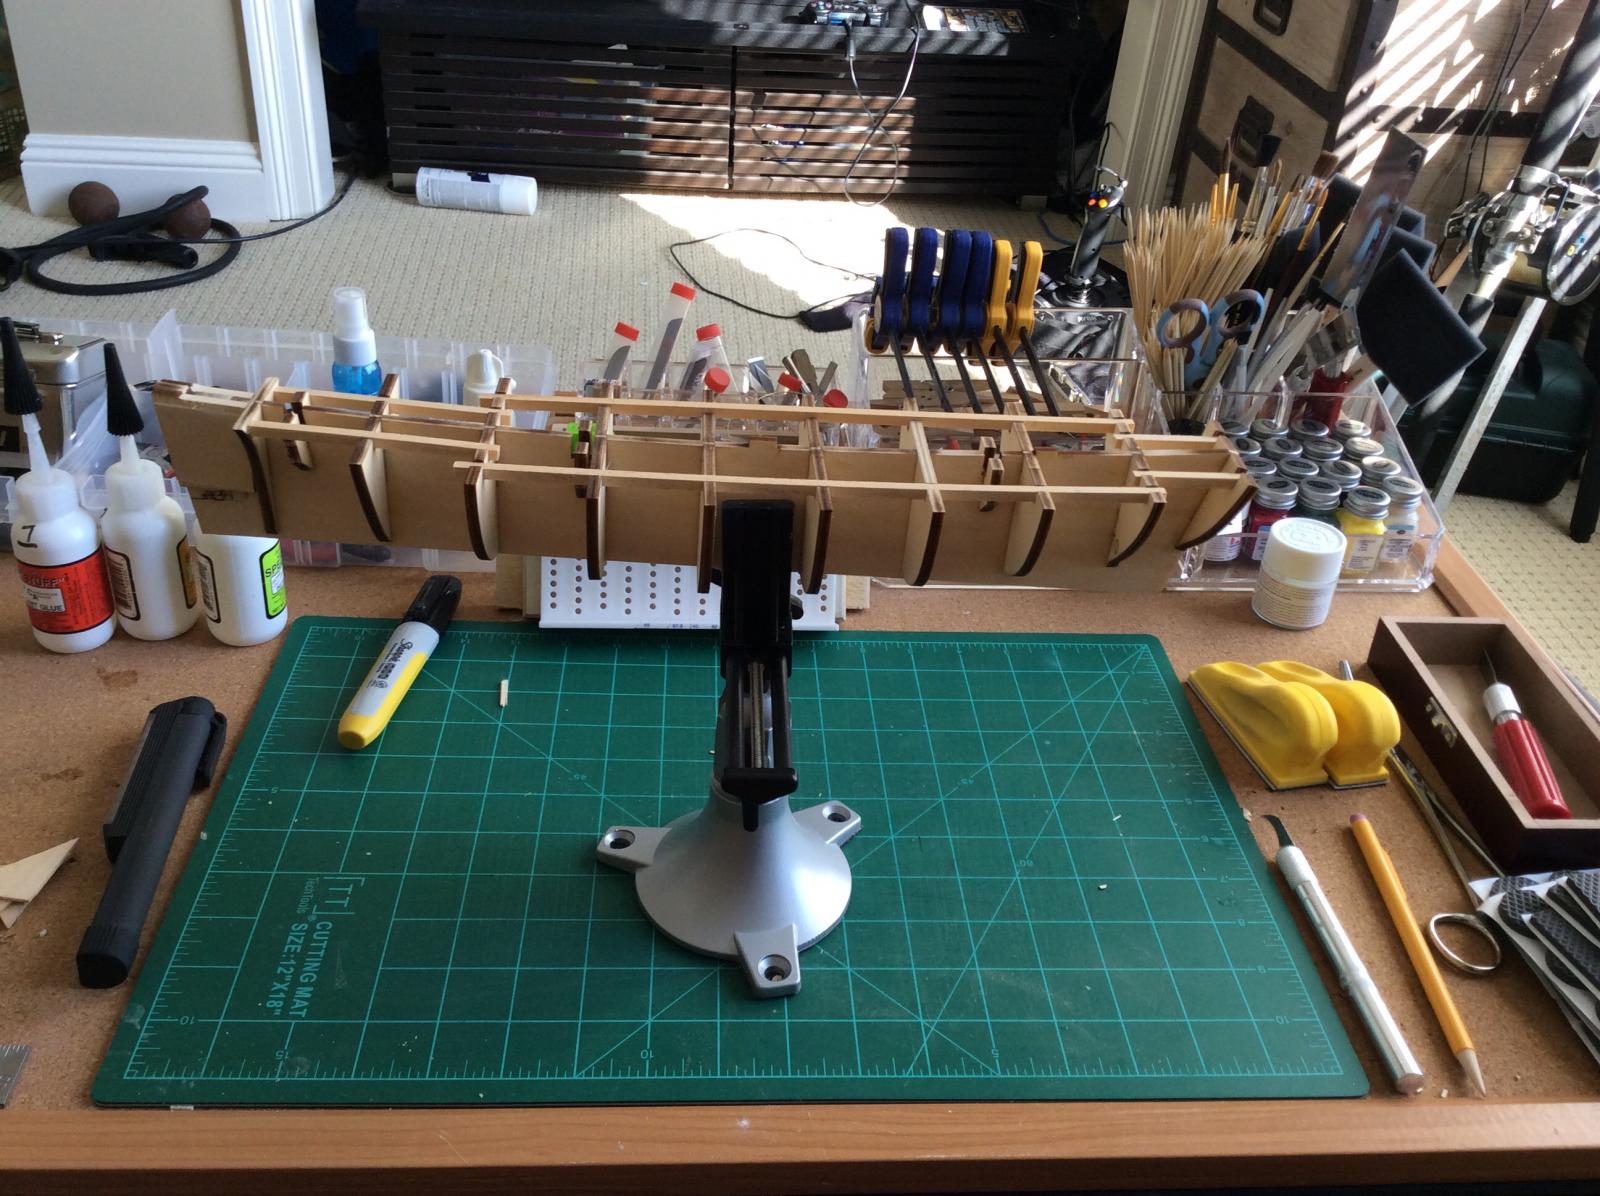
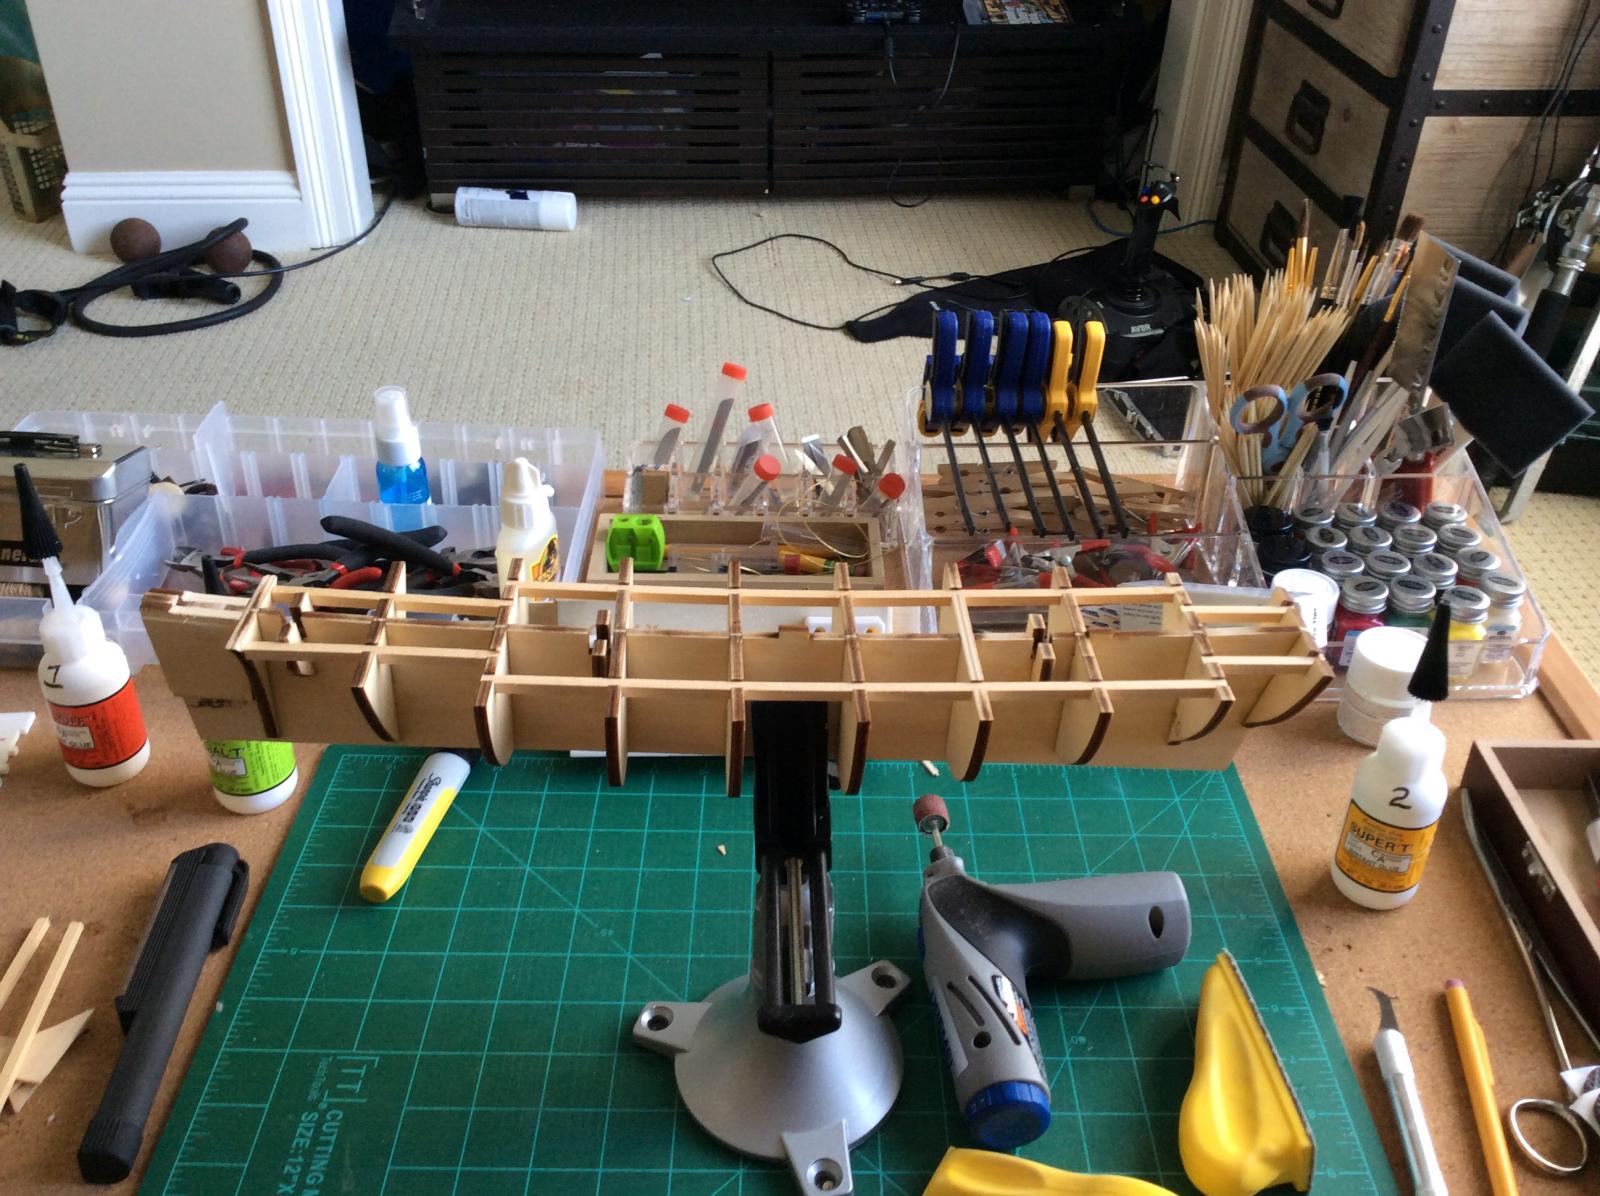
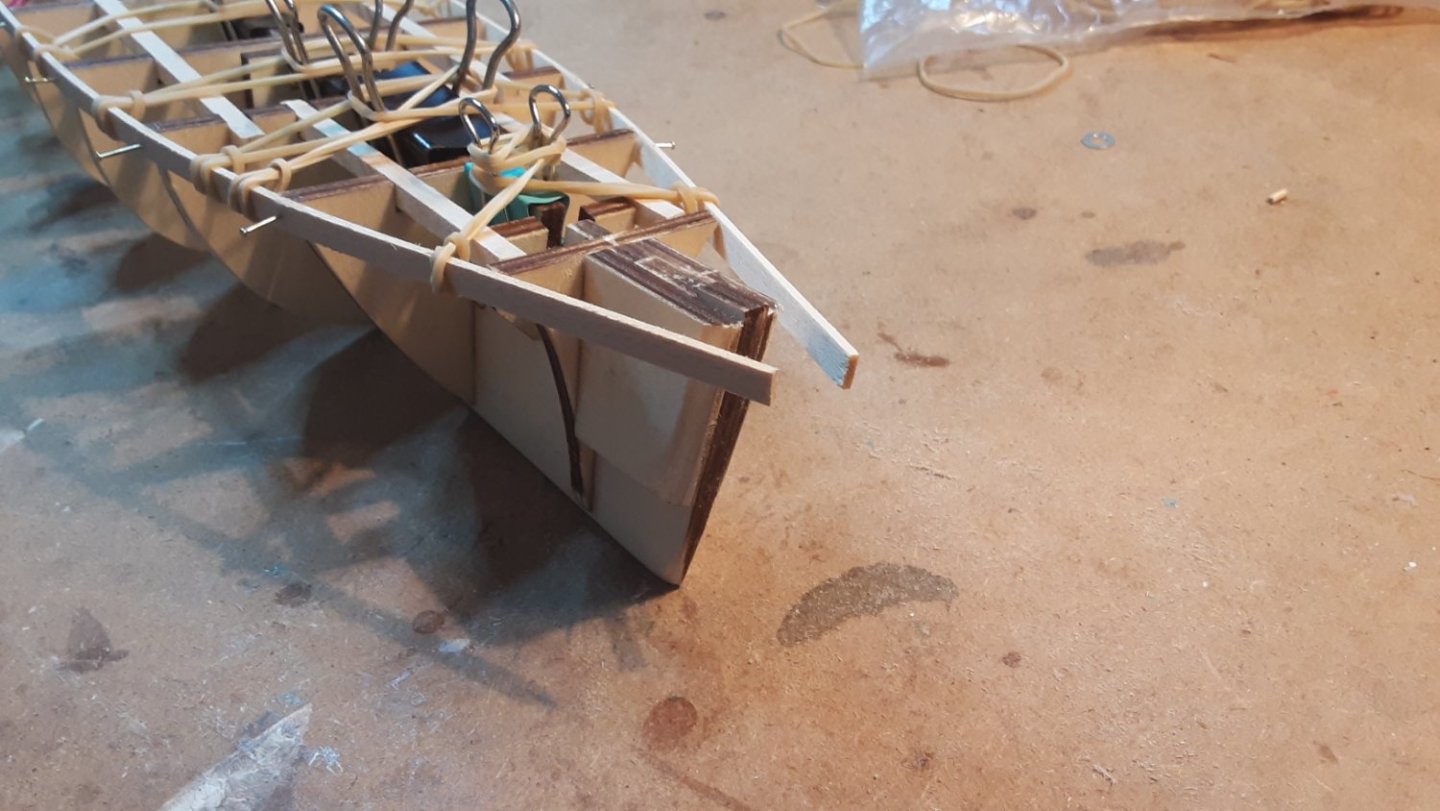
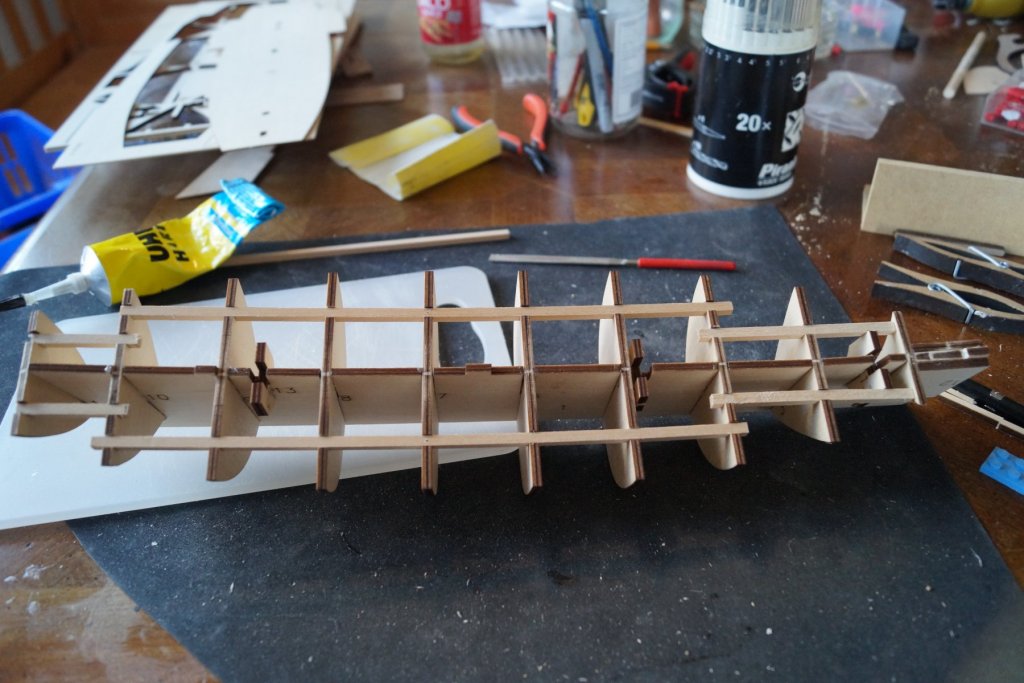
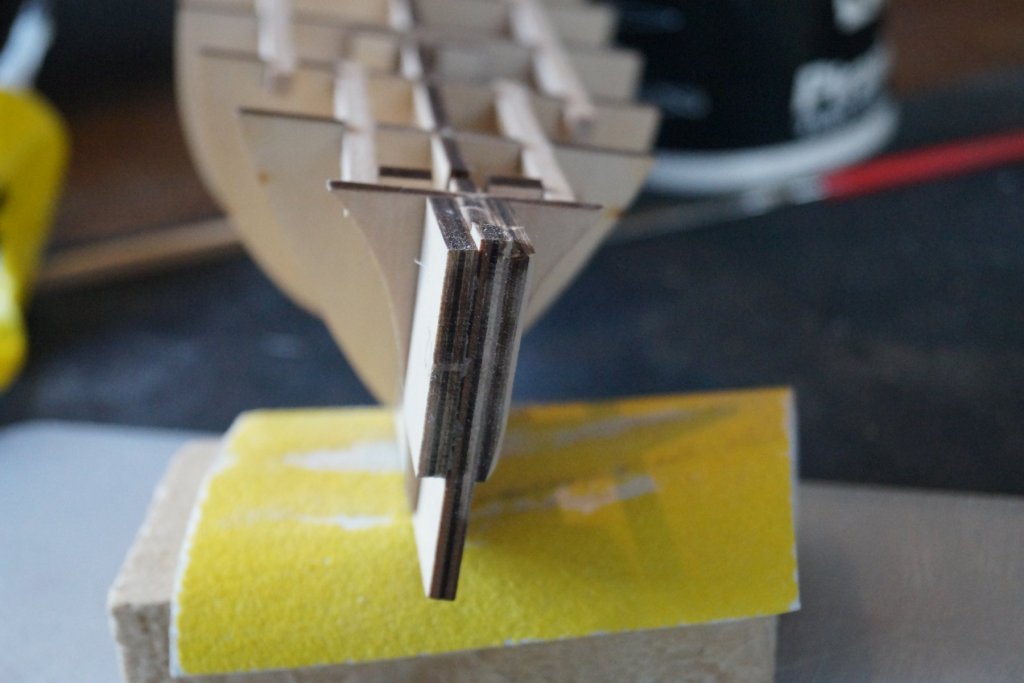
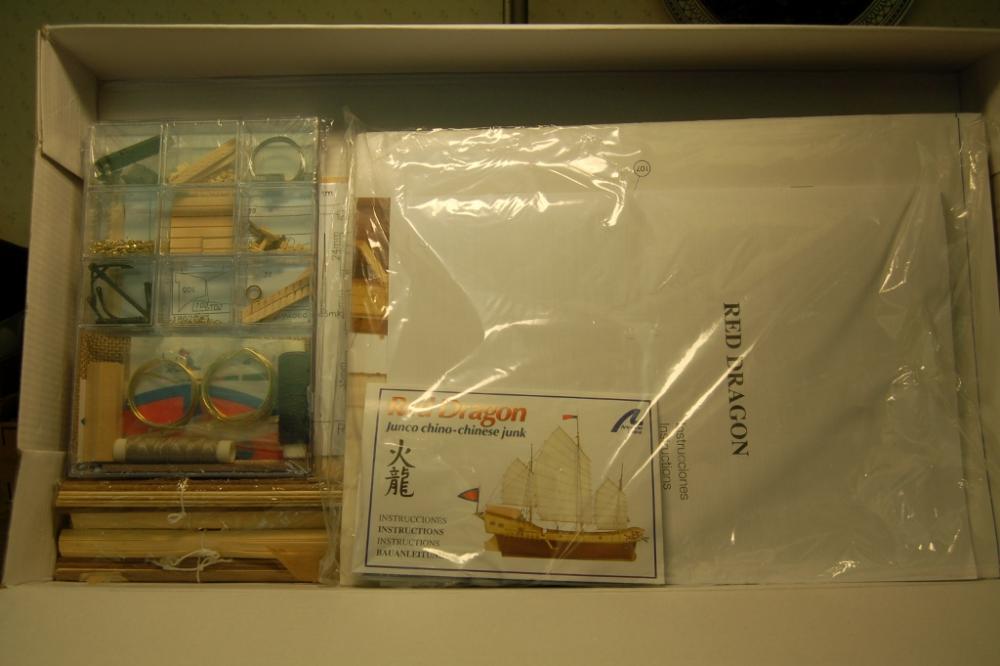
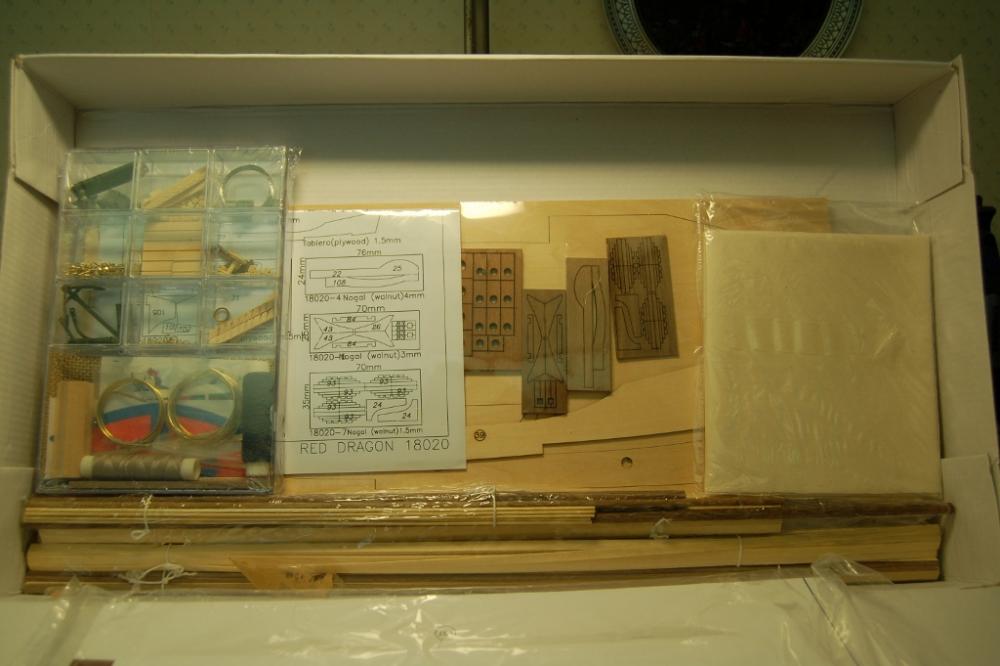
 Hello All, This is my first build log as I am returning to this hobby after many years as I was lucky enough to be given the Red Dragon as a Christmas gift. I am looking forward to building this model and will certainly appreciate any and all comments along the way! Thanks again for all the kind welcome notes after my first post last week. Opening the box was actually a pleasant surprise as I found a neat, shrink wrapped package containing all the items, including a plastic box with all the fittings. Very different to the box mayhem that I remember from over 20 years ago when all the components were mostly left to freely roam around the box. The instructions were disappointing, being nothing more than a basic listing of the build order complementing a nicely printed, but detail-limited plan sheet. On the plus side, there was a nice set of photos of the model at different build stages. Even though the box was unopened, I still did the inventory that many of you mention doing in your logs and happily I found nothing missing. The laser cut parts seemed accurately done when I checked what I could against the plans, but keel and frames seemed rather thin. Fitting quality overall was OK. On to the build! After making a build stand, the first step was to check the false keel against a straight edge and surprise (!) there was some warping. Fortunately, soaking the keel and gently clamping it for a couple of days seemed to correct the problem. The frames were pretty straight and quite symmetrical, perhaps a nice benefit of the laser cutting. As the keel was so thin, I glued bracing strips along each side to reinforce it and also increase the frame gluing areas. After cutting the frame slots in these strips, I spent a few hours sanding out the slots until the frames fit snugly. A dry fit showed things to be lining up well as far as I could see in both vertical and horizontal directions, so the next step is to glue them together. Attached a few photos. Thanks for reading. Nigel.

- 270 replies
-
- 8
-
-
- red dragon
- artesania latina
- (and 1 more)
-
 On my return ,my first thought was to do the "Marina ll" ...... but as you can see I changed my mind. When I purchased the Marina ll, I also bought this Red Dragon kit . Hobbylinc had a pretty good price on it, so I ended up getting both. Both are different from what I've been doing . The Red Dragon kit is really not an overwhelming chore, as you can see from the photos of whats in the box. I'm not complaining, after all it's not an expensive kit. I will say this though, A.L. really does a nice job of merchandising their kits. The material is decent, except for the basswood ply. I like basswood, but not for keels or frames. I think the Marina uses real ply. Well anyway, I'll post a couple pictures just to get started with this log. I'll star posting some of the build as soon as I straighten out the bend in the basswood keel .... as always thanks for look'n in.... Frank
-
 New build
 -
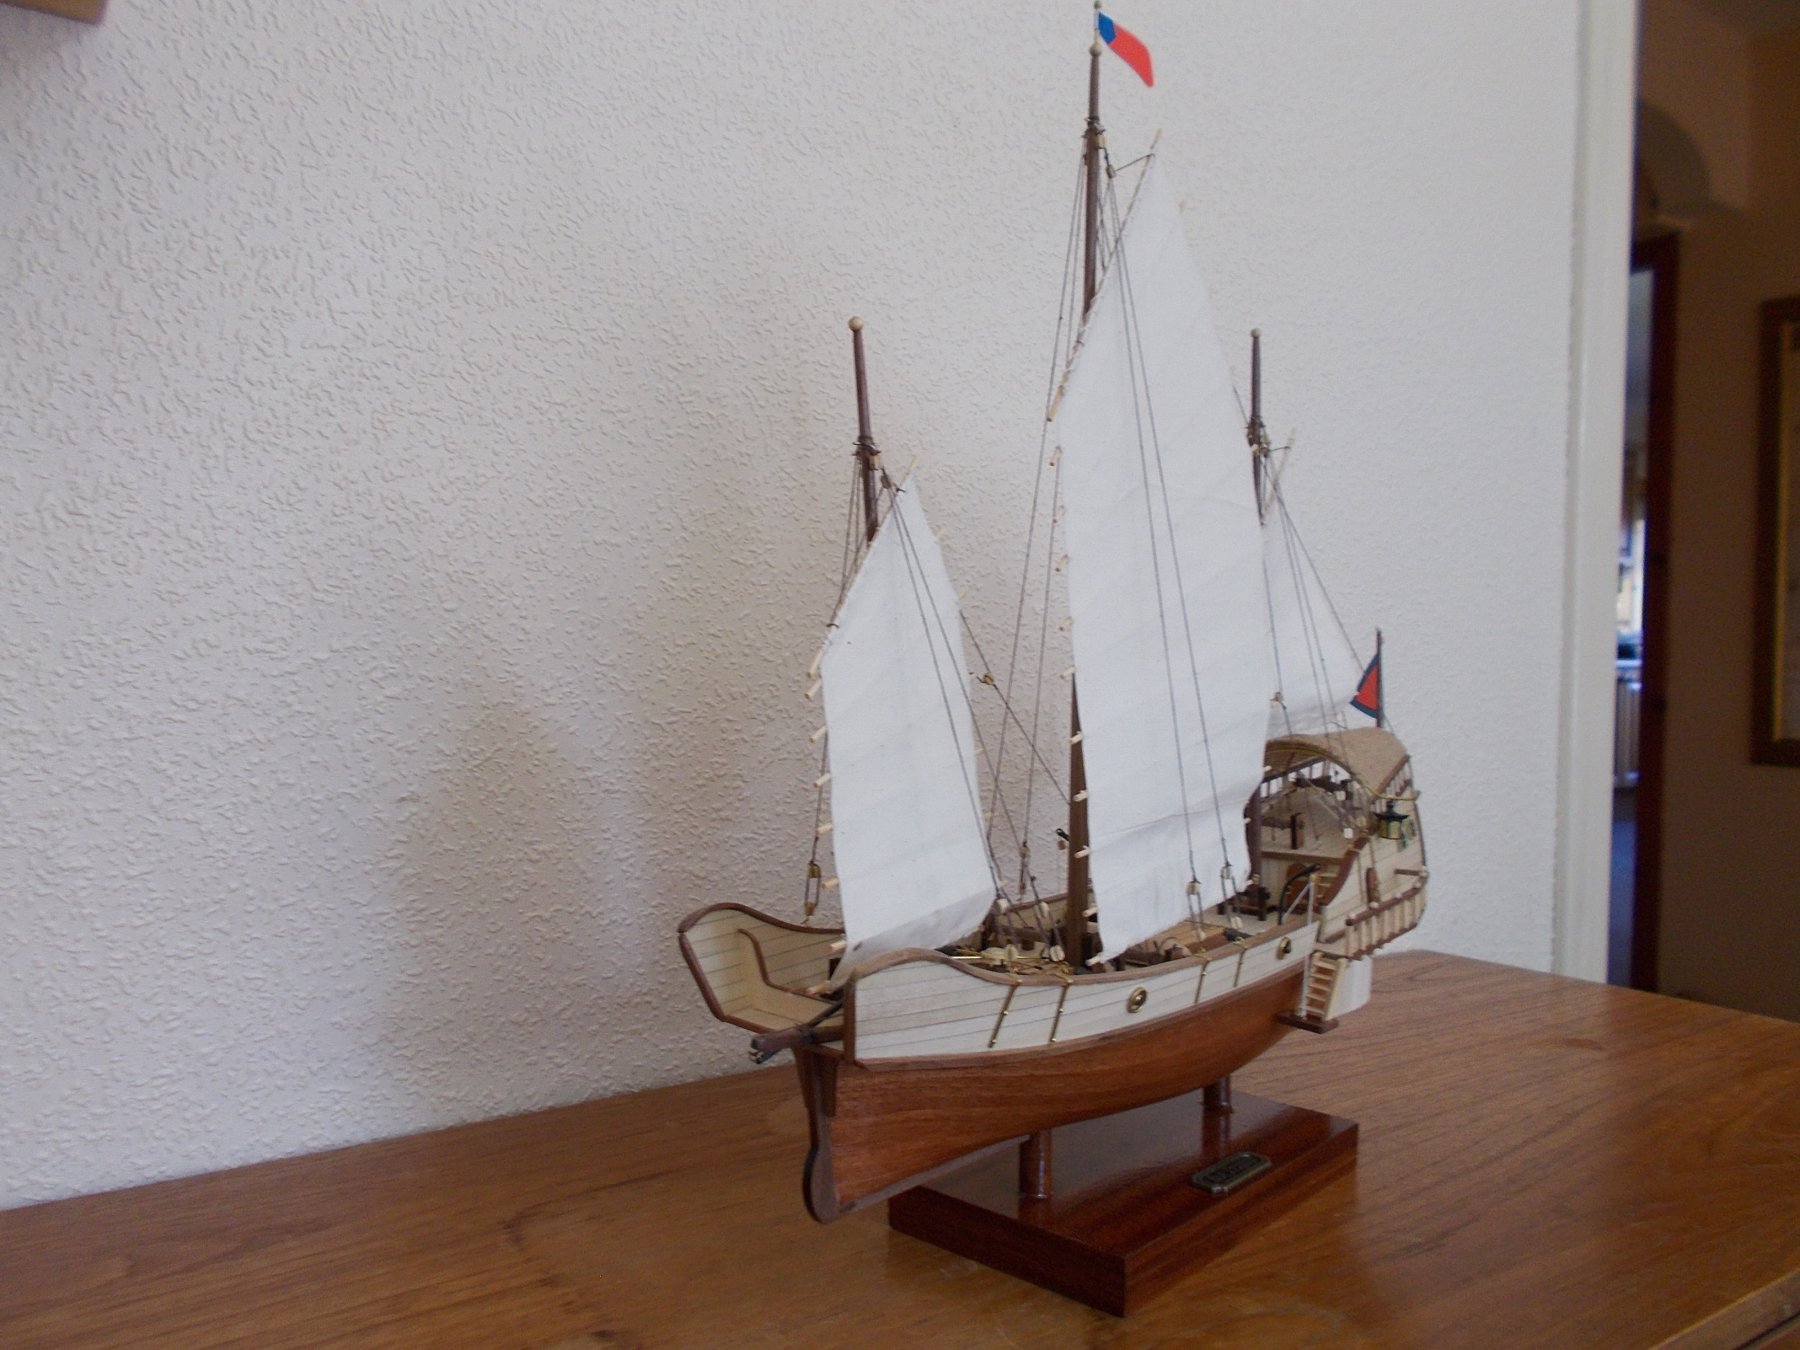
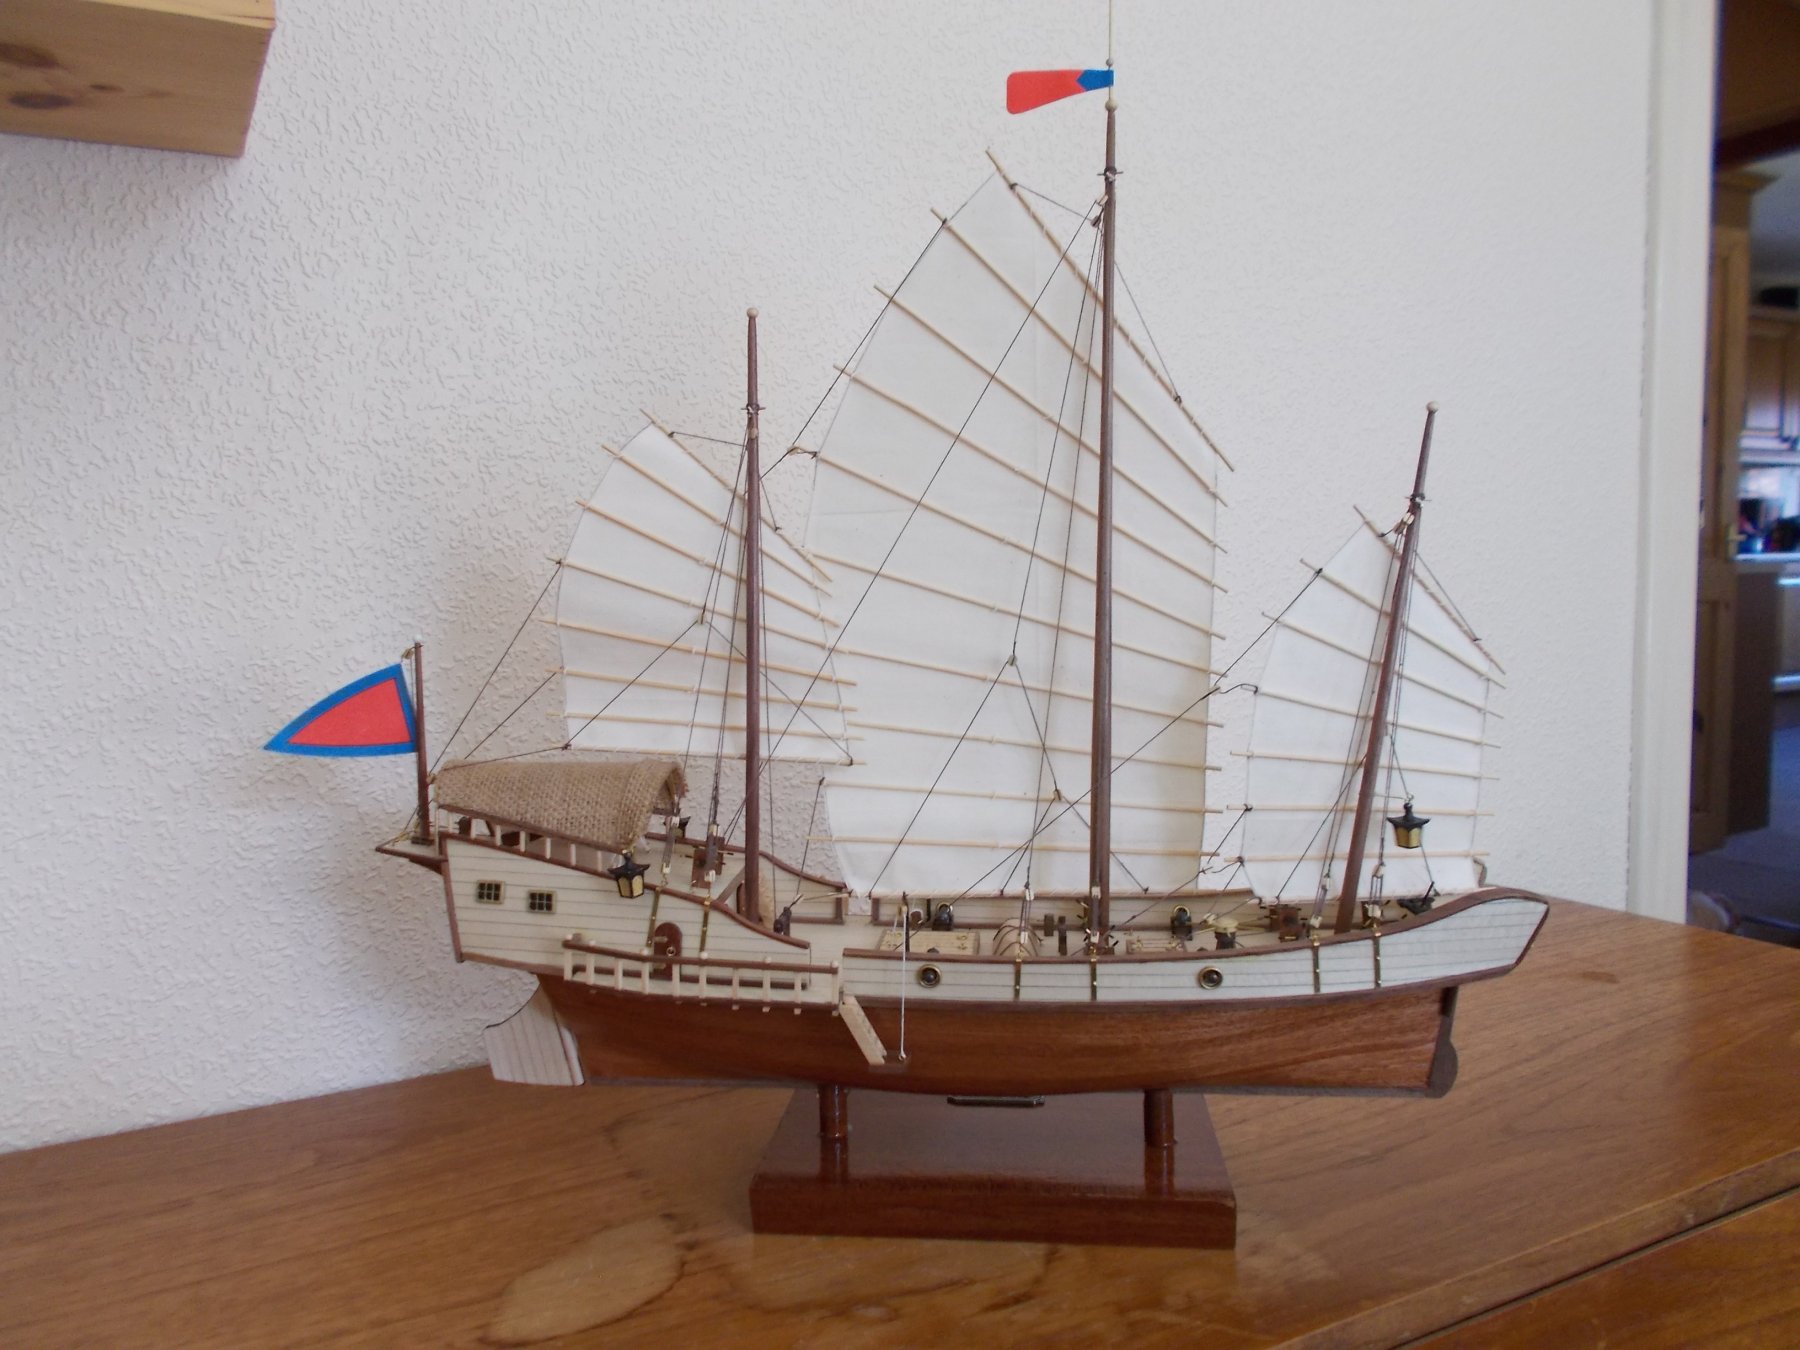
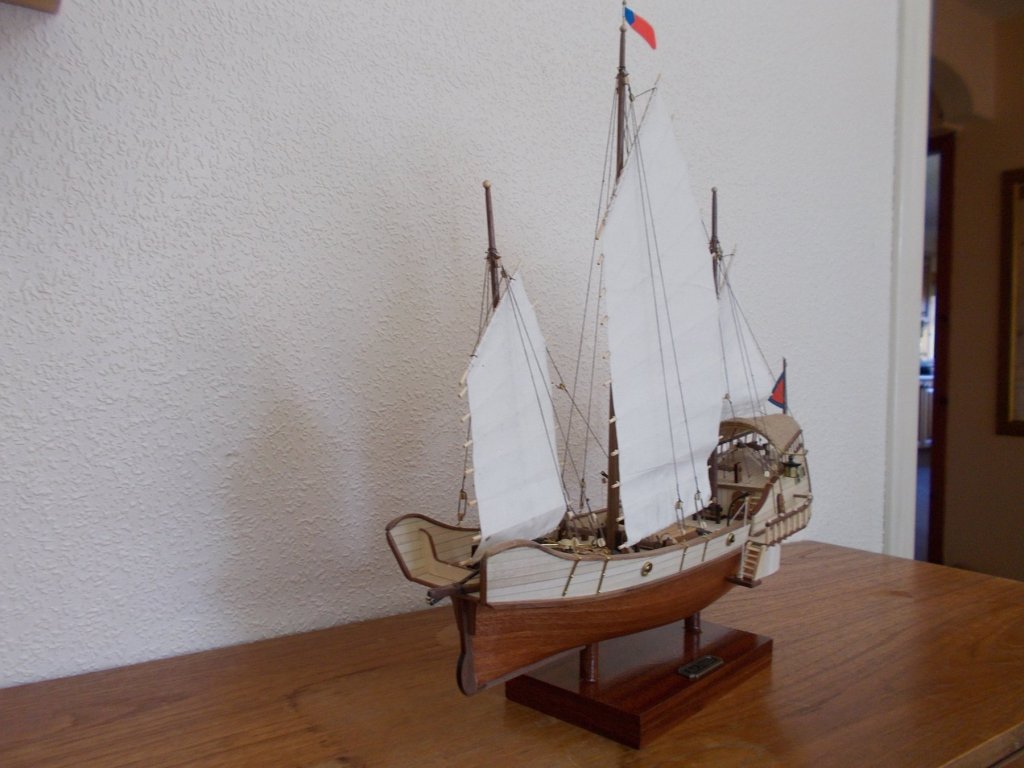
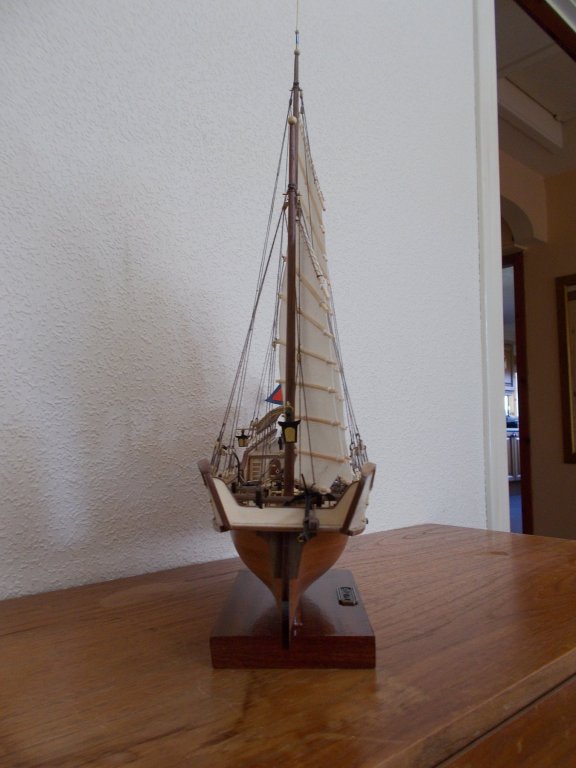
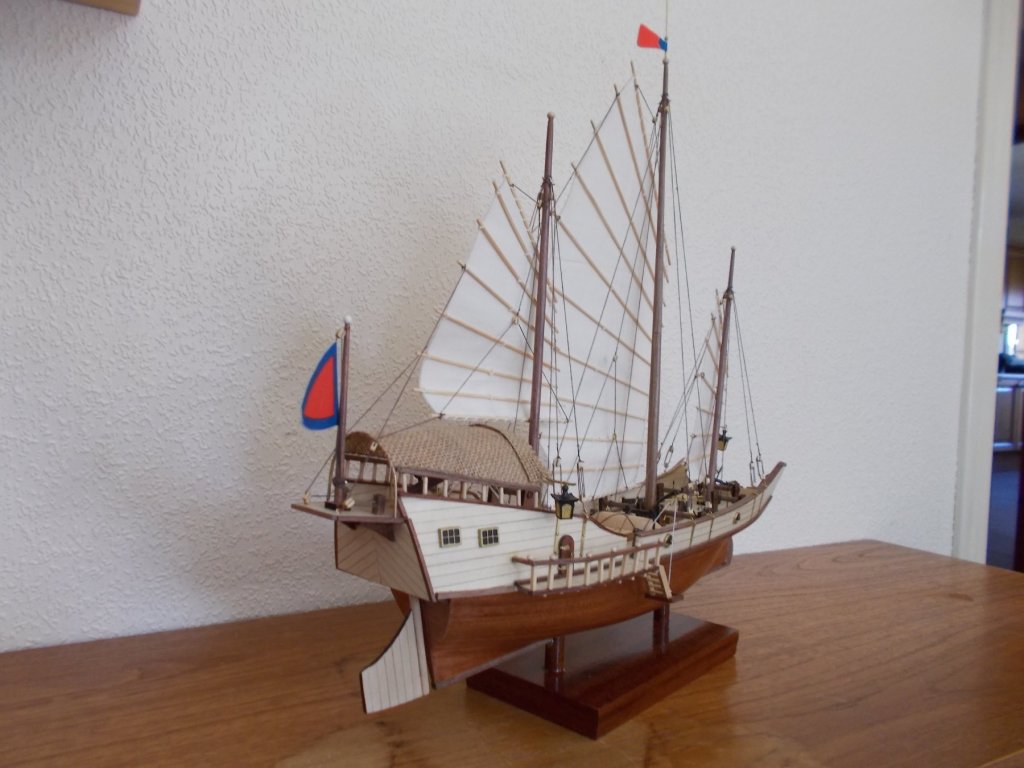
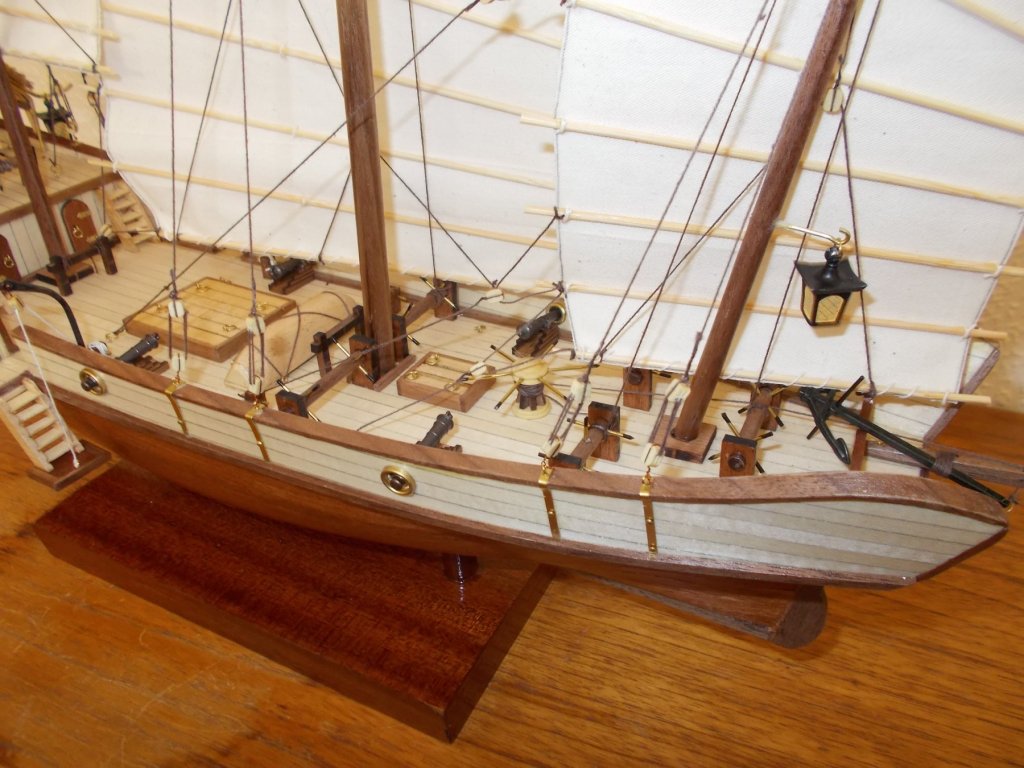
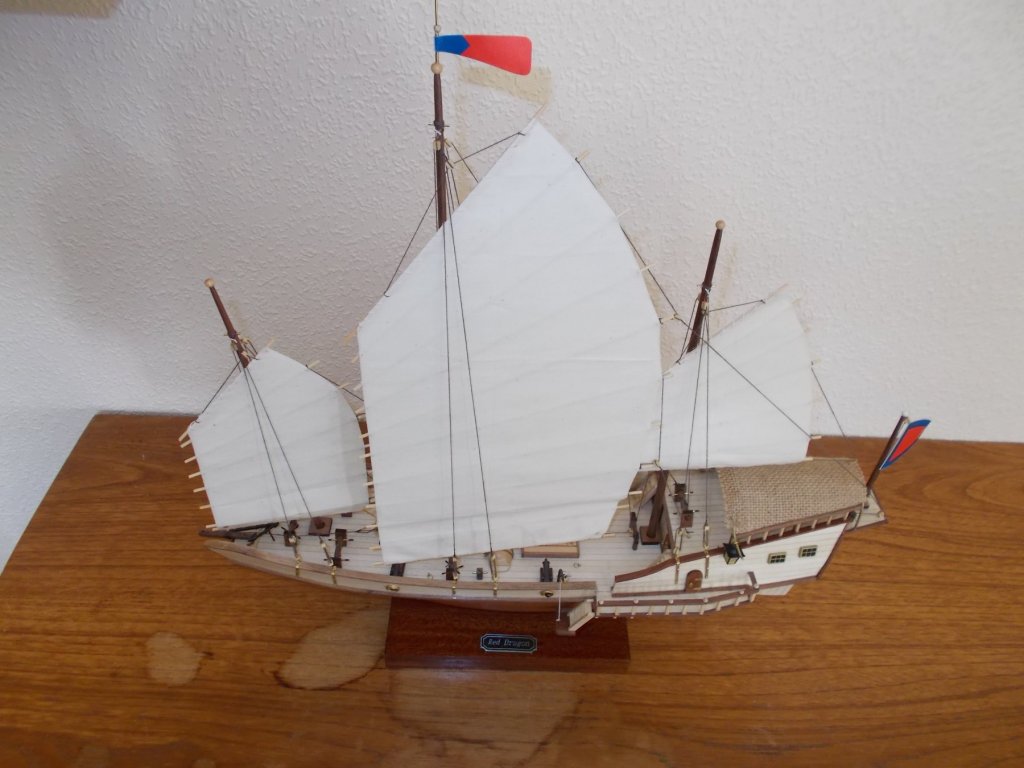
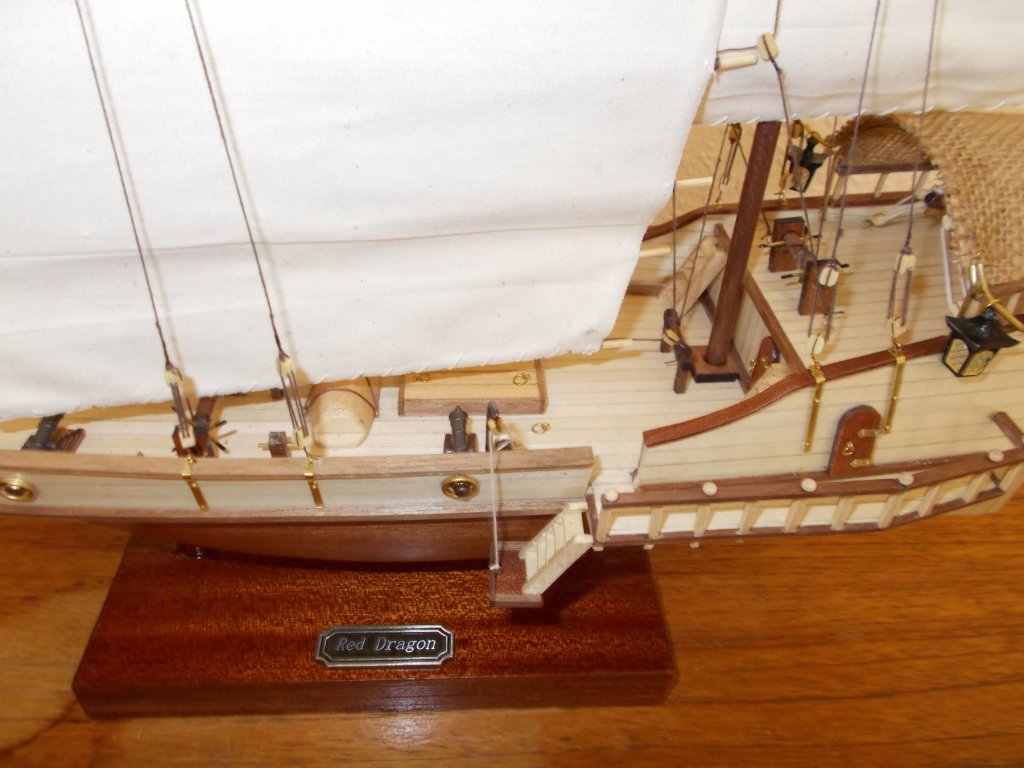
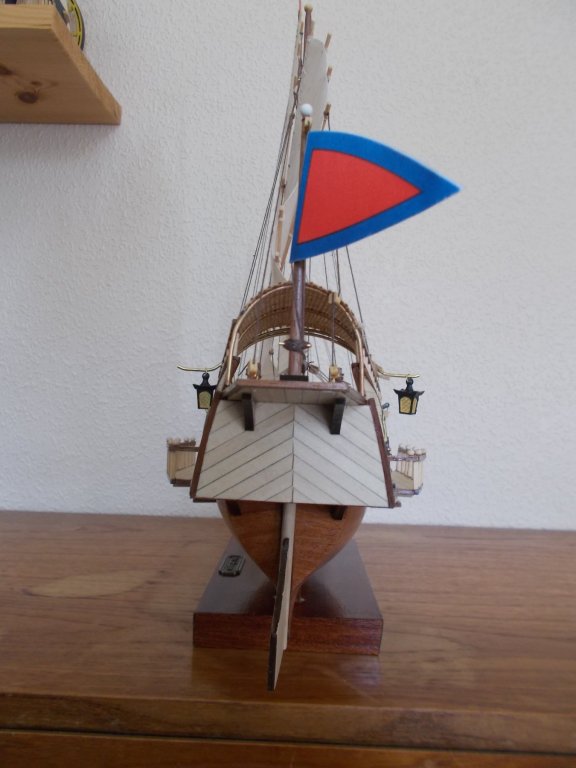
 I am cheating a bit as this isn't so much a build log as a final result. After finishing my Dennis Bus I went back to a boat to see if I remembered how to do it!! I have to say I really was quite pleased with my hull and the planking this time. The kit came with horrid stick on decorations which I deliberately left off but I did line the bulwarks which the kit did not allow for. It would have looked dreadful if I hadn't. My next build is going to be a non boat plane. Yes, another Sopwith Camel 1/16 but this time I will do a log because I think I am going to need a lot of help with it ! Watch this space folks.
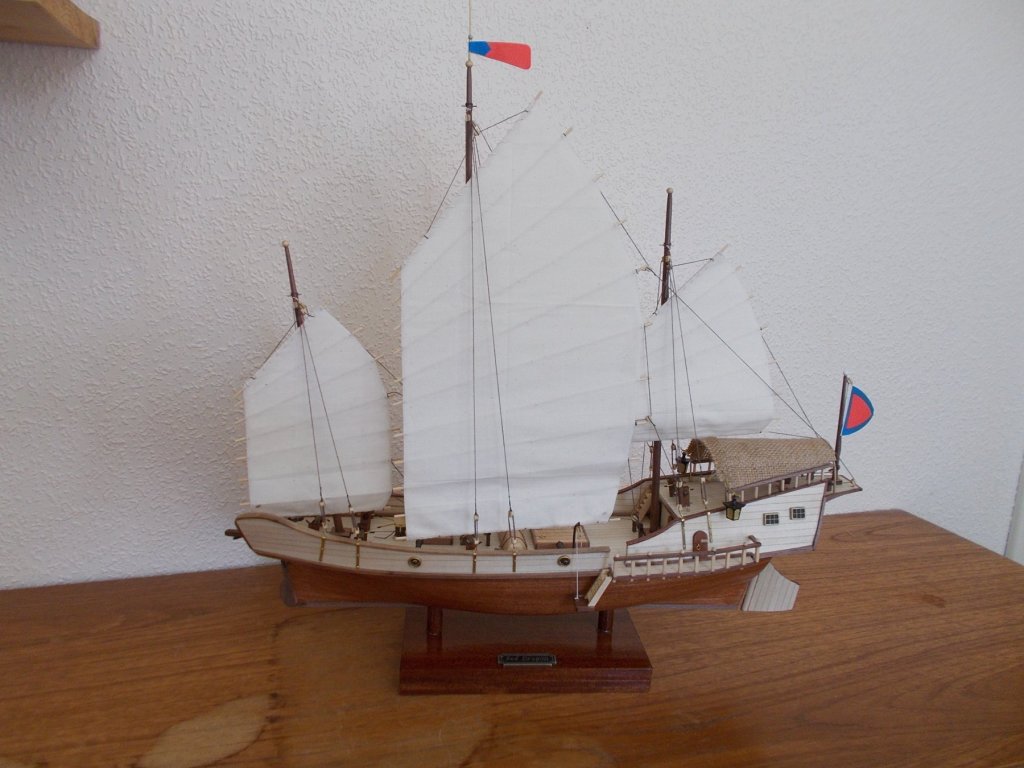


- 4 replies
-
- 6
-
-
- red dragon
- artesania latina
- (and 1 more)
-
 Here is a photo of my Red Dragon by A-Latina, the model has taken me two years,after a little illness.
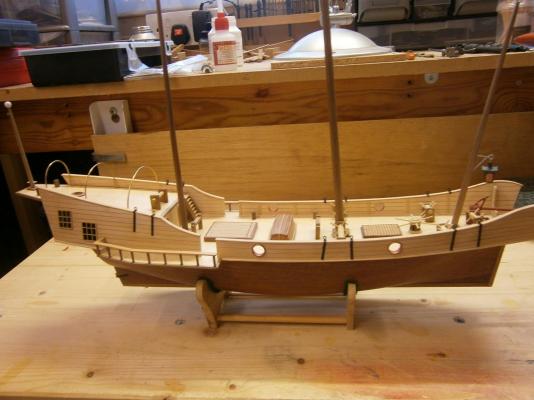
-
 After a few small Midwest models , I'm trying my hand at something bigger. Here we go....