Search the Community
Showing results for tags 'Runabout'.
Found 5 results
-
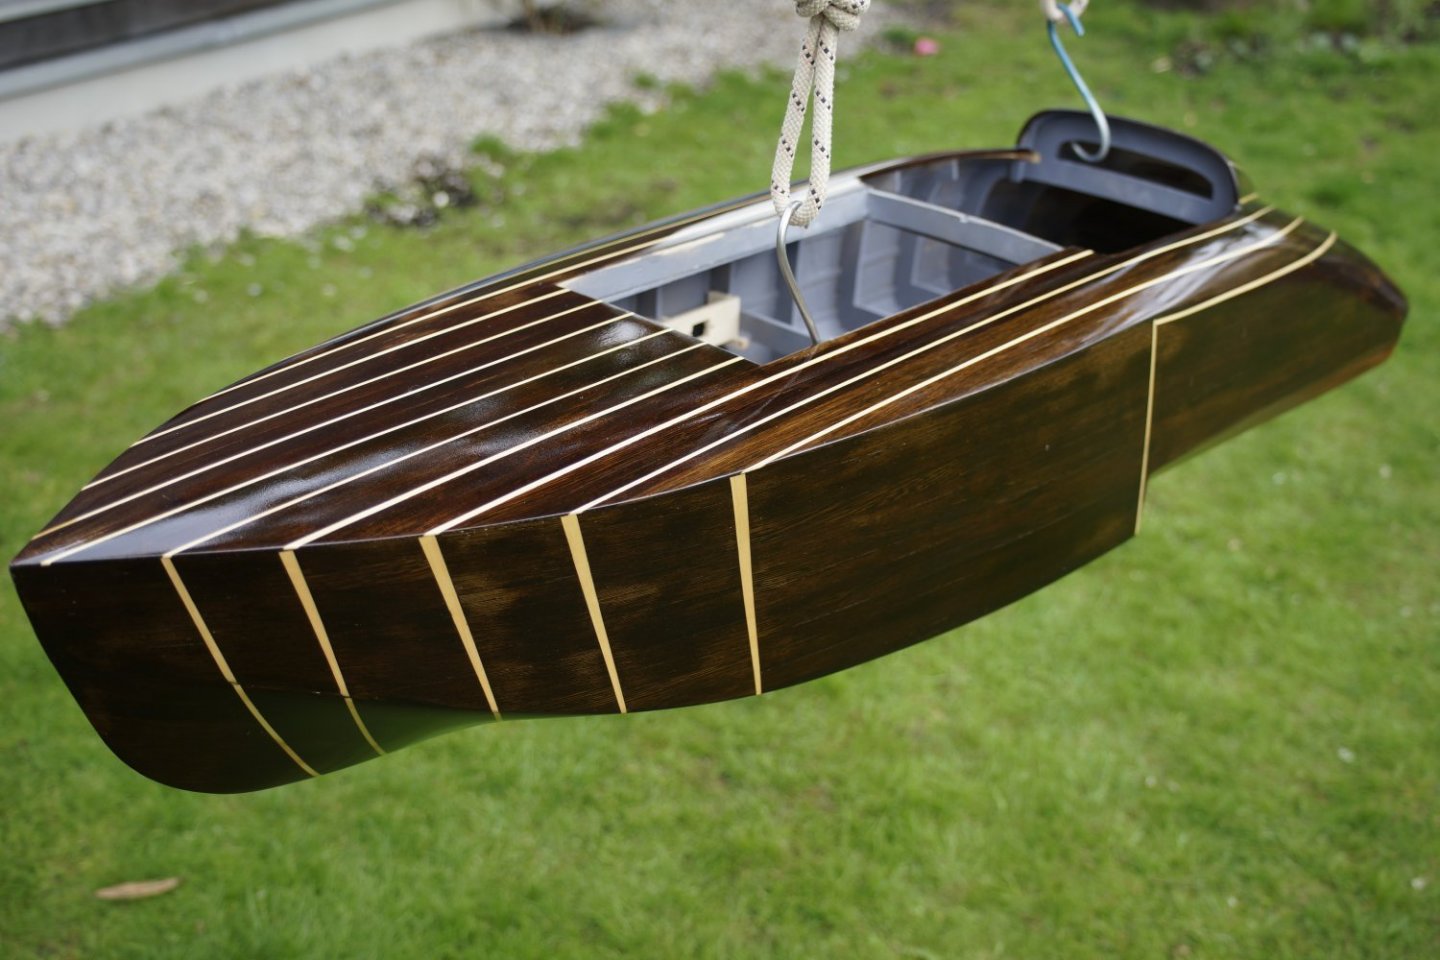
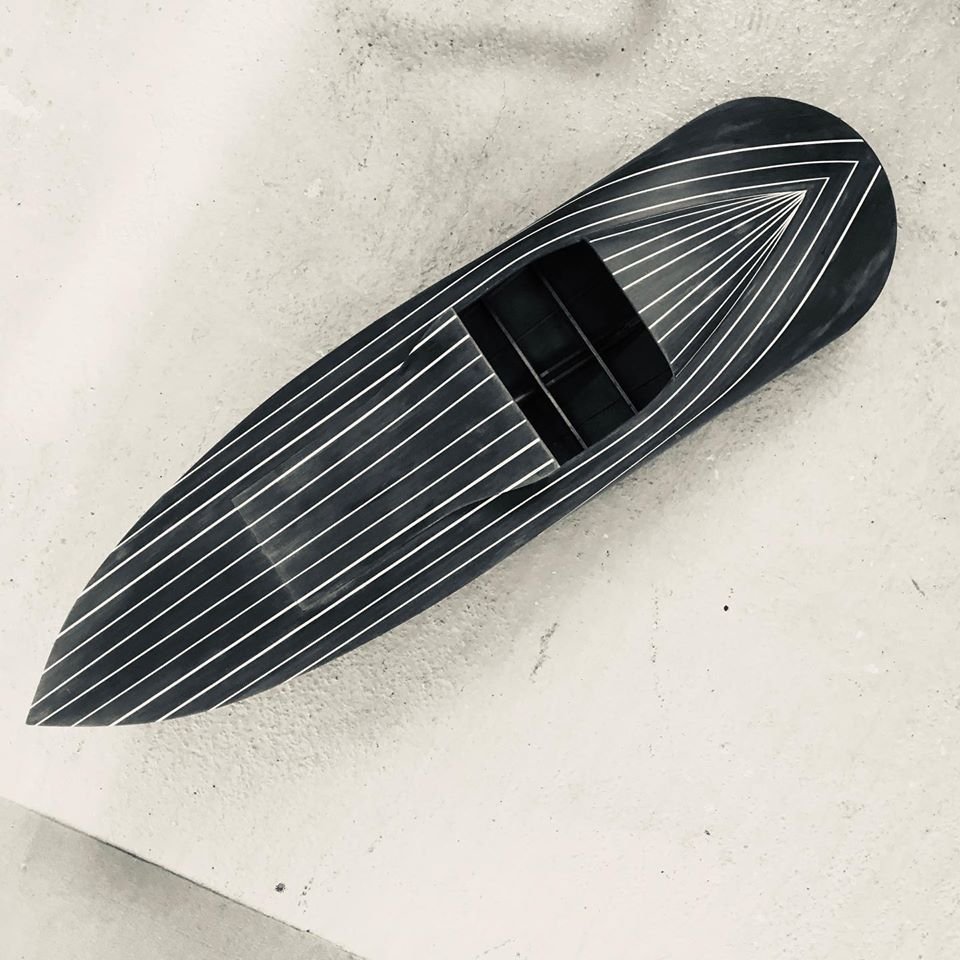
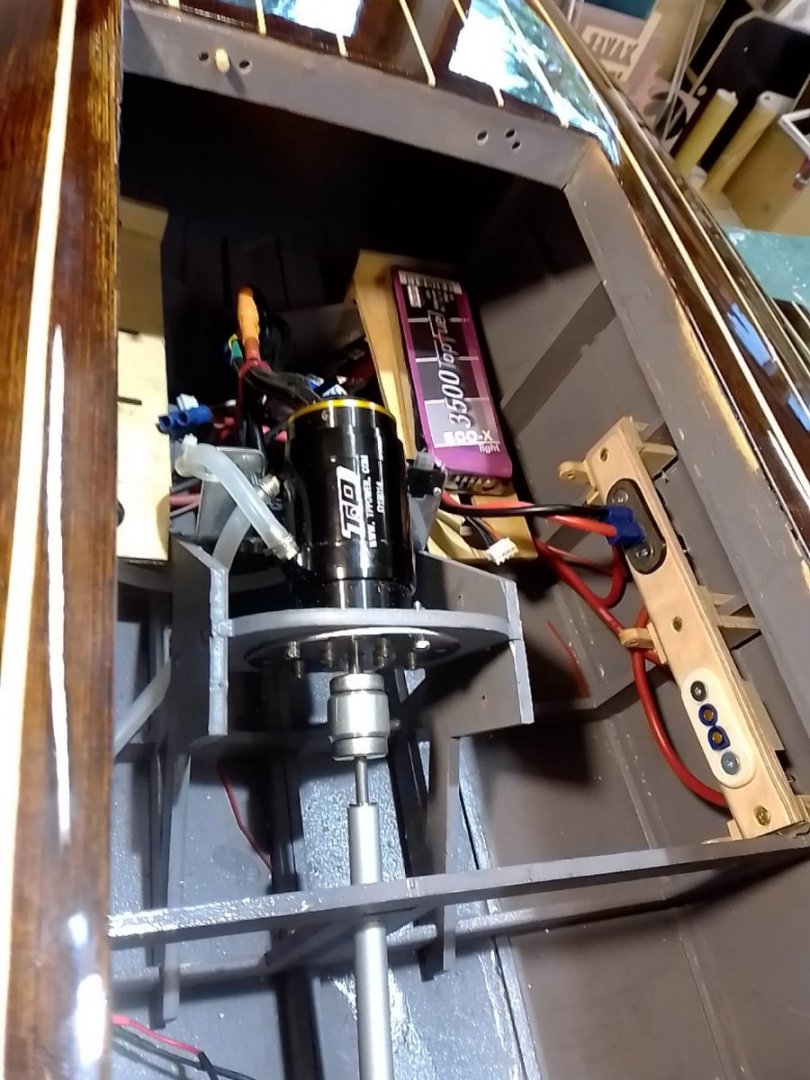
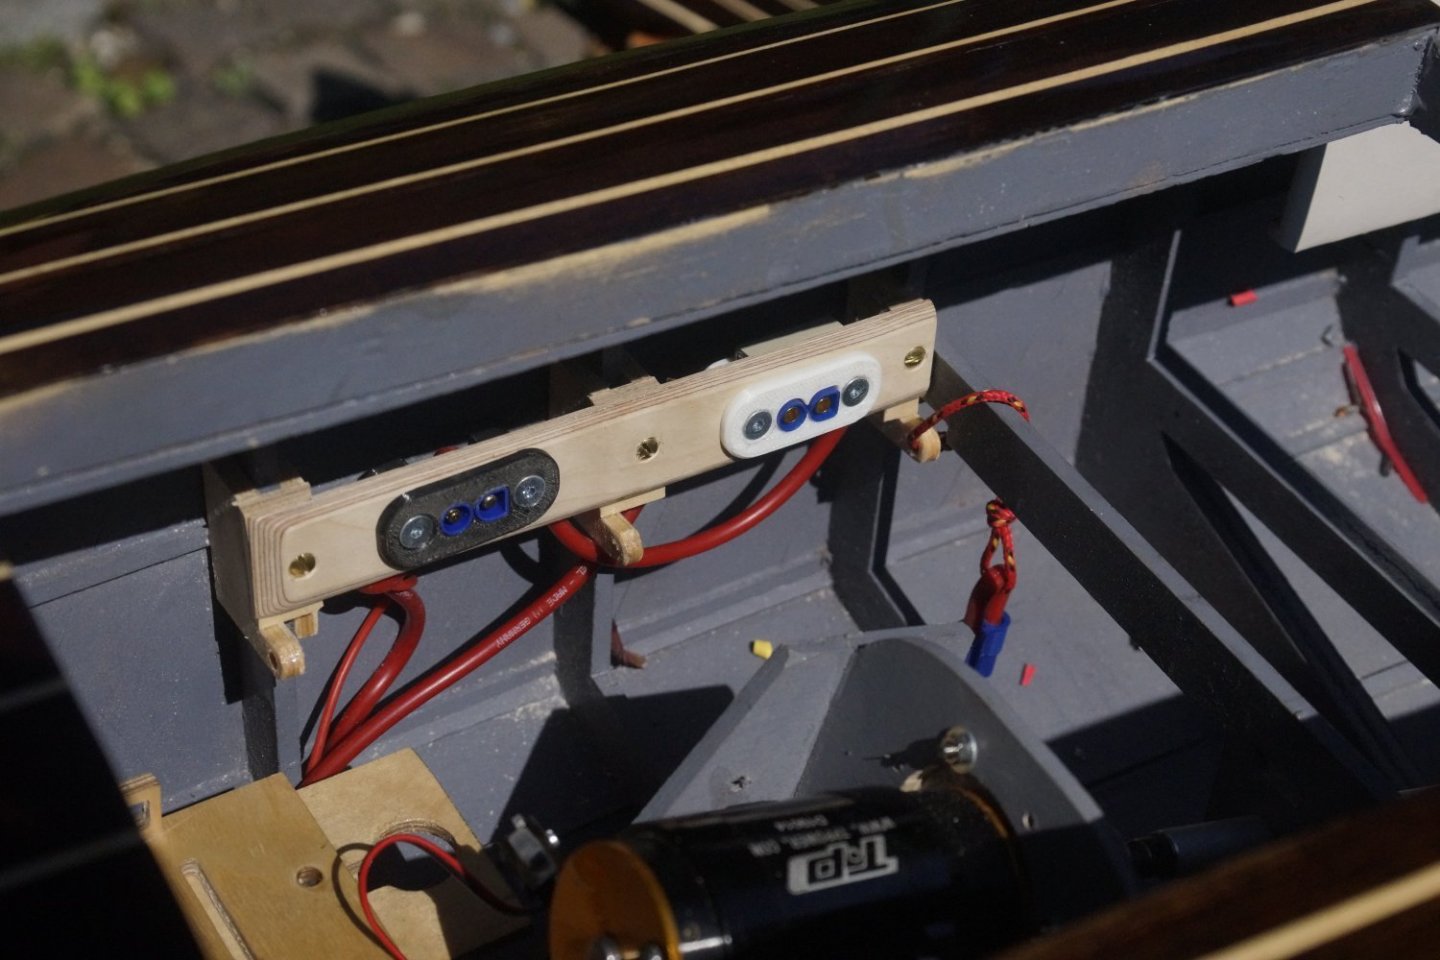
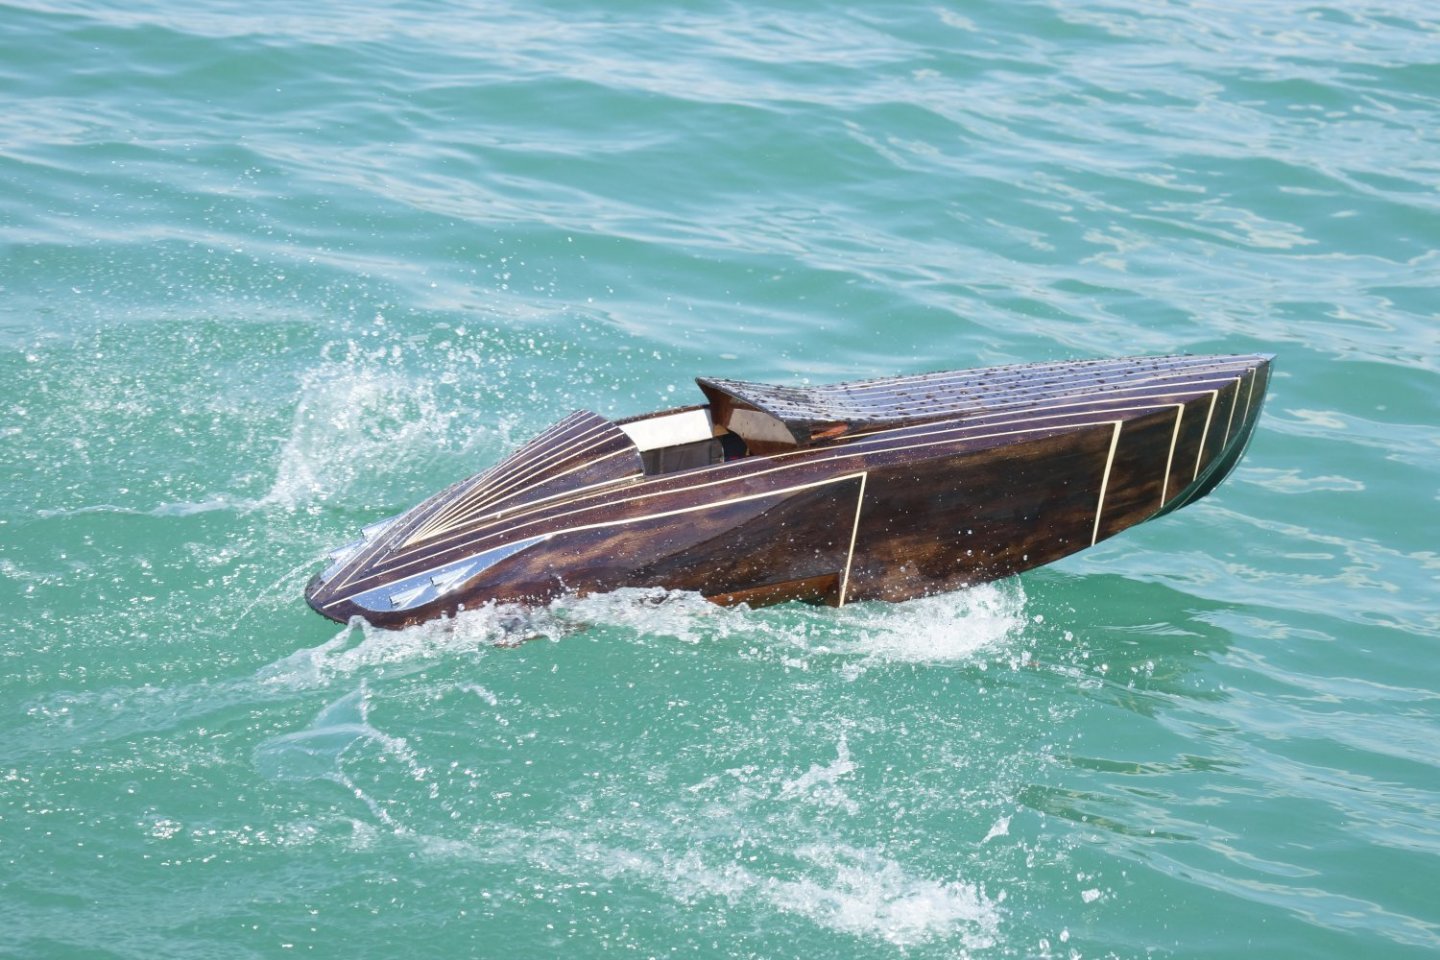
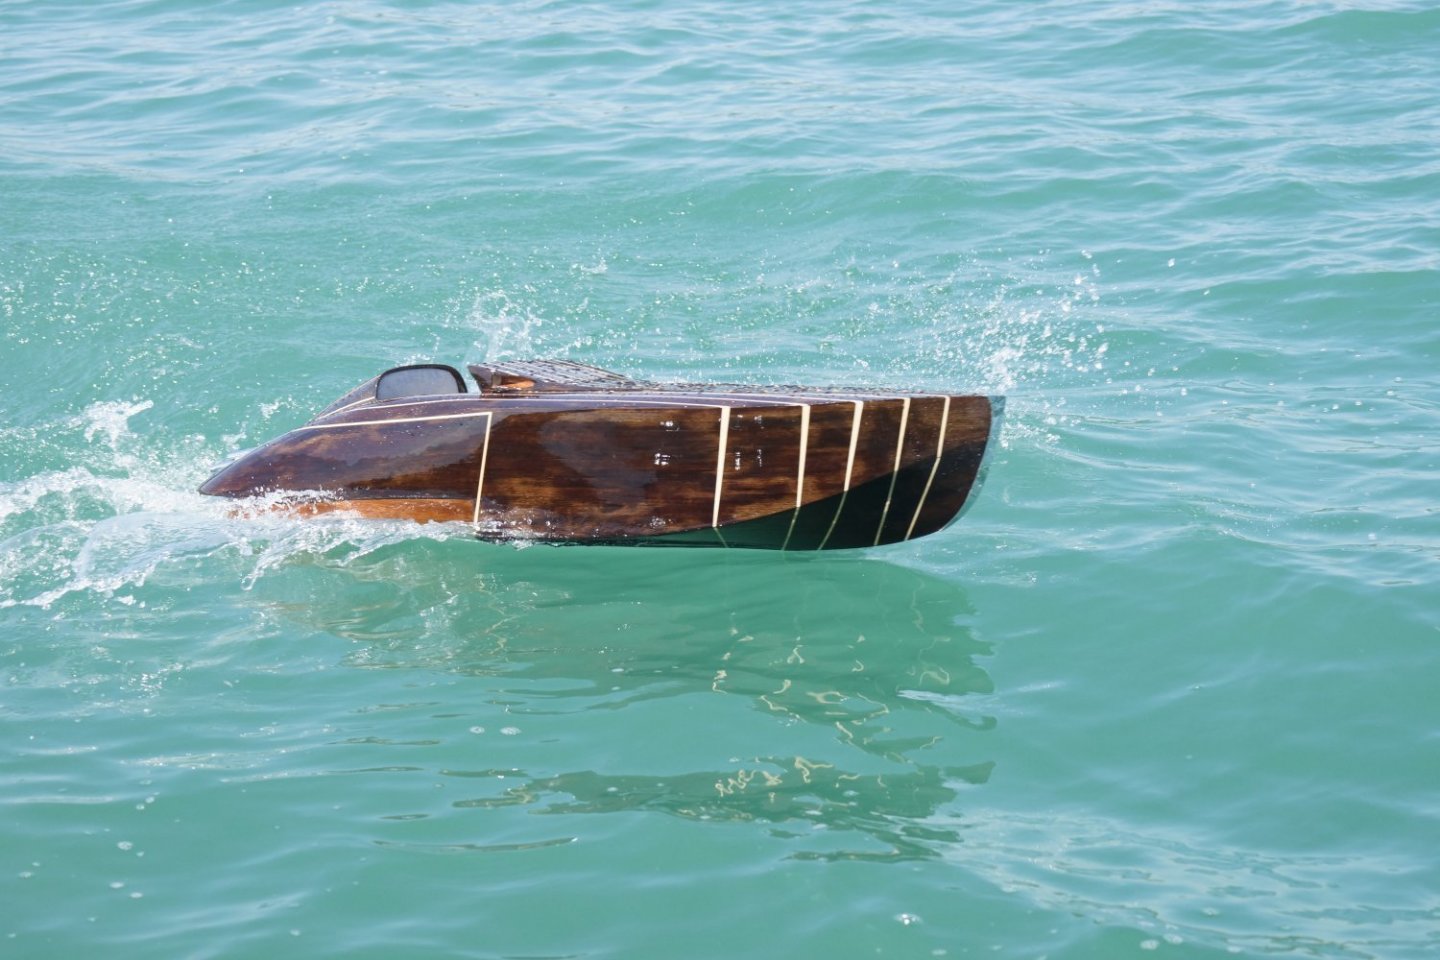
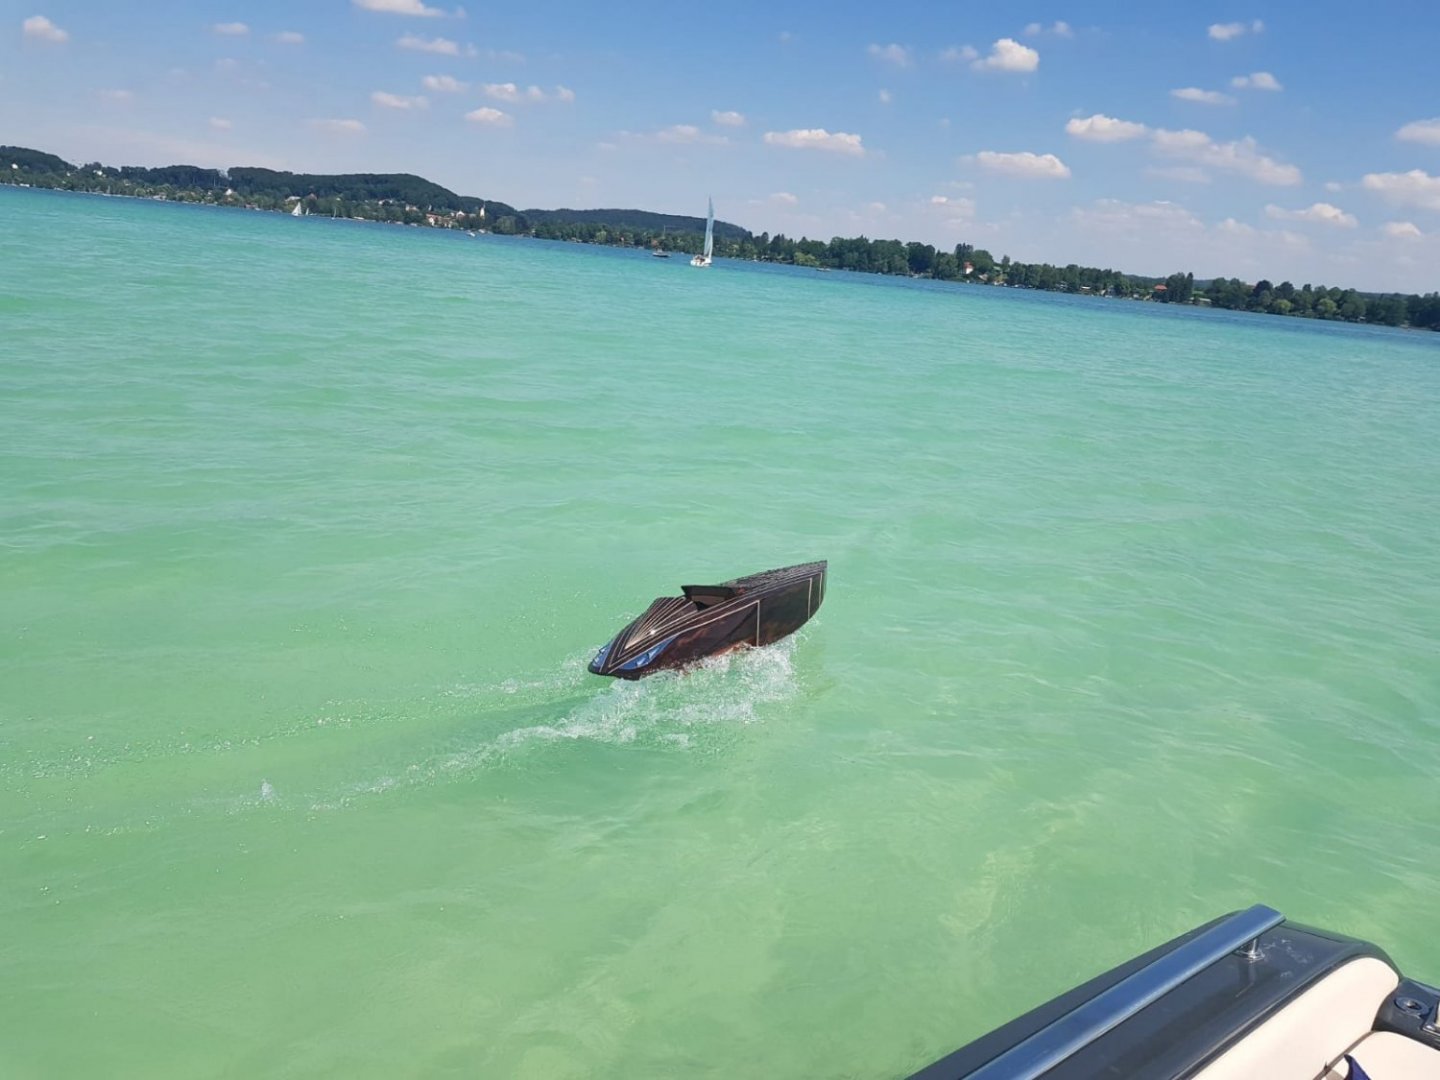
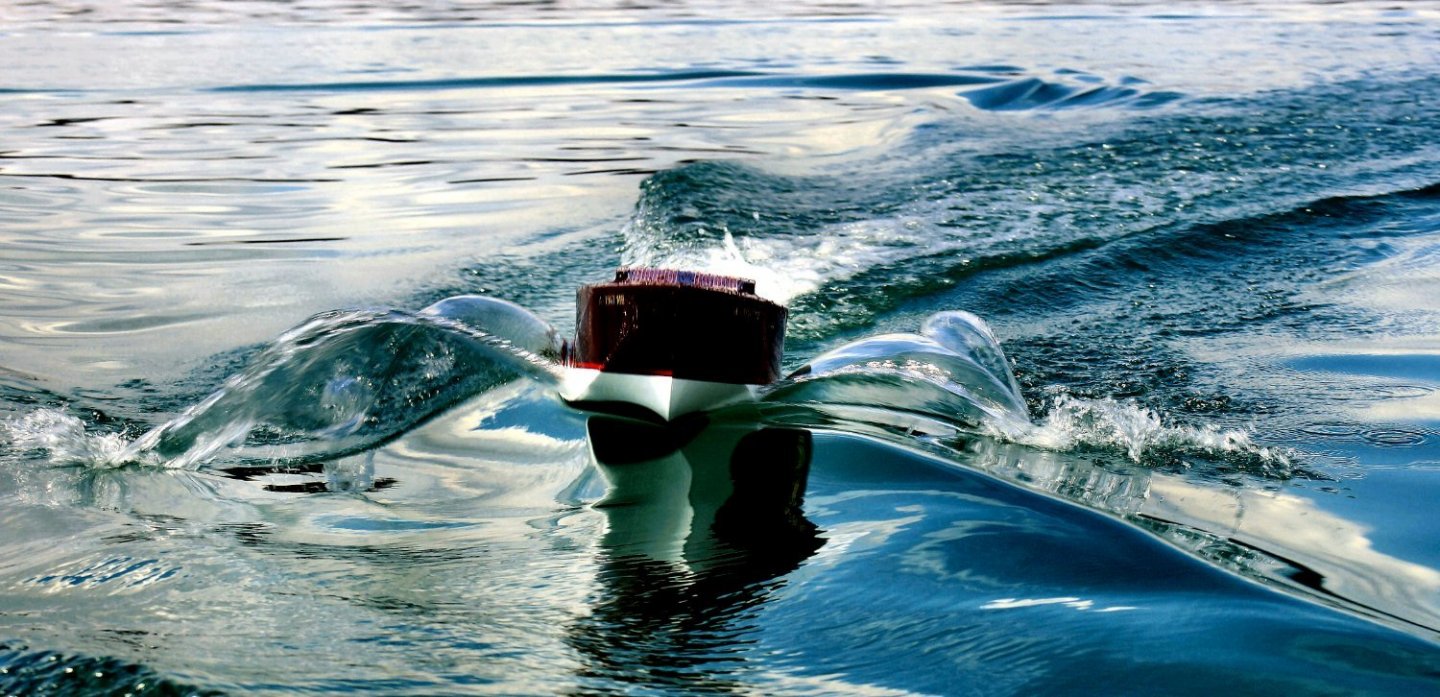
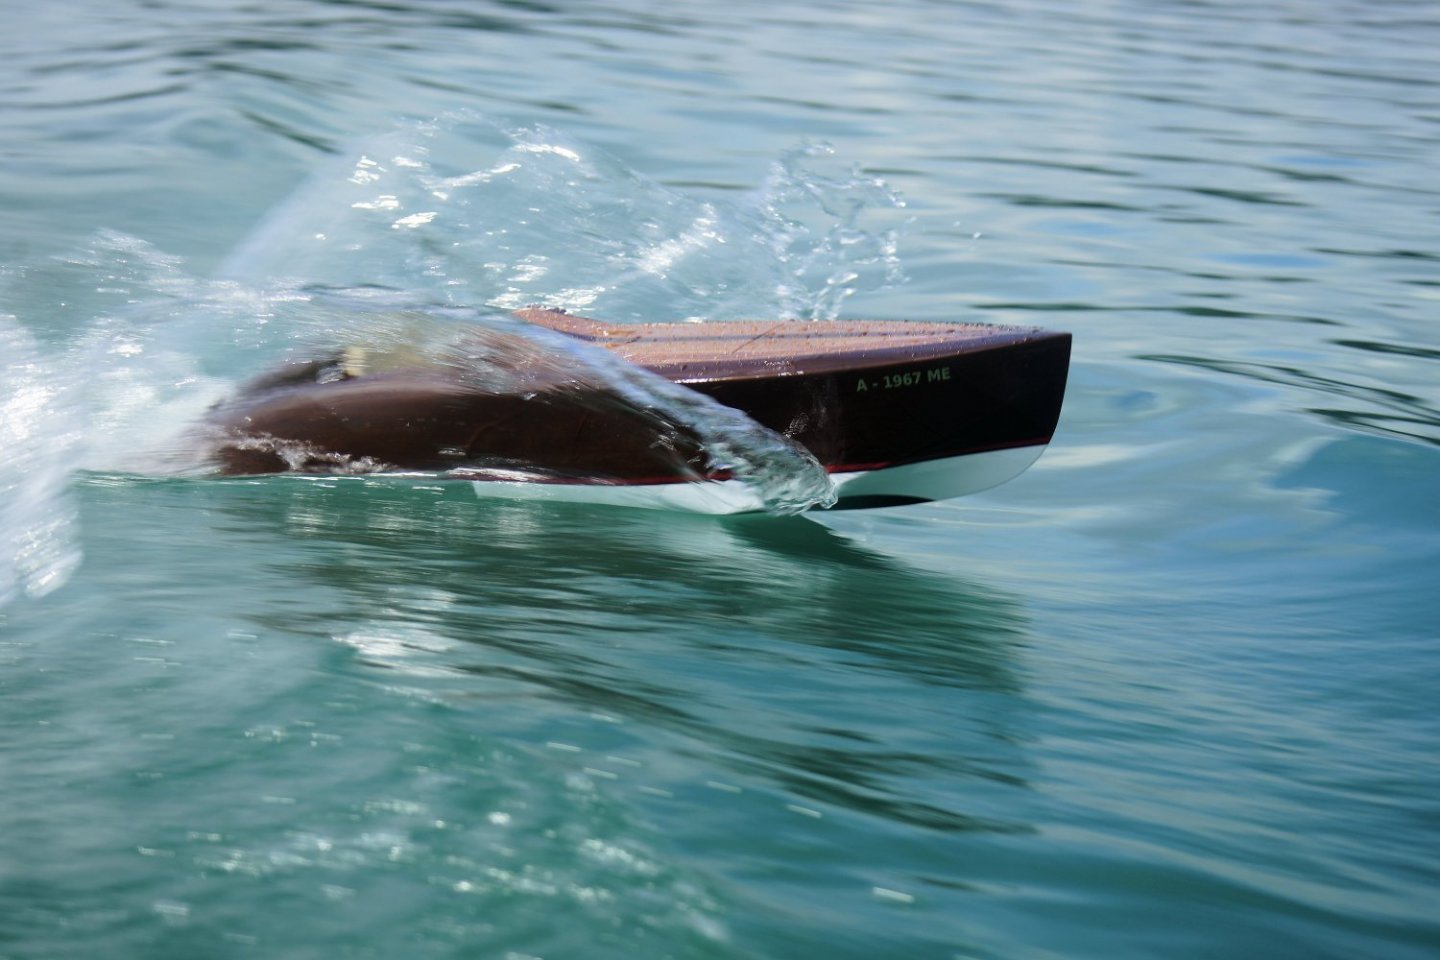
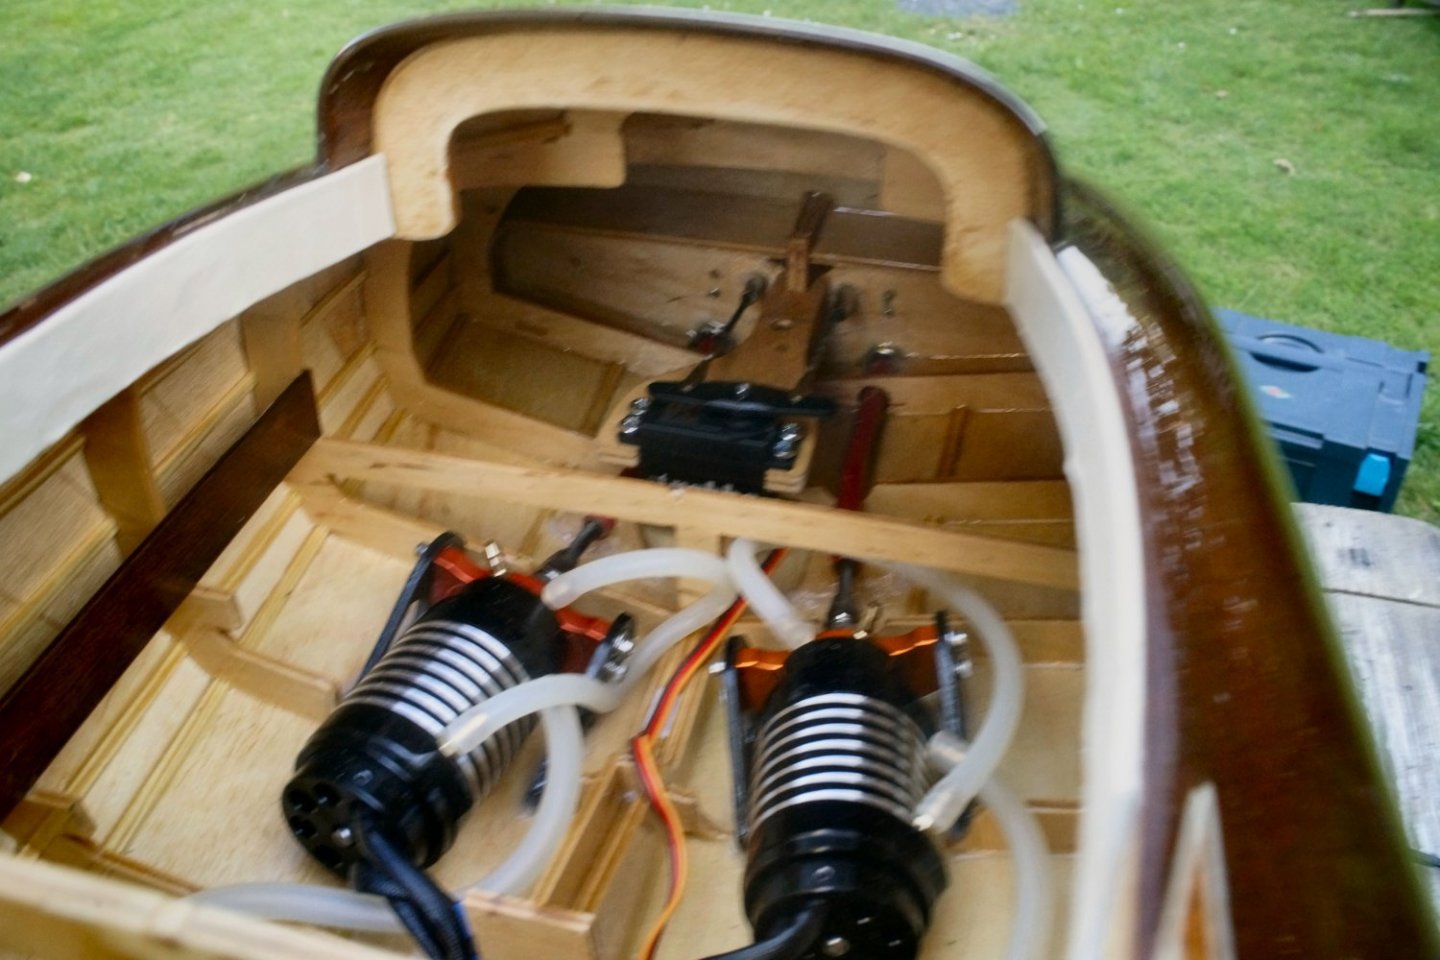
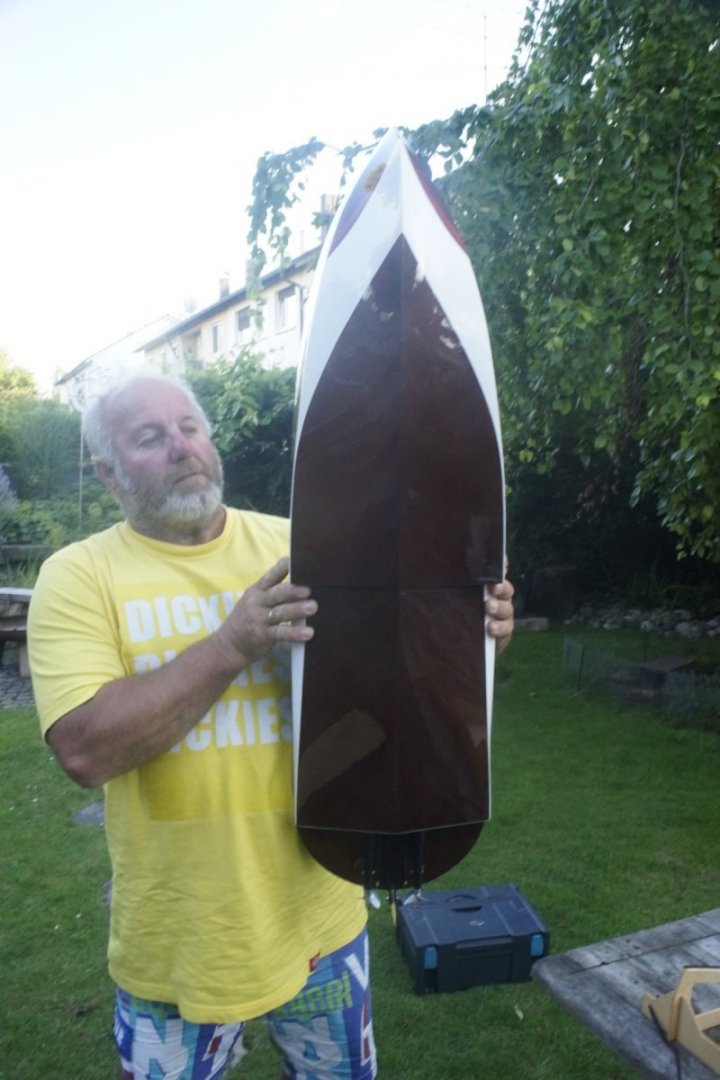
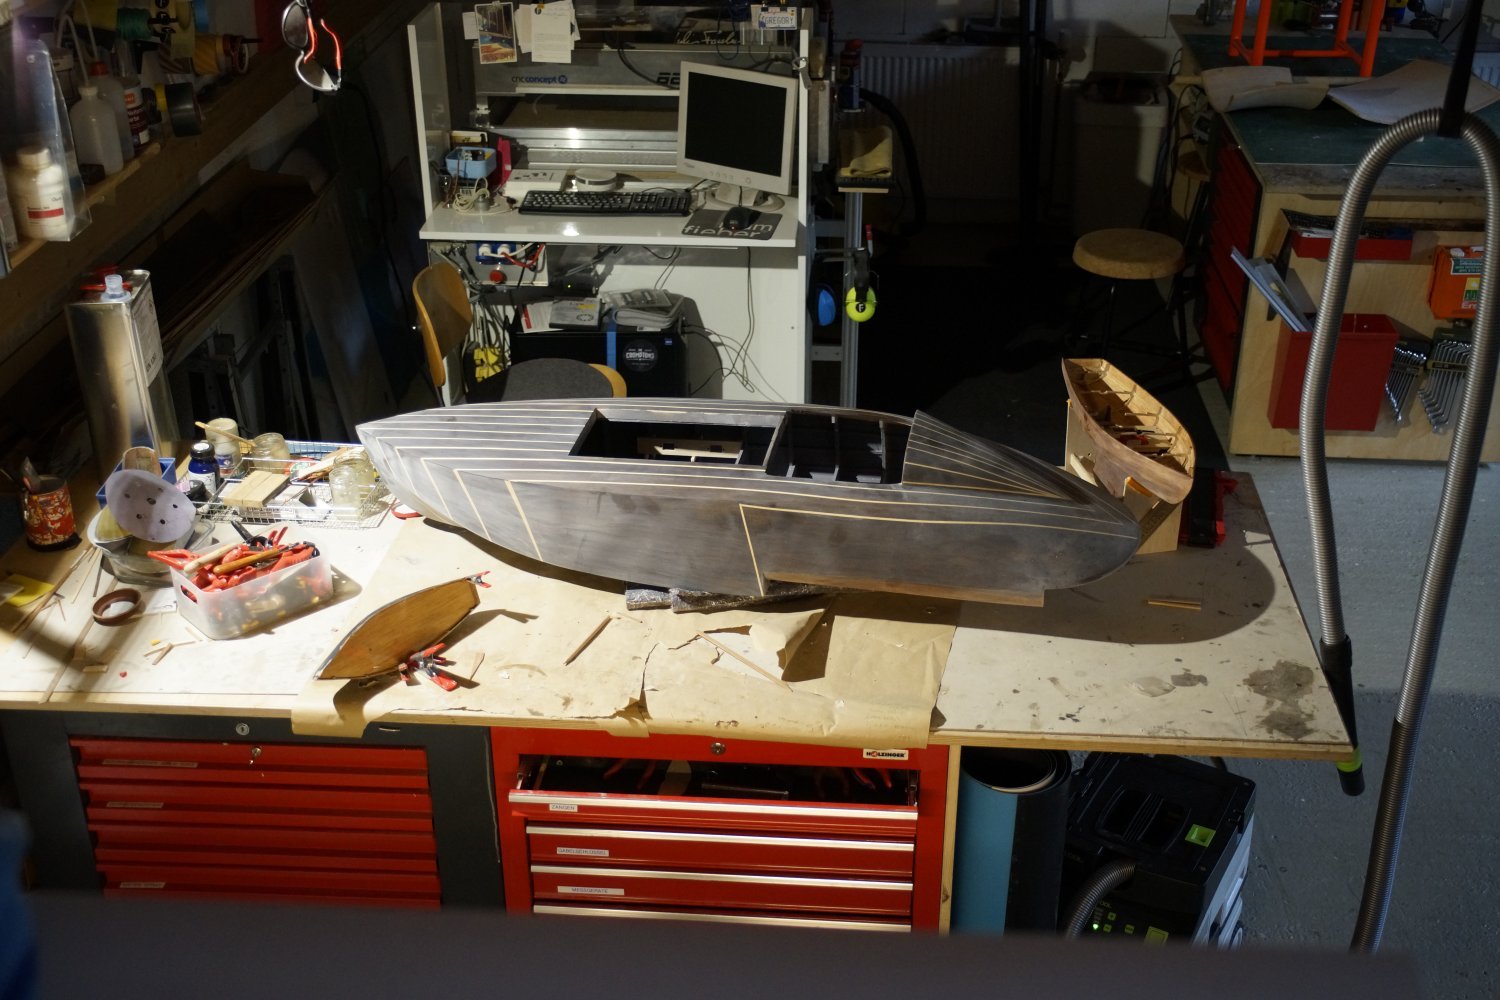
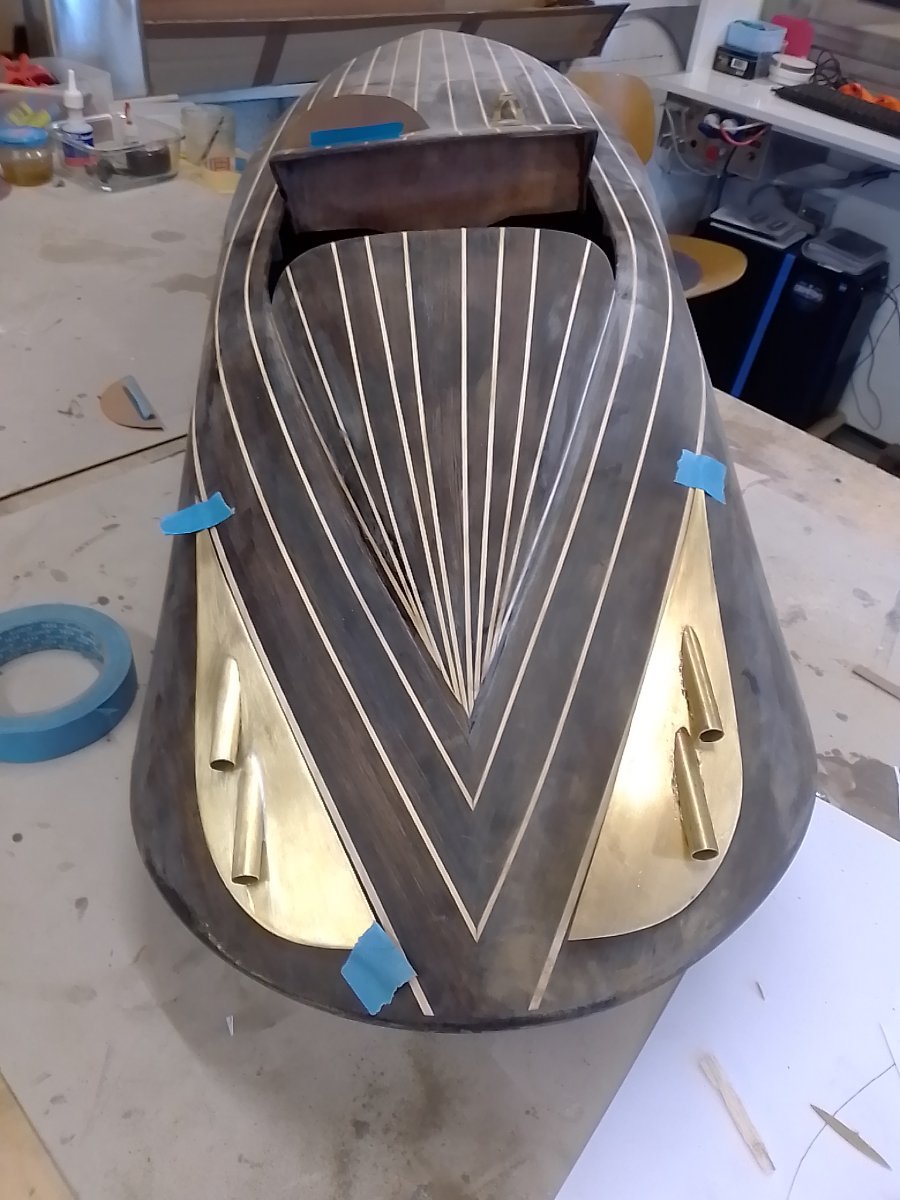
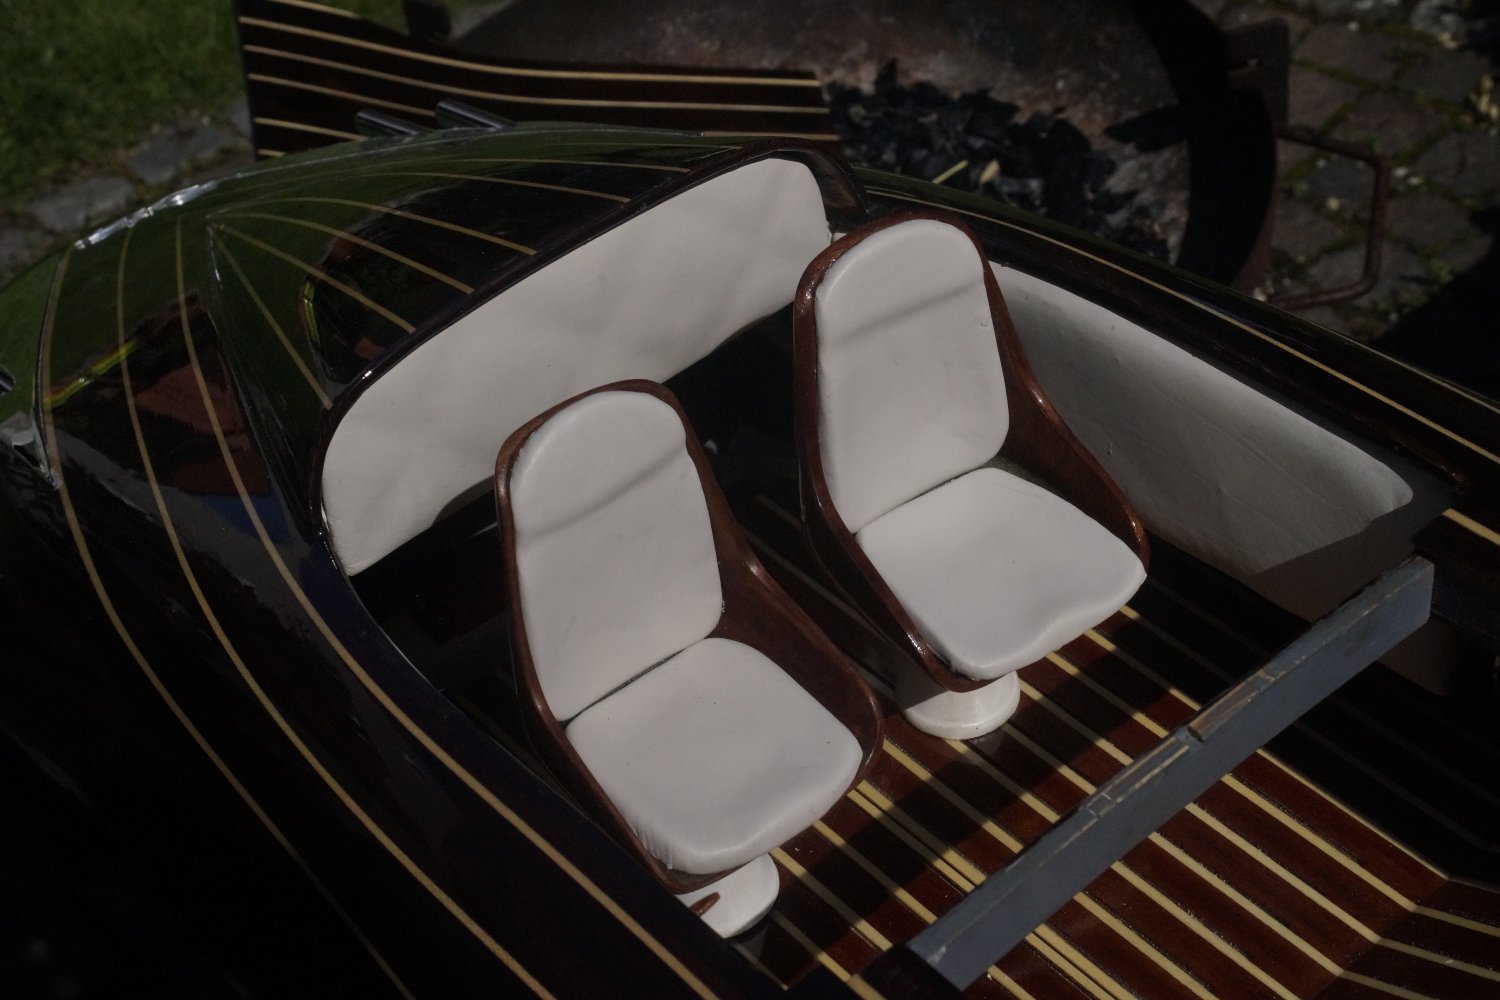
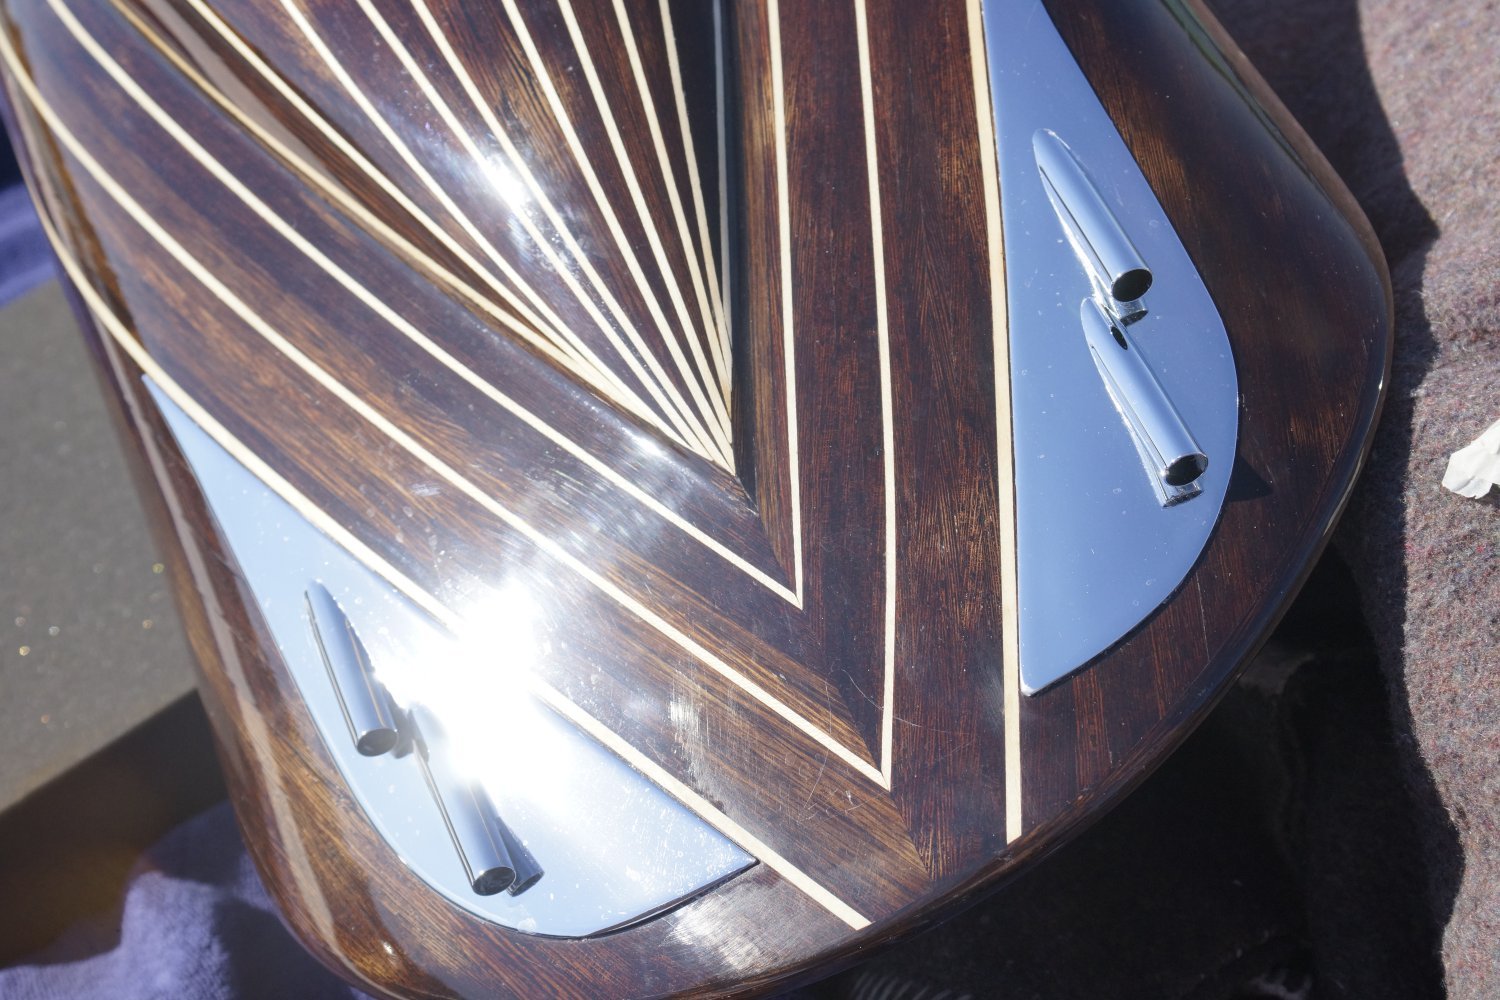
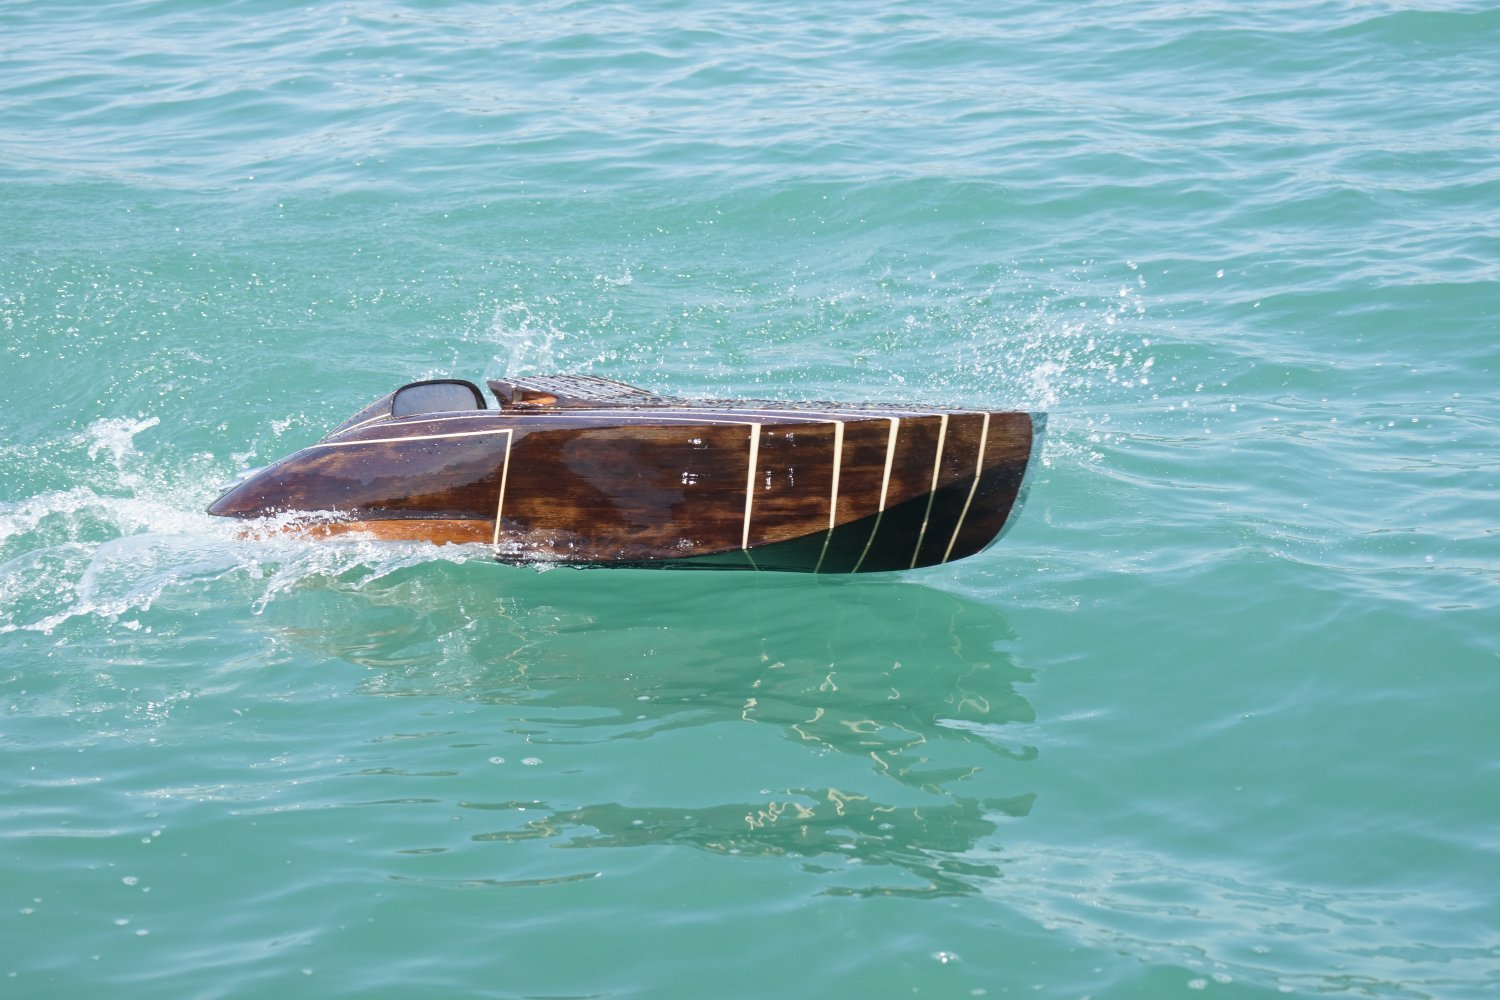
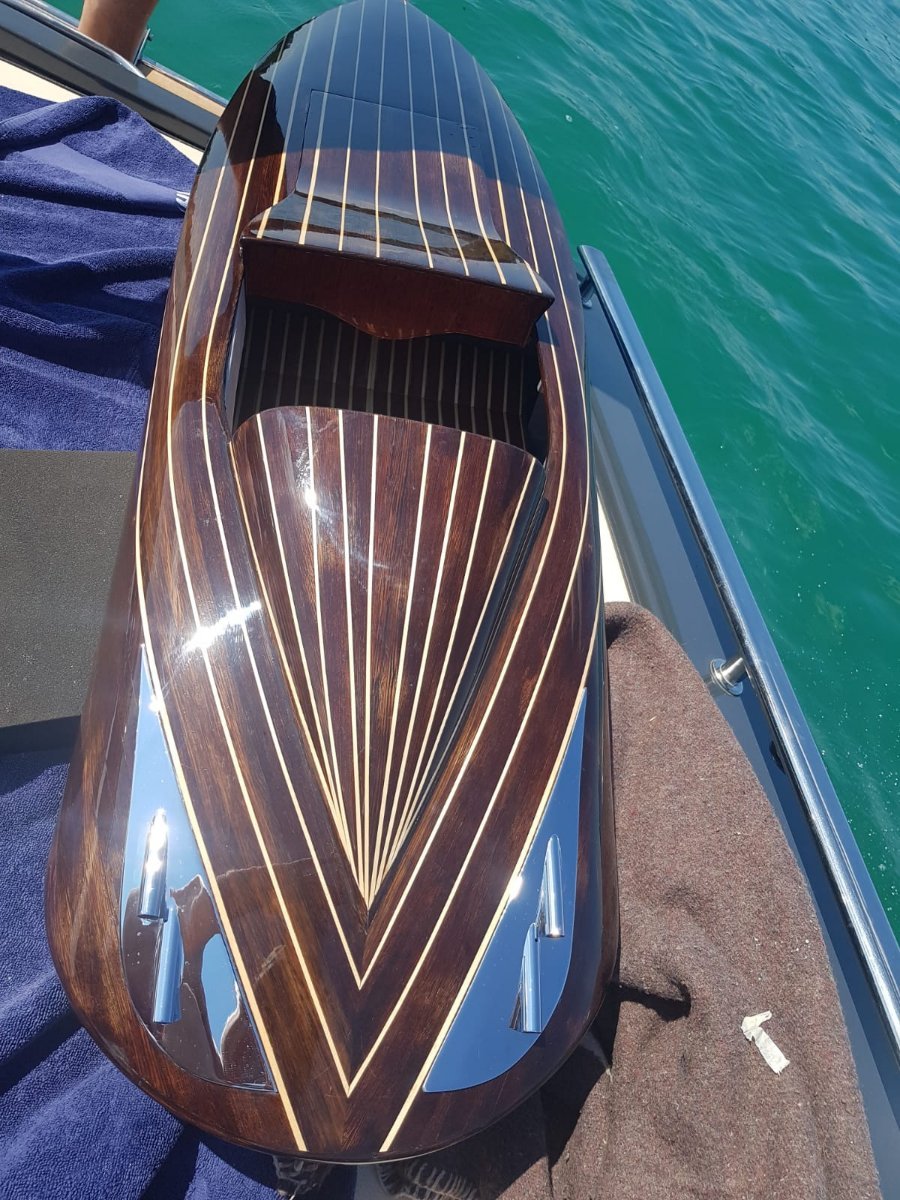
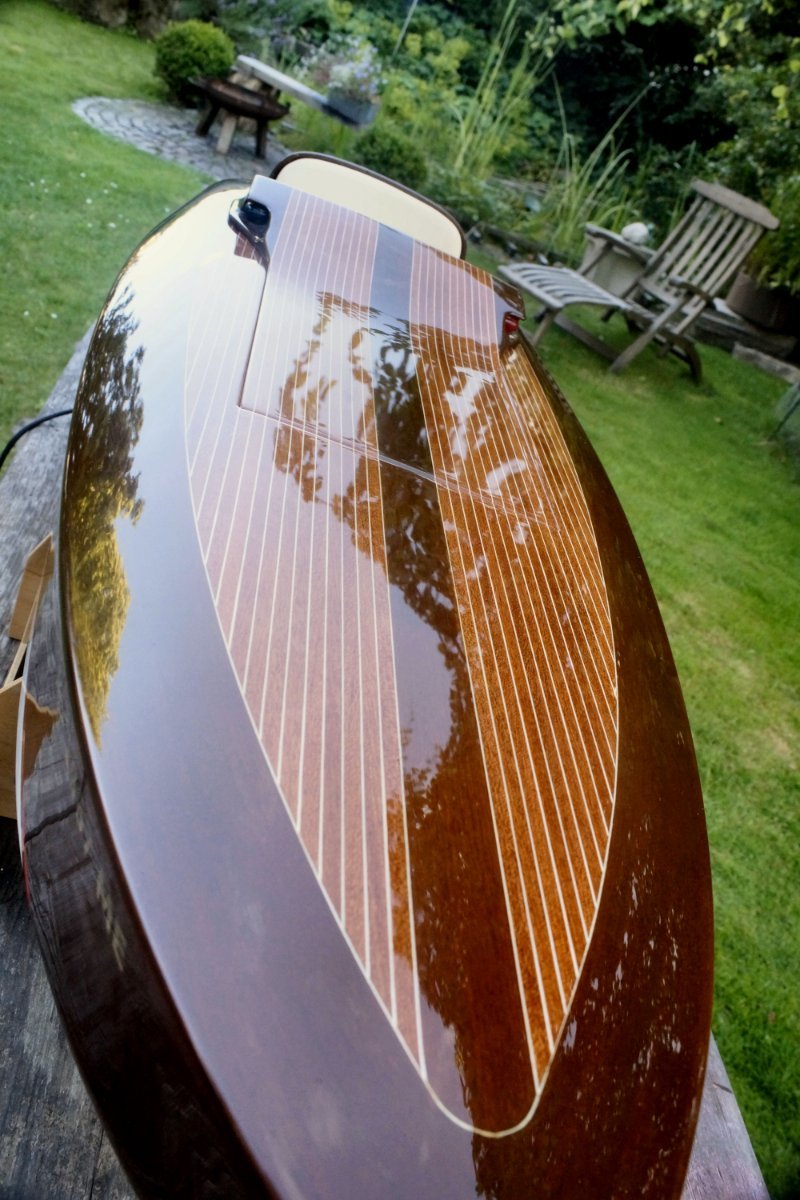
 After building a number of mahogany boats I left the layout of the second wood layer to my son who is a designer. Knowing, that no real boat builder would go for such a pattern , I made it a father and son project. The seats and all other details are scratchbuild ,too. Starting with card board model to find the right dimensions I created a gipsum form for the epoxy/fibre layers. Later I coated the form with regular 1,5mm mahogany . Beginning with this project I wanted a clean installation for the electric, no hanging around cables . The model frames were designed by Andreas from Austria , the last pictures are showing him and his version - details are very close to the original- of the Alzeda with 2 slightly oversized BL and racing props .


.thumb.JPG.7831b0d5f358838e9df59da1b1e45830.JPG)
- 3 replies
-
- 10
-

-

-
- Gentlemens racer
- Runabout
- (and 2 more)
-
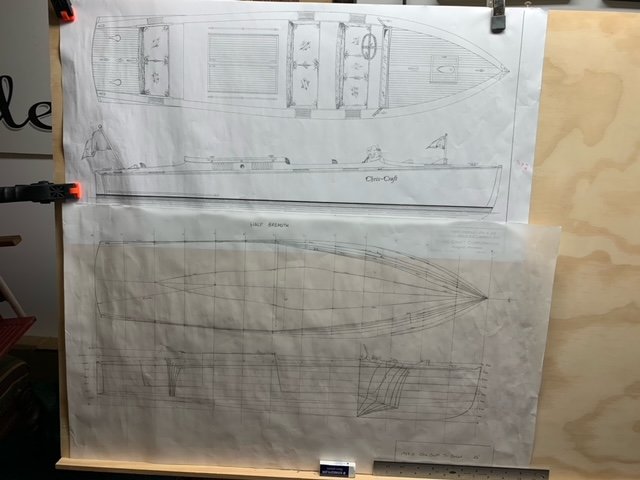
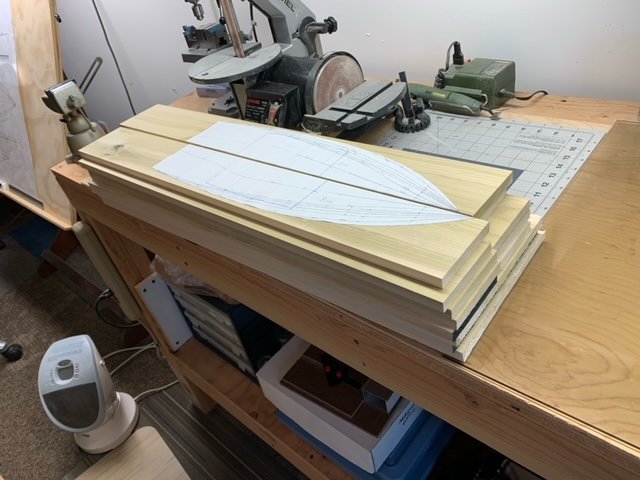
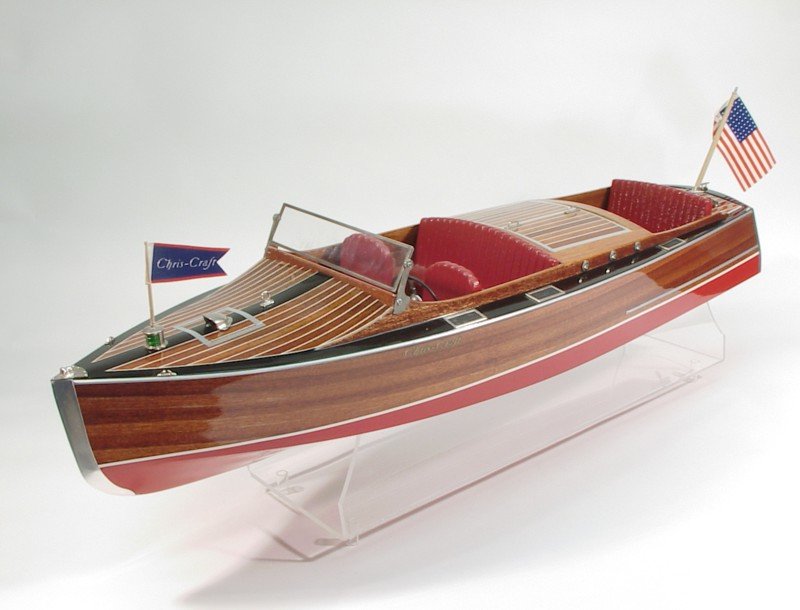
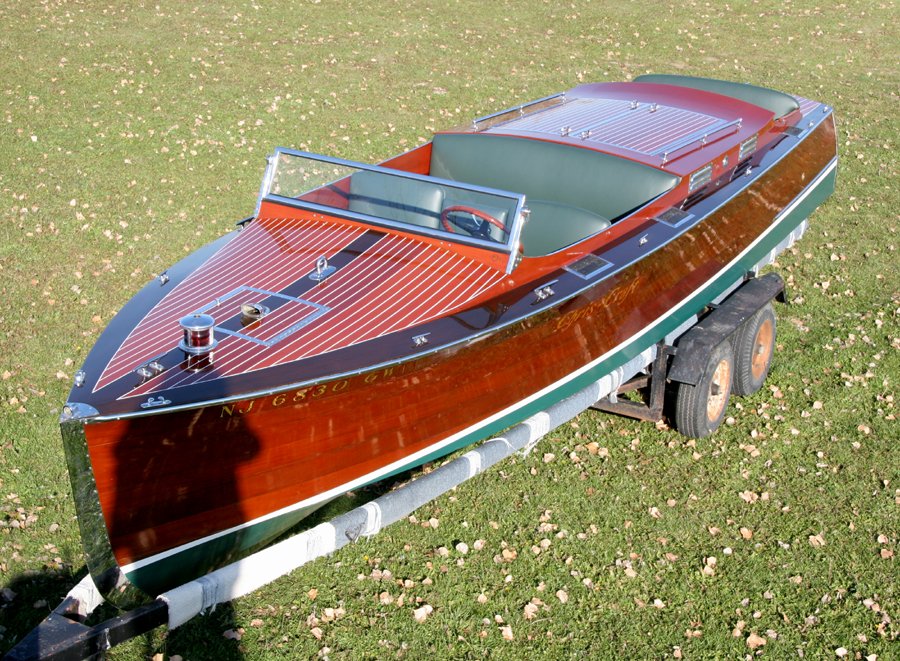
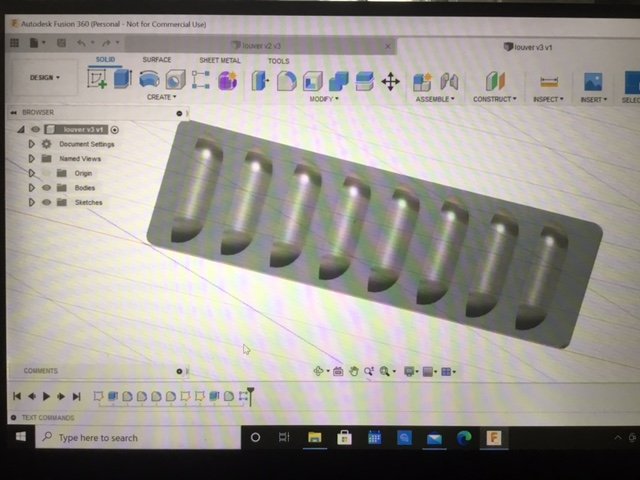
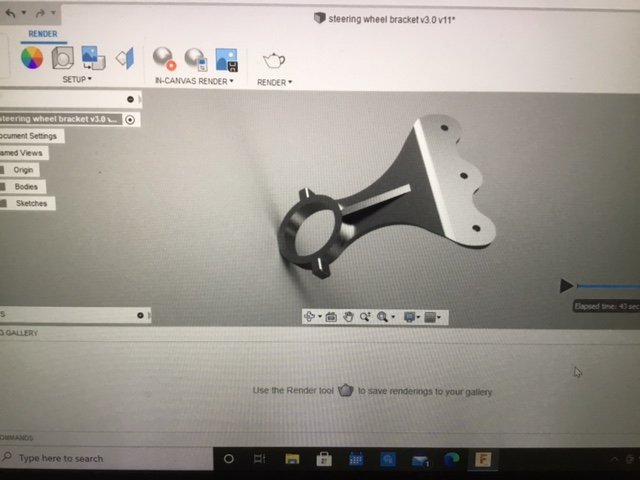
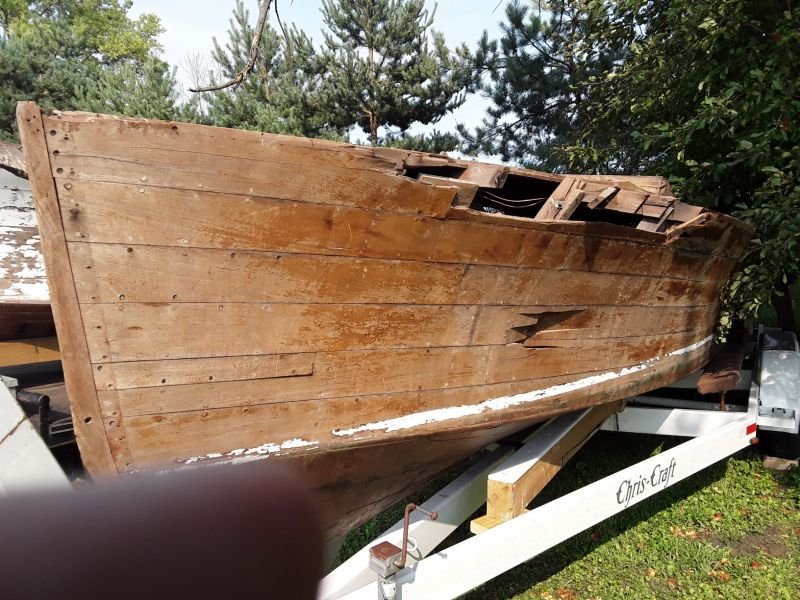
 Being one of the Ship Model Society of New Jersey Club contacts on our public club web page you get some interesting inquiries. Several months back, the town administrator from a well known New Jersey Seaside Town reached out and asked if one of our club members would be interested in making a model of a boat that had some historical significance with the town. All the administrator had was a vintage photo shown below. The town is in the process of building a museum to house their historic carousel and wanted the model to be part of it. My response back was something like, assuming you have no plans, just this photo, it would be very difficult to provide something but I would ask around. The Power of the Ship Model Club: In these pandemic times there has been some bright spots believe it or not. Most clubs have been meeting virtually which allowed me to not only participate in my NJ Club meetings but also attend other meetings like the Philadelphia Club's and Hampton Roads Meetings. With the photo presented at the Philly meeting, one member immediately recognized the boats in the photo as Chris Crafts. In fact it was pointed out that Dumas even makes a kit of a very similar boat, 1930 24' Chris Craft Tri-Cockpit in 1:8 scale. There are excellent build logs of this kit in this forum. While attending the Hampton Roads meeting, a member there pointed out that the Mariners Museum Va. purchased all of the Chris Craft IP and Archives after they folded operations and the museum provides a service to all those interested. I reached out to the museum and discovered what the boat was in the photo, a 1929-31 26' Chris Craft Tri-Cockpit Runabout. Better still they had plans which I purchased. Chris Craft in that time made several tri-cockpit models, 24', 26', and a 28' (maybe more). I was hoping they just added a hull block to extend the length between the 24' and 26' so I could start with the Dumas kit but in my research they were different in many aspects. I would need to build it from scratch. The Dumas Kit Above is for a 1930 24' Tri-Cockpit. I need the 26'. Here is a beautifully restored 26' 1929 Tri-Cockpit: These boats properly restored have tremendous value as seen from some of the prices I have seen. I will stick to the model ; ) The Build of the Miss Seaside Begins: Based on feedback from TomShipModel from the SMSNJ, I decided to use the lift method to construct the hull which will consist of 8 lifts of 1/2" poplar using a scale of 1:12. This will be a 26" long model in the end which is a nice size. The first thing I needed to do once I received the plans was to redraw them with 1/2" waterlines. I was fortunate enough to have a local wood supply shop that was able to mill the poplar to exact 1/2" thicknesses. Since the boat design has 2 large open areas for the 3 Cockpits, the floor lifts will span the 7" beam and the upper lifts will be cut in half to allow for the cockpits to be cut out. The photo shown below are the poplar lifts prior to scroll sawing. Copies of the waterline lifts are glued onto the individual poplar planks using rubber cement. Station profiles made to aid in the shaping of the hull: In parallel with the hull construction my goal is to utilize 3D printing to realize a lot of the fittings for the boat. I hope to get some of the more standard fittings from Bluejacket. I will be using Fusion 360 as the 3D modeling CAD tool that will create the needed files for 3D printing. Parts such as the engine louver, steering wheel bracket, spotlight, and prop shaft mount will be captured with Fusion 360. Here are a few examples of parts captured in Fusion 360: Engine Louver (4 required) Steering wheel bracket Although the actual boat used Mahogany wood for the planking I plan to use Cherry to better simulate the grain at this scale. I will be using 1/32" thin cherry for planking: And with the power of the internet I came across this picture below of a 1929 26' "Project Boat". What makes it valuable to me is that you can get a feel for the planking widths. It looks like we have 6 planks from Sheer to Chine which will help me size the planks I need for the model. So this will be my truly first scratch build. Wish me luck as I am going to need it! Next time I hope to have all the lifts cut out and glued together so that shaping of the hull can begin. All for now. Be well Bill
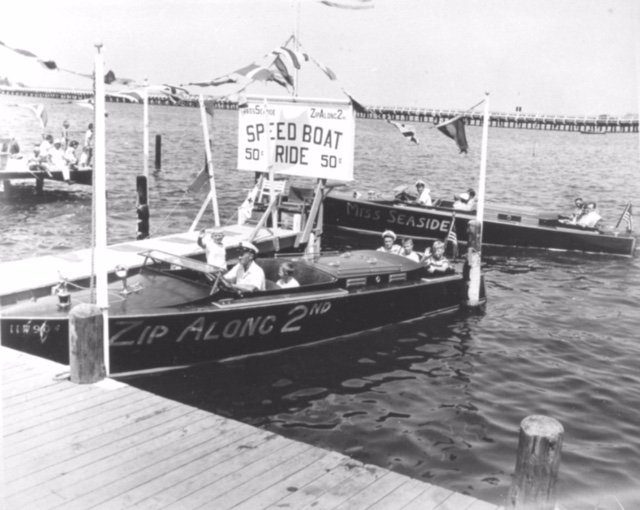

-
 Click on the tags in the title above (shown in black) for an instant list of all the build logs for that kit subject.
 -
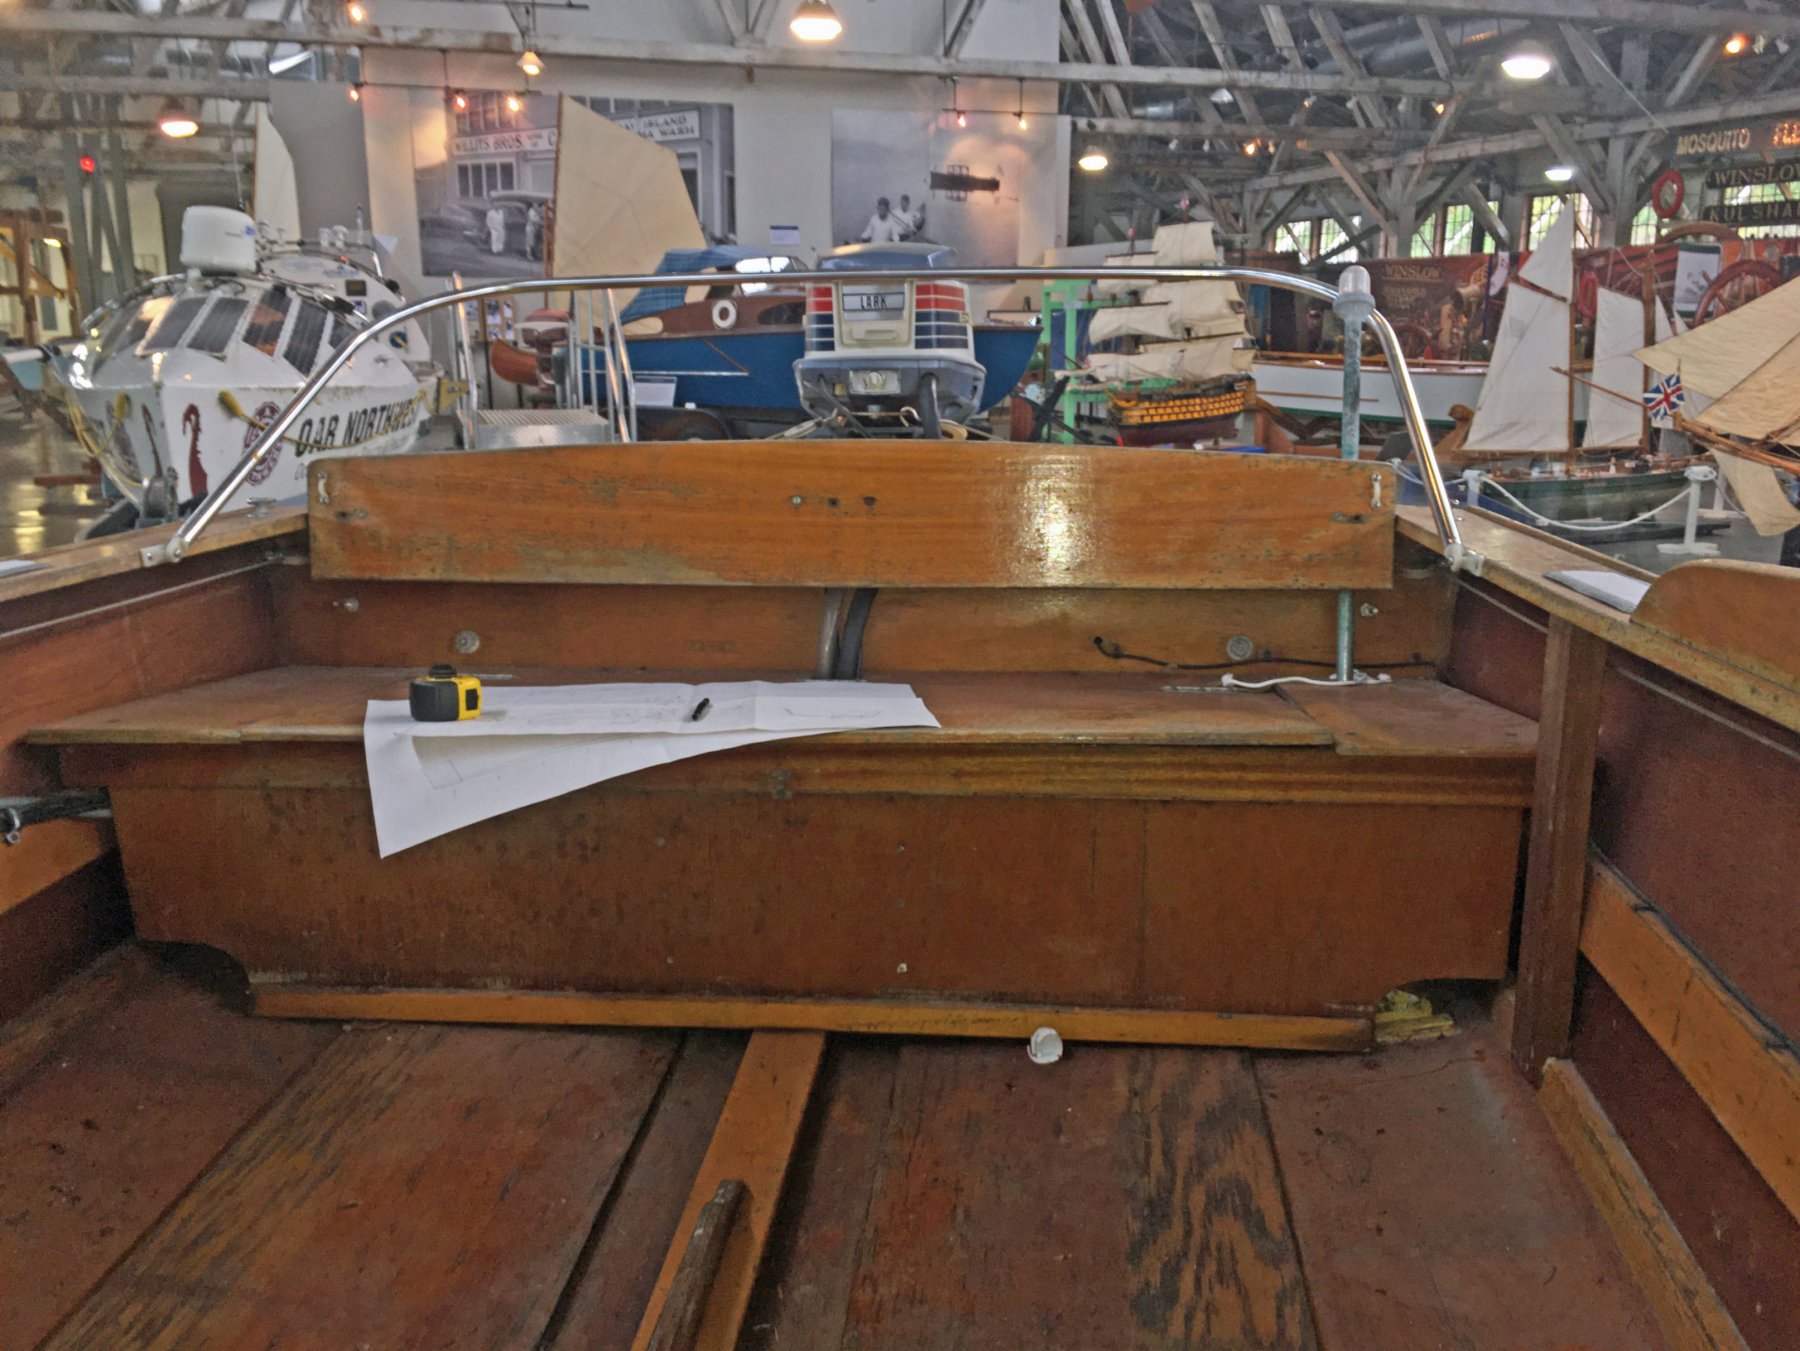
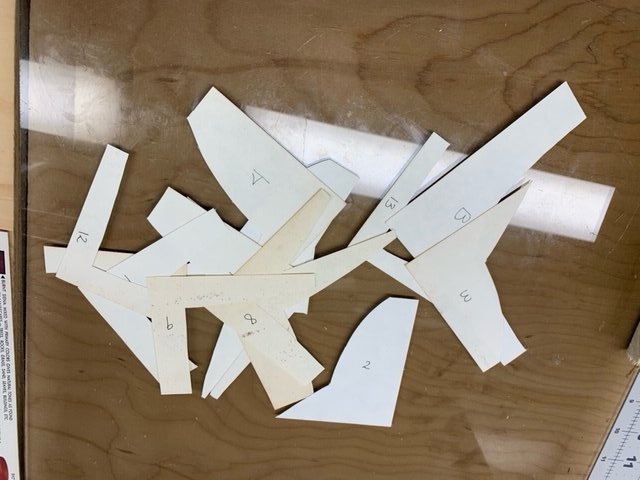
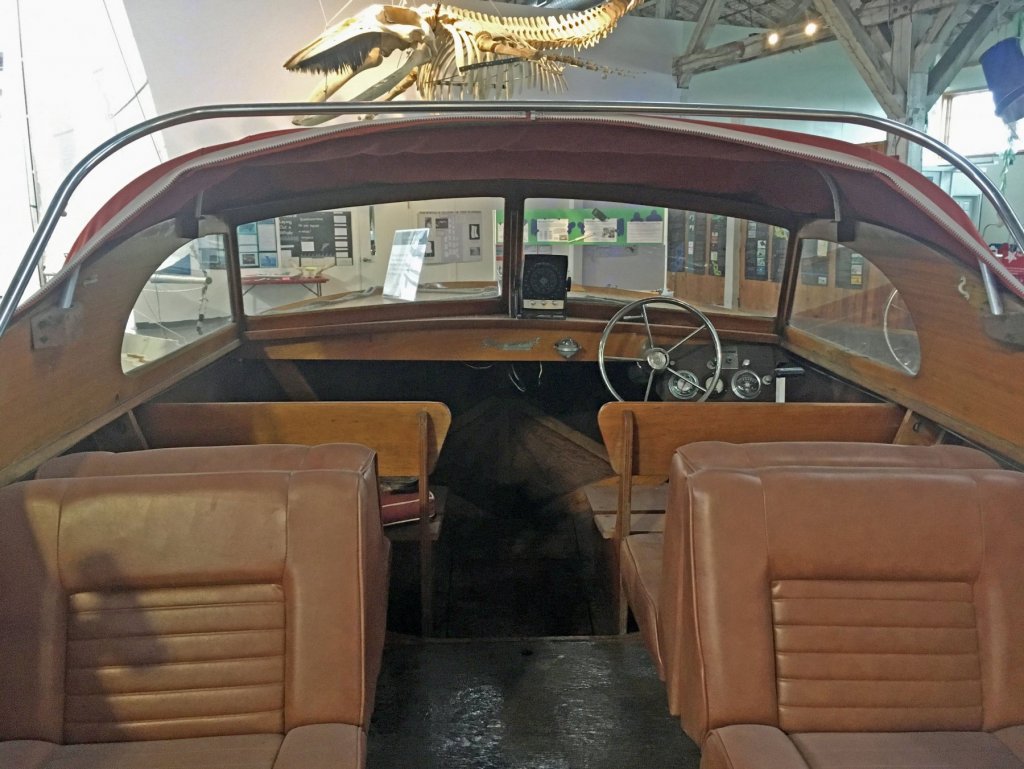
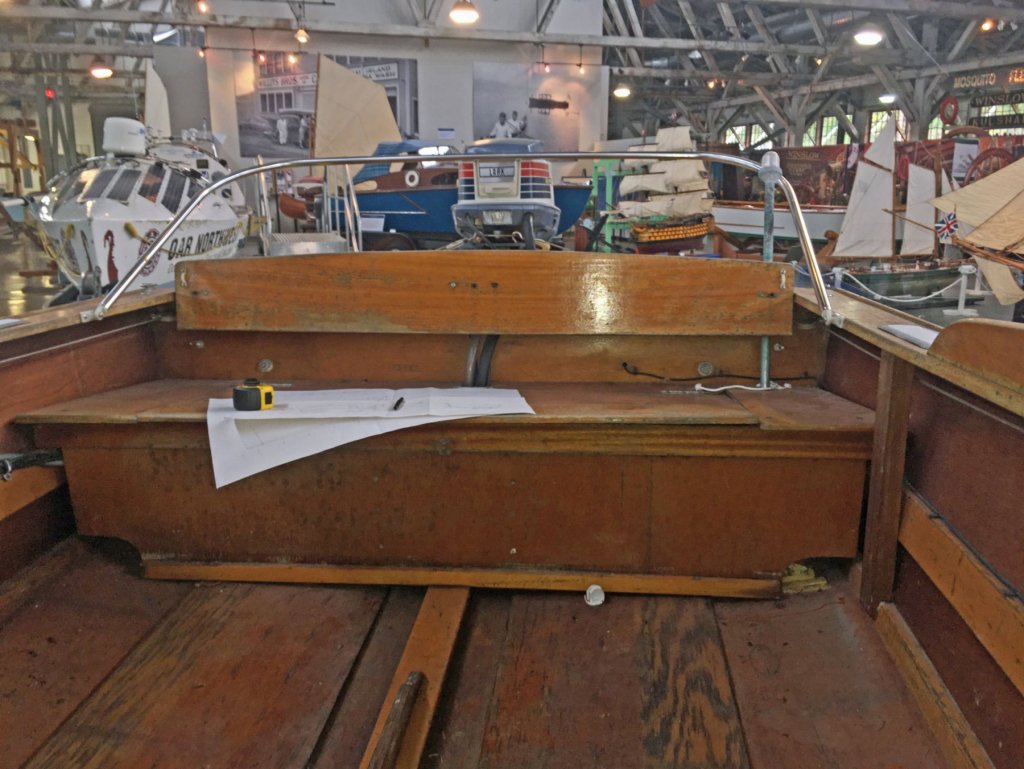
 When I was a boy, we owned a Skippercraft runabout in which I enjoyed fishing and cruising in Puget Sound. I’ve been building ship models now for several years and finally decided to model this runabout for my father. My goal is to complete this for his 91st birthday in October, ambitious but doable. We’ll see how this goes. Our boat was a 17-foot model, so I chose to use 1/16 (3/4 inch) scale which will provide a nicely sized model. This is my first scratch build. The Skippercraft was a simple plywood runabout built in the late 1950’s by Larsen Marine on Vashon Island. I looked for plans but could not find any, nor could I find any photos of this boat. Ours had a 35 horsepower Johnson outboard motor, of which I was able to find photos. This spring, the Foss Waterway Seaport in Tacoma invited our club to demonstrate modeling. Surprise! There sat a Skippercraft runabout right in front of our tables. Needless to say, I spent a few hours pouring over the boat making measurements and taking photos. A museum associate explained that these boats were often built without plans. The builder would construct a prototype from which he would make forms for production once he was happy with the design. Skippercraft in Foss Waterway Seaport
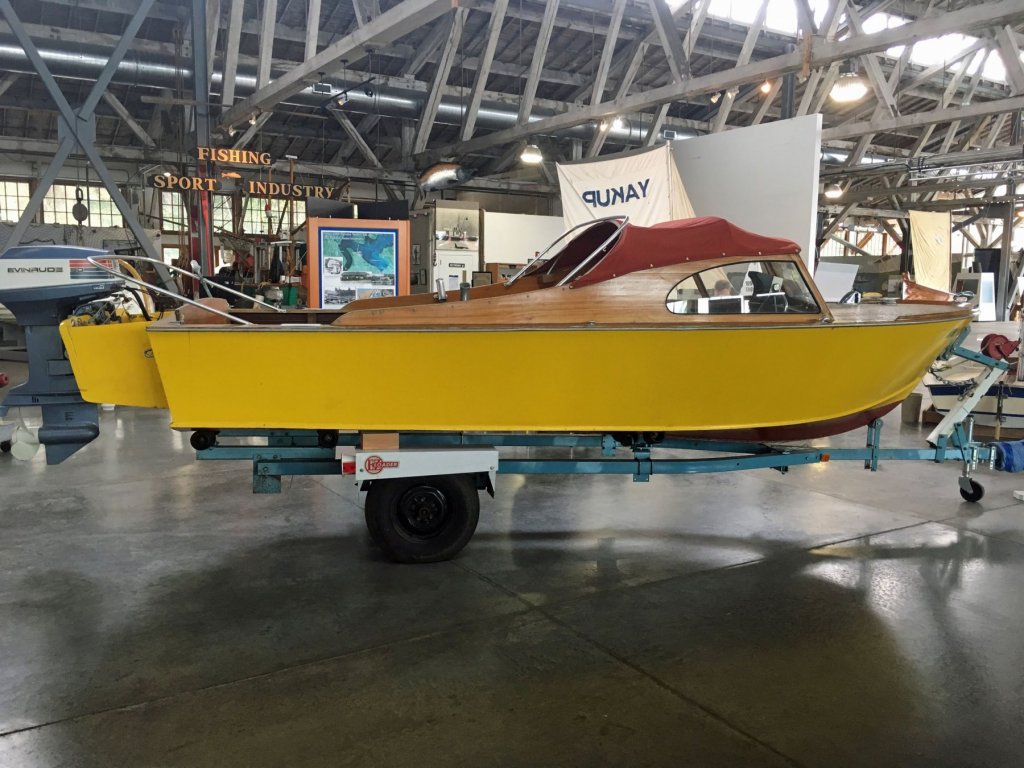
-
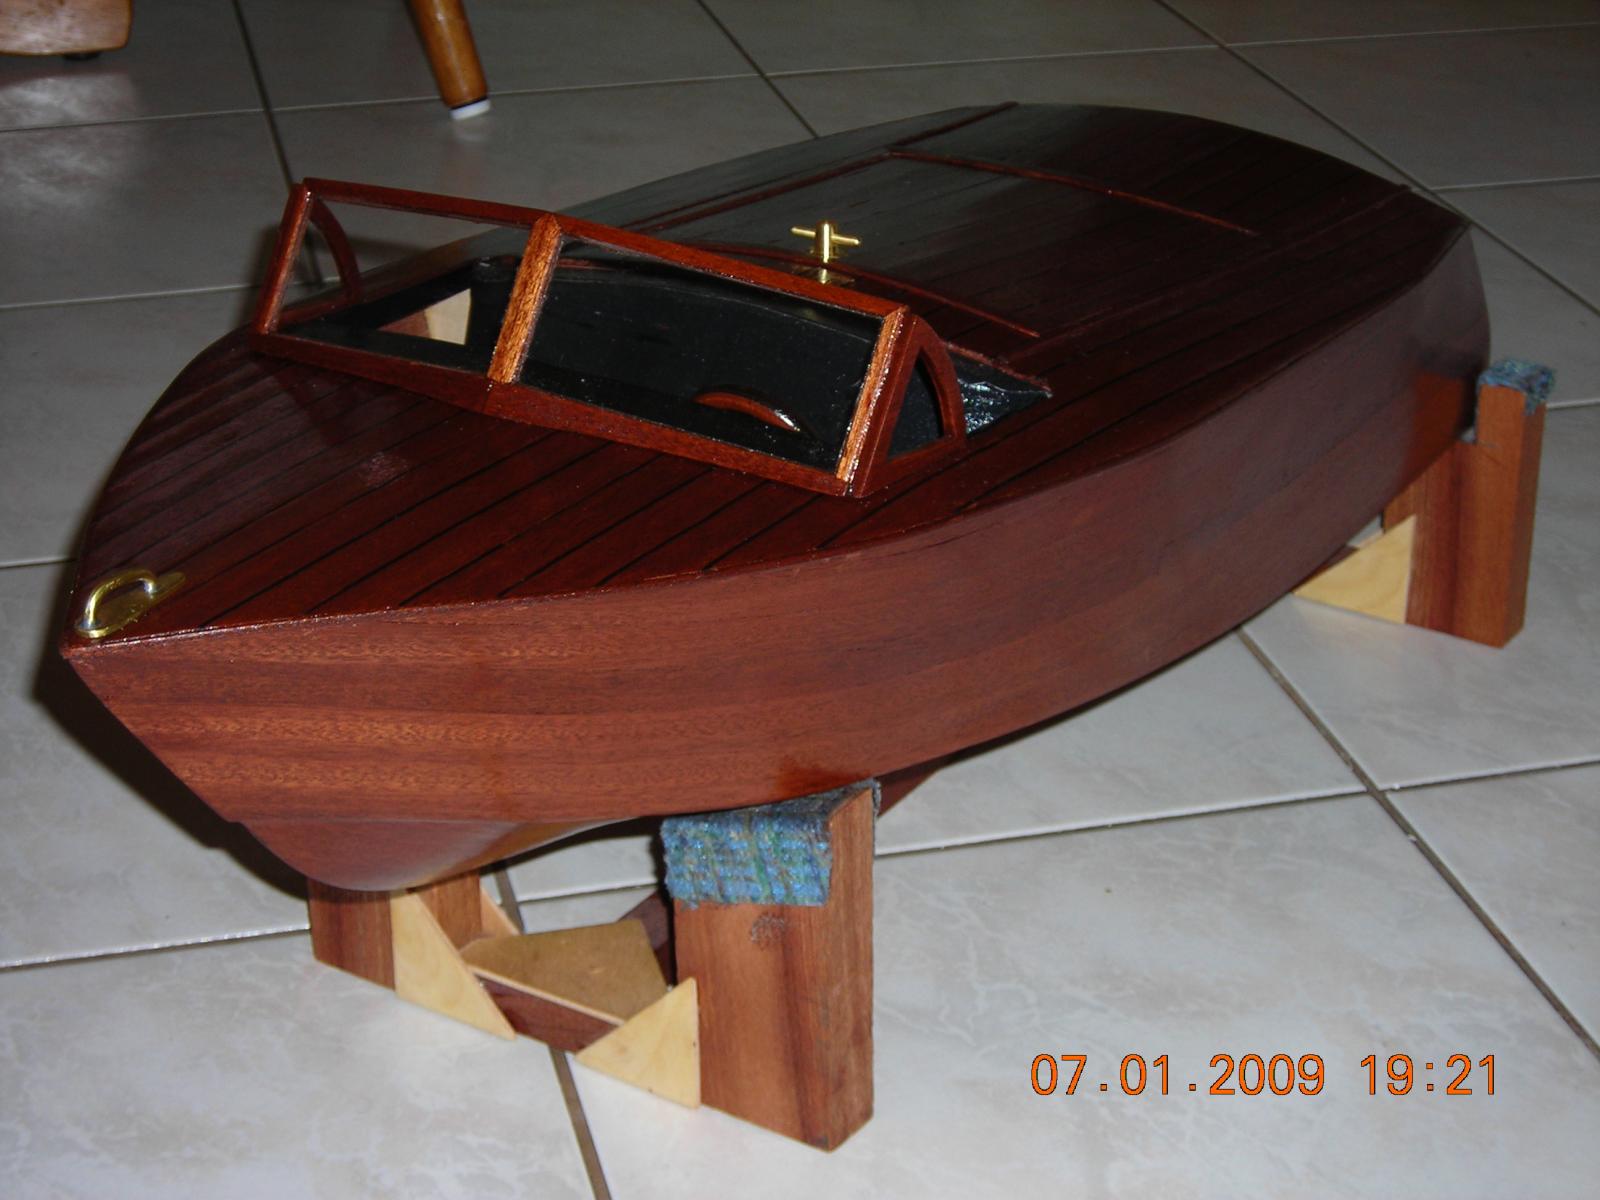
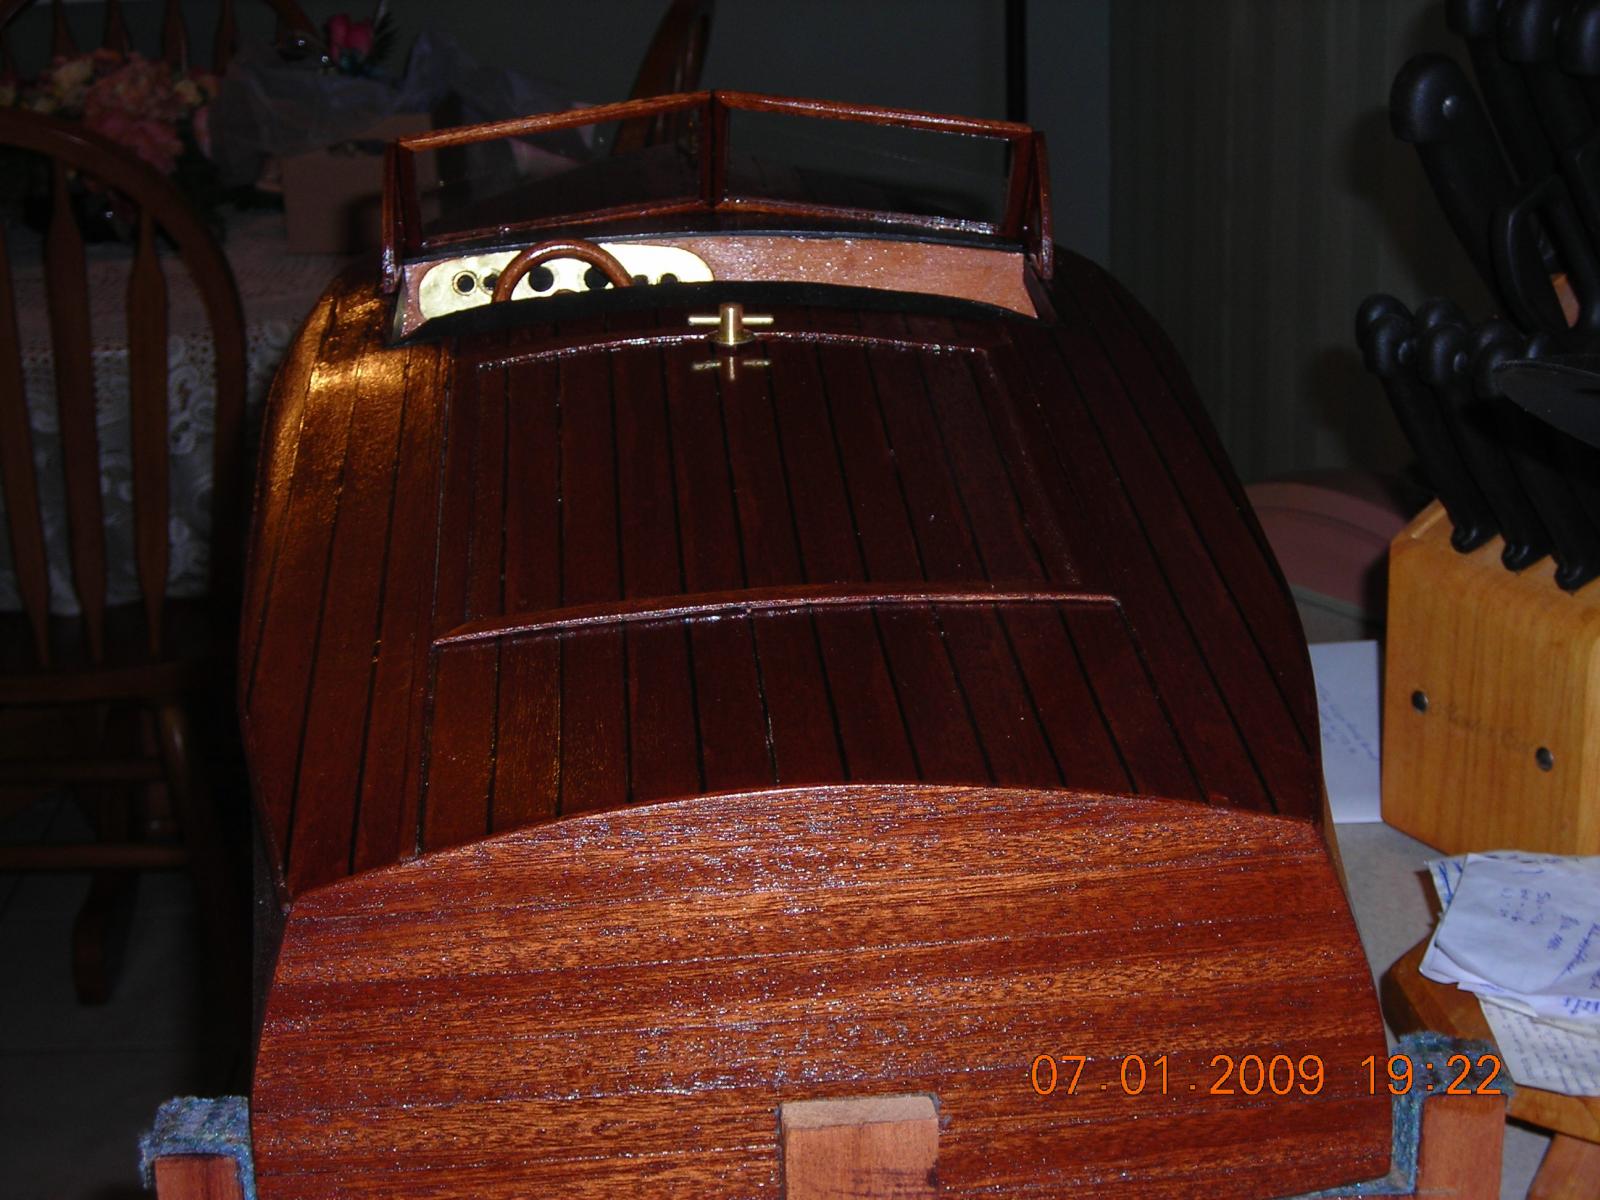
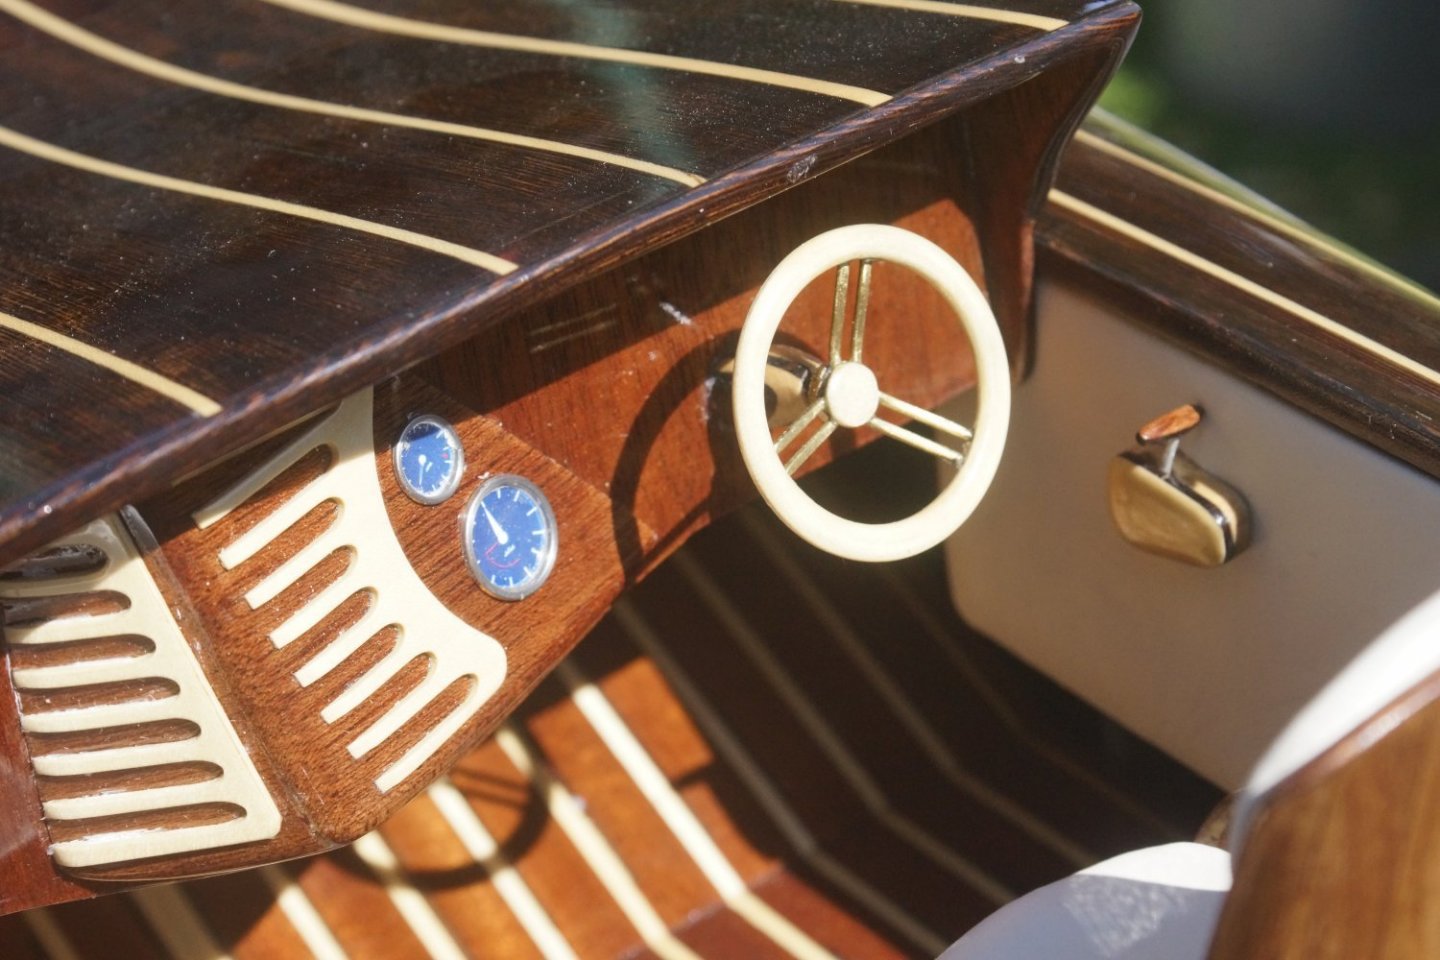
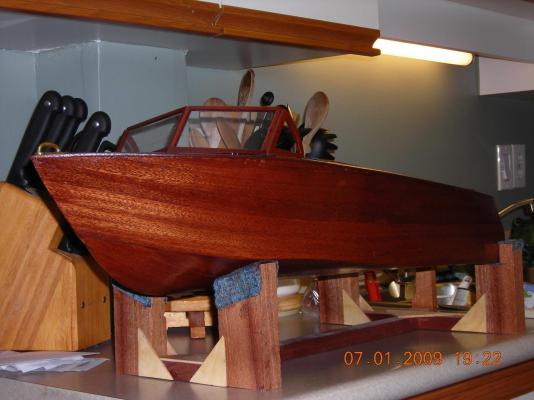
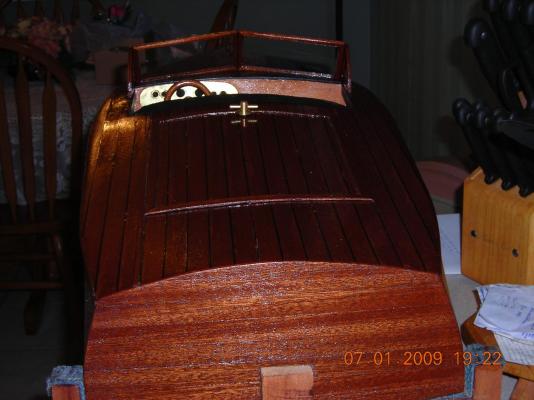
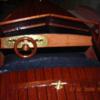 I built this two or three years ago from pictures, actual dimensions and what my imagination could come up with. Sold it to a guy in New York but it took him a week to open the wooden crate it was in it because I fastened the lid using Robertson screws, apparently they don't use Robertson screws in the States. The steering wheel was made on my lathe I used African Sepeli hardwood and ebony sandwiched together to get the two tone effect. All the brass was done by hand except the dash, those holes are actually furls used for plastic air lines. The deck planks are separated by thin strips of black rubber between the planks I shaved them off a small sheet of thin rubber and the deck is removable to be able to get at the motor battery. I'm sure it will get moved because I didn't have a clue where to put it but because I just found the pictures I thought I would share this with you.
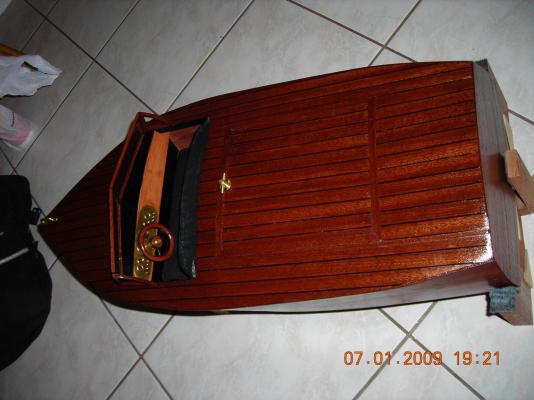


.JPG.4659ae1570e2ff3bff67cafe59eee1b5.JPG)