Search the Community
Showing results for tags 'bluenose II'.
-
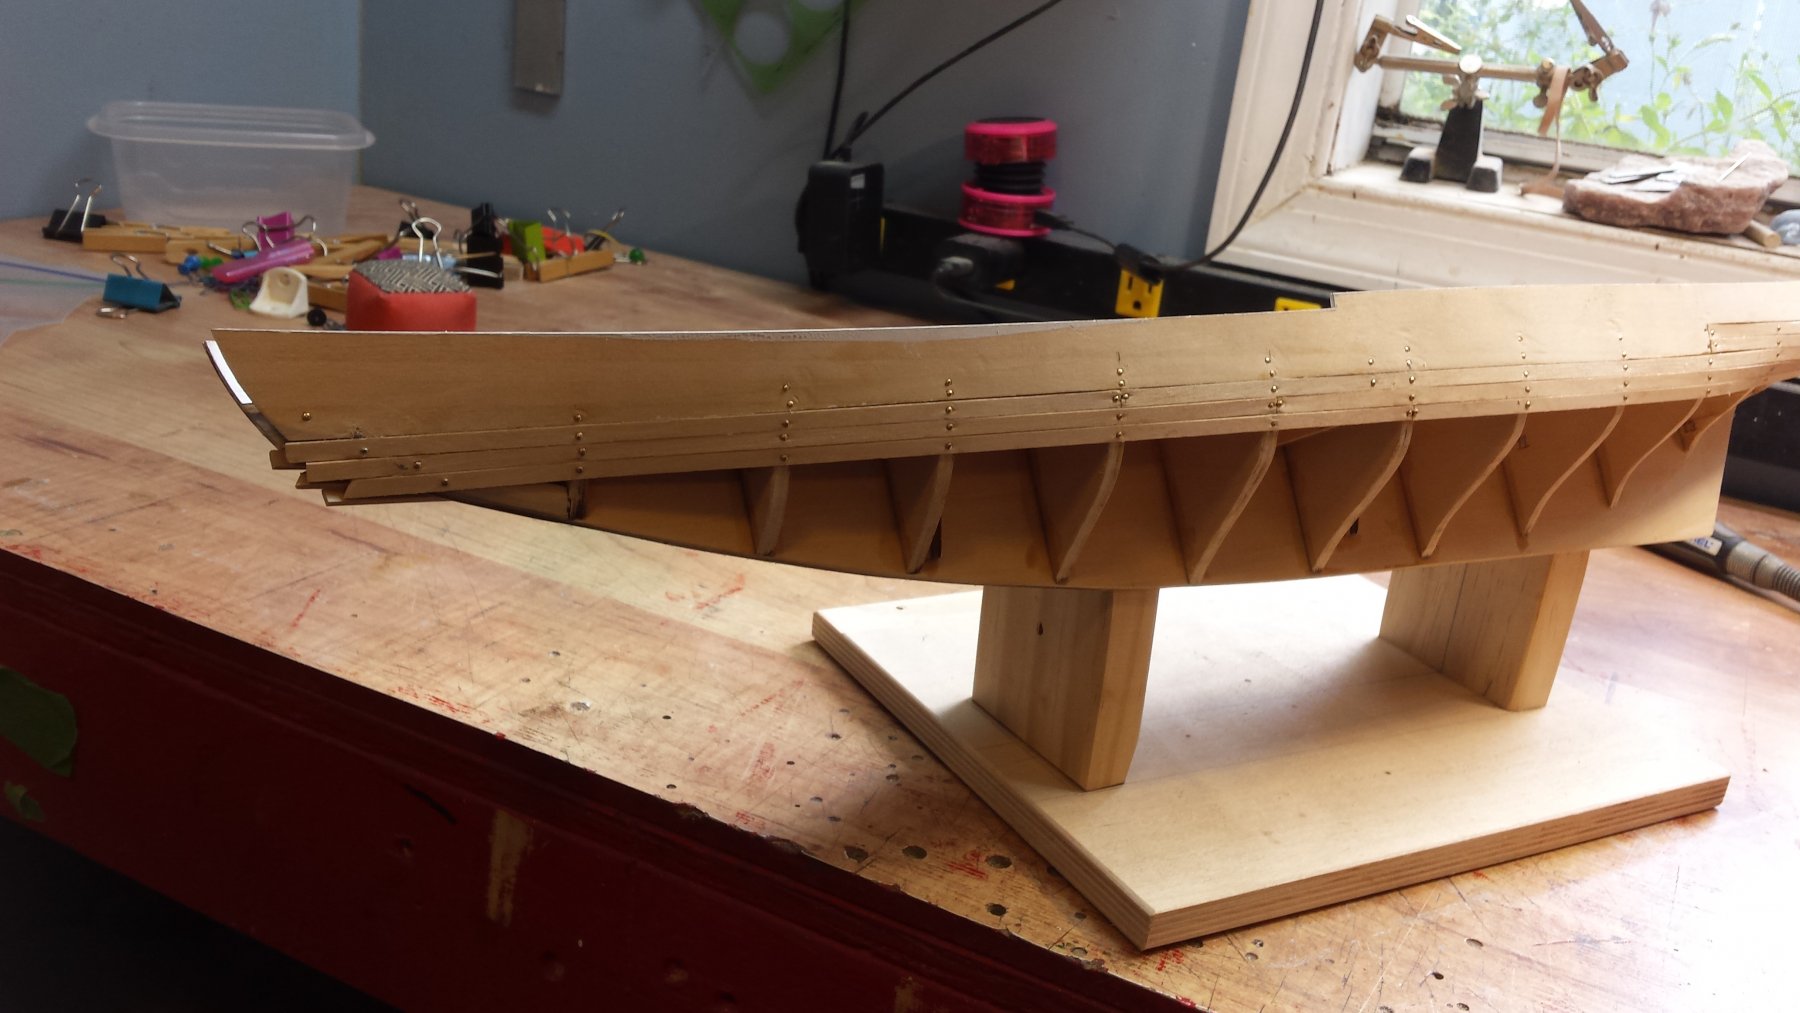
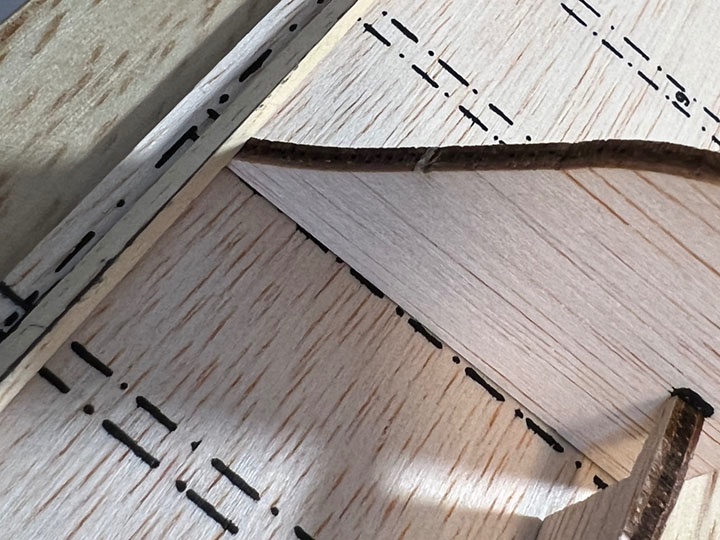
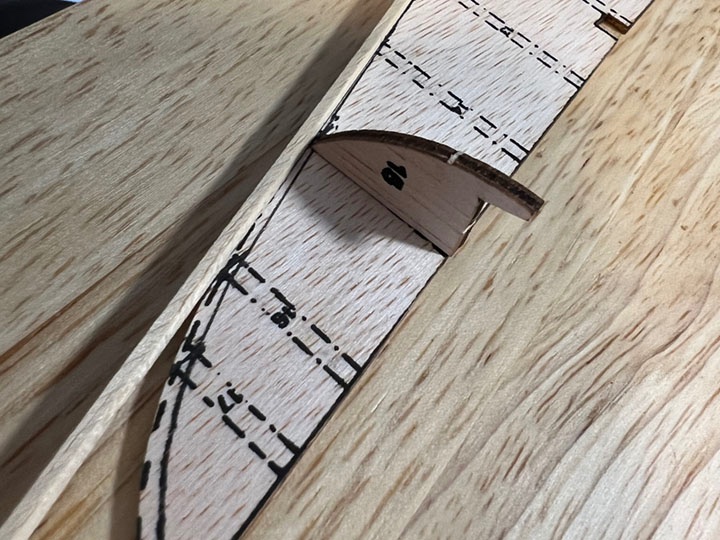
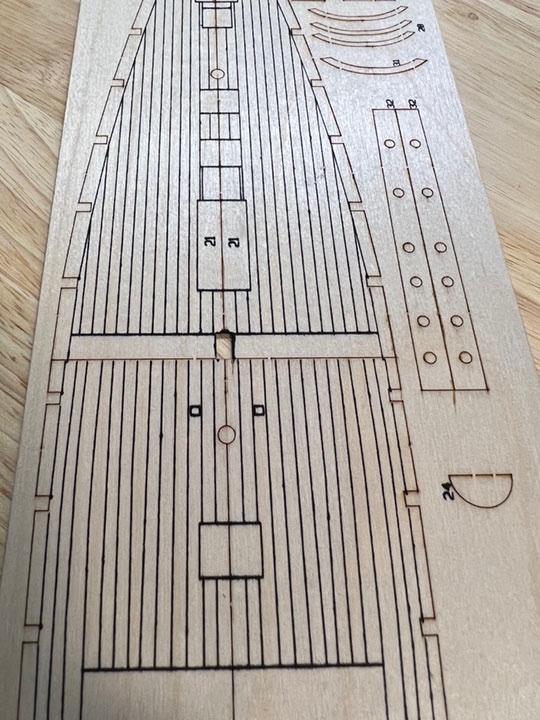
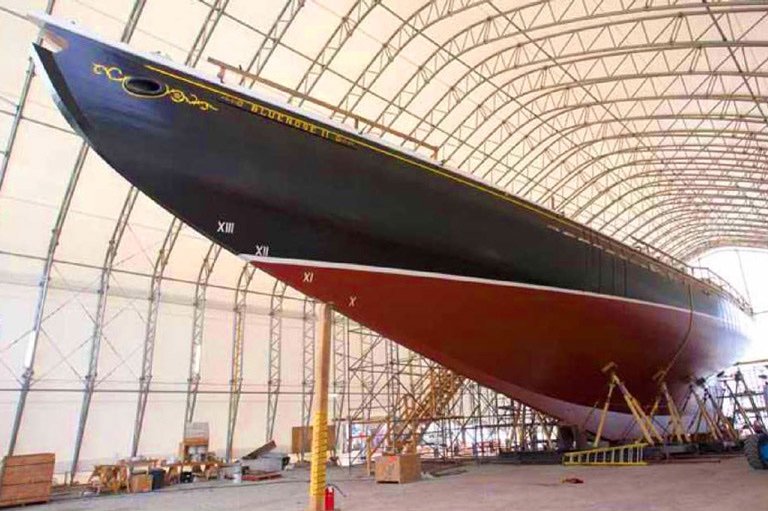
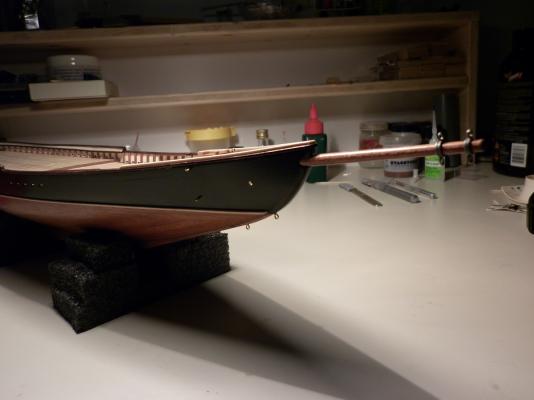
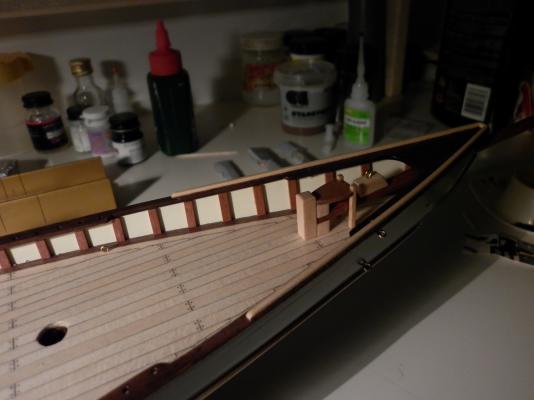
 Yes, another Bluenose, and yes another new guy to MSW. I have been lurking for awhile and I am at the point of starting my second build, thus the starting of this log. I have a lot of experience with plastic models and have also completed a wood ship (Artesania Latina's Virginia 1819). The ship was an introduction to wood ship building and I have since collected a number future kits as well starting to developing more detailed drawings for future scratch build projects. Like everything I see this as a progression of skill building and challenges so that once I get to stage where I am ready to do a scratch built POF / skeletonized ship, I will be ready for it. Thus why I am staring Bluenose II. The kit (Bluenose II No 600 from Billings Boats) itself is fairly straight forward, mixing laser cut ply and strip wood with plastic, brass and copper. Instruction are very brief at 1 page of description and 11 of diagrams. The kit also has a double side slightly larger than A1 sheet with 1:100 diagrams for rigging, plan and side view. Billings shows this as an advanced beginner and I would agree. You need to have some experience and spend some time looking at other builds and instructions such as those from Shipways to help formulate an approach to building the ship. In general, I will build this using the material provided with a few key exceptions. First, Billing has you build the as 2 separate halves; framing, and planking followed by glueing the 2 halves together once done. The main concern I have for this that the keel ends up being 4mm thick if the planking stops short and just under 8mm if it continues making the scale keel the equivalent of 400mm - 800mm (15" - 31"). Hard to be a fast ship with something that fat under the ship. So the solution is to use one false keel versus the 2 pieces. In addition I will add rabbets and shape the planking so that it blends into the plywood keel. The result should be closer to 200mm (8"). I am not total sure the keel width and so hopeful someone can fill me in on this so I can adjust. The whole thing will be painted so I am really looking for a smooth surface to work with. Second, pictures of the actual ship show a pronounced keel at the bow and all the way to the stern with a deep keel midship. Planking per Billings would have the planks terminate at the edge of the keel. To address this I will add additional strips to the false keel to make it more pronounced and visually look closer to actual ship. While this may not be dimensionally accurate, visual accuracy is my goal here. Third, The above points will have an impact on the deck width. Also problematic is the printed lines for the planks onto the plywood deck as they are out of scale and inconsistent. The solution is to sand the outer edges of the deck. This will lose about 2mm or the equivalent 200mm (4") from the breadth. The alternative is to fir out the frames 1mm on either side. Interested to know what others think of these options. Finally, Wherever possible, I will add missing details, replace plastic parts with wood and rig the ship closer to the real ship. I like the challenge presented in working at the smaller scale and seeing if I can bring the same level of detail that I have on my plastic work to that of wood. It might be said, Why not invest in plans or a better ship kit to gain the accuracy and this makes sense however this is effort that I am saving for future projects so the goal here is to build and replace in areas that are relatively straight forward while not expending unnecessary effort on what is essential a project ship. I appreciate any feedback and thoughts on this project. Don't hesitate to call like it is, I have thick skin and as said above, this is not necessarily about making the perfect display ship, but about learning new skills and getting better at the craft. Sincerely, Gord
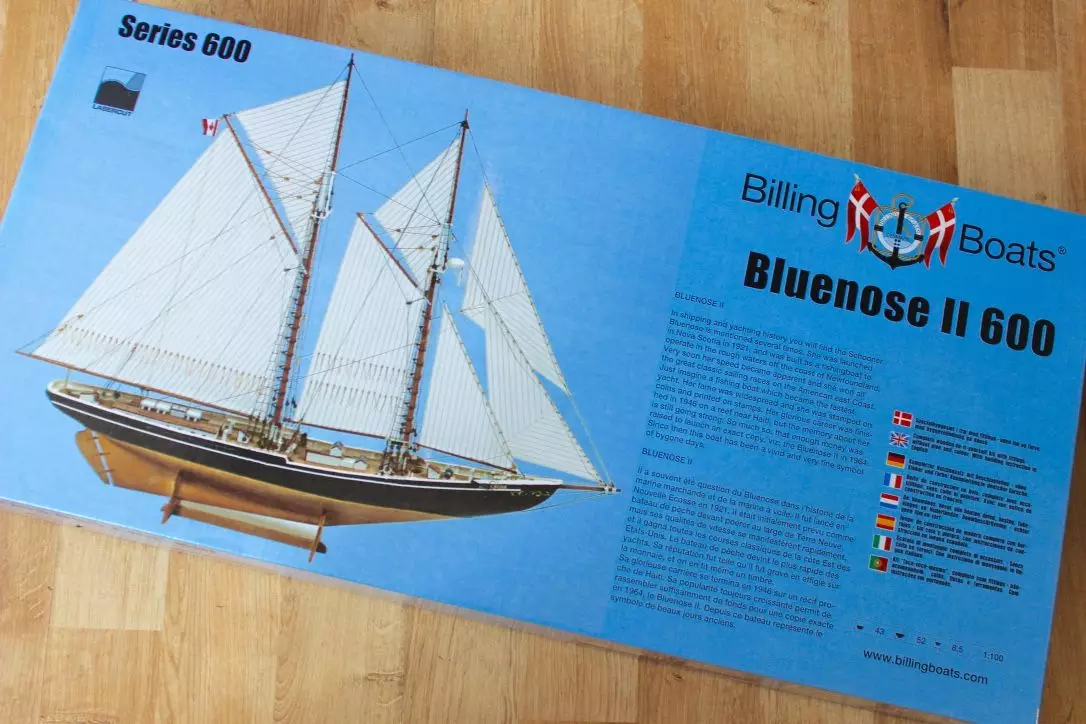
-
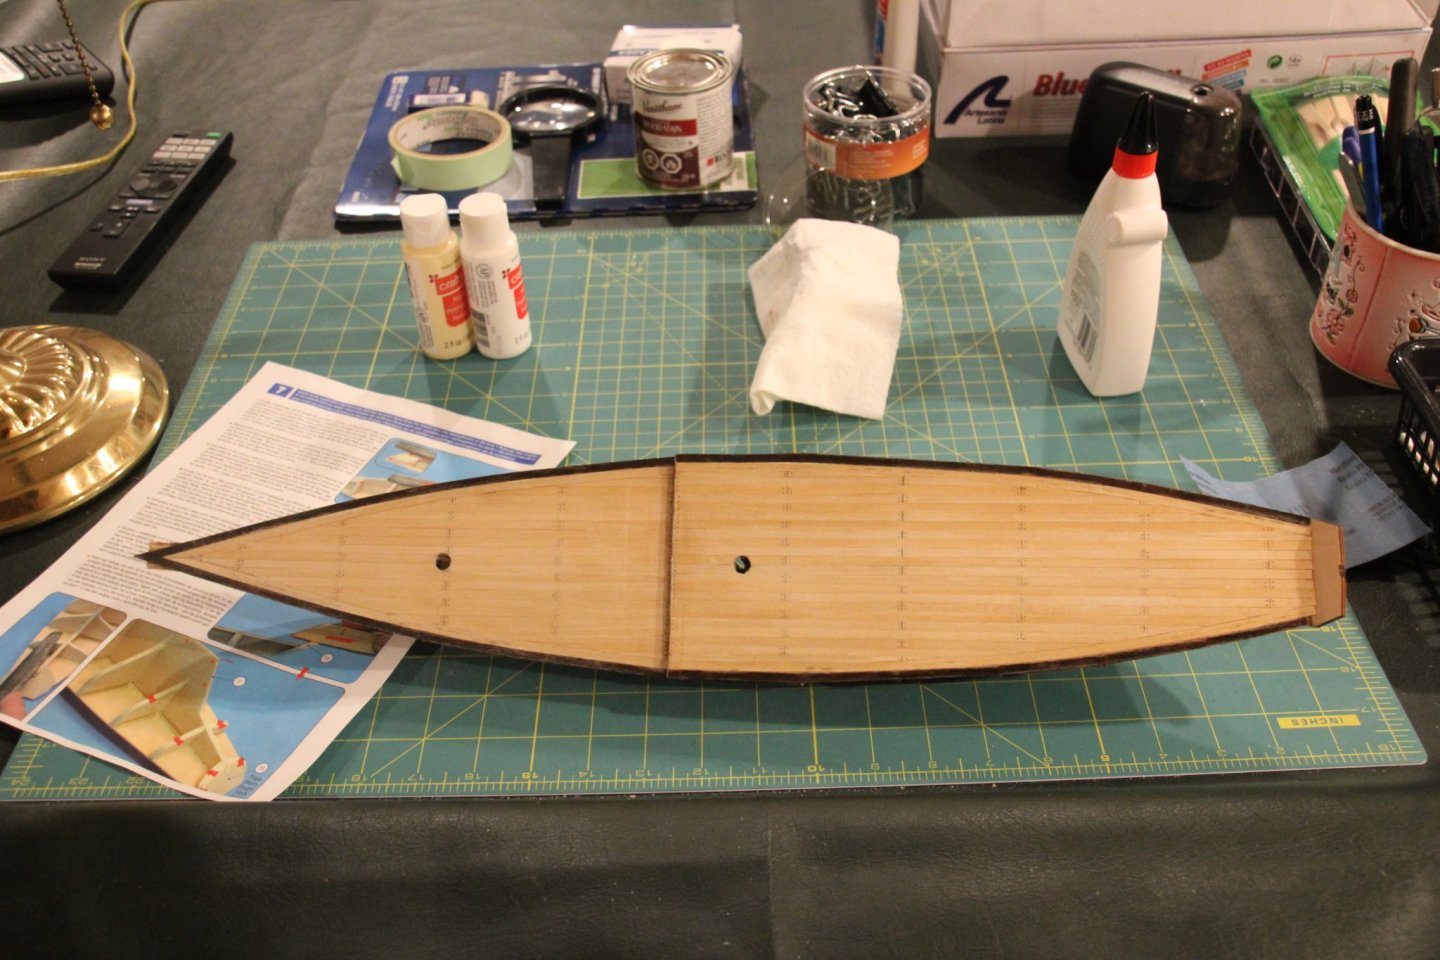
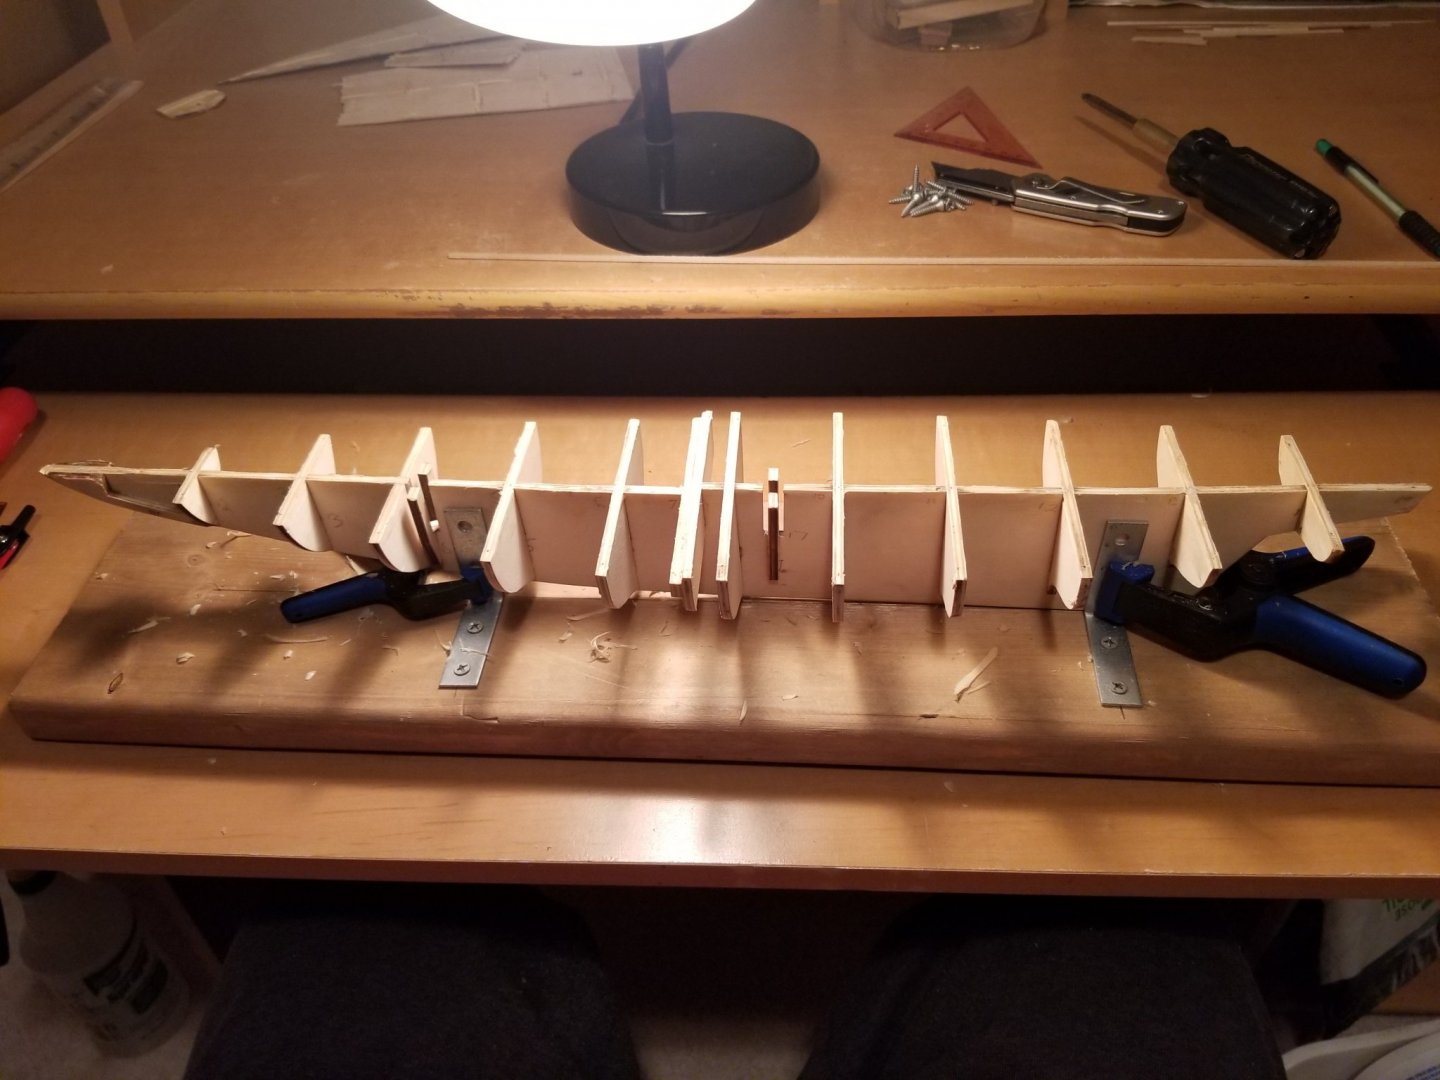
 Starting build number 2. Staying with Artesania for this one but a bit more complex than the virginia schooner I started this journey on. Would like to do something like the Ocre Terror but this is my next step in that direction. Unboxed and everything looks good so far (oldest laptop in the house was the only one left with a cd drive which makes this interesting with no printed instructions but I put everything on onedrive to make it more accessible. If anyone is doing this same, I'd be happy to share the files.) Laying out the false keel and bulkheads. As mentioned by others the AL laser cuts are a bit tight so a little filling is needed but I'd rather have that than sloppy loose! I also found a slight bow in the false keel and a bit more warpage between two bulkheads. Soaked it in water for 20 min and sandwiched it between two mdf boards with pipe clamps. With this west coast heat wave, a half day in the clamps took the warpage right out of it. Flater than flat now!
 -
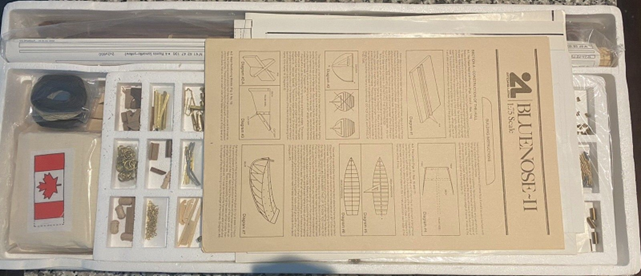
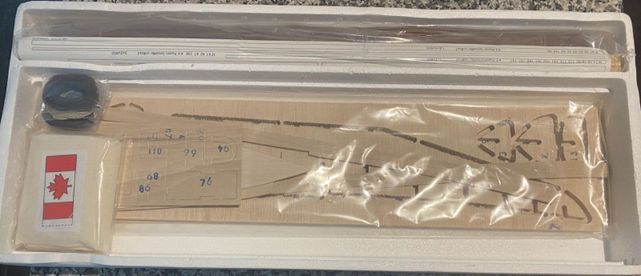
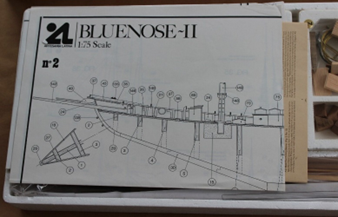
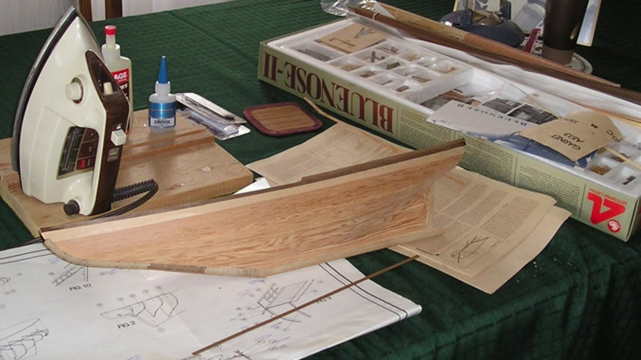
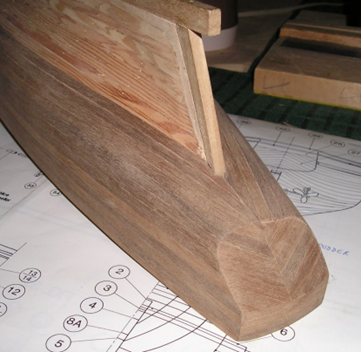
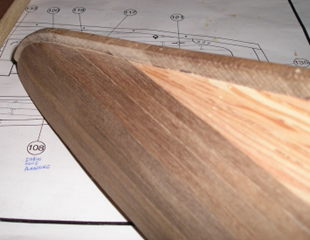
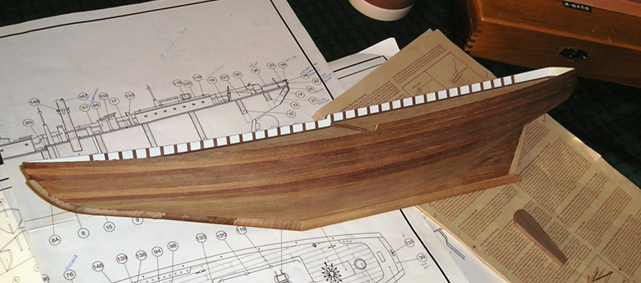
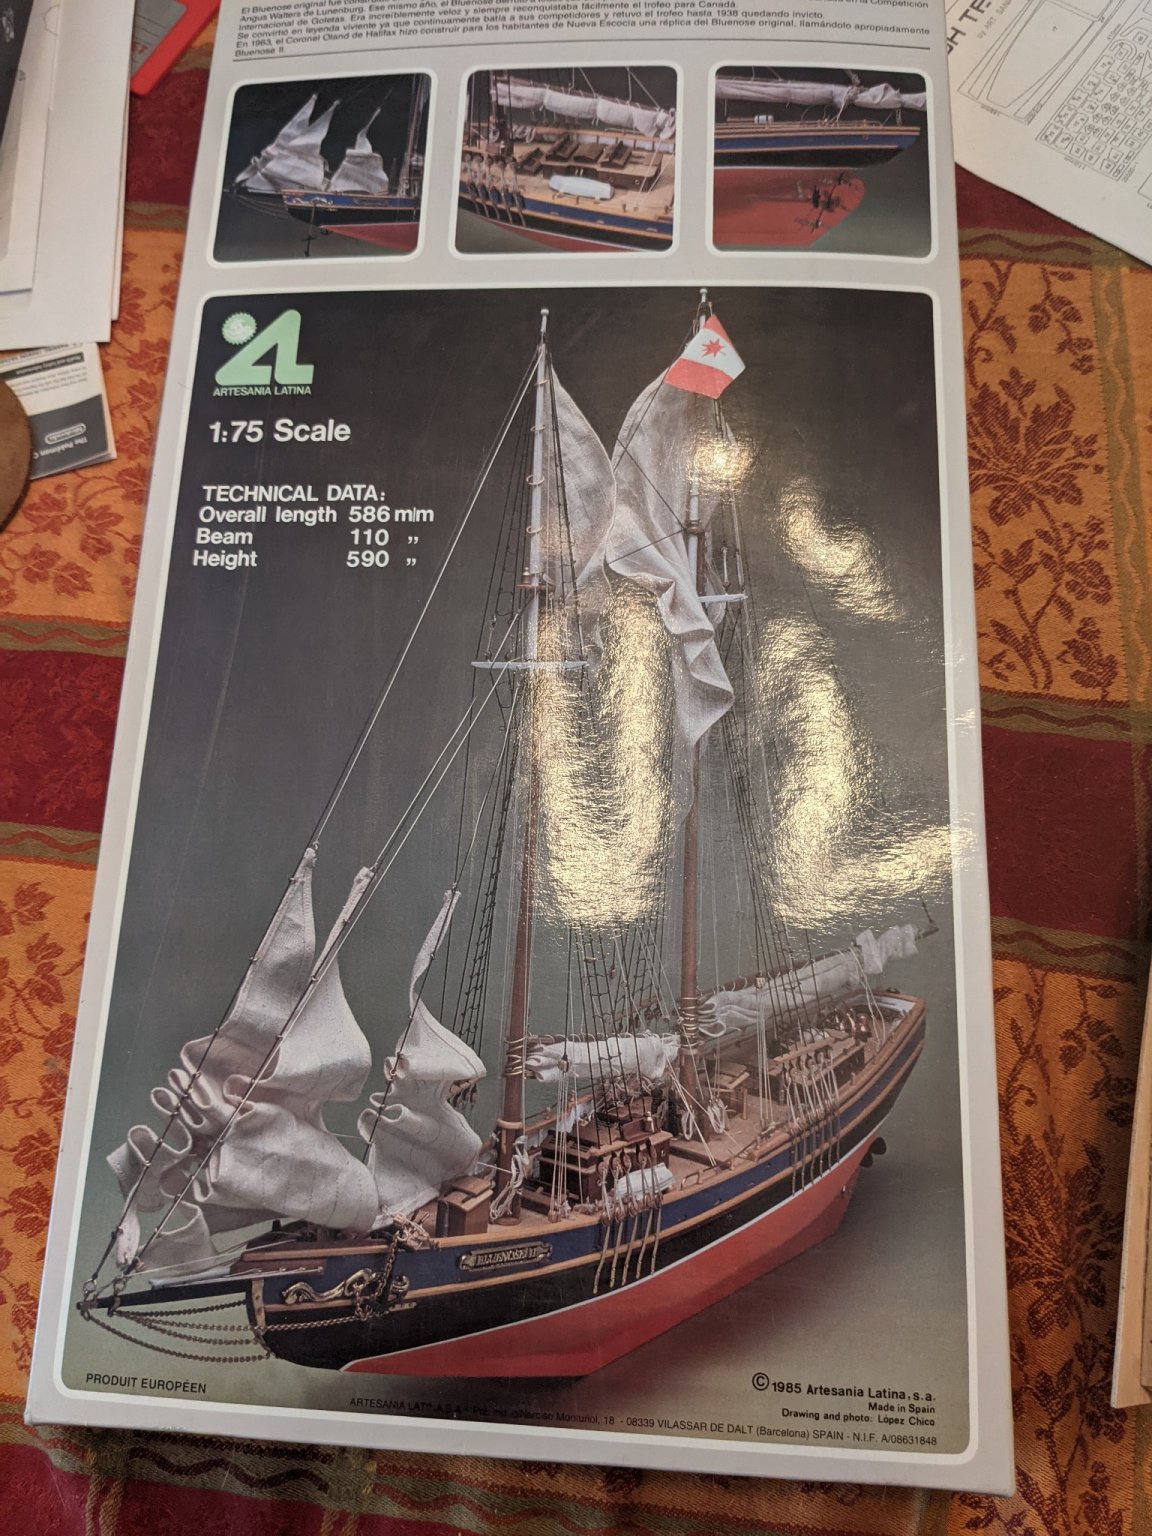
 This has been a long term build. I had never built one before. I hesitated to post this build log because I am nearly finished but I have received help from other members here, so I thought my experiences may be of help to others. I tried to document my progress to an extent through the years it took and will post it here as I am nearing completion. Artesania Latina # 20500 Bluenose-II This kit was bought around 1986 from Hobbycraft Canada of Toronto. It was a gift from my wife to her Dad but was left untouched by her Dad until given to me in the summer of 1996. It was like this…. ... and under those trays... A glimpse of one plan sheet is shown here, too. I started looking at the kit and its VHS video cassette (“You Take the Helm”) in November 17th 1996 -. I began construction the following week. The VHS video was by Model Expo and shows model-maker Frank Mastini building the kit. His kit does not have the foam boxes though; rather it has the parts in plastic bags attached to paper sheets. Some of the advice in the video was useful in the beginning but as time went on and my experience grew, I ignored it and followed my own ideas. December 1996: With the hull frames assembled, adjusted, glued and trimmed to plans, I pinned the deck plywood onto the frames, using a tiny hammer for the brass nails. Then I started cutting planks for the deck. I laid black cotton between each plank and their ends to simulate caulking; the cotton set into the white glue nicely. I drilled 'nail holes' at each end then put a dab of glue into the holes and gently sanded over, to fill the holes and represent the wooden plugs of the real ship. 1997 Jan: Deck planks were finished; I began the first layer planking of the hull but by March 30th had to leave it for everyday life issues and by 1998 I had started night computer courses, to retrain. 2000 January 18th; my journal says I started again; heating & bending hull planks, using our old laundry flat iron. I finished the first planking by the 30th and had it all sanded nice and smooth, then couldn’t see how to fit the bulwarks. They seemed to be not long enough or tall enough so wouldn’t join at the front and I didn’t know how they should line up at the back. I rang a model shop about it then began doing the deck structures. By March I had fitted the bulwarks then transom, but then summer garden work took all my time. Then life became busier again with my night school studies. I had bought a computer by now to use for the studies and these carried on all the way through to 2005 to get a software development diploma. Feb 17 2008. I started the ship again, doing the second planking with walnut veneer planks. This picture shows two rows of walnut planks, starting at the caprail position, as per the AL instructions. I had a digital camera by then! March 2008: In the following picture, the walnut outer planking is on, down to where the planks wrap around under the hull, and the stern badge and transom are also planked. You can see where I had sanded the first planking and false keel down towards the stern post, to ensure the second planks will lie flush with the post. At the prow, with the planks cut to fit tightly against the keel. Finished them by the end of March. April- I bent the waterways to shape by wetting and steaming with an iron, then cut to final length and glued onto the deck around the bulwarks. Then I cut the stanchions and fitted them to the bulwarks (now painted white inside) by May. Next post I will continue with the rudder.
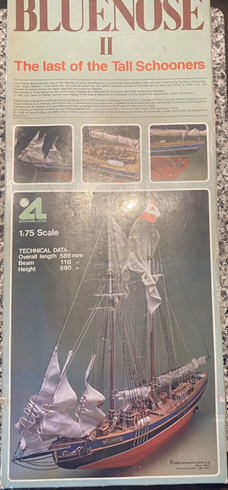

- 15 replies
-
- 1
-

-
- Bluenose II
- Artesania Latina
- (and 1 more)
-
 I am new to this site as well as being new to model ship building. I have had this kit for quite a few years and just never got around to starting it. With COVID 19 keeping us more at home I thought it would be a great time to start building model.
- 8 replies
-
- 2
-
-
- Bluenose II
- Artesania Latina
- (and 1 more)
-
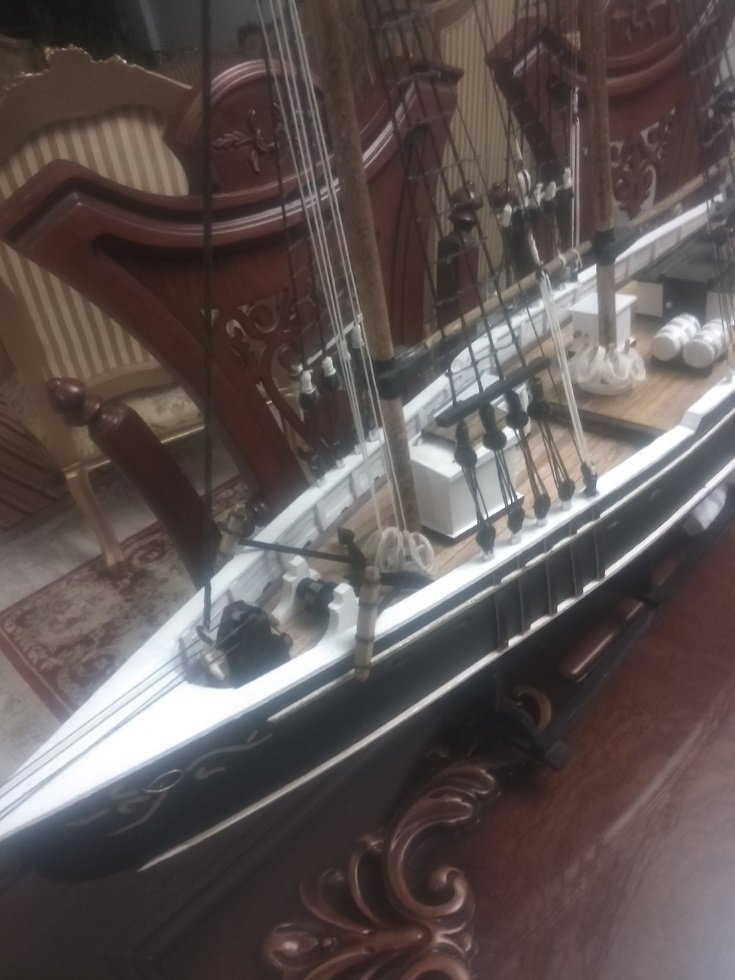
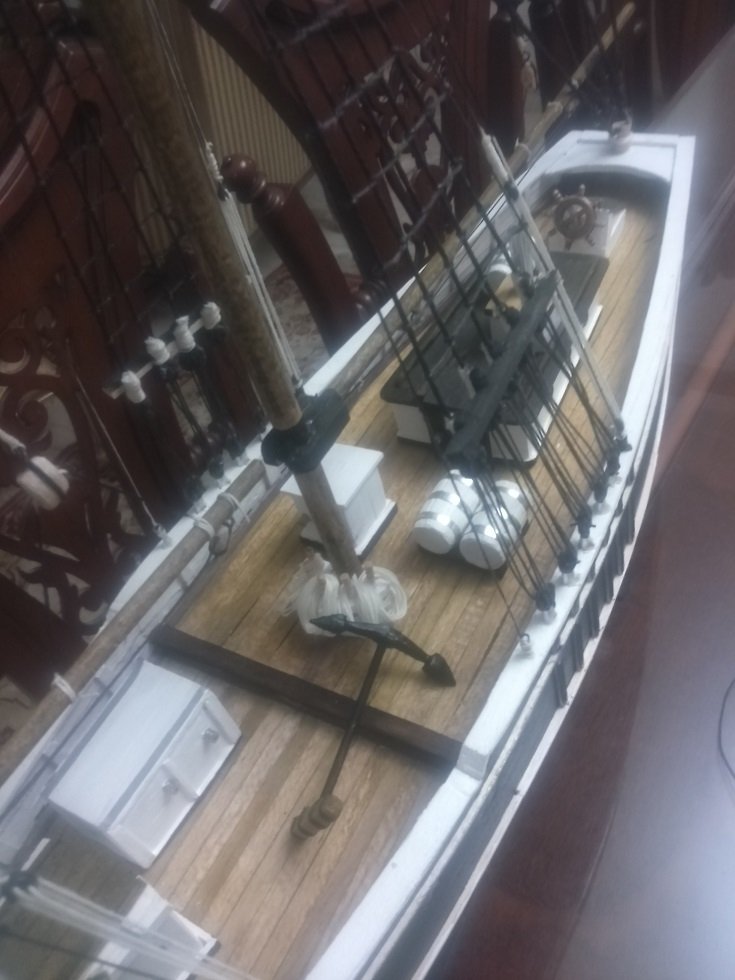
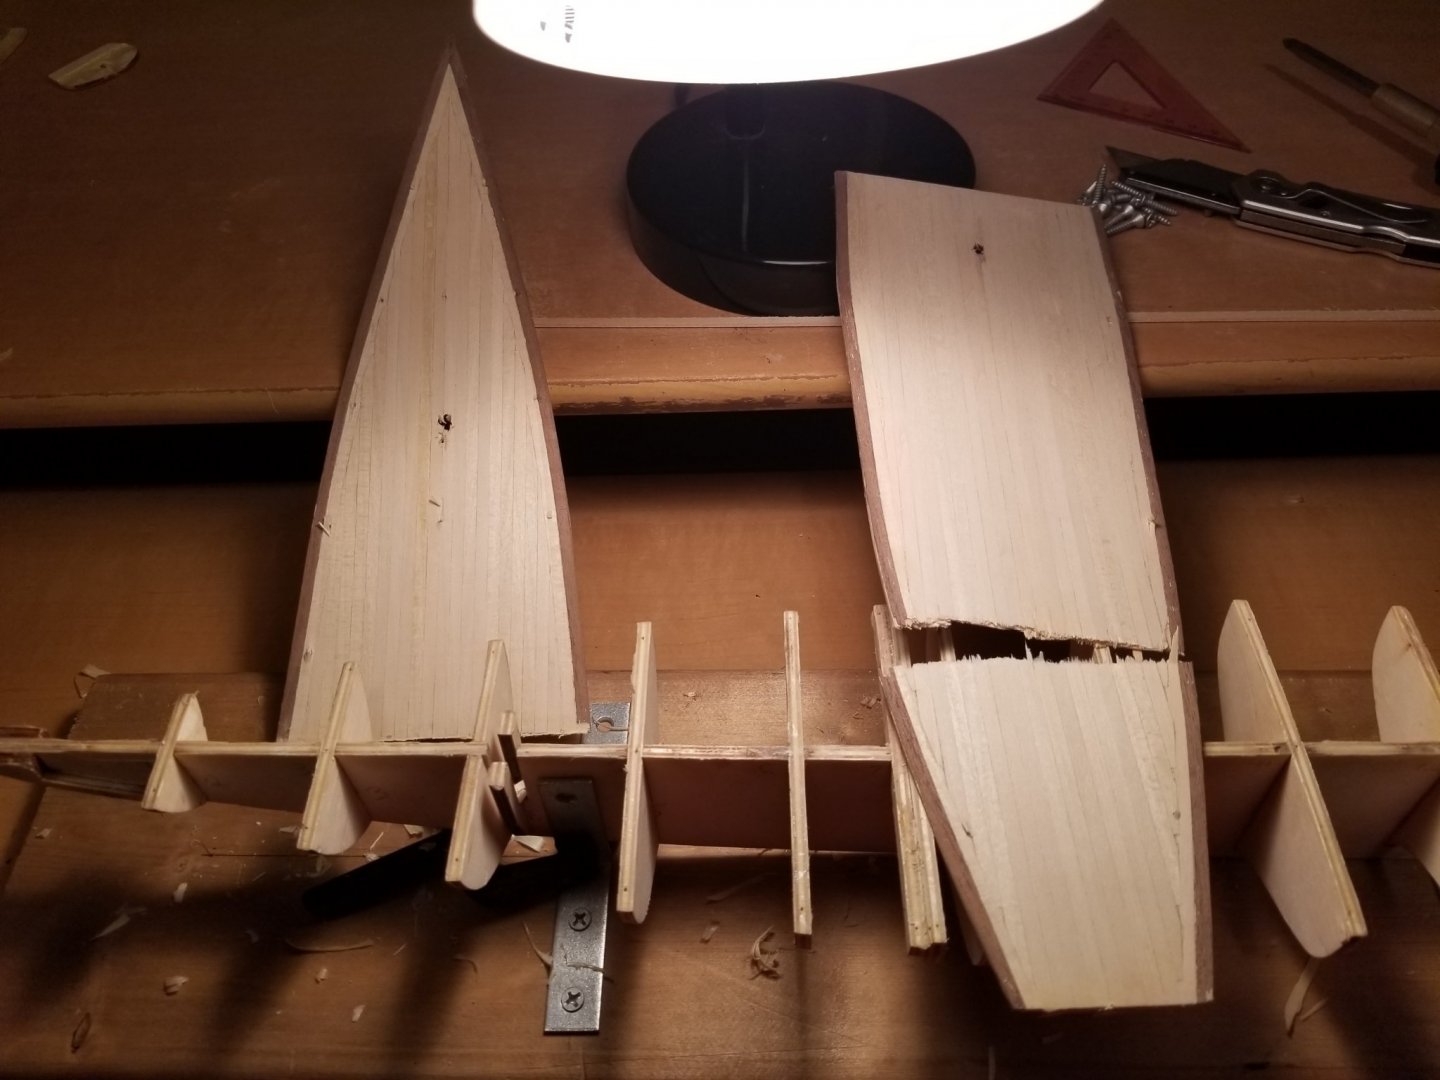
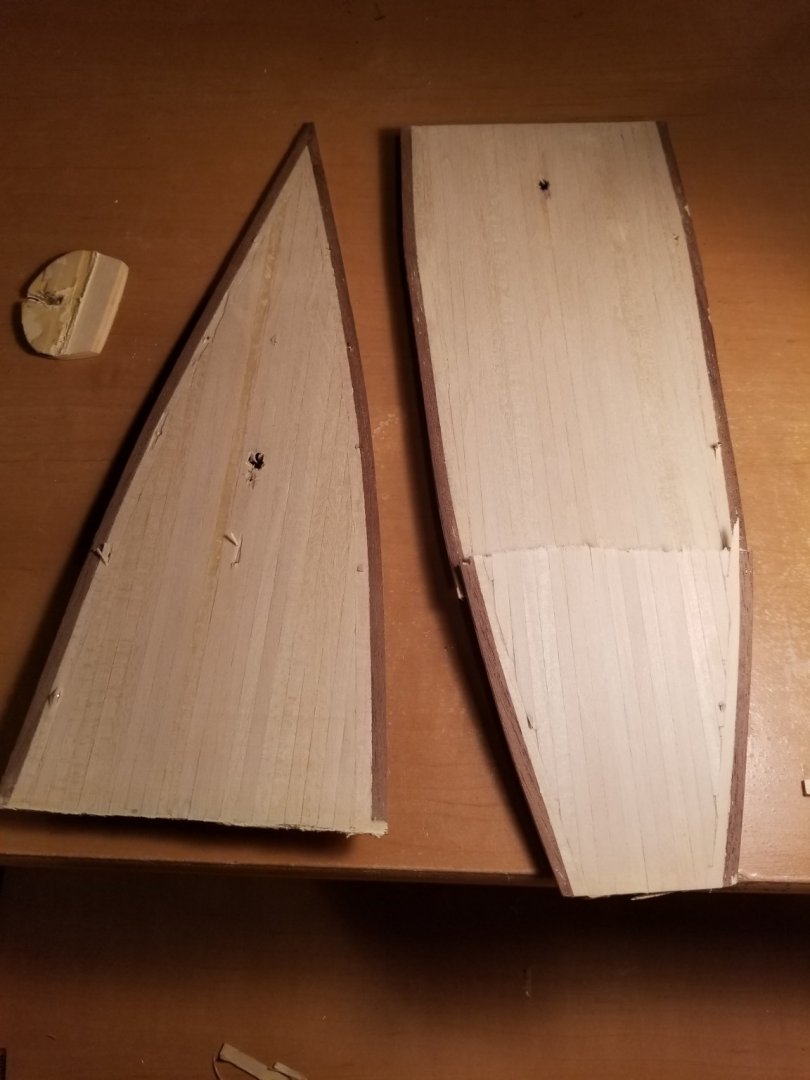
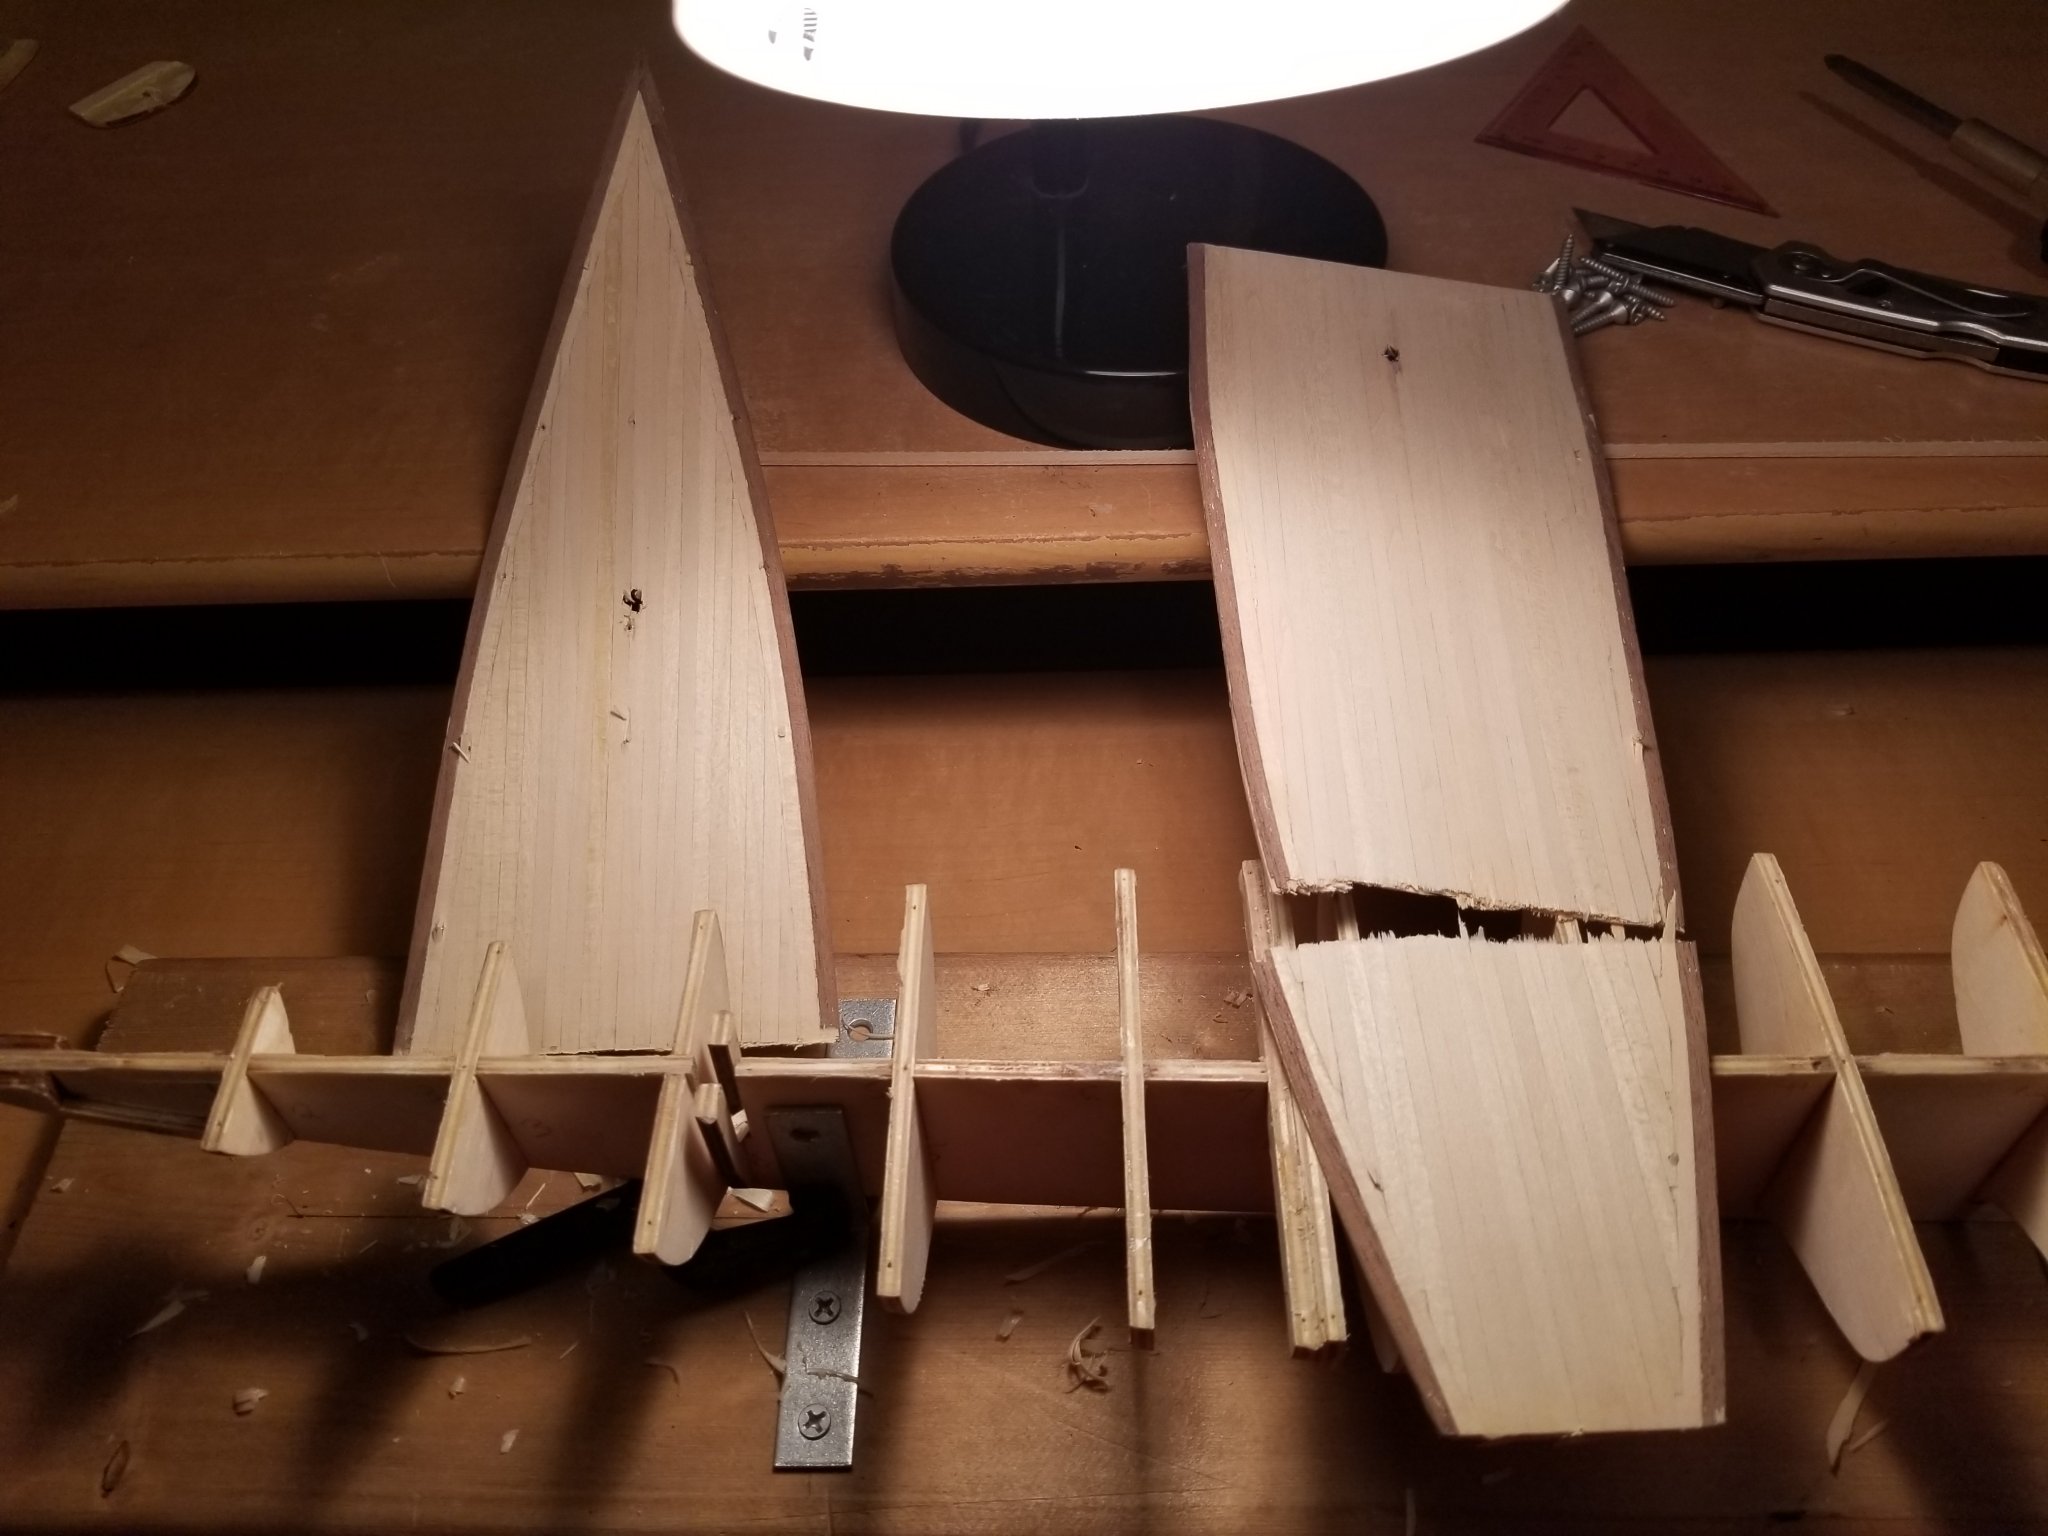
 Hi everyone! Brand new to the forums, and to ship building. My build log is going to start with a bit of searching for advice before I proceed. Let me lay out the problem/story for you, and then we'll go from there! My grandfather started this model many years ago after he had retired. Shortly after, they moved, and it has been sitting in his storage at his new place for... 15+ years. On a recent visit, the subject of model making came up (we both make model cars and airplanes), and he asked me if I was interested in this ship. Wooden ship building has been on my list of things to try for a long time. I've even bought and read several books on the subject. Of course, I said sure! Upon getting the model home and reading through the instructions and plans, organizing the components, and trying to figure out where he left off years and years ago, I discovered some potential issues with the model. I did a lot of research, found these forums, found a series of older posts, and a log by John Earl that made the light bulb come on. This is the old kit that has incorrect parts, and that most people have to modify or supplement parts for... Long story short, my grandfather didn't have the internet or access to these logs all those years ago, and forged ahead, and now I need to figure out what the best course of action is so I can proceed with the build. I hope to finish the ship and send progress photos to him since he is no longer able to do the fine detail work. A couple things: - I fully understand that this model is not the most accurate, and that most people single plank it due to painting it. I am not worried about the inaccuracies, and have accepted that it won't be perfect due to the "mistakes" that were already made. I also will be doing the second layer of planks for that experience and to learn, as it's my first ship. - I'd like to figure out the easiest and most straight forward way of getting the bulwarks (namely the bow) to an acceptable state, that won't entirely mess on the model, and proceed. I don't want to cause major damage to the rest of the ship, and am fine with inaccuracies and a bit of... improvisation for the purposes of learning and finishing it while my grandfather can still appreciate it. Thank you all so much. Seems like a great forum, and I'm excited to get this under way. Here are some pictures, and if you need more photos or different angles, I'm happy to do so. This is the state that he gave it to me in. I haven't done or changed anything yet.
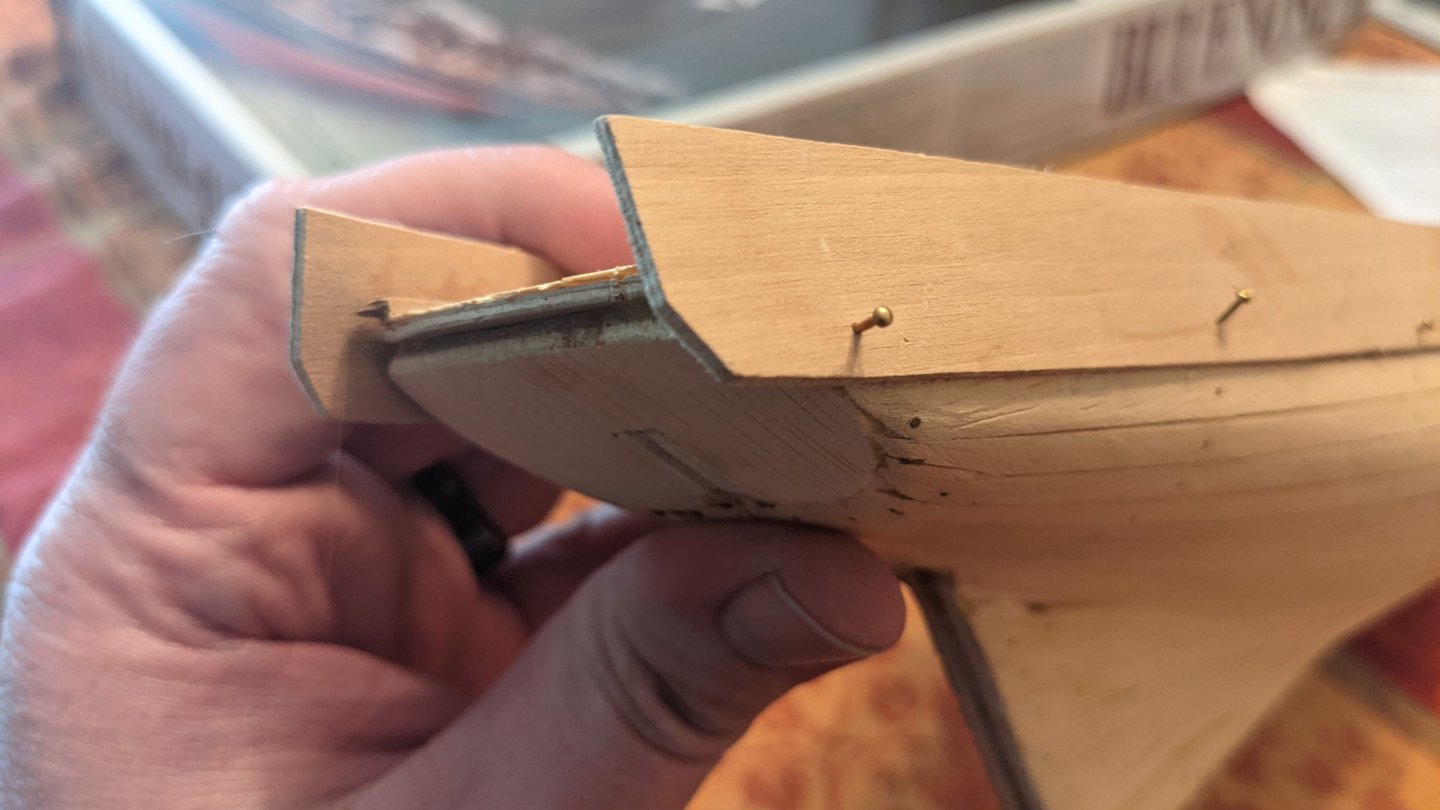


-
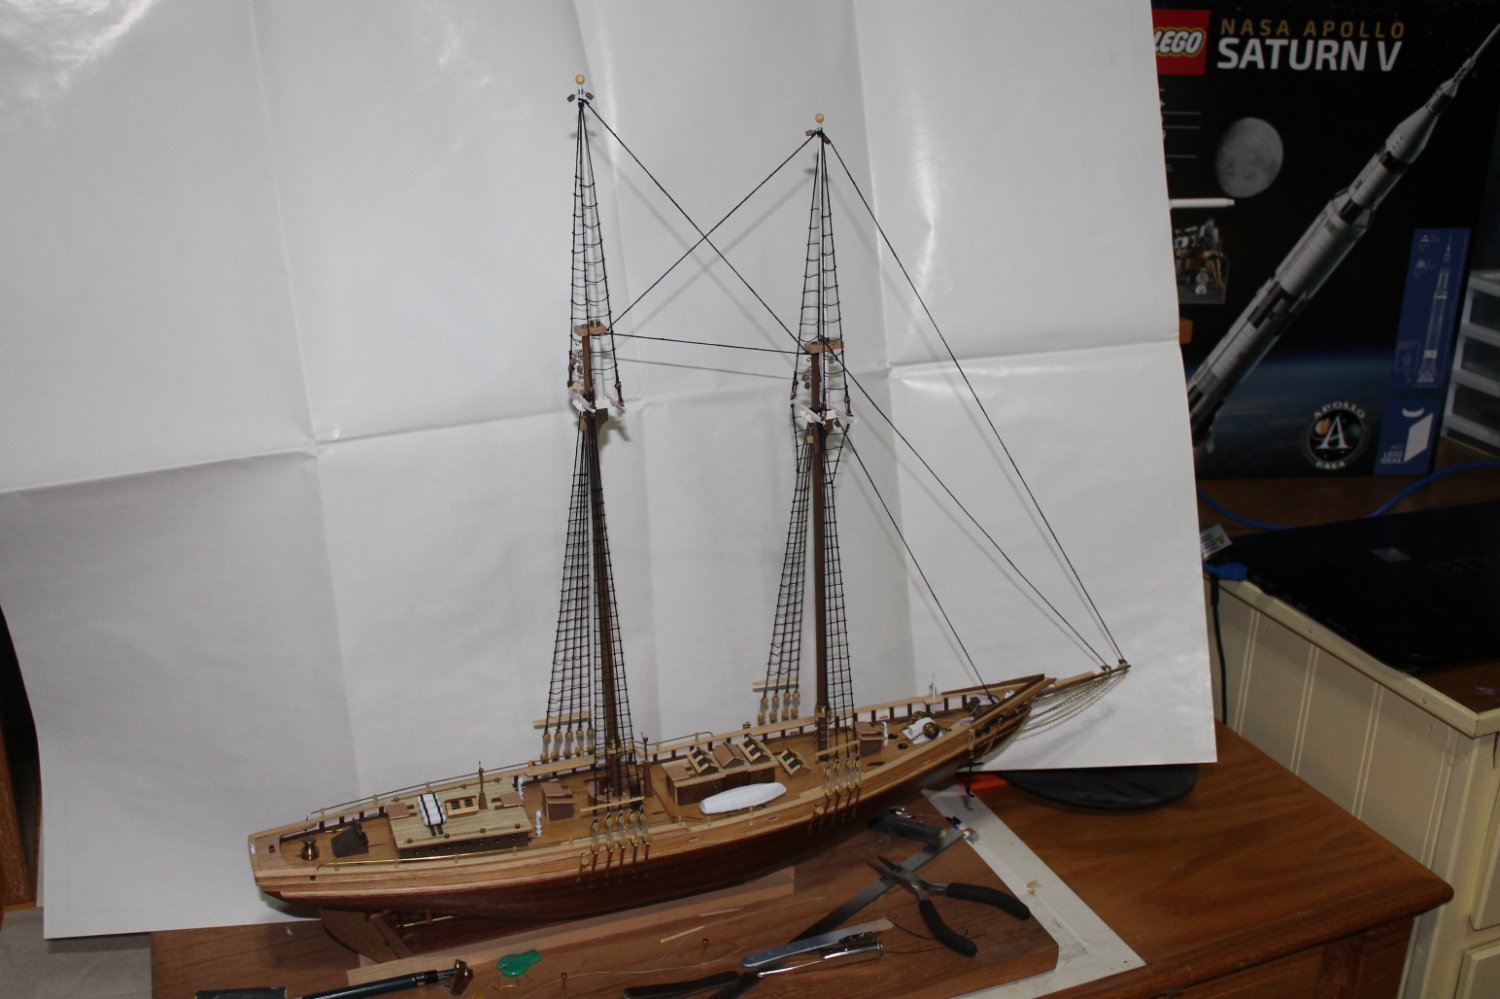
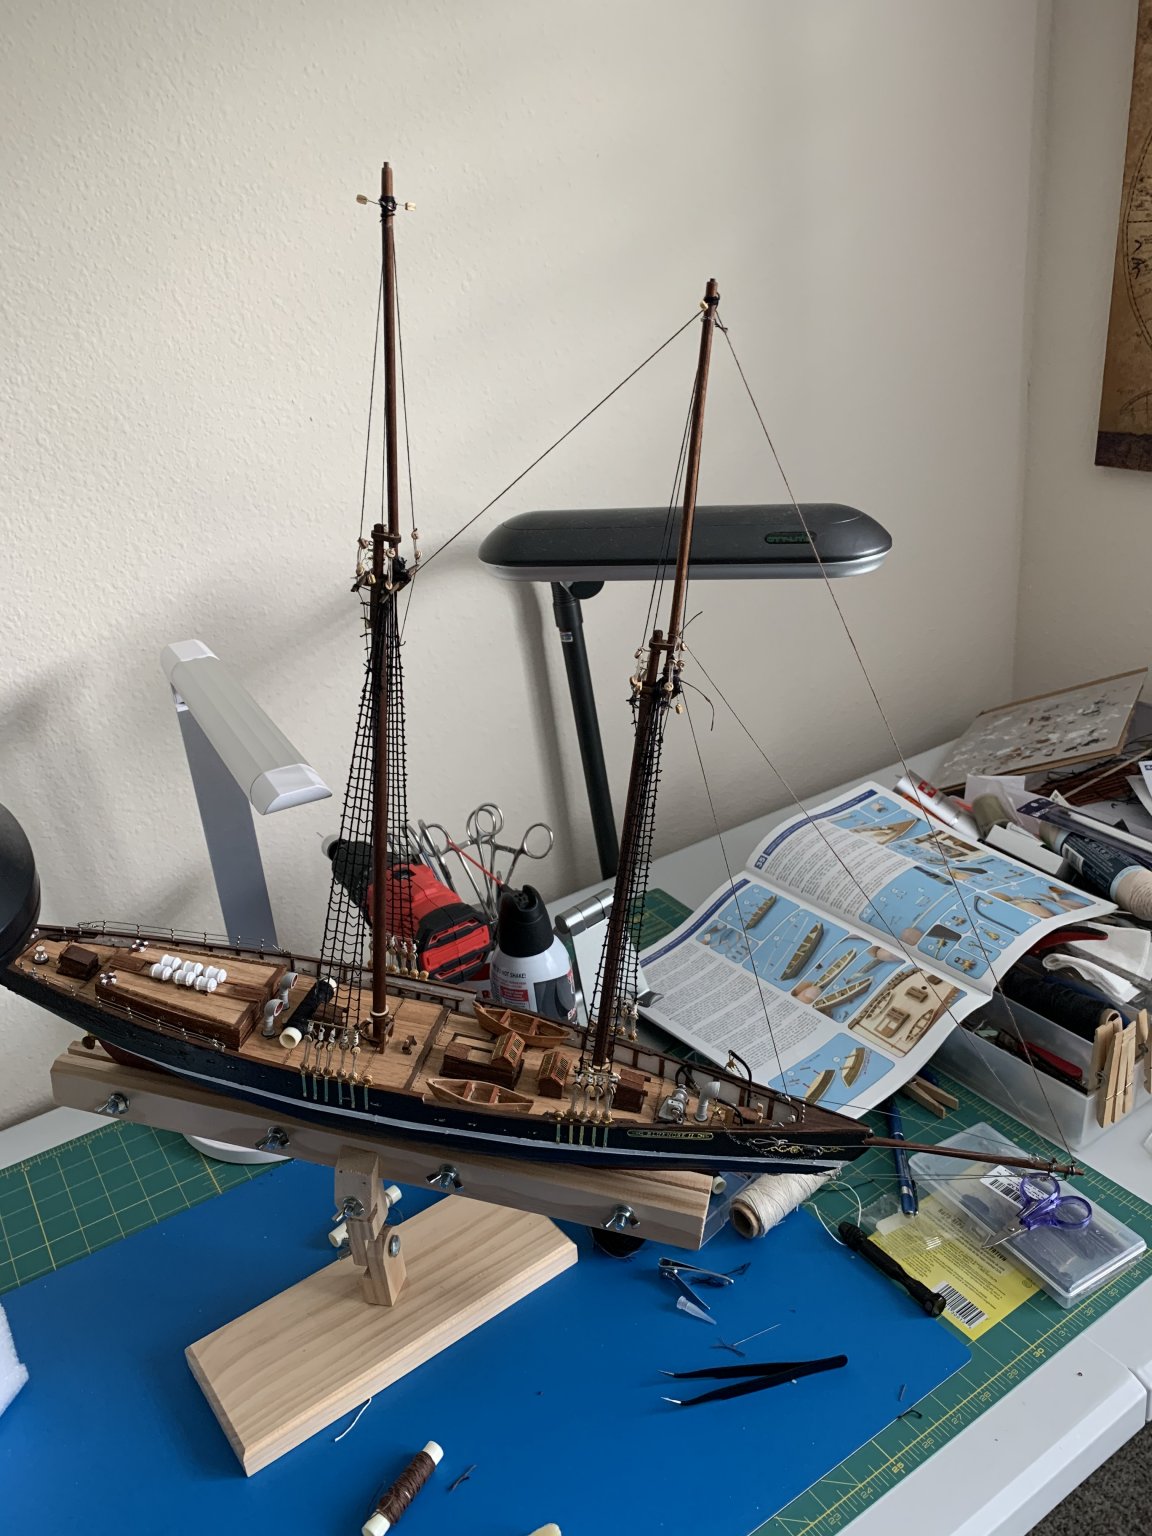
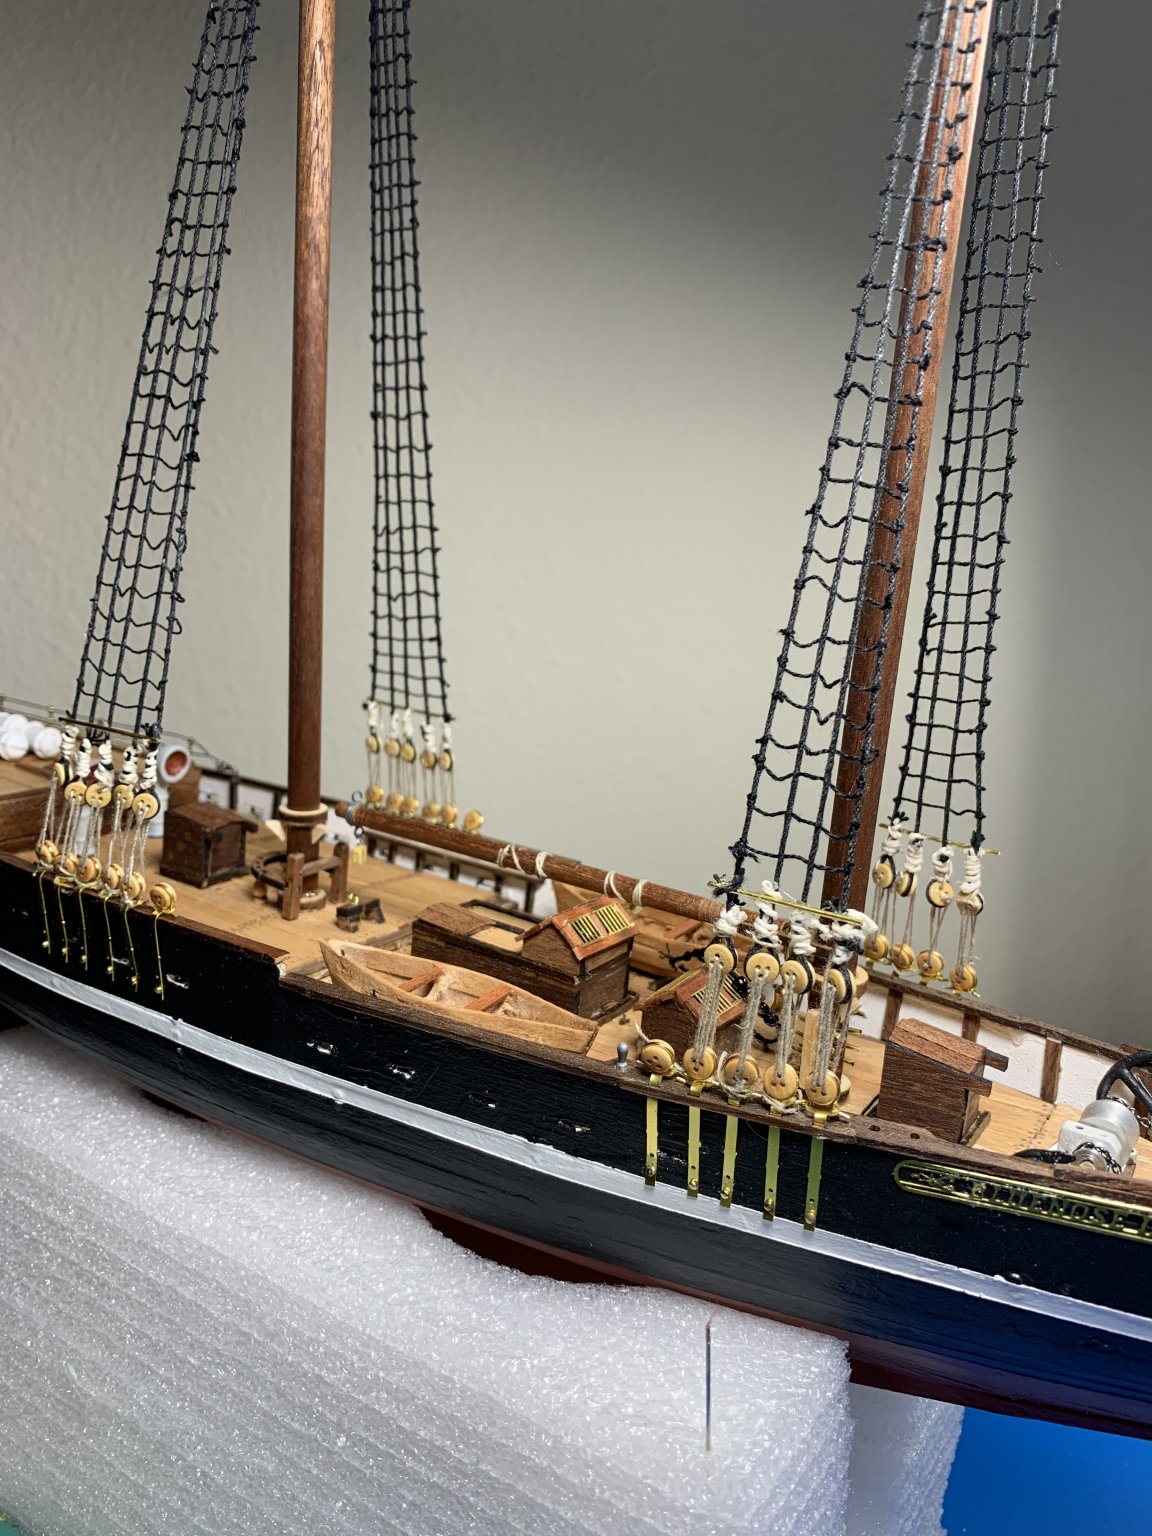
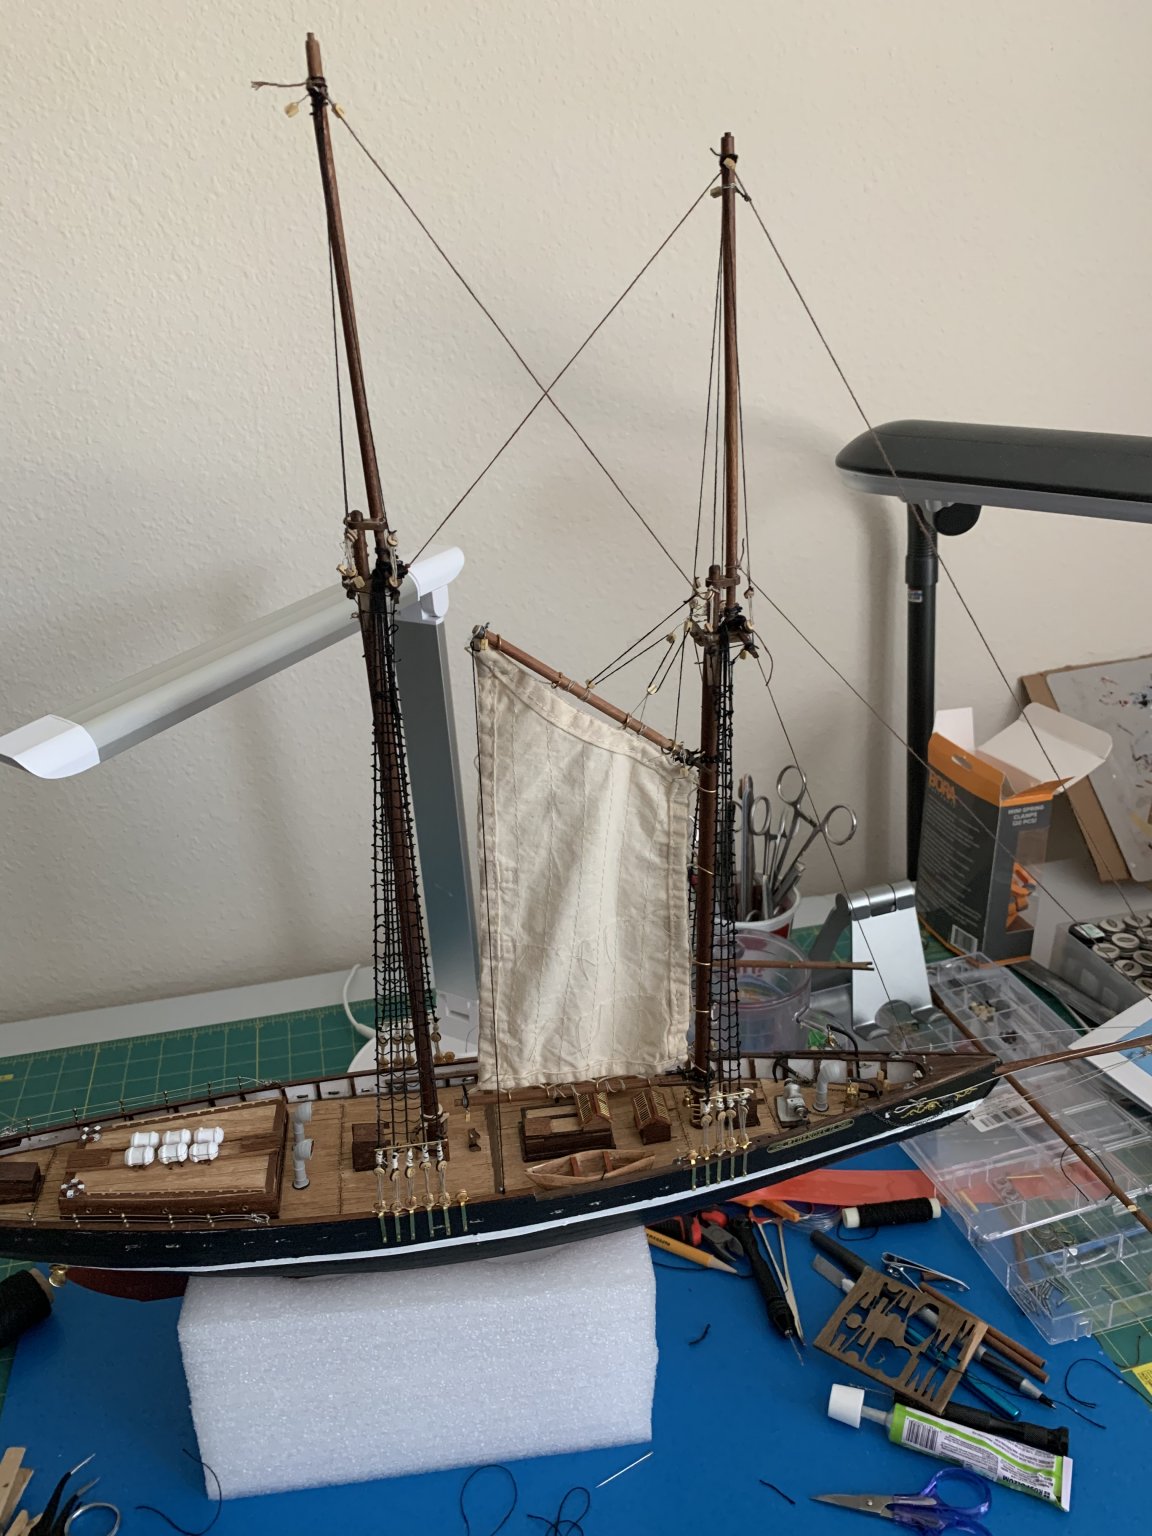
 This shall be my late entry of a build log for my AL Bluenose 2. I bought this kit back in August of 1993 and began assembly of the hull. I was in the Navy at the time and serving on submarines. Our operation tempo was pretty high and I wasn't home much. But, I did manage to get the first planking completed and half of the second planking. Then, as it often does, life threw some curves and priorities changed, blah, blah, blah.... In any event the hull traveled everywhere I moved to. It stayed on the same build board that I started it on. Most impressively it traveled well and there was only one small crack in a bulwark that was easily fixed. So, work finally began again in earnest in early 2019. At which time I finished the second planking, deck furniture, masts and standing rigging. Now I'm currently working on the sails and running rigging. God willing and the creek don't rise, I'll have her finished before her 30th birthday. Todd
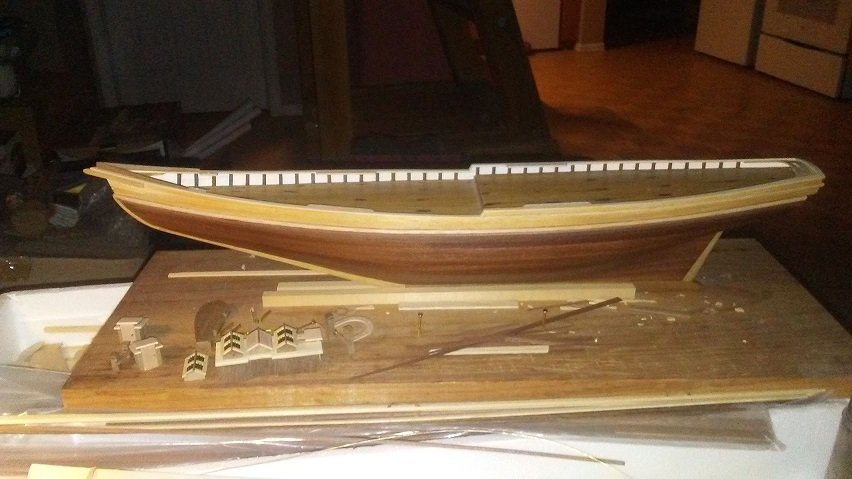


-
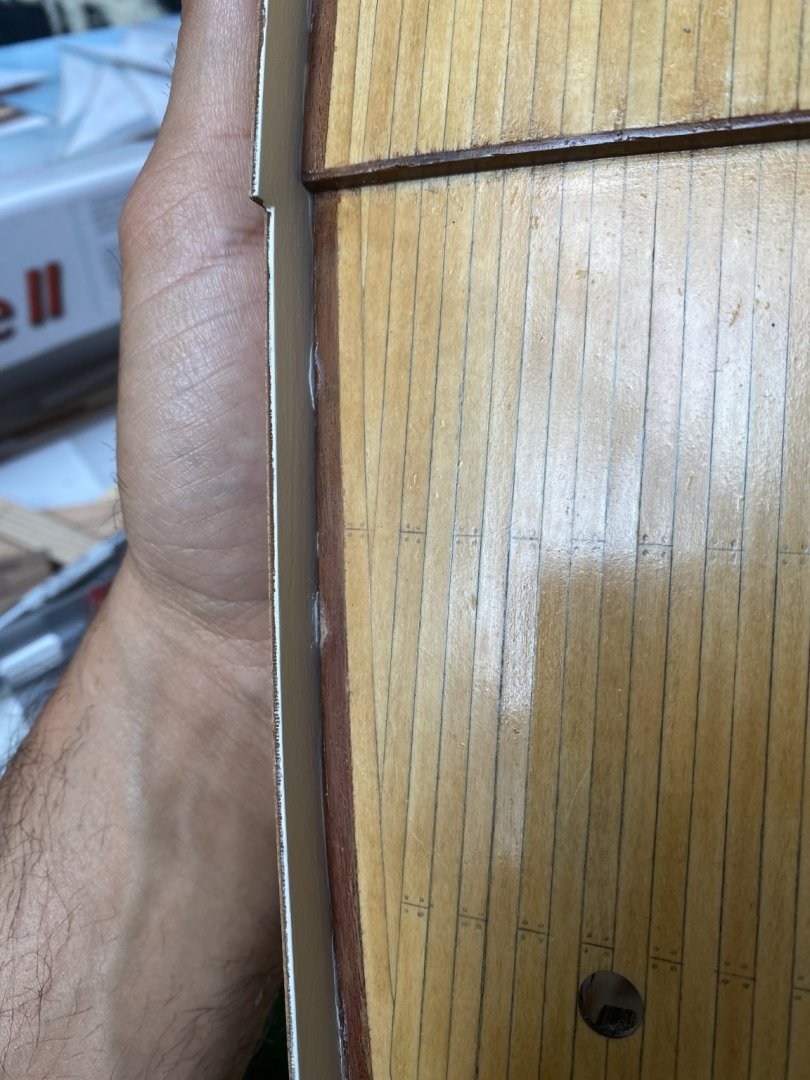
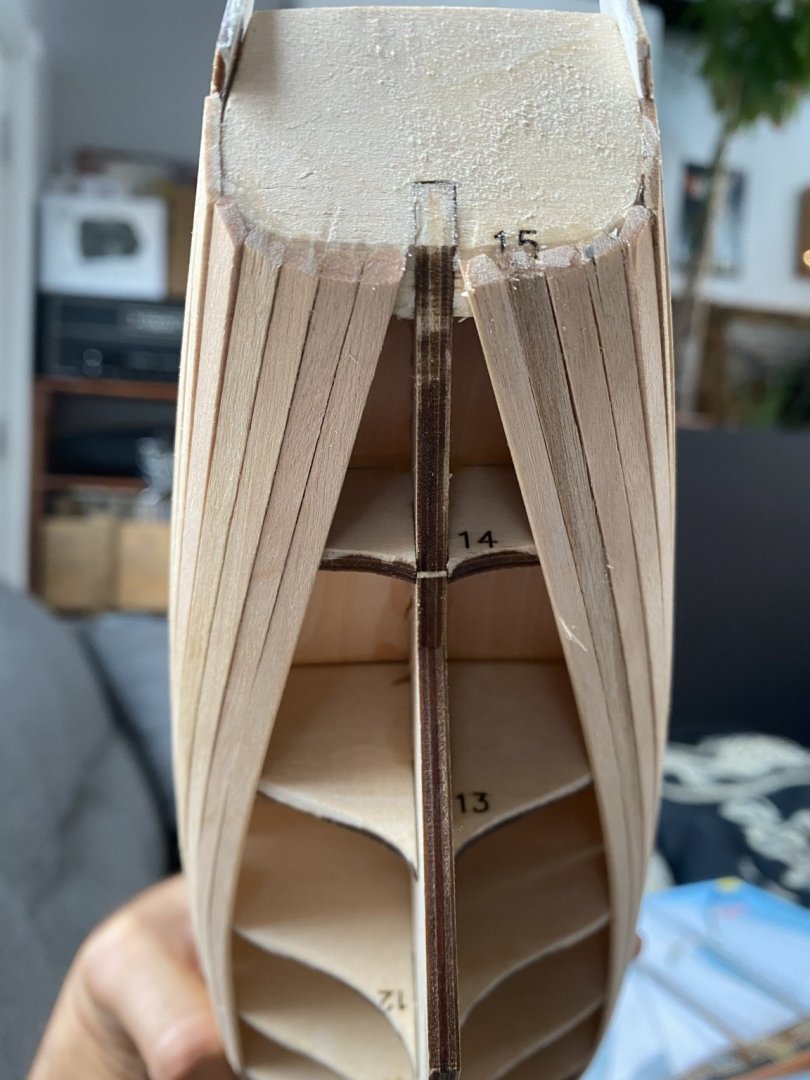
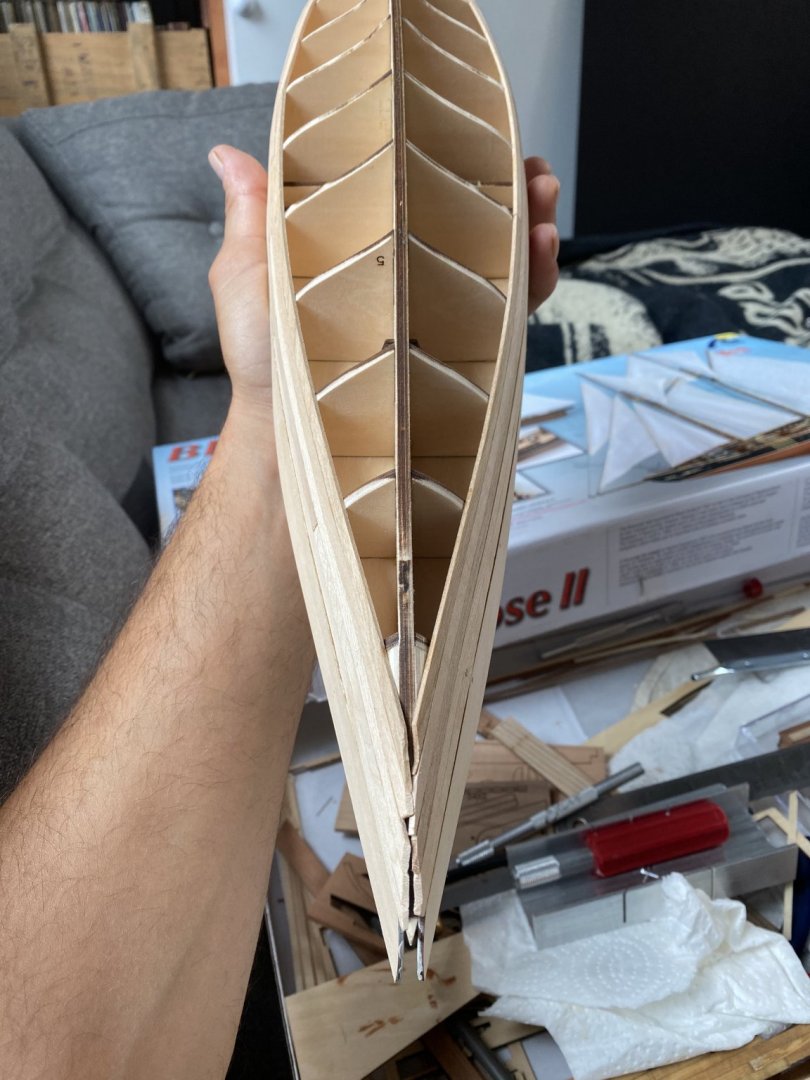
 Hello everyone, This is my first build and I have never built any wood models before. I had a few issues so far and after looking all over the forums, I couldn't find any answers to the issues I had. So I decided, the best thing to do is document it and maybe some of you experts can lend a hand. Here are some of the issues and challenges I had so far. 1- The kit is the newer version of the kit from Artesenia Latina. It only came with a CD which kind of sucked since my new laptop doesn't have a CD drive. I had to borrow someones laptop from the 1800s and transfer the PDFs to a USB stick, then back onto my computer. 2- I tried to line up the pieces 1-15 as straight as I could without a square. Some of them are NOT flush with the top so I had to lift and hold them in place so they'd be flush with the false keel. See below. I ended up putting a piece of wood underneath it to make it fit with the rest. 3- Deck planking went well but the instructions said to dye the walnut pieces on the edge of the deck. It didn't specify a color. I used minwax cherry stain. Now, the instructions should really ell you to dye these pieces before you glue them because, even though I taped off the outside, some stain went under the tape and stained the white planks. I am wondering if I should strip and re-stain. I used a pencil to score both sides of the planks to give it the caulking look. I used only a few pins instead of 30-40 since I realized the AC glue I have is insanely strong and literally dries the moment i put two pieces together. This is good but also bad because you can't shift once you make contact. I'm going back and forth using the AC glue and wood glue depending on the risk factor. Finished sanded deck below. Everything going great so far. And than, the dye/stain screwed up the deck. Theres tiny blotches of cherry stain on the pine deck. See below 4- This was so far the biggest mistake I made, I used AC glue to glue the top part after painting the inside ivory. Unfortunately, it lifted up the ivory paint and spread it on to the stained walnut pieces. After all the work getting the planks to fit so tight, the finish is kind of amateur looking but than again, I am an amateur. Just my OCD is not letting it go. Now, onto planking the hull. The instructions are a bit weird. It says the bottom of the keel should be 3mm at the end when it's planked which would mean I have to sand it down to half the thickness which is a bit scary to me. Any advice? I started from the top and I am working my way to the bottom. I am not sure how I'm supposed to achieve a smooth curve all the way to the bottom since the bottom of the keel is currently square. Also I noticed, instructions said once I put the 2 planks past bulwark 12, it would be flush with the big side pieces. Well, it wasn't. I have a triangular hole. I'm hoping wood fill will fix it or should i cut a small piece of wood to fill the hole?


-
 This is the beginning of my build log for the Bluenose II. A previous build of the original Bluenose was my first successful wooden boat completion. I started this Bluenose II a long time ago (its an older version of the kit), but stopped shortly after installing the bulkheads on the keel. I have other models in my queue and I will pick one to build alongside this one, but I thought it would be appropriate to finish what I had started. I have scanned all the build logs for the Bluenose II on this site and am a little wary of the small percentage of completed builds but I'll give it a go. This kit, although smaller than the Bluenose kit I built seems to be a lot more detailed. I may even attempt to mount sails on this one. I downloaded a copy of the build instructions for the newer versions of the kit to supplement the build (color pictures and pre-made sails no less). I will be using the build logs by Penfold, Heronguy, Bulwark, and Bertu as guides as well as John Earl's on line guide, Eisnor's scratch build practicum, and Mastini's book as a guide. Unfortunately I had already missed a few steps when I put the keel and bulkheads together, so I'll be picking up at a later stage having missed such items a checking the symmetry of the bulkheads, etc. I added the mast supports, nailed and glued on the false decks and have started fairing the hull. I didn't notice any warping of the keel that was apparent in some of the later versions of the kit as noted by other peoples build logs. Wish me luck.
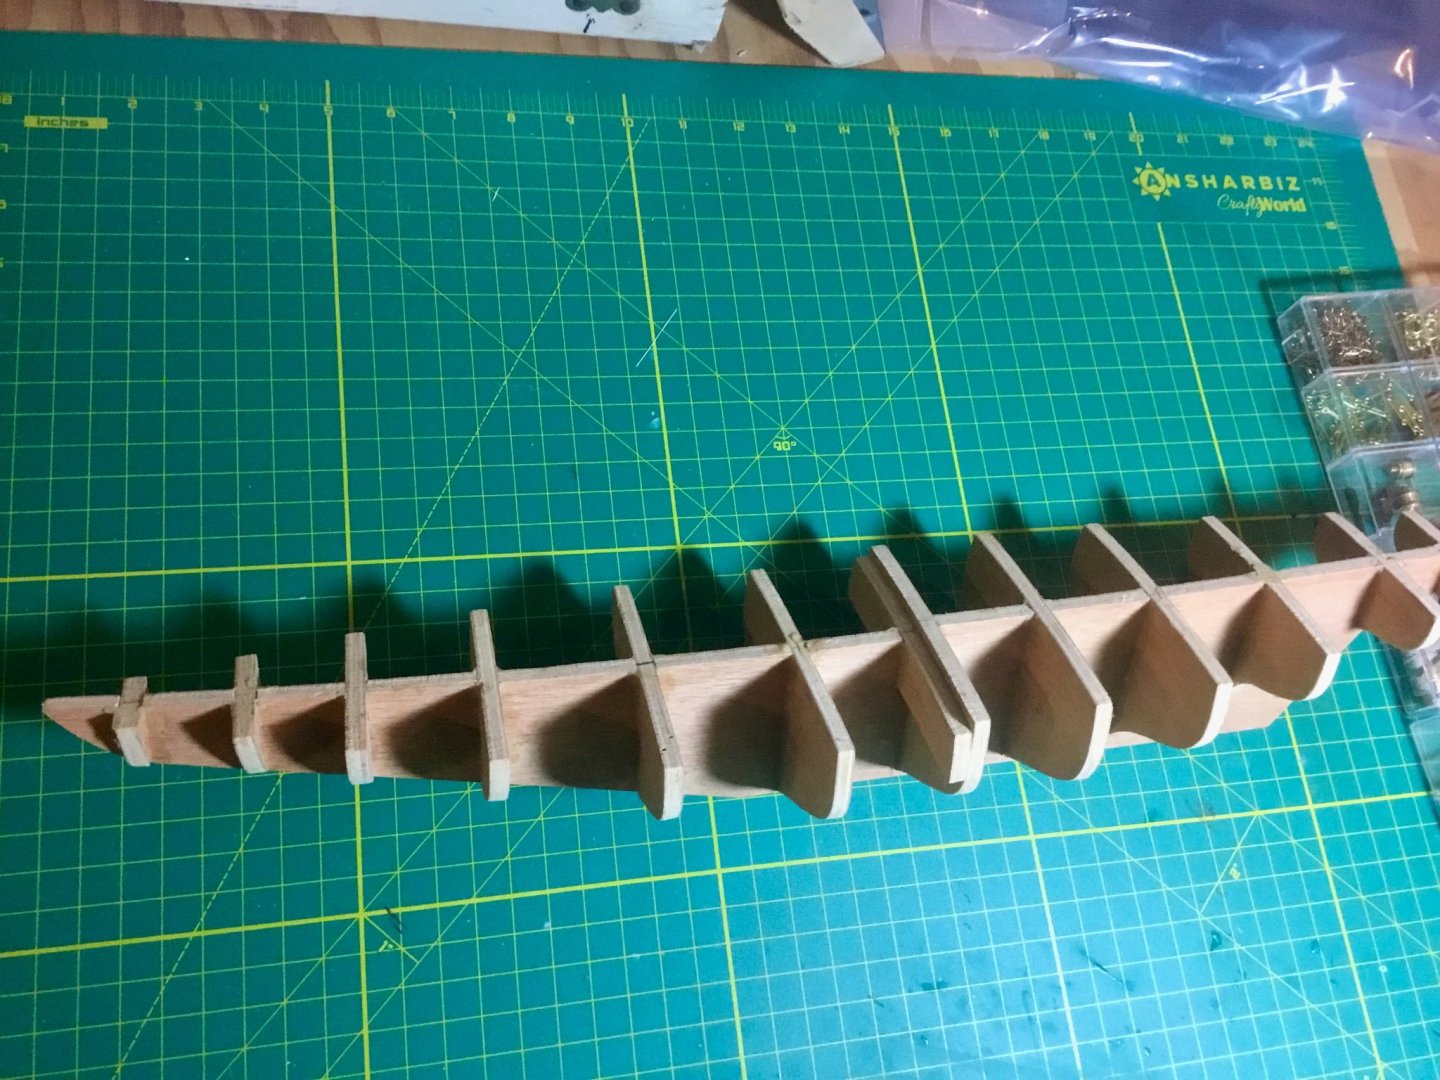


-
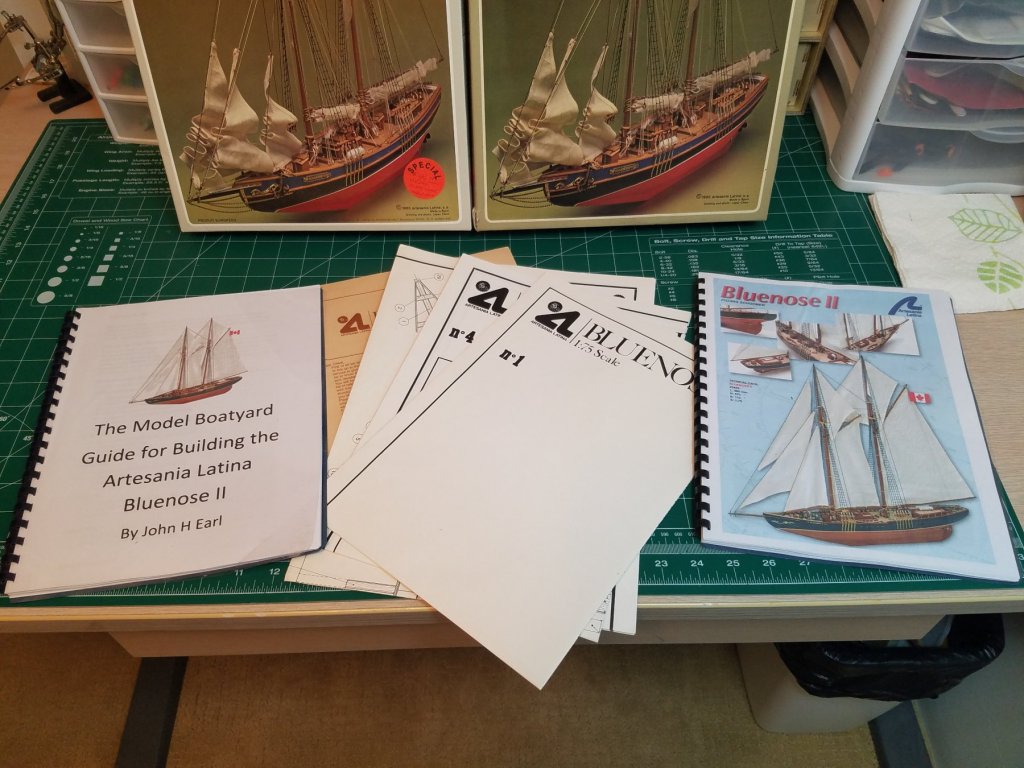
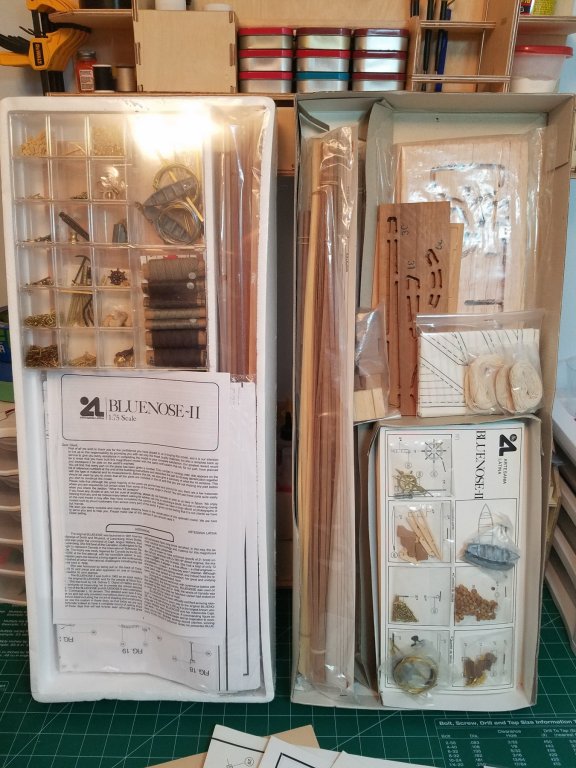
 This will be my second model ship. The first was just started a month ago and is a simpler version of the Bluenose II (scale 1:100). Rather than finish that before starting this model I'm going to try to learn on the 1st and apply it on this one. I have no idea if this is a foolish idea but here goes. This is a slightly older version of the kit than is currently sold. This kit came with French language instructions. Online I found a set of articles on this model produced by John H. Earl (http://www.modelboatyard.com/bluenose2.html). I decided to follow his instructions.
-
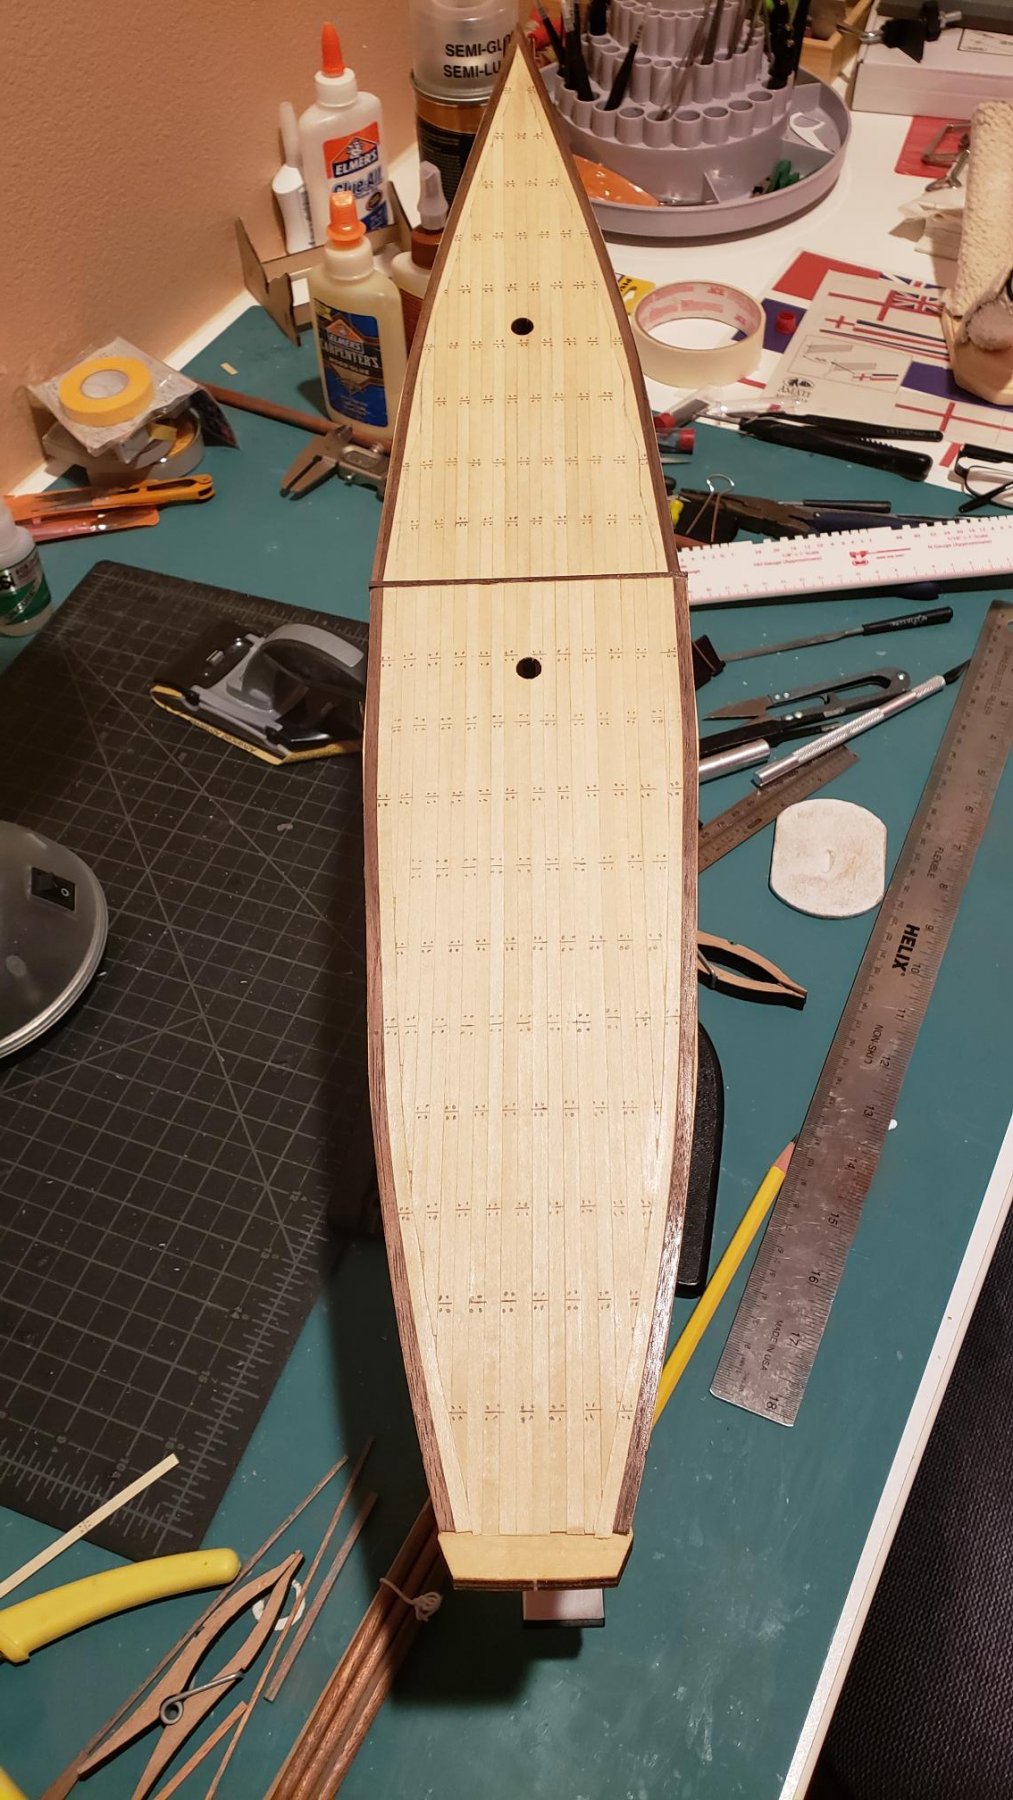
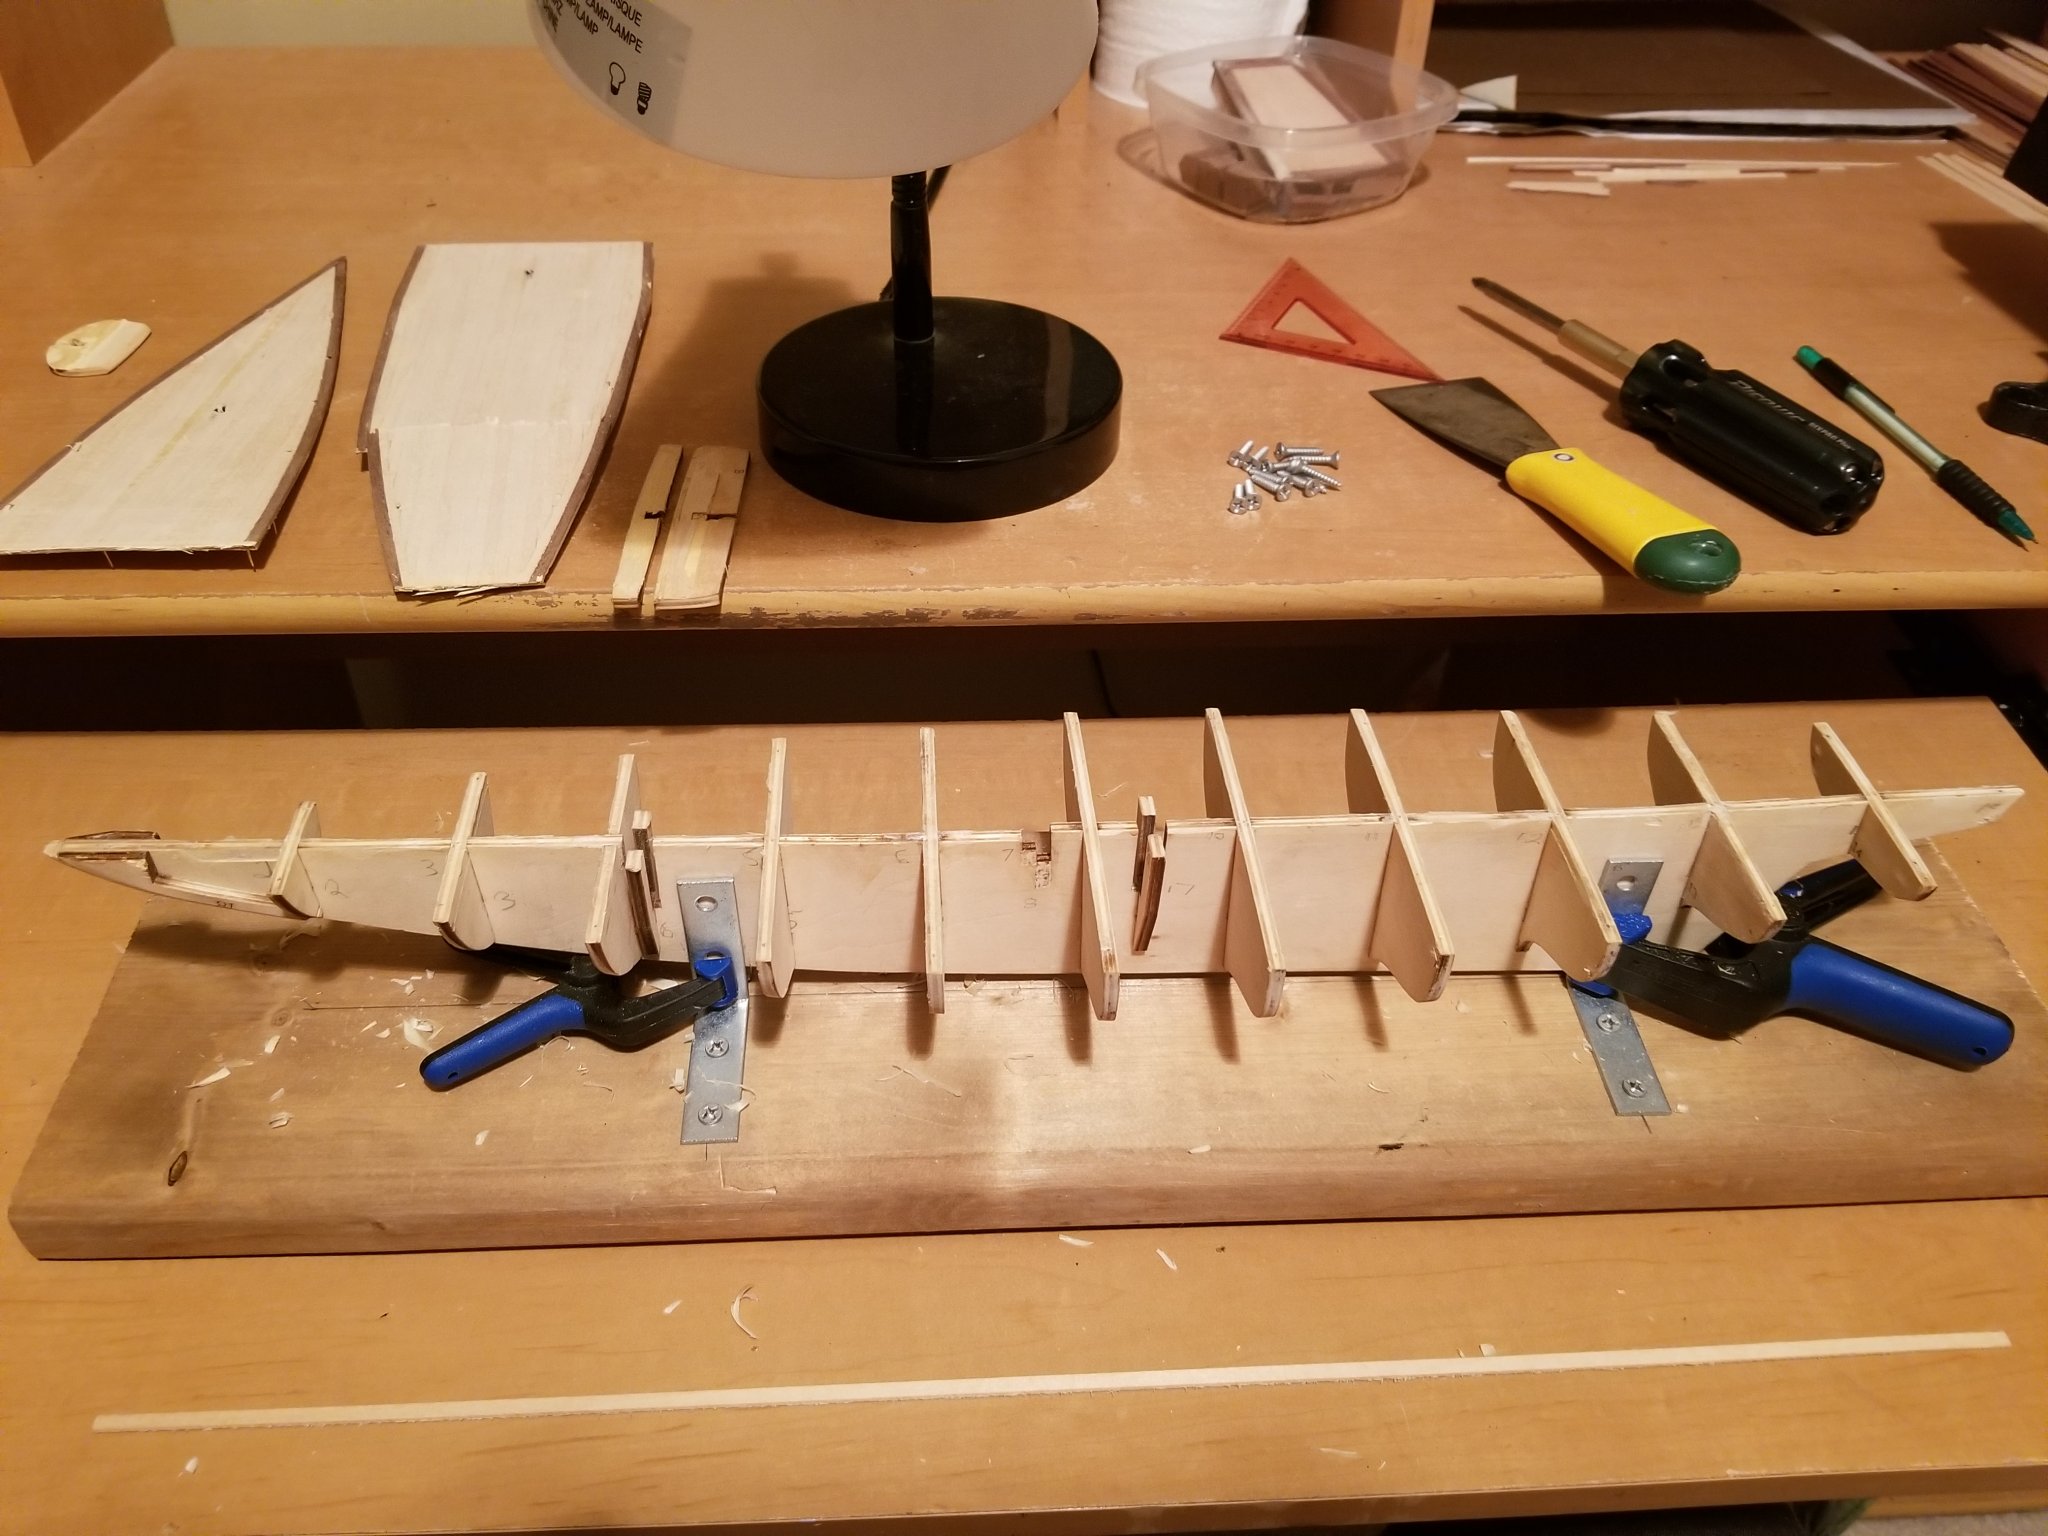
(1)(1)(1)(2).thumb.jpg.792ad774561d3d4f35888704cde27a8e.jpg) This will be my first ship construction and decided to make a build log to show my progress and also get ideas and help along the way. I picked up the Latina Bluenose II as it was local and looks like a decent kit. First impressions: Kit packaged well and the fittings in plastic boxes is a nice touch. Wood looks good although the plywood hull has some warpage. No instruction book as they are on a CD. Who uses CD's these days. Had to get my old laptop out to print out the instructions. No scale plan that I could find so placement of parts might be a little hard to determine. Rigging instructions lacking but I think I can deal with it. At this point I have the hull framed and the deck on and planked. I did find all the bulkheads needed some slight sanding to fit as the laser cut was too tight. Also the plywood frame was warped which plywood does. I didn't replace it but tried my best to keep it straight. Here are some photos of my progress so far. Couple minor mistakes but I can live with it and you don't see that I staggered the center when it should have been the same on both sides.
This will be my first ship construction and decided to make a build log to show my progress and also get ideas and help along the way. I picked up the Latina Bluenose II as it was local and looks like a decent kit. First impressions: Kit packaged well and the fittings in plastic boxes is a nice touch. Wood looks good although the plywood hull has some warpage. No instruction book as they are on a CD. Who uses CD's these days. Had to get my old laptop out to print out the instructions. No scale plan that I could find so placement of parts might be a little hard to determine. Rigging instructions lacking but I think I can deal with it. At this point I have the hull framed and the deck on and planked. I did find all the bulkheads needed some slight sanding to fit as the laser cut was too tight. Also the plywood frame was warped which plywood does. I didn't replace it but tried my best to keep it straight. Here are some photos of my progress so far. Couple minor mistakes but I can live with it and you don't see that I staggered the center when it should have been the same on both sides.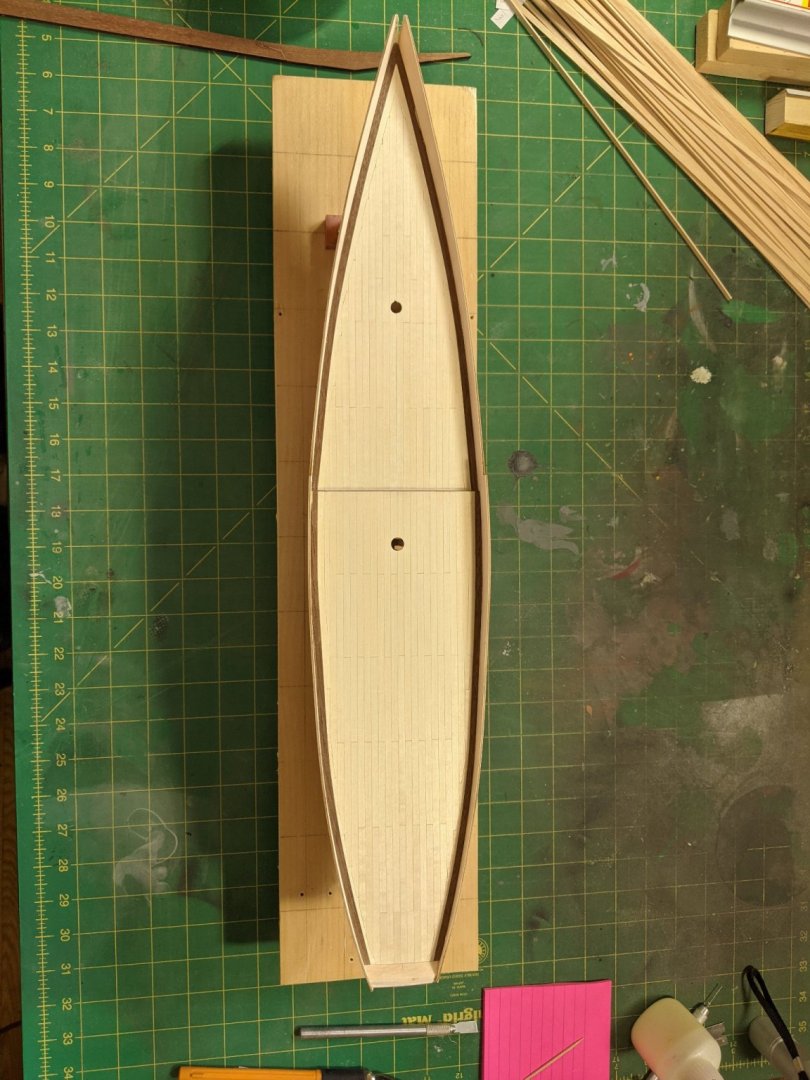


- 43 replies
-
- 7
-
-
- Bluenose II
- Artesania Latina
- (and 2 more)
-
 Hi All, Following prompting from other members on the welcome page I’ve decided to do a build log for my second build, a Bluenose II from AL. My first build was an HMS Renown Steam Pinnace by Billings, which went ok, so now venturing on to something with a bit of rigging. Before I talk about the build itself I’d like to say few words about the AL instructions. I’ll confess one if the reasons for going for the AL Bluenose was the more detailed instruction booklets I’d glimpsed on some of the photos on other people’s build logs. After experiencing the exceptionally brief Billings instructions (even going to the extent of basically saying, “ build it to look like the picture on the box.” I’m paraphrasing but you get the gist) and their blurry out of focus monochrome photos, I was looking forward to something clearer. I don’t know how recent a development this is but, on opening the box, they no longer provide a pamphlet with the instructions. Rather, there is a DVD with copies on there. I imagine AL may have saved a pound or so in not providing a printed version. My gripe is that it then cost me a fortune in printer ink to print it off myself! ( 2 full ink cartridges!!) You have been warned.
- 146 replies
-
- 1
-
-
- artesania latina
- bluenose ii
- (and 1 more)
-
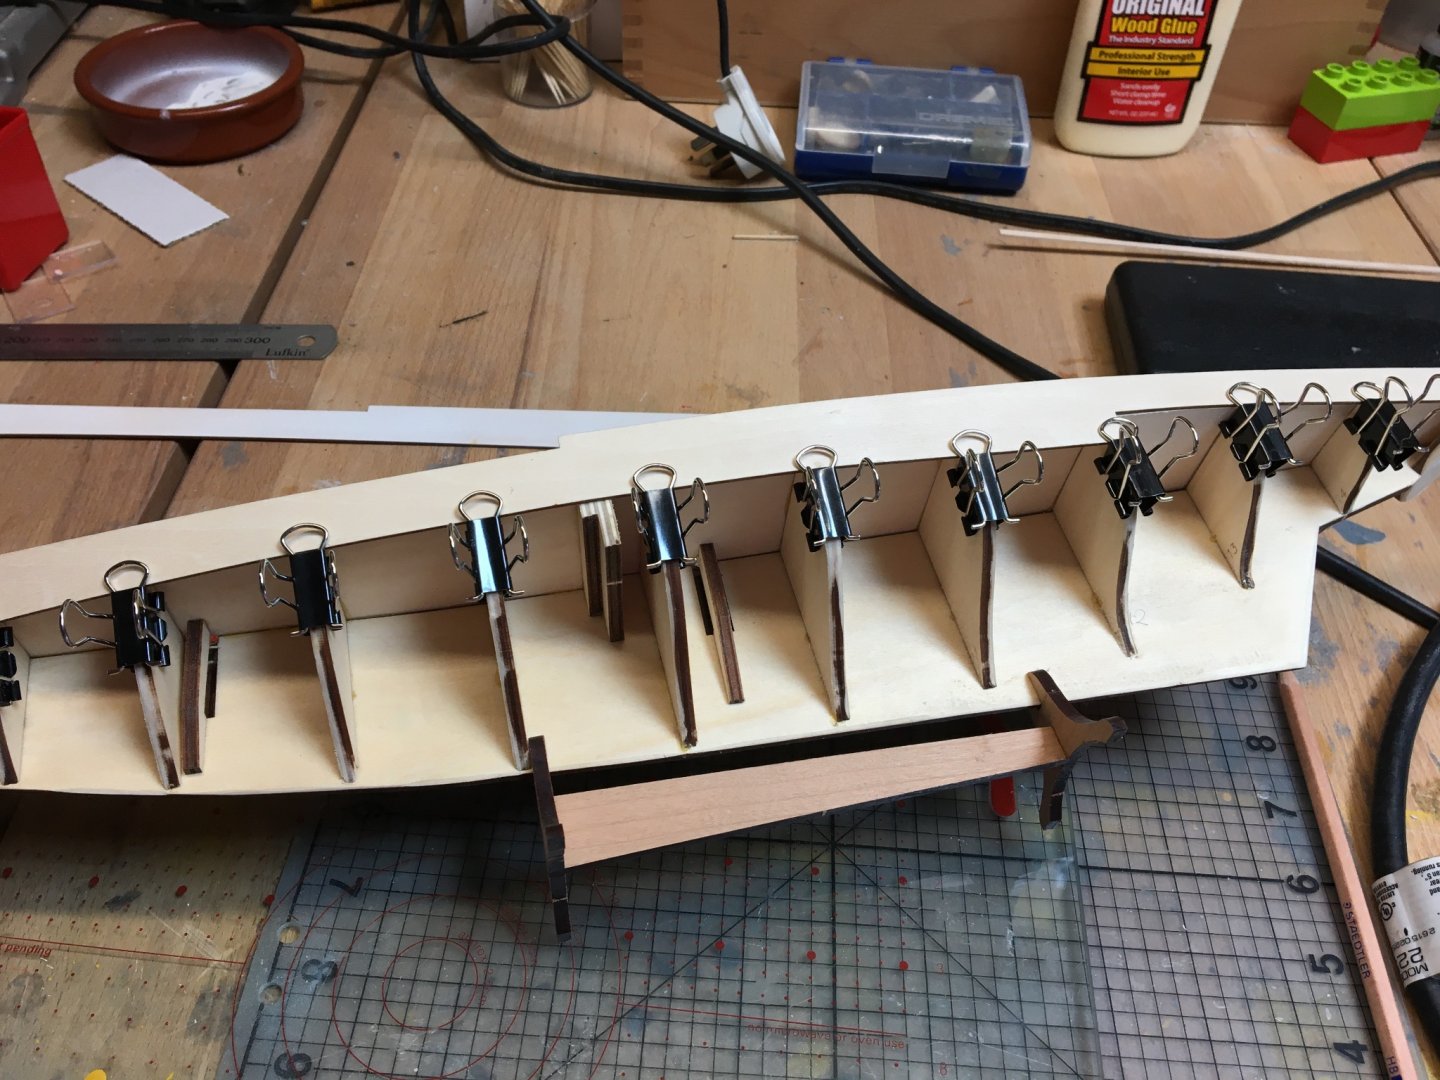
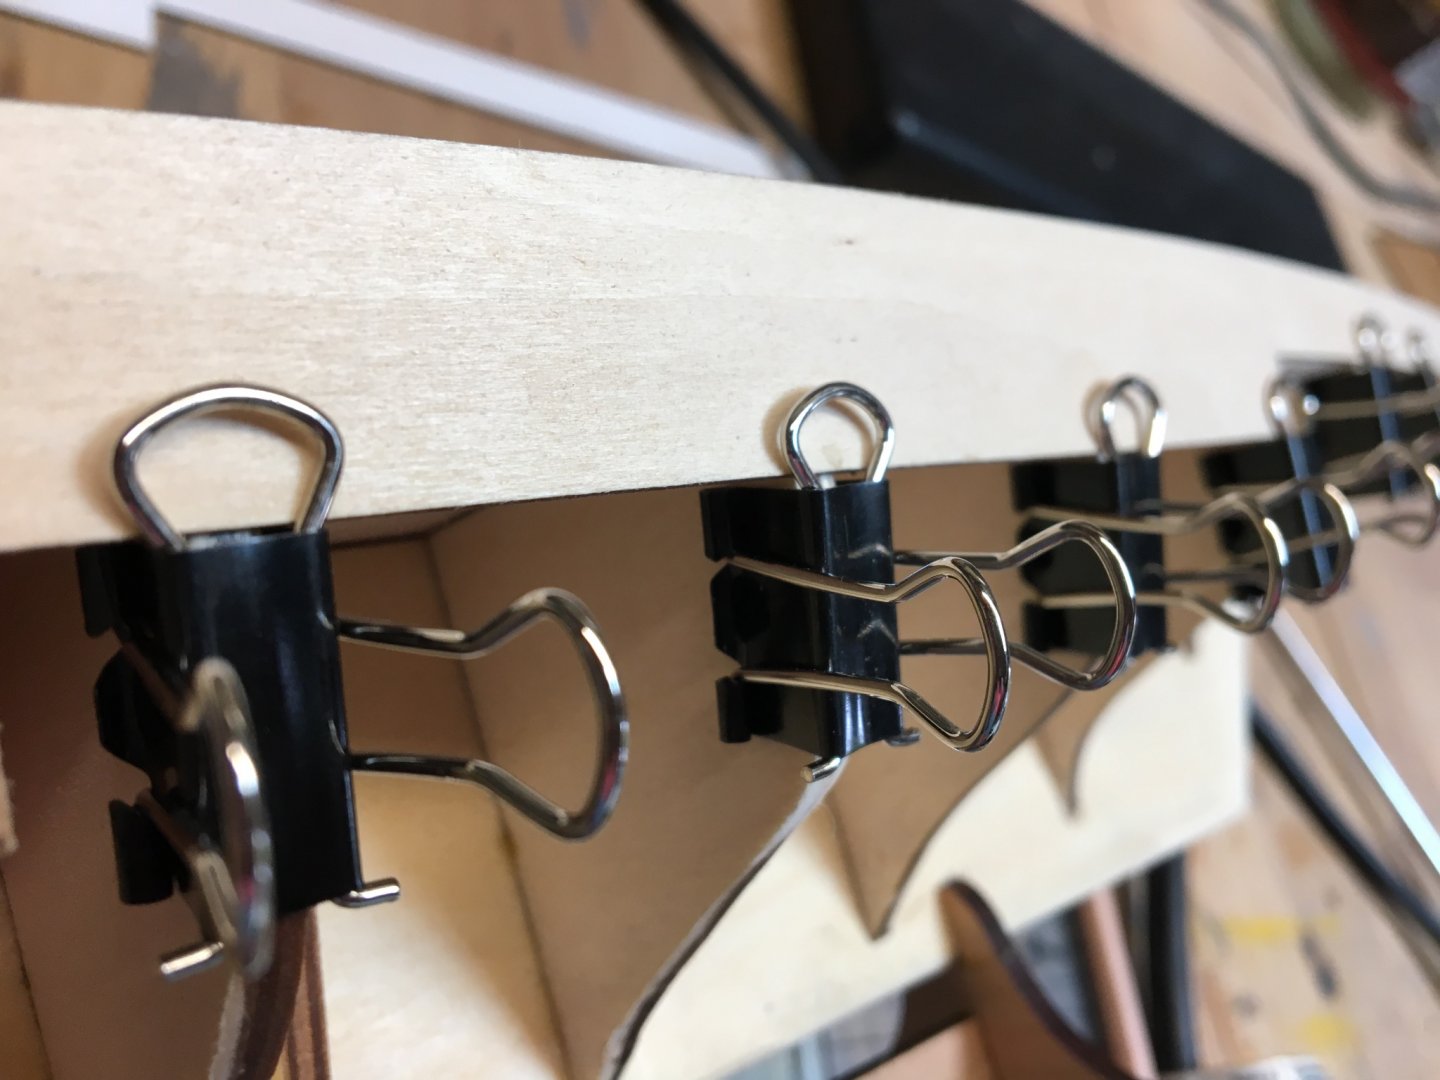
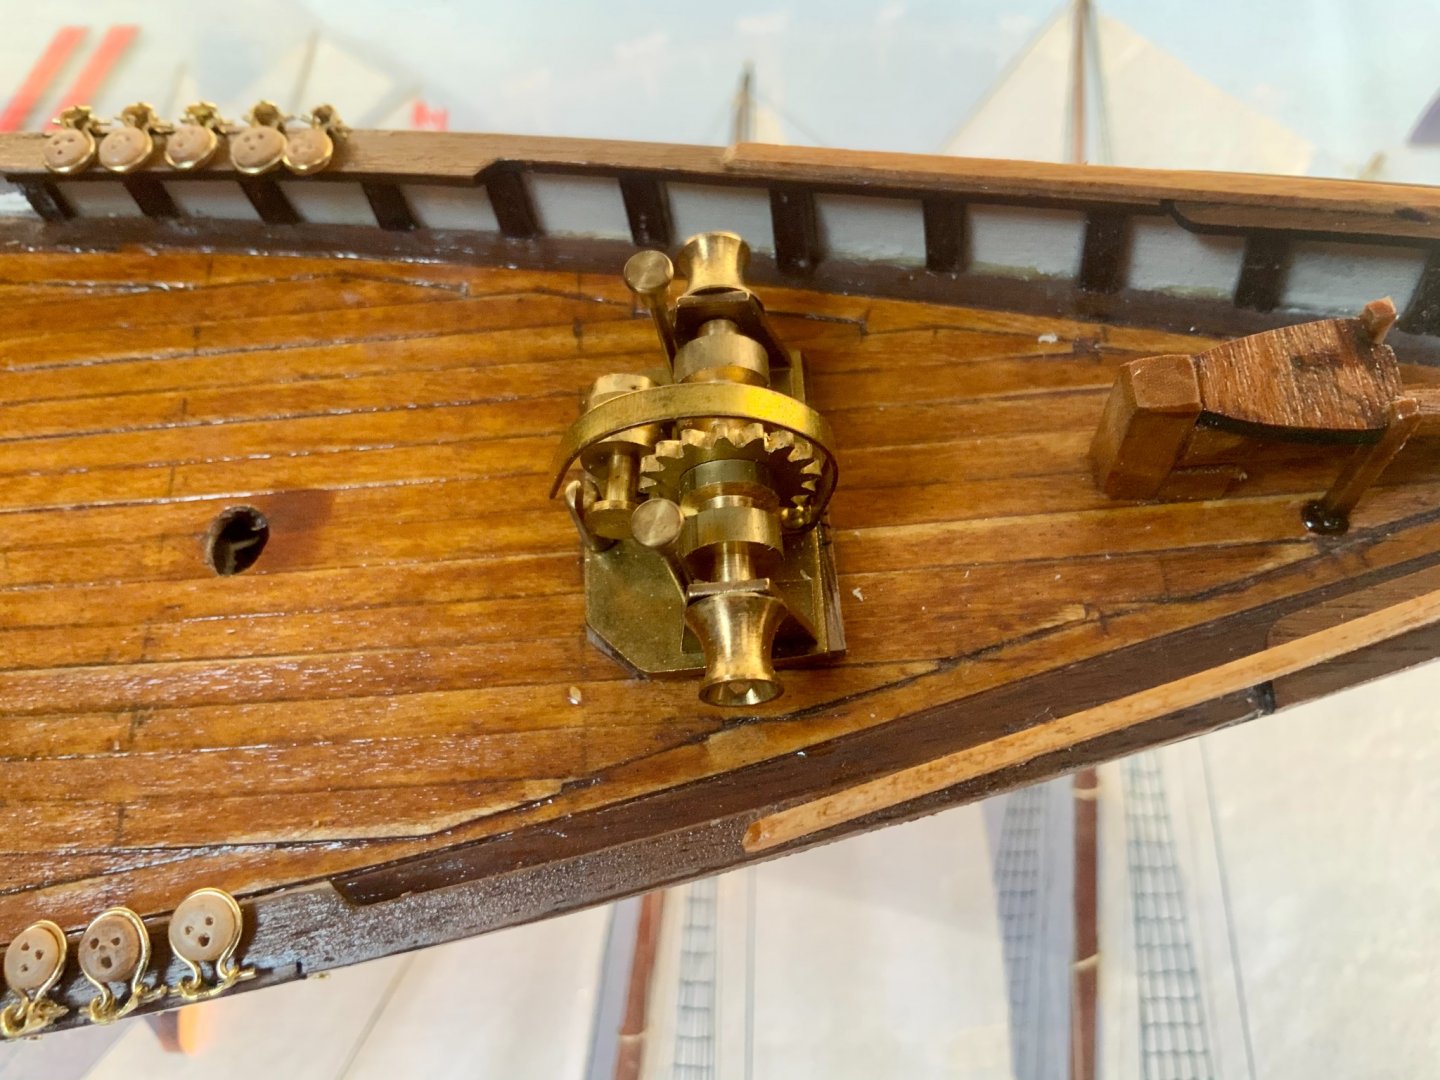
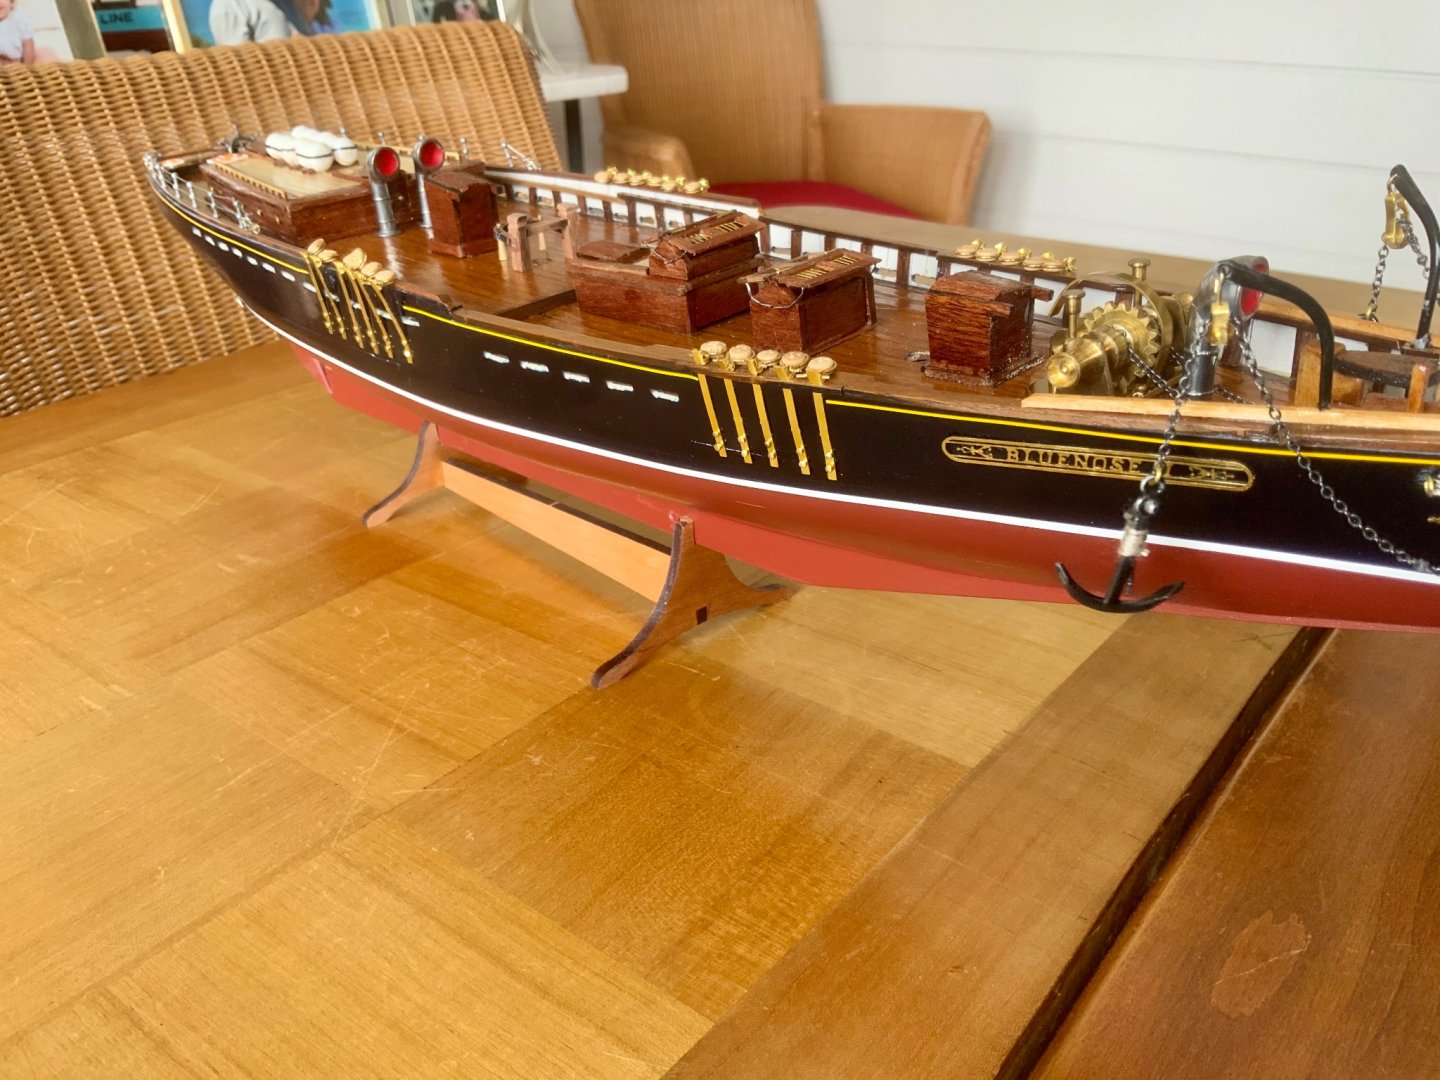
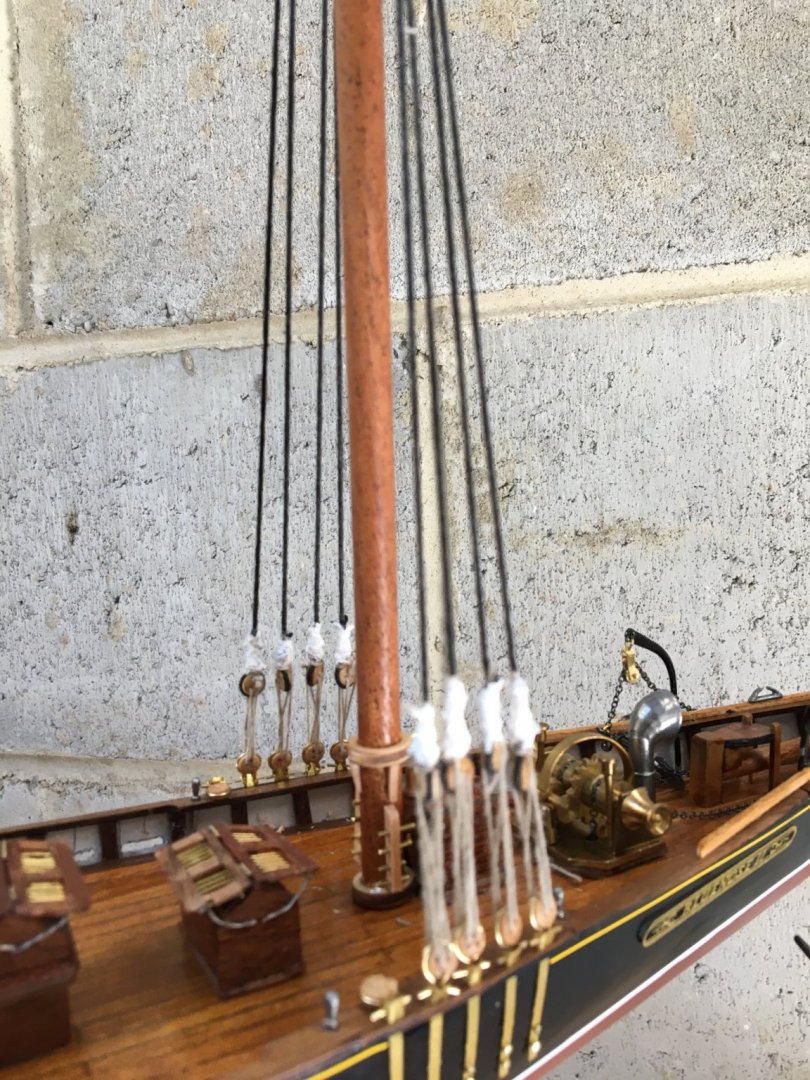
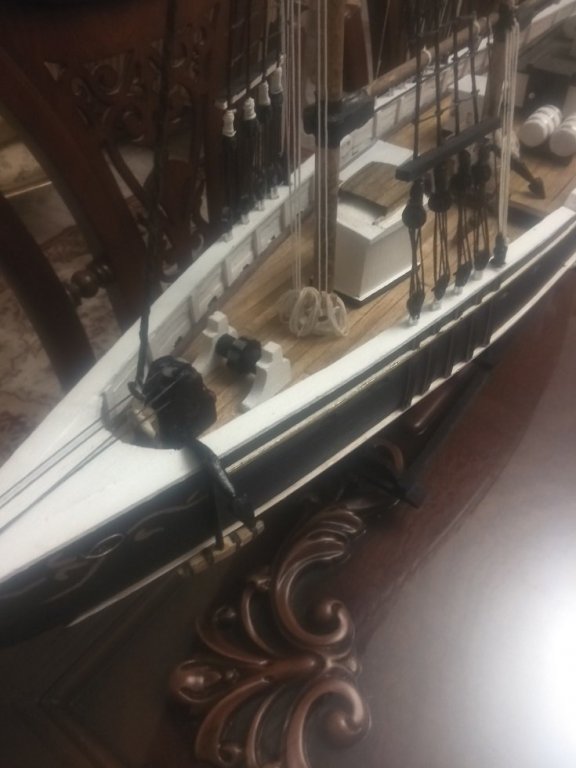
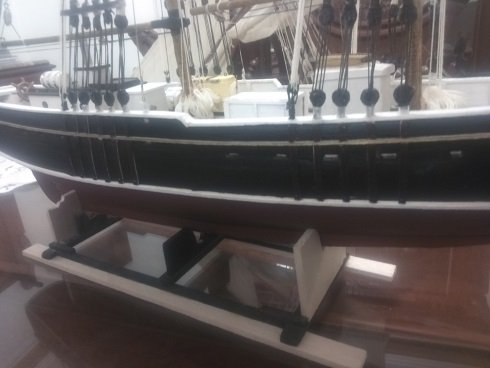
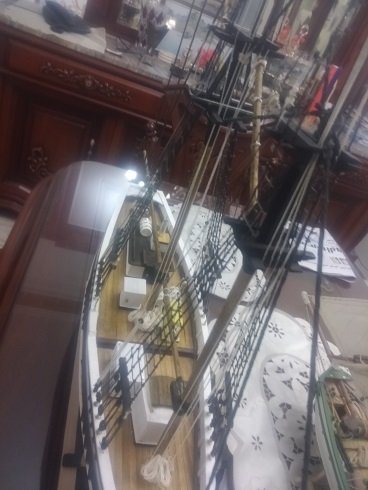
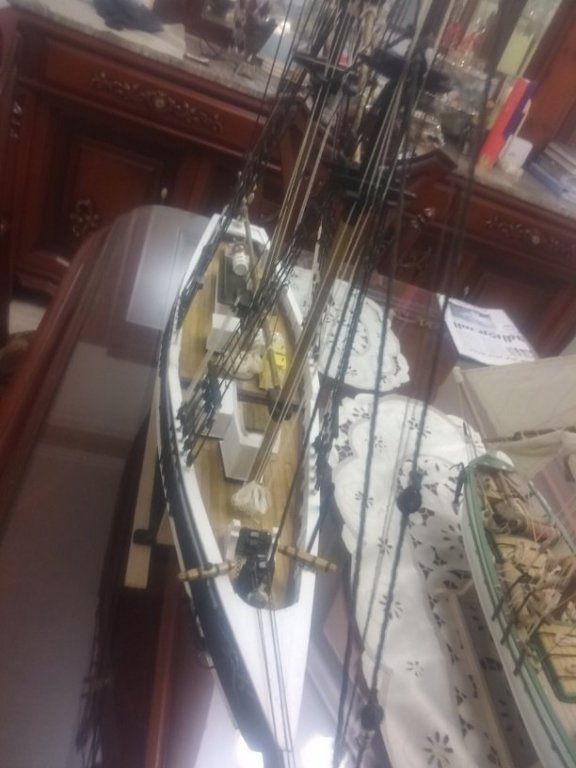
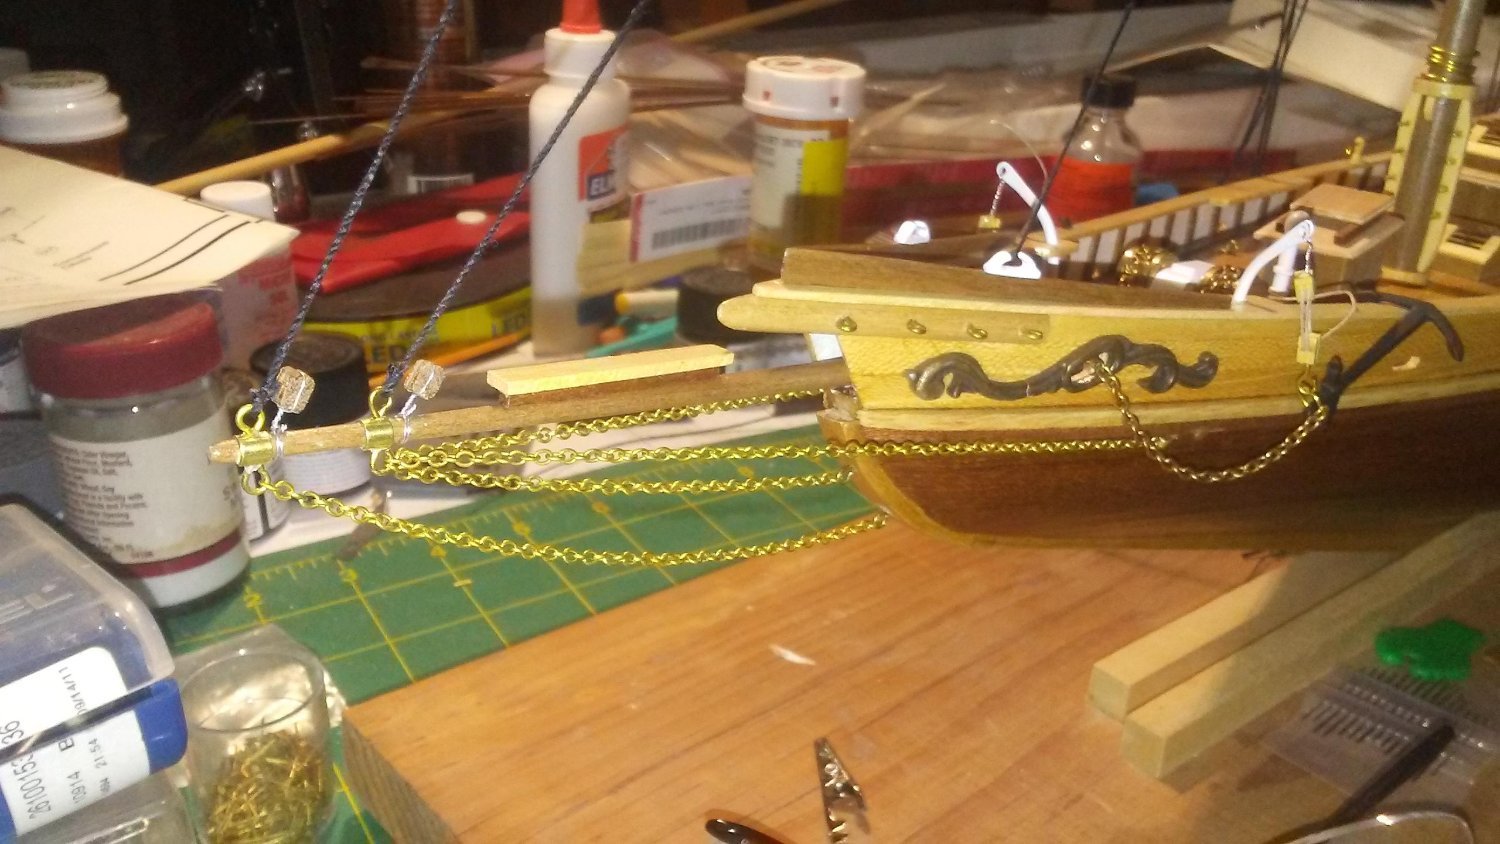
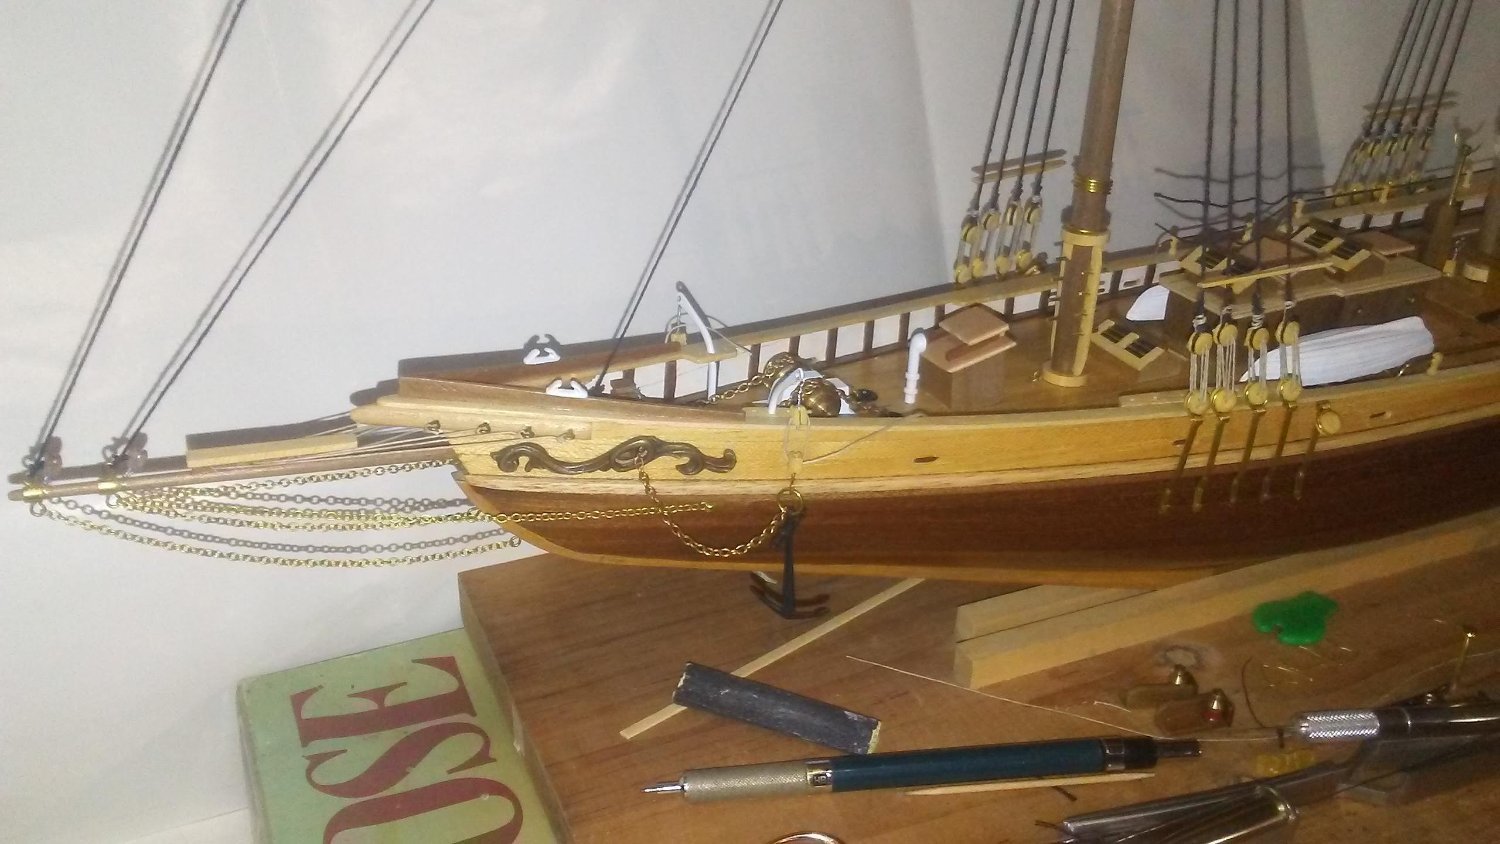
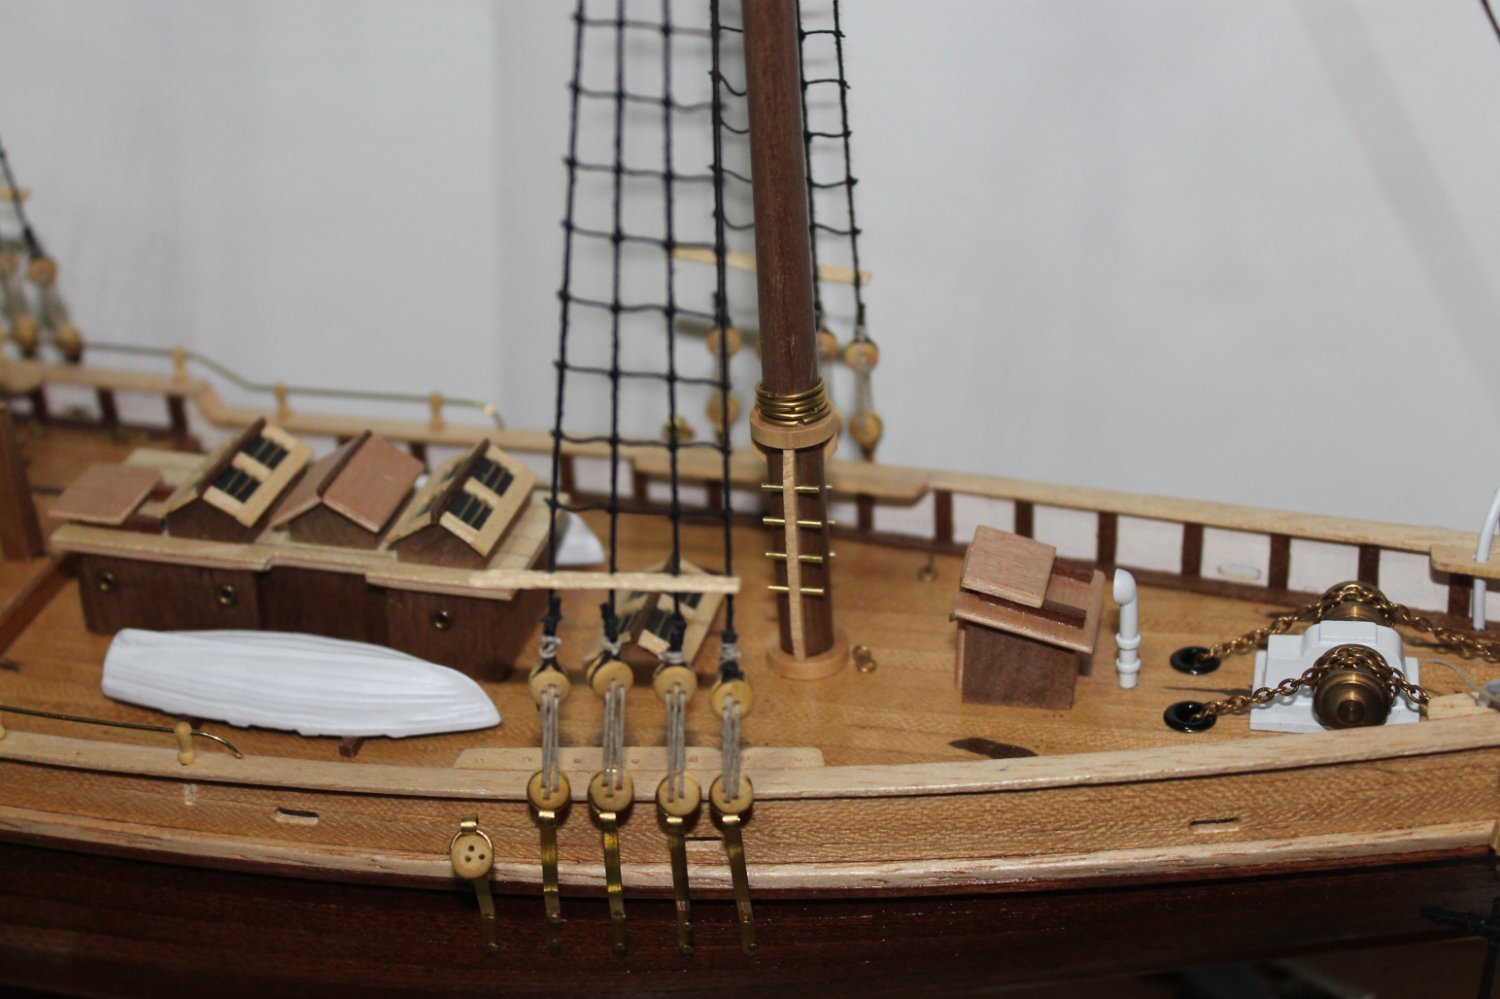
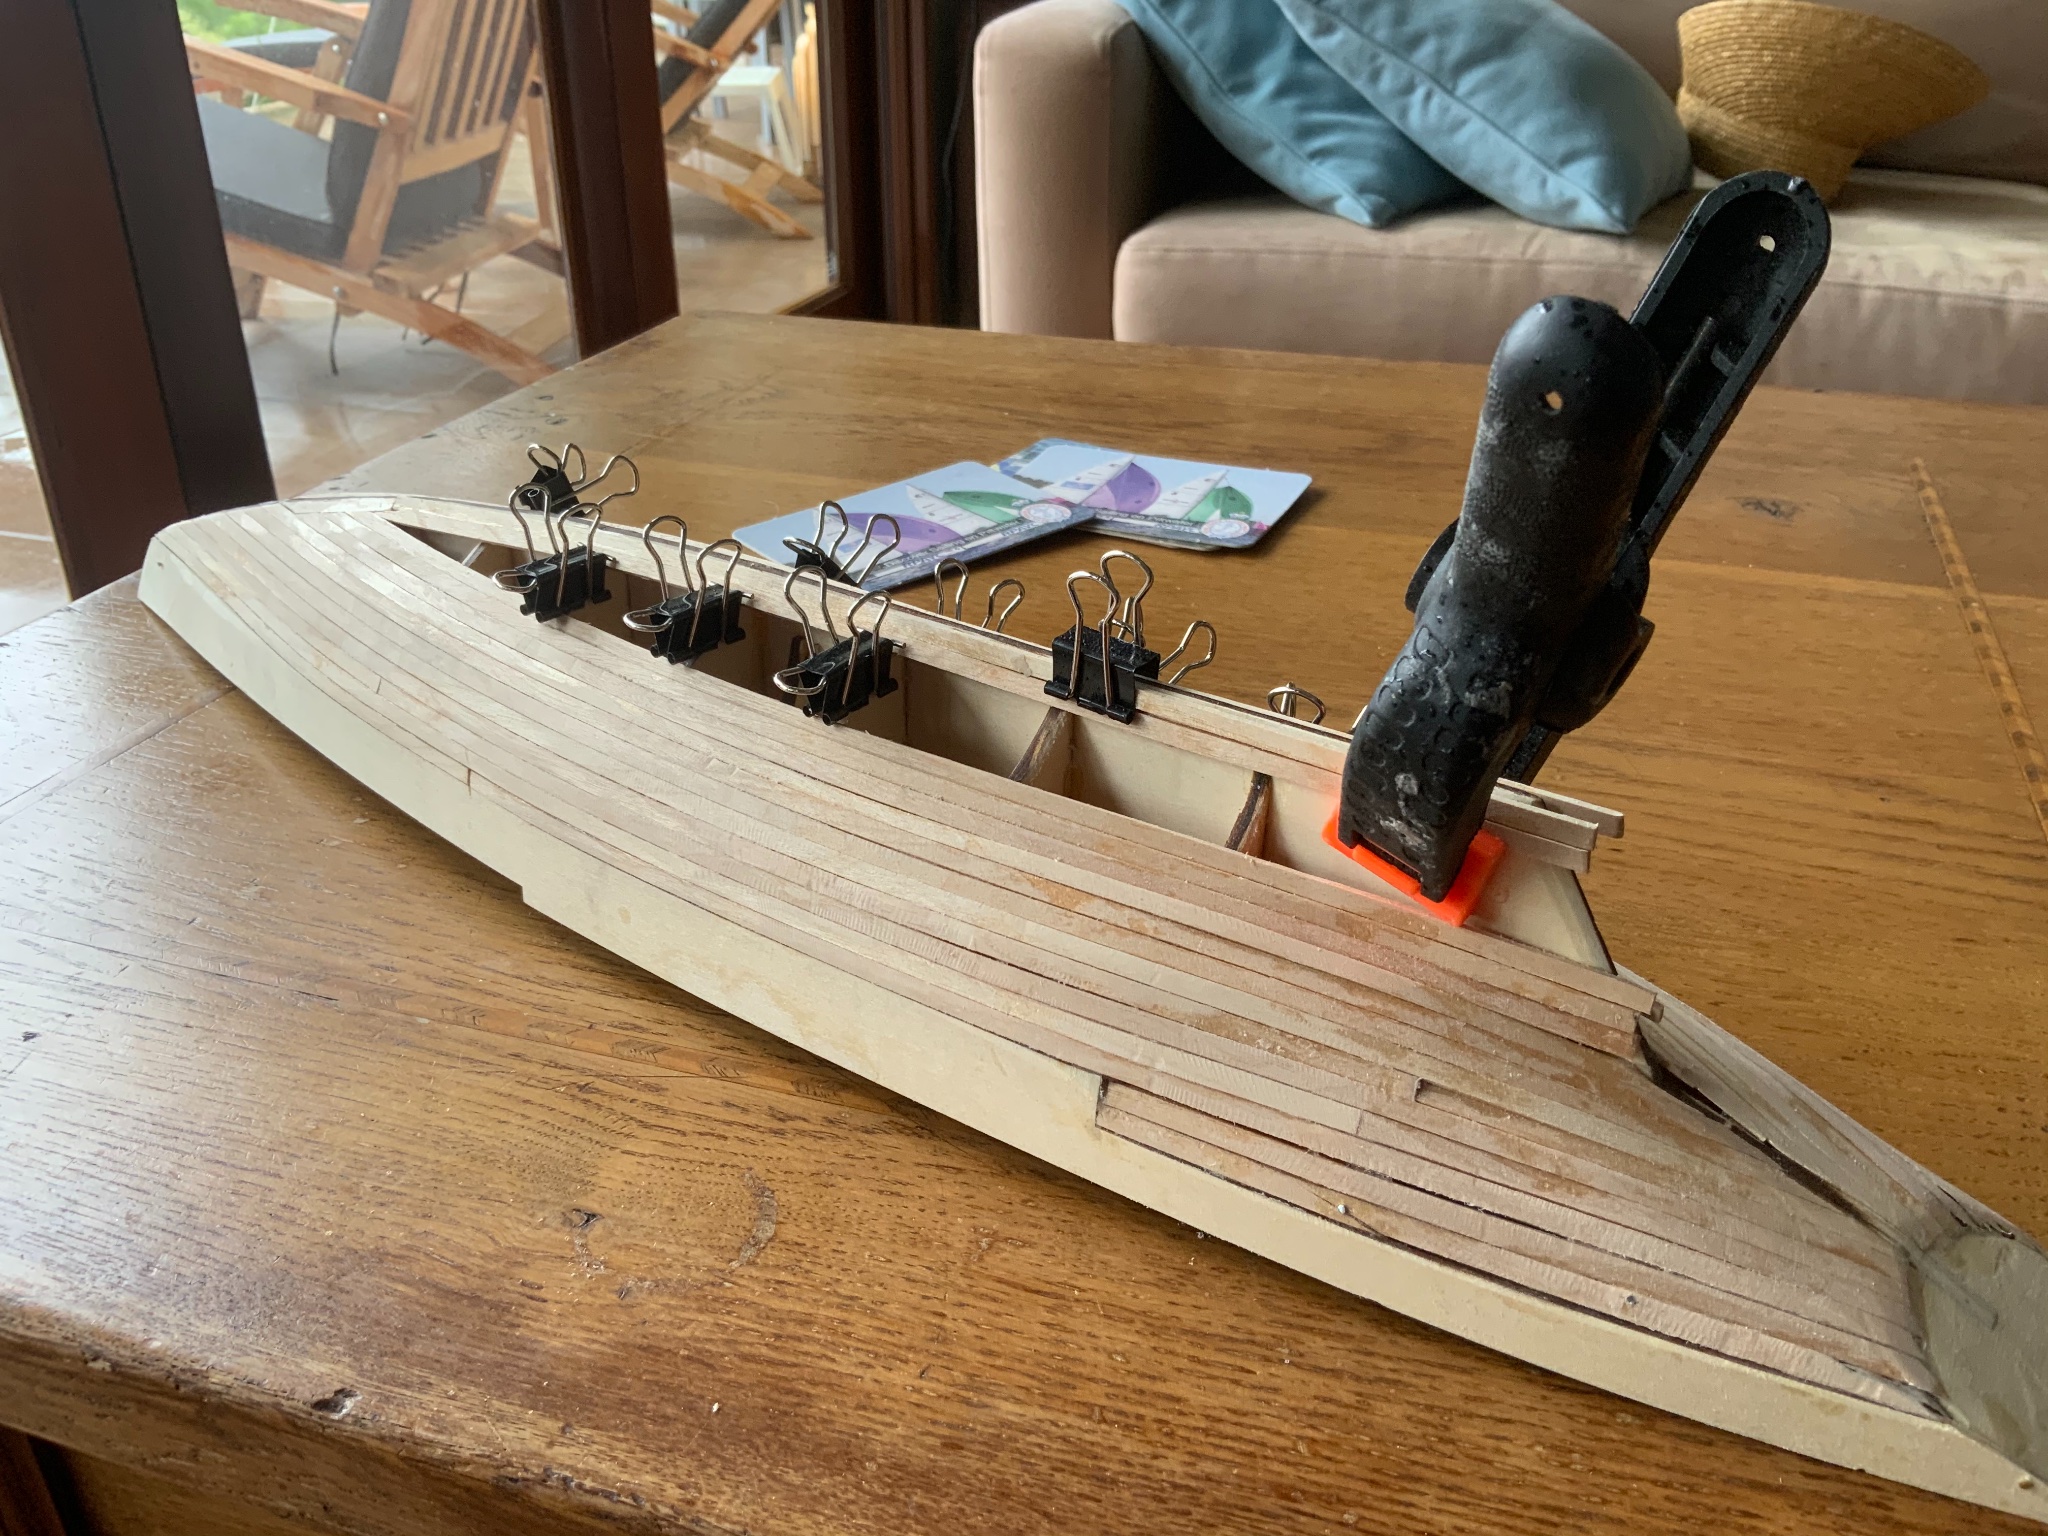
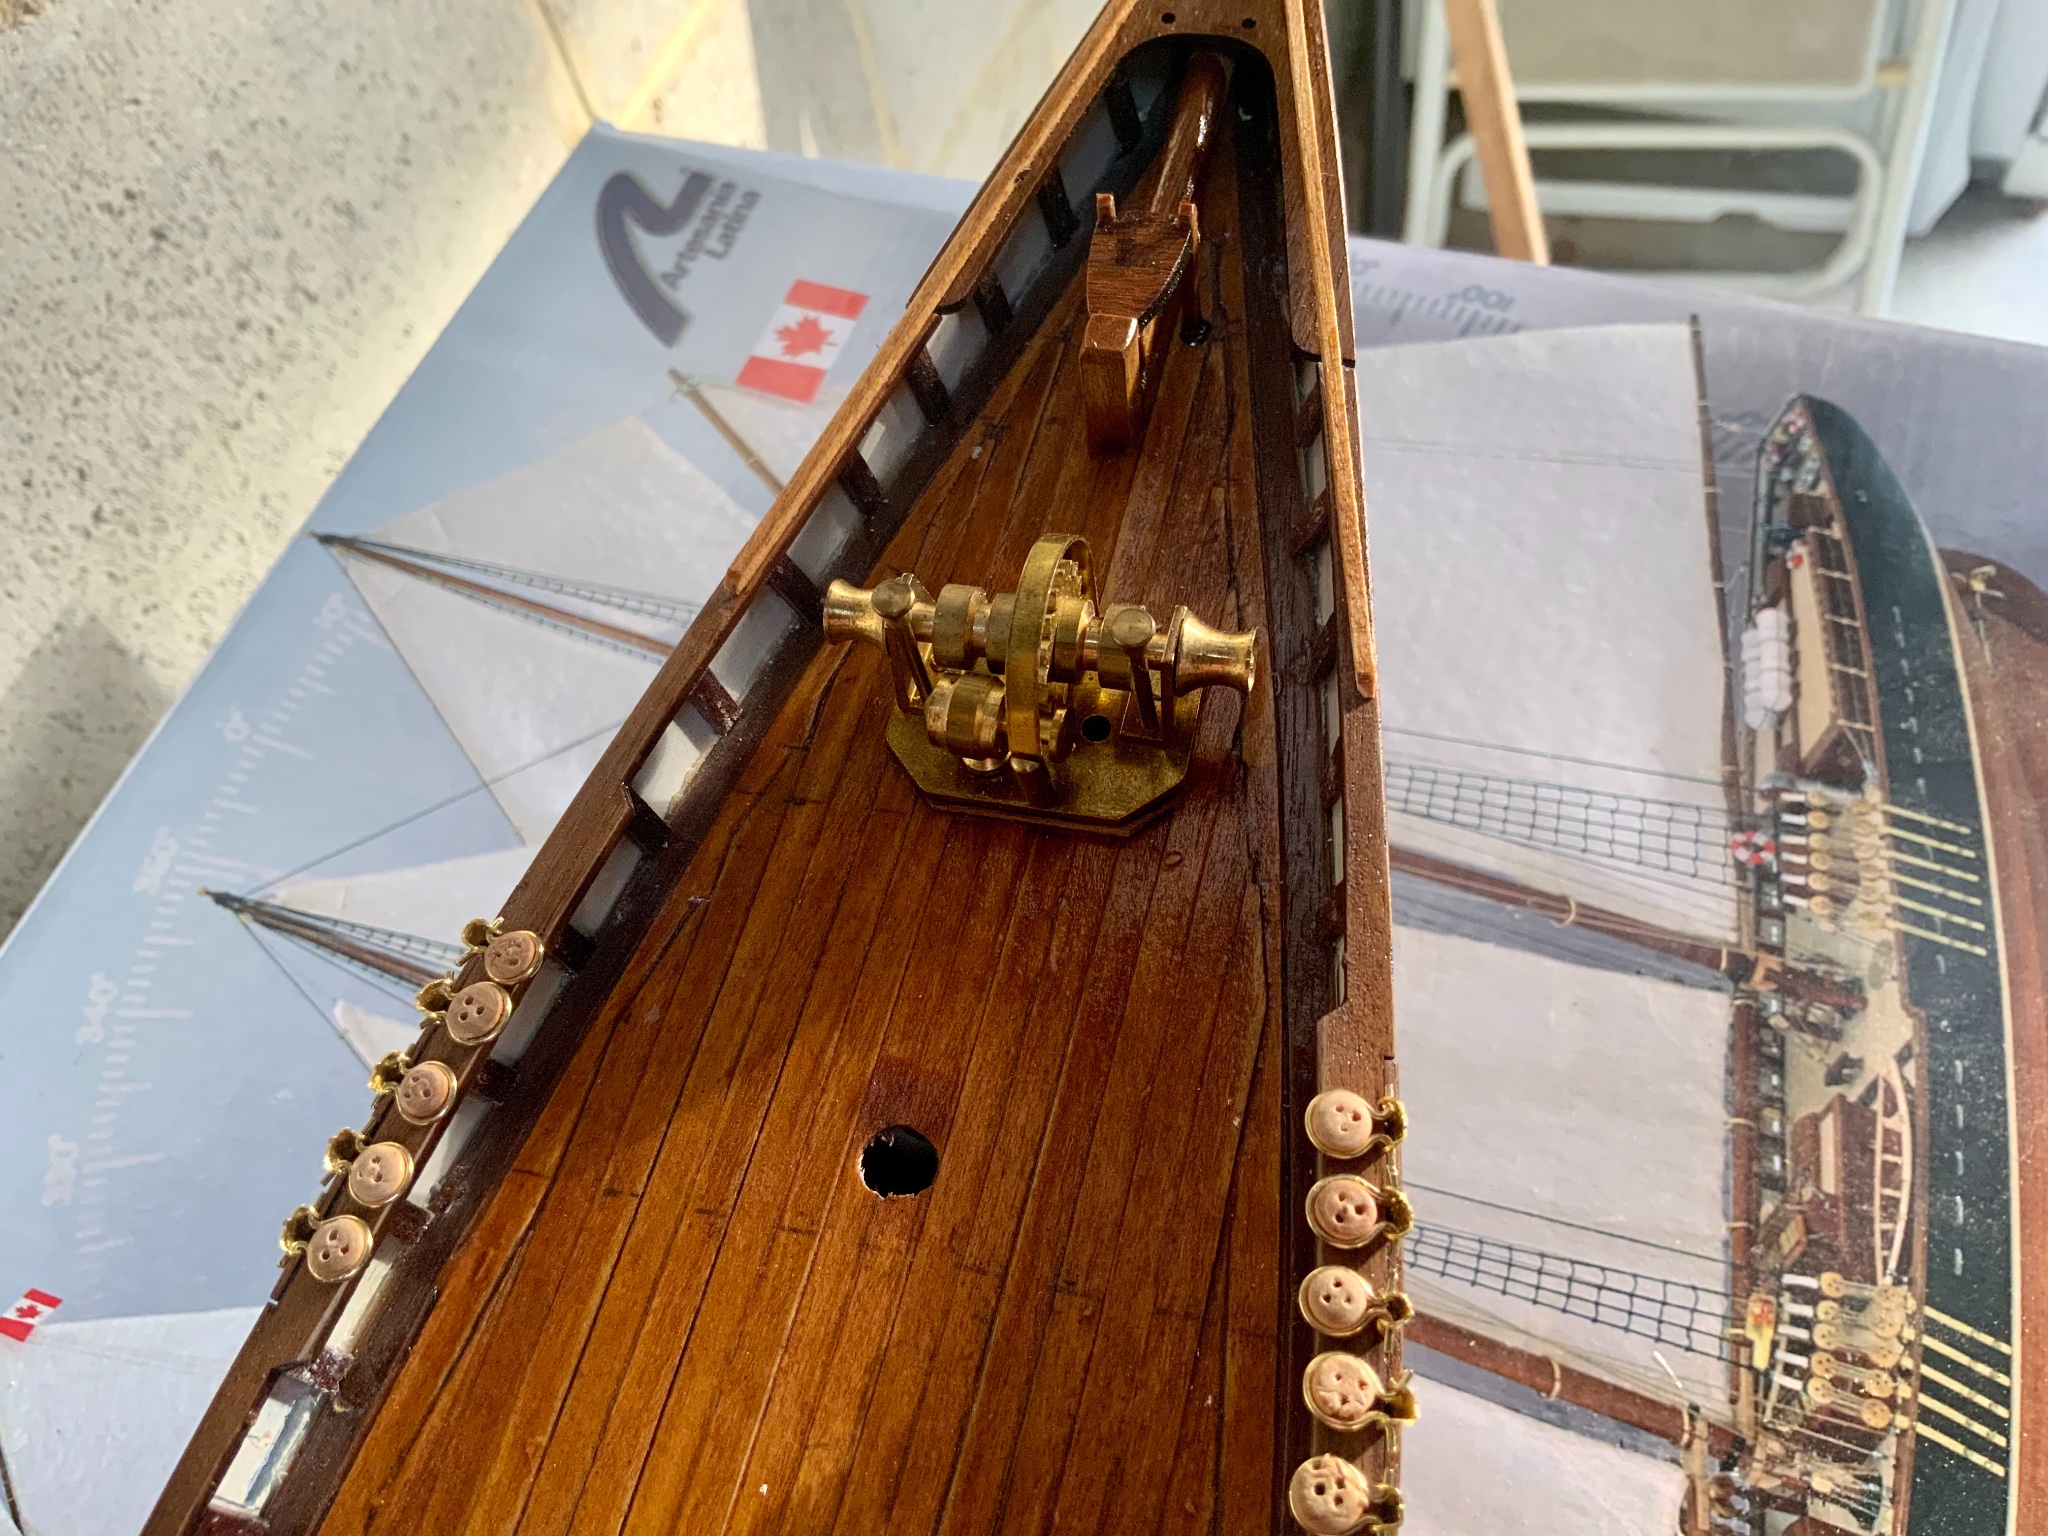
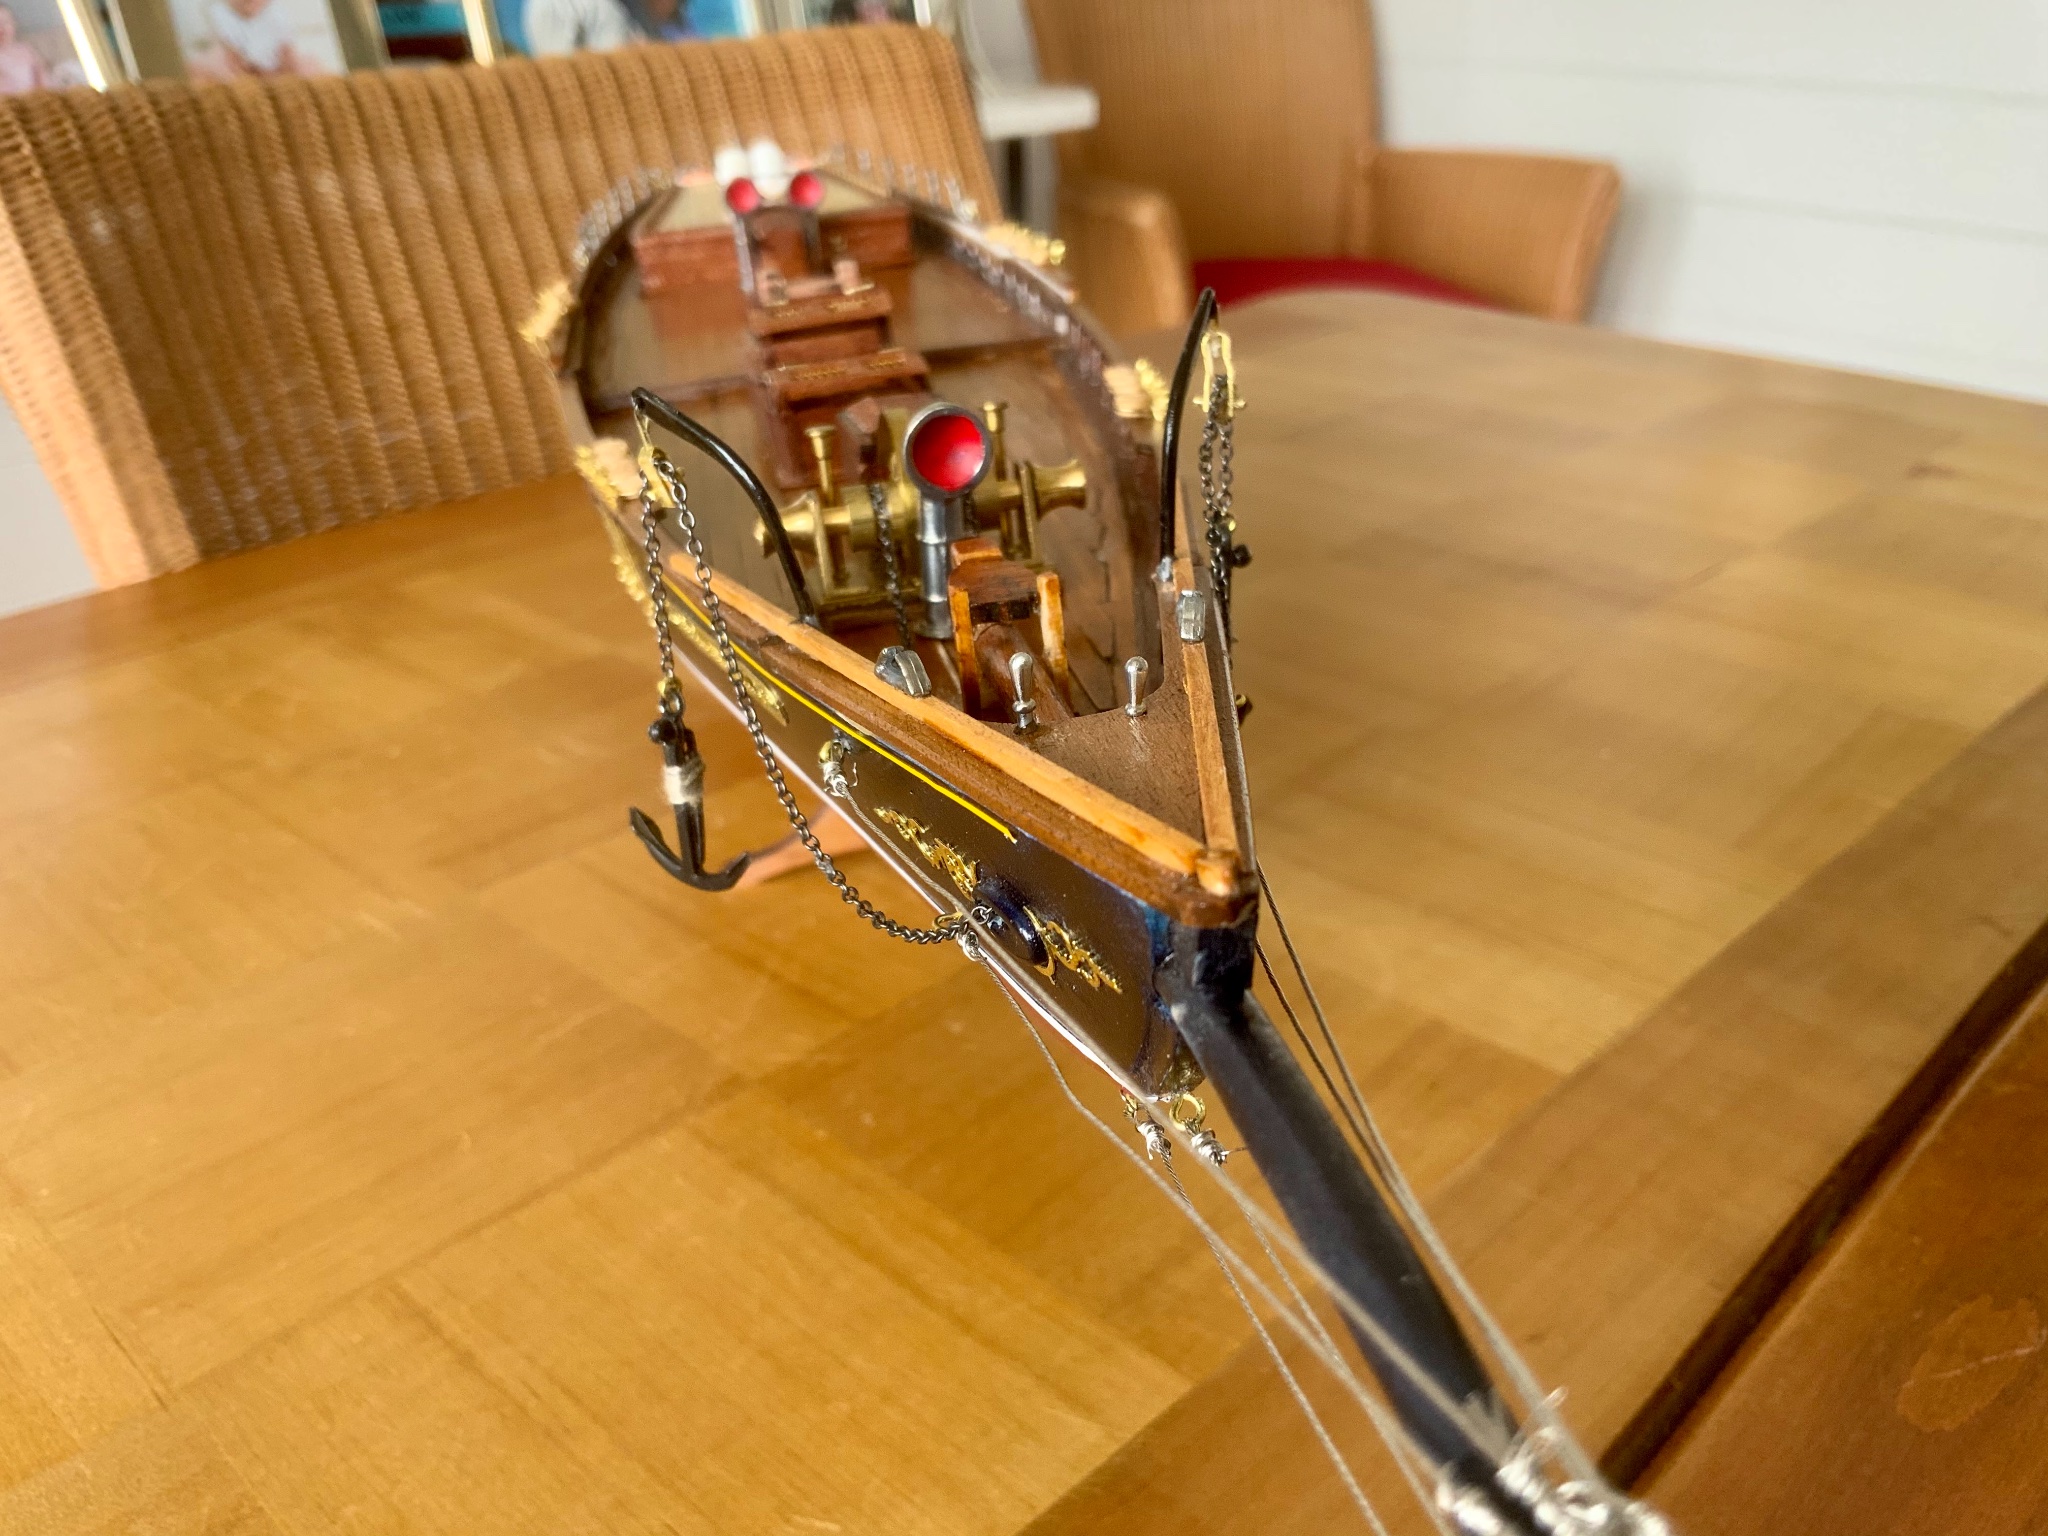
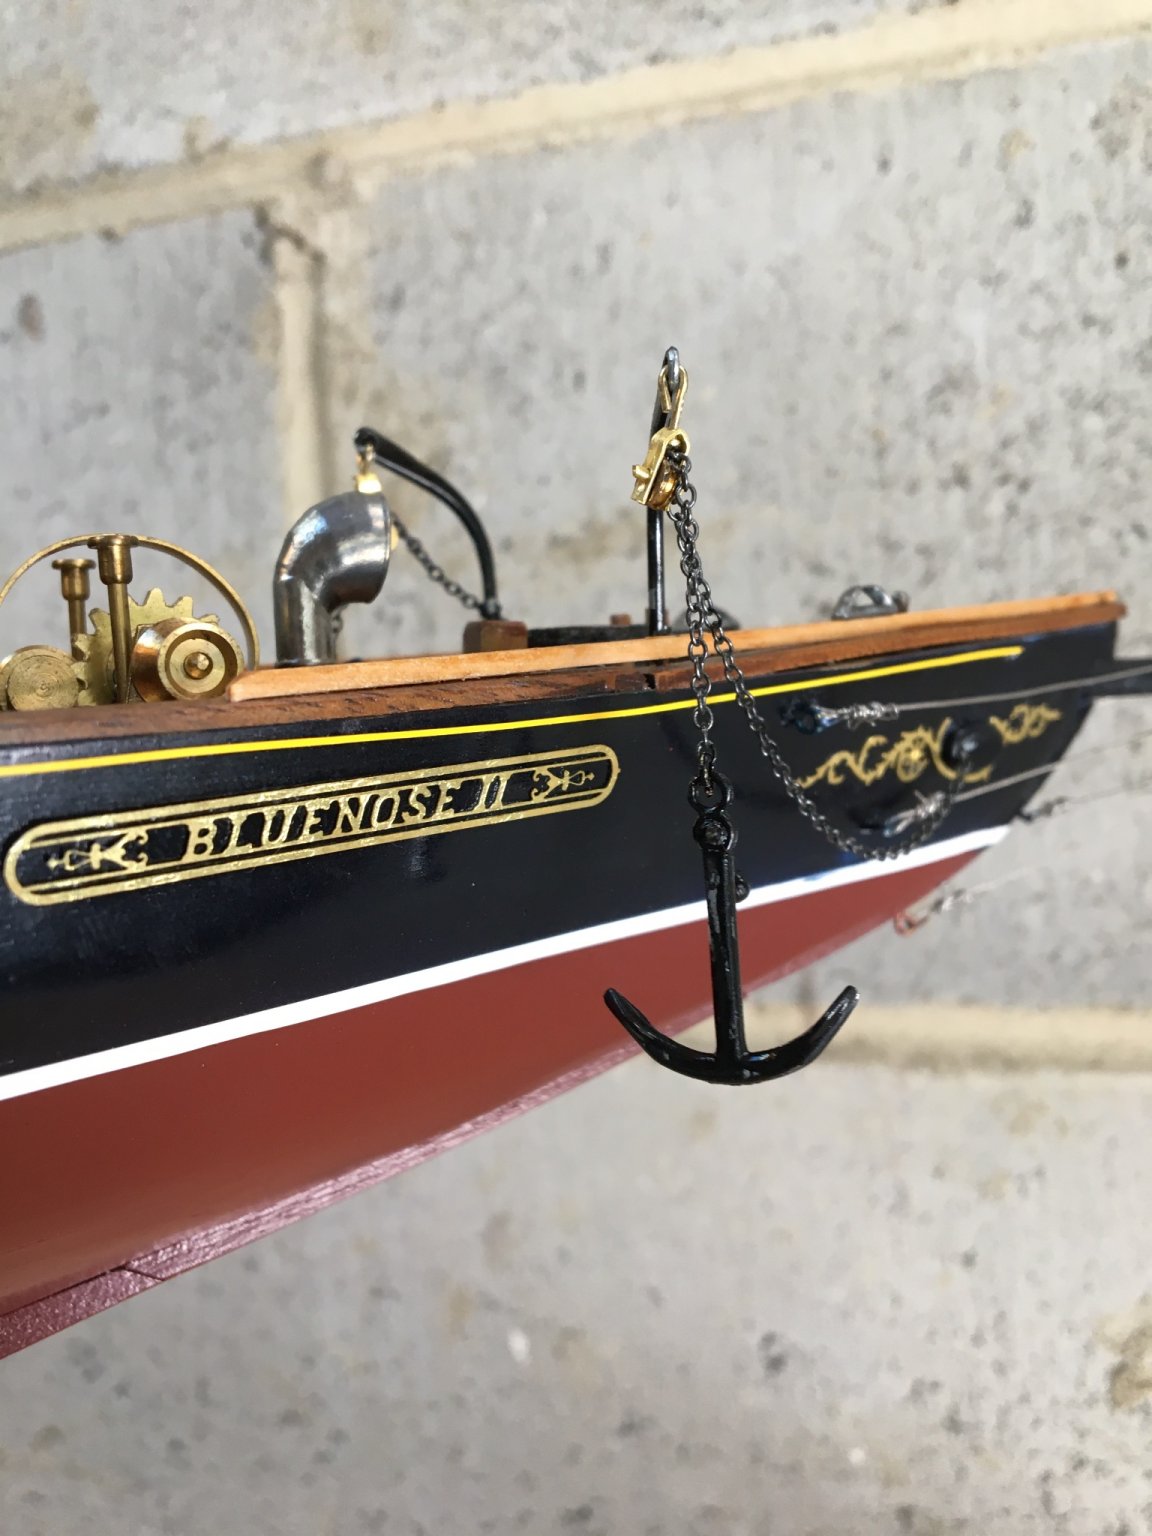
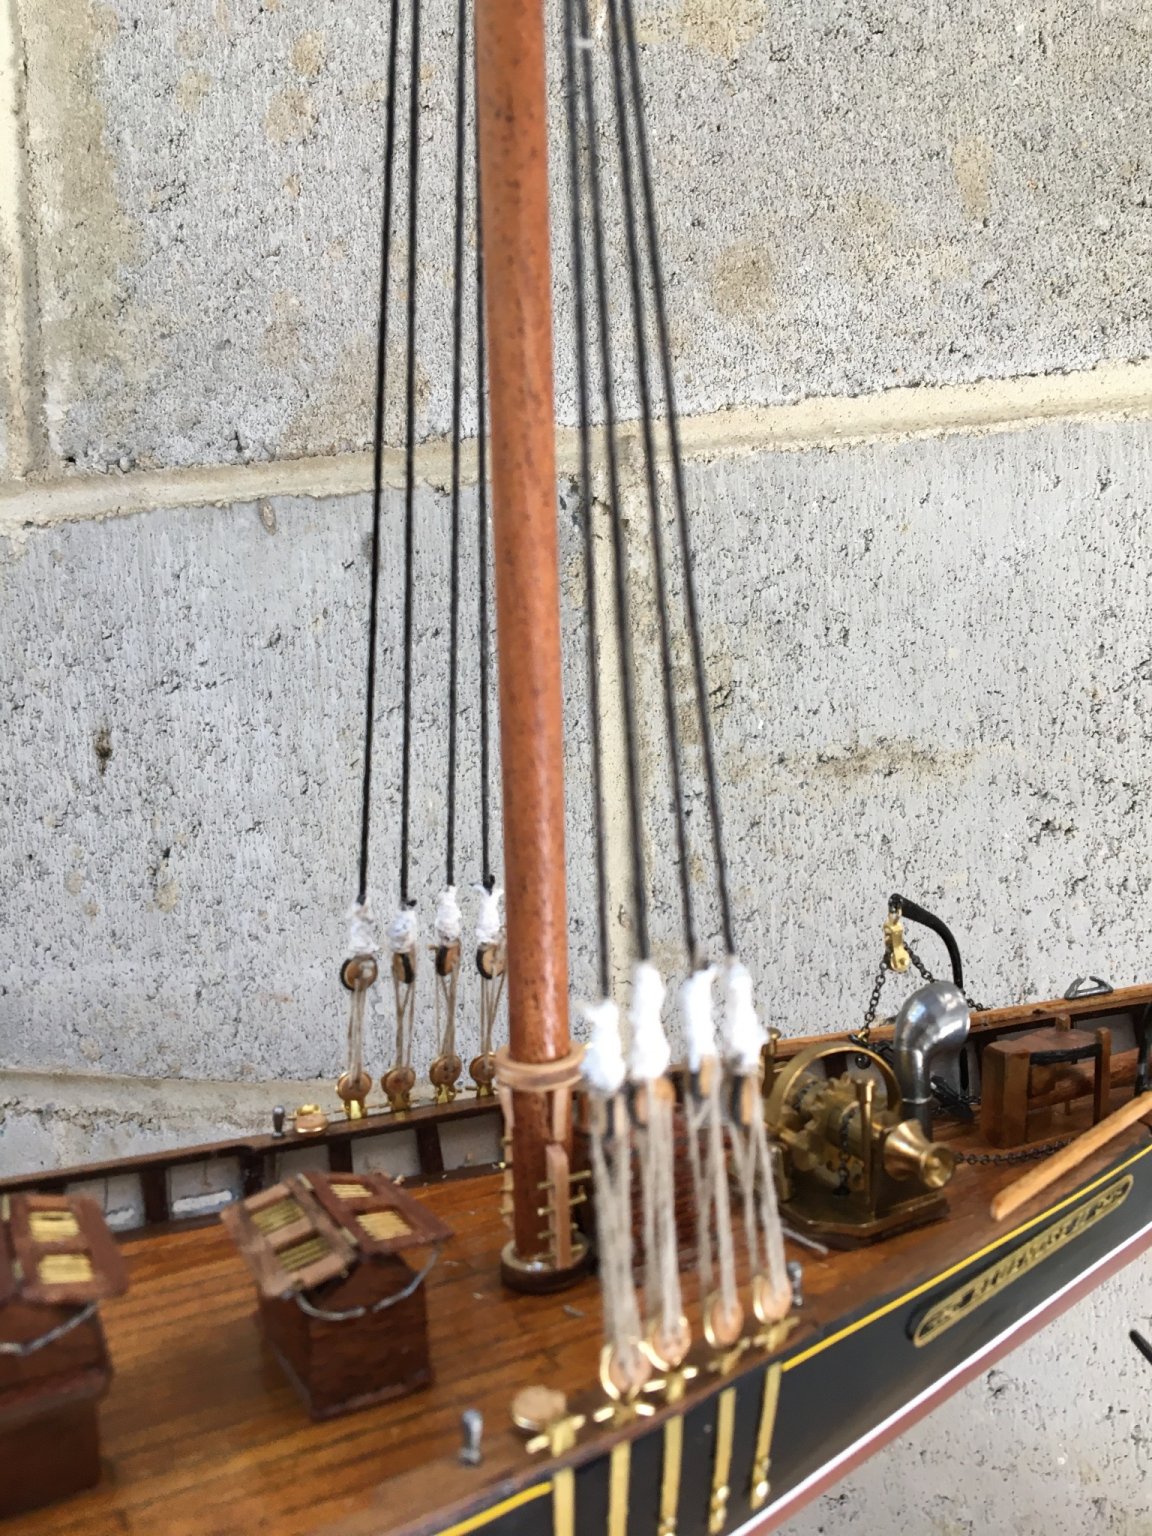
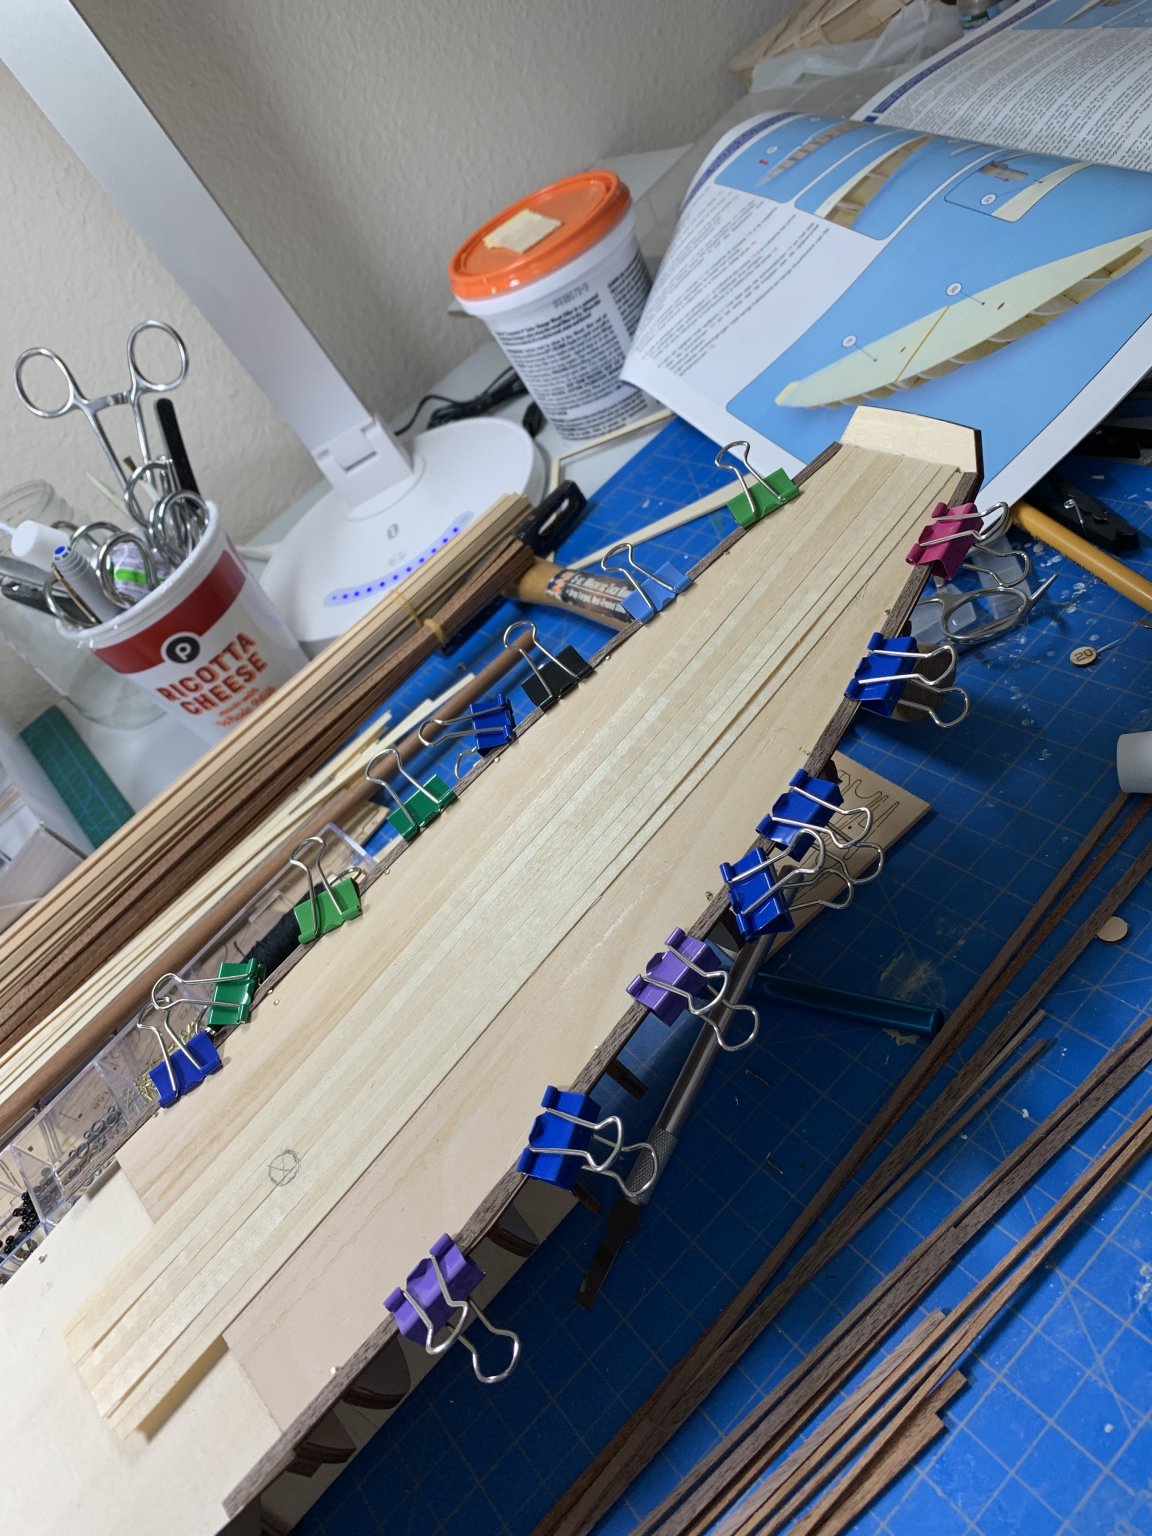
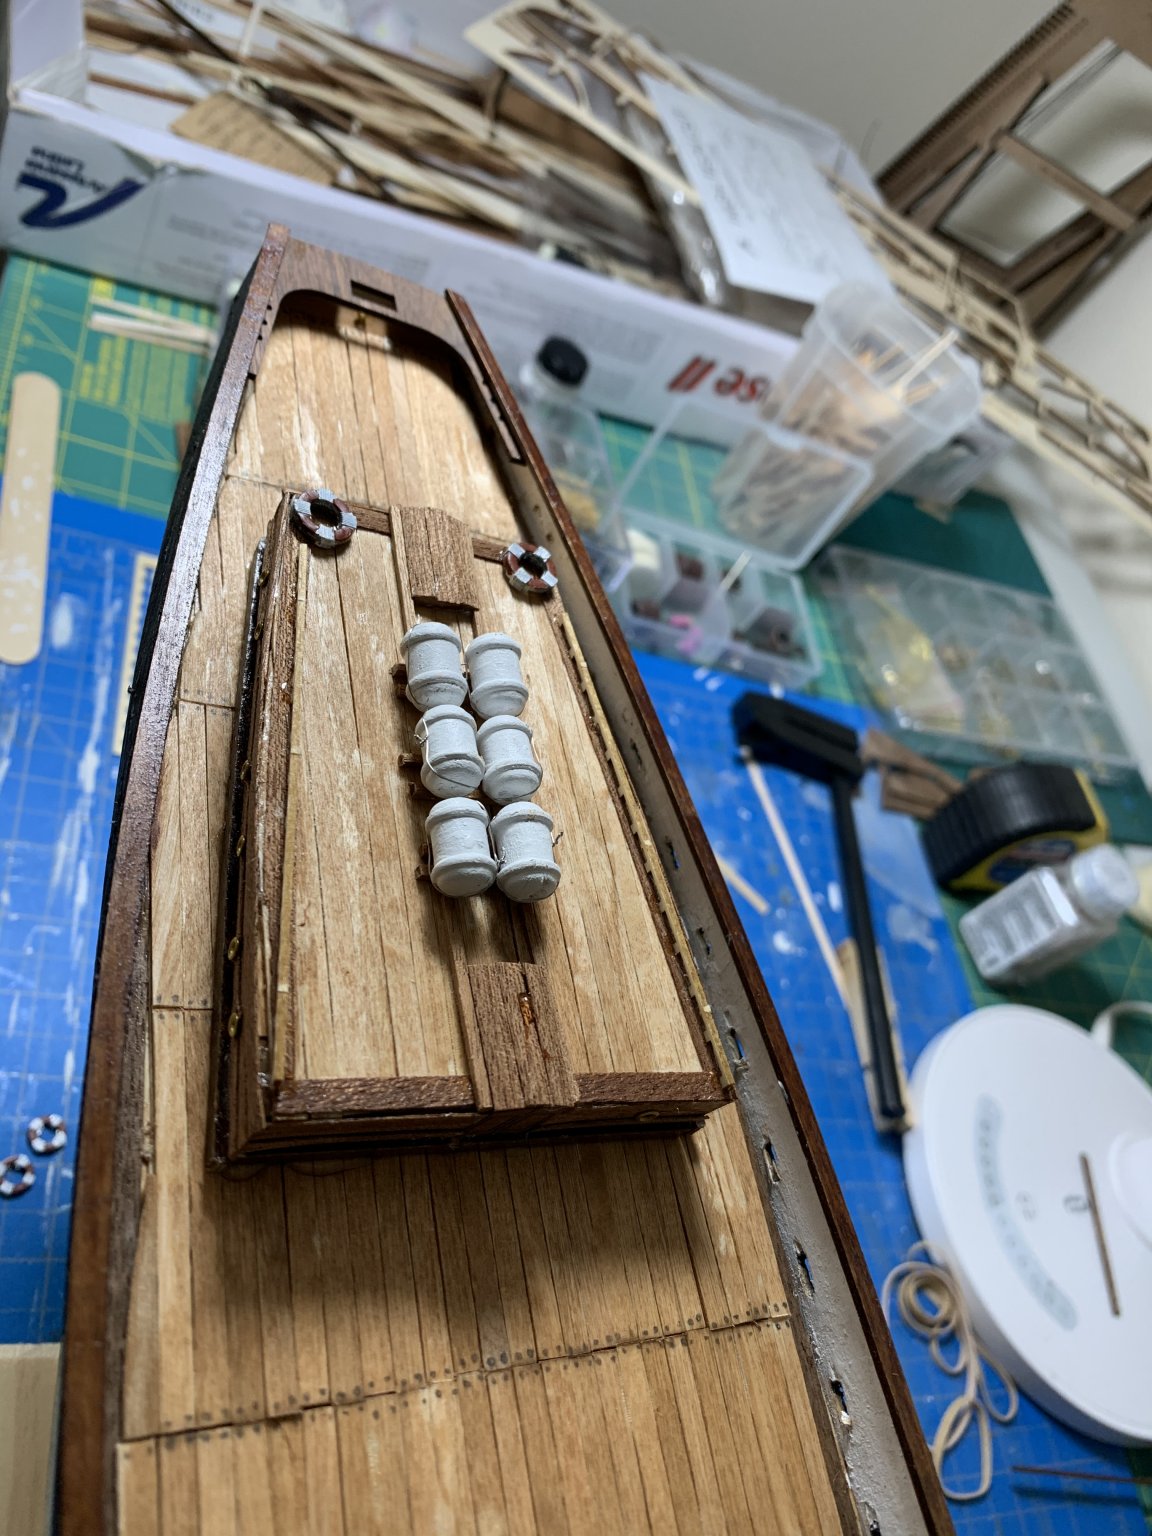
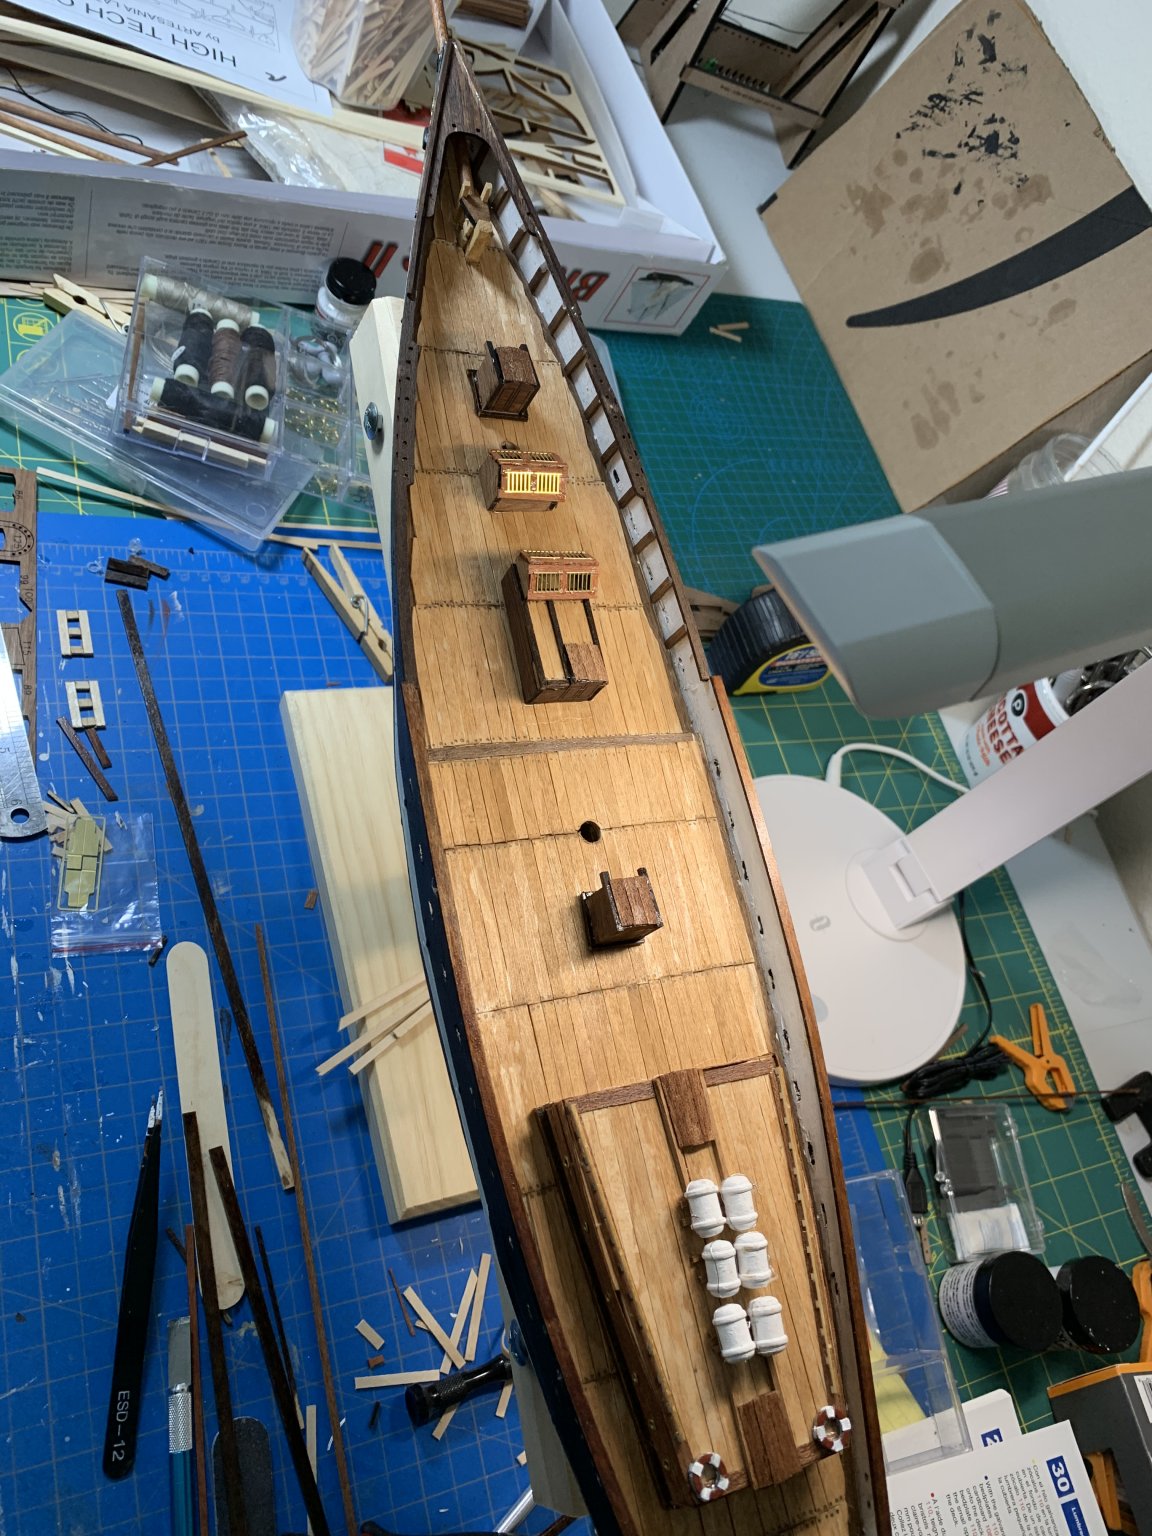
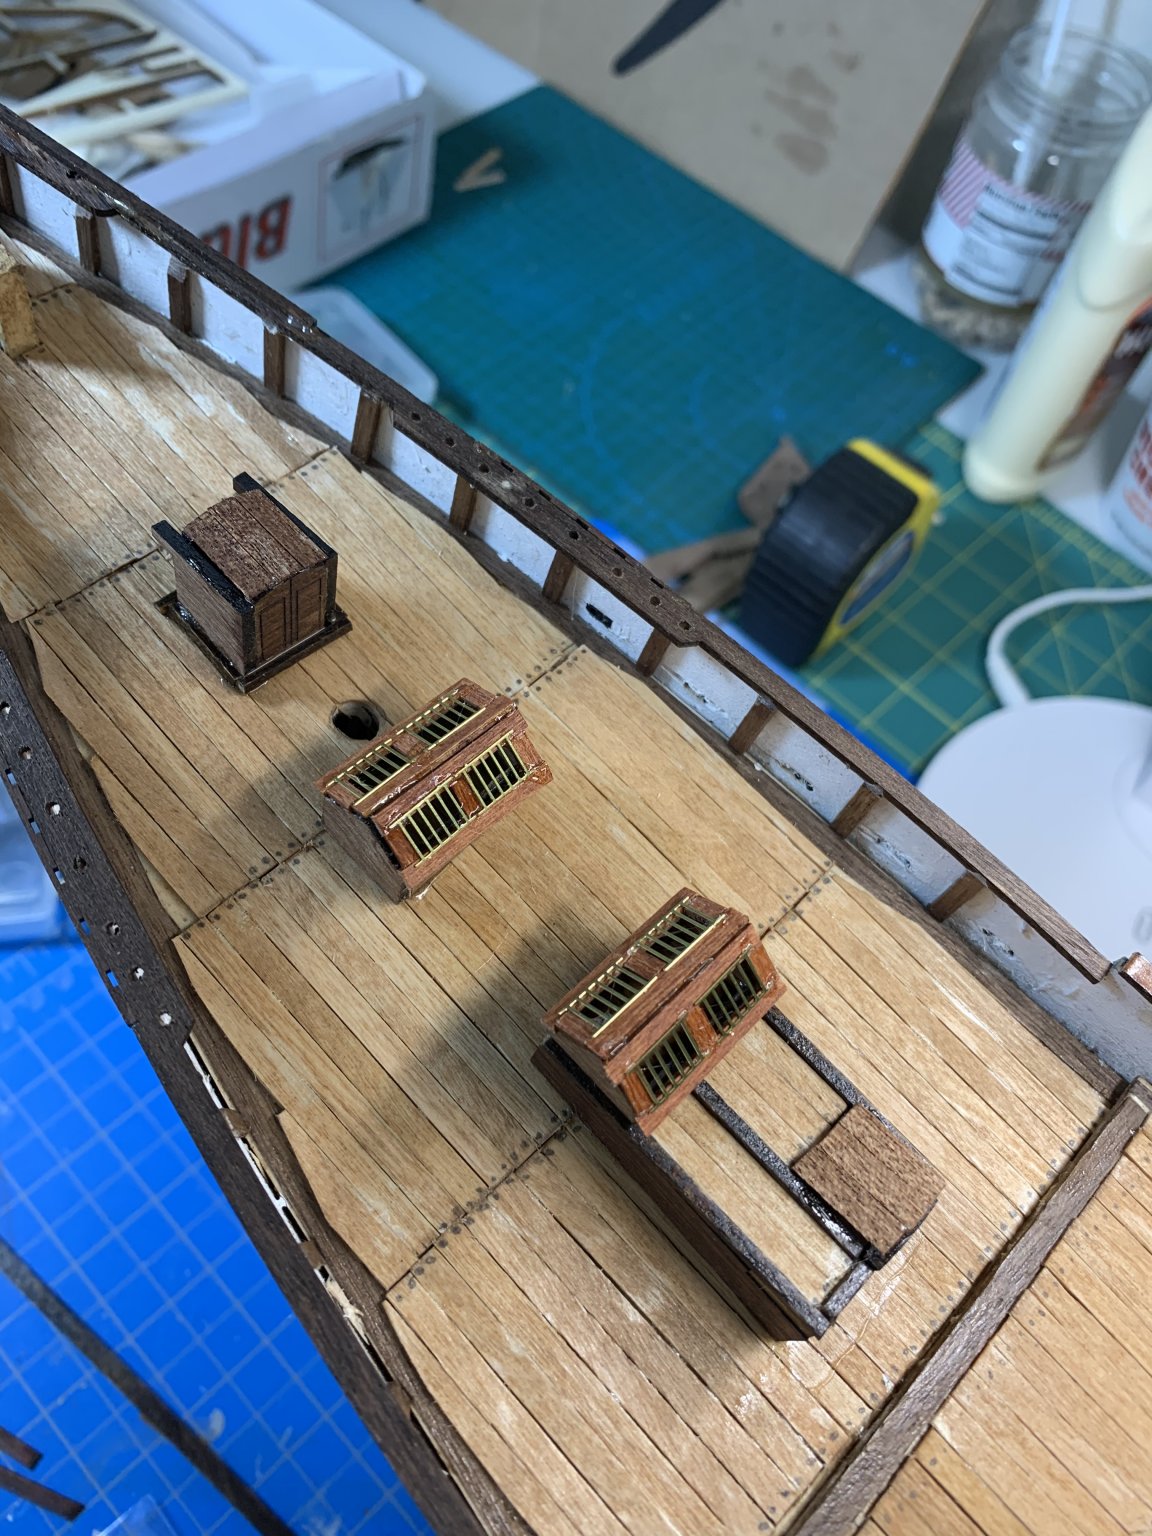
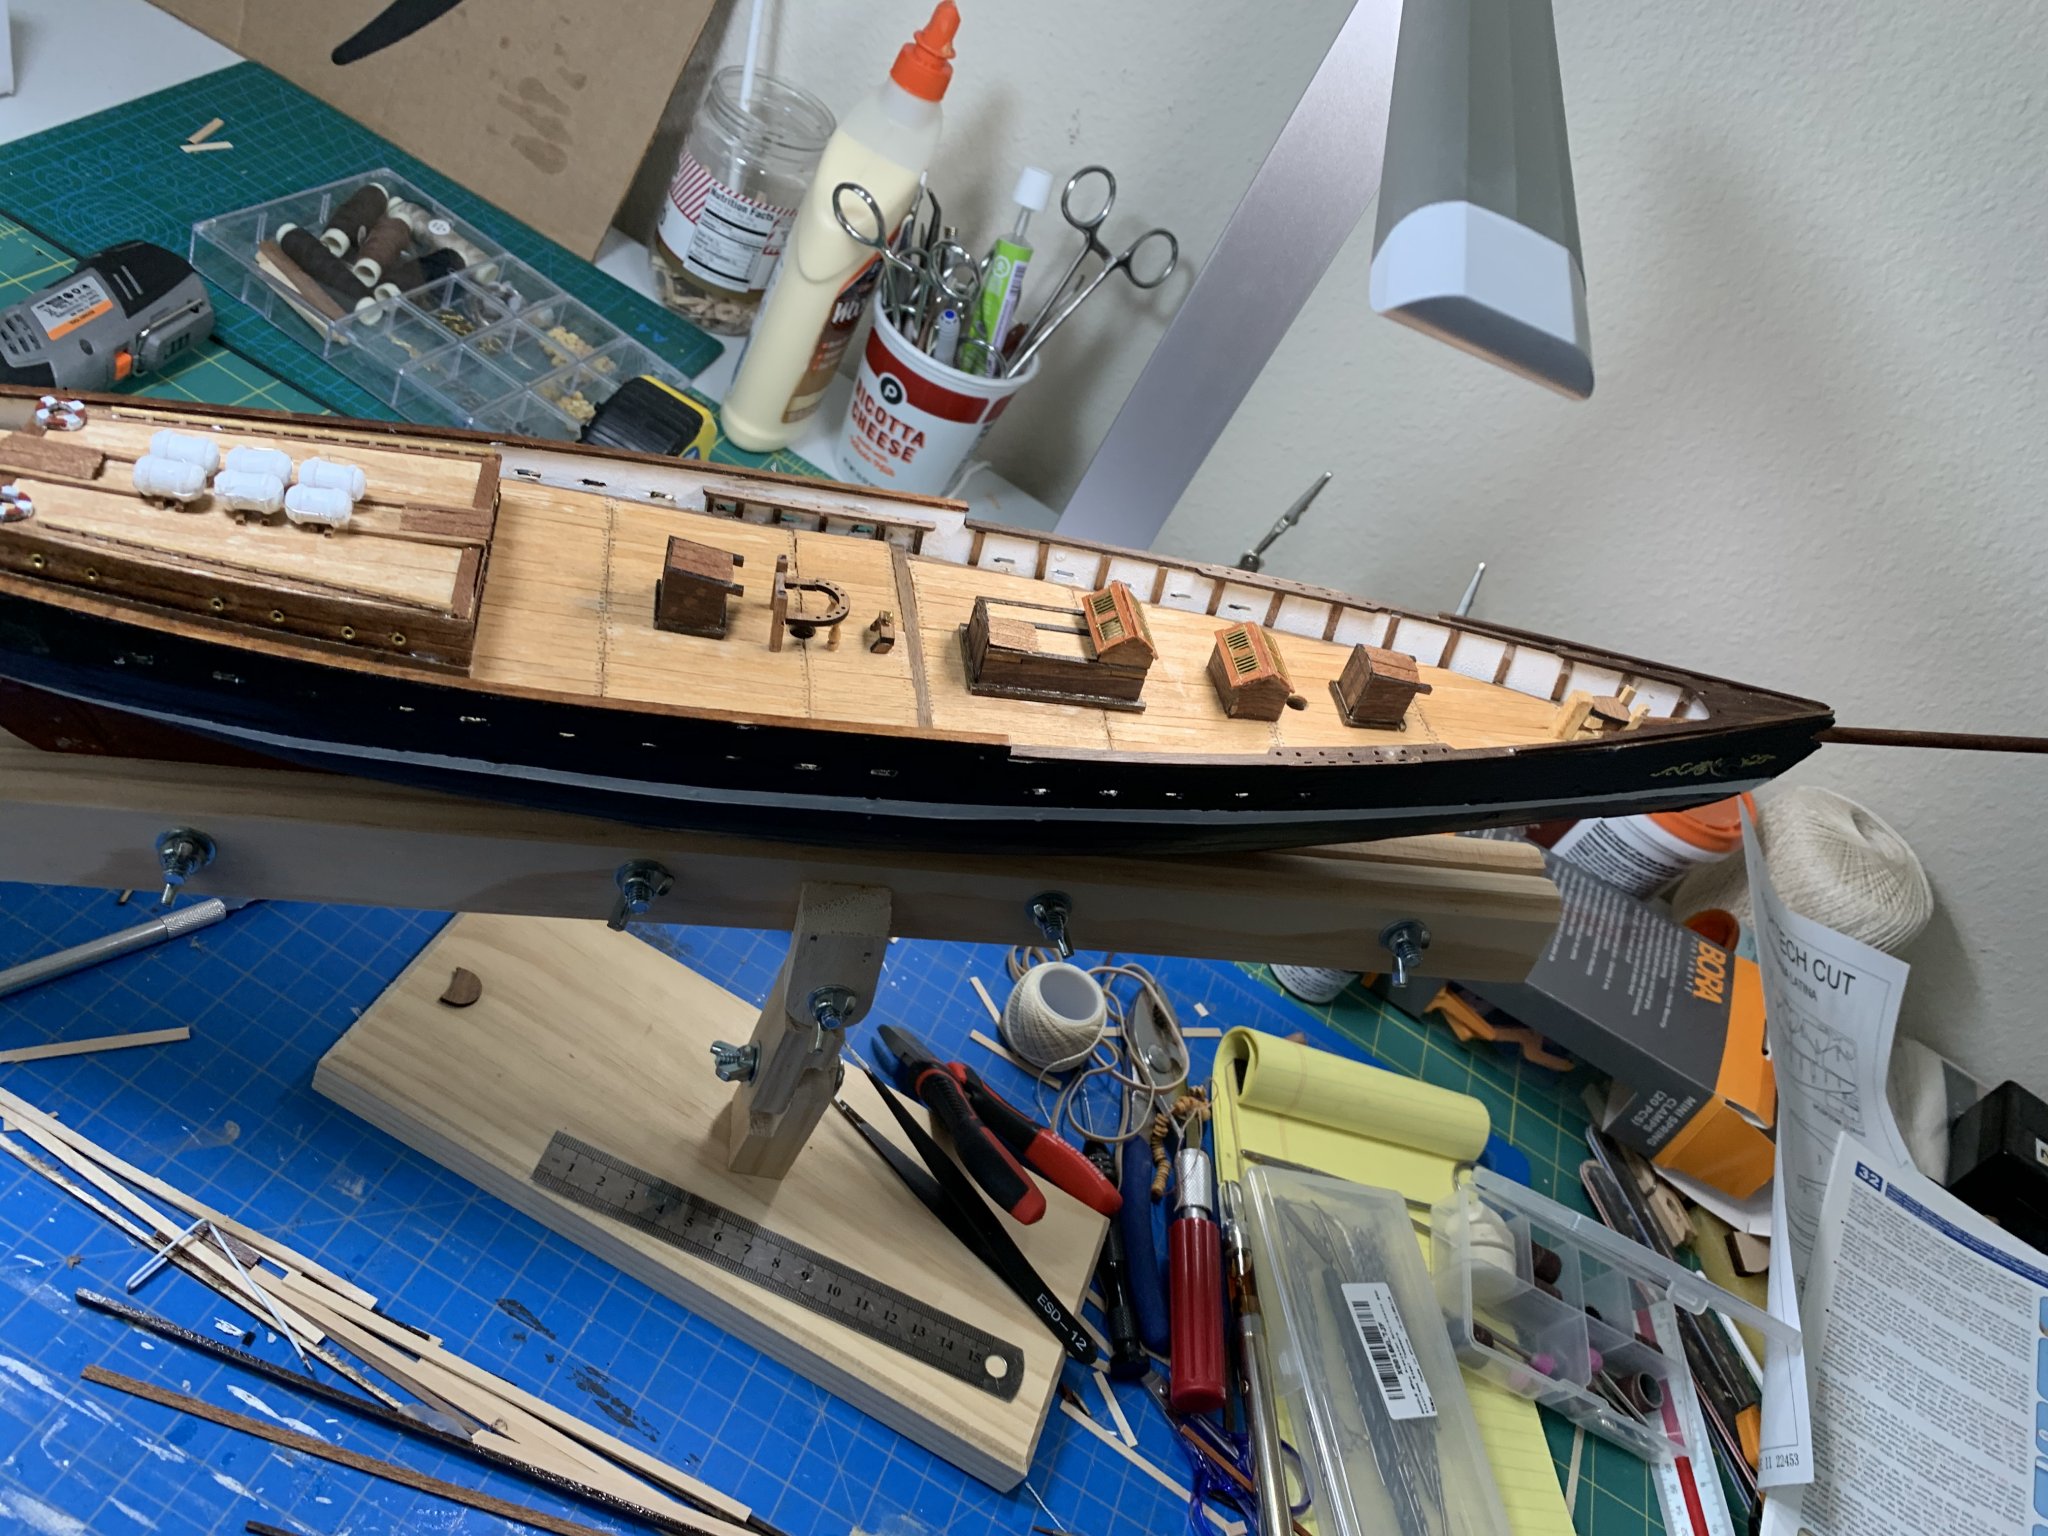
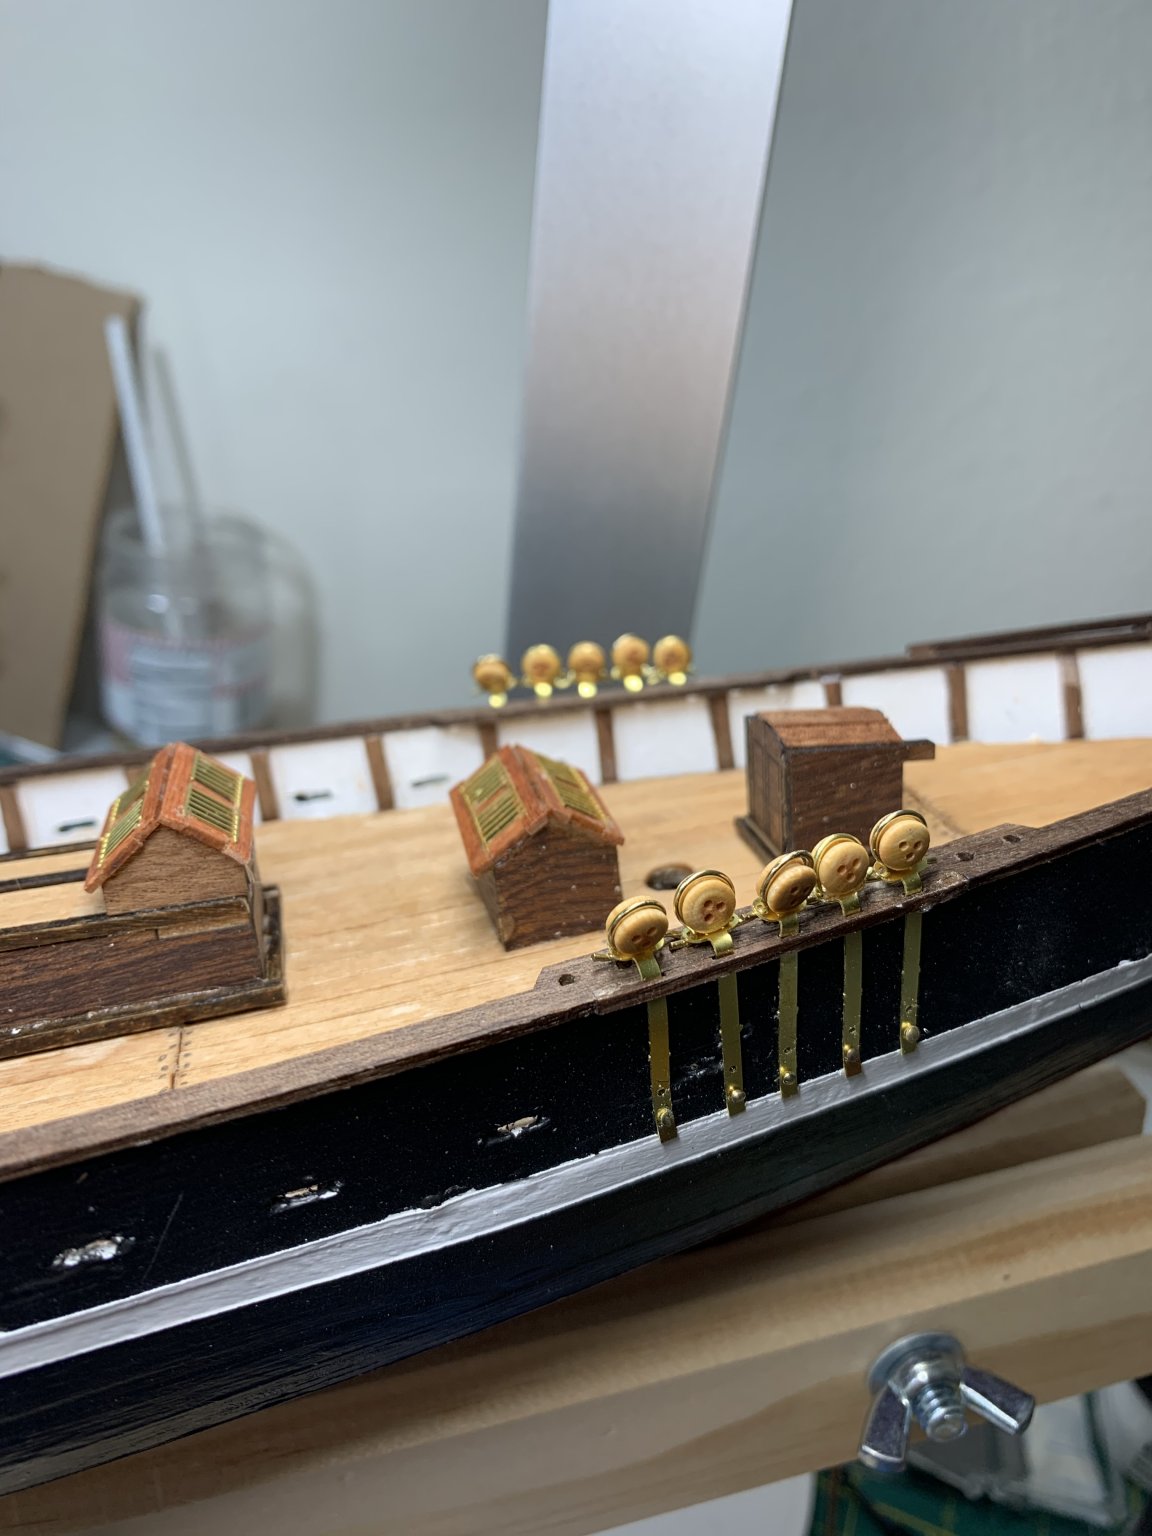
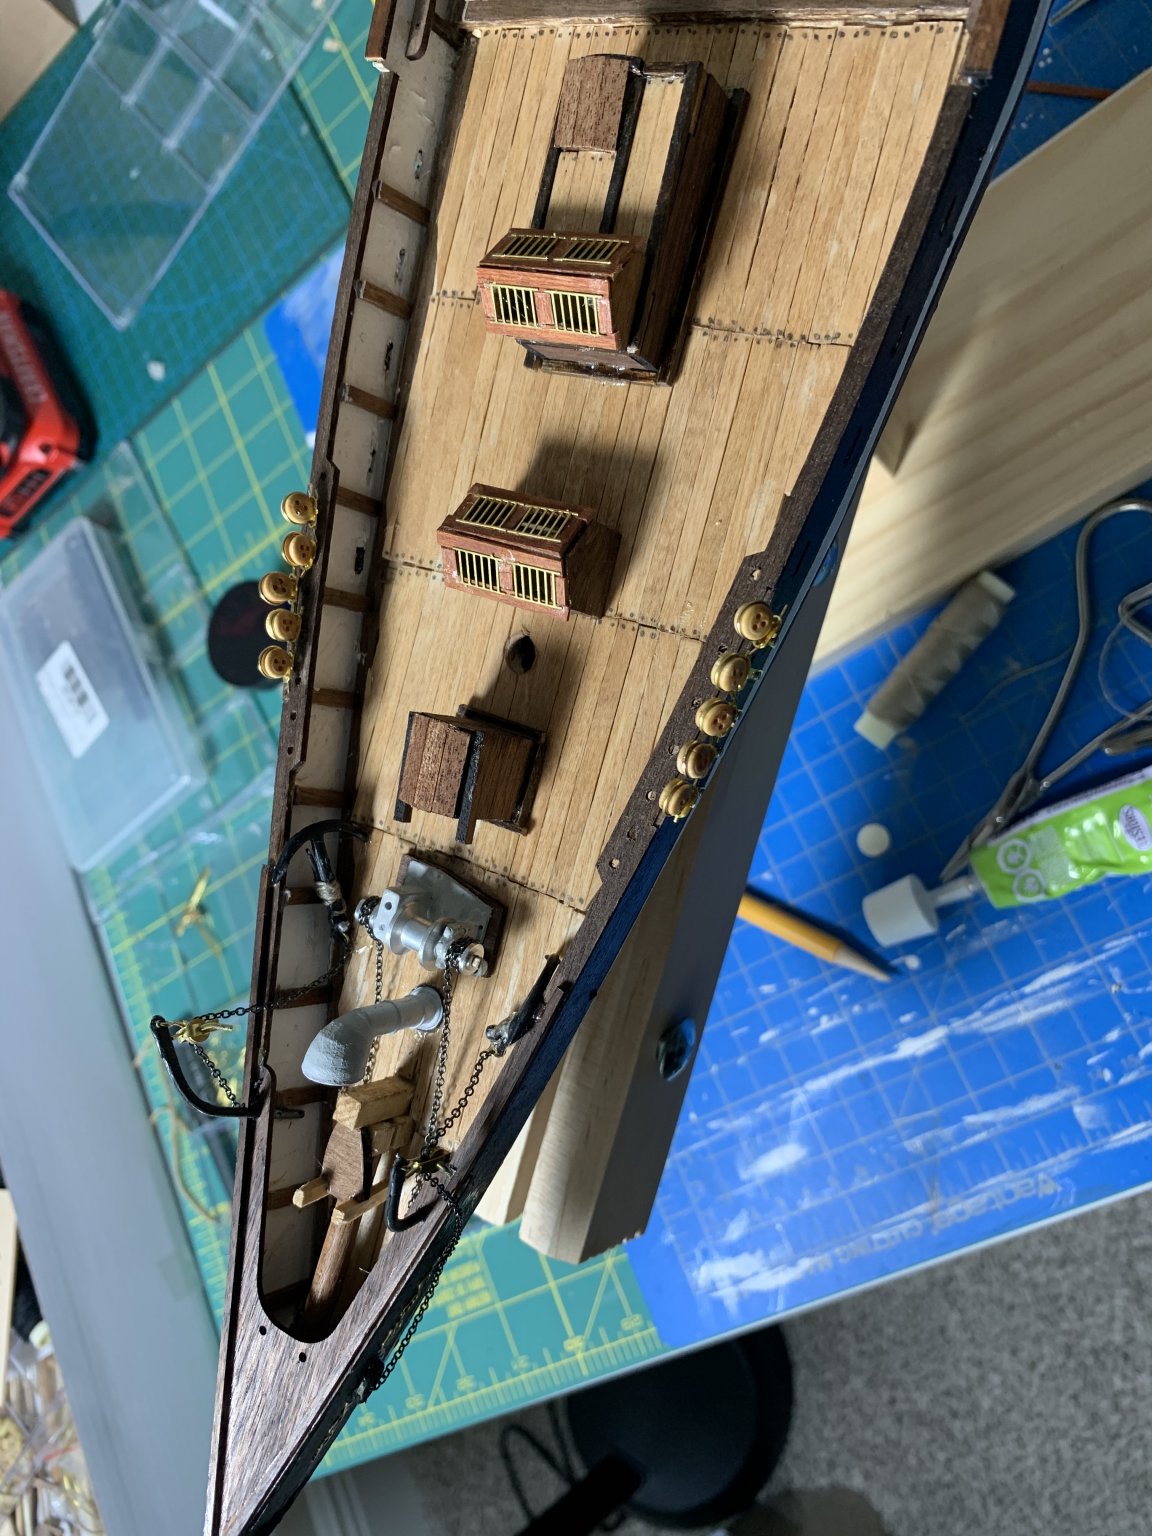
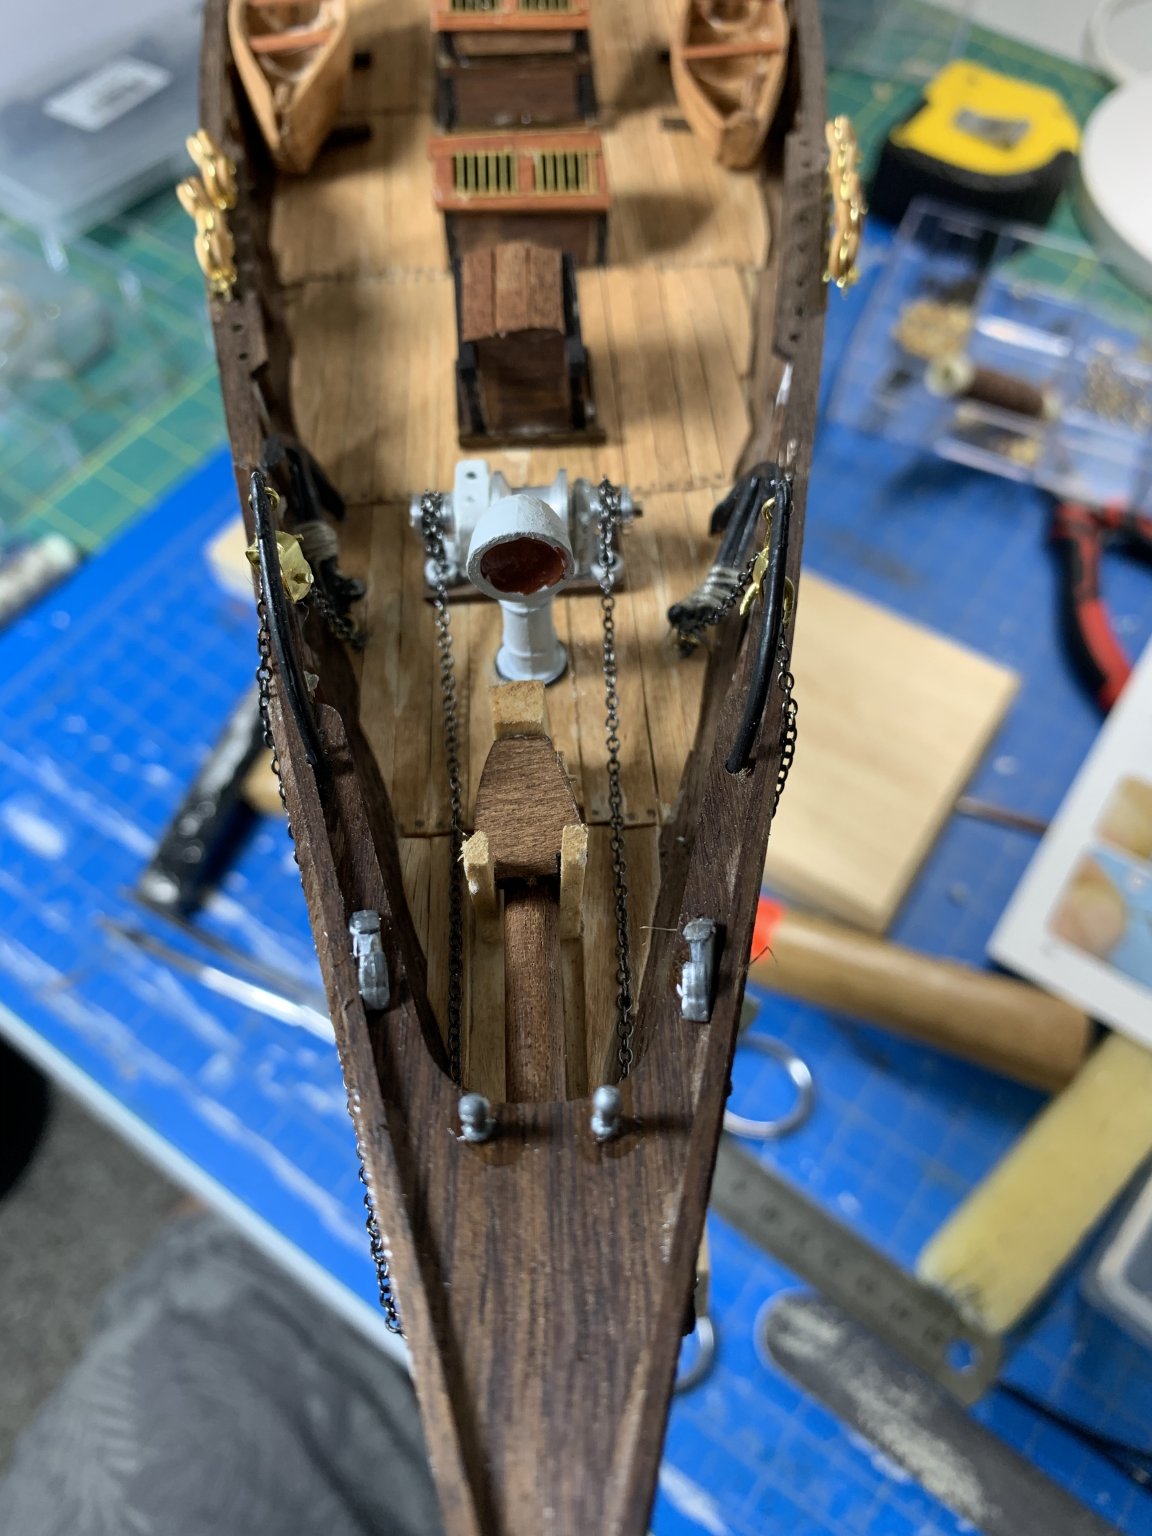
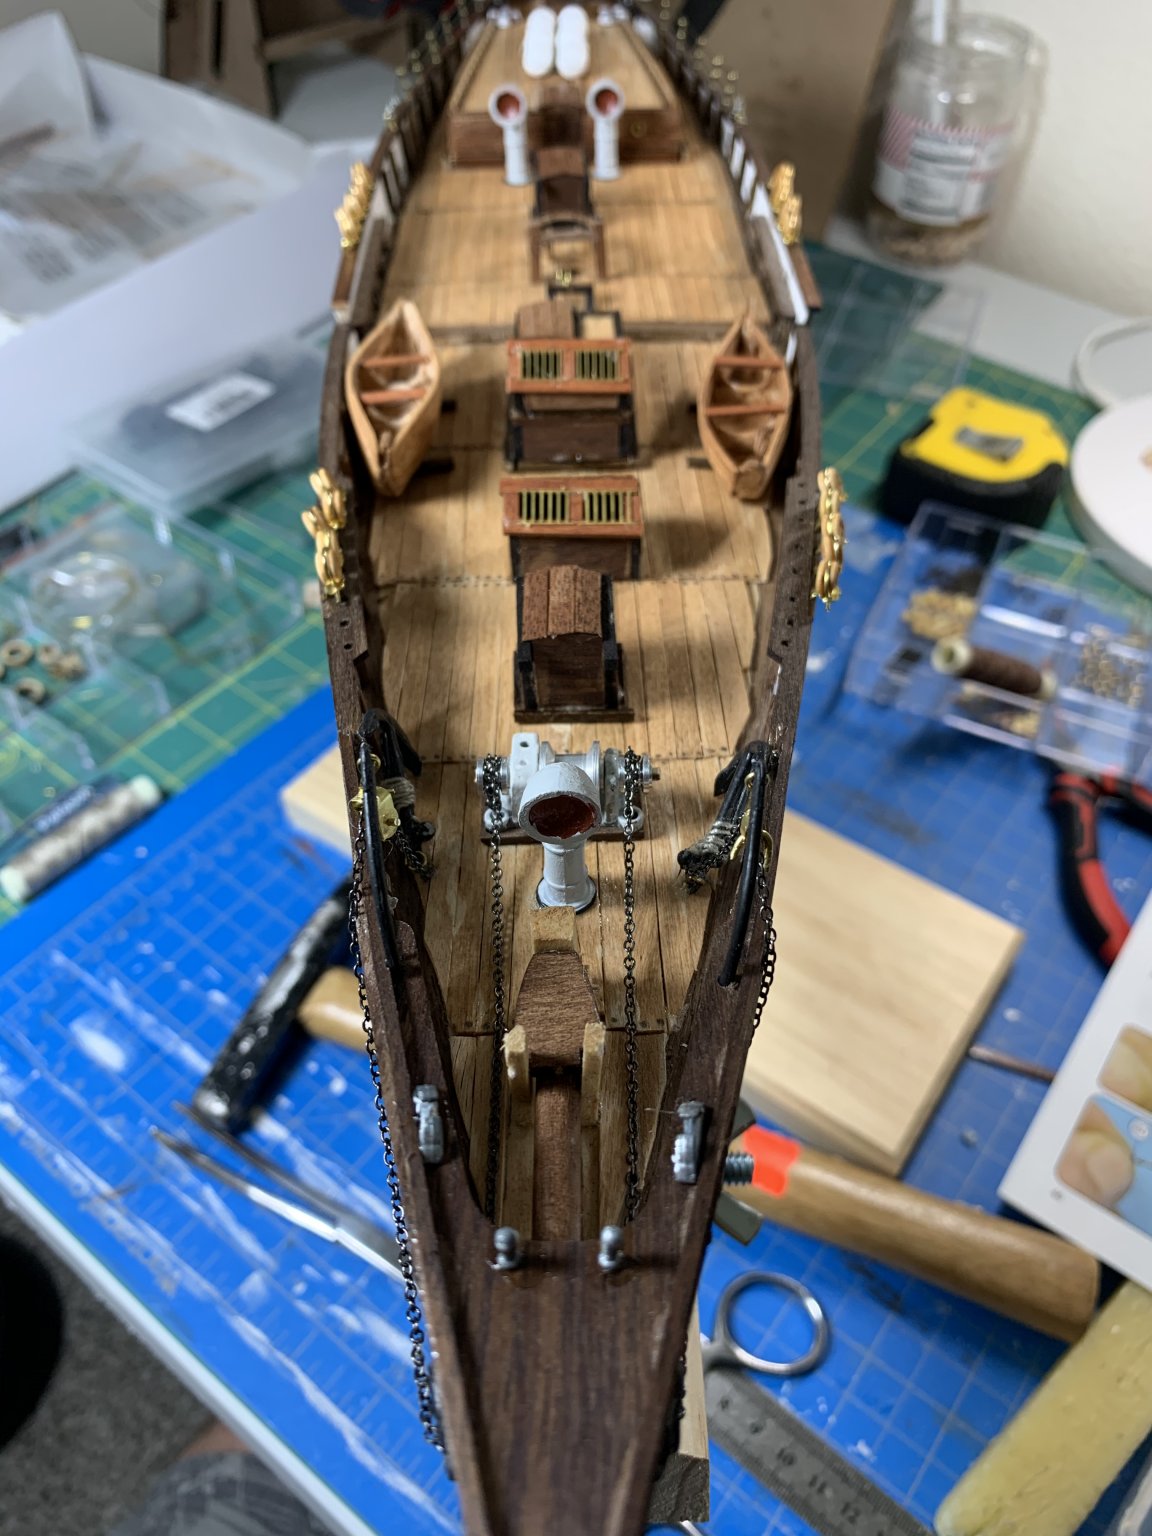
 After building mainly RC models , my first Schooner with rigging etc , quite a challenge , I didn’t want to use nails on the planking and used clips , wood glue on the planking , unfortunately part of the top end Broke away so back to using CA Glue mainly , working on the rigging today . Last week an accident , I was sanding the bow whilst in clamped position , needless to say , the Keel gave away !! Glued it back together again , a bit of sanding and spray paint , I didn’t like the windlass that came with the kit and placed a spare Billing Boats windless I had some where and it is much better , I will keep it in Brass so much neater , also I have one anchor in stow position the starboard one just hanging .
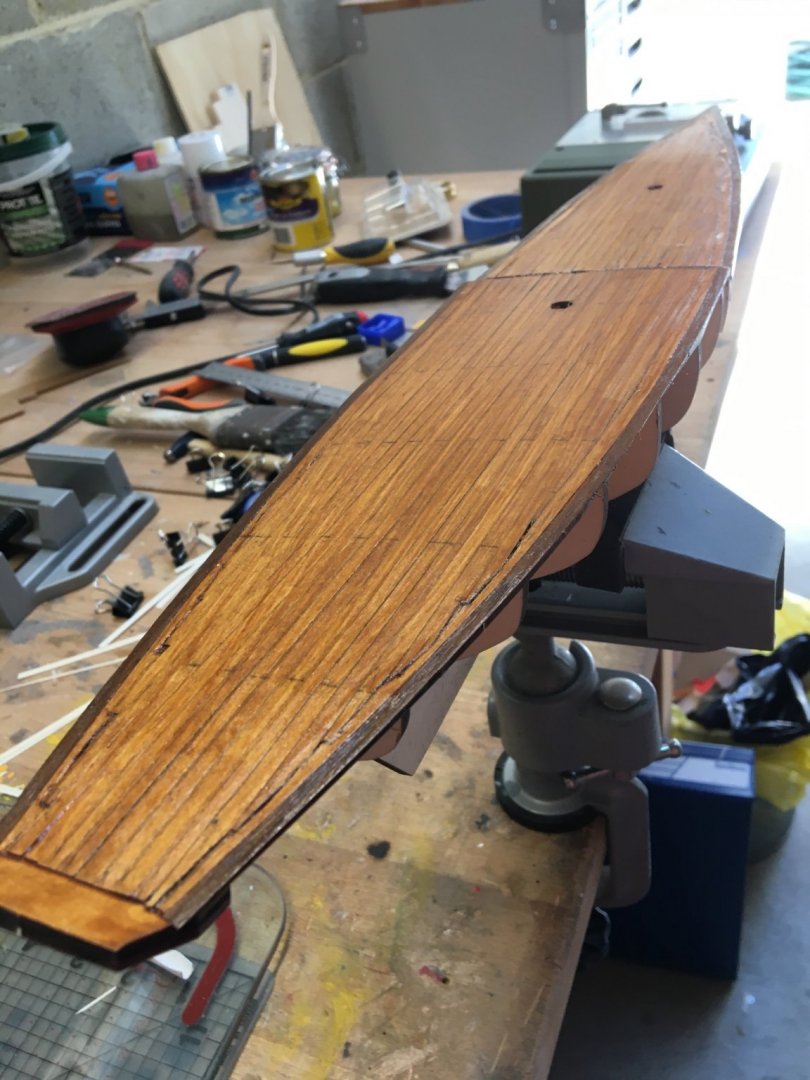


-
 New to this site and not sure if this is how to start a build log. If I'm doing something wrong please advise me for future postings. Below are pictures of my progress so far. Slow but sure as I have never built a wooden model before. I do have a question regarding the bow. Do I file the front supports down to the shape of the ship or are they needed in future? Pic's in instructions doesn't show what to do.

- 3 replies
-
- 3
-
-
- Artesania Latina
- Bluenose II
- (and 1 more)
-
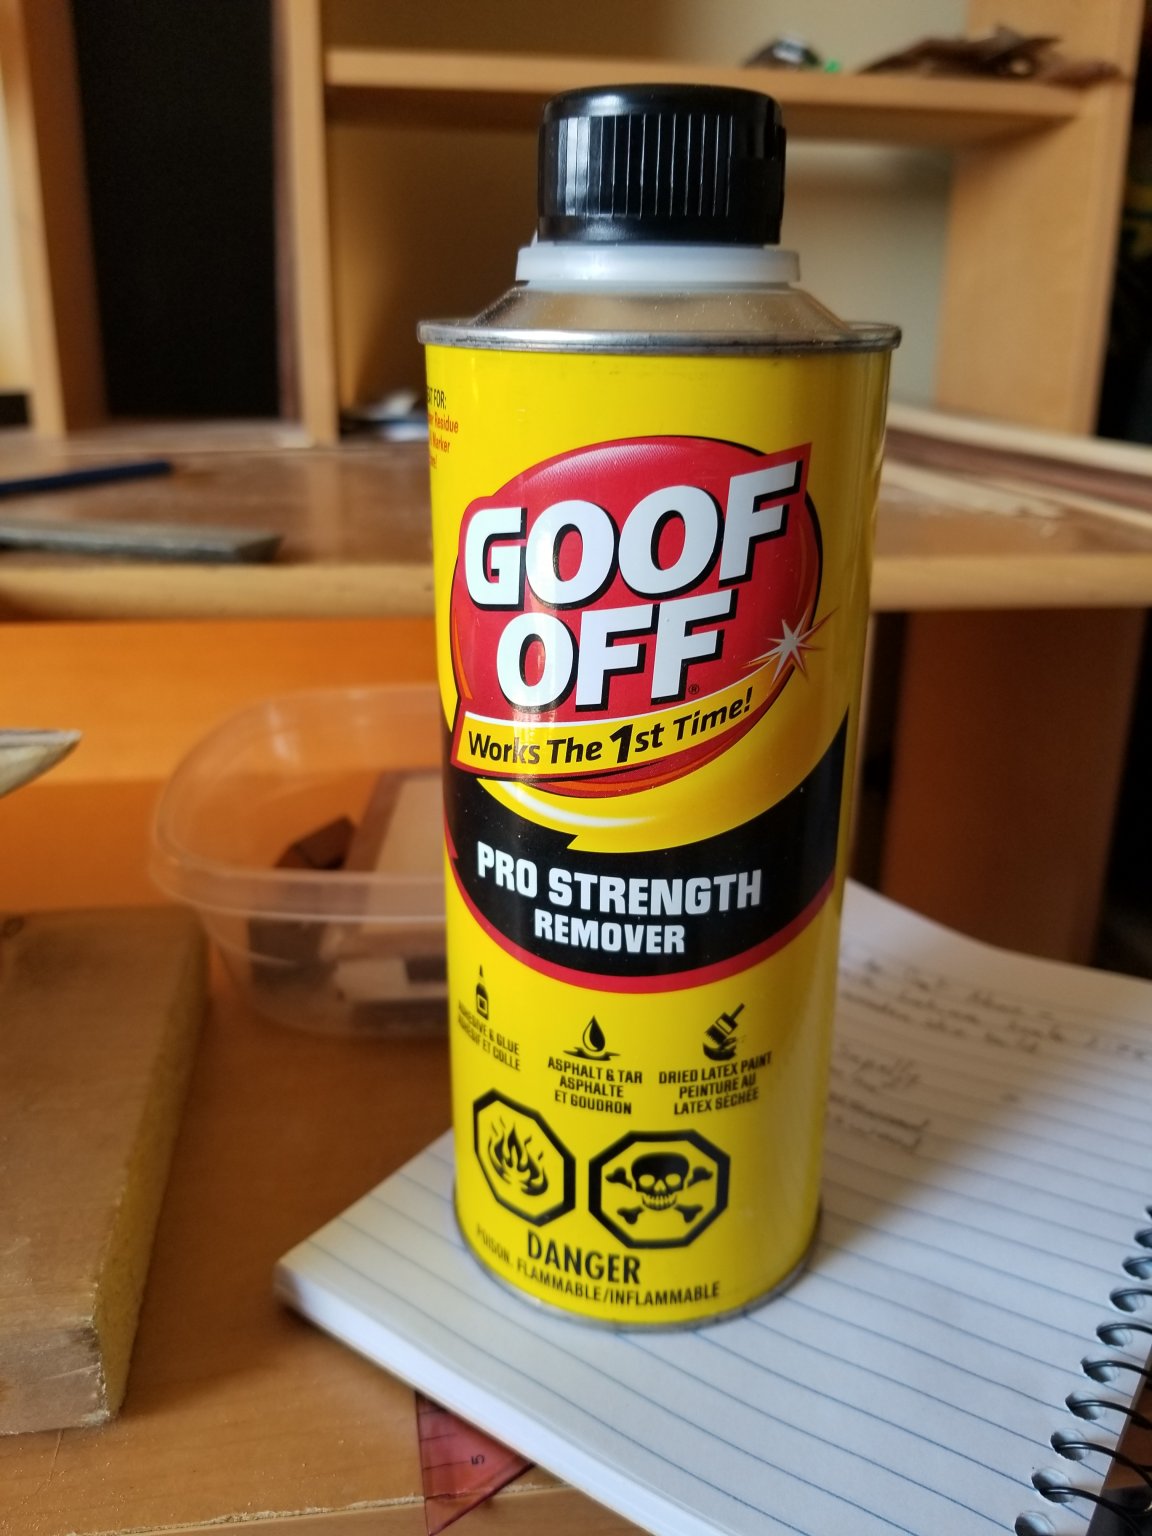
Ahoy all! As was mentioned to me and most new builders, I'm here starting a log of my build. I've already had a few "bloopers" and had to do a hard reset as I wasn't happy with the results. I had the decks on and planked so I hit it with good off (perfect name for a product) to unglue things. It did the trick... didn't work on the nails tho.


- 14 replies
-
- 2
-
-
- bluenose ii
- artesania latina
- (and 1 more)
-
 Artesanía Latina Bluenose II. Started May 10th 2020 Finished Sept 6th 2020. This is my third Build with Artesania Latina and really the first one that i have really taken my time with. With a little advice i went ahead and painted the hull of her actual colors but left the rest as the model showed for the wood. I like to stain my deck using minimax and in this case it was Ipswich Pine. I also used different wood for the deck vs the wood that came with the kit. Excellent Build.


-
- 1
-
-
- finished
- bluenose ii
- (and 1 more)
-
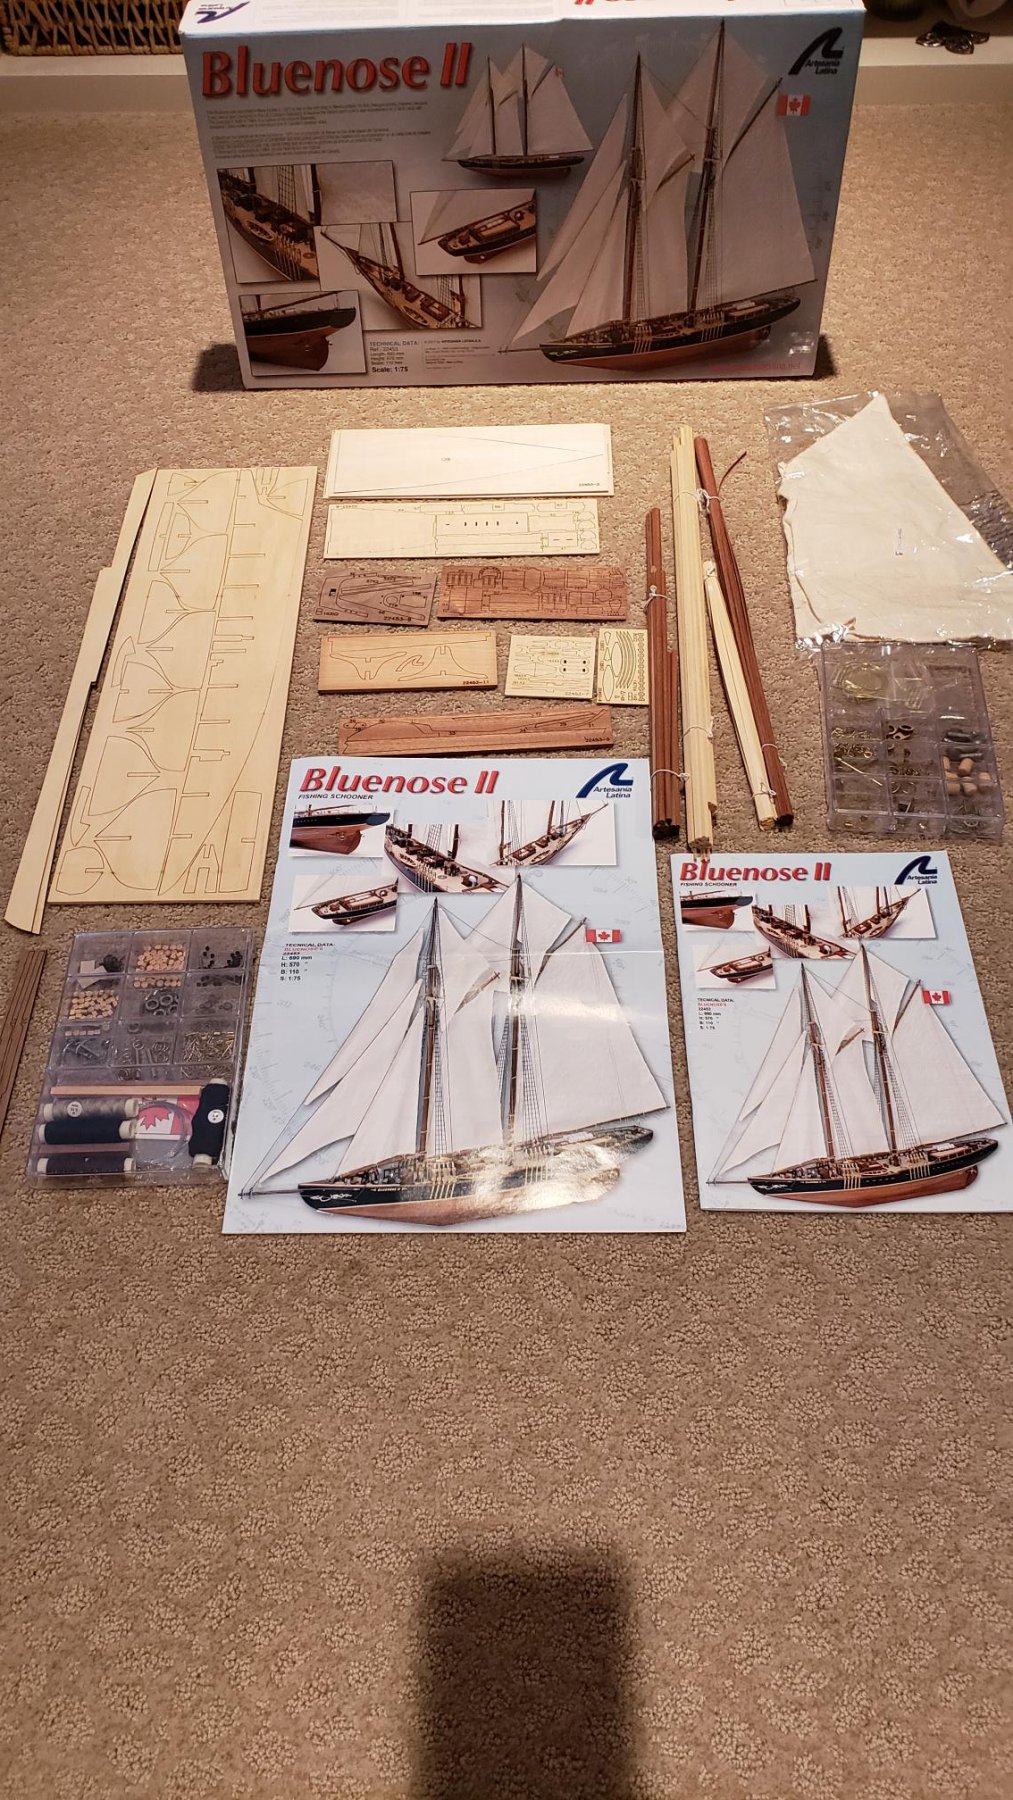
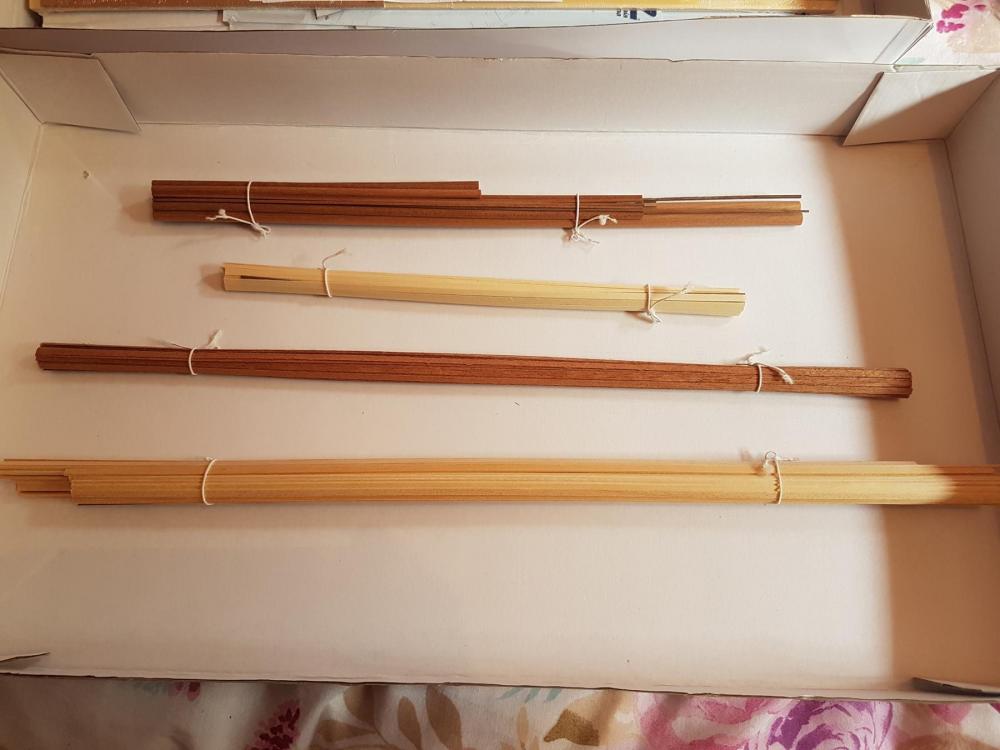
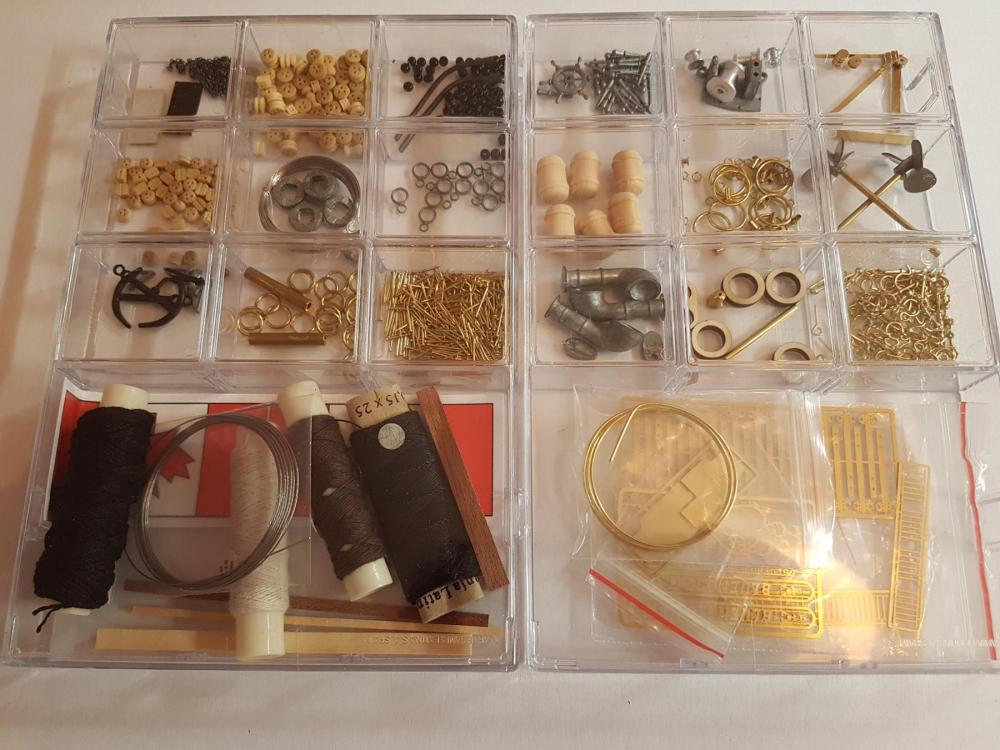
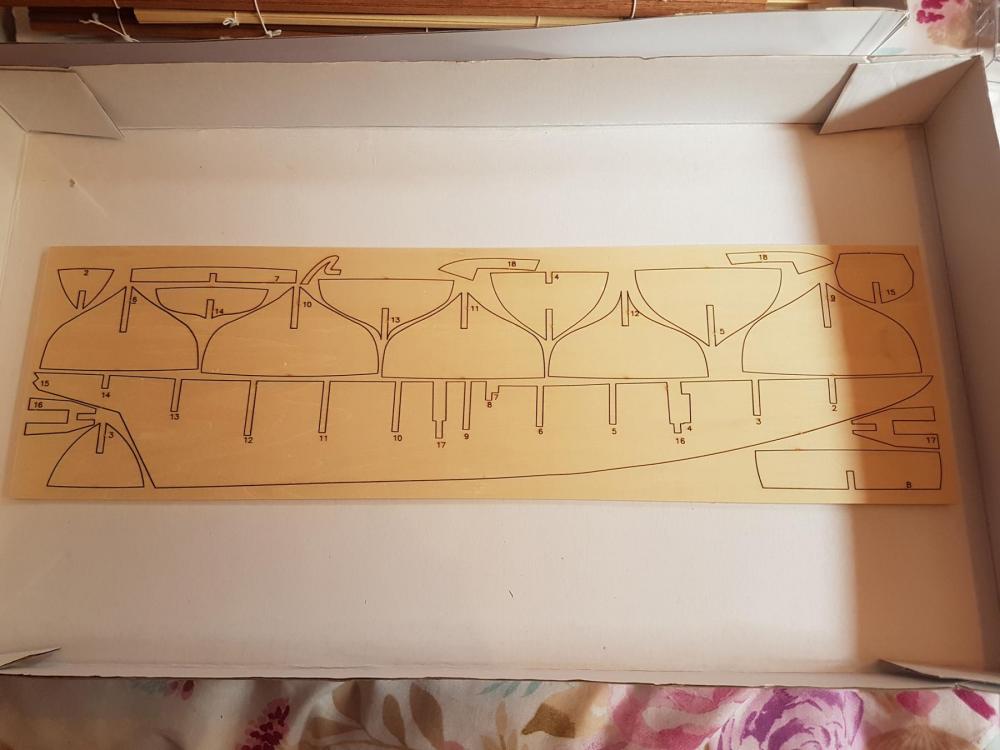
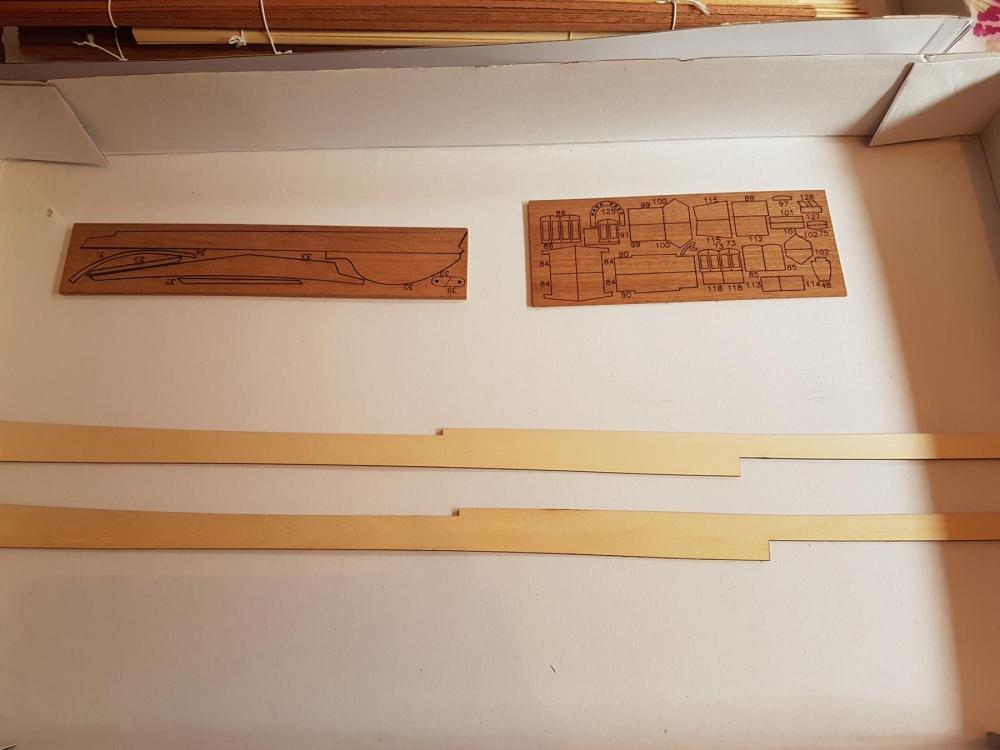
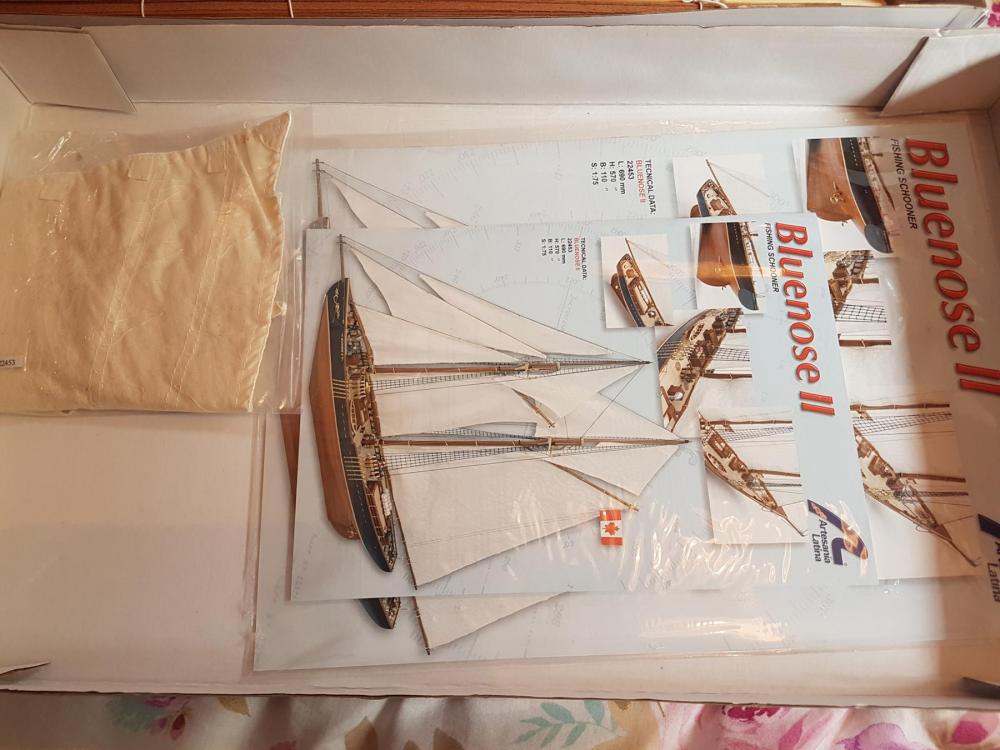
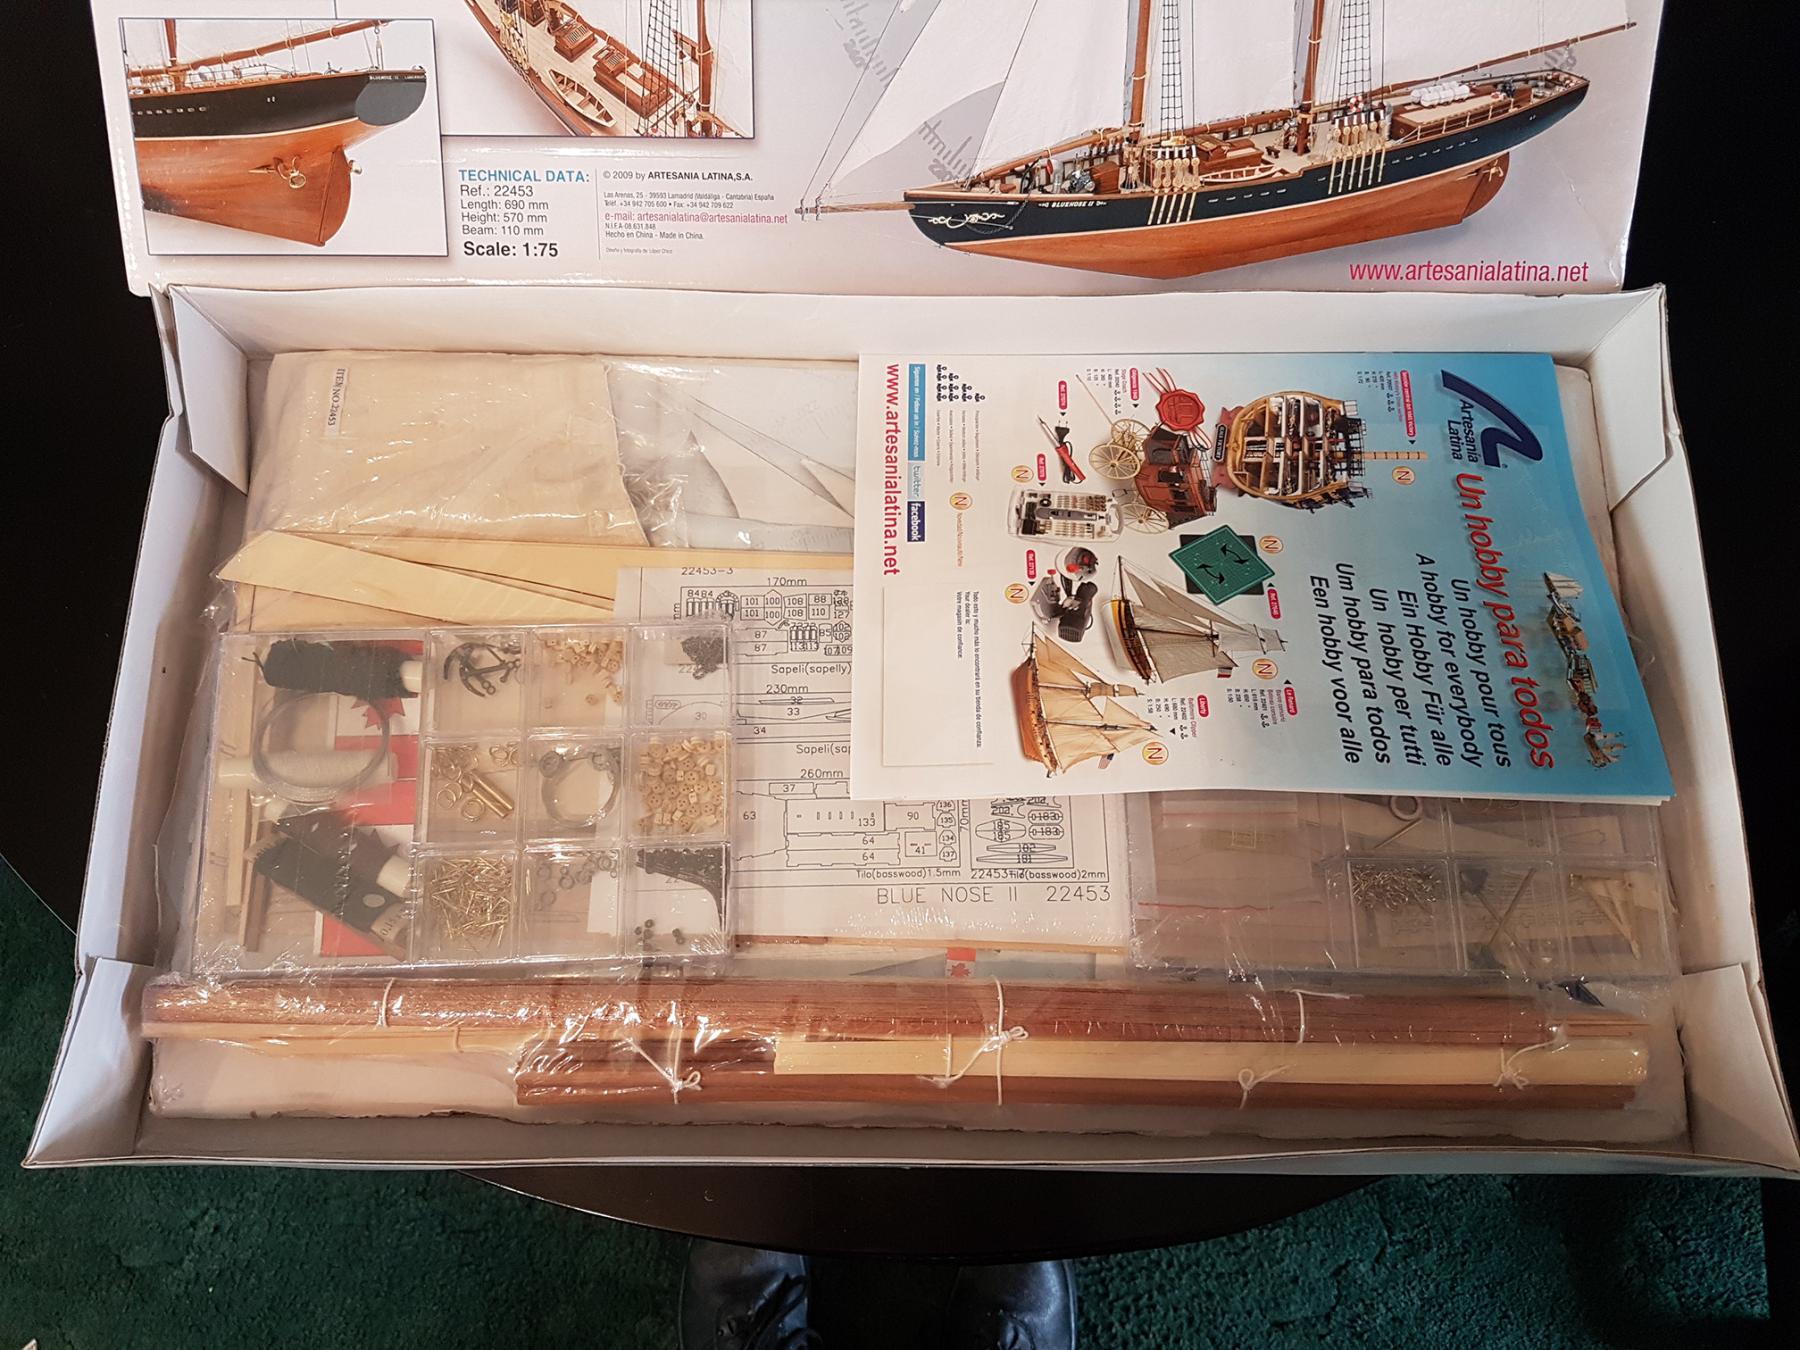
 Hello. I will be working on this one whilst I collect parts for my SotS build. I picked this one as I wanted something smaller that I can build right through from start to finish in one go, and for a change of type, something a little different from the gunships I tend to favour. I like the hull configuration on the Bluenose, I find it quite an interesting design. That and the lack of beams makes it easier to find somewhere to display it when it is finished. I know there are few other Bluenose builds on here already, both I and II, so I hope I don't bore too much. I ordered the kit from AL as I find their quality fairly consistent, and their instructions are more to my liking than simple plans/text based. Although I was disappointed in the lack of plan sheets with this kit. My only issue with AL, is I have yet to receive a kit with a straight and true keel piece(s). And this one was no exception. As ever with AL, everything was nicely packaged, along with plastic cases for the fittings which come in handy post build. Getting quite a collection of those now. Anyway, pics of the contents. Back soon
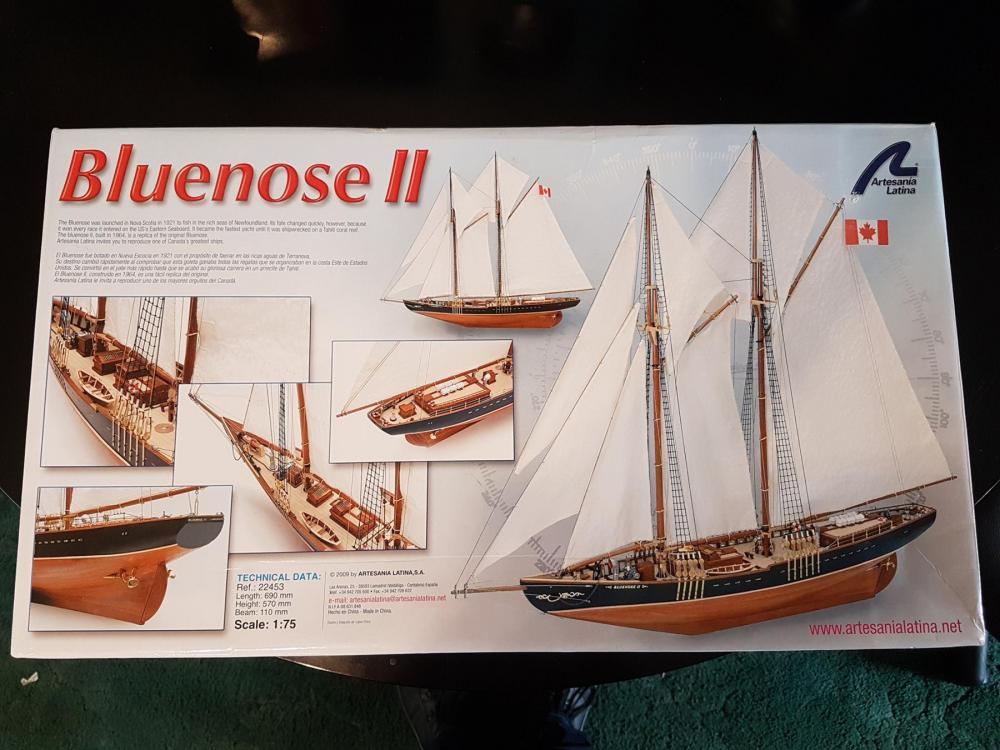


-
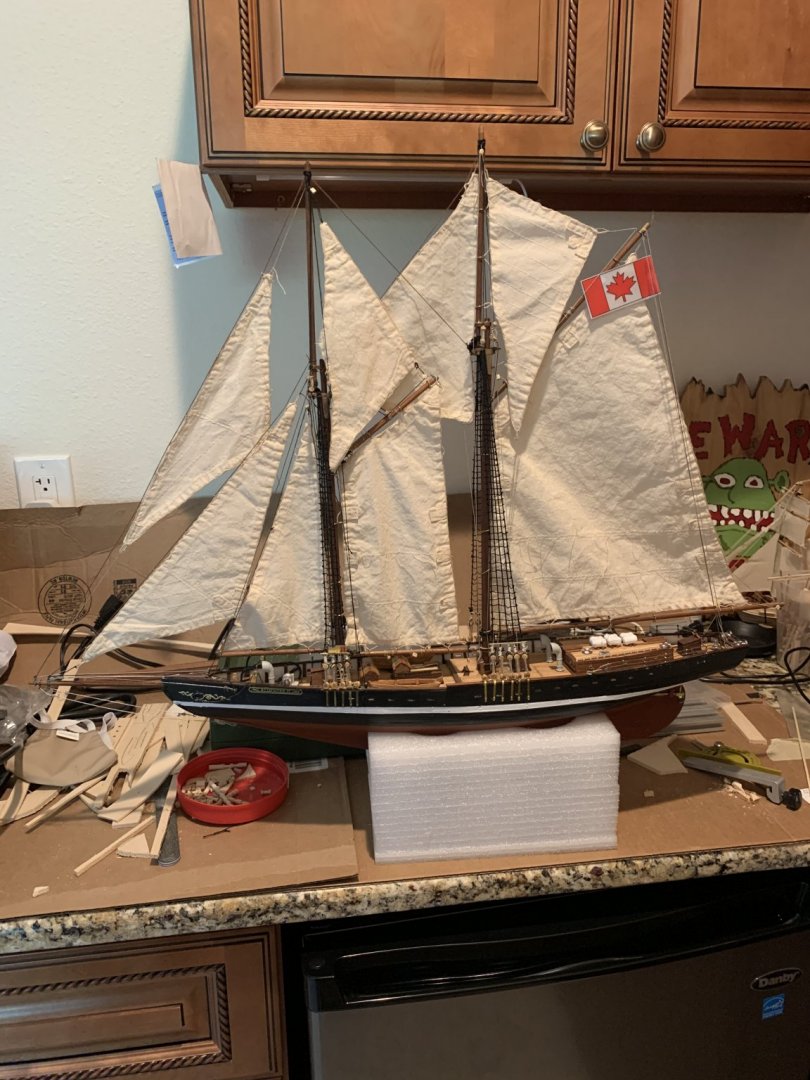
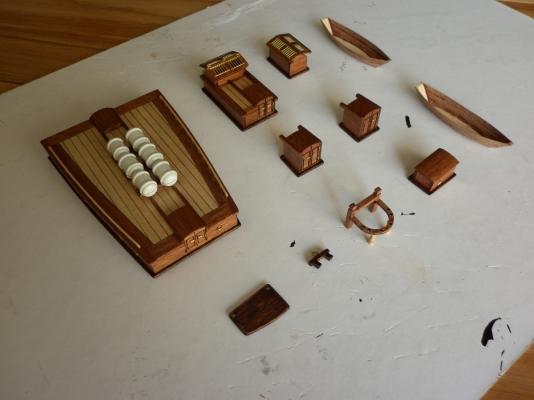
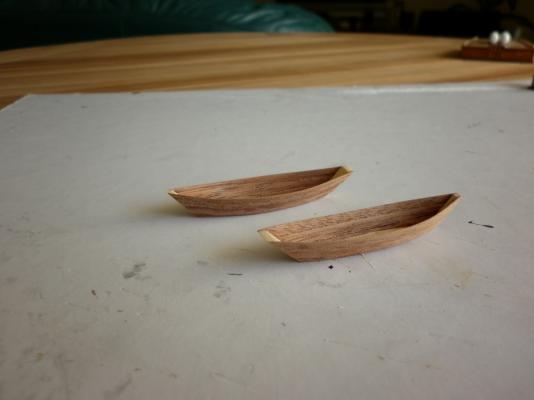
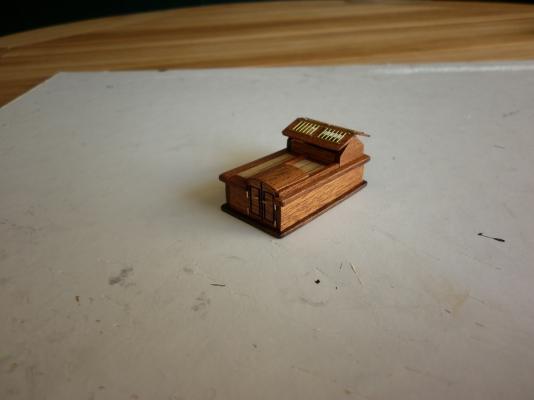
 Hello All, I have just become a member and am already half way through my second build, Bluenose II. I have already built the Juan Sebastian Elcano and now I'm building this kit to gain more experience before I go for a more challenging project, maybe the HMS Victory 1:72 scale. From what I have seen in this forum I am sure I will learn a lot. I haven't kept any photos of my work in progress for the Bluenose so I uploaded a few images showing what I have finished up to now. I will upload more images as I go along and probably put forward a few (maybe a lot) questions. I will appreciate any comments and hints where I can improve. Hull and deck finished, painted and varnished. Bowsprit fitted as well. Have prepared most of the cabins, etc to go on deck. Stern Cabin Central mess room Now finishing the boats to go on deck. Thanking you for all the support which I'm sure I will receive Regards Robert


- 66 replies
-
- 9
-
-
- bluenose ii
- artesania latina
- (and 1 more)
-
 Well here goes and wish me luck. My first wood kit build ever. by looking through all the Bluenose 2 builds there's a 30% chance I will finish it. 😂 Anyways, off to a rough start. I opened the box and even after all the research I did prior to purchasing, I was extremely overwhelmed. This was way smaller and more detailed than I could have imagined. There seemed to be a slight bend on the keel when I first looked at it. I hoped it would correct once the bulkheads and false deck where added, I was wrong. looking closer at the keel and after more reading. It looks like it has a small twist as well, which is really scaring me. I had the bulkheads and false deck on and then realized all this. So I ended up disassembling everything. the keel is now soaked and resting between two sheets of glass and a stack of books. I truly hope that it will flatten out, since I don't think ill be able to replicate a new keel out of plywood. I guess if worse comes to worse I will have to attempt it, or attempt building it with a twist. considering its my first wood model I guess I could just use it as a learning experience. So there you can see the bend and possible twist. did some reading and it seems that the bend may be able to get worked out, but the twist may not. fingers crossed. keels current resting place for the night. hopefully tomorrow night at some point ill remove the books and take a look. Thanks all who look and comment. hope to get some opinions on how this may or may not work. you all on here do amazing work and are an ocean of knowledge. off I go to look through more topics on here 😜👍 Berto
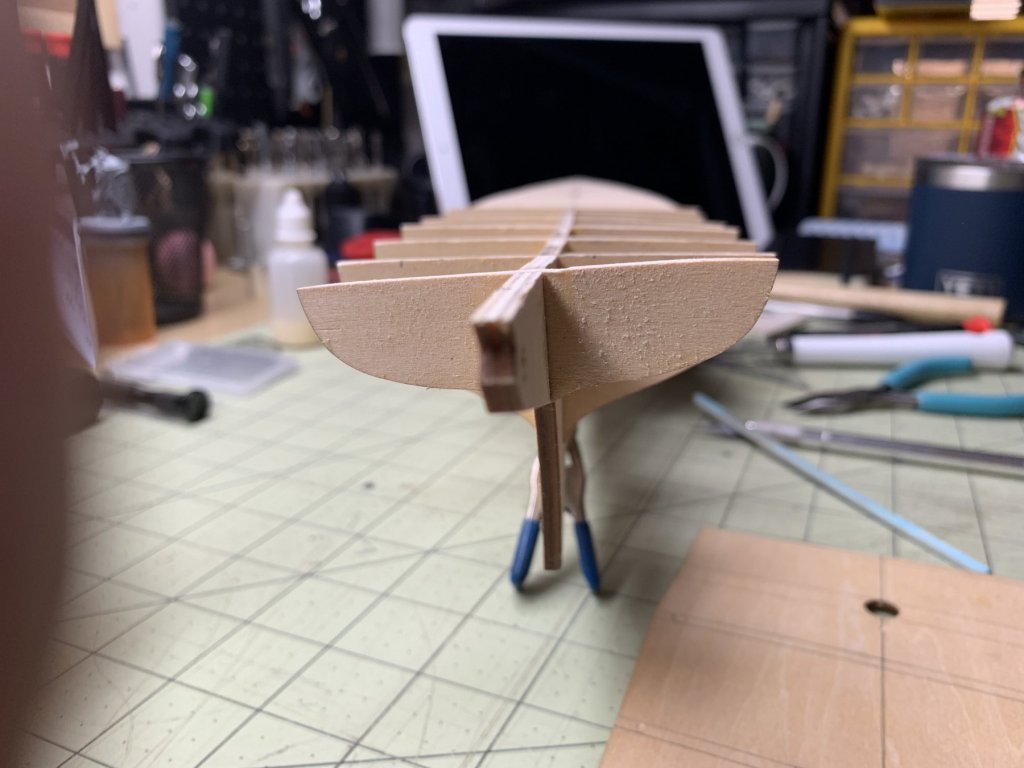
-
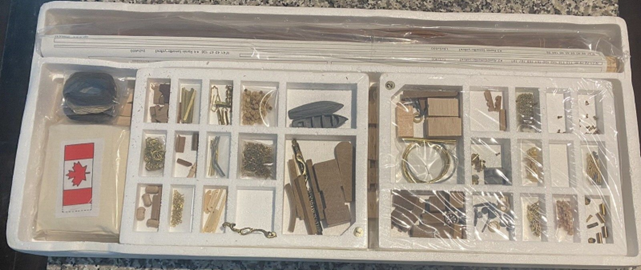
 I am finally ready to begin what I would consider my first real build. The Bluenose II by Artesania Latina. I picked up two of these older kits one from E-bay and one from Offer Up both for a really good price. Although they look alike, upon closer inspection there are quite a few differences. The one on the left has all of the misc parts and fittings in a nice divided plastic case while the those in one on the right are in bags stapled to cardboard cards. the one on the left has quite a few plastic fittings ie, anchors, ships wheel, propellers etc the one on the right has no plastic that I can see. I have not opened the inner wrapper of the one on the left to inspect the quality of the wood parts yet. All of the instructions such as they are and plans seem to be the same. There are some subtle differences in the brass parts some are pre-drilled in one kit and not in the other. Also the one on the left came with a video tape from Model Shipways titled "you take the helm". I did manage to borrow a VCR ( I no longer own one) to watch and while interesting to watch, at 30 yrs old it did not really contain much that was informative. Thinking they were identical I had planned to build one and keep one in reserve for a possible second attempt but now I am wondering if I should take the best parts from both and build just one. The instructions are skimpy at best only 8 or ten pages with no pictures and very few illustrations. I down loaded and printed the instructions for the newer version of this kit so that I can at least reference the great photos. I also down loaded and printed John Earls practicum and while informative it tends to gloss over entire portions of the construction by simply saying refer to this or that book. I was wondering if the Lauck Street practicum would be a worthwhile investment. At $100.00 ($120.00 with the photo library) it is a little pricey and also it is for the newer version. But I got the kits so cheap I feel like I could justify it if anyone has used it and can recommend it as a useful tool. After reading here and in other places about the historical short comings of this kit I have no illusions in that regard. Instead I intend to use this a a learning opportunity for future builds. Still I would like to end up with something to be proud of so PLEASE any input would be greatly appreciated. I will get started in earnest tomorrow night so wish me luck. Hopefully I can make a good job of it. Best Regards
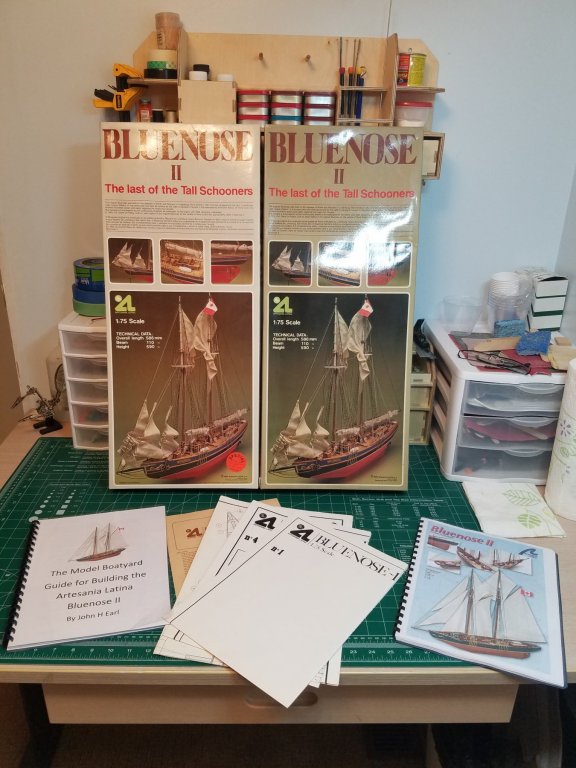
- 22 replies
-
- 4
-
-
- bluenose ii
- artesania latina
- (and 1 more)
-
 I have ModelExpo's Bluenose in dry dock. However, I really liked the way Artesania Latina's ship looked, so I purchased it and this will be what remains of my build log. I do realize Al's kit is far from accurate. Perhaps this is why I haven't found many detailed logs on the site. I've been remiss about going so long before creating a build log and I apologize for that. I haven't yet finished my Charles Morgan build. We were getting ready to move and between that and work getting very busy I wasn't able to dedicate much time to it. Then as I approached early retirement, I just couldn't get back into it. In all, almost two years past. Then I wanted to try and get back into building but because I got a bit rusty, didn't want to ruin the CW Morgan, which I put a lot of work into. So, thought I would order and build Chuck's 18th Century Longboat kit. I have finished it and build a small display case. I need to upload images of it into the completed logs. Not that I want to make any excuses, but during that two year sabbatical I had a small stroke and lost much of the sight in my right eye. This has created a depth of field issue for me, especially with building! Then I developed hand tremors. My ship building has never been on a professional level and I do it for the personal accomplishments. Certainly, I wish I could build like many of our members. You all are certainly a great inspiration. Anyway, back to the Bluenose II. I'll post a pic of the box since AL has had several ship kits and many are still out there from the 80's. Mine is one of there newer ones. I know there has been some conversation about this. To start with, the kit looked fairly good. It was only after I started that, like many others, the false keel was warped. Mine was severely warped! I did the best I could to straighten it.
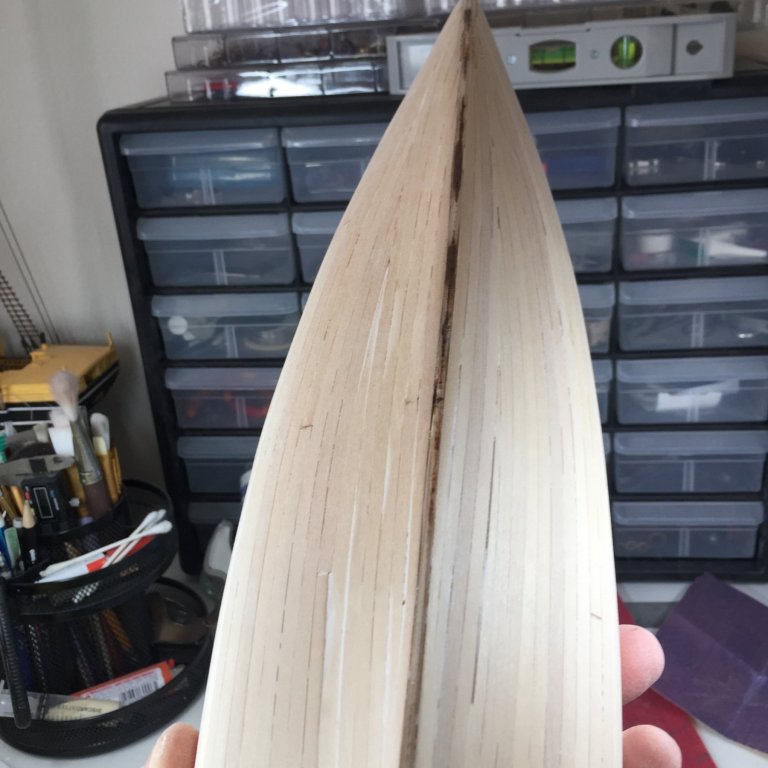

-
 This is my first build, Please be gentle. Progress progress so far.
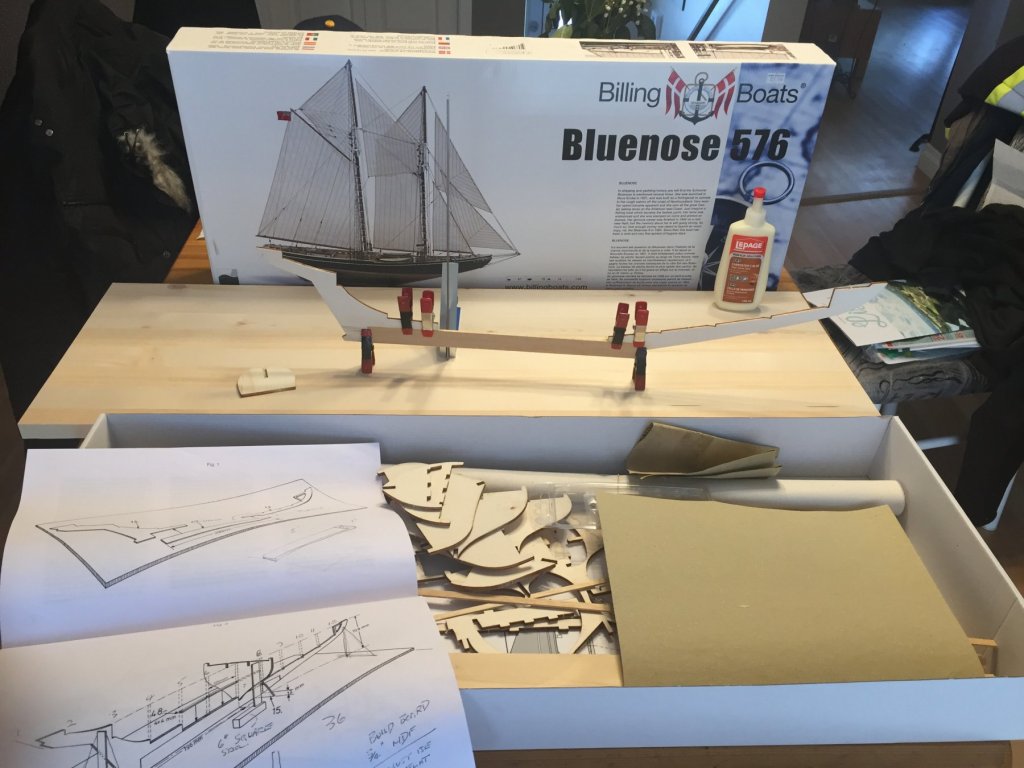
-
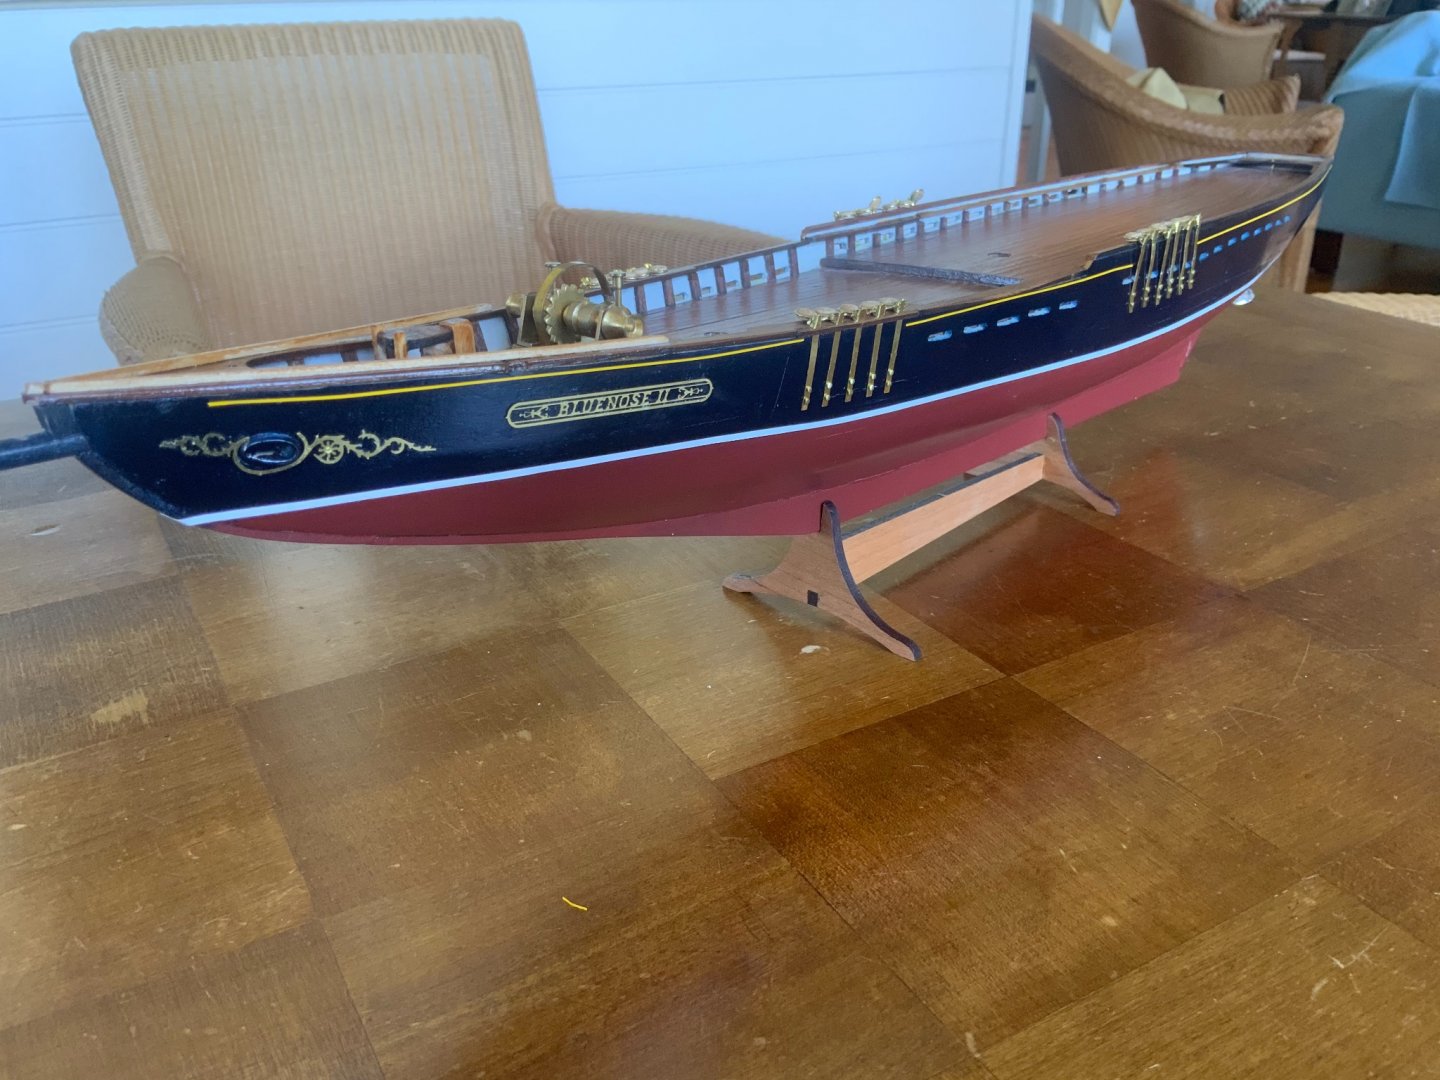
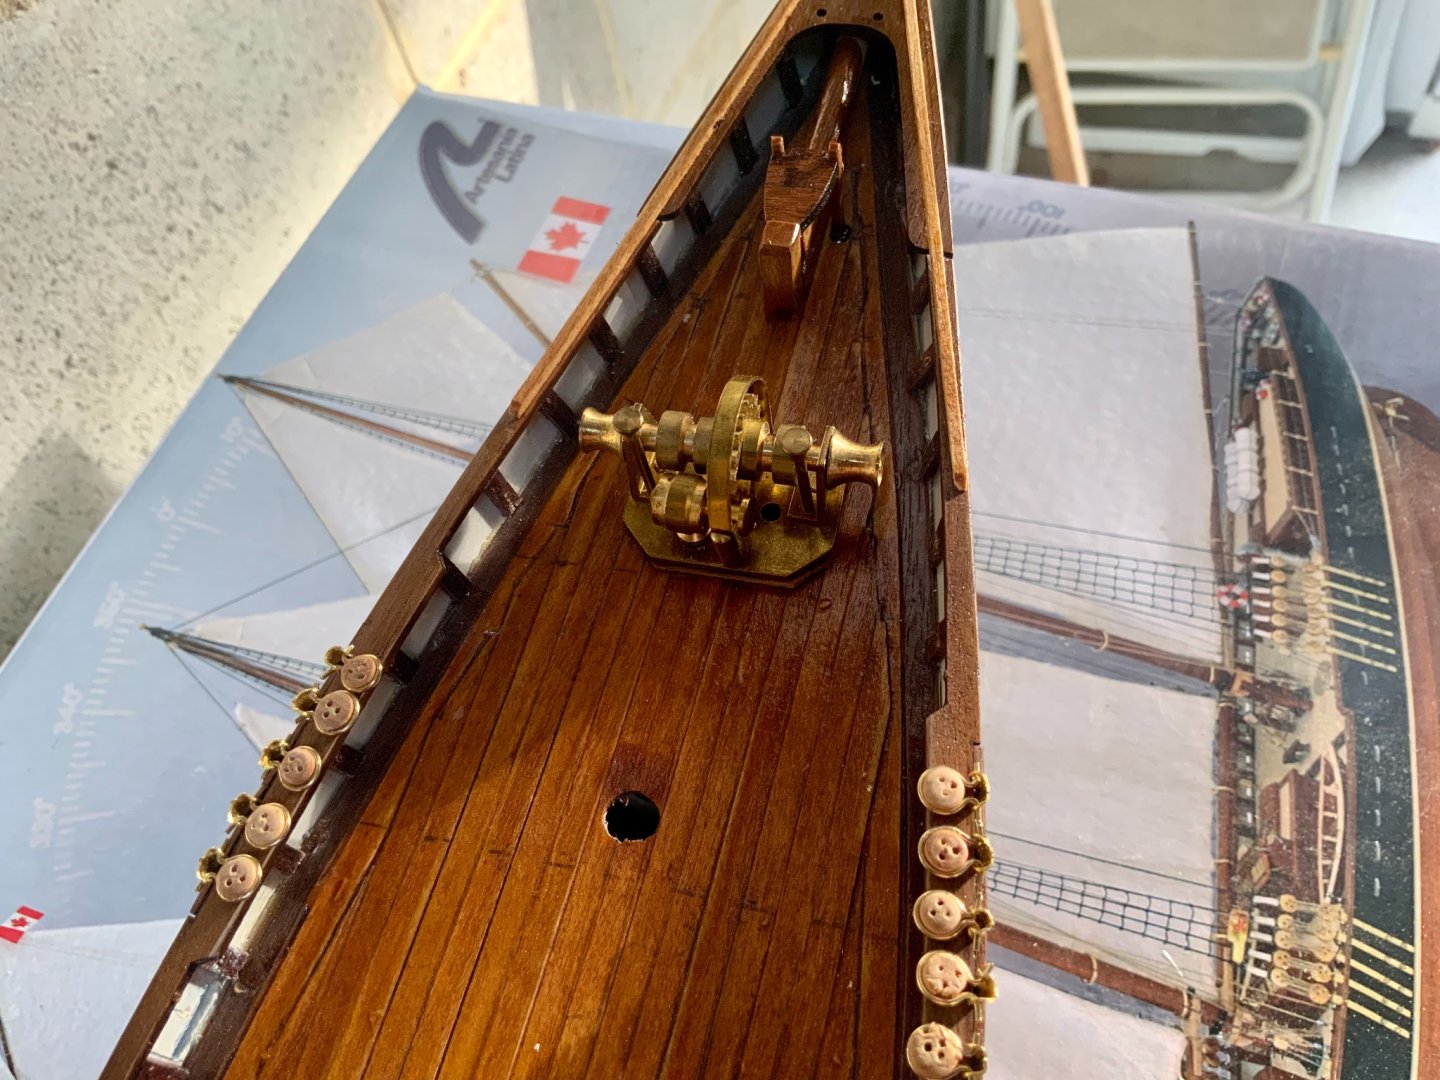
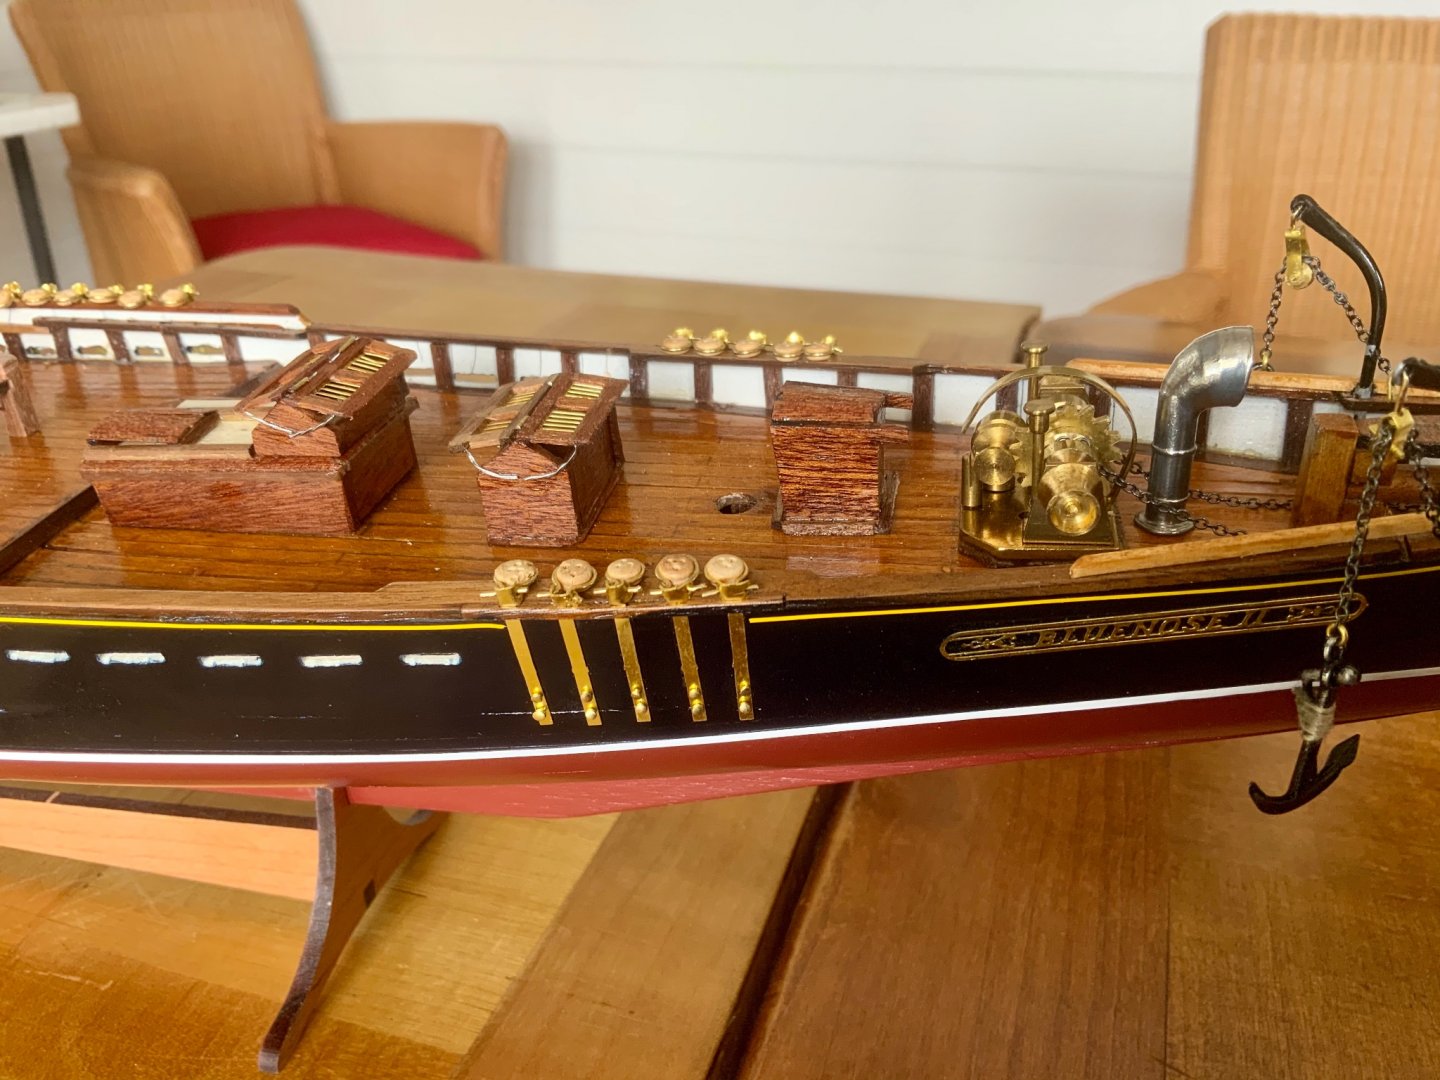
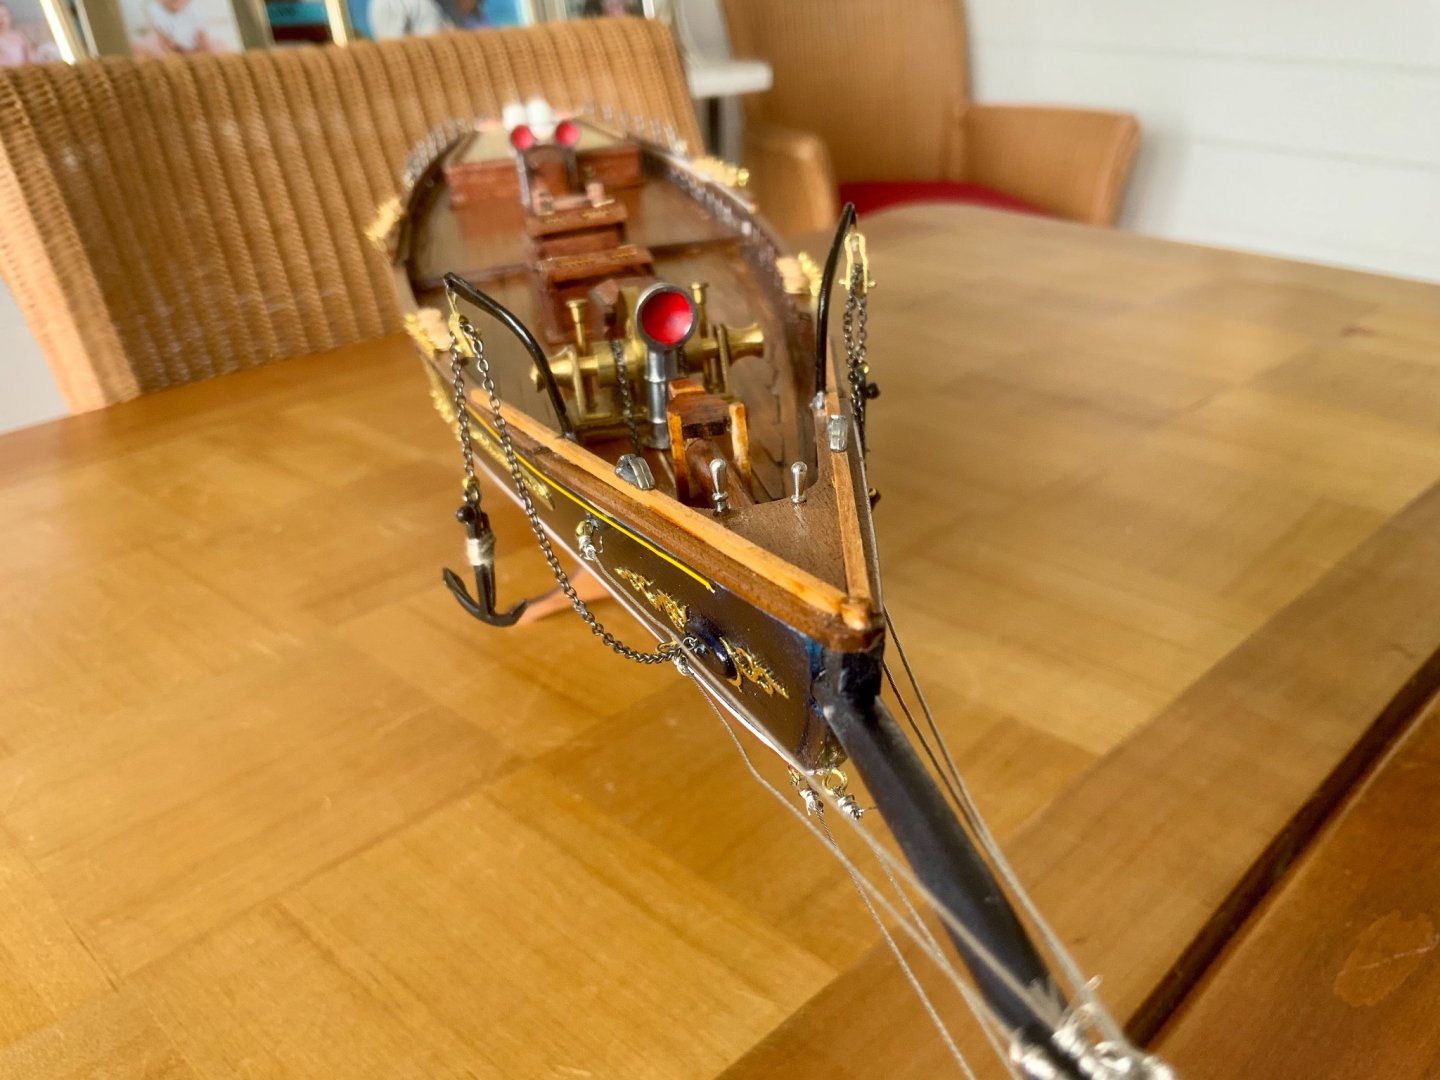
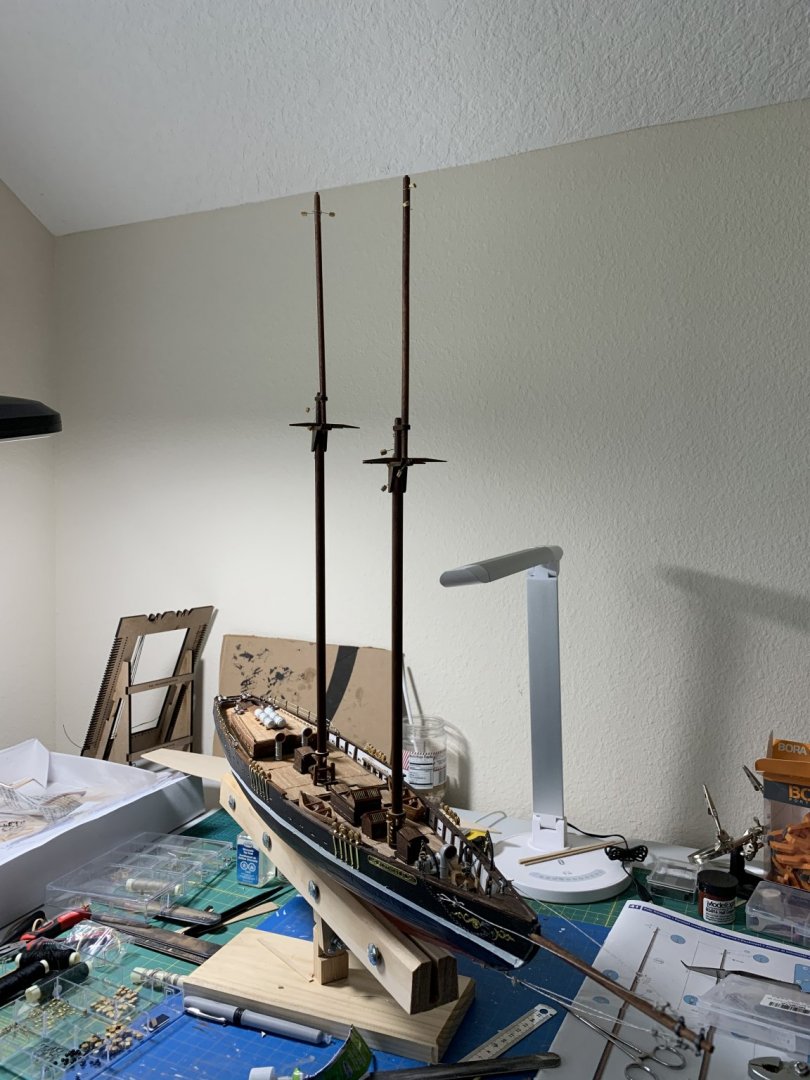
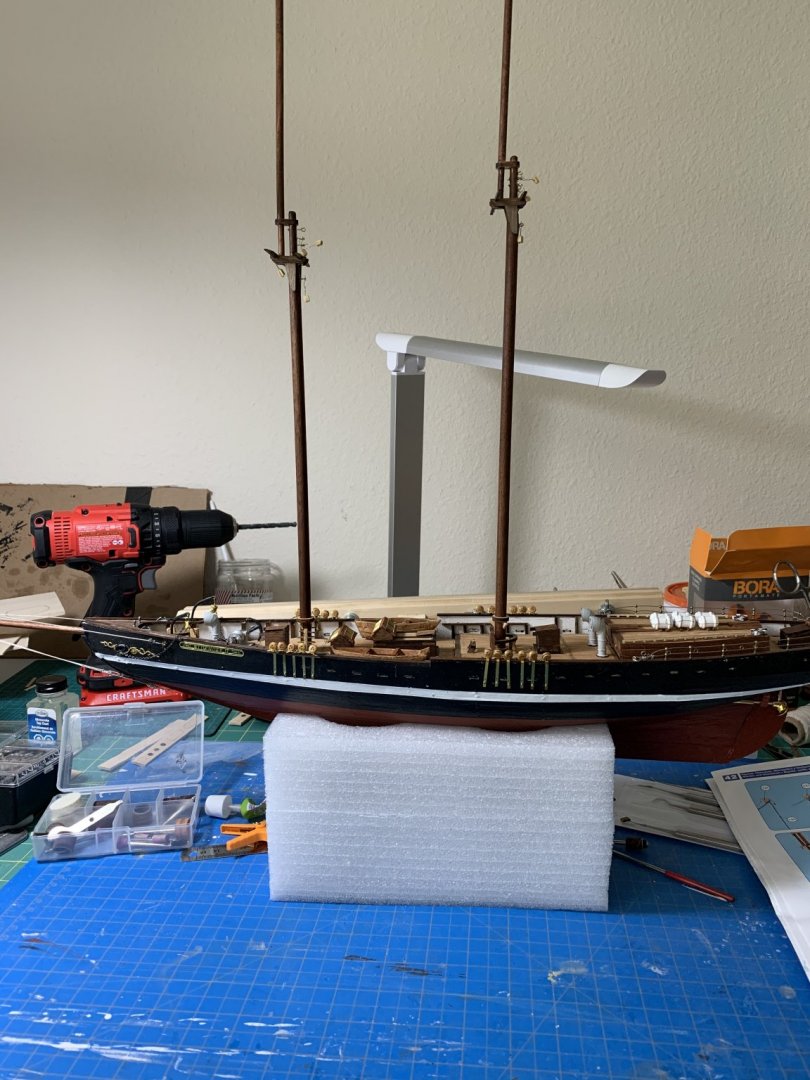
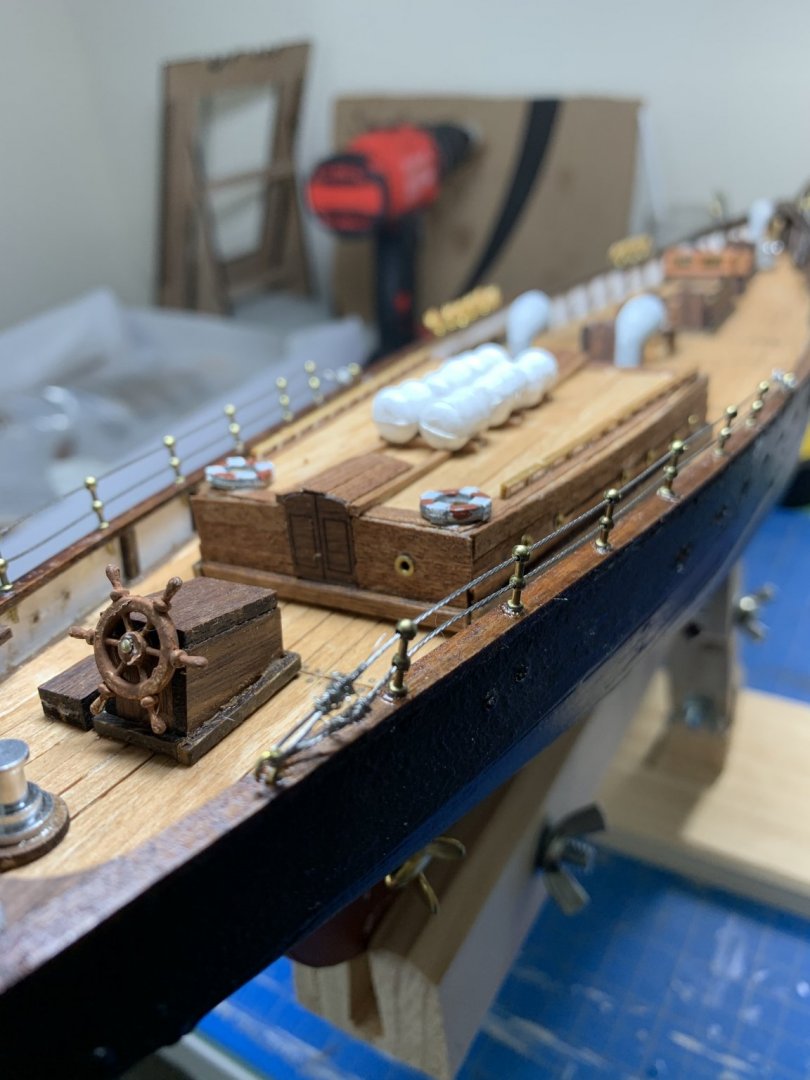
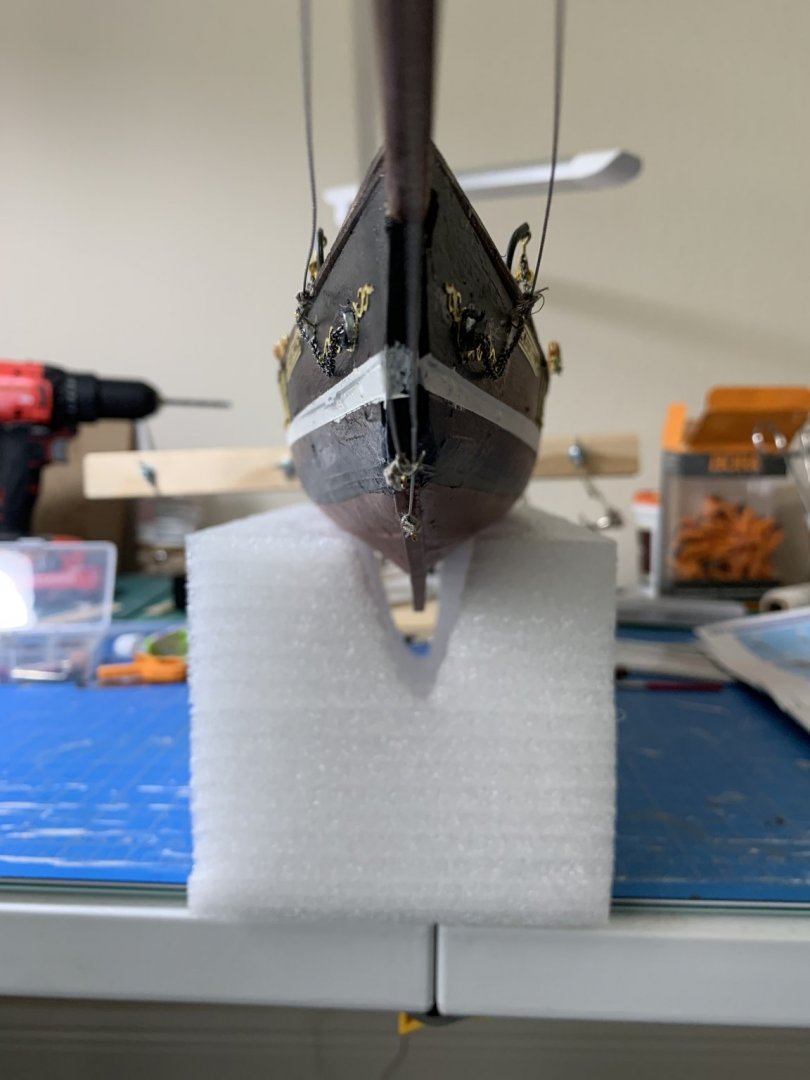
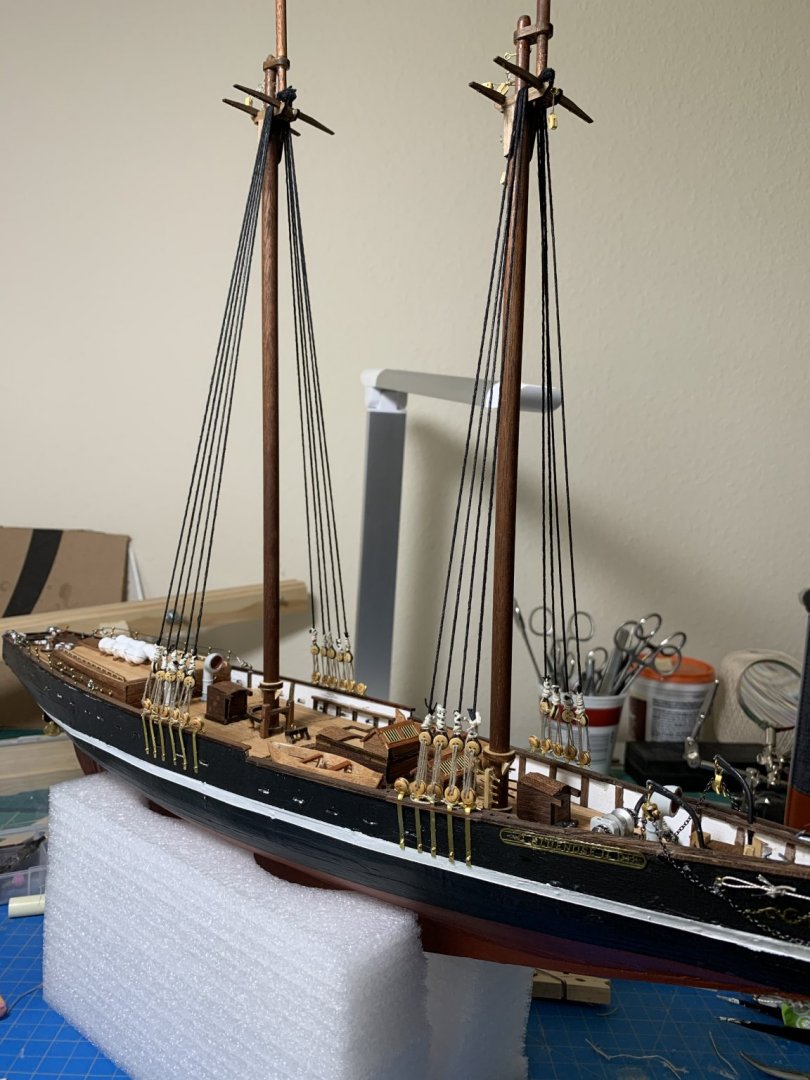
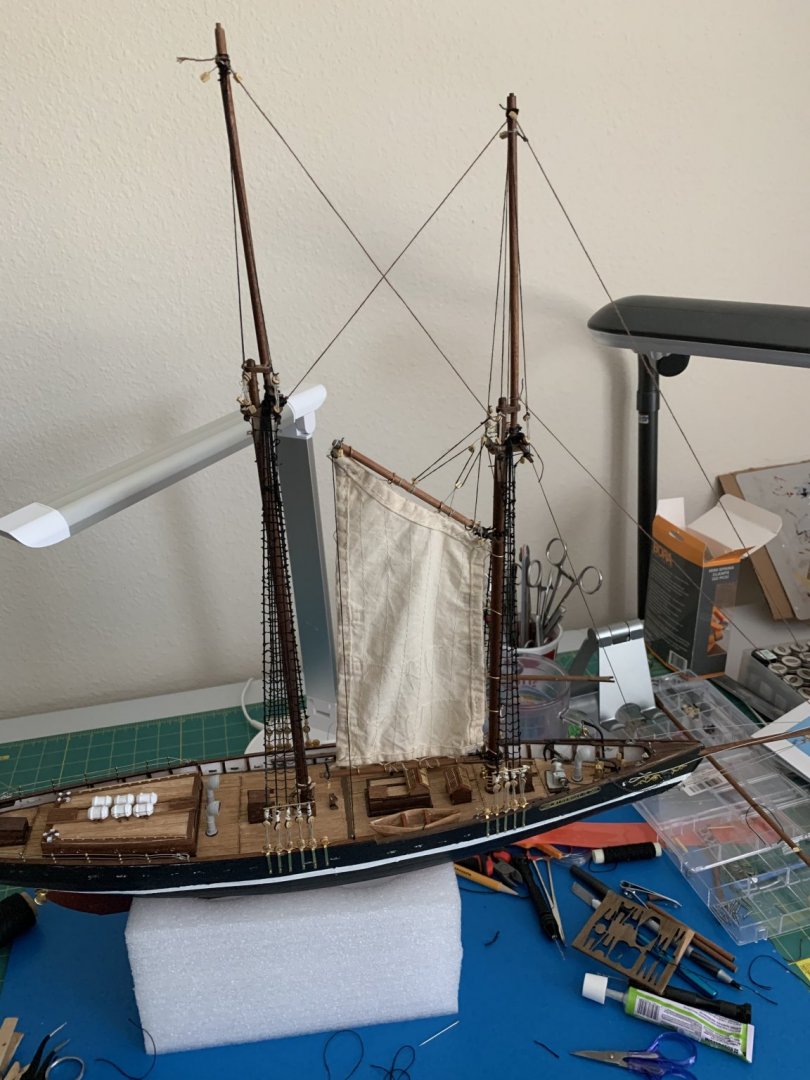
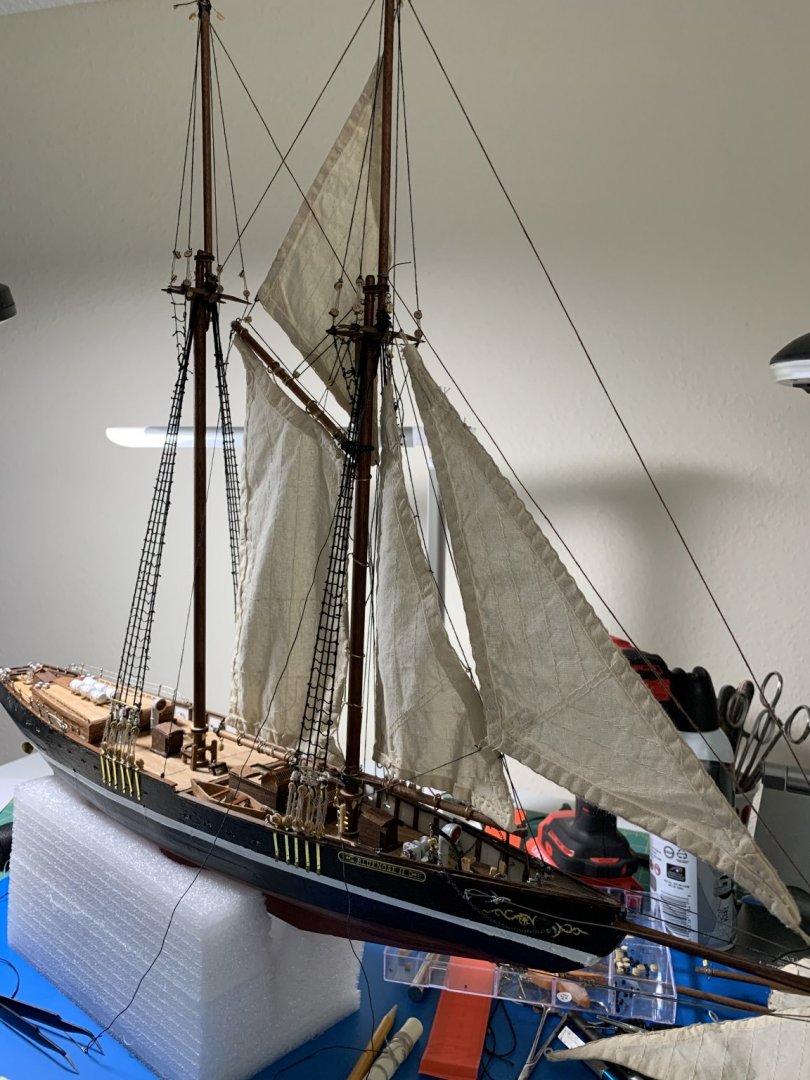
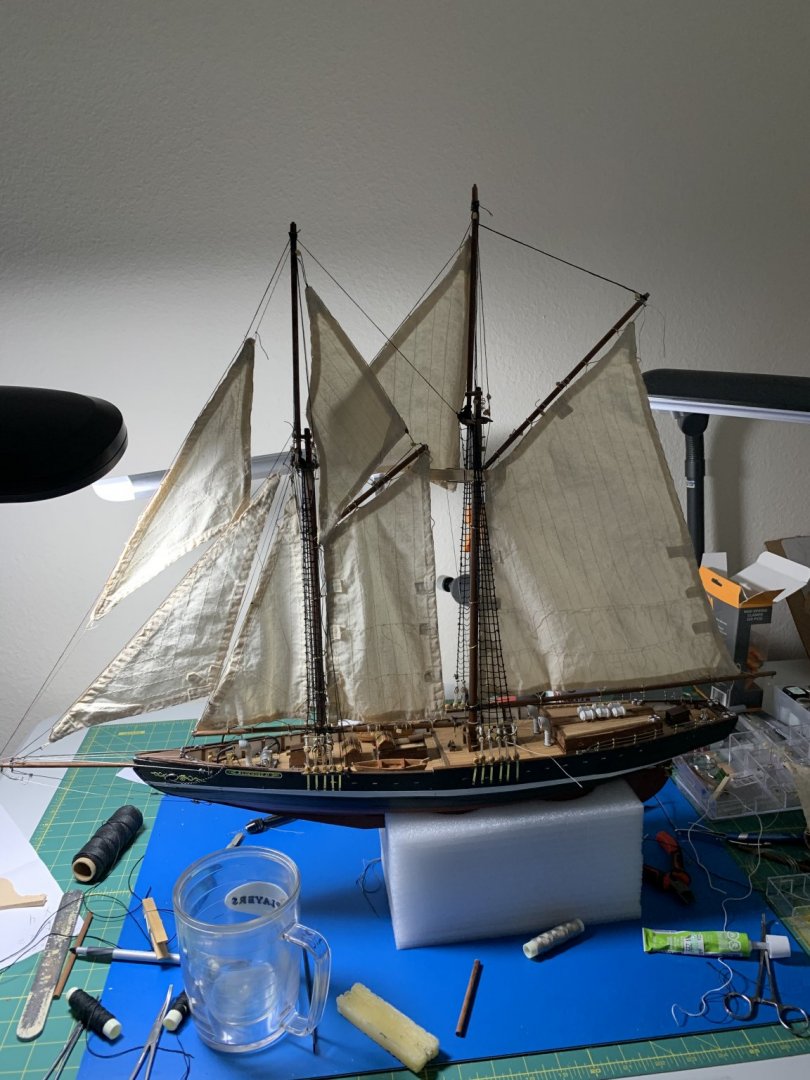
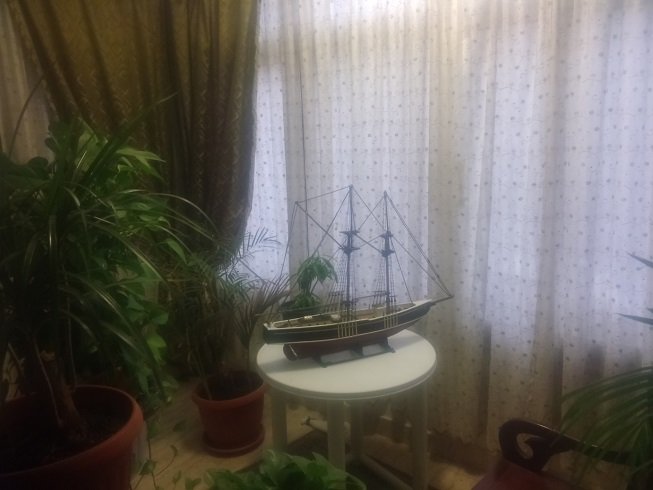
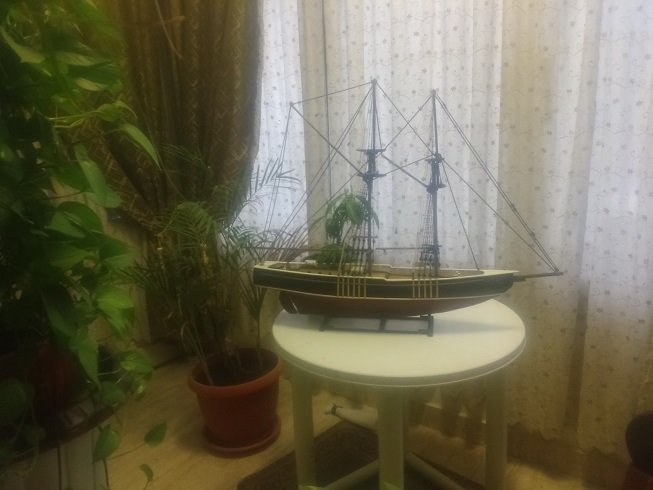
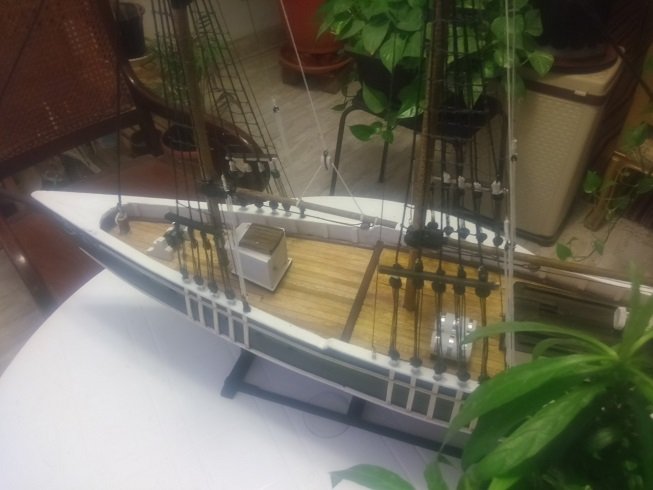
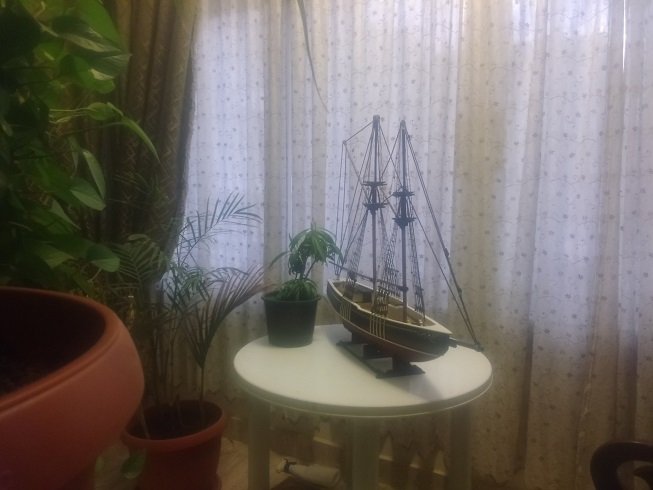
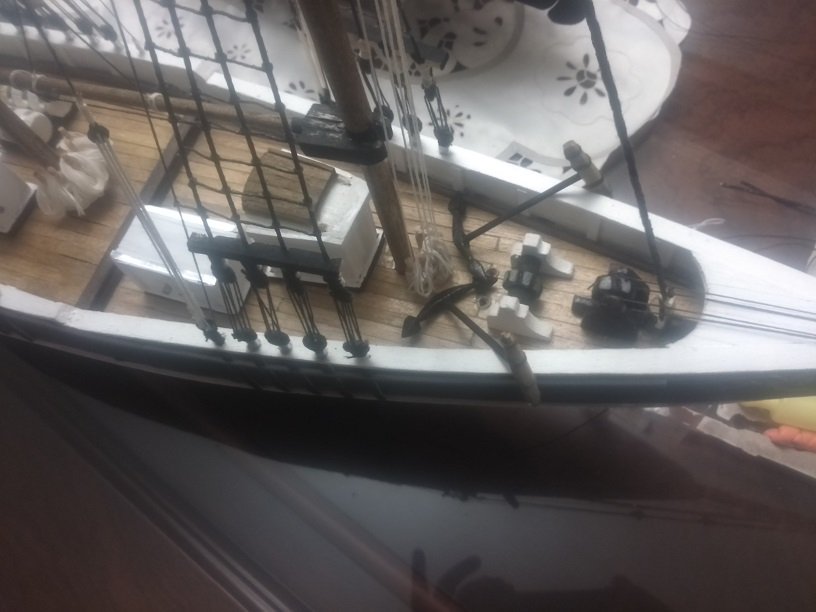
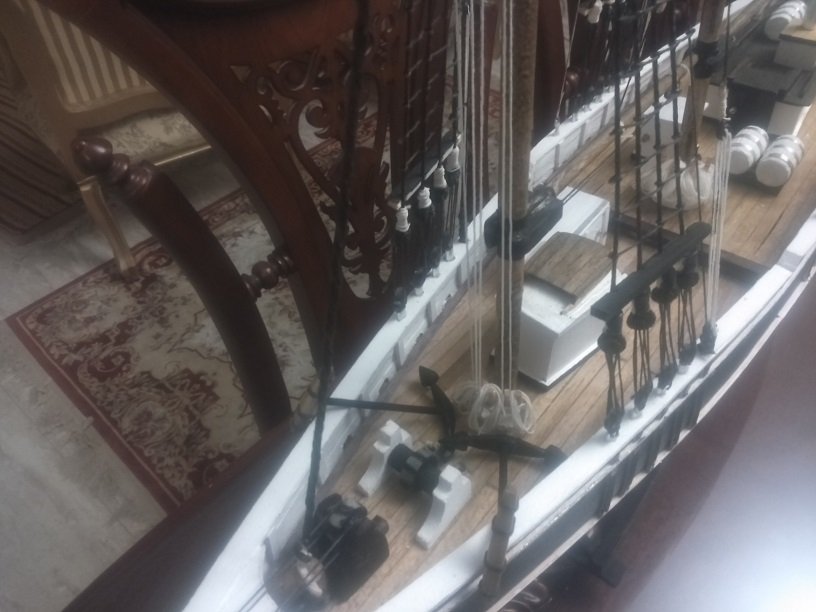
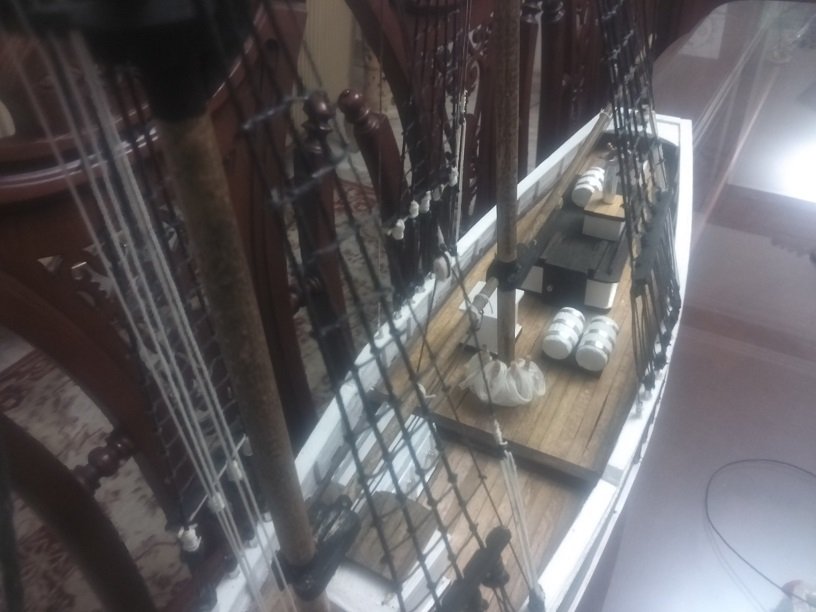
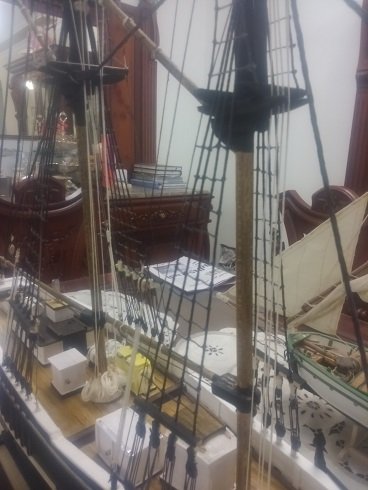
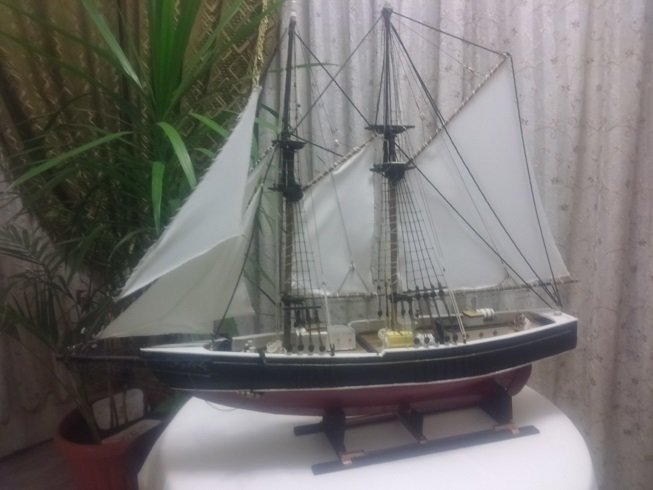
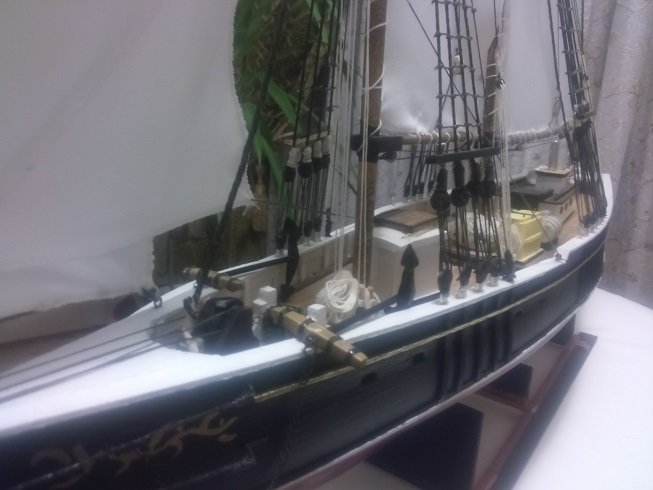
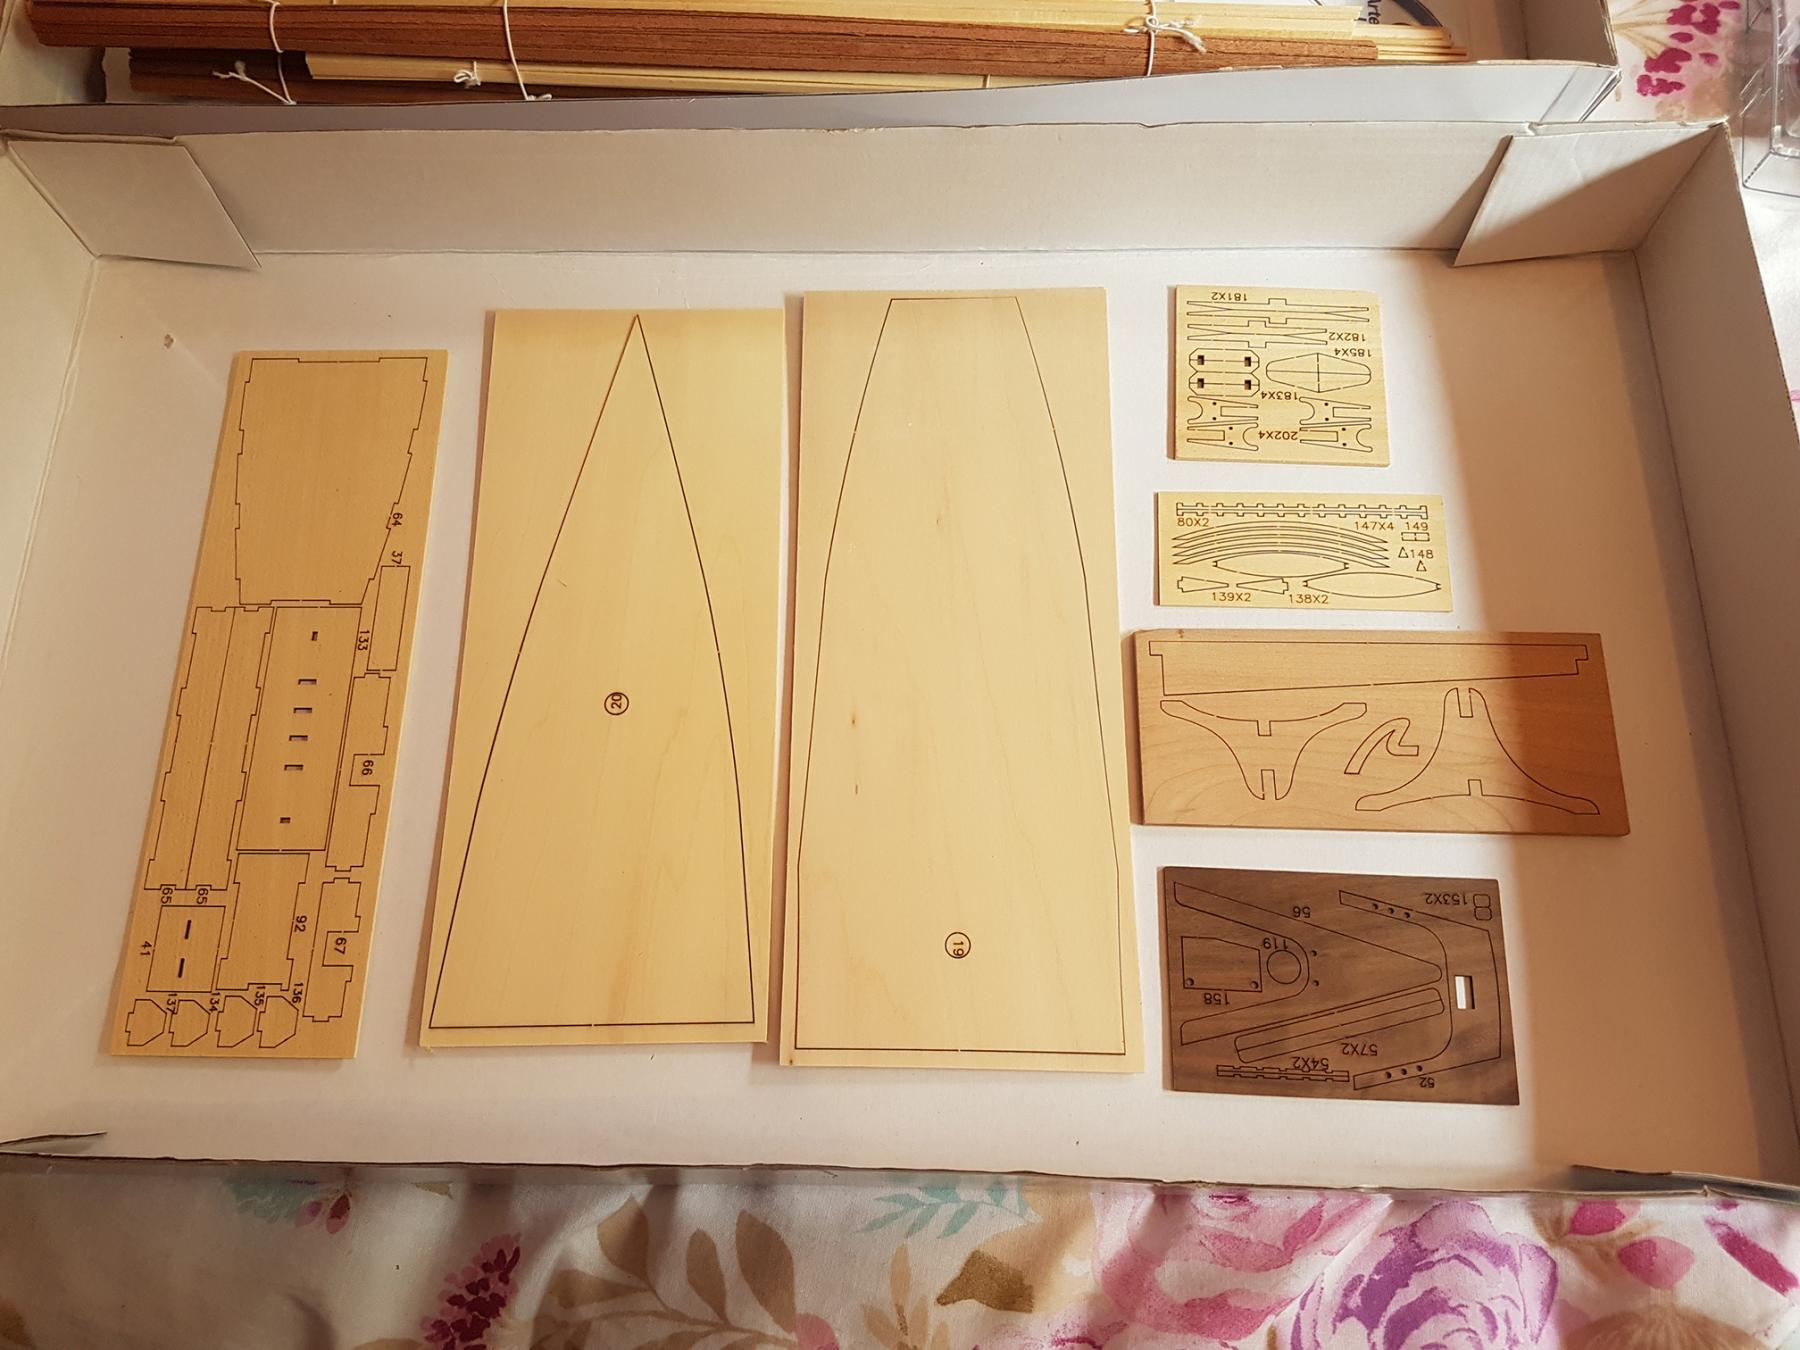
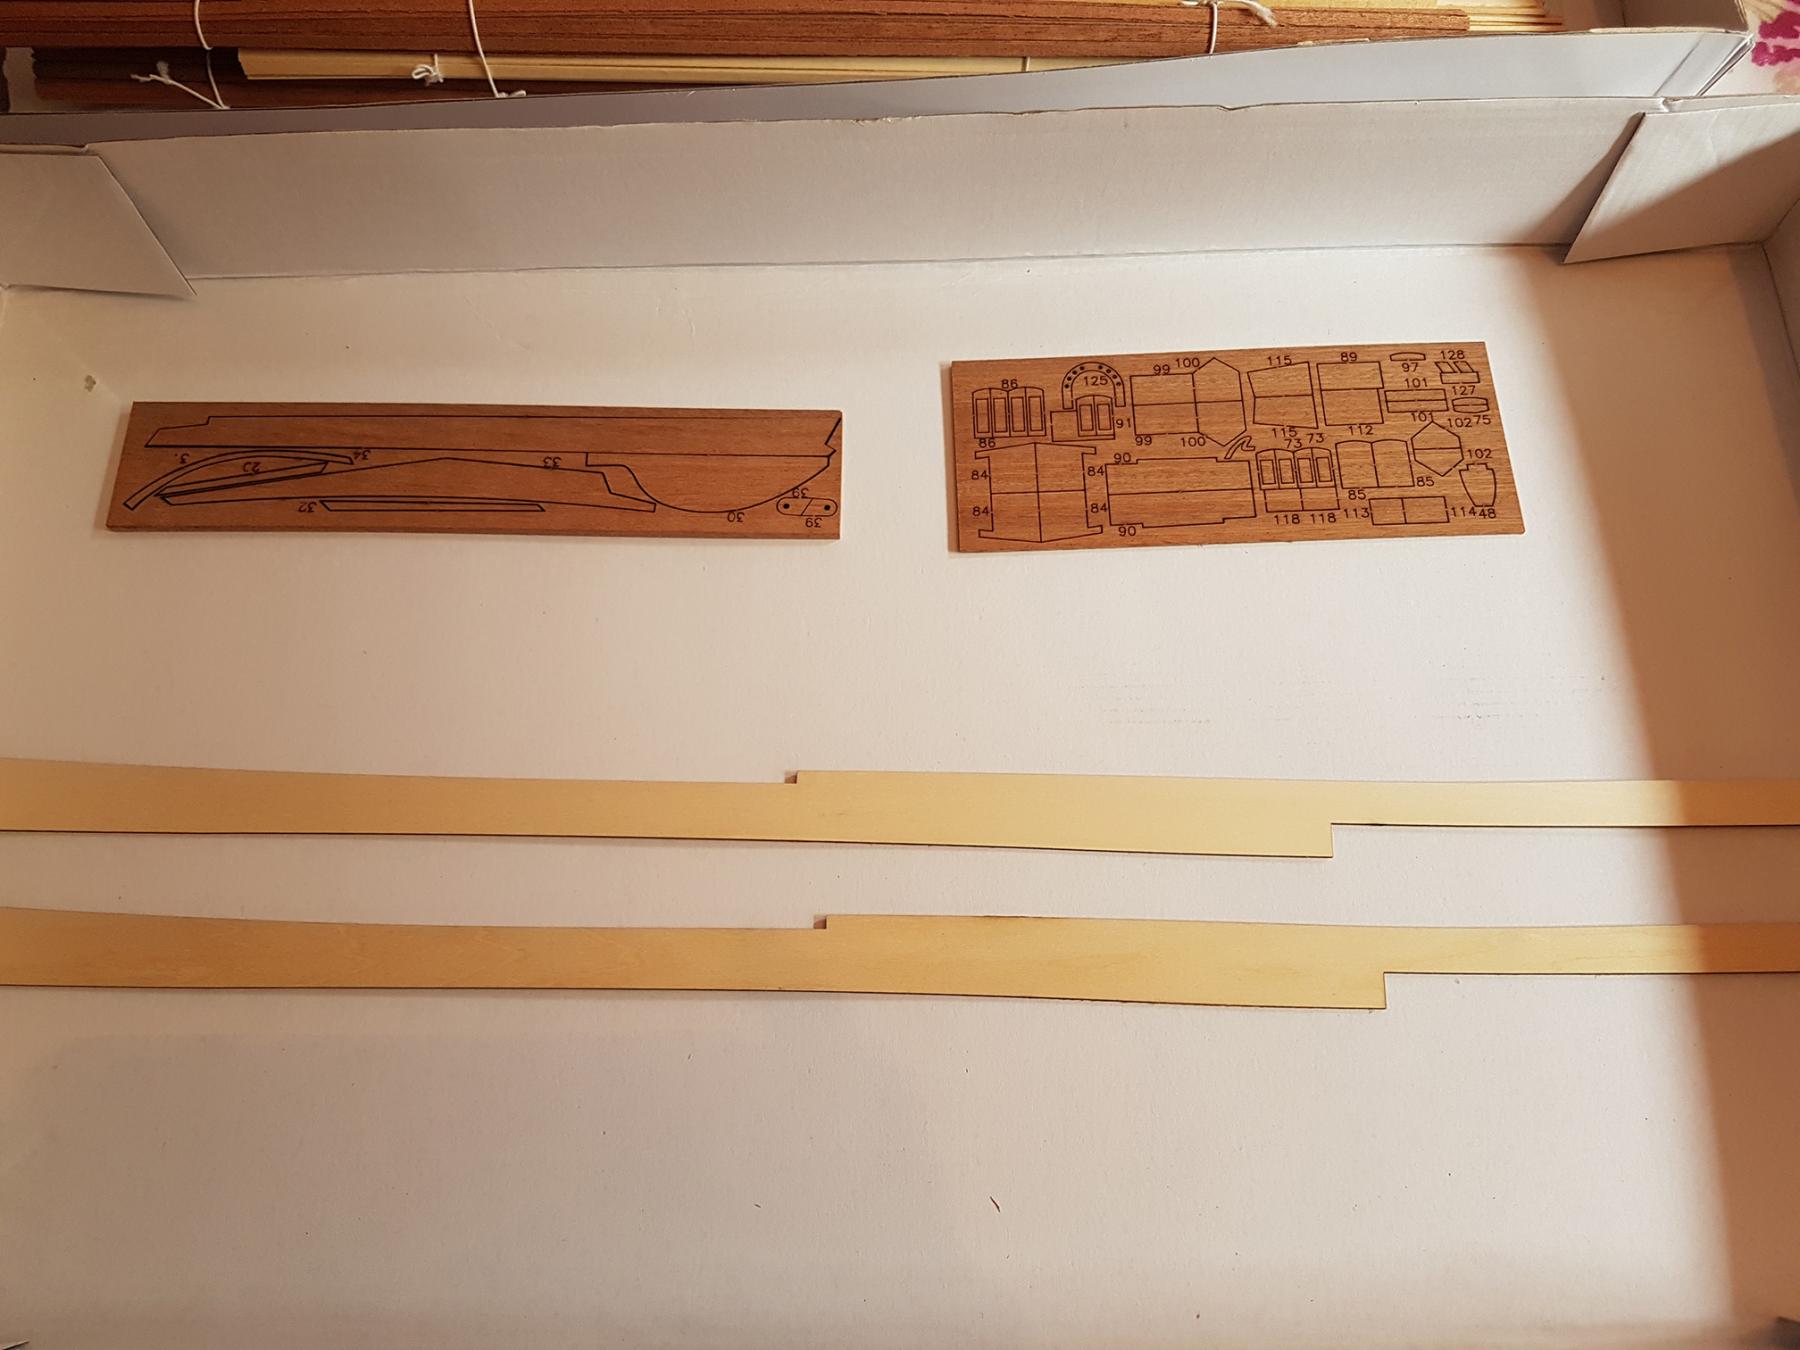
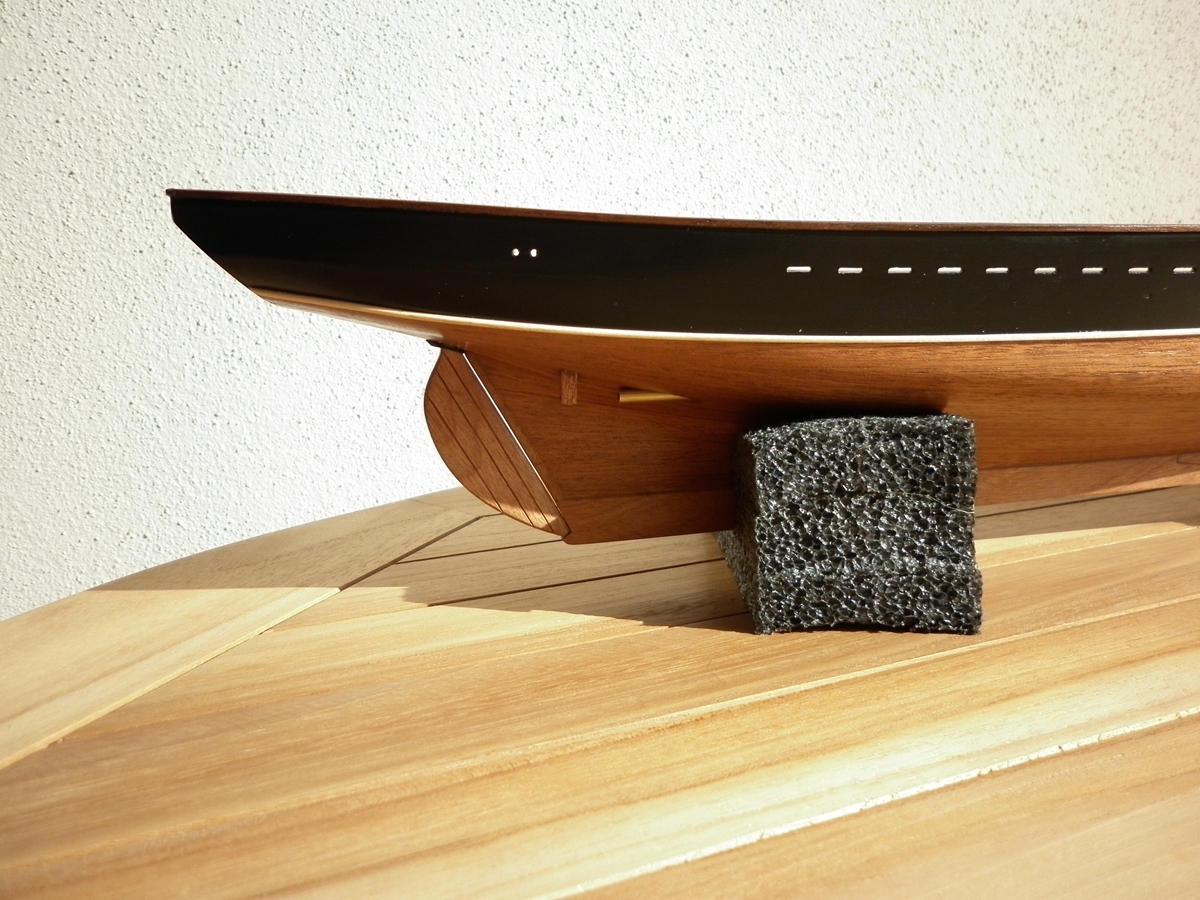
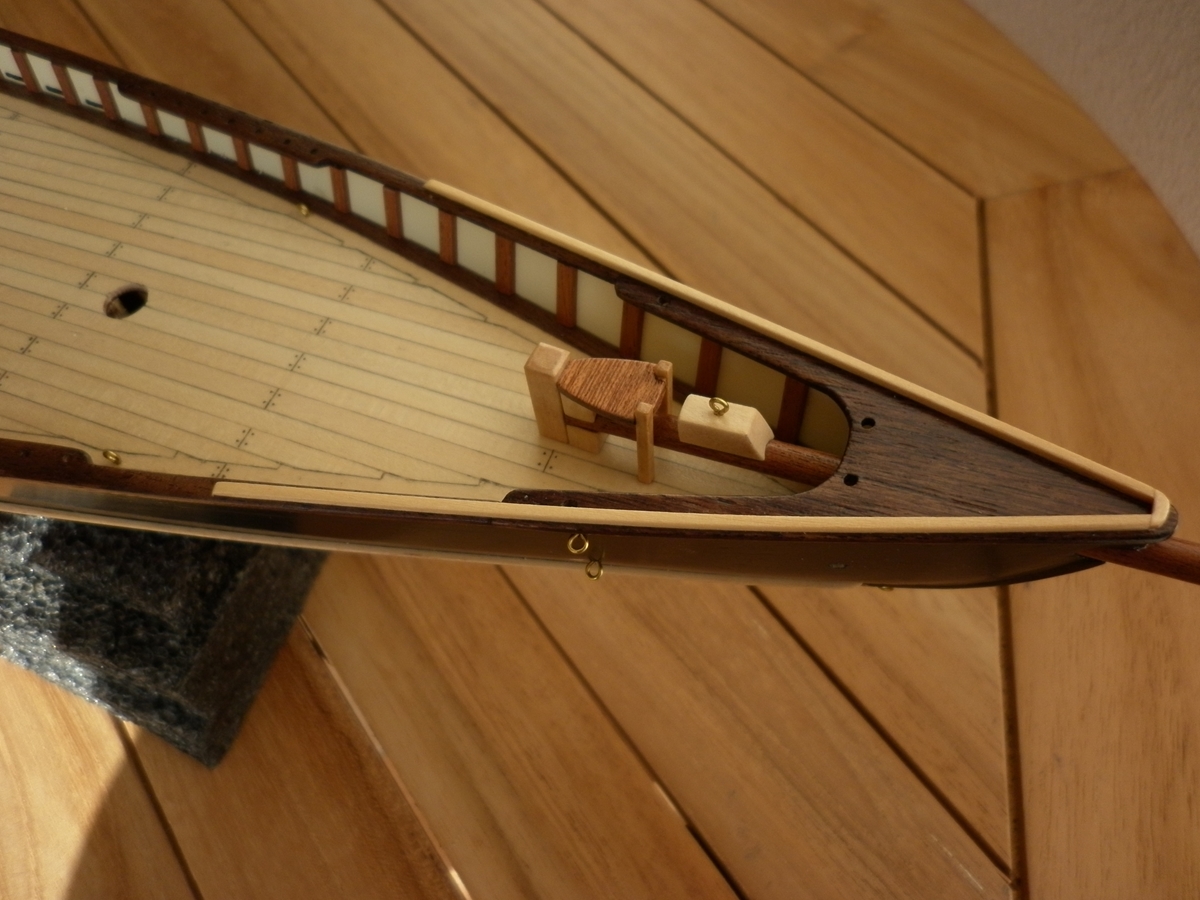
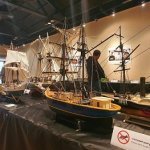 Hello All The attached images show the building log for the Bluenose II "Scratch build", I hope you like it. The photos are uploaded in the most recent order , sorry for that. Thank you
.JPG.2657e003120930d2b7ed78b9f319803c.JPG)
.JPG.e900b4b0fdf7492da62fd18231f3cc6b.JPG)
.JPG.266607ed72ac9b0e9c90de0ae30312d4.JPG)
.JPG.3cbc56270e9ca8433c28f24549620b7b.JPG)
.JPG.3d2598e96e02b524ed2bedc7c8c52e94.JPG)
.JPG.79950c0935104f24ad34eb1e33533a5d.JPG)
.JPG.a3aff63eff808f76e17eb75a477928dd.JPG)
.JPG.8f12dd5e9c813463cc21673103c9f295.JPG)
.JPG.92ccf9cc2c7bbb0059f71ab3c7a059f7.JPG)
.JPG.441b2a1571f1099d1e1bc84c3591ae08.JPG)
.JPG.422664e9164aaf50f69747c6c2fcb01e.JPG)
.JPG.d298cd00d8d9b731af1eb5dfb0f75e37.JPG)
.JPG.f33db5b3a52e9ba14a9be4a8fc4108a7.JPG)
.JPG.67ed8a41bcb0745200f26a108d5ae4bf.JPG)
.JPG.0790d1189221e3ff6be7deee3494a464.JPG)
.JPG.c4a53ef75af0e67e2b44a6467b82636a.JPG)
.JPG.714aaf55157f7e8a851aface8100473f.JPG)
.JPG.a7a7ae1751afdce1ec77a41314379bd0.JPG)
.JPG.cf358ec064264818b1ecc92b56b8f57d.JPG)
.JPG.76f72cc88005ce29972b719fa7f8d5fe.JPG)
.JPG.3693827b2389fd58f417187200f47131.JPG)
.JPG.ad42b71e085041fdefb34ce7372e37e8.JPG)
.JPG.00e308aadcb577230ff156fe4f52d893.JPG)
.JPG.aeb5b38d6a9f0eb12fa7cfff671d754f.JPG)
.JPG.2d78a553ba8617ed61de74d9cd01e8e8.JPG)
.JPG.eb216a9c90c11d47e3c27807c27fcda9.JPG)
.JPG.edf9f6578725b4c0bdff2181638a068f.JPG)
.JPG.34dcde93c21da6a91640bcc6e2c787cb.JPG)
.JPG.36ceb553b83800c1fc711dbdc949a902.JPG)
.JPG.6b1a08e52bad01bf9e99949c668164de.JPG)
.JPG.6edb7b388fb356160a422e006ea97f02.JPG)
.JPG.47018dbd83a847ef74e23322dfef91ff.JPG)
.thumb.JPG.895798a49f30477d530c4fa2c53de3a8.JPG)
.JPG.b25557cb20909af02709f212112ecb5c.JPG)
.JPG.fb66d0690763fdc58e09b5e95e83259c.JPG)


.thumb.JPG.b9c86a73d962ed8d196f20f0d7a14b85.JPG)
.JPG.03af9ad3f9a8144374d272aace8fe91f.JPG)
.JPG.a3e22ec7936227c8d884fae0b874789f.JPG)
.JPG.43dcf6e5427d9d64b05538079ed03193.JPG)


.JPG.d43e6b8b8574e63564eb084d6f93fe7c.JPG)


-
 My current build in progress after having done the Amati Bounty. I thought I would try something different and perhaps easier before my next biggy... the Amerigo Vespucci. Deck Planking Completed Some good progress made : Now Ready for the sails: Previous Build: Amati Bounty 1787. Victory Models - Lady Nelson; Artesenia Latina - Virginia 1819
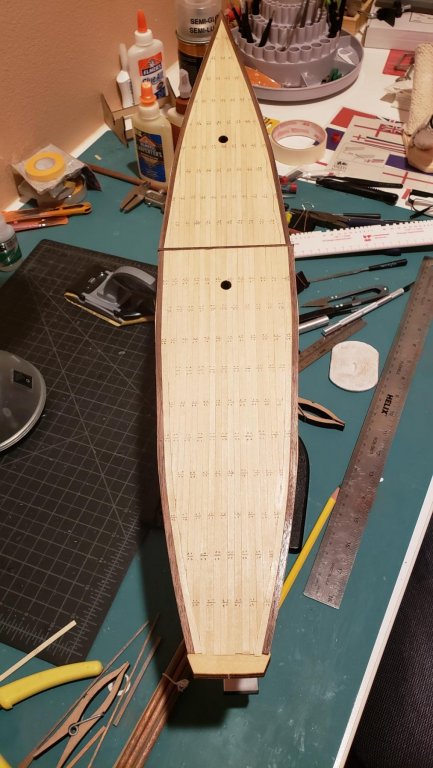


-
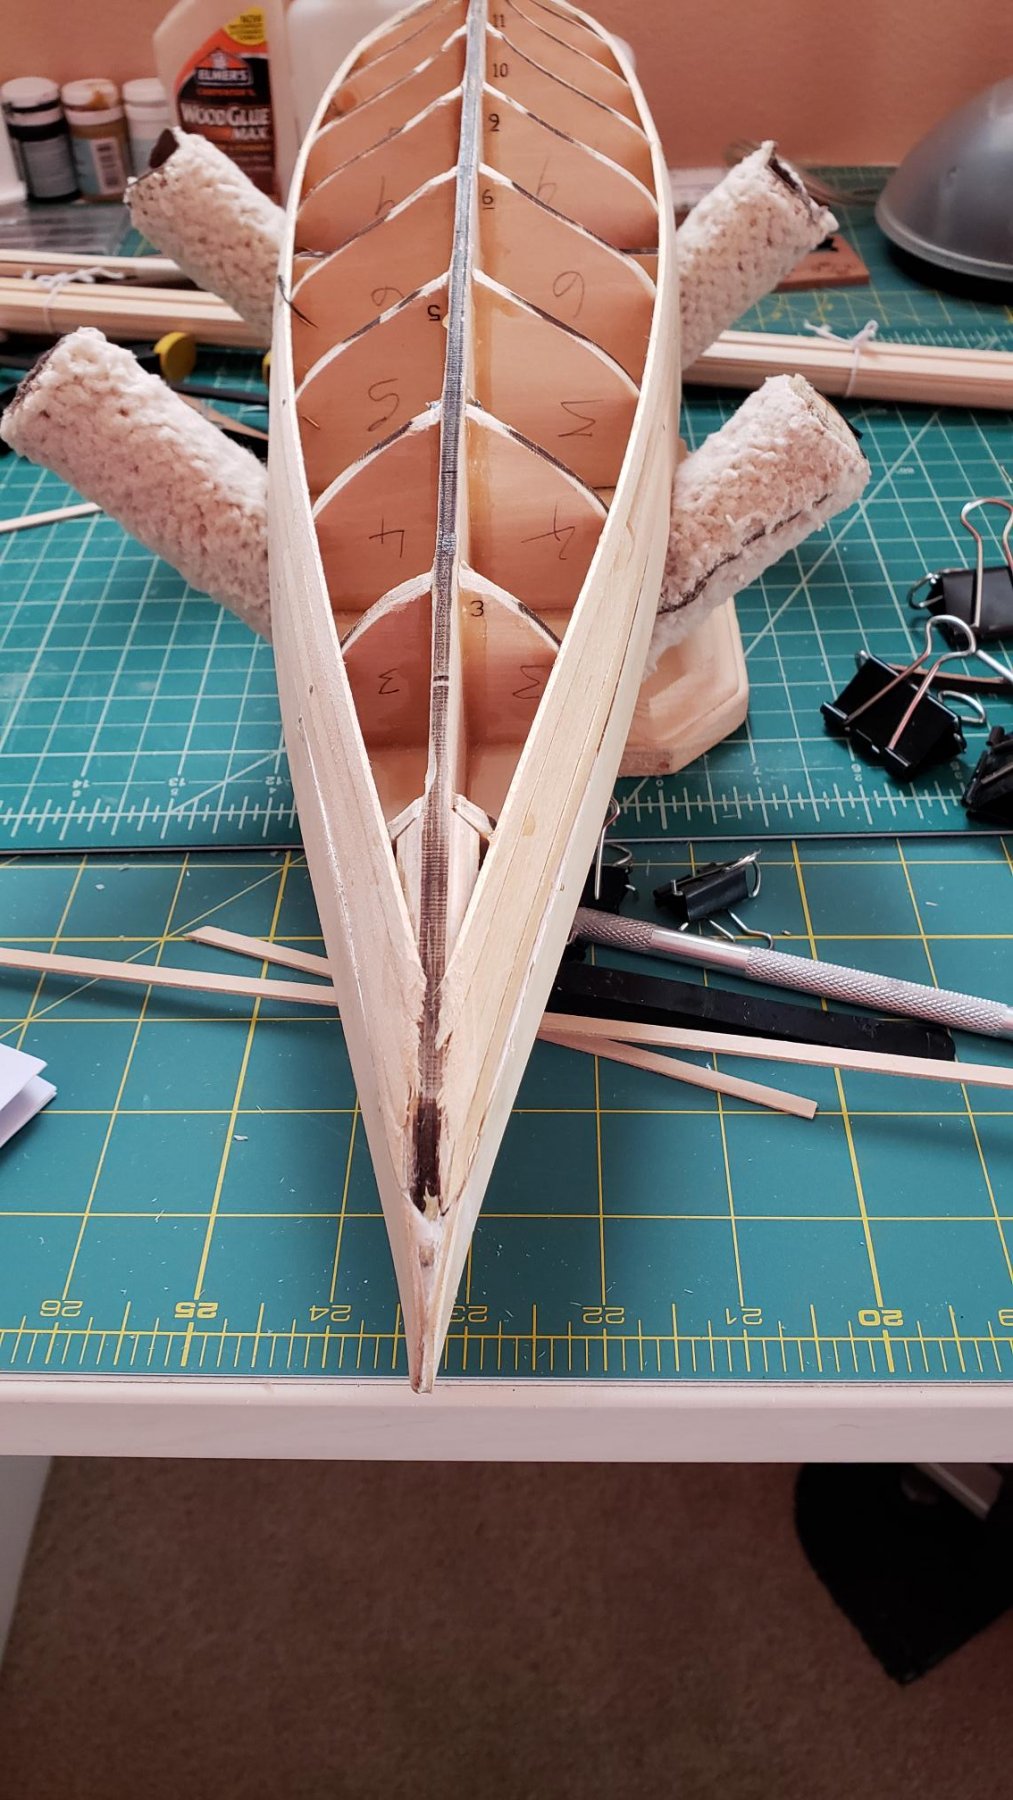
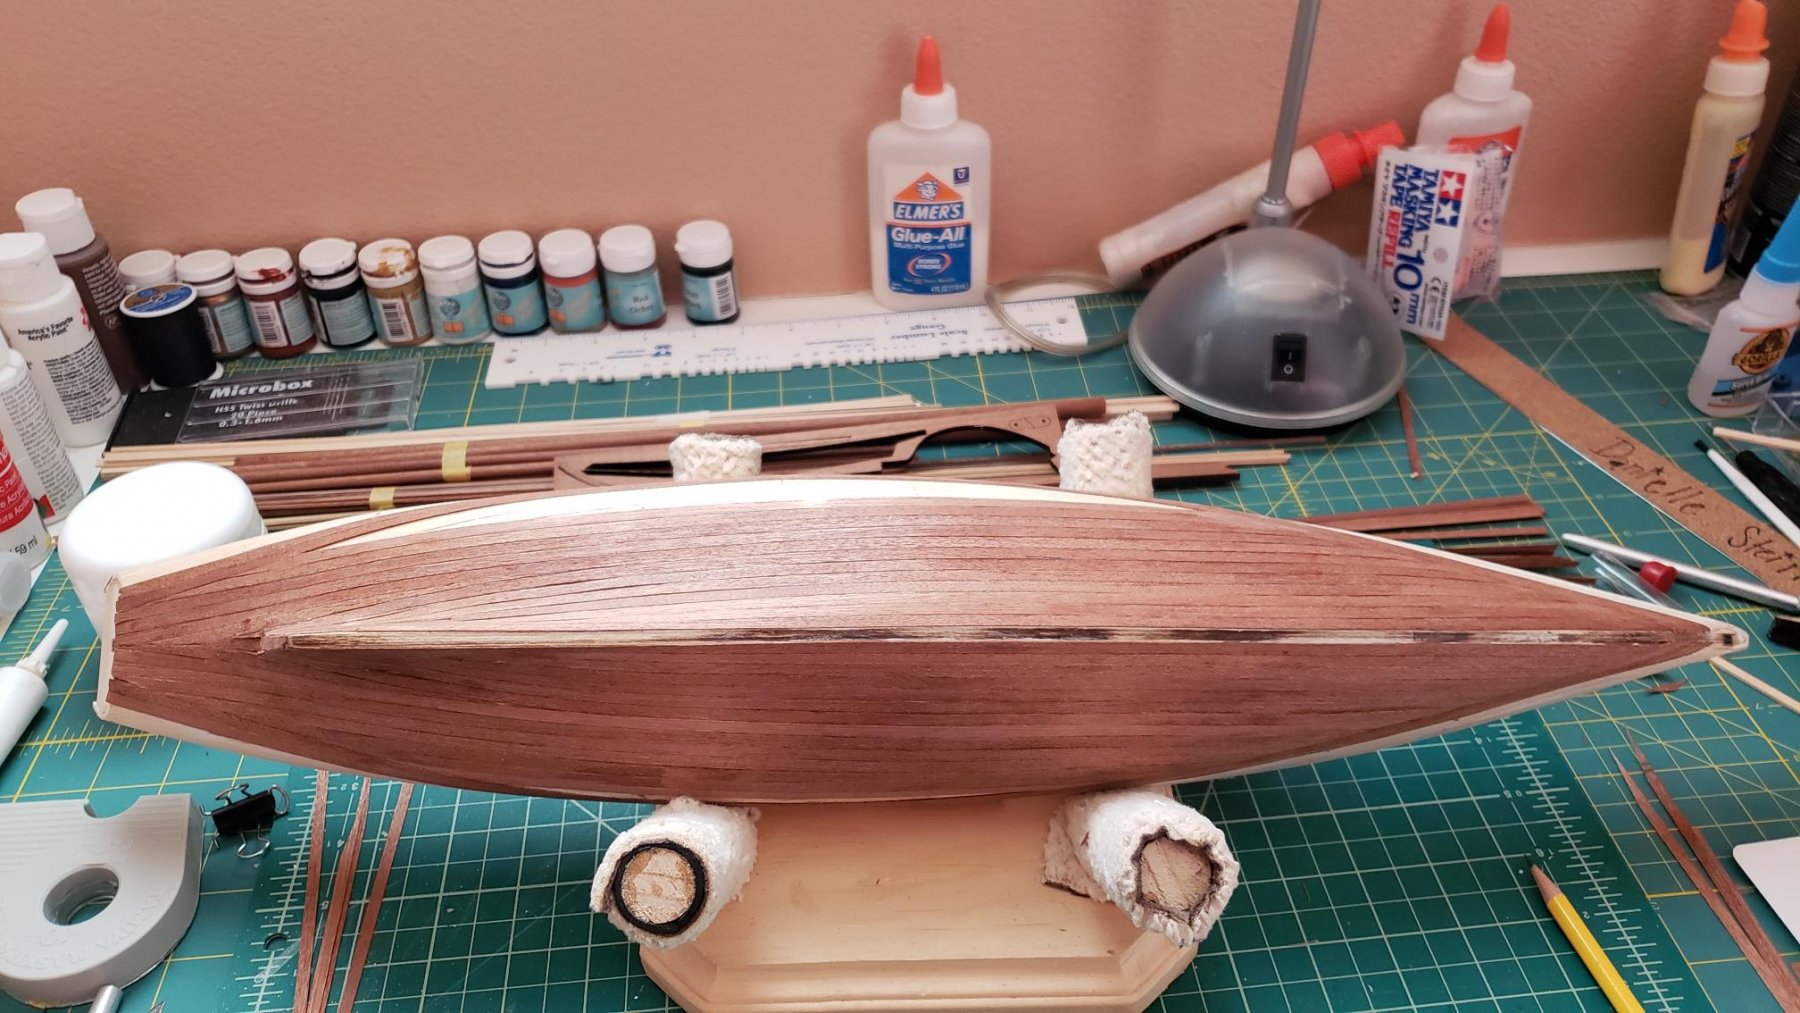
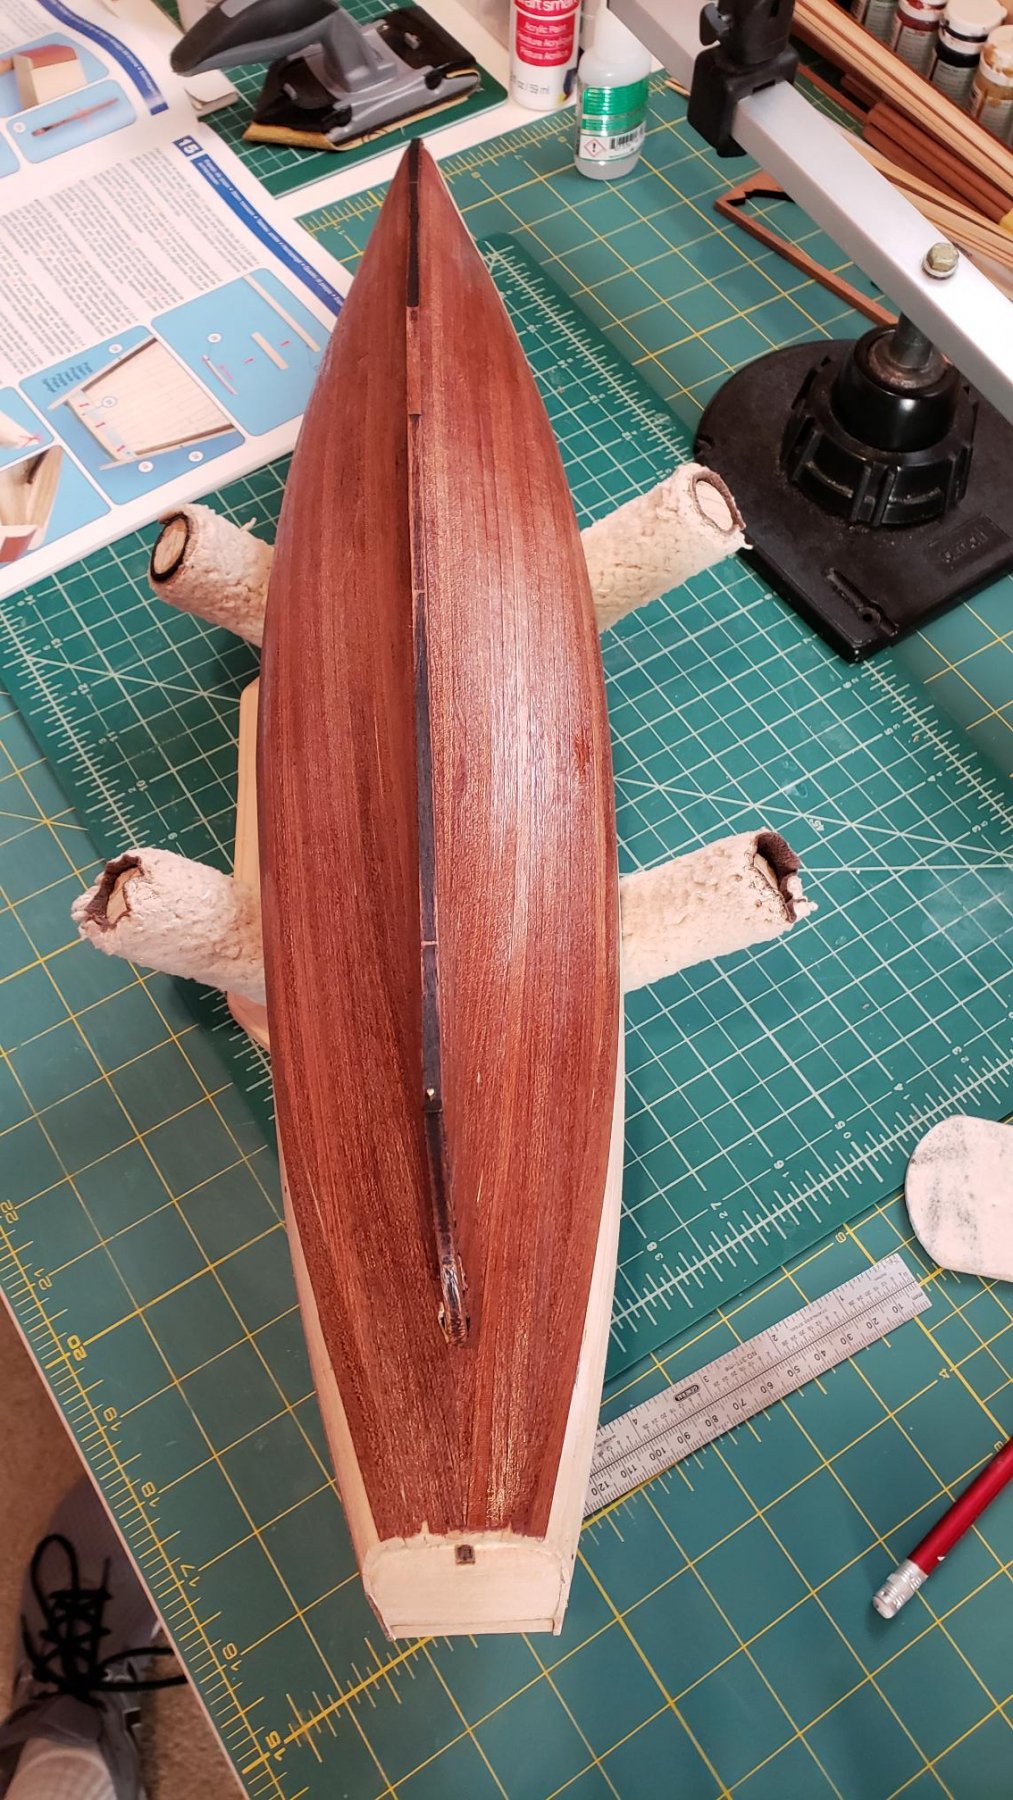
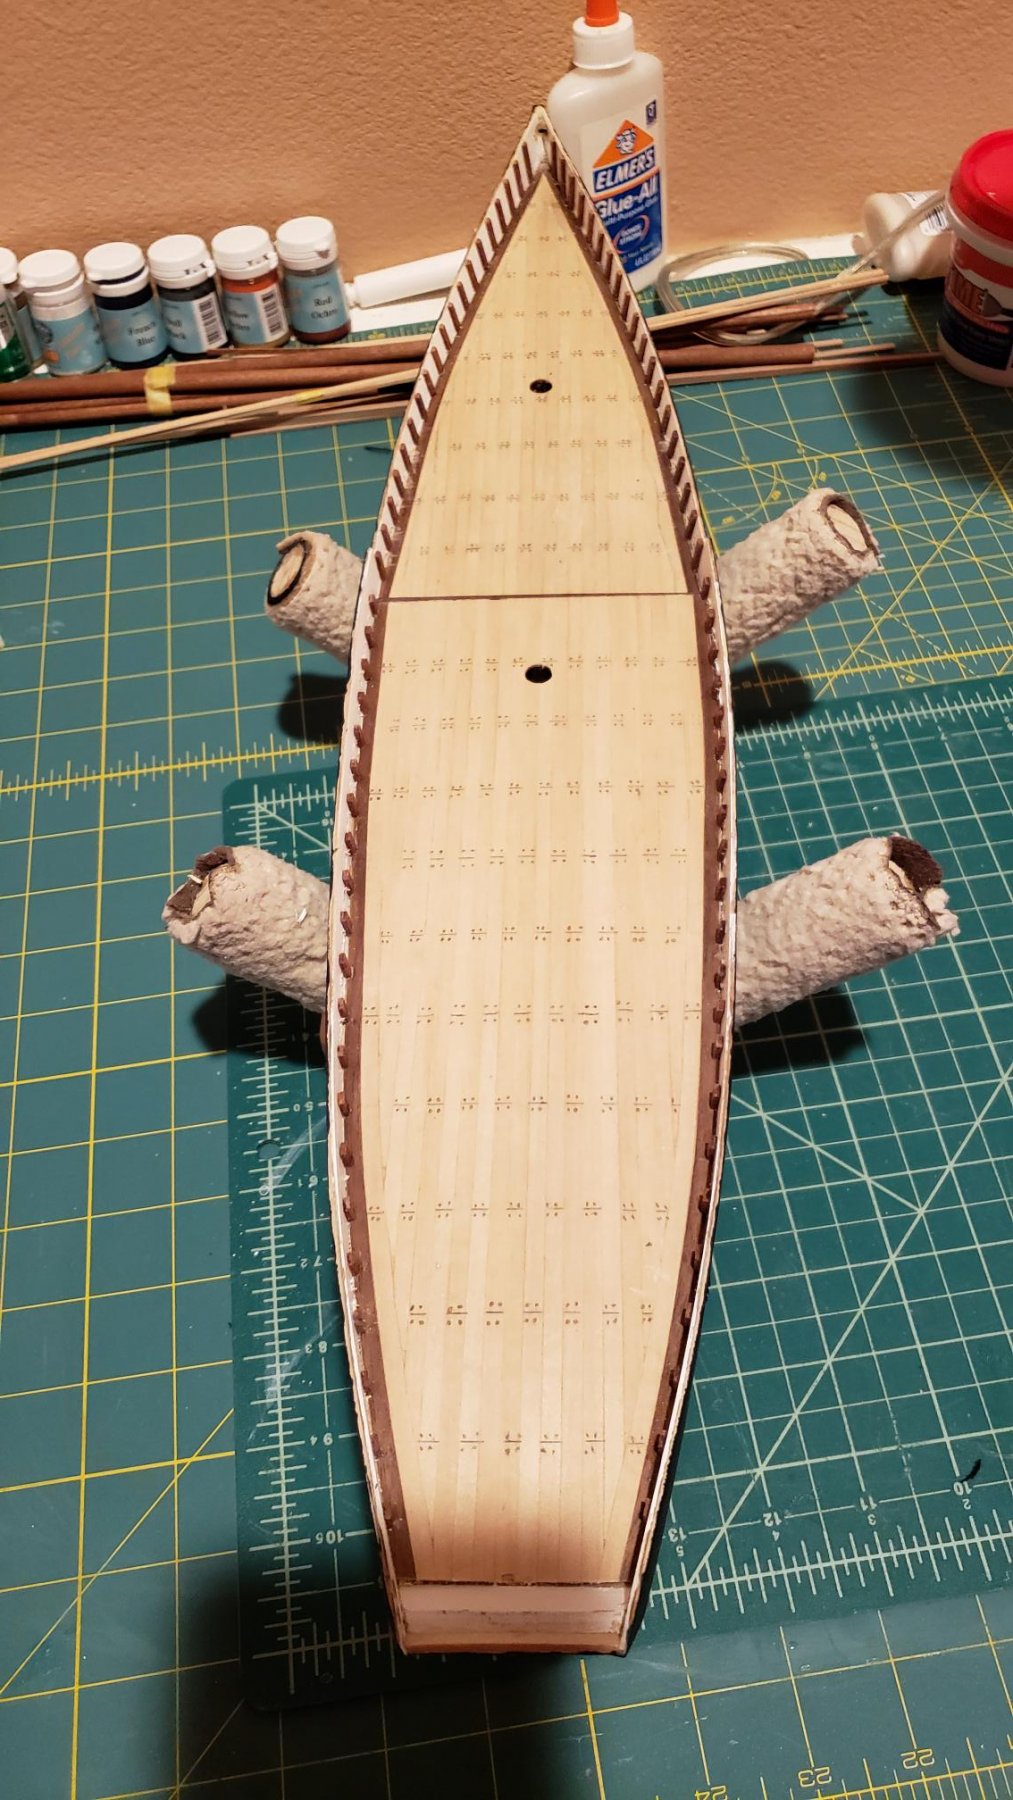
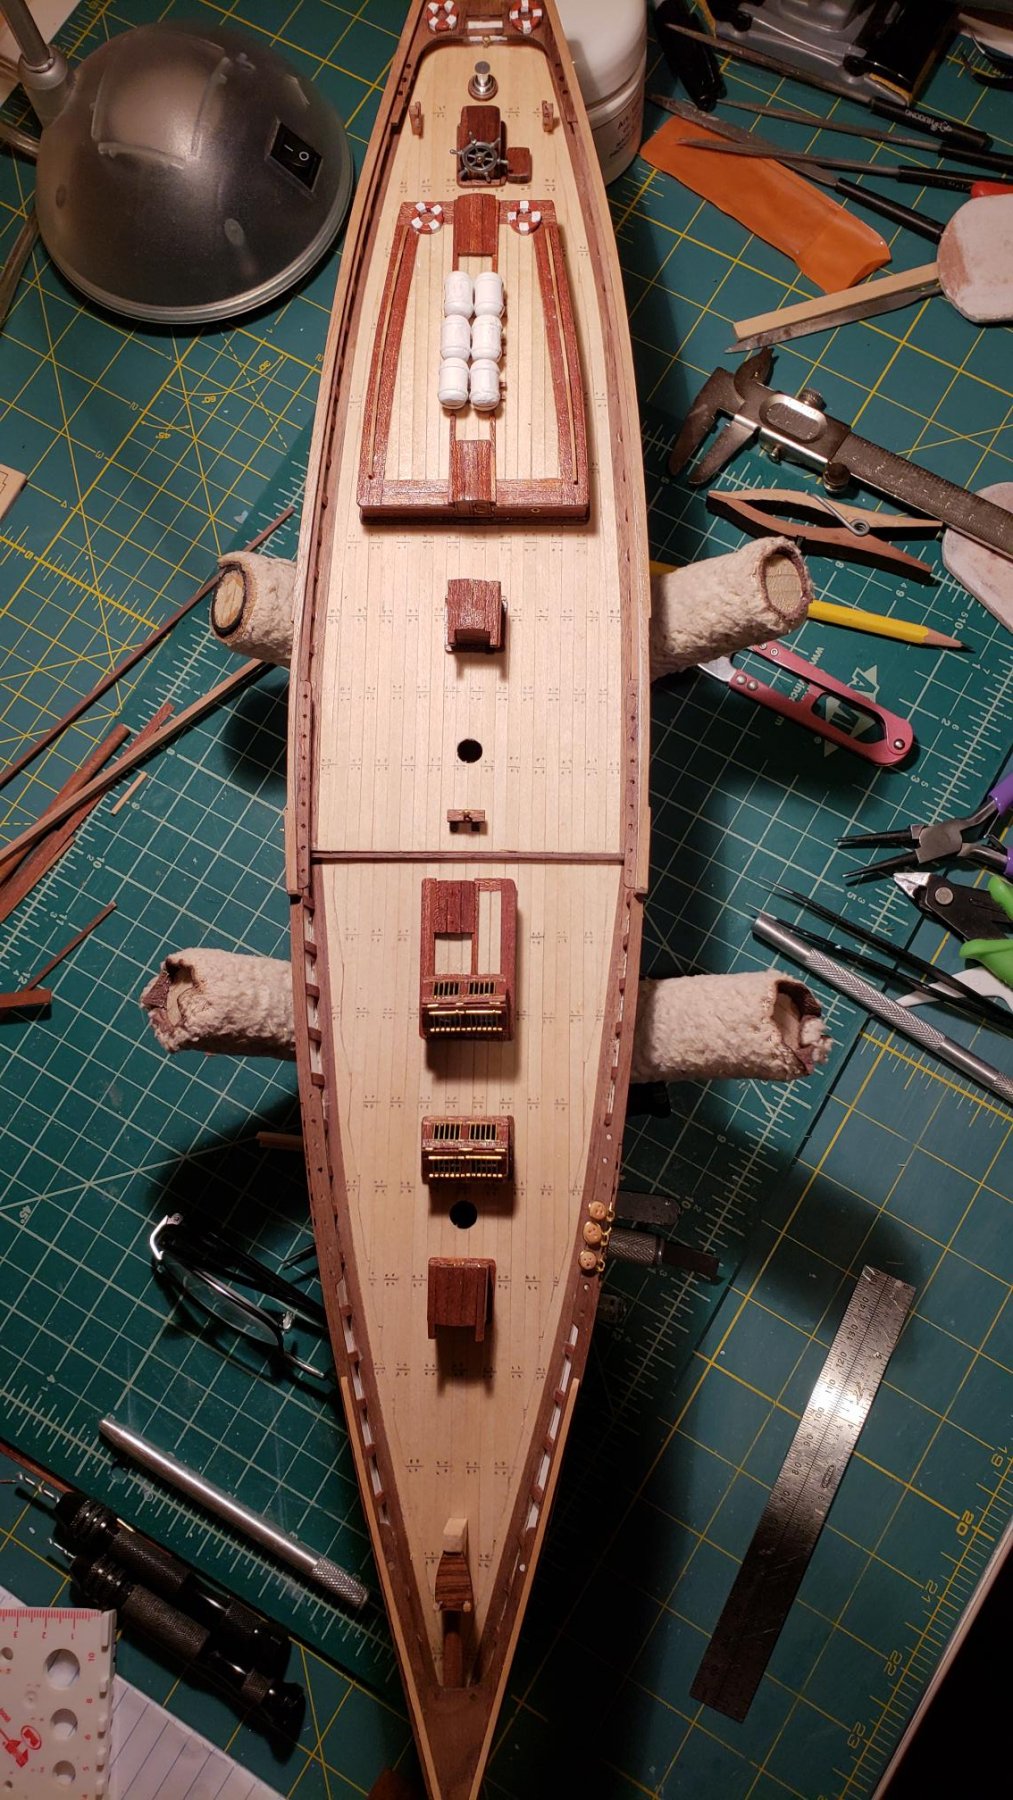
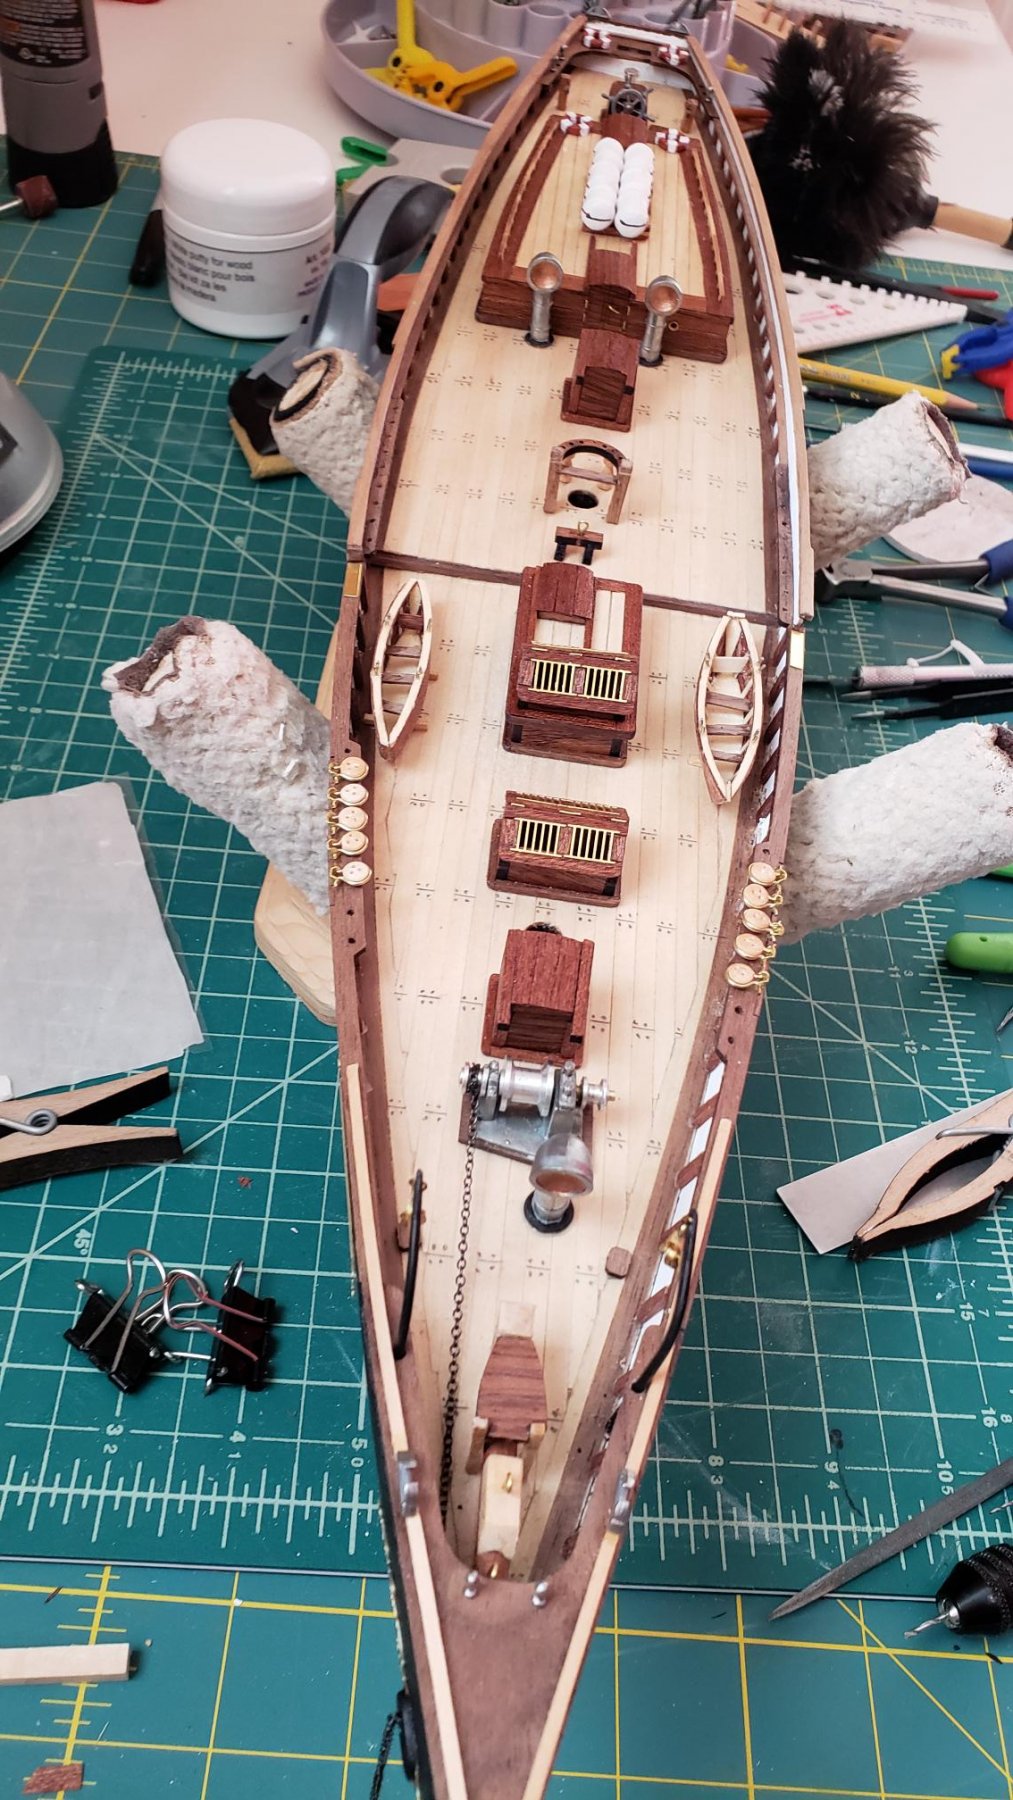
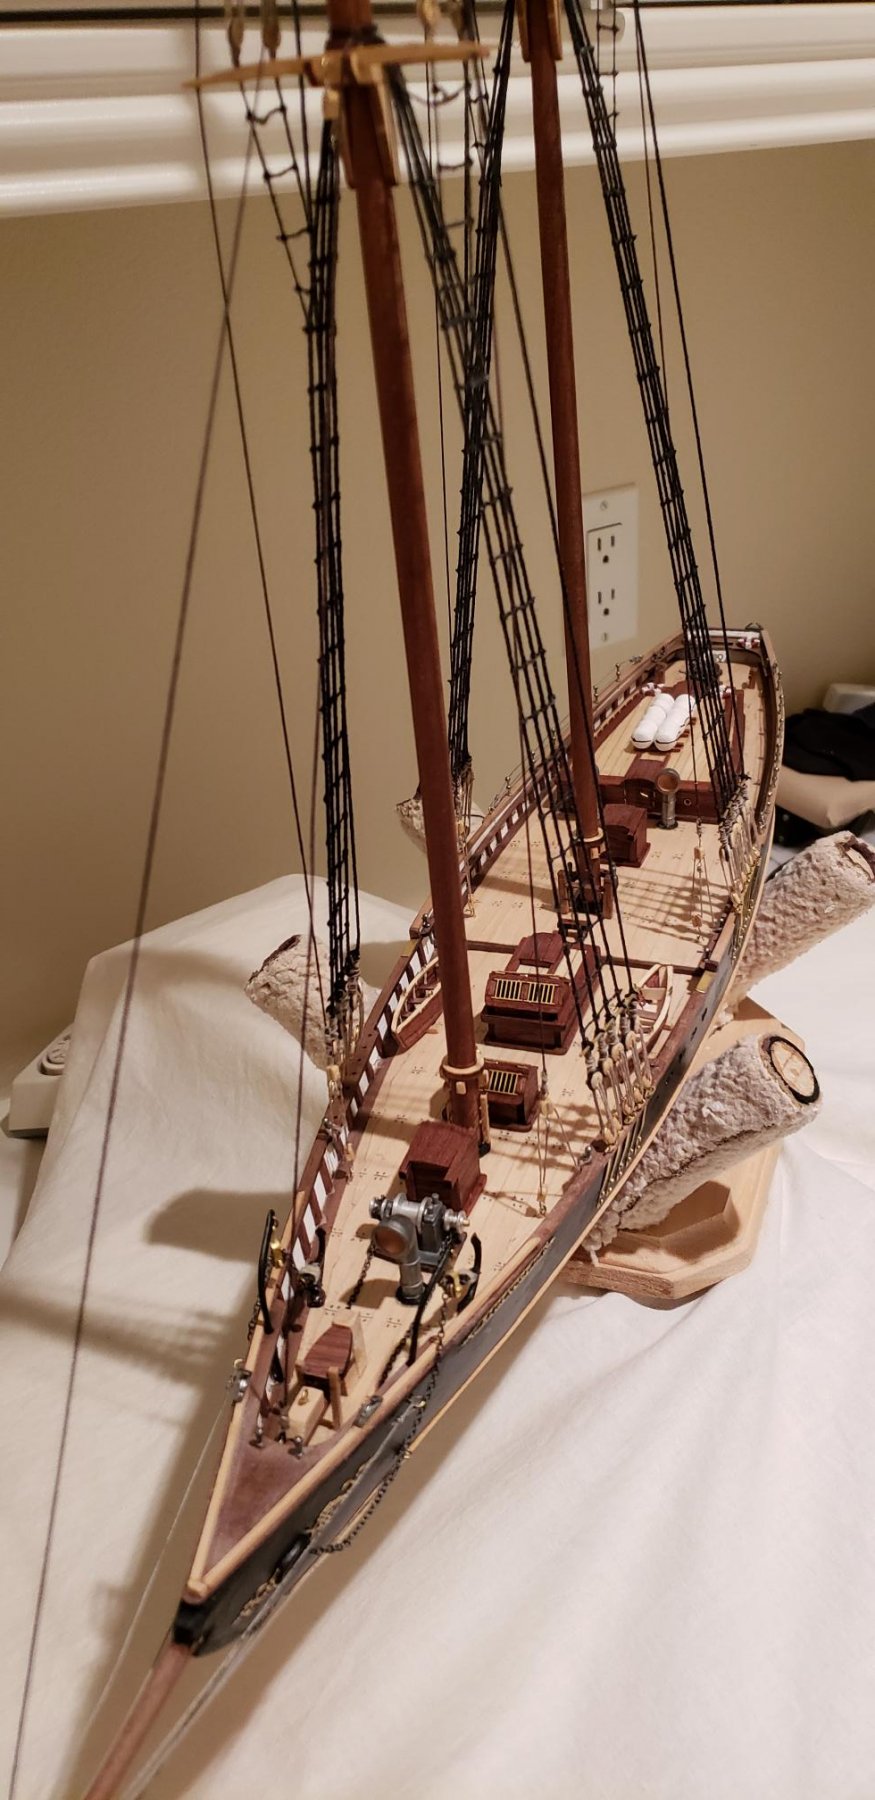
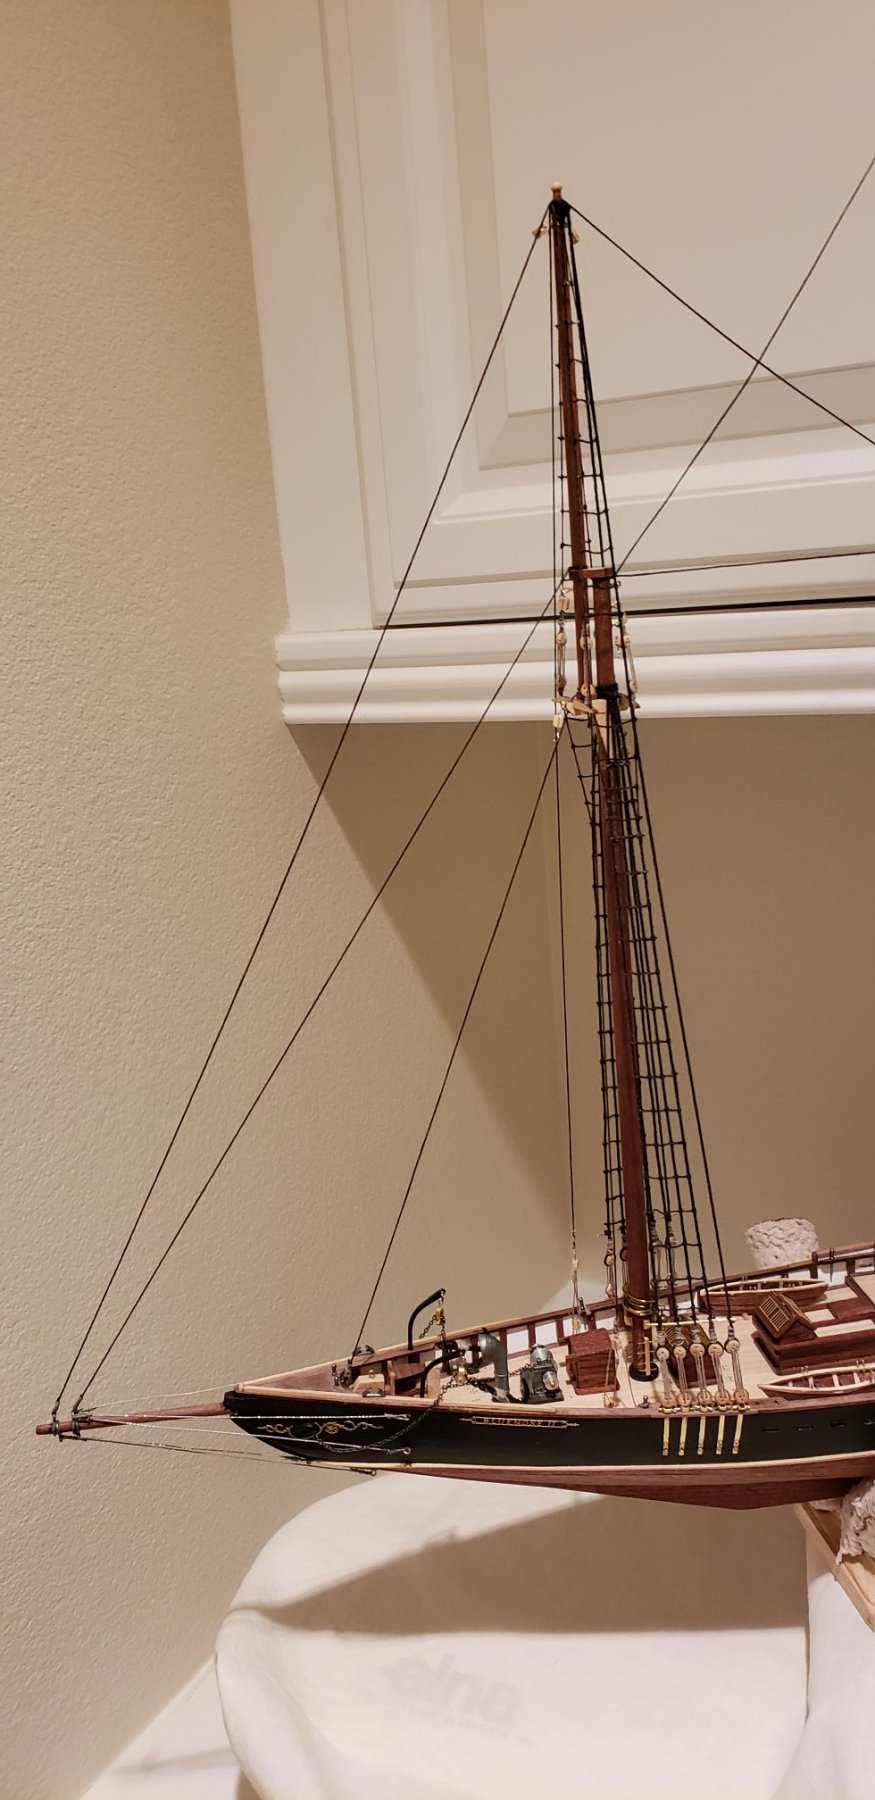
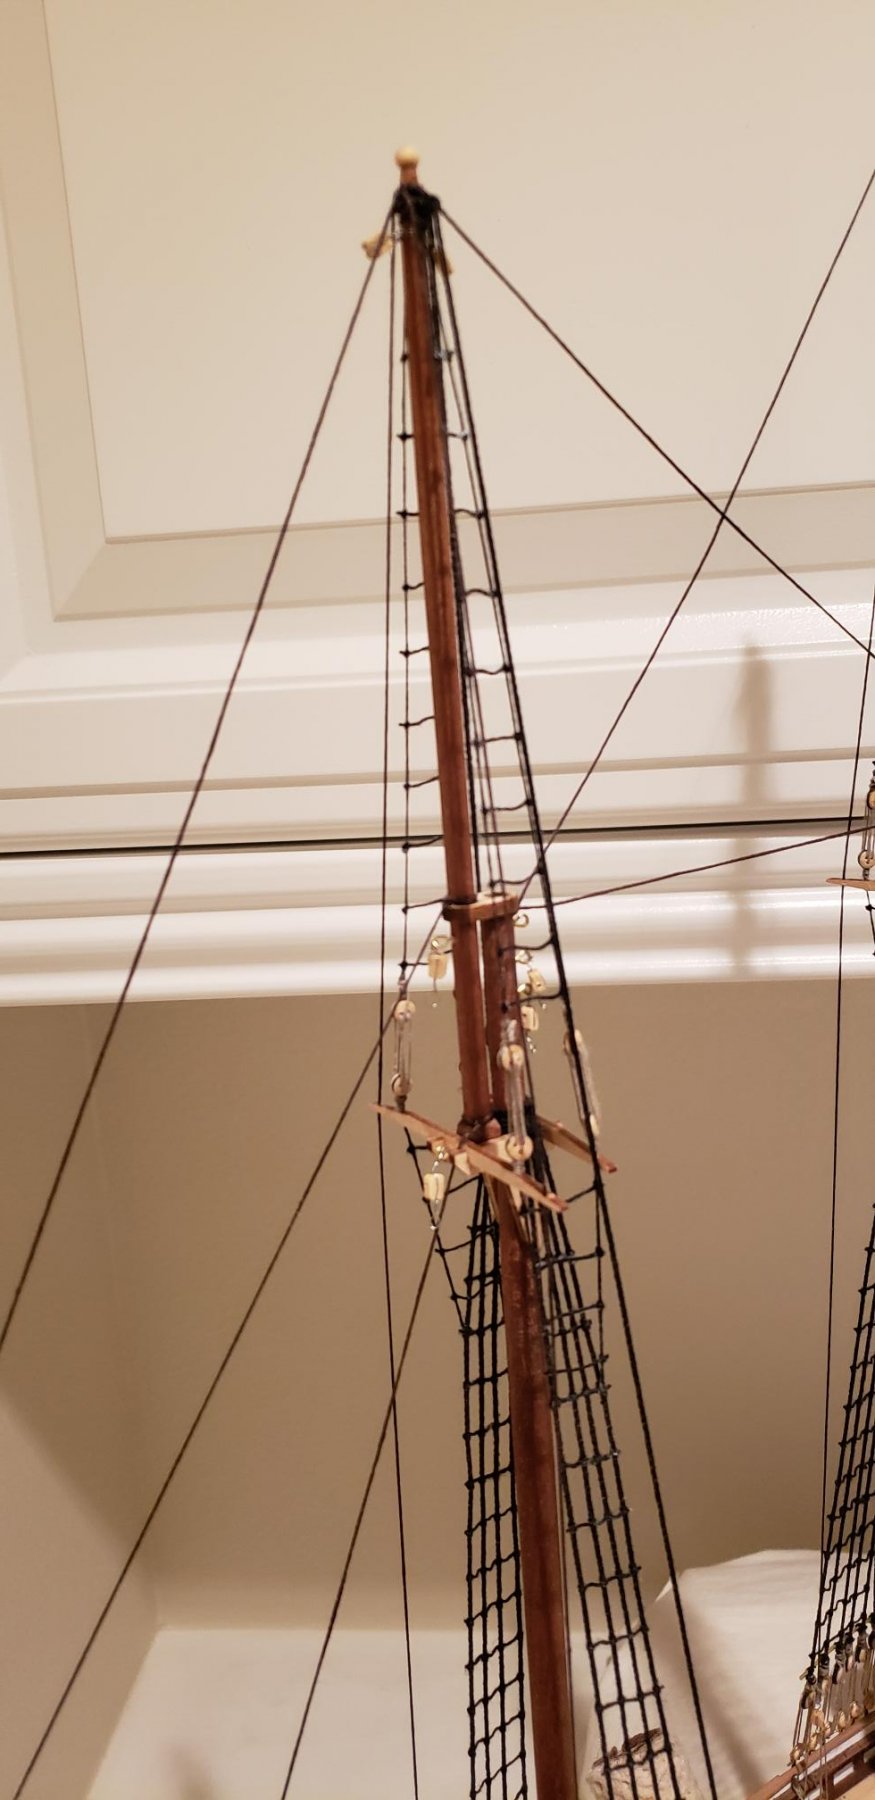
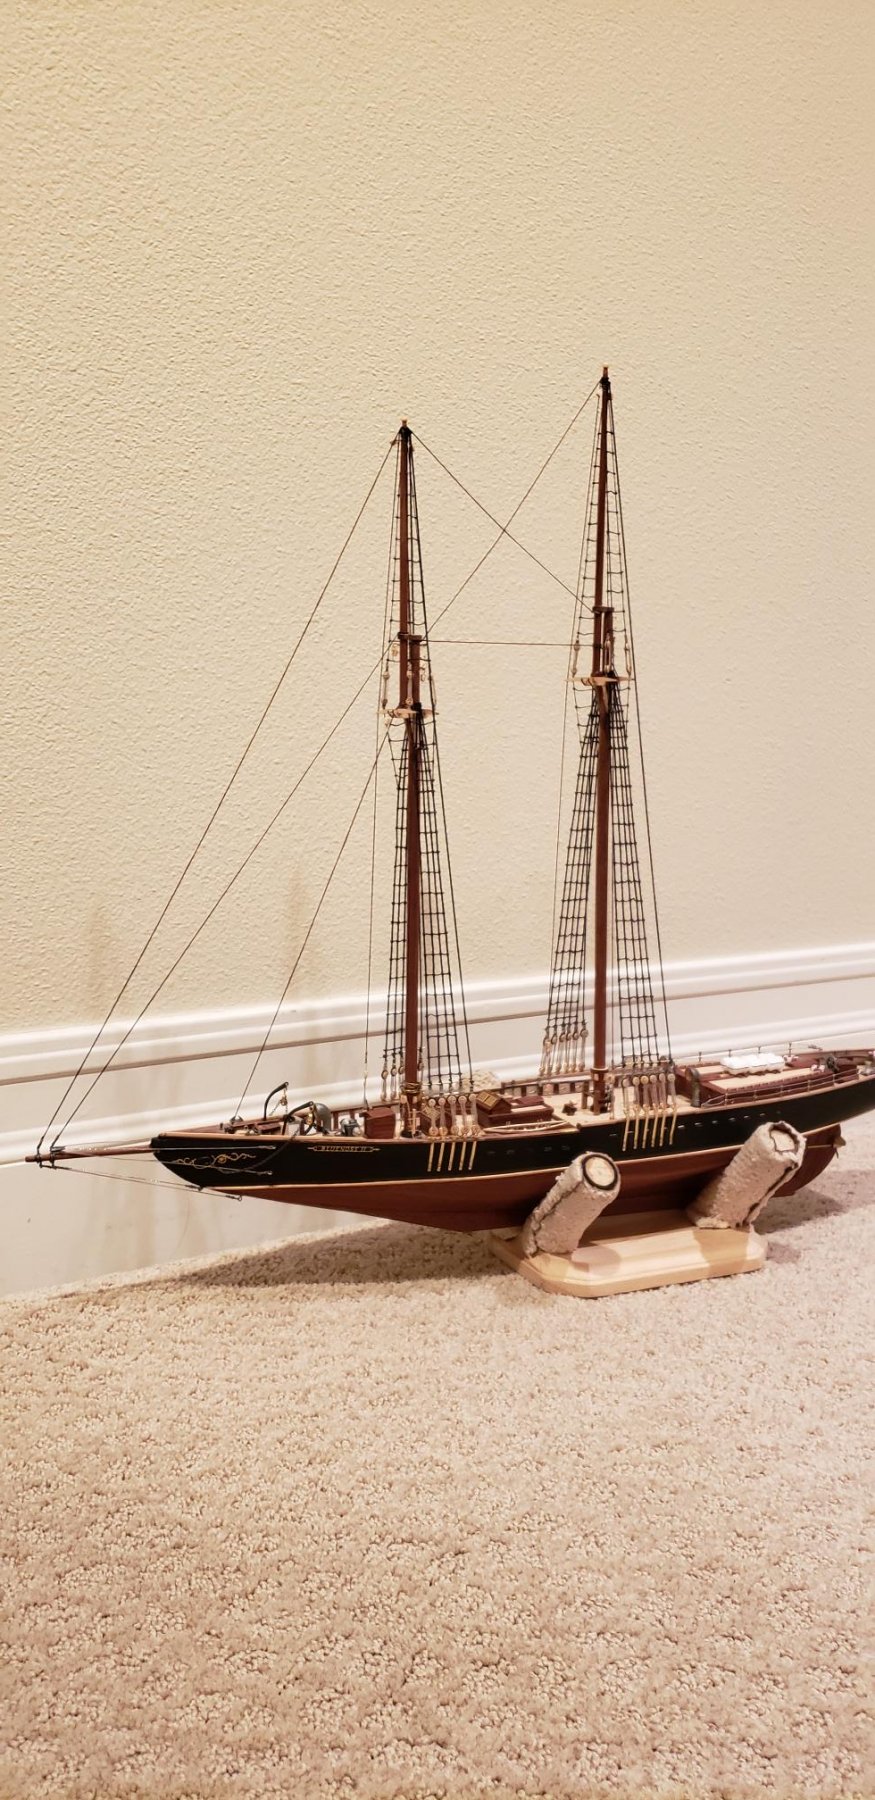
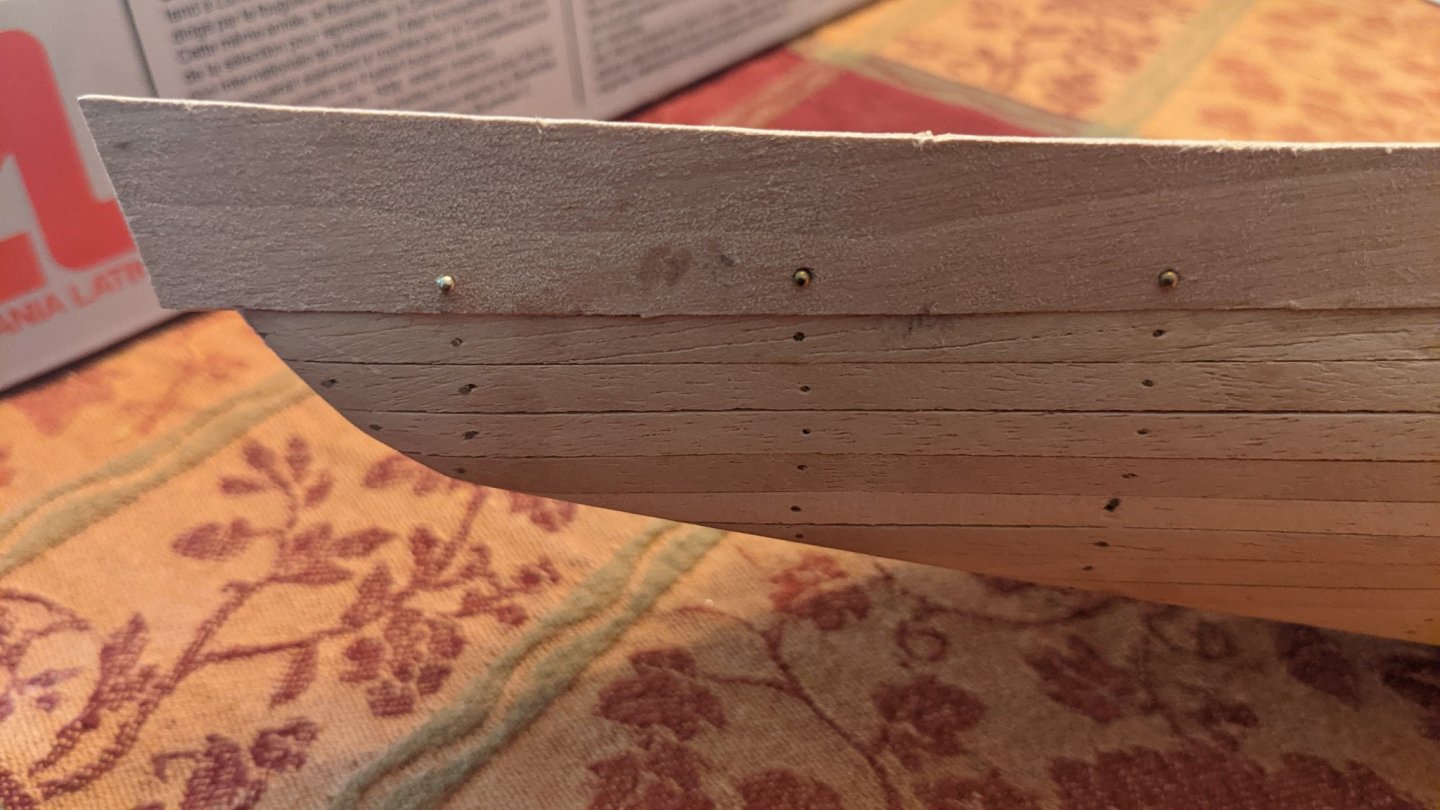
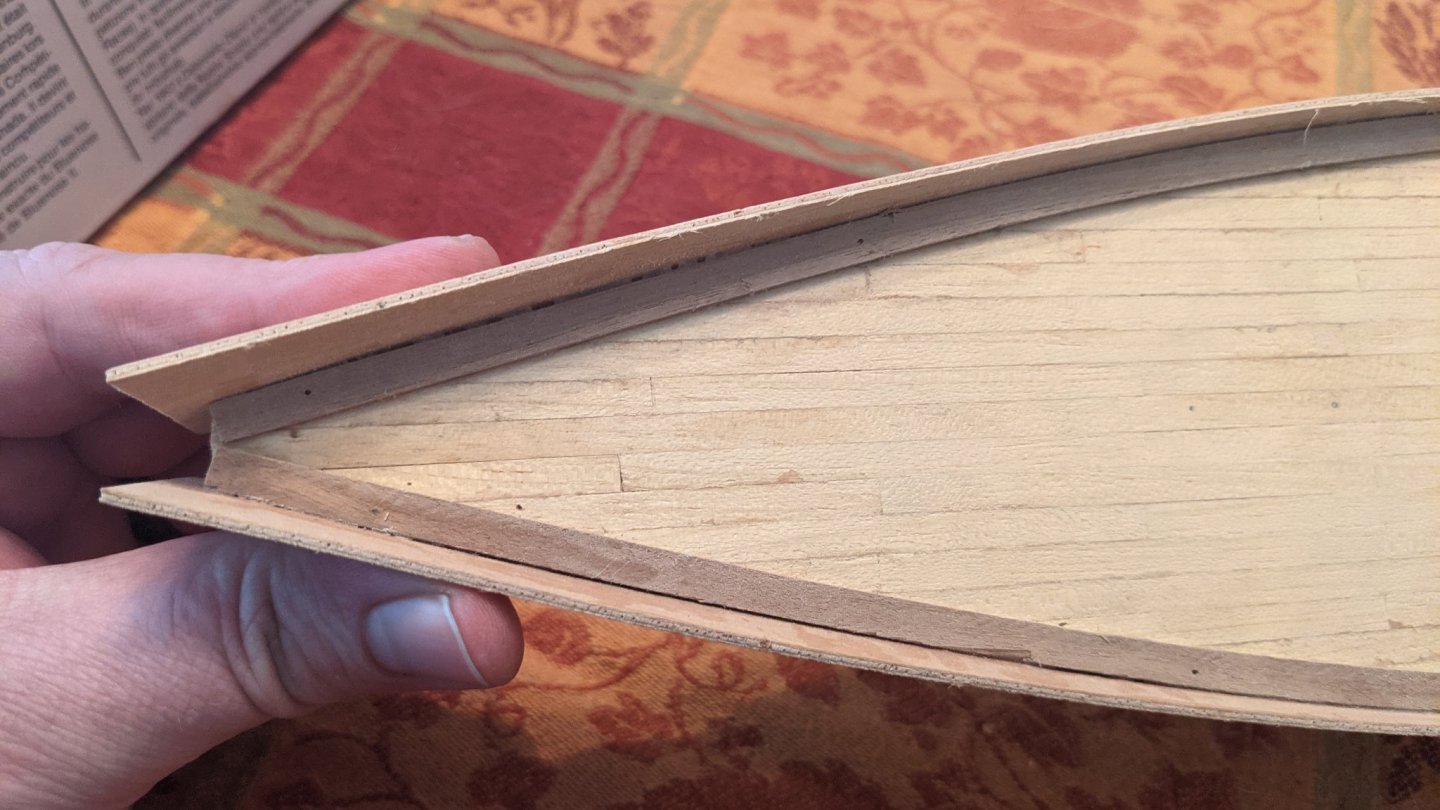
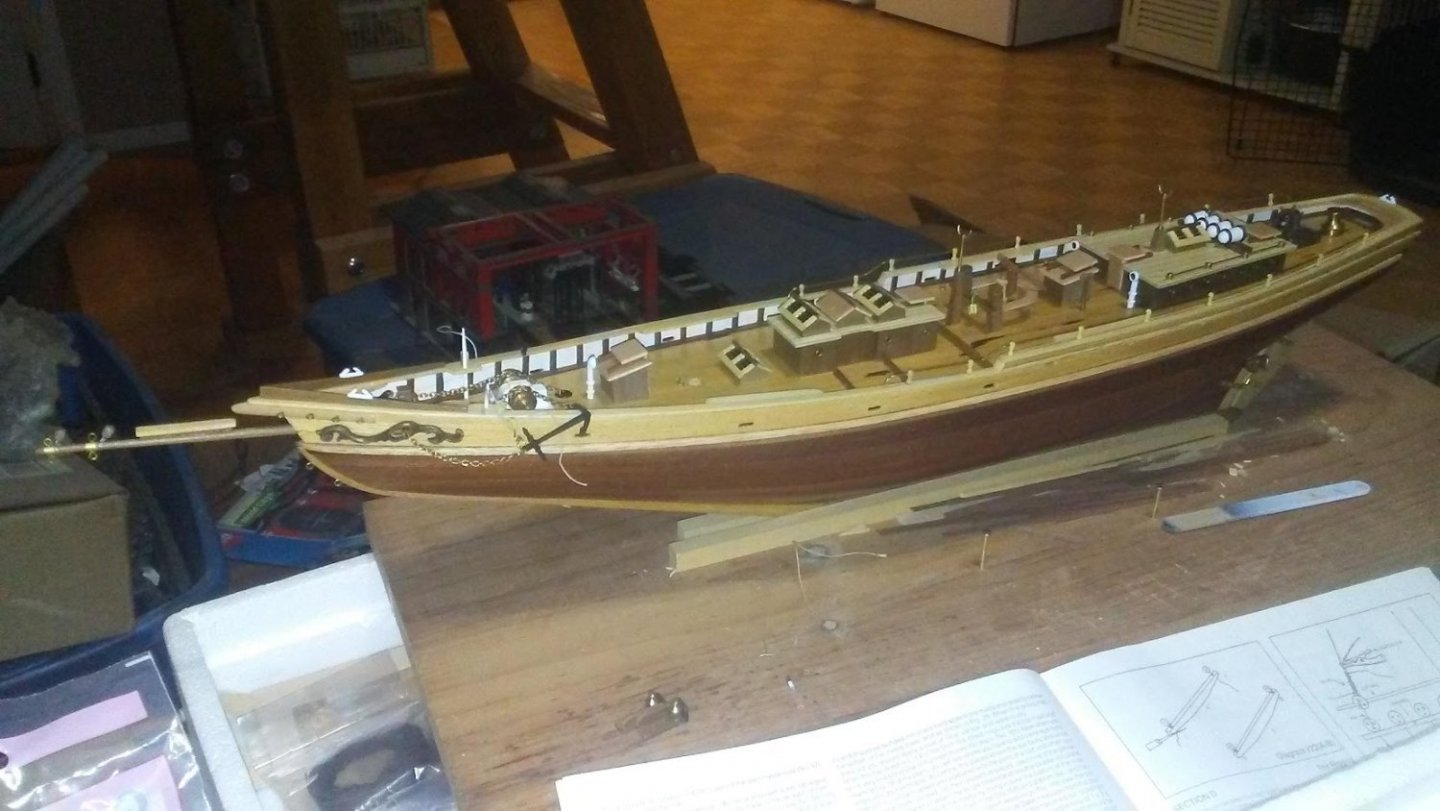
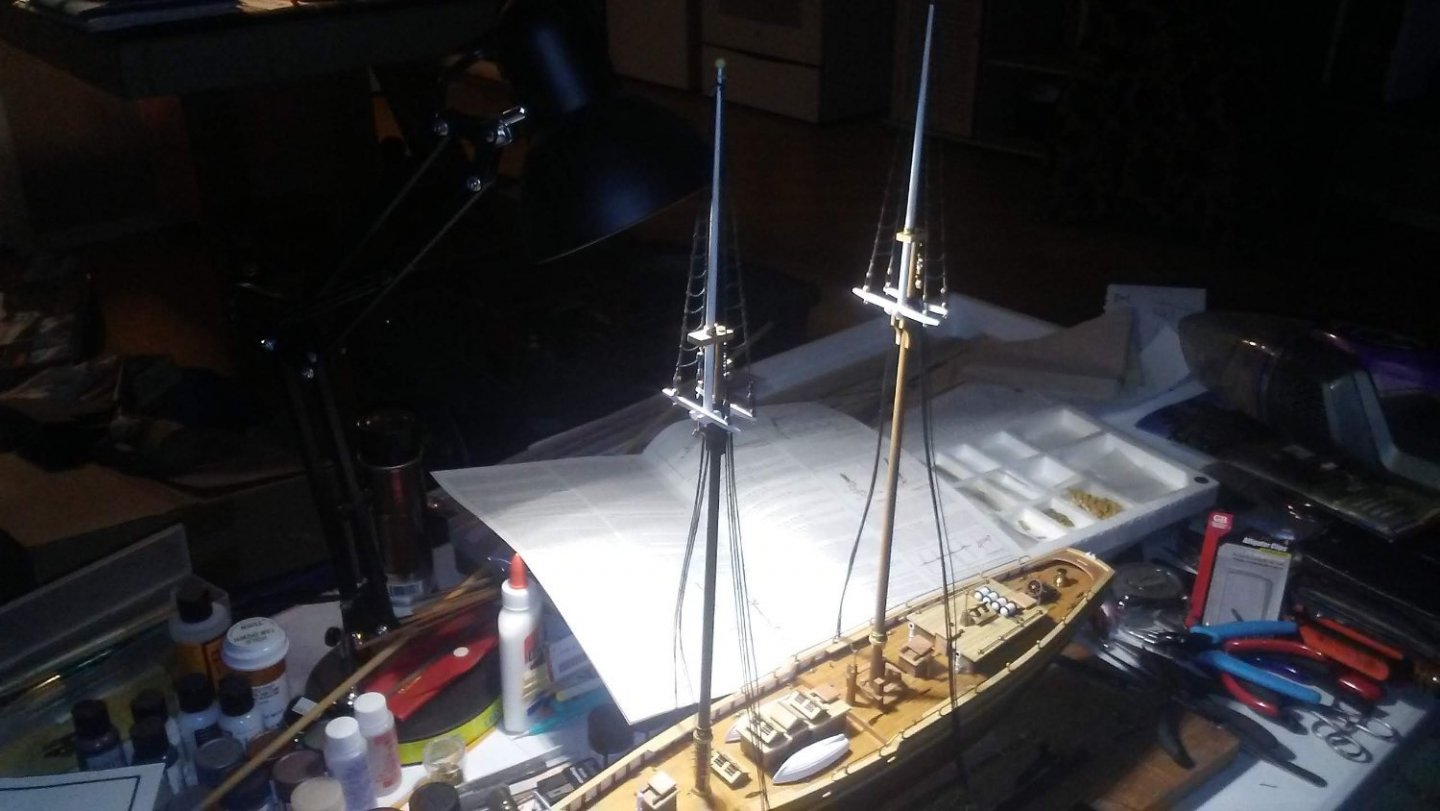
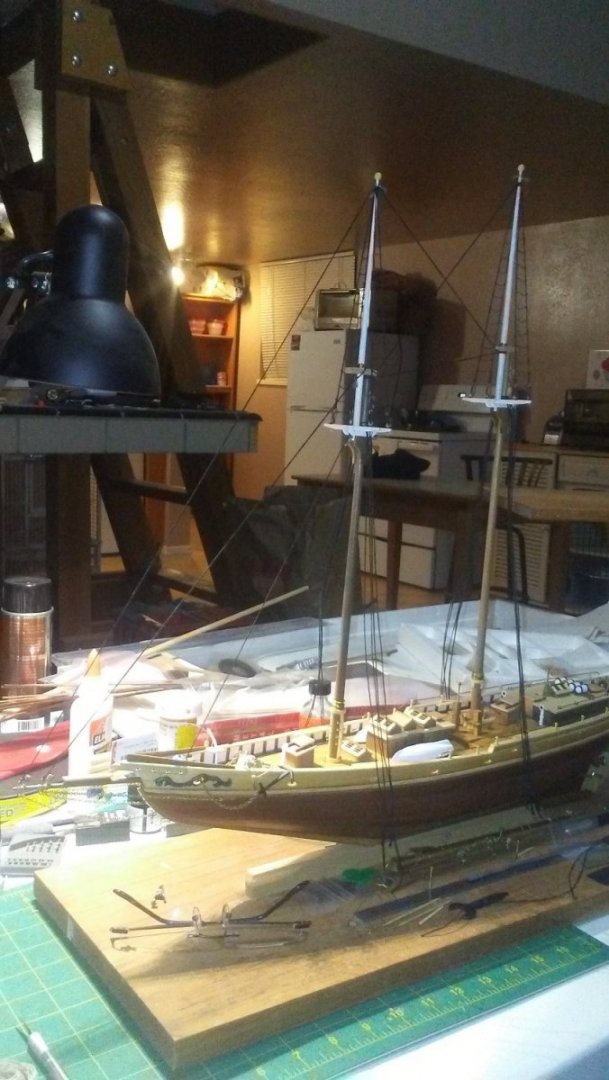
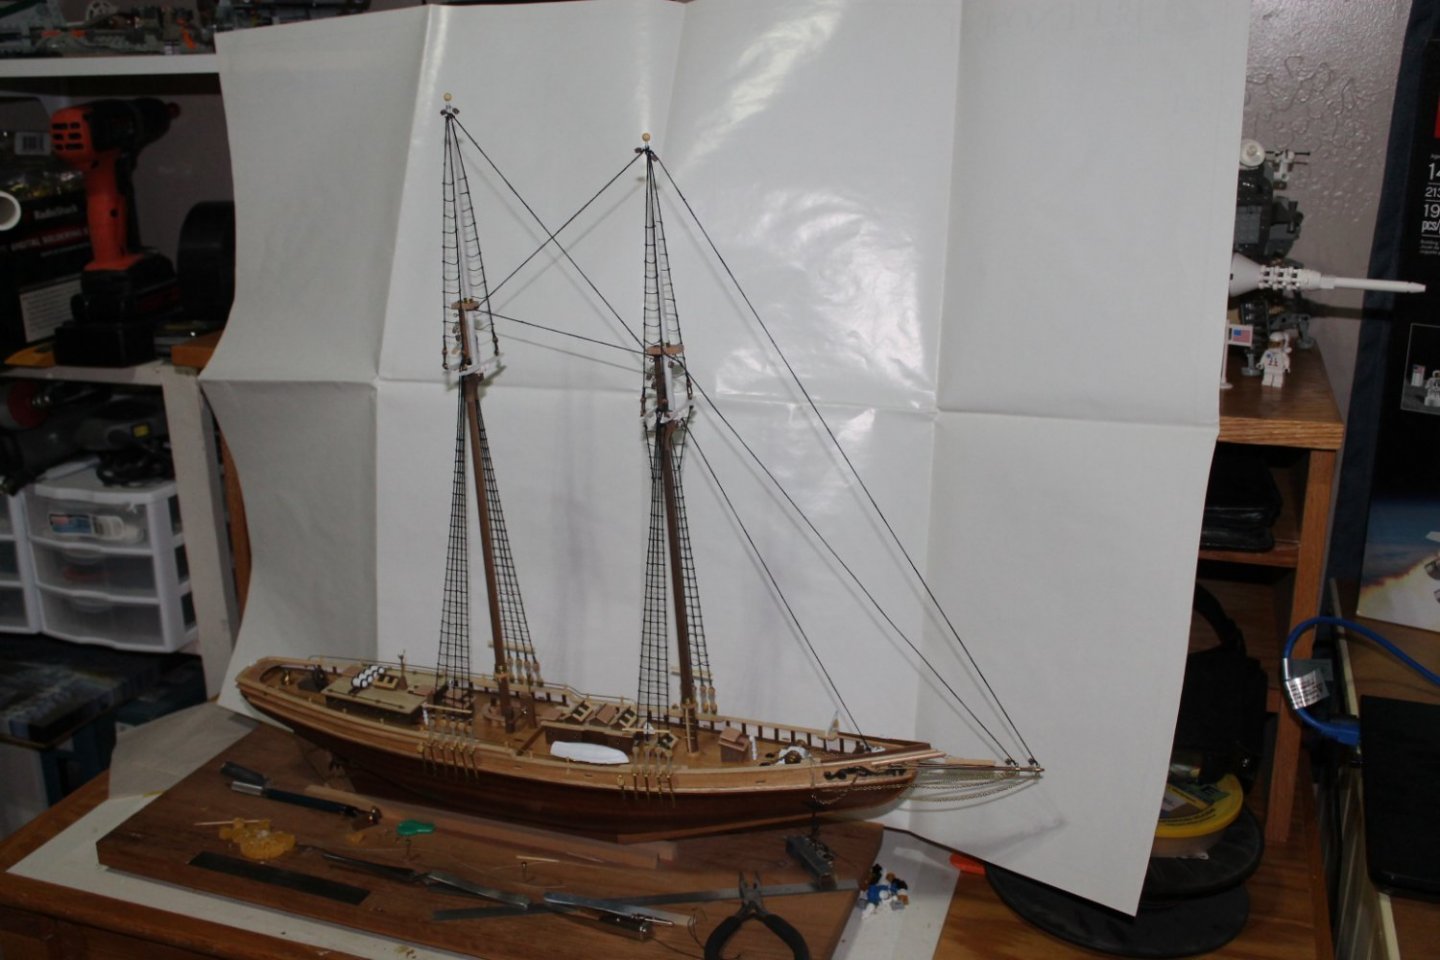
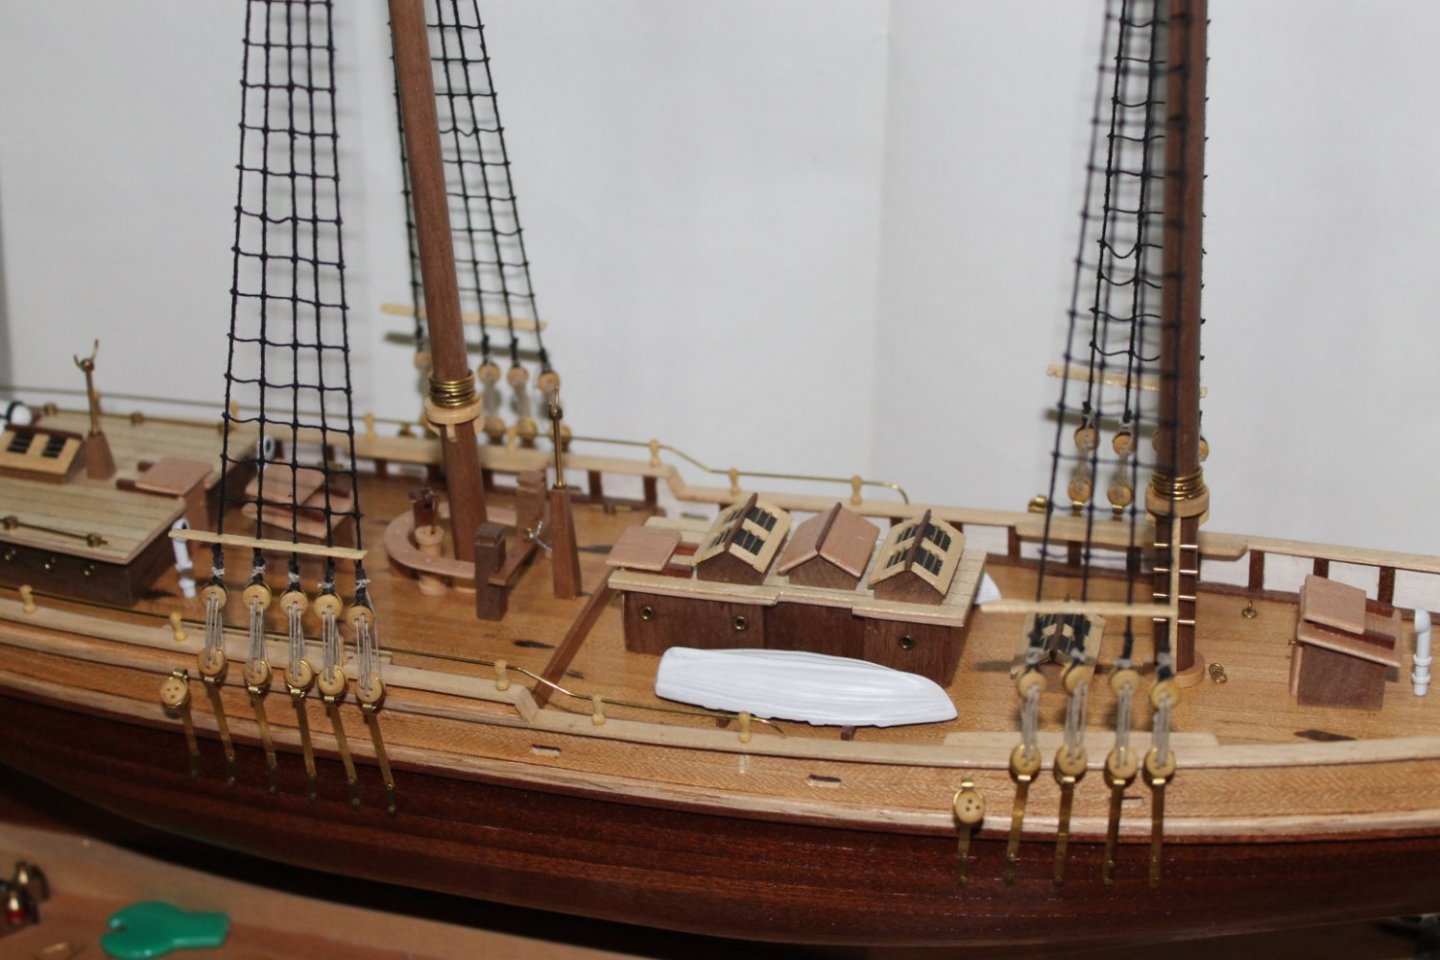
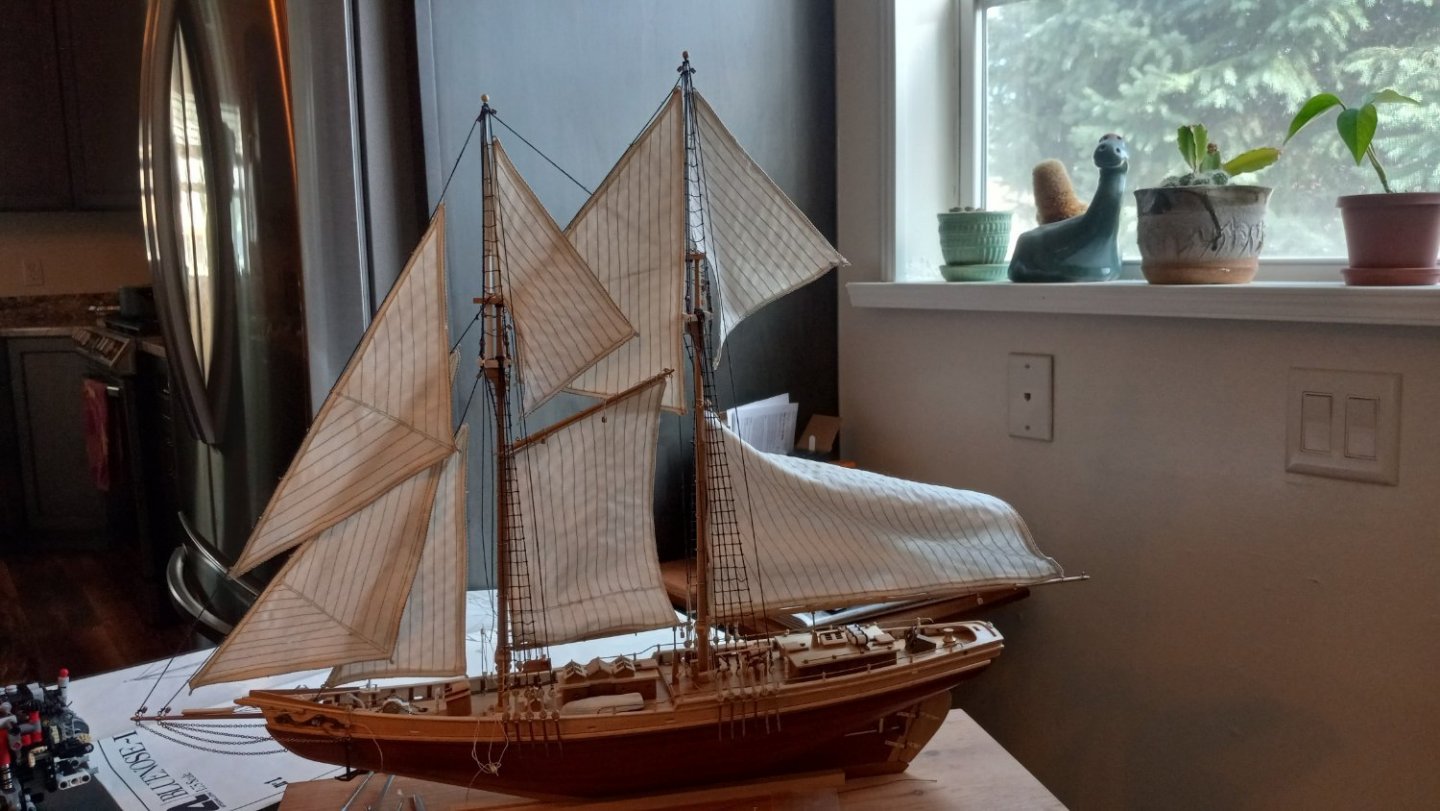
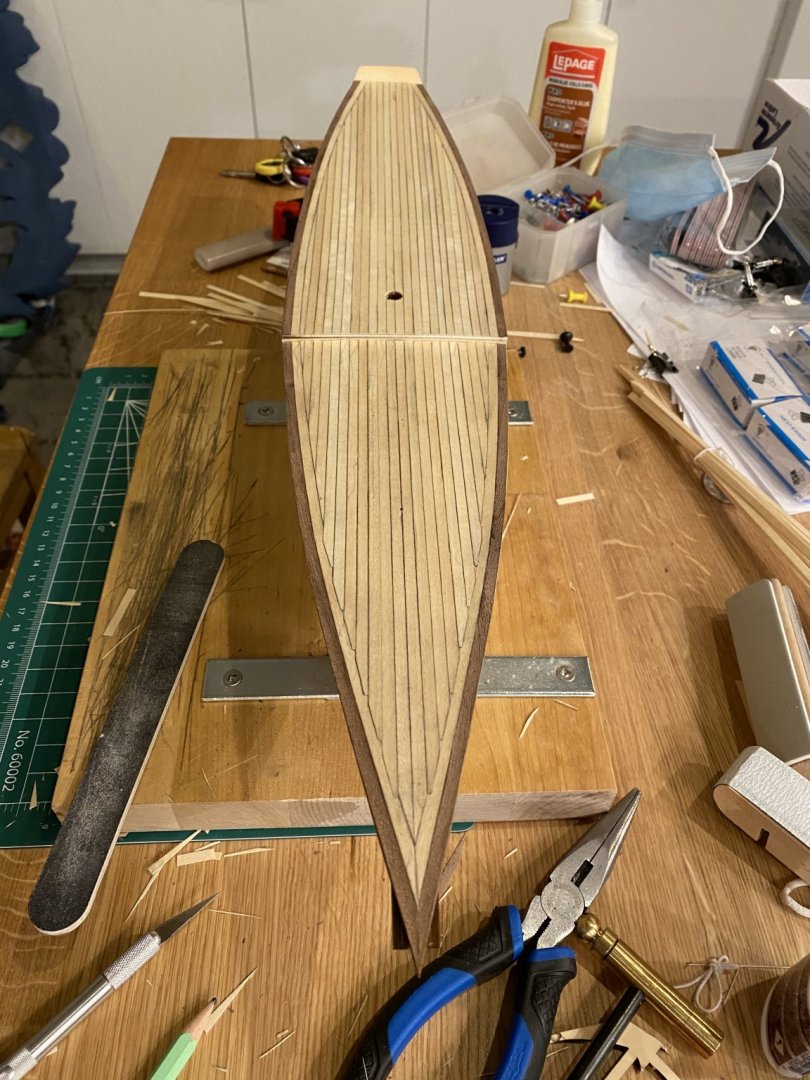
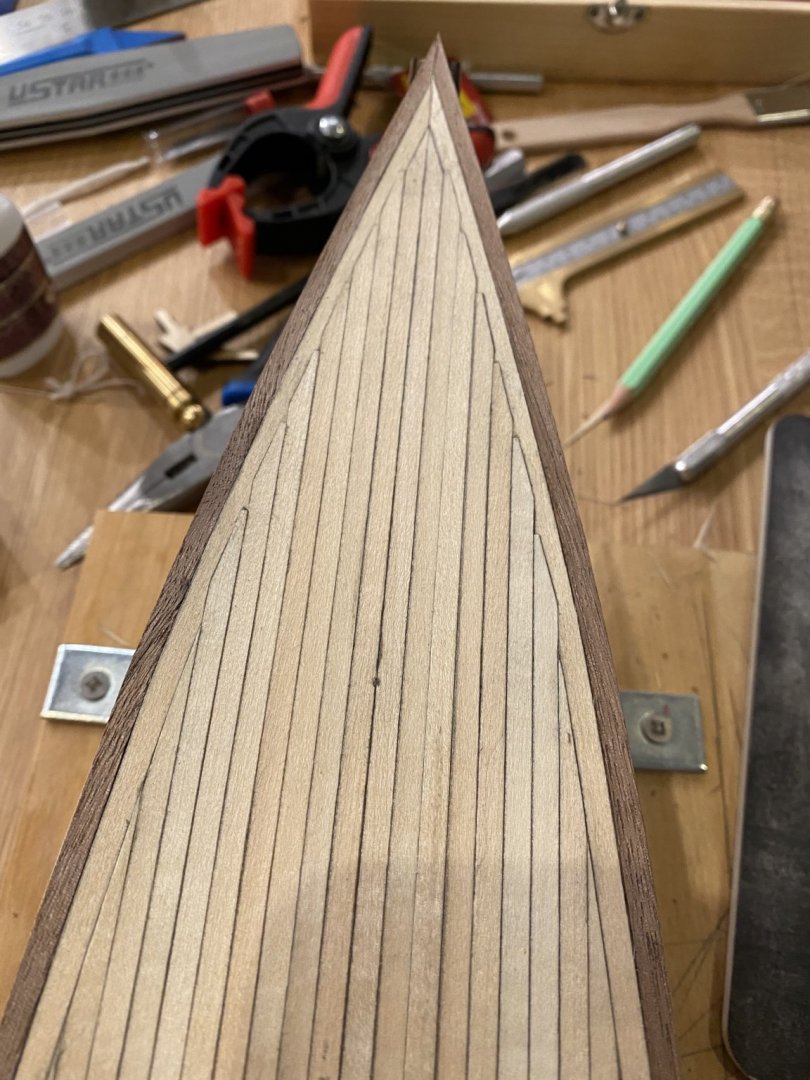
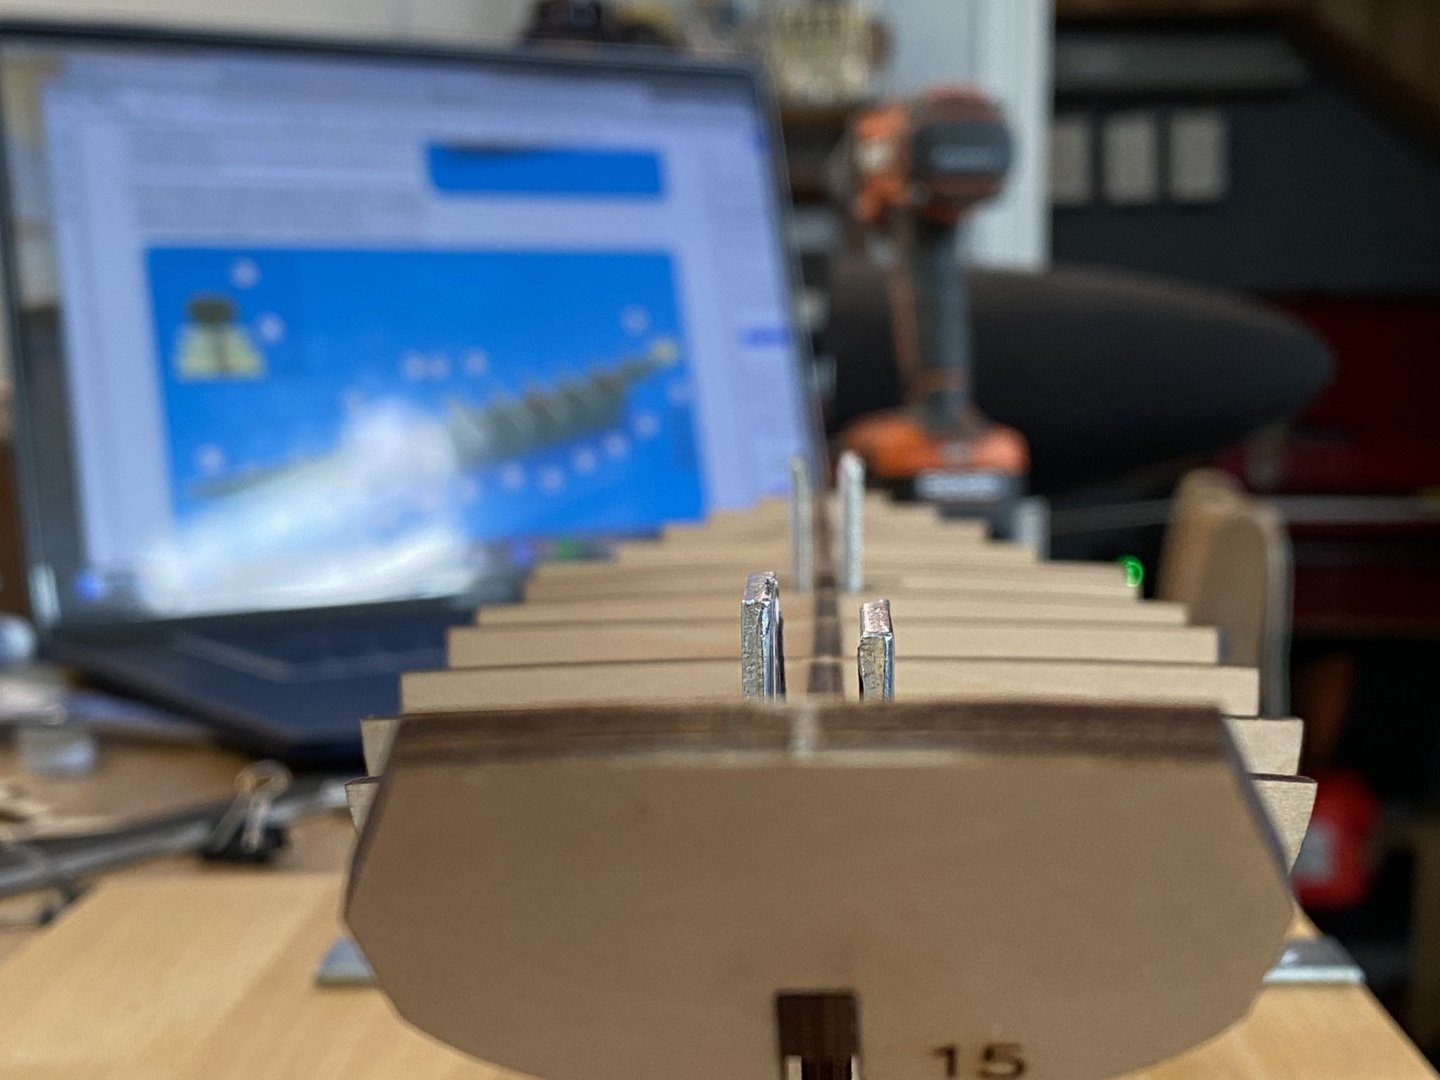
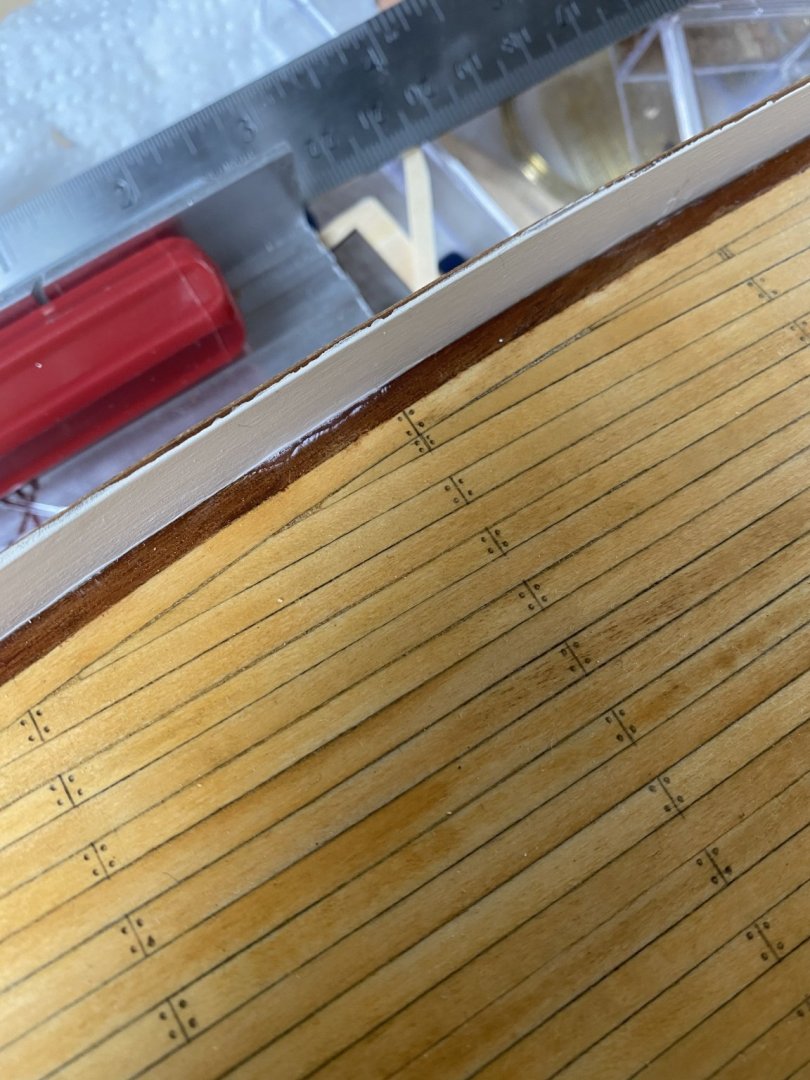
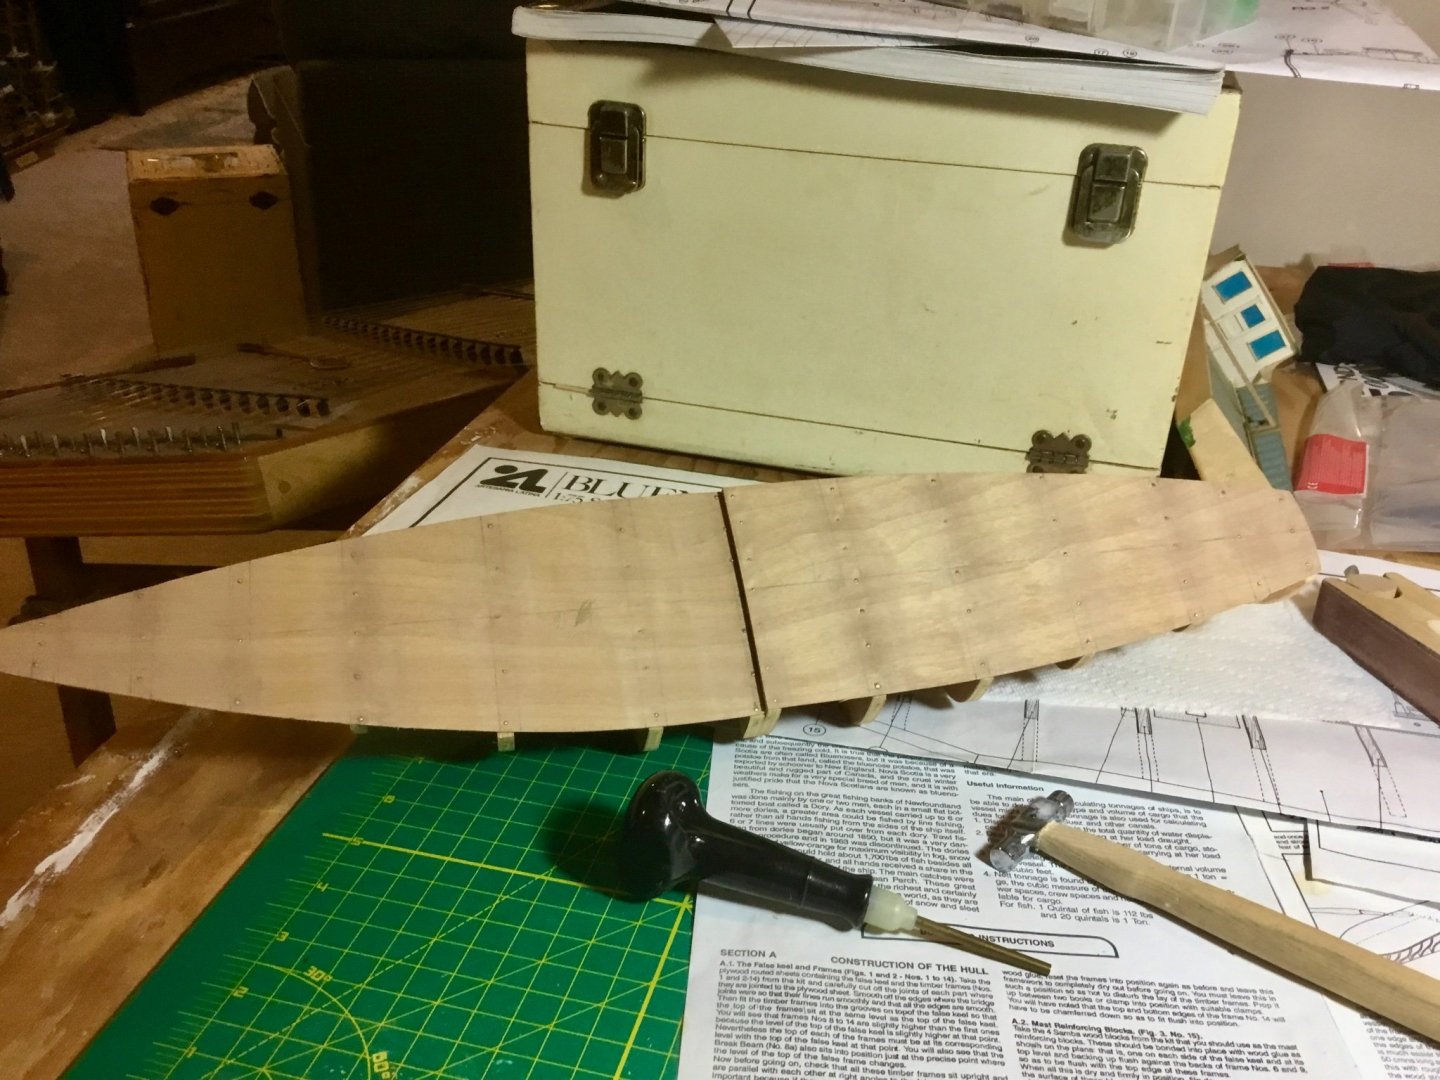
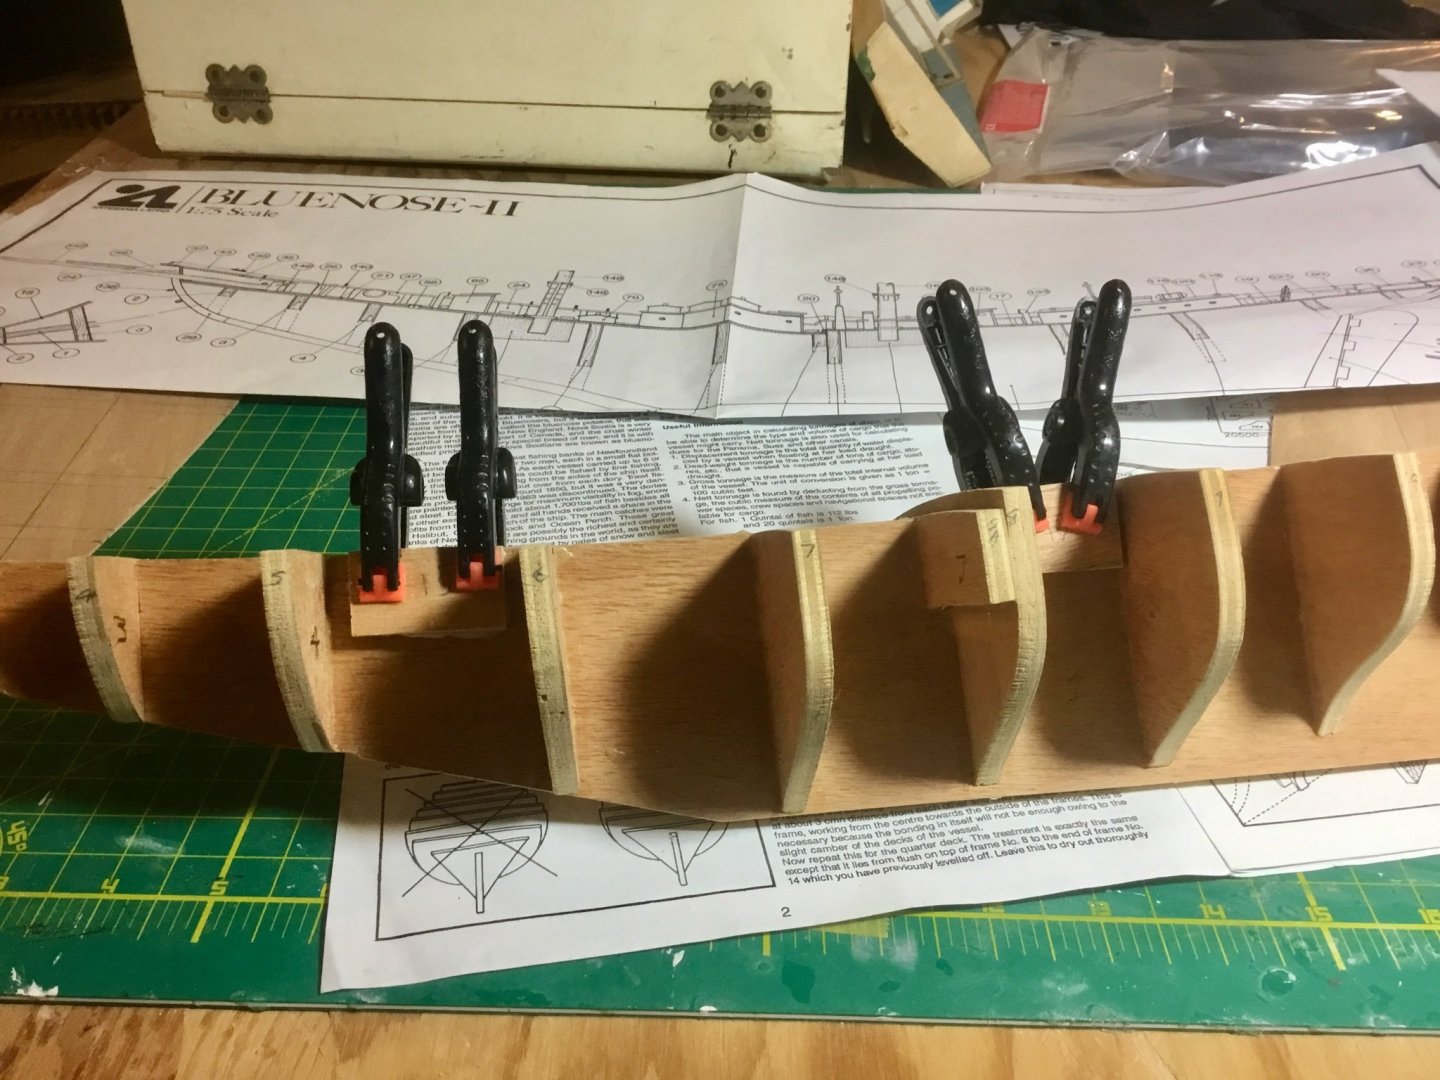
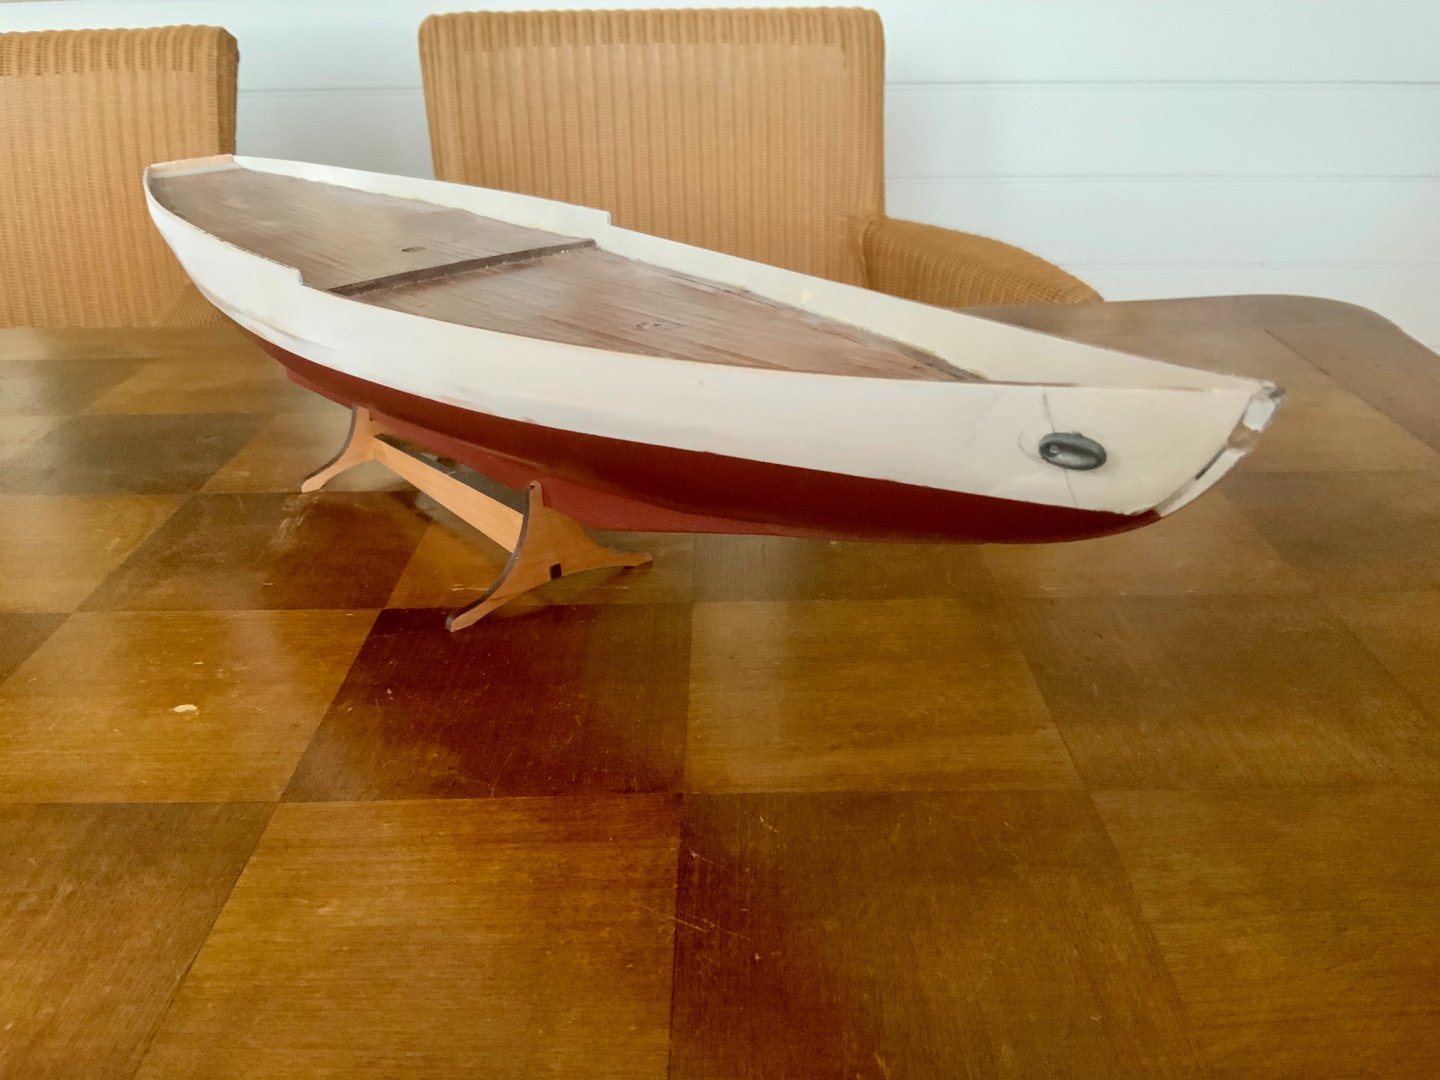
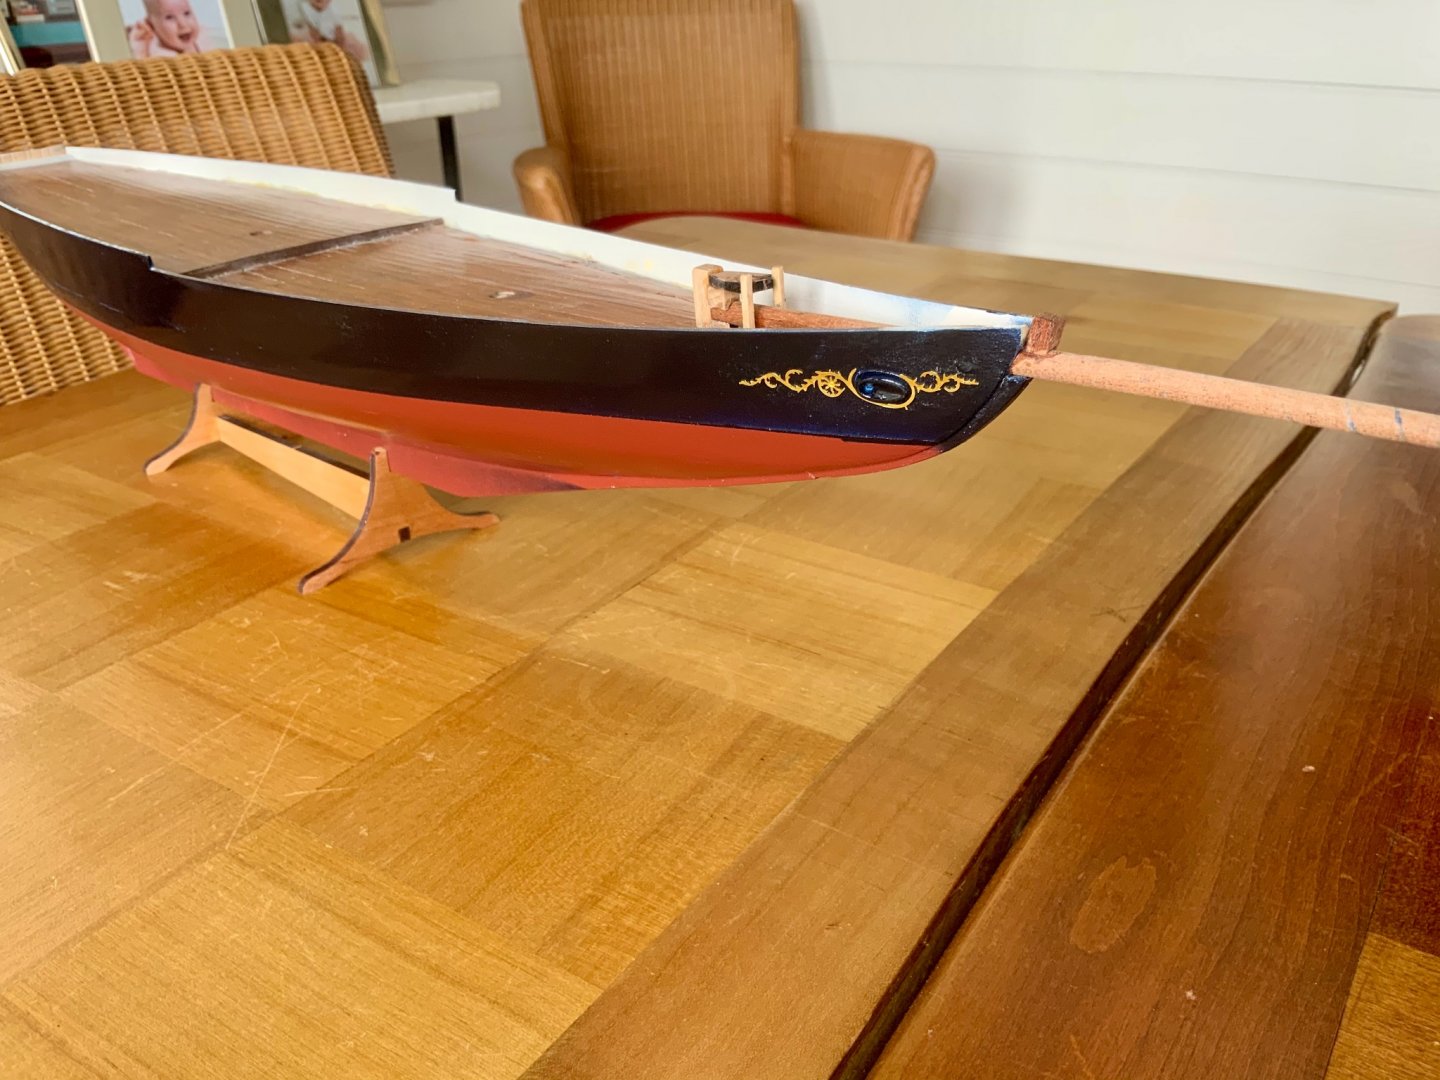
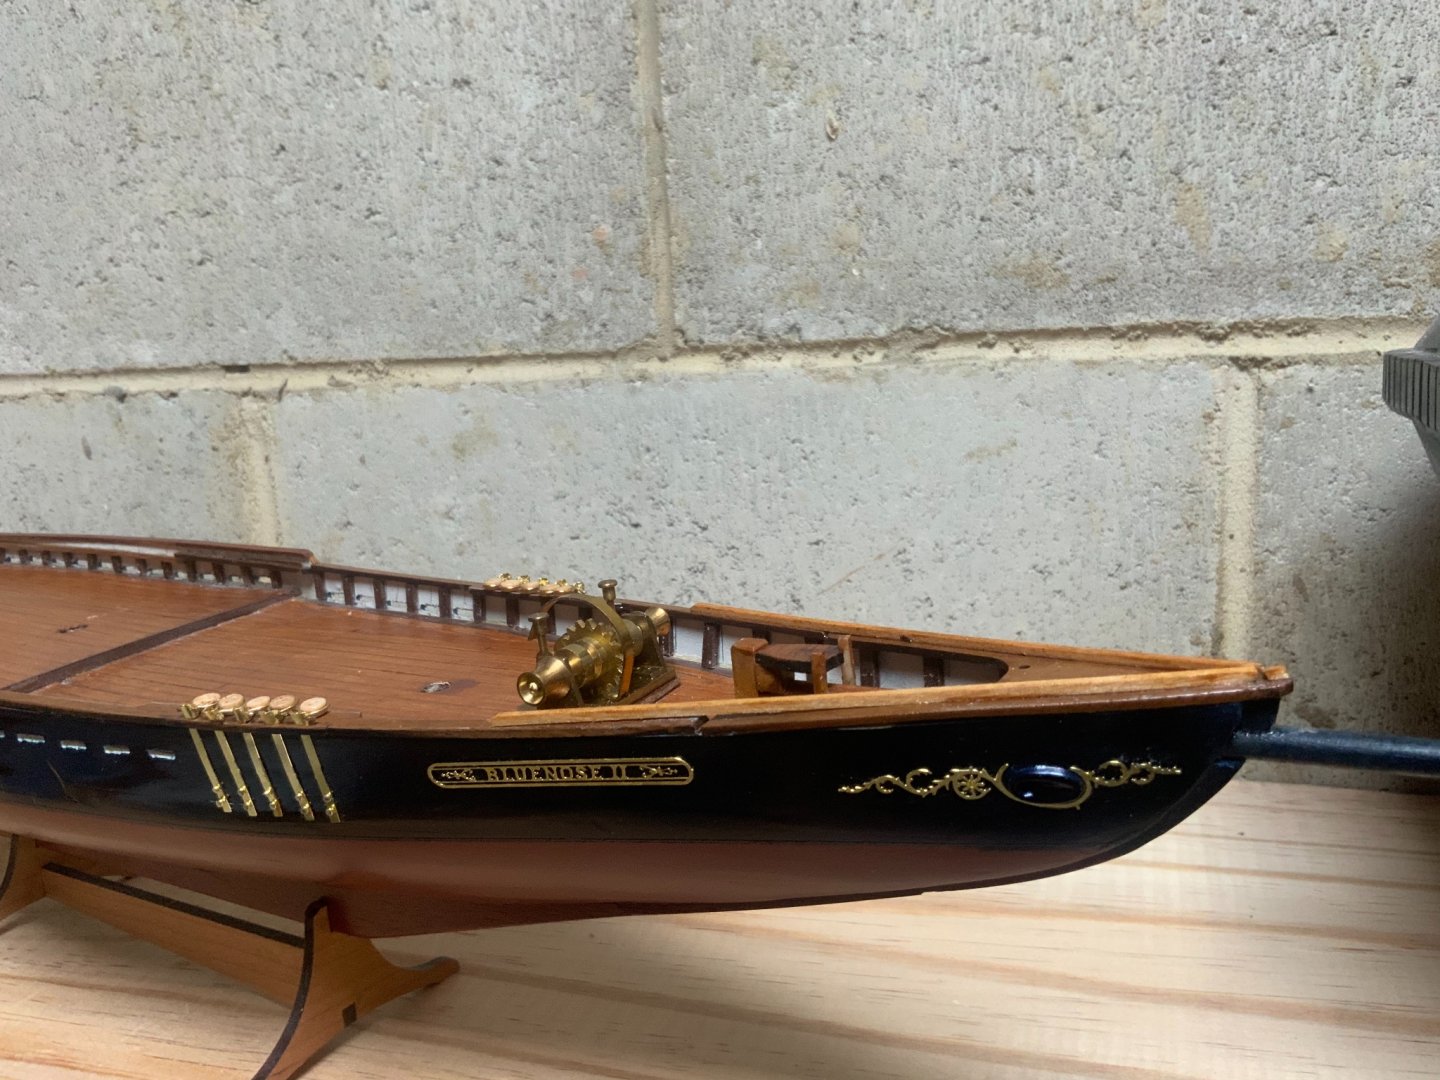
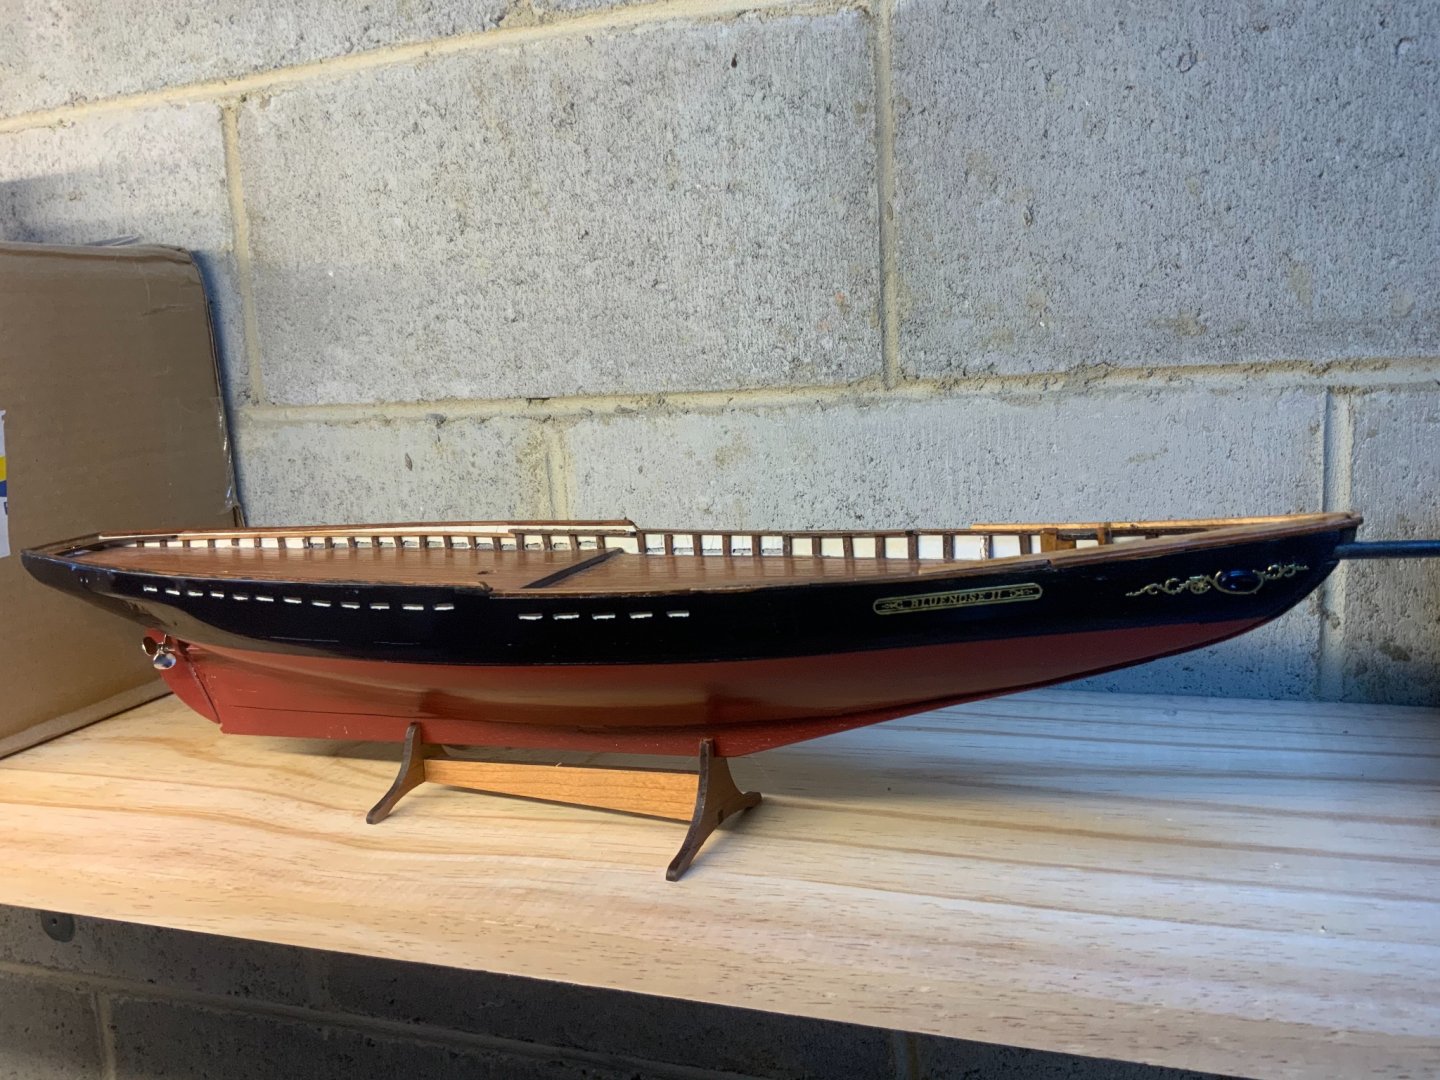
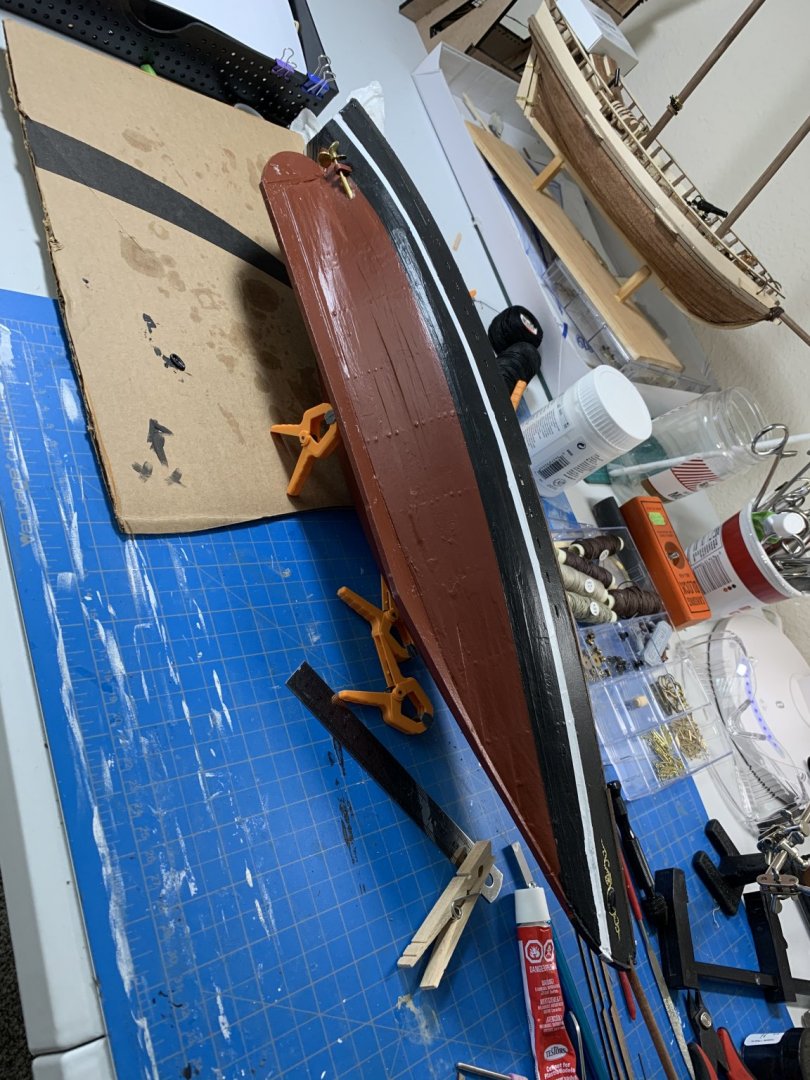
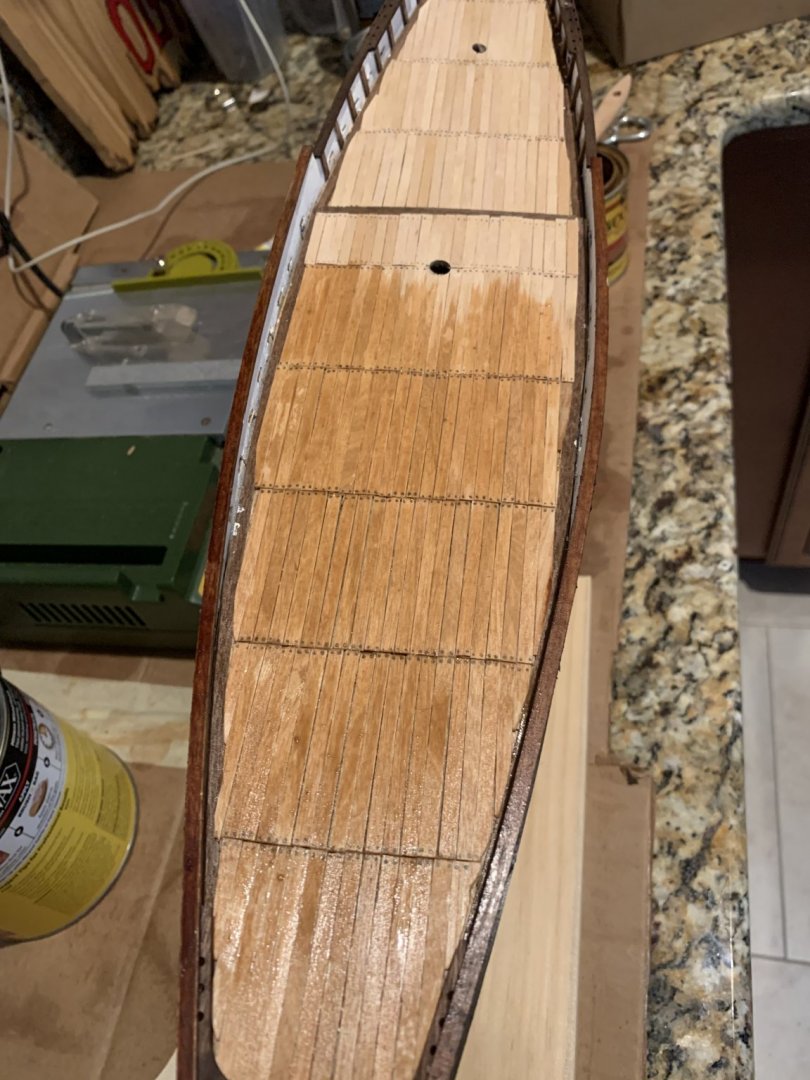
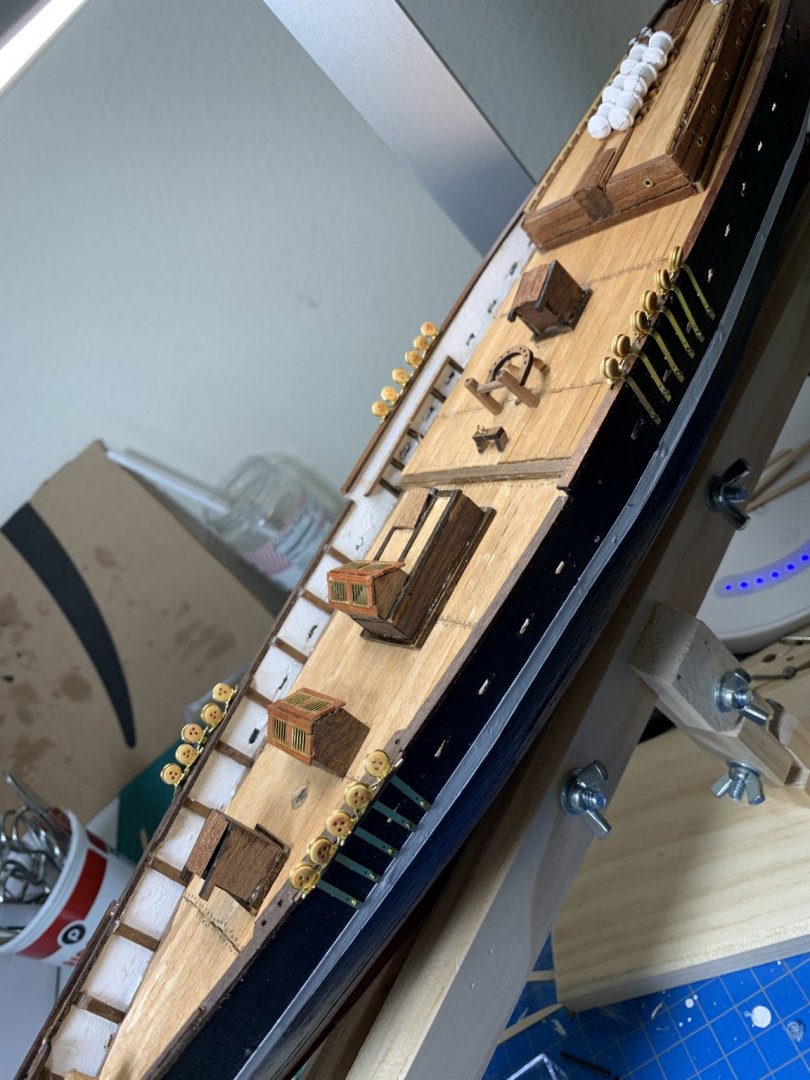
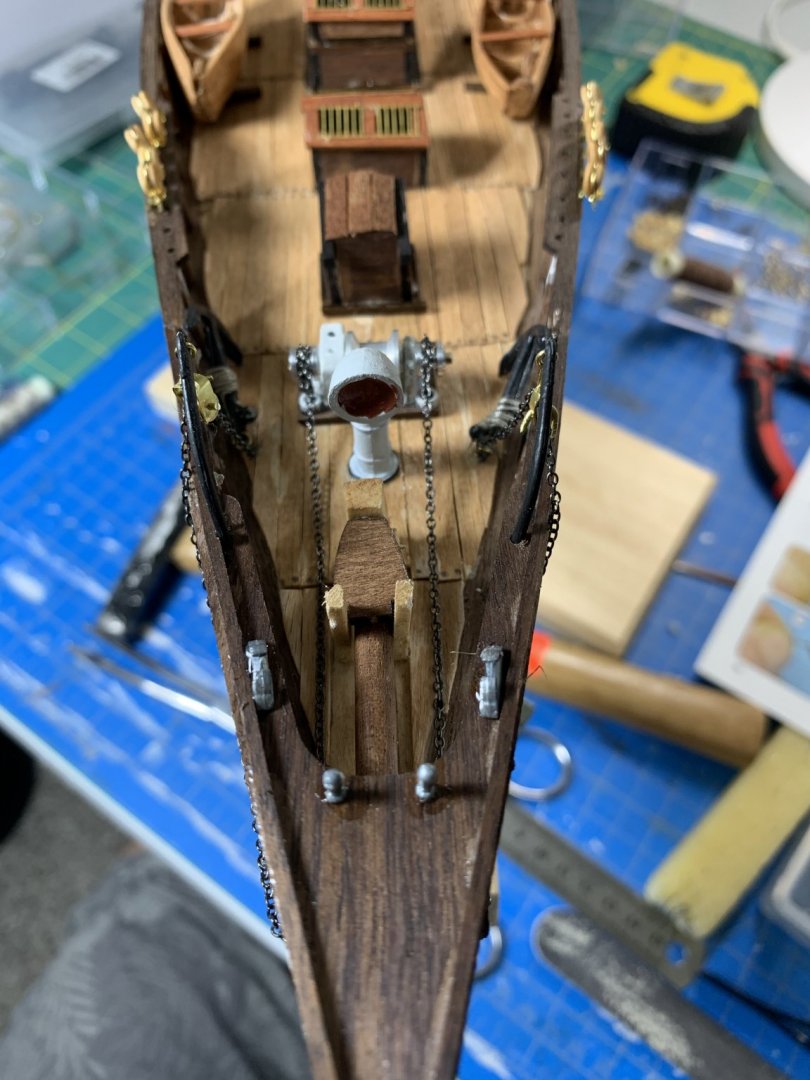
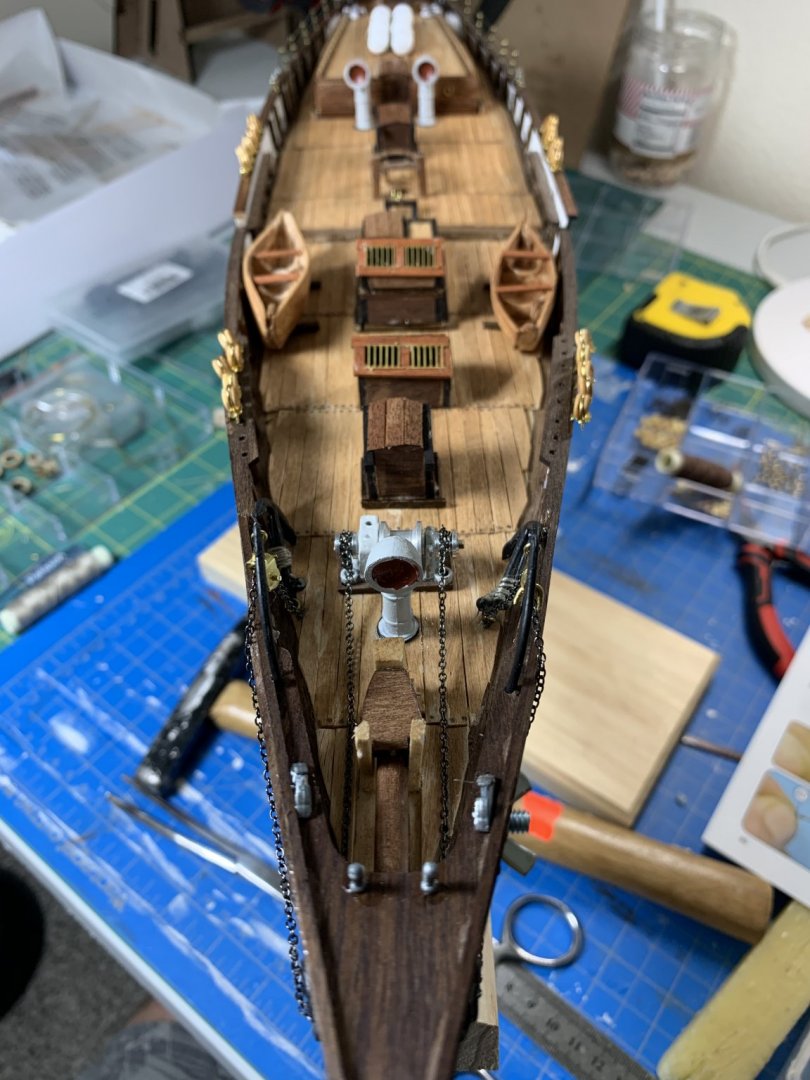
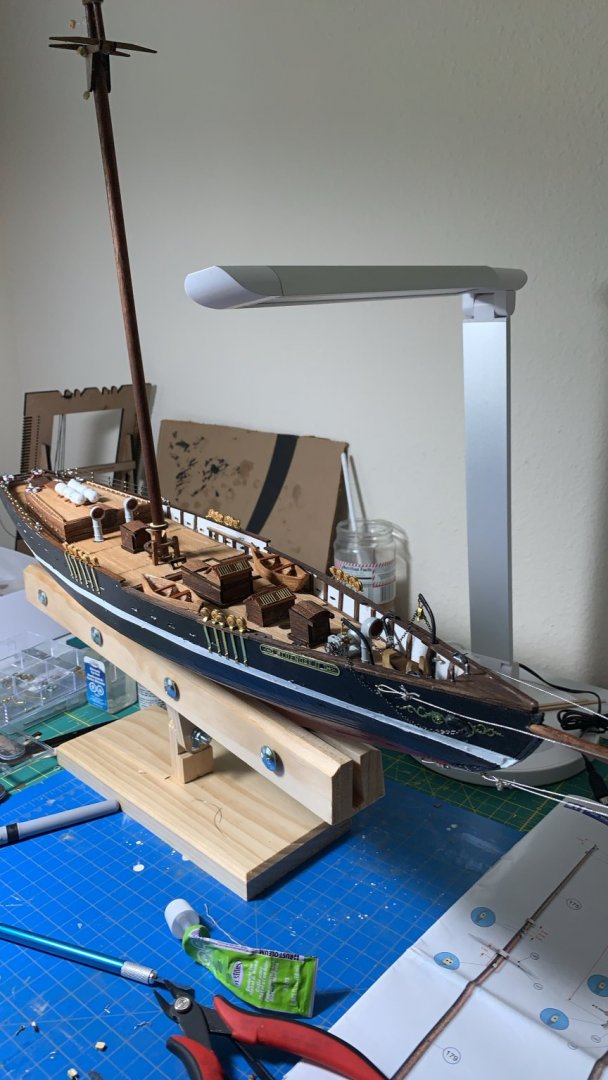
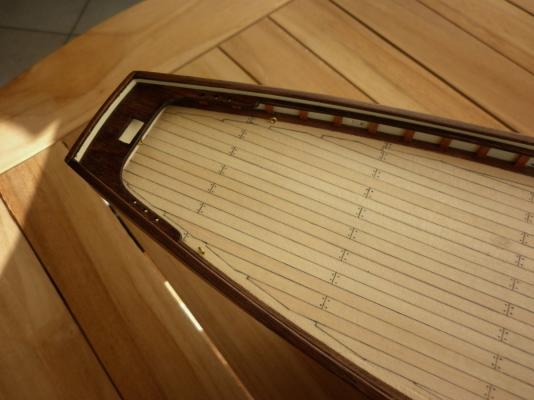
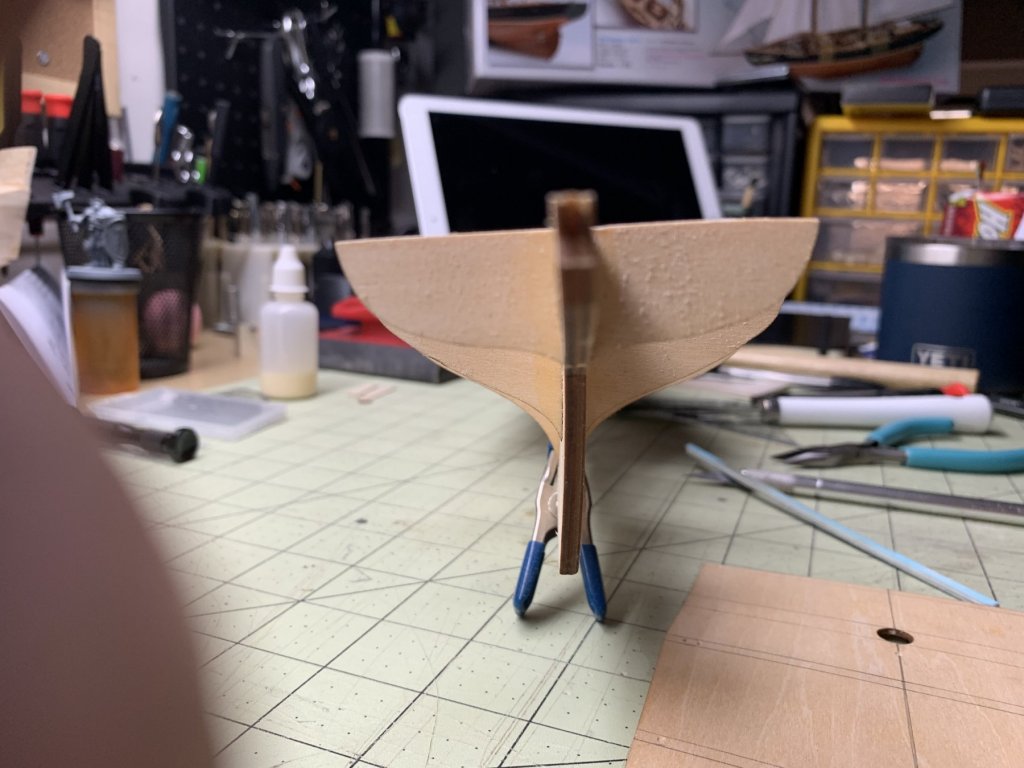
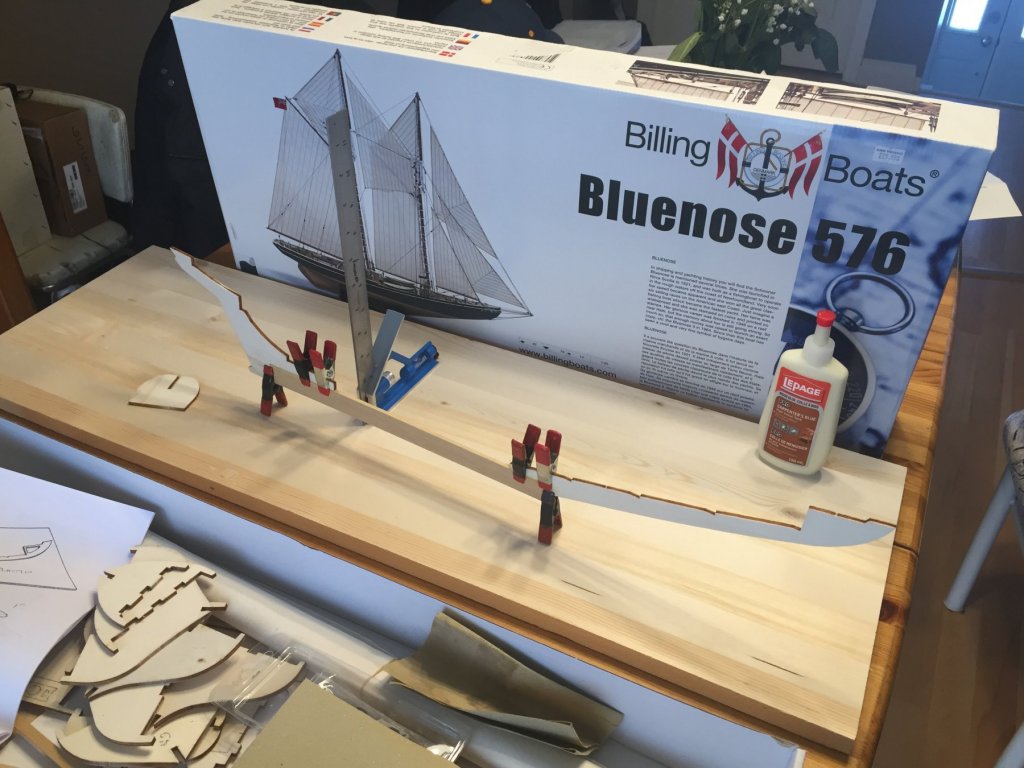
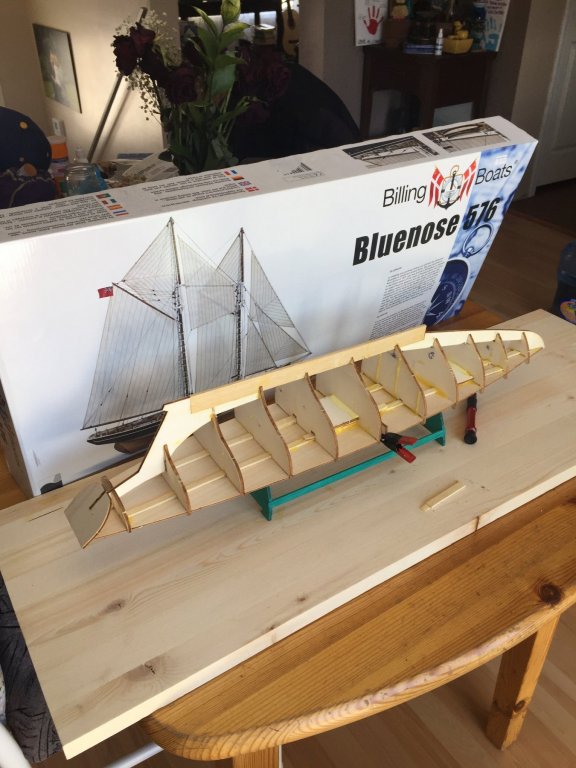
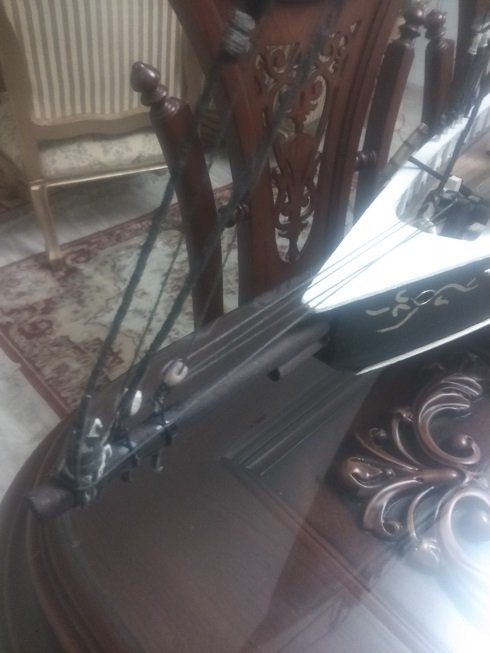
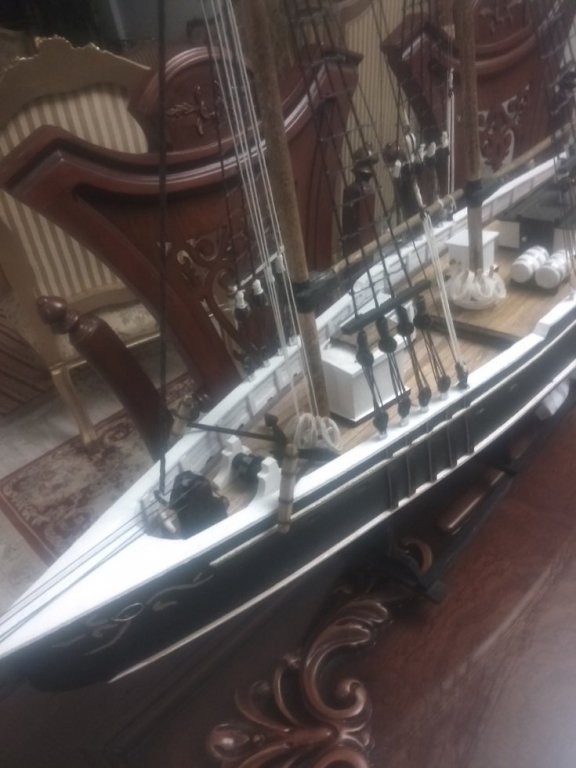
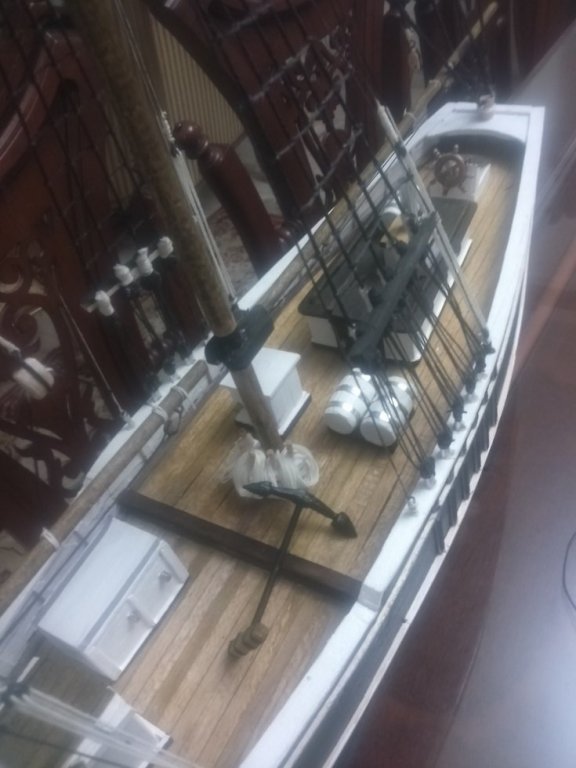
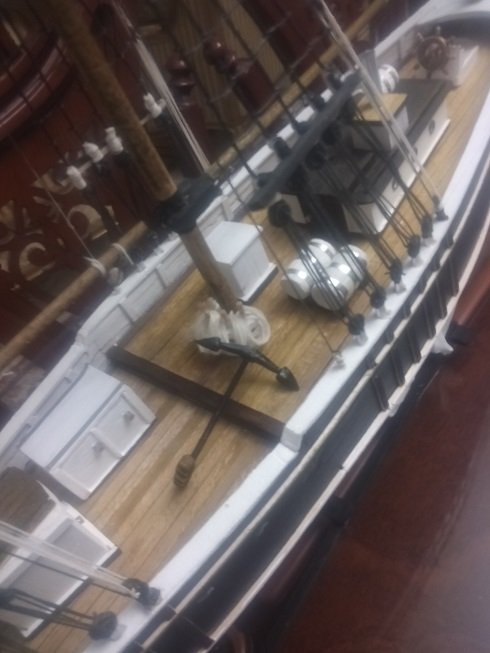
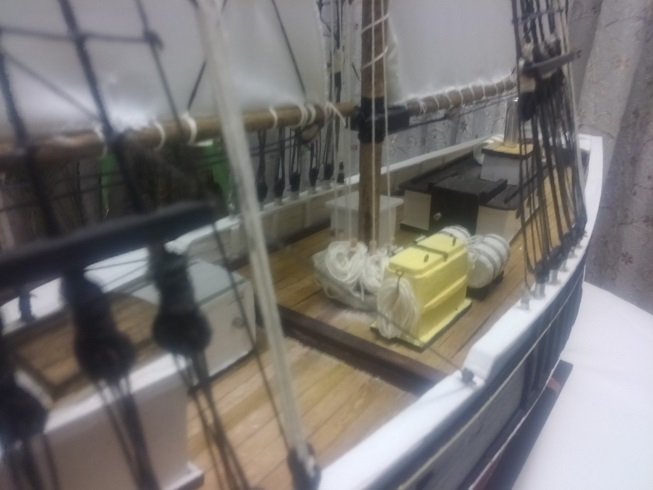
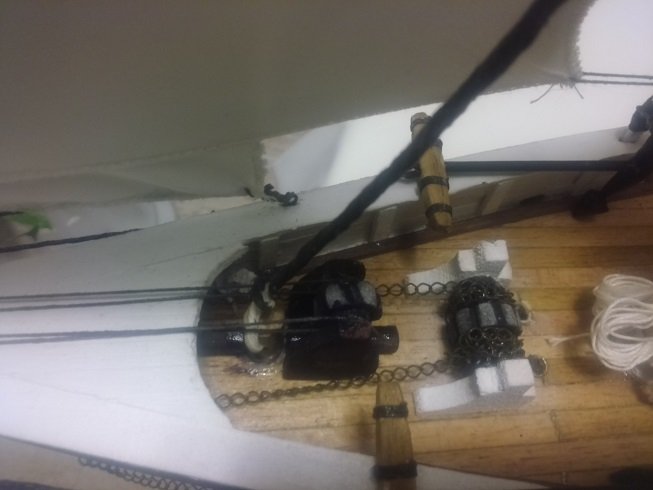
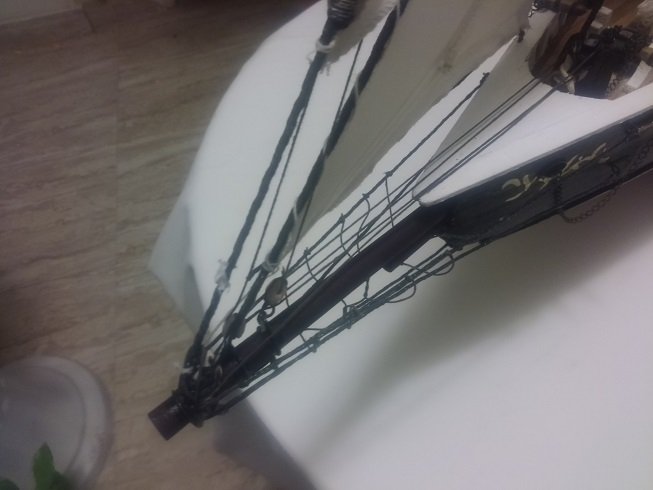
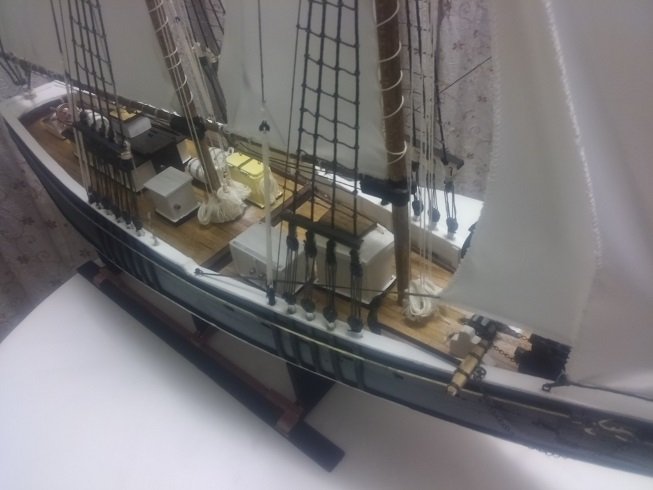
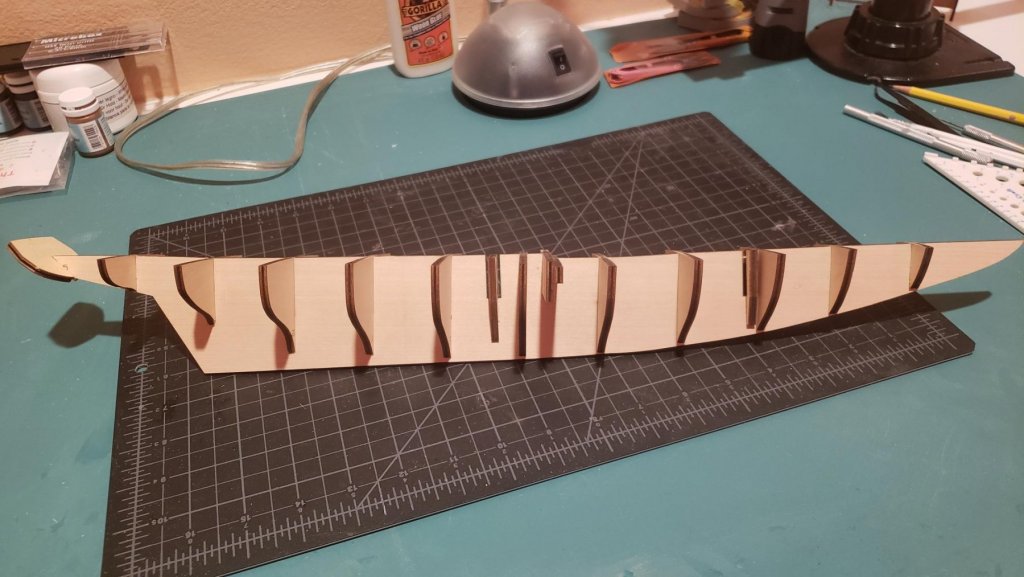
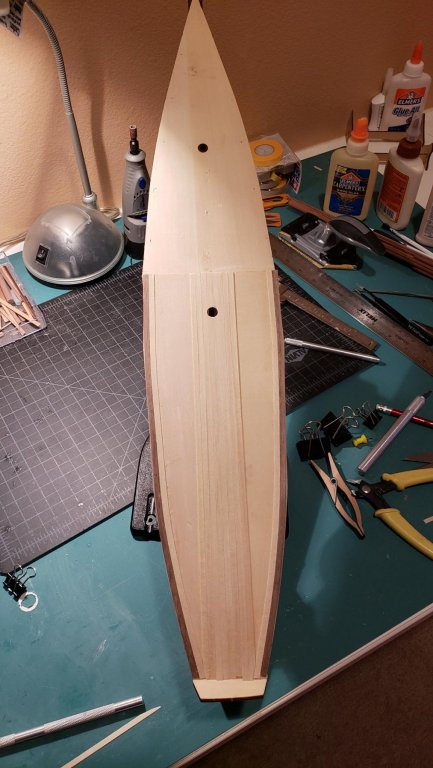
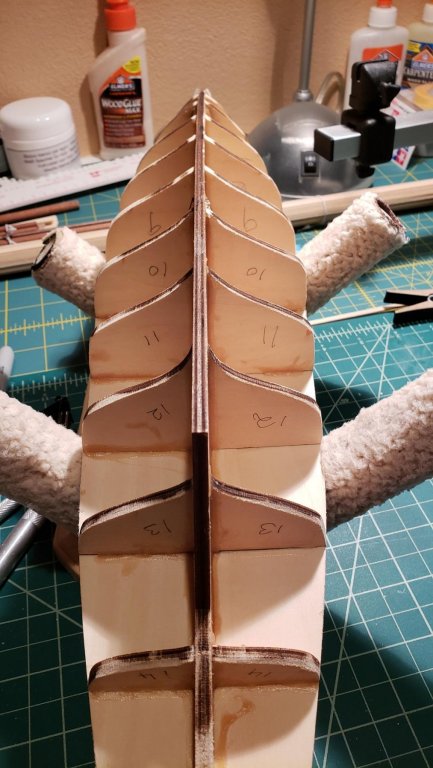
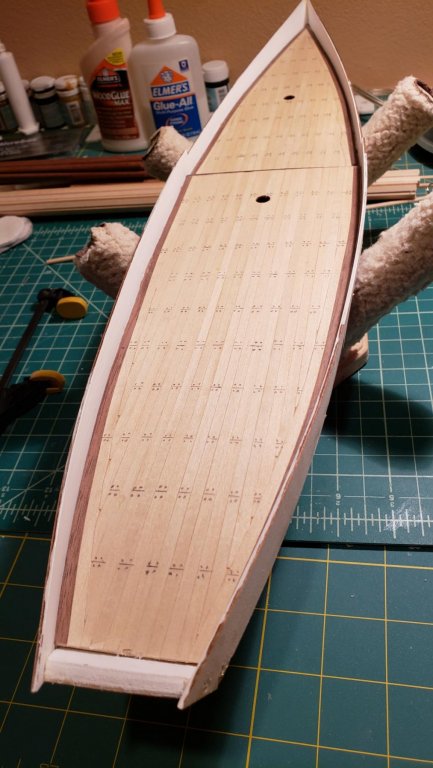
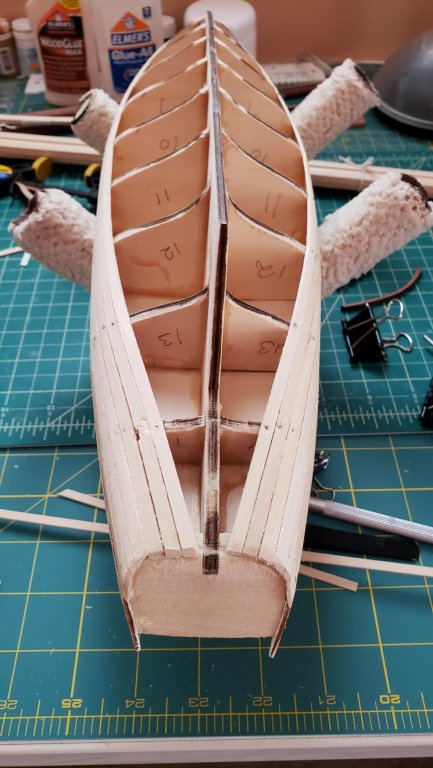
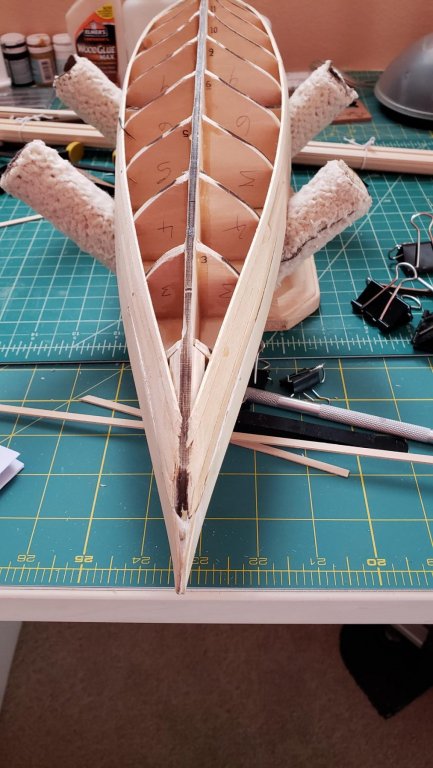
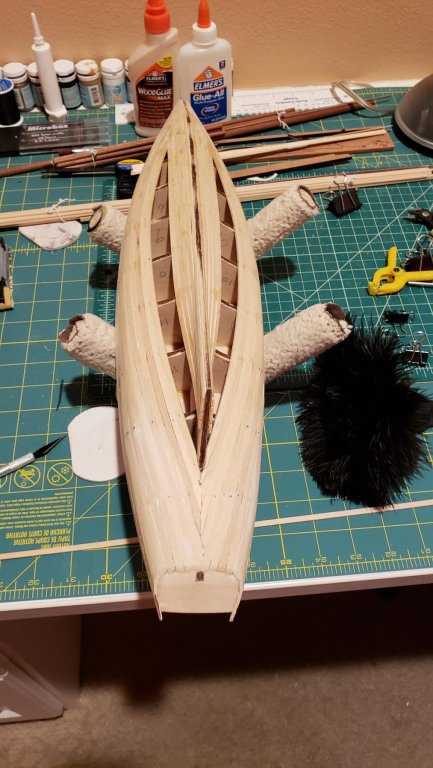
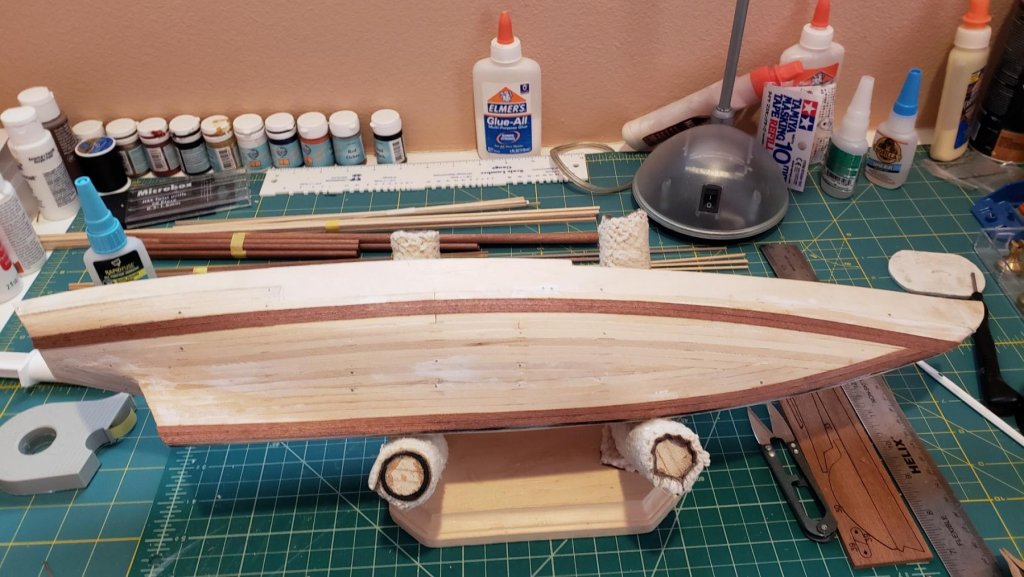
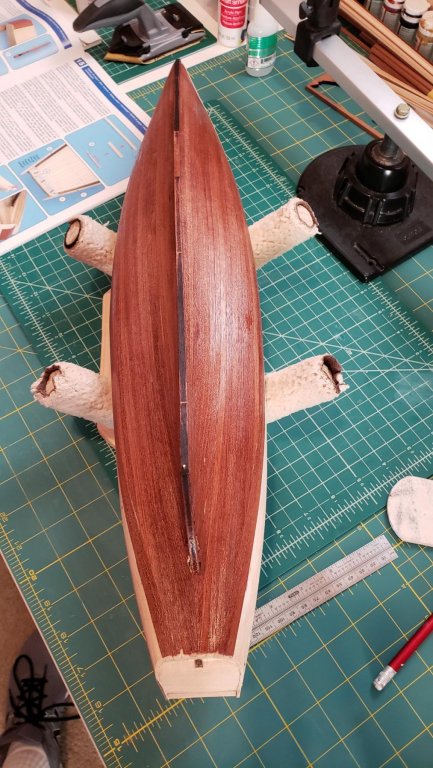
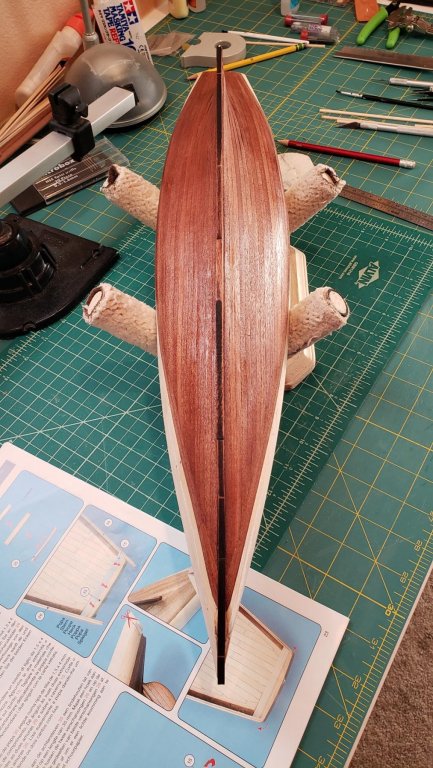
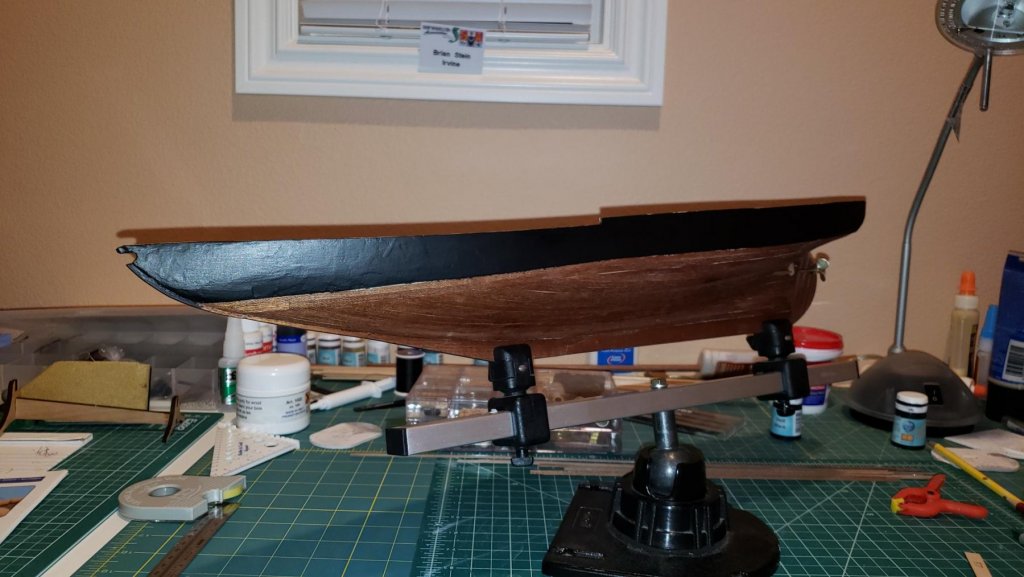
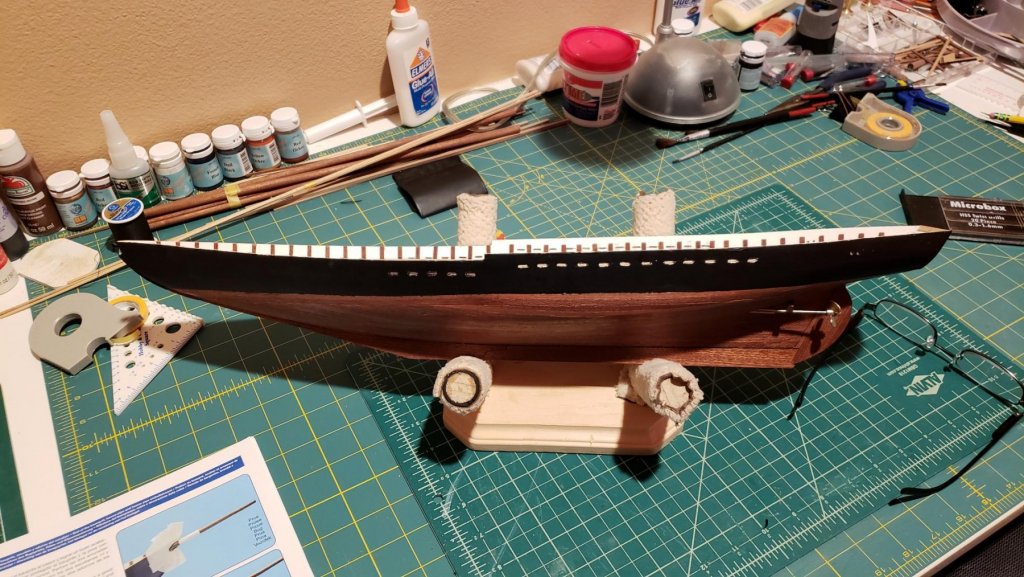
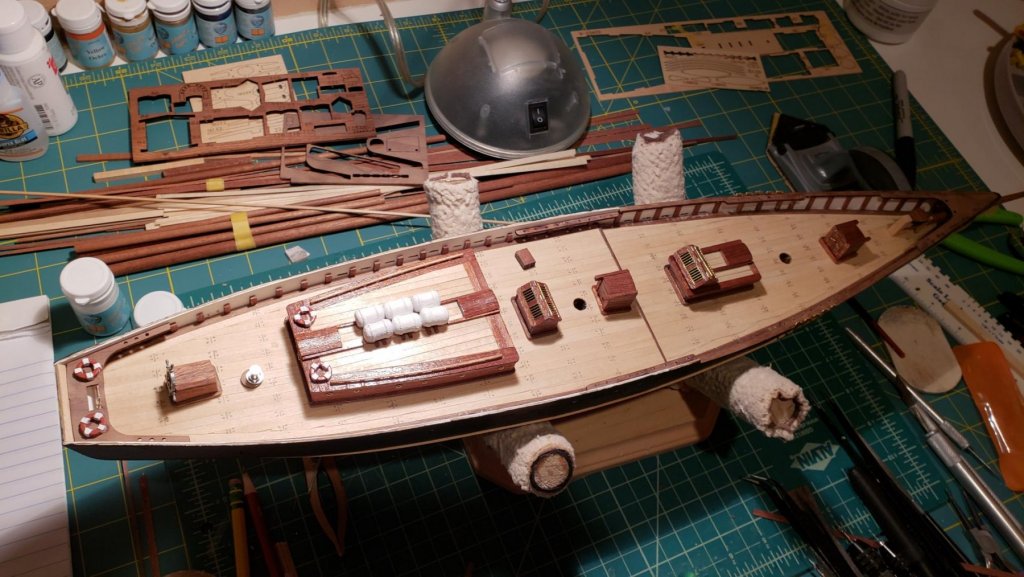
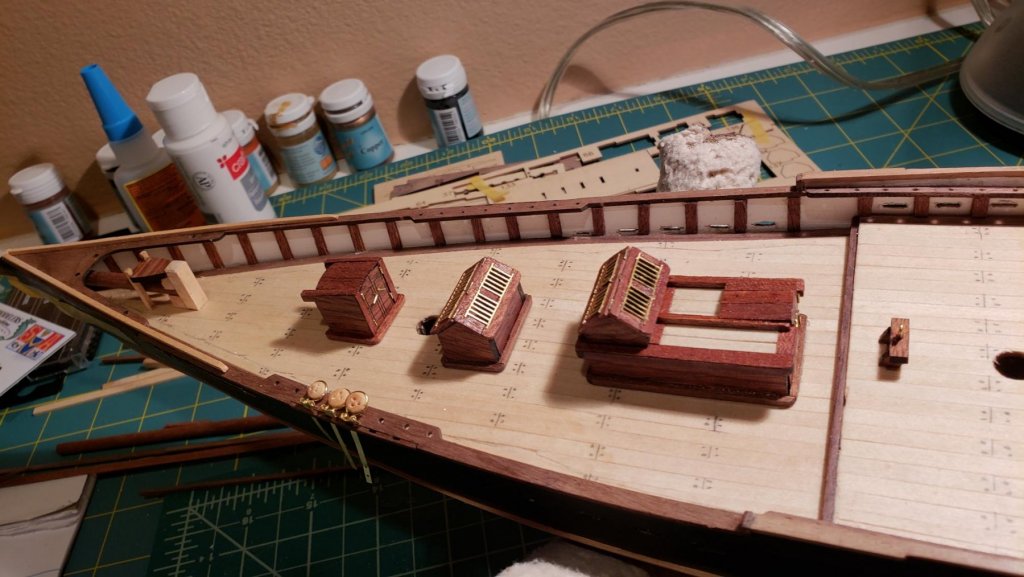
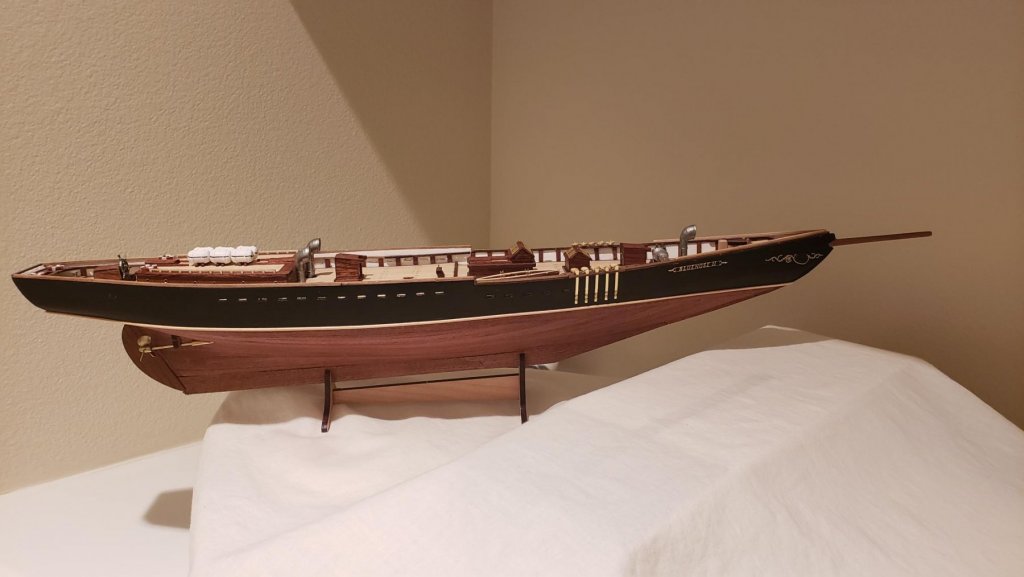
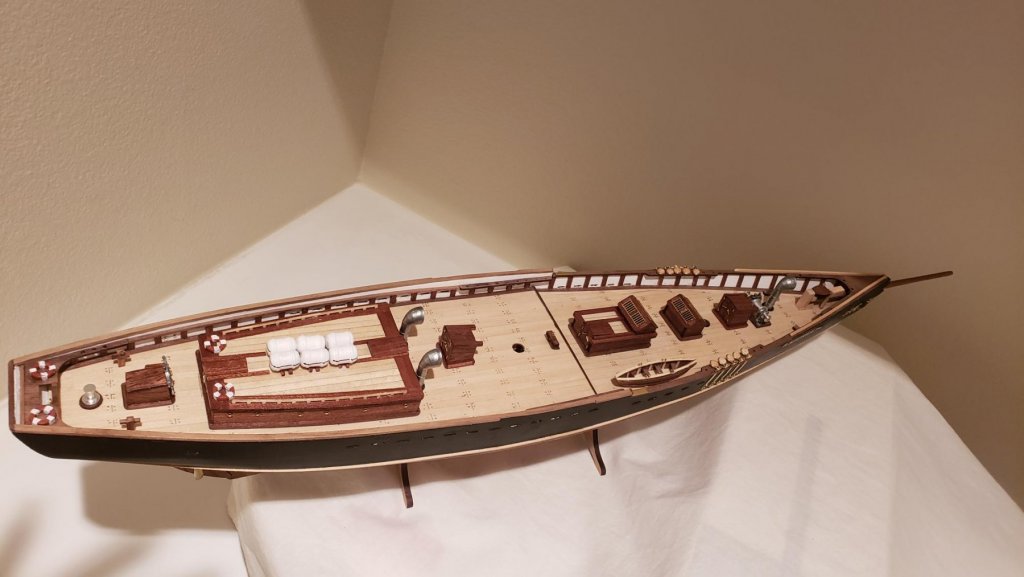
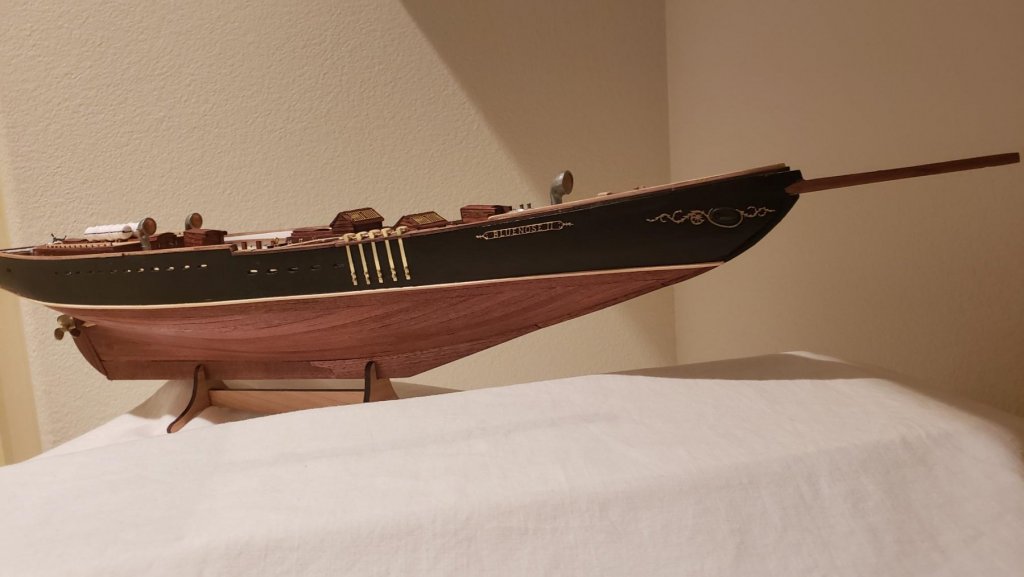
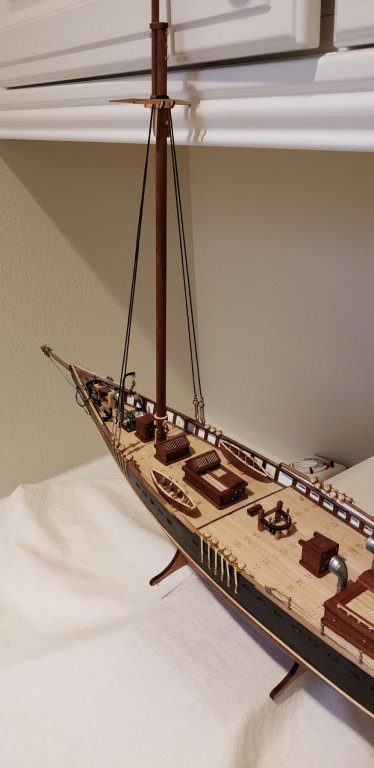
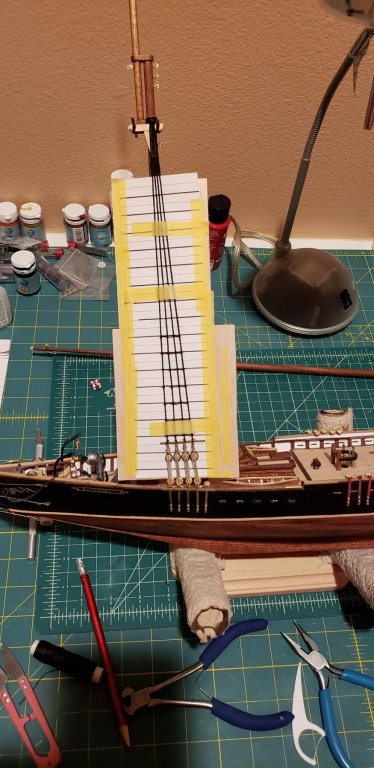
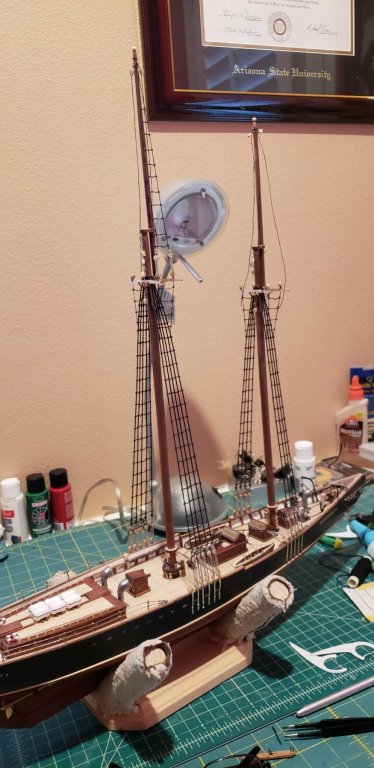
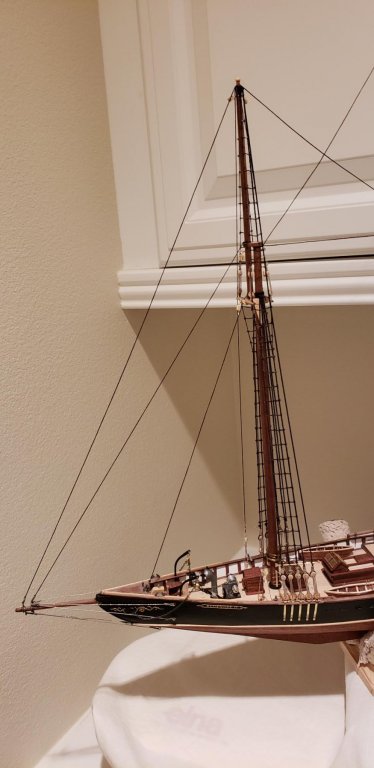
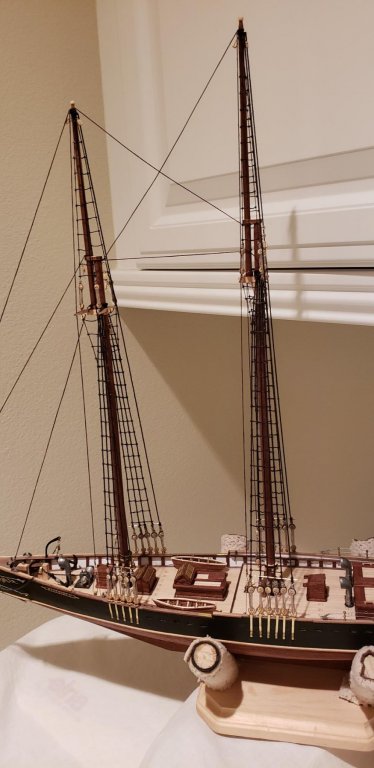
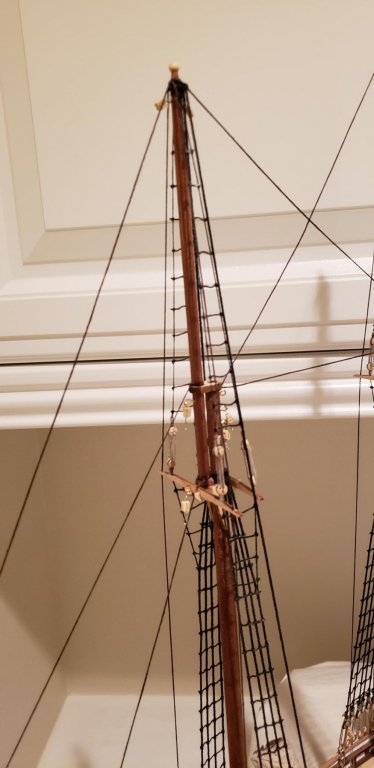
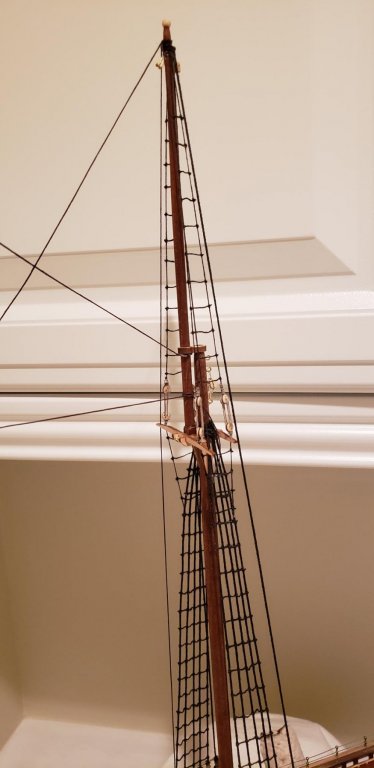
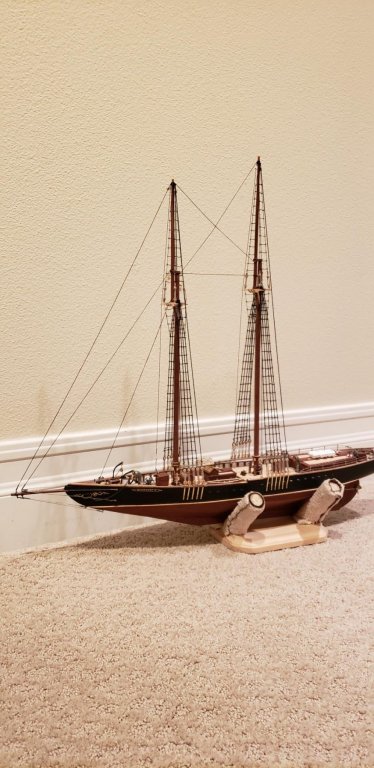
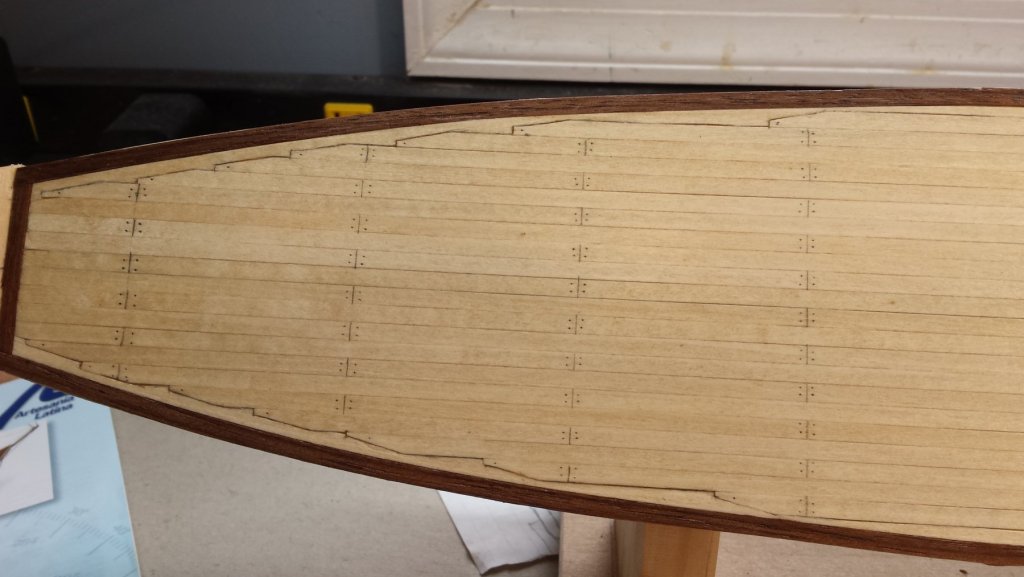
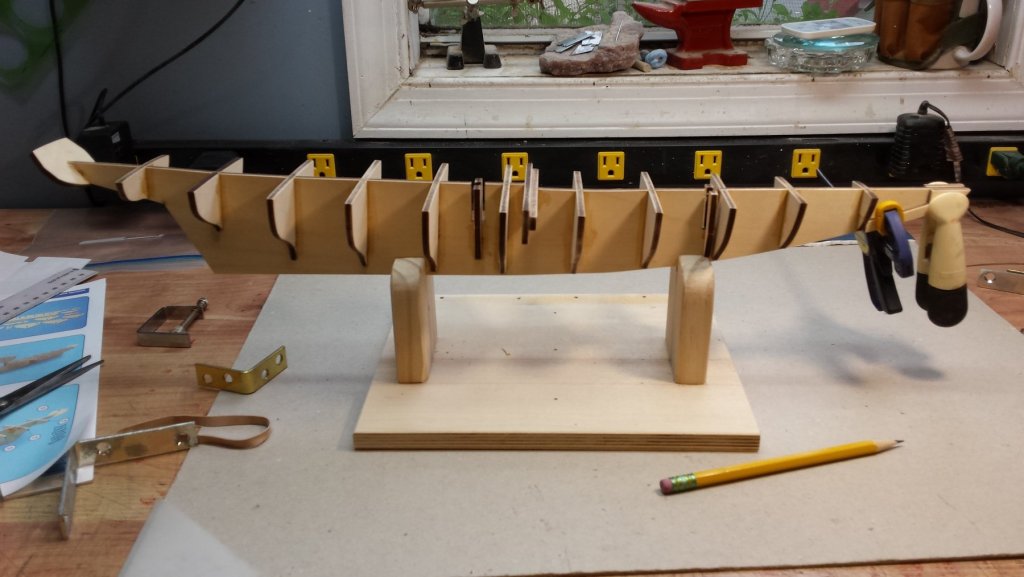
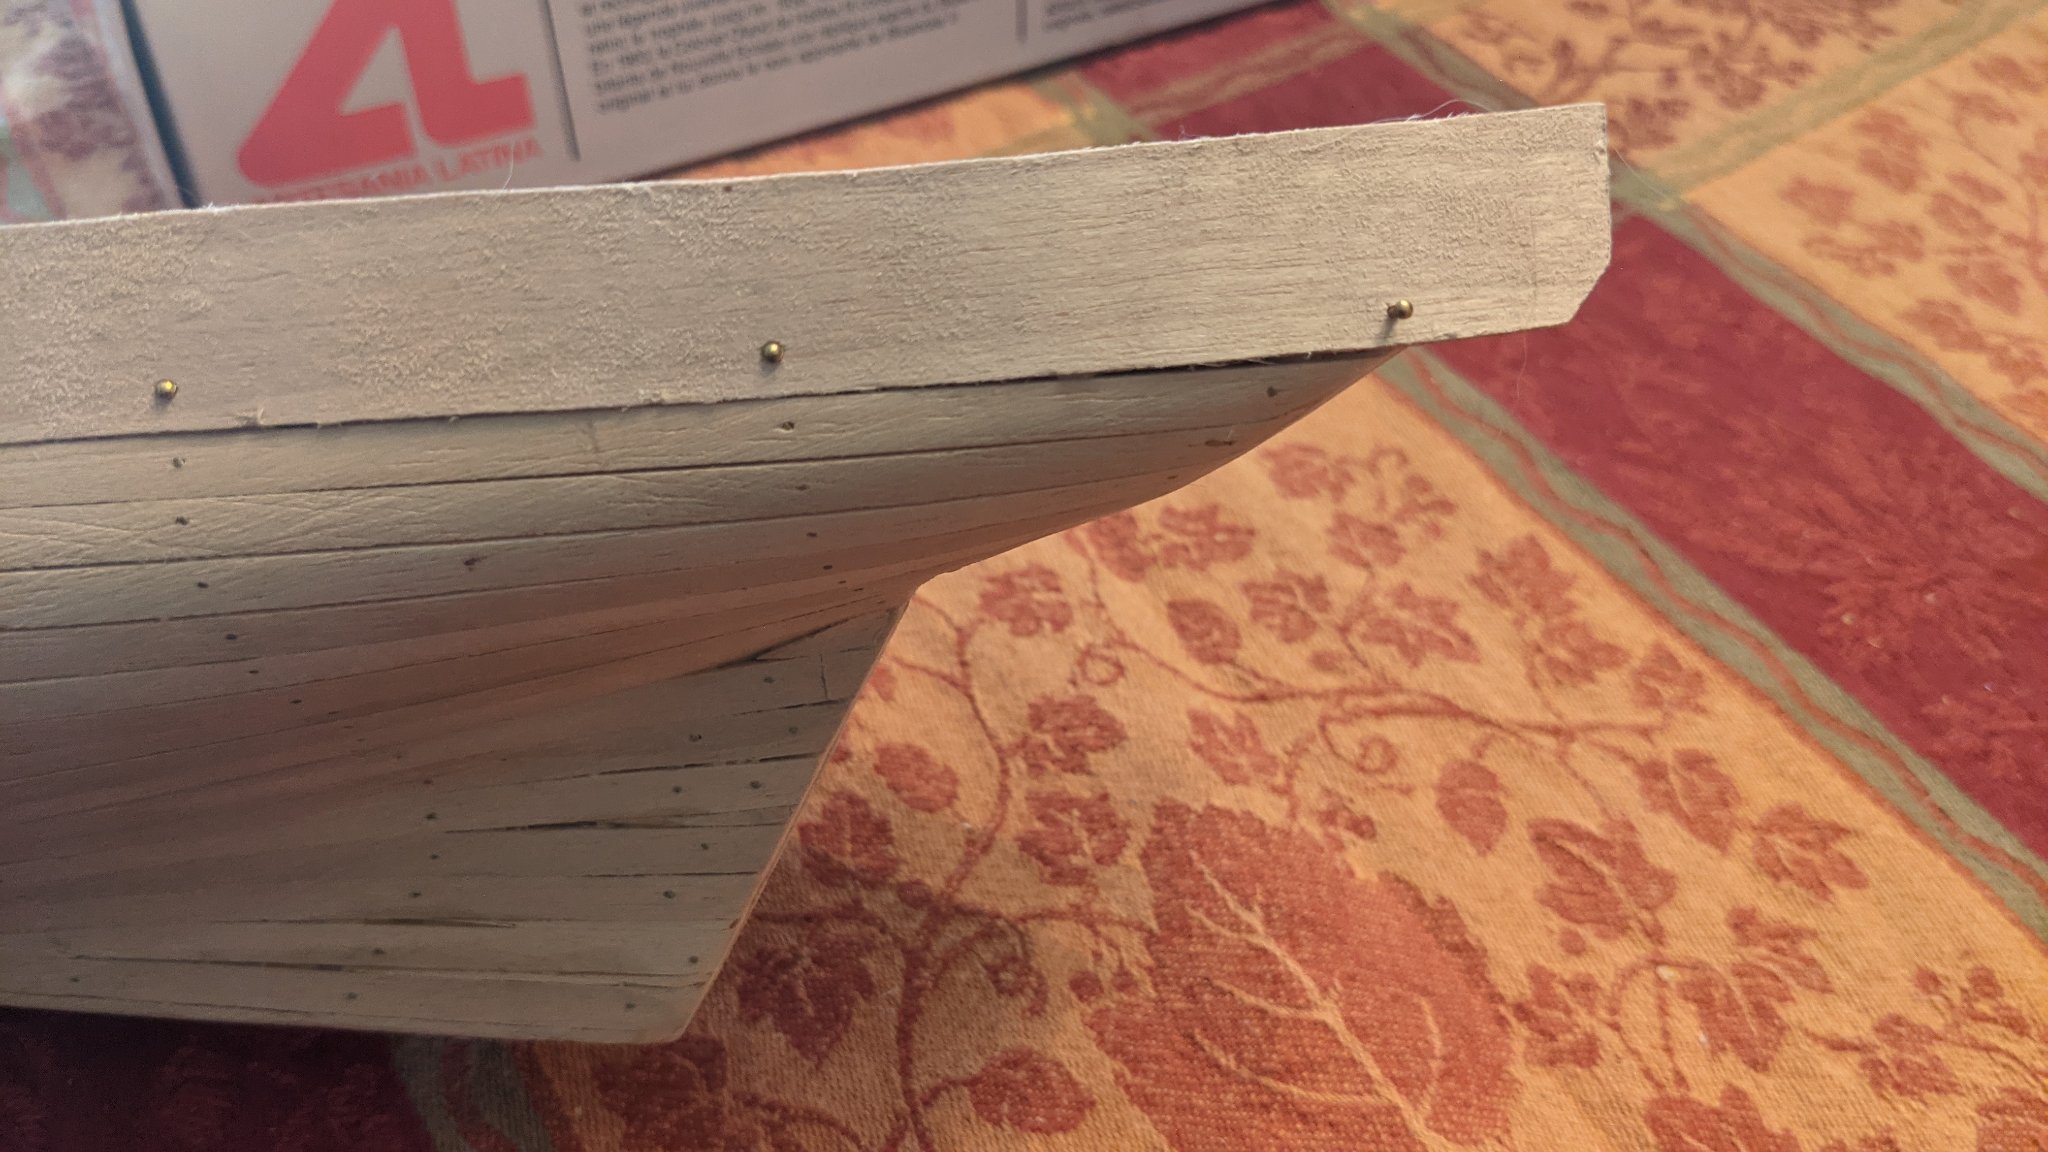
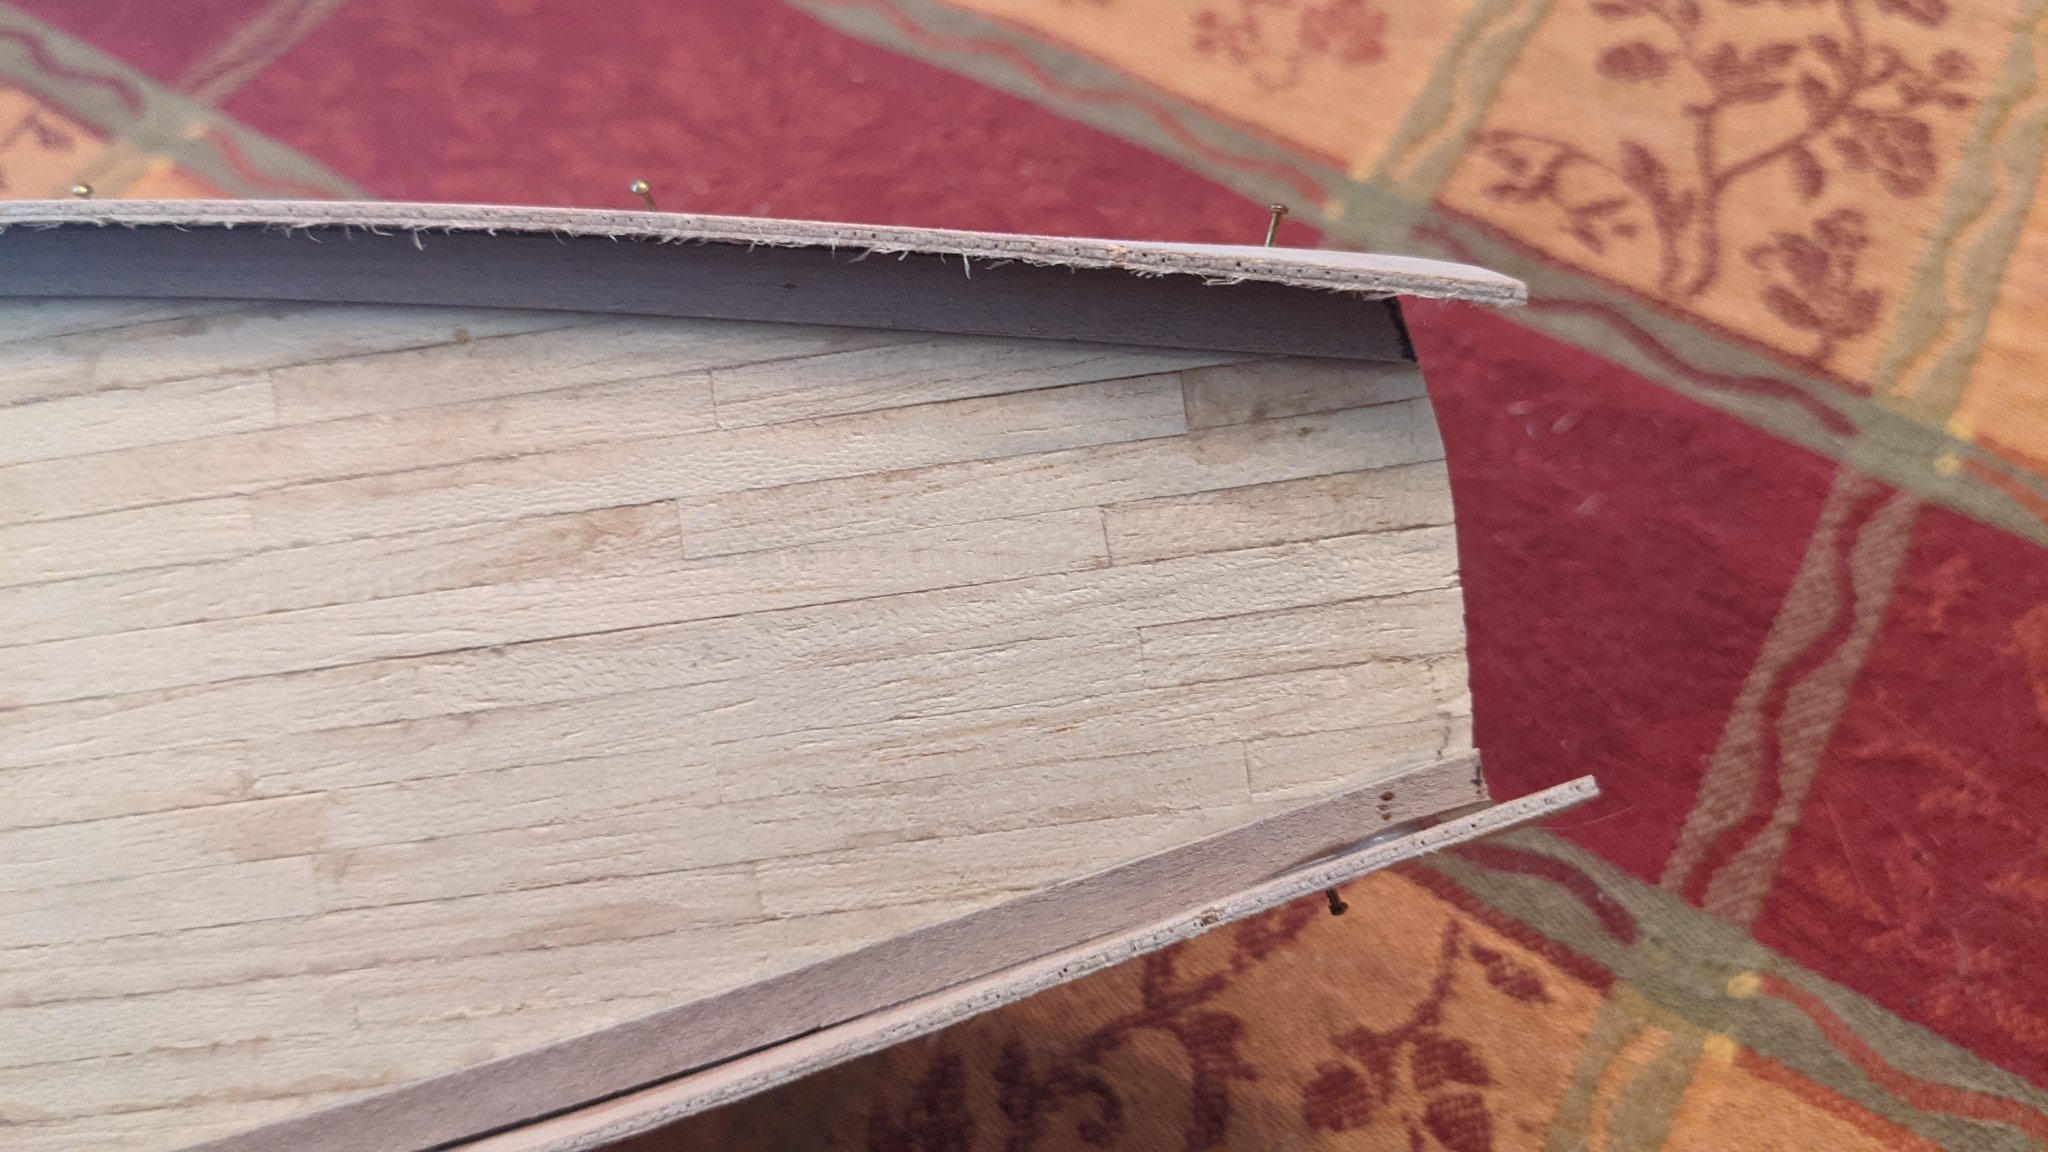
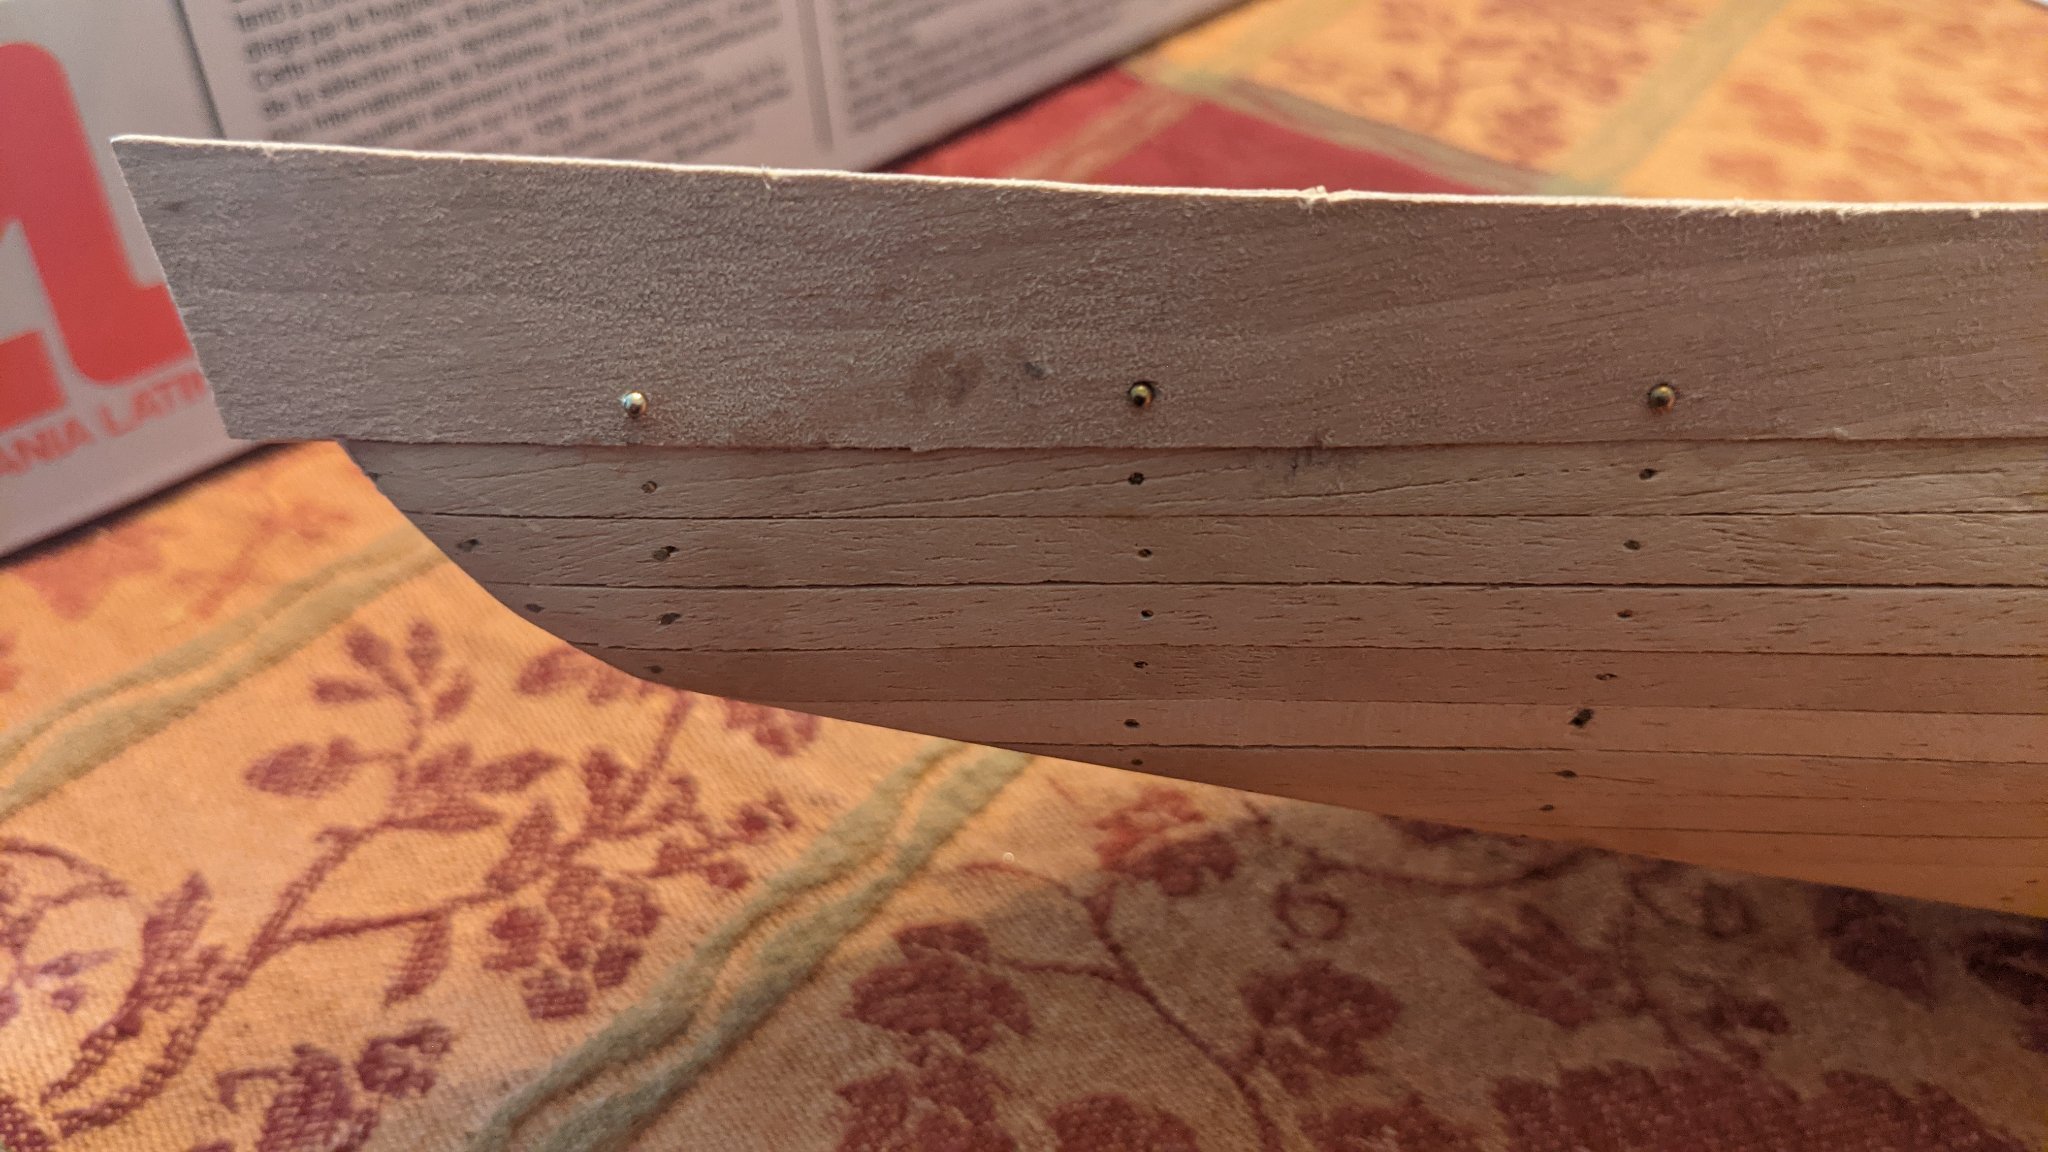
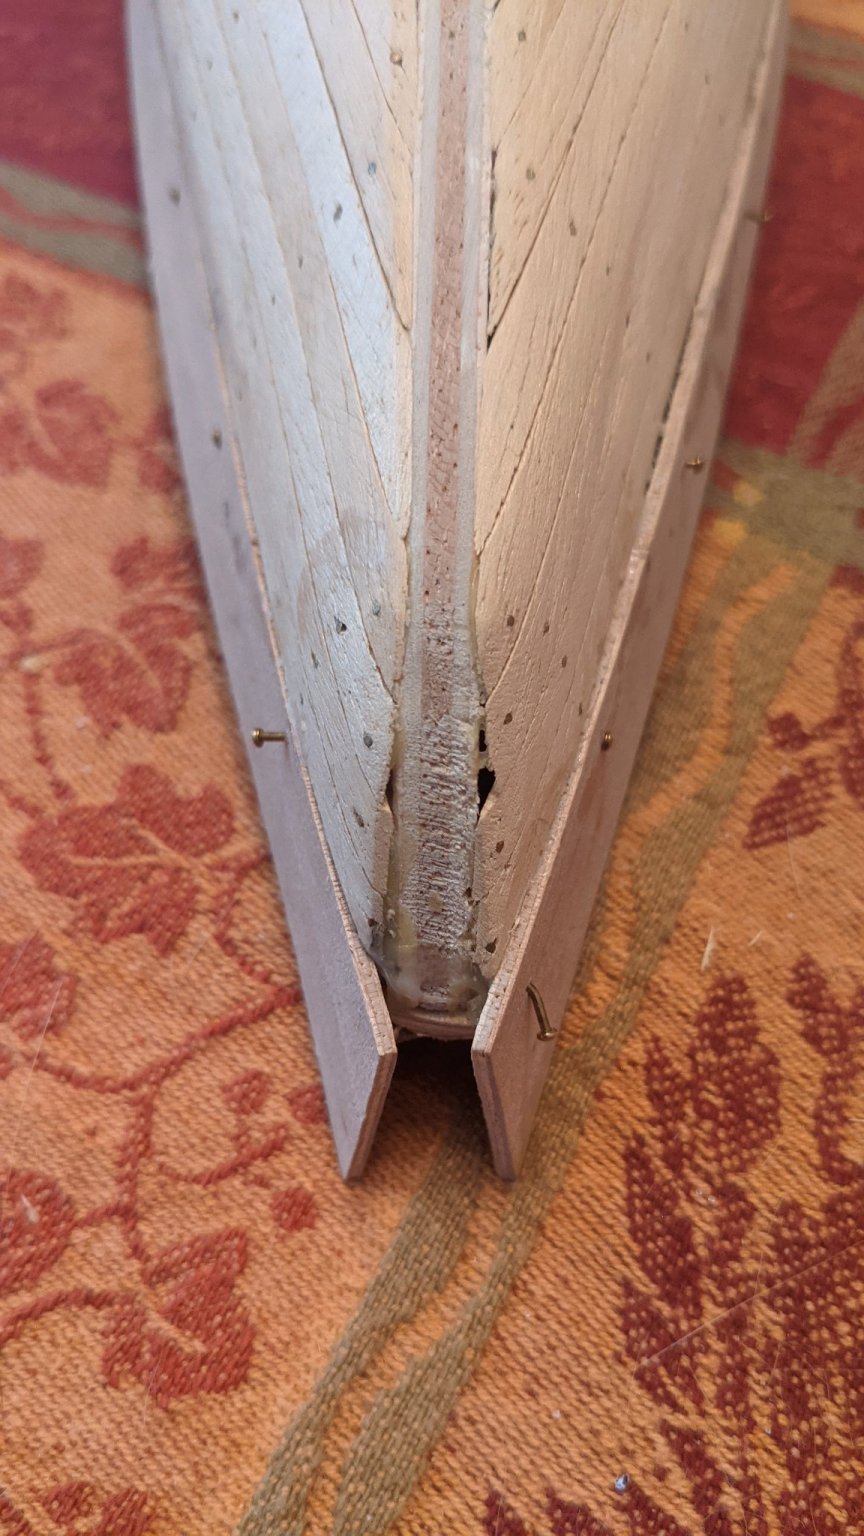
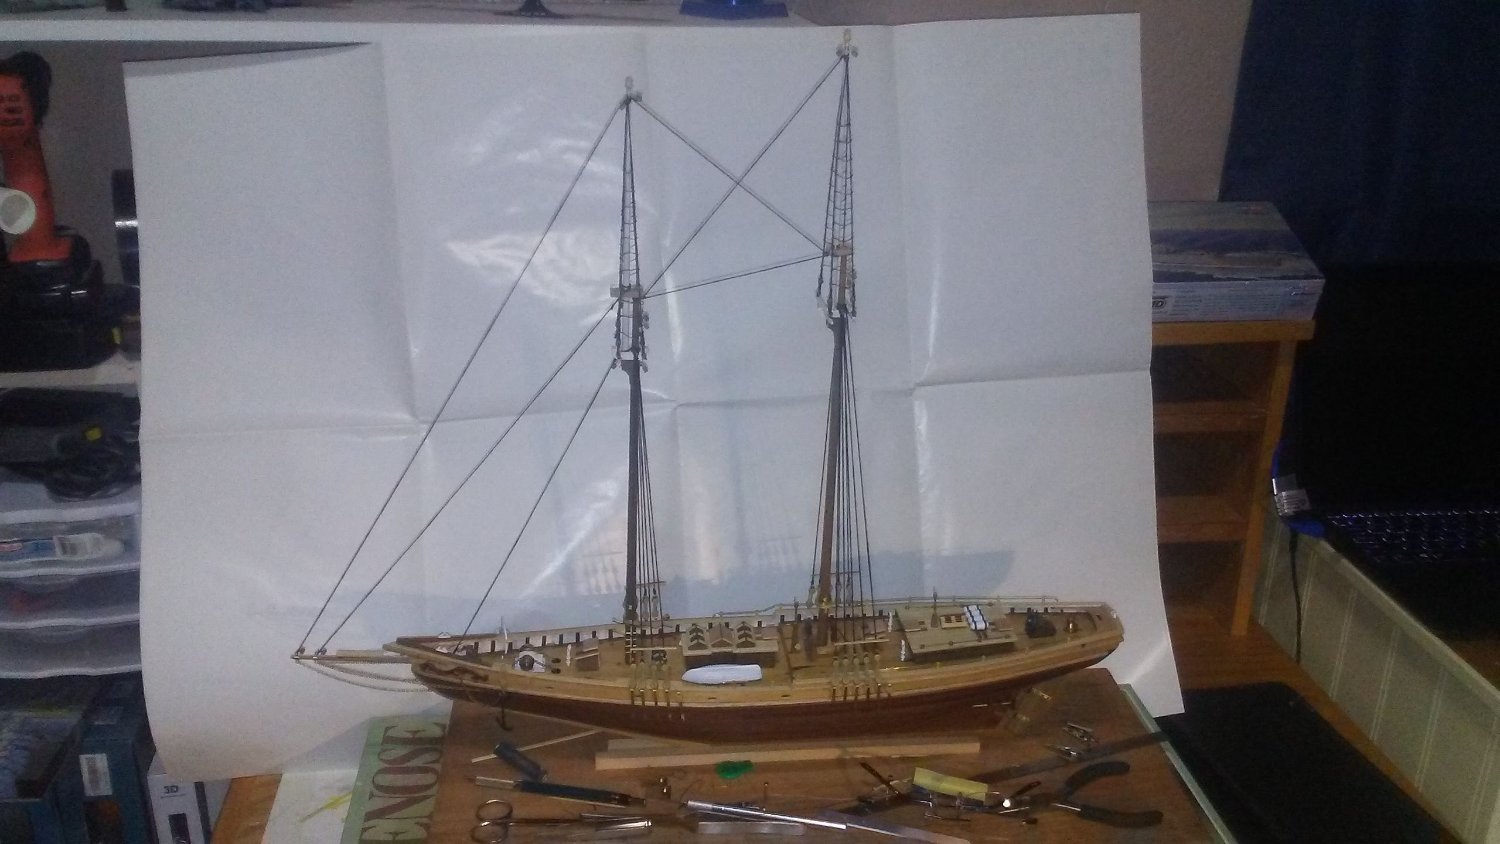
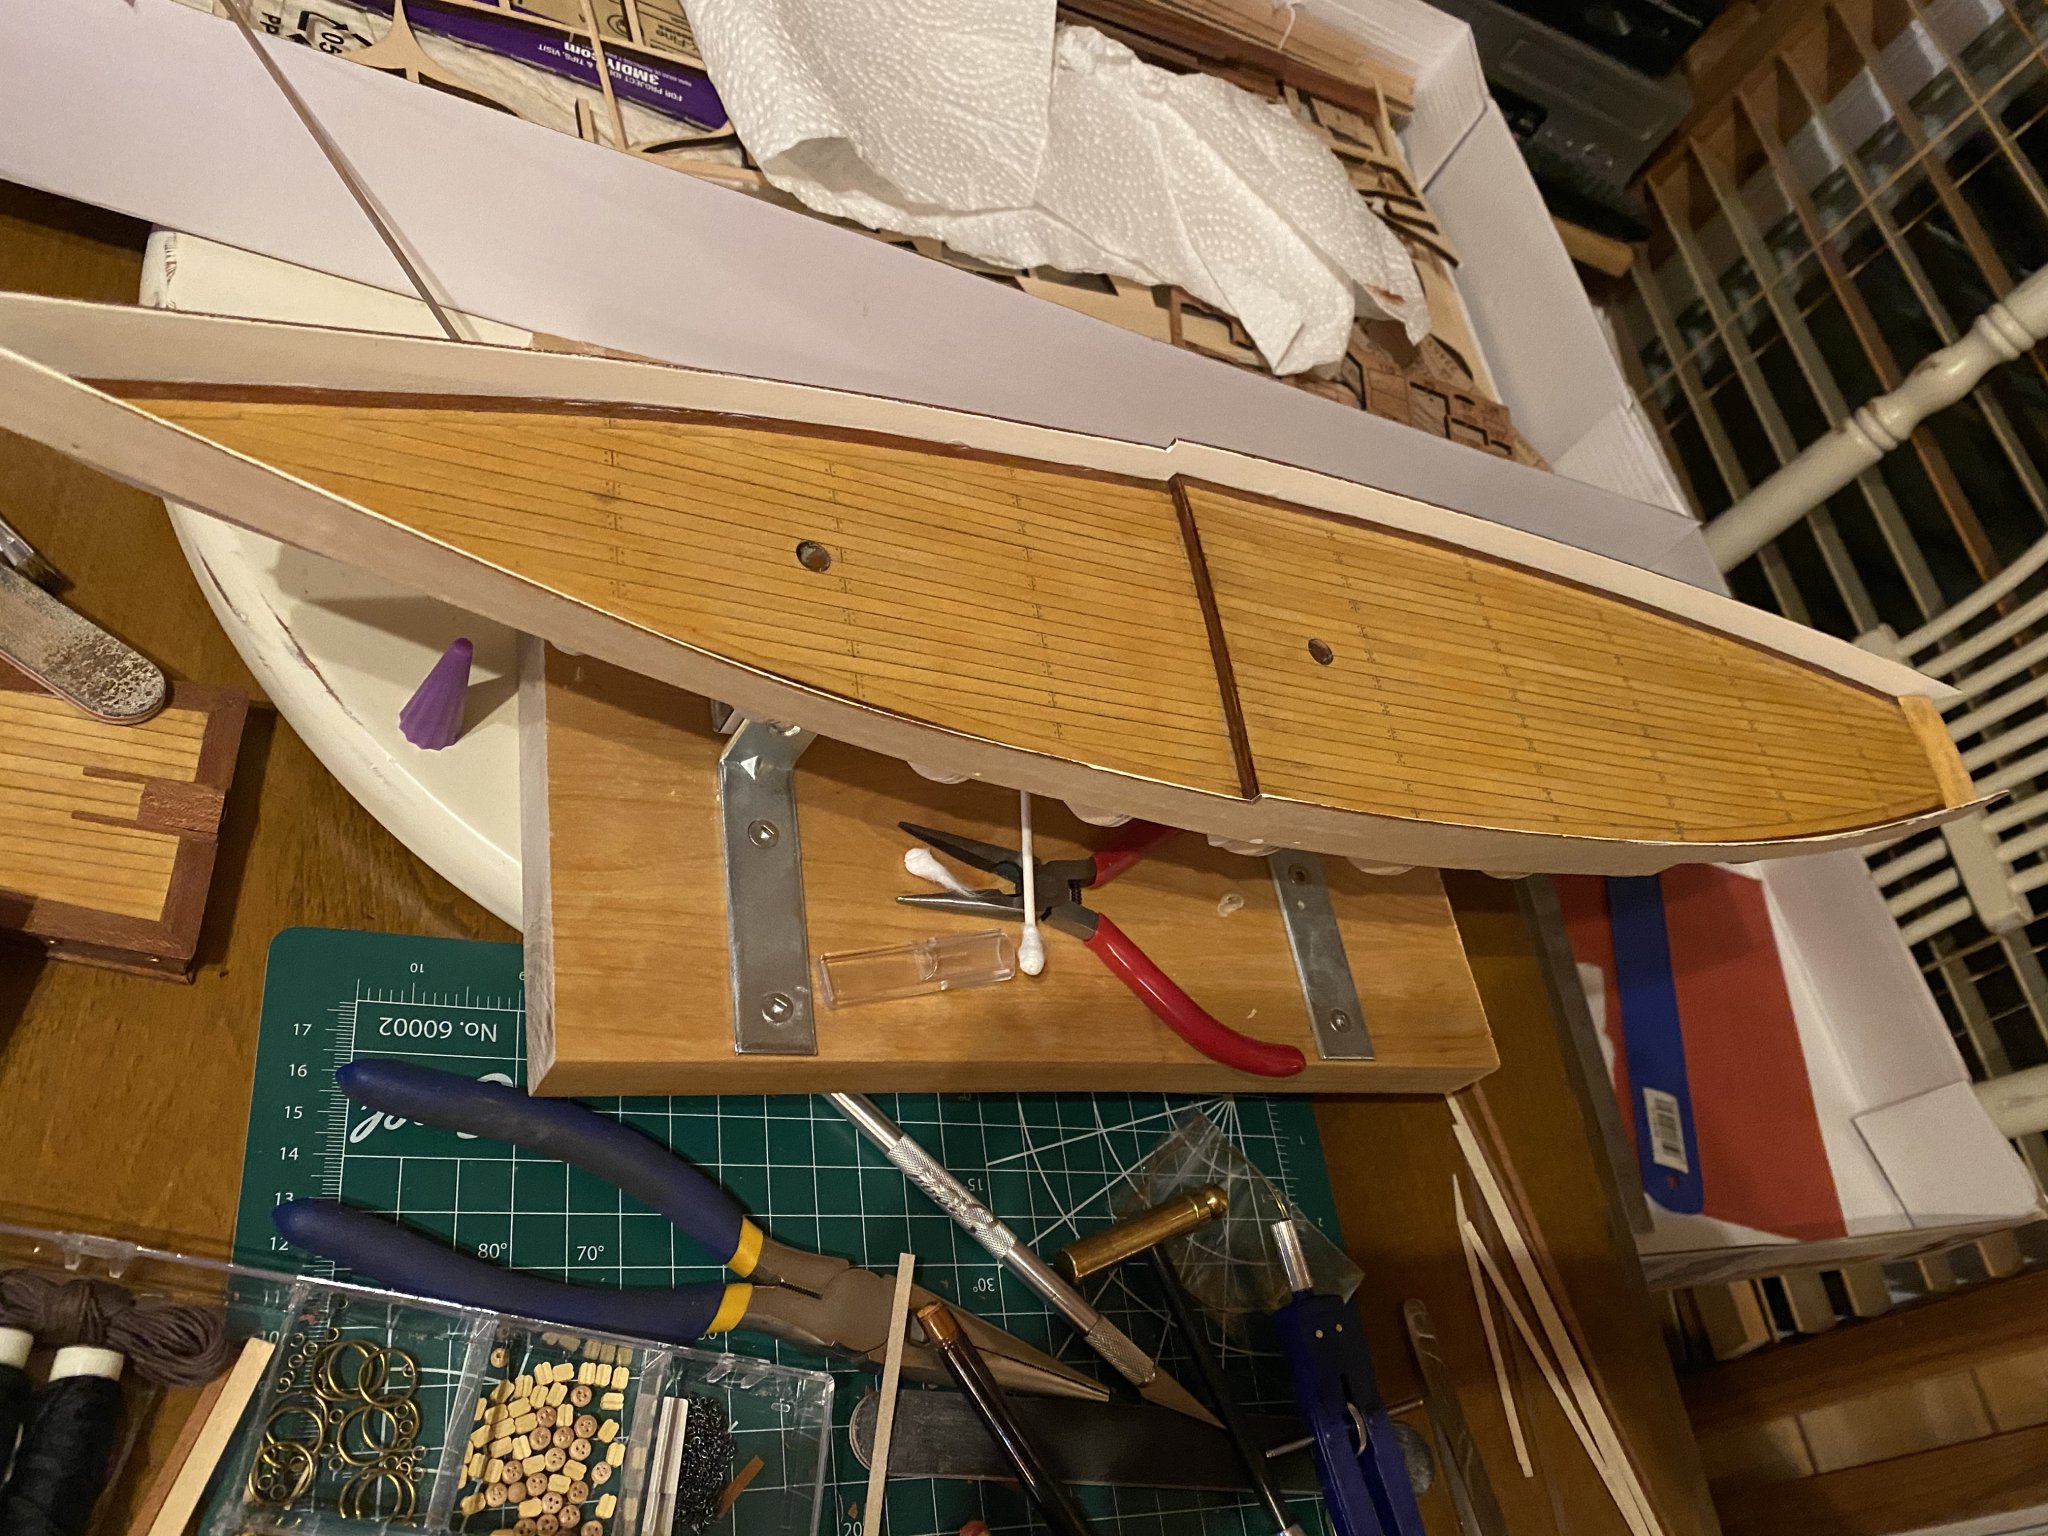
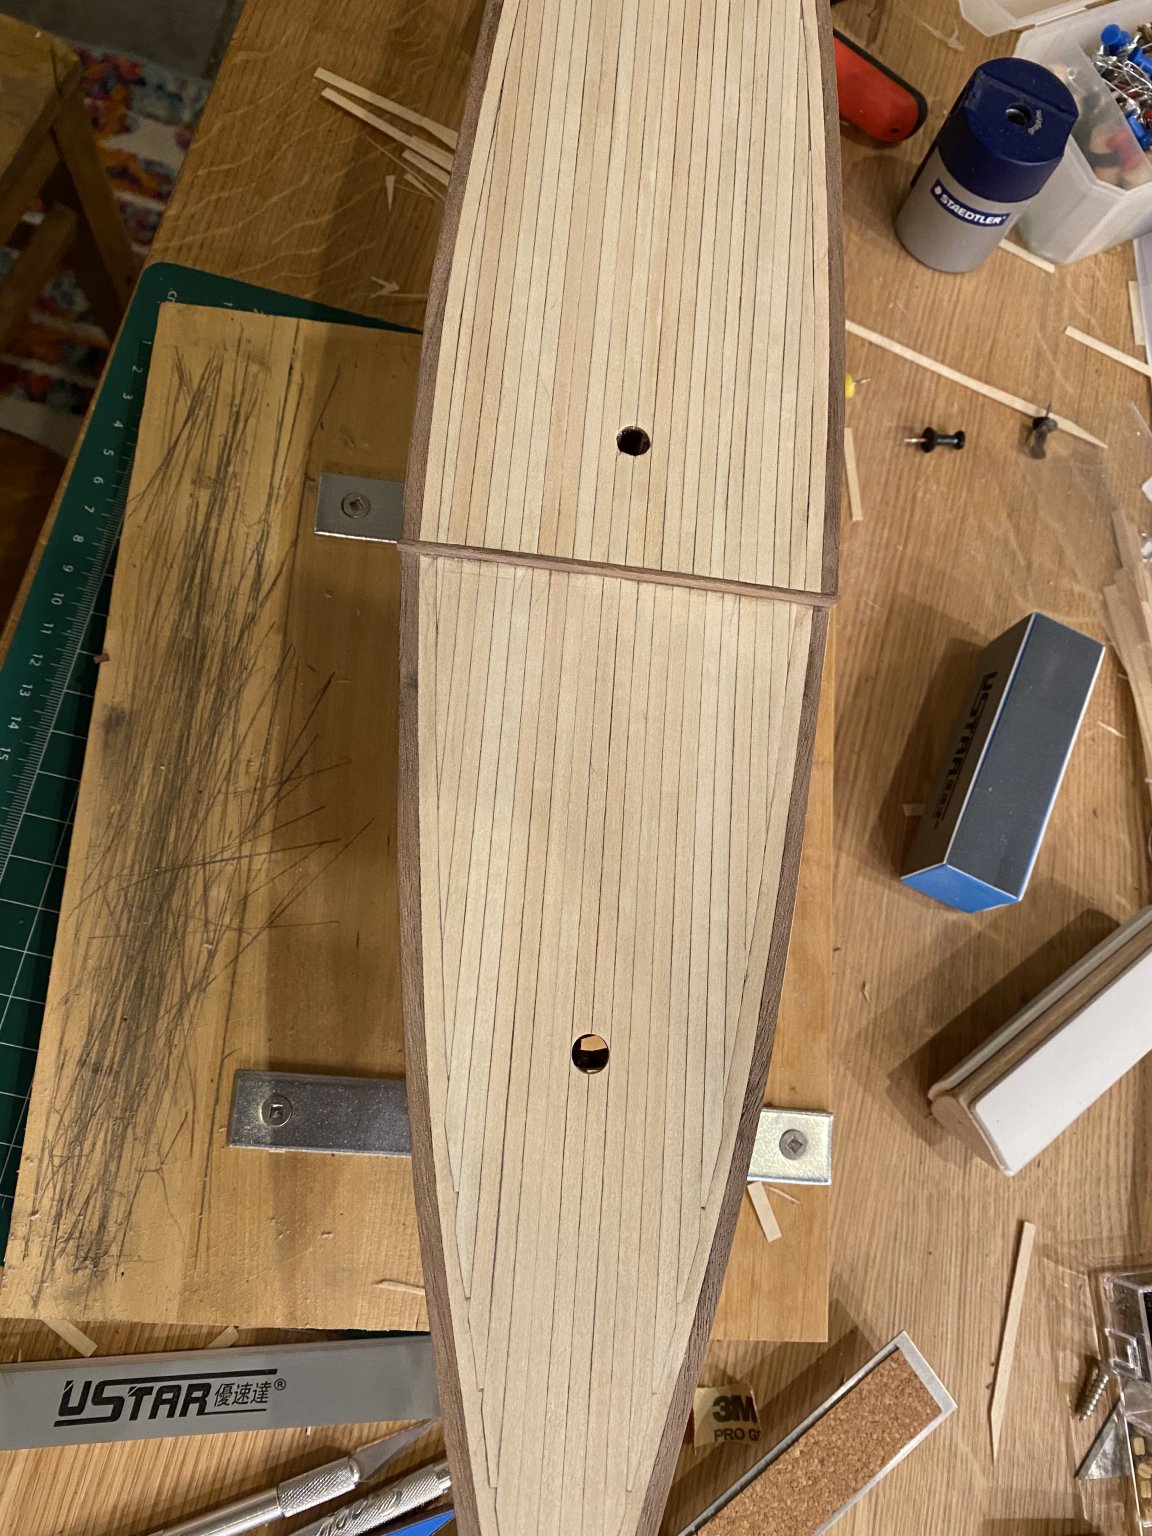
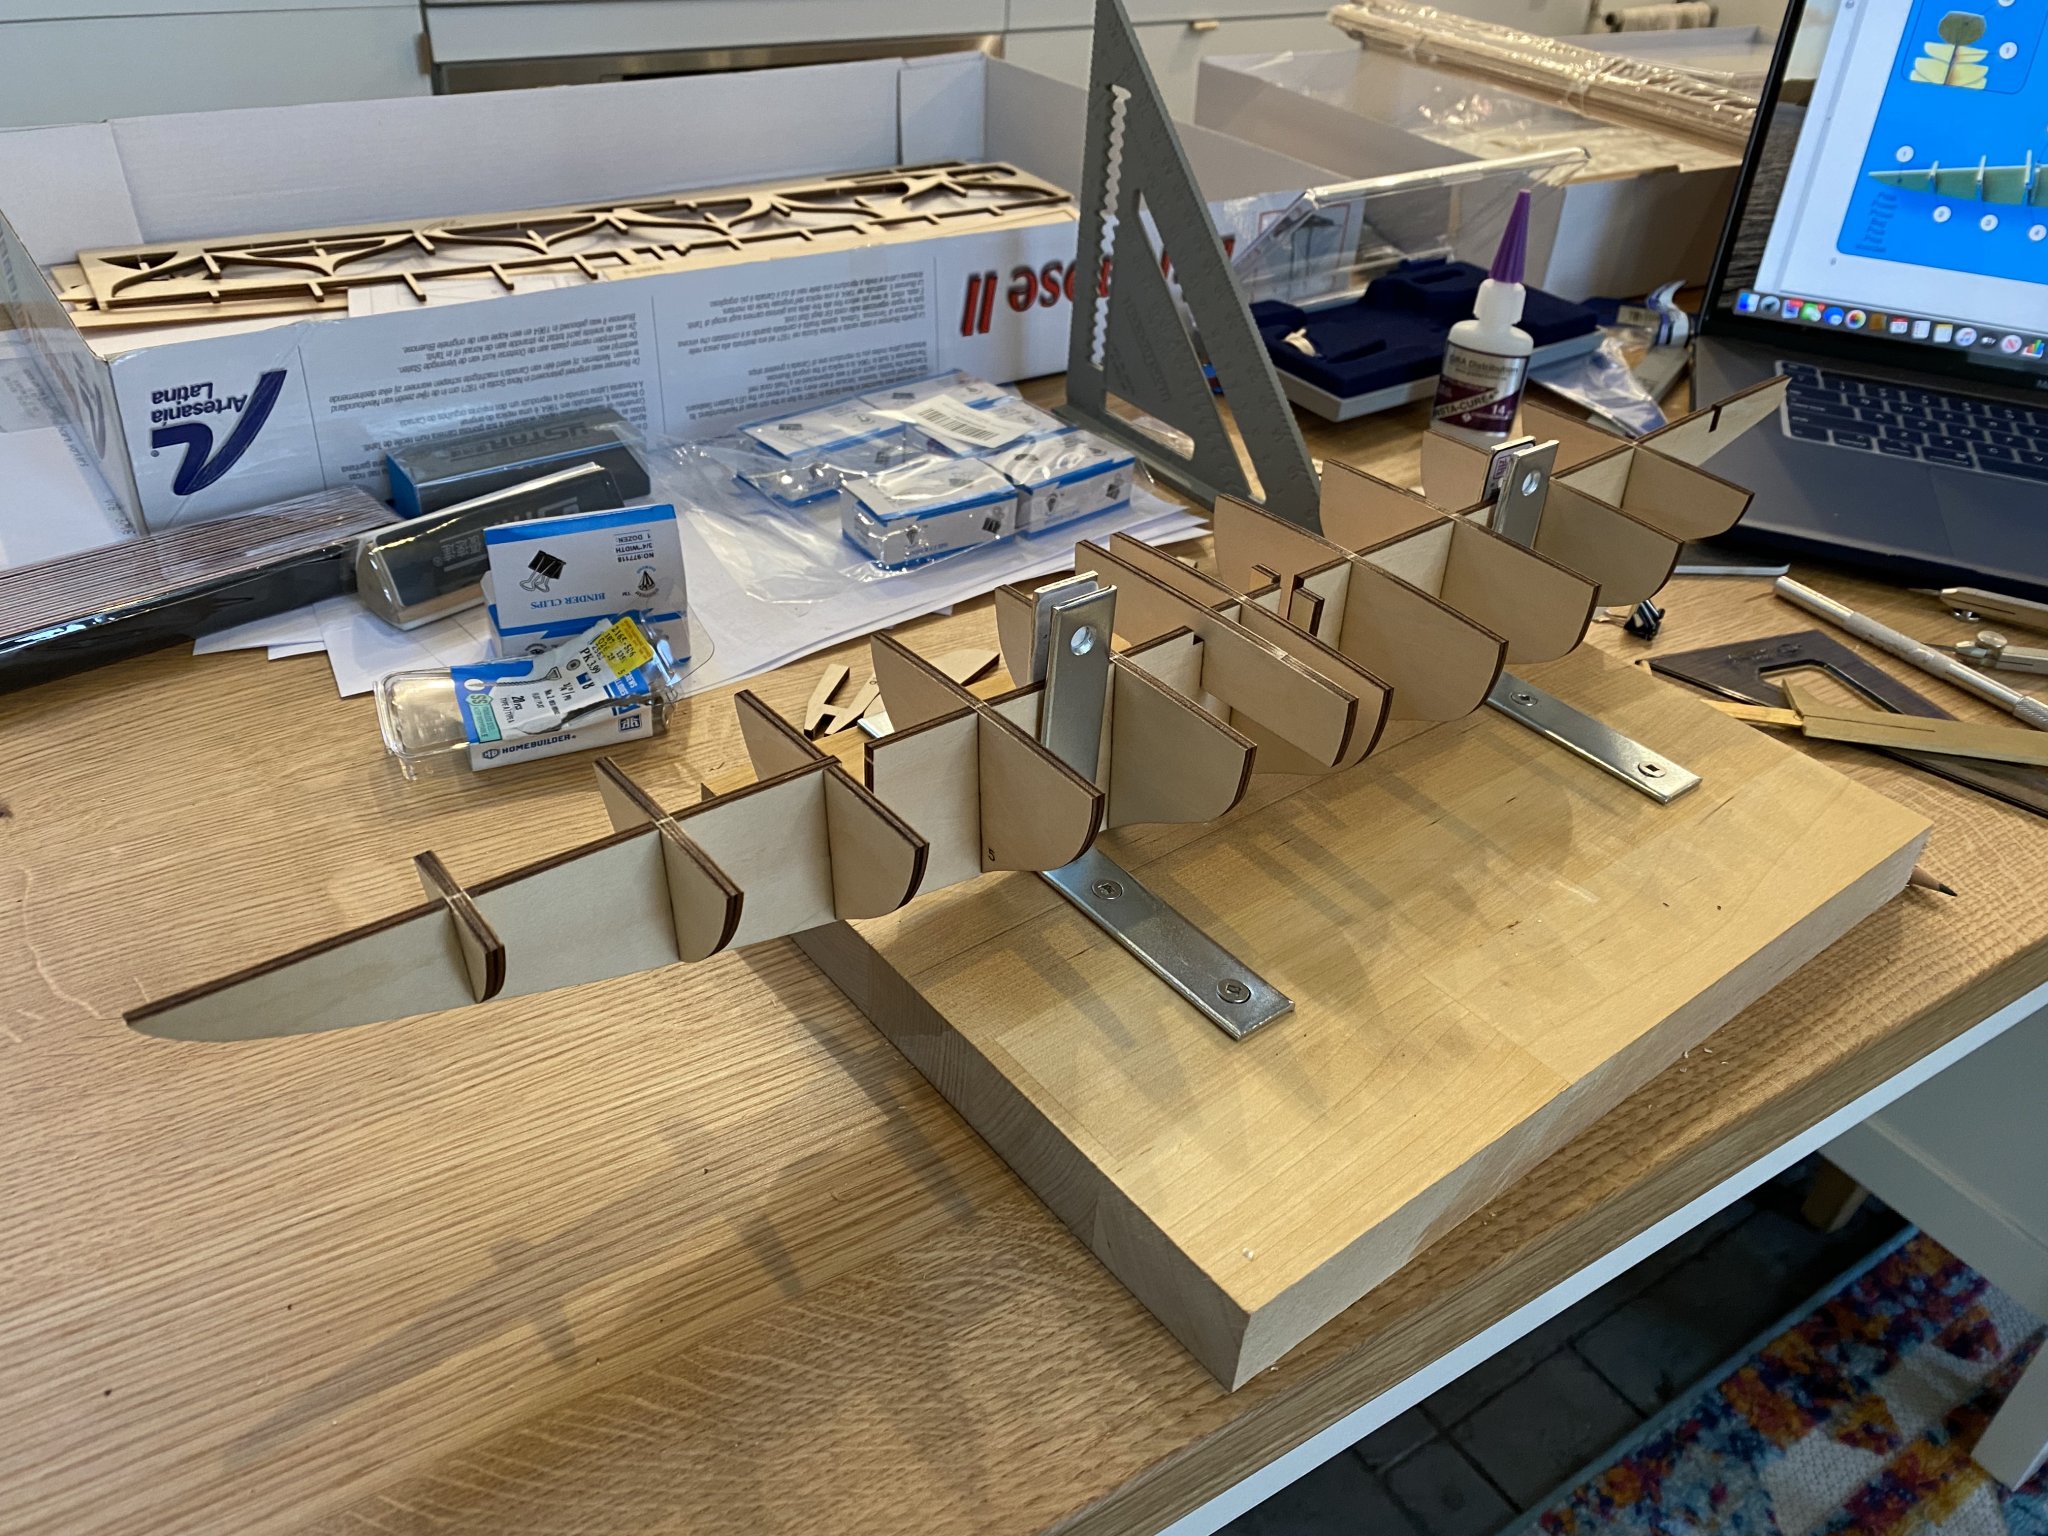
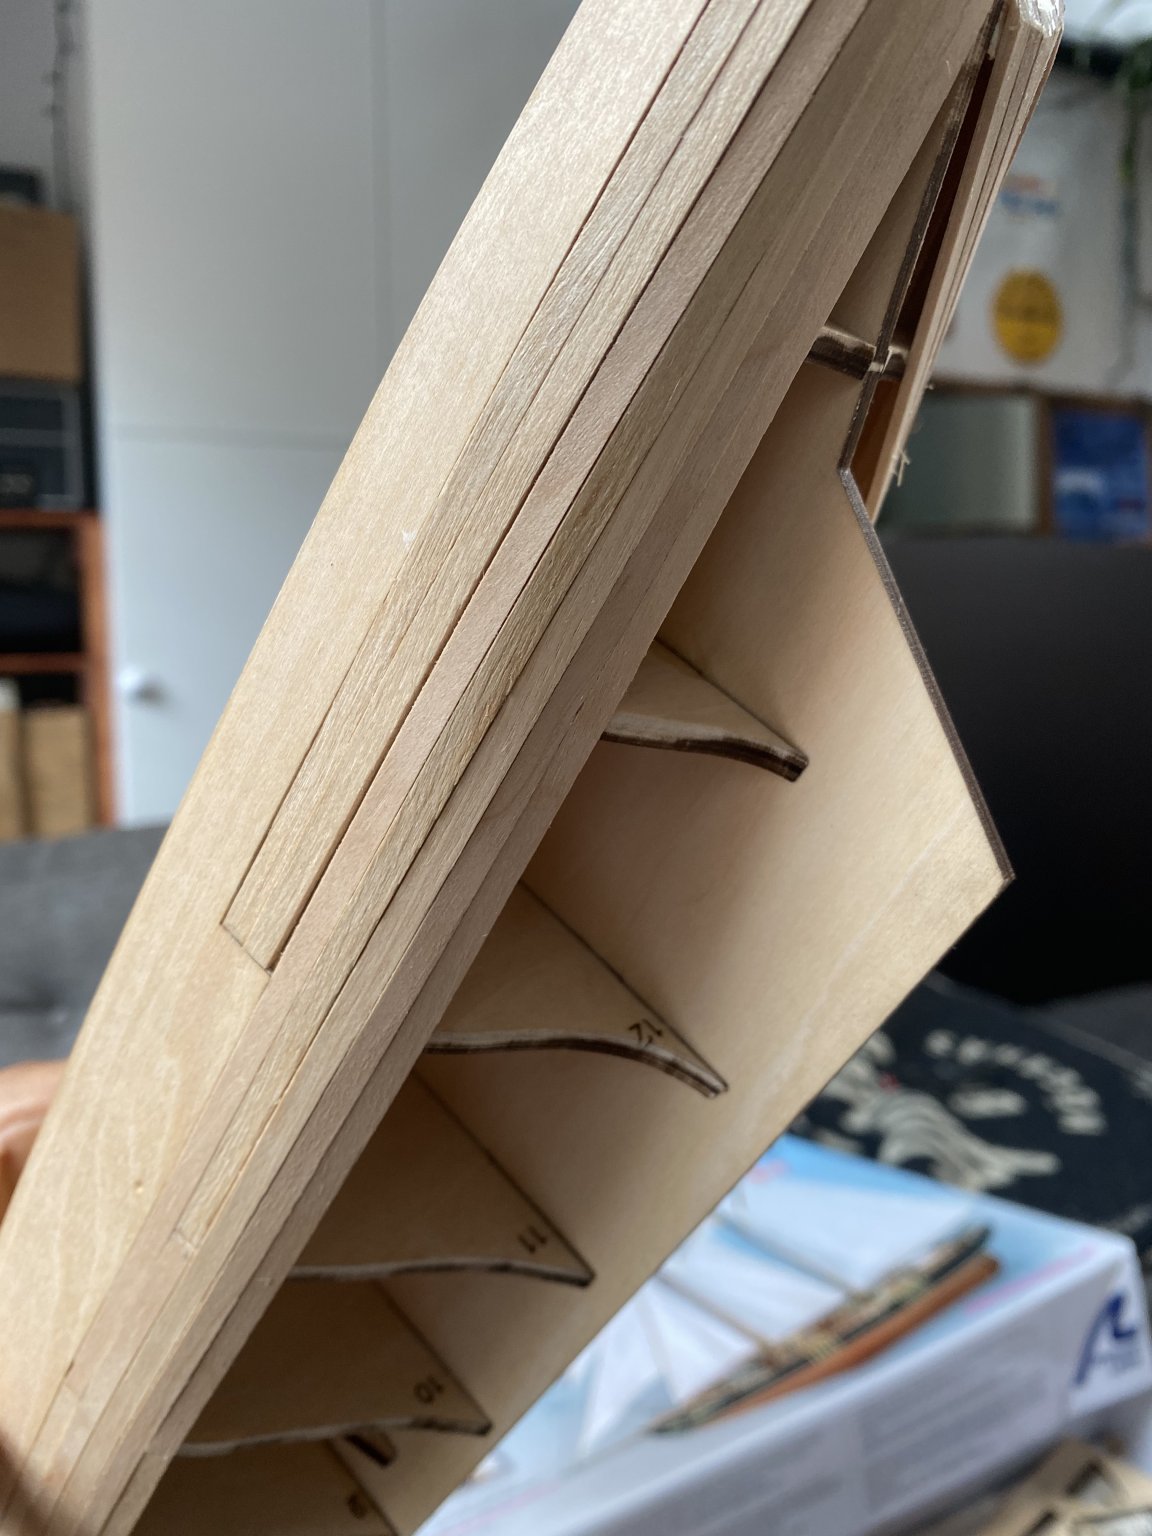
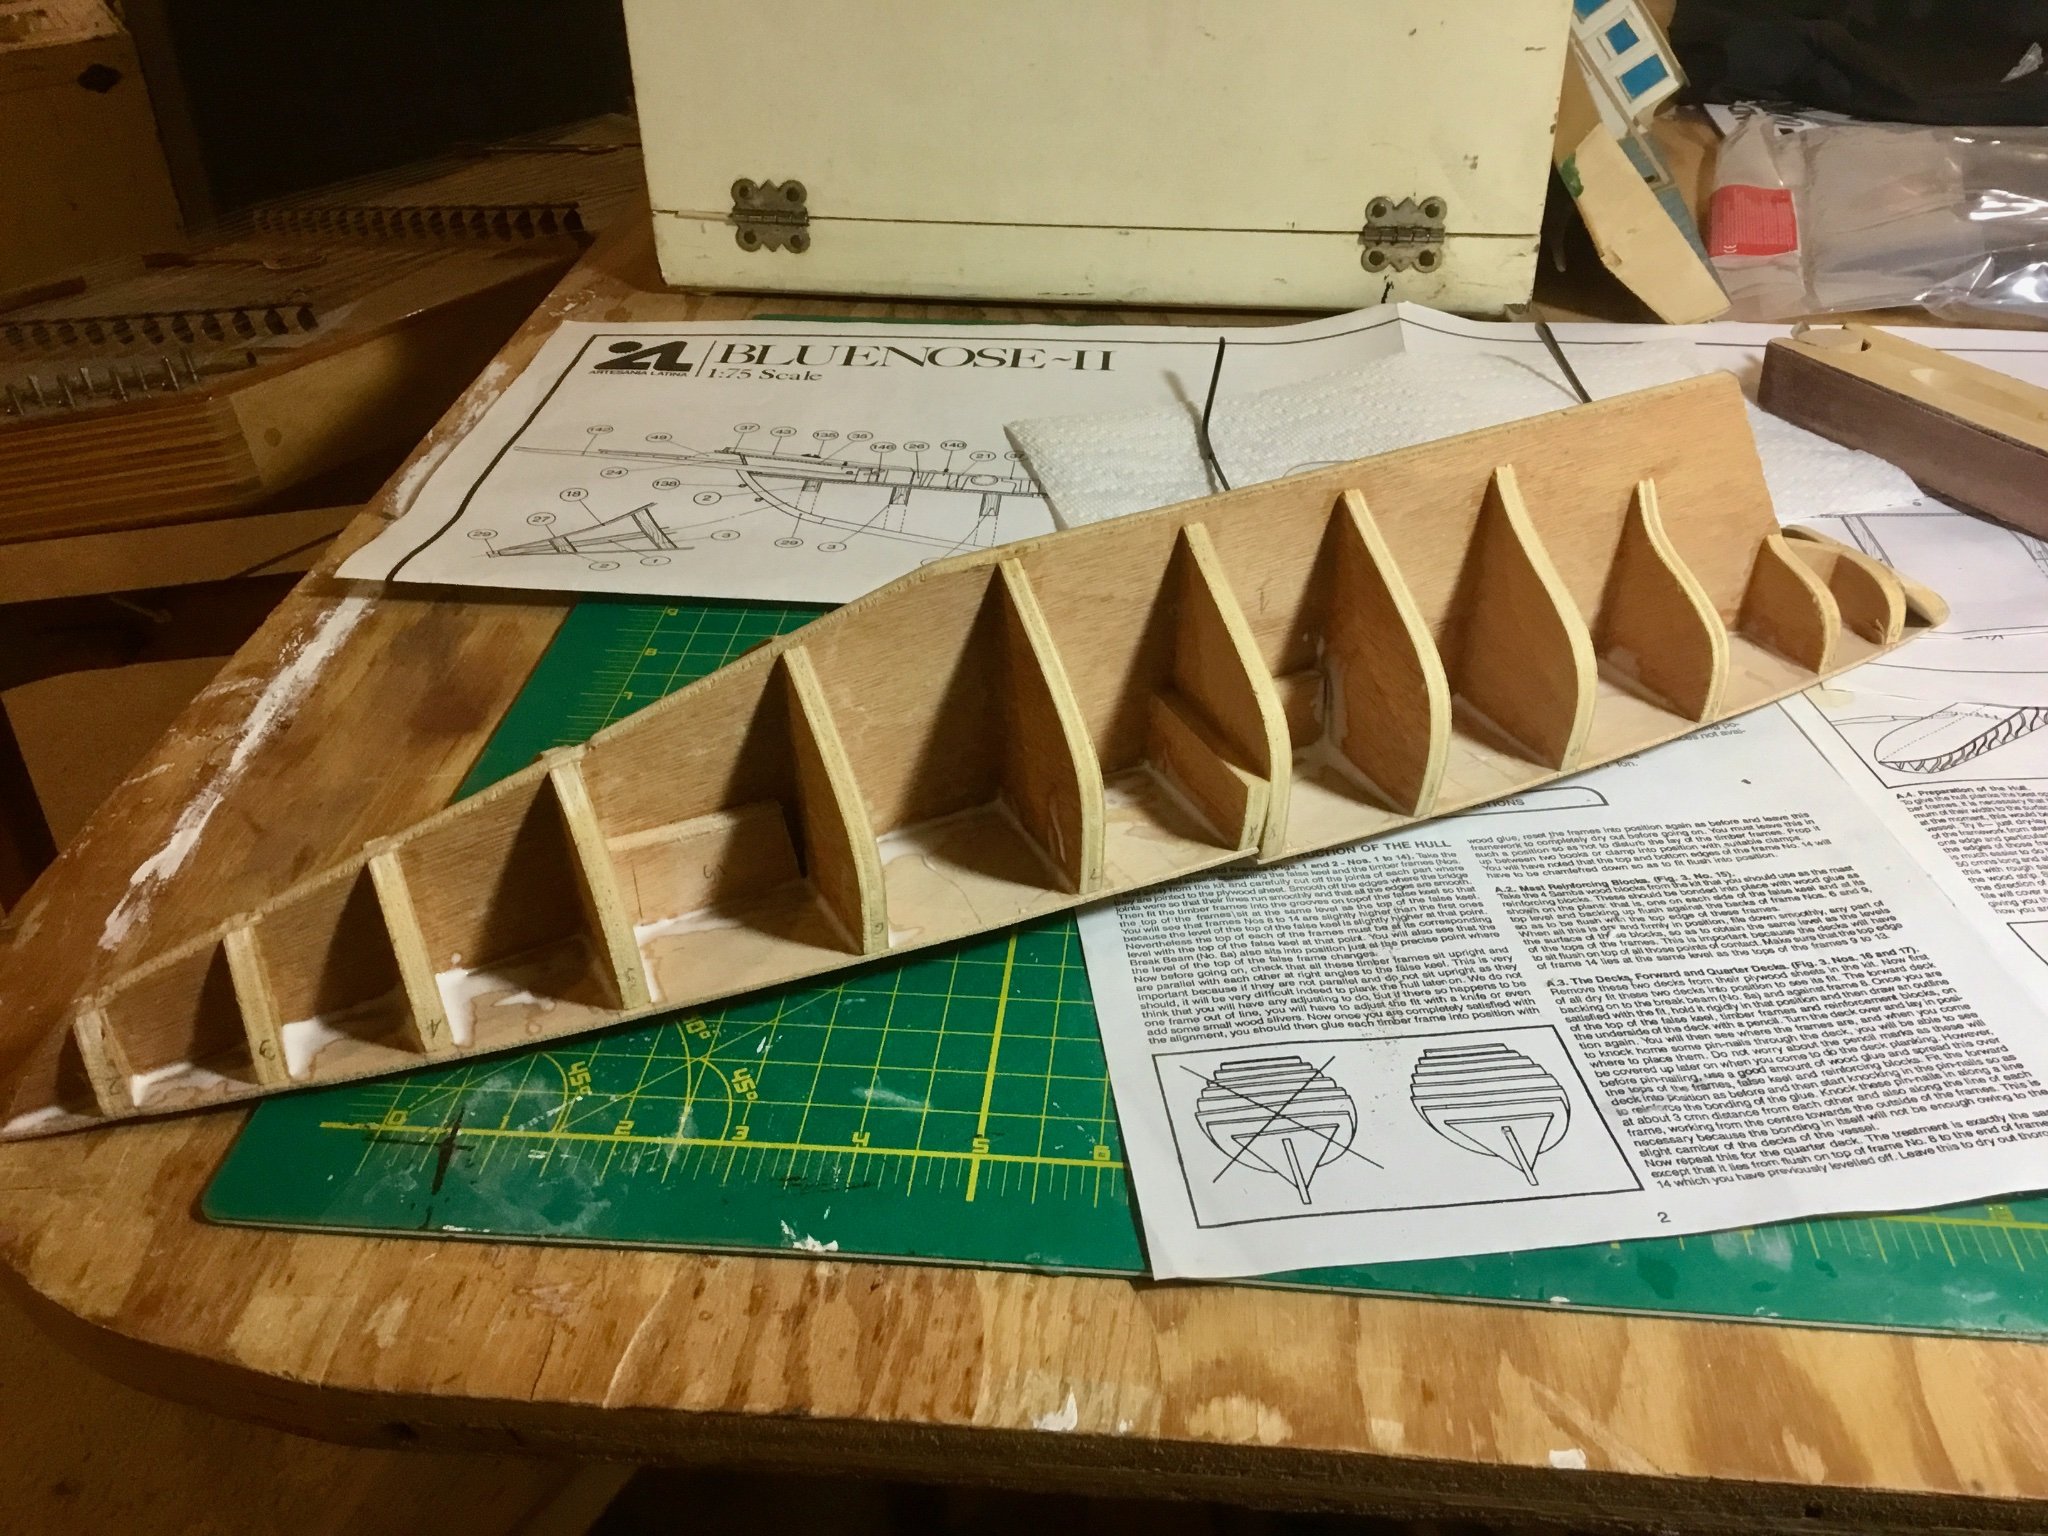
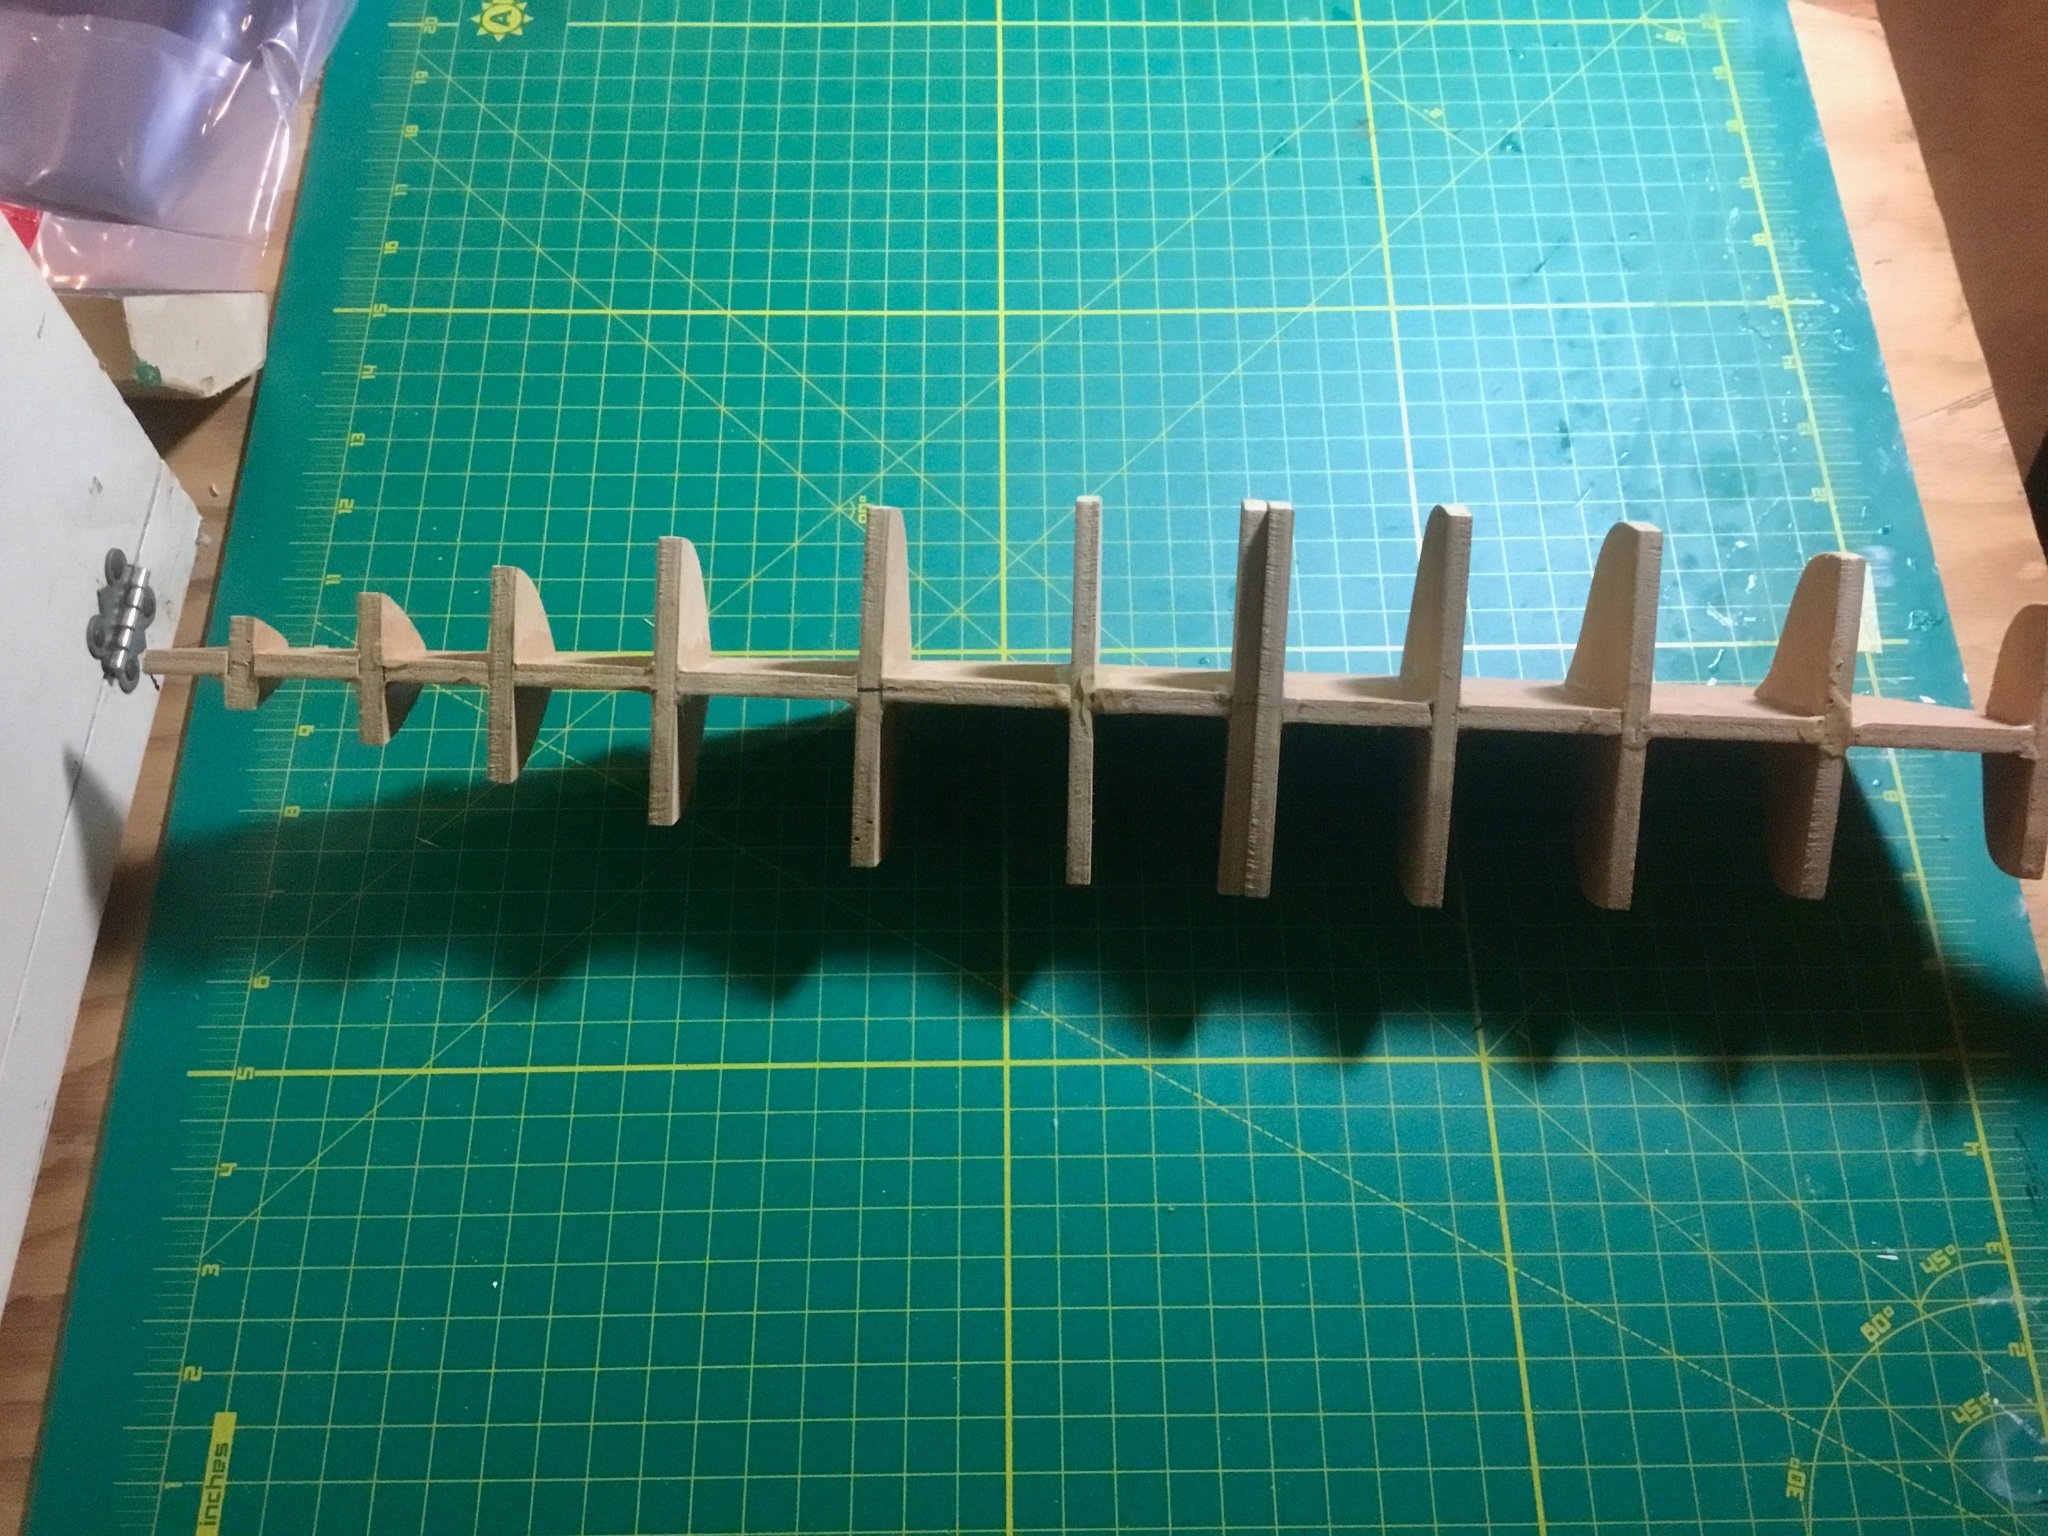
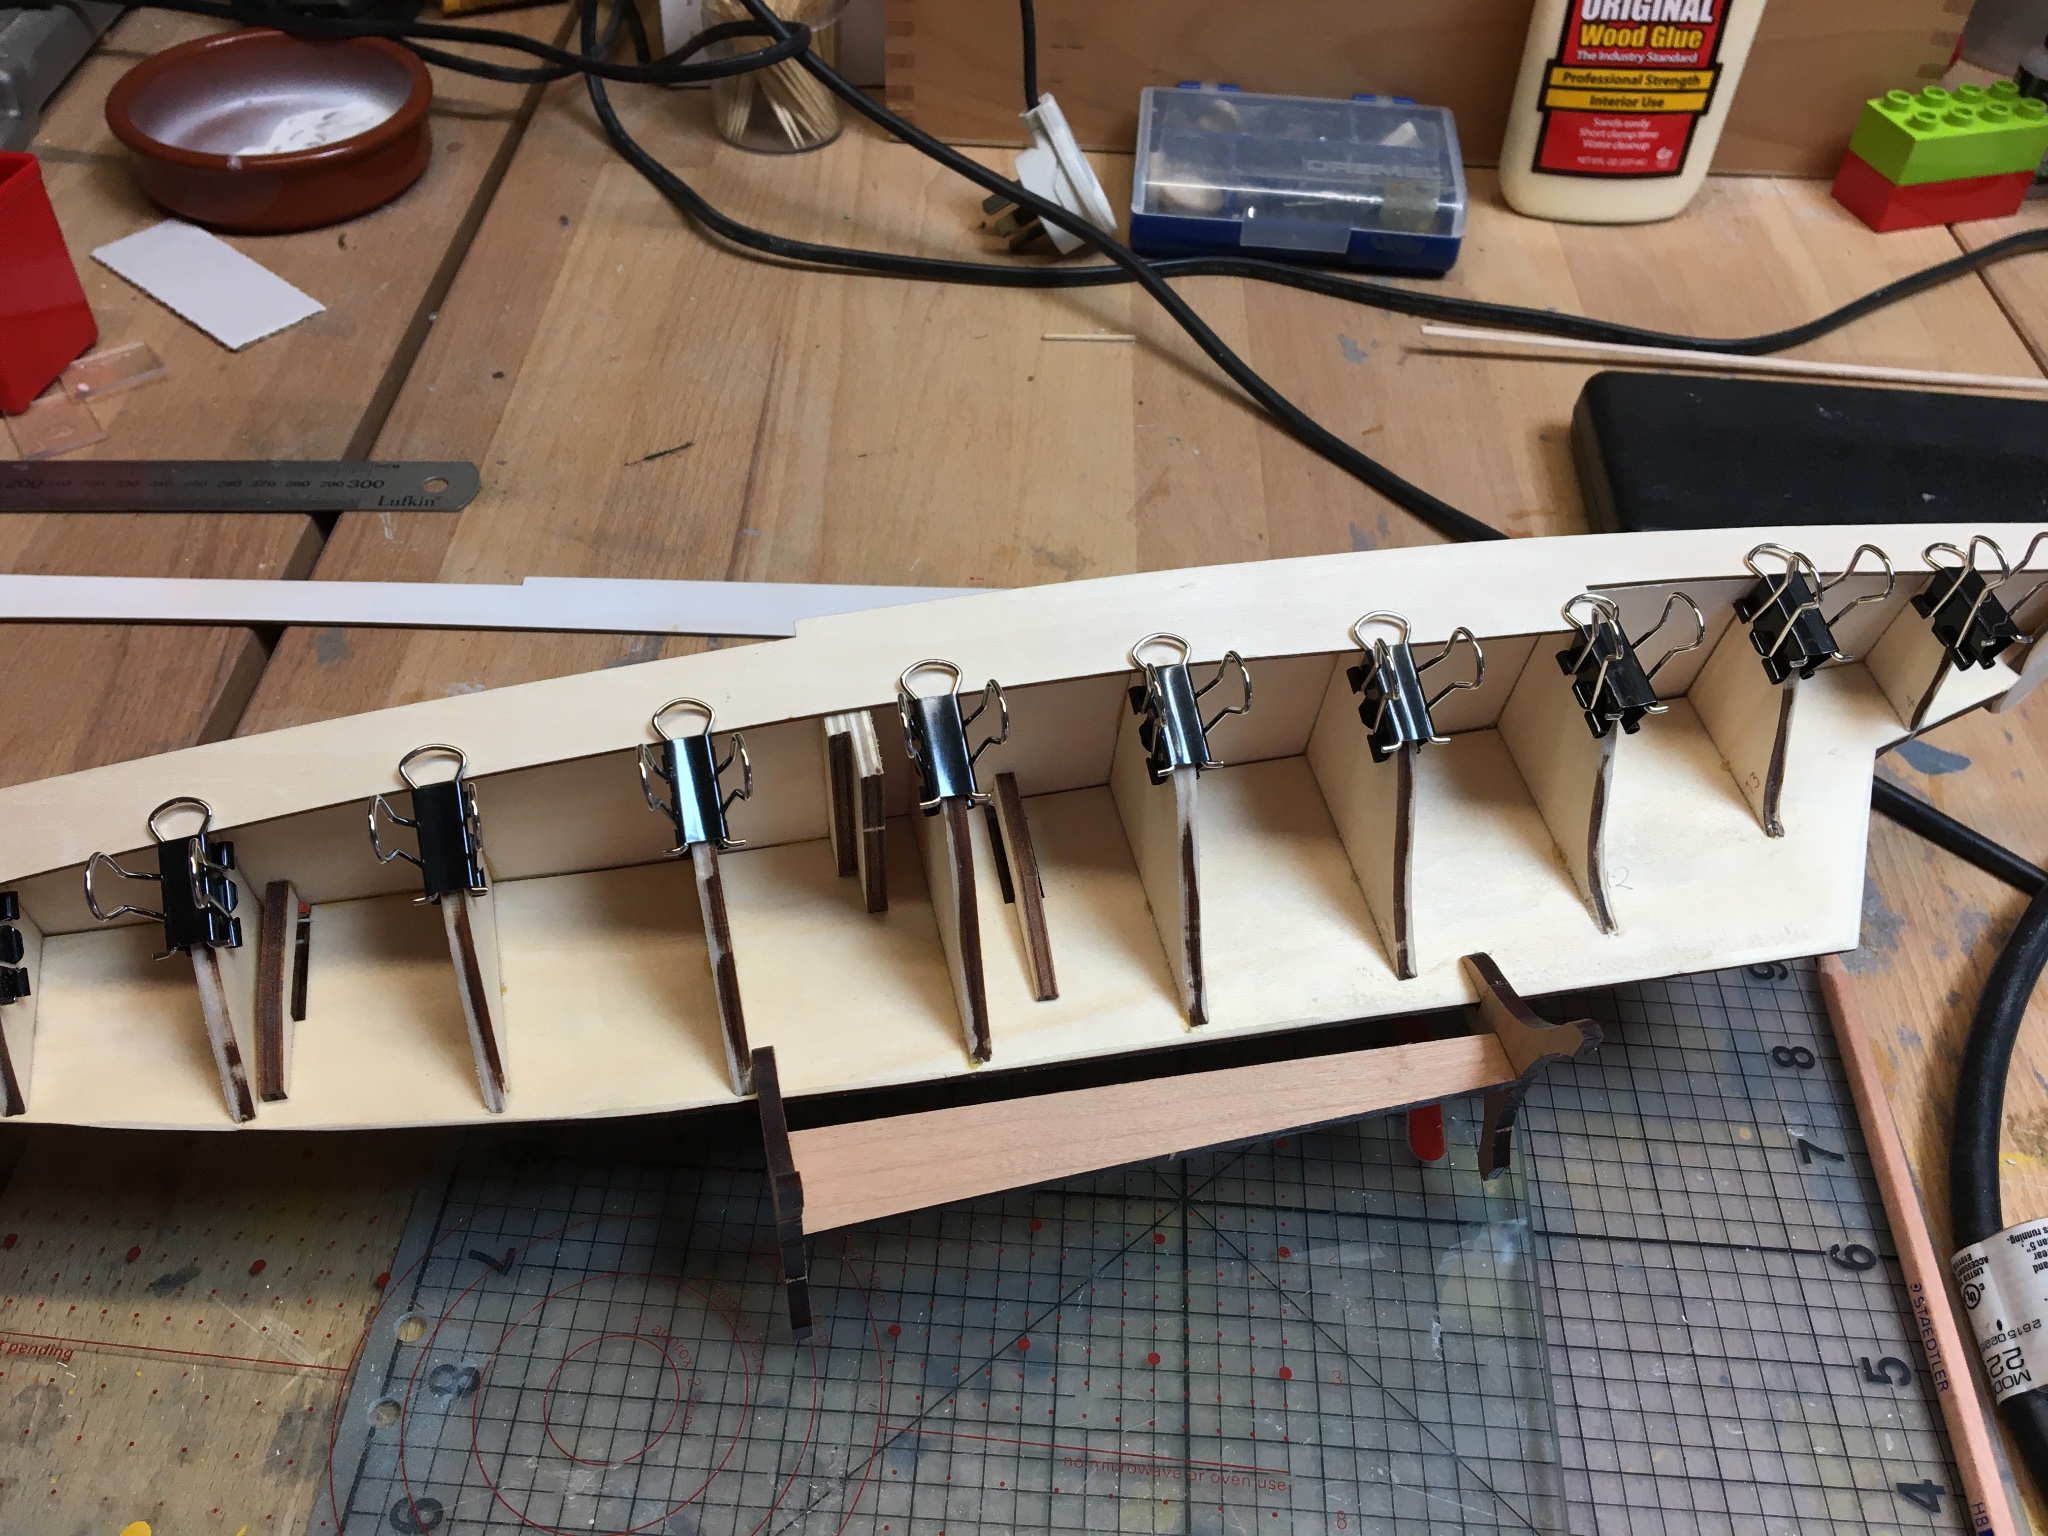
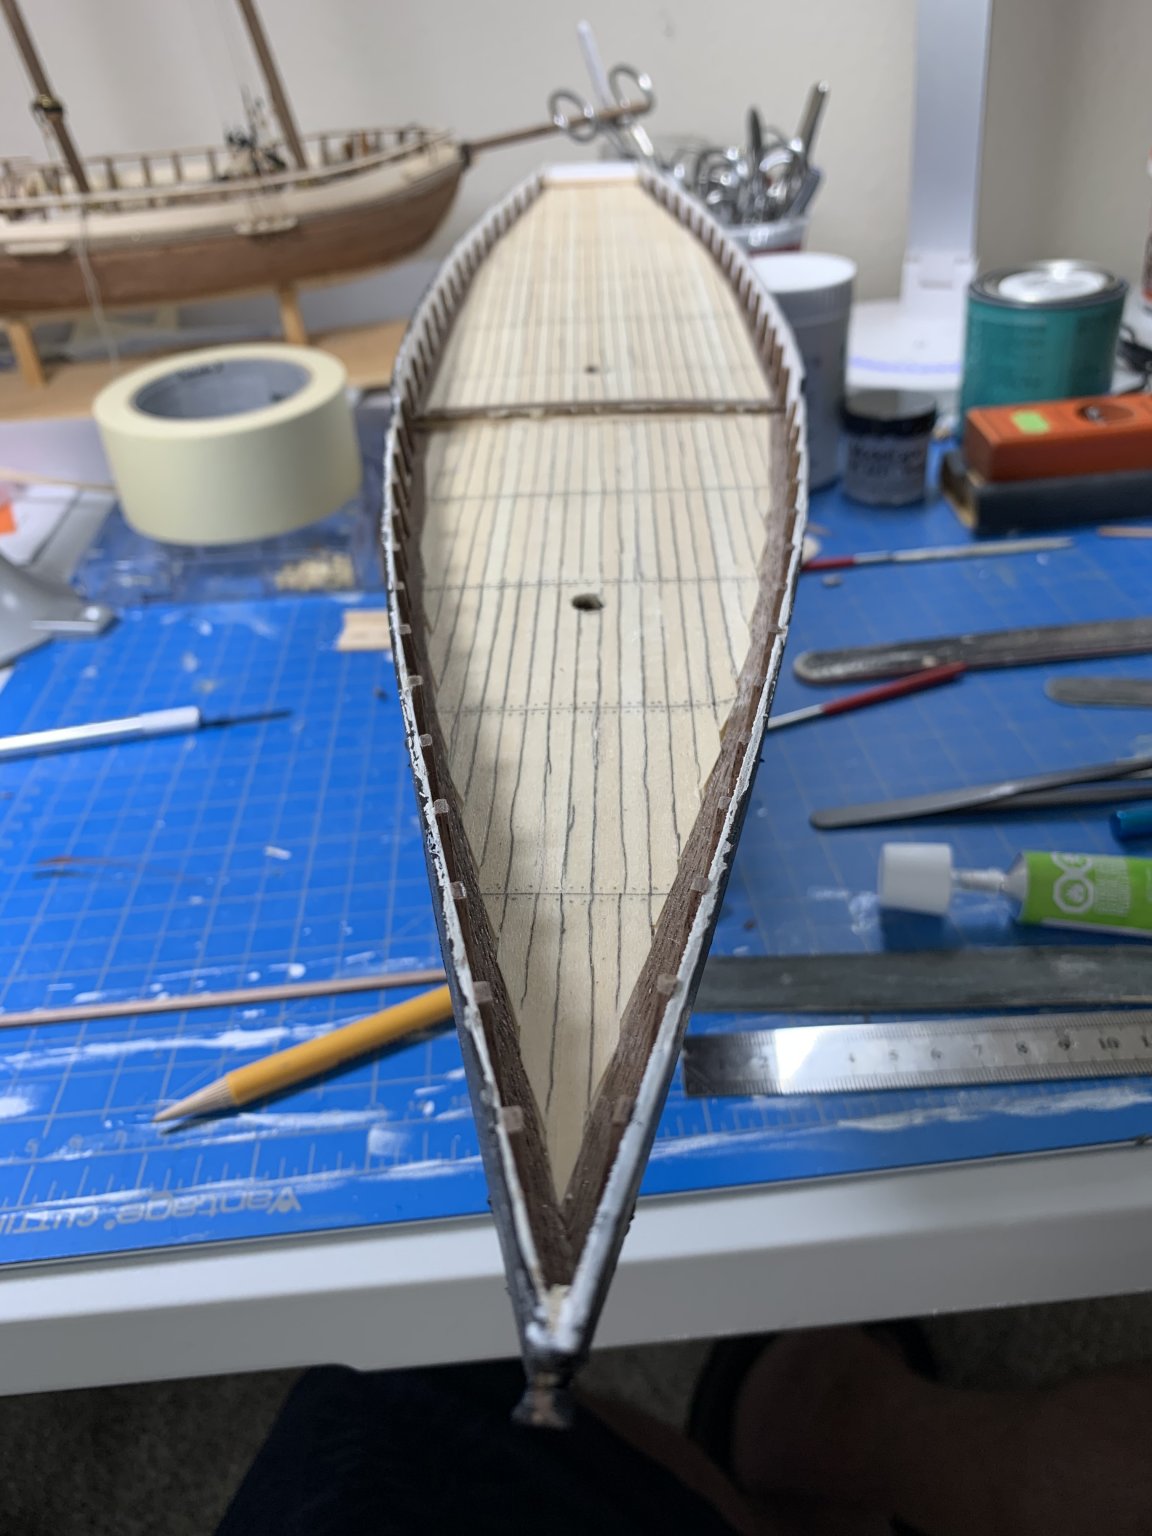
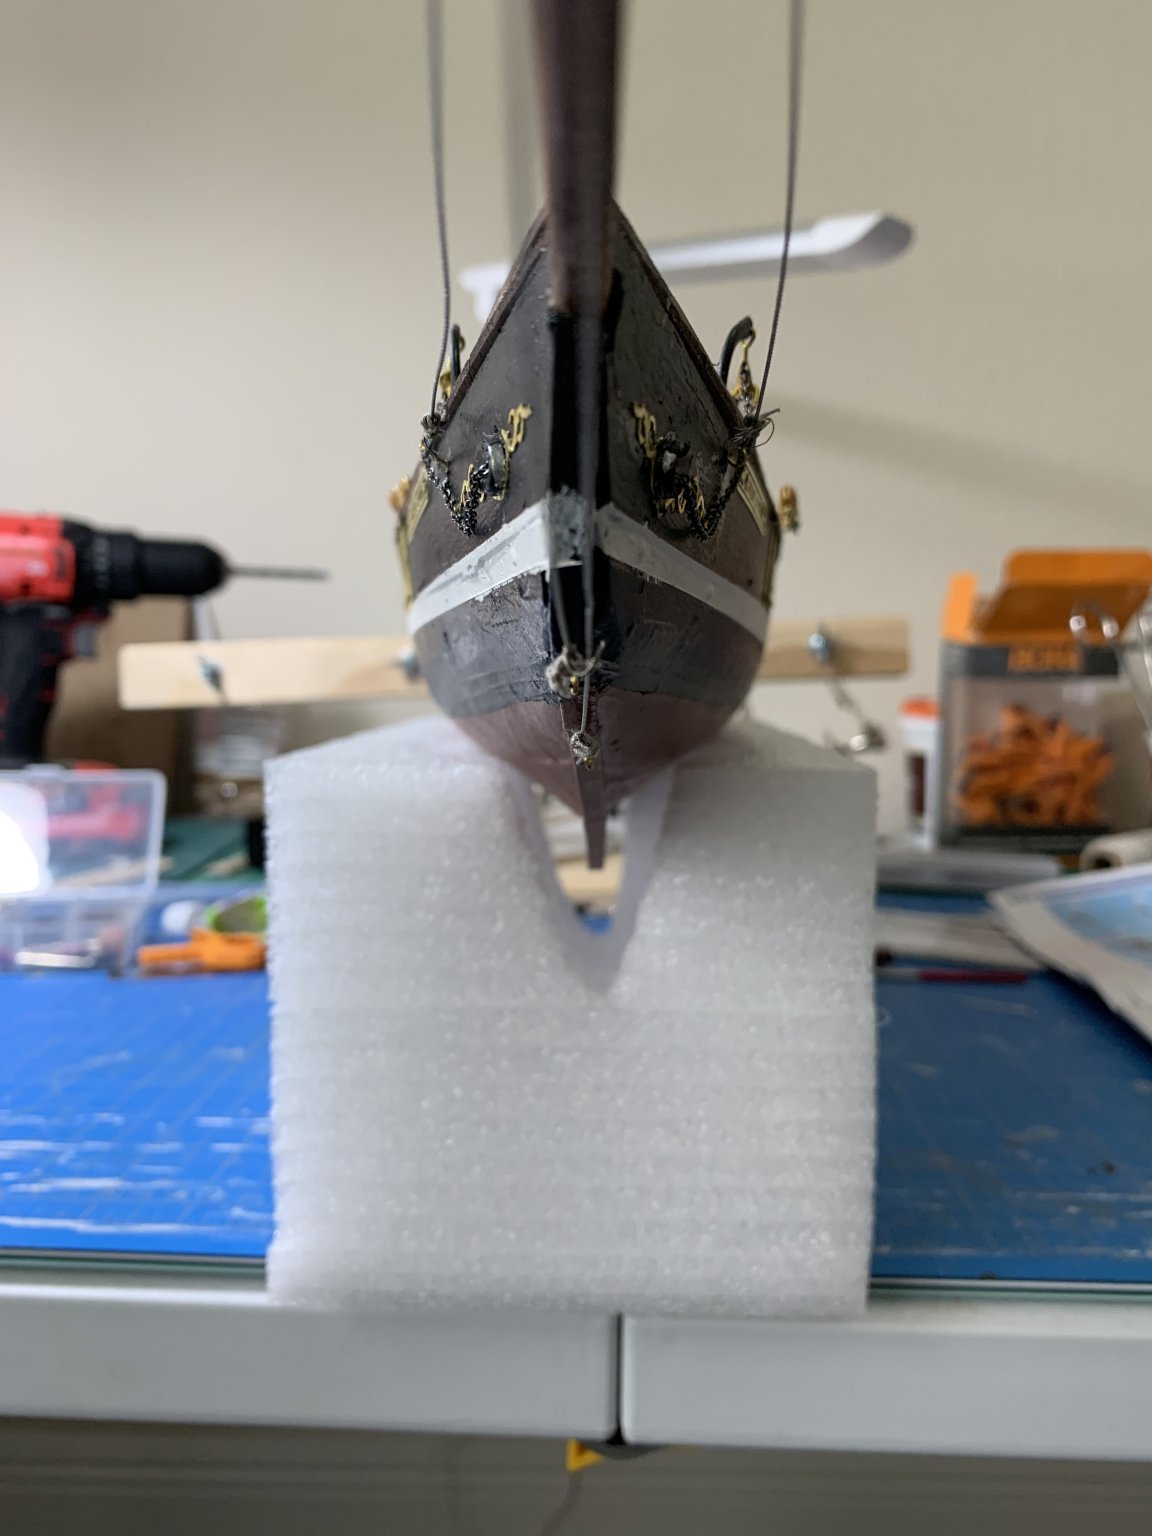
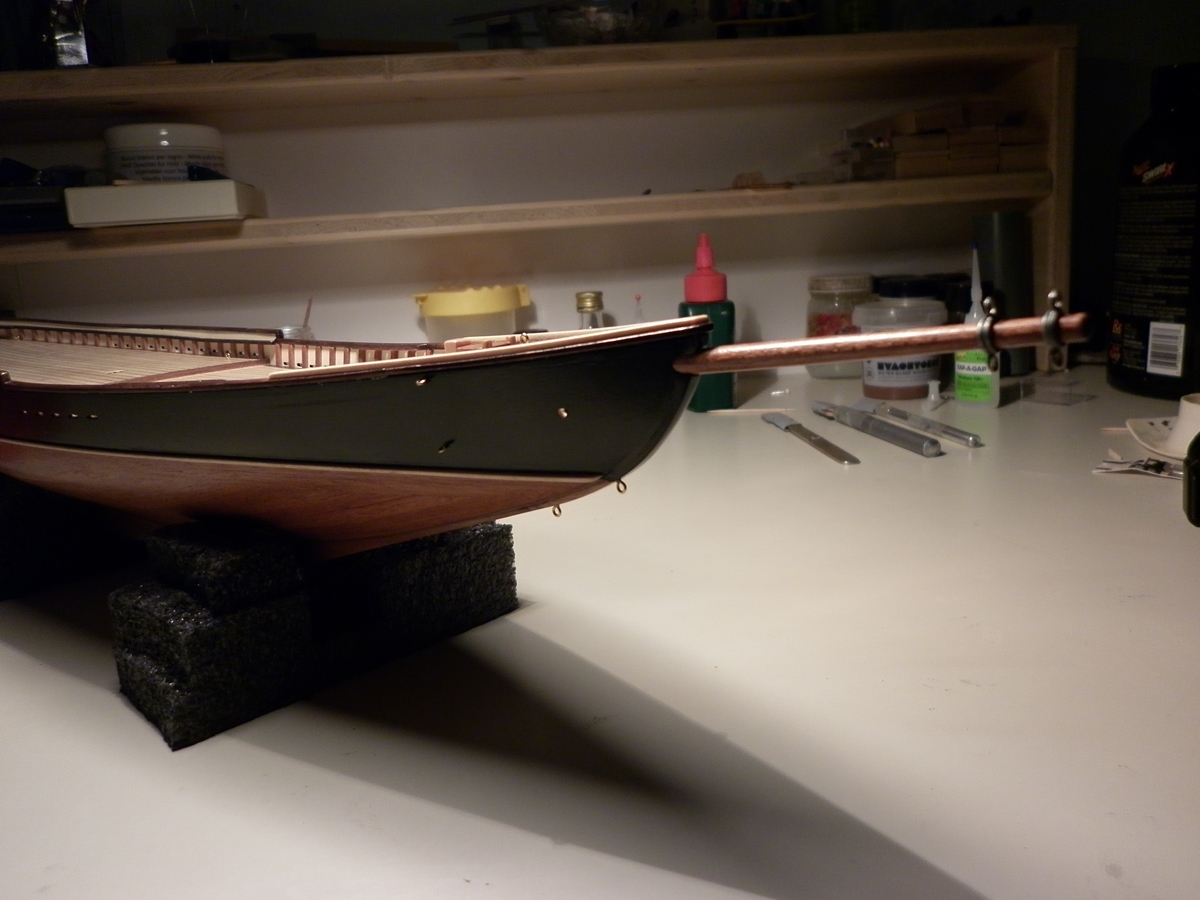
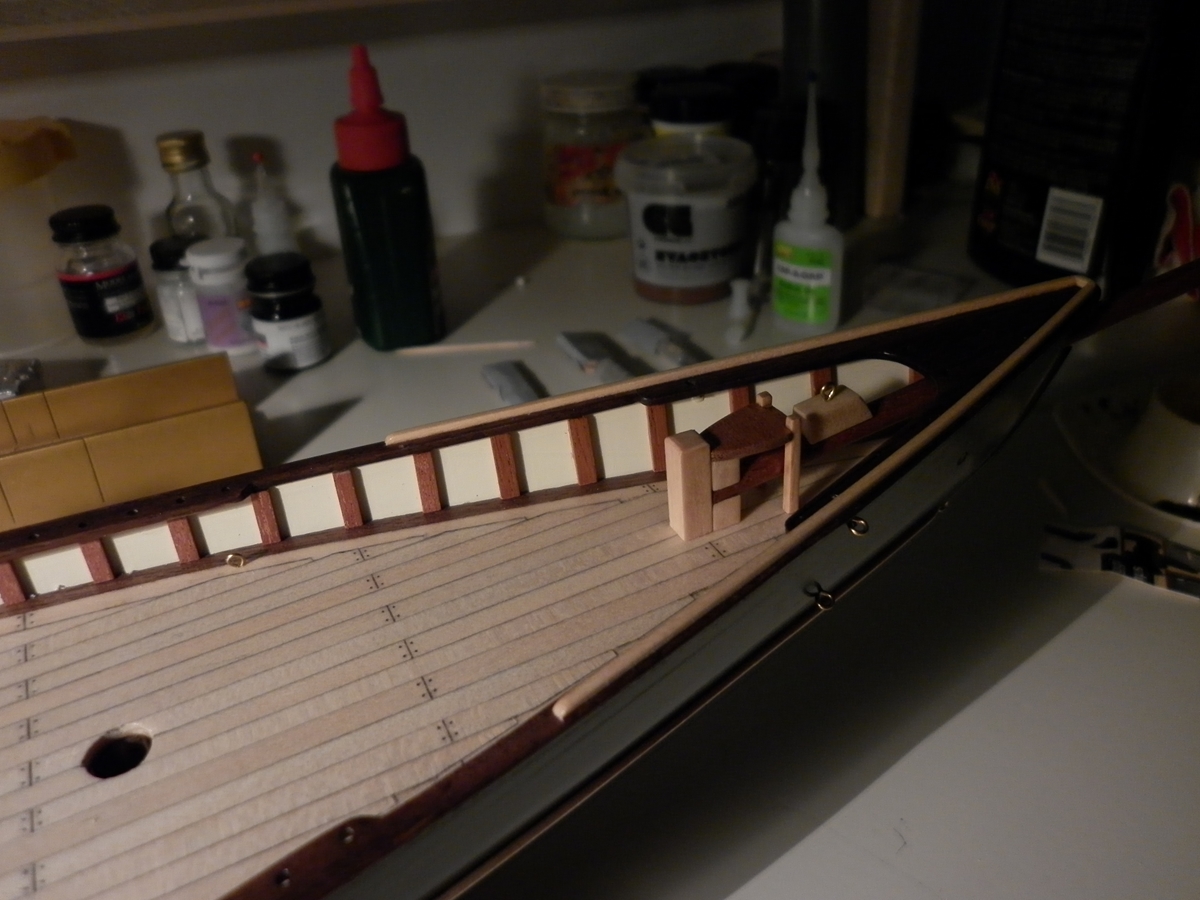
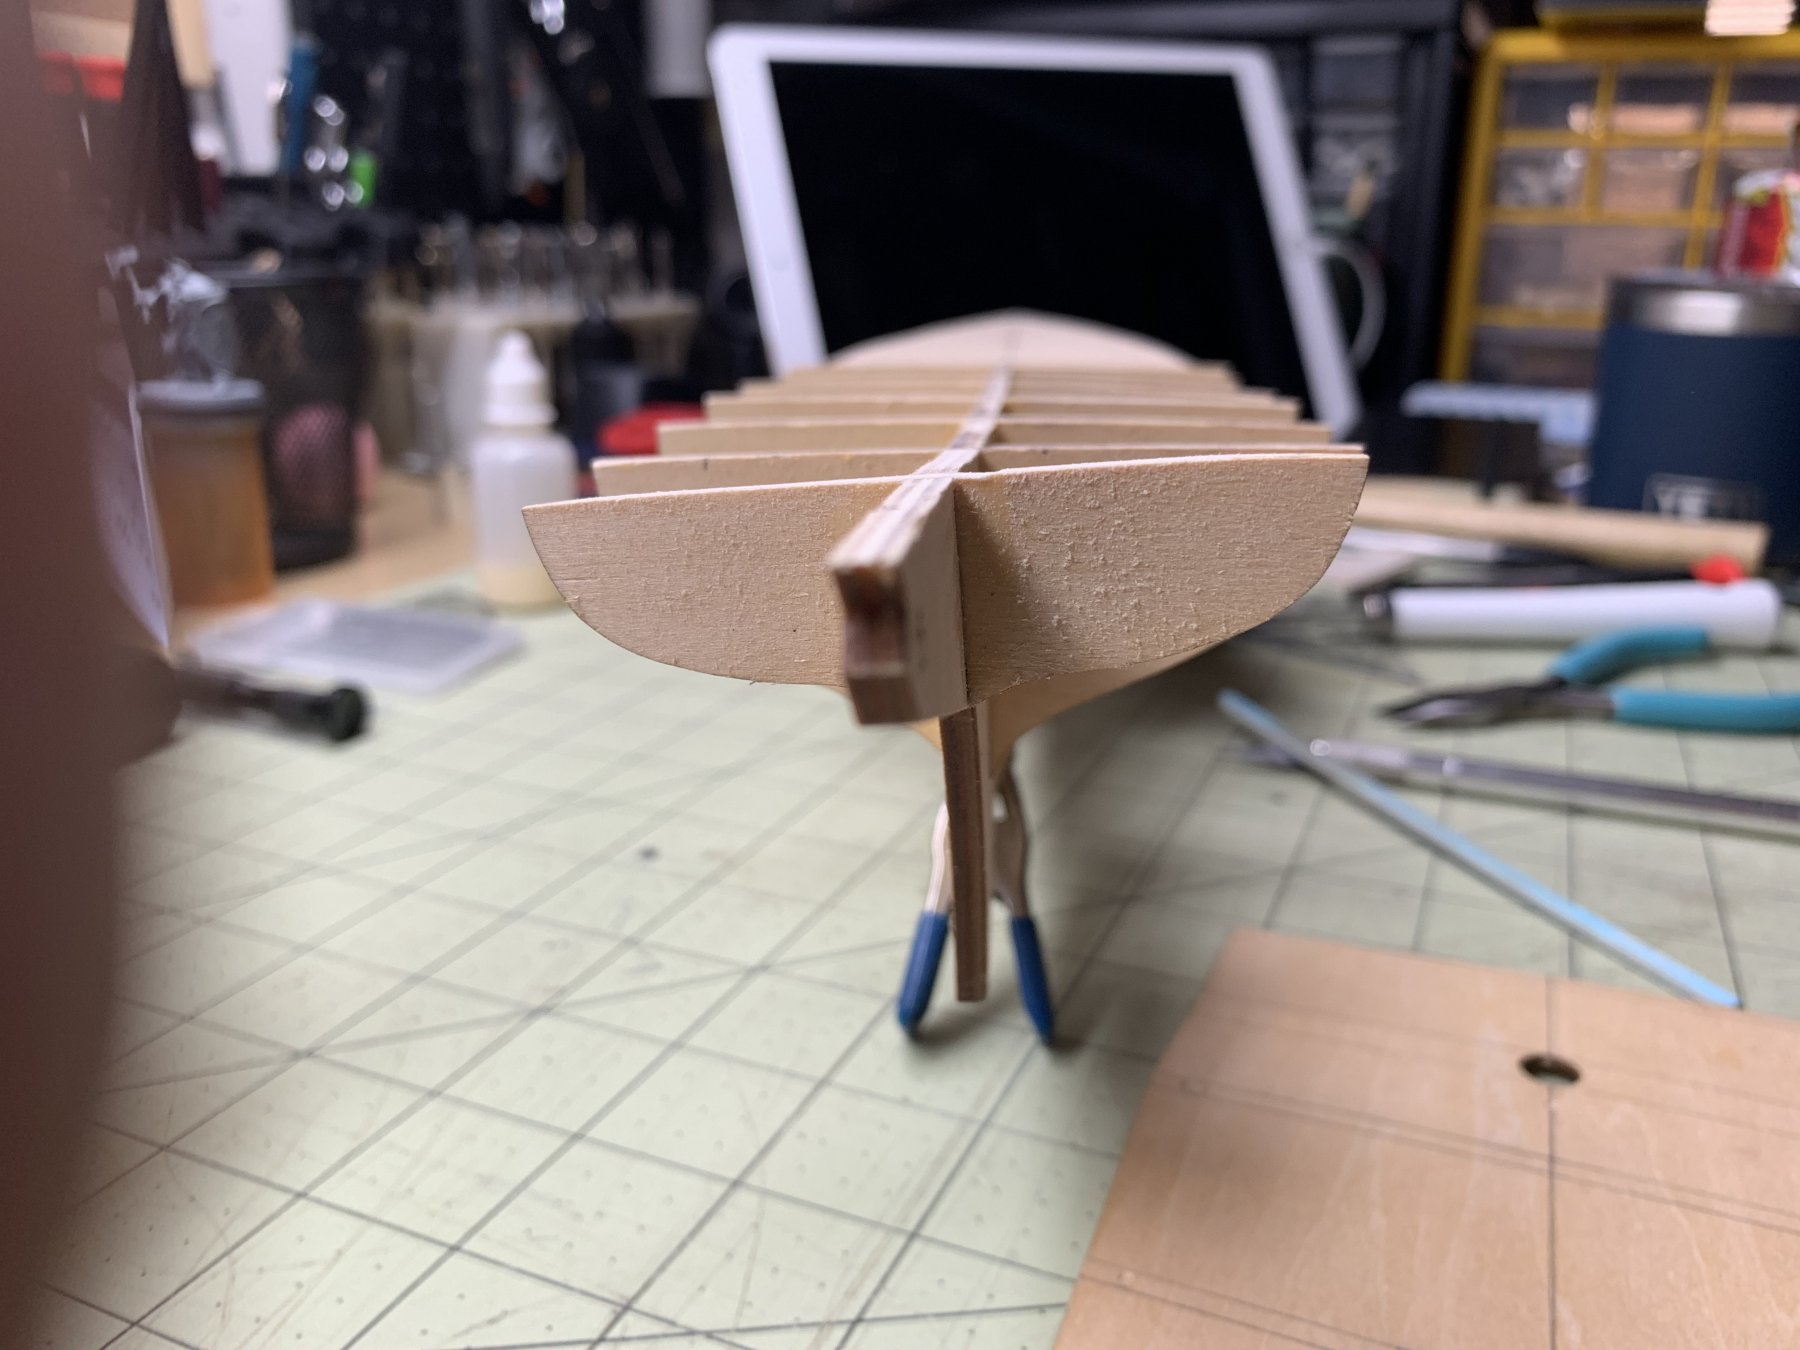
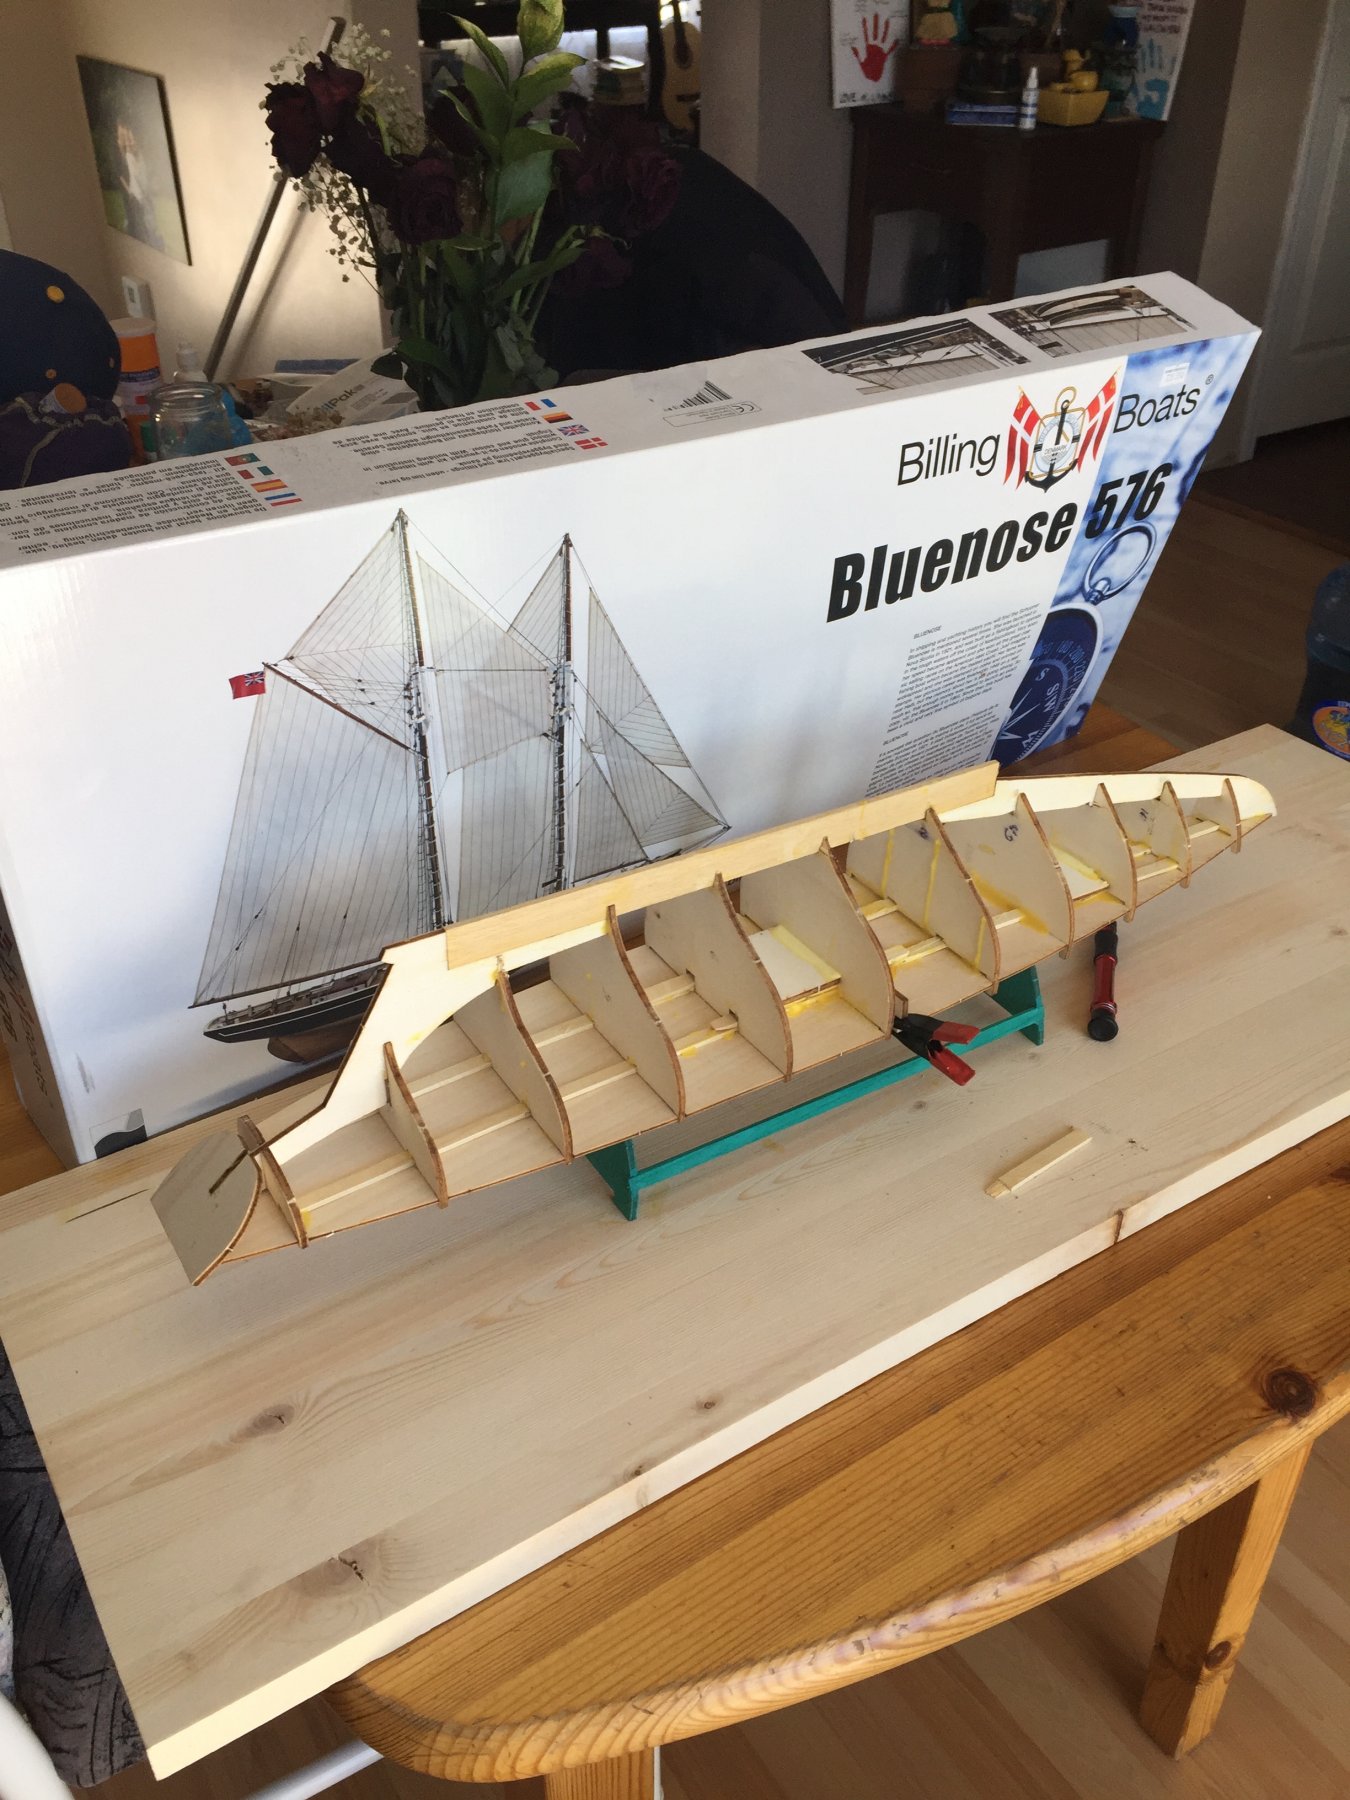
This is my 1st attempt at a build log and my 1st real attempt at building a model. The Bluenose and the Bluenose II are part of my culture - something I've been aware of for most of my life. The kit seems suitable for a first build - not too expensive, lots of modellers around who have built some version of the boat, simpler rigging and so on. This particular kit differs from most of the kits I've seen in that the hull is built in 2 halves which are planked before the halves are glues together. I expect that will simplify the planking process though I suppose it will introduce some challenge itself. Doug
- 93 replies
-
- 1
-
-
- billing boats
- bluenose ii
- (and 1 more)
-
 Permission to come aboard: First let me say this is probably the best website there is, the incredible amount of knowledge, and advice that is exchanged daily is amazing. I first started a Mayflower build about 5 years ago and as has been said here many times when I got to the planking it all seemed to go south, so the Mayflower still sits in the drydock patiently waiting. So with many things changing in 5 years, medically, retirement ,etc. I though it may be time to reengage with this terrific hobby, but I thought maybe a somewhat smaller build so I chose the Bluenose II from Artesania Latina and have been working on it for a week or so, I have poured through the build logs here and can only hope mine can even come close some of the absolutely incredible ones here, but I am determined. So any suggestions or comments will be greatly appreciated, so far a fun build and I'm into the first planking still not my favorite but am working through it. I read something on one of the builds here that you should make every piece your working on like it is a separate model and do your best on it then add it to the bigger project, I have been trying that and it works very well. So thank you all for being here and please know that it is really appreciated. I posted a couple of pictures


.JPG.73d792a48a2532bd18a1693137884e0c.JPG)
.JPG.75649c32db43d2a189a0b8d7b88c8e85.JPG)