Search the Community
Showing results for tags 'cargo'.
Found 5 results
-
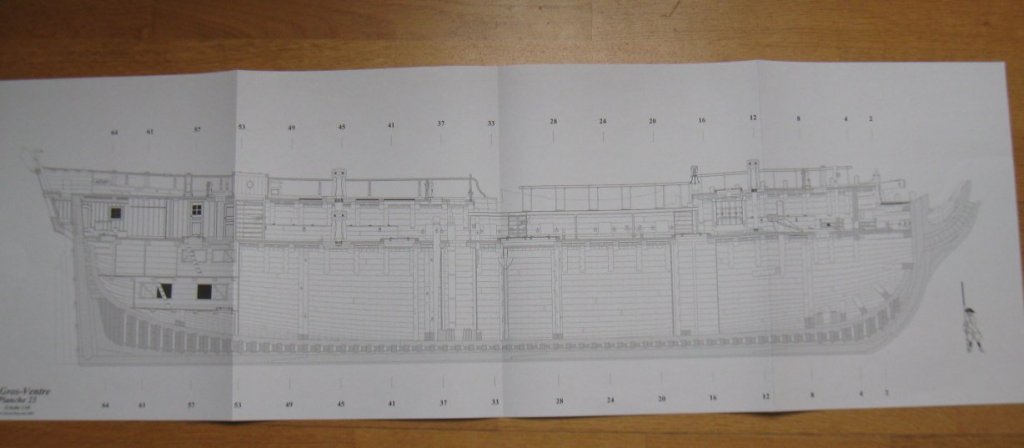
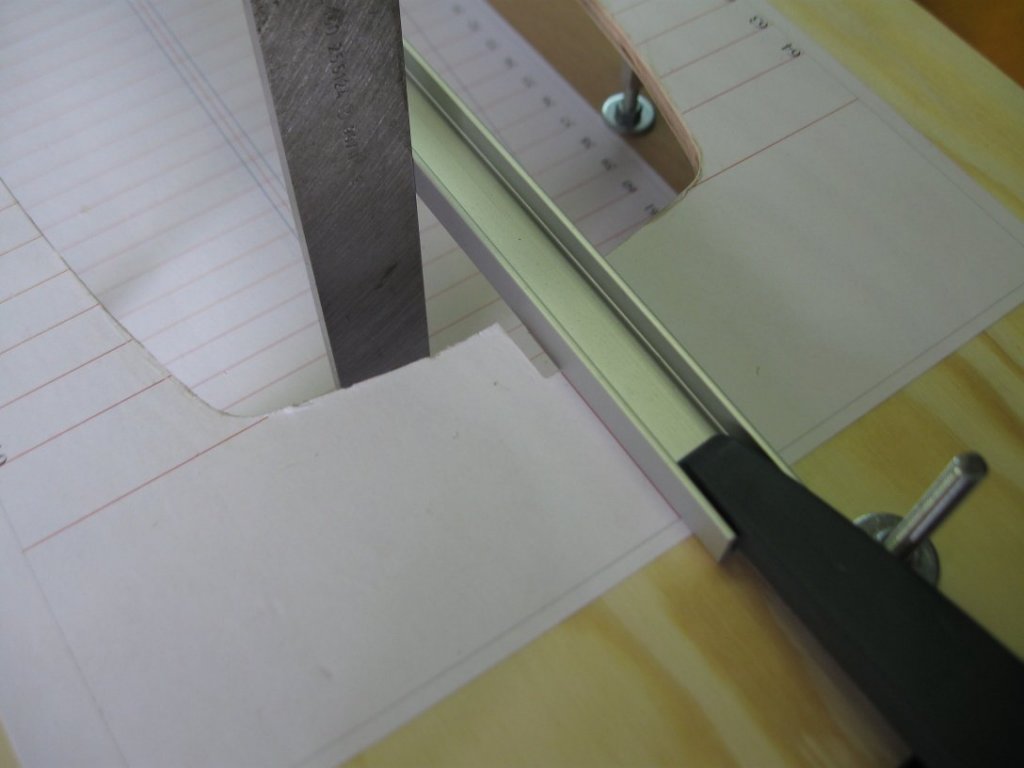
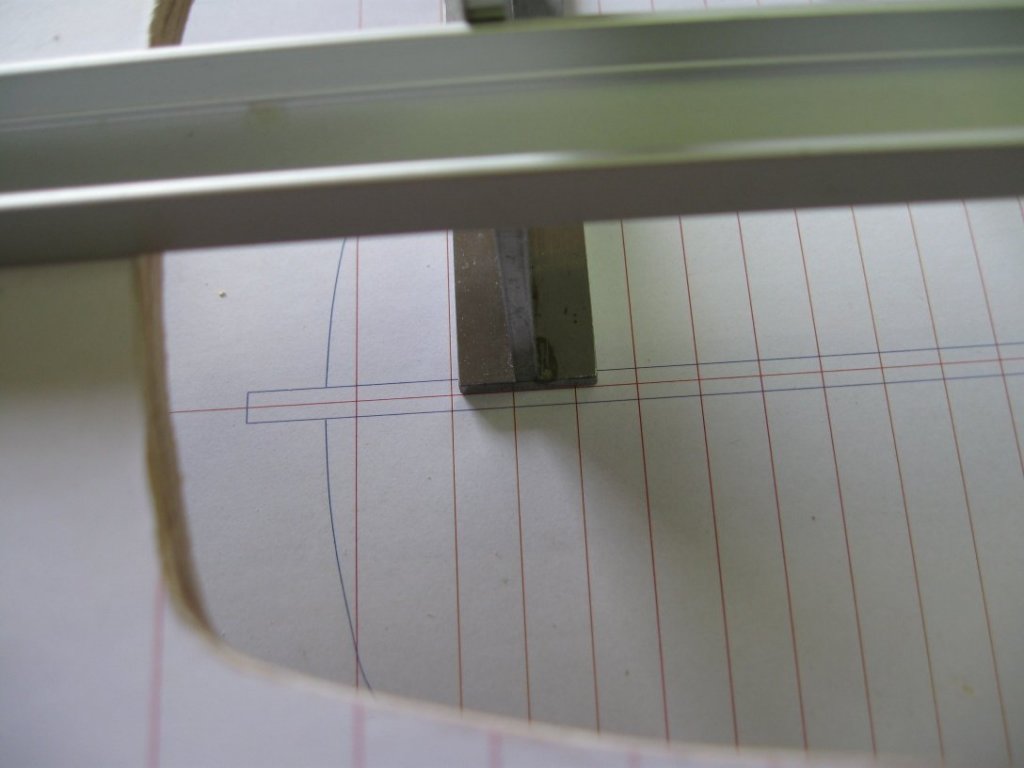
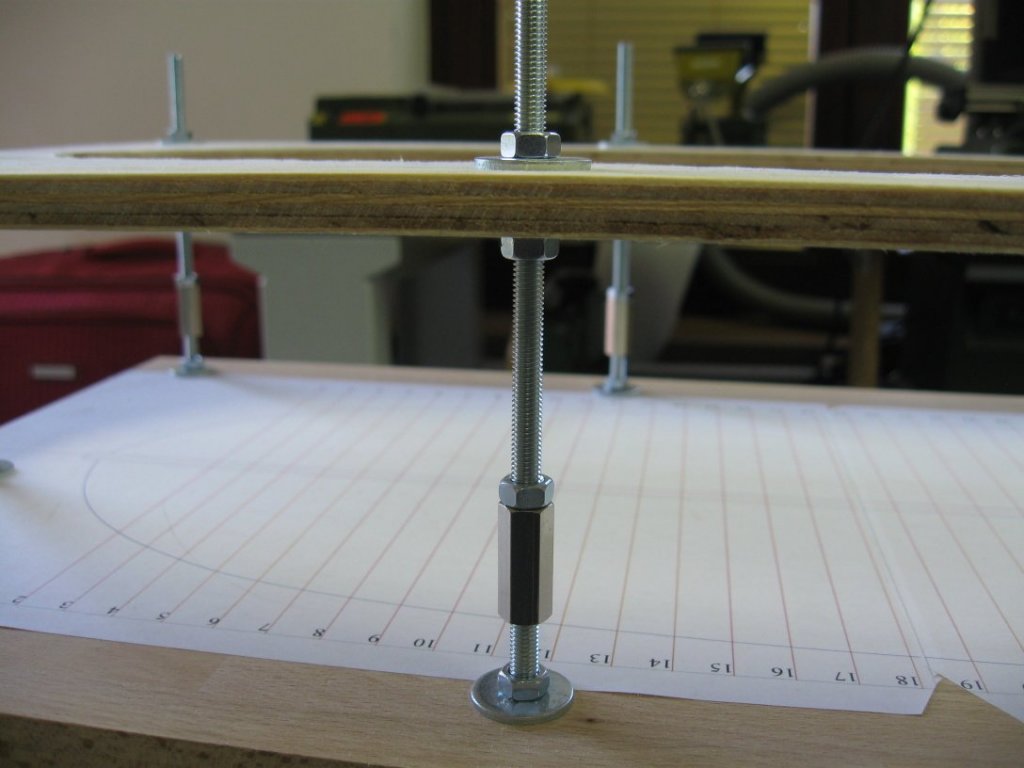
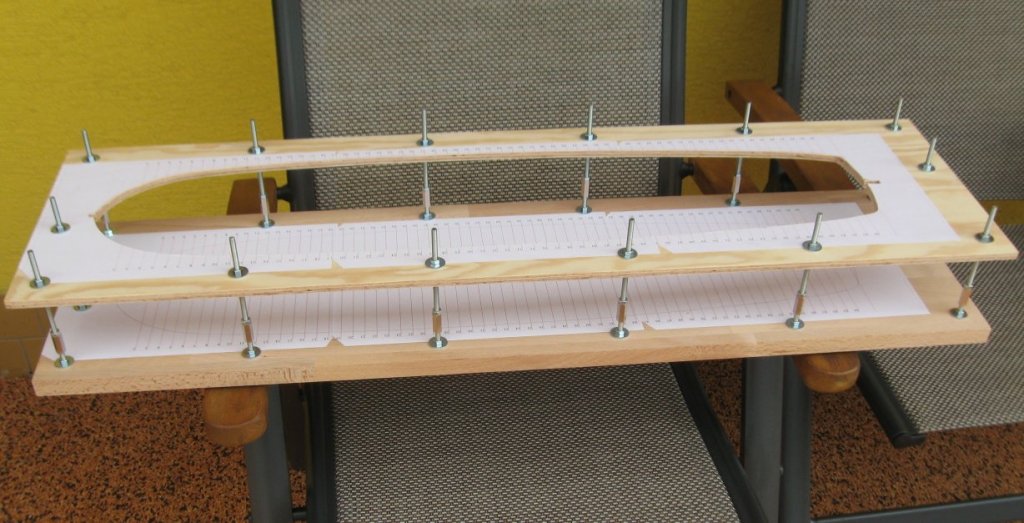
 After a long creative vacuum, I started a new project. This is the so-called "gabare" Le Gros Ventre at 1:48 scale, the model will be realized using the POF method (plank on frame) according to a monograph by Gerard Delacroix. I will use cherry, pear, black hornbeam and maple wood for the building, without painting. Gabare is a cargo ship used by the French Royal Navy during the 18th and 19th centuries. For this reason, there is no orlop deck. The first phase of the construction was the making of a building board necessary for the installation of frames on the keel. Great attention must be paid to the maximum accuracy of the position of the bottom and top base.
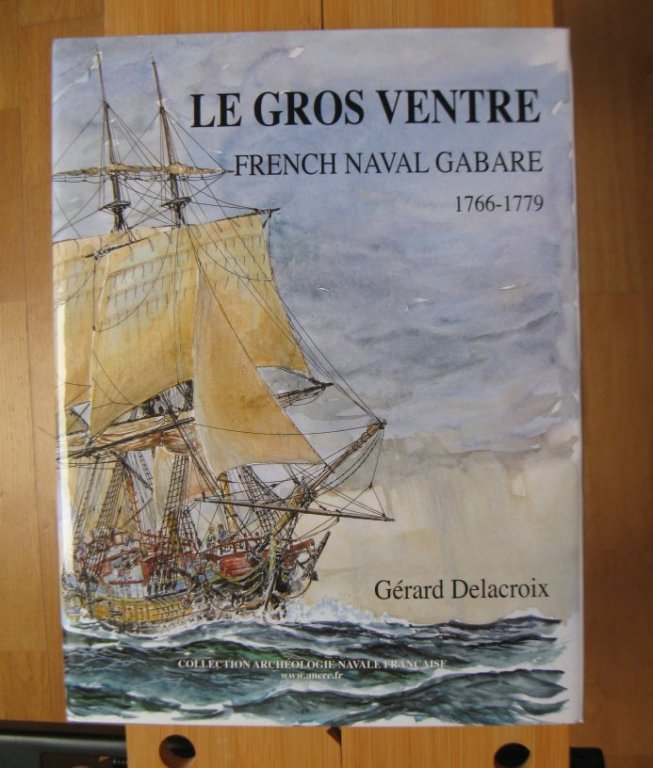


- 589 replies
-
- 42
-

-
- le gros ventre
- cargo
- (and 2 more)
-
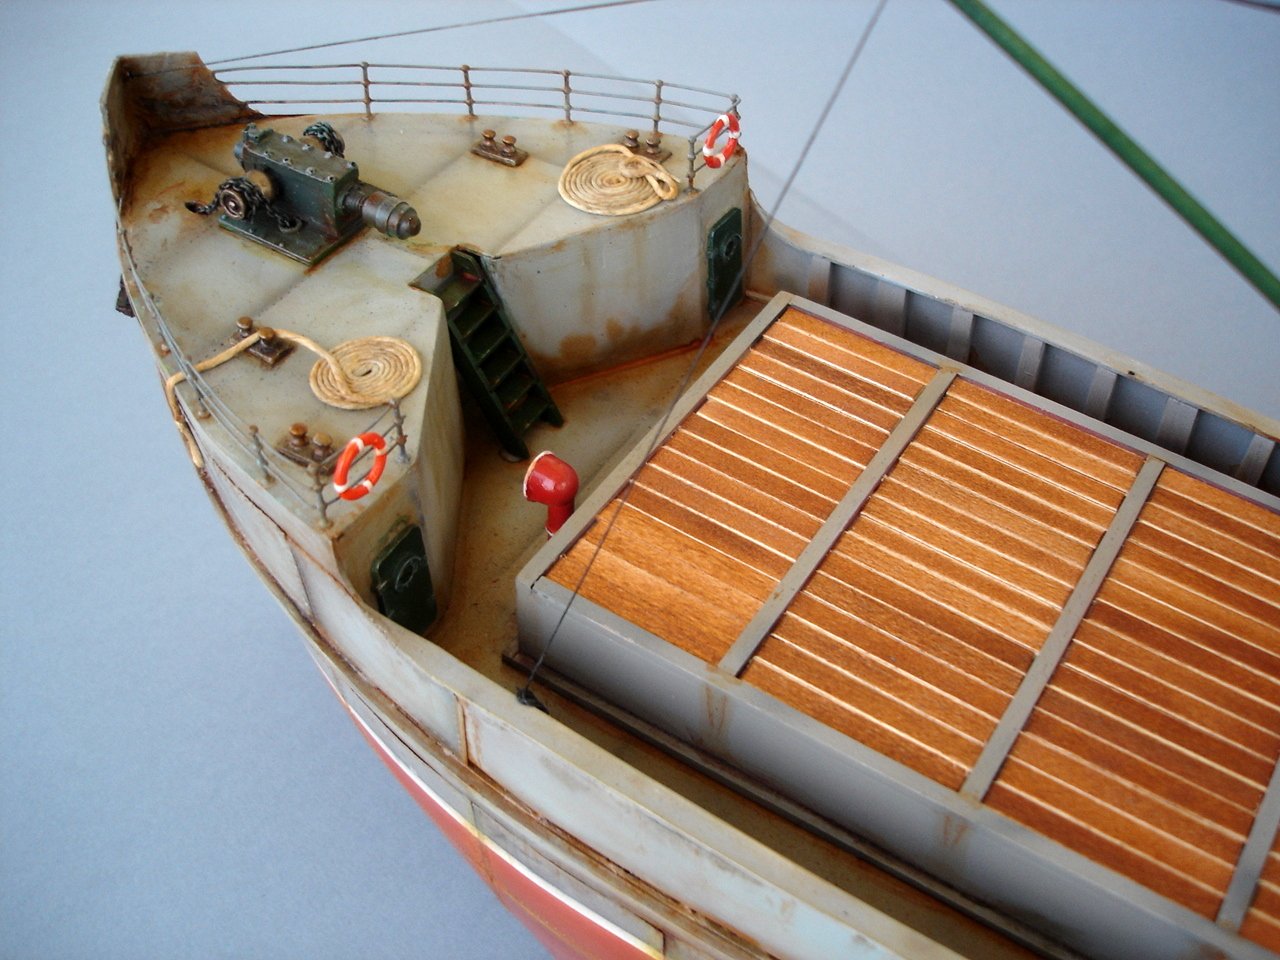
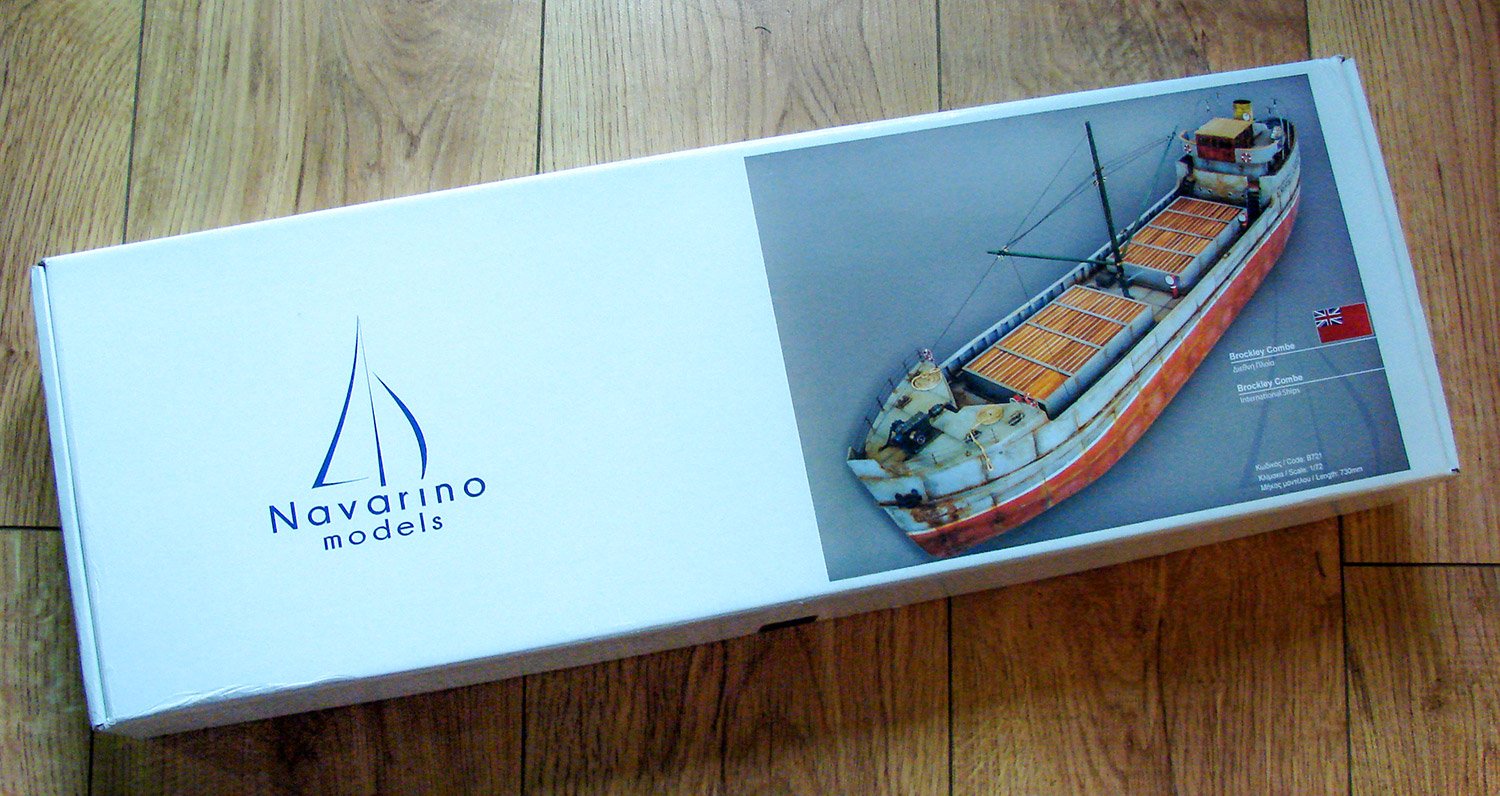
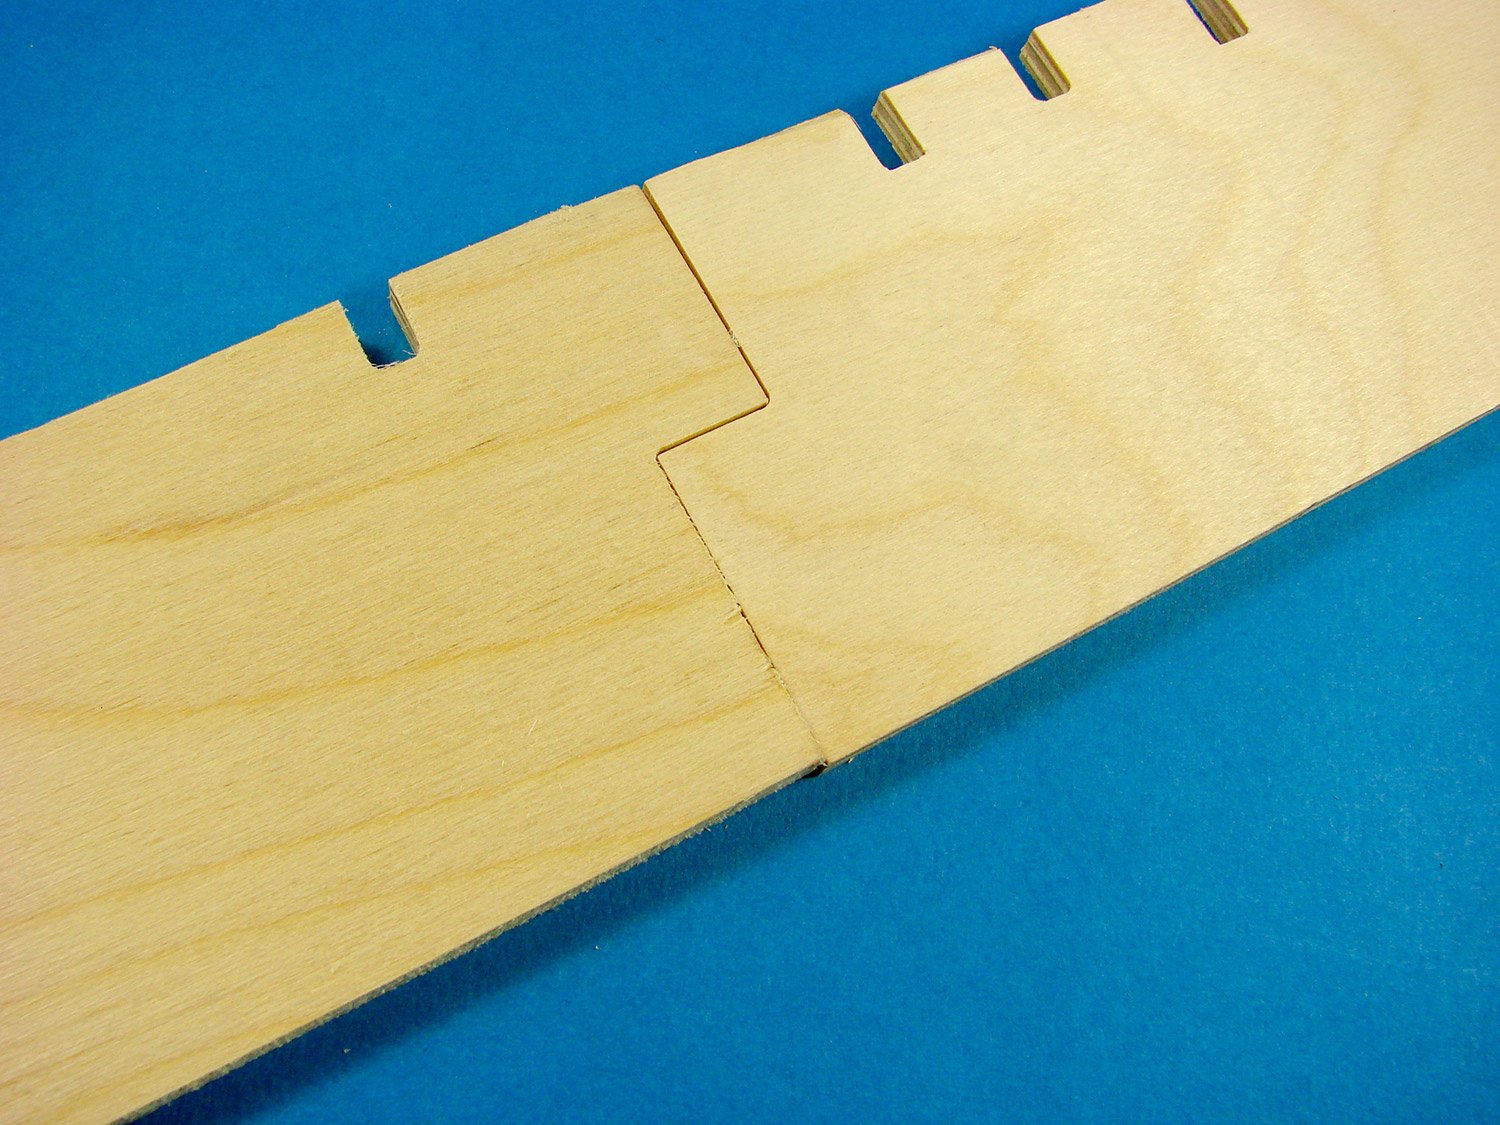
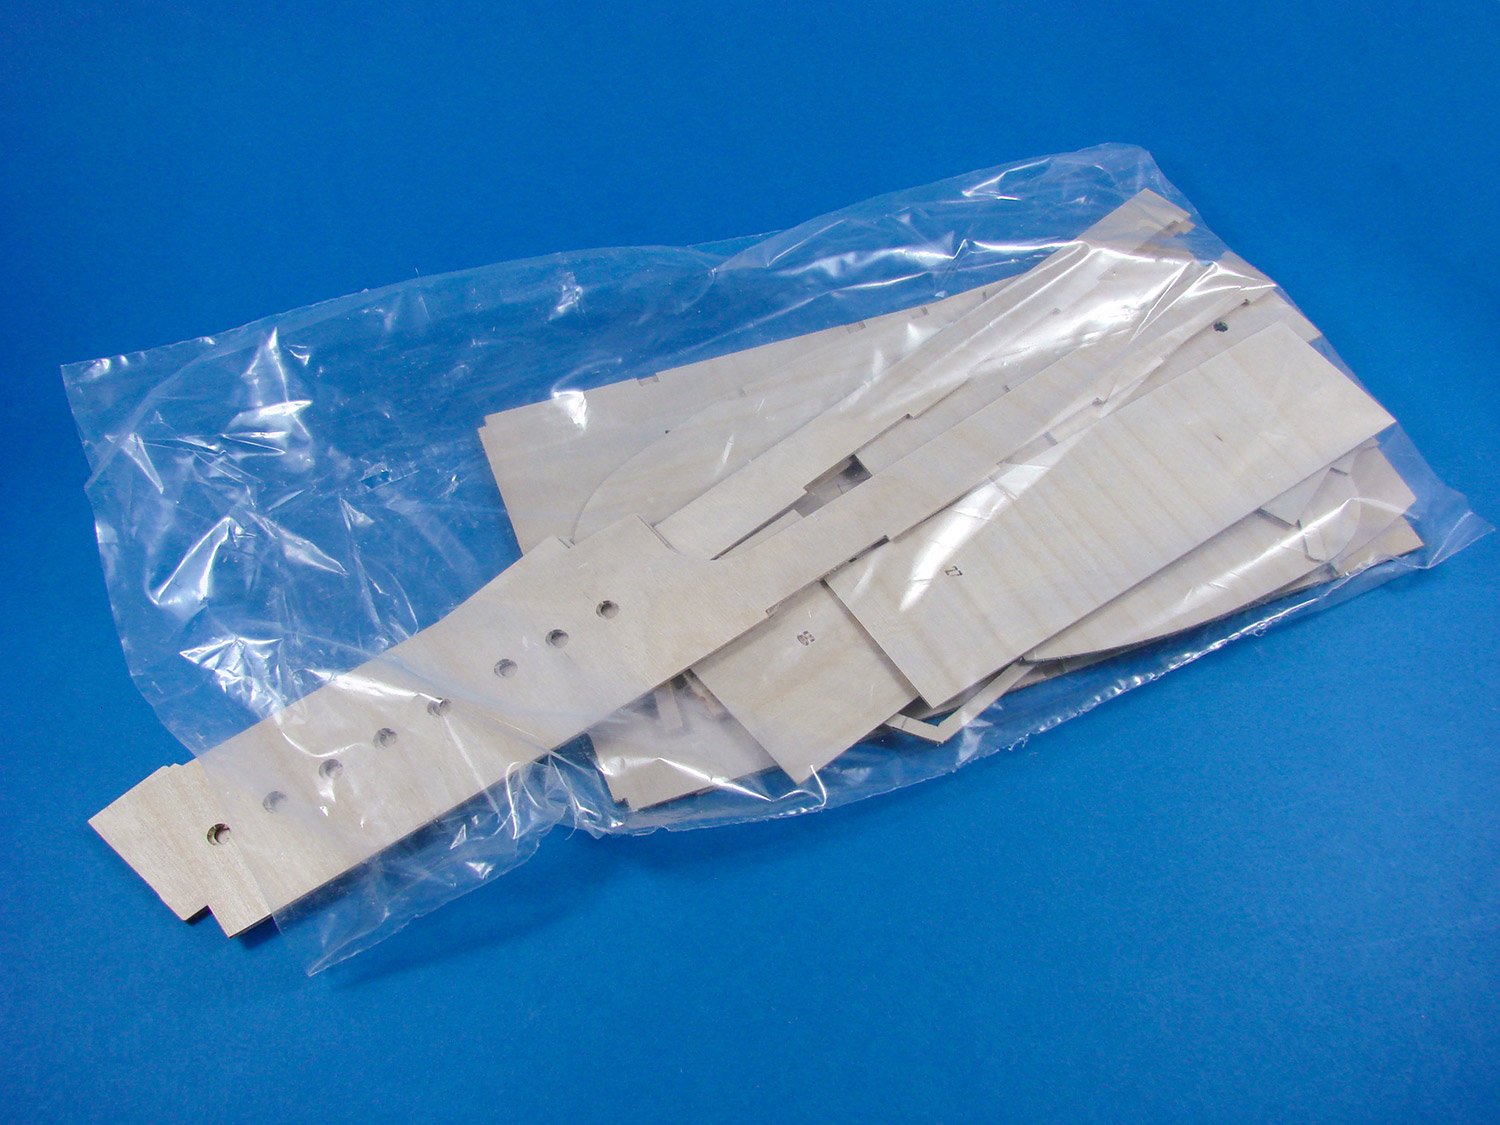
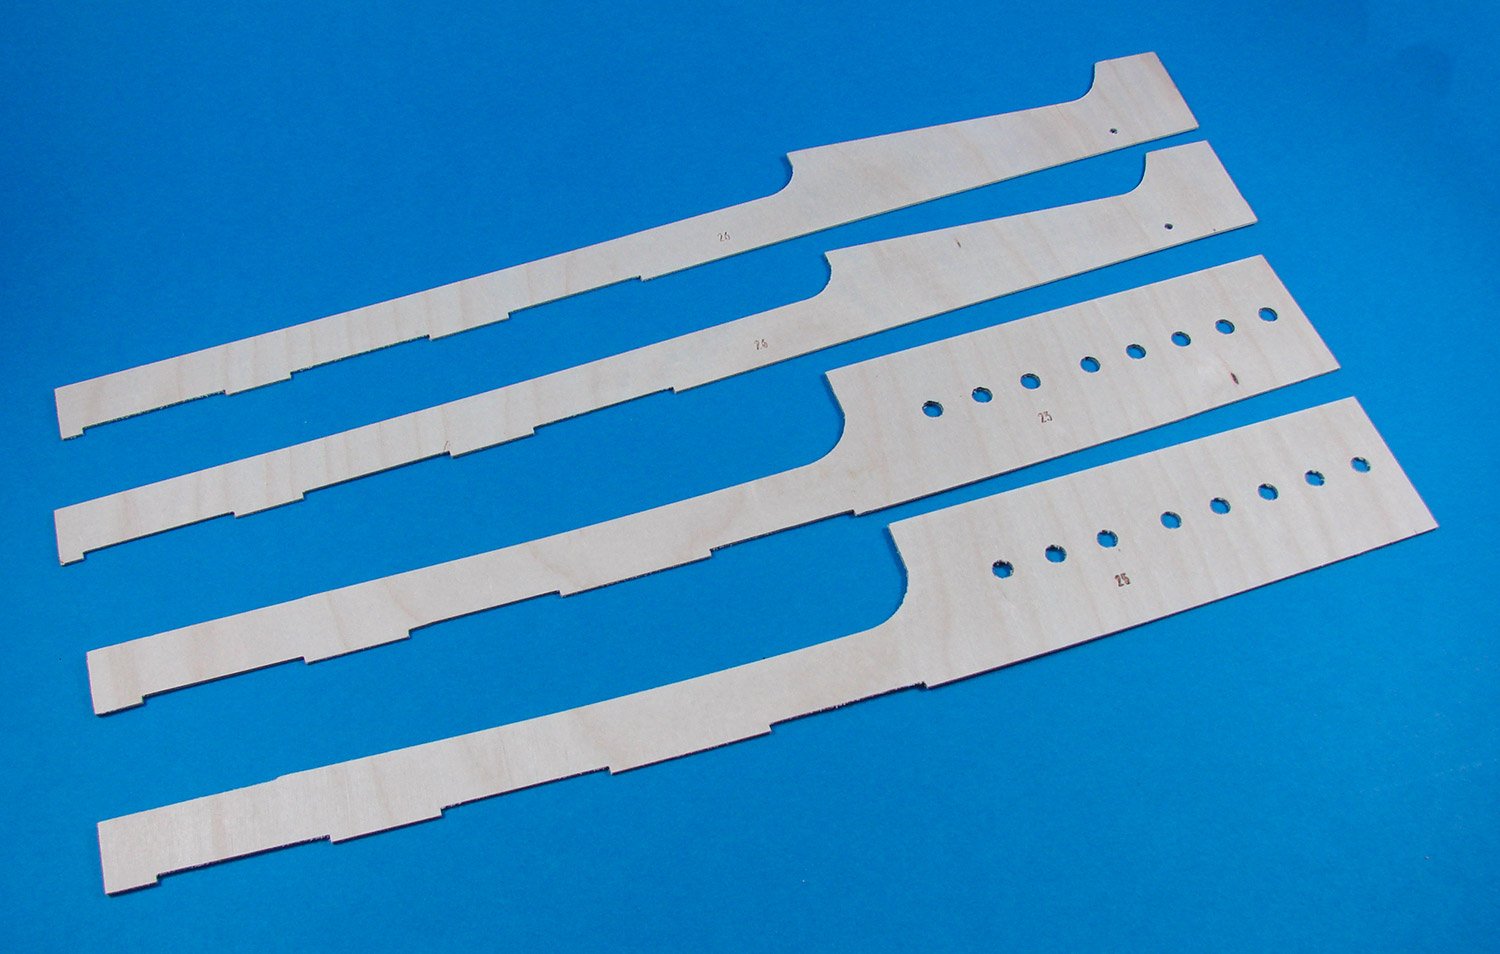
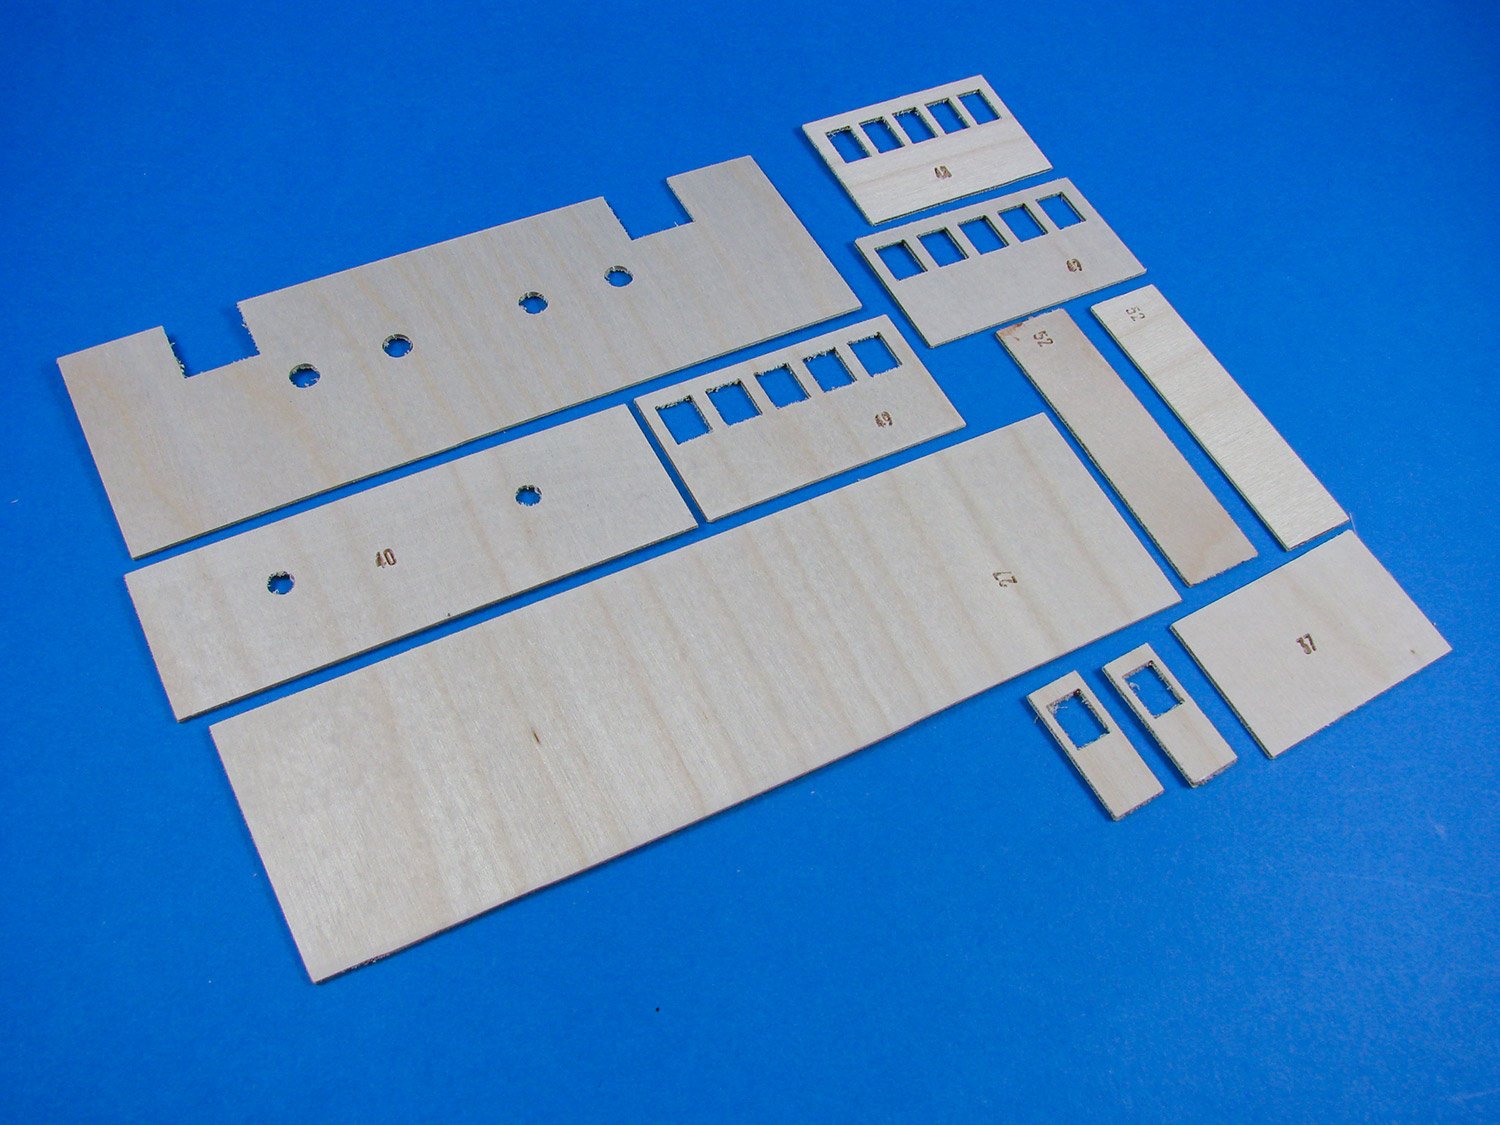
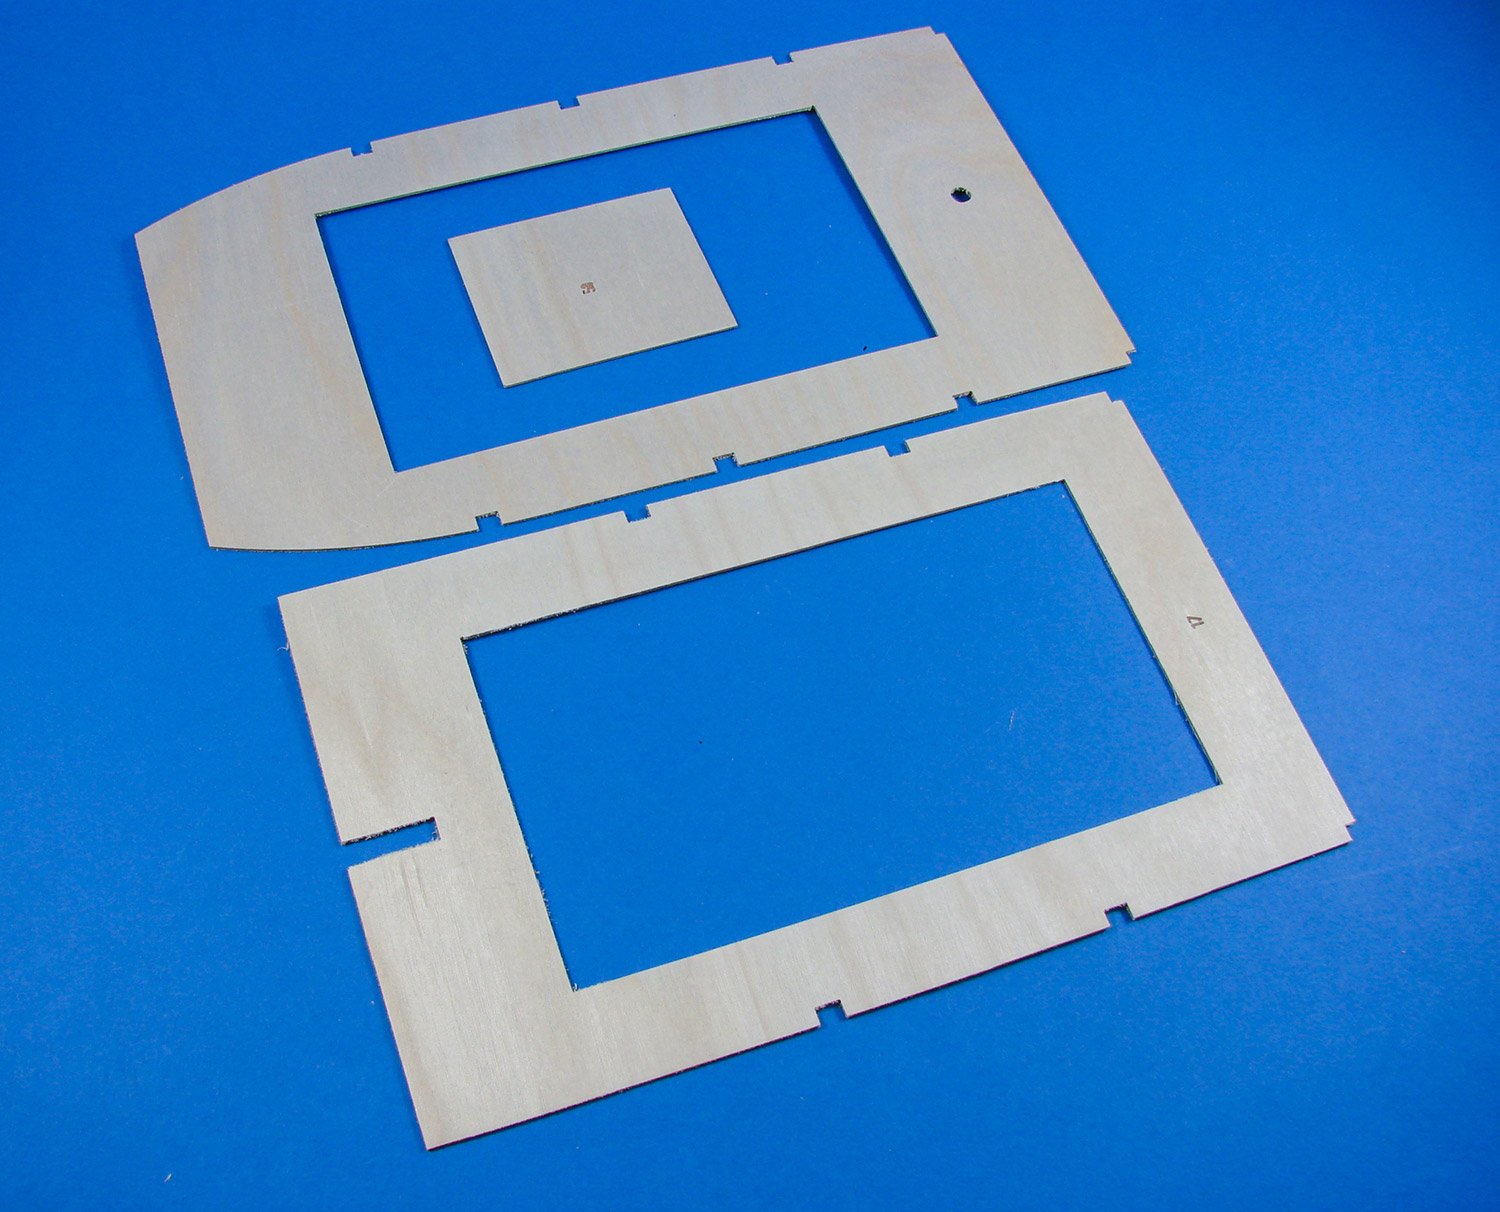
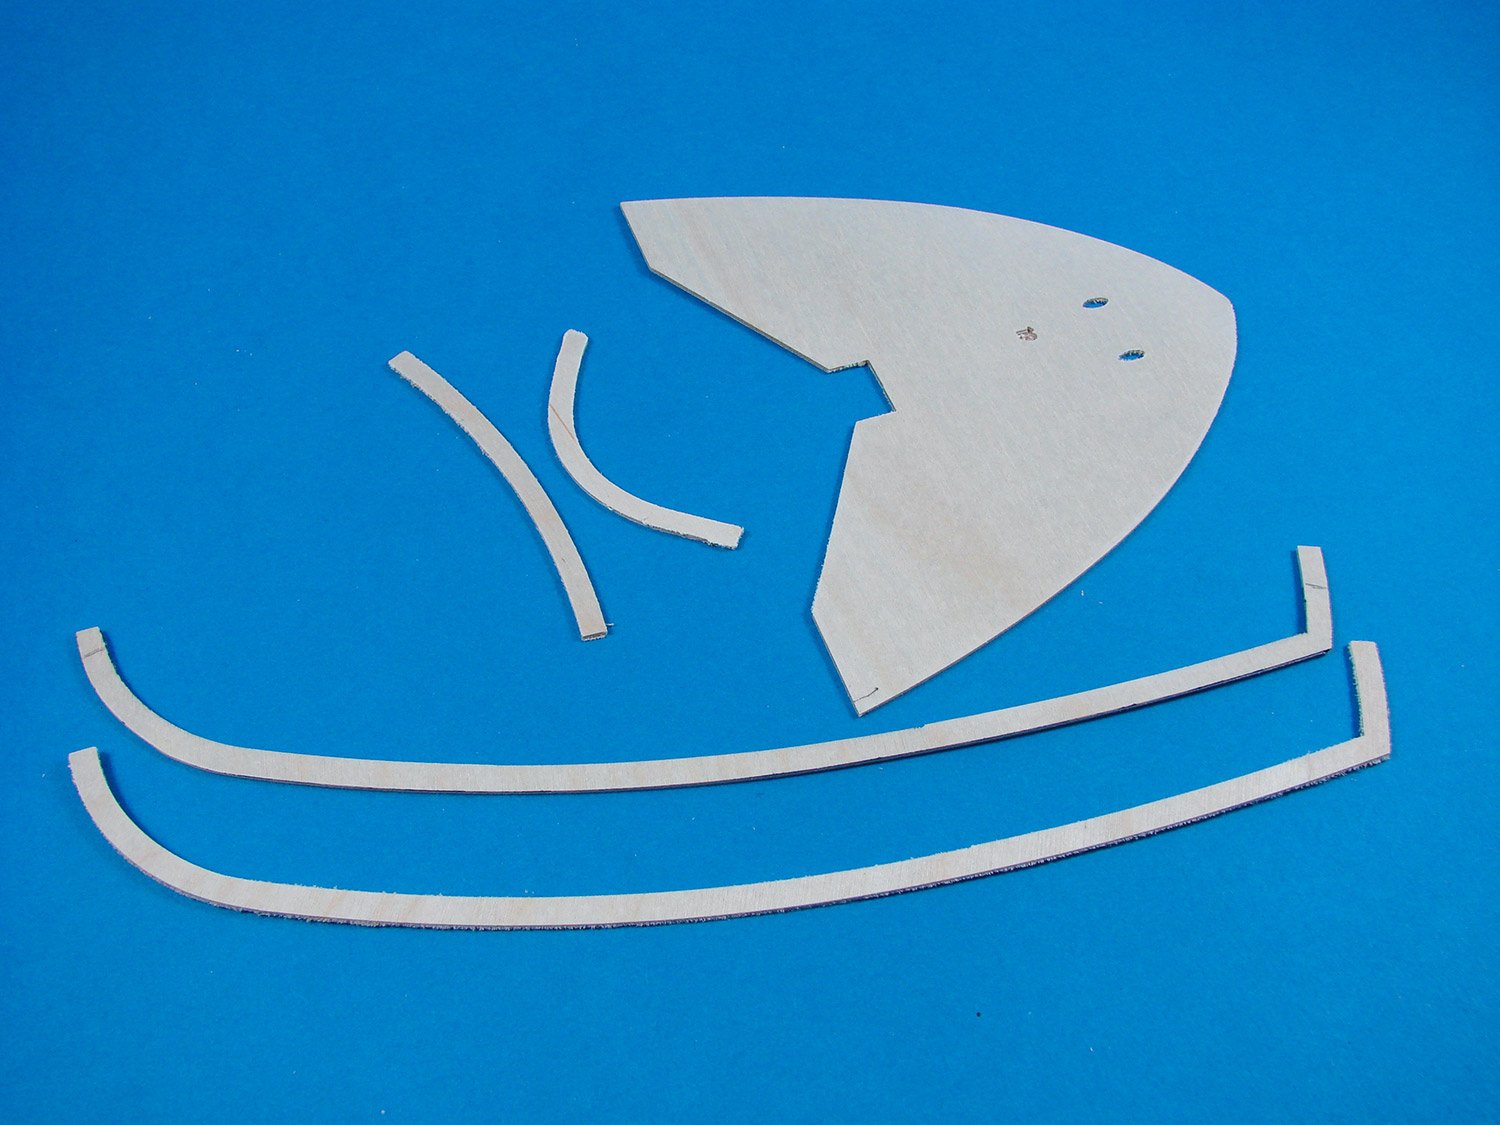
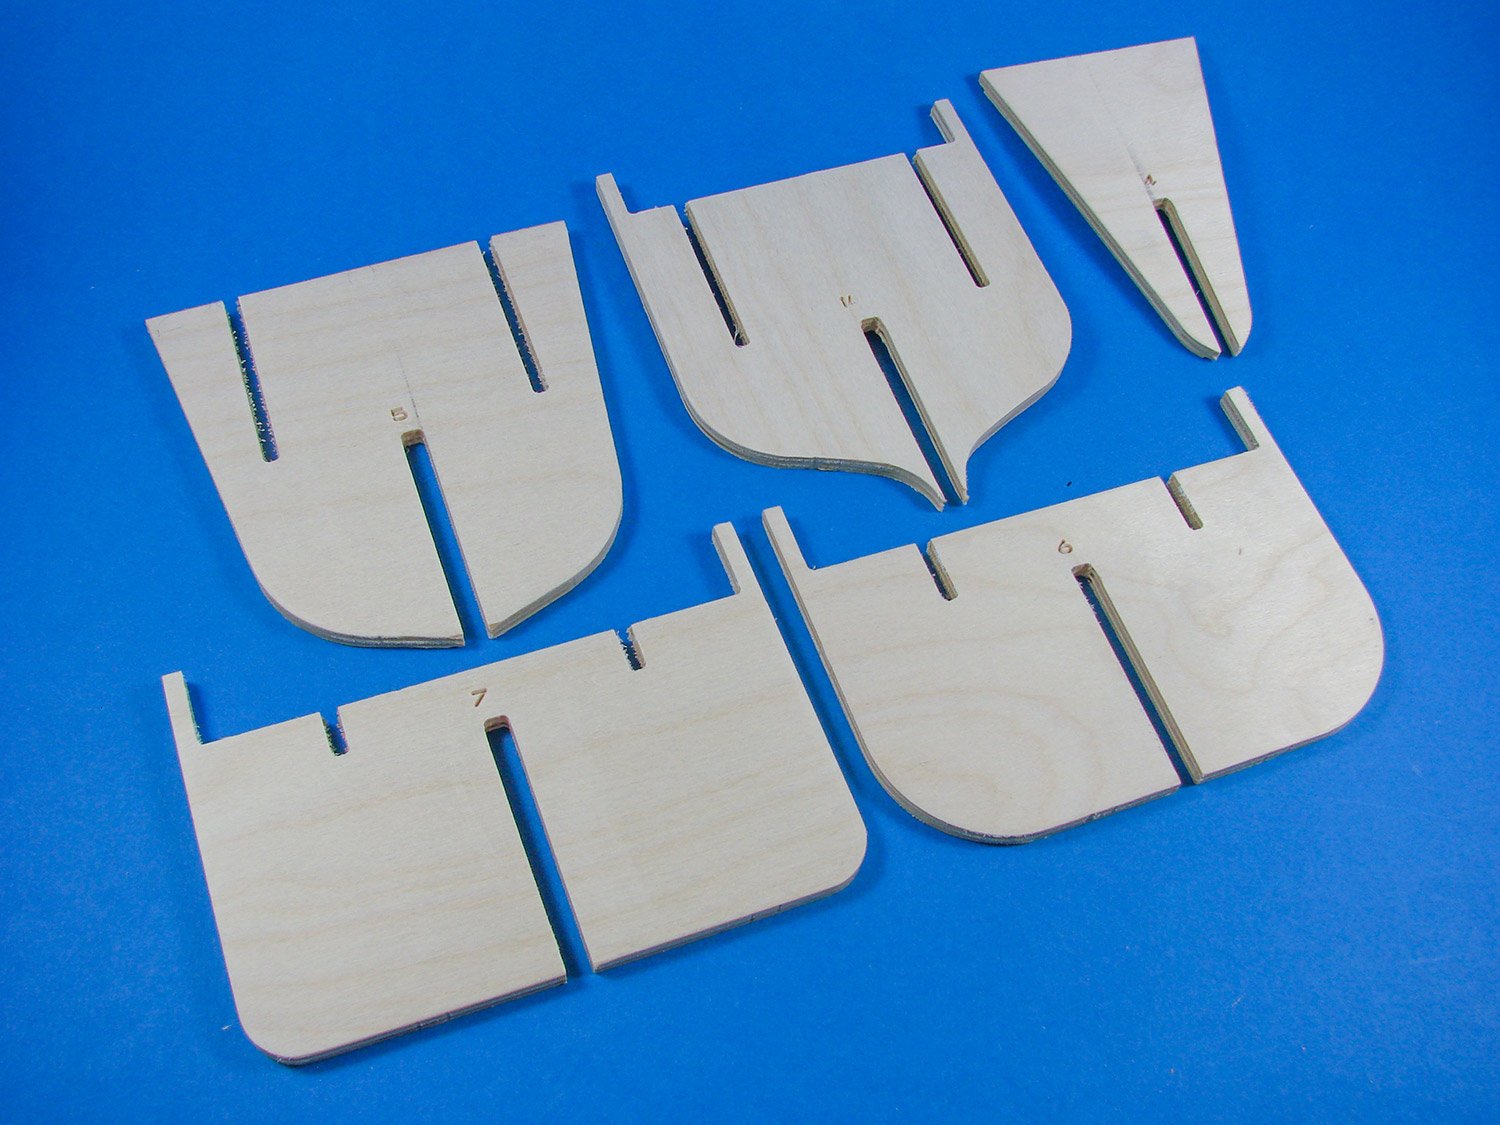
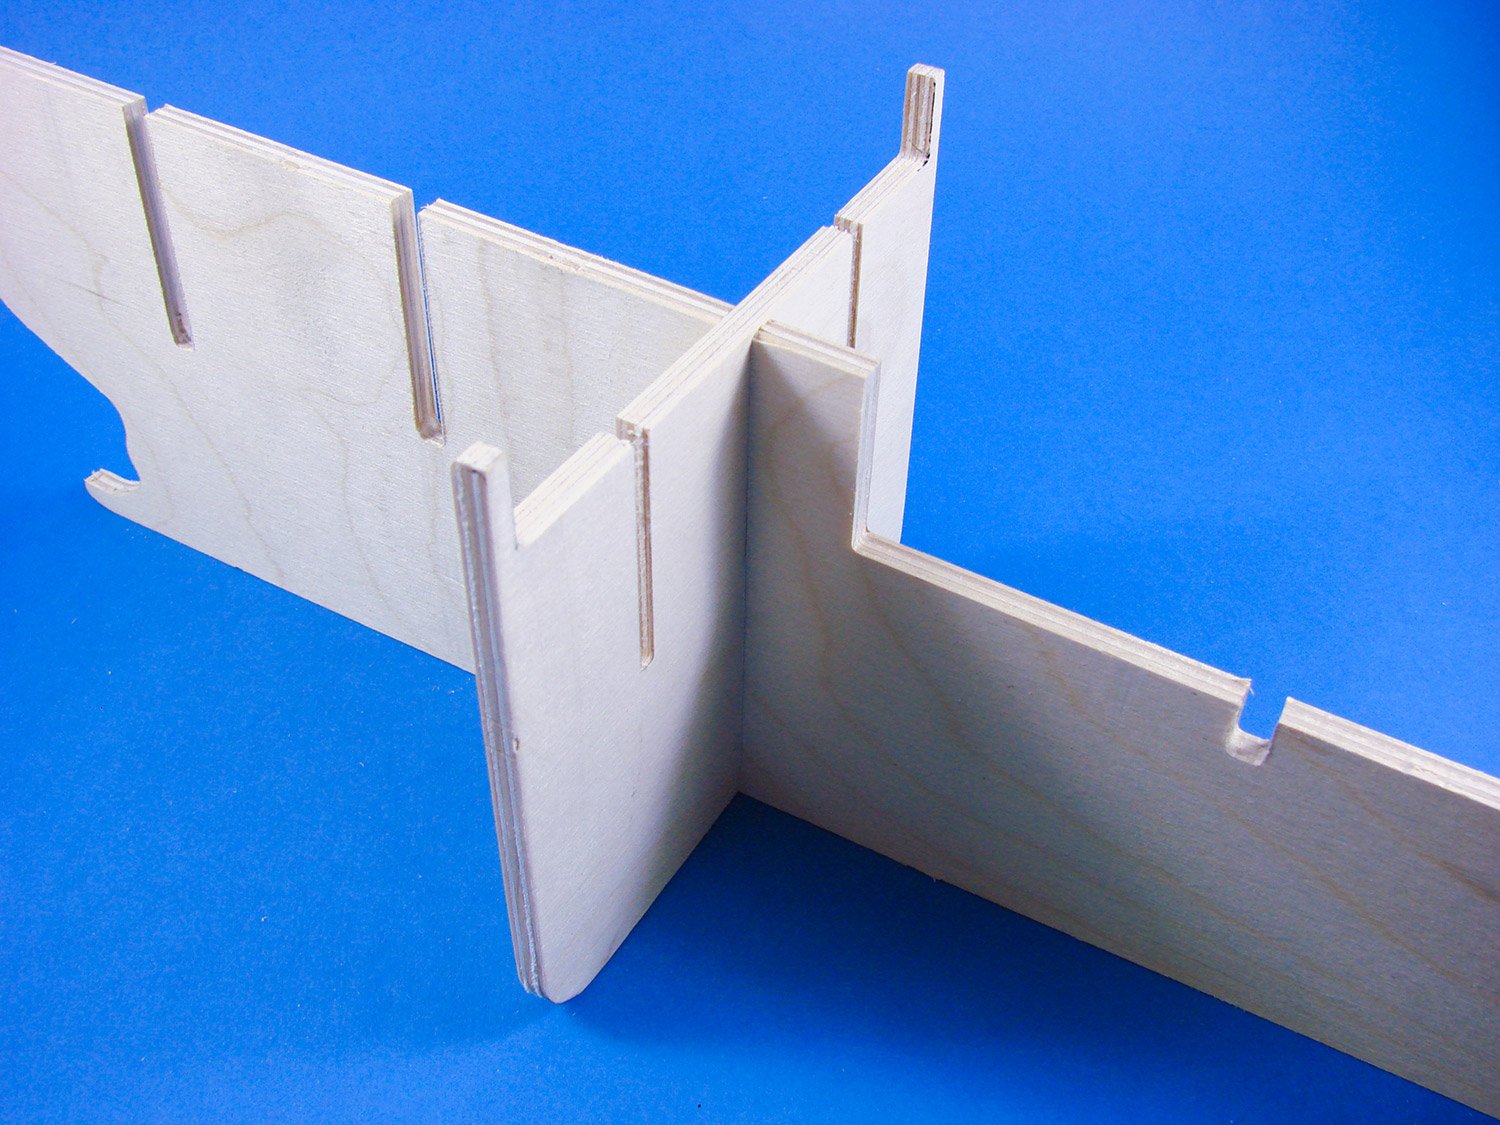
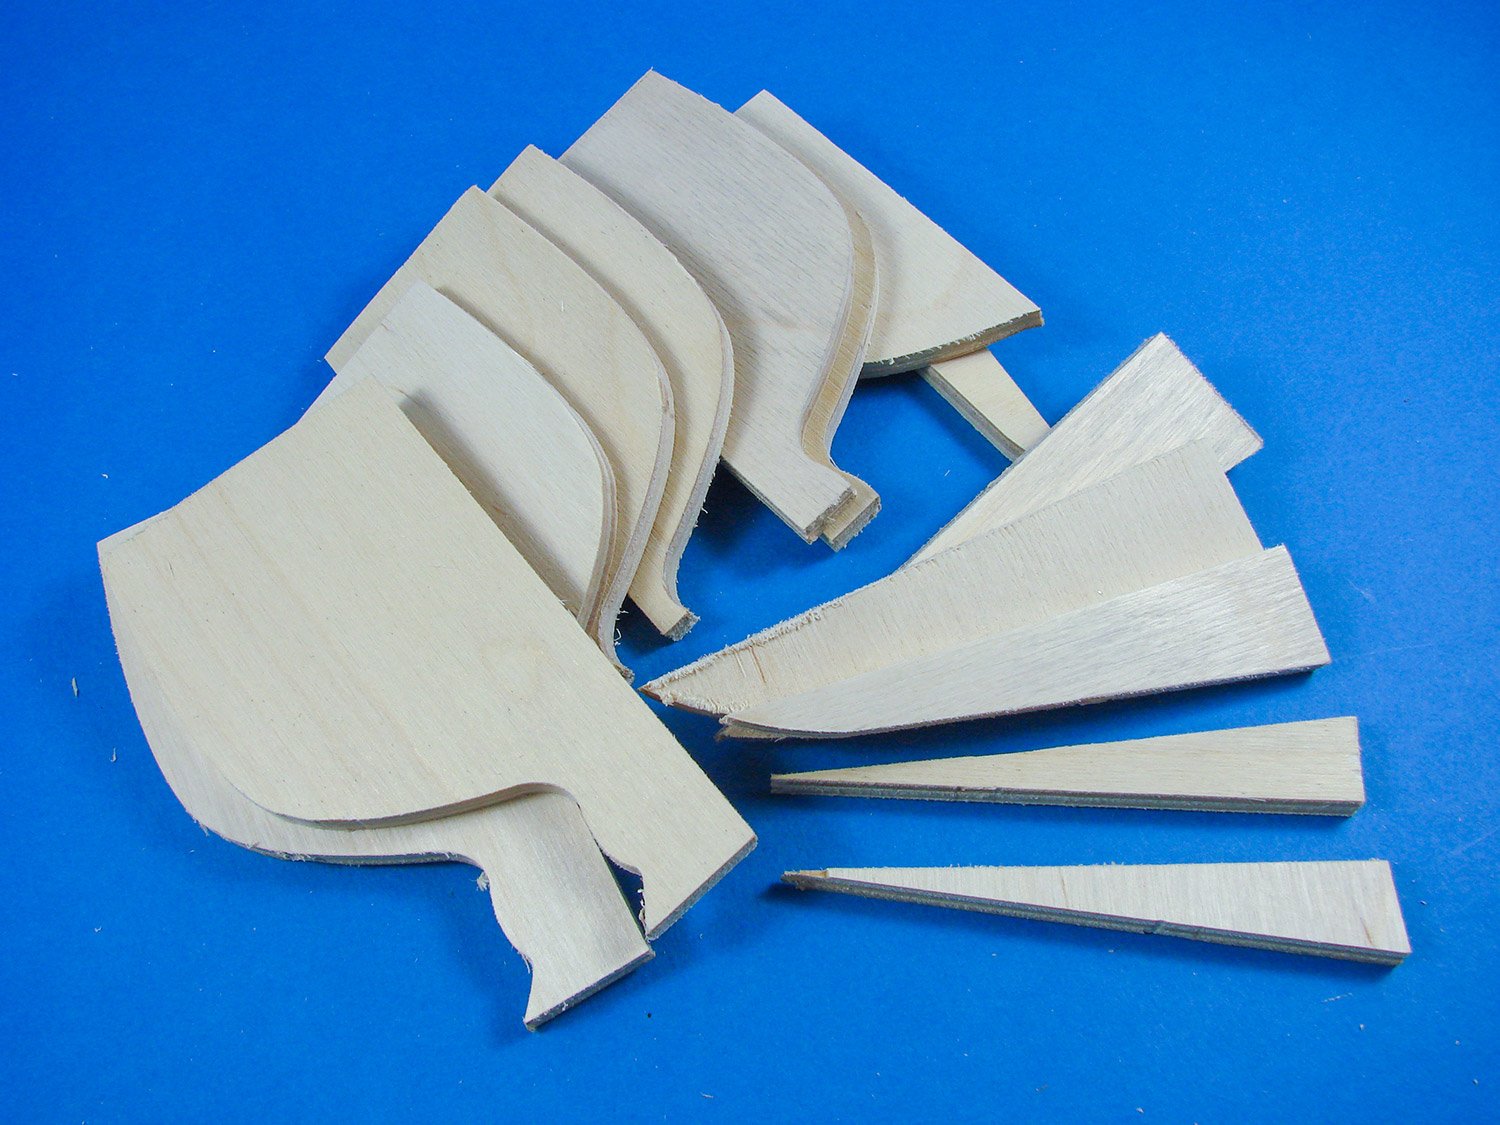
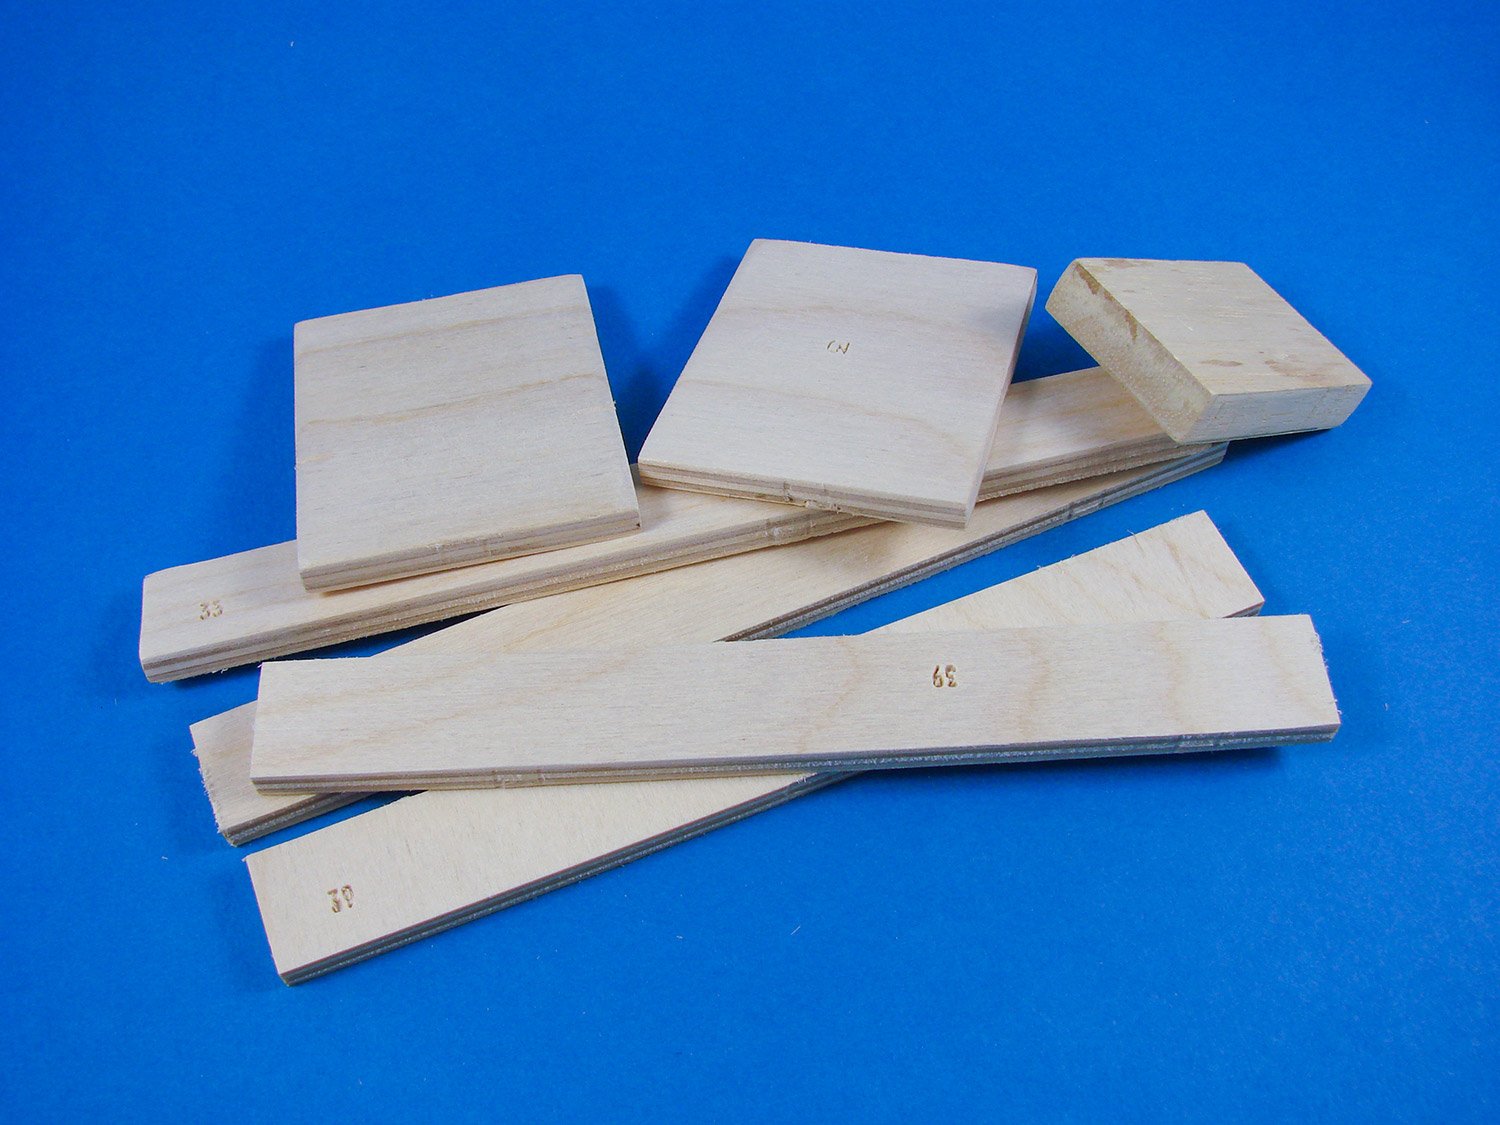
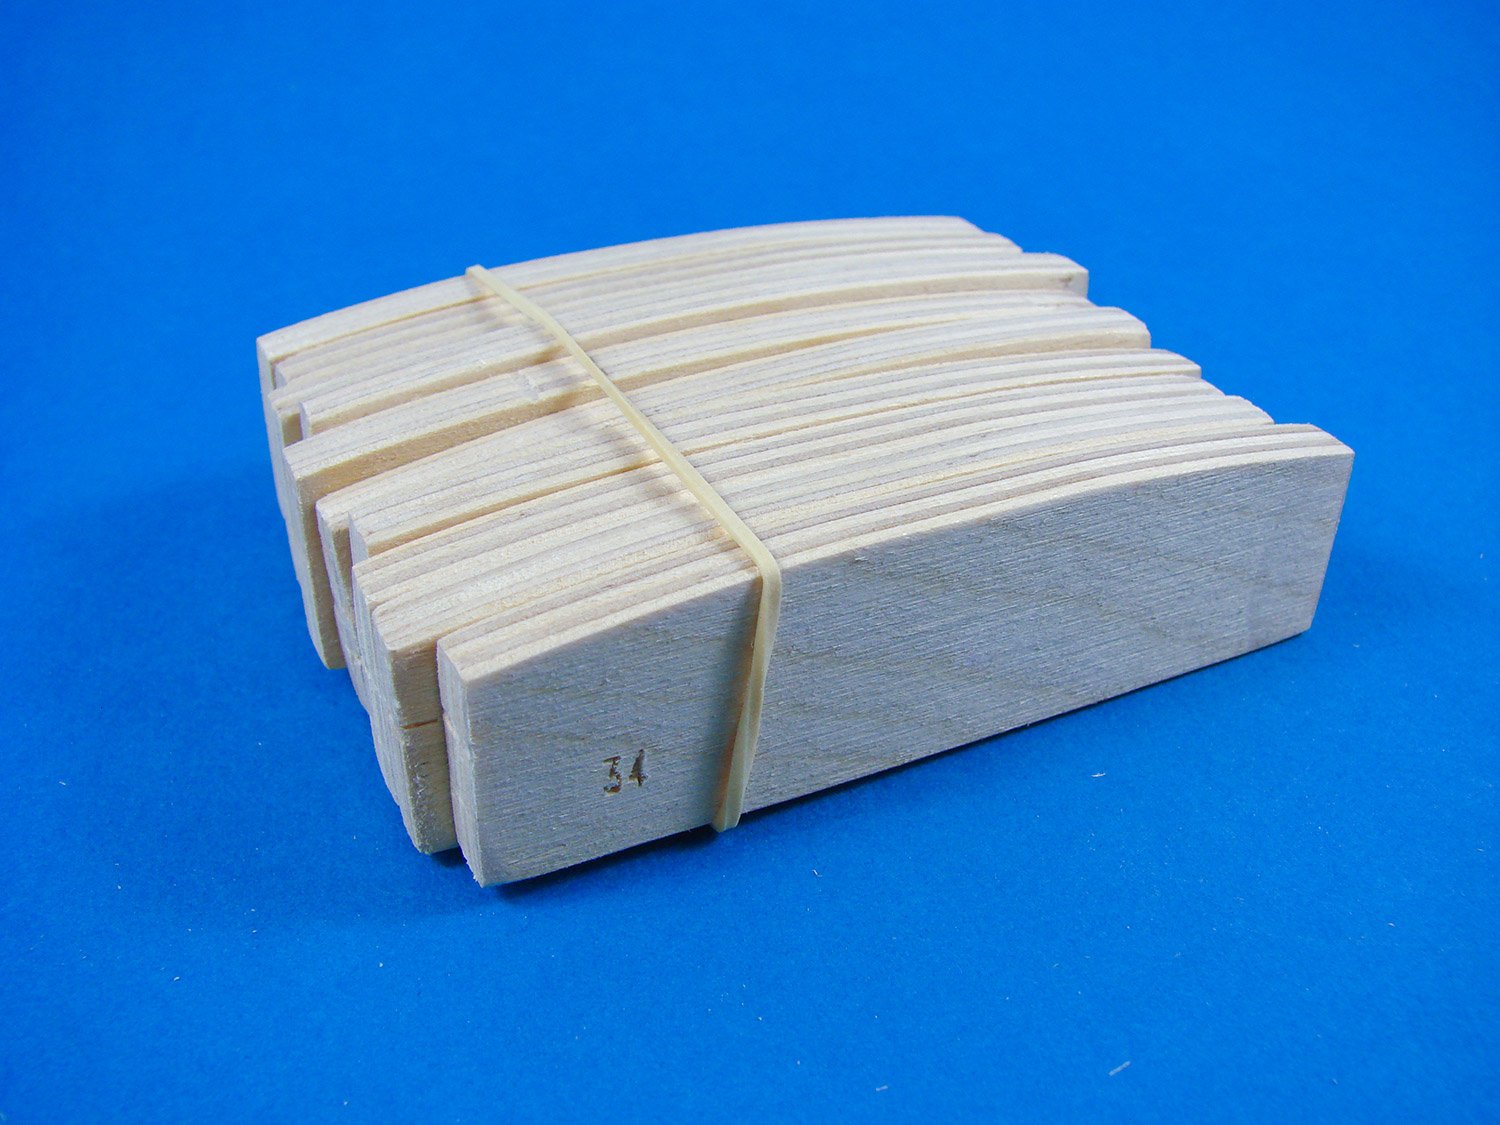
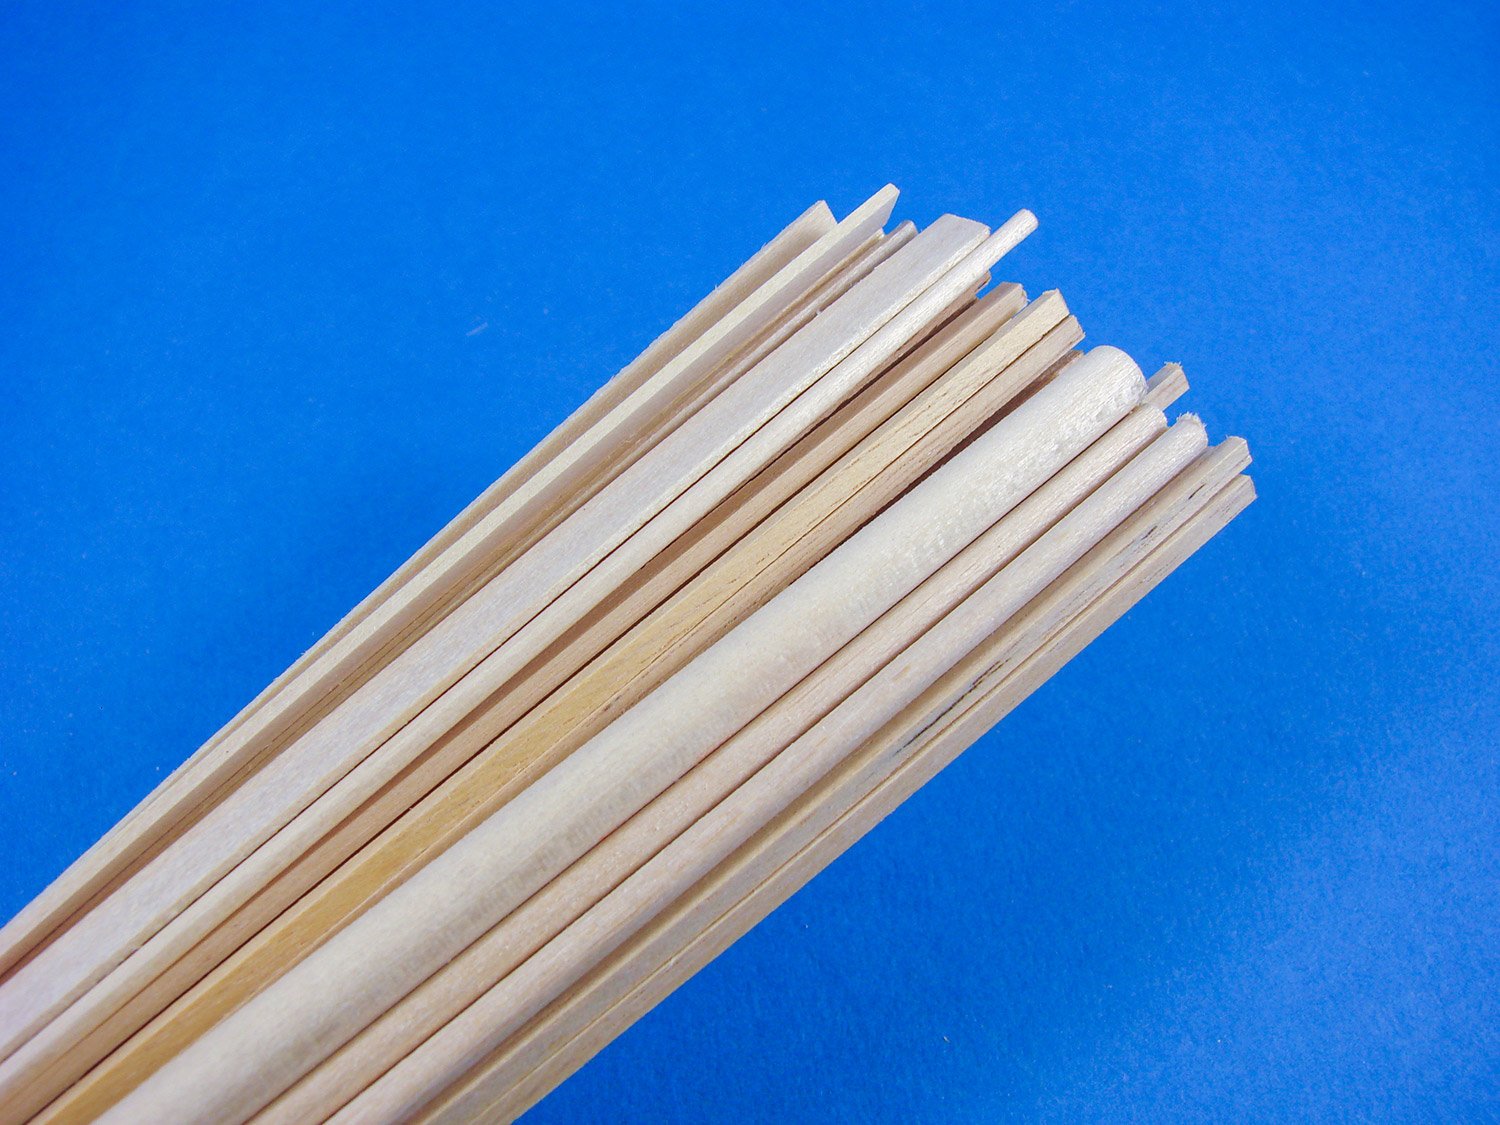
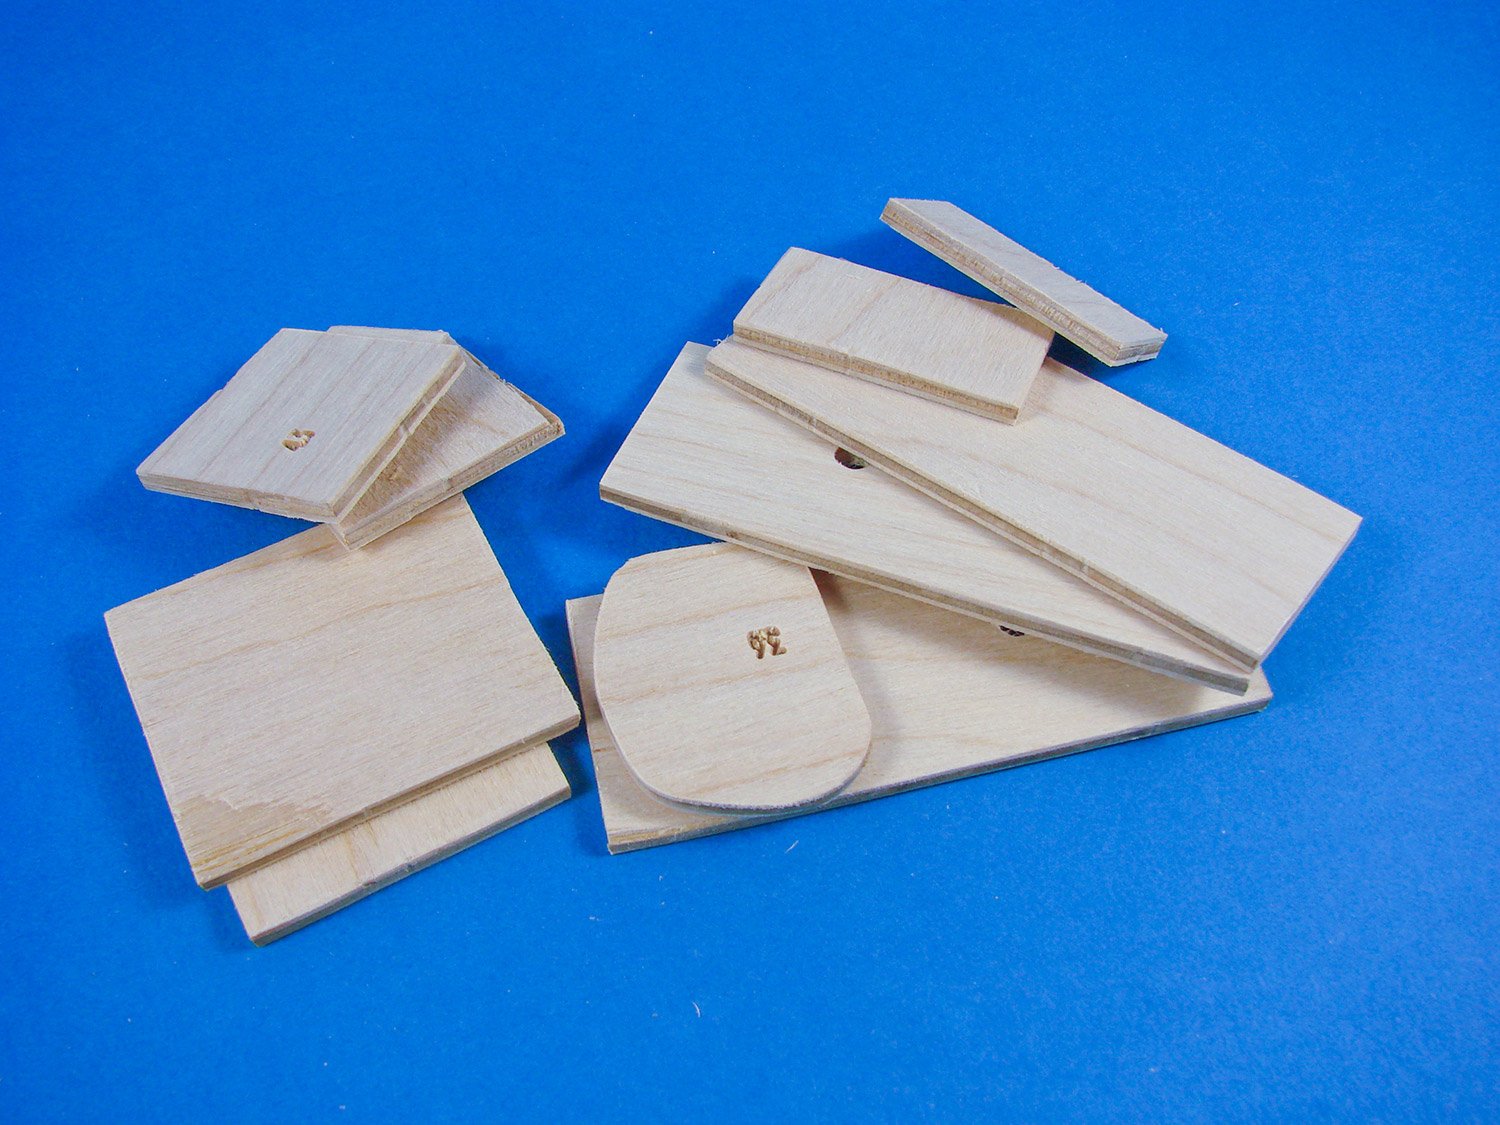
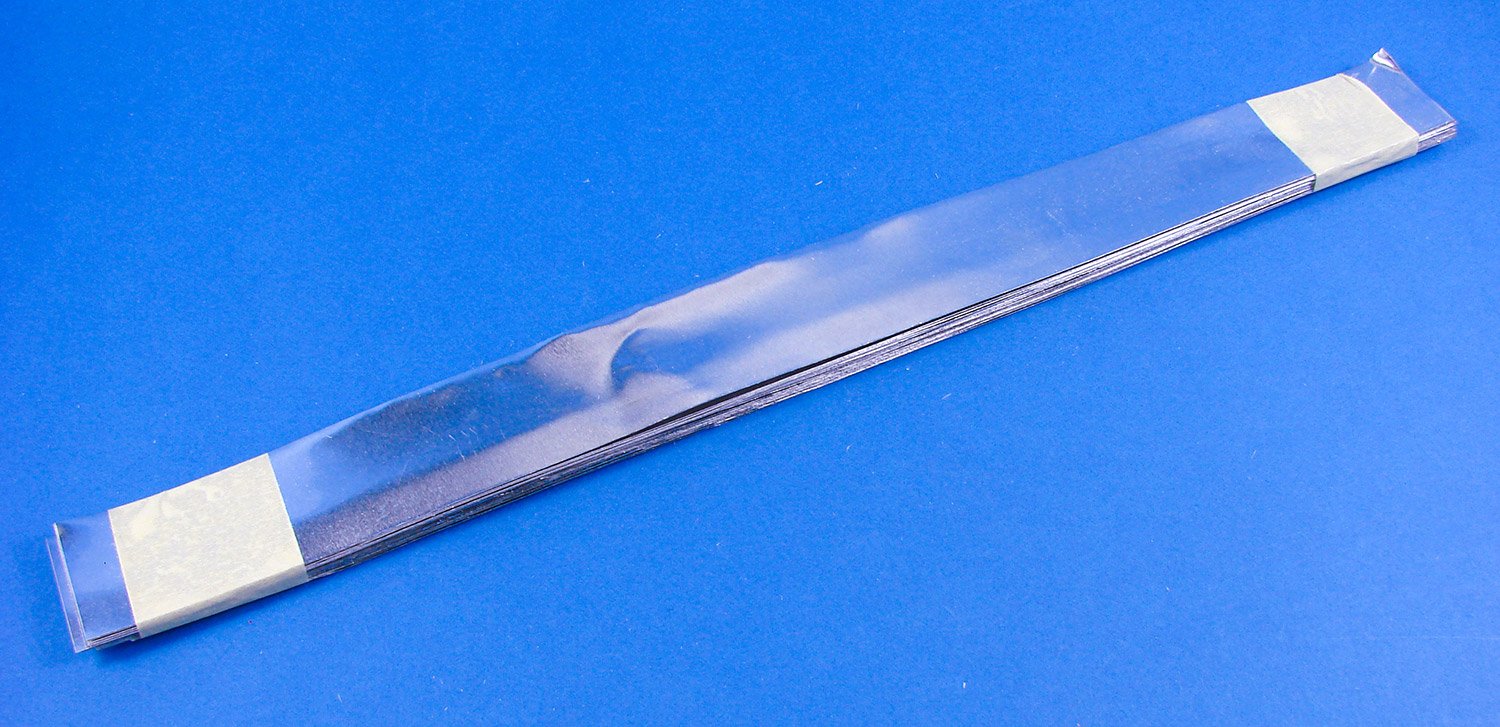
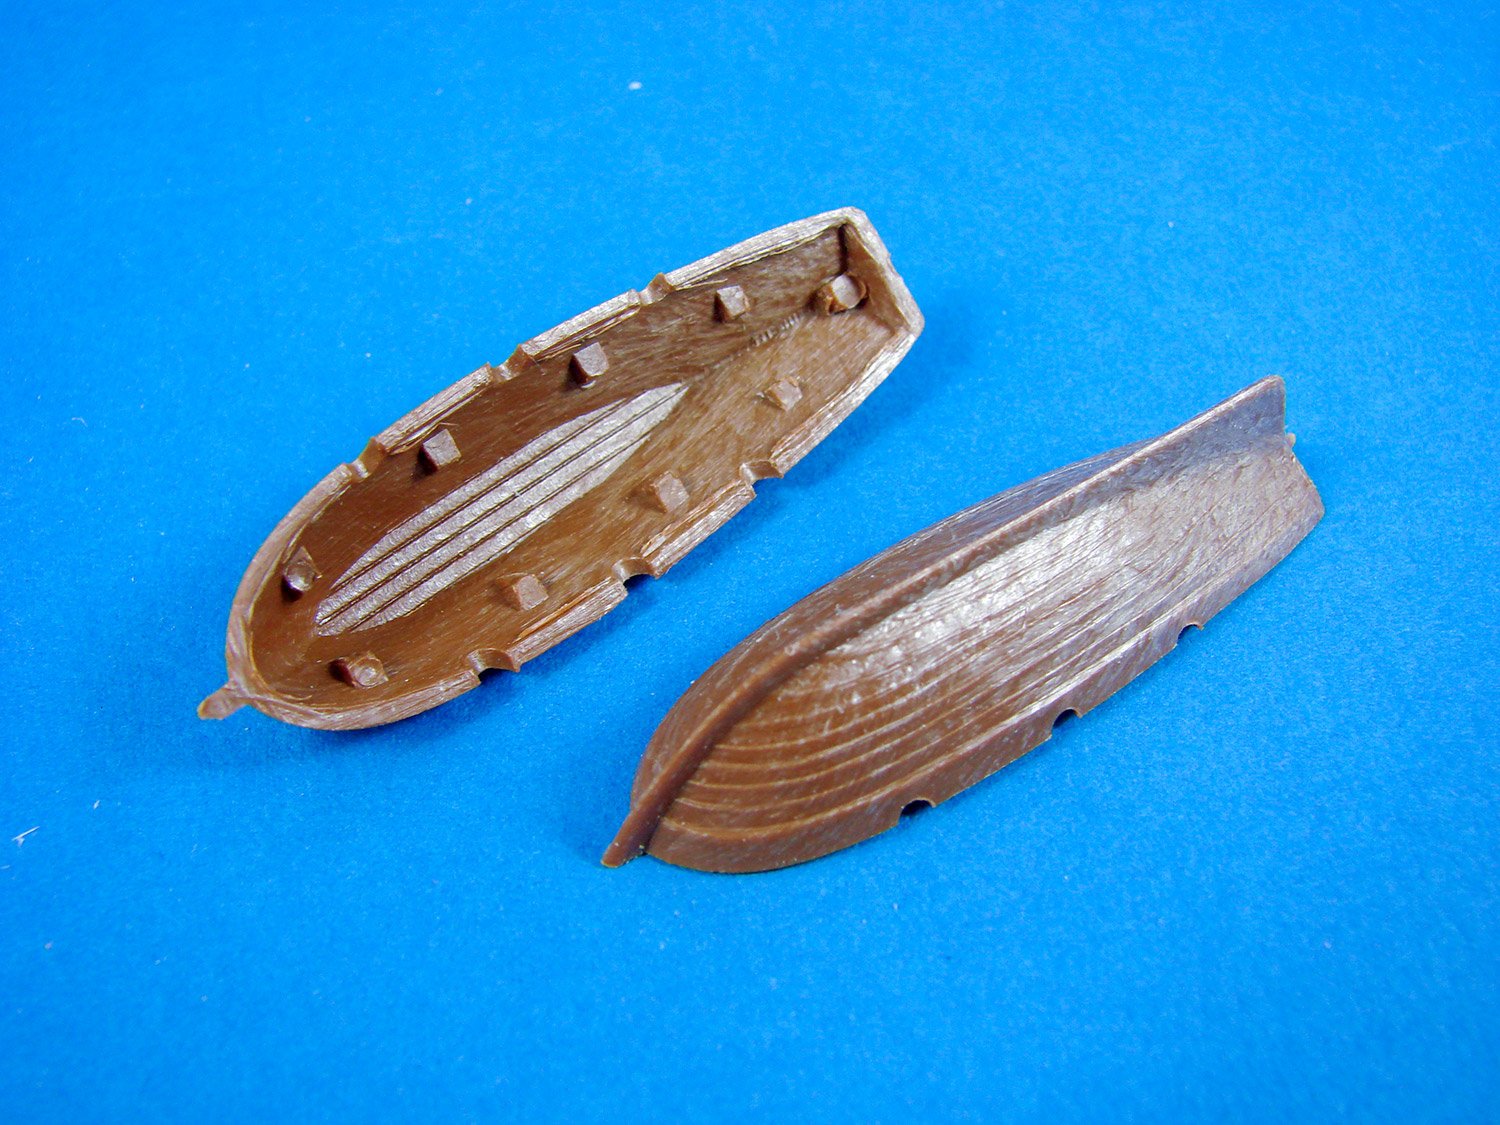
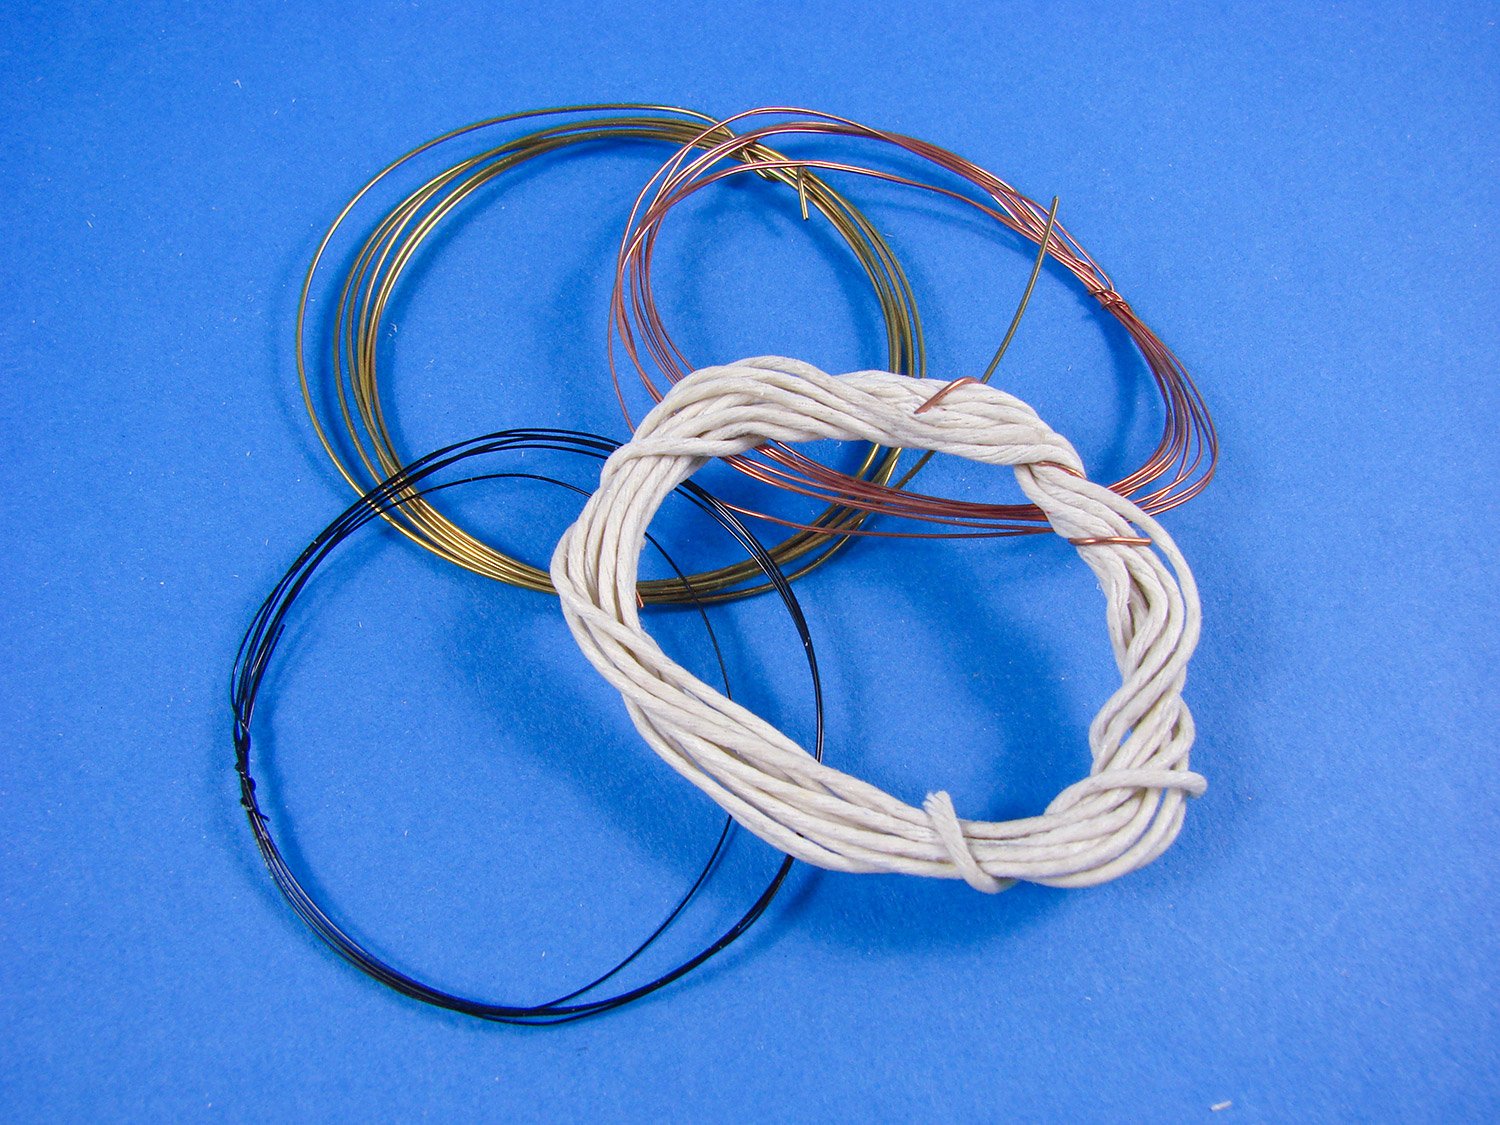
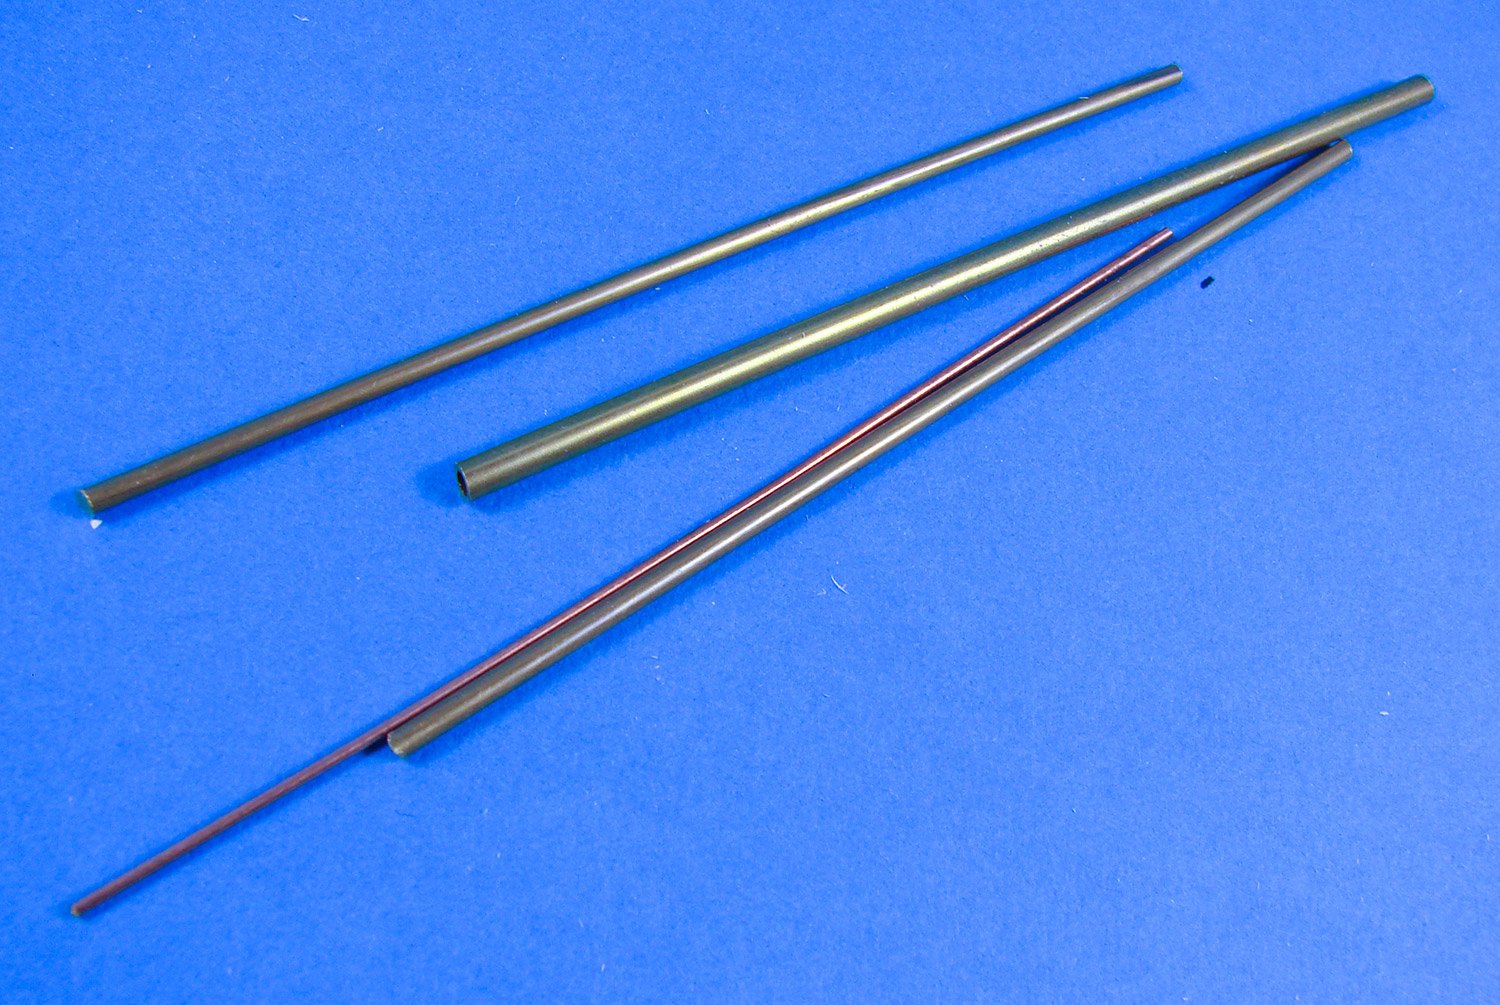
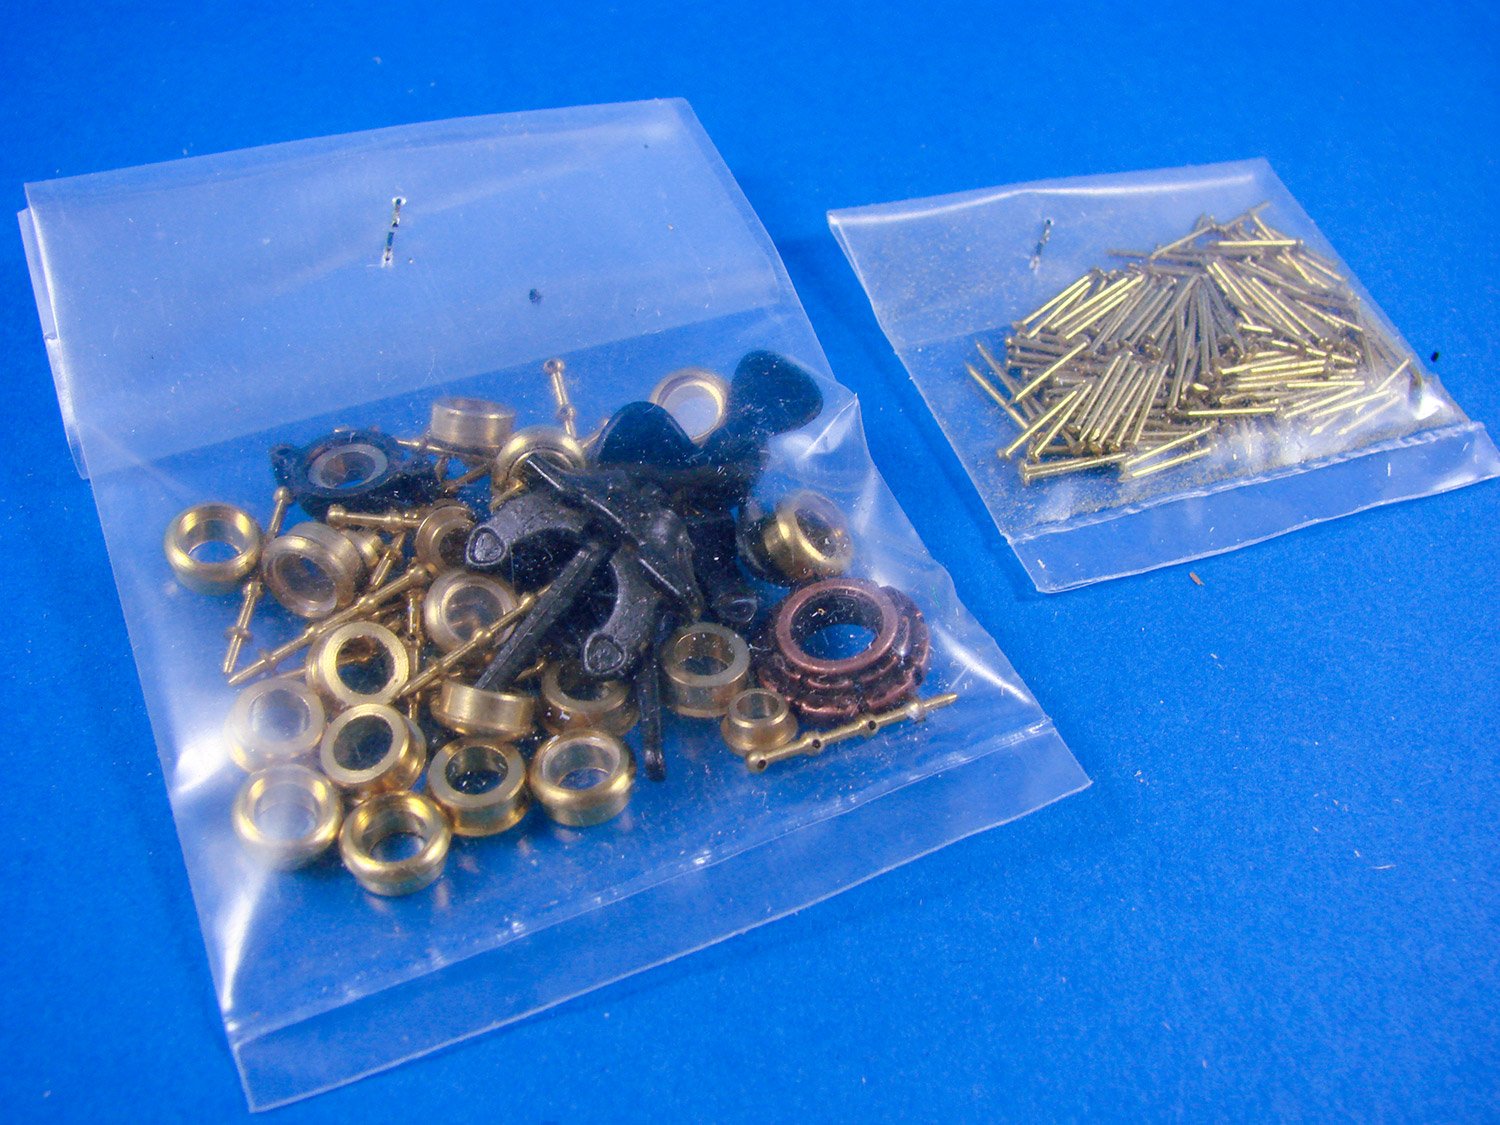
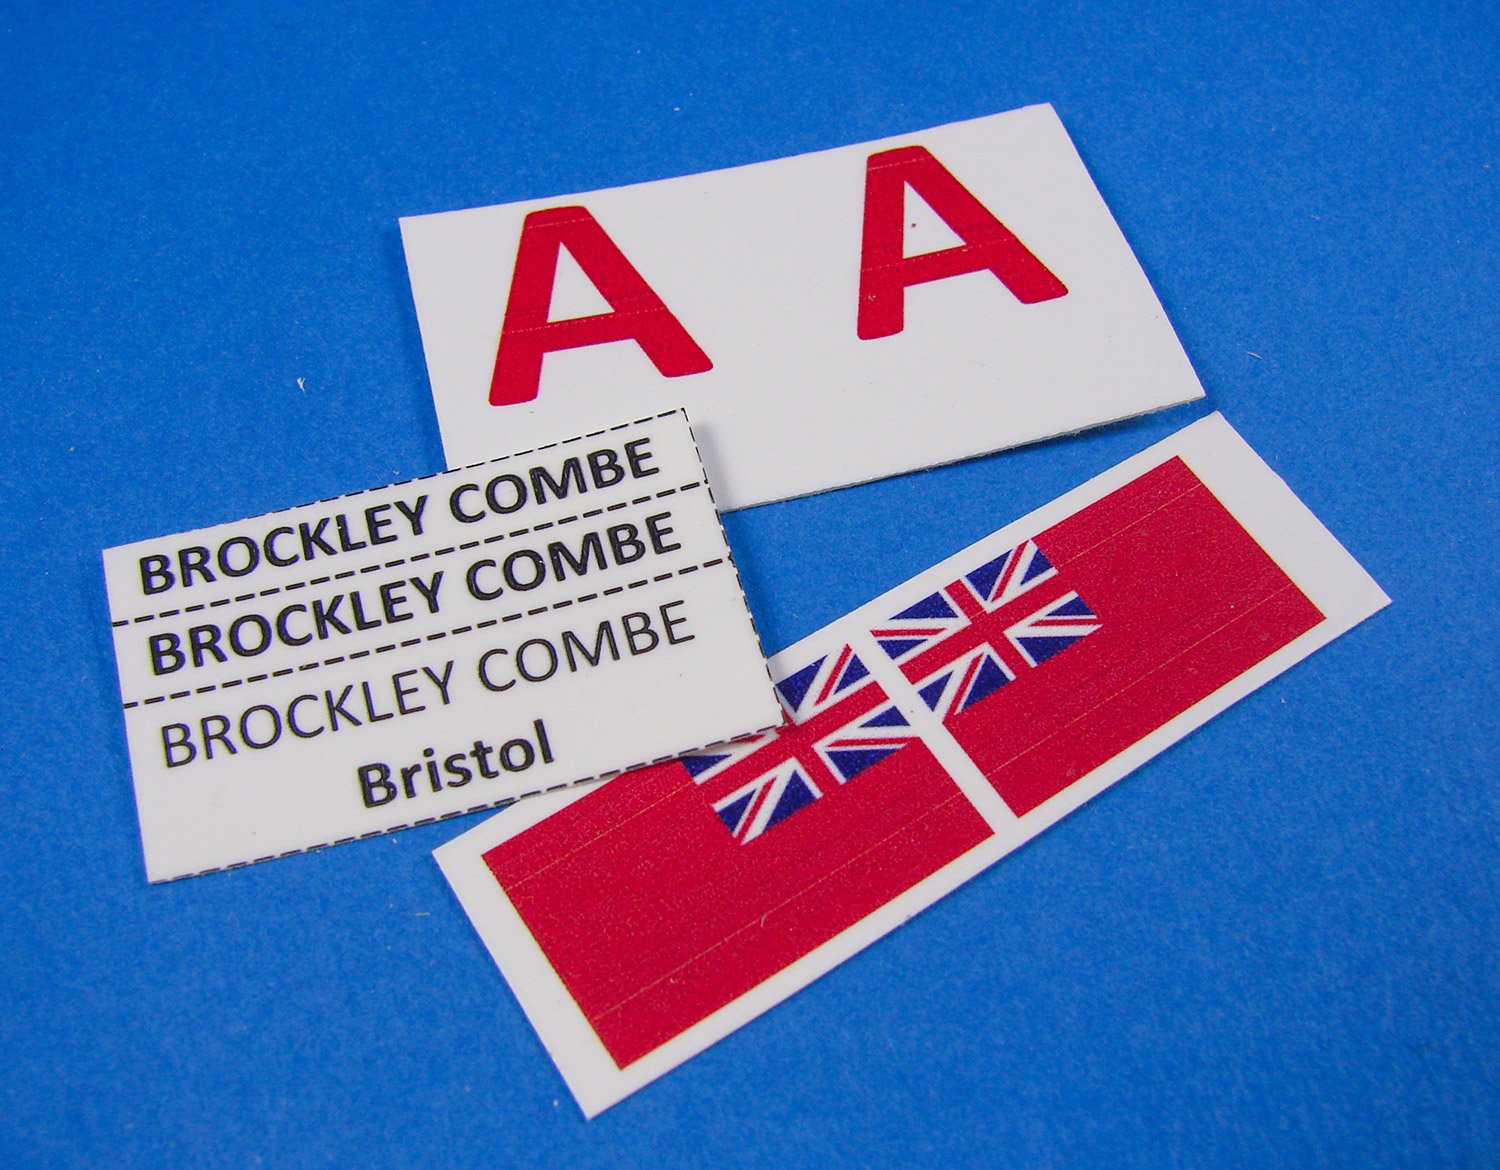
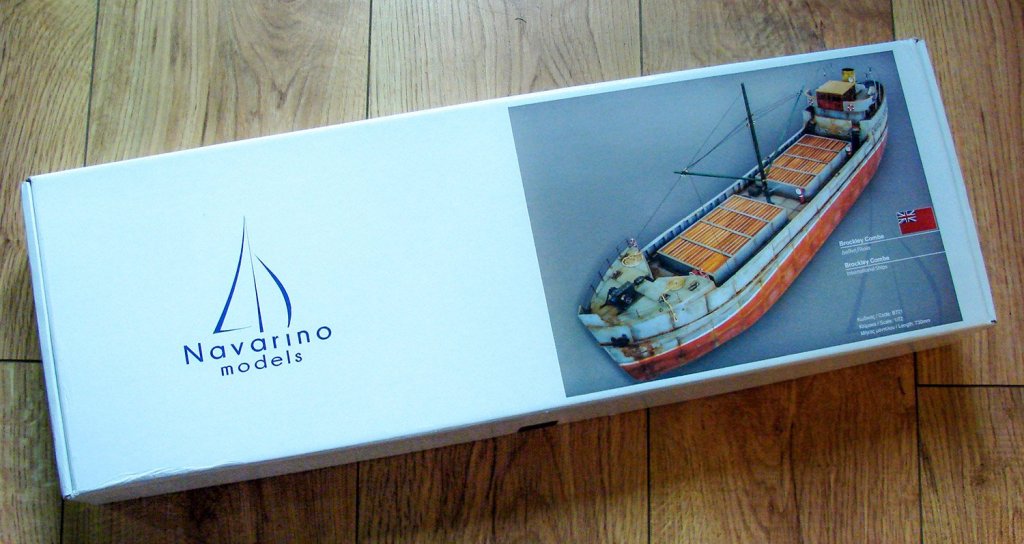
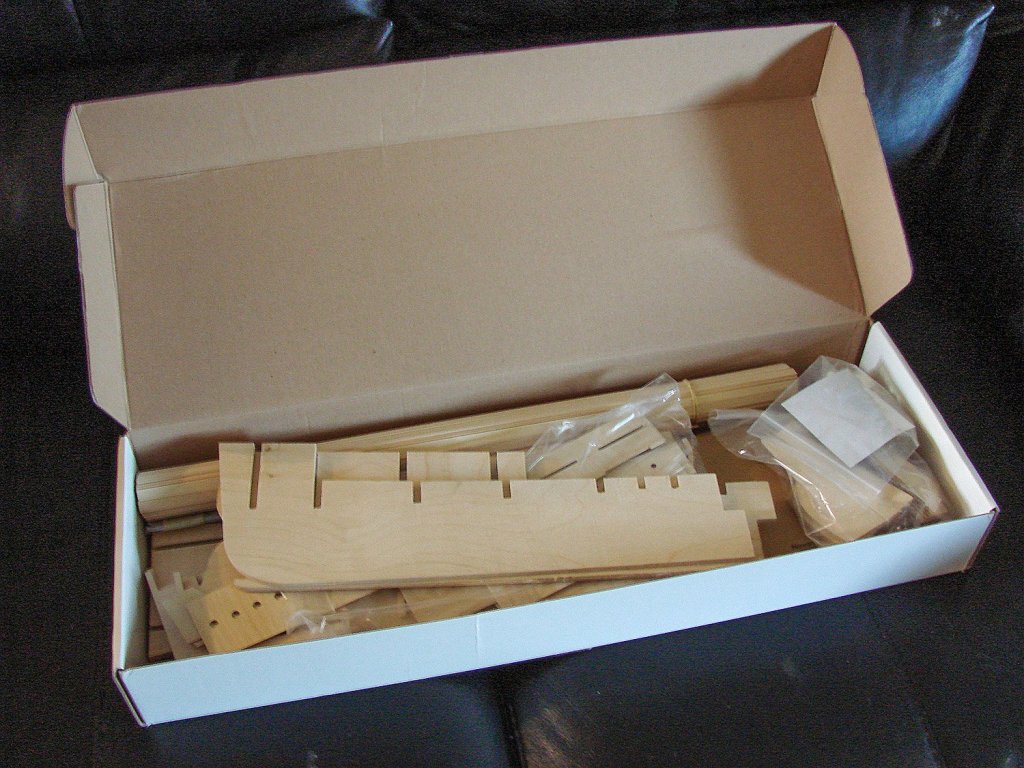
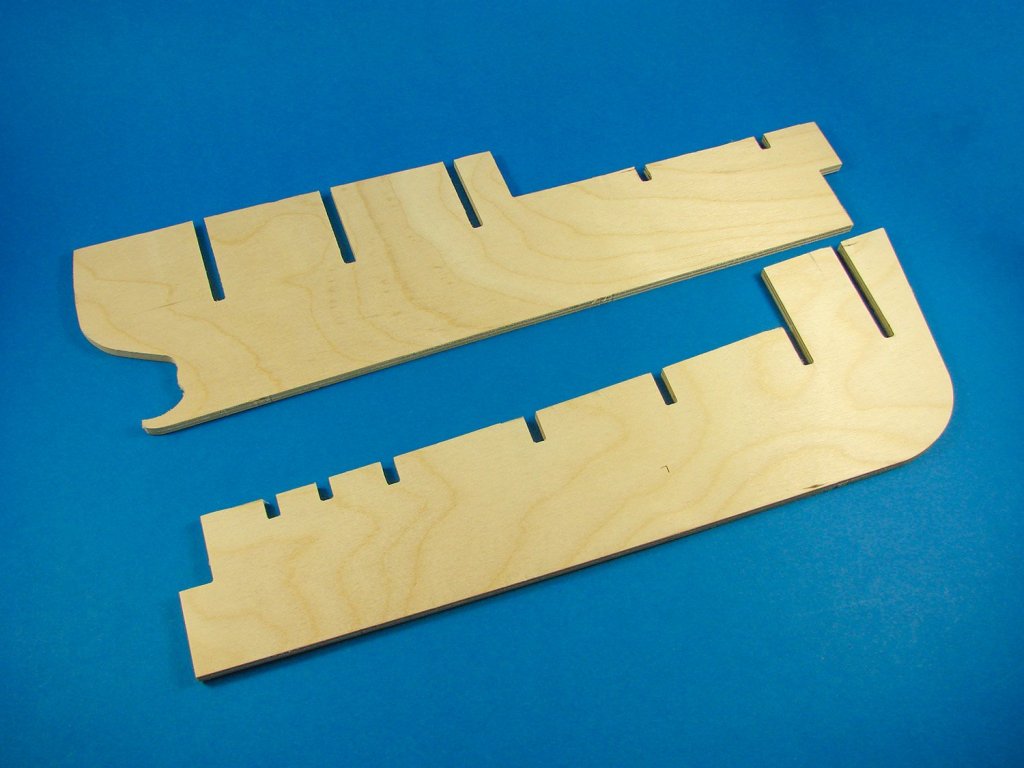
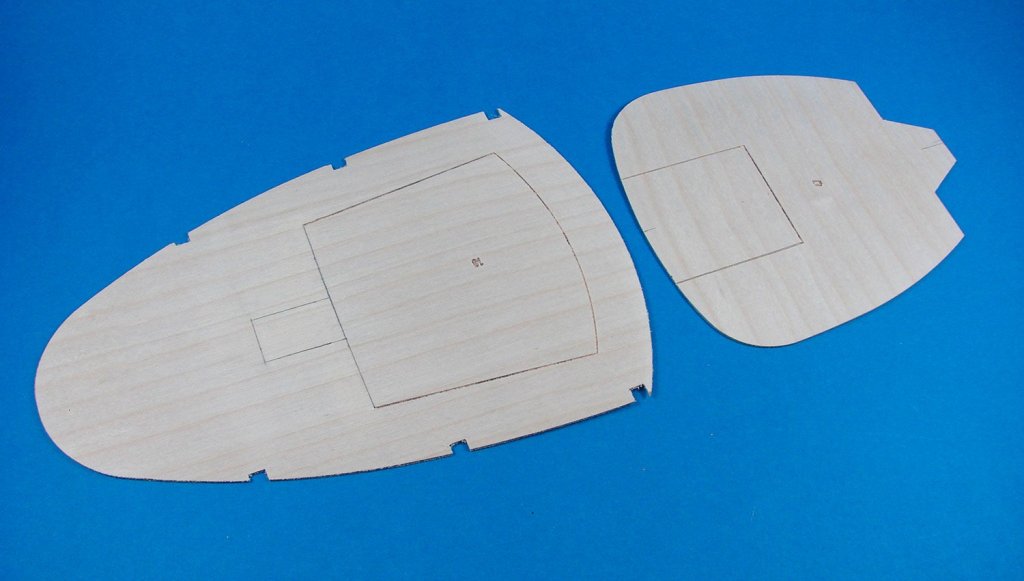
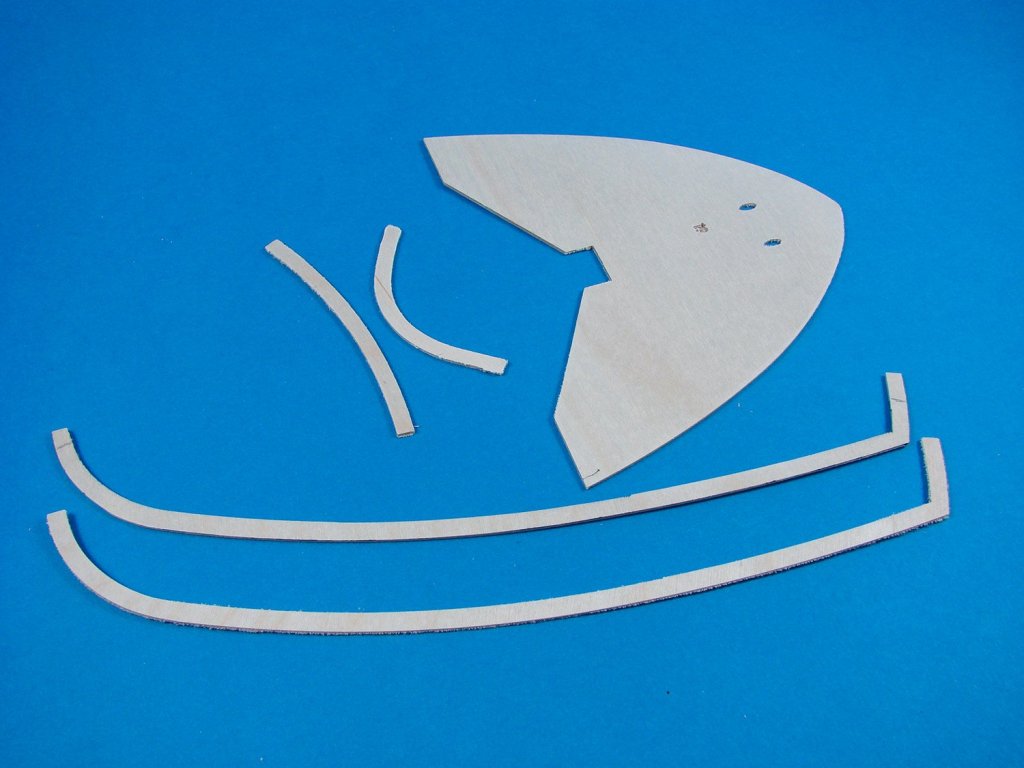
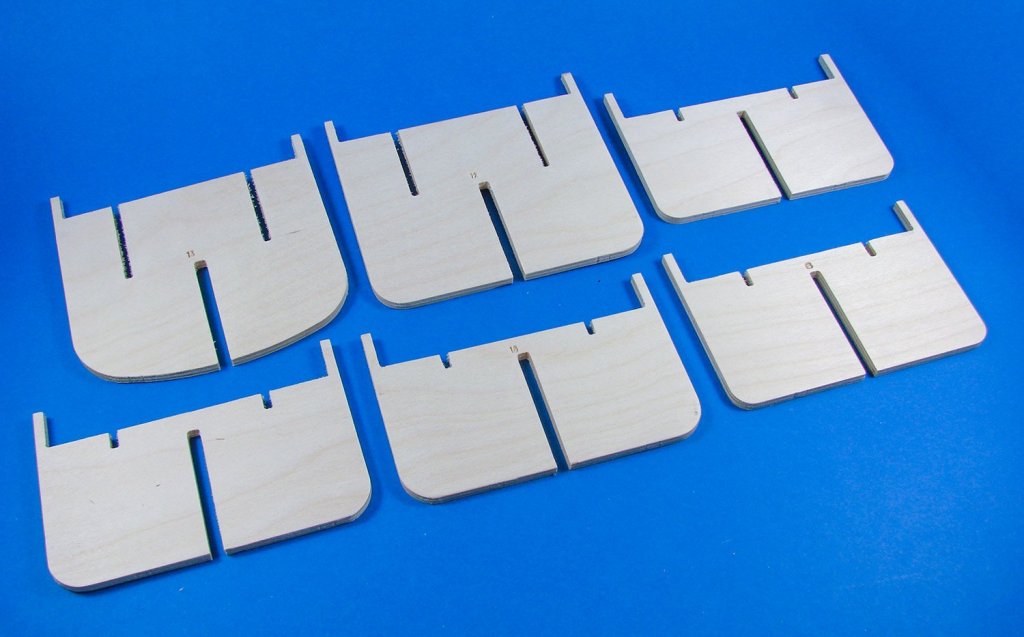
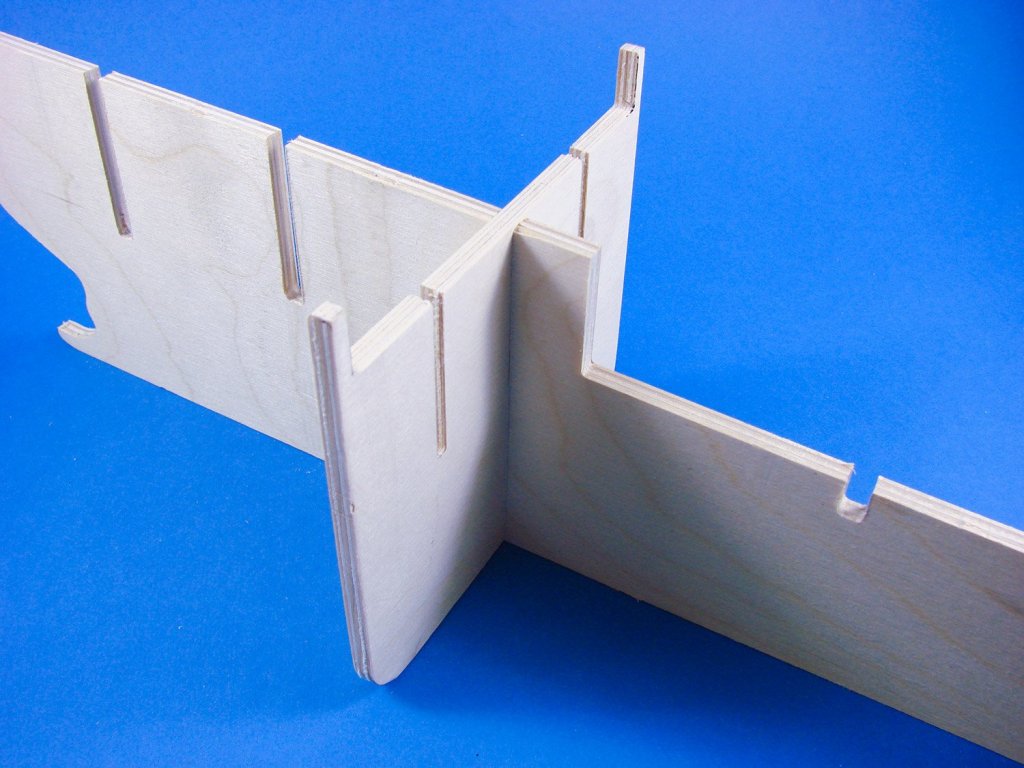
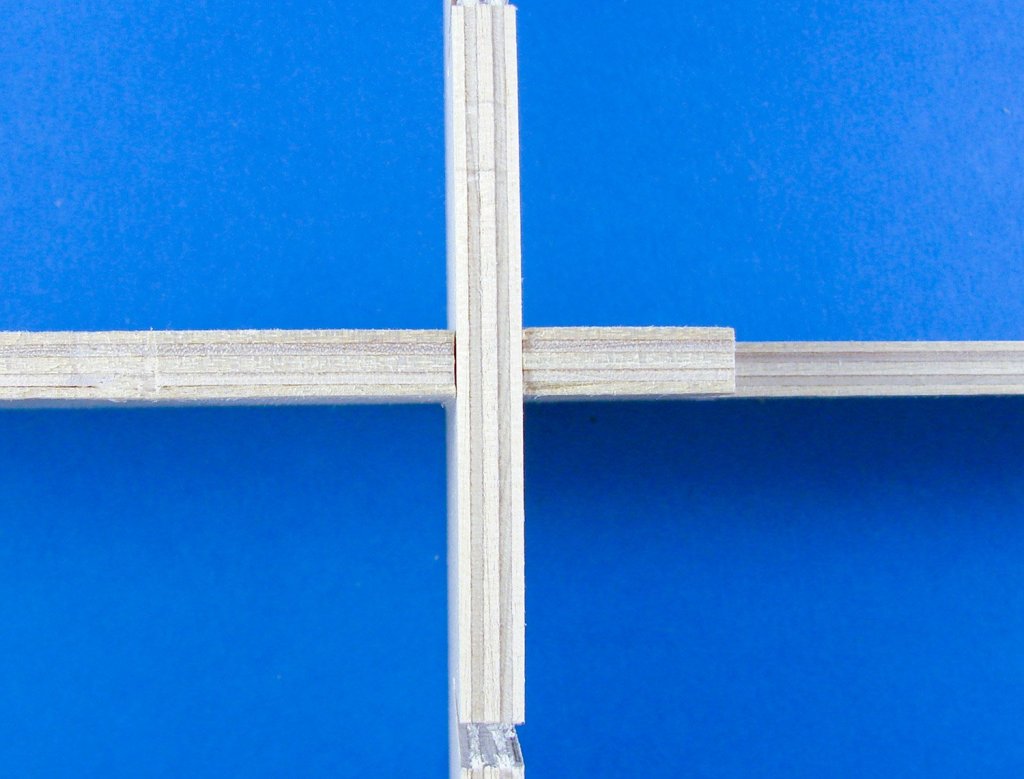
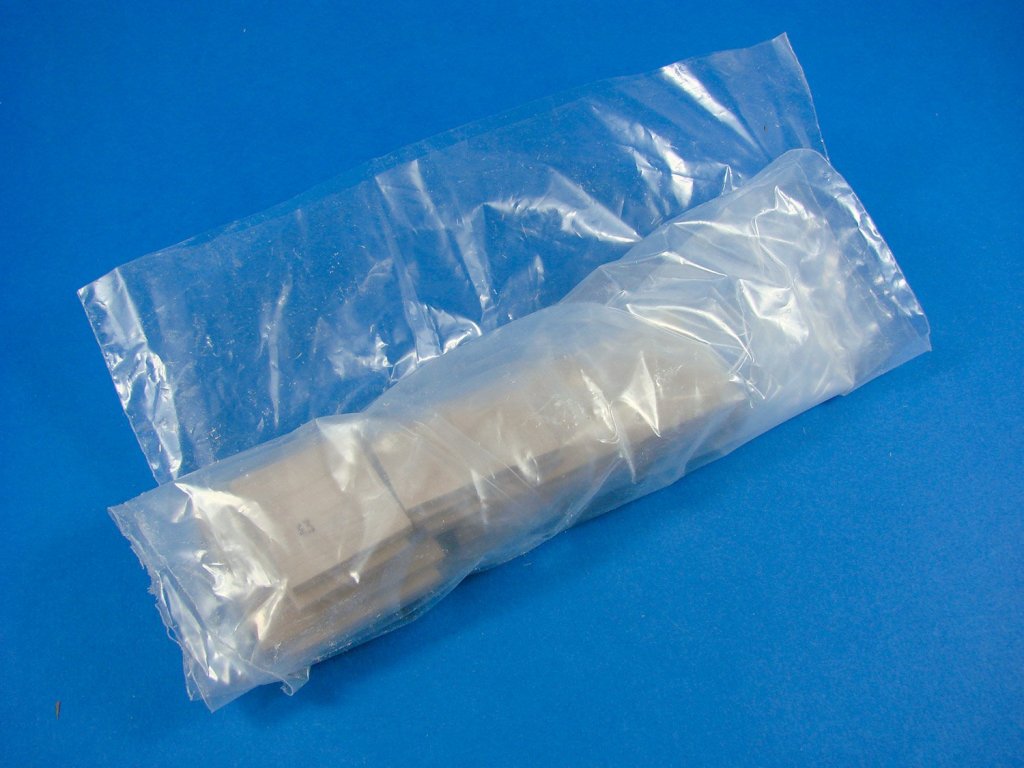
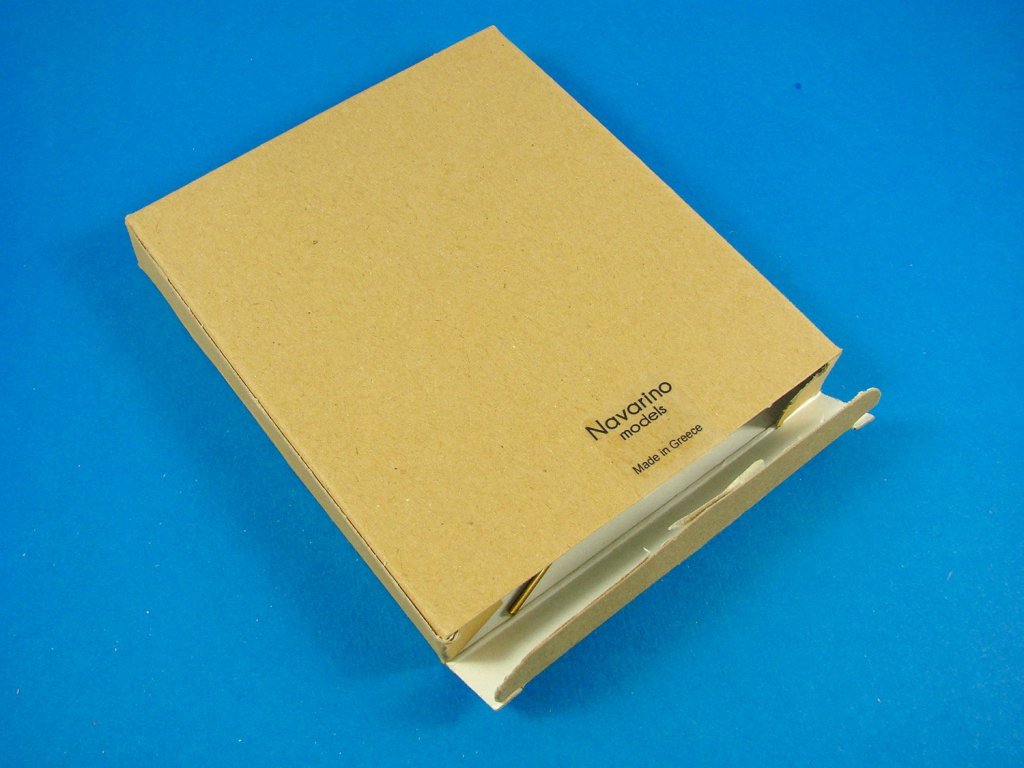
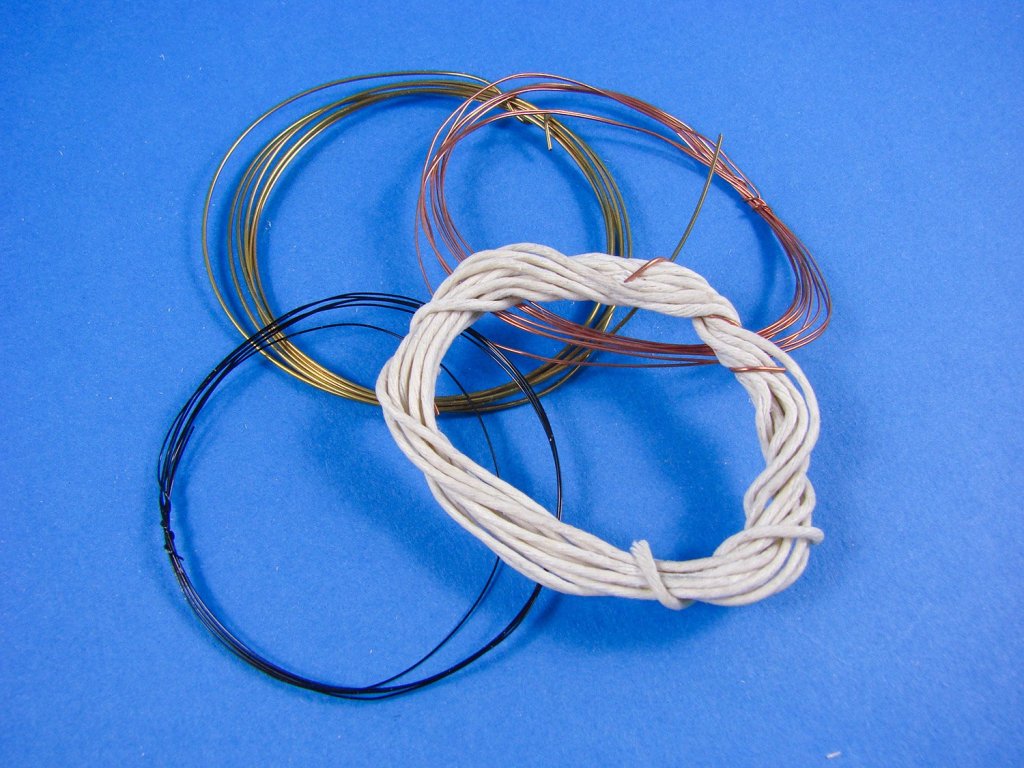
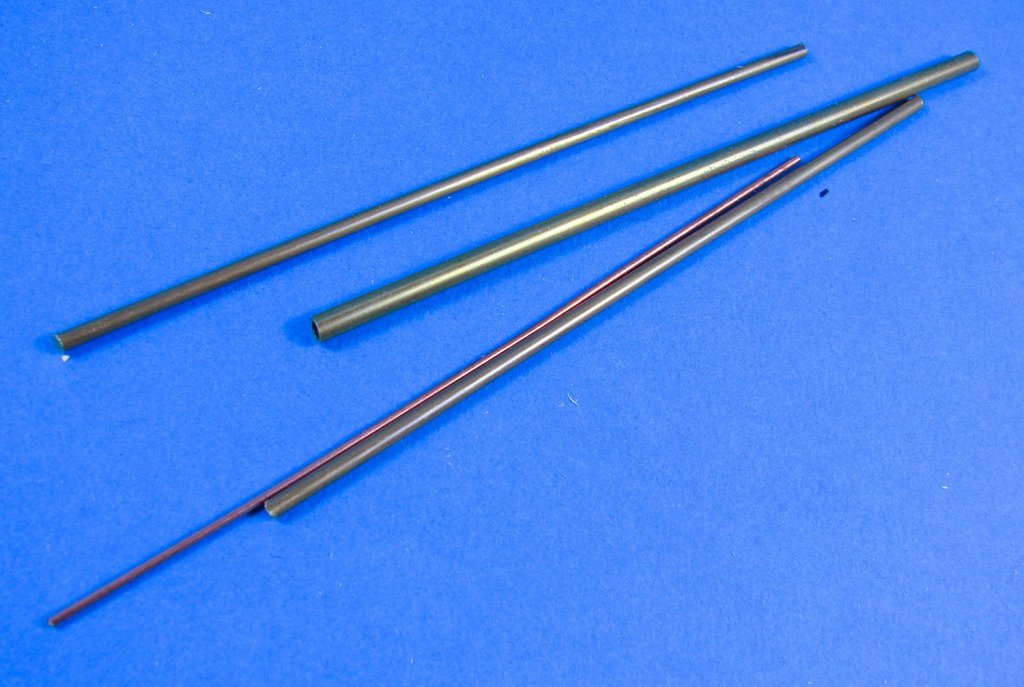
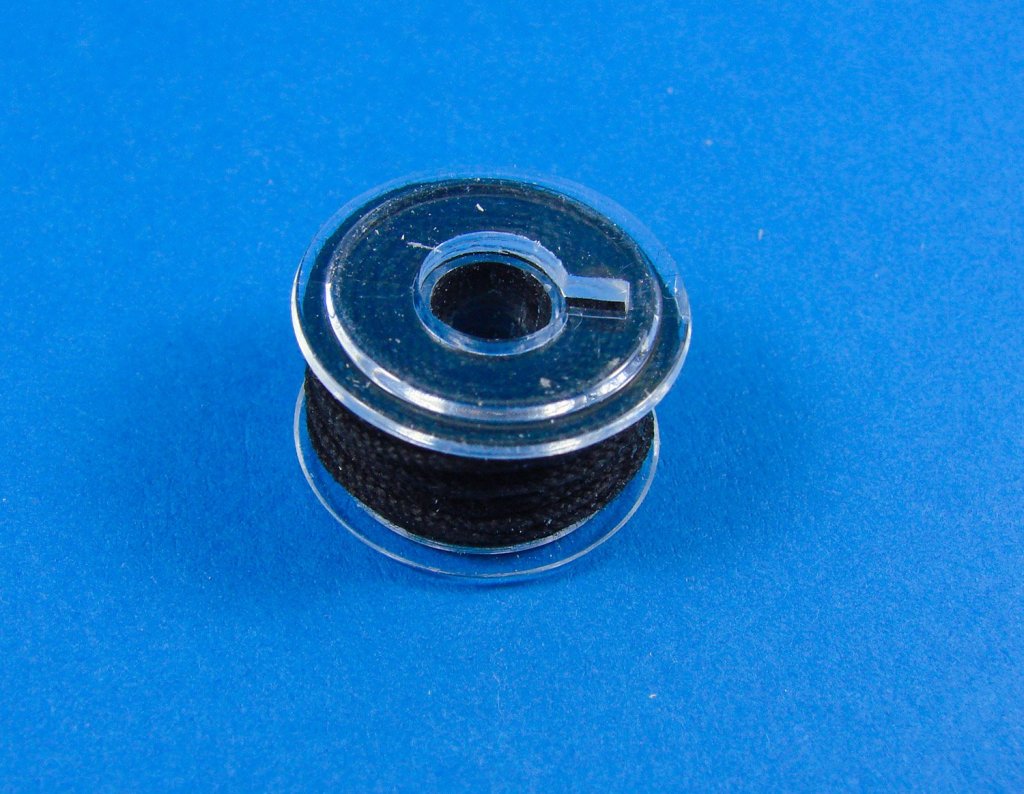
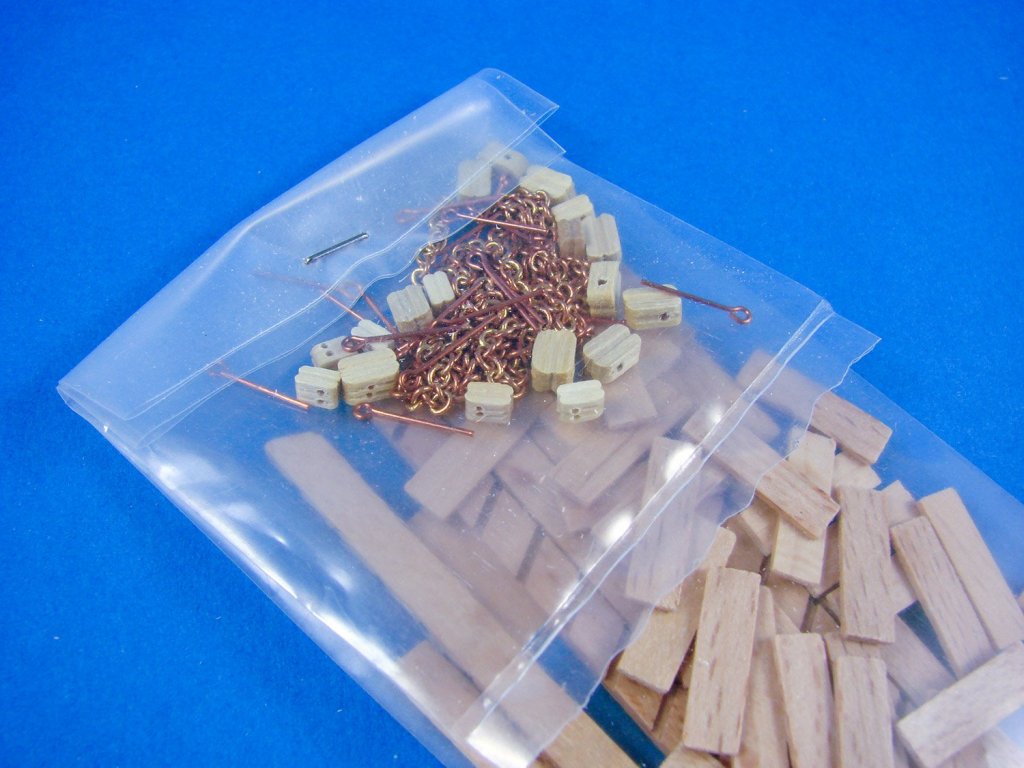
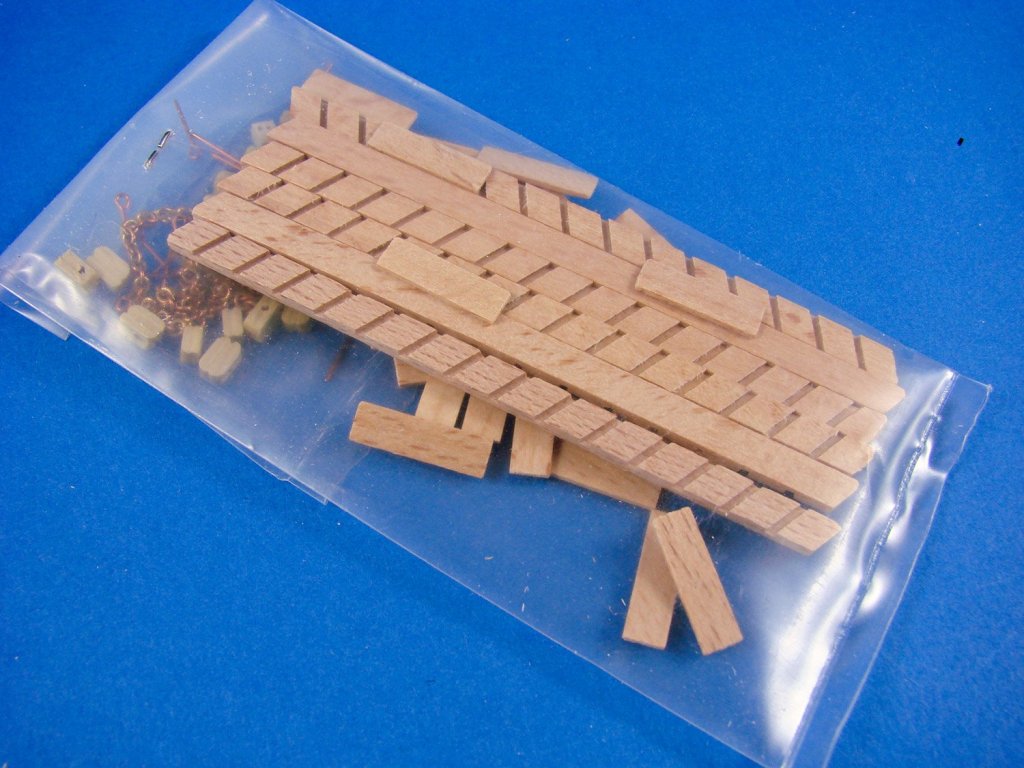
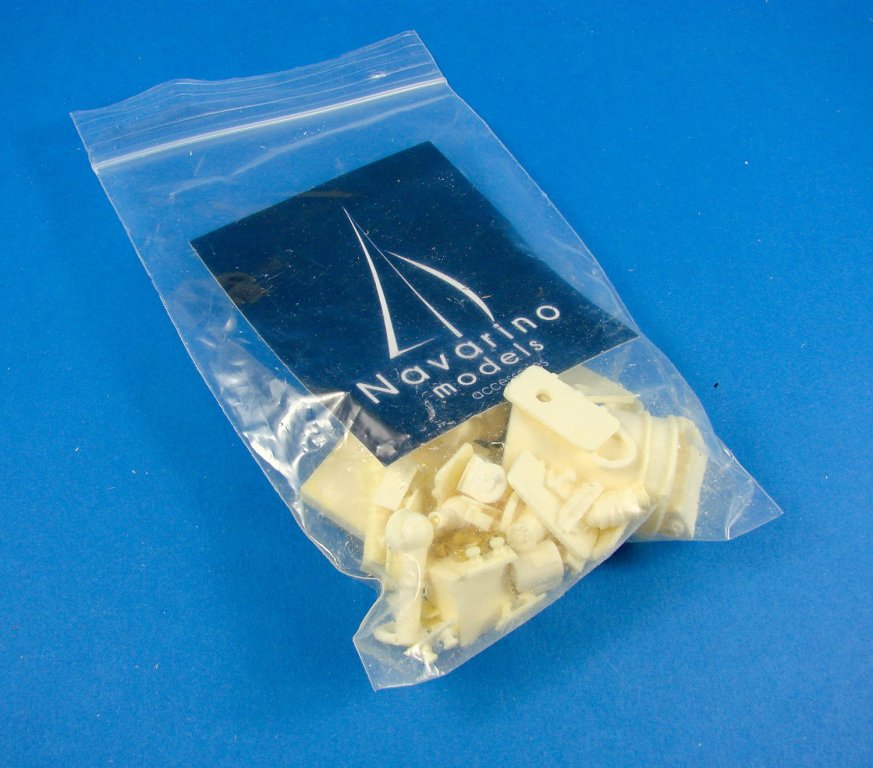
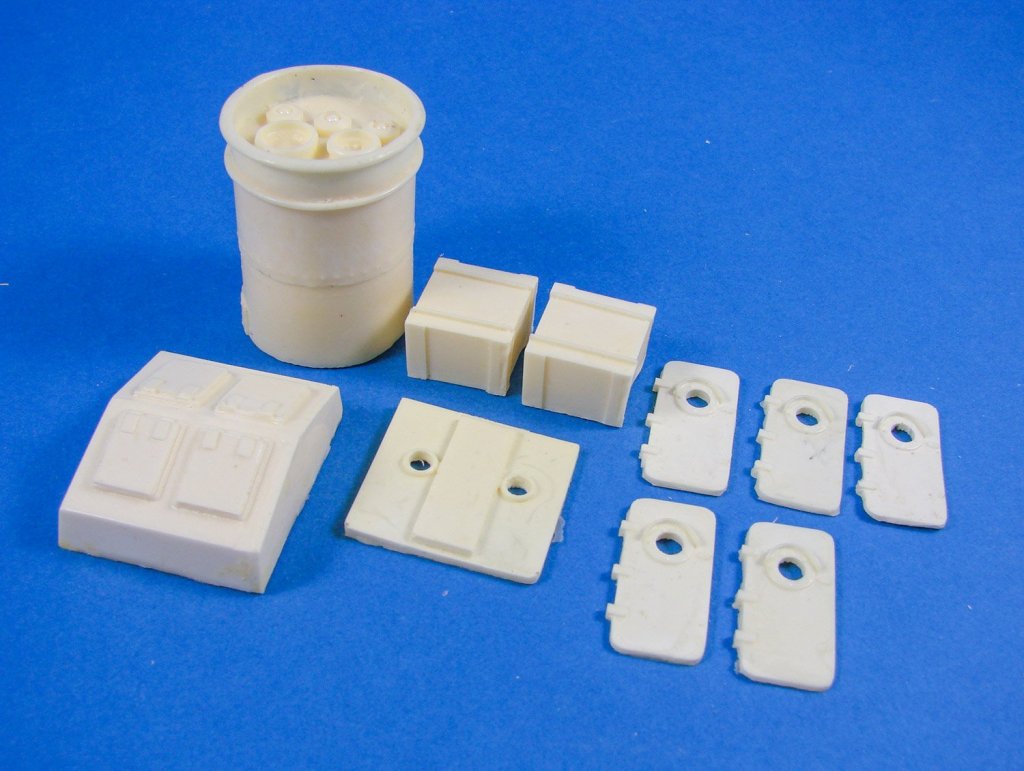
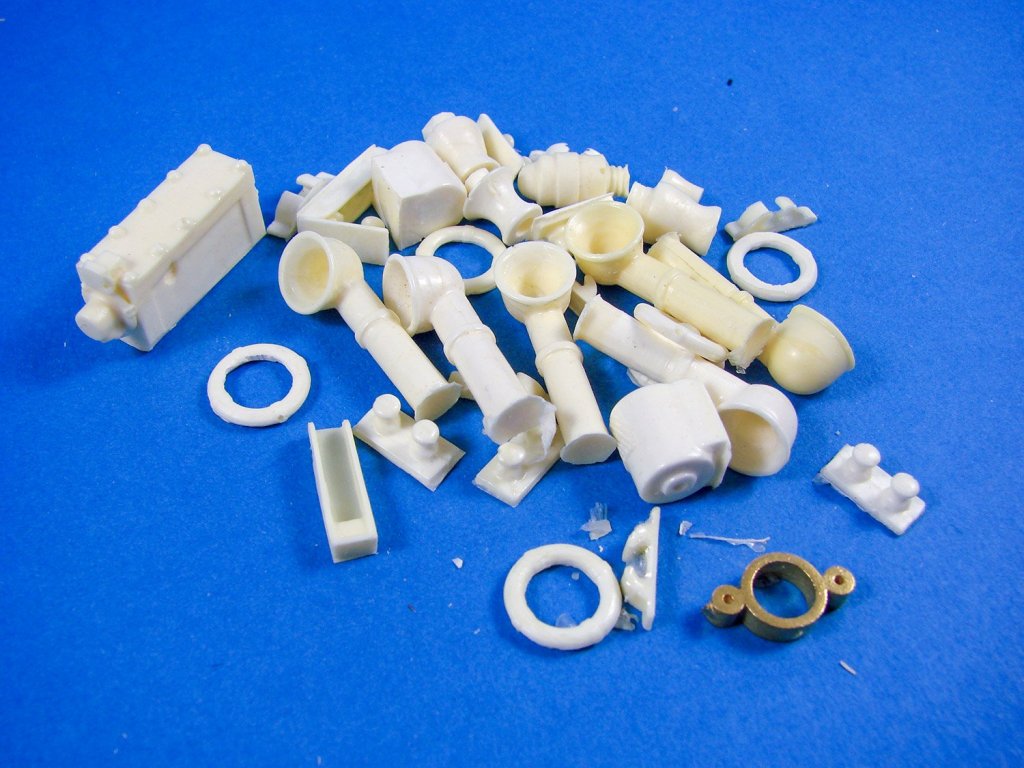
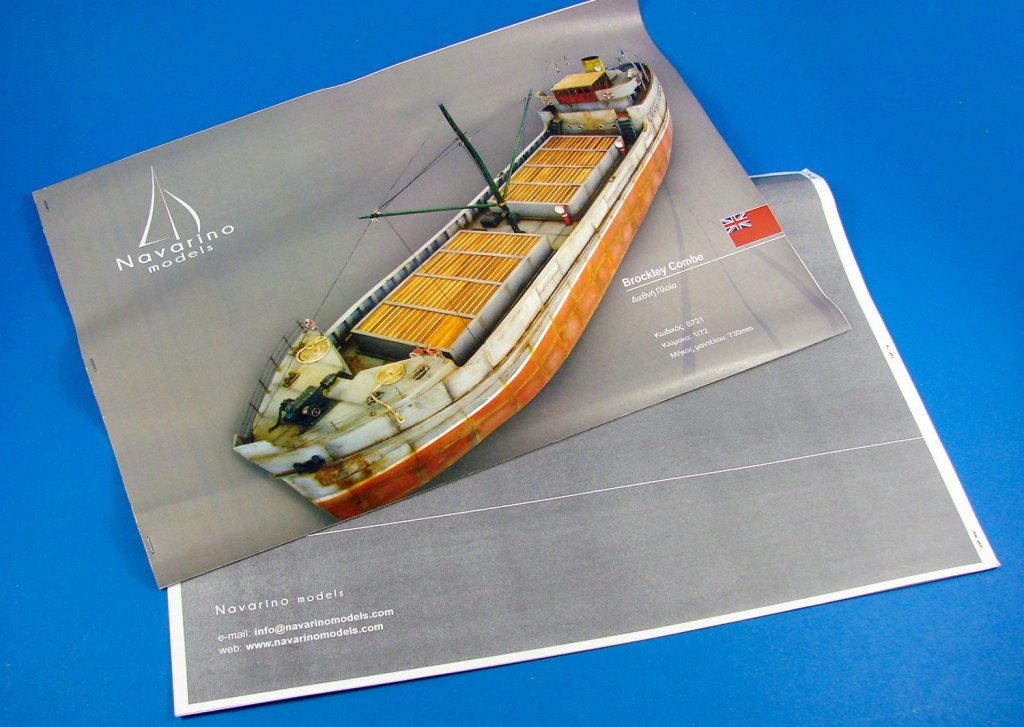
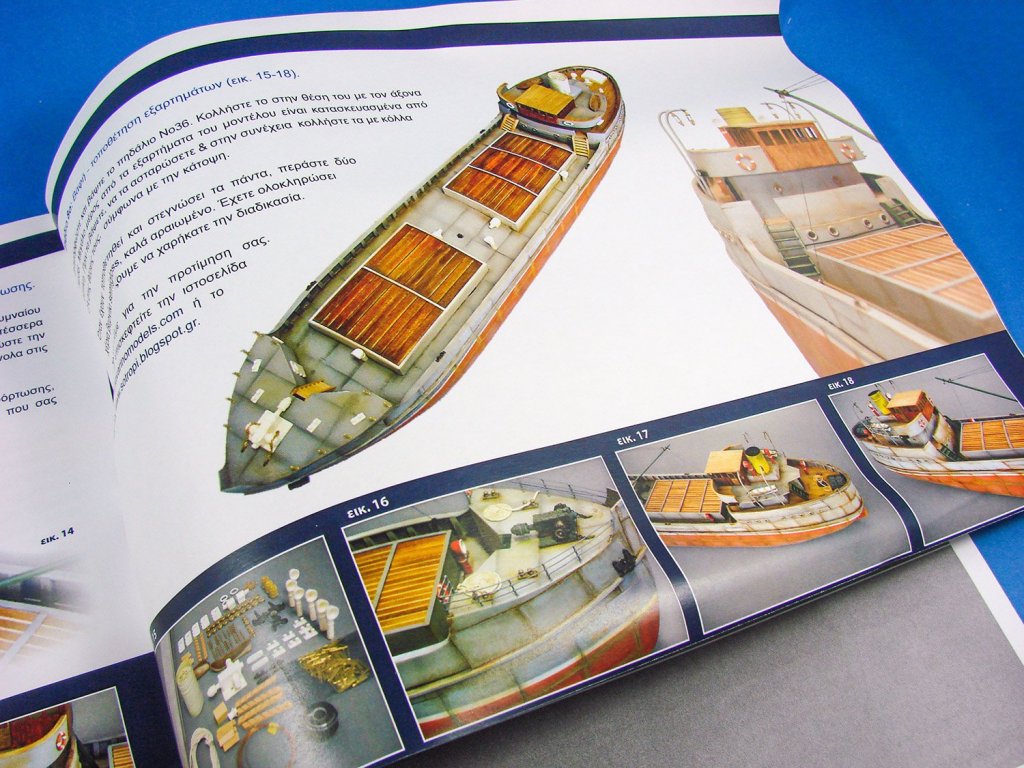
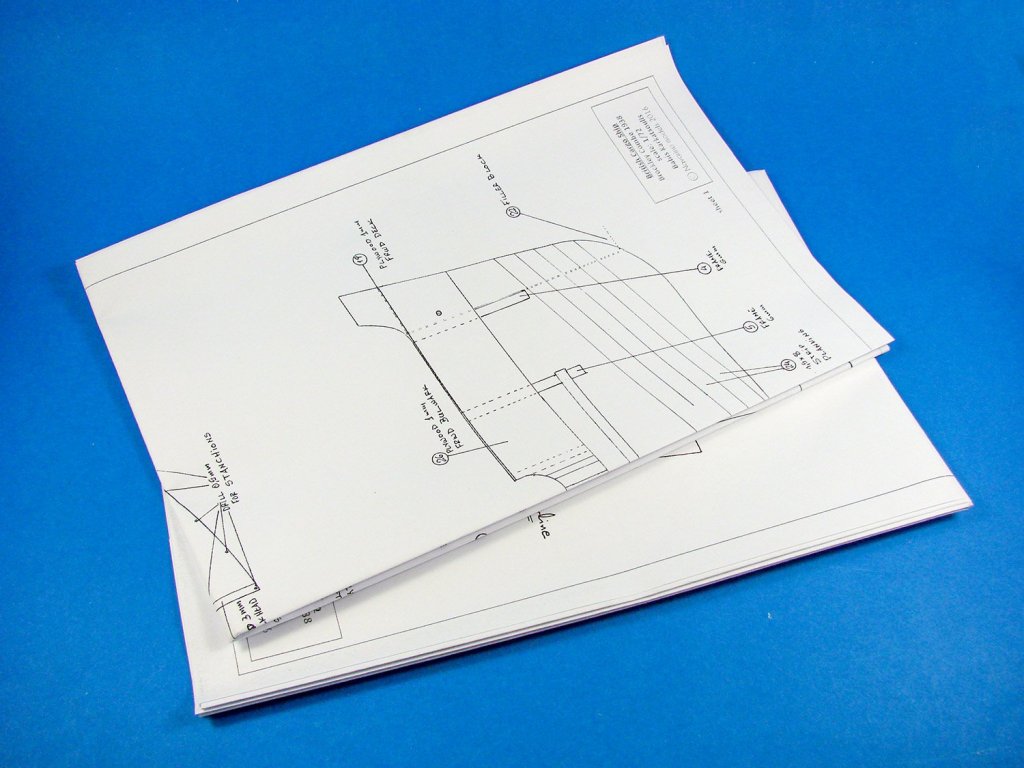
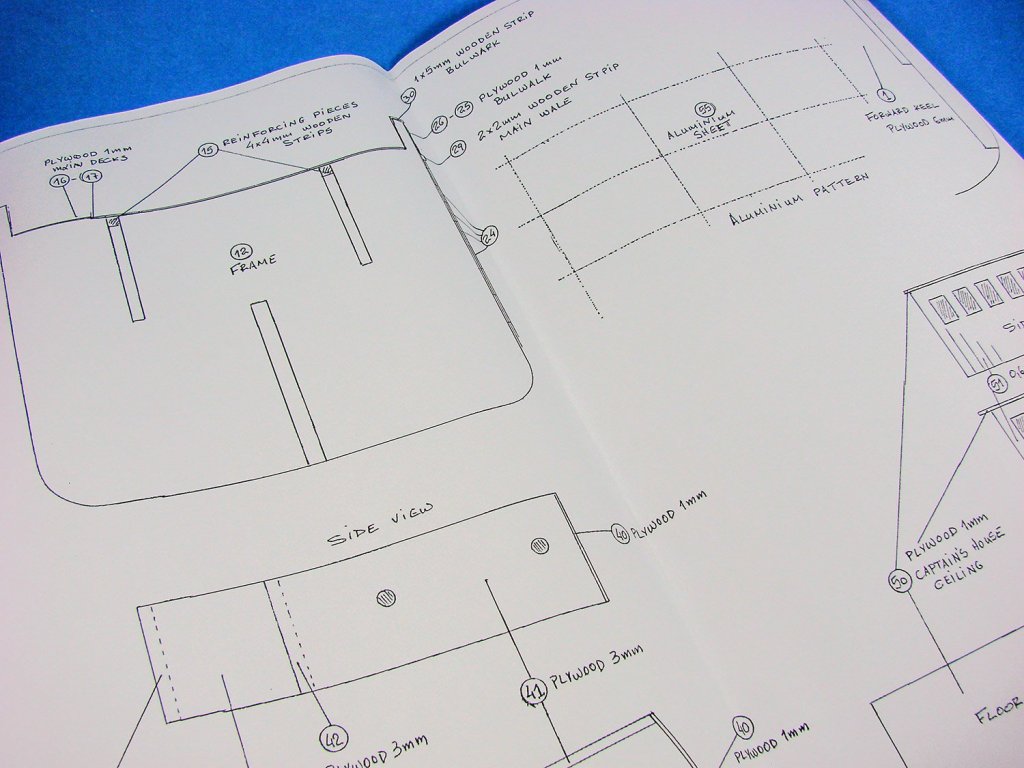
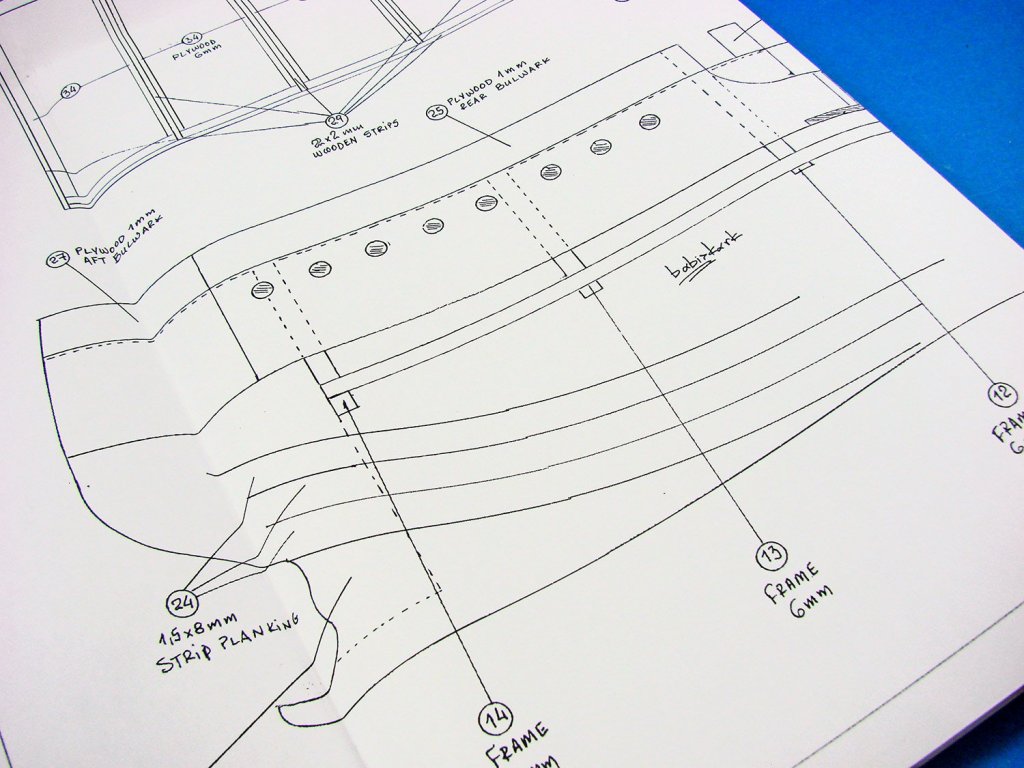
 1/72 Brockley Combe, 1938 Cargo Ship Navarino Models Catalogue # B721 Available from Navarino Models for €299,00 Brockley Combe was a British cargo shop which was built by Hill Charles & Sons in their Bristol shipyard, in 1938. She was a typical example of a dry load cargo ship of the age and was 56.2m long. Her power came from a diesel engine. Information on Brockley Combe is scarce at best, with me only being able to pull a single image from an online search. Her career came to a sad end on 15thDecember 1953, when she broke up and sank after running aground south of Jersey, on the islands known as Minquiers (known as "the Minkies" in local English). Thankfully, no one perished in the sinking, with all of her crew being rescued by the Jersey lifeboat. The kit Navarino Models generally produce models of ancient and traditional Greek vessels (being a Greek company), so this particular model stands out a little in their catalogue. Their instruction manual says that the lines of this vessel were found in a book that ironically deals with scratch-building ship models without kits. Navarino took the lines and developed this 2016-release kit of this little-known vessel, sharing her with us and allowing us to recreate a 1930s cargo ship. This is no small venture either, with the model being roughly 730mm in length when complete. Navarino’s kit is packed into a very sturdy, single-piece corrugated box with a colour image of a completed Brockley Combe model on the lid. The lid is tabbed so you just pull this out to unlock the contents within. After removing the two instruction booklets and two plan sheets, your construction materials are uncovered. What you’ll immediately notice is that there are no actual sheets of parts from which to remove the individual components. Instead, all the various bulkheads, false keel, bulwarks etc. are pre-removed and, in some cases, bagged for a little extra security. Unlike many kits these days, the parts in this have been routed on a CNC machine, so there are no black/char edges to clean up before use. There are some slightly fuzzy edges on some parts, and you will need to tickle them with sandpaper to sharpen them up, but that, and regular hull/frame sanding is about the only waste material you’ll create when building this model. No empty wooden frames to dispose of at all. The false keel in this model, like the bulkheads, is machined from a good quality 6mm ply. It also comes in two parts that you will need to glue together and reinforce with the supplied pieces. A quick text of the fit shows that I’ll need to remove a small amount of wood from one joint, so the keel bottom and deck height are even. All slots are evenly machined and also very, very accurate. Test fitting the bulkheads shows not only a very snug fit, but also that they fit at the correct 90° angle to the keel parts. Note also that the bulkheads also have other slots too, into which two 4mm x 4mm longitudinal stringers locate, further helping keep things true and rigid. As an aside note, all parts in this kit are numbered with what appears to be a laser. There are a wide range of 1mm ply components in this kit, and they are all bagged in a clear sleeve. These include the bulwarks with their pre-cut portholes and scuppers, cabin fascias, doors, various deck parts (5 main sections), bulwark cap strips. Also worthy of mentioning are the marked positions on some decal parts, for the deck structure locations. Deck parts are also accurately notched to receive the 6mm bulkheads. Another bag of ply parts contains some 6mm ply sections that glue into the stern and bow areas to create a solid block that you will then sand to profile before planking commences. More 6mm ply forming the false keel reinforcement plates, and forecastle and main loading hatch structures. This little bundle are the parts for the loading hatch profiles, with their curved roof sections. All nicely machined and held together with elastic whilst in the box. When it comes to planking this hull, 60 strips of superbly cut limewood are supplied, each measuring 500mm x 1.5mm x 8mm. You may feel the need to halve that width when you plank around the fairly tight curve that exists on some of the bulkheads. Timber quality really is very nice, with this material being creamy and homogenous in appearance, with nice, sharp edges. Another bundle of wood contains more Ramin and lime strip wood, as well as Ramin dowel. Again, all materials here are of high quality. This material is for the deck planking and to me, it looks like Sapele due to the grain pattern and resin spots. Some edges are a little fuzzy, so it would be an idea to gently sand each edge before fitting to the decks. A smaller bag of ply parts are included for the rudder, and numerous other structural and superstructure areas. No matter how smooth you get that hull, the final planking will be achieved using 0.15mm aluminium sheet, cut into 20 strips of 25mm depth. It would appear that these need to be divided further into their correct lengths and then a riveting tool used to add that important detail to them. This material should form well around the hull but check how this would be laid out in pattern with regards to the bow and stern. You’ll need to fit these with cyano or contact adhesive. A small cardboard box contains various fittings and rigging. In there, you’ll find two small plastic launches with a clinker hull, brass and copper wire, rope, copper and brass rod, brass tubing, brass nails, stanchions, portholes, anchors, rigging rope spool, and other various fittings. Two plastic sleeves hold the parts for the staircases (pre-machined), rigging blocks and copper eyelets. A set of ship name decals is supplied, as are flags, printed on stiff paper. The last bag of components are all cast from a creamy yellow resin, save for one metal cast part for the mast. Here are all of those important detail features that you will scatter around the decks and superstructures. These include funnels, life preservers, bitts, winches, cleats, hatchways, doors, boxes and the single, large funnel. Most parts will need some form of clean-up, as you would expect with resin, and I would also recommend that you wash them first to remove any traces of mould release agent that could prevent paint adhering properly. A set of simple but useful colour illustrations are included in one of the manuals, but the text is in Greek. Another copy of this is included in black and white, but with English text. It also has a table of parts to reference. I think the instructions supplied are adequate for the model as most of it is straightforward and can be referenced on the two plan sheets. Both plan sheets have the charm of being hand-drafted and annotated. This takes me back to my days of school woodwork, but the illustrations are easy enough to follow and should provide a competent builder with no problems. Conclusion This is the first Navarino kit that I’ve seen, and I do really like the way things go together, the quality of materials and those little quirky things like not having to remove parts from frames. Brockley Combe is truly a multimedia kit, with not just timber, but also metal, resin and a little plastic too. Materials quality is excellent. Whilst I couldn’t recommend this kit to a raw beginner, I do think that someone with a model or two under their belt could do this some real justice. Some experience with resin could be useful, but not necessary. In all, a lovely model of a classic cargo ship of yesteryear, and one with character too! My sincere thanks to Navarino Models for sending this kit for review on Model Ship World. To purchase directly, click the link at the top of this article.
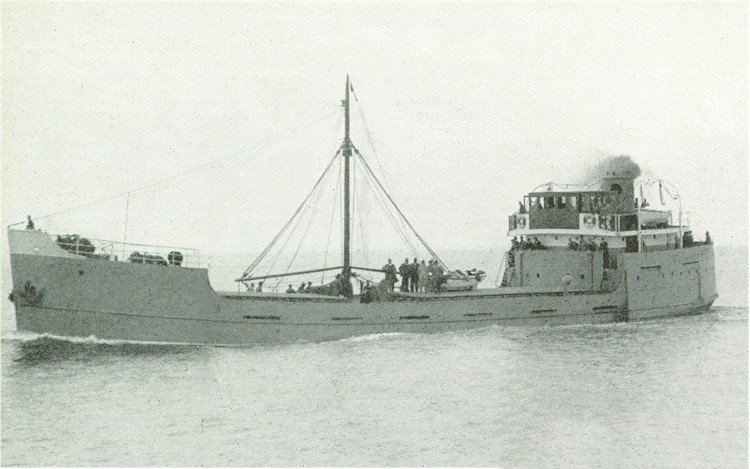


- 6 replies
-
- 17
-
-
- brockley combe
- navarino models
- (and 2 more)
-
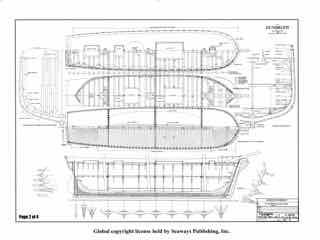
 Part 1 - Introduction When I first started ship modeling in 2012, I purchased a set of plans from Seaways Publishing for the Dunbrody Irish Famine Ship. The plans appealed to me because I was born in Ireland and have read quite a bit on the famine years. The Dunbrody is a replica of an actual ship that was built in Quebec in 1845 by Thomas Hamilton Oliver for William Graves, a lumber merchant from New Ross in County Wexford in the southeastern part of Ireland. The Dunbrody’s construction coincided with the Irish Famine years, during which the Irish tenant farmers were starving due to the failure of their potato crops – their primary food source. The ship was designed to carry lumber from the new world to Ireland and England. On her return voyage she mainly carried pig iron and limestone, which left room for carrying a fairly large number of passengers and normally accommodated up to 176 Irish emigrants who were trying to escape the potato famine. The replica ship was commissioned by the John F. Kennedy Trust of New Ross, as a tribute to the emigration of the Kennedy family from their Irish homestead near New Ross. The current Dunbrody was designed by the naval architect Colin Mudie, who had designed a number of replica ships. The plans for the replica were based on entries for the original ship in the Lloyd’s Register, and from certificates and surveys. Mr. Mudie also wrote a book titled “Sailing Ships” in which he presented a number of ships he had designed. The book included a section on the design and construction of the Dunbrody. I don’t think I had any real thoughts on how to model the Dunbrody when I originally purchased the plans. I was new to modeling and didn’t have any experience in scratch building. After seeing Ed Tosti’s work on Young America I decided a few things. First, Dunbrody is not a very refined ship, and her lines are no comparison to the beauty of the clipper ships. My primary reason for building Dunbrody is to show the accommodations for the Irish emigrants. I felt that this could best be accomplished by building a sectional model. The plans from Seaways Publishing contain most, if not all, of the details needed to construct an accurate model, so I would try to reproduce the details presented in the plans. I would use Ed Tosti’s build logs and books for Naiad and Young America to learn the techniques and processes I would need to build the model. In addition to the plans for Dunbrody, and Ed’s books, I will also be using two excellent books as references: “American Built Packets and Freighters of the 1850s” by William L. Crothers and “Wooden Ship-Building” by Charles Desmond. A number of questions arose as I started planning for this build, and I started a thread entitled “Planning for a Sectional Model of Dunbrody” to get some feedback from the more experienced modelers on this site. Most of my questions have been resolved, so it’s a good time to start building.
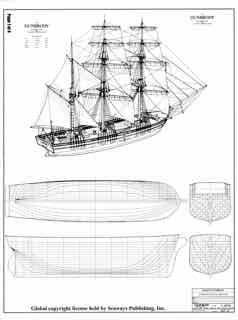
- 649 replies
-
- 15
-
-
- finished
- cross section
- (and 3 more)
-
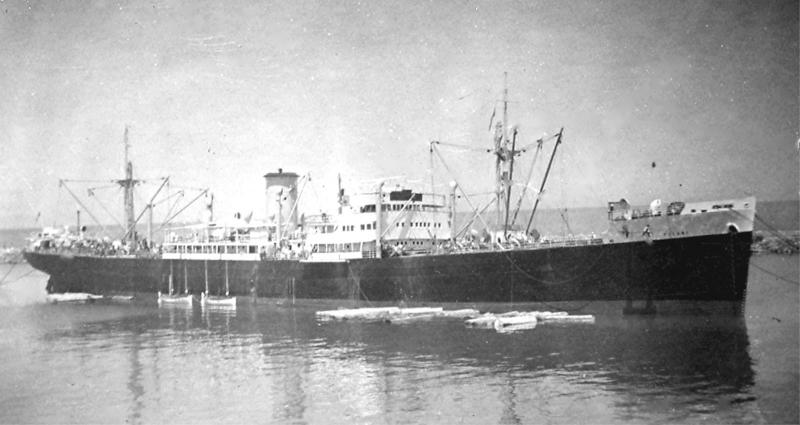
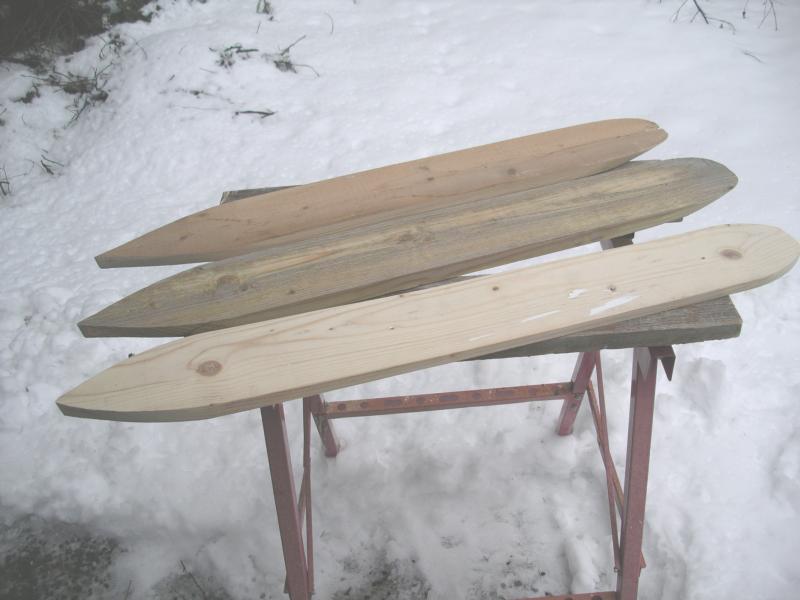
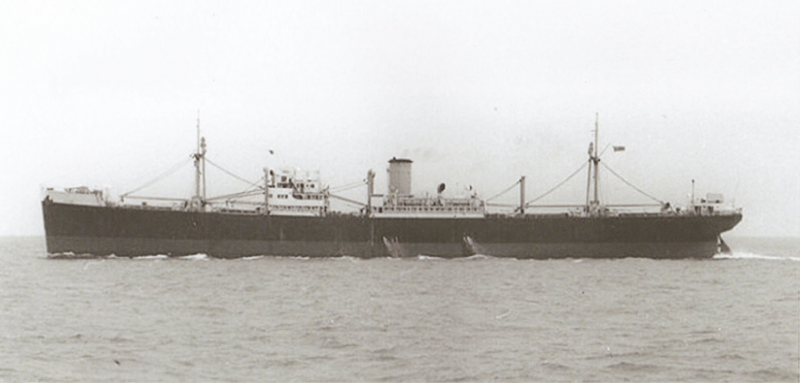
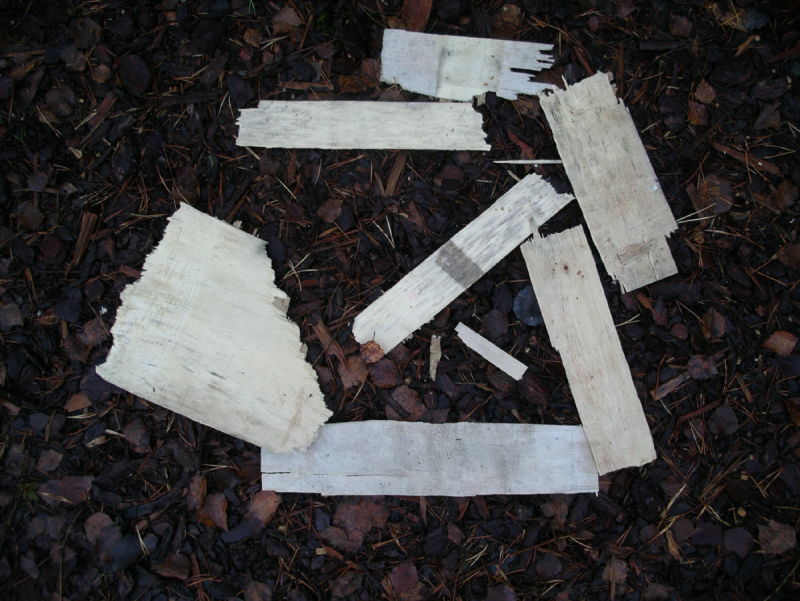
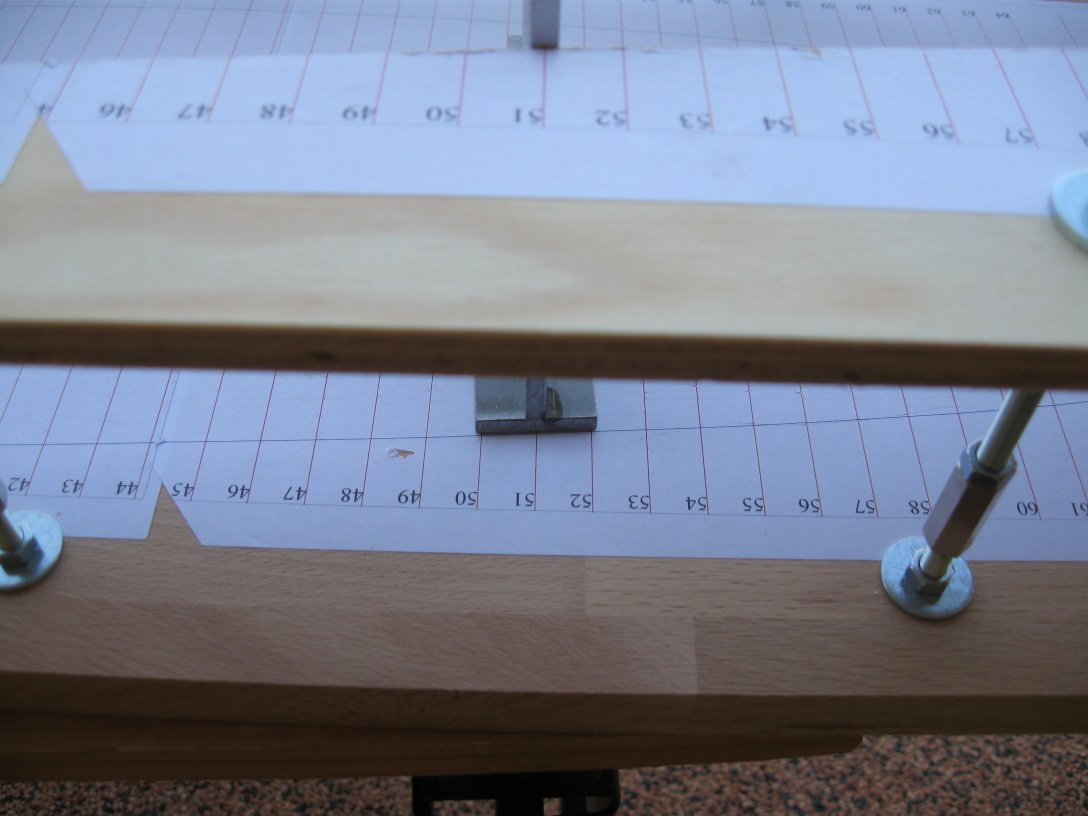
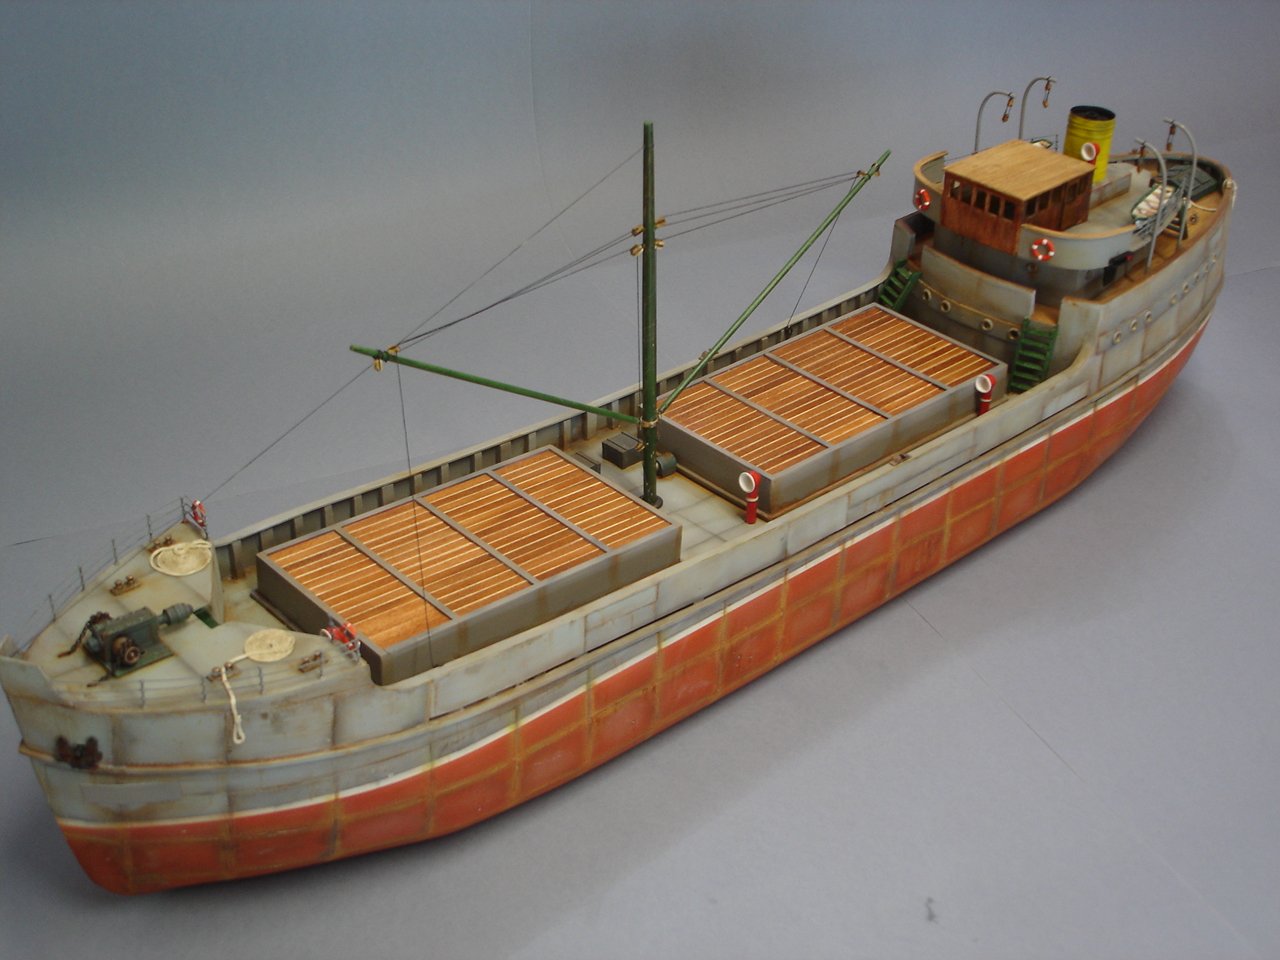
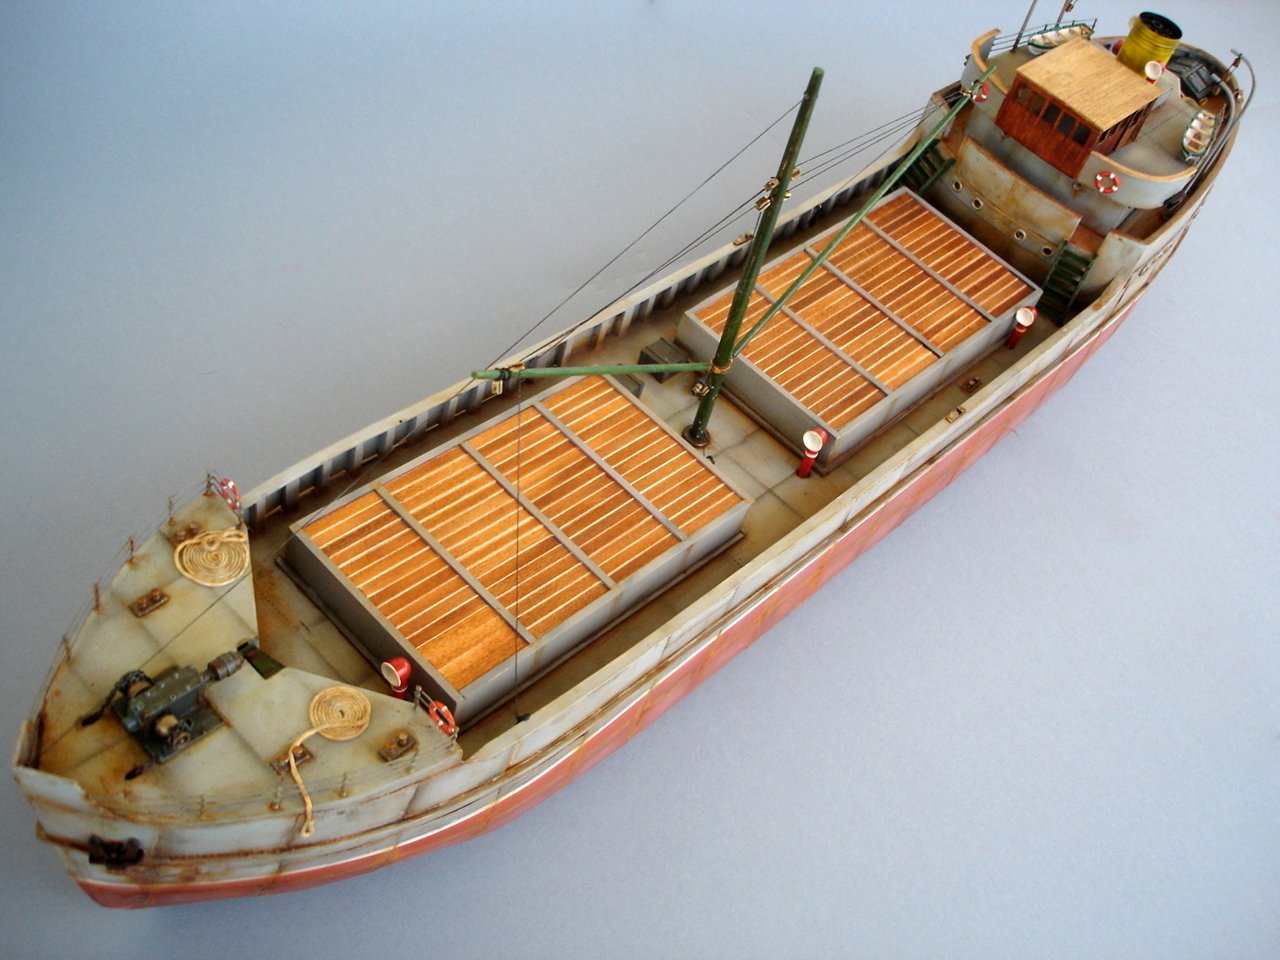
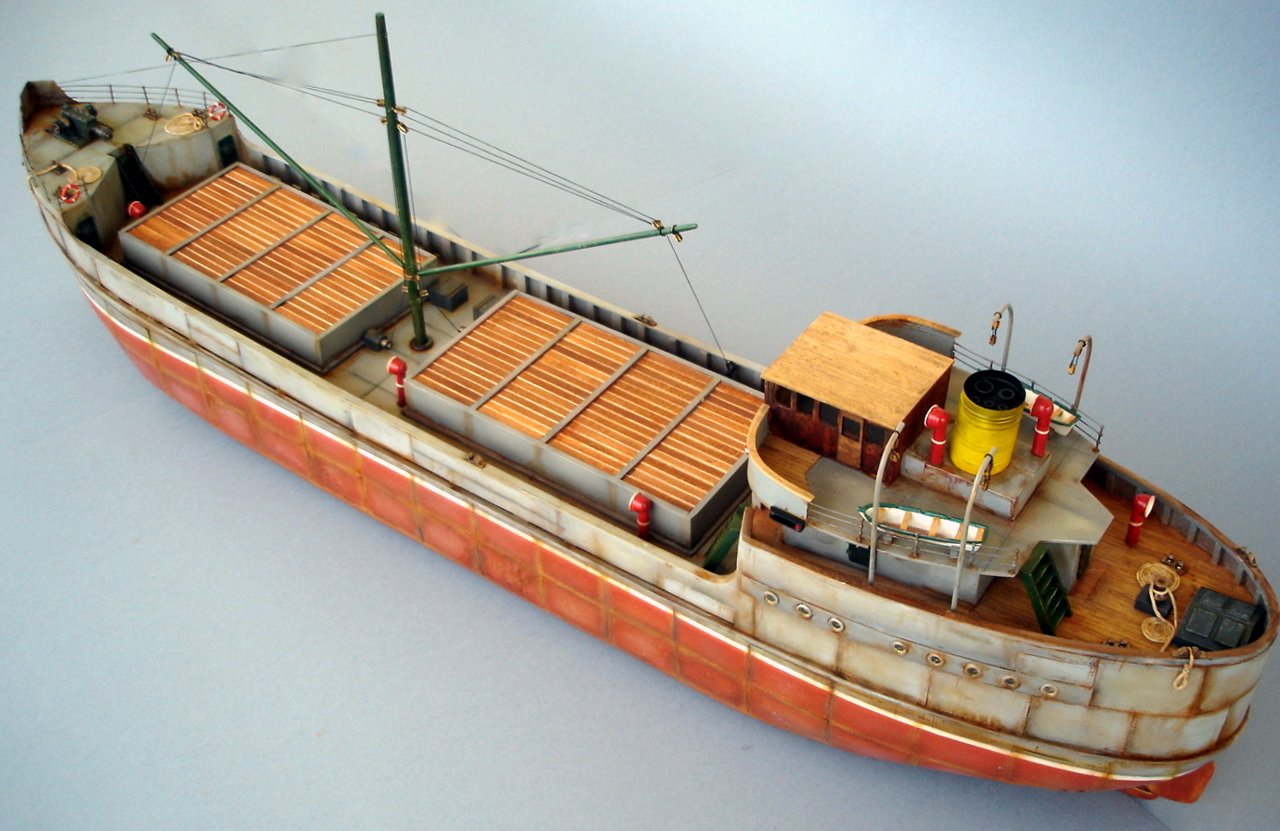
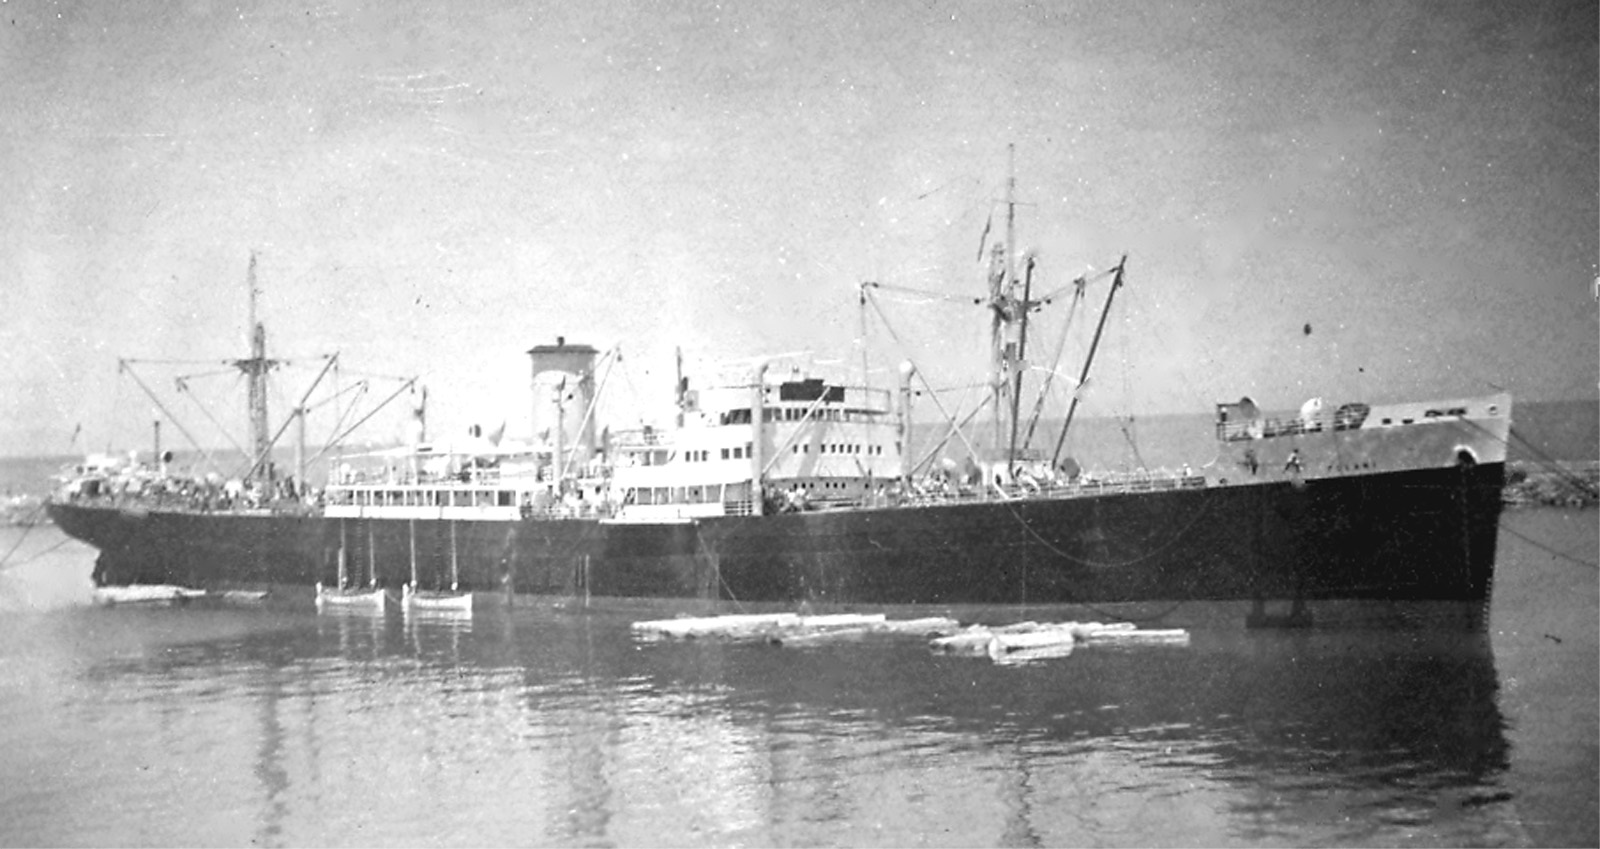
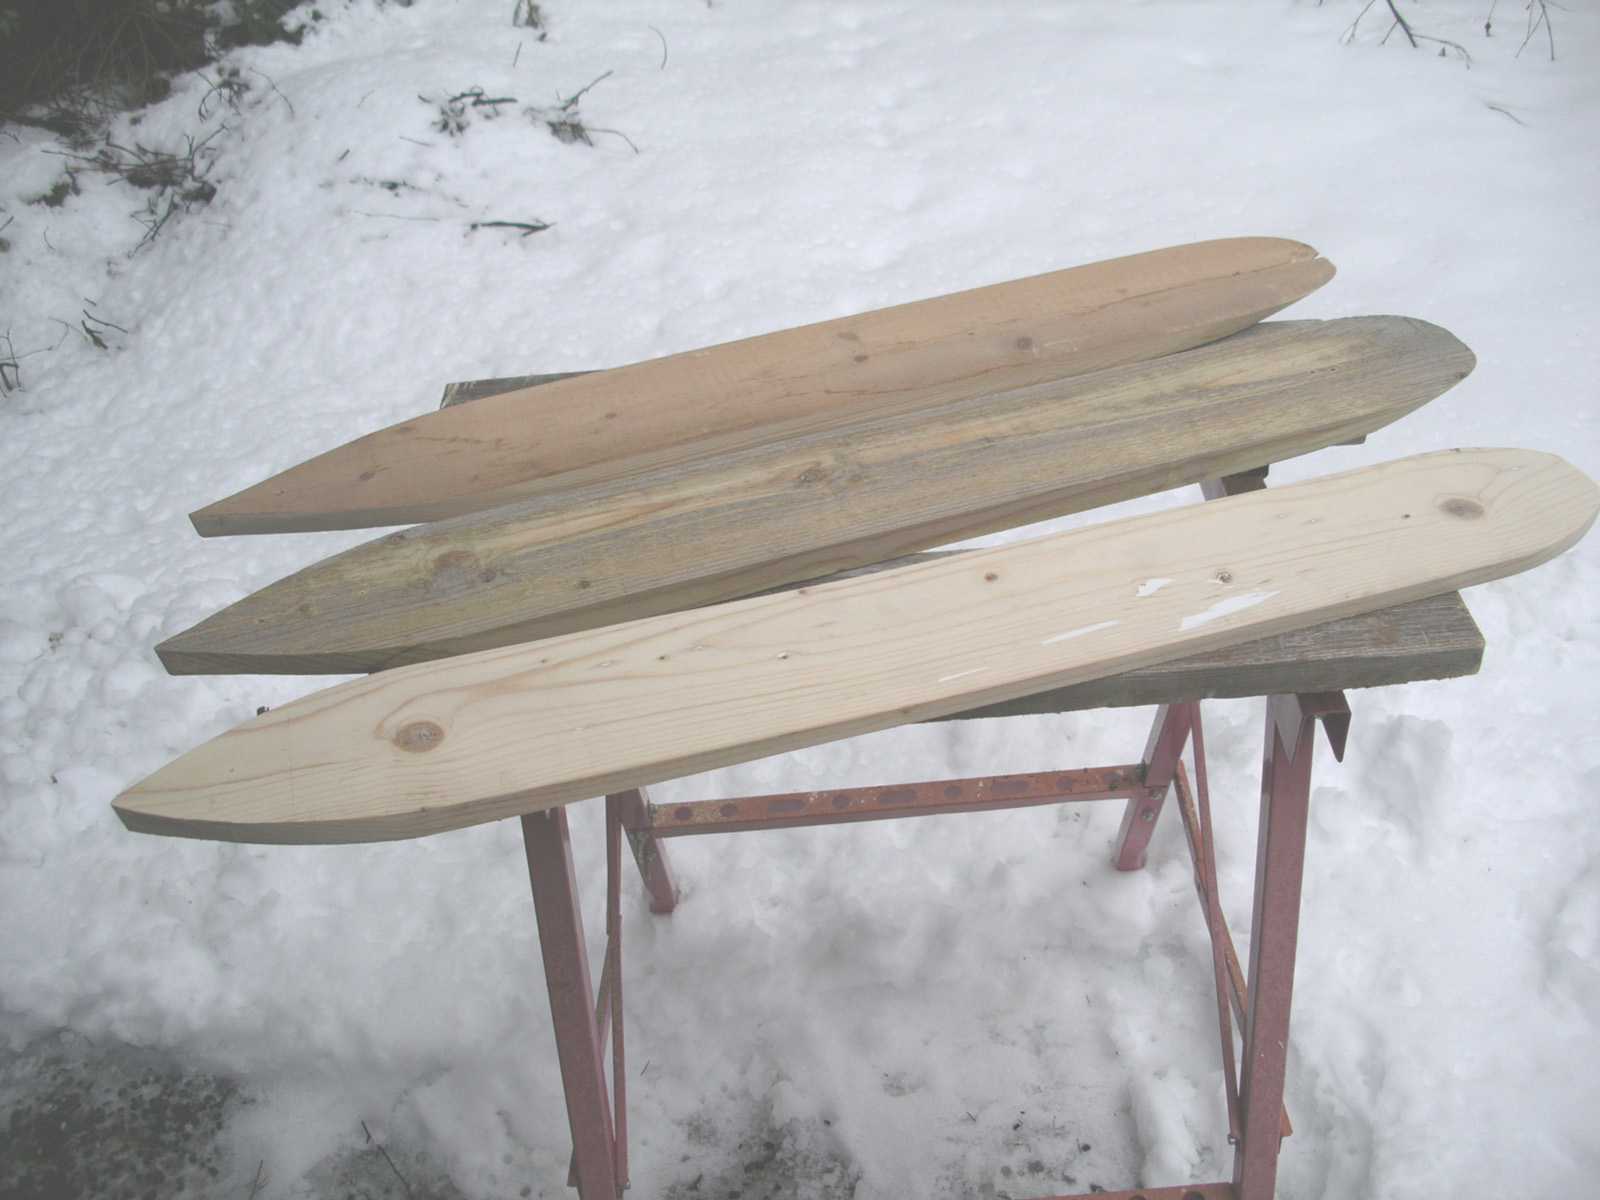
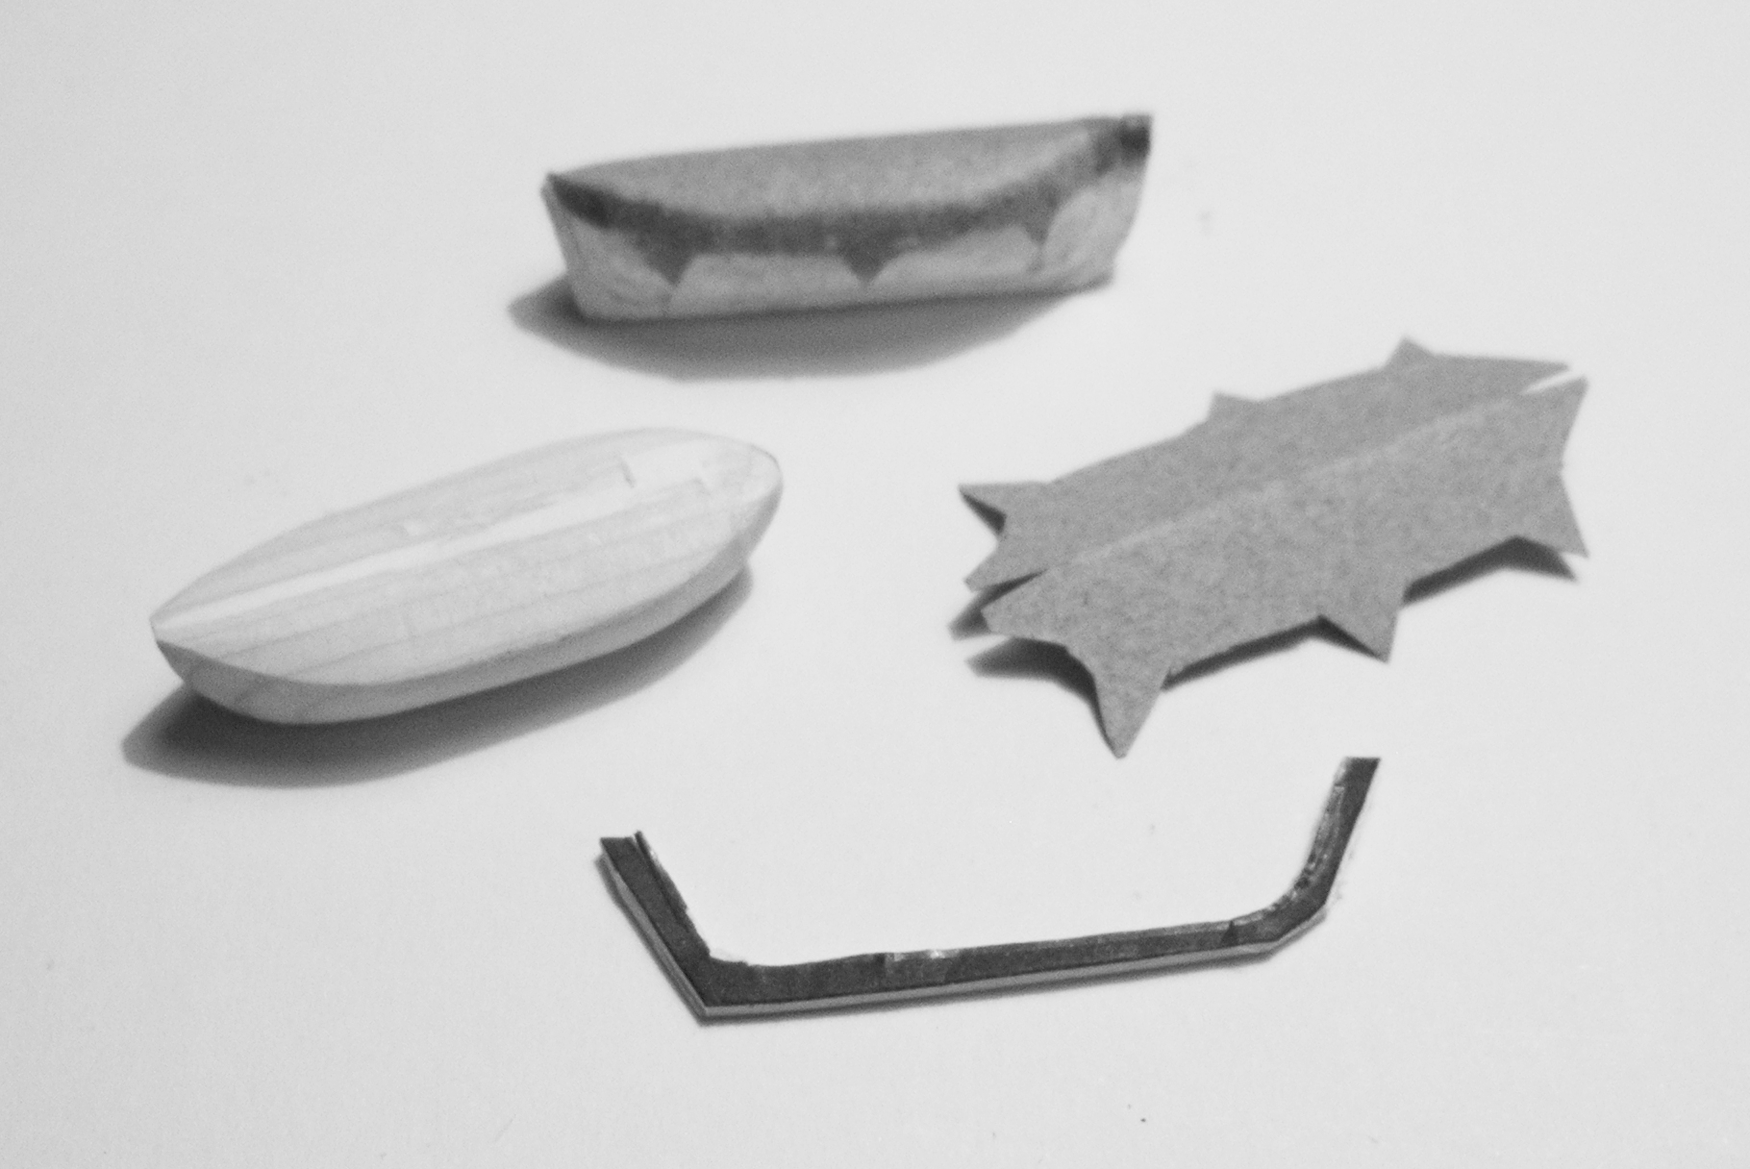
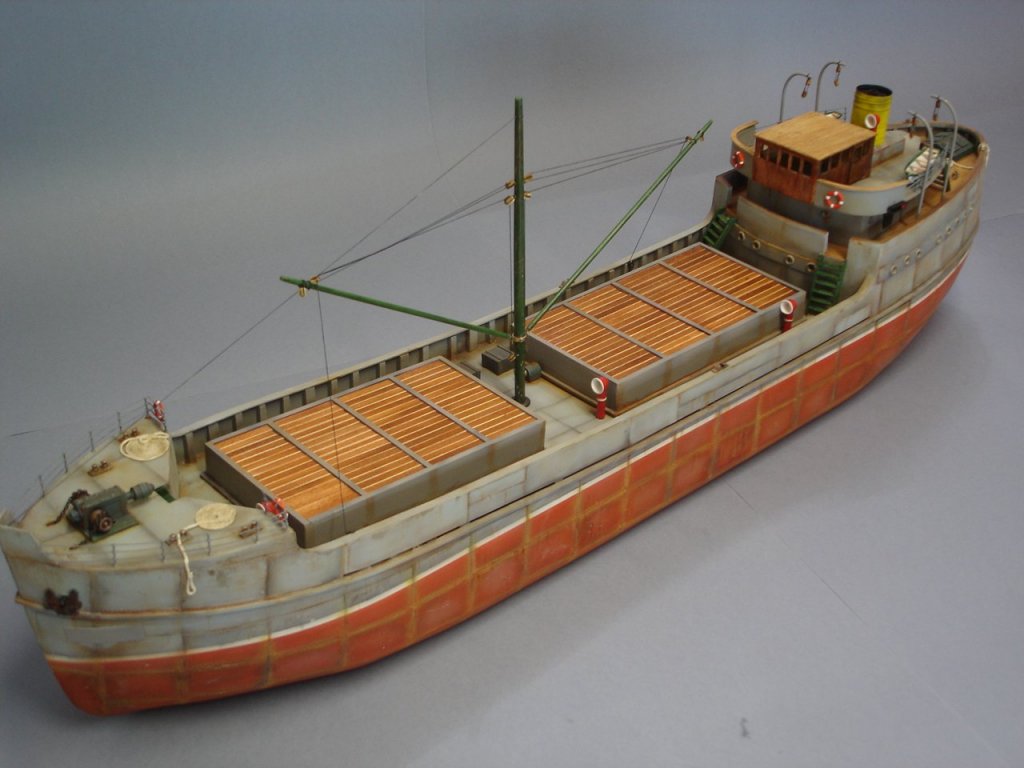
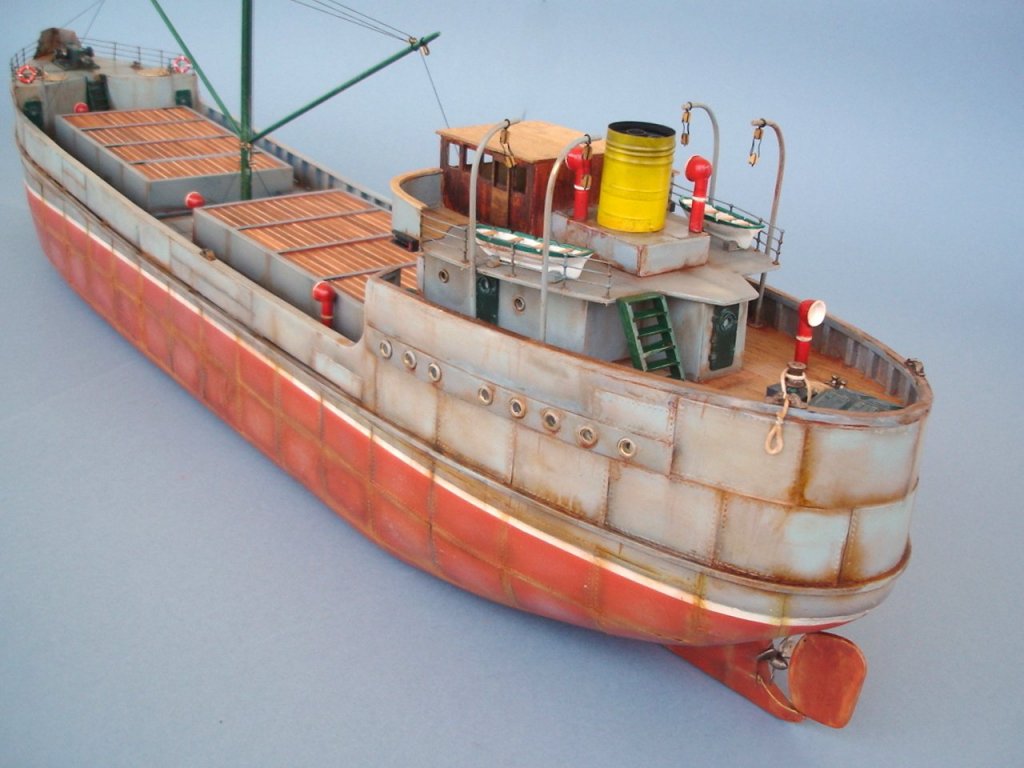
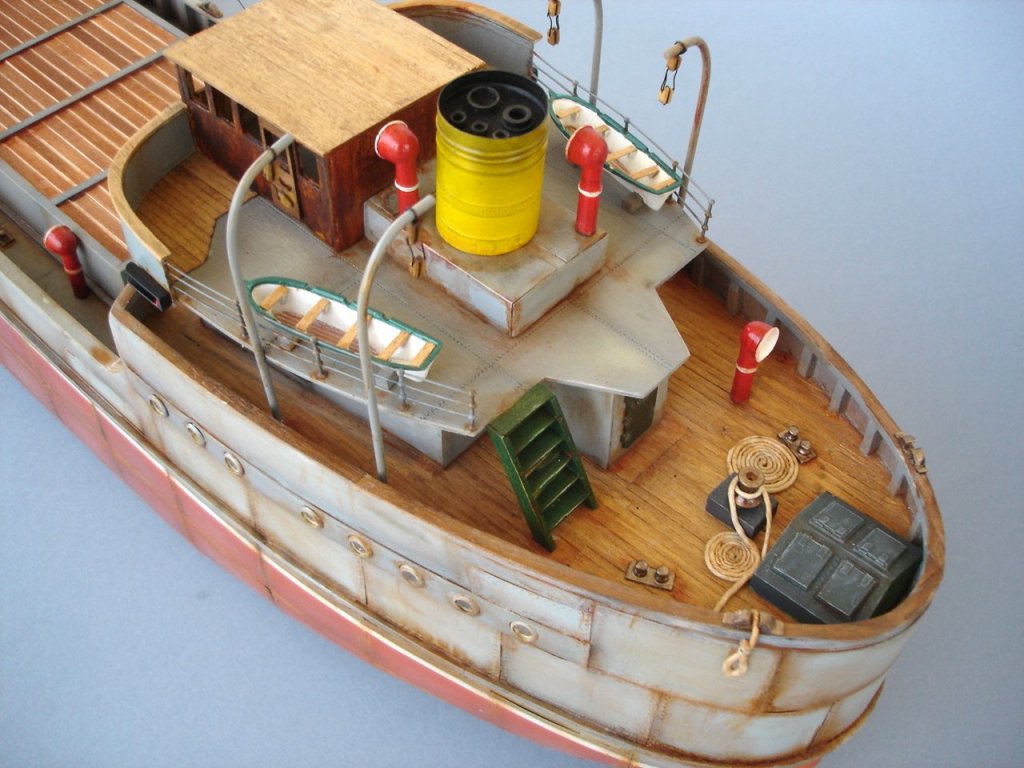
 Earlier this year I decided to build a model of the first ship I sailed in at the start of my sea career. “Fulani” was an ocean going general cargo vessel built at Cammel Laird’s, Birkenhead, England in 1929, so she was an old timer when I joined her at Tilbury Docks in 1957, first trip cadet. She was a five hatch vessel with number three hatch separating the bridge accommodation from the engineers’ and boat deck. Her funnel was tall and straight, she had a counter stern and her stem was only slightly raked. I had no drawings of the ship and all my efforts to track down info about her failed. All I had for reference was a faded photograph (above) taken by me from a taxiboat and a photo (below, sent me by an internet source) of the ship as she had been before she was sold and renamed “Fulani”. She had been built and launched as “Thurland Castle”. It’s a better picture than mine but there are differences. In 1950 there had been a fire in nos two and three holds that destroyed the bridge structure above, so the bridge house is different in each picture. In addition to the new bridge structure two extra derricks with winches were installed at the aft end of number 2 hatch. So using these two pictures and my somewhat hazy memory of her, I made a profile drawing and a deck plan. To get the size of structures and the distances between them as accurate as I reasonably could I made an enlarged copy of Thurland Castle on two sheets of A4 paper taped end to end and, stretching a string tightly across my work table I pegged the picture to it. Then, using a set square as a plumb, I dropped the perpendiculars from selected points along the main deck down to a white sheet laid flat on the table and beneath the picture. I used red marks for centreline points such as stembar, masts and funnel, and black for closest points such as corners of bridge house, boat deck and selected rail stanchions. Next I laid a metre long piece of one inch square offcut across the marks and, as near as I could judge, at the same angle as the ship had been to the camera lens. Lastly and as faithfully as I possibly could I transferred the marks to the wood. I believe that the measurements I got from those marks are as true as I could get to “Fulani’s” measurements when scaled up. This is to be a waterline model 85cms long and made from whatever I can find that is thought to be useless. Driftwood, old electric cable, bits of a garden fence, scraps of veneer from a badly scarred skateboard park, a wire coat hanger and a Vitamin C capsule tube. This last will become the funnel. My use of scrap materials and my rule of thumb measurements will make many of our members cringe, I know, because I can see what care and attention to detail and finish is brought to the making of so many breathtakingly beautiful models in the Gallery. But I see myself as a modeller in the tradition of the sailing ship men who put ships in bottles, producing something fine from things that were finished with. I hope that what I finish with will be thought fine as well. I have started on the hull using two planks from a garden fence, now replaced by a wall, and a piece of wood that was coloured pink and mint green and must surely have come from an ice cream parlour. They’re the right length and width and, planed and roughly shaped their combined thicknesses will, when glued flat-on-flat, give me the block from which Fulani’s hull will emerge. Since my last log entry I have followed Oystein’s tip and found several pictures of Fulani including one taken from a position directly abeam as she sailed past This, enlarged, has enabled me to take more accurate measurements than my frugal “stick at an angle” method gave me and showed that I had the funnel a little further aft than it should be, I had made the foredeck sheer too steep and. I had too much rake on the stem. But most welcome was the clear view of the undercut counter stern. It’s in deep shadow in the other pictures and I was hopelessly out in my drawing of that. I now have a new profile drawing to work from. The changes have meant that my sandwich of three boards has had to be altered somewhat. I am still shaping the hull on the port side, the plan being to get that side right first and then make profiles at regular stations along the hull. These I will use to match the starboard side accurately to the port side. Meanwhile I have made two of the four lifeboats. I’m quite pleased with them (and with myself) because I didn’t find it easy to make a 4cm long copy of a 28 foot boat and make it look convincing. I found the wood lying in the rocks on the shore. It had been in the sea for some time, and so seemed the right piece of my scrap collection to use for lifeboats. I found the best way to shape the hull was to clamp the wood in a vice, edge up, and cut downwards to the 6mm depth that the miniature should be, a cut at each end of the boat with a fine saw blade. Then it was easy enough to cut away the curved shape of the hull and sand it smooth. (Fulani’s boats were clinker construction but these boats will have to be carvel as my skills are limited.) Once I was satisfied with the hull shape I sliced it off the piece of flotsam and made the downward arcs of the gunnels at each side while keeping the centreline between stem and sternposts intact and parallel to the keel, this so that the boat’s cover would assume the right shape. Next I cut from thick card the keel and end posts, all in one piece so that the whole could be glued to the hull. Finally I made from artist’s grey coloured pastel paper a boat cover to fit. With the boat painted white and the cover glued on, I am pleased with the result and feel confident now that I will manage to tackle other tricky miniatures such as ventilator cowls, DB tank air pipes, anchors, a ship’s bell. I've done two lifeboats and have made davits. For these I used a wire coat hanger. The wire is thick enough to seem right for Fulani's boat davits and shaped and painted are, I believe, convincingly to scale. The wood the davits are arranged on is the piece that spawned the two lifeboats. My next step, while continuing to shape the hull, is to build the structure that is the engineer's and PO's accommodation with the boat deck over. This is when the skate board roller rink scraps come into use. Nothing but the worst on this build.