Search the Community
Showing results for tags 'dinghy'.
Found 9 results
-
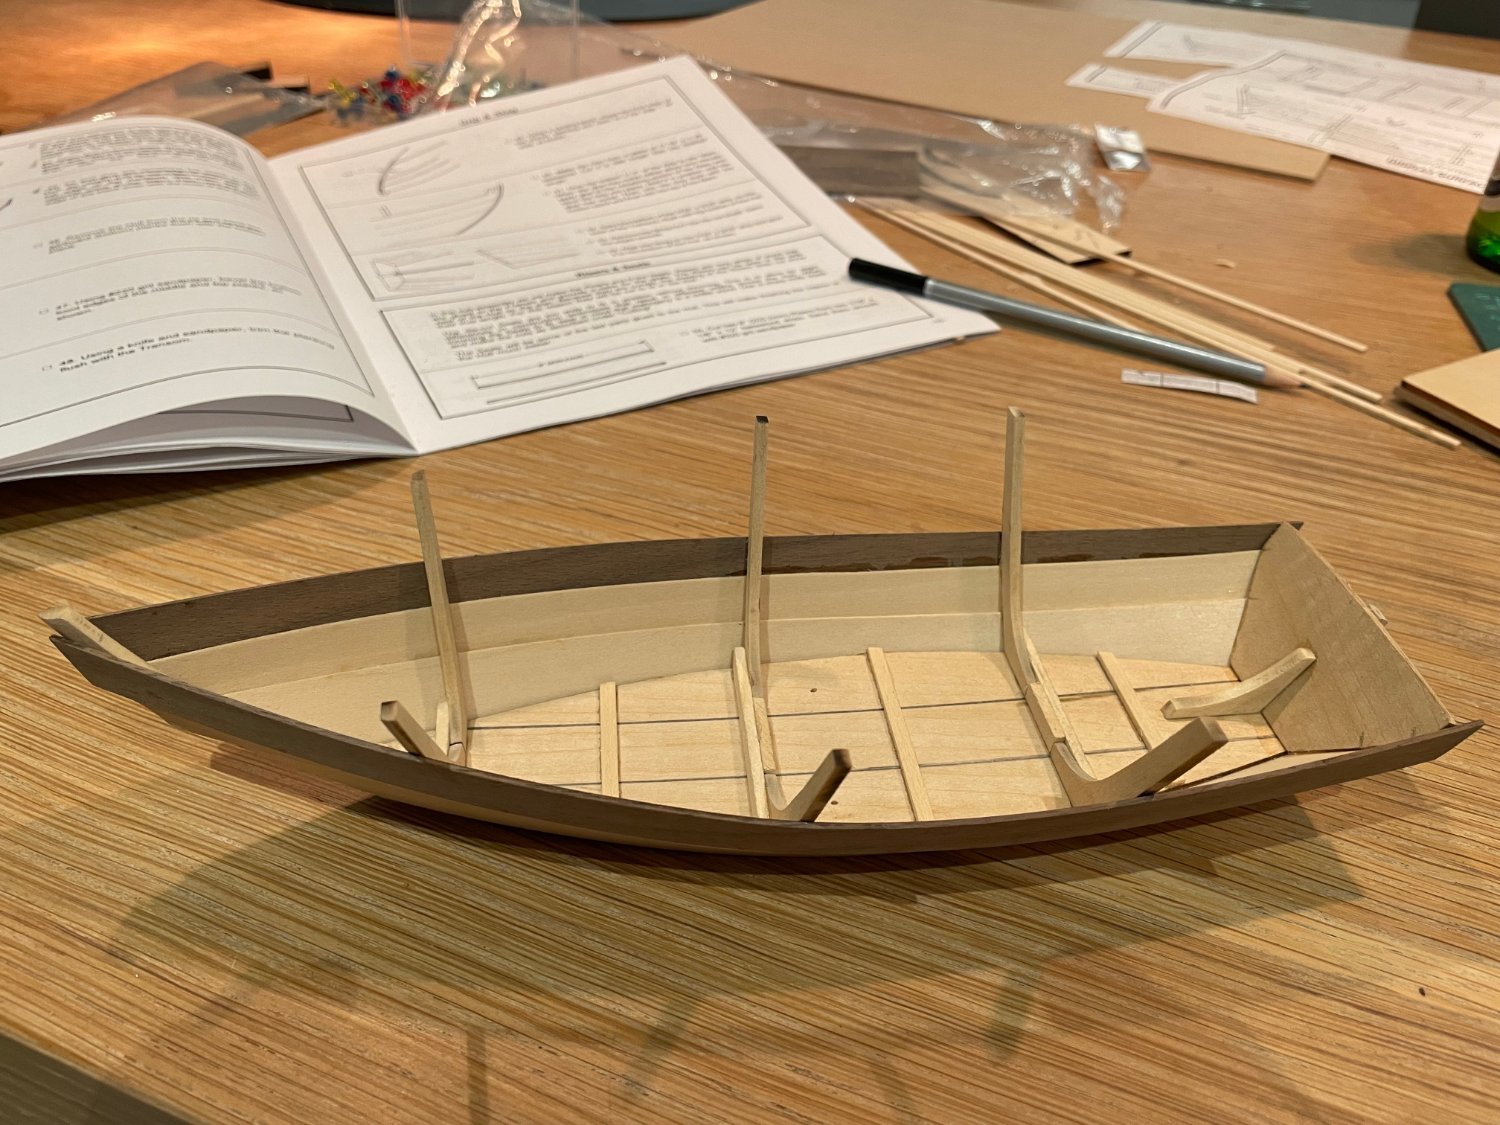
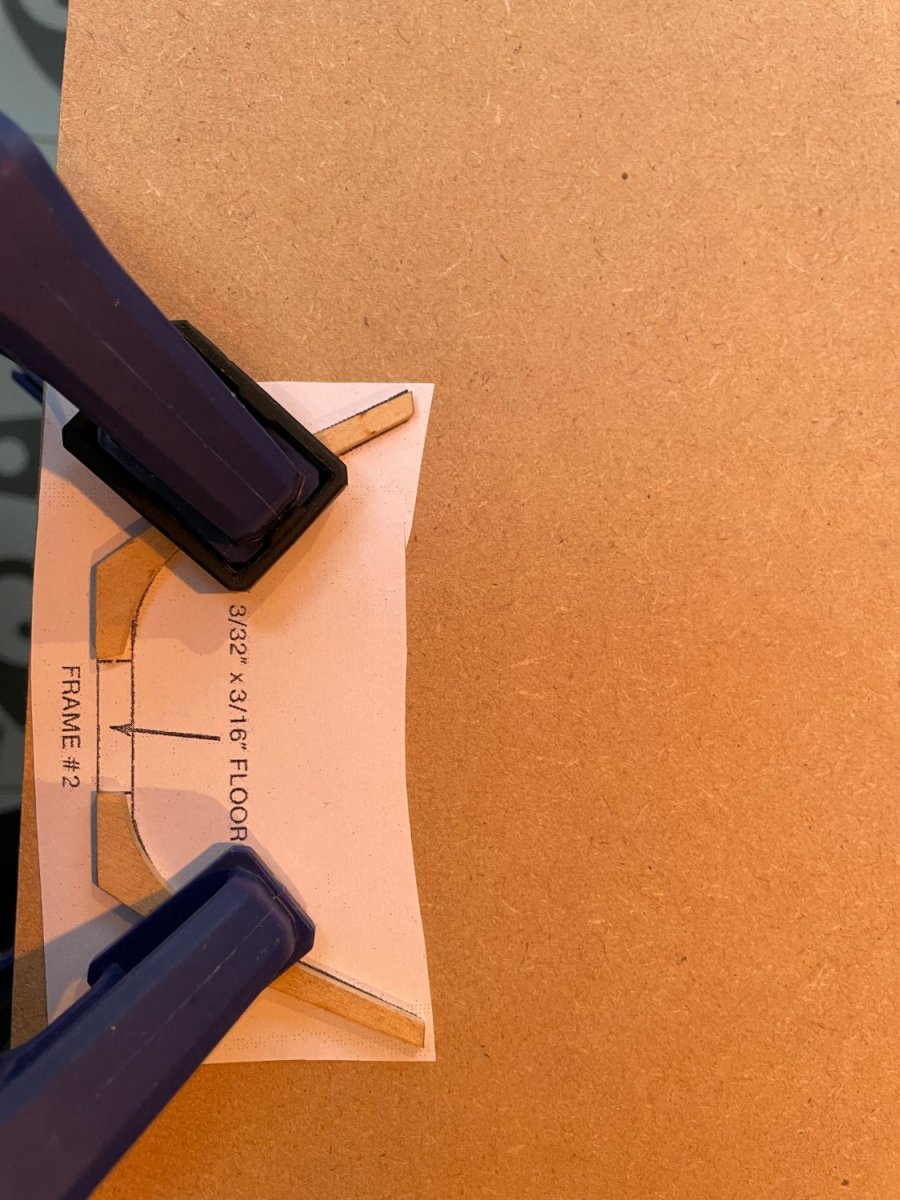
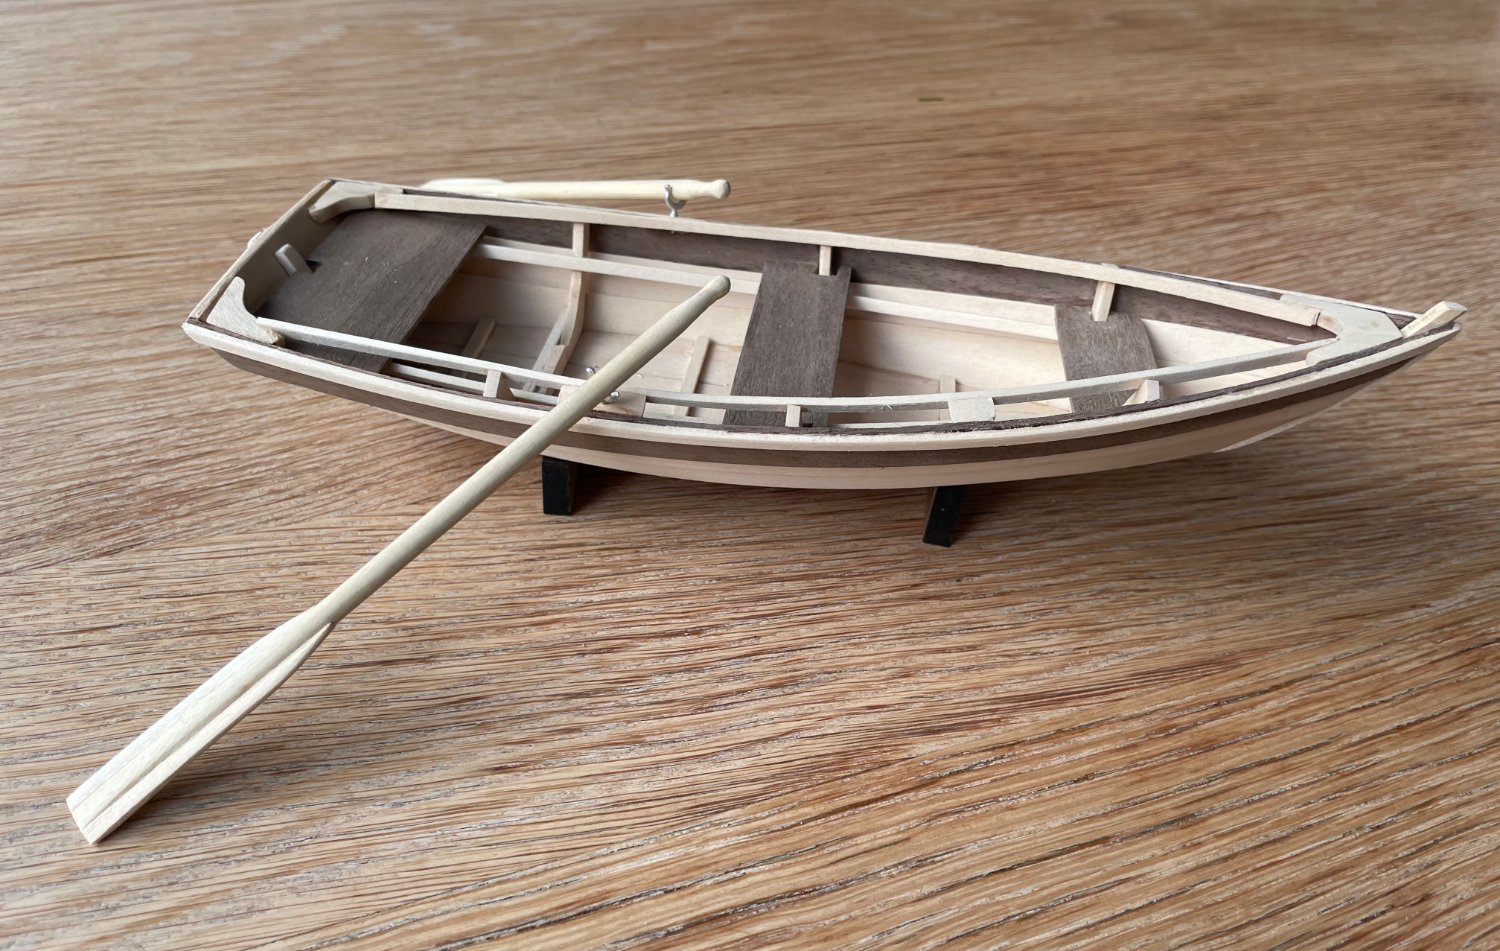
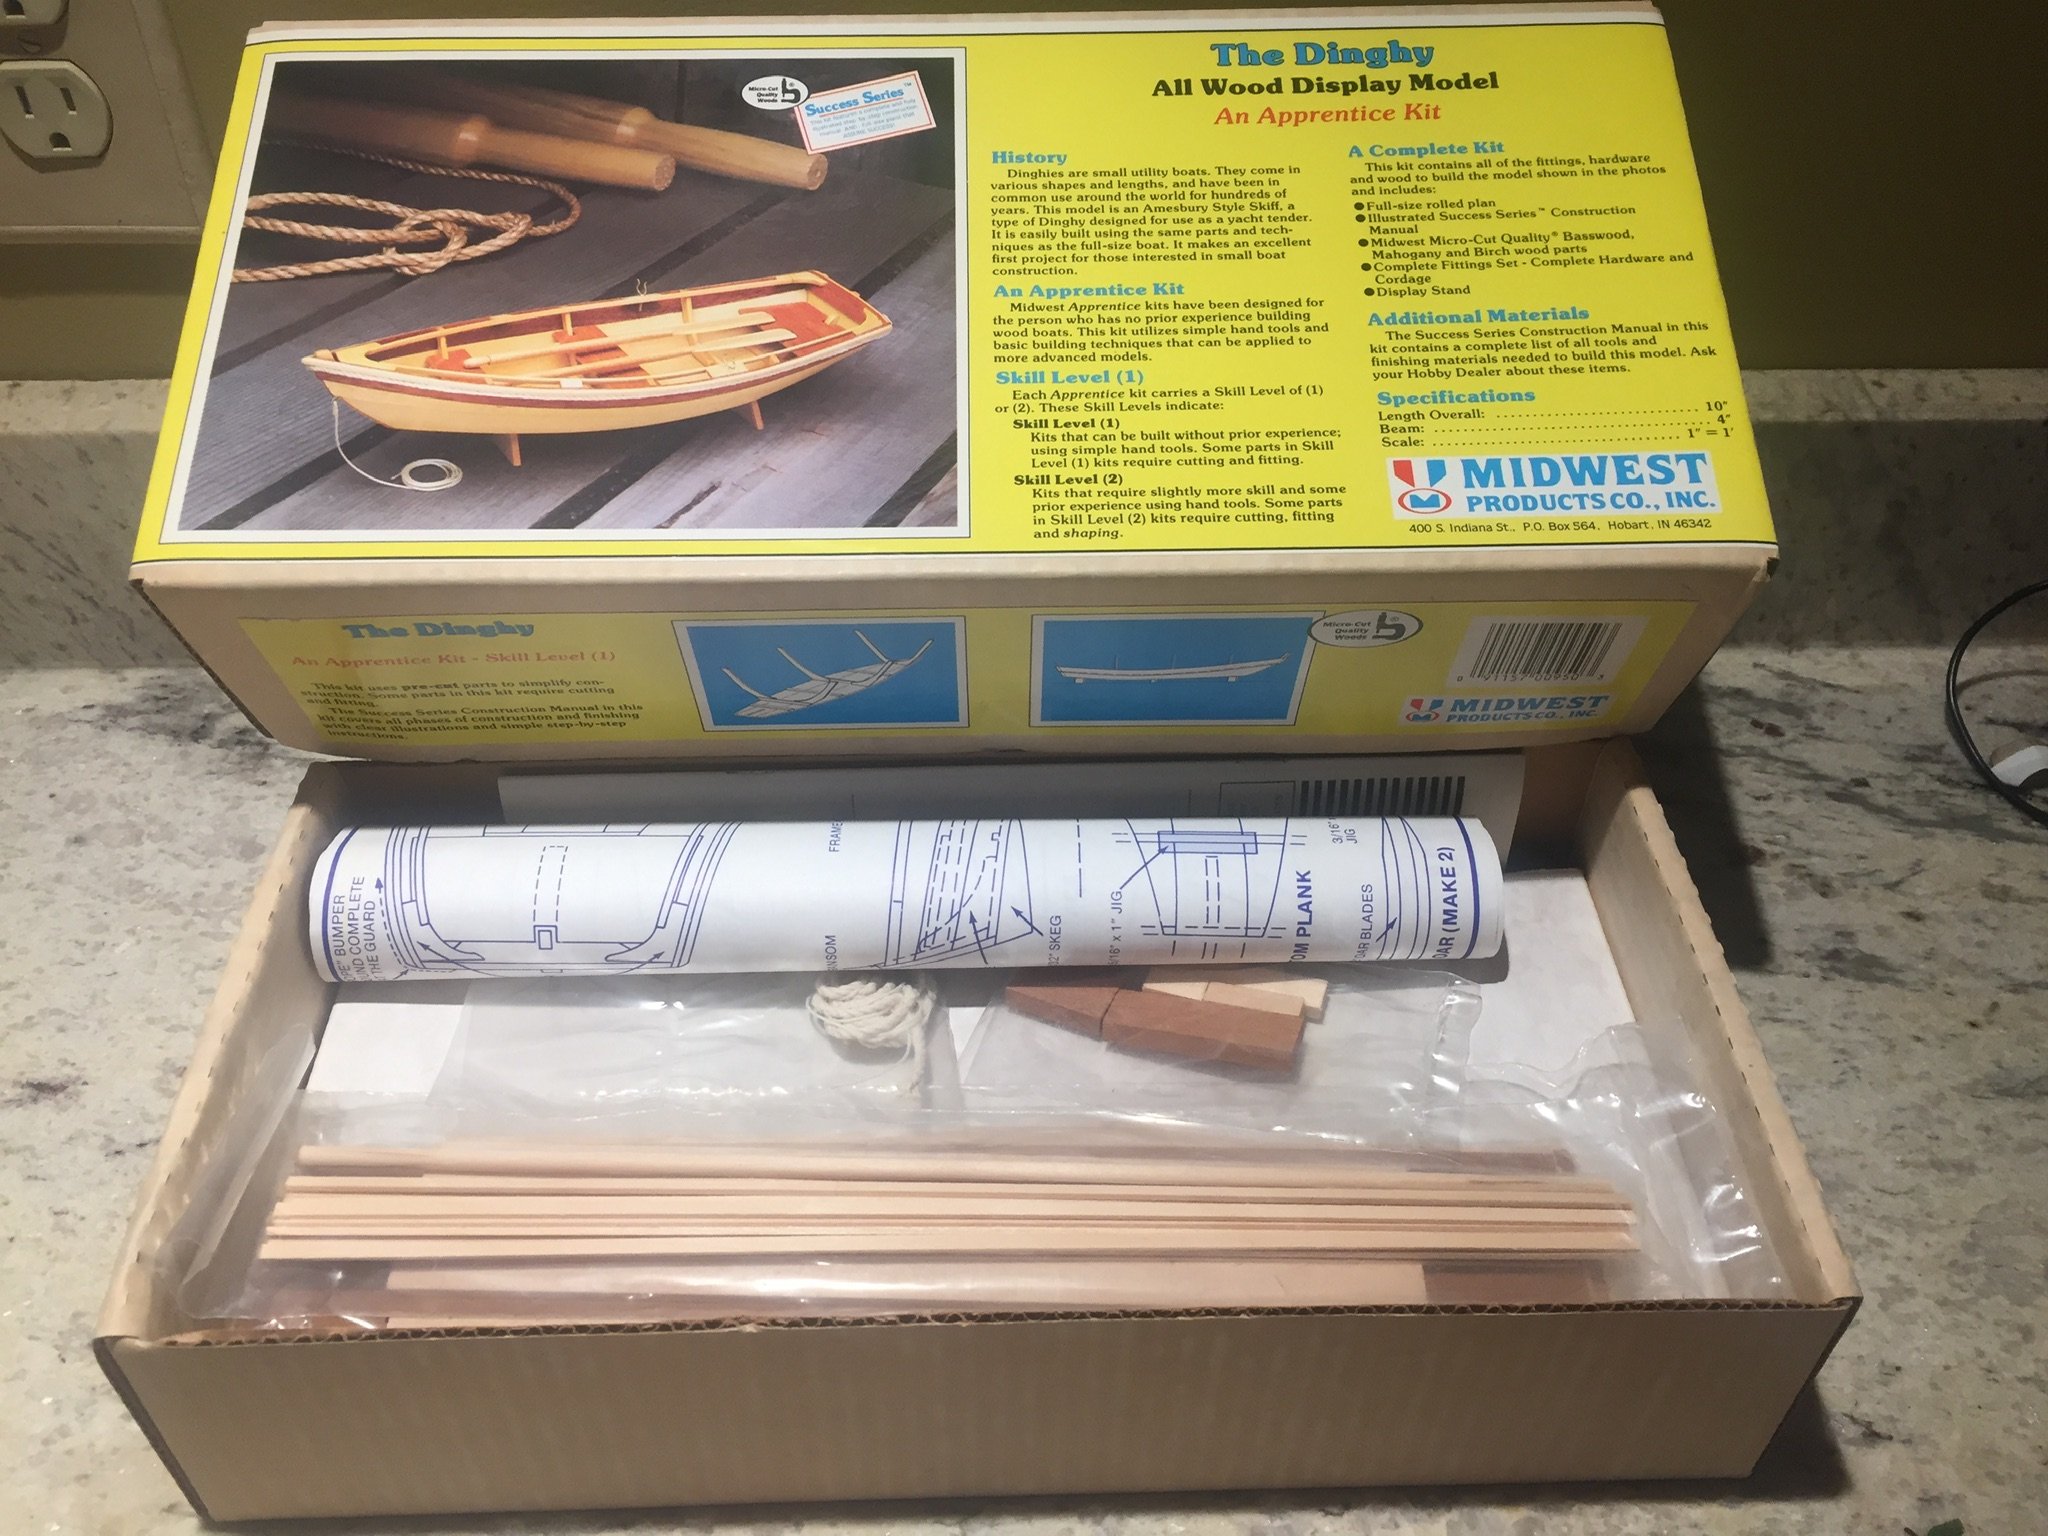
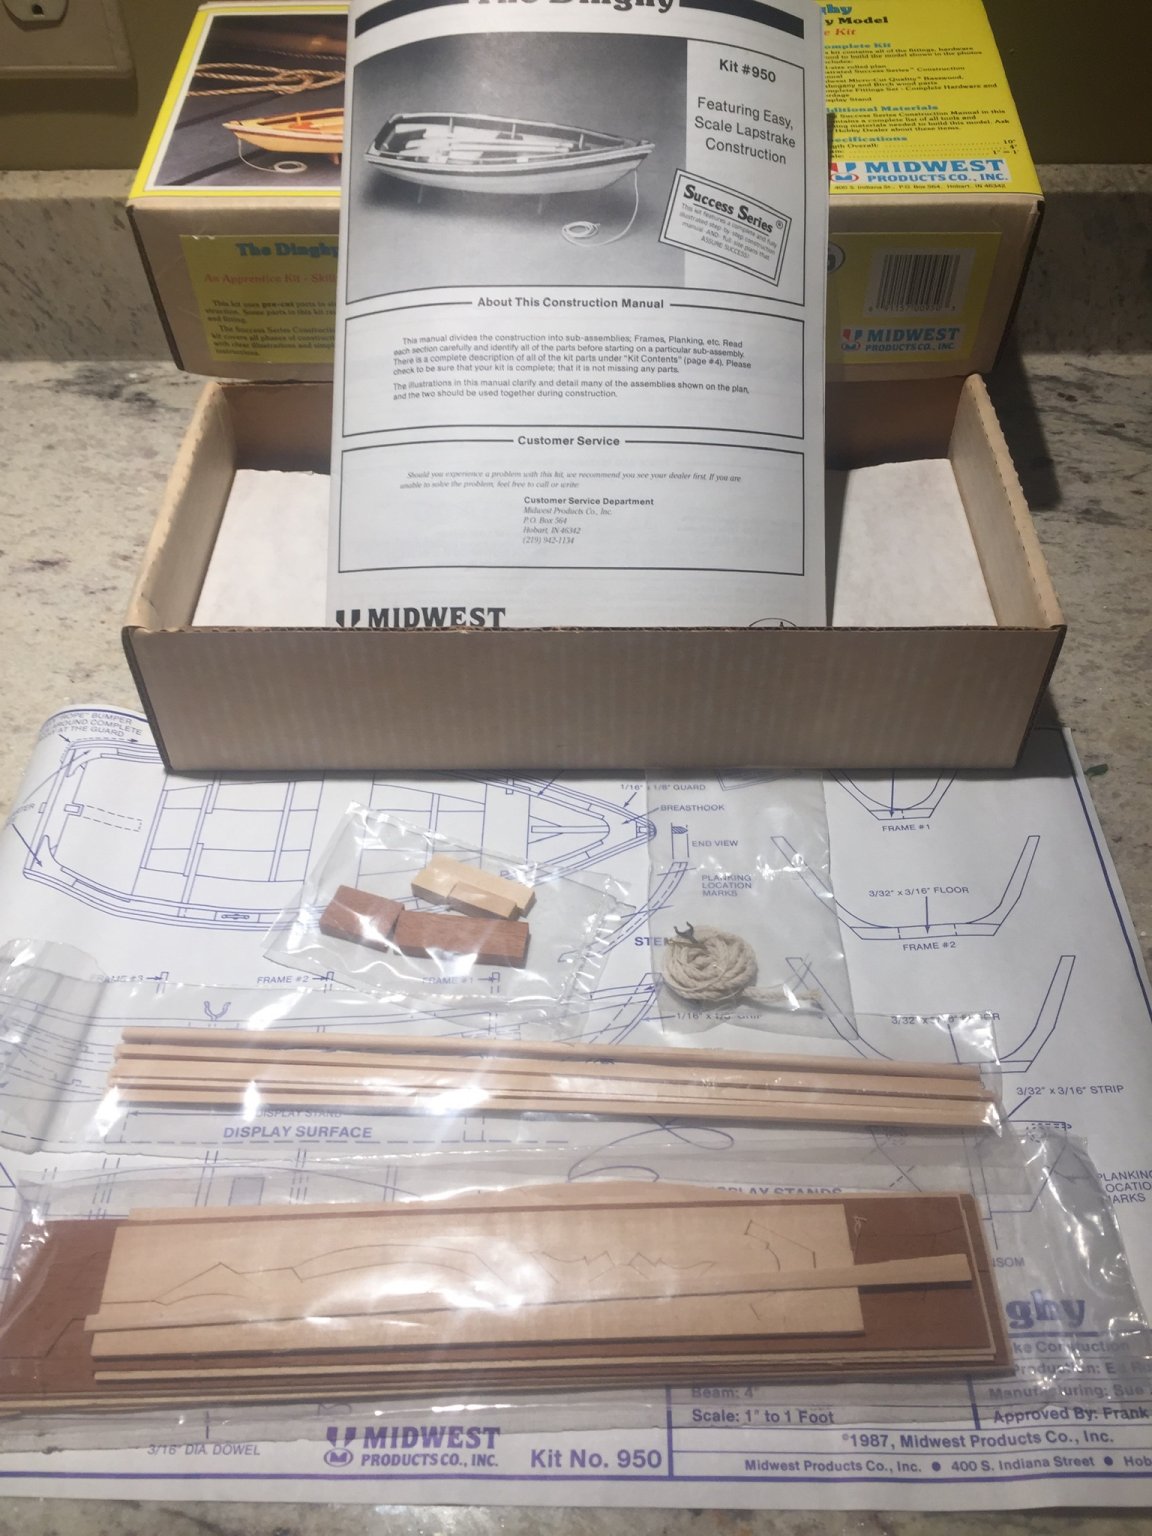
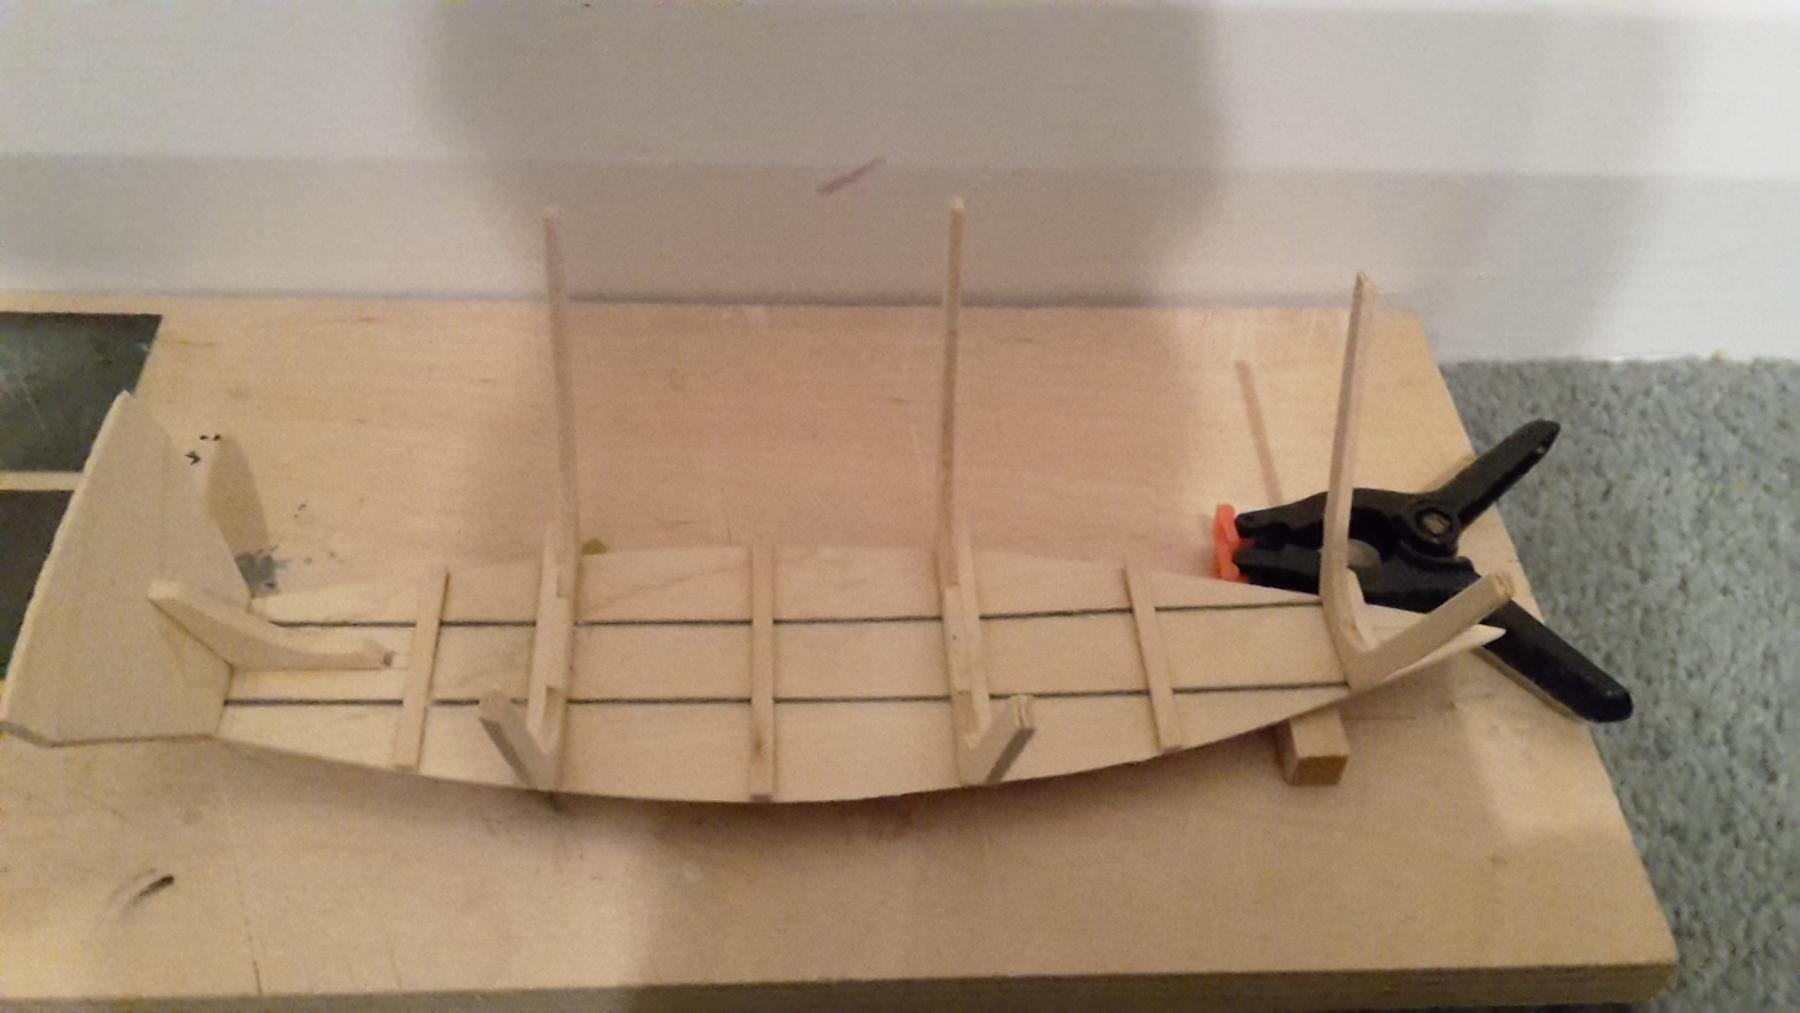
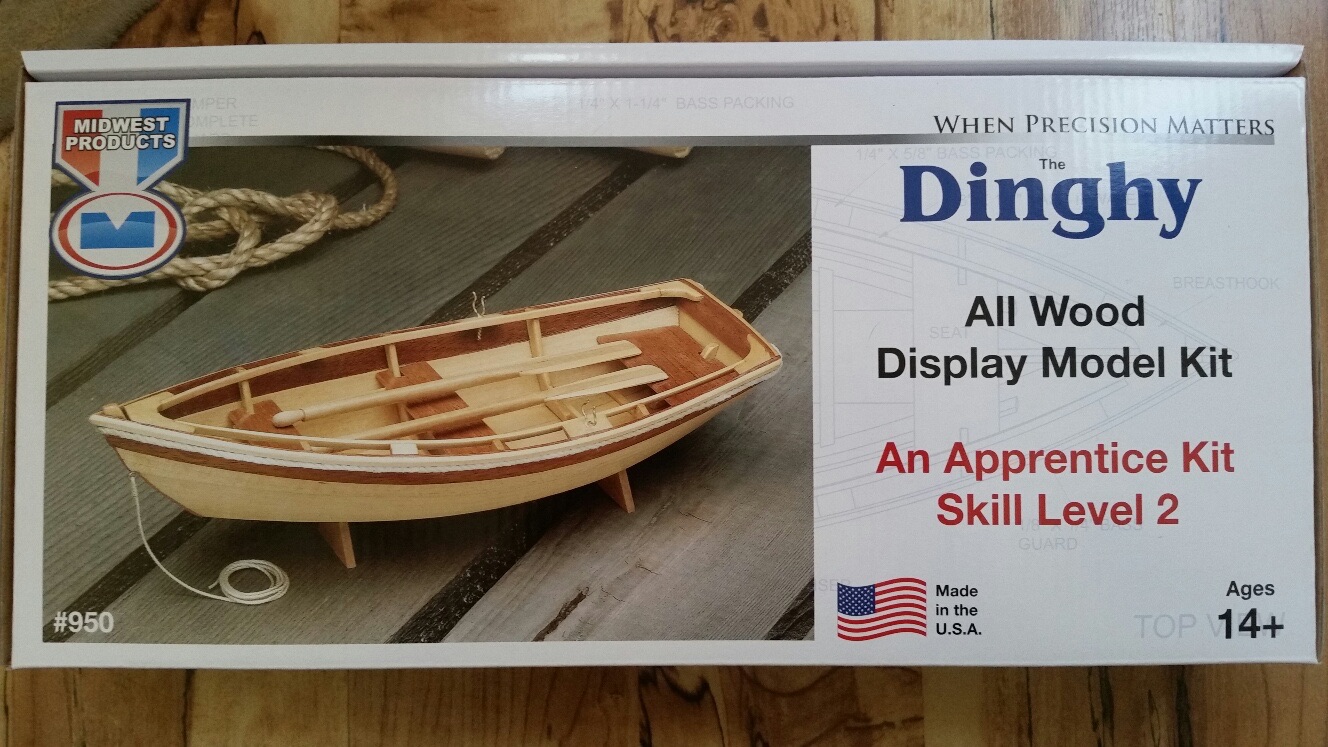
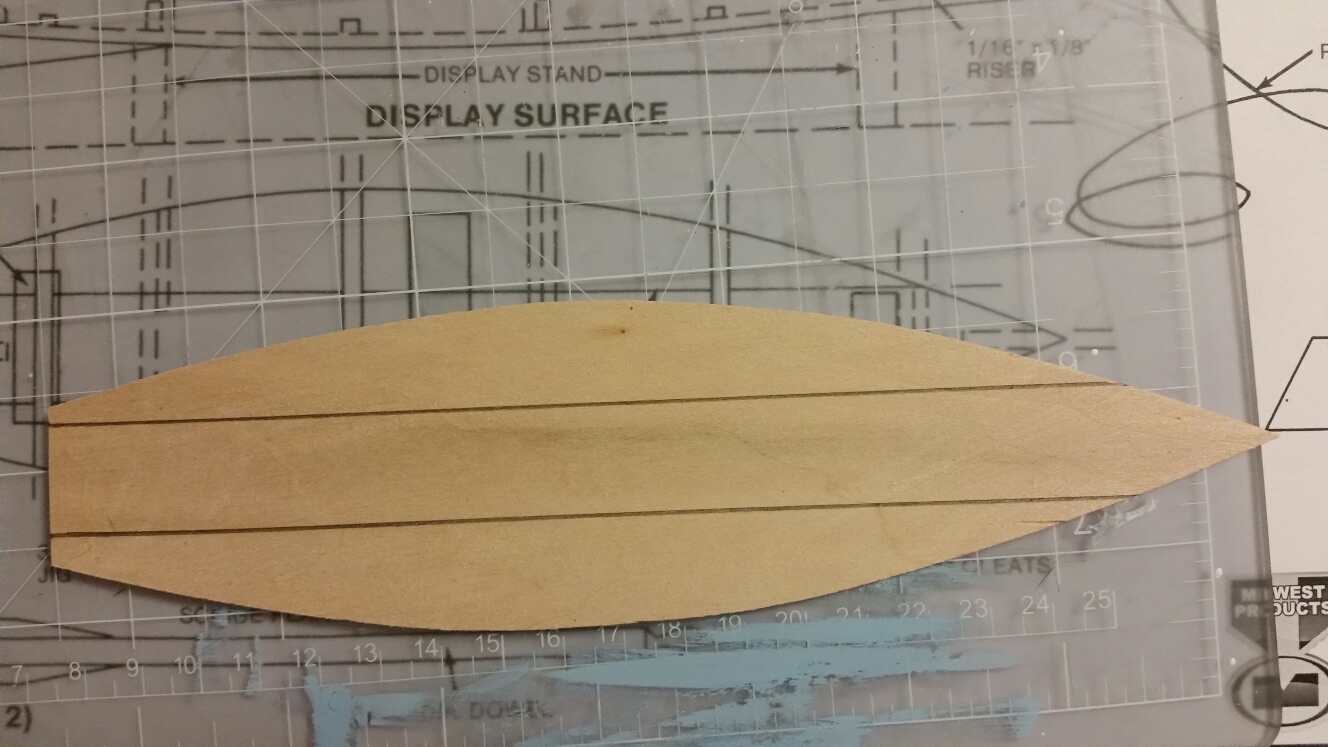
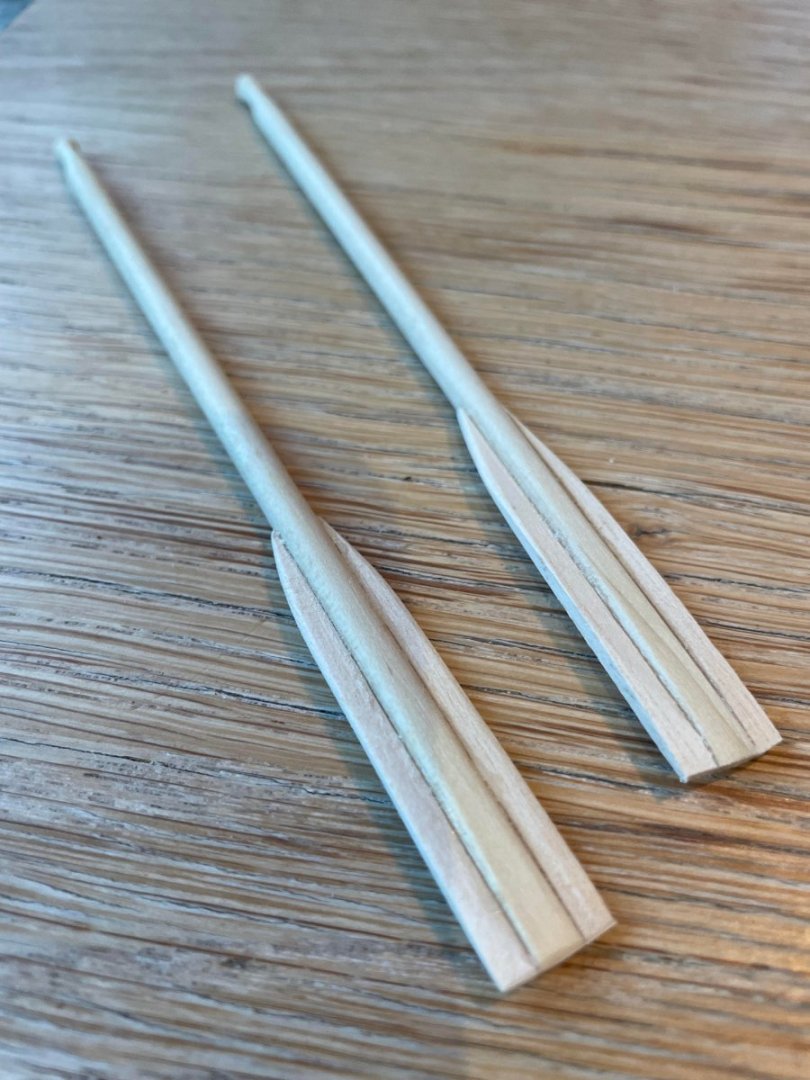
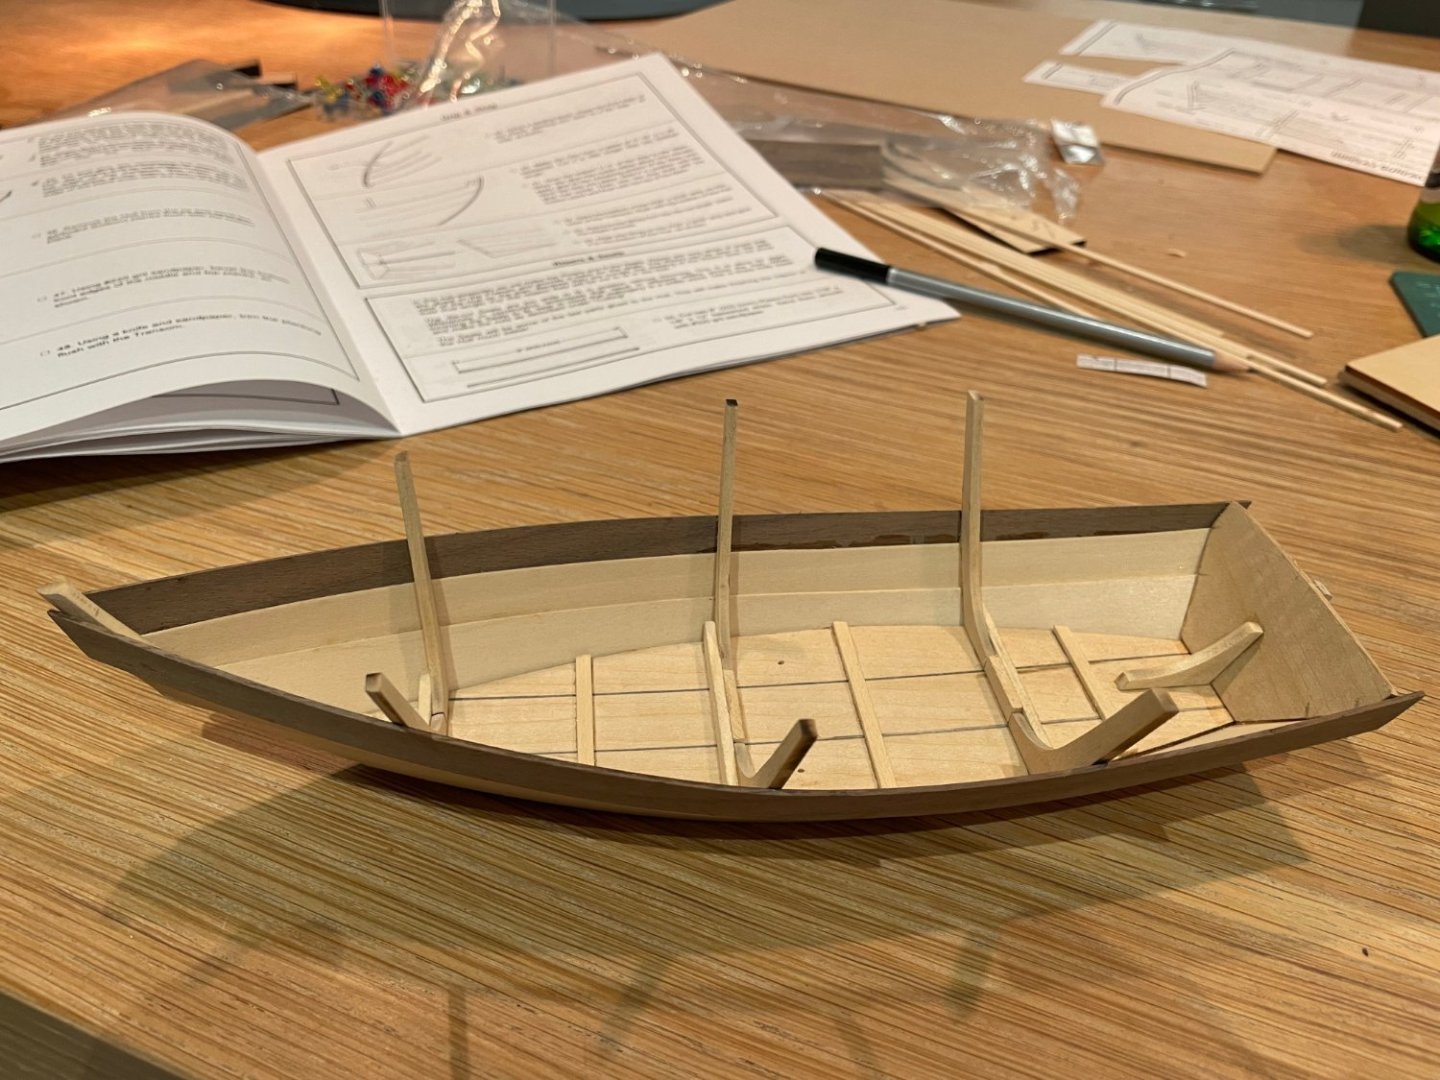
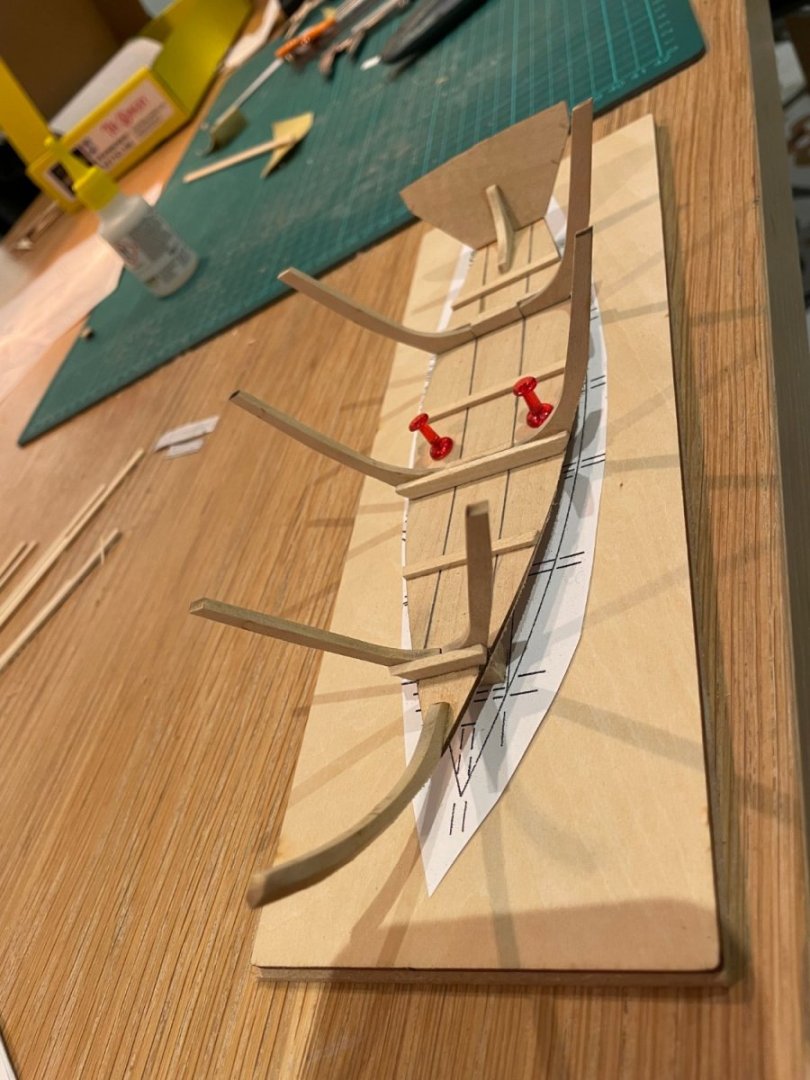
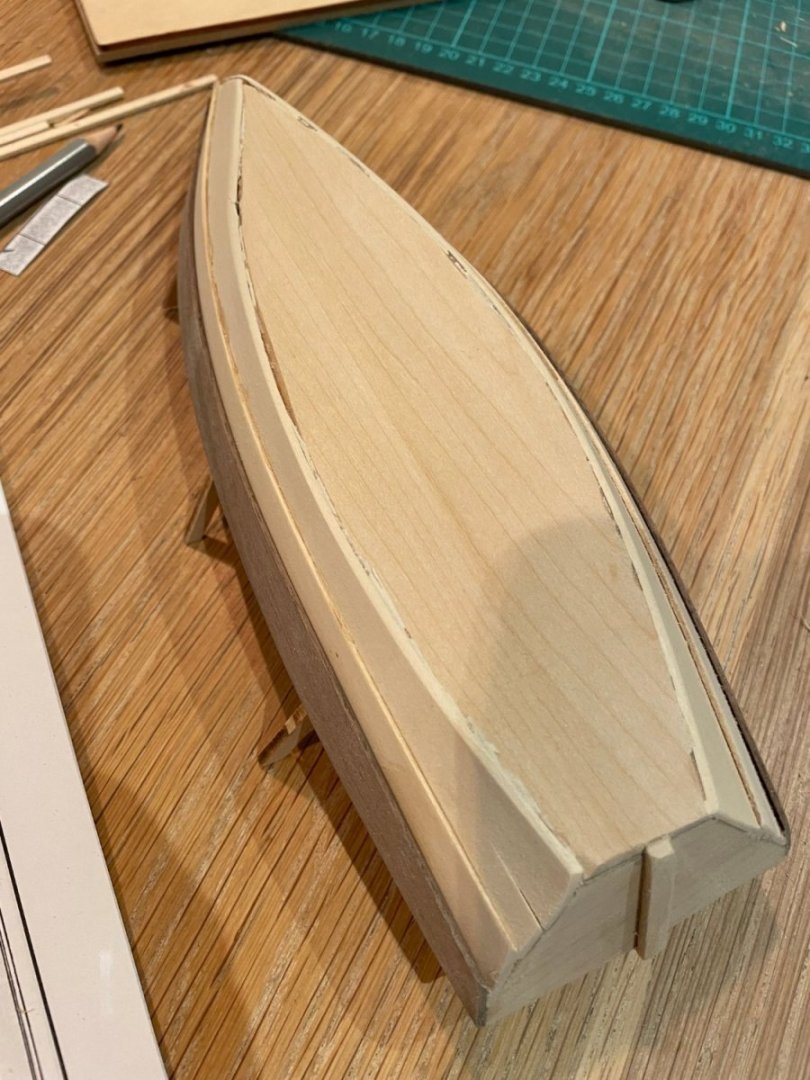
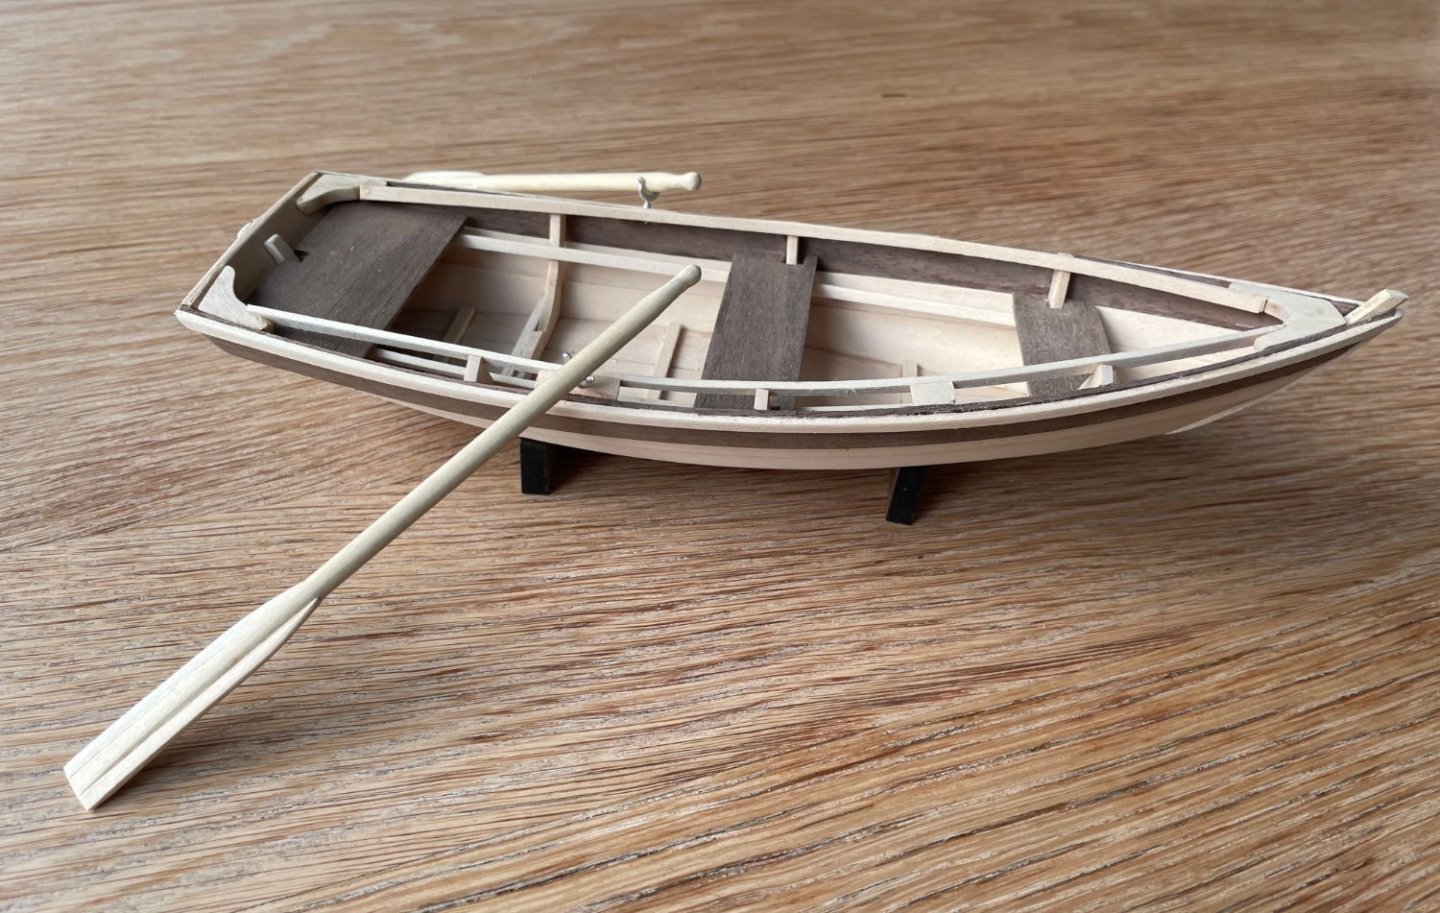
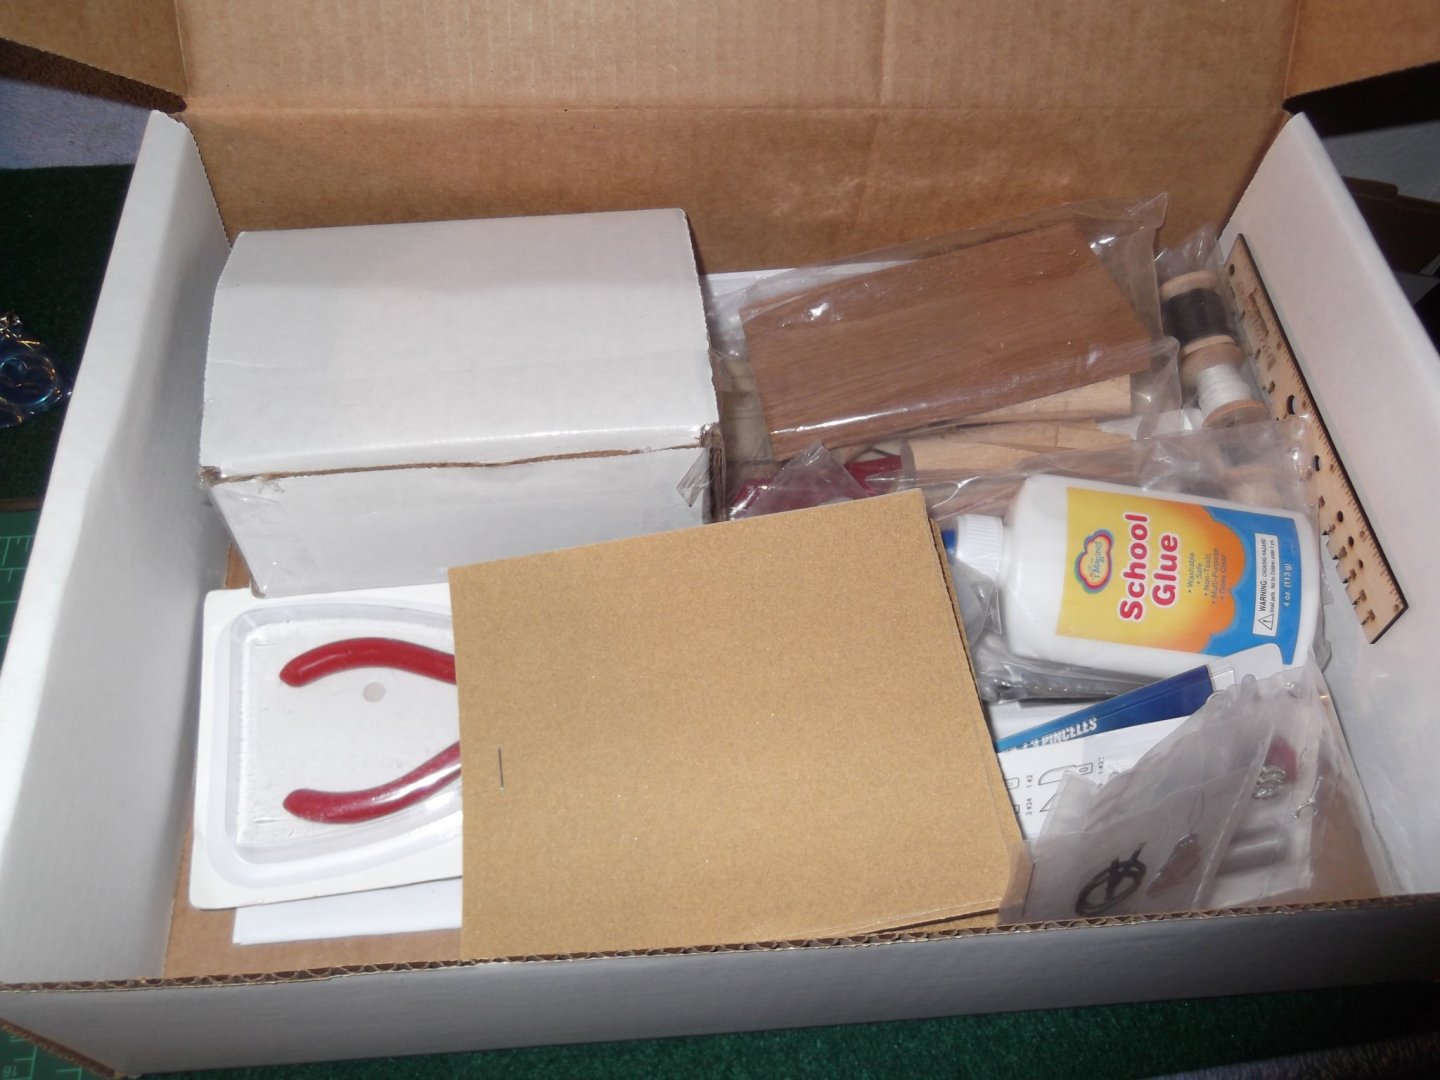
 As a new member and a newbie to wooden model ship building, I thought this very short build log of a very simple model, Midwest’s Dinghy, could also serve as a means to introduce myself to the community. And, who knows, the build log itself might be useful for another newbie planning this same model. As my username suggest, I am Dutch but I actually live in the UK, in London to be more precise. When I say I am a newbie to wooden models I am lying, albeit it very slightly. I did actually build one wooden model before, when I was a kid, and started another one, which I never finished, in my twenties. Both builds are many decades ago now though, and I hardly remember anything about them, so I definitely feel like a complete novice. I do remember that the model I built as a kid was a solid-hull model of the Bounty, and that I very, very, severely simplified the rigging because I lacked the patience to do it right at that age. The model I built in my twenties was a plank on frame model, but I don’t remember the ship or the kit manufacturer. I did complete the double-planked hull on it, and it actually looked okay, but I was working 60-70 hour weeks at the time, and never got round to the rigging. I moved home many times since, and somewhere along the way, the incomplete model got lost. So, not a great start to this hobby… However, I have much more spare time now, and I have decided to give it another go. To nullify the chance of failing at the rigging stage once more, I chose a beginner model that does not have any rigging – a rowing boat. Smart, is it not? Or simply cowardly, that is for you to decide… The model I chose is a classic: Midwest’s Product Dinghy, now produced and sold by Model Shipways. It is a very simple little boat, but it does have a plank on frame construction, so it does provide a first opportunity to get acquainted with this daunting-for-a-beginner aspect of model ship building. I completed the model in a ten-hour day, so this is not a proper build log, as the actual build was completed before I could even start the log. Still, as I wrote above, perhaps it can be of use to another beginner contemplating the same model, who knows. I myself read several build logs of this model on this forum, and they were very helpful. Thank you, Voyageur, Duanelaker, MaryO, and burgoofj for your clear and instructive building logs! These are the contents of the box (photo below). The planks for the hull are pre-formed, which was one of the reasons I selected this kit, since I am interested in the ‘plank spilling technique’ that I have seen discussed on this forum. In this case, the spilling has already been done for me, making things easy. The instructions consist of text and black-and-white drawings, and they were very clear and easy to follow. They did not mention that one should remove the black burns on the sides of the laser-cut parts though, to ensure that glue/dyes/lacquer can get proper purchase on them, but I had read about that in other builds on this forum, so I knew that I needed to do that. All of the parts were straight, and could be used as is. I have nothing to compare the kit to, but I was quite happy with its quality. For some parts of the build, the instructions ask you to pin the wooden parts to cut-out parts of the plans. I wanted to keep the plans intact for future reference, so copied them beforehand, and used those copies instead. This photo (below) gives an example, in which two halves of a bulkhead are supposed to be affixed to the plans, and subsequently connected with a small wooden section; rather than the suggested pushpins, I used clamps. The instructions tell you to use a pencil to draw two parallel lines on the dinghy bottom, to suggest it consisting of three planks. I did not find the result very convincing, and near the end of the build, decided to largely rub out the pencil mark and replace them by a straight scratch/scribe in the wood. The dinghy bottom is curved, which is achieved by putting it on top of three blocks of different heights, and then affixing it to middle one with pushpins. The manual says you should soften the underside with alcohol first, but I did not do that, and it turned out fine. The two pushpins do leave two holes in the bottom which, despite ending up below a seat, are visible from certain angles in the completed build, so in hindsight I would probably rather have clamped the bottom rather than pin it. But the holes are not very conspicuous. In this photo (below), I have put on the first planks. Since they are pre-spilled, they go on effortlessly. As the manual recommended, I used CA glue (super glue) throughout this build, so I did not require any clamps to keep the planks in place. I used a high-viscosity CA glue, with a set time of 30 seconds, as I have seen recommended on this forum. This worked well, but despite the glue not being at all runny, I did manage to leave some visible traces on the inside of the boat, mainly where I had to move planks up and down during the fitting process. I was largely able to remove these later, by simply sanding them off, but careful inspection would still show up some glue blemishes in the completed model. In hindsight, I should perhaps simply have used PVA instead. The CA did make for a quick build, but even the high viscosity, relatively slow-setting variant I used clearly introduces the risk of staining the wood. A lesson learnt. In the photo below all planks are on (yes, I know, ‘all’ is only three on each side, but I had to start somewhere), and the pushpins have been taken out. The dinghy bottom kept its form nicely. When removing the side-plank overhang from the dinghy bottom, I used a knife, as suggested by the instructions. That was a mistake, as the knife ripped some to the planks, even though it was sharp, resulting in some gaps between side planks and bottom. I filled these with a mixture of wood glue and saw dust, and they are not problematic because they are at the bottom of the boat and not visible, but in hindsight I should have just sanded rather than cut the side planks down. These are the oars I made. I found the instructions unclear about how to ensure that the decorative (?) rounded ends were similar, and the oars ended up a bit uneven as a result, but the bottom of the oars, the bit with the blades, looked alright, so I am focusing on that in this photo. And, finally, this is the completed dinghy (photo below). I made the mistake of installing the inwales to high at the back, and could not move them down because I had used CA glue (again, will switch to PVA in next build), so the back seat is positioned too high. But overall, I am quite happy with the result. I can recommend this boat to other novices. It is simple, looks quite nice, and can be finished in a single day, if pushed, so you get a quick return on time invested. I know that that is not particularly important, since this a hobby, not a job, but it is much better than biting off too much, getting frustrated along the way, and never finishing a build, which is what happened to me in my more youthful exploits in model shipbuilding. I really enjoyed building this little boat, and it has given me the confidence to take a slightly more ambitious model for my next build. I am awaiting delivery of the NRG half hull planking tutorial kit, and have also already purchased a kit on which I want to apply the lessons that I will undoubtedly learn in that tutorial, namely Artisania Latina’s Bounty Jolly Boat. Will start new build logs for these two projects once I have started them. Thank you for reading and greetings from London, Seb.
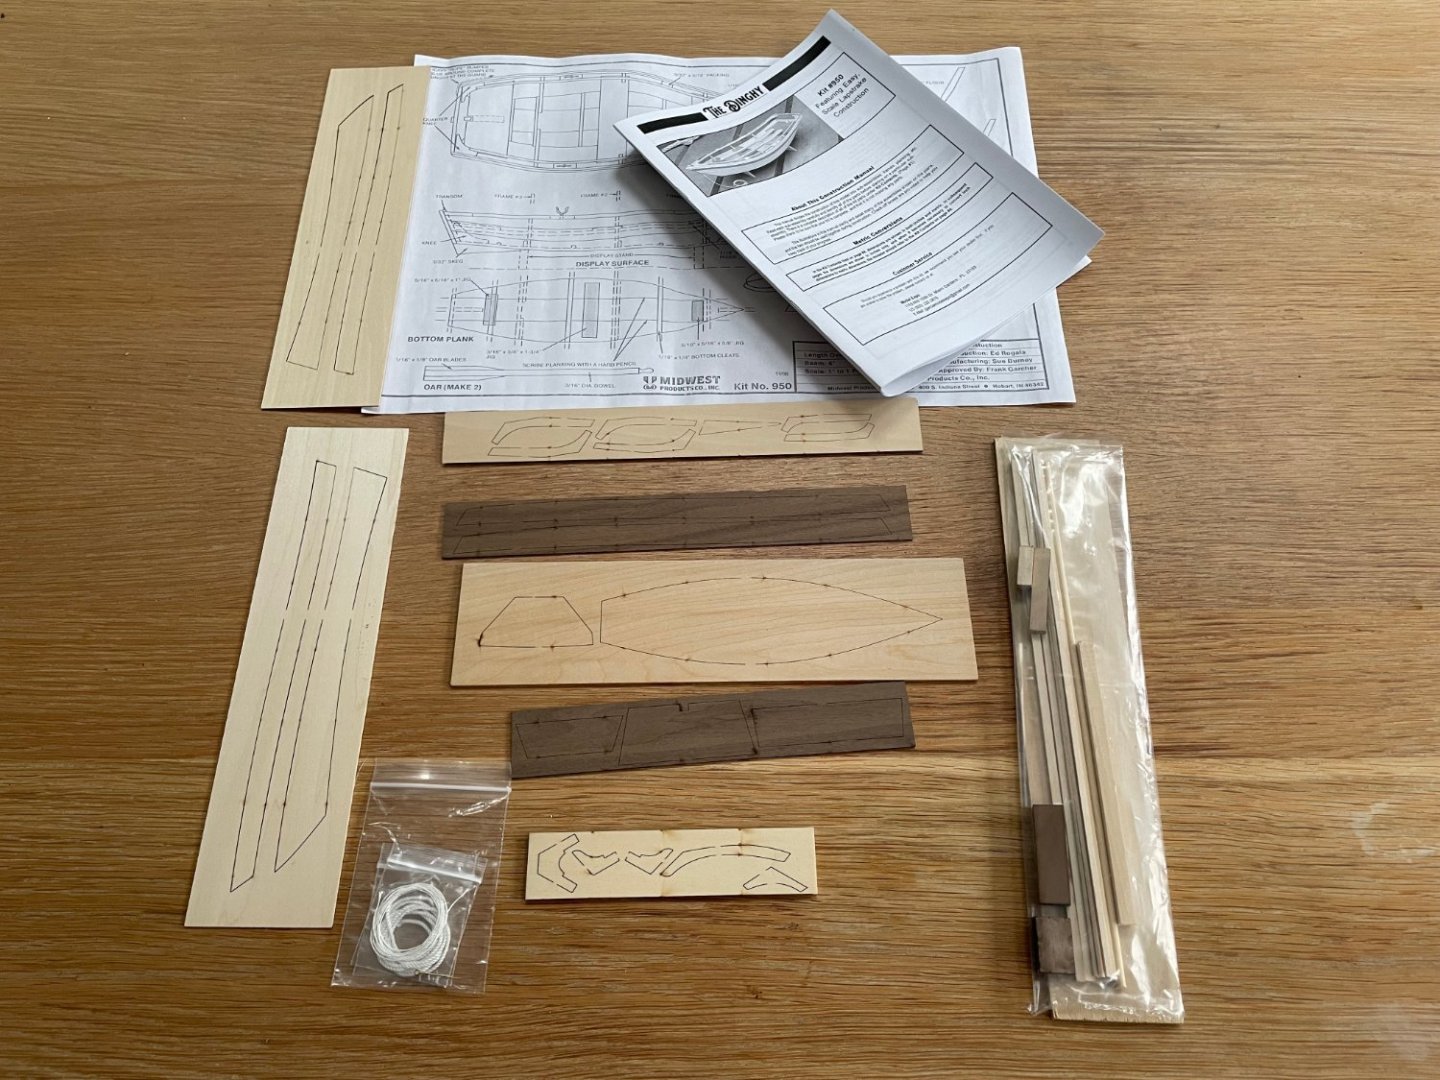

- 8 replies
-
- 5
-

-

-
- Dinghy
- Midwest Products
- (and 1 more)
-
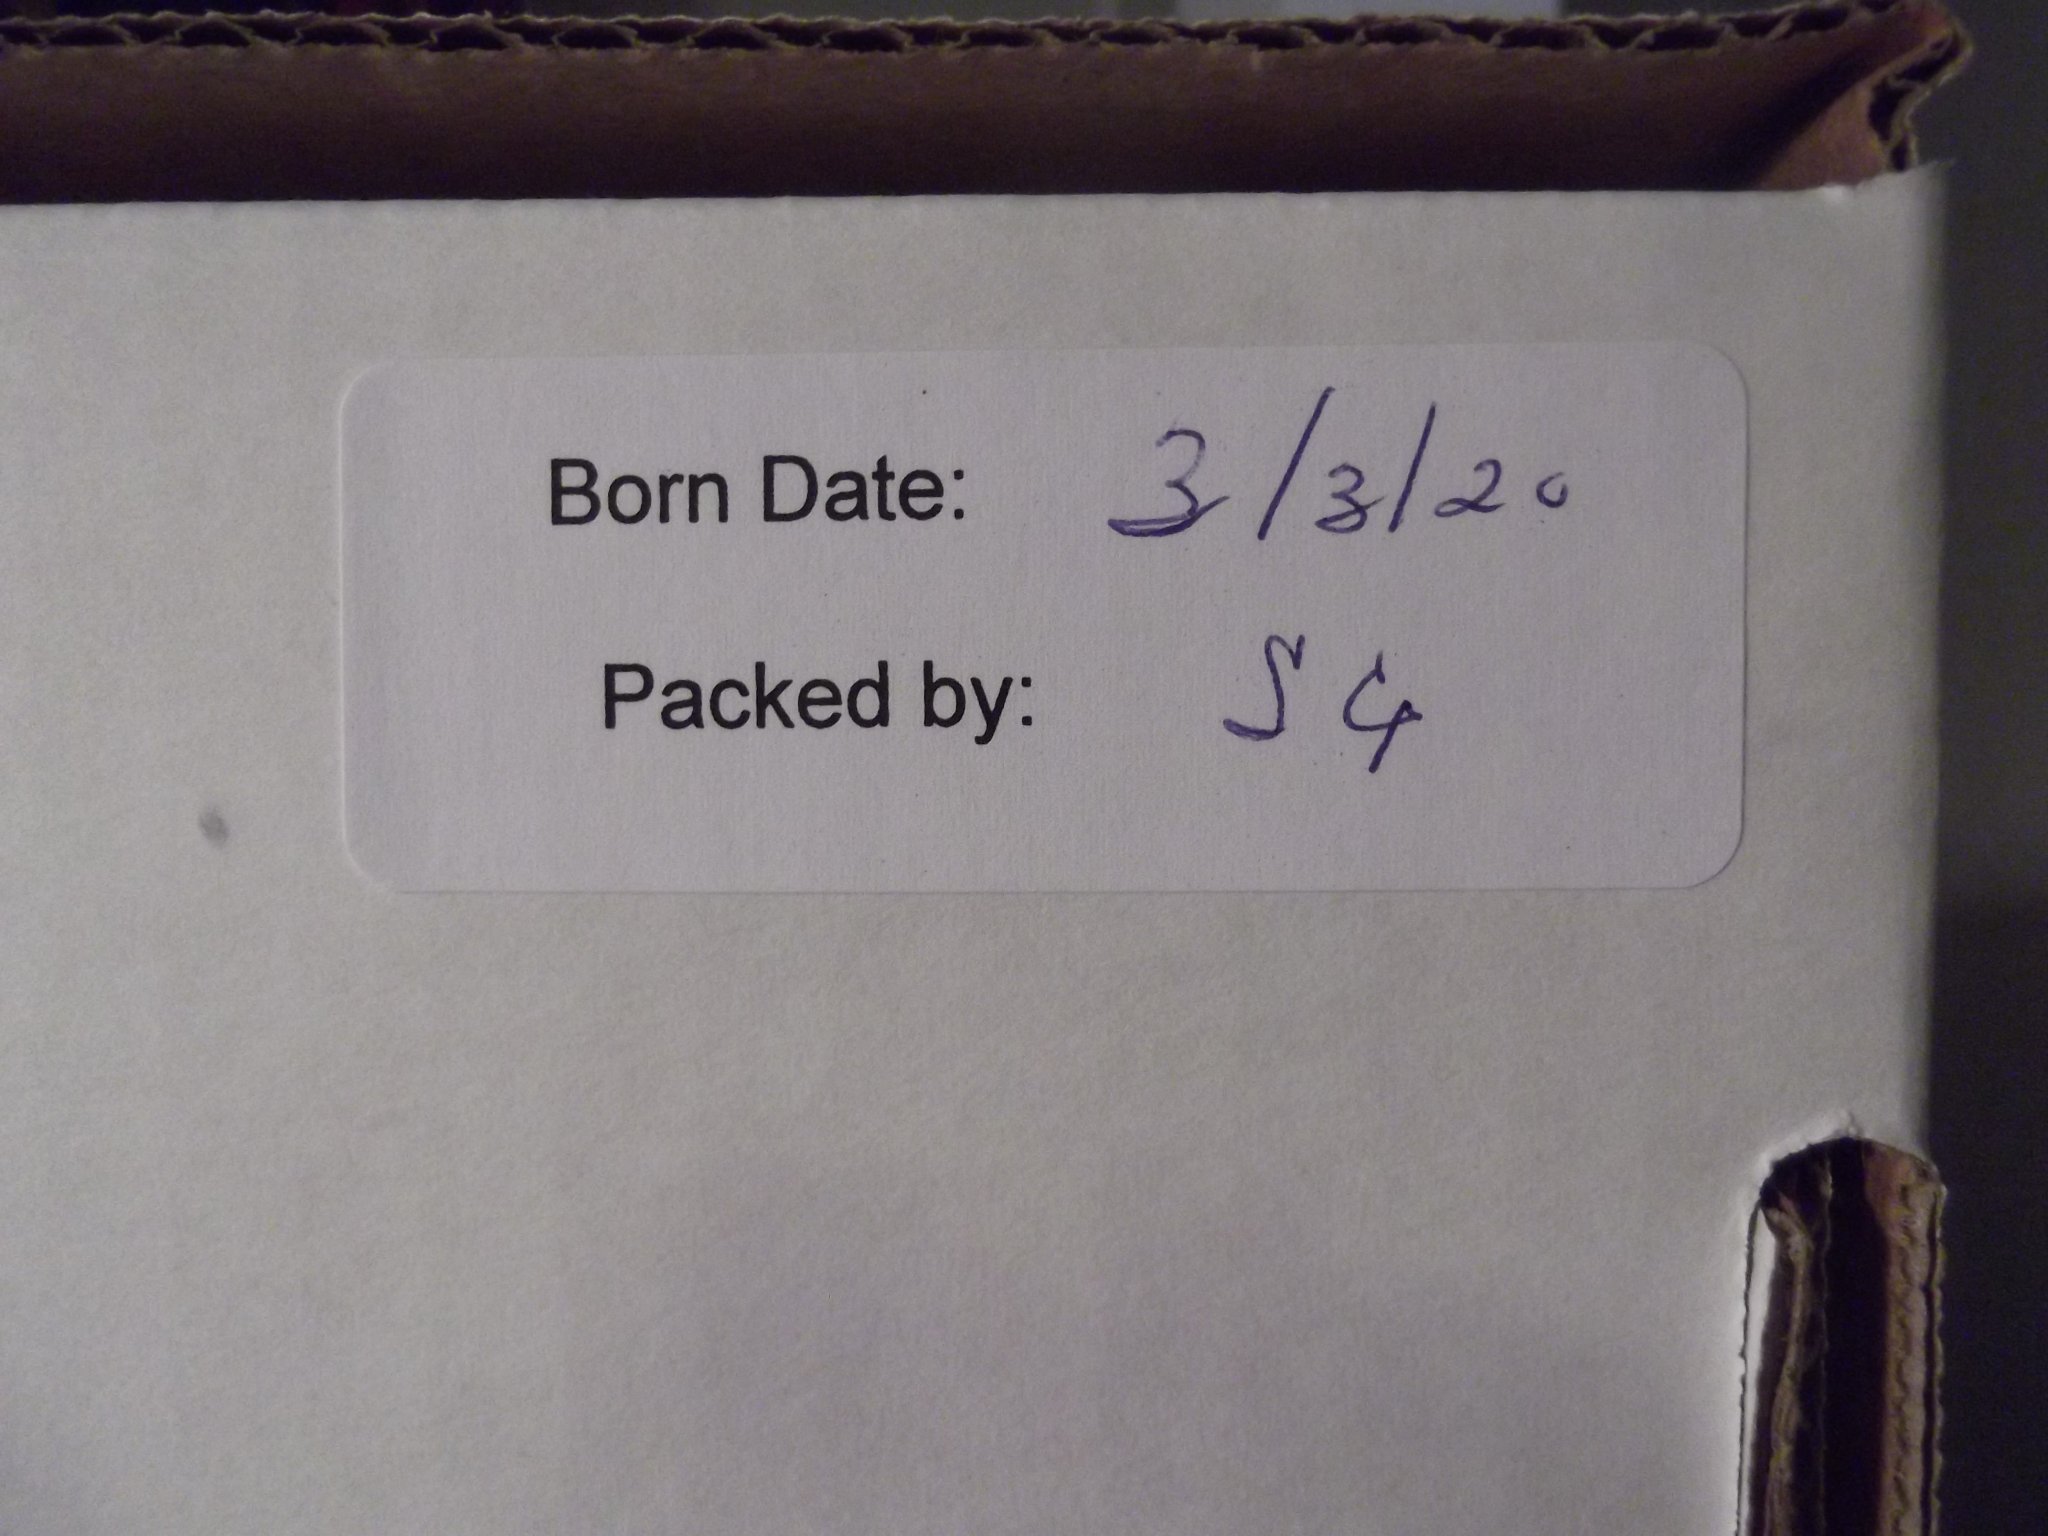
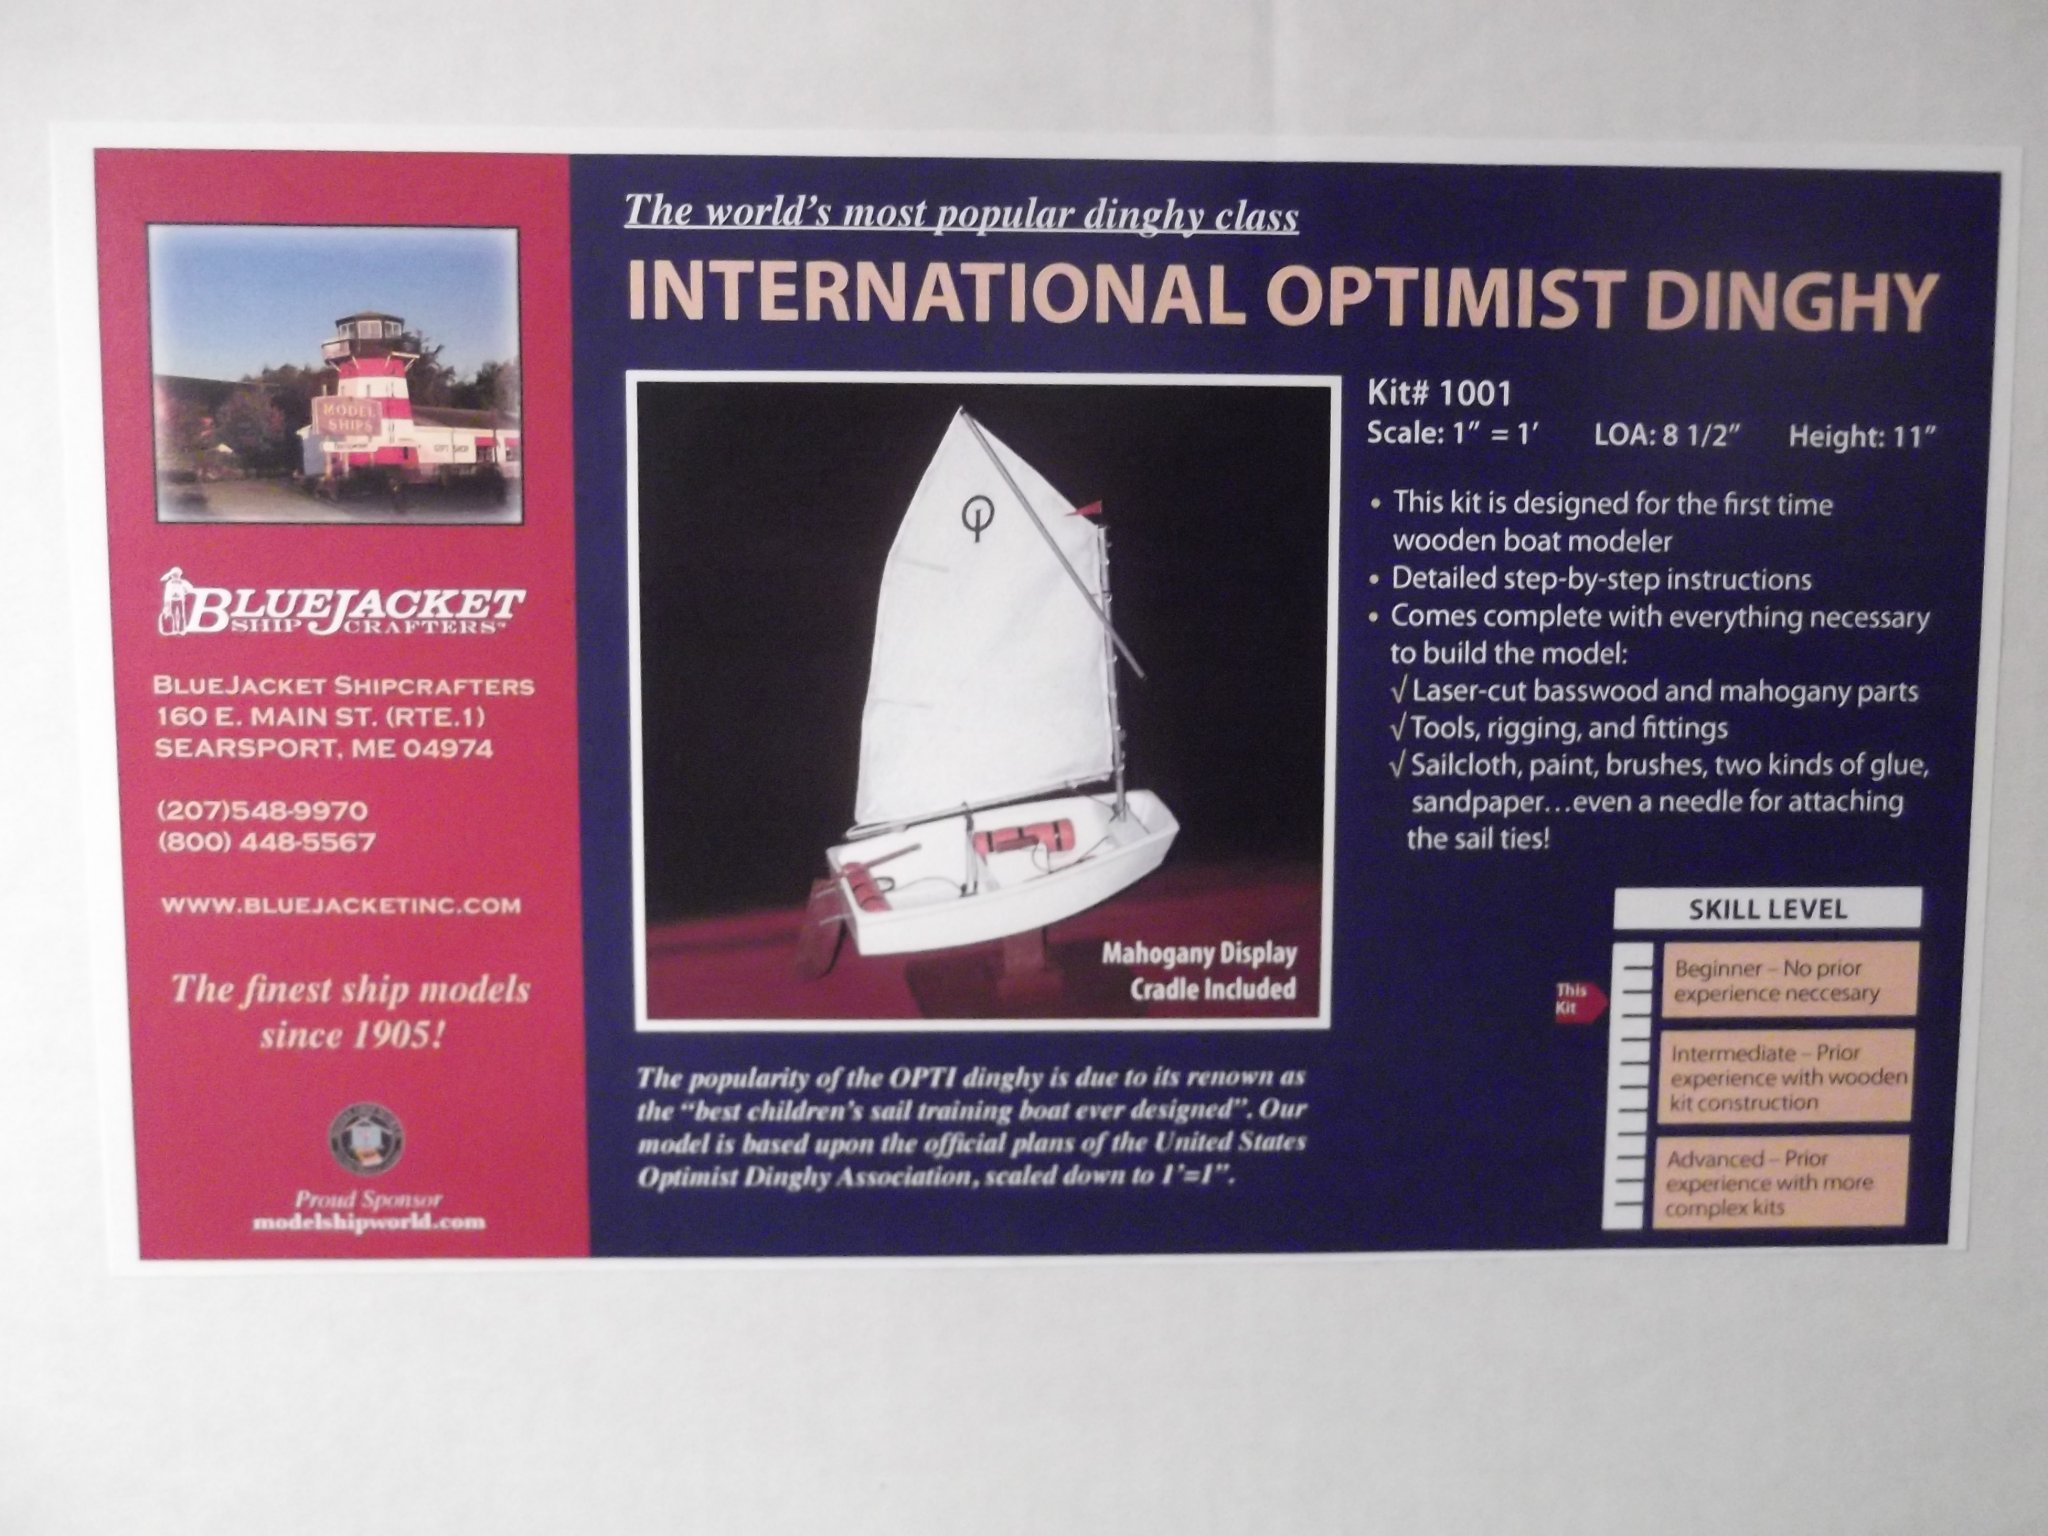
 For my first wood ship model I chose the International Optimist Dinghy from Bluejacket, I must have watched Nic’s videos on YouTube a hundred times the last few months. When my employer sent me home on paid emergency leave due to the current pandemic I decided it was time to do finally do it. Well the day after I ordered the model (1 week after being sent home) my boss called and said come on in and pick up your work at home set up. I’m back at work thankful I am still working when I know so many out of work or on greatly reduced hours. First impressions: A very well padded box was delivered by the USPS. It was in a cardboard box and the heavy duty box the kit comes in was tightly wrapped by bubble wrap. Thanks for the stress relief Nic. Upon opening the box the paints were packed in a separate heavy box packed with more bubble wrap to keep them safe. No breakage or leakage. All the parts were there . I didn’t realize my kit came with a birthday. I'm not going to add pictures of all the tools and parts bundles, Nic does that very well in his videos. I've build the building mould and pencil lined the hull bottom I'll add more pictures as my progress continues. So far I am very happy with the kit and do not see any trouble waters over the horizon.

- 2 replies
-
- 3
-
-
- optimist
- bluejacket shipcrafters
- (and 2 more)
-
 My first ship model. My first build log. I’ve built model rockets for years but never did a build log. This will be as much a posting experience as it will be a boat building experience. I hope to hone both skills. i started small and easy with the Dinghy. I wanted to have the best chance for a successful build.
-
 Since I went EBay crazy and bought a few midwest kits, I figured I would start with the kits I had doubles of 😂...but the opened ones first of course.... these kits are so nice, it’s a shame someone doesn’t jump on board and build these or similar. I have also got into the habit of scanning the plans so in the future when or if I decide to scratch build they might be of assistance.


- 29 replies
-
- 4
-
-
- Dinghy
- Midwest Products
- (and 1 more)
-
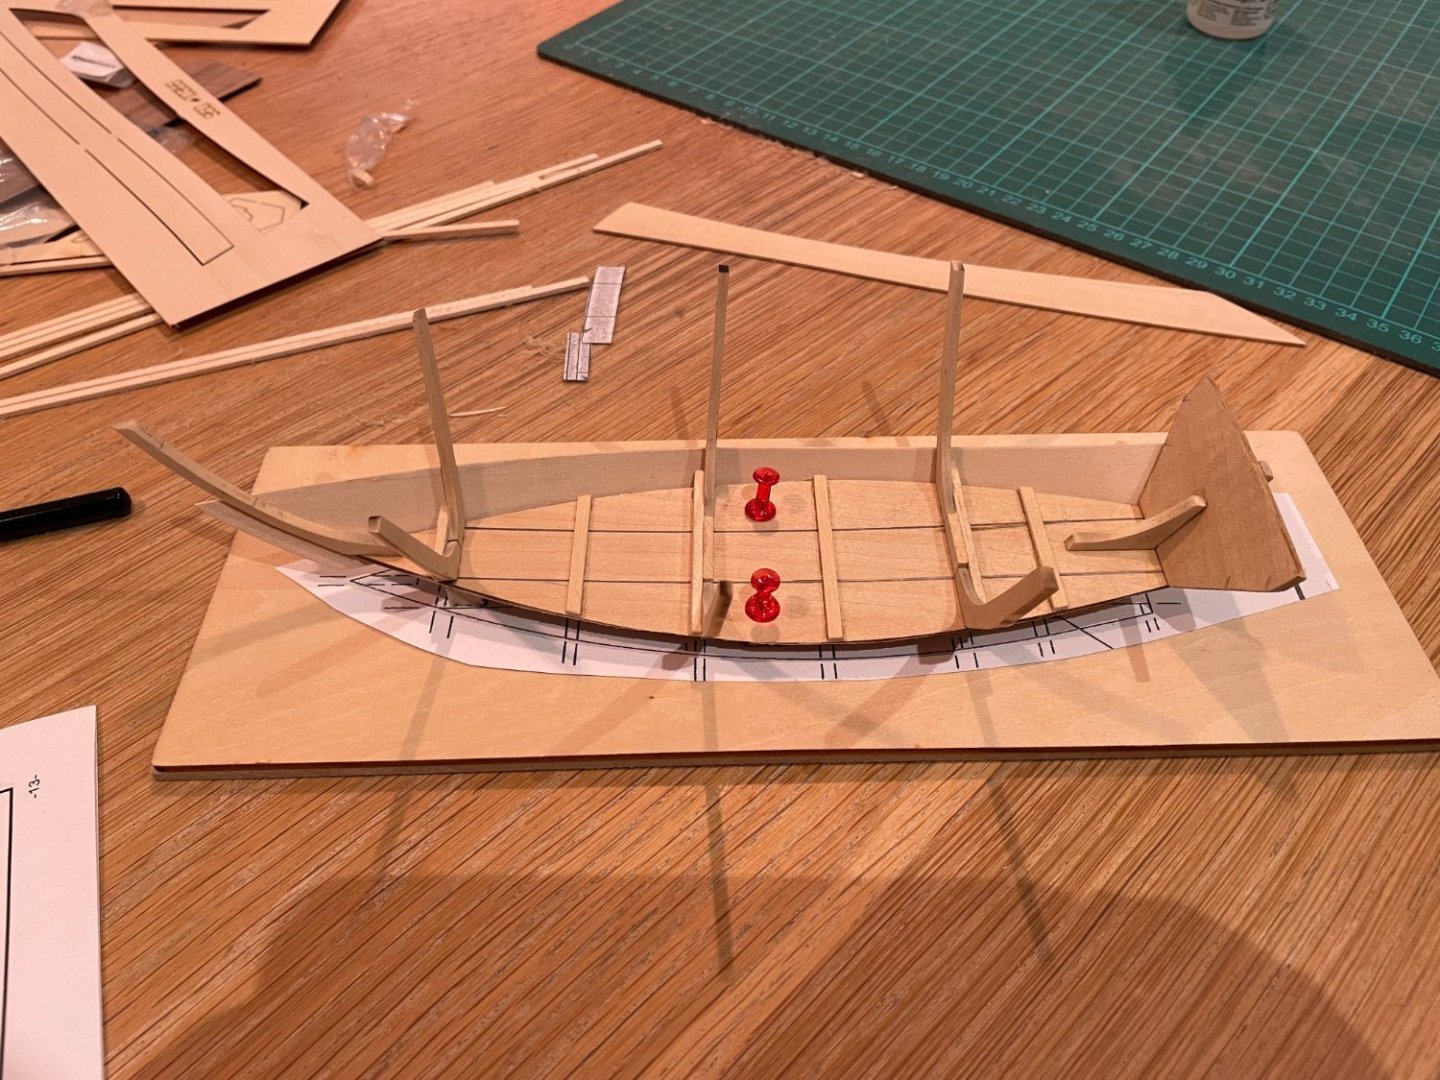
 Hello. My name is Andrew. I am 9 years old and this is my first wooden boat build. I am posting this under my Dad's account. He is building a longboat and helping me with my boat. The "Dinghy" is made by Midwest. We started by making sure all the pieces were in the box and reading the instructions. The next step was the draw guidelines on the floor of the dinghy. This was so we knew where to glue the ribs. After that, we made the ribs and glued them to the floor. I am enjoying building my first wooden boat. Andrew.

- 11 replies
-
- 9
-
-
- dinghy
- Midwest Products
- (and 1 more)
-
 Hello all, I have always been intrigued by wood model ships. During the past winter, I decided to attempt my first build and began doing some research as to what kit would be best for a novice builder....particularly one with zero knowledge, experience or skills. MSW has been an amazing resource and greatly contributed to pointing me in the direction of the Midwest apprentice line. Thank you! My first build was the Midwest skiff. The experience was so gratifying and I was overall very pleased with the completed project. This is quite an addictive hobby and I had to start another. Midwest, The Dinghy, arrived the other day and I decided to make the leap and post the build....so here goes. 400 grit sand and scribed plank lines to bottom plank. My first build was a slow one and I expect this one will be as well. Slow seems to be a pace that suits me. I will be tackling the frames next and will continue to post progress or any problems that arise. Any advice and/or comments are always welcomed.

- 46 replies
-
- 10
-
-
- dinghy
- Midwest Products
- (and 2 more)
-
 Hi, I'm Frank. I'm going to build the Dinghy from Midwest Products, a rowboat, perhaps the simplest model in the genre.
-
 I had ordered what I thought would be my first build, the AL Swift, but the day after ordering it I was at Hobby Lobby looking for anything I thought I might need for the build that I didn't already have. I noticed the Dinghy, and after reading the box decided to buy it and work on it until the Swift came. It was $25 and I had a 40% off so easy decision. It was a great decision for me. Even though it is small with minimal parts, I still had to sand, shape, shim, fix mistakes, learned the instruction sheet is not always correct. I got "into" the build and away I went. I wasn't going to post a build log for it, but have decided this would also be a good learning experience for the future builds. I have most of it done but will just post some each day for a little while. I also hope to add a few things that other first timers might be able to use. I will try to add a picture to this post to see how it turns out. John
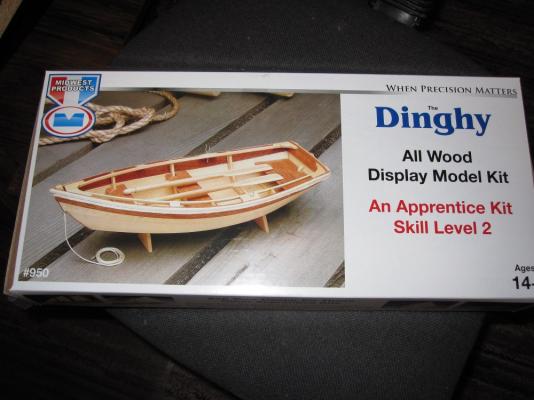
- 26 replies
-
- 1
-
-
- finished
- midwest products
- (and 1 more)
-
 I received the Dinghy kit made by Midwest in the mail today. I bought it off of eBay used for about $10. The previous owner started to build it, but stopped after the first couple of steps. All the pieces were there except for the 2 forward frame pieces, but I had plenty of scrap to make new ones. I used the pre-cut sheet that the frame pieces were in to make a template of forward frames. Here are the templates And the templates traced on to the scrap and here is the completed forward frames The Dinghy with all the frames, stern and transom attached and after a good soak in water. I ended up using some small screws to hold it on the jig because the push pins didn't want to hold at all. Now she will dry over night and I'll try to get back to it tomorrow.


- 9 replies
-
- 1
-
-
- dinghy
- midwest products
- (and 1 more)