Search the Community
Showing results for tags 'rope rocket'.
Found 3 results
-
 SOLVED The photo below shows my first and only try at rope making. It's 7 feet long and .022" thick and was produced on the Syren Rope Rocket. I'm quite pleased with the way it looks as it's the right color for my project and has no tendency to unravel. However, I want to make sure I am not leaving out a step. My goal is to get ~ .040 to .045", "bright straw" color, right laid whale line. These are the steps I took: - Three threads of Mara 30 (right twist) unwound and rewound quite tightly with a left twist - I did NOT stretch, apply water or apply beeswax after this rewind >>> Should have I done that here?? - Then right twist the above tightly - Stretched the rope, applied water & beeswax .. done. To get to the thicker rope I need to untwist/retwist several threads ahead of time. Should I do that lock-in step as part of the rewind. I'm thinking .. yes. Thank you for any tips on the matter. Mike
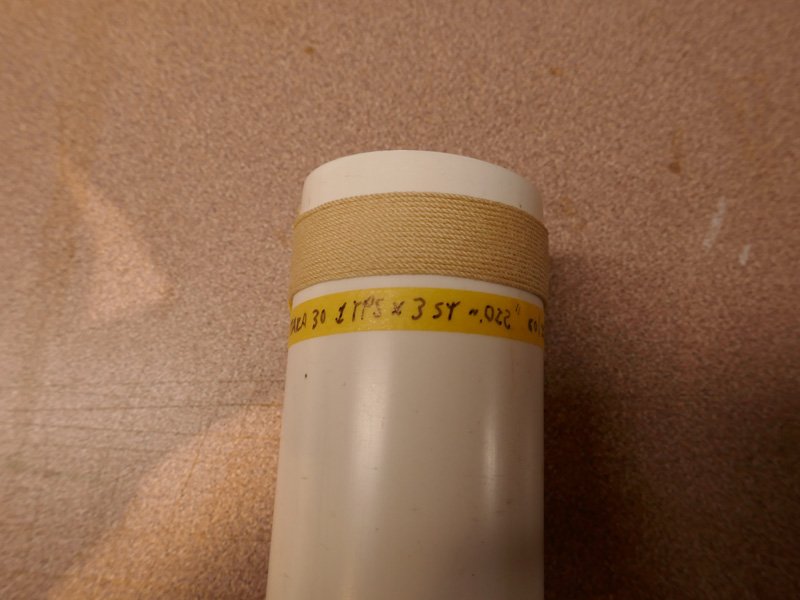
-
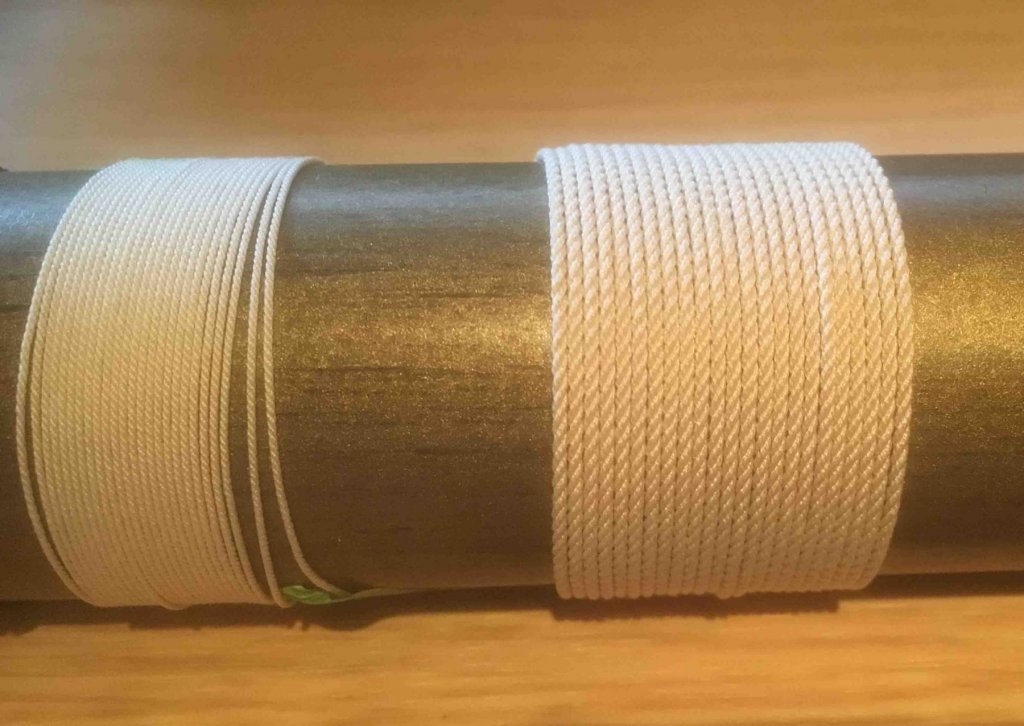
 I've just made my first rope on my new Syren Rope Rocket and thought I'd share my experiences. First thing to say is that I was delighted with the result. I'd had a little previous experience with the more basic 'handraulic' version from Model Expo so I had some idea how to make rope, but even so I was surprised just how well my first efforts turned out. The line on the left was my first effort - three single strands of the thread Chuck supplied with the kit producing 10' of 0.67mm/0.026" rope. The one on the right has 9 strands of the same thread. You can put multiple strands on the Rope Rocket, so I tried 3 strands between each pair of hooks. Apart from a minute or two more to set up, it takes no longer to produce 9 strand than 3 strand material. The resulting rope was just over 1.2mm/0.047". A few suggested Do's & Dont's from my experience so far: Do watch Chuck's videos (on the Syren website and YouTube). They're excellent, and I learned more from them than umpteen written descriptions of rope making. Do take the time to clean off the laser char and varnish the headstock and tailstock. The cherry is a fine wood and it would be a shame not to bring out the best in it. Don't do what I did, and varnish the ropewalk after assembly. I did this, and despite my best efforts I gummed up some of the moving parts. Easily sorted, but avoidable. It would have also been much easier to varnish the parts before assembly, but I was too impatient! Also don't get varnish on the underside of the assemblies, or if you do clean it off. I've found a lot of the art of rope making lies in getting a feel for how the headstock or tailstock wants to 'walk' along the table as you spin up the ropewalk, and to do that they need to be able to slide freely. Do make sure you've got some very small hex keys (aka allen keys). I struggled to find one for the very smallest set screws. Until I eventually found one (1.3mm) I had to make do with a jeweller's screwdriver (the size used for adjusting the tiny screws in spectacles) but I wouldn't recommend that as it might distort the set screws. Do follow Chuck's advice in the instructions and use a strong epoxy or a CA with good gap filling properties to stick the eye screws into the brass tubes in the headstock. This is the only part of the construction that makes me a bit nervous, as the fit is quite loose and the eye screws come under considerable tension. I've had no problems so far, but eventually I might replace the tube/eye screw arrangement with a single length of solid brass, with one end fashioned into a hook. Incidentally, like Chuck I opened up the eye screws slightly, making it much easier to set up the thread. However unlike Chuck I opened them before fixing them in place, as I was worried that too much twisting with pliers might weaken the glue joint. Do check that everything spins freely when assembled. I found that the big central gear in the headstock tended to rub slightly against the washers under the smaller gears. This might be a result of some mistake on my part, but its something others might want to check for themselves. I found that an appropriately sized washer glued to the face of the headstock brought the big gear out just far enough to engage nicely with the small gears. Do watch Chuck's videos again! In summary, I'm delighted with the Rope Rocket and the rope it produces and would highly recommend it. I'm off now to experiment with different threads, 4-ply rope & etc. I've also got Chuck's Serv-o-Matic and am lookking forward to my first foray into serving. Derek
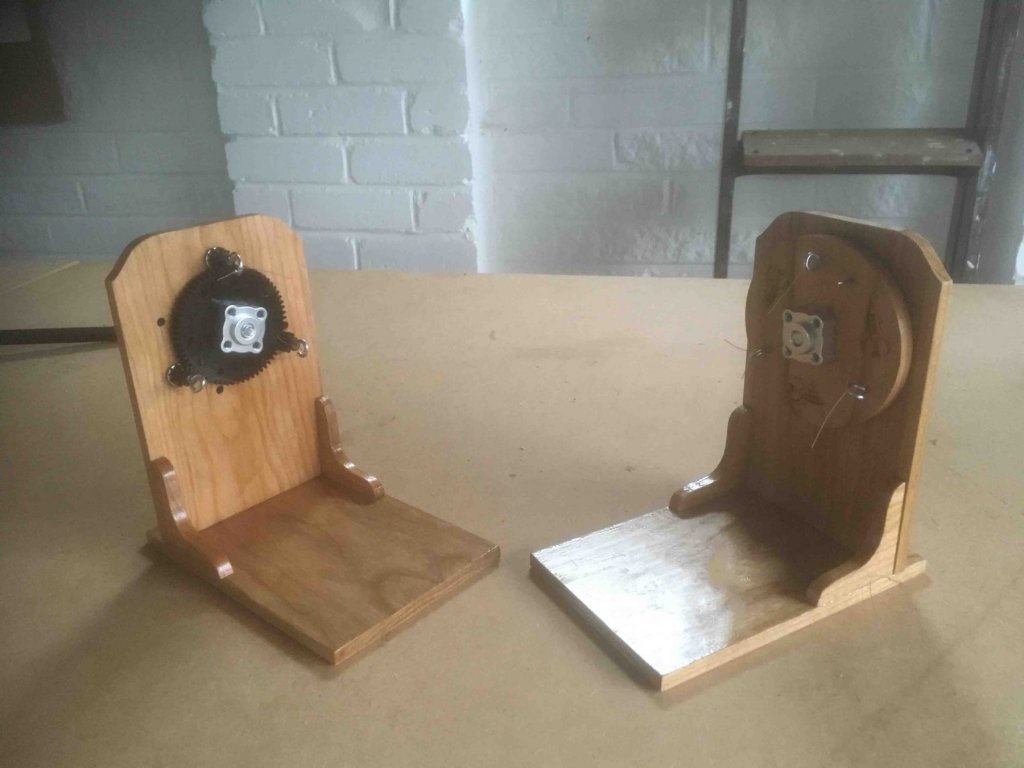
- 42 replies
-
- 18
-

-
- rope rocket
- ropewalk
- (and 1 more)
-
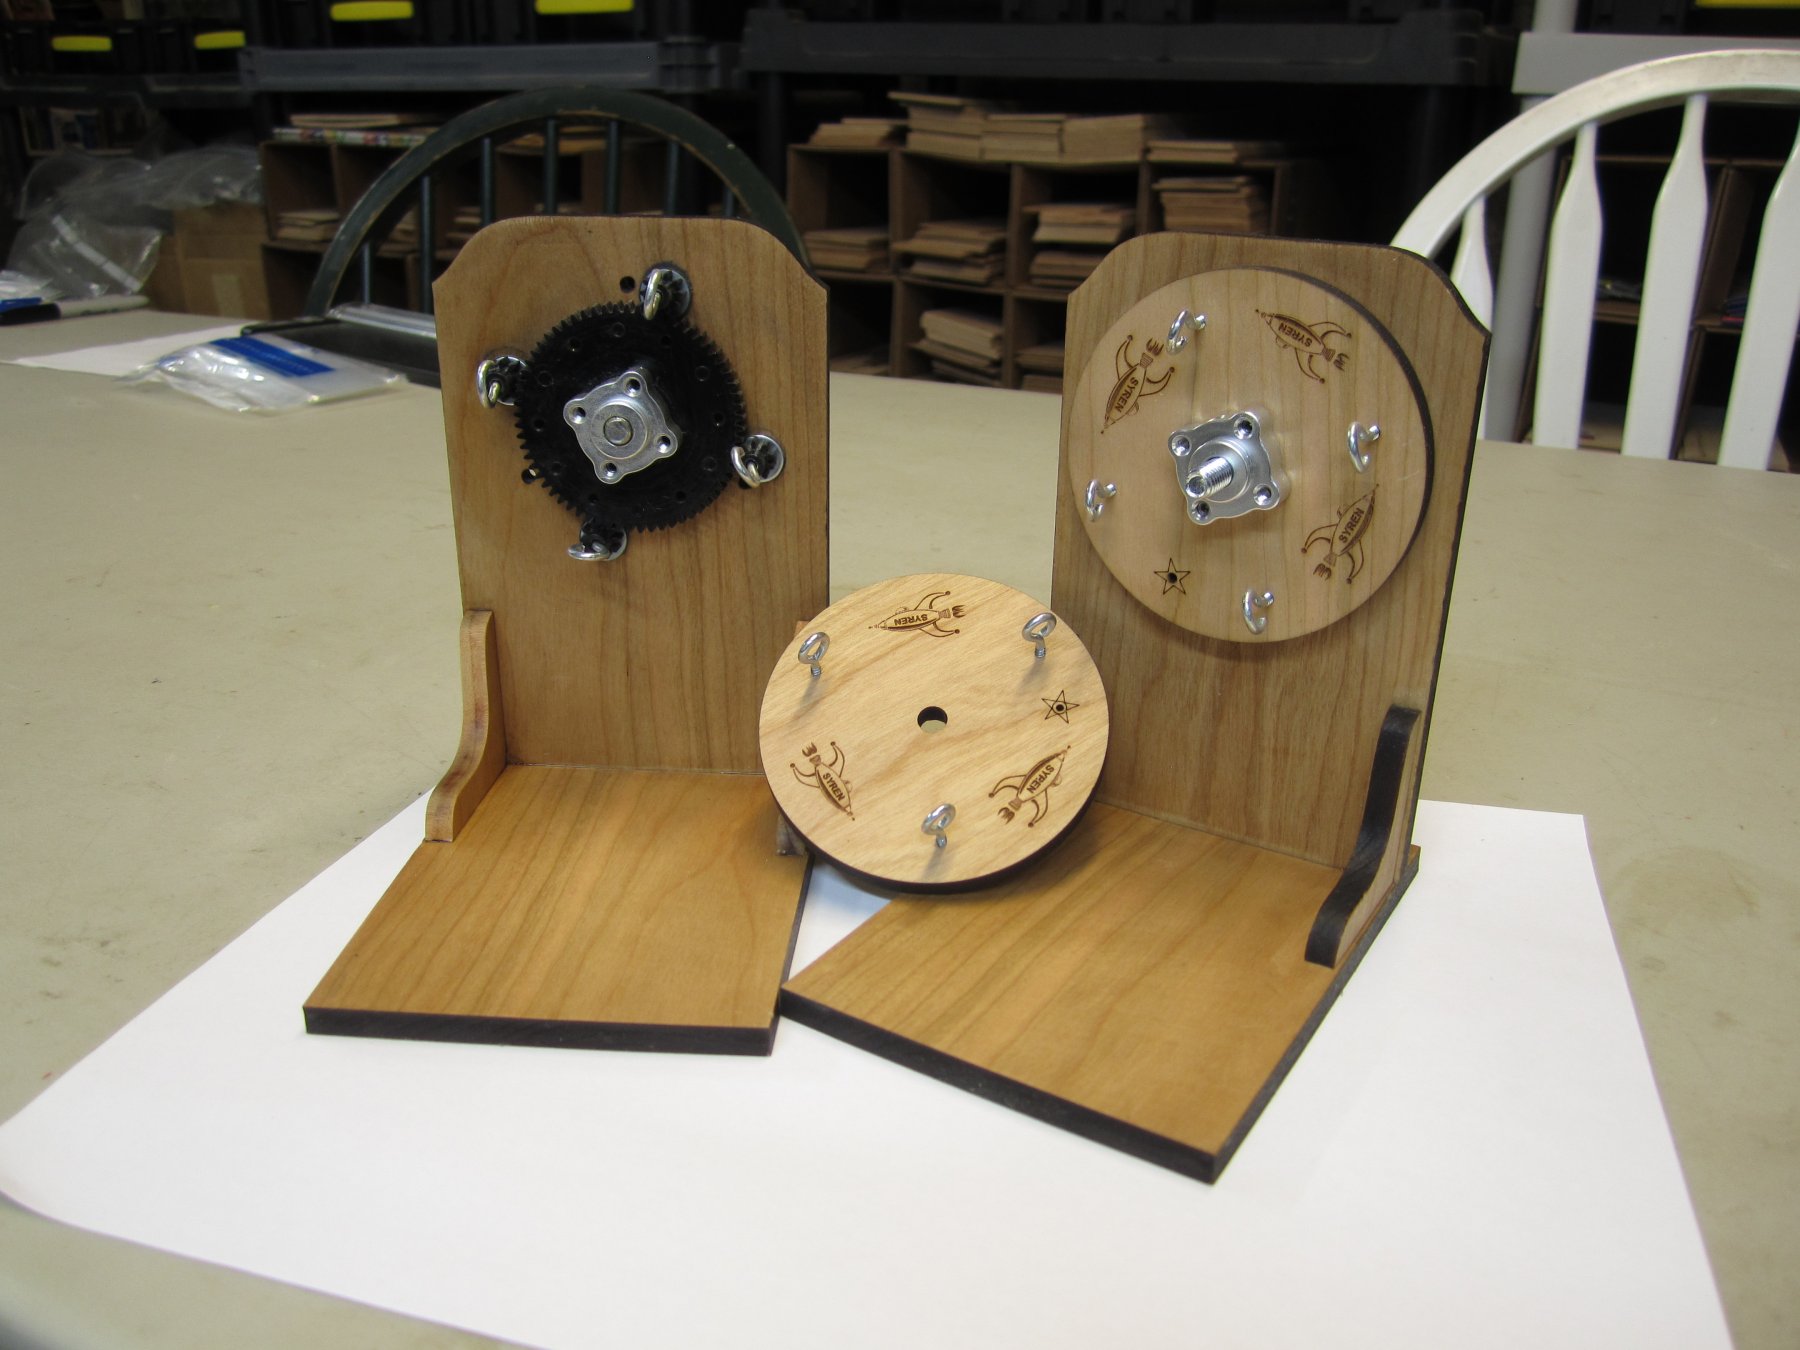
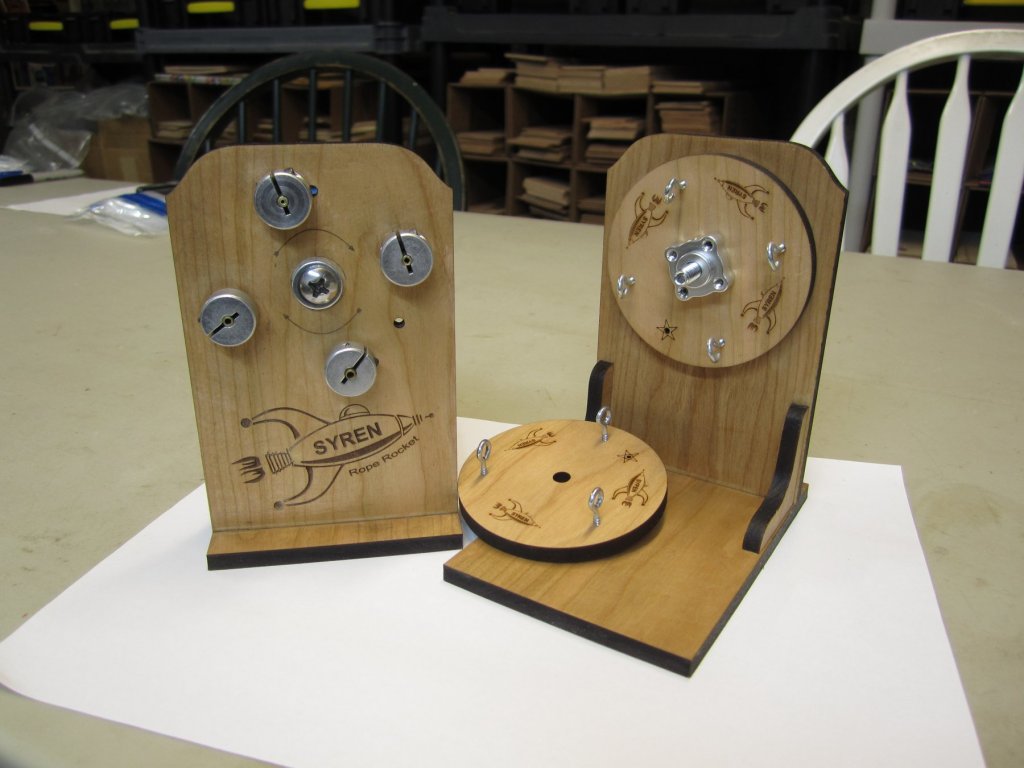
 The Syren Rope Rocket is now in stock.... Make your own rope!!! This is the very same machine we make all of our rope with at Syren Ship Model Company. This ropewalk makes rope virtually any length. You can make 3 strand and 4 strand rope. Make left or right hand rope. The Syren Rope Rocket can quickly make tightly laid up rope. Each ropewalk kit comes with one ball of thread you can use while following our online video lessons. Made of sturdy laser cut Cherry wood and steel and stainless steel parts. The rope rocket comes with Delrin gears for a long life. US patent 5232168-28 - With registration in China pending just in case!!! Don't buy Chinese fakes, support your hobby and buy the original. Click here to view the ropewalk page on the Syren website and download the assembly instructions. Online video rope-making lessons will be uploaded very soon!
- 22 replies
-
- 20
-
-
- ropewalk
- syren ship model
- (and 1 more)