Search the Community
Showing results for tags 'smuggler'.
Found 6 results
-
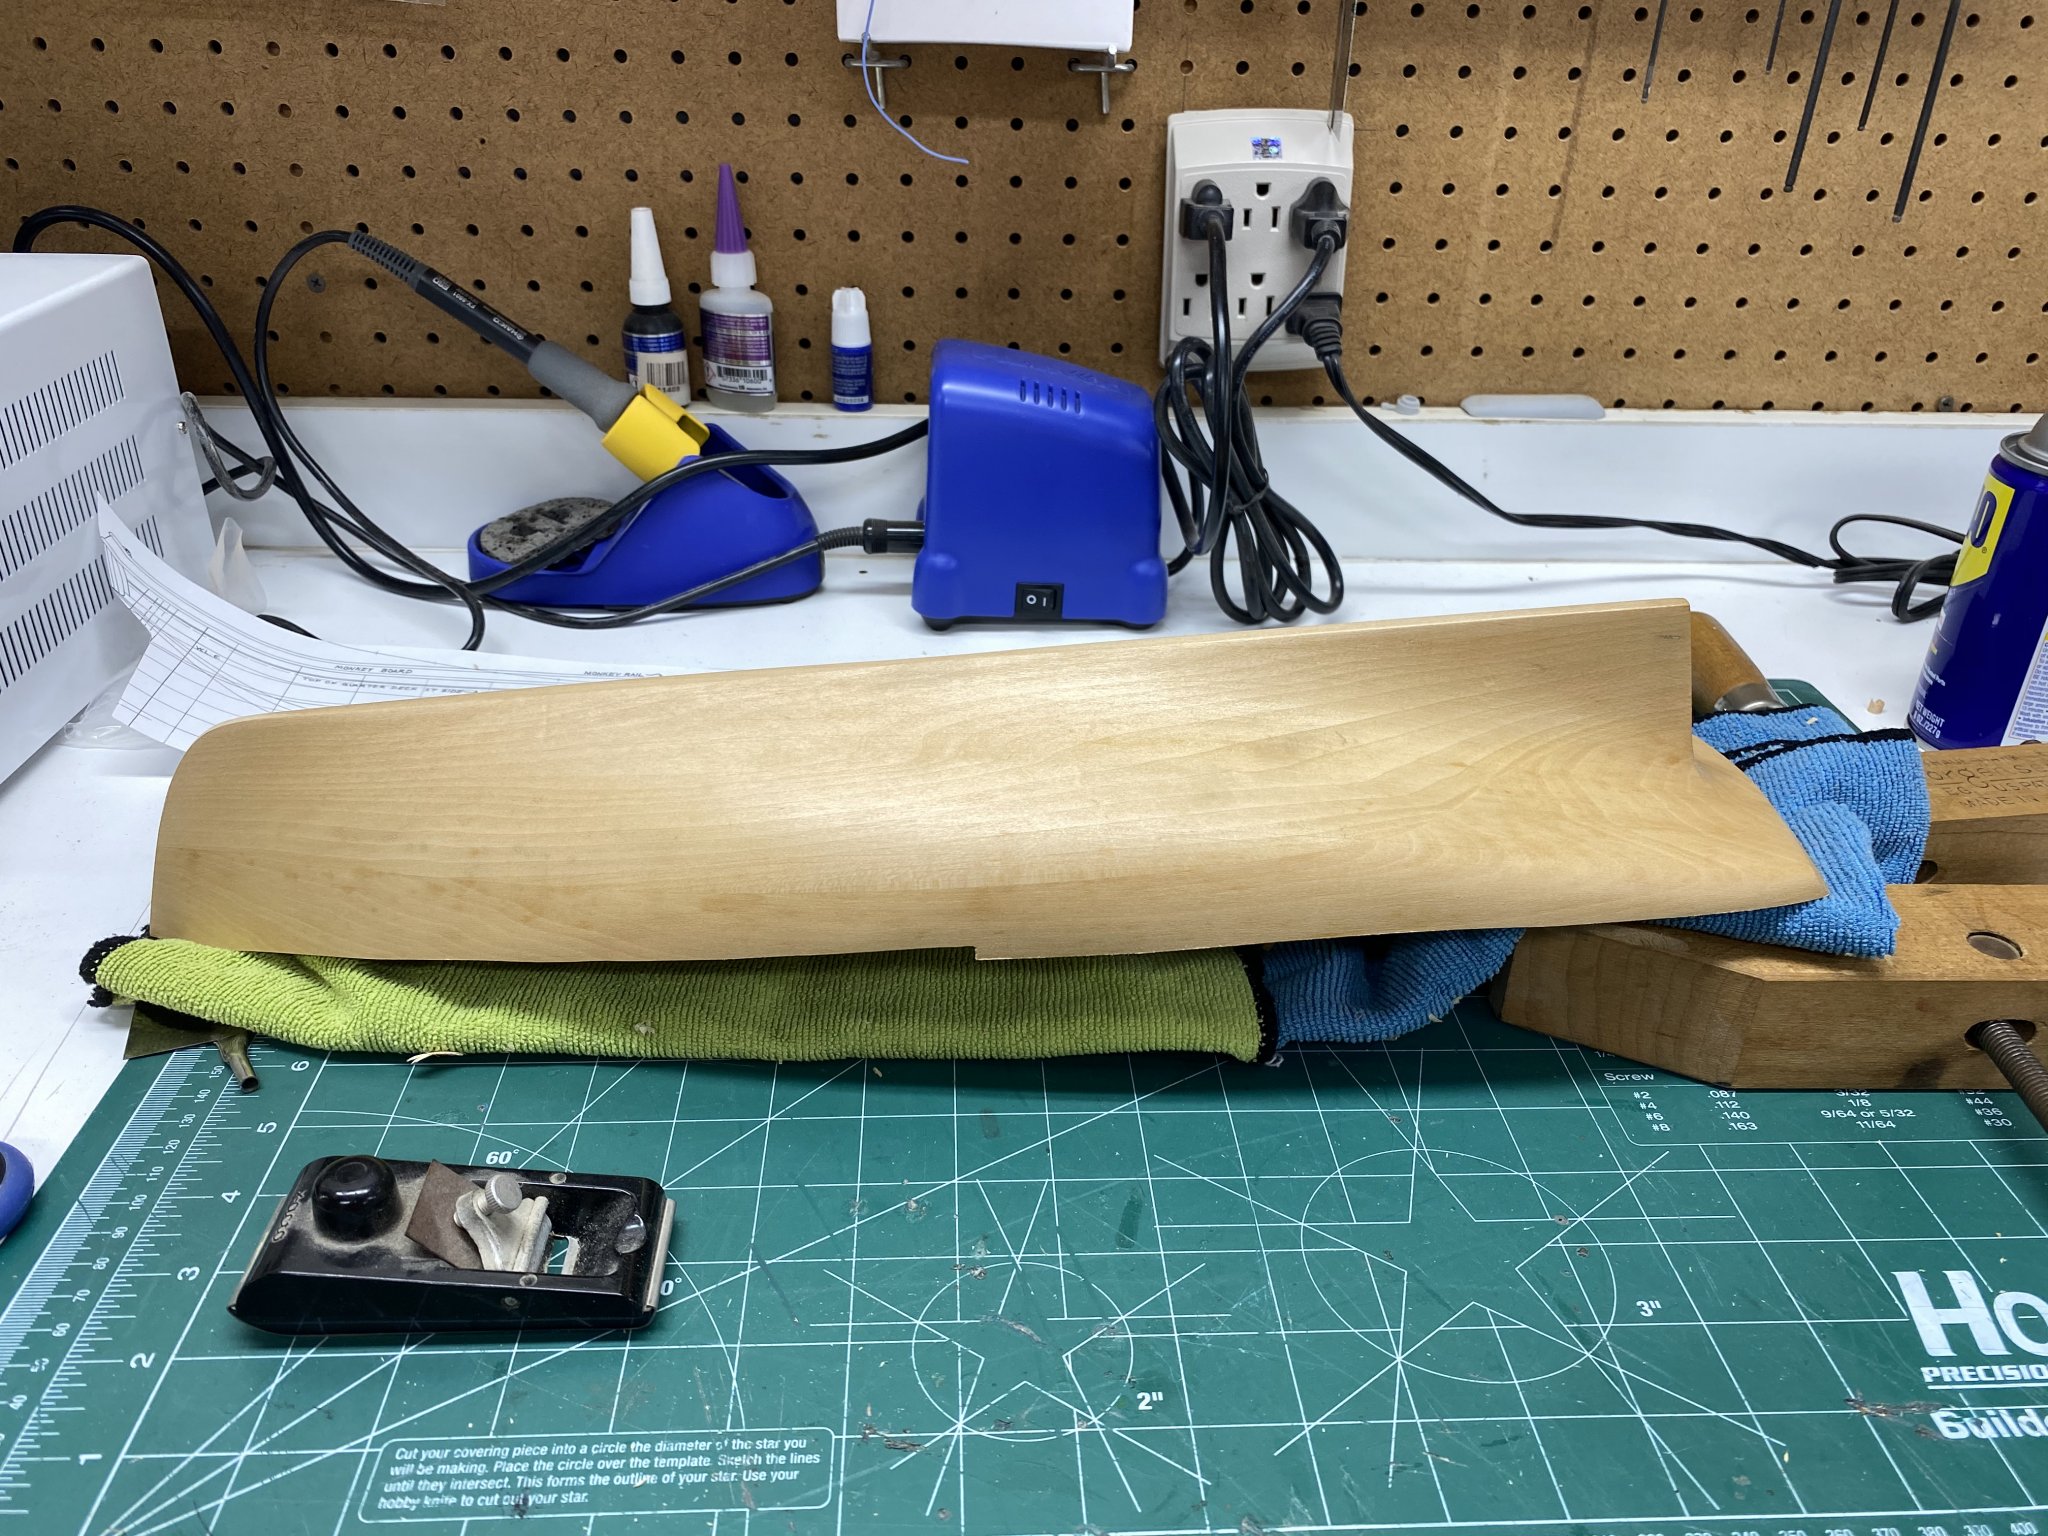
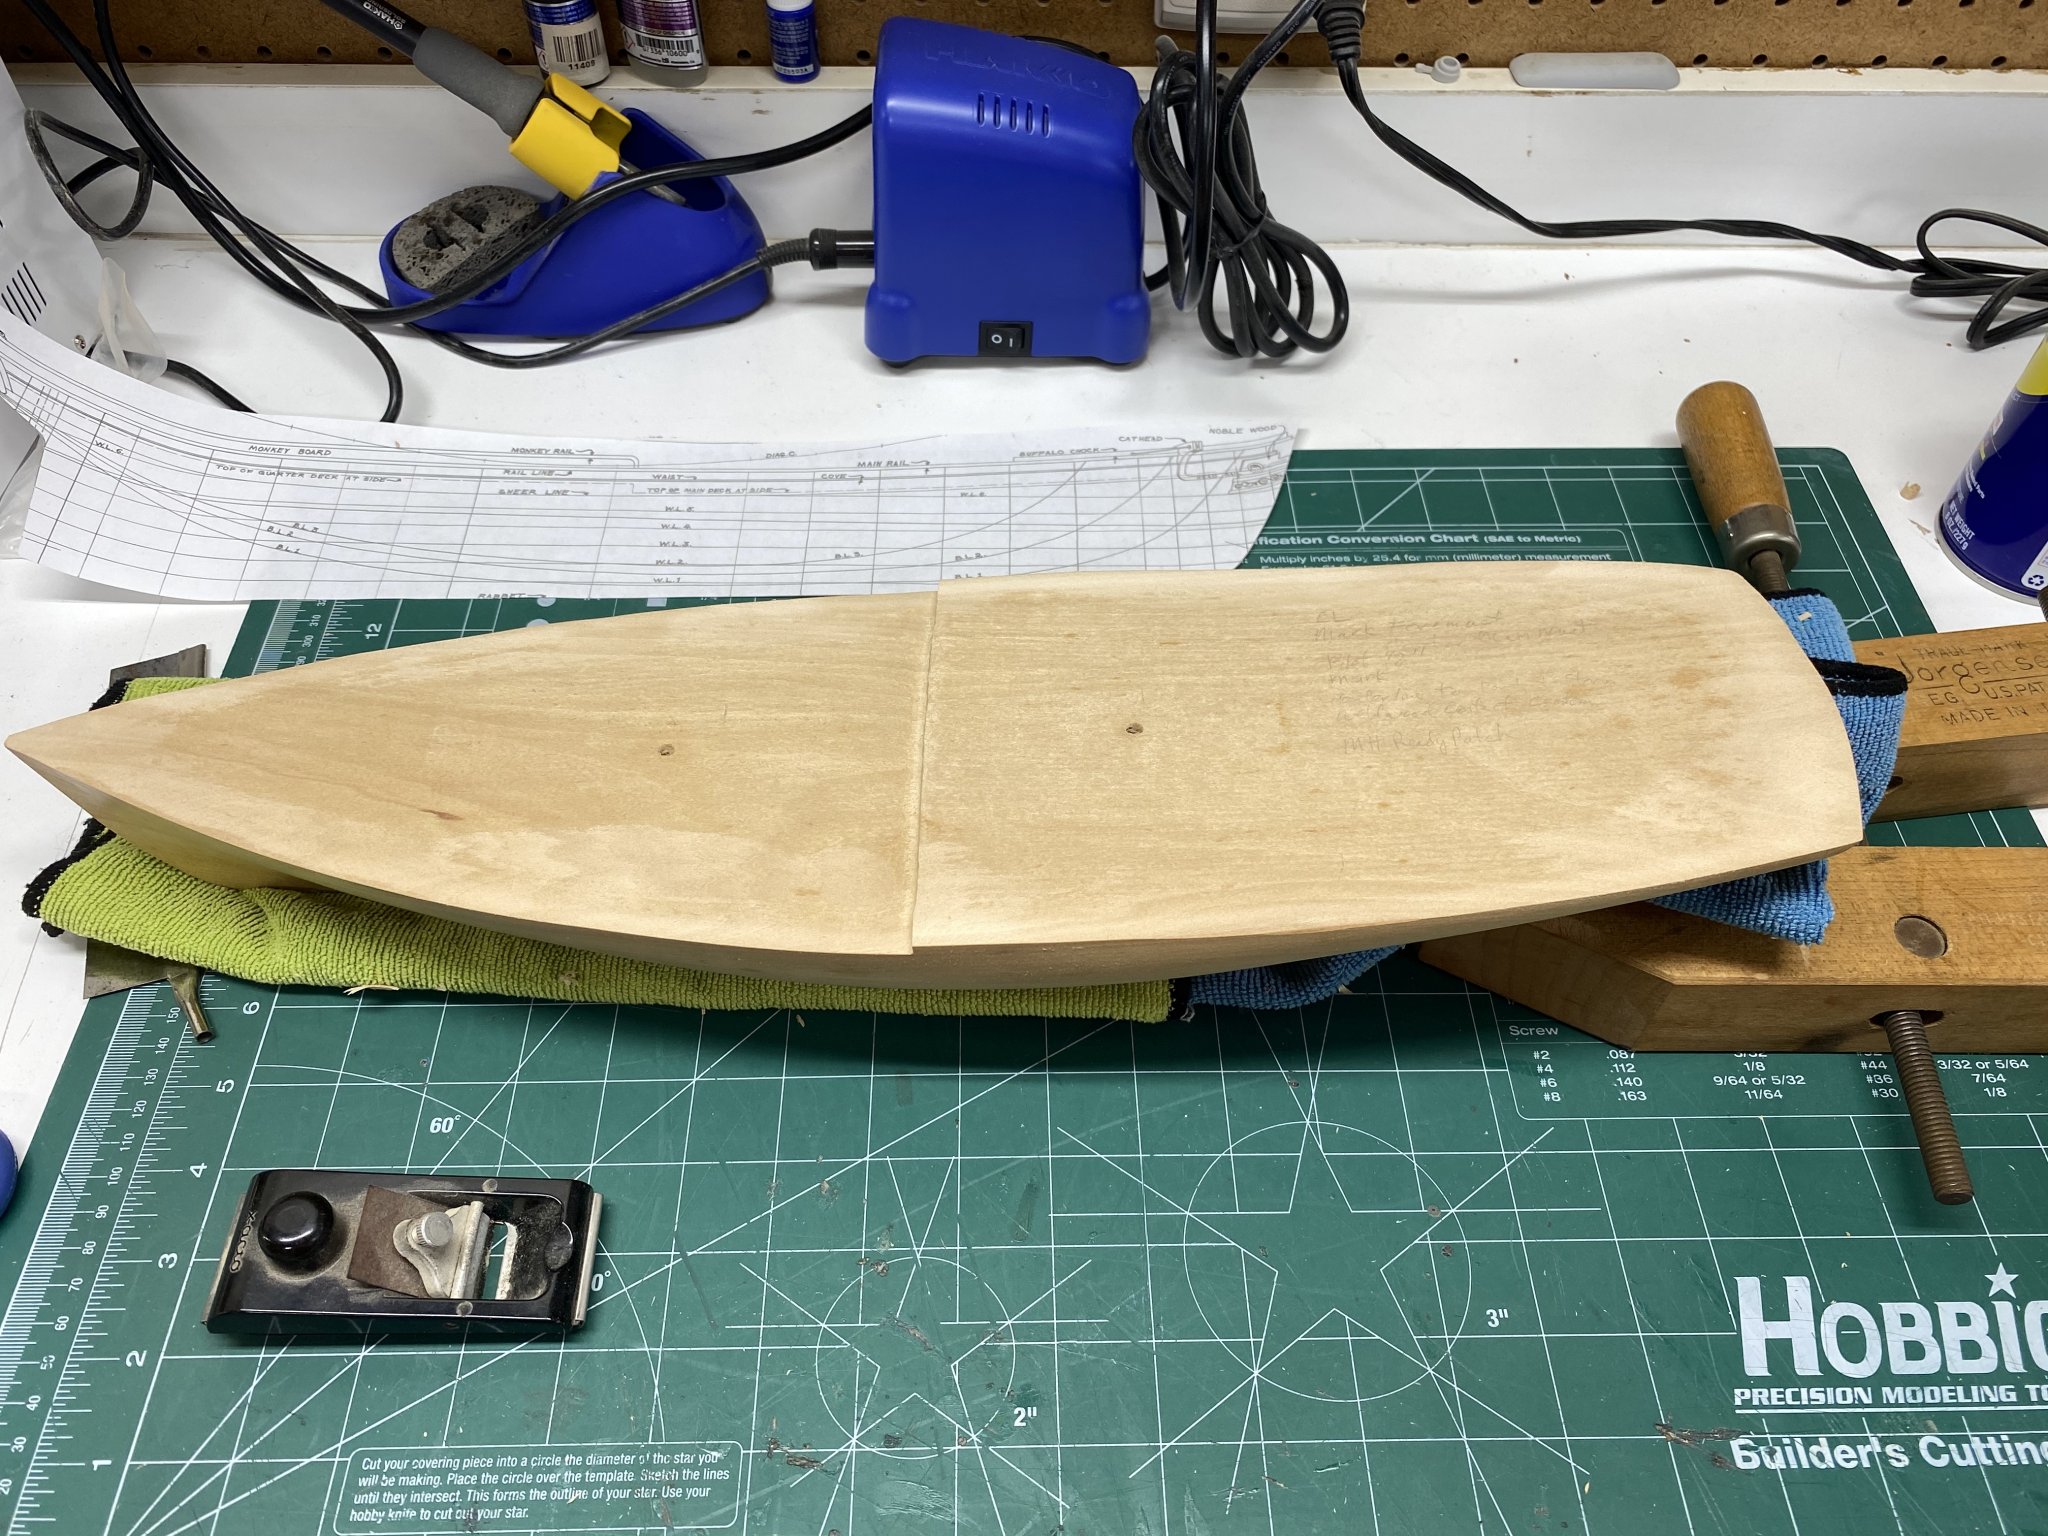
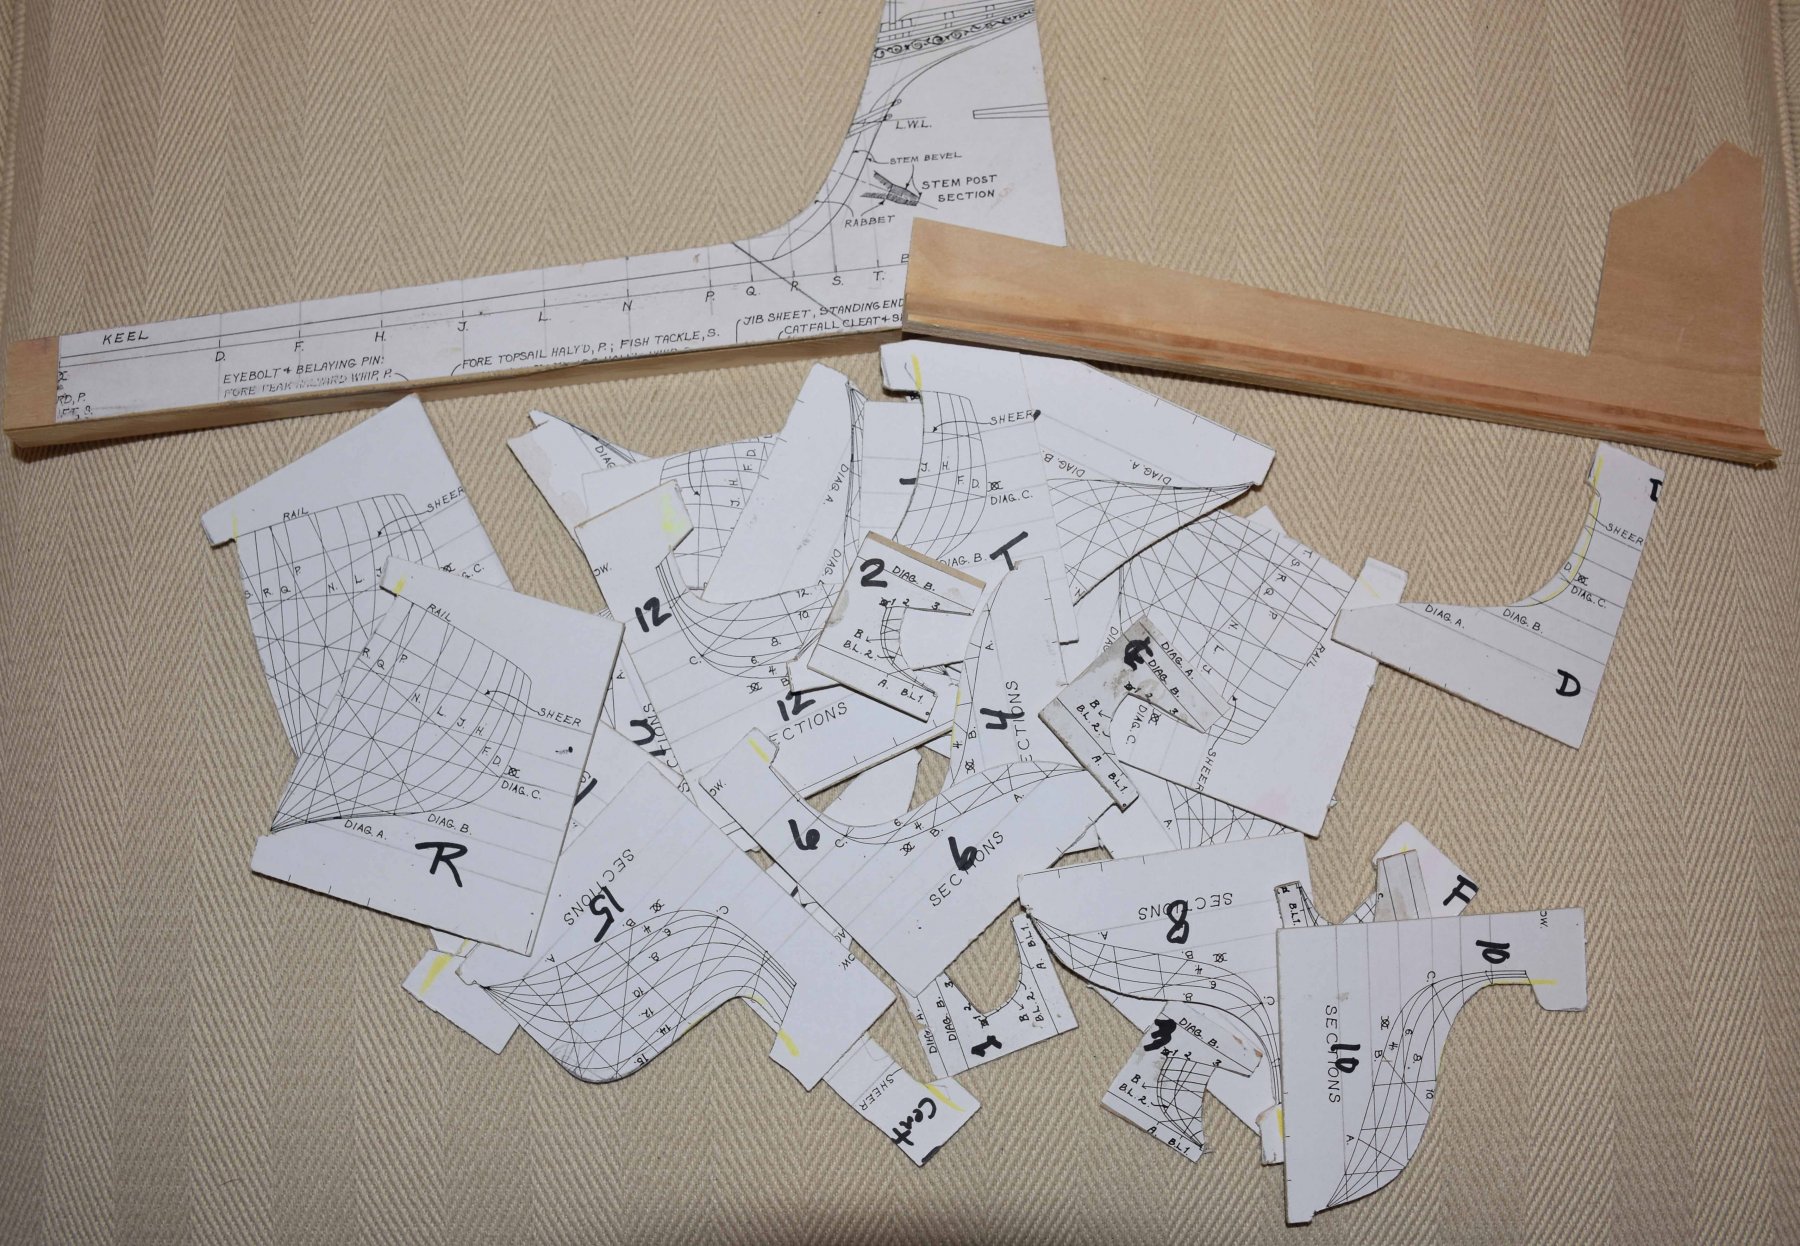
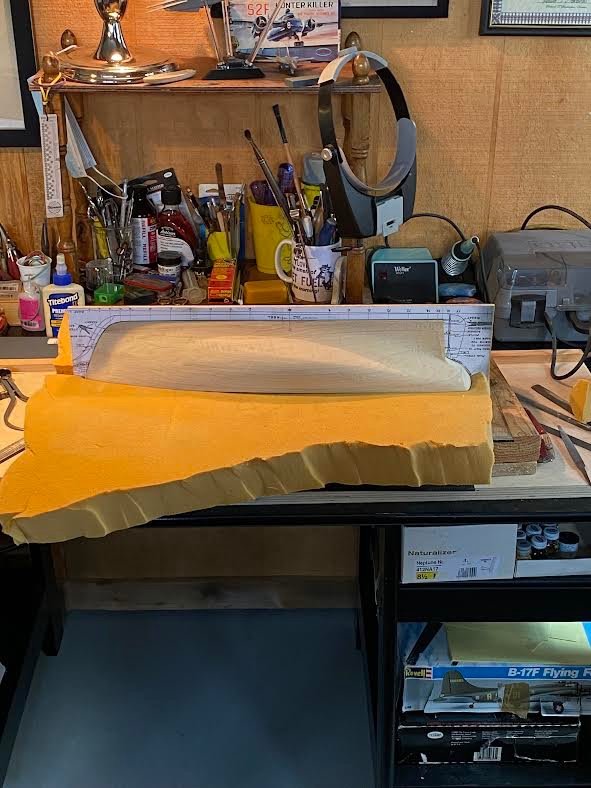
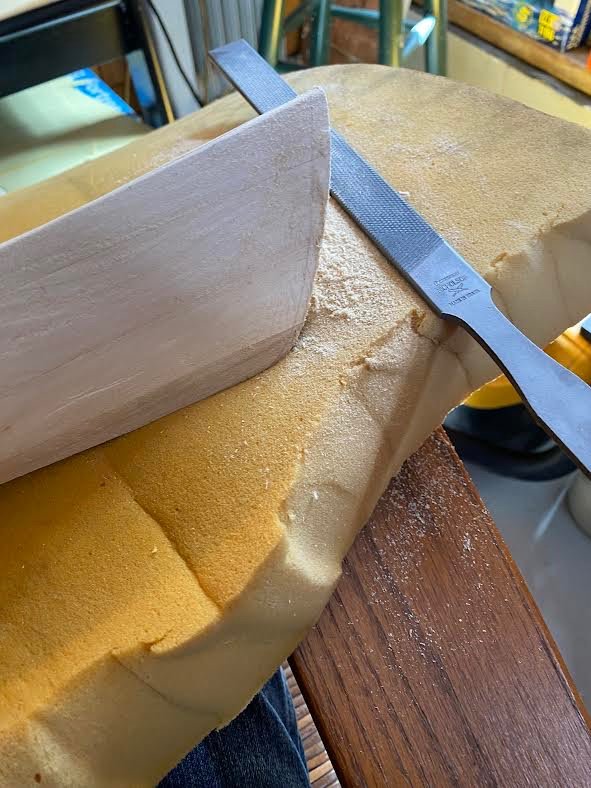
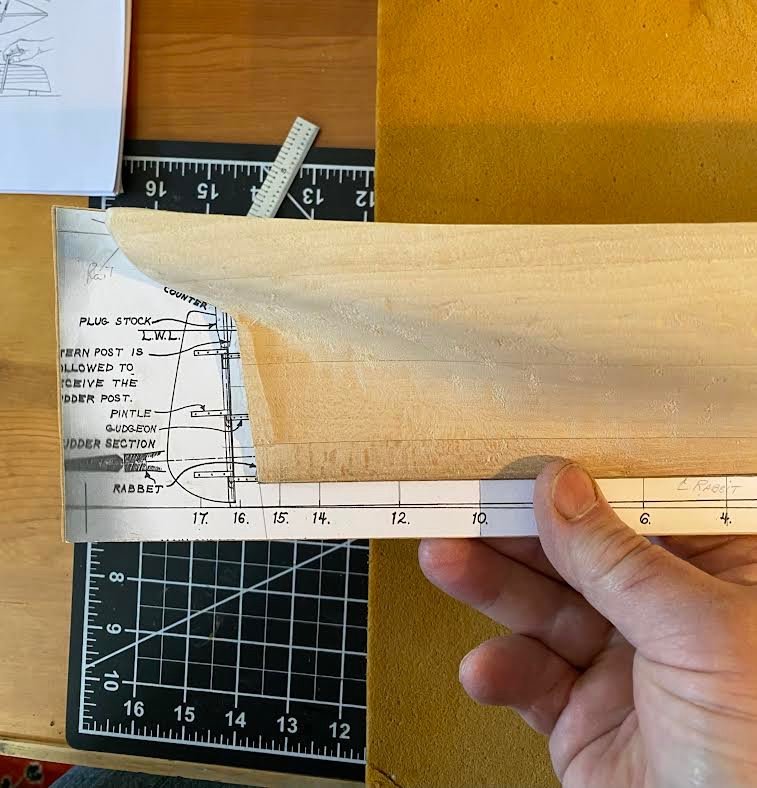
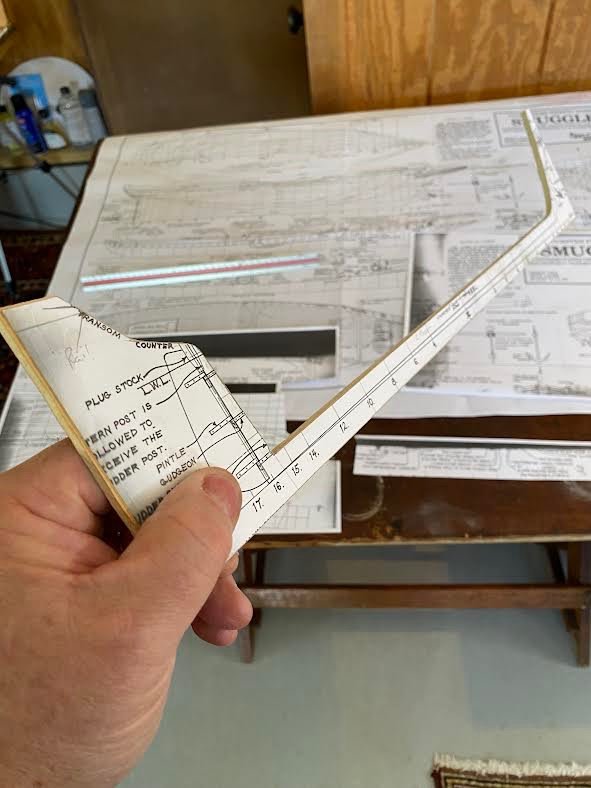
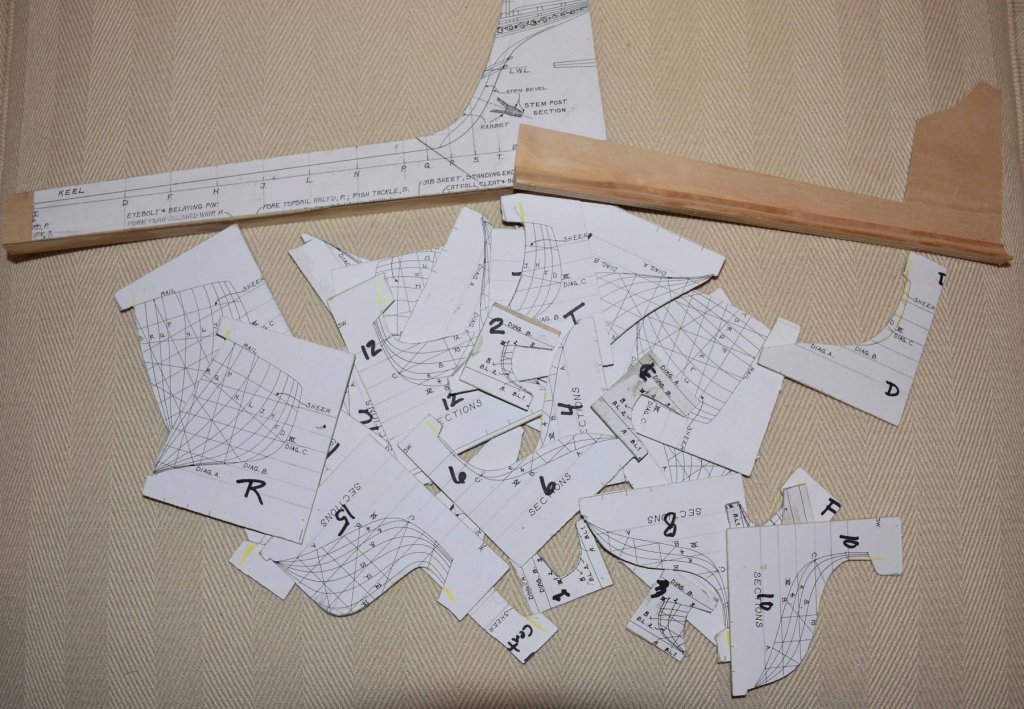
 Today I started my second build, Bluejacket's Smuggler. My first build, the Grand Banks Dory was a simple plank of frame build and this being a solid hull, will be a new adventure for me. So studying the plans and reading up on the subject I started by creating the keel template. I scanned and copied the print ensuring that there was no difference in size after printing. When that checked out OK, I carefully cutout the copy of the keel/rabbit detail and laminated it on what I think is Birch, 3/16 thick. Very stiff and straight and checked for accuracy against the print, this is very handy when it becomes to trimming the solid core. No flopping around, just like a yardstick. After ensuring the keel was perfectly flat, I started trimming the transom with 10" coarse half round and rat tail rasps while always checking the template against the midship tick mark. When the transom had a decent fit, I proceeded to the bow and trimmed for an exact fit using a course rasp, again always cross checking while holding the template firmly against the transom .A final tweak her and there and it fit like a charm. A problem I encountered was the hull moving around in my lap while filing. I did not want it in a vice as sitting in my rocker is a comfortable position for me, as my back has seen better days. What did work, by accident, was a piece of Tempur foam material. No matter what angle your working, the foam holds/cradles the model with out shifting and offers outstanding protection for dings and dents and allows you to file with any pressure you want. Tomorrow I'll finish cutting out the station templates and after finding the centerline, will start fitting them. I'm guessing you just carefully remove material in the general area of each station template one by one, then as the manual says, rasp it smooth connecting the hollows created. Any suggestions are welcome as to how to create those cuts/ depressions with the templates. Cheers, Tim
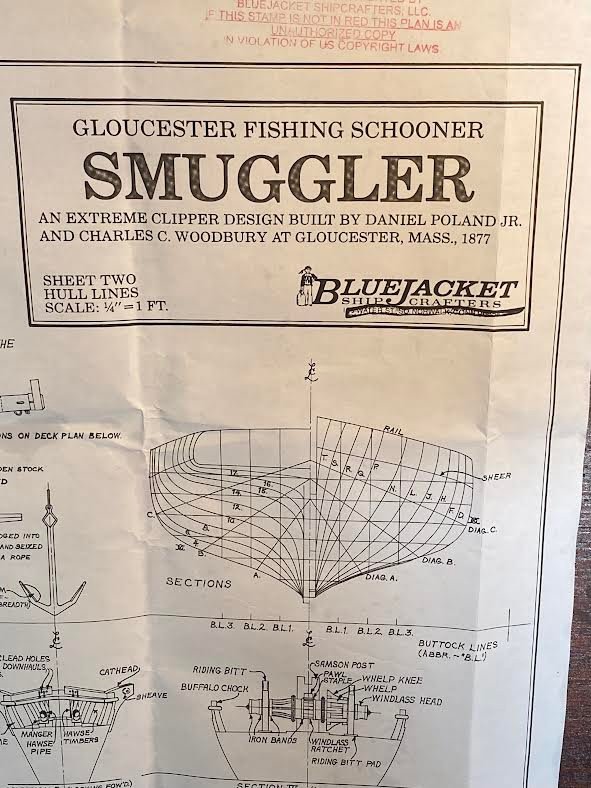
-
 Smuggler (planked hull, natural wood finish) Gloucester fishing schooners belonged to the most beautiful sailing ships ever crafted. (Just in my humble opinion, from period ships only Baltimore clippers can compete here). They have paid very high tolls for that privilege though. Handsome and very fast, but not very stable, they often fell victims to dangerous waters of Grand Banks. According to Chapelle, more than 160 ships and over 1000 fishermen perished in 1860s and 1870s. The voices for safer ship designs grew and resulted eventually in construction alternations, but this is another story…. The Smuggler by BJ, although not a mainstream kit is quite well known here I would say. Switching from plastic kits after many years, I wanted to build the model ship in natural wood finish as much as possible. Again just my personal taste, also after searching through the MSW galleries, I prefer the pure beauty of the wood to any paint cover, although the latter might be closer to reality. This build log is my first build log here and I must confess a little “cheating” here: As a first time builder I simply did not want to eagerly start another log, that would eventually be never finished – I have learnt the risk is surely there for the firstimers. Now, after a year of slow progress, one terrible project restart and many reworks I say, let’s try to put her in the light! Maybe I believe the most feared steps are behind me already. Maybe I could then kindly ask you for some advice or moral boost when needed – there is still a long way to go…. I know my build is far from perfect, but personally am quite happy so far, crossed fingers! I will now post my build progress here chronologically. Thank you for watching, commenting or just stopping by in advance! Juraj
- 104 replies
-
- 1
-

-
- Bluejacket Shipcrafters
- smuggler
- (and 1 more)
-
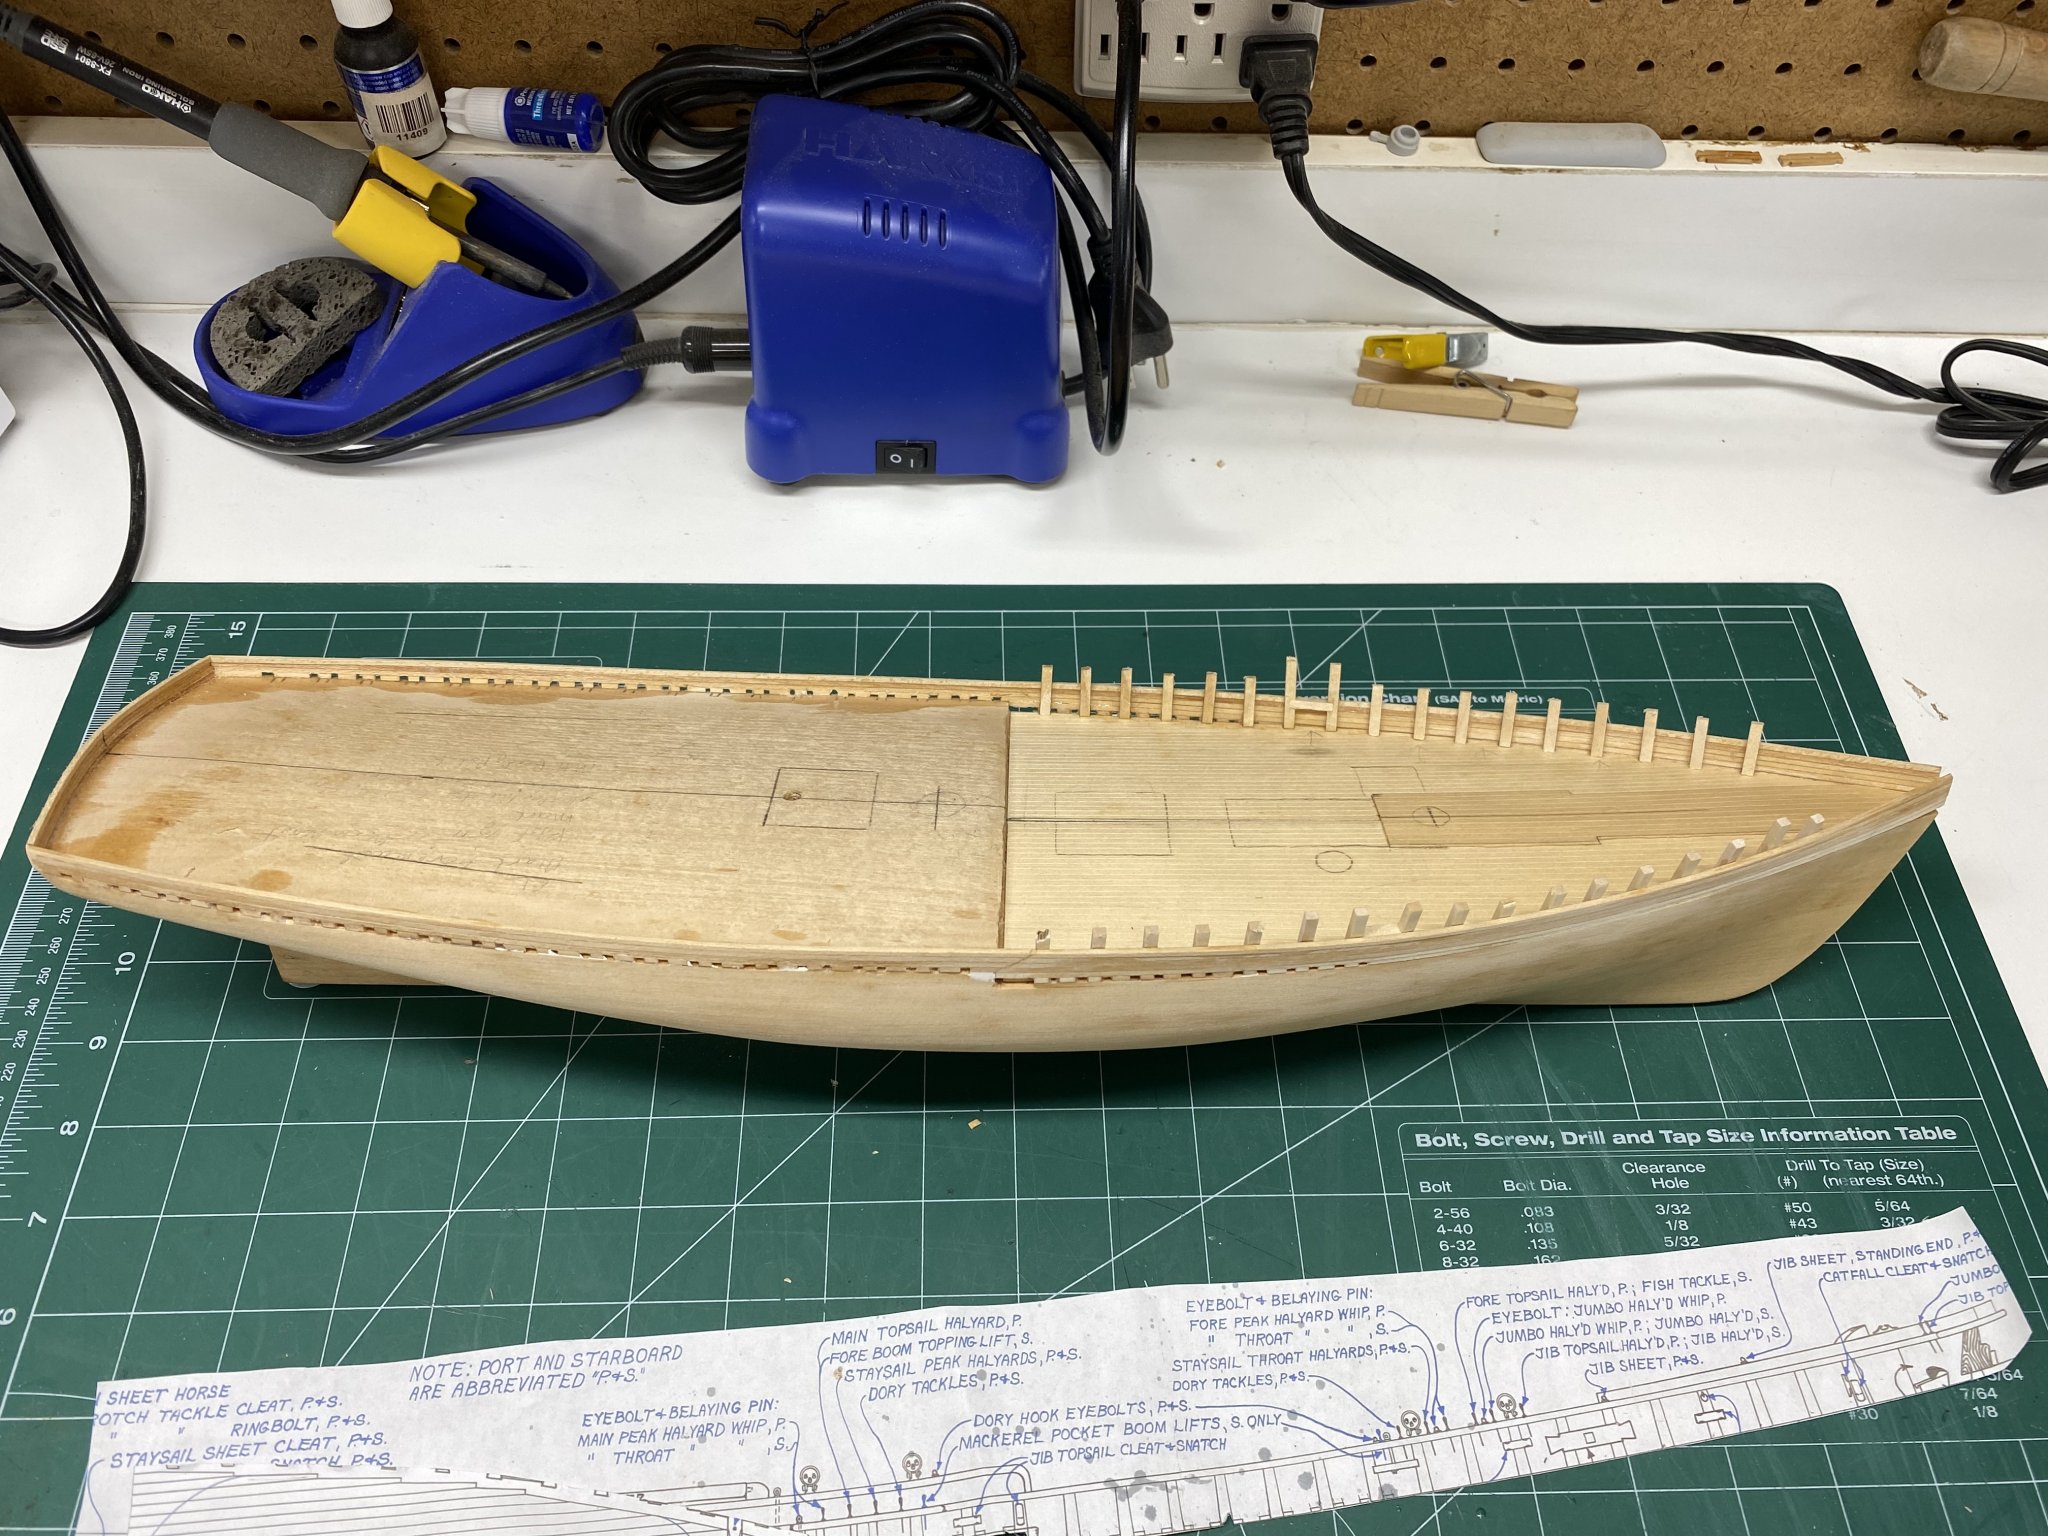
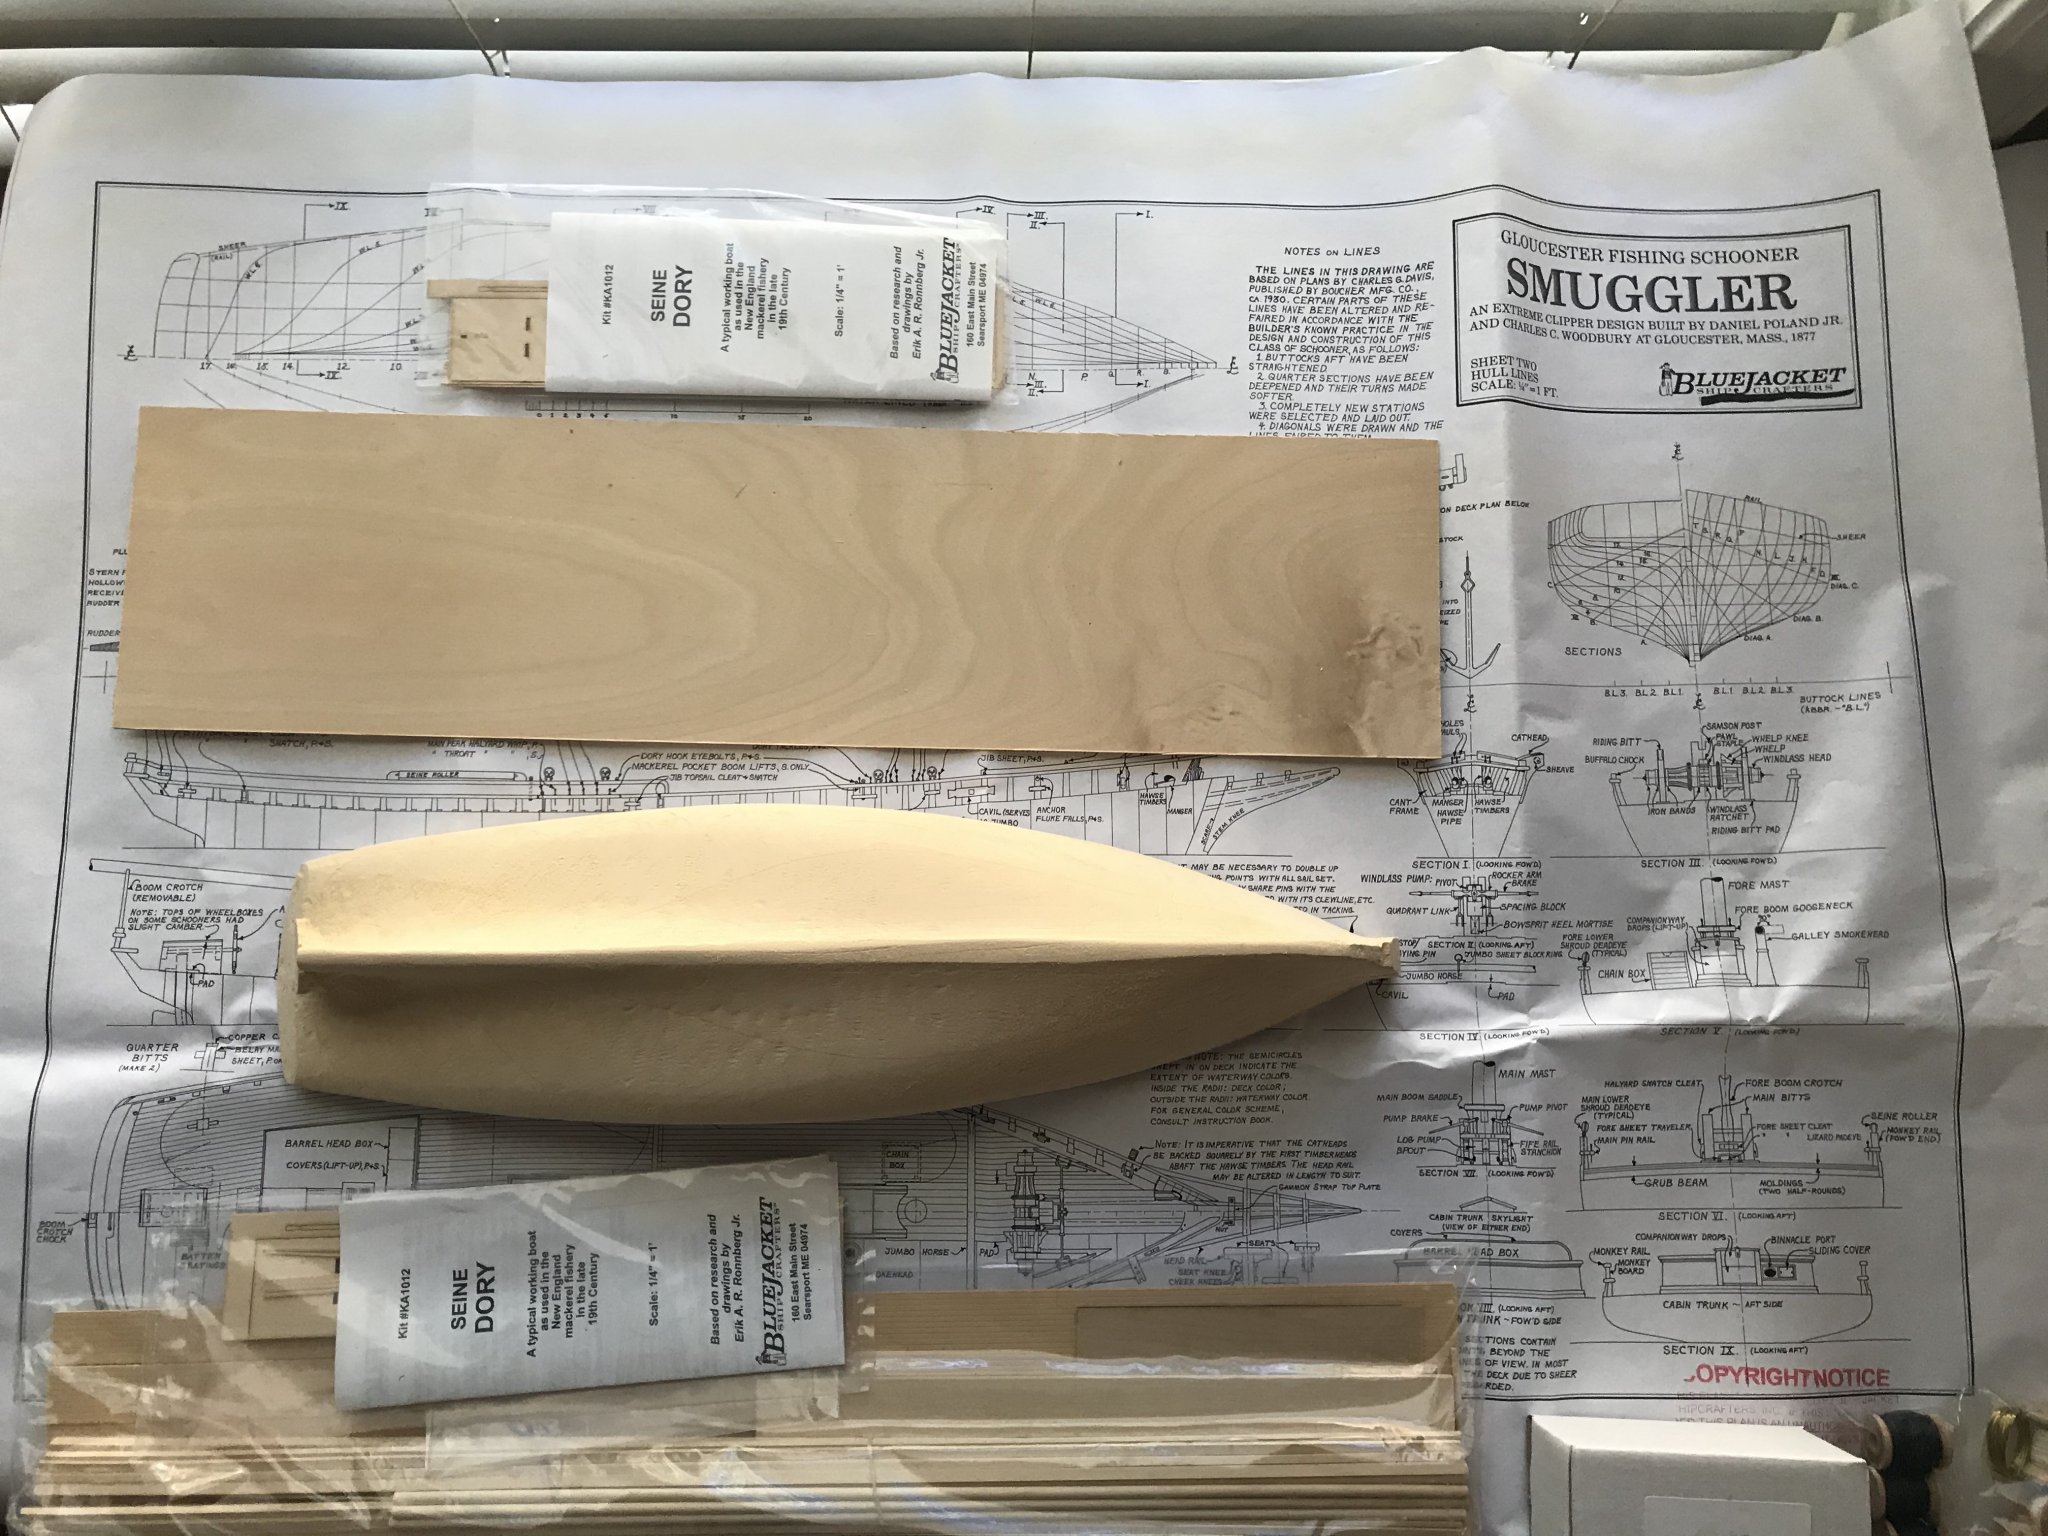
 Hello again, I have had this kit in the wings for a long time but life seems to take me away from this hobby. I do drop in from time to time to look at all the amazing work going on here by all of you. All in all this is a fine kit. The wood is nice and the basic hull has some tool markings and excess wood fore and aft where the machine tools were attached that cut the hull. This is not a negative, it is completely normal for this style of kit and anticipated. Blue Jacket calls this a beginner to intermediate kit, which I think is accurate. In my opinion this is great first or second ship for a novice like myself. It includes a detailed instruction book. It also has 3 very large sheets of well drawn plans. So a complete beginner might find this a challenge, but no more so then say the AVS which was my second model. Compared to the AVS there will be two mast to rig but no guns to rig, gun ports to fuss with, or hull planking as this is a solid hull kit. However, having finished a couple ships and a third planked and a partially completed Pride of Baltimore II, I think it will be a great challenge for me. Bottom line this looks to be a fabulous kit there is a good amount of information available as well as a few build logs here. If you are looking for for your first ship this is certainly doable thanks to the great support you can get on this forum and also Blue Jacket (BJ) themselves. This will be my second BJ kit. So without further ado here is what's in the box:
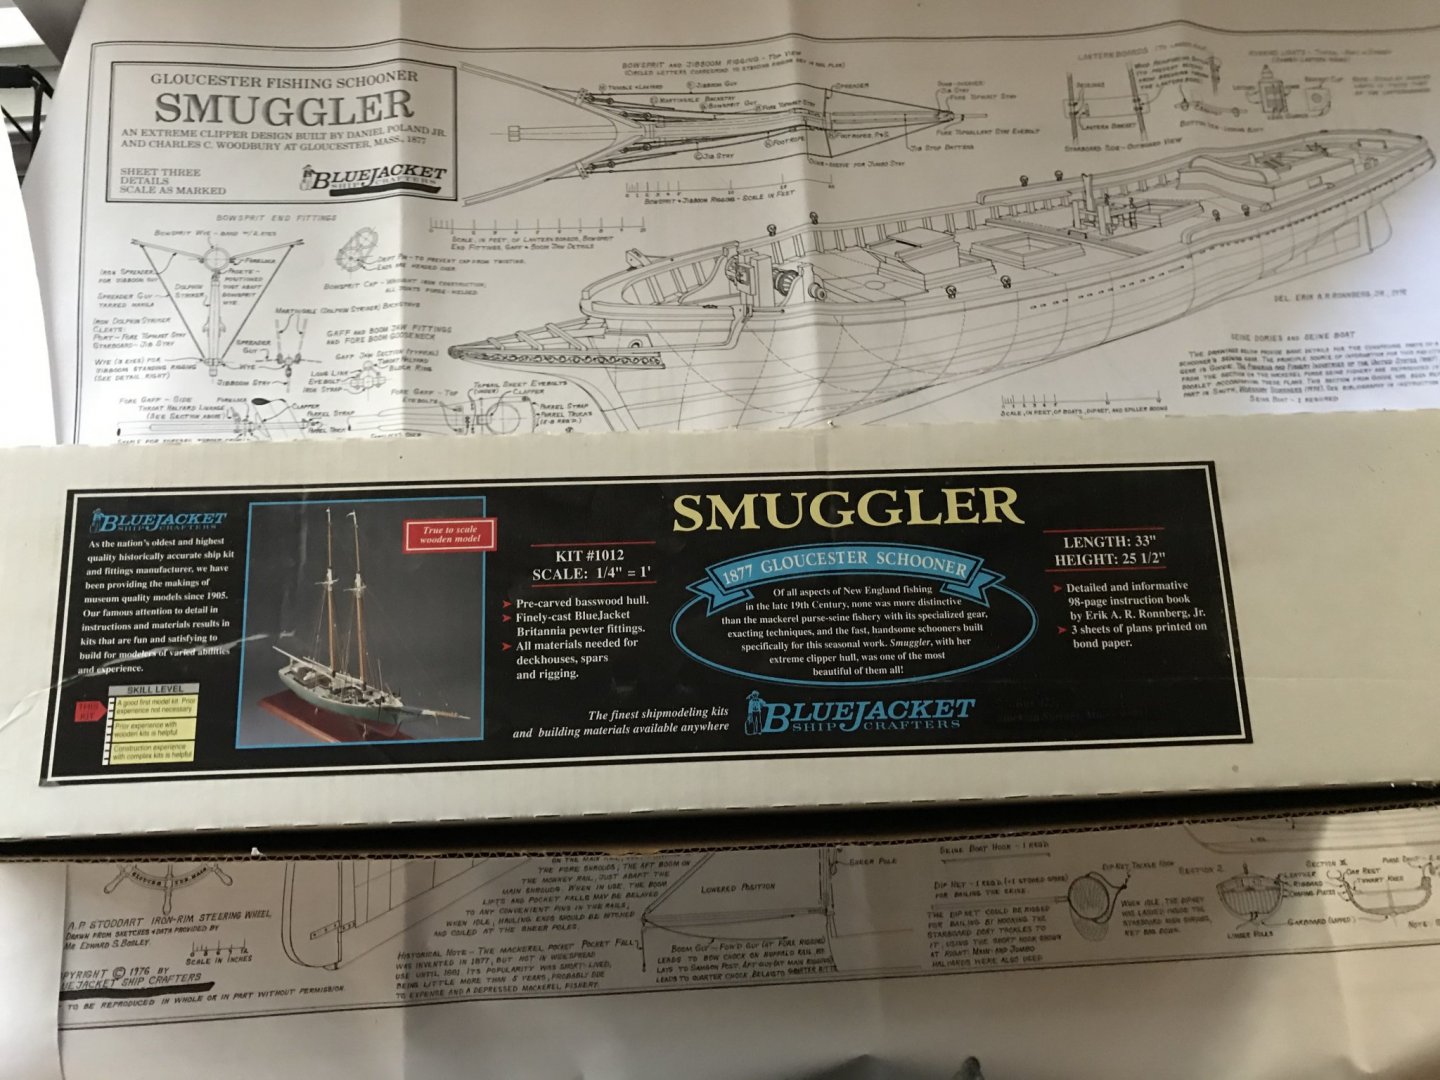

-
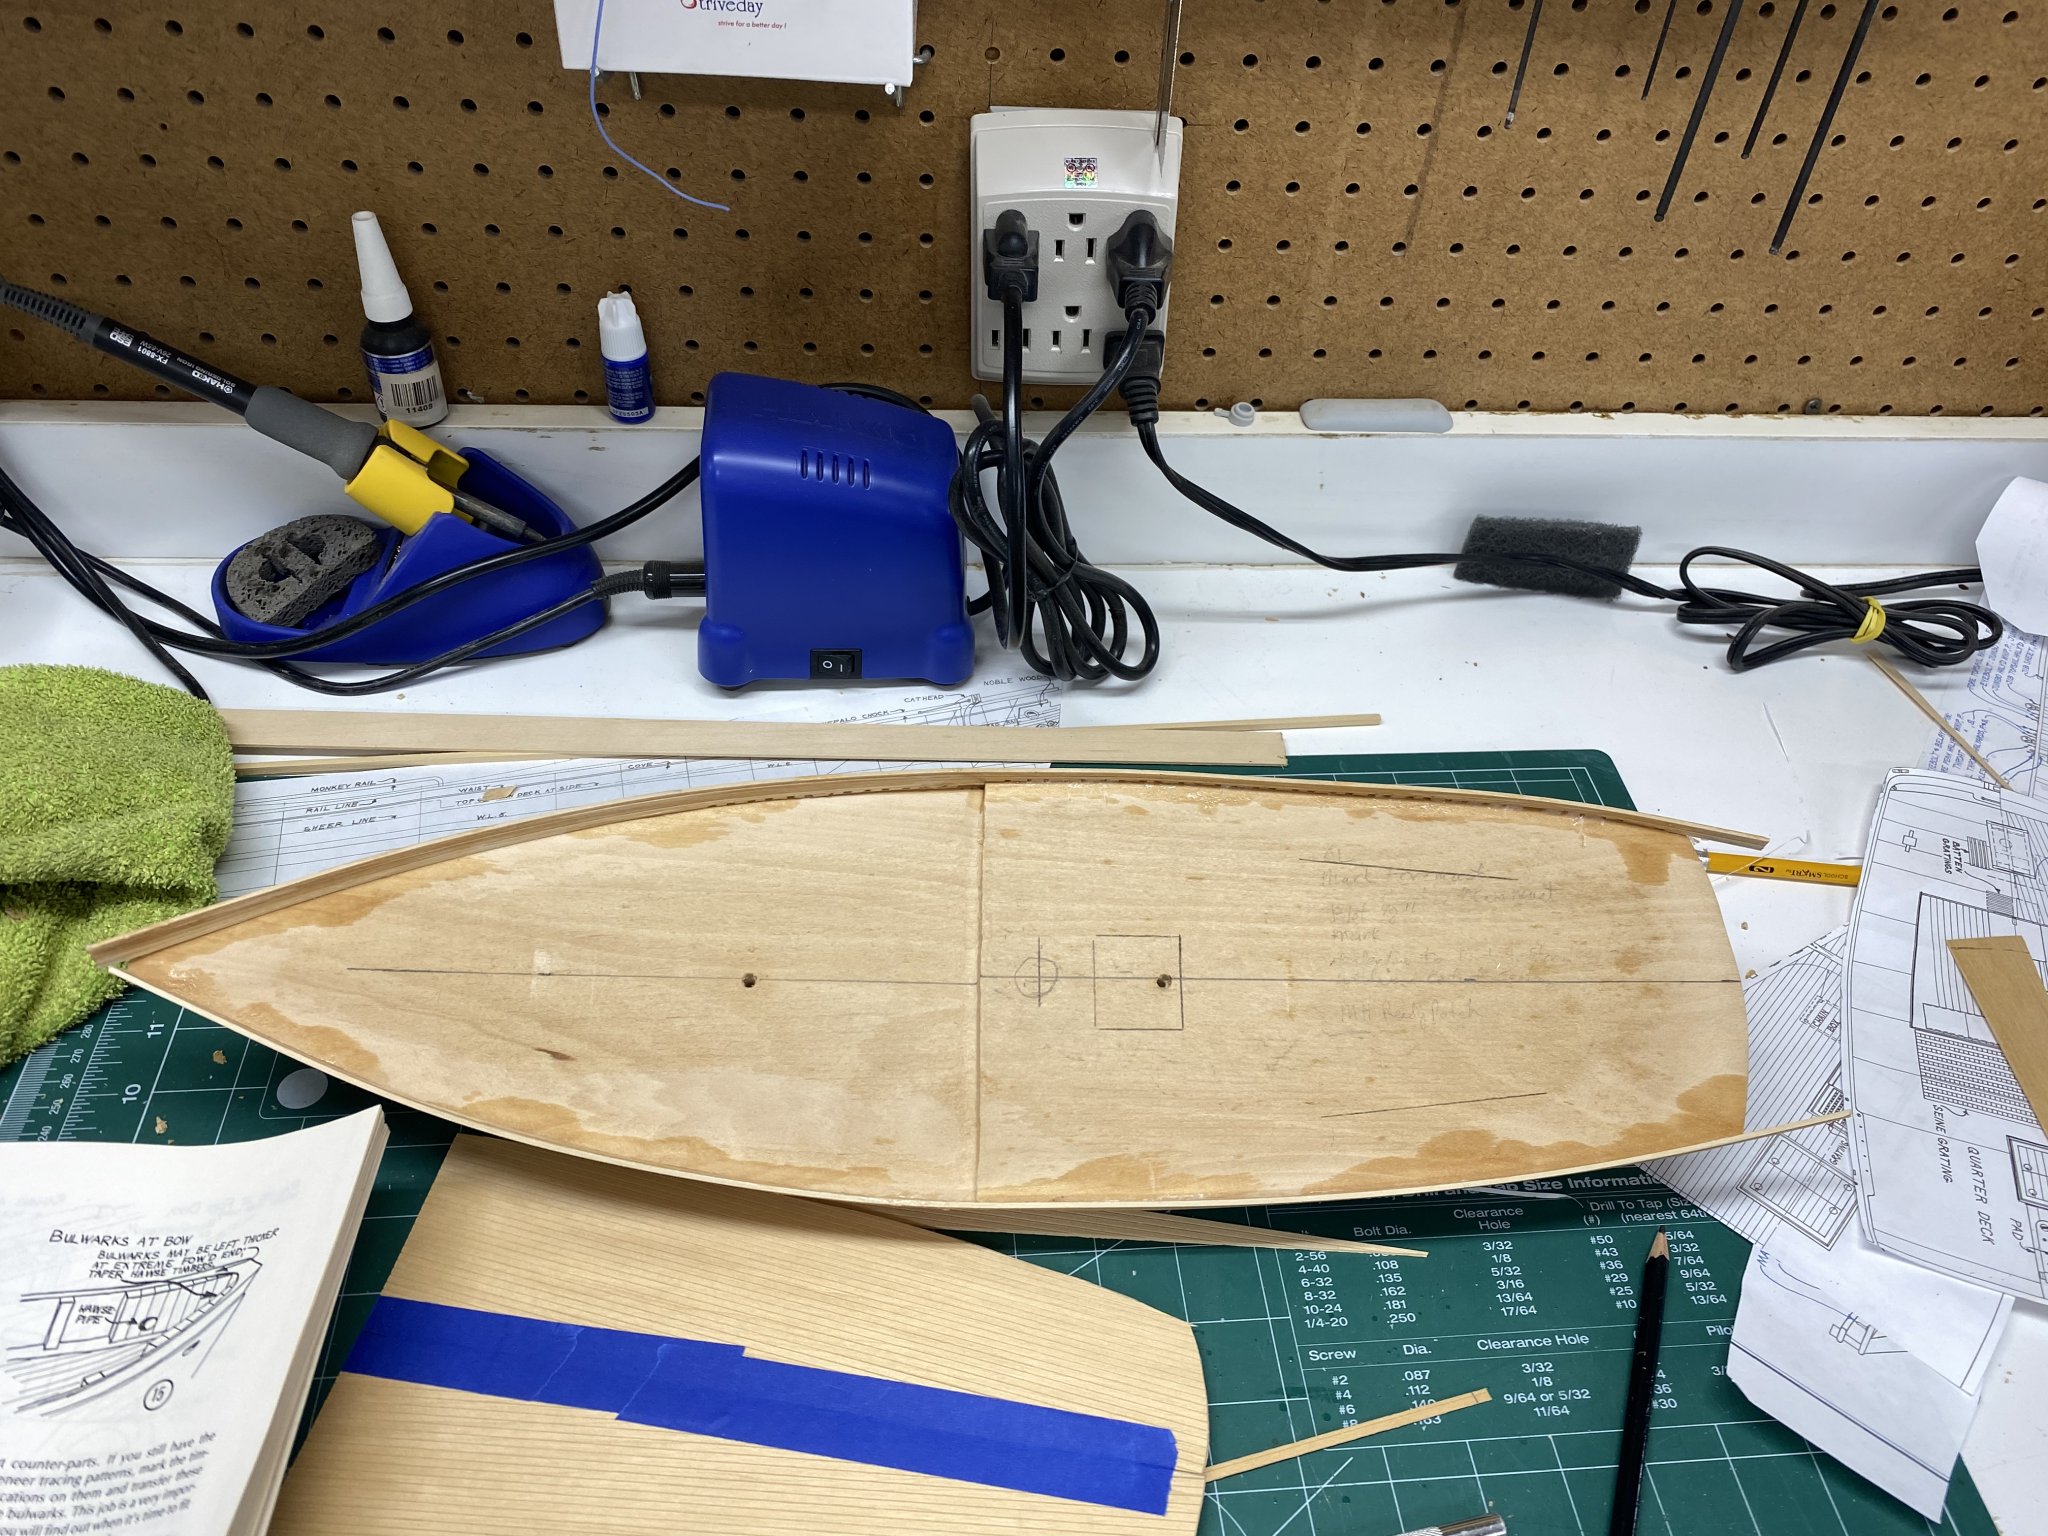
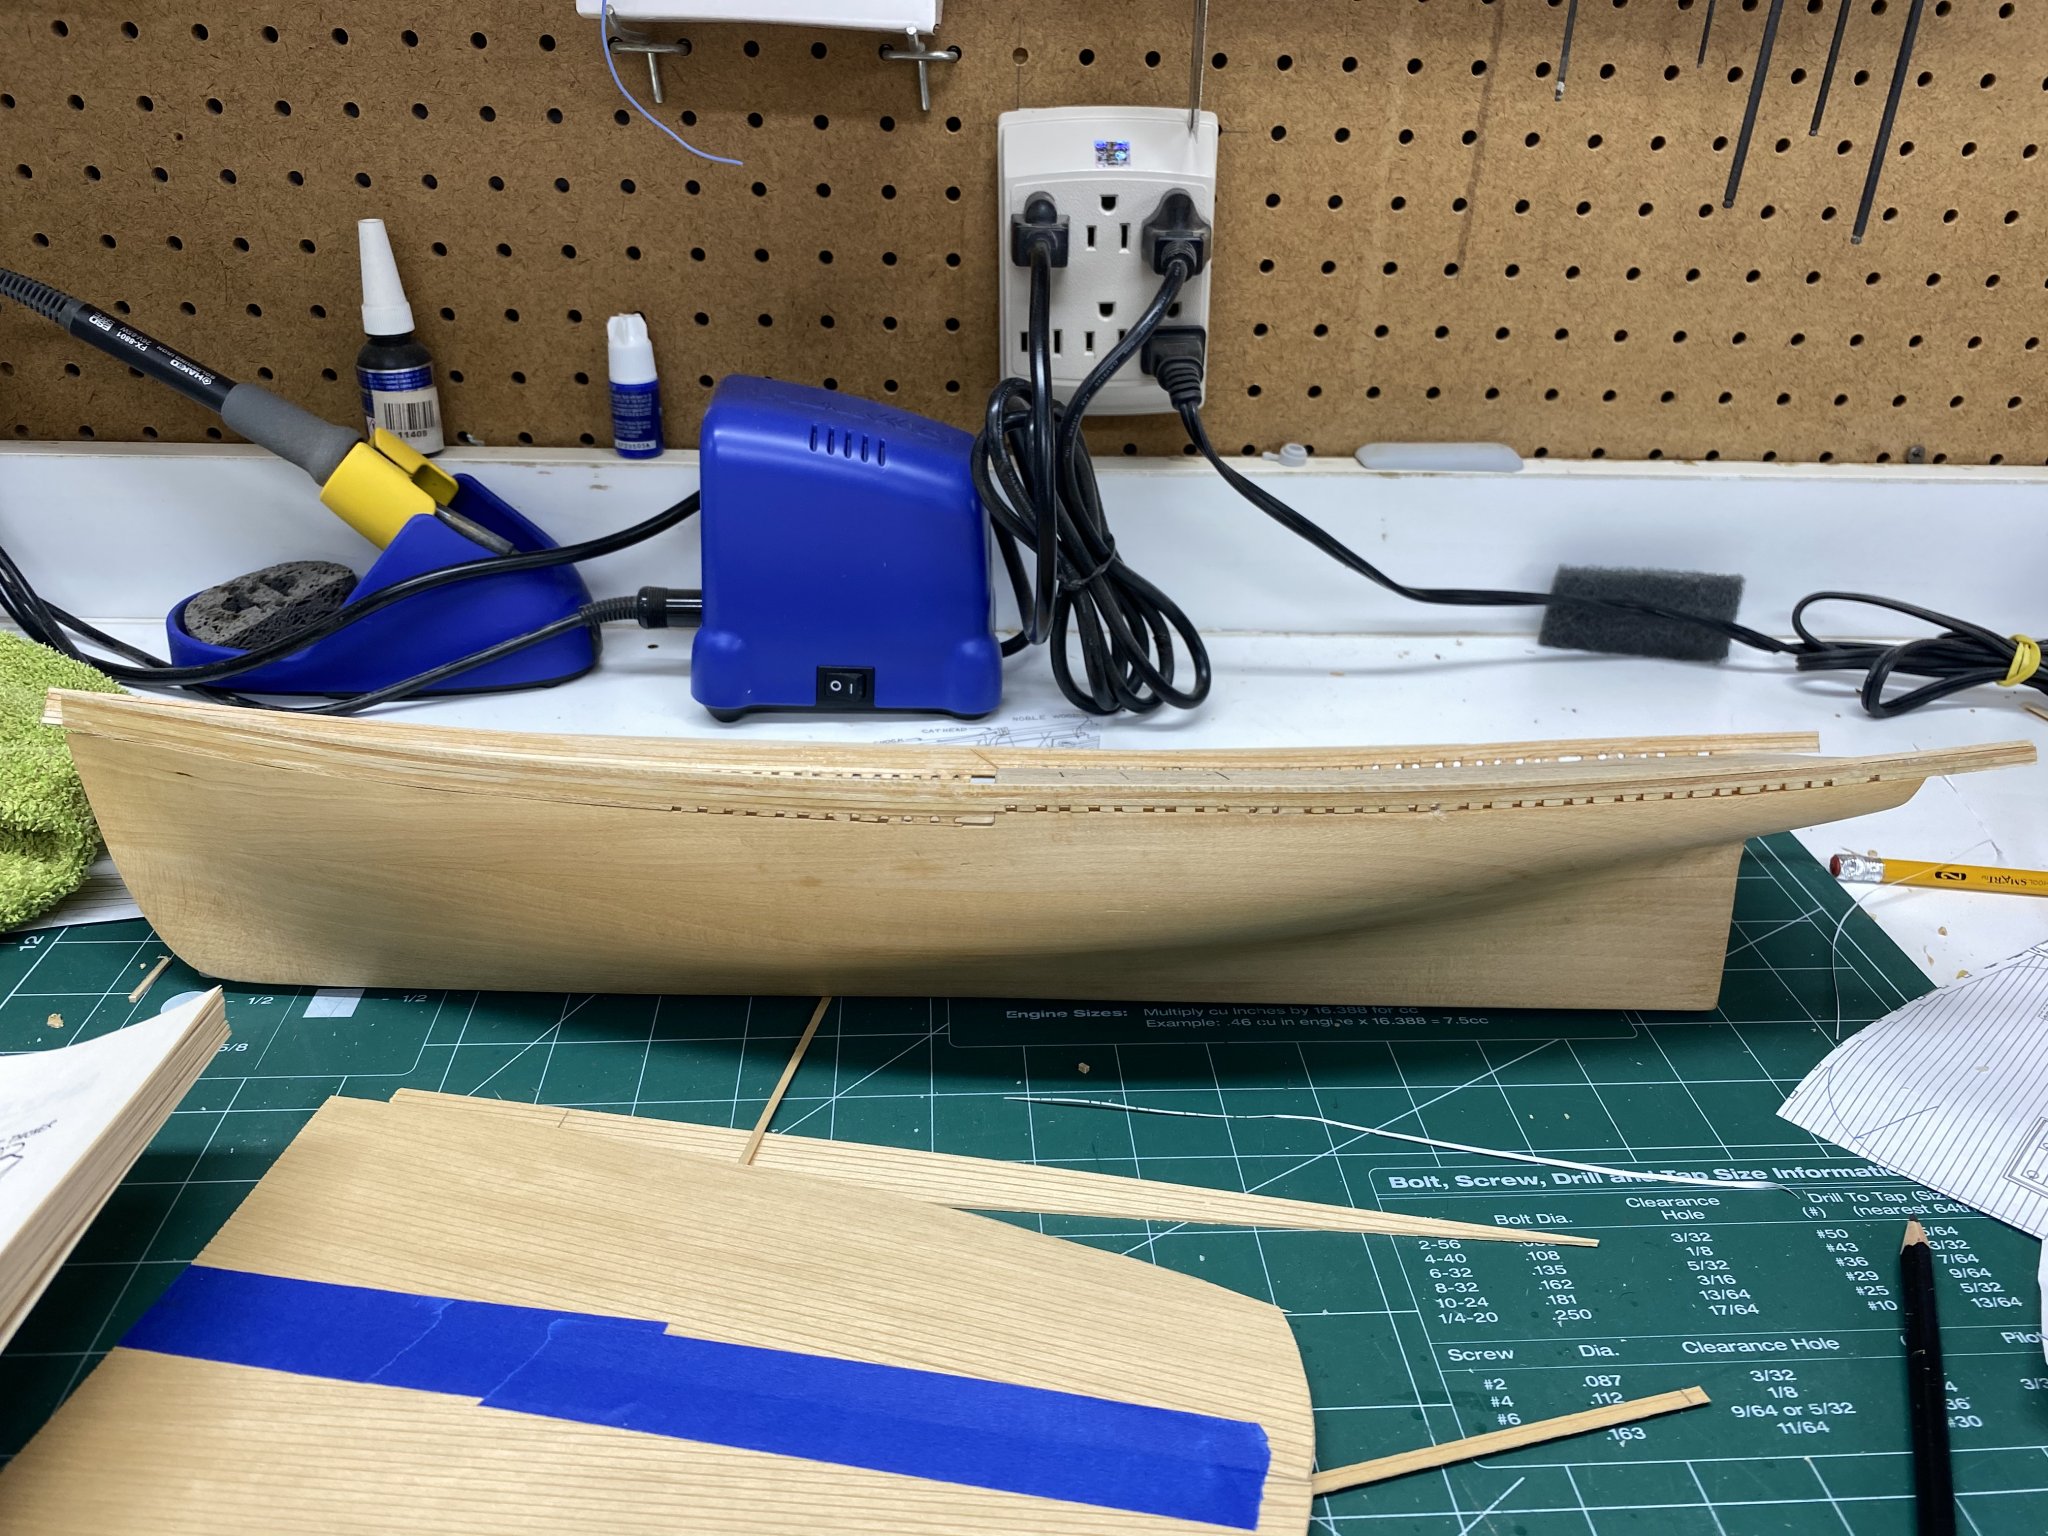
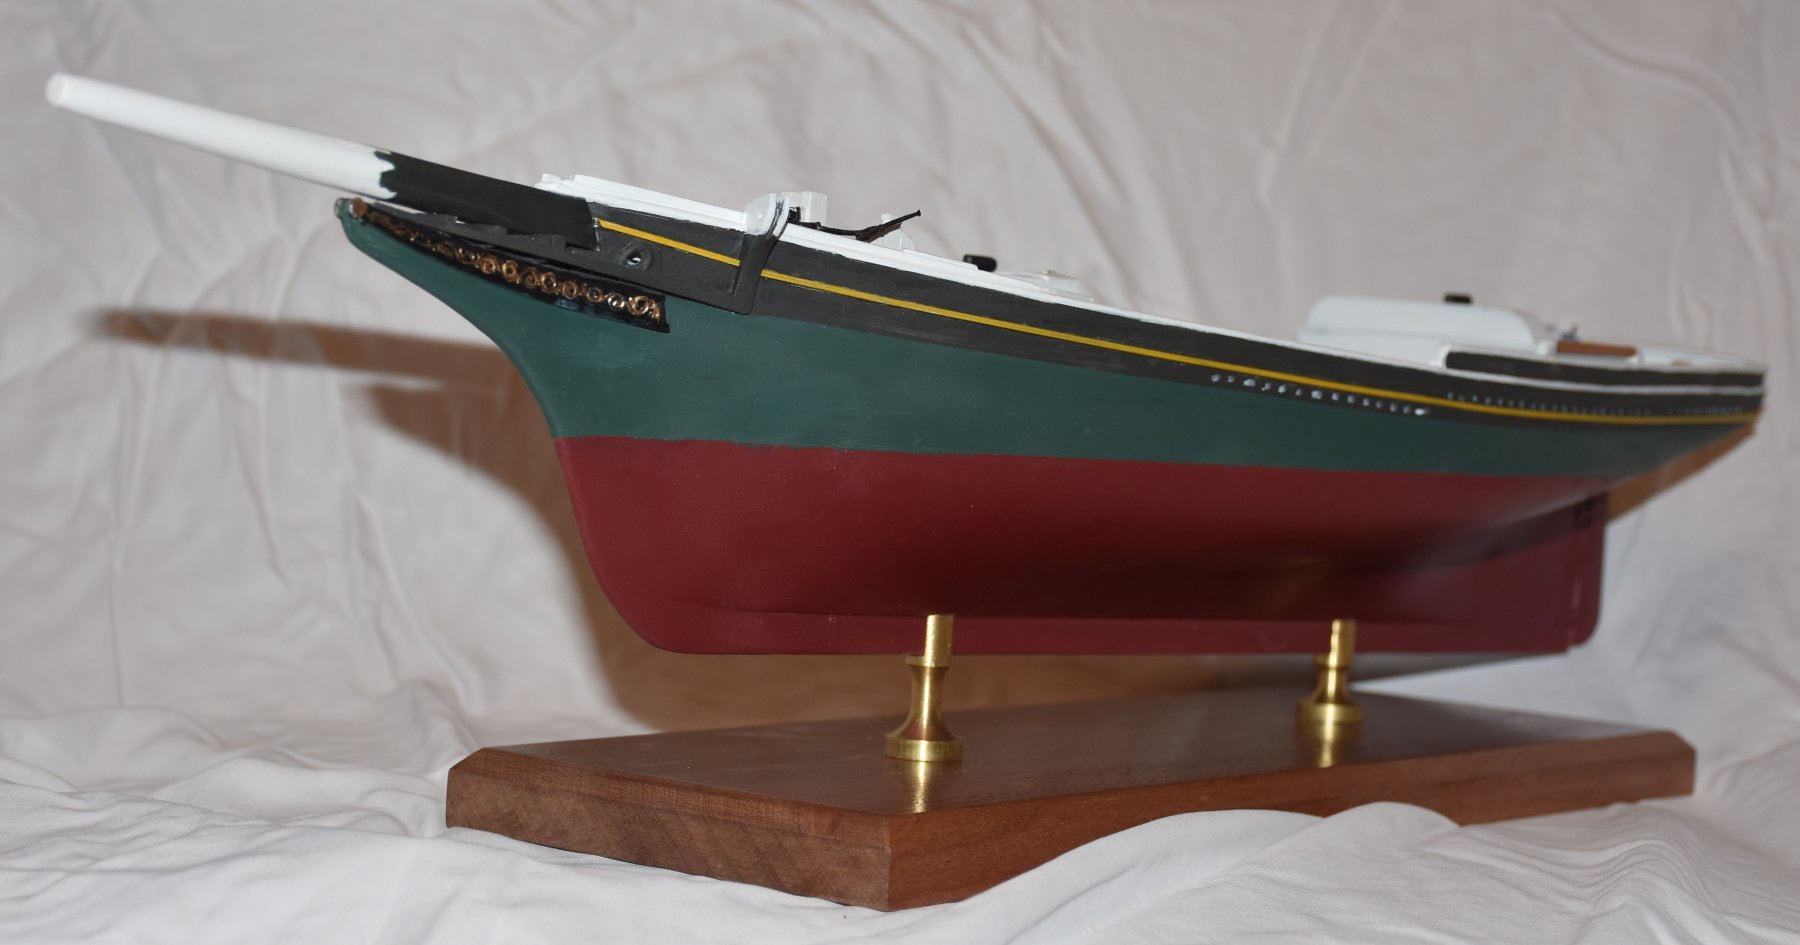
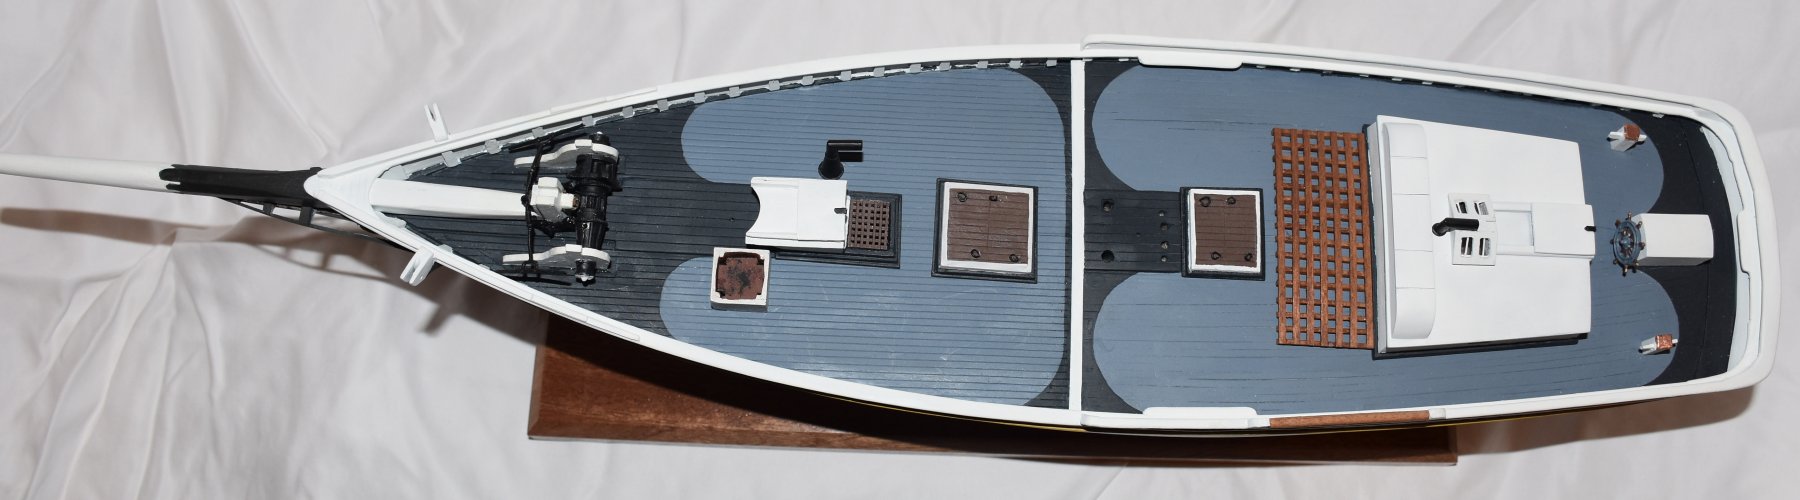
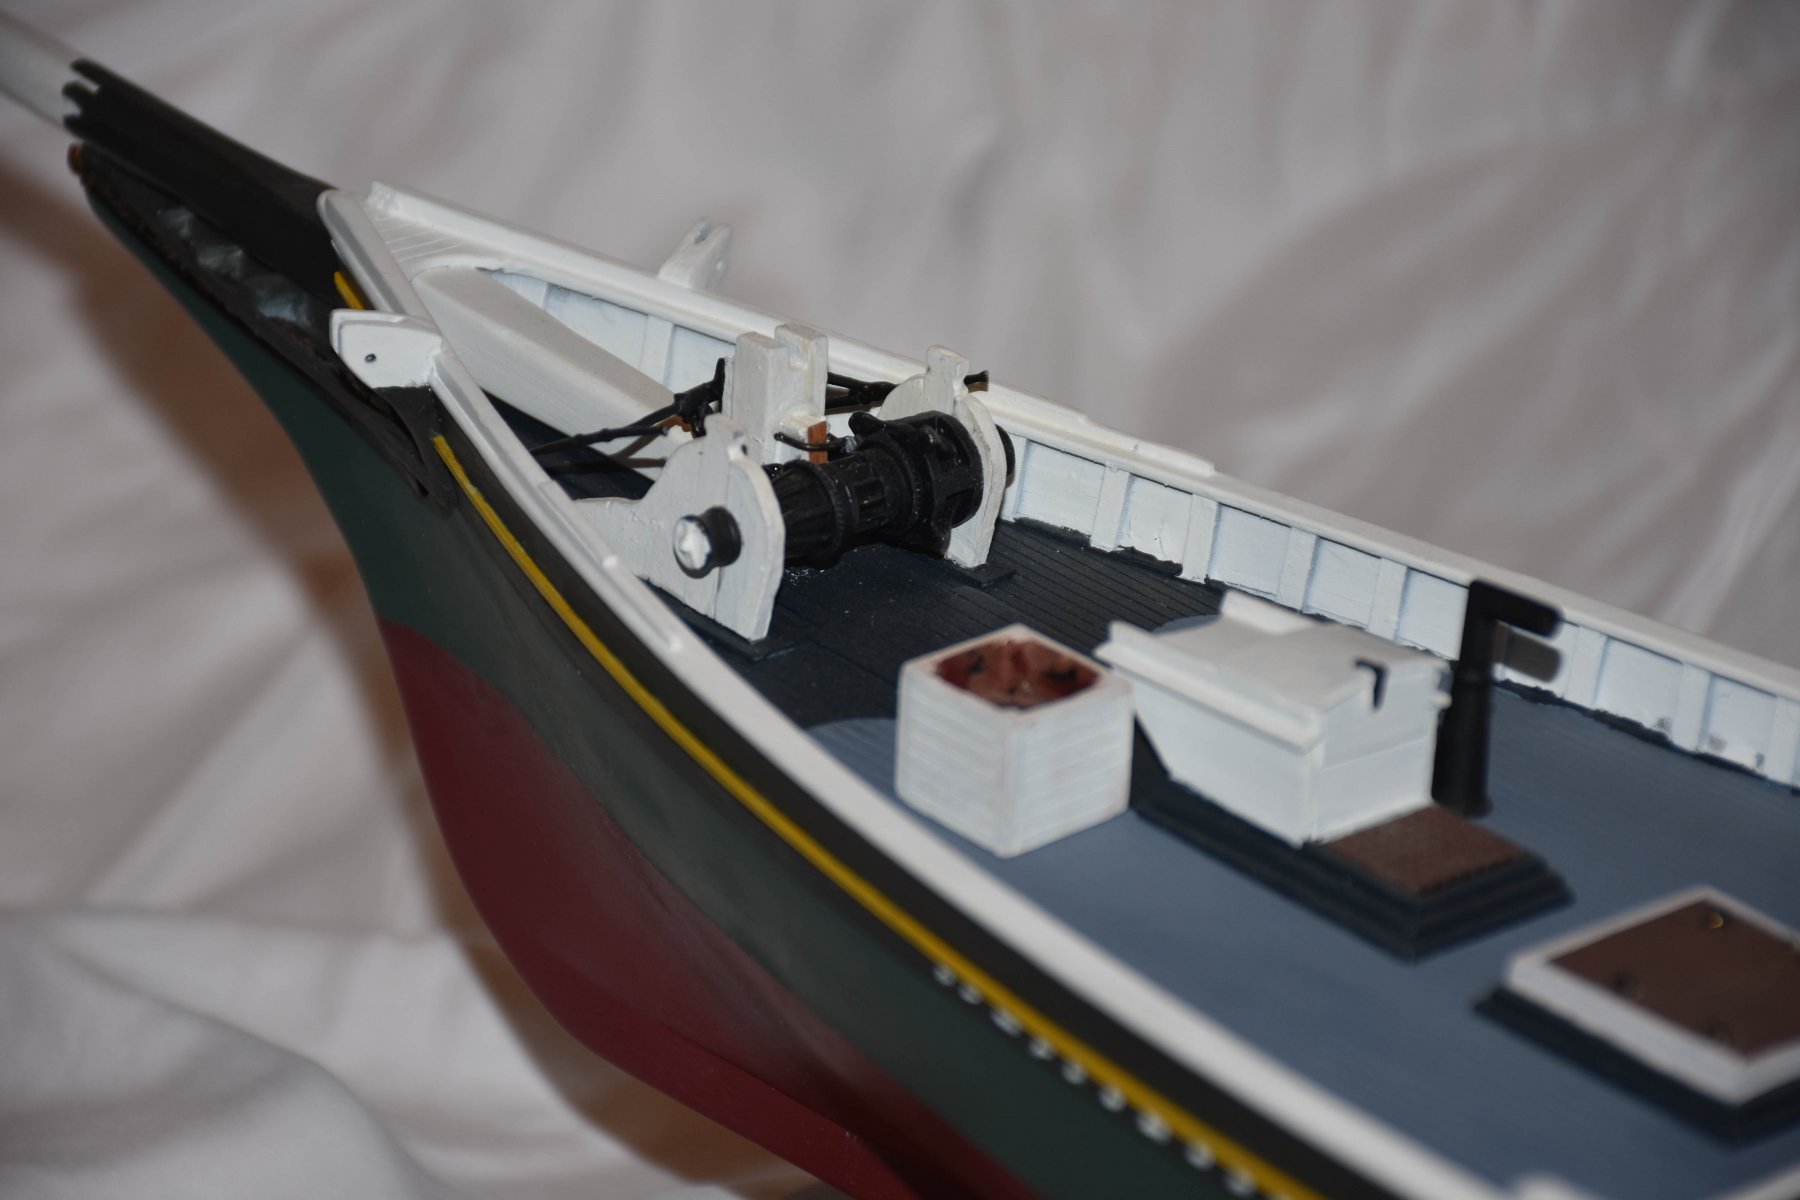
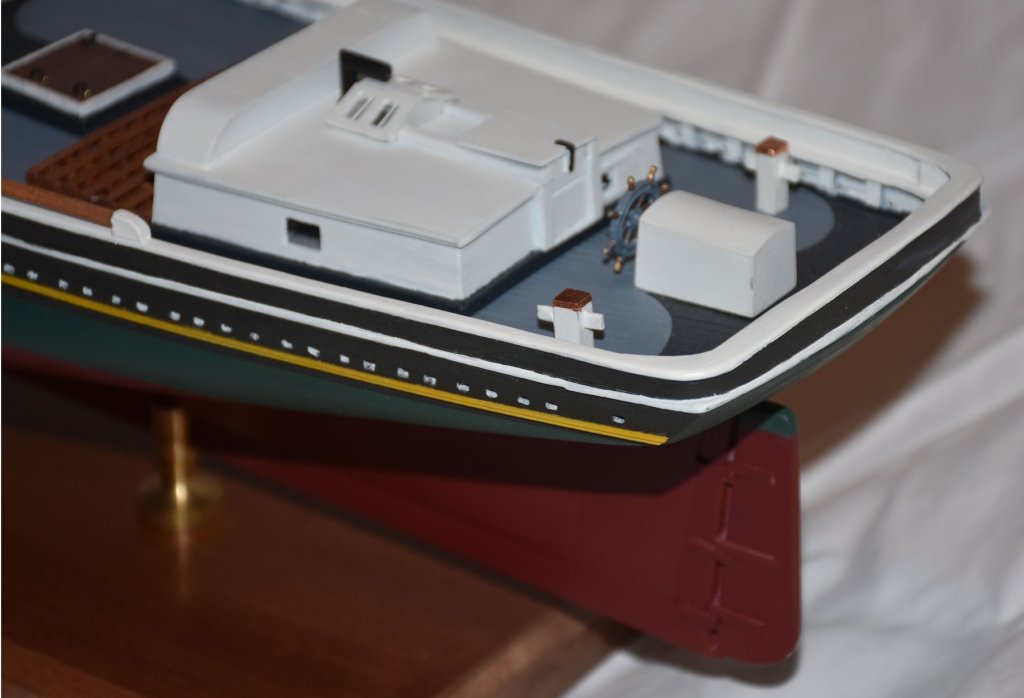
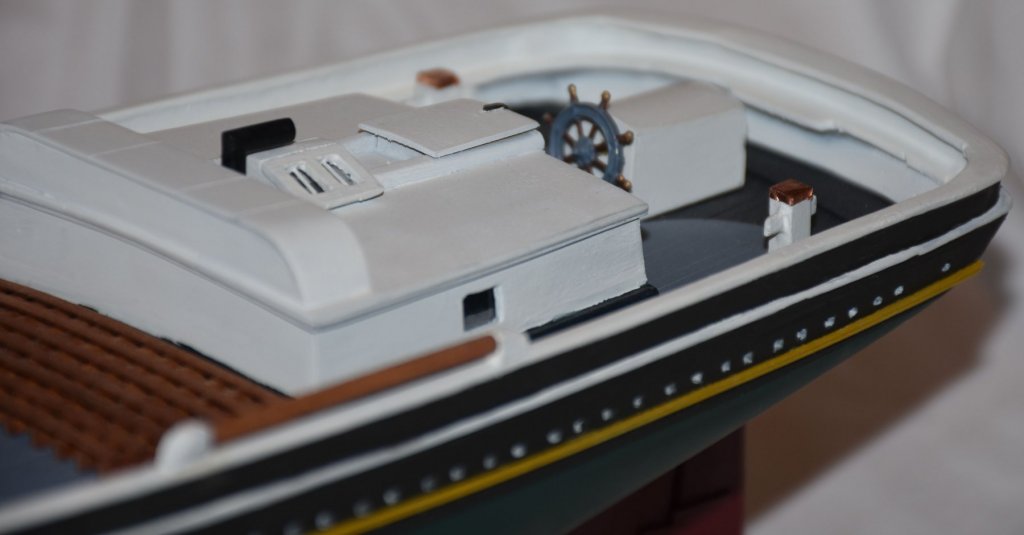
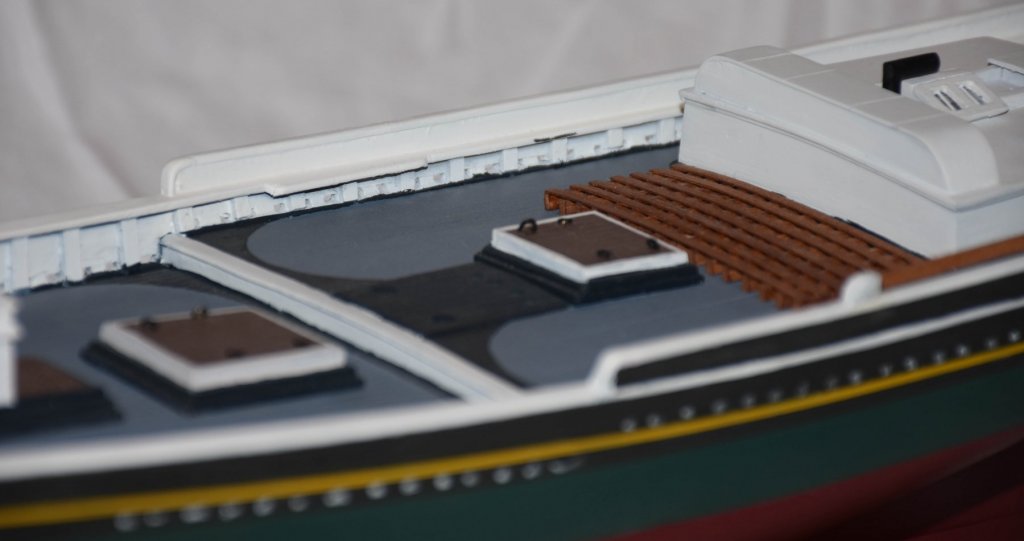
 I started this project in January 2017 and worked on it steadily for about three months but have not worked on it since. This is my first model of any kind. In retrospect, it was probably a bit advanced for a first model. I thought my experience as a fairly advanced woodworker and having engraved scrimshaw for several years gave me some of the skills (and most of the tools) I would need. The one thing that kept me going was the Bluejacket helpline that is manned by a very experienced modeler. In fact, Charlie has built models not only for himself but under contract to Bluejacket for those individuals that are willing to pay a great deal of money for a model. He has built the Smuggler more than once. The hull and major structures have been completed and painted. Next, I plan to finish everything except for the masts and rigging. I have also nearly completed two dories and a seine boat. The woodworking tools that I have found most useful are a Lie-Nielsen small brass block plane and some very sharp chisels. This is a solid hull construction. I thought that was a good place to start for a first model. I made templates by getting several photocopies and using spray adhesive to mount them on separate pieces of 1/16” plywood. Each was cut out with a coping saw and finished with sandpaper and a curved sanding block to get just up to the line. The fore-aft templates were reinforced to make sure they remained straight. Once I got the hull shaped as perfectly as possible using the templates to confirm the shape I made a major deviation from the kit plans based on a recommendation from Charlie. The machine-shaped hull has the bulwarks and transom incorporated. Rather than trying to chisel the inside of the bulwarks and transom to get to the proper thickness and attempting to sand the decks to shape, I cut everything off at the level of each deck. At this point, I was able to sand the decks exactly to the shape I wanted as everything was open. I installed the scribed decking supplied in the kit on the foredeck as the original Smuggler has straight planking. However, rather than taking the same approach on the main deck, I purchased wood strips so that I could install curved decking in the same way it was on Smuggler. I then installed the waterboards and built up the bulwarks and transom using 1/16” v 1/16” strips. This method allows one to get accurate wall thickness and real scuppers.
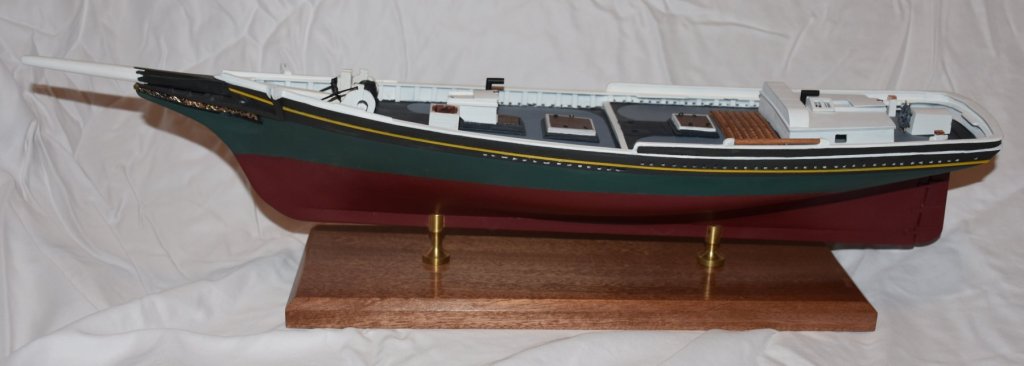


- 11 replies
-
- 12
-
-
 Hi Folks, I just checked in on the forum today to find, as I'm sure you all did, that all of the content has been lost. I don't think I can recreate my whole build log but I still have the photos on my laptop so I'll repost them here in chronological order. I made several small tutorials within my original build log and I will recreate those in the appropriate section when I can. This is a terrific forum and though much has been lost, I know the members here will dive in and rebuild it. It's late and I'm tired so I'll get going on this over the next few days. Jamie