Search the Community
Showing results for tags 'titanic'.
-
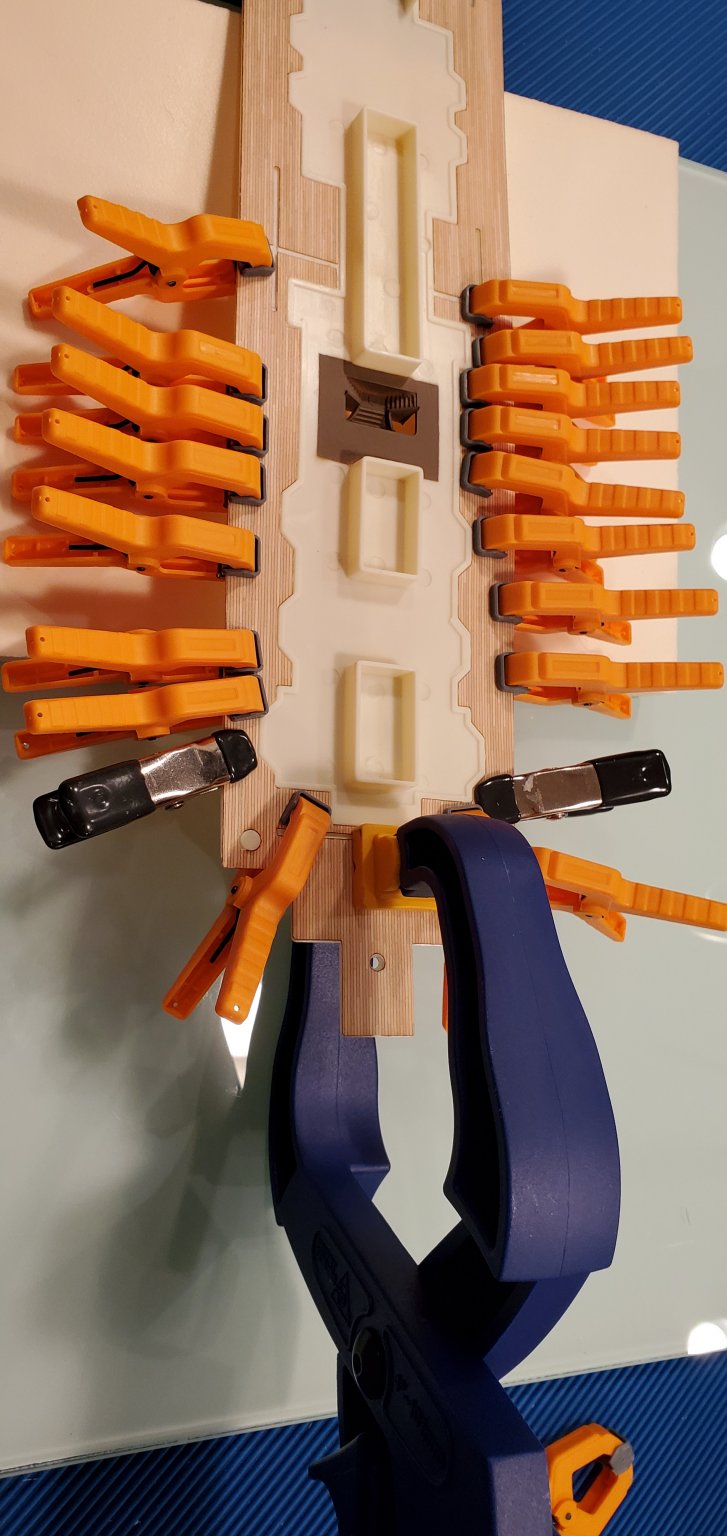
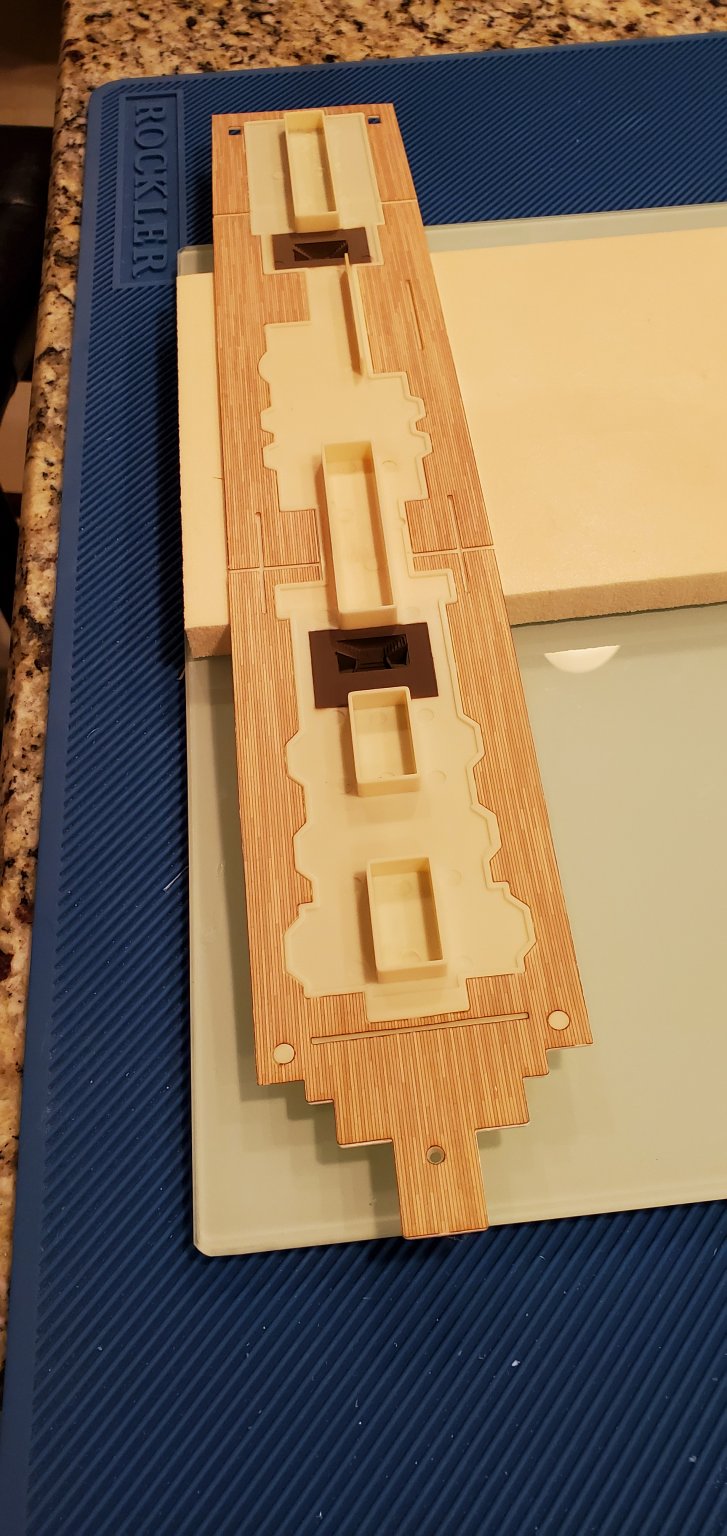
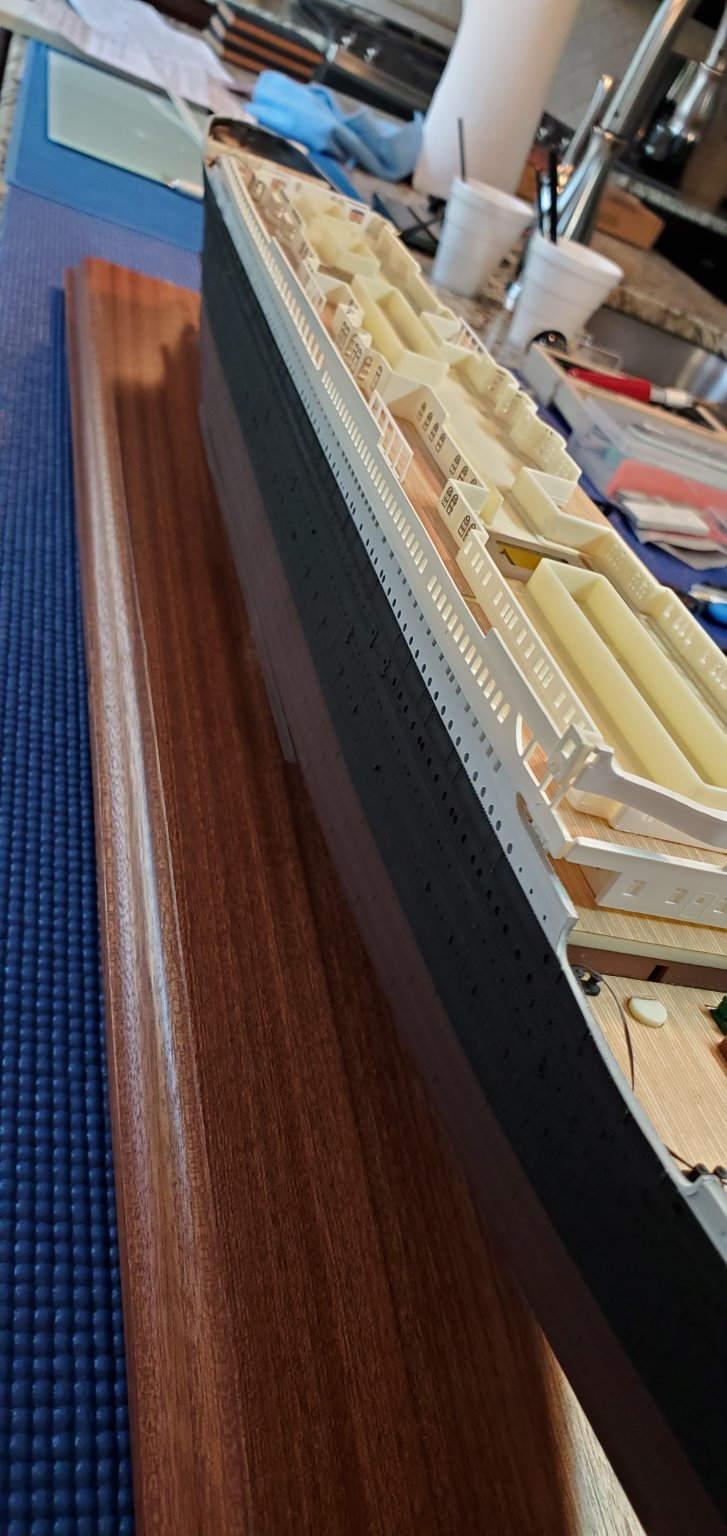
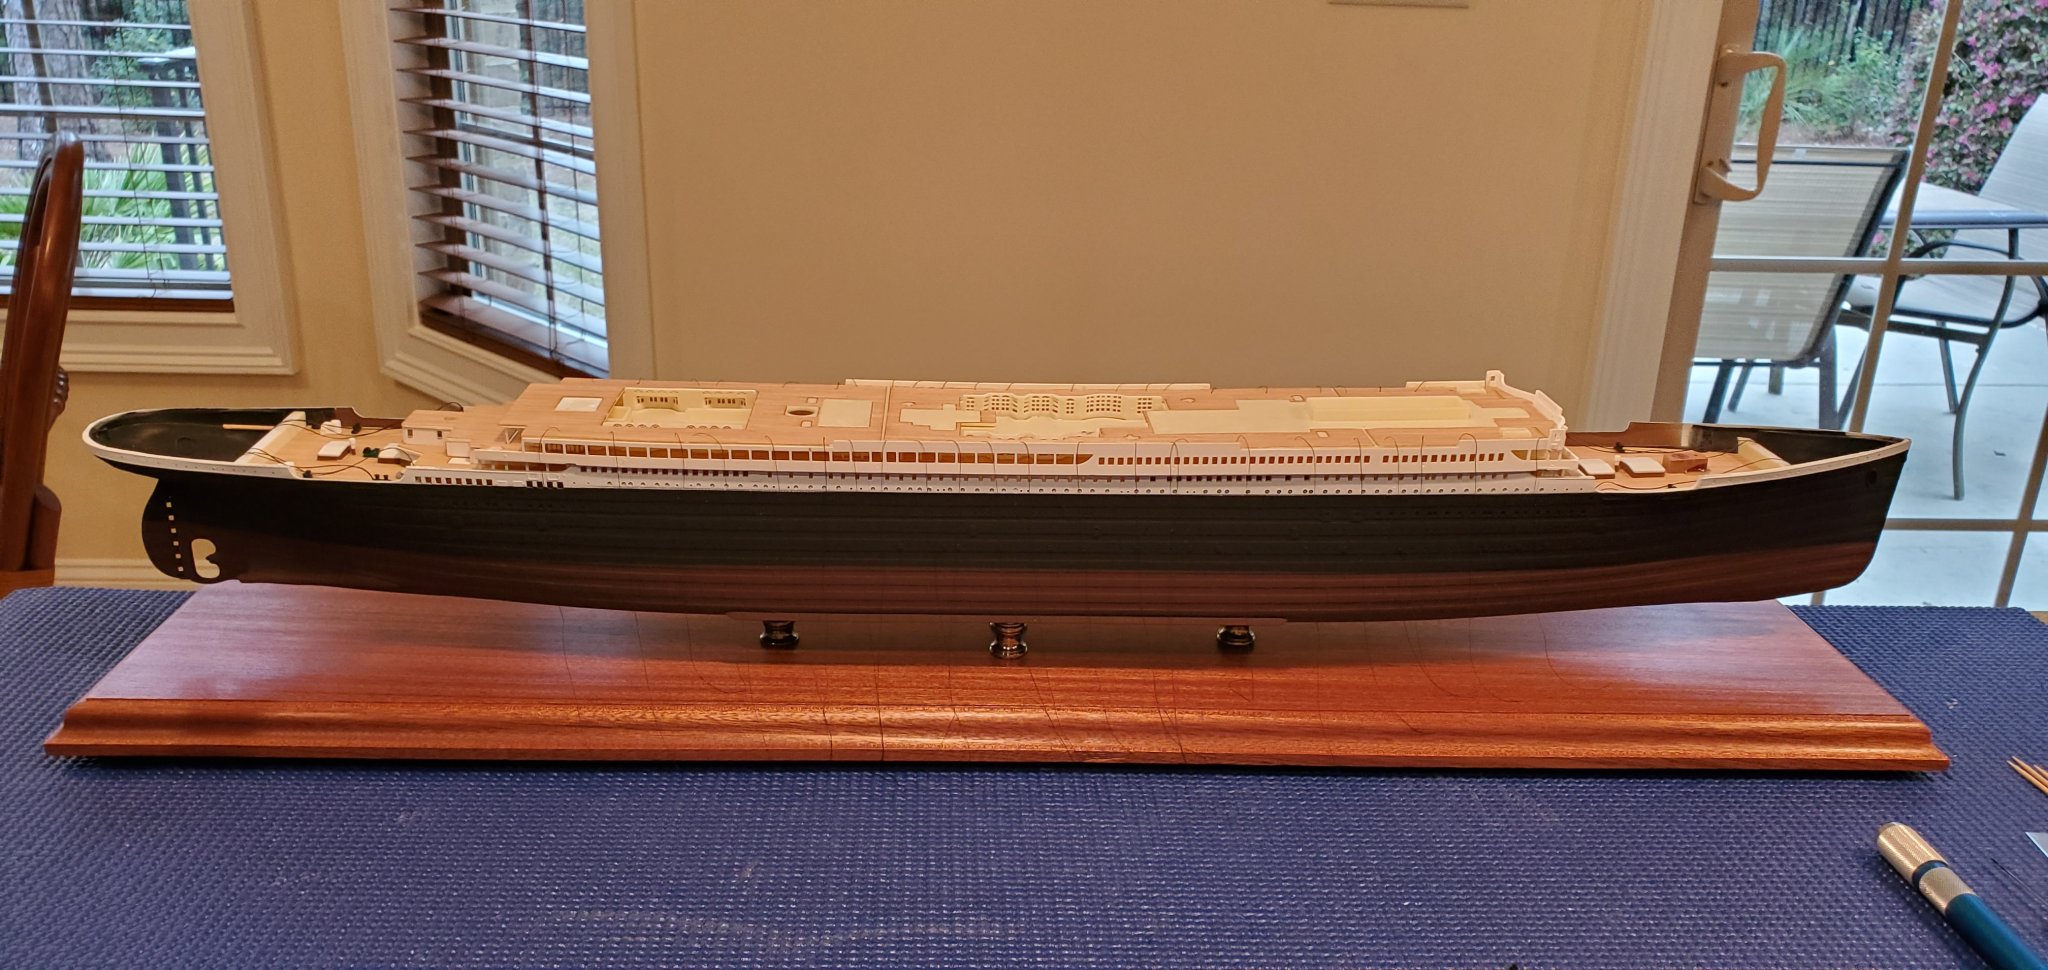
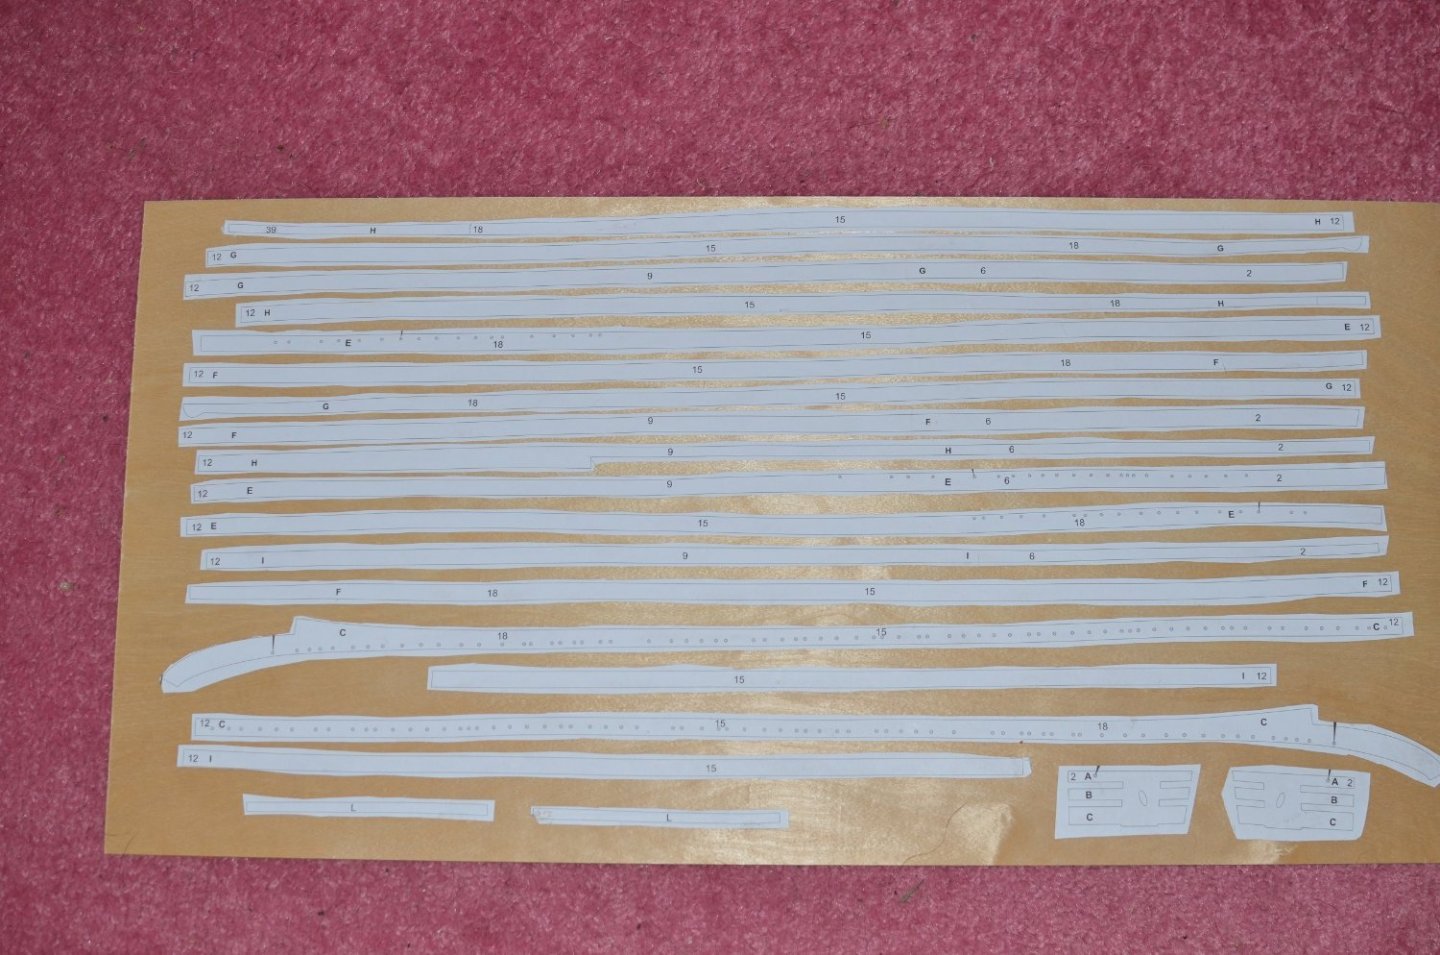
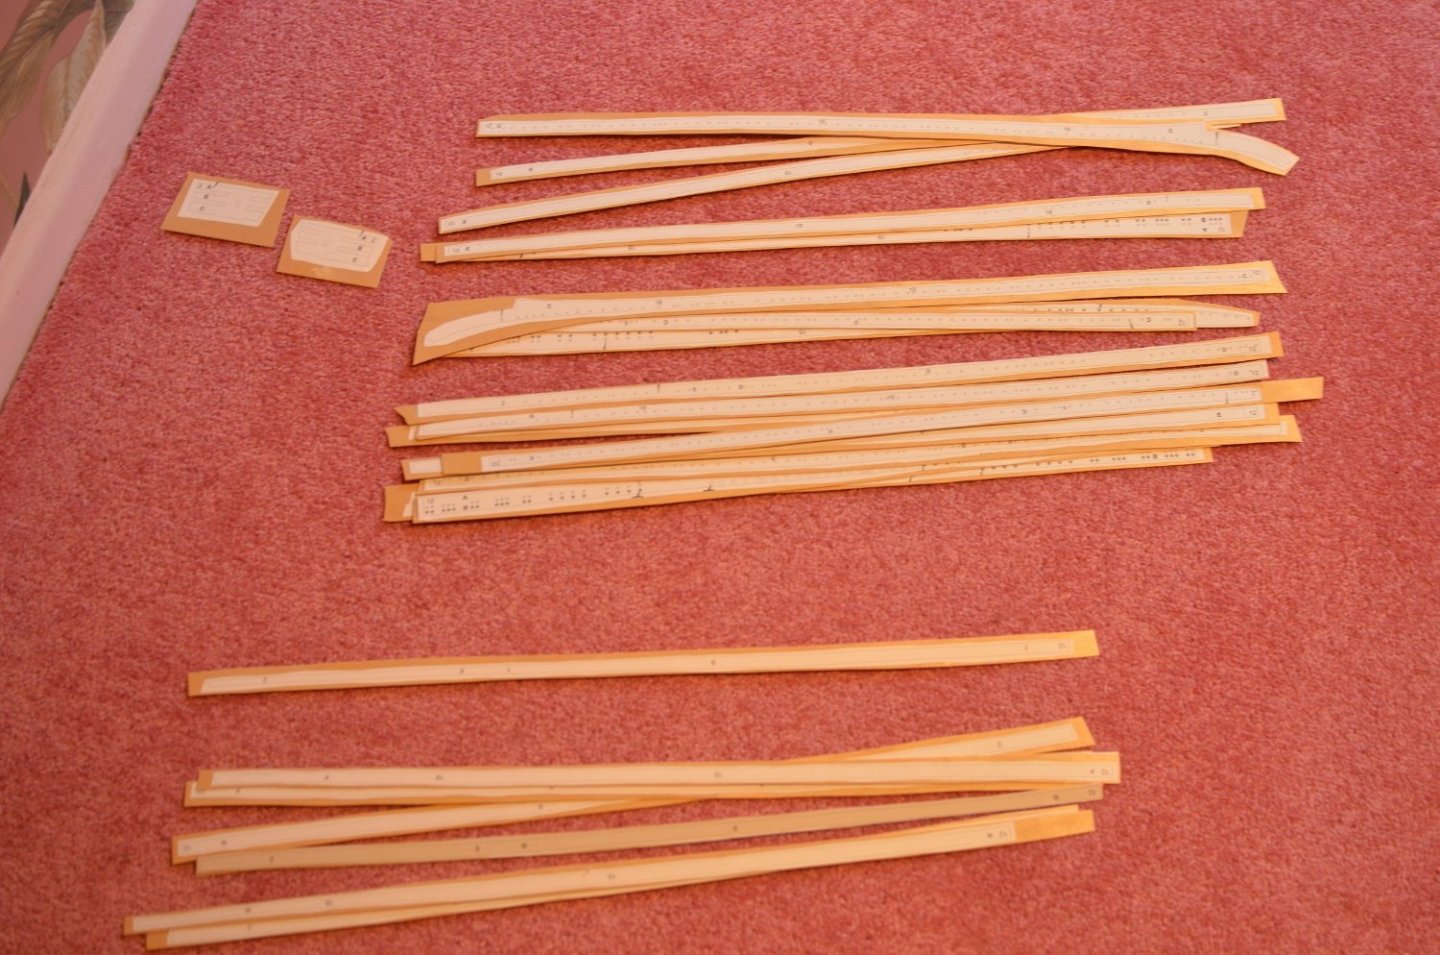
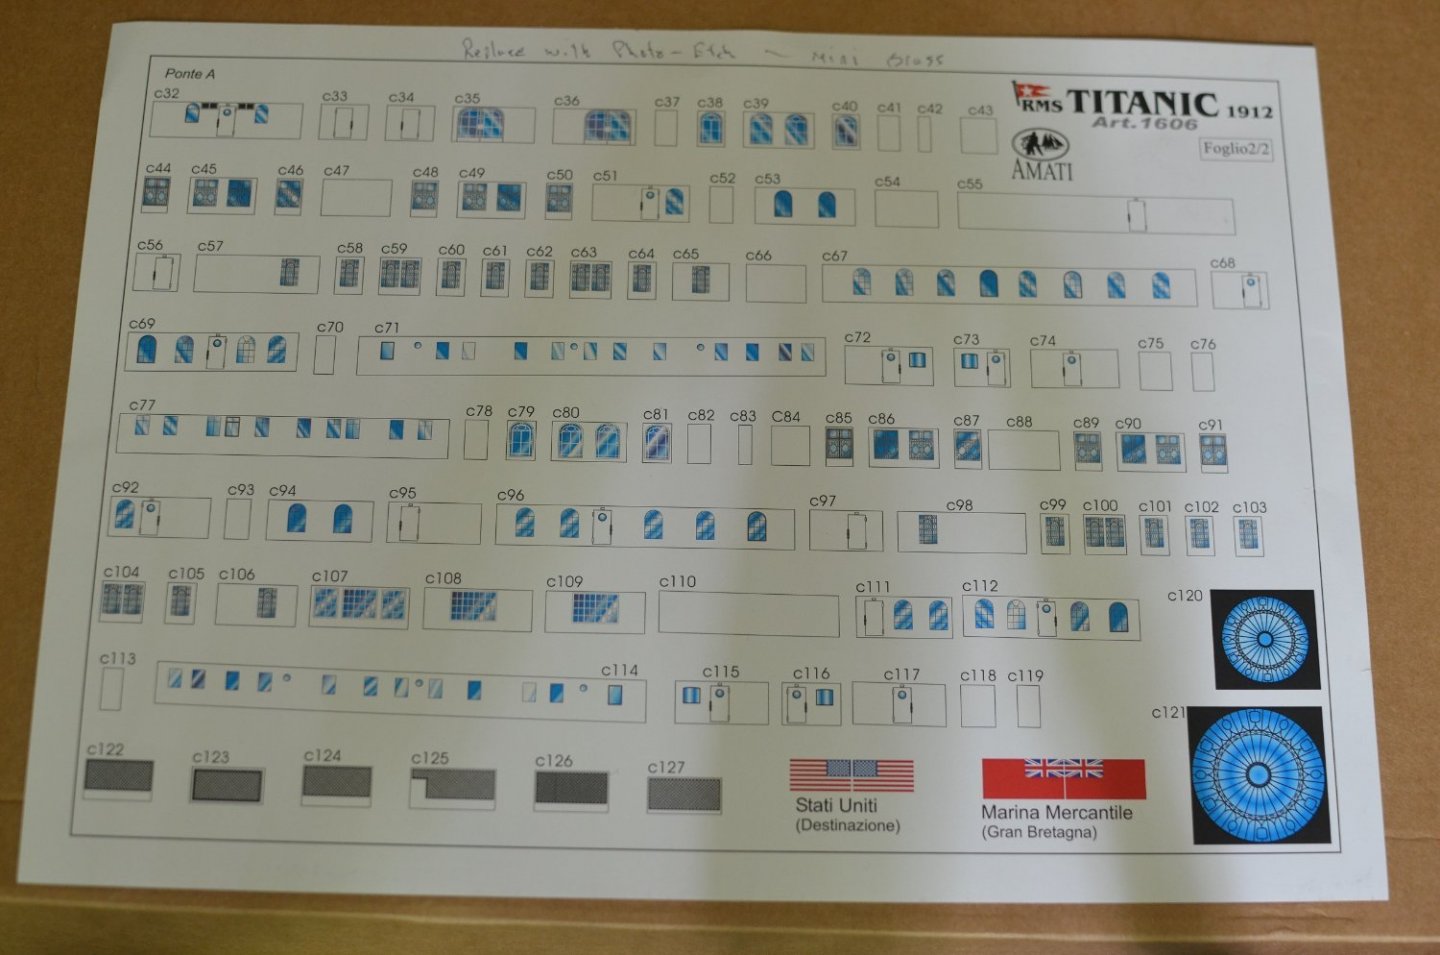
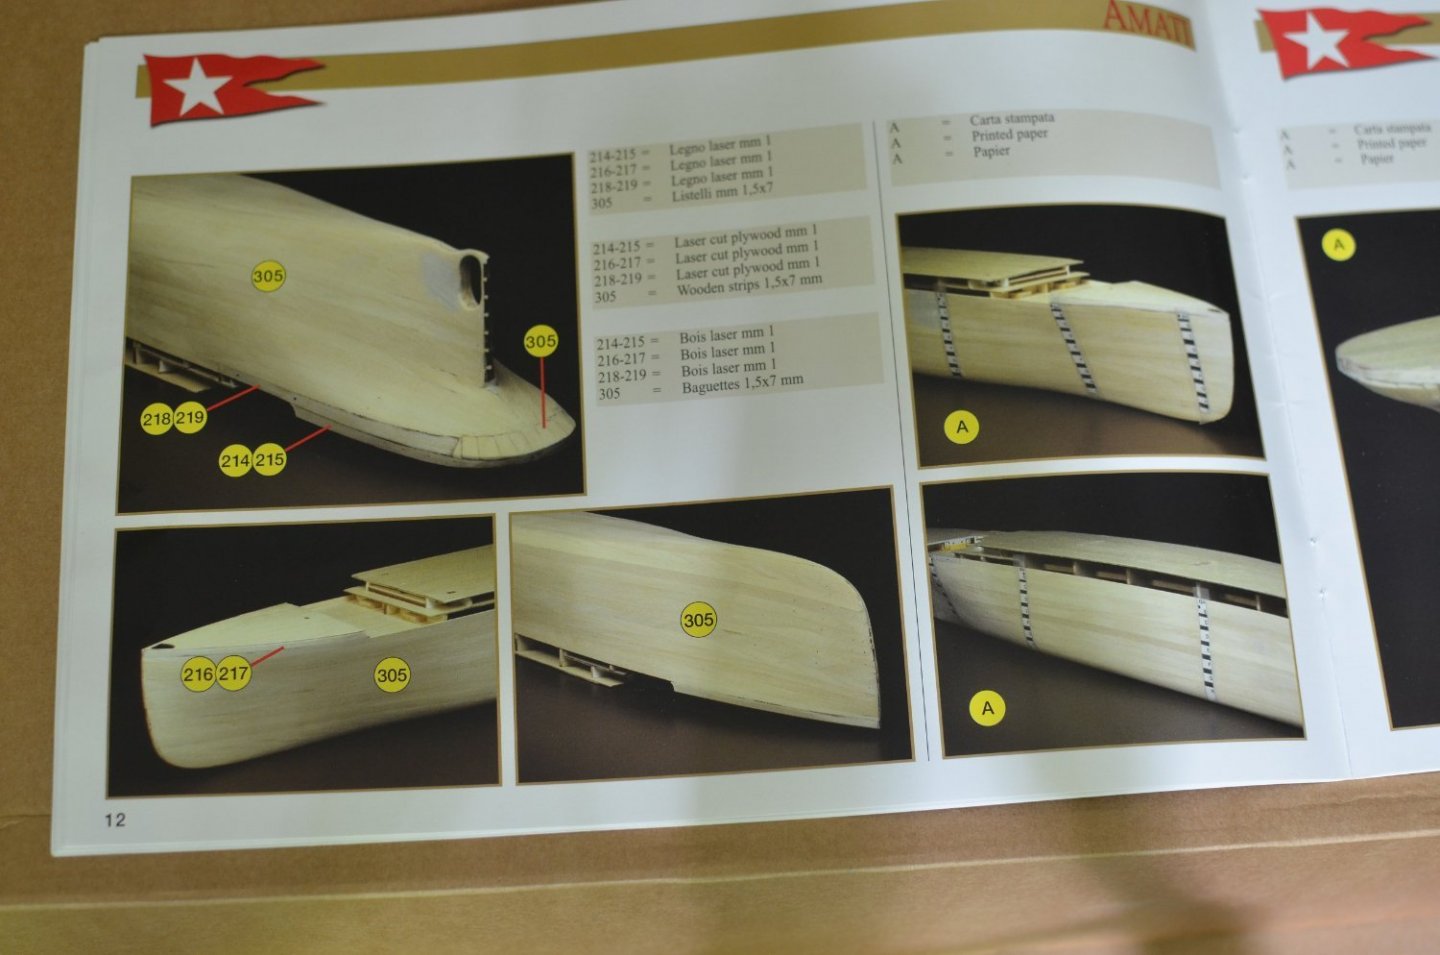
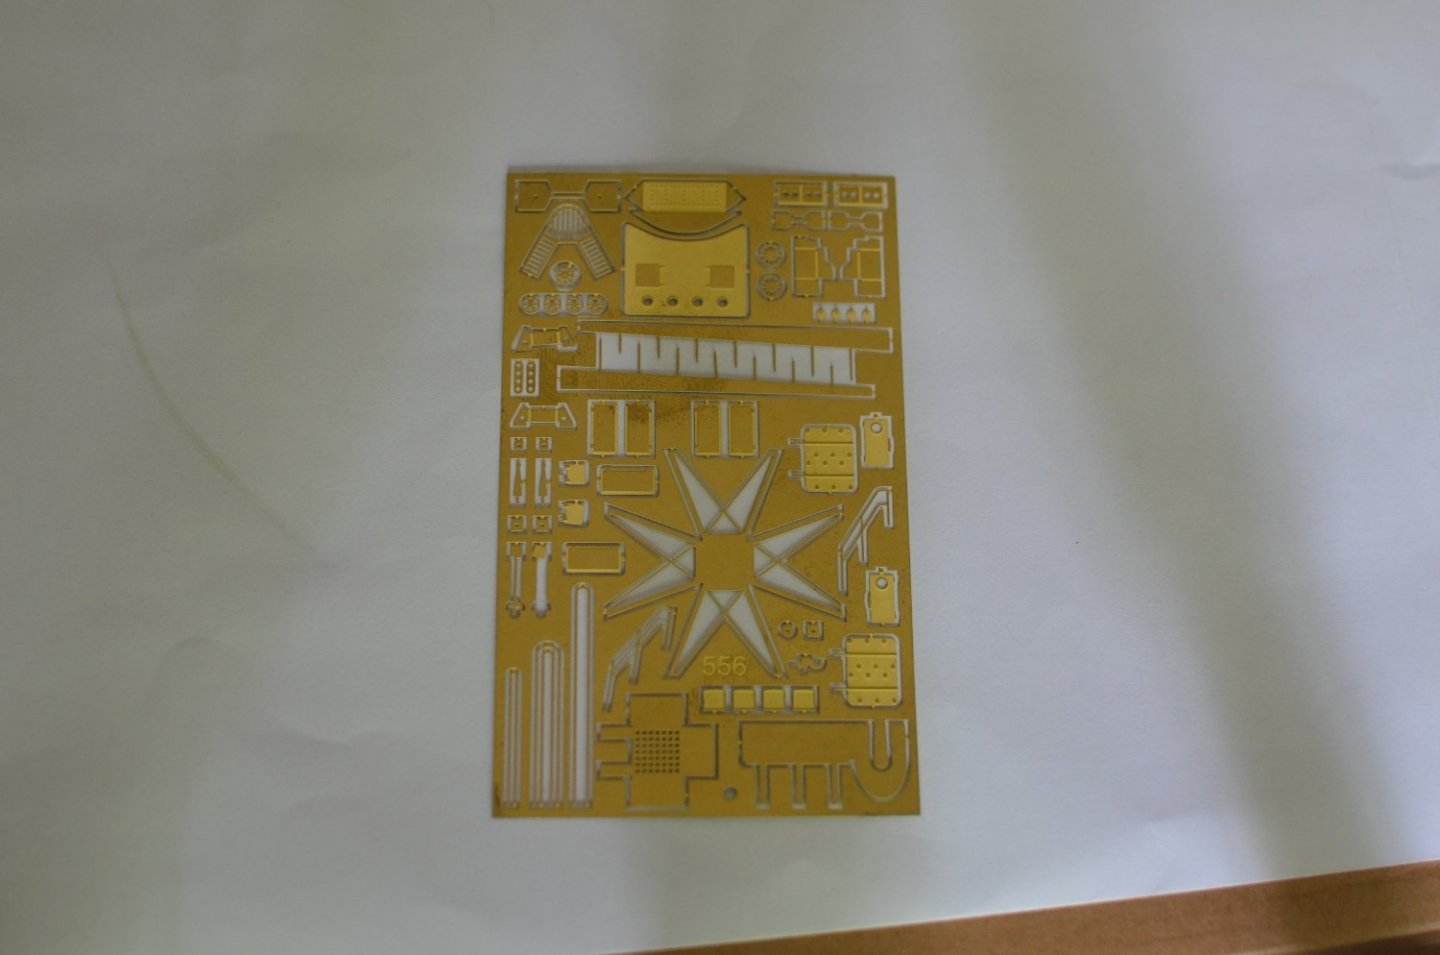
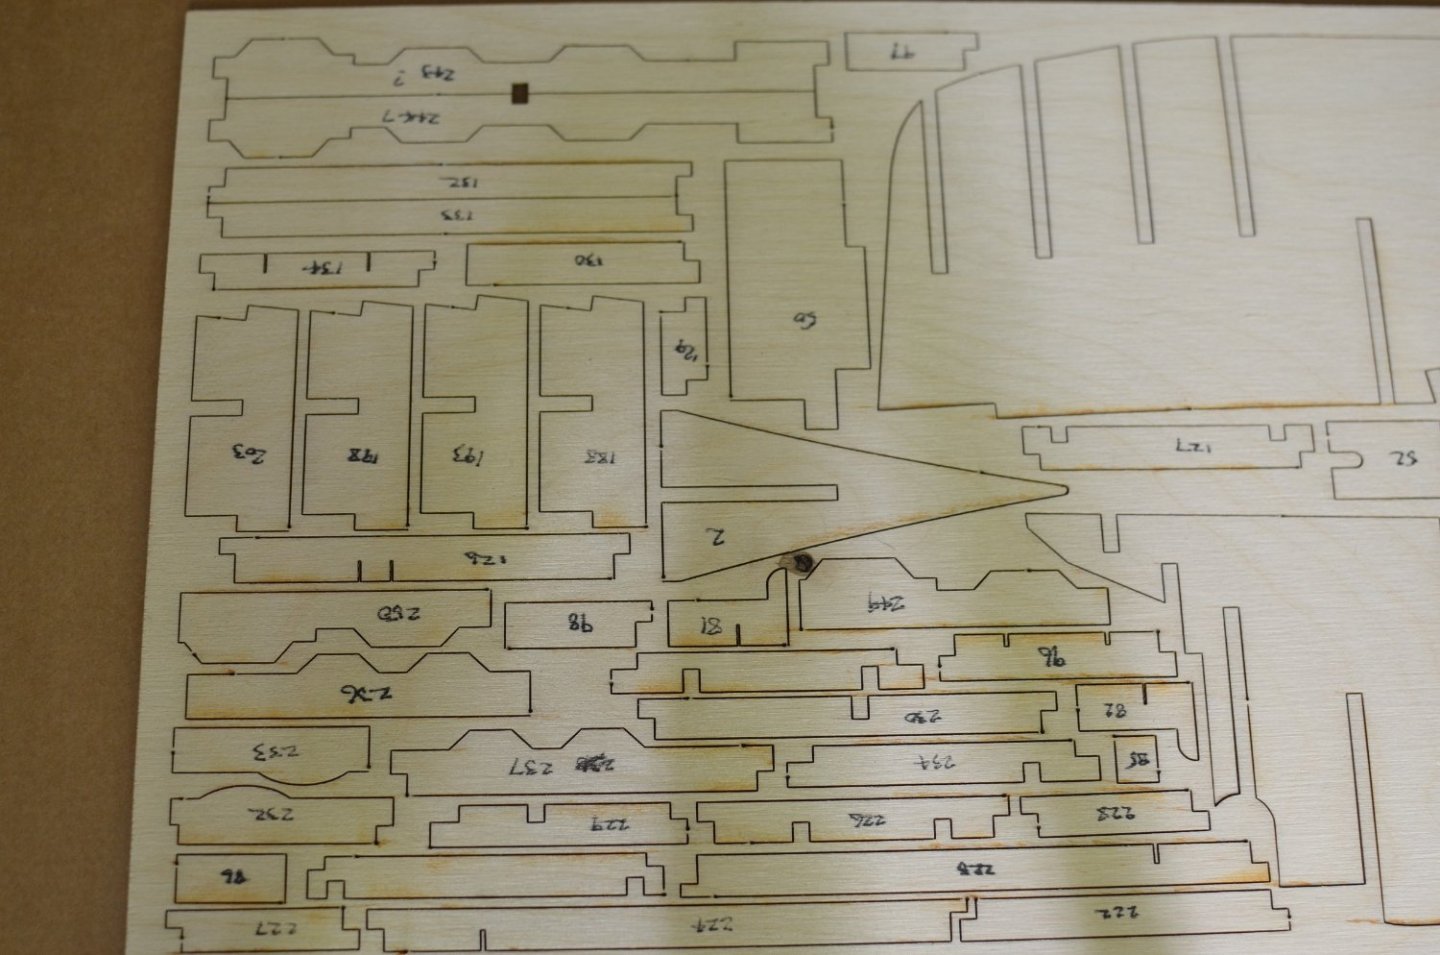
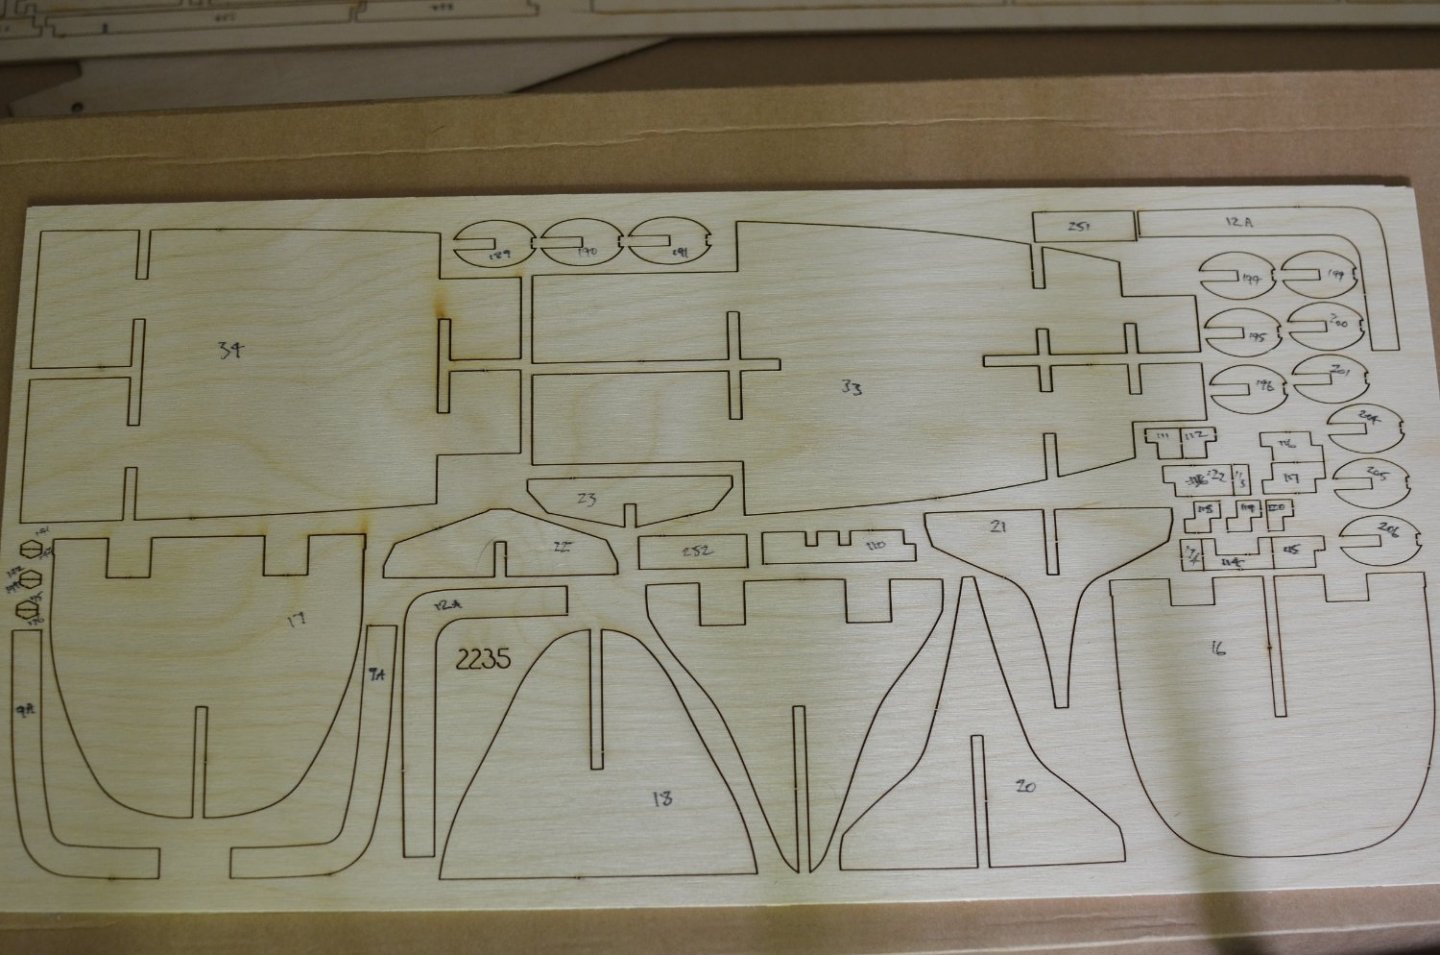
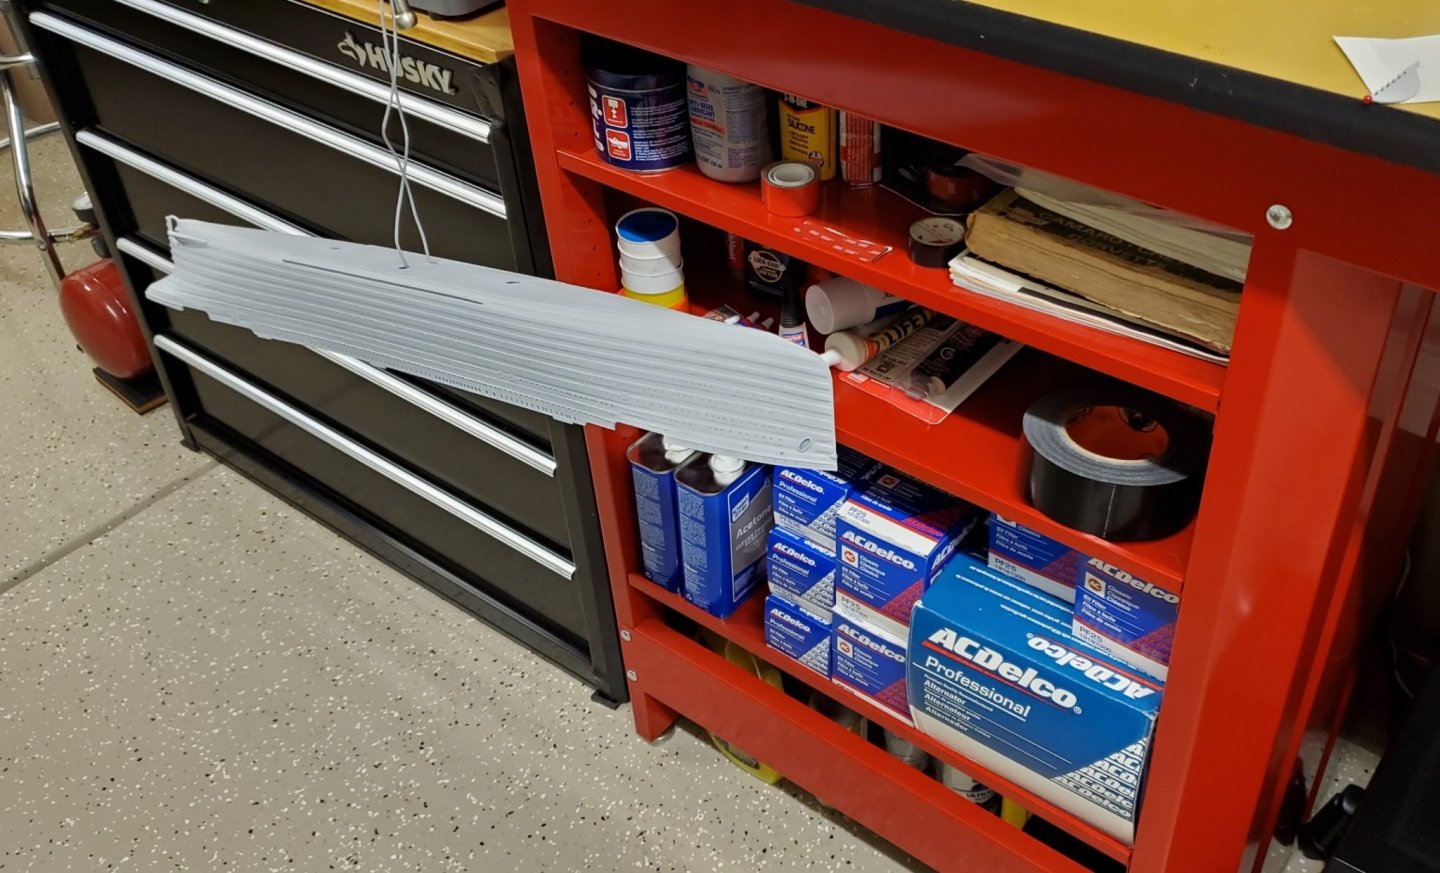
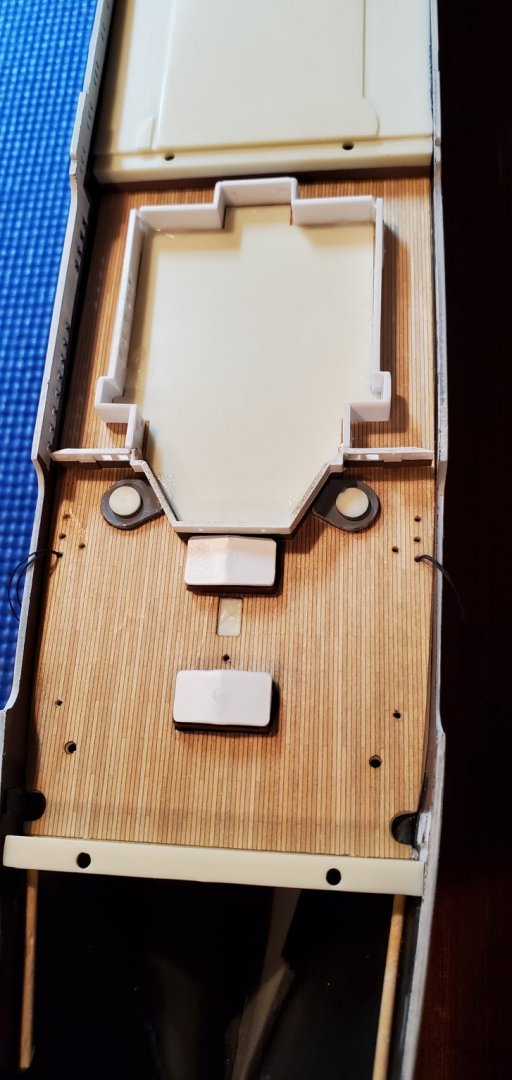
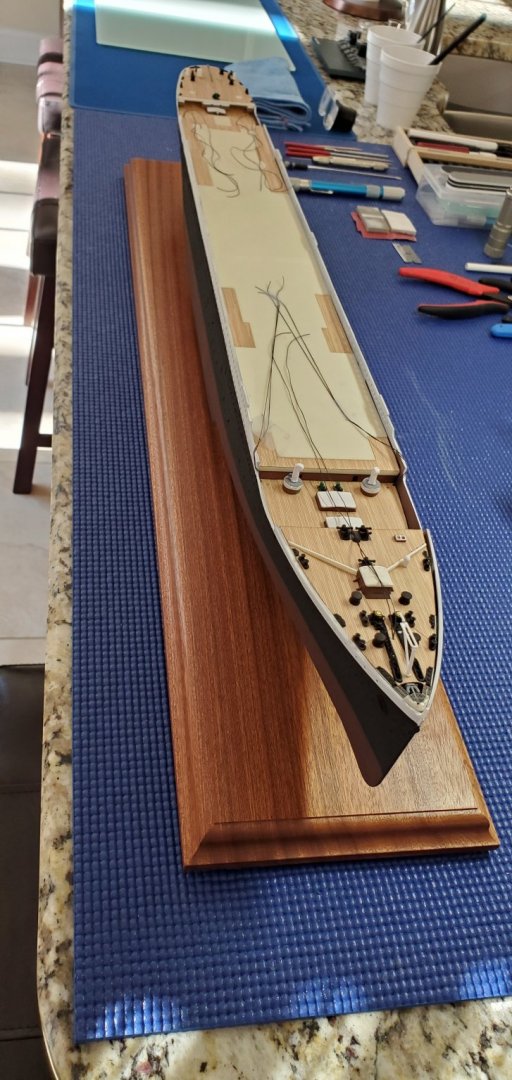
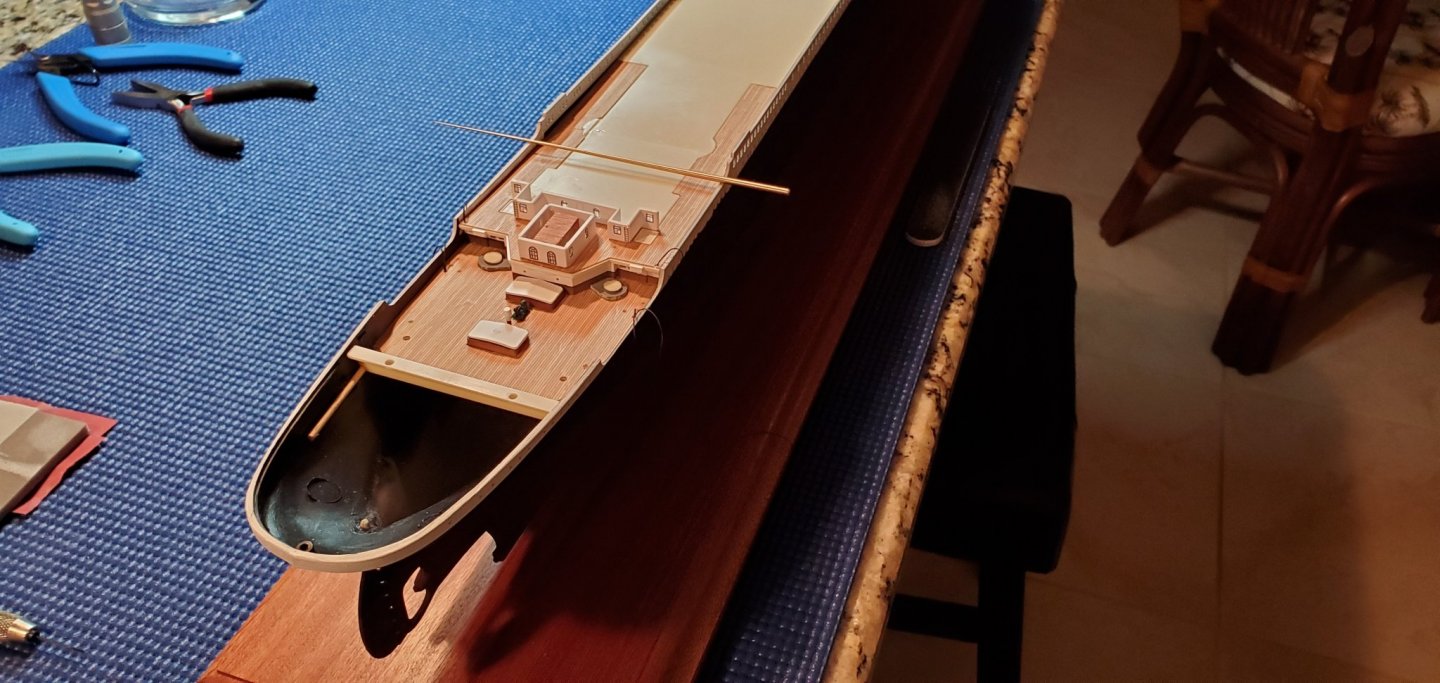
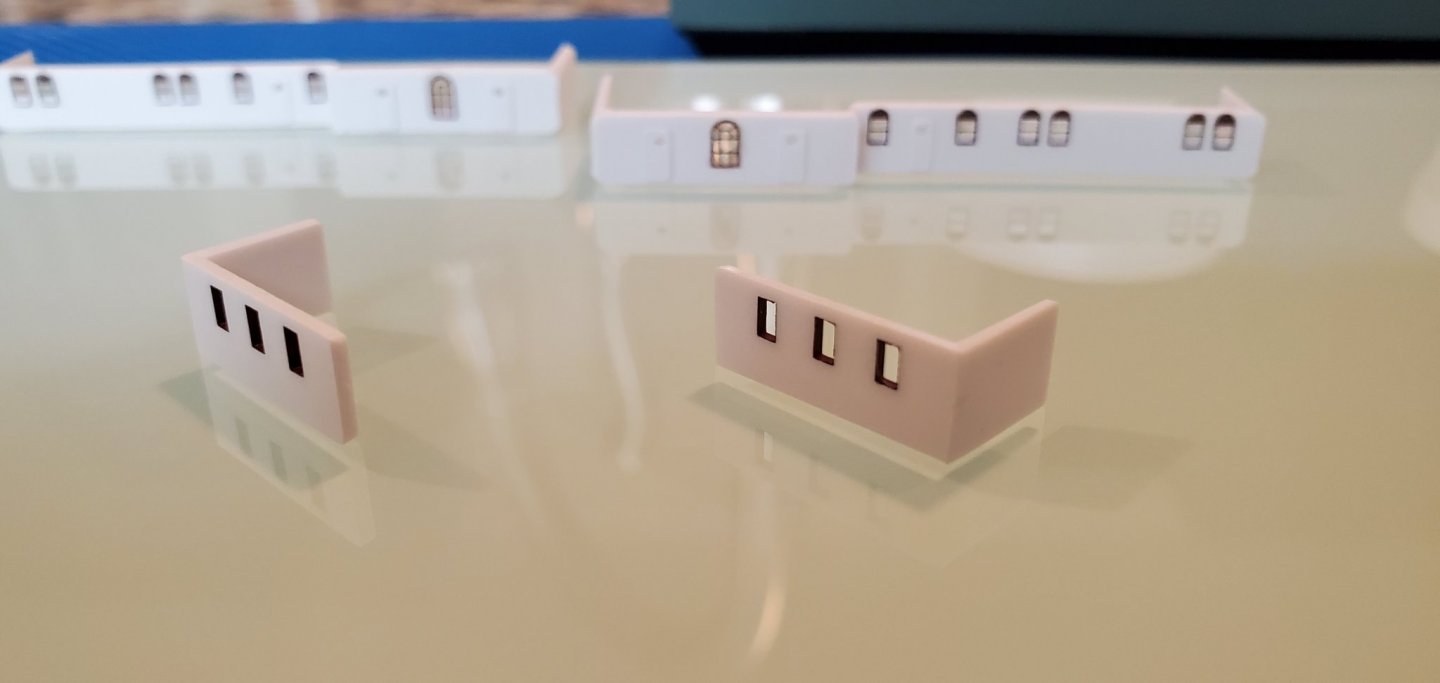
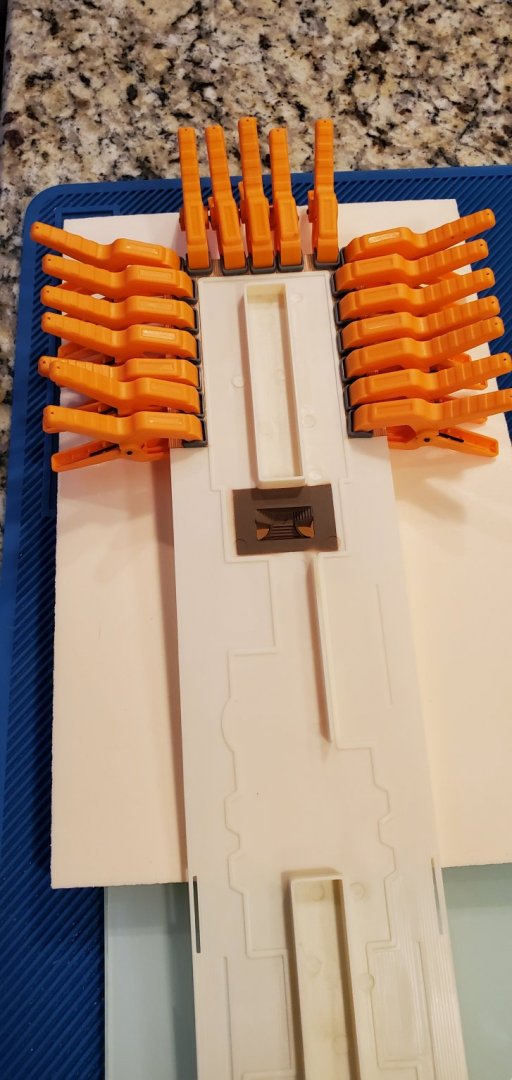
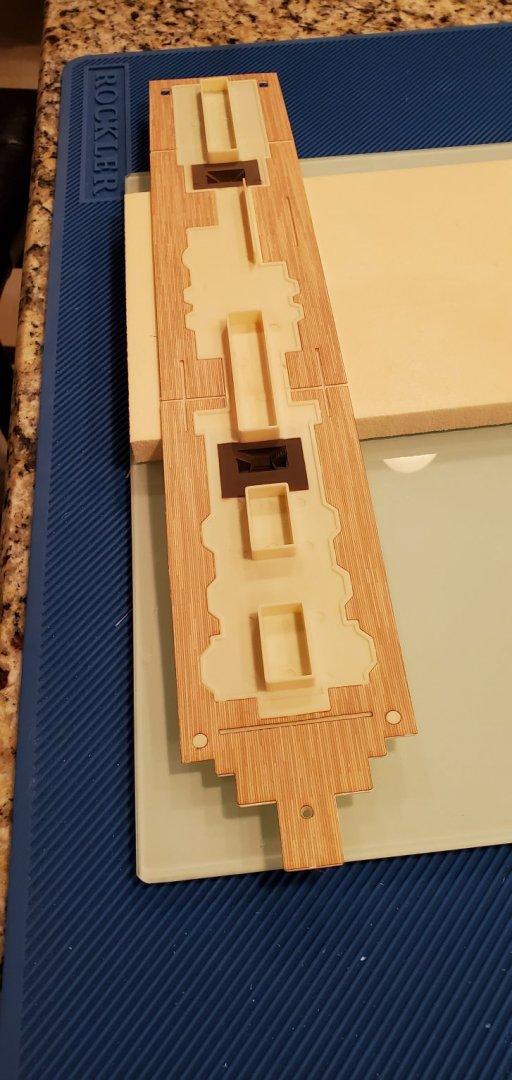
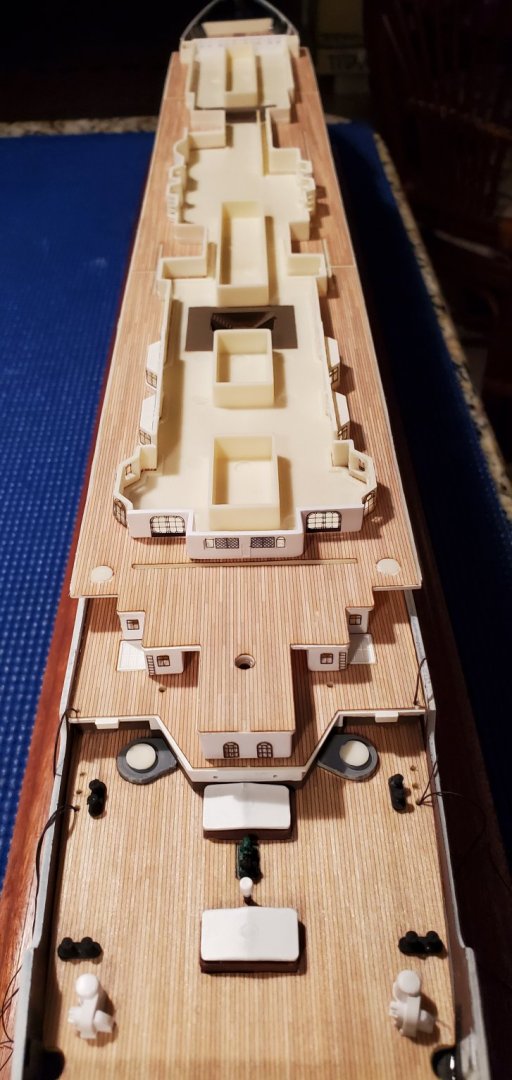
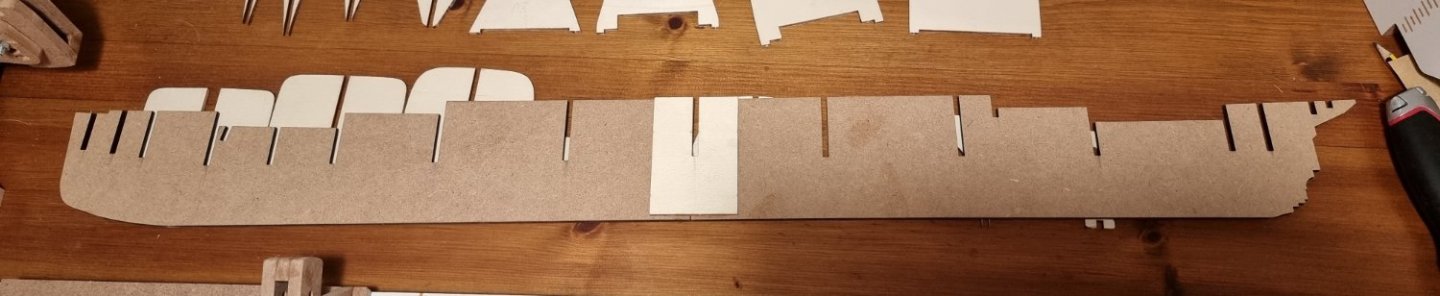
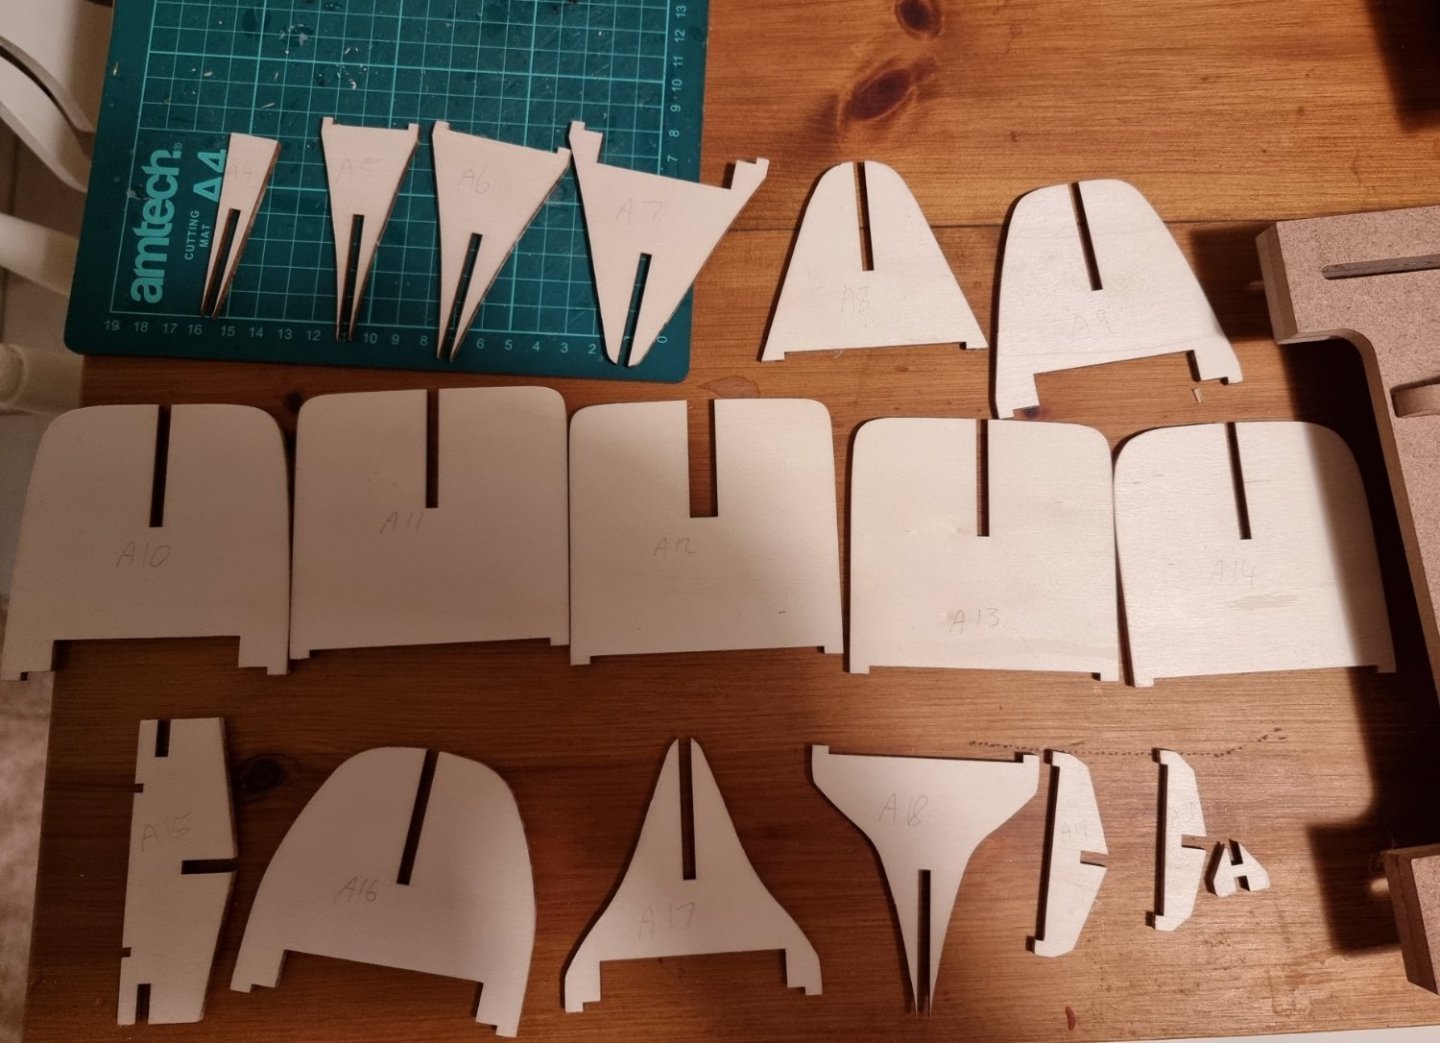
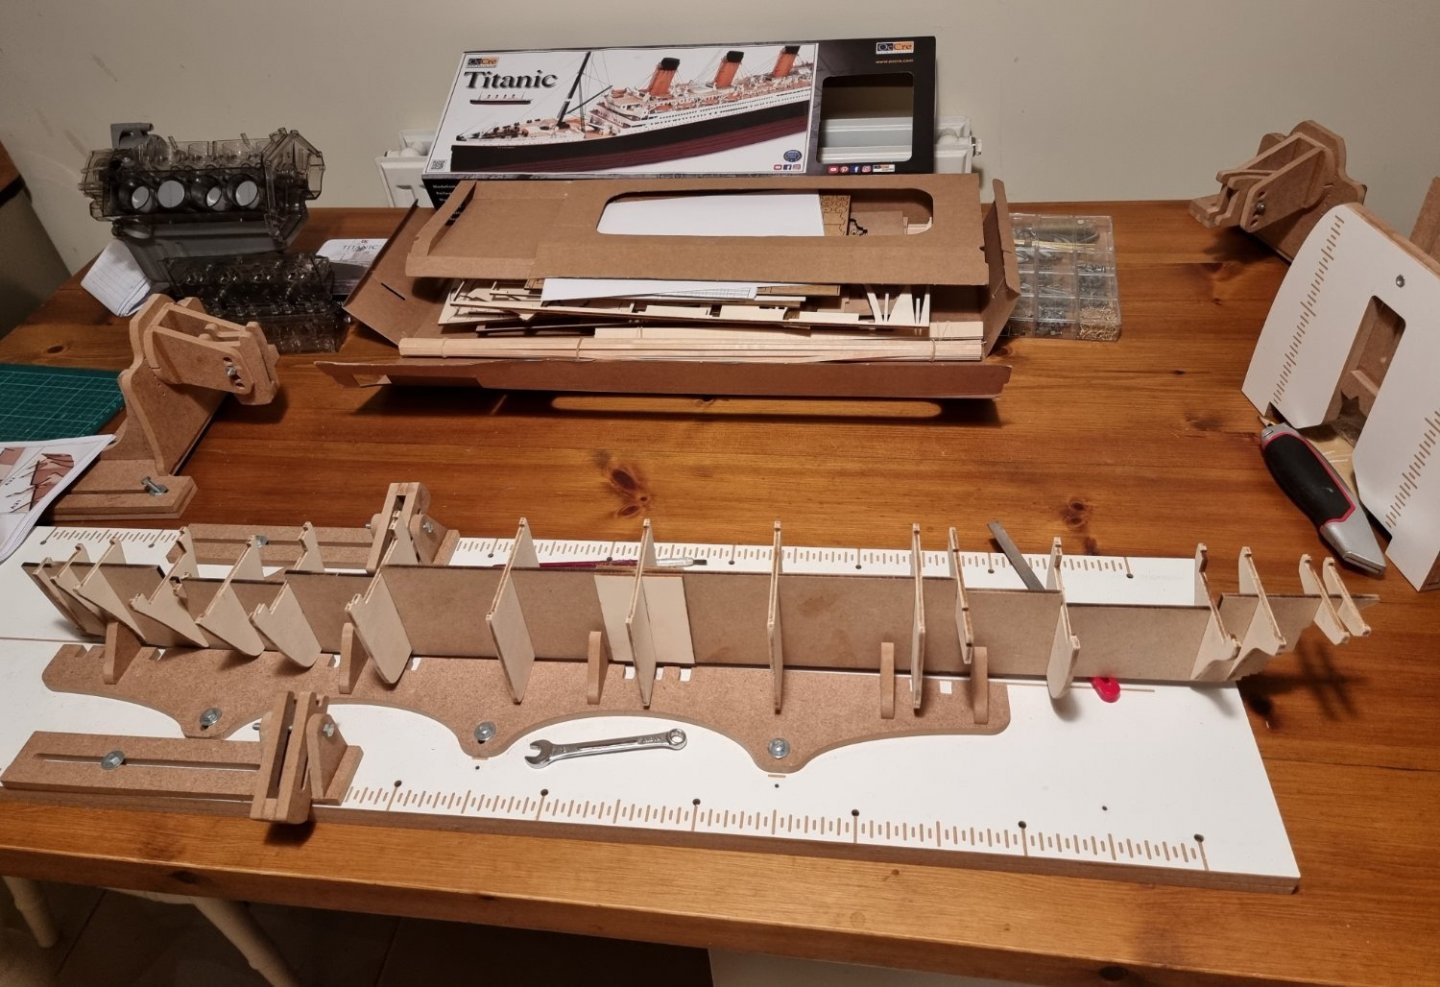
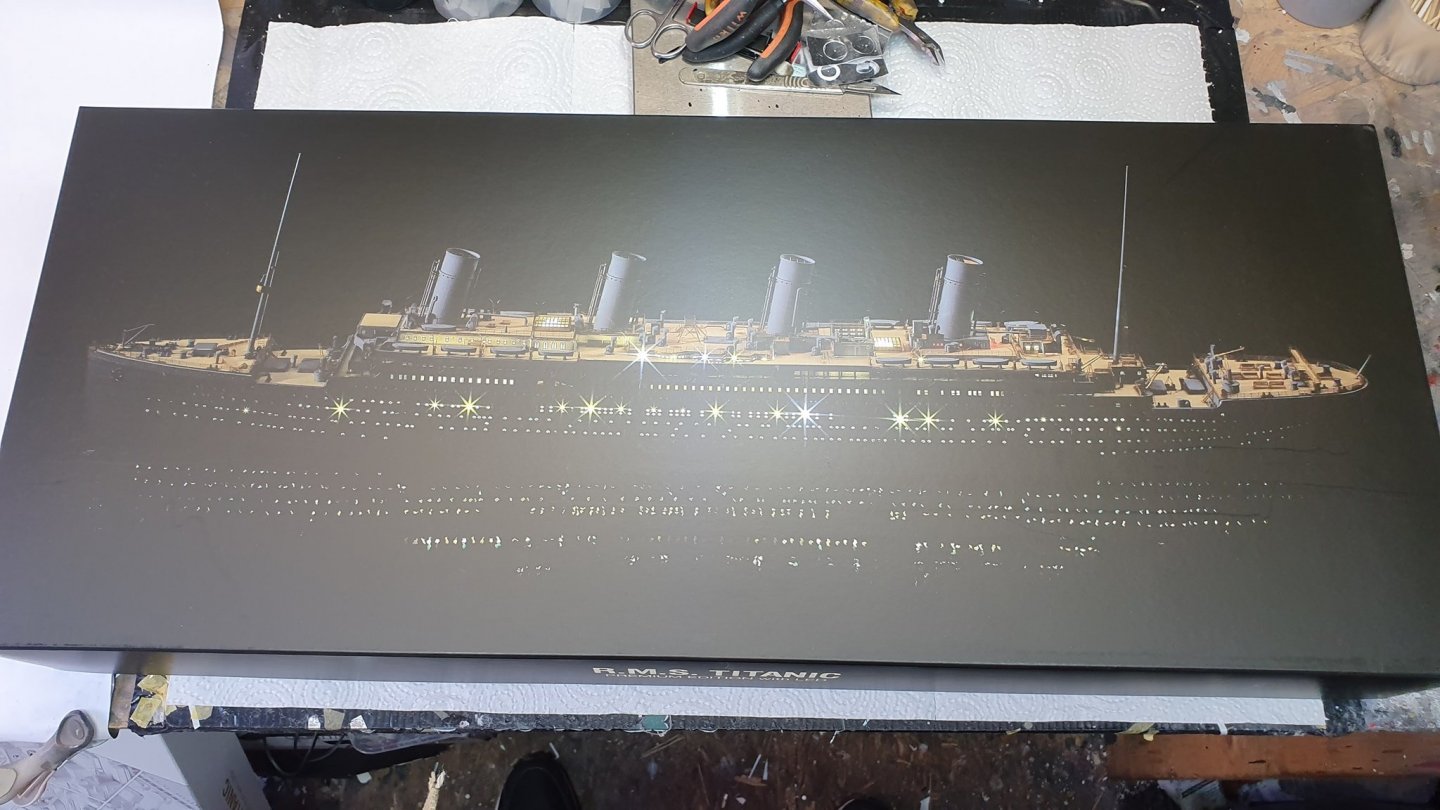
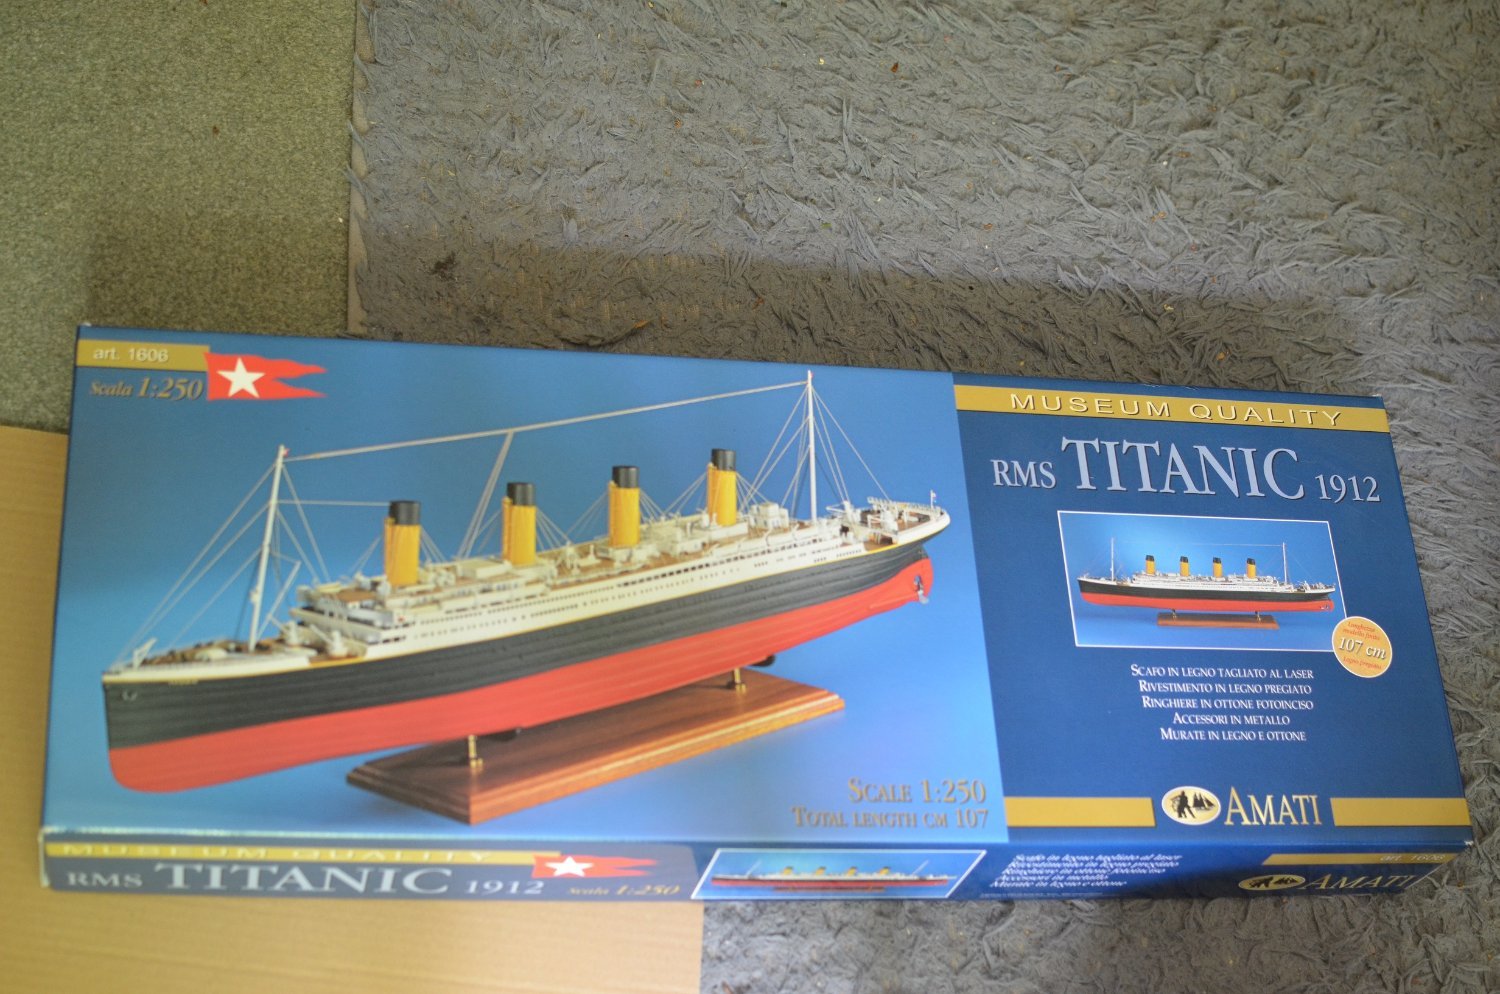
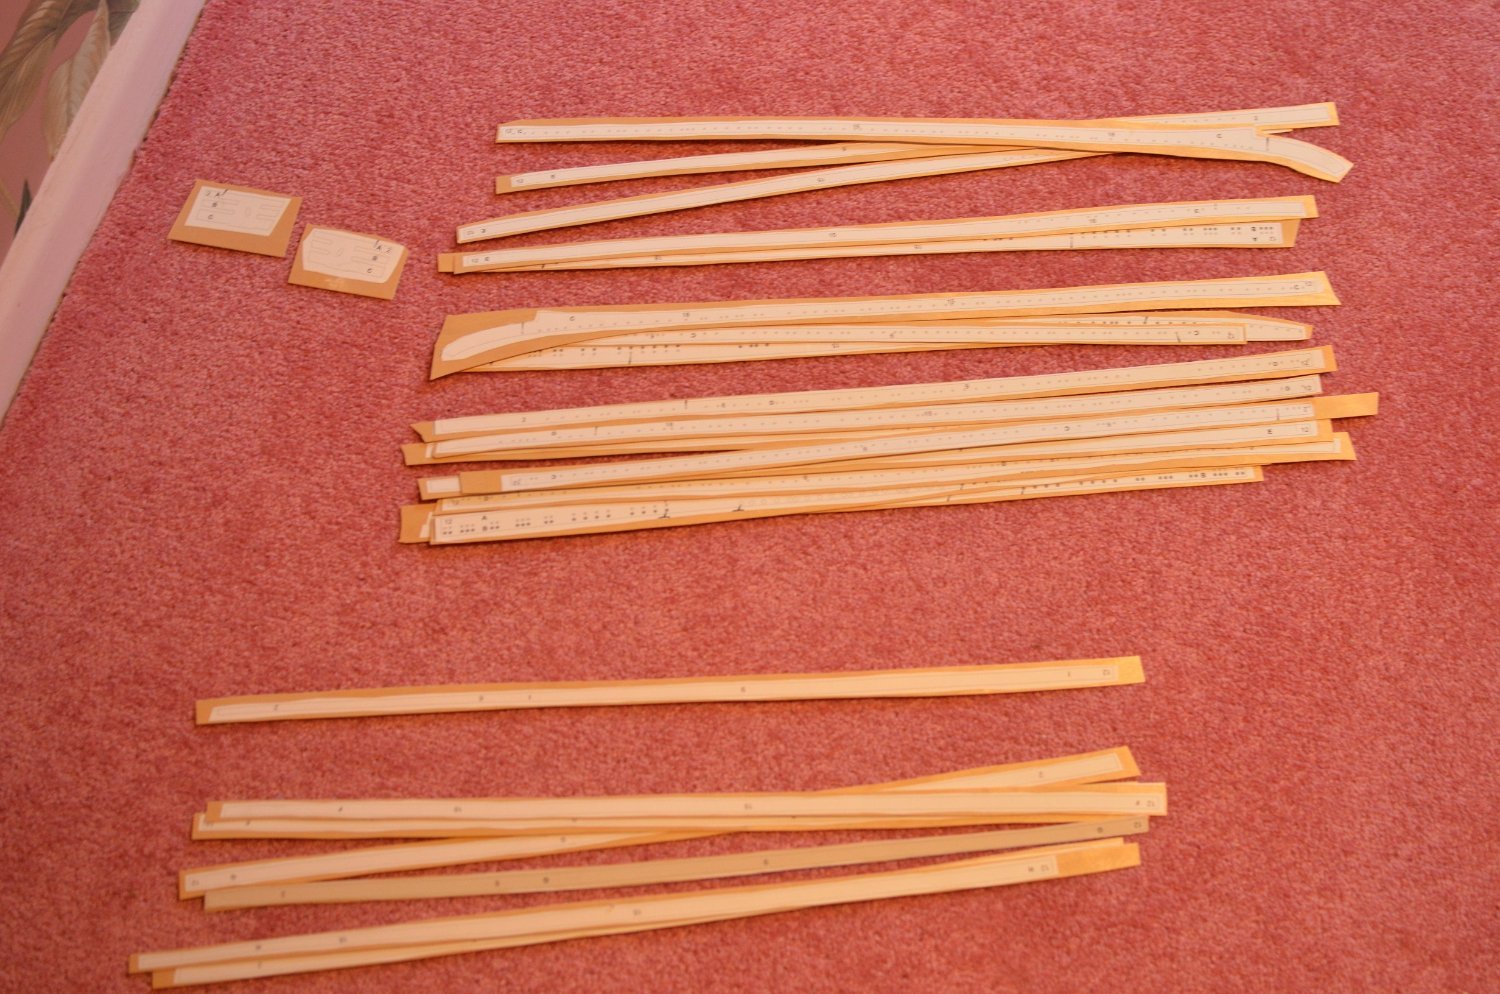
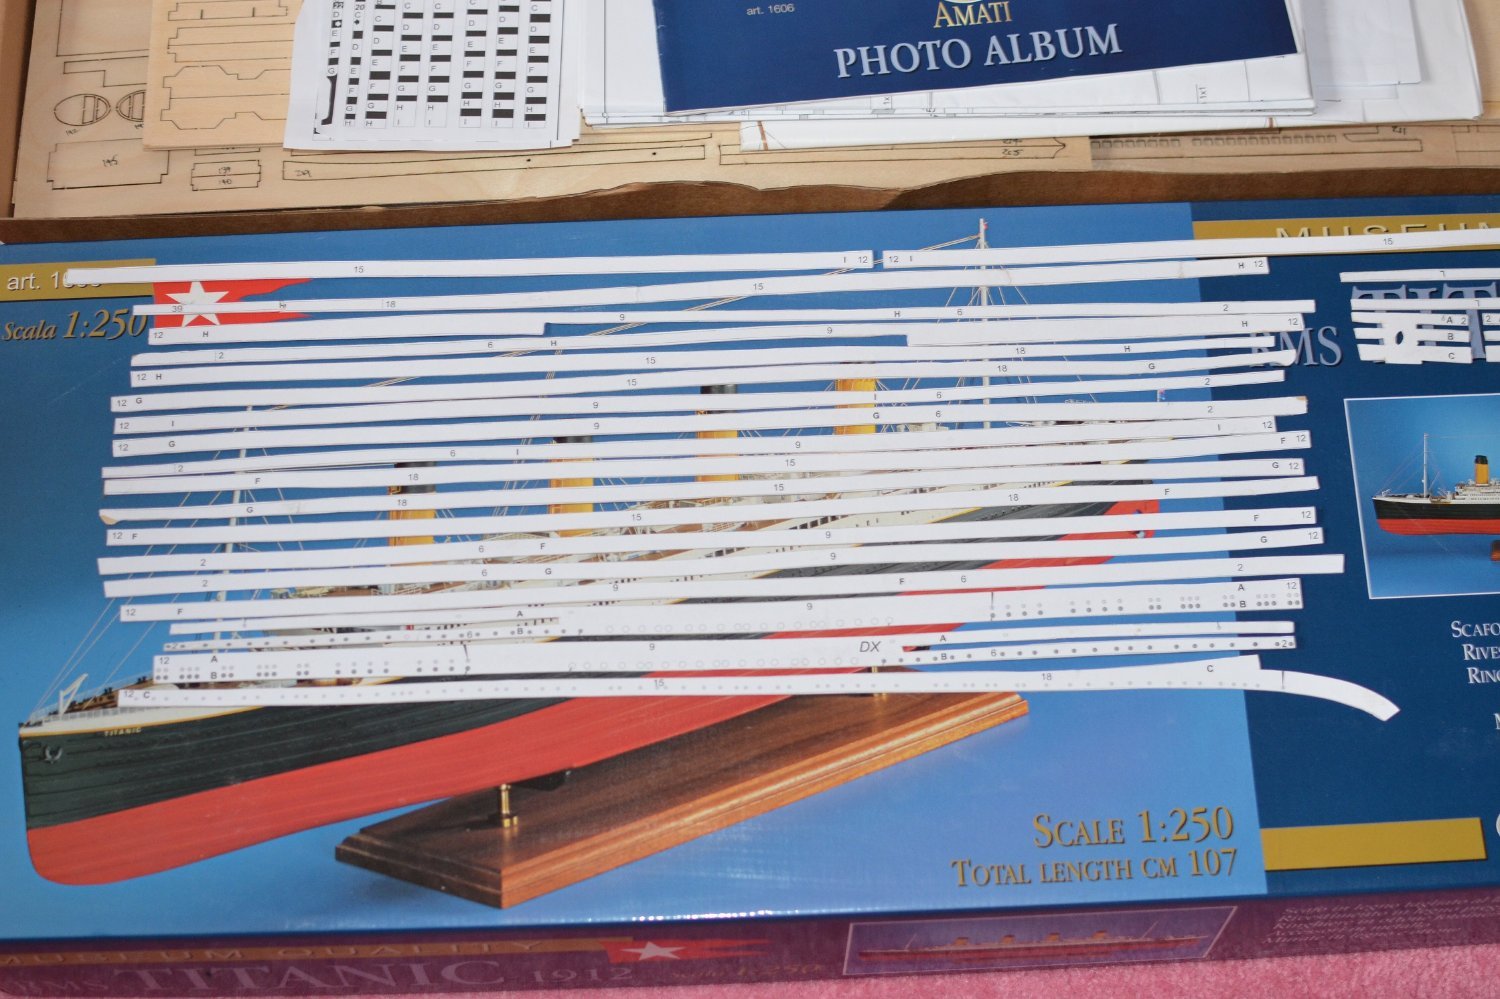
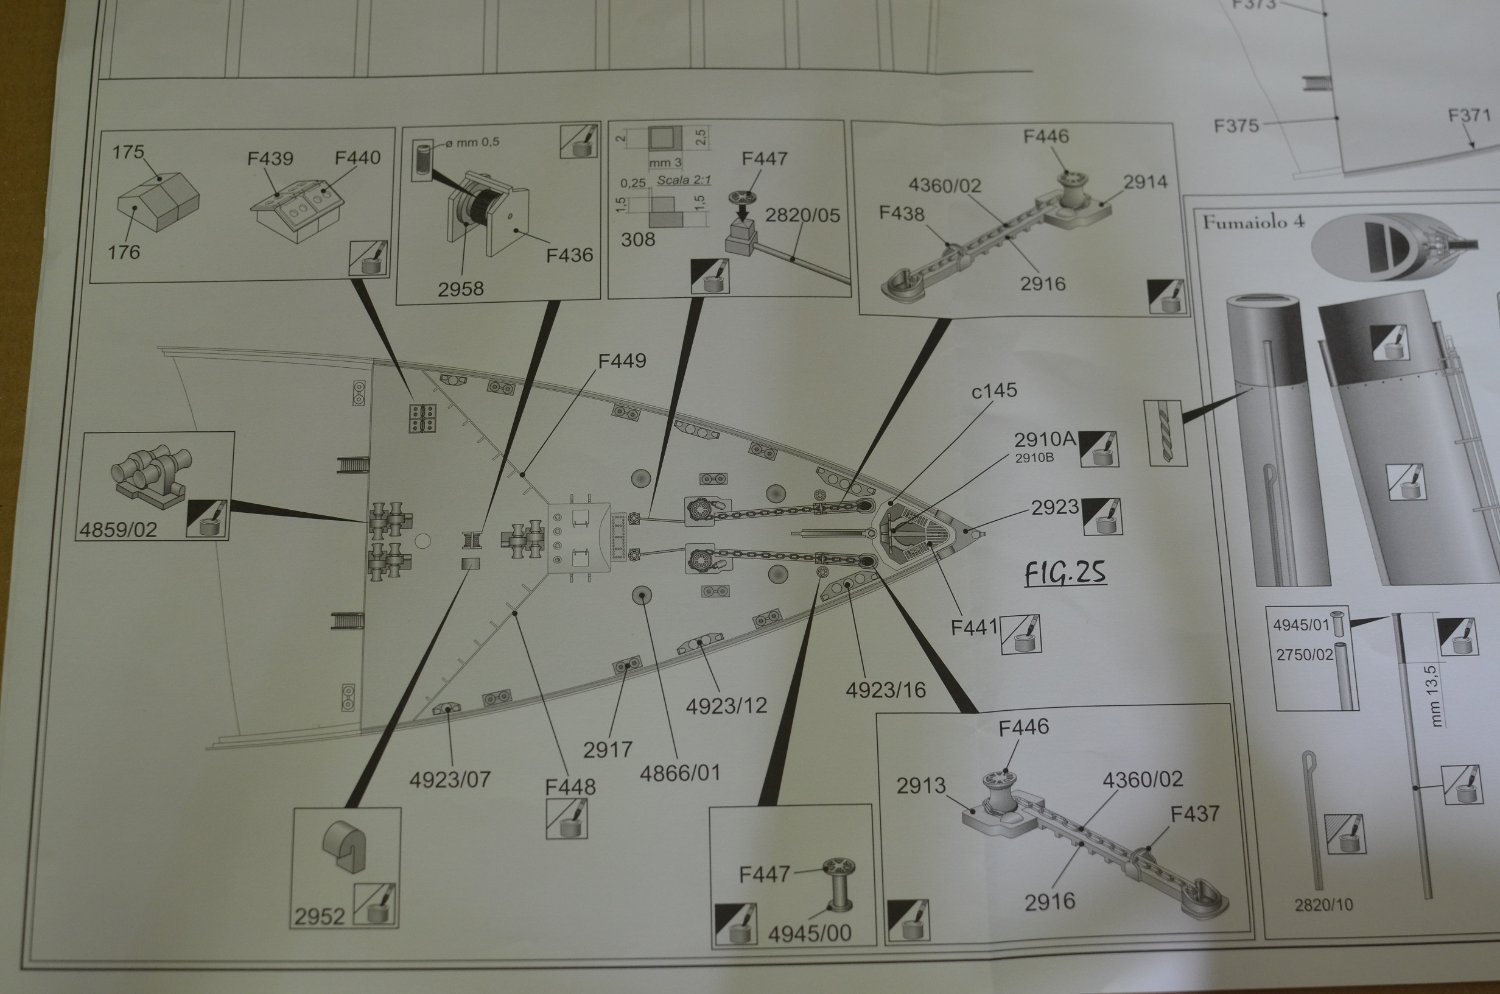
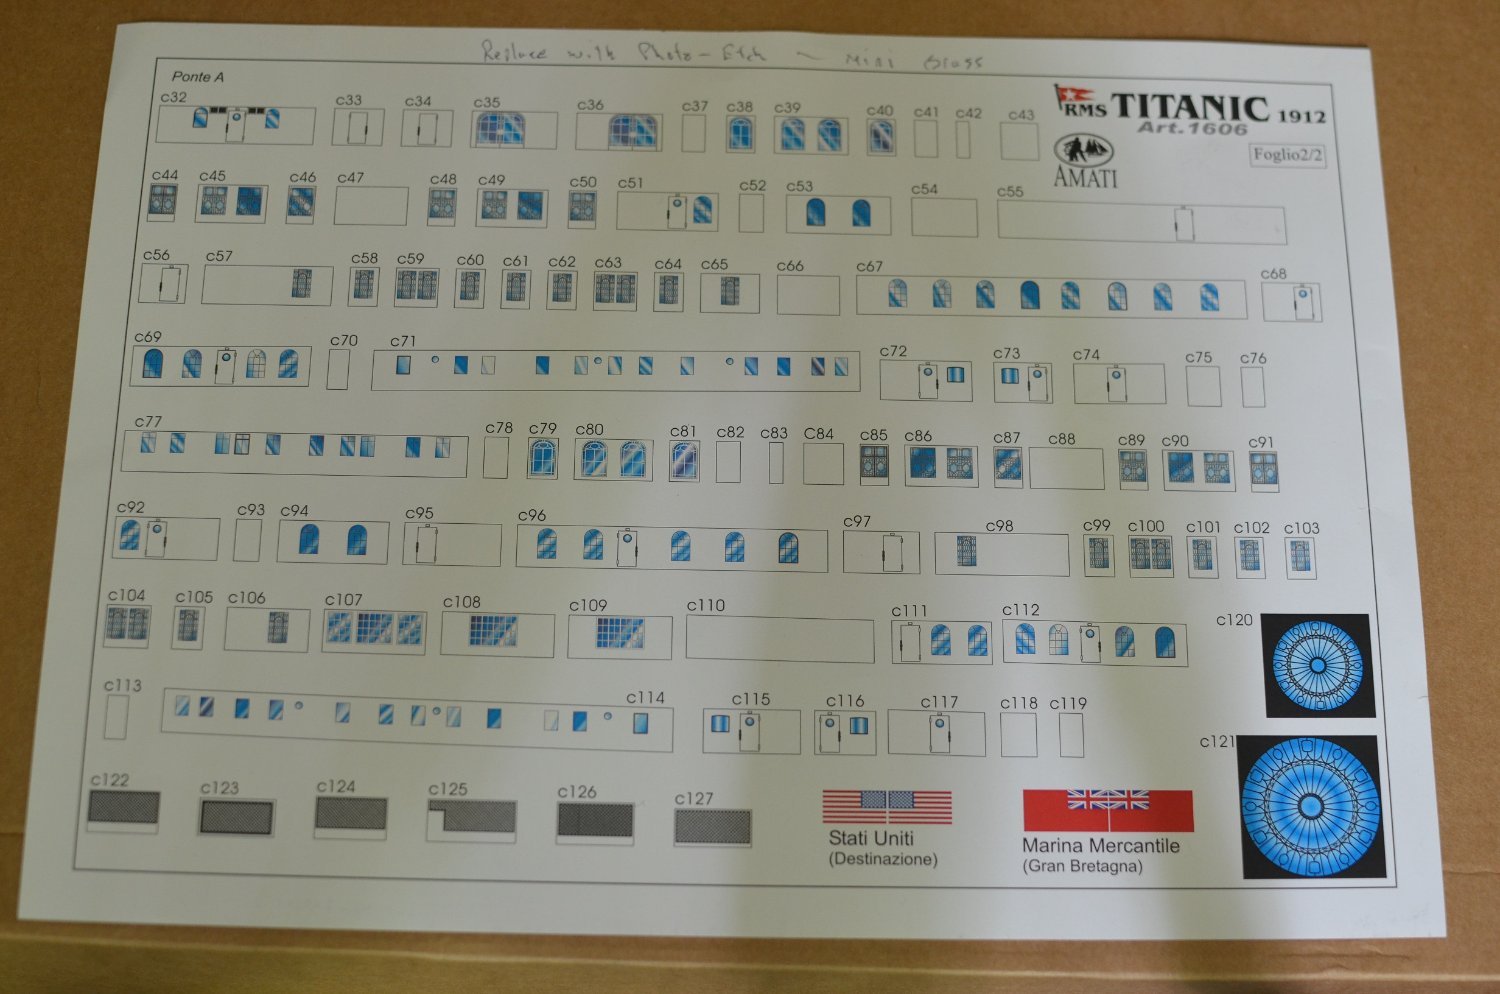
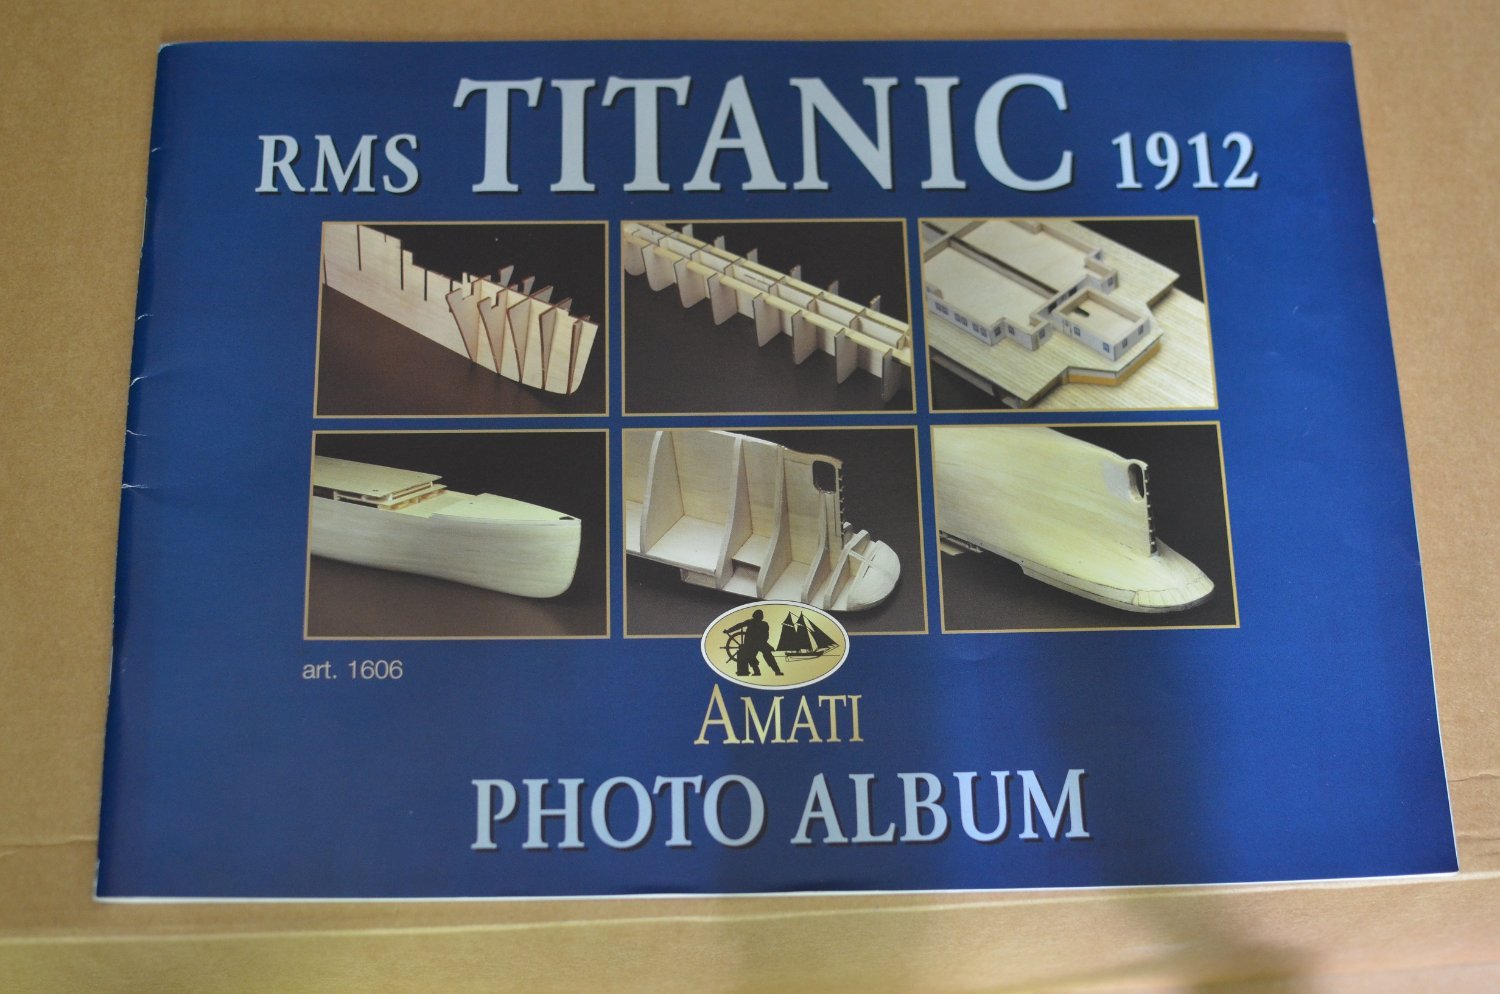
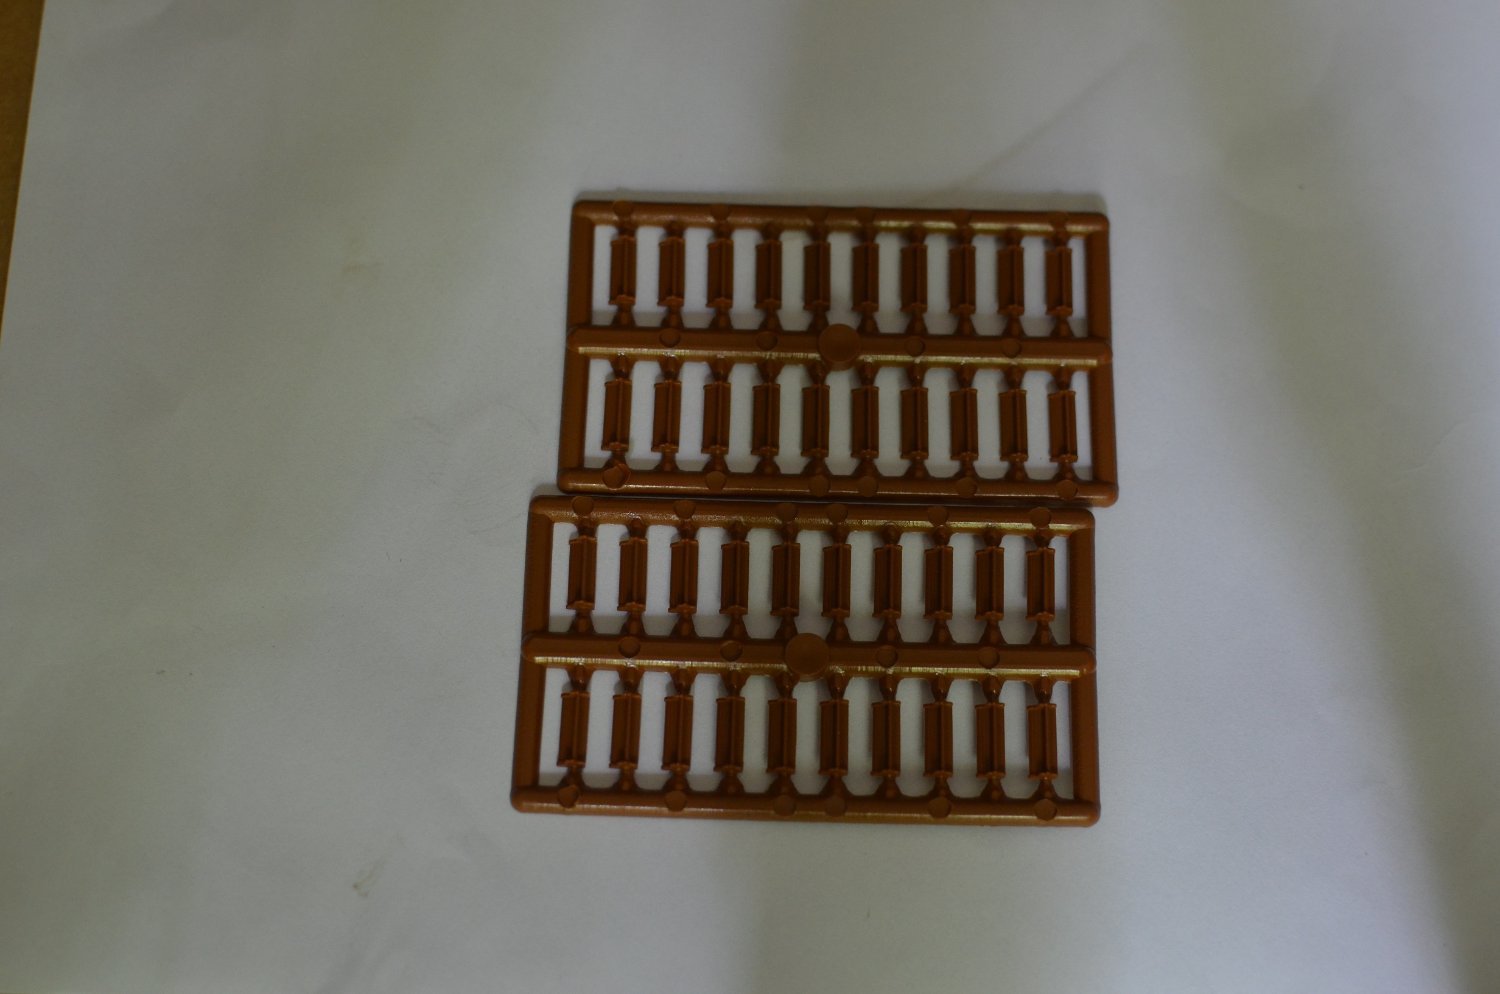
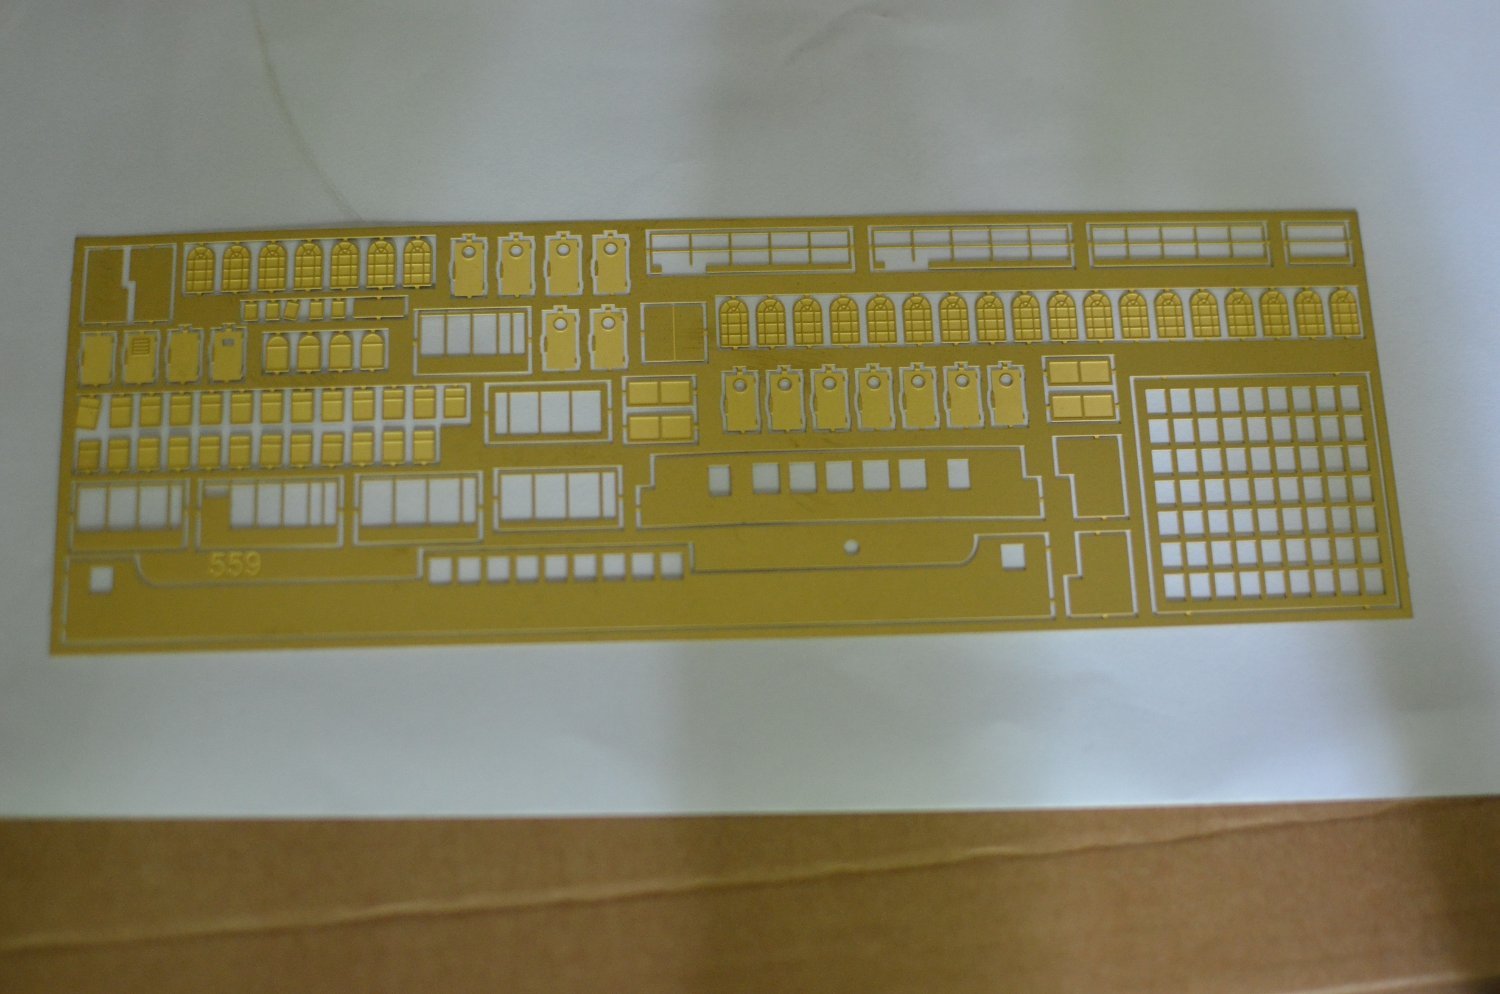
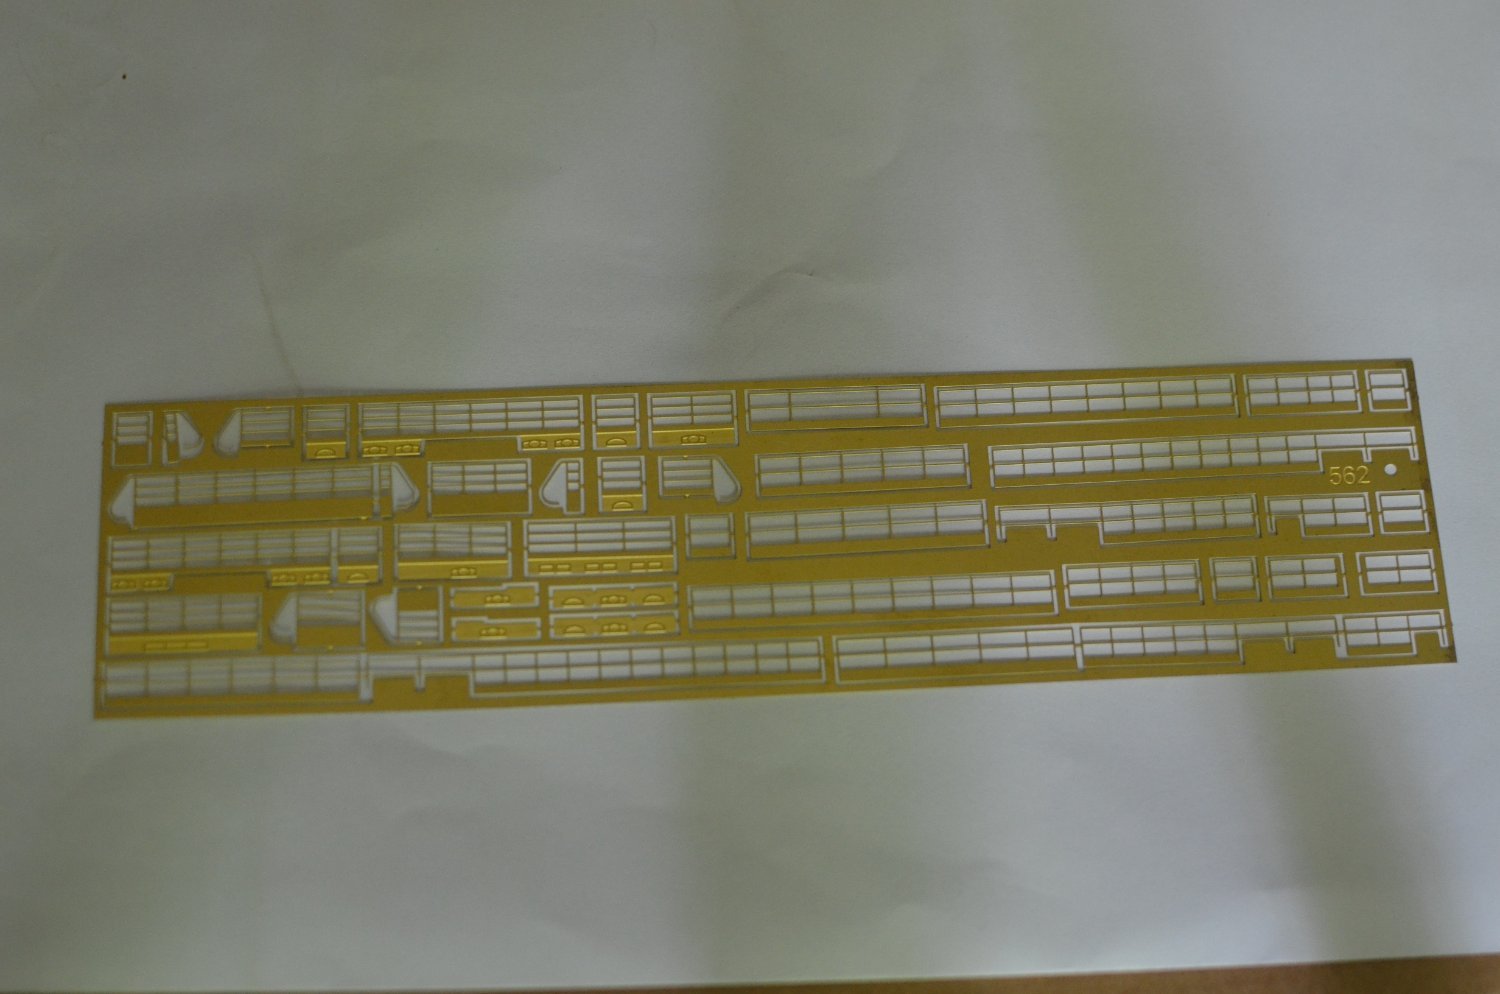
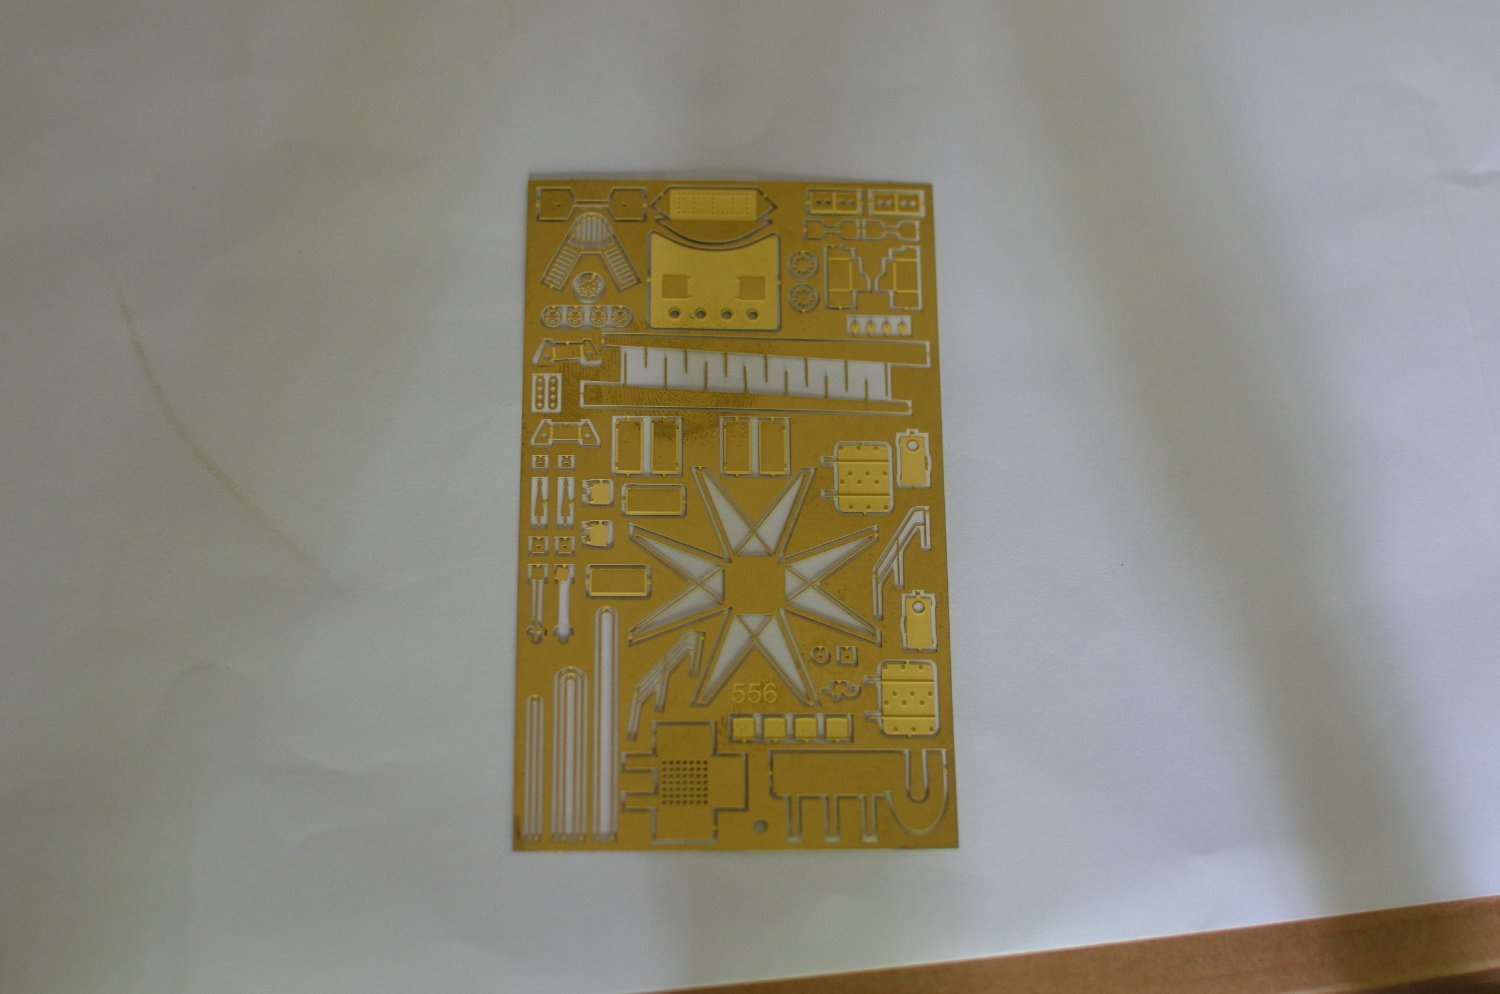
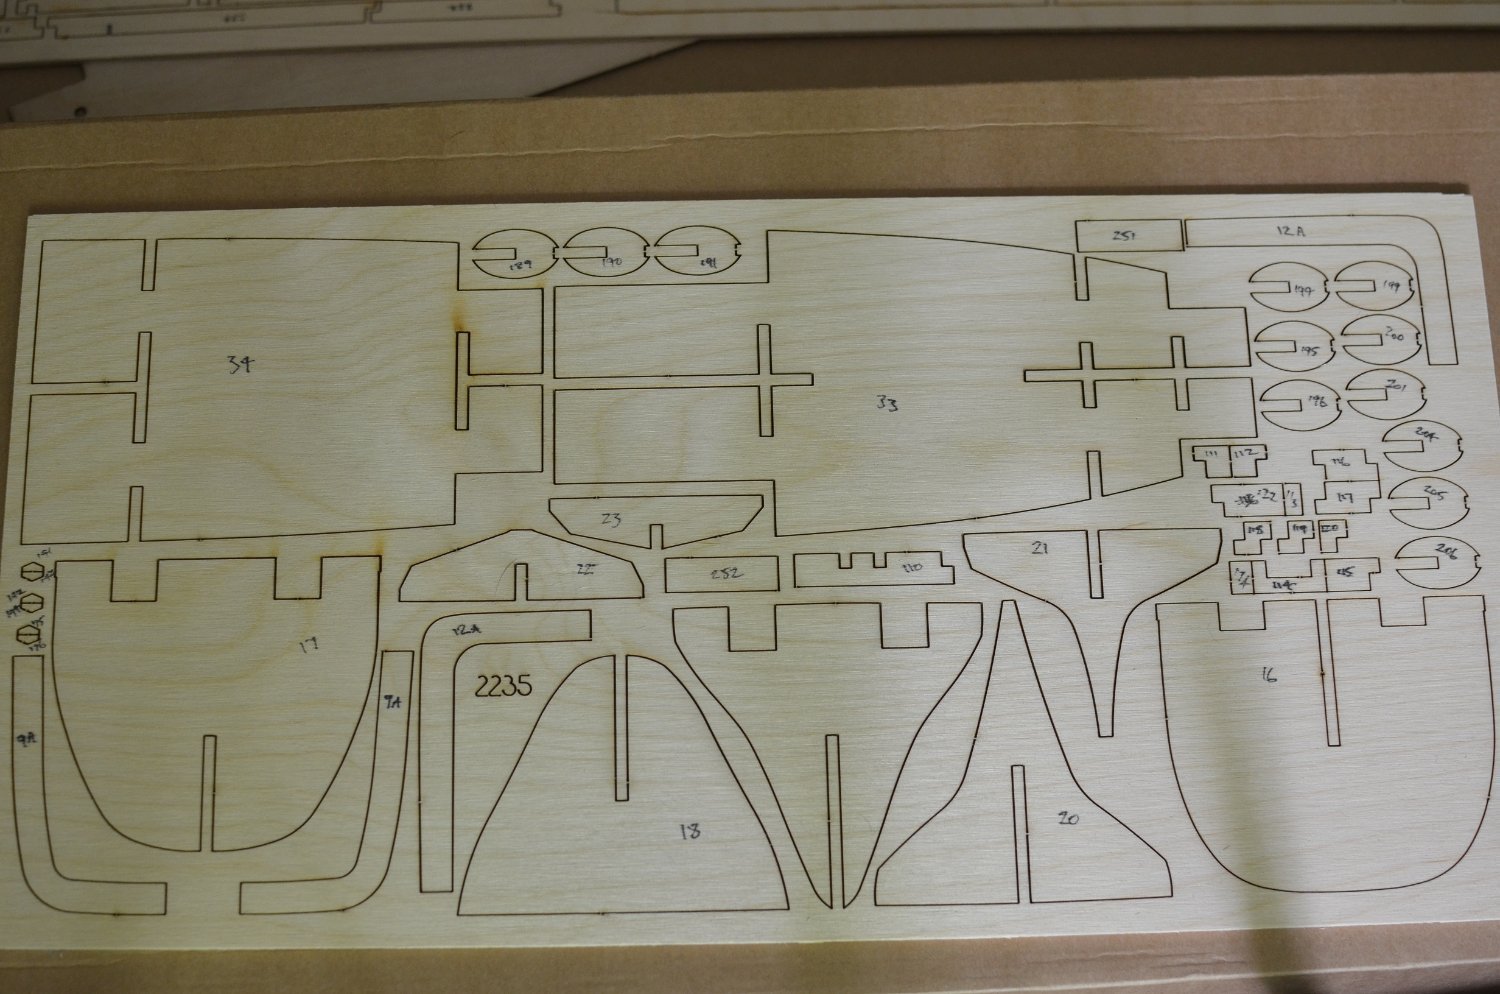
 Next project is the Amati Titanic. This is a museum quality model. The kit is very good quality. Will build into a very nice model of the Titanic. The instructions are very good. There is an 40 page colour booklet to go with the 10 pages of written instructions, which are very extensive. Plus there are 8 plan sheets. The down sides are the way the second planking of the hull needs to be cut from two sheets of ply using paper templets. The colour card cut outs to represent the windows and doors on the various cabin parts. Also the plastic benches are a let down. I will however replace all the card and benches with photo etch from Minibrass. I will start the build by cutting all the second planking parts out. I will then plank the decks before starting to put the kit together. I am unsure with the discrepancy with the 6 bulkheads. I have the template, but when I lay the bulkheads on it they are to small if I increase the size and to large a fit if I decrease the size. Will have to put them in place loose and see how the first planking sits on them. Have started by cutting the second planking out.


-
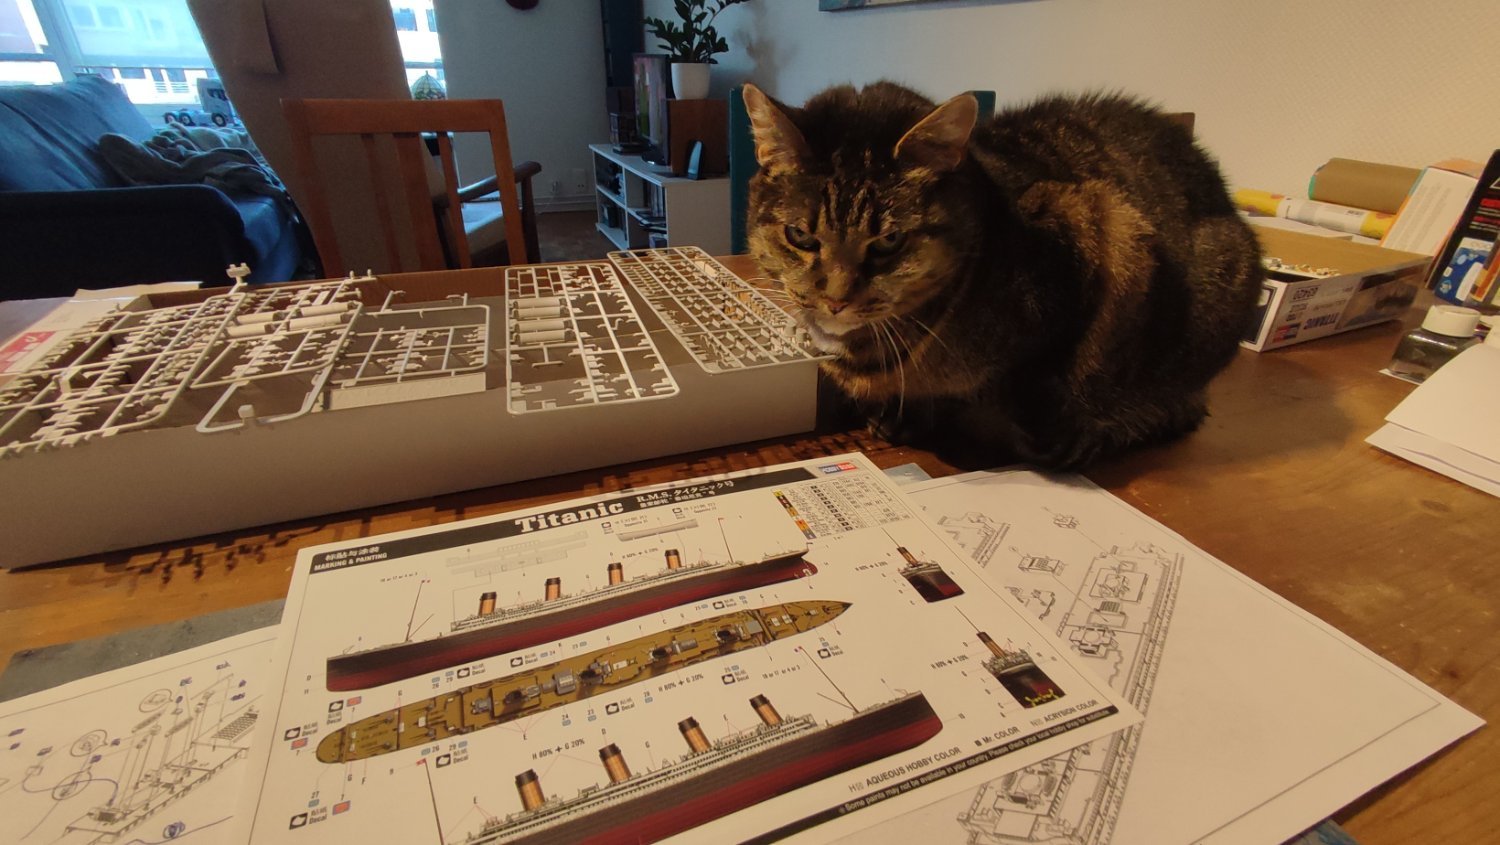
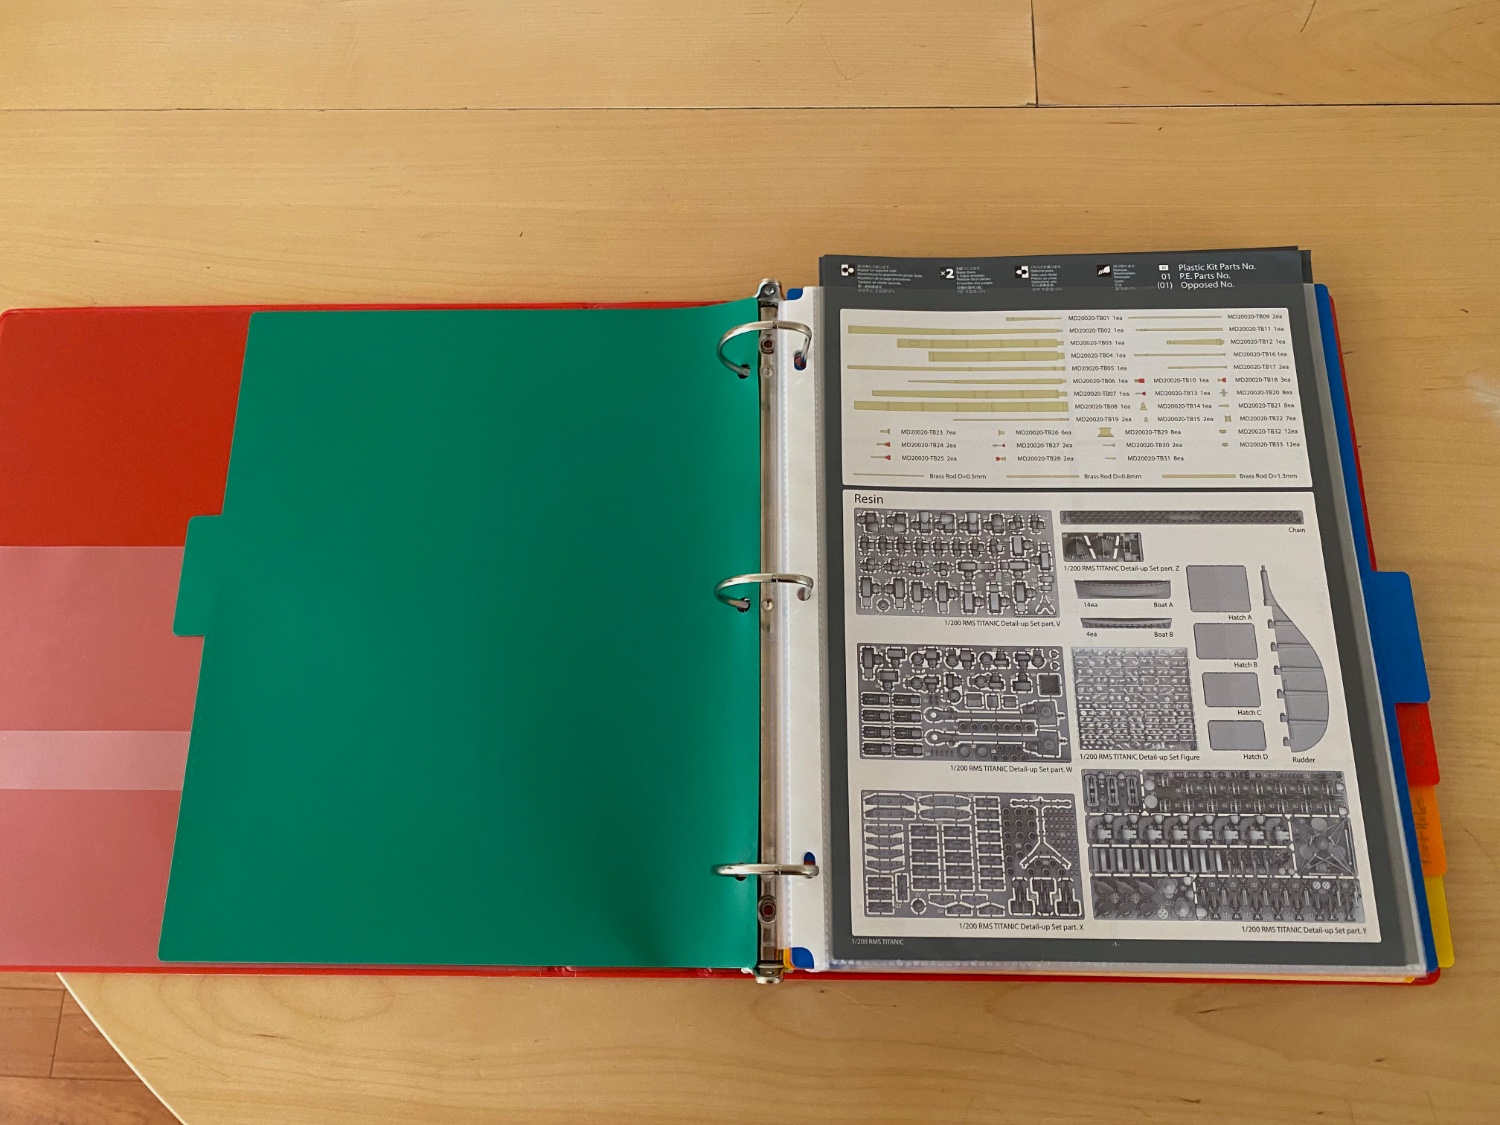
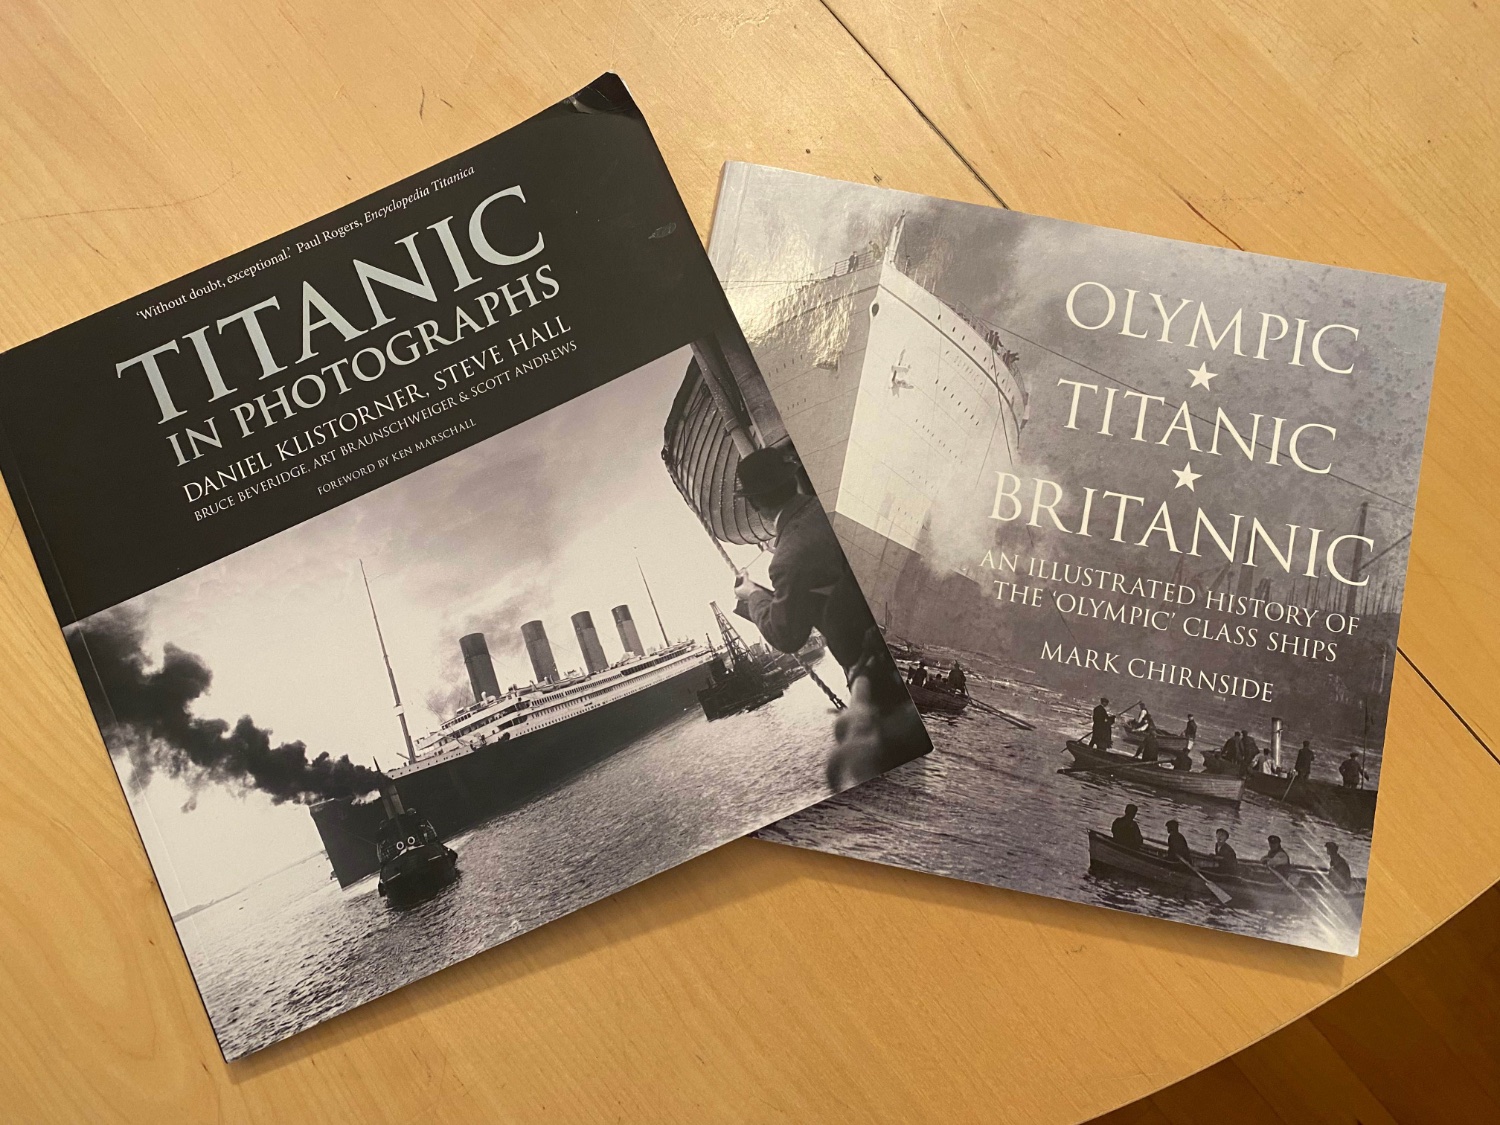
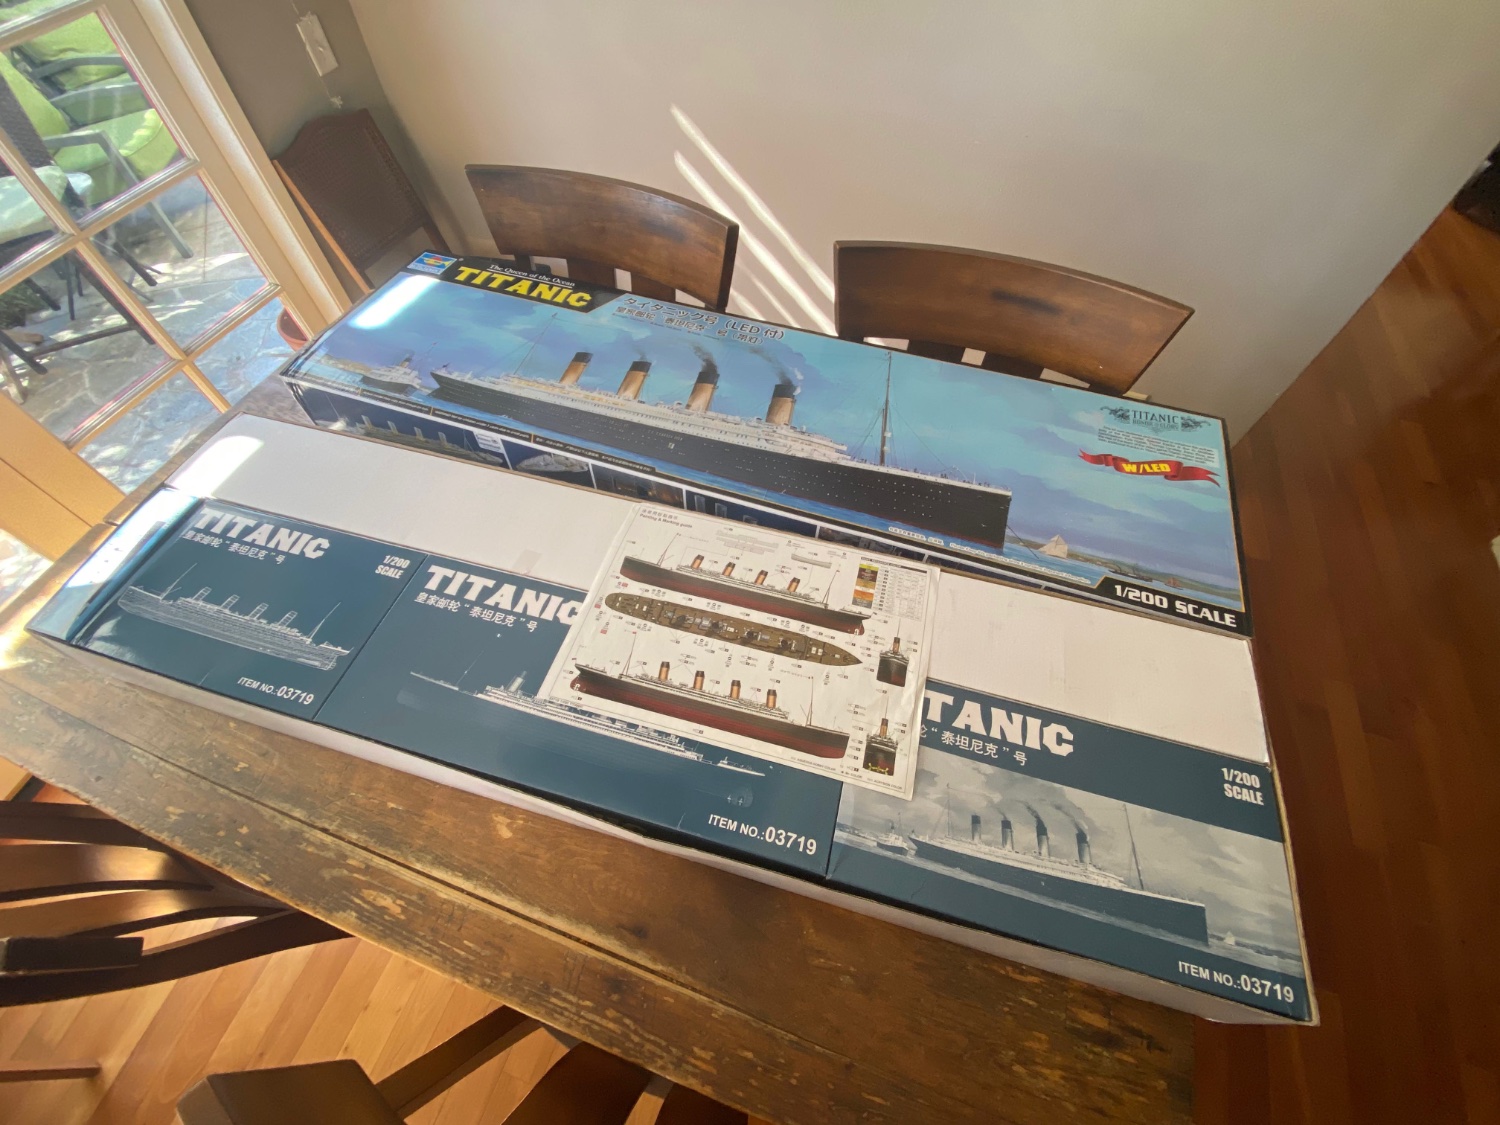
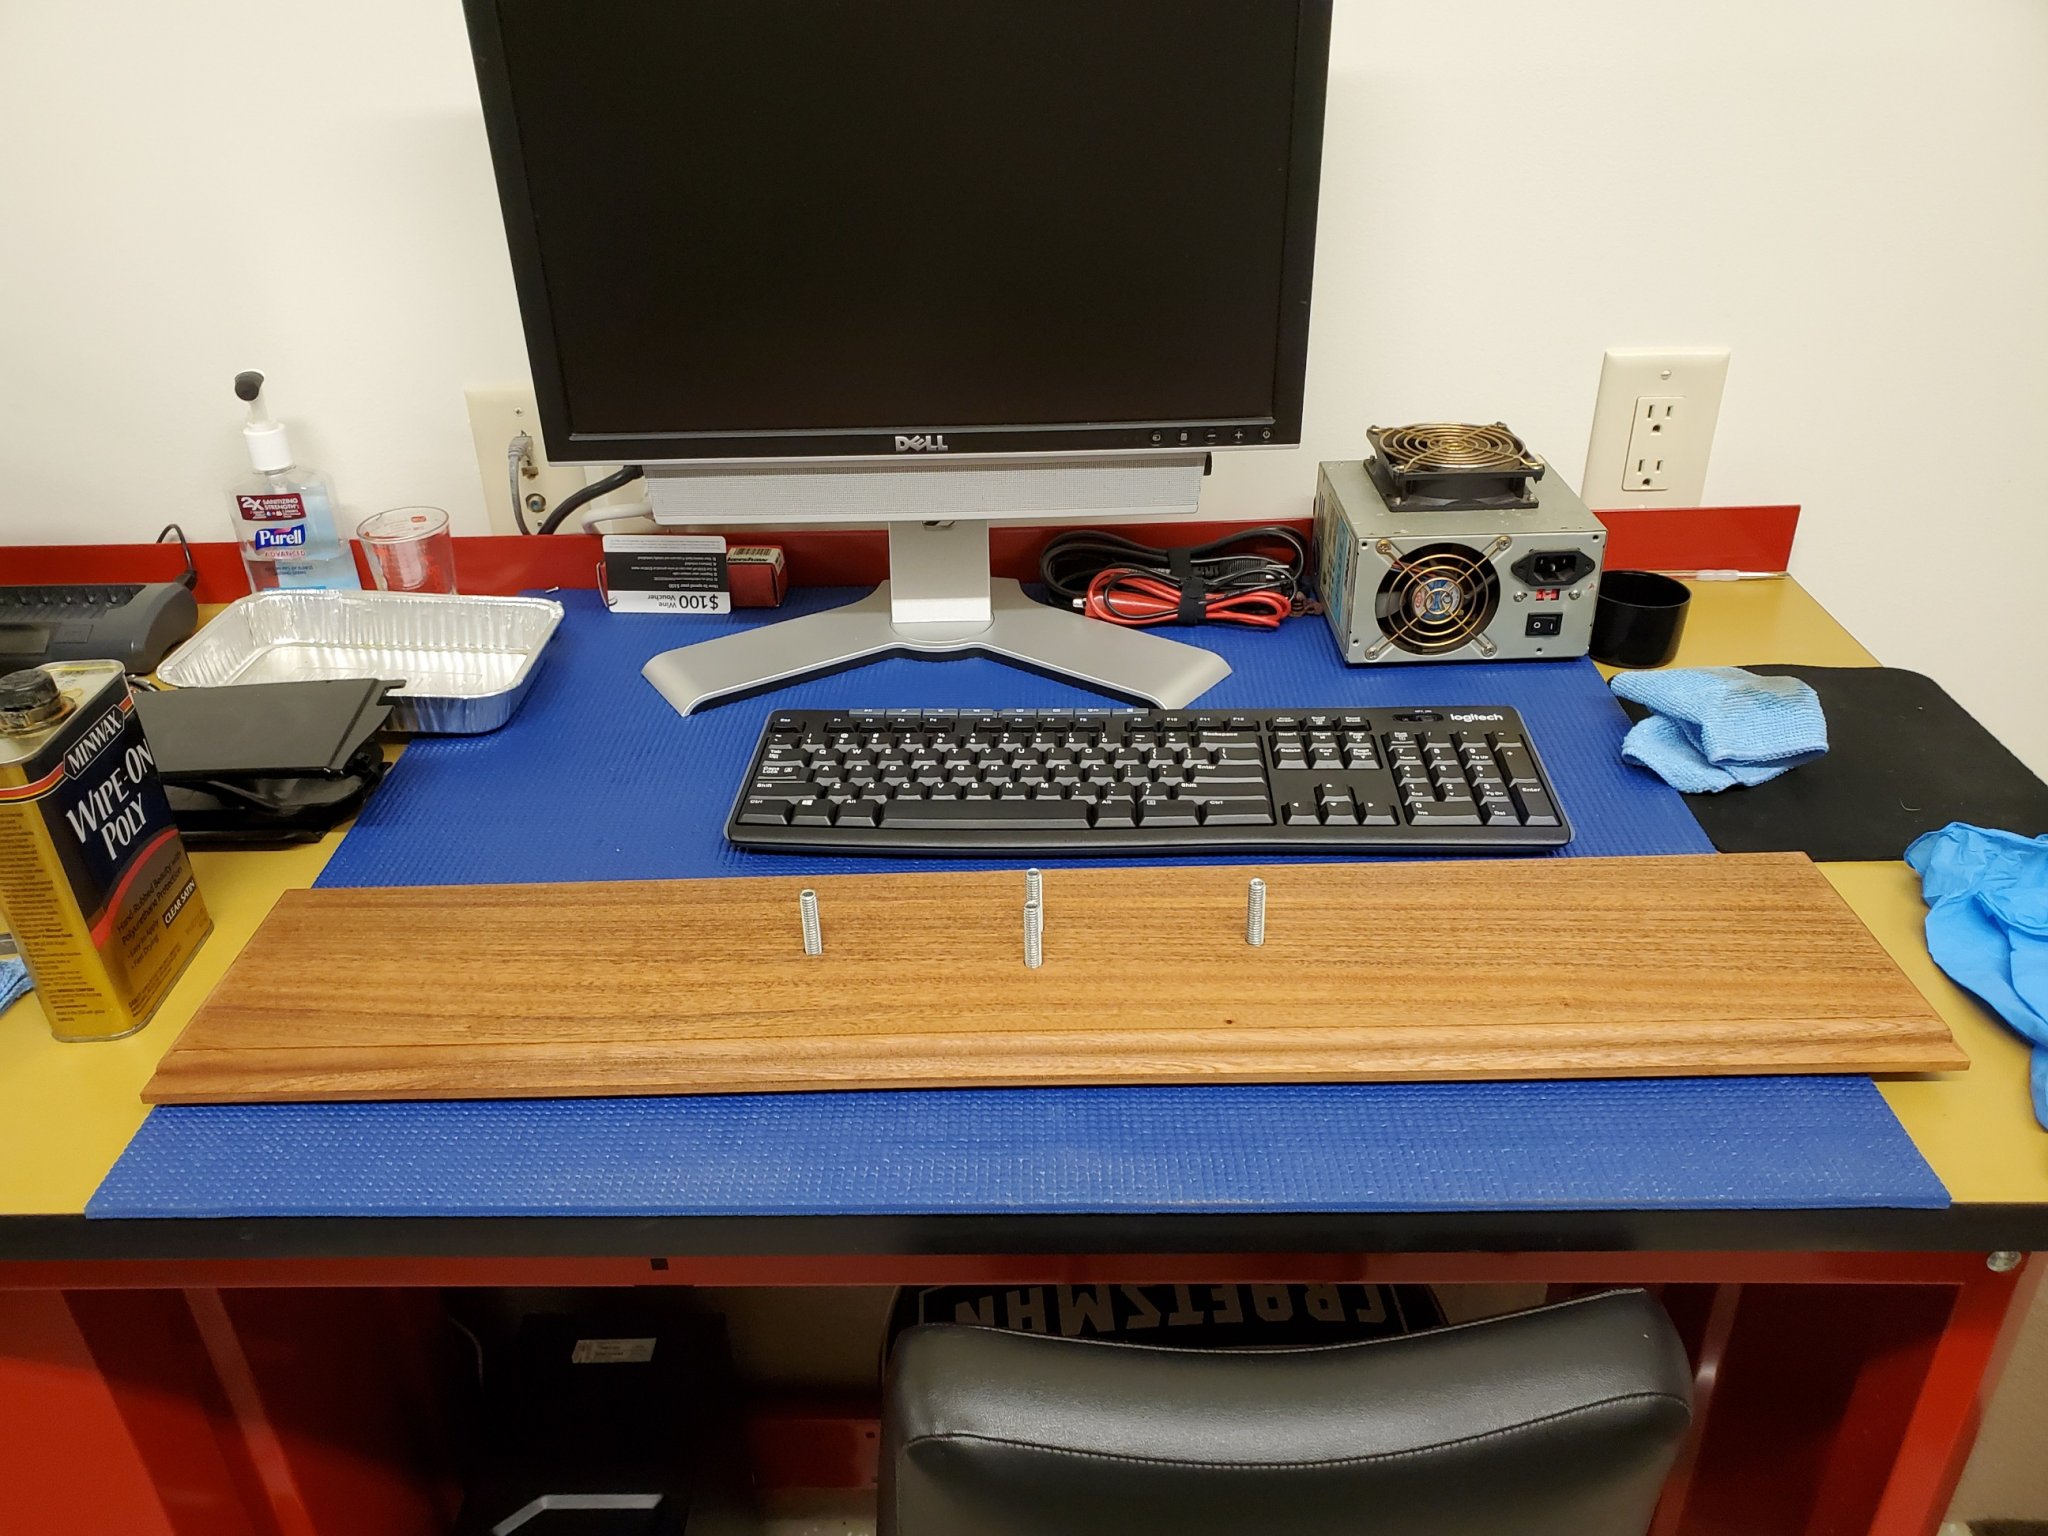
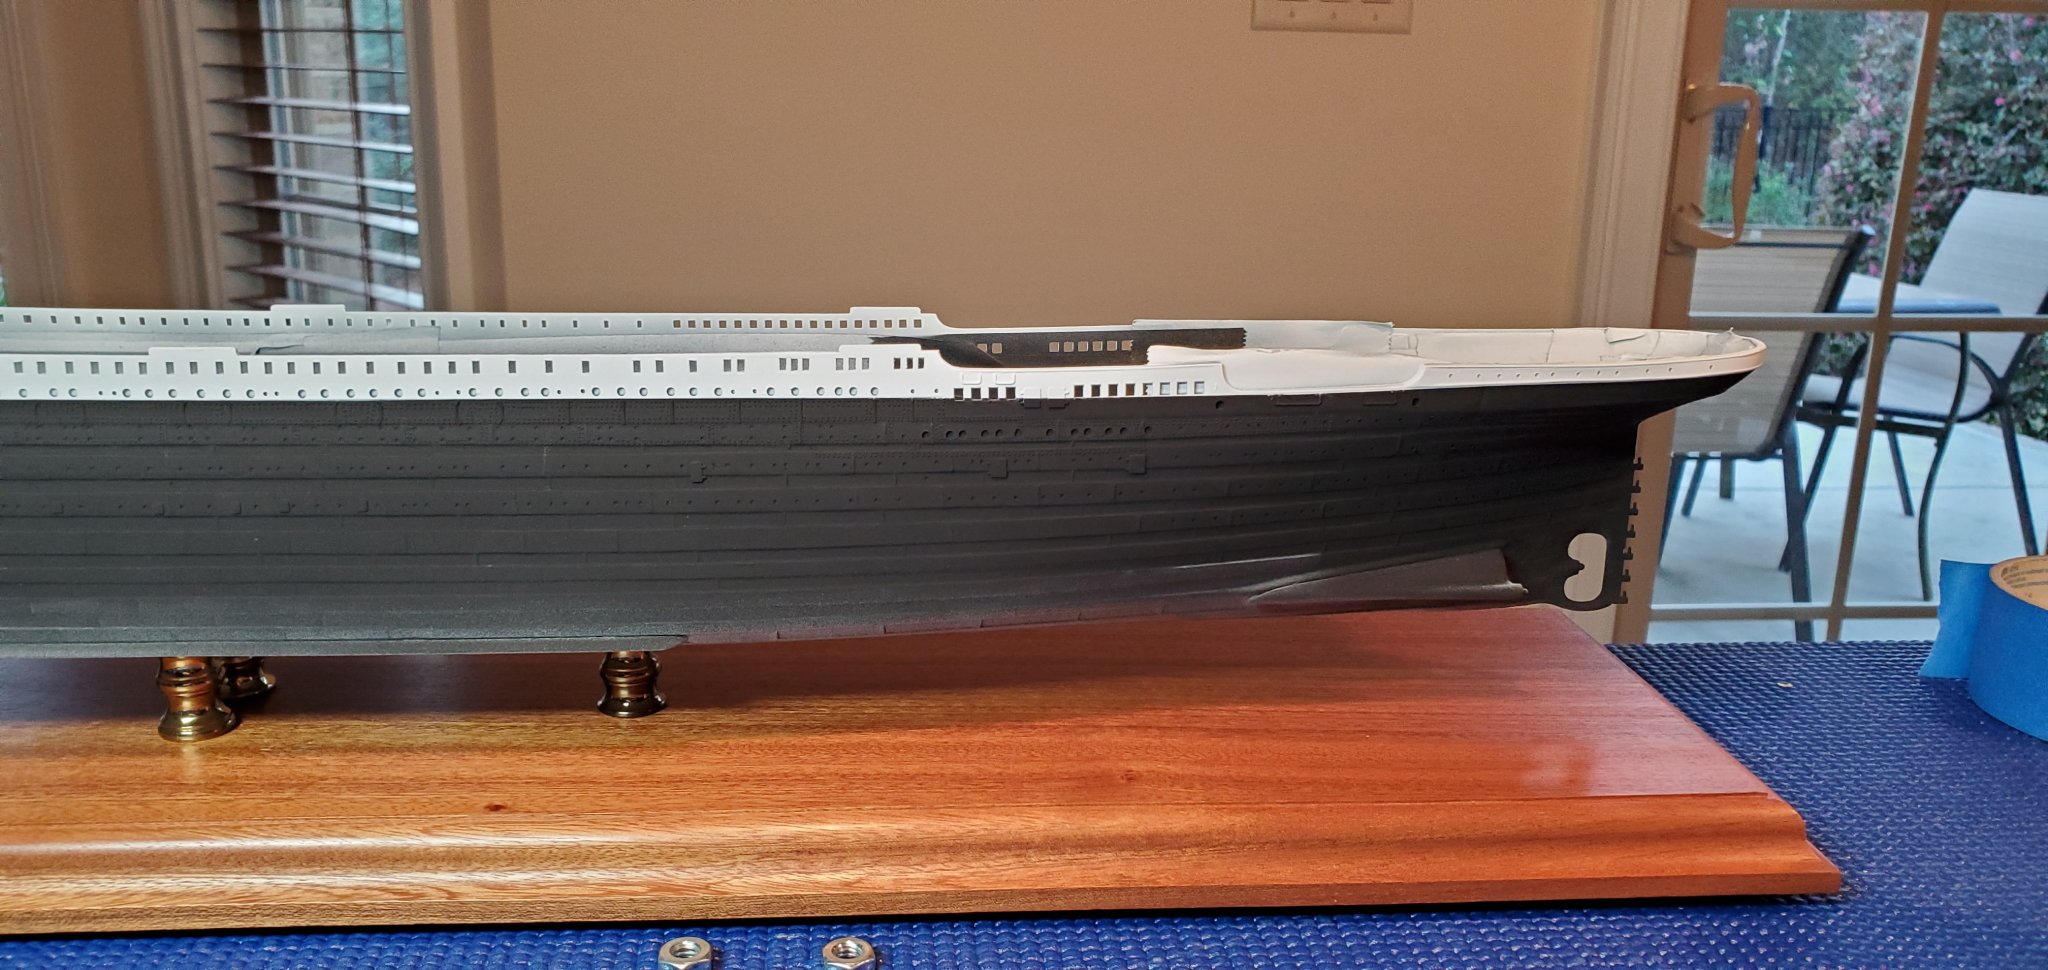
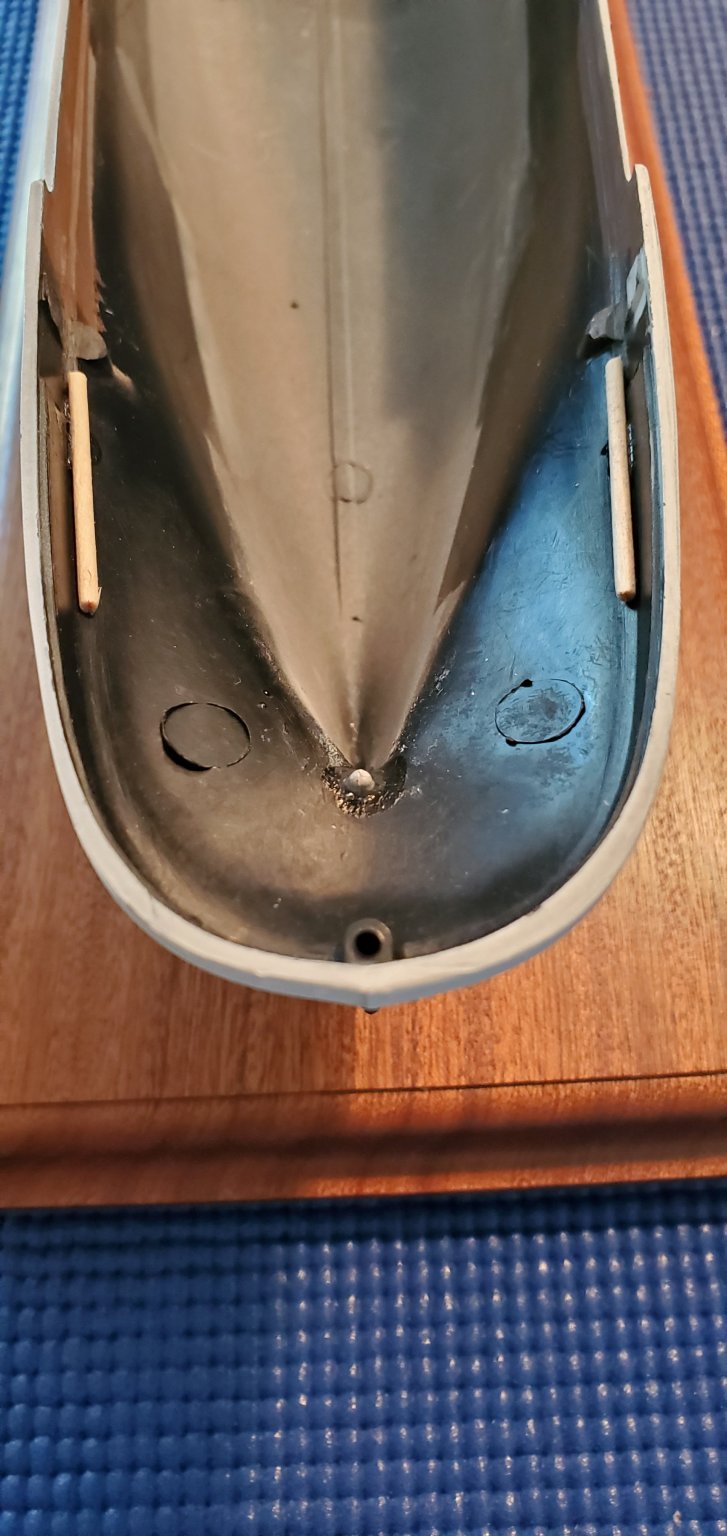
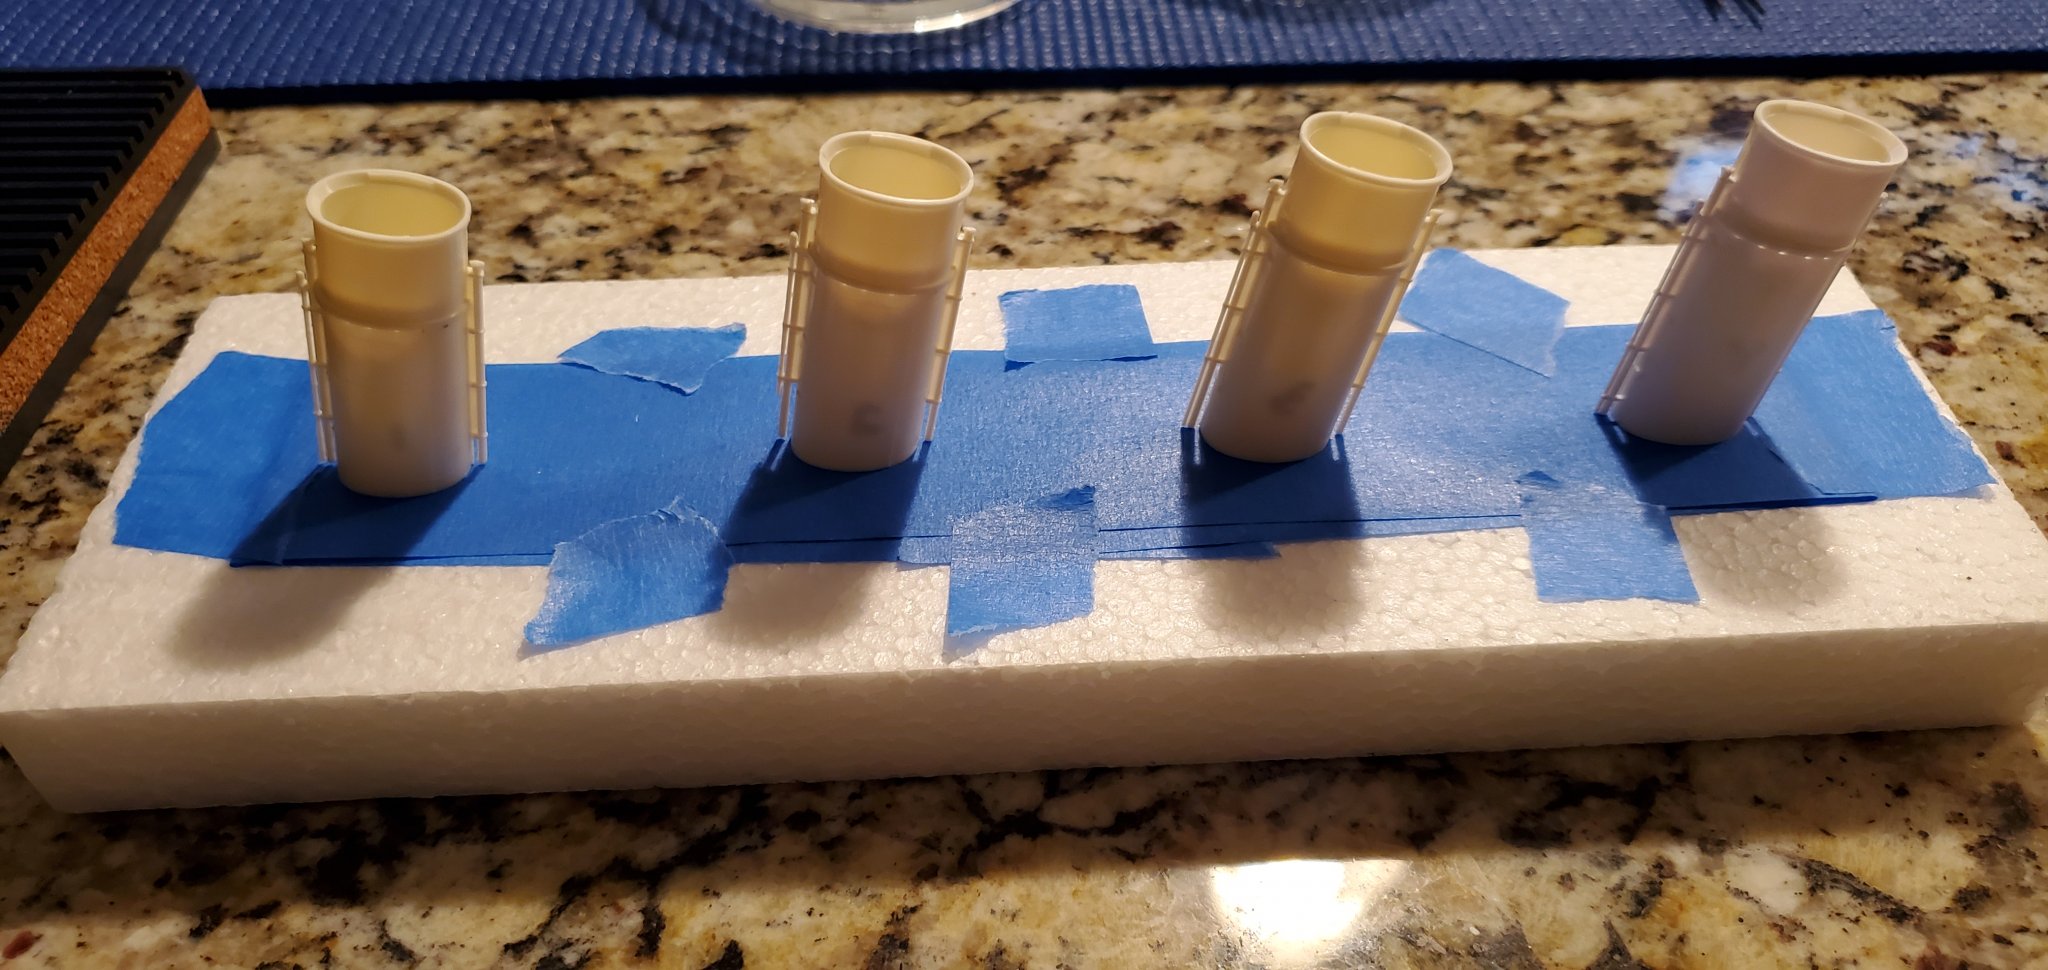
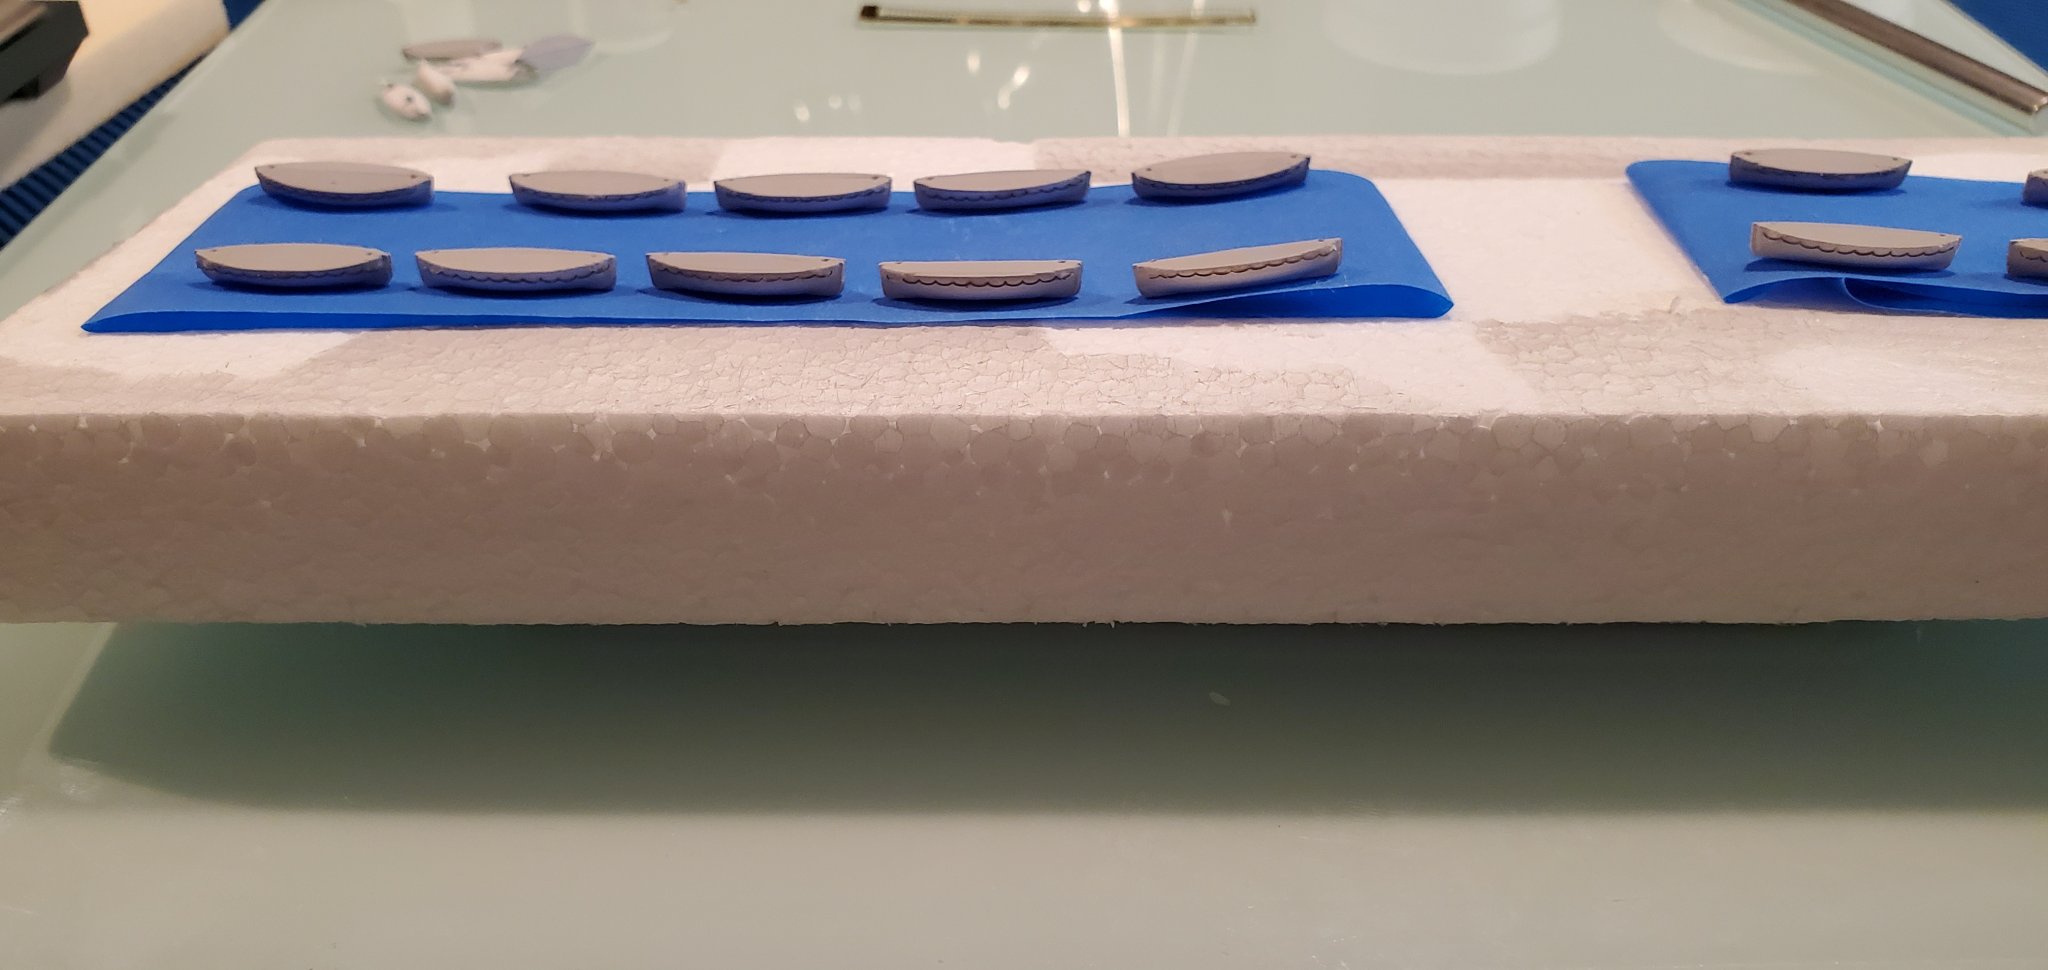
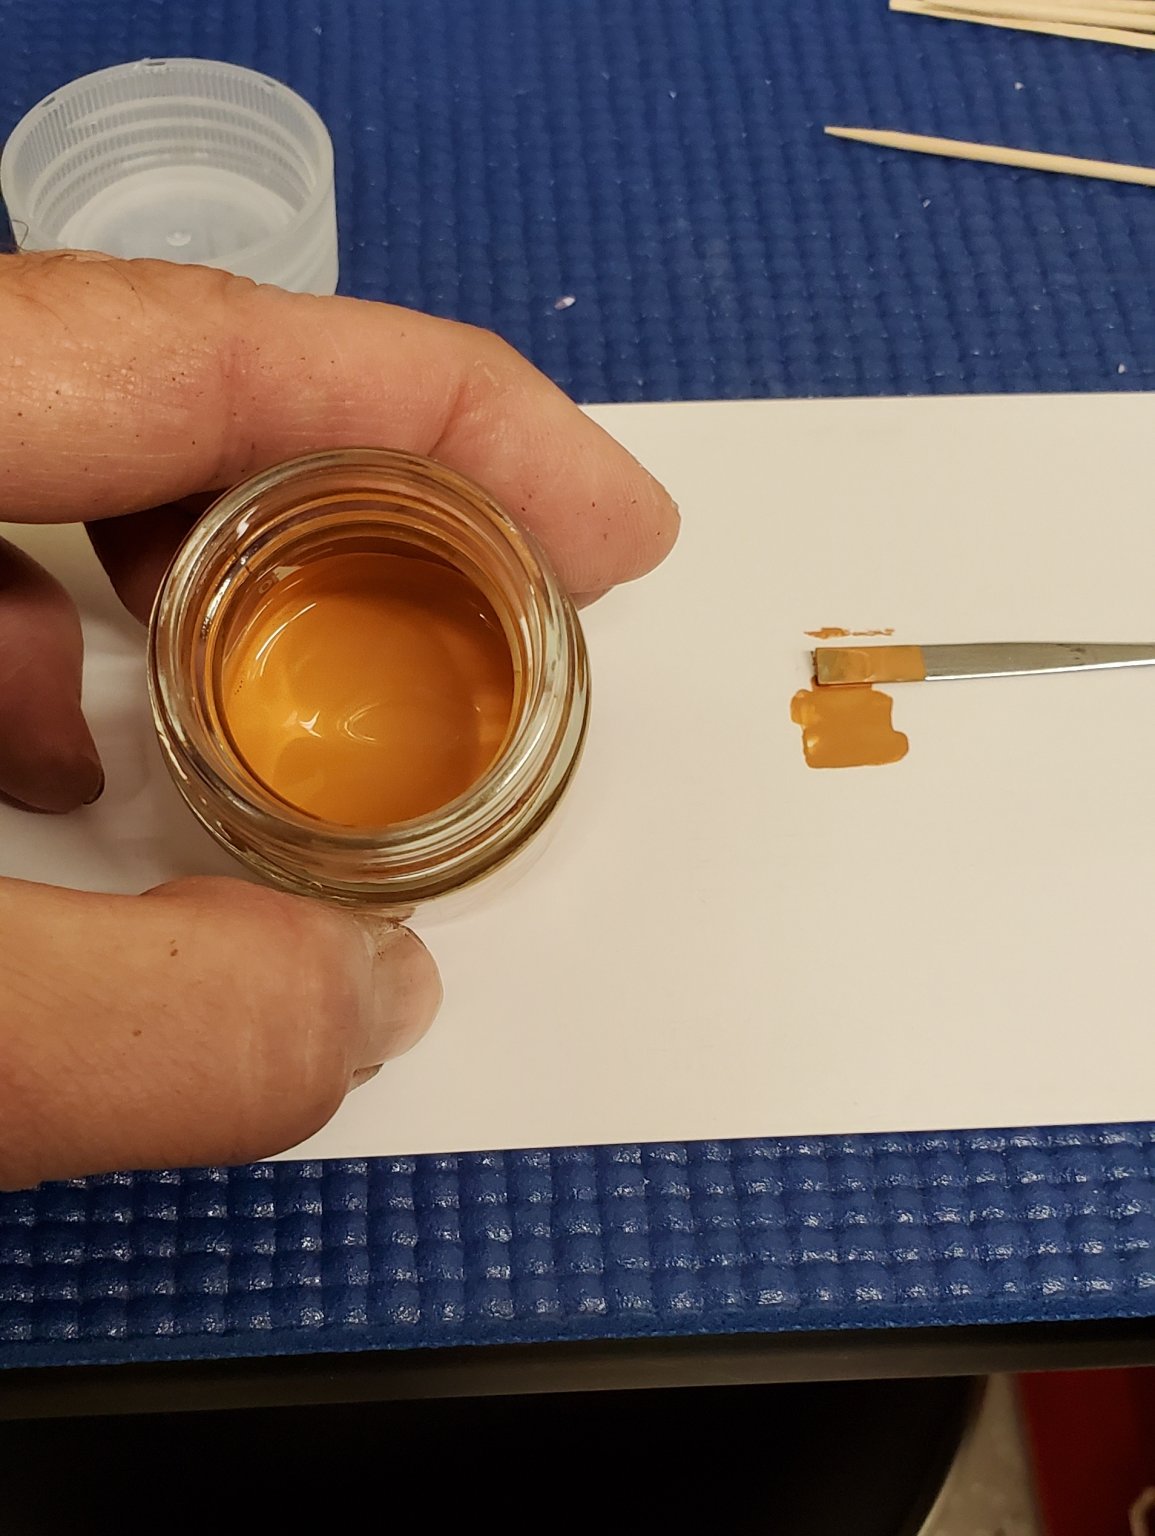
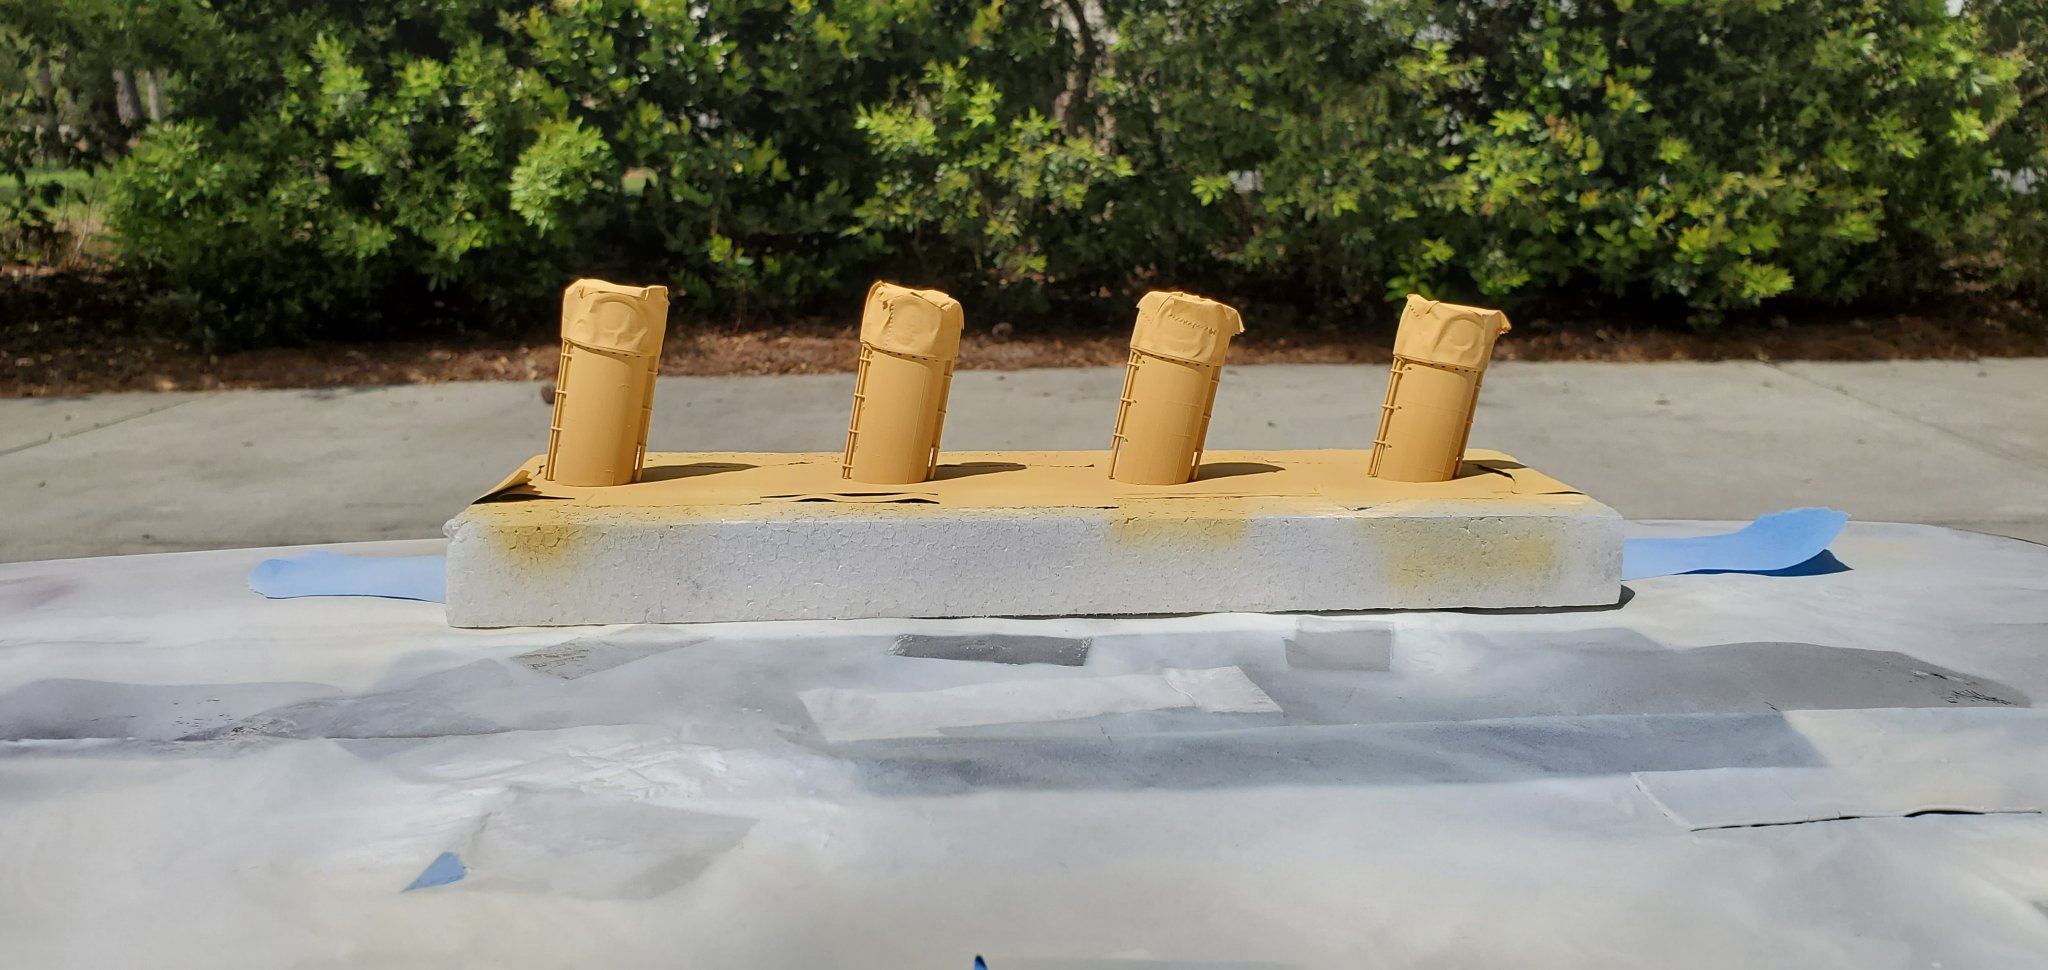
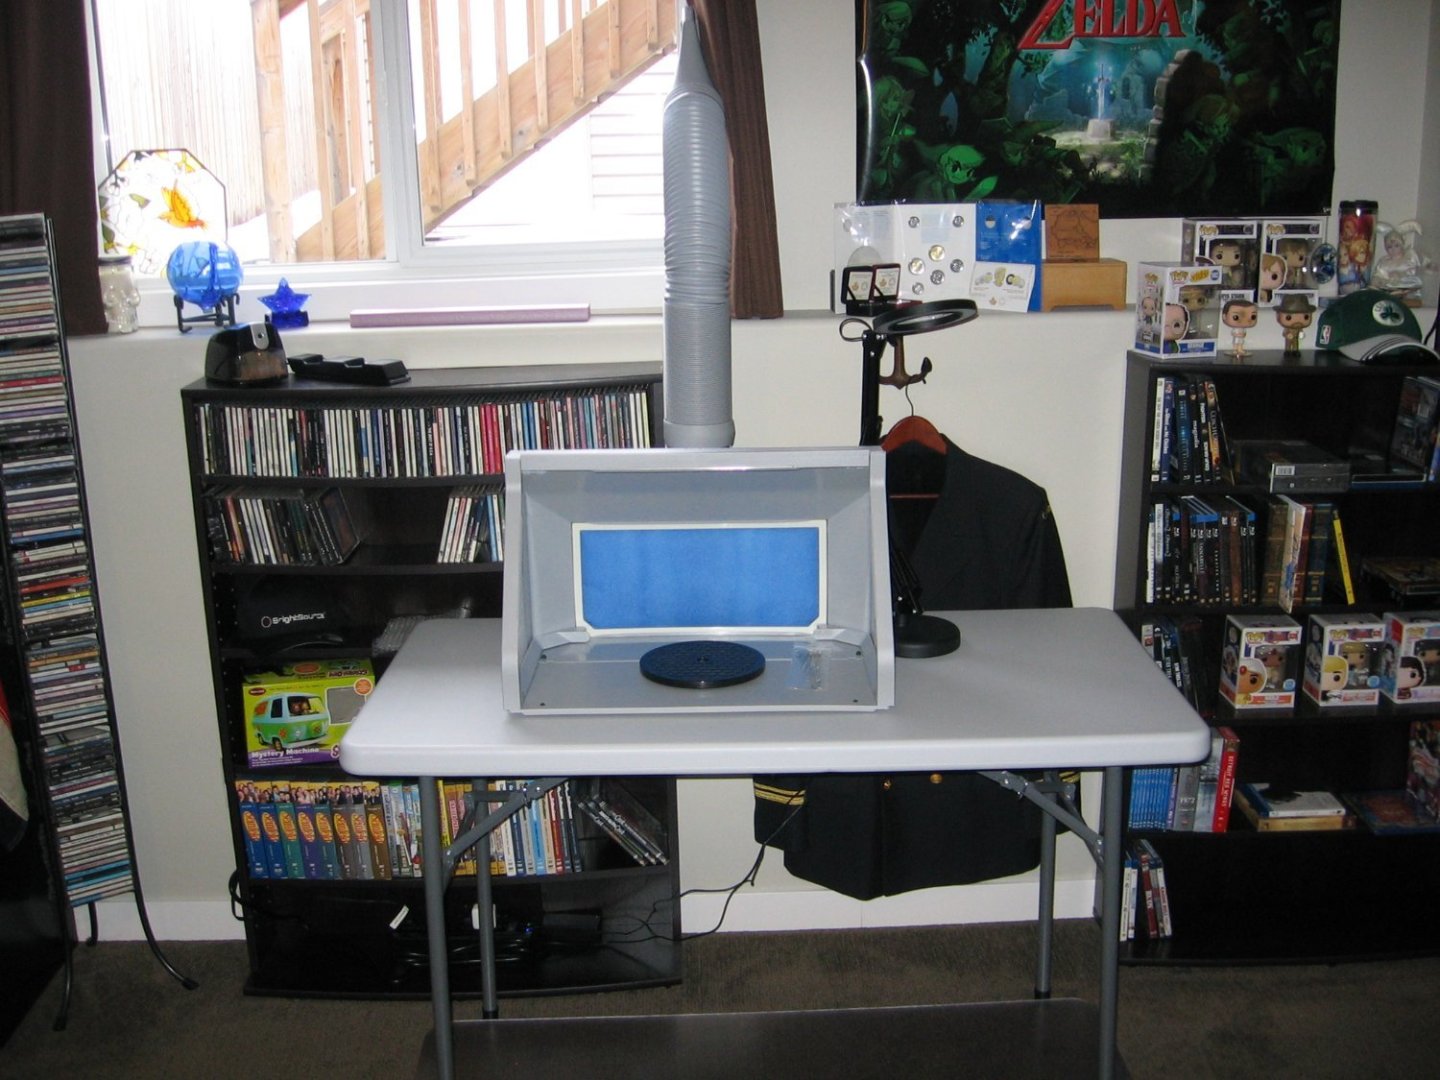
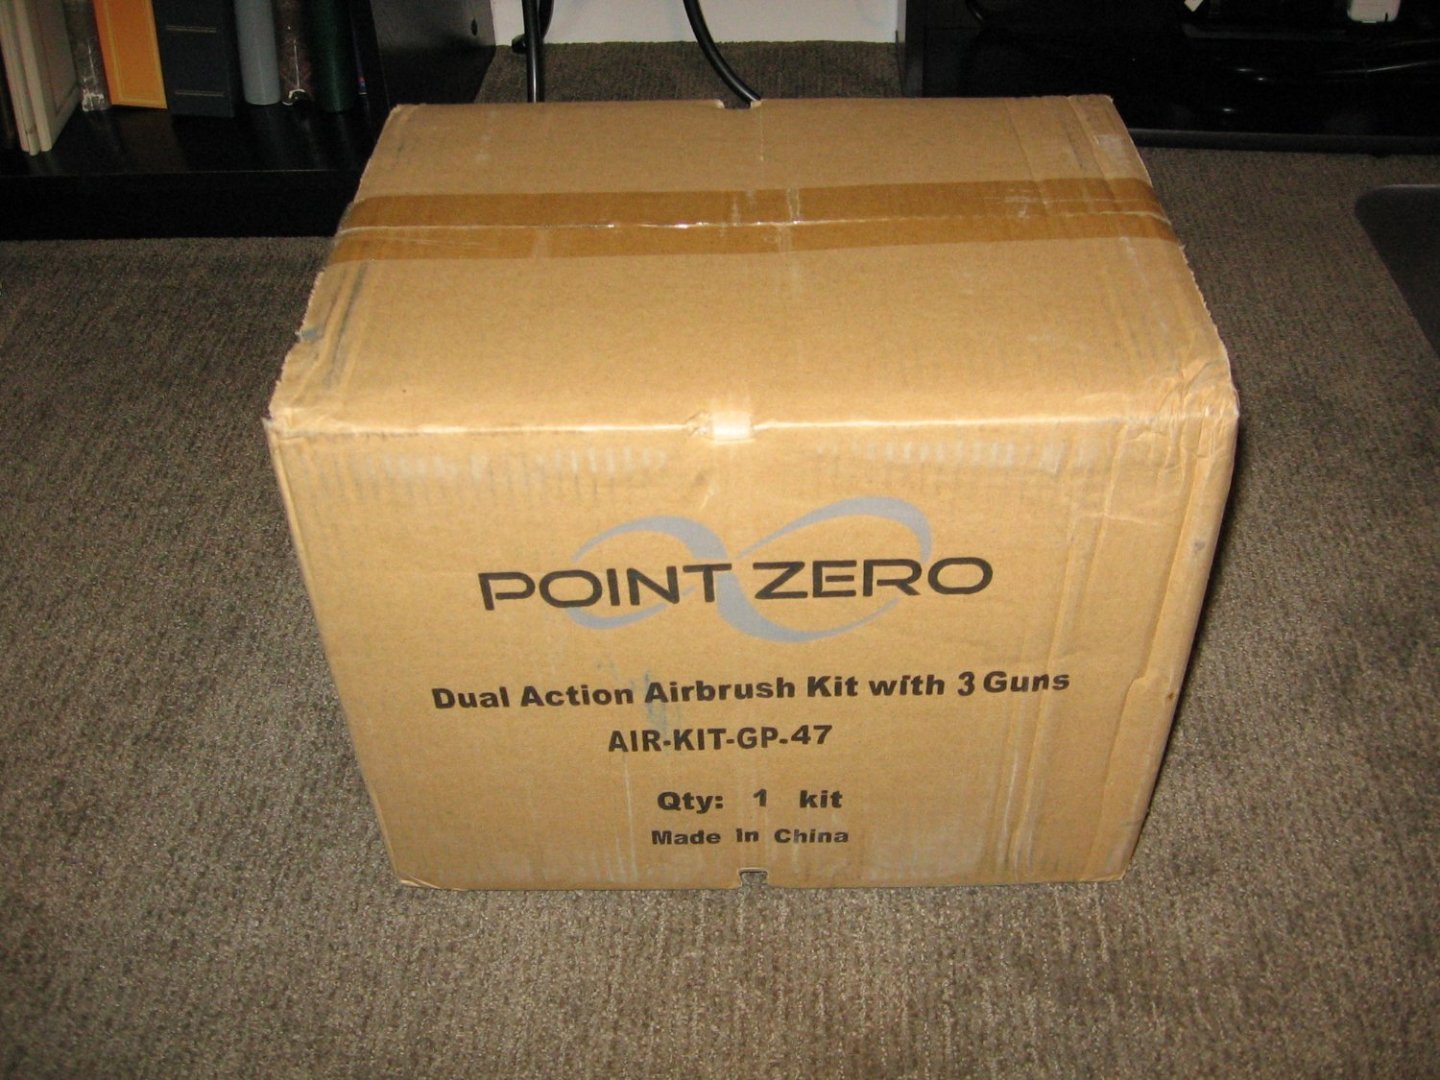
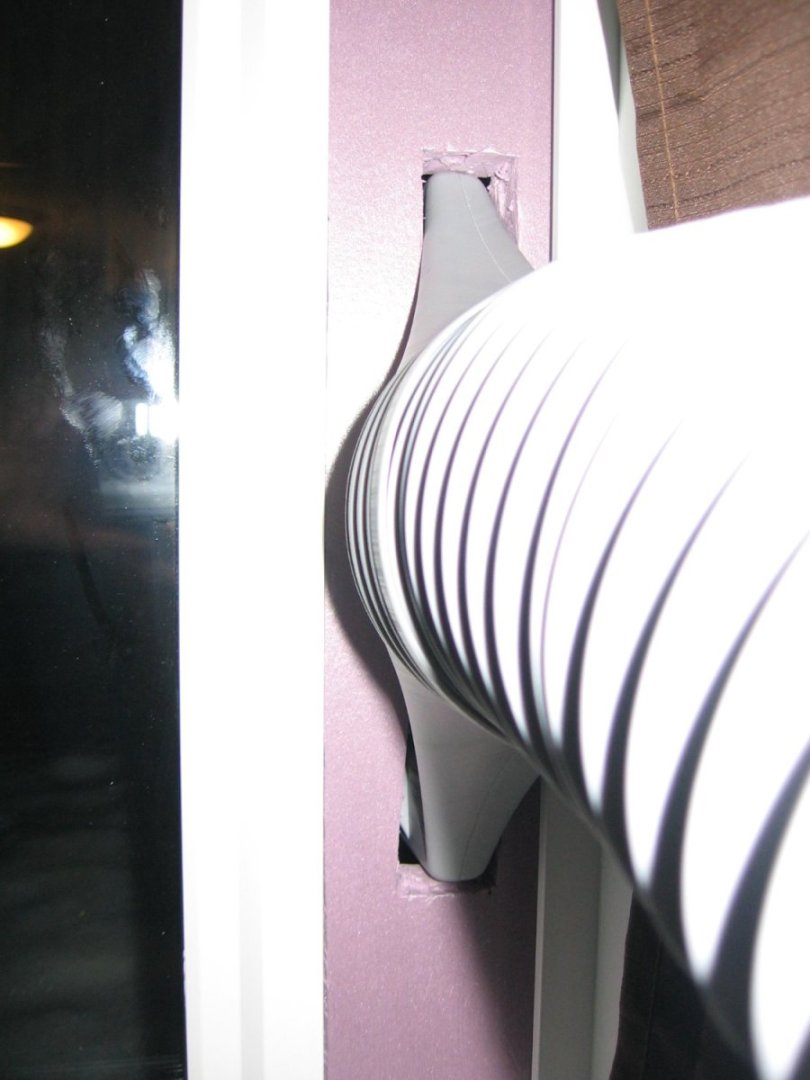
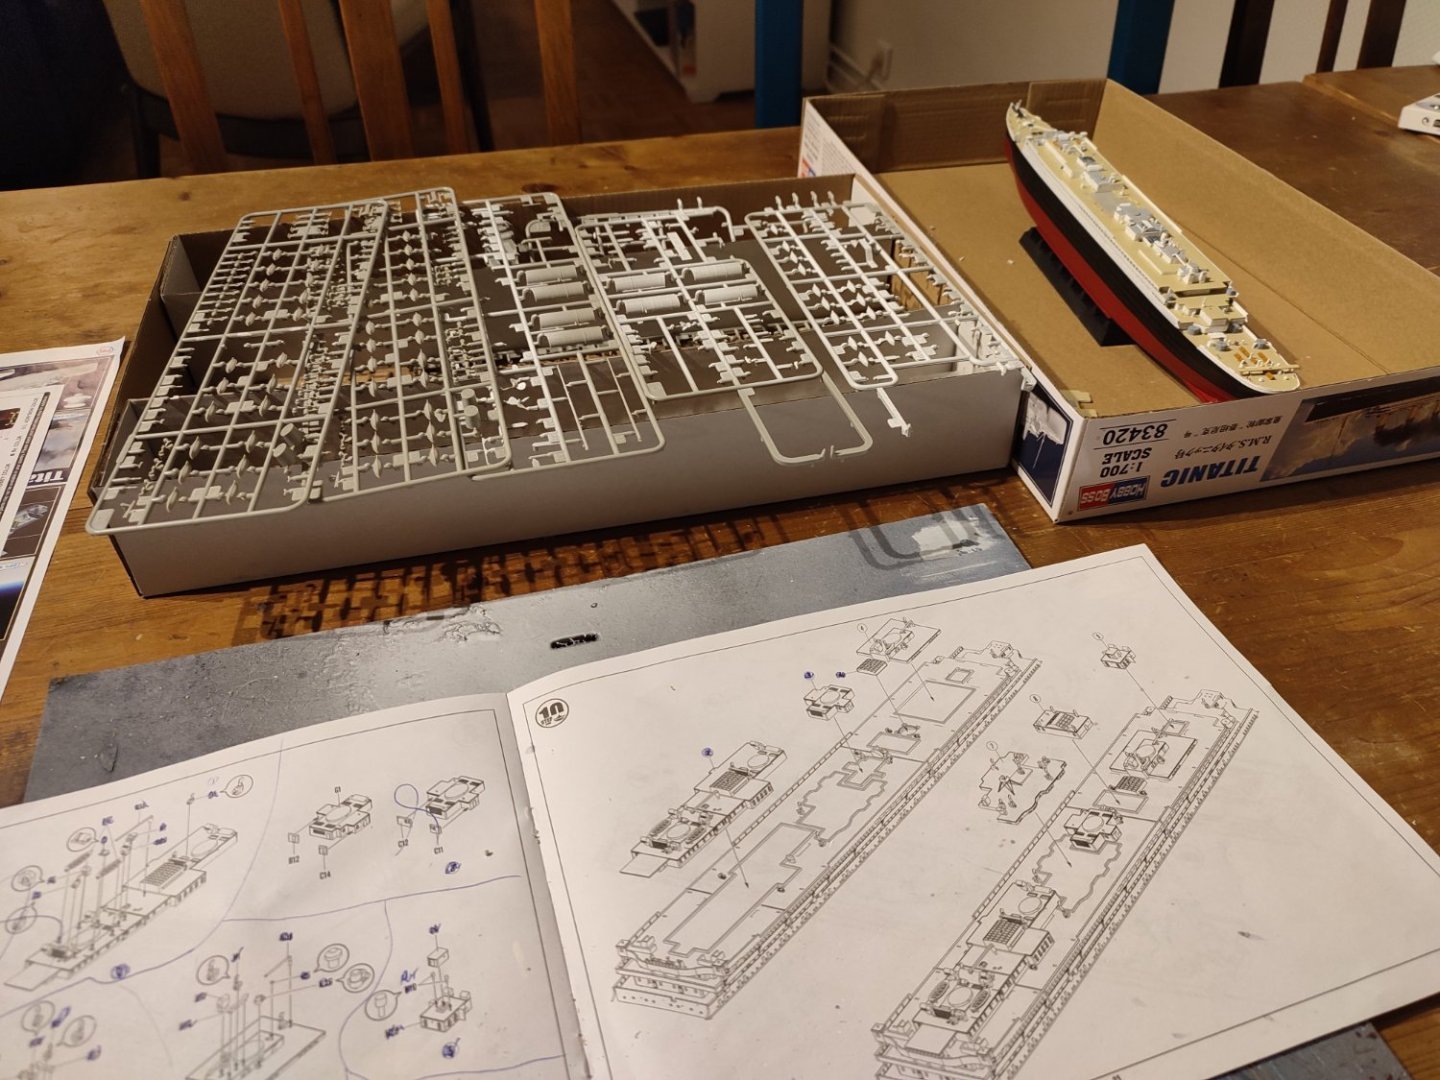
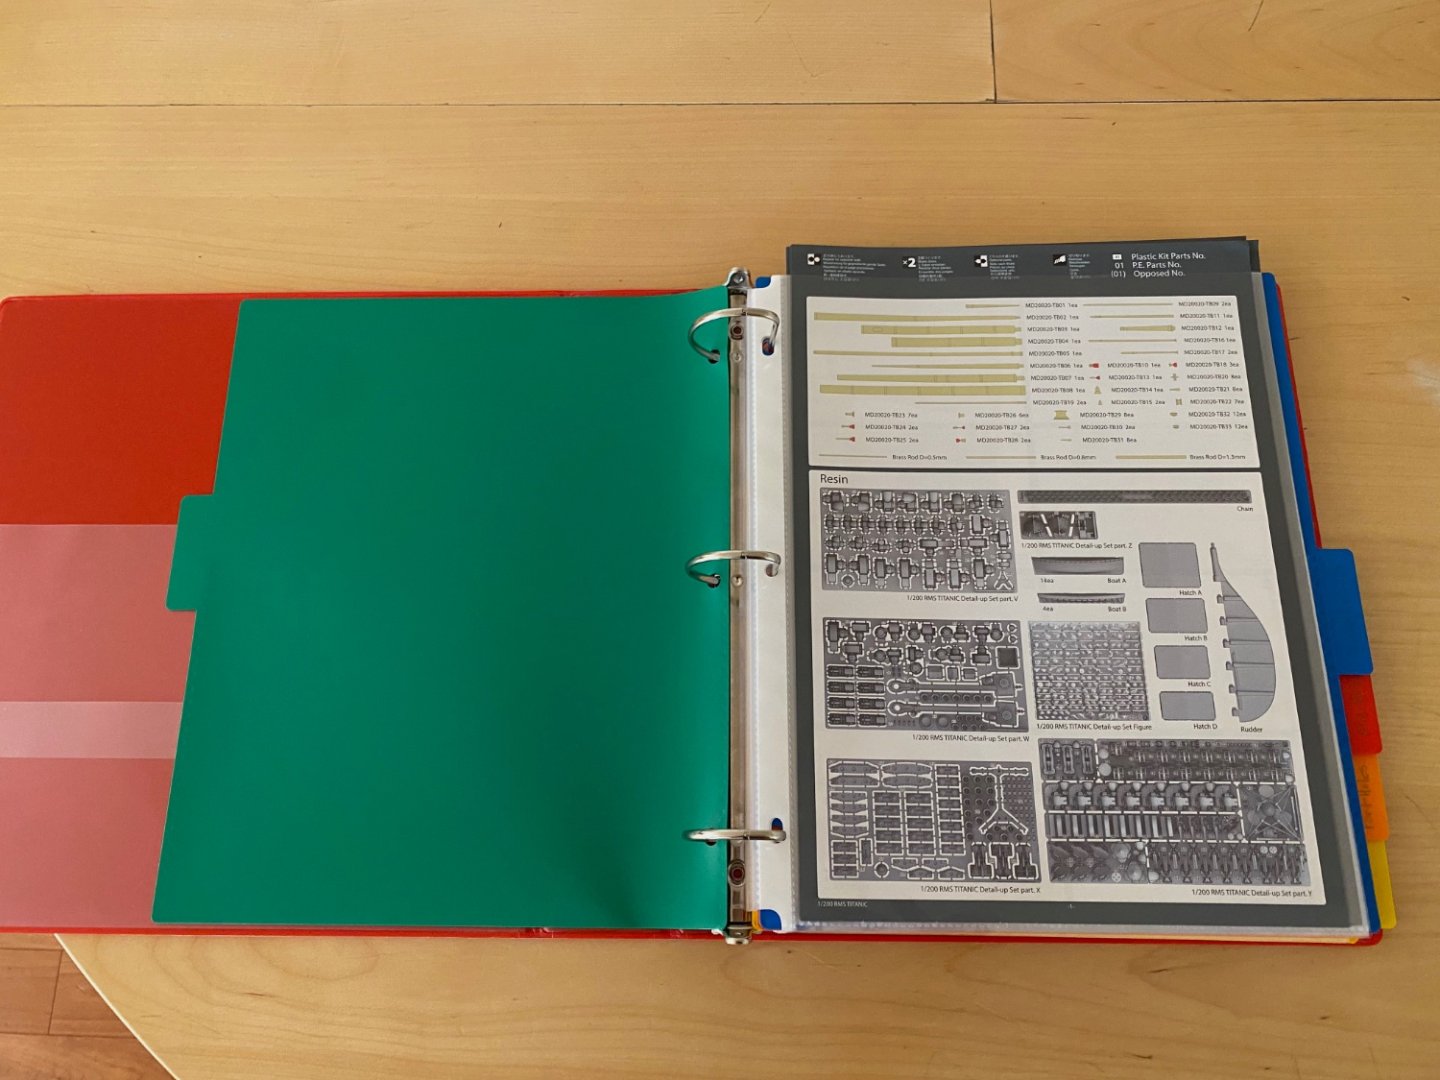
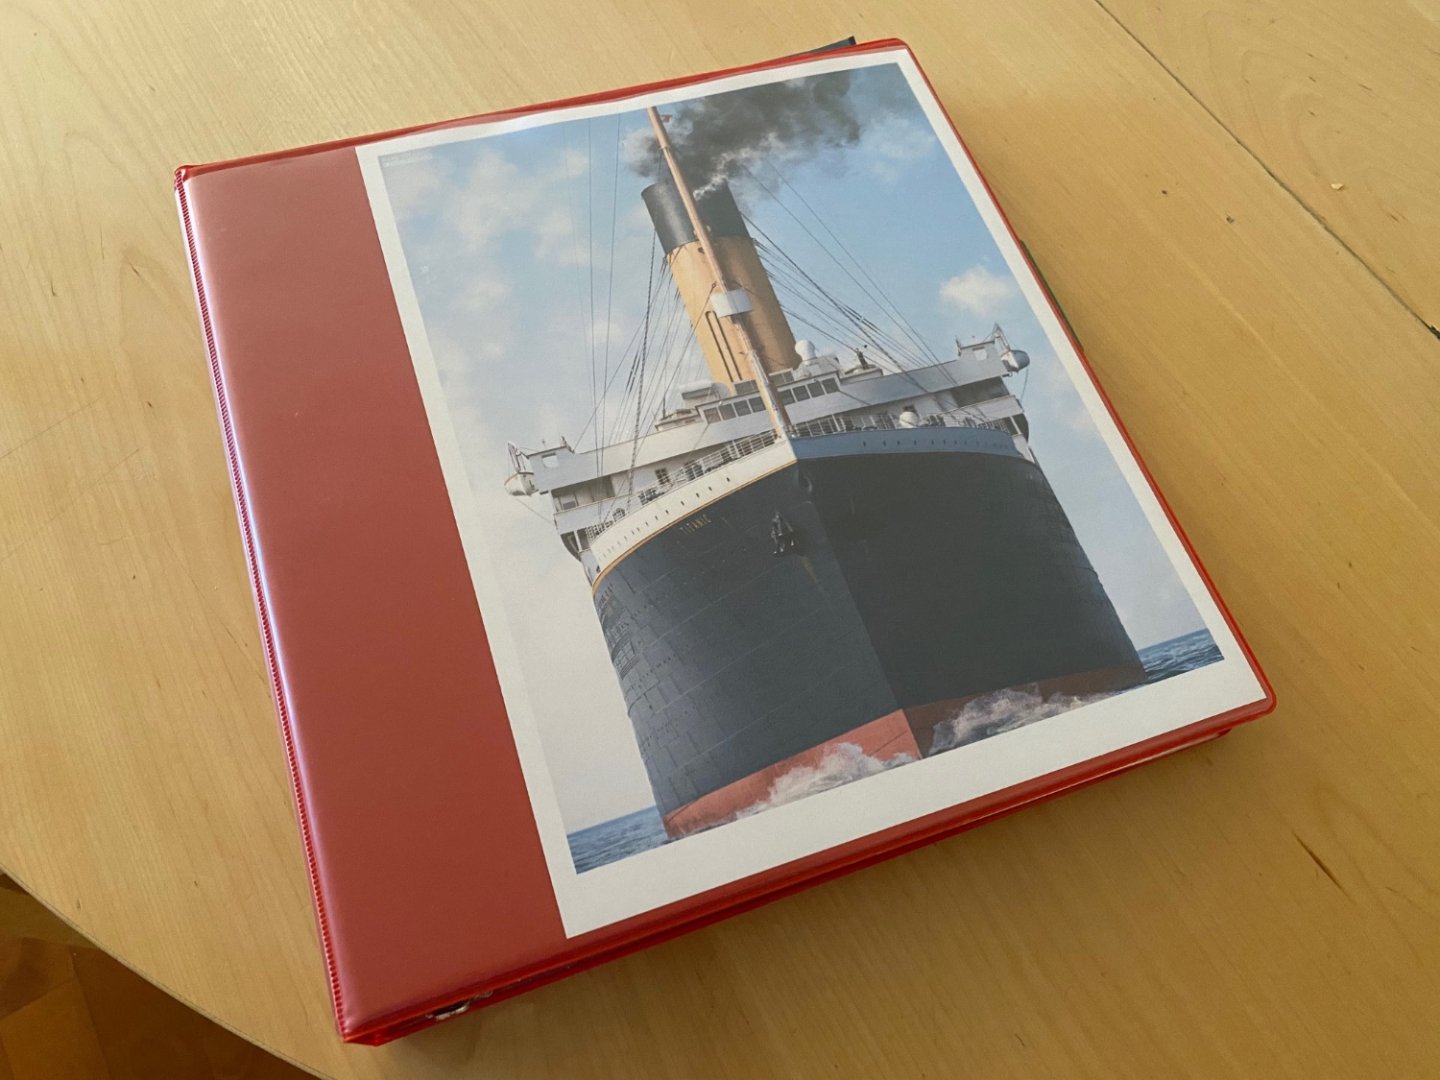
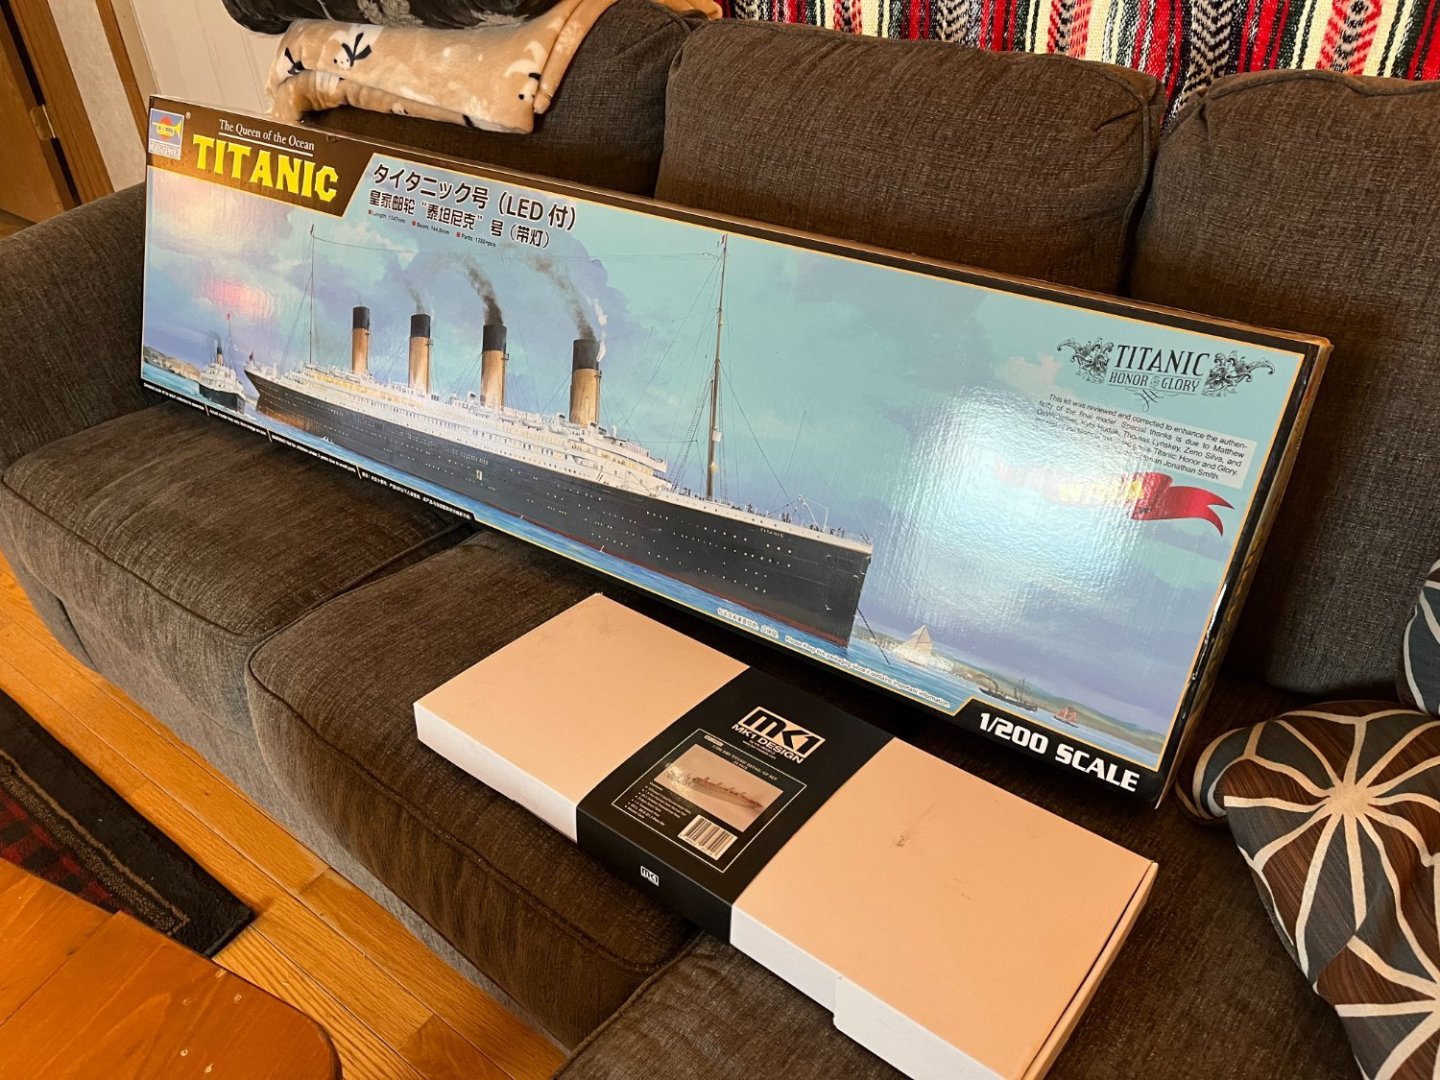
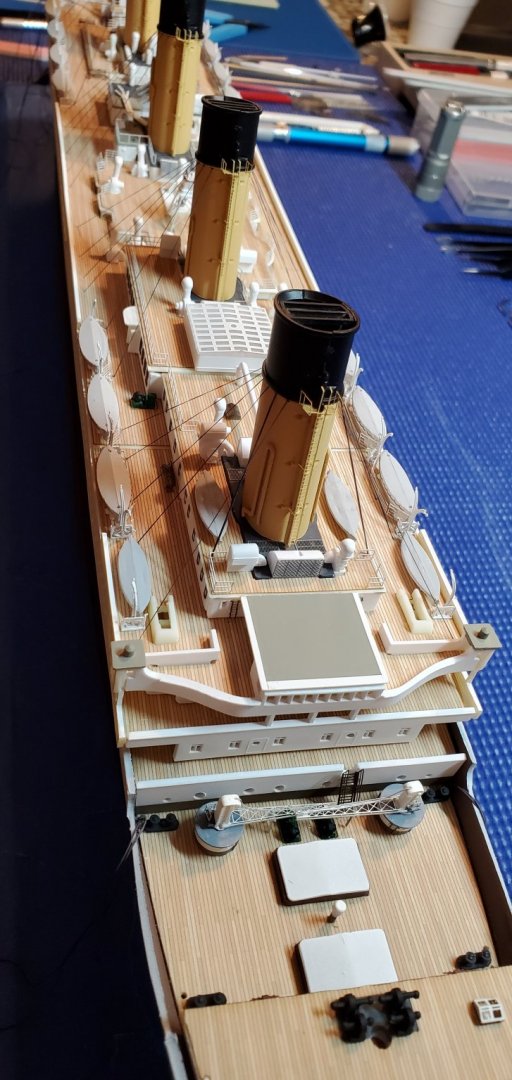
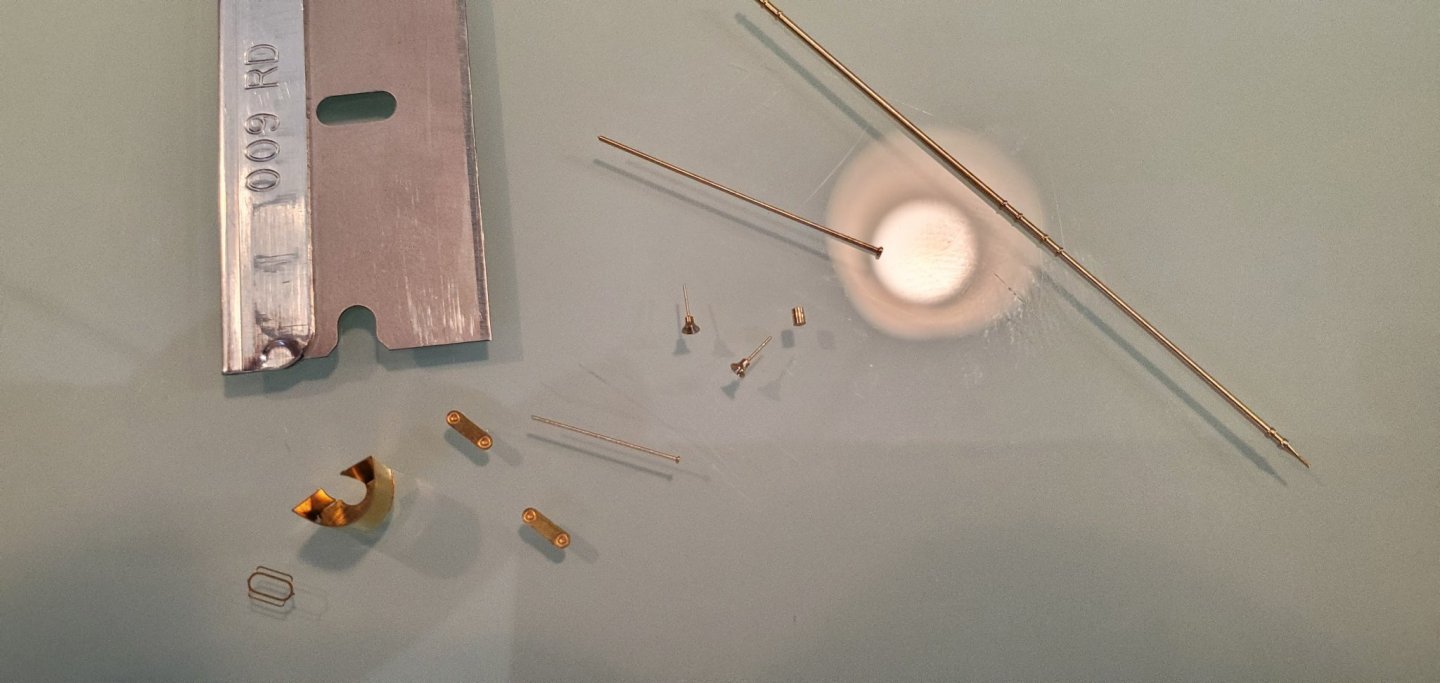
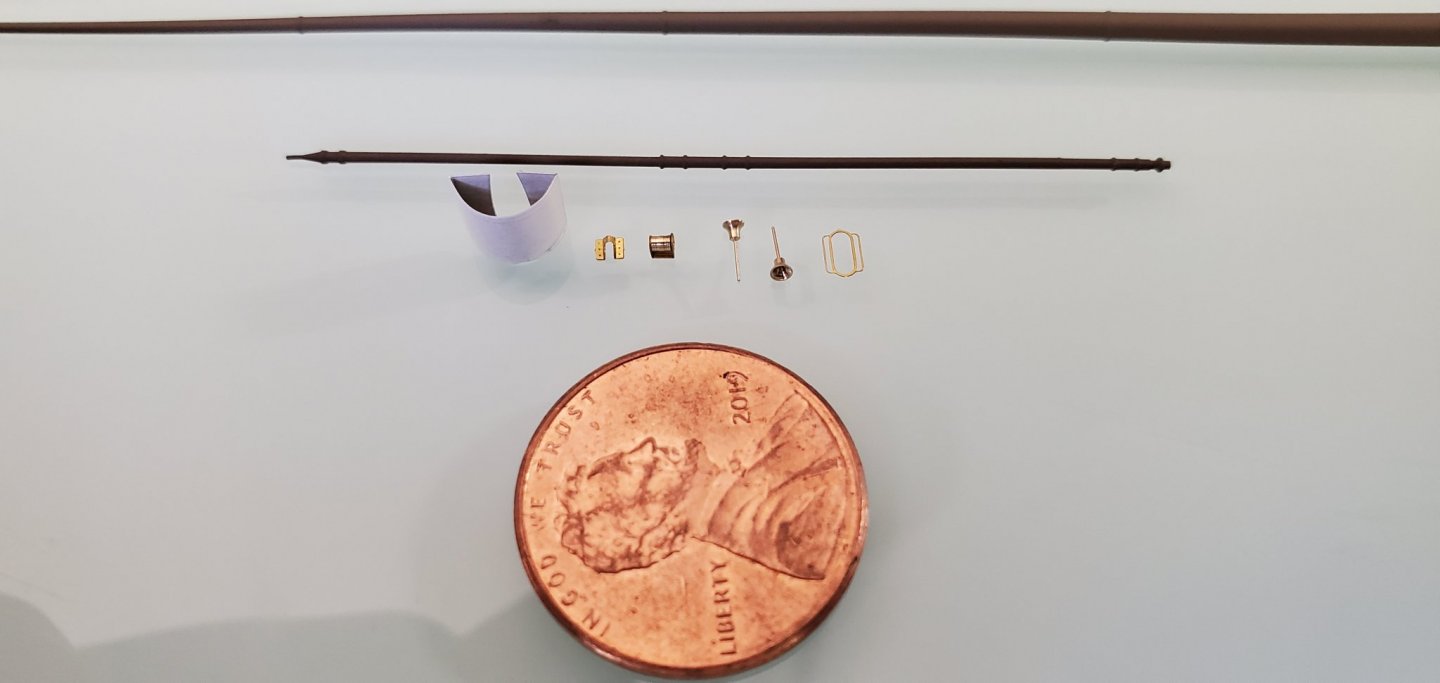
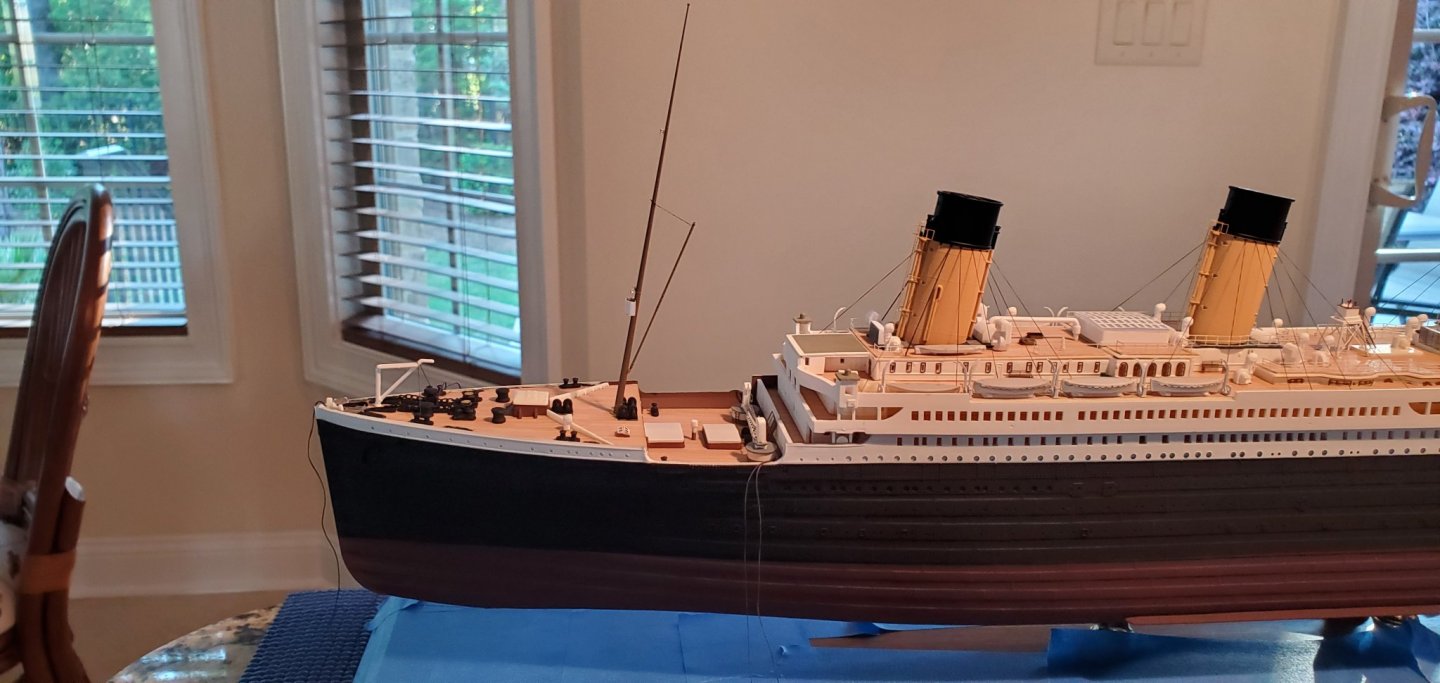
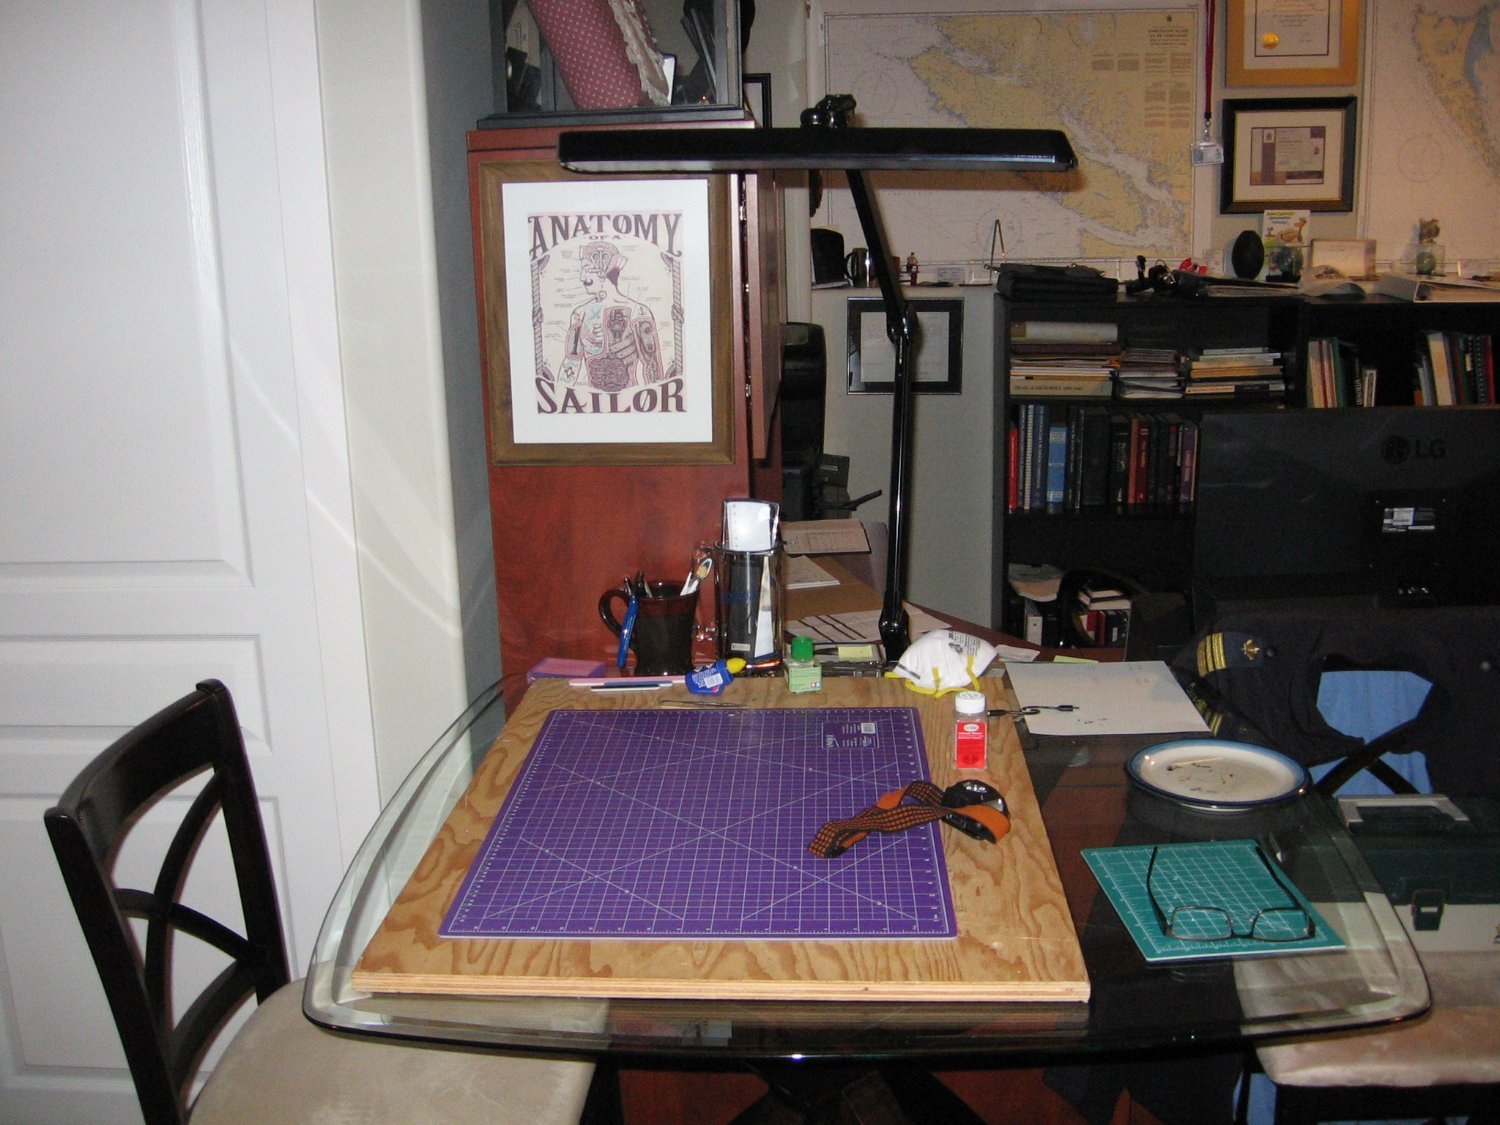
 I thought it's time to get my build log started, even though I haven't actually started the build yet. Soon. I've been quite busy with research, planning and start up. Essentially 50 years since I built scale models, so lots to do in preparing for this build. Start up is still in progress. Before anything else, I first off just want to put out a big thanks to Evan, aka Force9, for his very detailed and resources rich Titanic 1/200 build log. I’ve learned so much from his thread, before I even begin my Titanic, and I would have missed so much without this information. Thanks Evan. Okay. Some preliminary stuff.... This was my work station for my Academy 1/400 Titanic. All building, and the limited painting I did, was here. Not exactly conducive to the Trumpeter 1/200 version. My new workstation for the Trumpeter 1/200 Titanic. The pool table is being sequestered for a few years. That's fine. We didn't play much anyway. The son-in-law helped me carry the 4x8 plywood in yesterday. Originally purchased for the electrician to install the pool table light fixture. Stowed in the garage since. Spidey senses must have known there'd be a use for it again. The task lamp is the same one as with the small table. I just drilled a 1/2" hole in the plywood for it. Now it's interchangeable, as I will still be using the small work station. On the left, I put the binder together just yesterday and today. Some inspiration from Evan, again, on that, but I give myself credit as well for recognizing this need. Throughout my entire working career, I have always been about organization. It's half of it. Even as a Deckhand, organization was key. An organized and clean deck is a good working deck. Same goes for building models, I figure. The book on the right was recently purchased online and just arrived today. I'm optimistic this will be a valuable resource toward my build. A closer view of the "build binder". Not sure what else to call it. I'm an older salt, and thus somewhat old school. Digital pictures and screenshots are fine to a point. But, for the most part, I like the physical copy in my hand. Much (probably most) of what is in this binder are digital screenshots. Anyhow, lots going on with startup. My new Airbrush Station. The new airbrush kit just arrived today! And one more pic for now. One problem with the Spray Booth venting is insulating the gaps at the window. Been pondering this for days now (the Spray Booth arrived last week). Stuffing bubble wrap in the gaps proved to be a Mickey Mouse solution. Got the idea of foam in my head as a solution. Placed an order for some poly foam yesterday. It's coming from the US, however, so a solid resolution here might be awhile. Suggestions are welcome. Anyhoo, that's it for now. Lots more to come. I've ordered five after market kits for the model, none of which have arrived as yet. My first approach to the model itself will be addressing the hull. No brainer there, I suppose, but in particular, how to approach the hull inaccuracies and porthole inaccuracies. Regarding the portholes, I came across a tip on Gene Davis' FB page (the title of which is too lengthy to repeat) that I most likely will go with. I like it. I don't plan on using the LED lighting kit for my model and this tip appears to me to be a great option for the portholes for those modelers not doing the LEDs. Stay tuned. In the meantime....suggestions are welcome. Thanks for looking and cheers, Mark
.thumb.JPG.bc94c53db6455e9a0c1aa0d39f5a00a8.JPG)
.thumb.JPG.89e288773890c337e9b16572634fd3aa.JPG)
.thumb.JPG.428320860531c05abbcdeaa06b11acbe.JPG)
.thumb.JPG.69a953faf018a16eb59cdd2b01ae6a55.JPG)
-
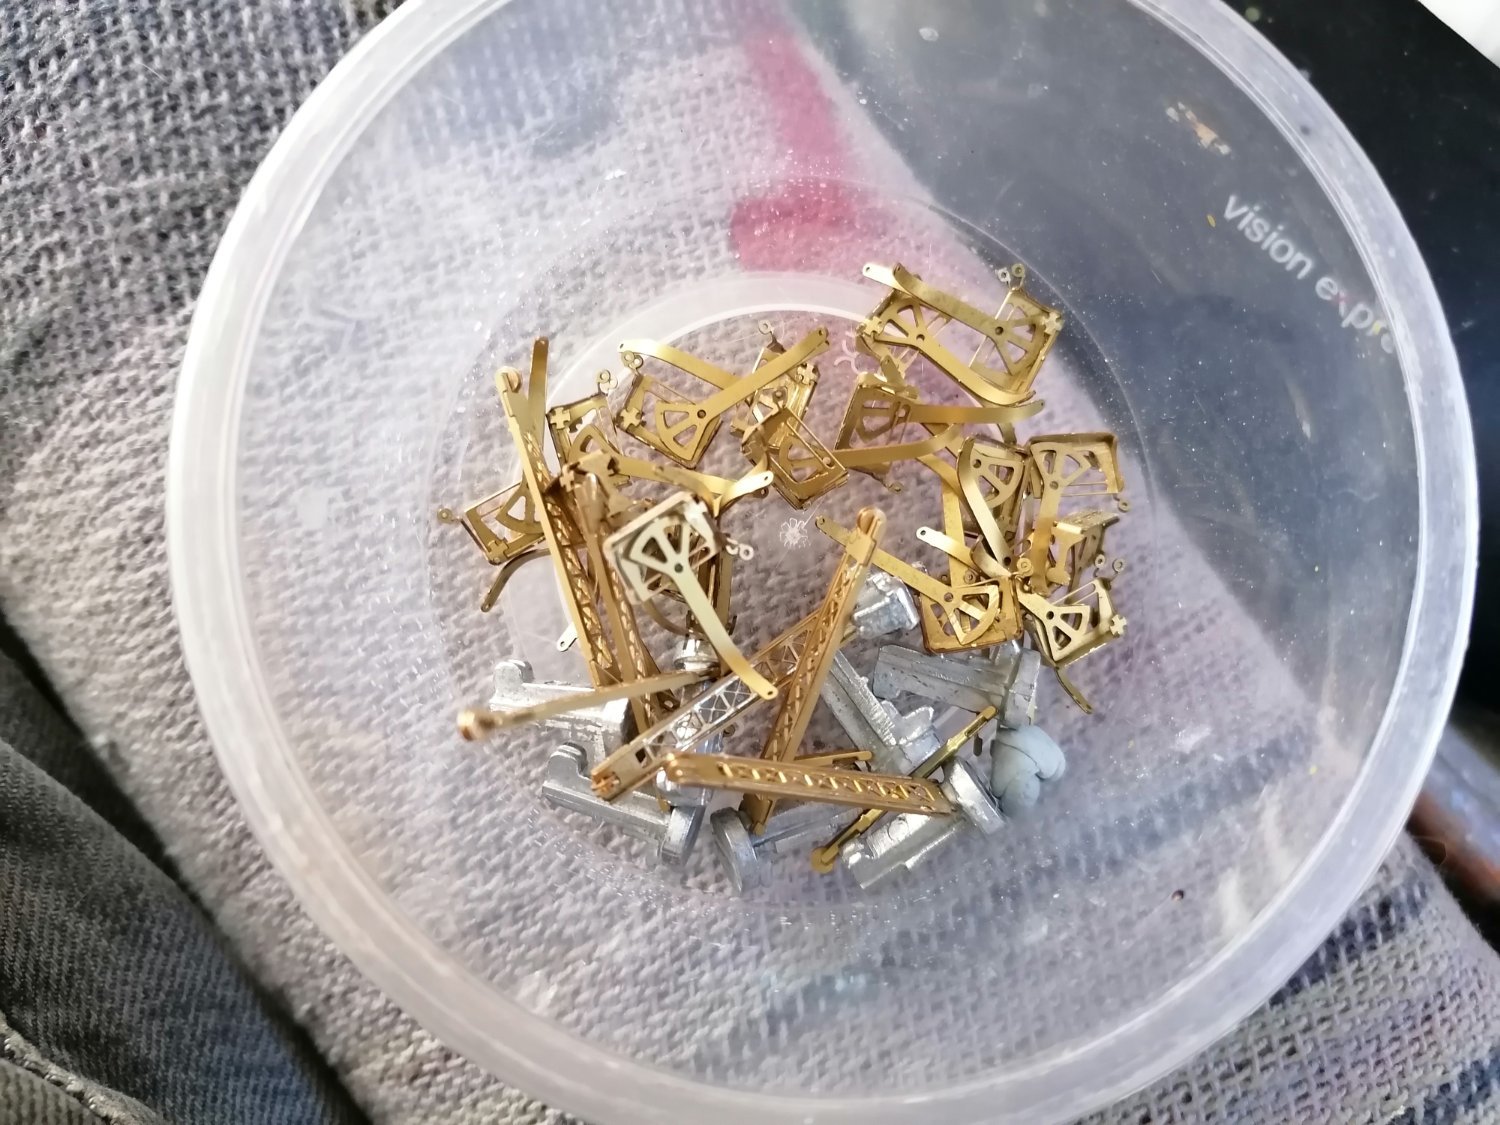
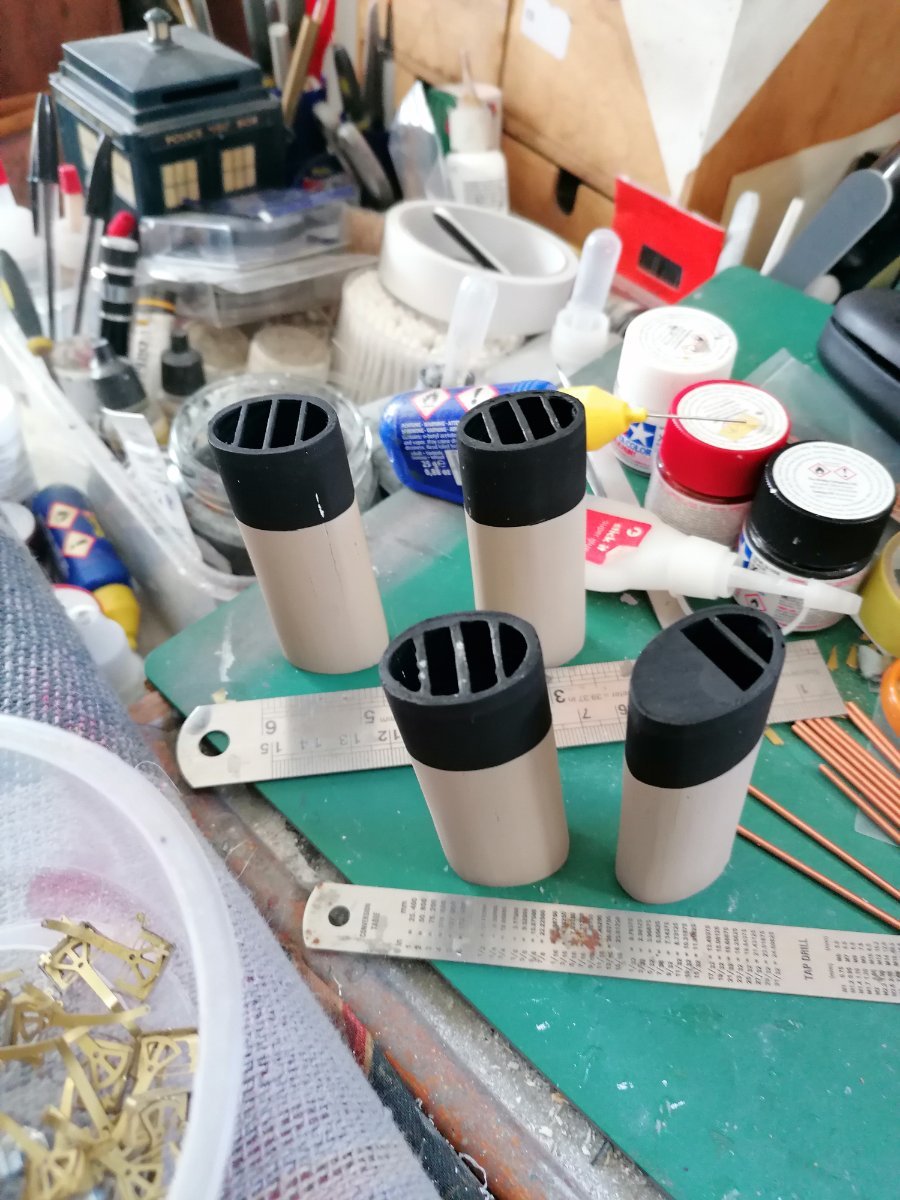
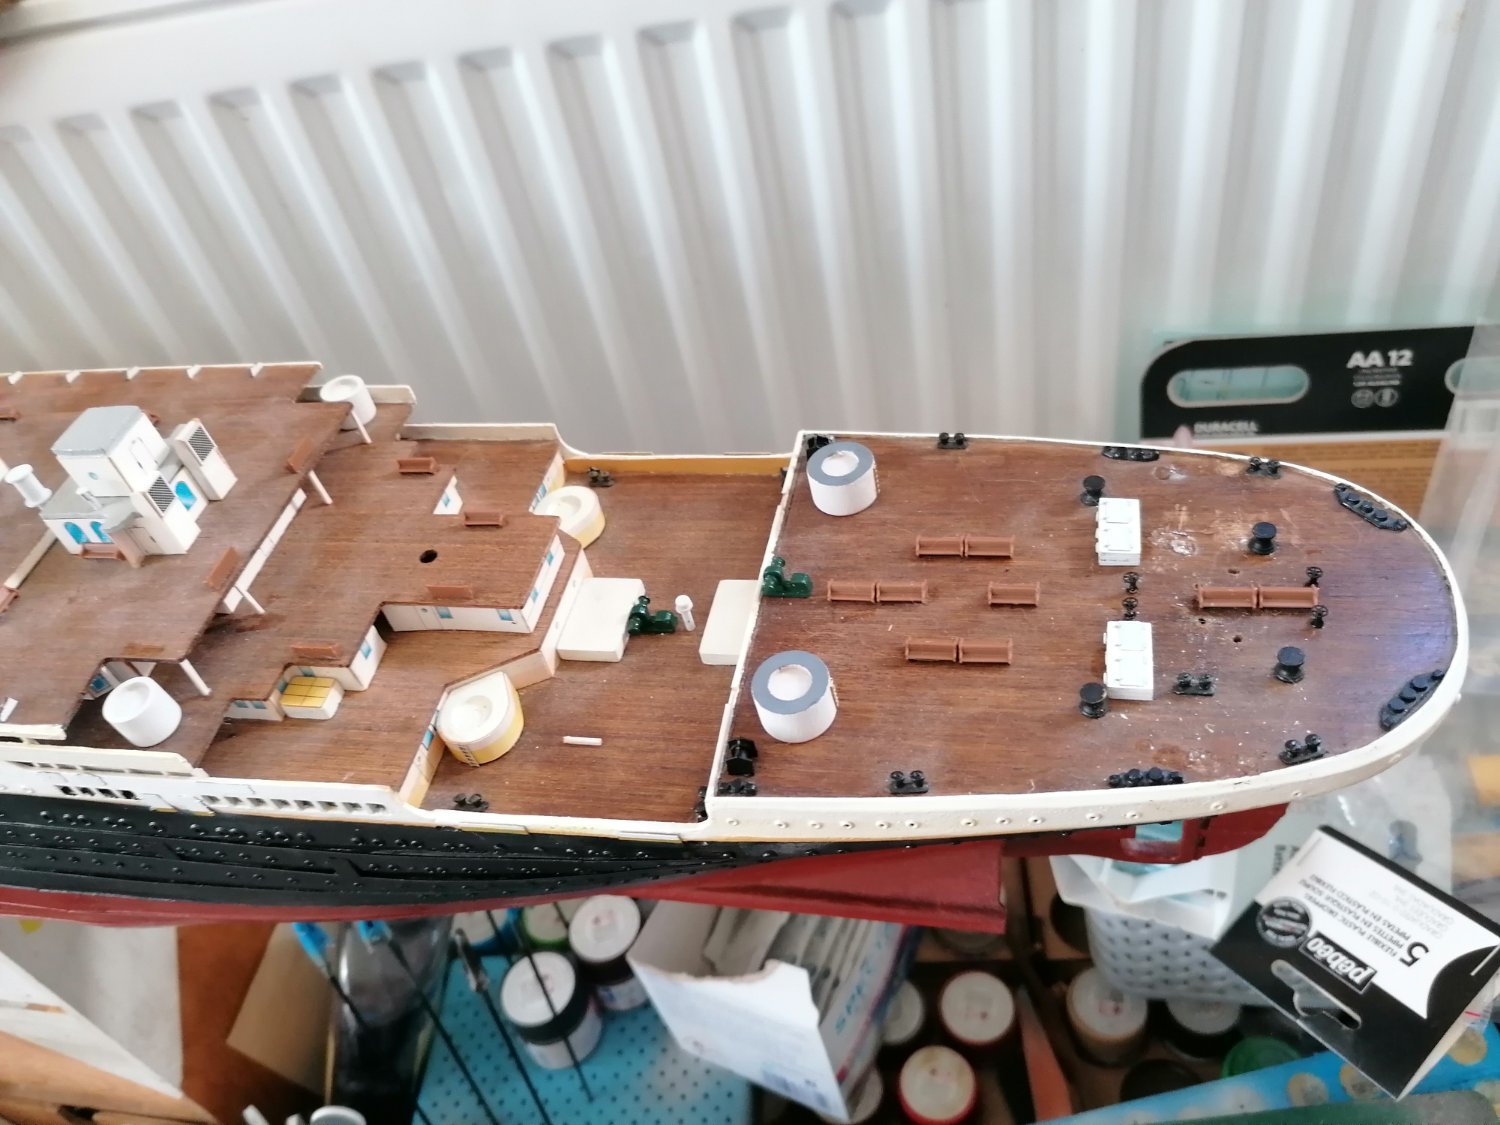
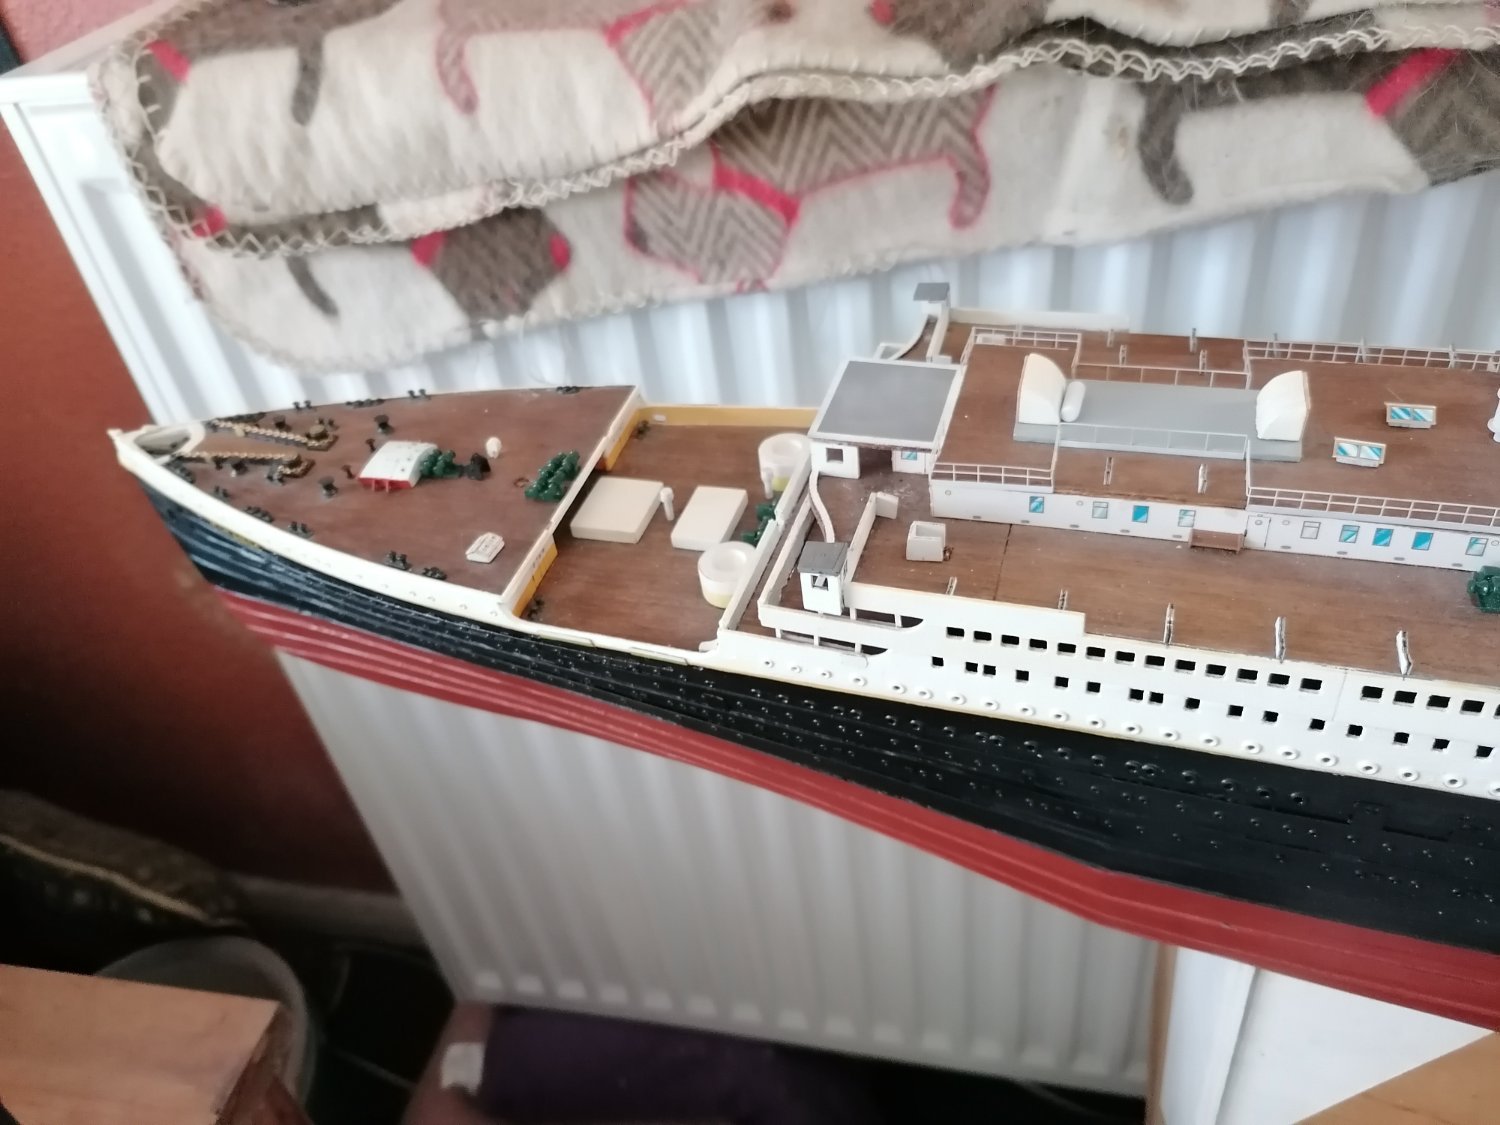
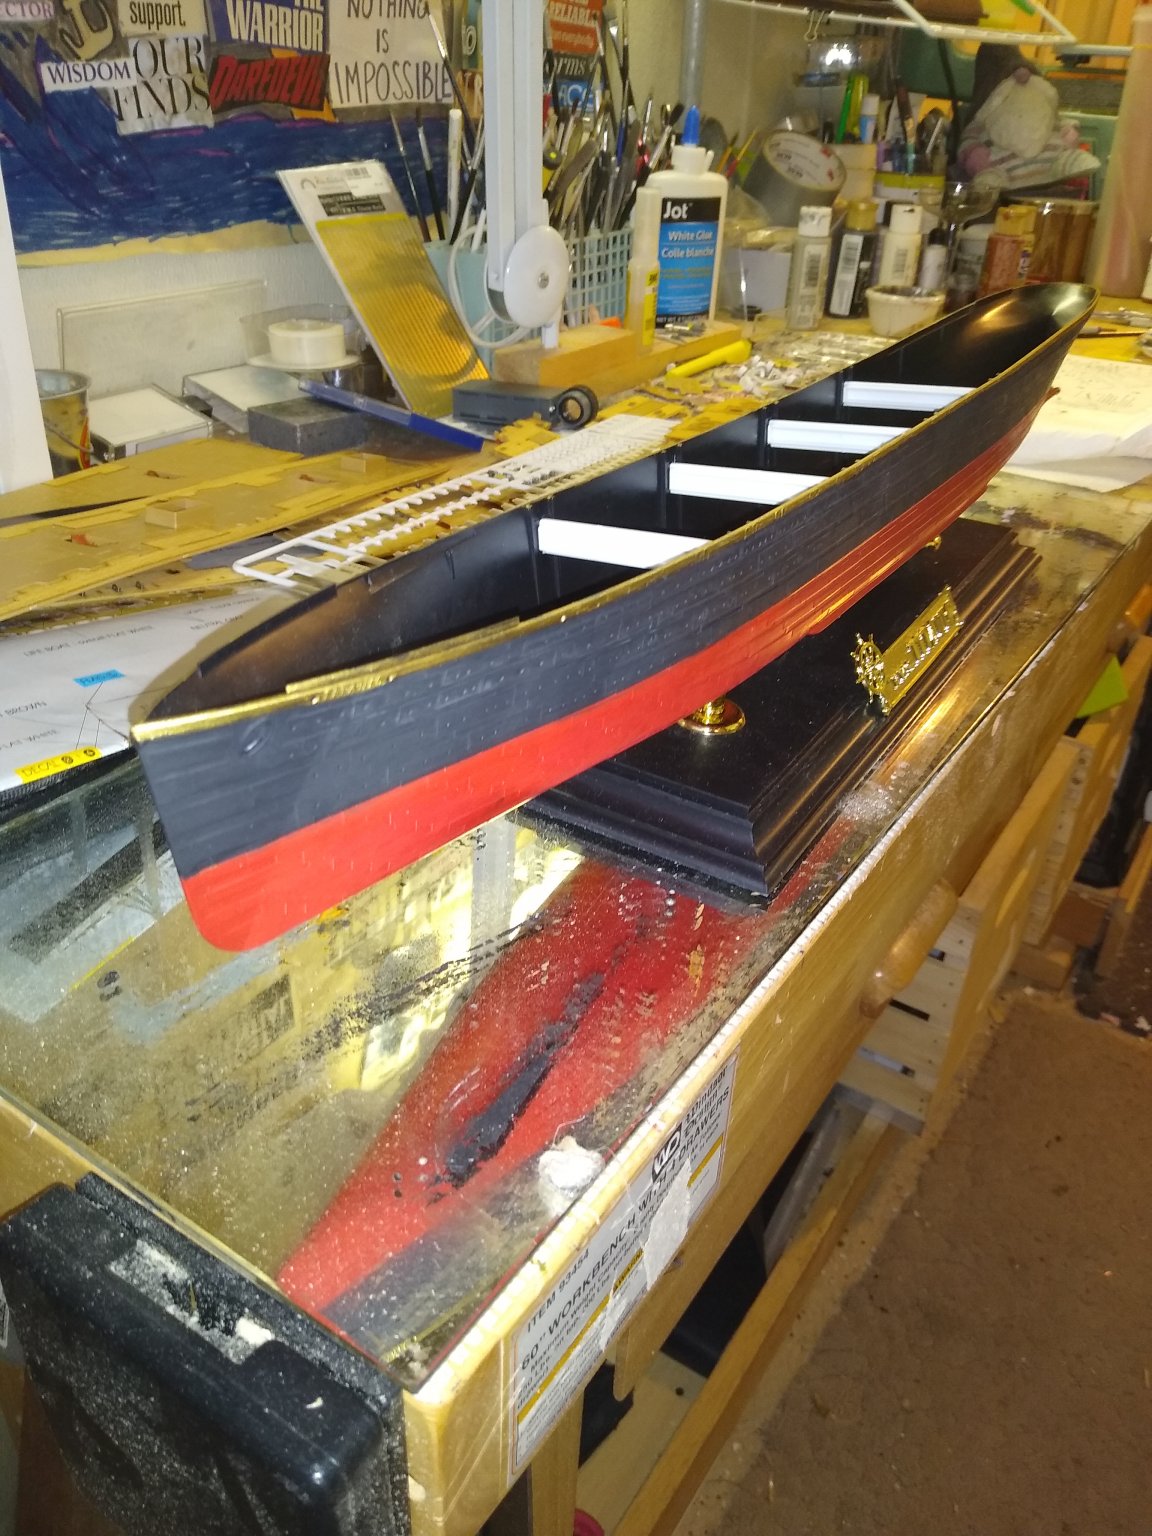
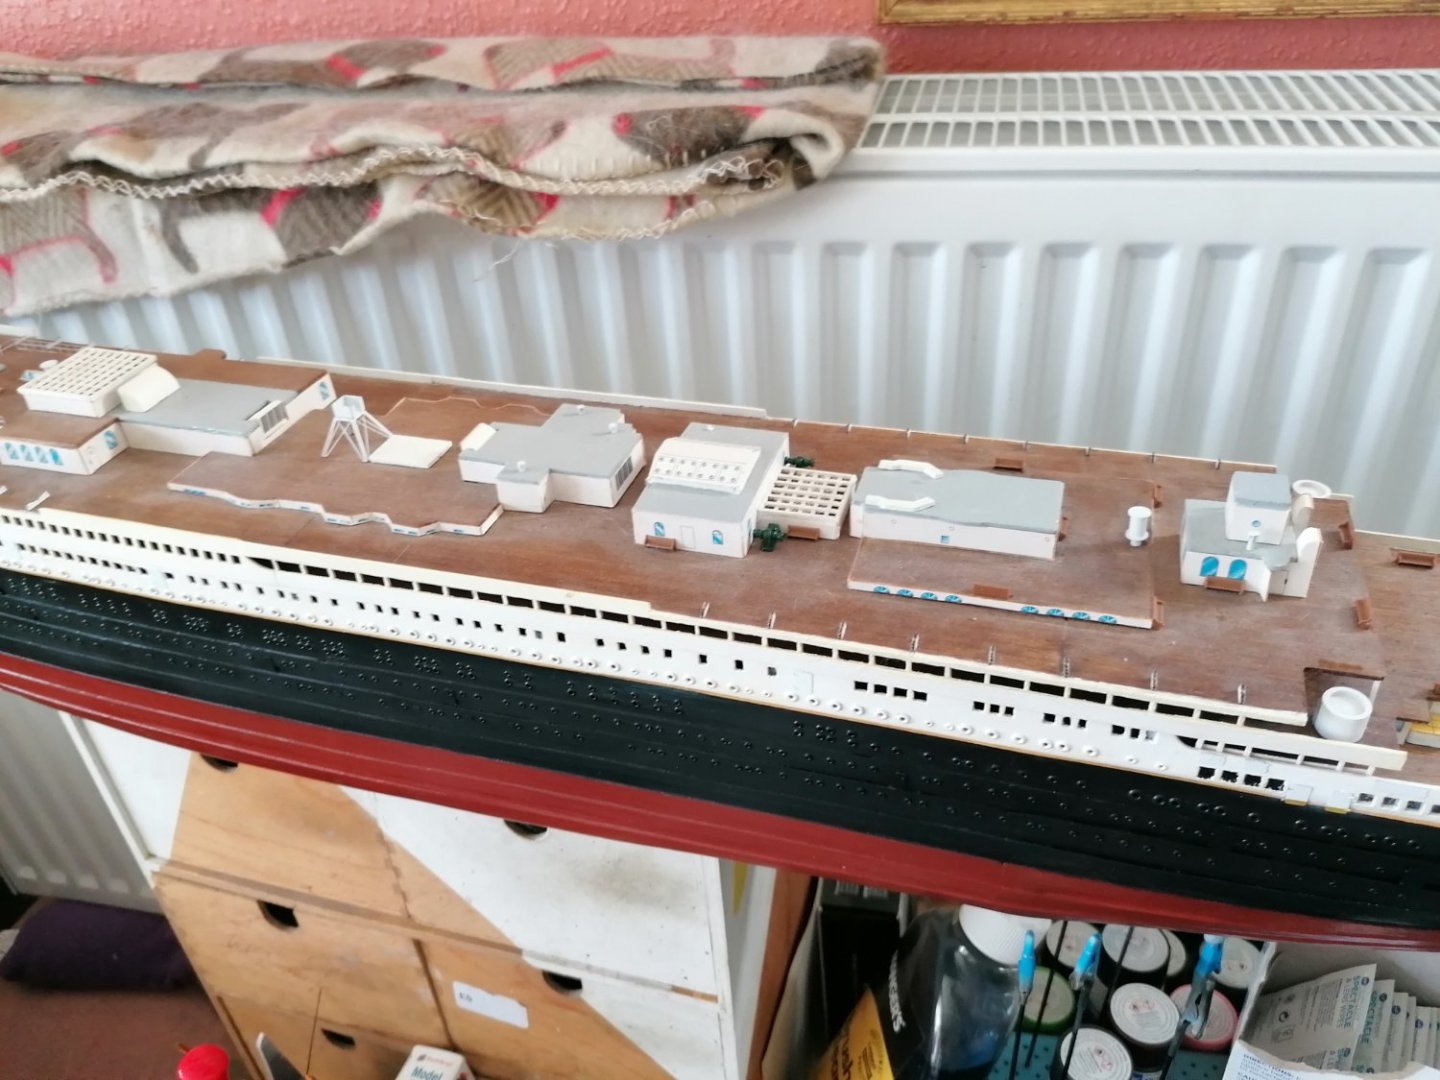
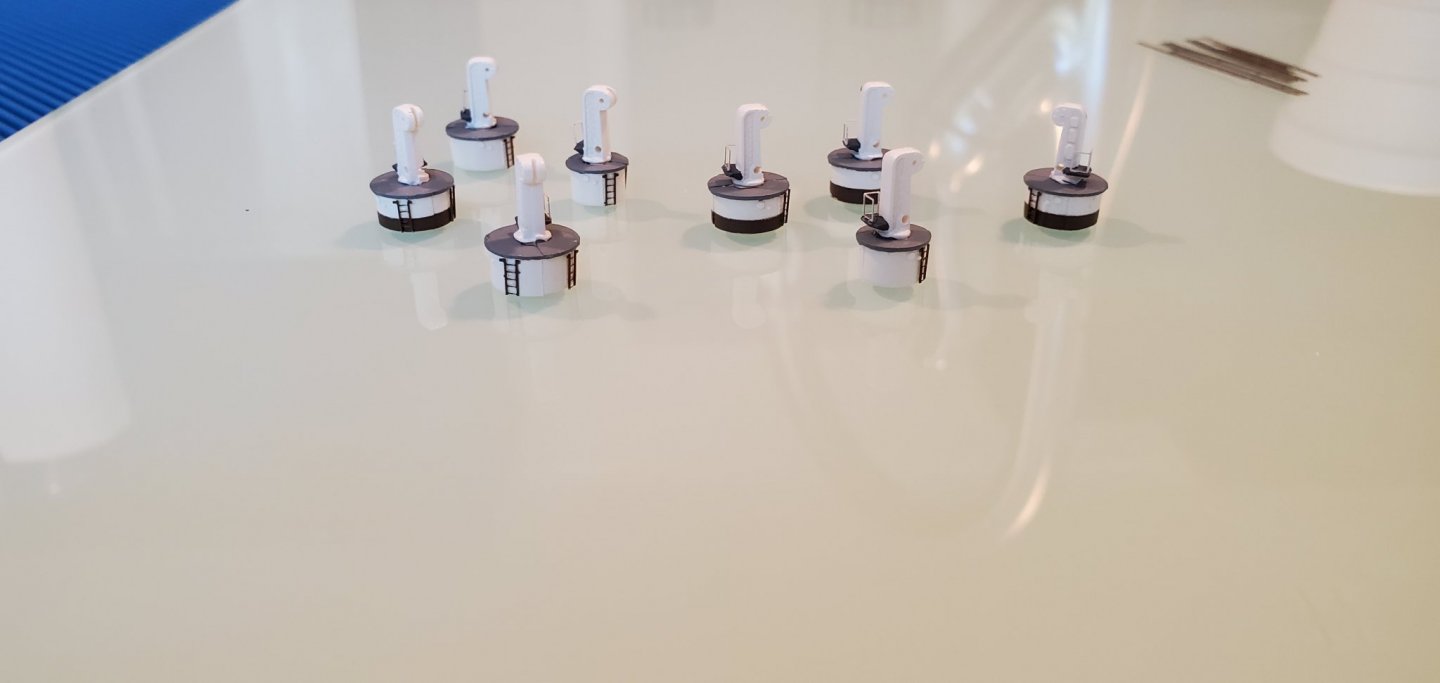
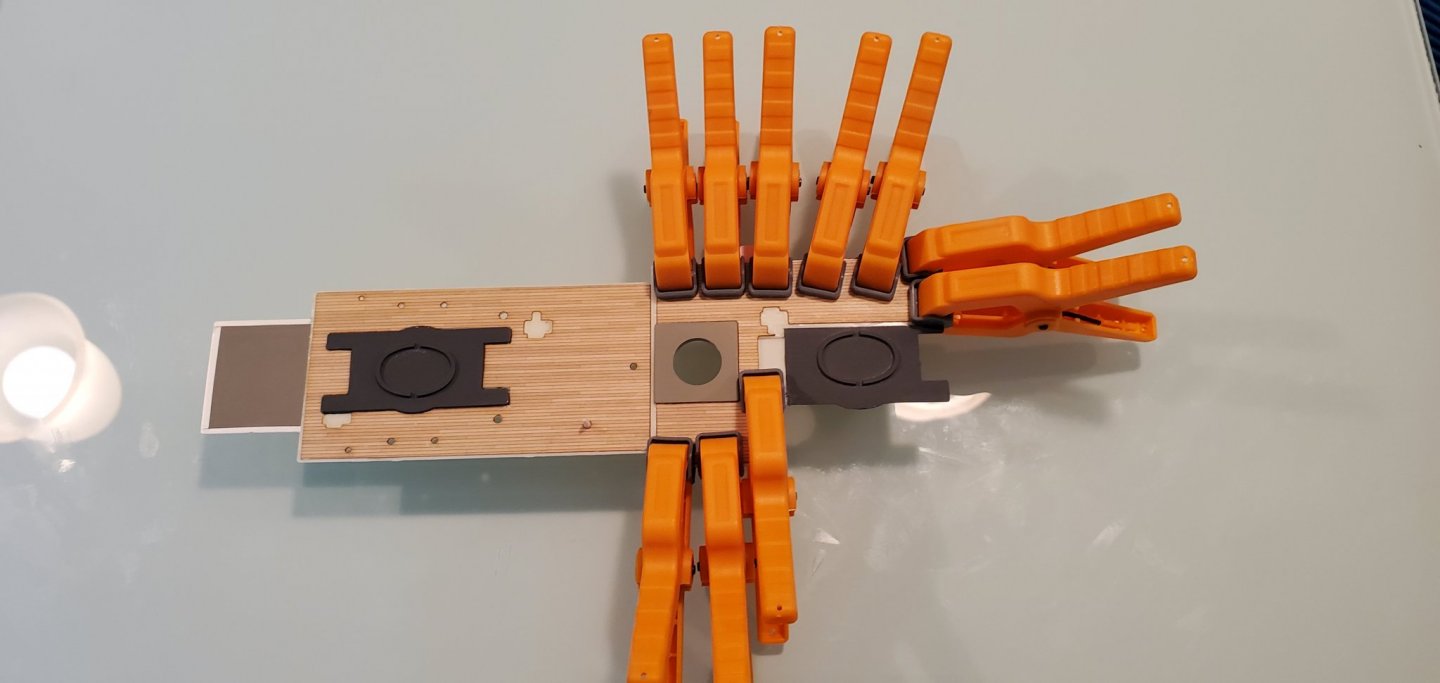
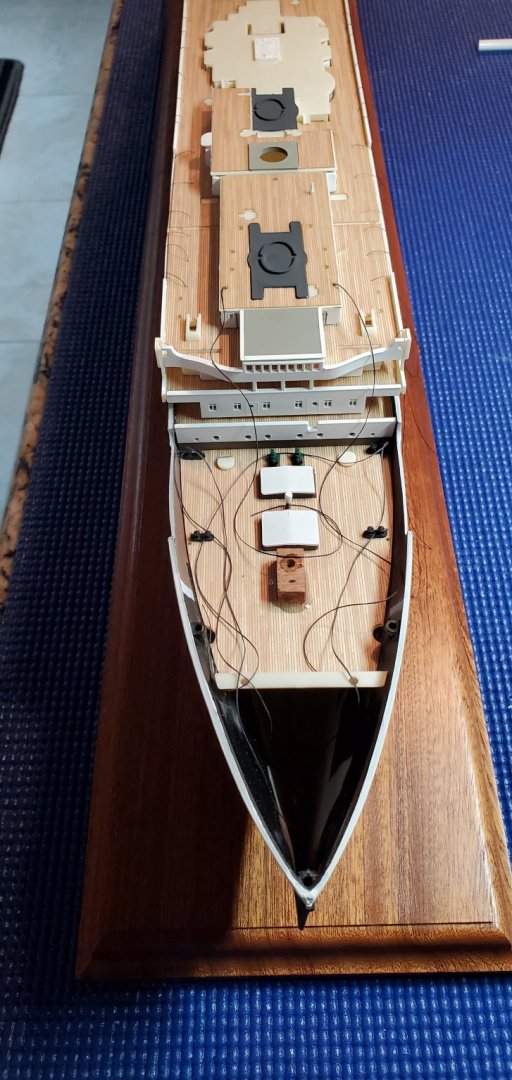
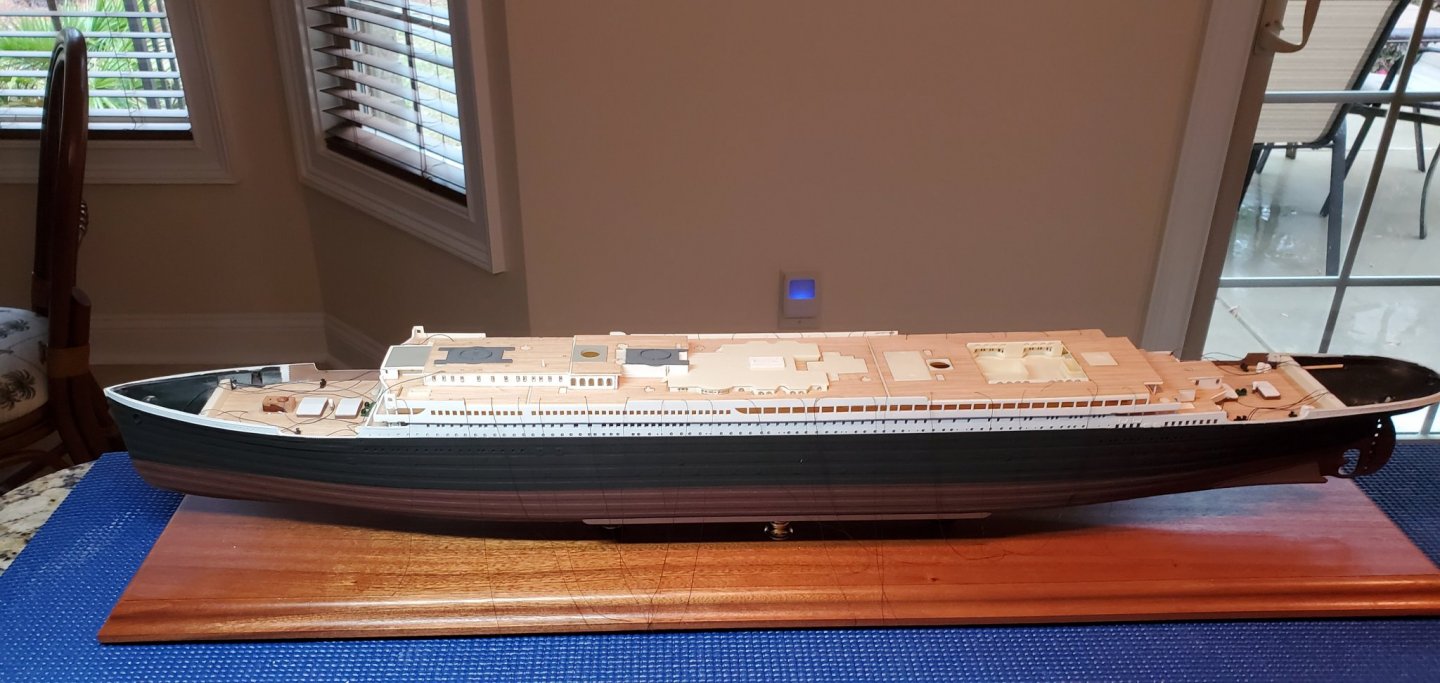
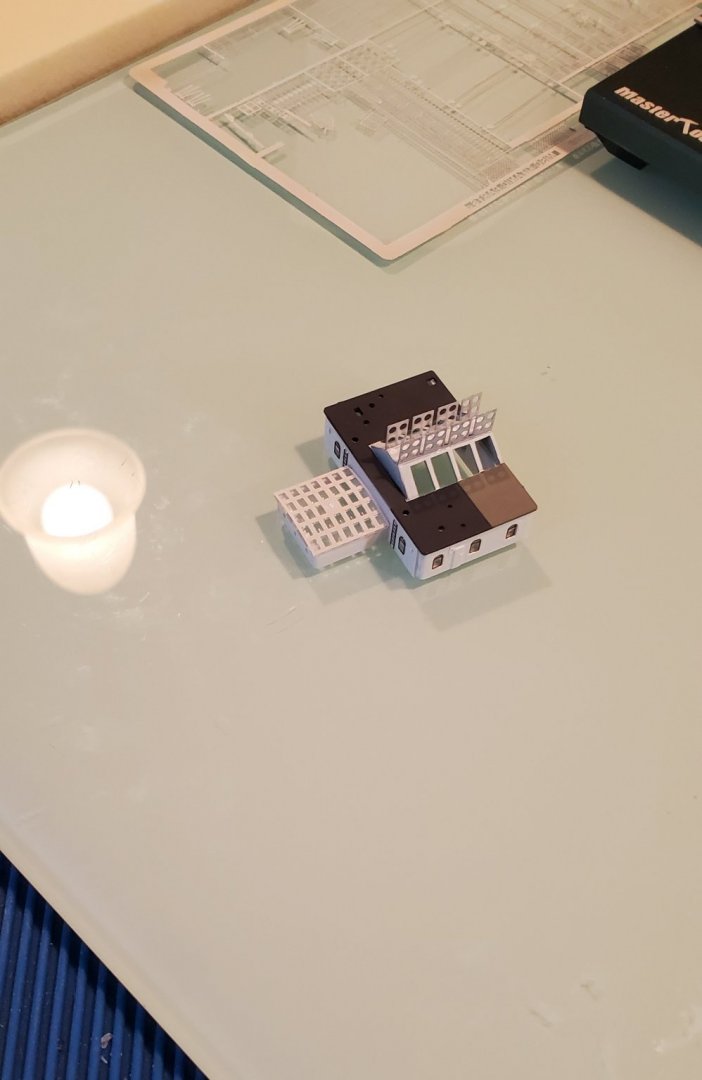
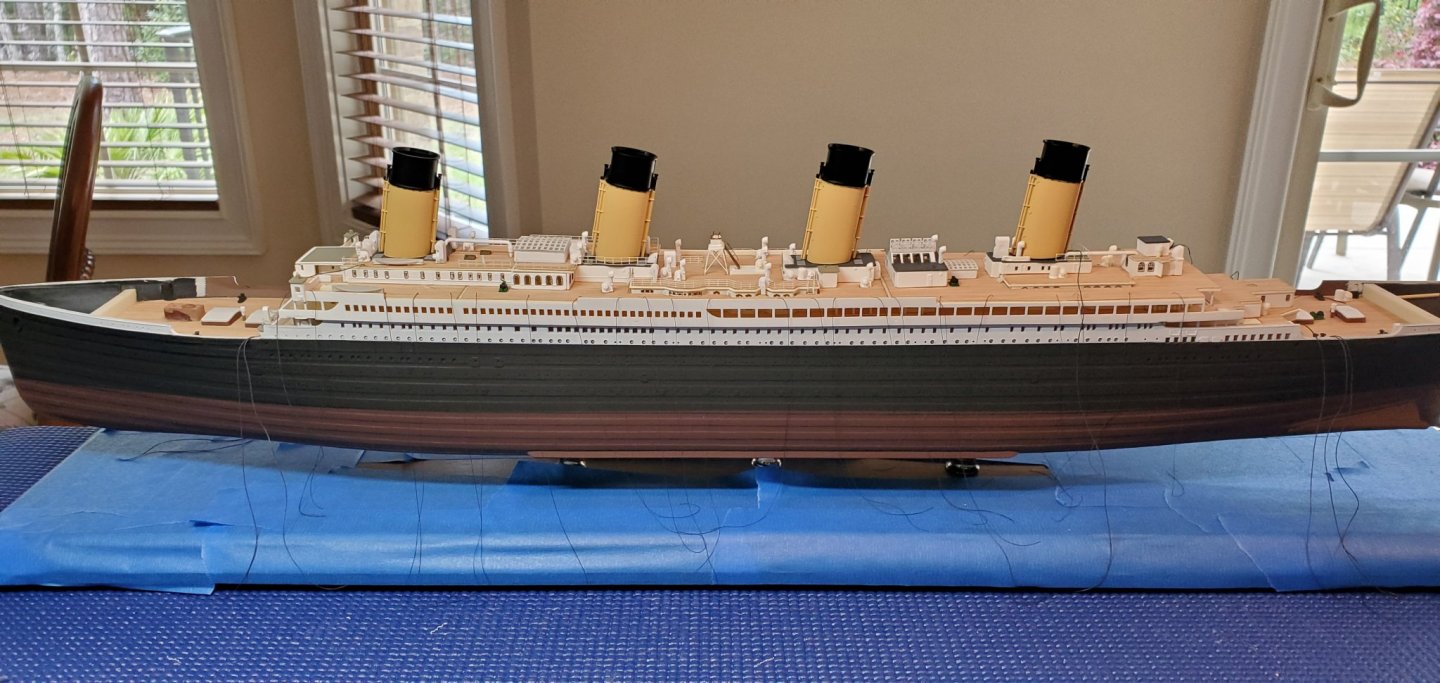
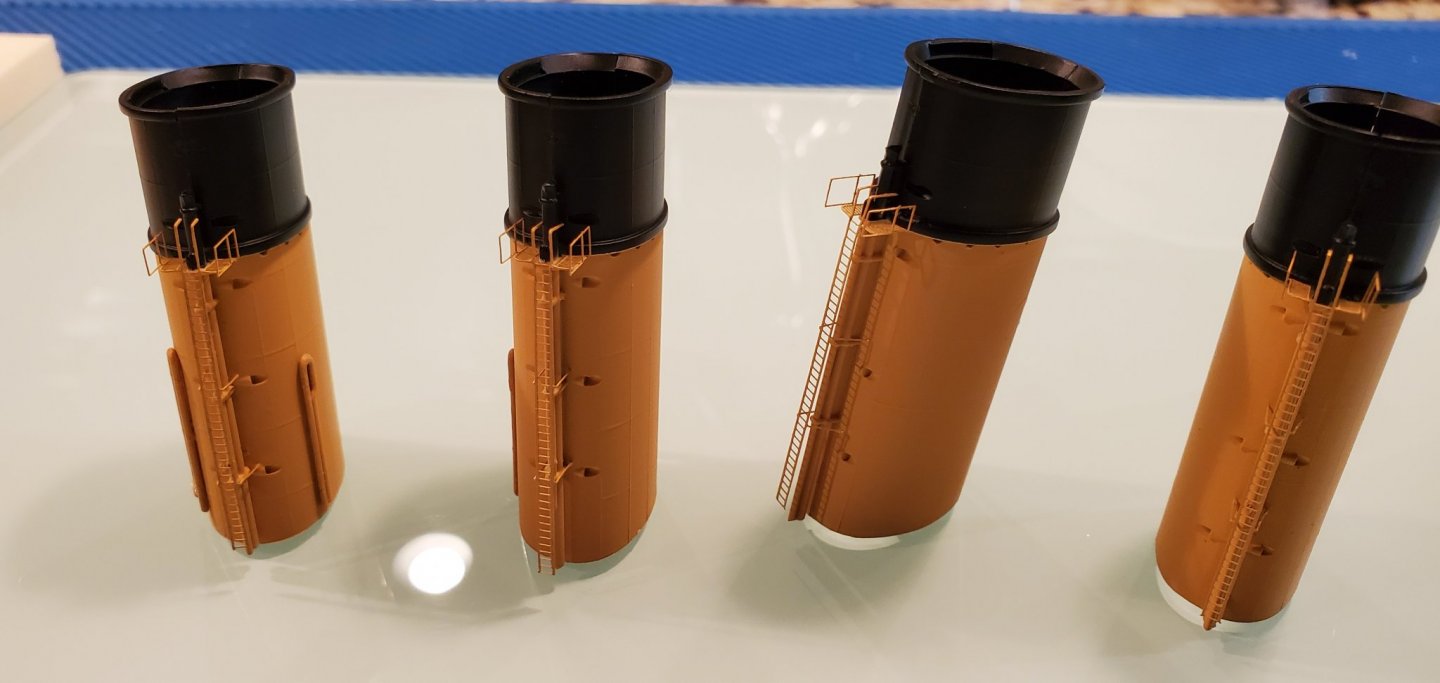
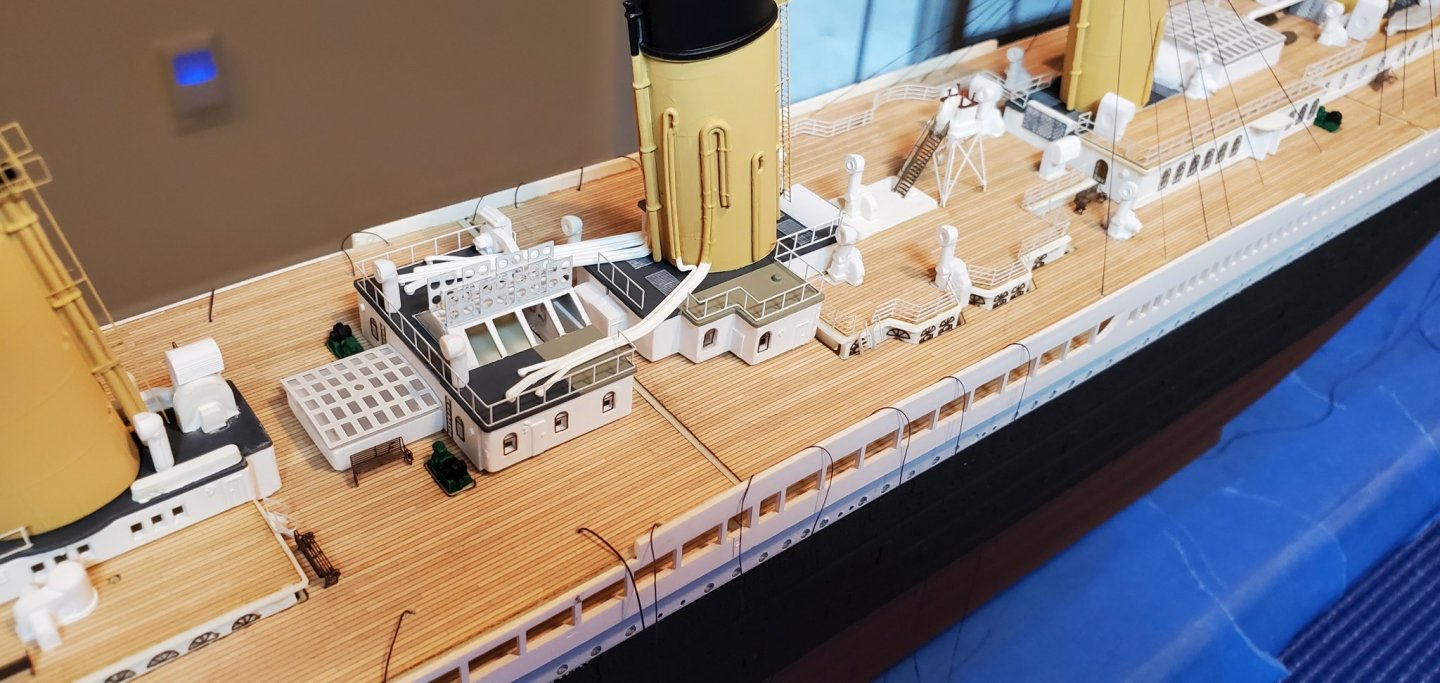
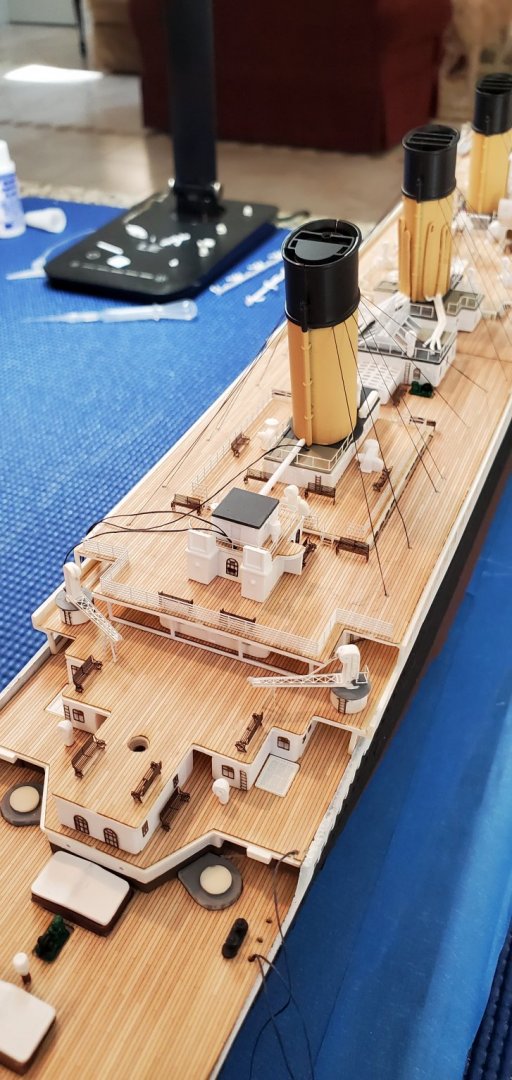
 My first post here so I hope I get it right. I brought this one from a charity shop the Hull was already built (better than I could ever manage) All I will be doing is finishing off the numerous small parts Currently I have a couple of pots full of life boats and one of crane's and davits Four painted funnels And here is the main hull


-
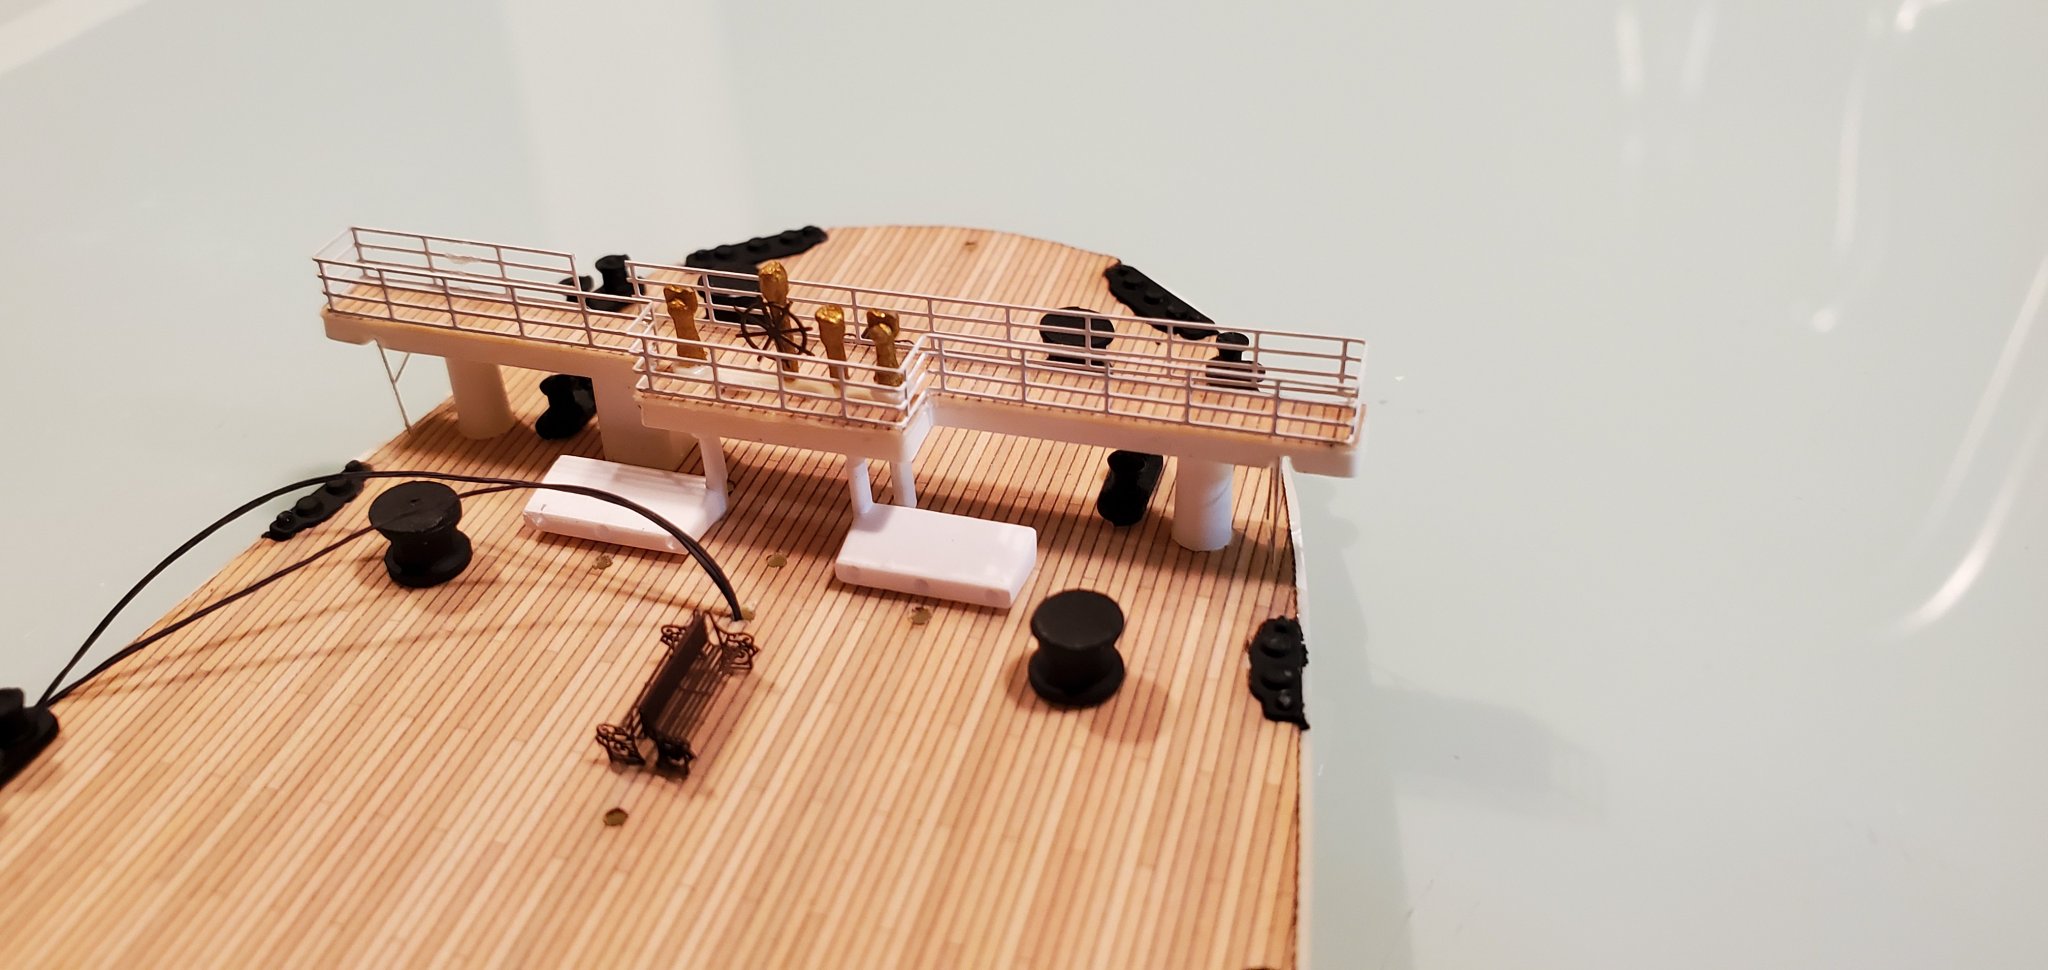
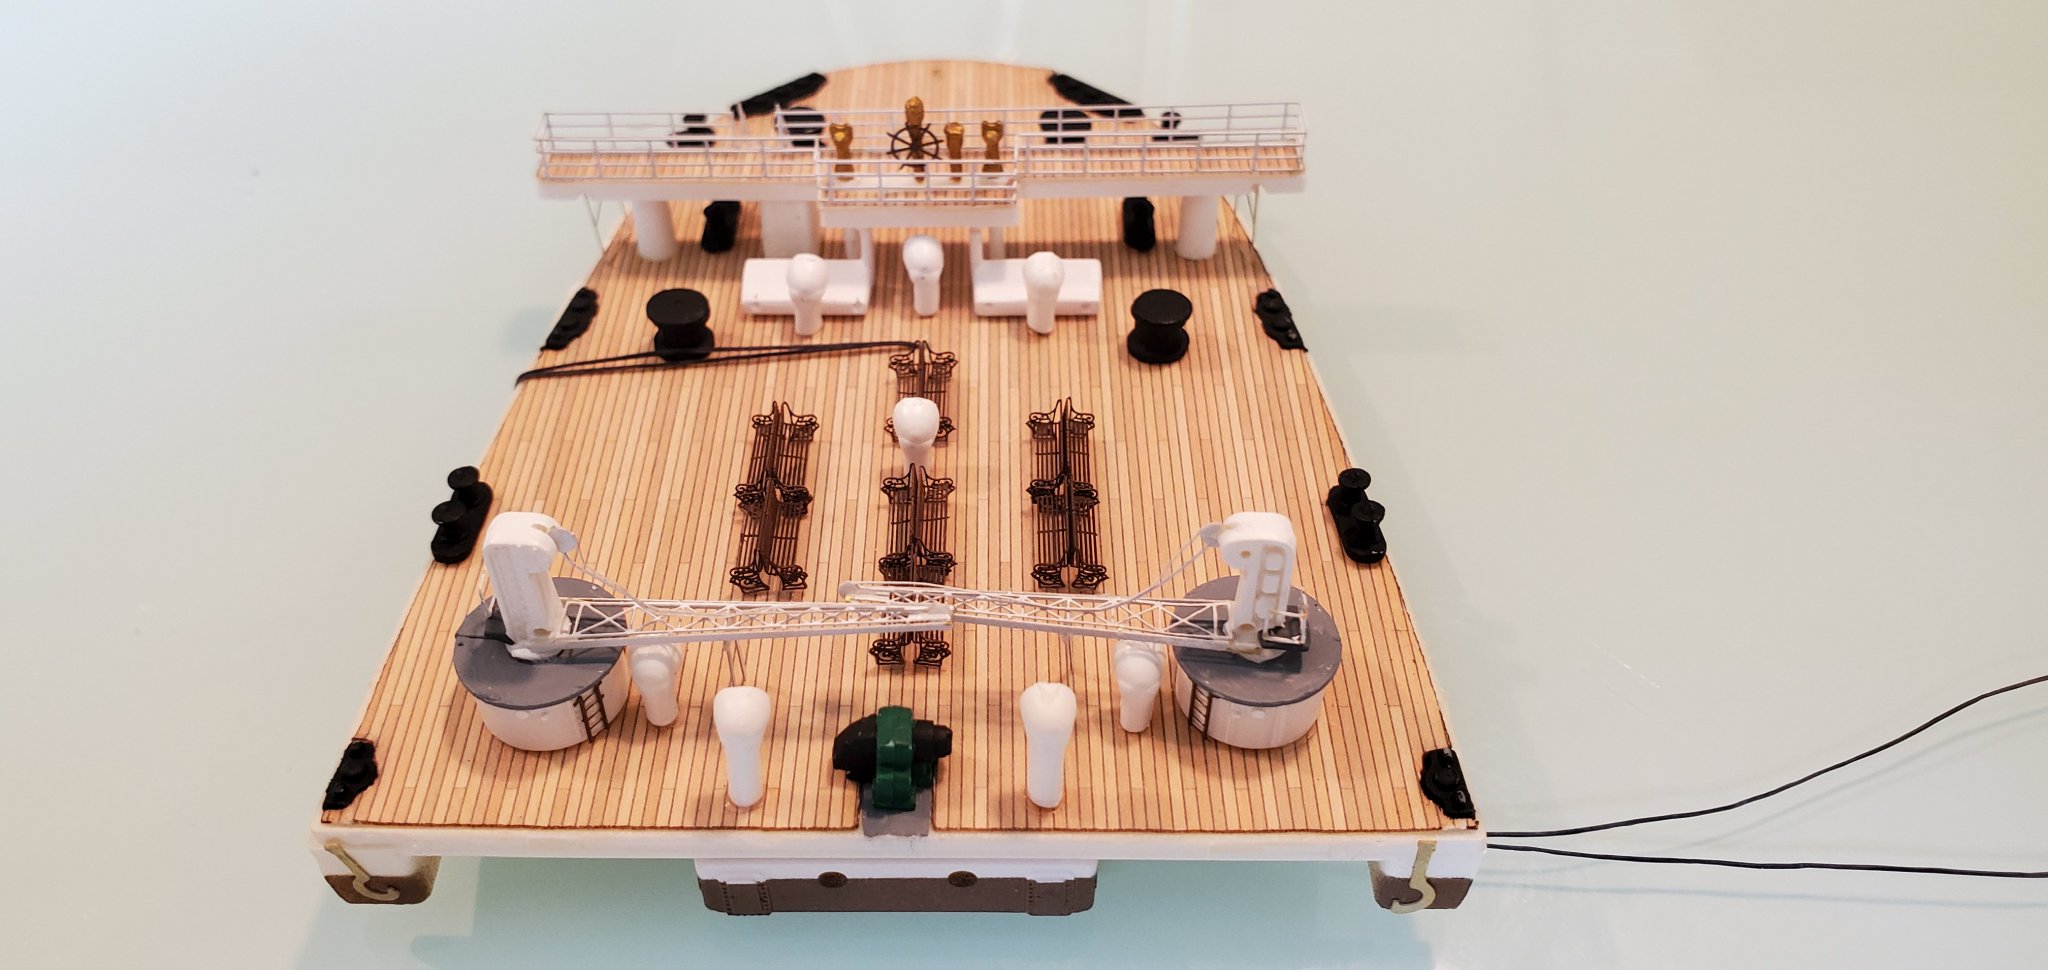
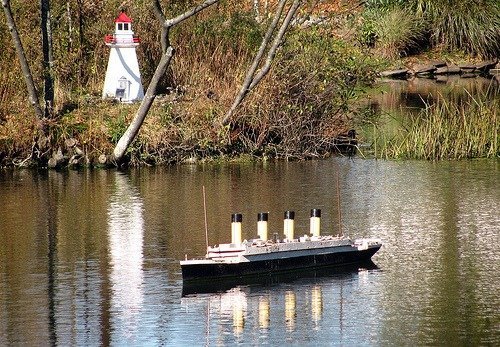
 Ahoy Gents! The other ongoing RMS Titanic build has me inspired to start a concurrent thread... The Maritime Ship Modellers Guild in Halifax NS has, for many years, had a good relationship with the city parks folks, and you can see the image below of the RMS Titanic Model that spent many years in pond at the Halifax Public Gardens. That model was retired about 5 years ago, and a replacement was slapped together. The replacement was not built as well as the original. The original lasted 15+ years, the replacement sank last fall, and spent the winter on the bottom of the pond. You can see the image of the model as recovered (after having the duck poop rinsed off) and a well meaning member of the Guild did some quick repairs on her to get her back in the pond this summer. Alas, the repairs did not take, and she started sinking again. and was pulled out of the pond and put back in storage. As a group, we decided at our March meeting to go ahead and build another Titanic. I offered to investigate 3D printing one, and that is the path that we chose. I engaged with a designer, and he modified one of his 1/1000 scale files to suit our needs in 1/100 scale. The printing started in April, and finished in May. Ish.
-
 So , here goes, I've decided to have a go at modelling and having always being fascinated with the Titanic I thought I would start there. I've completed about half of it so far and thought I would build a log, as much for me to look back on as also to gain some expert tips from members here. I have also bought an Occre Polaris, which will be next project, I thought I would try plastic and wood and see which I like best, although I think in the end I will continue with both for variety. I've been looking at the amazing build logs on here for this model and I'm already learning, which is why I started in the first place. Anyway, here goes....
 -
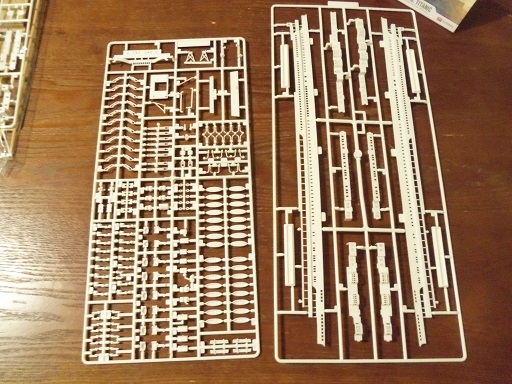
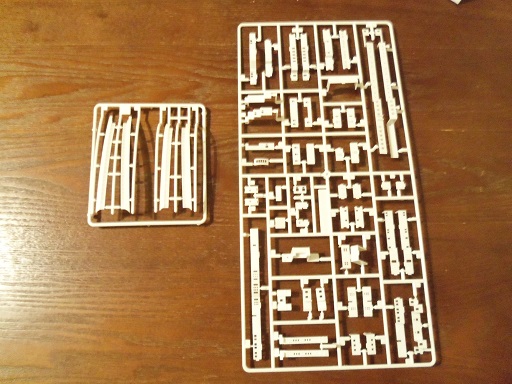
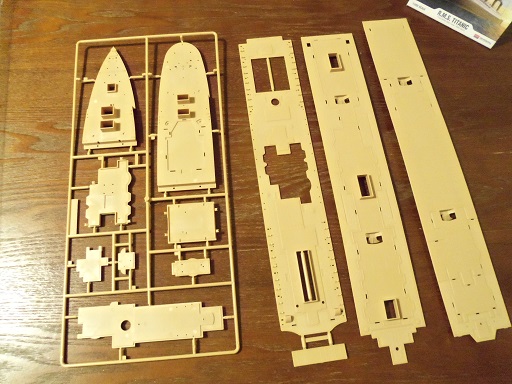
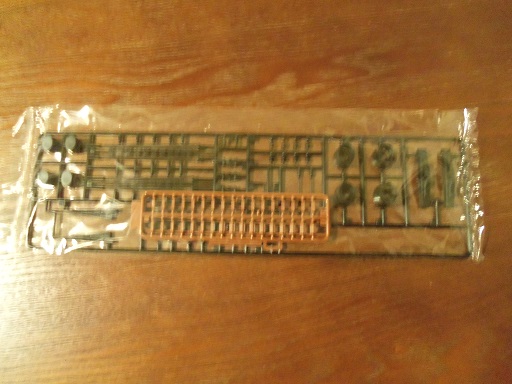
 Started this before I joined, so no early pics. It's new tooling from 2023, good fit, nice and crisp details. Instructions aren't very good I believe, but maybe I am spoiled with Tamiya instruction quality. Scale is too small for me ( at my age 😬 ) but I did somehow manage to do the pe parts

-
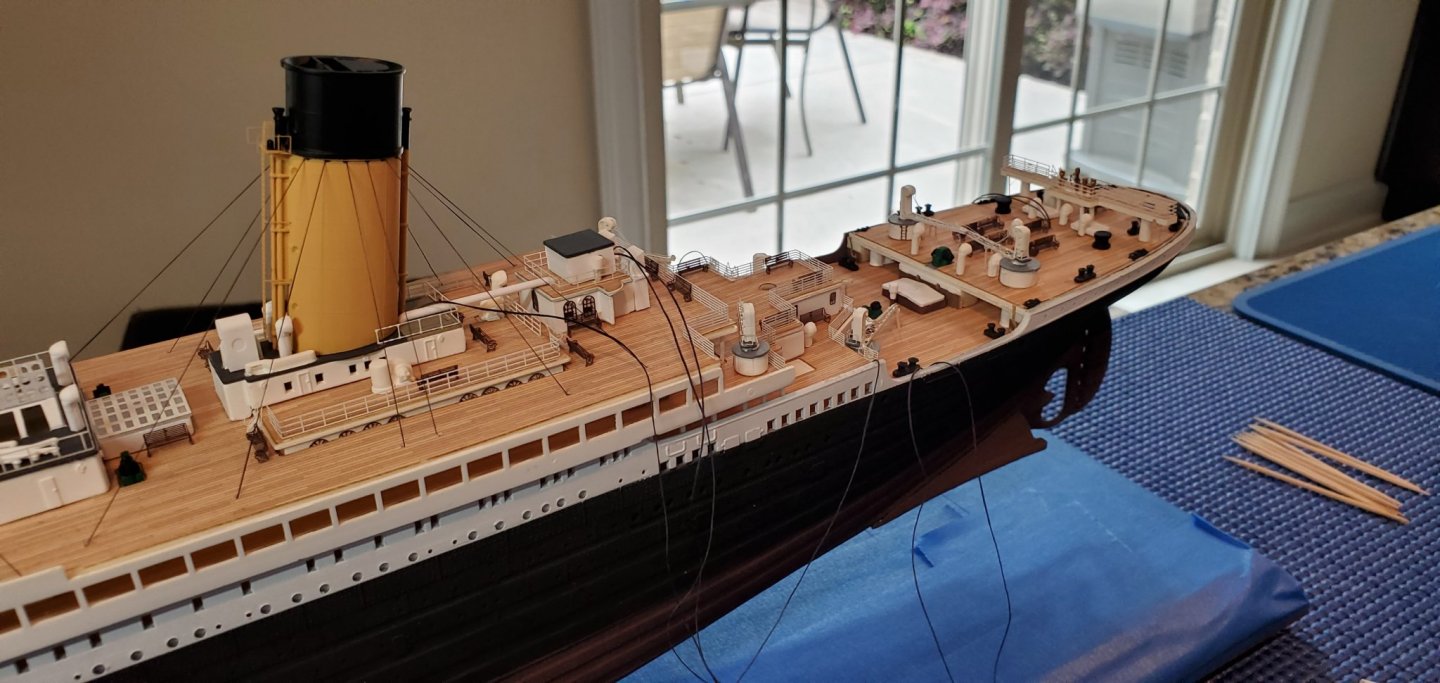
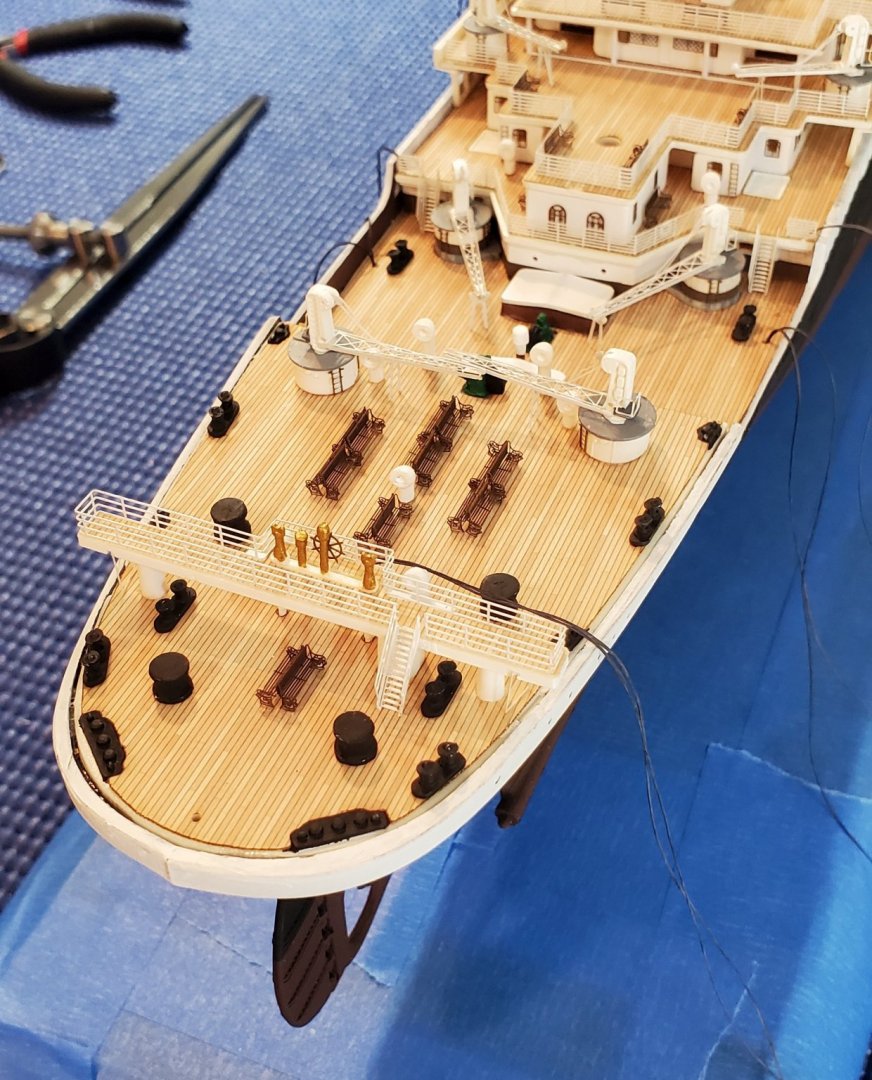
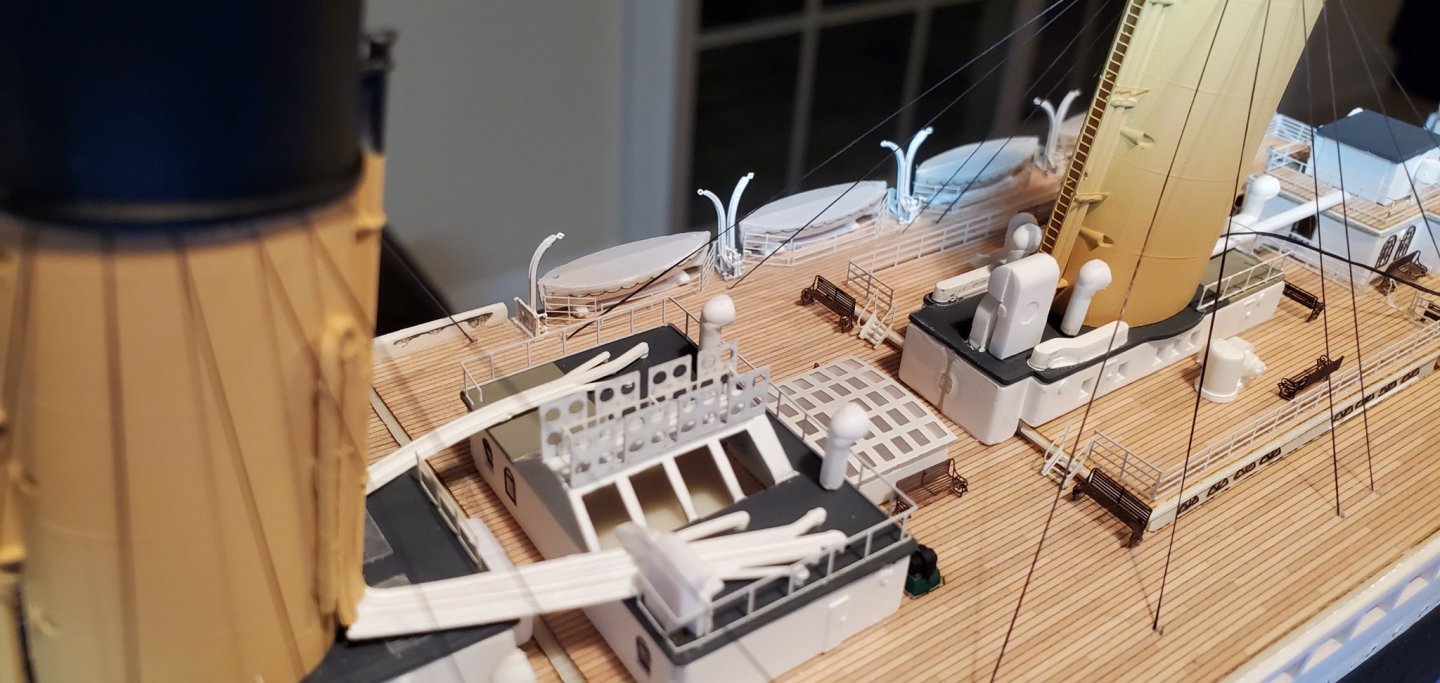
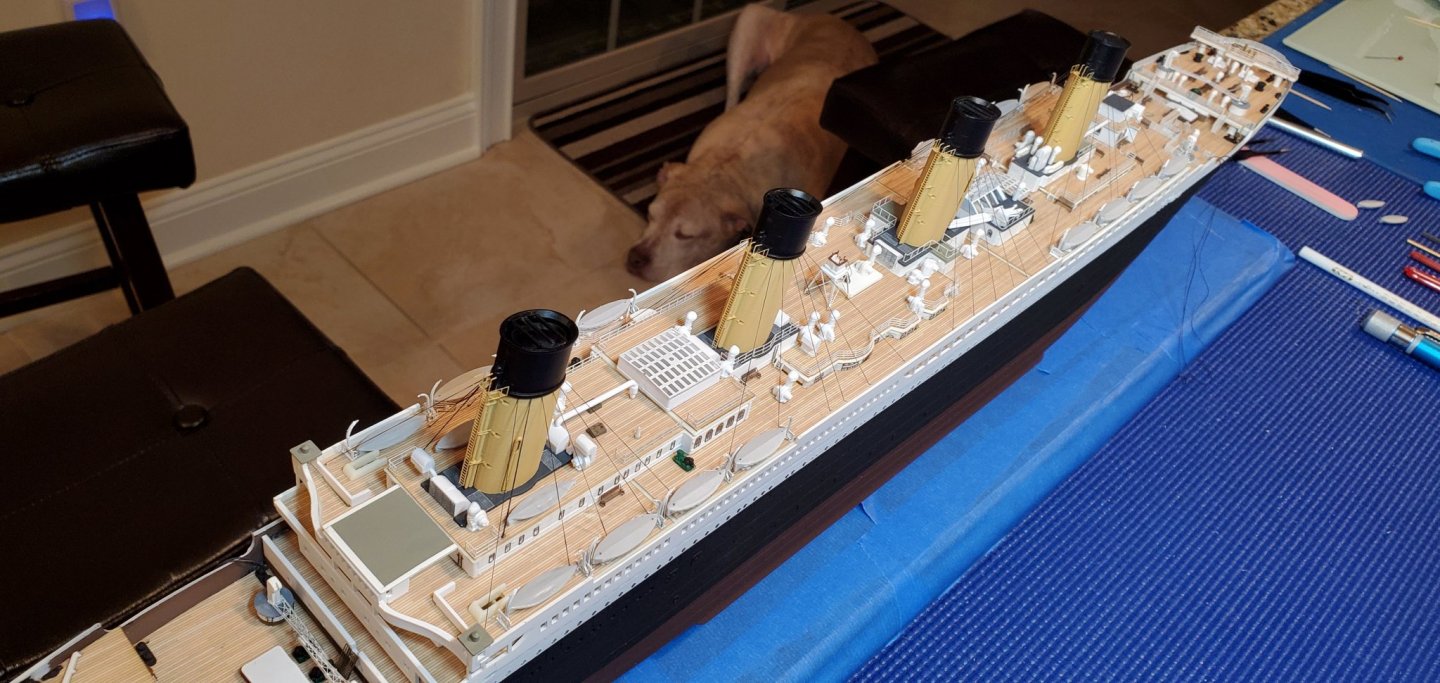
 I decided to start a build log for this project after tinkering around a bit with the kit across the past year or so. I’ve hesitated because I know that there are many passionate folks out there who scrutinize every aspect of the great ship and can be very strong minded about the myriad details in play. I will make plain my intention to do justice to Titanic but will likely fall short on complete historic exactitude… Especially considering that the ground is constantly moving as scholars and enthusiasts refine our understanding of the ship’s details. I need to confess up front that I am not a Titanic guy. The great tragedy and human folly of her demise has always pushed me away from the subject… Just too sad. Additionally, I need to confess that I have never seen the entire James Cameron movie. I went with my wife to see it in the theater back in the day, but we left halfway through – literally right after the ship struck the iceberg. I leaned over to my wife and whispered “spoiler alert – this doesn’t end well, and I couldn’t care less if all the spoiled and selfish main characters go down with the ship. Let’s get outta here and beat the crowd to the good restaurant nearby”. I’ve never seen the rest of the movie. That is not to say, however, that this project won’t be a labor of Love. I am building this for my daughter. She has been fascinated by the Titanic tragedy from a very young age. At age six she could tell you all about Captain Smith going down with the ship and nurse Jessop and her surviving multiple sinkings, etc. She made me get up in the wee hours on the exact date/time of the 100th anniversary of her sinking to ring a bell in commemoration. We’ve even toured Margaret Brown’s home in Denver (nobody called her “Molly” in her lifetime). She is more interested in the human stories than the ship itself but will very much appreciate this representation when it is finally completed. It was always a head scratcher for me that Trumpeter started their new line of 1/200 scale ships with the USS Arizona back in 2012. It seemed to me that Titanic would’ve made more sense. It was the 100th anniversary of her sinking and is clearly a very popular subject as we can see with the explosion of 3rd party add-ons and doo dads that have proliferated in the marketplace to enhance the model. There is a significant cottage industry that has since formed just around this kit. I suppose better late than never for the folks at Trumpeter. The workshop out in the garage has been reorganized and made shipshape: Hopefully you get some sense for the size of the model. It is big. I have thrown all the relevant documentation into a binder so that I can have quick access to key references. Sliding the pages into clear sleeves also allows me to overlay notes with a grease pencil or Sharpie pen. I will forego the box opening and contents review – folks can find all that in many other logs and online resources. I will however include this quick view of the Trumpeter packaging… All very neat and carefully laid out (as is the case with all their kits that I’ve got in my stash). Most modelers will splurge and invest in either the KA Models upgrade set or the one made by Pontos. Both have their pros and cons, but I have opted for the KA set. I like the extensive 3D print and resin components and the etched brass is very comprehensive. Again – I won’t lay out all the contents here… That is easily found in other logs or the KA website. I do have various other add ons including several brass sheets from Woody’s Model Works. Very nice stuff and highly recommended. (Neil Woods is in a bit of a hiatus right now as he figures out how to deal with UK VAT requirements). I’m not sure I’ll go down the LED route. Certainly, Titanic is the perfect model for LED treatment, but it generally isn’t my thing – not sure the extra time/effort will be worthwhile. Still pondering… A note about online resources. Ken Marschall has long been a great visualizer of the Titanic, but anyone who is taking this kit seriously will find their way to three key players: Robert Read – Mr. Read has a great catalog of white papers and research material that he has created and maintained on his website Titanic CAD Plans. He illuminates many fascinating details, resolves conflicts and controversies, and explains many of the inner workings of Titanic’s systems and gear. Terrific resource. Vasilije Ristovic’ – Most Titanic aficionados will know Vasilije’s work. His digital renderings of Titanic bring the great ship back to life and are breathtaking. His thoughtfully researched images shed light on many unique details and provide a terrific color guide for those of us trying to navigate our paint choices. He also has a very impressive 1/200 Titanic model of his own in progress. Cyril Codus – Mr. Codus is a gifted digital artist who has created some outstanding full-length profiles of Titanic and her sisters. He also has very detailed overhead deck views that highlight the positioning of deck equipment and rigging. Incredibly useful stuff. You can find samples on his website RMS Titanic Art Work. For those who can stomach Facebook, there are several terrific resources utilized by the Titanic community: RMS Titanic Model Research and Tech hosted by Zeno Silva and friends. You’ll find Bob Read, Cyril, and Vasilije all contributing here. Trumpeter TITANIC 1/200th model ONLY building tips and tricks hosted by Gene Davis. This is an essential meeting place for the Titanic modeler community with extensive Guides and downloadable files to facilitate enhancement of the kit. Gene shows remarkable patience and perseverance amongst the wide spectrum of modelers that post on his pages. (Although I’m sure that Gene’s head will explode if one more novice jumps in to ask about three bladed props versus four…) RMS Titanic – 3D Illustrations by Vasilije Ristovic. This is where Vasilije posts most of his incredible Titanic renderings (and offers images for sale). Visiting the Midwest Model Shop Youtube channel is also recommended. Ben and his charming wife Nora walk through every stage of their 1/200 Titanic build and give a terrific overview of their process along the way. It is refreshing to see an experienced modeler identify his own mistakes and show how he goes about correcting for them along the way. Includes terrific episodes about 3rd party upgrades – in particular the brass sheets from Neil Woods. Regarding more traditional resources I do have a small library of books with lots of photos and tech specs: I have not invested in the two-volume set TITANIC – The Ship Magnificent. I think I have other sources for most of what I would glean from those pages and the investment just seems a bit much for now. I’ll use those funds to purchase additional upgrades instead. Give me a few days and I’ll start to catch everyone up on my progress to date. Cheers Evan
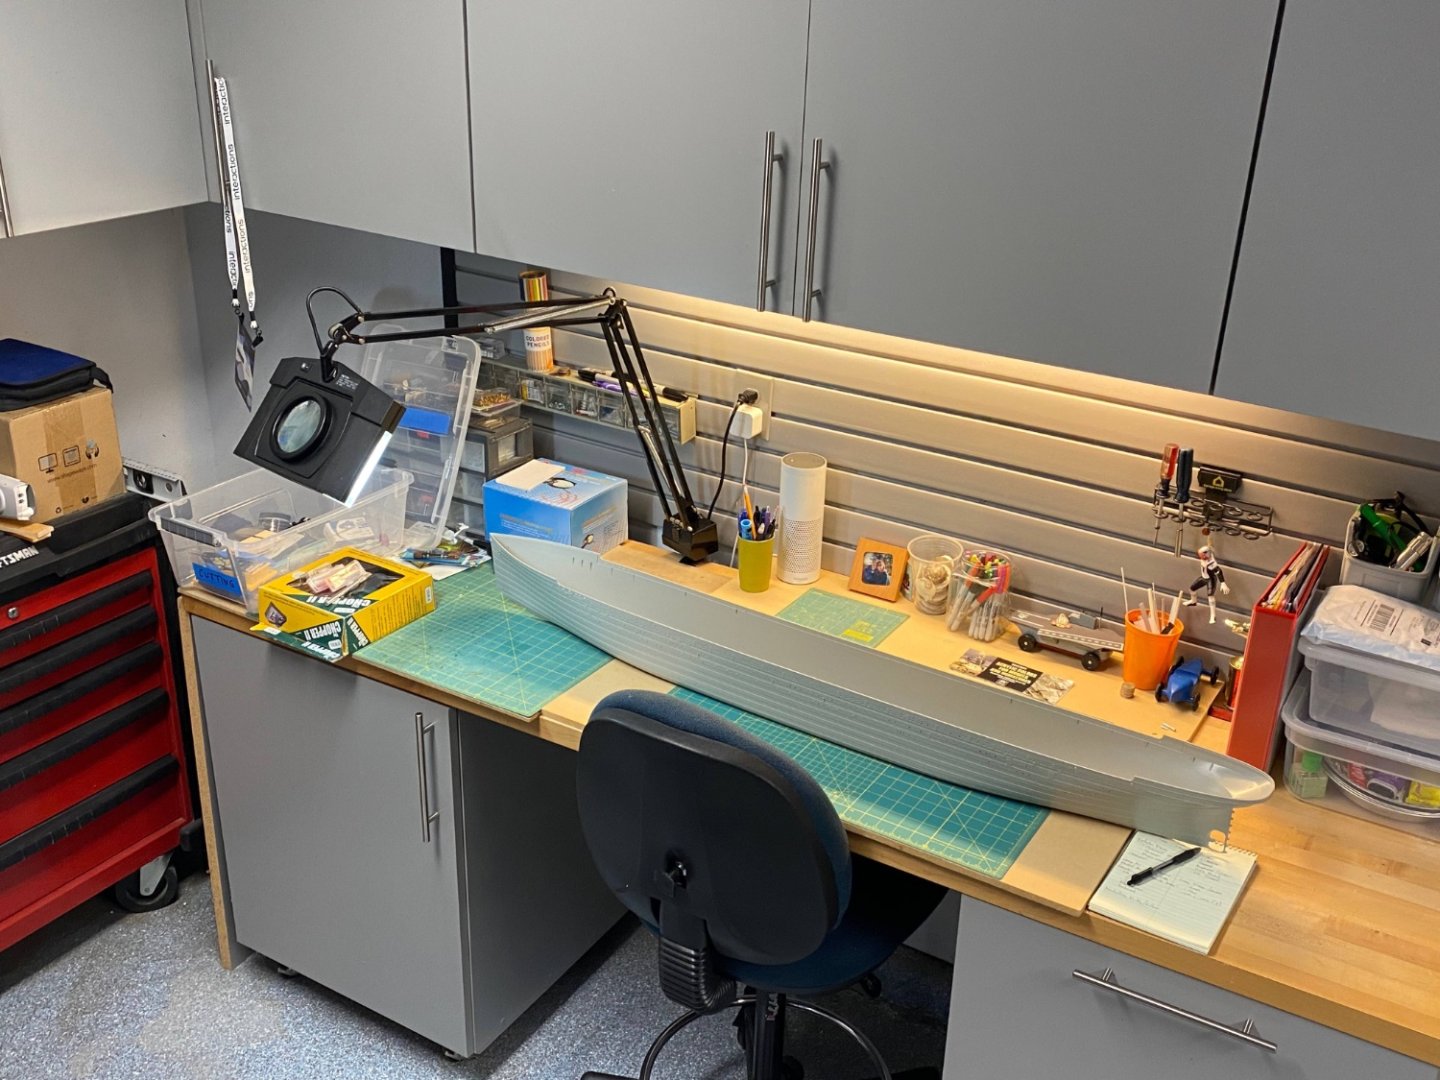


- 111 replies
-
- 16
-

-

-
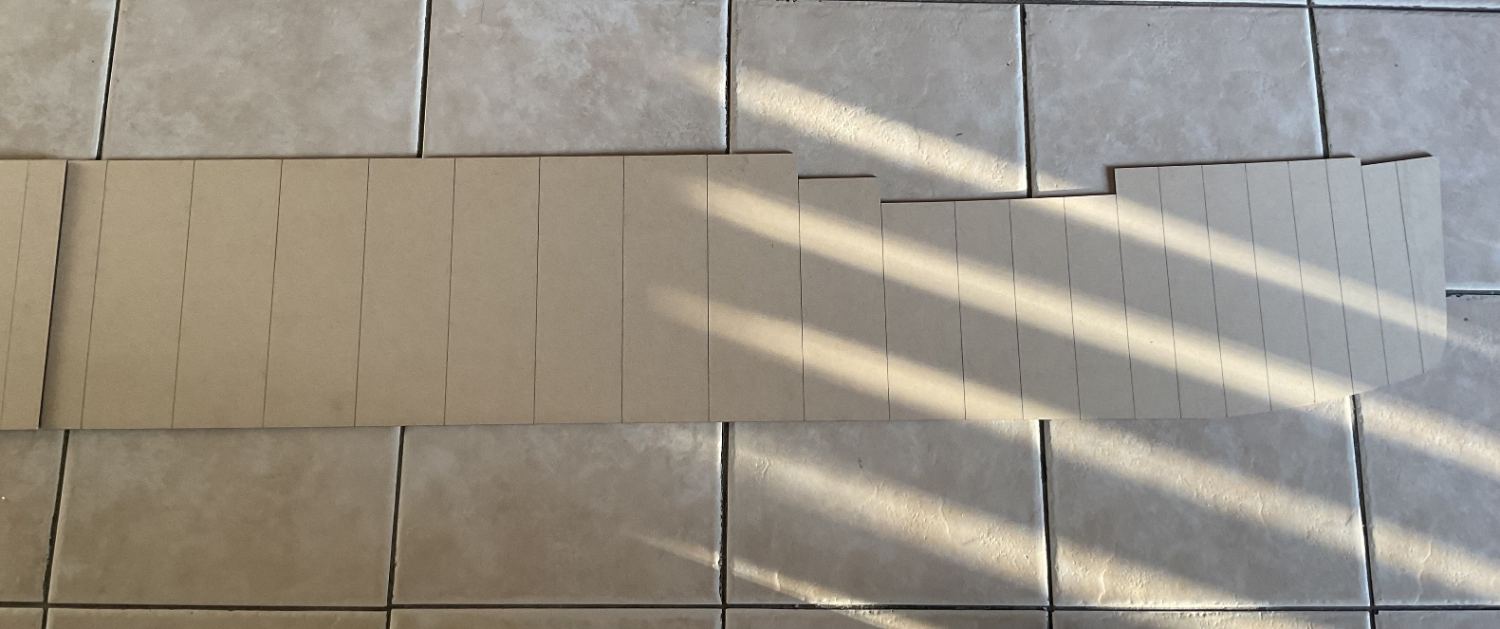
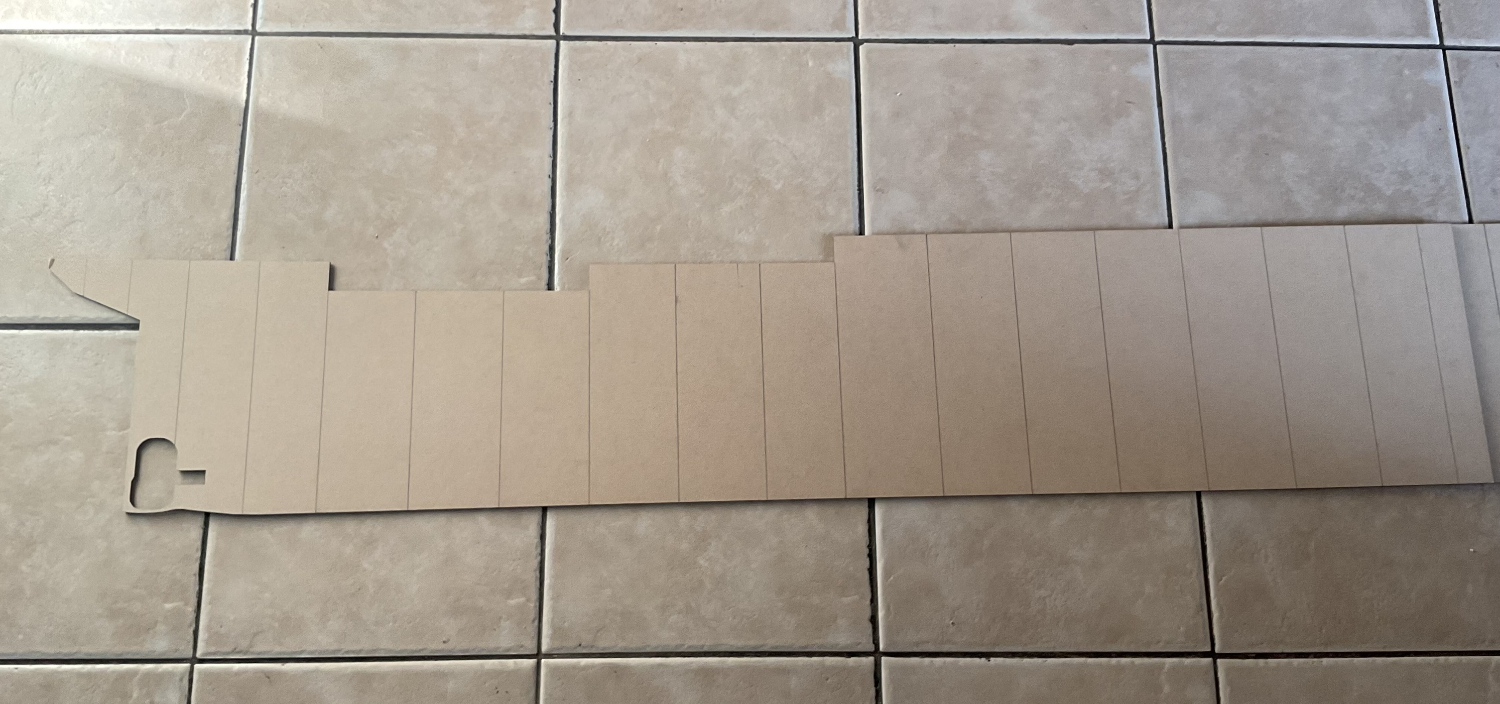
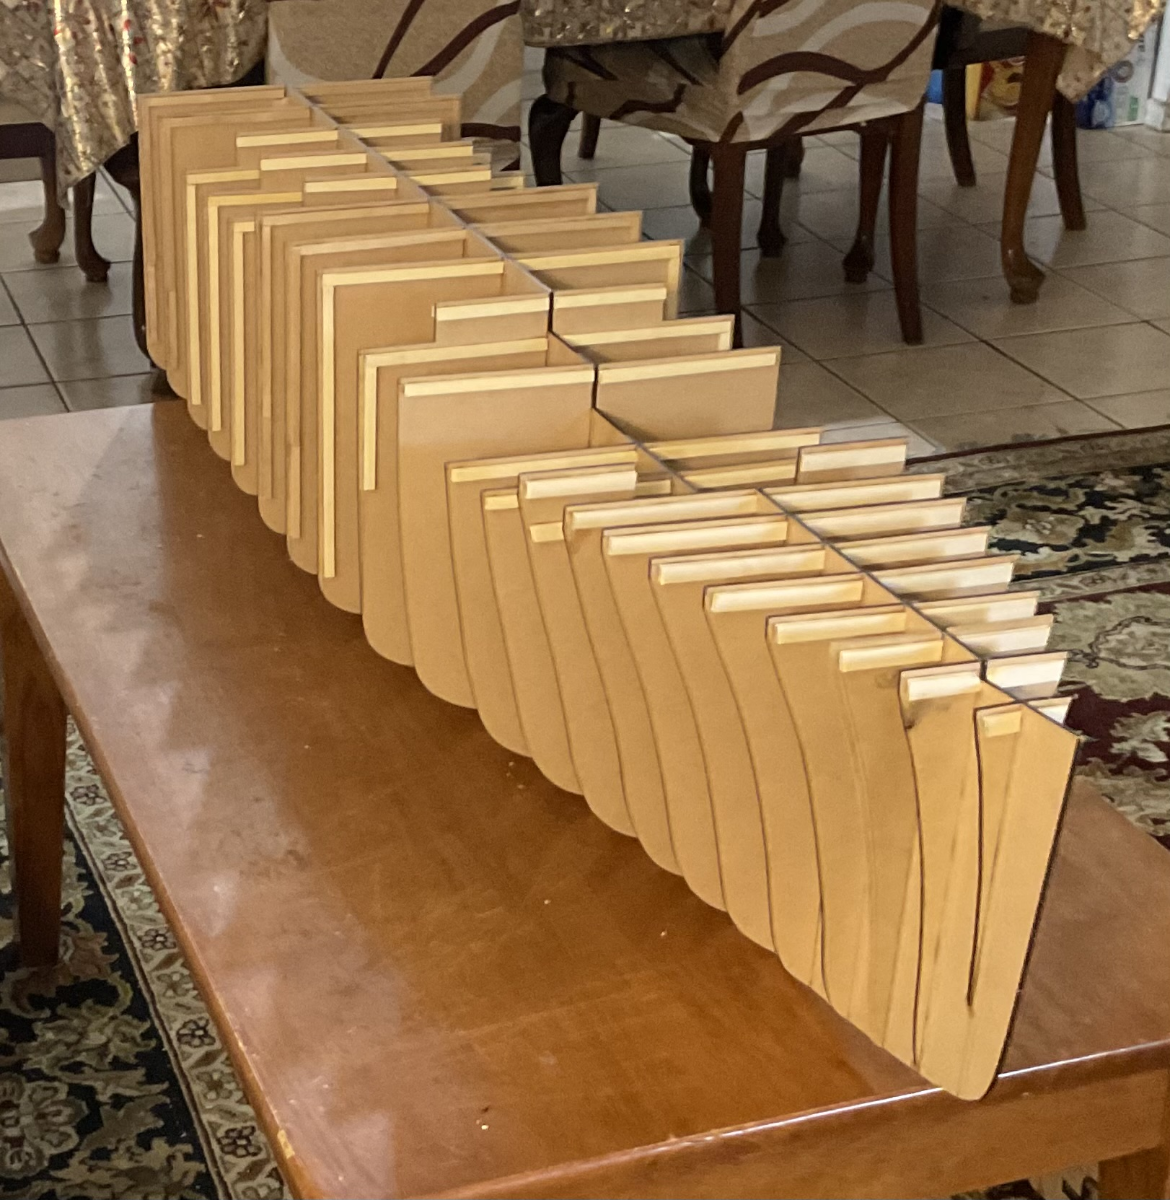
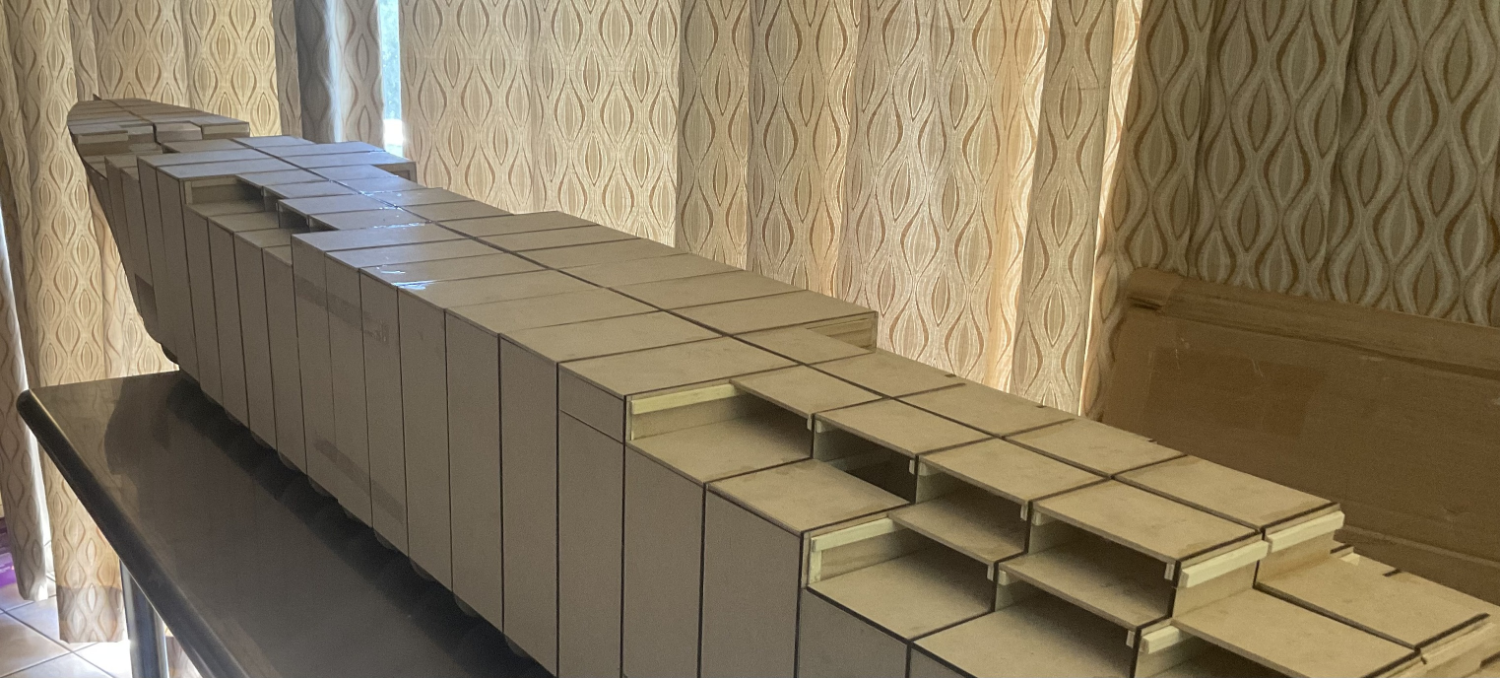
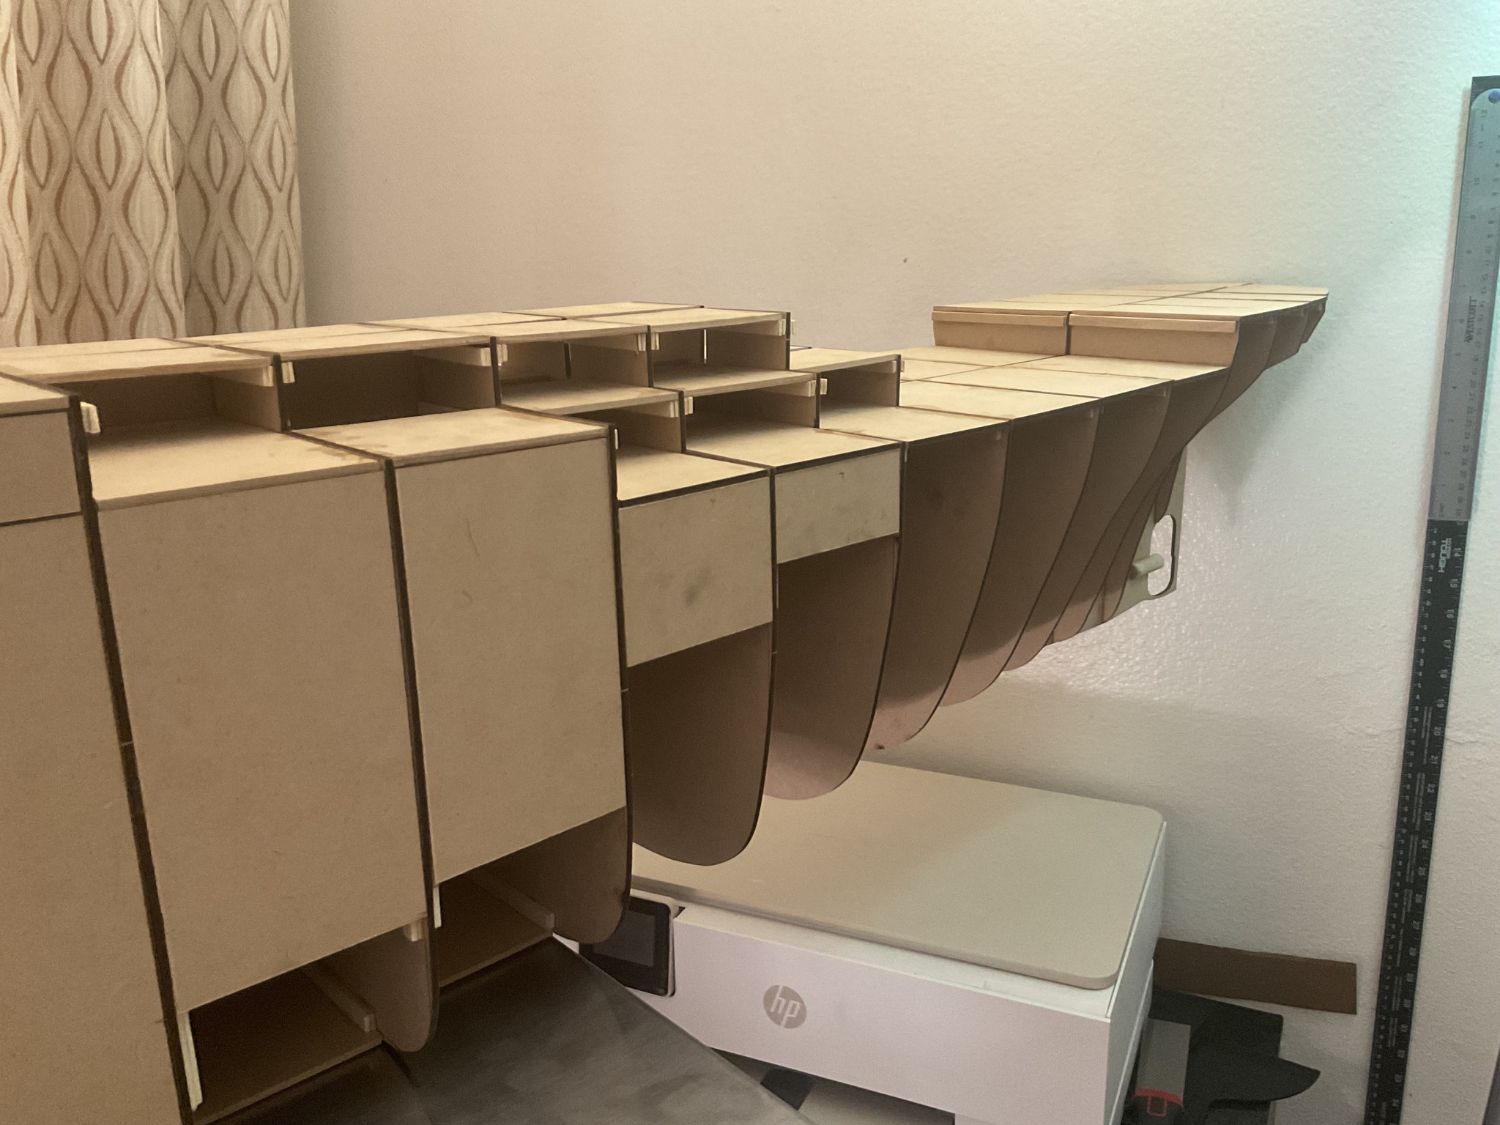
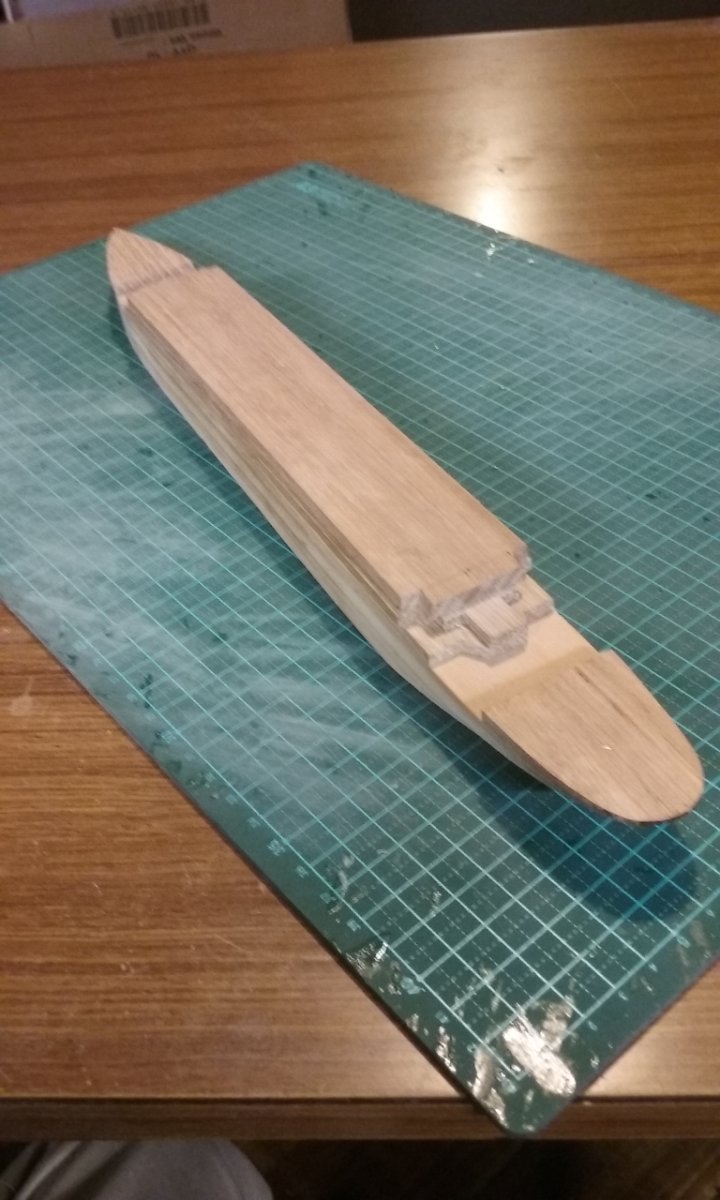
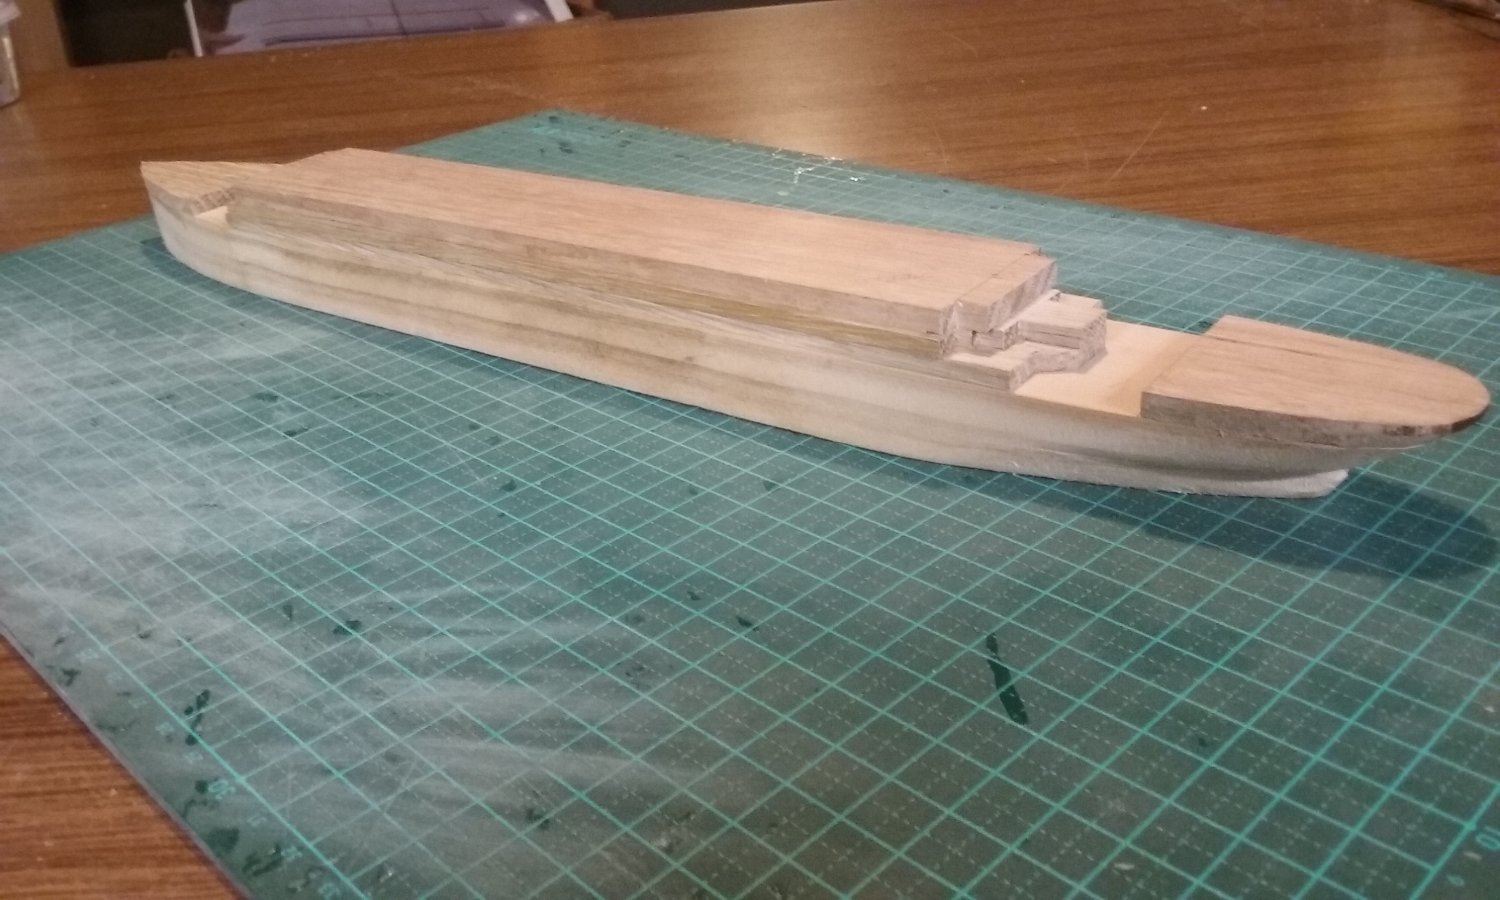
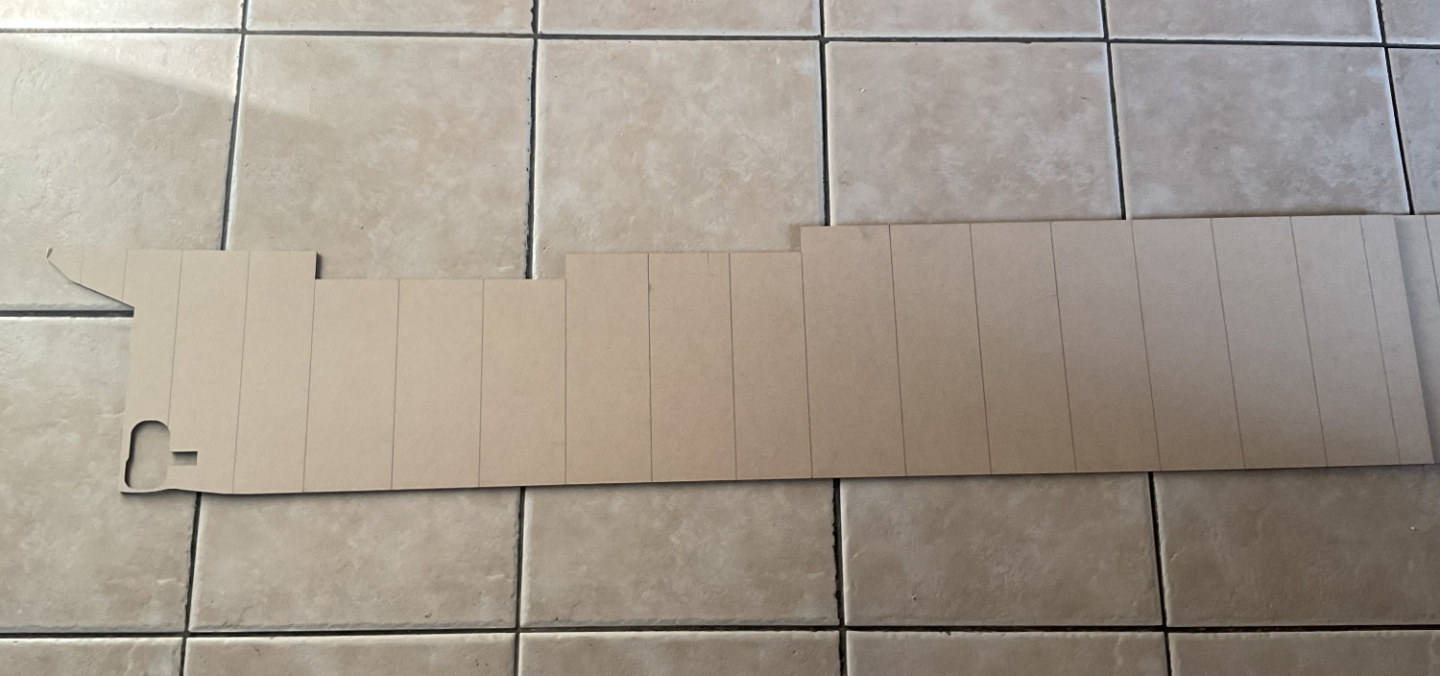
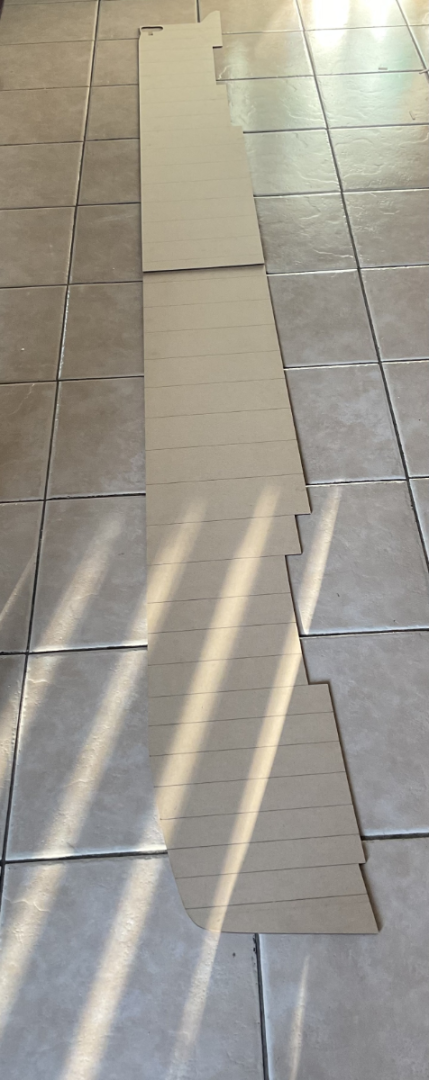
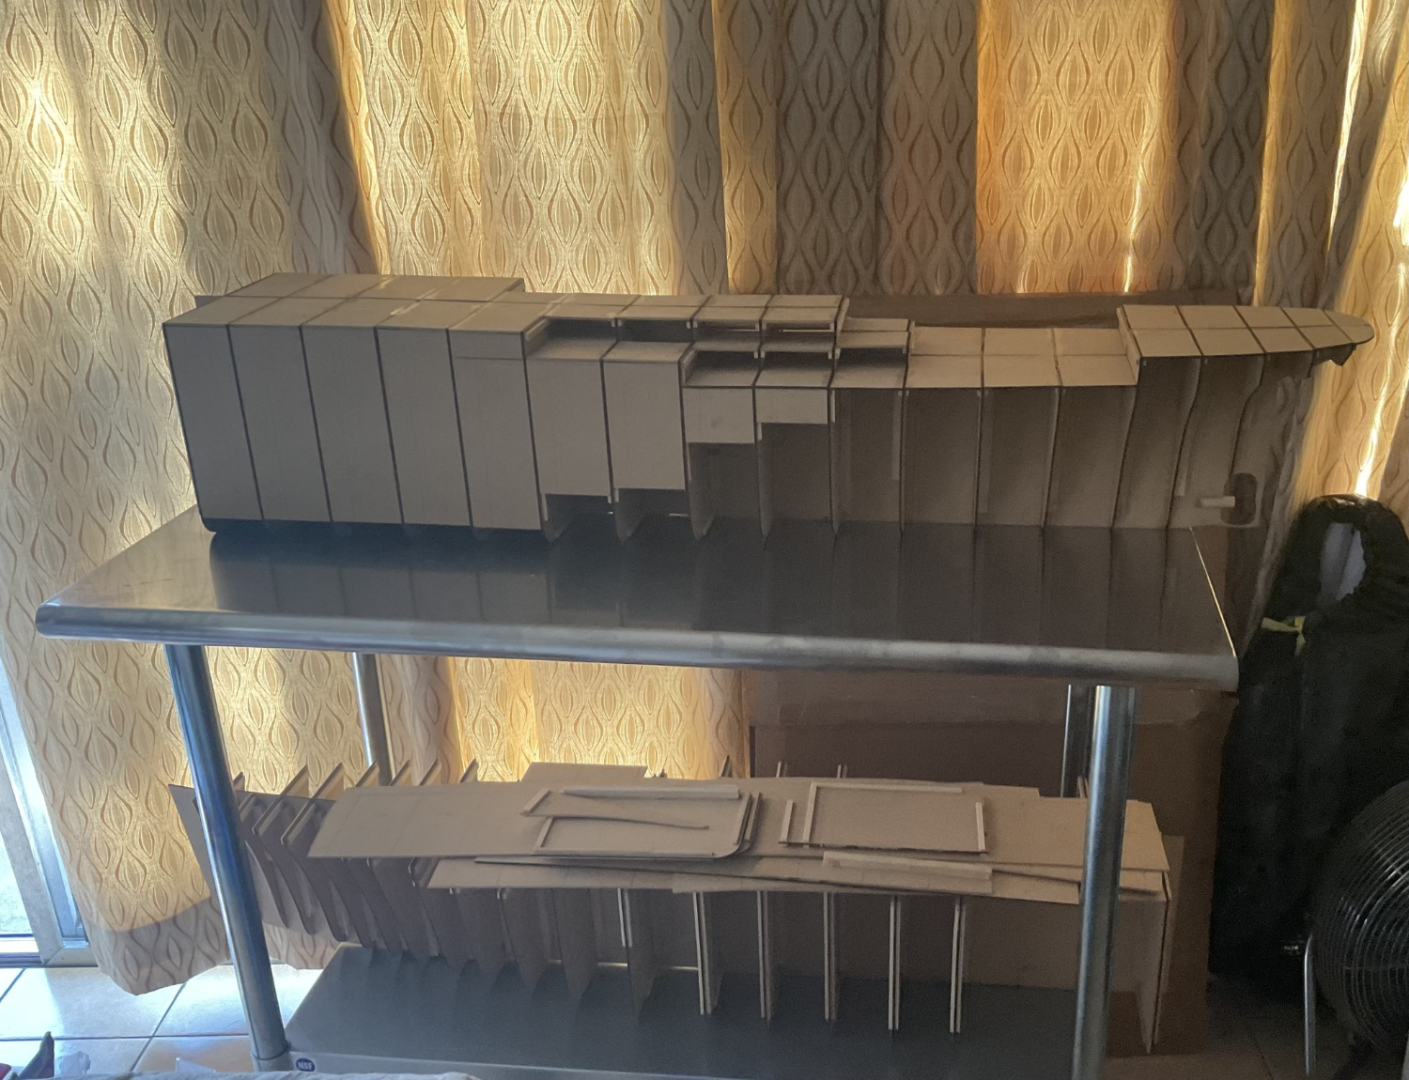
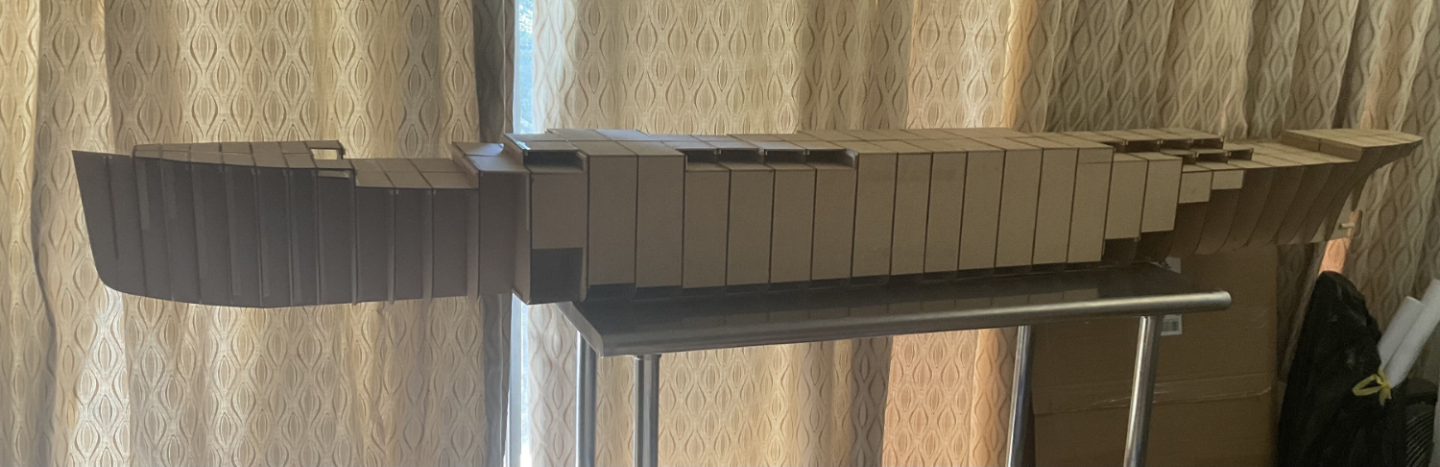
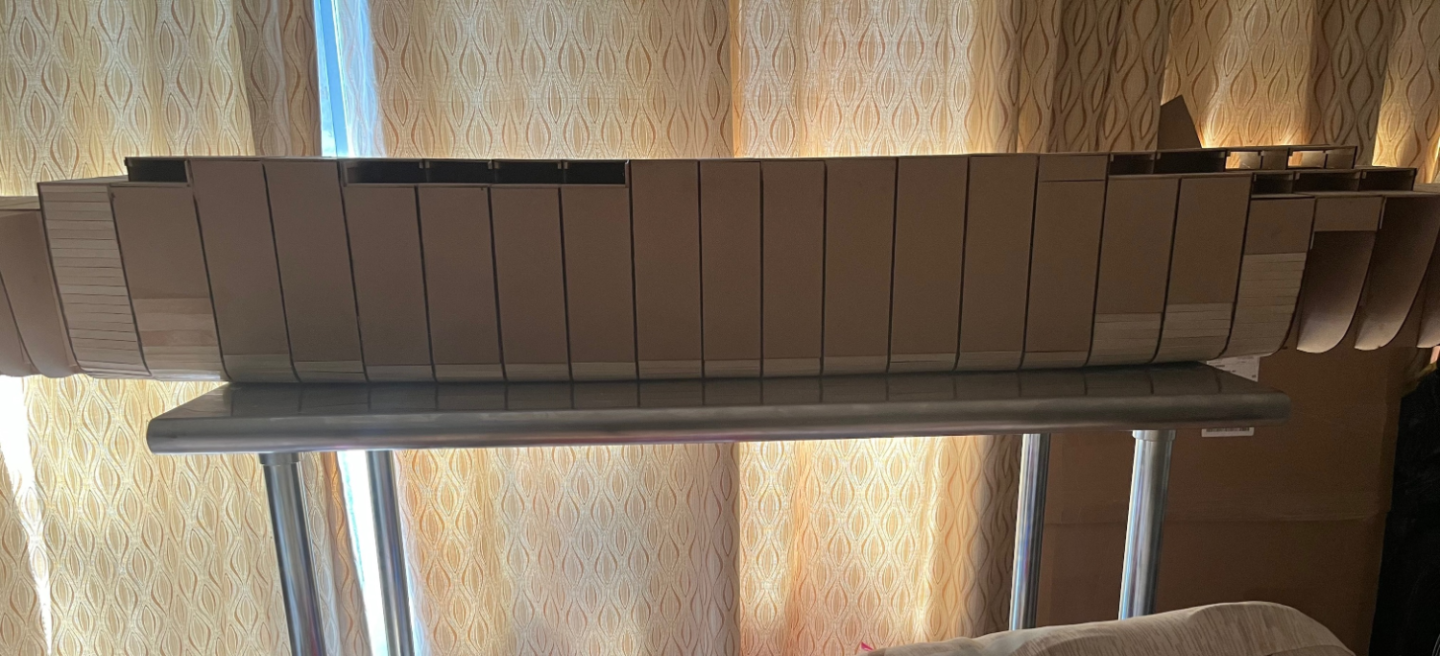
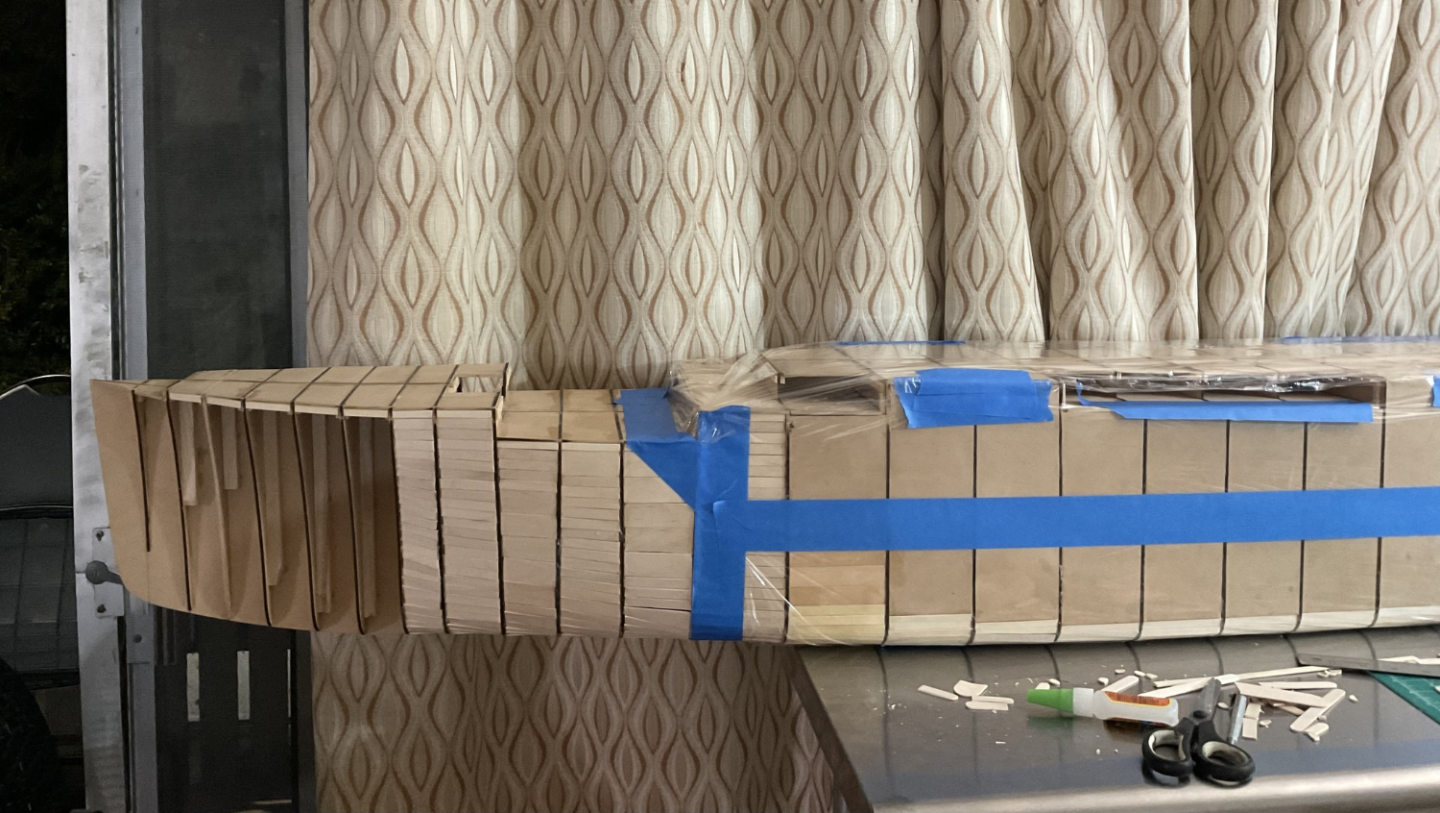
 Hello, I have been working on a scratch-built 1/100 Titanic for quite some time now and I have decided to share it on here. I am actively working on the ship to get the hull frames filled in and to start the hull plating. Here is the keel of the ship cut out into 2 pieces. Forward and aft parts of the ship with the frames glued. Aft section of the ship, partially filled. Here is the ship with both pieces together to create a massive hull. Slowly but surely, getting the frames filled.
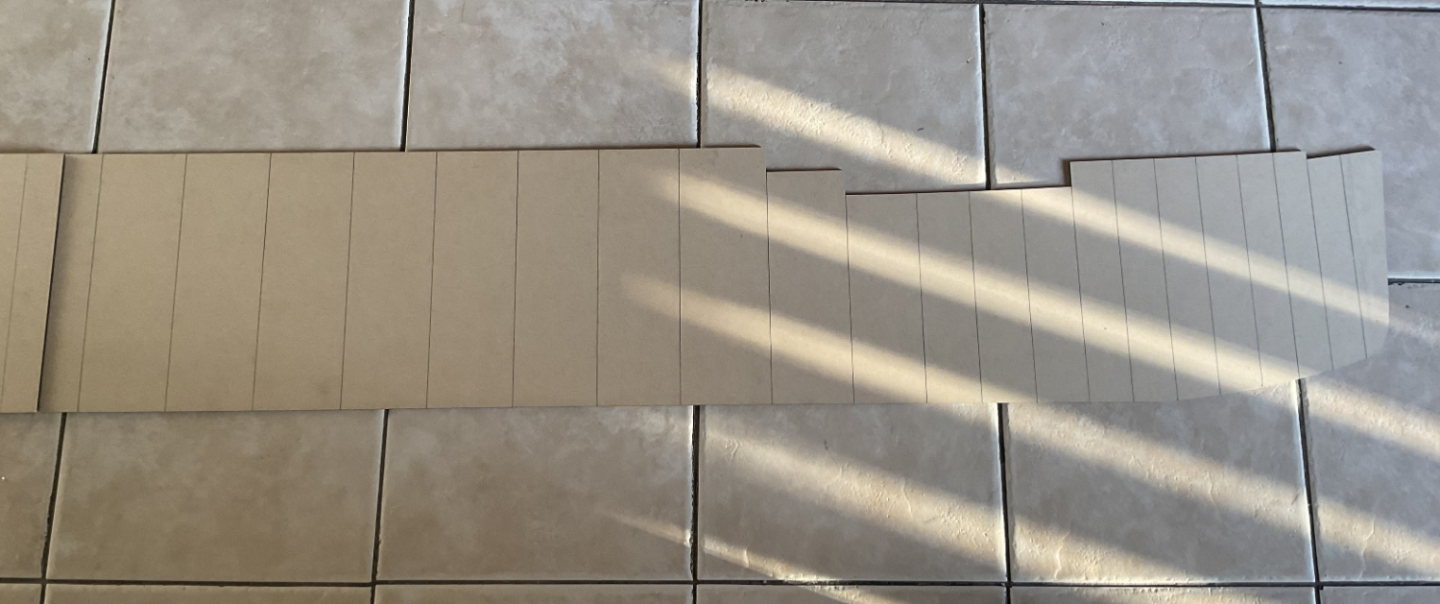


-
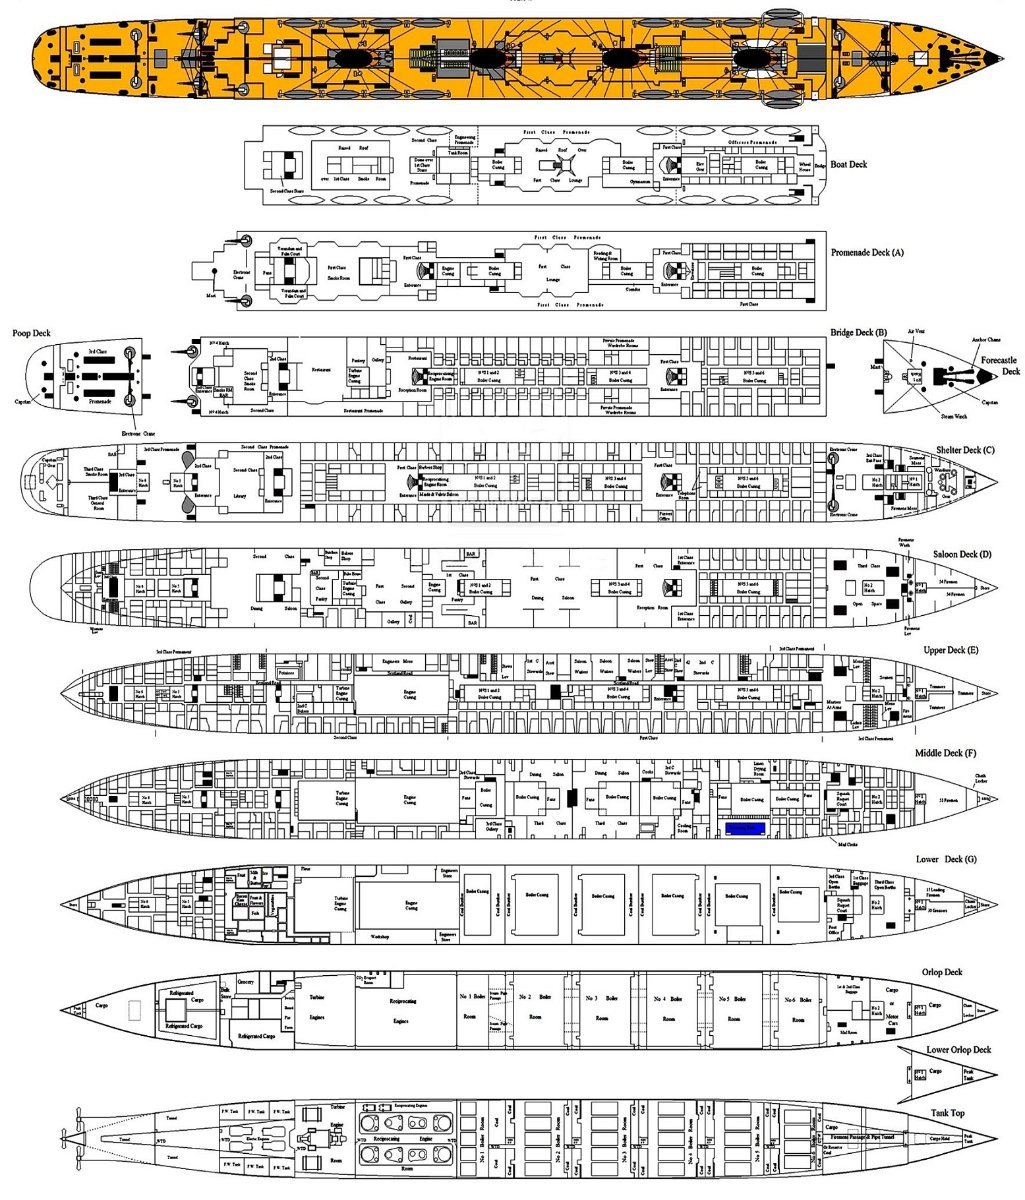
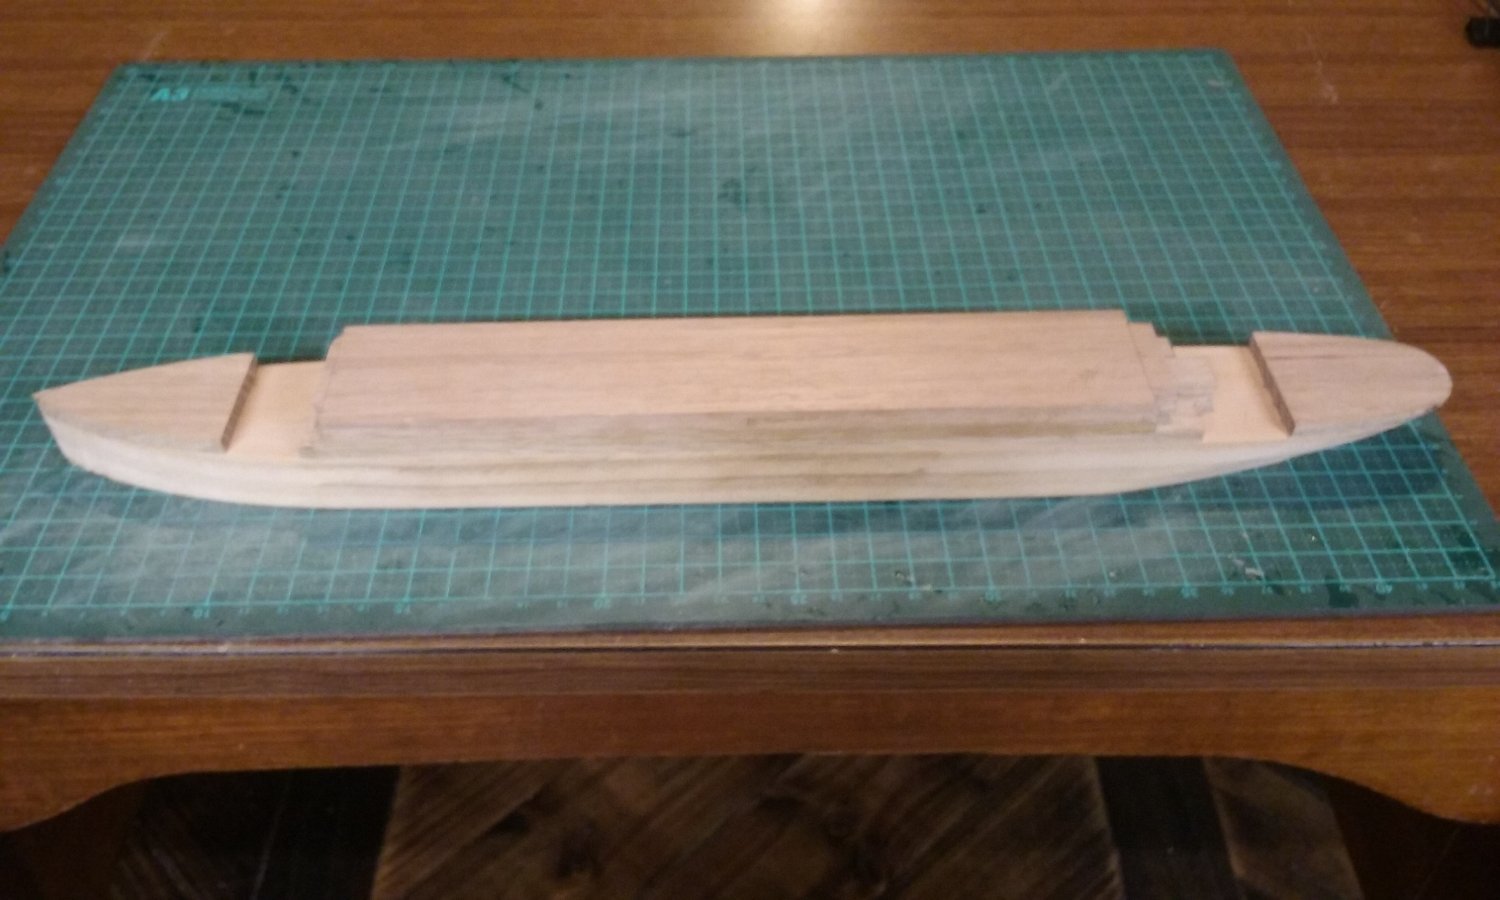
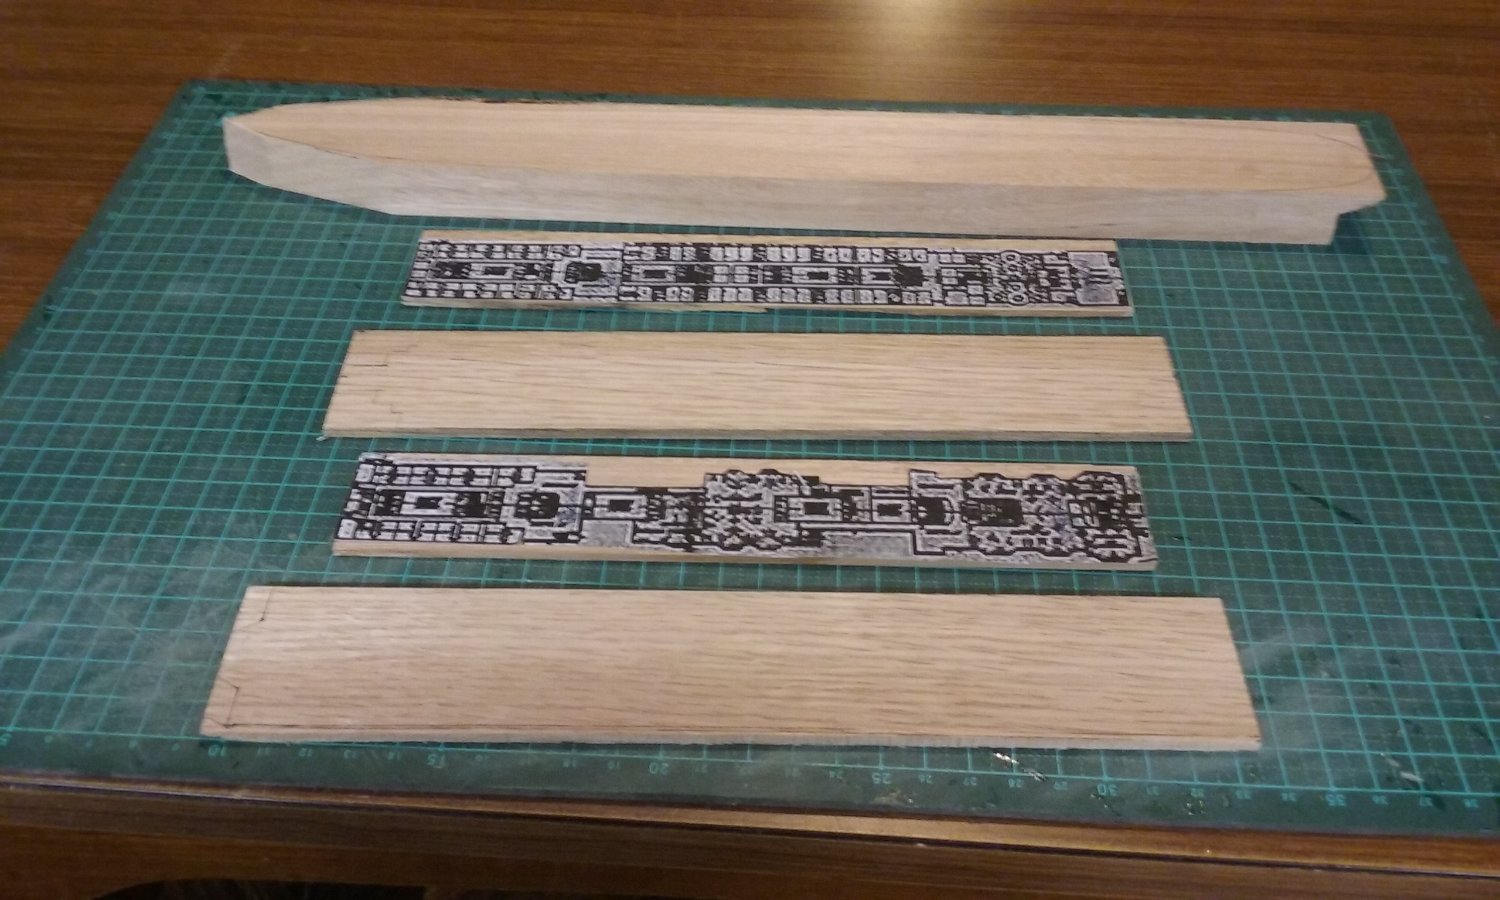
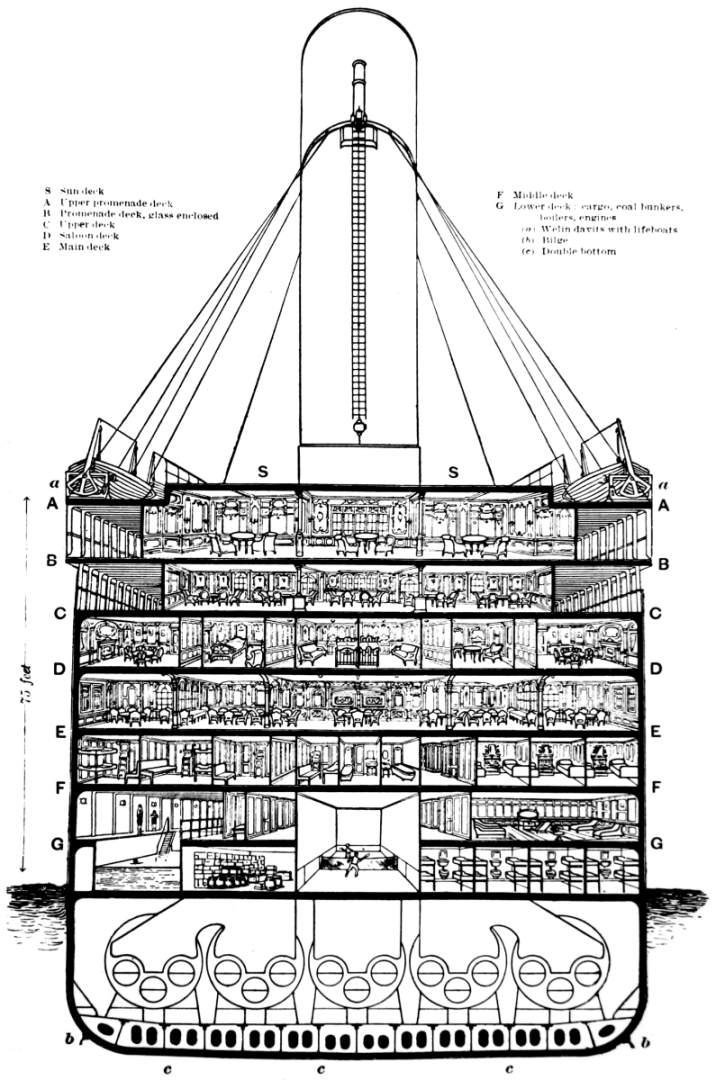
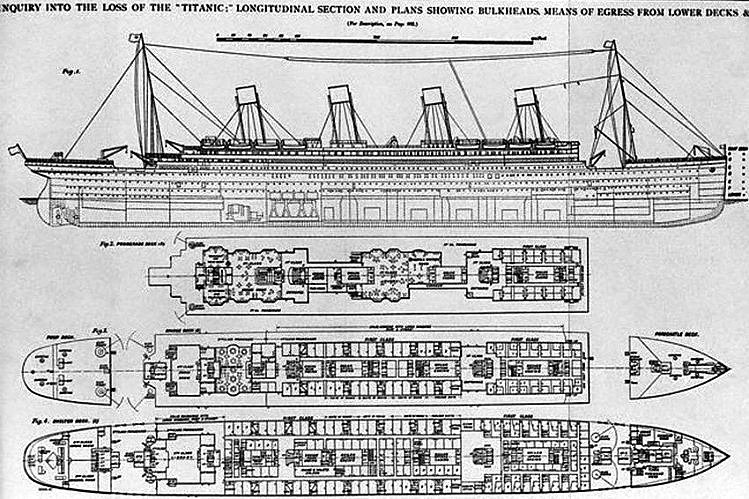
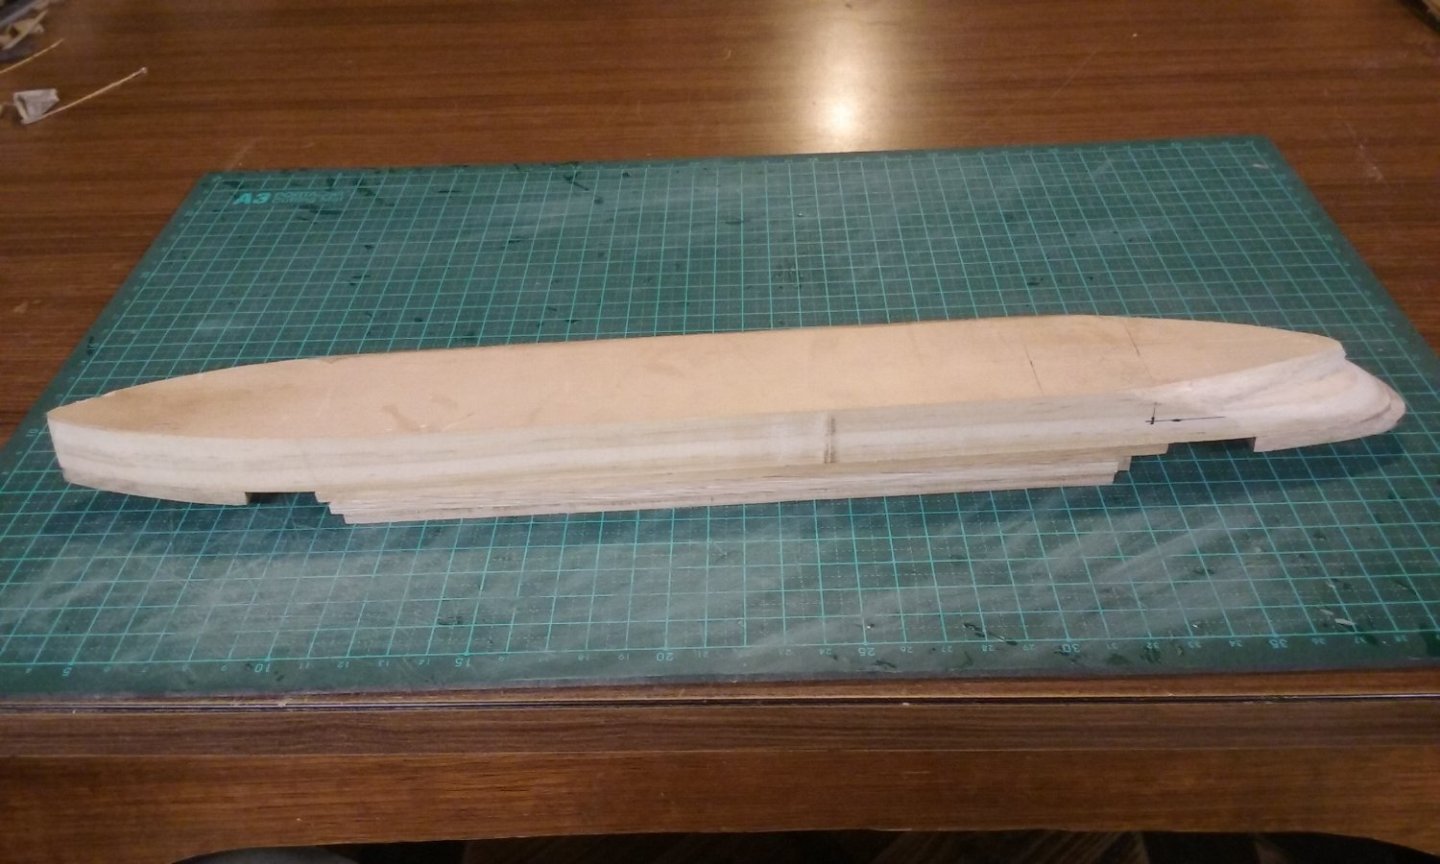
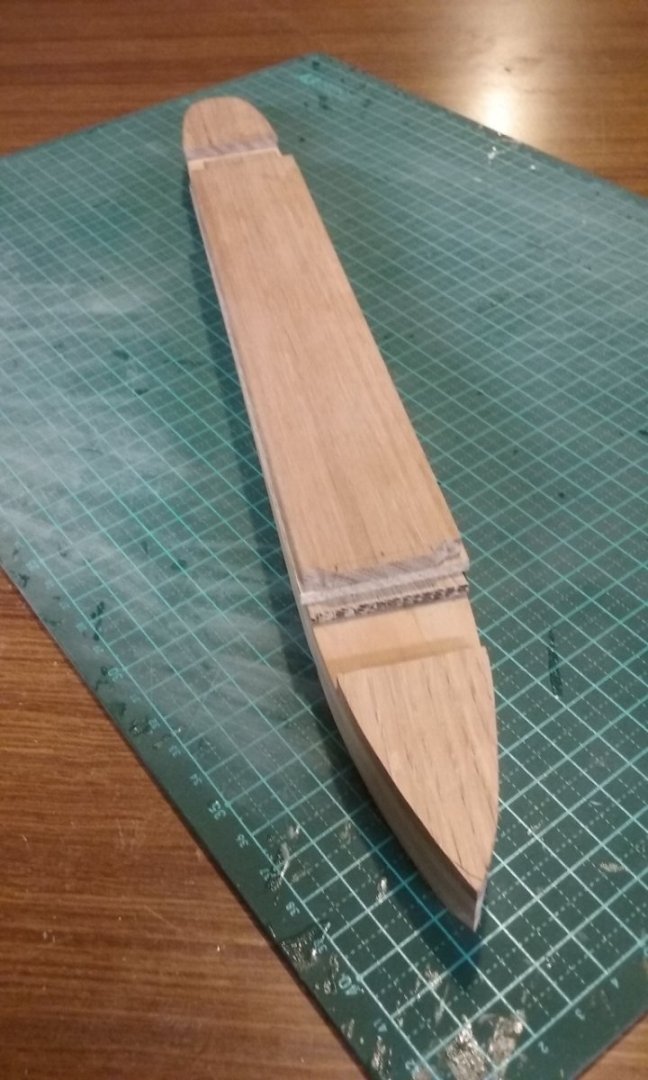
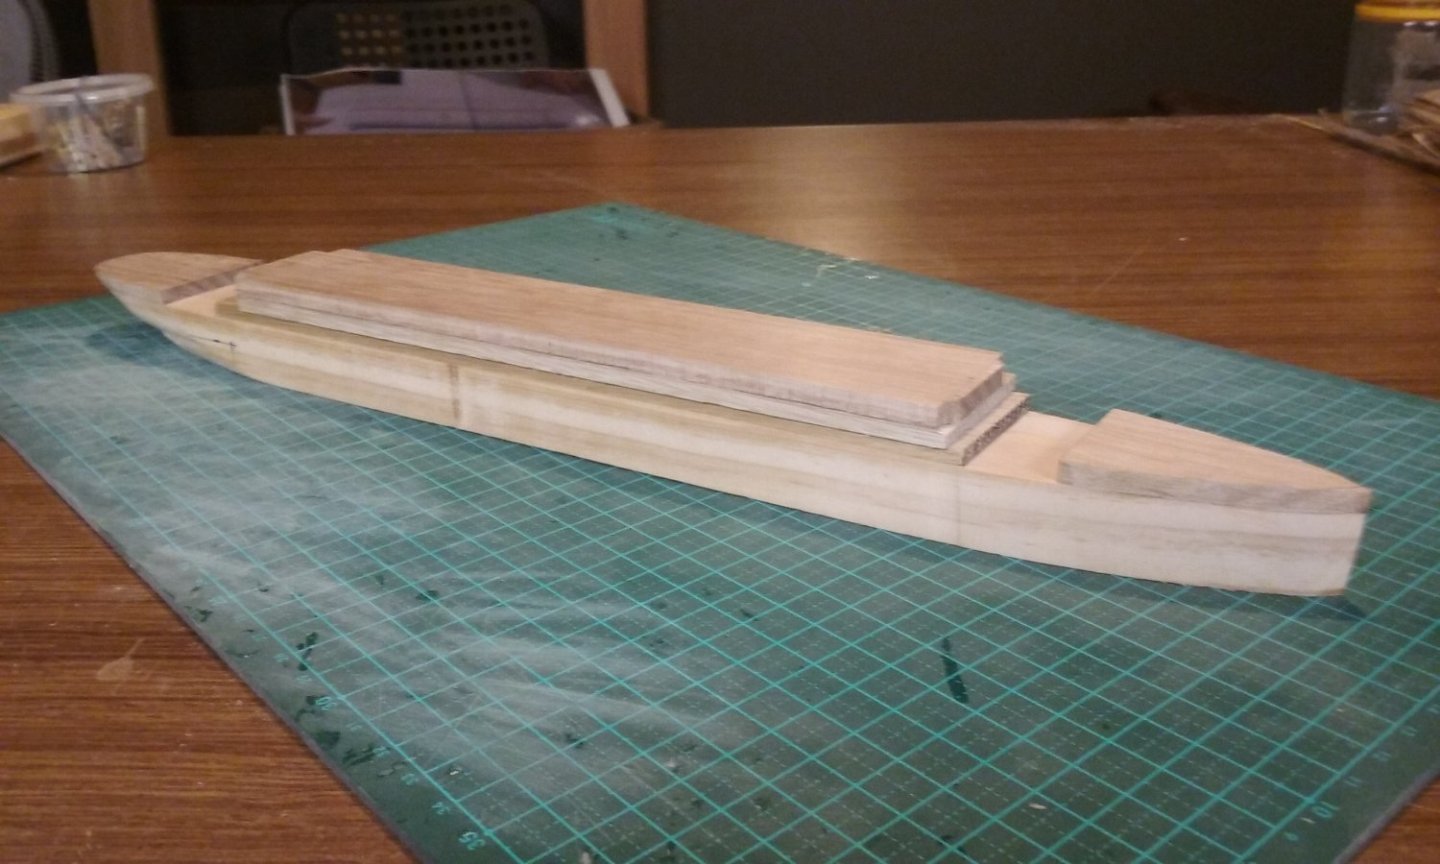
 The title says it all. For the first time someone has asked me to make a model ship and is willing to pay cash money. Only a pittance, pin money, really - $200. But no worries, I'm not doing it for the money but for the experience and challenge. Second "modern" ship - the first was HMVS Cerberus - see build log This time it's the Titanic This is also a Men's Shed project, but this time I'll be paying only a percentage of the price to them (for use of facilities and materials), the rest for pin money, as I was directly commissioned to build it. A young guy I met has a girlfriend who's a total Titanic freak and he had the idea that a model of the ship would be a nice Chrissy present for her. And I'm happy to oblige. However, it has meant the Couta boat has had to go on the back burner for a while. It's nearly finished - the sails are cut out, but I have to sew (or get someone far more experienced to sew) them, add them to the gaff and boom and add the rigging. I'll get around to it whenever. There are plans and photos on the Net of the original ship - not terribly good, but adequate for a $200 model, which will be 380mm (1'3") long. The first thing I hadn't realised until I downloaded these was how long and narrow the ship was! Took me totally by surprise. Here are the plans I'm working from. So, off I went cutting out wood and layering the decks - only to find that in my main source of info - the two sets of deck plans - two of the deck layouts showed not only the deck itself, but the superstructure between it and the deck above. So I'd missed out two entire decks - the superstructure was two decks too low. Annoying, as I'd put a lot of work getting that beautiful stern right. But as I'd glued it all together very securely before I realised my mistake, there was no way of pulling it apart and adding the extra structures. So I had to start all over again, but at least this meant I could correct a couple of other errors I'd become aware of caused by the inaccuracy and imprecision of the plans. So here we go again, this time with the extra outlines. Watch this space. Steven PS: If anybody can let me know the maximum and minimum diameters of the (oval section) funnels, I'd be very grateful.


-
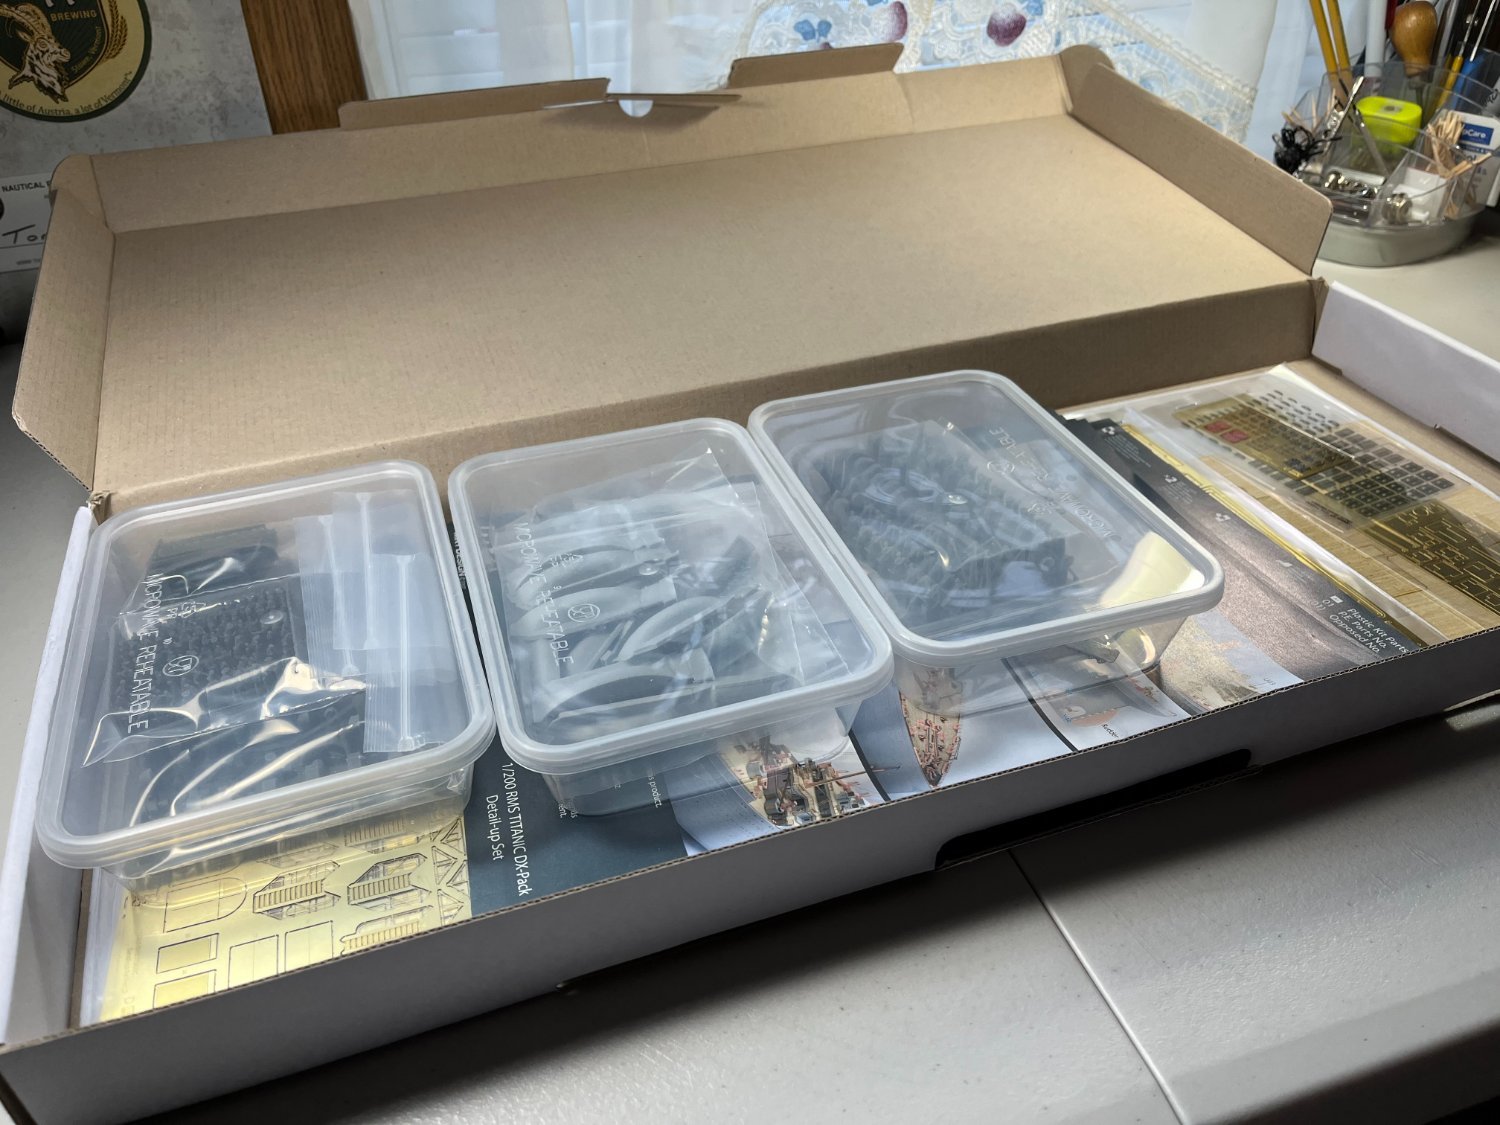
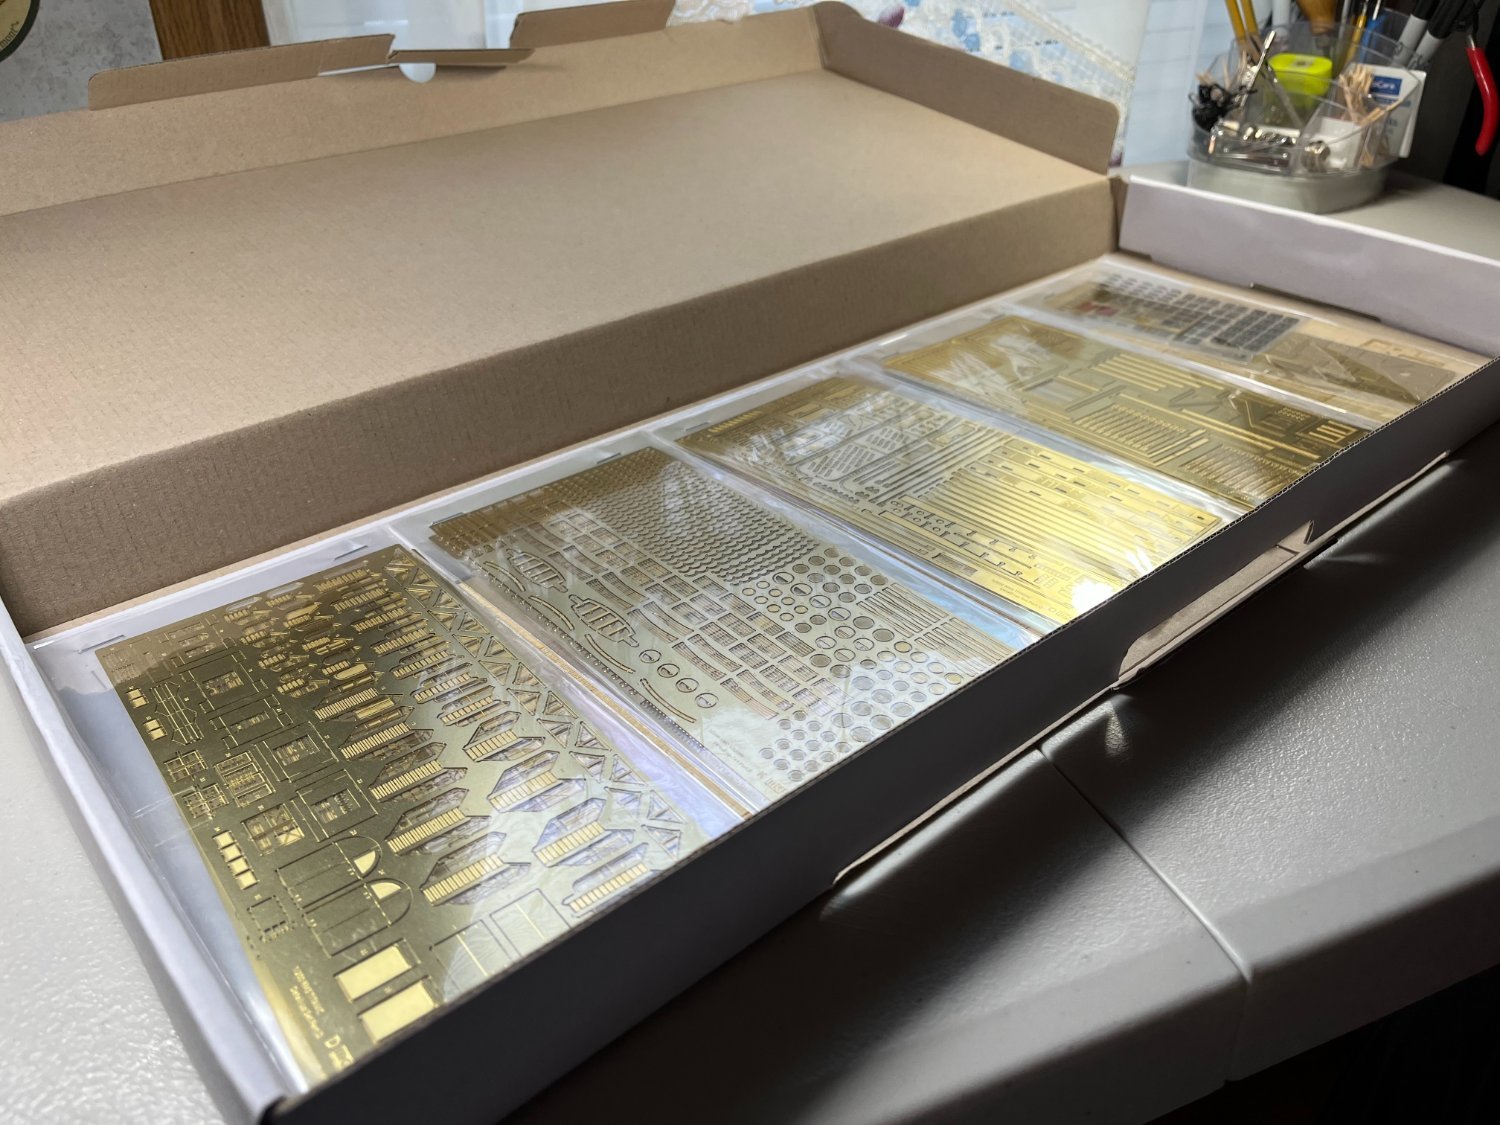
 Evening, Thought I would get this build up and going. I rarely have two projects going, but I just couldn't keep from buying the kit and upgrade set. With my Niagara nearing completion, now is as good as any. Initially, this build will be a little sporadic. I need to study the instruction booklets. Figure out an approach to the build. Probably start by painting the hull. I will be installing the LED's. That should look awesome!!! The kit is almost as big as my couch. I've only just started to crawl around the kit and upgrade set. I should have some good pics as I go thru the contents. I'm no expert on PE, but it sure does look good. The wooden decks are pretty cool. Some damage to the very outside edge of the sheet of wood, but no damage to the particular piece. This should be fun! Tom E
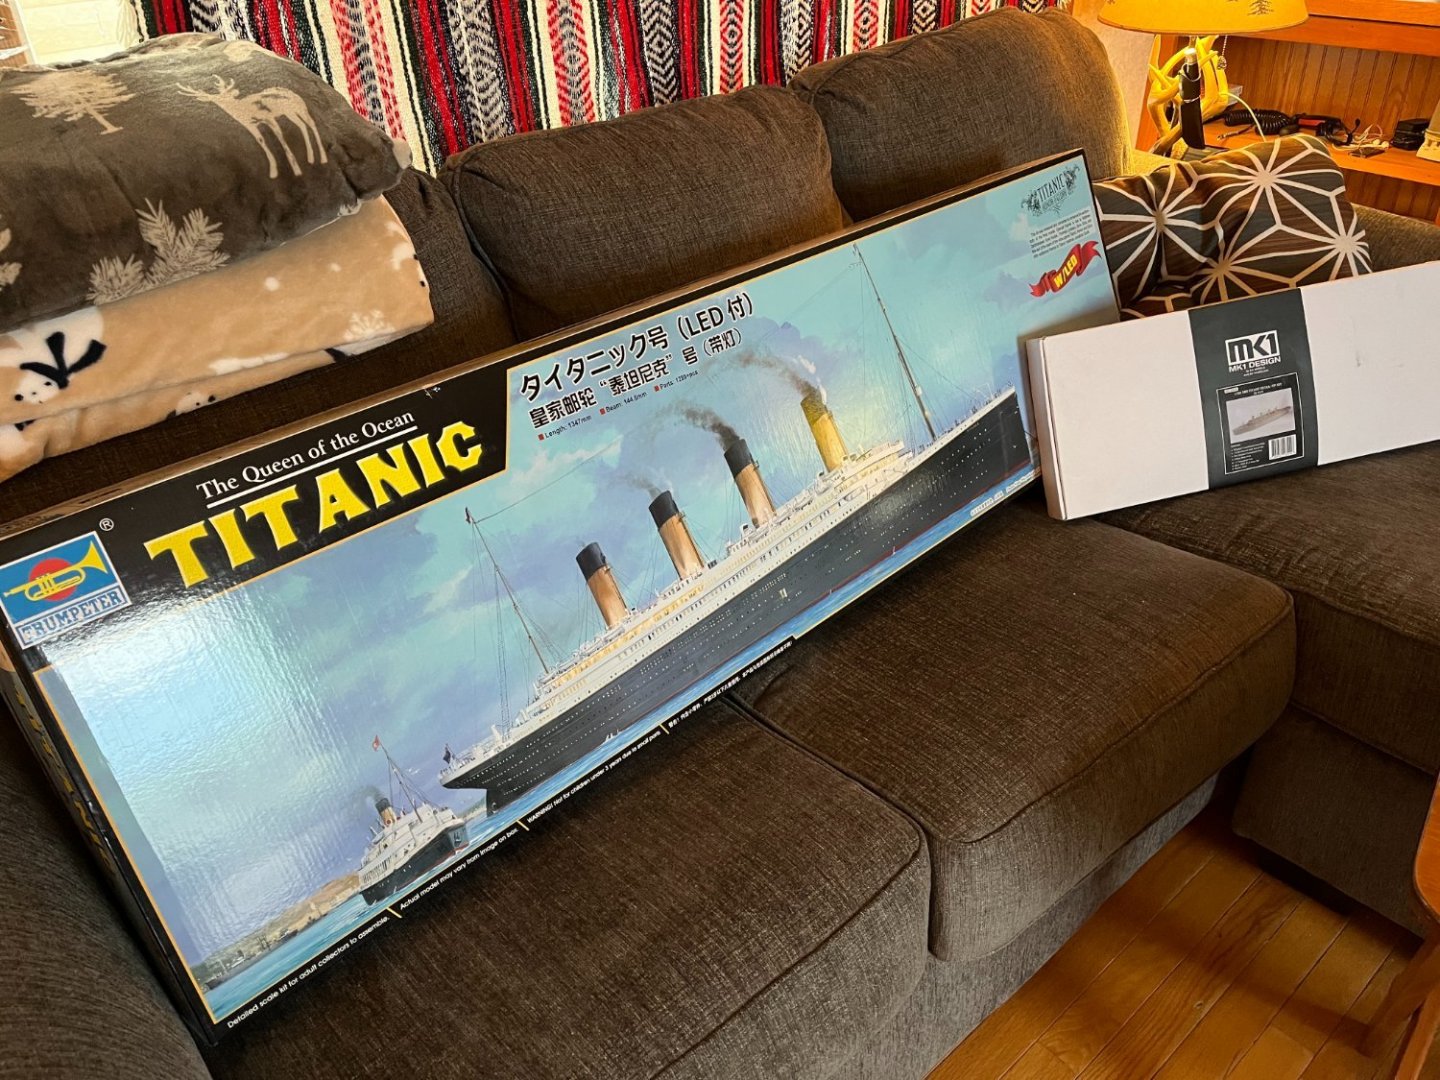


- 40 replies
-
- 18
-
-
 Greetings - this is not a build log per se but the website for the completed model, which has over 12 pages of build photos and explanations of what was done and how. Plus, of course, finished model photos. www.titanicmodel.net Regards Art Braunschweiger Forum administrator, please move this to the appropriate location if it doesn't belong here.
 -
I am beginning to build the Billing Titanic in 1/144th scale. Almost to the point of beginning to "plank" the hull. Can anyone advise what size "rivets" I should be looking for to simulate the plating rivets on the real ship? I know there are several companies that provide these in decal form, which I think would suit my purpose, but I'm hoping to determine what size I should order, so it's not trial and error. Can anyone assist?
-
 Good evening everyone Welcome to yet another of my builds The build is one of the Titanic’s sister ships, not the Olympic, but the HMHS Britannic Britannic (II), yard number 433, was the third Olympic Class ship, and the largest ship ever built for the White Star Line. Britannic is best known as being the sister ship of Olympic and Titanic, and also for her own sinking while serving as a hospital ship in 1916. Prior to her launching Britannic, had also been referred to as Gigantic, although it is uncertain whether or not White Star intended to use the name Gigantic. In order to construct the Olympic Class liners Harland and Wolff constructed two massive slipways, 840ft by 270ft wide and up to 228ft high. Olympic was constructed on one side and Titanic on the other. Following the launch of both ships, on 30th November 1911, construction work begun on Britannic in the slipway that had been occupied by Olympic. On 14th April 1912, Titanic collided with an iceberg and sank two hours and forty minutes later with the loss of around 1500 lives. As a result of the disaster it was decided to stop all work on Britannic until a safer design could be created following the Titanic inquiry – in an attempt to ensure that Britannic did not suffer the same fate as her sister, and also probably to increase public confidence in the ship. When work continued on Britannic, a number of changes had been made to the design, most notably was the addition of lifeboats for all and large gantry davits to support some of them. Britannic also had her watertight double skin extended, a new bulkhead added and her bulkheads made higher. Witnessed by some 50,000 people, Britannic was launched on Thursday 26th February 1914 at Harland and Wolff, Belfast. It was intended that Britannic would enter service as a passenger liner on the Southampton to New York service; however, World War One would intervene. On 4th August 1914 Britain declared a state of war. As a result, work on Britannic was slowed down – as priority had to be given to ships involved with war services. On 13th November 1915, Britannic was requisitioned as a hospital ship. As a hospital ship, Britannic’s duty was to transport wounded soldiers back home. To turn her into a hospital ship, Britannic’s interior was converted into wards, operating theatres…and accommodation for medical equipment and medical staff. So that Britannic could be easily identified as a hospital ship, Britannic was painted white with three large red crosses on each side, a green band going across the ship, and two further crosses on each side which were illuminated at night, this made sure that according to conventions, Britannic could not be legally targeted – providing that she was not used for military purposes other than transporting any wounded persons. Upon completion Britannic sailed to Liverpool, where she arrived on 12th December 1915, under the command of Captain J Ranson. In Liverpool on 14th December, Britannic was officially commissioned as His Majesties Hospital Ship (HMHS) Britannic and given the identification number G618. Also on that same day Captain Charles A Bartlett took command of her. On 23rd December 1915 Britannic’s maiden voyage began; she departed Liverpool bound for Naples, where she arrived on 28th December to take on coal and water, following Naples she headed for Mudros, on the Greek island of Lemnos, where she arrived on new year’s eve and took patients onboard. When Britannic left Mudros she sailed straight for Southampton, where she arrived on 9th January 1916. Unlike her younger sister, Titanic, Britannic’s maiden voyage – which had seen her crew celebrate Christmas on board – had been a success. Britannic completed two more voyages, the first from Southampton (departing on 20th January 1916) to Naples, where the patients were transferred from smaller ships and the second from Southampton (departing on 20th March 1916) to Augusta, where patients were also transferred from other ships. Due to the failure of the Gallipoli campaign, which had been supplying Britannic with casualties, Britannic was no longer needed, and was laid up at Cowes, Isle of White, UK. On 6th June 1916 Britannic was discharged from her war services, and returned to Belfast, so that she could be made ready for her true intended purpose, as a passenger liner. Shortly after, due to new campaigns in the Balkans, Britannic was again needed, and was recalled back to war time hospital ship services on 28th August 1916. She departed Cowes on 24th September 1916 bound for Mudros, where she collected her patients from other hospital ships, and arrived home at Southampton on 11th October 1916. Britannic made one more successful voyage, departing Southampton on 20th October 1916, for Mudros. On this voyage Britannic had been given permission to transport over 480 extra medical personal and tons of medical supplies that were destined for Egypt, Malta Salonika, India and Mesopotamia. Britannic arrived at her Southampton home on 6th November 1916. Under the command of Captain Bartlett, Britannic’s sixth and final voyage started from Southampton on Sunday 12th November 1916. From Southampton she sailed to Naples, where she arrived on Friday 17th November for the loading of coal and water; Britannic was supposed to leave Naples the next day, but a storm had prevented her leaving until Sunday afternoon. On the morning of Tuesday 21st November 1916, at 8.12am, Britannic was sailing in calm waters through the Kea Channel, when suddenly she was rocked by a massive explosion originating from her starboard side. The damage to the ship was serious, with watertight compartments flooding and bulkheads damaged. The situation was made even worse by the fact that many of the ships portholes had been left open – perhaps sealing Britannic’s fate. It was not long before a distress signal was sent and the order given to prepare the lifeboats. In an attempt to save the ship Captain Bartlett attempted to beach the ship on shores of Kea. Without orders, two lifeboats had been lowered; in one of them was Violet Jessop, who had survived the Titanic disaster; once in the water these boats were sucked towards Britannic propellers, which where almost out of the water – resulting in devastation as boats and people were drawn towards them. Violet jumped out of the boat and despite hitting her head twice on something solid while struggling under water was able to get to the surface and survive the disaster. Soon after, Captain Bartlett ordered the engines to be stopped and at 8.35am he gave the order to abandon ship. At 9am the Captain give the last abandon ship order by sounding the ships whistle, and he then walked off the flooding bridge into the sea, where he swam to a lifeboat. At 9.07am, 55 minutes after the explosion, Britannic slipped beneath the waves. The cause of the explosion is now widely believed to have been a mine. Of the 1066 people onboard, 30 lost their lives. The wreck of Britannic was found by Jacques Cousteau in 1975 – in a relatively intact state, lying on her starboard side. Britannic is now the largest passenger liner fully submerged on the ocean floor;the only other passenger ship bigger than her lying on the sea bed being the Costa Concordia, which sank in 2012, but will eventually be raised.
- 165 replies
-
- 12
-
-
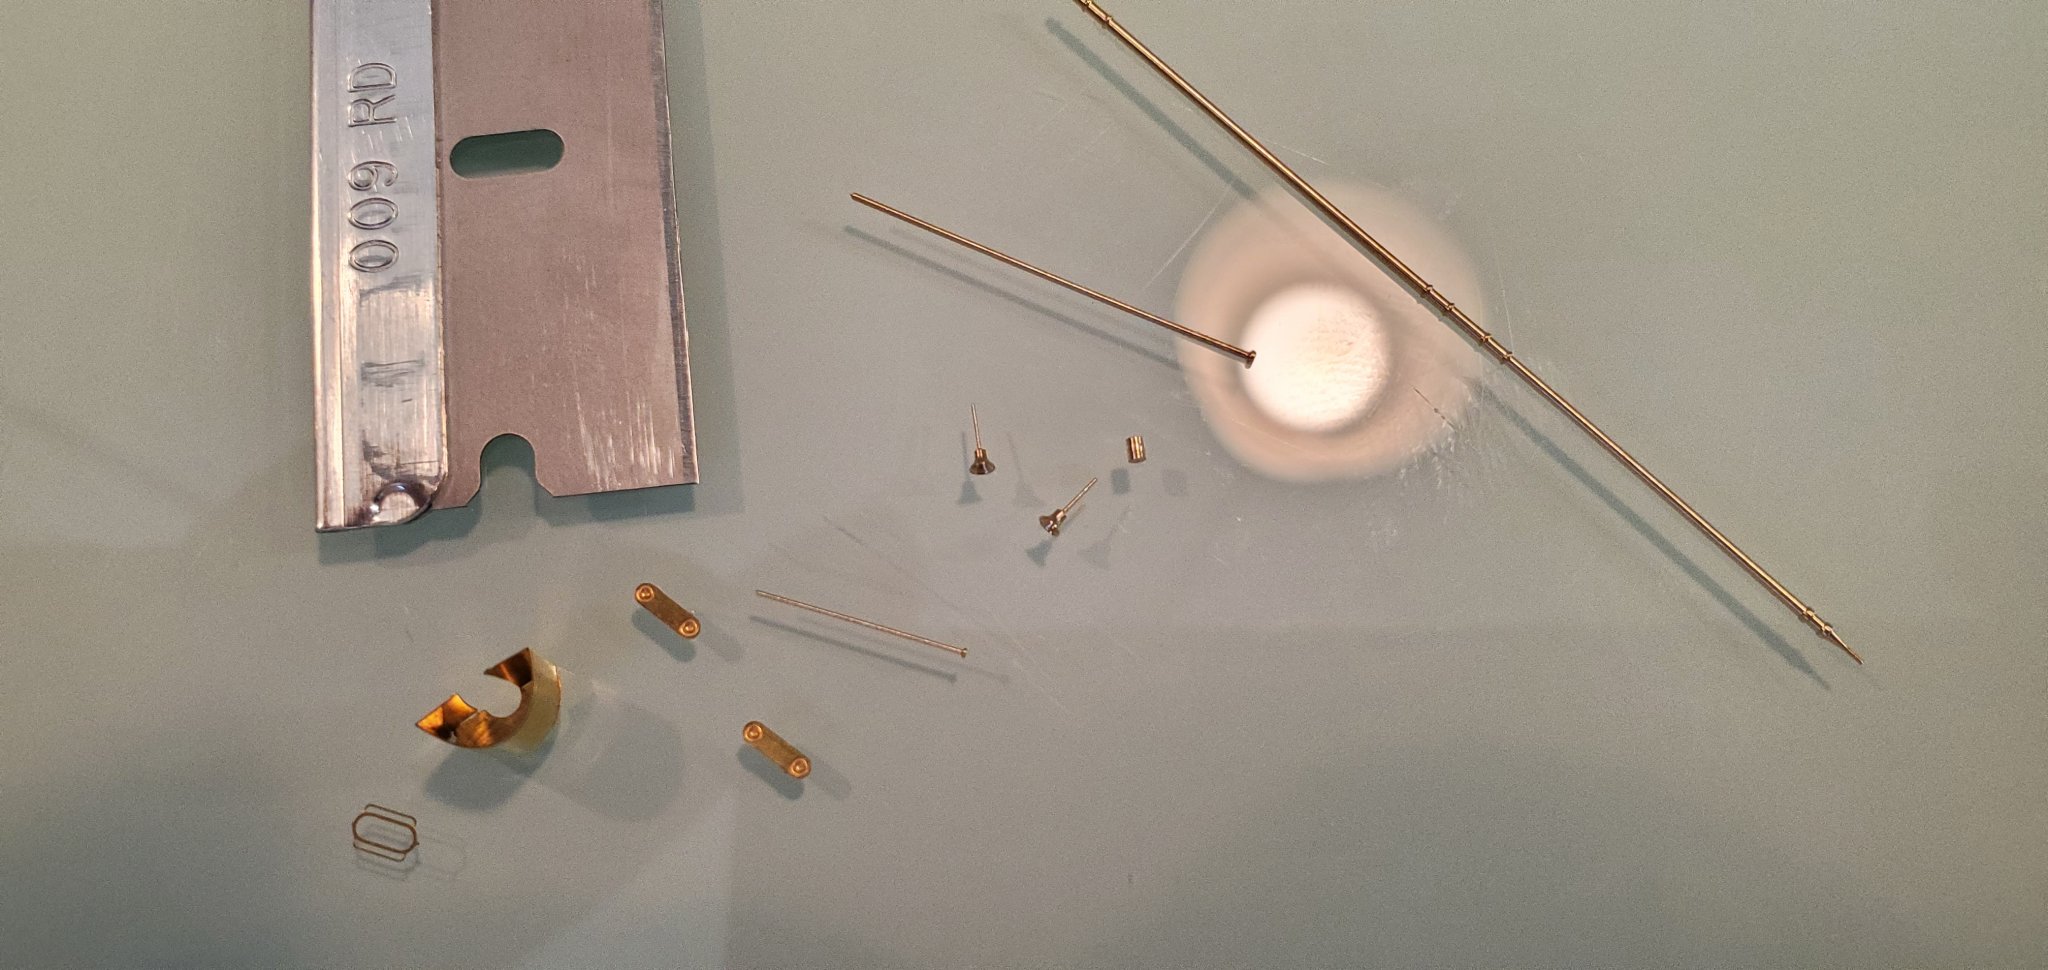
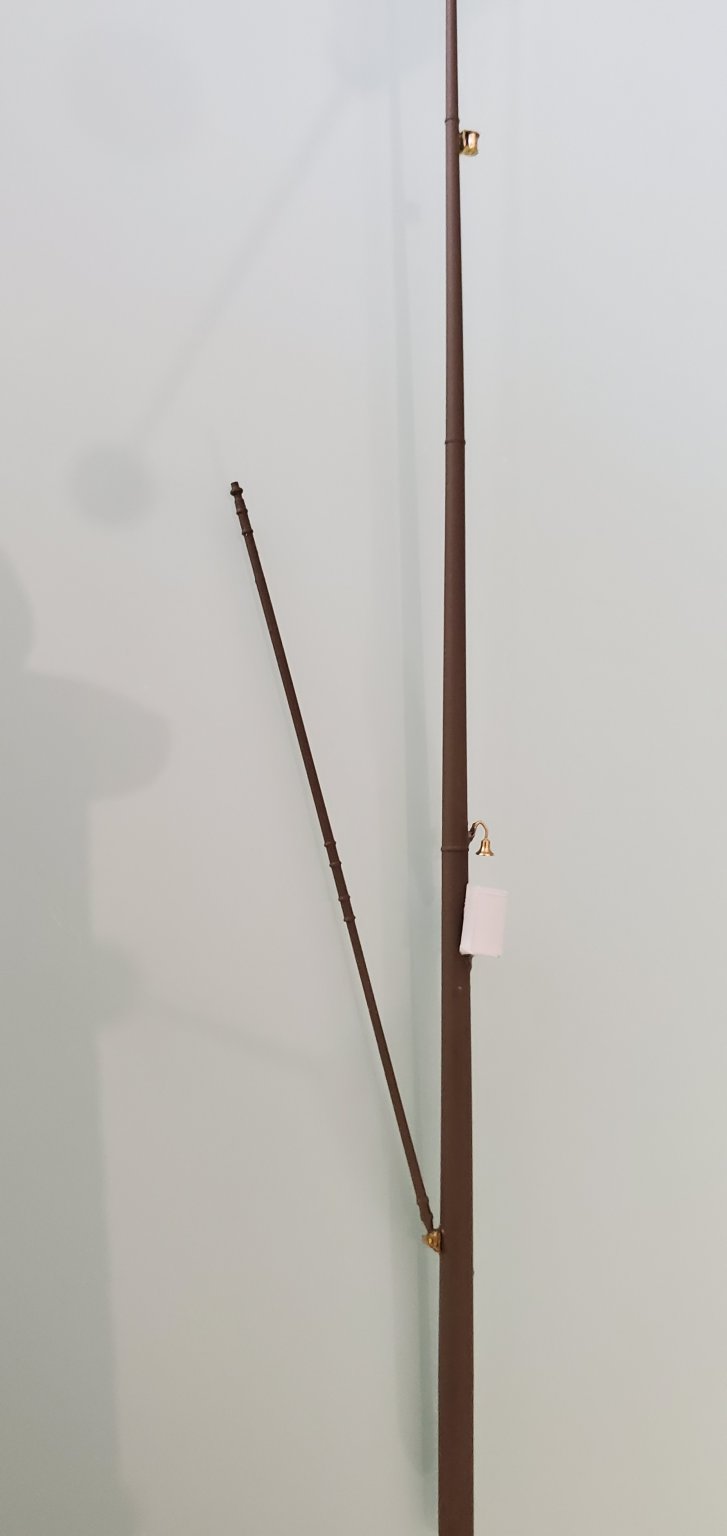
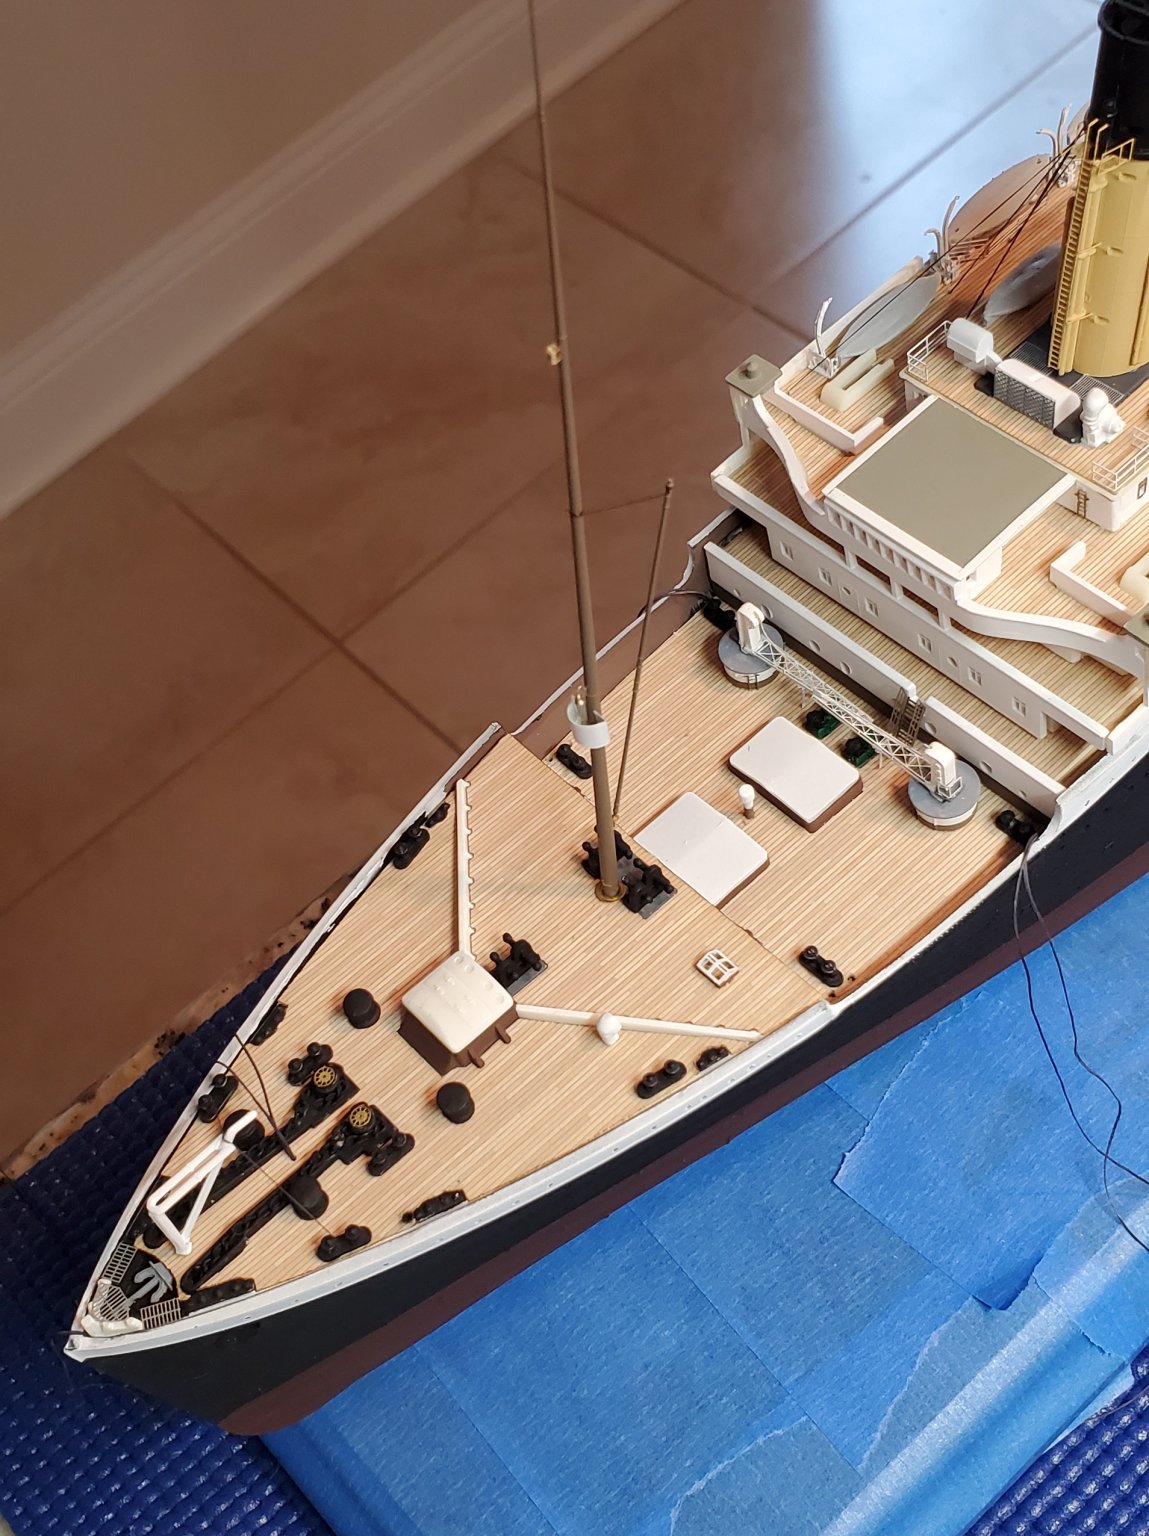
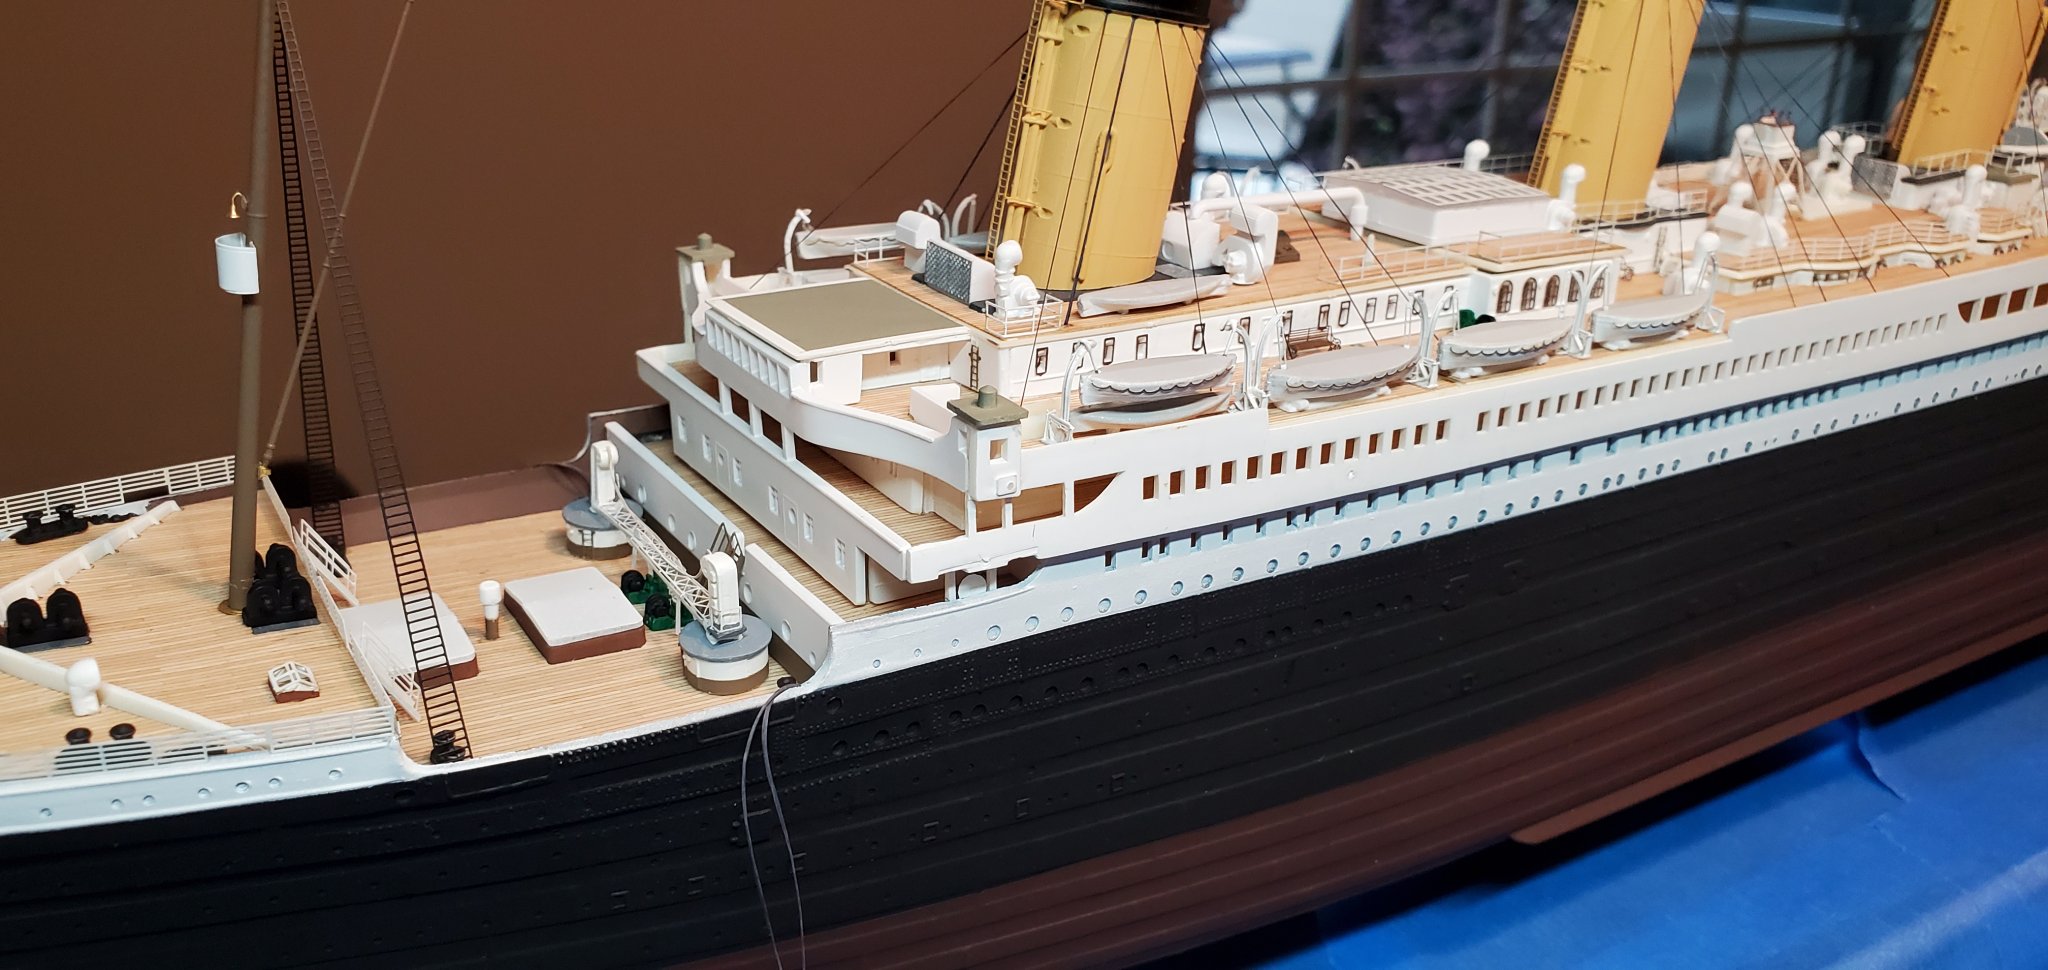
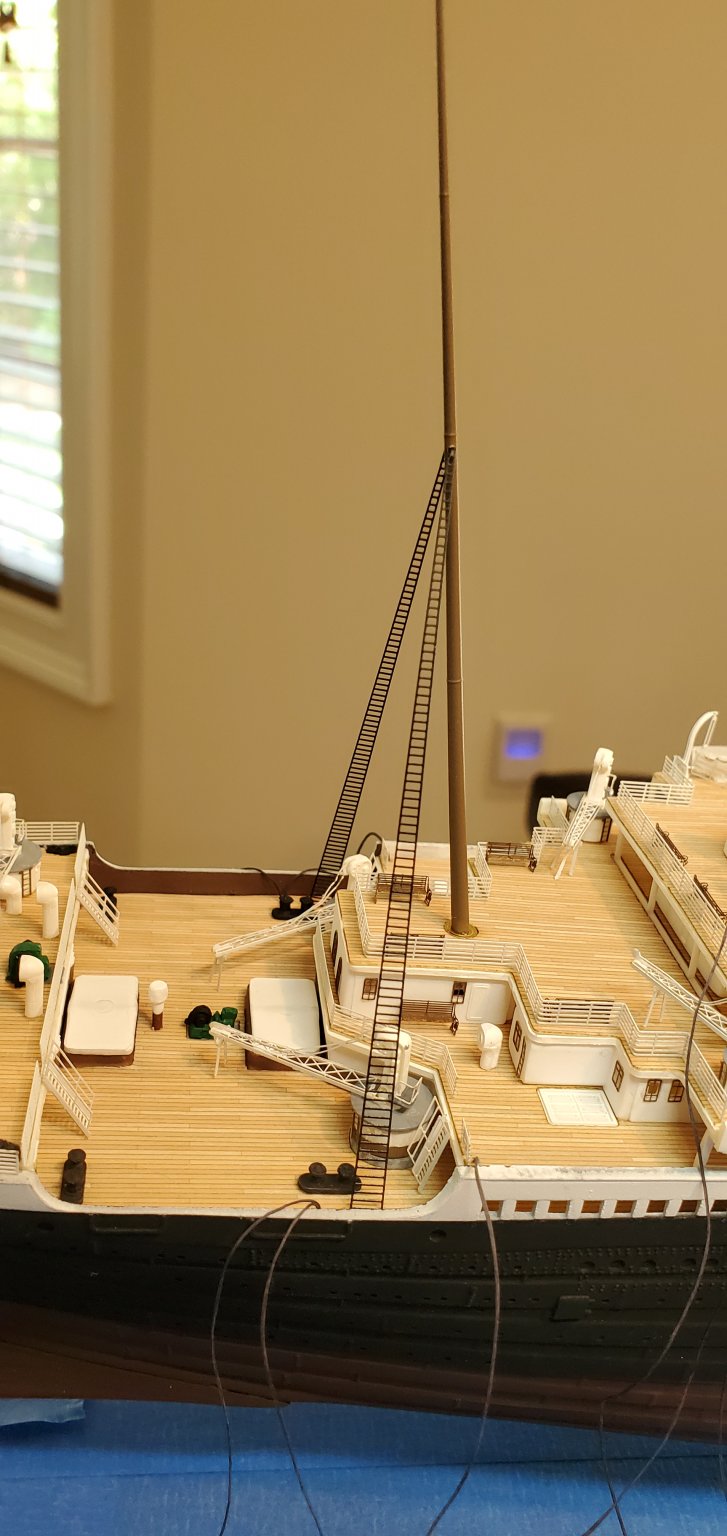
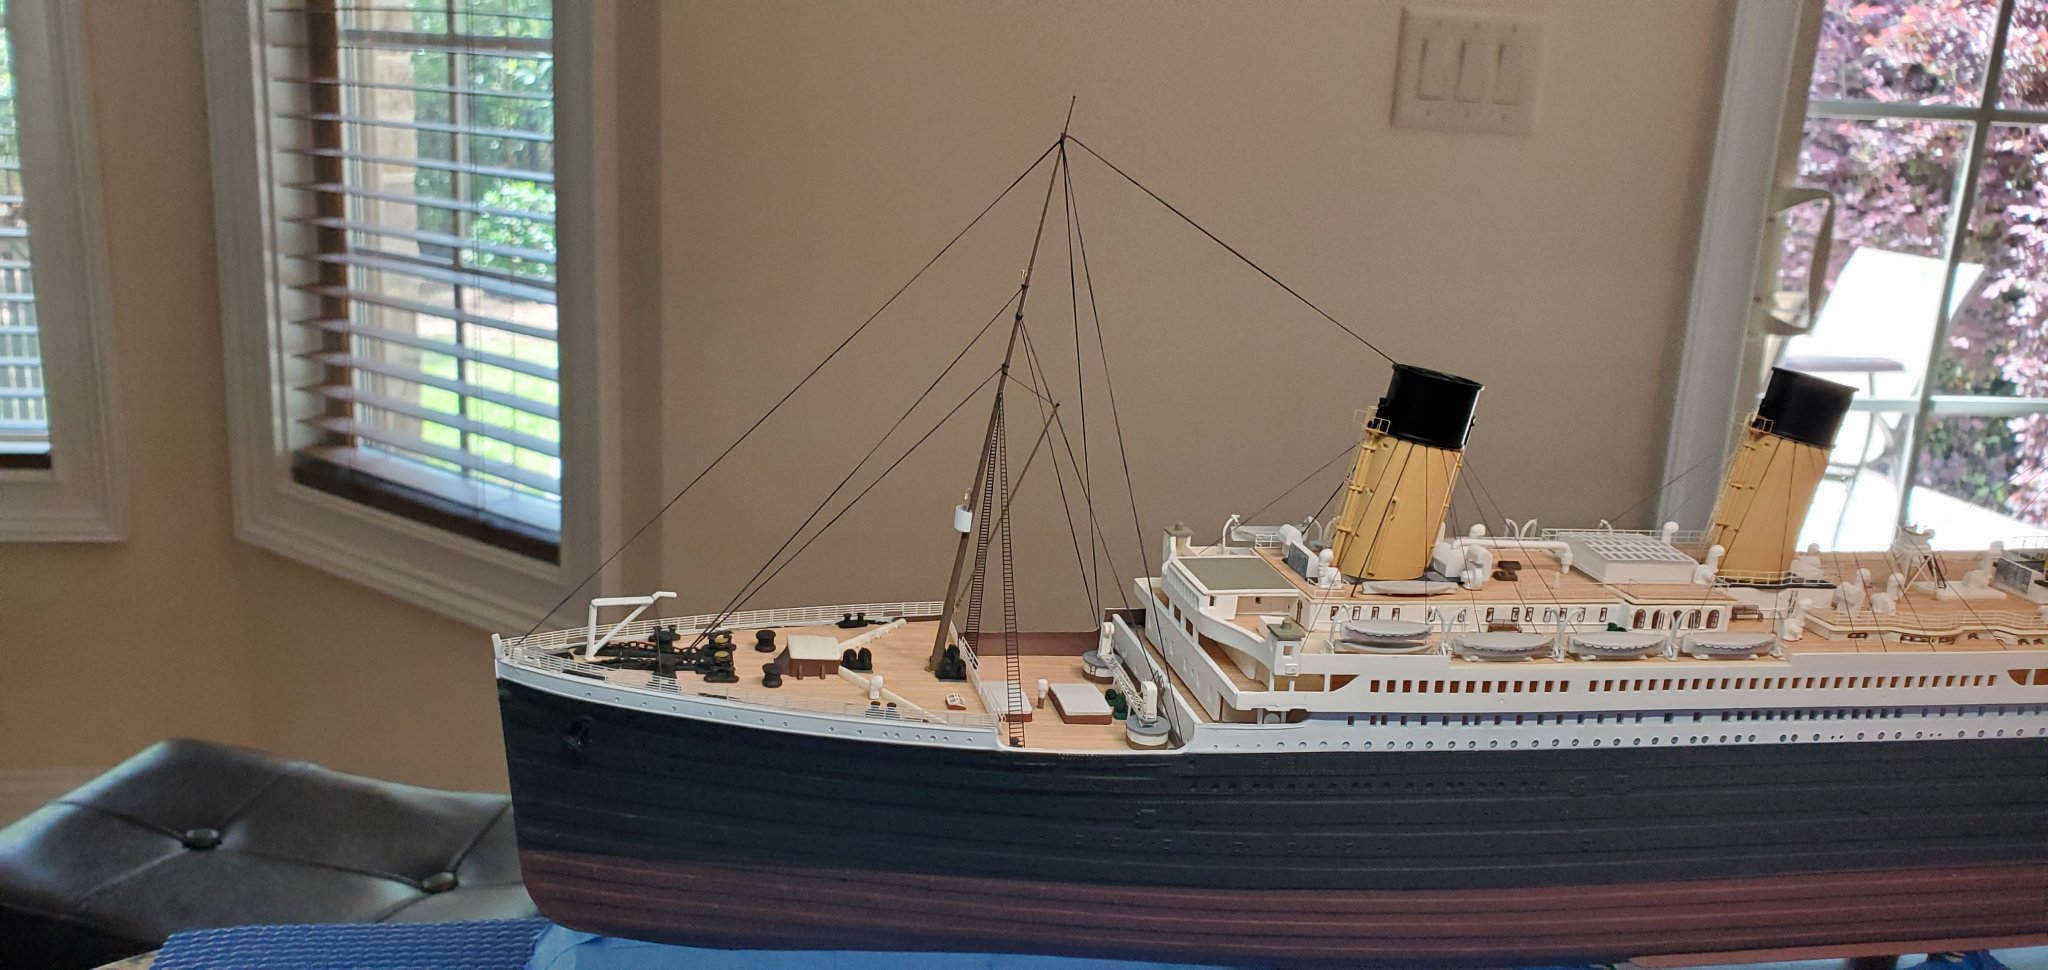
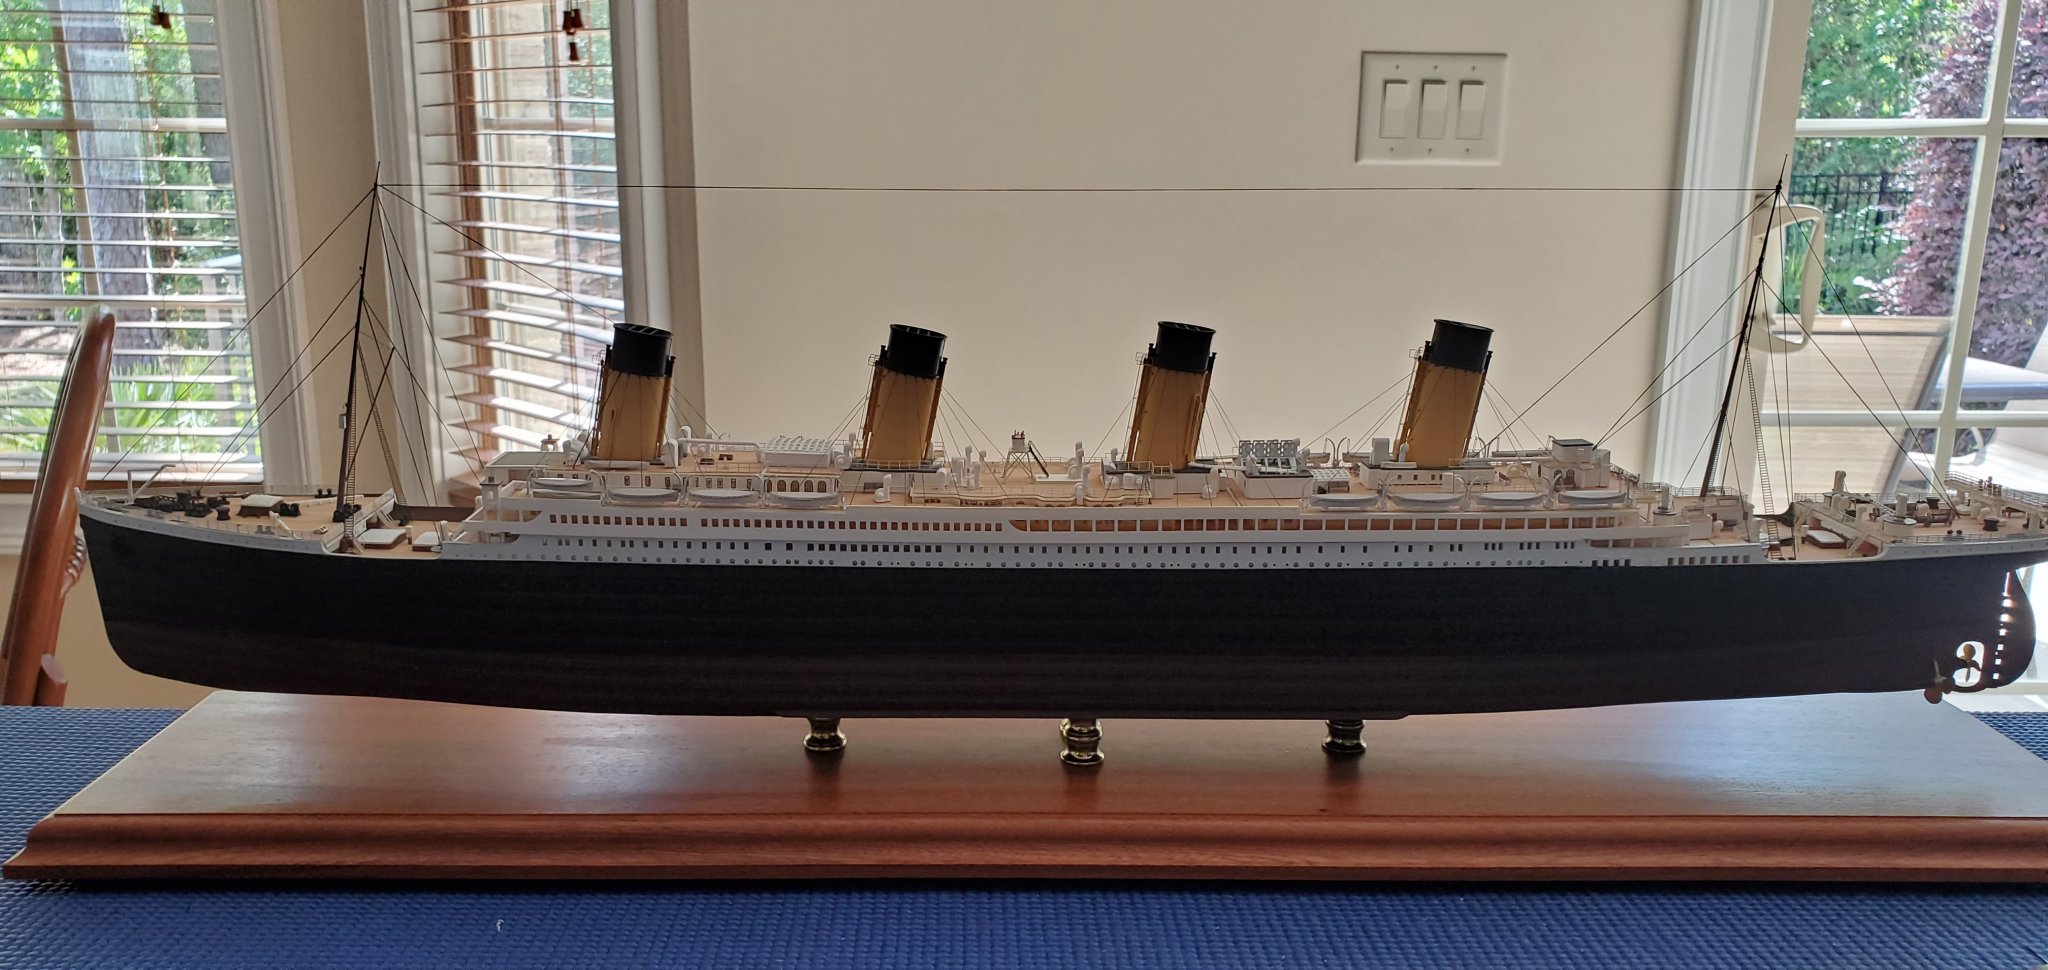
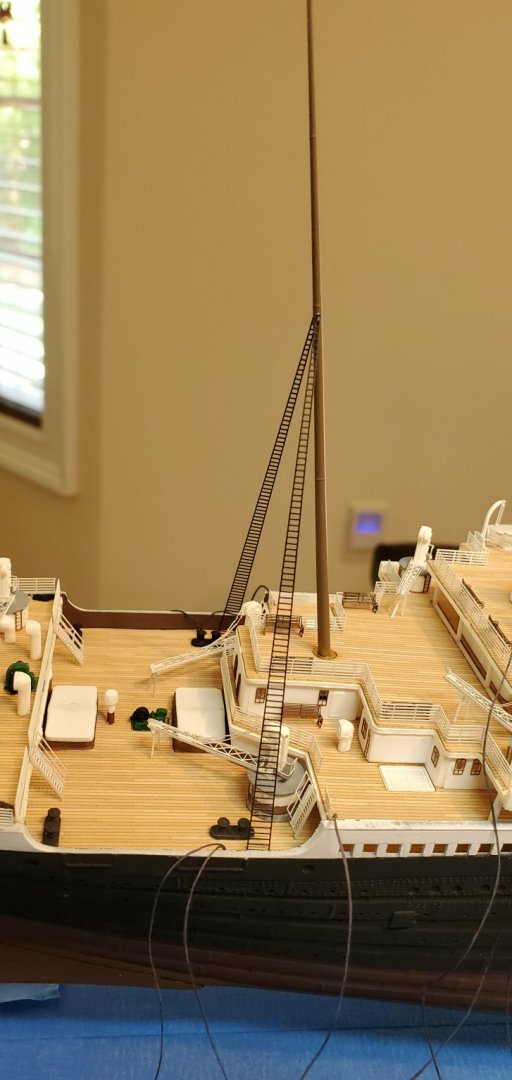
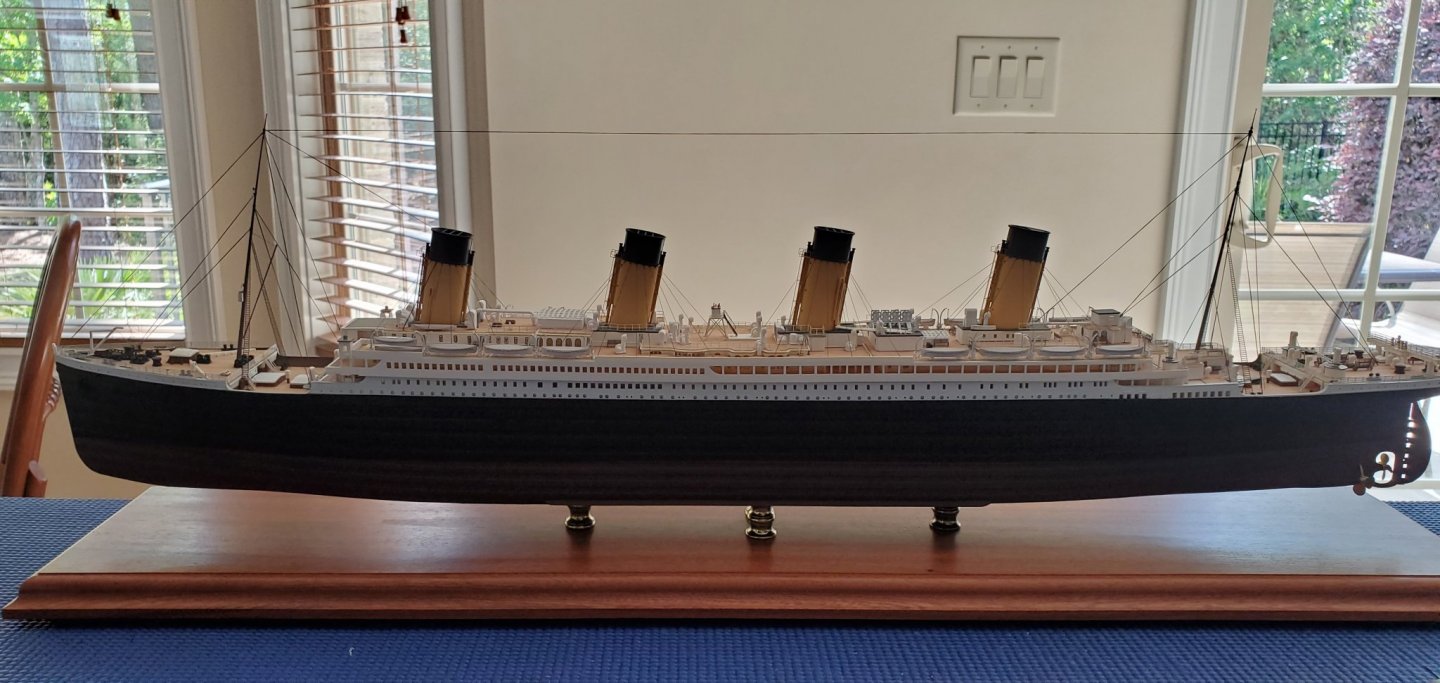
 This is my first complete build of a model in about 40 years. I have looked at it as a learning process. There are many inaccuracies and novice errors but it has taught me a lot. Once I found that I enjoyed doing this I saw this as a way to work on improving my skills. I realize Titanic models are everywhere but it was the easiest to purchase for a first attempt, and I am an ocean liner fan. I used a Scaledecks wood deck, various photo etch sets, and brass masts from Master Model. I'm not quite sure if I am posting this in the correct spot as this is my first post. I just recently completed this so perhaps it should go in a section for completed models? Being that the photos are throughout the building process I thought it might be better here. Thanks for looking.
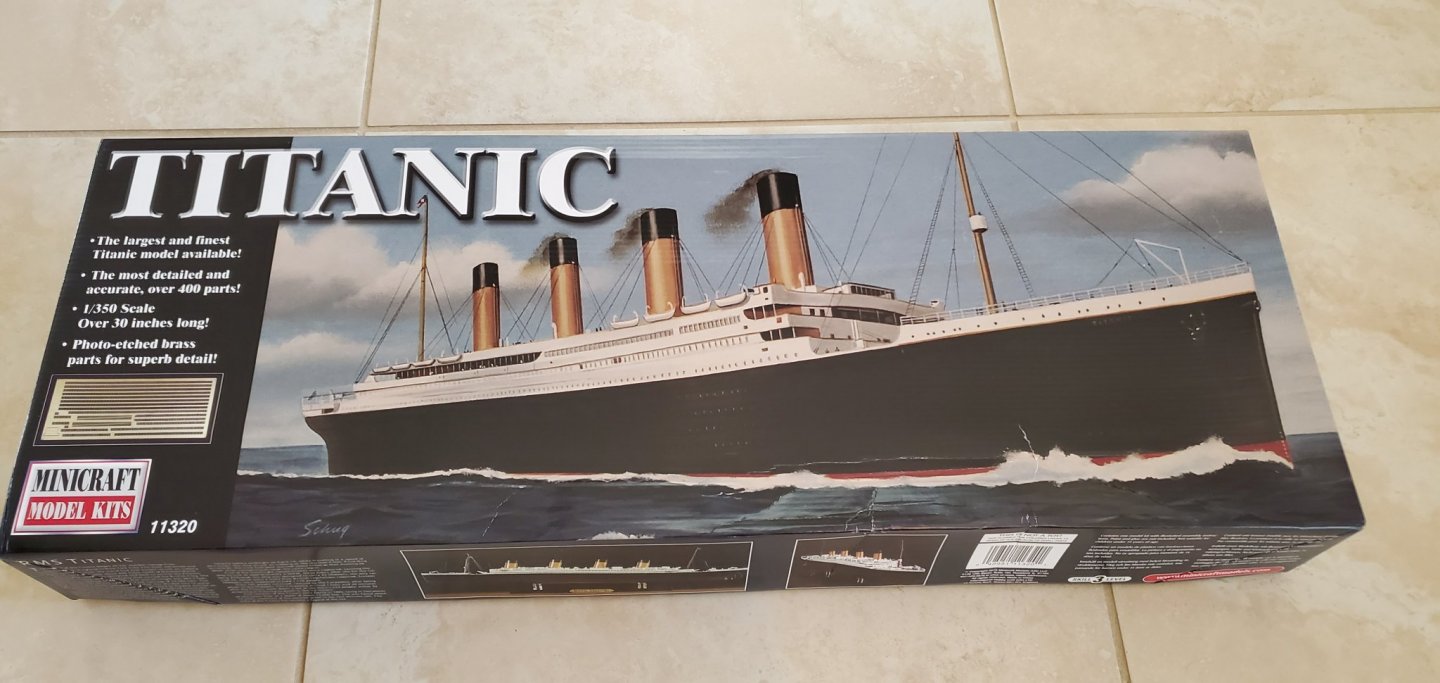


- 26 replies
-
- 14
-
-
-
 I looked at the Amati kit for awhile, then OcCre came out with their version. After building the HMS Terror, I enjoyed that one. I pulled the trigger for the OcCre kit. Just going thru the kit, iding the parts and the keel has been removed from carrier sheet.
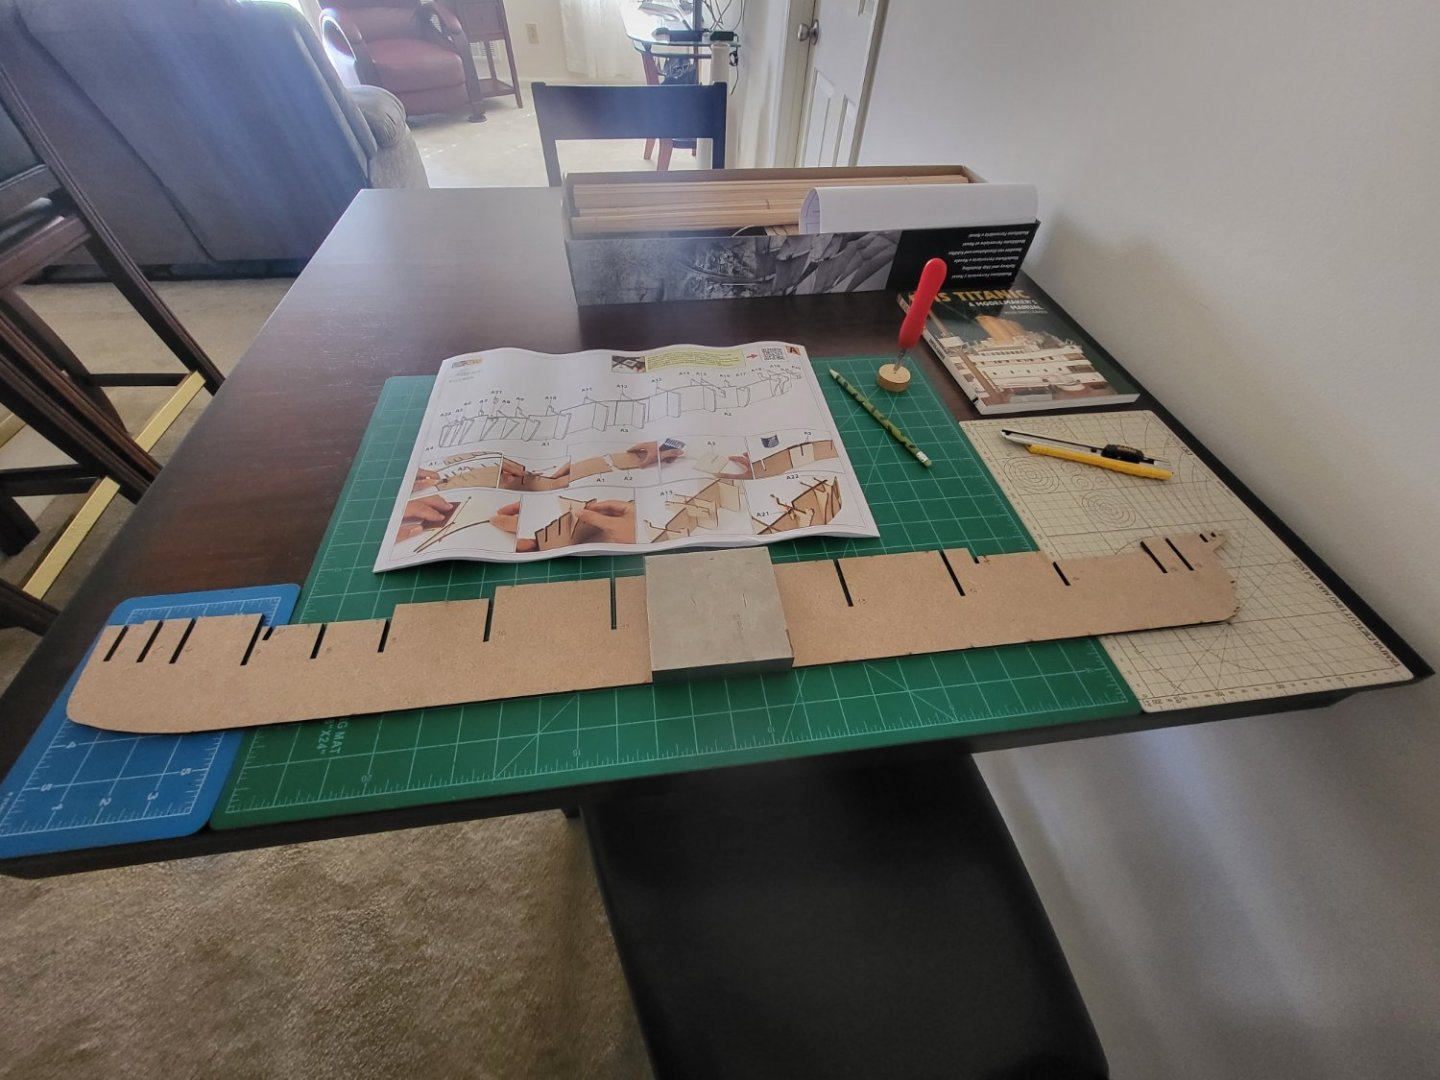
-
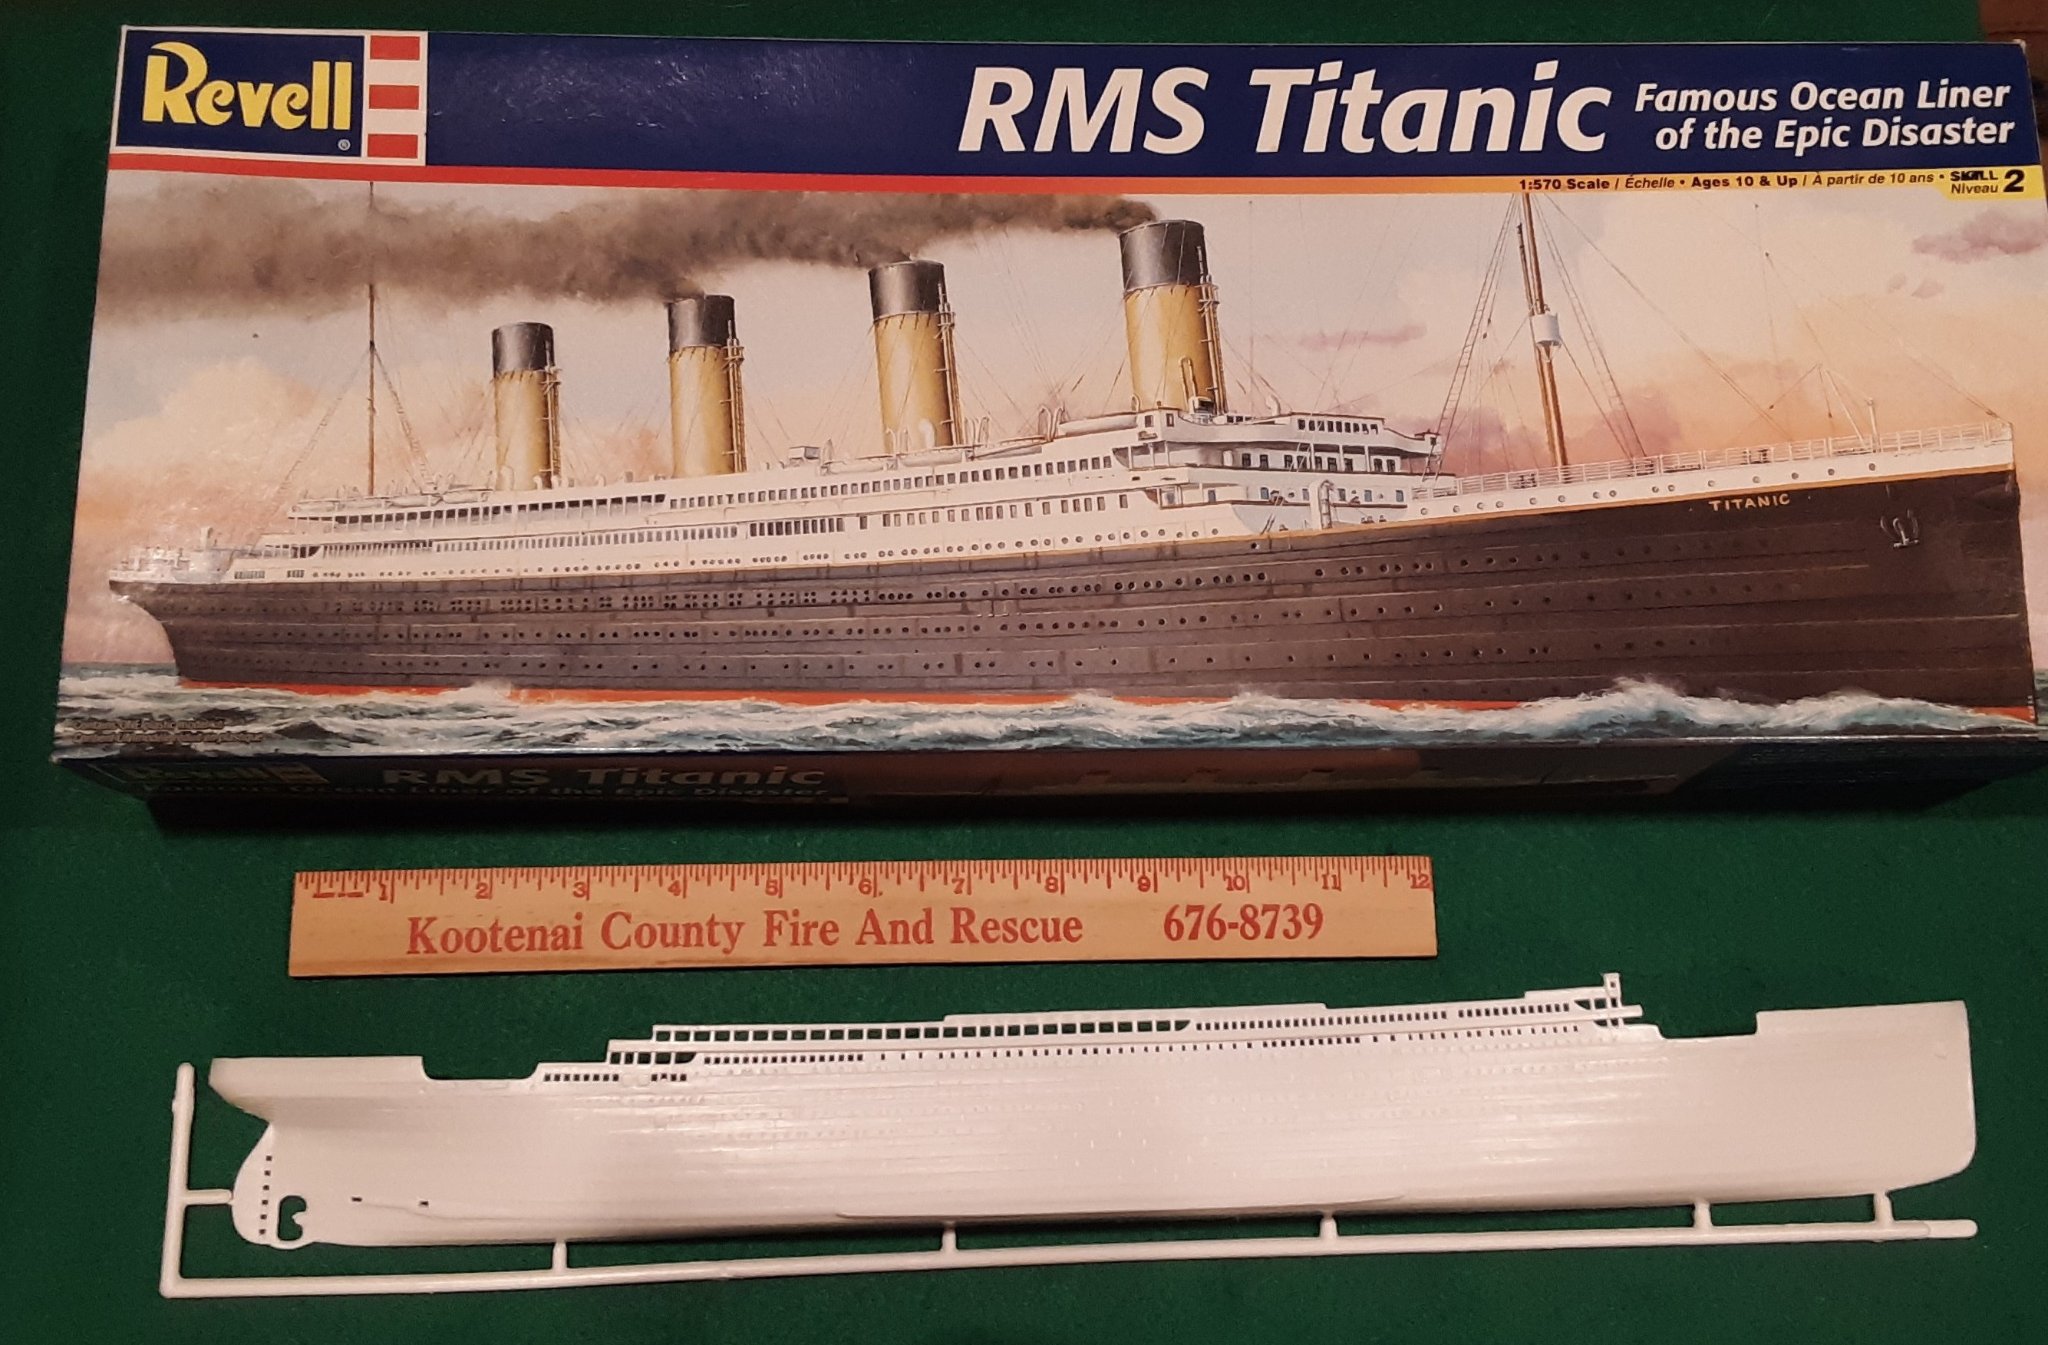
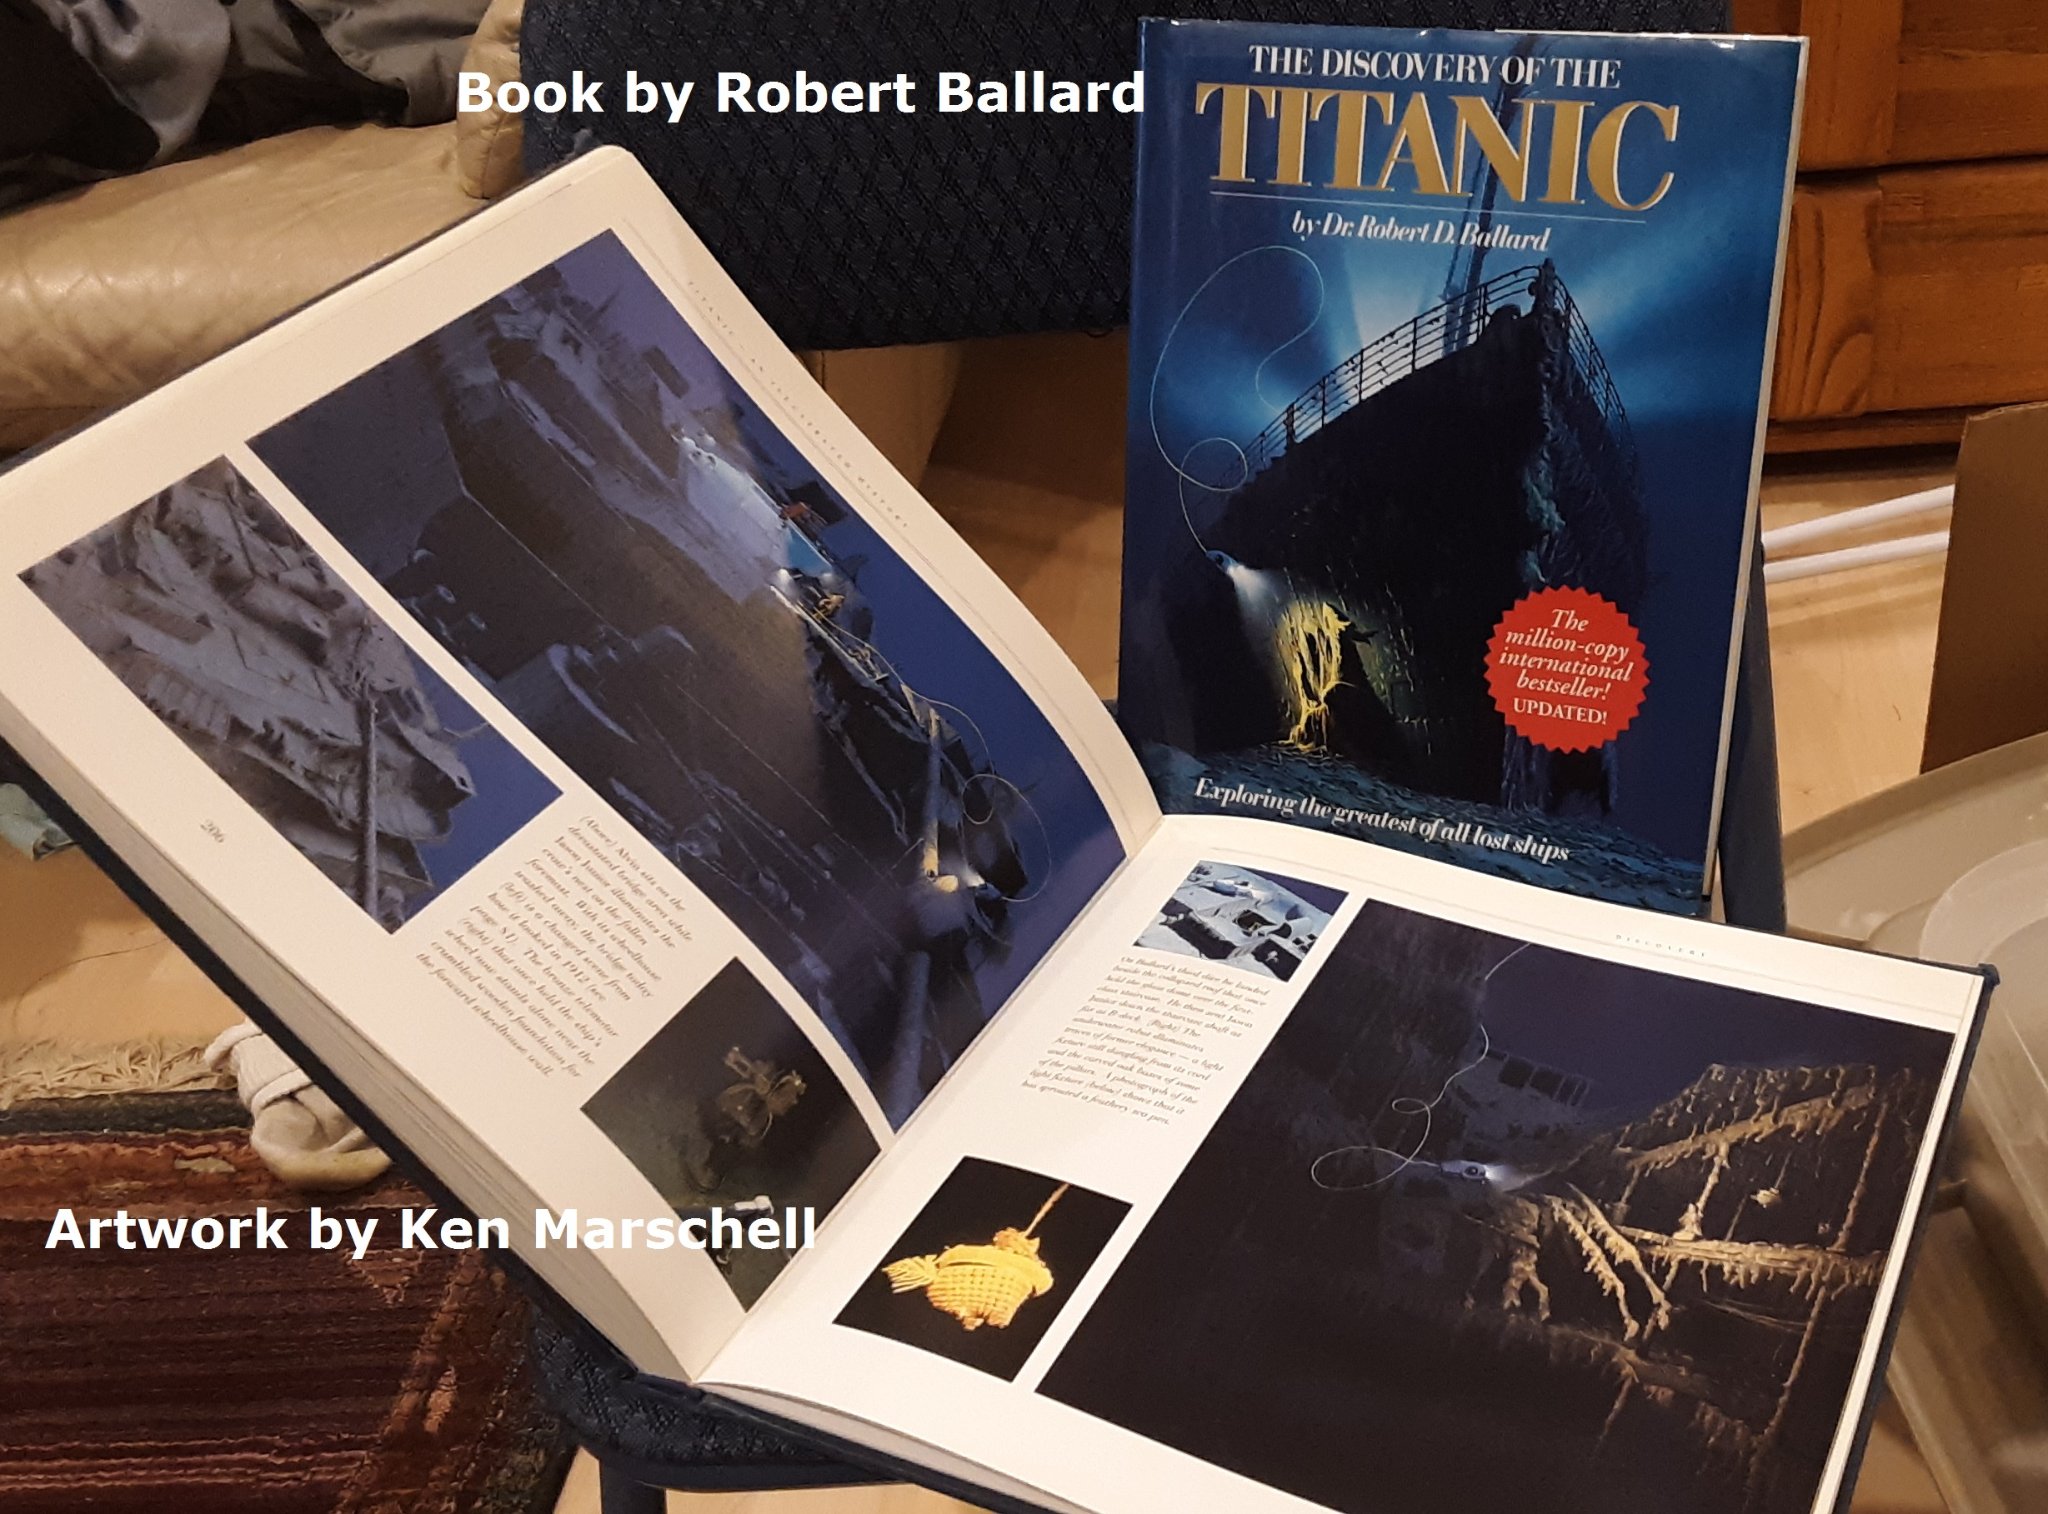
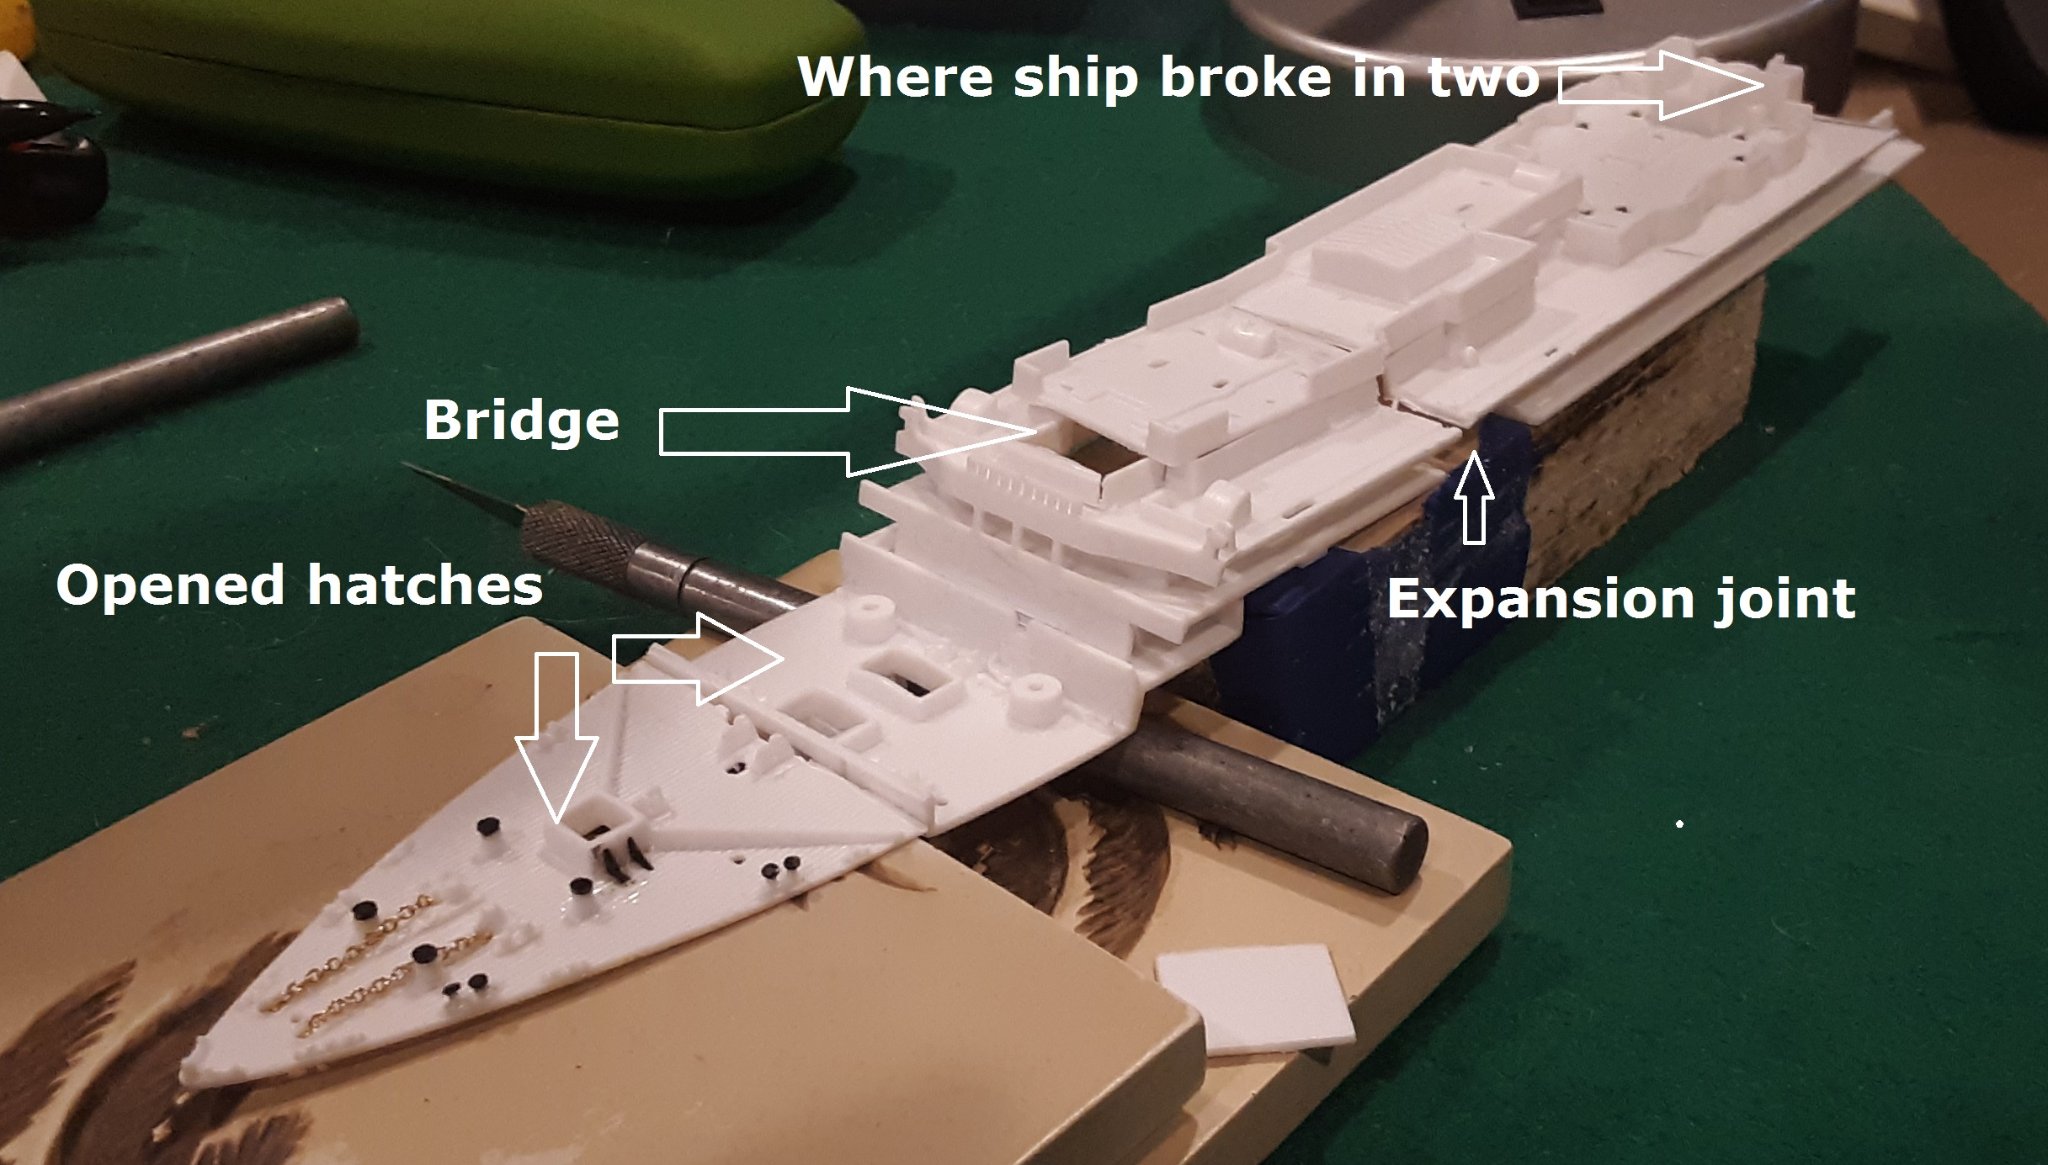
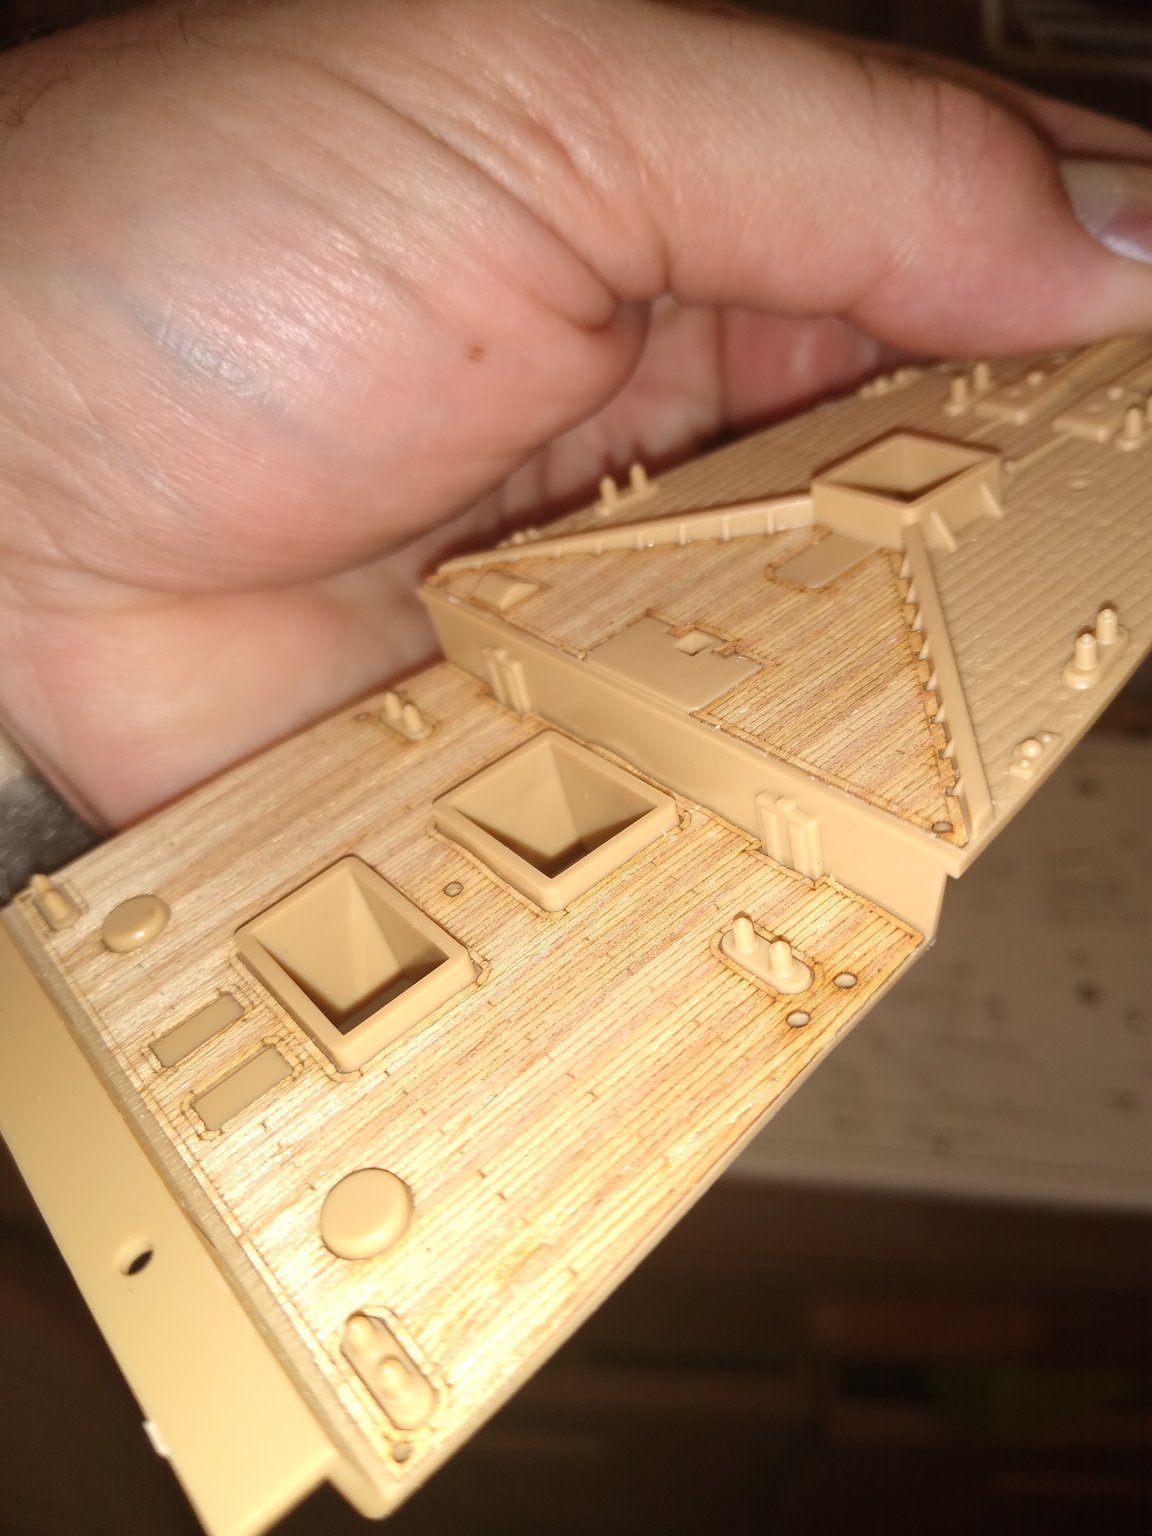
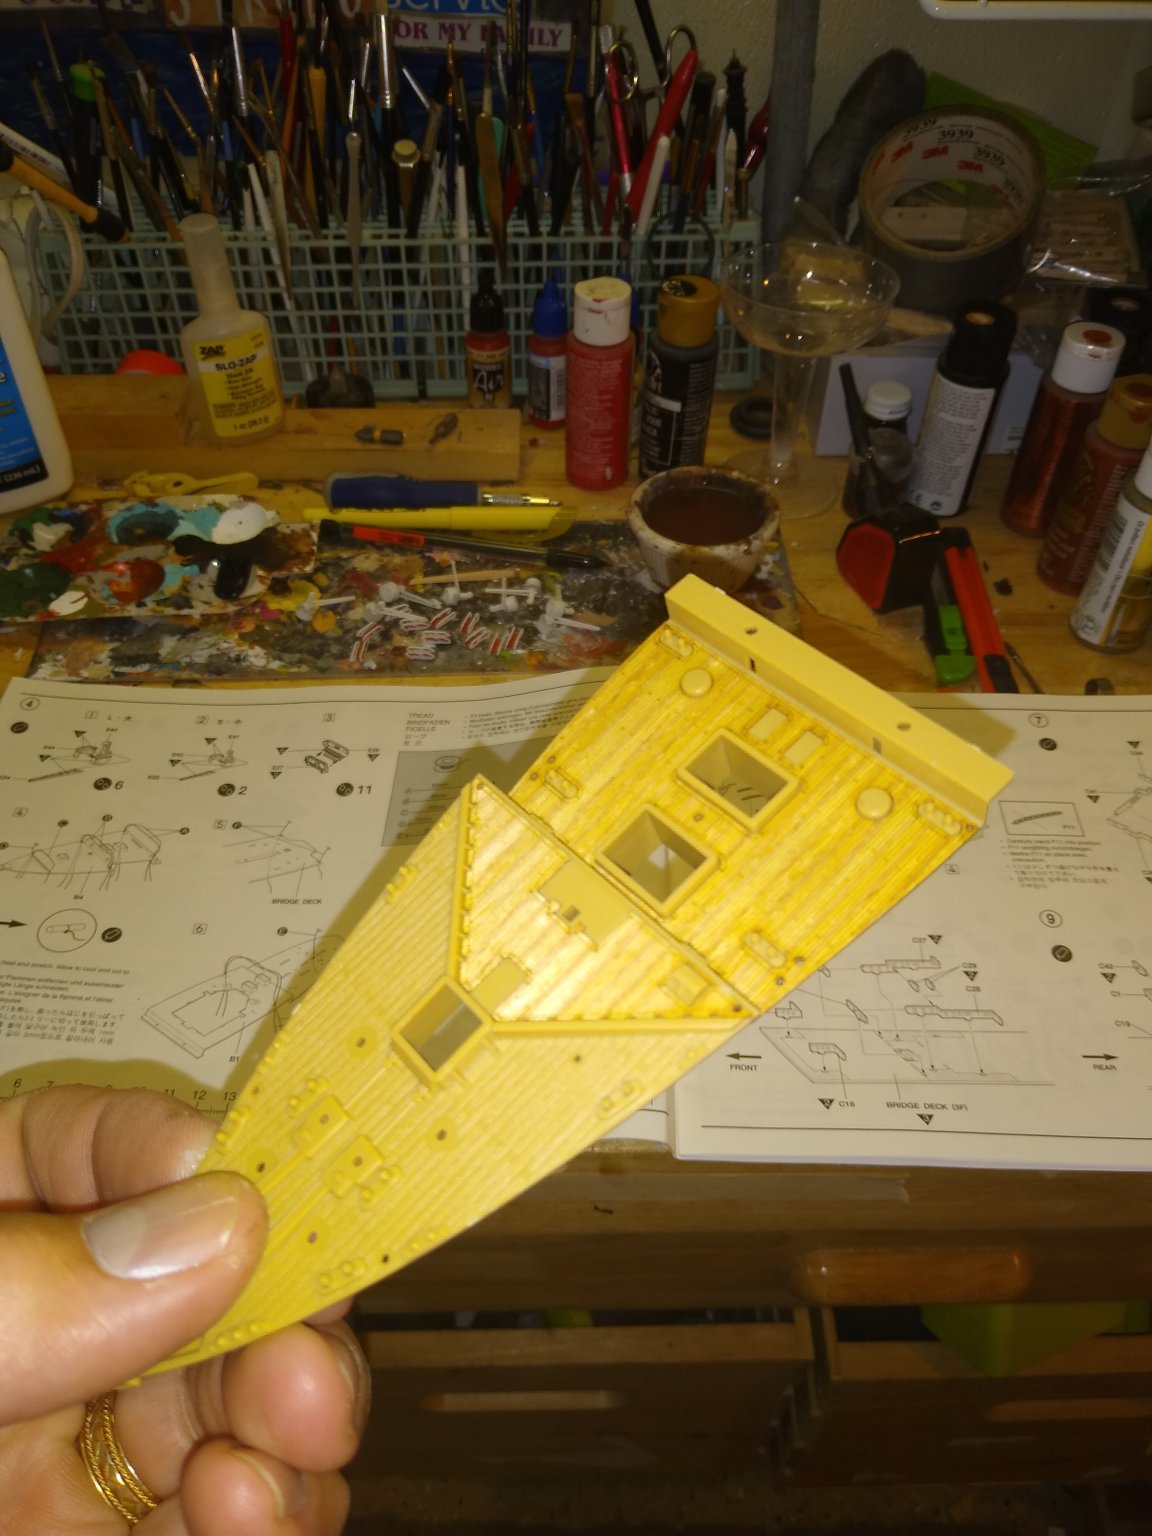
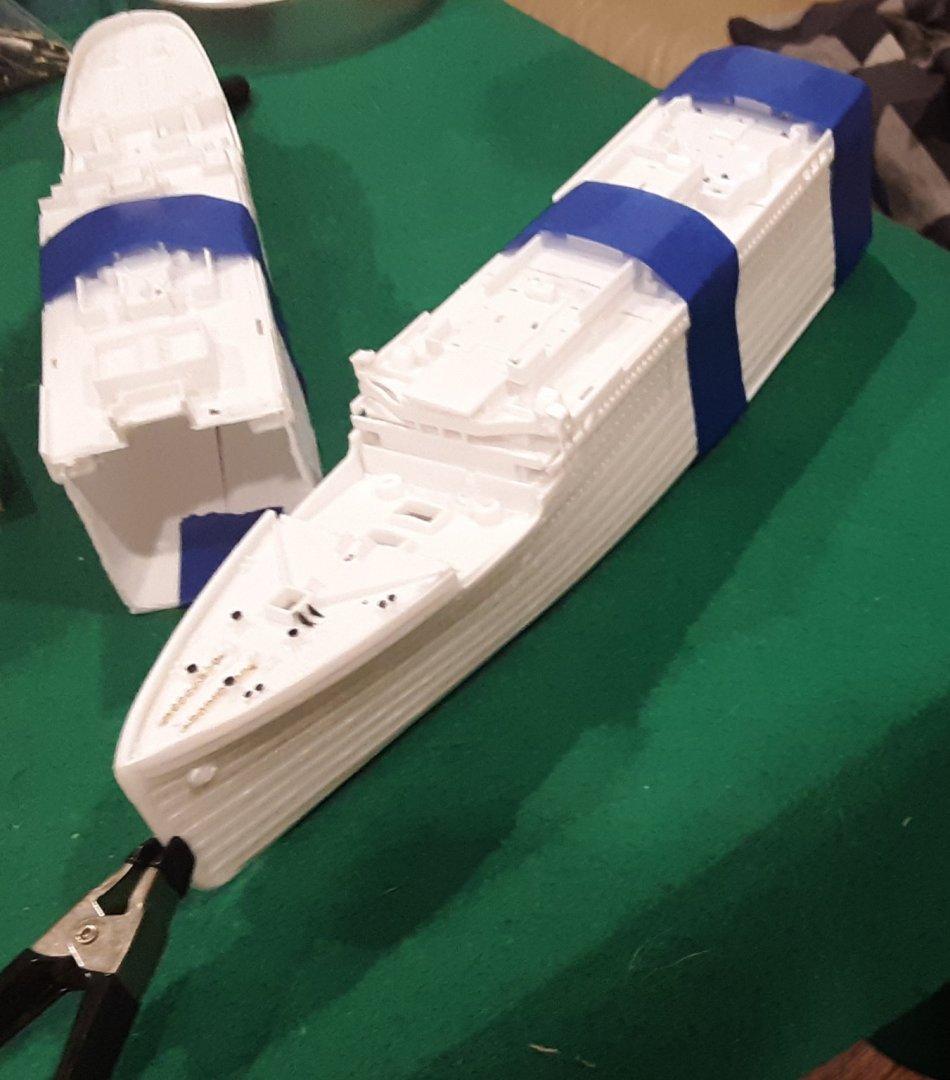
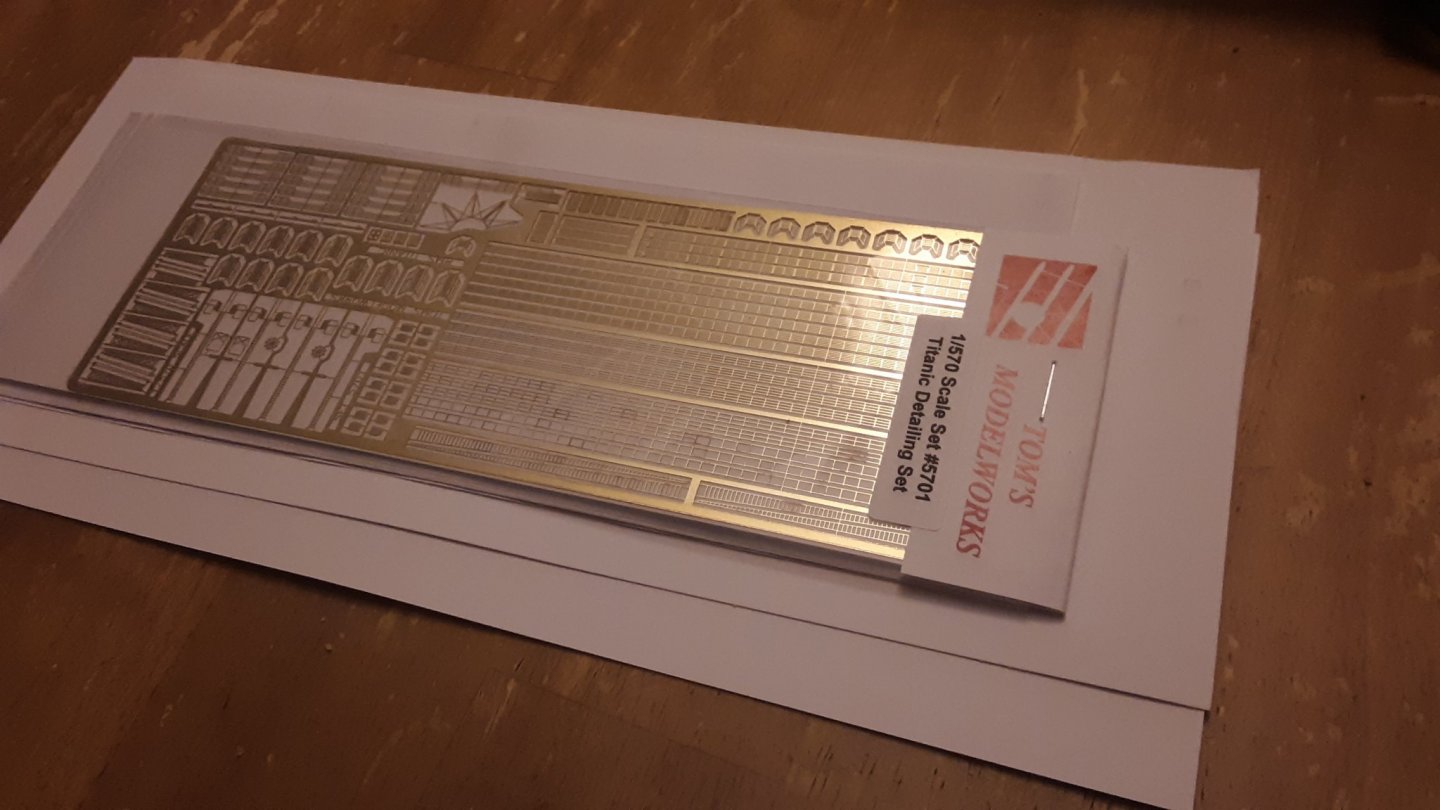
 I have been following a youtube tutorial on building the wreck in 1/350 scale, I will use the Revell kit I have in my stash to build the same. In addition to the tutorial, I will use these books. The bow section is only 470 feet of the 882 foot long Titanic, in 1/570 scale that is under 10 inches! So far, I cut the hull at 470 scale feet and started the forecastle, the boat deck and A deck. I did get the Tom's Modelworks photo etch set for the cranes and railings.
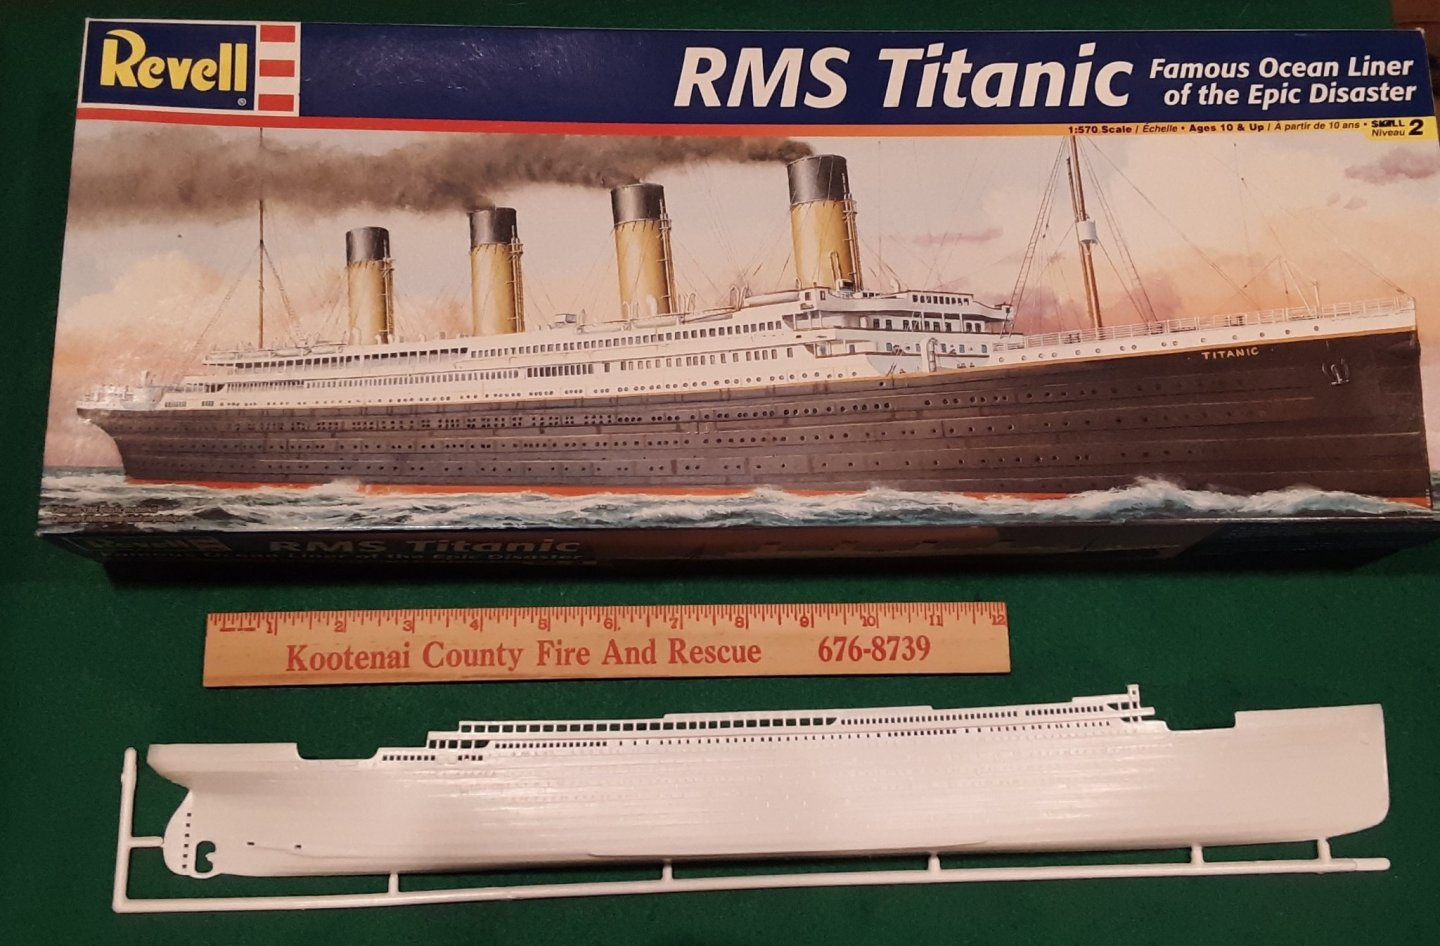


- 10 replies
-
- 11
-
-
 This was a last minute choice in what will be 2 ships. This is the 1/400 Academy Titanic kit. I purchased laser cut wood decks, PE Deck Chairs, PE Hand Rails.


-
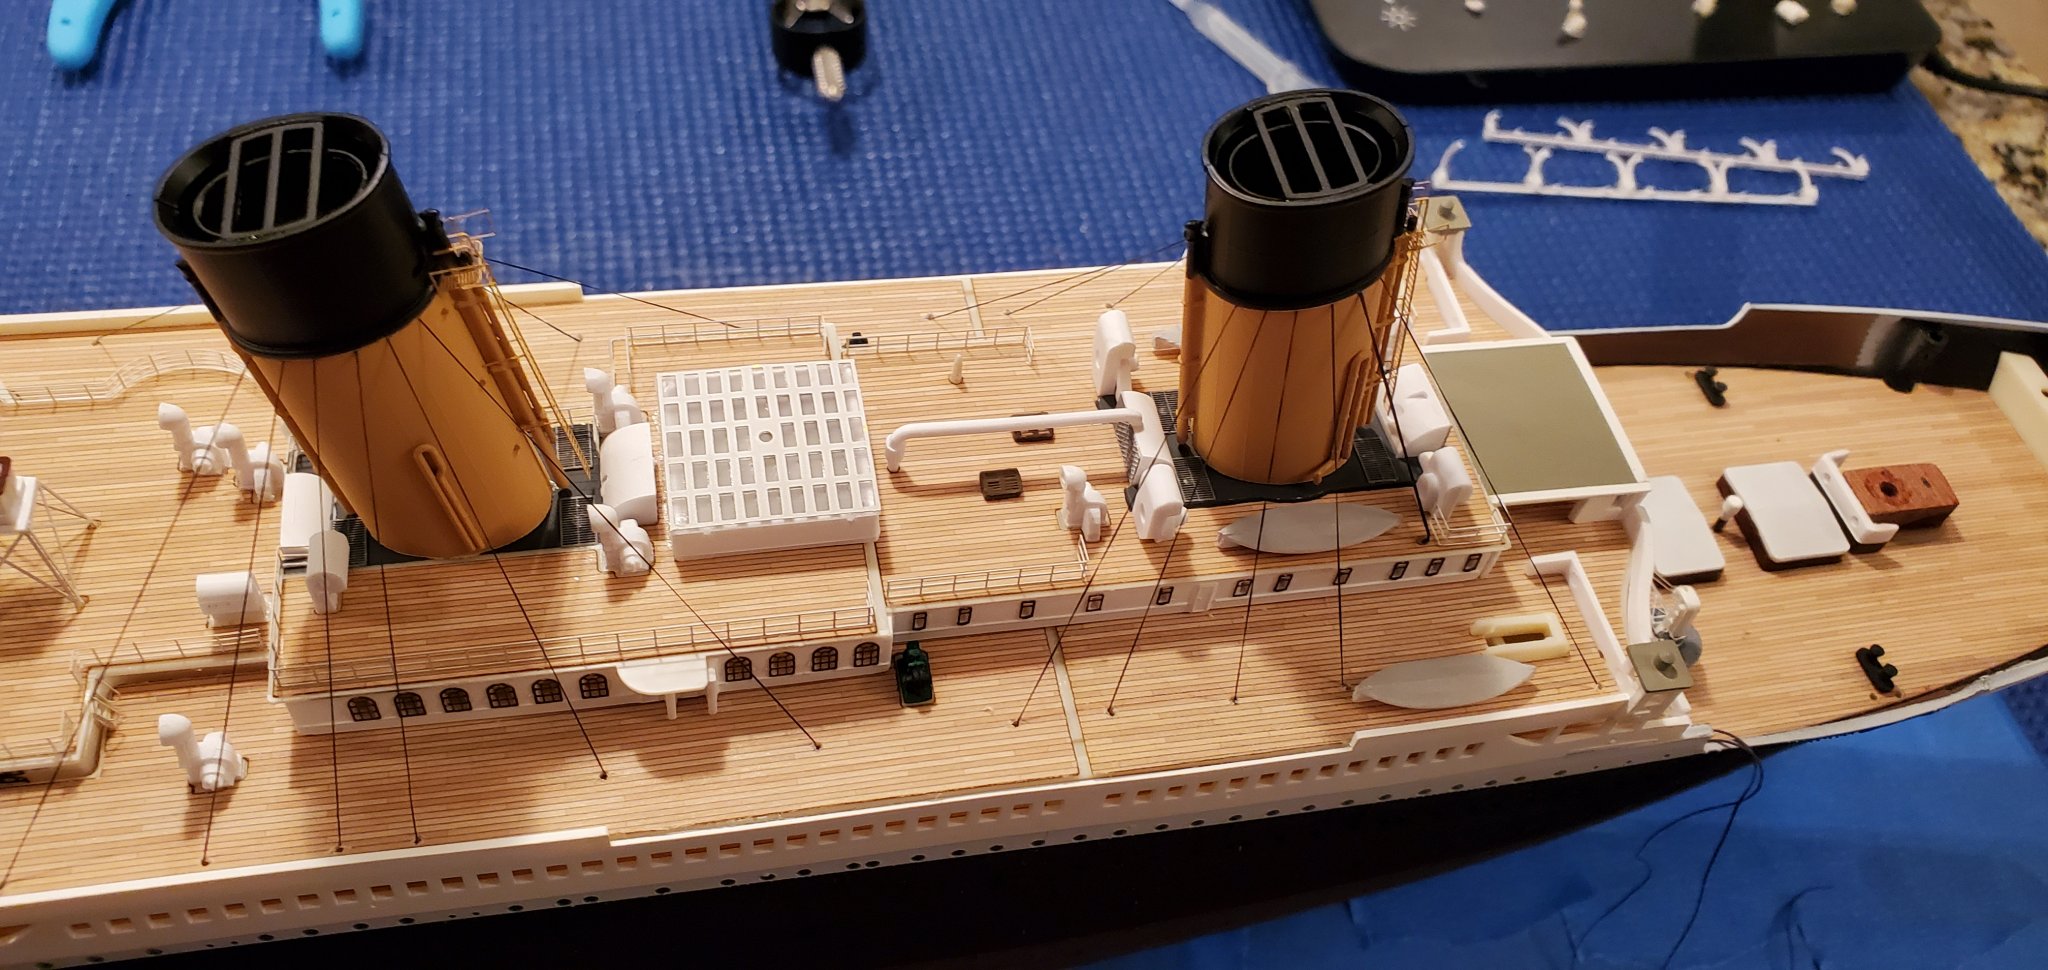
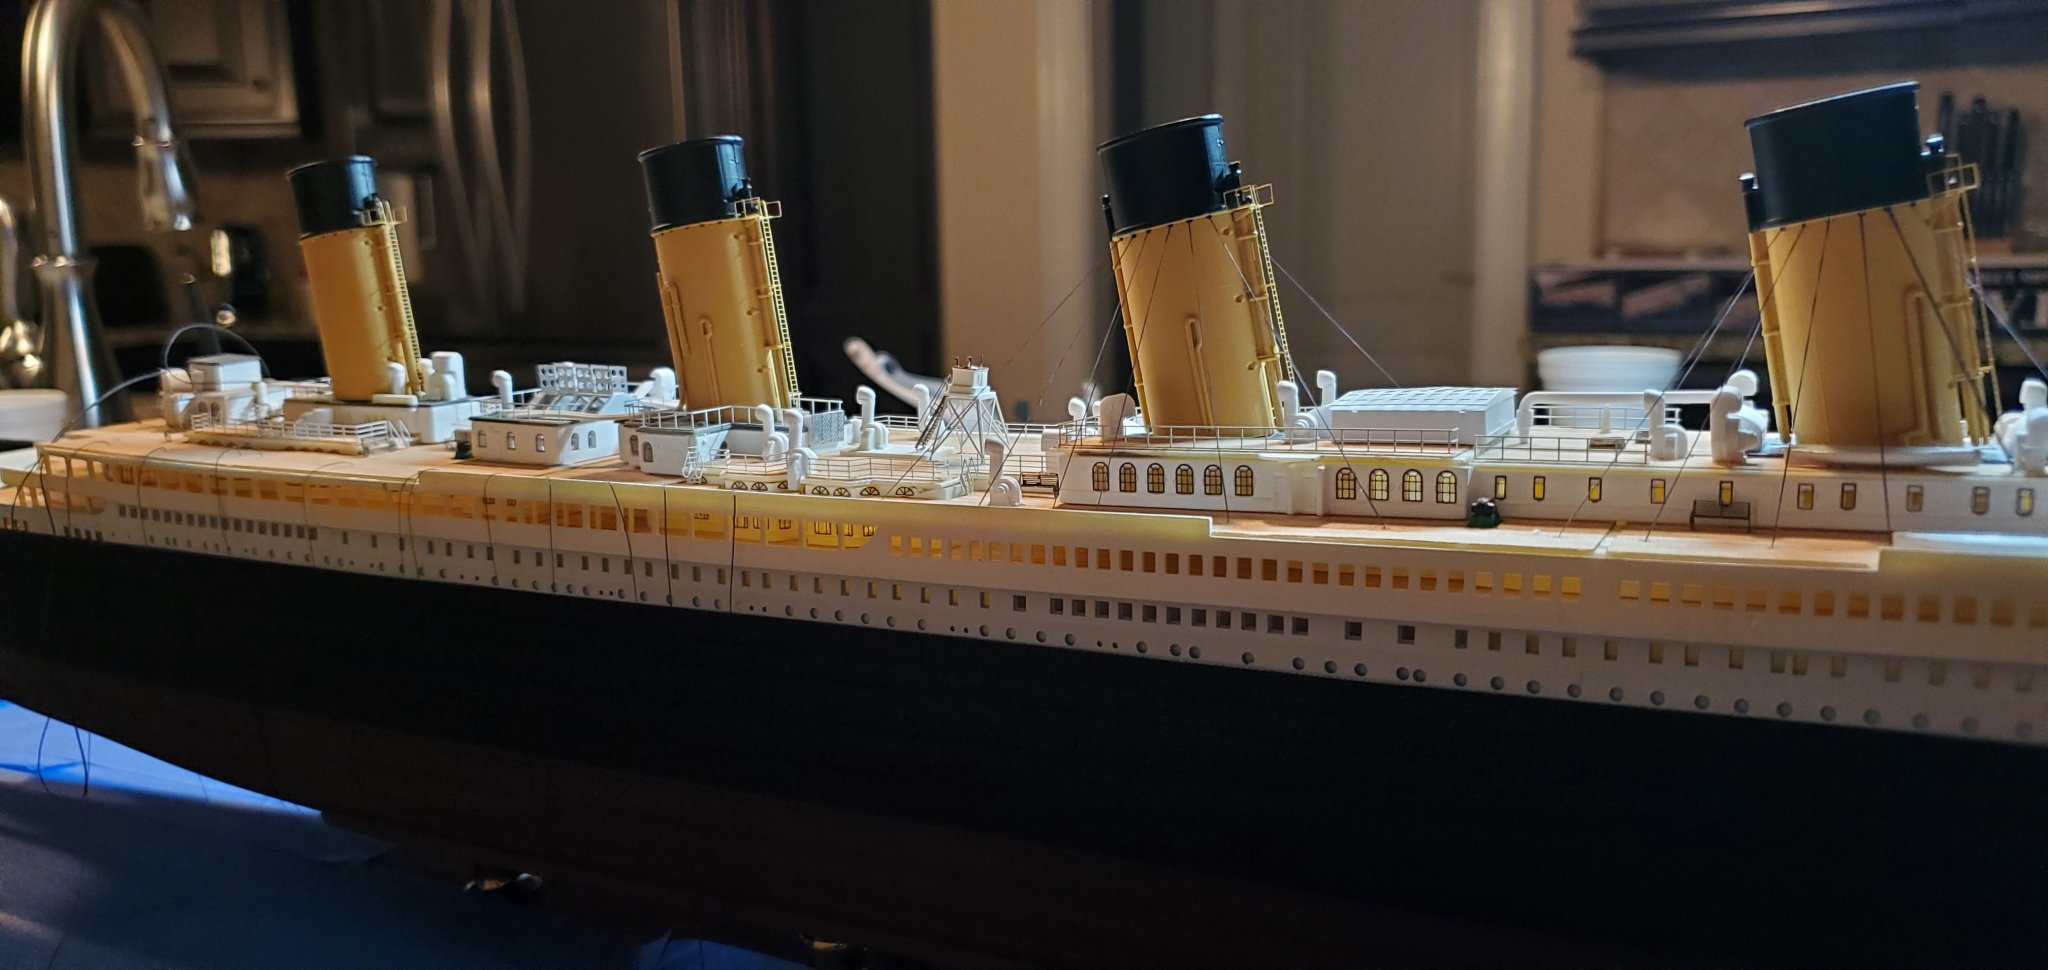
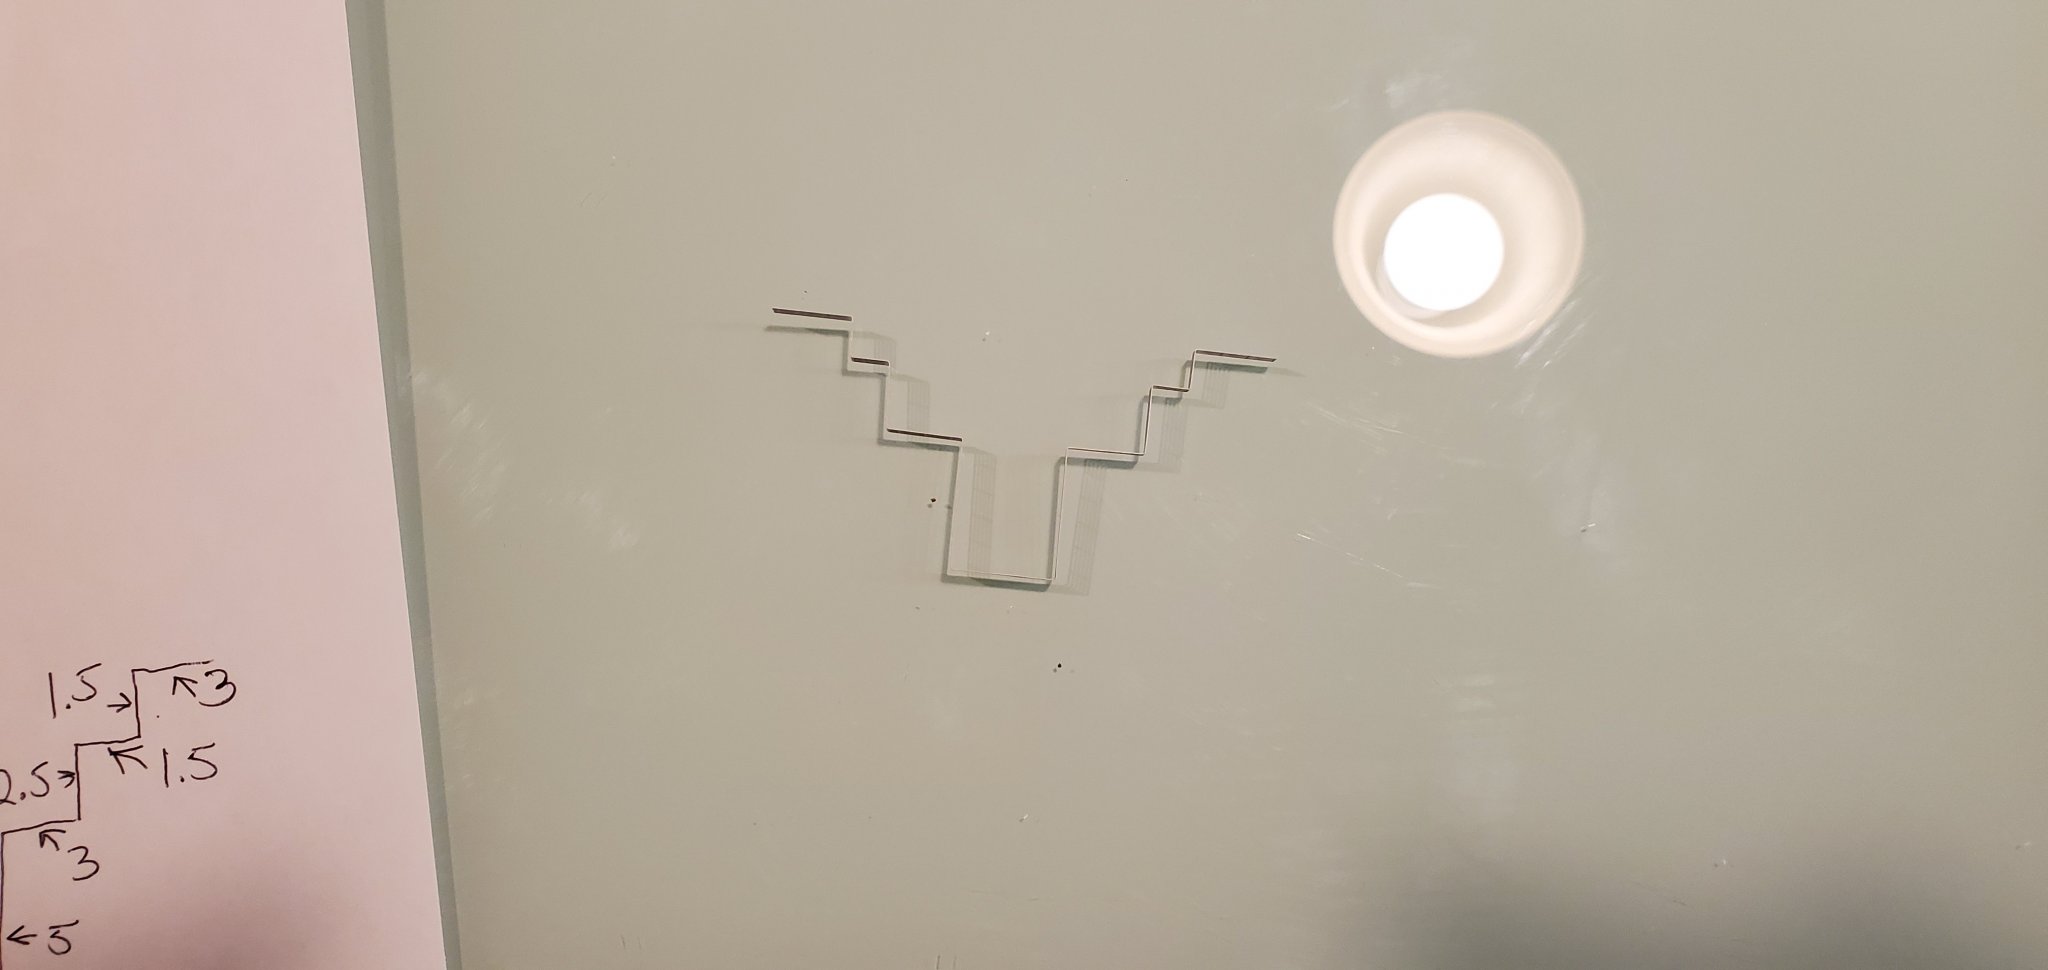
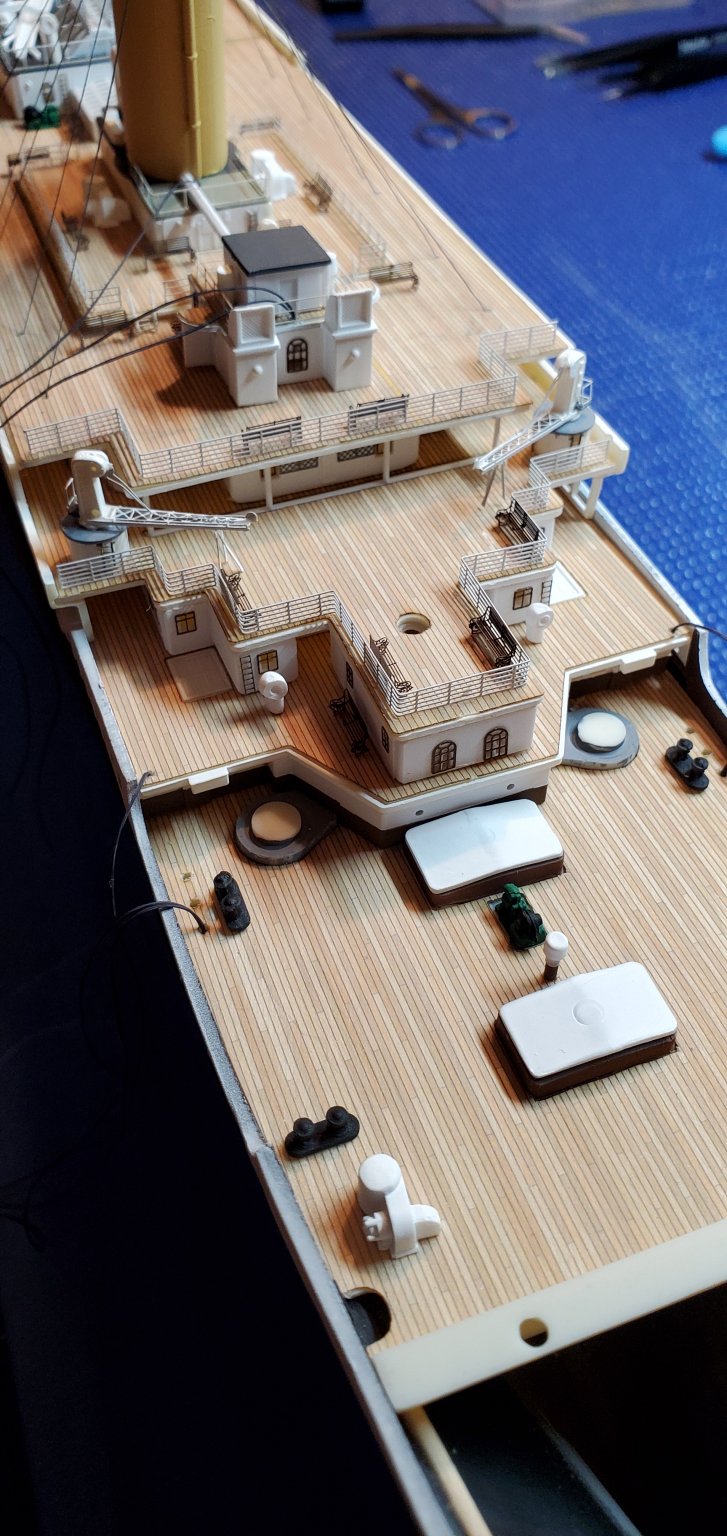
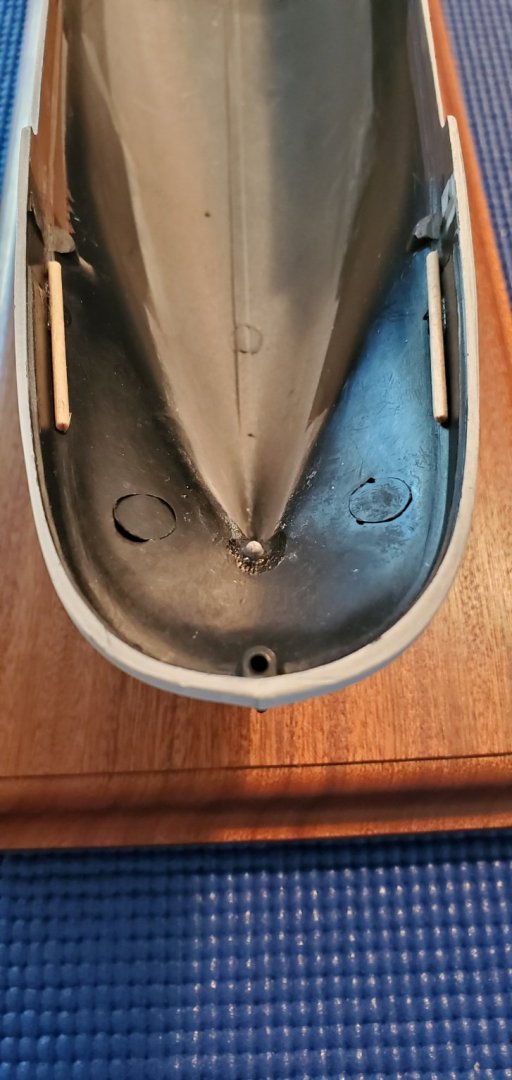
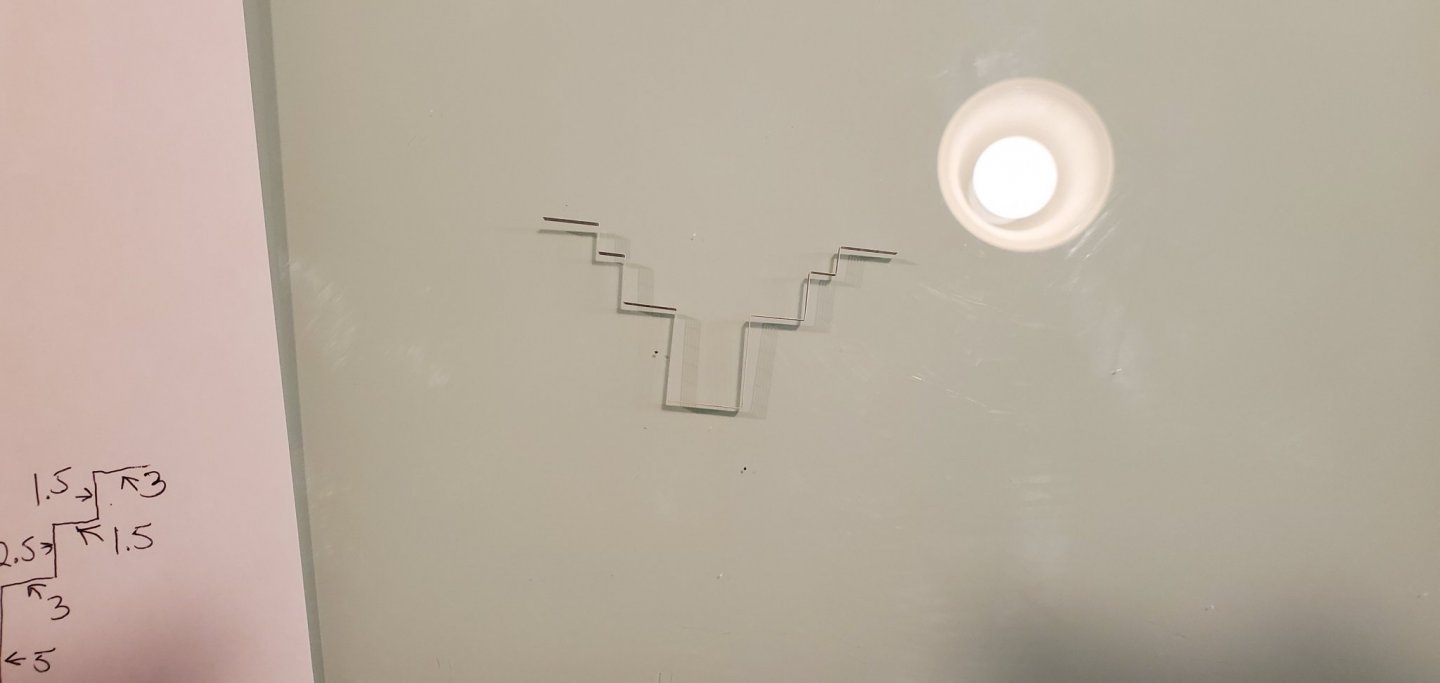
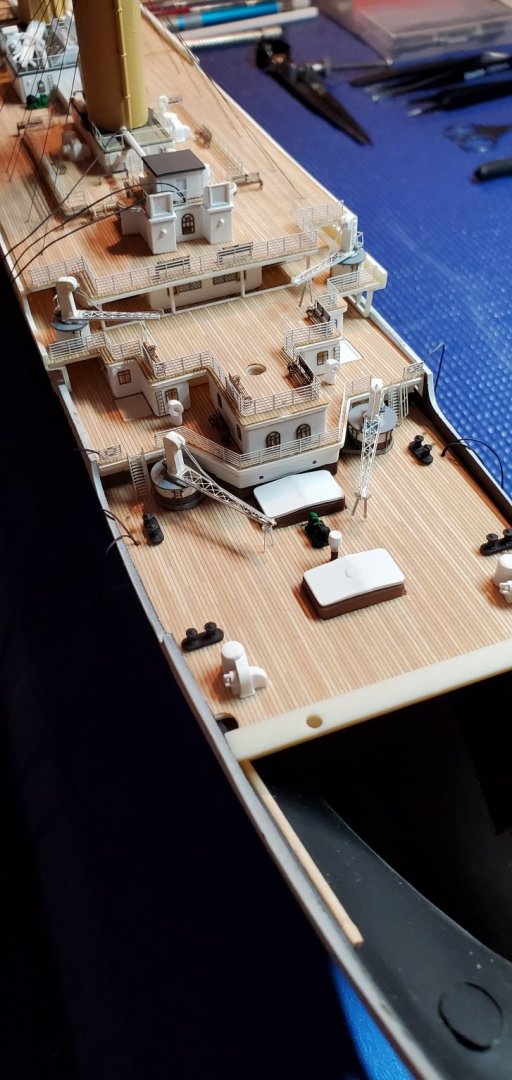
 Hi good folk of MSW! I will try something I haven't done since I screwed up my friend's Tirpitz when I was about 14... I do build models and have some skill, but I don't measure up to most on here! On to the build, I sold a few kits to make the Titanic fit the budget, and refurnished the model headquarters so that I could have a dedicated desk to my ship, whilst I also work on my other larger scale projects. I got the kit a couple months ago, and have started cleaning up decks to receive the wooden deck parts, and done some minor photo etch work, just ensure I can actually do this! PE is not my favorite material to work with, but I will attempt to do the ship some justice with these parts. My plan is to build subassemblies where I can, and join these together as the build progresses. I have watched a few videos on Titanic builds and other ship builds to see what order I should work in, and what aftermarket sets to get. My 'research' has led me to get the KA Models from Korea for their set, which has PE, 3d printed parts, resin parts, and wooden decks. I have also gotten "fiber optic" strands to do the portholes, I got 5 different sizes, 1, 1.5, 2, 2.5 and 3MM and also ordered drill bits to the same size so I can install and light the model completely. I have looked at the portholes from Scale Warship, but they don't seem to have them anymore. I also was looking at Stern Plates upgrades from MiniBrass in France, but I'm afraid that may be out of my skill area. We shall see! Anyway, here is a picture of the model as she sits on my new work-table the kit is about 4.5 feet long so it takes most of the desk space, once I've "finished" the hull, I may move it to a side table so I can do sub assemblies and other projects at the main table. The wiskers is drill swarf from the port holes, I've used Porthole Jiggs from Nigels Modeling Benc to drill pilot holes on all the ones that are to be drilled. Thank you for letting post in this exceptional group of modelers!
- 17 replies
-
- 12
-
-
 I'm at the stage of rigging my HMS Beagle so thought I would make a start on the Titanic. I've always had a fascination with Titanic, my parents had a book by Robert Ballard about Titanic and the discovery of the wreck. I would spend hours looking through this book. I have the hobbyzone building slip but the Titanic keel is slightly to long to fit. With a bit of fiddling I can sort of use the building slip, not as entirely as it should though! False keel assembled and bulkheads dry assembled.
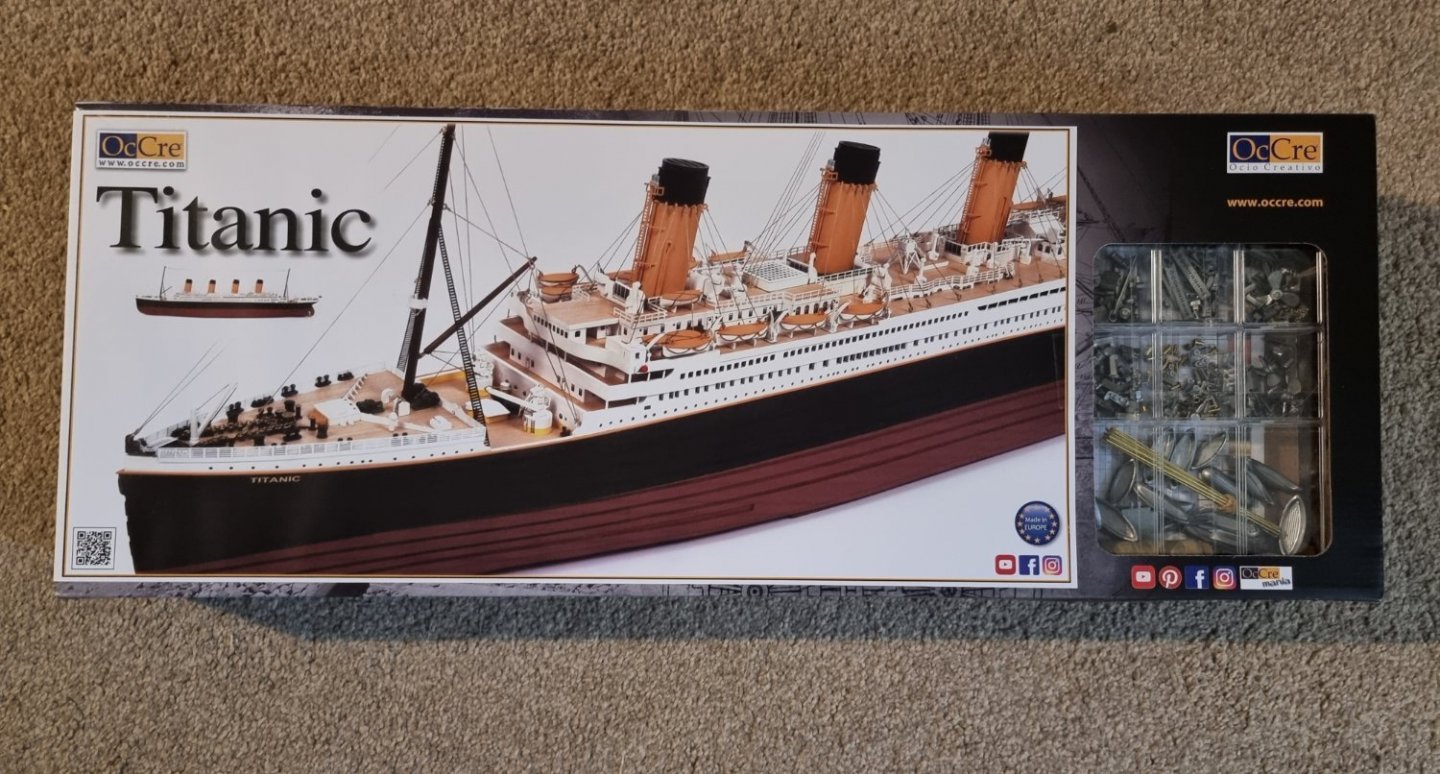


-
 I received this kit for Christmas from my admiral......she was so bummed out, that it wasn't the Billing's Titanic. I have never built an academy kit before......I was impressed with how the kit looks. there is quite a bit of detail to it, and I really like the size......the hull is 26 1/2 inches long. I have to be brief....I am to grill supper. it has been an off the wall busy day! I will start with an overall view of the parts......there are so many small parts.......I really have been away from plastic for quite a while. I had to do this on the dining room table, so there may be some bad lighting issues. the instructions don't look too bad, but since I plan to do some painting, I think it best to hold off on the rigging until the painting is done. {I'm sure they mean well} I'm not too keen on the chrome....a few of the parts pertain to the stand, but the name plaque, props, and anchors will need to be stripped. I use brake fluid for the process and a good stiff brush. there are a few water slide decals.......jury's still out on the flags.......they are peel and stick. I neglected to mention that the parts are done in colored plastic. for those who don't do much painting, this kit would be ideal........reminds me of the larger scale Revell kit from the past. here are all the white sprues. the deck parts and sprue is done in a tan color....the deck areas will need to be painted a flat tan. sorry.....I have the sprue panel upside down. there is a black sprue panel, a couple brown sprue panels, and the funnel parts are done in an orange / yellow color. there is a pack of rigging thread tucked in the sleeve of the stand base. there are plastic ratlines in the kit as well....I may do away with them, as well as throw another size rigging thread in the mix. I'm pretty sure that not all the rigging is the same size. the hull is an interesting part........the bottom paint has already been done. I'll go into it more in my next post. as the build progresses, you'll see the detail that is molded into this kit. it is a pretty nice kit......but it's going to be a nightmare to paint the detail on the bow and stern panels. personally, they might have done better to increase the part count, instead of molding the detail into these parts. that of course would alter the skill level.......and the market span as well. I just hope I haven't lost my knack in painting small detail
- 573 replies
-
- 18
-
-
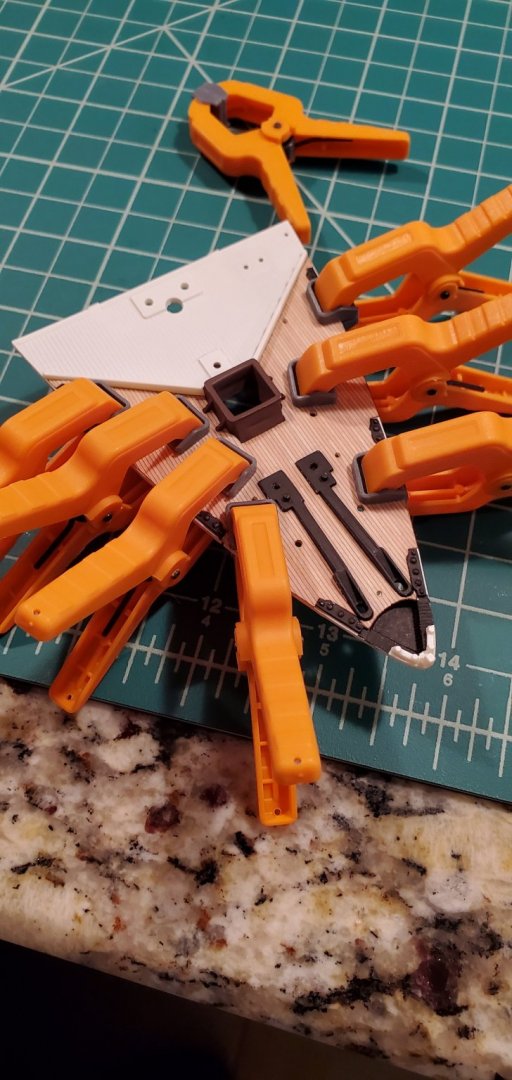
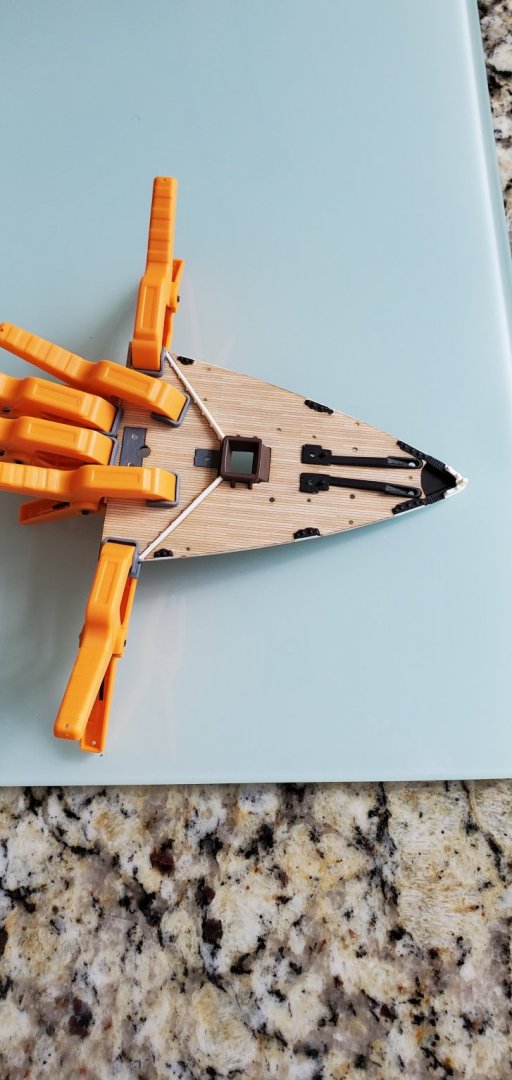
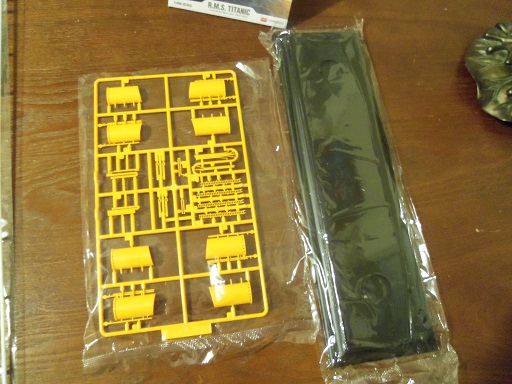
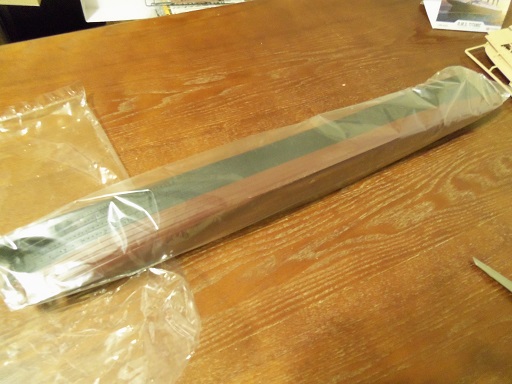
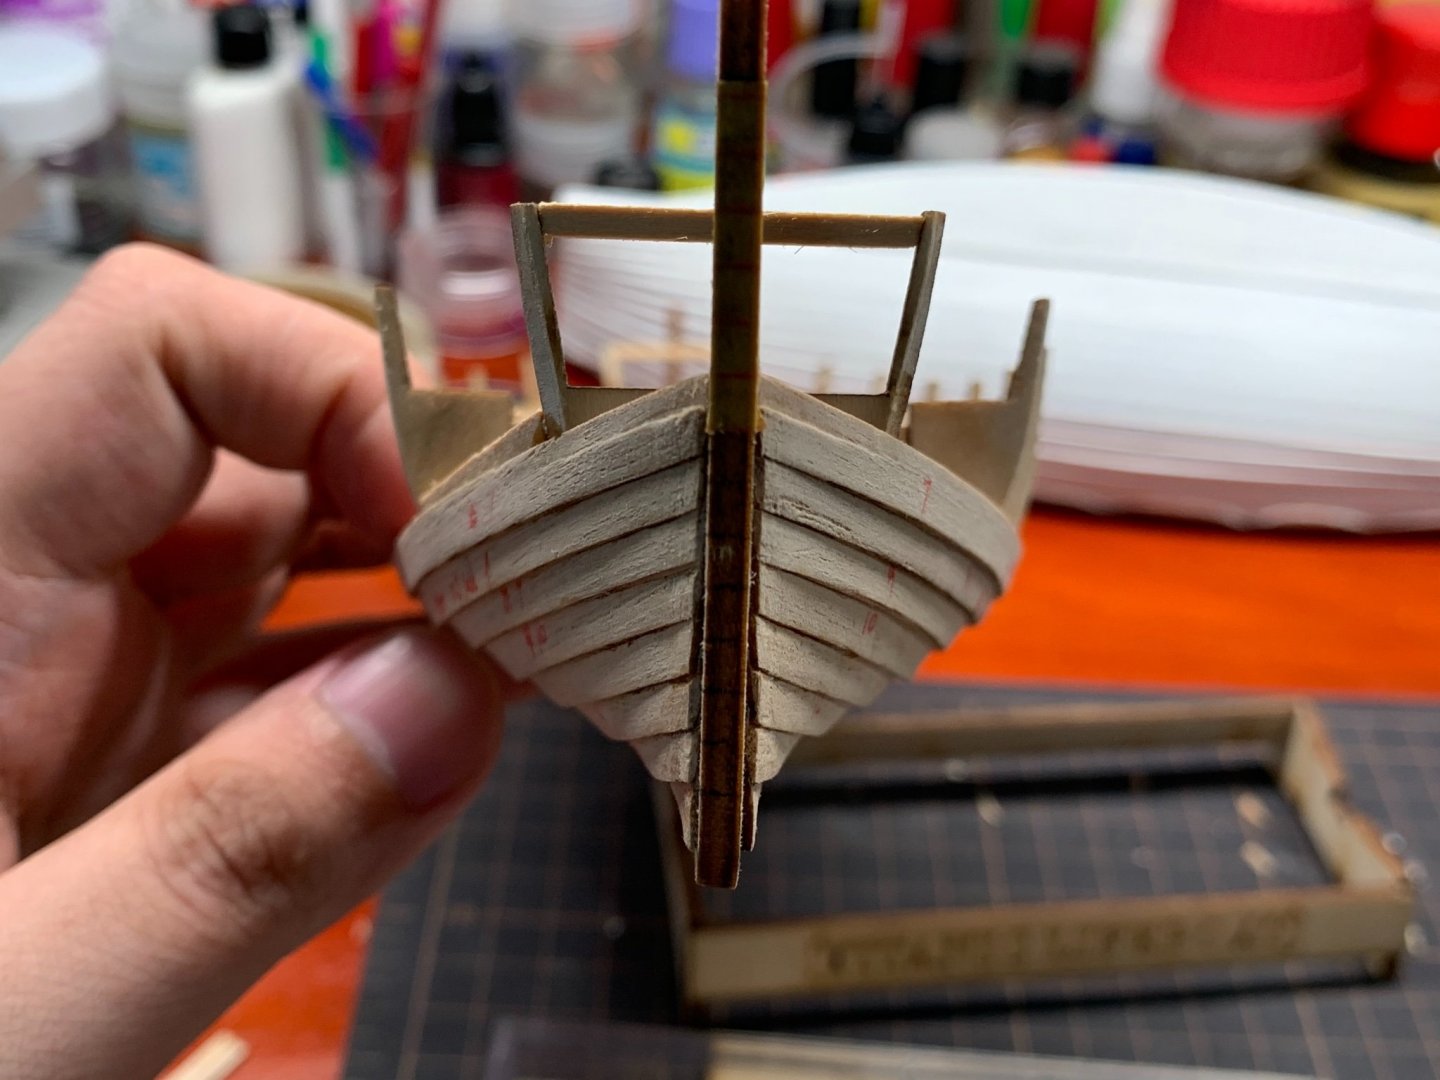
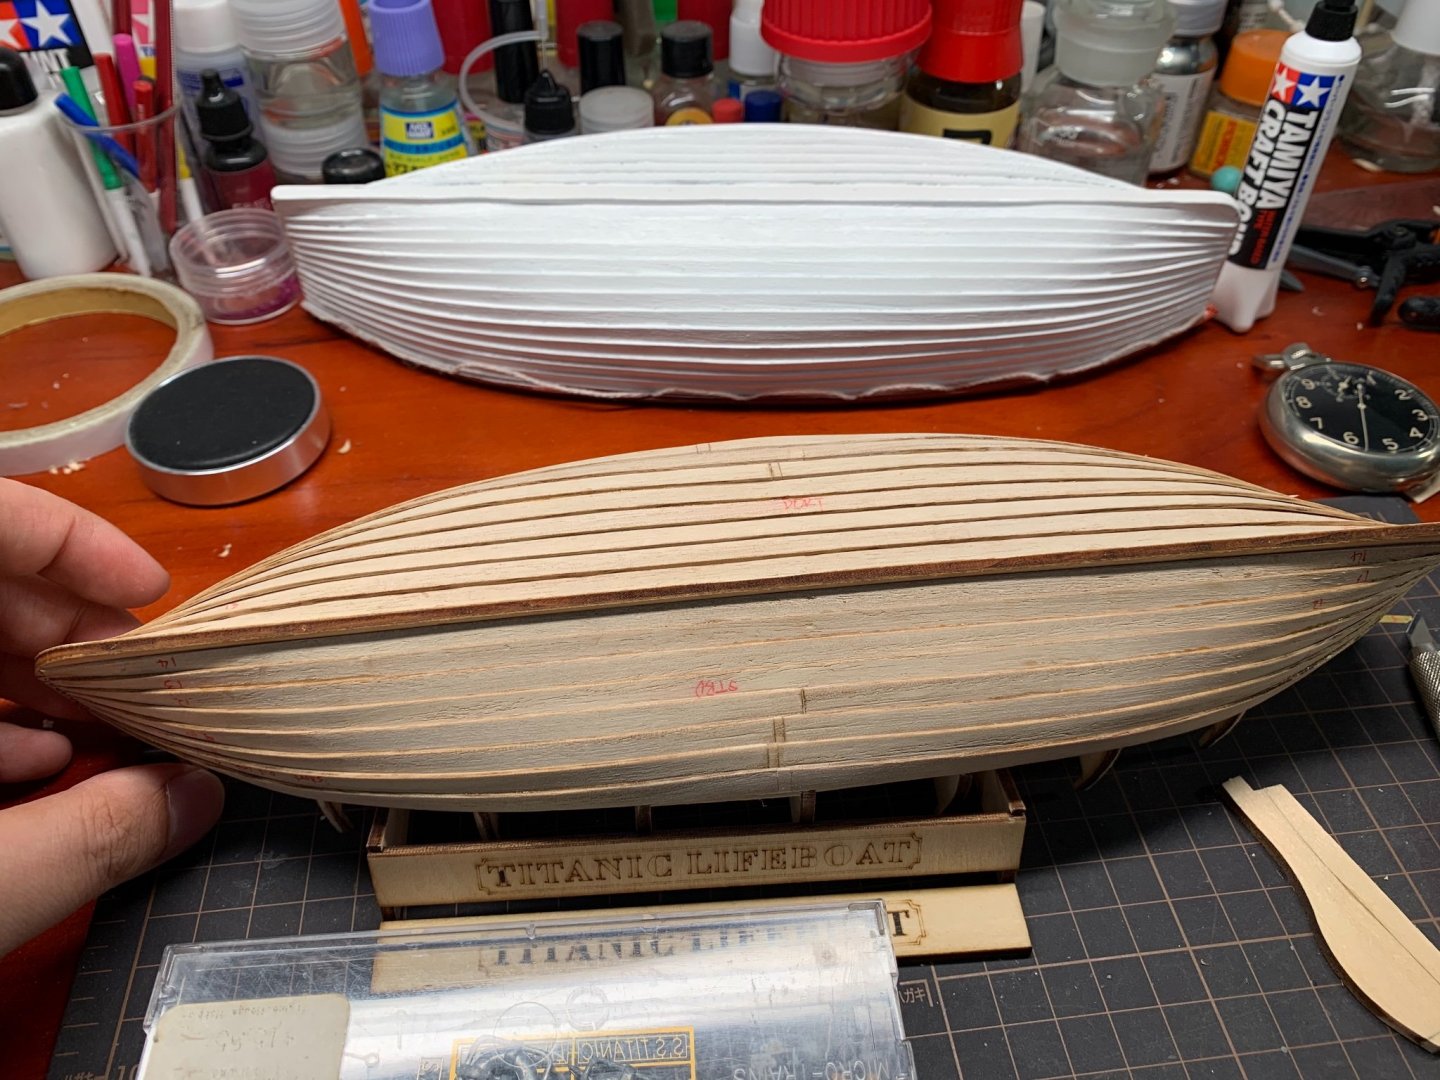
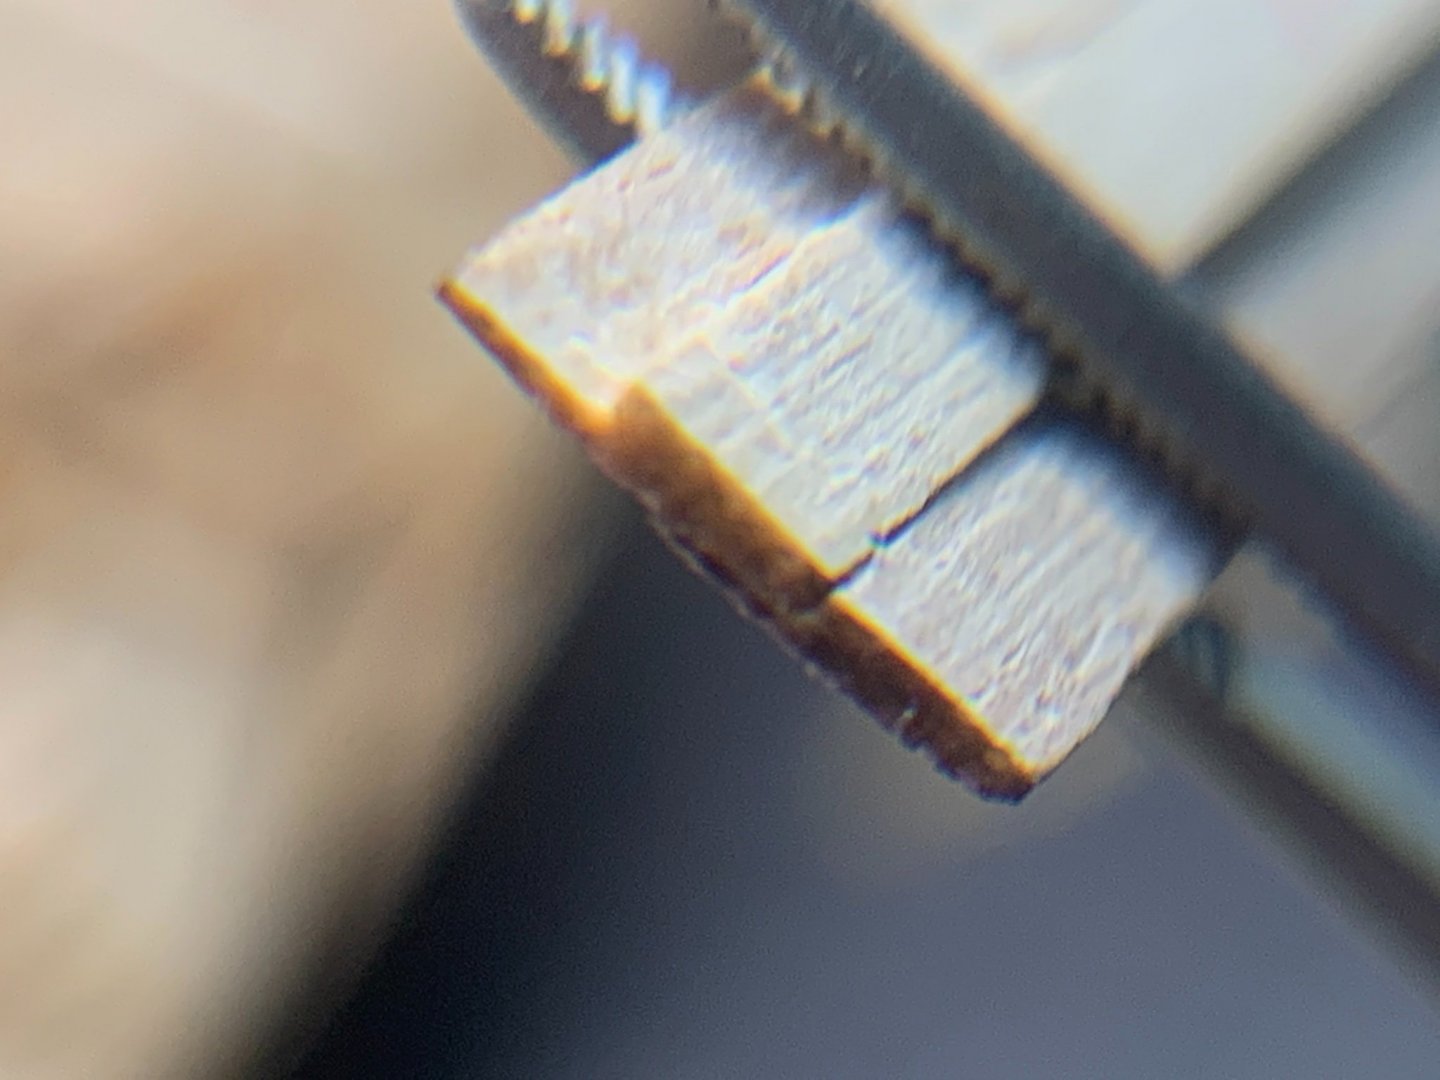
 Doing the planking job on a scratch made 1/35 scale model of Titanic Lifeboat 15, one of the standard 30ft boats and also the aftmost one stored on starboard side. The boat is not the Artesania Latina one by the way, although I do own it and while I was building the thing years ago, I nearly sent it flying across the room out of utter frustration, the kit still stays unfinished as of today. I would say that the AL kit is neither accurate nor friendly enough with first timers in wooden kits,let along the fact that clinker planking itself is already way much challenging than the straight forward carvel planking. The current lifeboat plans was directly tanken from an expert Titanicist on TRMA, I ditched all the thoughts of using AL parts and completely reengineered the entire hull. The keel, strakes were all new fashioned. This is the second wooden model boat I've worked on, the previous one being the AL kit. I've followed a traditional clinker boat technique to smooth out the plank joints where their ends meet with the false stem and sternpost. That is, having all the plank tips slightly rebated, and all the inward, lower area of planks bevelled(see last two pics). After I've finished all the planks on the hull including the gunwale, the plank joints at both ends will receive a final sanding to ensure that they lined up neatly in a straight line.
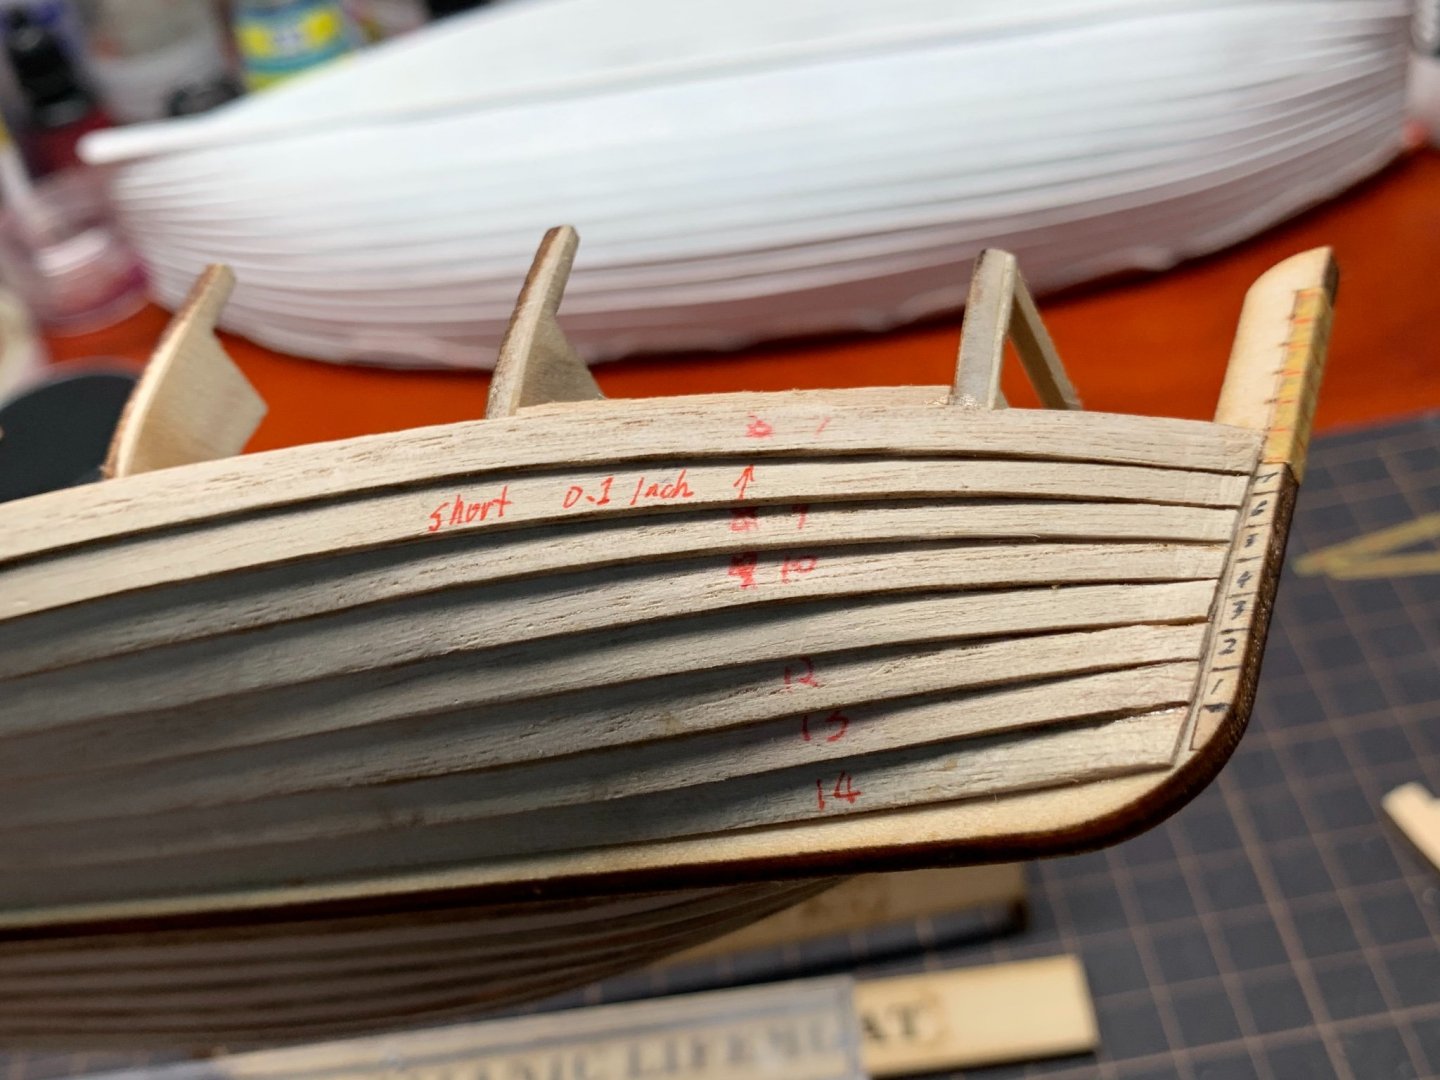


- 12 replies
-
- 6
-
-
- titanic lifeboat
- titanic
- (and 1 more)
-
 For years now, I have been thinking about building R.M.S. Titanic. Just like many other people, I have always had a keen interest in her history. By moving through this build, I am looking forward to gaining even more information about this amazing piece of machinery and how she helped shape our history going forward. Just recently, the opportunity came upon me to do so. Last Sunday I woke up made, my coffee and breakfast sat down in the living room and proceeded to figure out what I was going to do for the day. While sitting there I received a message from a colleague of mine in my model club. He asked if I would be interested in building a ship for someone. I was intrigued about this notion, as this would be my first commission build, so I replied to his message and said yes I would. He put me in touch with the person and the next thing I know is I now have a 1/400 scale model of R.M.S. Titanic in my shop. This build will include many firsts for me. My first ship of this scale, first time doing PE and First-time laying wood veneer. I hope everyone enjoys the build as I go along, and I will be open to any comments or suggestions as we move through. Thanks, Craig K
- 23 replies
-
- 11
-
-
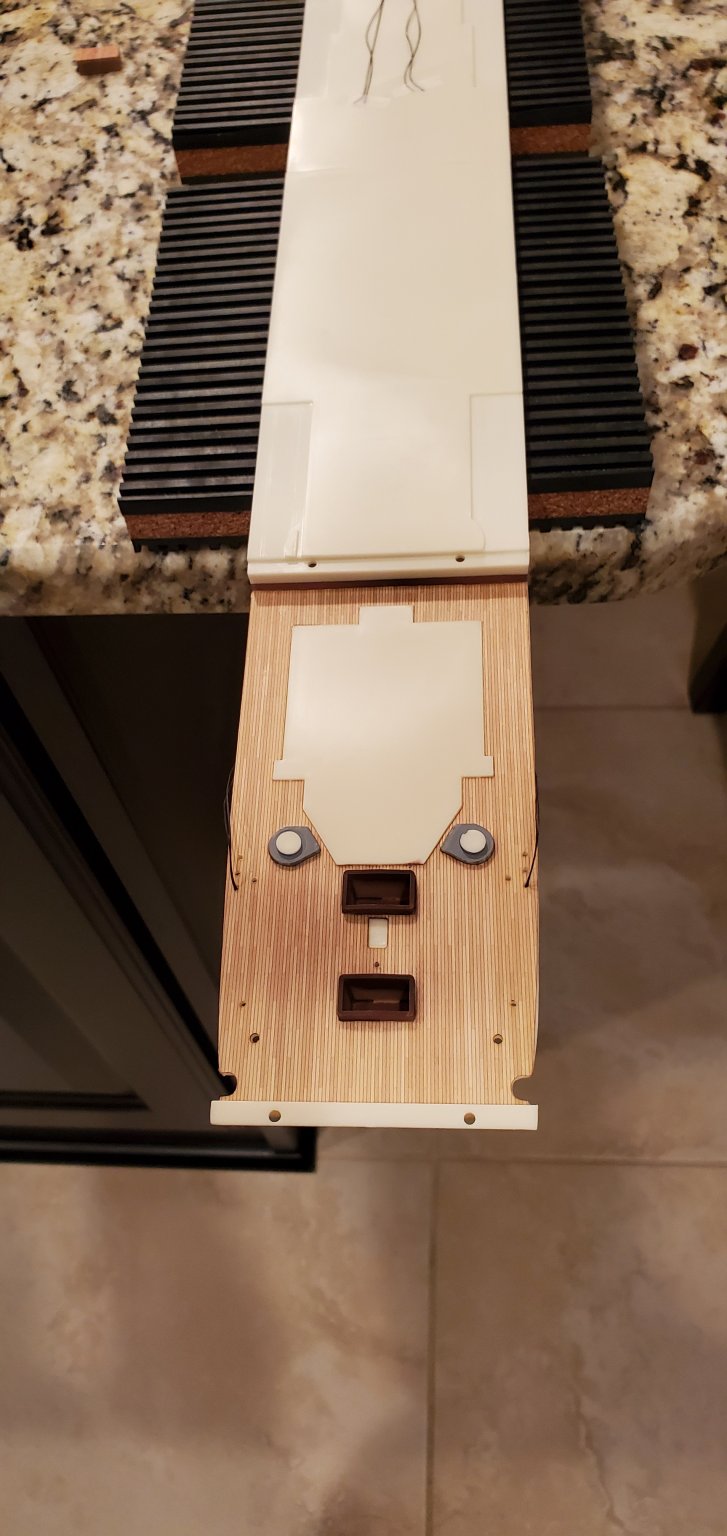
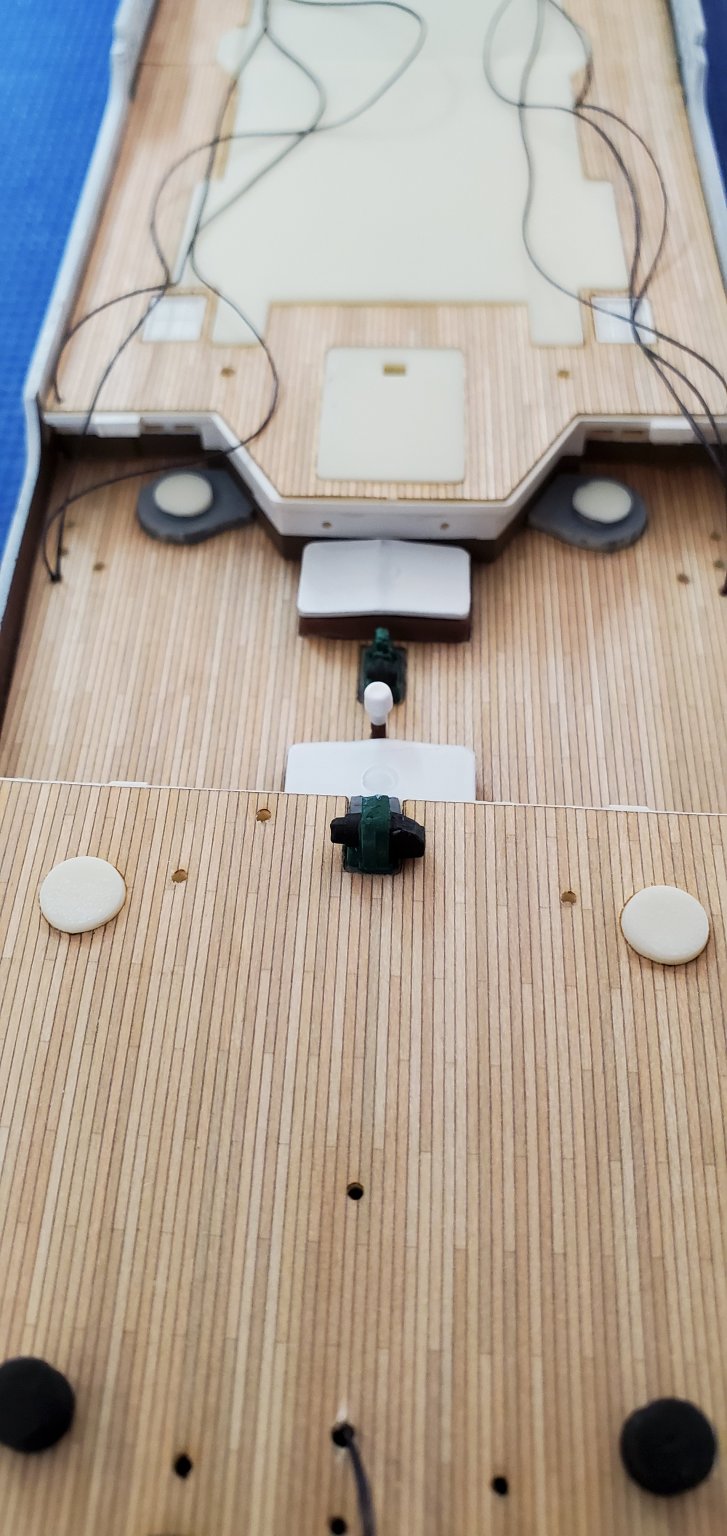
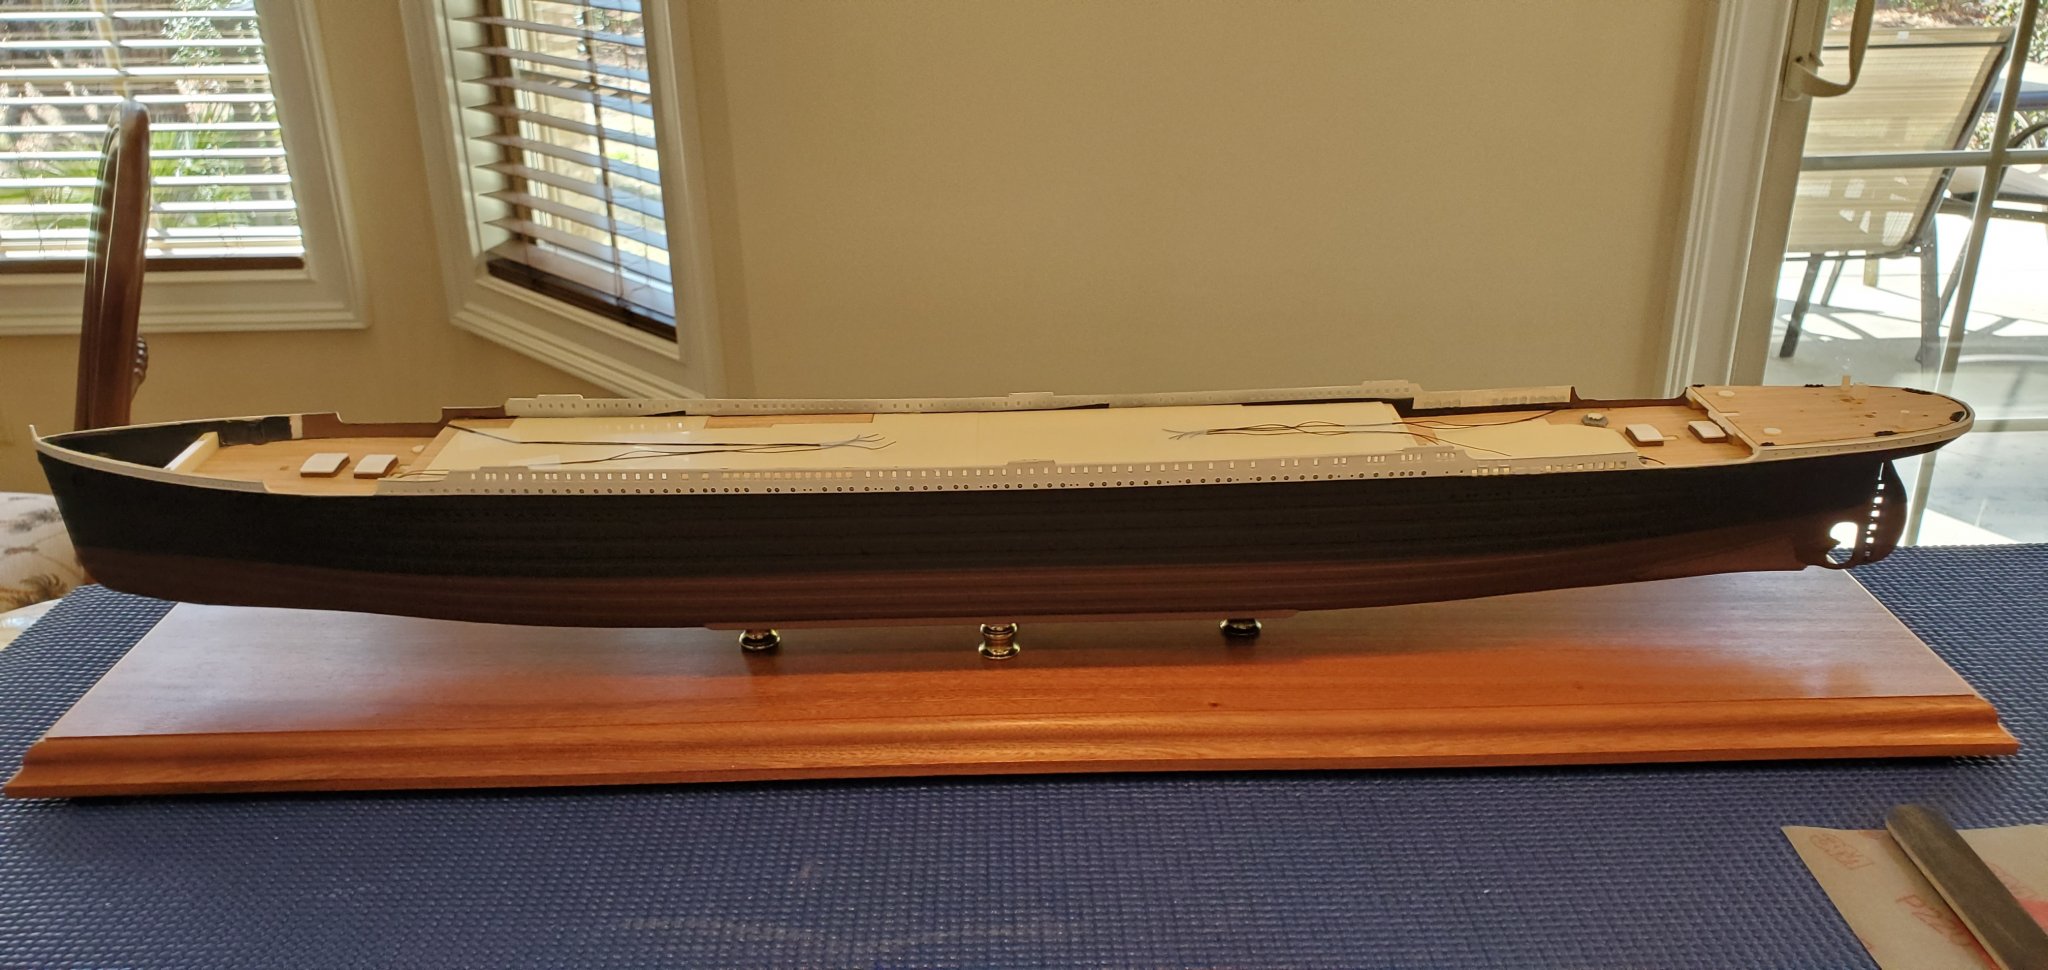
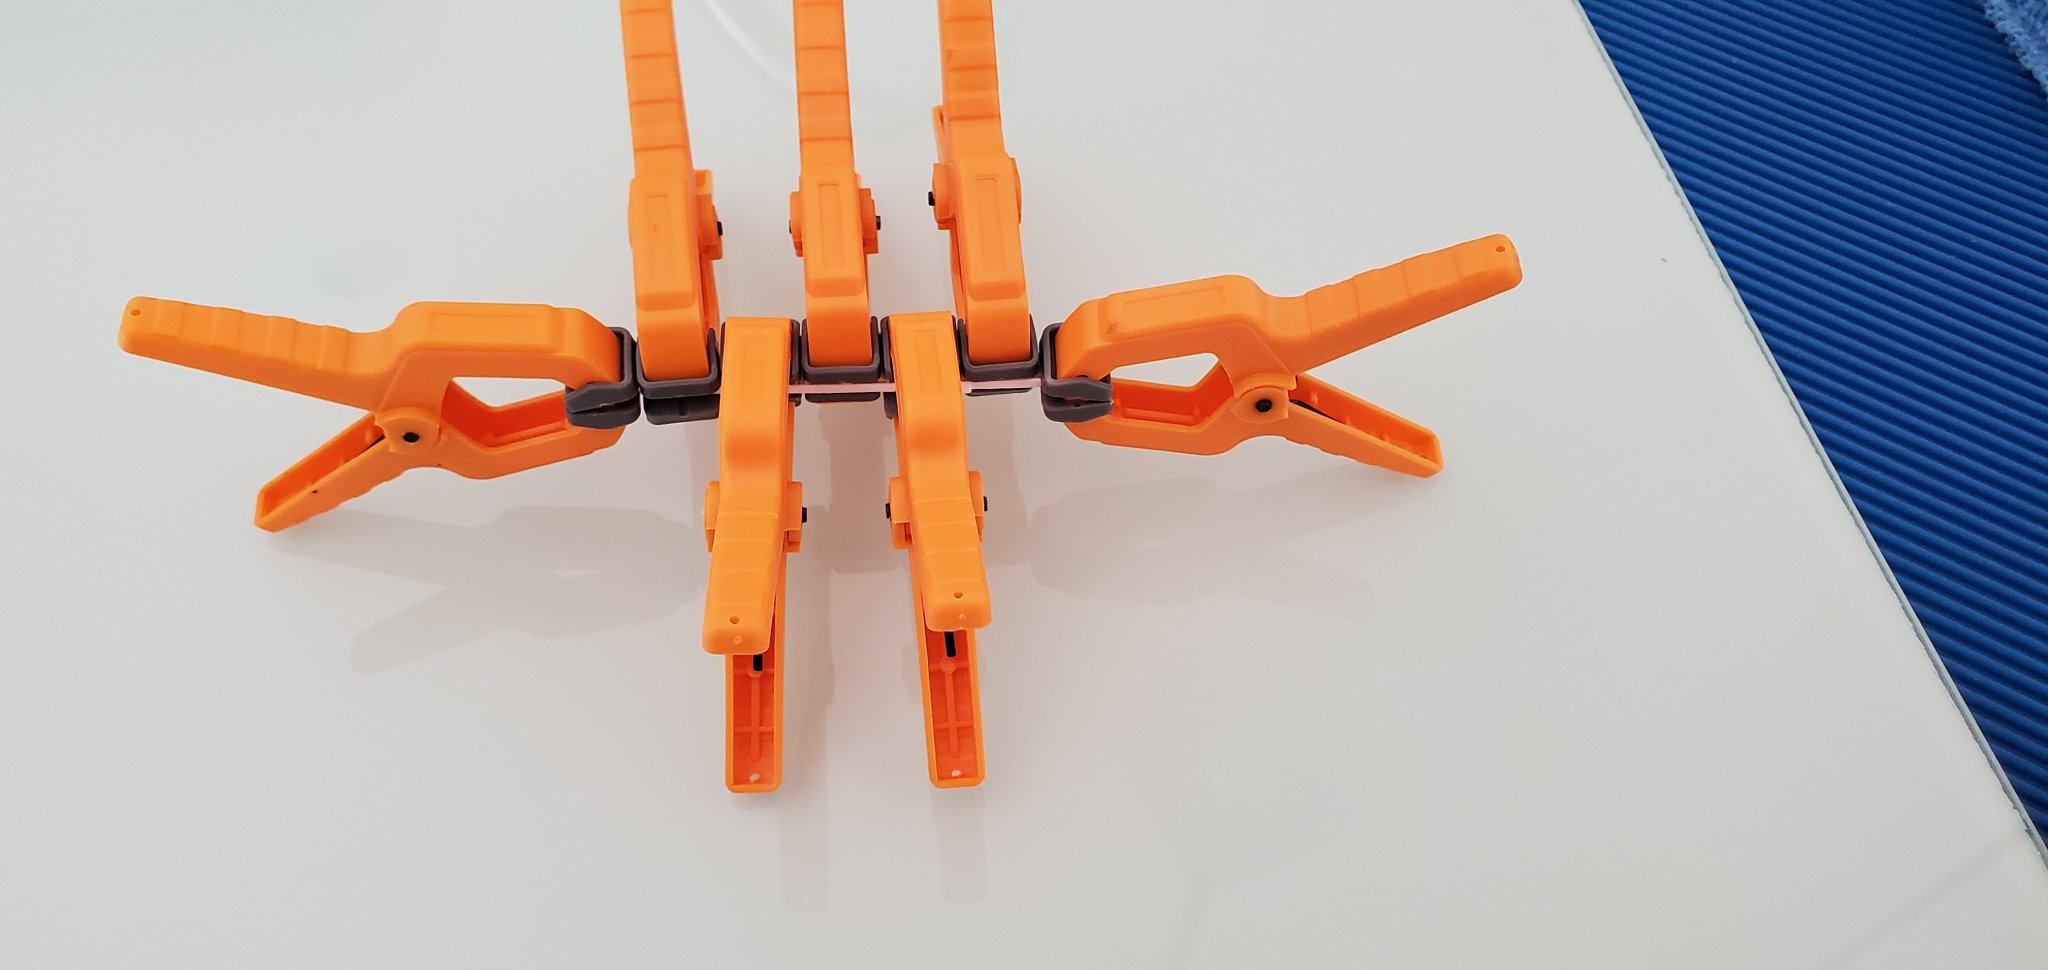
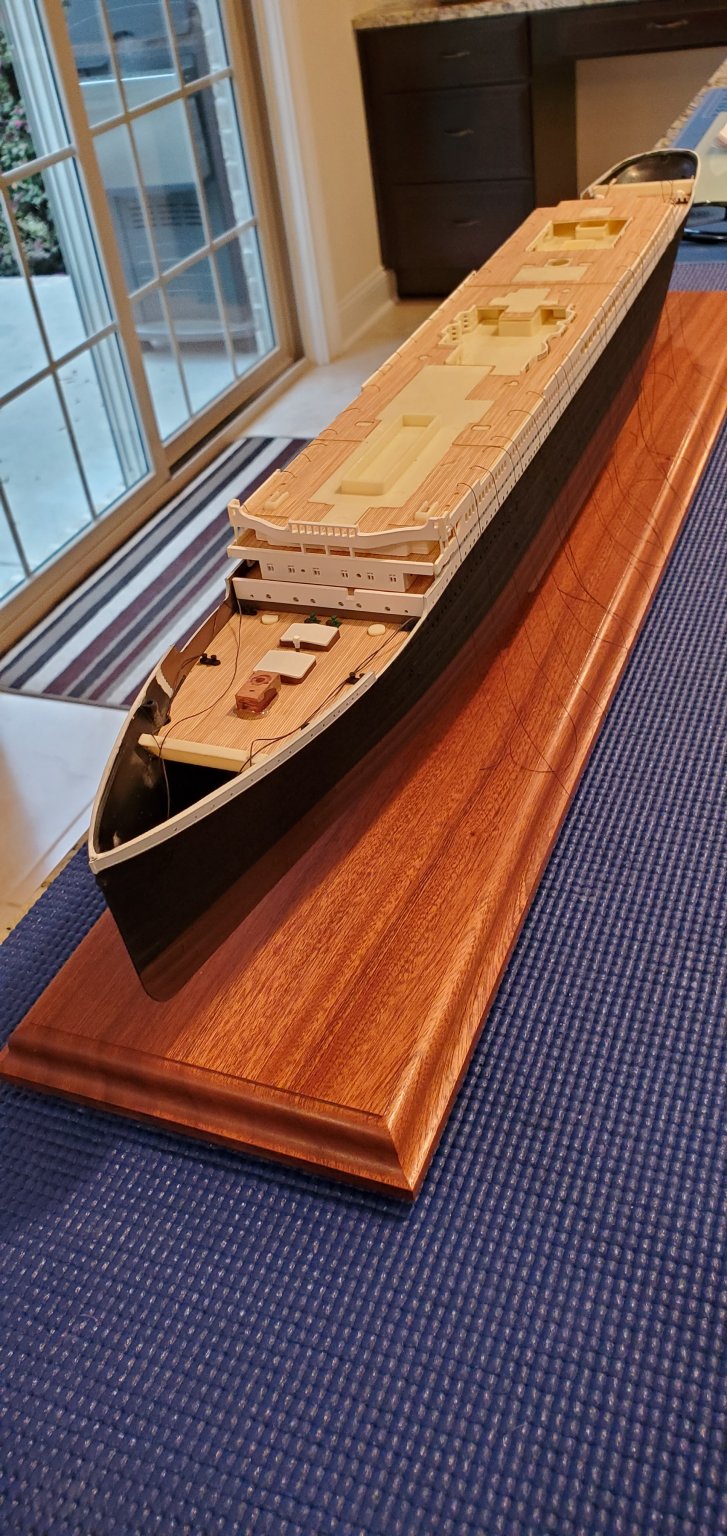
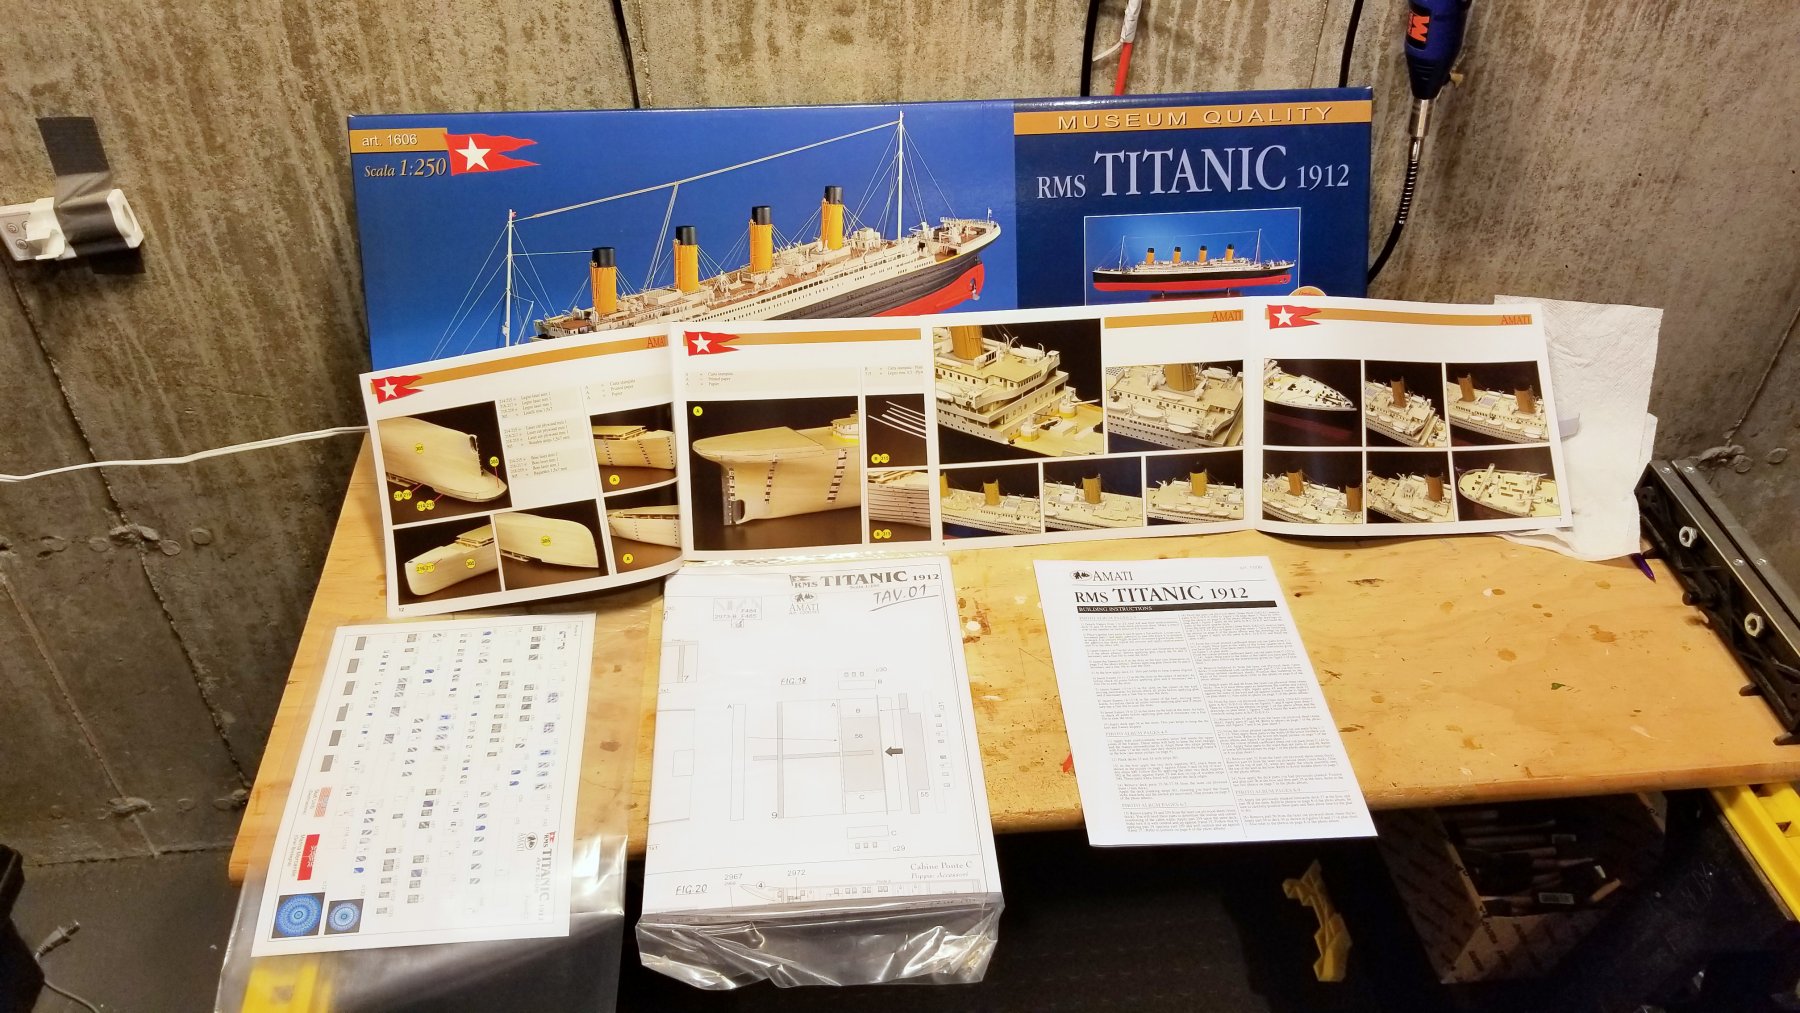
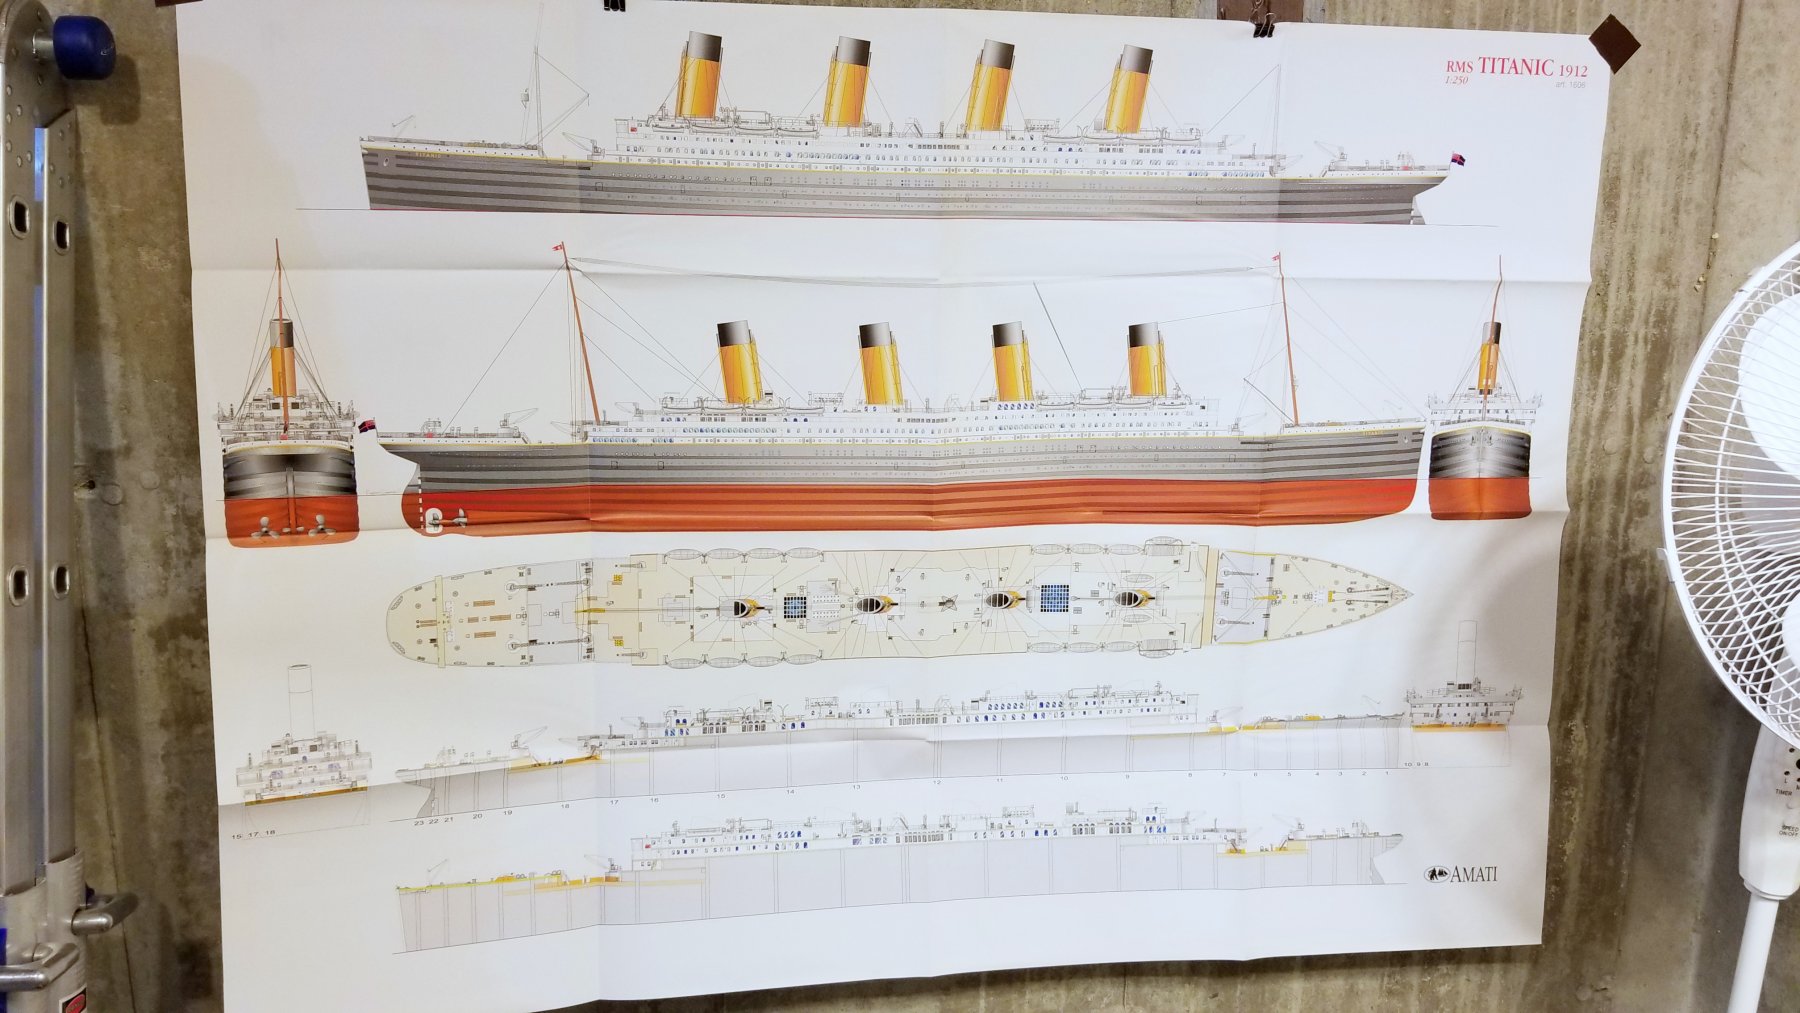
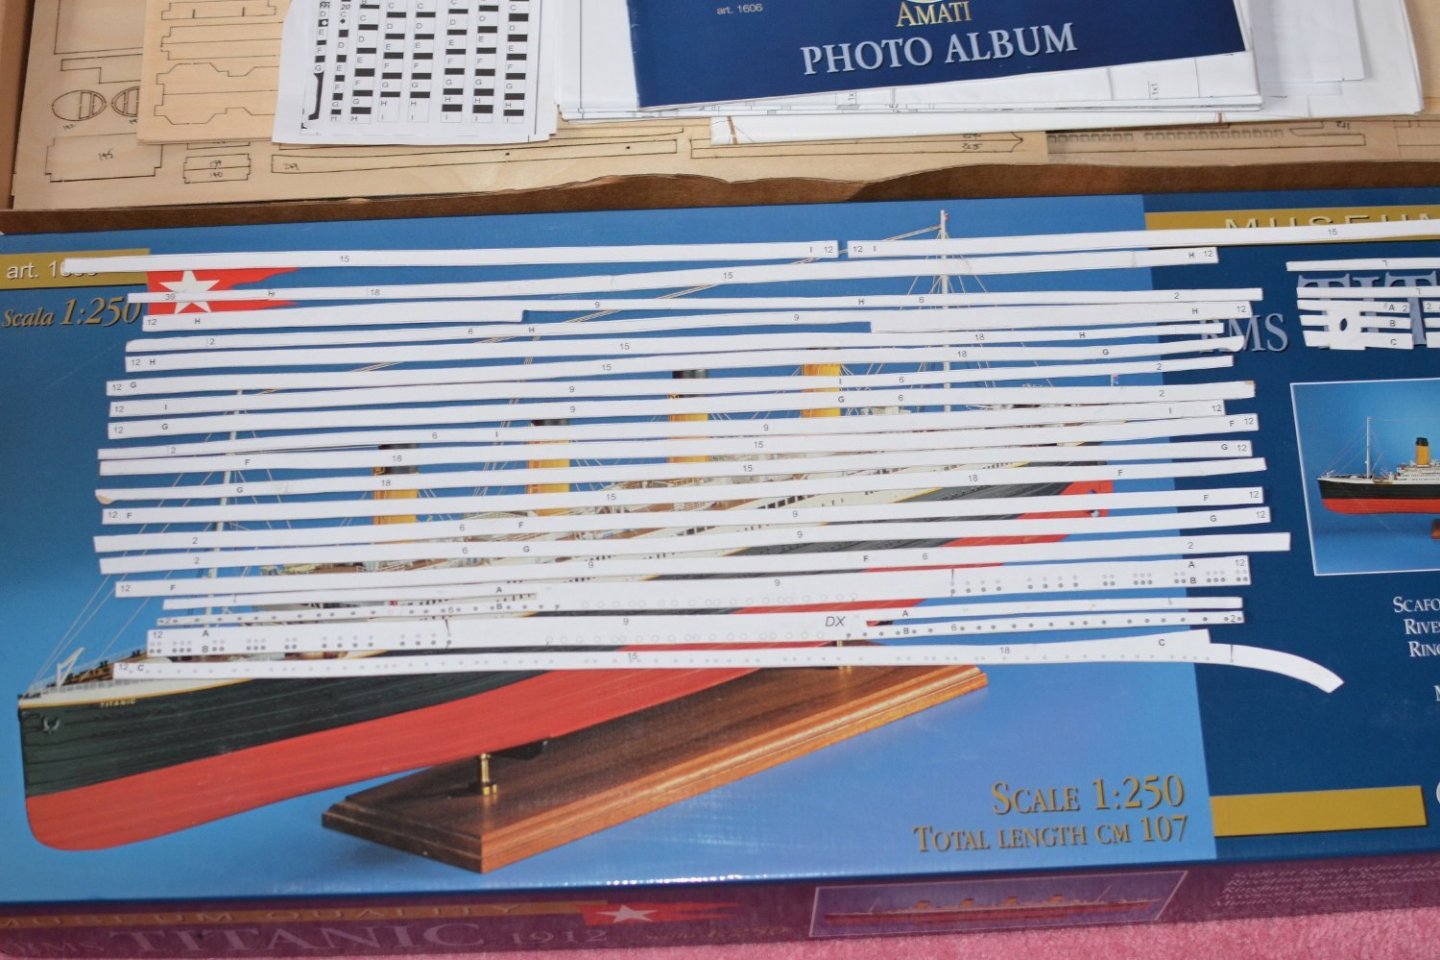
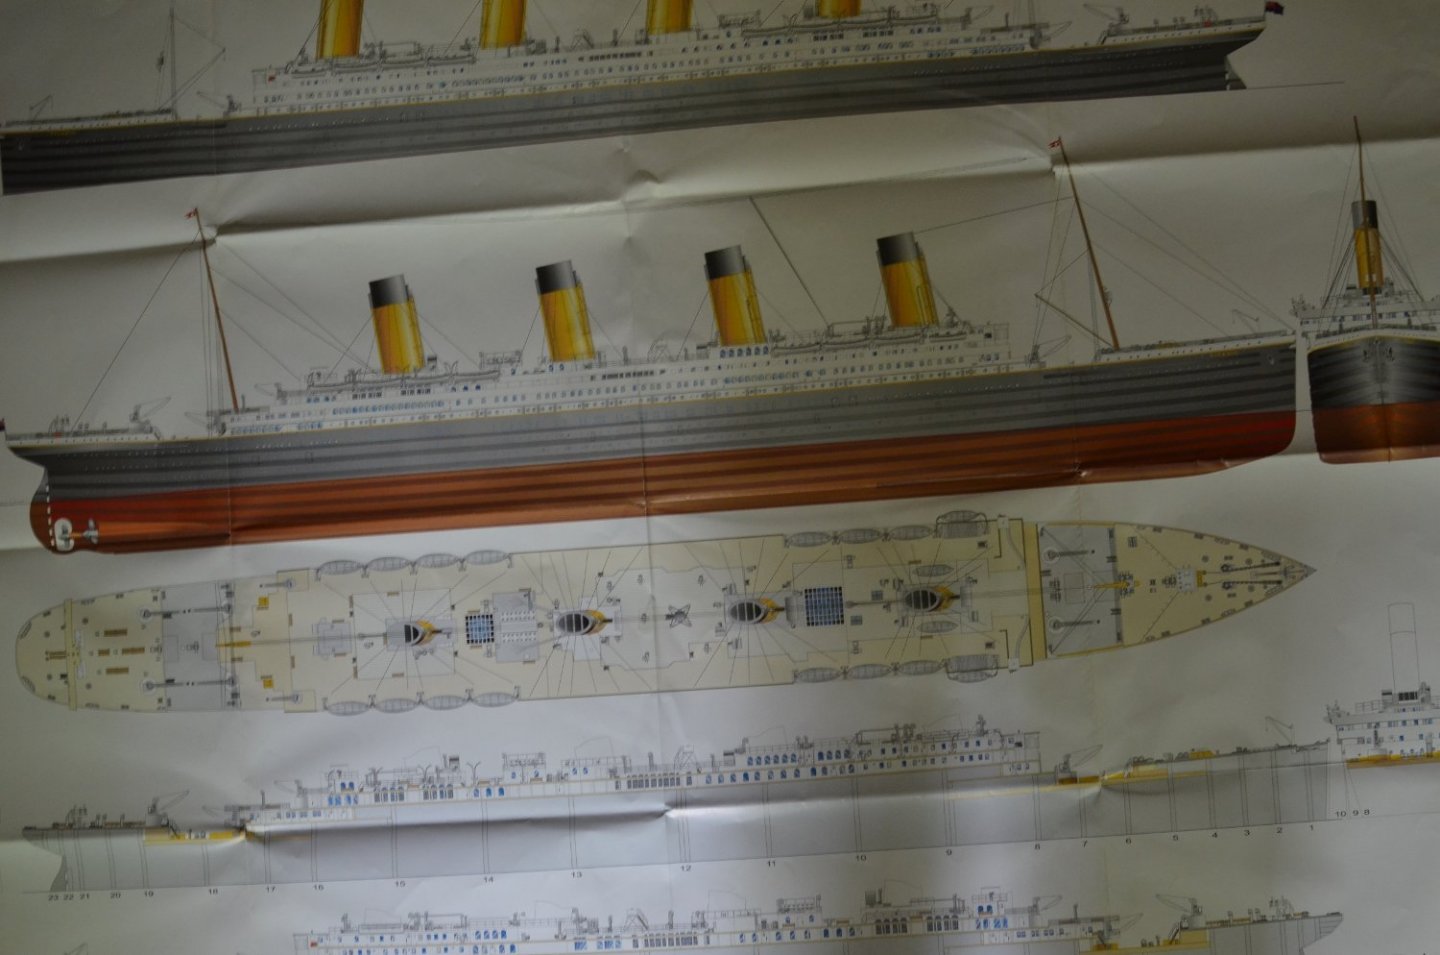
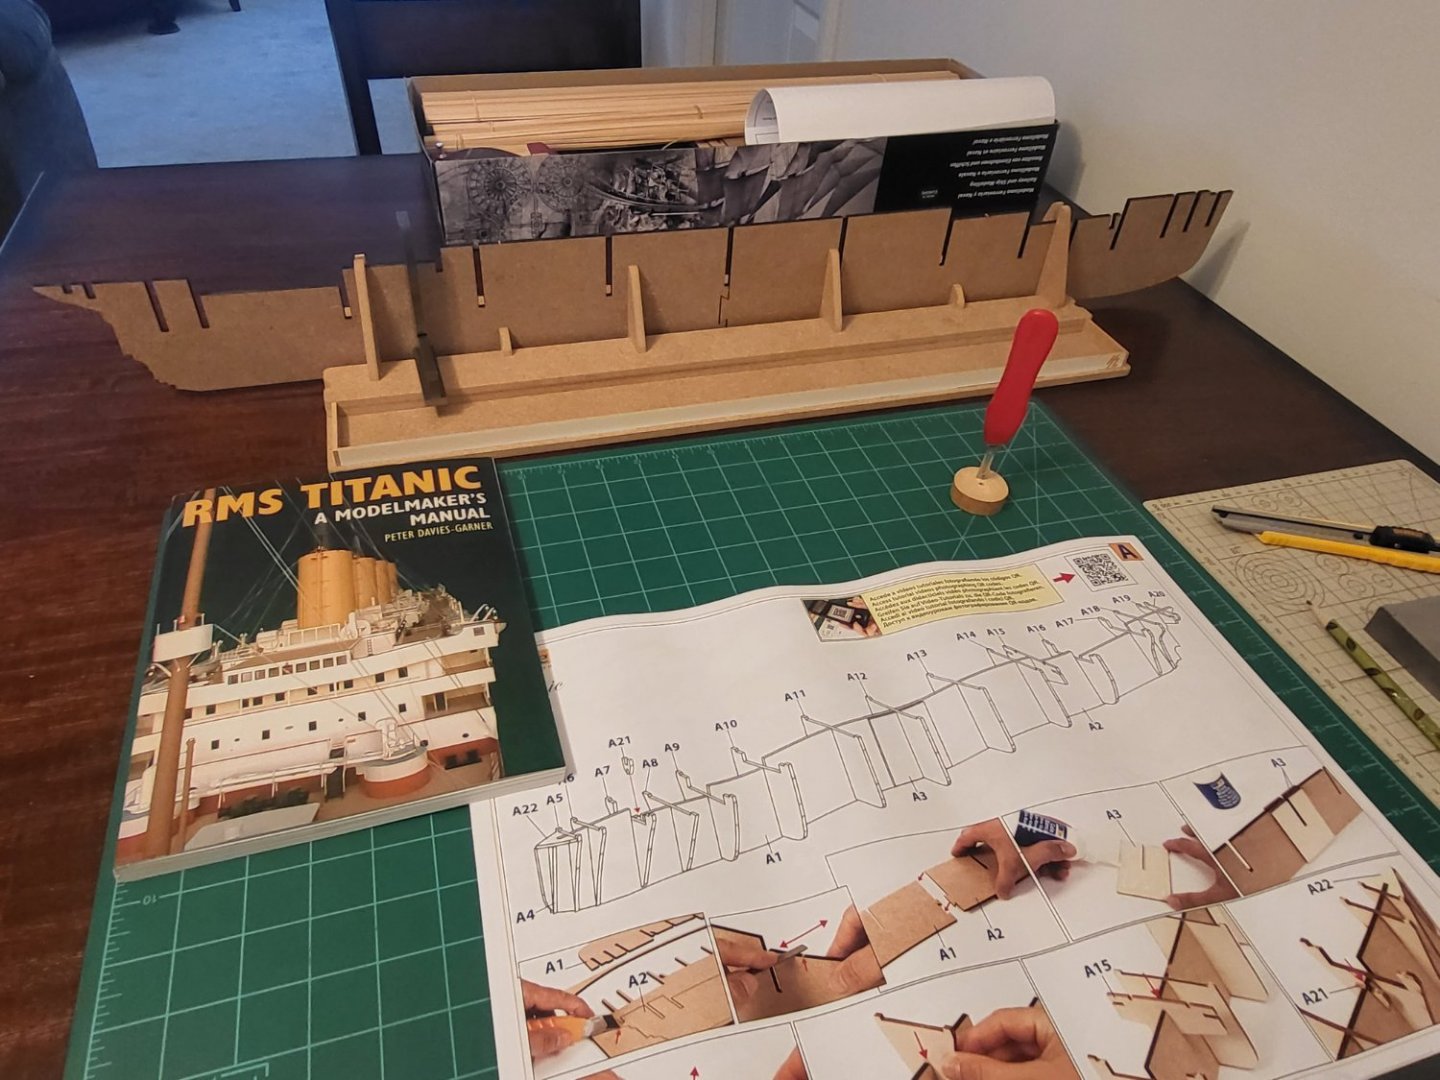
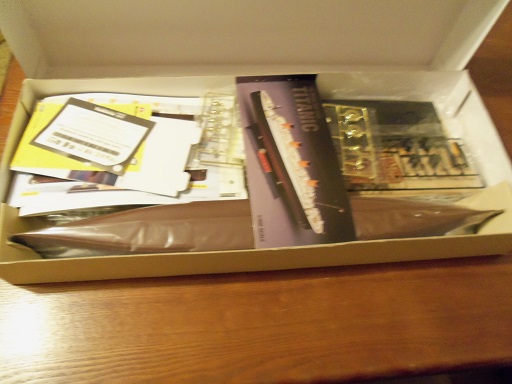
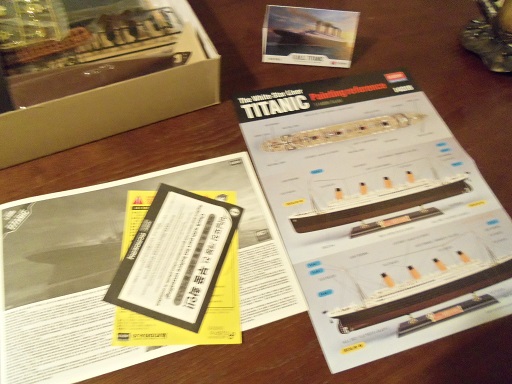
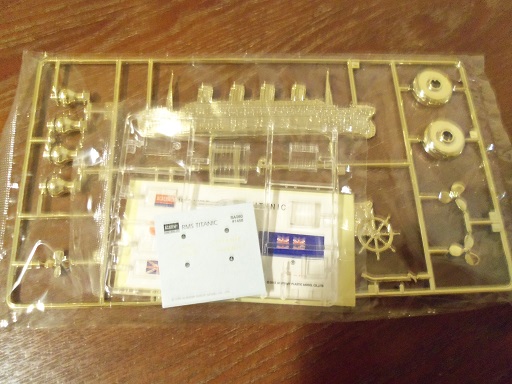
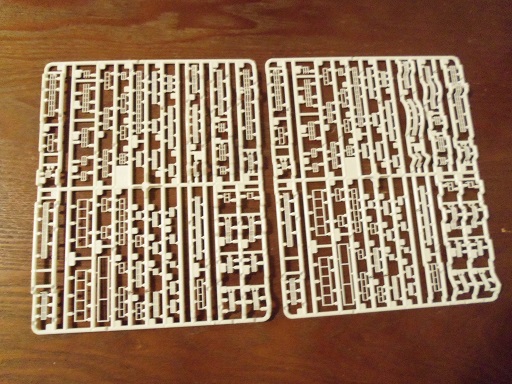
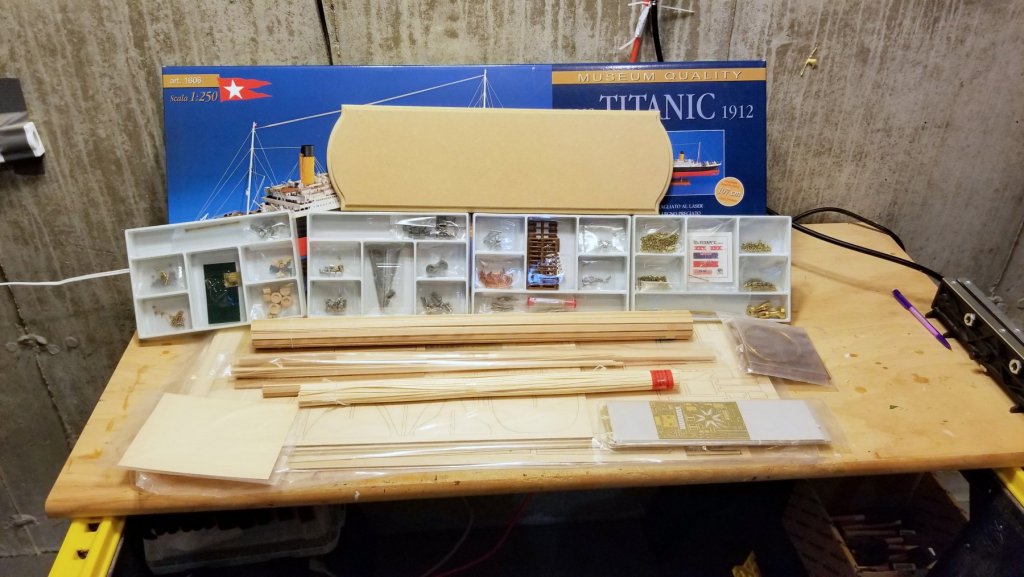
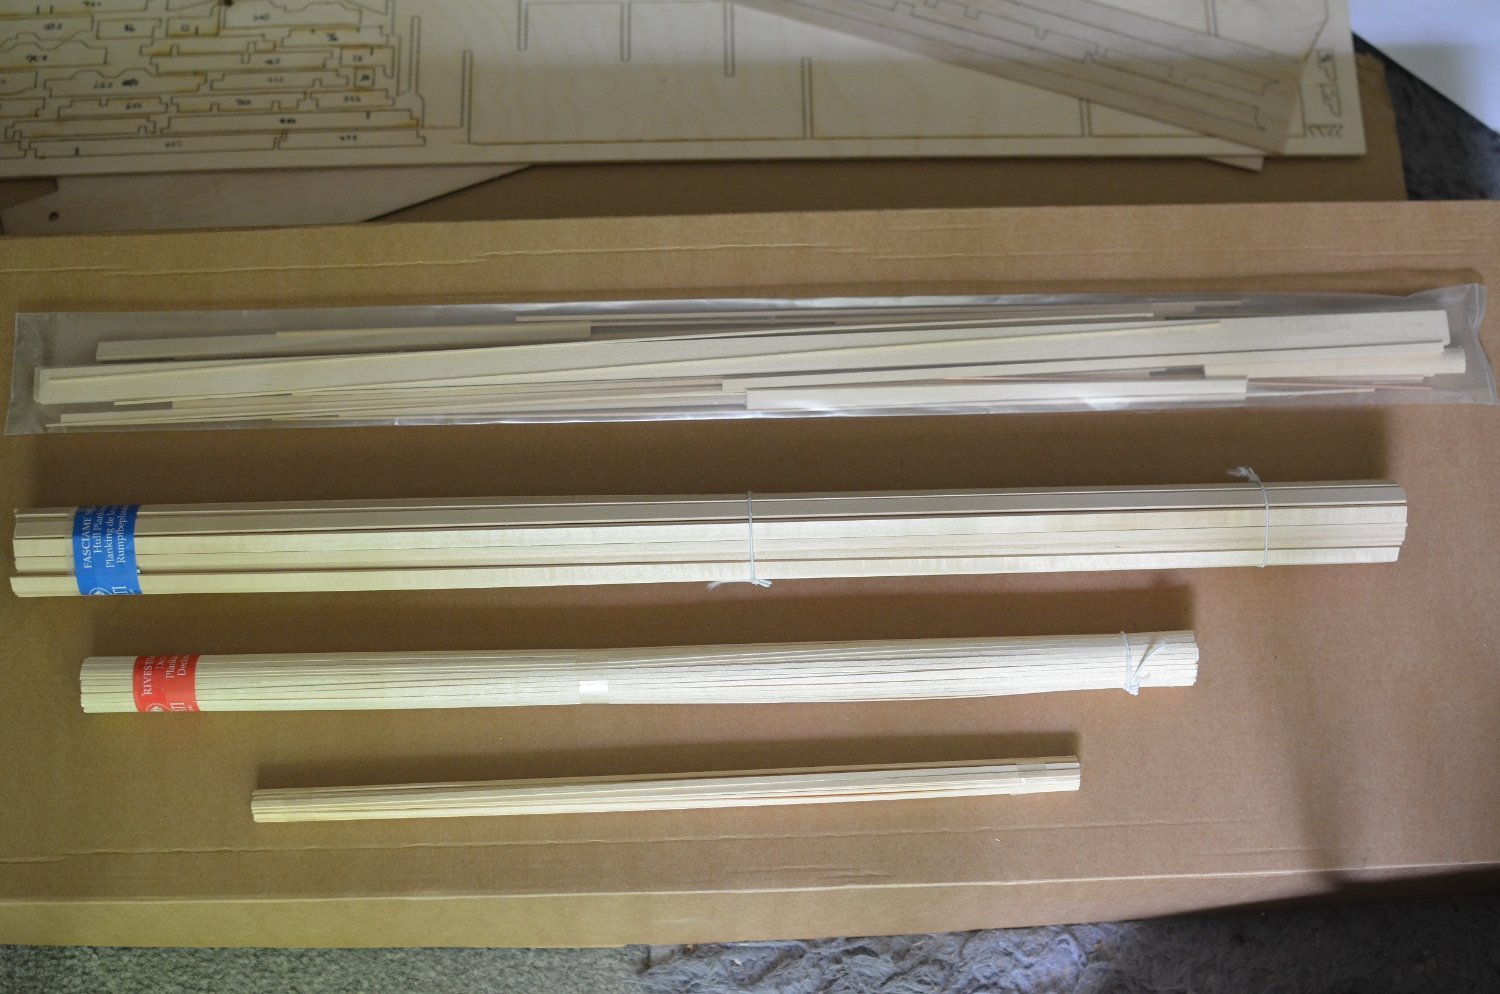
 Well I'm back from vacation, and it's time to dig into the Titanic, which I've had in my sights since I started modeling a couple of years ago. Here's the "What's In the Box" post: Manual with picture books plus lots of plan sheets A large wall poster of the entire model The stuff: plywood laser cut sheets, parts, wood strip, etc. Just on the surface, this looks like it's going to be a different kind of build from the Amati ships or other boats I've built. Because there isn't a complete log that I can find, I'll try to post frequently as I go. Regards, David

-
 Hi All, Over the past few days, I have been dabbling with the Academy Titanic. This is the first plastic model that I have attempted in many years. (The Dark Side?) The kit comes with PE and Wooden Deck. This is also my first PE exposure. I have started on the Fore and Aft Decks, painting what is required and removing plastic, not required for the Wooden Decks. I have done the same for all three Main Decks Planking applied. (A note: Planking is not Laser Cut, just an outline, so separate components with a sharp blade....) Tried my hand at the PE, some errors, (Learning Curve), and have ordered replacement PE from Toms Model Works and Eduard. (The PE is so fragile....) Anyway, on with the build, don't know if I'll be able to use all PE, some components are way above my ability at this stage, so, some details may be the plastic variety.) Photos tomorrow. Cheers....HOF.
 -
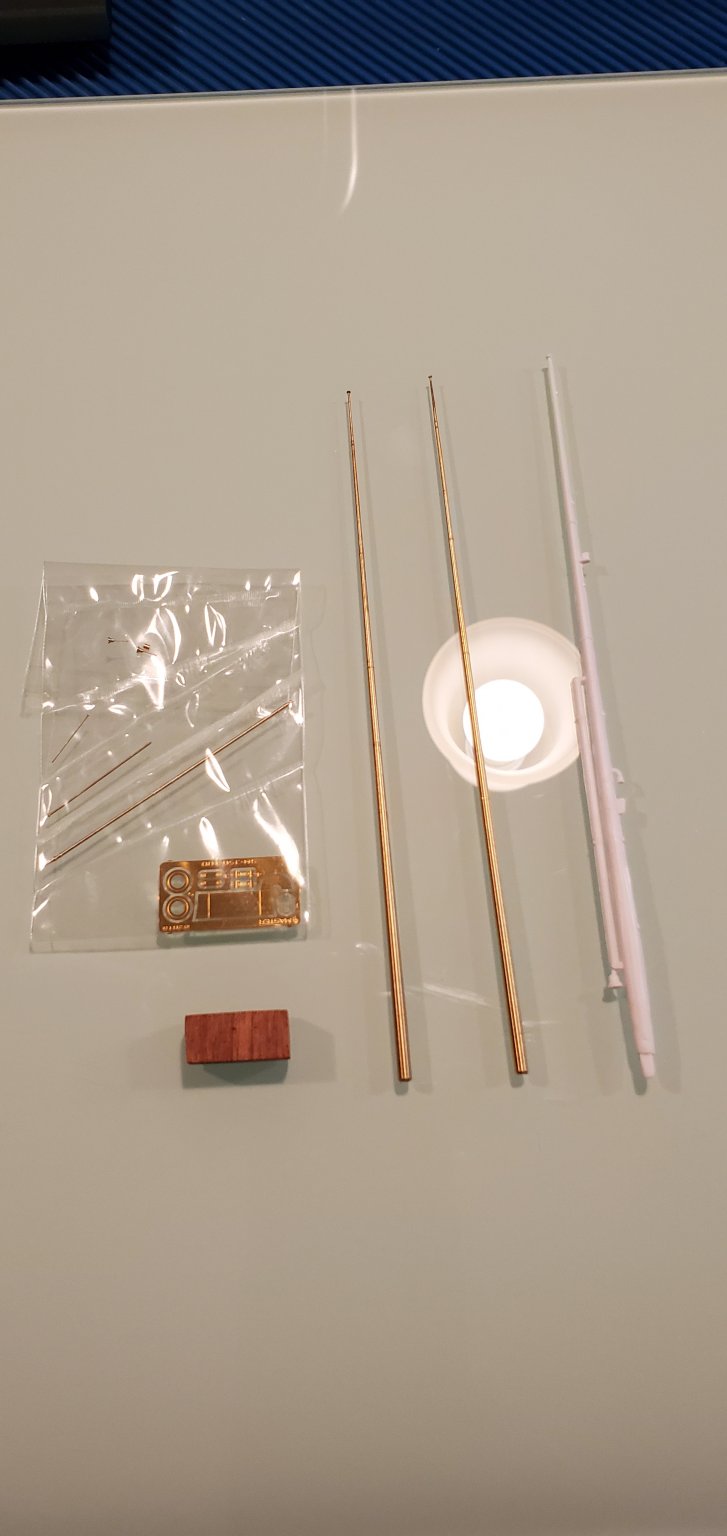
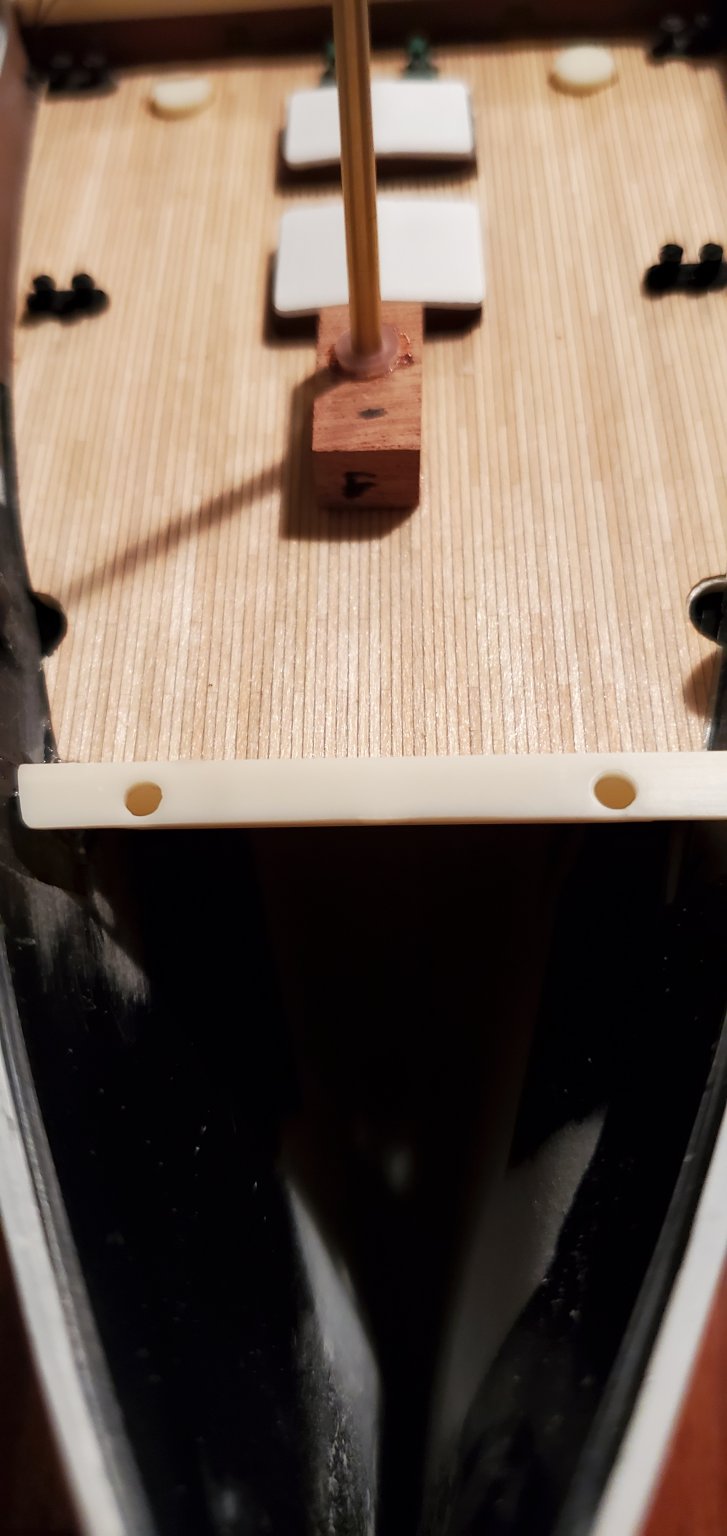
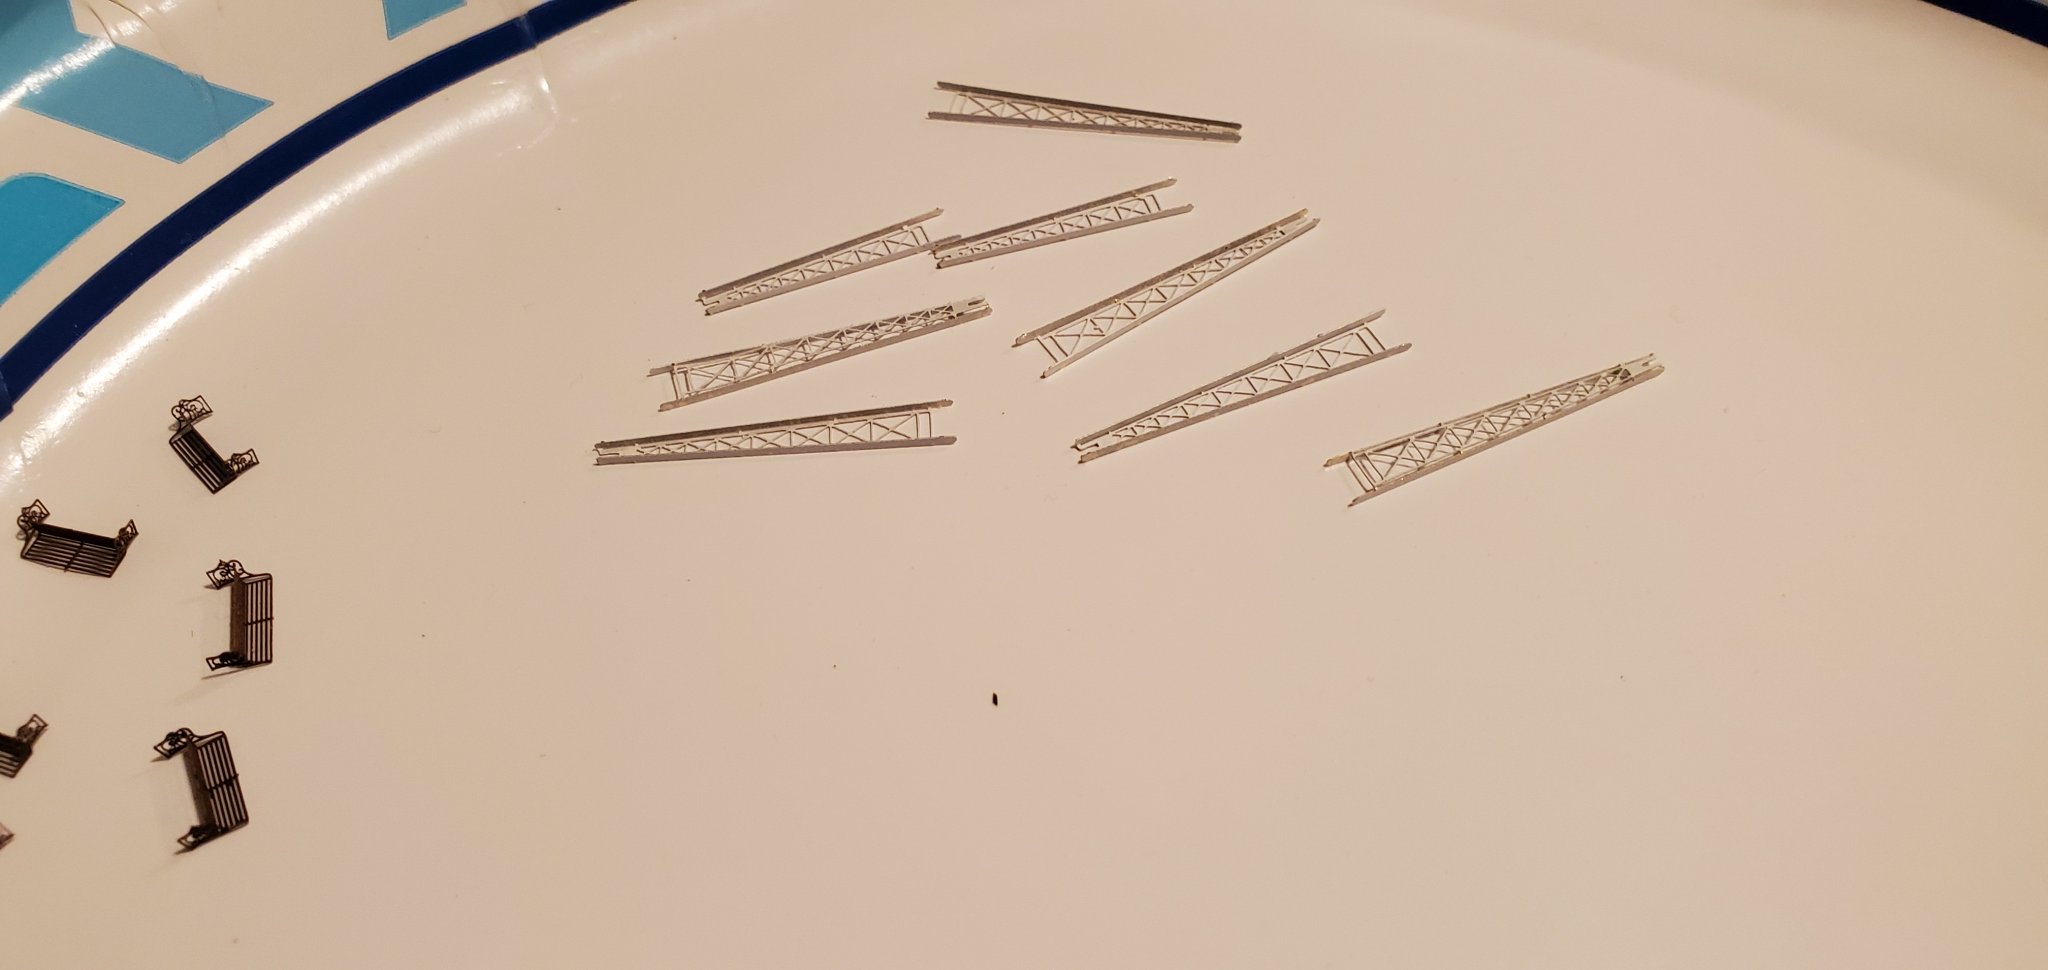
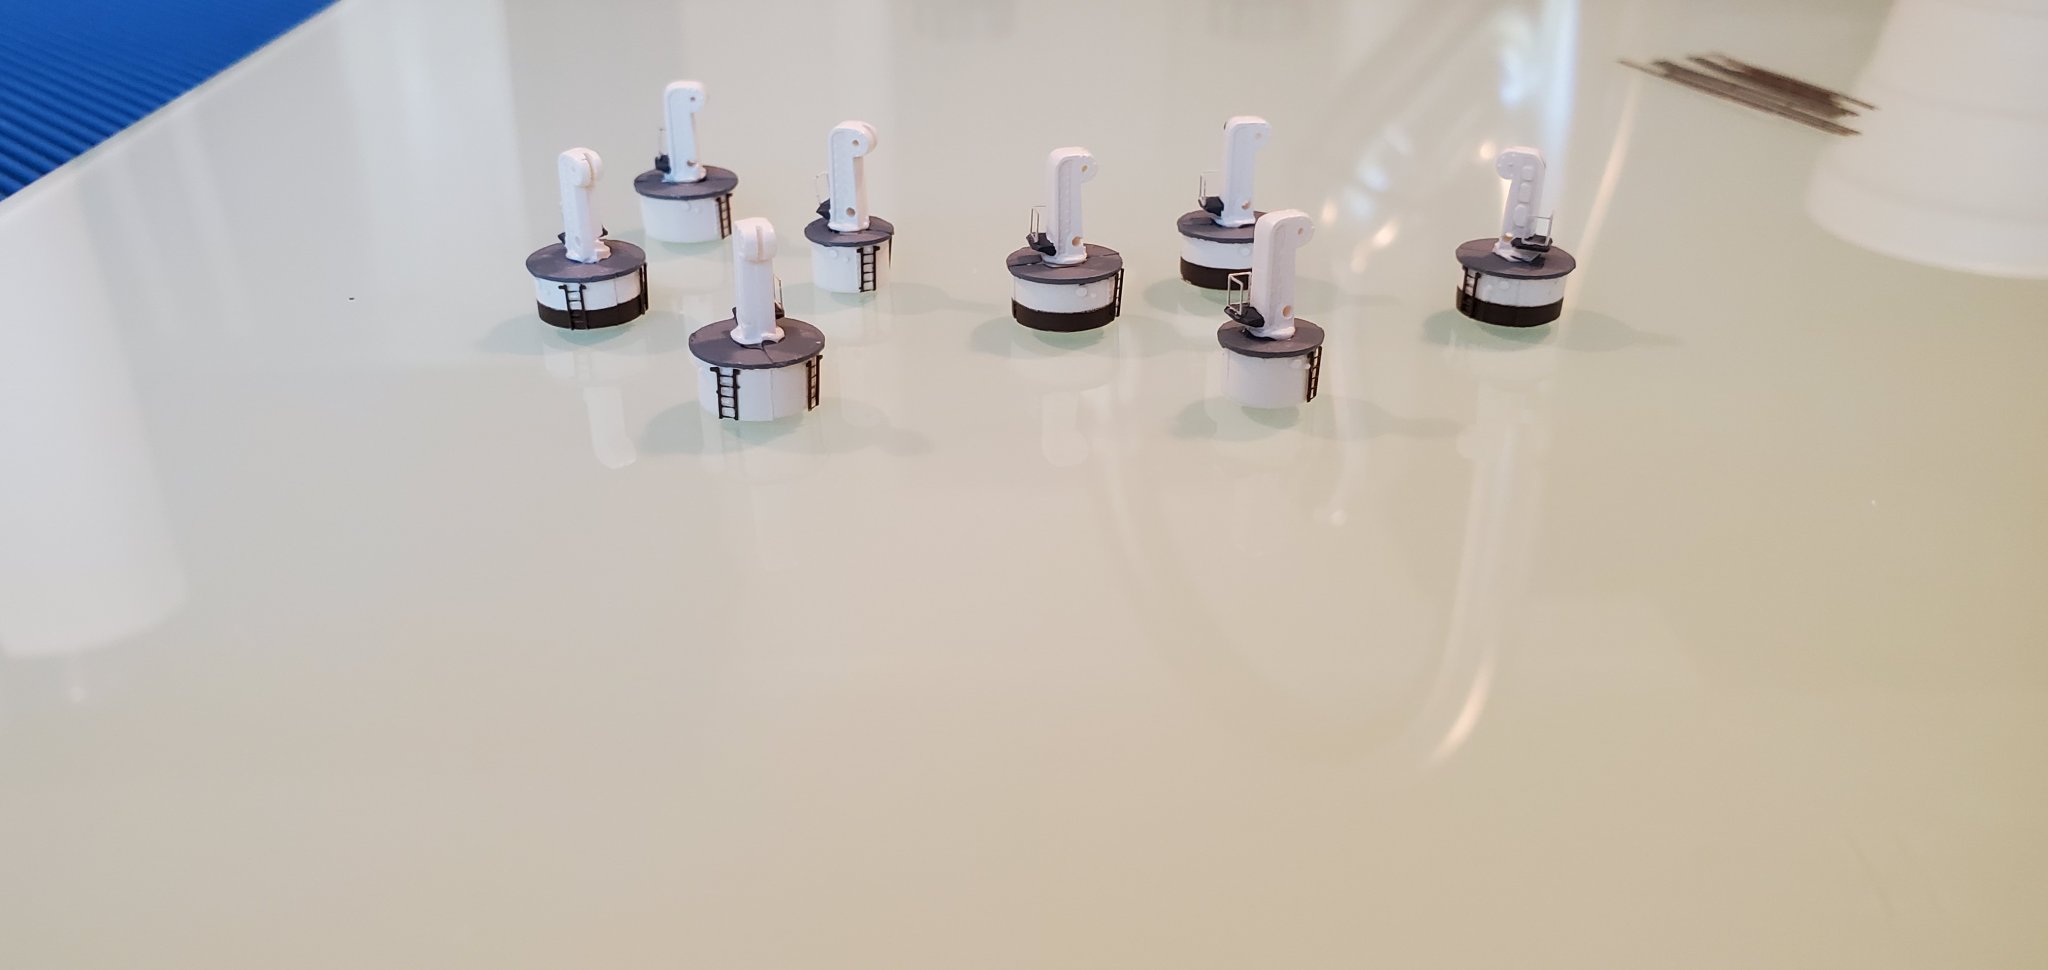
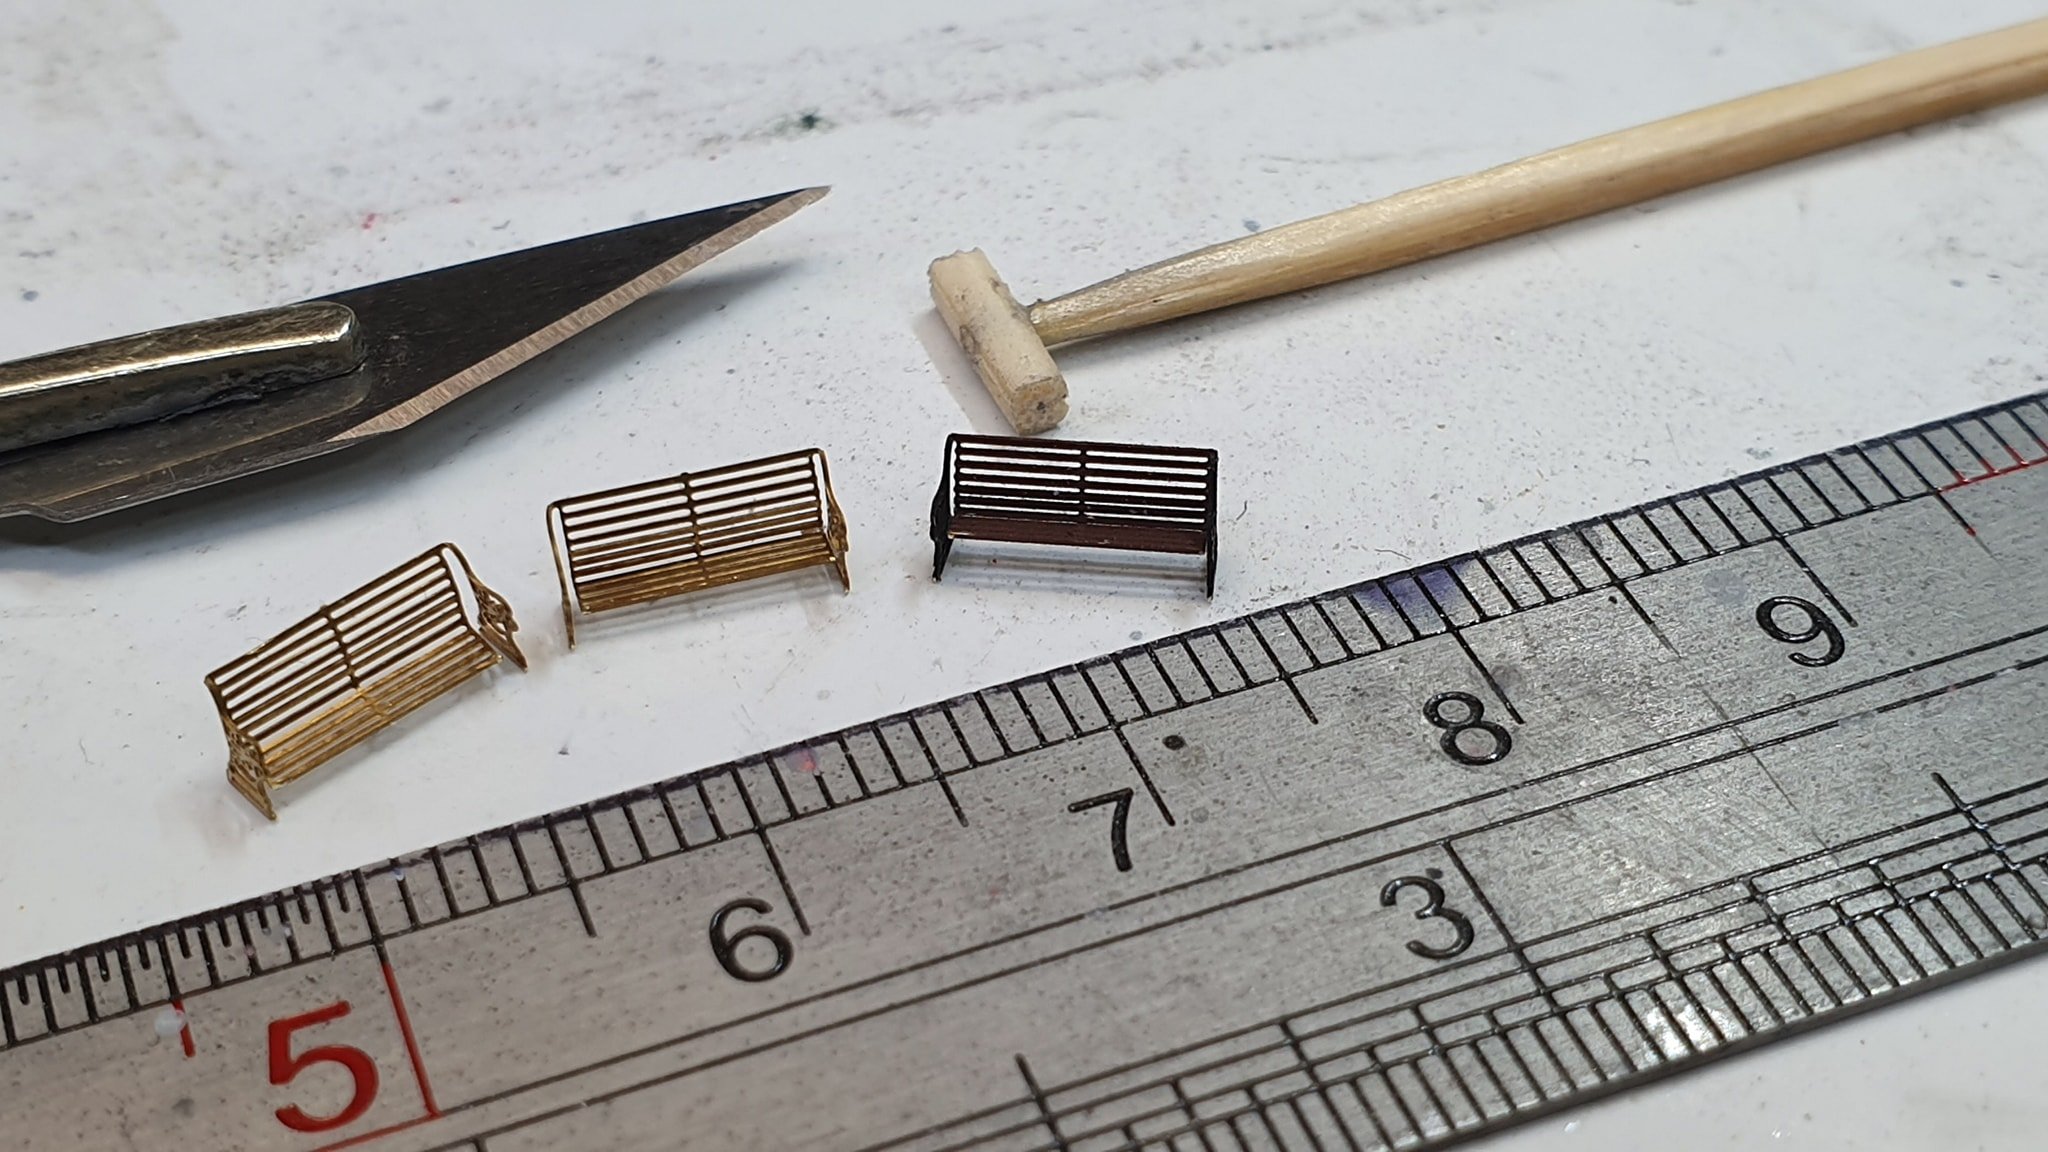
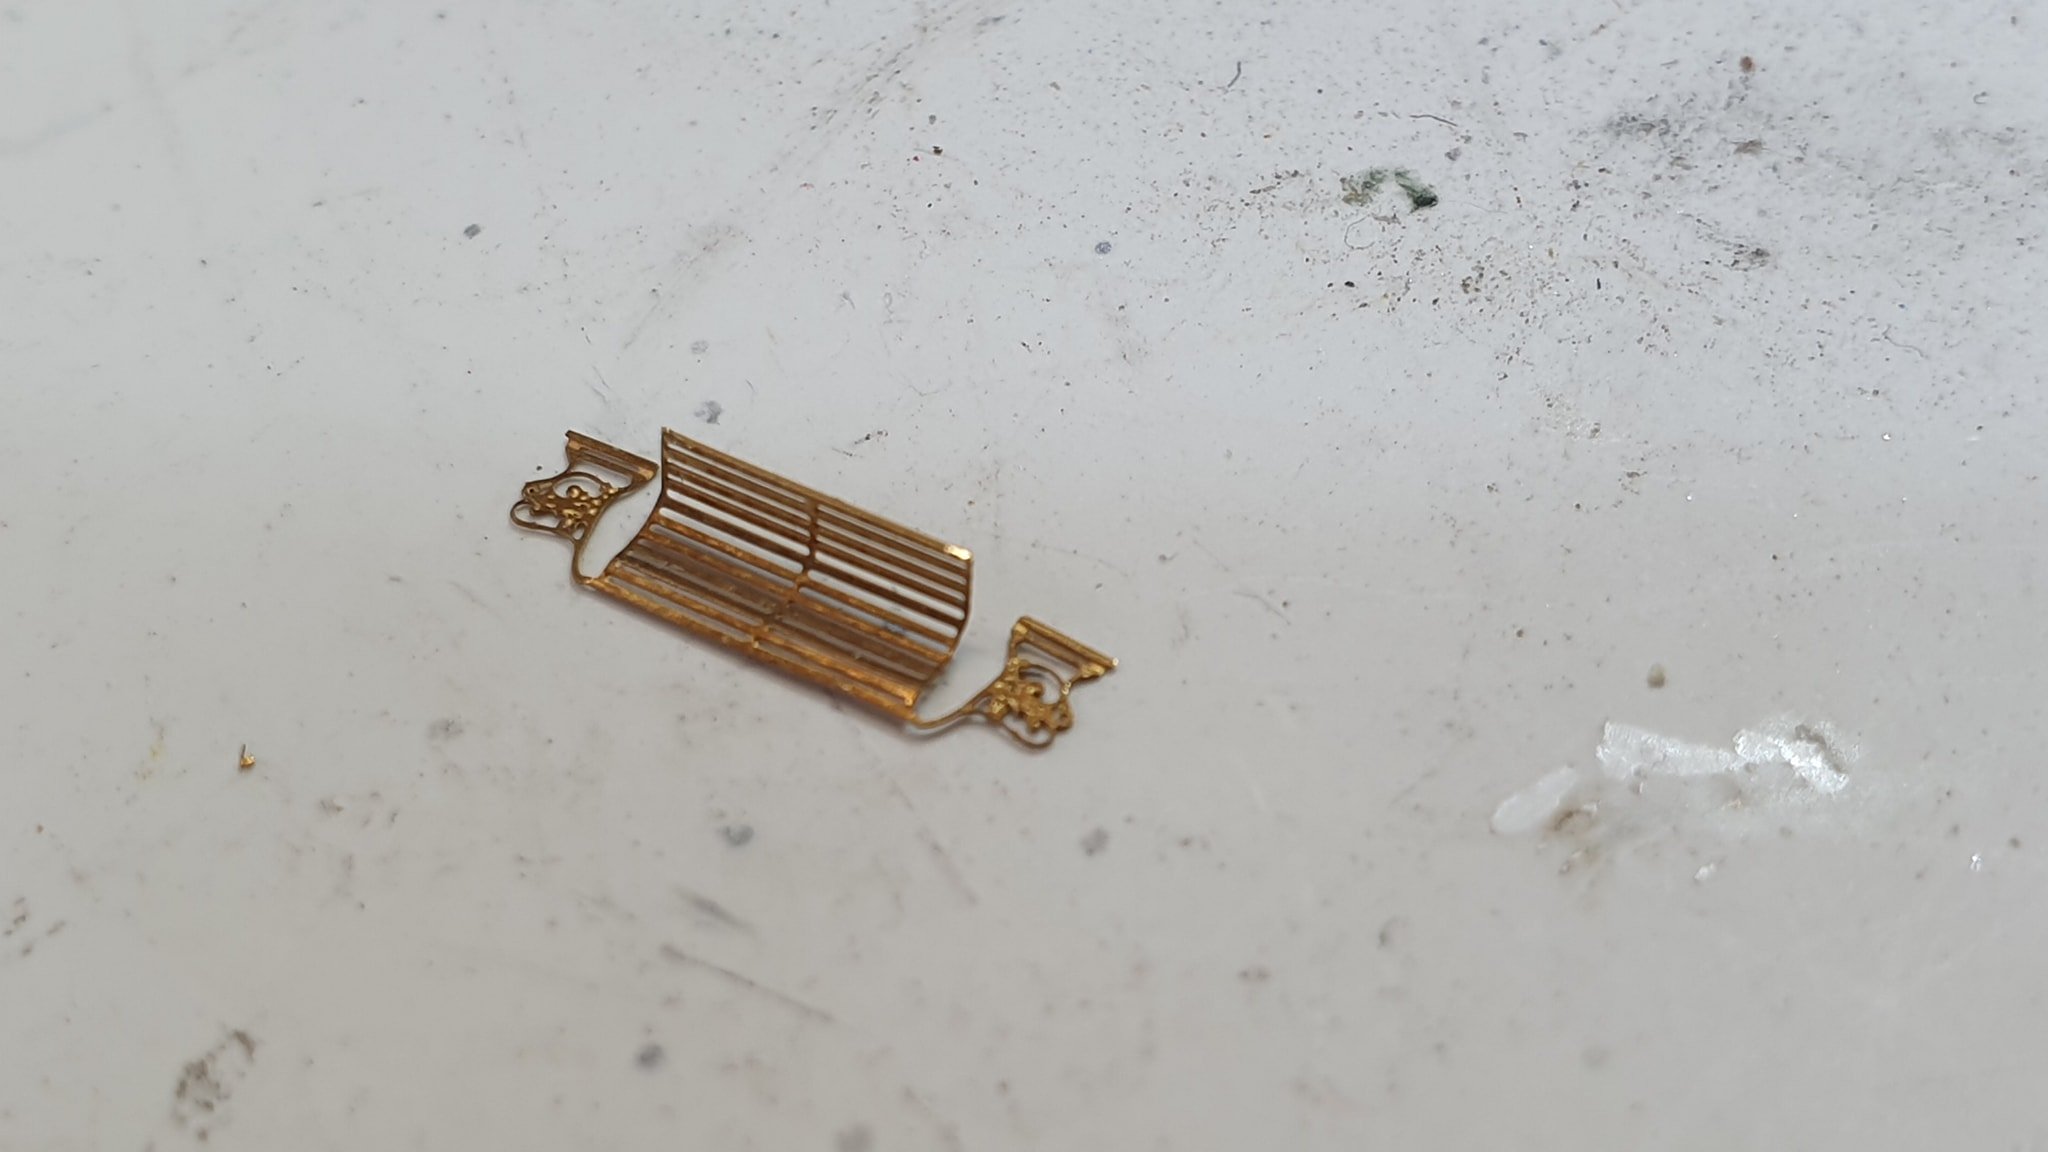
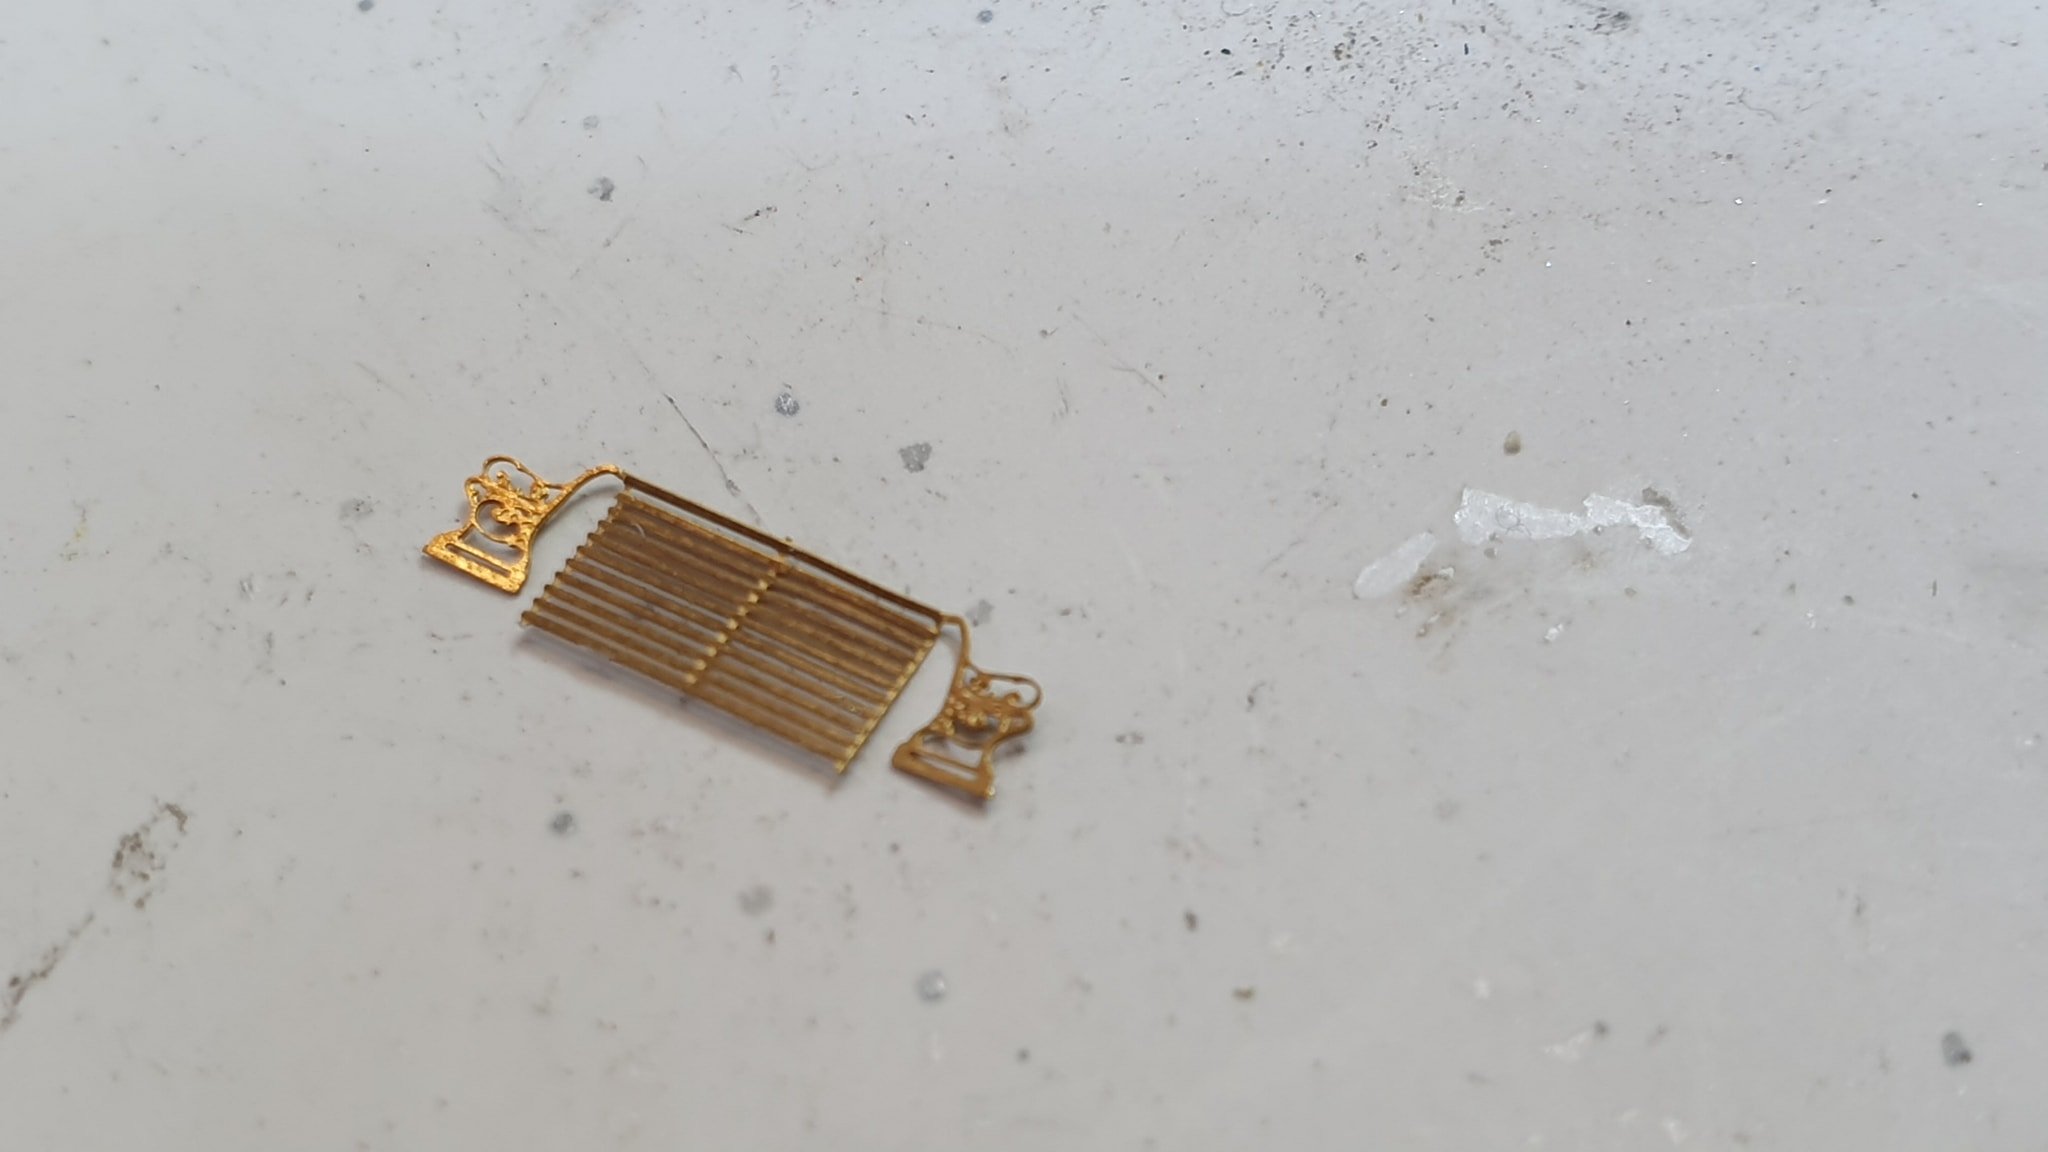
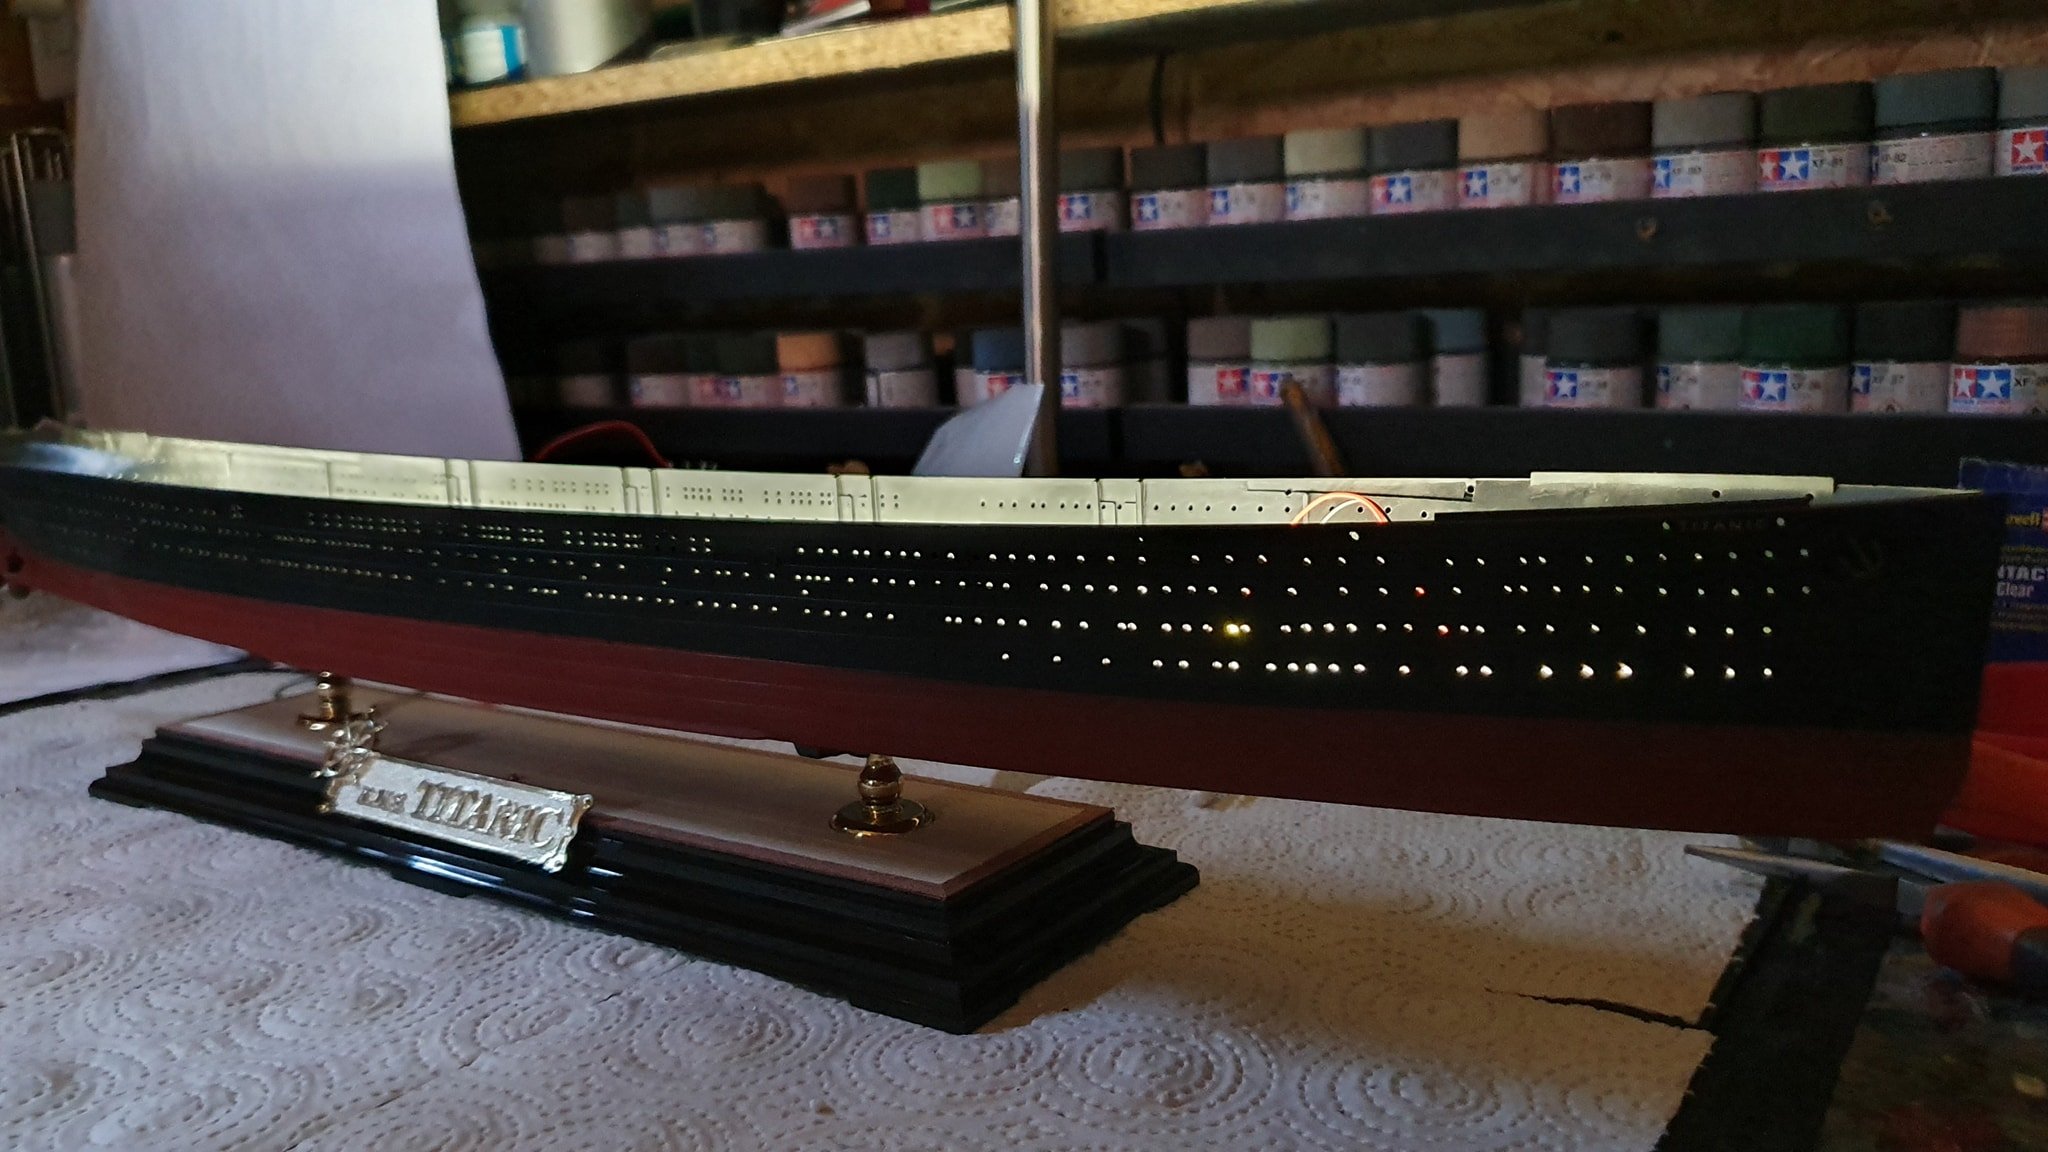
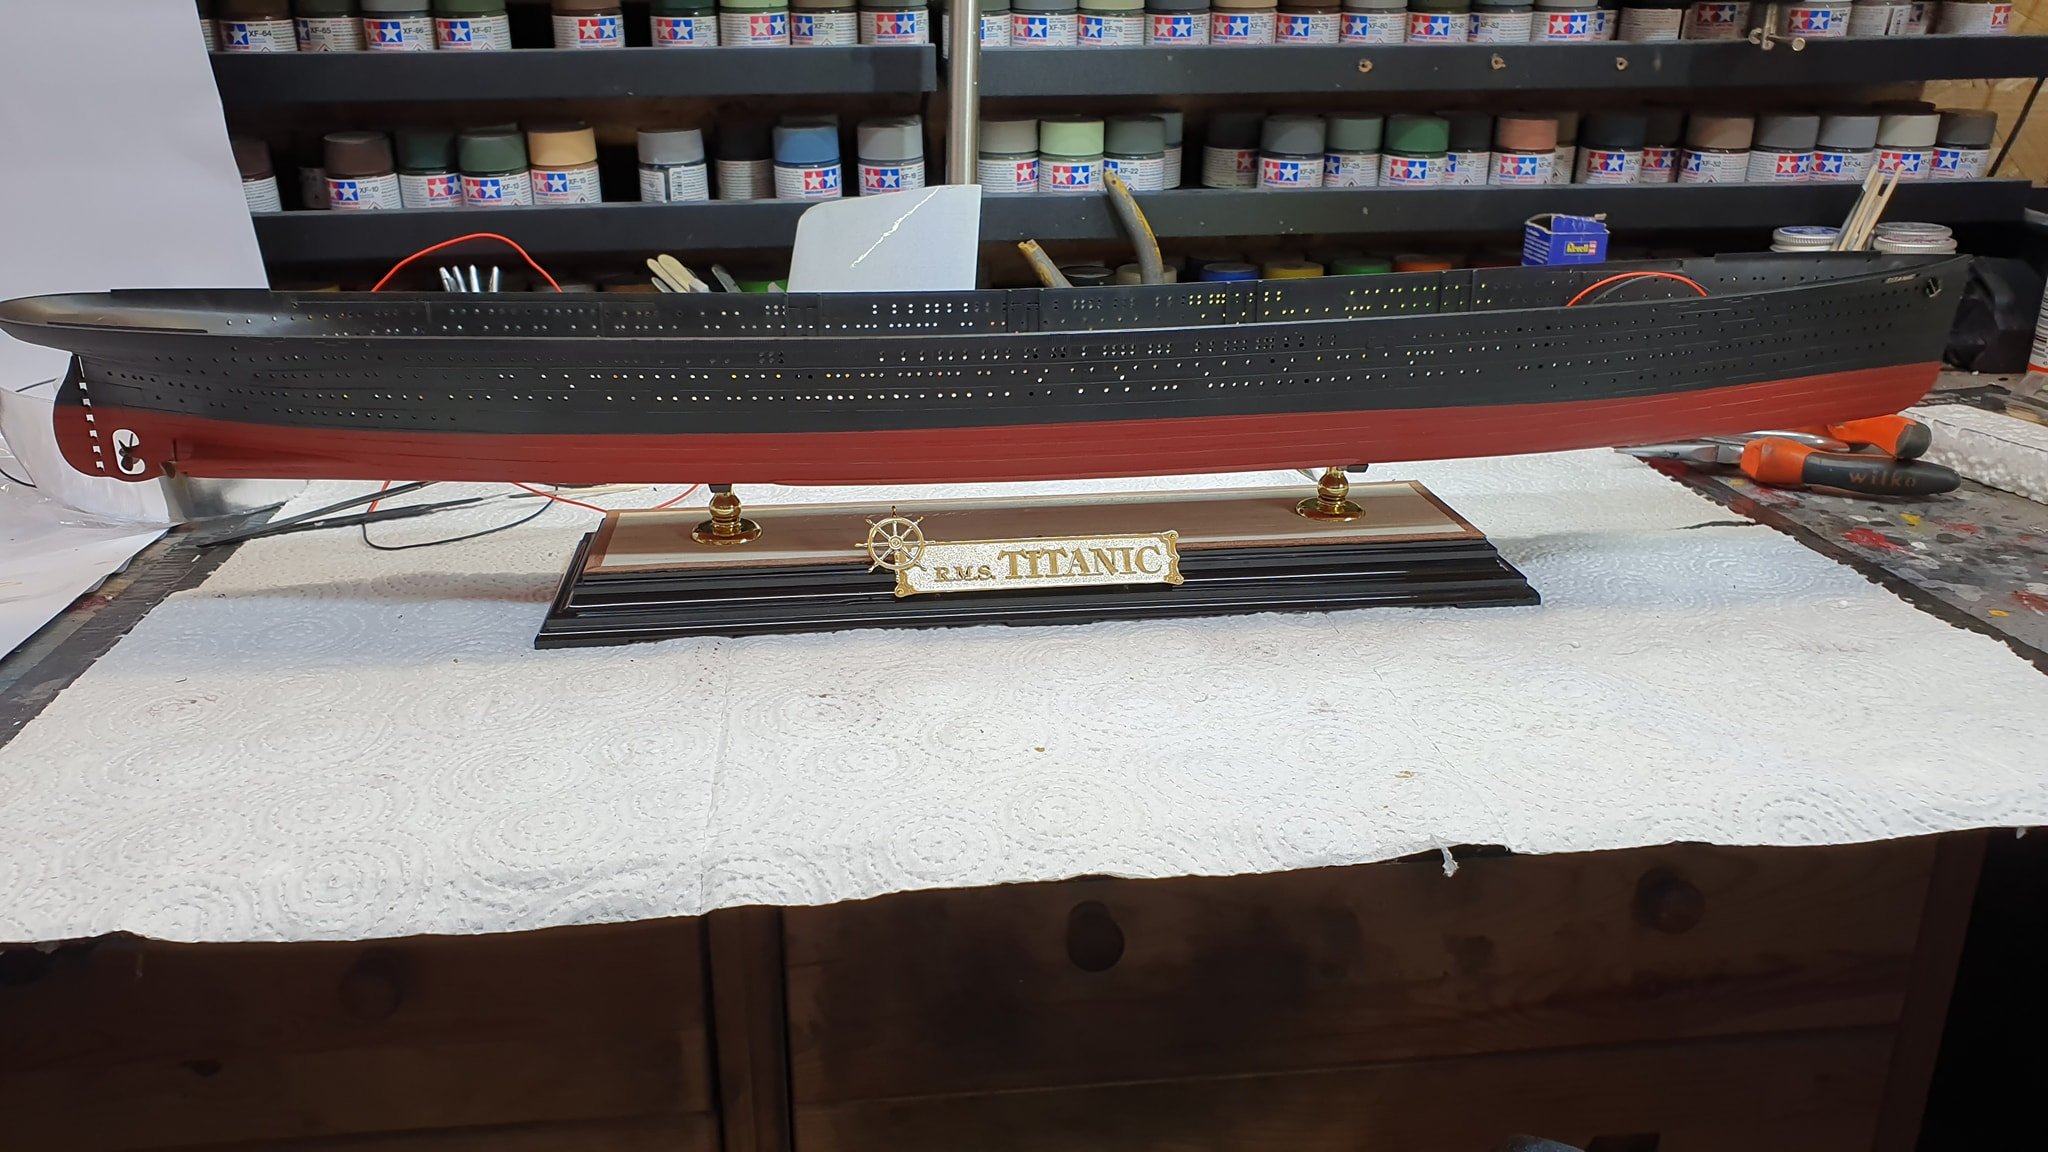
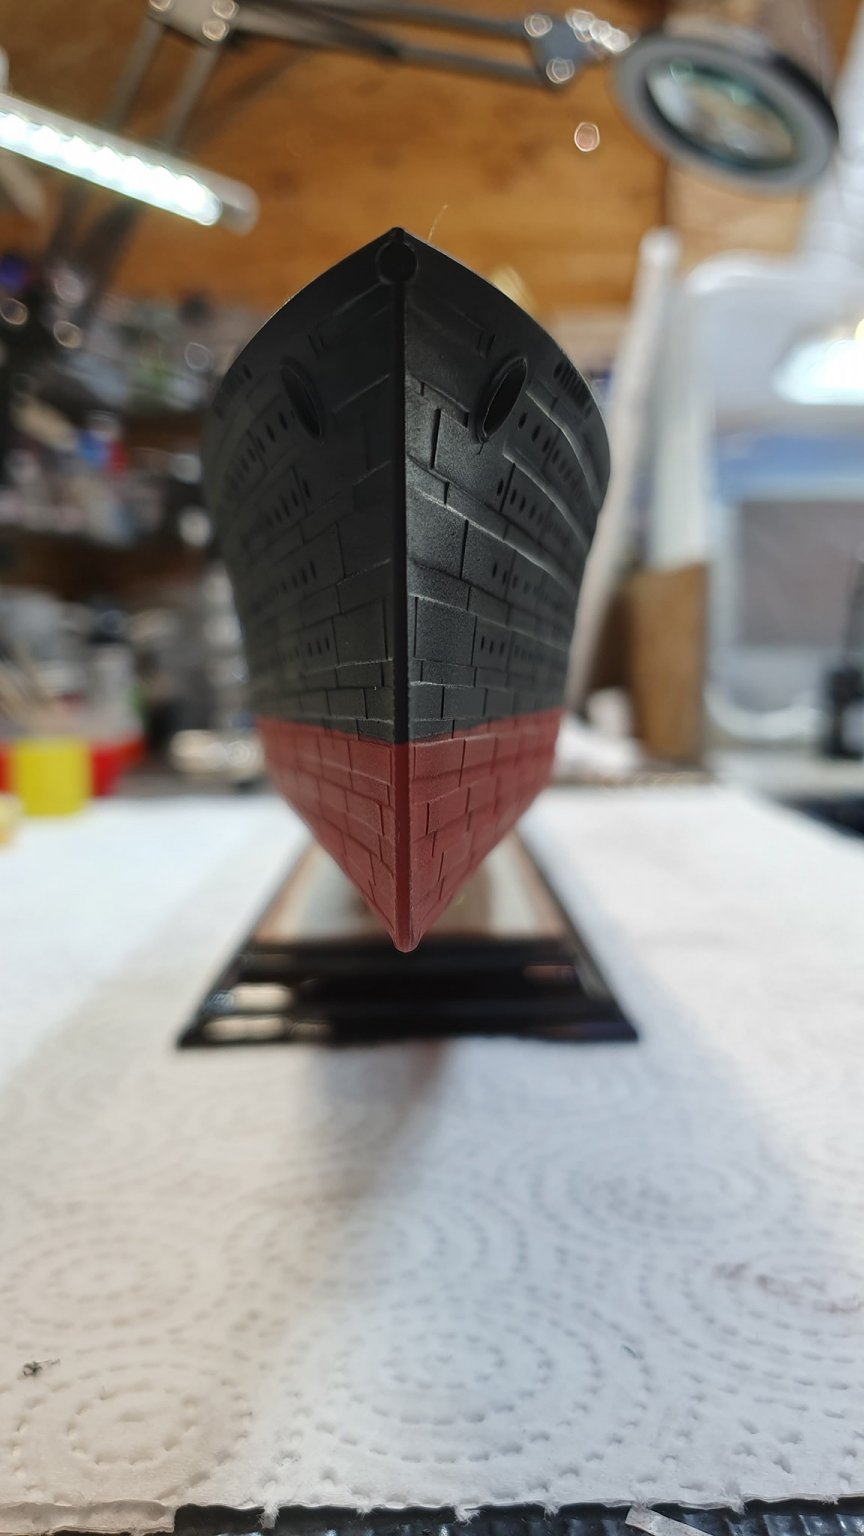
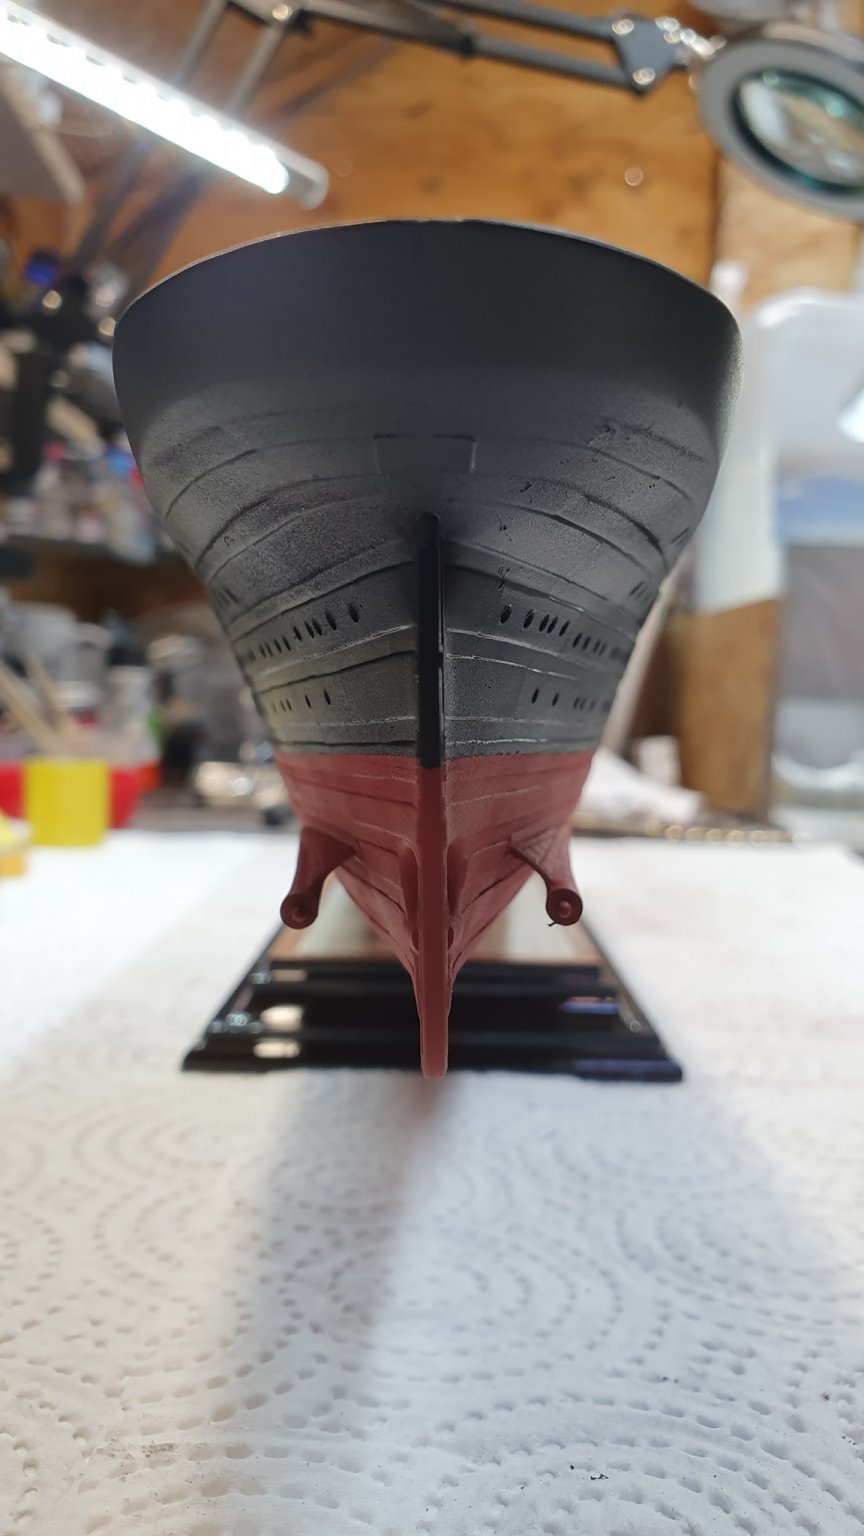
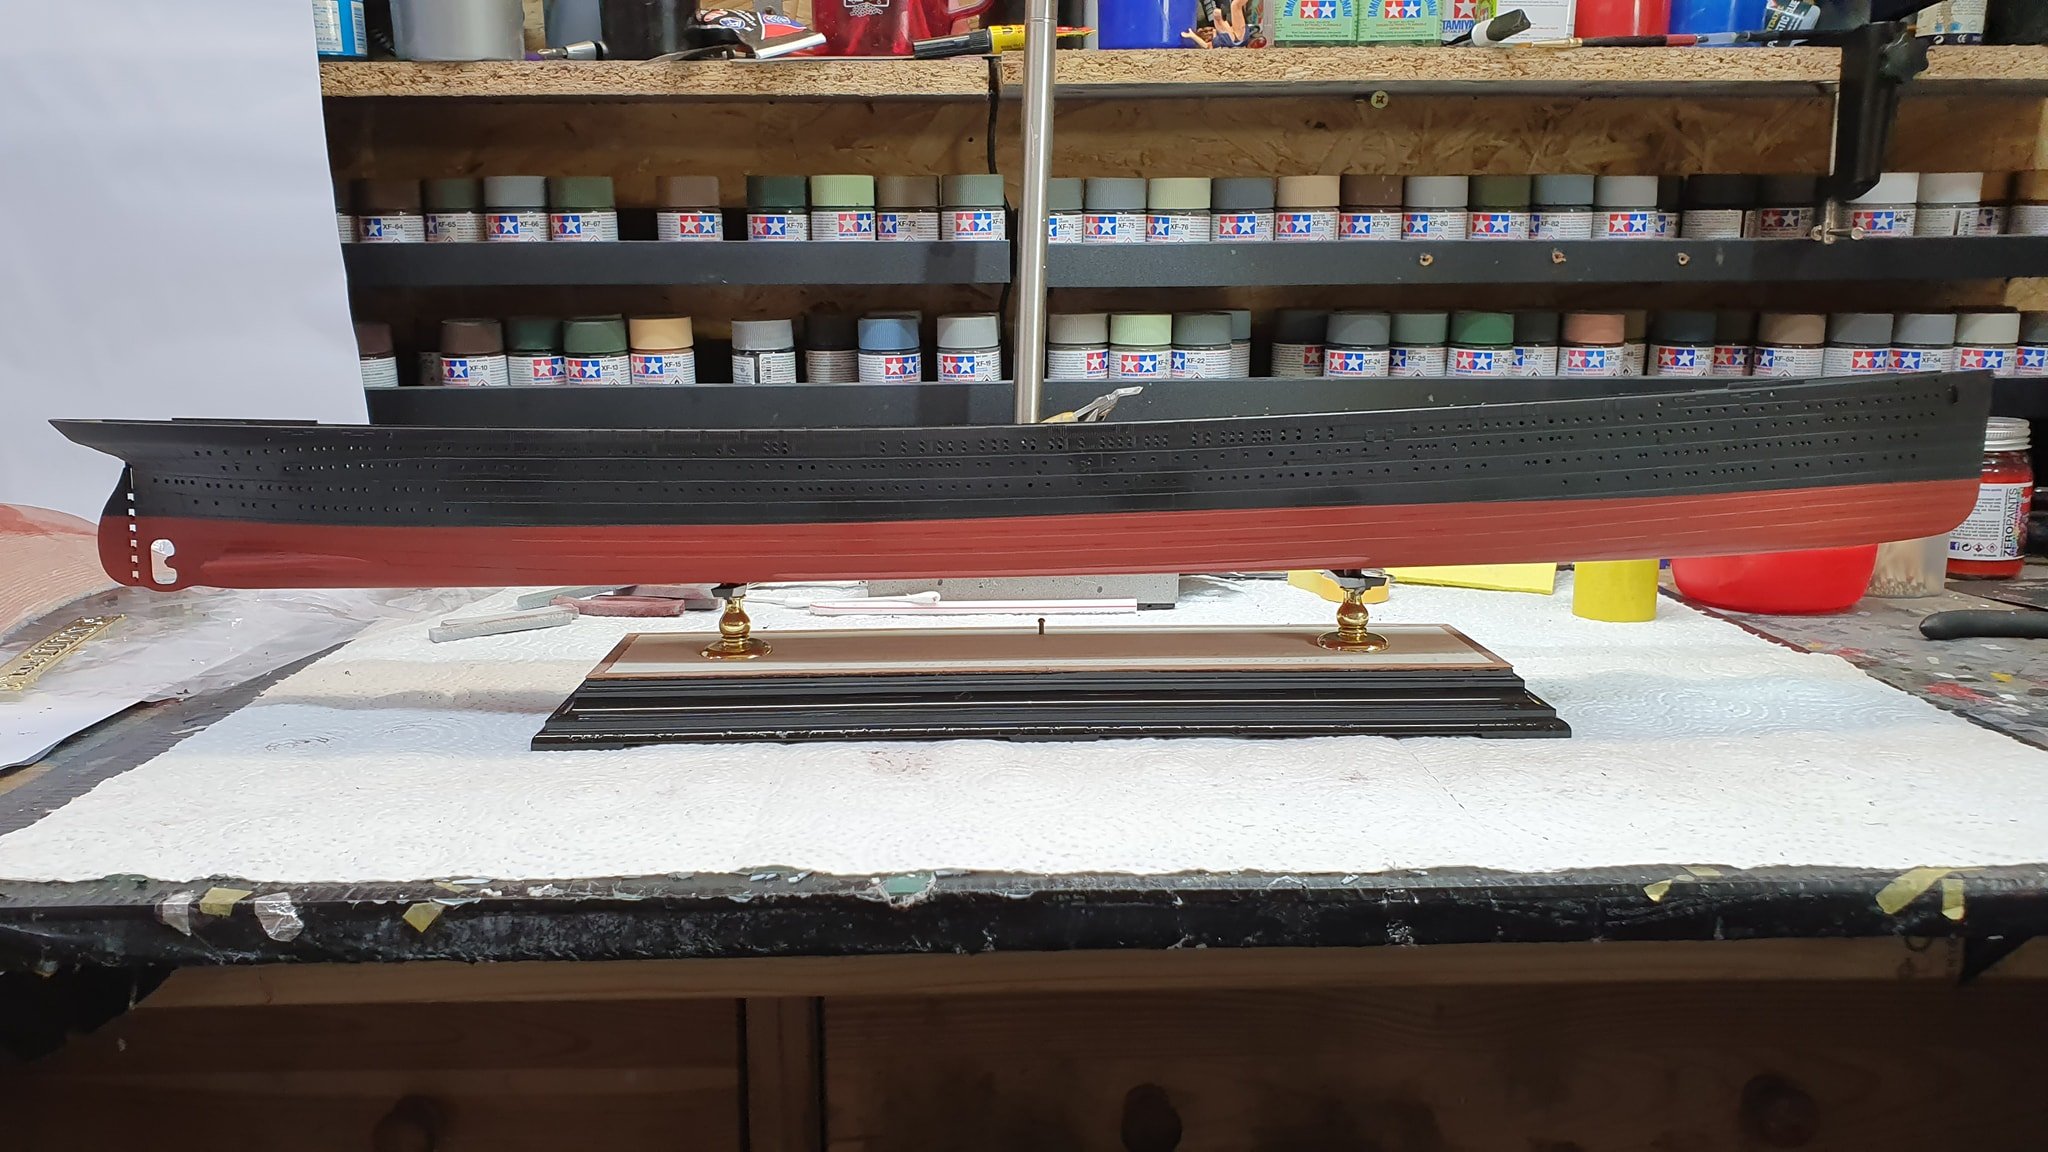
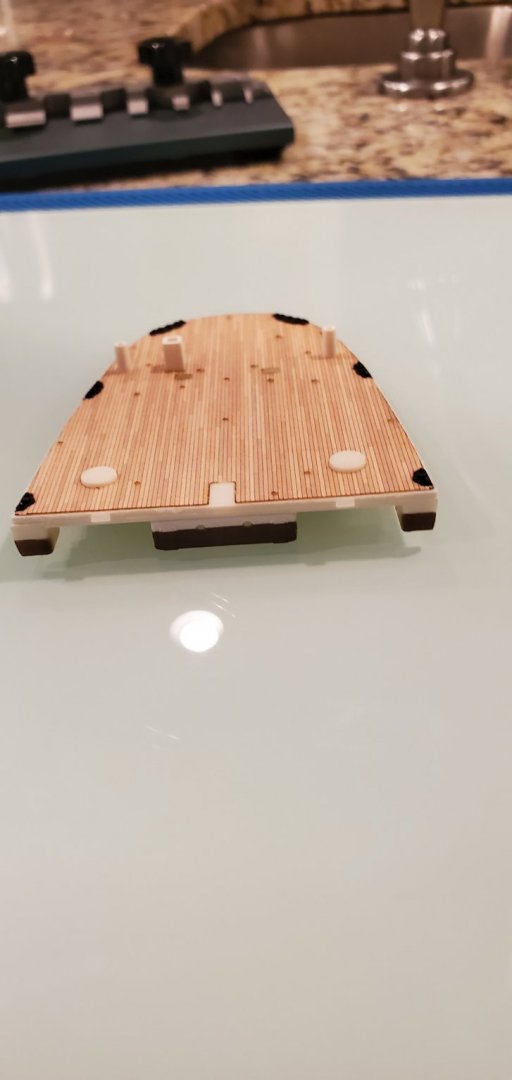
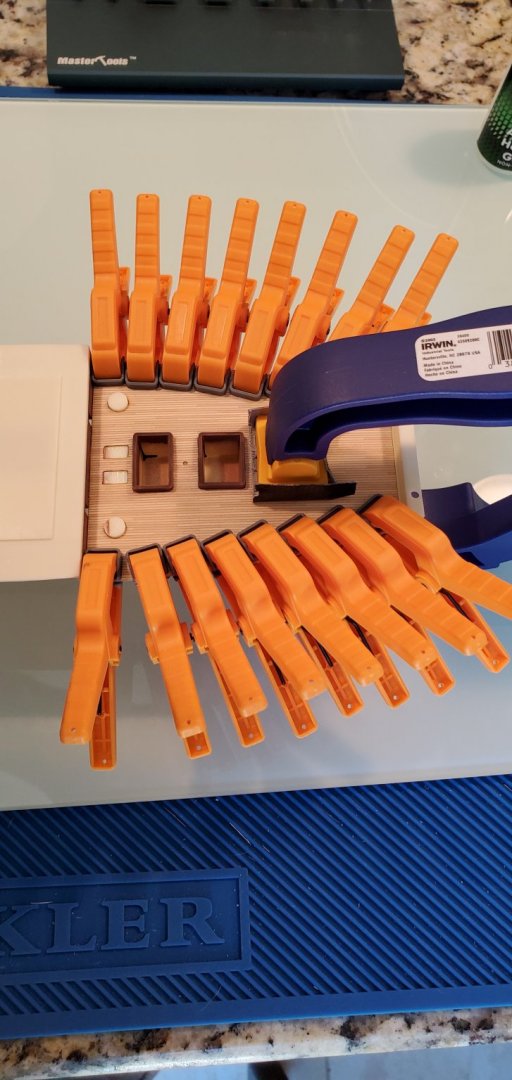
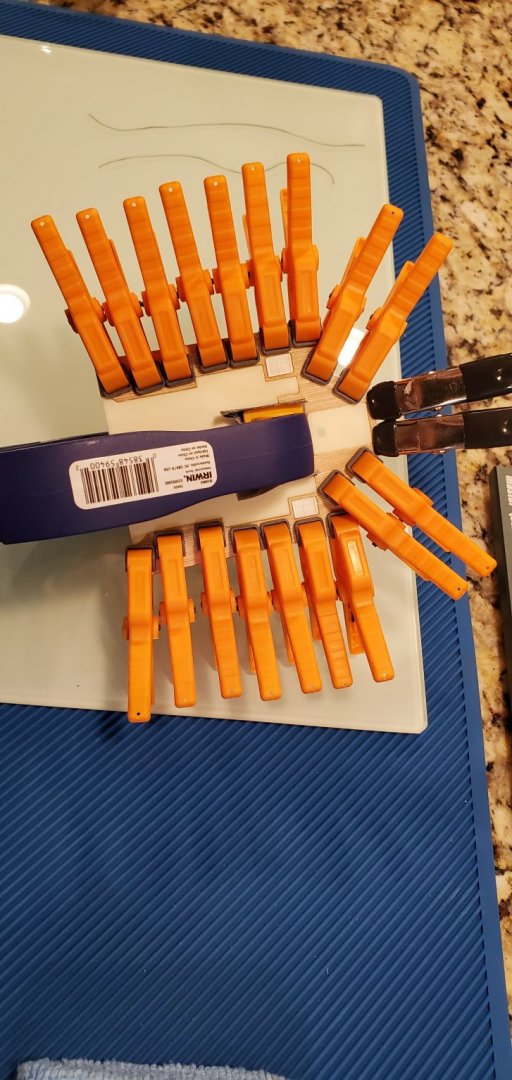
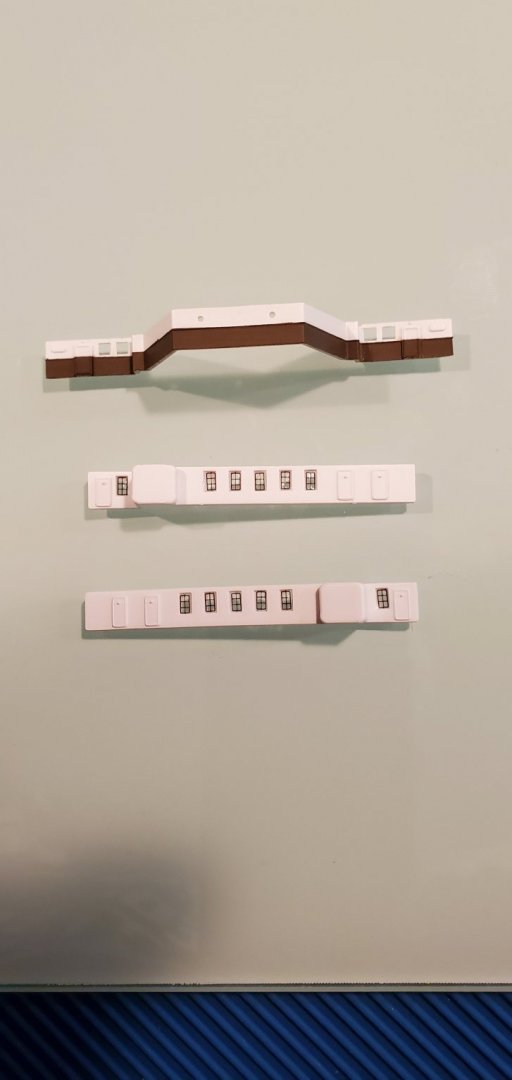
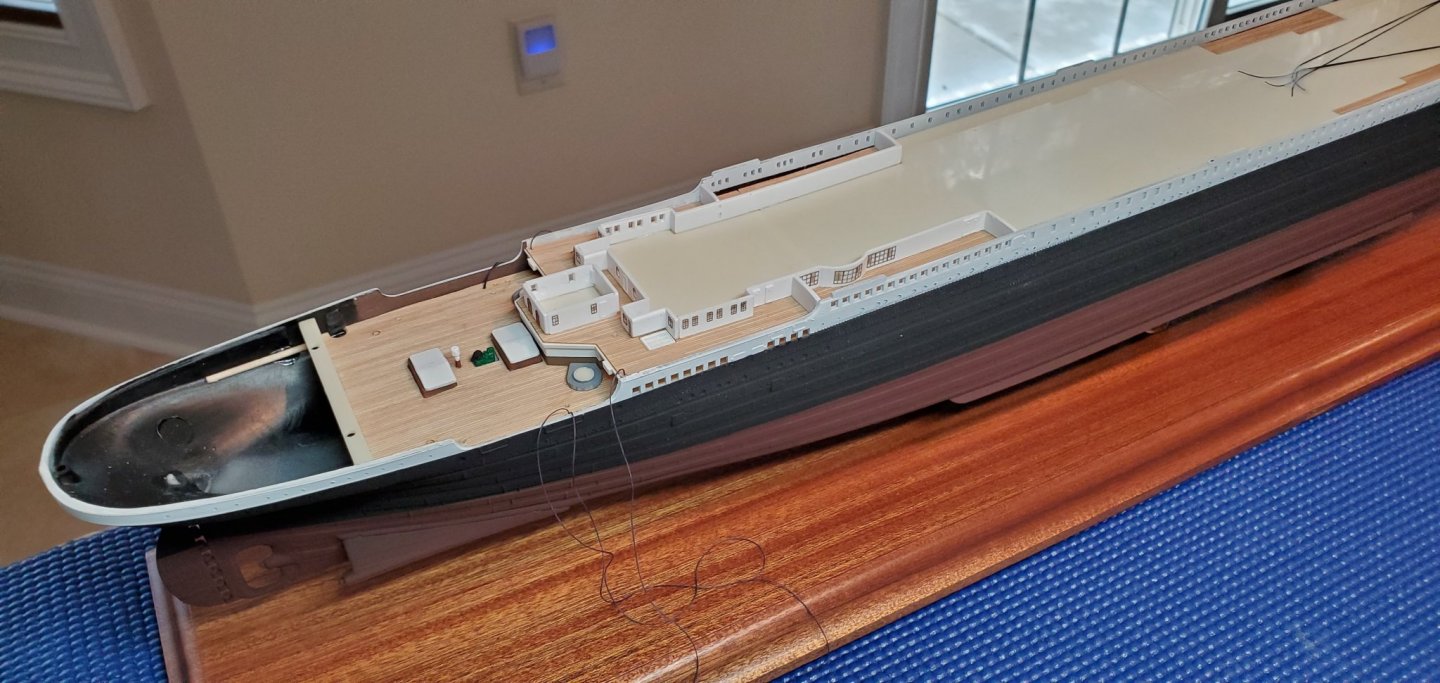
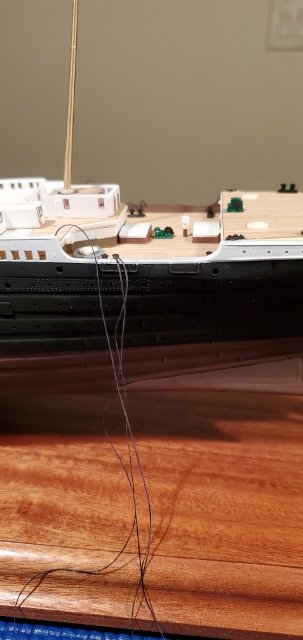
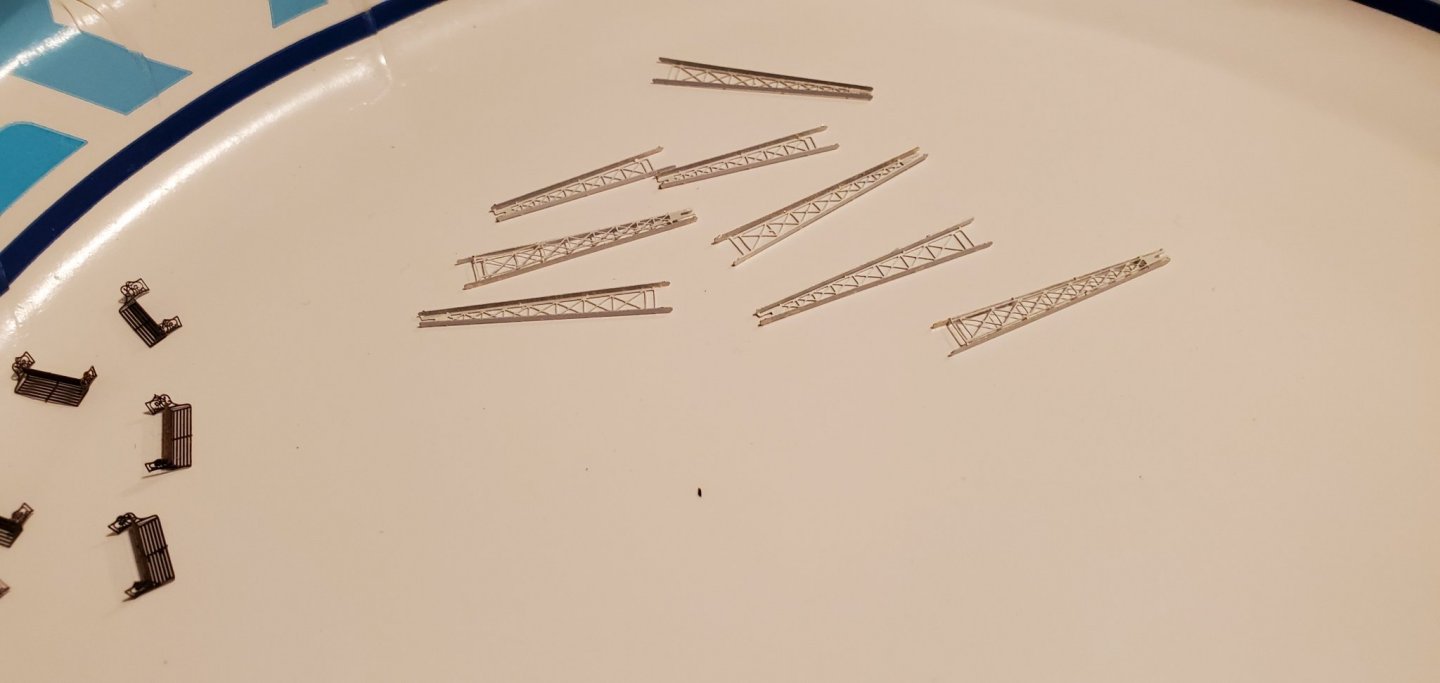
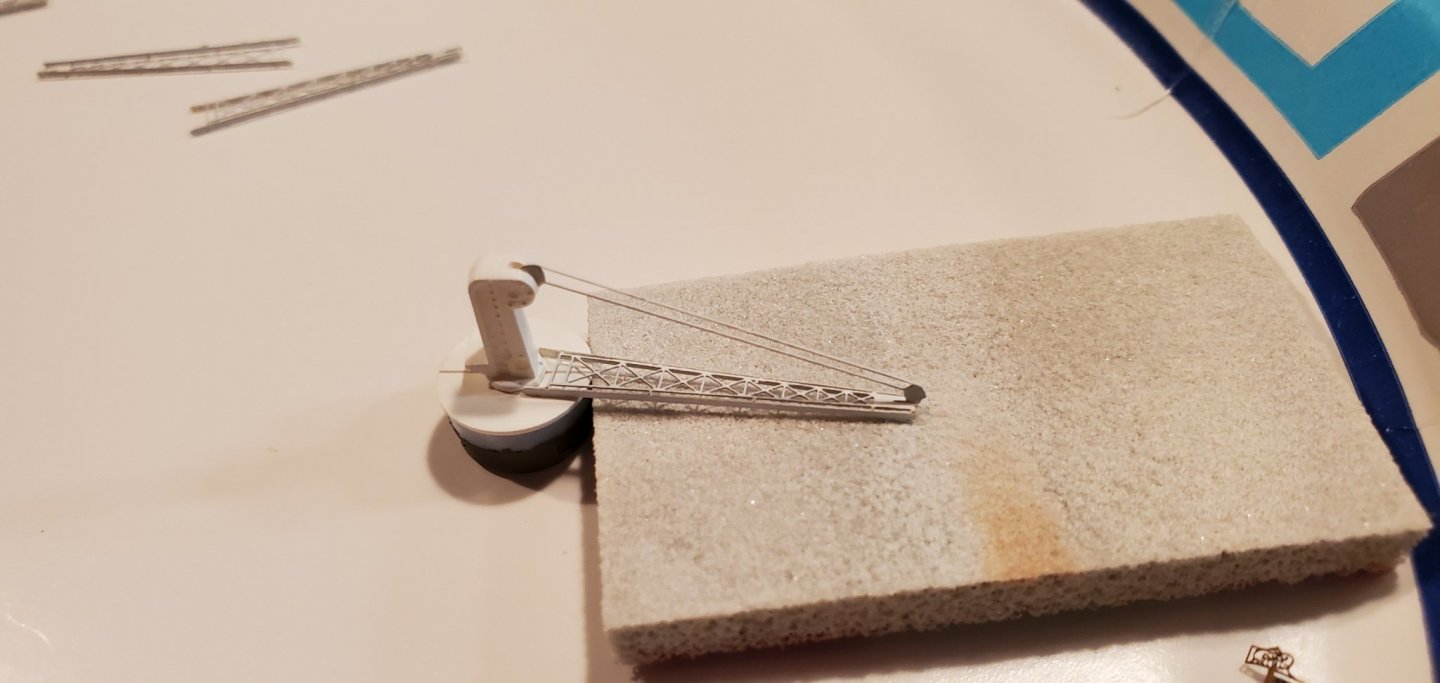
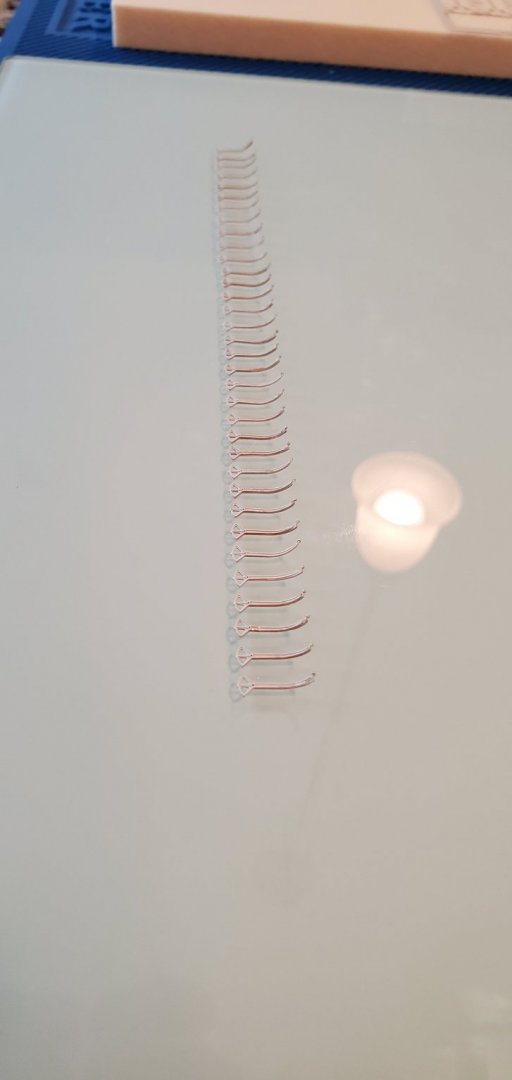
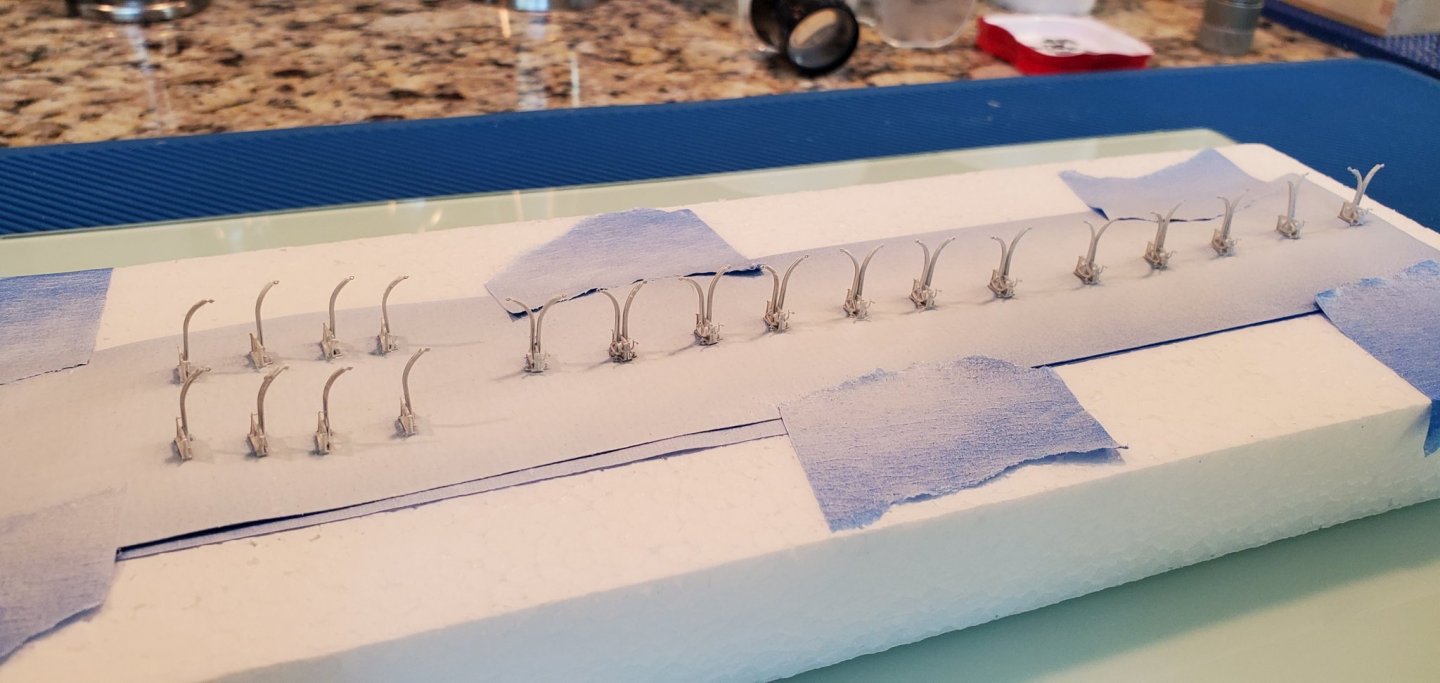
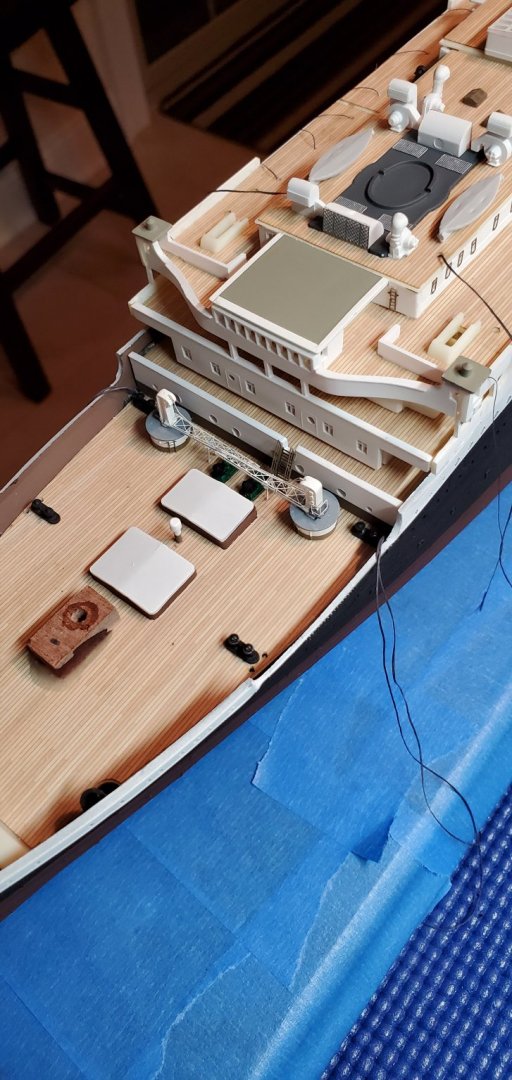
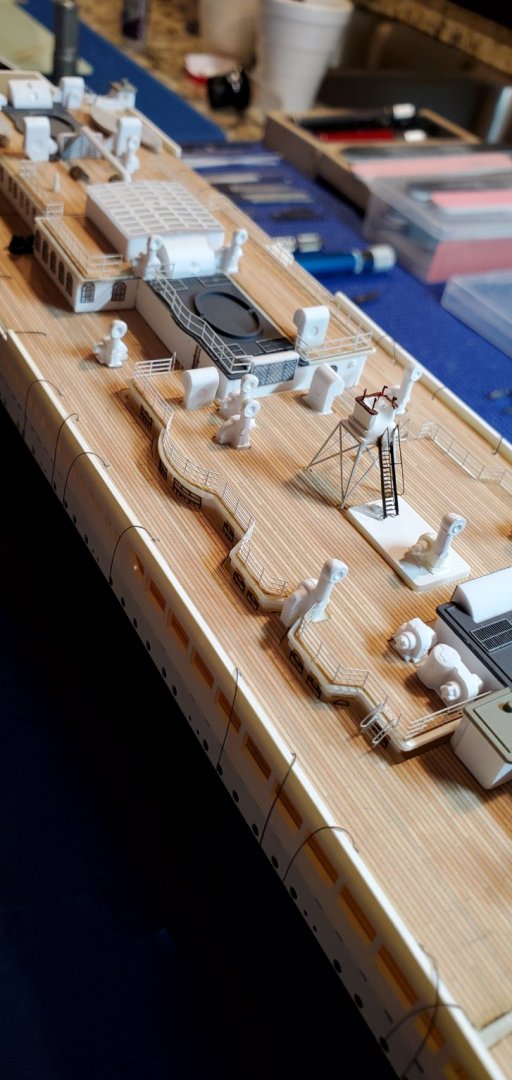
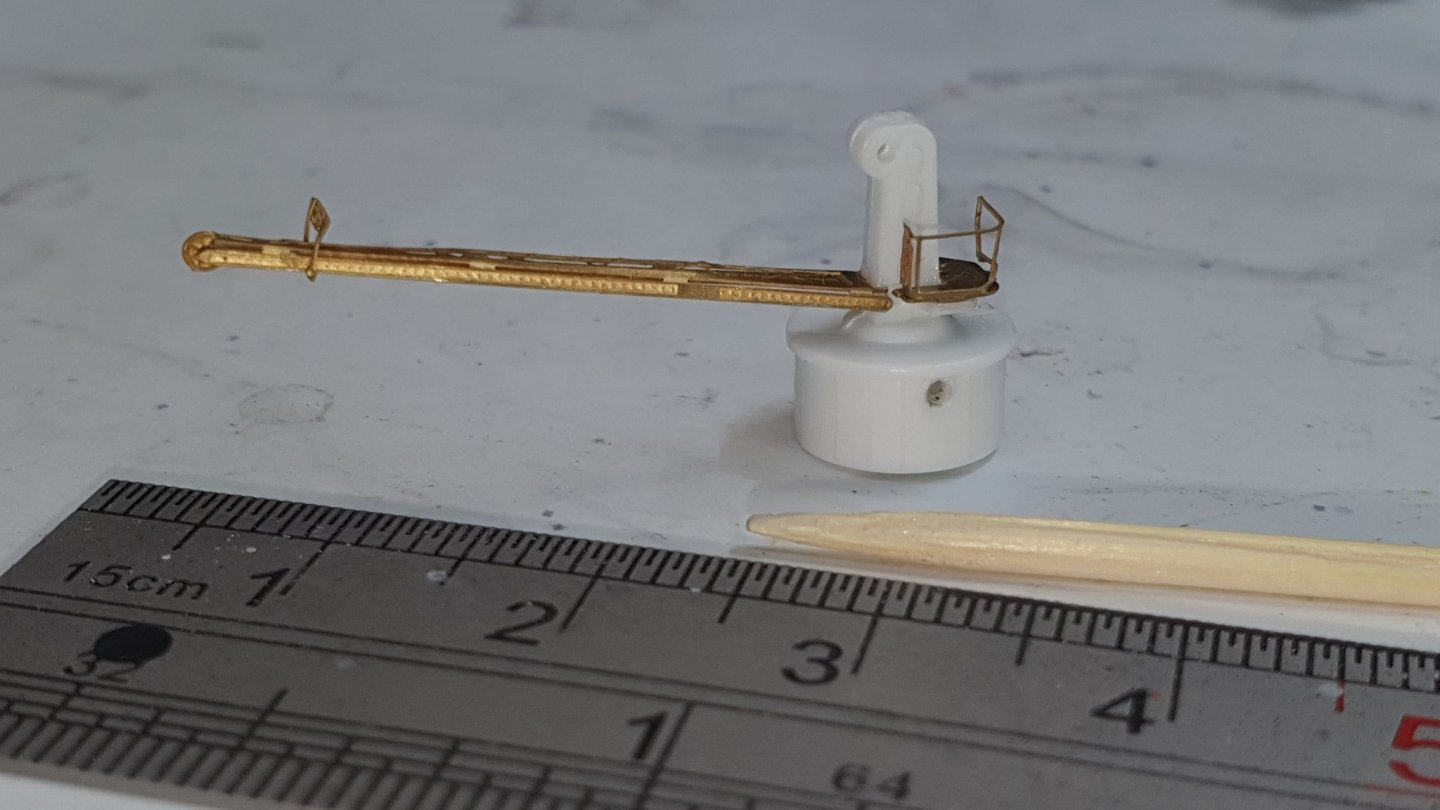
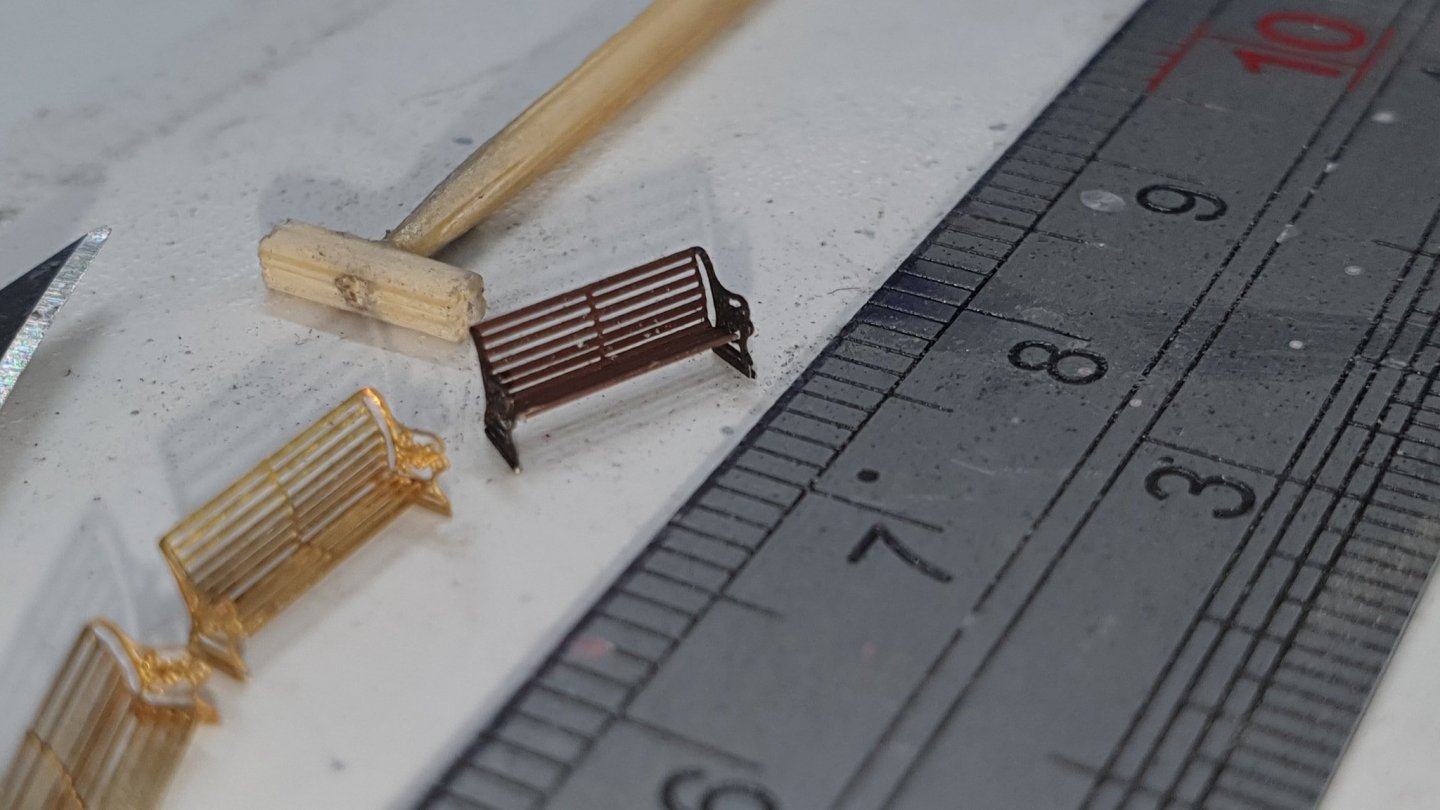
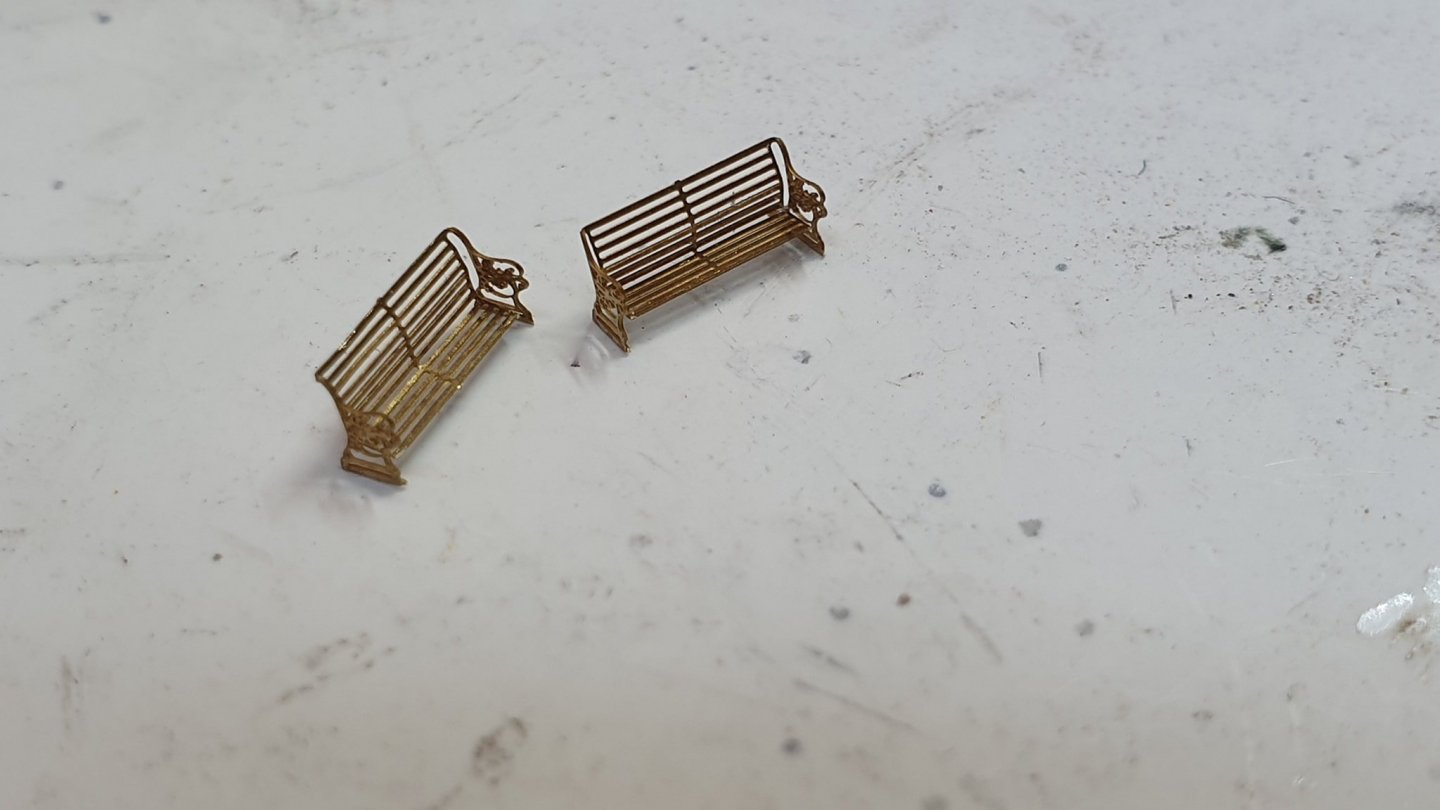
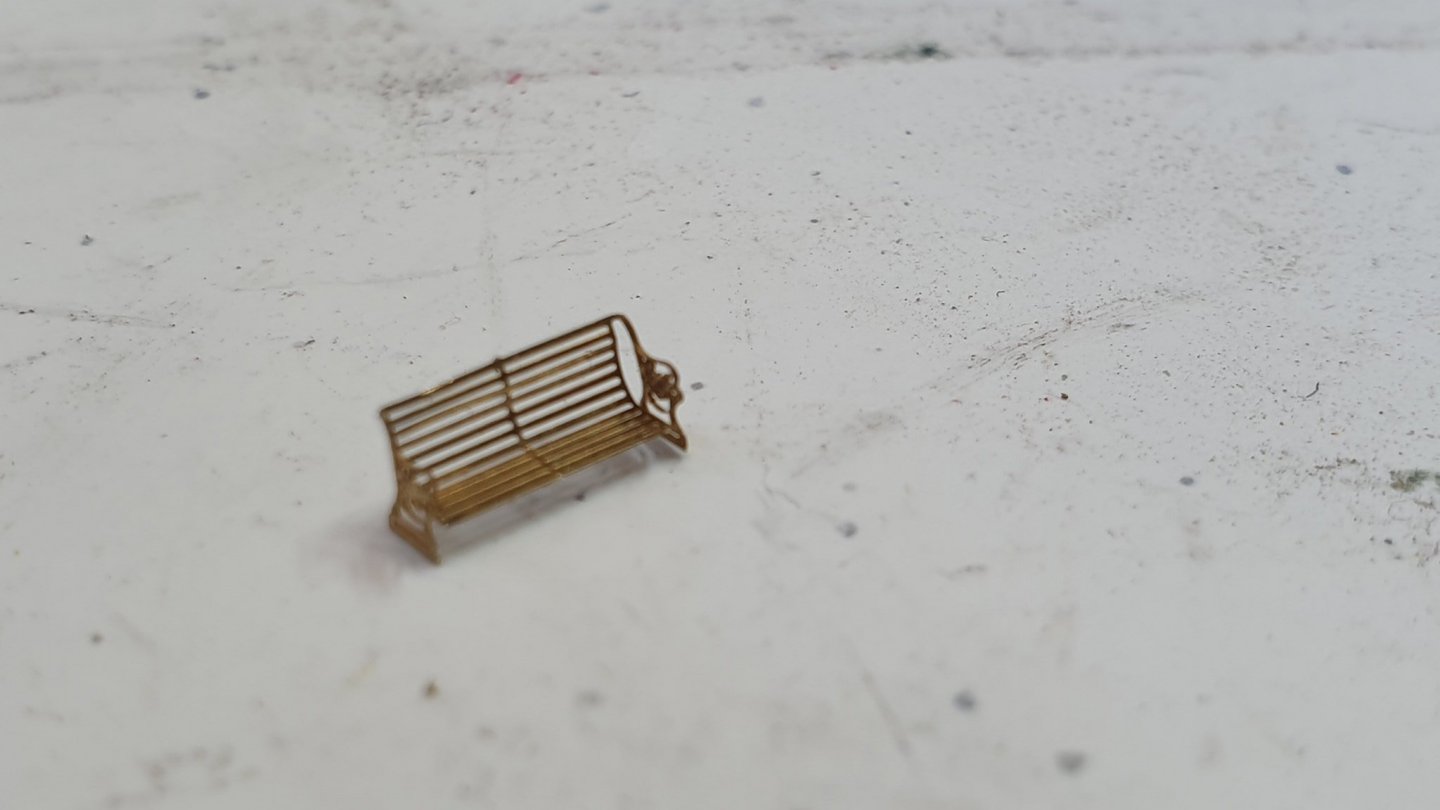
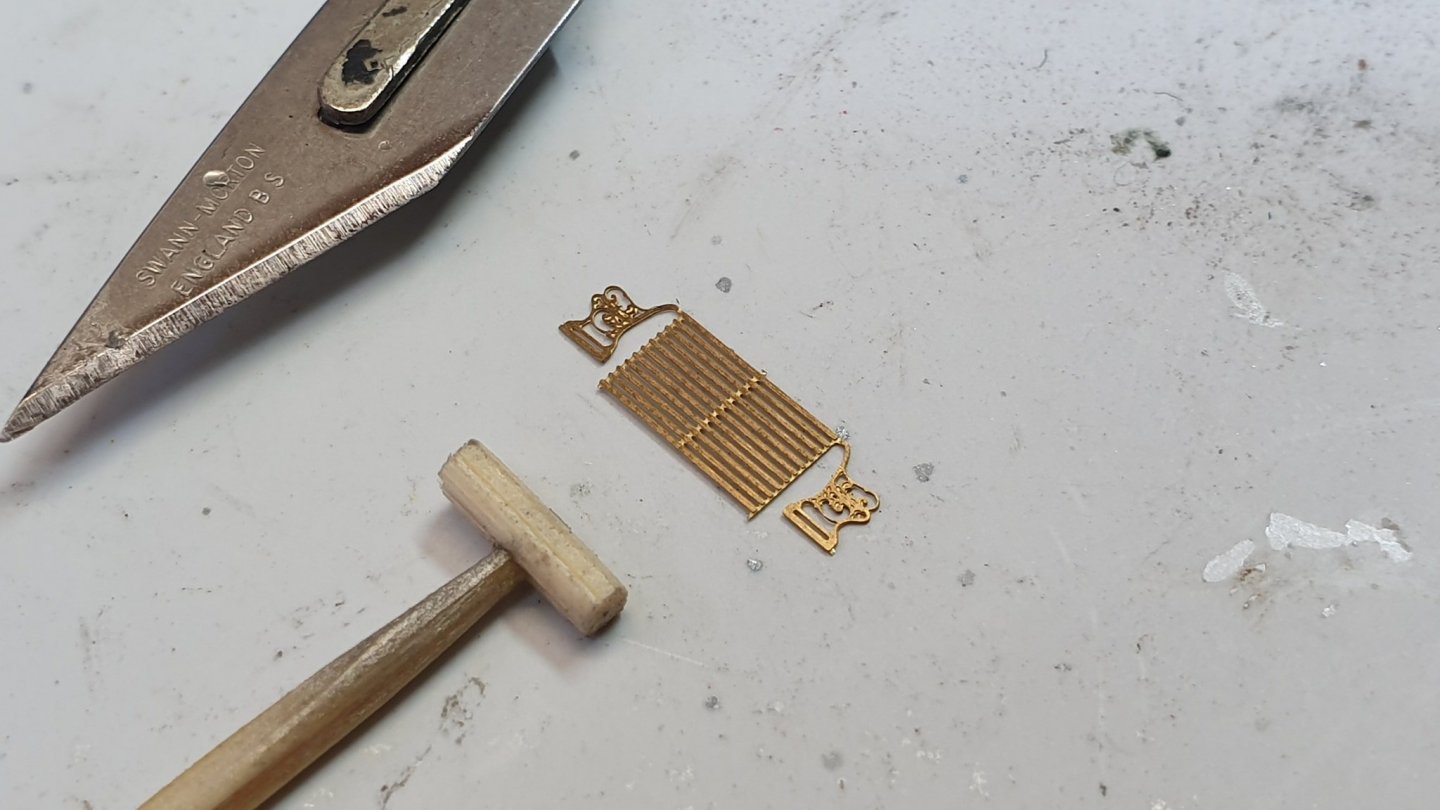
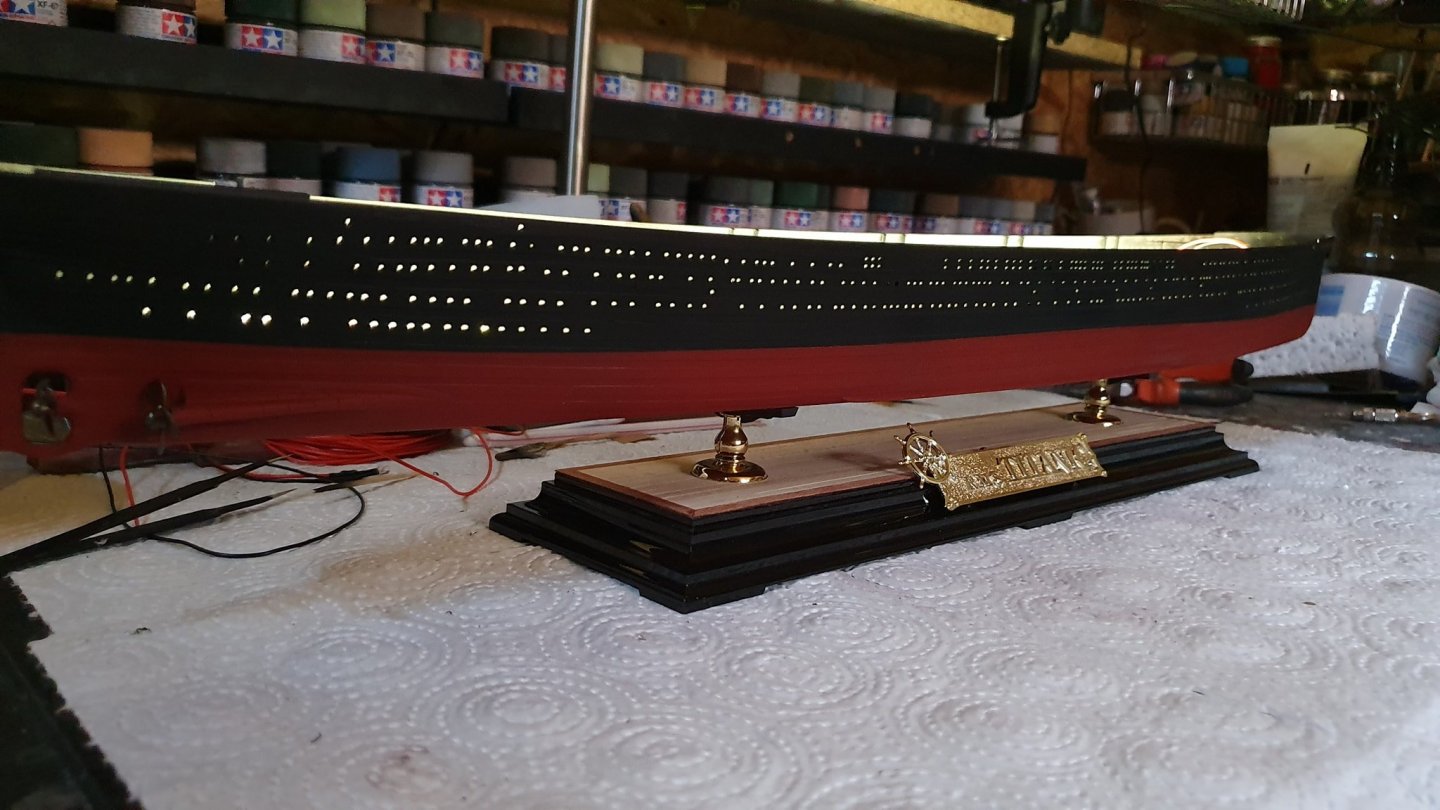
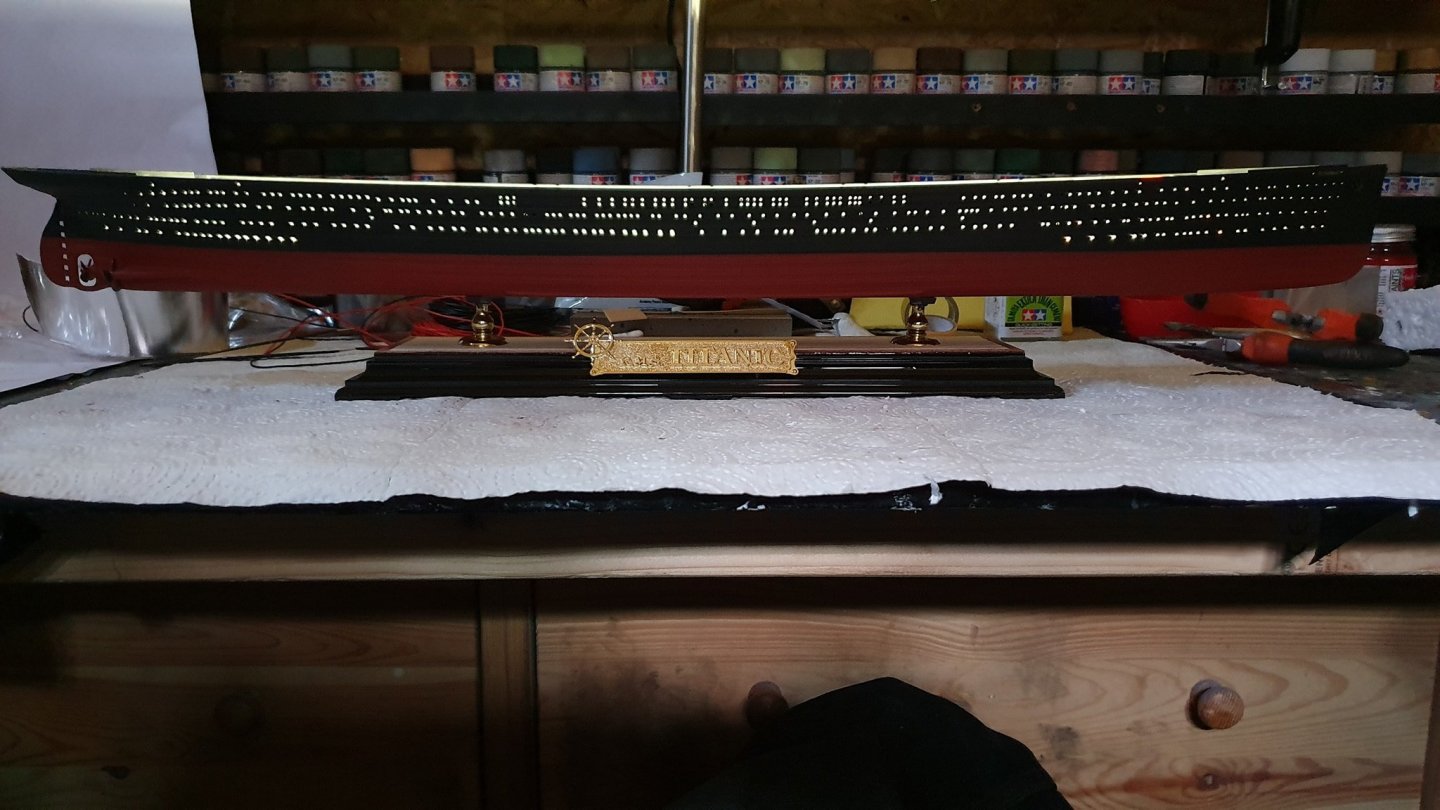
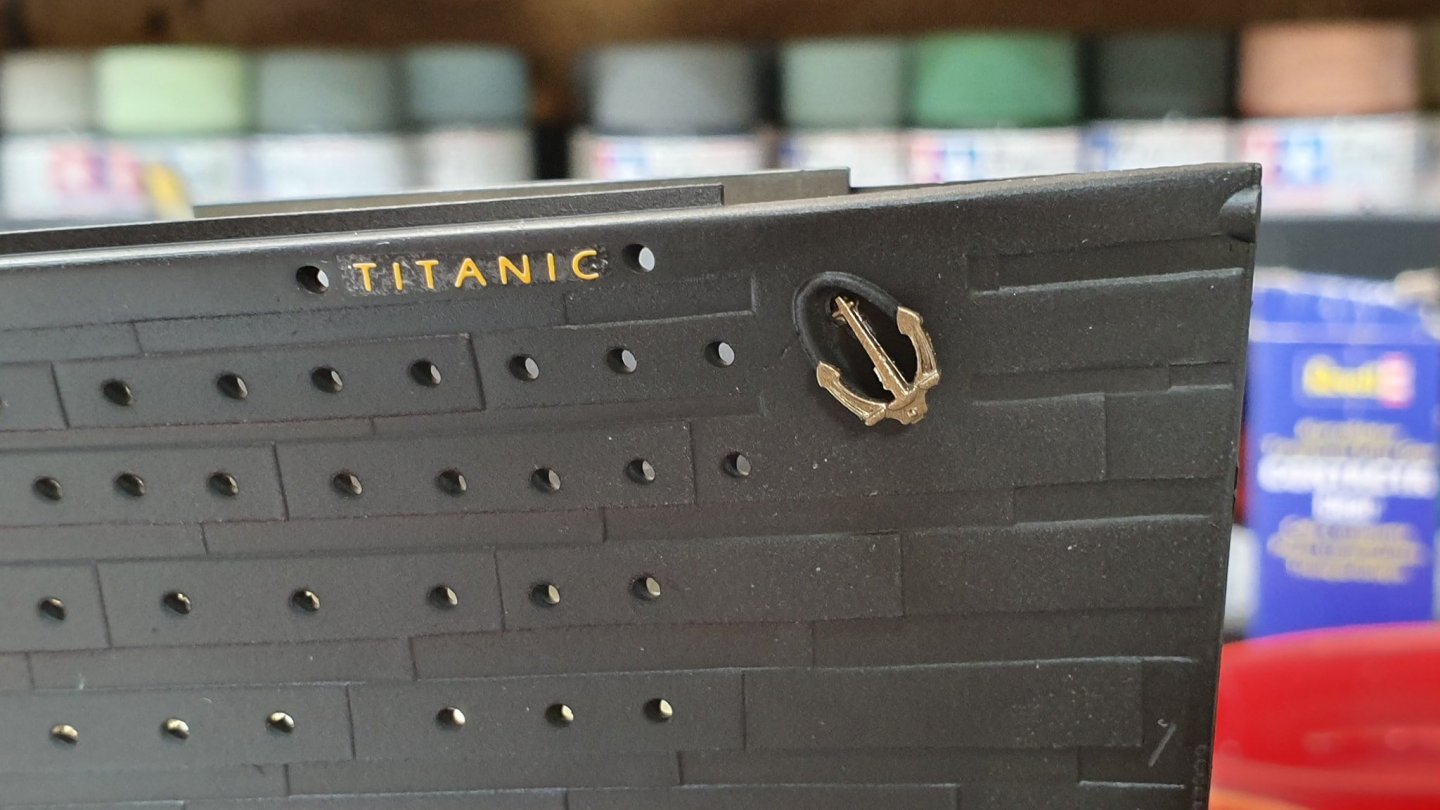
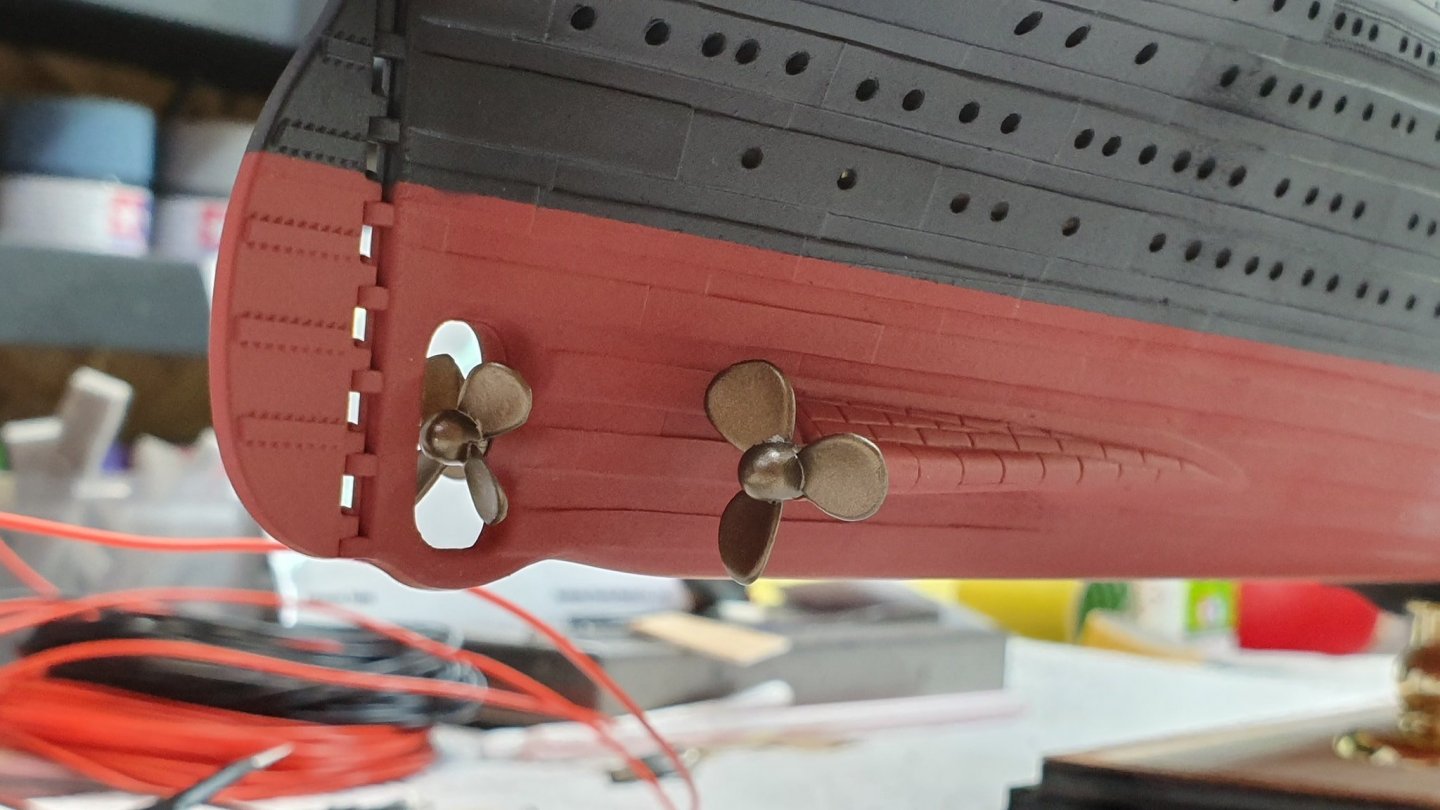
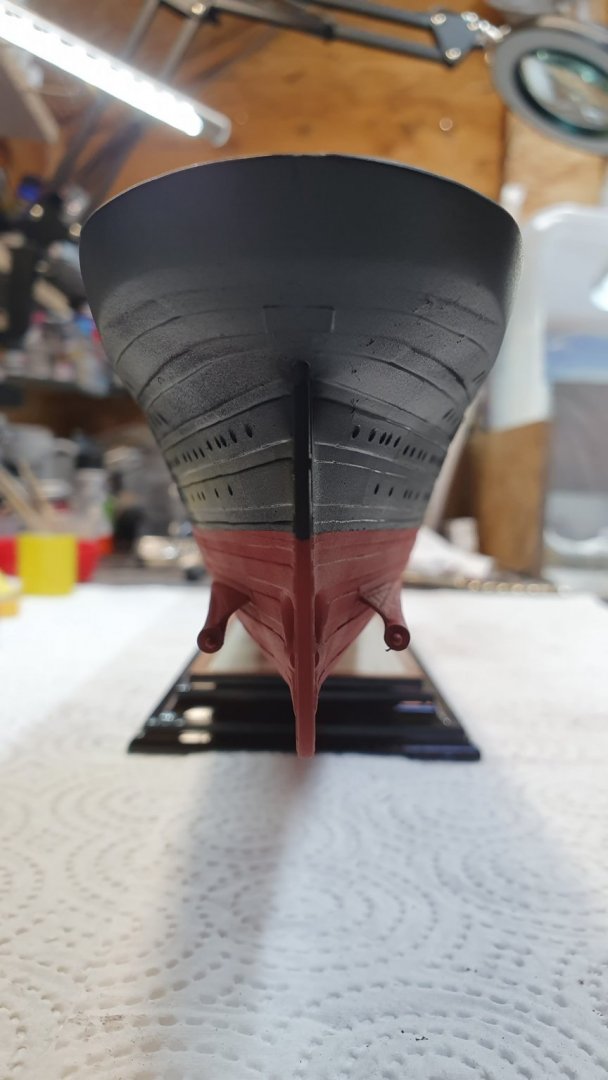
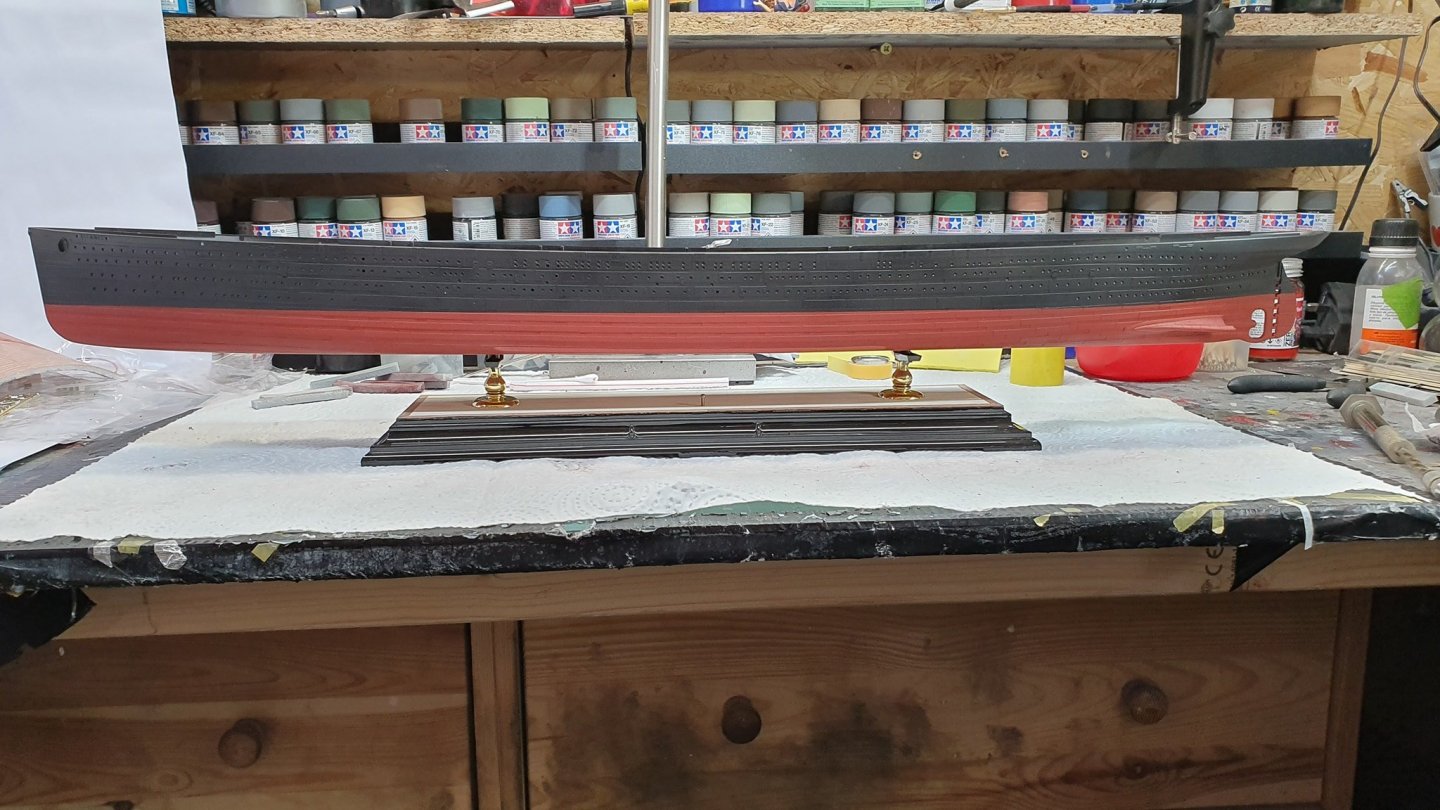
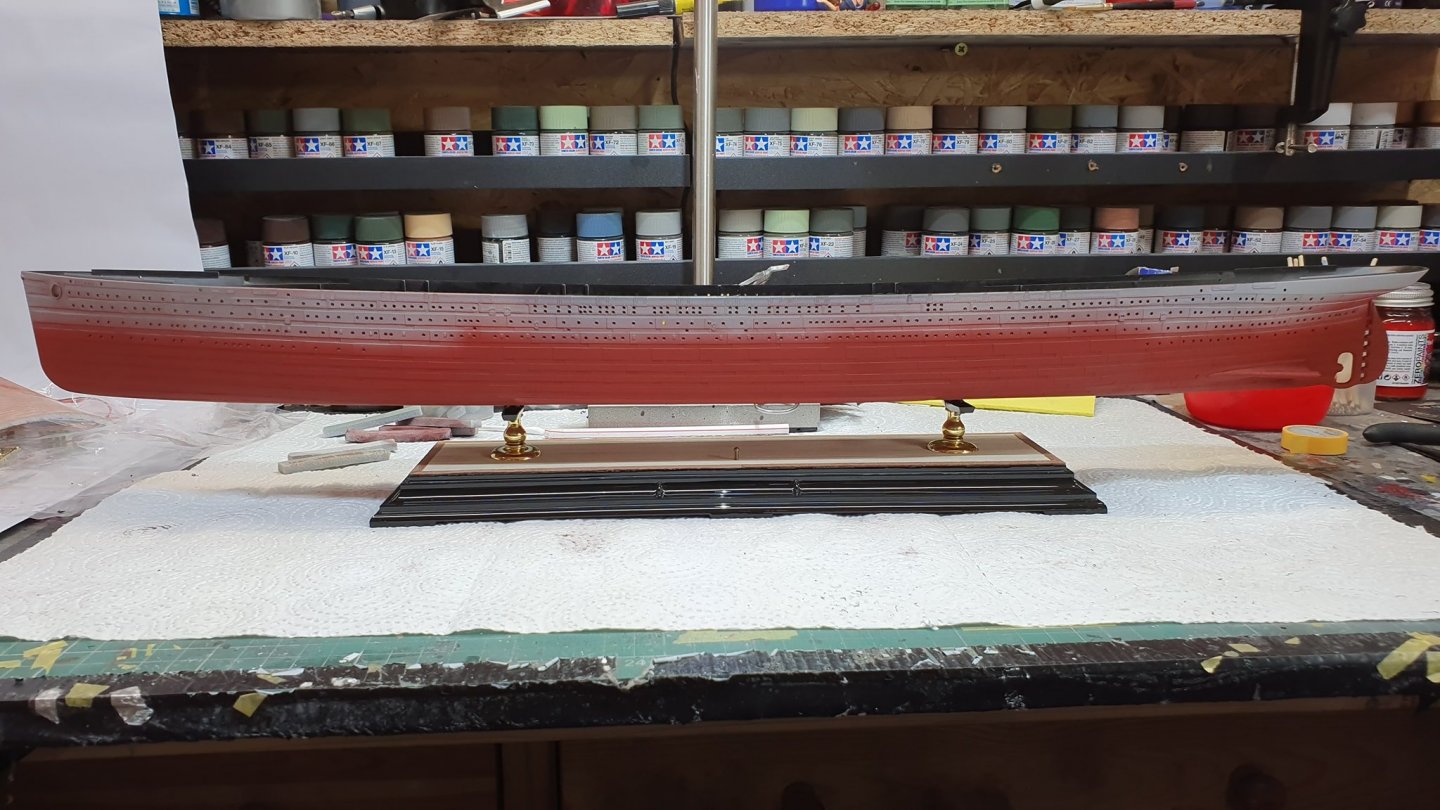
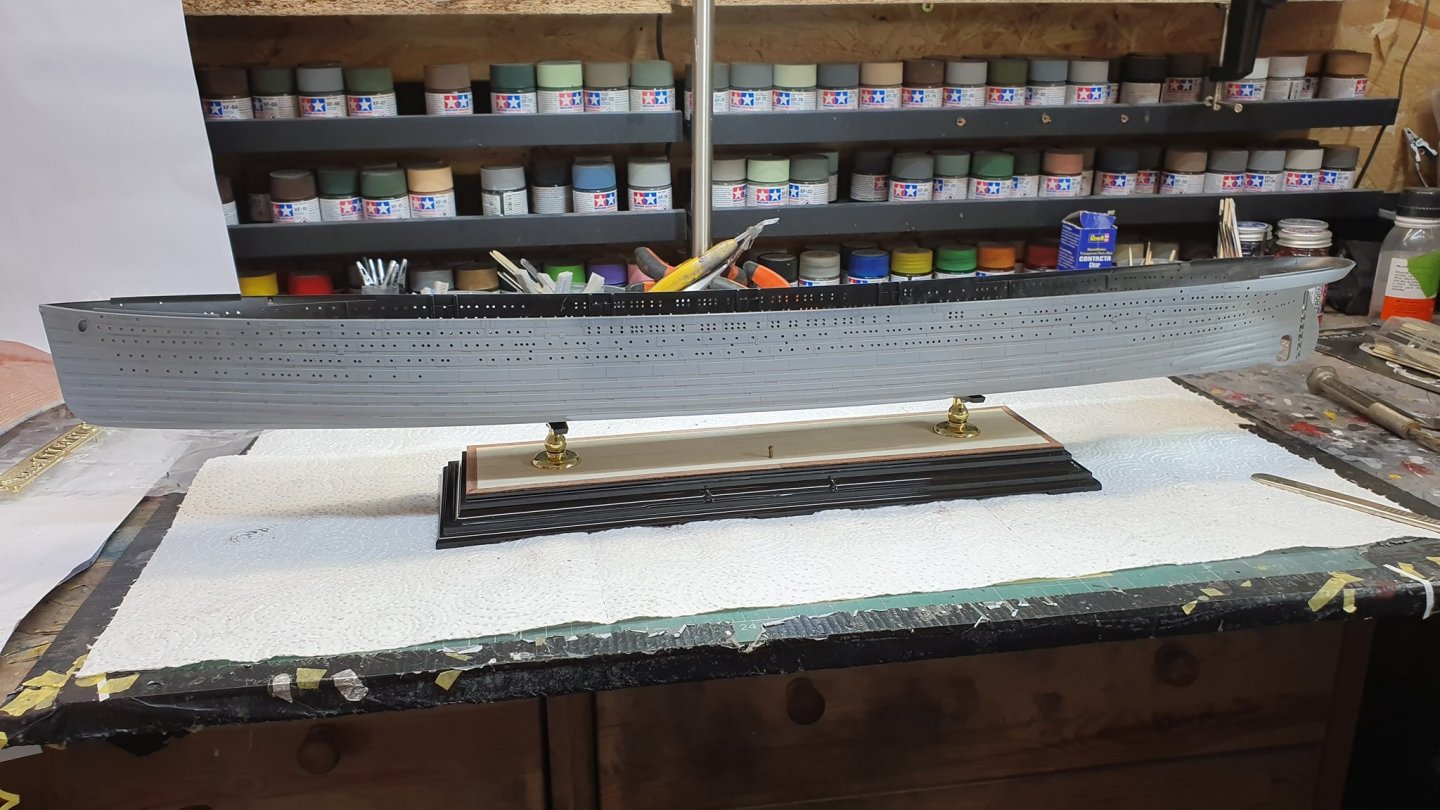
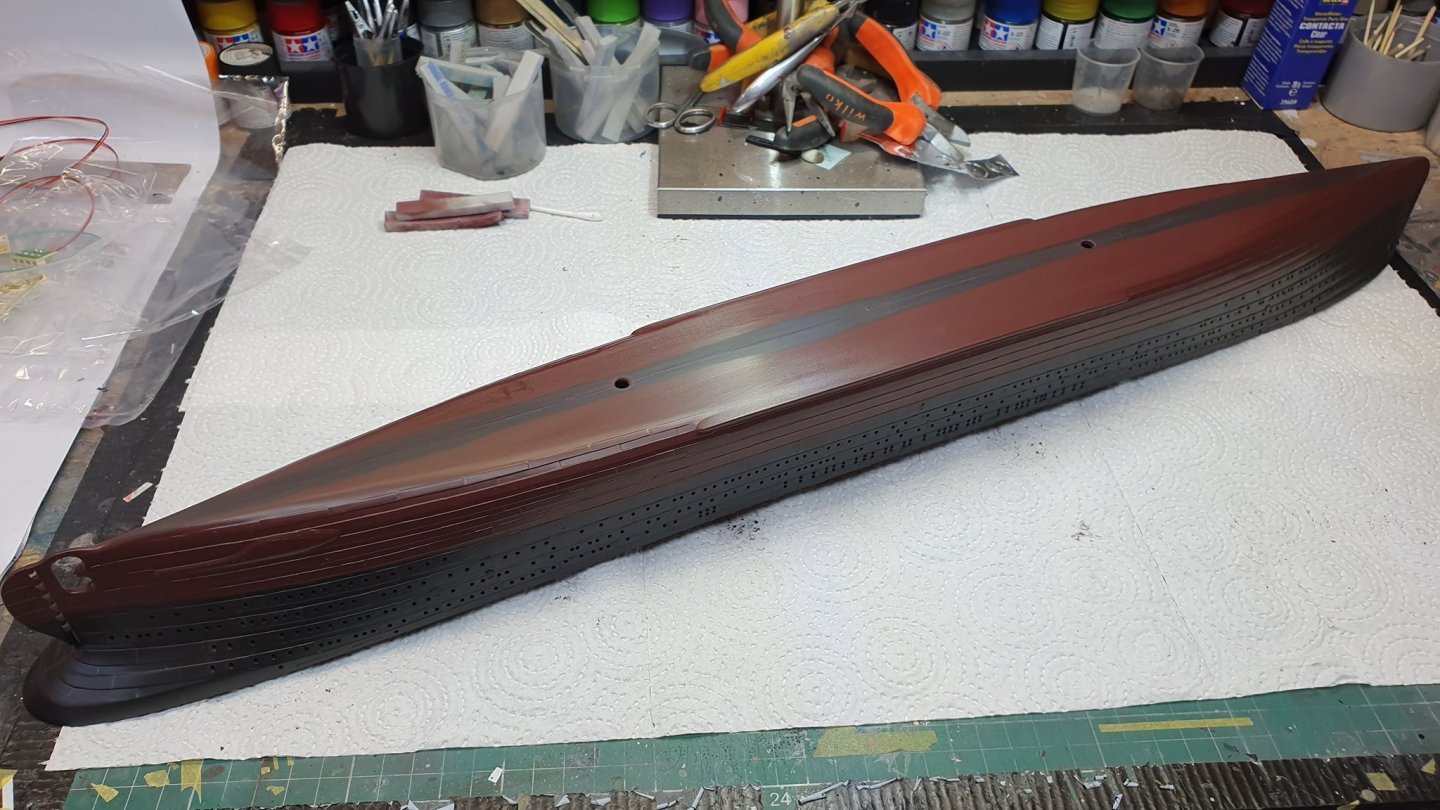
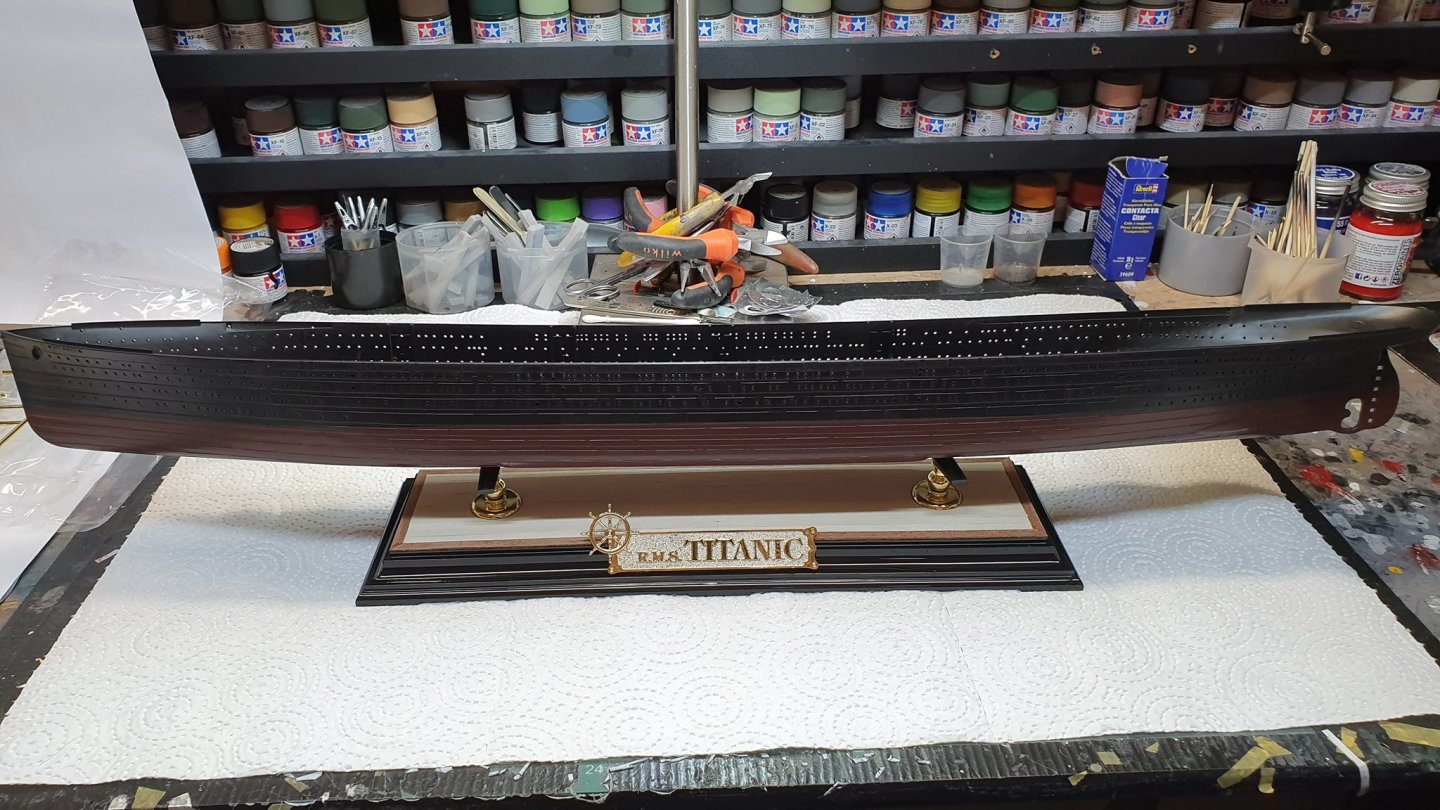
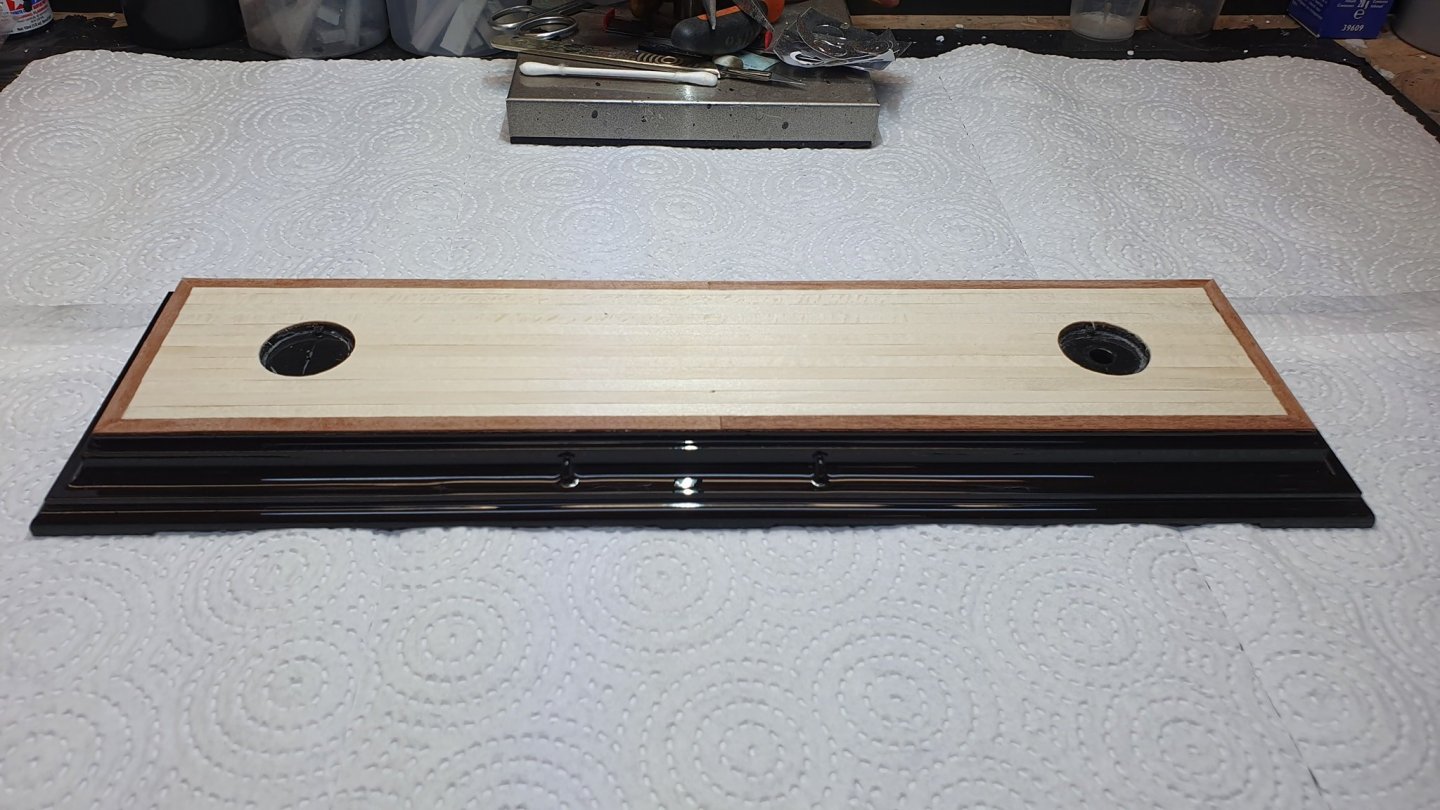
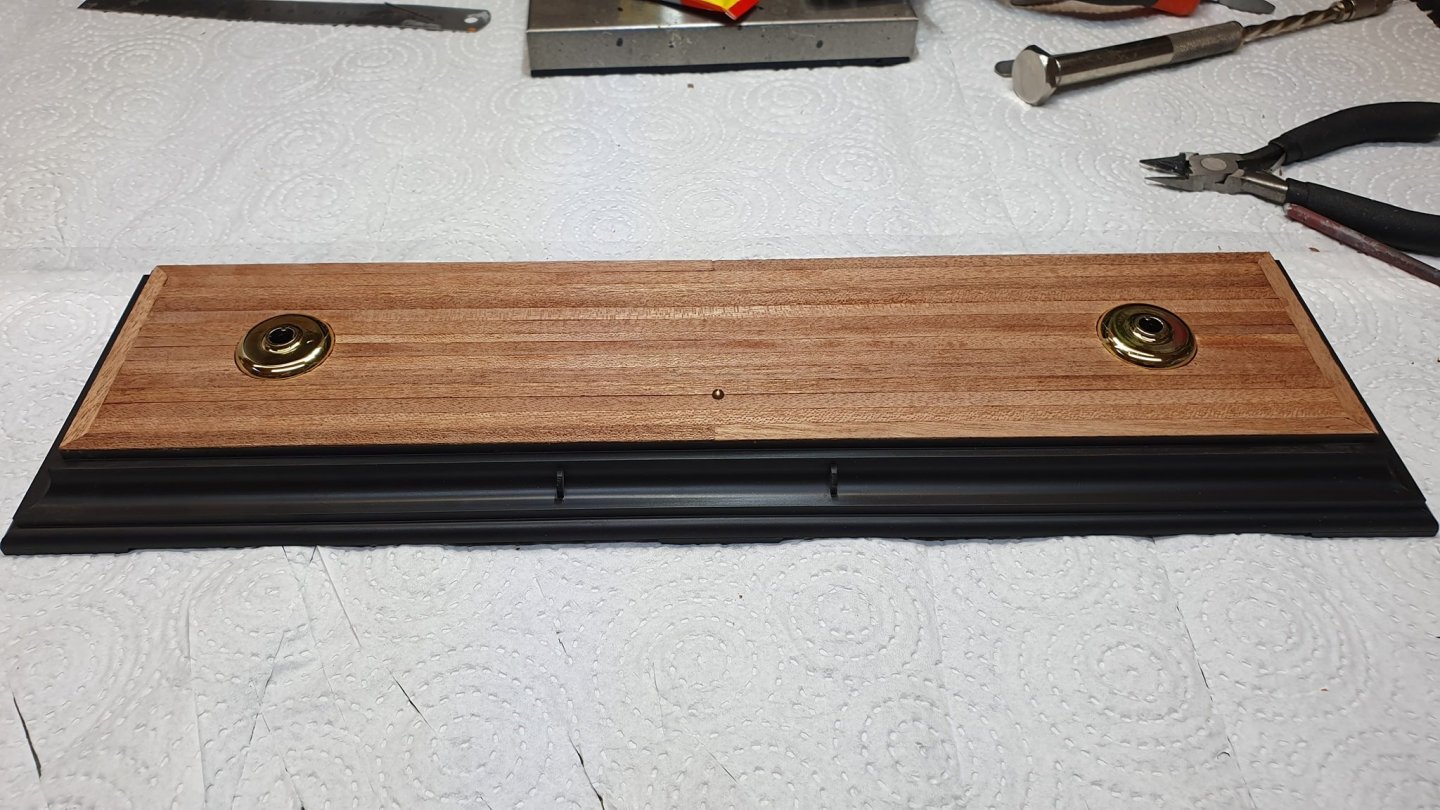
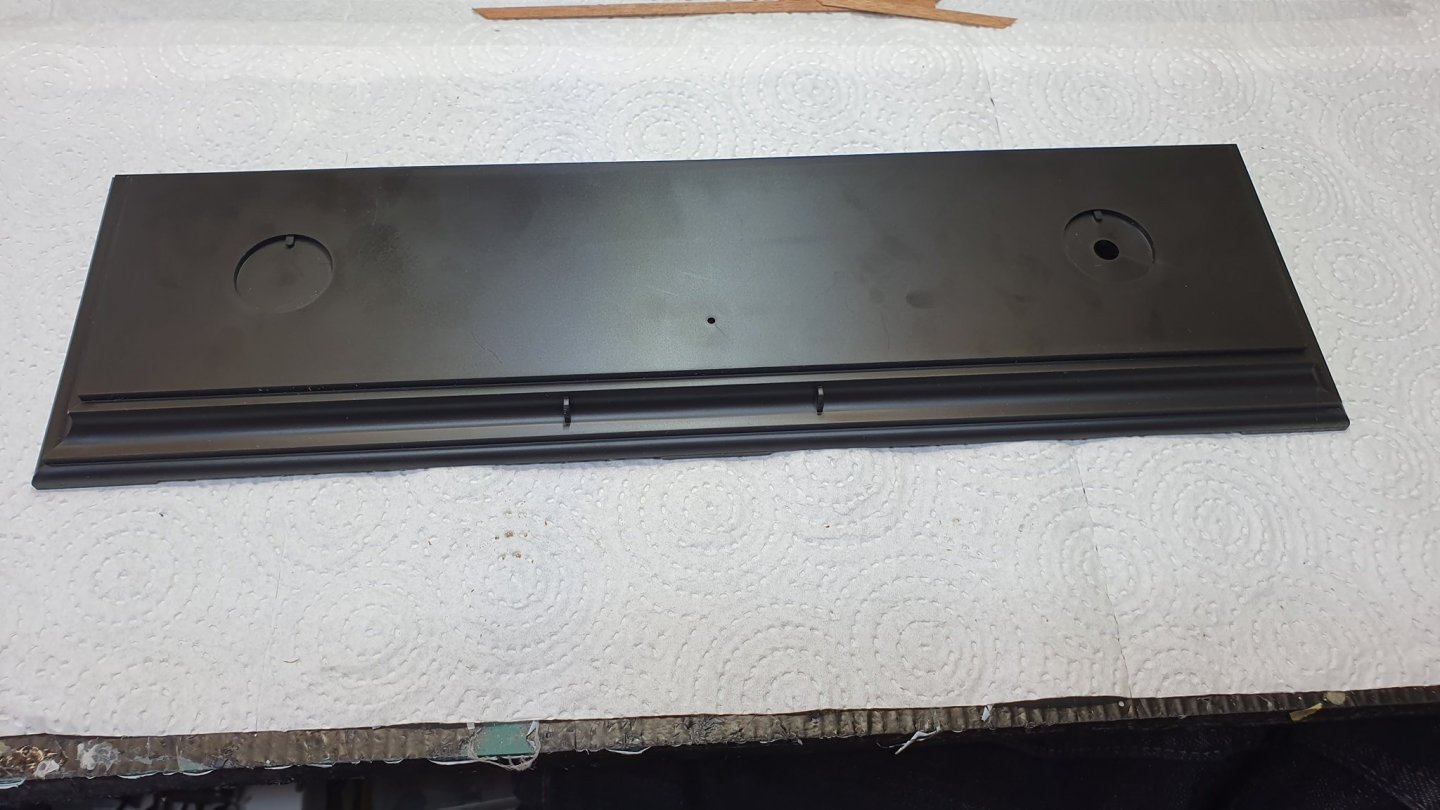
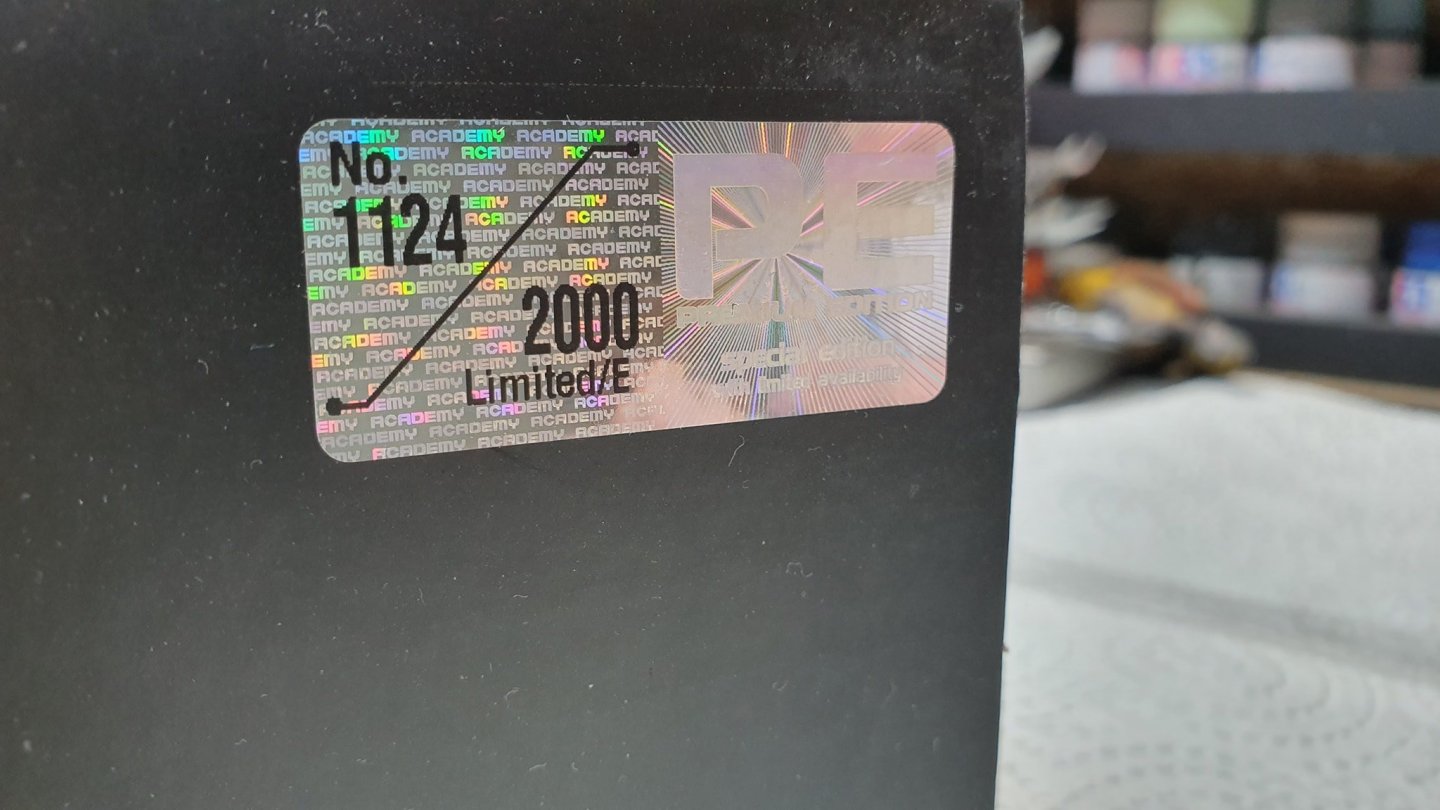
 Good morning. It's been quite some time since I posted on here. I have taken a long break from ship builds, focussing mainly on cars/bikes. However my partner wanted a Titanic built, and has been nagging me for about 2 years now. So I snagged Academy's 1/400 Premium Limited Edition, c/w PE, wooden deck and lighting. If you can call it lighting. It's just 4 LED strips, but it does come with a nifty touch sensitive switch, and the contacts between LED's are conductive so I can, and plan on, adding to them. Came in a nice double sleeved box: The first thing I wanted to address was the rather plain stand. I had planned on planking the entire thing but I decided on just the upper surface, it was sprayed black and glossed using a 2K clear. And a quick check to see how it was going to look... OK so, moving on, the prepainted hull. I absolutely despise prepainted plastic, especially when they also get the colours wrong, as well as leave an awful mold line. So that got rubbed down, and a coat of primer applied. That was followed by a dull red, which was then masked and the black for the upper hull applied. Academy molded the kit so the white sections are seperate so no need to mask those. Interesting side note, I cannot seem to find a definitive answer as to whether or not the gold sheer stripe was present or not. Most of the advertising images show it there, but any photographs suggest it wasn't. At this point I am undecided, but for now, it's being left off. I tackled the spinners and anchors next. Gold plated plastic. Ugh, no, just no. They were stripped using a foam oven cleaner, then painted black and overcoated with a brass/bronze. I think the anchors were probably black or even an anthracite colour, but I think this is more visually appealing. I also at this stage, permanently attached the hull to the stand, and installed the power source and switch in the stand, and the first two LED strips into the hull. Things get a little scatted from hereon in. I wanted to check my ability with the PE before I started hacking off parts of plastic I couldn't then replace. I am not that great at working with small fiddly photoetch. I started doing a few benches, with one painted up. I made a crude tool for bending the slats which was very effective. They didn't turn out too bad, so I don't think they will be a problem. Now that is out of the way, I can start actually moving forward. The first task is making the cargo cranes, which also involved more photoetch. This didn't turn out as neat as the benches, but with the naked eye they look quite good. Close up camera photo's say otherwise. Also, this was the start of adding some further lighting. This being done with fibre optics which I will later drive from a 3 or 5mm LED. That's pretty much where I am upto now. I have since painted the lower half of the 4 well deck cranes in a shade of brown. I should probably point out, I rarely build for accuracy. At times certain things are either beyond my abilities or I simply don't like reality, so forgive me if a few things aren't quite right here and there. Back soon...
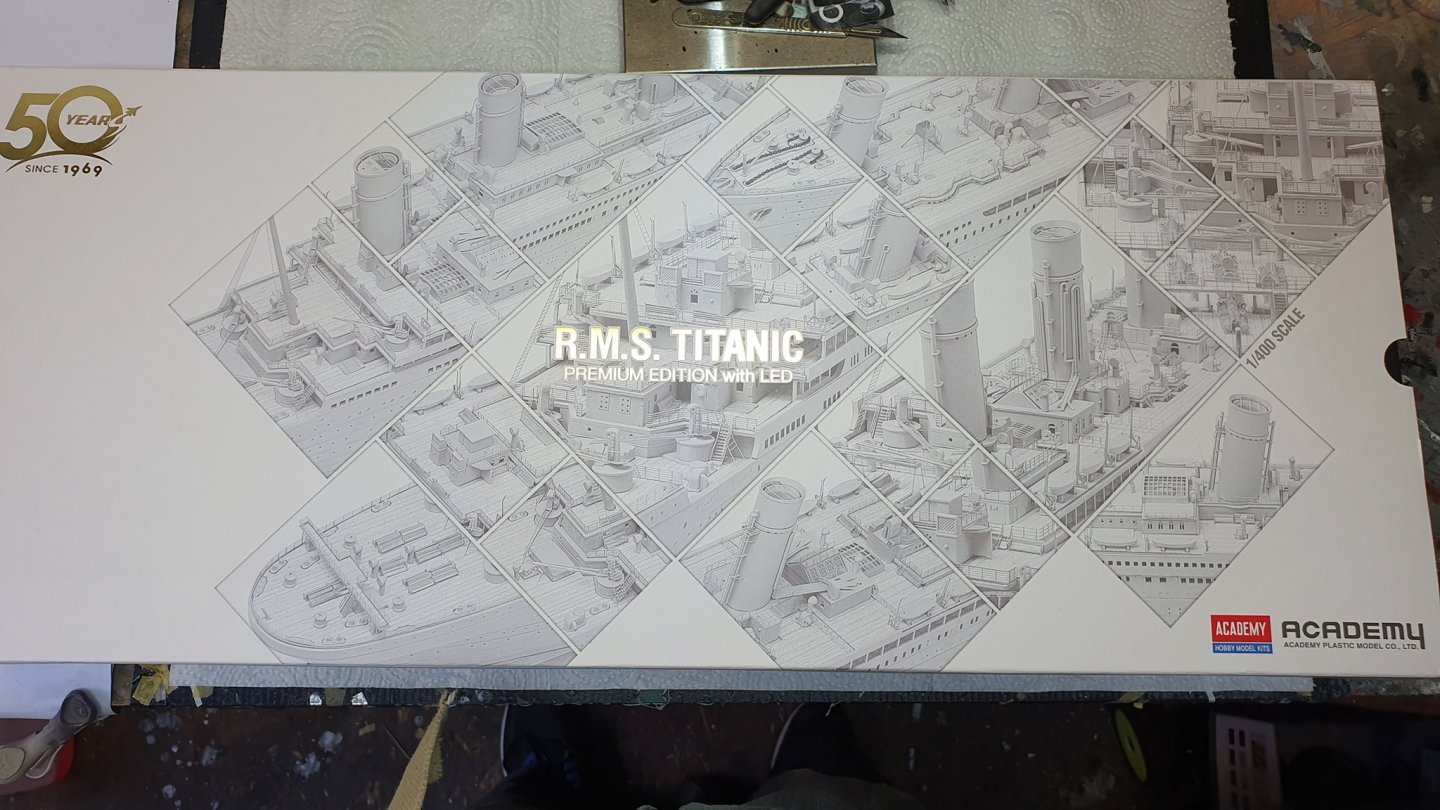


.JPG.4e481a45bb47baab8be2fc545dad20d2.JPG)
.JPG.feb2fe22fe8148ef78a1b35c5d511311.JPG)
.JPG.2397e06fa167802fb177db4050fa11d9.JPG)
.JPG.0126de223e58ba632ab80a6741081779.JPG)