dc-ocker
-
Posts
7 -
Joined
-
Last visited
Content Type
Profiles
Forums
Gallery
Events
Everything posted by dc-ocker
-
 Denis (and other SOS builders) This is more of a naval warfare question than a build/model question. the cannon that are behind the deck partitions point across the main deck. What is/was their purpose? were they re-positioned to replace some of the outer cannon or were they used to shoot at enemy boarders? trevor
 -
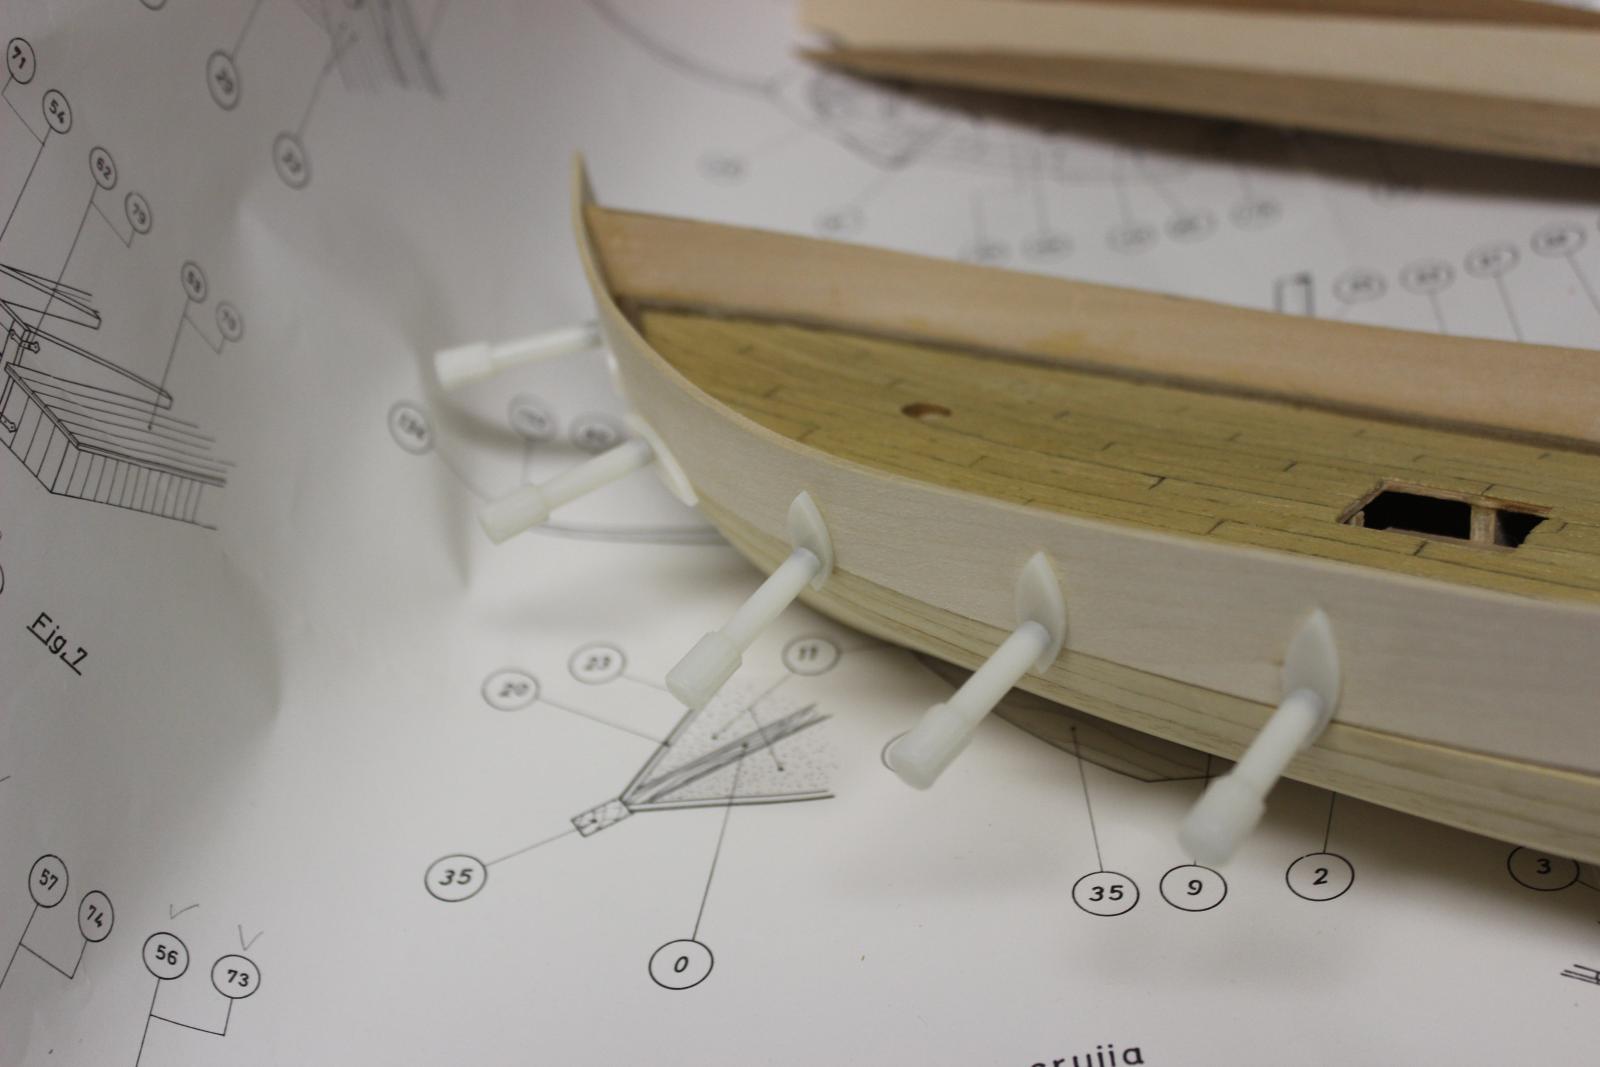
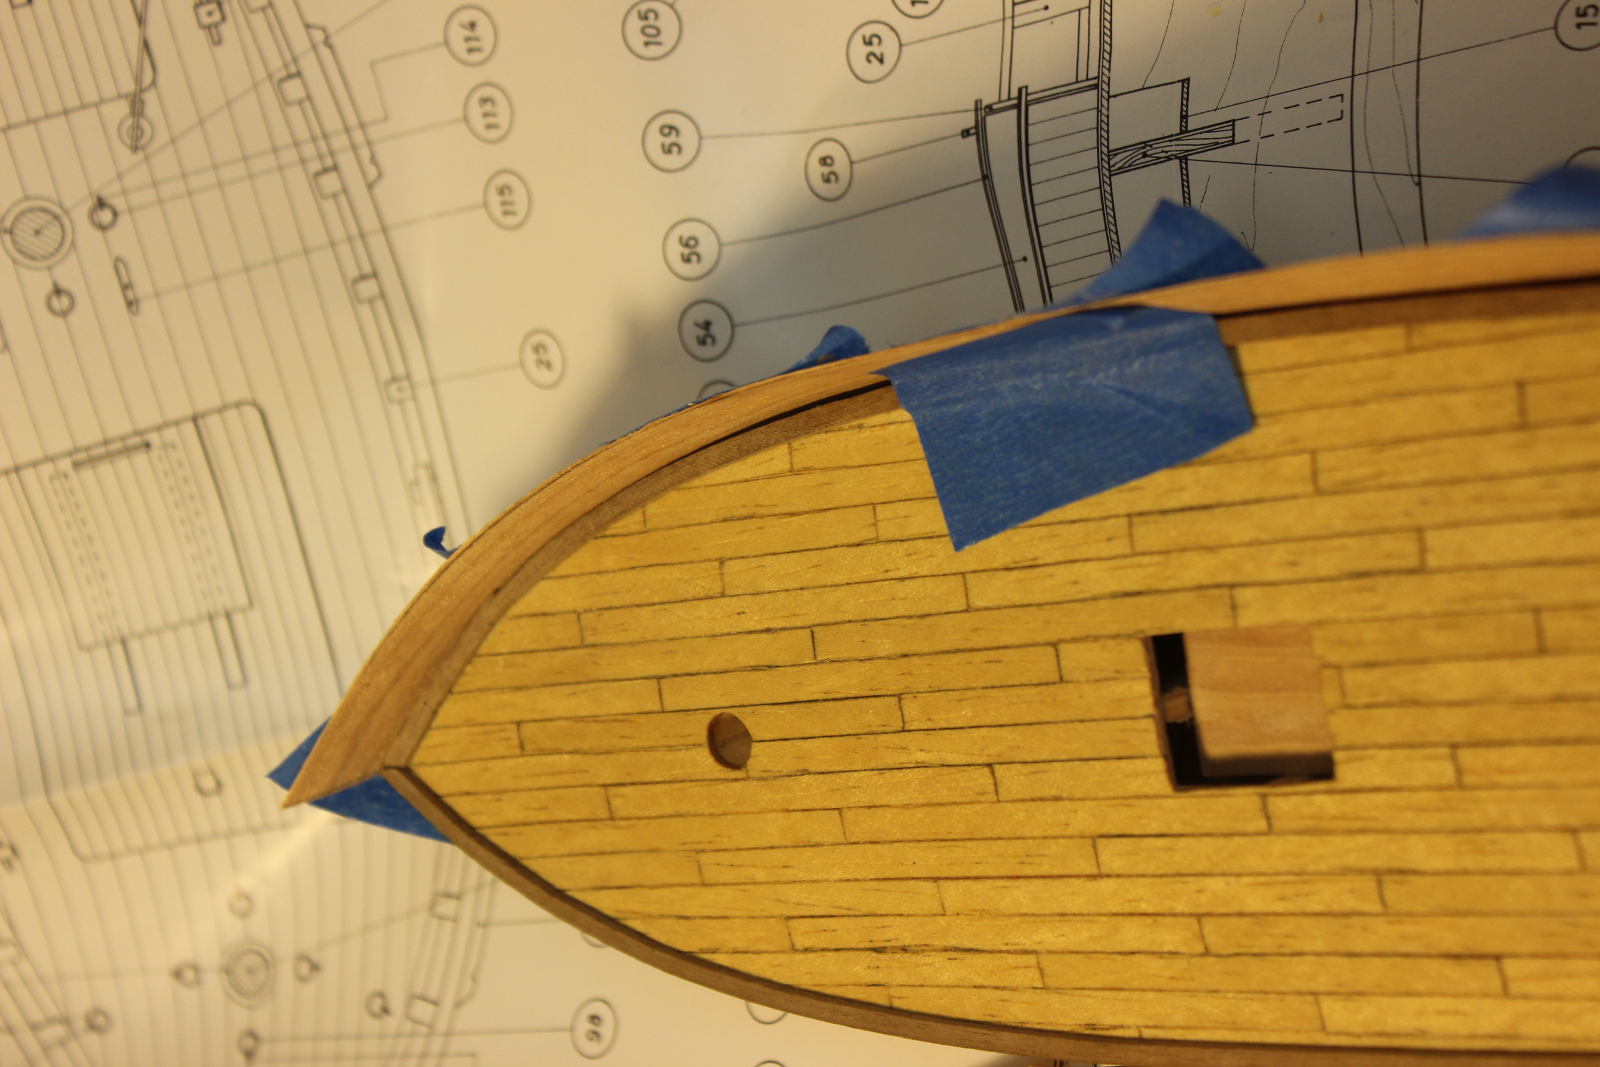
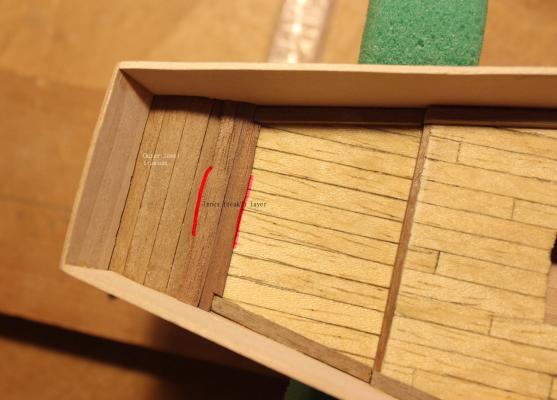
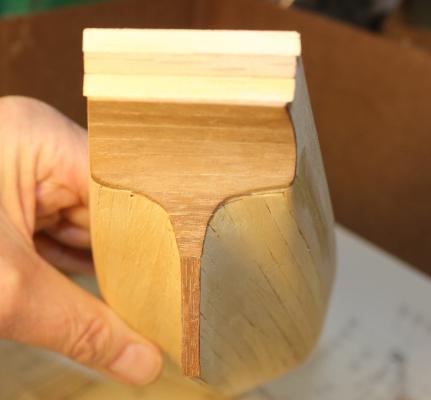
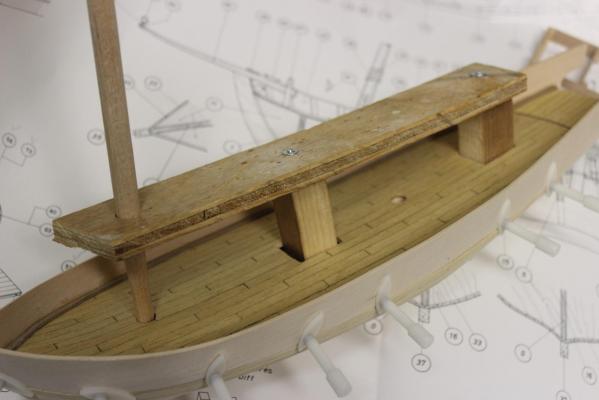
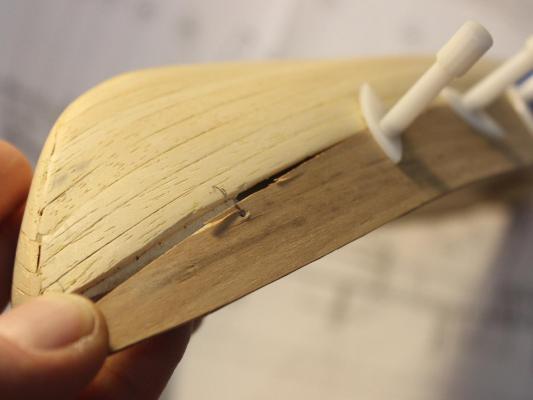
It's been over a month since I posted progress. Most of March was a battle with pneumonia so there was no progress at all. Didn't even feel like going out on the bike. Added some basswood to even out the bulwark height. Next the inside bulwark planking is complete. Just three planks bow to stern. Took someone’s advice to double layer the lower transom as the outside layer seemed too thin for the rudder hole that will go through it. Used some veneer that I think is teak. Wasn’t sure how to finish the stern below the transom as it seemed too thin (vertically) to do anything fancy. So used more teak veneer. I think I’ll drill some pilot holes for wood pins to secure the rudder/keel as all this veneer could be flimsy when I just glue on the rudder post. Next? Not sure if I’ll do the outer bulwark planking or move on to the deck houses. When I do the outer bulwark, I think I’ll cut into short planks rather than try one plank bow to stern. Trevor


-
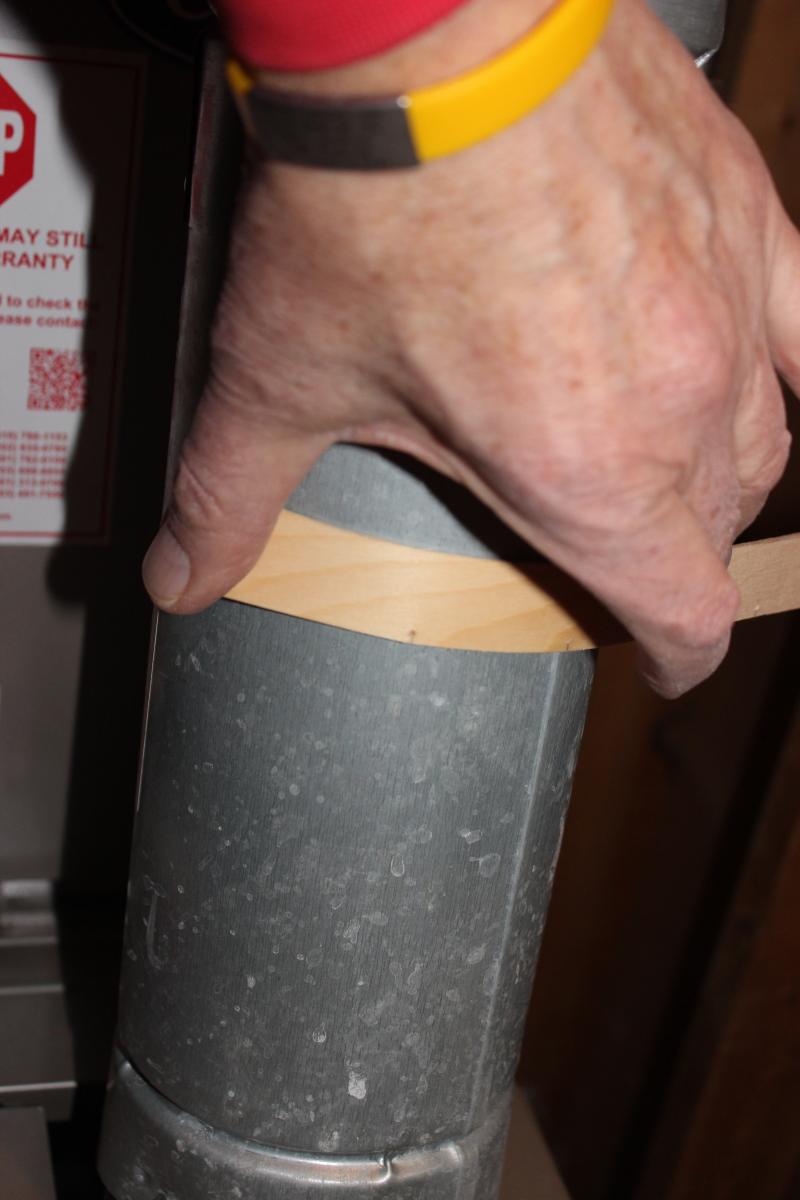
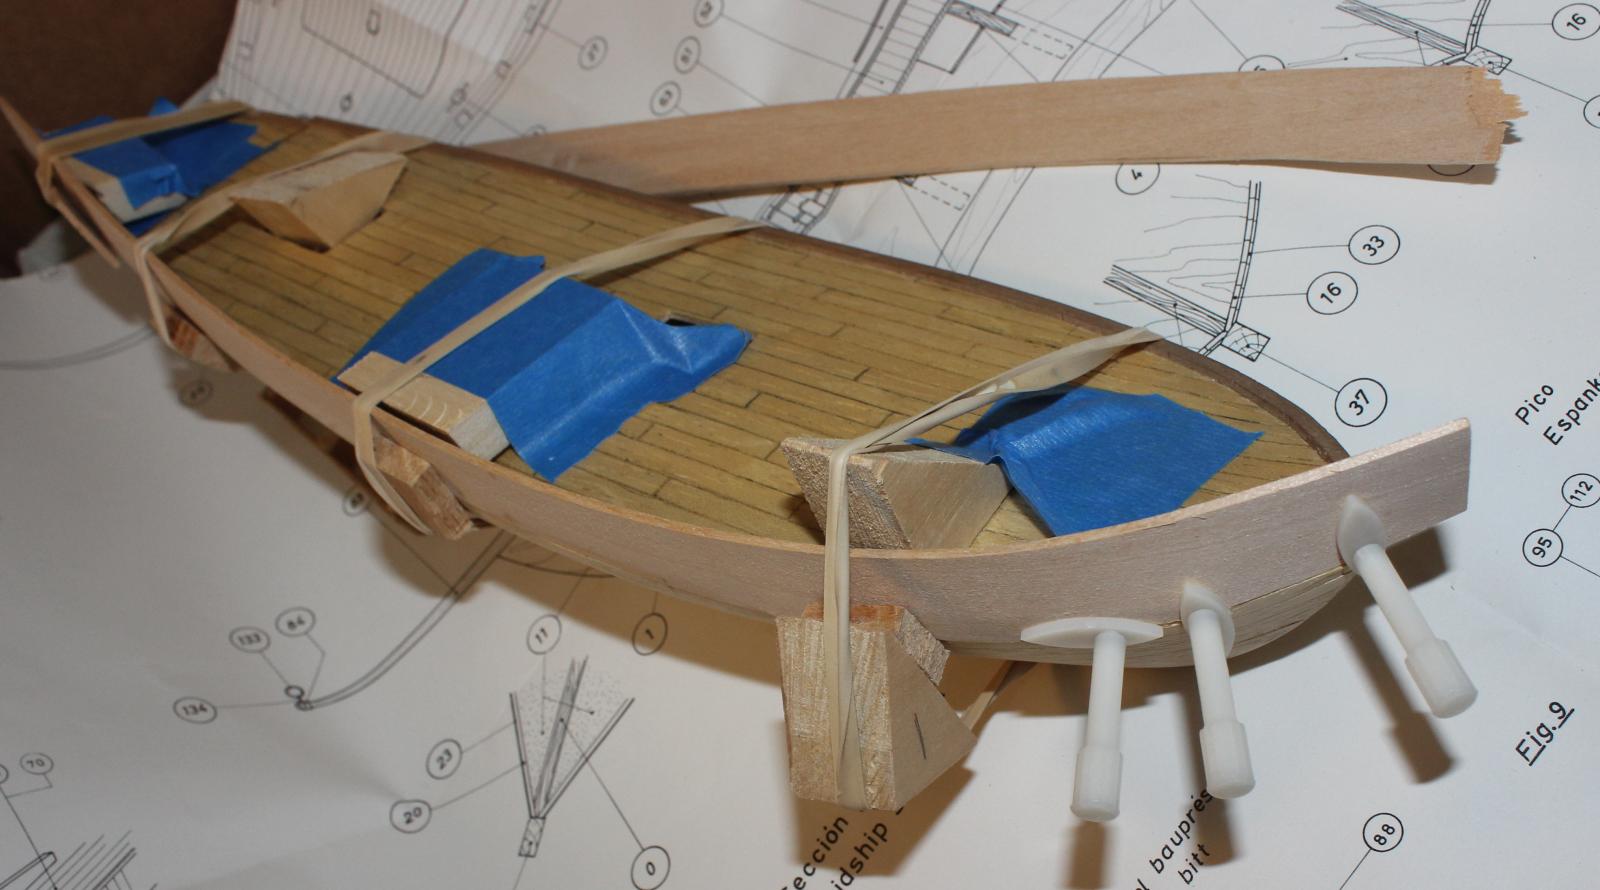
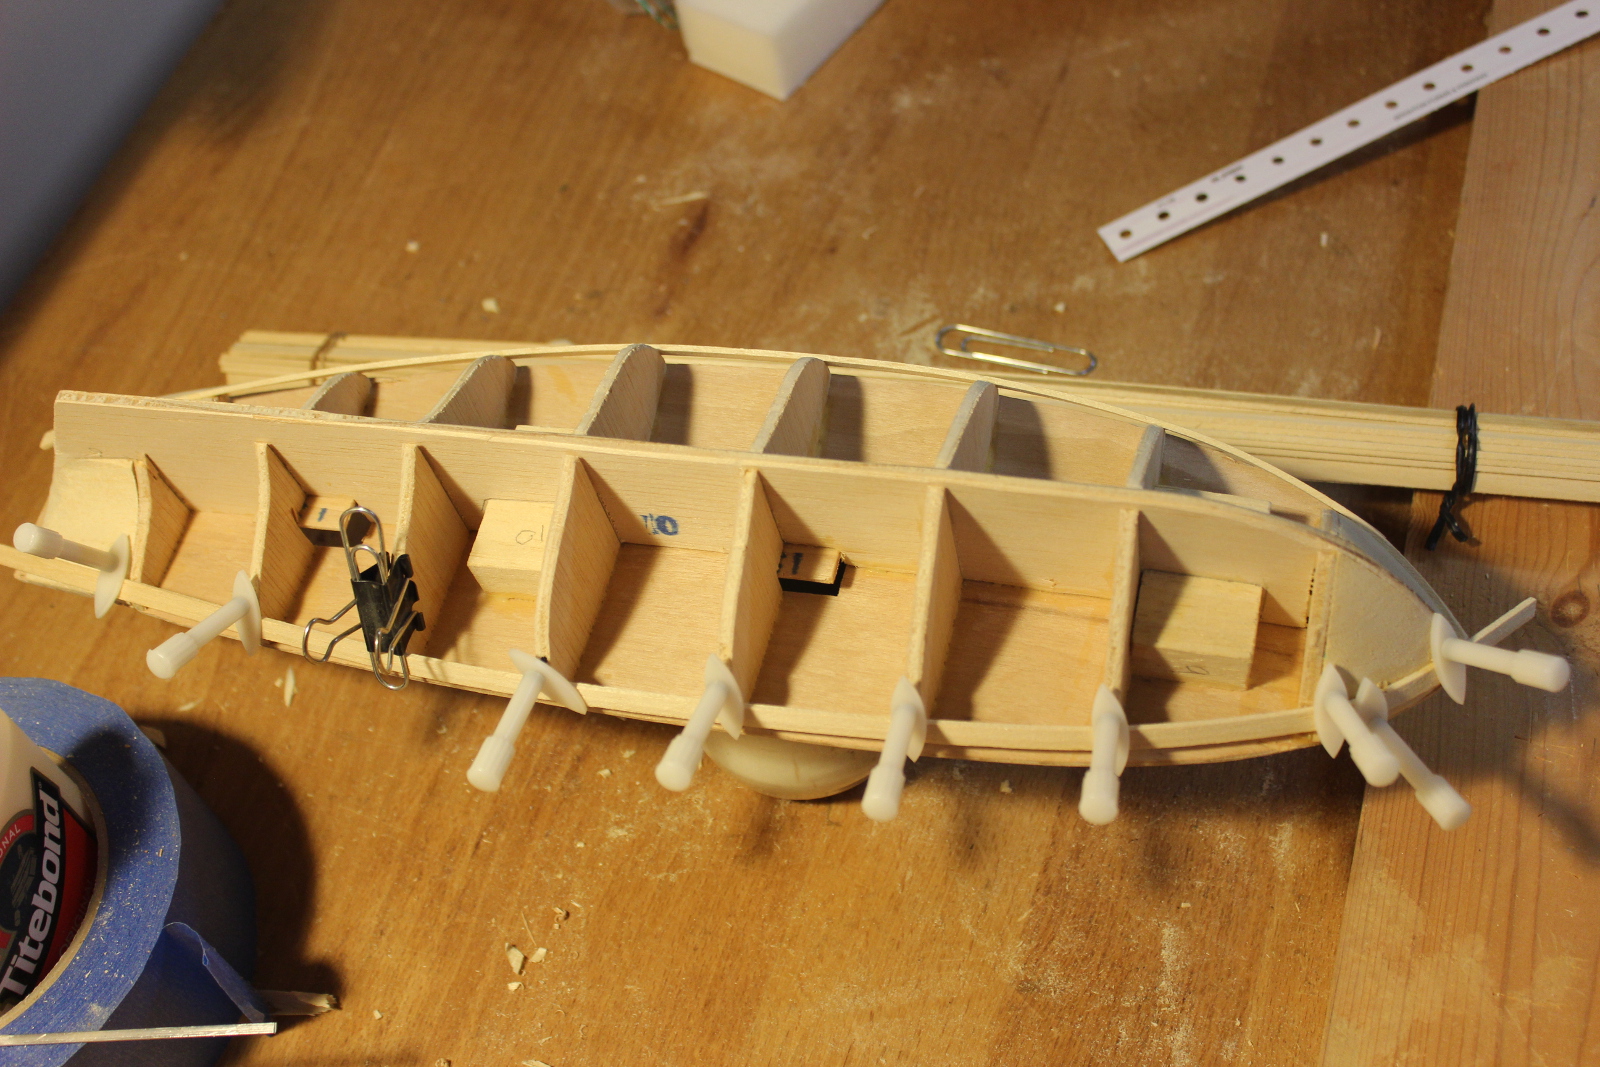
Busted a couple of basswood bulwarks before I remembered to soak and bend. Found a convenient heat source for my bending: my gas furnace exhaust flue. Its only steps from my workshop. Here’s the starboard bulwark And the port side. With a good soak and bend to the right shape, I was able to use these mini clamps to hold it in place without any other rubber bands or clamps. I’ve been following the ‘blue sheet’ directions that came with the kit as to what sequence to assemble. But I think the deck stringers should be done AFTER the bulwark, which I now see on 3Sheets10’s build; and thechemist. Handling the hull to dry fit the port bulwark, I cracked the starboard bulwark so I came up with this jig to hold onto the model so I don't break something else. The dowel in the foremast hole applies enough pressure to keep the jig from falling out of the cabin holes. Now that I have the bulwarks on I notice they have an irregular height. It varies from 12mm up to 15 mm. When I switched to basswood bulwarks I thought I’d just pencil in the inside planks. Now I think I’ll get the bulwarks all to 15mm and hide the joins with some veneer planking. Trevor


-
Thanks for the encouragement and kudos on my planking, Russ and themadchemist (Keith?) I first tried a dry fit with the supplied plywood, but the plywood layers keep splitting. Next I cut a piece of veneer. It certainly follows the curve easier, and I could almost use this blue painters tape as my clamps. But not satisfied with that as I’ll have to use at least two sheets to get a decent strength/thickness. So its onto your suggestions: Basswood. Trevor

-
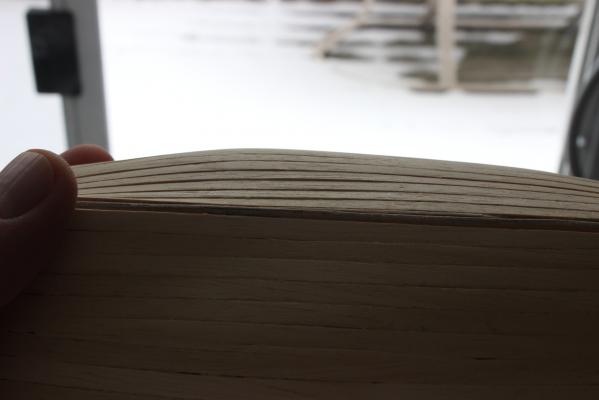
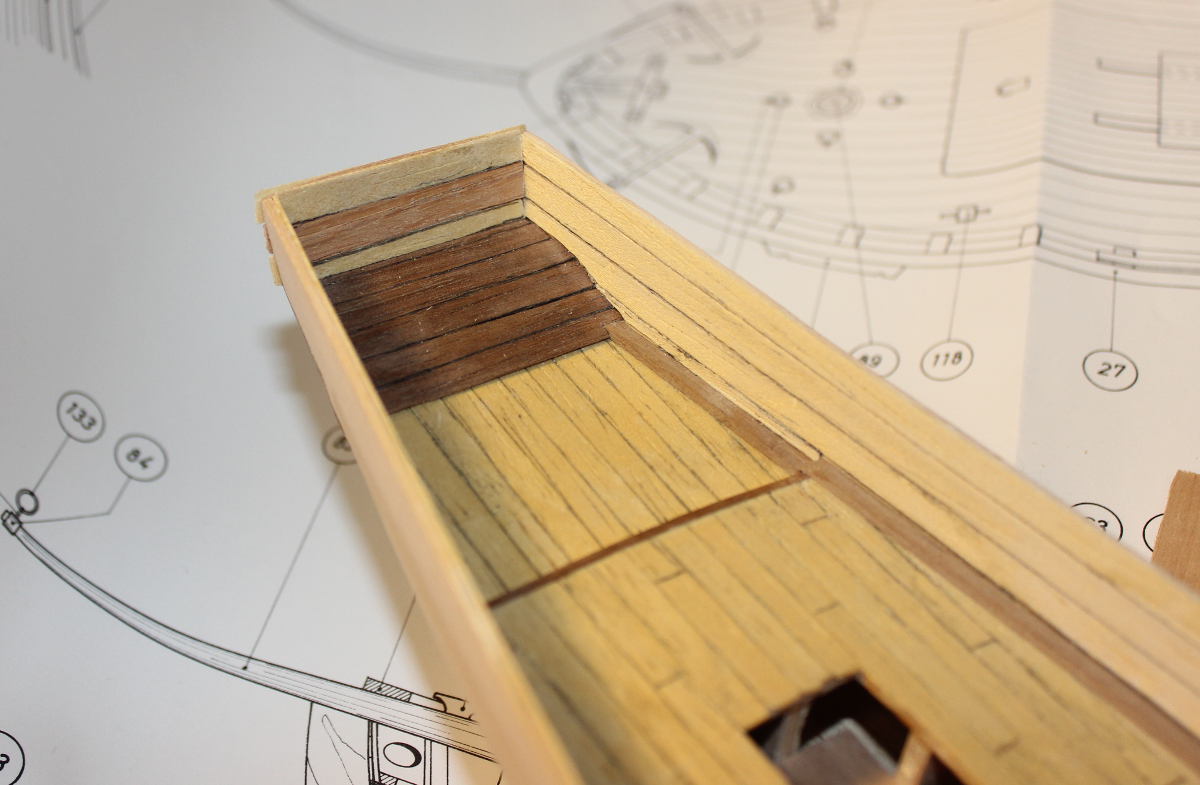
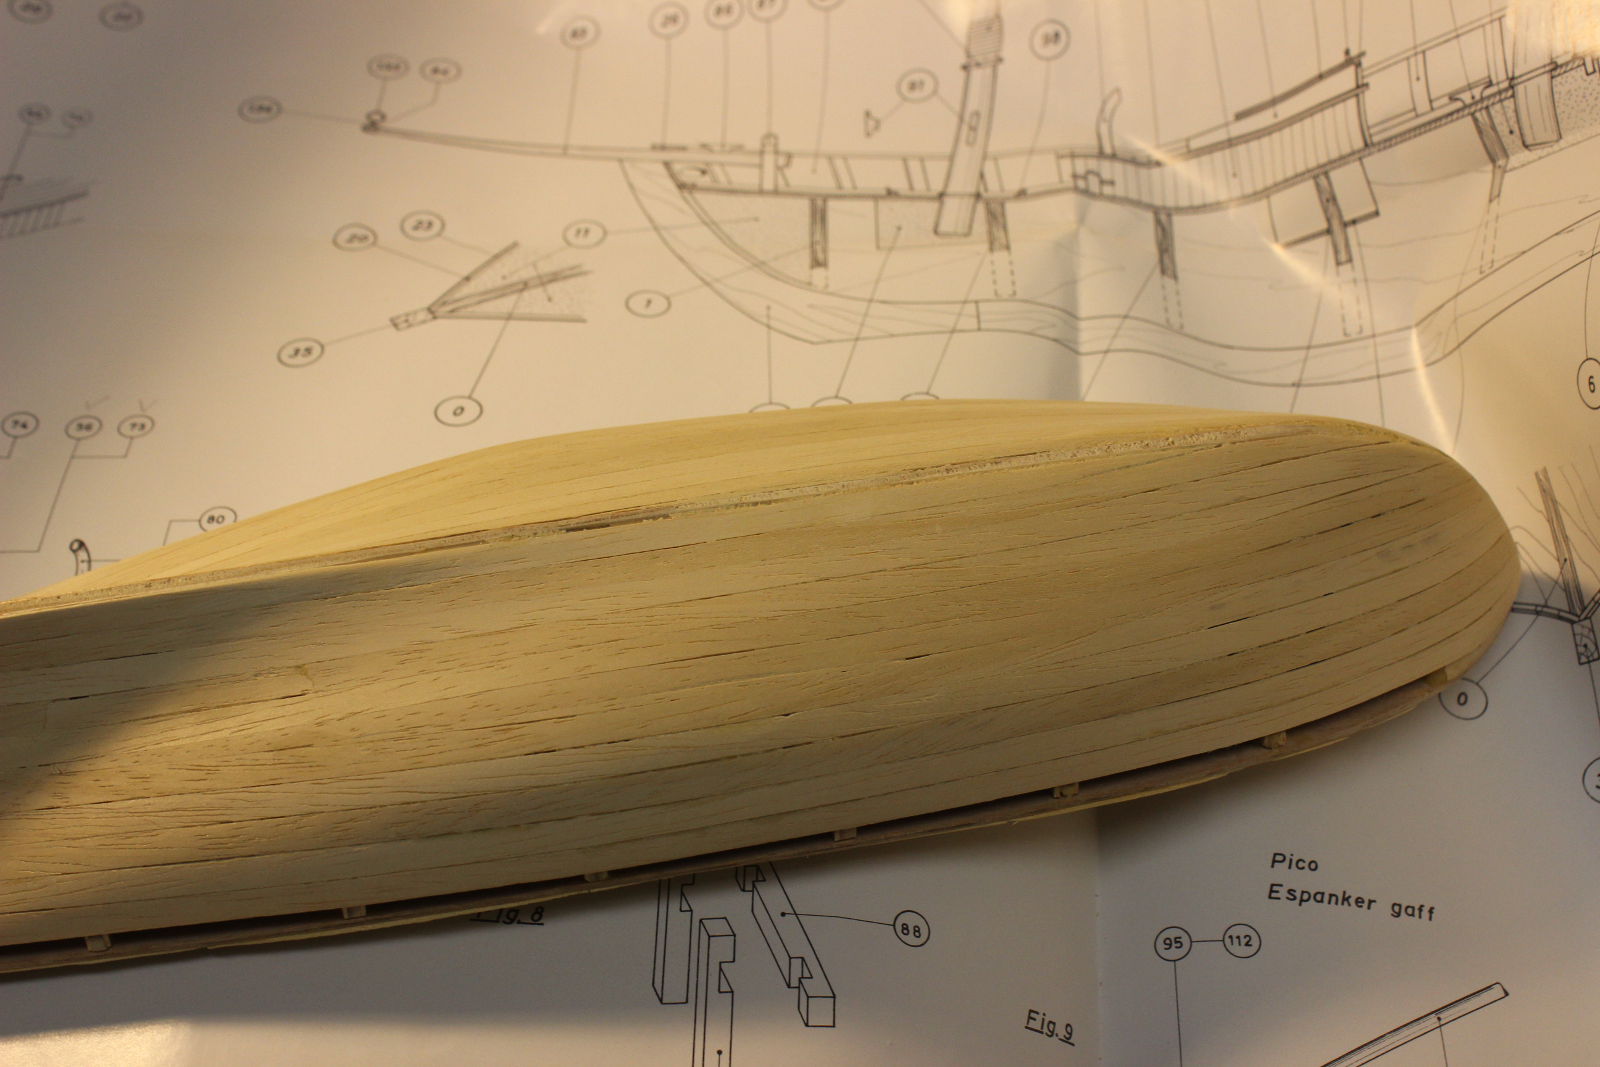
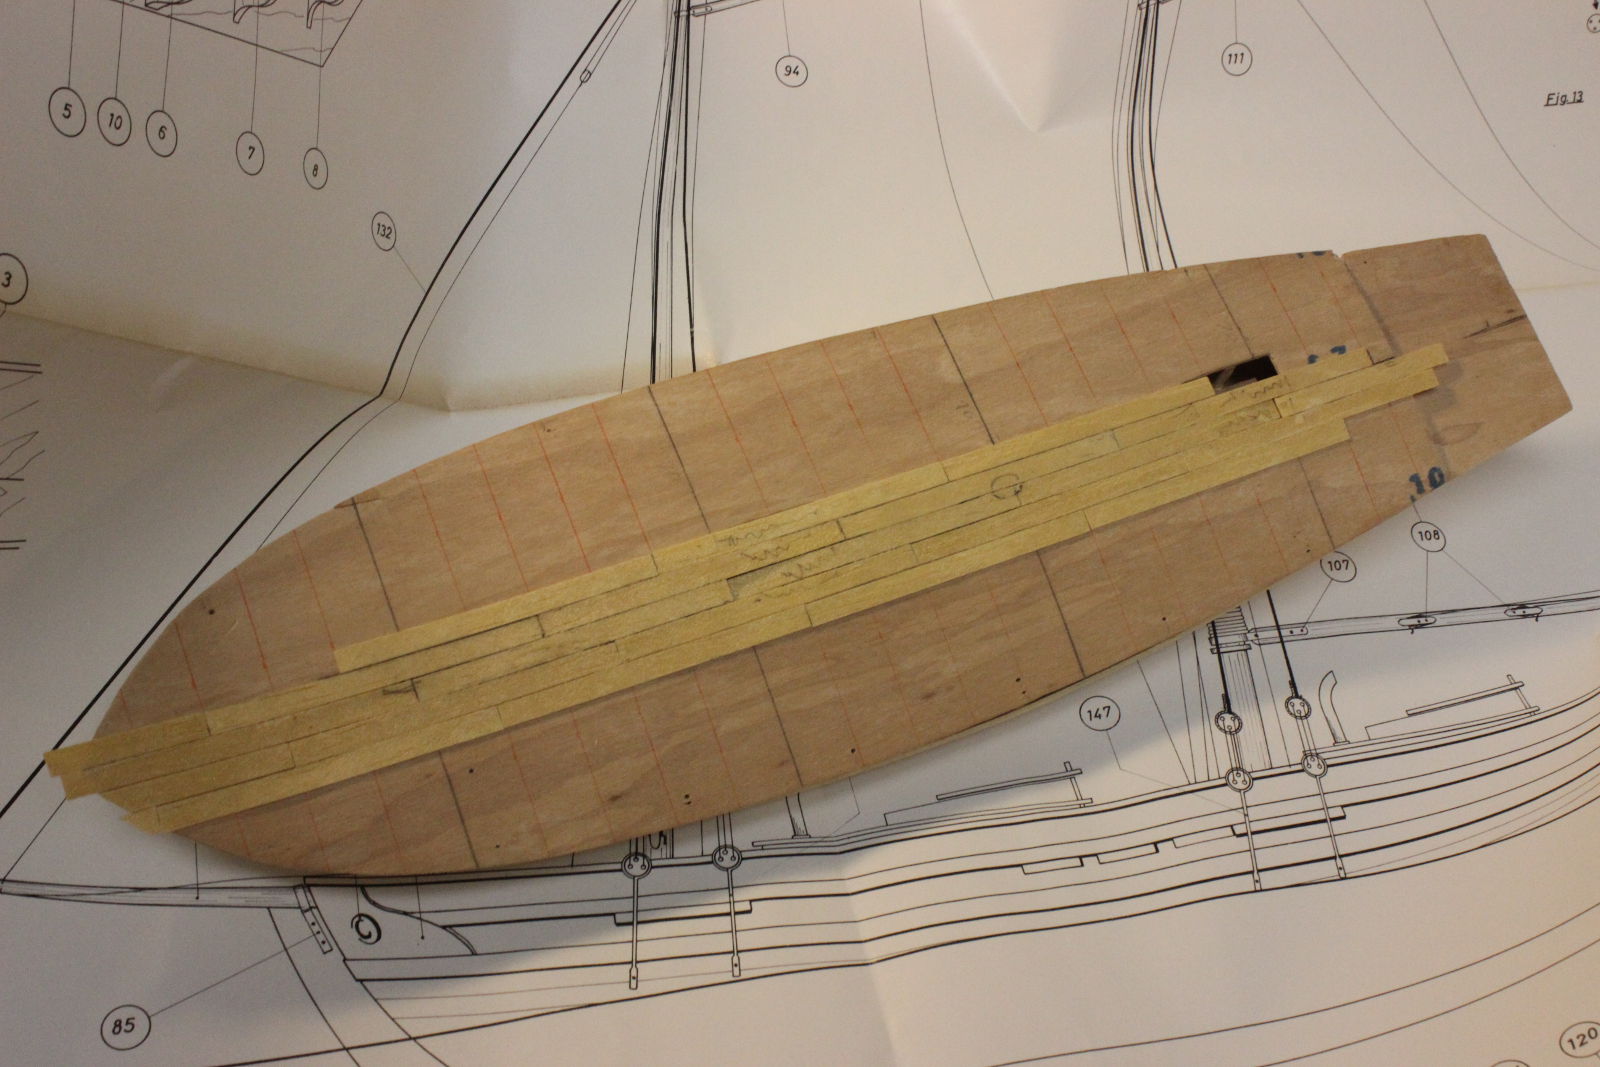
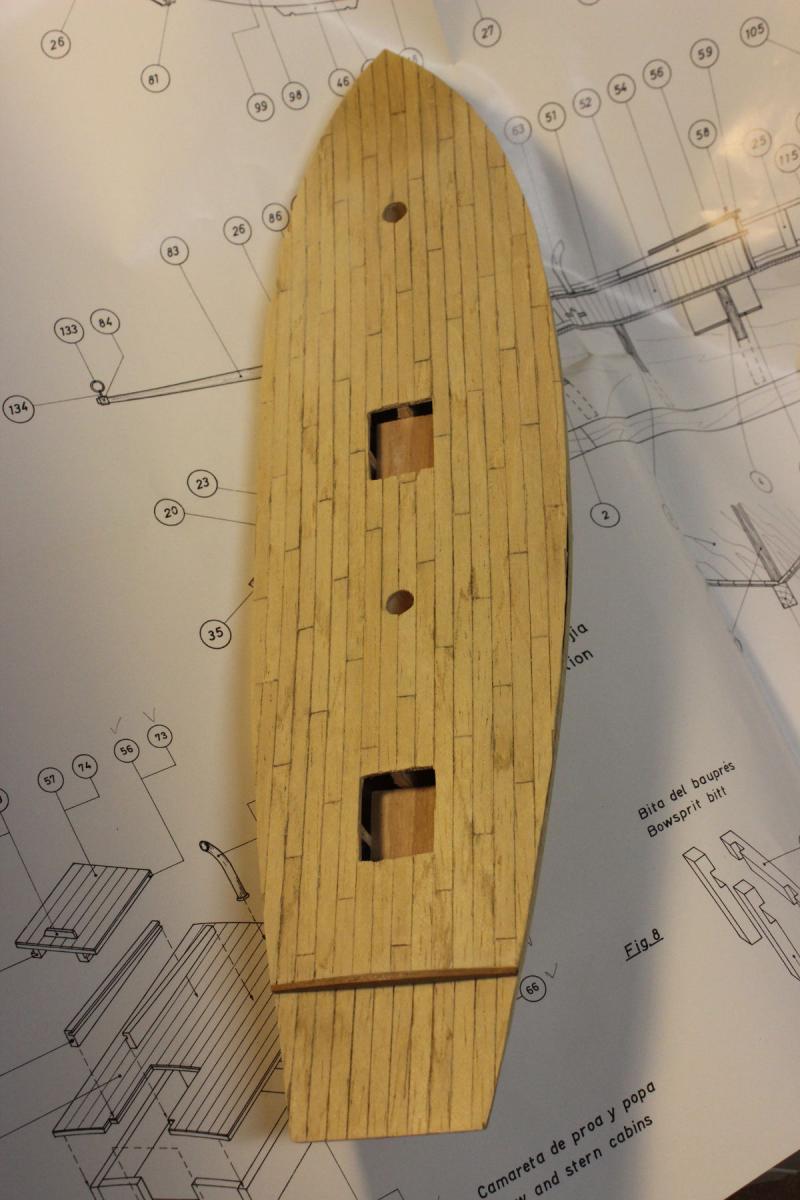
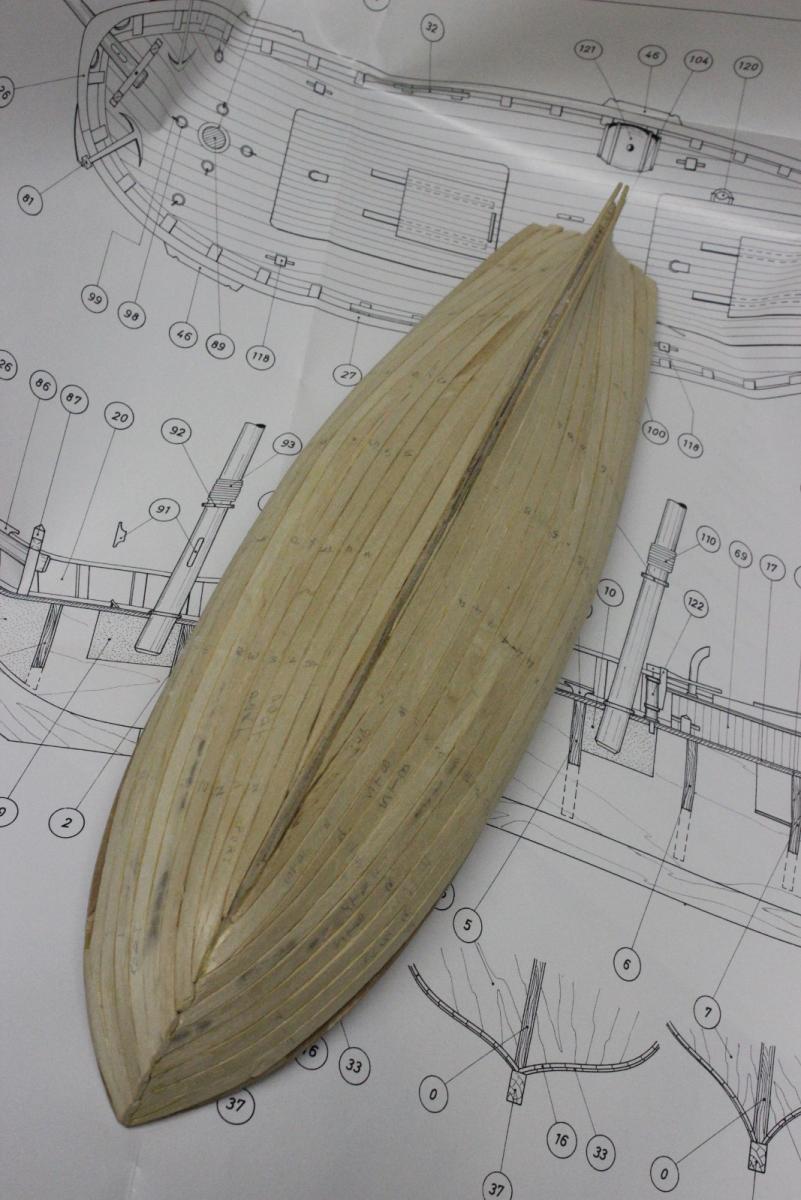
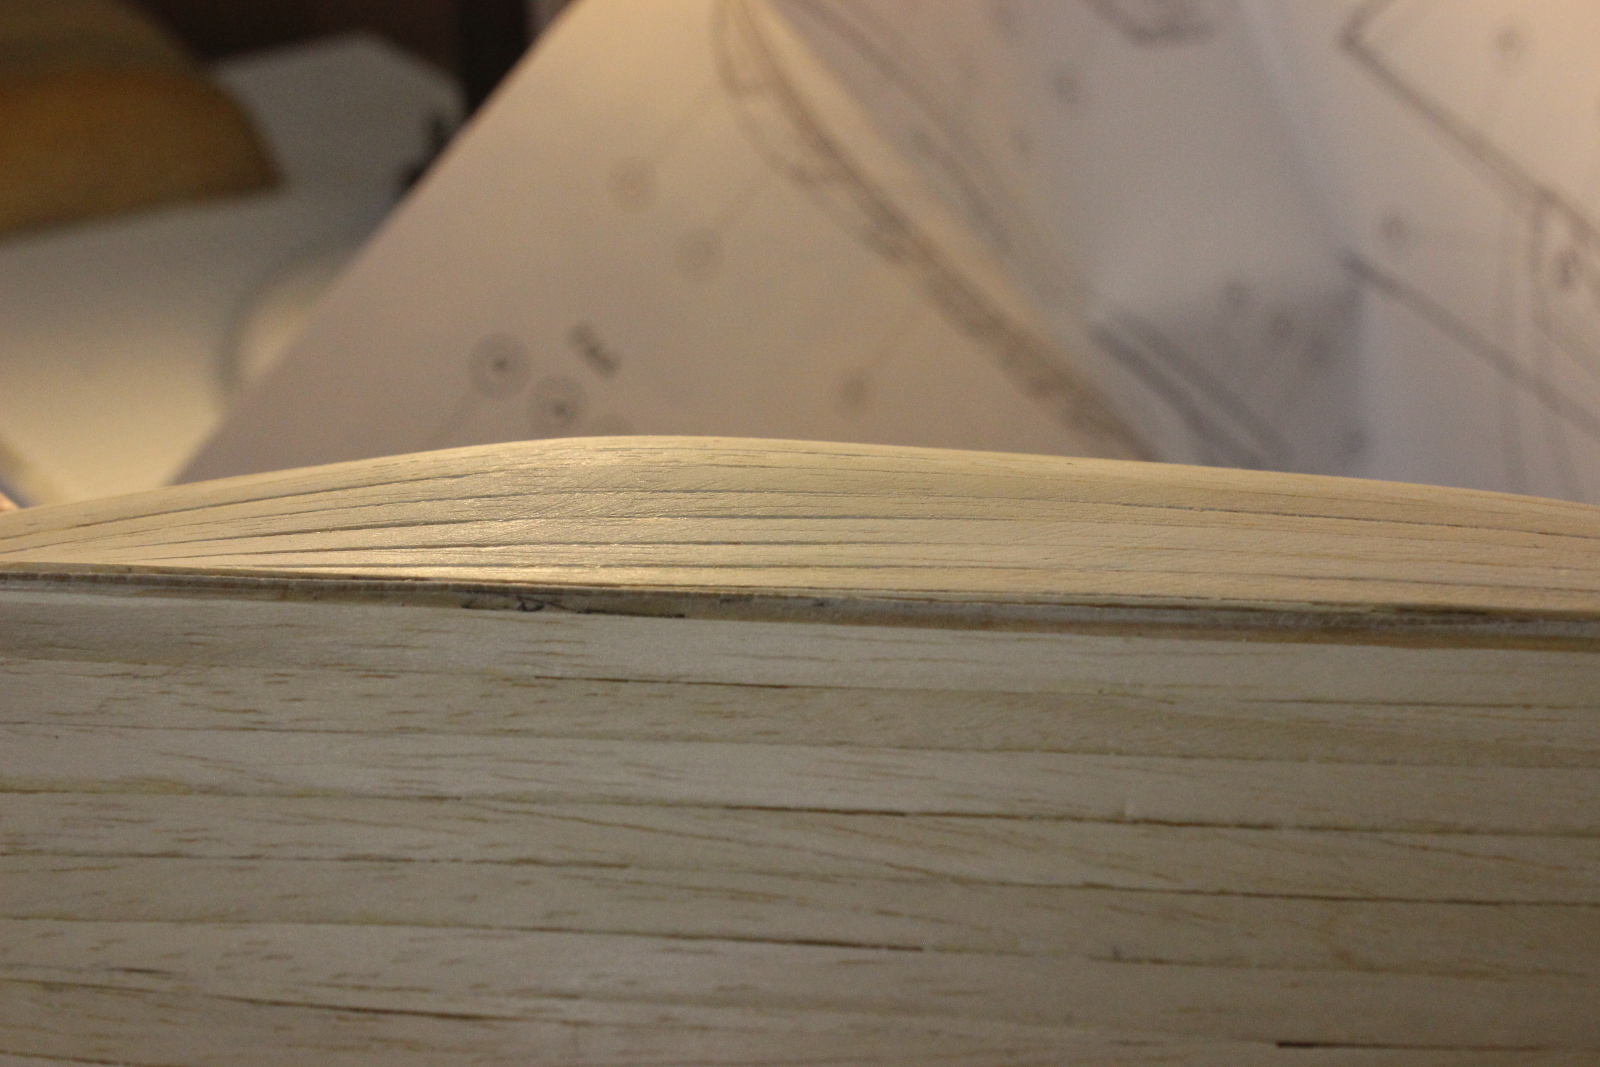
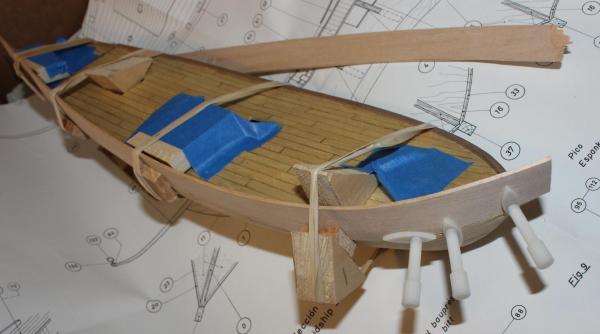
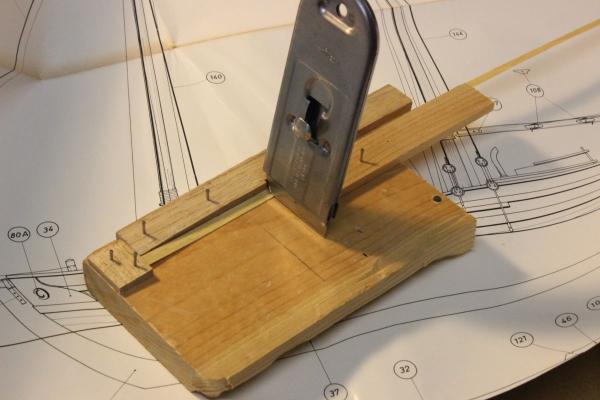
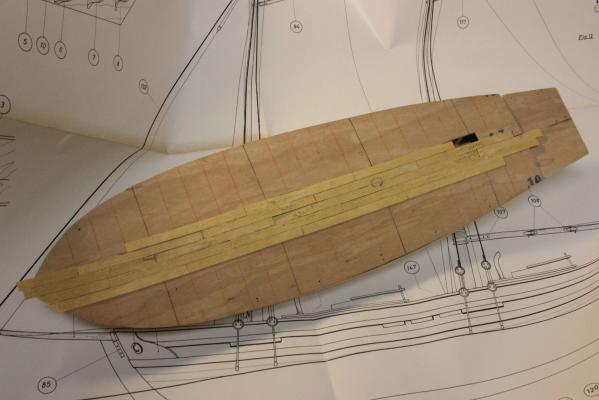
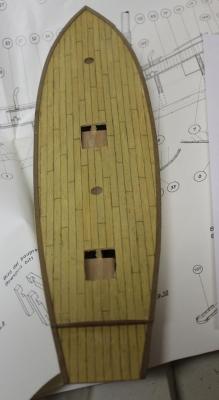
Satisfied with the hull sanding. The clinker appearance has gone and its nice and smooth. Should I be concerned about the occasional gap between planks in preparation for the second hull planking? The gaps are little more than a razor blade wide. Next is the deck planking. Built a rudimentary plank cutter to get all deck planks the same length. From Ulises Victoria deck planking article, I used his five plank shift scenario. Used a pencil to highlight the joins and hopefully make it look realistic. Used a gel sealer finish on the deck. The bow in this photo has a couple layers of clear gel finish rubbed into it to show the contrast. And here’s the full coated deck with the stringers added. Now it’s on to adding the bulwarks. I agree with other Swift builders that the supplied plywood bulwarks are difficult to fit. Seems like the angle at the bow results in them being too splayed out. I’m considering using some veneer wood to do the bulwark and plank inside and out. Trevor


-
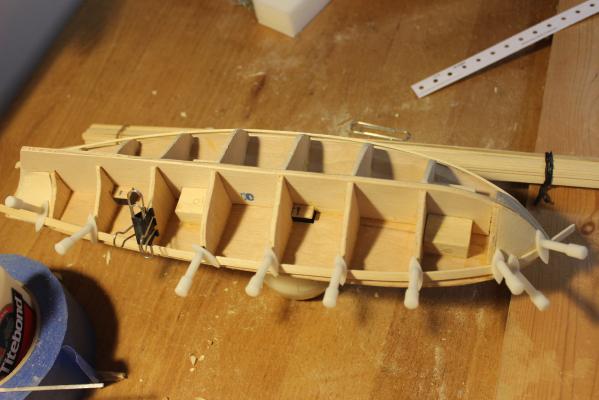
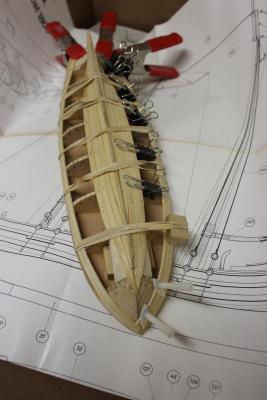
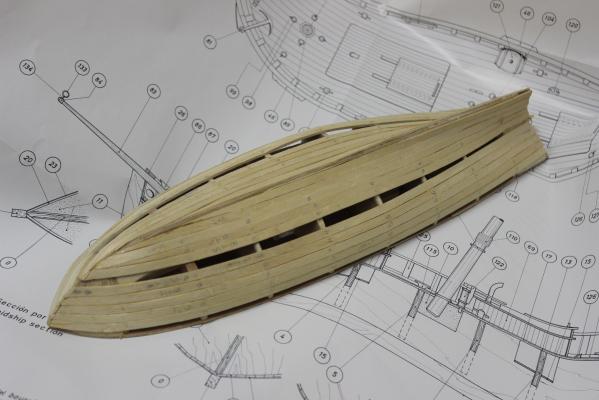
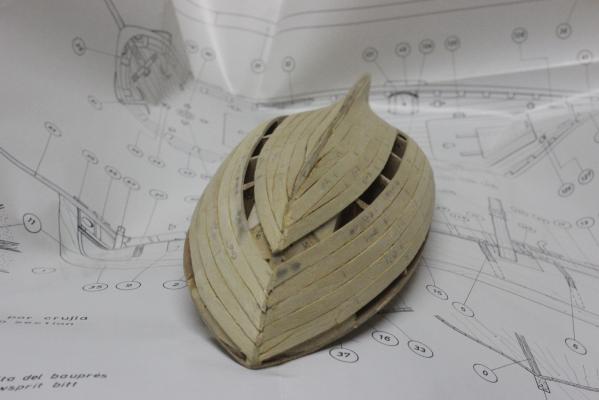
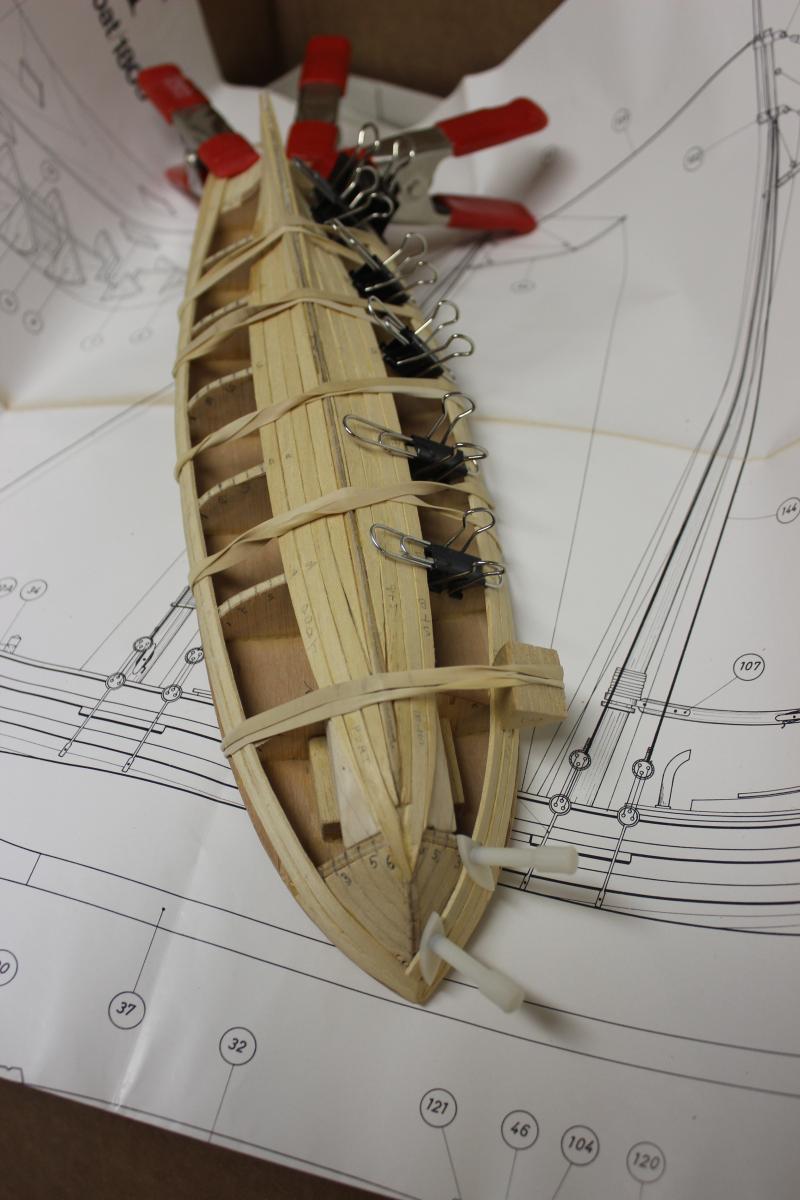
Bought the kit in 1985 when model expo was in New Jersey. It sat virtually unopened for 28 years until a couple years after I retired. (There was another model in front of it that had been incomplete from about the same time: 1939 Mercedes W154-M163.) Thankfully, I found MSW soon after I decided to start the build. first planks attached progress on the first planking layer closing in on the last couple of planks and the first layer is complete The stains near the bow are from the metal binder paper clips used to bend the wet plank. Question: Should I remove the stain in case it bleeds through to the final layer? Now on to smoothing out the hull. Some of the planks look like a clinker hull. clinker effect is still evident after some hull smoothing. Trevor