-
Posts
55 -
Joined
-
Last visited
Content Type
Profiles
Forums
Gallery
Events
Posts posted by P_Budzik
-
-
-
-
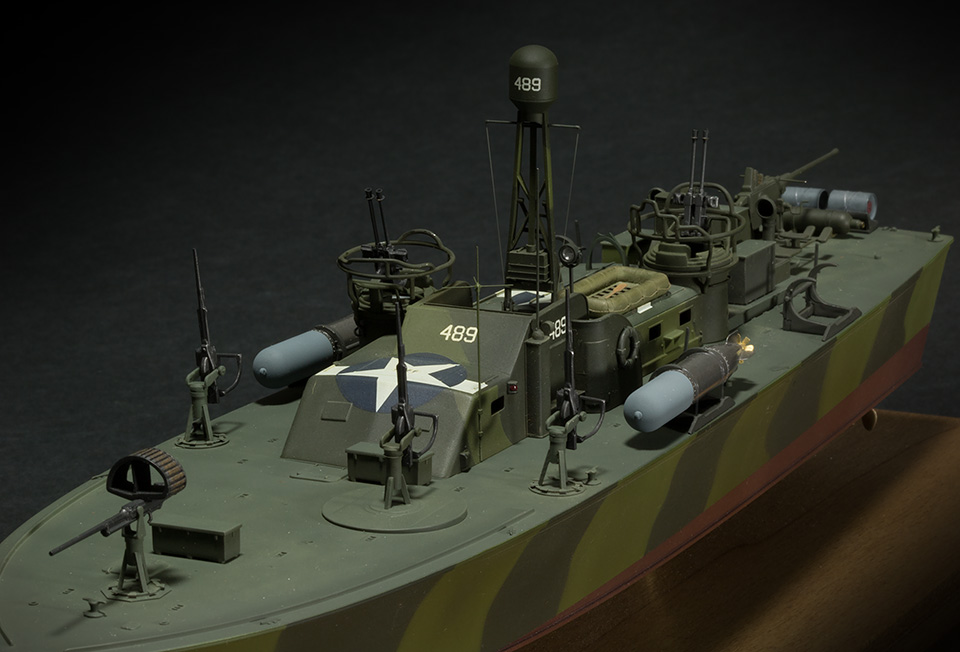
This is multipart video build log backdating the 1/72 Revell PT 579/589 kit to PT 489.

Paul
-
He covers a number of scenarios as well as soldering to white metal.
https://www.youtube.com/watch?v=oTL6VLHNW1U&t=0s
-
Having grown up with film and large format, I can understand the nostalgia and romance. But especially for images destined for the net, I think a good dslr or mirrorless is more than adequate. For focus stacking, I like Heliofocus over Photoshop. The final image from Heliofocus can be easily squared up in Photoshop
The last segment of this video shows the automated features of Heliofocus ...
Paul
-
Hubac: Thank you
Wefalck: I don't build any more primer than I would normally, but you do need to have a light touch. Just do a little practice, but honestly, it really turns out to be very easy and fast. You also need to do a little playing around with how fine a point you put on your scribe.
Paul
-
The technique that I have been using for a fine scribed line is to scribe though the final finish layer into the underlying primer. These two scratch built aircraft were done using this technique:
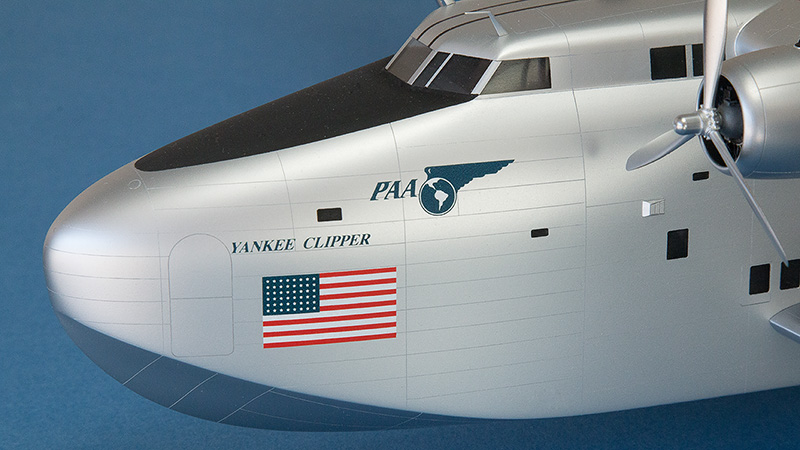
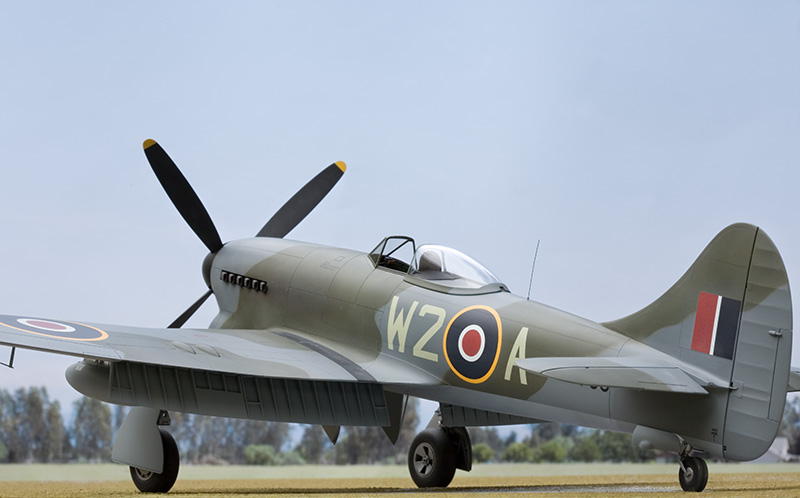
I describe the technique in this video:
-
This video will give you a good explanation of how to get the smoothest finish possible. These are the tools used by all the model production companies to achieve those great finishes.
- Canute, thibaultron, gjdale and 2 others
-
 5
5
-
This may give you a few more operating tips ...
- thibaultron, Canute, kurtvd19 and 1 other
-
 4
4
-
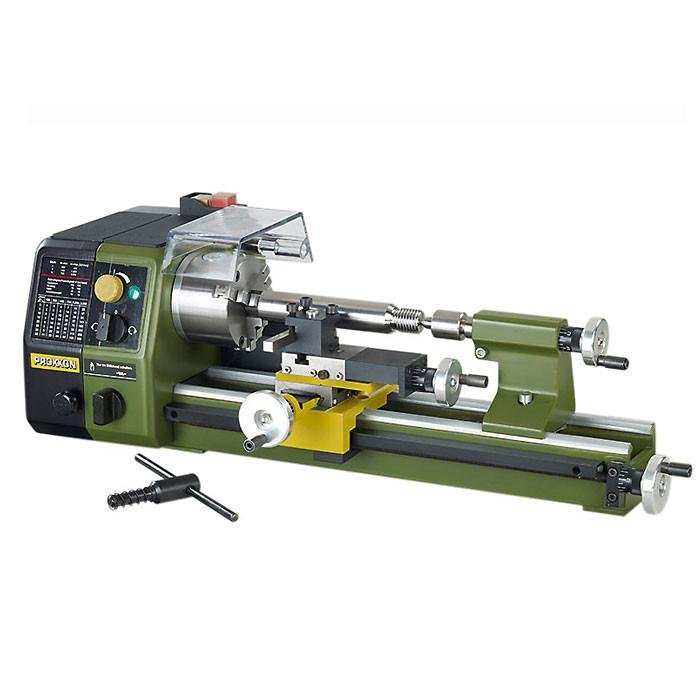
In the past I've always used just Unimat, both the SL and Unimat 3. The old 3 with a cast bed and ways is far superior to the SL. I now only use a pair of 3's and an SL head mounted on a home made mill.
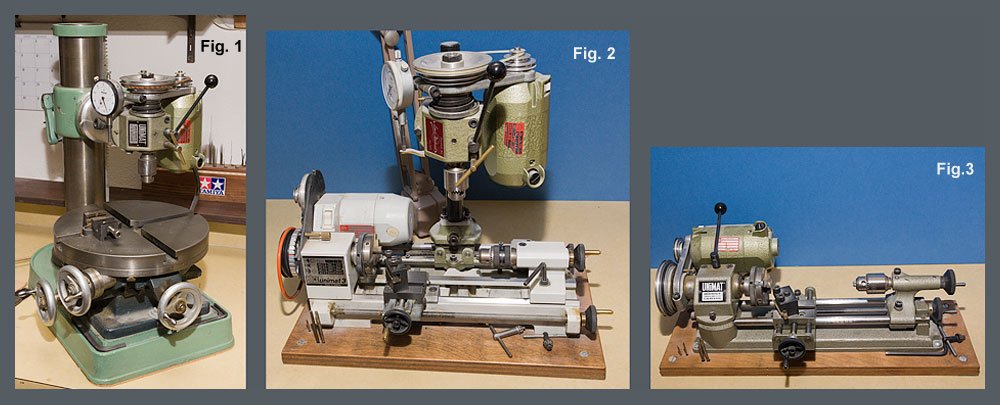
I wouldn't recommend going with an older machine that is no longer manufactured because of the limited availability of parts and accessories. Last year I bought a Proxon 250 because I wanted something a little bigger. It is a terrific machine. You get an actual geared power feed and real compound. Gears are metal and the machine is made in Germany. It bears a striking similarity to my Unimat construction. I called the company and was told that one of the design team came from Unimat. It is a beautiful little machine. It would be my current first choice for a small lathe.
Paul
-
I had a long history with Floquil. It was the only hobby paint I used. Awhile back I put up a web page just about Floquil. I have a PDF of the original "little red book" that Floquil published explaining their paint and how to use it. I also have the original railroad color chart up as well.
The web page is here: http://paulbudzik.com/tools-techniques/floquil-paint/floquil-paint.html

-
-
-
Here is my solution for adding direct readout to my Unimat 3's ... but the same idea can be applied to other miniature lathes ...
- Mike Y, John Cheevers, mtaylor and 5 others
-
 8
8
-
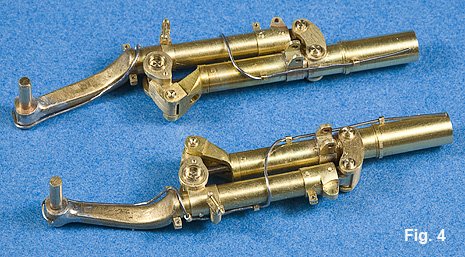
Not quite sure you fellas realize how small the part is, check out the reading on the caliper ... I think you would find it very frustrating to make it out of plastic or wood and keep it sharp. Second, because it's so small, material loss really isn't an issue. Third, you don't start with square stock because the part is transferred to an indexing head on a milling table, so it is much easier than trying to recenter the stock.
The point of the video was to demonstrate a method and develop the concept of putting together multiple processes. It started by first thinking how are you going to accurately locate the part, so you need a pin (gluing a free floating piece of plastic is hit or miss). You need convenient way to hold the part when you are doing the free-hand work. So turning the part off on the lathe solves both those issues. Using rod stock gives you a center to work from. The basic shape is generated on the mill and the depth was only .050". Because it's so small, it only takes a few file strokes and sandpaper to work out the shape.
These techniques are not new and have been used by professional model maker machinists and taught to me nearly a half century ago. I made the video to answer questions from modelers, with no experience in machine work, who want to purchase a lathe or some single machine that they think will be useful. They don't understand that the majority of parts that they see I've created involve multiple process, not only related to the machines, but also tools like a grinder. You don't just buy a magical machine and start spitting out great parts ... there's a pretty steep learning curve ... even for setting up the machine. So when someone asks me about getting into miniature machine work ... I have a simple example that I can point to and say to them, "do you really want to go down that road?" Especially in the day of 3D printing, which you know will only keep getting better.
It's an homage to classical technique that I like to keep alive ... and I had hoped that people could see it for that.
Paul
-
While this particular example is an aircraft part, I use the same basic principles and techniques combining machine process with hand shaping, for creating all sorts of small details. I hope you find it useful.
Paul
-
-
Here is the latest in my series on airbrushes ...
- coxswain, JpR62, thibaultron and 2 others
-
 5
5
-
Jim ... I'll have one later on general techniques for cleaning and maintenance. As for the VL, Paasche makes a point of touting that it's easy to clean ... you just run some thinner through it, and you're done. I don't think that works so well with some of the acrylics. It's not difficult to disassemble ... it's just with some of these older designs ... you should have some beeswax handy to plug up the leaks. And what I didn't say in the video ... Ive been disappointed with the current quality control from Paasche. I can't tell you how many new nozzles I've had to chuck because they were nicked up or bent on delivery.
Paul
- Jim Rogers and Canute
-
 2
2
-
-
-
-
-
I recently debuted an additional Youtube channel that i call "Bits & Pieces". It gives me the opportunity to answer some questions and cover things like tools in a different way than my other channel. The question that I get the most consistently is about the handpiece modelers see me use in my videos. So I've finally been able to do a better explanation along with an explanation of what might be a better choice. The video is here ...
https://www.youtube.com/watch?v=mDsNVE299PE
Paul


Trying to understand white balance
in Photographing your work. How to do this.
Posted
This should give you a little more complete "picture"