awanajv
-
Posts
30 -
Joined
-
Last visited
Content Type
Profiles
Forums
Gallery
Events
Everything posted by awanajv
-
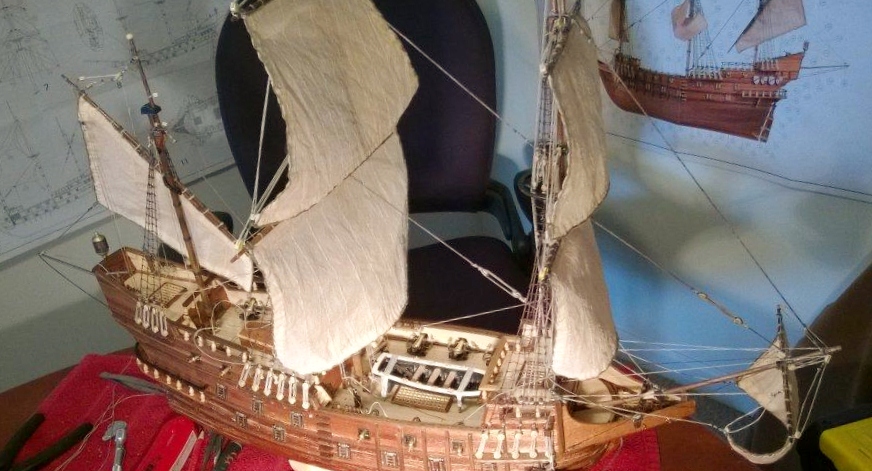
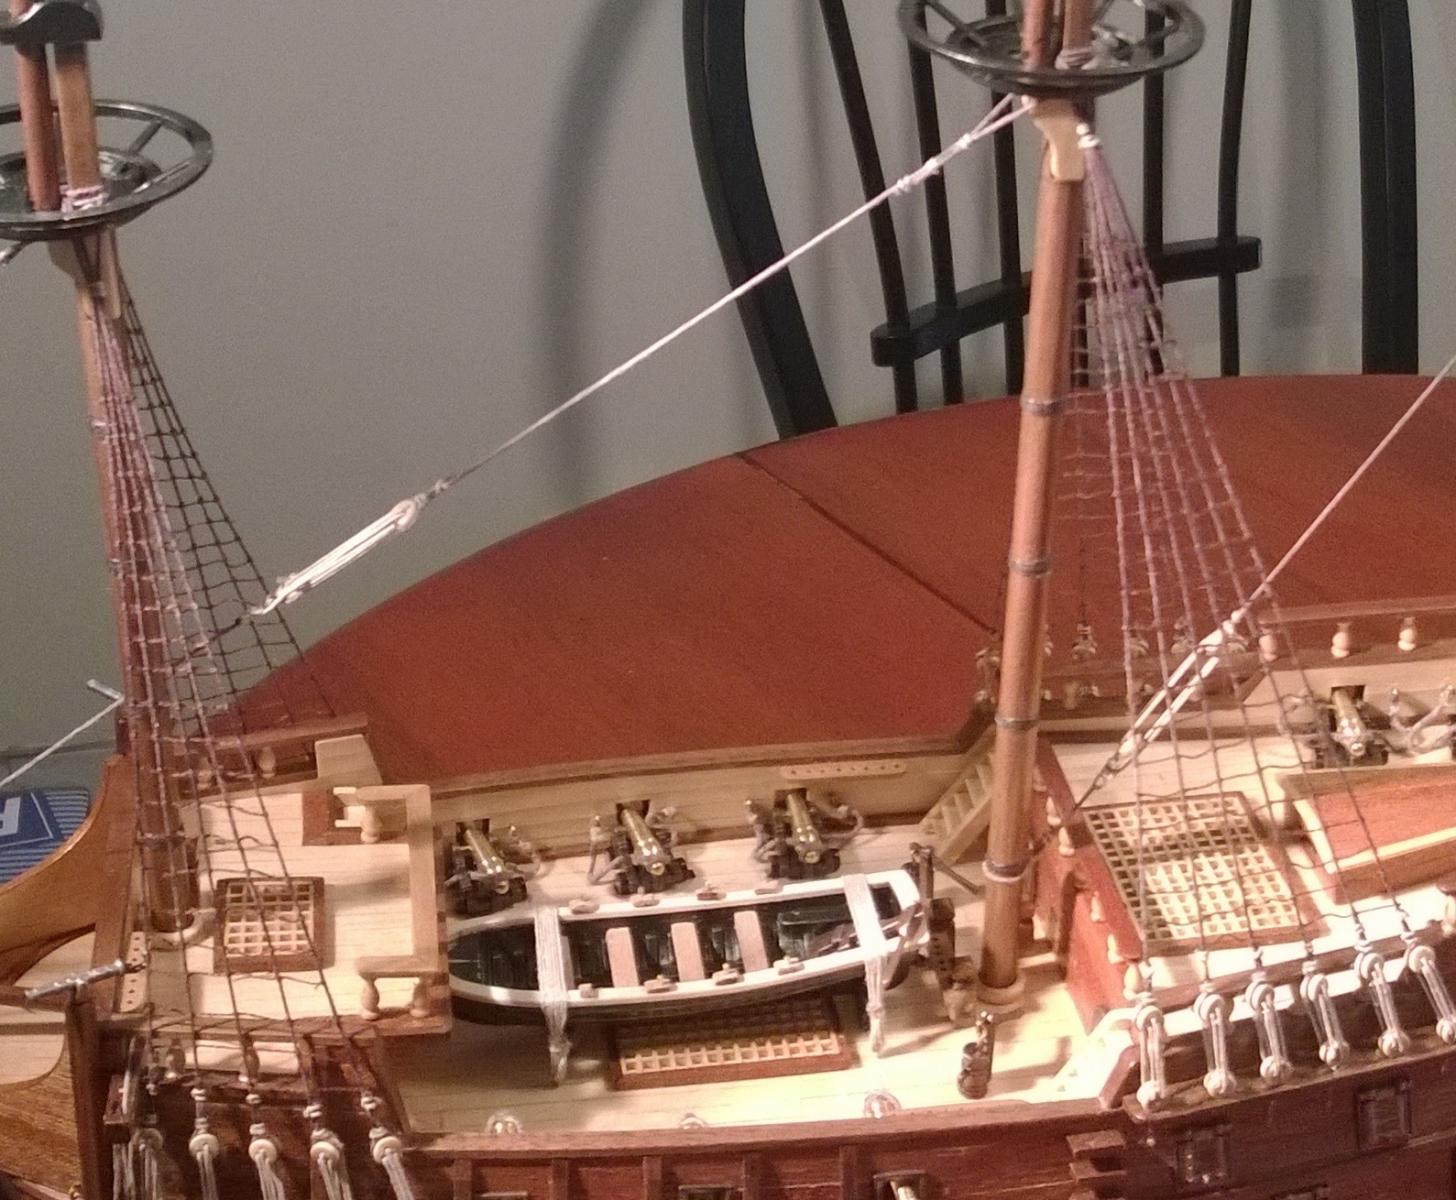
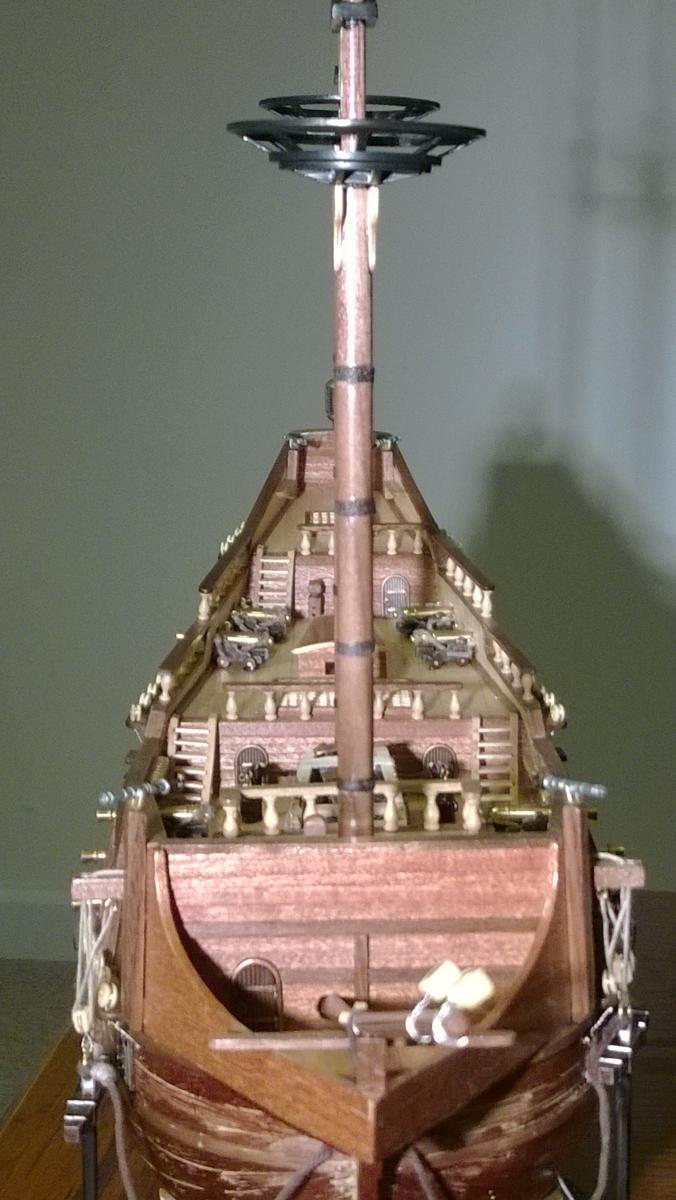
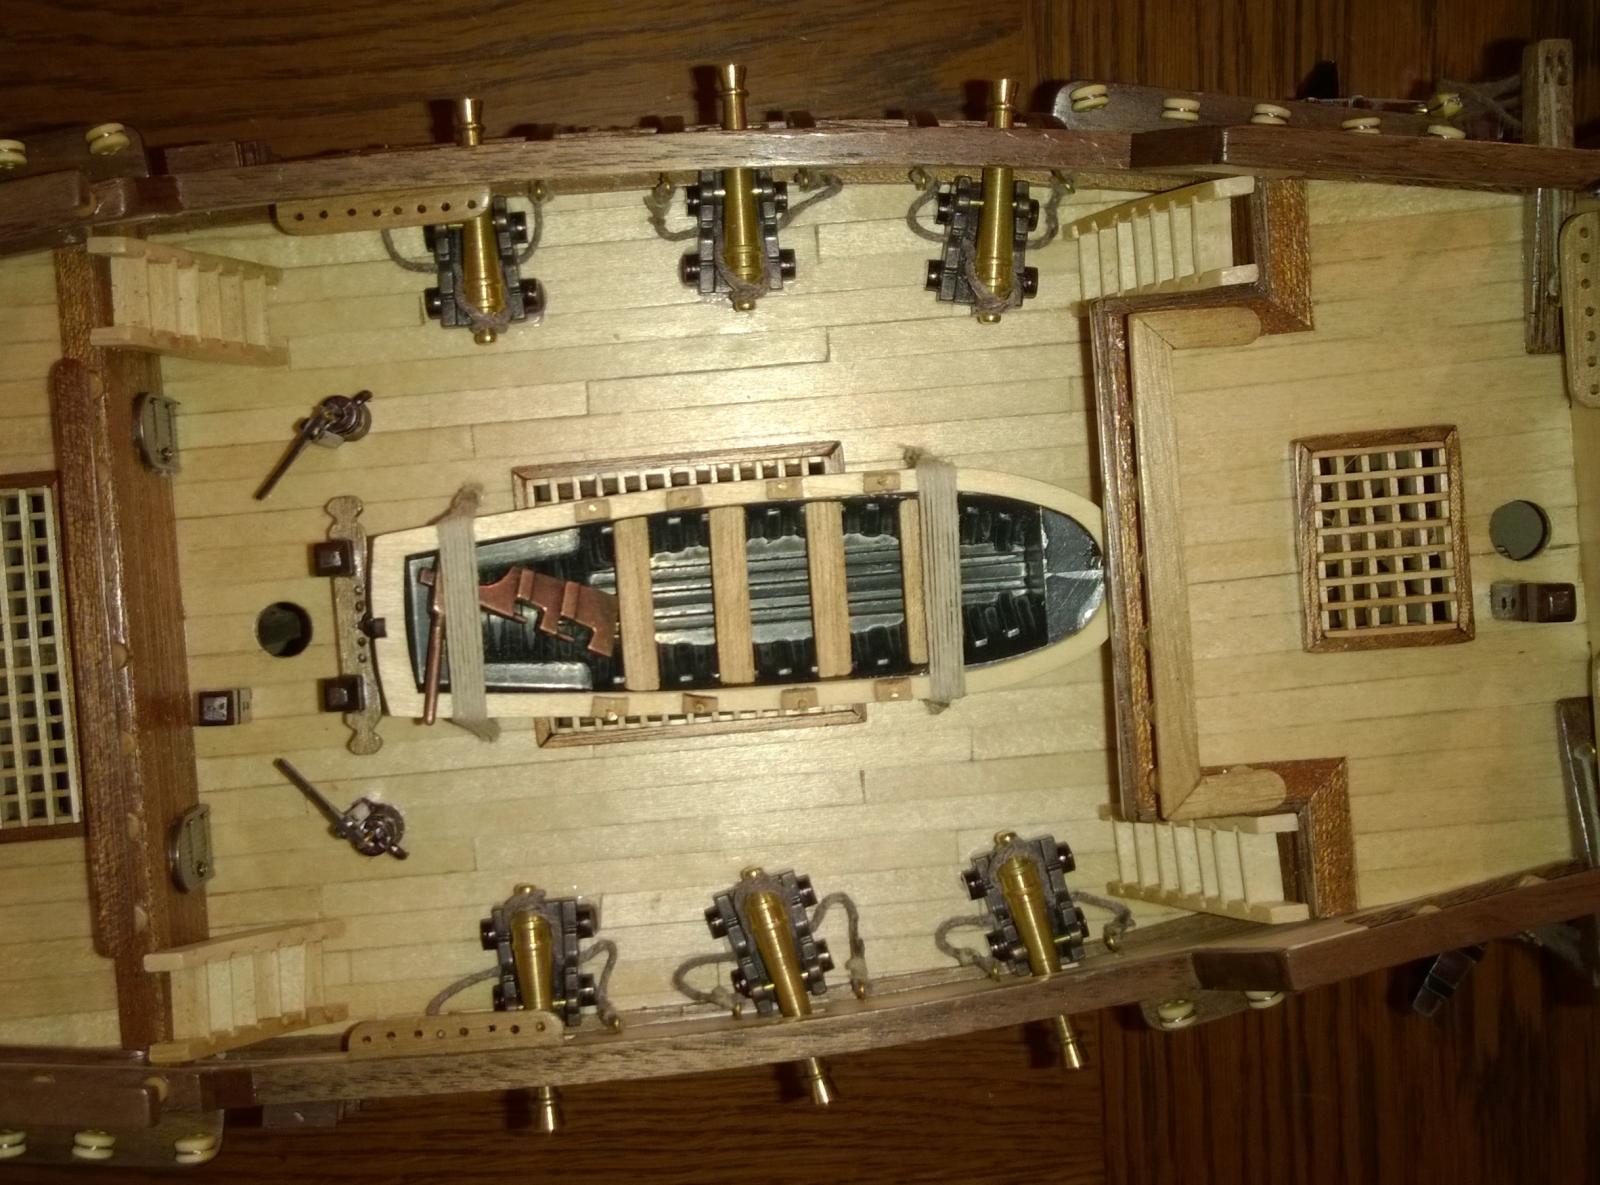
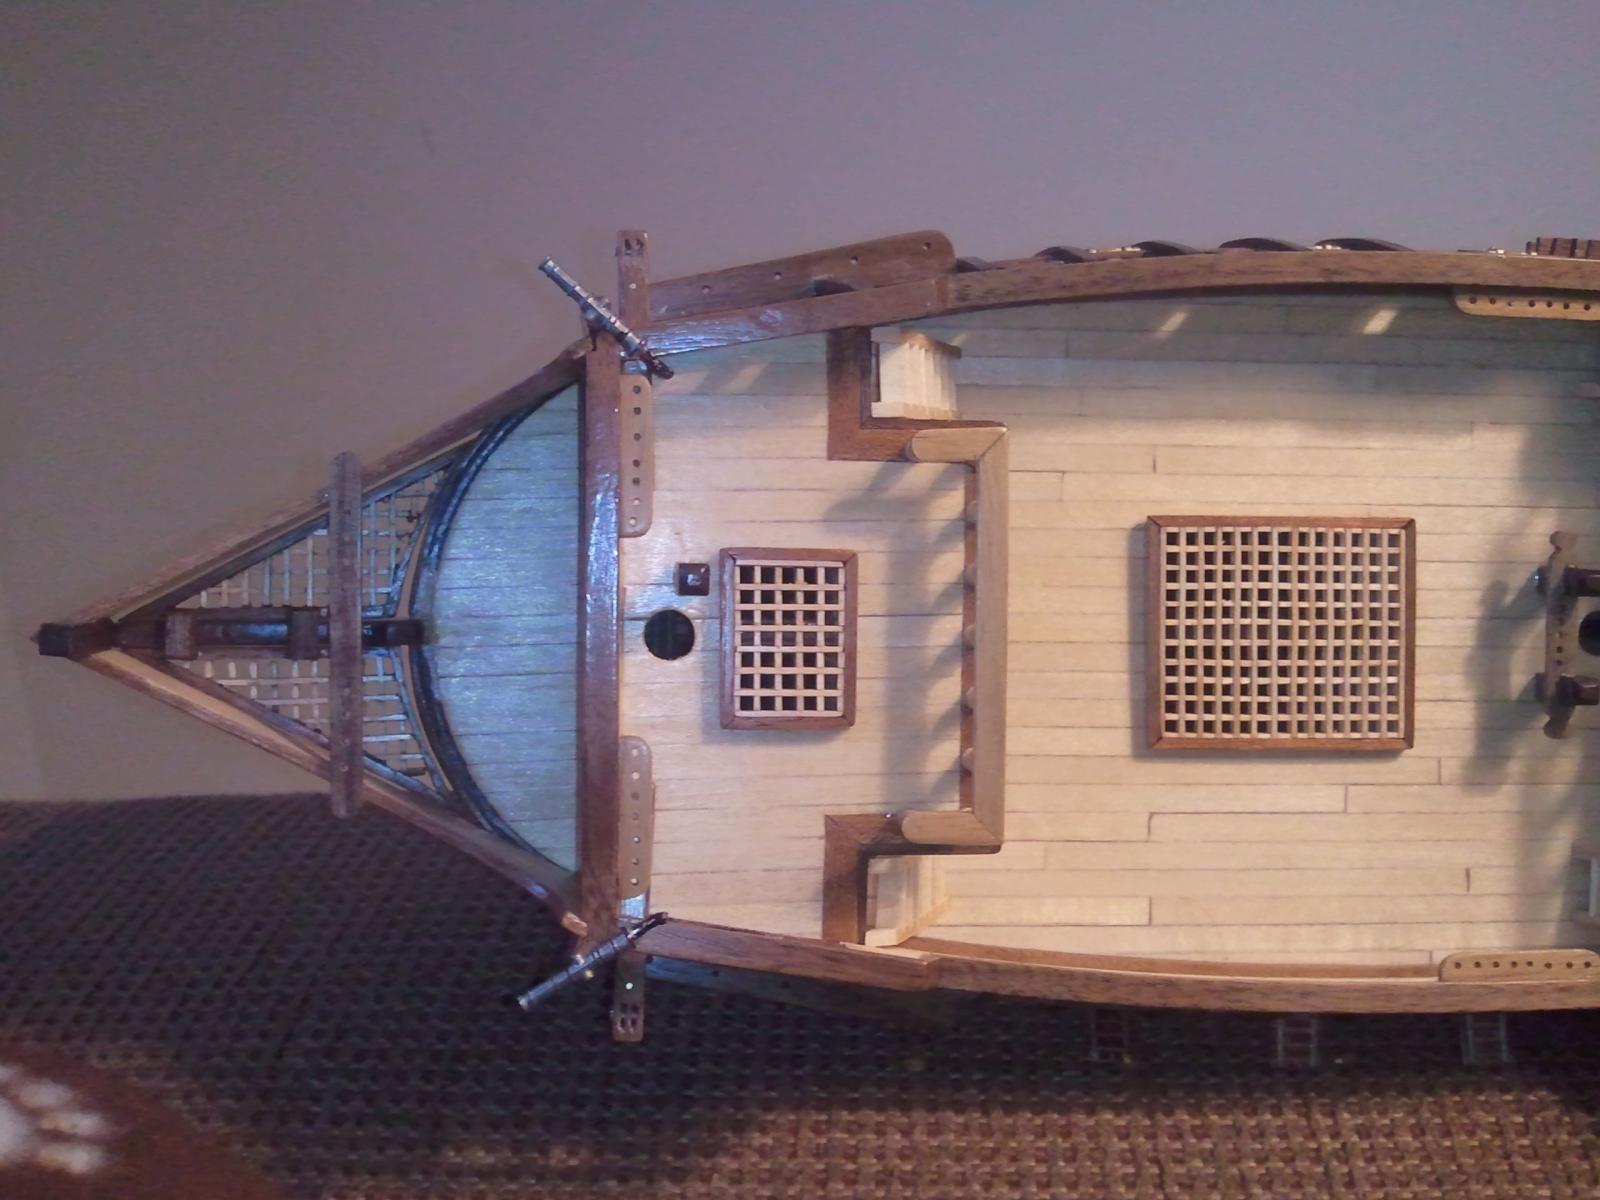
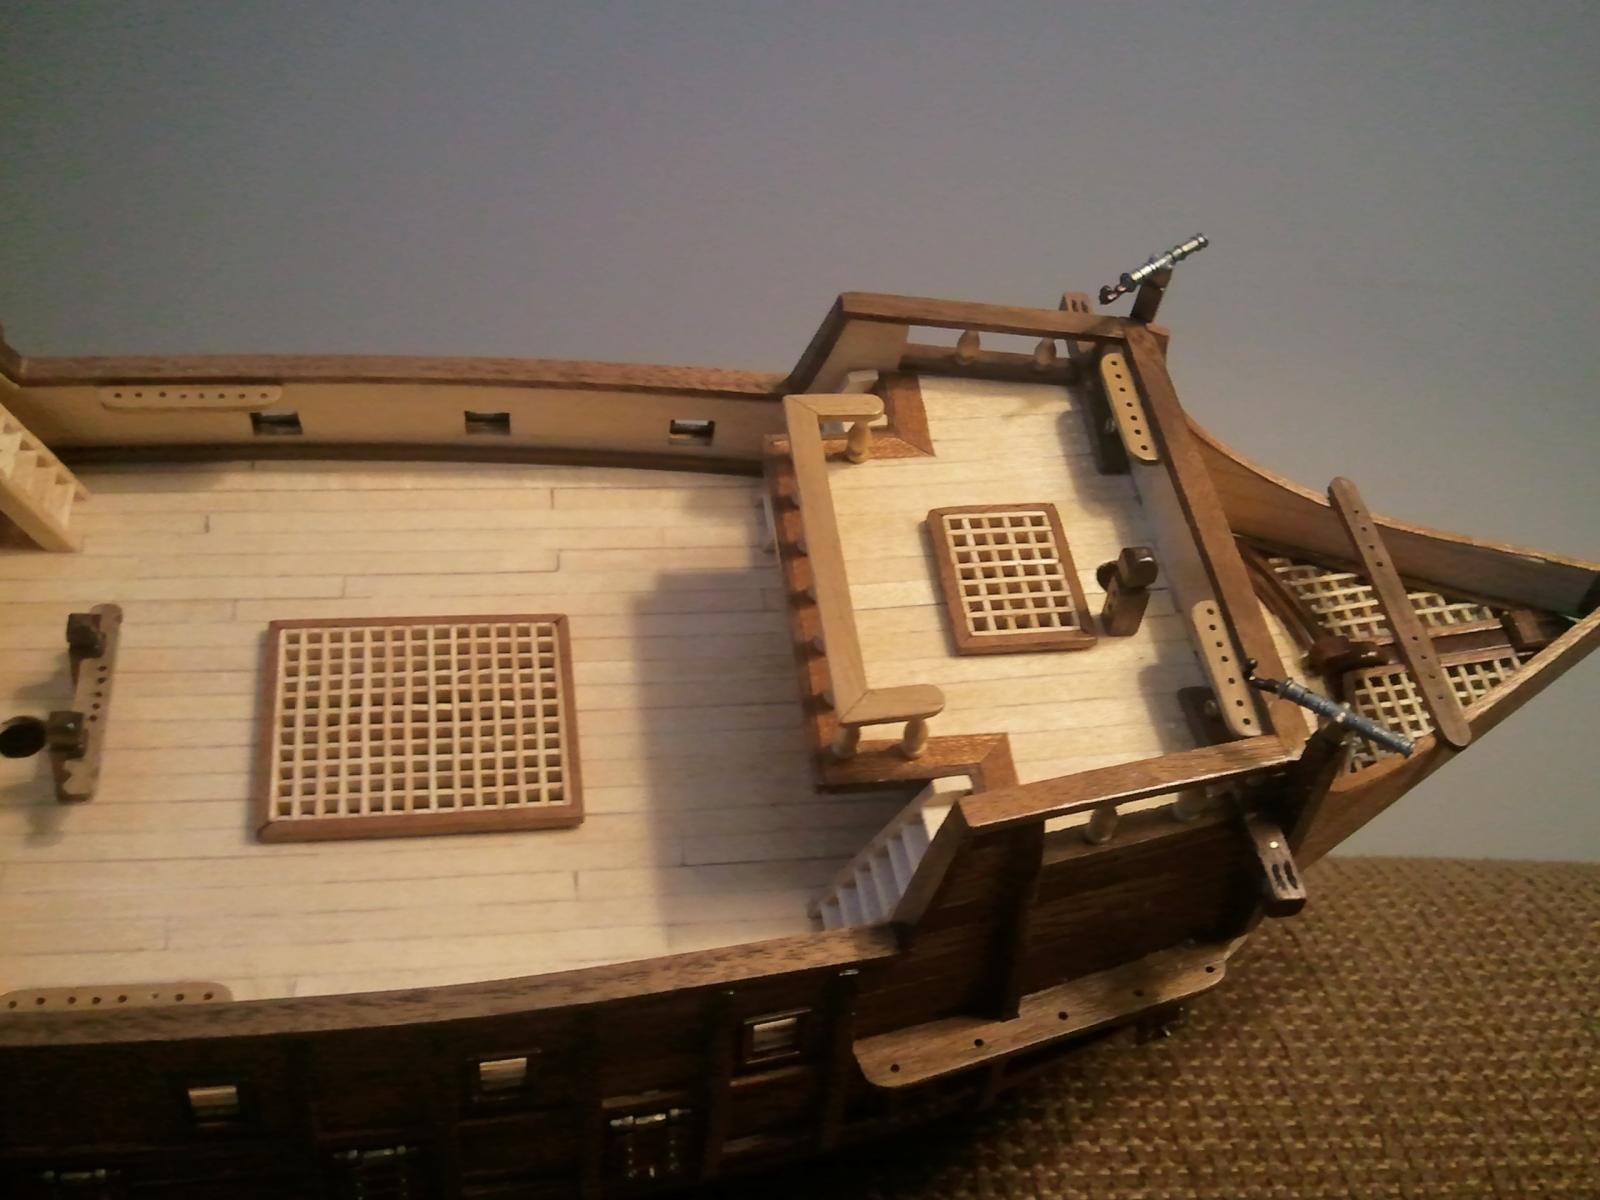
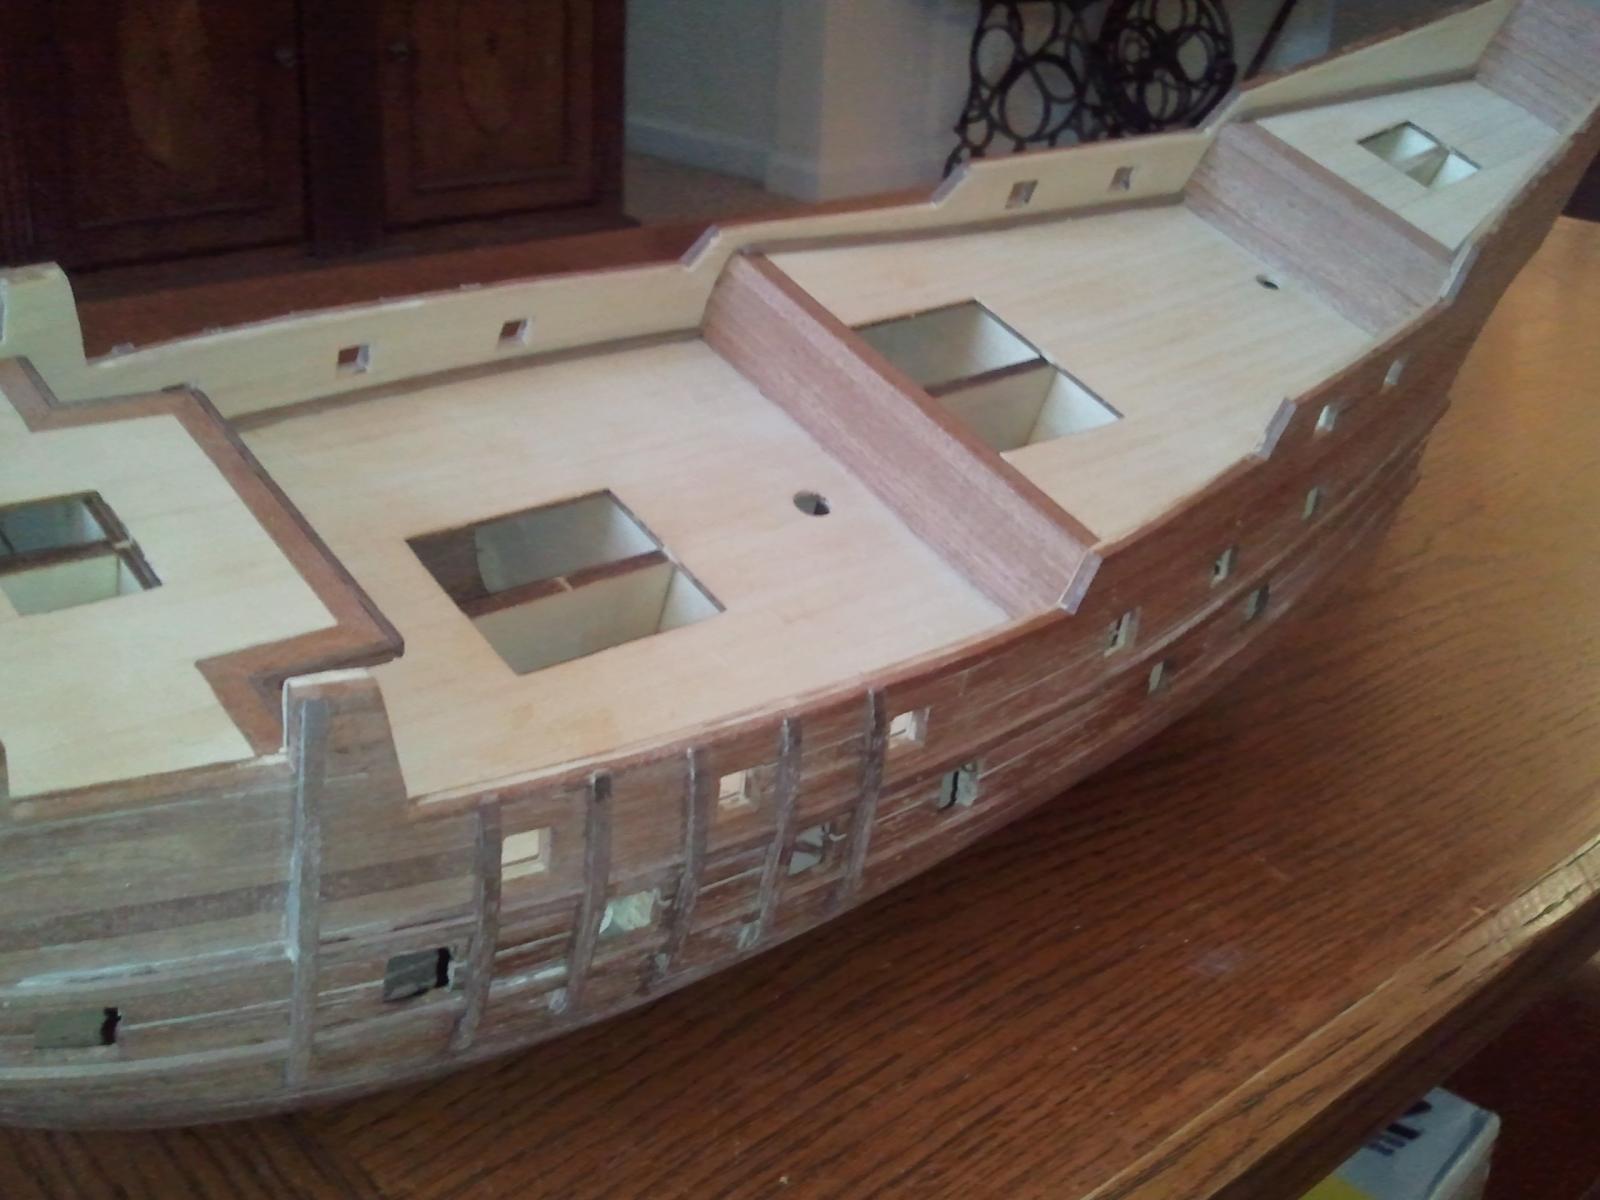
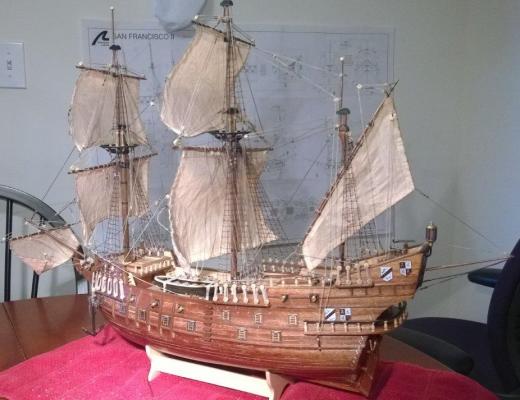
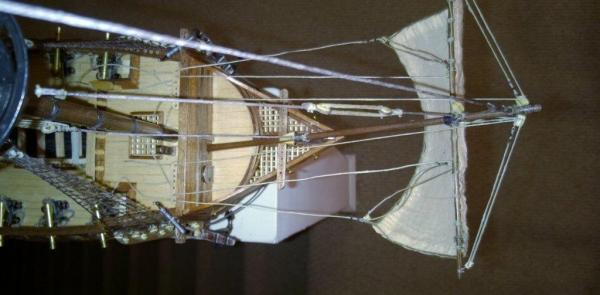
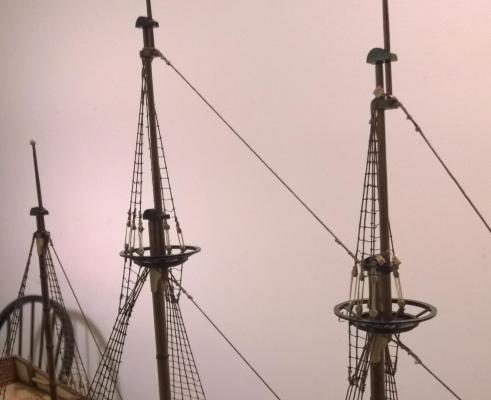
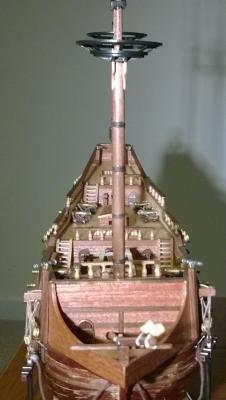
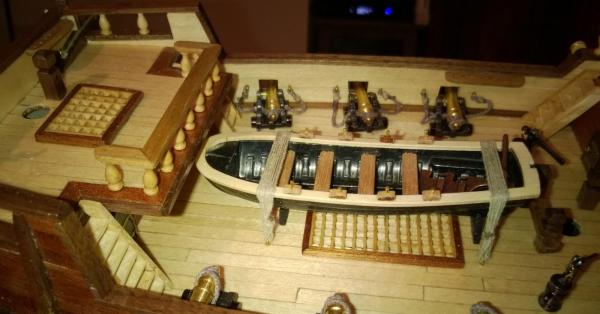
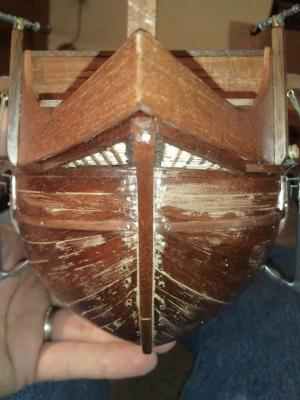
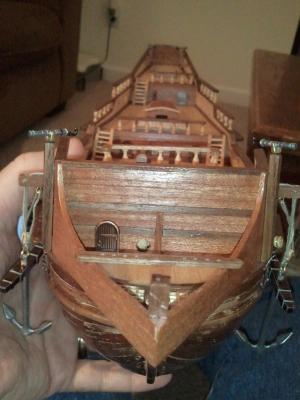
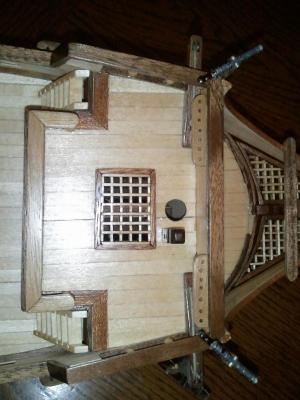
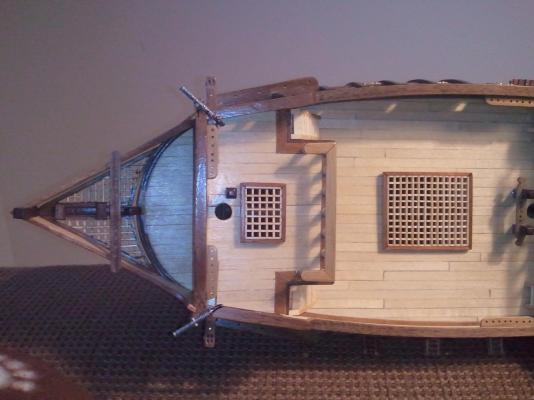
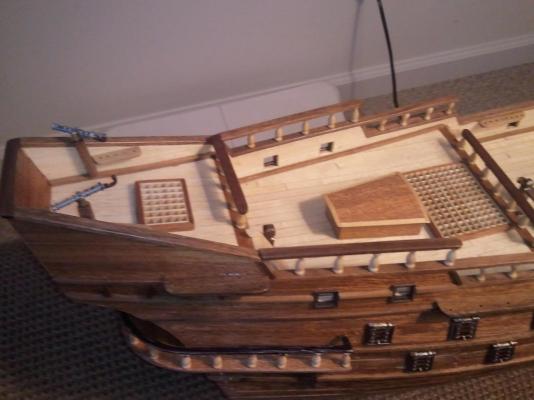
 A few pictures from the bird's eye perspective


-
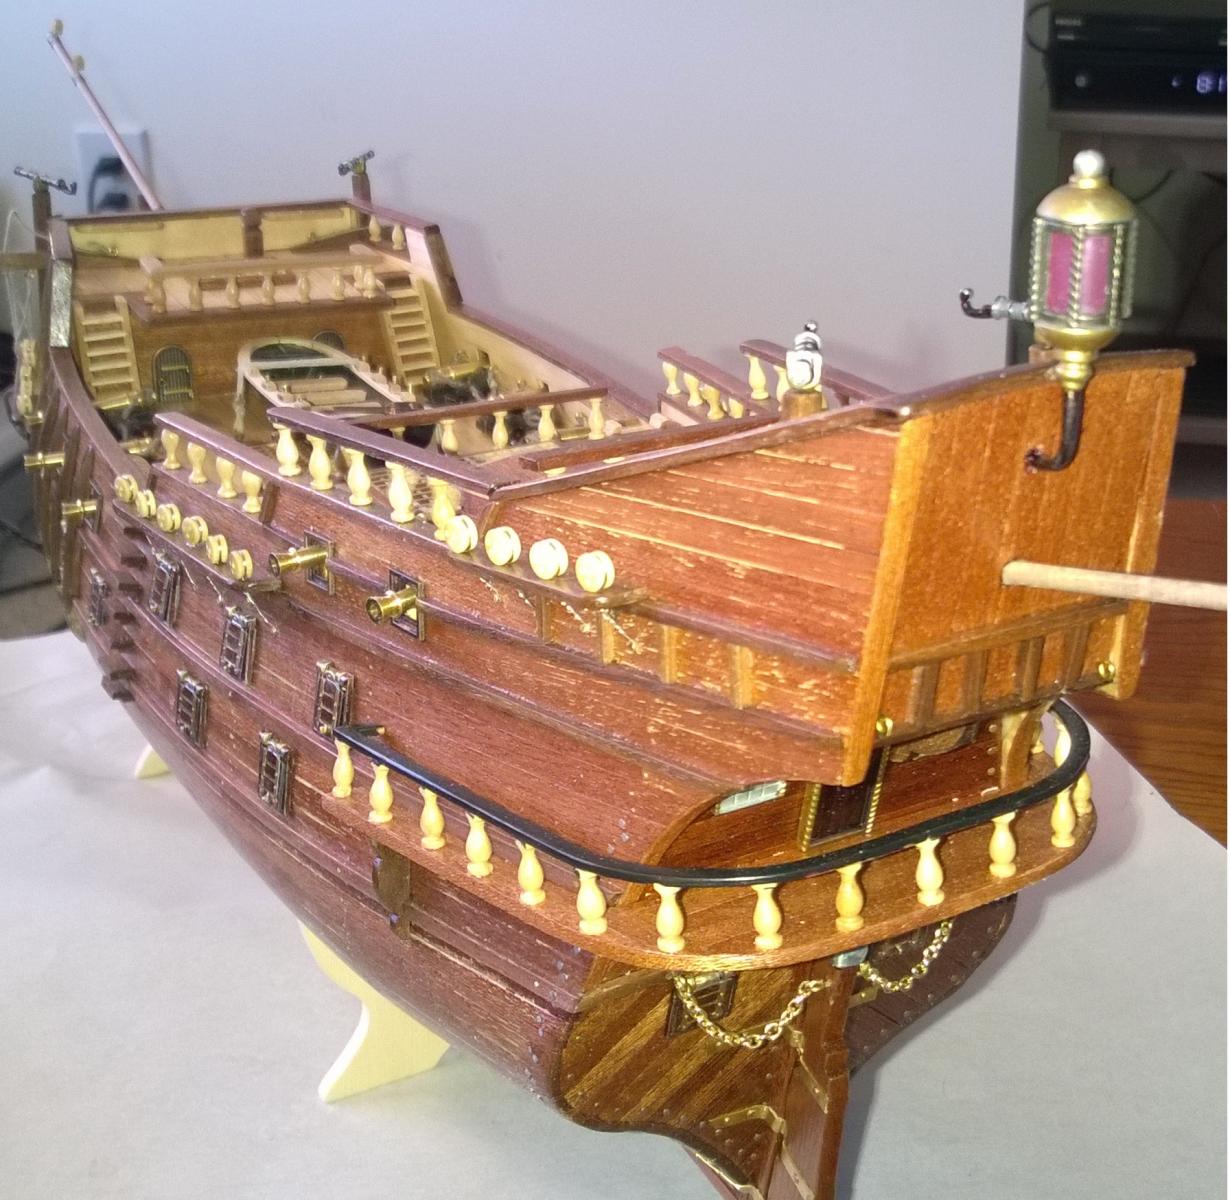
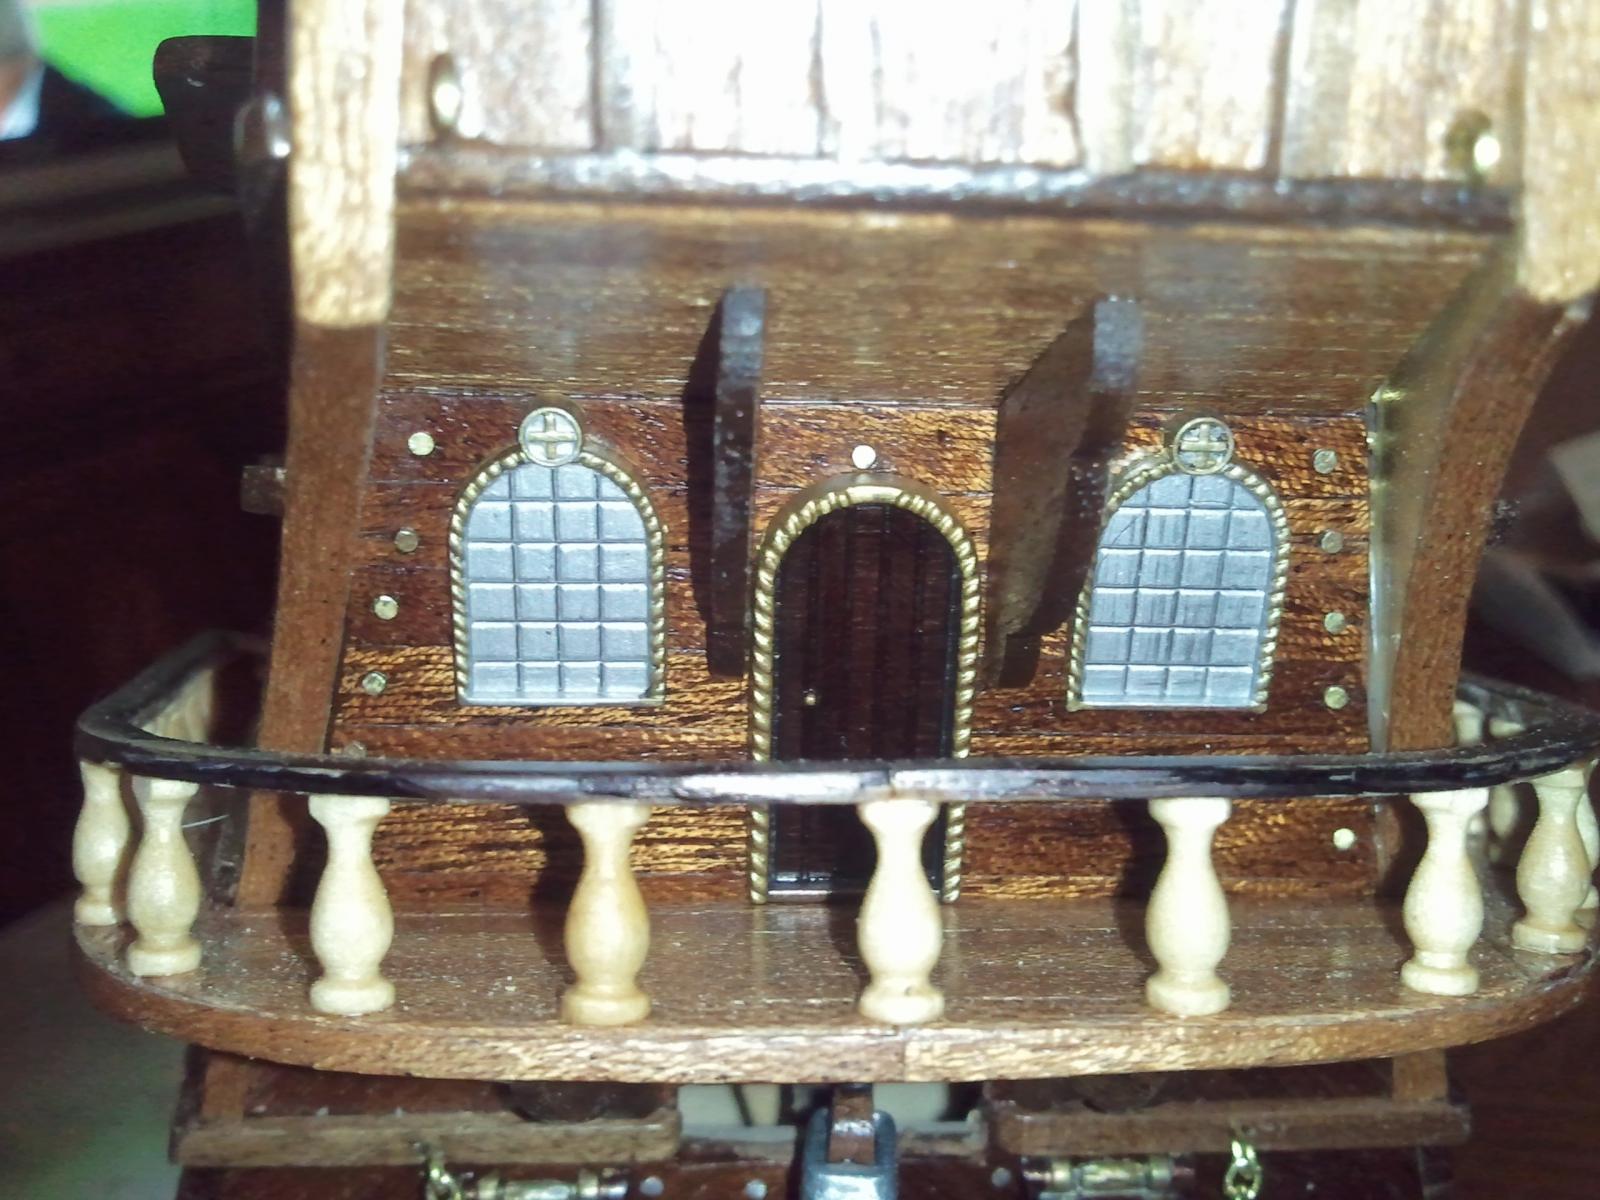
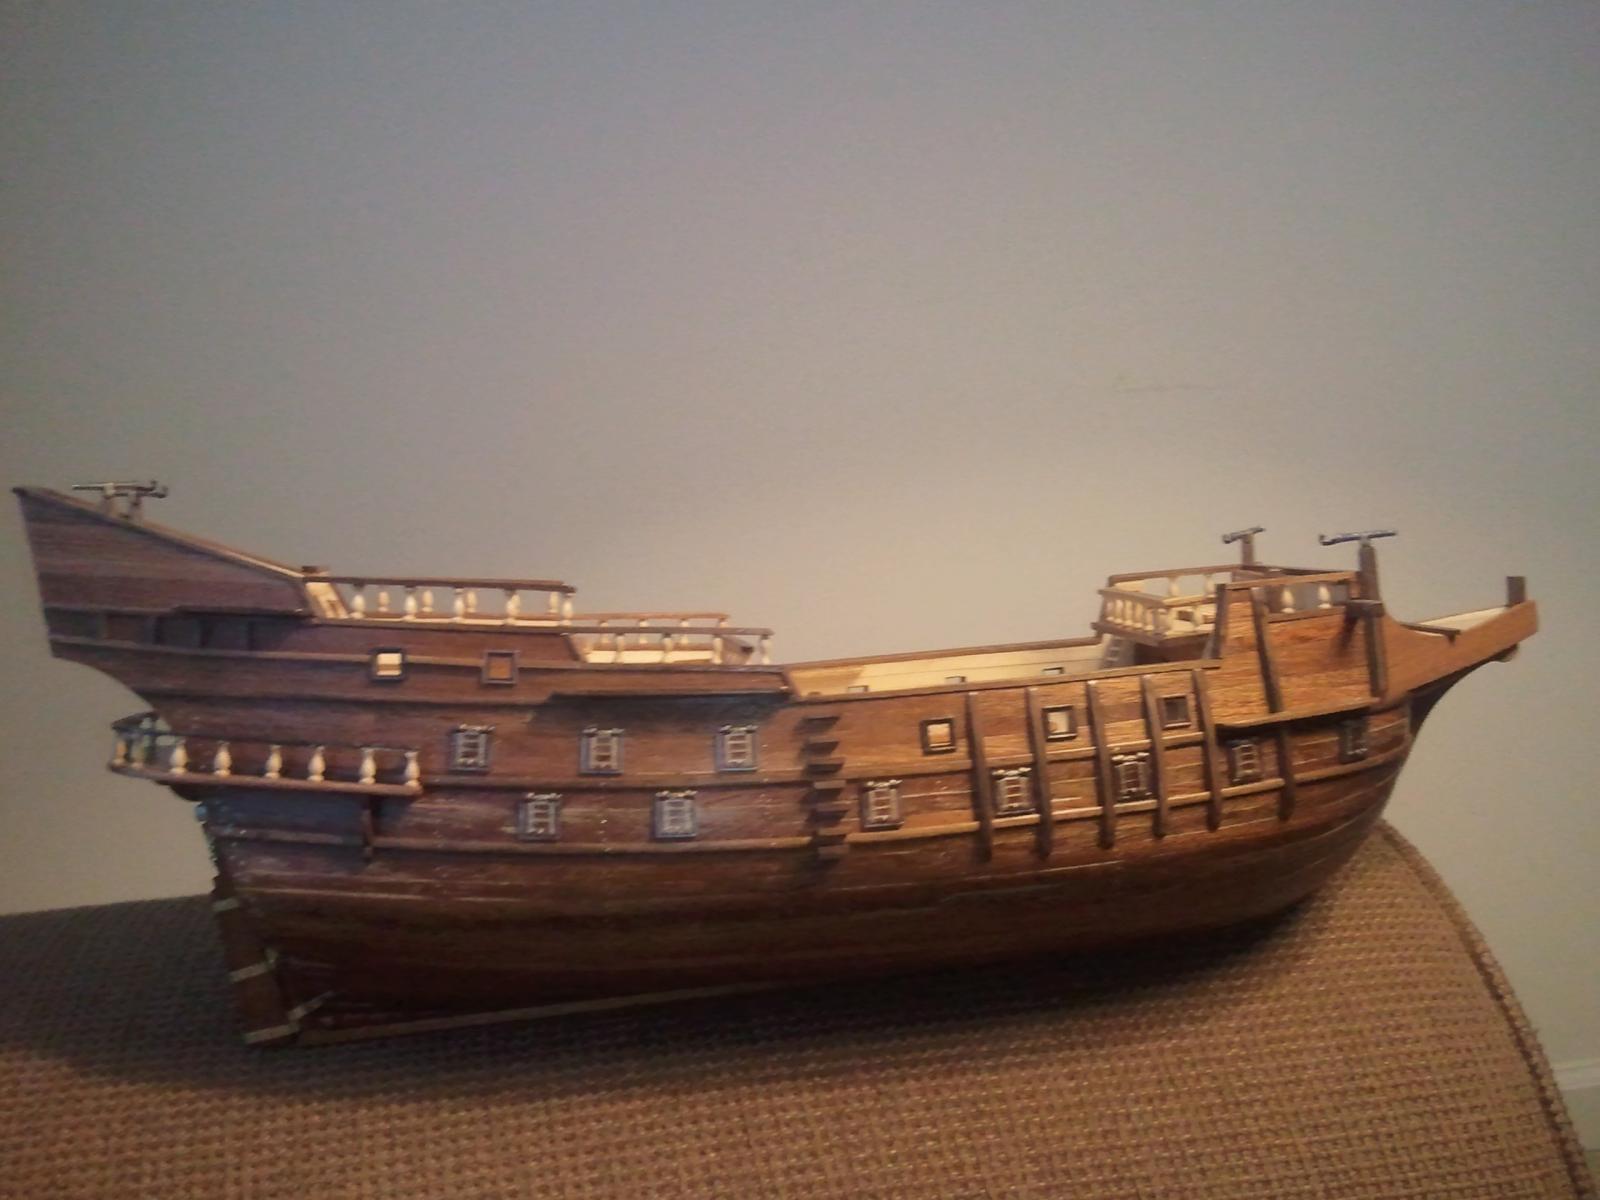
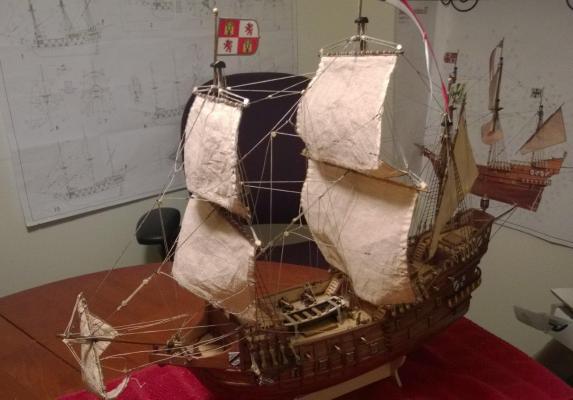
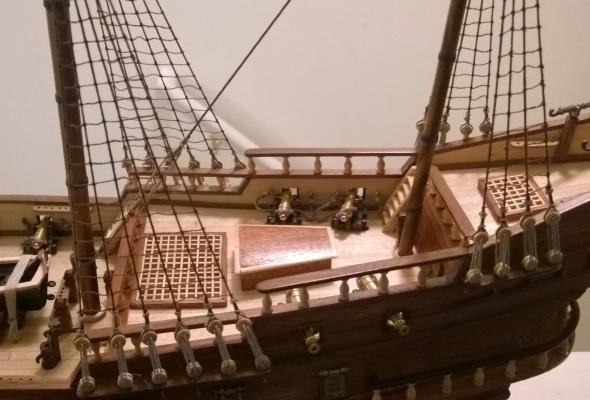
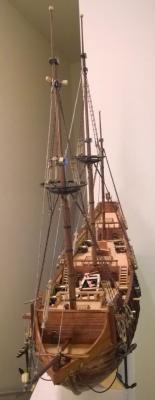
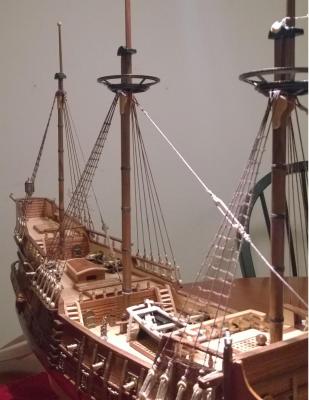
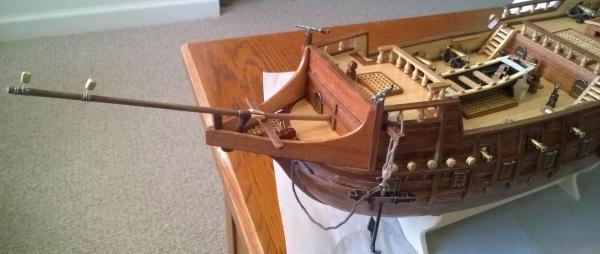
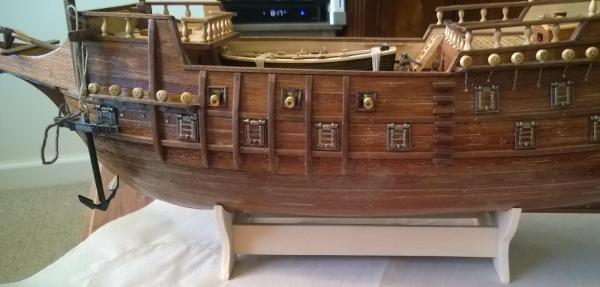
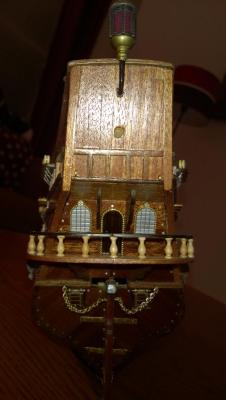
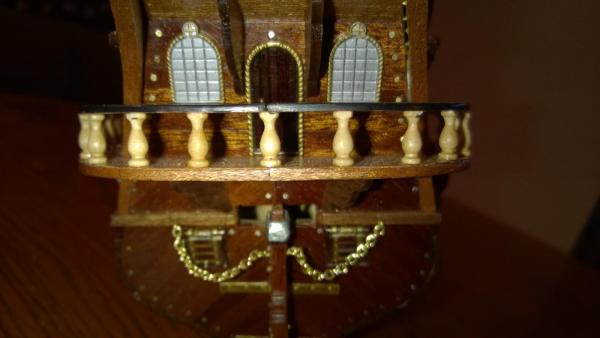
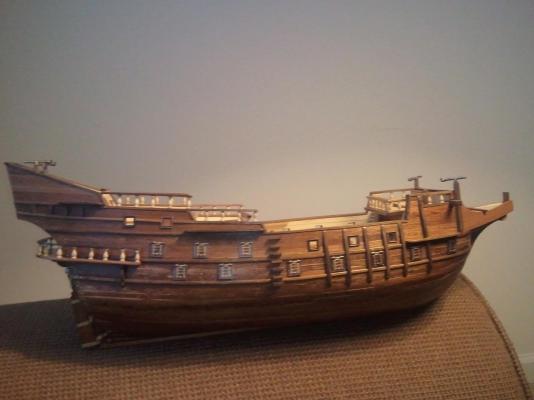
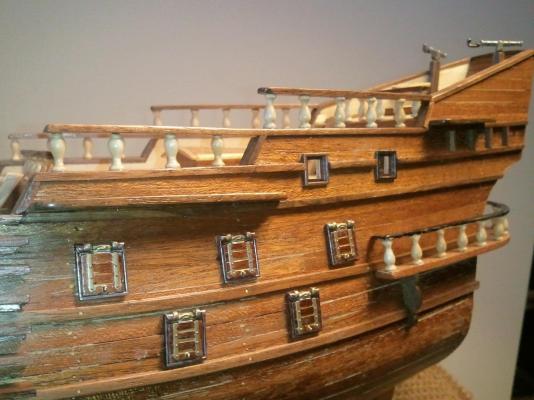
A few more pictures of the overall progress


-
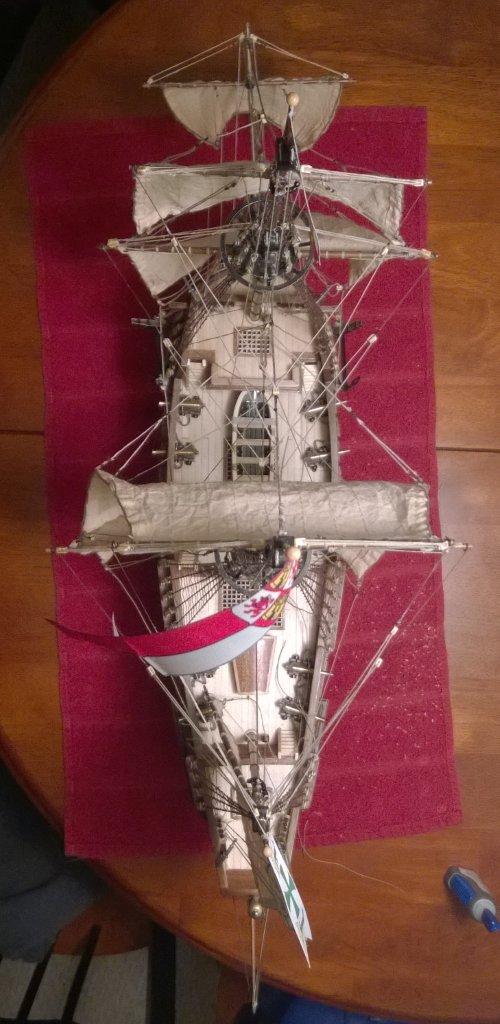
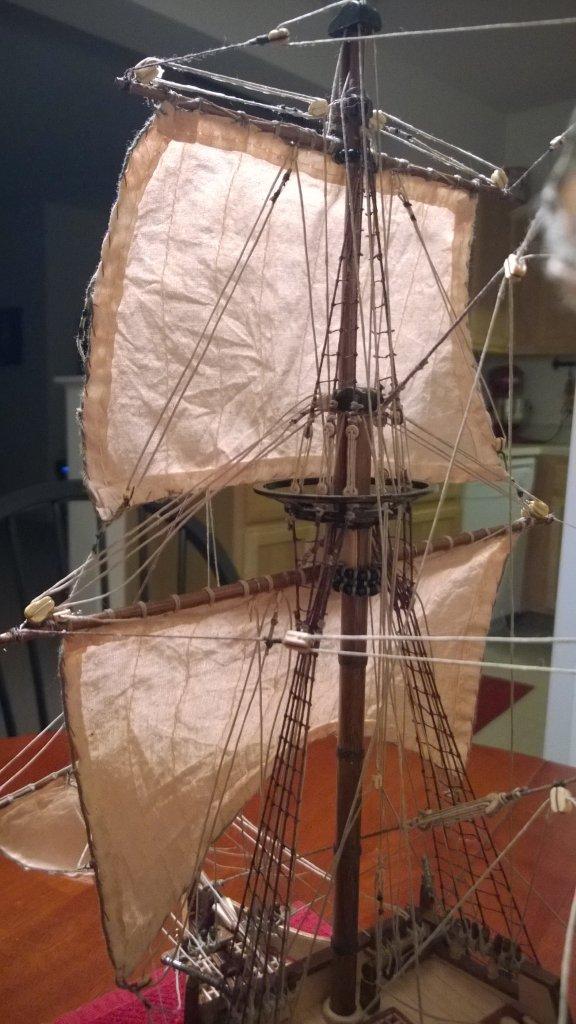
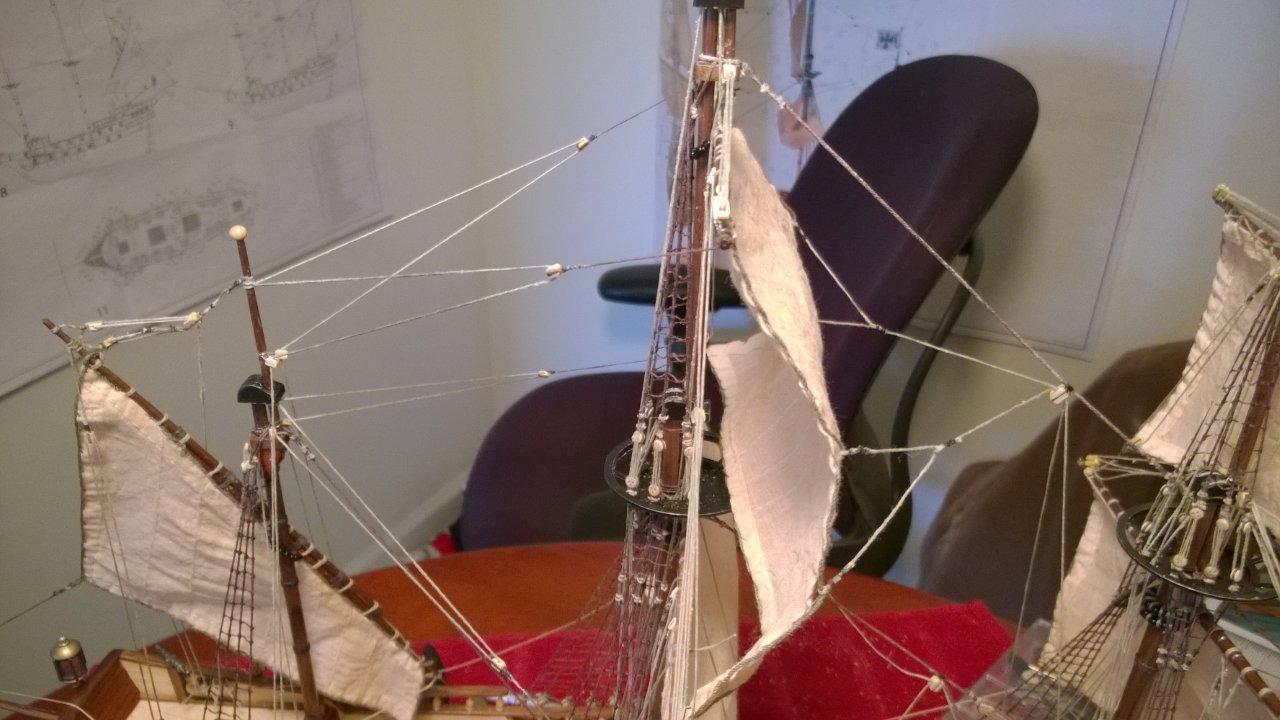
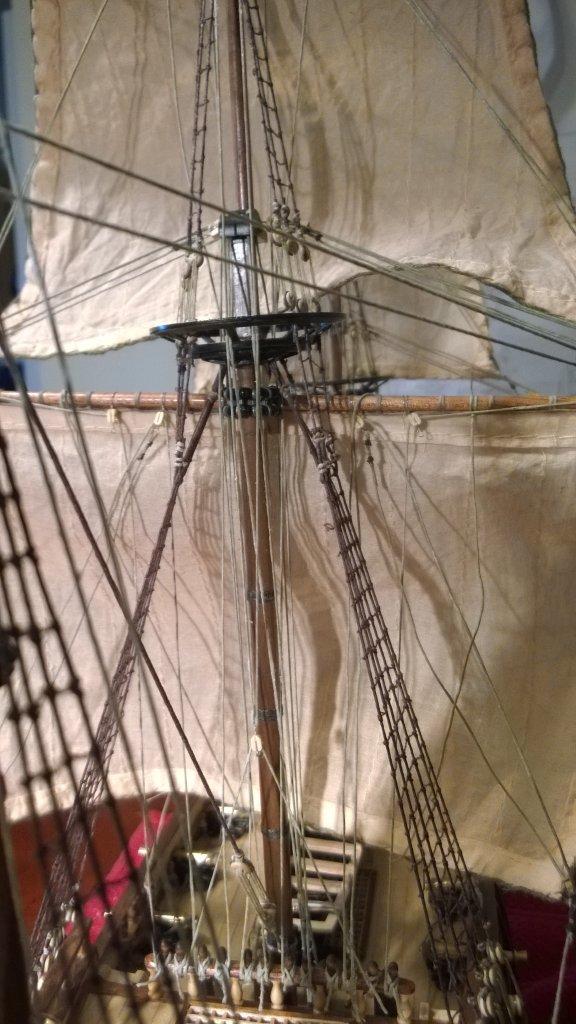
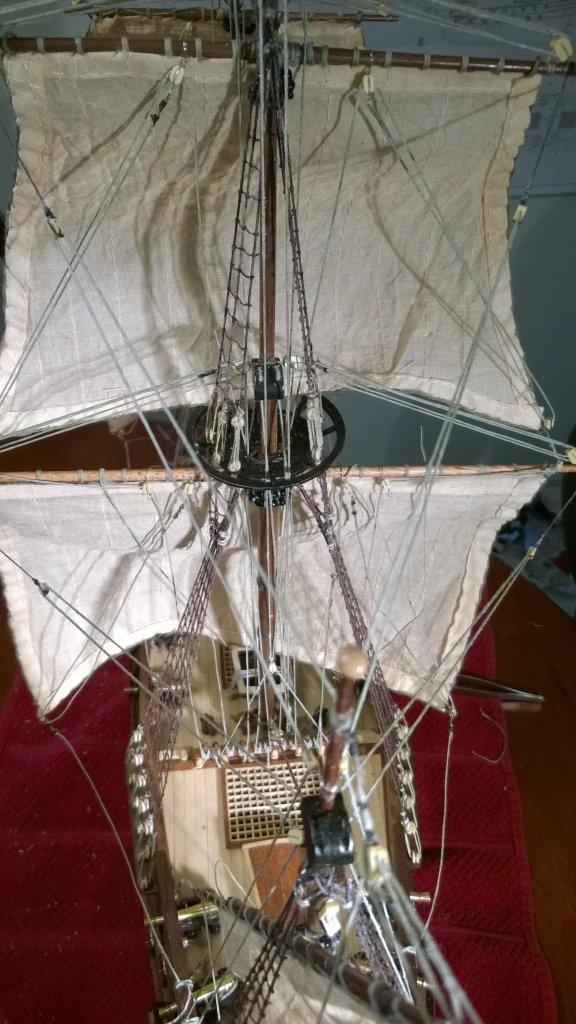
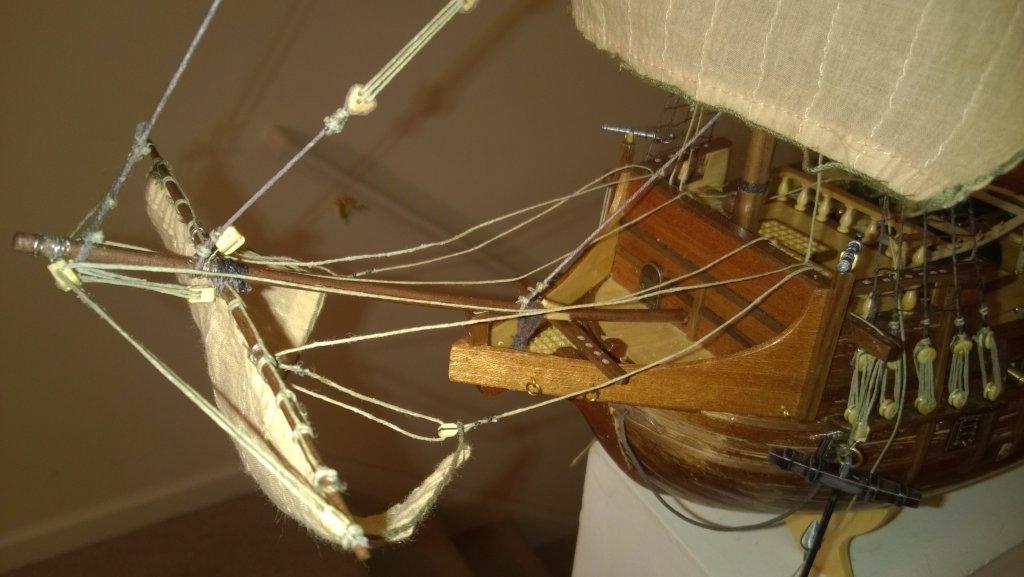
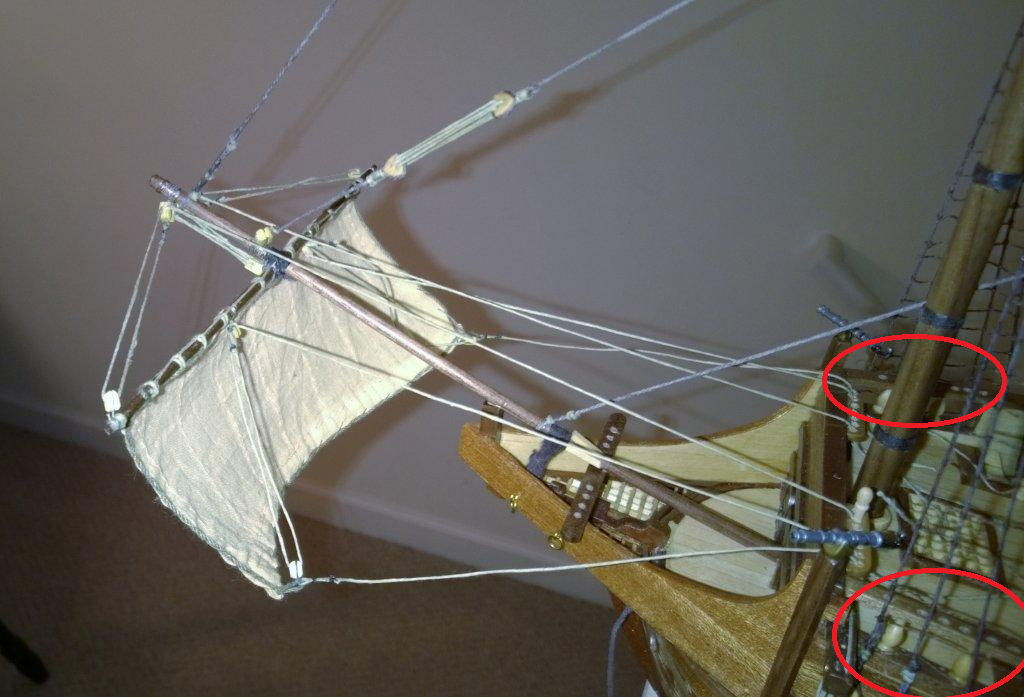
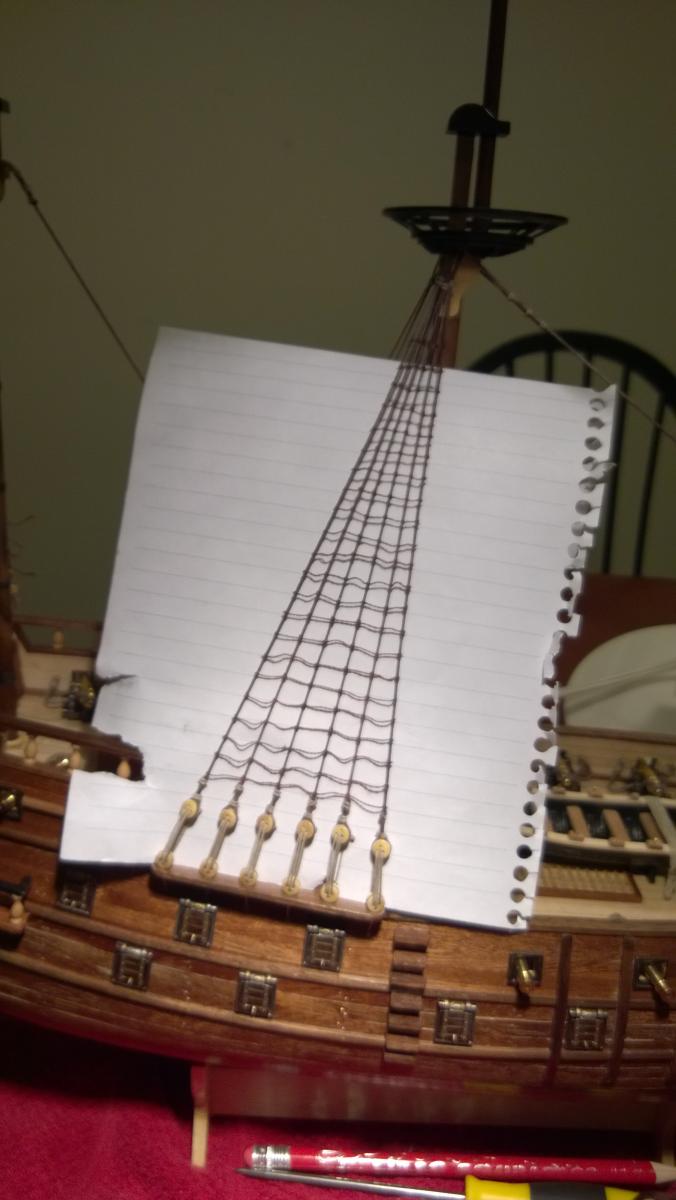
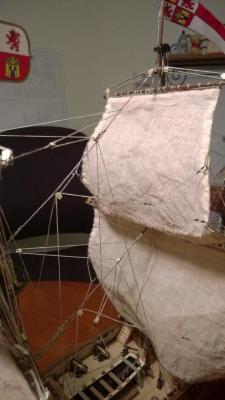
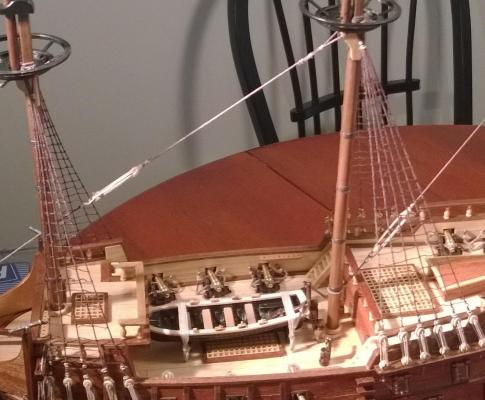
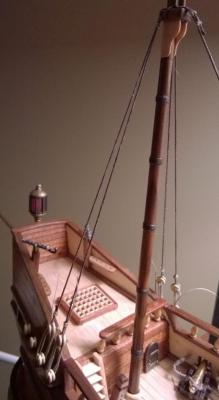
Still finding more to do. I finished the brace lines for the foremast yards. Added the Ship's Flags Trying to determine how I want to finish the three halyards.
-
Thanks Bindy. Somewhere I read about soaking them in tea to darken them a little.
-
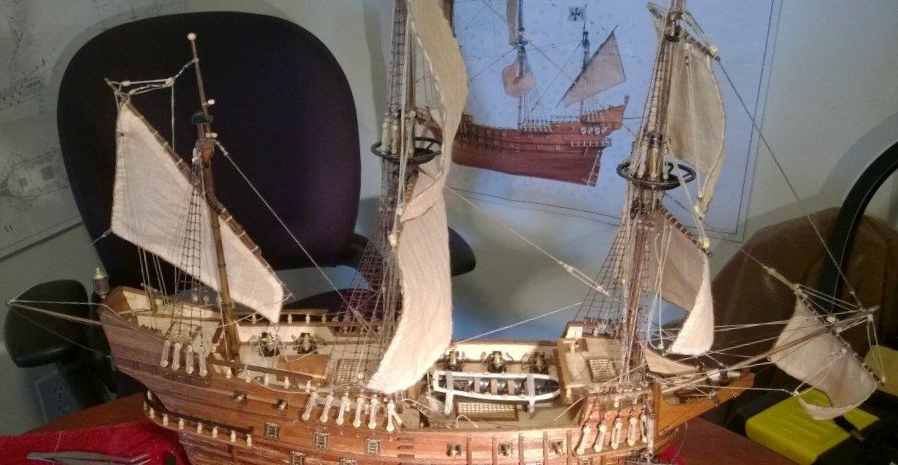
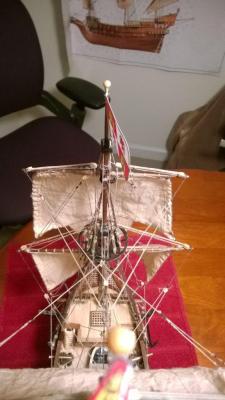
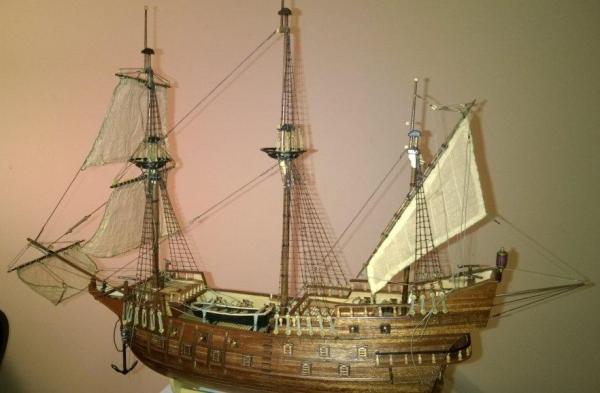
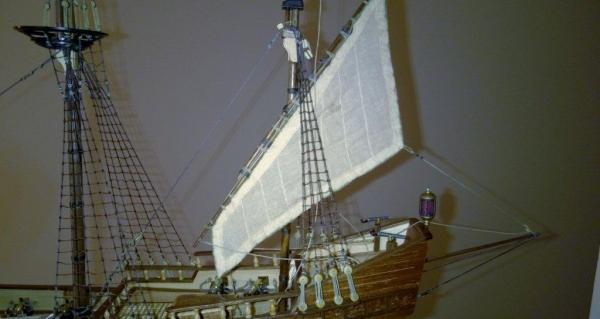
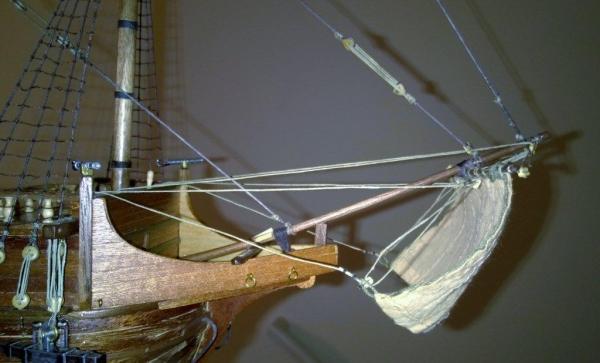
Getting Closer to the end Still need to attach the brace lines to the fore sails. Also need to raise the flags.


-
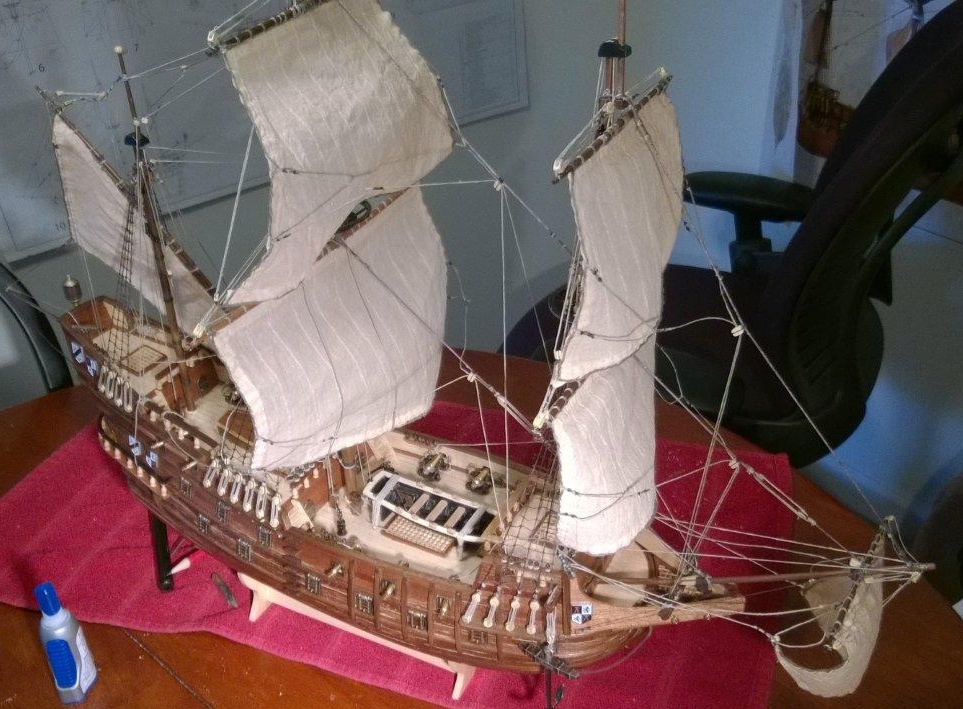
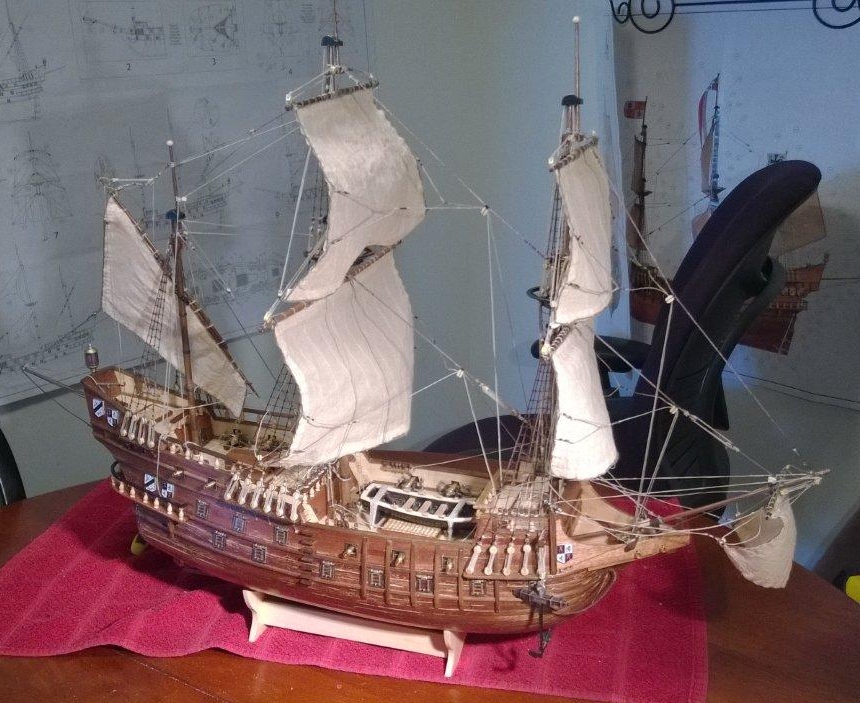
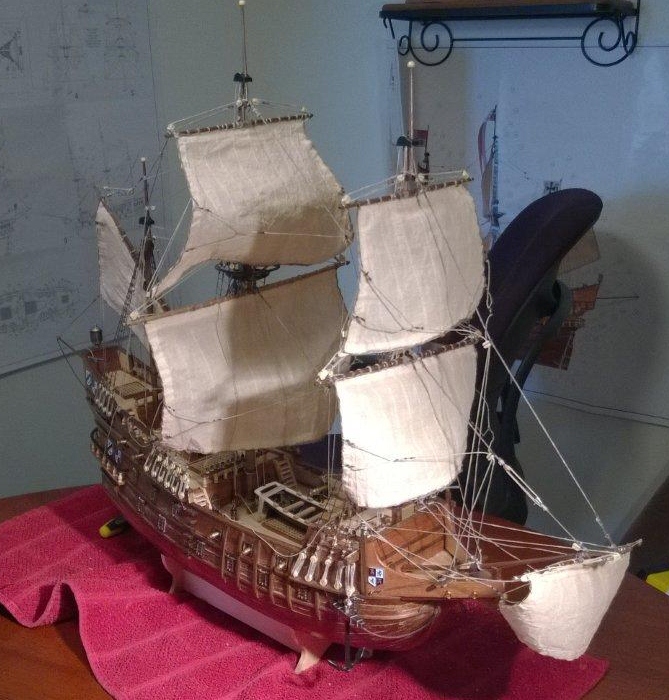
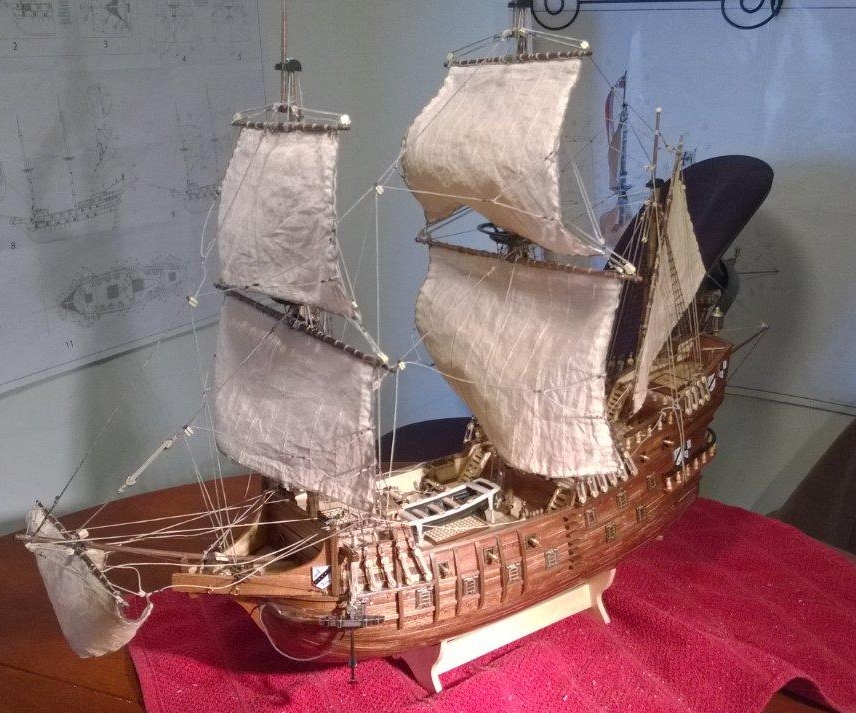
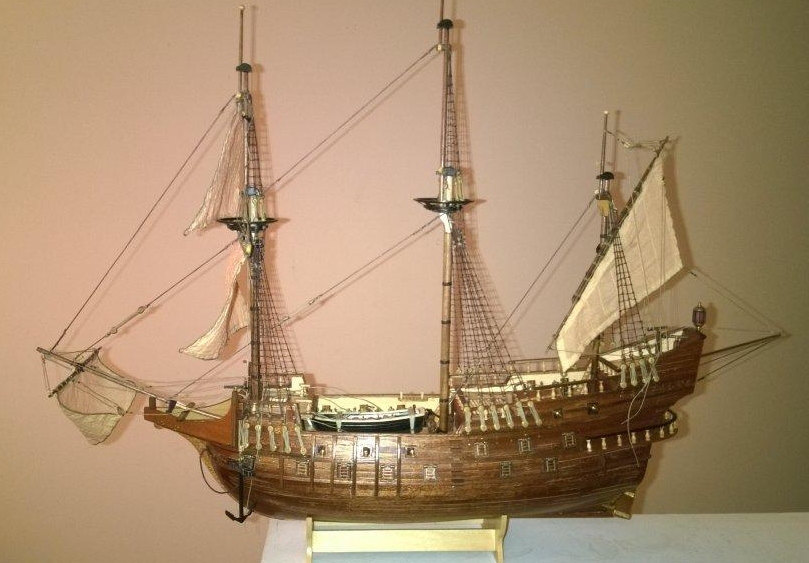
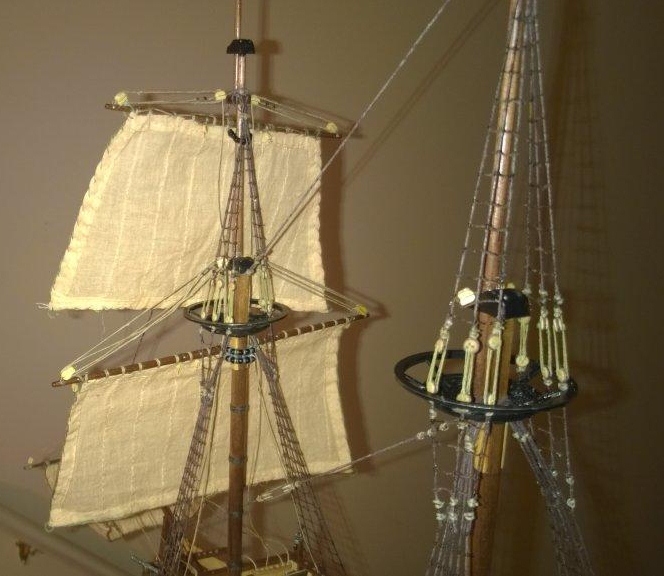
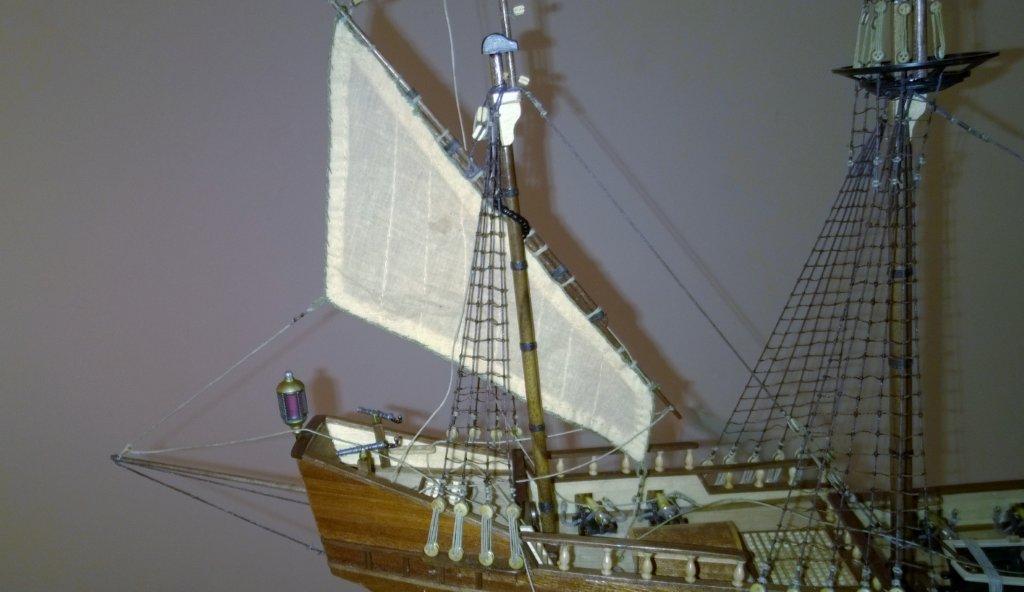
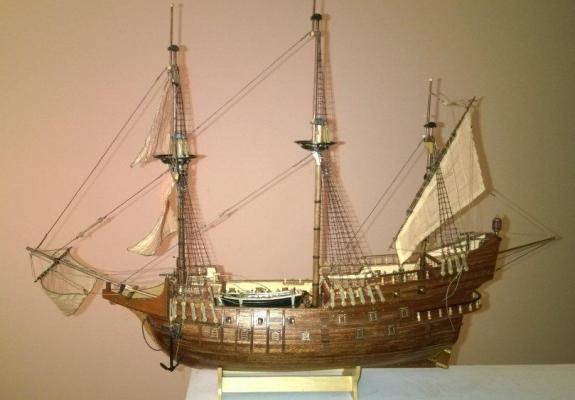
Getting Close to the END!!! All of the sails have been 'raised'. Next thing is attaching the lines to the yards and sails


-
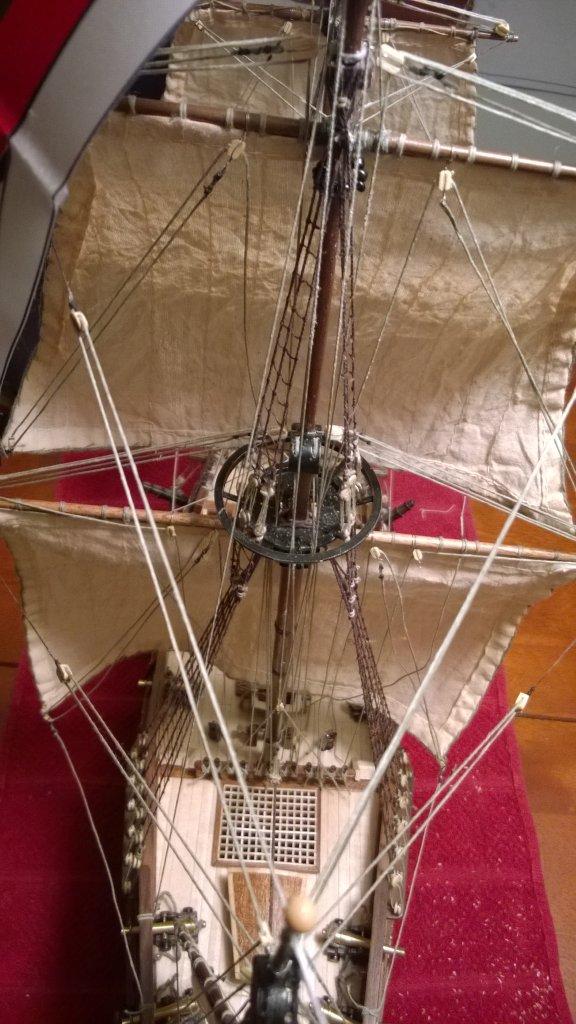
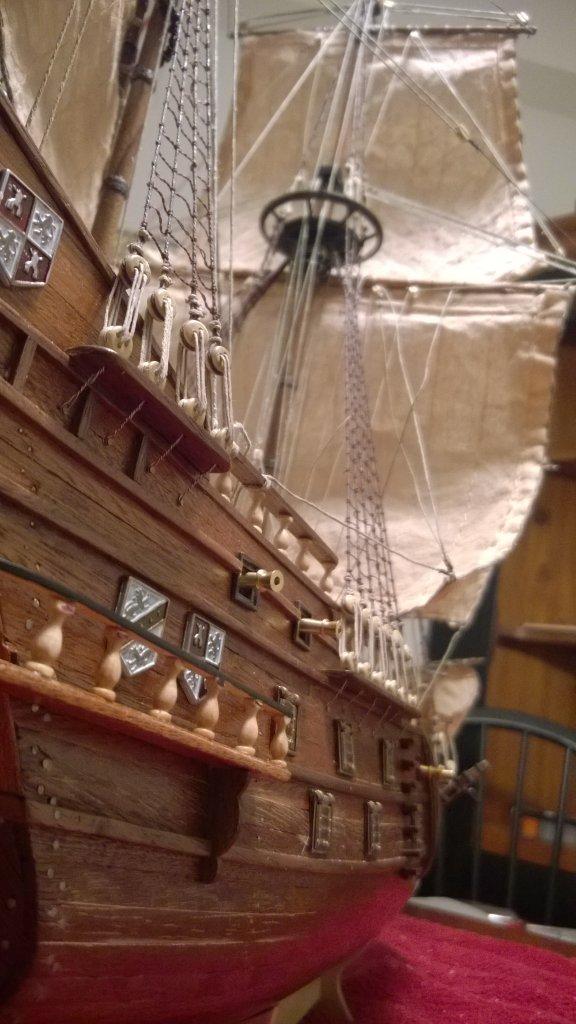
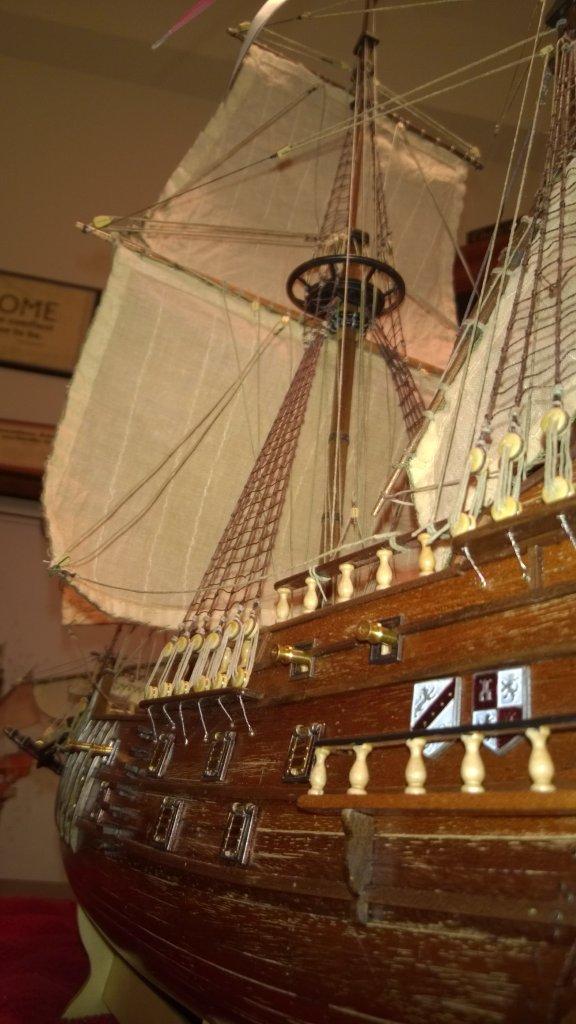
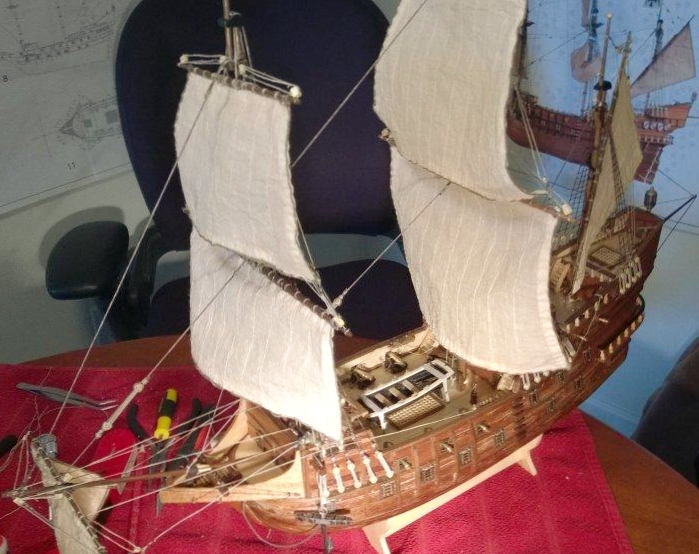
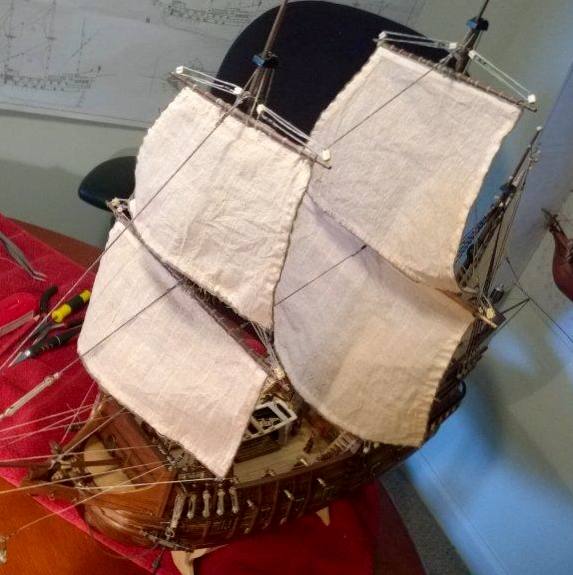
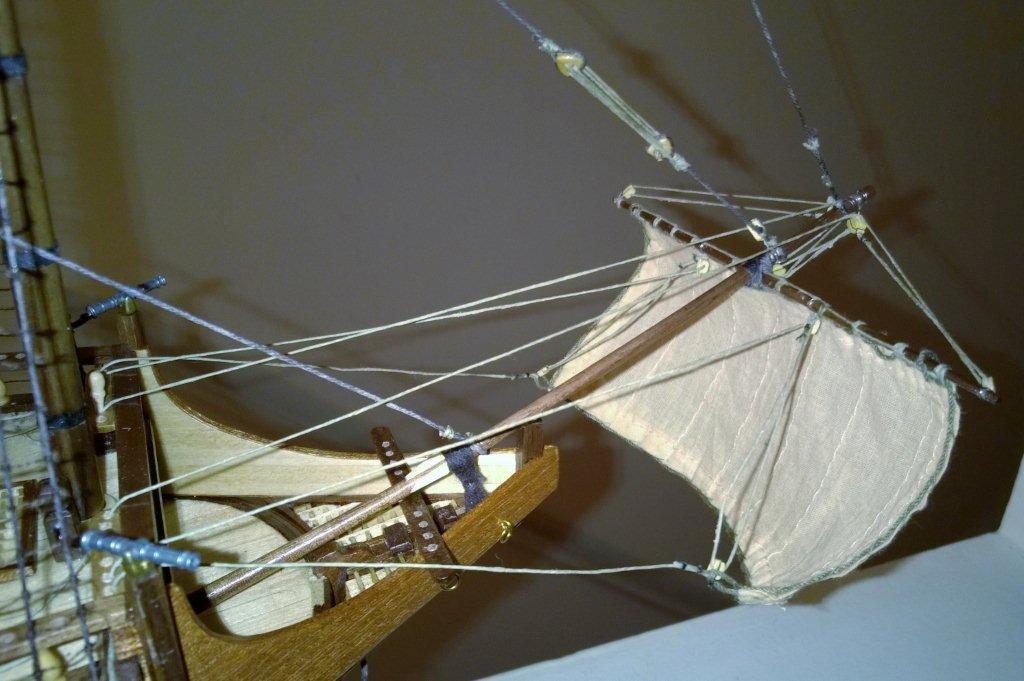
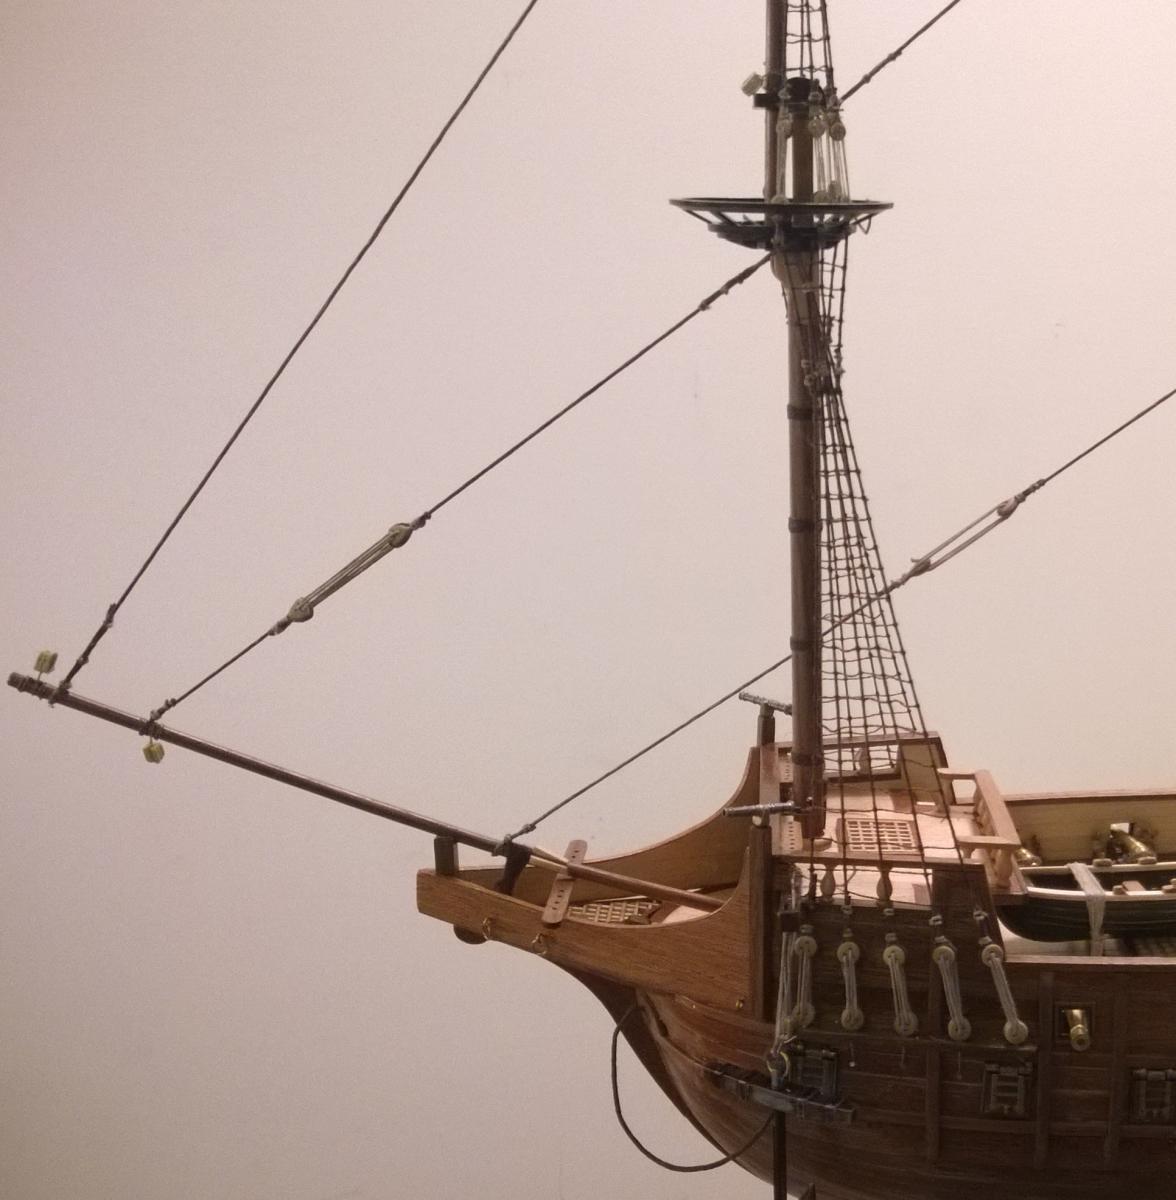
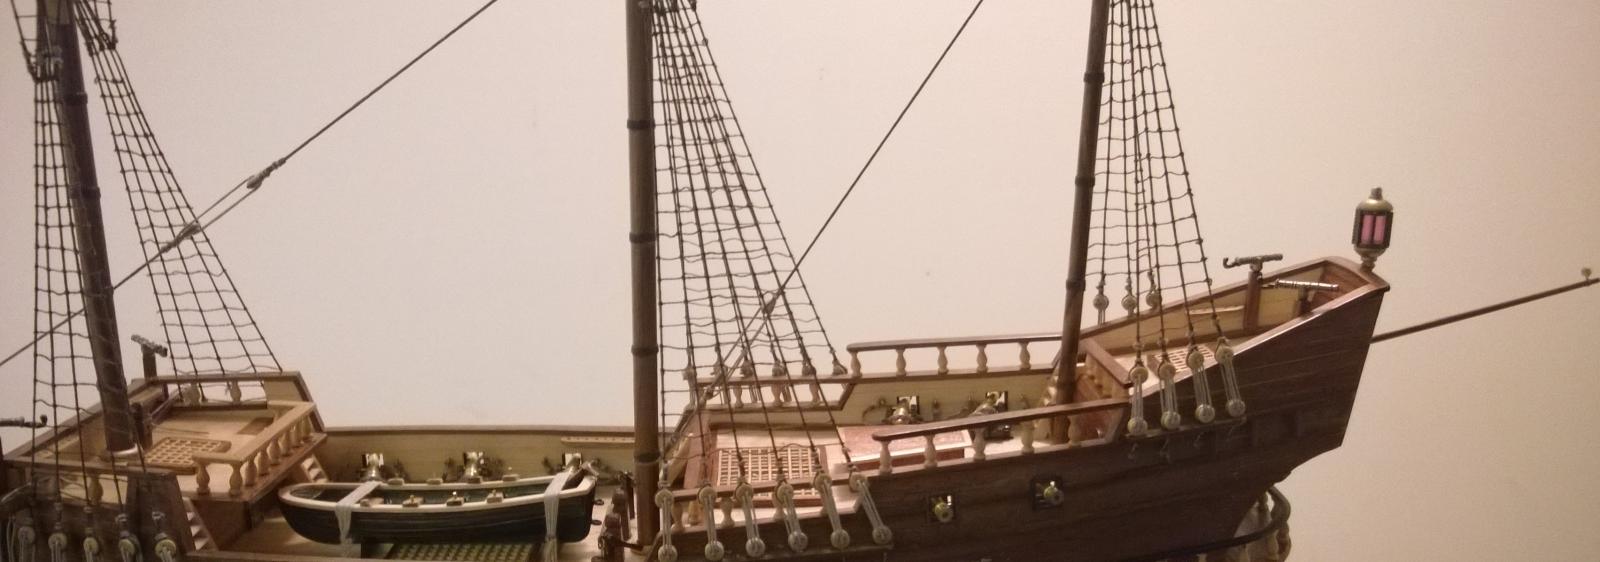
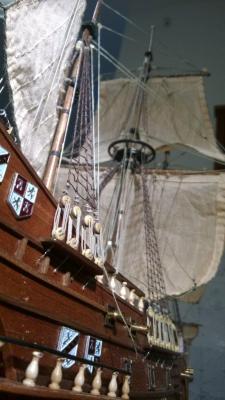
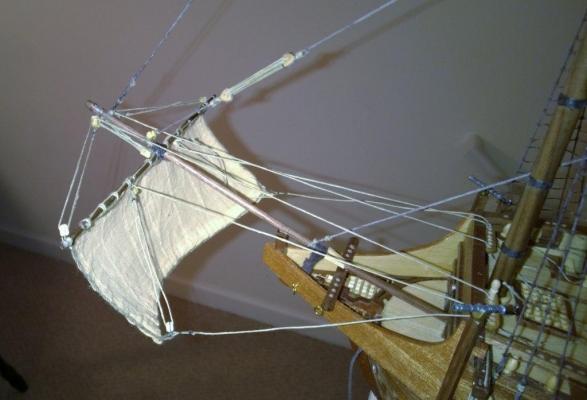
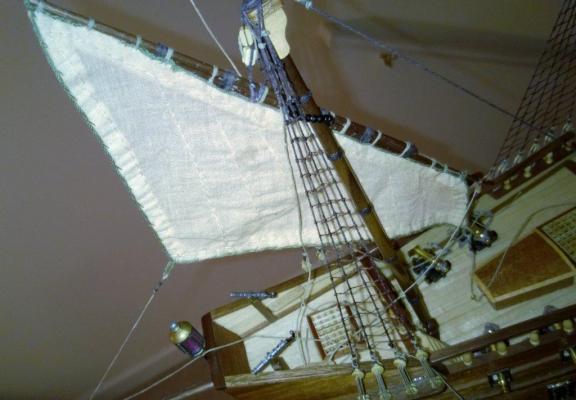
Also had time to attach the Fore sails Close-up of the Bowsprit. Close-up of the Fore Sails


-
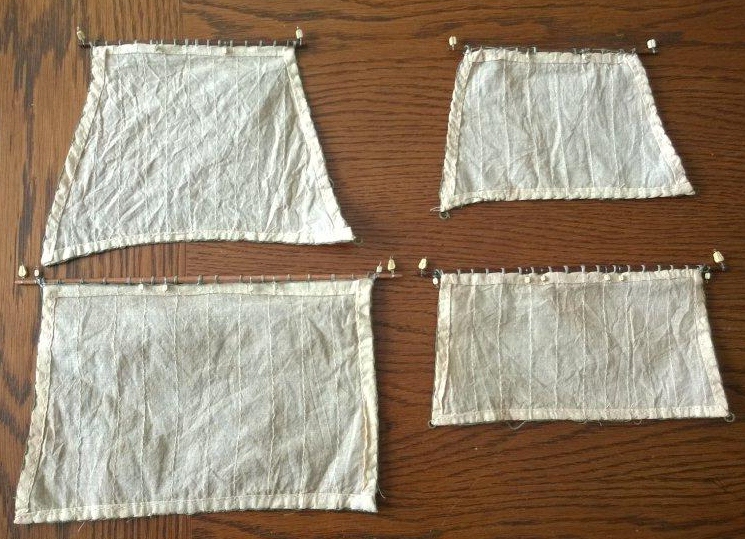
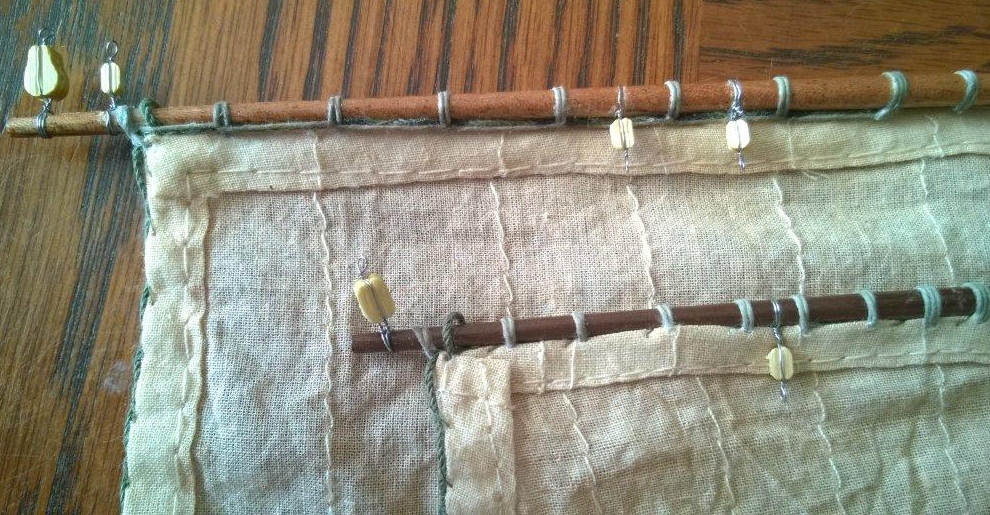
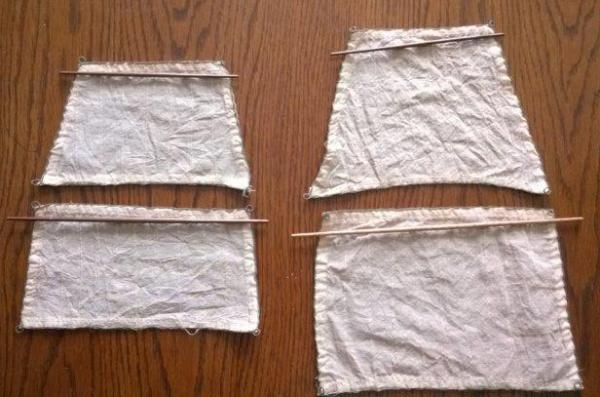
Had a little time today so I attacked the sails. Here are the yards and the sails separate. Then the yards and sails attached Close-up of the Main sails

-
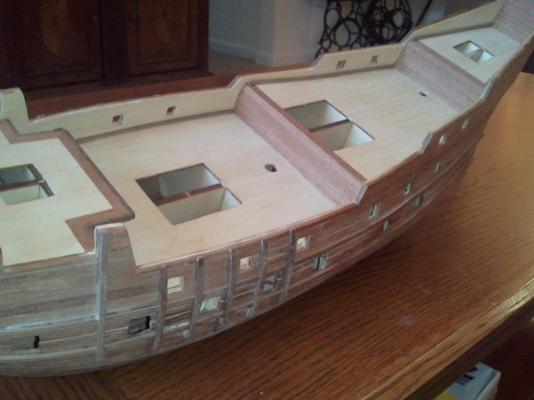
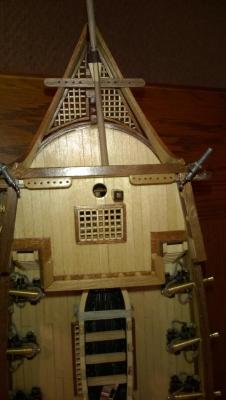
Somewhere during the build, I guess I supposed to drill these seven holes on each side of the foredeck. It was a little more difficult drilling the holes in the rails after the shroud lines were on.

-
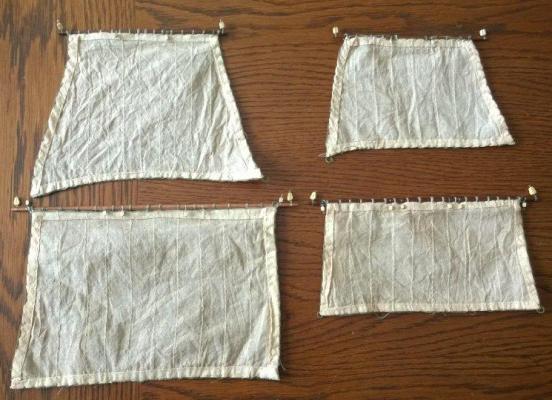
I had a little more time this weekend so I knocked out two of the sails.


-
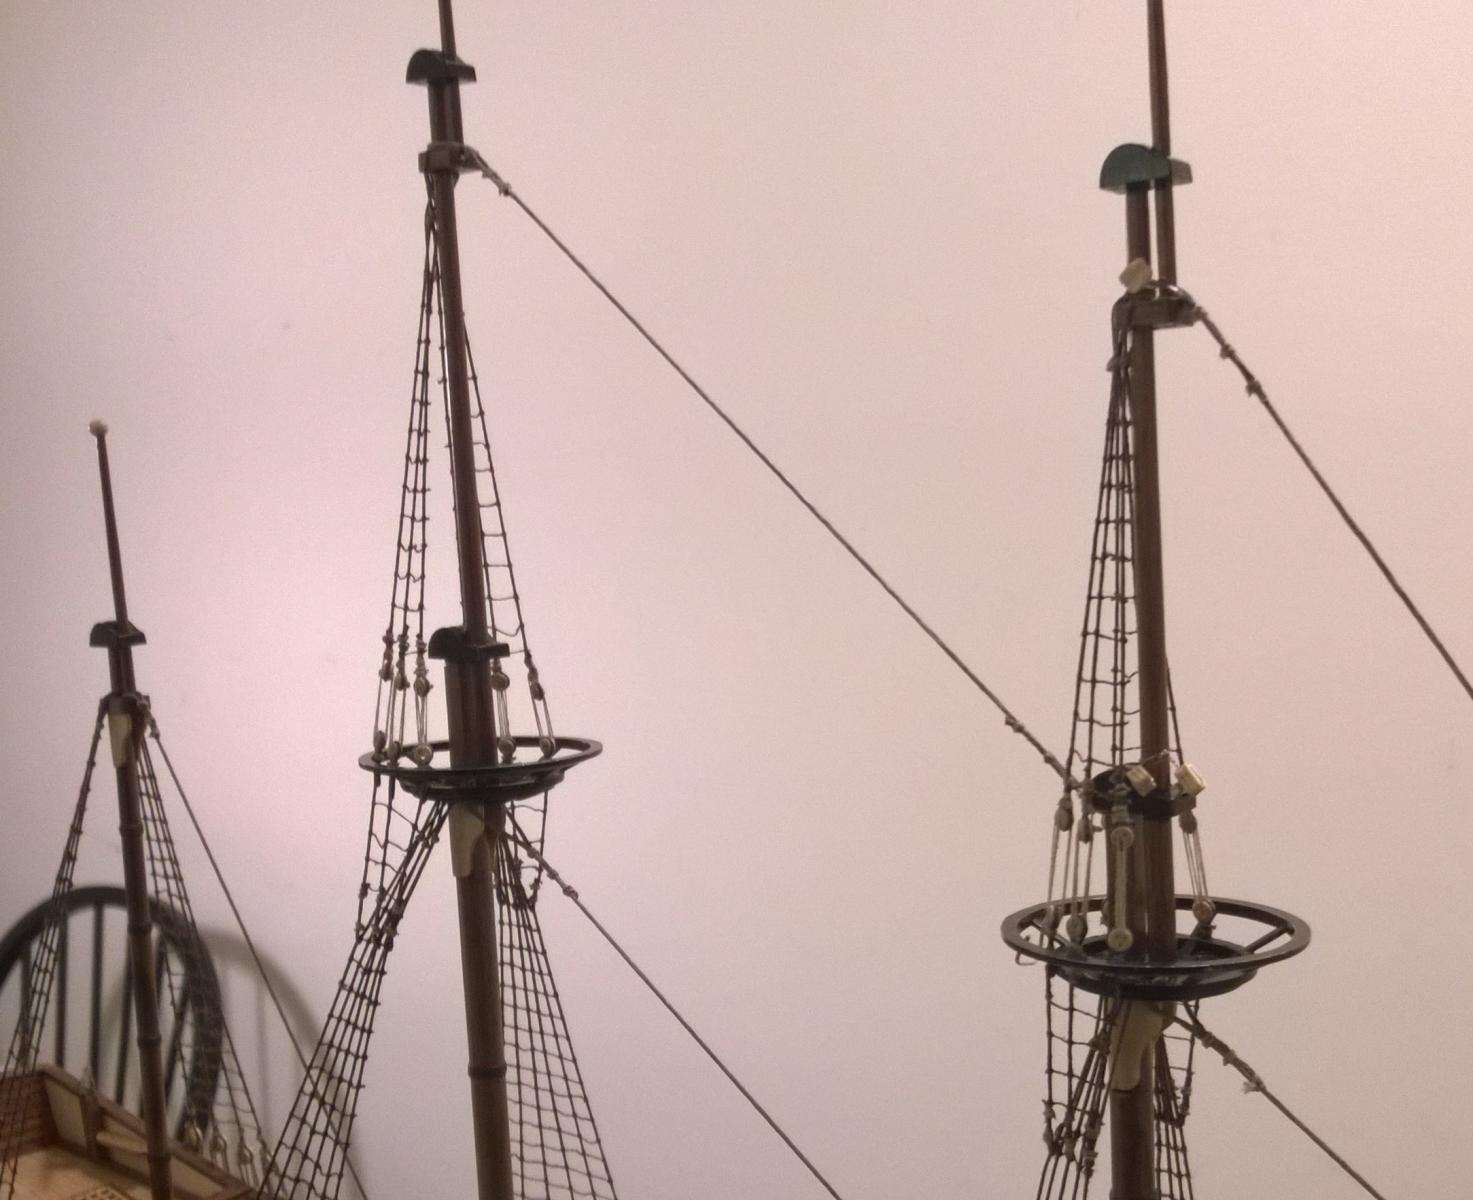
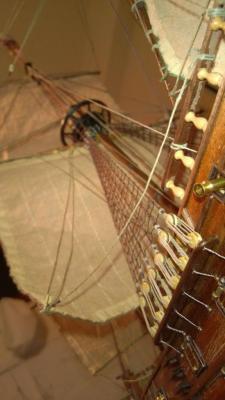
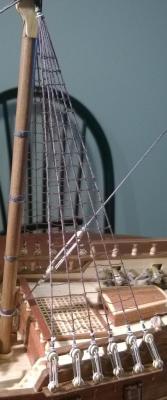
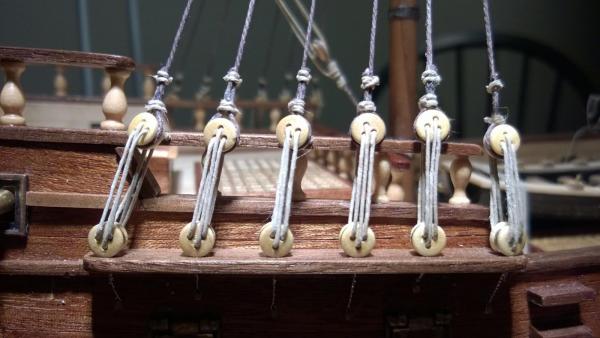
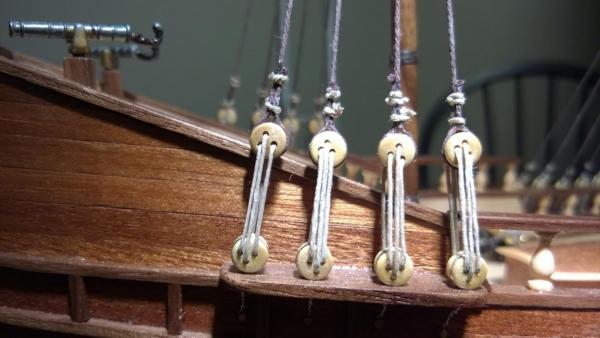
Ratlines and Stays are complete. Looks like I am about ready for the yards and sails. Time to do more research


-
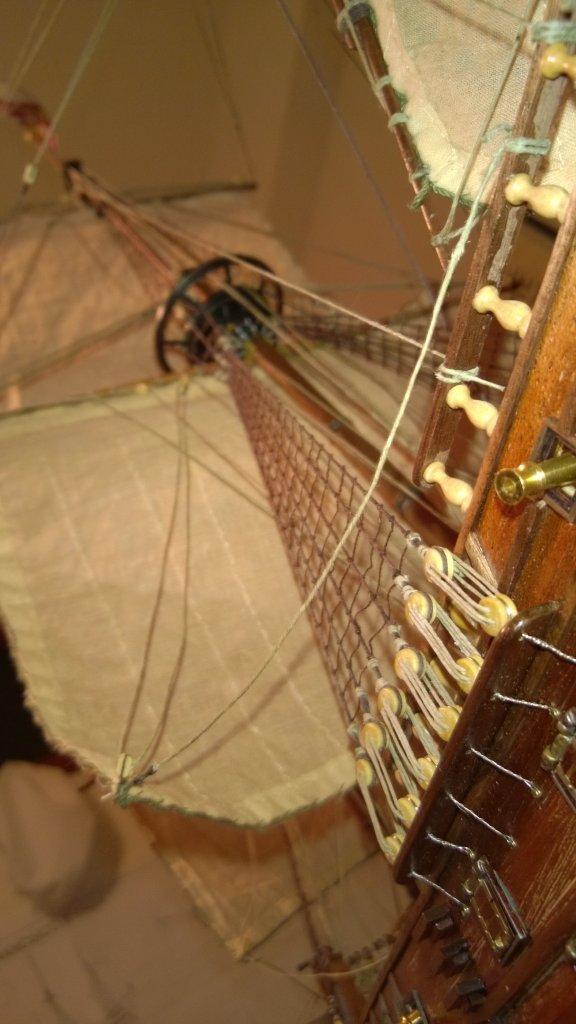
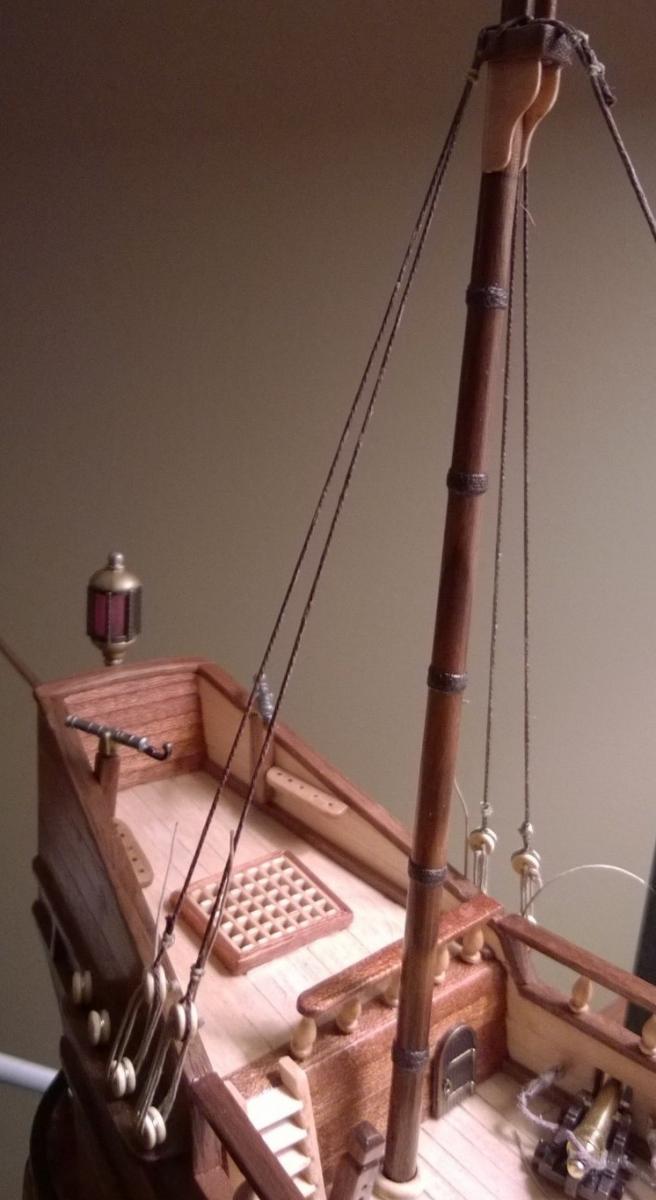
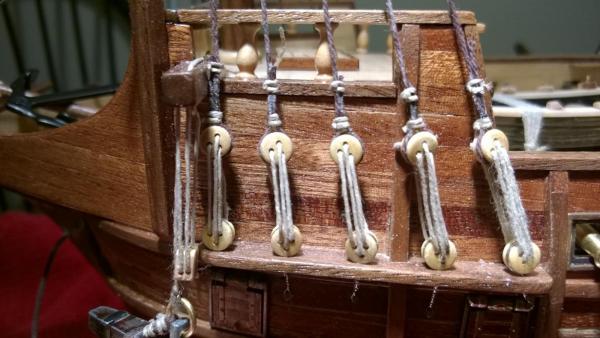
Working on the upper shroud lines and ratlines. Those upper deadeyes are tiny.
-
Well, not too much snow lately but it was only 5F this morning (-15C) so more time to work on the SF2. YEAH! All of the lower ratlines are finished.

-
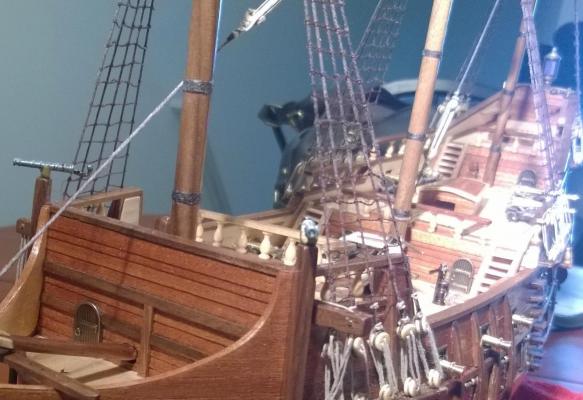
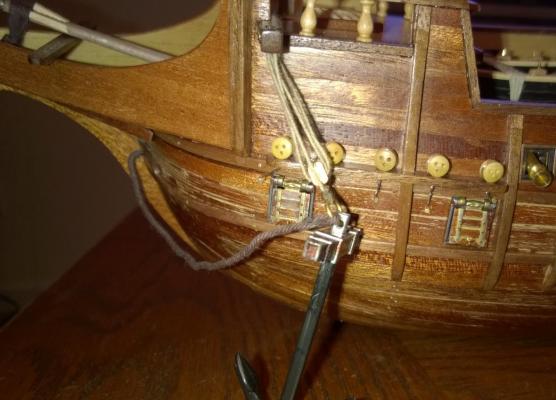
Yet another lesson learnt - CA glue is flammable. I was reading through several logs and saw that a way to get rid of the FUZZIES is to burn them. I used this concept on several of the lines and they looked great. However, I used it on the Ratlines on the Fore Starboard side while the CA glue was still volatile and WOOF! The forward most shroud caught fire and burned along with the ratlines. I had to cut out the shrouds and start over. Starboard side complete!! Now on to the port side

-
Shrouds completed and tied off. Ready for RATLINES. ForeMast - Port Side MizzenMast - Starboard Side MainMast - Starboard Side
-
Let the SHROUDING begin!!!
-
Feb 19th - Masts have been dry fitted. It looks like the details in the kit for running the rigging is woefully inadequate. I am having to study the pictures in great detail to determine how the lines are fashioned and rigged. Looks like it is time to do some research.
-
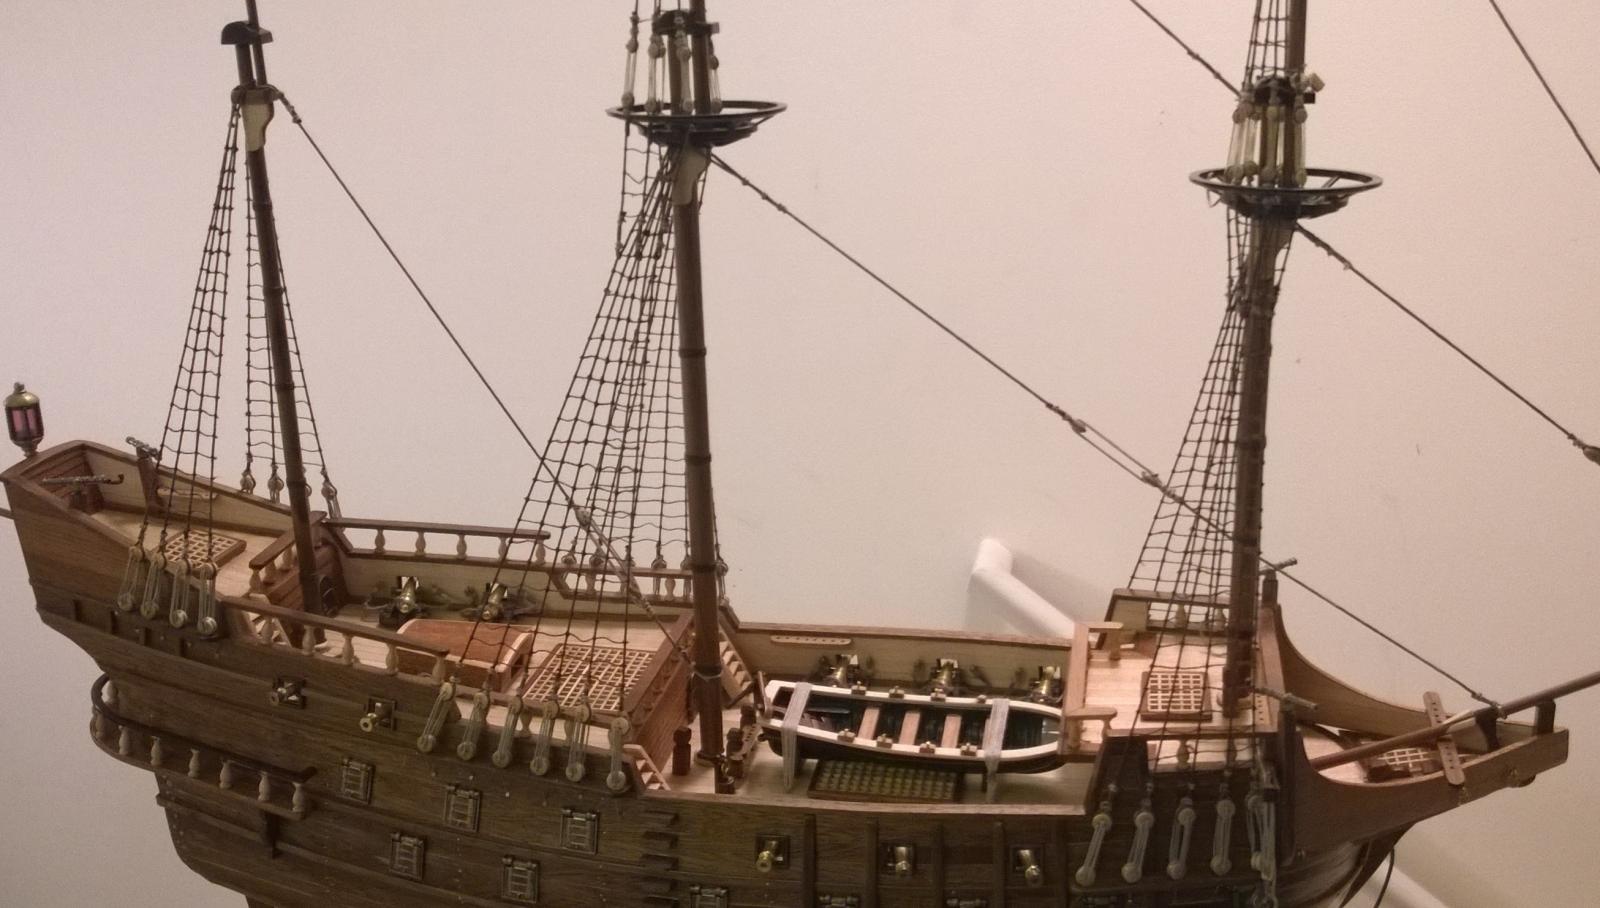
It took me too long but I finally got around to building a stand. I should have made the stand after I had the hull planked. Much nicer to work on the ship with it solidly resting on the stand.

-
Feb 14 - Still Snowing outside. More build time. But I did have to stop early to take my wife to dinner for Valentine's Day.

-
January 30th - We have had a lot of snow here in upstate NY, so I have had plenty of time to build.


-
I thought for sure i was missing some pieces. The kit says the grates that go over the holds are made of metal. Searched through all the bins to no avail. Then I realized that in one of the plastic bins, there was a bag of wooden slats with notches. I figured out that those fit together to form the crosshatch pattern and they replace the metal ones.

-
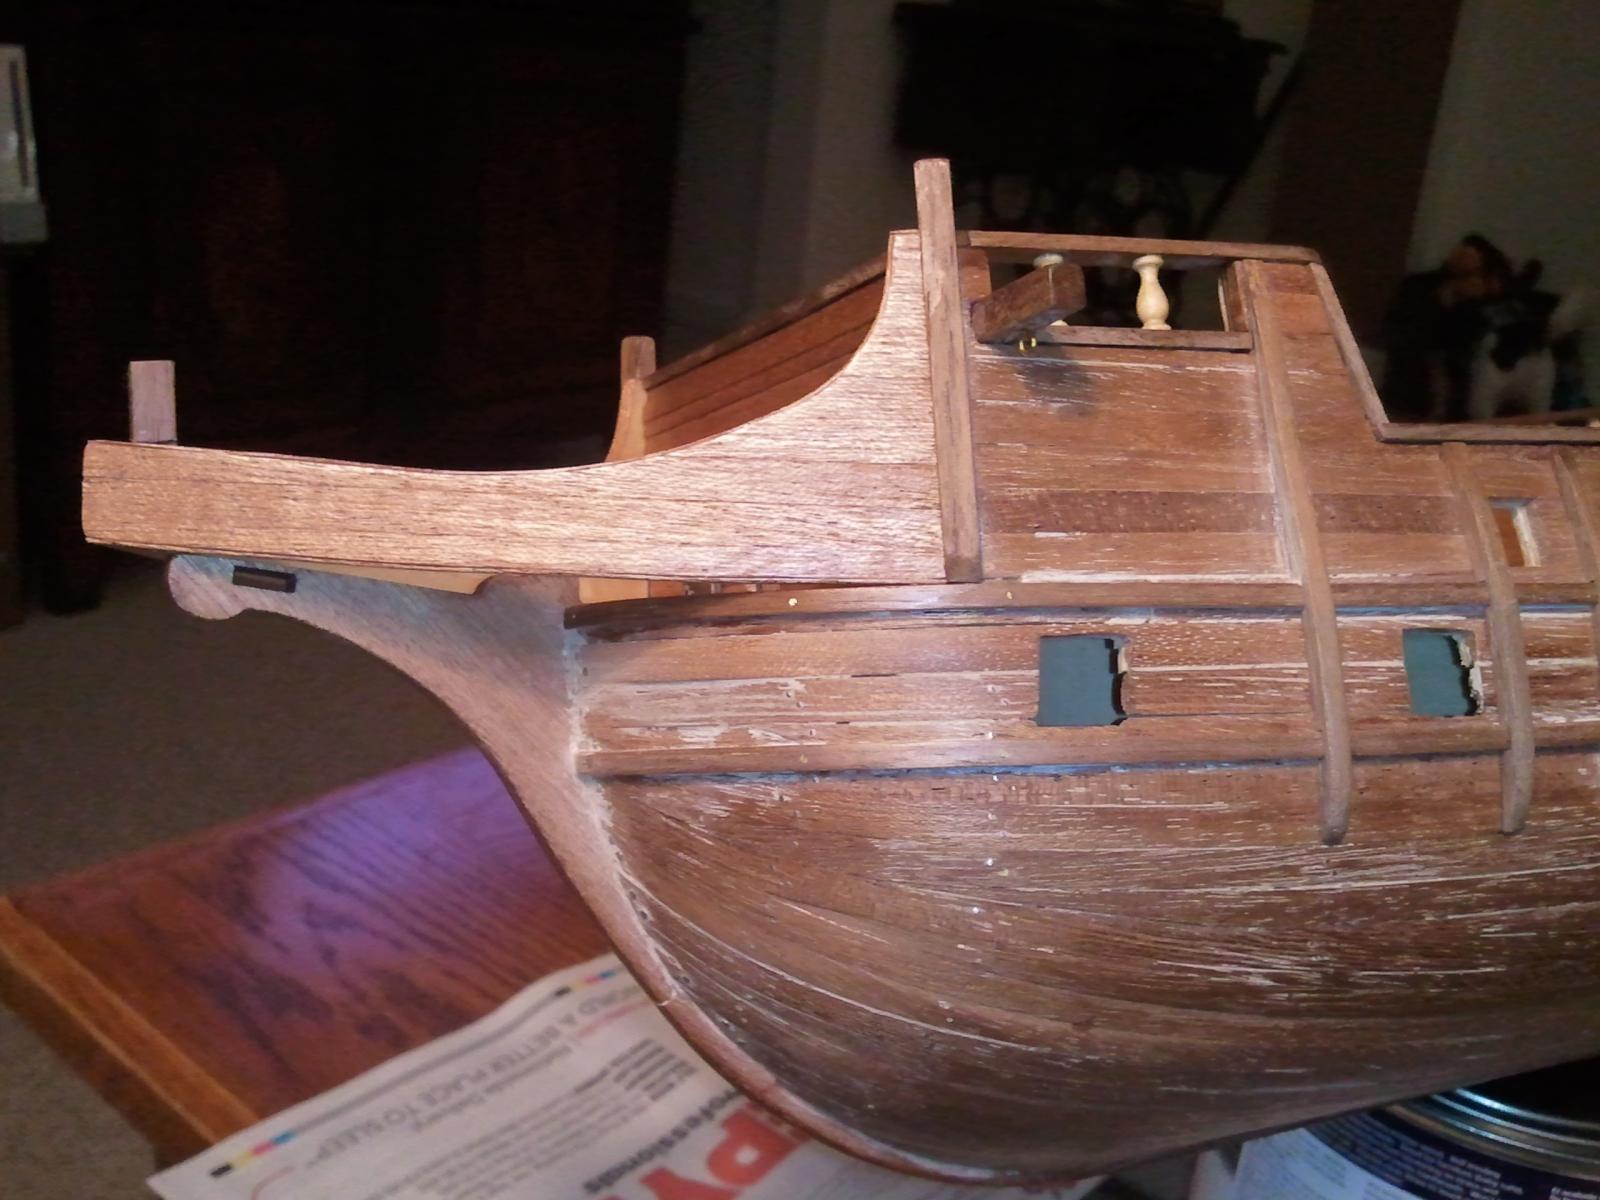
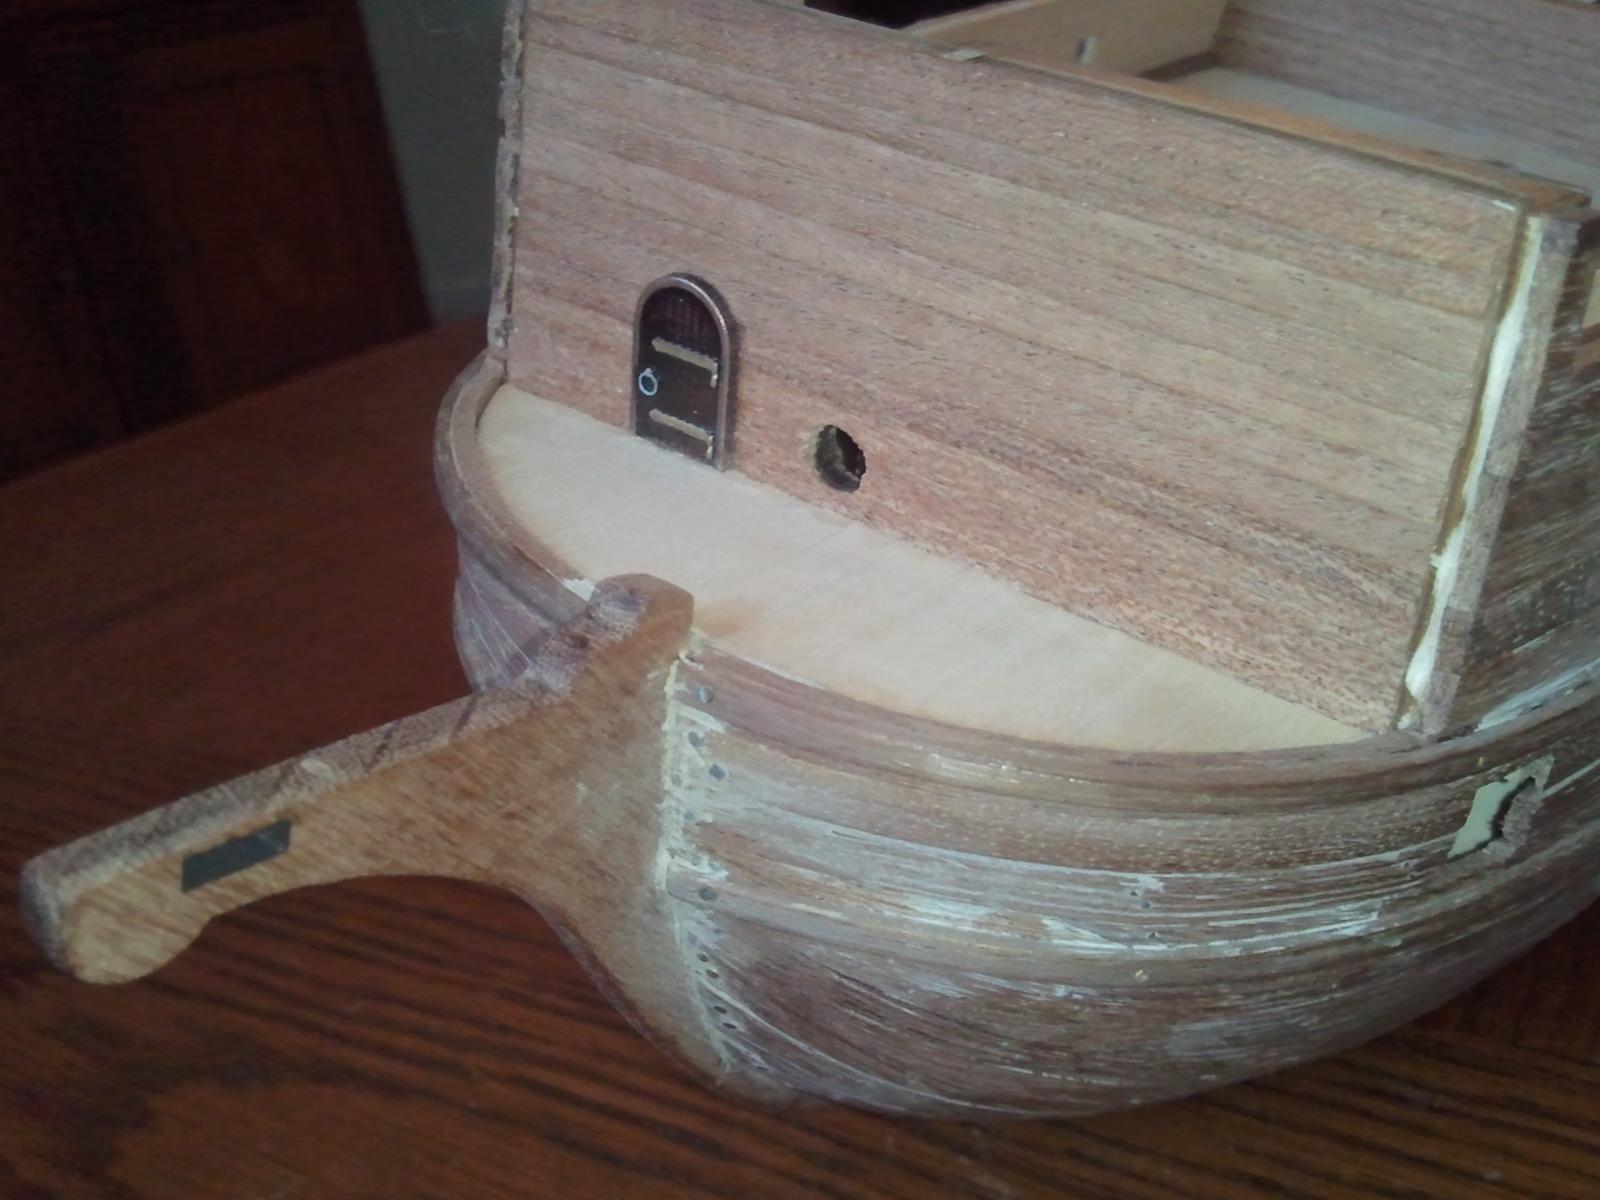
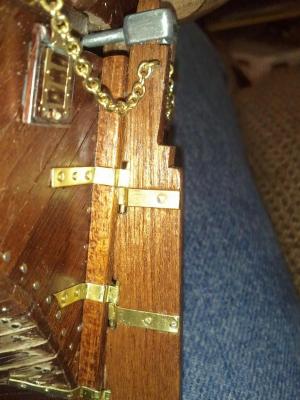
I thought the rudder turn out pretty good, Took quite a while to get the hinges formed just right in order the get a tight fit.
-
Making good progress - January 28th

-
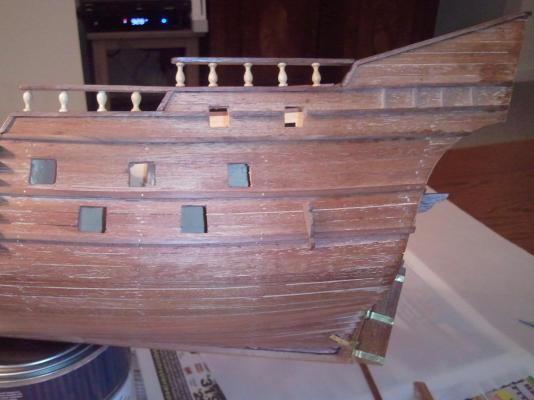
Took a little time off during Christmas to go visit my newest (3rd) grandson down in Florida, Back to the Build - January 17th Note that I had to shorten the spindles that support the rails above the bulwarks. I actually used the Dremmel to shorten them by about 2mm so the rails would line-up.

-
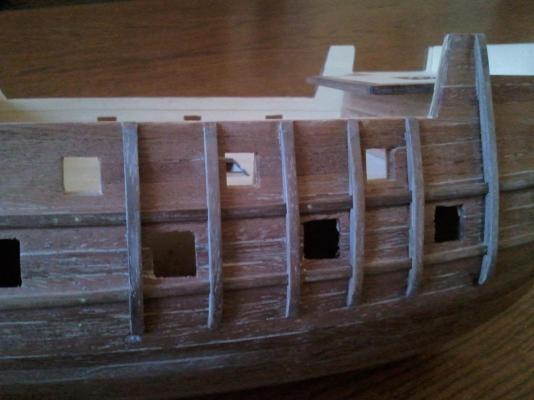
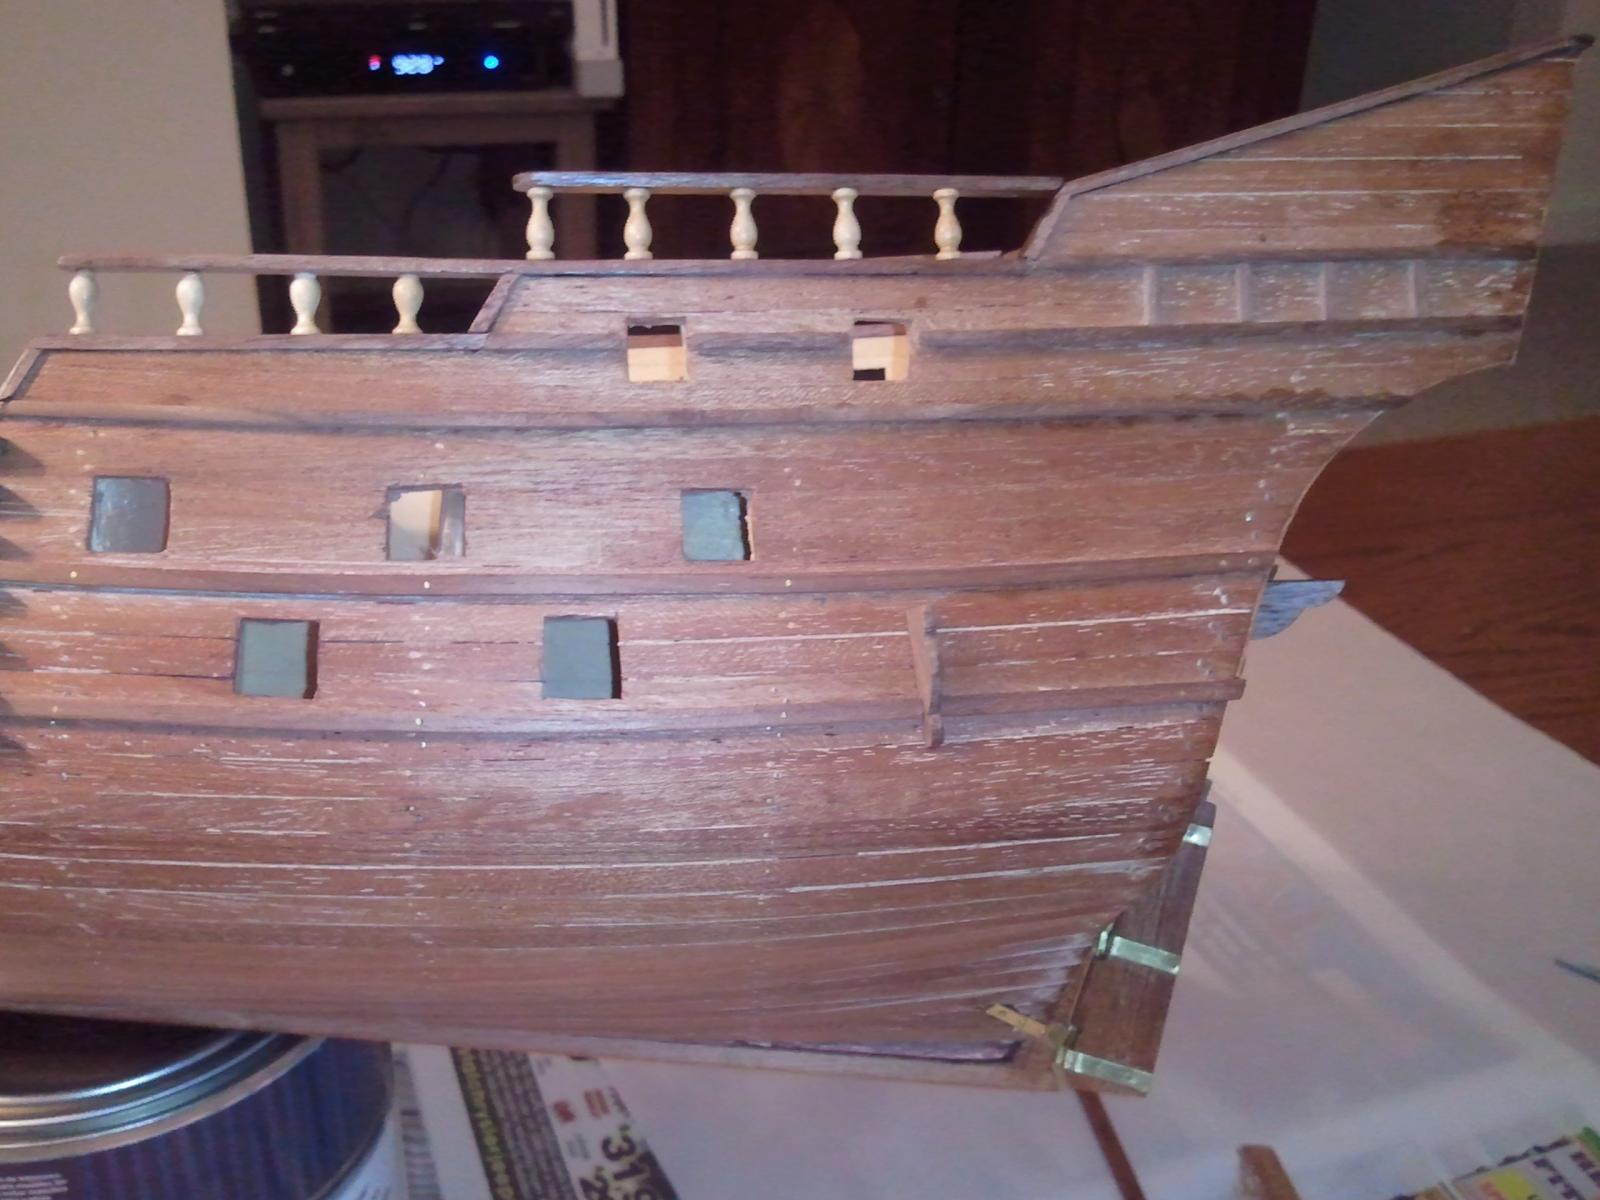
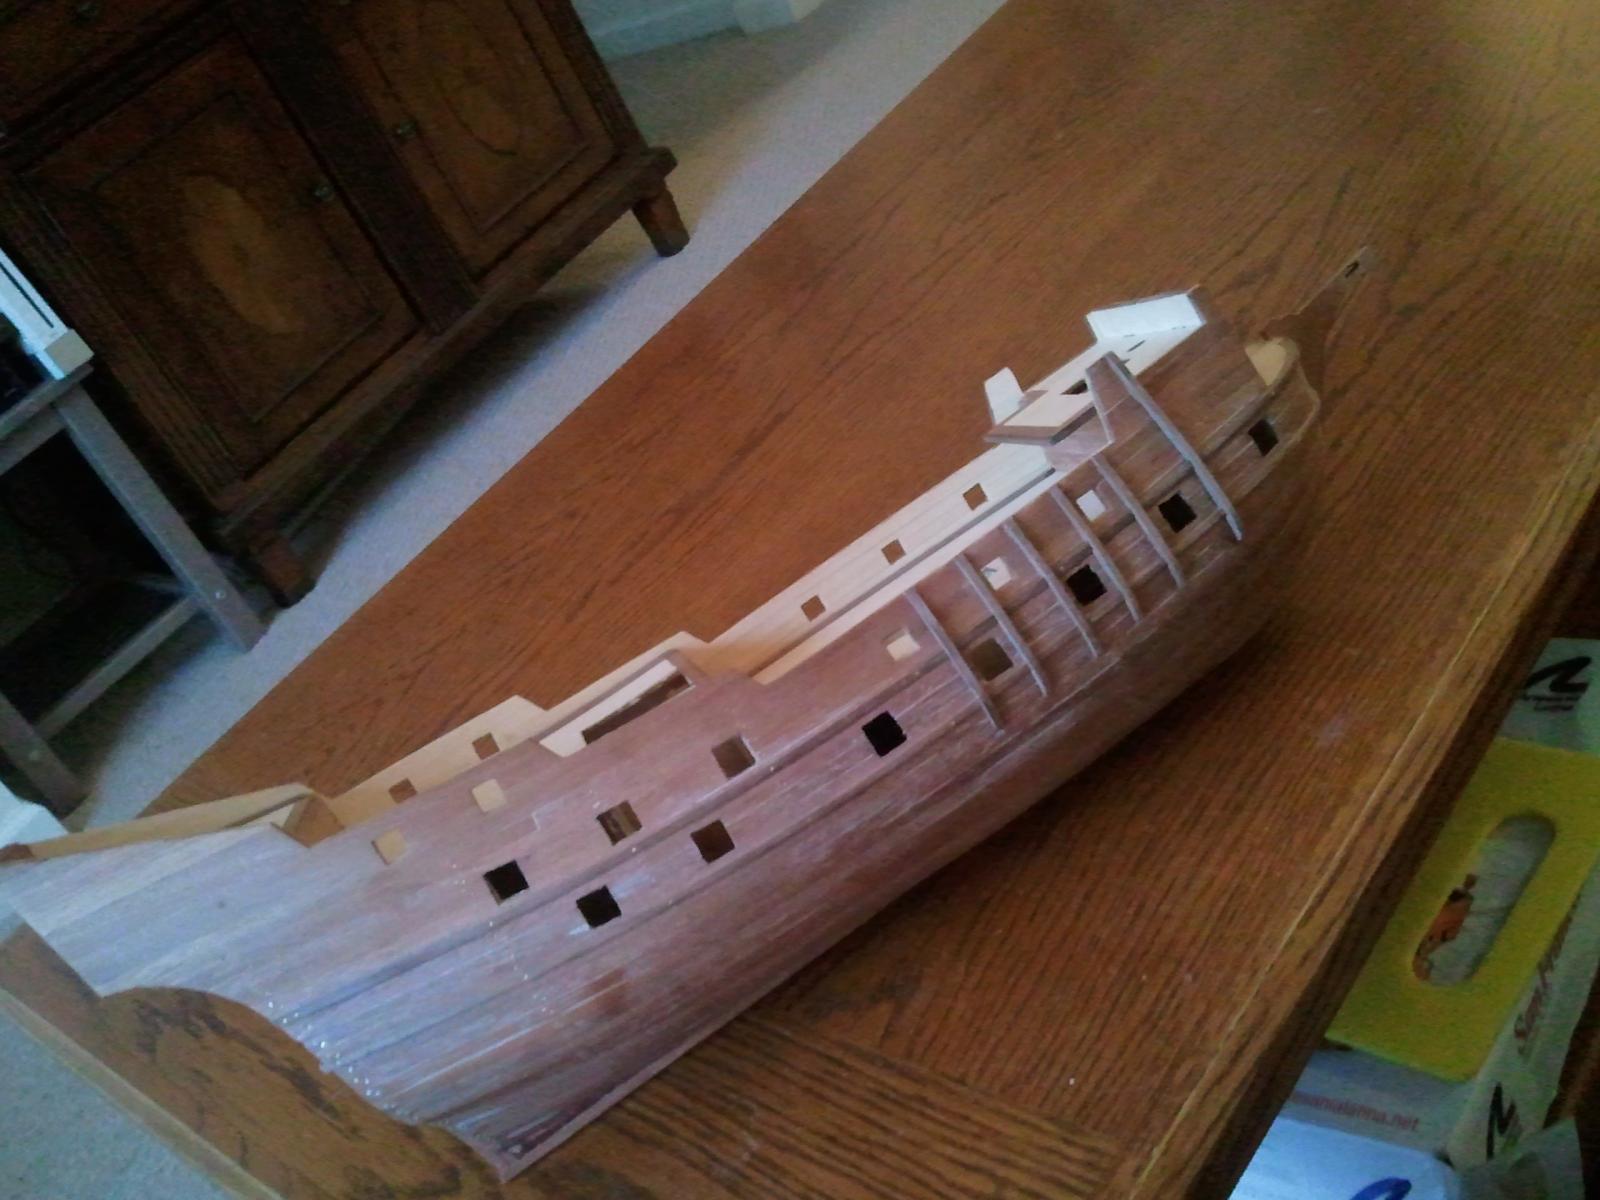
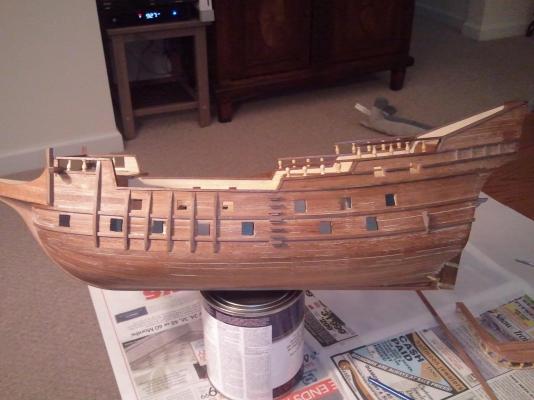
Cutting out all of those gun ports was also painful. Lesson Learnt - I was only gluing the strakes at the ribs. But when you cut out the gun ports, the strakes that had a little bend in them straighten out or worse - fall out. Next time I will glue the planks to each other, especially just below the bulwarks there gun ports will be cut out.