-
Posts
322 -
Joined
-
Last visited
Content Type
Profiles
Forums
Gallery
Events
Everything posted by schiffebastler
-
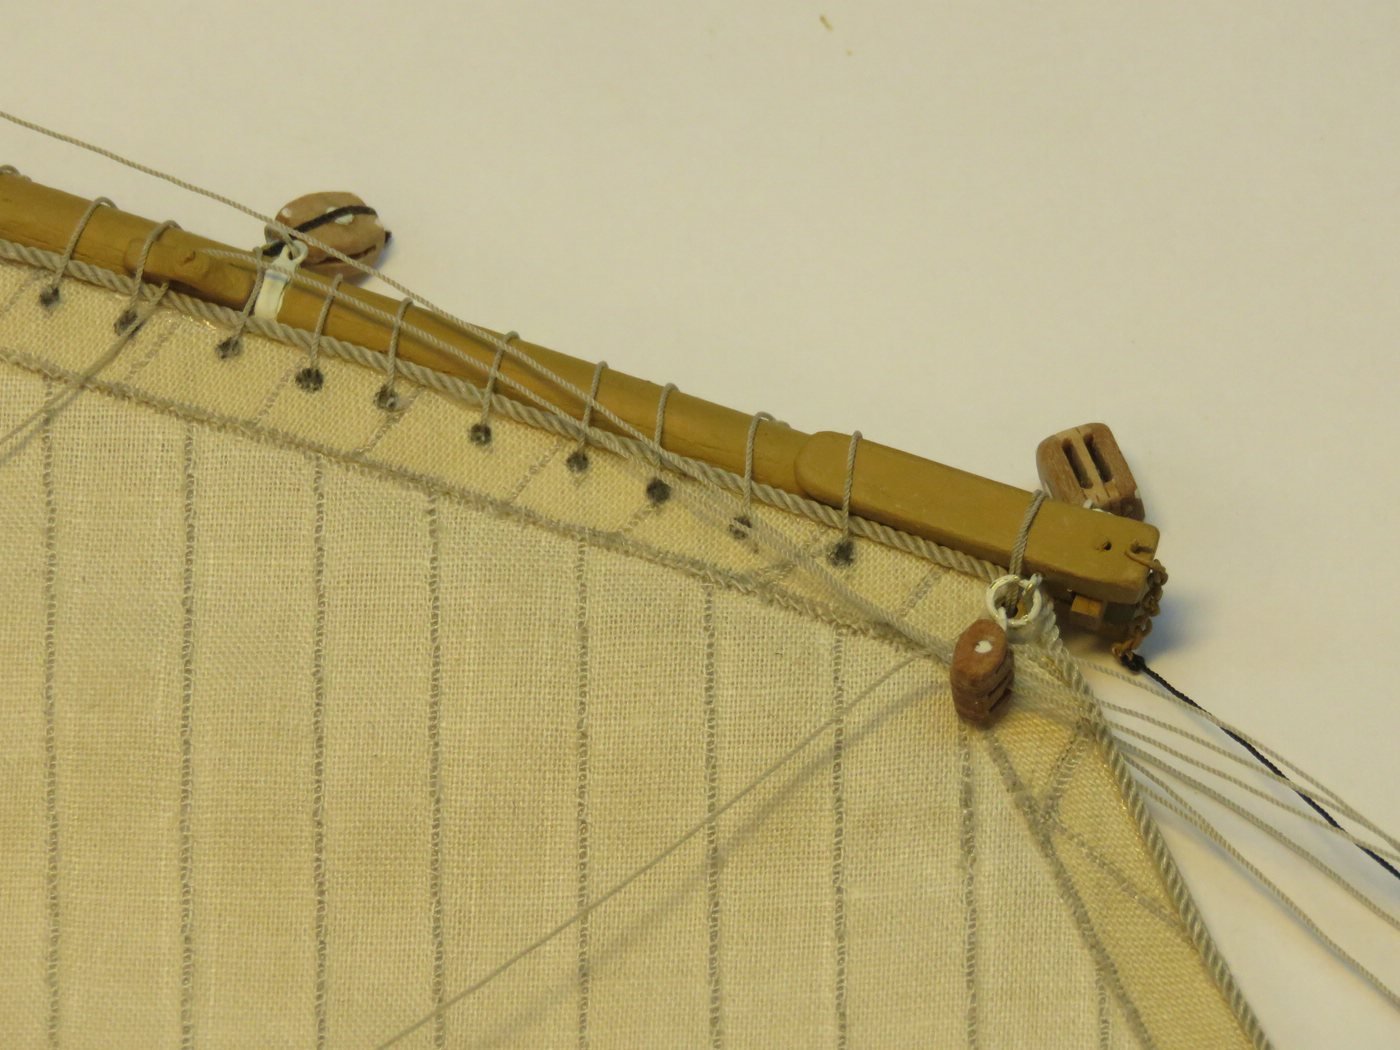
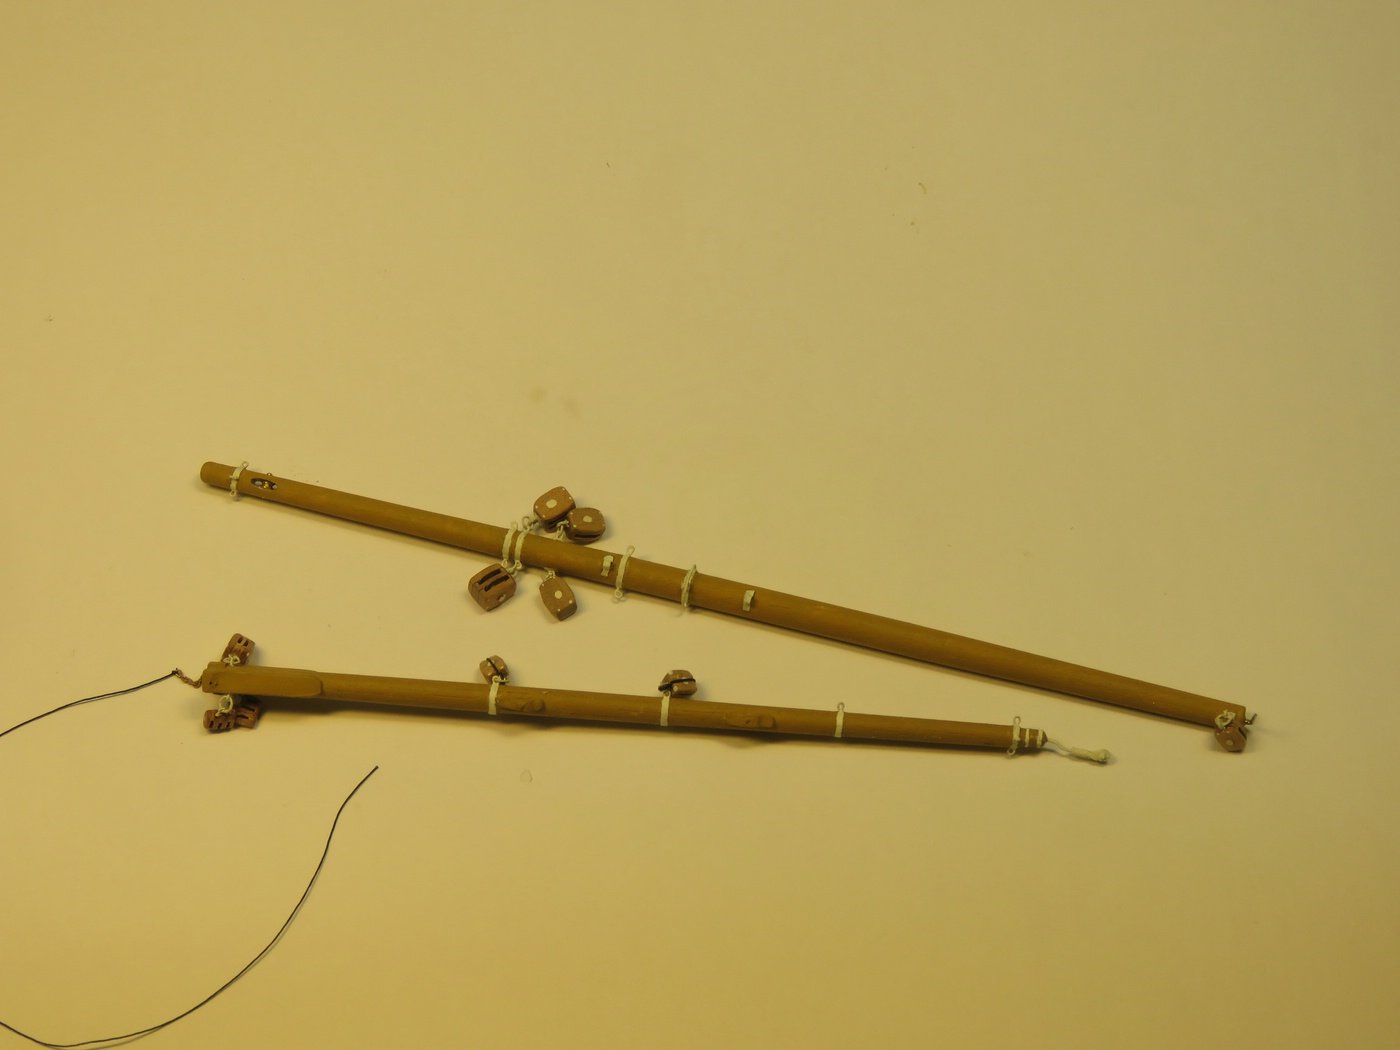
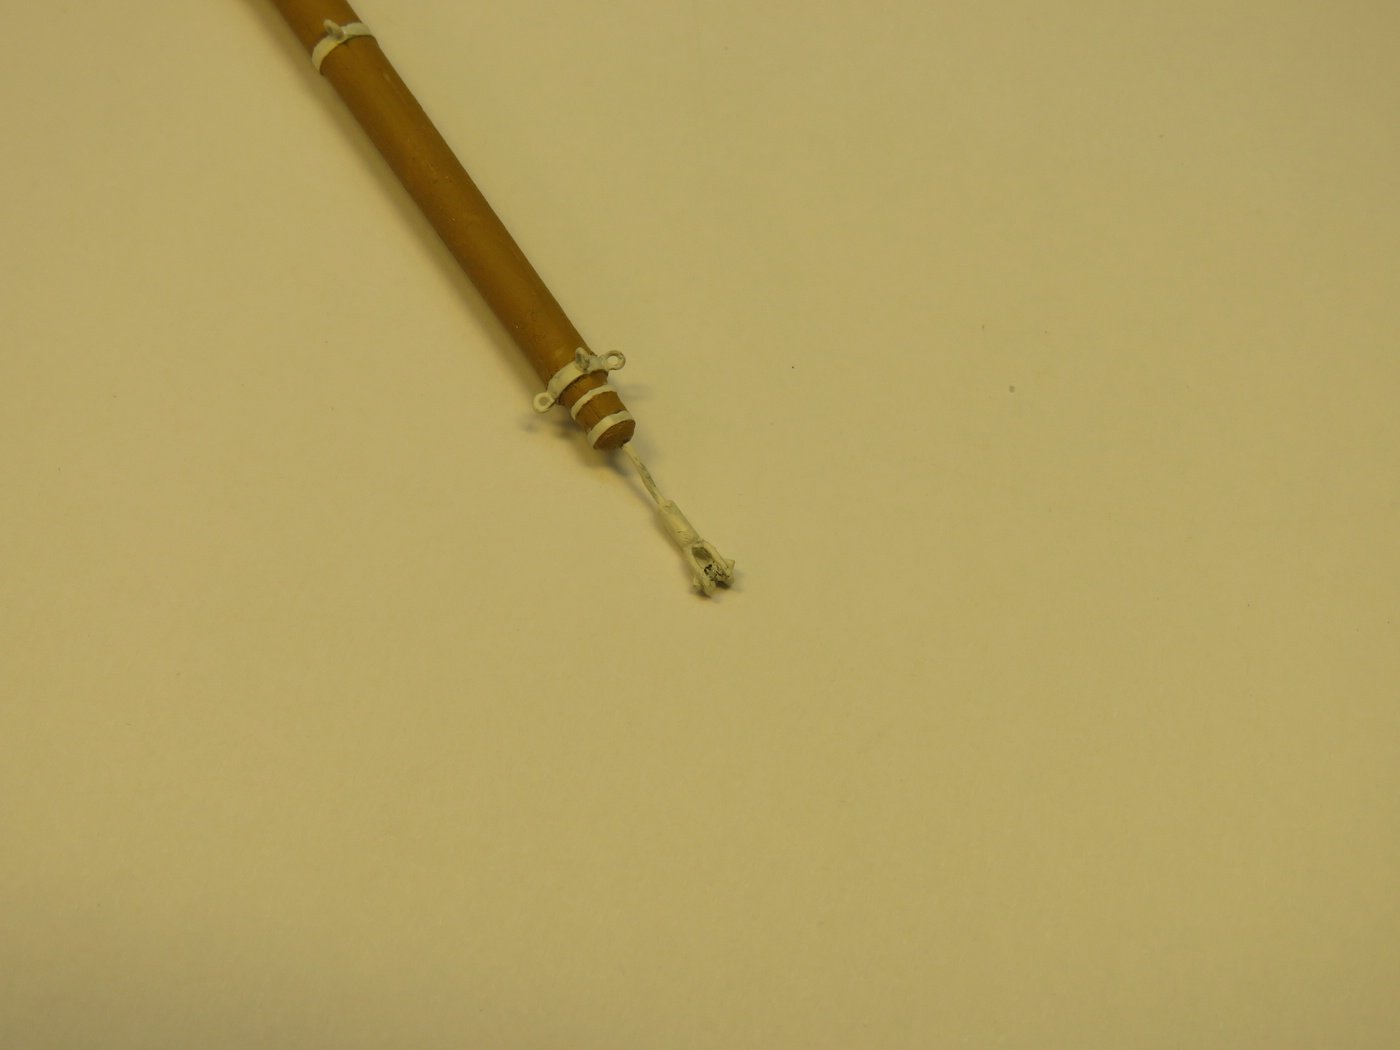
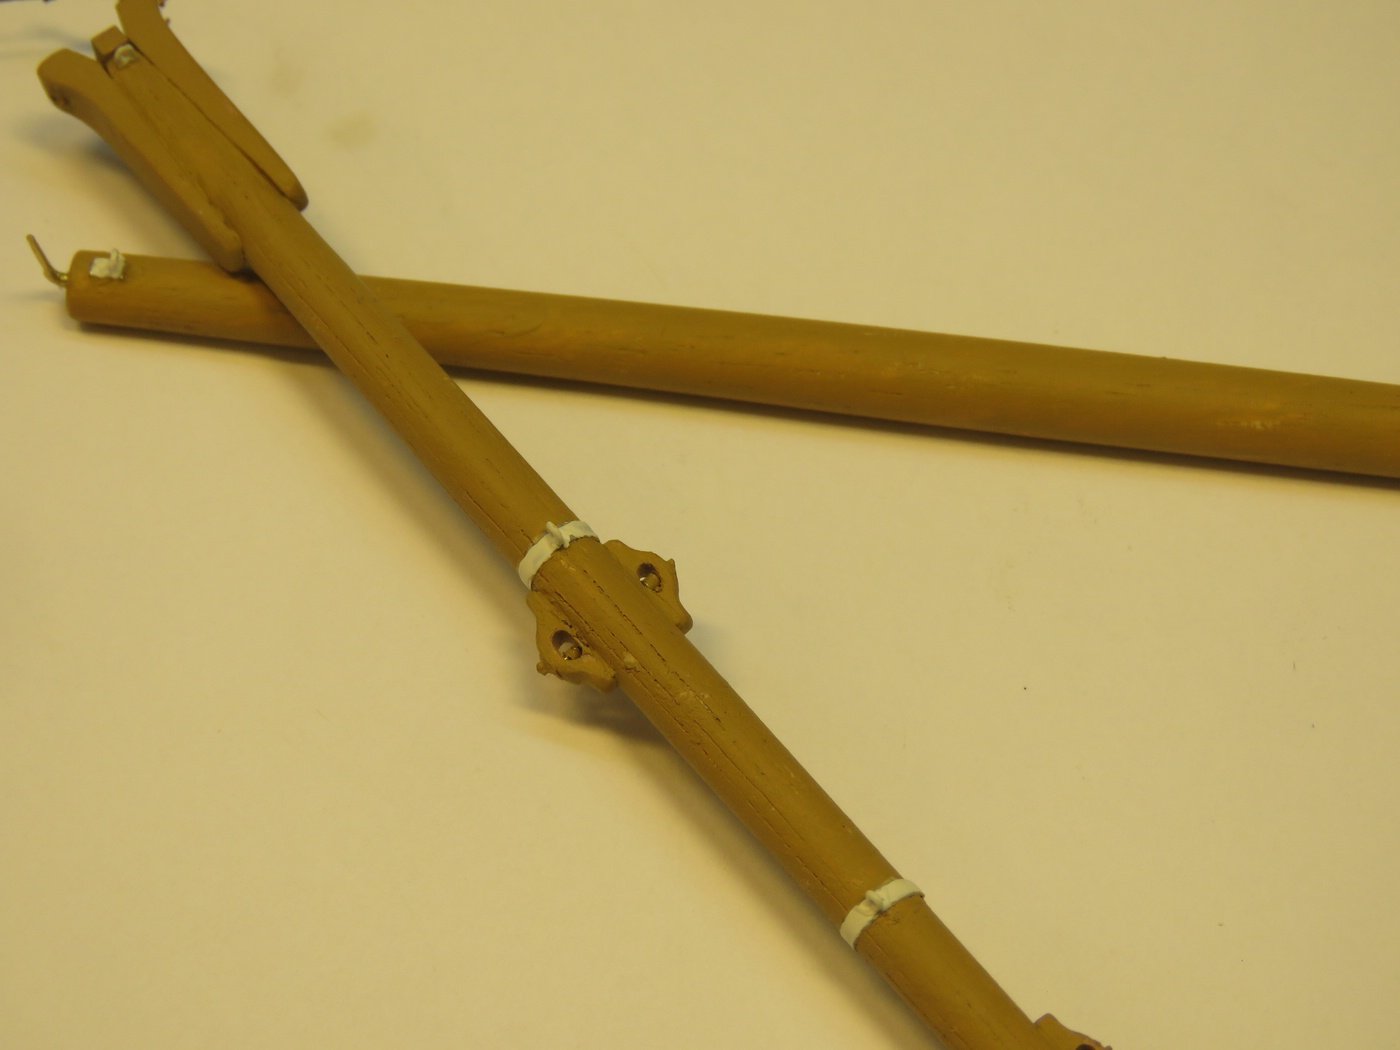
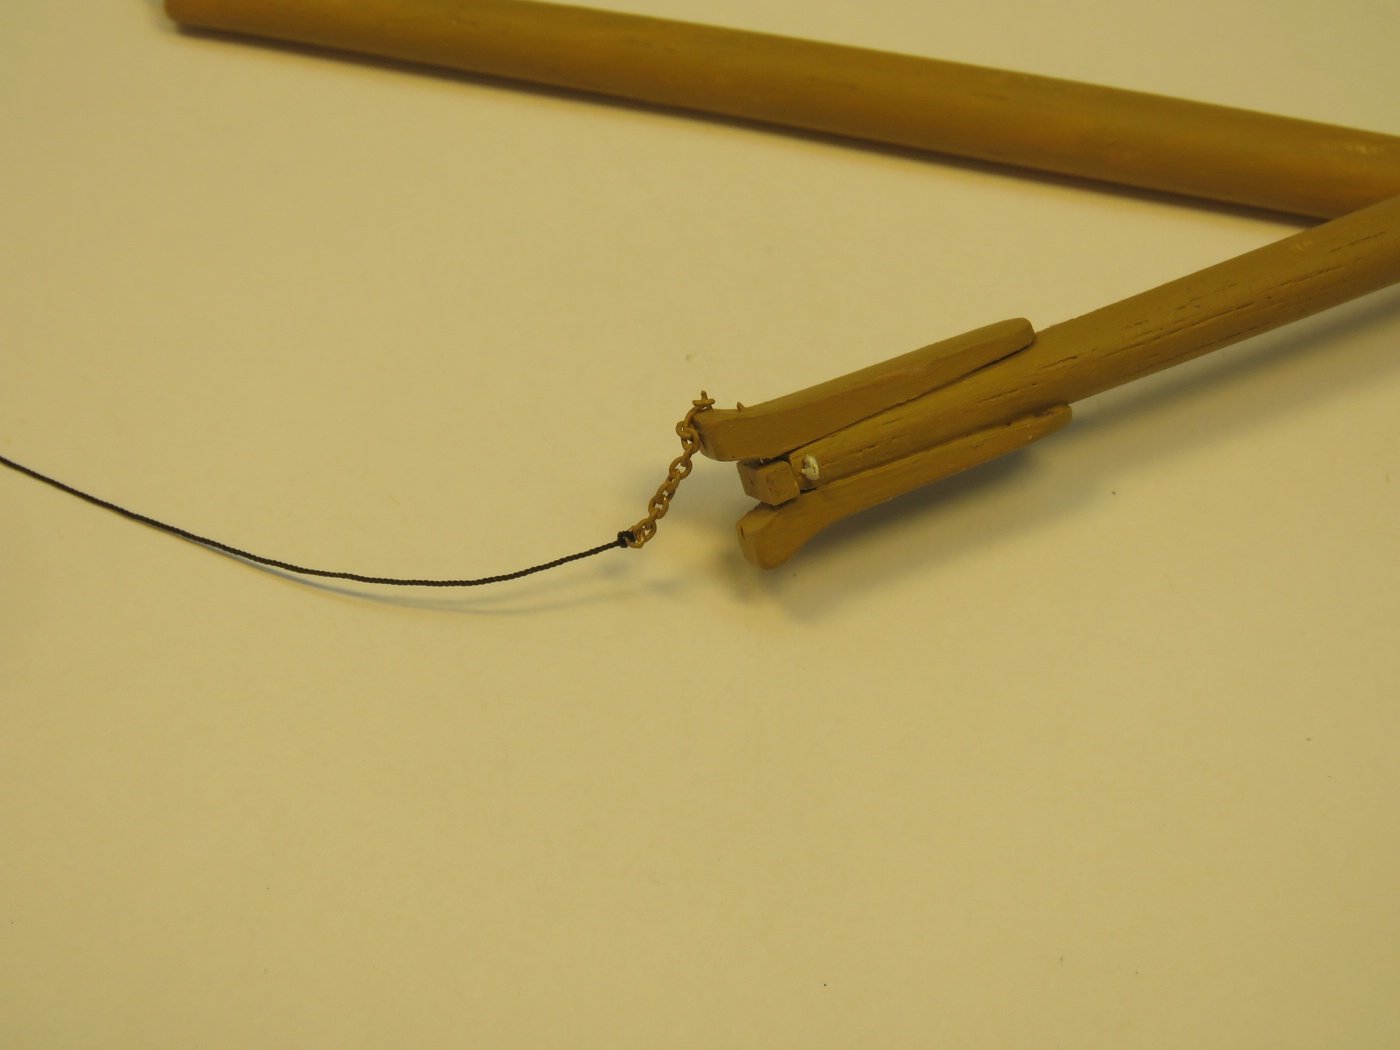
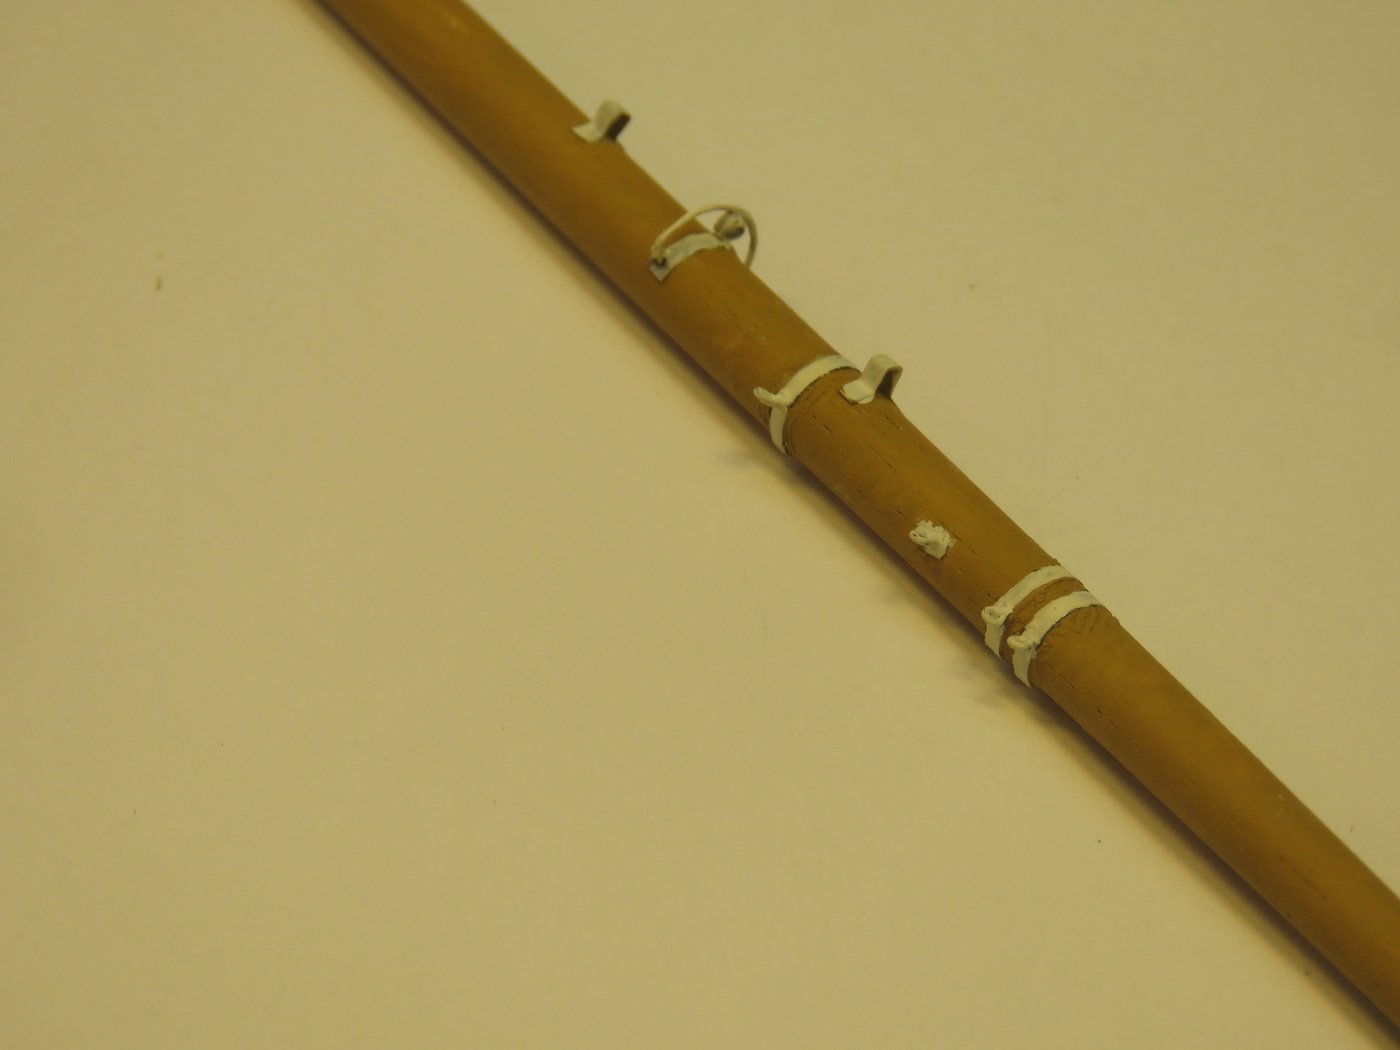
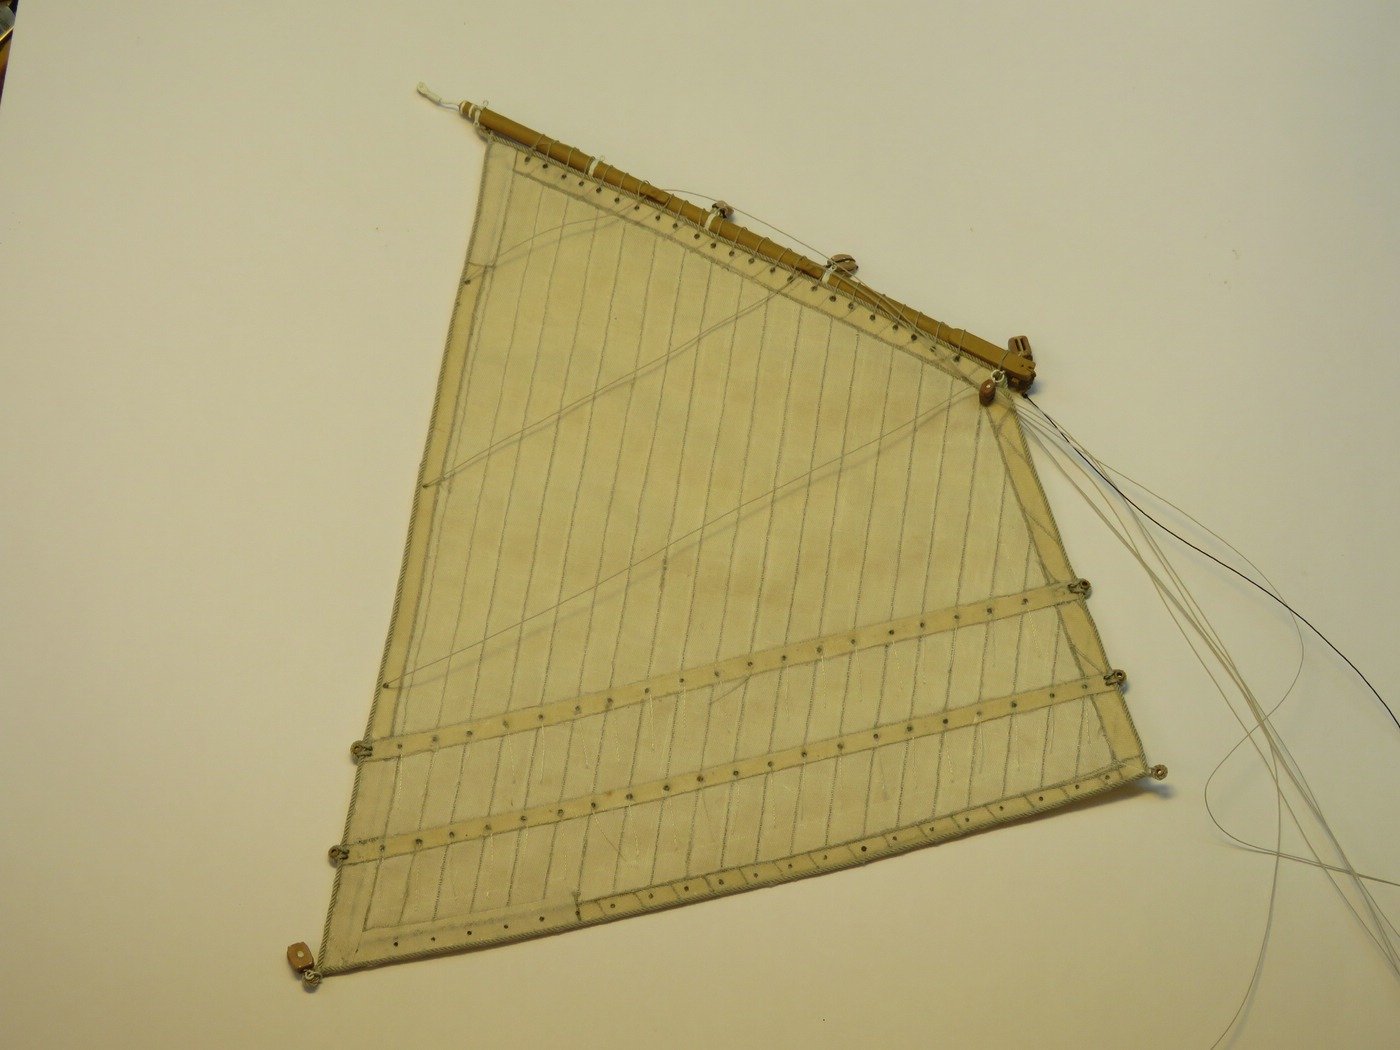
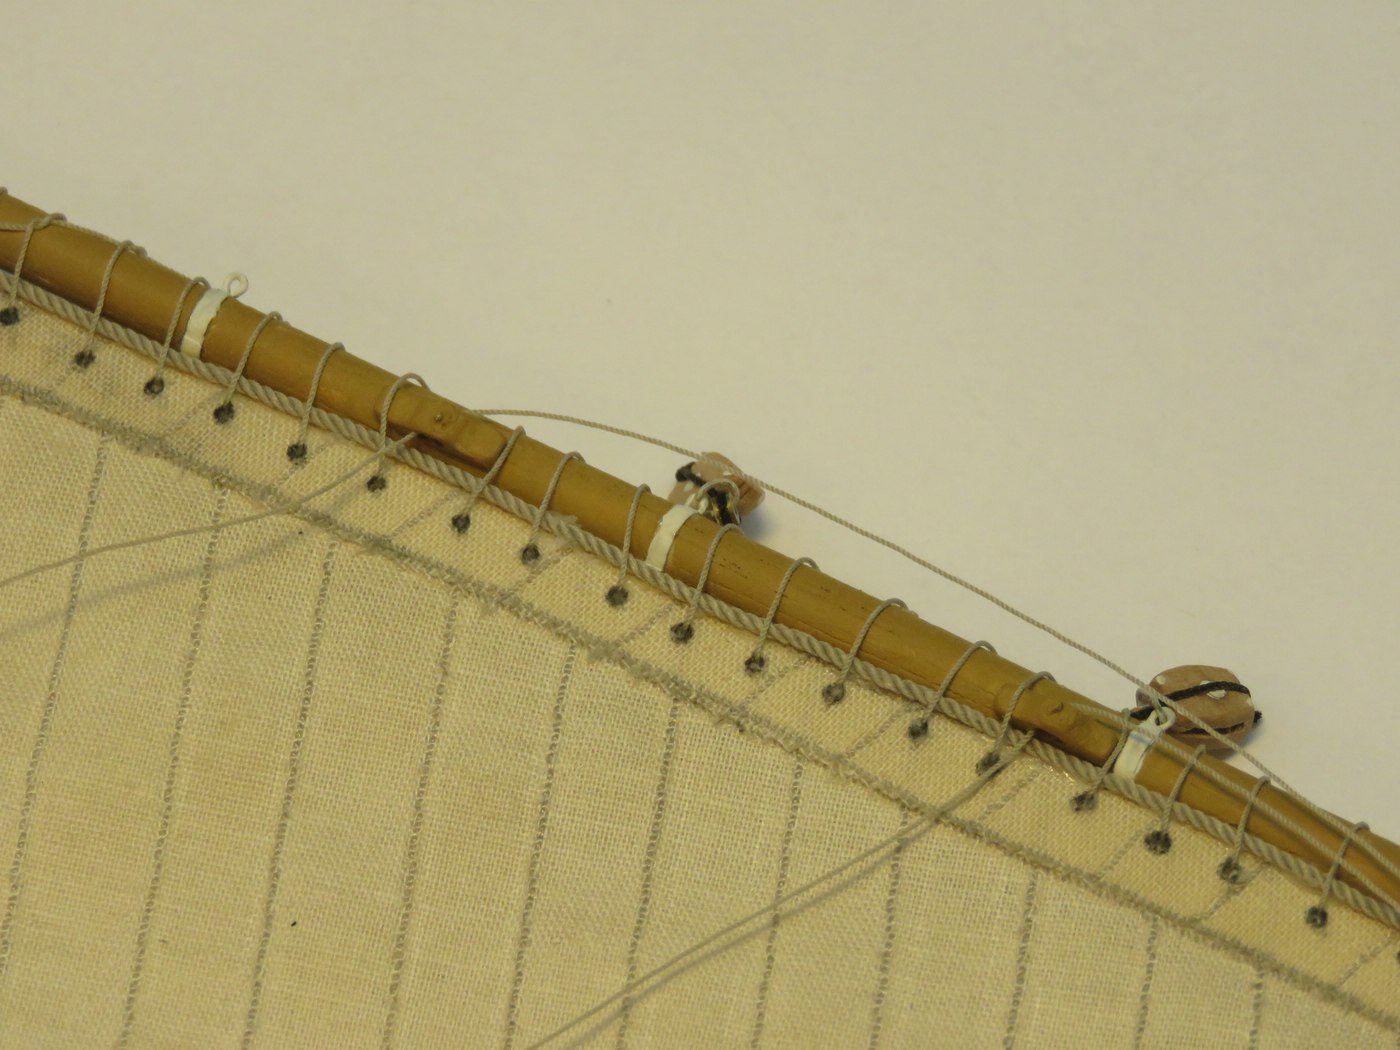
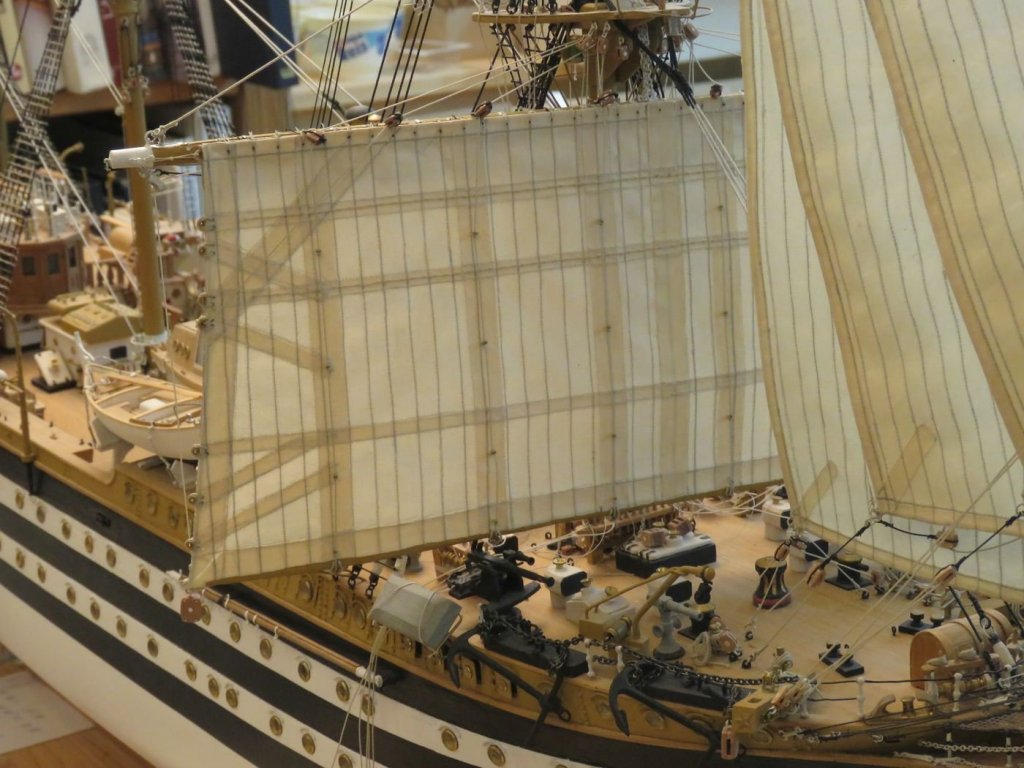
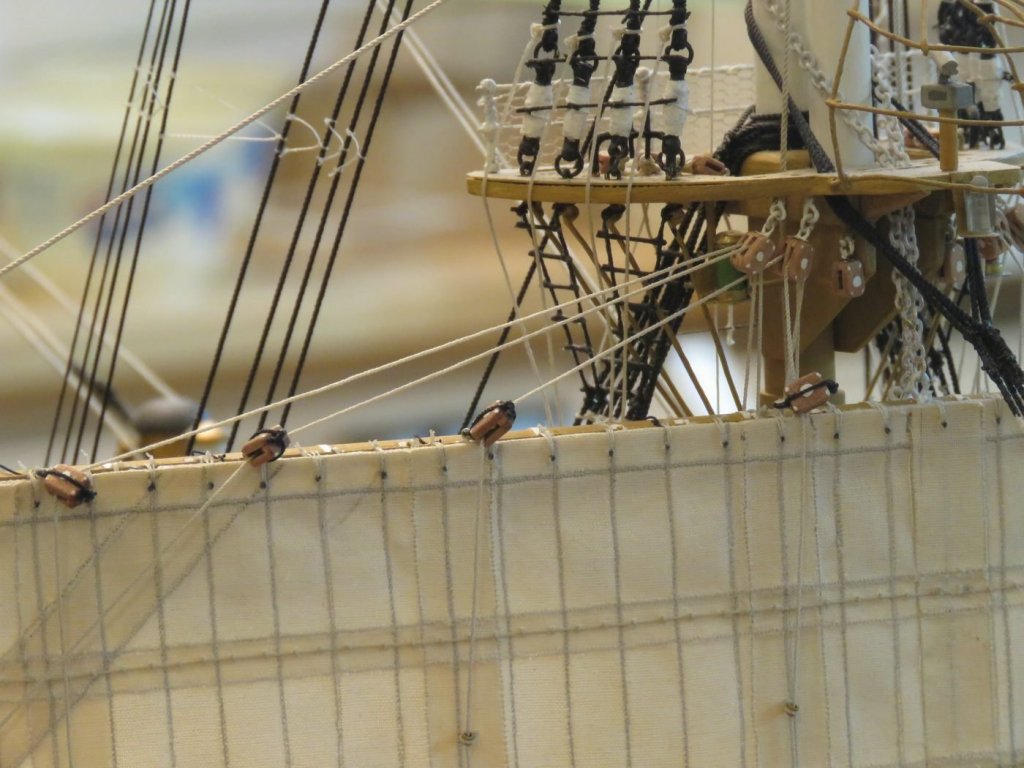
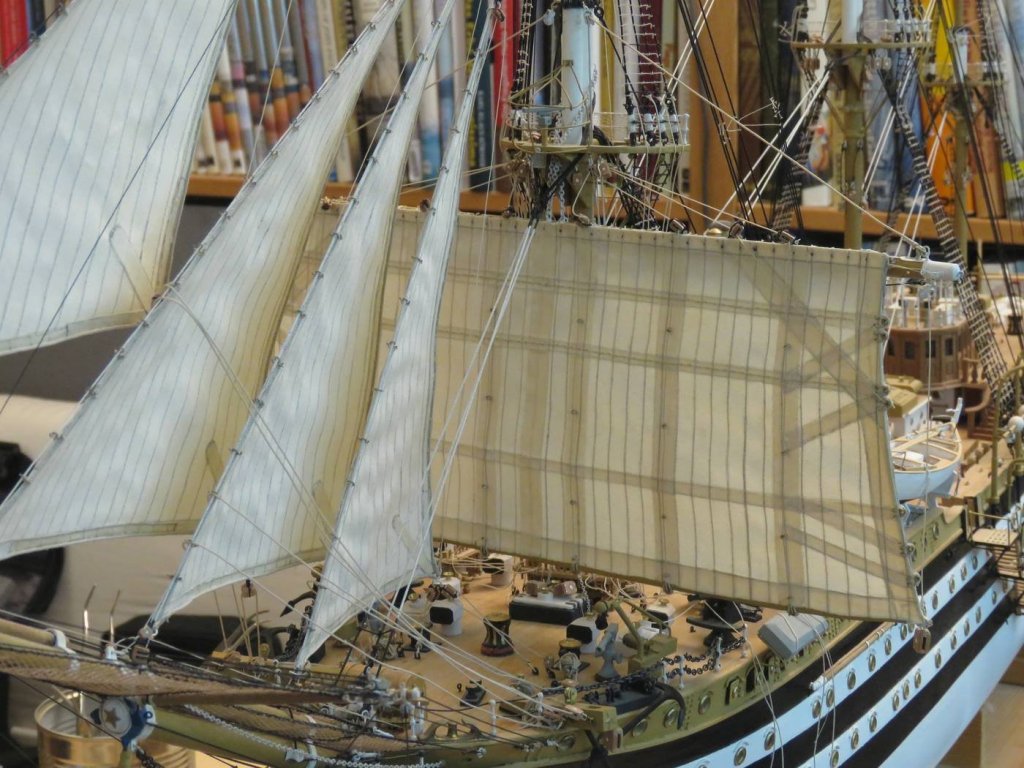
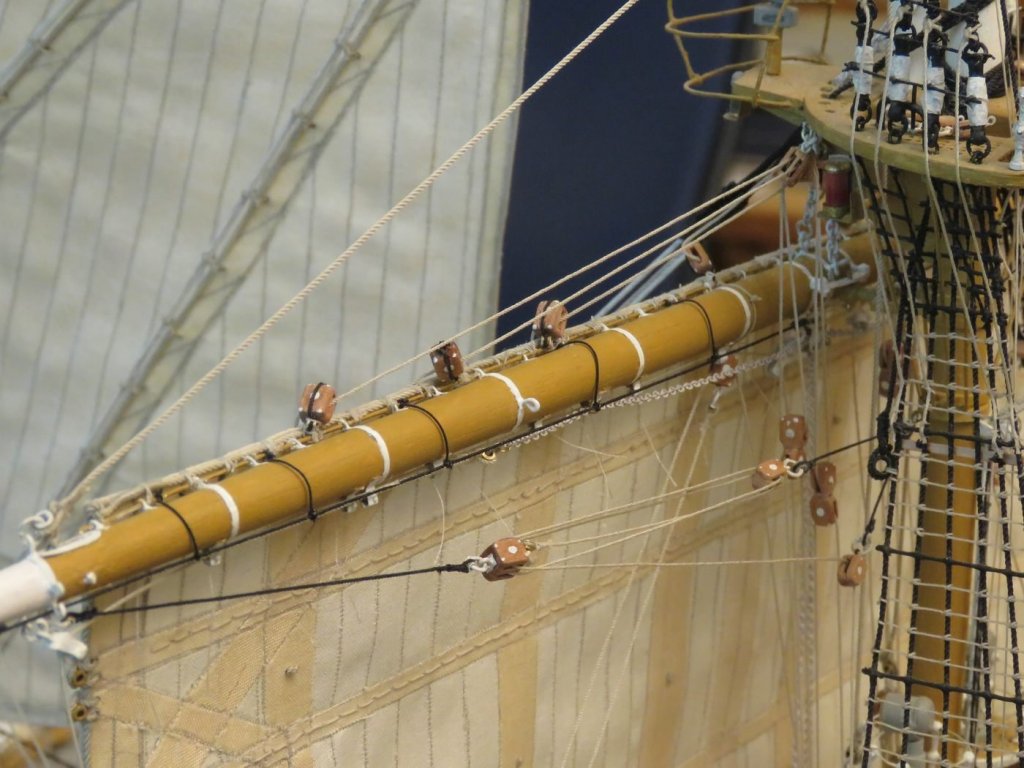
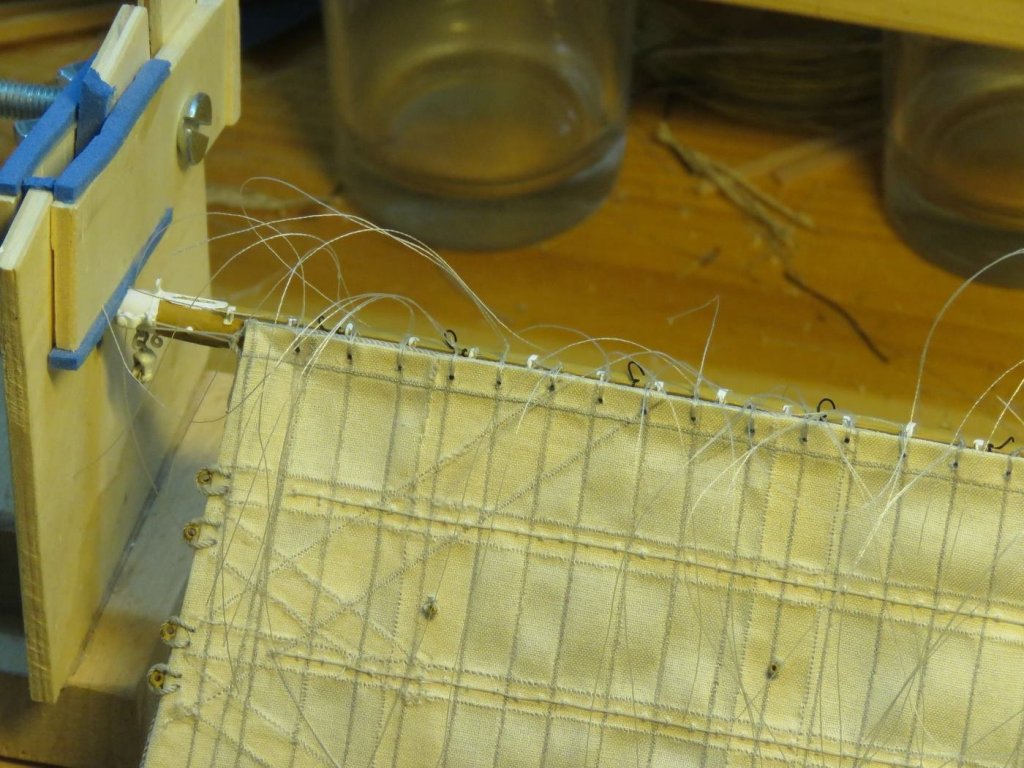
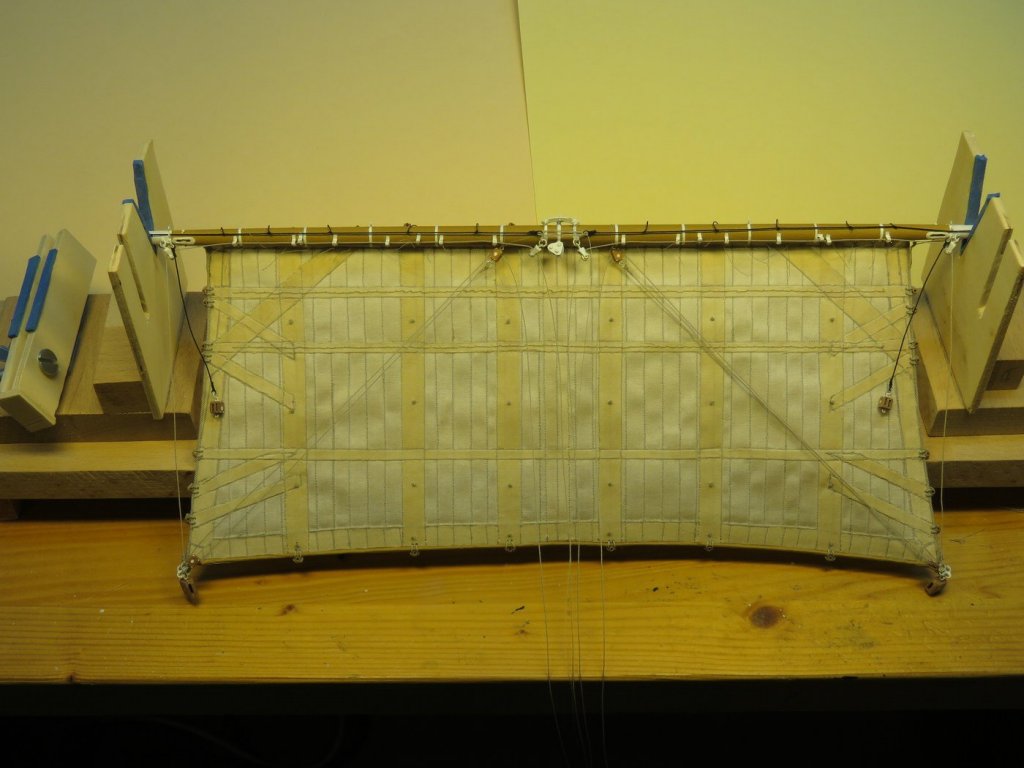
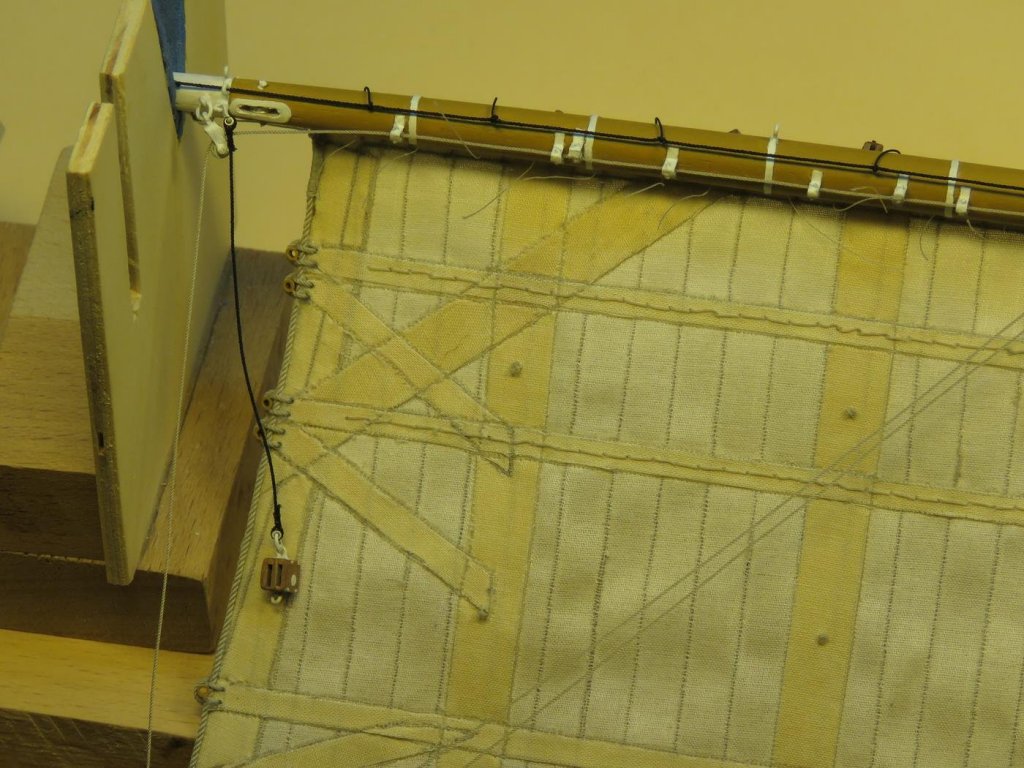
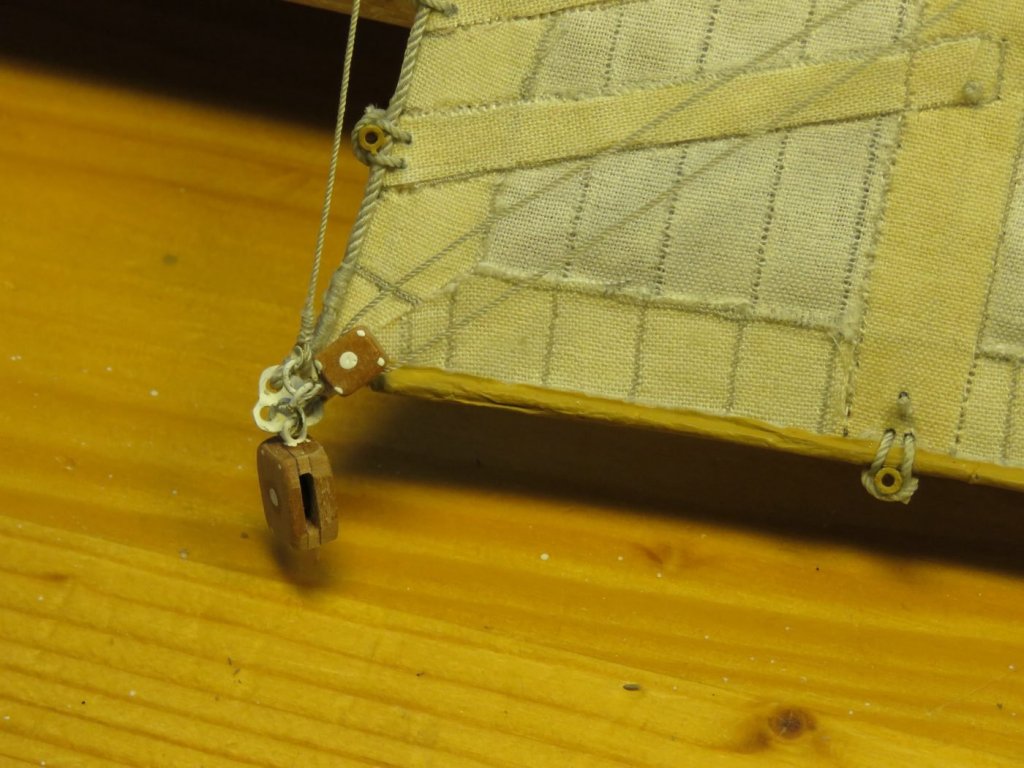
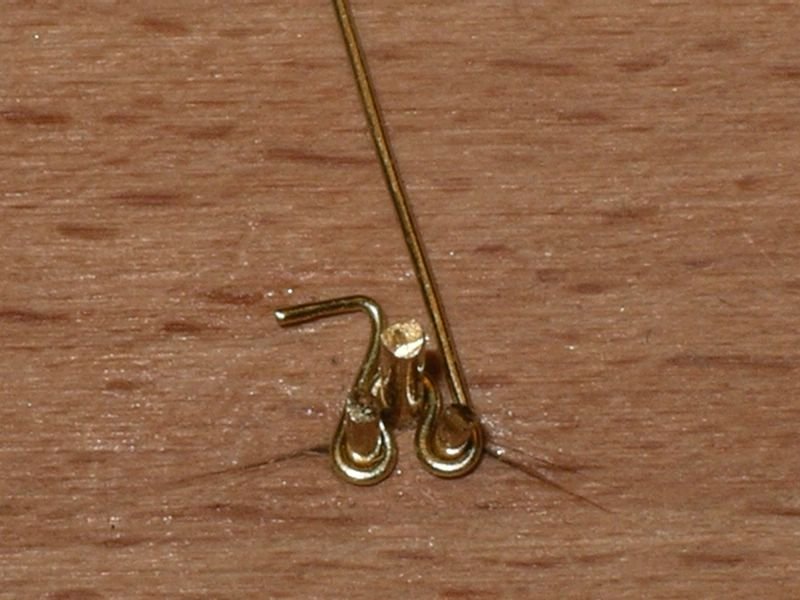
Dear colleagues, enough time has already passed and things must continue here. Well, the mizzen sail is on today. First I had to make the tree and the gaff. And that's how they look in the group picture: The outermost end of the gaff is fitted with an attachment with a deflection pulley for a flag. There I tried again my soldering arts, well, at least painted it looks quite bearable. At the gaff there are also some pulleys for Gordings attached and finally the gaff must be able to be fixed behind the snow-mast. Of course the tree also has several fitting parts, to see here, the guides of the lower leech stretcher, which is led first over a deflection pulley in the tree and then under this by the illustrated guides for the attachment to the bitt. And now the gaff with the mizzen sail attached. Cheers Joachim
-
Thank you very much, Chris, for this fantastic review. I am very happy that the book could be presented in this great forum. The book is available in regular bookstores, but many wholesalers (including Amazon) don't deliver to all countries. For this reason the book can also be ordered directly from me. So, order here: http://www.modellbau-muellerschoen.de/buch-en.htm or send an e-mail directly to my address: info@modellbau-muellerschoen.de Best regards, Joachim
-
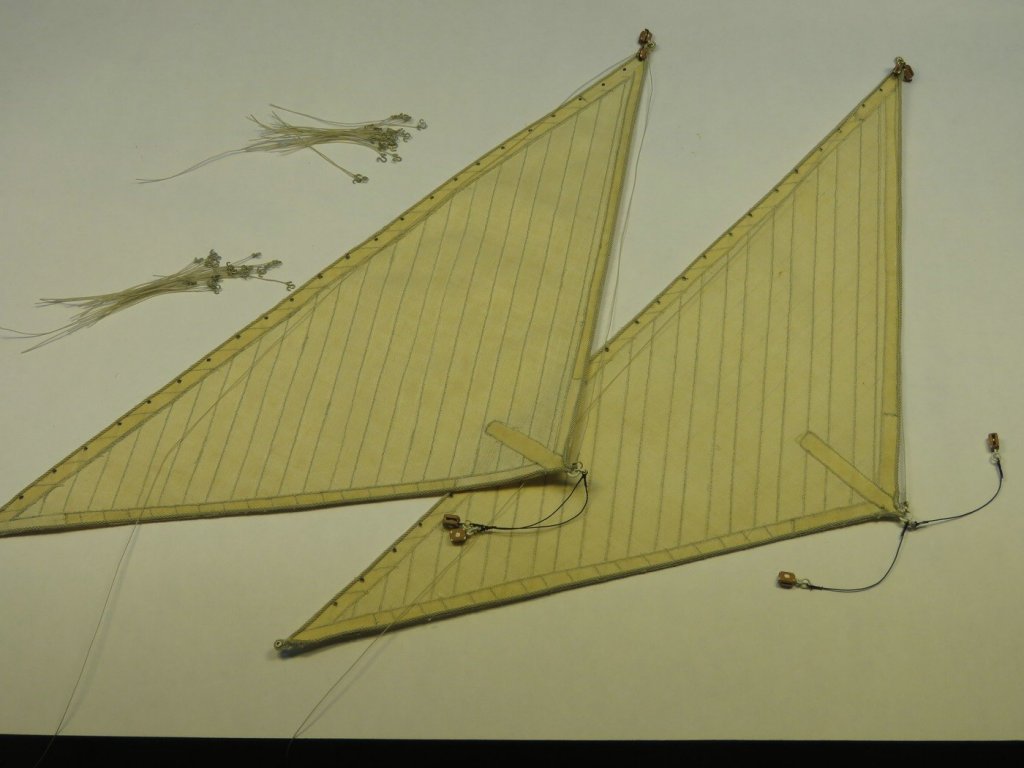
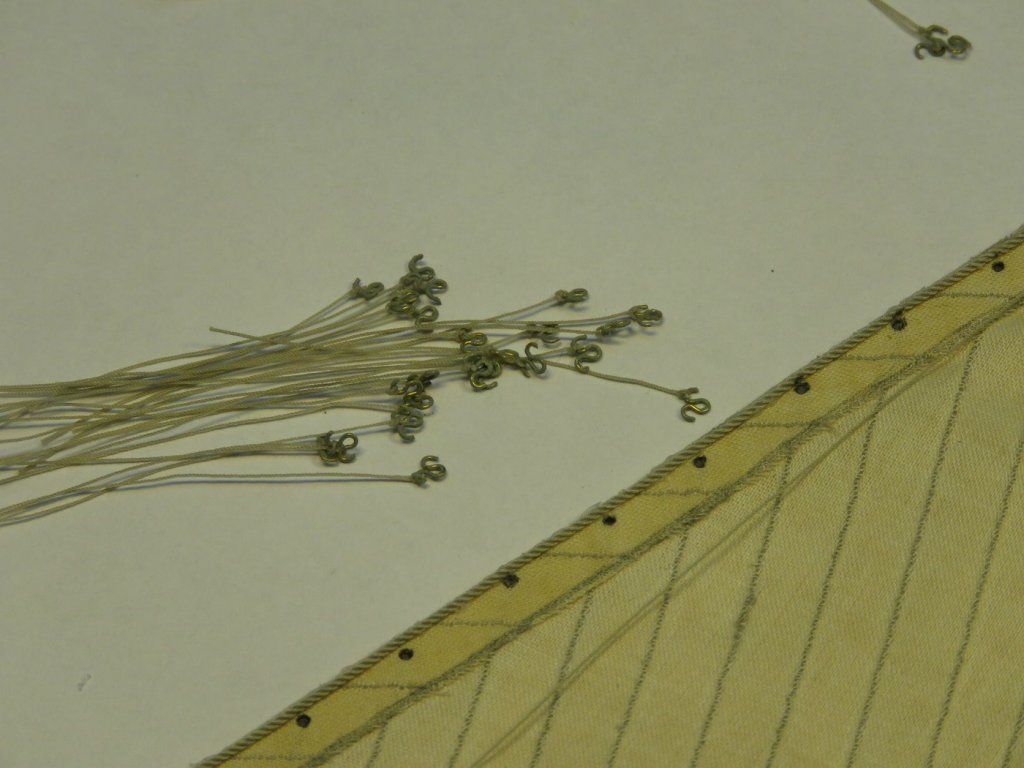
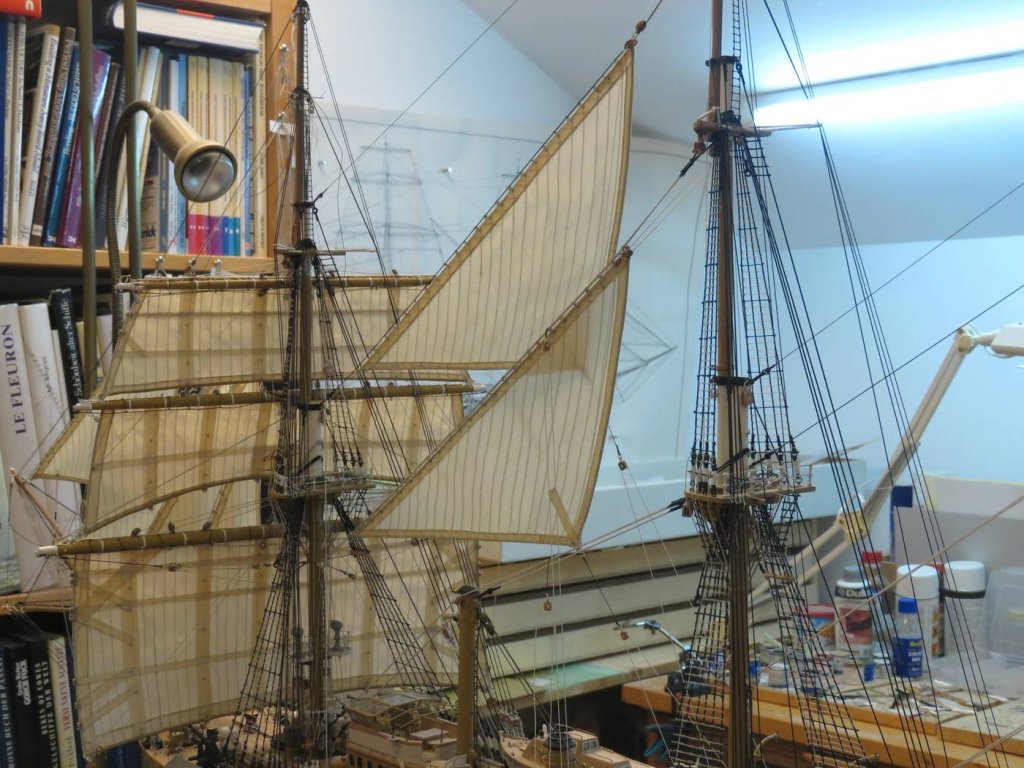
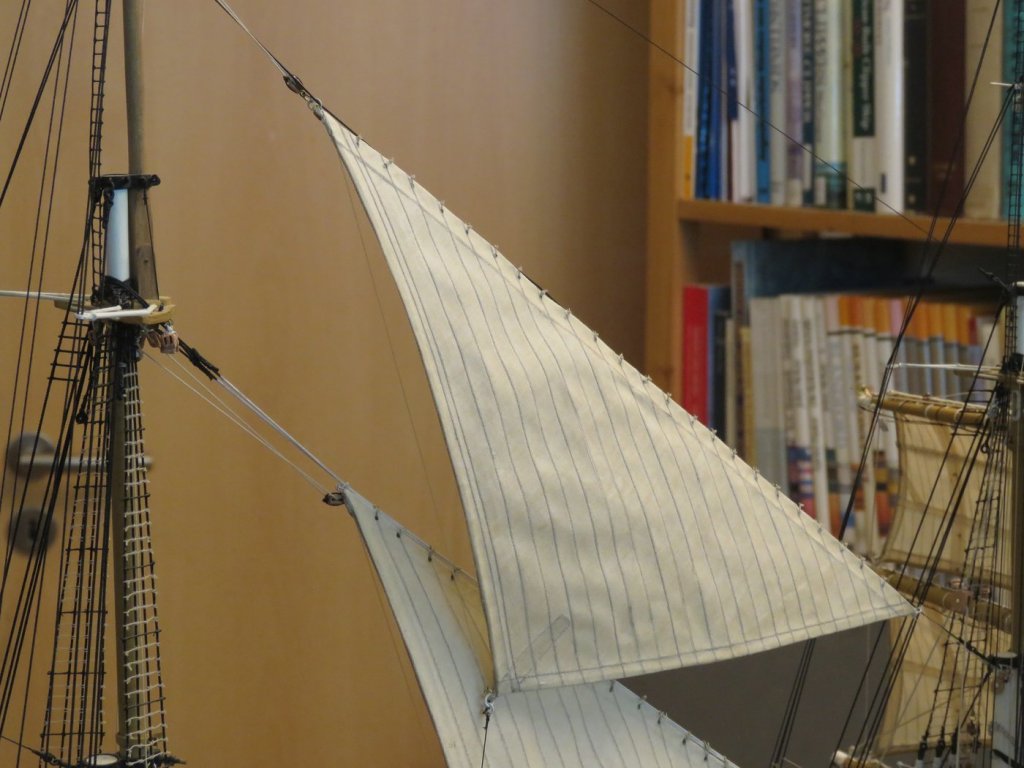
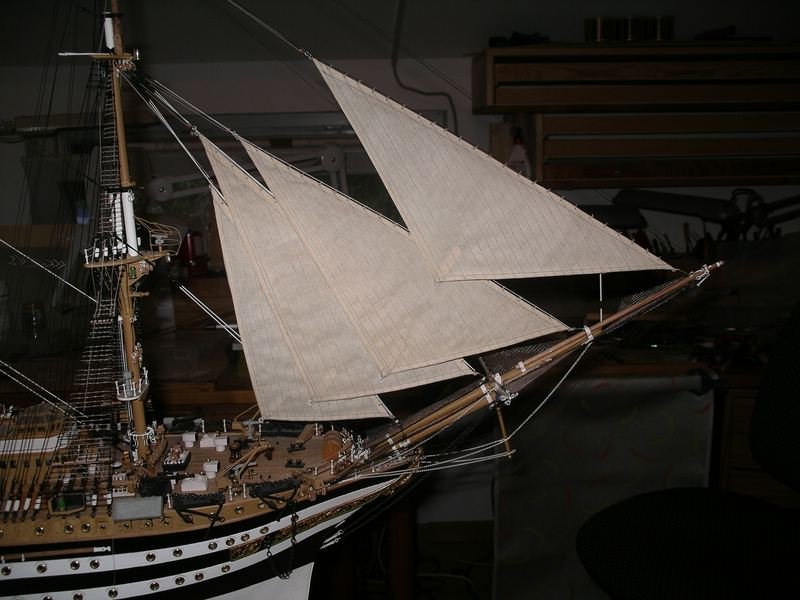
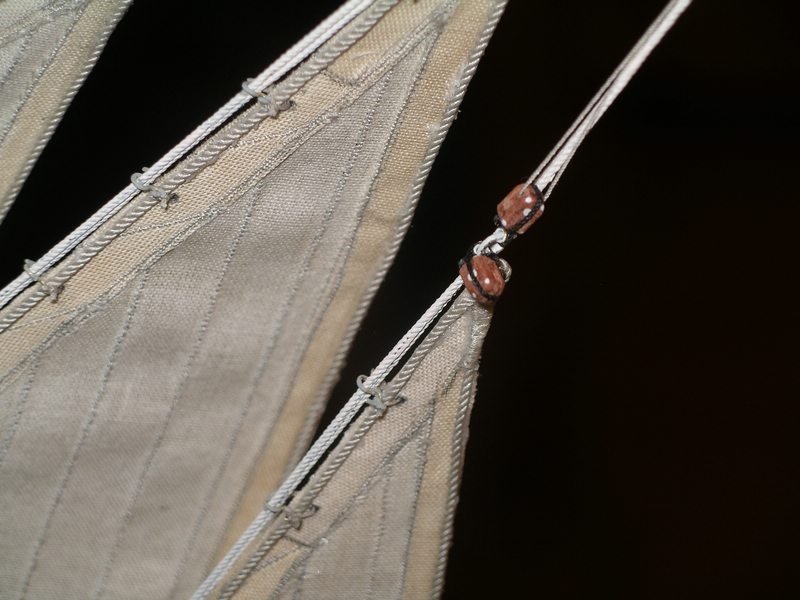
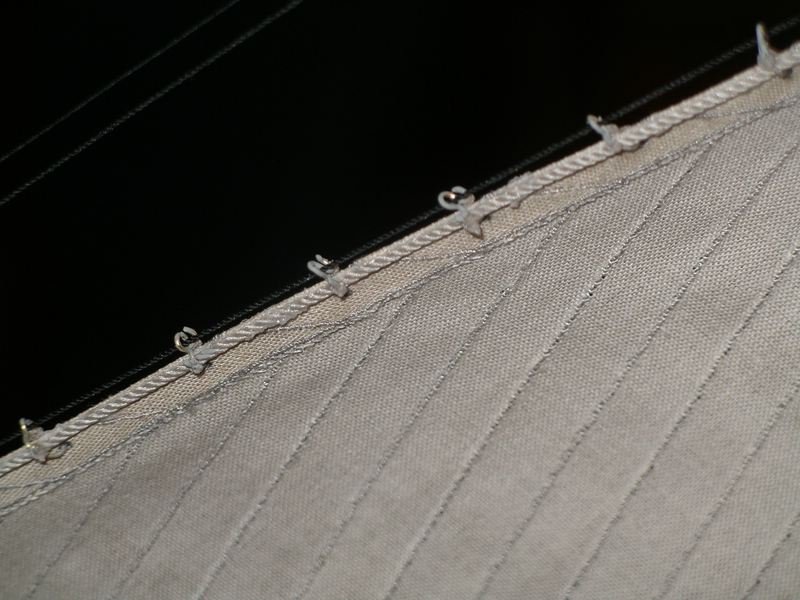
Hello folks, and again a bit further, now the staysails between forestay and main mast are finished and attached. The staysails don't have so many lines, only halyards, downhauls and sheets, but the tethering of the jib riders is quite time-consuming. I had a hard time with the pictures, but I hope it will come over. When an intermediate result is reached again, I will photograph the ship in my wife's photo studio, that will be a bit better. First of all the sails have to be prepared, also more than 50 jib riders are needed. Cheers, Joachim
-
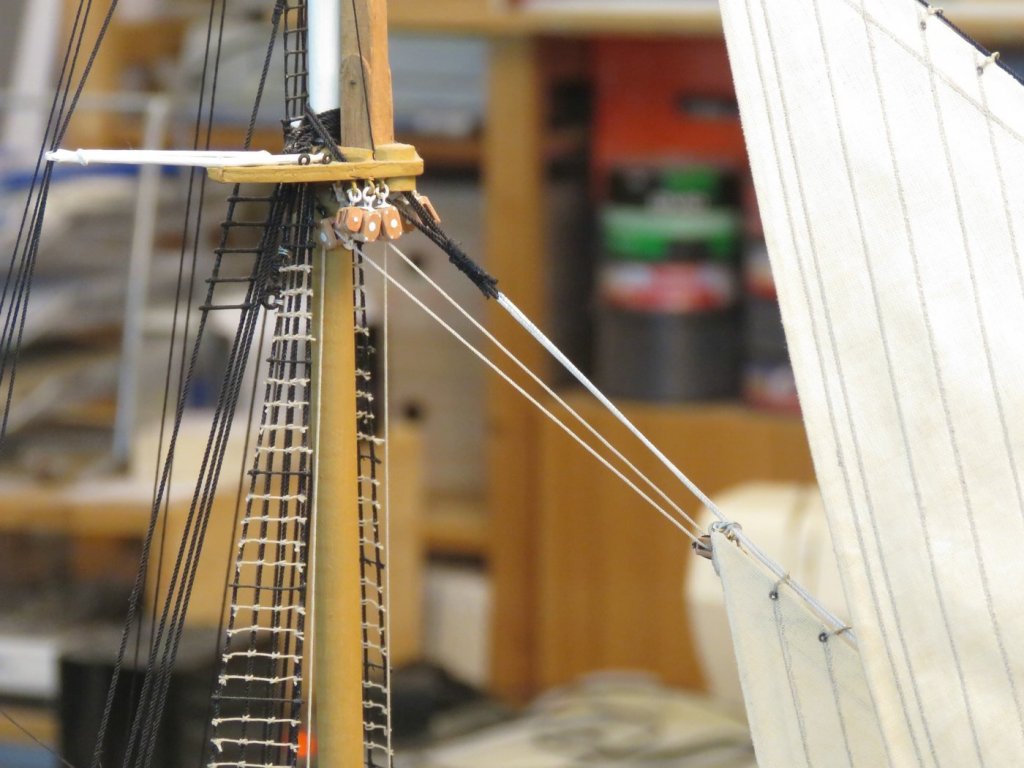
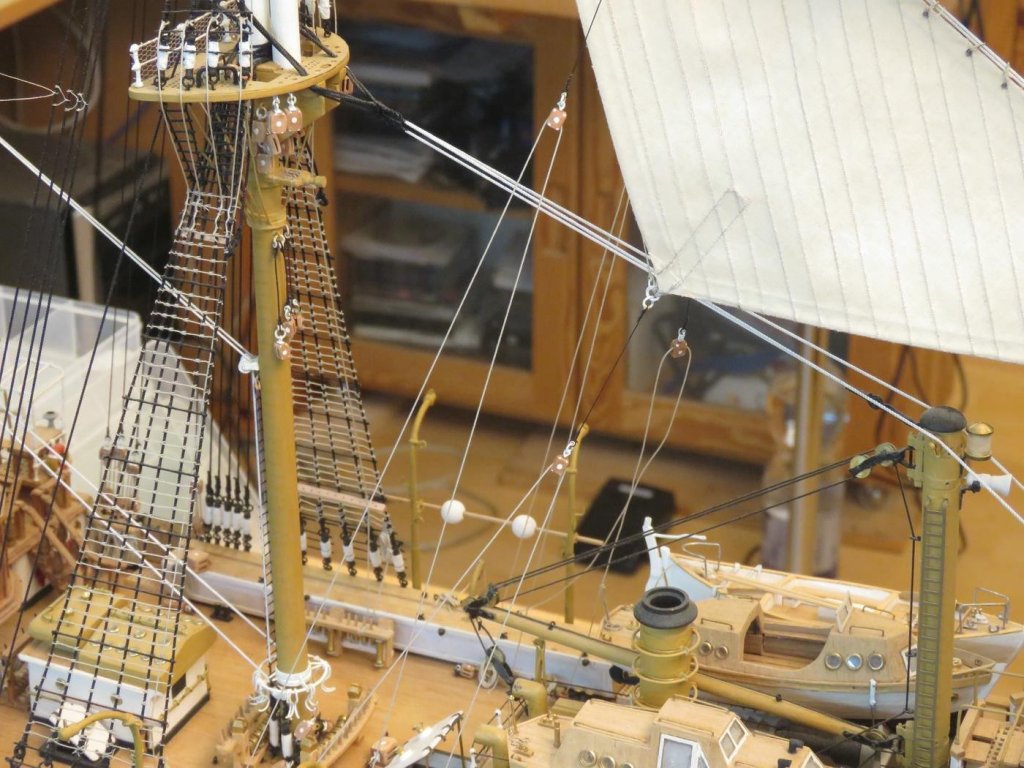
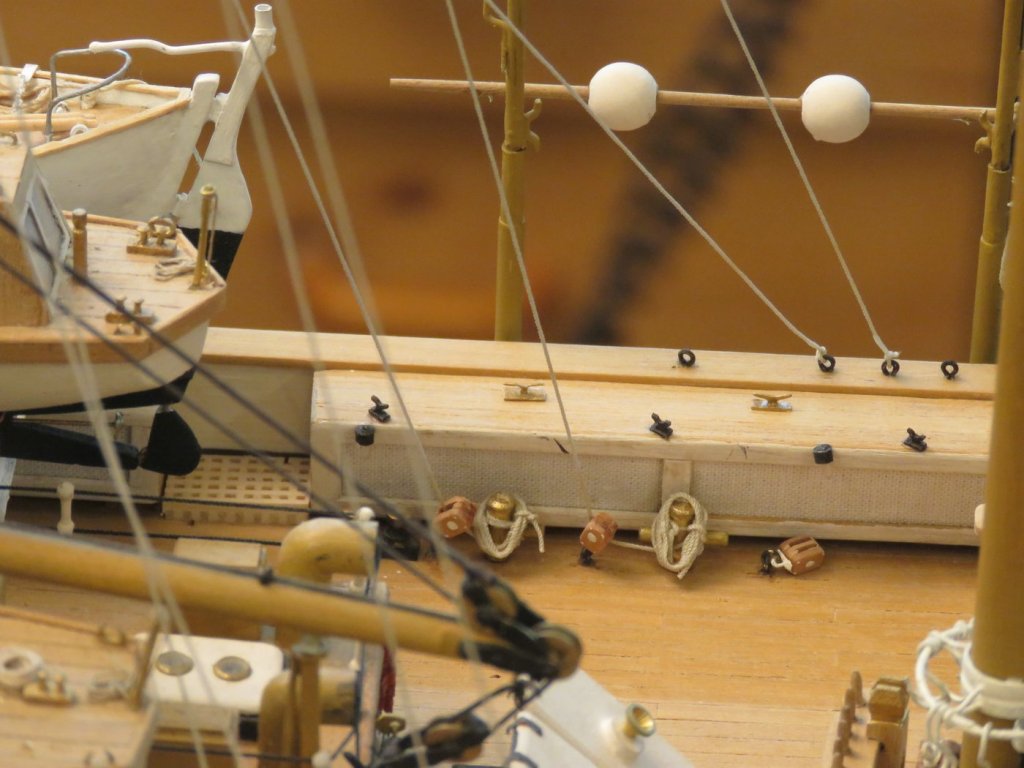
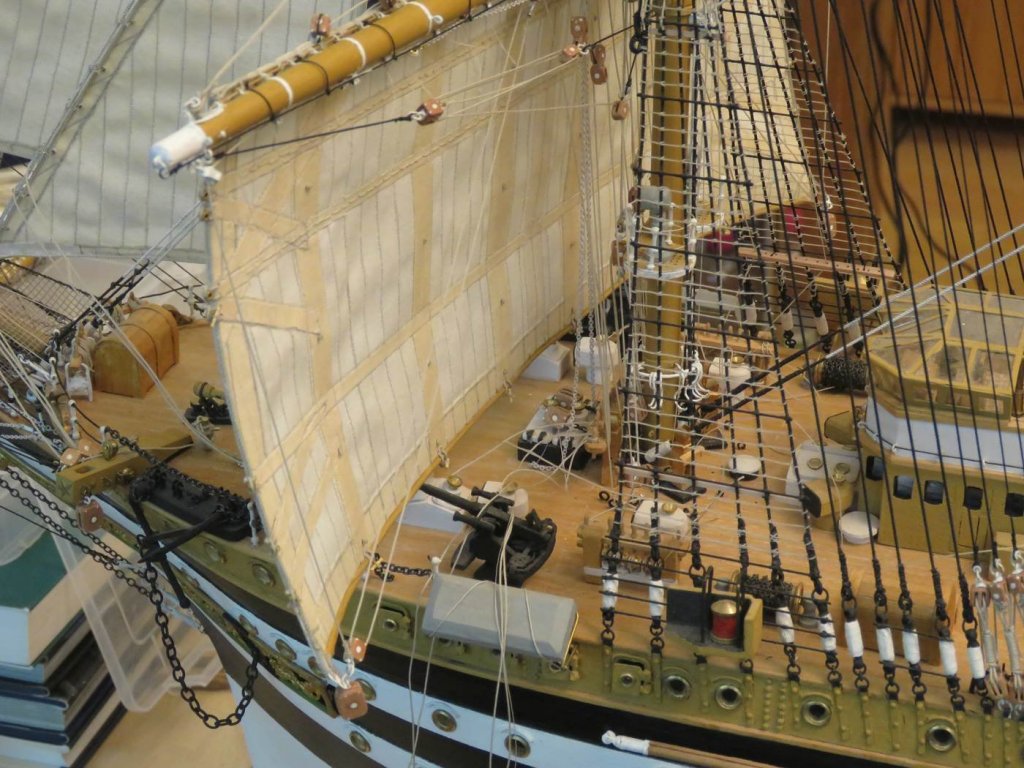
Hello folks, now the first pictures of the rigged lower sail at the foremast. The jib boom is rotatably mounted and is held by chains on the jib mast. At first I had attached the lift. Two of the Gordings are brought together by one of the double blocks, they are fixed at the bottom of the bitt in front of the mast. The elaborately designed reef troughs are fixed at the betings on starboard and port. The clew-lines again lead directly to the bitt in front of the mast. Before the lines are finally fixed, some of the other sails have to be attached. And now a few pictures. Cheers, Joachim
-
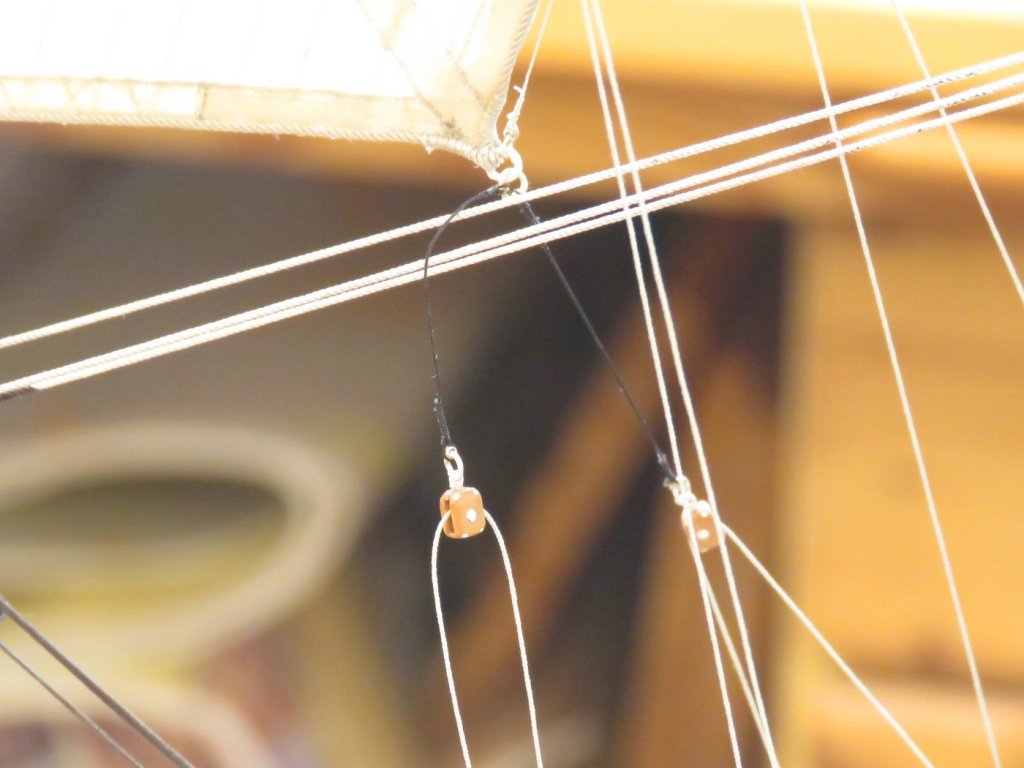
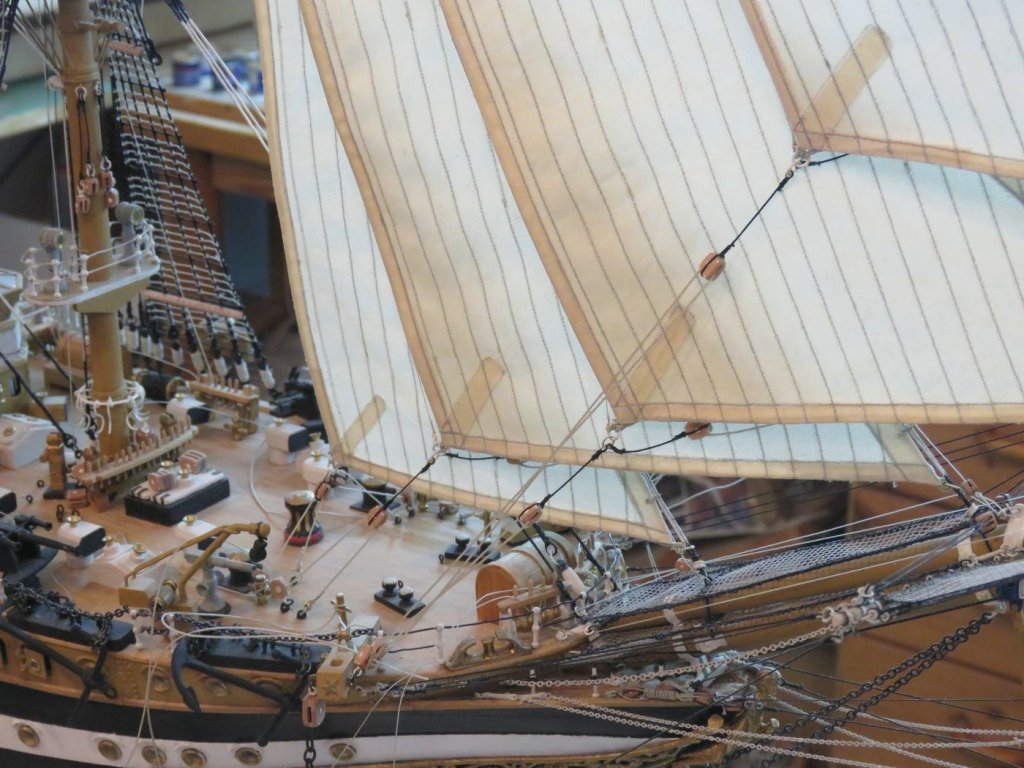
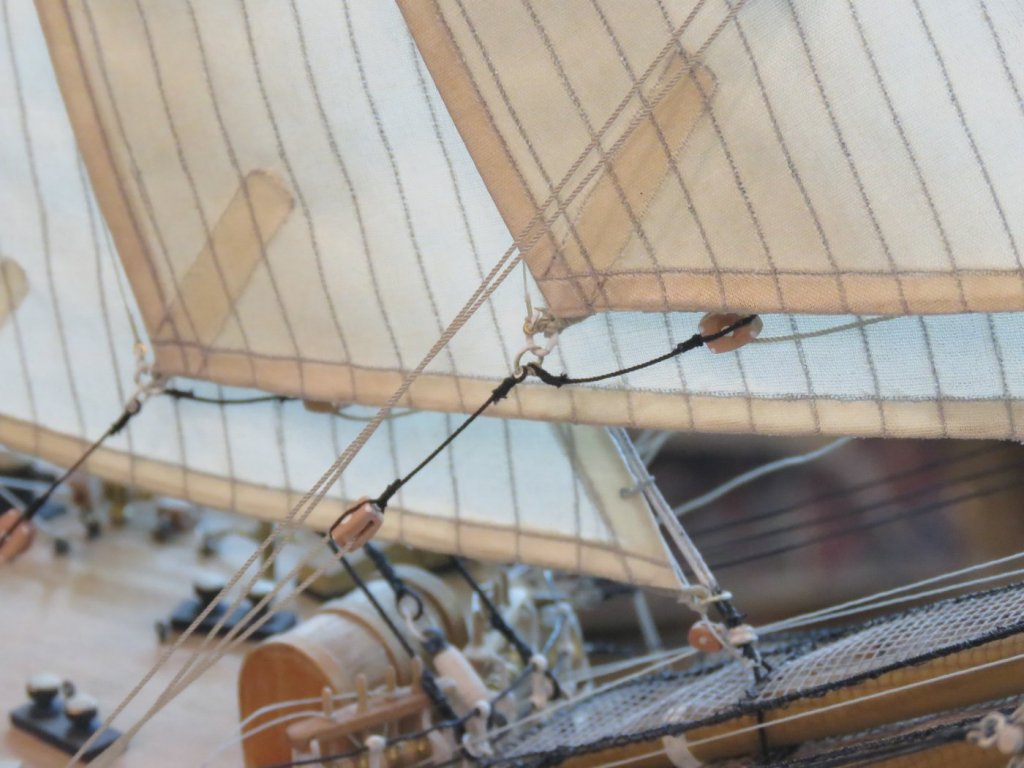
Now it goes on. So here are the staysails at the foredeck with sheets and downhauls. The sheets of each sail have the typical precursors with blocks at the end through which the sheets run. The downhauls are attached to the clew horn, run high over a block attached to the nock horn back down to the neck horn and over a block attached to it to the reference point. The lines are still occupied, the whole line bundles are still missing and then everything has to be finally fixed. Joachim
-
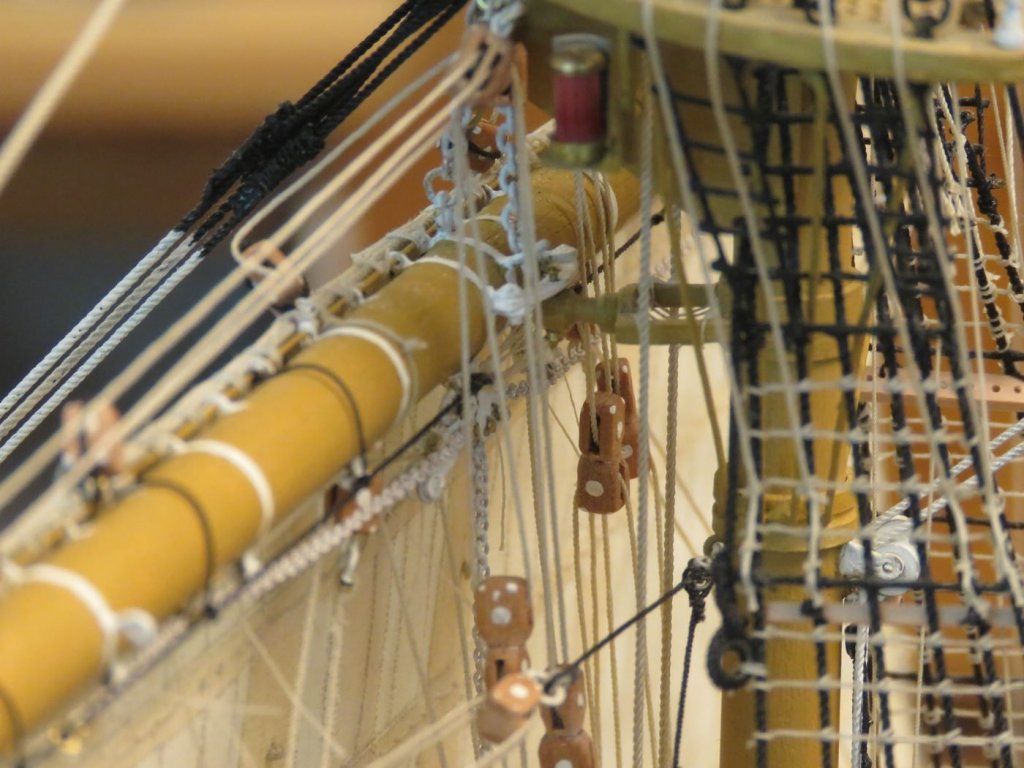
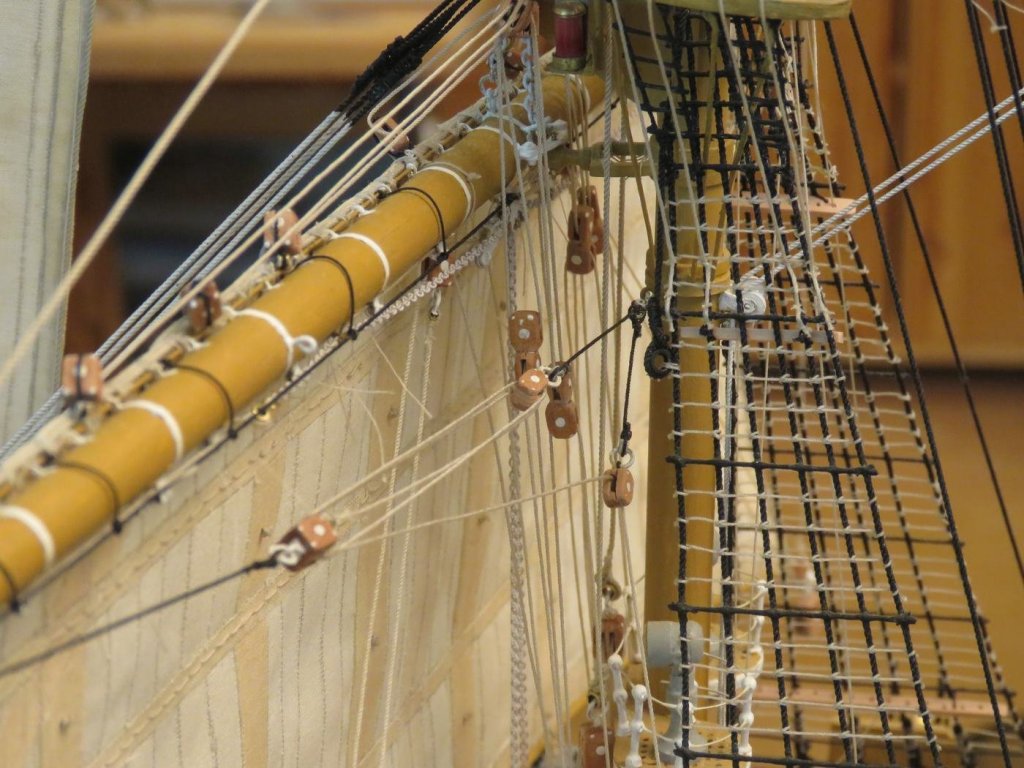
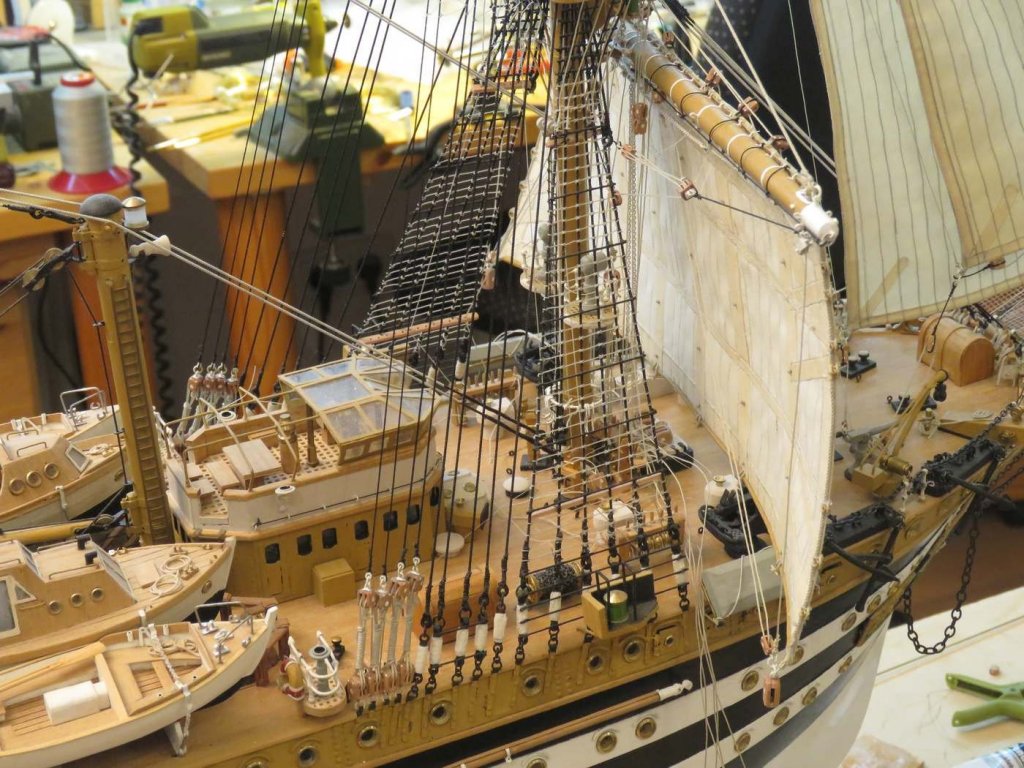
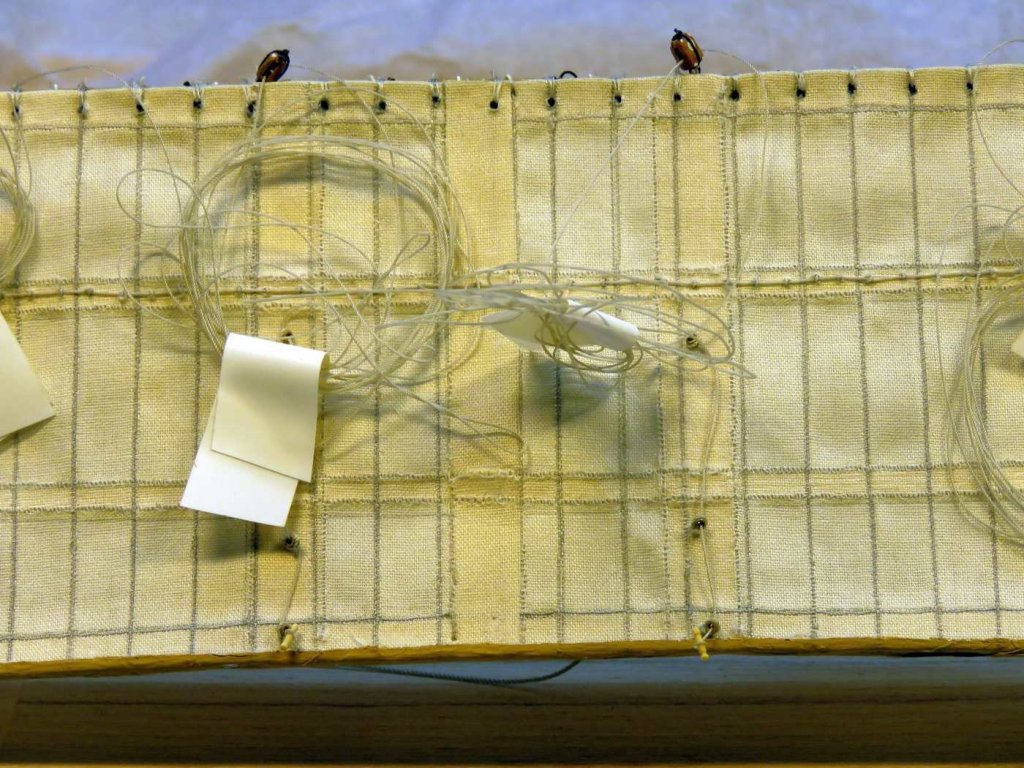
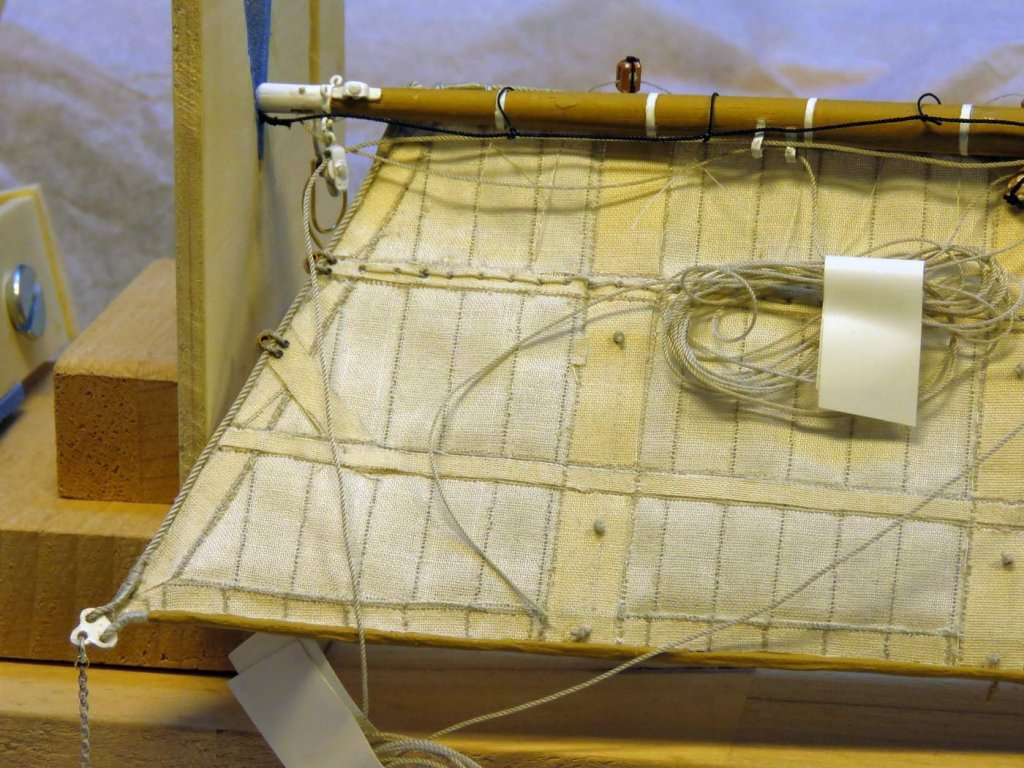
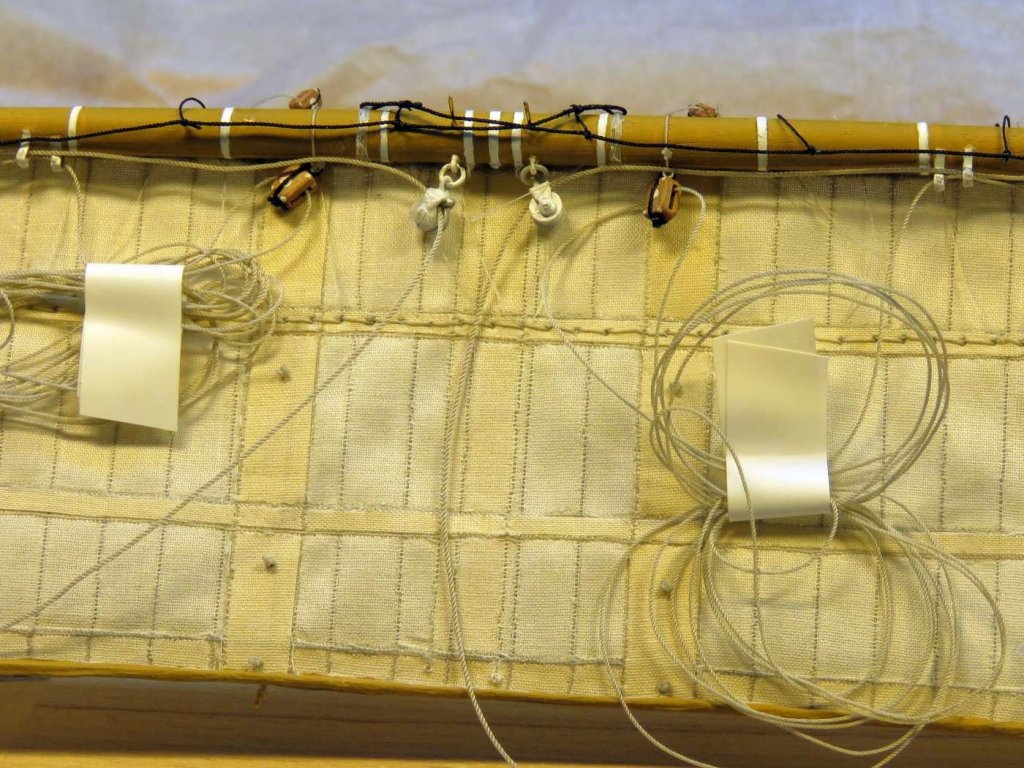
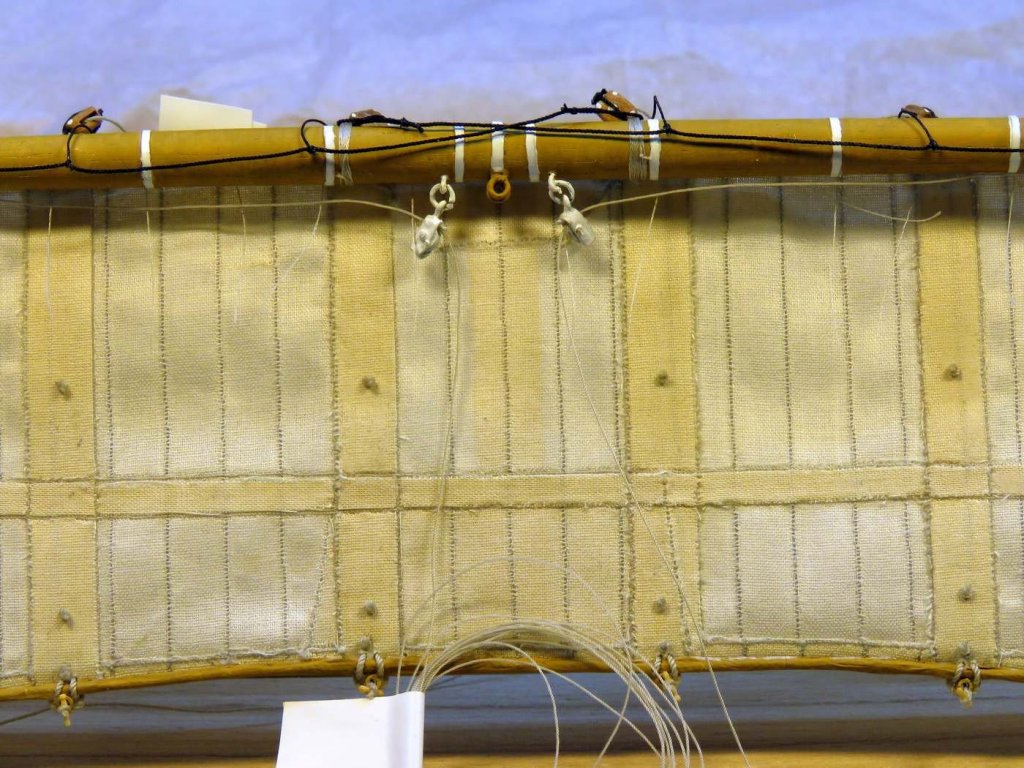
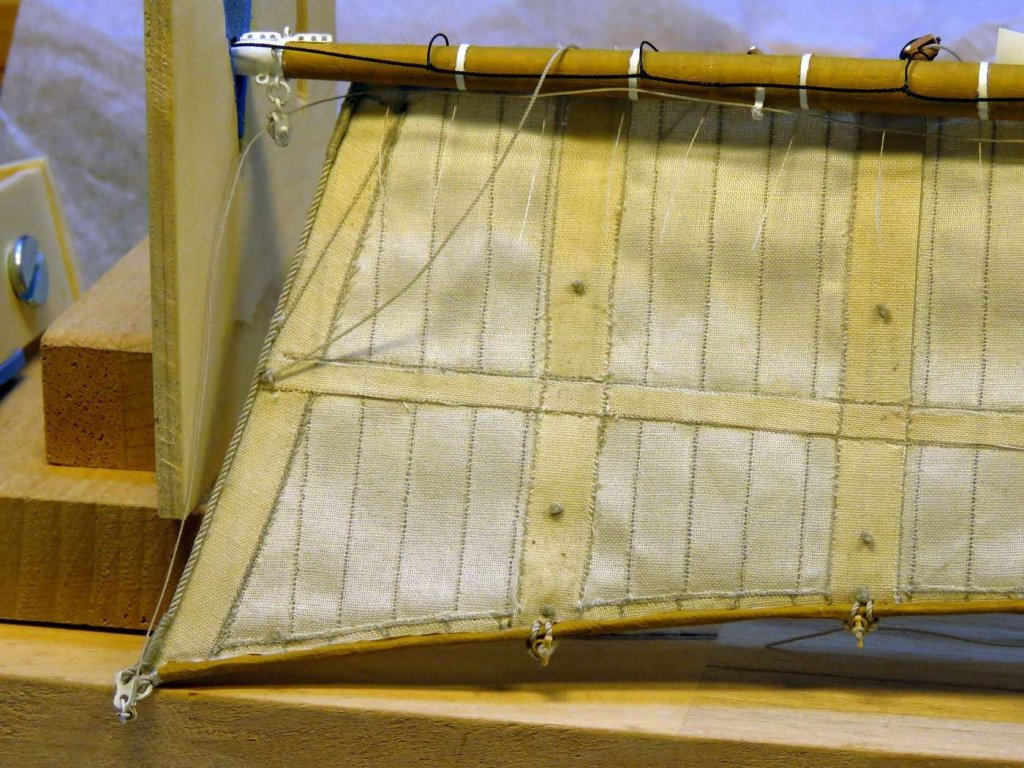
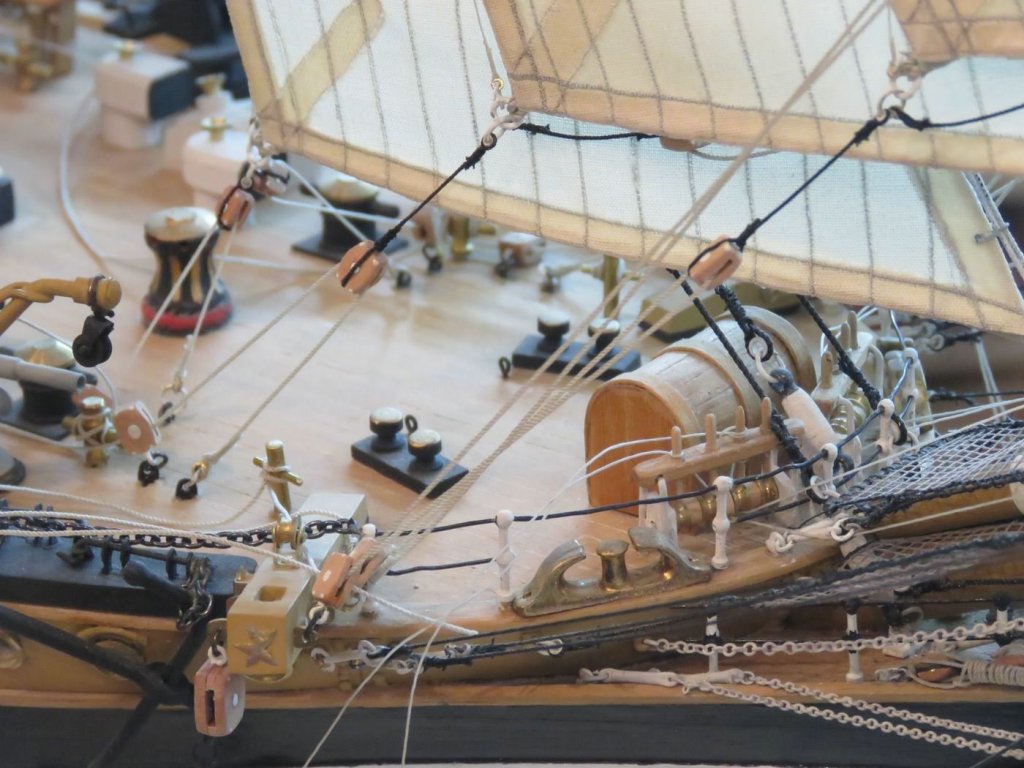
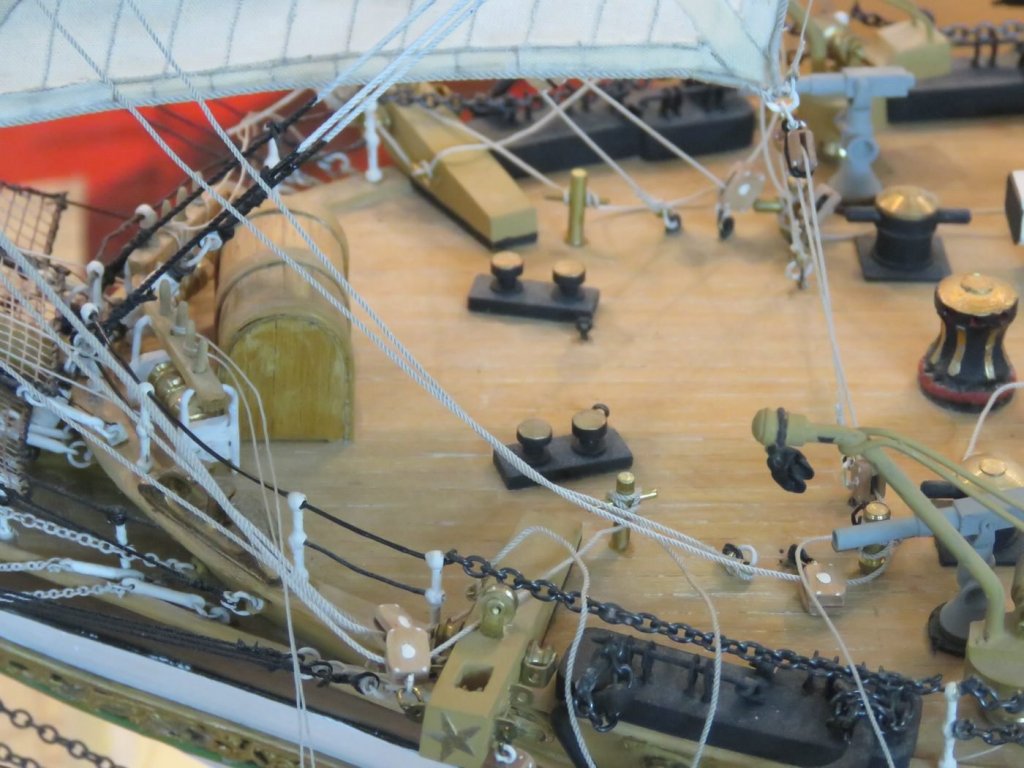
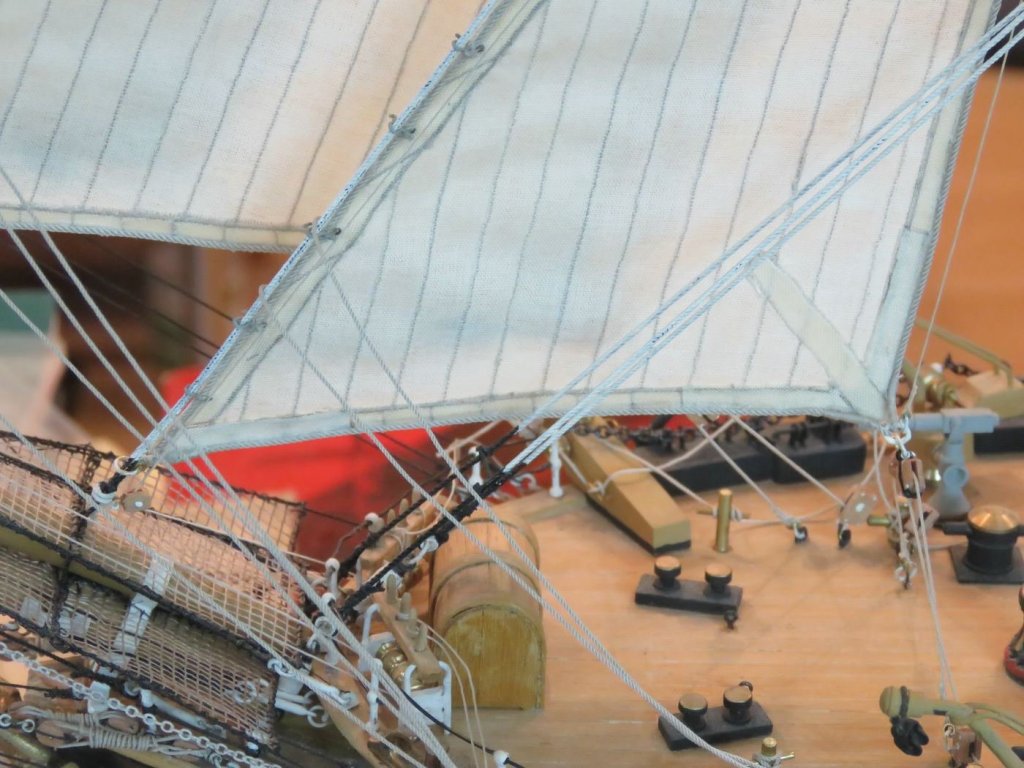
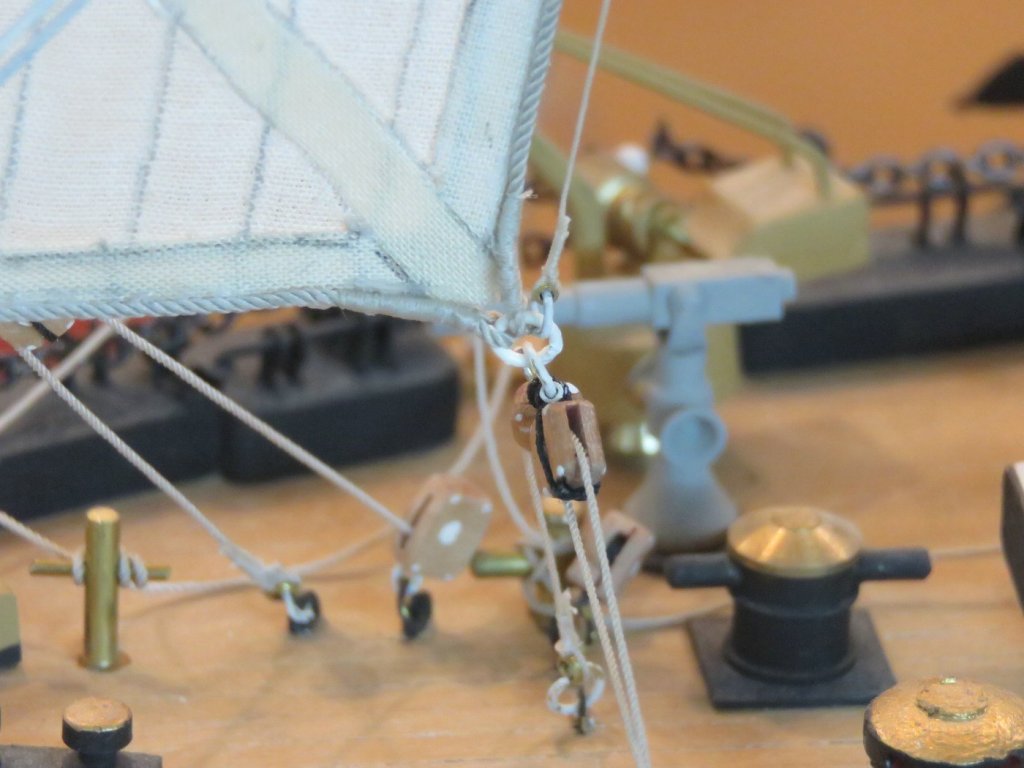
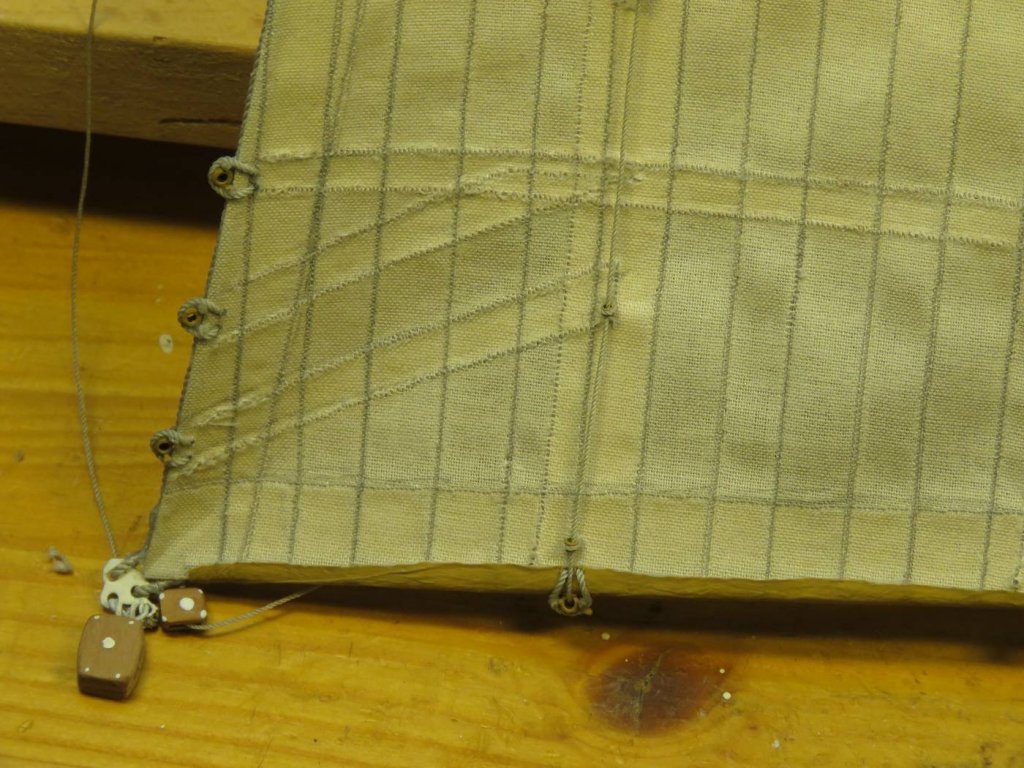
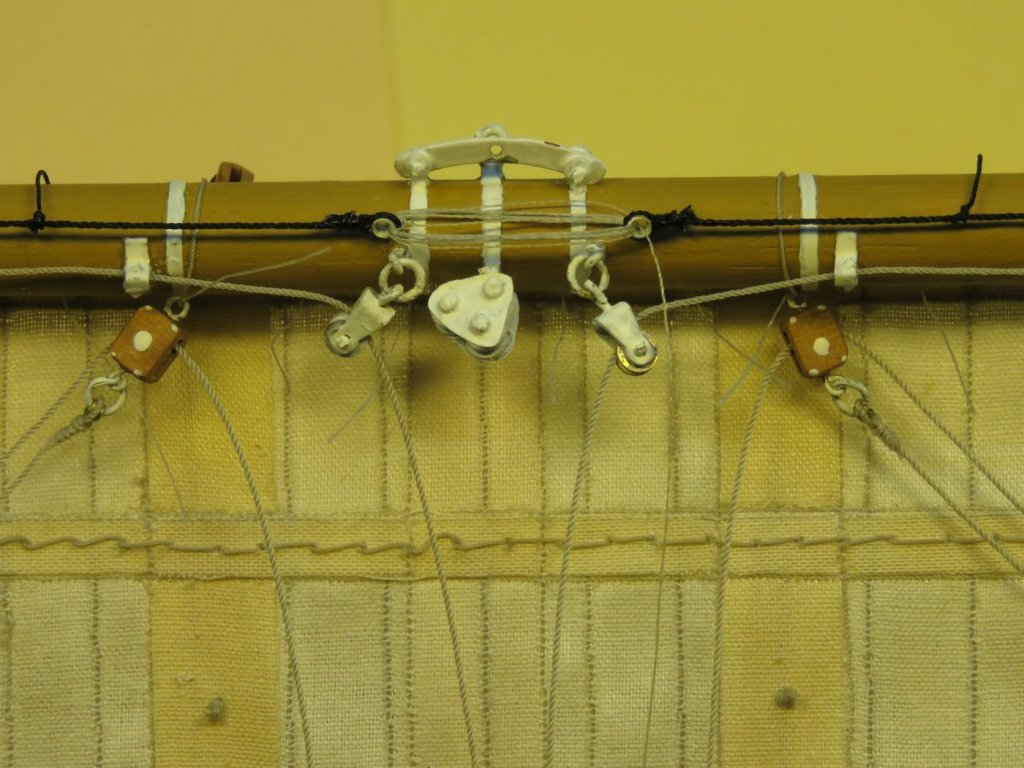
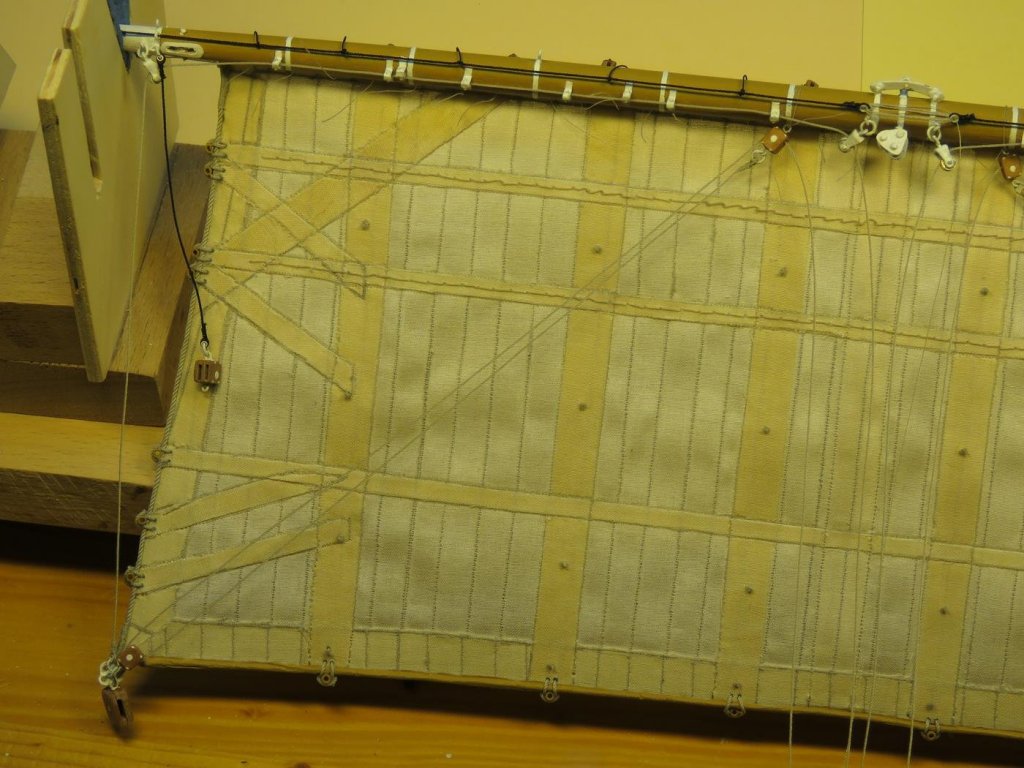
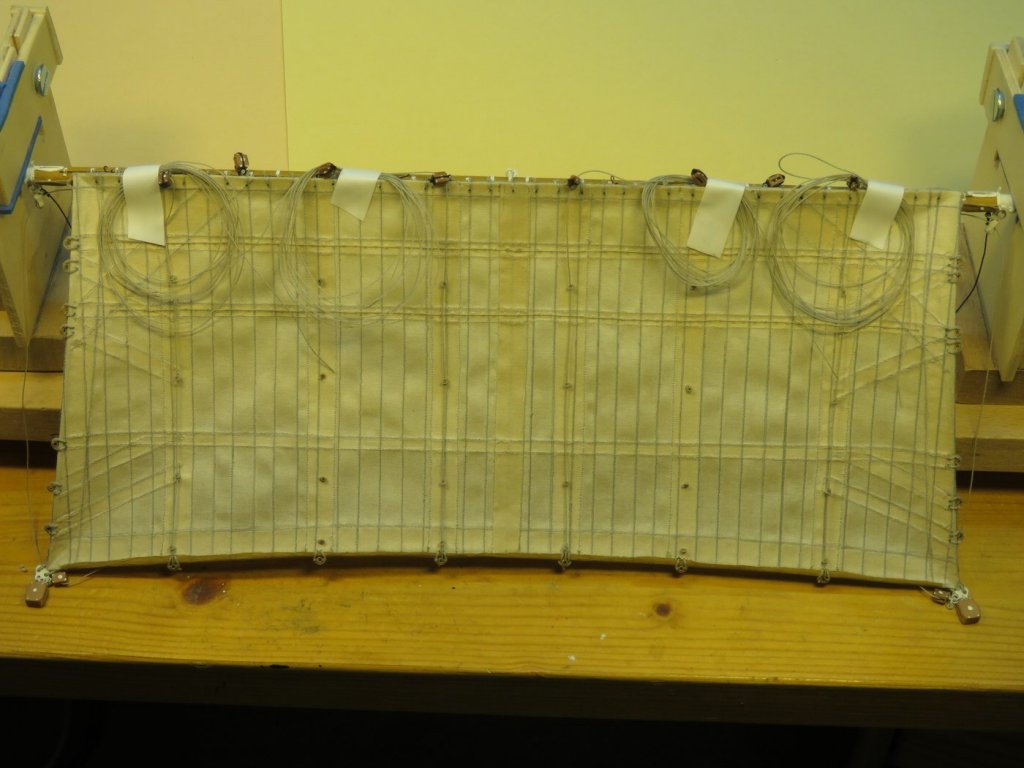
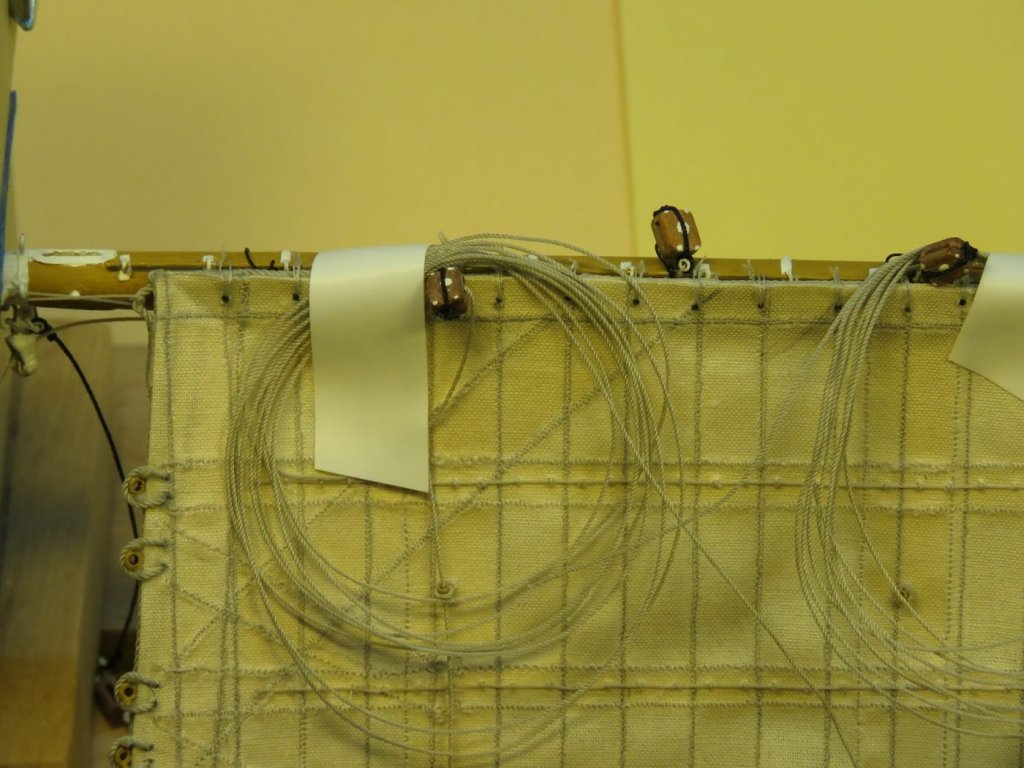
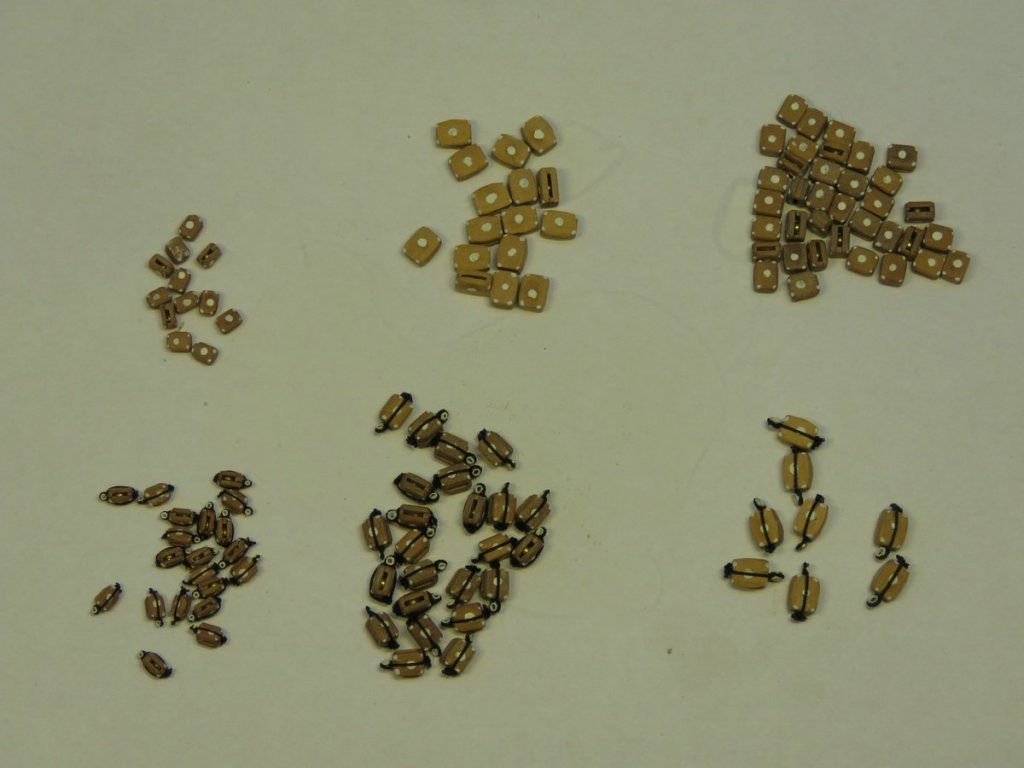
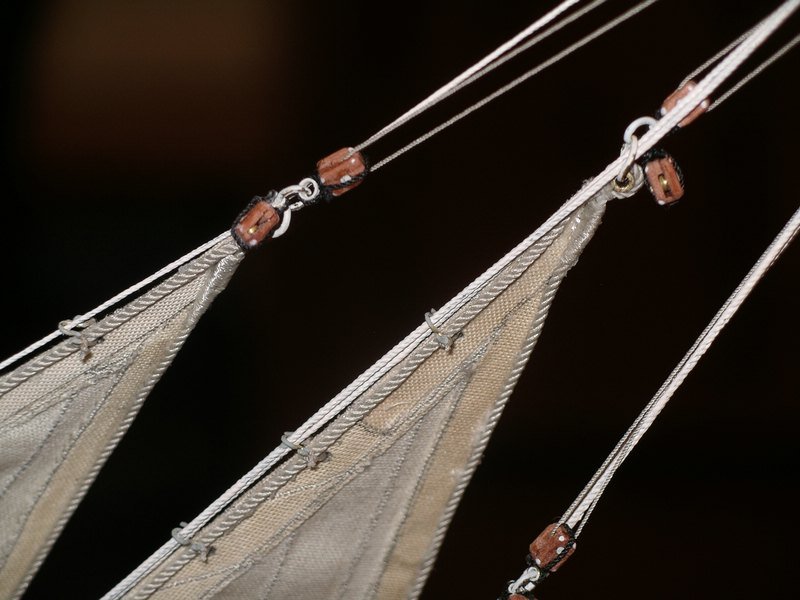
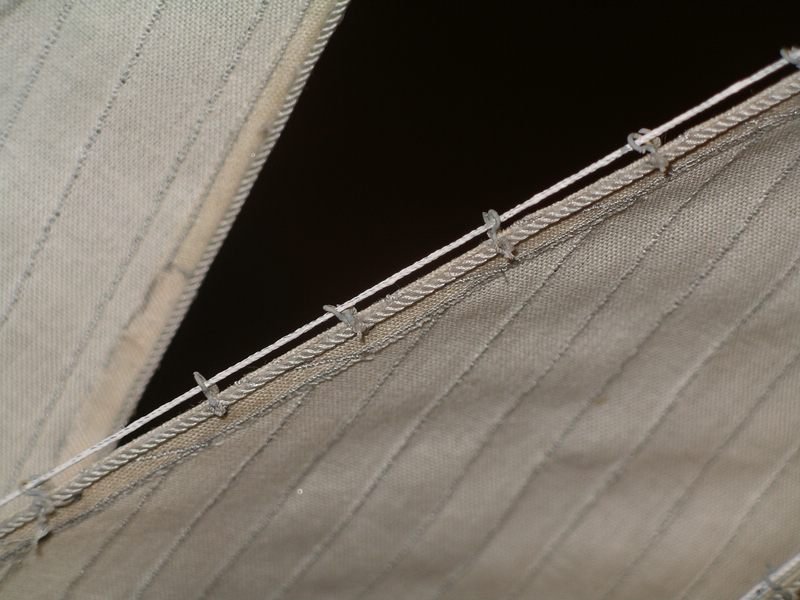
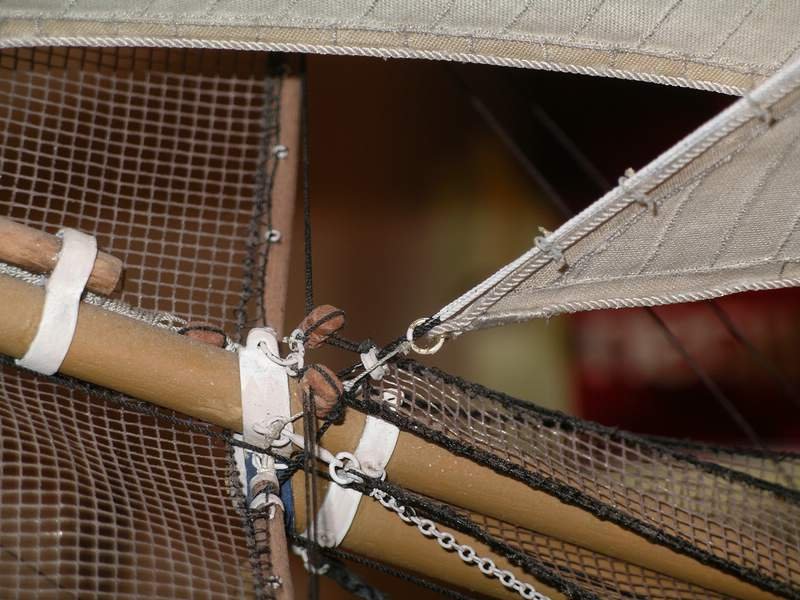
And now the first yard sail, the foresail, is attached to the yard. In order to have it a little easier later with the lines, I have prepared some, especially clew lines and bunt-lines. By the way, a few of the blocks appear there again. I put here some more pictures, because the general procedure is the same for some more sails. Joachim
-
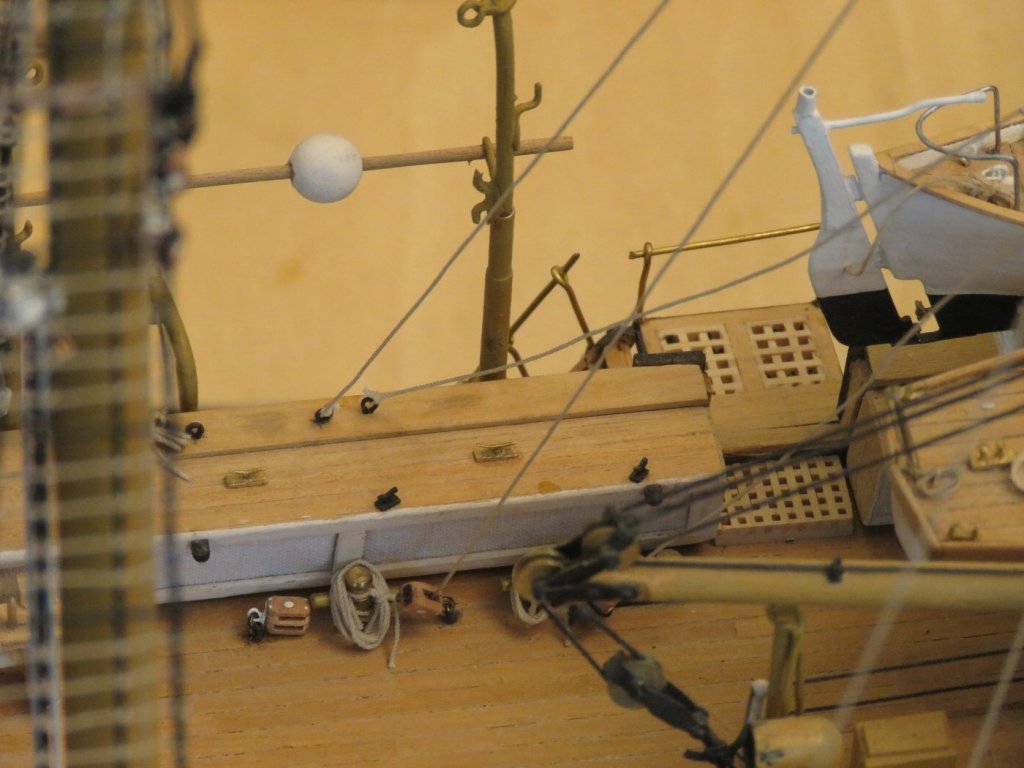
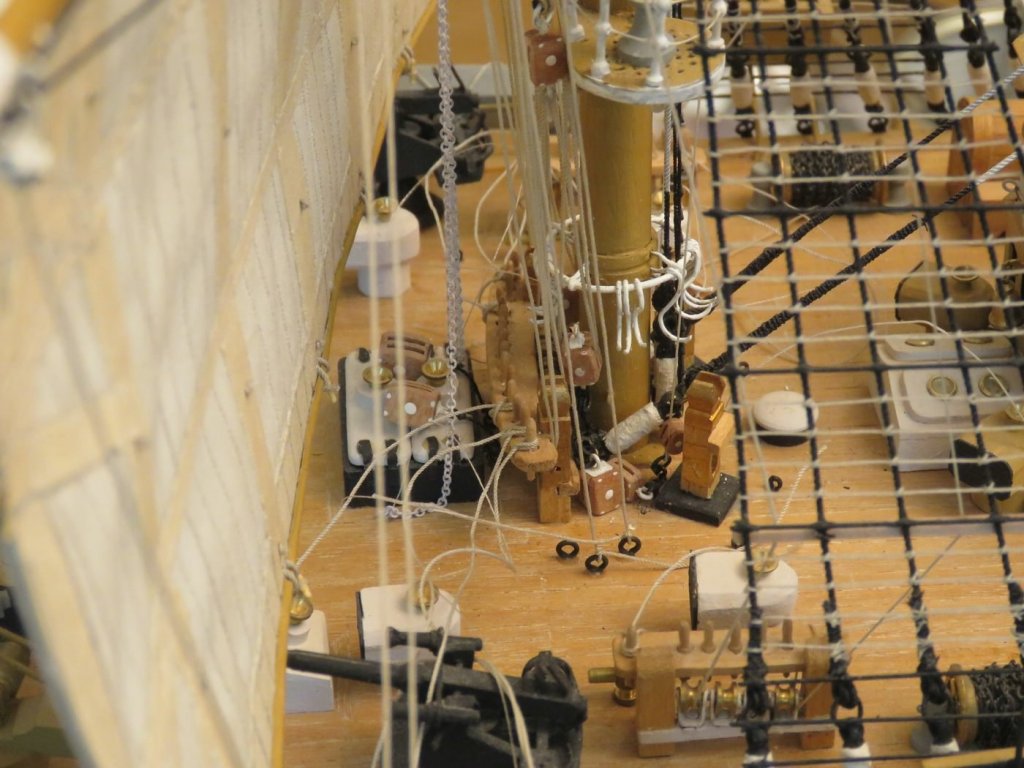
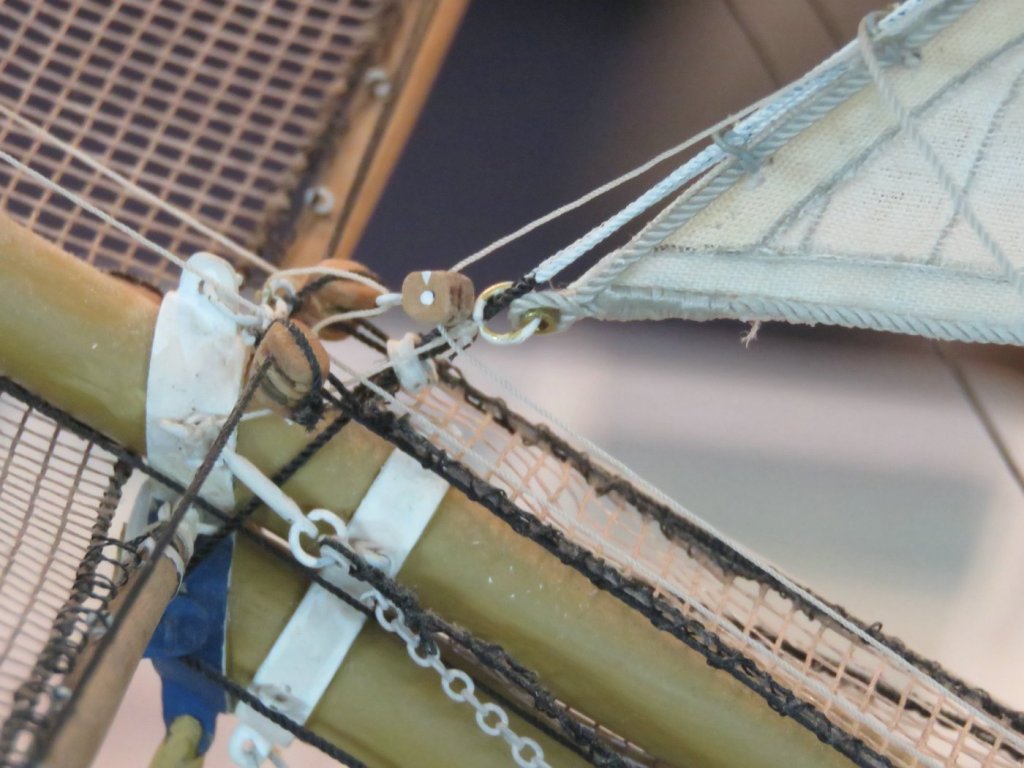
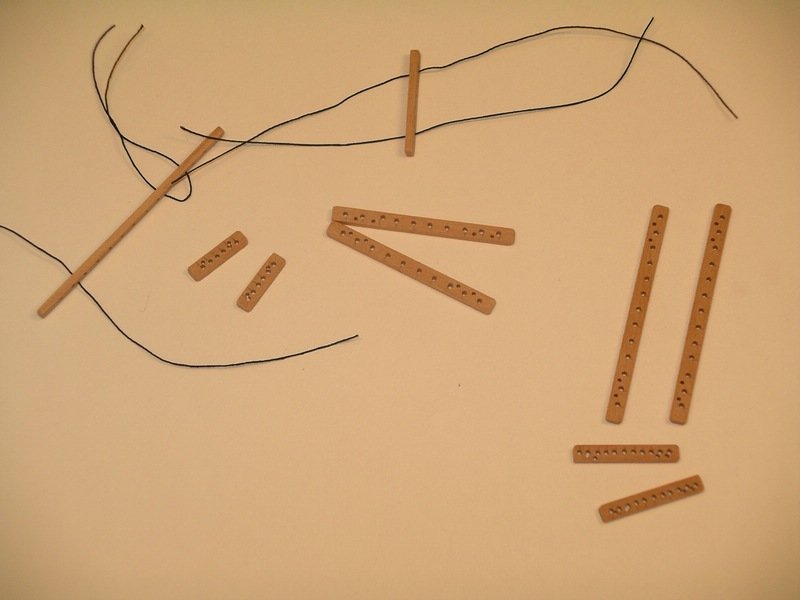
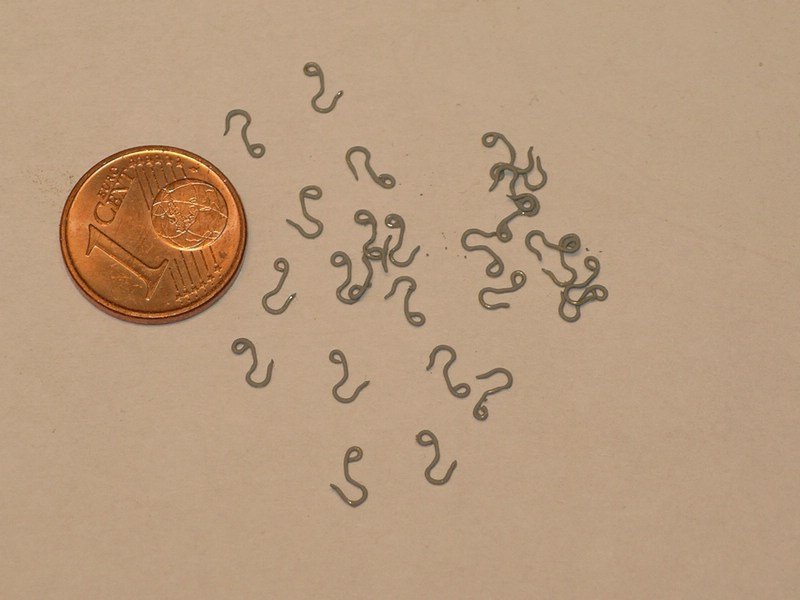
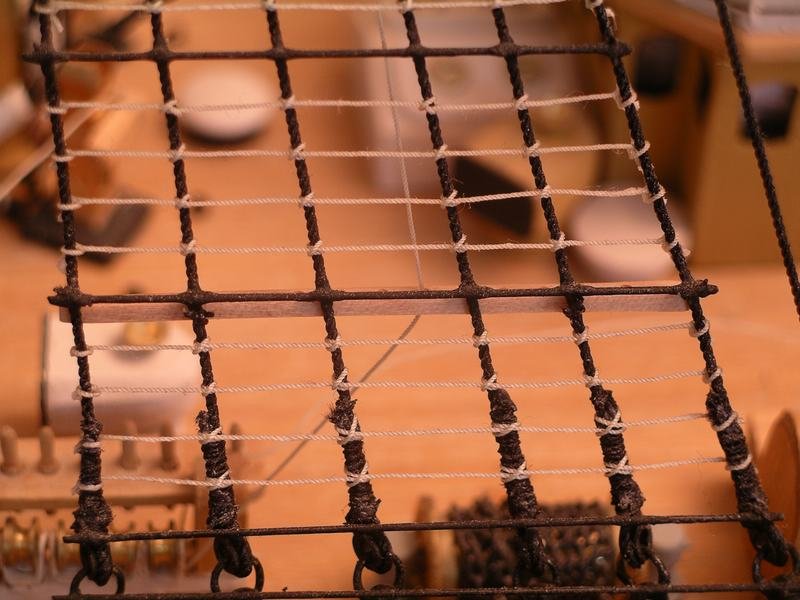
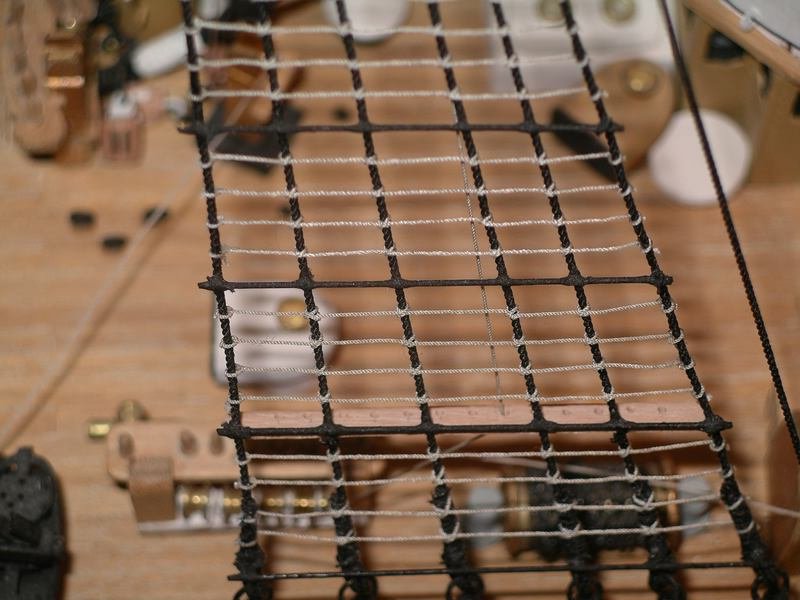
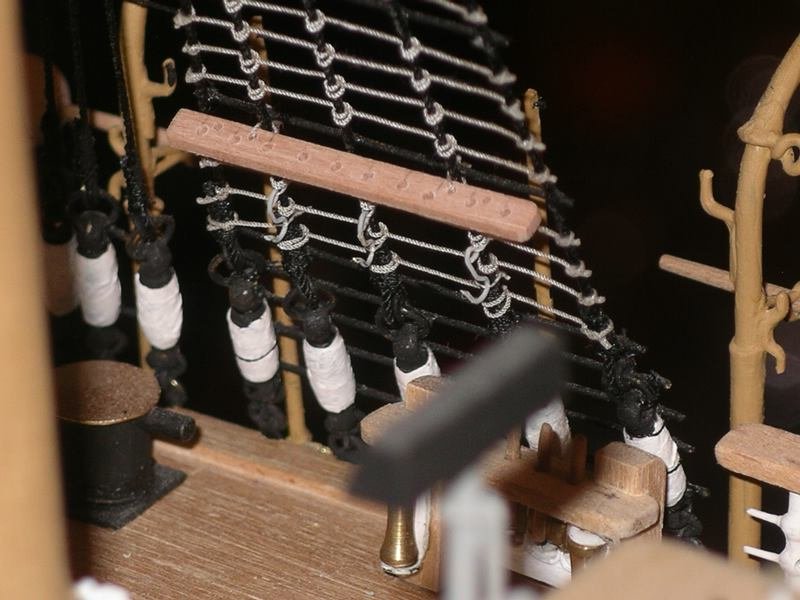
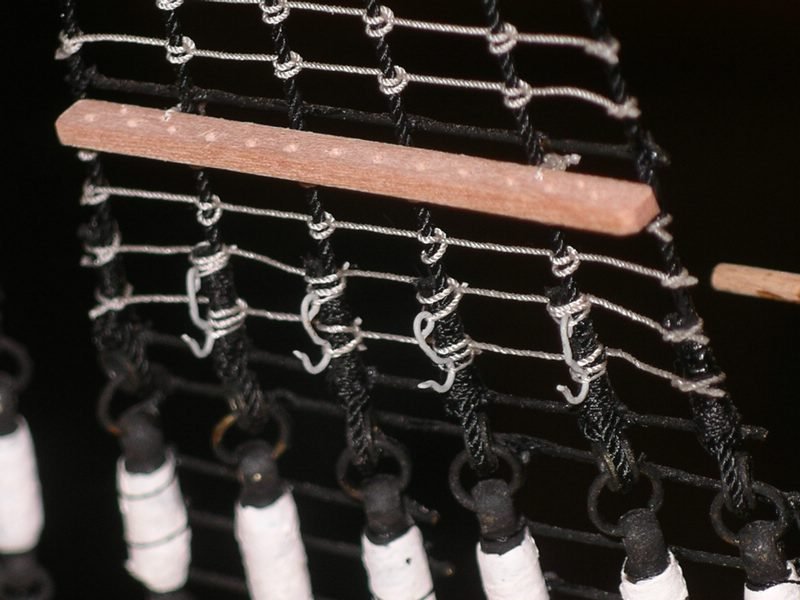
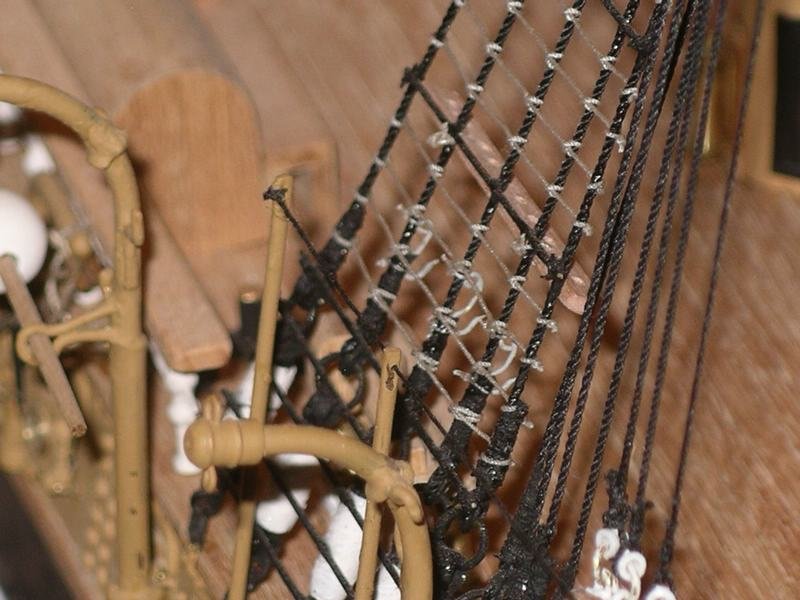
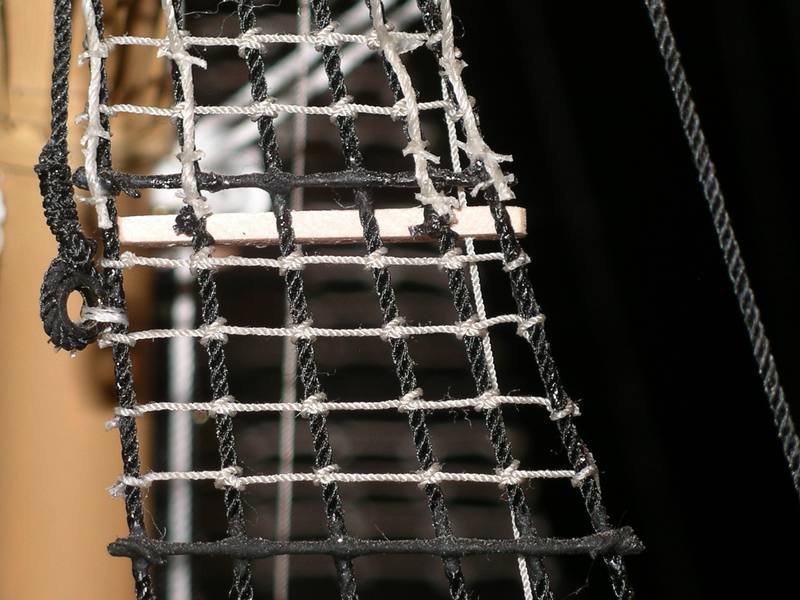
I'd like to get on with a few little things. On the one hand, the shrouds have to be fitted with two "leading sticks" (unfortunately don't know the technical term), through which the lines are led from top to bottom along the shrouds. These lines are then attached to nail benches on the sides of the ship. On the other hand, some hooks are tied to the shrouds at the bottom, on which excess linen material is then hung. I tried to photograph the whole thing from different sides, but since the stuff is quite small again, the pictures didn't turn out so great, but I hope it will be clear anyway. Cheers, Joachim
-
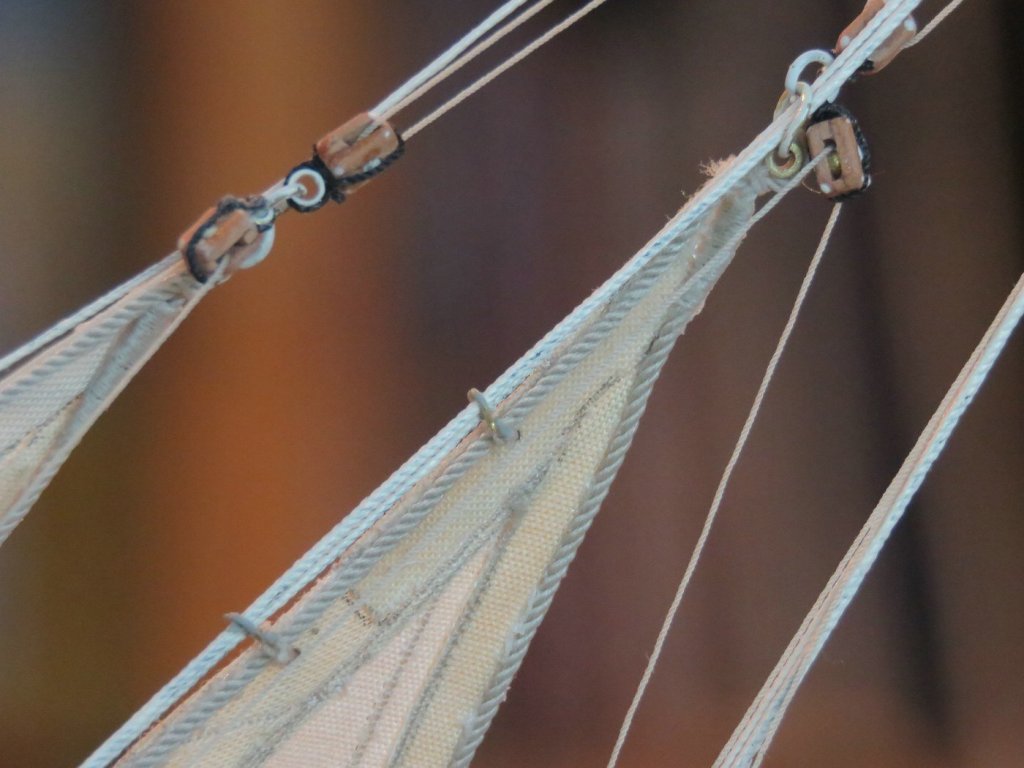
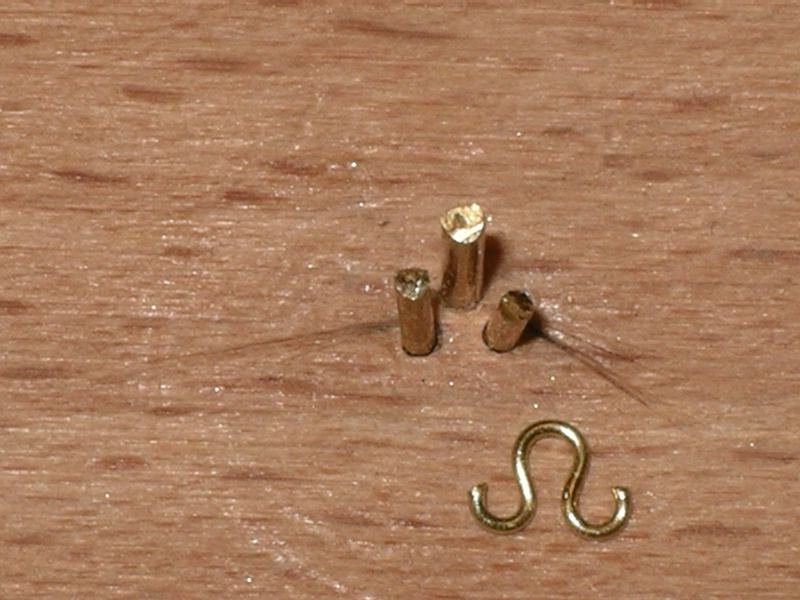
Next, jib leaders had to be made from 0.4 mm wire. For this I have the wire as in the following pictures to see, bent, cut to length and varnished. And this is how the ready mounted foresails look like. Head and clew of the sails are fastened with a ring around the stay. Two blocks are attached to each head, the halyard is guided through one of the blocks, the downhaul will later be guided through the second block. The clew is attached to the bowsprit in a slightly different way for each sail. Joachim
-
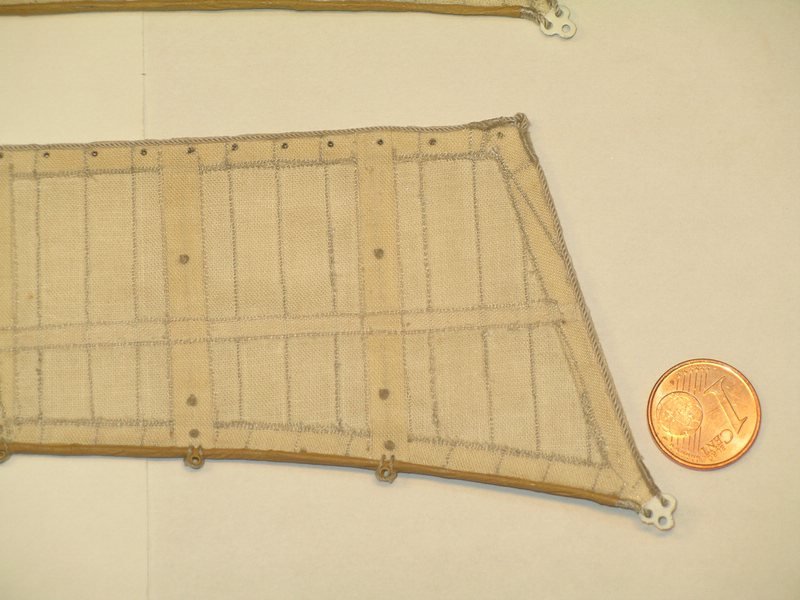
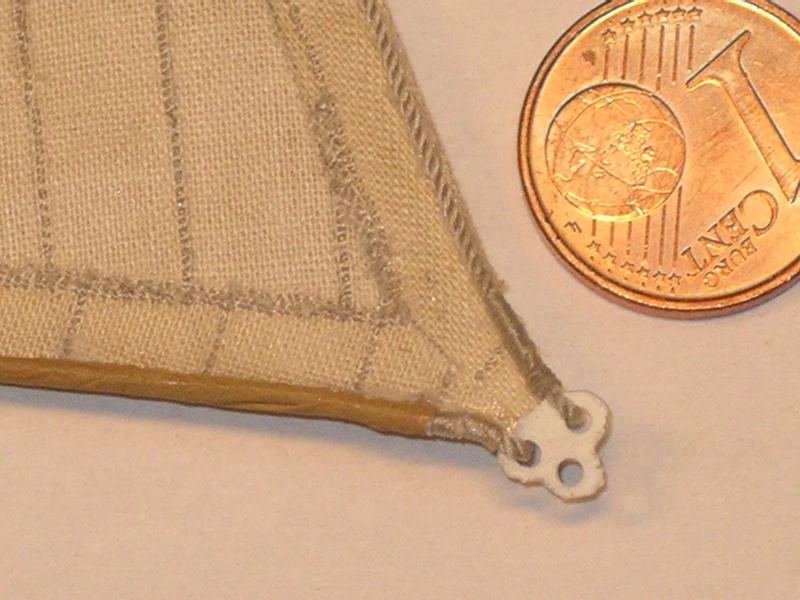
Thank you very much! Okay, the holes on the headboard are only about 0.2 mm. With the sails I wanted to try out what is possible. Actually it goes quite well, needs a lot of patience and a few little tricks. Next time I will still improve some things, there goes still more. By the way, for my good colleague Dirk (Dubz) I was also allowed to make the sails of his great model Maria. See #403 https://modelshipworld.com/topic/10901-maria-hf31-by-dubz-dusek-172-fishing-ewer-finkenwerderhamburg/page/14/ Joachim
-
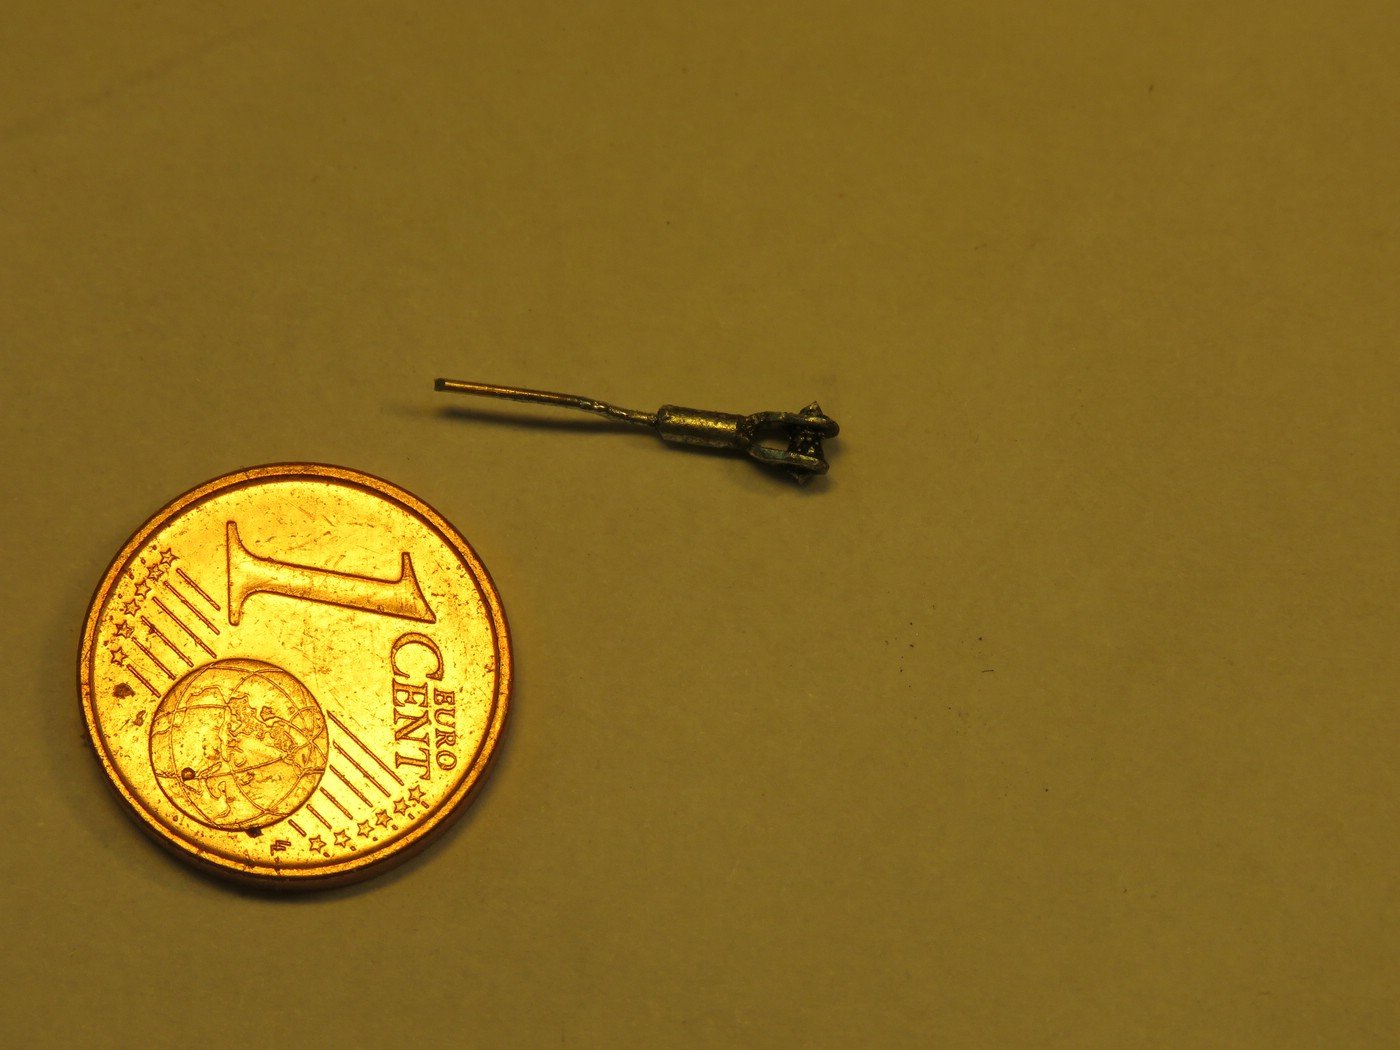
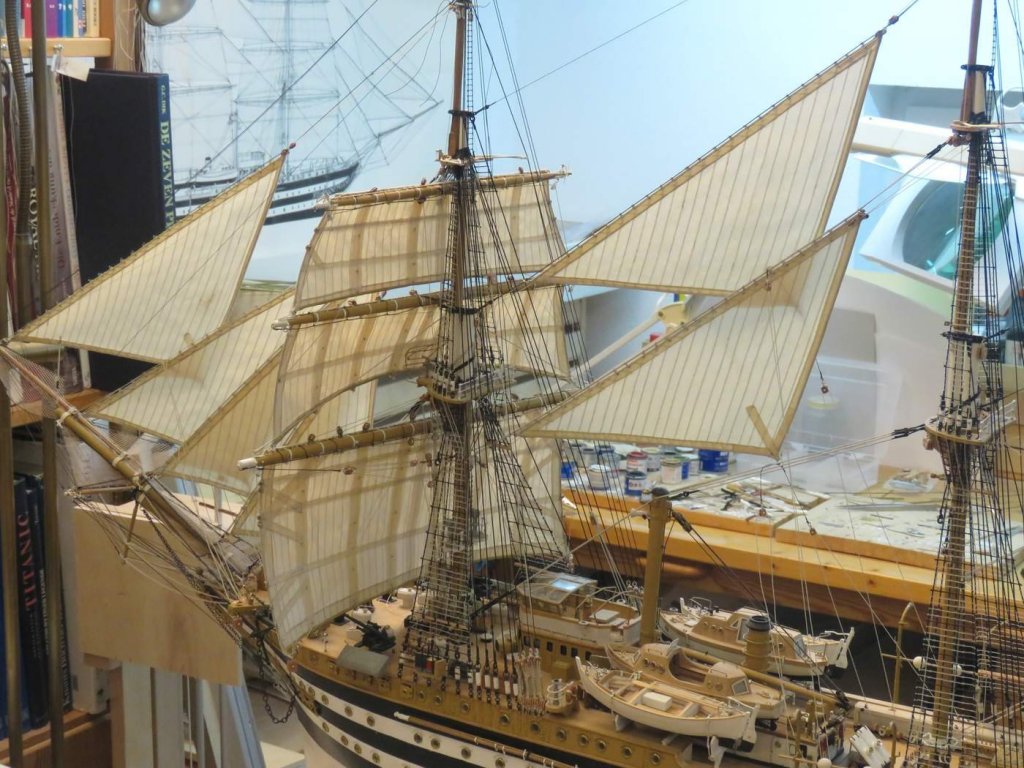
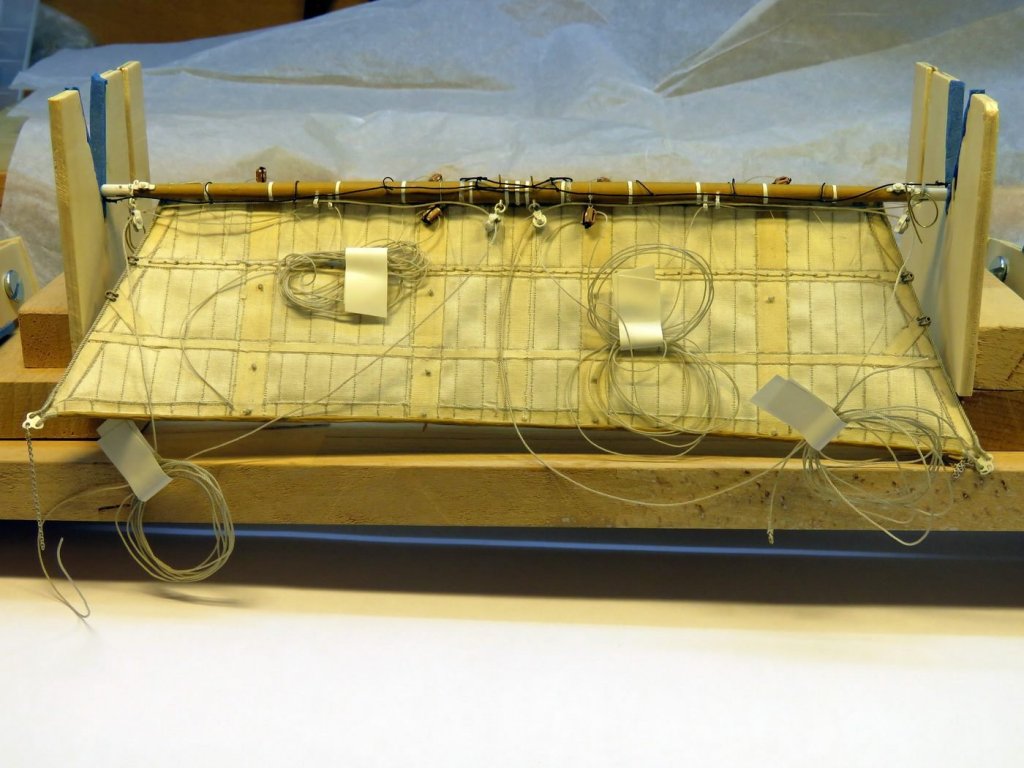
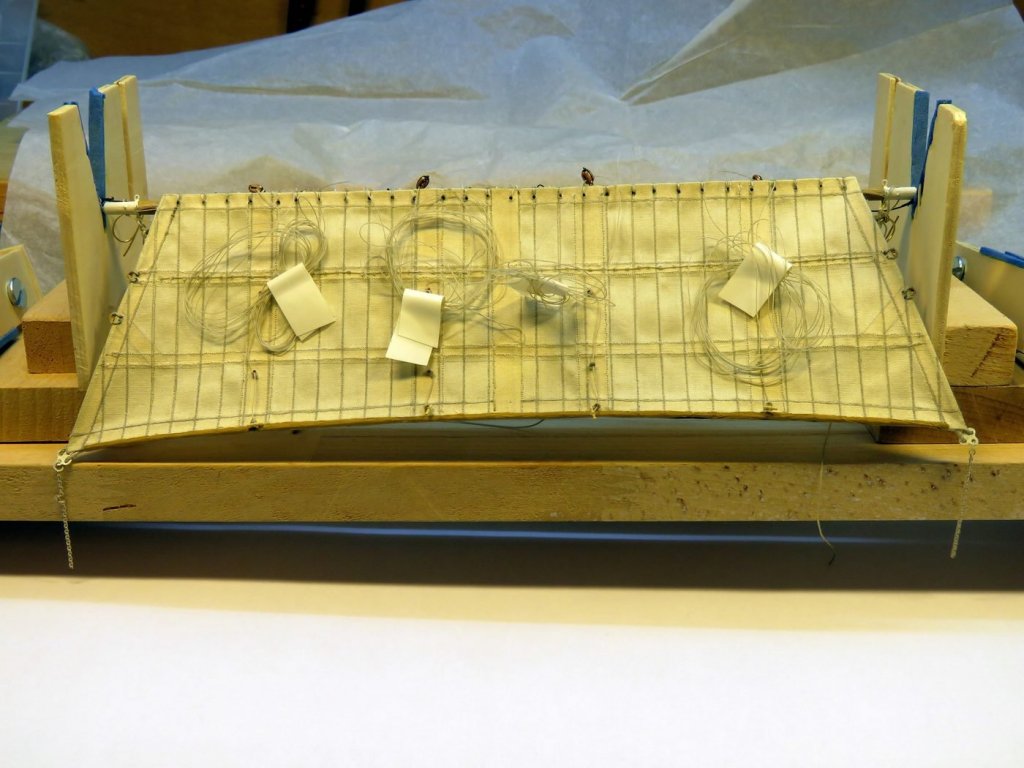
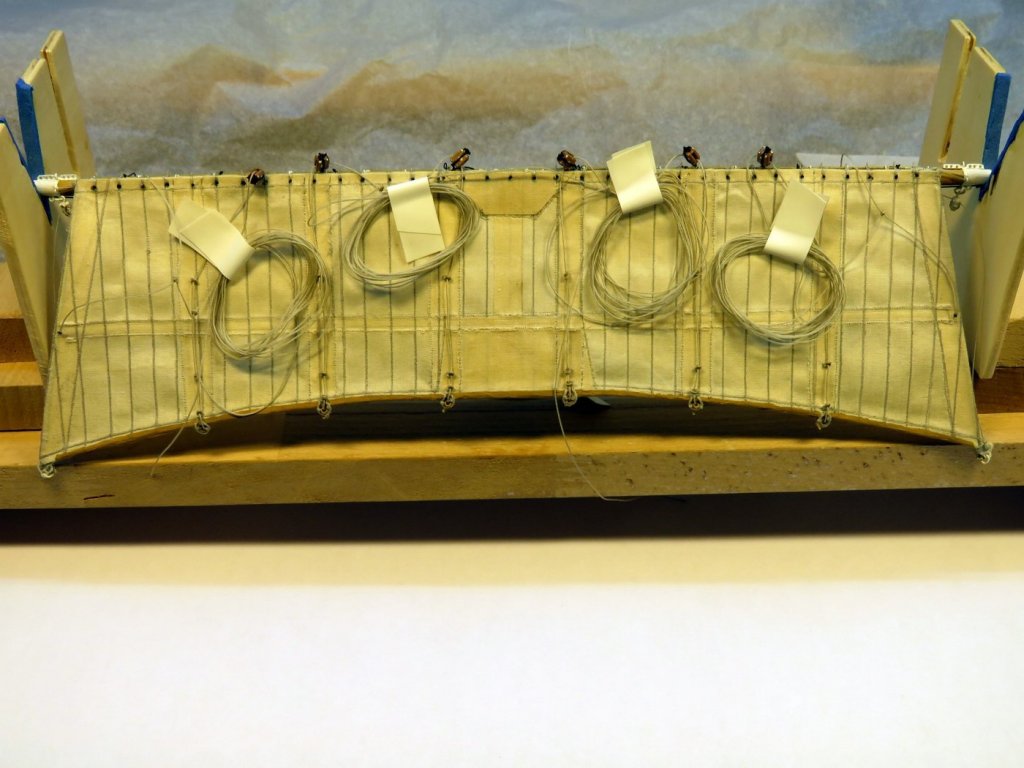
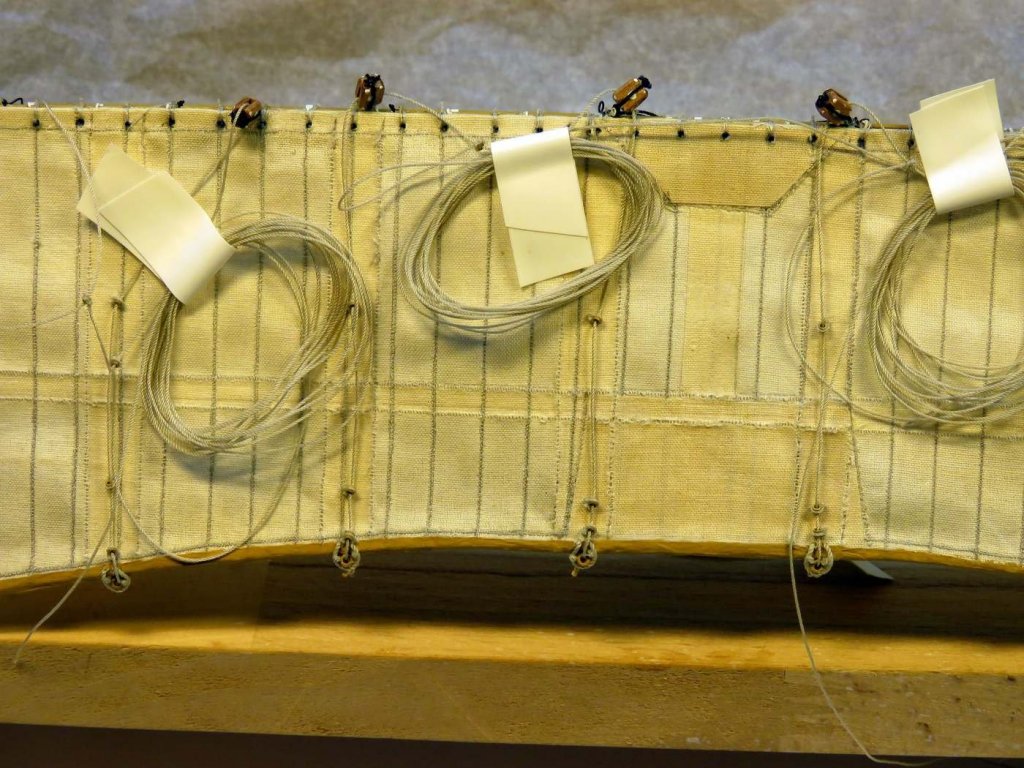
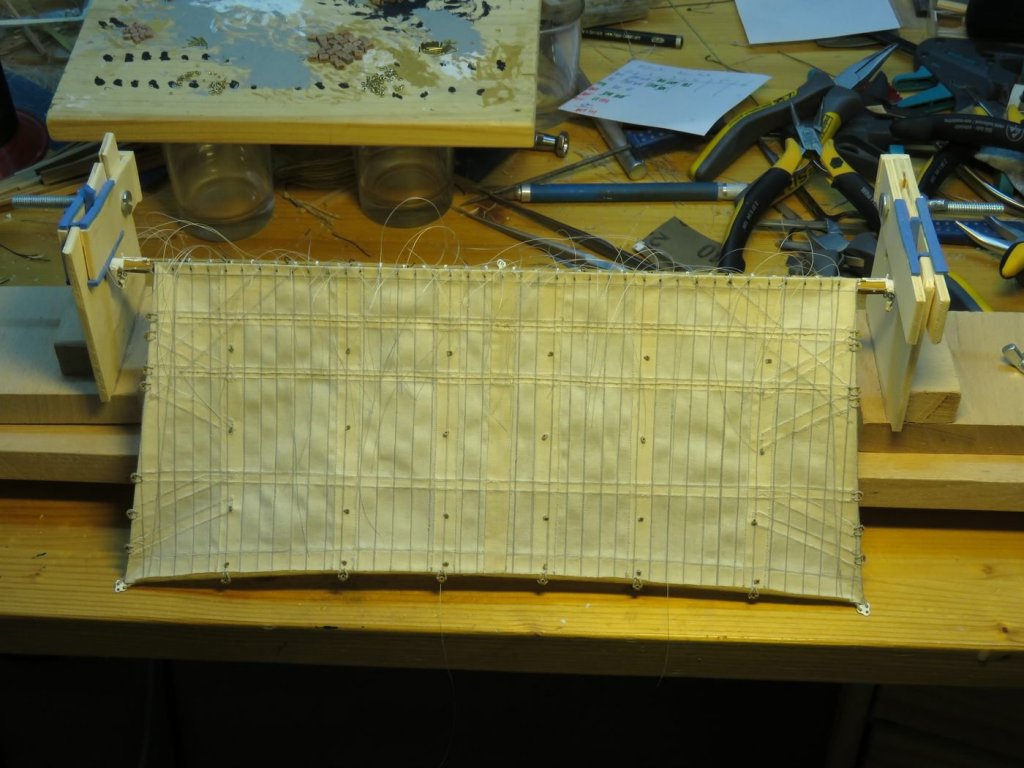
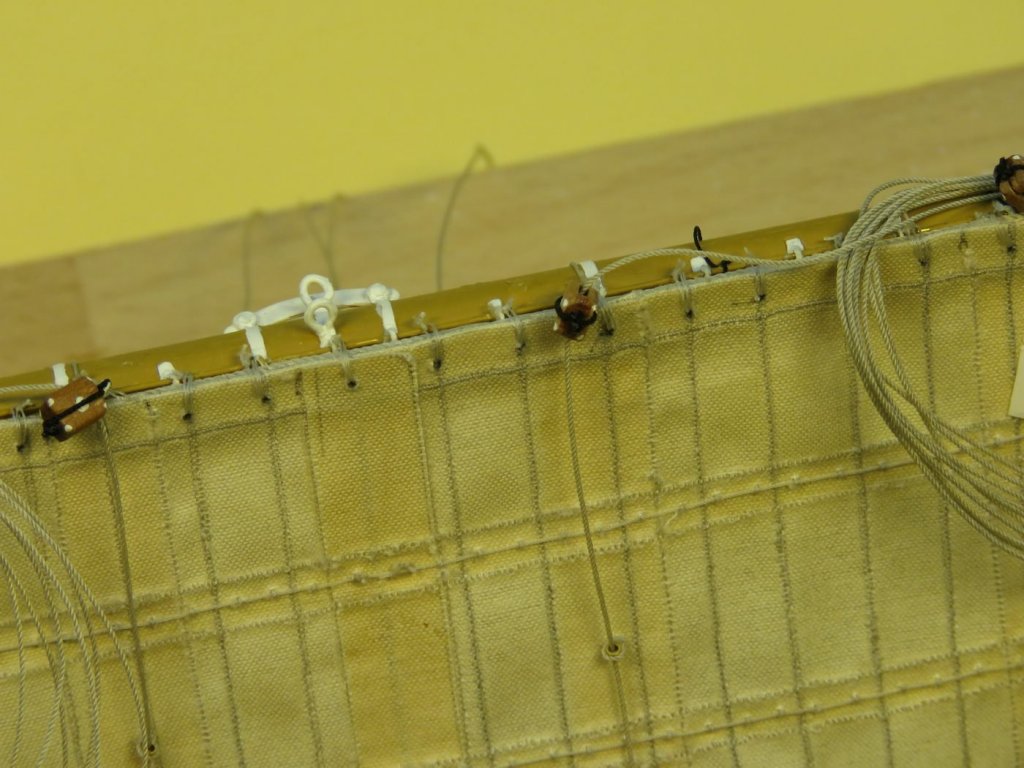
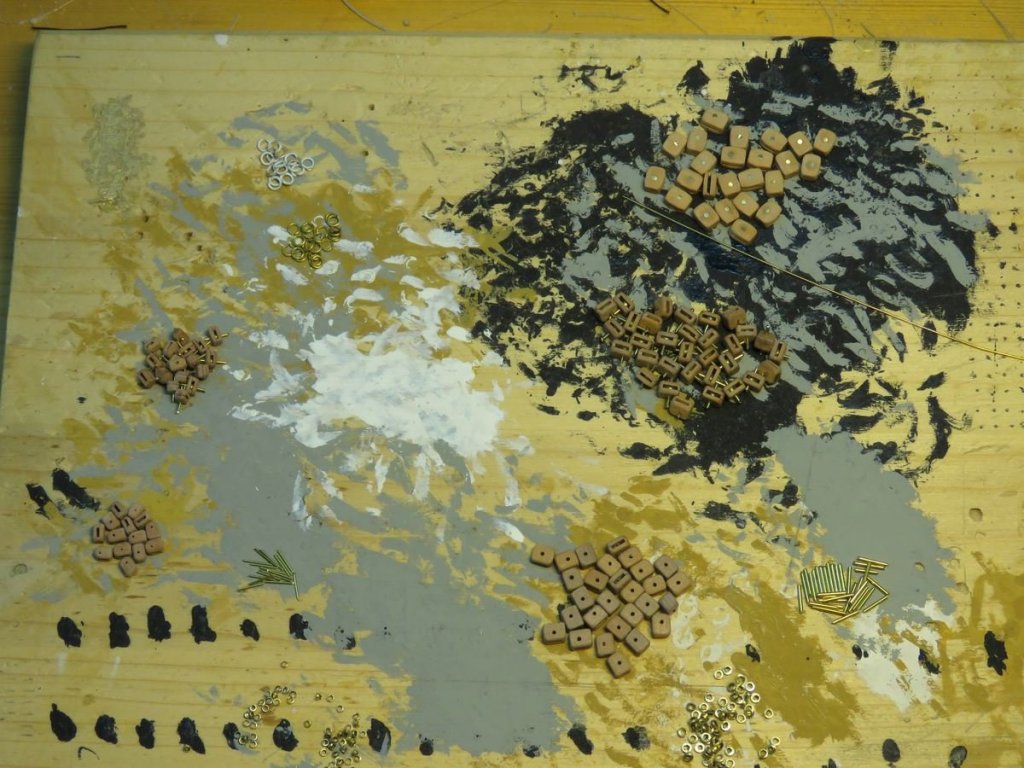
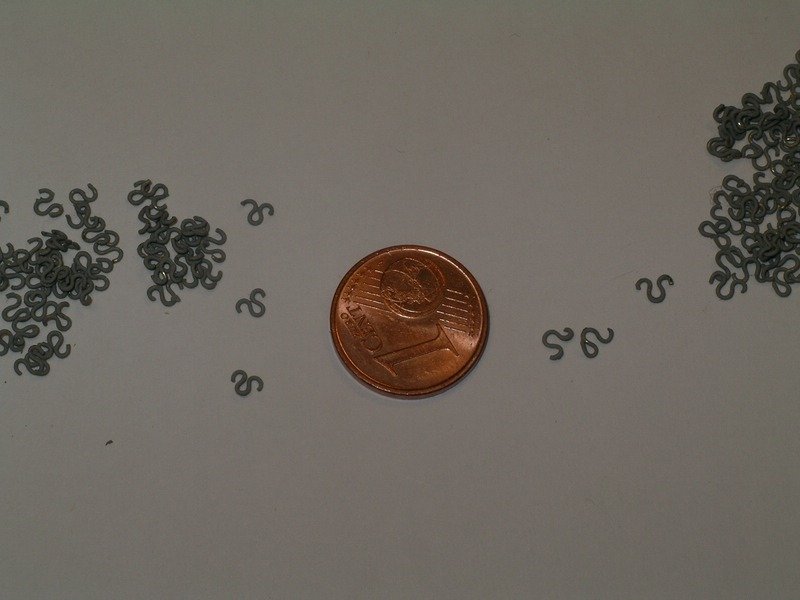
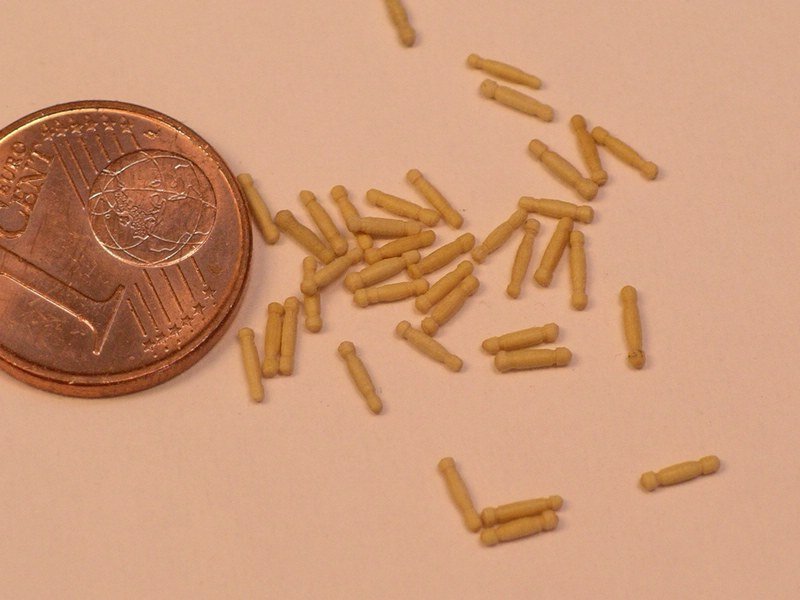
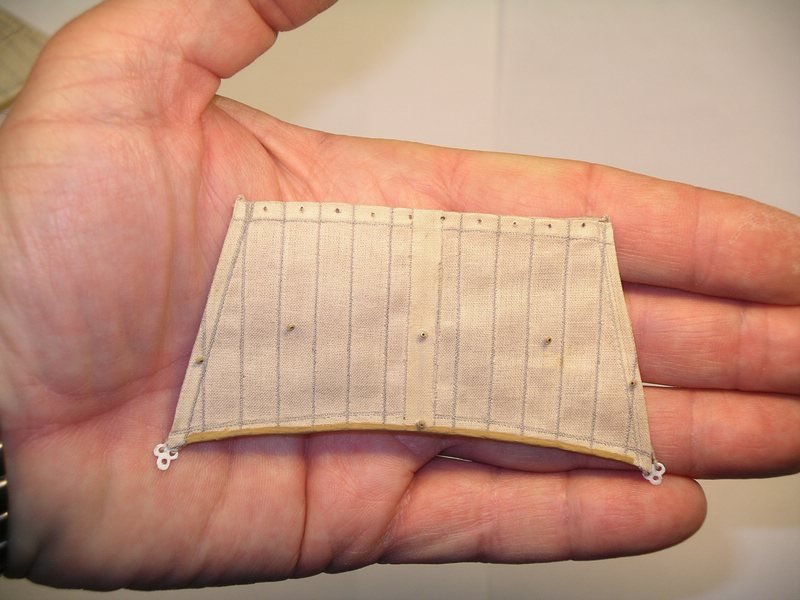
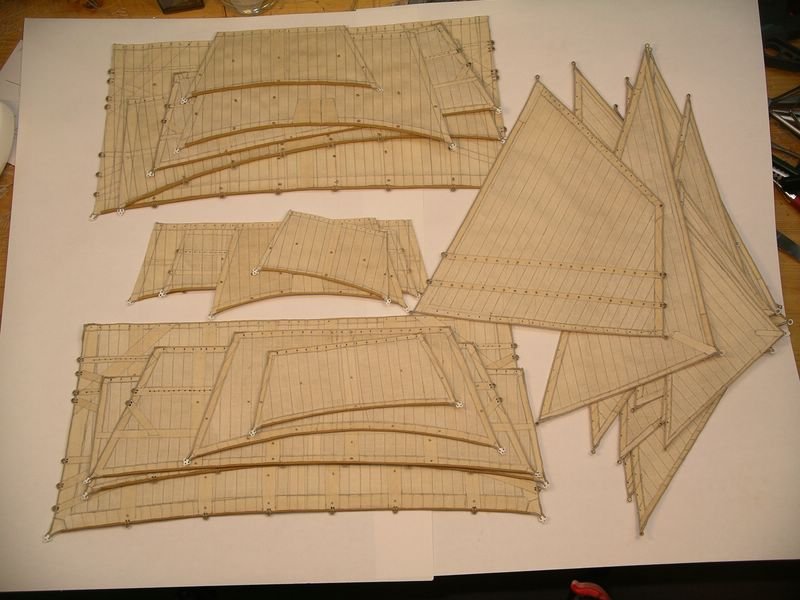
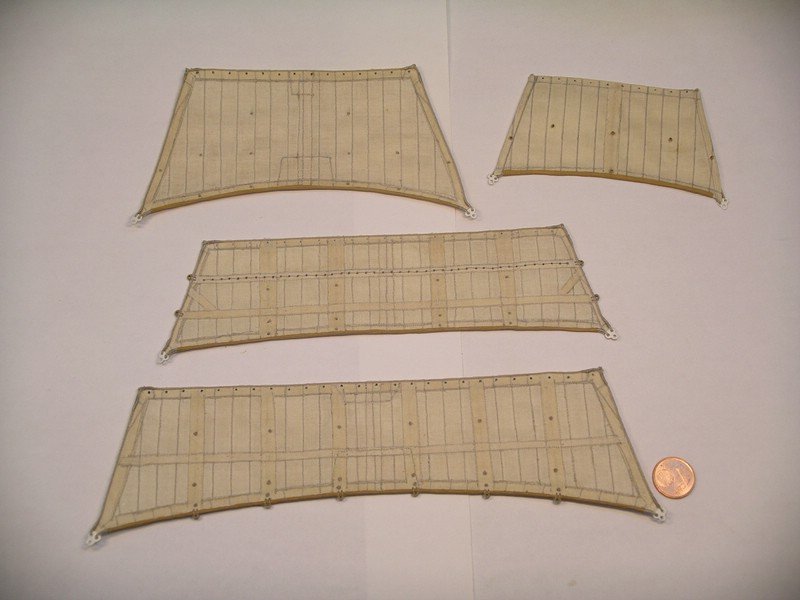
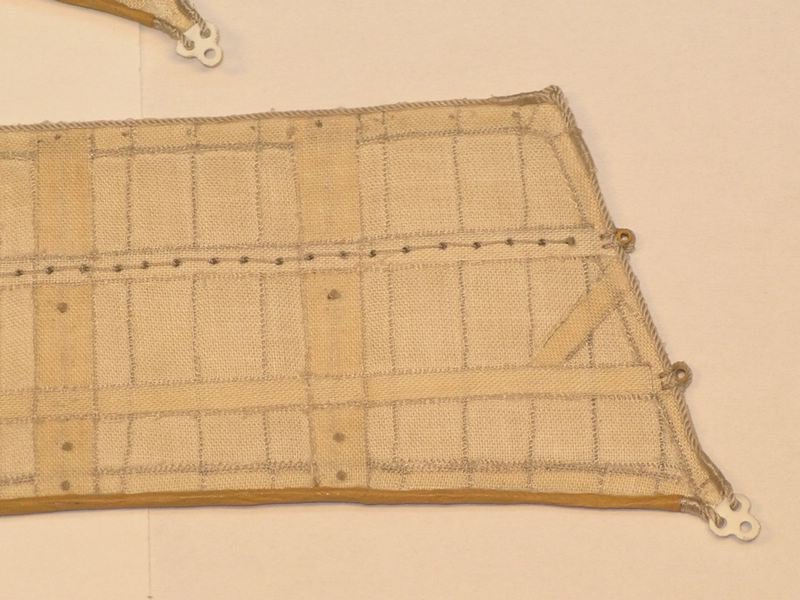
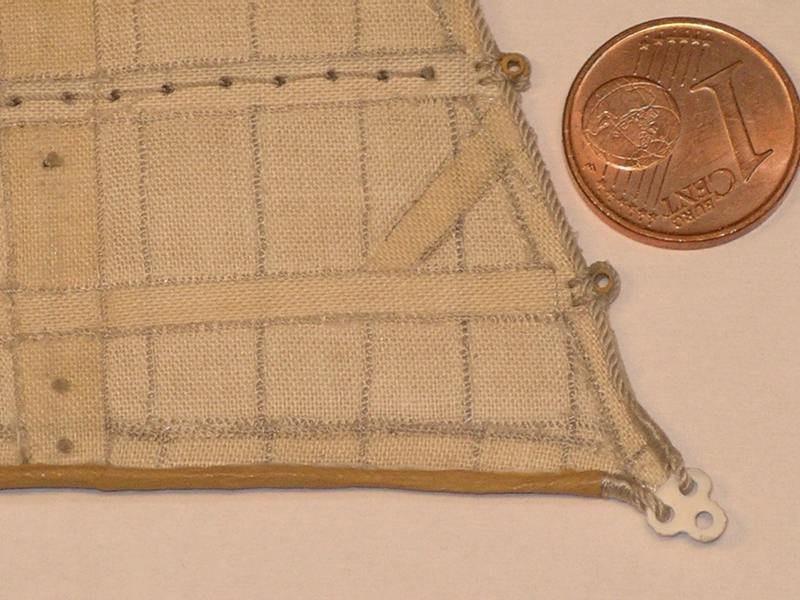
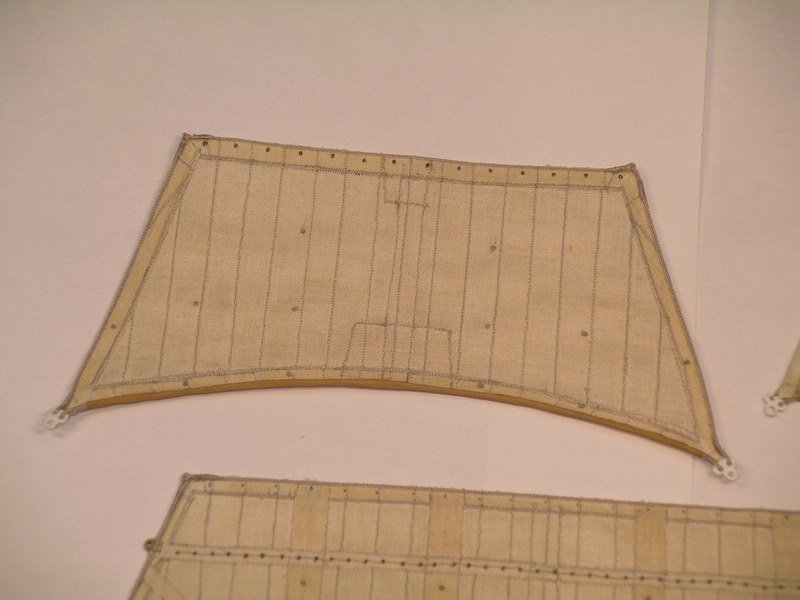
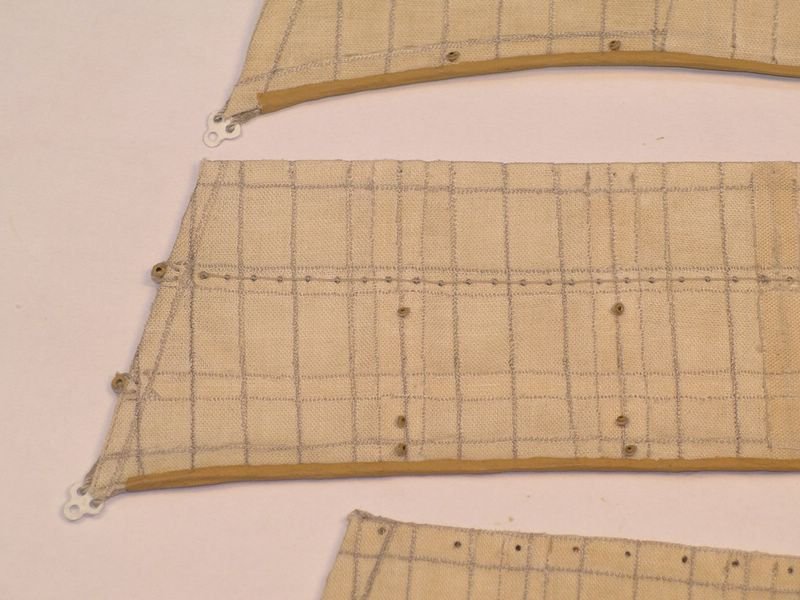
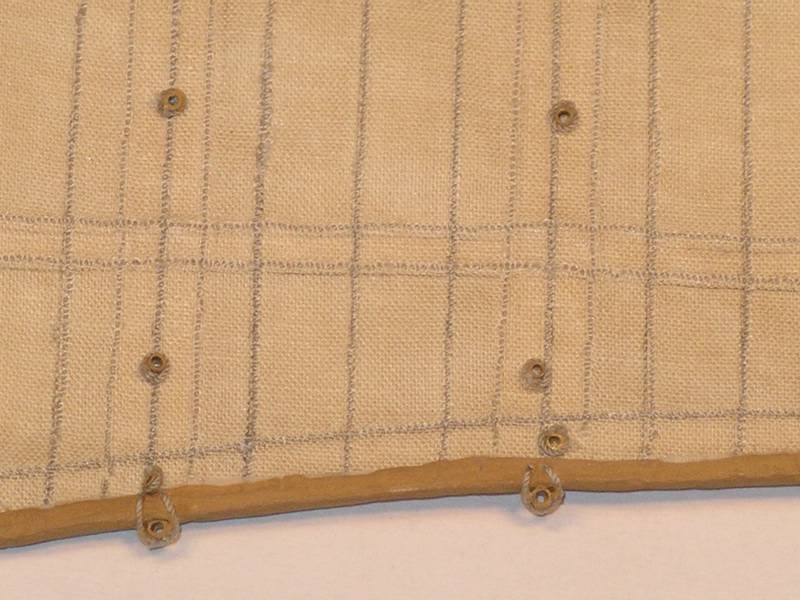
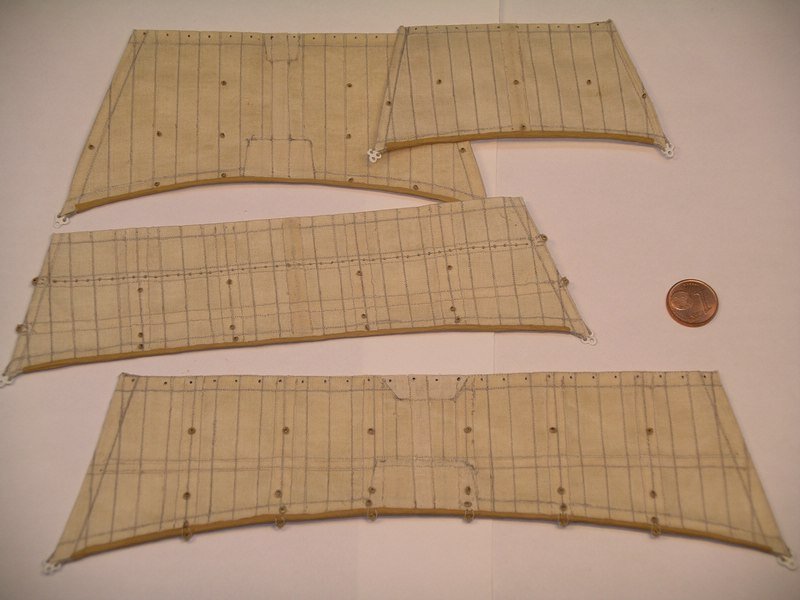
The last four sails are ready. These are the smallest of the square sails now, from the mizzen mast. They are also structured according to the same scheme. Finally a group picture with all sails. In order to estimate the proportions somewhat, I have added a cent. Since the question arose, some information about the sizes of thimbles. The large thimbles on the side of the sails have an outer diameter of 1.8 mm down to 0.8 mm. The large eyelets on the sails have a diameter of 1 mm, the smallest eyelets have an outer diameter of only 0.6 mm. They' re smaller than I wrote in the other post. By the way, until today there are no correct, detailed plans for the AV available. And so I am about to write a book about the rigging of the Amerigo Vespucci, where all my plans and details will be described. Joachim
About us
Modelshipworld - Advancing Ship Modeling through Research
SSL Secured
Your security is important for us so this Website is SSL-Secured
NRG Mailing Address
Nautical Research Guild
237 South Lincoln Street
Westmont IL, 60559-1917
Model Ship World ® and the MSW logo are Registered Trademarks, and belong to the Nautical Research Guild (United States Patent and Trademark Office: No. 6,929,264 & No. 6,929,274, registered Dec. 20, 2022)
Helpful Links
About the NRG
If you enjoy building ship models that are historically accurate as well as beautiful, then The Nautical Research Guild (NRG) is just right for you.
The Guild is a non-profit educational organization whose mission is to “Advance Ship Modeling Through Research”. We provide support to our members in their efforts to raise the quality of their model ships.
The Nautical Research Guild has published our world-renowned quarterly magazine, The Nautical Research Journal, since 1955. The pages of the Journal are full of articles by accomplished ship modelers who show you how they create those exquisite details on their models, and by maritime historians who show you the correct details to build. The Journal is available in both print and digital editions. Go to the NRG web site (www.thenrg.org) to download a complimentary digital copy of the Journal. The NRG also publishes plan sets, books and compilations of back issues of the Journal and the former Ships in Scale and Model Ship Builder magazines.


