Paul0367
-
Posts
504 -
Joined
-
Last visited
Content Type
Profiles
Forums
Gallery
Events
Everything posted by Paul0367
-
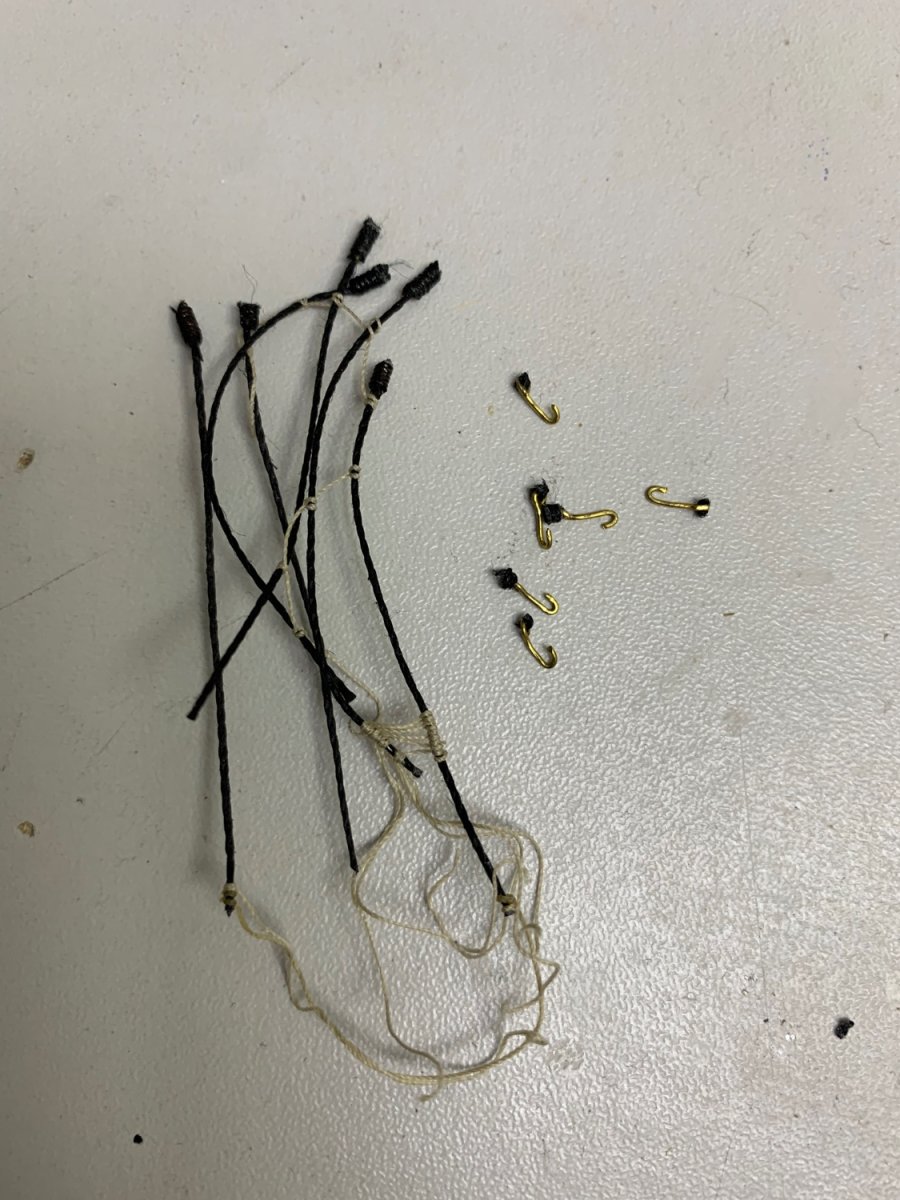
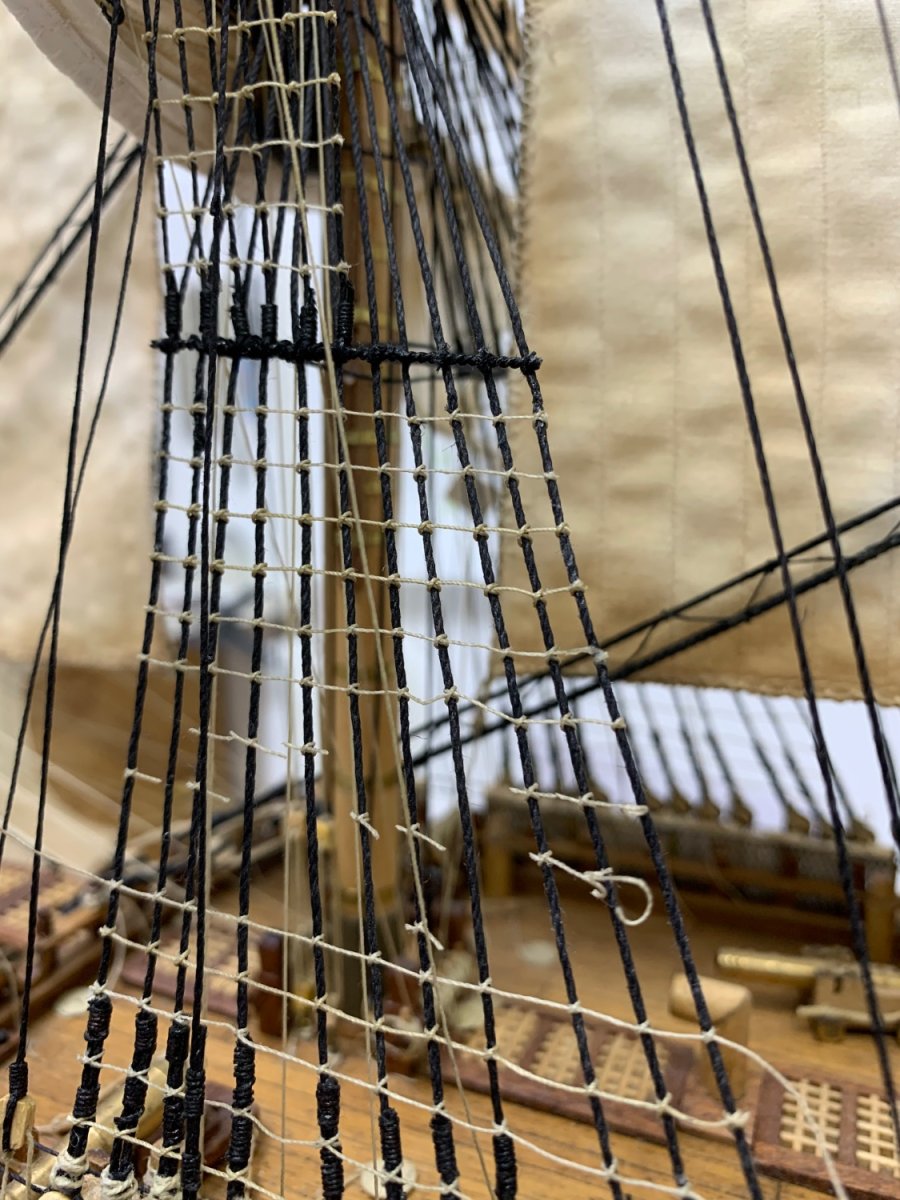
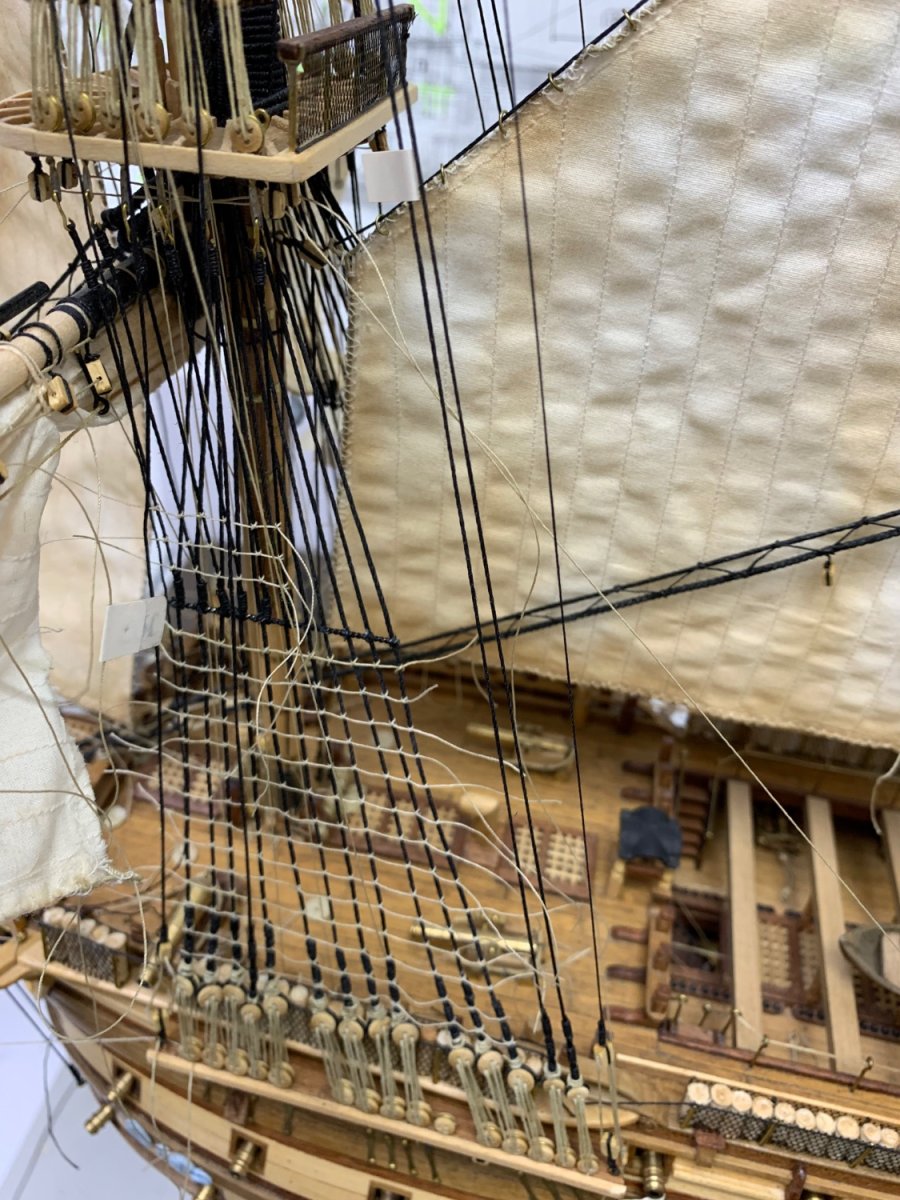
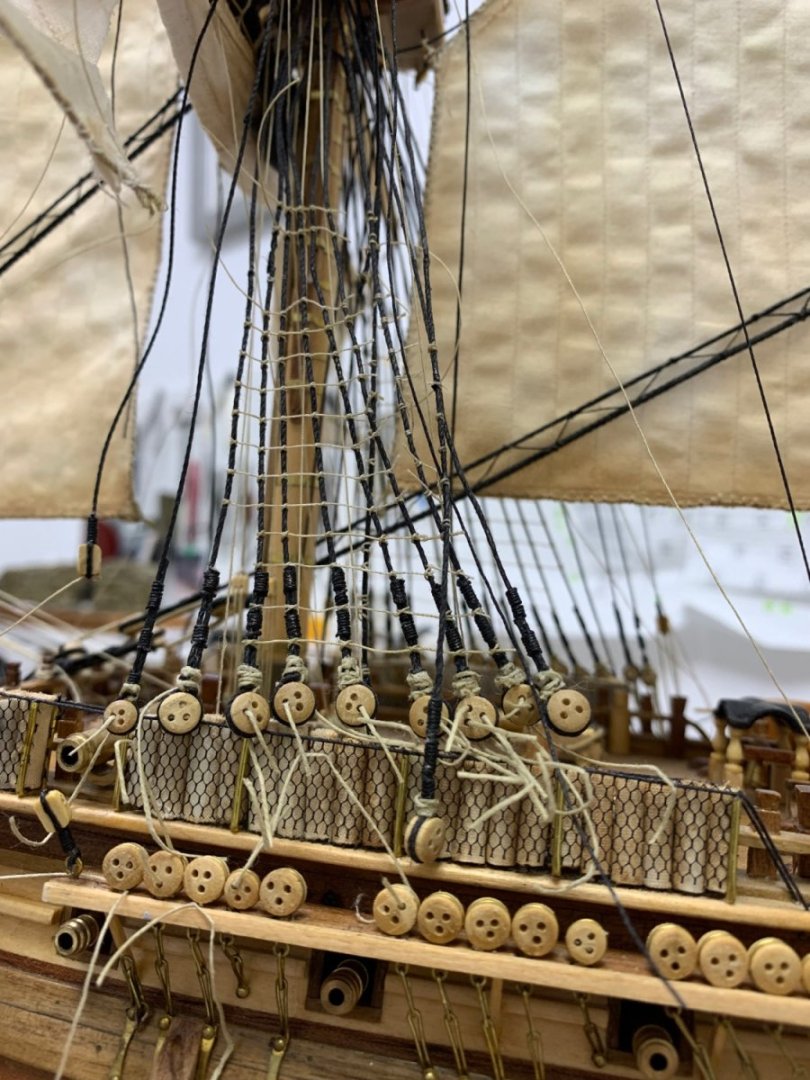
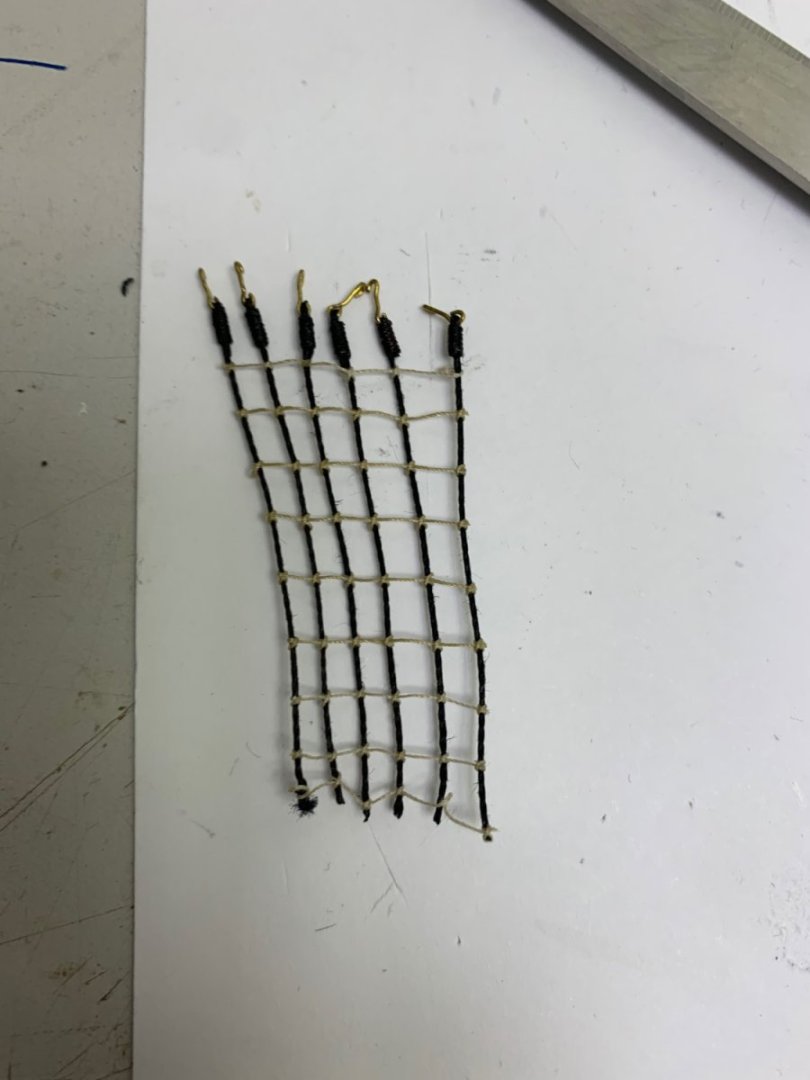
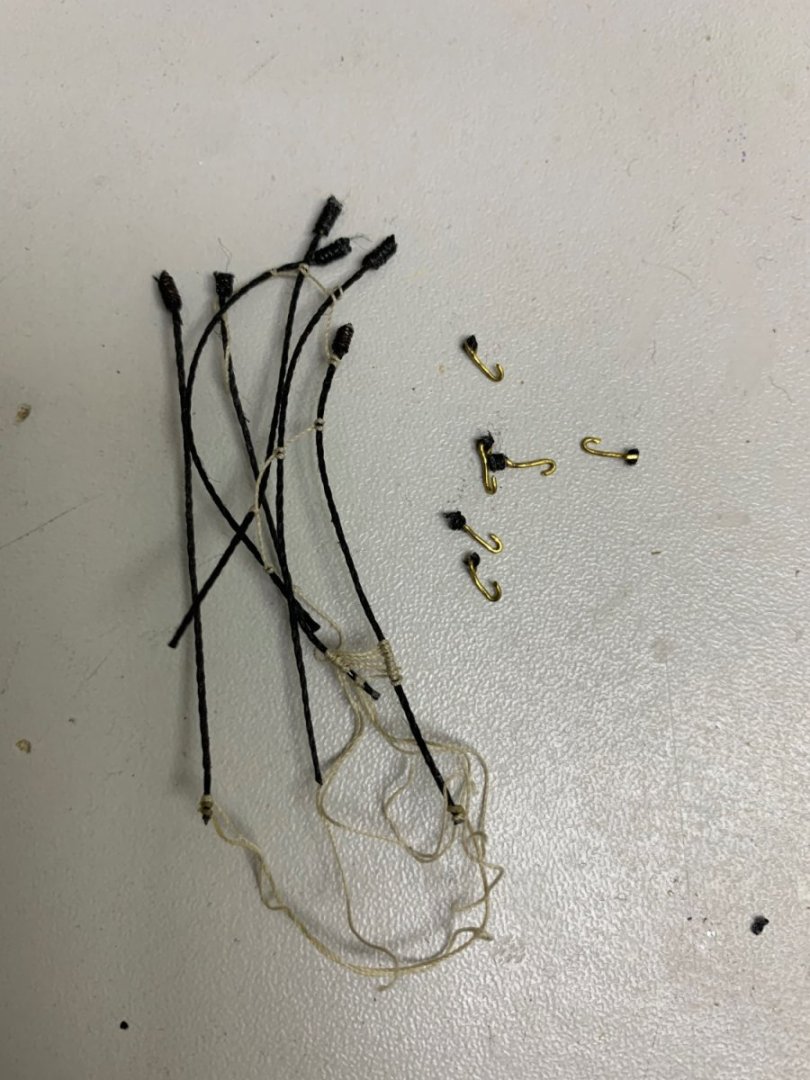
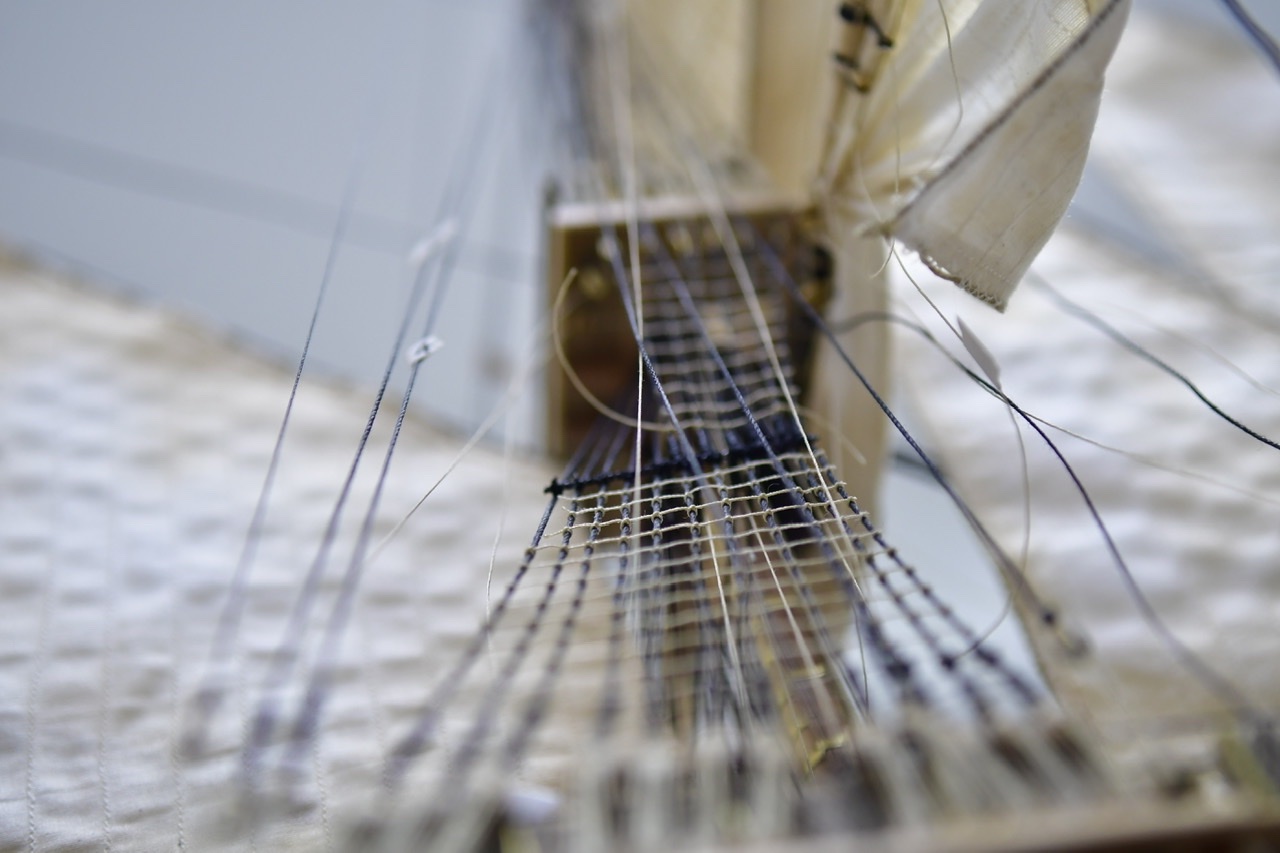
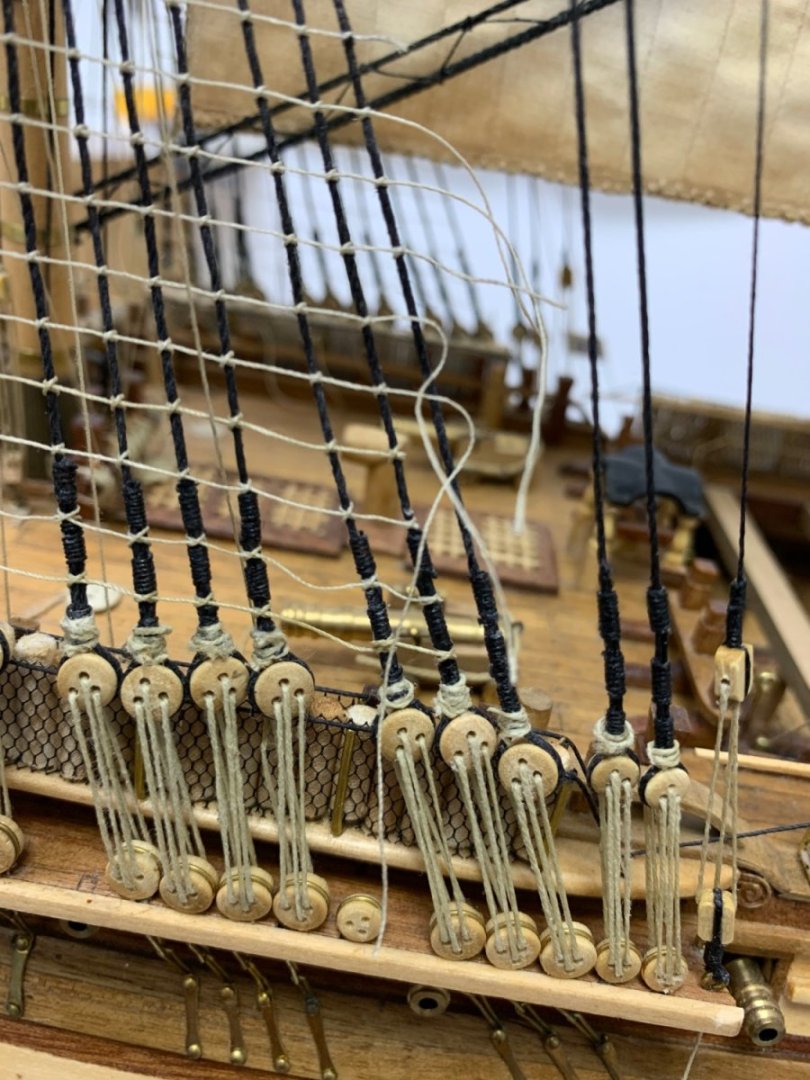
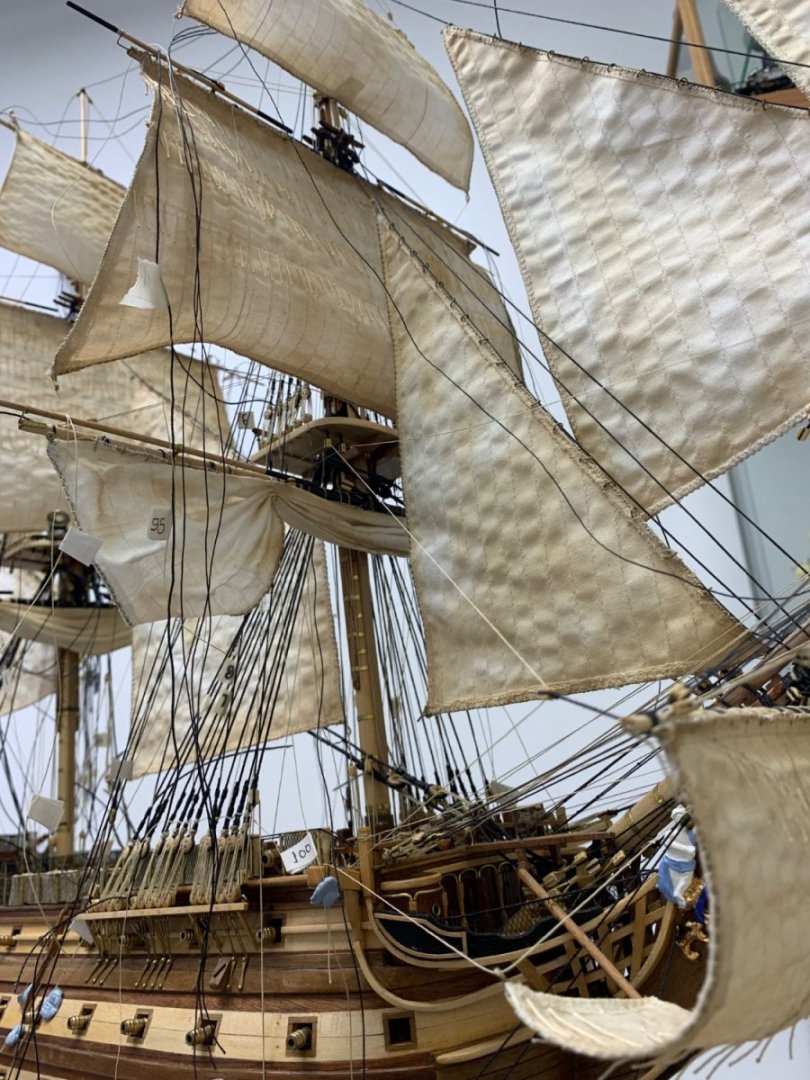
 When errors are made in this hobby it a whole lot of pain to correct. My futtock shrouds below the upper platform was too vertical, I tried to kid myself it was ok and I would live with it but I couldn’t, and rip out was the only answer. This side shown, I damaged a shroud with the knife and it had to come out, oh! and yes it was central one and as you know the ratlines are all woven through as one continuous row, which means there all coming out and the ends were tacked. Well it took me three hours to get to the last image and the lines take so long also.


- 699 replies
-
- 1
-

-
- victory
- constructo
- (and 1 more)
-
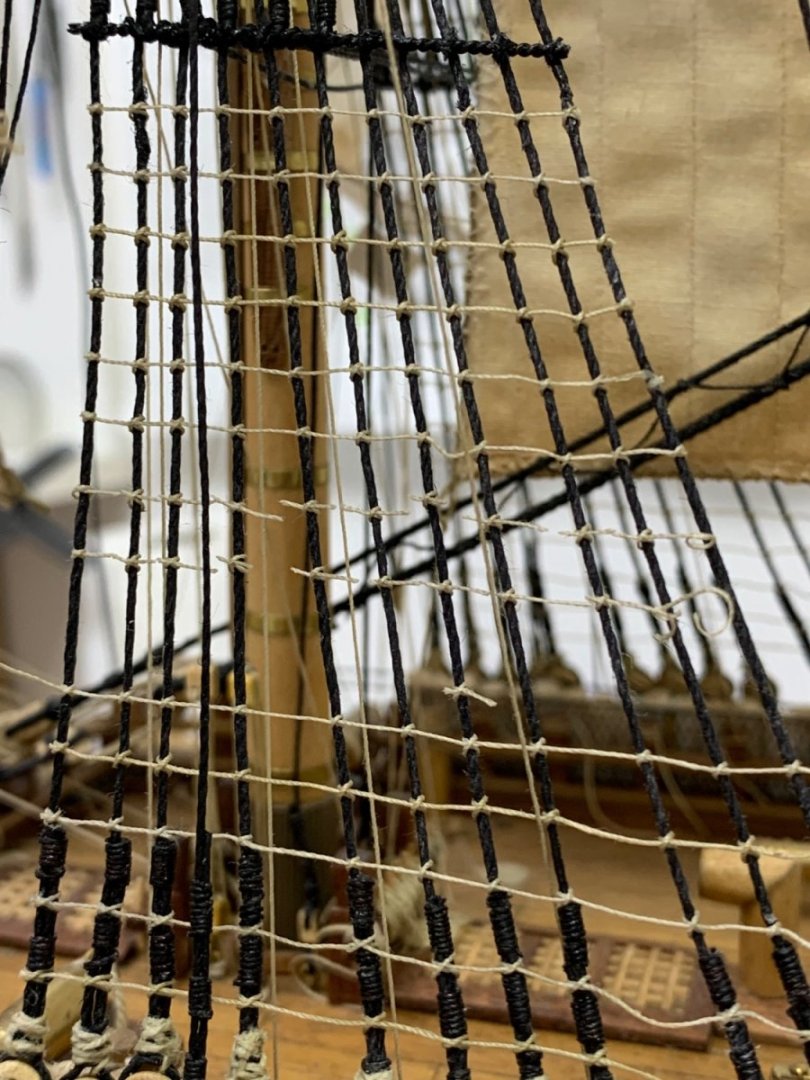
Ahhh, hours of work, days even, I tried to ignore this but it just kept haunting me, the upper shrouds were fitted just too vertical, took my eye off the ball on these. This actually took me so long to remove as they were glued. Well there now removed and await restarting.

- 699 replies
-
- 2
-
-
- victory
- constructo
- (and 1 more)
-
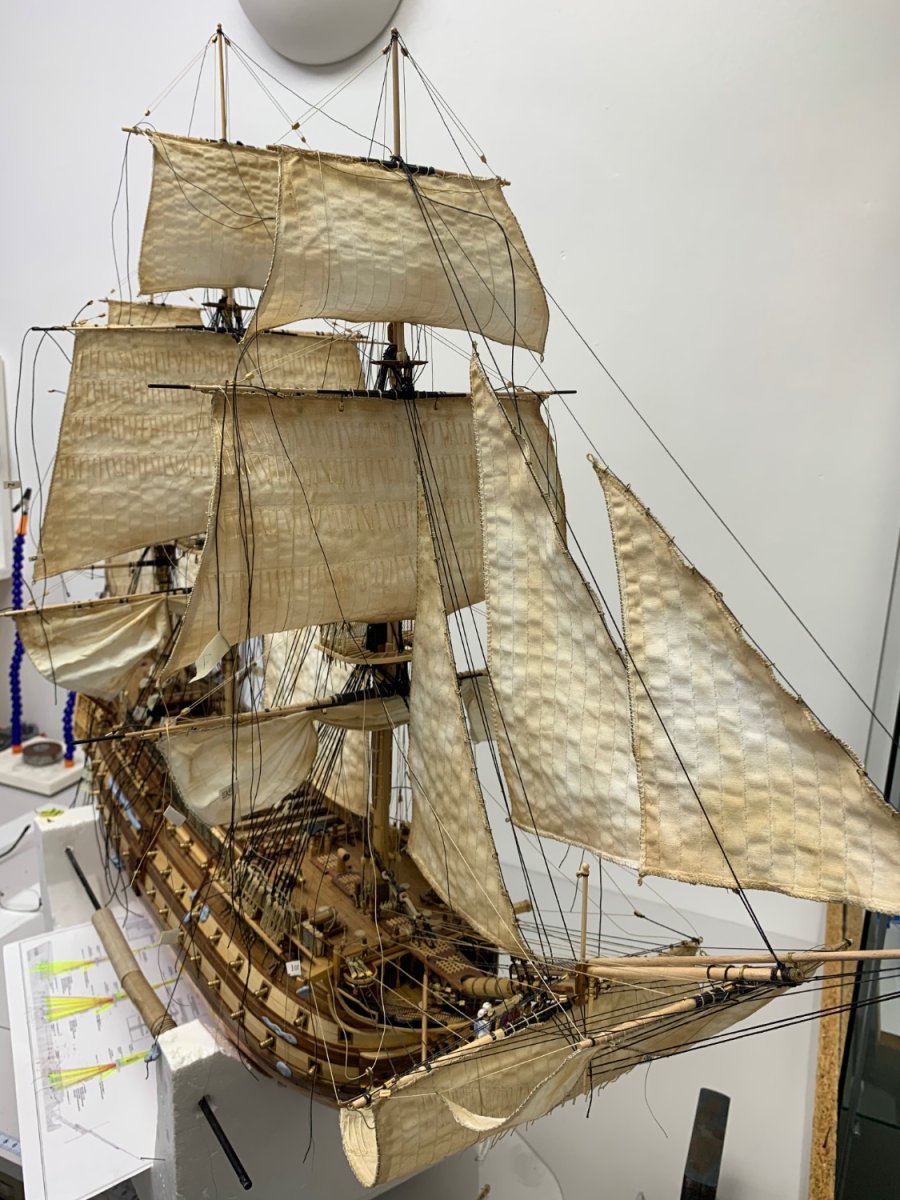
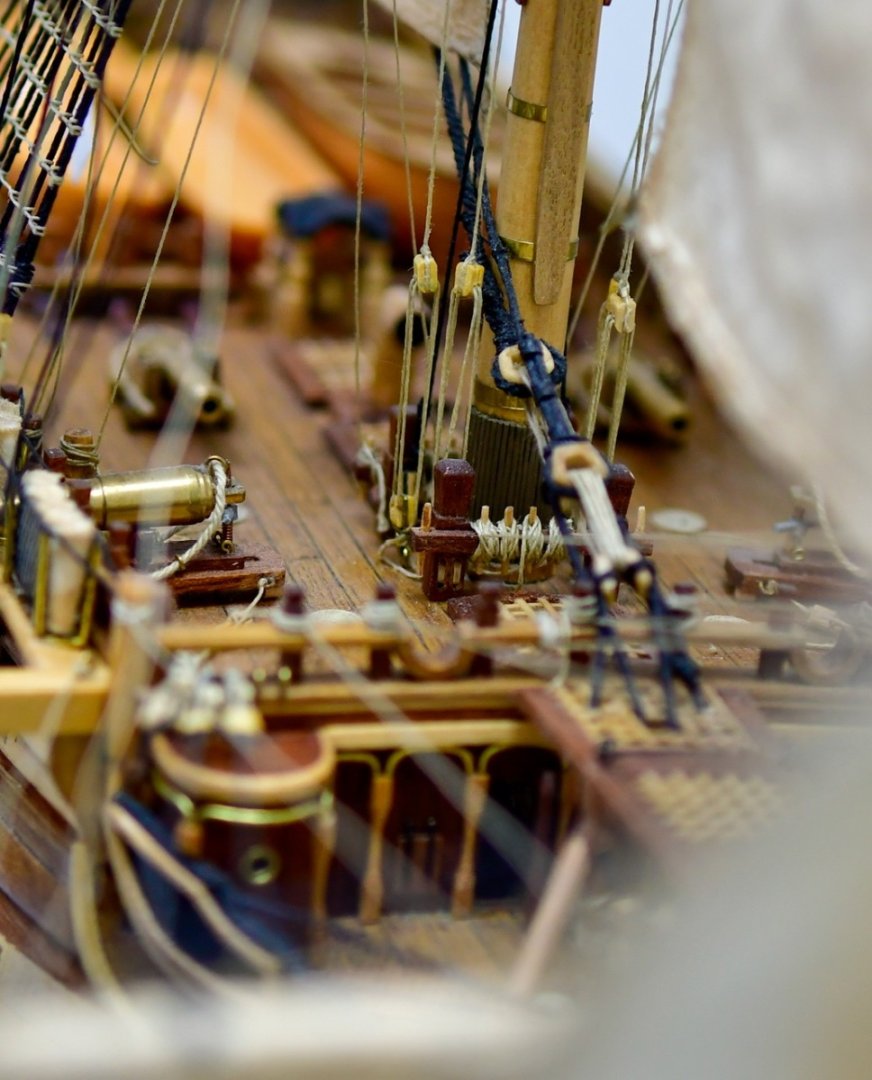
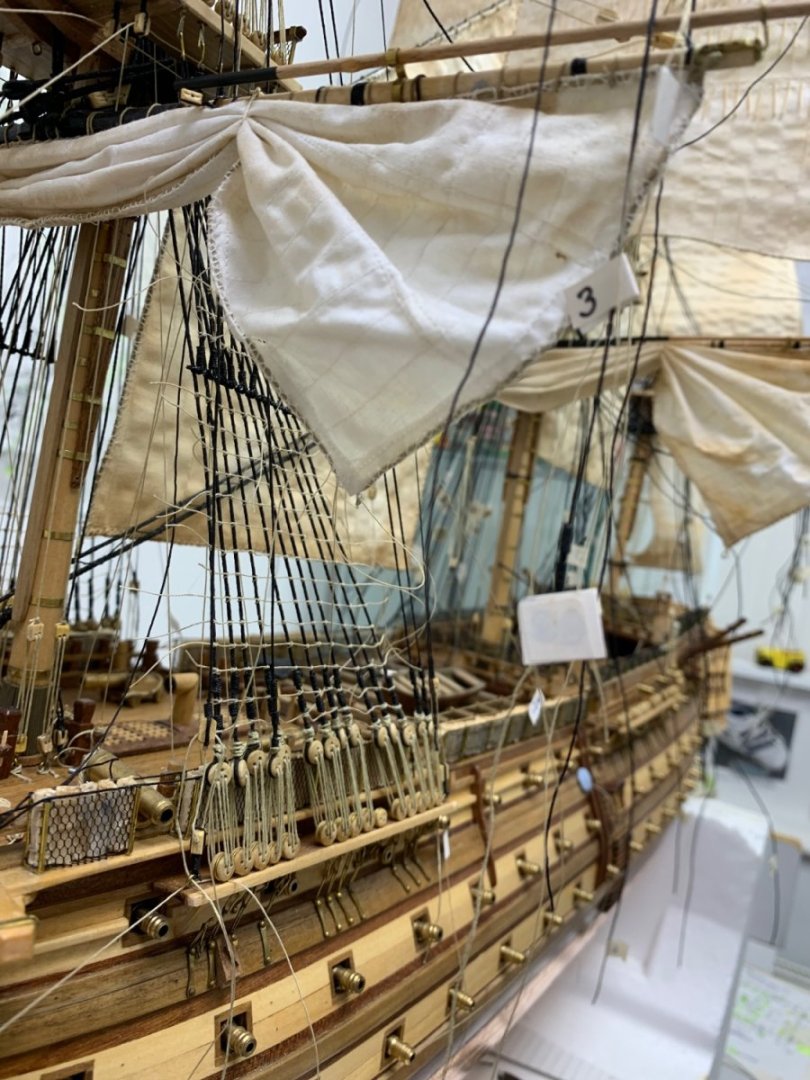
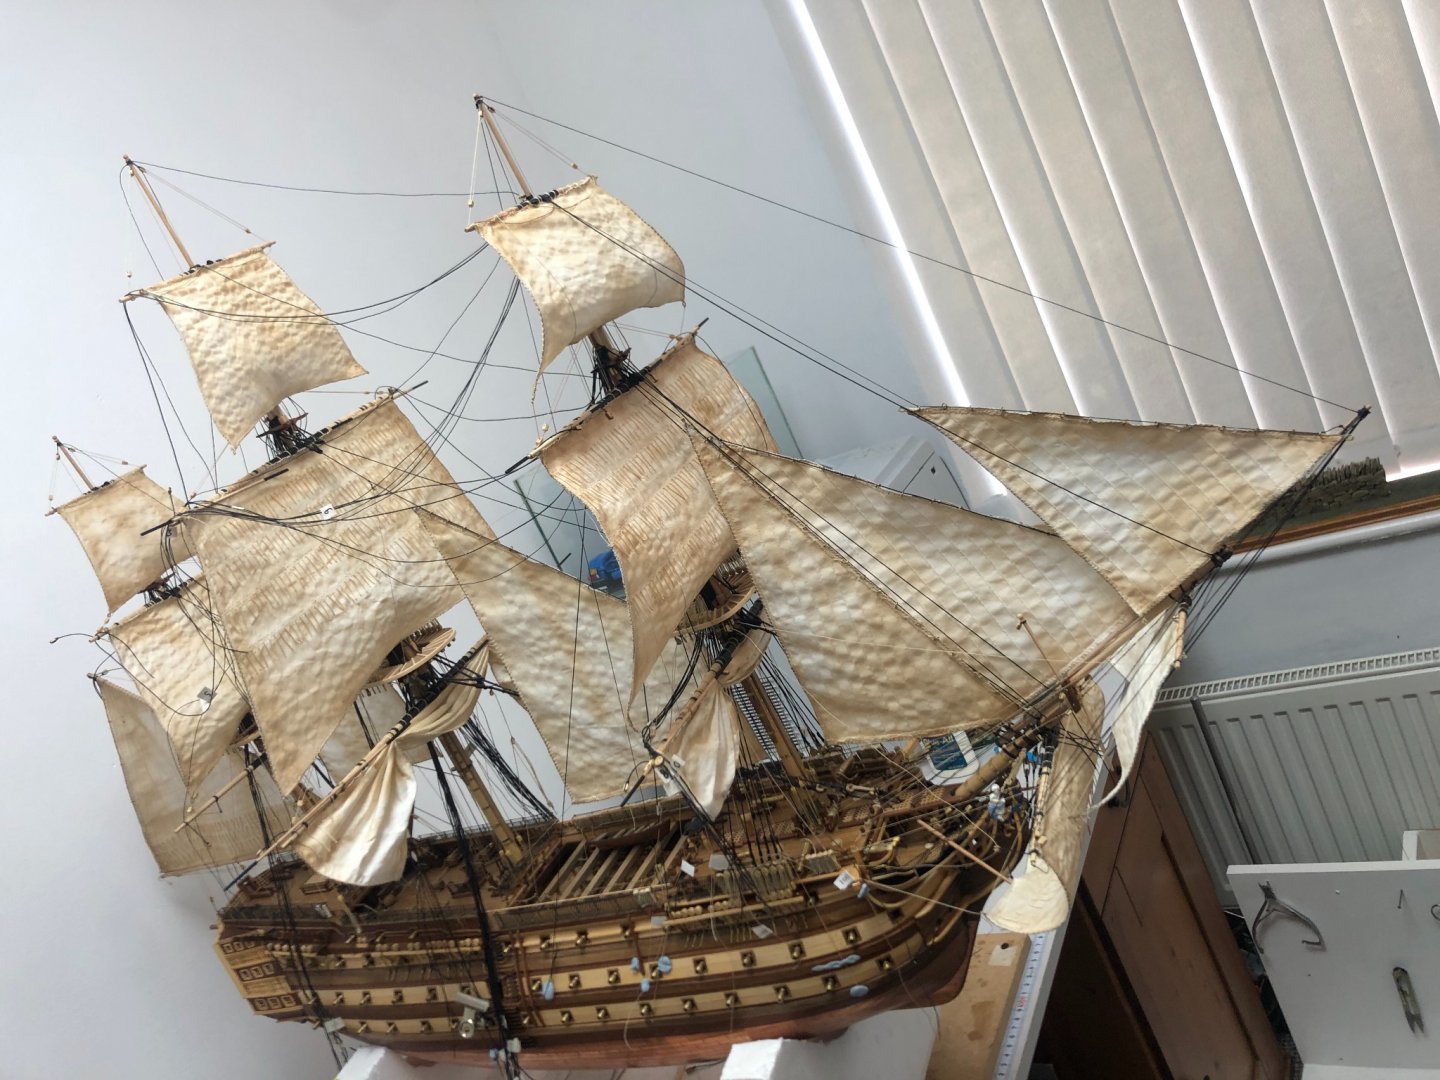
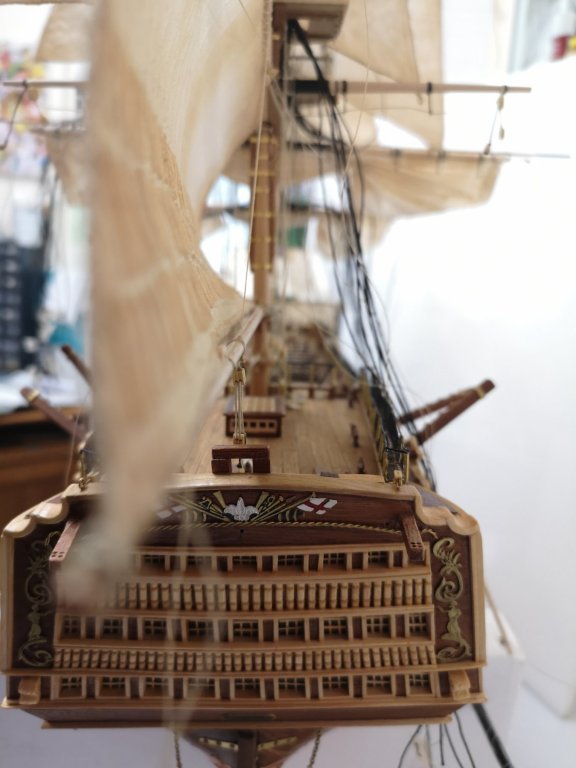
Just a few random pictures taken of the ship as she sits today.
- 699 replies
-
- 4
-
-
- victory
- constructo
- (and 1 more)
-
Hi Allan, The model has as you know has taken longer than the real ship. I have lost family members over the last couple of years and the ship had a low priority, also a link to them, life just has a habit of getting in the way. summer alone halts my builds as I’d rather be out there. I’ve Also been doing different models for others. I’m fortunate really that the ship is in a model room (Boat room as it’s known) despite being a ship, it can just sit waiting for me as I left it. The big issue I have is restarting and remembering where I was. This particular stage (Shroud /ratlines) has been one I’ve been putting off for so long, I just had to carry on, I’m so near completion really. A set of lifeboats has just been delivered today due to the model only being supplied with two.
-
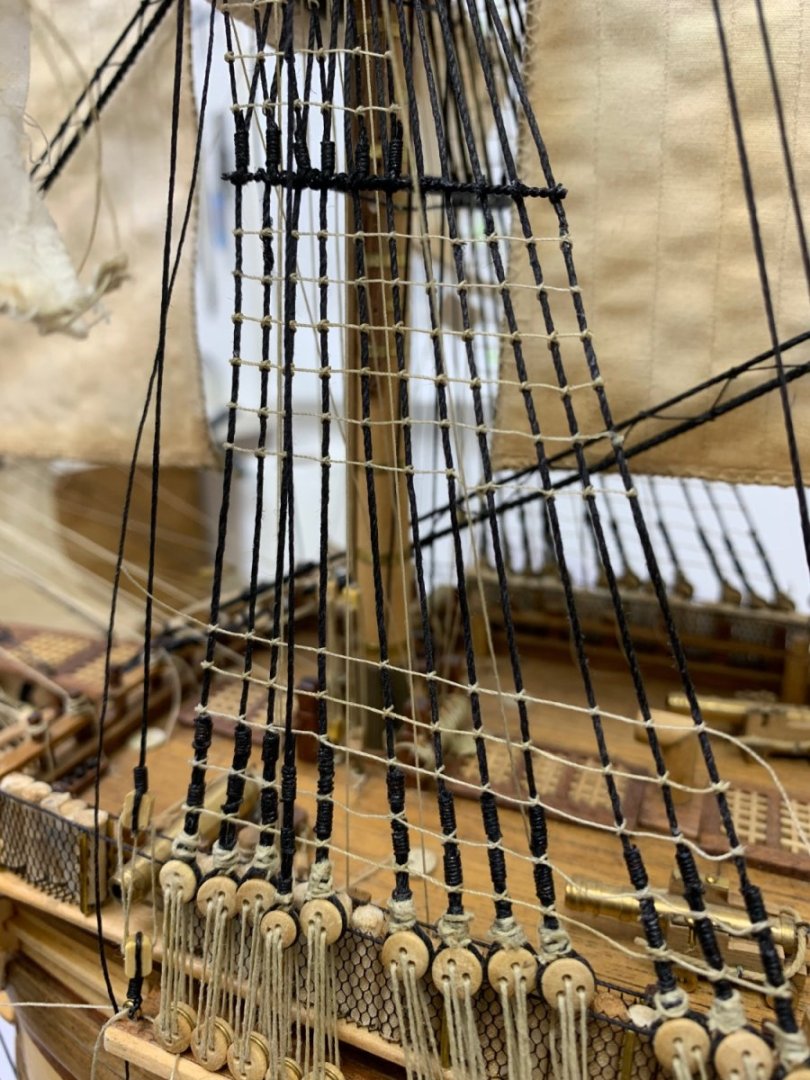
If you count my lines there are far less than the real ship but I’m tied matching the lower with the upper now and well I’ll live with that, manufactures obviously made it a representation as opposed to a copy. This is only one of many errors of this kit. removal started.
-
Ahhhhh! I have tons of reference material (even the holy grail of Victory books by Alan McGowan) of which I clearly didn’t consult on this, the upper section stops short also. Thank you for pointing that out, I will be changing them. Been routing on you build, the Hella kit is a credit to you.


-
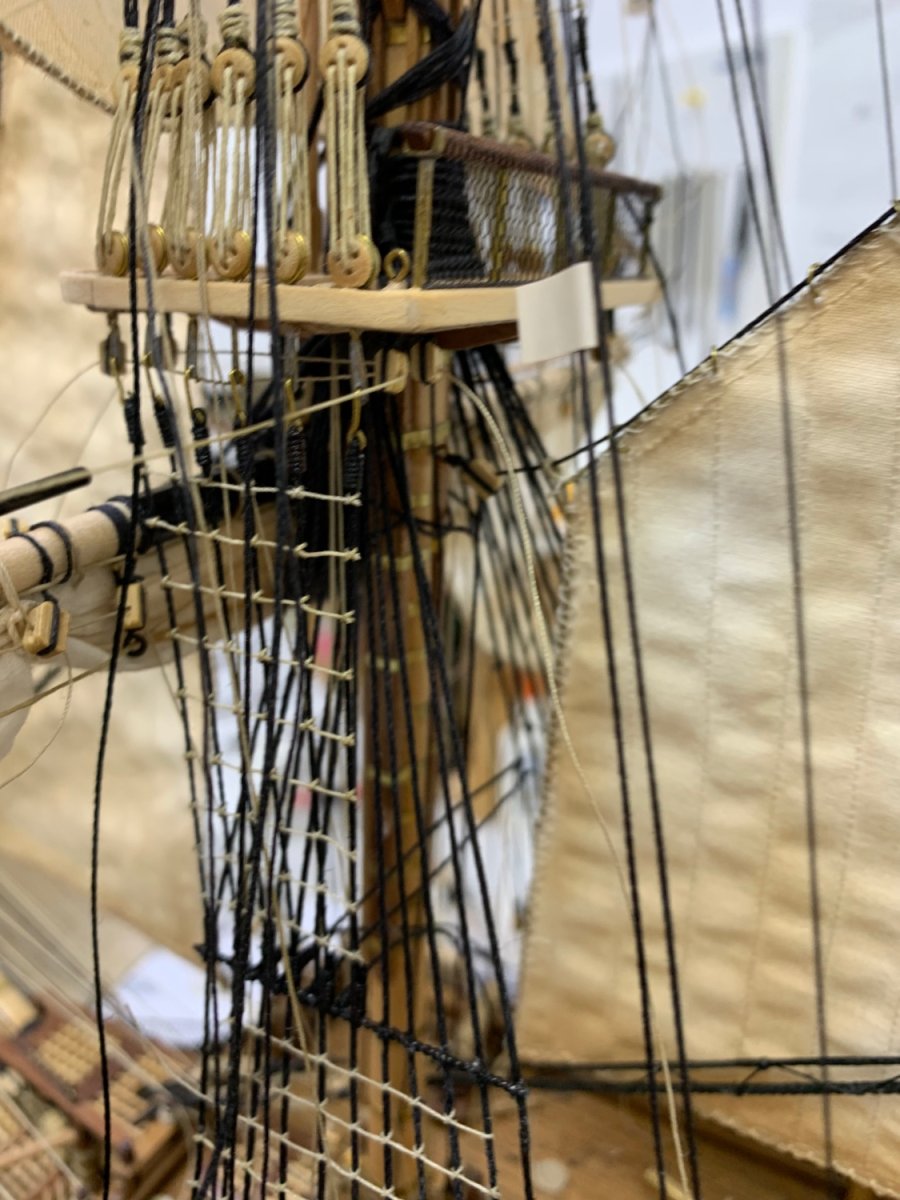
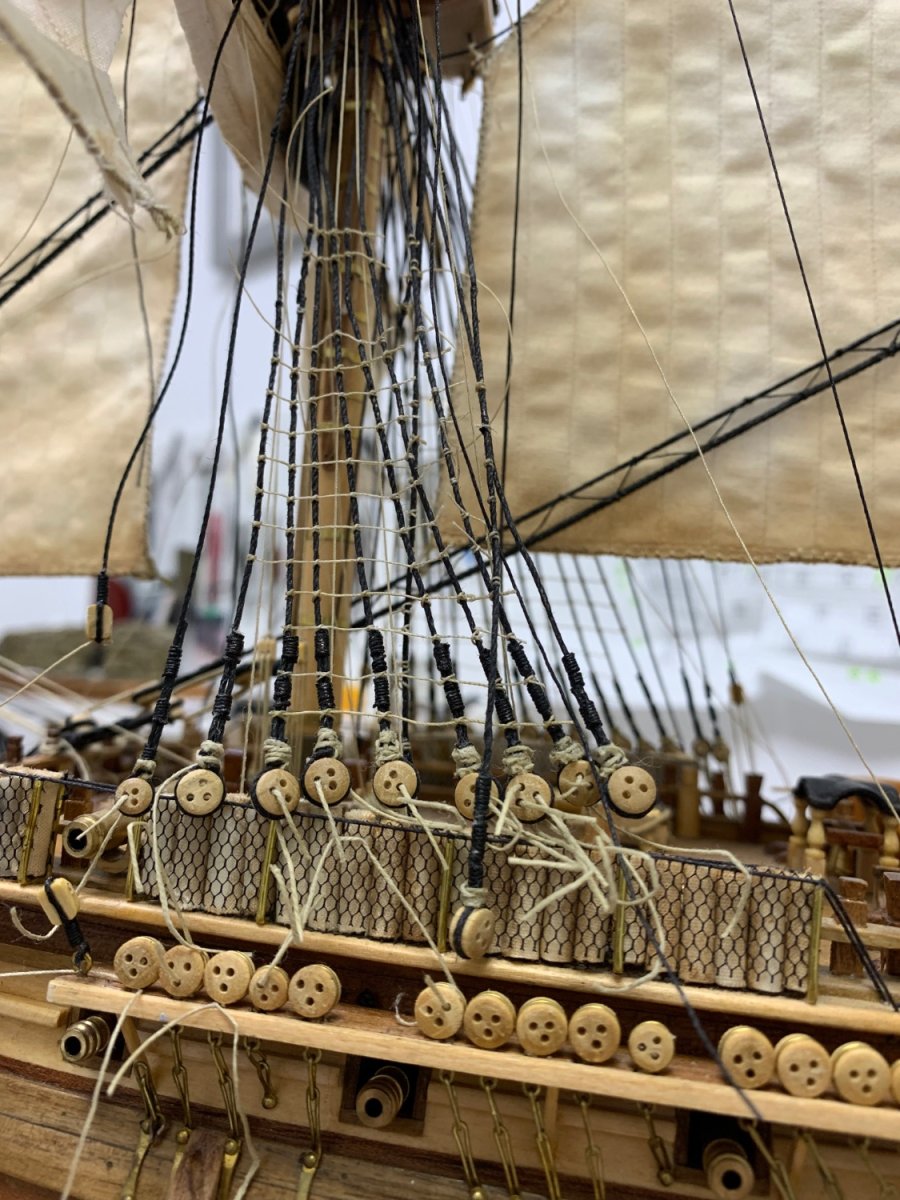
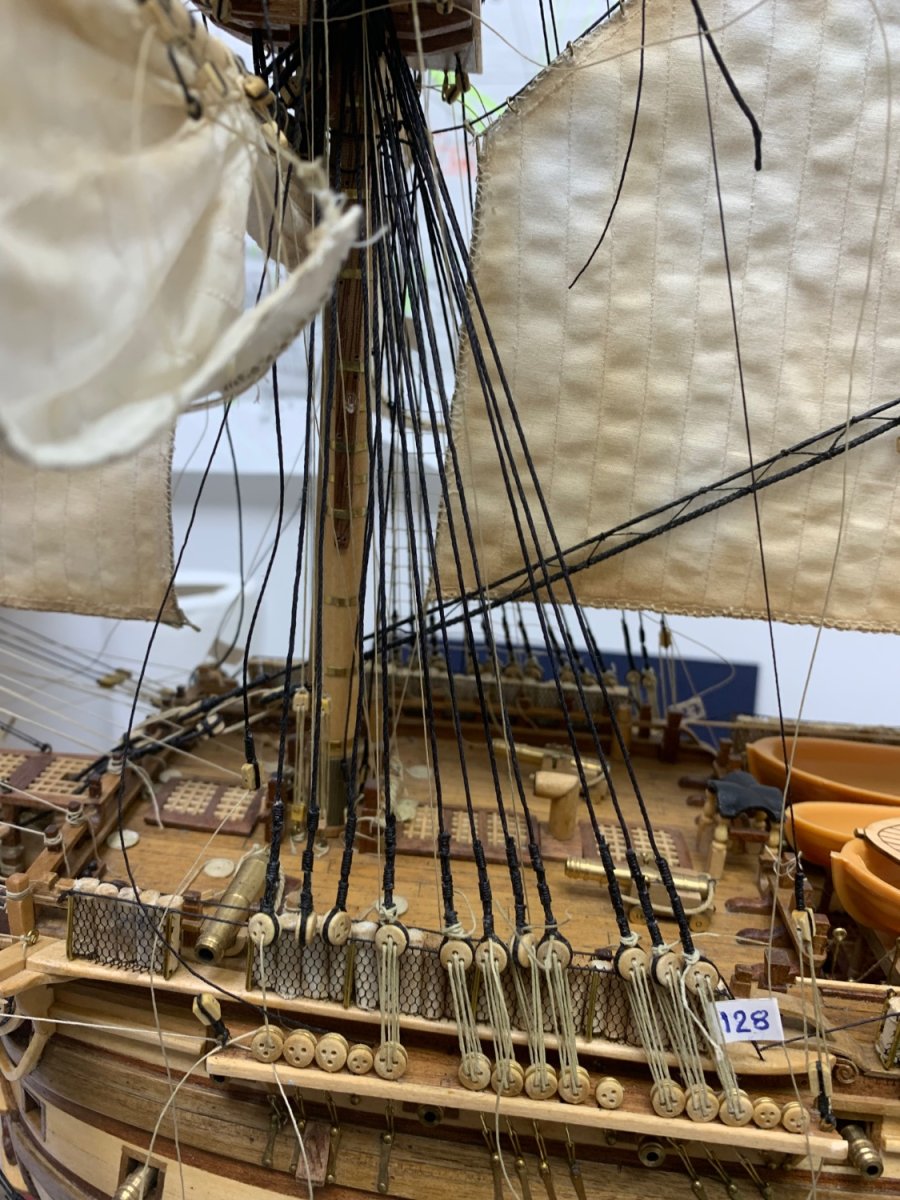
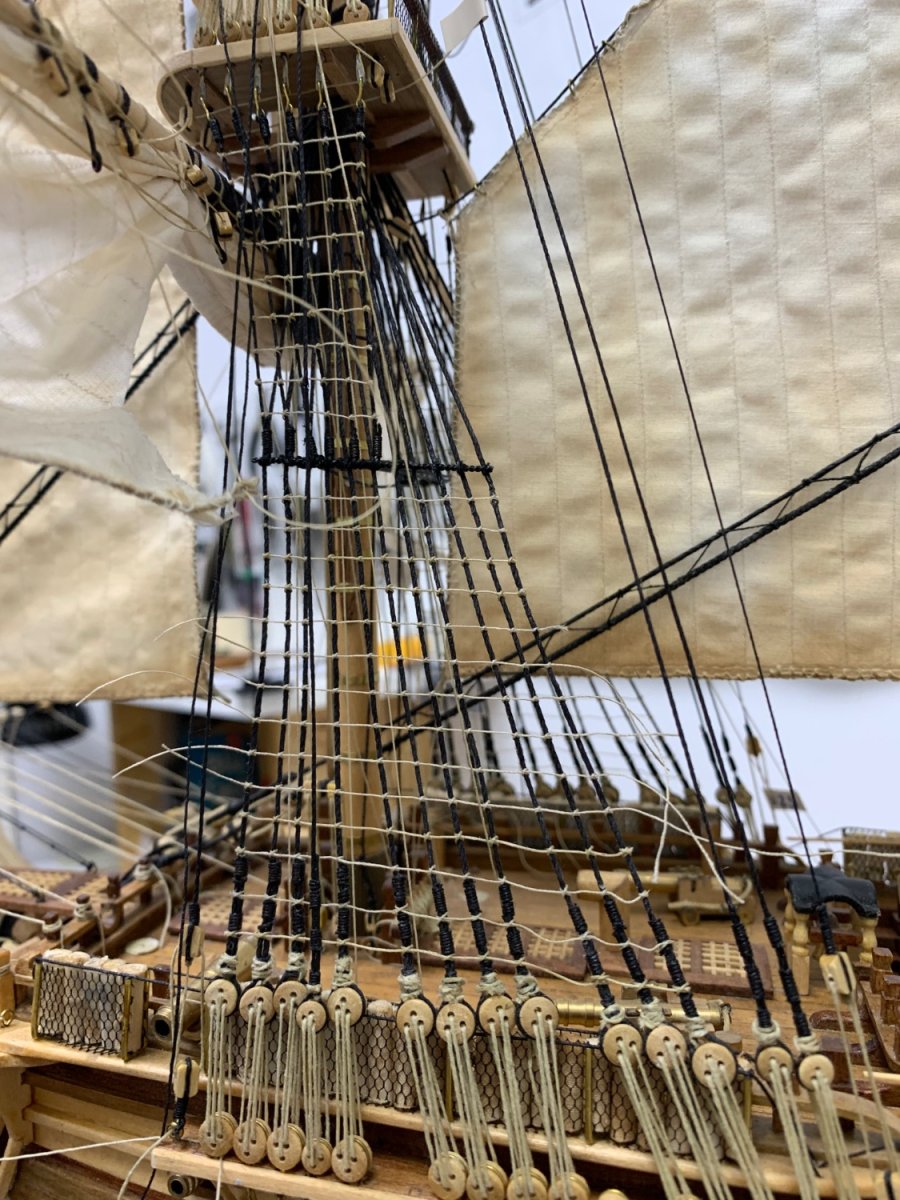
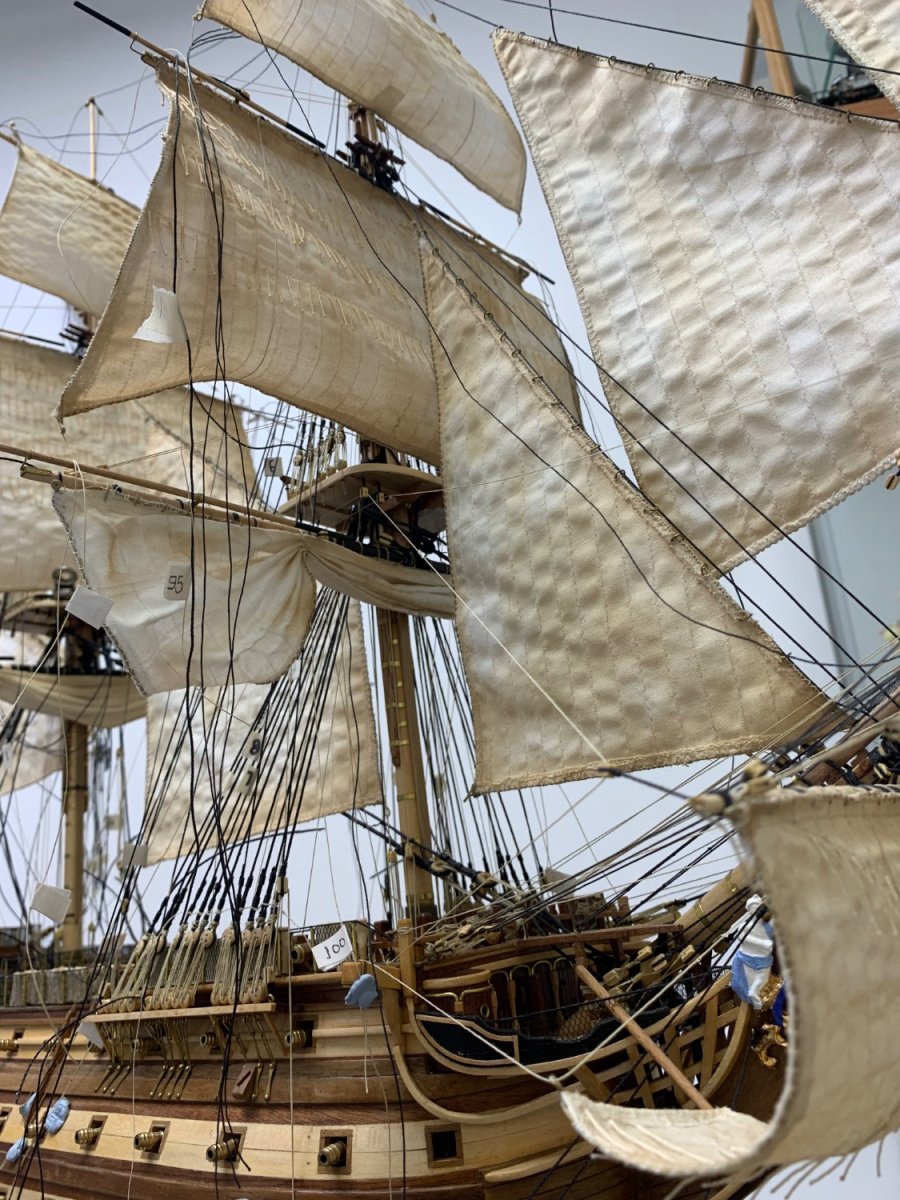
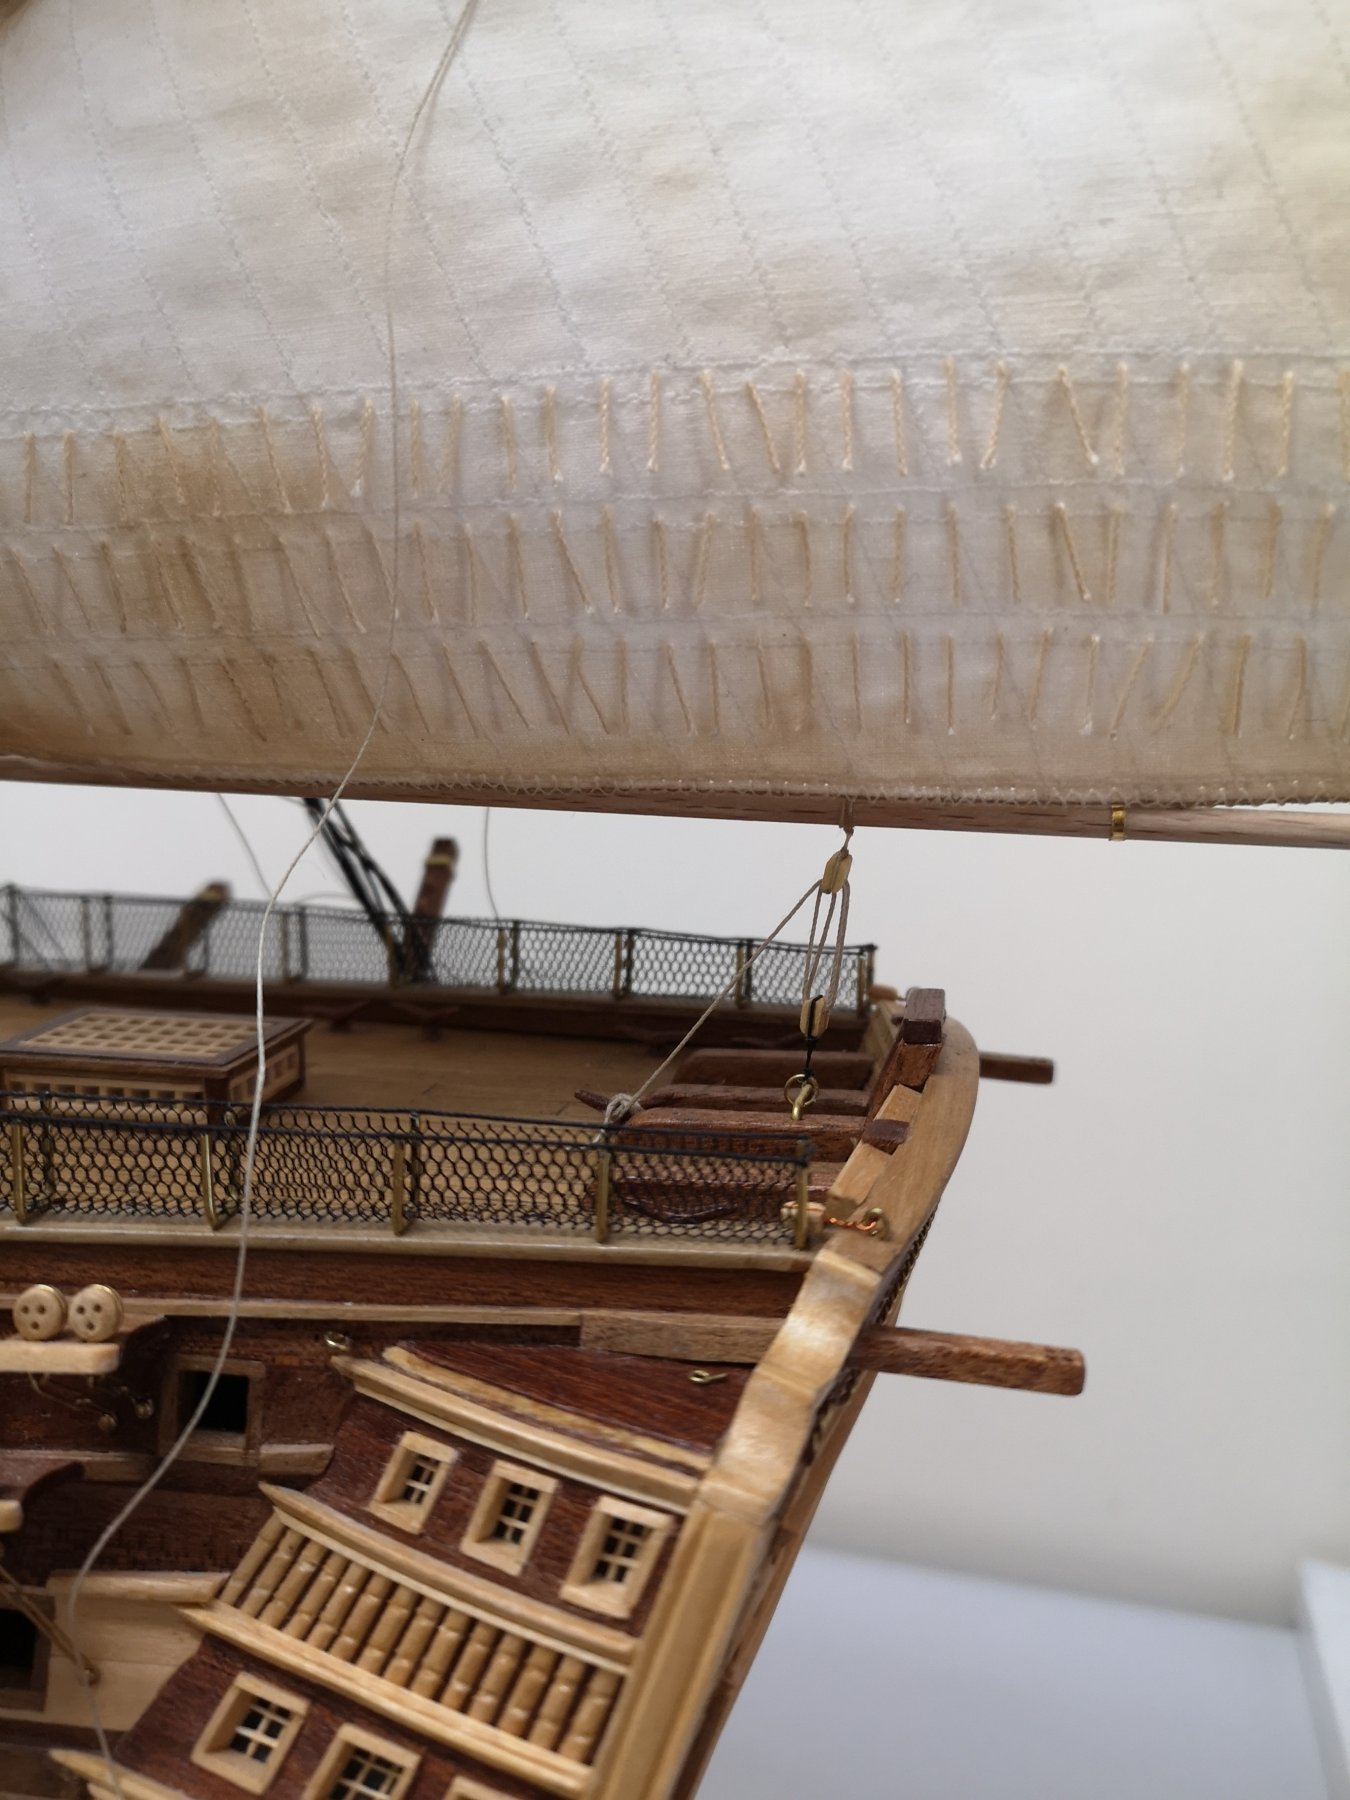
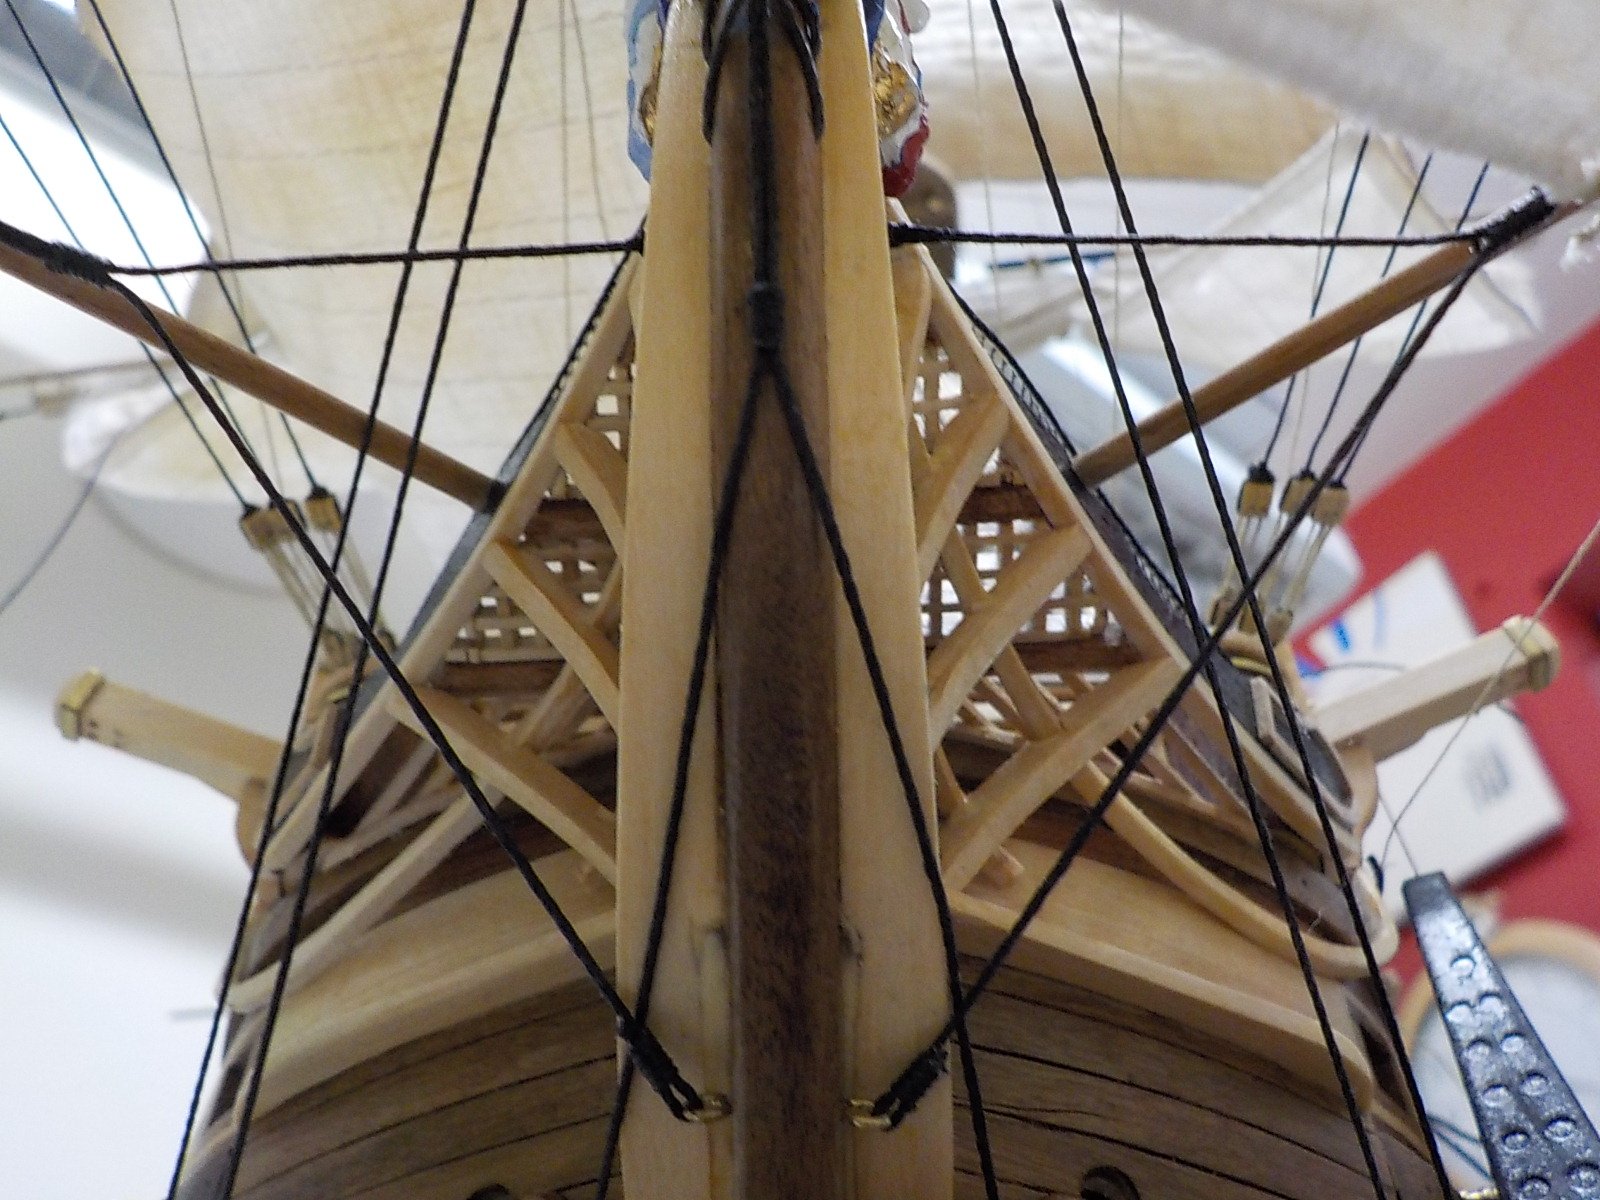
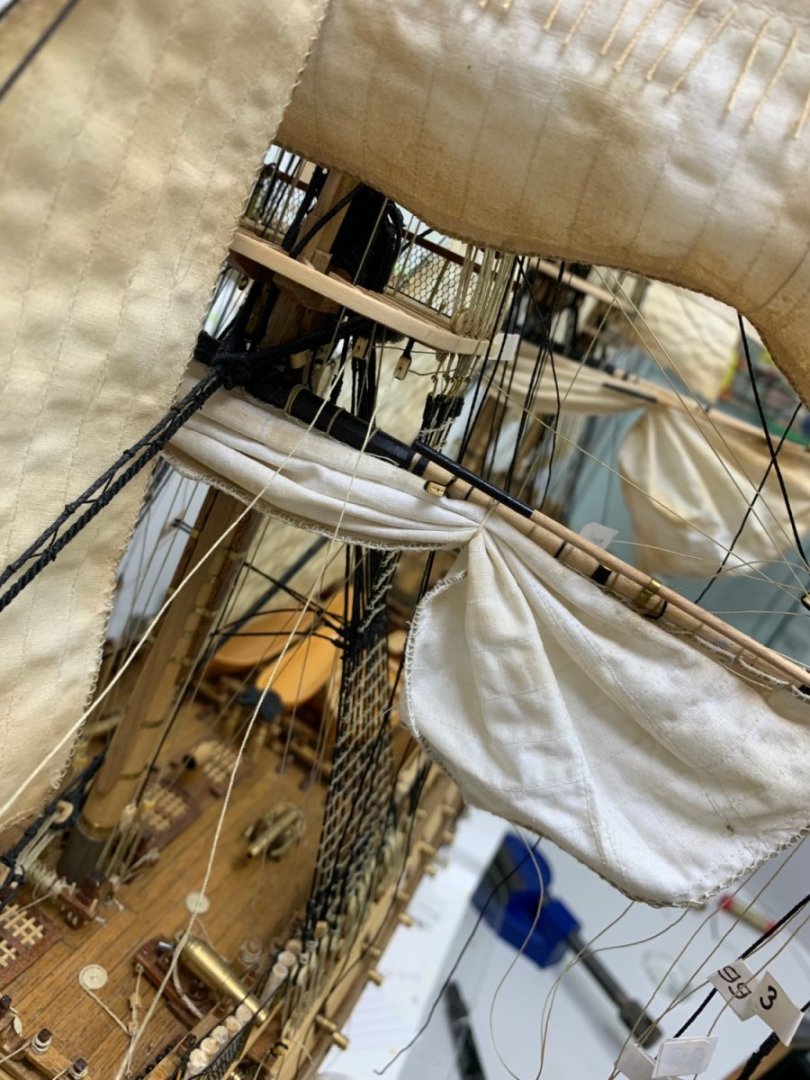
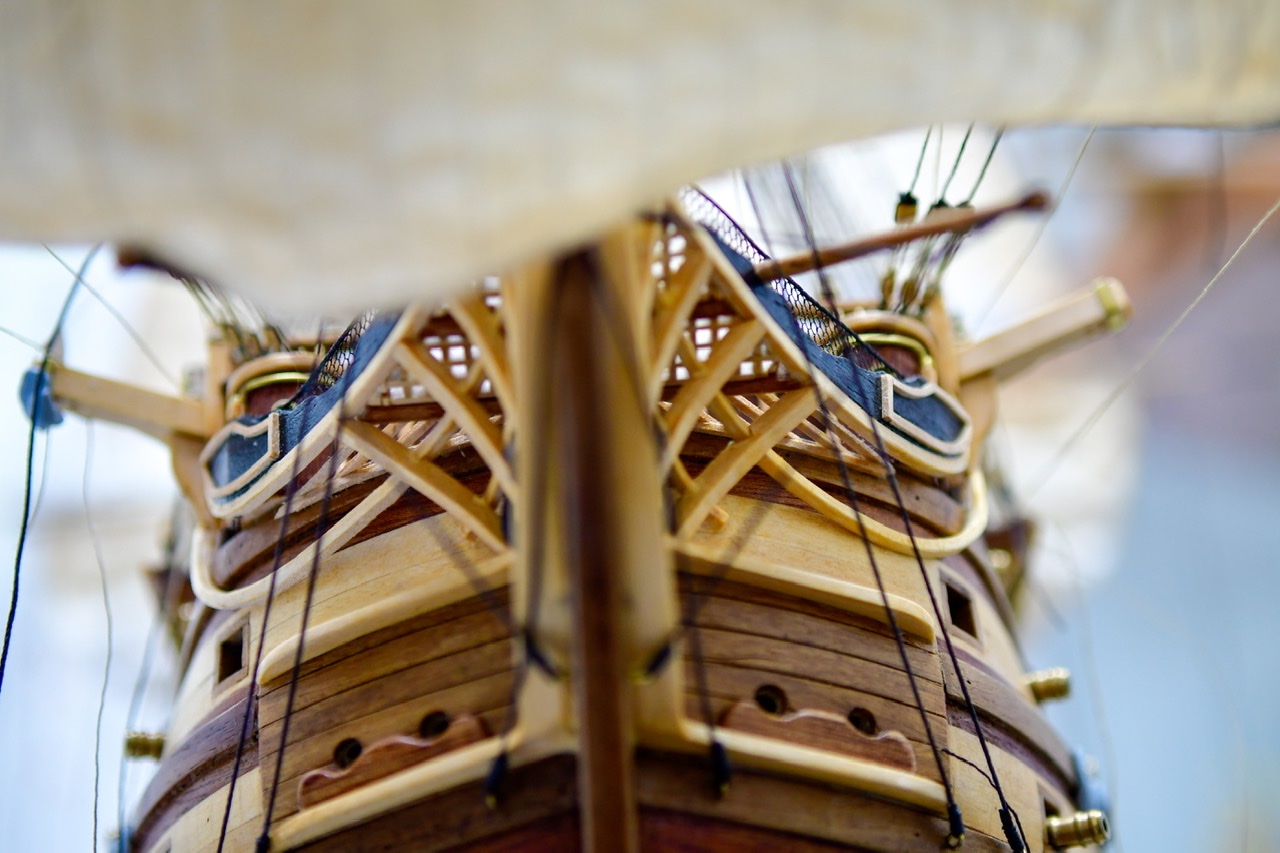
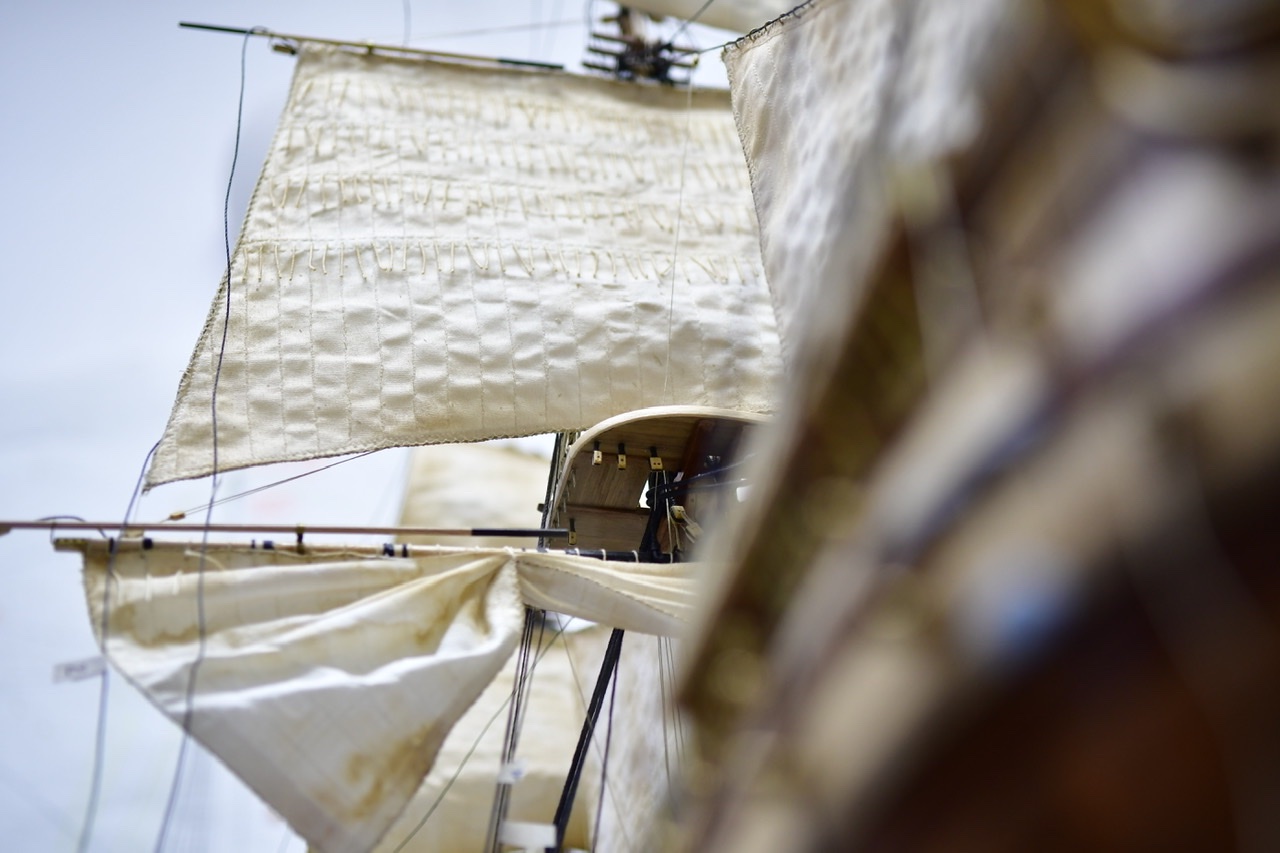
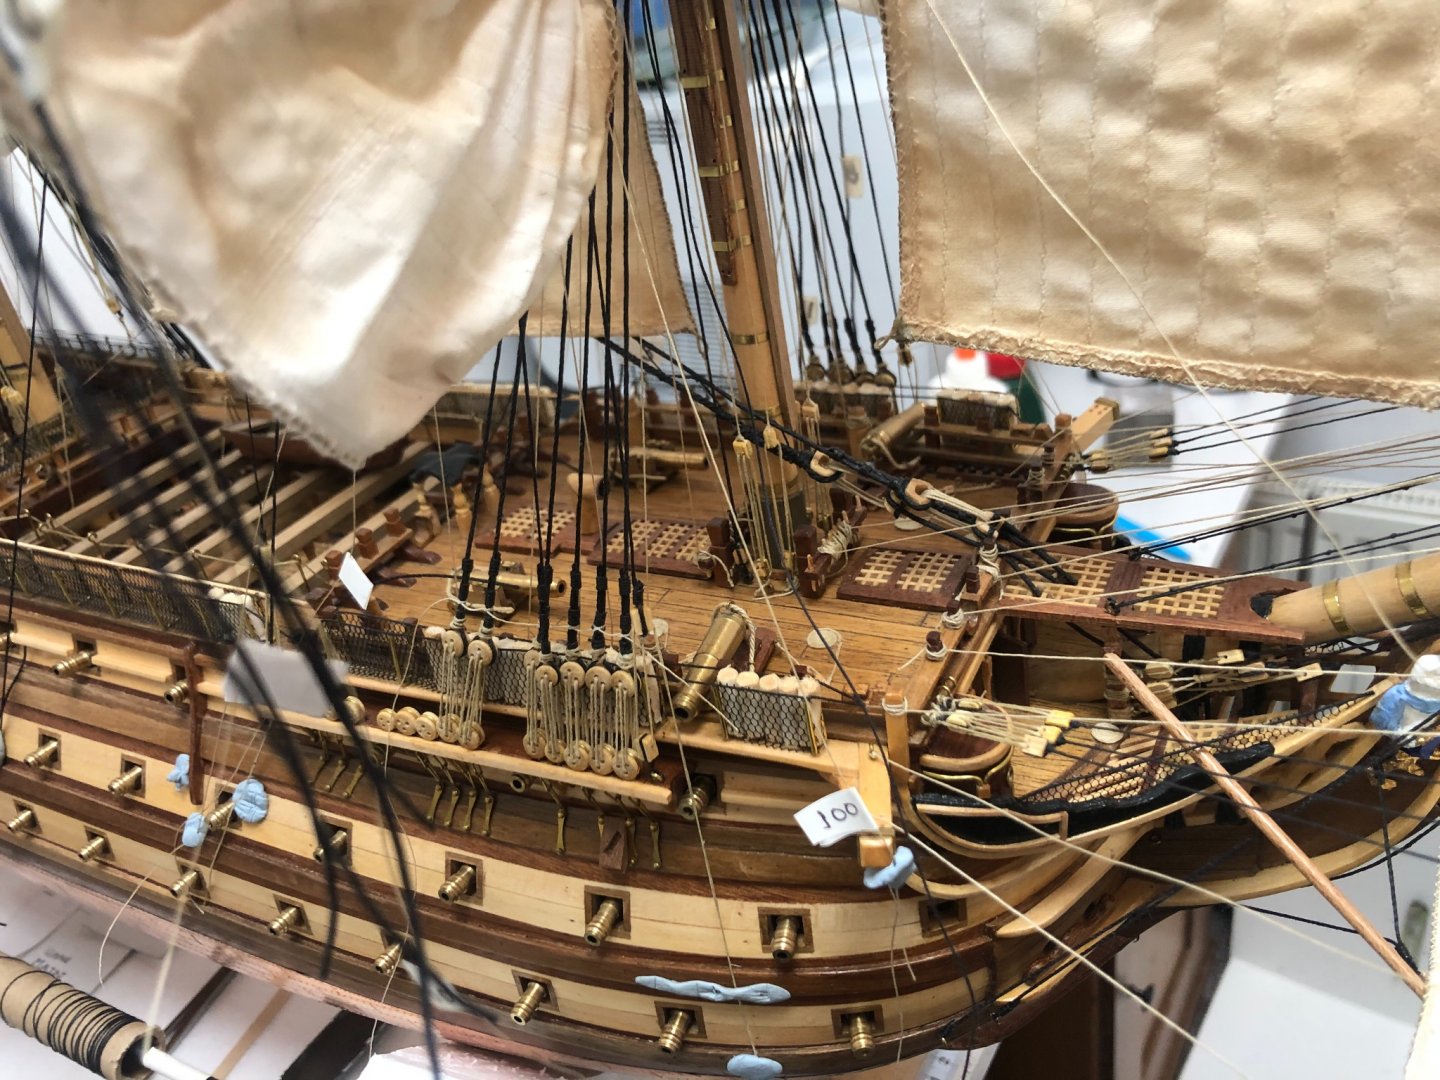
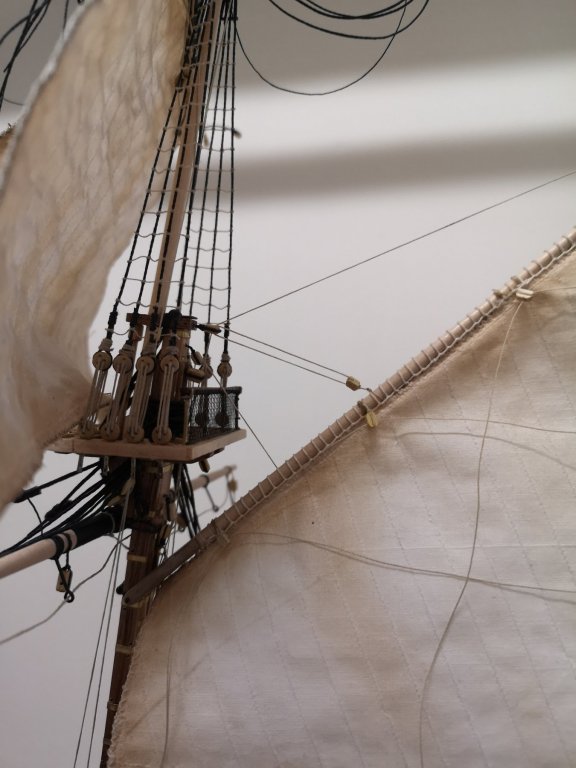
I was torn really which to do first, many/most models don’t seam to have sails fitted, (I can understand why as it adds a ton of extra work making sales alone) there are many additional internal lines behind the shrouds/ratlines which would be very difficult if not, say not possible with them in situ. I did notice that the ratlines are done far earlier on sail less models. I found I could still fit the shrouds and ratlines at this stage avoiding some lines that actually pass through them (and yes whilst making the knots on many occasions I did get one of the said line caught up in it and had to start that knot again. Many of the standing rigging are not fitted yet and when they are they will tighten up the mast and will bear the sail weight removing any sag present. Unlike Caldercraft, Constructo as good as show a few pictures of the finished ship and say good luck with that.
-
Ahh ! one step forward and many back, I just wasn’t happy with the Port sides ratlines, the lower two may suffer the same fate, wish I decided there fate prior to tacking them.

- 699 replies
-
- 1
-
-
- victory
- constructo
- (and 1 more)
-
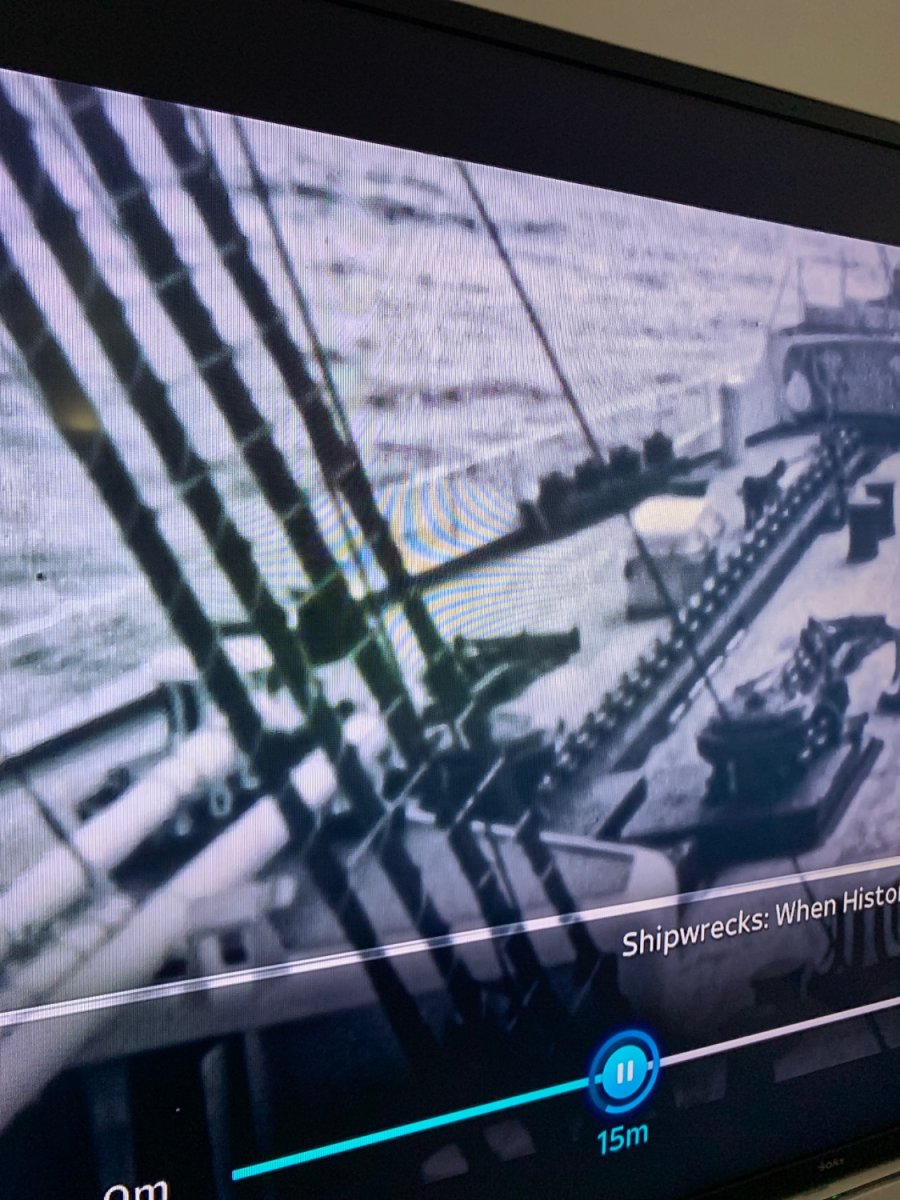
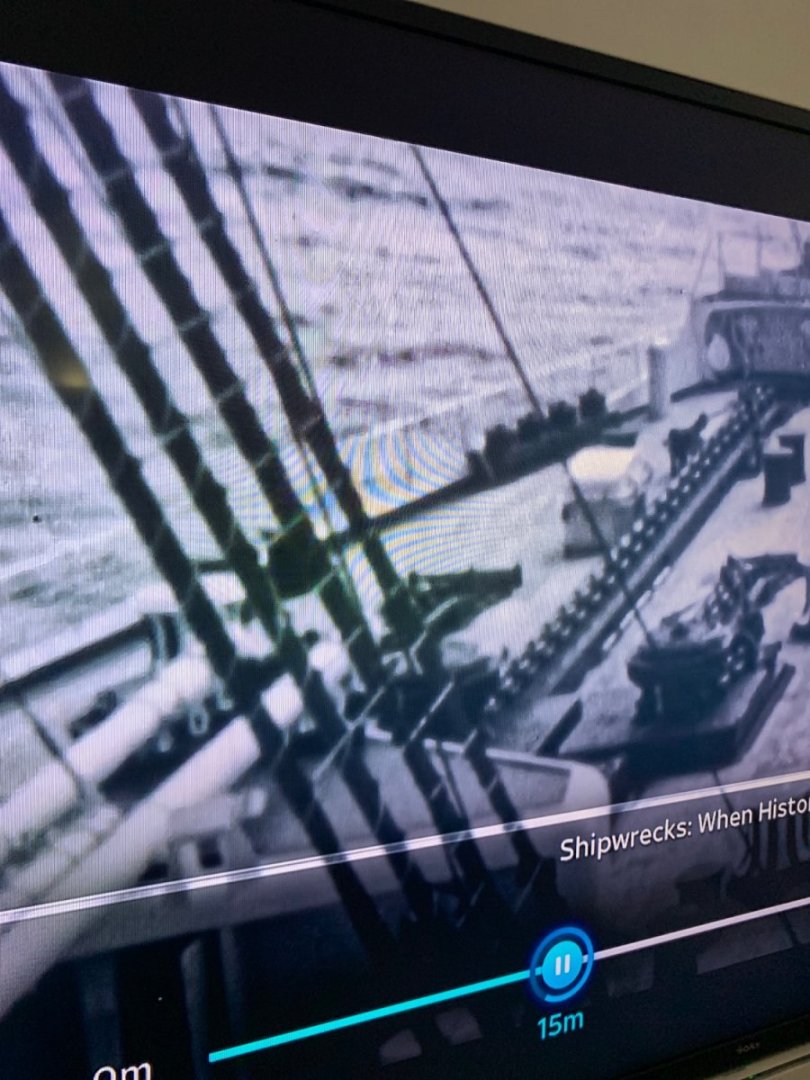
Wow what an incredible insight you just shared. I like the sag look but my thread is, let’s say smooth almost waxed but not, hard to explain but very easily undone if an error is made. Other threads I’ve used grip when knotted this well doesn’t, so trying to created the sag made the previous knot come loose. I have glue tacked them now and will live with it, if I ever venture into another ship build I will learn from this one, just watching ship wrecks and these super straight lines pop up. I think I can get away with it on my first ever ship build attempt.
-
Well, what do you know, the real girls lines don’t sag either

-
Update, yep I’ve stuck with it this time and actually made progress, ok the ratlines don’t droop as is I’d like but when I tried too they came loose on the shrouds. The thread used seams to be slippery and easily unties itself but I’m ok with it

- 699 replies
-
- 3
-
-

-
- victory
- constructo
- (and 1 more)
-
I’ve just found this model build and wondered why the build stopped prior to reading your statement, I hope you pick it up again, can I add I’m building this very kit as a first timer, I stop and start 2014 started. I wanted the Caldercraft version but thought it was to expensive for a model I wasn’t even sure I could entertain. Looking back I wish I had, reason being the instruction are so much more comprehensive and help the builder far more than the constructo version. Not to mention more accurate and scale makes her less fiddly. Wait until you get to the rigging and the kit sort of says for rigging, look at plans, no when,where,what,how, they may as well have wrote GOOD LUCK, and have do with it.
-
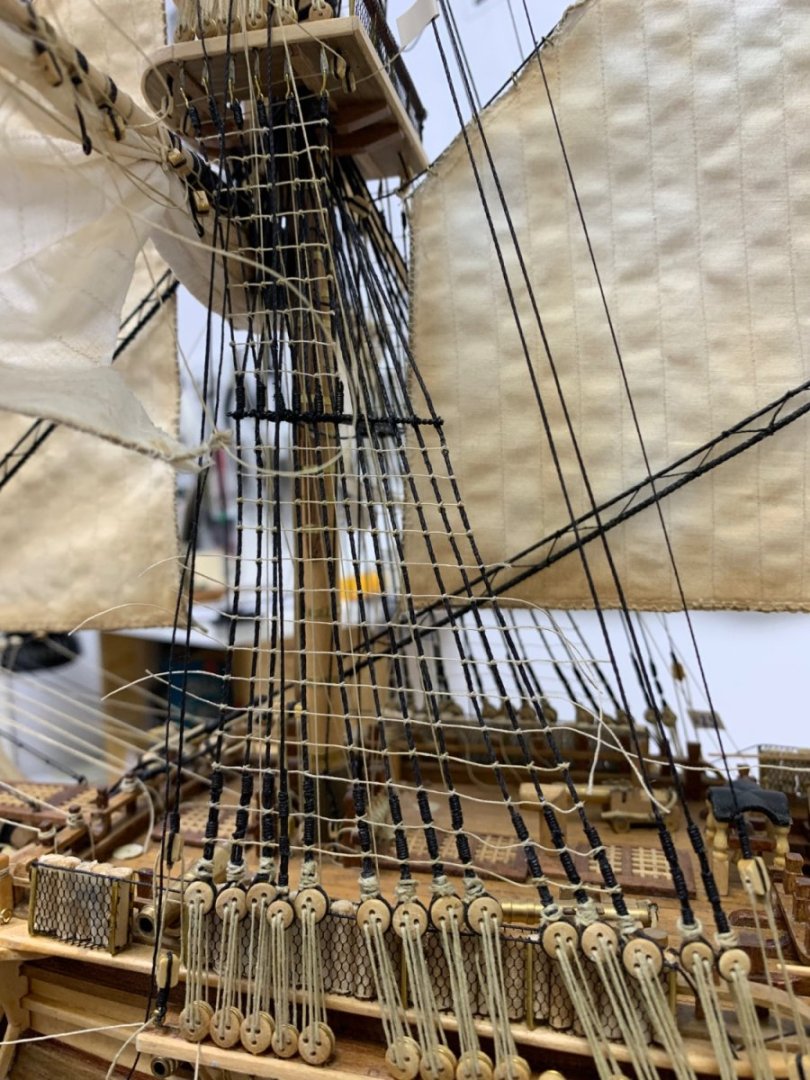
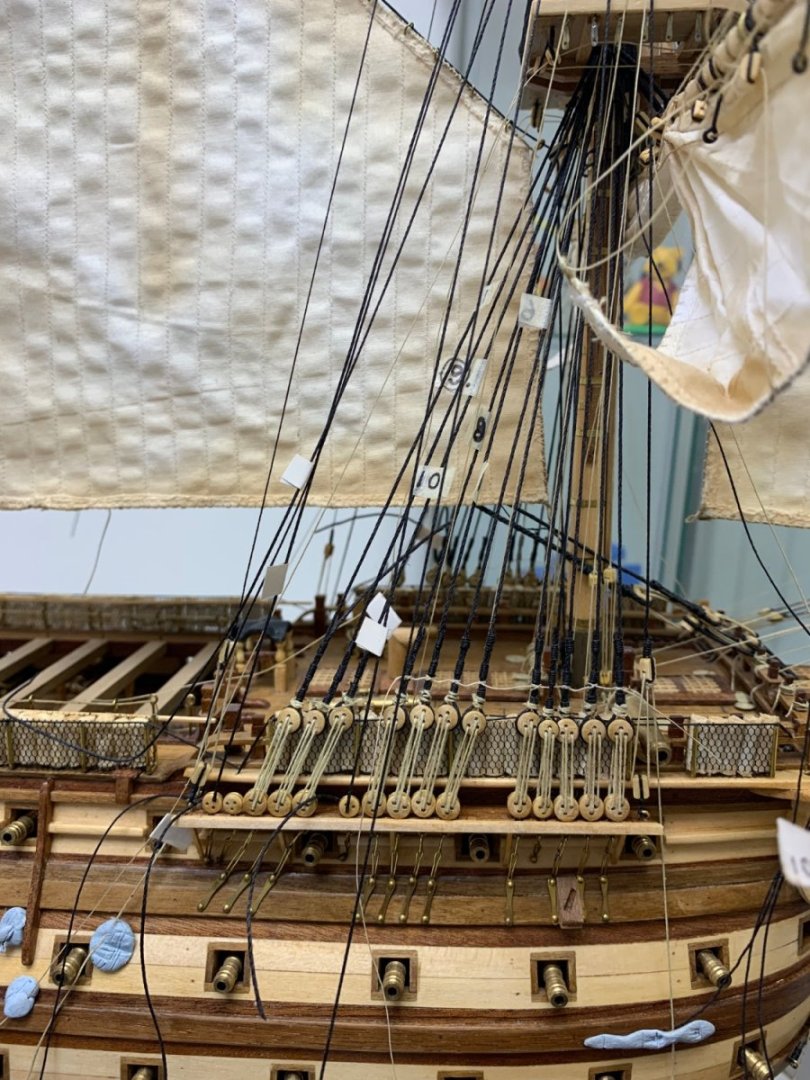
Still working on the shrouds, fortunately the access with the spars and sails affixed is ok, I’ve to tidy the positions / gapping and then tie off the ends. The type of knot required for these messes with the head, just starting them is a pain but once the first is done there ok to replicate, all knots have to be carried out with a pair of long tweezers, as I’m sure yours do, or maybe not with spars out of the way. Well I’m moving in the right direction now.


- 699 replies
-
- 2
-
-
- victory
- constructo
- (and 1 more)
-
Wow looking good Mike, still pushing out the model ships I see, sad to hear how you came across the ship, I’ve lost both my mother-in-law and farther-in-law and the ship was going to dock with them and to be honest all work stopped for a few years since they passed. The ship just reminds me of them, making it hard to get back to it over the years but the bug has come back and I’ve picked her up again. I hope the Victory you donated to the library is fairing well as she too has been there quite some time now.
- 58 replies
-
- 3
-
-
- Calypso
- Billing Boats
- (and 1 more)
-
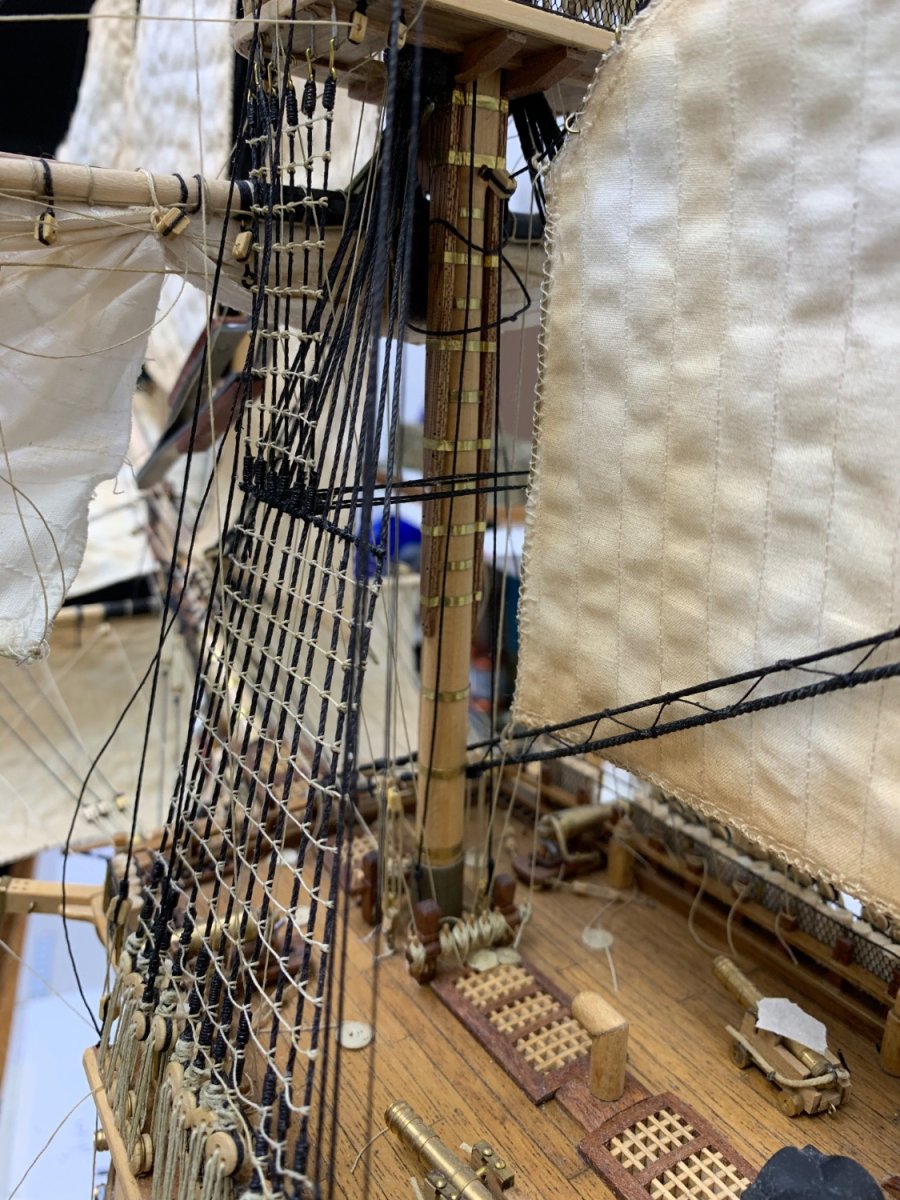
I’m back, well the bug to wrap this job up has finally arrived and despite looking like little has been done since my last ship post, I’ve done quite a bit of the time eating stuff. Shrouds and there many fixings required, ahhh! but there moving on, I have left enough area to get the horizontal climbers in, I hope. Blue tack is slowly coming off. The ship has an age look now and it’s not even finished, copper looks a lot better too as the ageing process kicks in, we’ll she’s is getting old now.


- 699 replies
-
- 3
-
-
-
- victory
- constructo
- (and 1 more)
-
Popped back, I am doing the ship but it’s a slow one, I’m doing the dead eyes and rat lines of the lower mast and as your aware there are many, even if I do one or two an evening it’s progress and it time this ship was finished. Always really difficult picking up where it was left
-
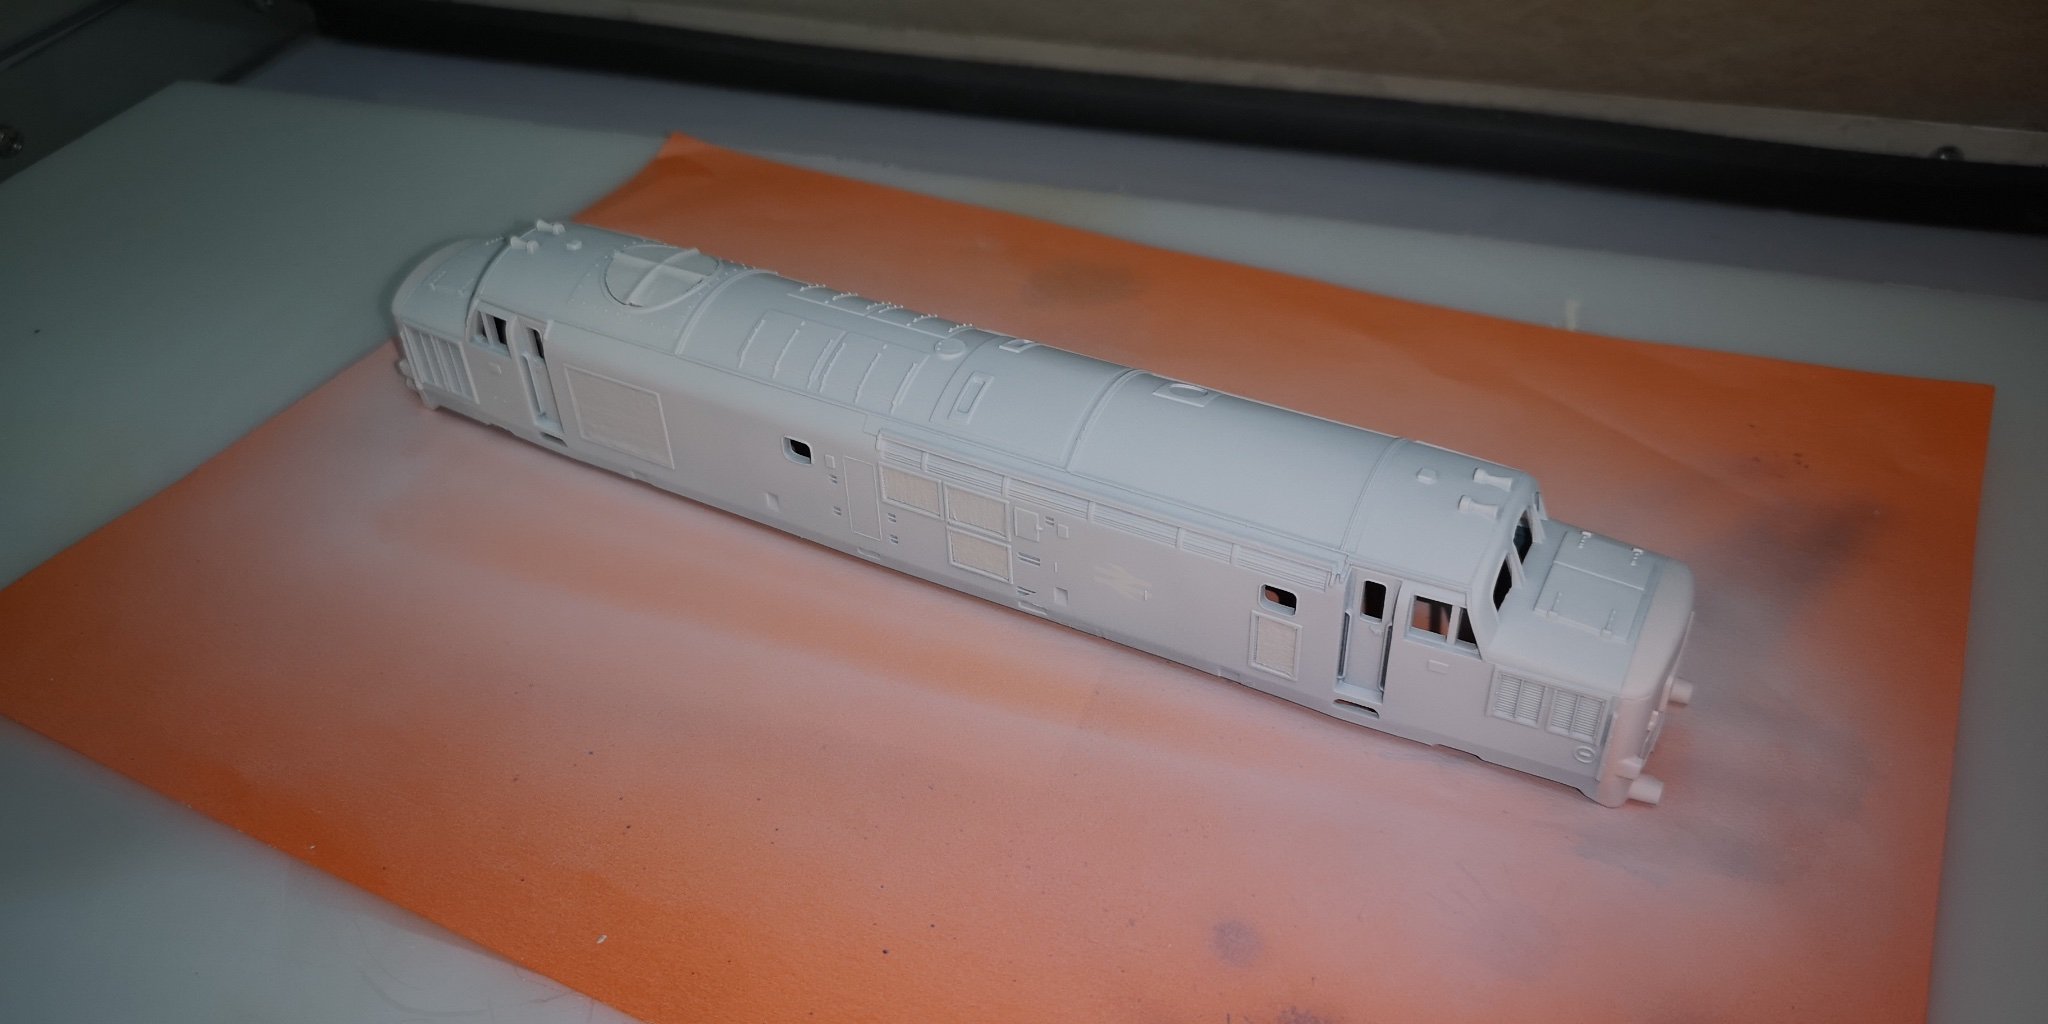
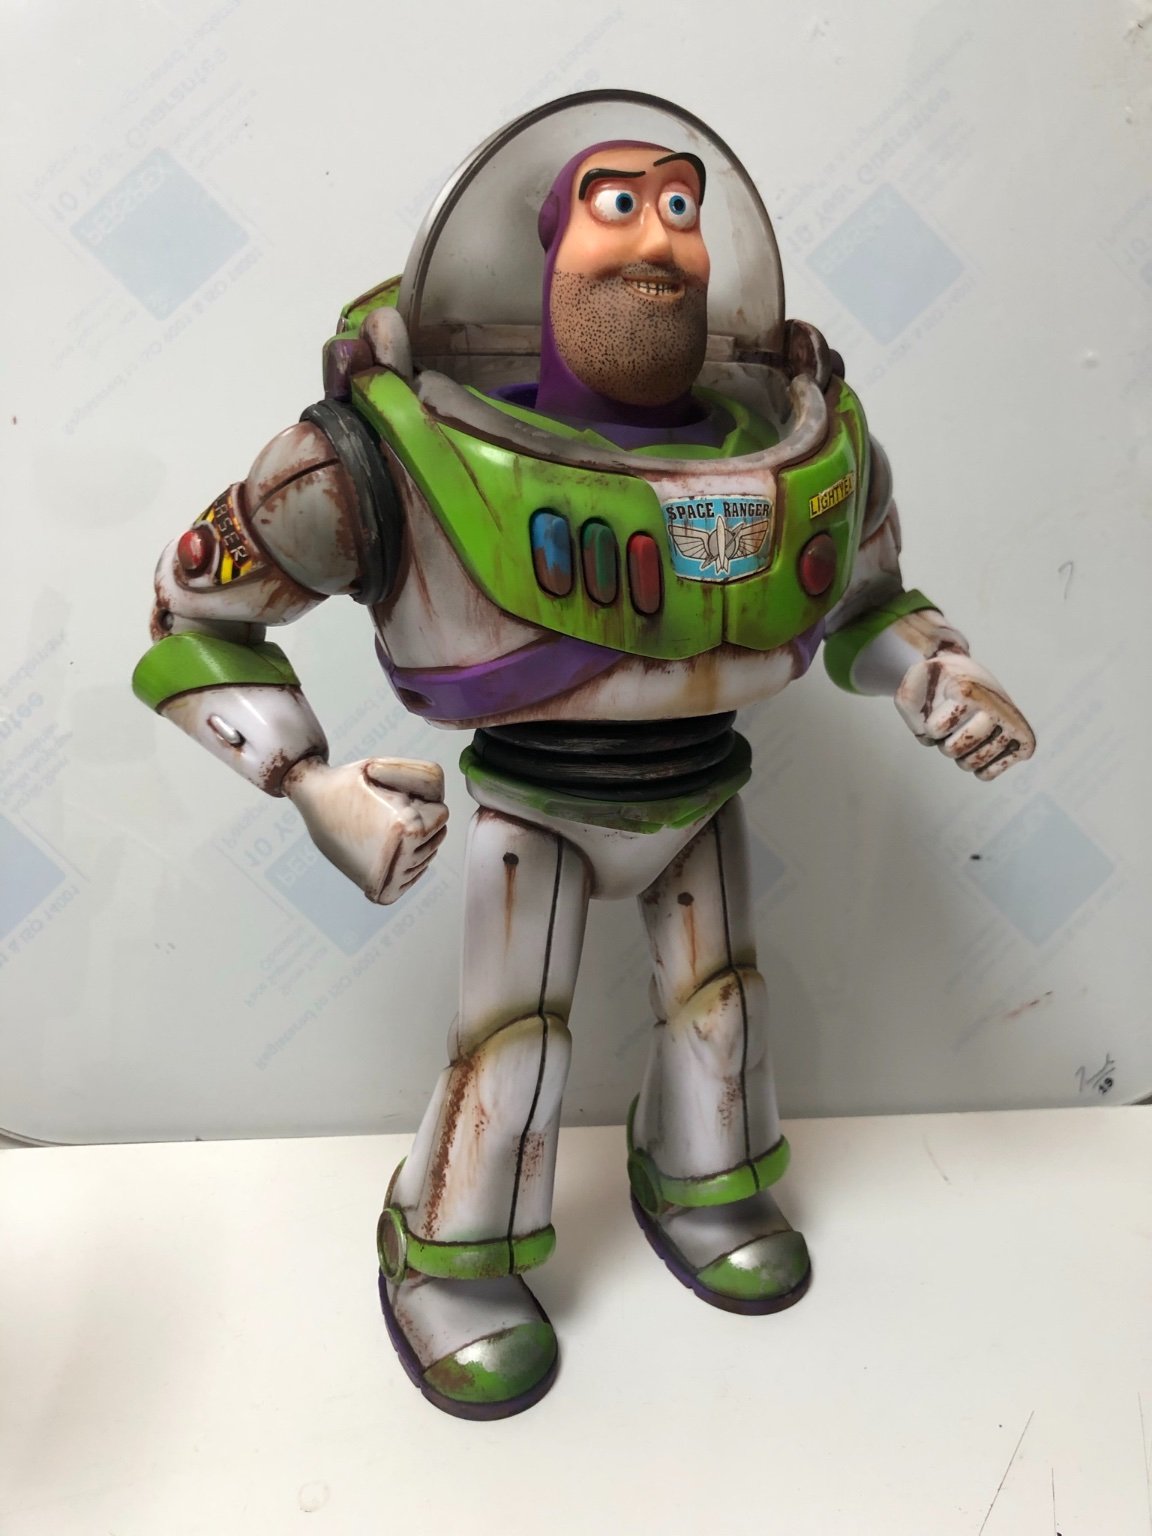
Buzz appers to have found it hard since the toy story 4 was released
-
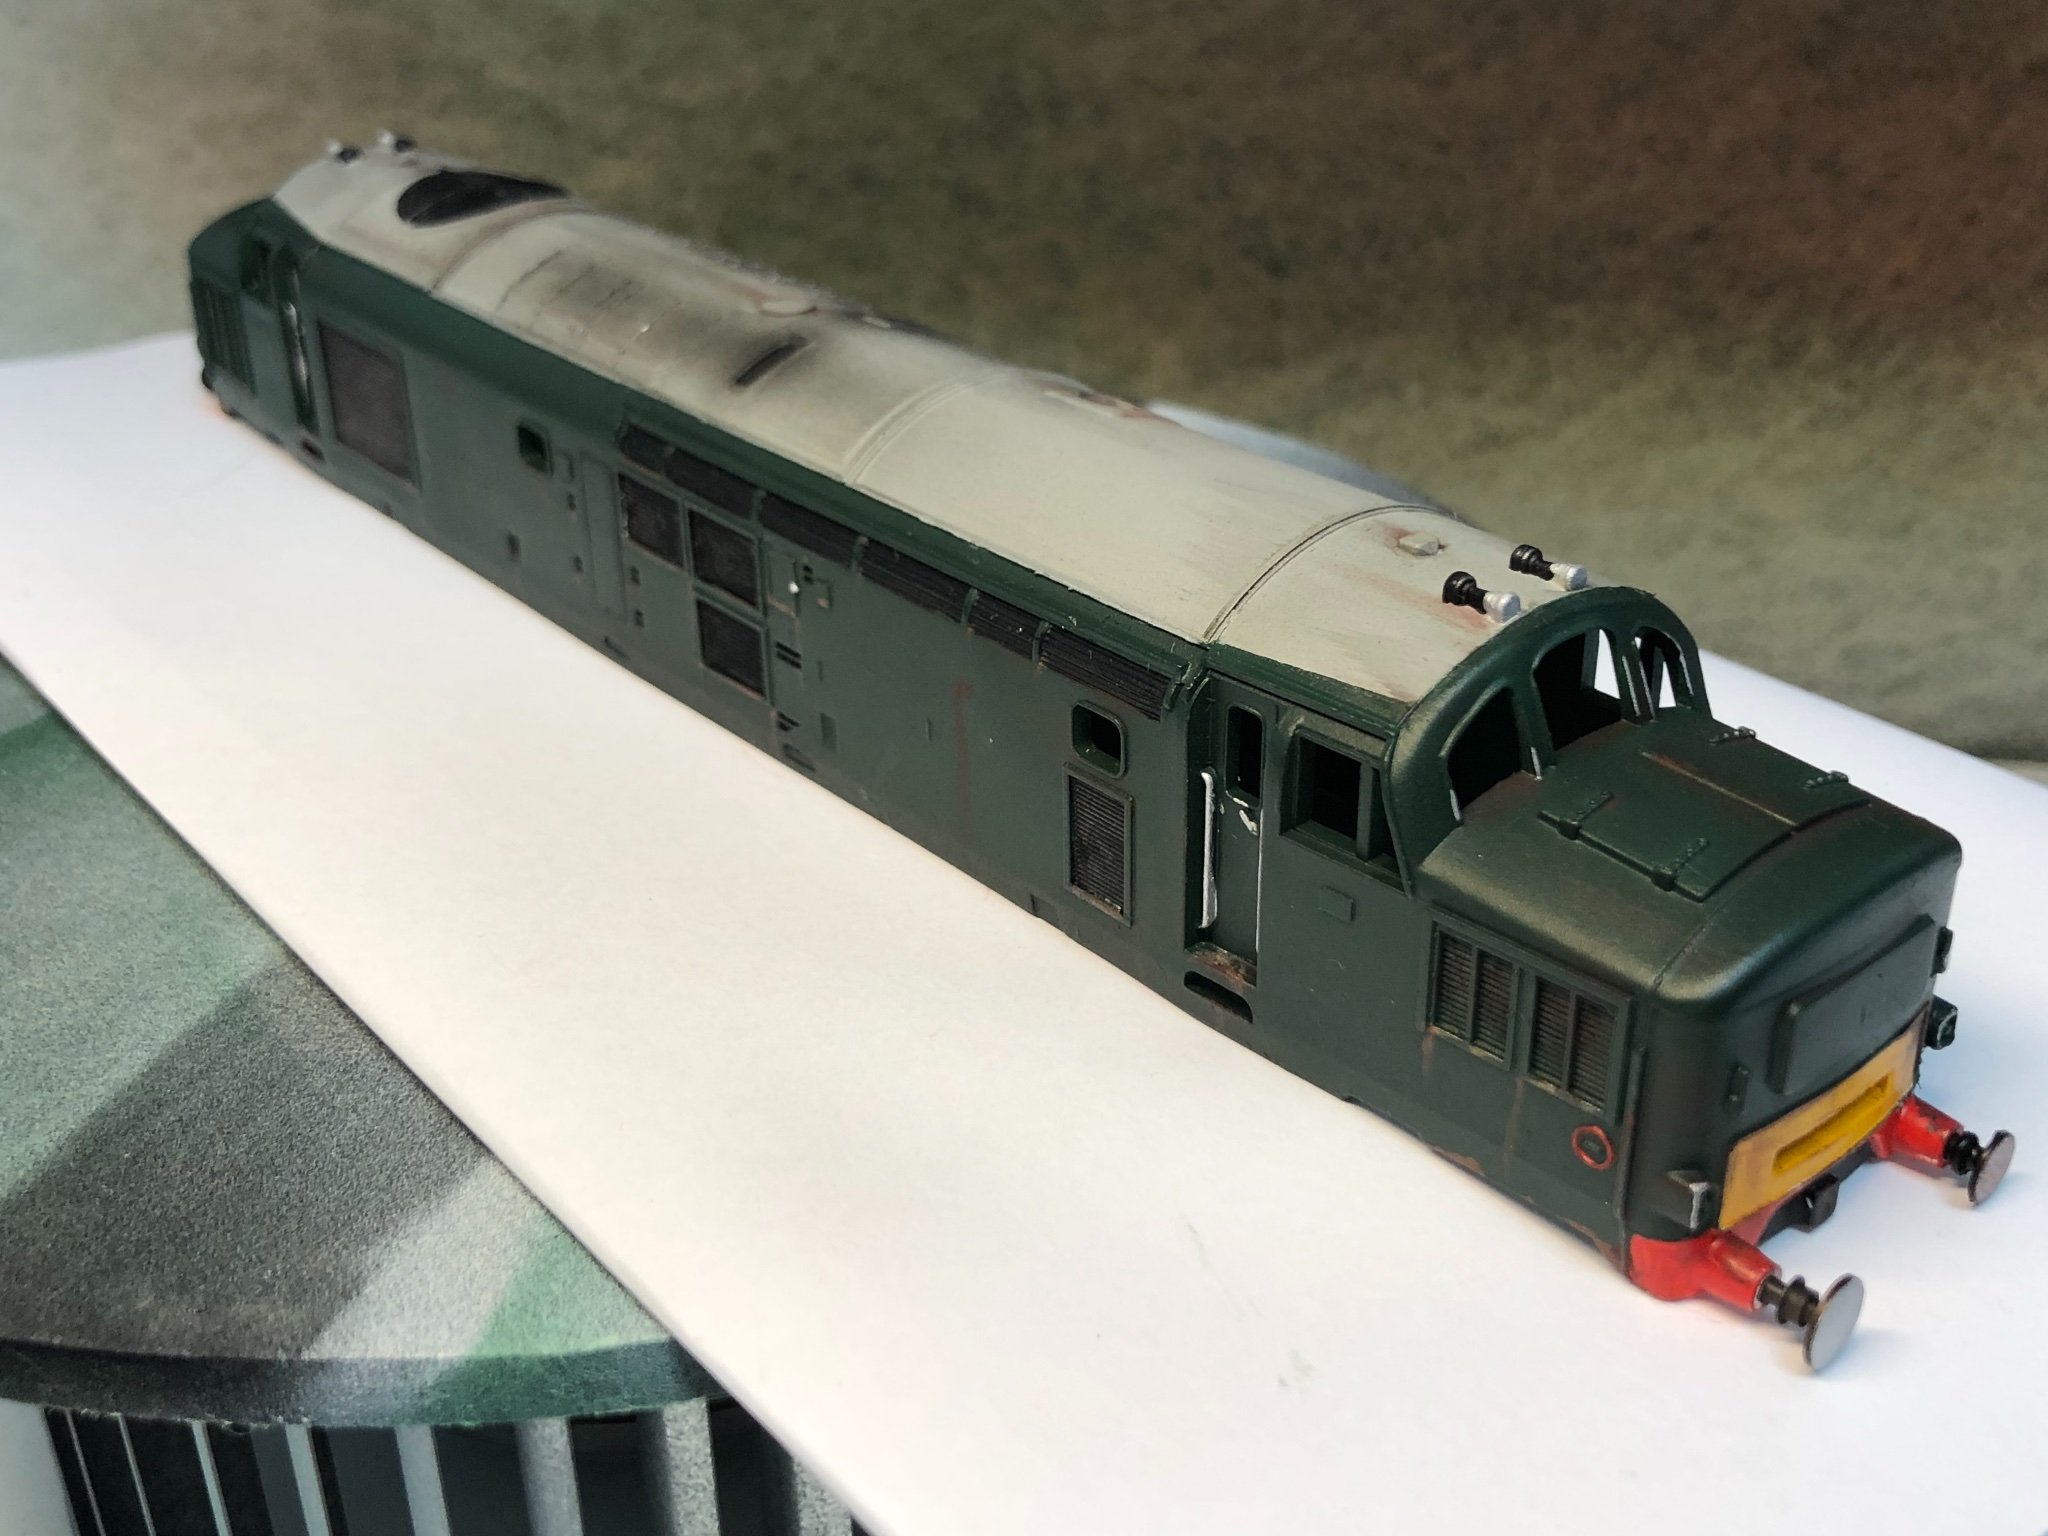
Wow how time flies, I never have picked her up again, she still sits there awaiting the restart. I cannot believe I posted that so long ago, I still do models of different types, although many have been livery changes on my bosses trains. Ok not ships on a ship site but we’re all modellers ain’t we. The ship will be picked up as the winter/fall moves closer in the uk. Sorry I diverse a lot from ships here. I hope all the modellers have got through the bad times we’ve all had


- 699 replies
-
- 4
-
-
- victory
- constructo
- (and 1 more)
-
Hi all out there cutting, chopping and glueing. I would love to say I’ve been doing the same but, I haven’t, for over 12 months she just sits there docked, longer than the ship she’s modelled from. Well I managed to get COVID 19 on 28th sept and believe me it’s not a game, I was ok for three days and managed to do some lower ratlines before realising I needed the stowed bedding behind before I block them off. The illness set in and once again I’ve stopped but I have gained some momentum to restart her soon
- 699 replies
-
- 4
-
-
- victory
- constructo
- (and 1 more)
-
Hi Well its 3 months into 2020, and actually my birthday today and I have'nt touched the Victory in many a month, generally ive lost the interest in it since loosing my mother inlaw who I used to joke about her housing the finised model. Also my wife, who is training to go to Jet 2 having been made redundant from Thomas cook when they went under. Normally when she is flying I do the model but otherwise my time is spent with her when she is home, Summer is a big game changer too as we want to be out there living and not cooped up in a room building. Your post have also stopped, have you chaned your buid or having a break ?
-
Wow its been a while since I've been on this site, or even touched the ship, not since April have I picked up tools. We lost a close family member and the ship gave me great memories of her and I've found it difficult to venture in the model room let alone pick up the victory build again. As always leaving for long periods makes the restart difficult, remembering what to do, when, where and whats next. I have started on the lower ratlines and the mast supports (really needed too after sails have been fitted). There weight shows without the lines for support. Well in April 2020 she will be in her 6th year of construction, how long the real ship took. Without many breaks of course.

- 699 replies
-
- 4
-
-
- victory
- constructo
- (and 1 more)
-
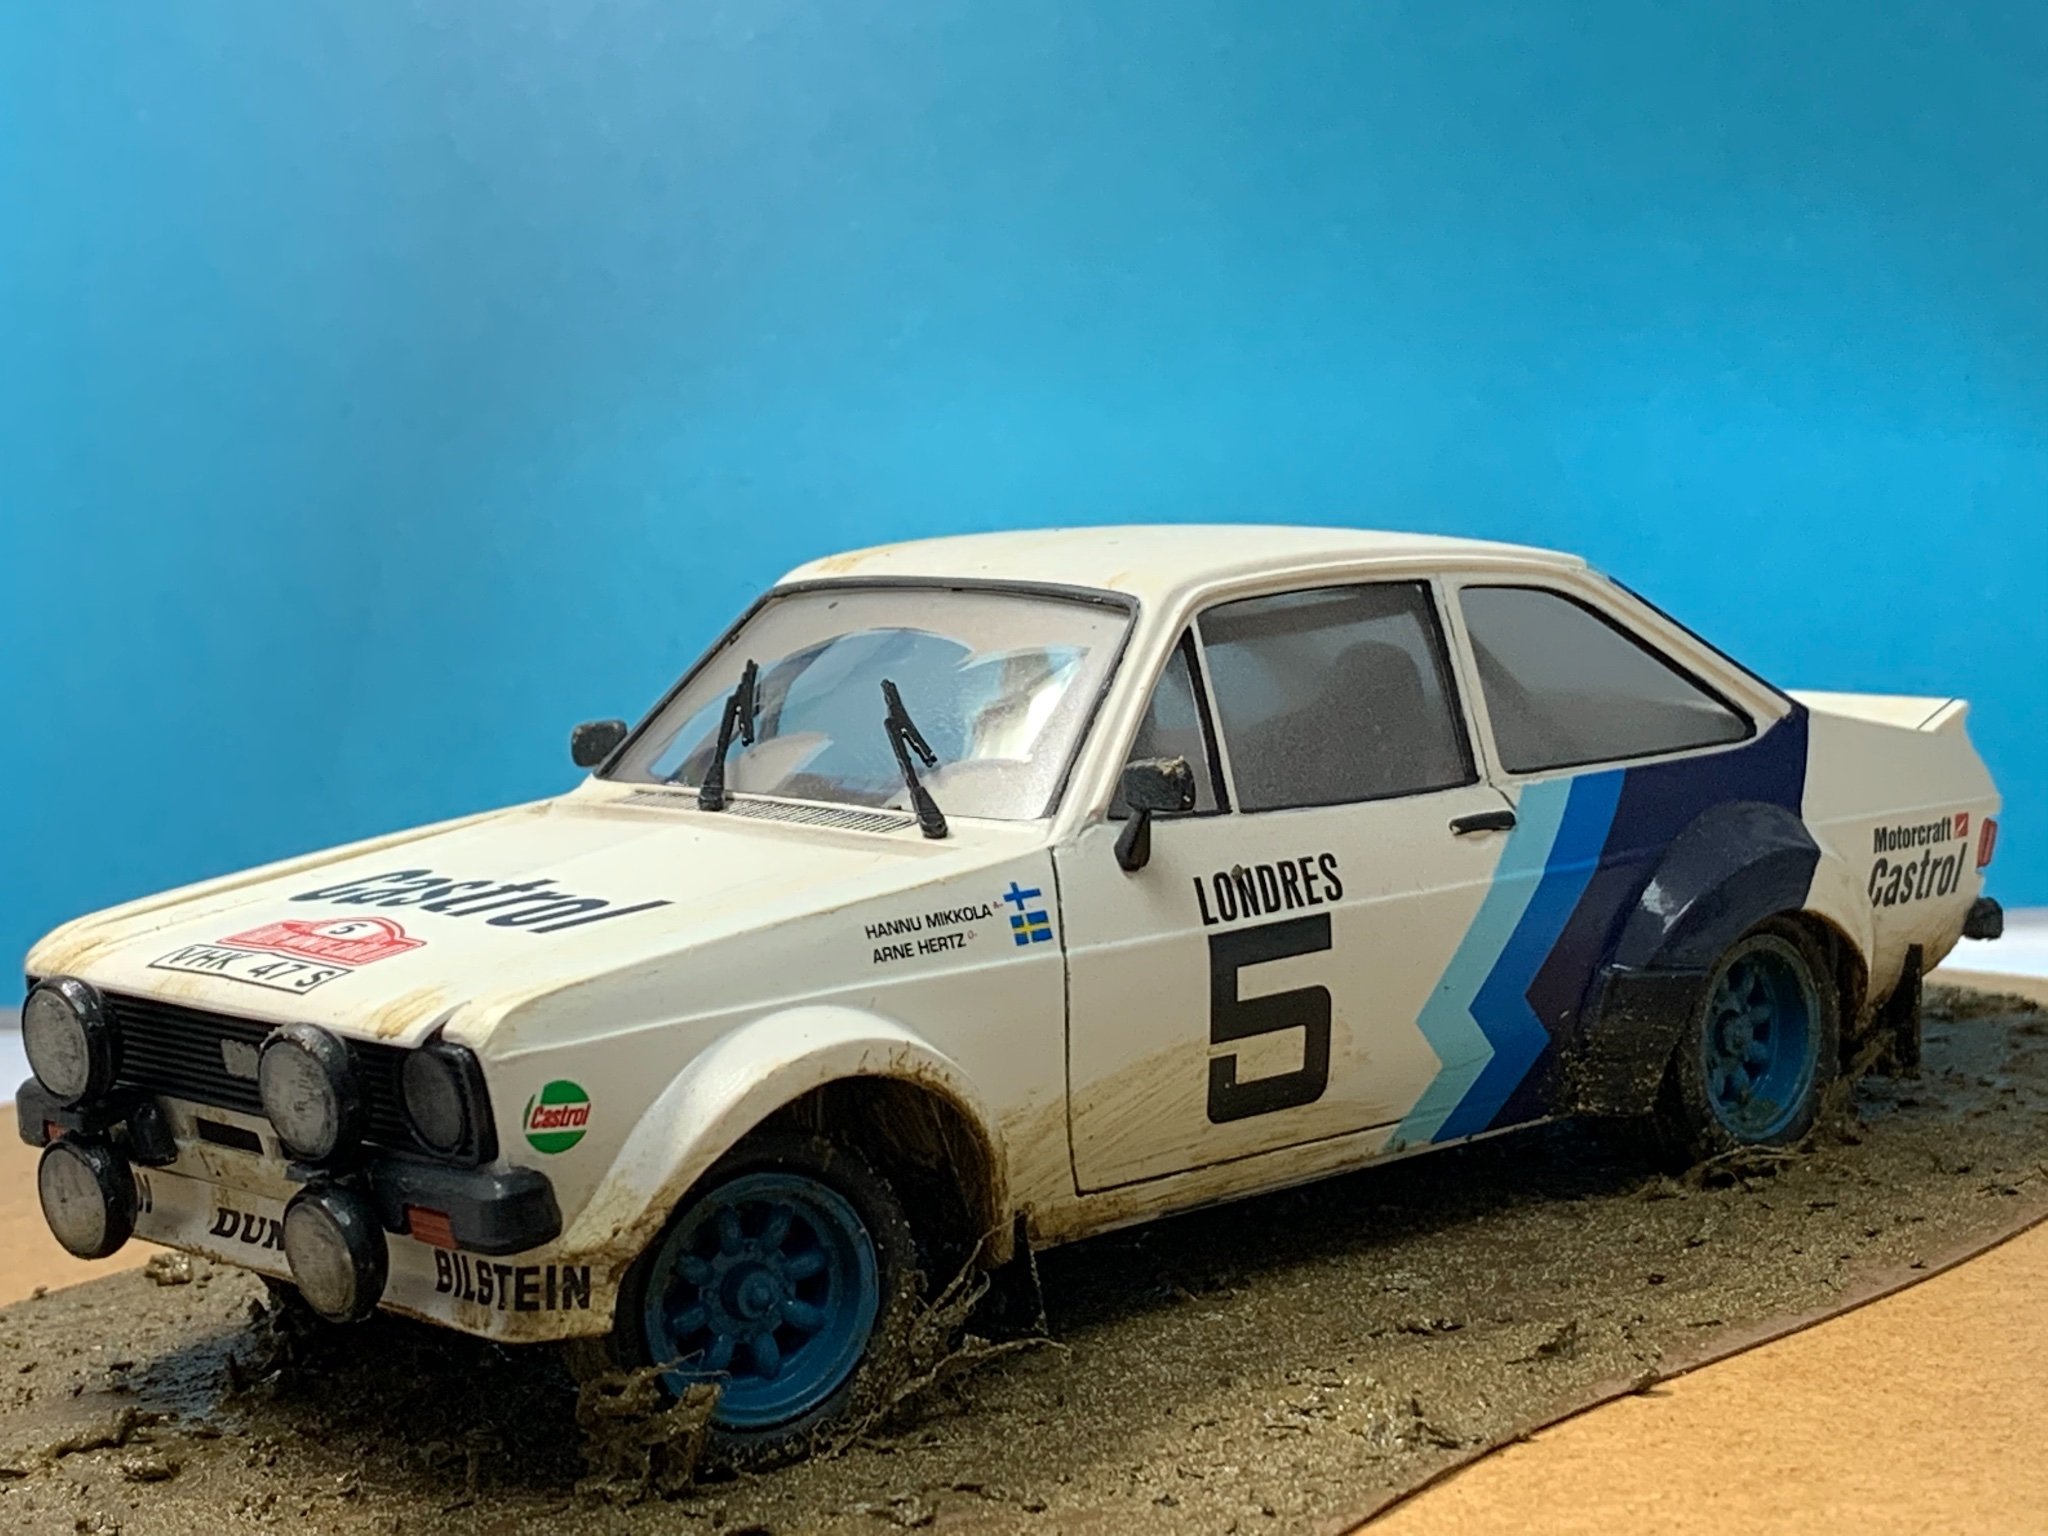
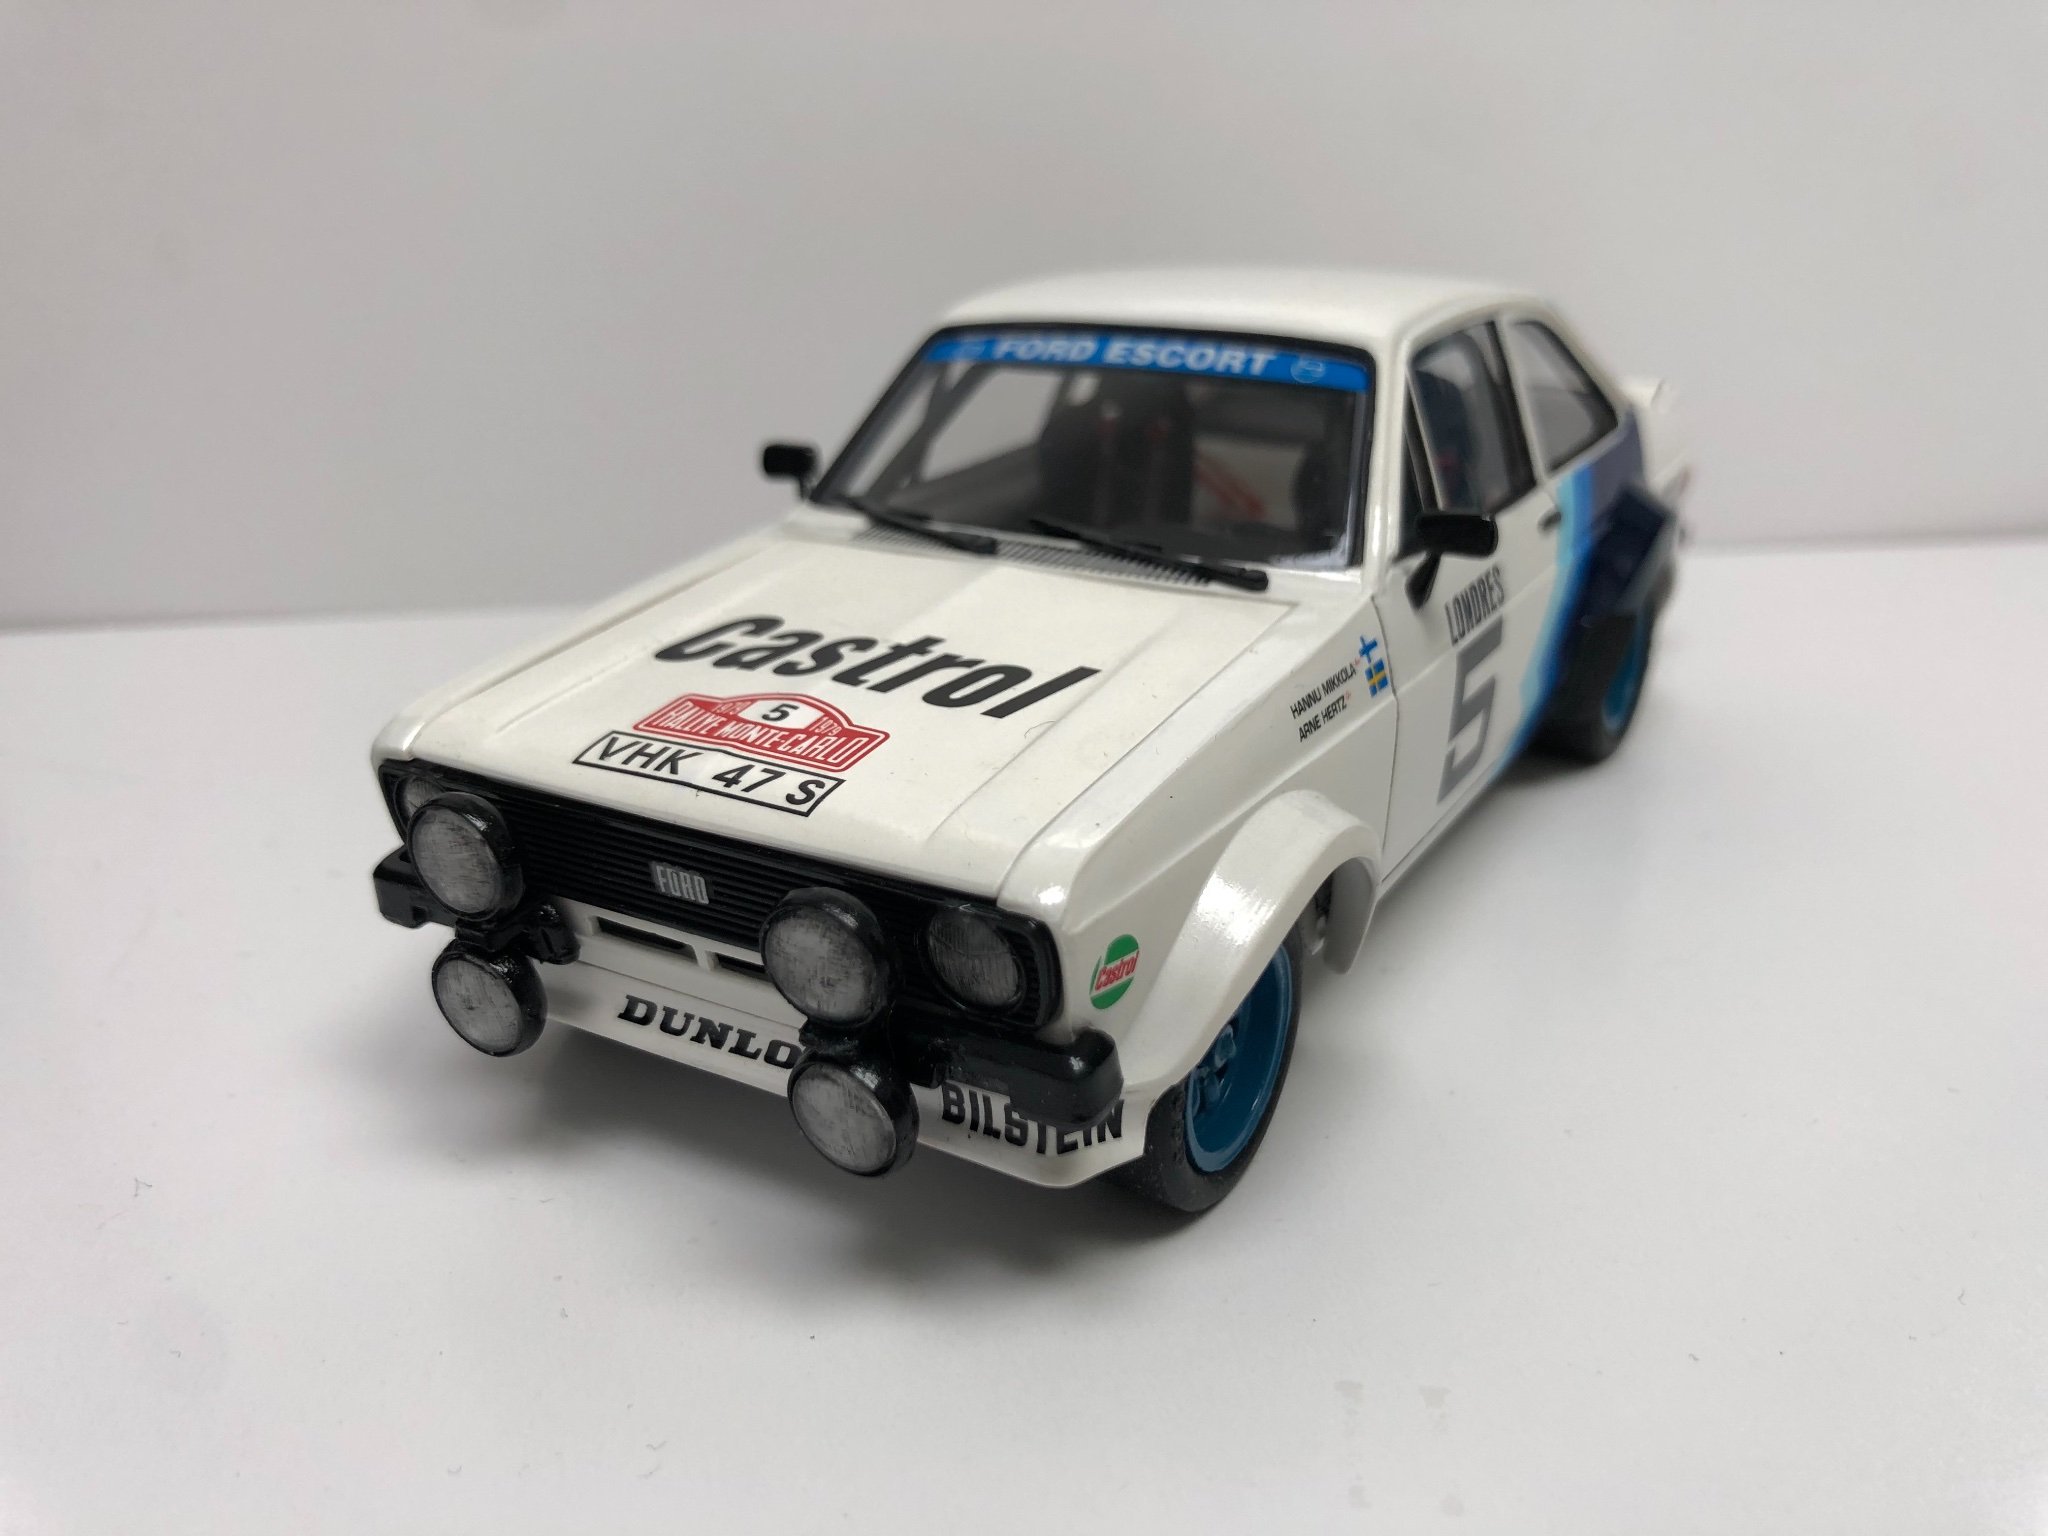
Steve, she is a credit to you, job beautifully done and sails too, well done, Most modellers don't go for sails and say its because they hide the detail, I believe it doesn't hide any, just move your head it's all there. It is just very difficult to fit them with sails, not to mention added research and the time that and the actual making and fitting sails takes. Furled lowers show decks detail anyway. Hms Victory spent years at sea and would very rarely be seen naked. OK furled but not naked. Basically it's like building a model car and leaving off the wheels to me. It's a sailing ship at the end of the day. Most modeller fit copper plates on hull, why bother, they were hidden below the waterline on the real ship and never seen during Victory active service and they really do hide the beautiful planking work. There fitted because there supposed to be there, a bit like sails. I know its each to there own and I would like to have left the sails off knowing what I now know but it's a sailing ship. We'll now my next ship if I make a second may not have sails fitted, ha ha but mine will be nothing to do with detail lost, more the effort involved. We'll done mate in producing a beautiful model.
-
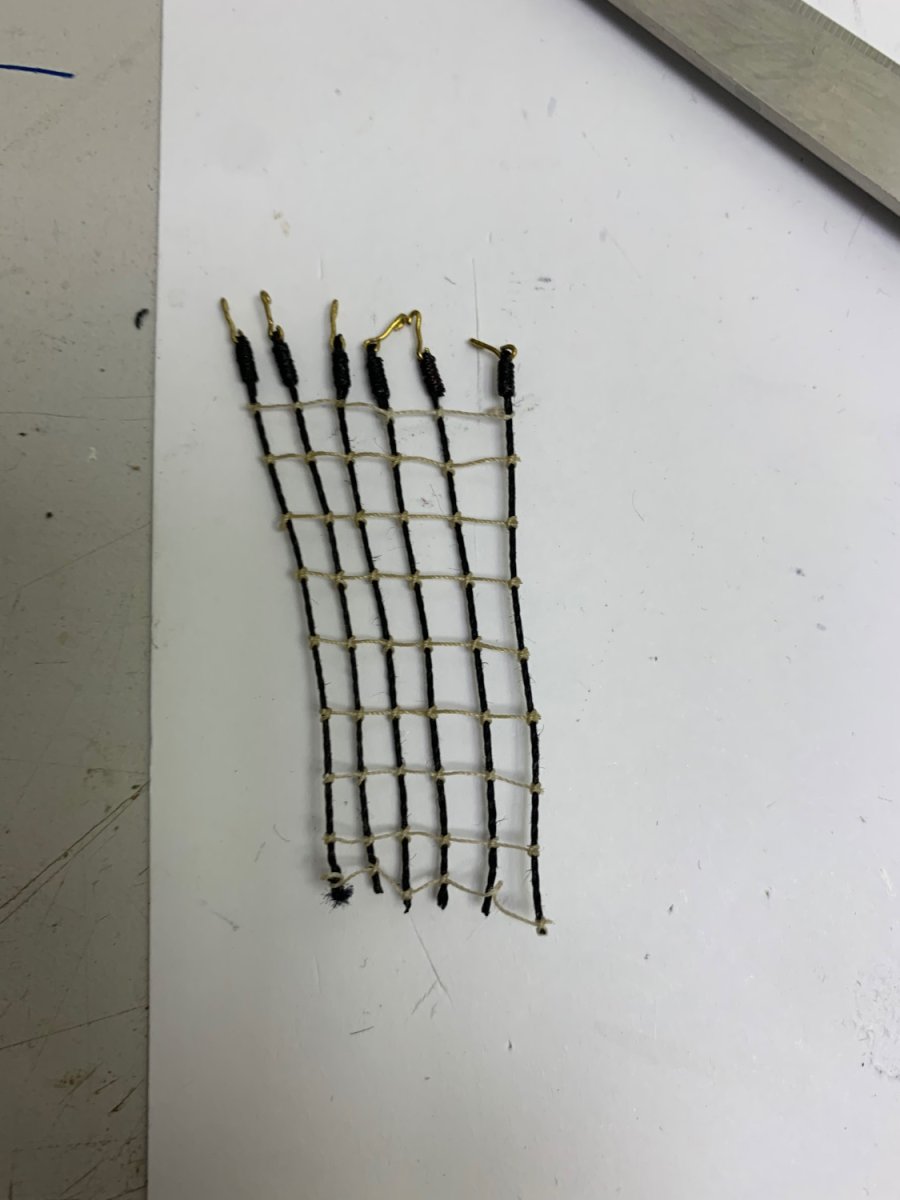
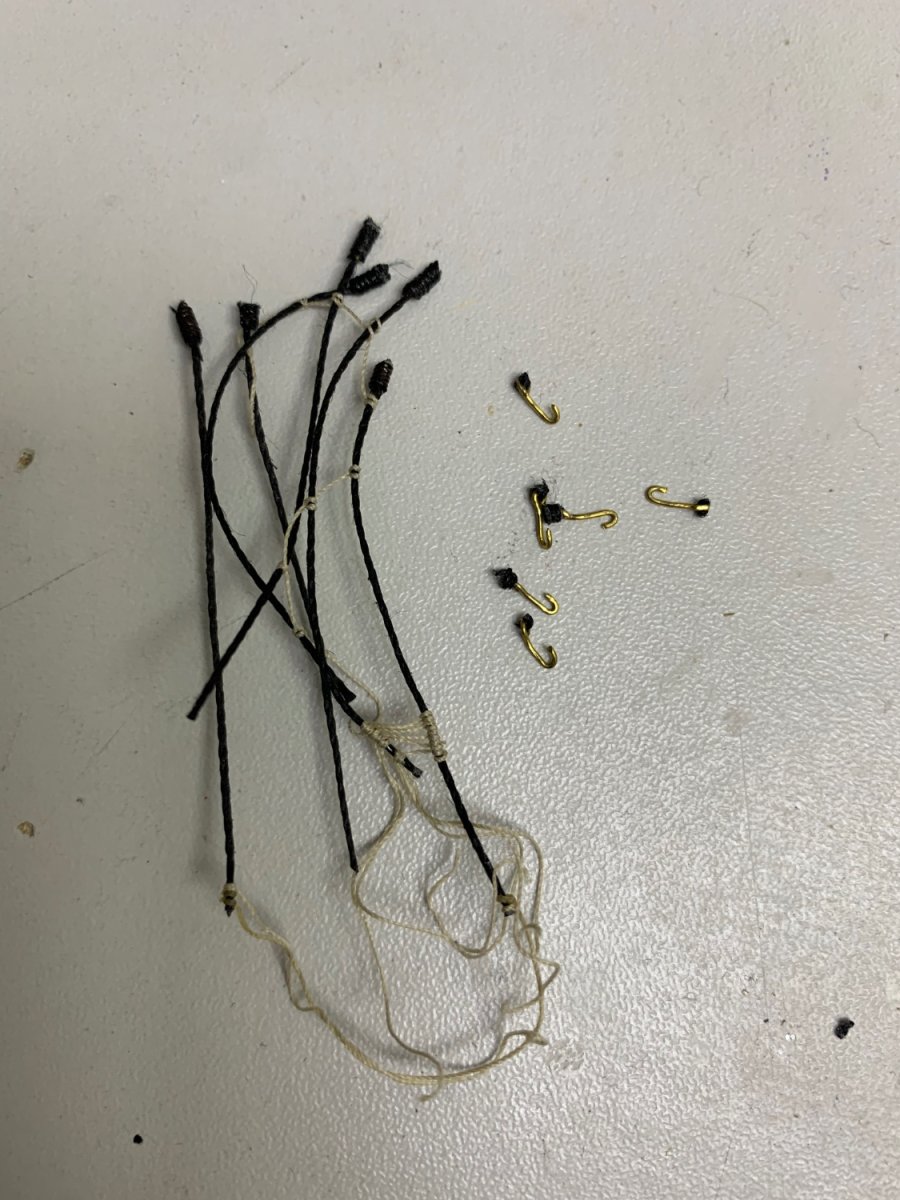
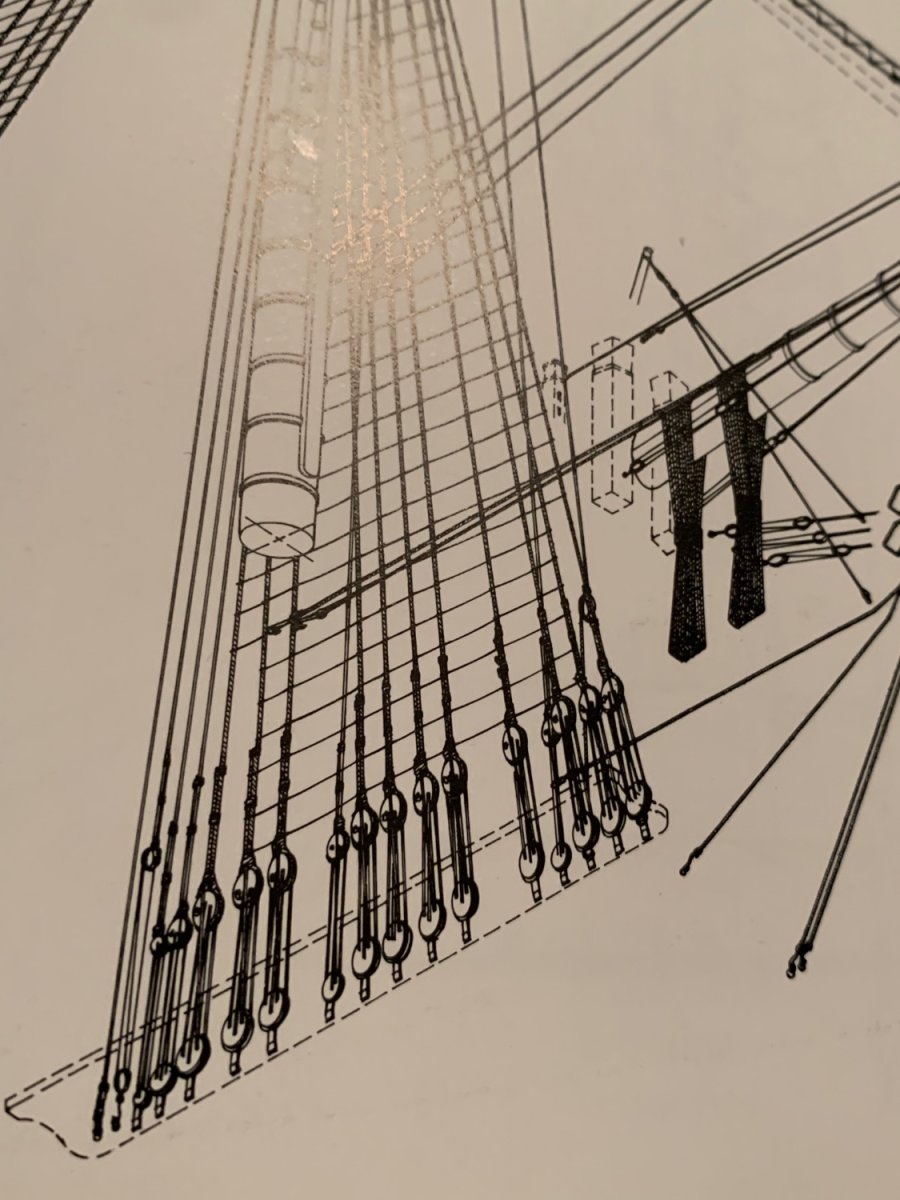
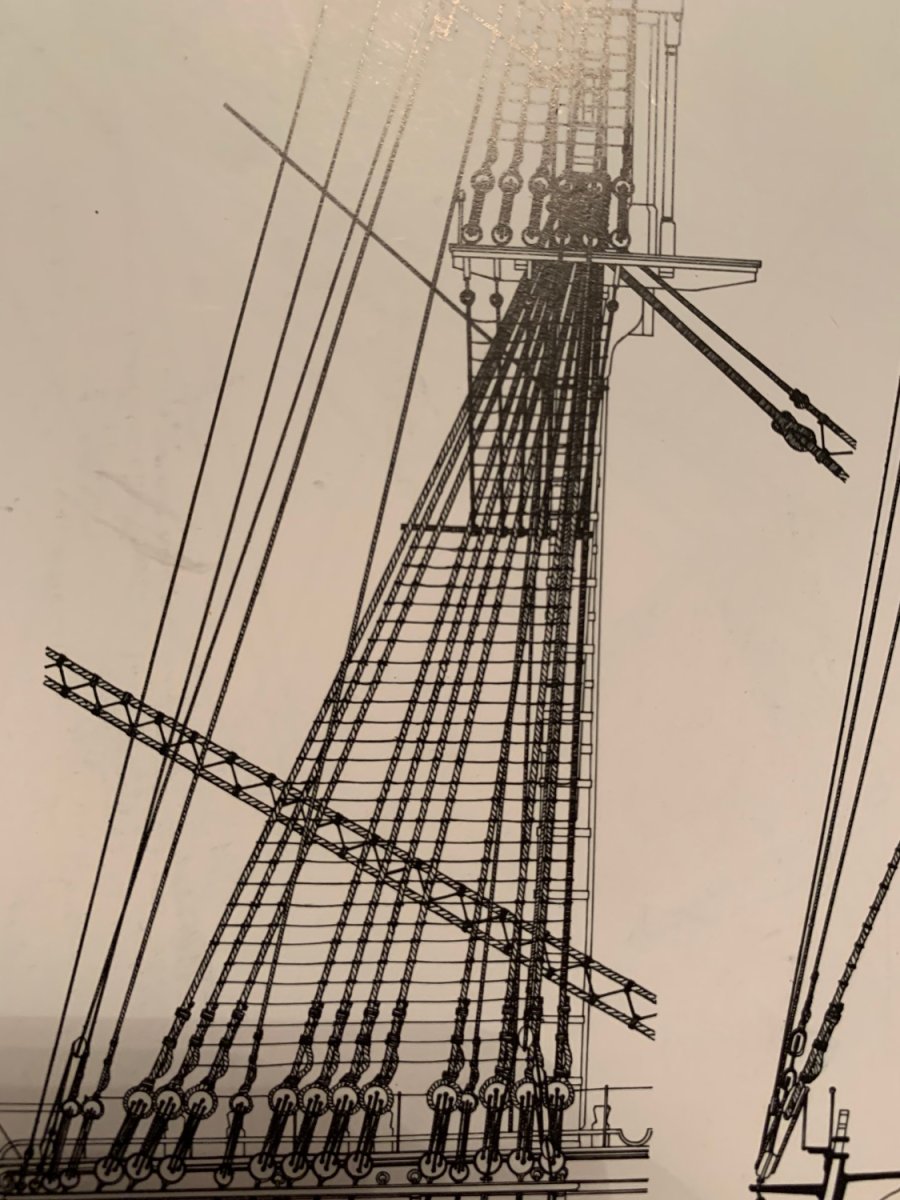
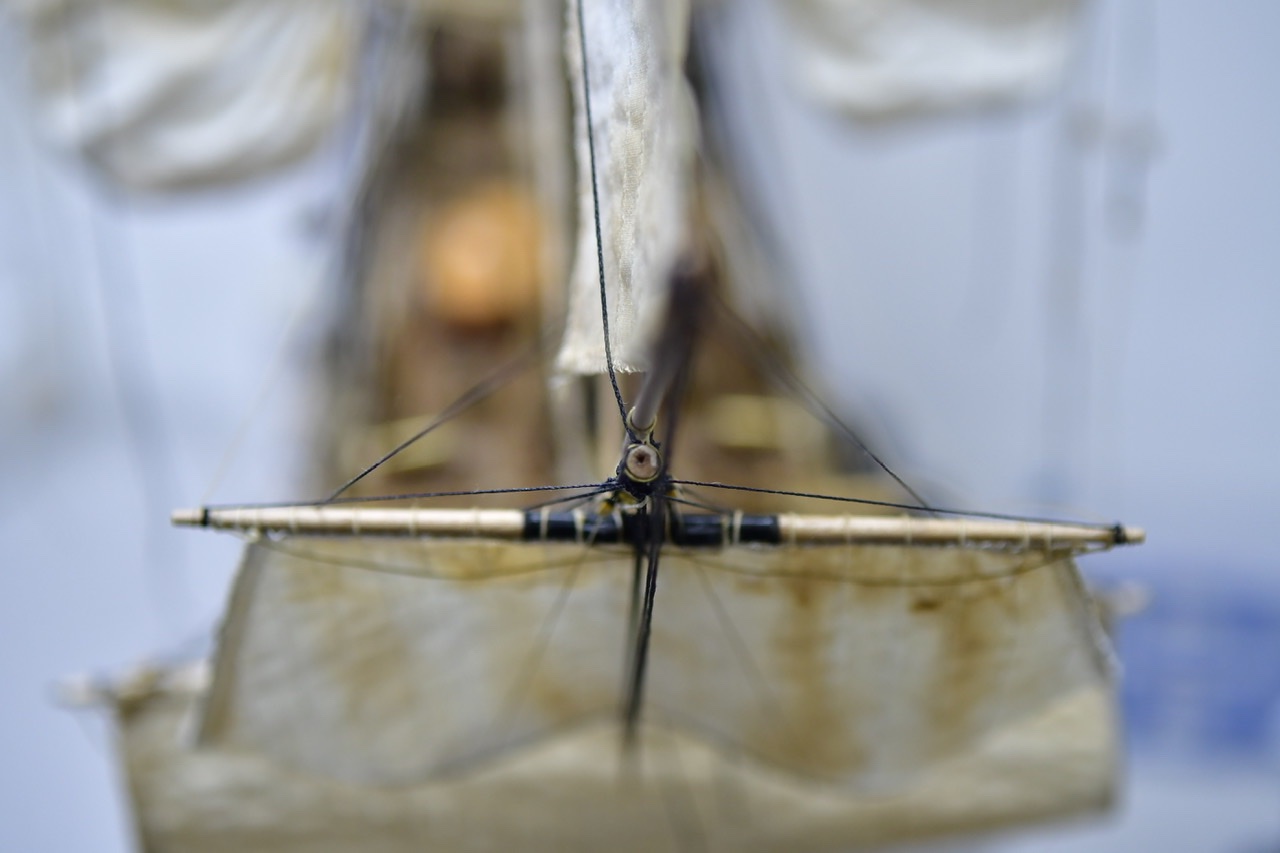
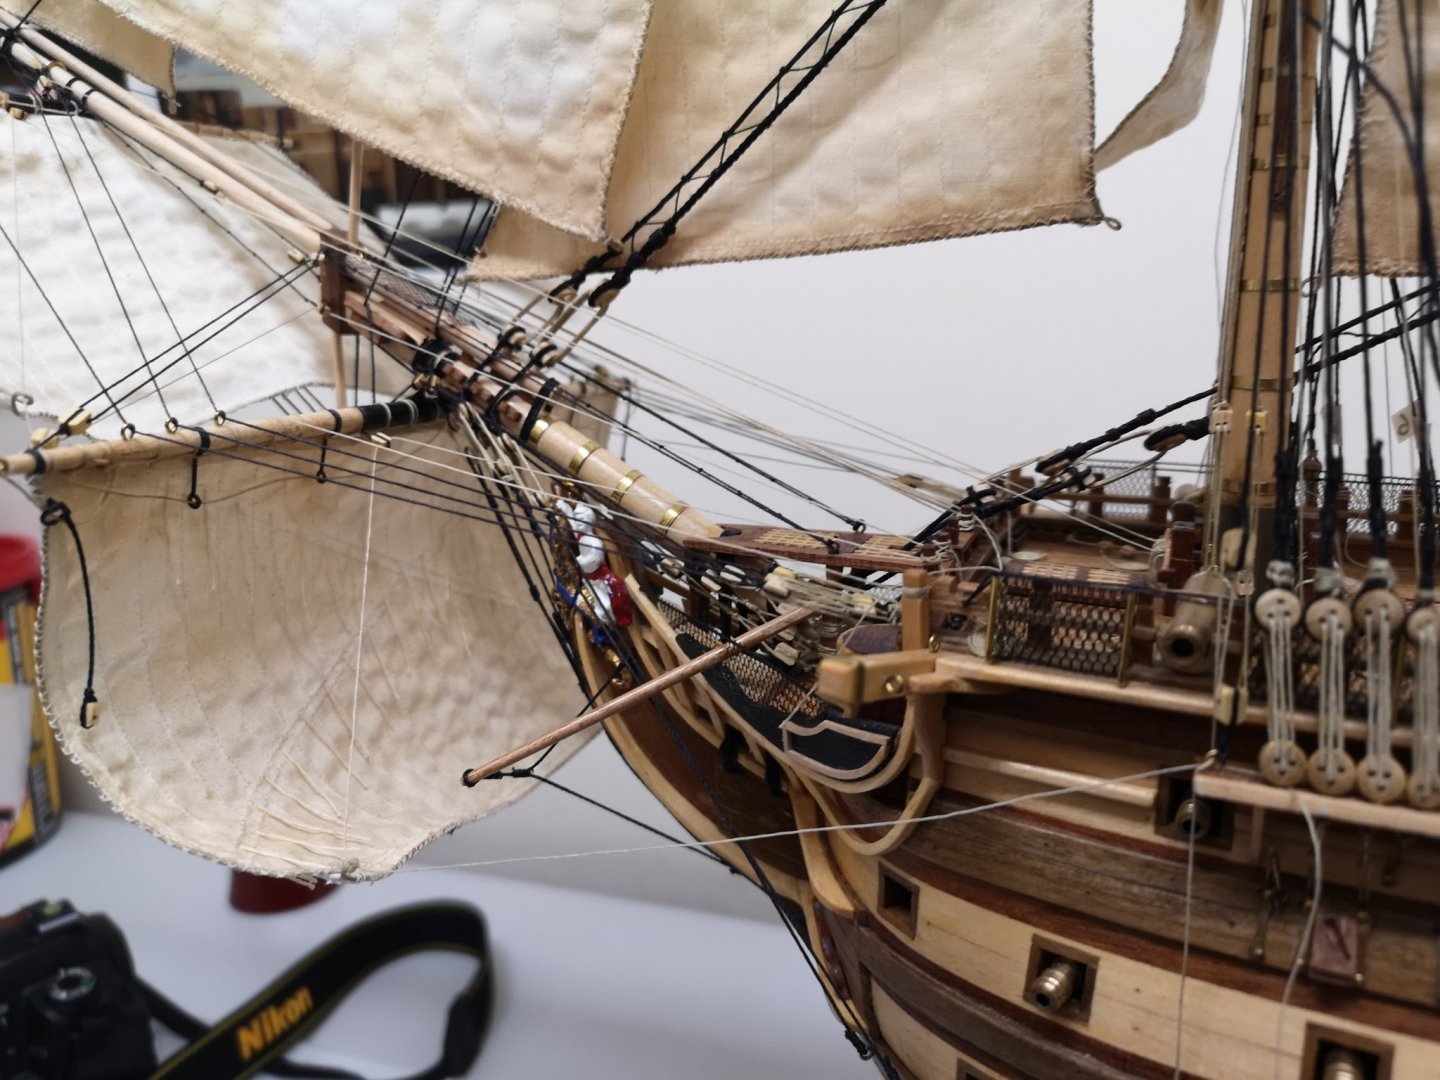
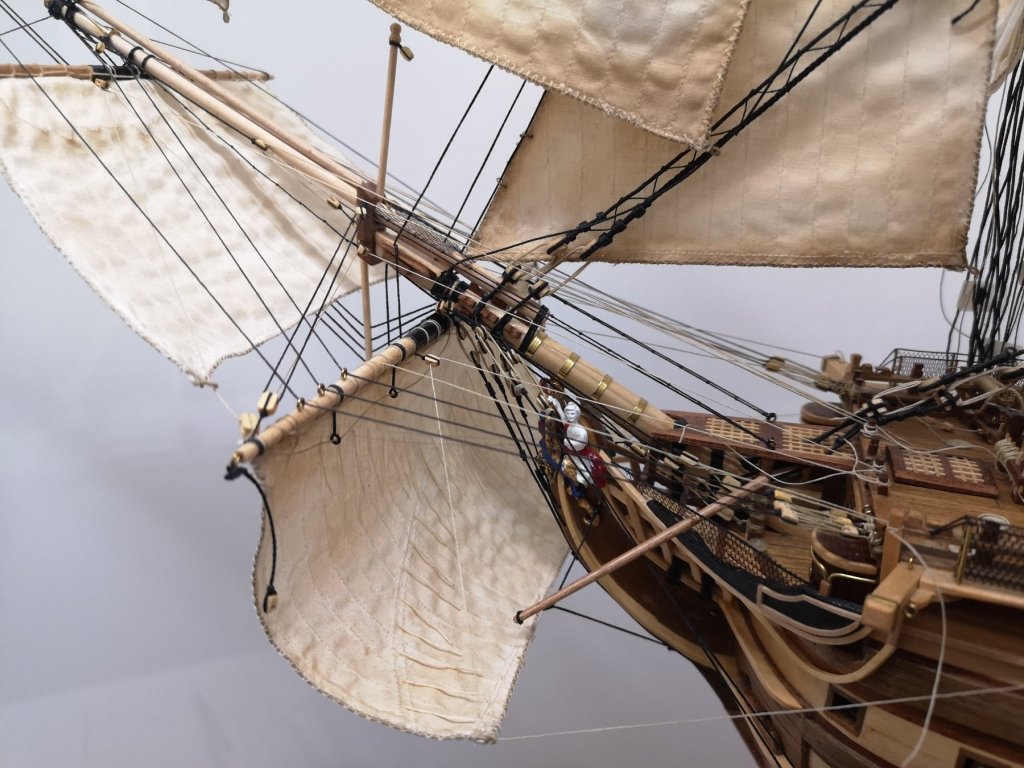
Almost completed the bowsprit section of rigging, some ropes require the ratlines for fixtures which due to access to the masts are late to the party. Now off to the Spanker before moving centrally to the masts.

- 699 replies
-
- 4
-
-
- victory
- constructo
- (and 1 more)
-
Hi mate So glad you are back and able to build whats going to be a beauty, First wooden ship and you are pre thinking Fibre Optic, brave man. I have to confess I have never been on your site, Sorry, I just never seam to surf the site of other builds especially from a mobile, so I am on my laptop and thought its time to look around. (this site is humbling and makes me realize I have a lot to learn, stunning ships) I remember you were prepping for the build and whaaaaaaaaaat, prepair you sure have, love the man cave that's on another level, tool station will be borrowing your stock. Very clever approach to the stern Gallery, I had a nightmare with mine. I have tagged your build and will be getting notifications on your post to keep an eye on how she is progressing. I have just passed year five of my build, I could see without glasses when I started. keep up the good work
-
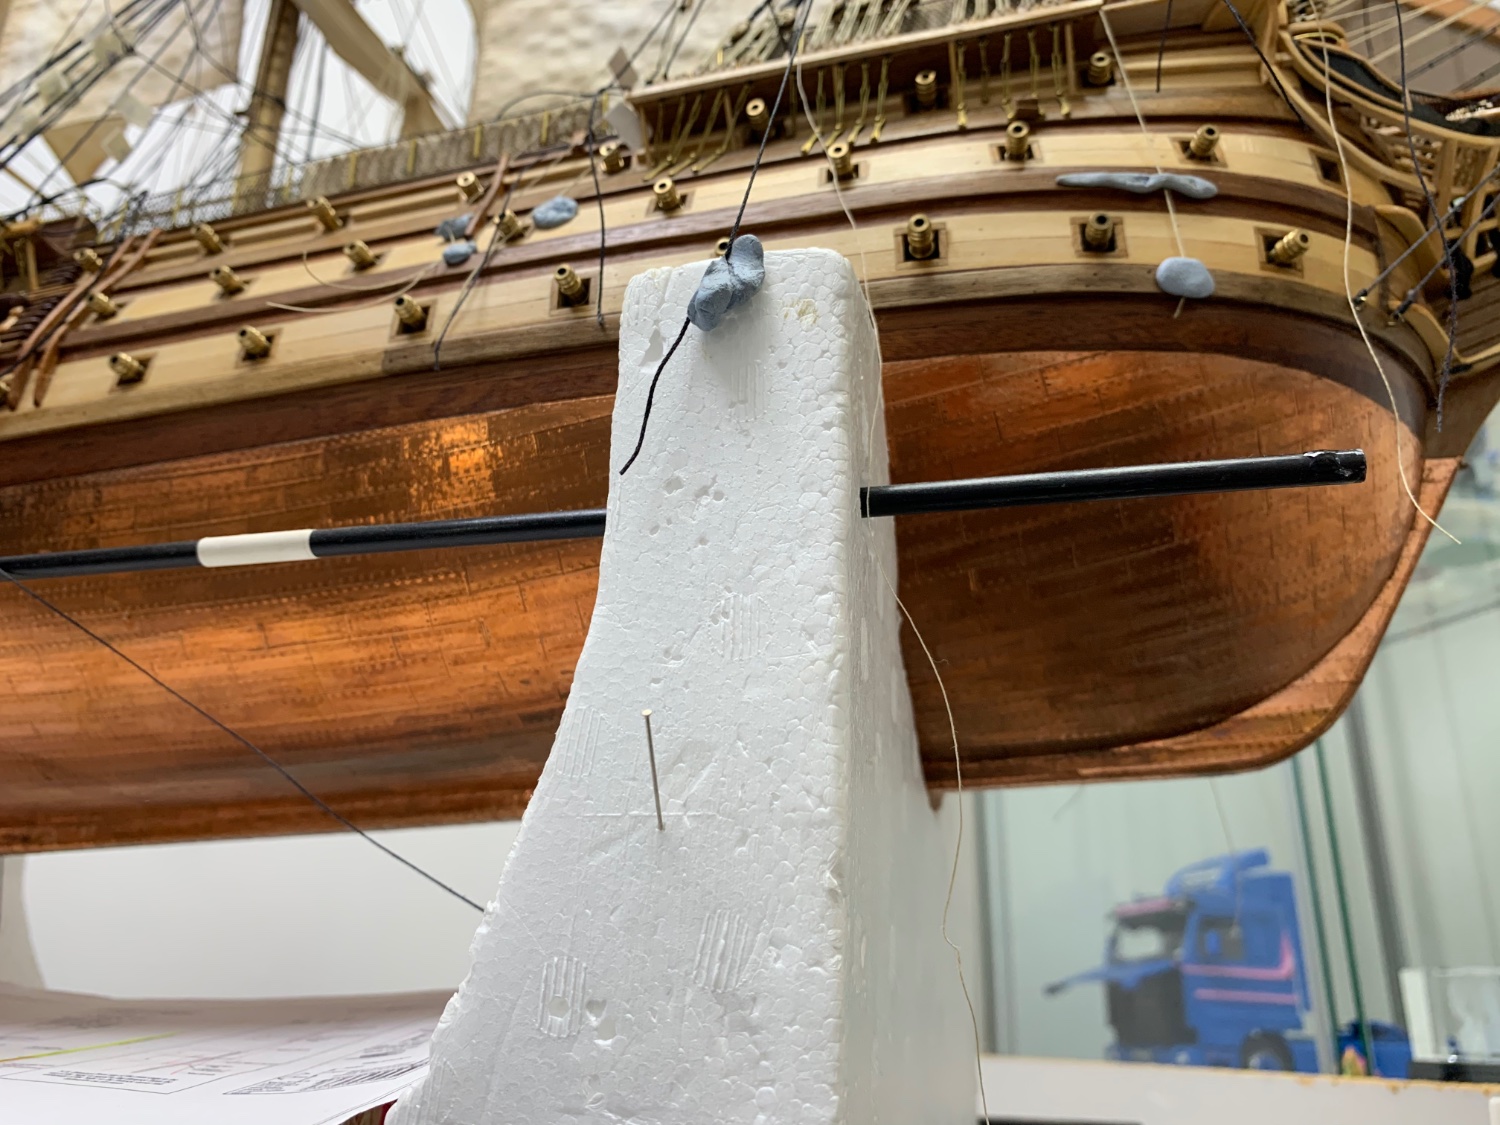
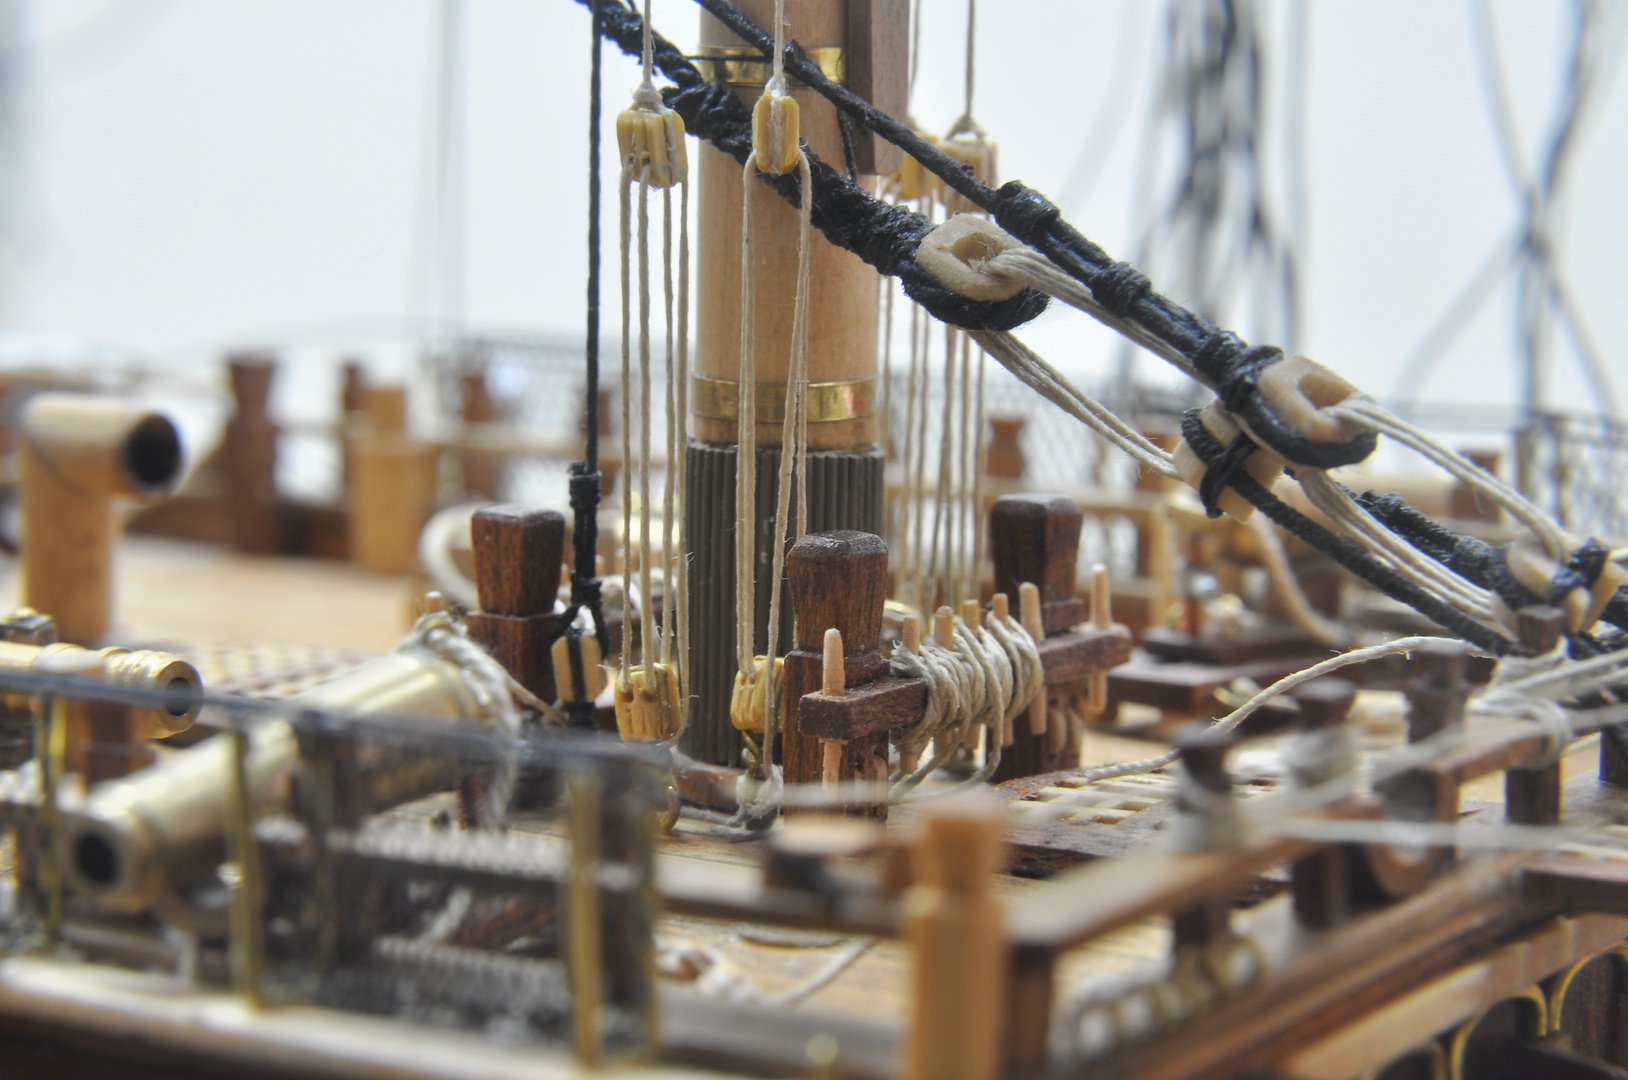
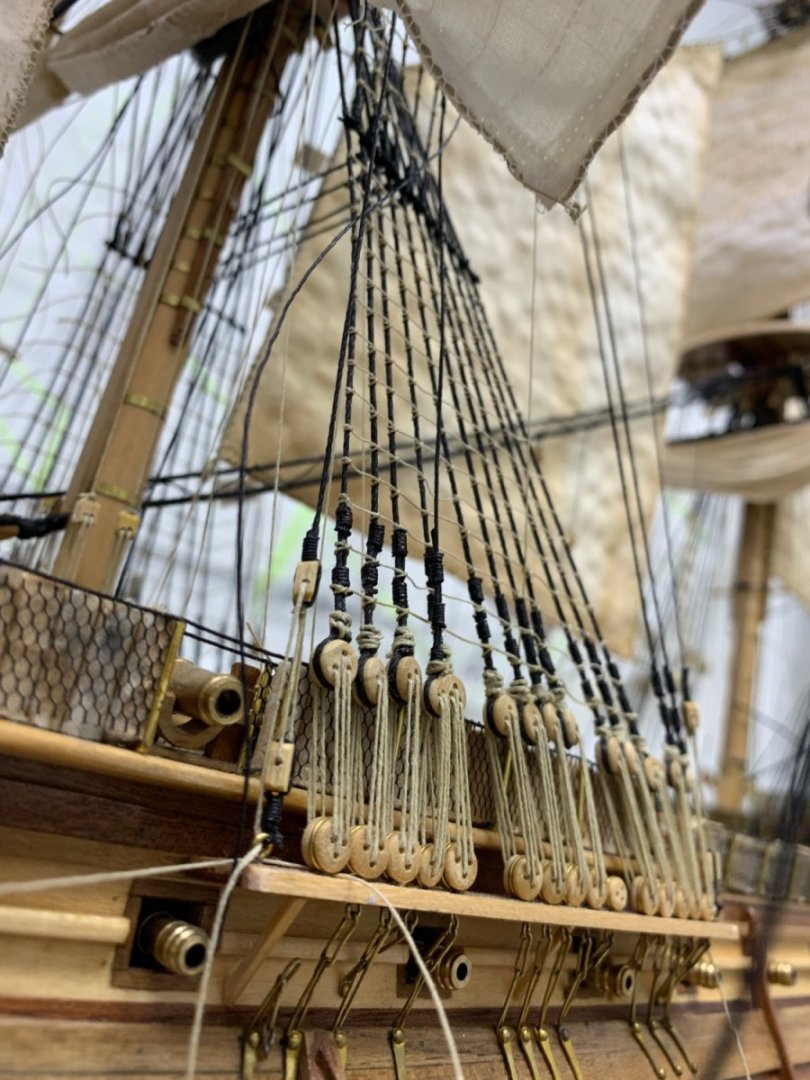
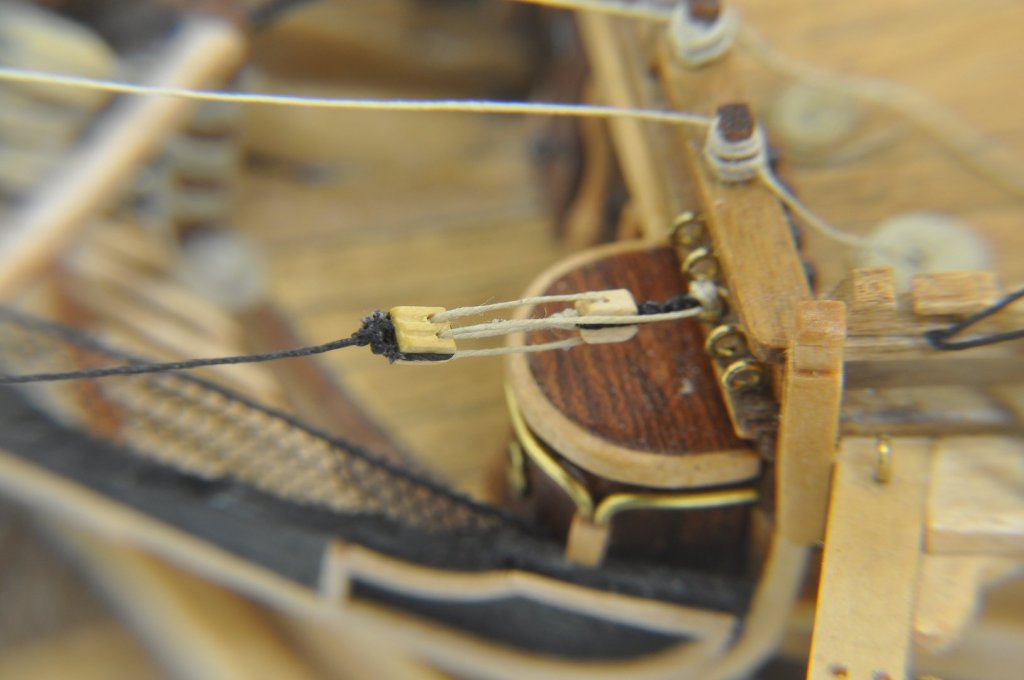
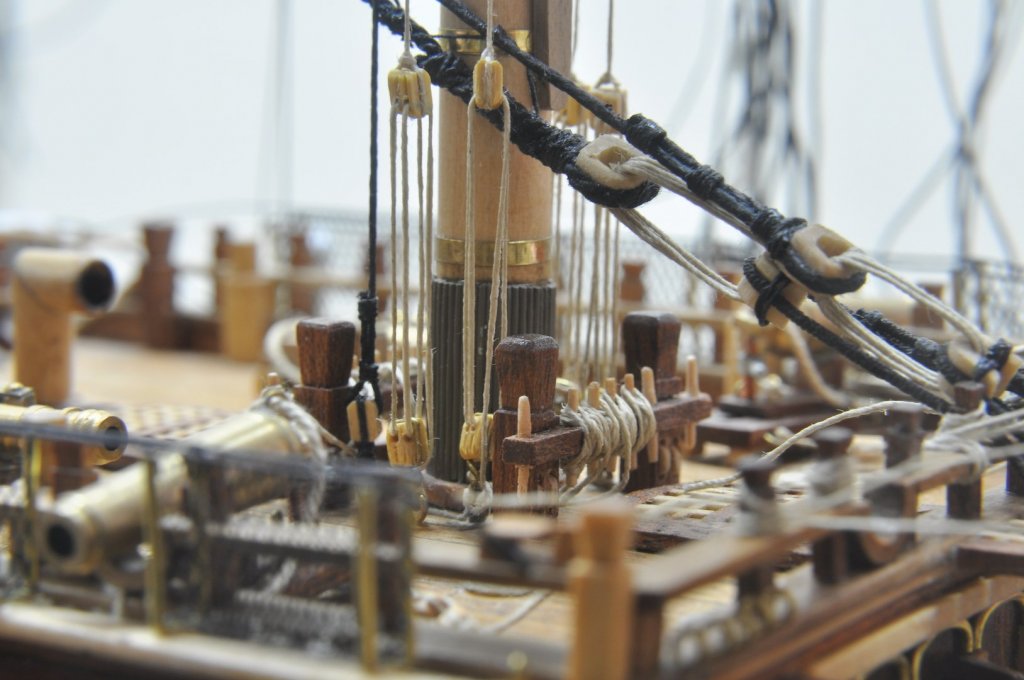
First tensioner for bowsprit, unable to tension much as only the one side fitted Few more images, I have been fitting the blocks for the foremast, if your are to build this kit and want a more scale look you will need to pre order many blocks, all the blocks here are not part of the kit
- 699 replies
-
- 2
-
-
- victory
- constructo
- (and 1 more)