Spiderpig
-
Posts
99 -
Joined
-
Last visited
Content Type
Profiles
Forums
Gallery
Events
Everything posted by Spiderpig
-
I was probably going to go for the 3000. Its the best in regards to pricing, and offers what I need in a rotary tool. Adam
-
Thanks for all the advice. Mtaylor, I had a look at that sander by Micromark. It looks great, however because its designed for America, it probably wouldn't be the correct AC rating for us in AU. The thing that worries me about the Dremal, is being overly powerful and taking too much wood of in seconds. I guess it comes down to practice with the tool. Thanks Adam
-
 I'd like that! But it isn't cheap though. Maybe if they do another sale. There are others similar to the Prince. San Felipe was another I had in mind.
 -
I am considering purchasing a Dremal, but wanted to get some thoughts before I do. I have never bought power tools for the ship modelling before, so this will be a whole new game for me. My latest build has quite a lot of sanding intricate areas, so a Dremal might make it easier to produce the results I desire. Any thoughts on Dremal, or other mini rotary tools would be greatly appreciated. Regards Adam
-
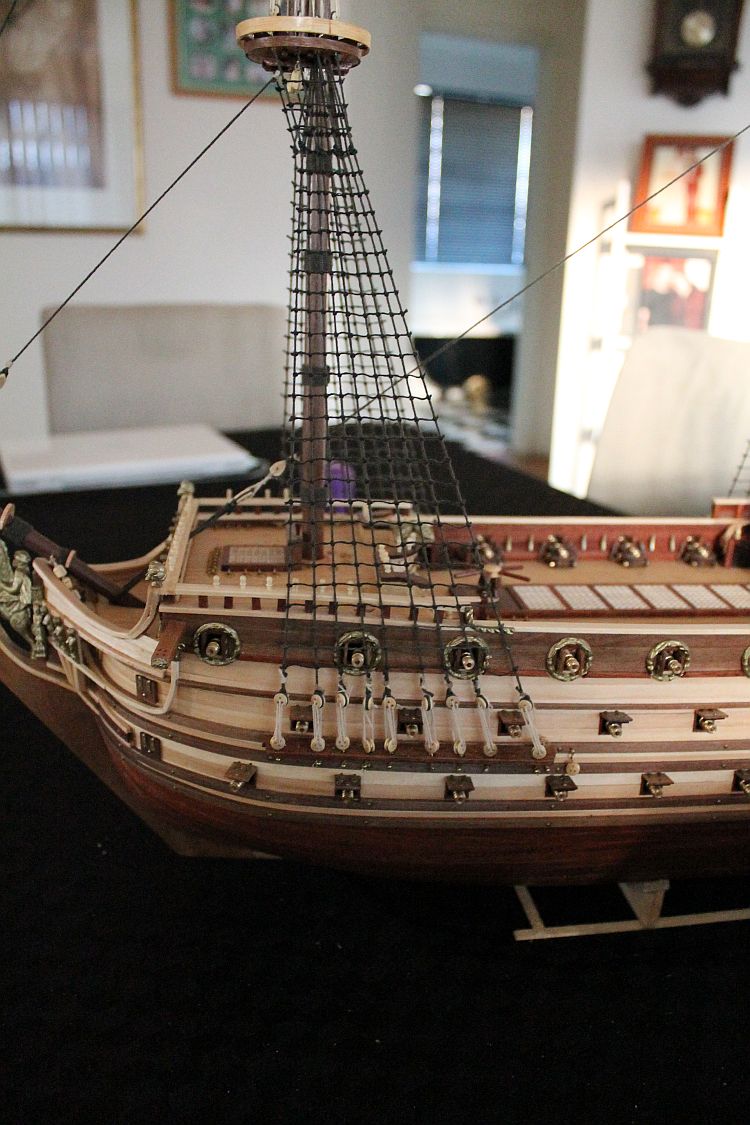
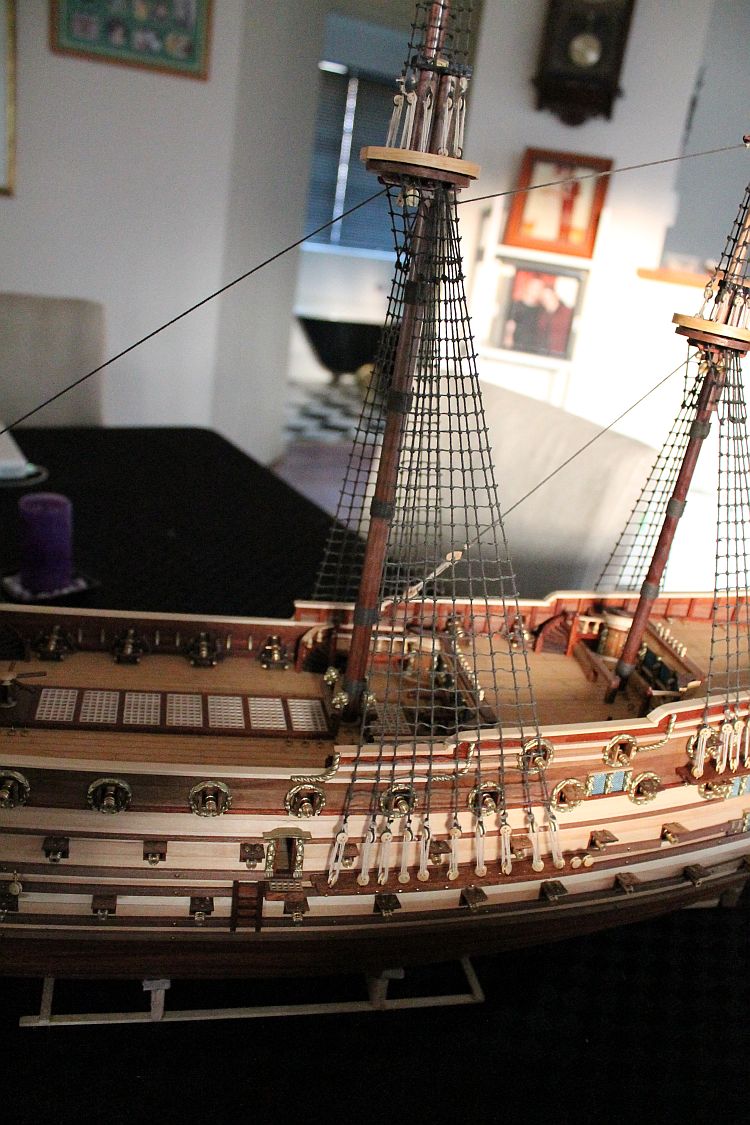
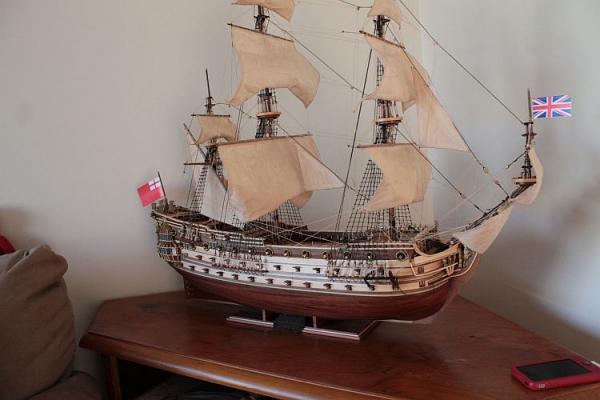
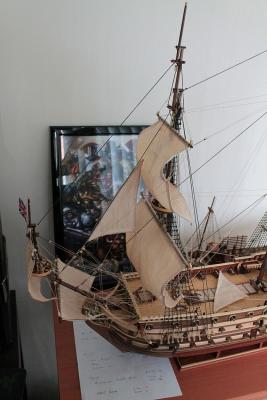
Thanks everyone for the kind remarks! Foxy, she is one of the first in the Prince series. Built in 1670. Mike she measures 890mm in length and 890mm high. I am currently working on the Syren, but keep looking over at my Prince, and wonder if I'll ever be able to top it! Such a lovely ship of that era. Thanks Adam
-
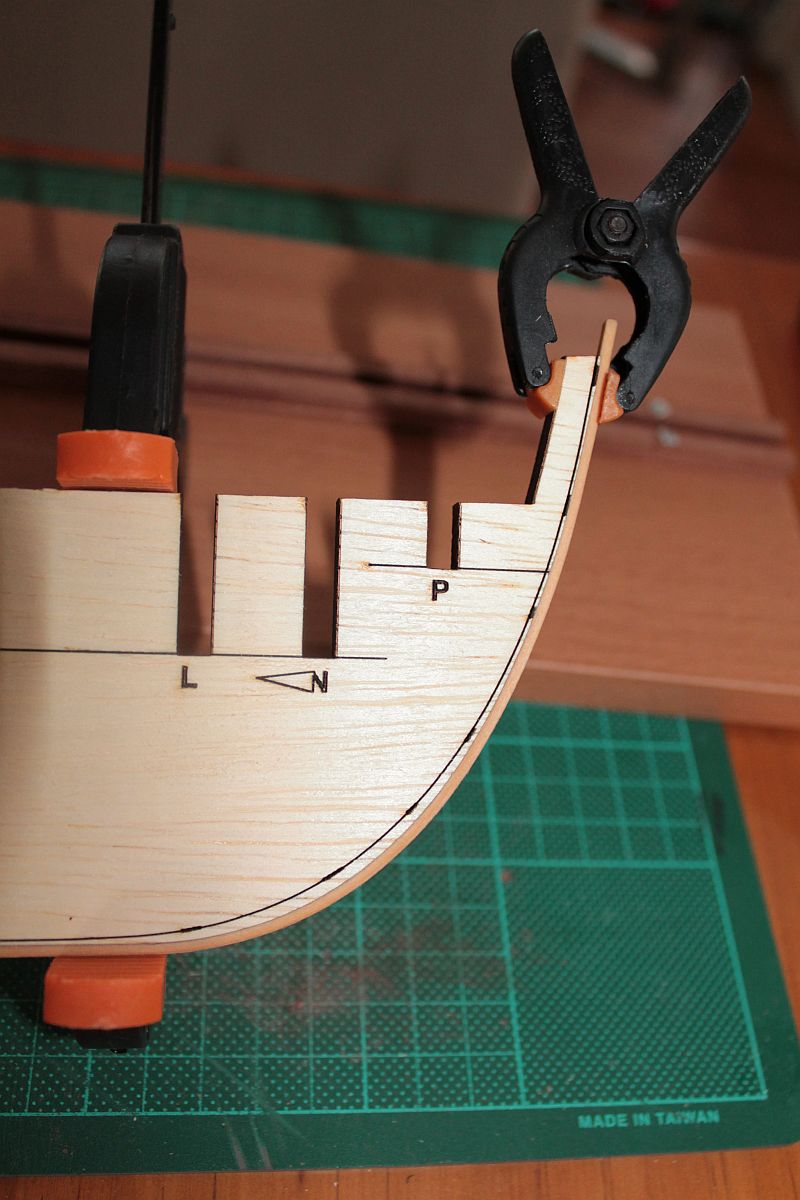
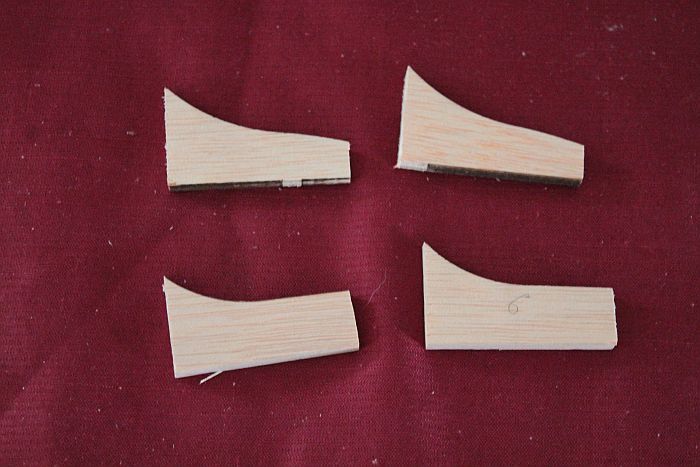
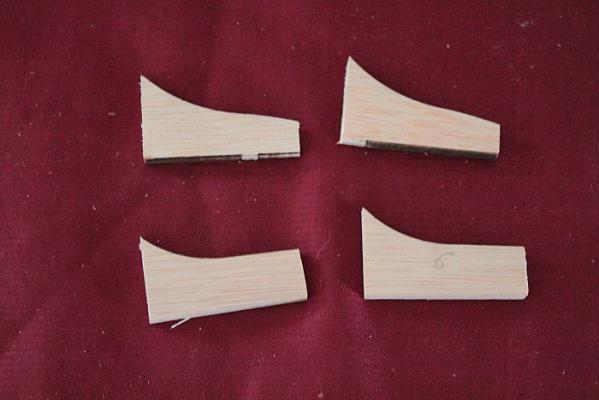
Thanks for the input guys. Augie I will do the same as you did and face it towards the bowel. I am starting to fair each bulkhead prior to gluing them in the BH former, as per the instructions. I will only taper the ones with indicator lines on them. And leave a little remaining for shaving off once they are glued in place. Firstly is to find some suitable balsa blocks to use as fillers. Regards Adam
-
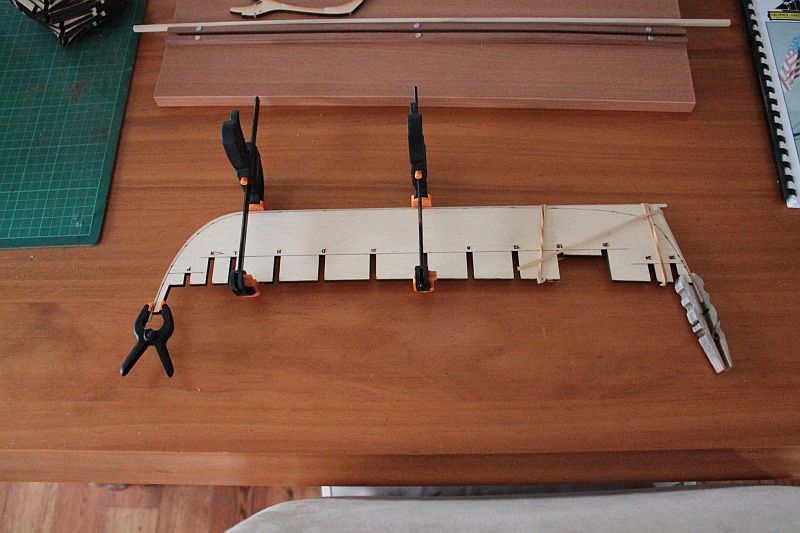
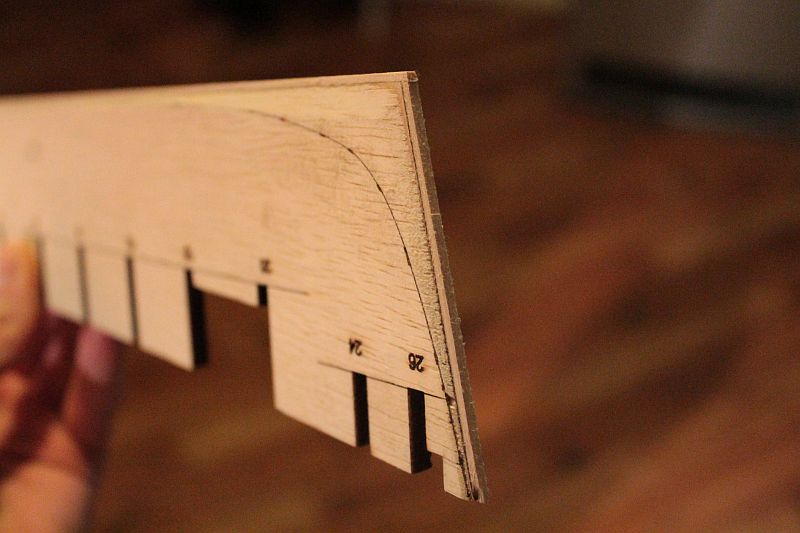
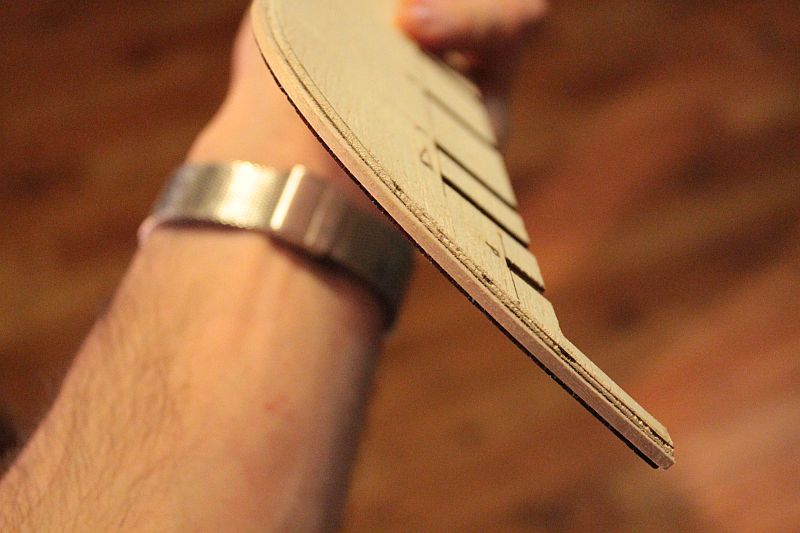
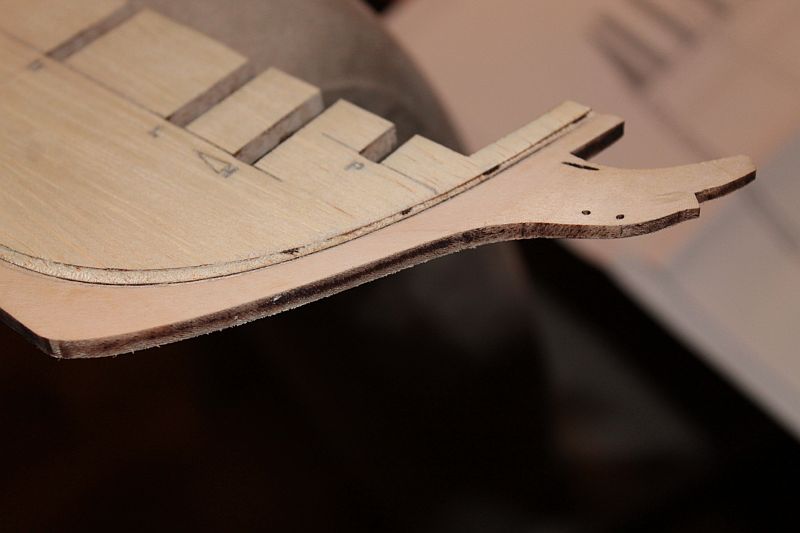
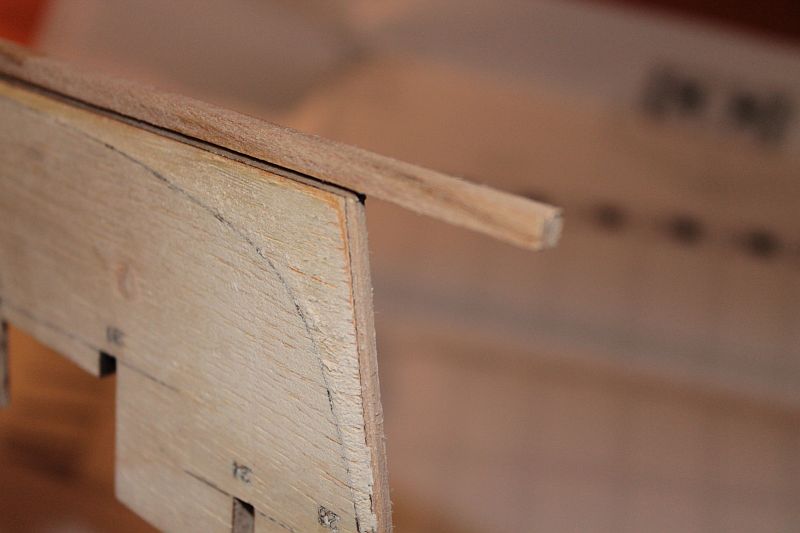
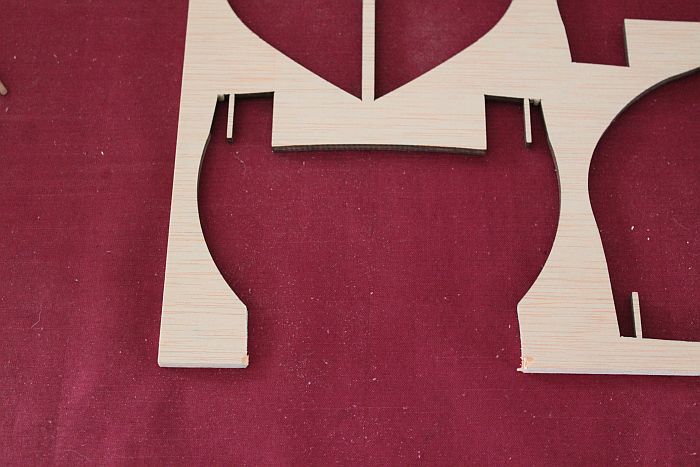
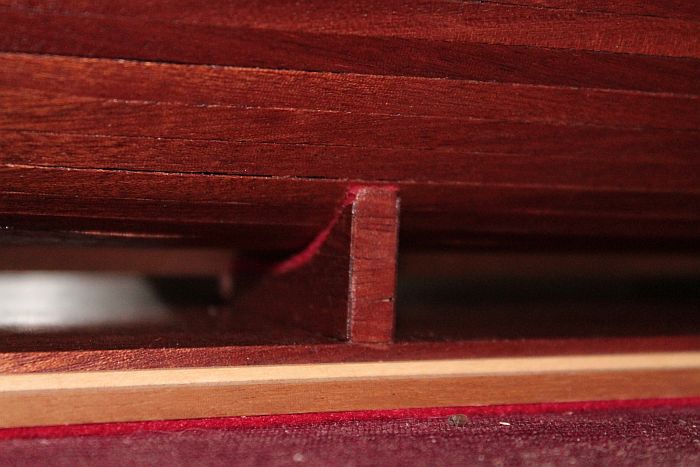
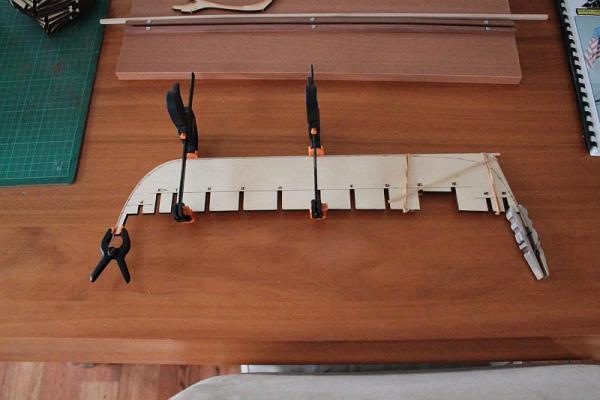
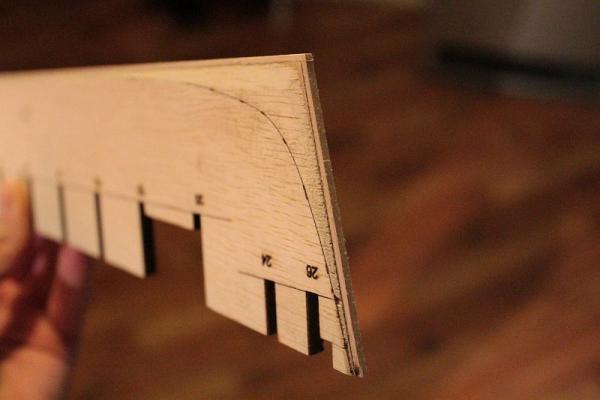
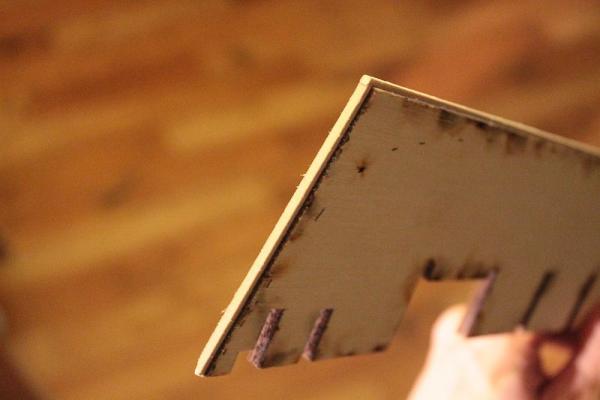
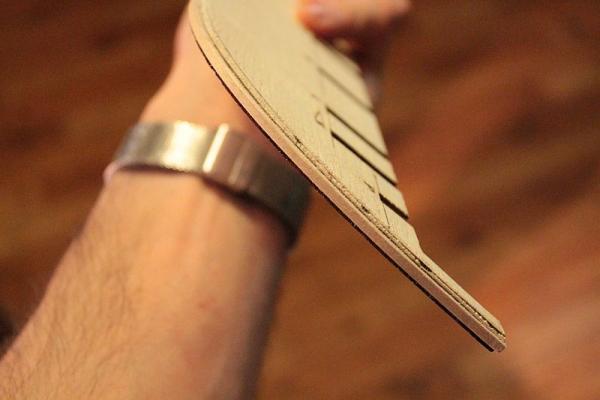
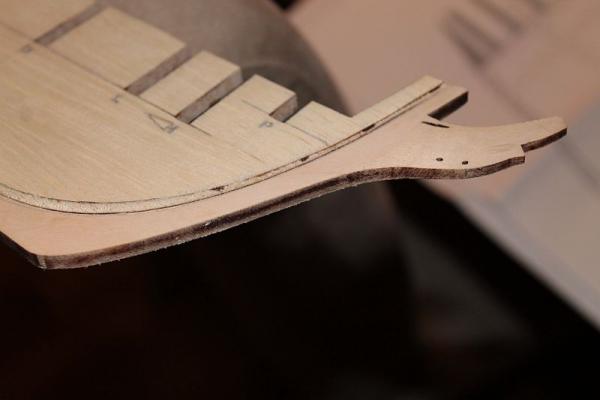
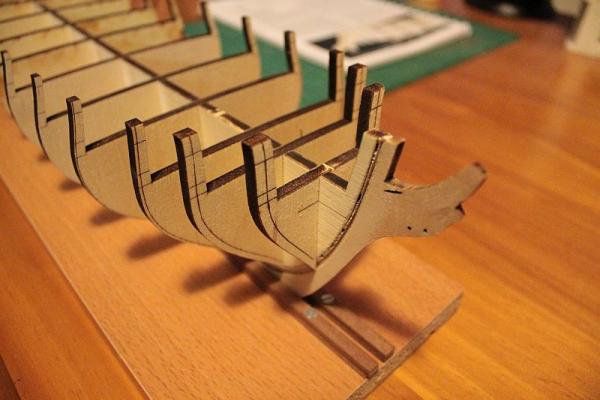
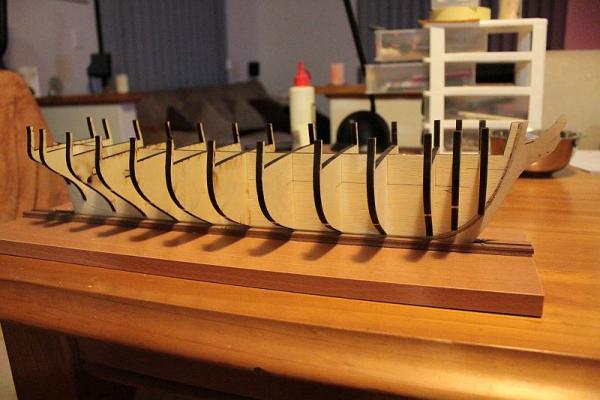
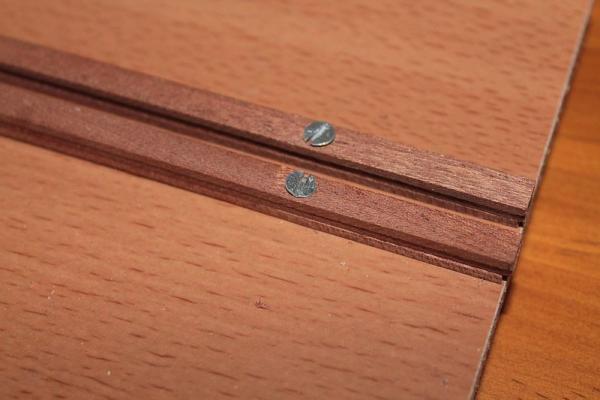
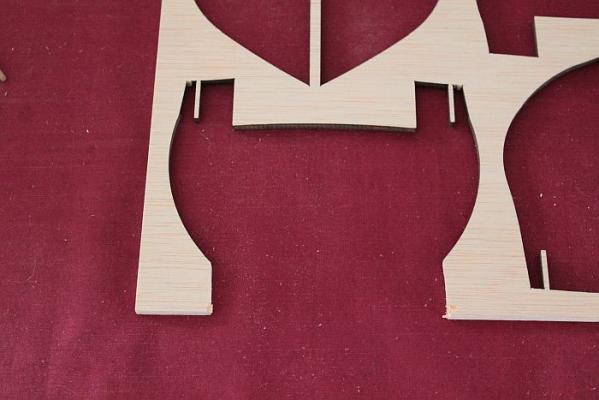
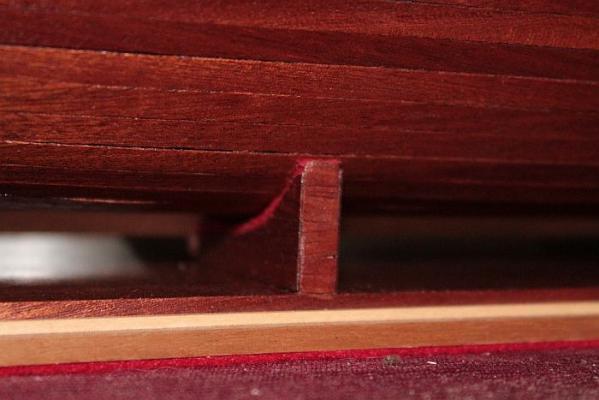
@ Charley. Thanks for taking the time to look at my build. There are a lot of Syrens on MSW, so help is easy to find. @ Karl. Welcome back old friend! Thanks for tagging along! I have begun to carve the bearding line. I have to admit I had no idea what it meant to produce a bearding line before. But thanks to the detailed instructions it is well explained why it is needed, coupled with the rabbet strip. So to begin it was a matter of curving the rabbet strip around the bow of the bulkhead former. After soaking the strip in water for about 20 minutes, it became like rubber! Basswood is so easy to work with when it comes to curved areas of the build. I then added the rabbet strip on the base of the bulkhead former. Allowed this dry over night, before removing the rubber bands, clamps etc. Next step was to start carving the beading line. I think I have created the correct shape, but other builders will be able to tell me otherwise. According to the instructions as long there is a distinct gap between the keel plates and the rabbet strip then it should make planking easier. I then added the stem knee and keel. Once the stem knee was removed from the plywood frame, I cleaned up most of the laser burn marks. However as it will be covered in copper plates/painted later I didn't make too much of a fuss on removing the burn marks. Next was to carve the top section of the stem knee too allow the figure head to be placed neatly later on. I don't have a photo of this step, but I did make sure the figure head fits nice and snug. I'm now working on the bulkheads. Firstly removing them from the plywood frames. I did find some were quite brittle and broke at the section where the bulwarks will be placed. Care must be taken when performing the final stages of fairing the hull. Once they were removed I dry fitted them to the bulk head former. This was a long process as they were all a very tight fit. I did have to remove a lot of the burn marks on each of the bulk heads, and the bulkhead former, in order to make them fit better. Then I had to make sure the printed lines on each bulk head lined up with the corresponding ones on the bulk head former. Some to create a bit of bulk hanging over at the deck level. But I can remove this at a later stage. It's only about 0.5mm hangover, so it shouldn't create any big issue. Now I have a question for Chuck, or any other Syren builder. The instructions state to make sure all the bulk heads located at the Bow end of the ship face towards the Bow. They are labelled with "letters". All the bulk heads at the Stern end are "numbered", so need to face towards the bowel. However. There is one bulk head that has a strange symbol on it. It sits about mid way up the ship: The instructions doesn't state which way this bulk head should face. Does anyone know which way it should be installed? Whether it be with the symbol facing towards the stern? or the bow? Any help would be appreciated Thanks for watching Adam


-
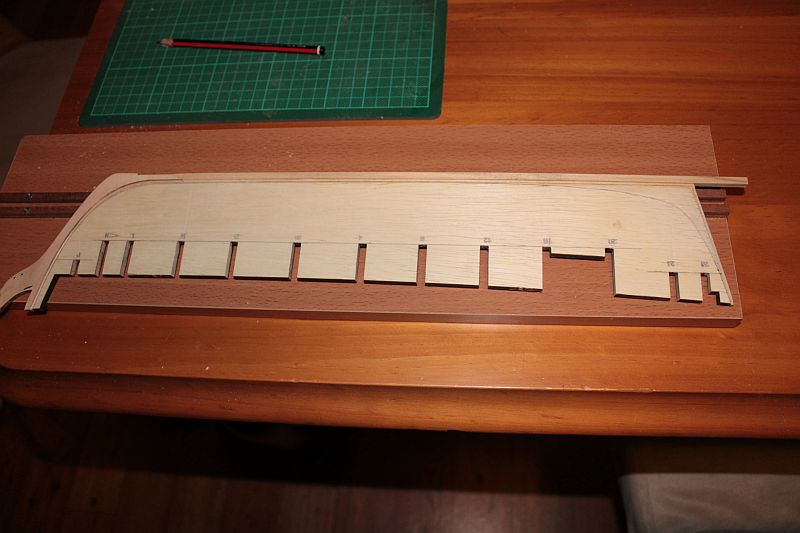
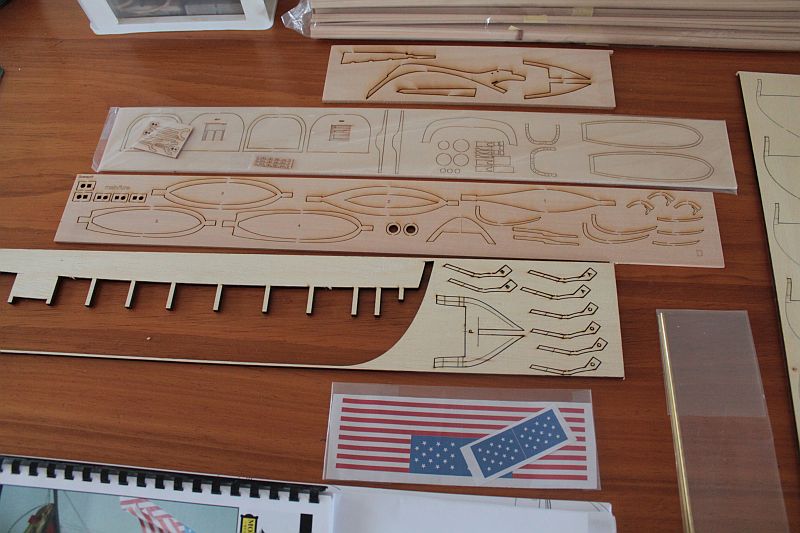
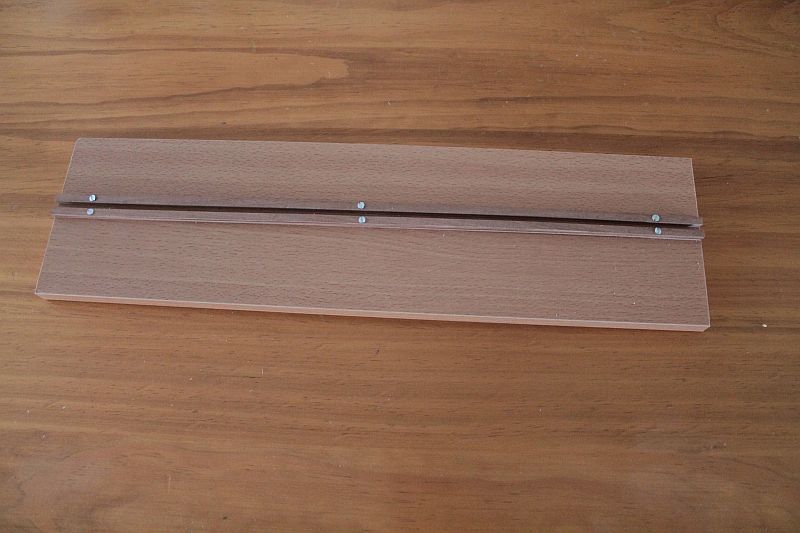
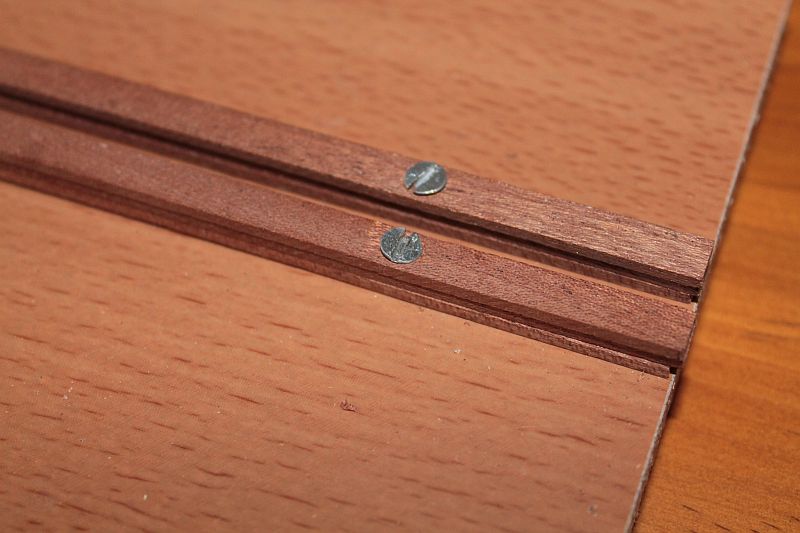
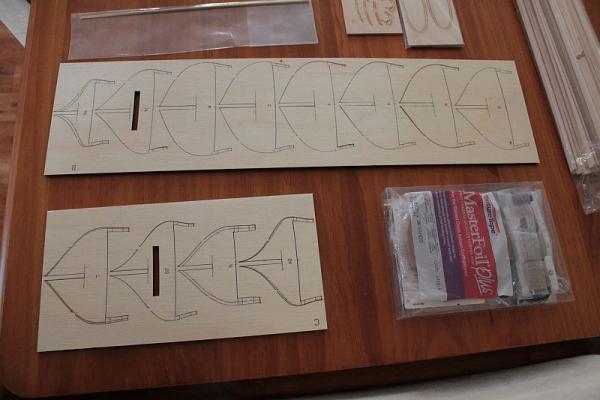
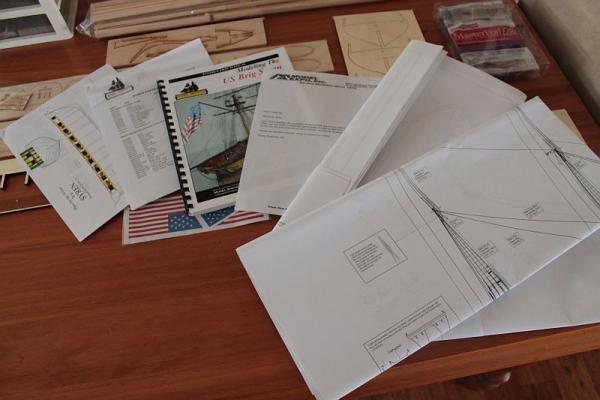
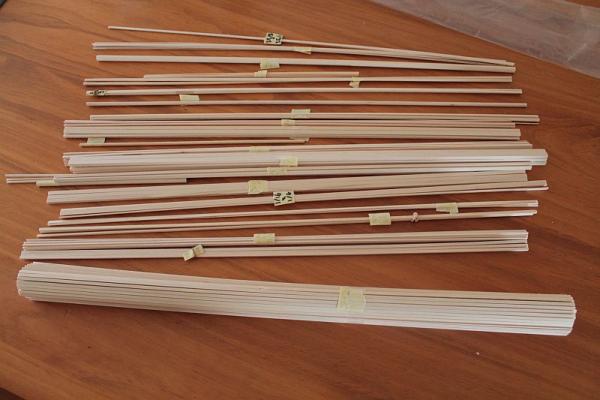
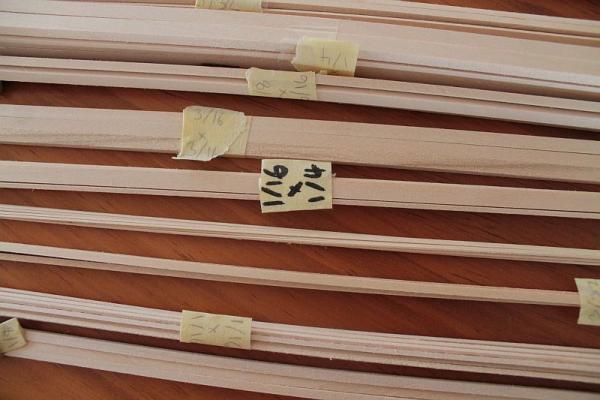
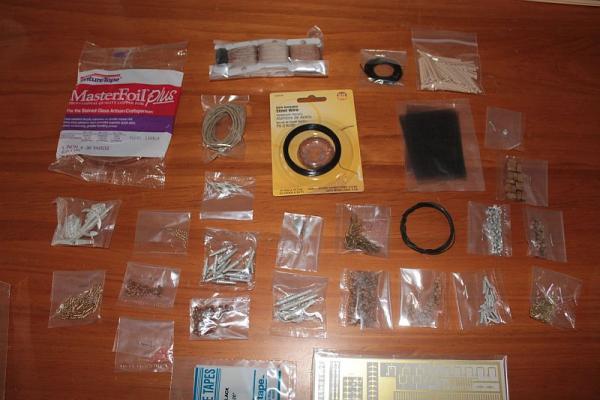
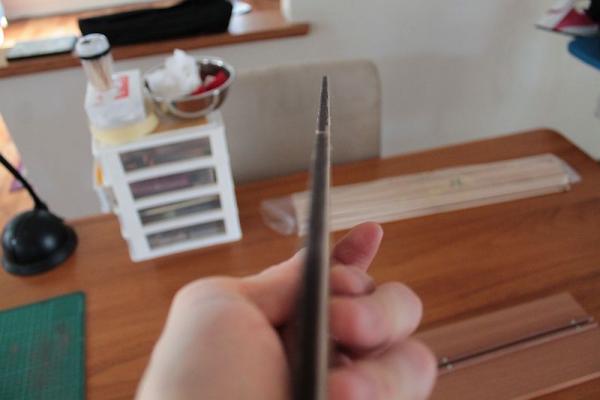
Ok so building has finally begun. First the basics; A few photos of the contents of the kit itself. I had a glance over the plans and templates provided by Chuck. The plans are rich in detail! A big compliment to Chuck on the varse detail he has provided in his plans. Due to the nature of myself being so adapted to the Metric system, I had to go through each length of wood and label them with the Imperial measurements. The Imperial system is like a foreign language to me, so it will be the most challenging part of the whole build trying to convert everything to Metric measurements. Luckily each length of timber is bundled together to make it easier to identify each one. All the smaller bits and pieces are nicely packed. How ever I kept a component box from a previous build that will come in handy to separate each of the smaller parts. The overall quality of the deadeyes and blocks is great! however they are extremely small compared to the European kits. It will make it hard for threading the lines of rigging later in the build. The cast metal parts will need a bit of cleaning up prior to painting and installation. I would carve my own, but I feel I'm not at that stage in skill level to try that. Lastly I needed to get a building slip. Seen as I have never used one in the past, I thought it would be a good idea as my False Keel was slightly warped: I had a look at after market building slips, and considering the cost of freight to get them here it would have been quite expensive. So I built my own using bits and bobs around the house. The base is actually a spare shelf from a DVD cabinet. Seen as I'm not using it on the cabinet I thought it would be the perfect size for my build slip. It's just a piece of veneered chipboard. As for the lengths of timber to hold the false keel in place, these are left over planking strips from my HMS Prince build. I just screwed 3 lengths together to the base, whilst holding the false keel in place so the fit is nice and tight. And the end result works great! Once I start installing the bulk heads, and filler blocks made from Balsa, the keel should become nice and straight. Thanks for watching Adam


-
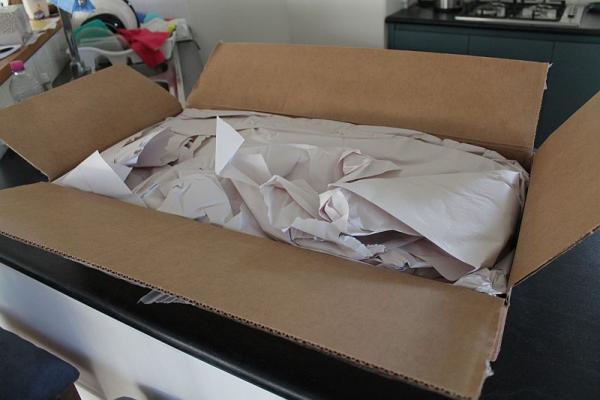
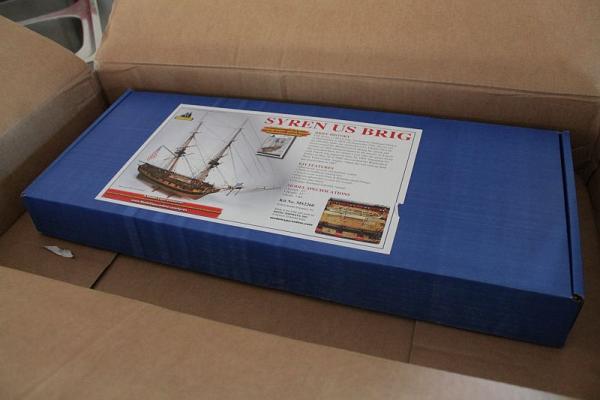
Welcome to another Syren build log! I couldn't resist the Ebay bargain that I found of this kit on the Model Expo site, so I decided to make it my next project. Here is a sneak preview of how she was packed for shipping to my home city. I have to say that the overall care was impressive in the way the kit was packaged! Considering that it had to come all the way from the US to my home town in Australia, it arrived nicely. I have had a glimpse over the contents, and instruction manual/plans. I am very impressed with the level of detail in the instruction manual! The parts are nice and neatly packed, and it even included an apology letter stating that Model Expo was short on the Cannon Balls part. All I had to do was e-mail them and they will be sent free of charge! Great service! You can see why people on this forum have great things to say about Model Expo. For now I will leave it as a teaser preview of whats to come. I would like to finish my Mare Nostrum before beginning the Syren...although it is calling out to be built. I must hold off on the temptation, and complete my Mare! Regards Adam
-
Thanks all! Sjors, you will have to pull up a front row seat for the Syren! I'm guessing it will have a big following judging by it's popularity on this site. Richard, I still have a plastic ship that my Dad built when he was 15! It is about 45 years old now! Regards Adam
- 73 replies
-
- 3
-

-
- prince
- constructo
- (and 1 more)
-
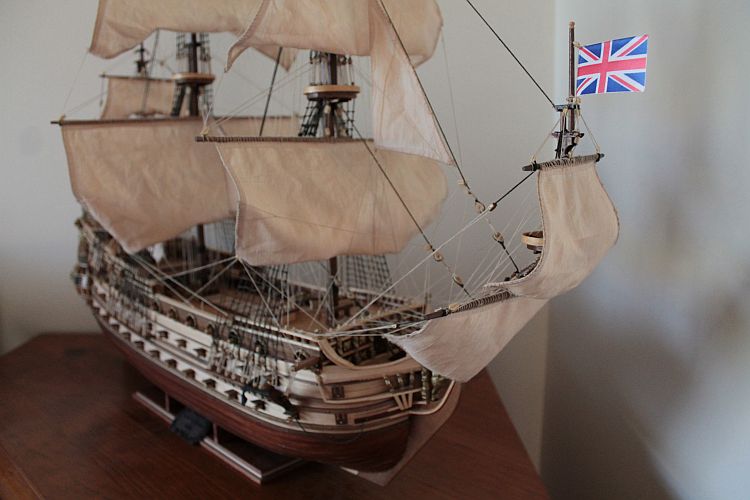
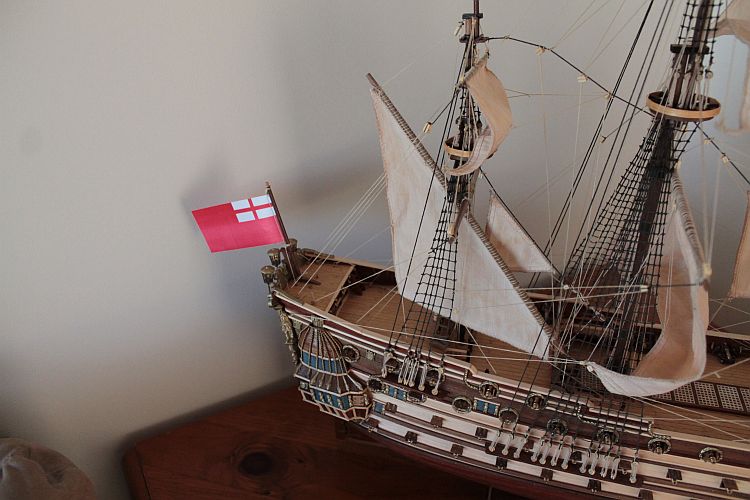
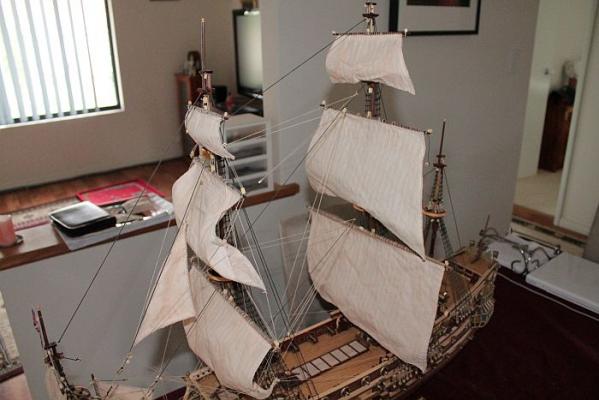
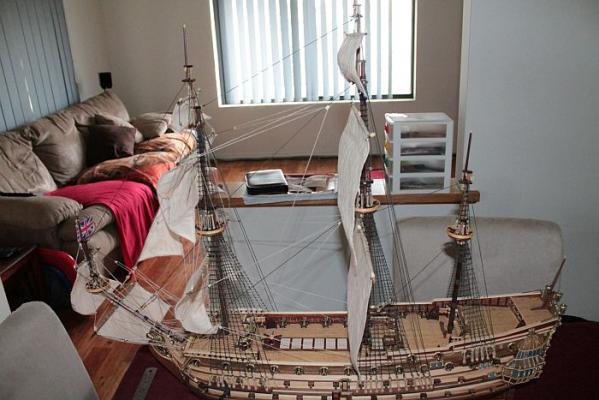
H.M.S Prince is ready to be launched! I have finished her, after about 18 months over long hours of work. Sorry there isn't many photos, but most of the detailed shots have already been posted in previous posts. Cheers for watching all! Now onto joining the Syren club, and waiting on mine to arrive in the post! Regards Adam


- 73 replies
-
- 11
-
-
- prince
- constructo
- (and 1 more)
-
Thanks guys. I didnt find a Corel version. Are you sure they do the SM? I will probably do the AL or Amati version. But for now I'm waiting on my Syren to arrive, so SM will have to wait till later Adam
-
Thankyou very much Modelexpo! Just picked up a Syren for a bargain price on their EBay store, for $271 AU delivered! That's about $130 cheaper than retail price! I will soon join the large group of Syren builders on this forum. Adam
- 1 reply
-
- 3
-
-
Hi all I am trying to decide on a Santa Maria kit. But I would like to know what people think is the better one? From research the following companies make the Santa Maria: Artesania Mamoli Amati Mantua I'm probably steering towards the Amati version. But Mantua's and Mamoli's are of greater scale. Any opinions would be great Adam
-
Hi Sjors No rush, I just get into a groove and can't get enough of this hobby! It's so rewarding and fun! I think another few weeks before she is done. Holidays coming up, so that will give me more free time. As for the next project, I'm still unsure. I've narrowed it down to about 3 kits. I want to try another manufacturer to compare. How is Corel or Caldercrafts kits? I'm deciding between Euromodels Cocca Anseatica, Model Shipways Syren and Corels Galleon Vanetta. Cheers Adan
-
A similar poll was created on MSW 1.0. I thought we could start something similar. I didn't want to create something too complicated and get into the technical areas of each manufacturer. I just wanted to get an idea on what peoples favourite manufacturer was, based on kits they are currently building, or have built in the past. So for example if you have built 3 kits so far, and they were from Artesania, Constructo and Amati. Which would you say is your favourite one? A very basic interpretation in other words. Cheers Adam
-
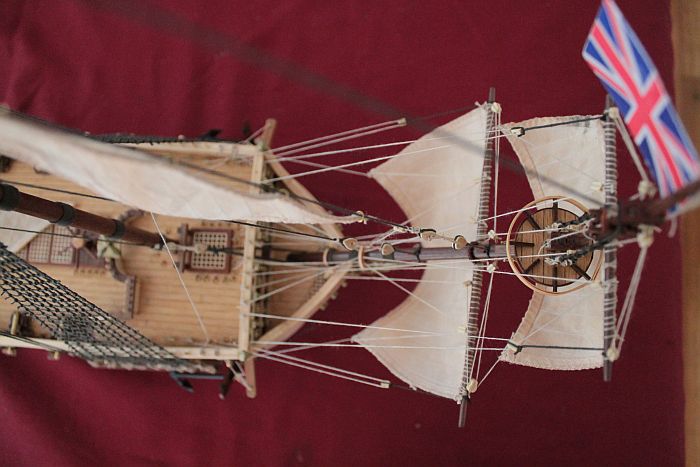
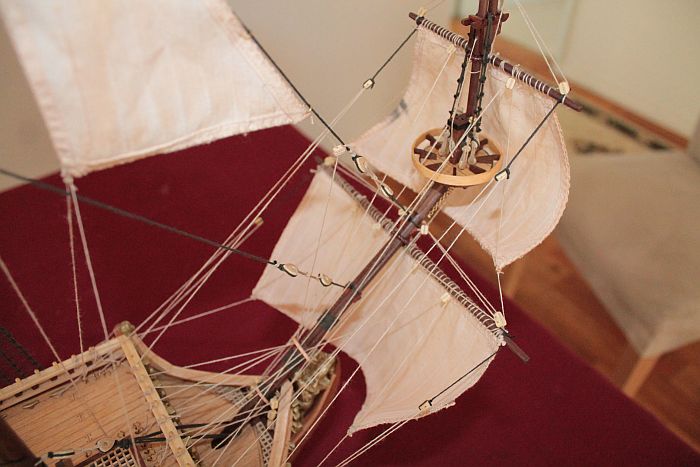
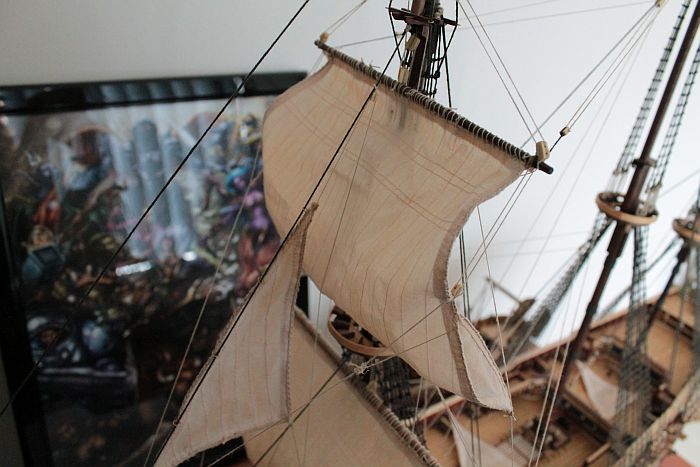
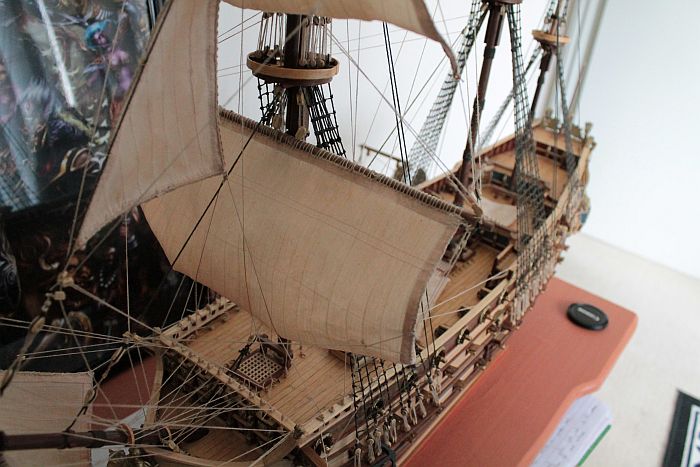
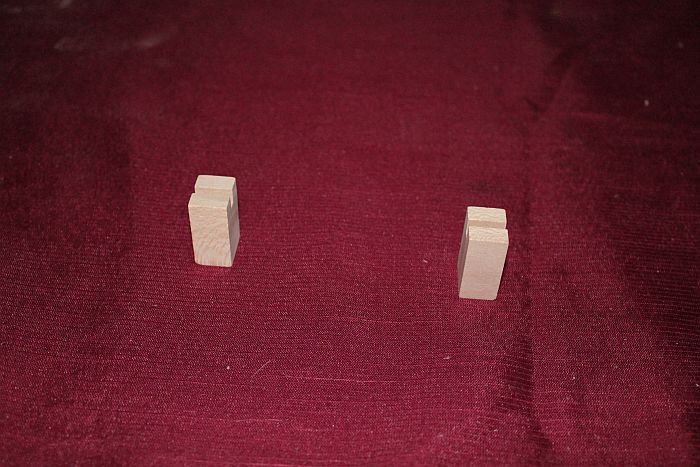
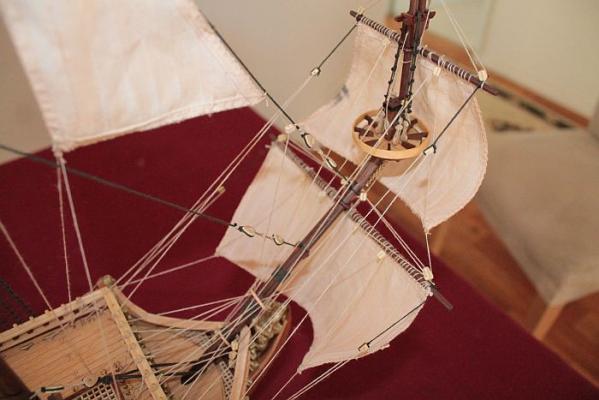
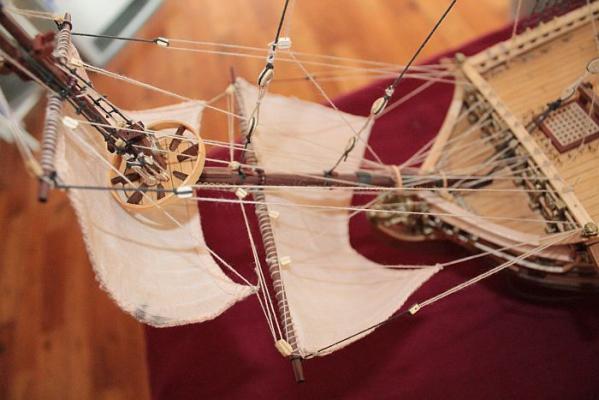
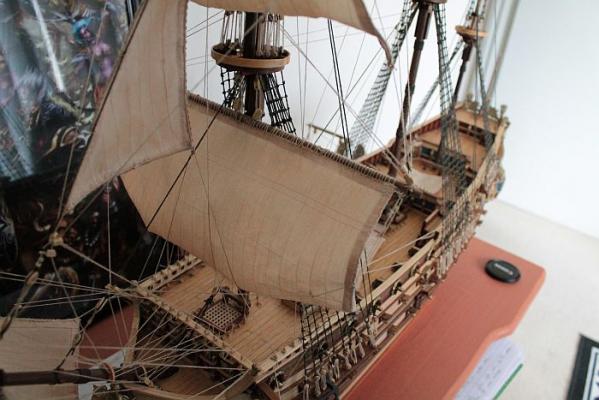
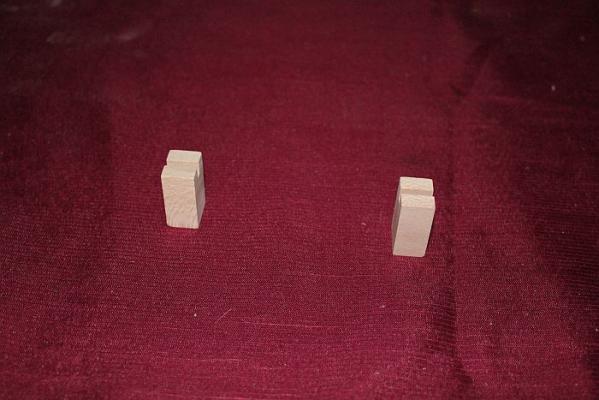
Rigging is well and truly on the way to being complete now. I have altered the rigging on the Prince, compared to the plans. You can see the fore mast sails have been curved with the addition of some blocks and line. The main mast sails are left flat. The plans indicate to leave them with a flat profile. I haven't actually completed rigging up the main mast sails as yet, but just wanted to show the difference between a curved profile, and the flat one. I also went ahead and built up my display base. I altered the original one with my own design. The kit comes with these 2 pedestal blocks to mount the completed model onto. I felt that given the sheer size and weight of the model these 2 blocks wouldn't be a good enough support to display her. So I crafted my own. Using the frames that the plywood bulkheads came in, I simply cut out the outer shell of 2 of the frames. One about mid way from stern and one about mid way from the bow. Once they were cut out, shaped to size, glued onto the base I then covered up the horrible plywood with left over Mahogany strips that were spare from the hull. I added some red felt to protect the hull of the ship. The base itself was made out of MDF board with a veneer on the top. I added some strips to the edges, along with a length of Ramin and Walnut to give it a nicer finish. Finished it off with 2 coats of Satin varnish. I also have a name plate on the way. It came from Cornwall Models, through the Amati parts section. although you can't actually buy the kit anymore, parts are still available from some suppliers. Thanks for watching Adam


- 73 replies
-
- 8
-
-
- prince
- constructo
- (and 1 more)
-
Hi I thought we could start a sort of voting system on peoples thoughts of who they think is the best model manufacturer. Taking into account the quality of the materials, parts etc. Here is a few manufacturers I can think of. Amati Billings Artesania Latina Constructo Caldercraft Model Shipways Victory Mamoli Mantua Euro models Occre Corel So post any thoughts, comments on experiences you may have had with any manufacturer, so we can give other modellers an idea of which kits to look out for, and which ones to avoid. I'll go first: I'd say Occre. Of the kits I've built they have the best quality materials, parts. And their rigging plans were easy to follow. Photo instructions aren't the best though. Cheers Adam
-
I have seen that Prince from the Croatian builder. She is a beauty! I often look at my Prince and wish I made some changes to her. But maybe I'll build her again in the future. I have heard talk of Amati re-releasing her sometime,but I'm not sure when. Adam
-
Hi Vince I am currently building the Constructo version. It's not that bad, but I have seen the old Amati version, and it does look much nicer. I found a build log on another site of someone who is scratch building the Amati version. You can still purchase the plans. I believe Cornwall Models has them. http://www.modelshipbuilder.com/e107_plugins/forum/forum_viewtopic.php?3709 Check this link out and see the model for yourself. As mentioned by NMBROOK, it does have 27 frames! But looks fantastic! Cheers Adam
-
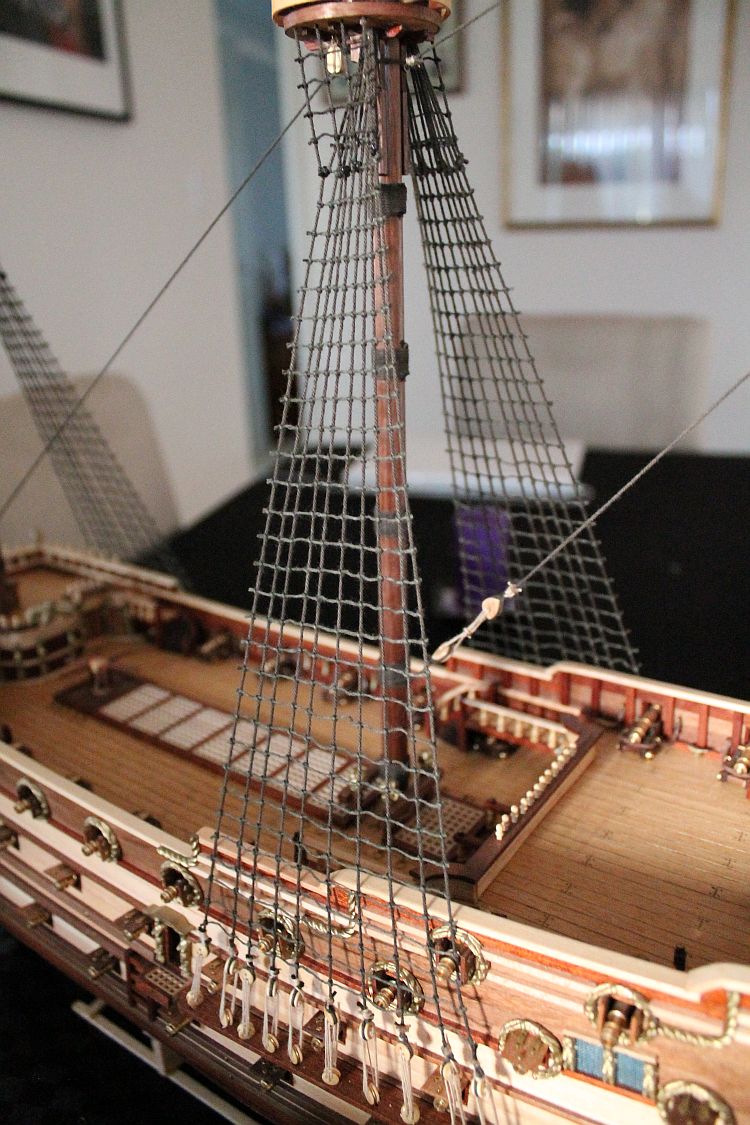
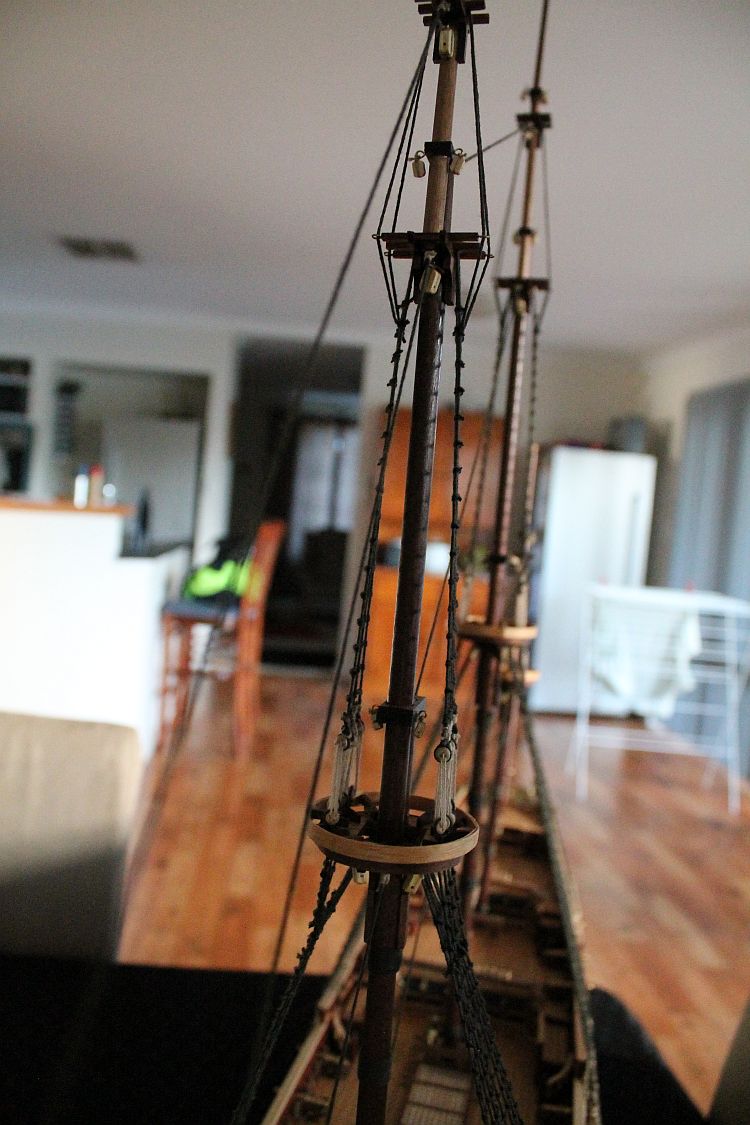
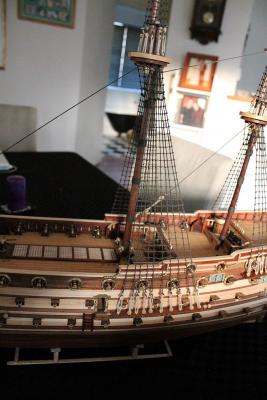
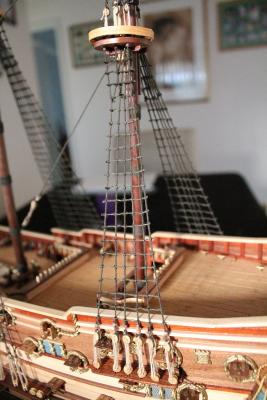
Ok so as promised here are the ratlines. I'm am so happy with results of changing my masts to Walnut. Looks much more realistic. And I found a solution to the angle of the upper sections of ratlines at the foremast, and main mast. Seen as my birds nests were circular I could only fix these two masts. Mizzen, and bowspirit masts had to remain as they were, due to the nests being too small. I simply drilled new holes as far to the outer edge of the nest as I could to create more of an angle on the shroud rigging. Sorry about the darkness of the photos. It was late in the evening and my lighting wasn't that great for photography. Perhaps I should do a study course on photography to create better photos. I have seen some great shots on another post of a Victory scaled 1:600. It was so cute! Fits in the palm of your hand! The builder superimposed his model on an ocean backdrop. Looked great! Photoshop or something similar will be able to create that right? Anyway I'm getting off topic. Cheers for watching Adam


- 73 replies
-
- 6
-
-
- prince
- constructo
- (and 1 more)
-
Its 1:61 Brian. Mamoli do a 1:144 version as well.
-
Well after about 2000 Clove Hitch Knots, the ratlines are finally finished! Its been a long process! I have also completed the fixed rigging on the Prince. Next is too install the anchors, prior to starting on the yards and running rigging. Photos to follow this weekend. Stay tuned! Adam
- 73 replies
-
- 3
-
-
- prince
- constructo
- (and 1 more)
-
True about the scale. However its still a large enough model. 650mm isn't laughable. I'm not sure on the cost, but I will be considering this as a future project. Adam
-
http://www.occre.com/galleon-revenge.html#!prettyPhoto Just seen on Occres website a new model in their line. The Revenge. Looks quite a beauty! Adam