jcoby
-
Posts
88 -
Joined
-
Last visited
Recent Profile Visitors
401 profile views


-
 etubino reacted to a post in a topic:
Pride of Baltimore II by jcoby - Model Shipways - Scale 1:64
etubino reacted to a post in a topic:
Pride of Baltimore II by jcoby - Model Shipways - Scale 1:64
-
etubino reacted to a post in a topic:
Pride of Baltimore II by jcoby - Model Shipways - Scale 1:64
-
etubino reacted to a post in a topic:
Pride of Baltimore II by jcoby - Model Shipways - Scale 1:64
-
etubino reacted to a post in a topic:
Pride of Baltimore II by jcoby - Model Shipways - Scale 1:64
-
etubino reacted to a post in a topic:
Pride of Baltimore II by jcoby - Model Shipways - Scale 1:64
-
etubino reacted to a post in a topic:
Pride of Baltimore II by jcoby - Model Shipways - Scale 1:64
-
popeye the sailor reacted to a post in a topic:
Pride of Baltimore II by AndyMech - Model Shipways - 1:64
-
popeye the sailor reacted to a post in a topic:
Pride of Baltimore II by AndyMech - Model Shipways - 1:64
-
popeye the sailor reacted to a post in a topic:
Pride of Baltimore II by AndyMech - Model Shipways - 1:64
-
popeye the sailor reacted to a post in a topic:
Pride of Baltimore II by AndyMech - Model Shipways - 1:64
-
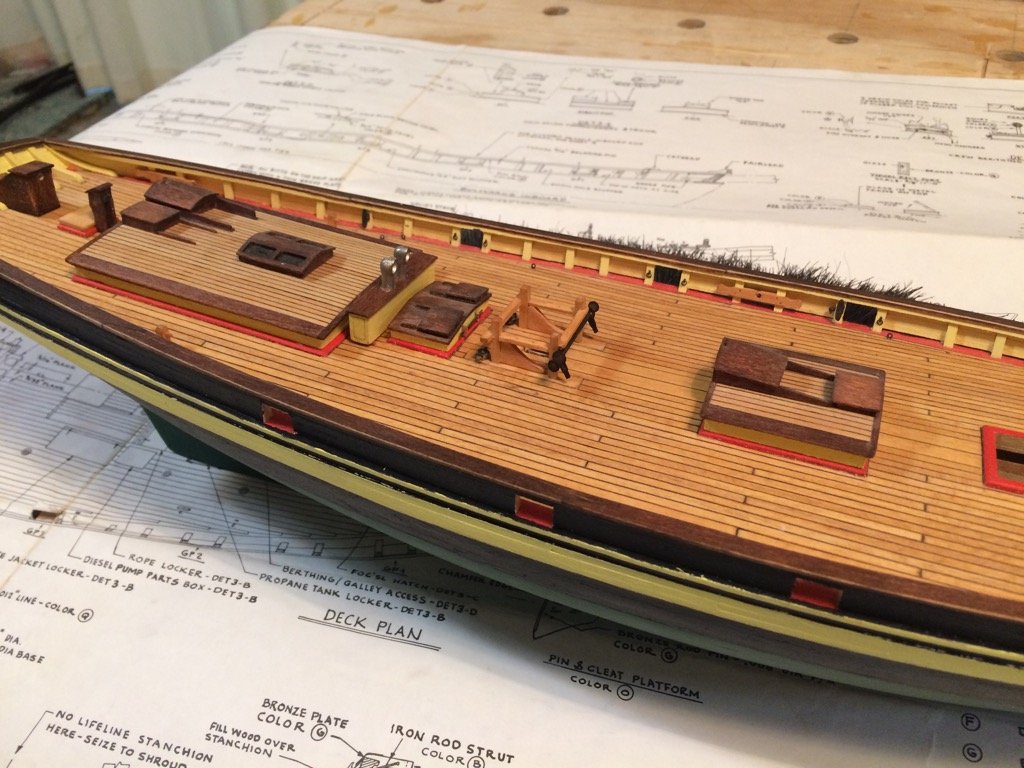
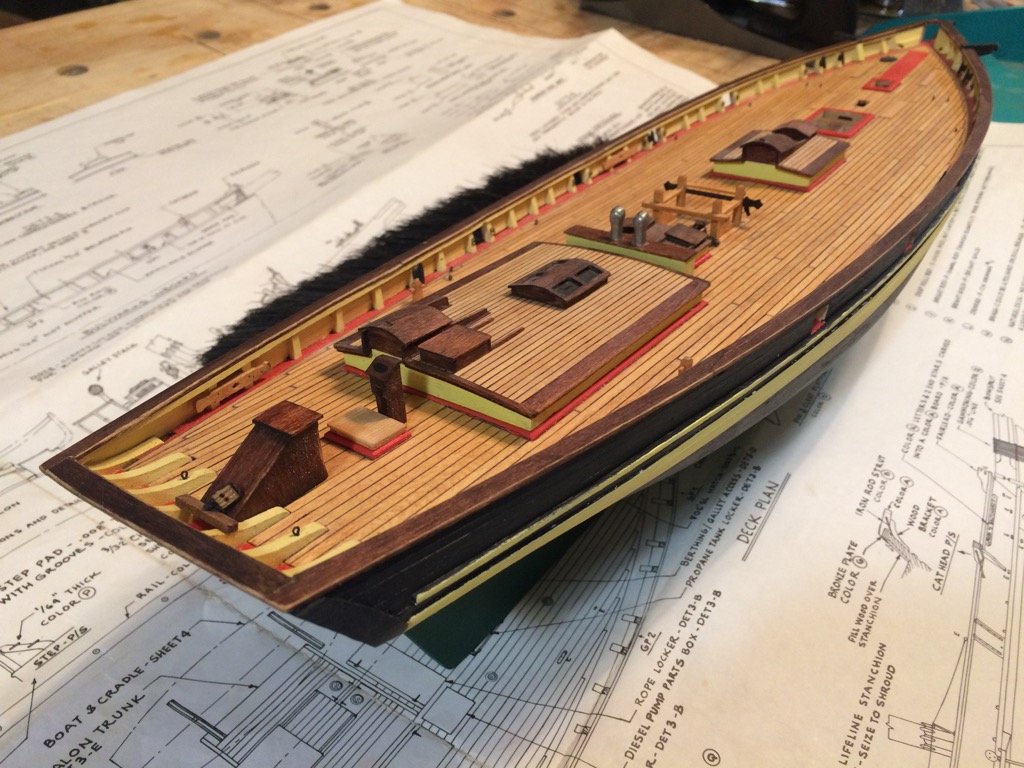
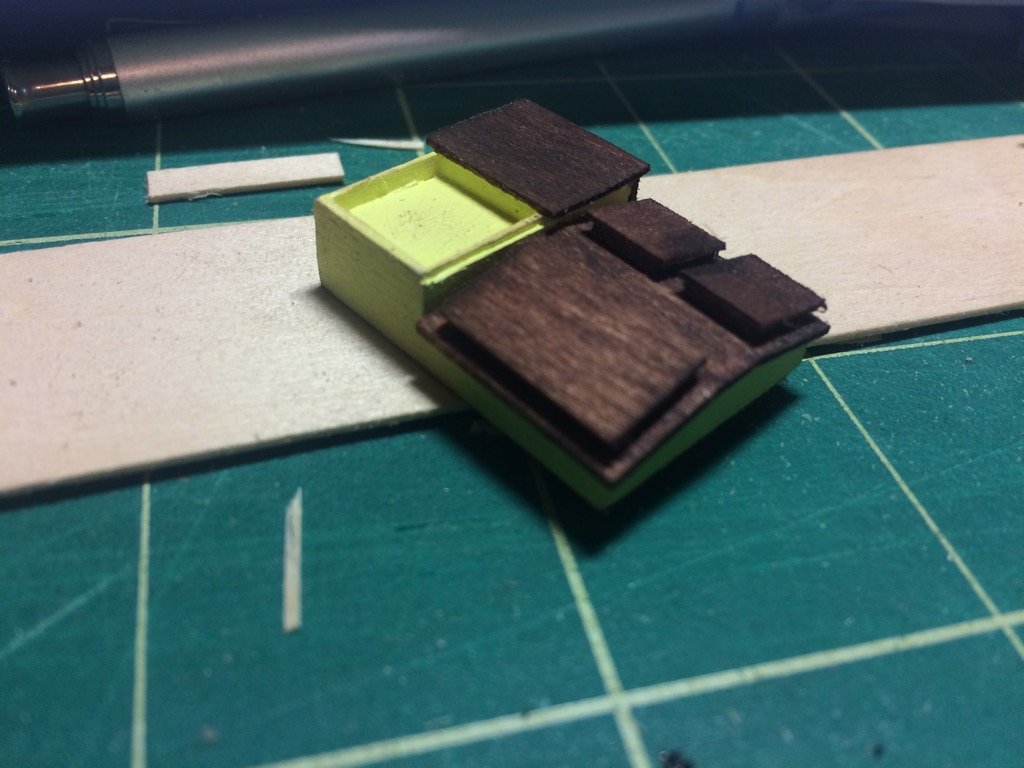
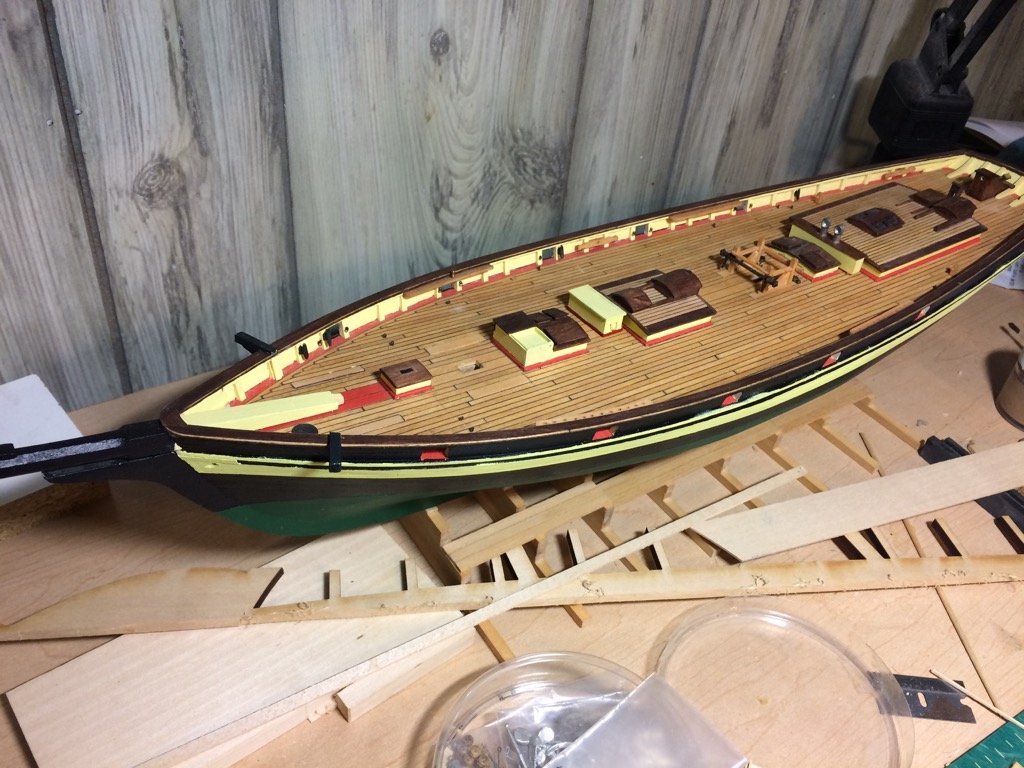
Slow, but steady progress still happening. Worked on a bit more deck furniture. I also have some of the other deck boxes built but not fully painted yet. I think have three or four more to install. The fuzzies you see were cleaned up before installation. And as she sits today. Still needs a bit of touchup on the black on the hull to cover up the yellow smudges. I will most likely be painting the windows onto the various furniture as I did on the forward most one. I need to make some templates first. I'm still unsure if I'm going to install the cannons since they are so out of scale. I may just close the ports and call it done. There isn't a huge amount of work left before the deck is fully furnished. Unfortunately I'm only working on her at best a couple hours a week. A couple of older pics as well. These were taken before I worked on cleaning up the hull paint. I switched the black to a different acrylic and it made a HUGE difference in the quality.
-
Fractional divisions is where Imperial really shines. Need 1/3 of 12"? 4" Need 1/3 of 100mm? 33.333333...mm. Need 1/2 of 7/16? Just multiply the denominator by two (7/32). Need 1/6 of 12"? That's 2". Need 1/6 of 100mm? Good luck doing that in your head. I work with both measuring systems and metric has its advantages but Imperial also has its advantages. There is good reason the construction industry hasn't moved to metric and other countries just adopted metric versions of the Imperial system for construction.
-
1.333... is correct. You can verify this: take the 3/16" wide plank. Multiply that by 64 and you get 12". Divide 12 by 48 and you get 0.250. Take the original 3/16 (0.1875) and multiply by 1.333... and you get 0.250 (well, really close).
-
Wow that's going to be an amazing build. At 39.25" total spar length and 26.75" height she's going to be huge! Best of luck. I'll be paying close attention!
-
I'm also having a hard time trying to figure out what's happening with your transom. It looks like you didn't sand down the counter enough perhaps? Maybe these pics will help some? I'm happy to take other pics if they'll help.
-
I like the simplified crest. The plans call out the full design but I couldn't figure out how in the world to even begin to apply that to a 1/4" high piece of basswood. What are your plans for the transom lettering? The "PRIDE OF BALTIMORE II" lettering is carved into the transom where the "BALTIMORE MARYLAND" lettering appears to be painted on. I ran into the same problems with the side fancy pieces not meeting up with the planksheer. I think I just added a bit of filler to the planksheer to make them meet up. The transom on the Pride is one of the more fiddly and difficult parts IMO. Mostly because the plans don't really call out exactly how it's supposed to assemble. She's coming along nicely.
-
I may have ripped a few strips out of the 1/32 sheet to make the trim. I know I've had to rip several pieces from the laser cut stock to make up stock that wasn't supplied with the kit. That was about three (!!) years ago at this point so the details are a bit hazy. Where does it show the 1/32 square stock being used to trim out the gun ports? The gun ports are by far the least enjoyable part of this build, especially since the cannons don't fit (they're far too tall) and it's all fiddly little pieces that have to be assembled in a jig with tweezers.
-
I just looked at mine and it looks like I used the 1/32x1/16 for the planking then I ran the piece of 1/32x1/32 square stock along the top under the rail to simulate the top plank turned sideways. Five of them fit perfectly. All I had to do was plane the bottom strip down a bit when I got to the continuous scuppers. I haven't found a need for that 1/32x1/32 strip anywhere else. I might have been able to use it as detail on the compass box. Honestly if you left out that 1/32 square detail I'm not sure it would be noticeable.
-
I used scrap from the sheet the keel timbers were cut from to create the hawse timbers. You can glue them up of multiple pieces as well since they get painted the cream color.
-
Do you have the stanchions leaning forward or is that lens fisheye? They should be vertical. Check out this picture:
-
I used a peice of the 1/4" wide strip and cut a notch to clear the planksheer to align the stanchions to the hull profile. This seems to be mostly correct except for the aftmost 4-5 where it needs a bit of tumblehome to align with the transom and transom knees. I have no clue if this is correct or not but my rail seems to match closely to the plans and it looks like the pictures I can find online looking at the bow and stern. Mine came out a bit pointier at the bow comparing to the plans but I honestly don't know if that's due to a drafting error or an error on my part.
-
Sheet 5, detail 5-I (bottom, left side) shows the boom storage eyes and hooks in the outer knees. I wouldn't worry too much about the Ipswich Pine stain. It's really light and you won't see it over the red. You can just wipe it off. I think I used the tip of a paper towel to get into tight spots. I also ended up painting the planksheer a few times due to handling. You want to apply wipe-on poly after, yes. I try to do it as soon as a part is done to help prevent it from getting dirt or other stains. I used satin. The deck on the Pride is unfinished so you won't want to use anything shiny. The mahogany and other trim is gloss though. I just used the satin for everything. Gloss just doesn't look right at small scales IMO. As for gluing, you can always sand or scrape the area to accept either wood glue (PVA) or CA.
-
I'm glad it's not just me then. They're going in the trash as soon as I'm done with them. Maybe sooner. The black is OK I guess. The other colors barely work. I've noticed the same inconsistency in consistency. One of the blacks was so stiff it would hold a paintbrush vertical. The other was more like elmer's glue. I'll try some other things to try and get them to flow. And I'll try spraying some. If that fails I'm buying some other paints. I've got too many hours in the PoB II to ruin it with cheap paints. I'm really considering scraping off all this paint and starting over. What paint brands are worth buying? I'll probably buy some black and yellow. And maybe the proper blue-green.
-
Thank you! I'm learning as I go and I really owe a lot to this forum.
-
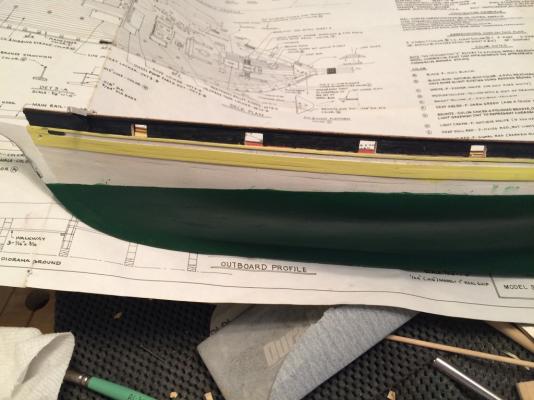
Painting continues. I'm really regretting painting the hull at this point. I'm not at all happy with it. The sloppiness around the LWL will go away when I paint the black along the LWL. The yellow and black will need at least two more coats and the green will take at least one more to make six or seven (I've lost count at this point).