Lory
-
Posts
28 -
Joined
-
Last visited
Content Type
Profiles
Forums
Gallery
Events
Everything posted by Lory
-
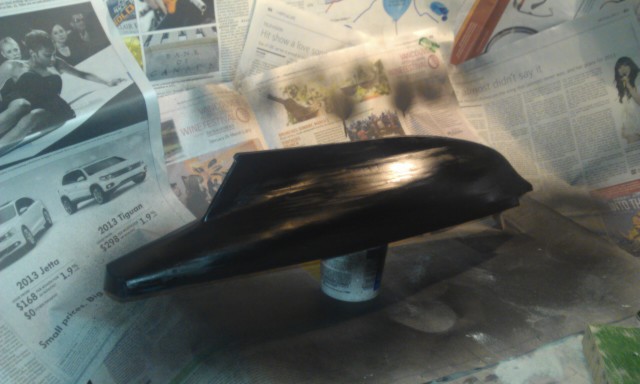
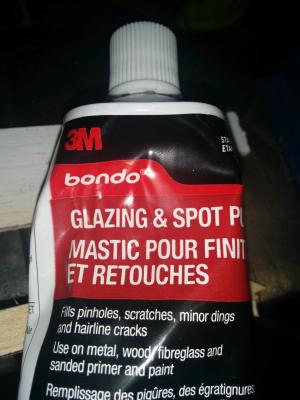
Looking great Phil... which I gather is your name, pardon if I misunderstood. I am Lory, the fellow building the other Sir Winston Churchill - So much to say. This is also my first "real" build so am now watching you with enthusiasm. The chain plate issue is looming for me too, I may steal your idea. I used autobody filler (bondo) so get the steel hull look. I have assembled my hulls and sanded and smoothed them and will *now* be doing the portholes etc. Right or wrong I figured I should get everything even and level before doing that as nothing would bother me more than having them out of line. The only reason I found this is because my dog ate my plans (true story) two days ago. If I can't get replacements I may be sending you some cash to have a large scale copy made of yours. Please start thinking of what sort of recompense you will require... If needed, I promise I will have everything looked after. I am beyond frustrated by this. I am very excited for you.
-
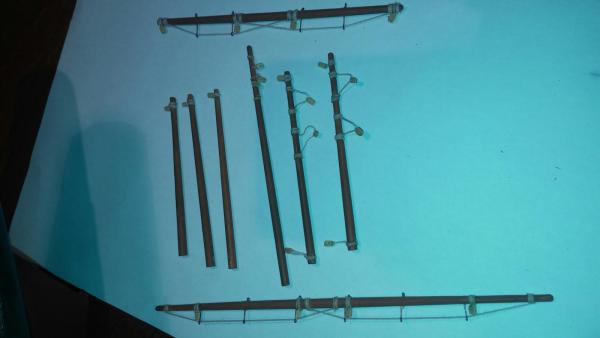
Okay, thanks to Turatopgun I have taken up tools again. The lesson for today is, when you don;t want to do it, don't do it. I had to undo some of what I had done last time. I recall getting chippy at the model last time and I have no idea where my head was, stuff was just plain... wrong. Good news! All better now, took a page from my reading here and just undid the errors and redid them properly. Got the yardarms (?) completed... I am happy with them.
-
Phil, the best thing I can tell you, consider it a warning... there will be times when you will really want to turn around and heave the damn thing - never throw it. Poison Chalice... it sure felt that way a few times but I didn't start the thing to finish it. I have had a lot of reward doing it. Glue... this is one of a zillion opinions you can read and I am *not* an expert, and in fact consider myself a real novice. I used "Super Glue" on a lot of it. There's a fancy name for it iso-cyanrite something or other. It works great for planking but it's hard to use. I have stalled on the decking because it's dull... and I joined Big Brothers so have used a bunch of my free time that way. Your email has been timely, I am going to rev it back up again.
-
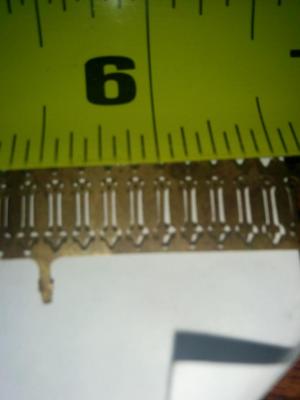
Now to the "Please help me" part of the experiance. I am having real trouble cutting the brass bits off the stamped sheet. I bought a pair of the smallest clippers I could find but even aver modifying them... just not good enough. What doe sone use to clip such peeny little things?
-
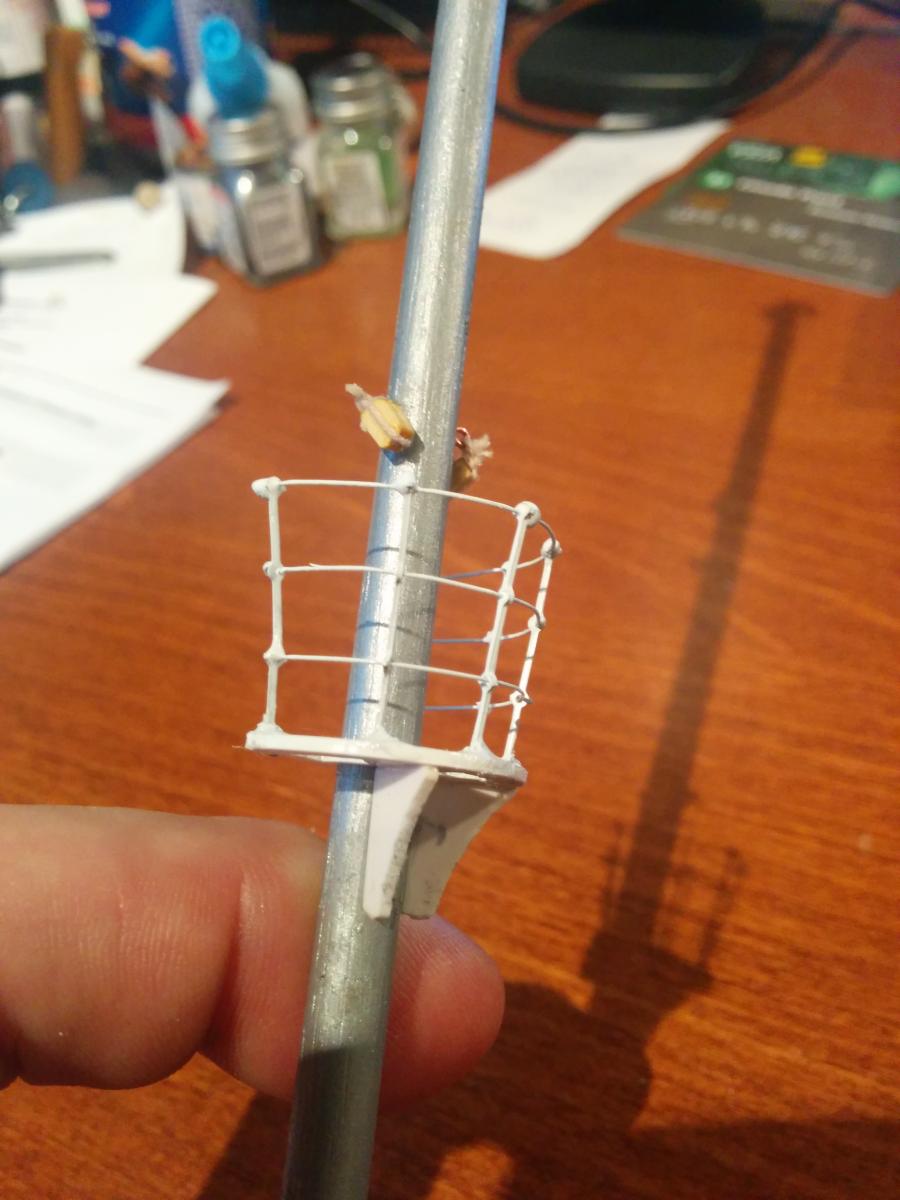
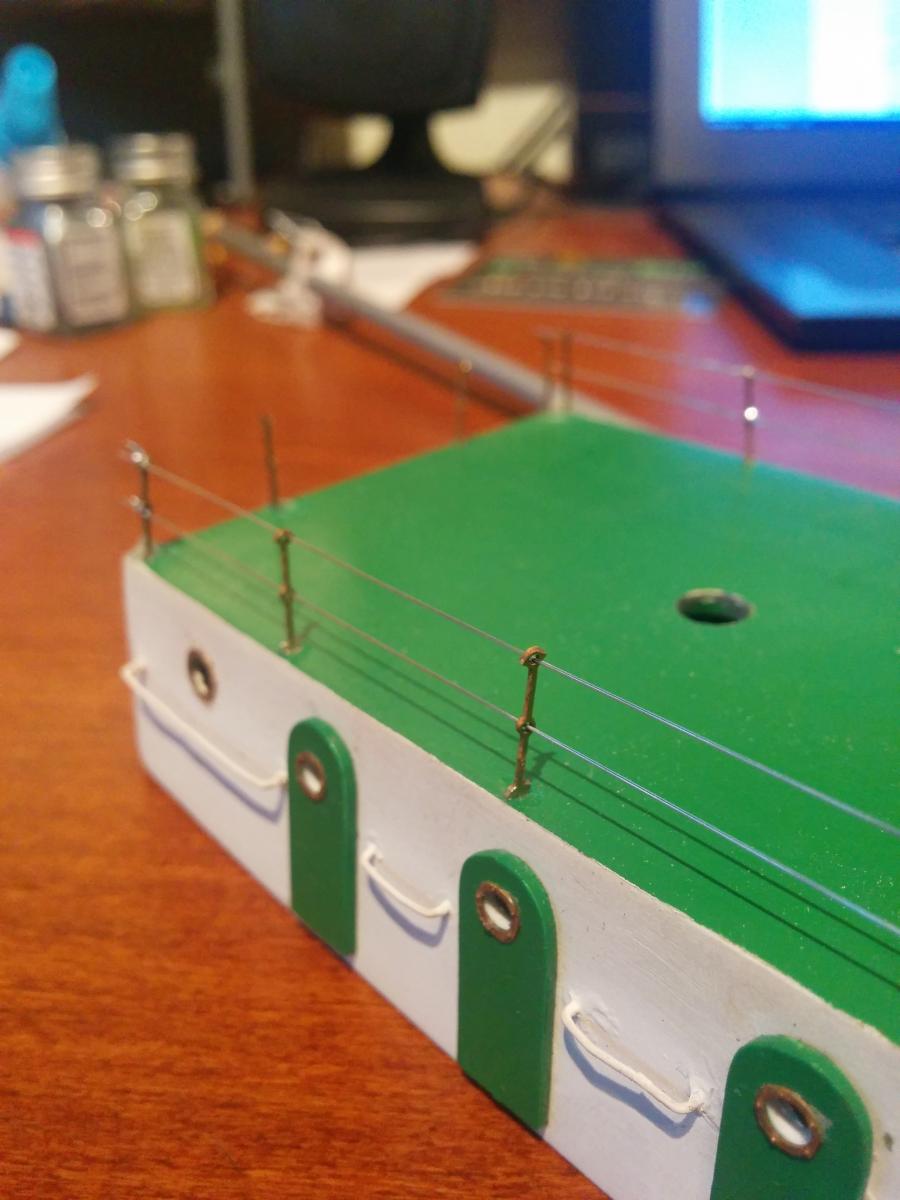
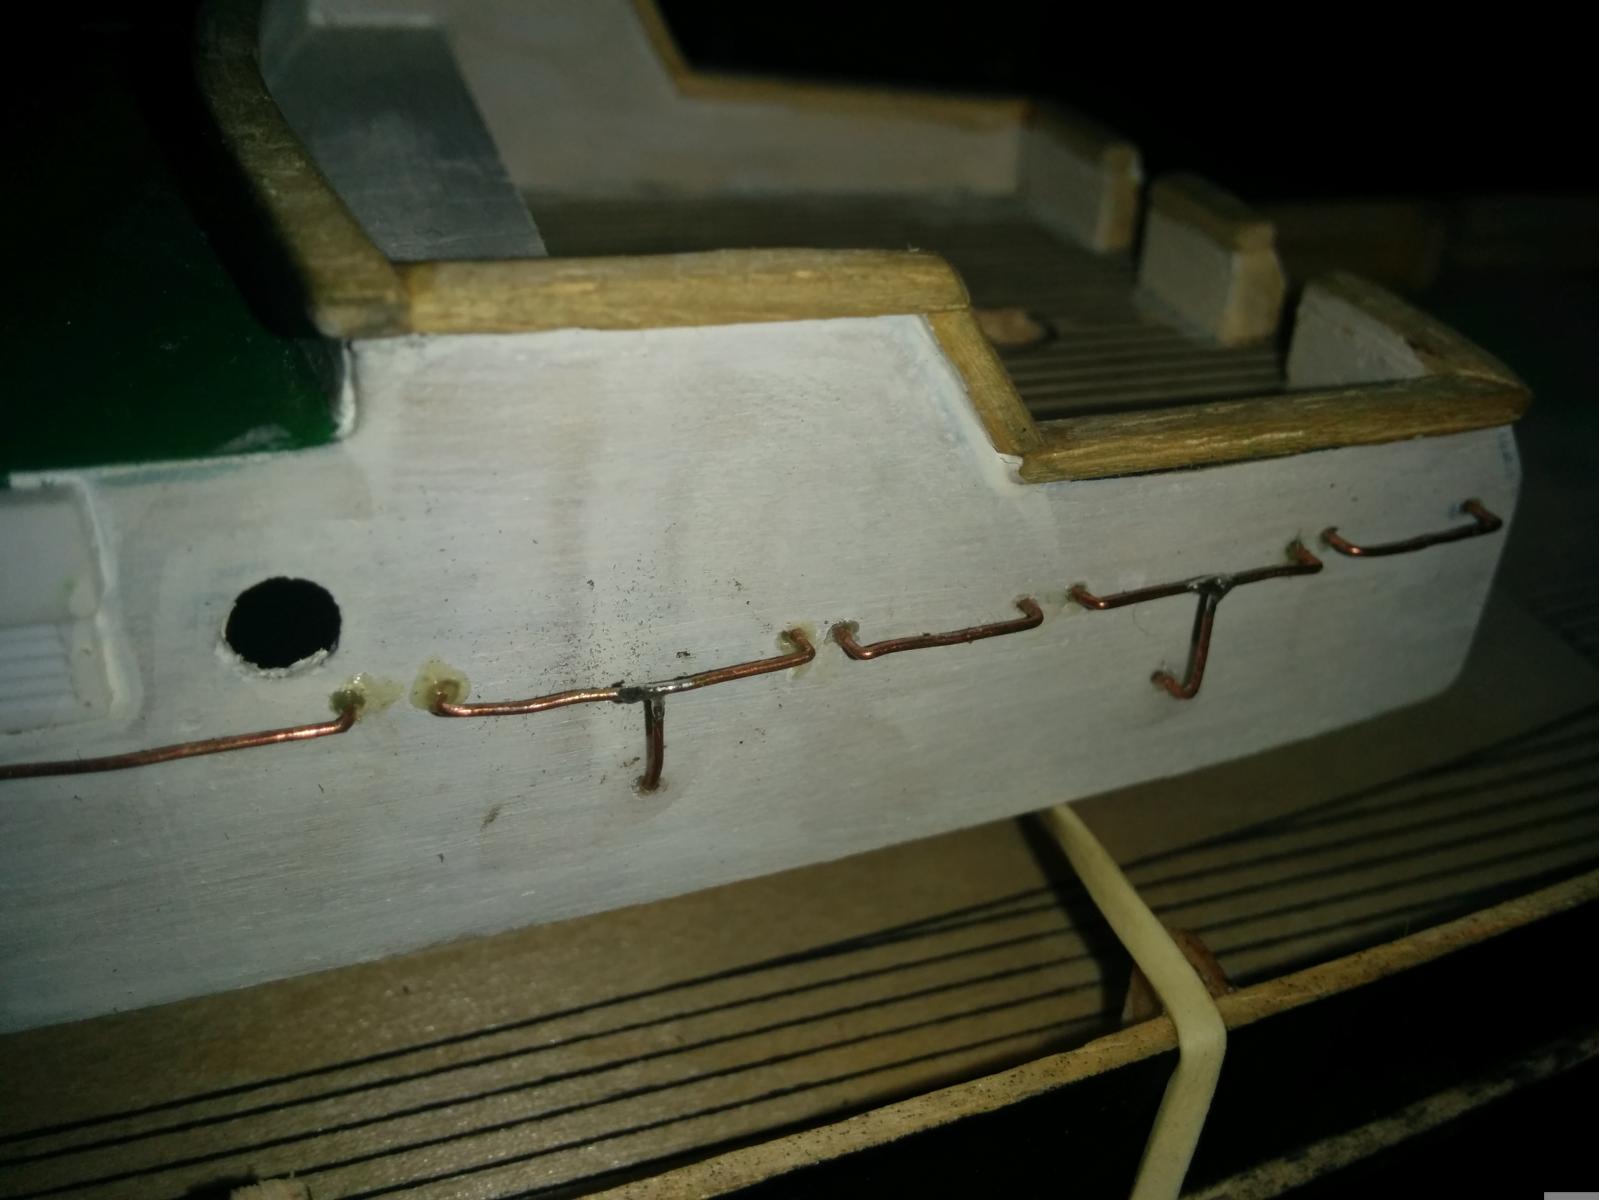
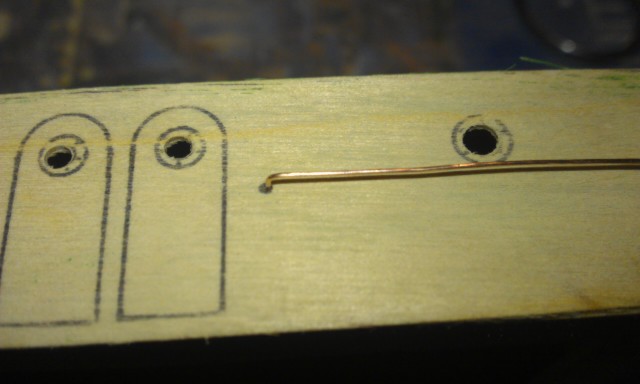
So I figured out that I could use Banjo strings for railings, after the copper looked so horrible. You can see how neat and clean the railings up top with be when compared ot the bent lumpy copper wire on the side of the cabin. I am probably going to redo the latter. I first used the strings on the Crowsnest because the copper kept ripping the stanhcions off, they were just too weakly attached. I precurved the banjo string with a pen and slid the curved wire through the stanchion holes and it worked perfectly. The soldering is hit and miss but I am getting better at it as I practice.


-
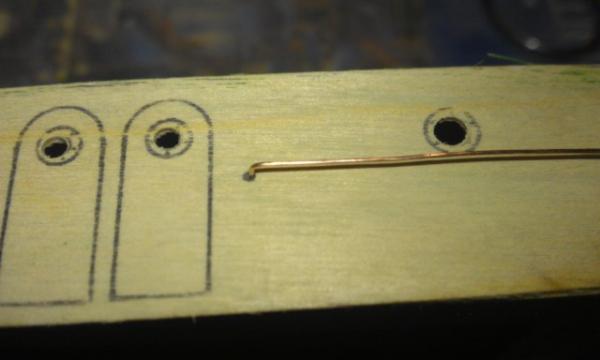
Well, look at me... I figured soemthing out by myself and all I had to do was ask. I was restringing a banjo and I saw that the string could be bent, and it would hold a form. I was having a very bad time with my crowsnest railings. I used a pen to curve the .010 string, clipped it a bit long, fed the curve through the stancion holes. It held nicely and then soldered each end. On the cabin railings it was even easier and at teh corners I am just going to cross them, trim exactly and paint them together. they only need to be soldered at one end.


-
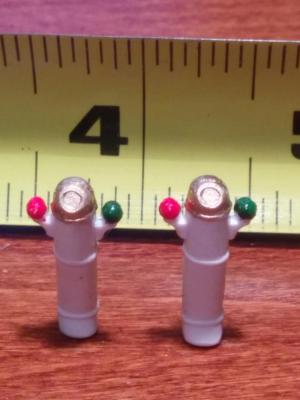
Taking a break from the decking I have been painting and staining. Technology really helps because I can see that the binnacle on the left has a dab of red paint that should not be there... using the one on the right (Starboard?) side. I can't actually see that small with just my eyes. Odd, since I painted it.
-
Thank you sir. I had concerns over the "channels" tearing loose, which is becoming unlikely given stronger (read: more) glue and paint now holding them. The Churchill does not have "chainplates" but instead the deadeyes simply attach to the hull so they can carry the least load of everything. Reality aside, this model's "channels" are going to be taking any load from the shrouds.
-
Thank you, I did not know that, whicih s odd since I actually read a lot of his books and my favourite pub here in North Vancouver is "Churchill"s" and I am planing on displaying this there if I can ever get it done. Jan 25th is also the birthday of my G (x5) grand father, Robert Burns. An auspicious week.
-
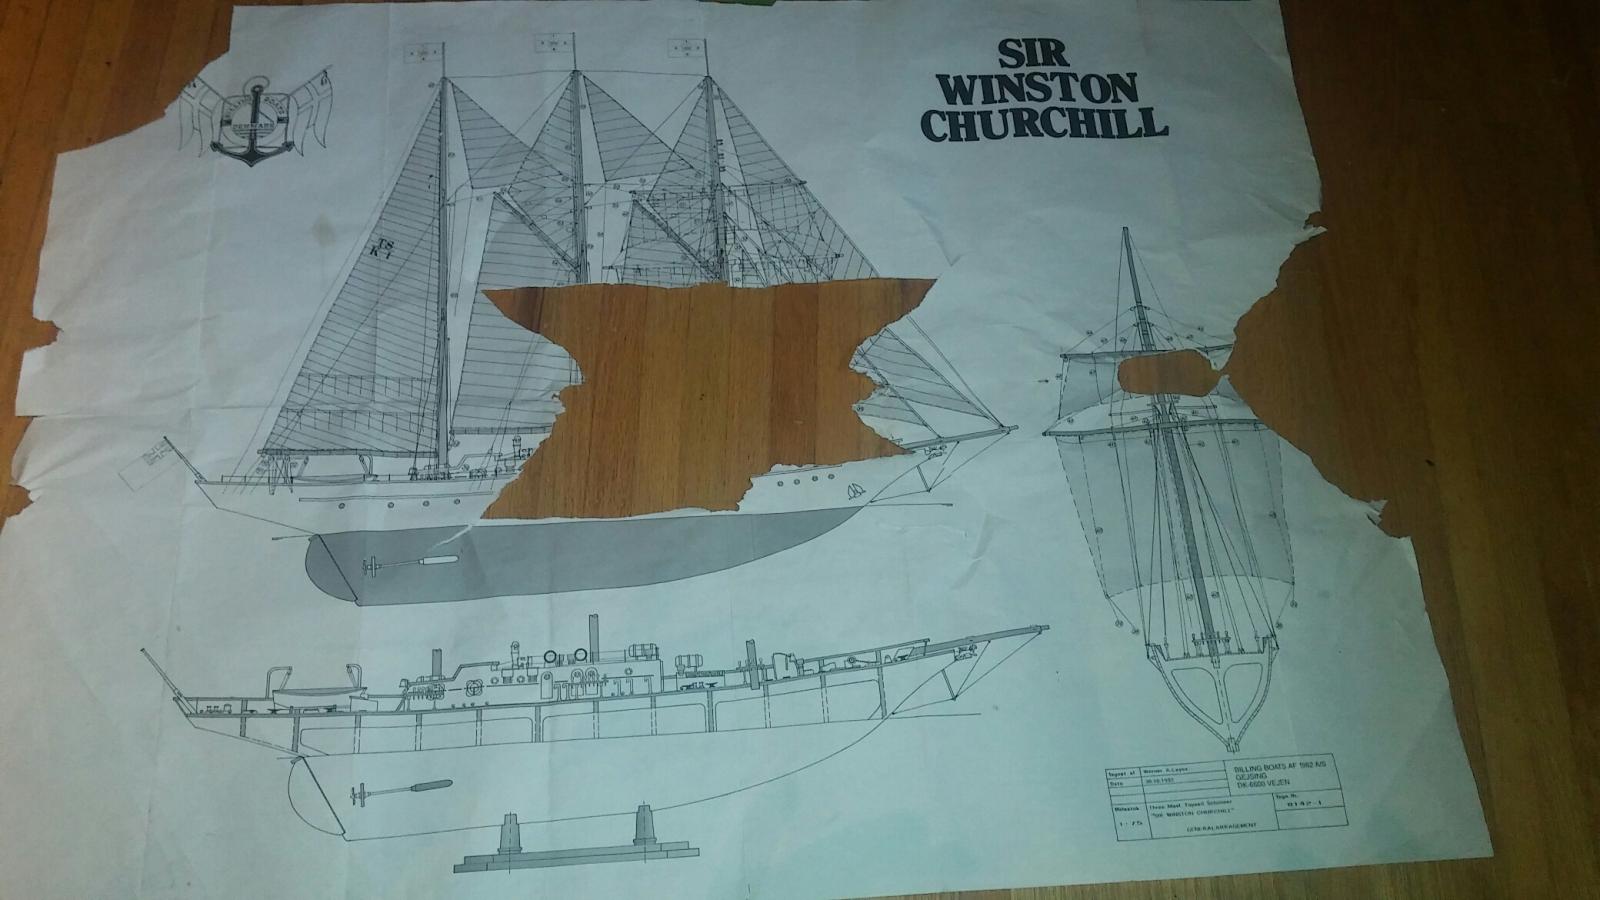
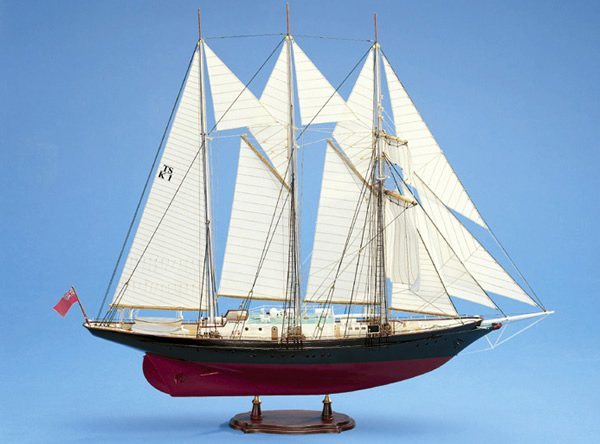
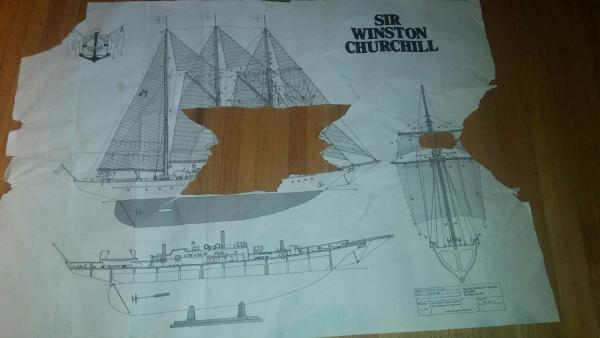
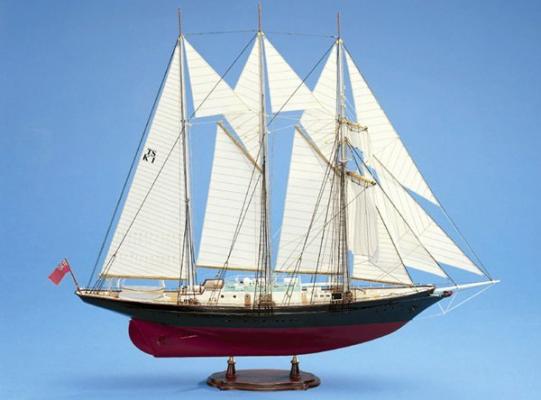
Hey Frank. It's a 1:50 Billings 3 masted schooner. I can't find much help from others who have built it because I suspect they know better than to try to build a really old Billings kit. I have gotten a *lot* more from this site and pictures than I have from the instructions. In theory is should look like this.
-
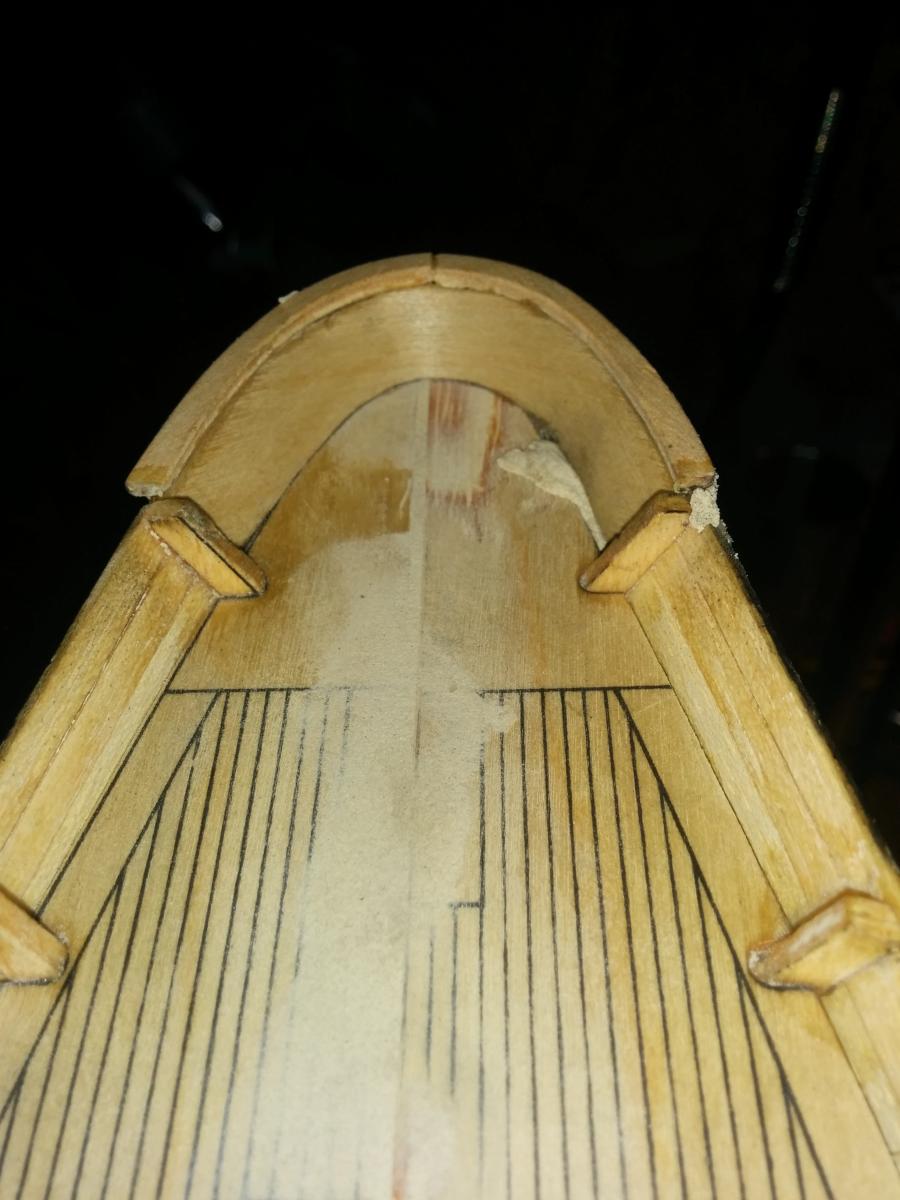
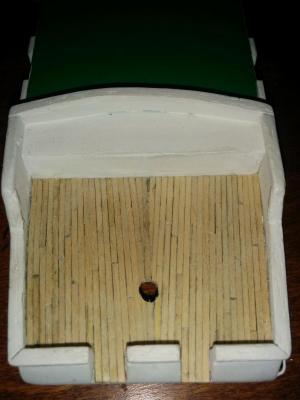
So another lesson learned. I am starting to think that each build is just to learn lessons for the next. Anyone who has ever planked a deck will know what I did to get this neat pattern... I made a mistake and had to do the best I could with what I had. Regardless, learned the lseeson *before* I started the main deck. Please feel free to comment on the error(s). I now know "start in the middle" and anything else I am open to hearing before I mess up on the main deck.
-
Forgive me father for I have sinned... it's been six months since my last touching the Sir Winston Churchill. Happy New Year everyone. Time to pick up the model and get back at 'er. I joined Big Brothers again have been pretty busy with that and work. Trying to get balance between work and play (My boat) is tough. I built a really cool old fashioned advent calendar for my grand nephew so have been working with wood quite bit ini the last few weeks. I think that is what sent me back to the model. Anyway, going to try to get some decking done, wish me luck!
-
... okay, modify that... just use the magnet on the inside and a screw, head towards the magnet (anything metal) on the outside. I picked one of the rings off trying get the darn magnets apart. Lesson learned.
-
Thanks folks, I will be getting the suggested rigging for sure. I looked at the stuff I have and it is bad. I would make the rigging look like, in the day they used strips of camel hide - not good enough. Re metal finish, I tried Sanding sealer and didn't get what I needed, I could still see the planks... smooth filled in planks, but still "faceted" on the horizontal. I fully expect it was the result of shoddy workmanship on my part but the bondo is doing the trick. I taught myself a neat little cheat tonight. I was trying to hold the peeny little brass port hole rings and was having trouble until I stuck a rare earth magnet on the inside and another on the outside with the brass port hole ring sandwiched between. It squeezes the ring against the glued surface beautifully, just don't do two really close together... "CLICK!!" and the whole lot go flying.
-
I am scouring MSW for deck building, your looks great, I want the same sort of weathered look, thanks for the posting.
-
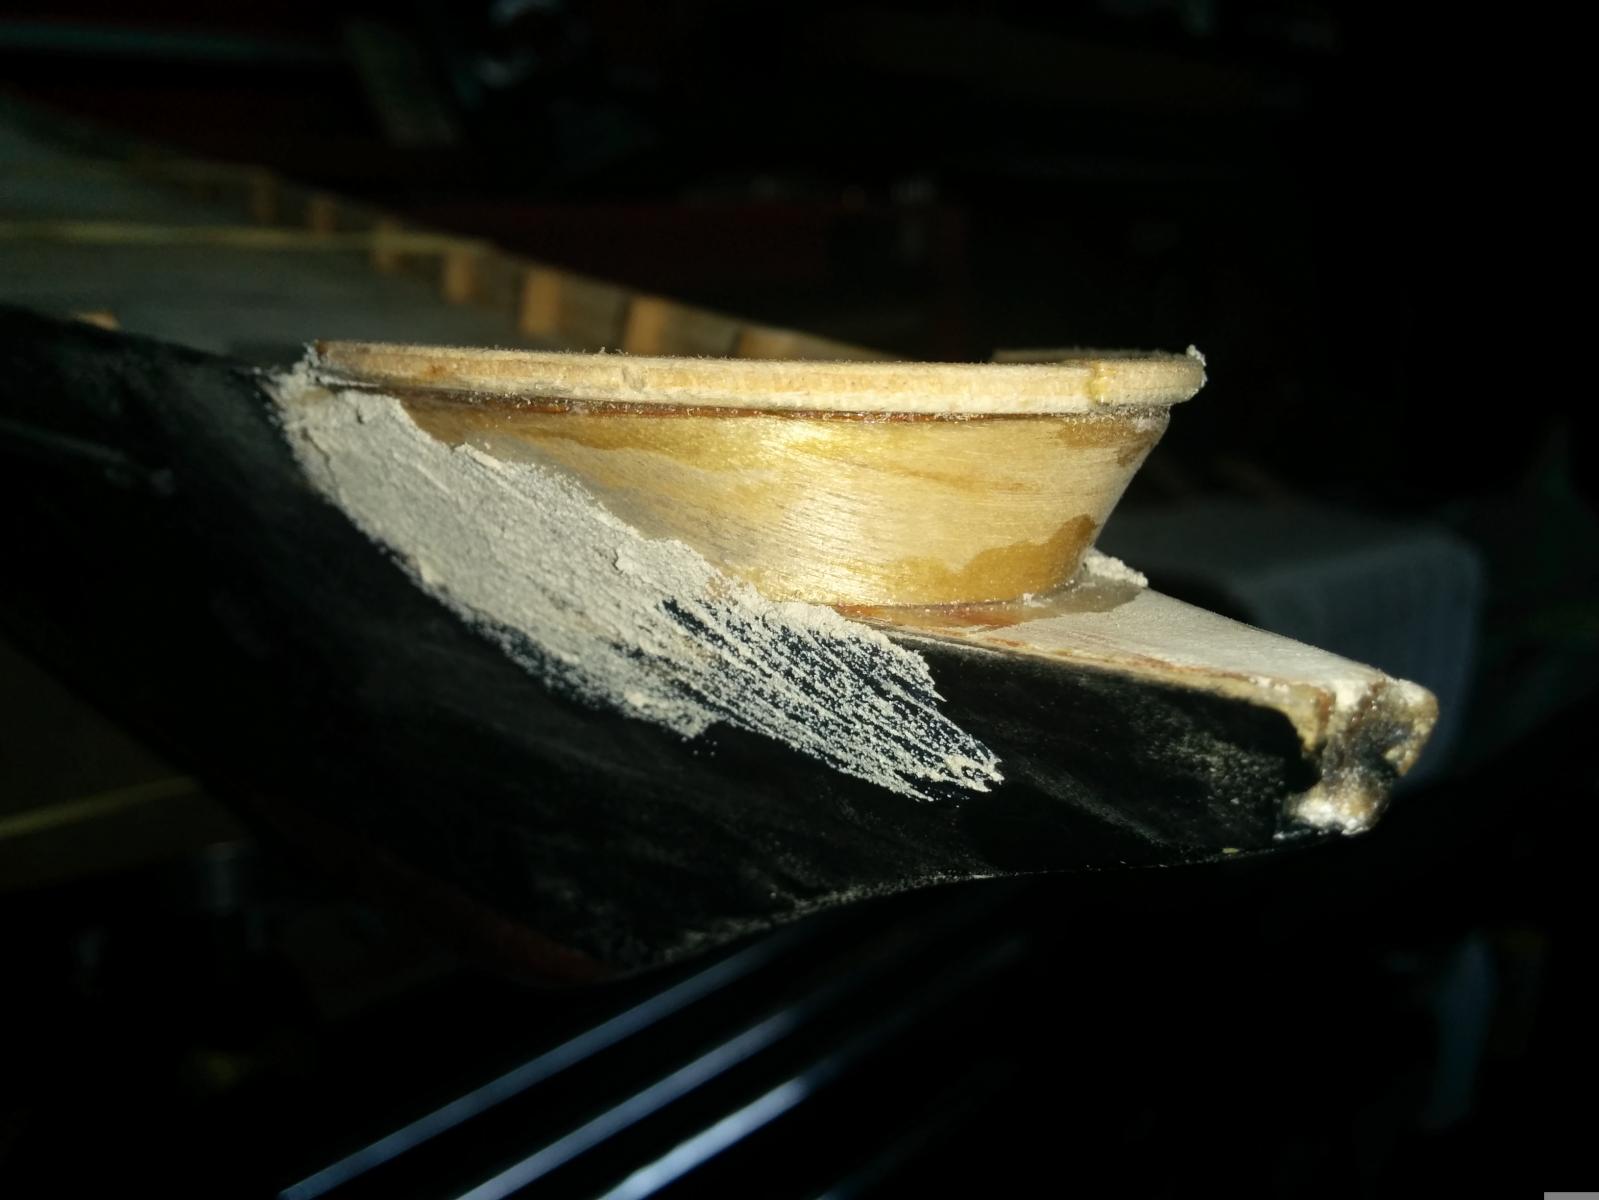
I am trying a "bondo" product on a test section too, as a filler to get rid of the wood grain... it worked very well. I hope my next build is supposed to look like wood, but I suspect that presents new holes I can wait to fall into until that time, for now, my wood looks like steel.

-
I am very happy with the test section of planking, it turned out well. Again, props to everyone on the site, the pencil is the trick. I even hit it with a bit of Oak stain and it looks great, at least to my eye. I am not going to try for anything as fancy as nail holes because this is 1:75 so it seems unrealistic to expect to be able to see them.
-
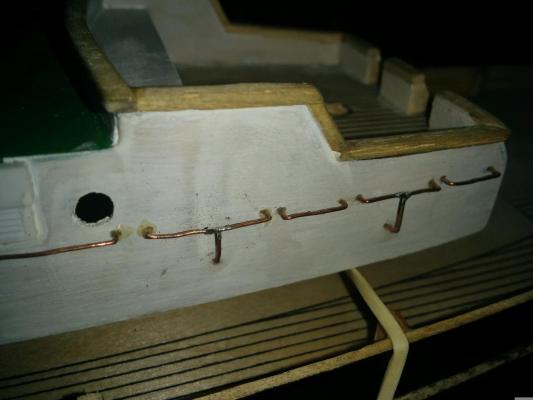
I am having challenges getting wood to look like steel. I have used a very fine wood filler, rubbed it in well and sanded it to rass, it seem passable, but too much paint has made the rails look horrible. Now I have to scratch the paint of those and just hit them at the end. I got the soldering better on the Port side because i did it second and tried something a bit more time consuming, but it worked better. I have to file the solder blobs off them still though. Starboard Port These pictures show up much more of the detail, what a surprising way for me to see what needs doing. I didn't notice the "puddle" on the wall face where the rails connect. I used white glue for those... hmmm. something to think about when I fall asleep tonight.
-
My gawd! I am just getting into this and have to remember that you guys were once newbies... it borders on intimidating. I will stick with it, I can do it... one day. For now, I am busy learning how to sand. Wax on, wax off...
-
Montanes by ricardo - OcCre
Lory replied to qaz_666's topic in - Kit build logs for subjects built from 1751 - 1800
Ricardo, your build is an inspiration, really, one of the most beutiful things i have ever seen. I am new to this and I will try to do as good a job as you have. Amati thread... gotta remember that... Amati thread. :-) -
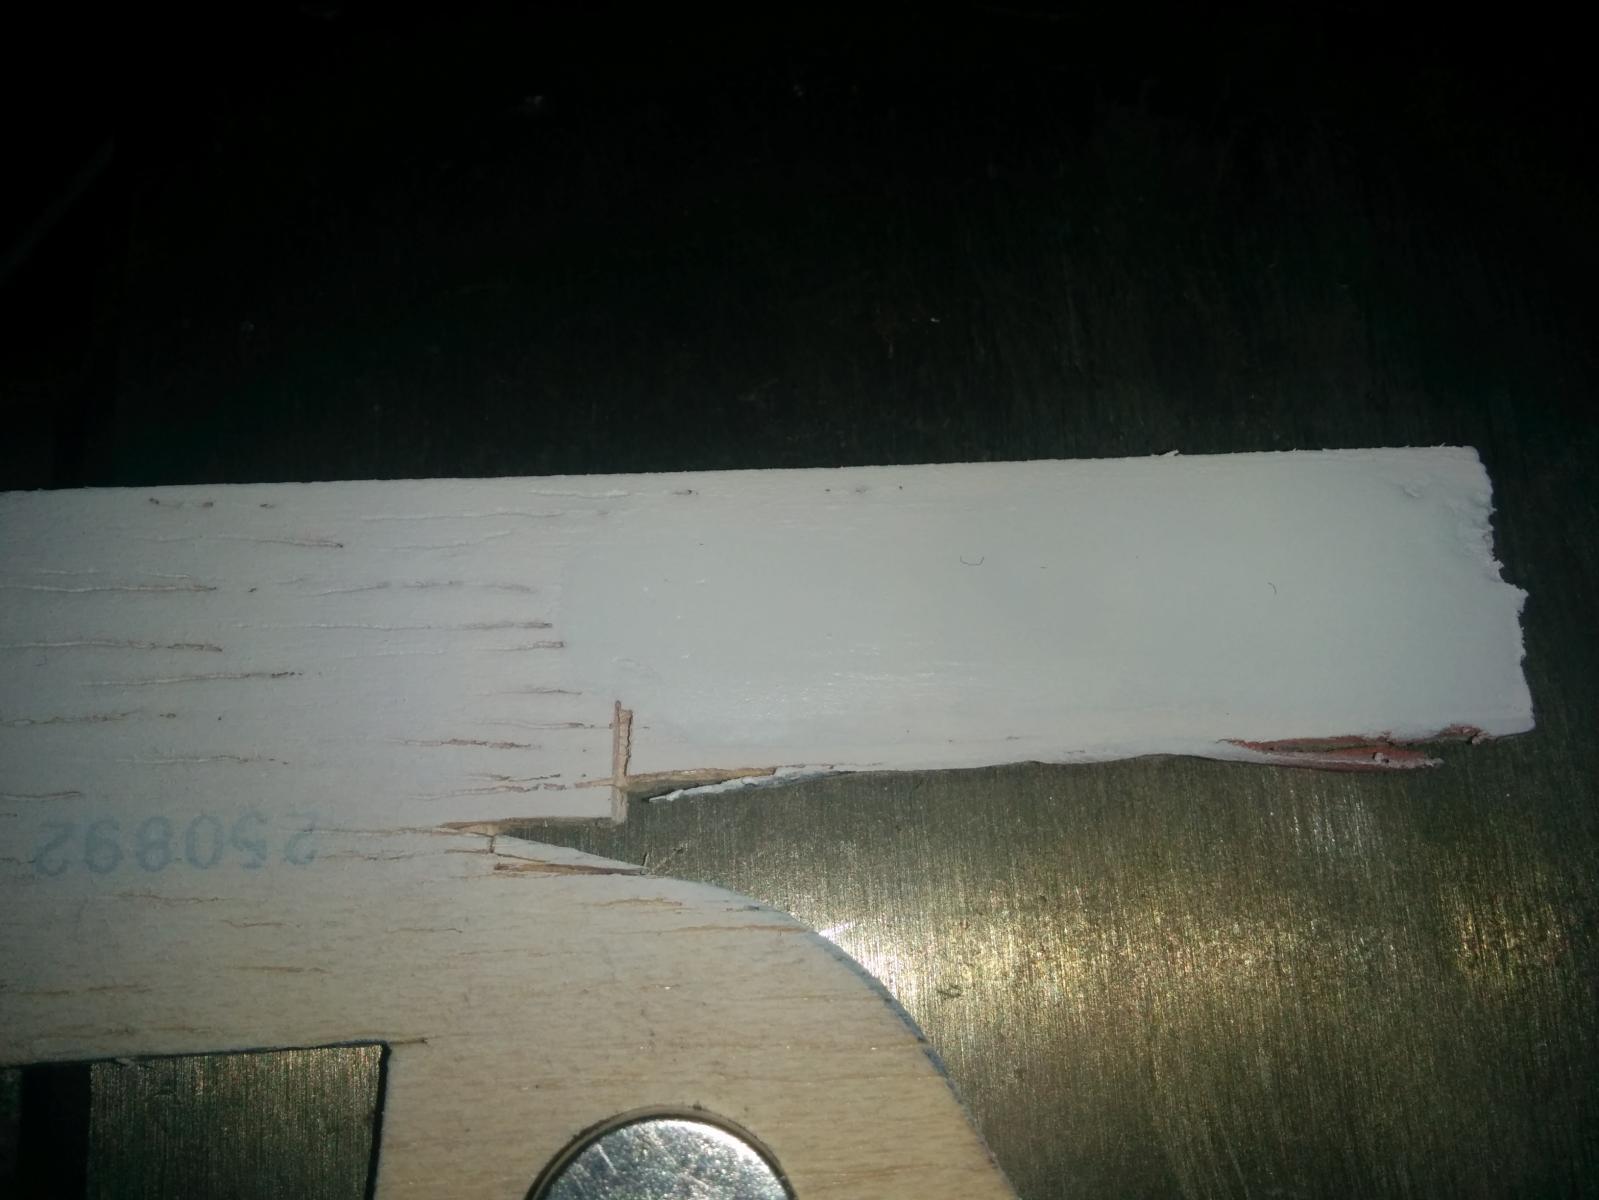
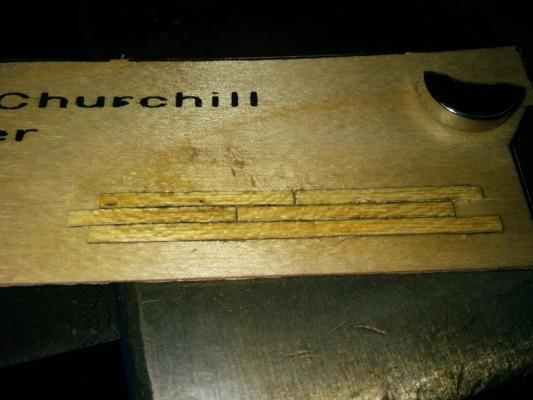
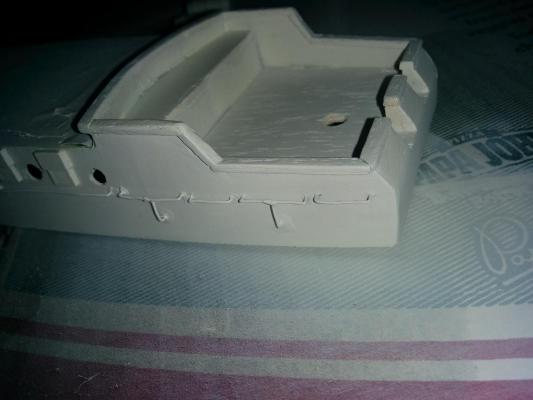
Finally, for today. I lost a piece of the kit... somewhere in the last 2 years and had to twiddle a new one. I am very proud of it and so include it here. Keep in mind that I am *not* a wood worker and other than the little canoe, this is all new to me. I now avoid the *instant* glue because of personal injury issues :-) so this was a hell of a time getting done. I did use a really slow version of the same stuff called "Zap-a-Gap", and a crapload of masking tape to help hold it all. I would have taken pictures but the process used up all five hands I had, sorry. Now, I mention all of this because this piece was why I stopped in December and was left staring at the model. I was very intimidated by having to build a curved, tilted compound twisty piece of the boat out of scrap wood. It was a challenge but only took a few hours. Thank you everyone at MSW for the tips on bending and steaming. You are all officially caught up and I will try to keep you apprised as I go. Any answers to the things in bold would be appreciated.


-
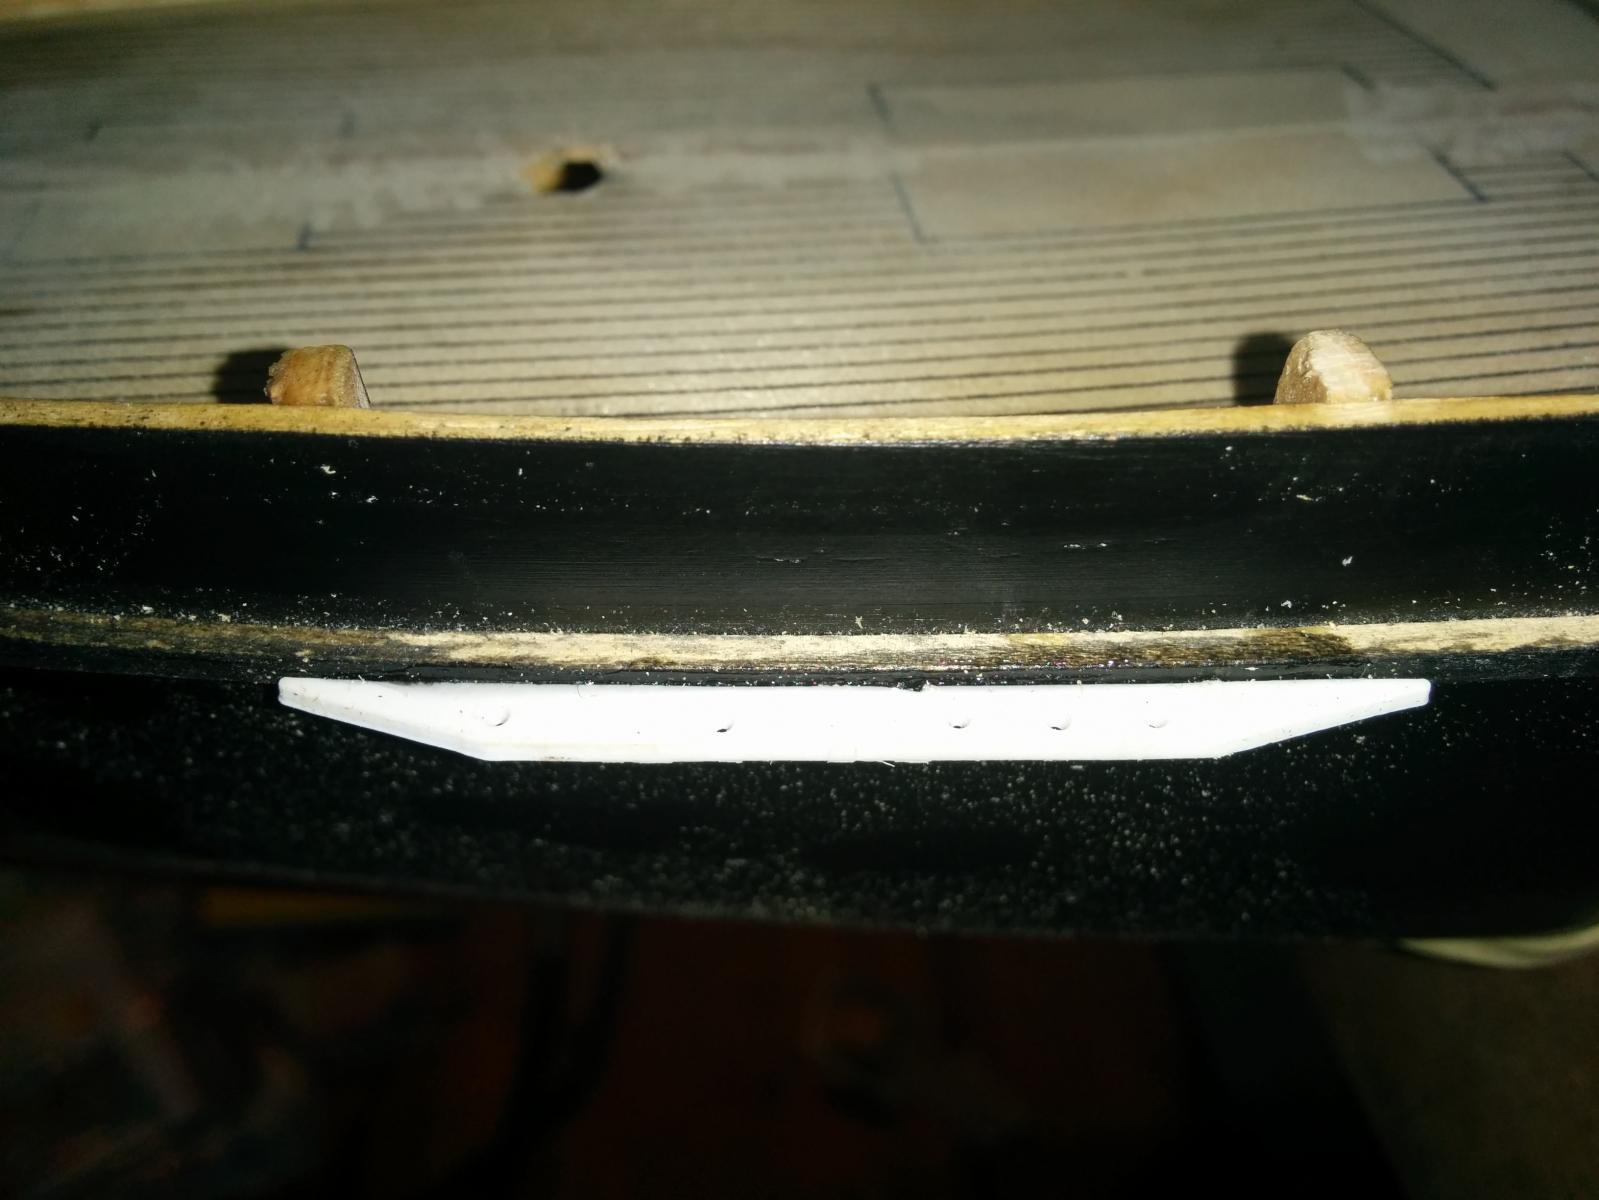
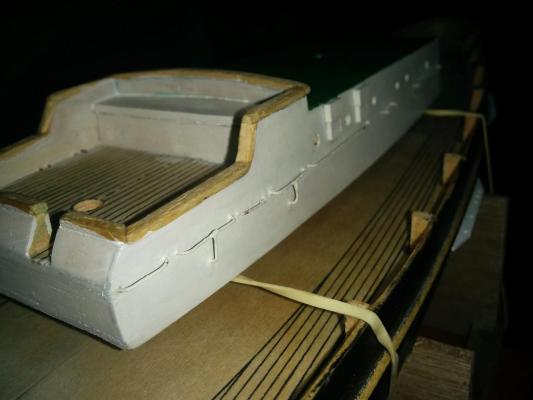
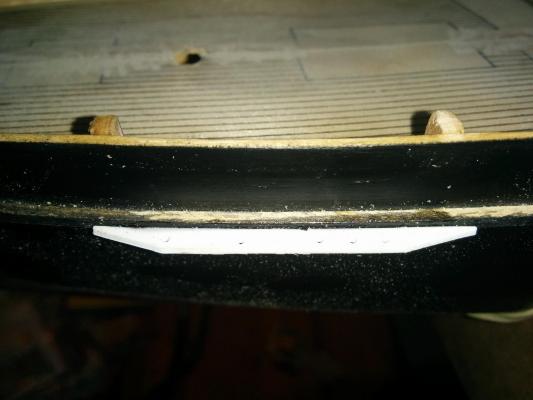
A few questions to anyone that will answer. The "things the shrouds attach to" (whatever they are called) that are on the rubbing strake(?), I am concerned that they are not strong enough and that once the shrouds are attached will pull off. How much tension does one place on the shrouds? White in this picture. I have seem some pictures of this model and the shouds and other lines look... "fuzzy". Is there a type of line that is better than what I probably got with the kit? This picture shows the shortest application for the copper wire as hand rails. I have some long runs on top of the cabin that I have been putting off. Even at this length you can tell they are bent and warped looking. Is there some technique or other option that will give a better result than copper wire? I can get them *mostly* straight, but still not satifactory to my eye.
-
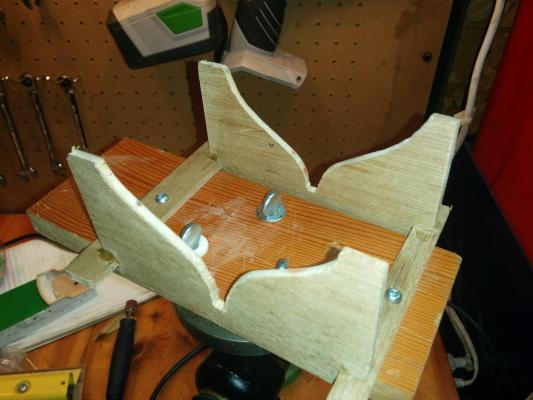
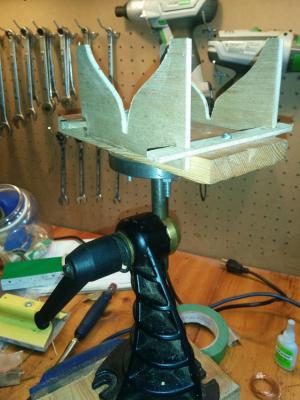
So, I cleaned up part of my shop in a little out building we have. What a difference. Trying to do this on the end of my office desk was a total failure, made stress worse. Anyway, here's the cradle I made. It was a lot easier than I thought it would be just using a bit of card paper a scissors I got the hull profile right and then some judicious dado cuts using a file as a dado blade I made up some bracing and, presto a cradle. I mounted the cradle to an old carving mount I had and rather than drill my bench to mount *that* is just mounted it to a scrap piece of 2 X 4 and clapped it in my vice, it works great, and between the carving mount and the vice I can get the boat at any angle I choose.
-
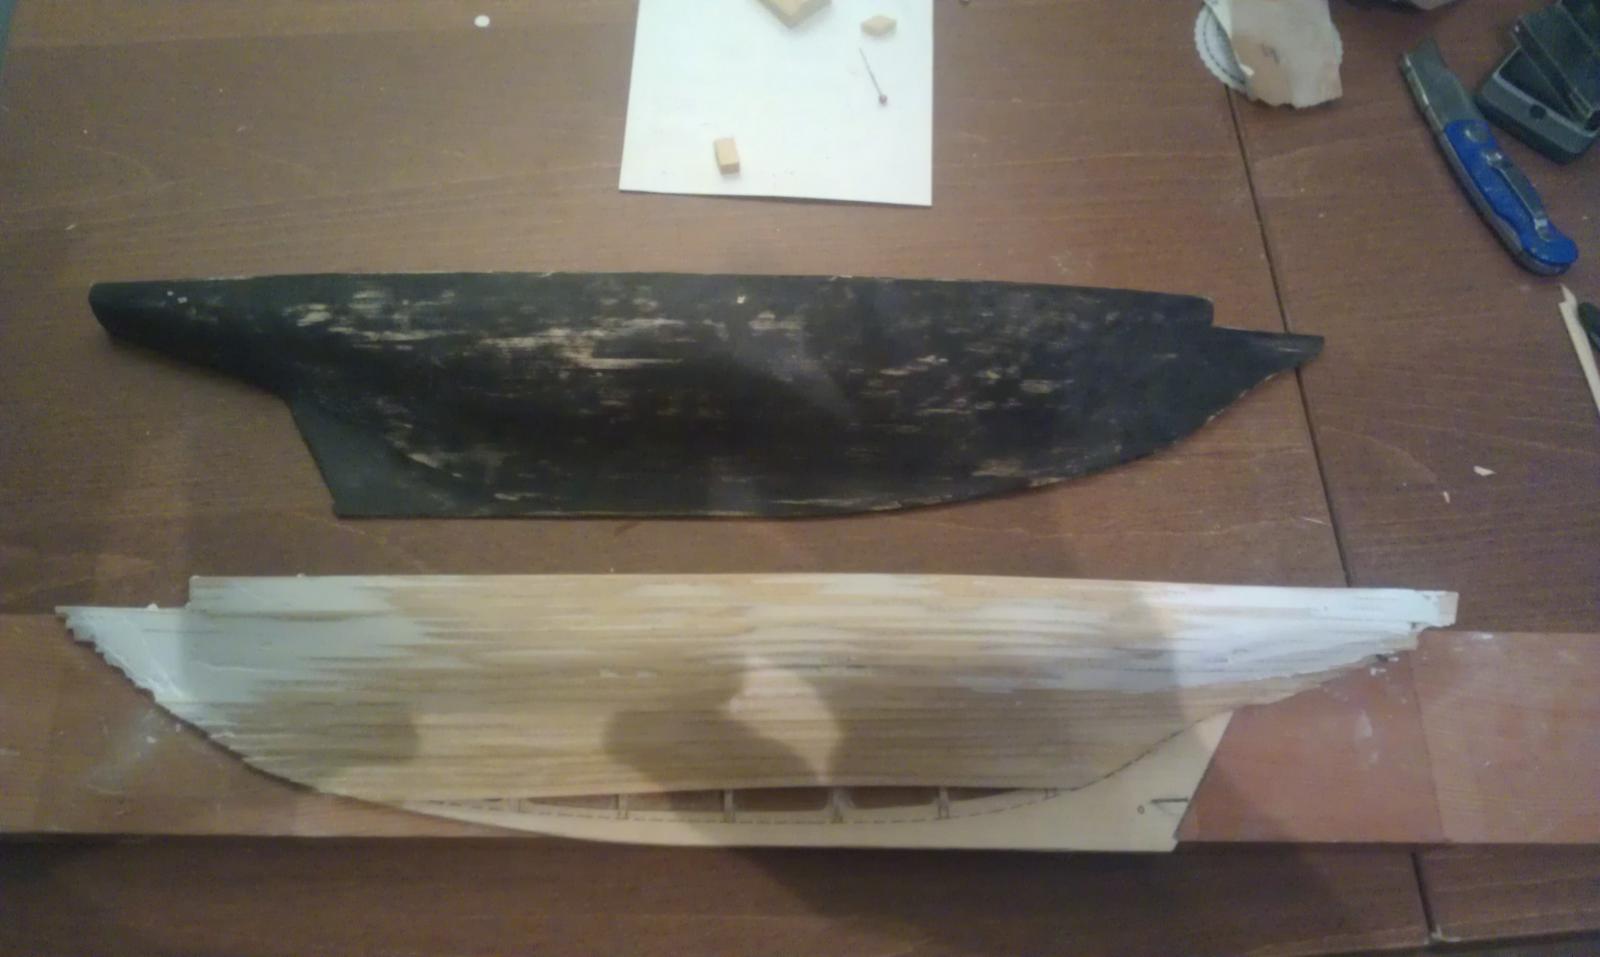
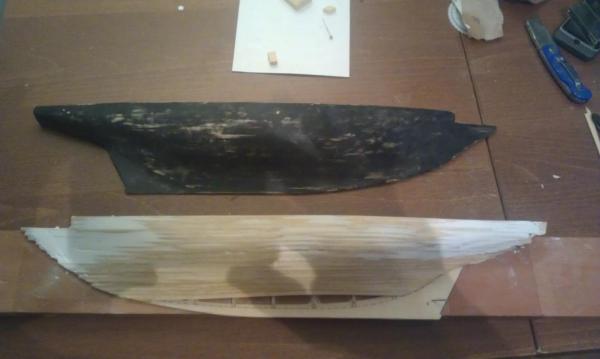
Here's the hull halves at the end of 2012. I know the vessle was steel so I have to get rid of the "wood plank" looking hull. Here's part of that process. I am *still* trying to manage that effect and will welcome ideas for getting the hull *really* smooth. The wheel house? cabin? or whatever it is called, has been a real challenge for my skills and i have learned alot while futzing with the copper wire that makes the hand rails. A new and different use for old soldering skills. I am now going to go and get a few shots of where I am now.

-
I started this build a few years ago as a stress reliver and as a distraction from work. Too late, as I had a stroke about 6 months after I started the build... I choose to ignore what that might mean about the stress of building one of these things. This boat is a pretty simple compared to what I have seen on MSW. I have built an 18" canoe which proudly sitting on the mantle of my home so now I'm going one better, and bigger. I am writing this as a journal, and to help anyone else who may be building this kit. It is Billings and not very well done, as a whole. I think it is one of the older kits because I have to cut everything out a bit more as it seems they missed a few key cuts. Also, the pictures in the instructions are just horrible, you can't see anything they are so dark. I found a better set (probably from MSW a couple years ago). I was going to uplaod them but they are a bit more than 3 Meg... too big. Stay tuned and fingers crossed.