frankwil
-
Posts
42 -
Joined
-
Last visited
Content Type
Profiles
Forums
Gallery
Events
Everything posted by frankwil
-
 Antony, I'm sorry I missed the part of your post that asked if I was going to paint the final planking. I know for sure that I will not be painting any of the wales or bulwarks planking. I would prefer to leave the lower planks without paint, but I will have to wait and see how the finished planking turns out. If it's close to the way the first layer turned out, I'll be leaving it "bare" so to speak. Frank
 -
I jumped the gun on tearing down the bulwark though it's no biggie. I still have final planking below the wales to do
-
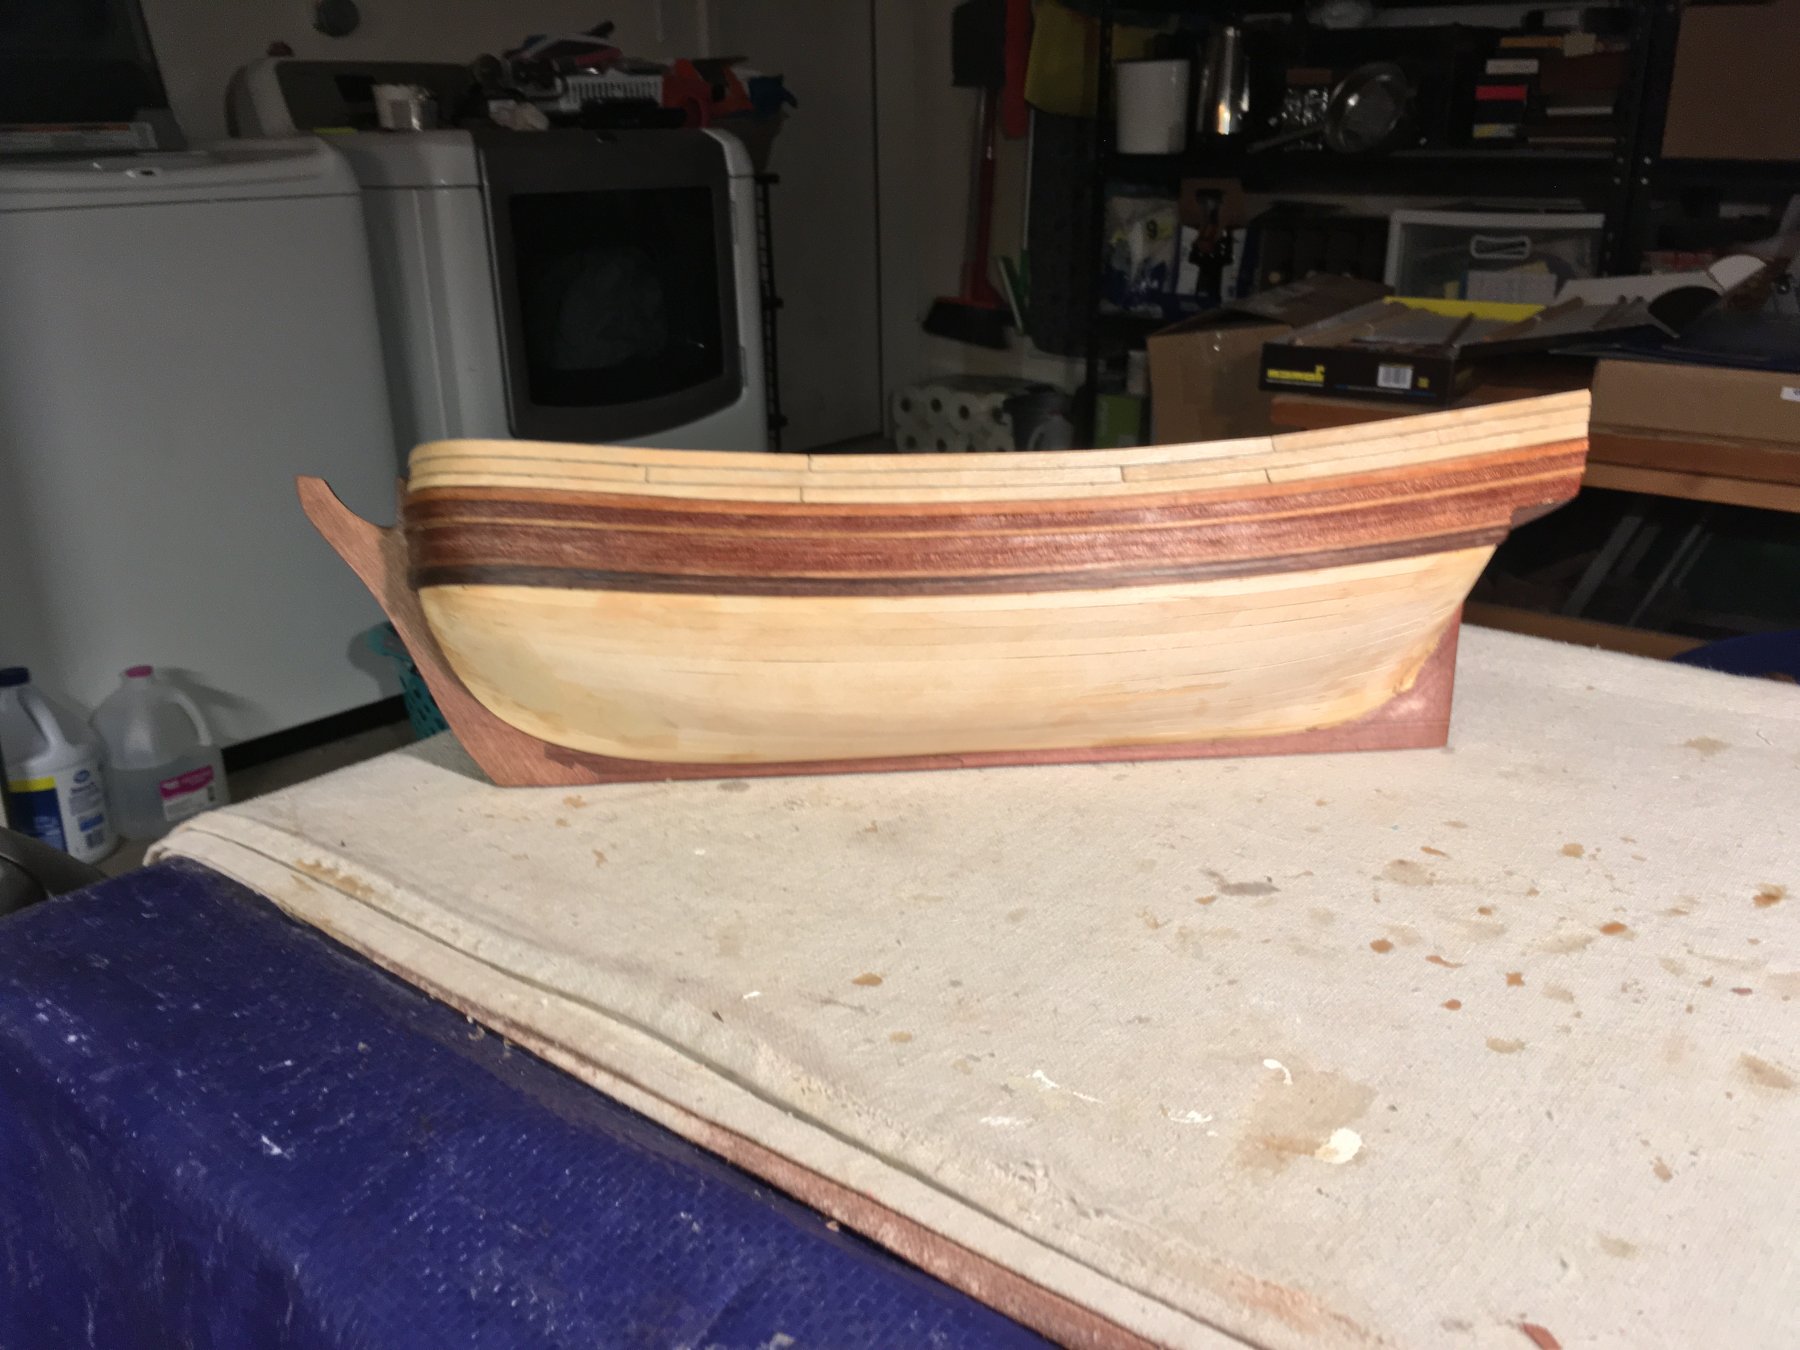
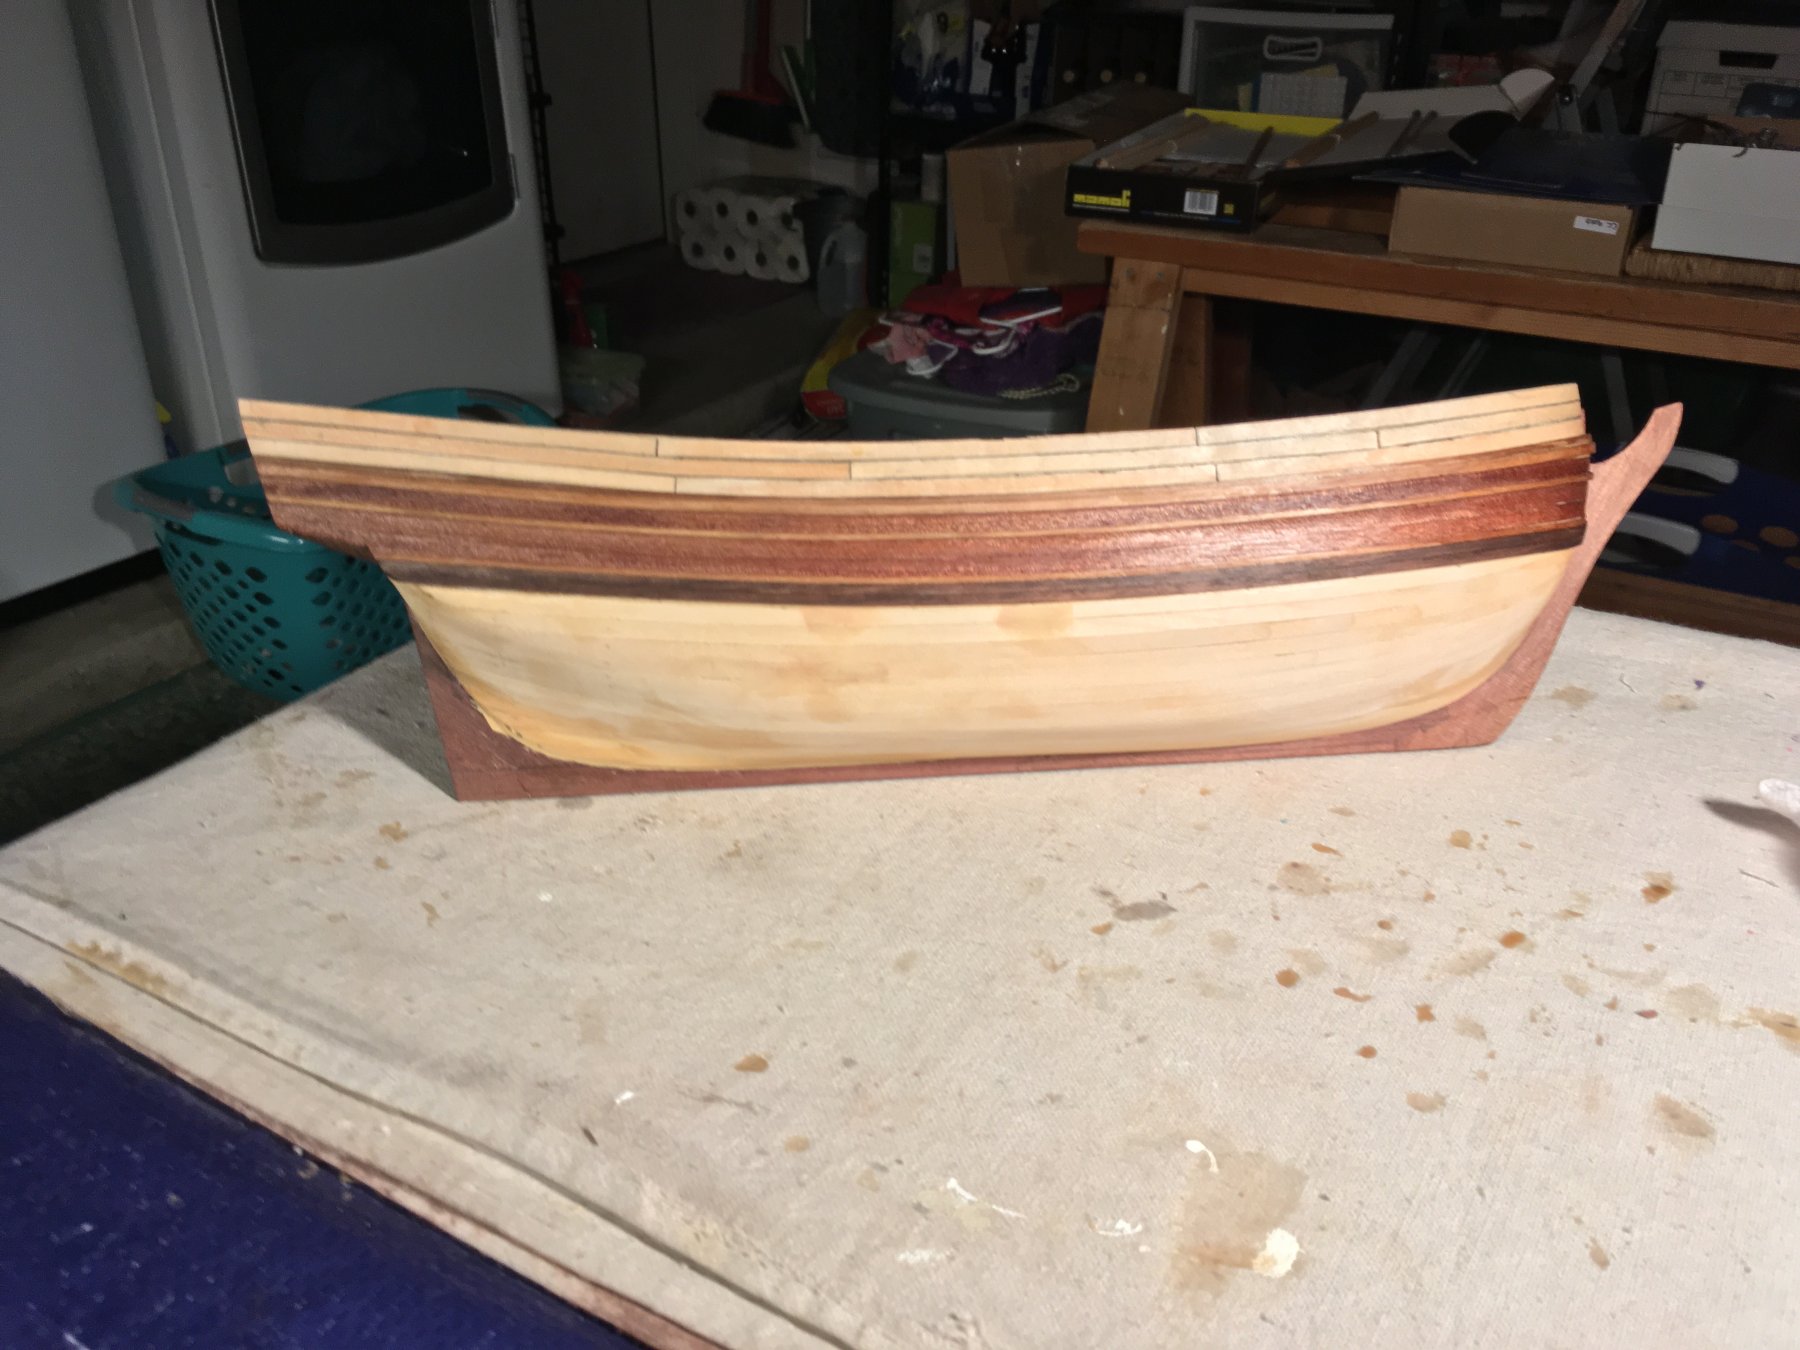
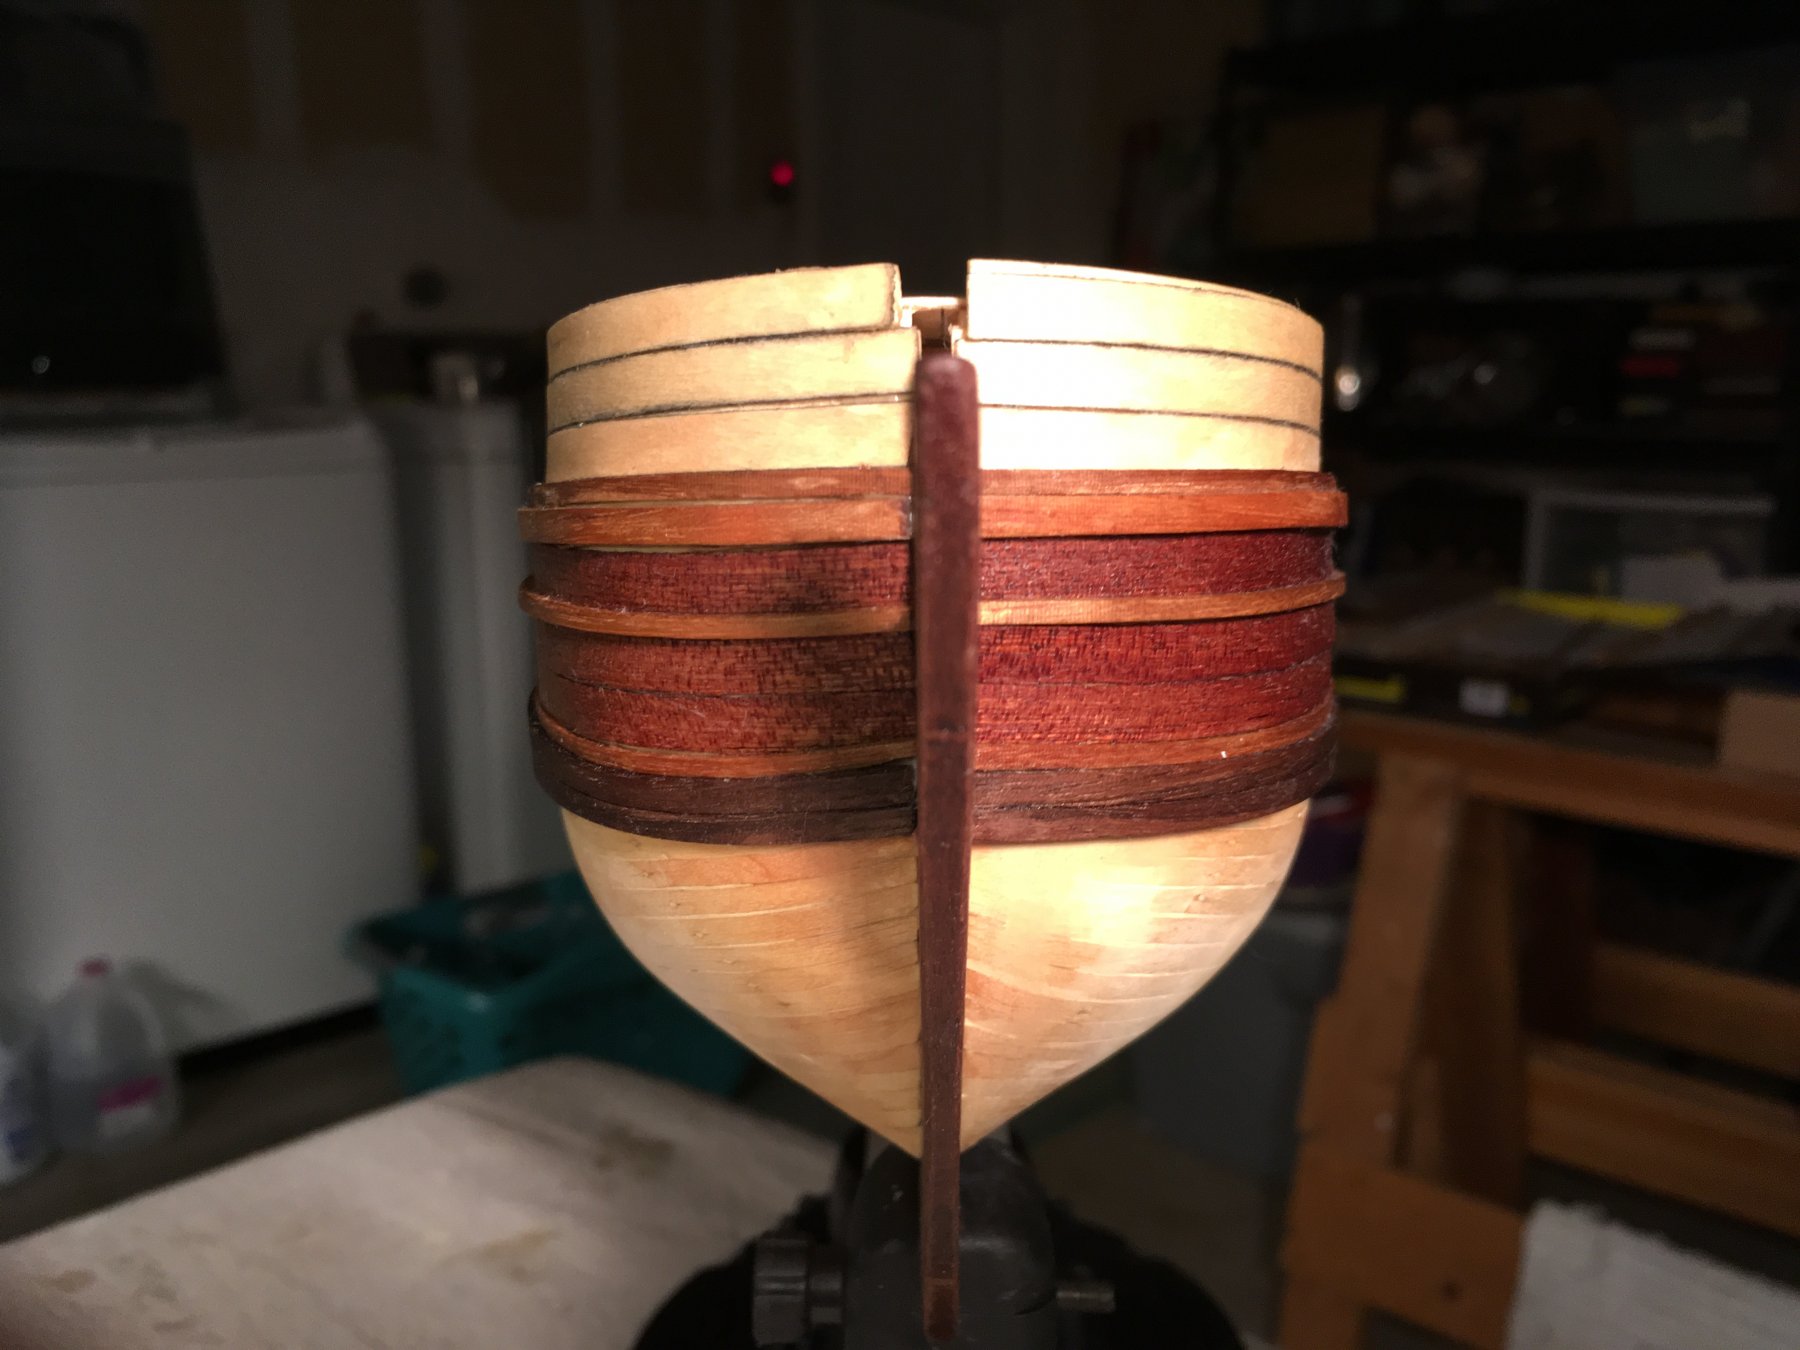
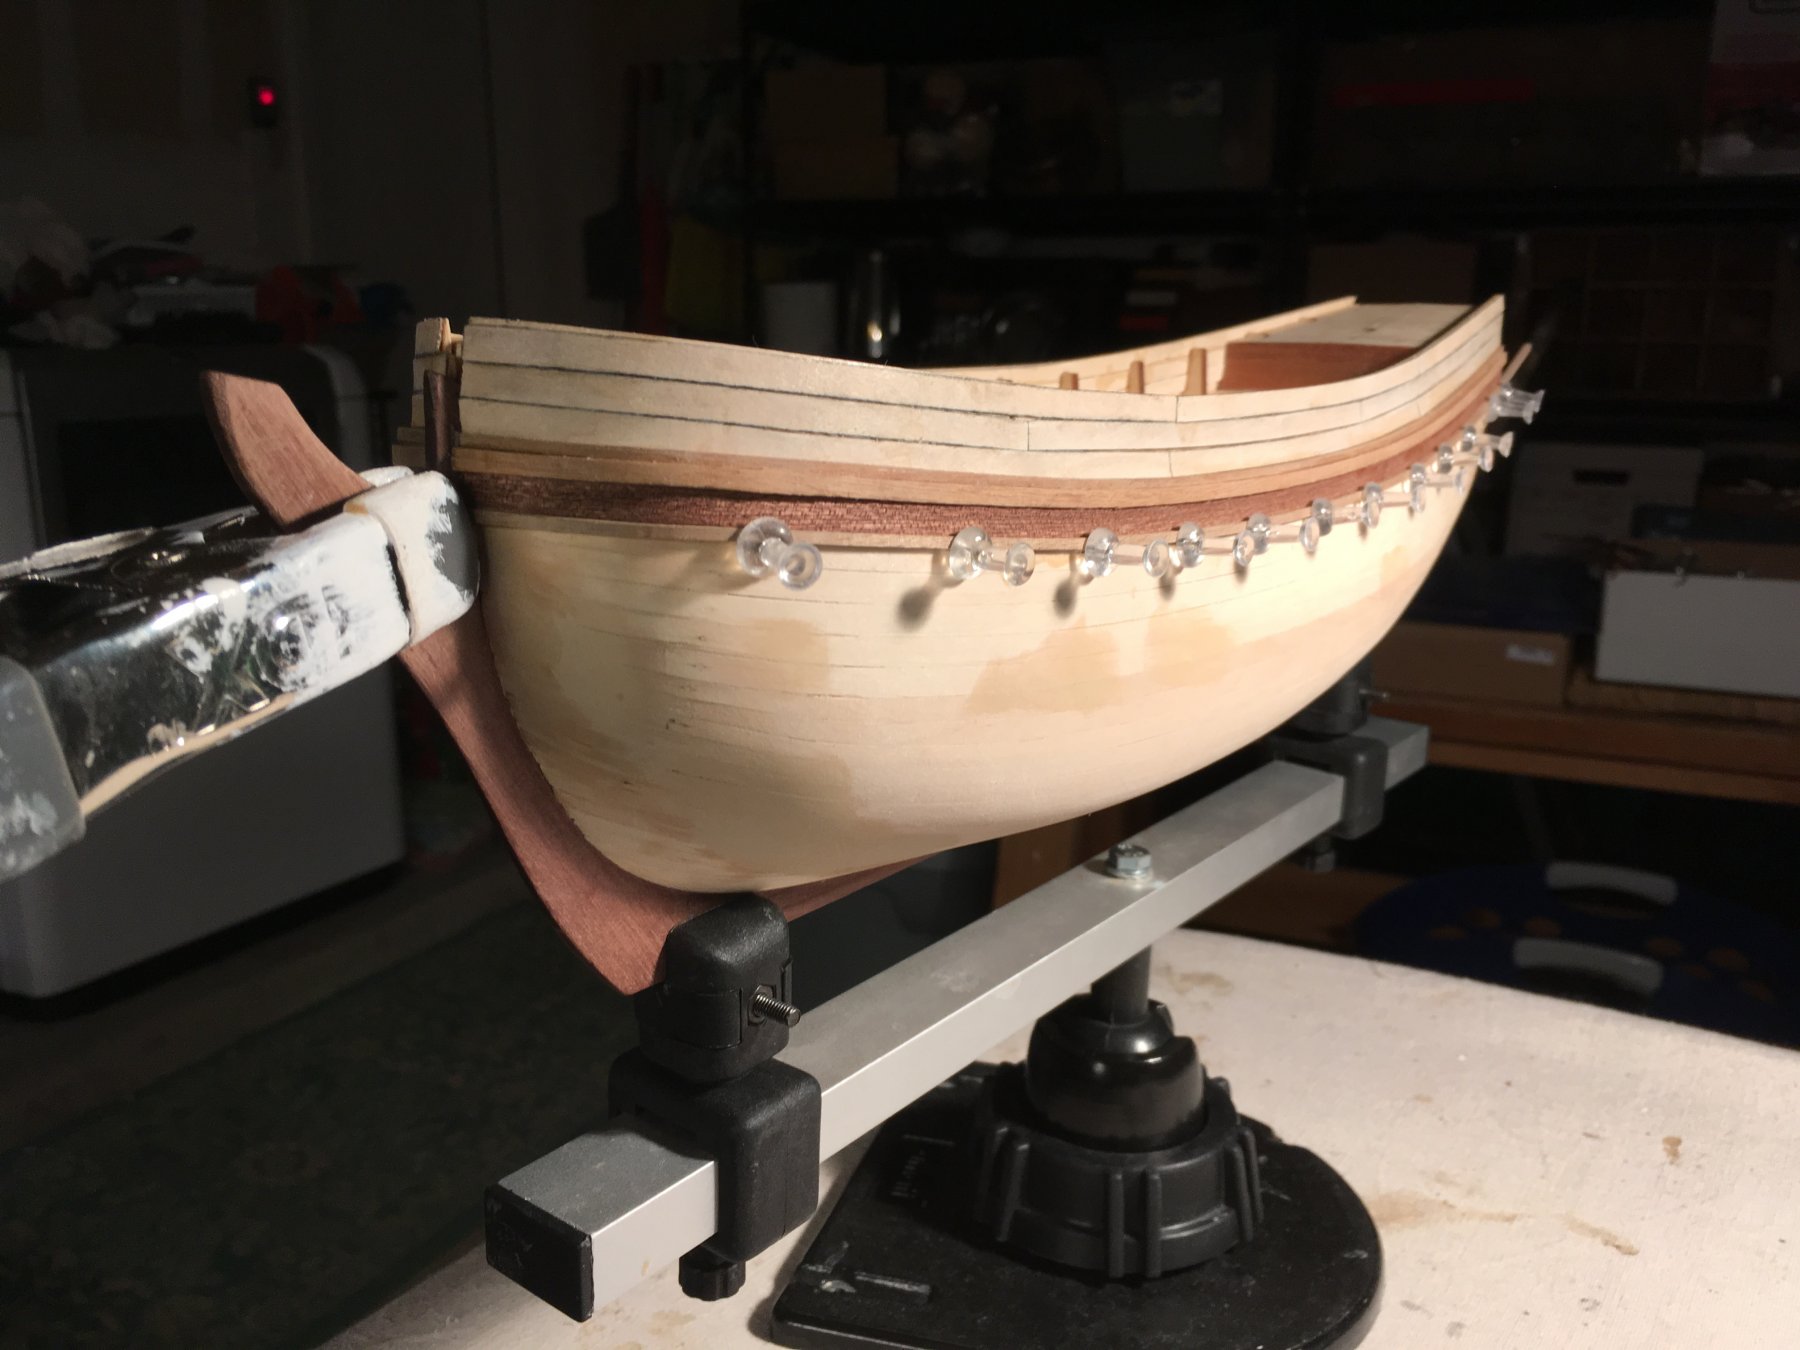
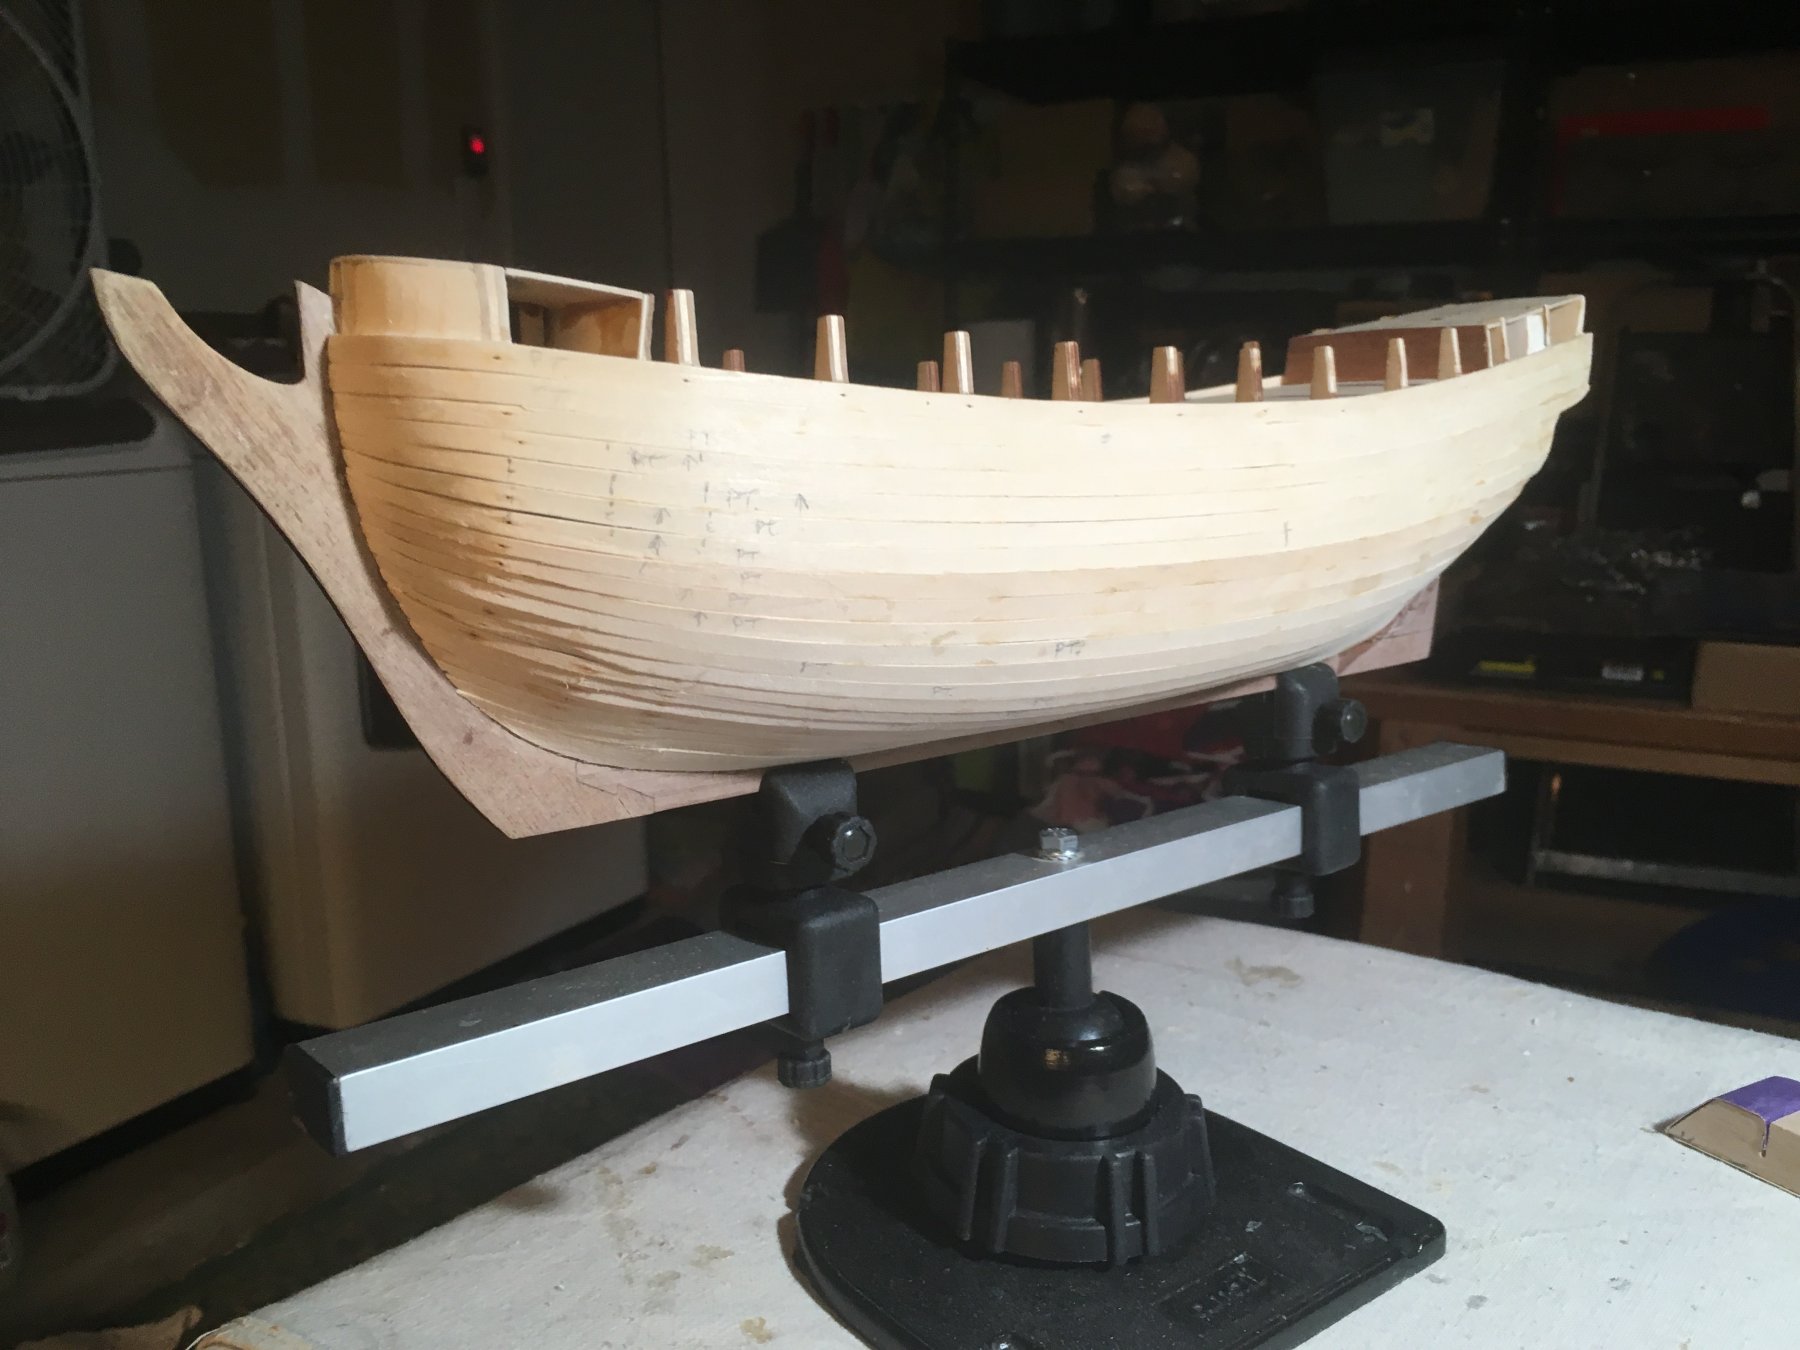
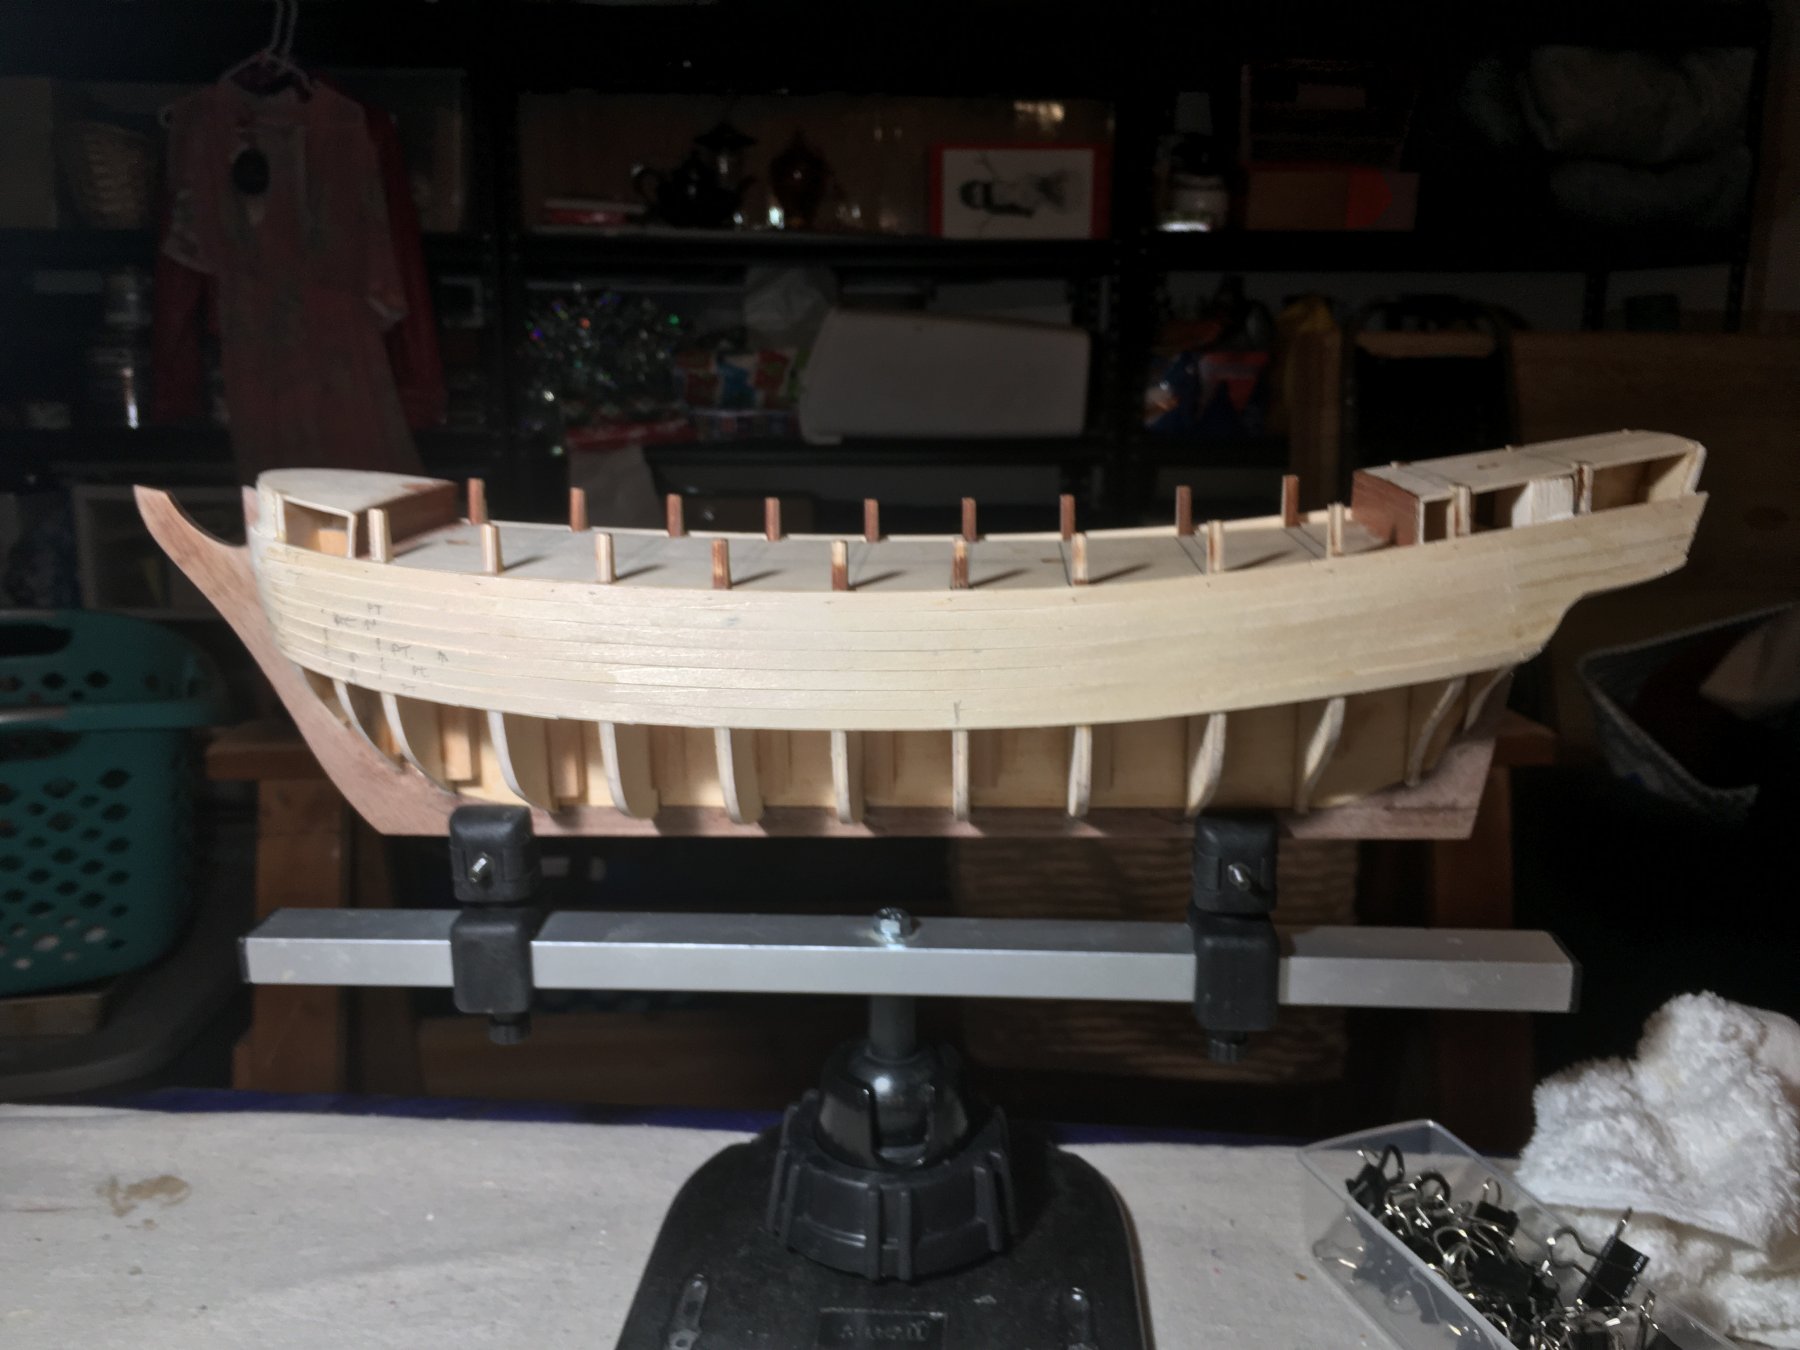
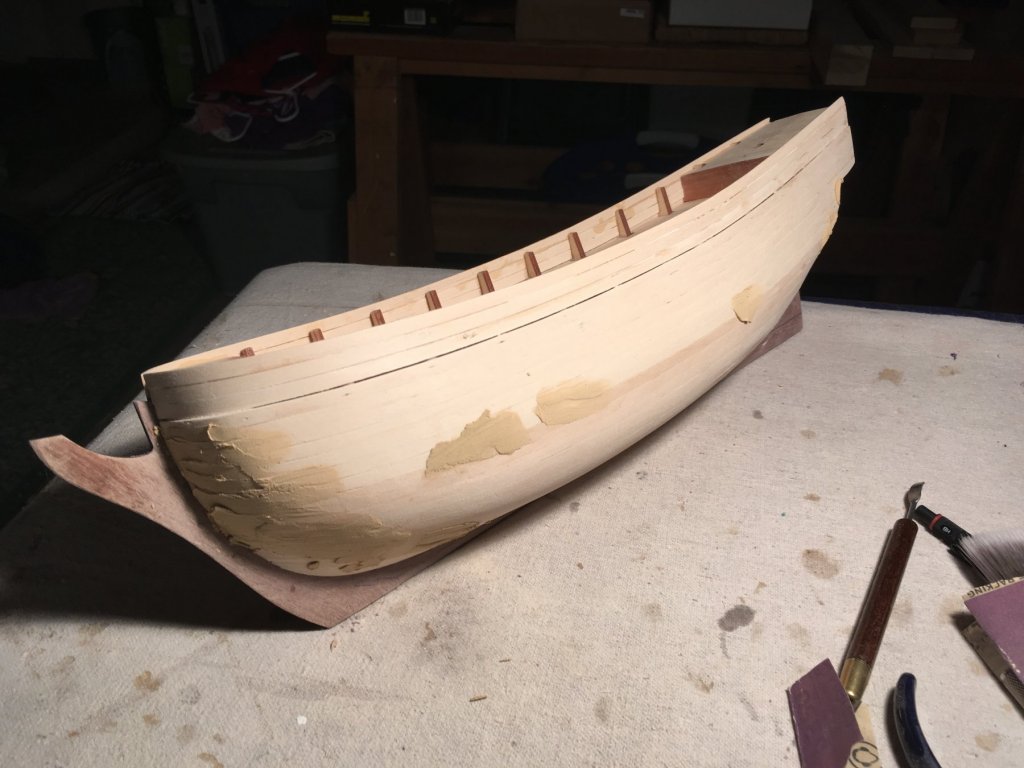
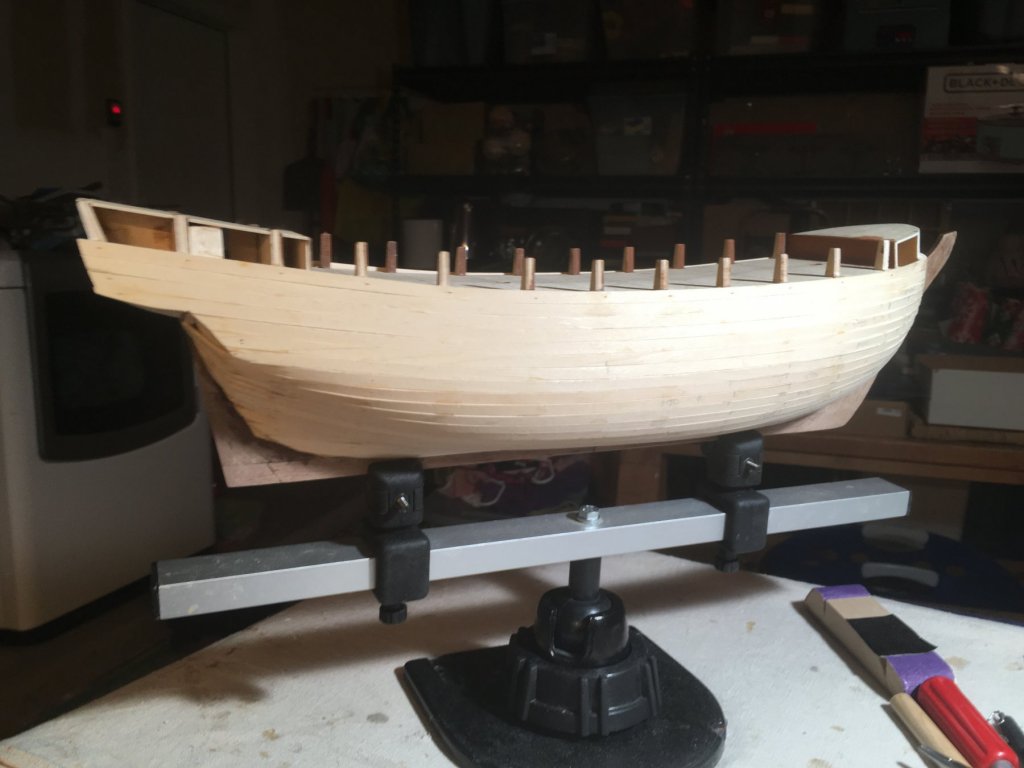
Pin-striping In Progress Planking of the wales is underway. So far, so good. I also finish planking the bulwarks and used the pencil outline trick to simulate caulking. The only thing is, I outlined all 4 edges on the planks and it looks a little overdone to me. I read later on that outlining should be done on one long and one butt side per plank so as to not have them appear too dark. Oh well, I'll have to live with it because it's not bad enough looking to me to redo it. I'll be removing almost half of them anyway later on to make room for handrails and openings for the cannons. F.


-
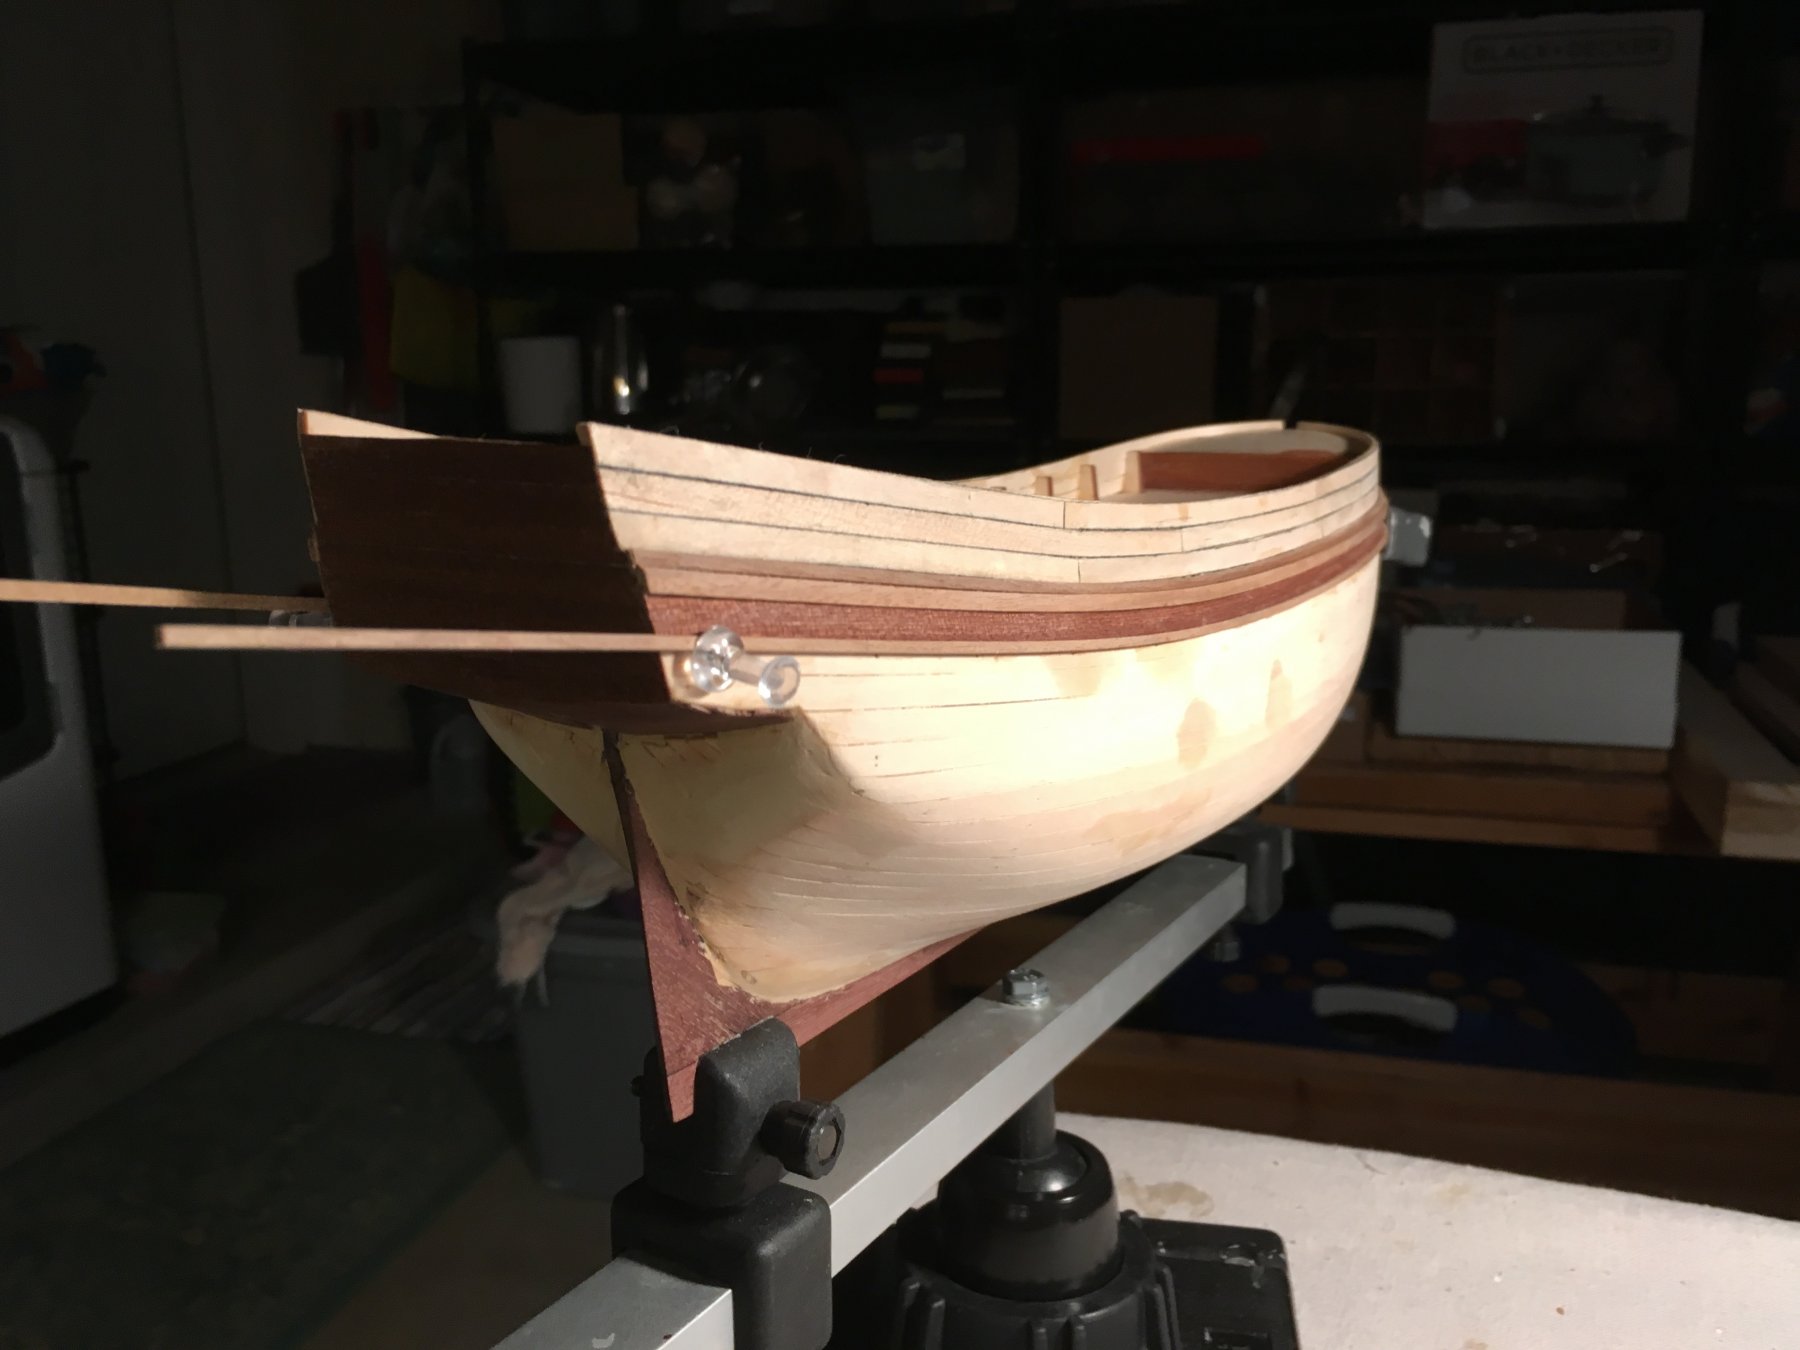
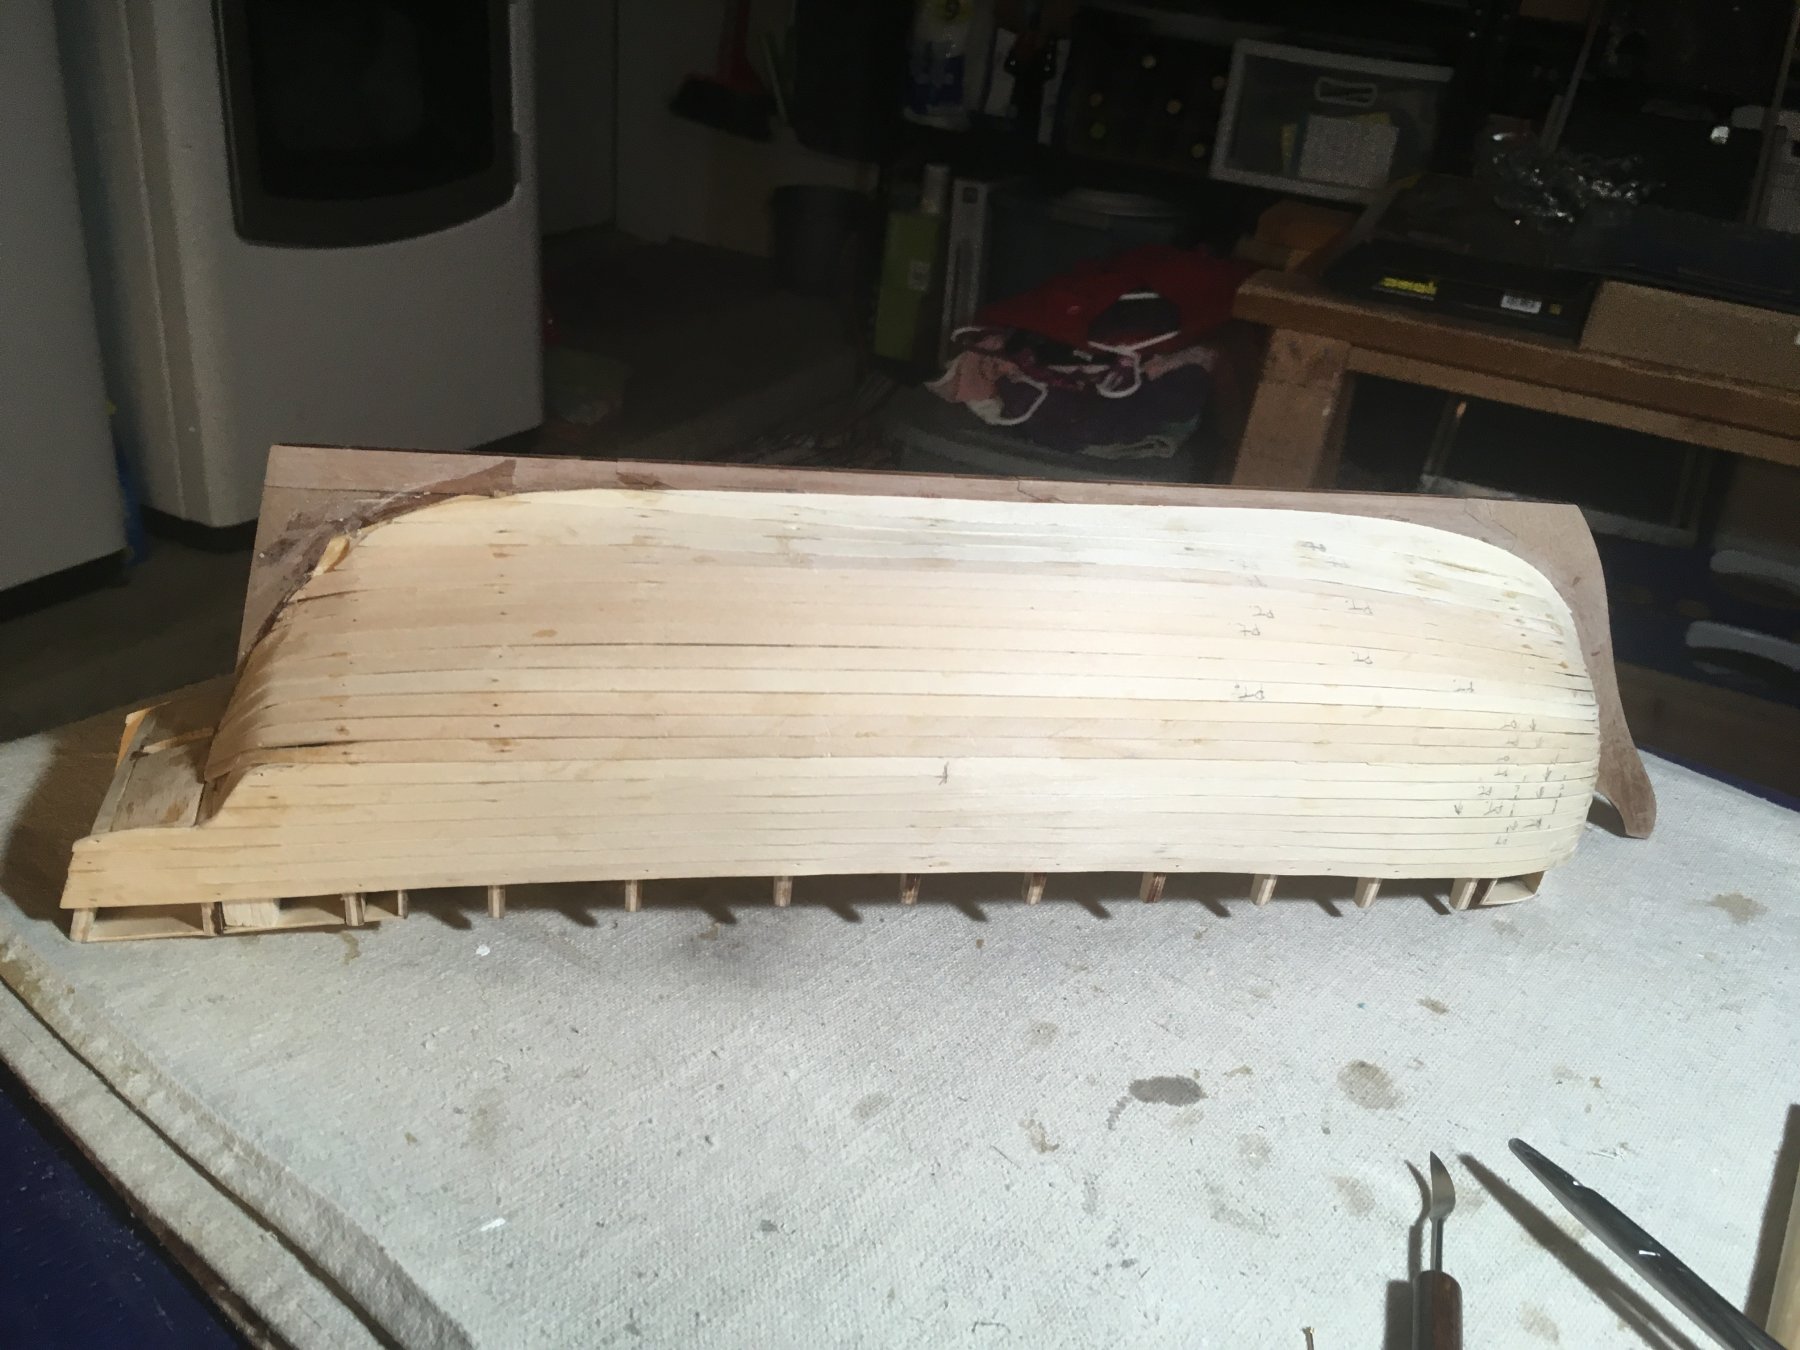
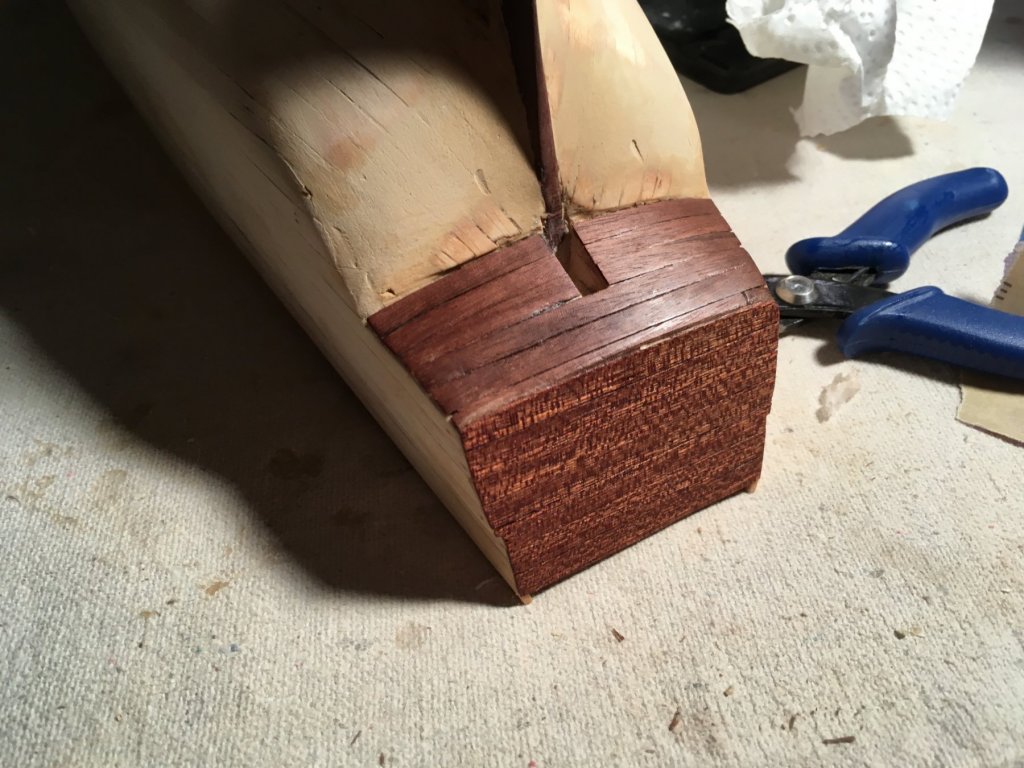
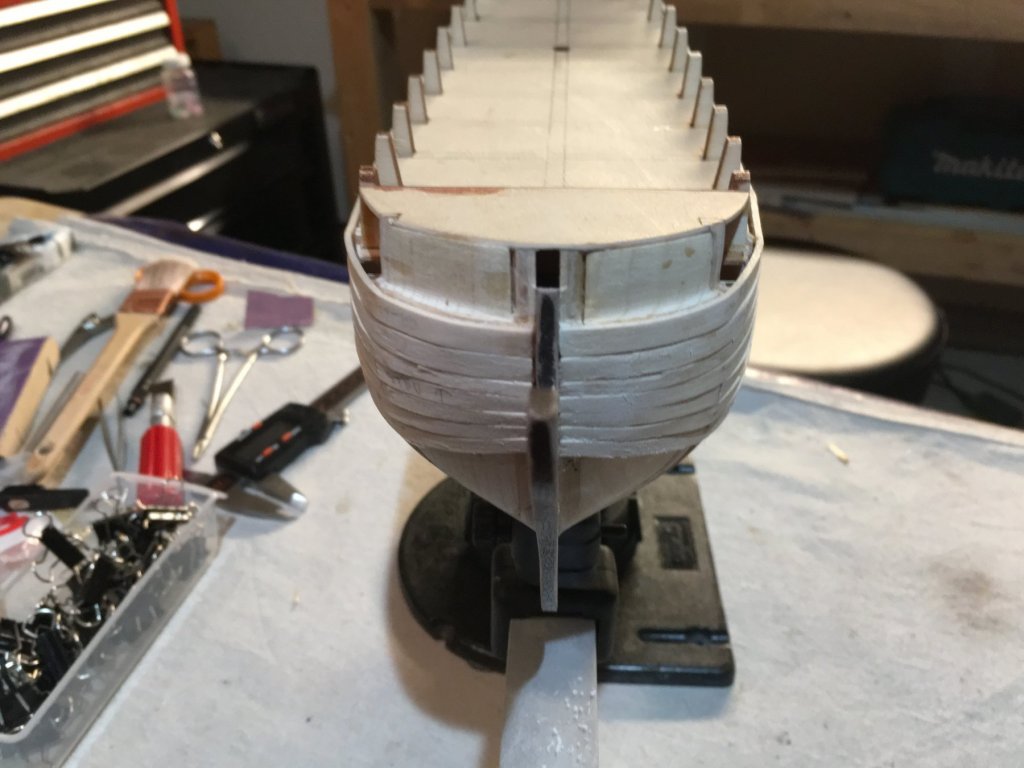
Planked the stern and underside with tanganyika and walnut respectively. I'm applying a thin coat of very thin mineral oil to keep the walnut and tanganyika from drying out during the build. This oil evaporates after a few days, so I don't have to worry about any adhesive issues popping up. These surfaces will eventually be varnished with a matte finish.
-
Thanks OC.
-
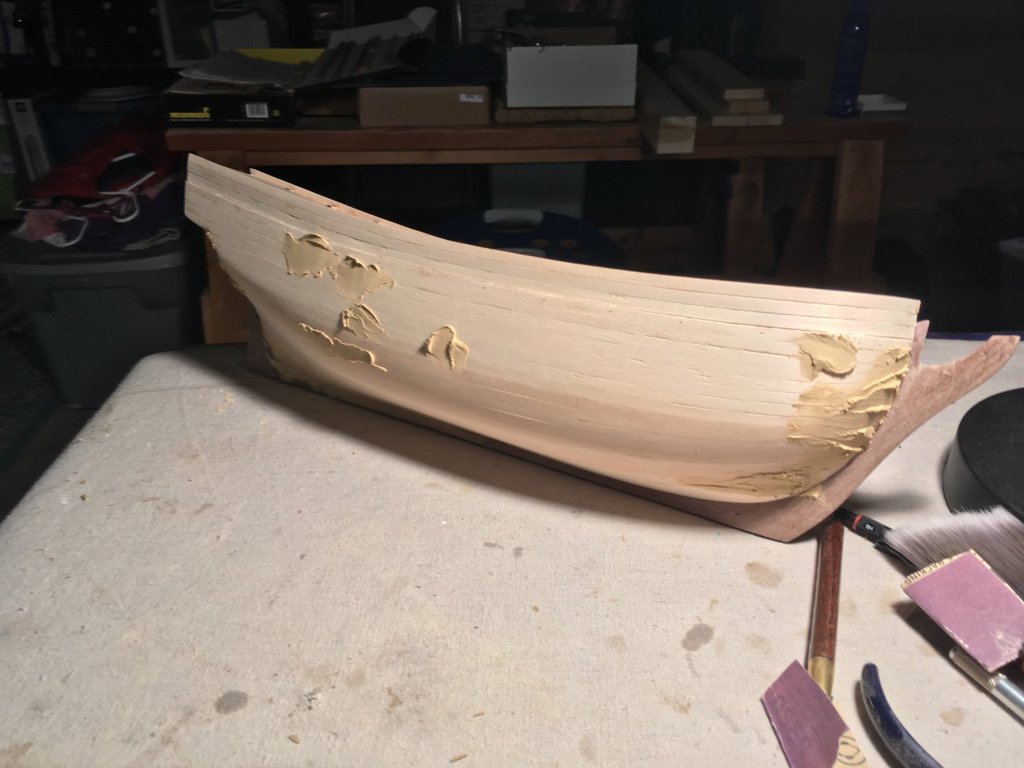
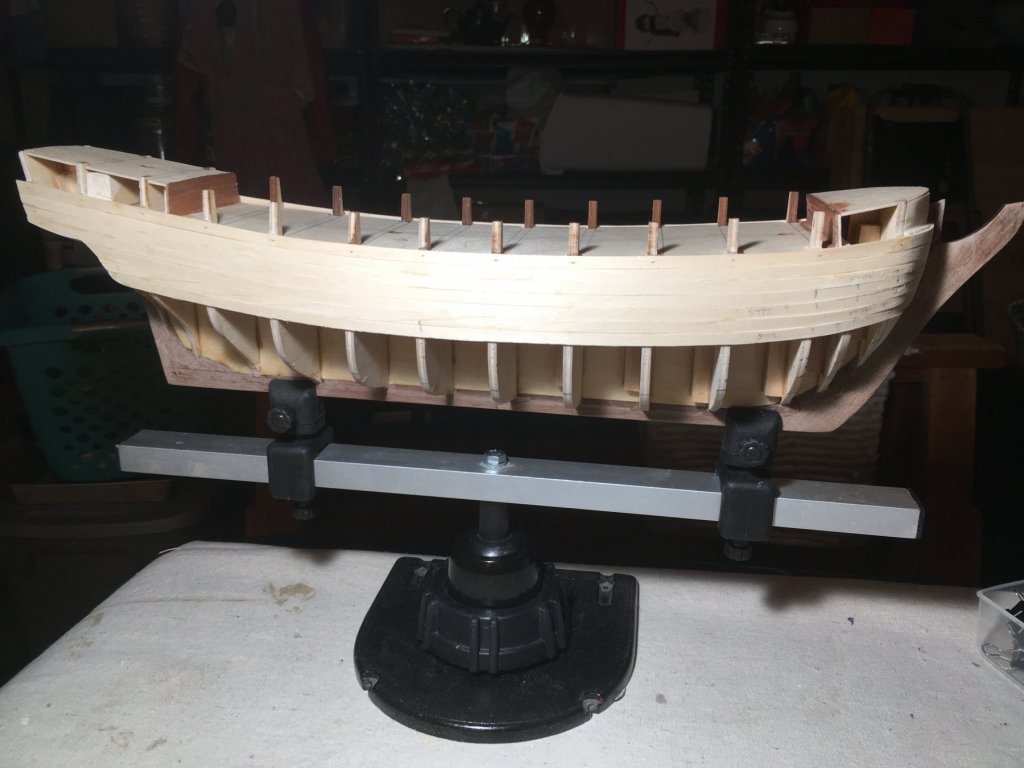
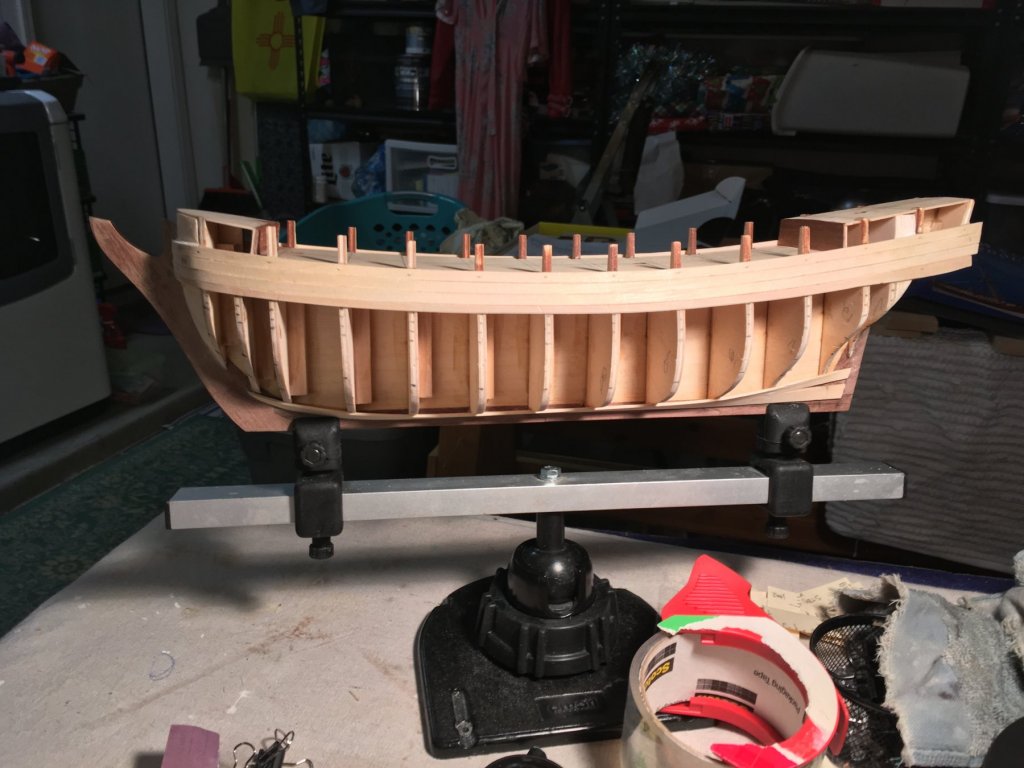
Bulwarks installed and finish sanding almost done. Waiting for the peanut butter to dry.

-
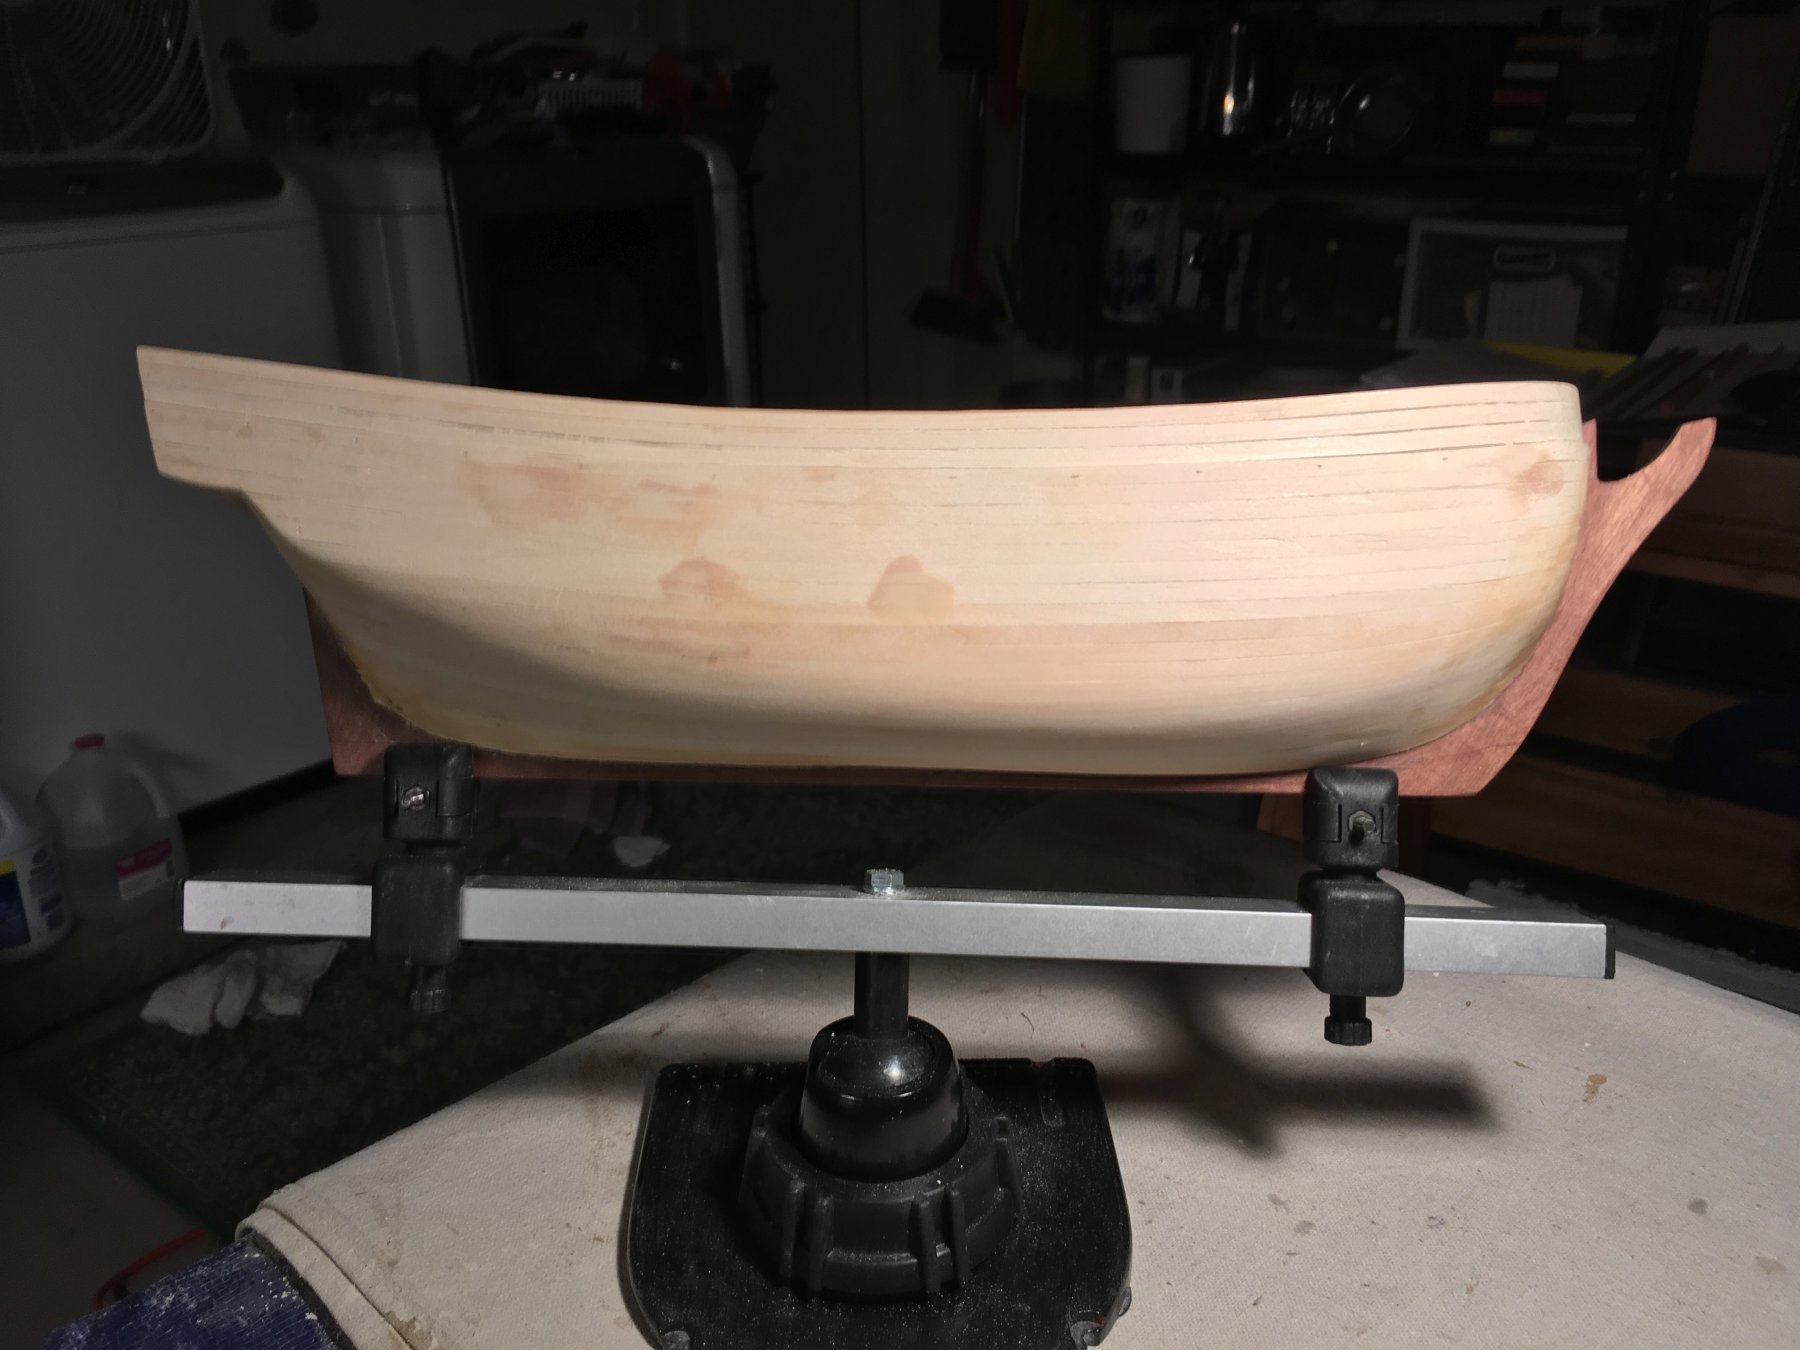
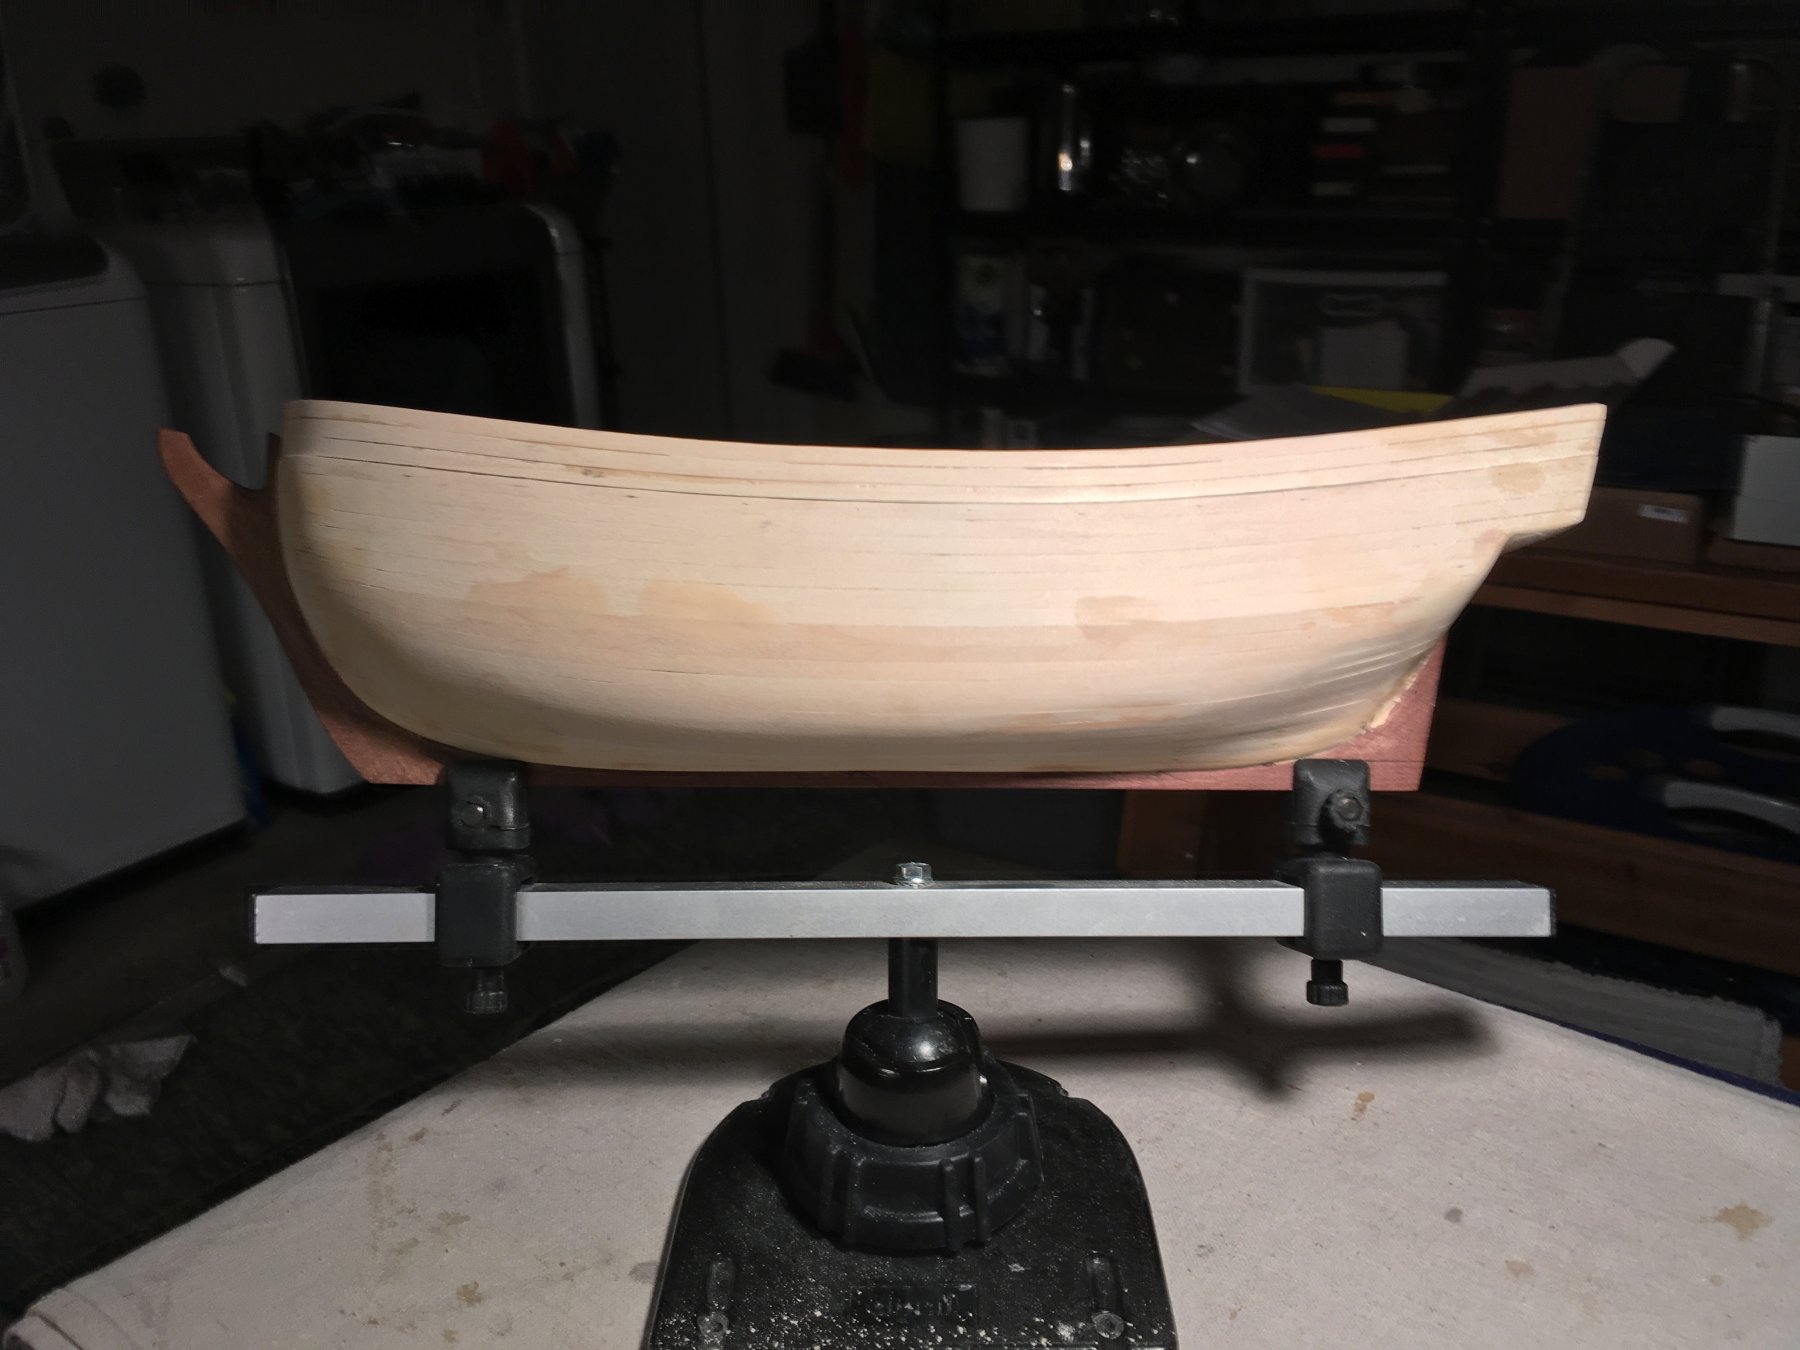
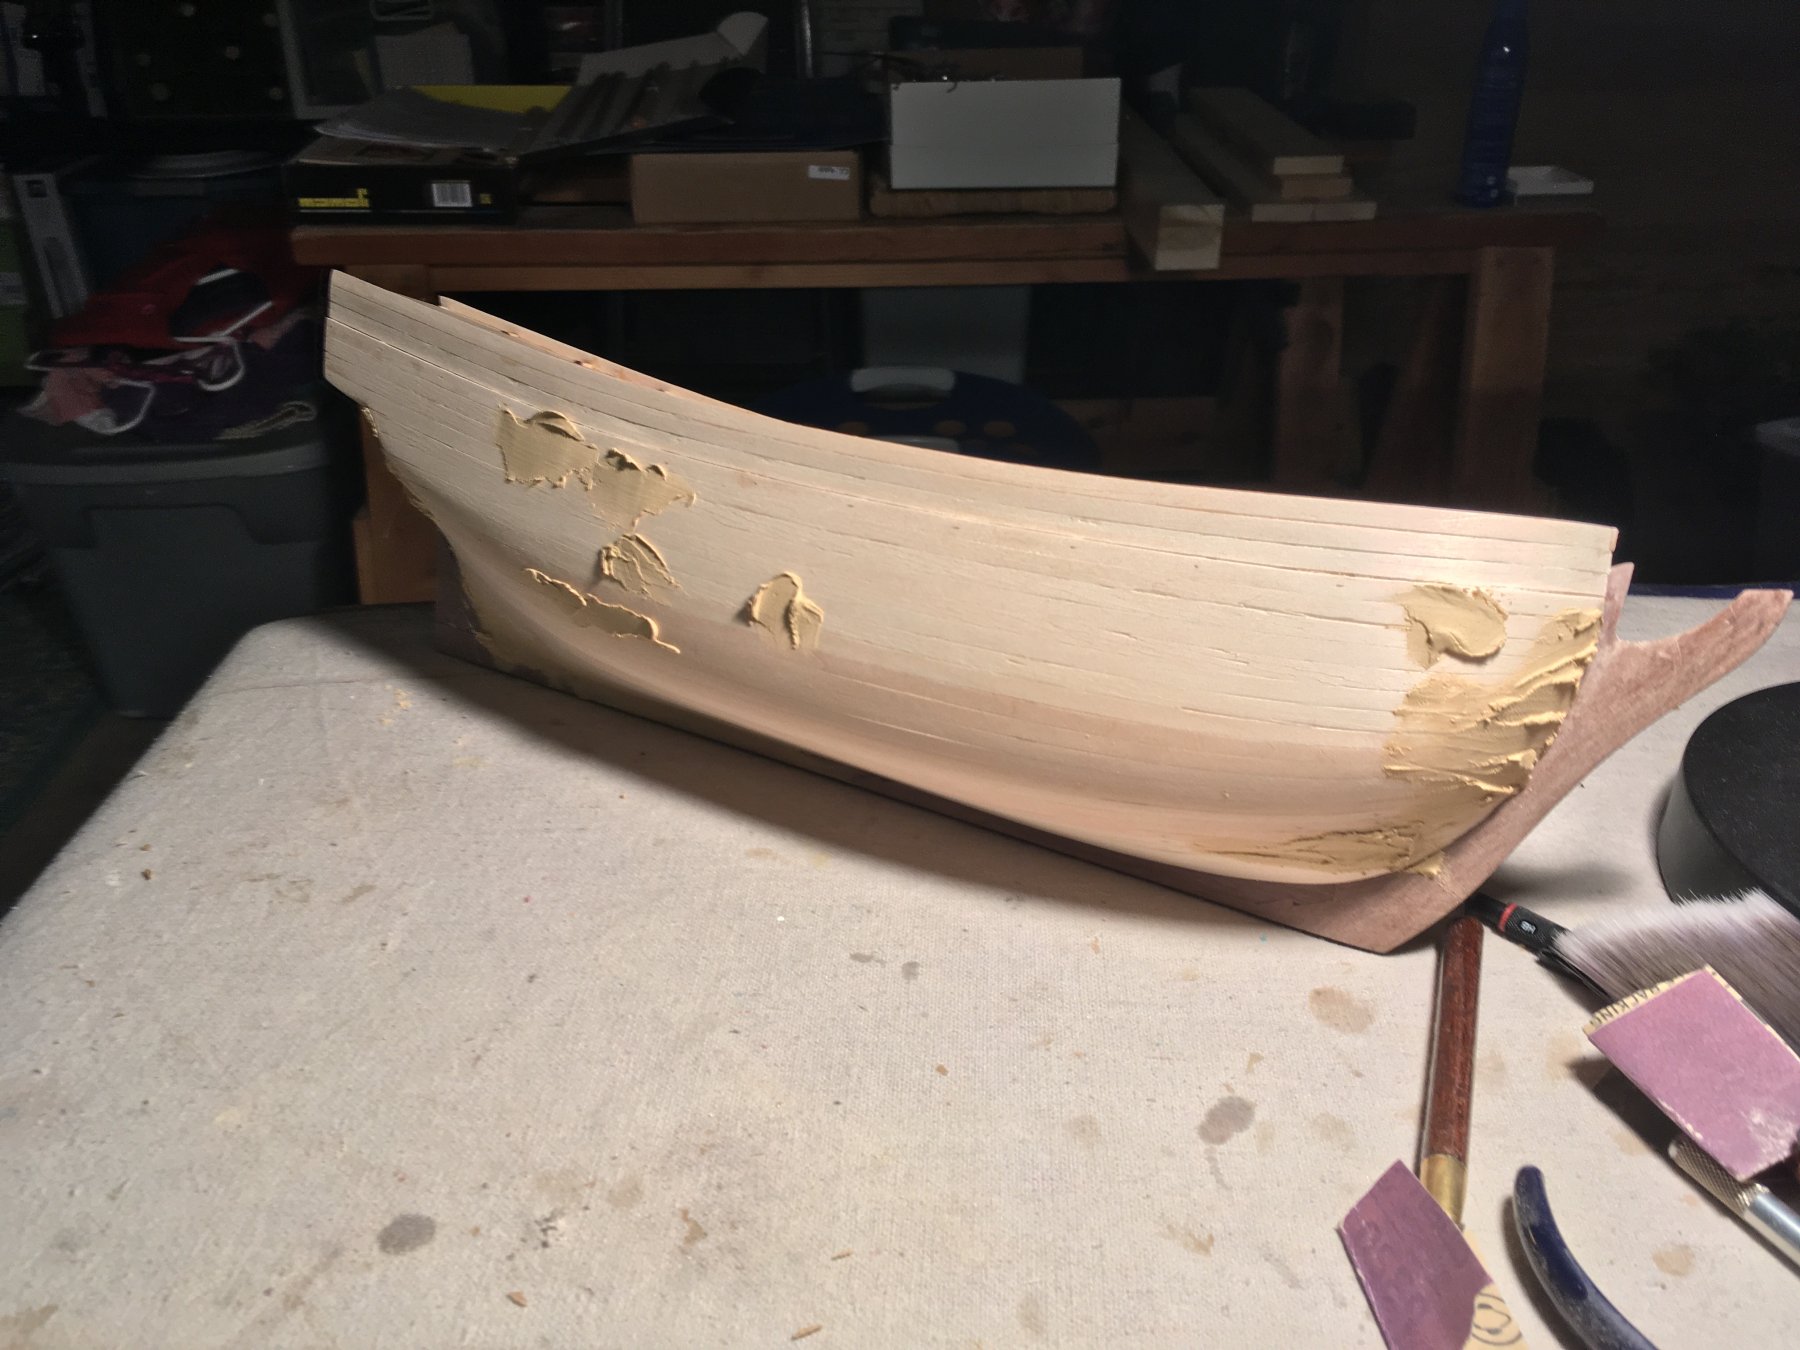
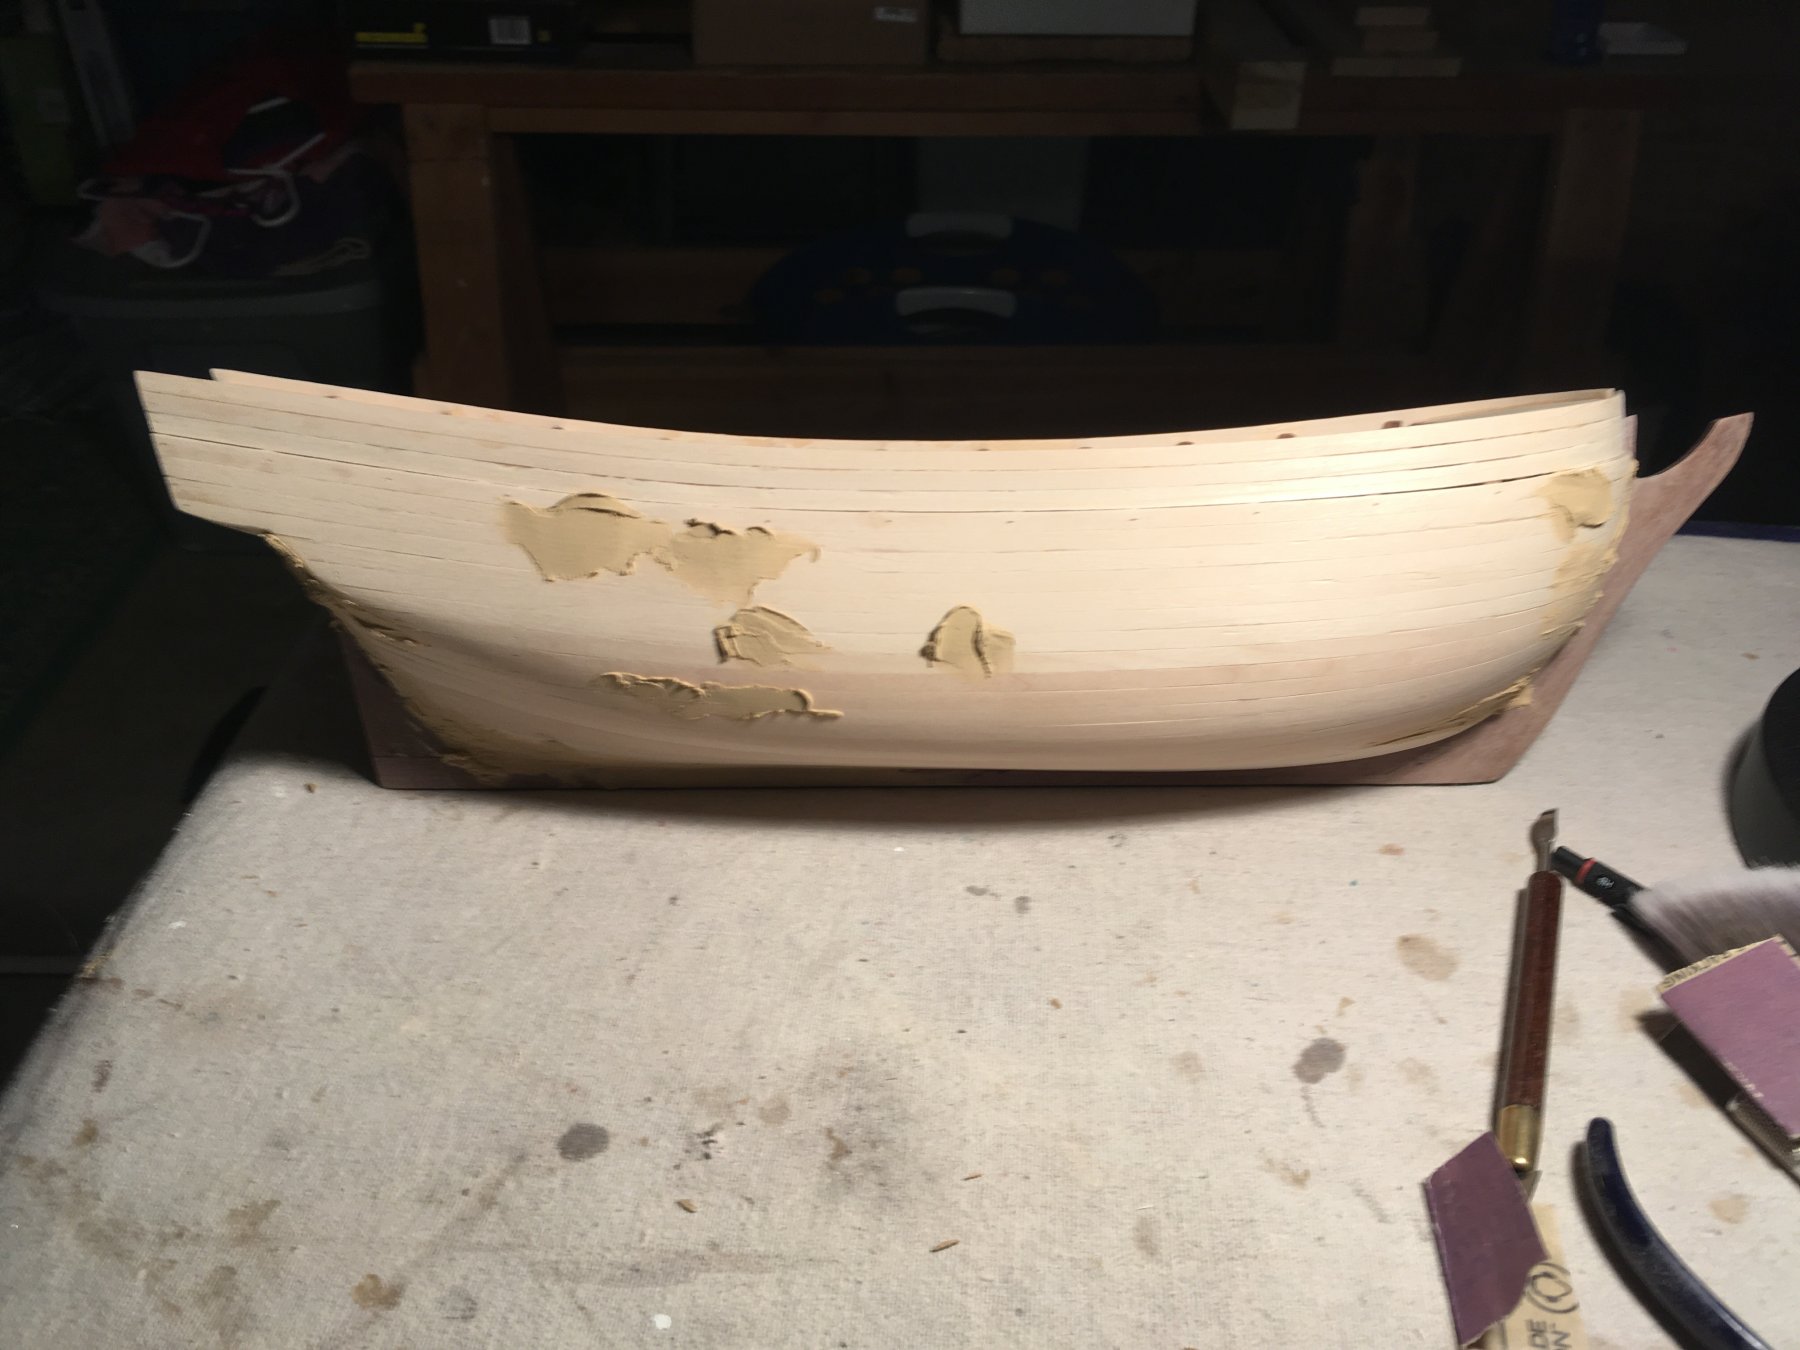
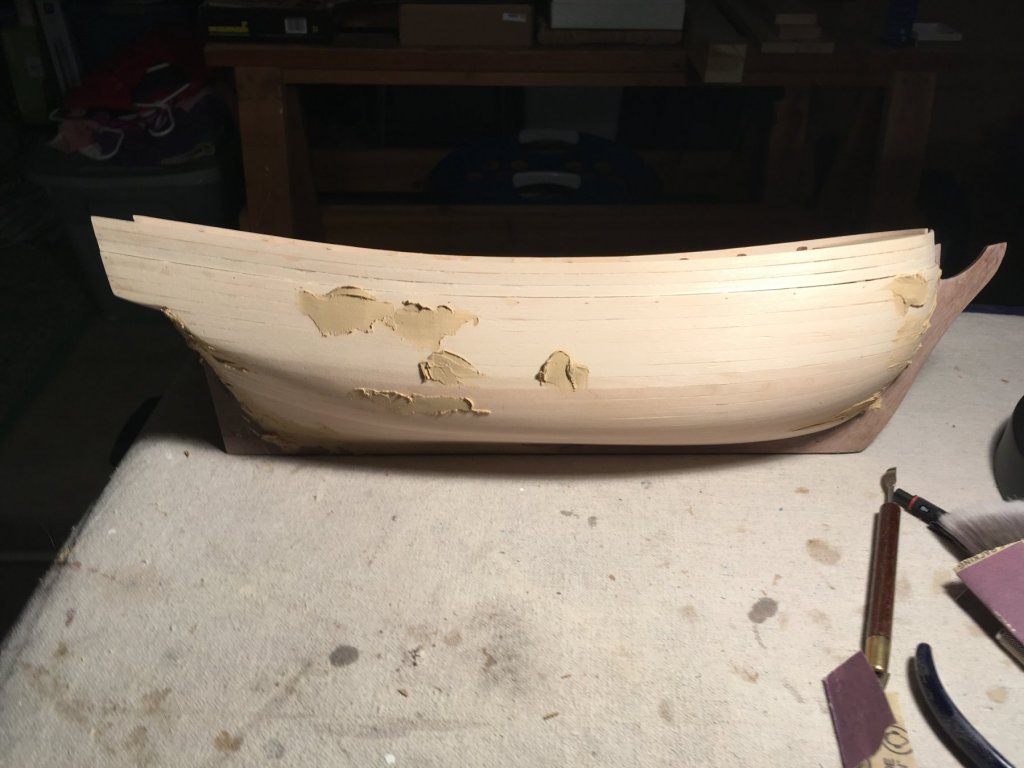
First layer of lower planking complete. It went way better than I had feared, though not as smooth as I had hoped. All in all, I'm pleased with it overall. The garboard plank was made about twice as wide as the 5 mm lathes at it's widest point at Bulkhead 5. I chose to cut this layer of planking back to the bearding line and will run the finish planking to where the rabbet should be. I'm not too impressed with the limewood that came with this kit. It was very dry and even splintered after being soaked overnight. I gave up on it after my first band and switched to 1/16" thick basswood. The results were far superior to what I had gotten using the LW. Not sure what happened at the stern here, but my end result looks nothing like what the plans show. I'm not concerned with it too much for this layer. I can stick some partial planks (stealers?) in the blank spots to even it up. But I am concerned about this repeating itself for the final layer of planking. Anyone with any suggestions? Frank


-
Build log link added to signature.
-
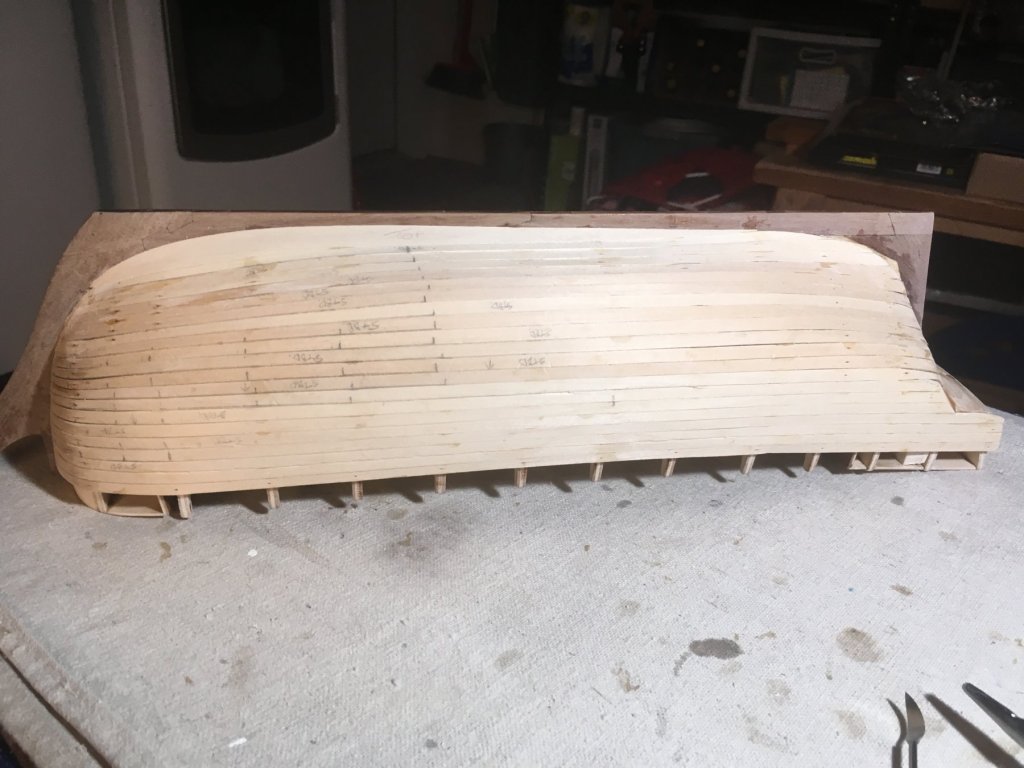
I've gotten the first band from lining out the hull planked. In my ultra-focused state during the lining out process, I forgot to take pictures. I'm kicking myself now because it would have been helpful to anyone wanting to know just how to lay it out. My apologies. I followed Chuck Passaro's planking tutorial - http://modelshipworldforum.com/resources/Framing_and_Planking/plankingfan.pdf and used "art tape" to line off the hull. Art tape can be found at any office supply store or Hobby Lobby if you have one. Just make sure your bulkhead edges are clean so the tape will stick sufficiently. The planking went well and with the help of a digital micrometer, every plank hit the corresponding tick mark on the bulkhead. The only thing I was unsure of was how wide to make the plank at the bow. I ended up just continuing the line from the tick marks for BH 1 & 2 and ended up, for the most part, with a width of around 3 mm at the the bow. Looking at the bow I'm wondering now if I should have gone wider. The inner edges of each plank were sanded down to allow a better fit between planks and eliminate any gaps. There are still some around the bow, so not sure what to do to eliminate that. I just keep telling myself it 1st planking. I had previously removed the garboard strake and adjacent plank when I was still so confident I was going to be able to do the spiling thing. Wish I hadn't now.


-
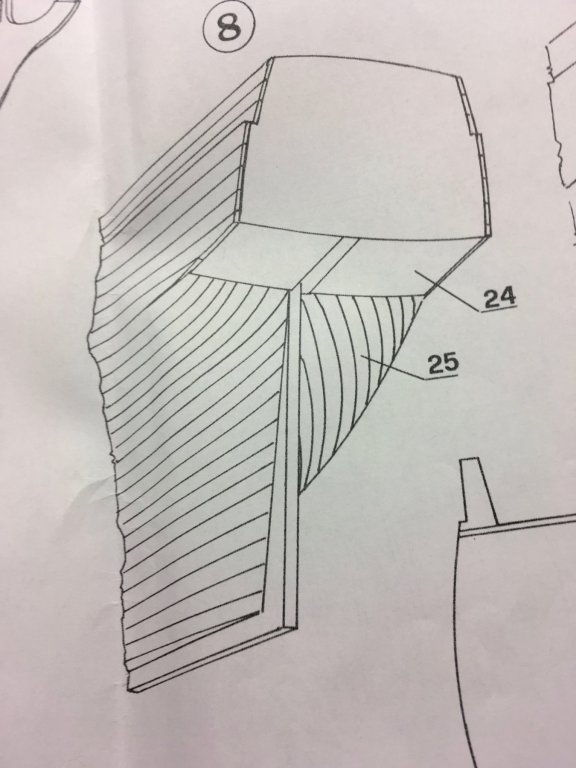
To carve a rabbet, I would rather have the keel bare and be able to lay it down flat. I just thought that was the way it was done. I can't imagine having to do it with all of the bulkheads on. I do have a build log - Beagle by Mamoli/Dusek 1/64 in the build log area.
-
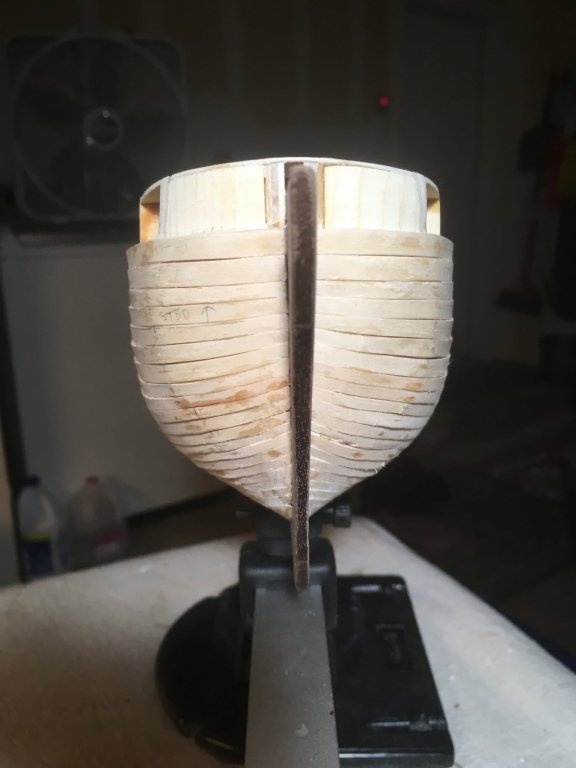
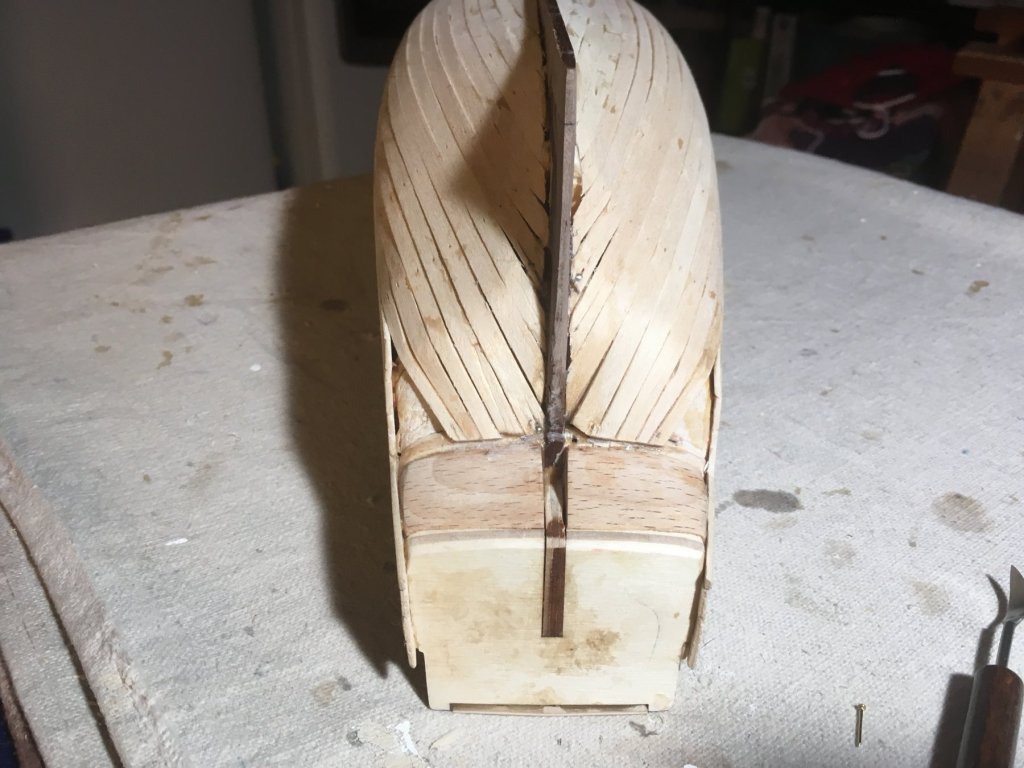
As I'm progressing through my planking in the band below the wale (there will be 4 bands) I can see that as I progress below and further aft from the first bulkhead, I will have nothing for those planks to land on at the keel. I did not include a rabbet line because of a previous failed attempt resulting in a keel replacement. It's too late to add one at this point. Will I have to add filler blocks between bulkhead 1 and 2? Thanks for any help, Frank
-
Antony, in regards to your question about building per instructions - after abandoning the spiling method - I am going strictly by them so far. That may change as I move forward. Everything seems to fit nicely with the exception of the main deck - which I had to file the notches for the bulwarks somewhat to make it fit. Other than that Its gone smoothly. Nice to see there are others who are interested in this ship. I would highly suggest that if you are in the market to buy this kit, that you get one produced by Dusek. From what I've seen of the old version, this one is of a much better quality. Besides, if you were to get the old version, it would by years old and most likely dried out. I fell in love with this kit -at least a picture of it - 37 years ago. I found it in a Sharper Image catalog of all places, and told myself that I would build it someday. Now that I have the time, it's on. Was just glad that I could still get one. Thanks Daniel Dusek for picking these up from the ashes. Wallace, as to my experience, I'm not a total novice. For what it's worth, I've built two other kits - albeit a dinghy and an 18th century British longboat. I'm still pretty green though. Frank
-
Thanks druxey
-
Does anyone out there include the actual bow in the bulkhead measurements taken when lining off the hull? I've only ever seen this started at bulkhead 1 in the tutorials. I would think that it would be crucial to also mark next to the bow where the planks will land. Frank
-
Is what you are saying is to work the wood in the direction of the bend first, or that you need to select wood that will bend easily.
-
So.... the spiling operation is beyond my patience at this point. Spending 4 or 5 hours making two planks, only to have one of them break while trying to fit it is more heartbreak than I can deal with right now. Maybe someday when I have some more builds under my belt, I'll give it another go, but for now it will be back to tapering the stock planks for me.
-
Chuck, Was ecstatic to see this video and the possibilities it presented - not dealing with soaking planks and waiting for them to dry - but sadly it didn't seem to work for me. I tried for 5 minutes with an 1875 watt hair dryer on some lime wood provided in my kit, only to have it bounce back to it's original shape. I was attempting the edge bending you demonstrated in the video. Could the moisture content of the wood be a contributing factor to getting this to work? I live in the high desert and the planks do seem a bit dry to me. Frank
-
This is the current state of the project. After a few redo's and a fairly steep learning curve, I've decided to do spiling for the planking. I know this is not usually done on a first build, but after reading/watching many tutorials, I've finally gotten my head around the spiling operation and think it's a better way to go on the whole. I've gotten my first spiled plank on the port side under the wale in this pic. I'm kicking myself for not duplicating it for the starboard side before I got it glued on. I'm going to make them in pairs from now on. I am currently using the tape method for spiling, but may switch to the compass method or probably use both. The garboard plank and the one next to it were installed before I had decided to go the spiling route are off now because of the gap where a stealer would be needed. I can make that area much prettier now. And for everyone that feels this is too much for the first planking, I say I want to learn this method and get good at it - so what better way than to practice.
-
The first big ship build I've undertaken and have been working on for awhile. This kit is from Dusek and was produced after they took over production from Mamoli after the fire at their factory in Italy. Dusek is in the Czech Republic. From seeing pictures of previous builds of the original kit, it looks as though Dusek changed/improved some of the materials used. The bulkheads and frame are of a different type of plywood, and the keel is now made of walnut. I've recently experienced good customer service from the company's owner Daniel. I had reached out on their website to see if I could get a replacement keel for the one I butchered attempting to carve a rabbet line in, and got a very fast response. Daniel sent me a new frame and the sheet that contained the parts for the keel that I received in about a week. I don't know if this is standard practice for them, but it was nice not to have to buy a whole other kit just to replace the keel. They are now producing a majority of Mamoli's original line of model ships.
-
So, I guess I need to start a build log. Mamoli/Dusek Beagle 1/64 in the build log area.
-
Mike, Where did you get the plans for this build?
-
This is incredible work. I'm currently building the kit version of this ship and am completely blown away by this one. You're an artist. Frank