

CPS_skybolt
-
Posts
217 -
Joined
-
Last visited
Content Type
Profiles
Forums
Gallery
Events
Posts posted by CPS_skybolt
-
-
-
-
-
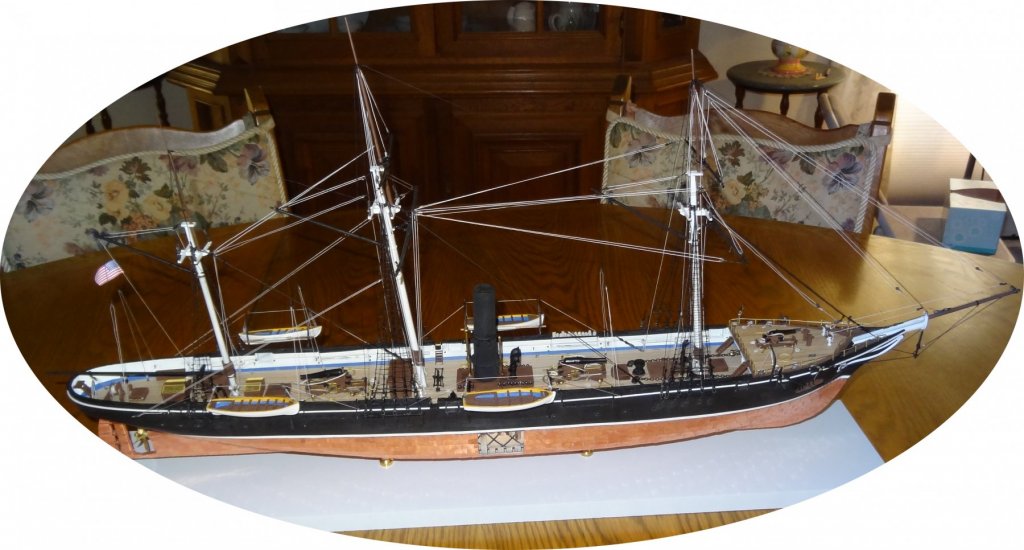
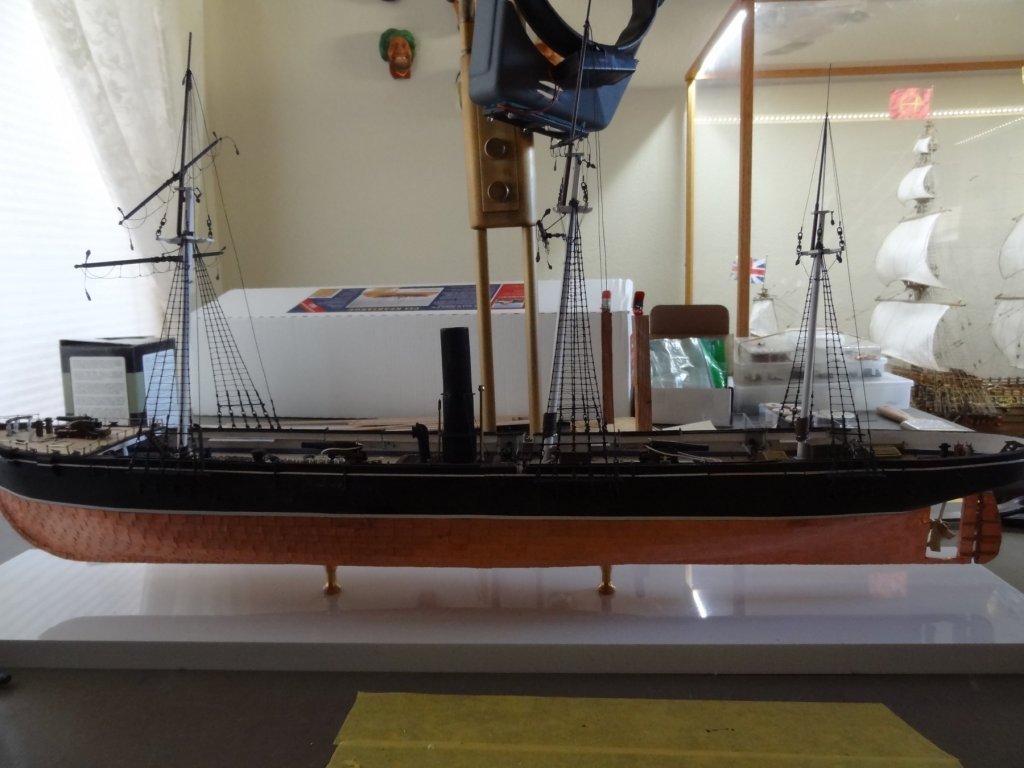
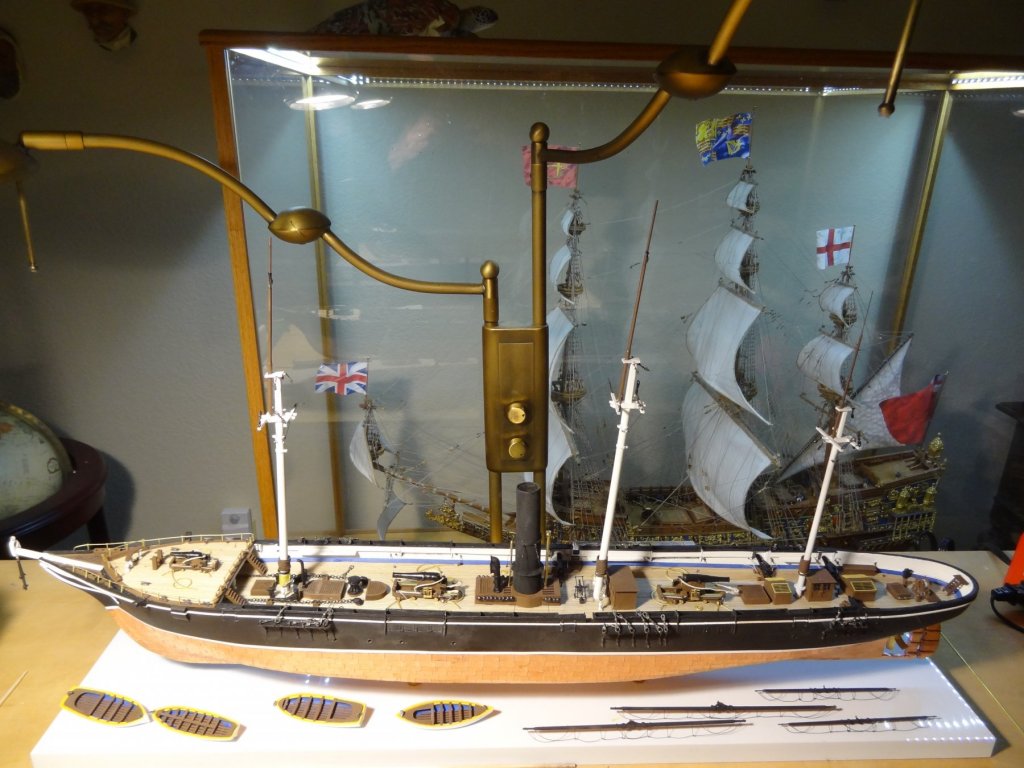
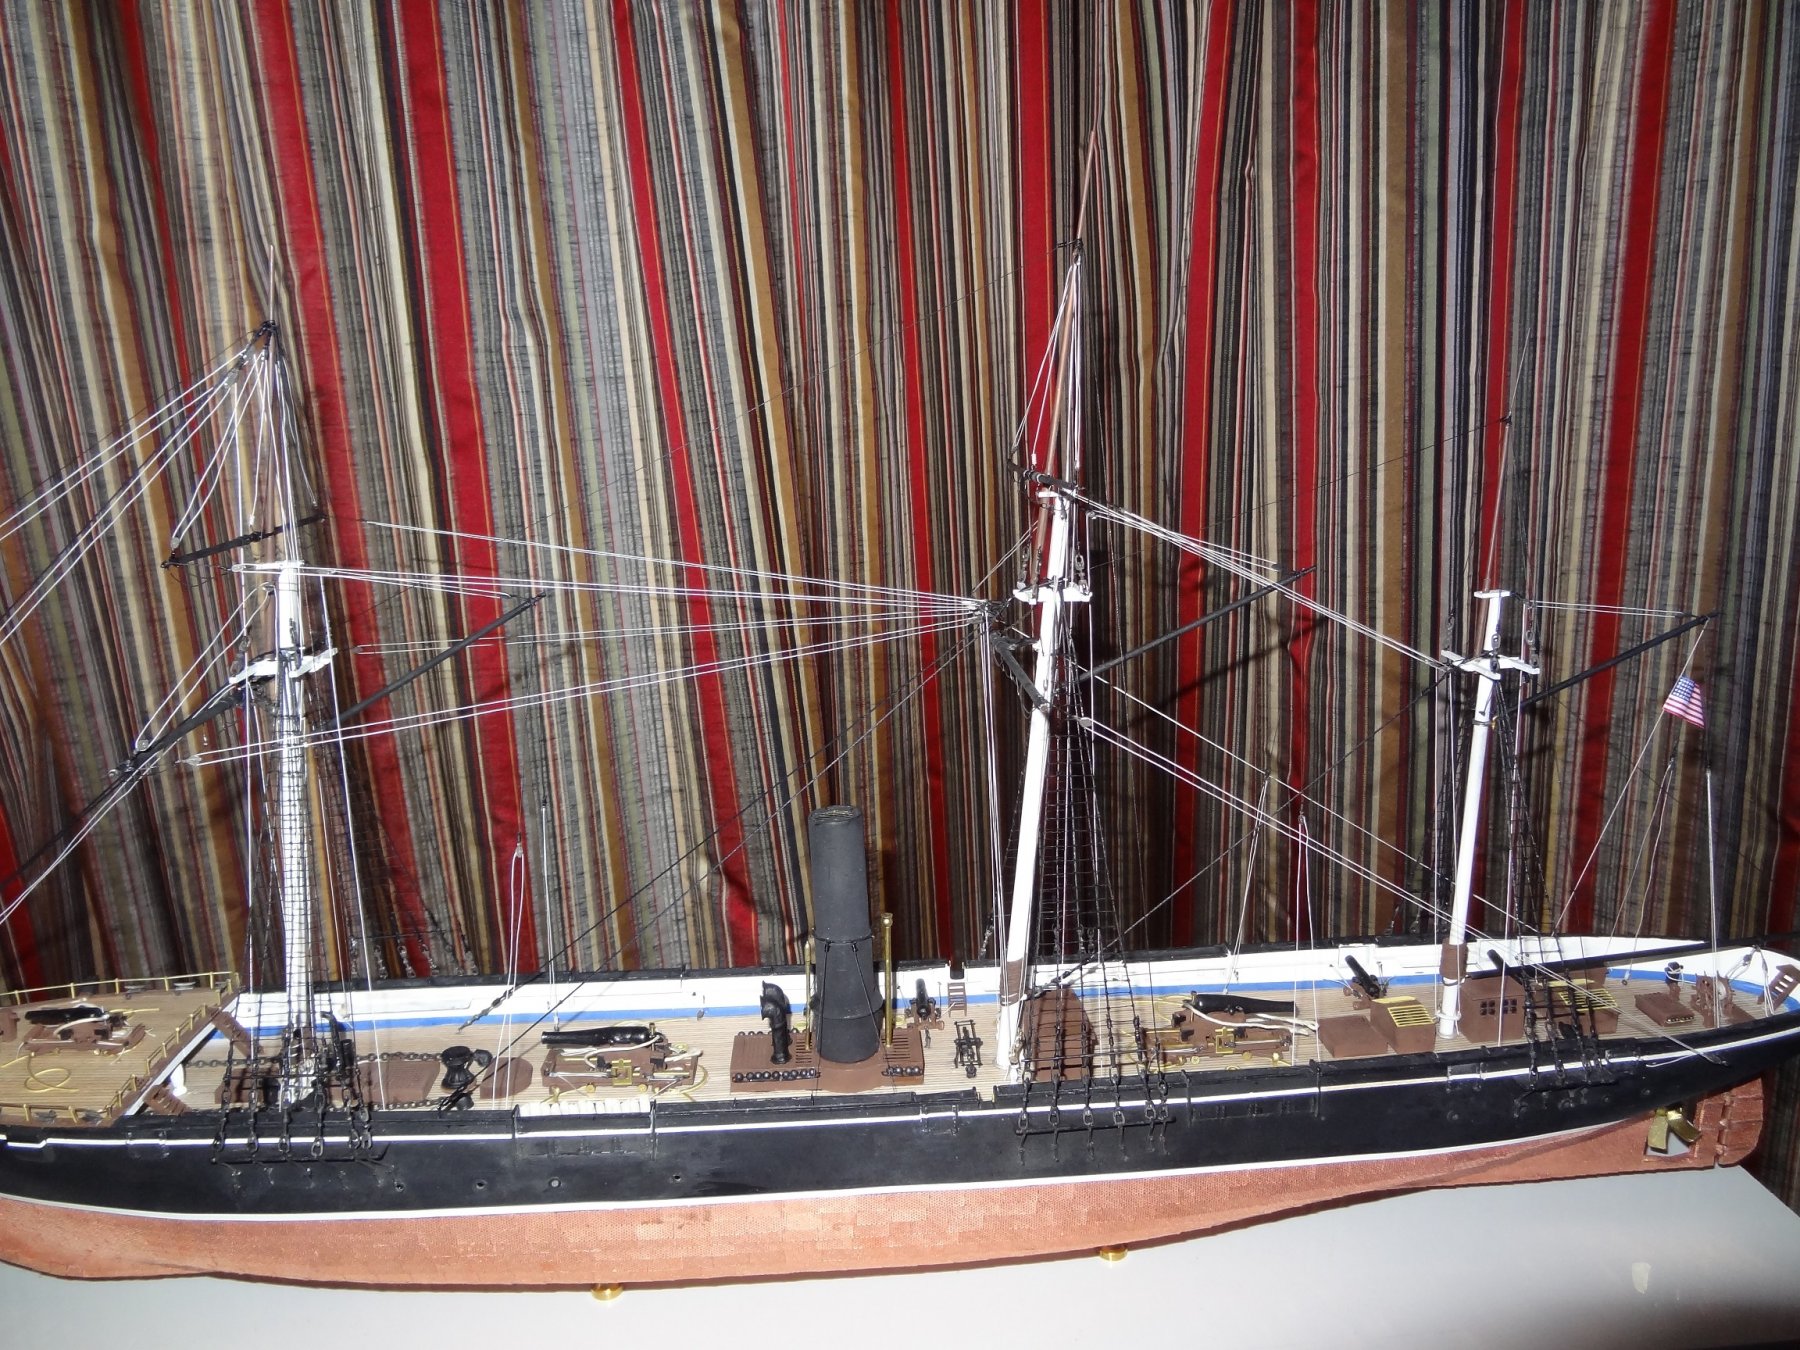
Finished. I started the kit on August the 2nd this year. I will make a case for the model. I need to make the hammocks for the hammock nets but that is not part of the kit. Thank you all for your kind remarks and thumbs up.
Bob
- Tom E, Canute, vossiewulf and 14 others
-
 17
17
-
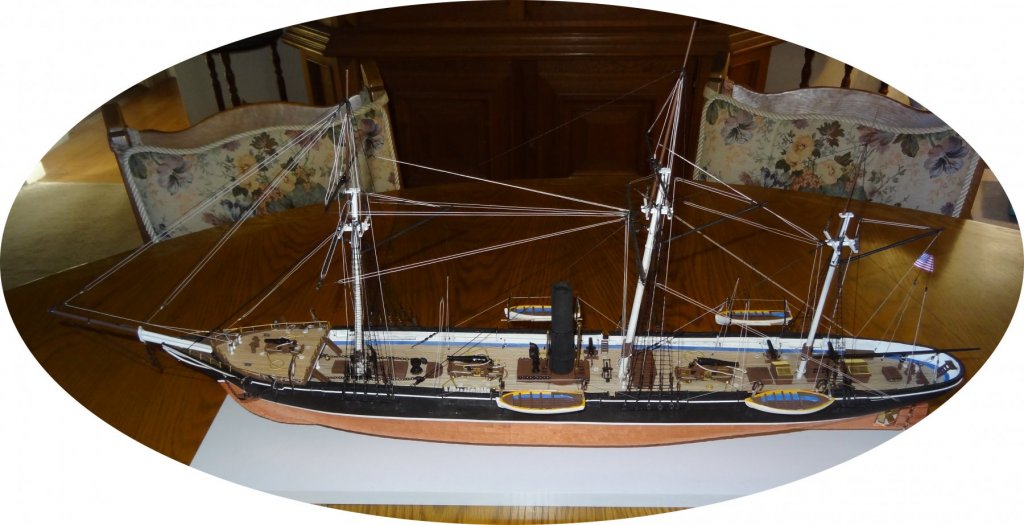
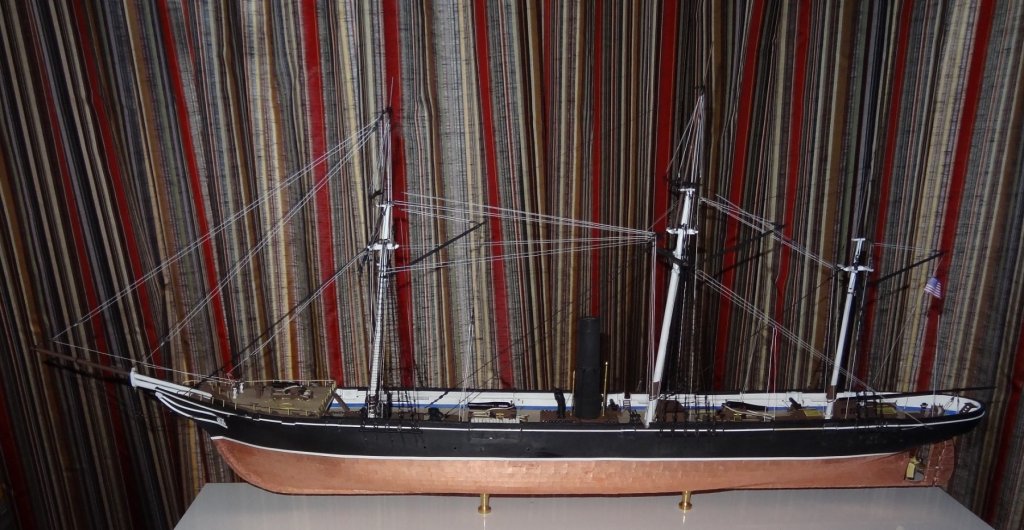
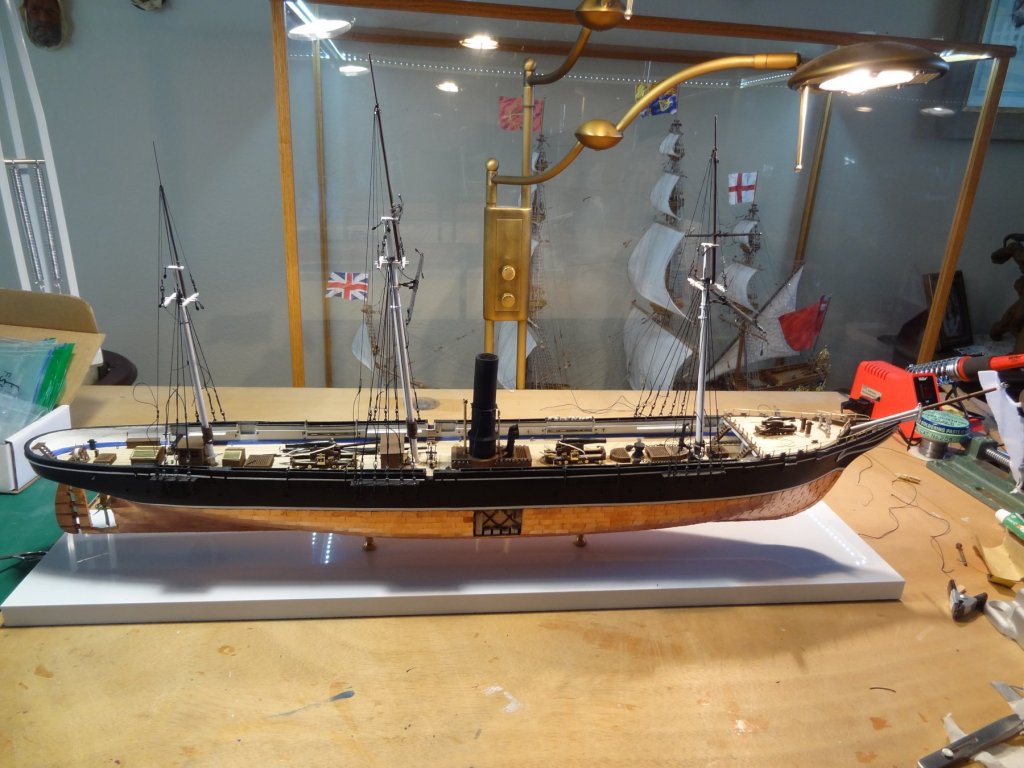
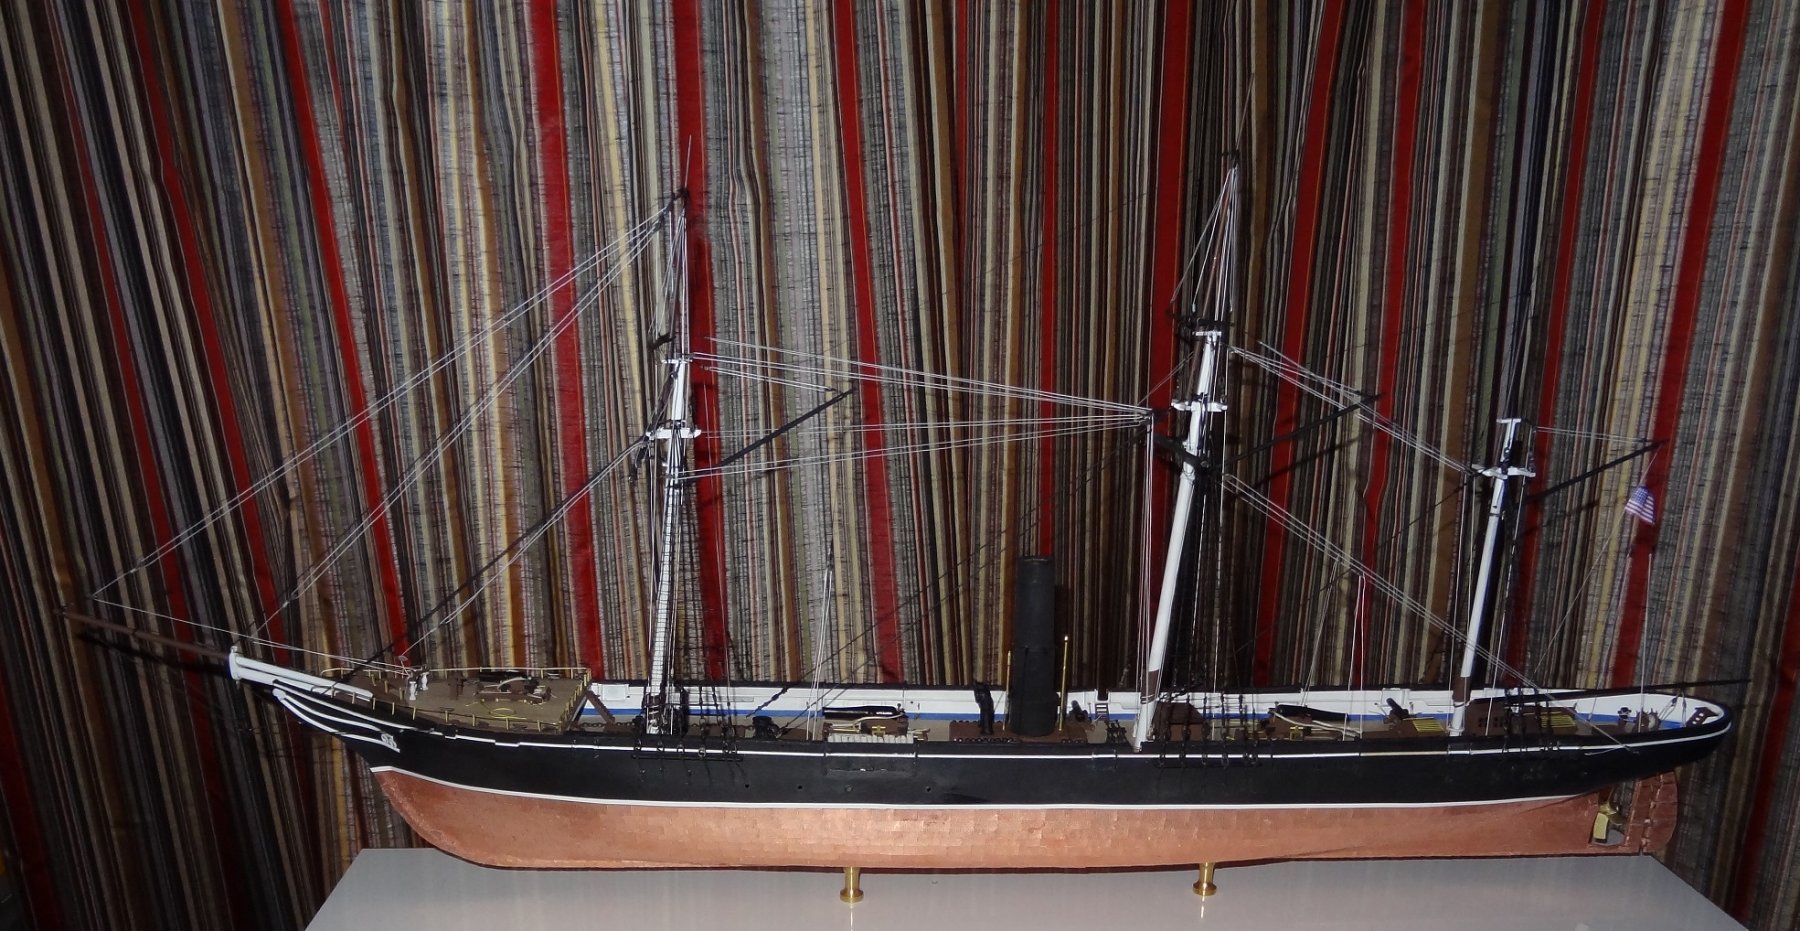
Everything went fast in the rigging. Short a few correct size blocks so used closest thing . Next will be the anchors and boats. I have enjoyed this kit. Showed the ship to my wife and she said no sails and don't give it away.
Bob


- J11, Canute, GrandpaPhil and 5 others
-
8
-
Most kind of you Tim. I just finished the shrouds. Next are the stays.
- Javlin, mort stoll, coxswain and 6 others
-
9
-
-
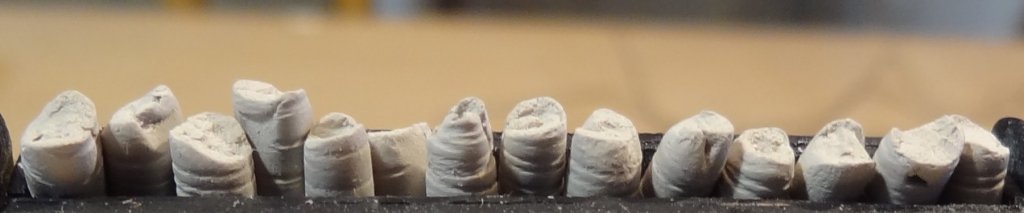
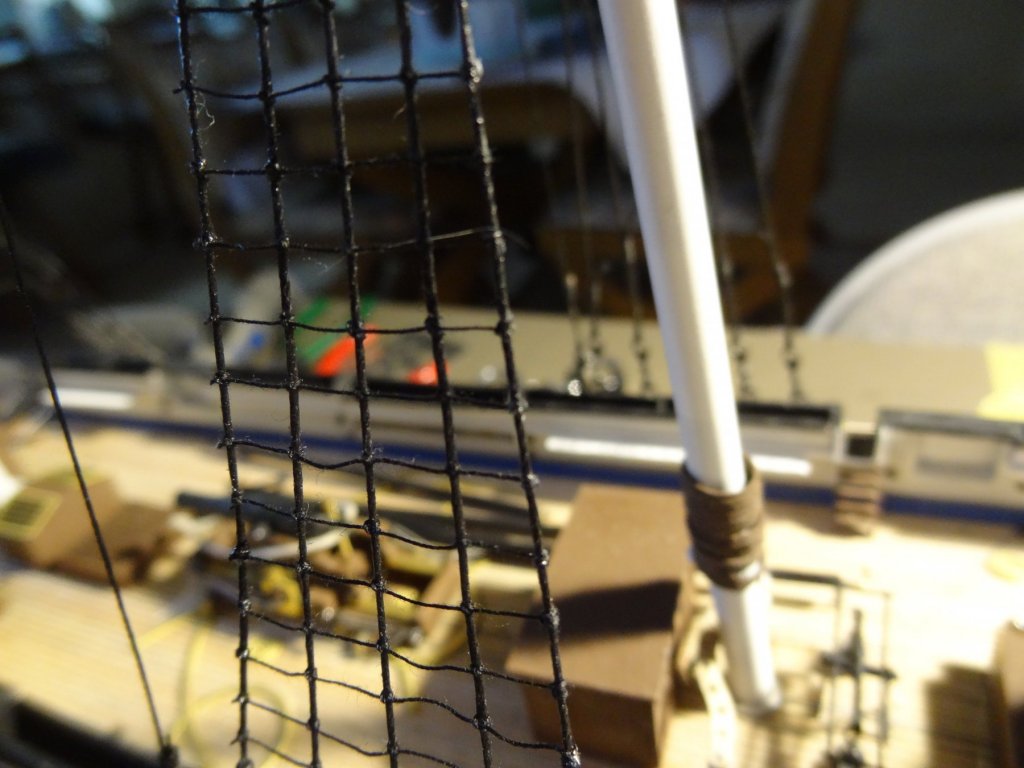
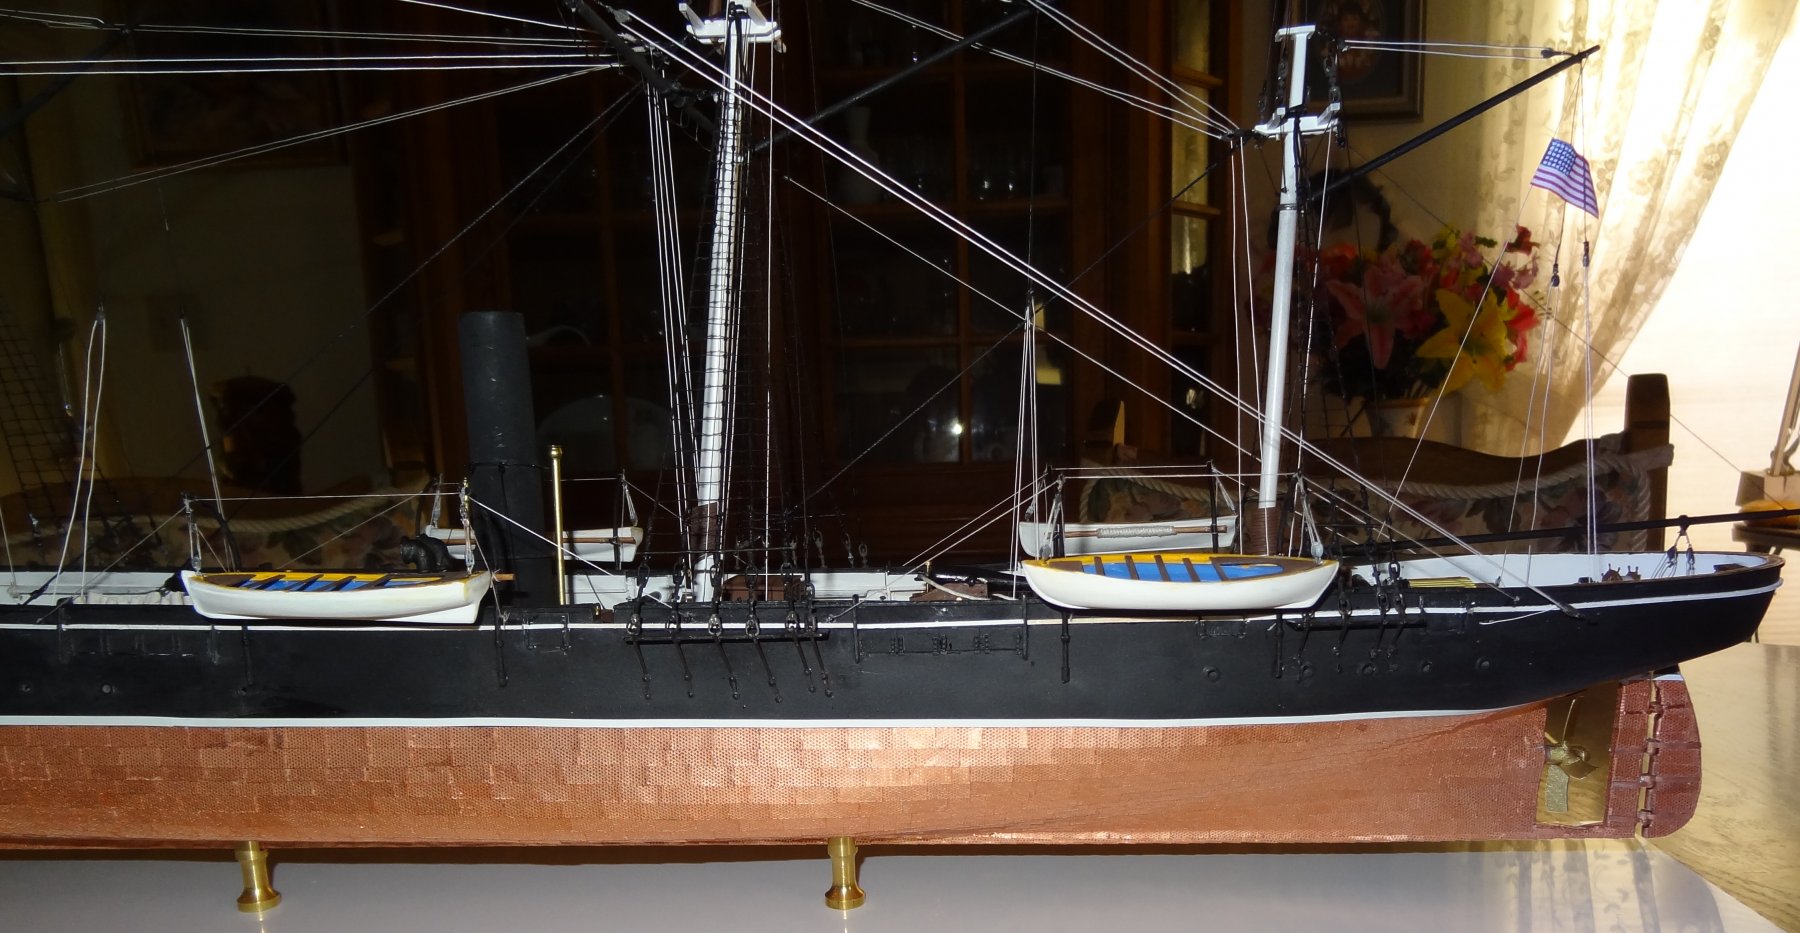
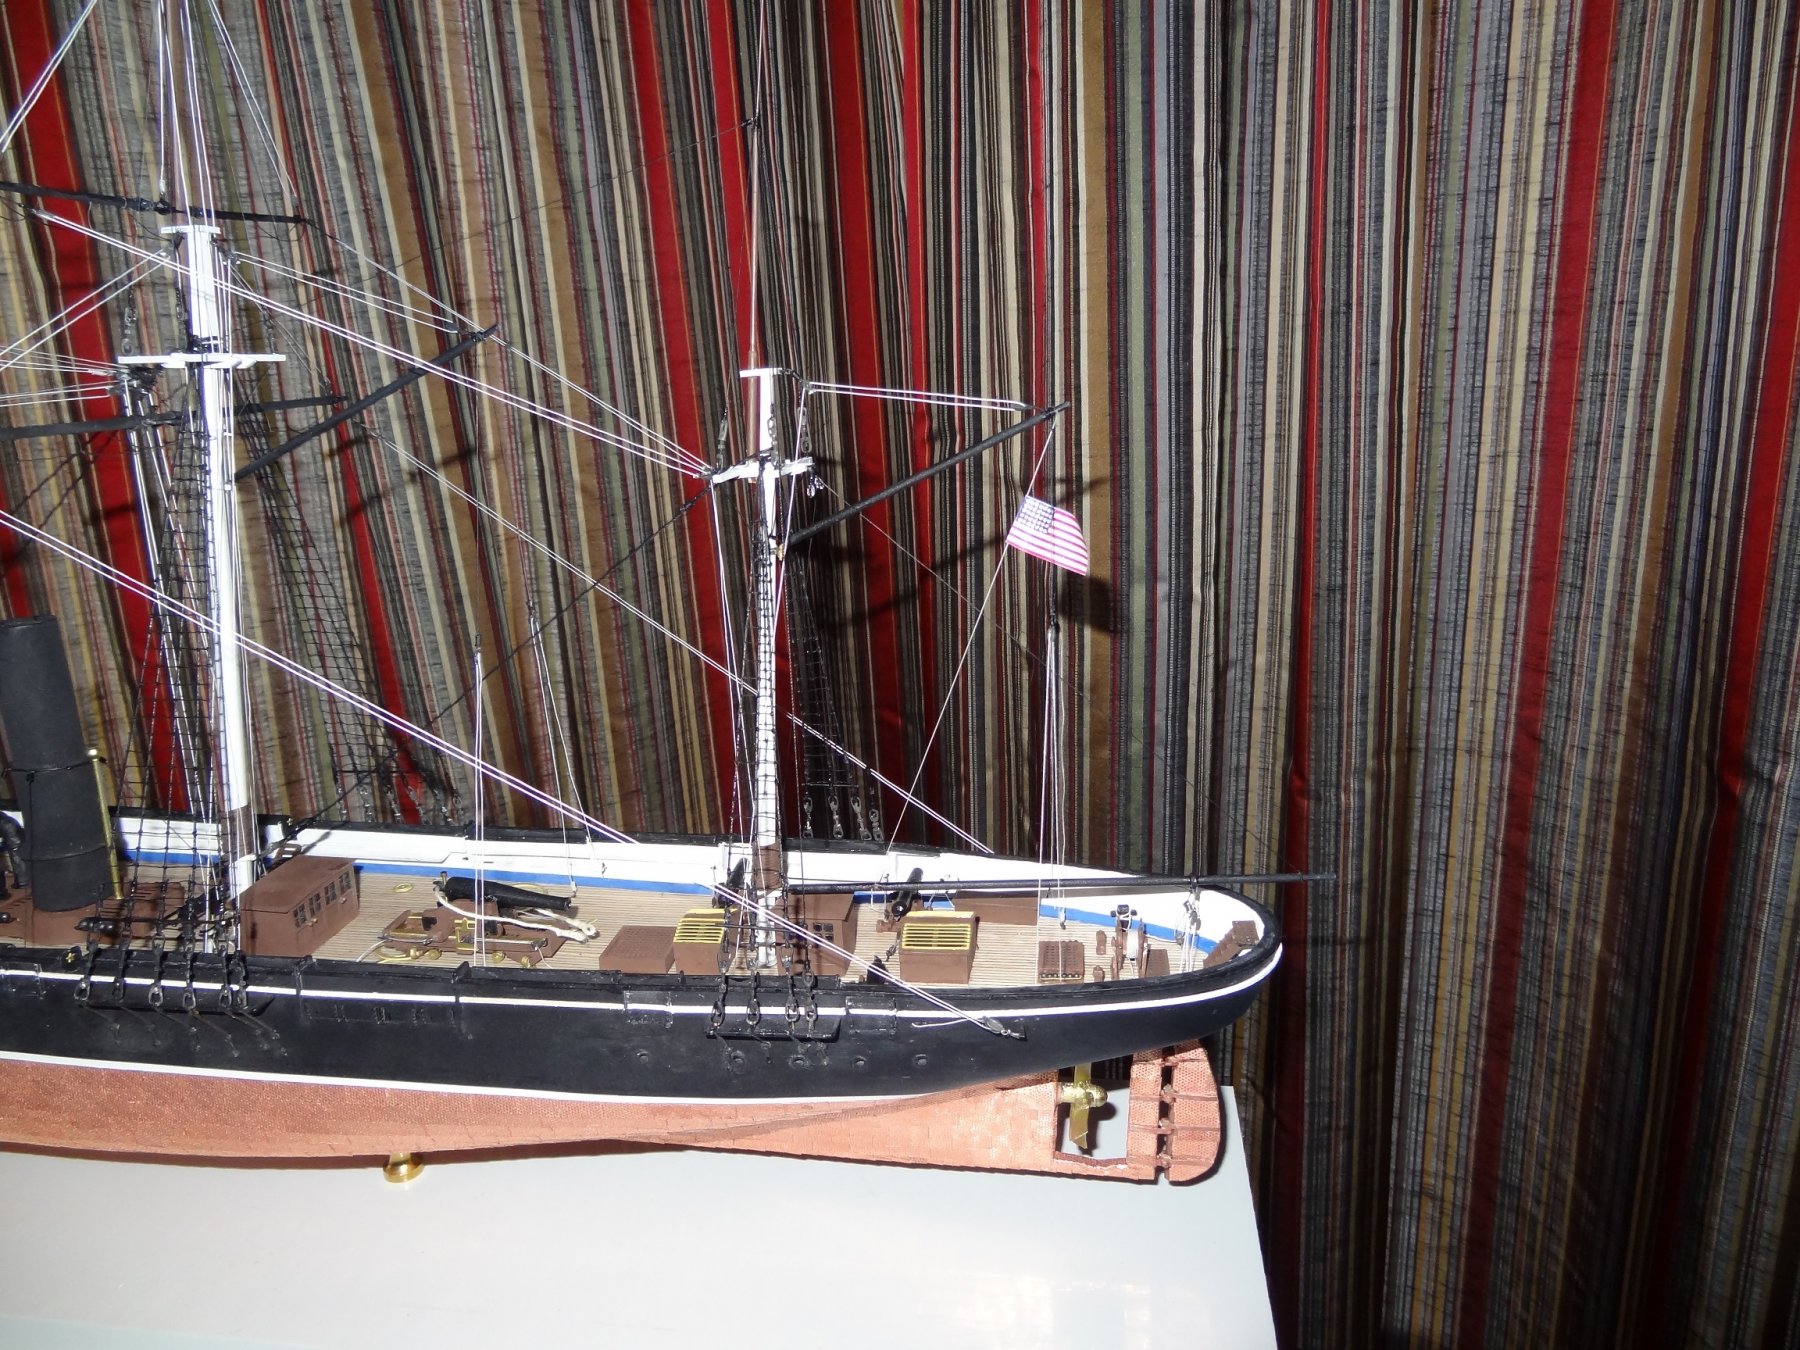
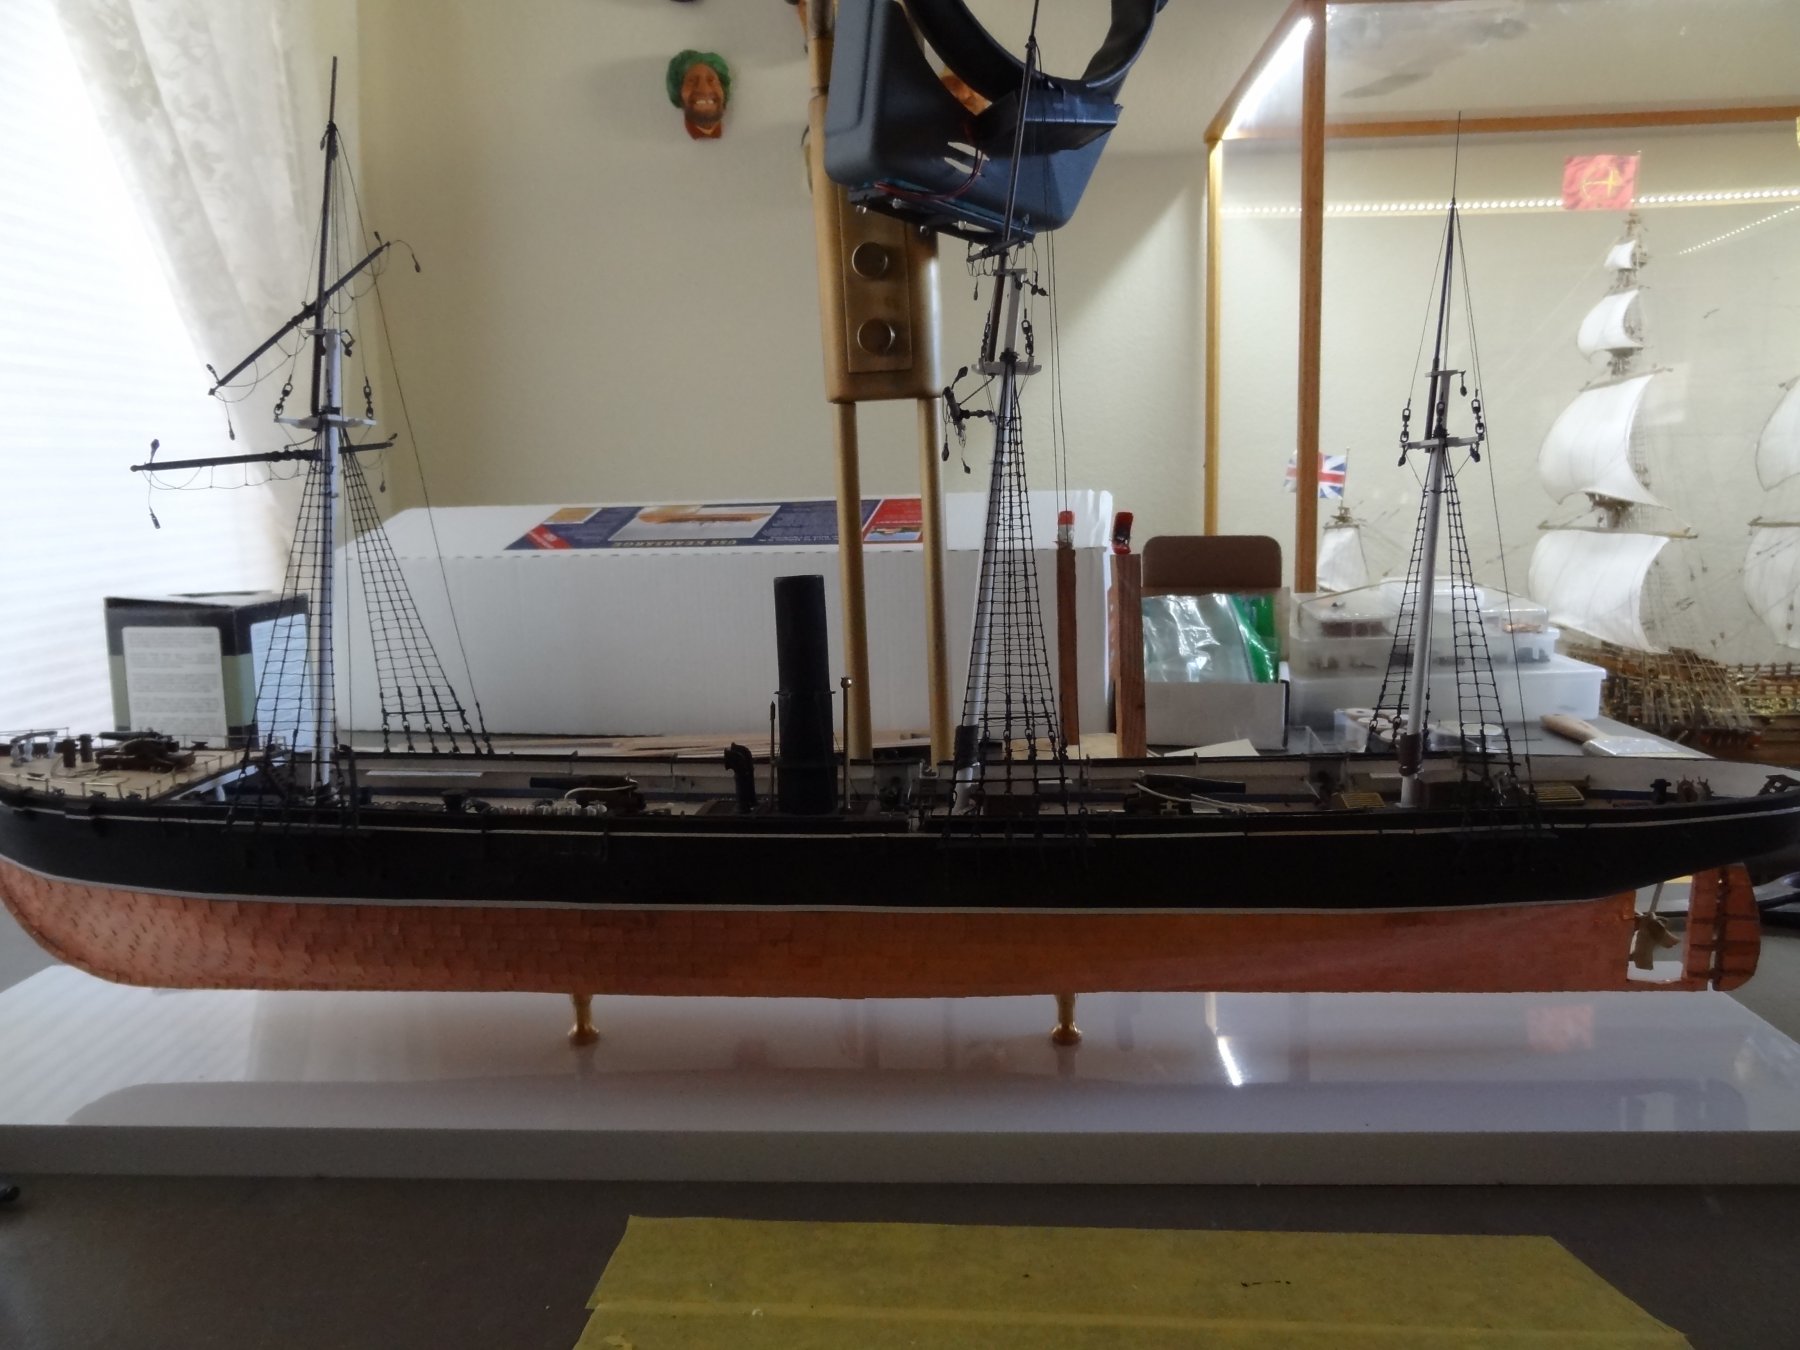
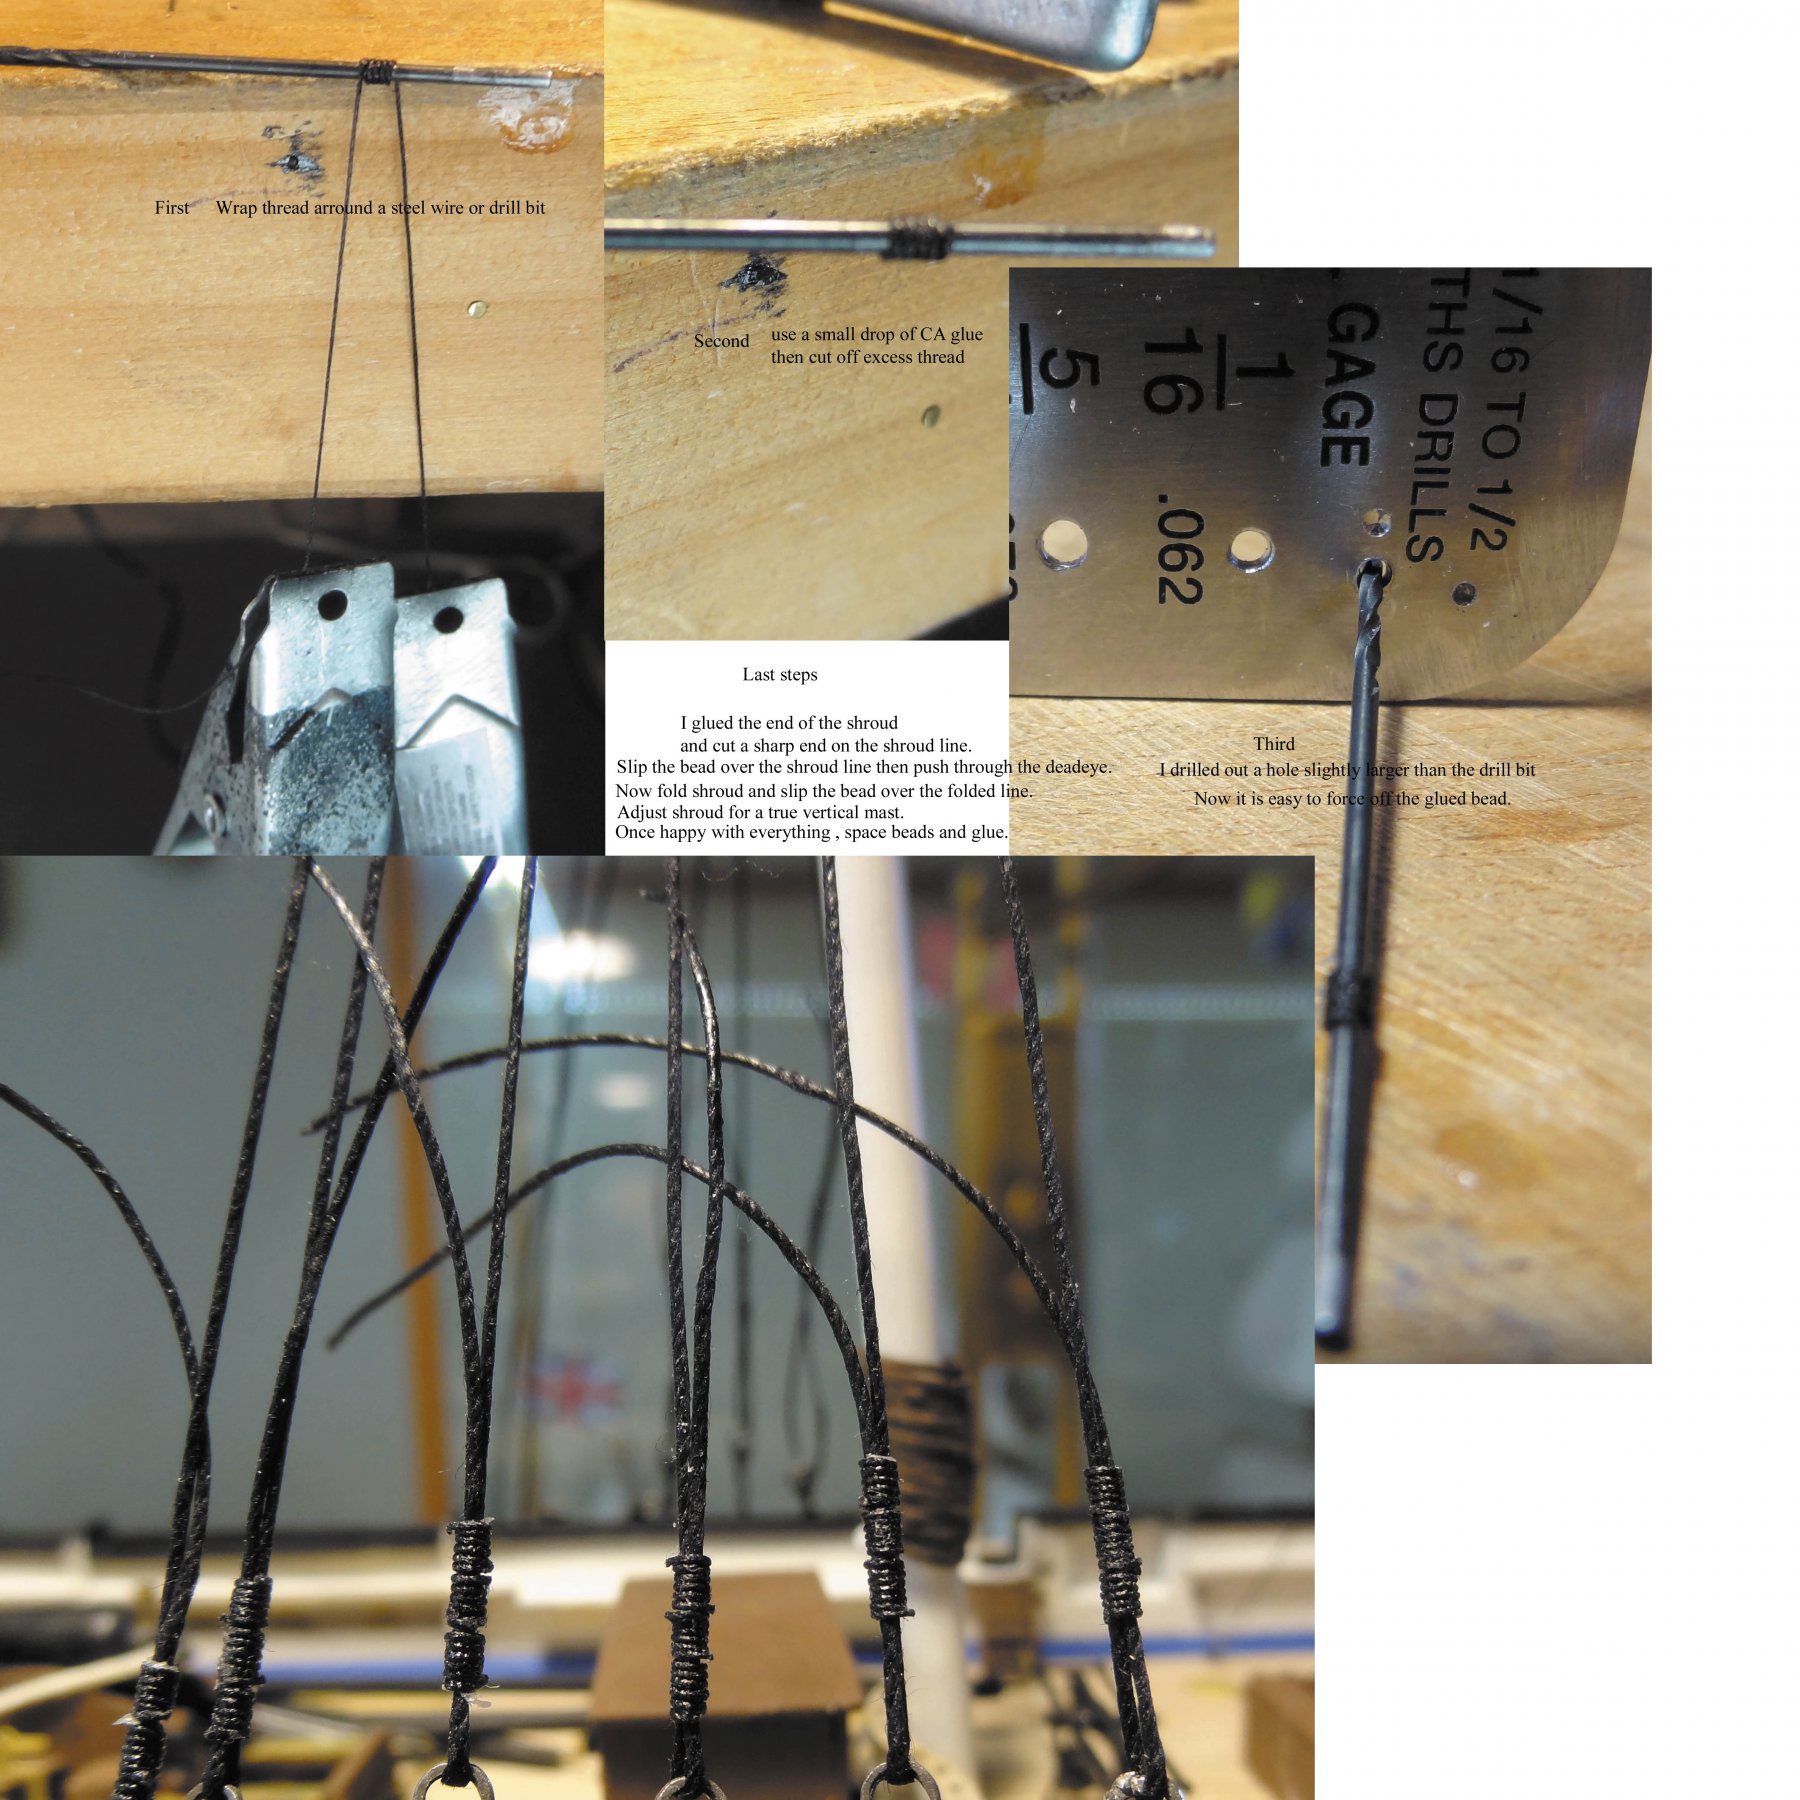
Thank you all for your thumbs up and comments. I have aligned the foremast vertical with a laser. I aligned the main and mizzen masts with eyeball. Tightened all the shroud lines and glued the first thread bead on each line. I will wait to align the 2nd and 3rd beads on each line when I get to the rat lines. So far the beads have worked well. The masts are not glued in. The lines are all that hold them in place. The stays will let me adjust the 5 1/2 degree angle of the masts. I think I will have to buy special cutters to trim excess thread from the beads as I don't want those ends showing, may sand them off with my dremmel. Then again how steady am I, LOL. My first attempt making 1/96 scale rolled up hammocks. Not sure these will stay, think I can do better, much better.
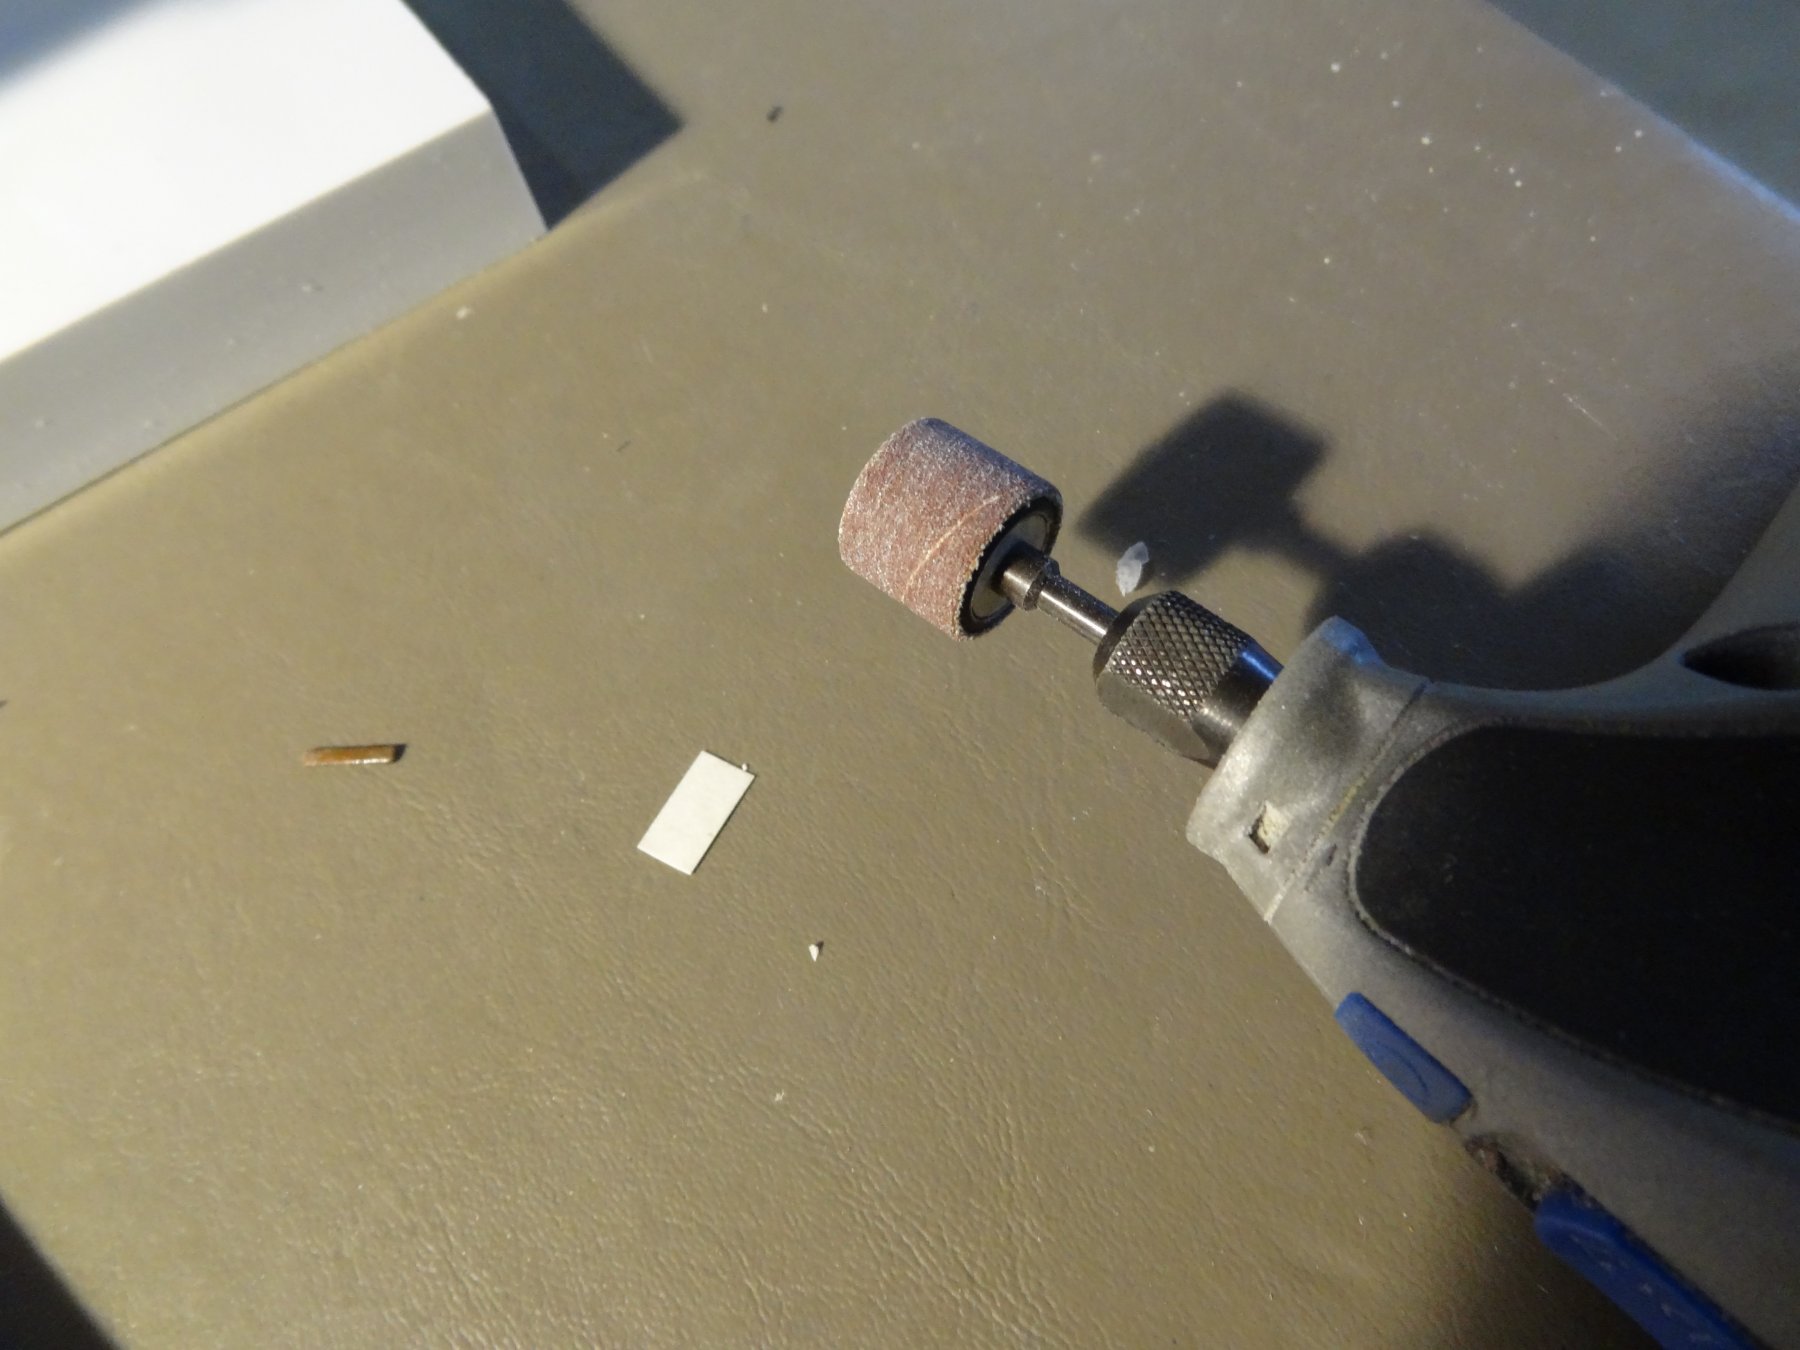
Edit, added note and photos: I used my dremmel with a drum sander ( used fairly smooth sanding surface ) to sand the rat line stubs and it worked, smooth. I only used it on one side. You can see the stubs on the other side in the photo.

- schooner, coxswain, John Allen and 7 others
-
10
-
I had an idea for making adjustable shroud lines so I can adjust the vertical and horizontal of the masts. BlueJacket instructions said not to glue the mast in place. So I thought why not make shroud line beads. Plus it saves my trying to wrap the small line around and around again. this has probably been done before ( nothing new under the sun ).

-
-
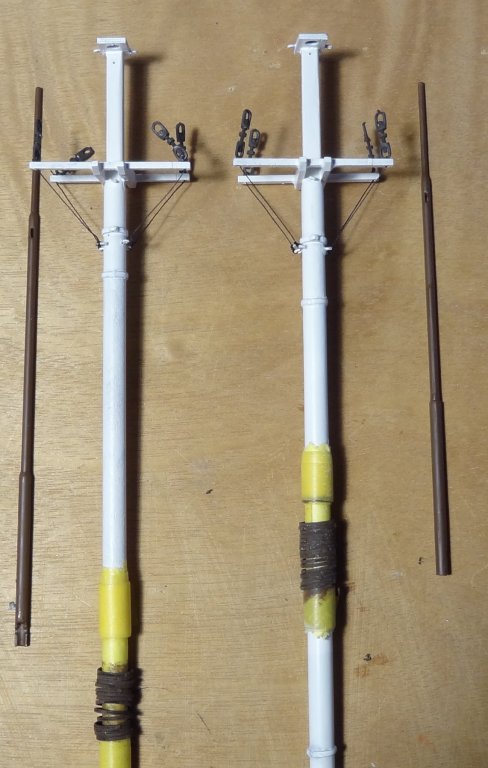
I completed the fore, main and mizzen masts. I placed the dowel for the lower masts in my small lathe and used 80 grit , 220 grit and a wood file to shape the taper of the masts. Upper masts are brass tube and rod. I placed the dowel for the yards in my drill and used 220 grit sandpaper to form the taper of the yards. These were easy and enjoyable to make. I used 28 AWG gauge wire for the ropes as I thought the kit wire to thick. I will set the masts in at a 5 1/2 degree slant aft. I will install the blocks on all of these next and assemble the masts with the yards before I glue the masts in place.
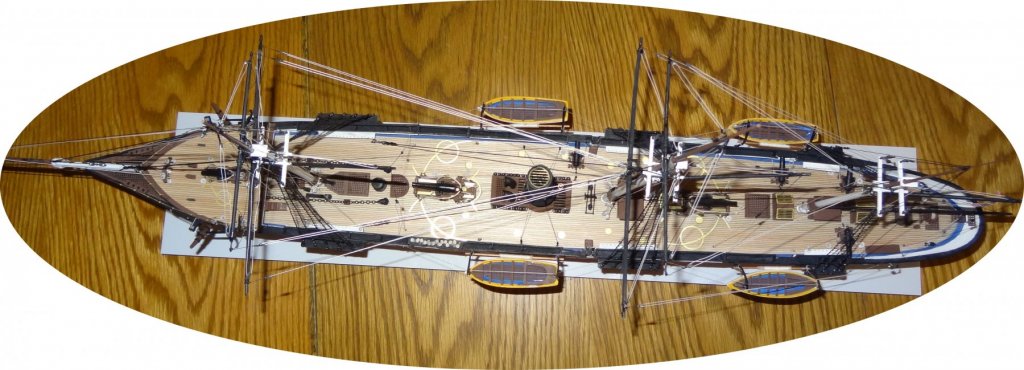
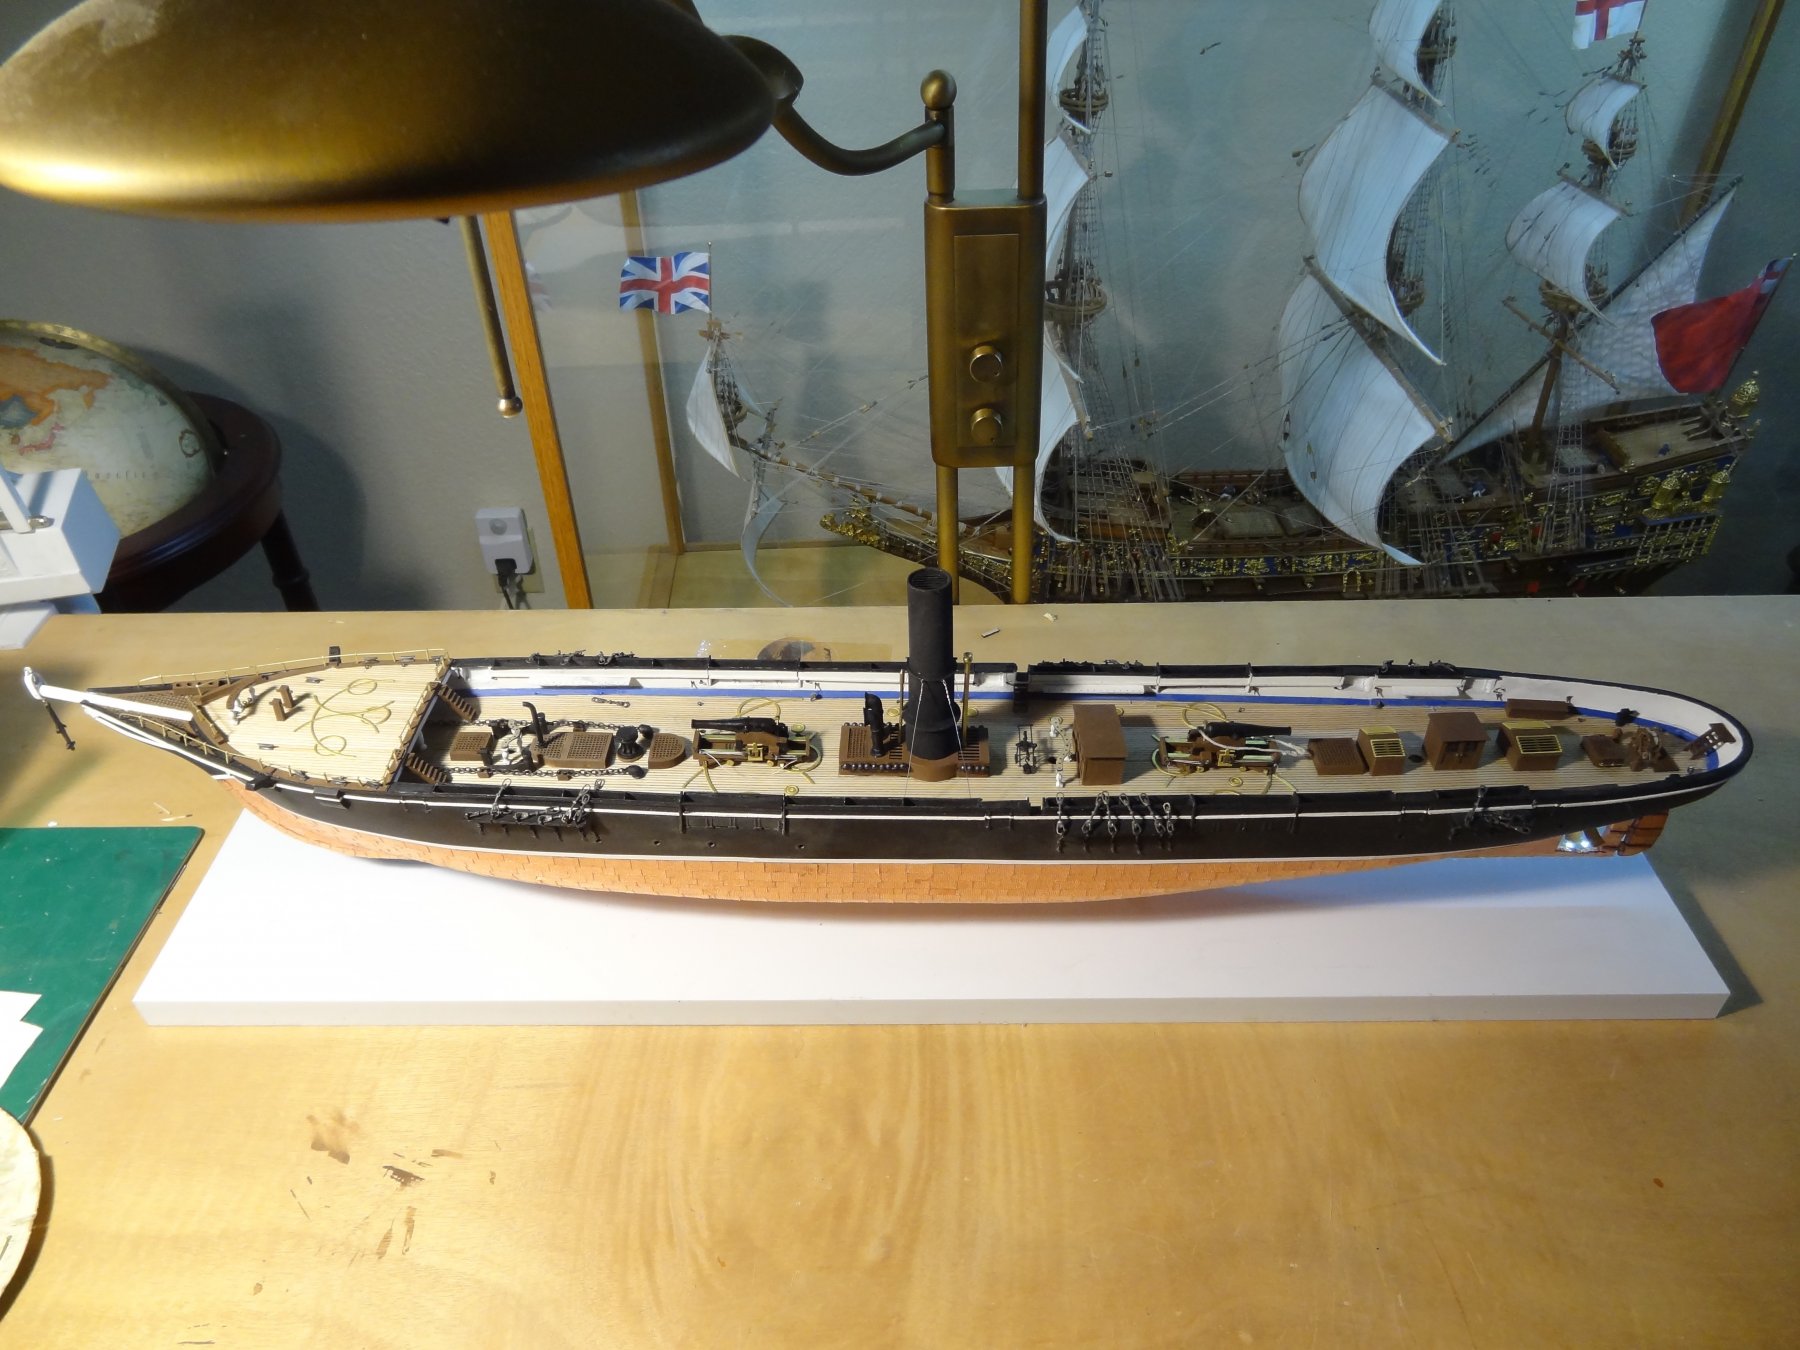
A note here: I think both sides of the weather deck is scribed for the planks. I would not use the side with the etched marks for the components locations. Some of the items do not cover the location marks on the deck. It does not look good. You can see some of this in Report post #48. Also, I should have marked off the beginning and end of the planks. Now the planks are as long as the deck.
-
Exceptional. Probably belongs in Navy museum.
-
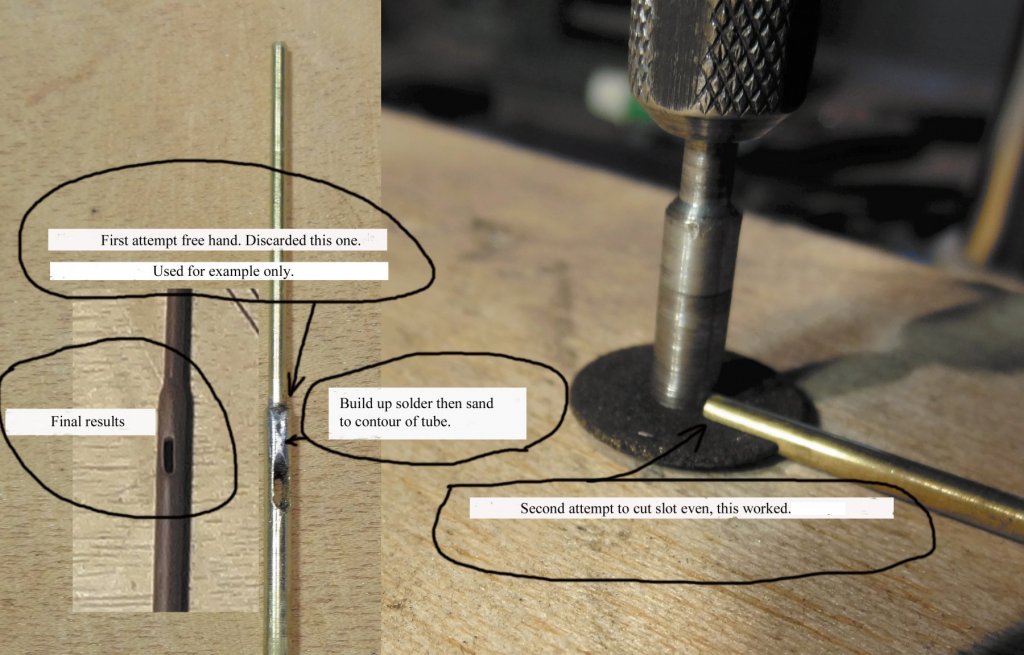
I made the main and fore masts. The top masts are made from brass tubes and rod. Instruction said to drill three .020 holes in the assembled tube and rod for the topsail halliard. My drill bit is not good enough to cut through this so I cut slots and then soldered the rod and tube together. I put extra solder on the joint then put masts in a drill, rotated them and used sandpaper to shape the solder to match the mast tube size. I tried to free hand the slot but it was not uniform. So I put the dremel tool with cutting wheel into its dremel drill press. For stability and proper spacing I put a block under the cutting wheel as seen in the photo. I joined the rod and tube and soldered. Final mast assembly comes later in the build.
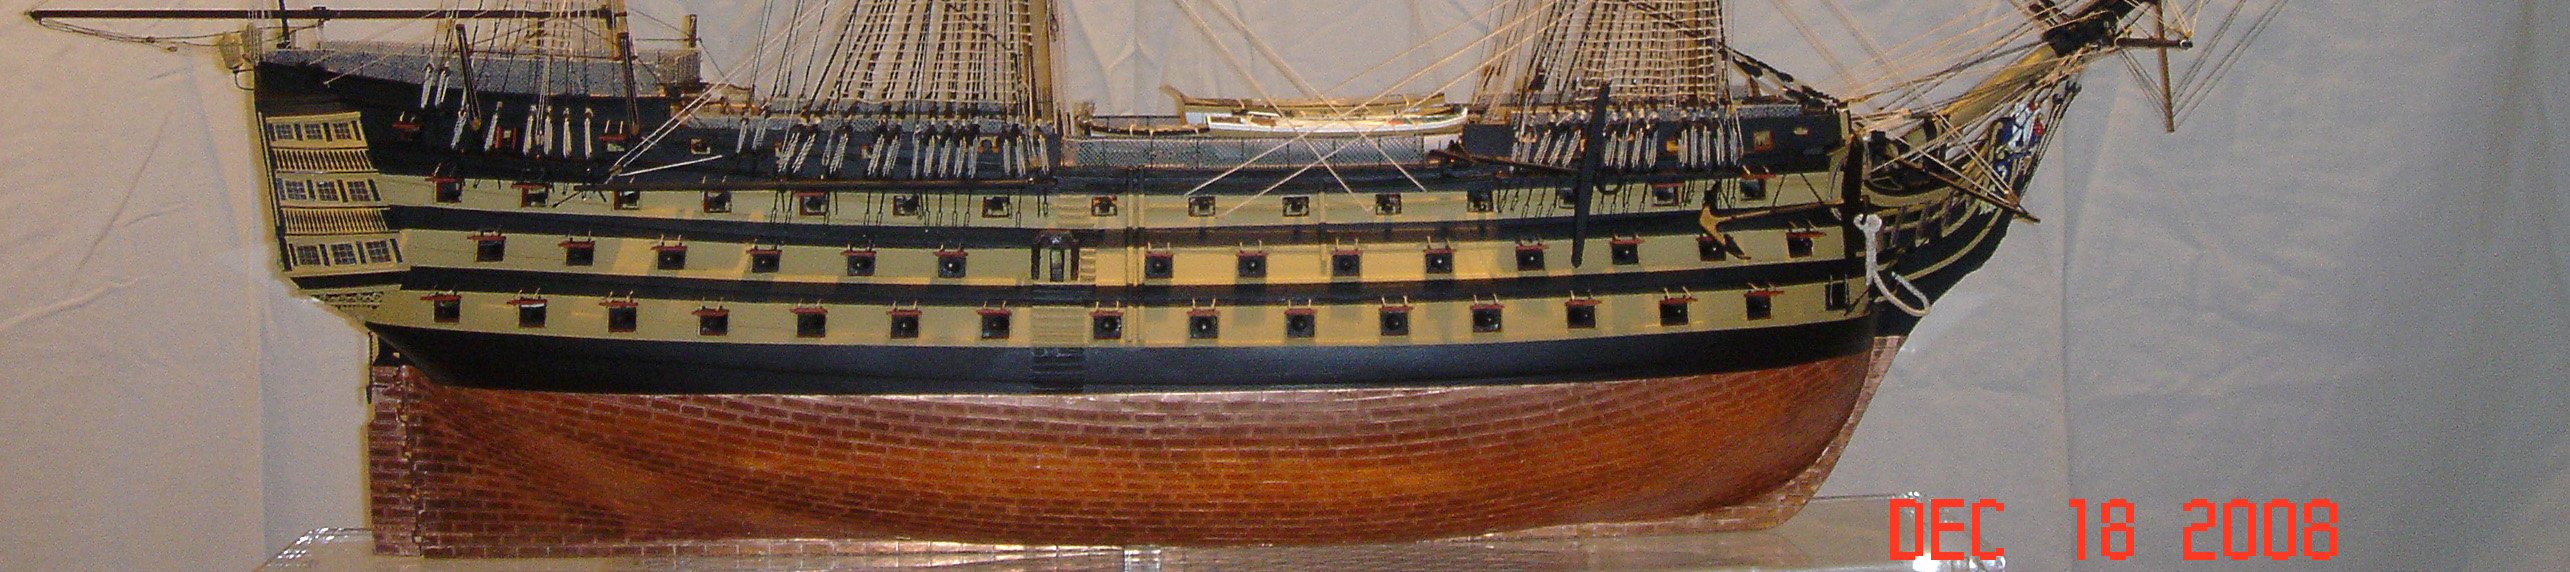
A note here, to anyone building 1/96 scale ship. Use brass tube and rod for the top masts. When I made the Bluejacket 1/96 scale Connie I was forever breaking off the topmasts as they are tiny wood dowel. I broke them off several times until I put the model in its final protective case. If you look close at my USS Constitution you can see the scars.
Bob
- GrandpaPhil, Gahm, coxswain and 2 others
-
5
-
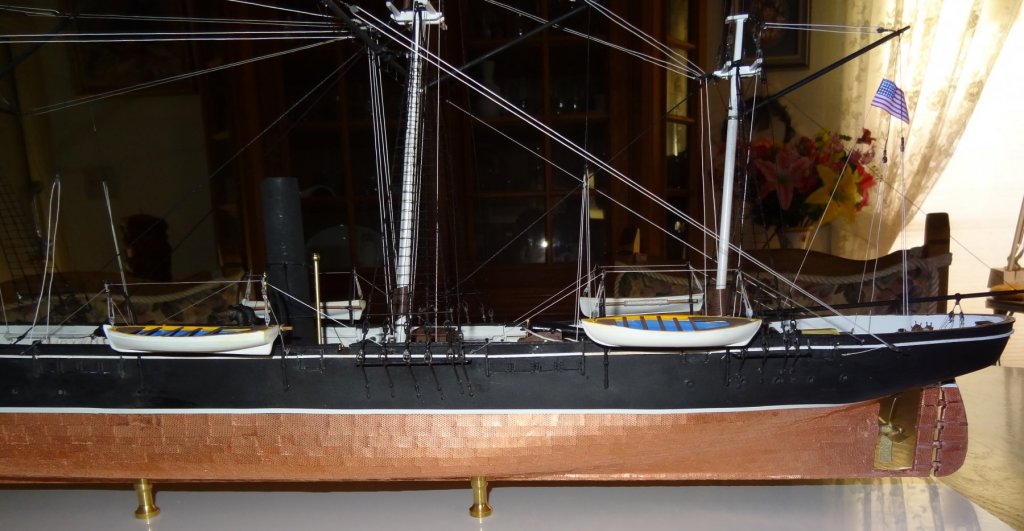
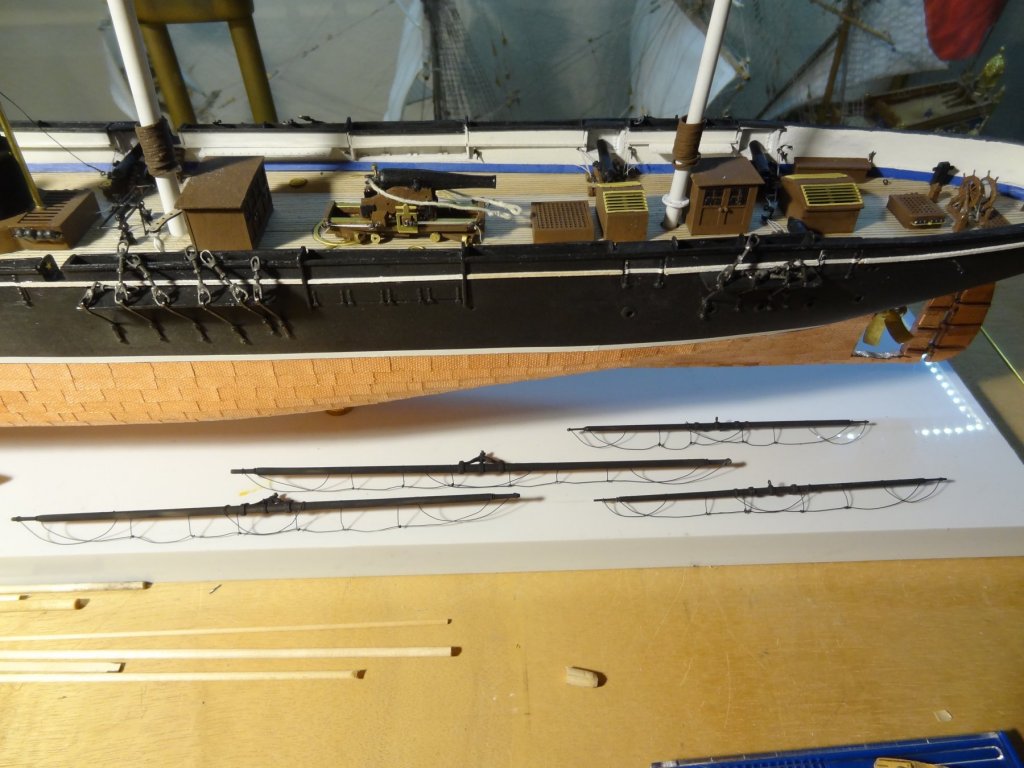
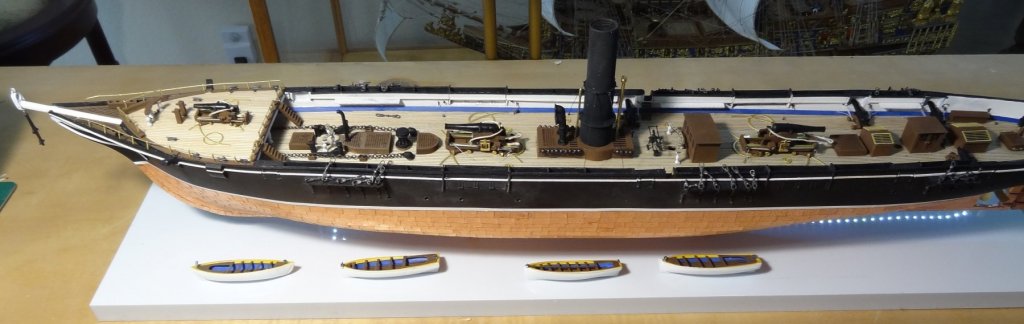
Finished boats and davits. Set these aside, will be installed last. Davits are very soft metal, easy to damage. I need to make bolsters for the davits next then on to the masts.
- coxswain, CDW, GrandpaPhil and 3 others
-
6
-
Guns completed. The Kersarge had two Dahlgren 11 inch guns, one Dahlgren 30 pounder and four 32 pounder guns. To the boats !

- Tim Curtis, hof00, coxswain and 6 others
-
9
-
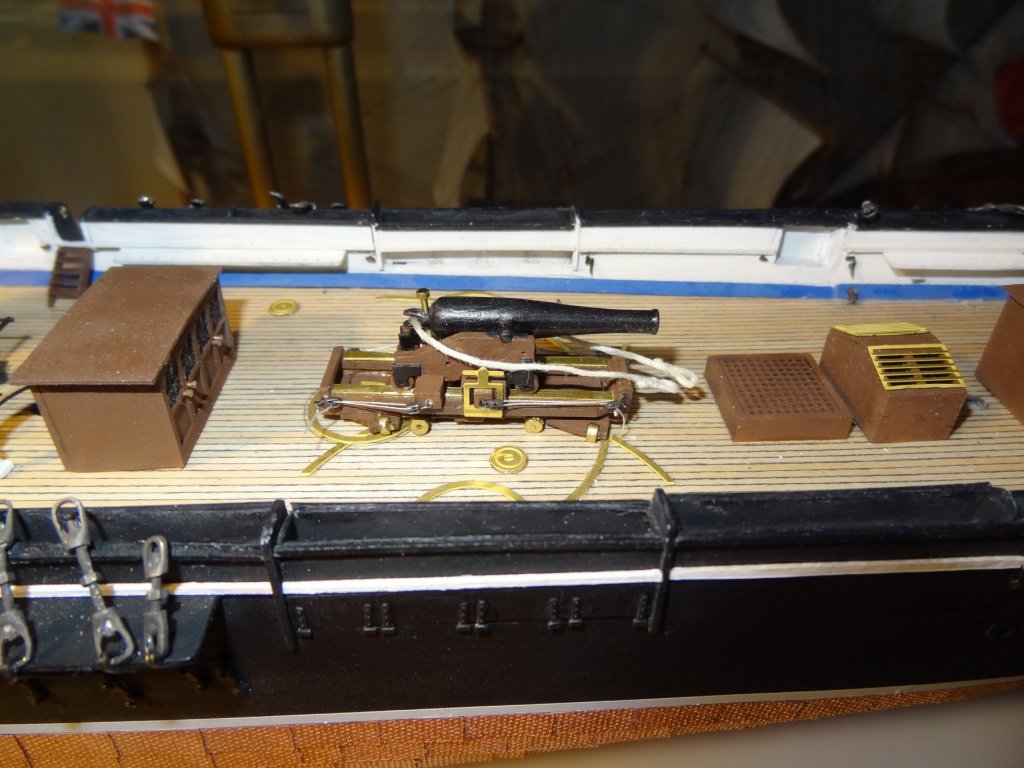
Finished the two 11 inch guns. I fumble fingered my way through them. I have not glued them down yet. I used 28 AWG guage wire for most block pigtails. I used the kit wire for the larger blocks but that wire was to thick for the smaller blocks. I had bought the 28 guage wire at a bead shop when I was building the 1/96 scale USS Constitution. I had some super small bolts from model airplane builds that I used for gun elevation screws. I used scrap brass for the rails. I do not have a given work area for my model ship building so I use space in our large dining room. I lay down a large matt on the carpet floor then I set up two adjustable carpenter horses and lay a house door I bought for model building on top. I have a piece of manufactured marble that I lay on the door for a perfect flat work bench.
Bob

- CDW, Ishmael, Tim Curtis and 9 others
-
12
-
-
-
-
-
I like it. Looks great.
- jfinan, etubino and mort stoll
-
3
-
-
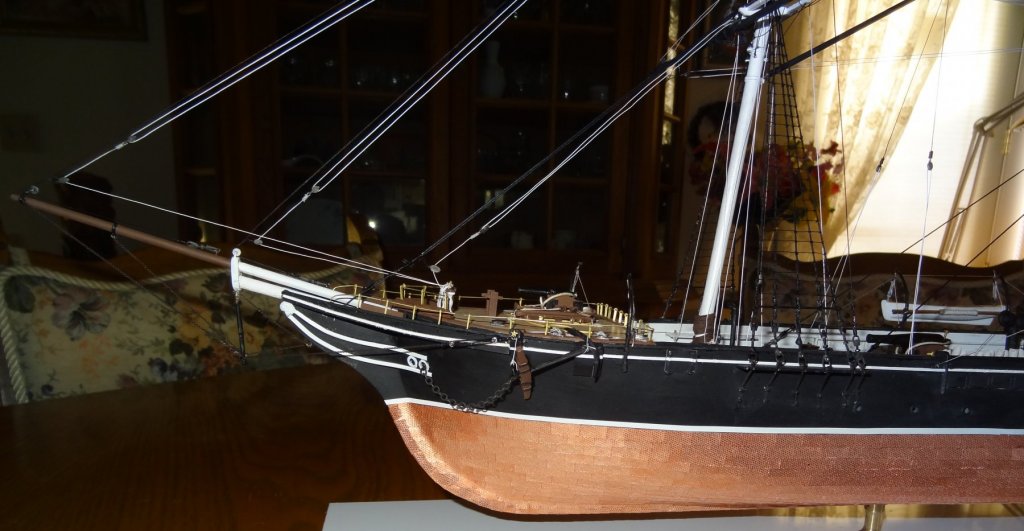
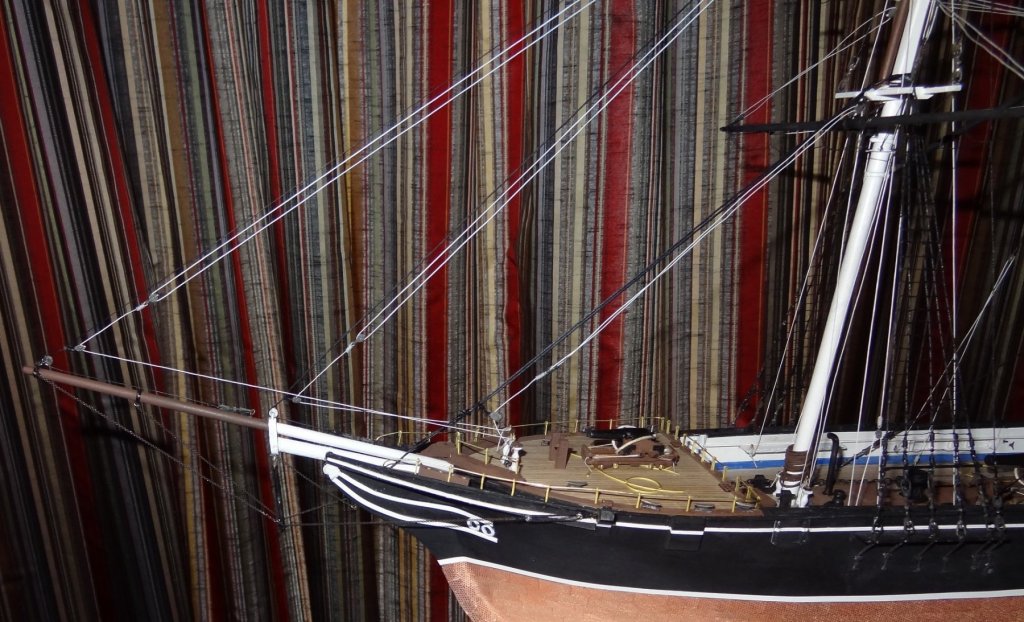
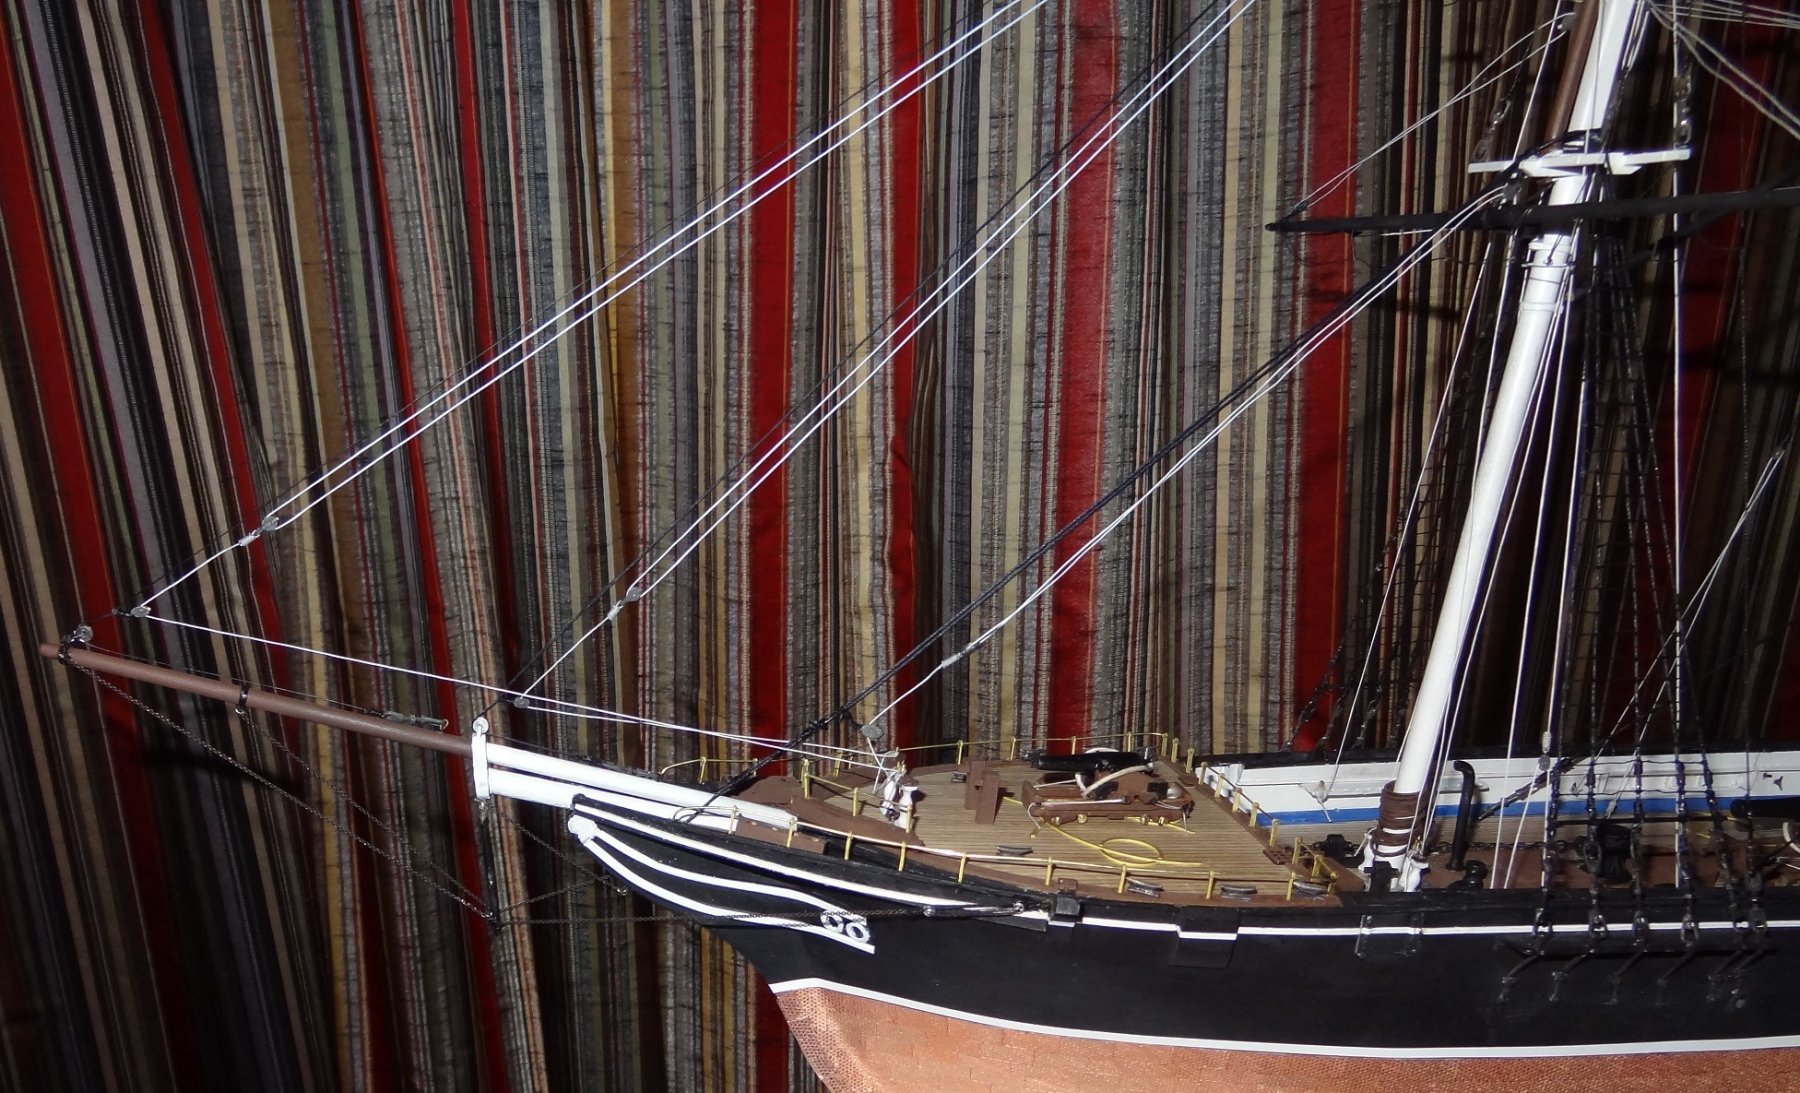
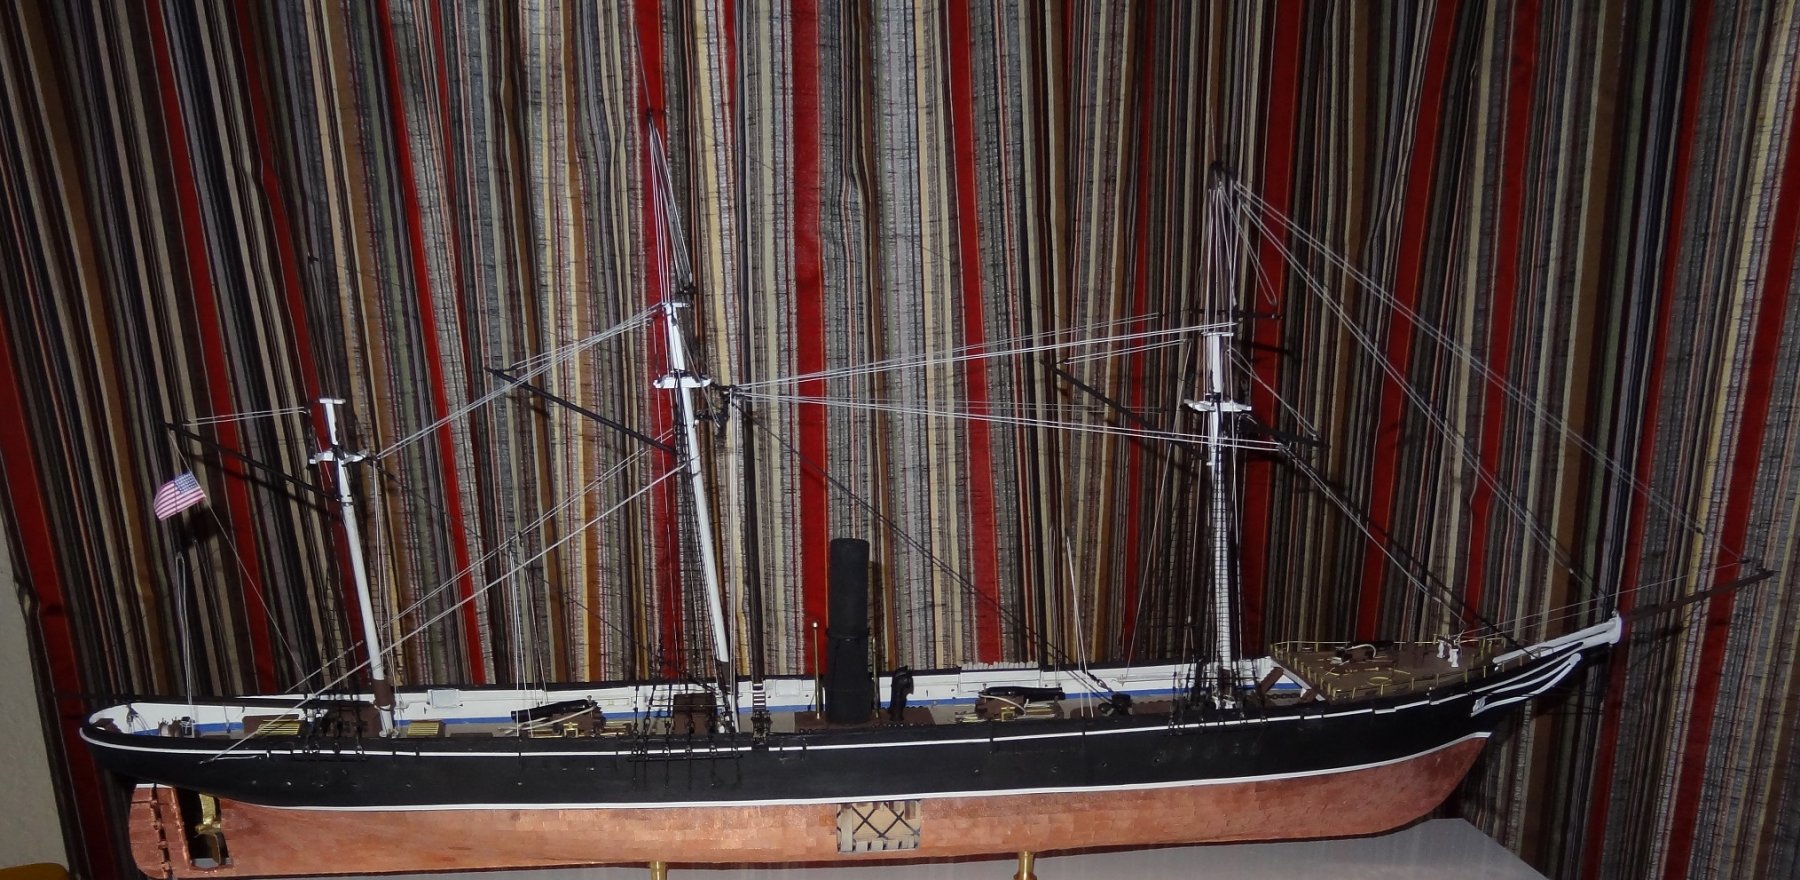
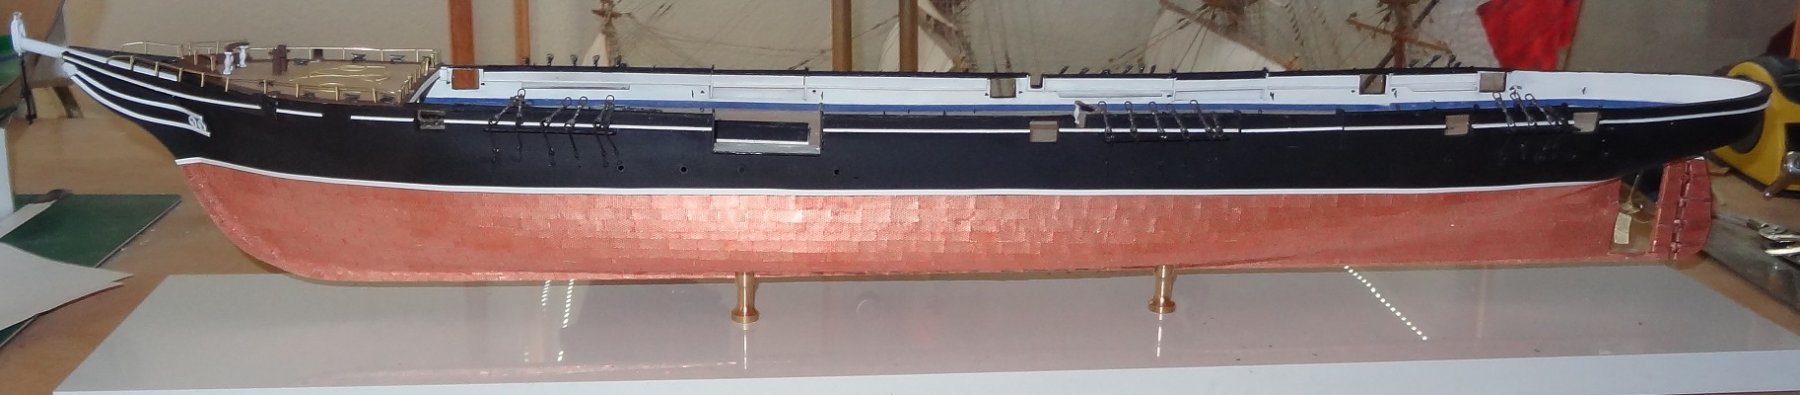
Thank you Thomas. I could not paint good lines just above the sheathing so I resorted to an old favorite of mine, decals. I painted a sheet of decal paper and cut strips for the waterline white stripe and the trail boards. The I used SOLVASET decal setting solution to secure the decals to the ship.
Bob

-


USS Kearsarge by CPS_skybolt - FINISHED - BlueJacket Shipcrafters - Scale 1/96
in - Kit build logs for subjects built from 1851 - 1900
Posted · Edited by CPS_skybolt
add picture
I made a case for the model. I made hammocks for the hammock nets. I added 1/96 scale white metal sailors.
This BlueJacket kit has been fun.
Thank you all for your encouragement and kind words. Bob