Grumpy Old Salt
-
Posts
8 -
Joined
-
Last visited
Recent Profile Visitors
211 profile views


-
 Interesting discussion. I only have two questions: What's the historical length of a 'plank' and, is it era dependent? Phil. PS: Or, does it depend on the size of the ship, boat or whatever?
 -
 themadchemist reacted to a post in a topic:
Swift 1805 by Grumpy Old Salt – Artesania Latina - 1:50 Scale - My very first wooden kit
themadchemist reacted to a post in a topic:
Swift 1805 by Grumpy Old Salt – Artesania Latina - 1:50 Scale - My very first wooden kit
-
Thanks for the comments Keith. I have checked out your build, along with a few others, and am impressed by your original take on this particular boat. Personally, I'm more of a prototype modeller, but hey, each to their own, and you do demonstrate some amazing woodworking skills. Phil.
- 12 replies
-
- 1
-
-
- swift
- artesania latina
- (and 1 more)
-
themadchemist reacted to a post in a topic:
Swift 1805 by Grumpy Old Salt – Artesania Latina - 1:50 Scale - My very first wooden kit
-
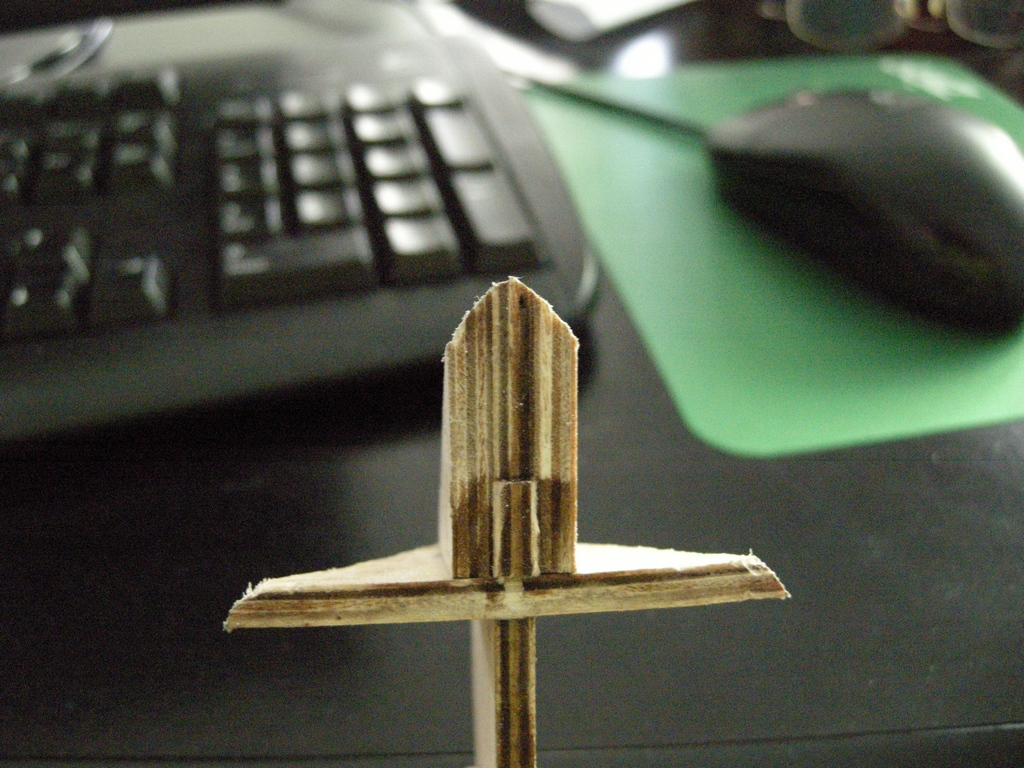
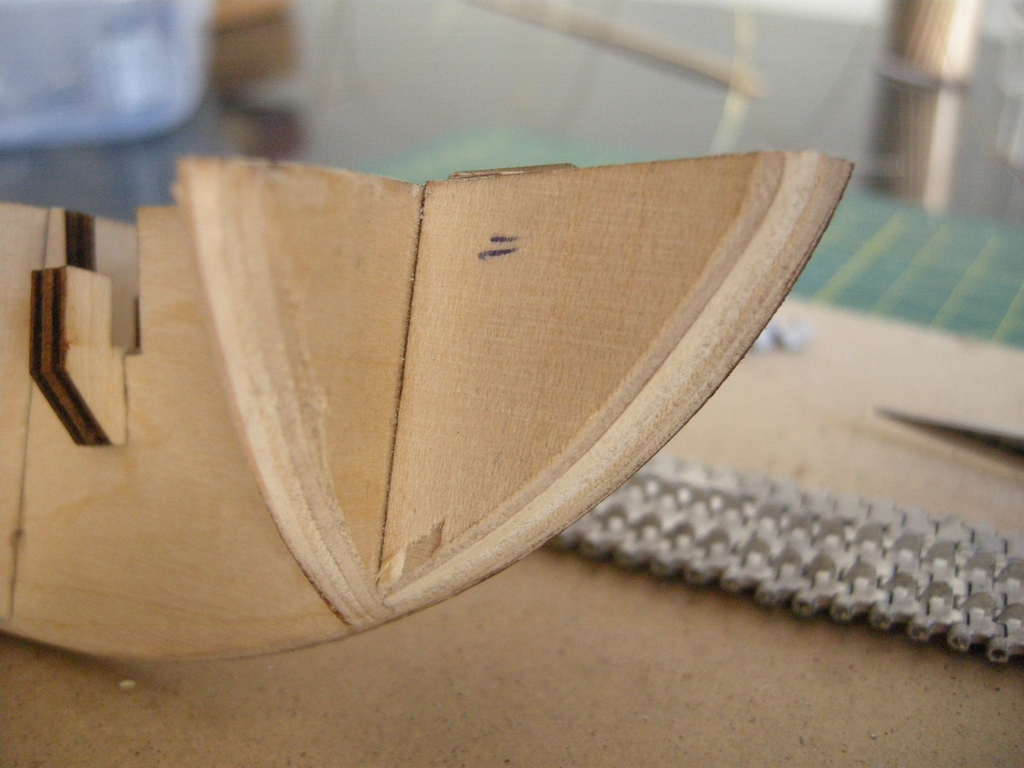
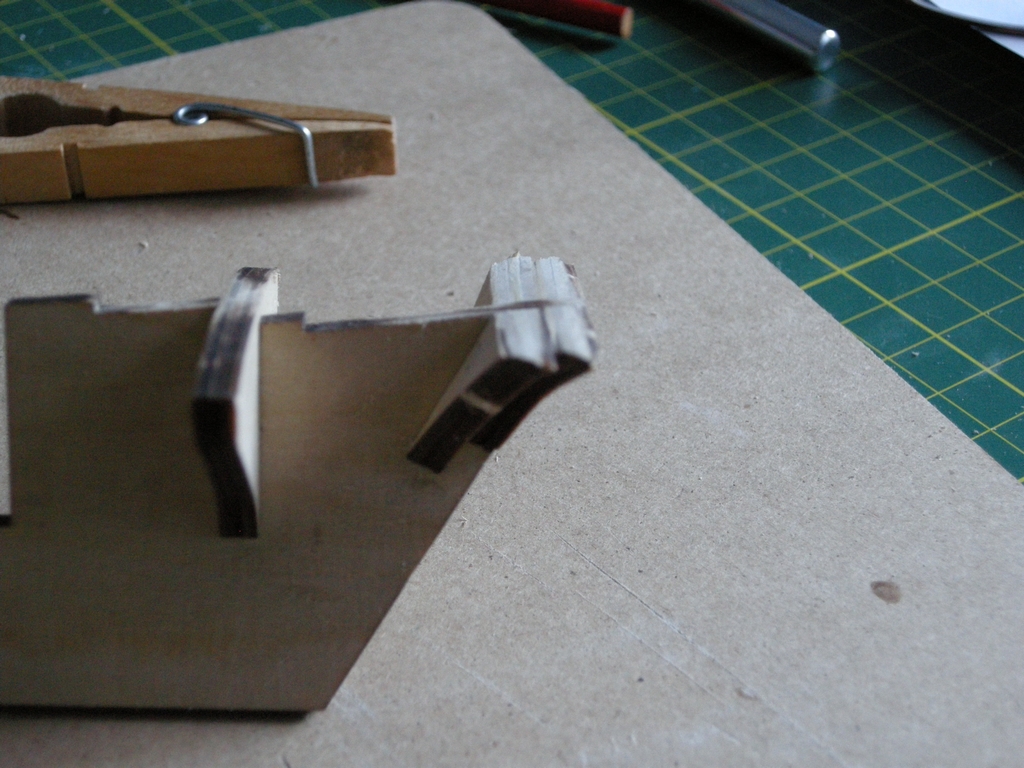
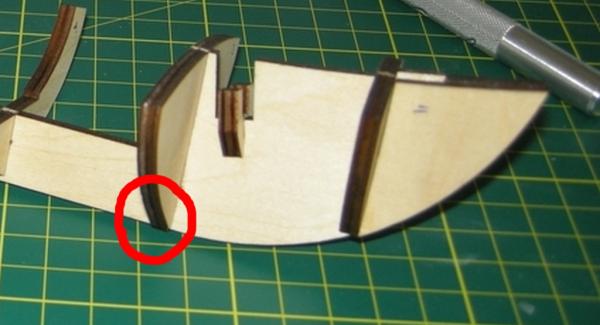
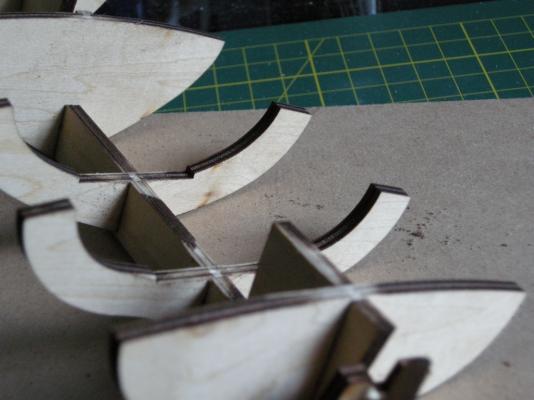
During my web search for information on planking a ship’s hull I gathered together a small number of resources that I wanted to study more closely before I attempted to plank the hull on this model. Which, in my humble opinion, I now consider to be nothing much more than a complicated woodworking toy; but more of that at another time and in another place. One site, with images of the skills needed to build a full-sized, real world, plank on frame ship is here: http://www.boat-building.org/learn-skills/index.php/en/home-en/ In essence, this site shows you how what we all do in modelling a wooden ship is done full-sized. To demonstrate how valuable real-world application to model shipbuilding is, take a look at the page: Hull and frames design for ‘hogging’. Now, check out the restoration work on the USS Constitution undertaken to rectify ‘hogging’ in her. You will note that, in her original construction, some deck planking was up to double the thickness of the rest of the planking in order to prevent hogging in the first place. Another interesting article I found on the construction of wooden ships is this one: http://www.cnrs-scrn.org/northern_mariner/vol03/tnm_3_1_1-43.pdf which if you want to know the names of all those fiddly bits of woodwork in you ships hull, will tell you. At least from an English wooden ship POV circa 1710. But, it has other uses as well. Then there are the excellent tutorials on this site and the reason I’m here. And you probably thought it was just because of the skills and knowledge of the contributors, didn’t you? Well, that’s partly true. All right, it’s a major reason. Okay? Anywho, I had gathered together a number of excellent (I thought, and still do) resources and had skimmed through them all to get a feel for what I would have to consider. Just as I was about to get serious about ‘learning’ what I needed to do, the real world intruded. Let’s just say I was suddenly overloaded with work and, while it didn’t make me physically tired, it exhausted me mentally. So, while I felt in no position to learn ‘new things’, I set about fairing the frames (actually bulkheads in this case). Already I can hear the cries of, “You’ve got to make sure everything is square first!” Well, yes, and no. My fairing of the frames is simply a ‘first pass’. When I get to the actual planking, each one will be treated as a separate model in itself, and each place where a strake contacts a bulkhead will be individually shaped. Just like in the real world. So, this is what I did: Also, in my skimming of the research I had gathered, I realised that the model (?) attempts to simulate the rabbeting along the keel rather than actually doing it. What this means is that, when fitting the garboard strake, it would (or could) be bent over the false keel, which would in turn tend to crowd the other strakes at the bow. This likelihood was compounded by the way the 2nd bulkhead fitted into the false keel, like so: To correct this, I made a small modification: Now I can shape the garboard strake properly, when I get around to it. More later. Phil.
- 12 replies
-
- 1
-
-
- swift
- artesania latina
- (and 1 more)
-
themadchemist reacted to a post in a topic:
Swift 1805 by Grumpy Old Salt – Artesania Latina - 1:50 Scale - My very first wooden kit
-
themadchemist reacted to a post in a topic:
Swift 1805 by Grumpy Old Salt – Artesania Latina - 1:50 Scale - My very first wooden kit
-
themadchemist reacted to a post in a topic:
Swift 1805 by Grumpy Old Salt – Artesania Latina - 1:50 Scale - My very first wooden kit
-
themadchemist reacted to a post in a topic:
Swift 1805 by Grumpy Old Salt – Artesania Latina - 1:50 Scale - My very first wooden kit
-
Thanks for the links Grimber. I had found similar results in my quick web search yesterday. Also, you may be right about that filler block between bulkhead 1 & 2. I guess I'll leave that decision until I'm ready to look at fitting the garboard strake, but I will also loosen that bulkhead in anticipation of such a need. Phil.
-
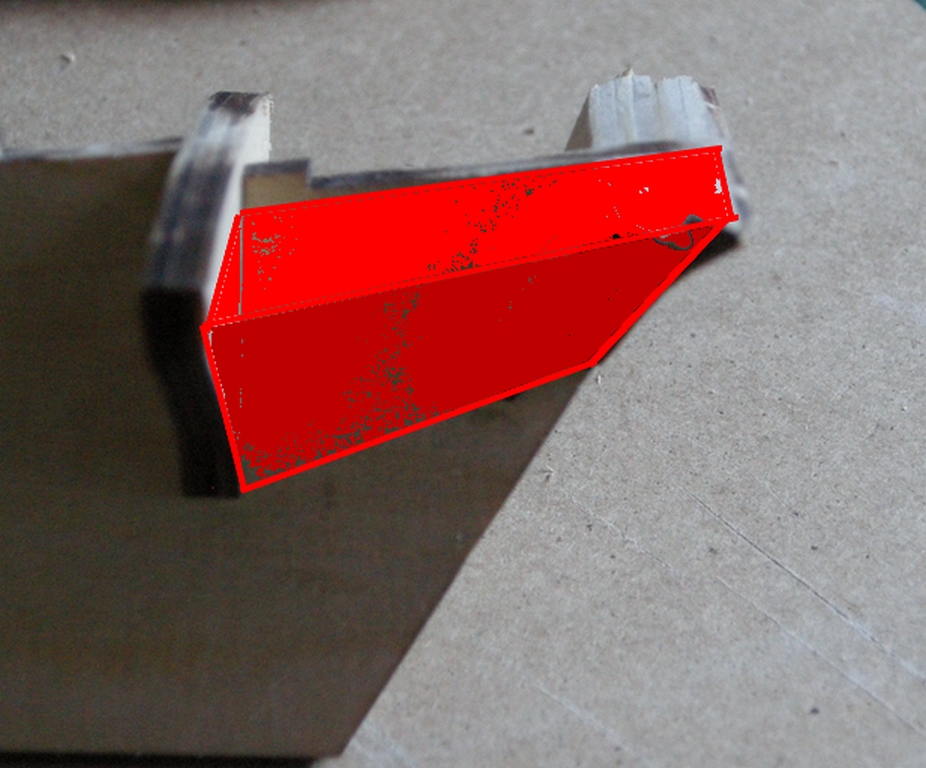
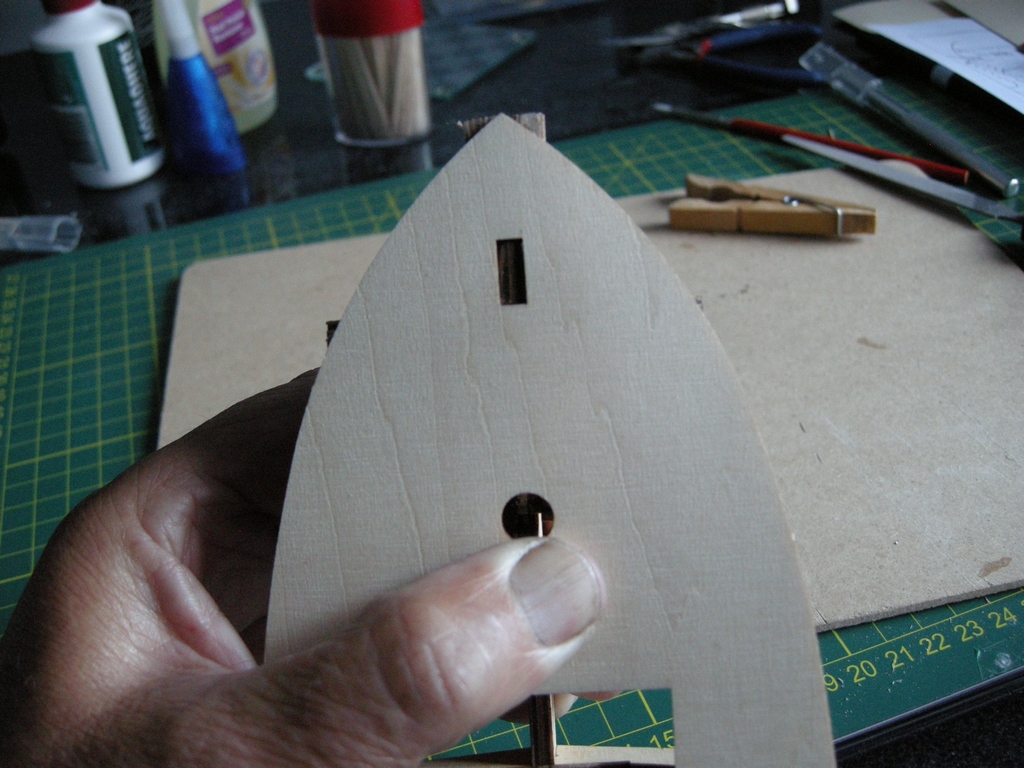
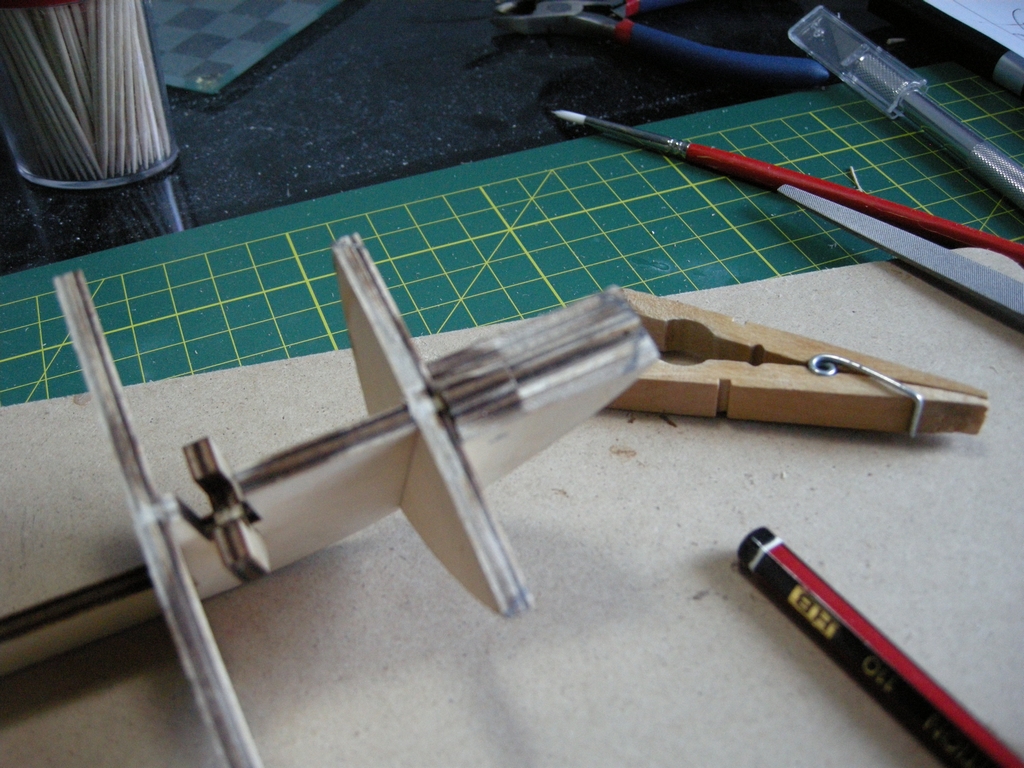
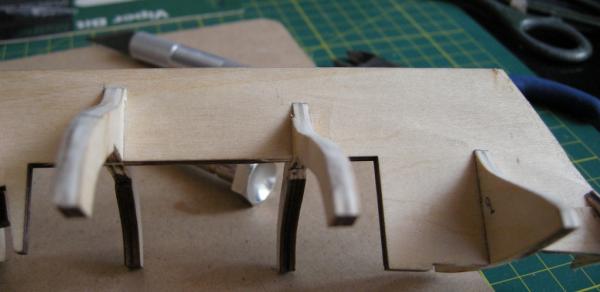
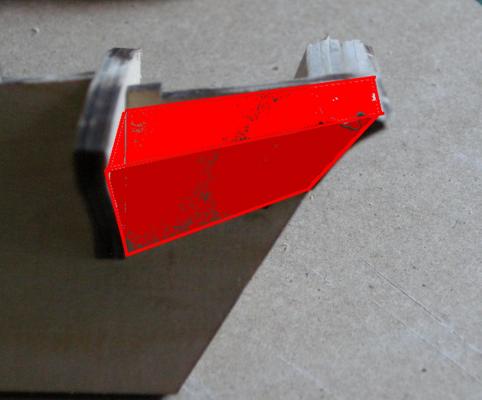
Thanks John and Rich. It has actually sunk in that all the bulkheads need to be absolutely square; it would also be nice if the instructions in the kit mentioned that too, instead of simply saying they must be perpendicular. Anywho, on with my build . . . Well, filing and sanding is completed on the bow and it now looks like this: And, from the side: The tank tracks are NOT a part of my build. Since doing this I have had a number of re-thinks (not a real word). First, put in balsa wood filler-blocks to make a larger gluing surface for the strake curvature on the bow and, second, filler blocks in place of the silly stern rubbish in the kit, like so: When I get around to doing this I will need to make absolutely certain that bulkhead numbers 1 and 10 are true and square. For which I’m going to need some thick aluminium angle pieces and some strong clamps. Oh, I nearly forgot; does anyone know a good recipe for softening white, wood glue? Oh, well, guess I’ll just search the Internet. And, just so you know, this is the point in my build when I decided that the hull planking instructions in the kit, including their pictures, didn’t look right. (Stupid kit!) This, as I’ve said in my introduction, led me to this site, among others, and me needing to swallow a packet of Aspirin as I began to delve into the ‘real world’ of hull planking. Gee, shipwrights really do earn their money! Phil.


- 12 replies
-
- 1
-
-
- swift
- artesania latina
- (and 1 more)
-
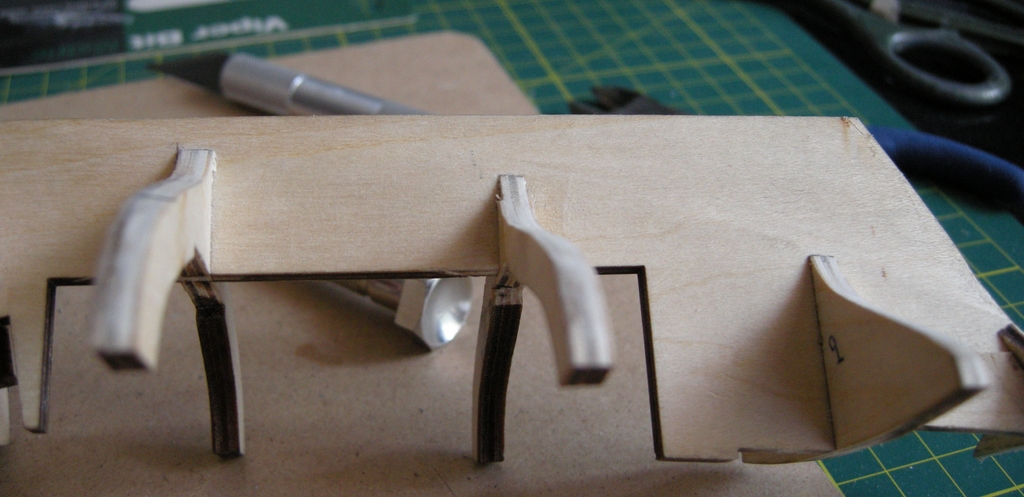
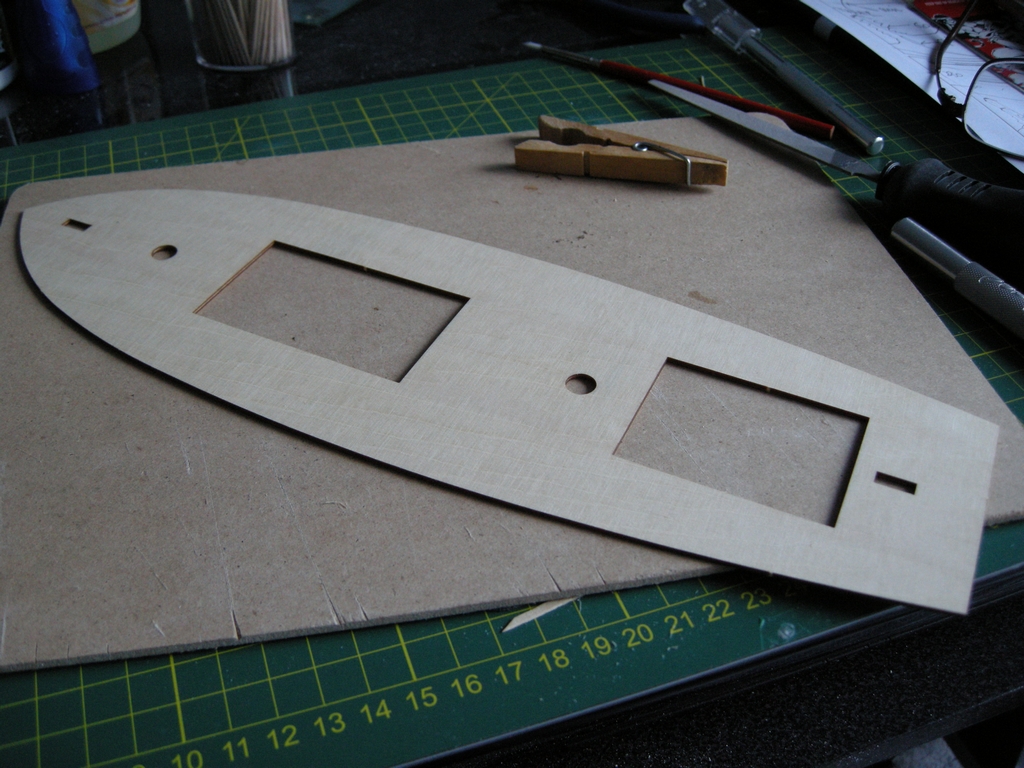
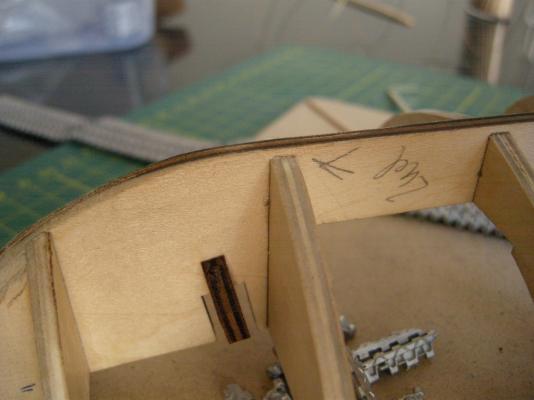
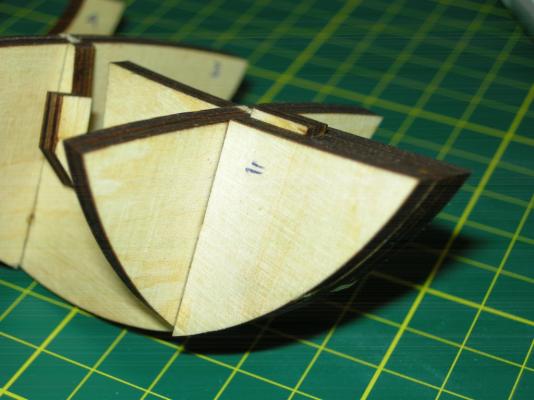
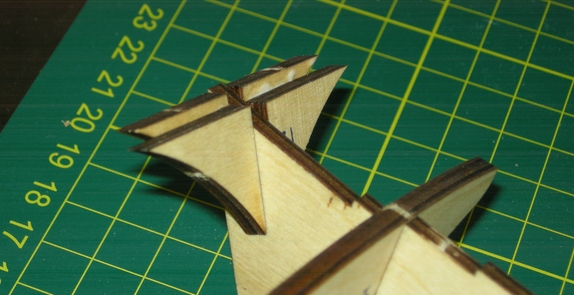
The next step, according to the instructions, is to shape the bow and first bulkhead. In order to get the right shape the instructions say to mark out the shape using to top deck as a guide. So, prior to that I removed the top deck from it’s little home and proceeded to make certain that the top of the joints between the false keel and the bulkheads were flush. As you can see, the top deck in my version of this kit has very large cutouts where the deck cabins will go. This presents intriguing opportunities. And I even ‘levelled’ the rear bulkheads . . . Then I marked the shape I’m supposed to achieve with a pencil on the tops of the bow and first bulkhead . . . Then I got out my file and sandpaper and went to work. Hi-ho, hi-ho, it’s off to . . . Phil.


- 12 replies
-
- 1
-
-
- swift
- artesania latina
- (and 1 more)
-
Thanks for the advice Brian. I have already checked everything to see if it is true and square. There will need to be some minor adjustments in the angles, less than 1/2 a mill at the worst and, as the bulkheads have some flex anyway, I thought I would wait until I fit the top strake on either side (before any others) to finally 'true' the bulkheads. And yes, I thought the rear bulkheads looked wrong too. But that's what the instructions and accompanying photos showed. In the end I've decided to remove them and put in a solid filler block between the last two bulkheads so I can be certain the planking will hold. Phil.
- 12 replies
-
- 1
-
-
- swift
- artesania latina
- (and 1 more)
-
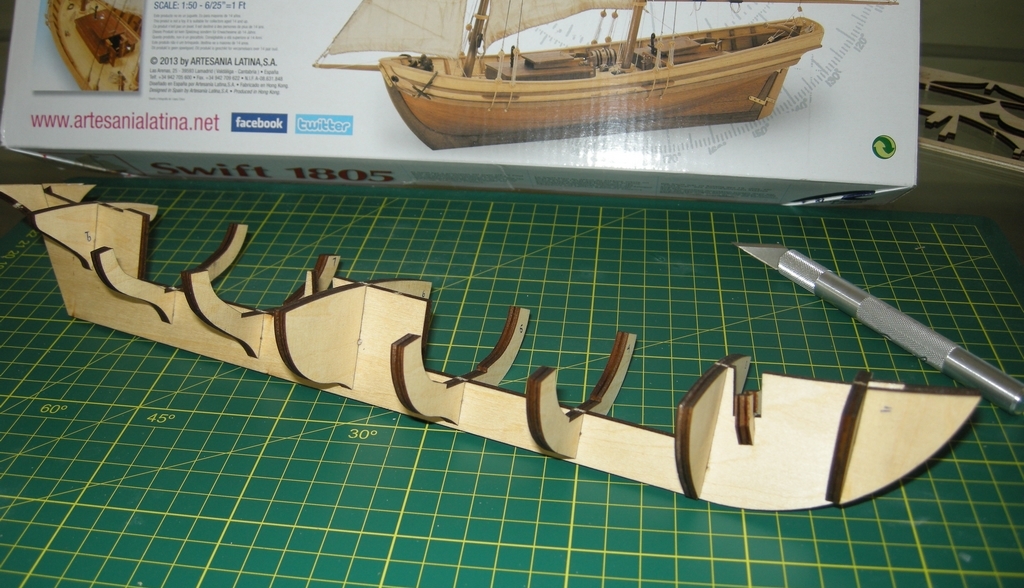
Instead of posting a lot of photos of the kit components I’ll limit myself to the box art because it appears to be different from everyone else’s, a newer 2013 version. There are some small differences between this kit and others I’ve seen here. To start with there are no filler blocks for the bow or stern. And . . . my first newbie mistake. No build board or clamps to make certain everything is square. That said, my research indicates that after a ships framing was completed the first timbers fitted to the frames were the wales: much thicker (sometimes double the thickness) than the other hull planking. This was done so that the frames would remain ‘square’ as the frames were faired, the strakes steamed into shape and then clamped and treenailed. Or, am I mistaken? So, despite the fact this model doesn’t actually have room to fit the wales before the rest of the hull is planked, and has a few bulkheads instead of lots of actual frames, I thought I would wait until I fitted the top strakes to make certain each bulkhead is square. As you can see, in this kit the ‘bow filler’ is simply another piece of plywood glued on each side of the false keel. The stern is an even sillier idea. More later. Phil.


- 12 replies
-
- 1
-
-
- swift
- artesania latina
- (and 1 more)