

highlanderburial
-
Posts
126 -
Joined
-
Last visited
Content Type
Profiles
Forums
Gallery
Events
Posts posted by highlanderburial
-
-
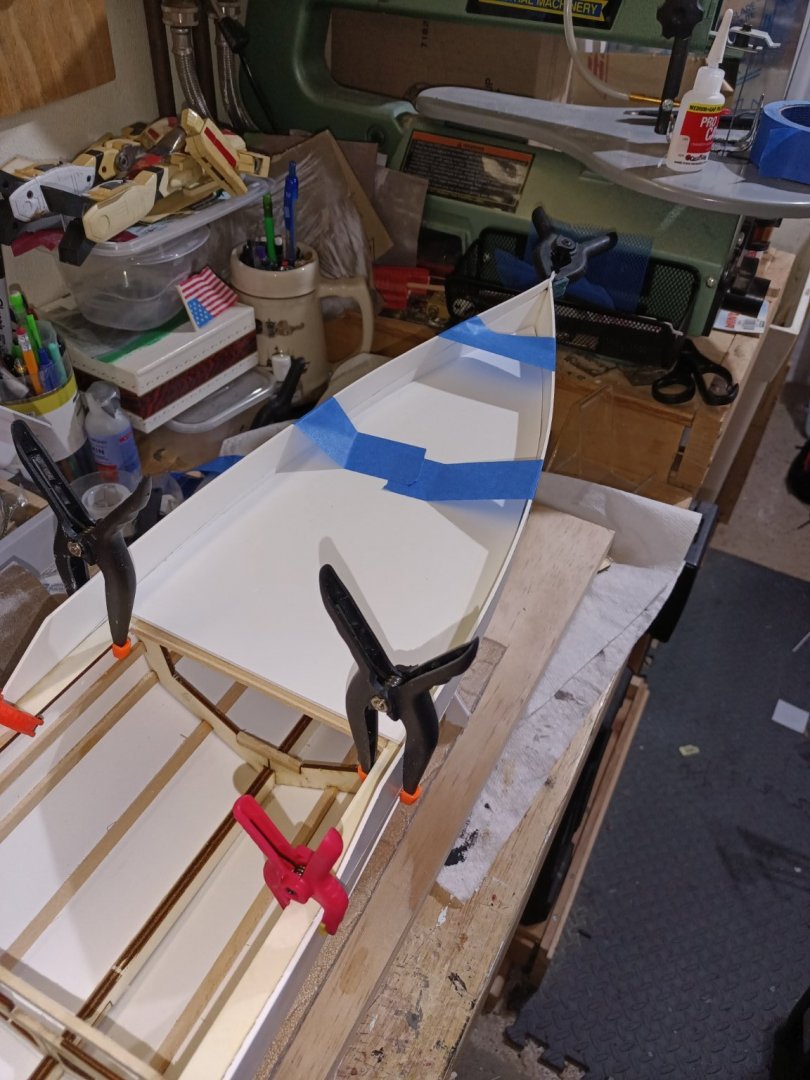
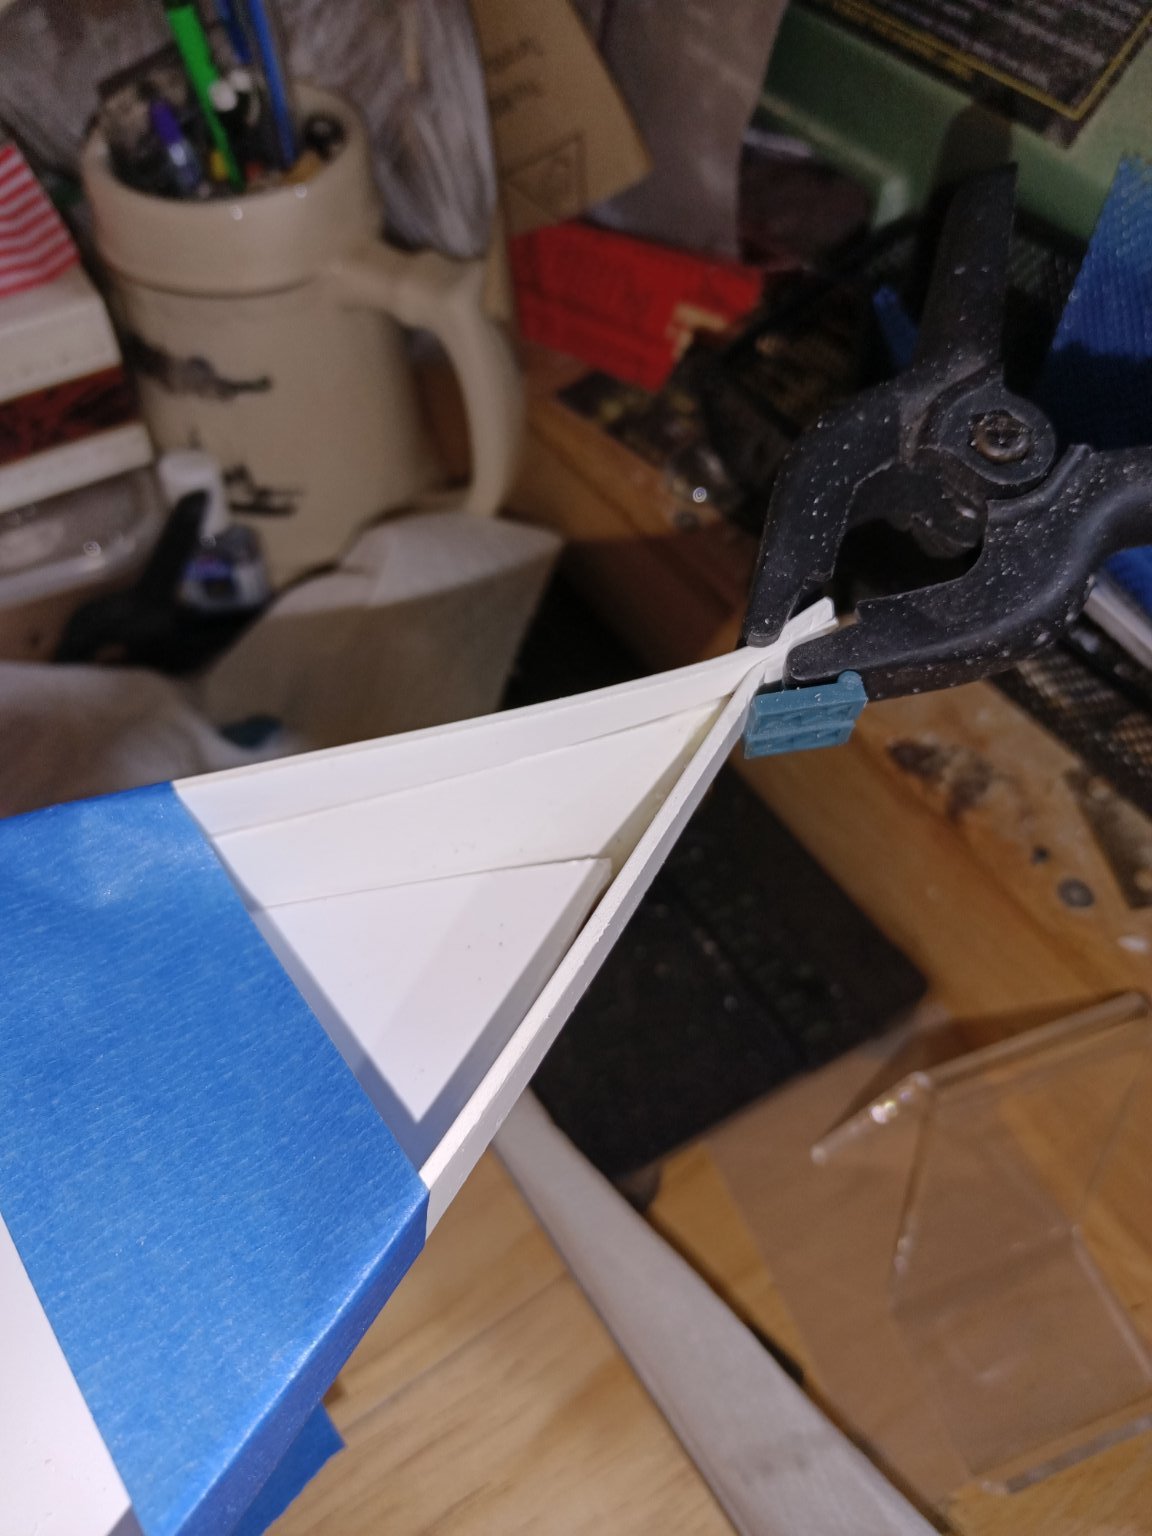
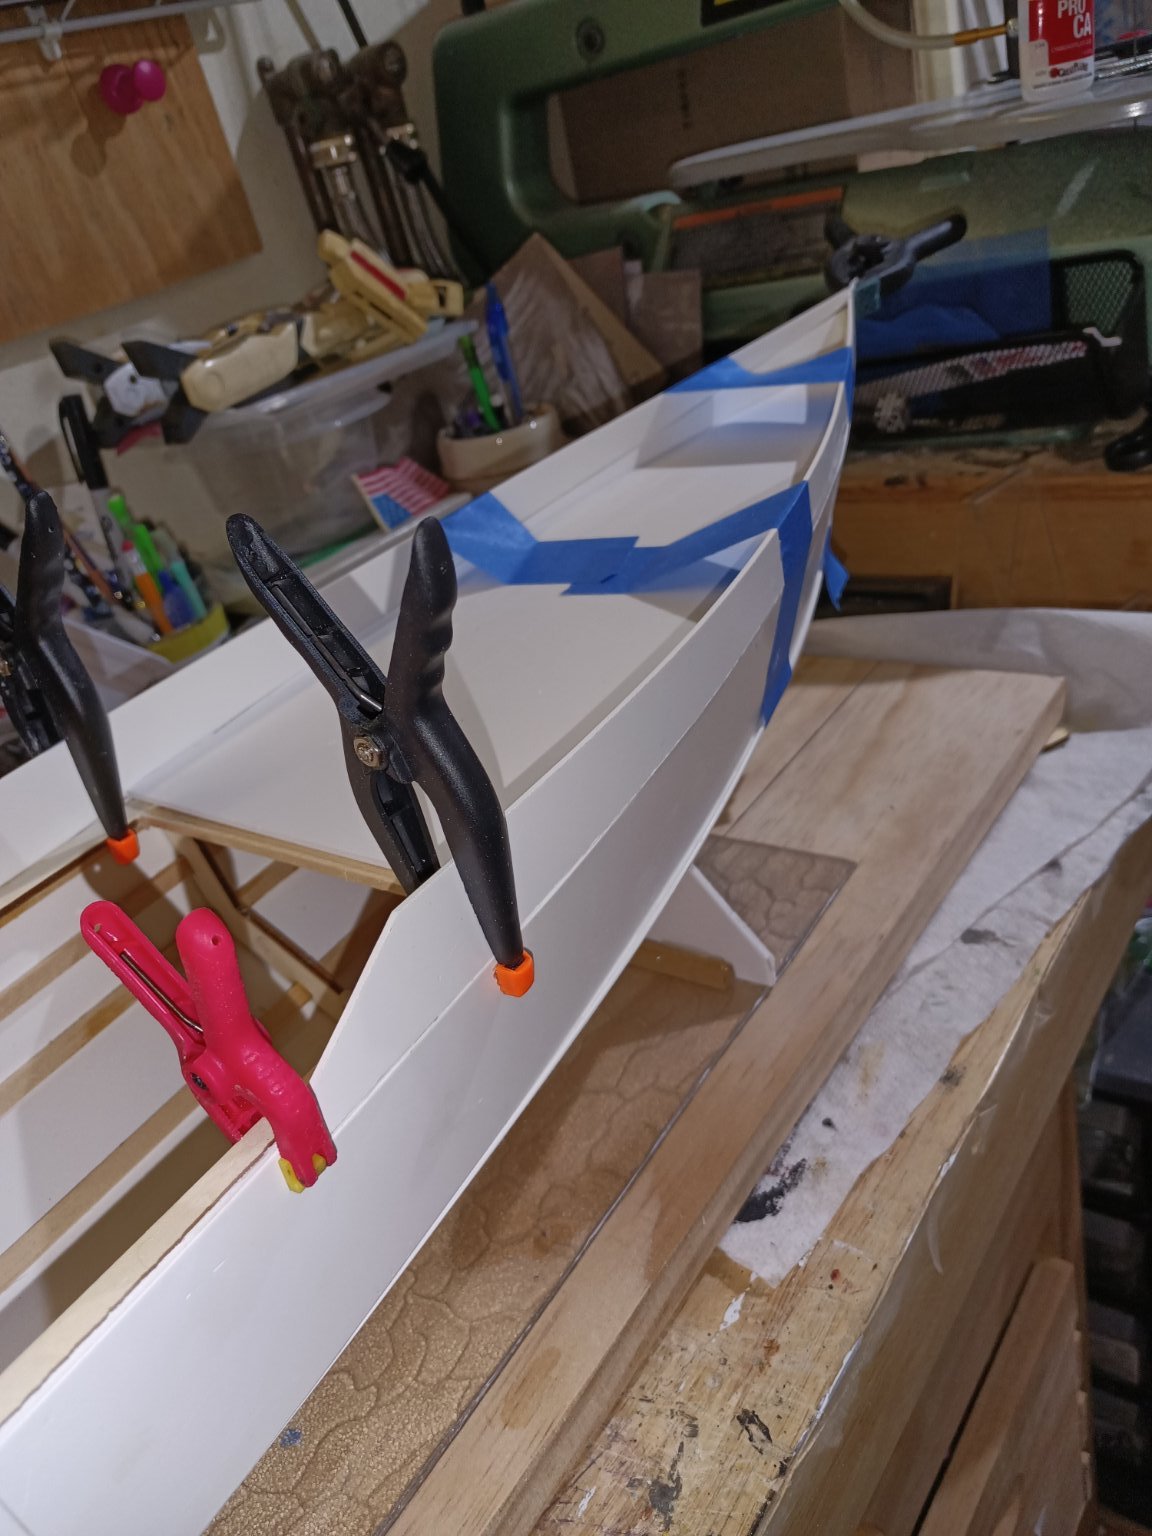
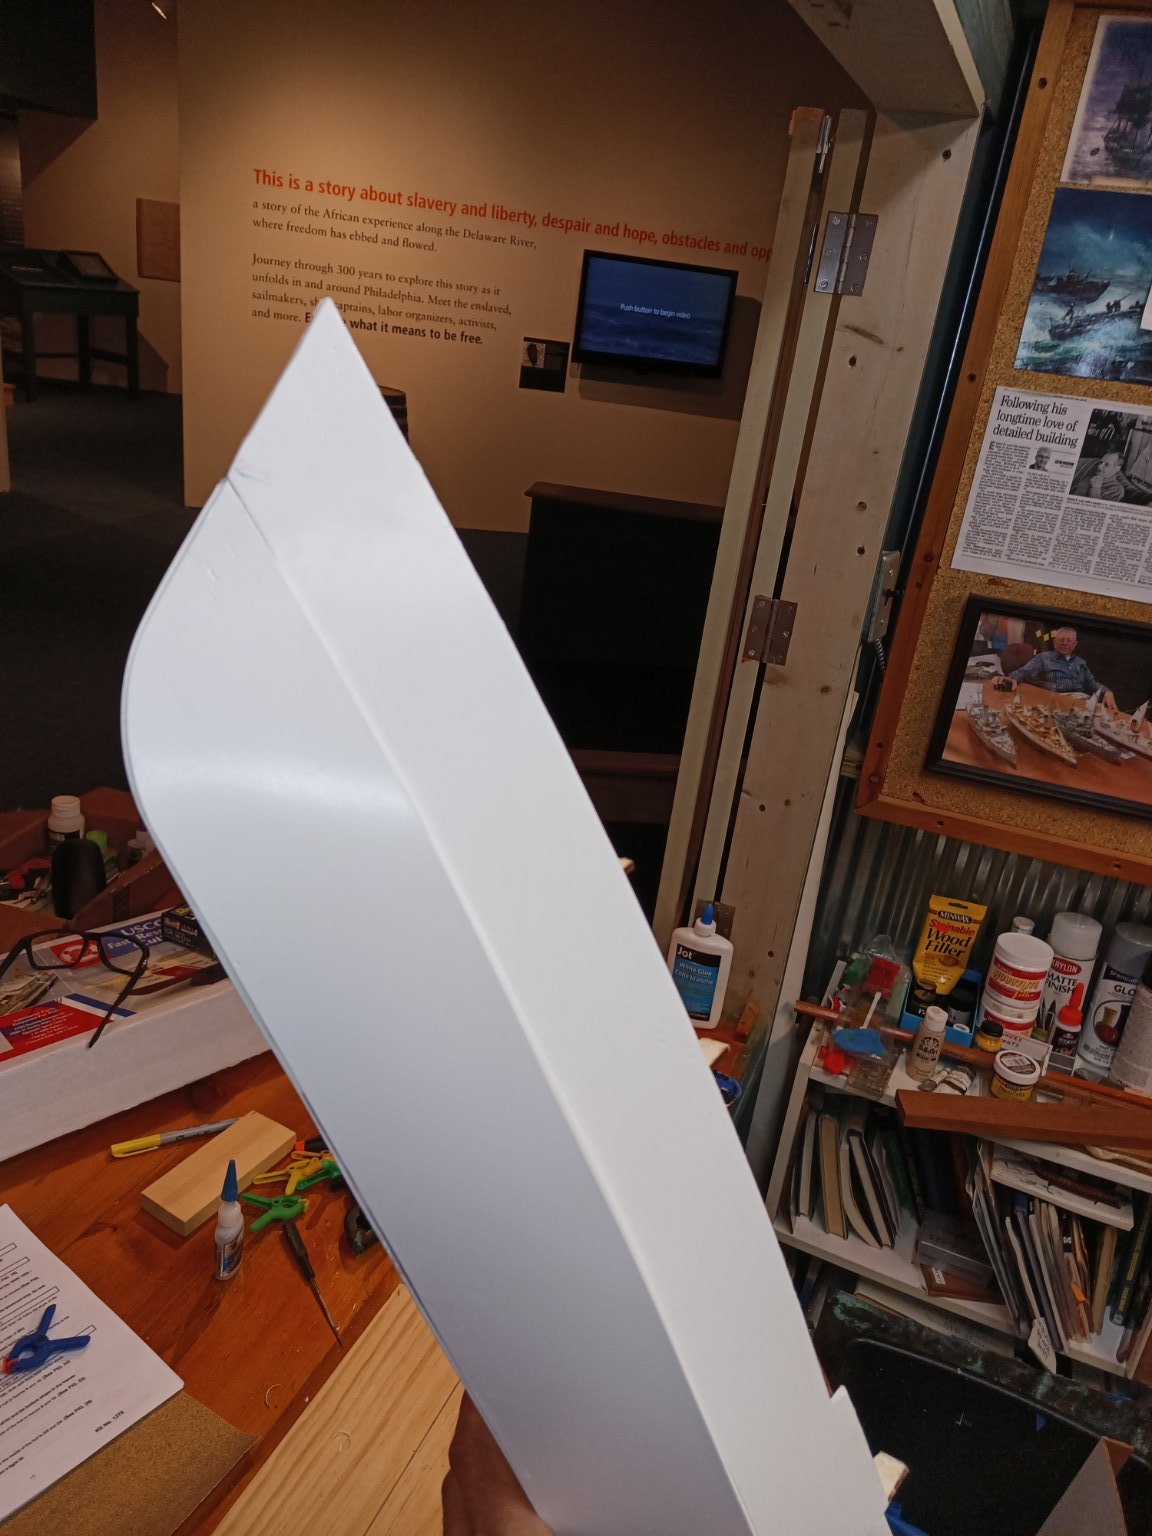
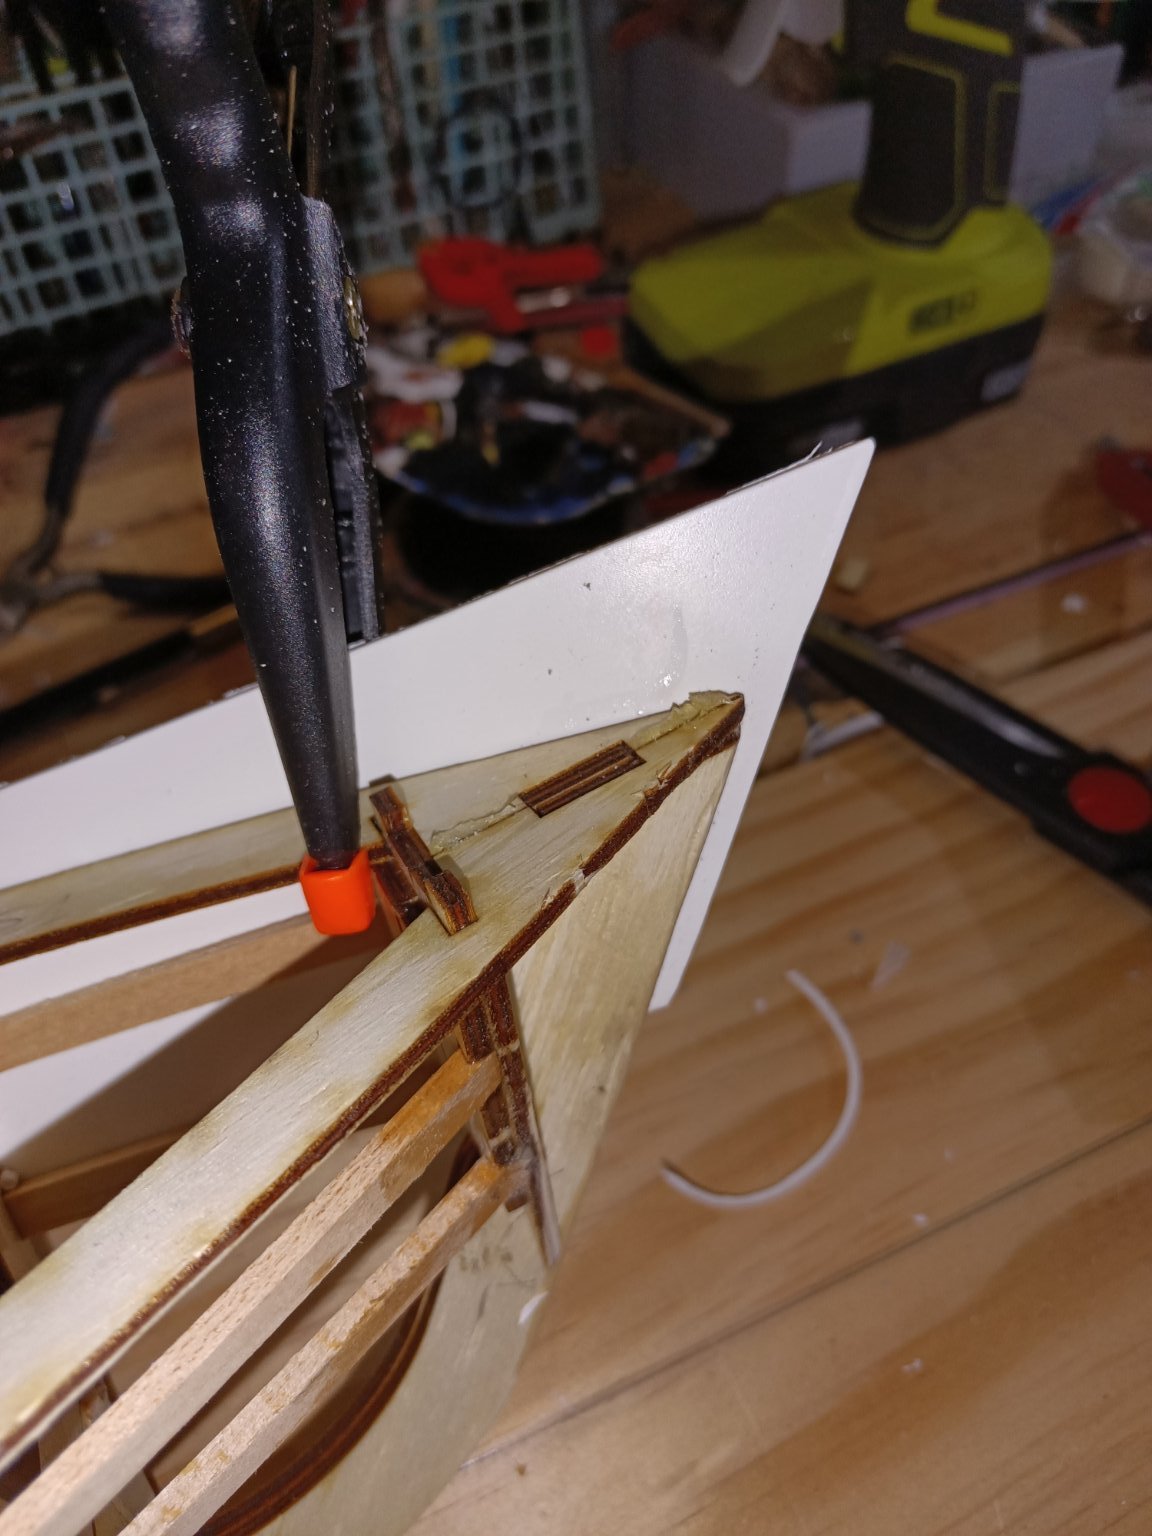
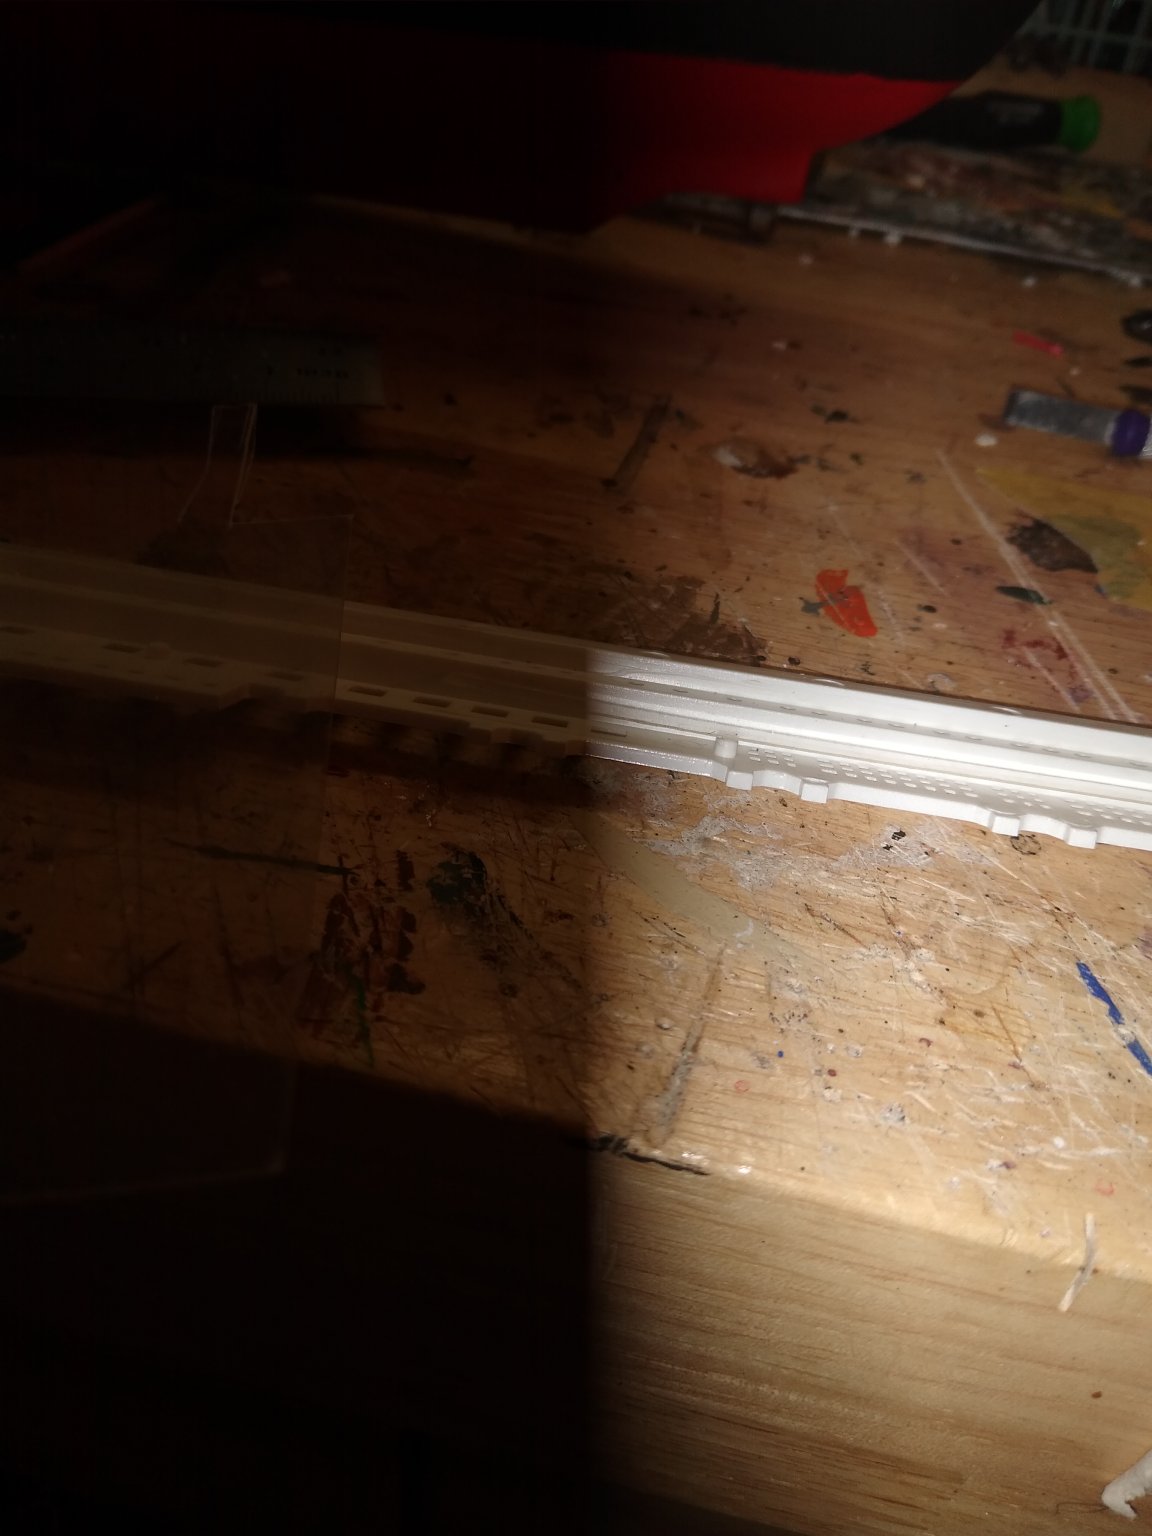
The final bow rail pieces were fitted. There is a jig provided in the kit to true these up relative to the deck. Since both pieces extend beyond the stem I decided to simply bend the plastic back and use it as a clamping point. The worked well. They boat well in the stern went in fairly easy but your need to do a bunch of angle tapering to get it to fit. The plans say to sand the pieces flush with the frames. I highly encourage you to do this prior to glueing them in.


-
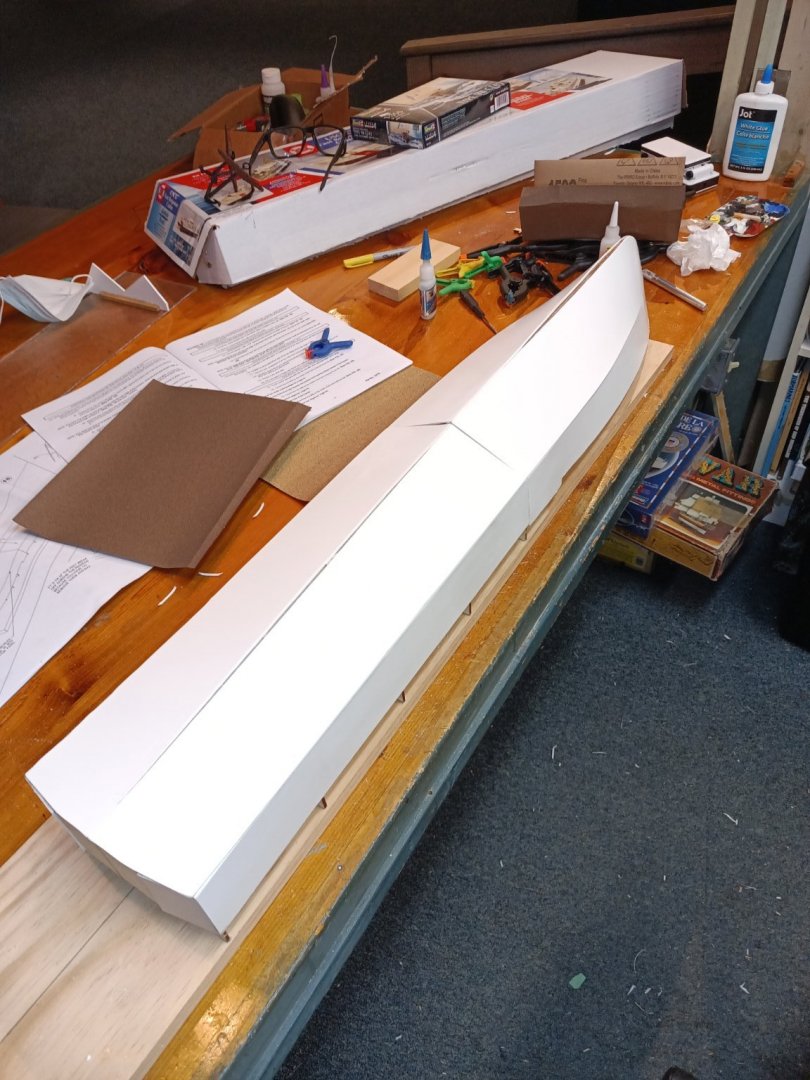
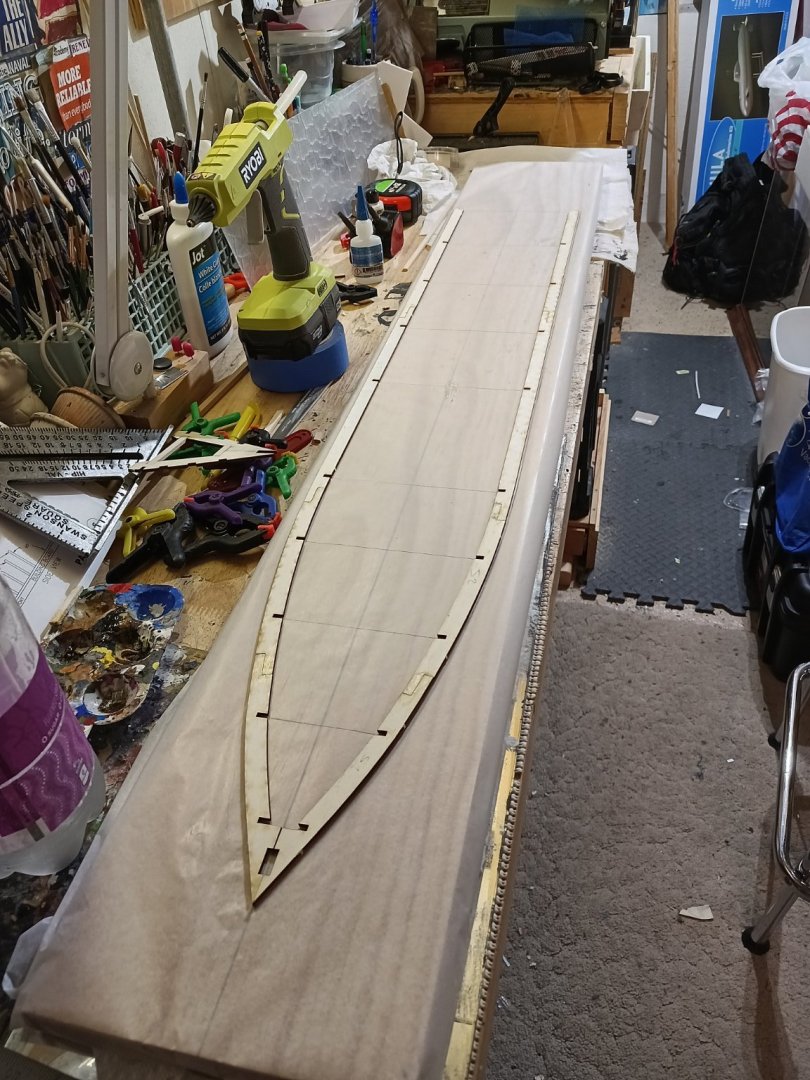
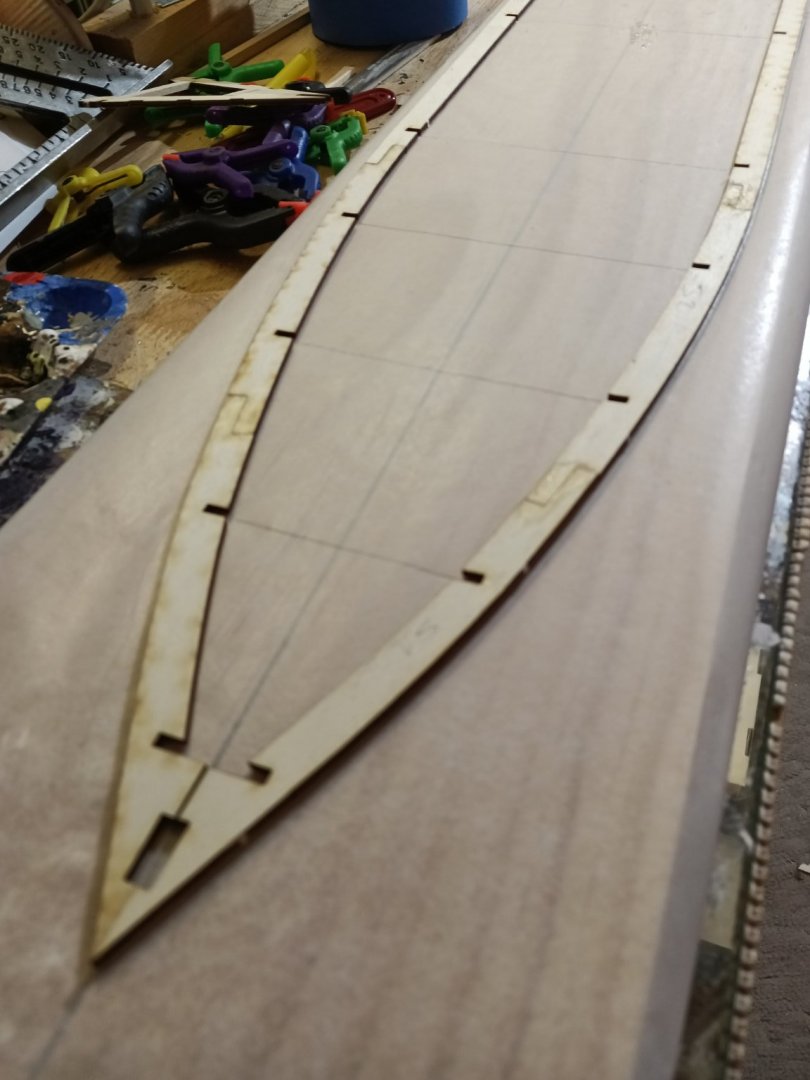
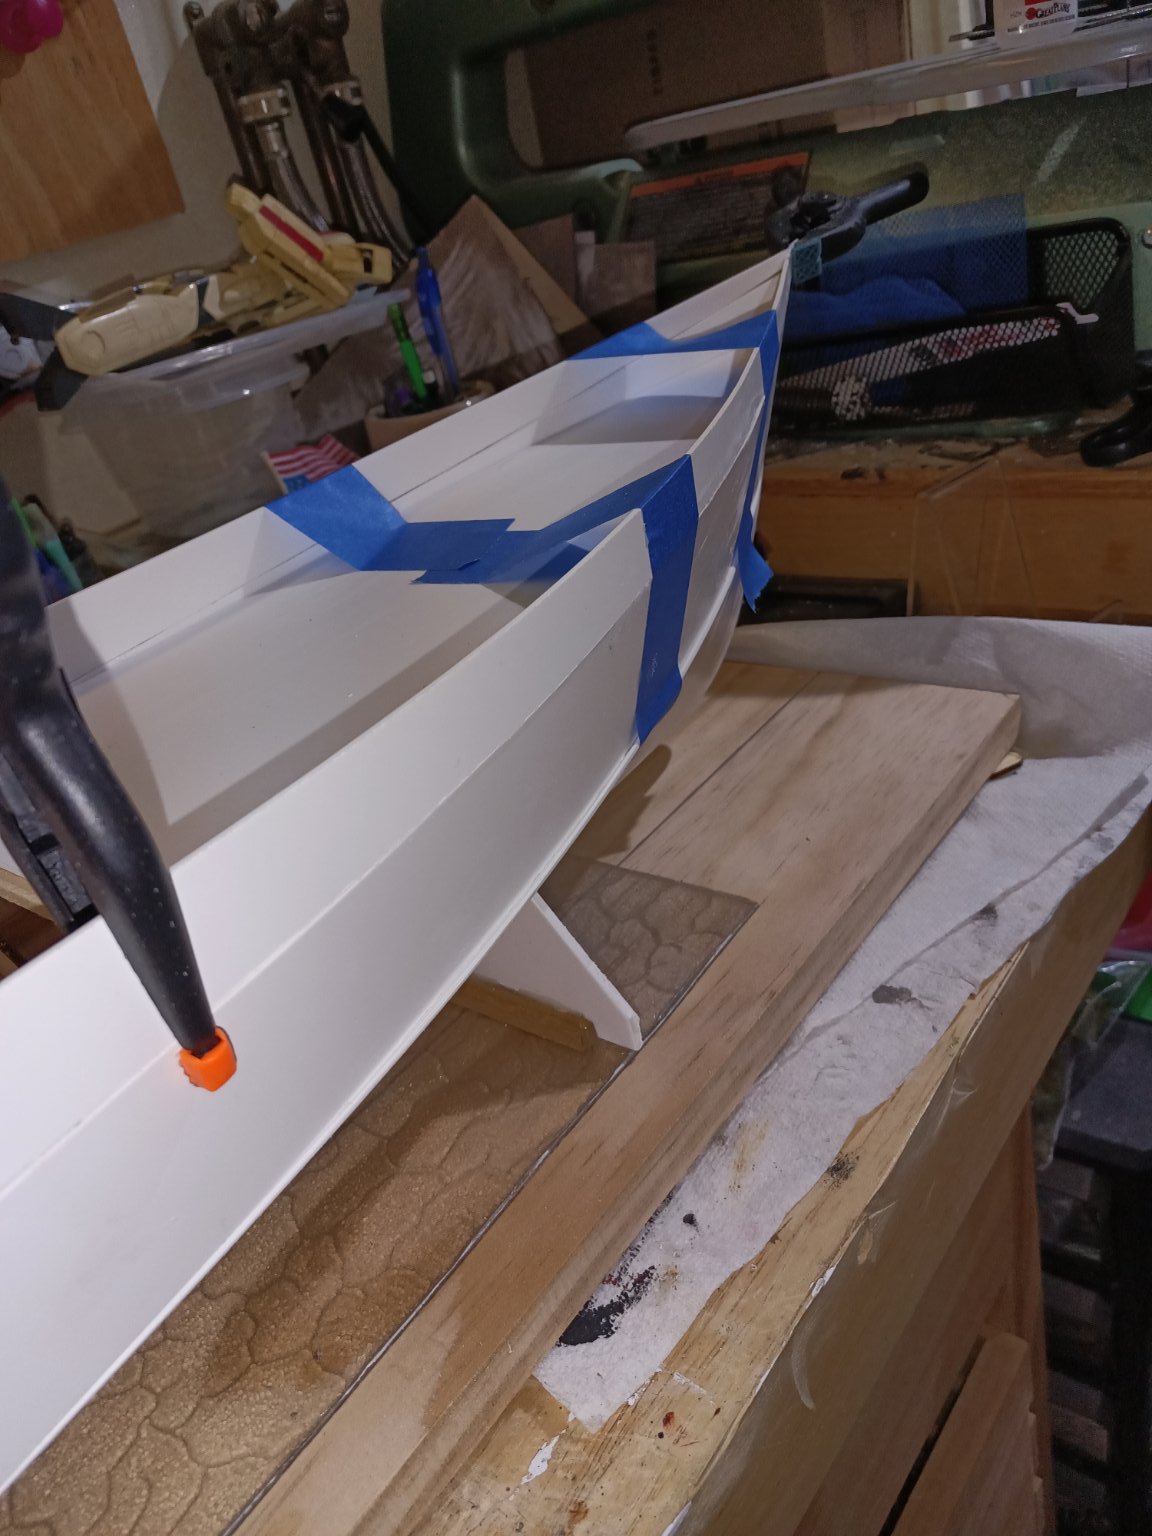
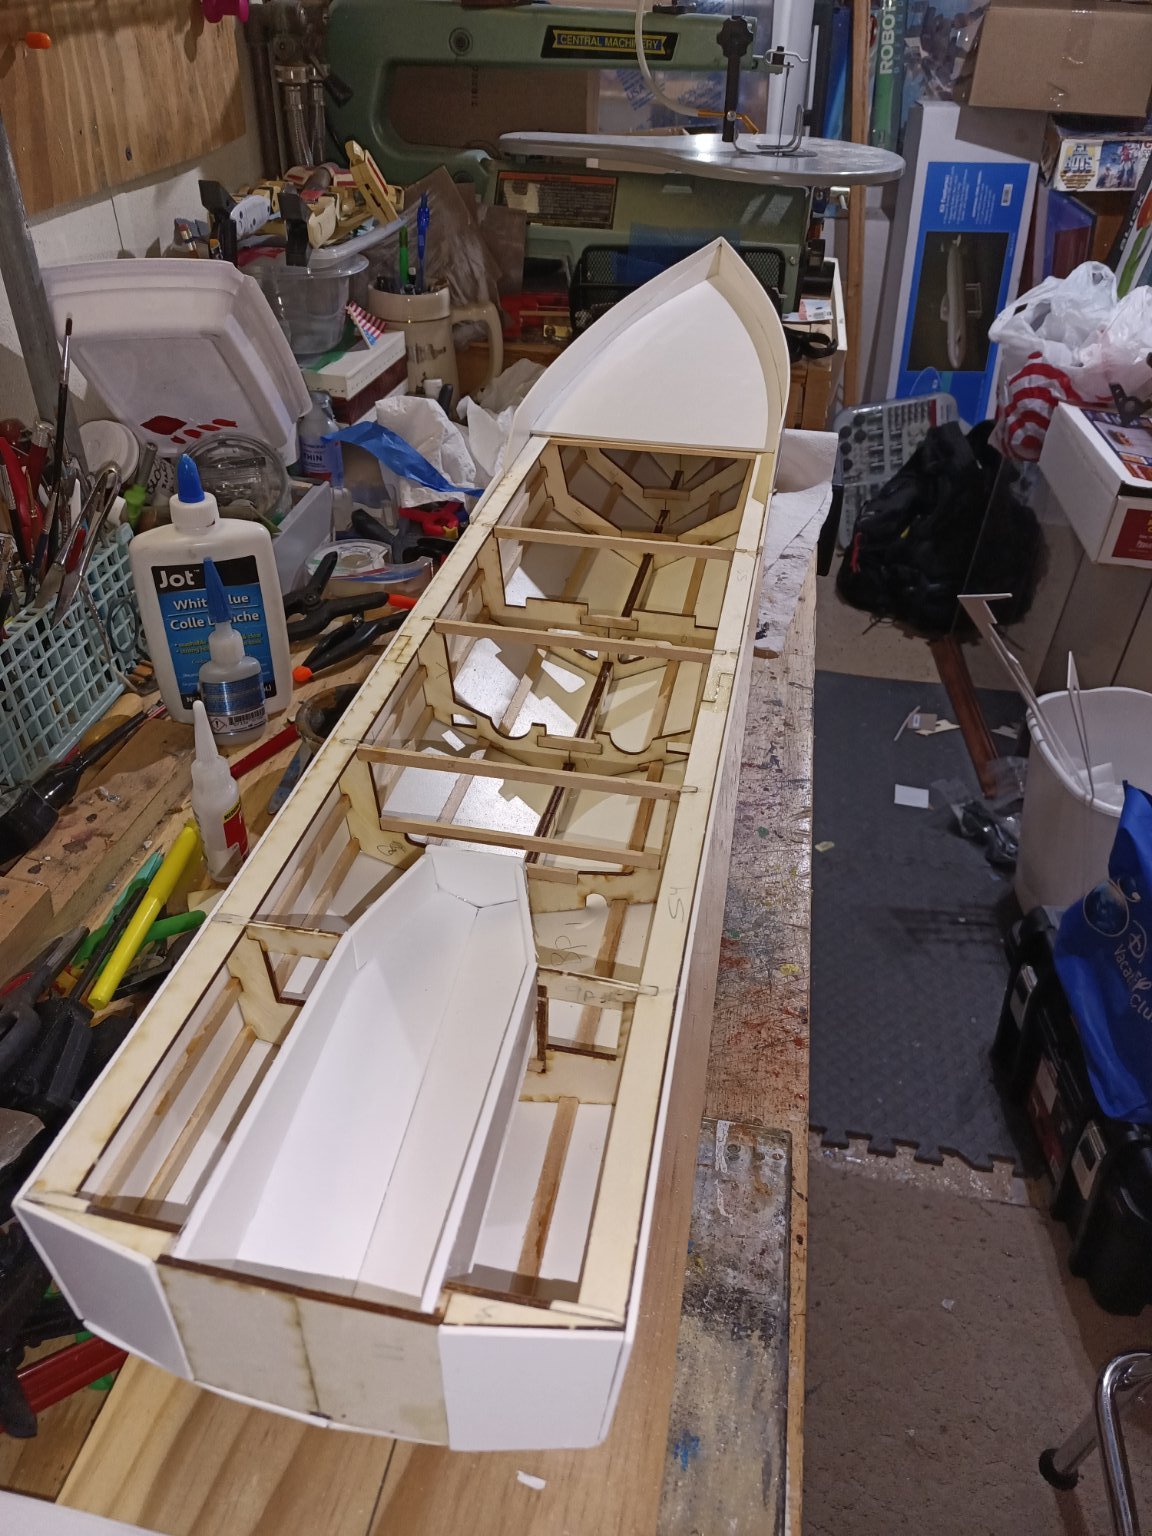
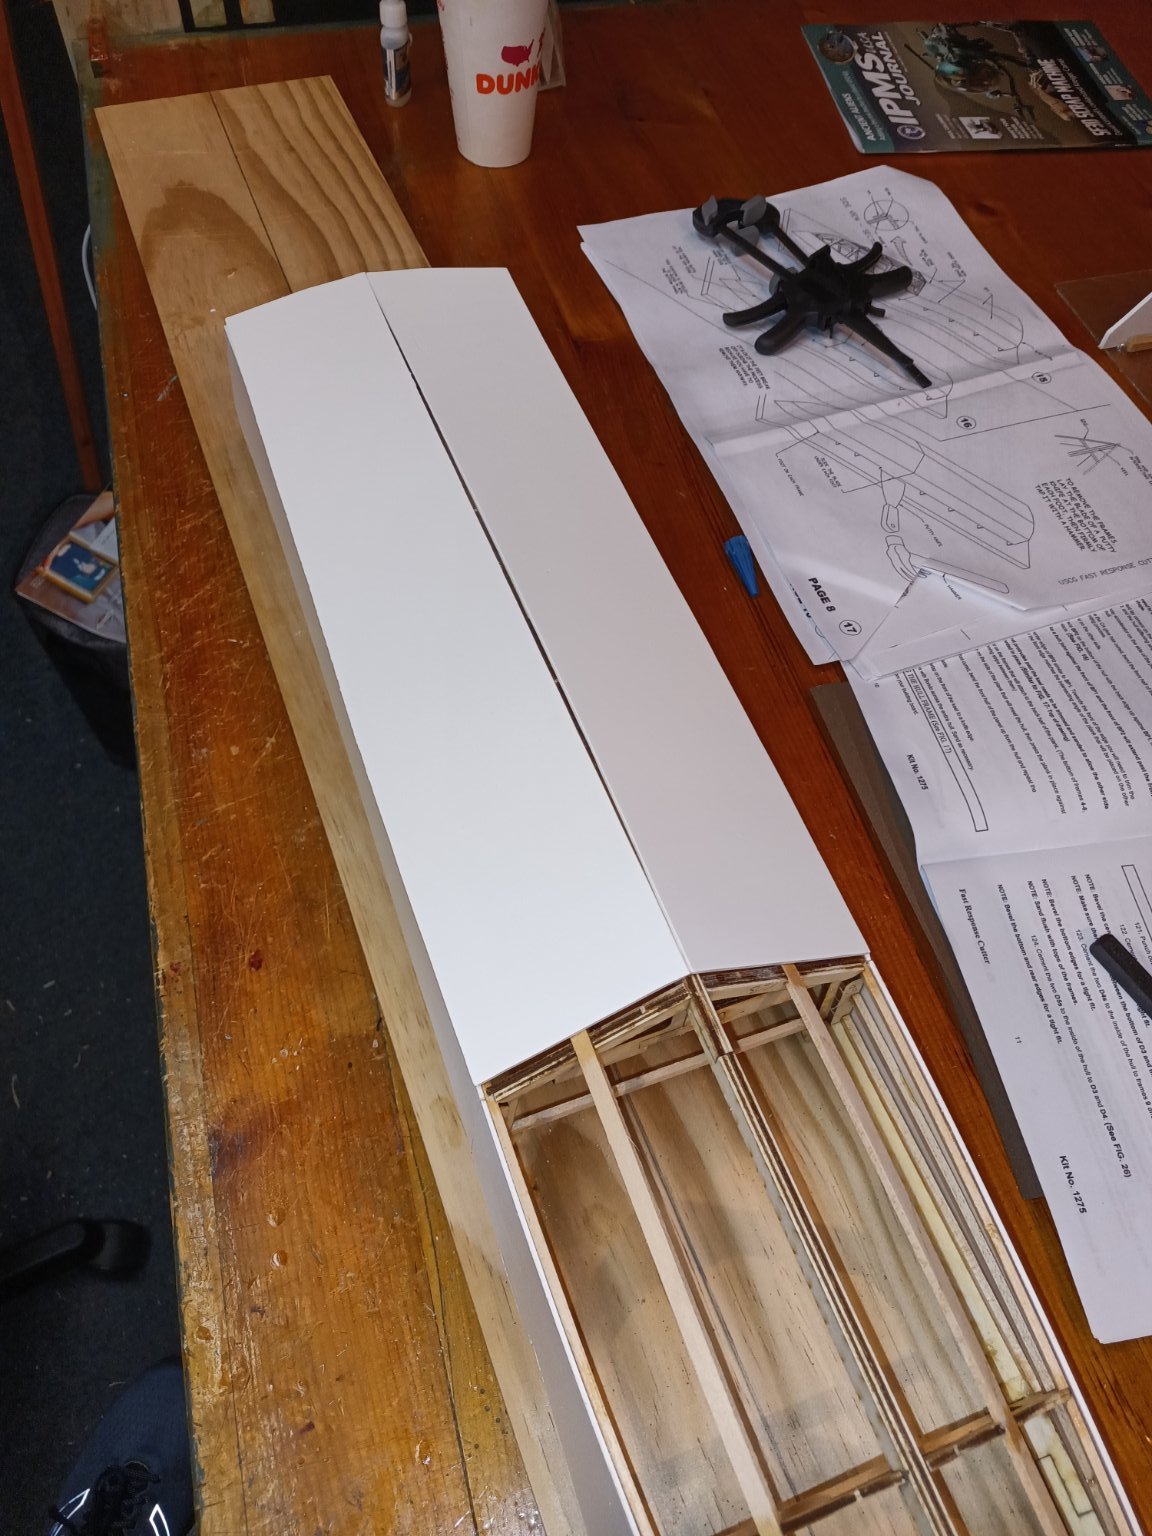
Hull sheeting complete today. I will need to use some filler despite a nice fit up.


- BobG, GrandpaPhil, Canute and 5 others
-
 8
8
-
-
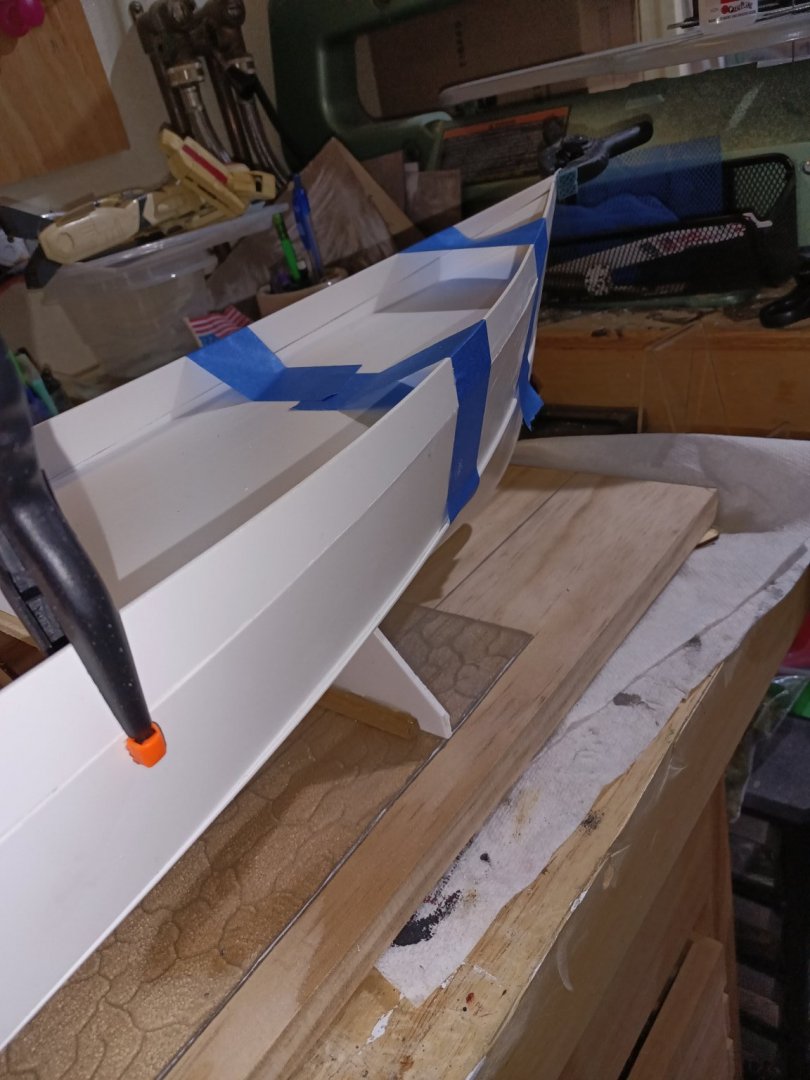
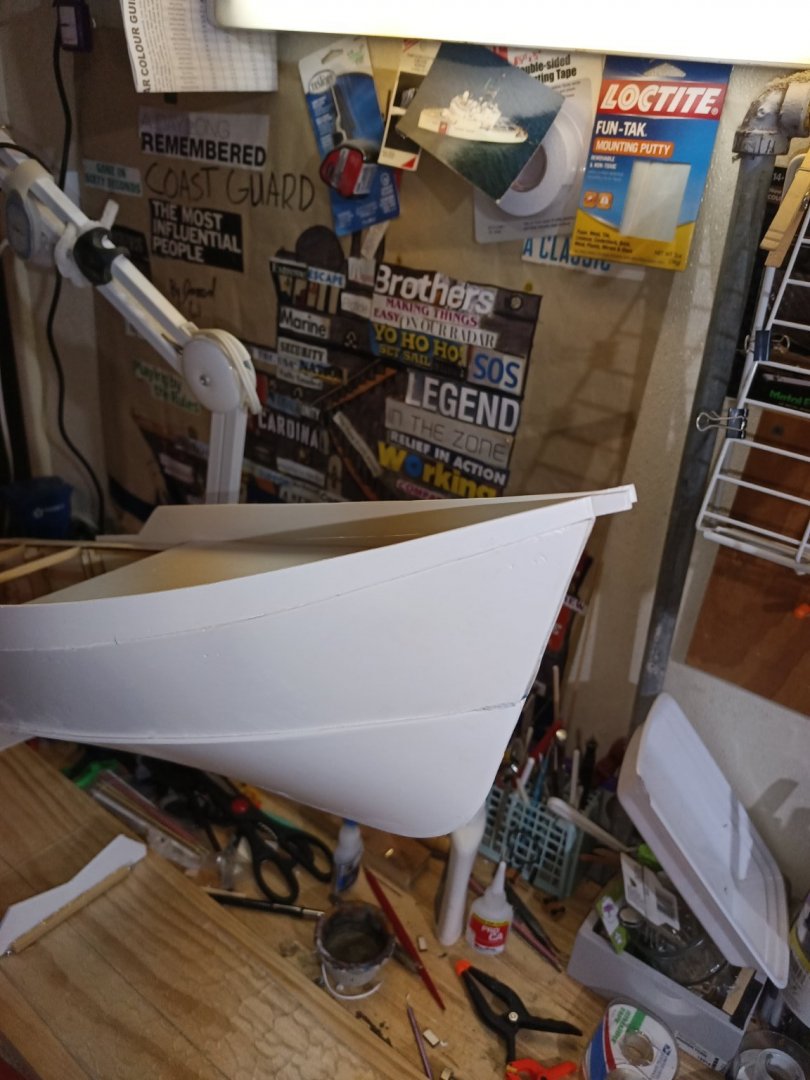
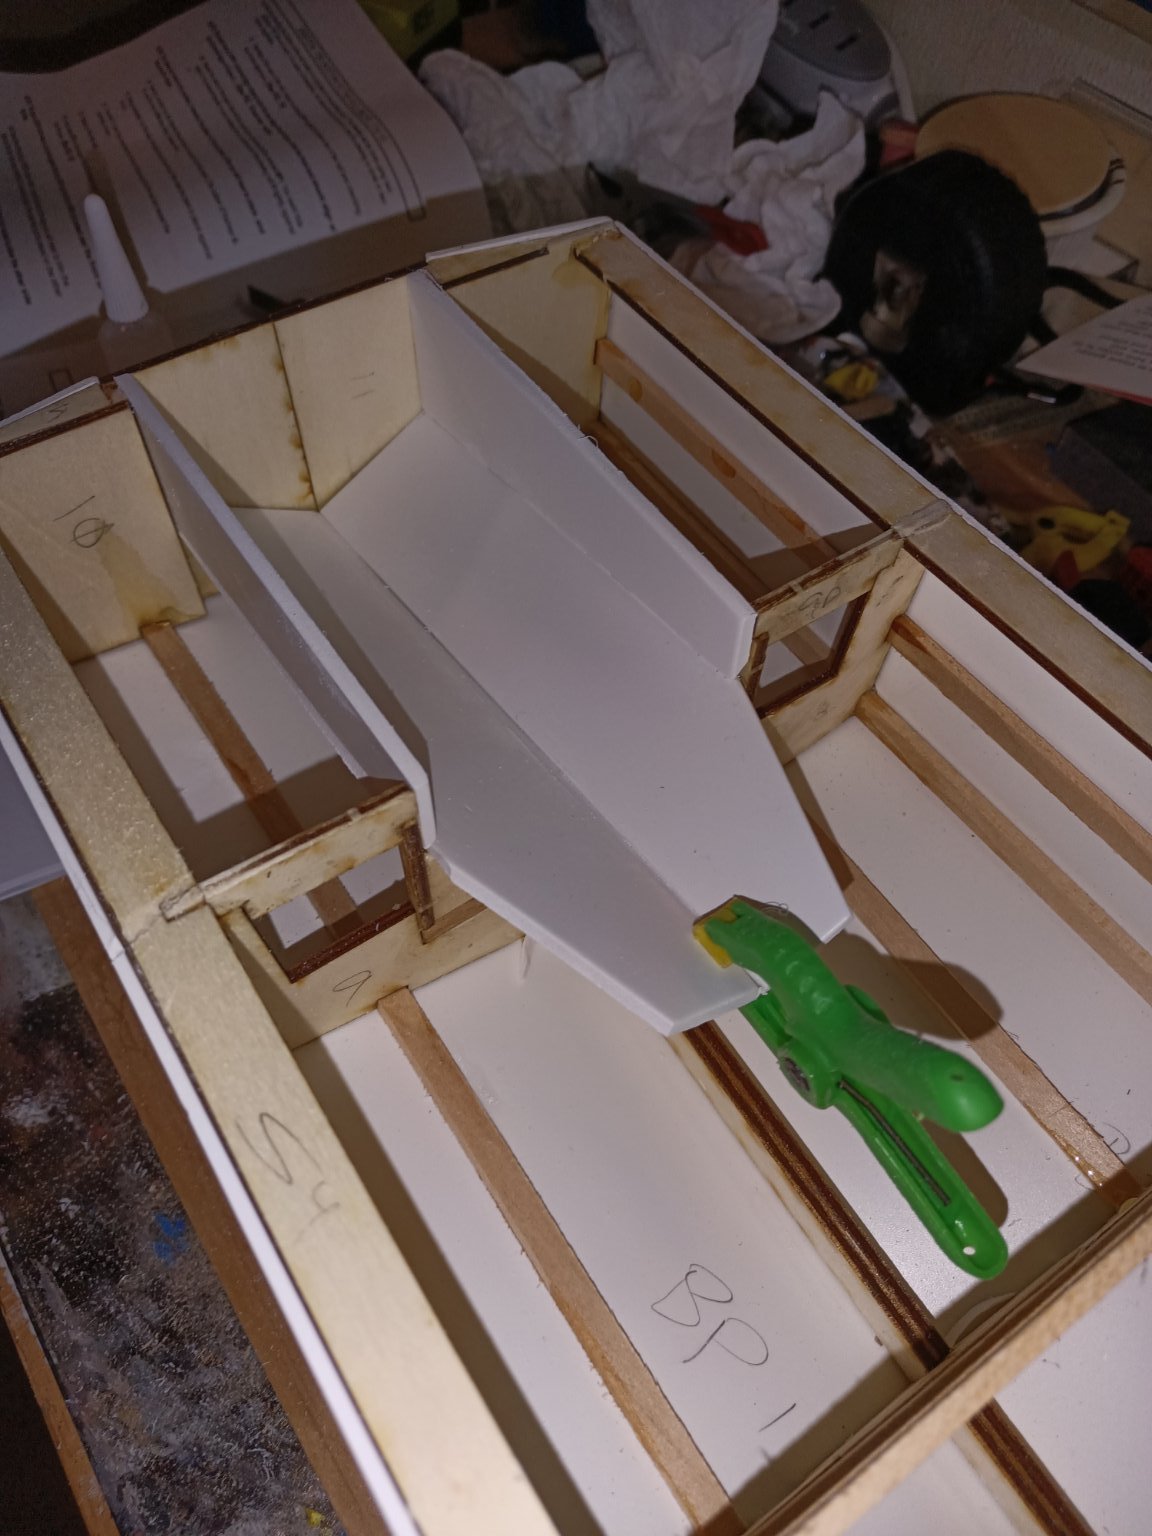
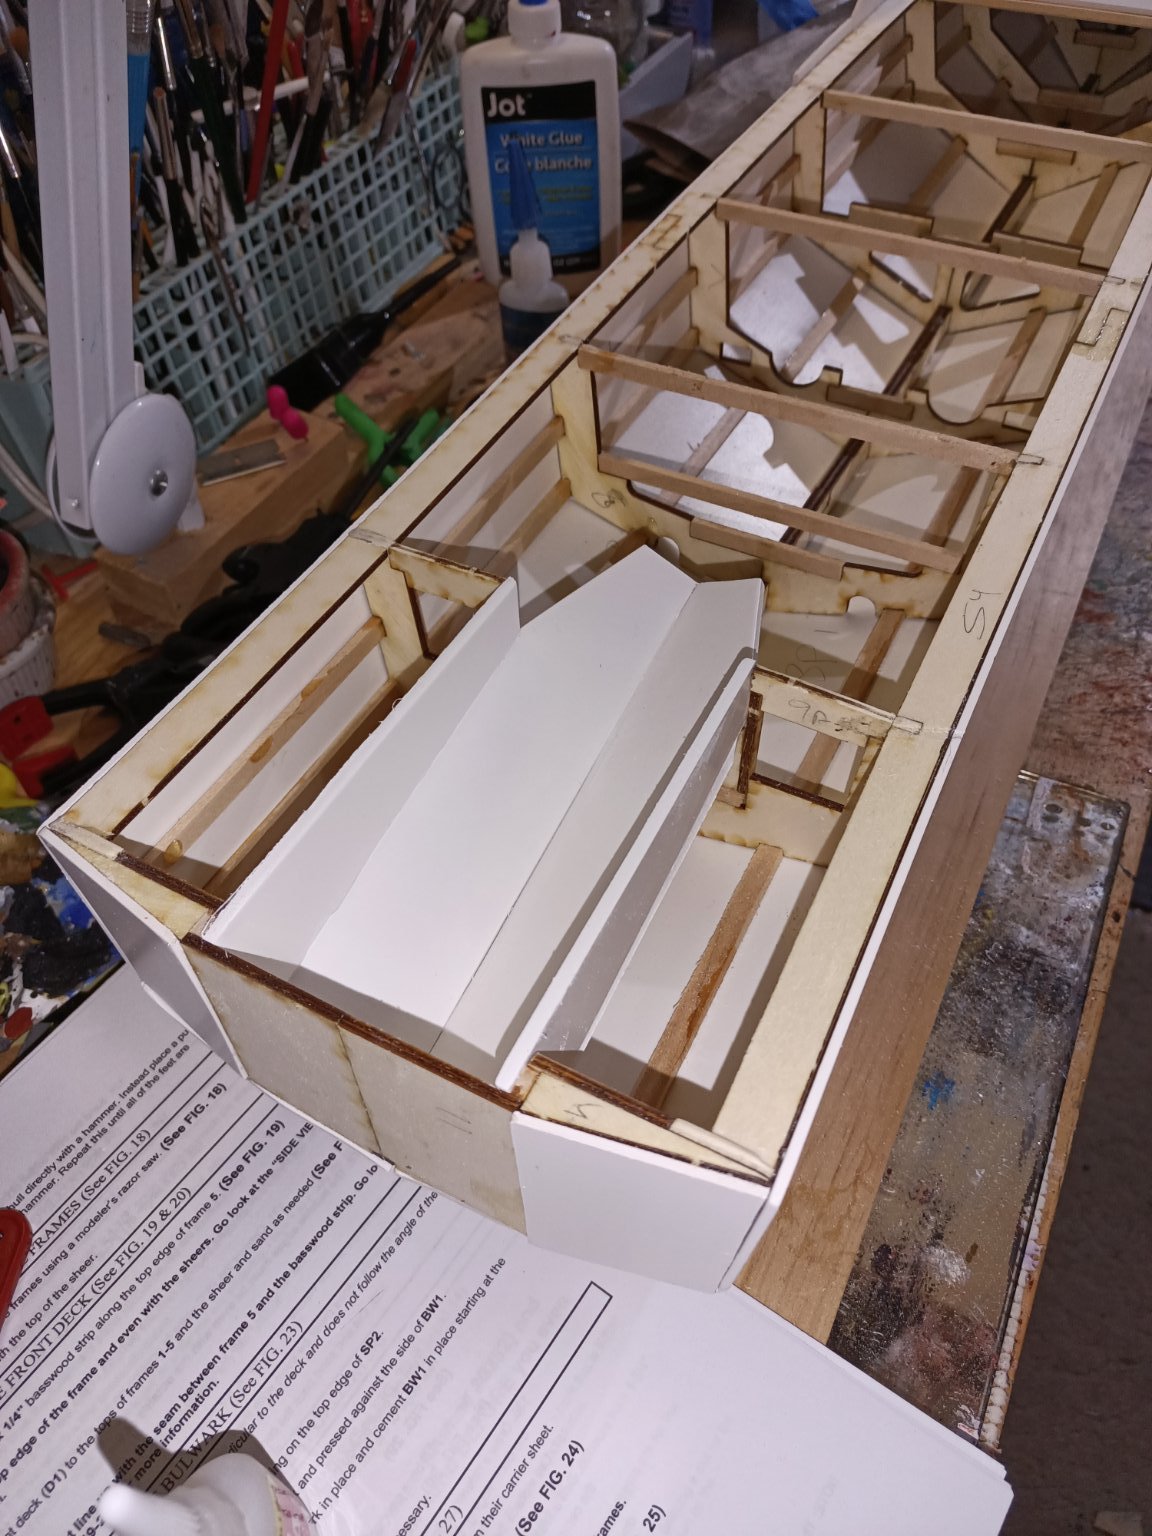
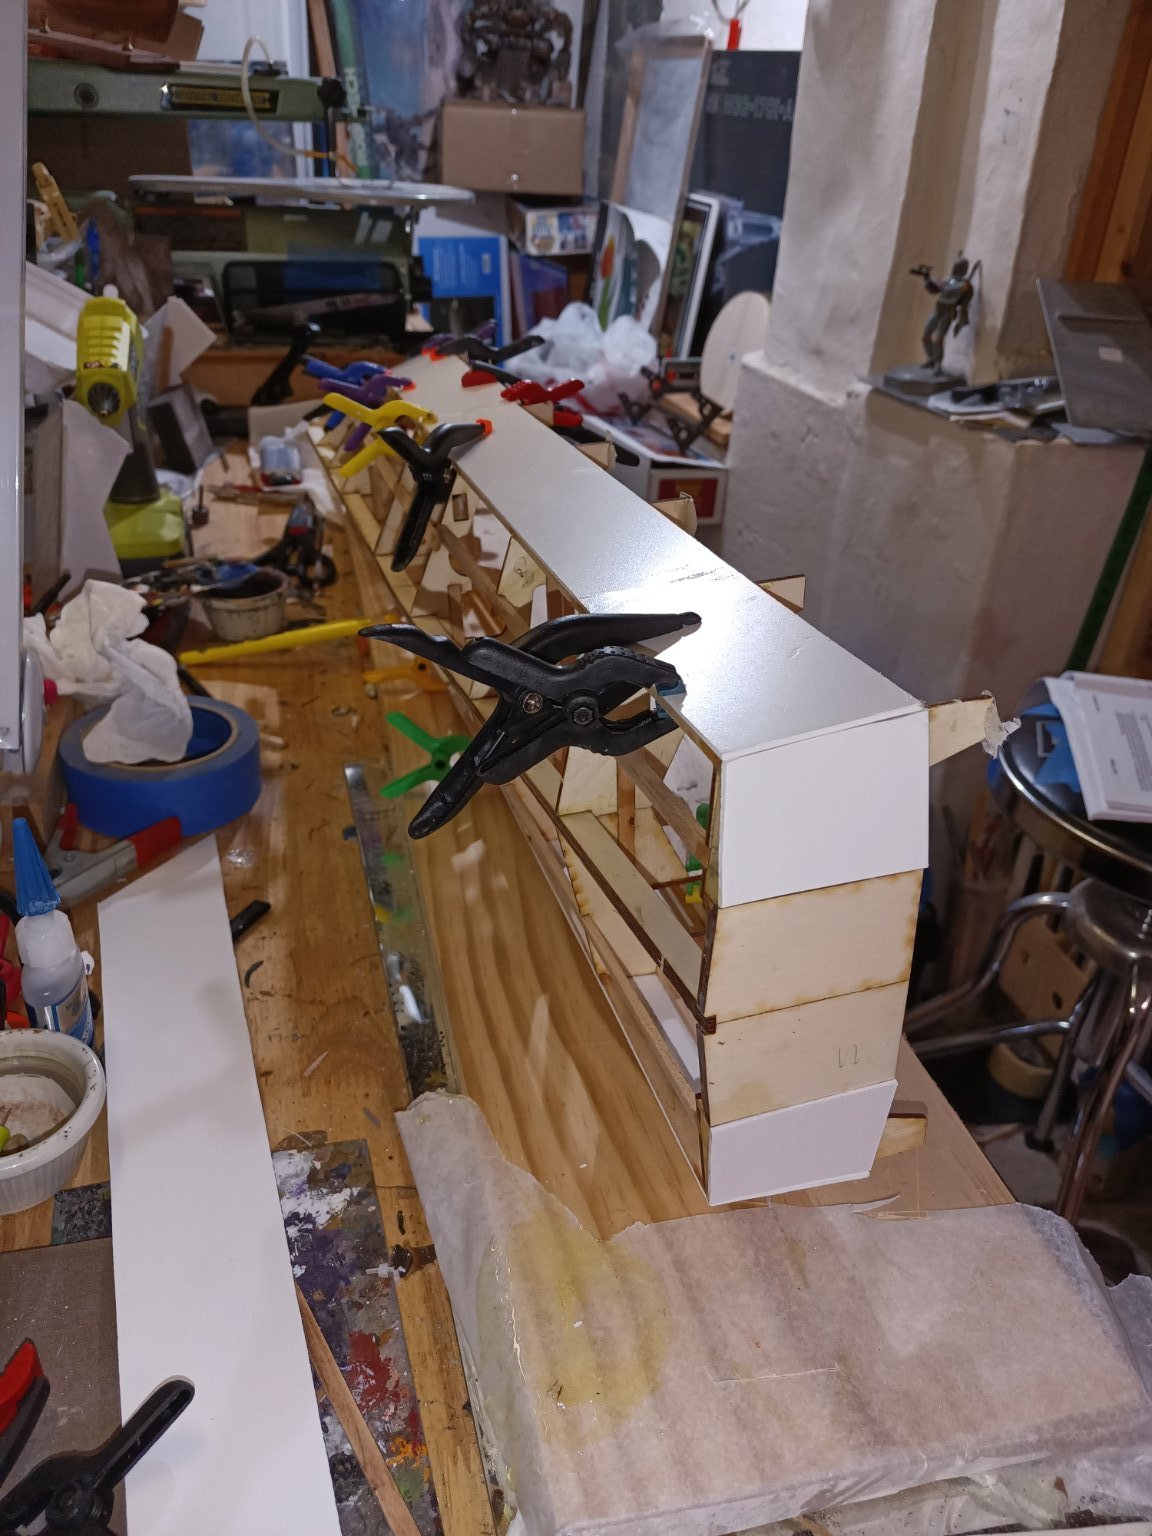
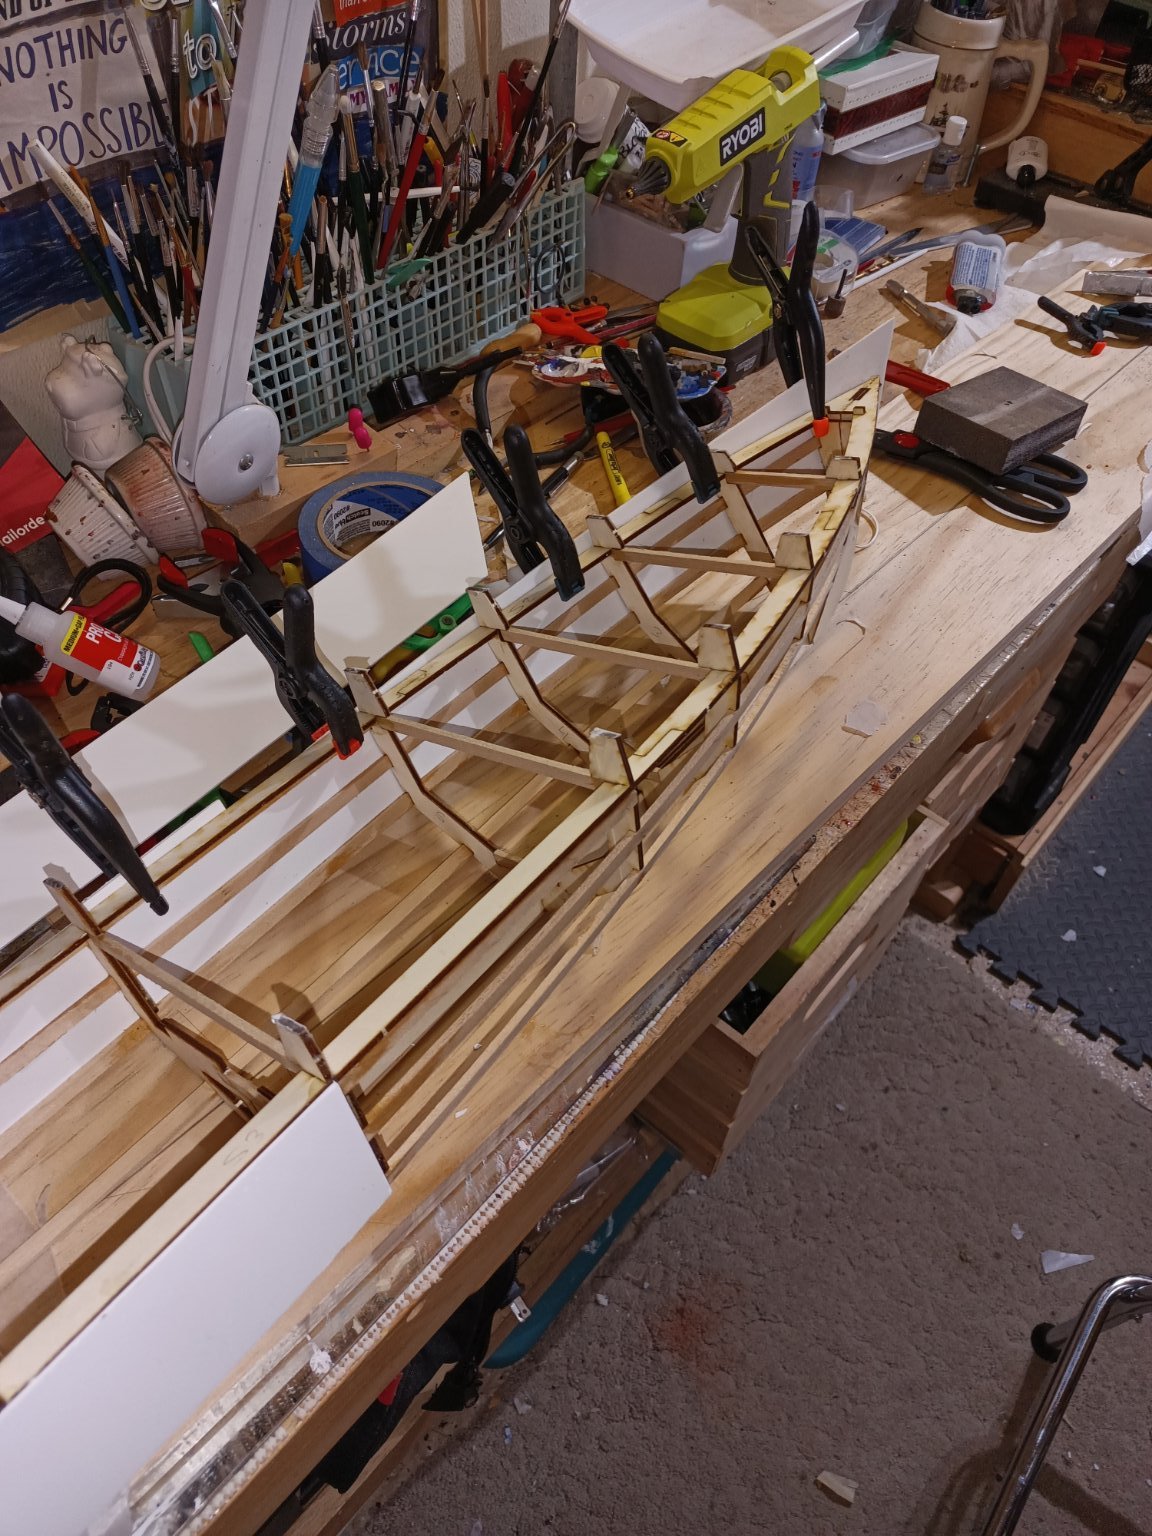
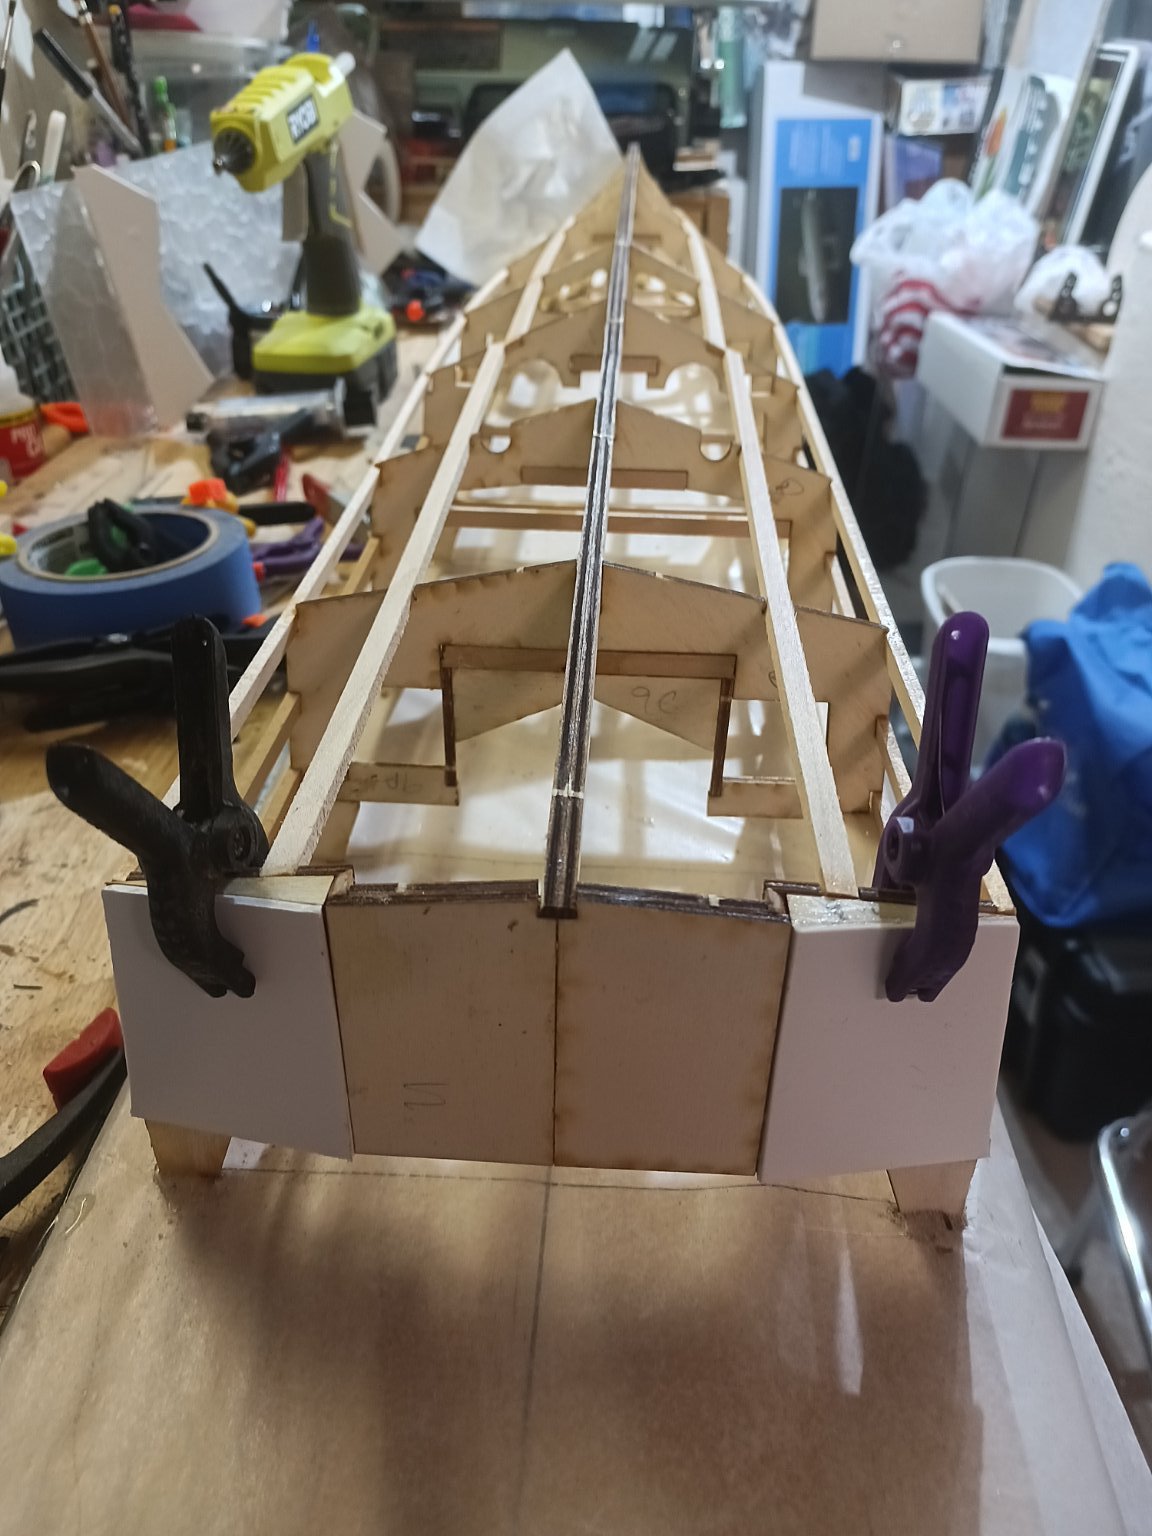
Rear transom pieces attached.


-
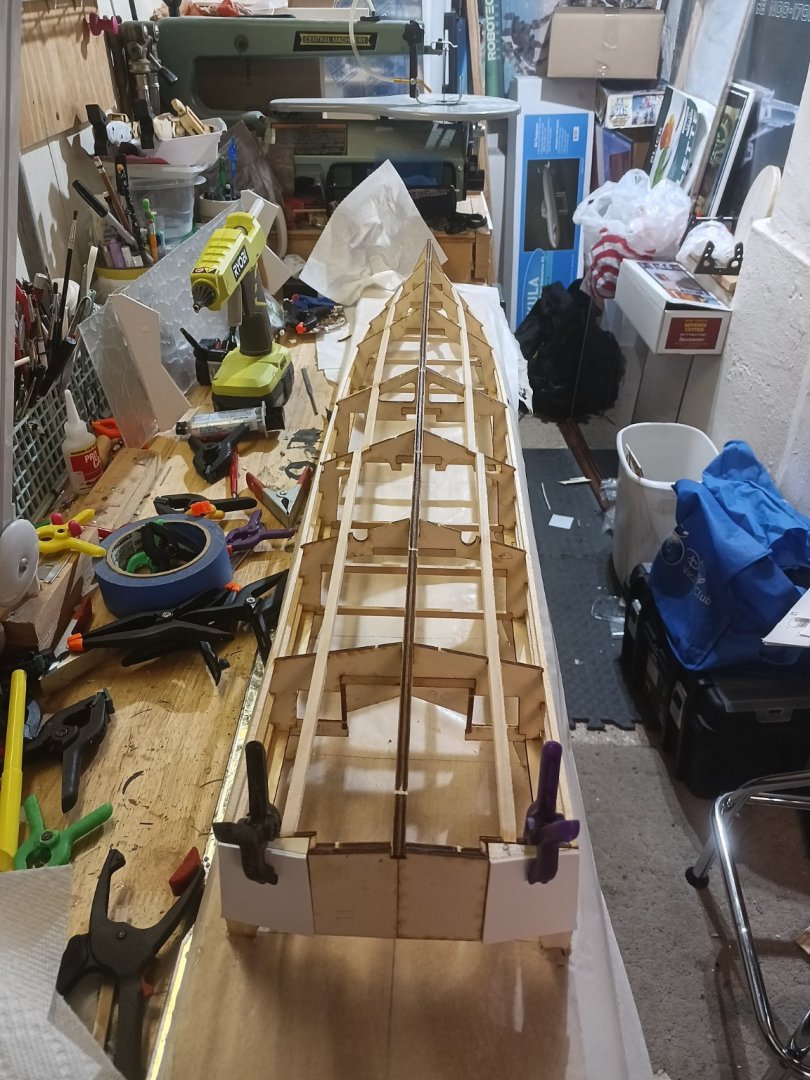
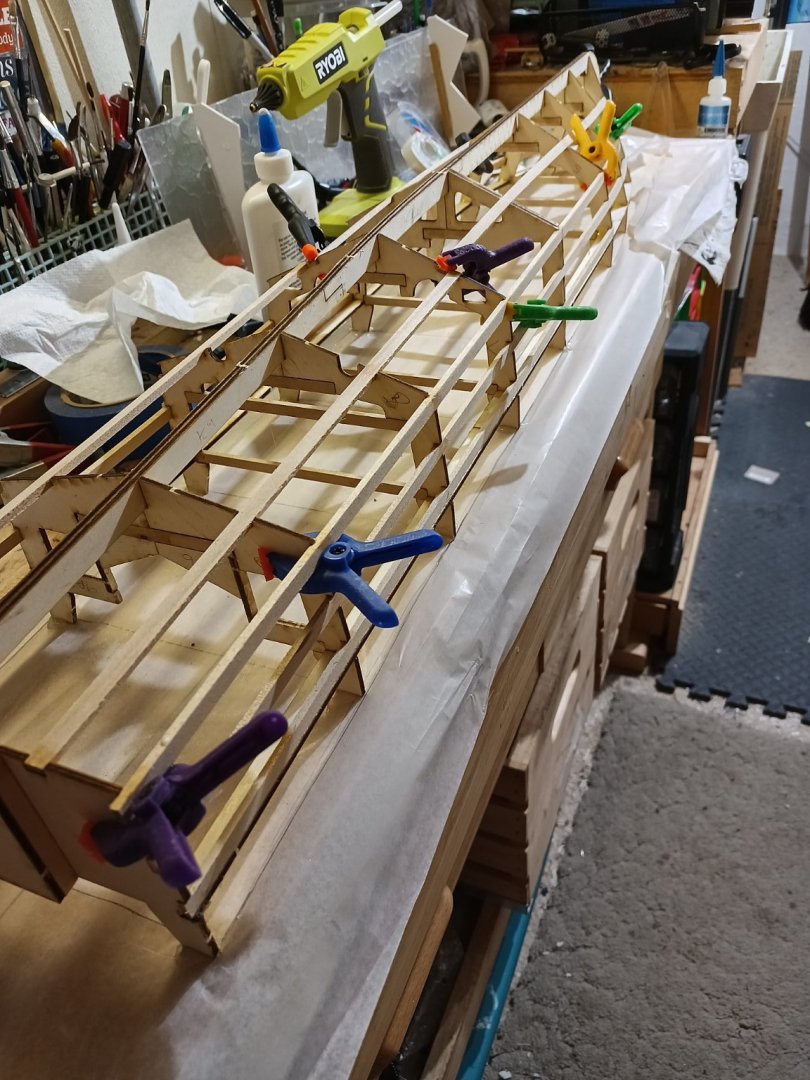
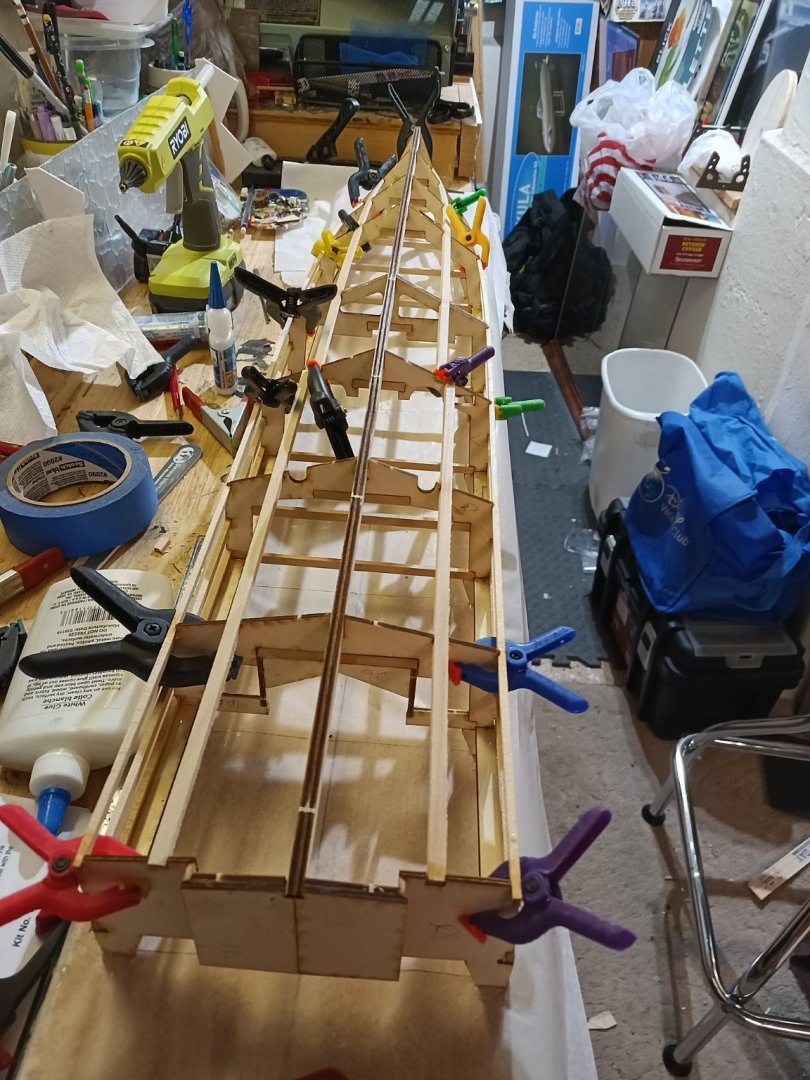
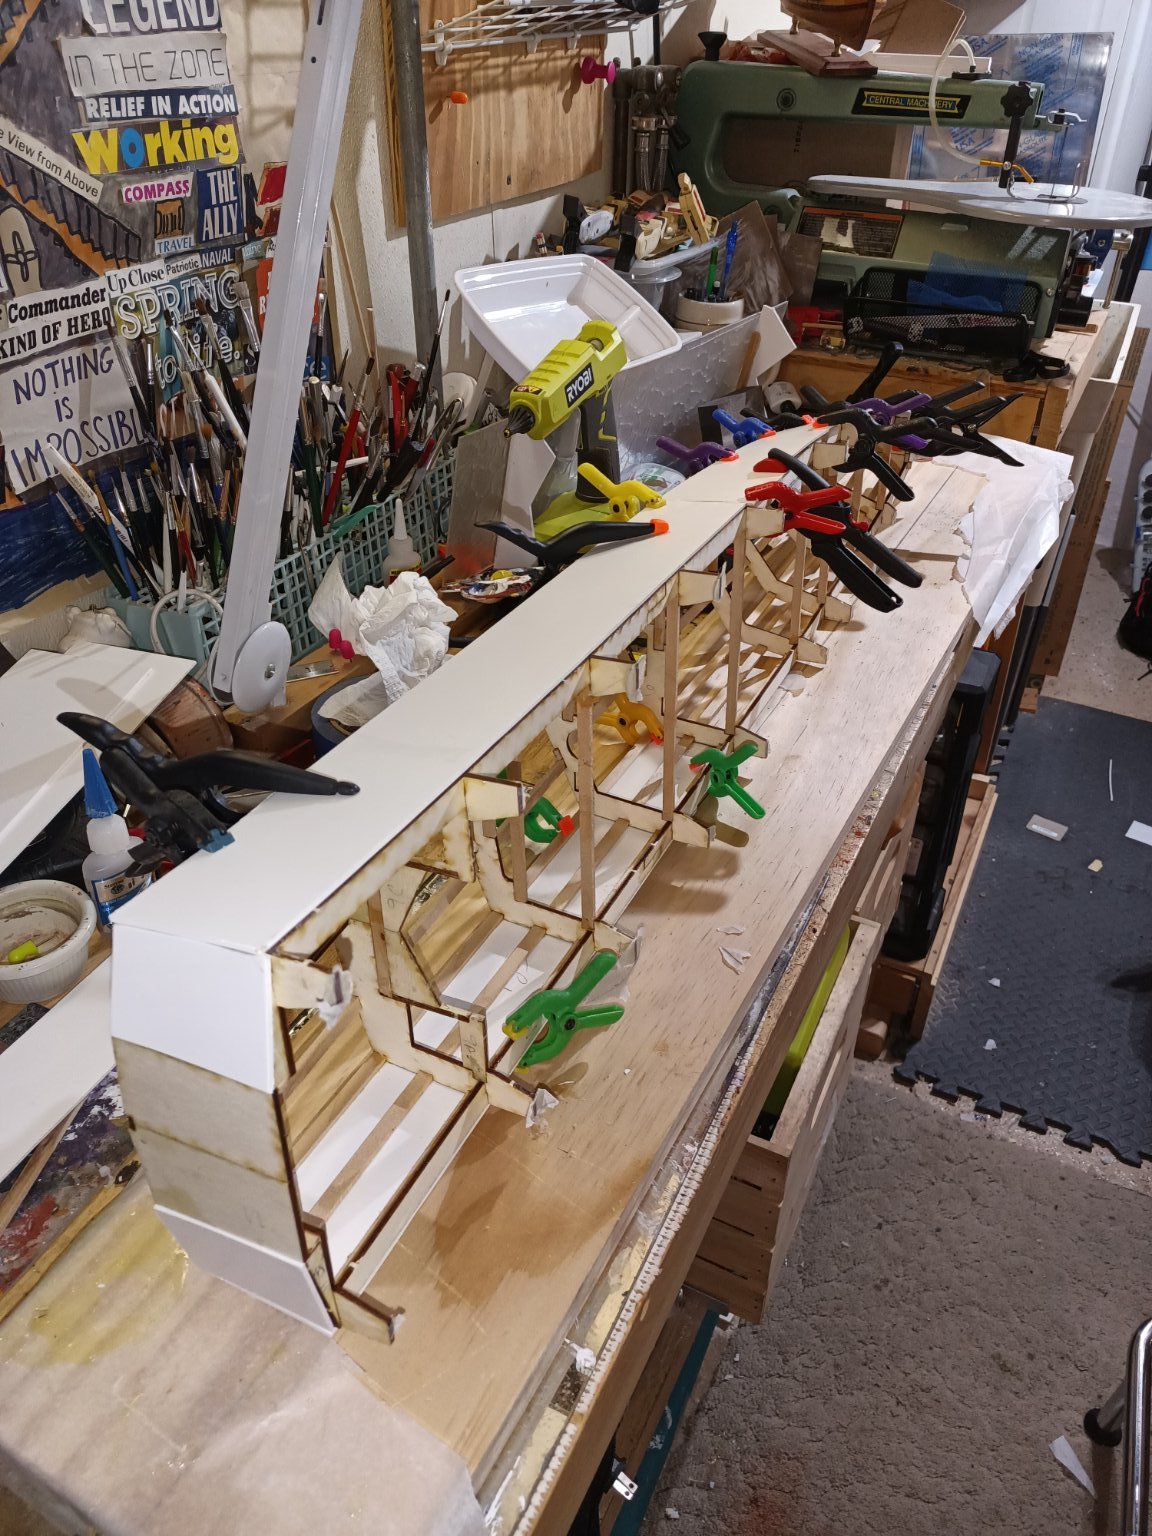
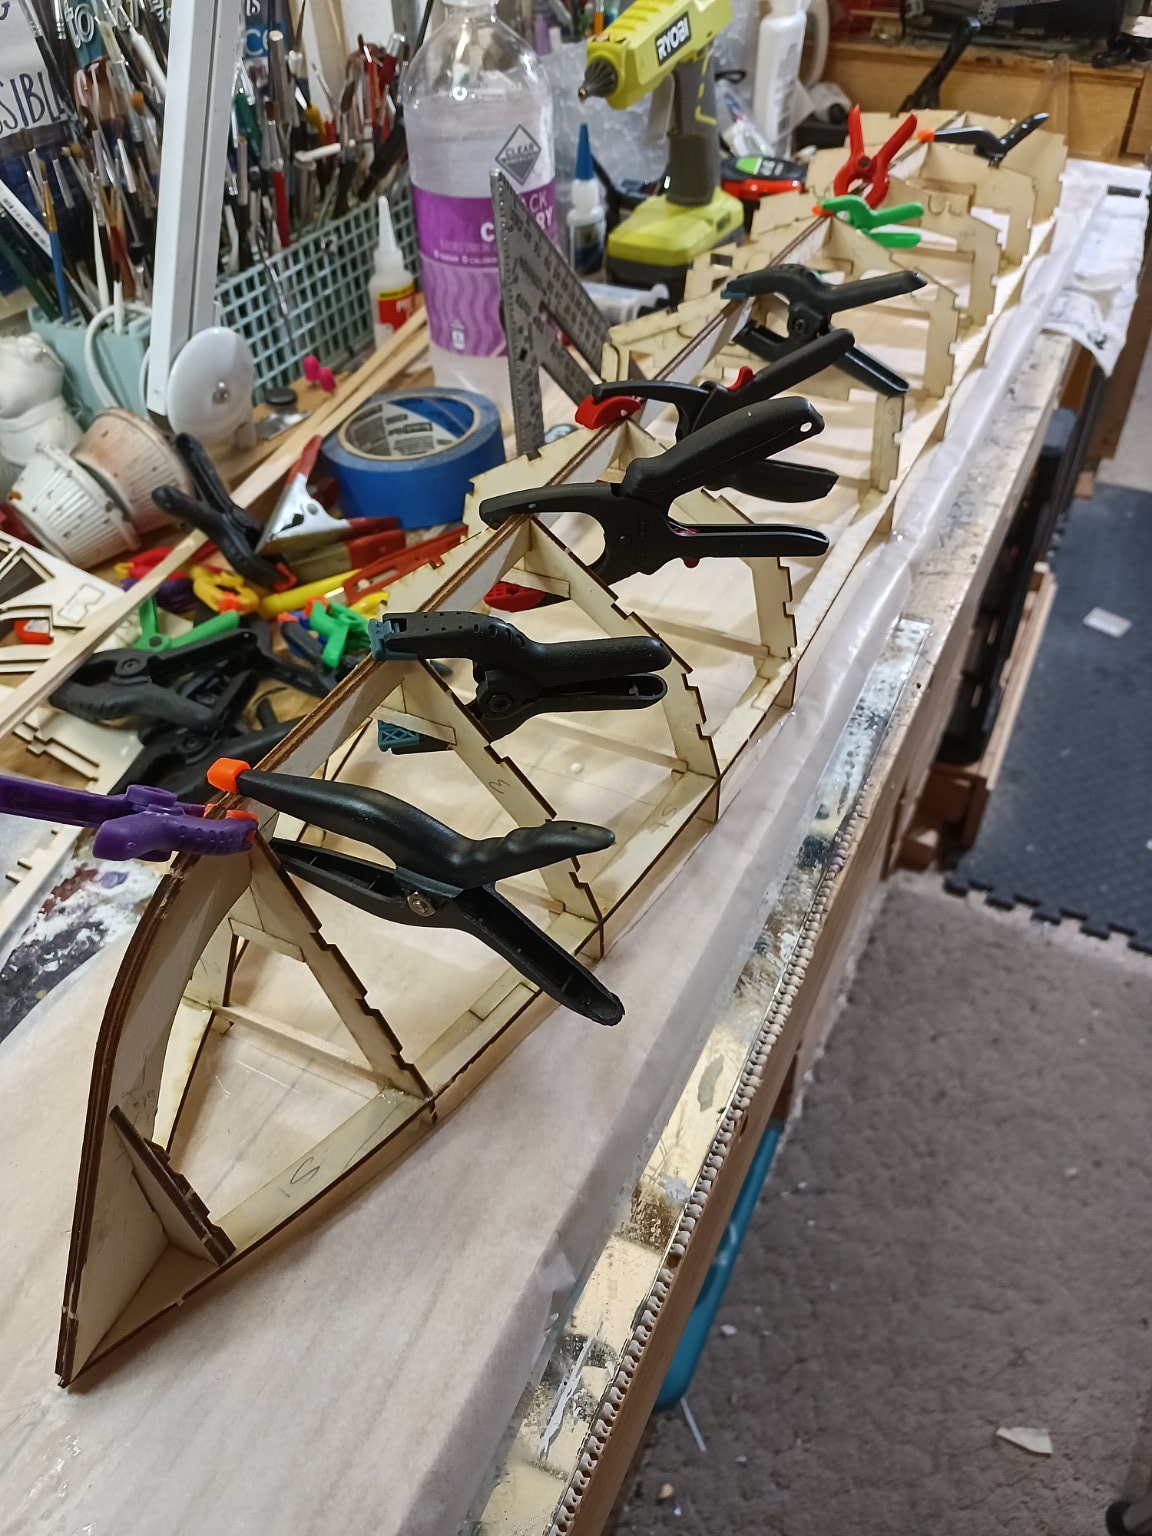
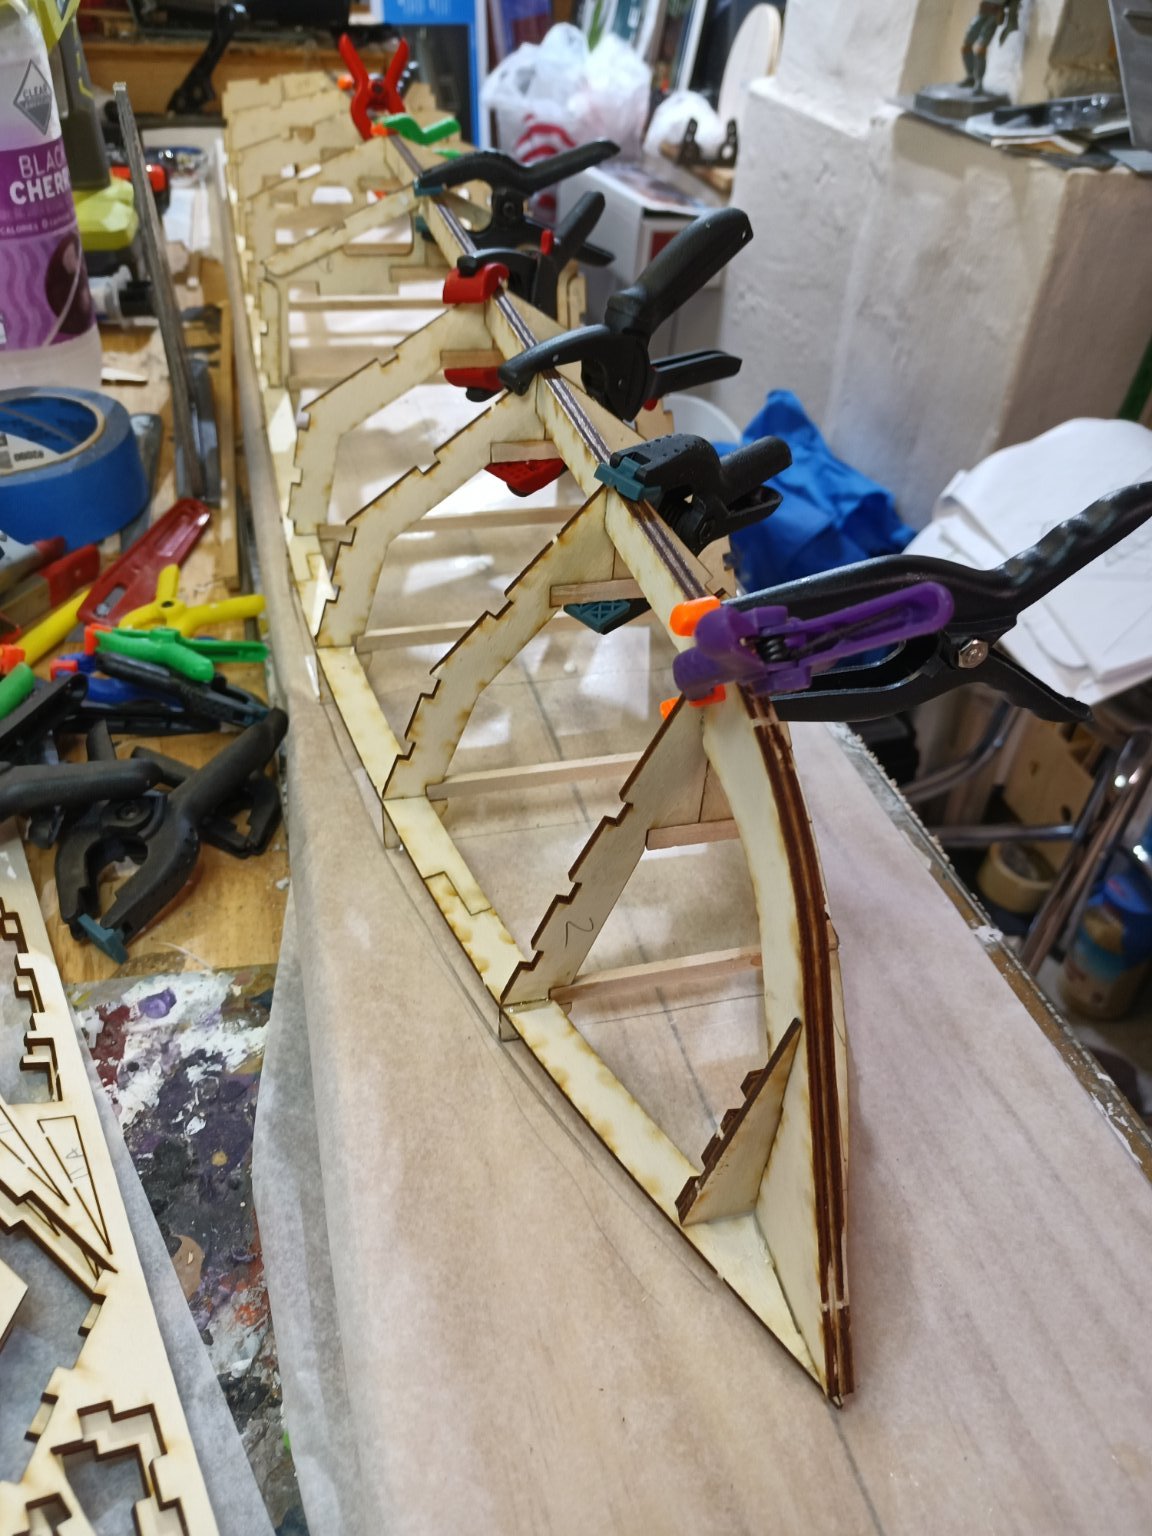
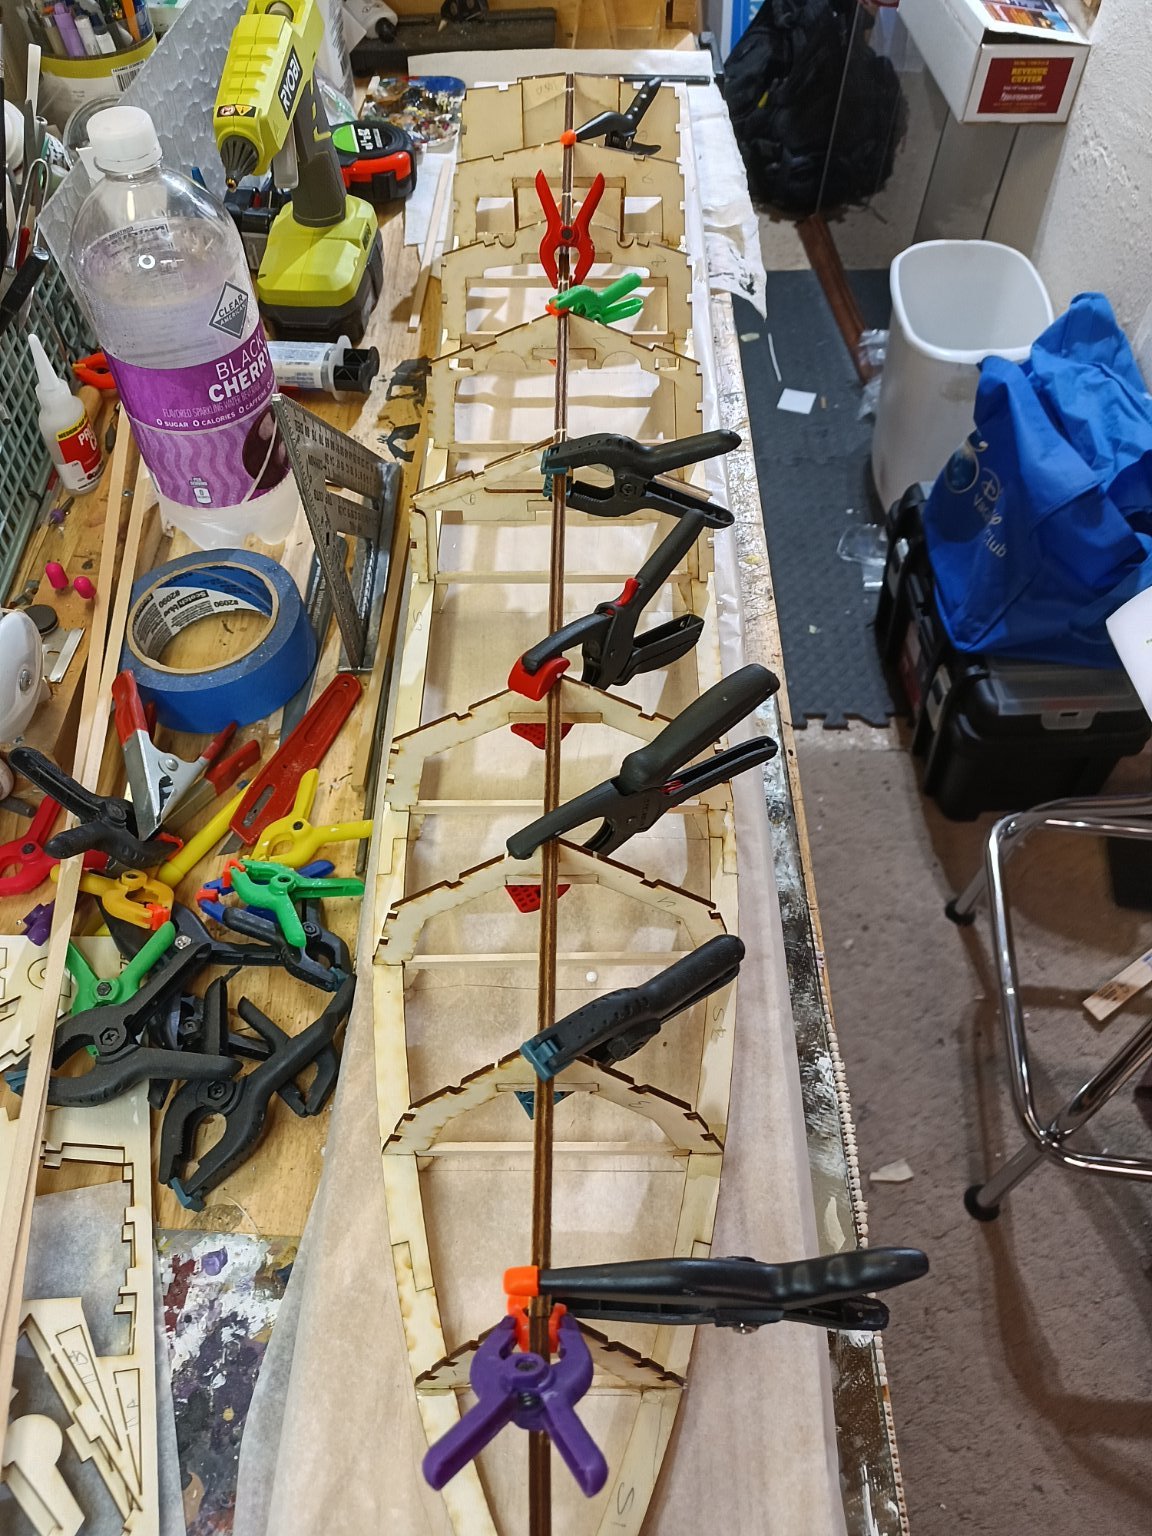
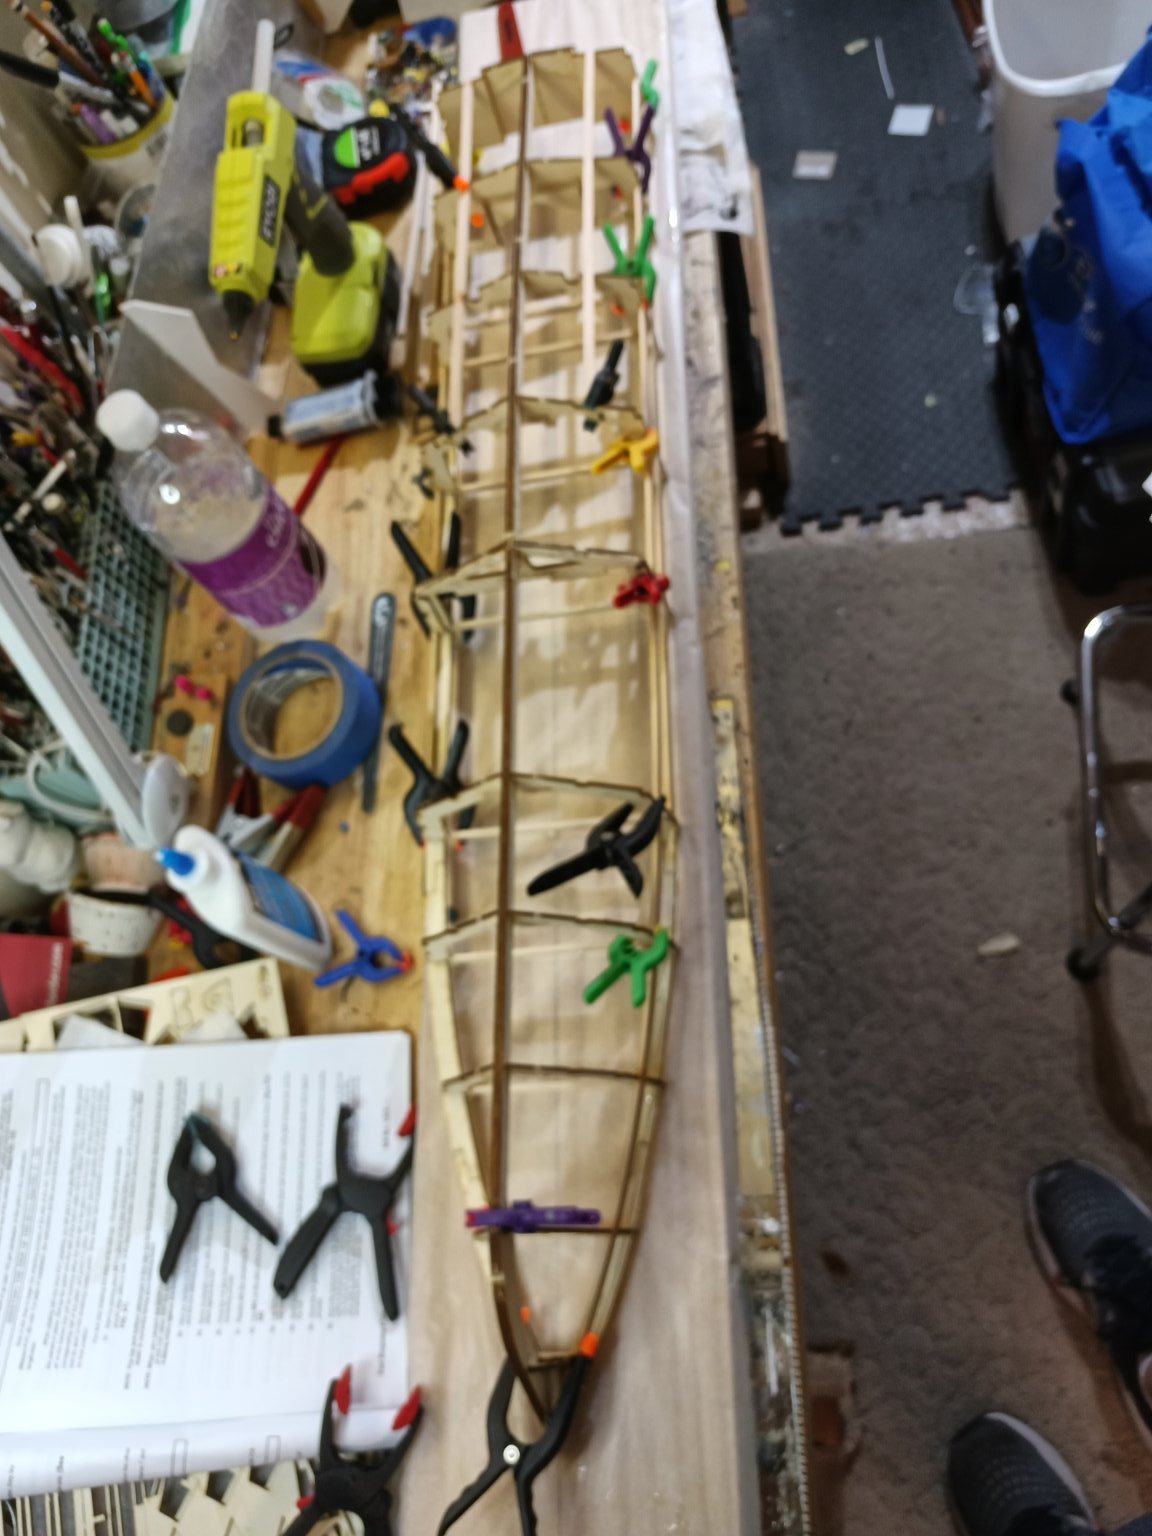
More battens added. Final structure in place. The stern needs sanding as well as the keel at the bow.


- Nautical 1, Jack12477, gieb8688 and 6 others
-
9
-
-
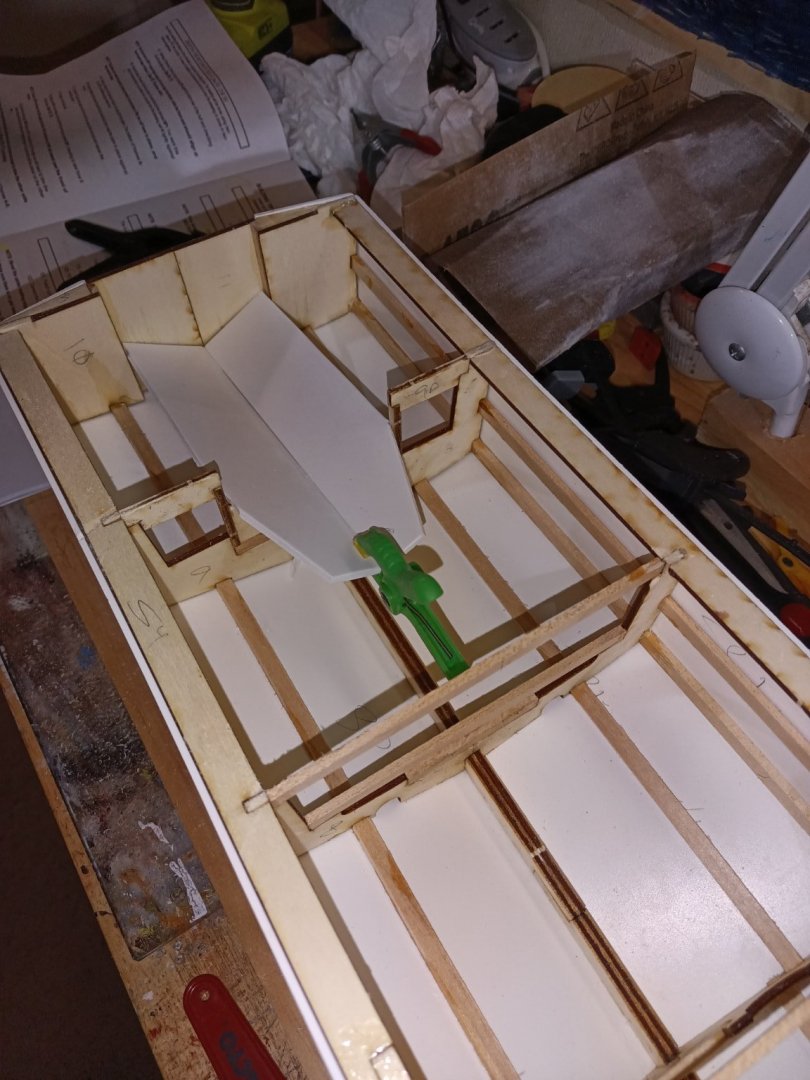
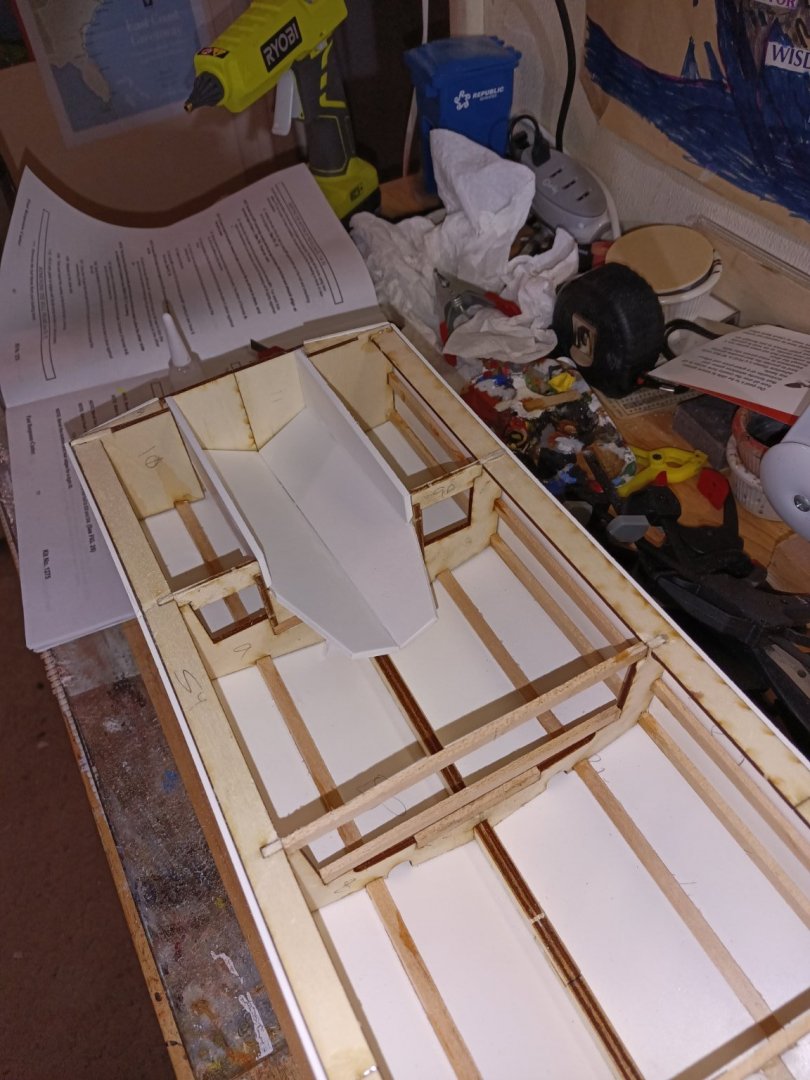
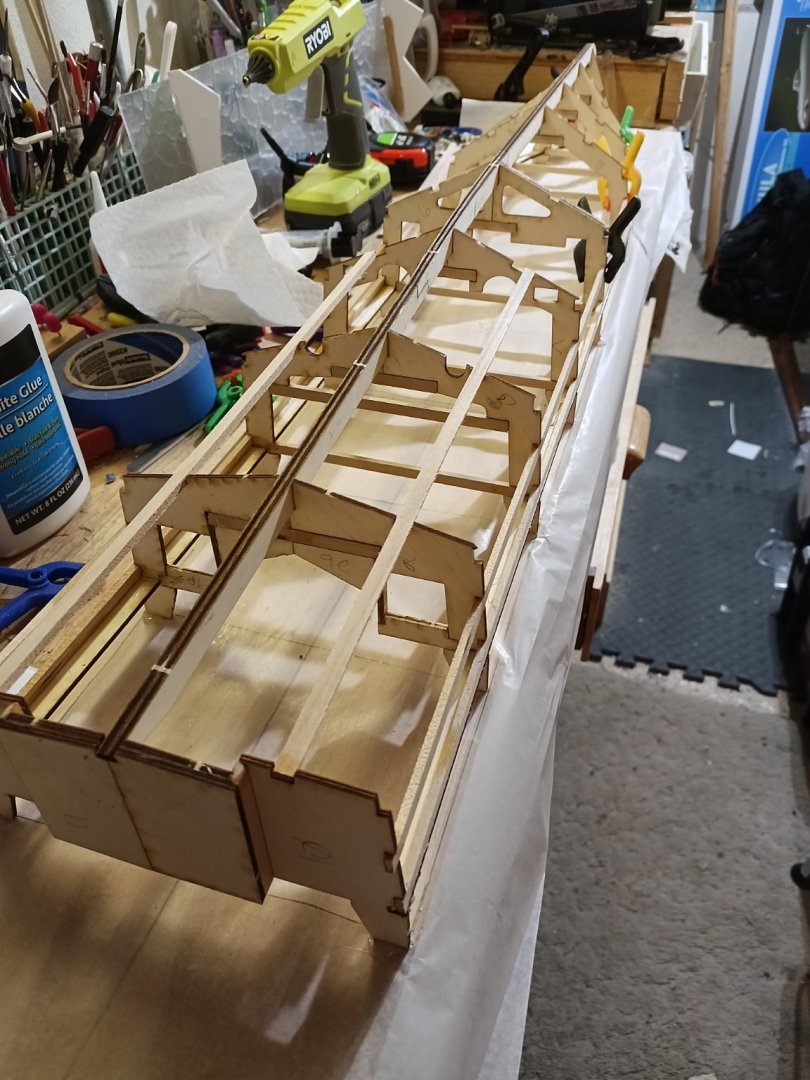
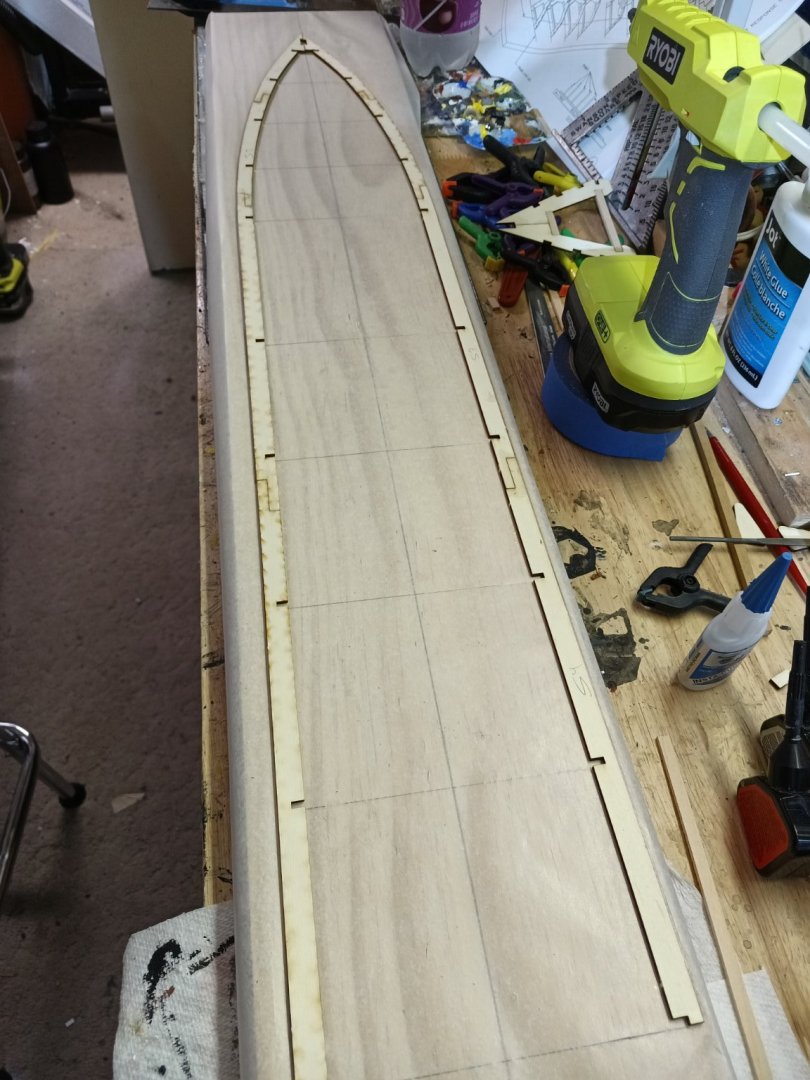
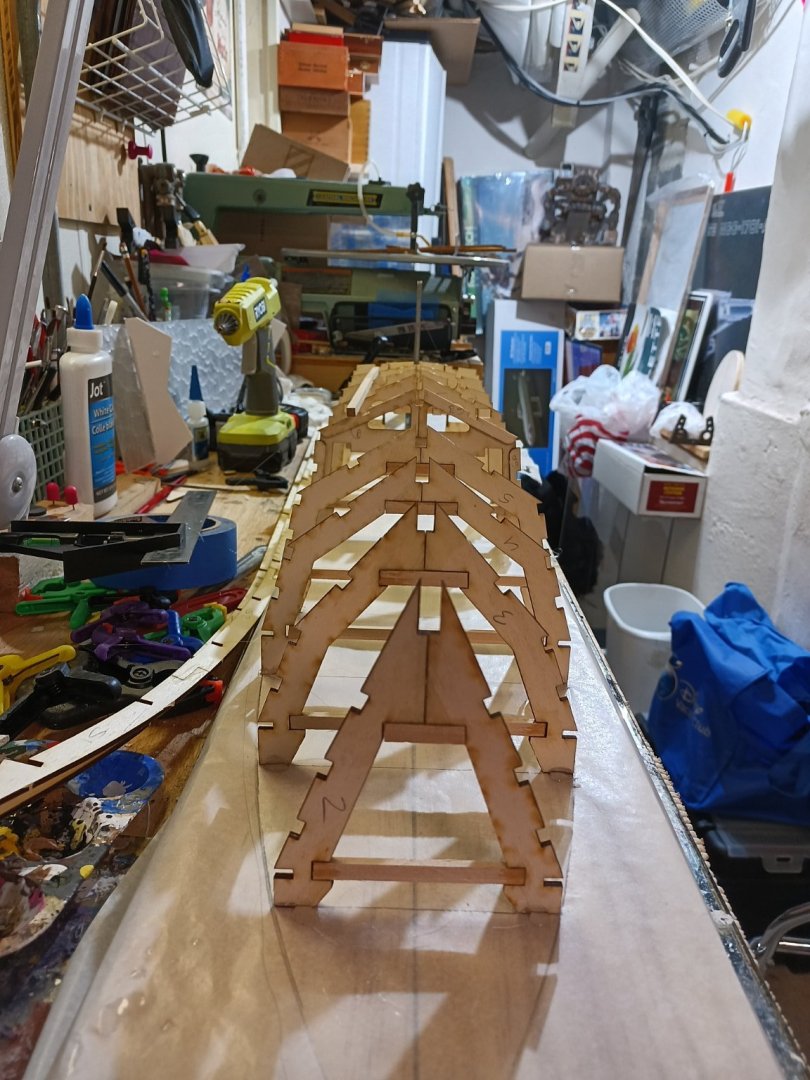
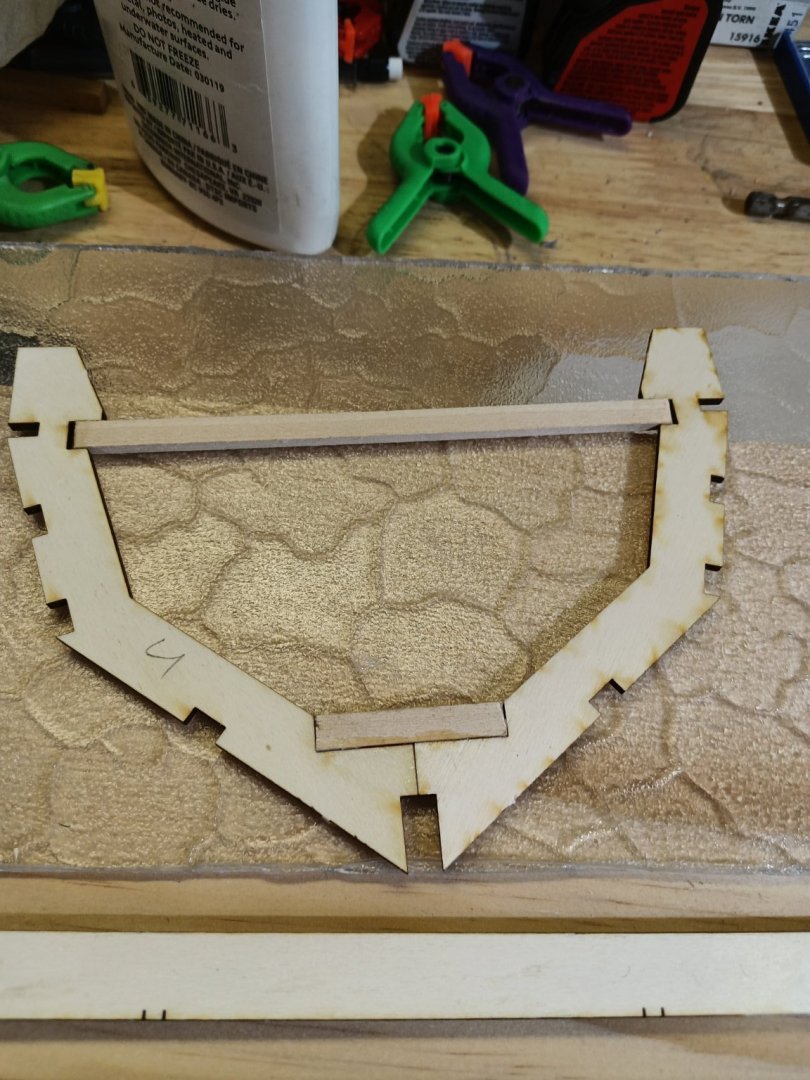
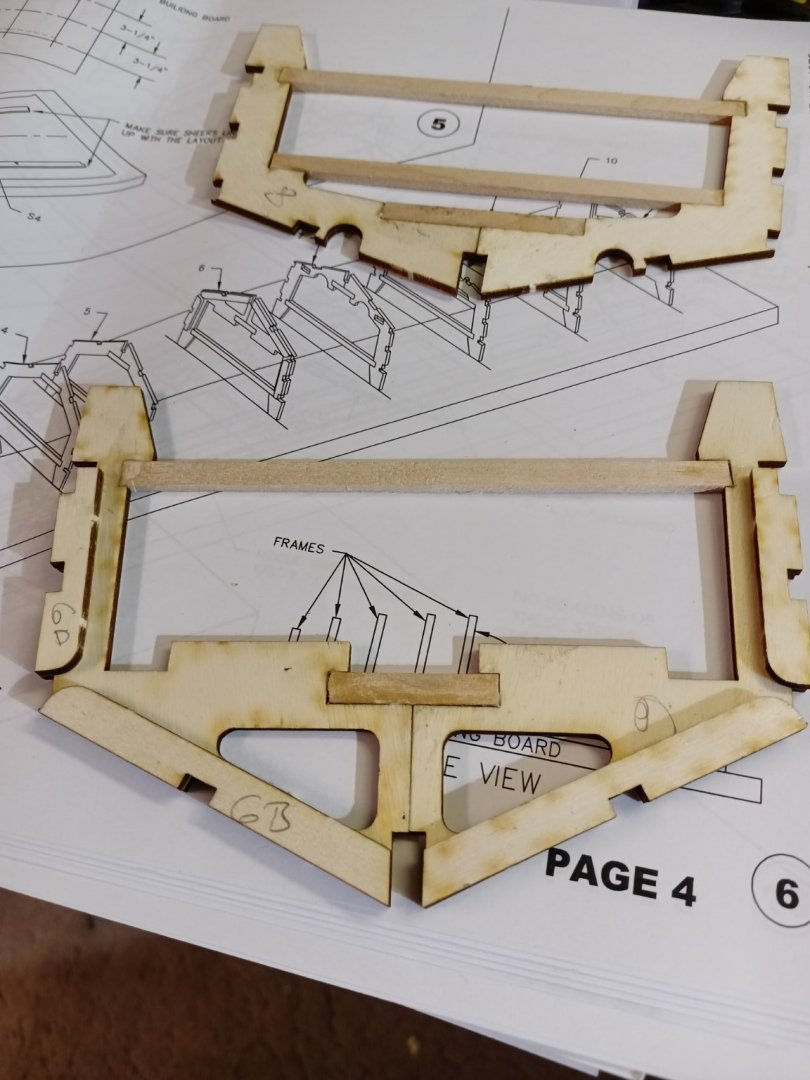
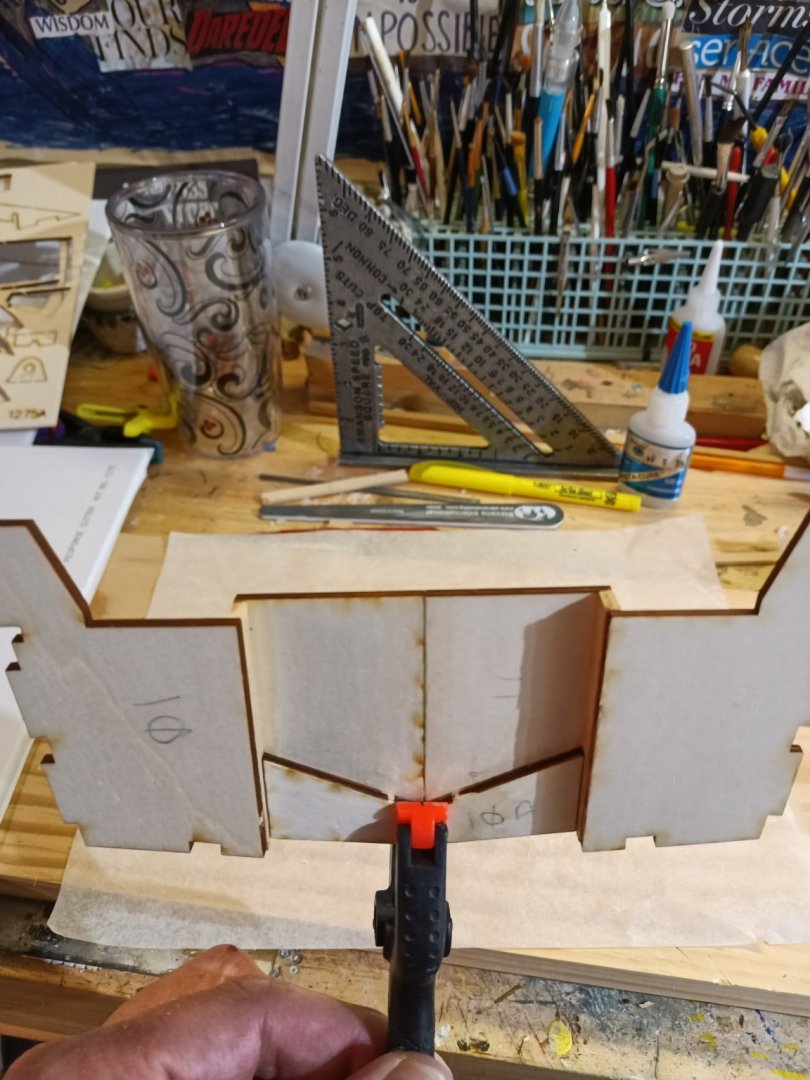
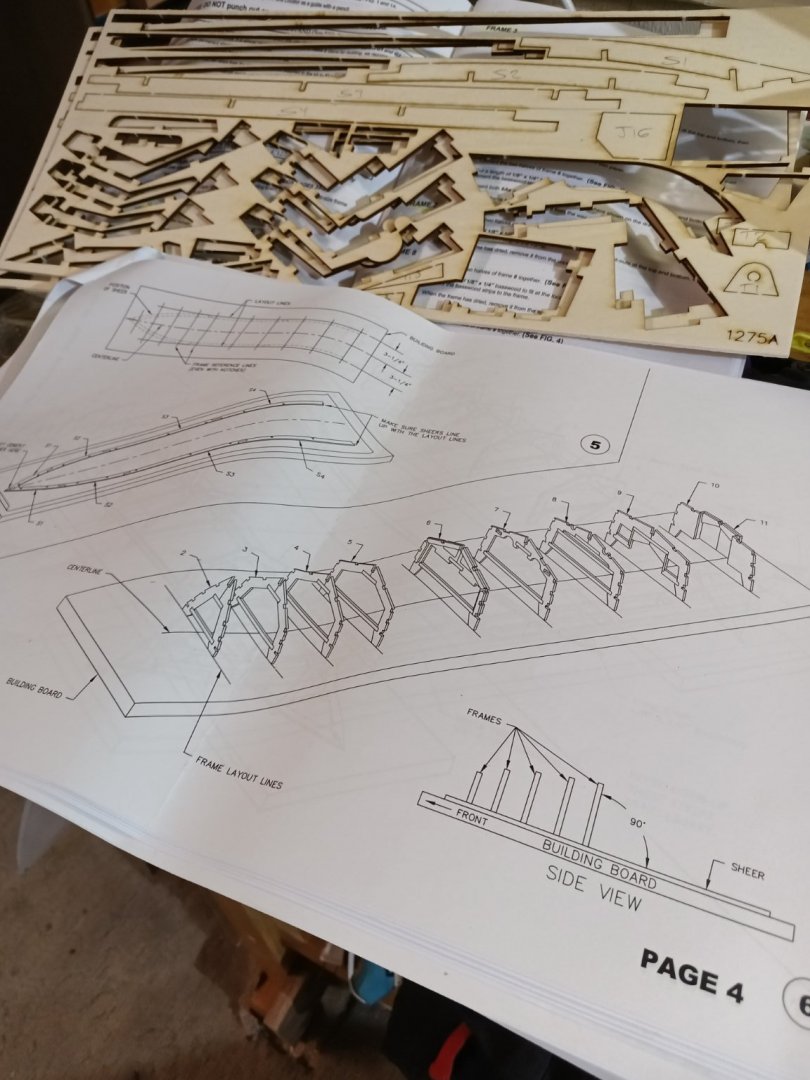
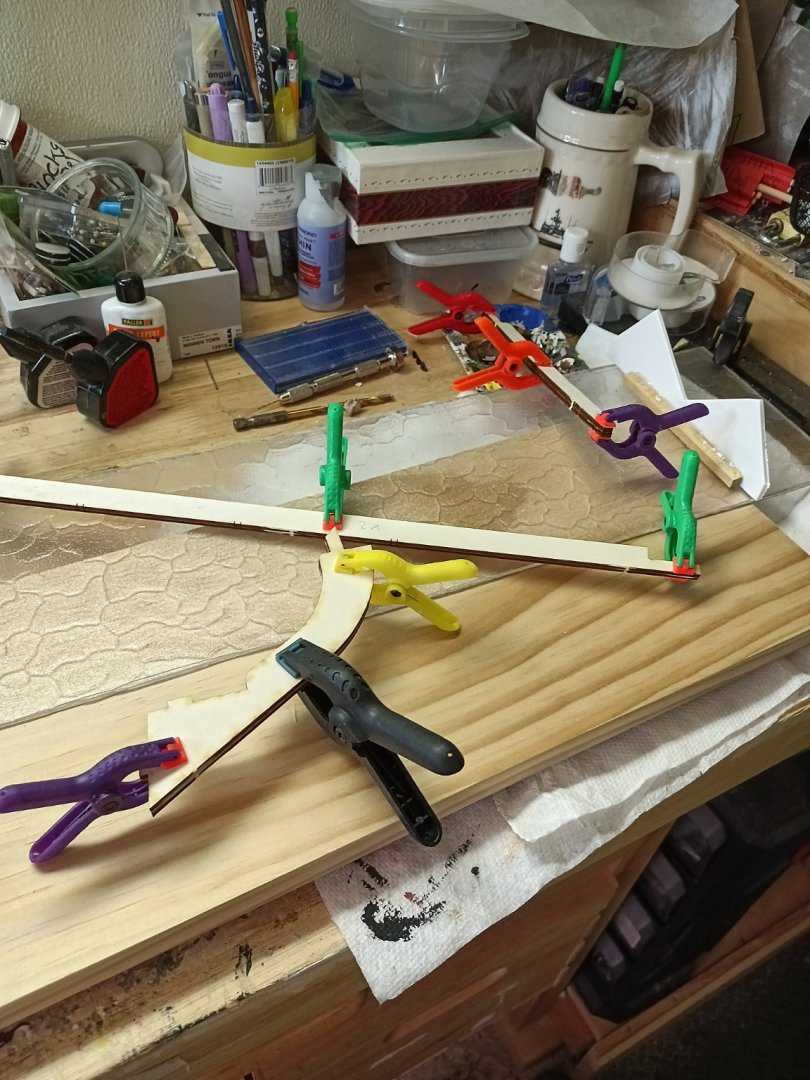
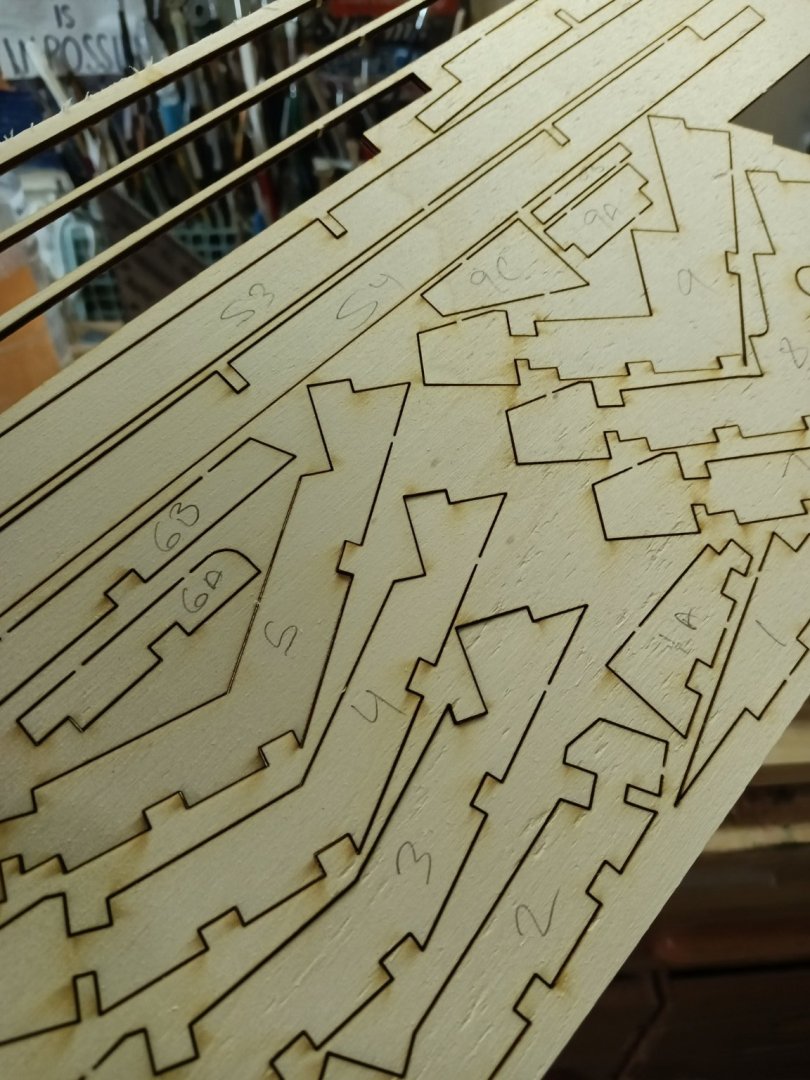
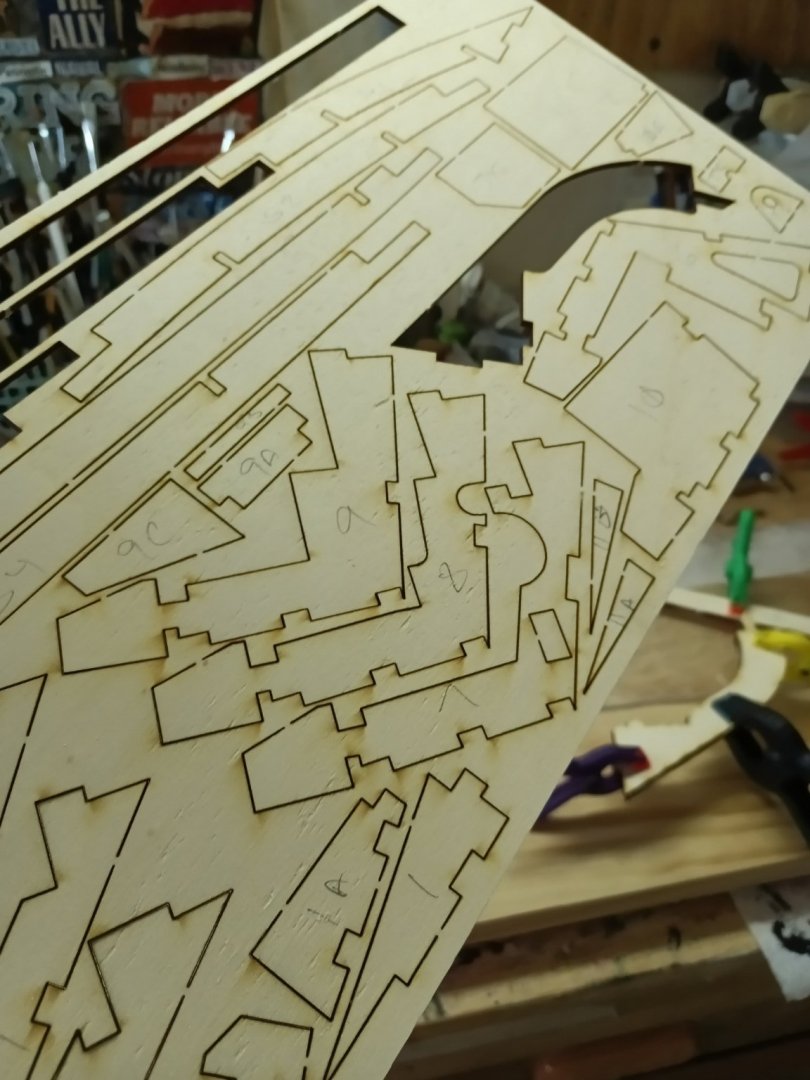
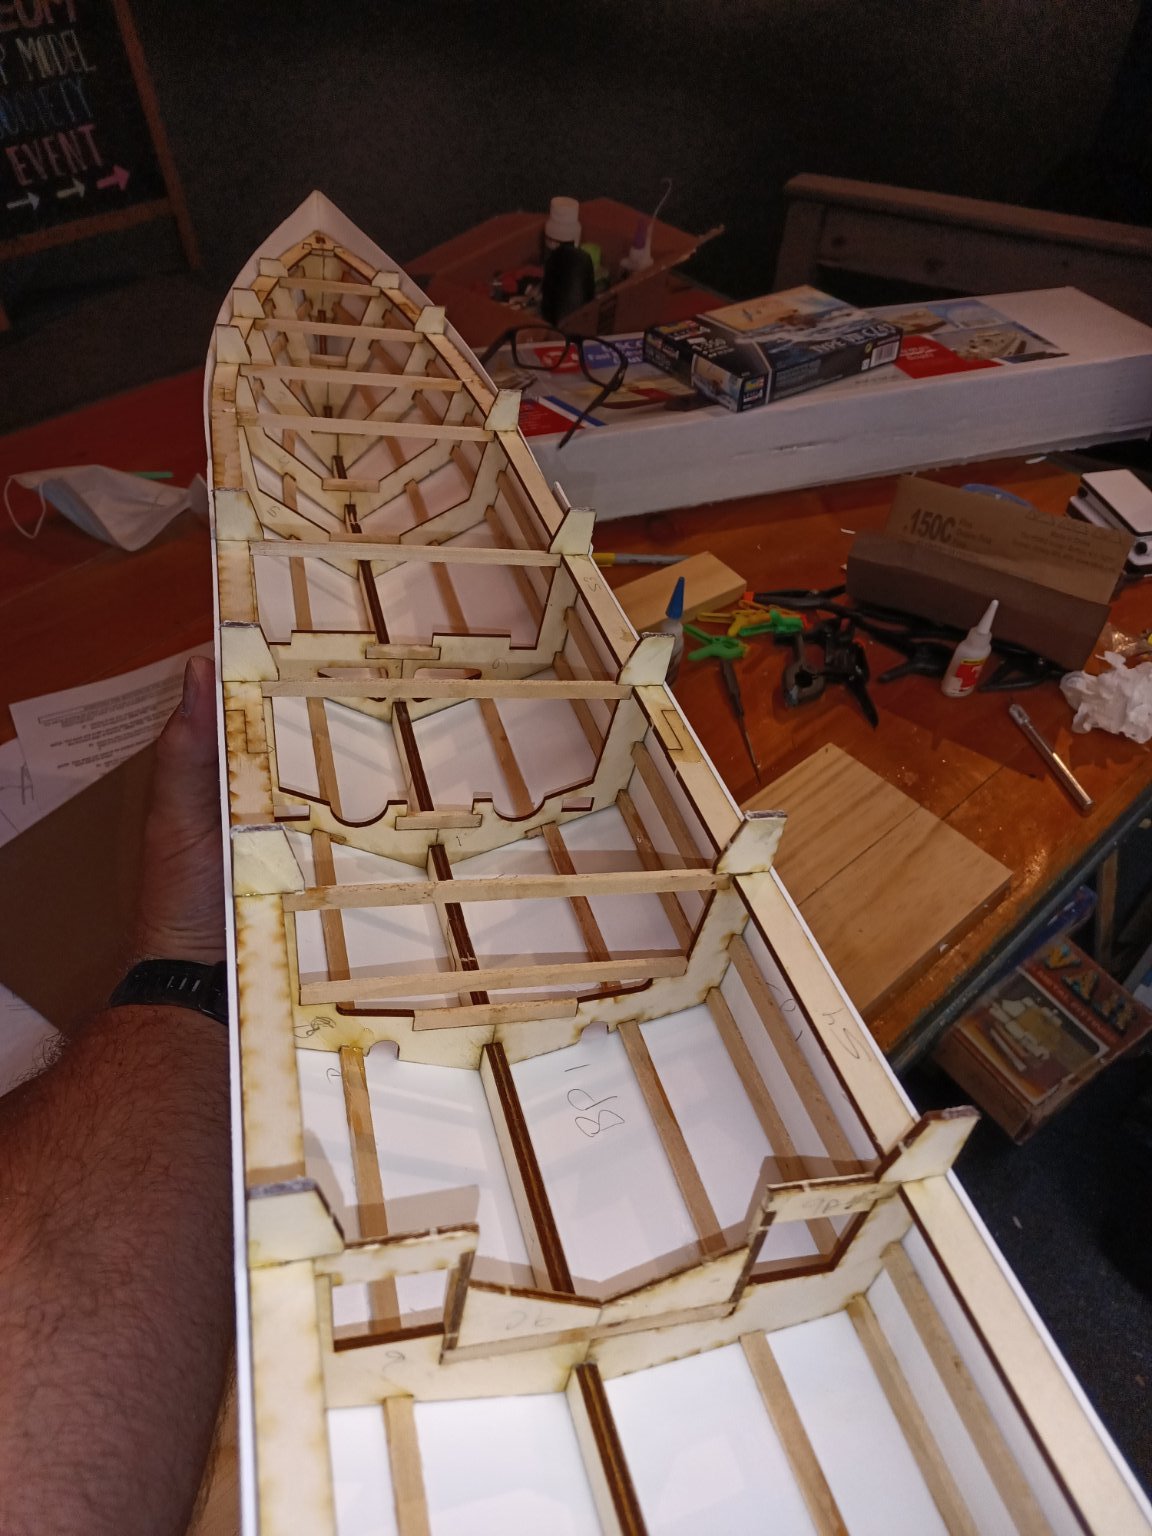
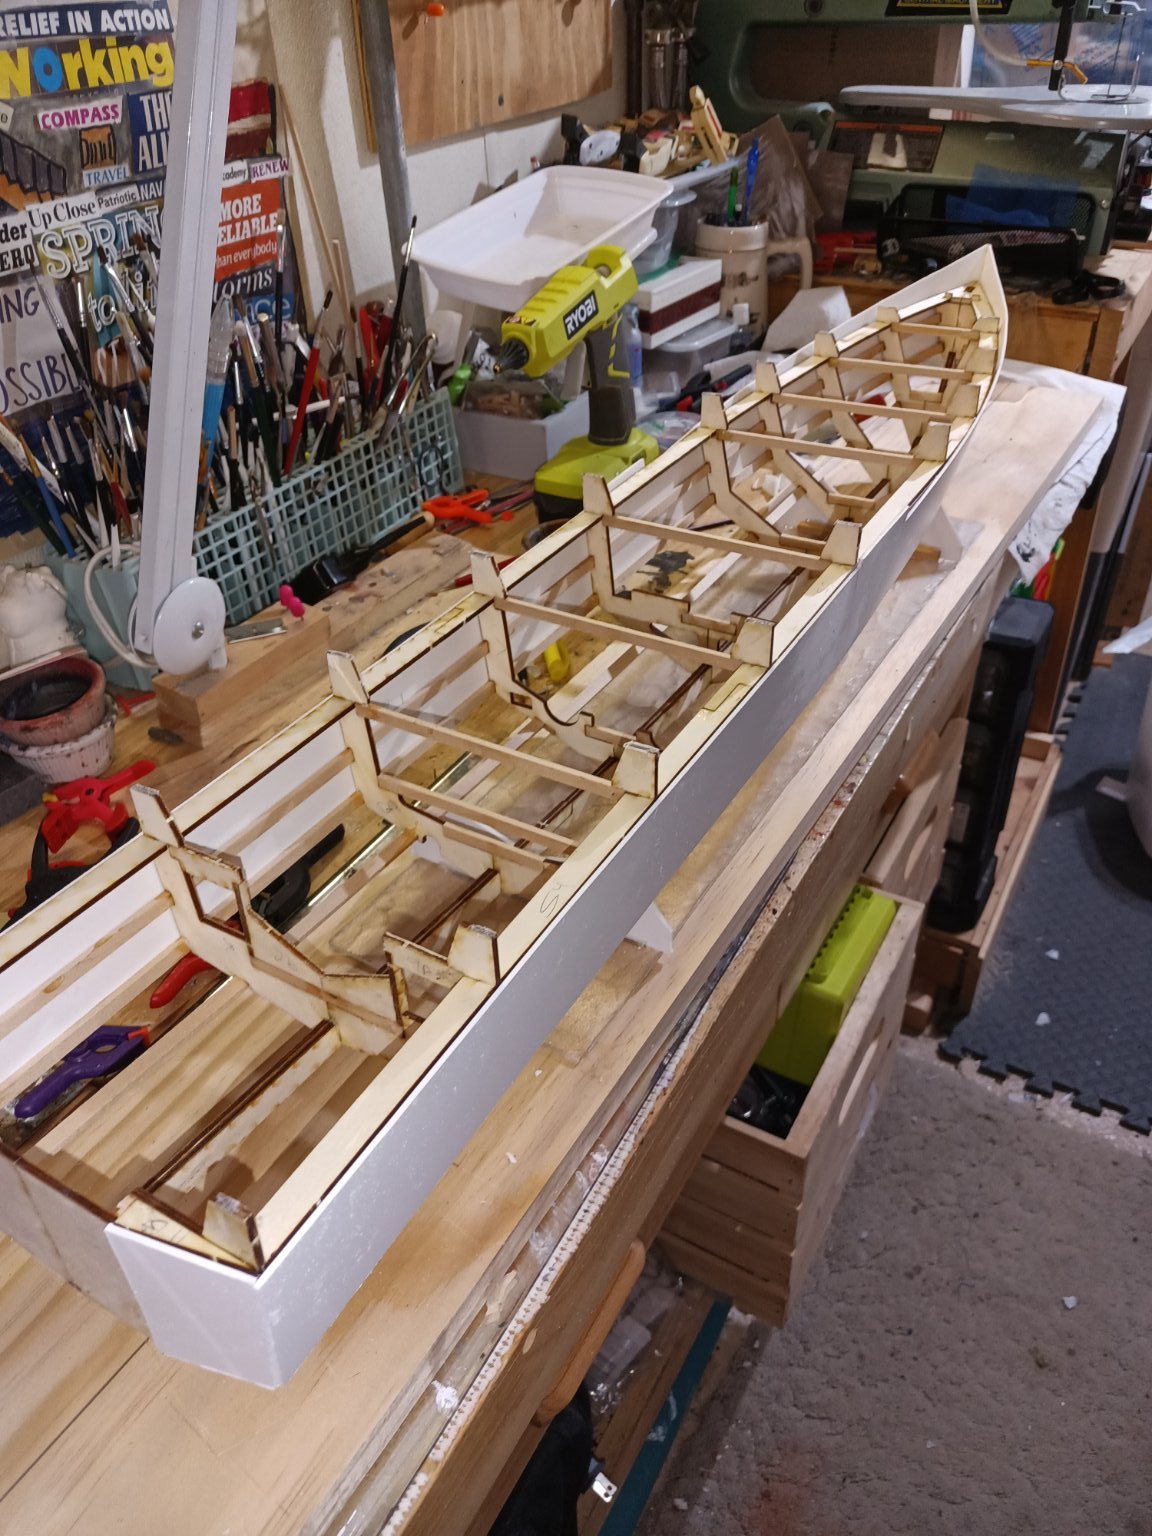
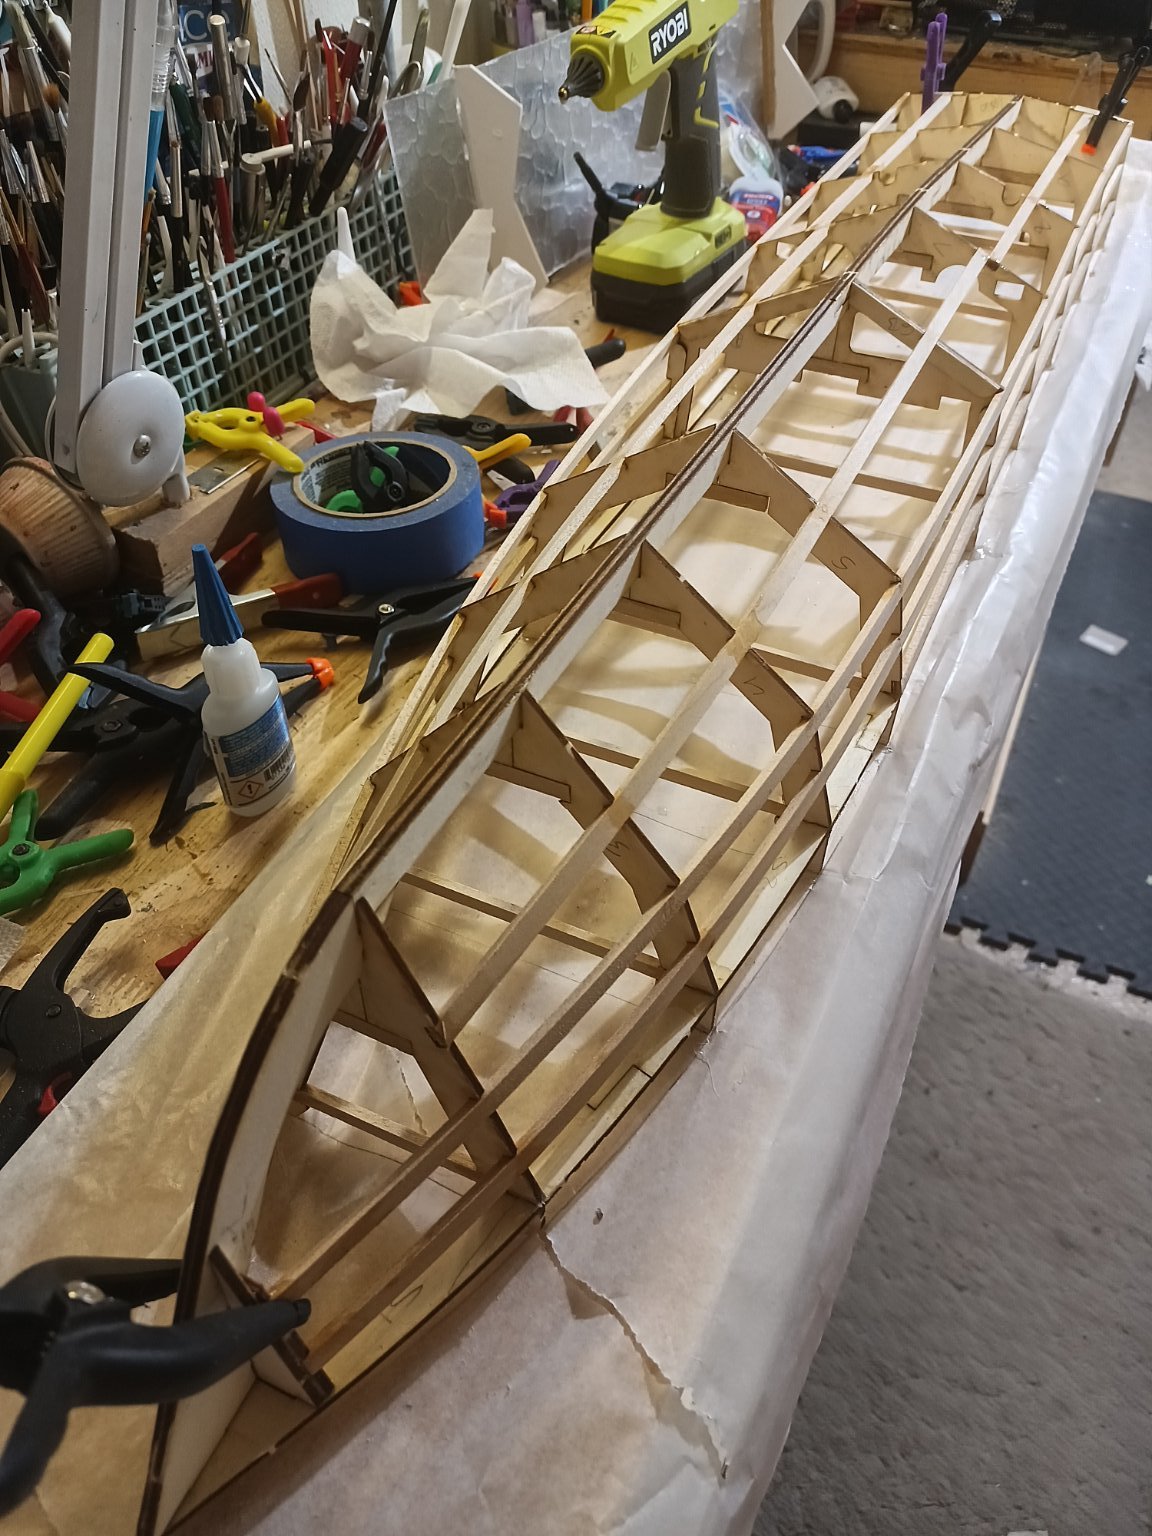
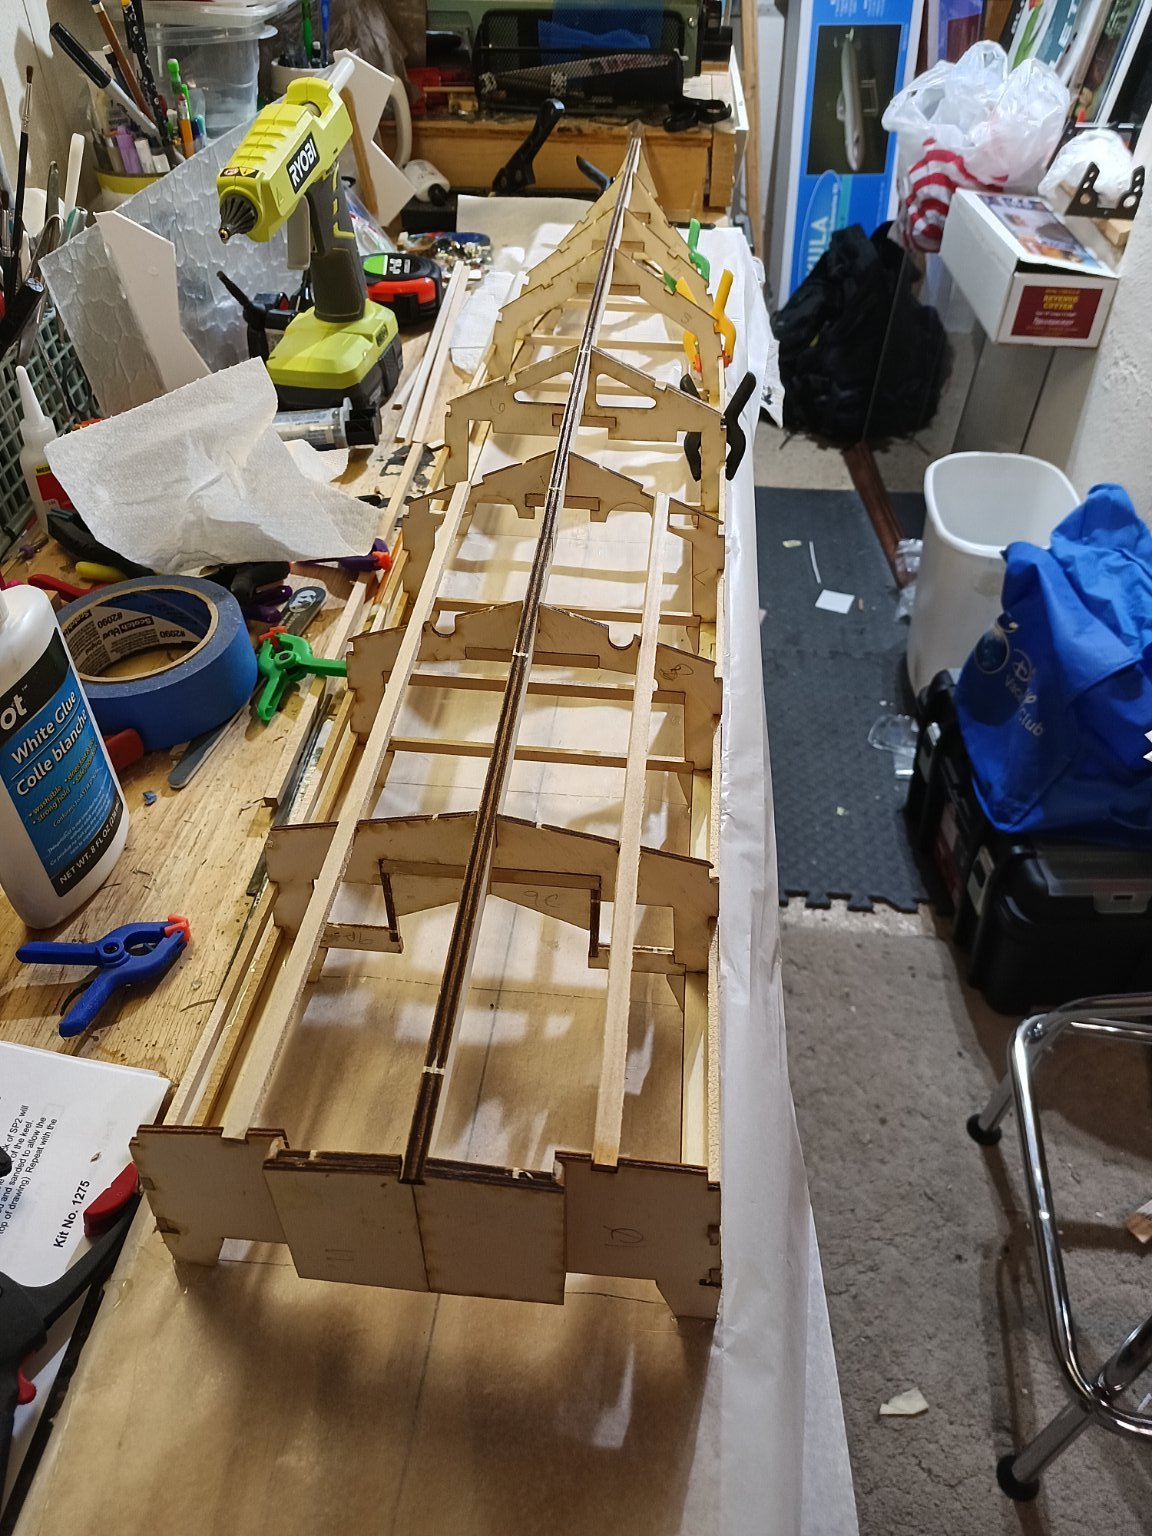
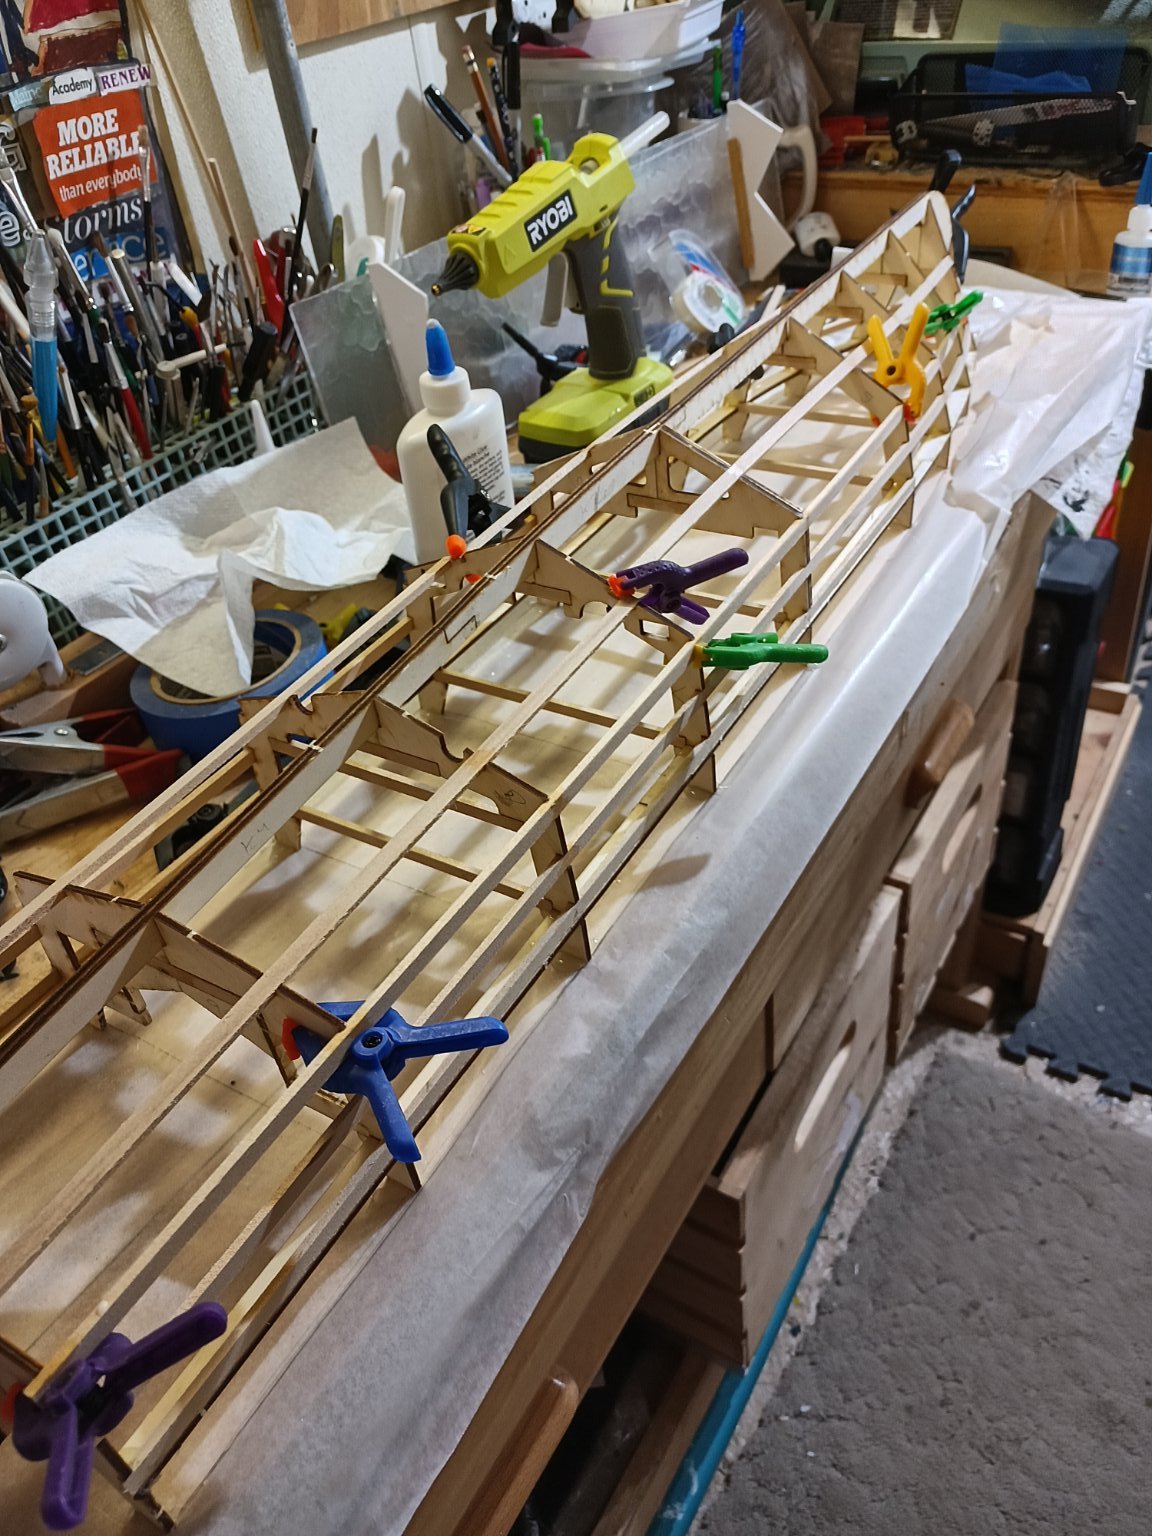
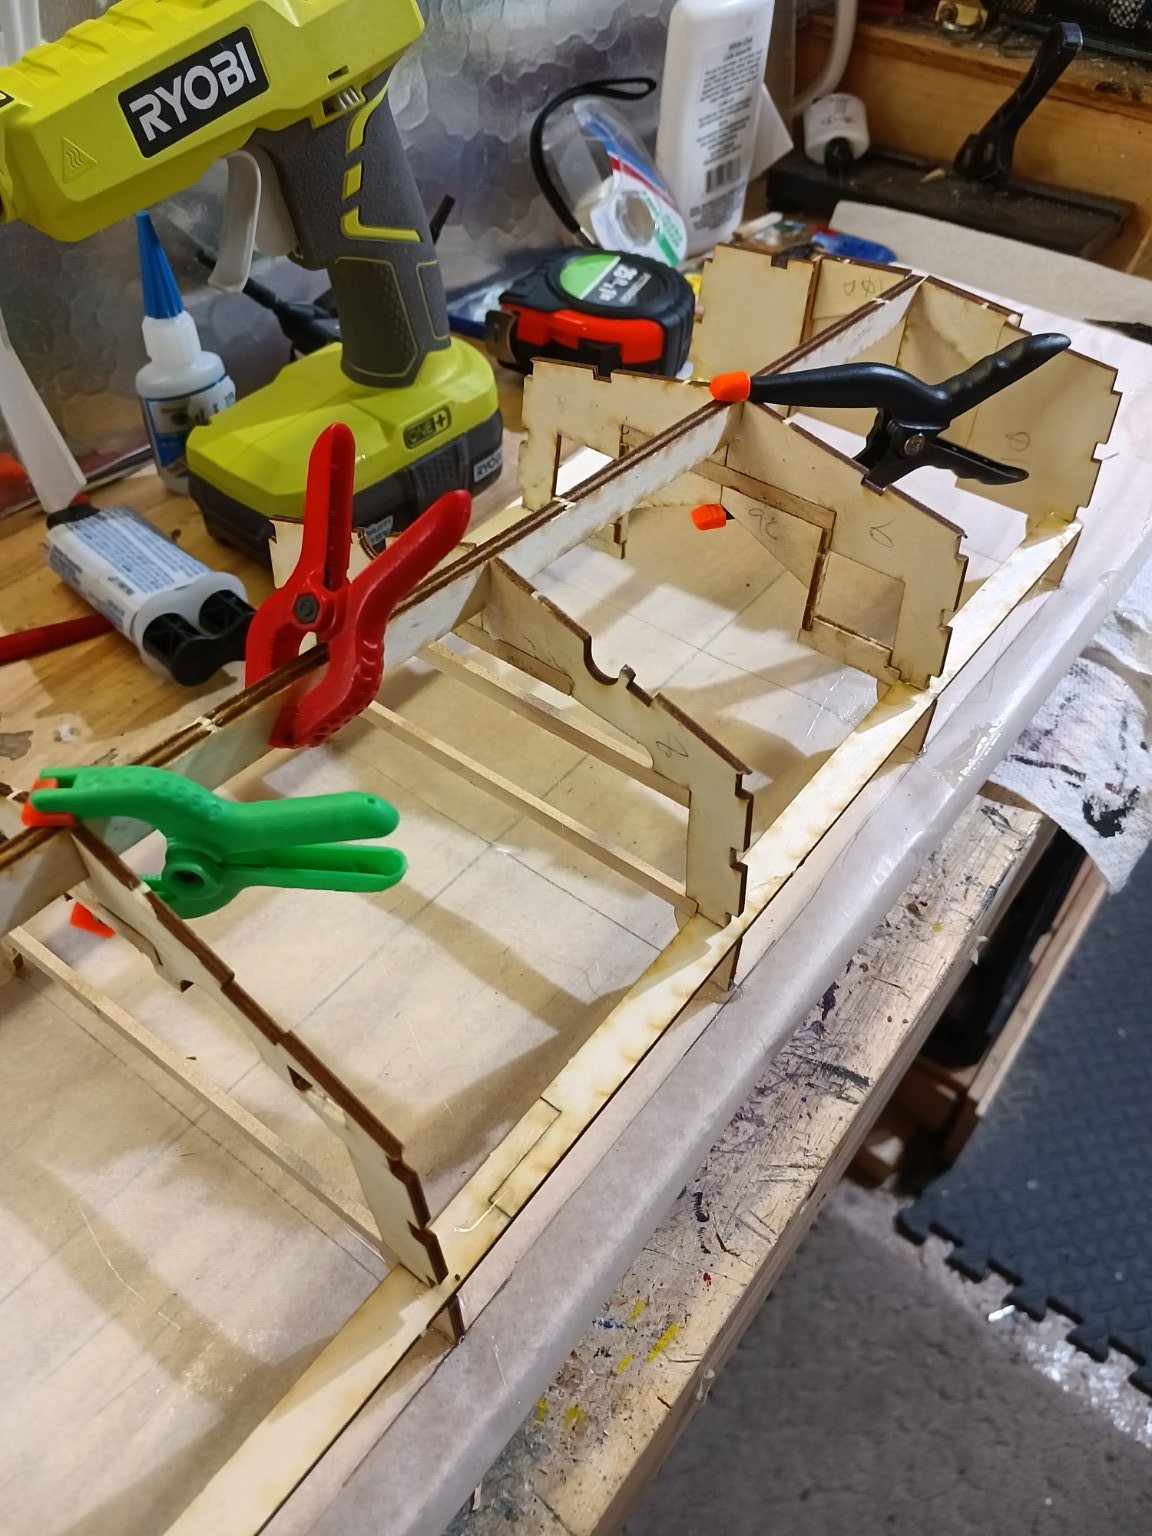
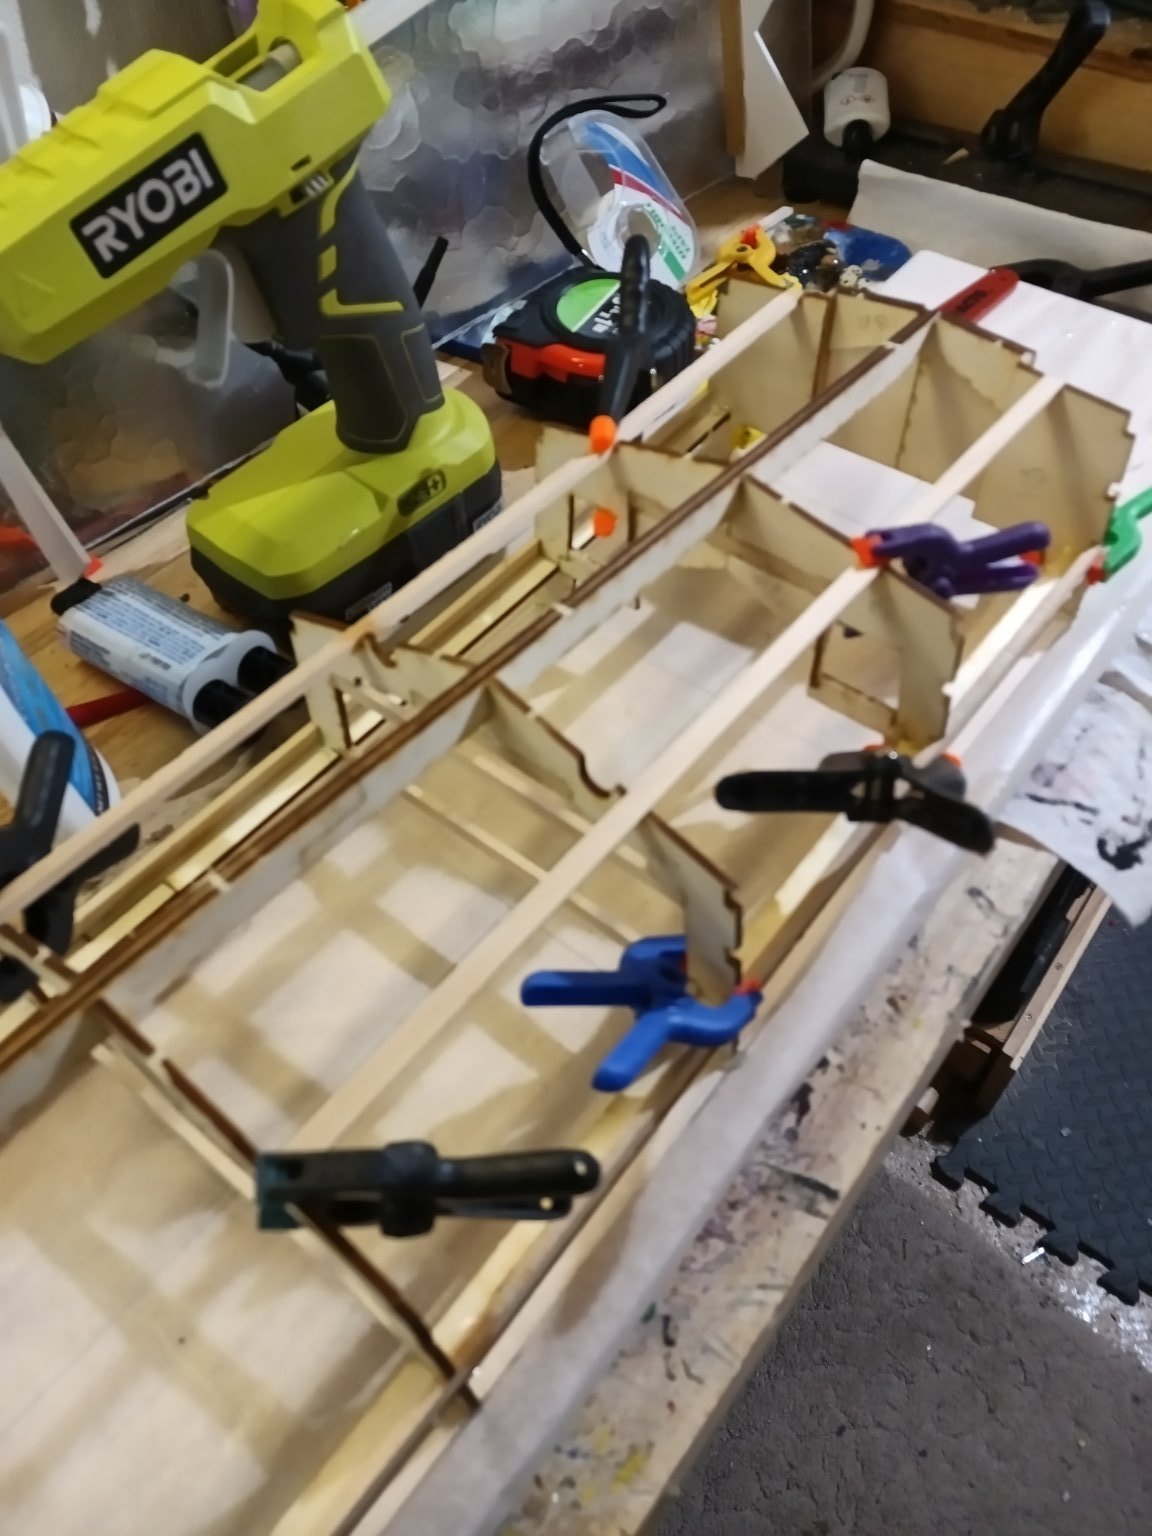
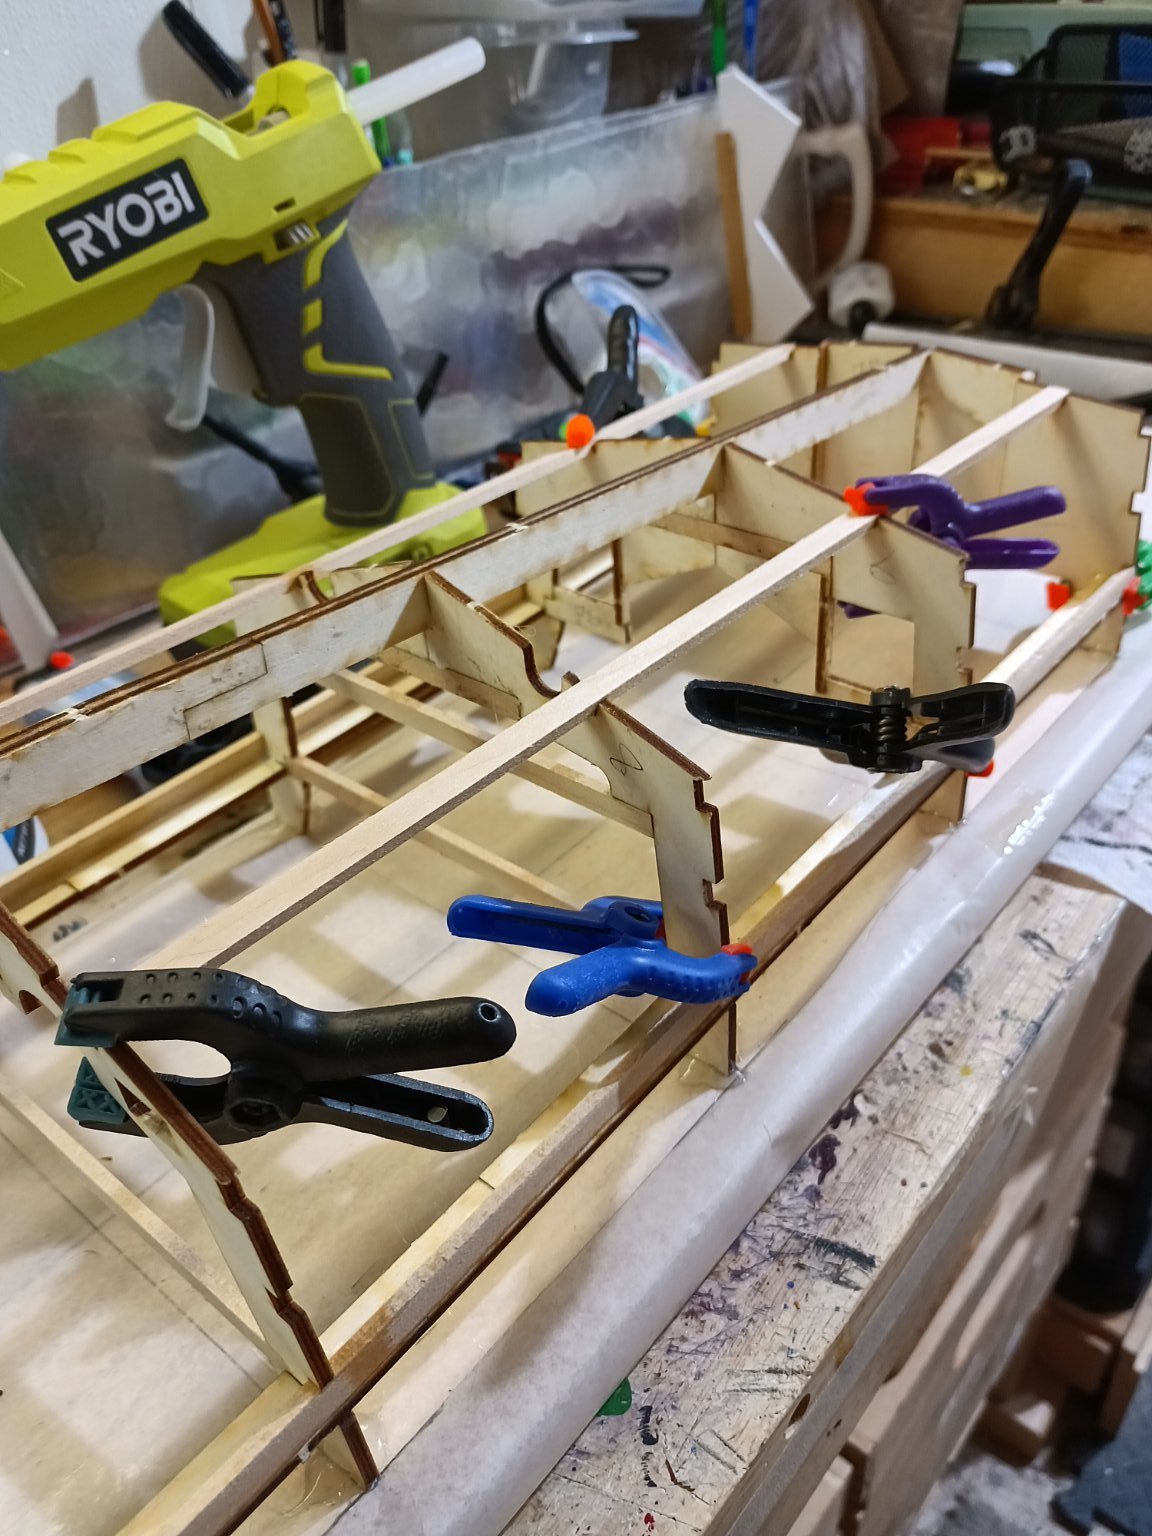
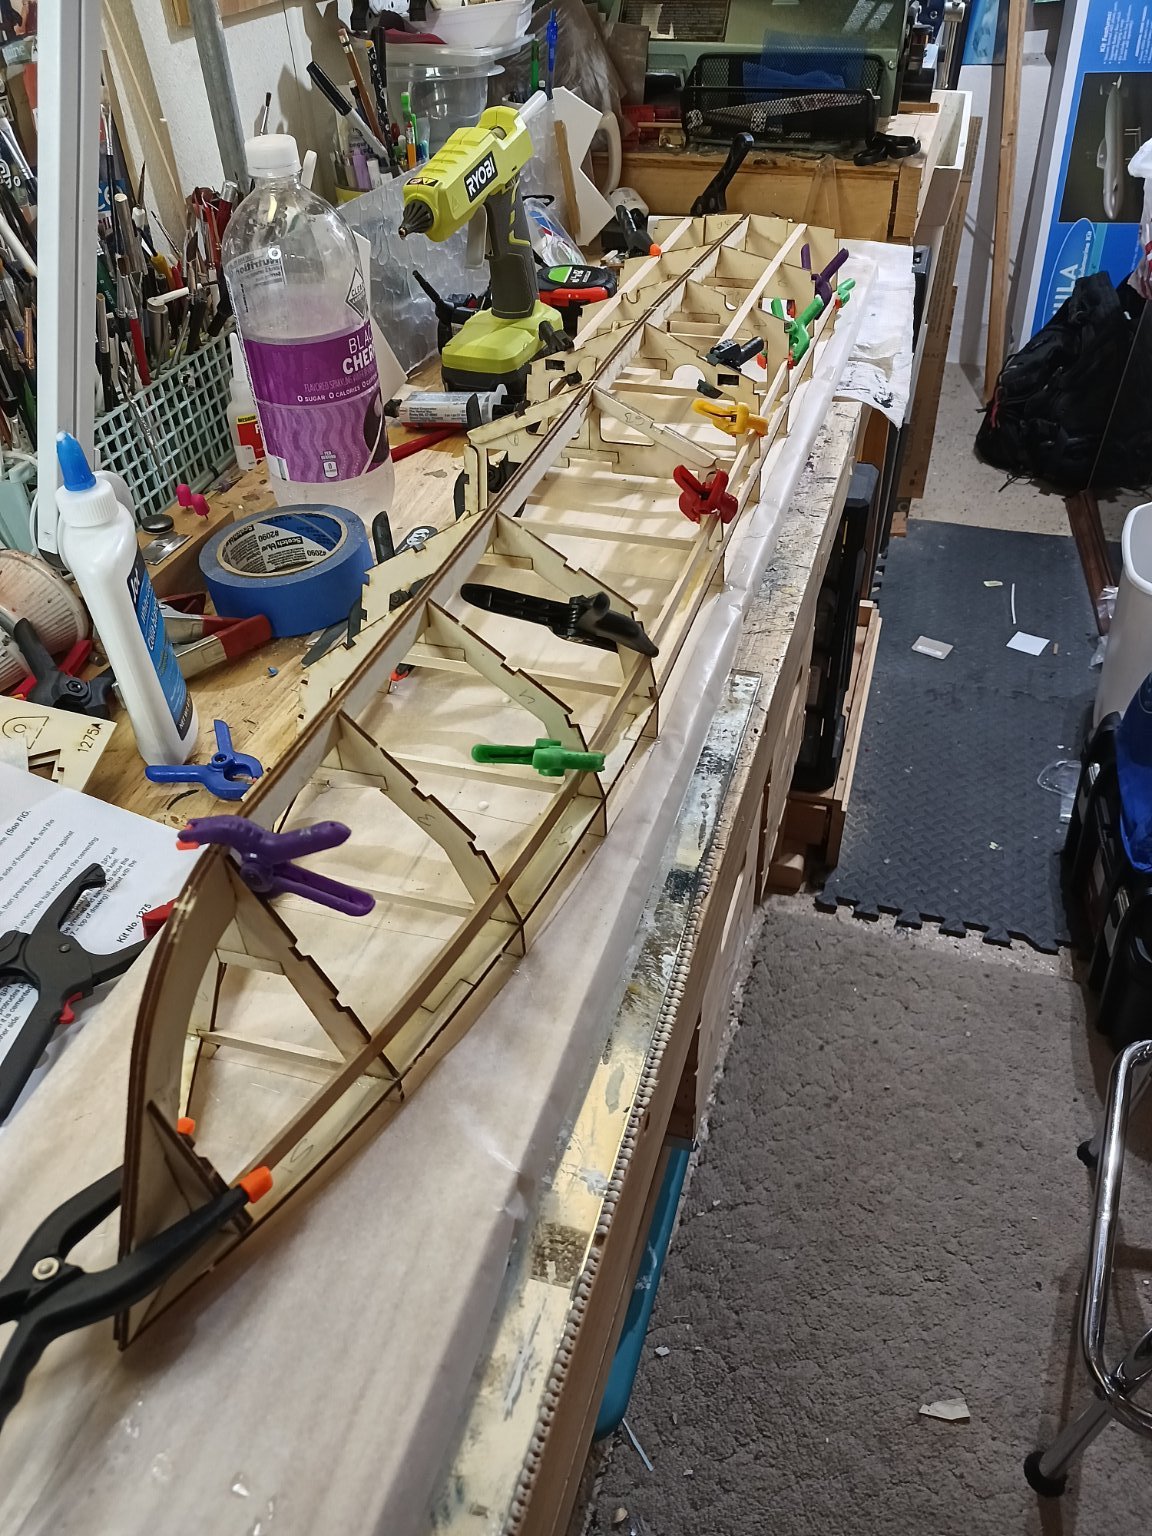
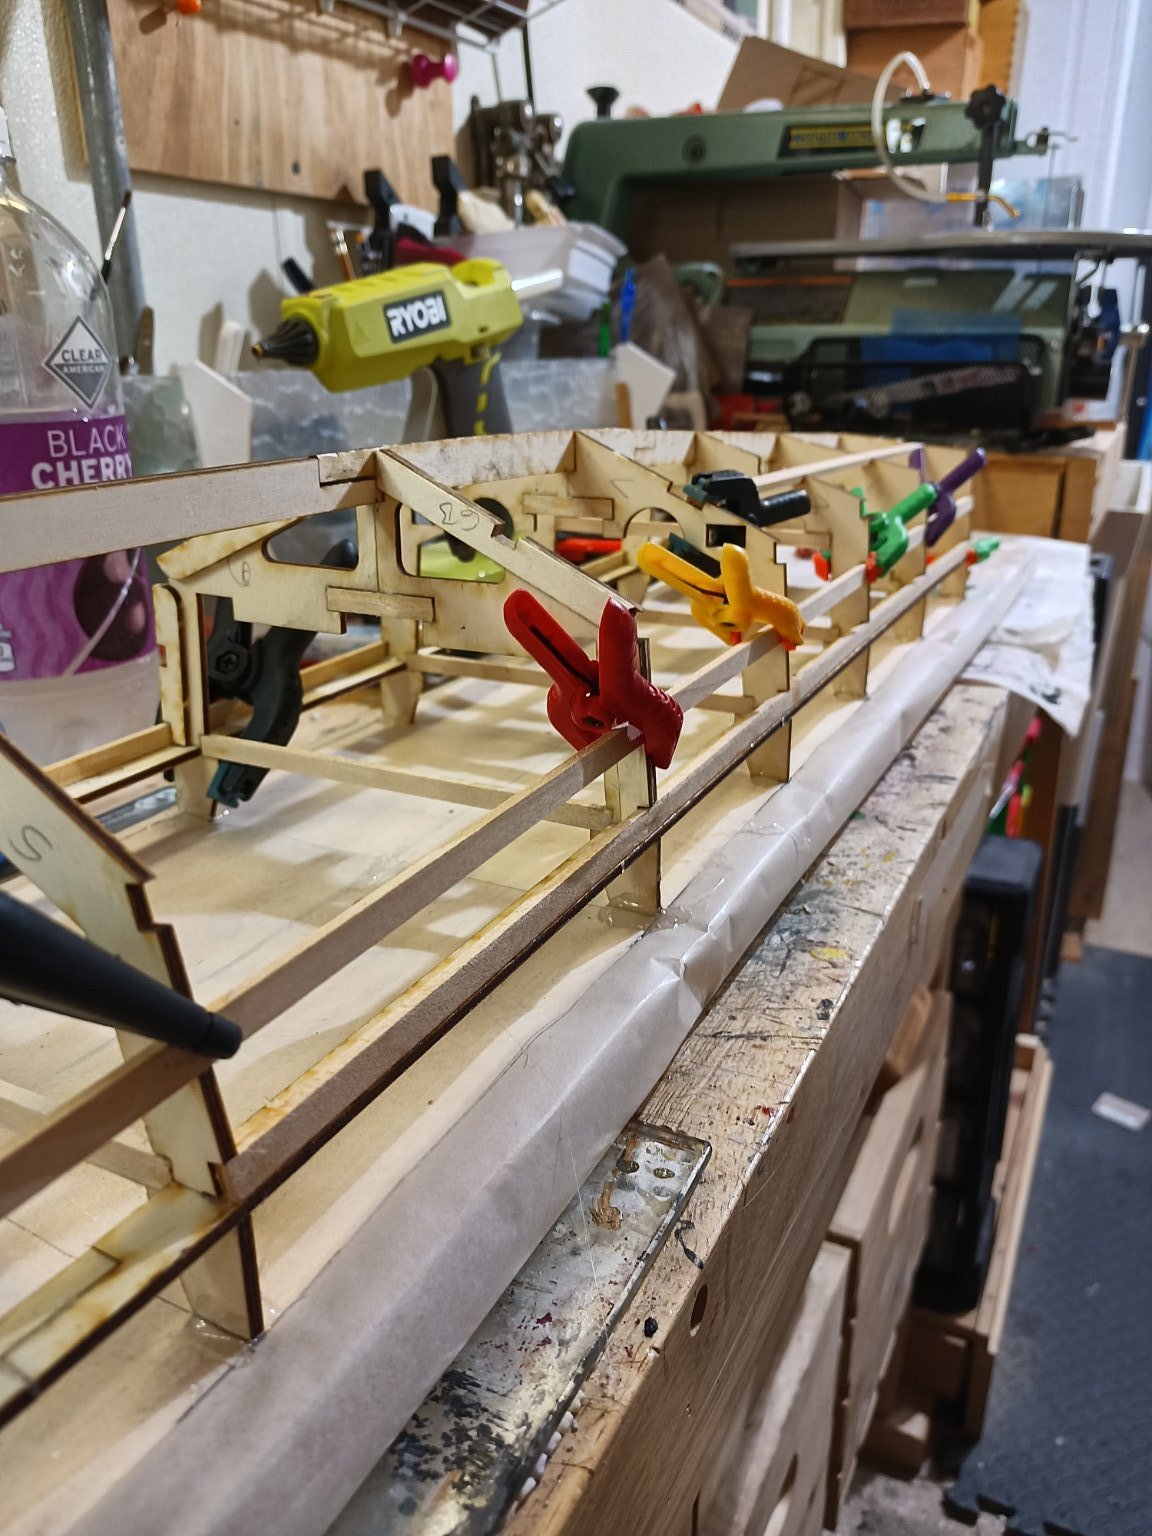
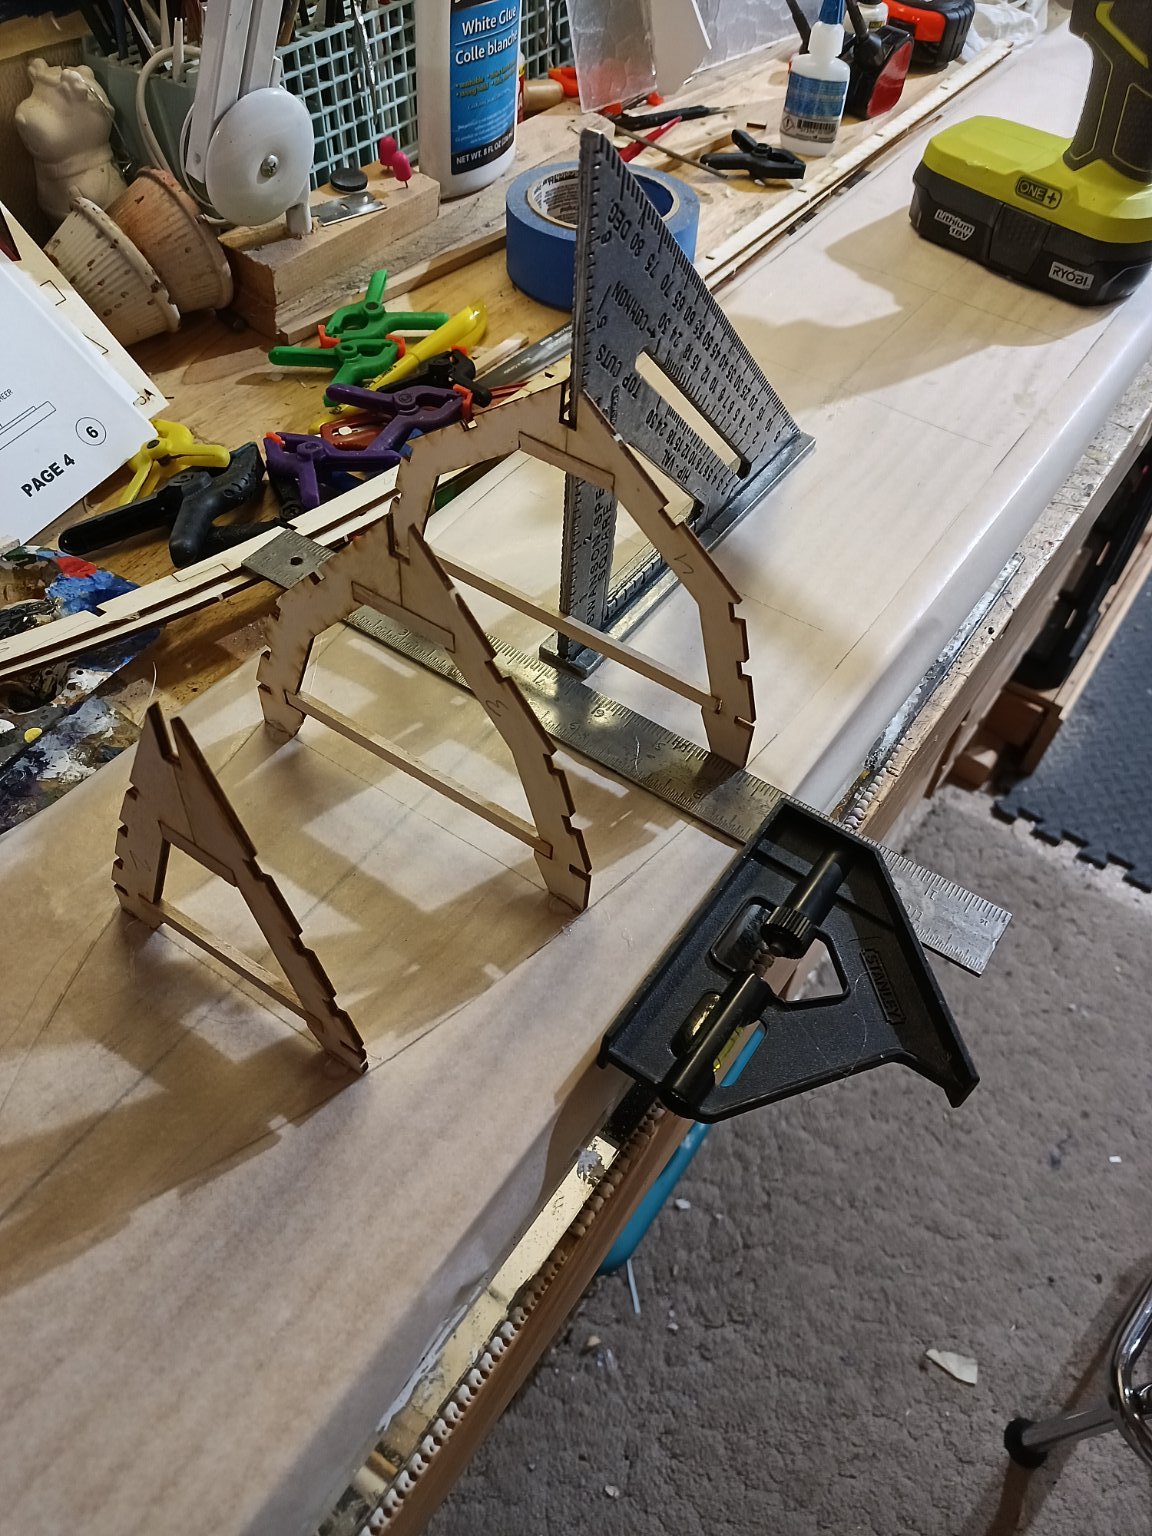
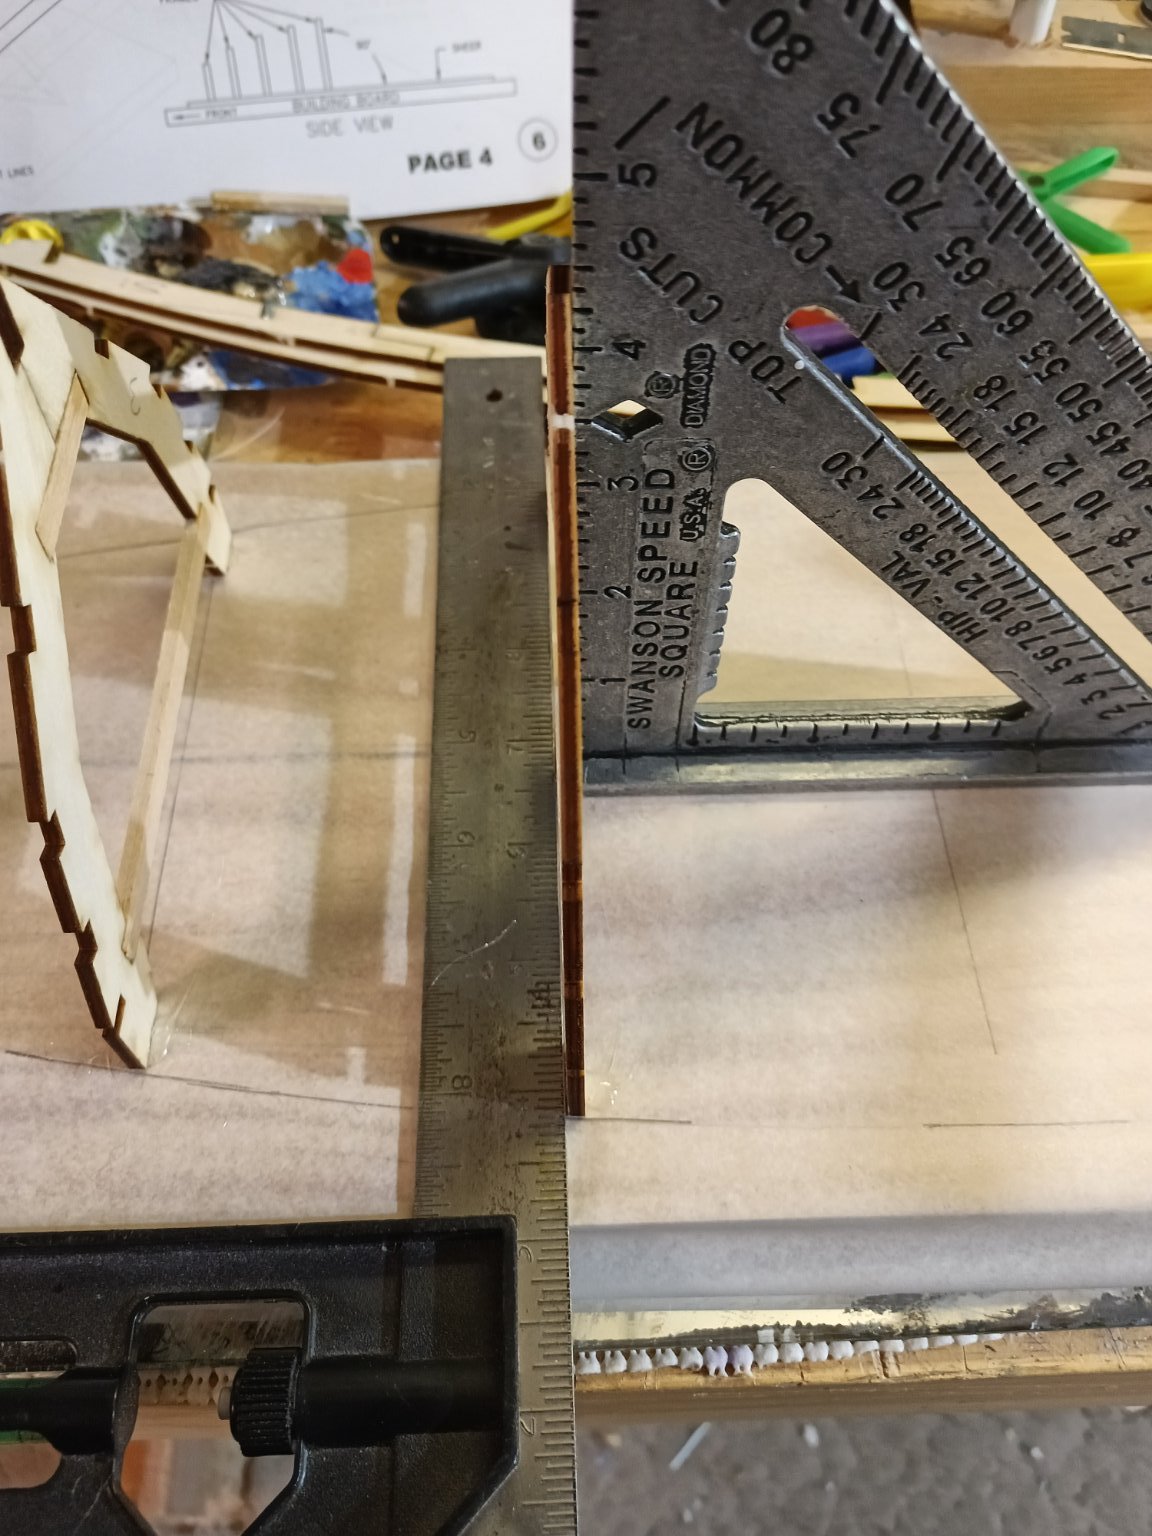
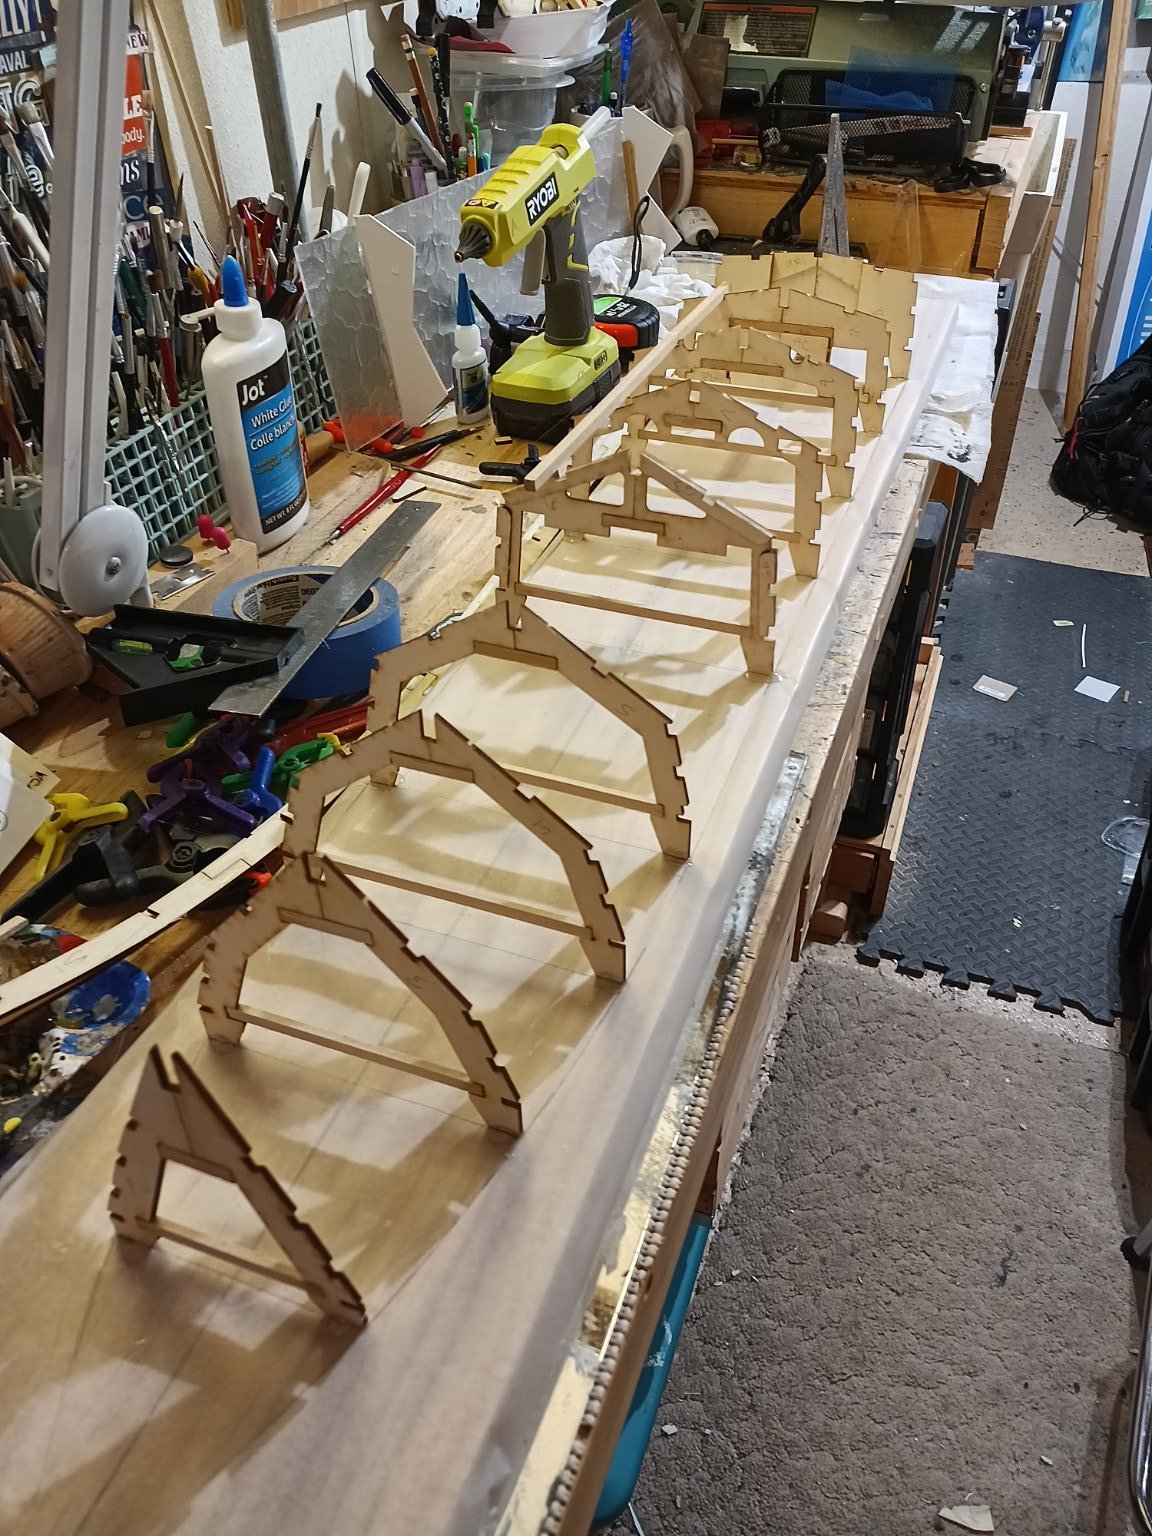
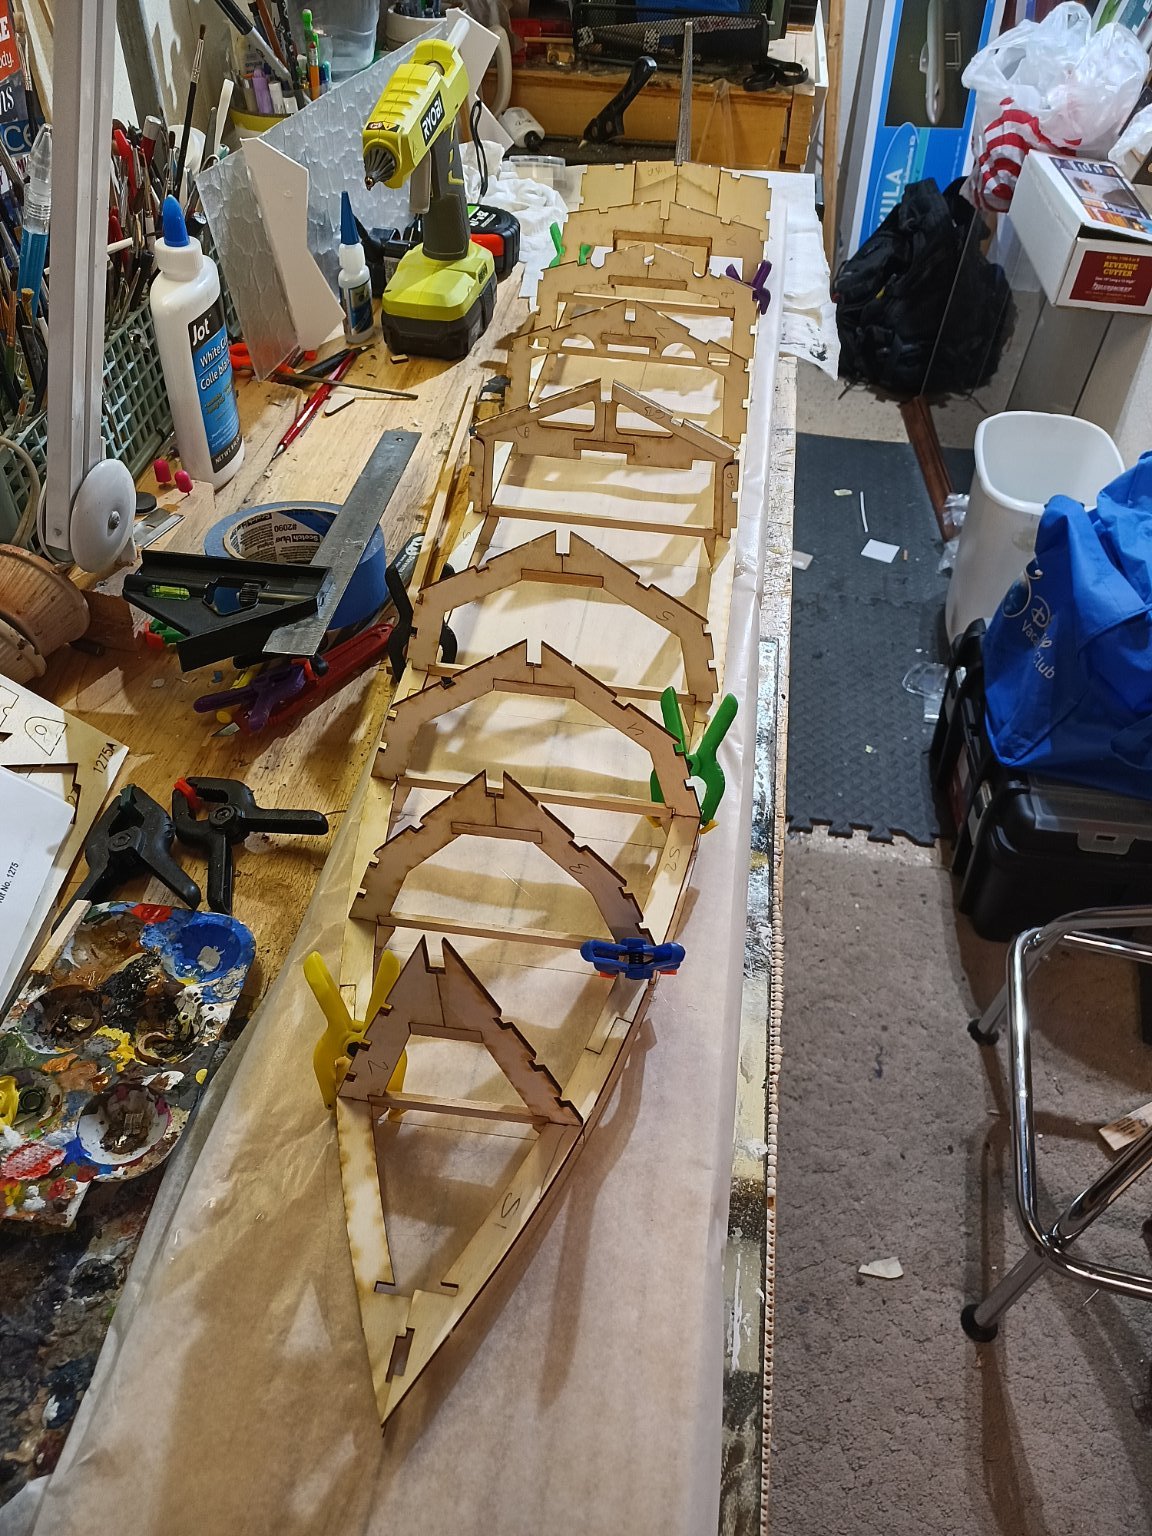
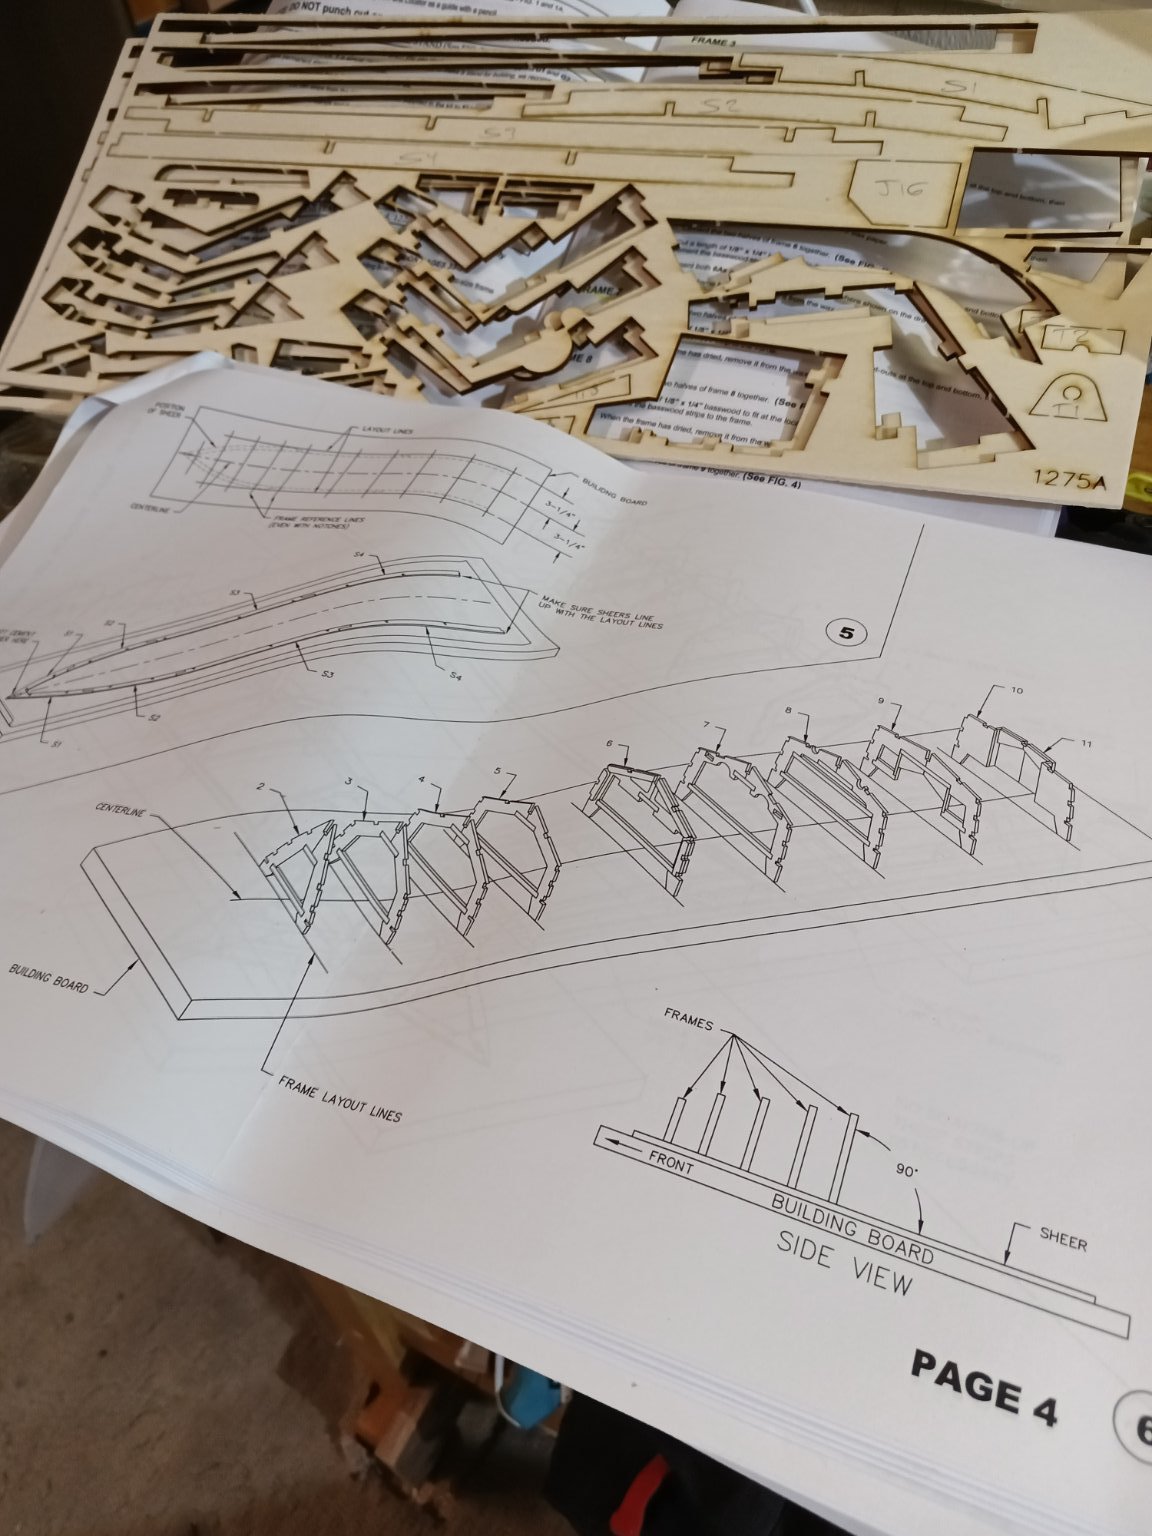
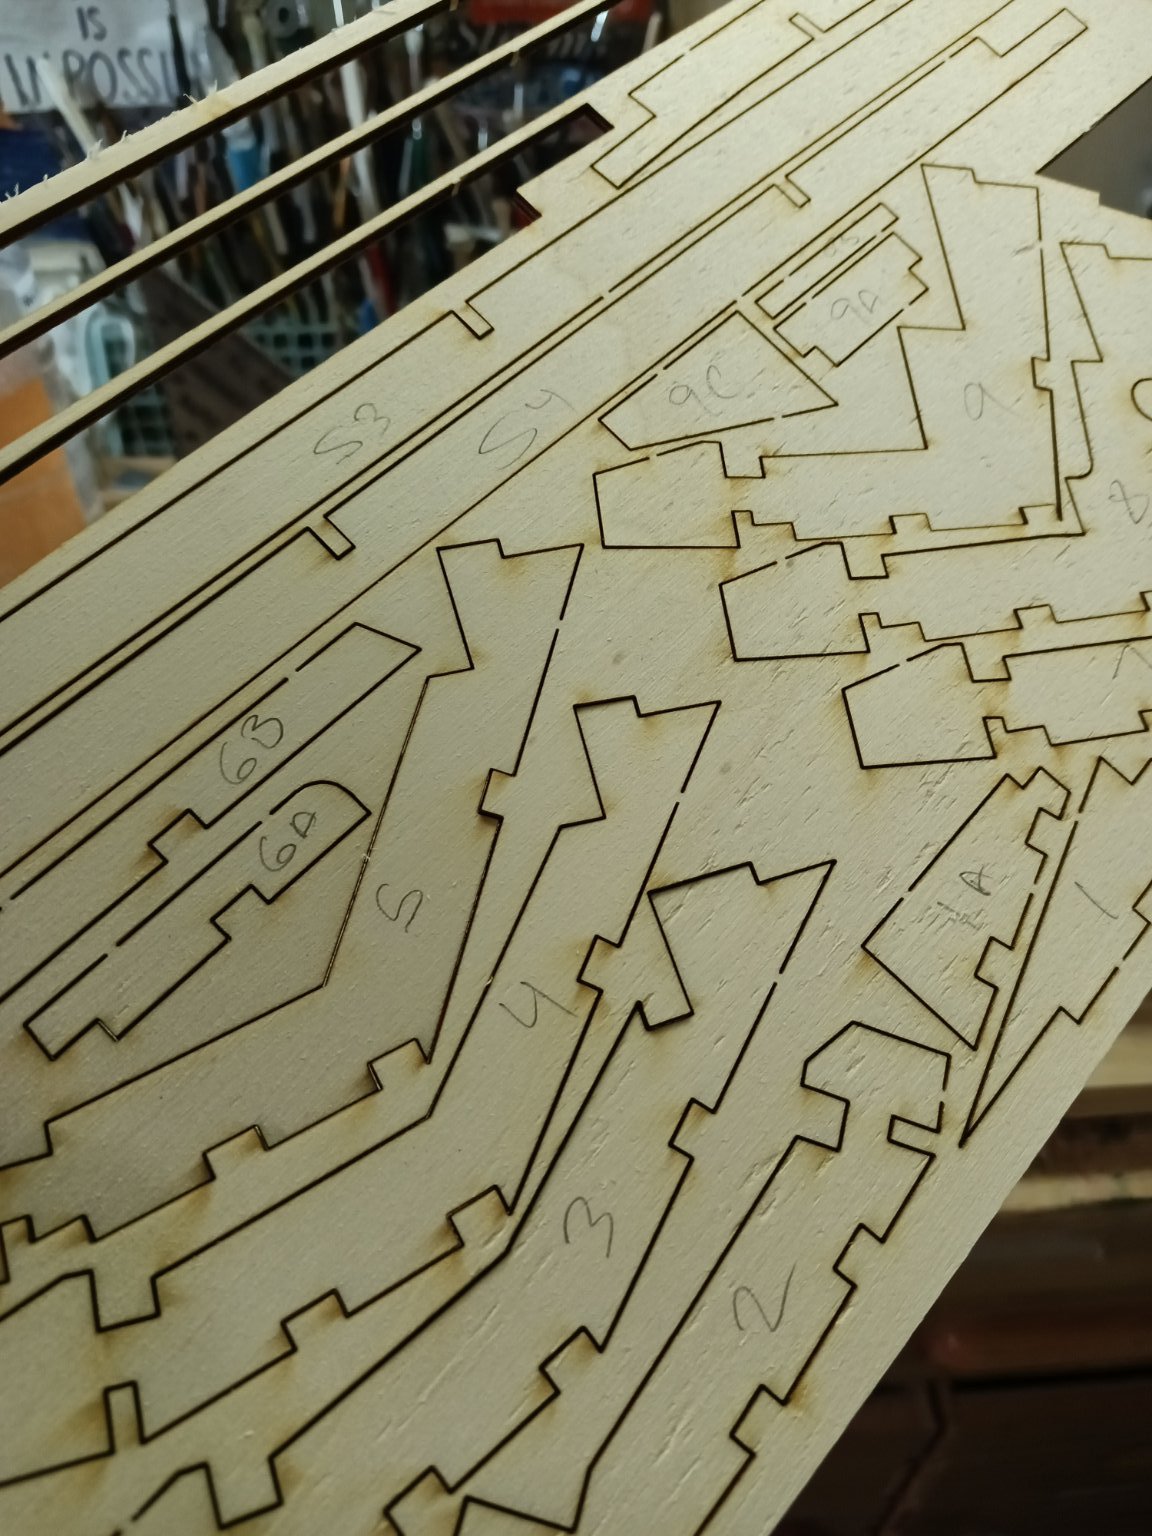
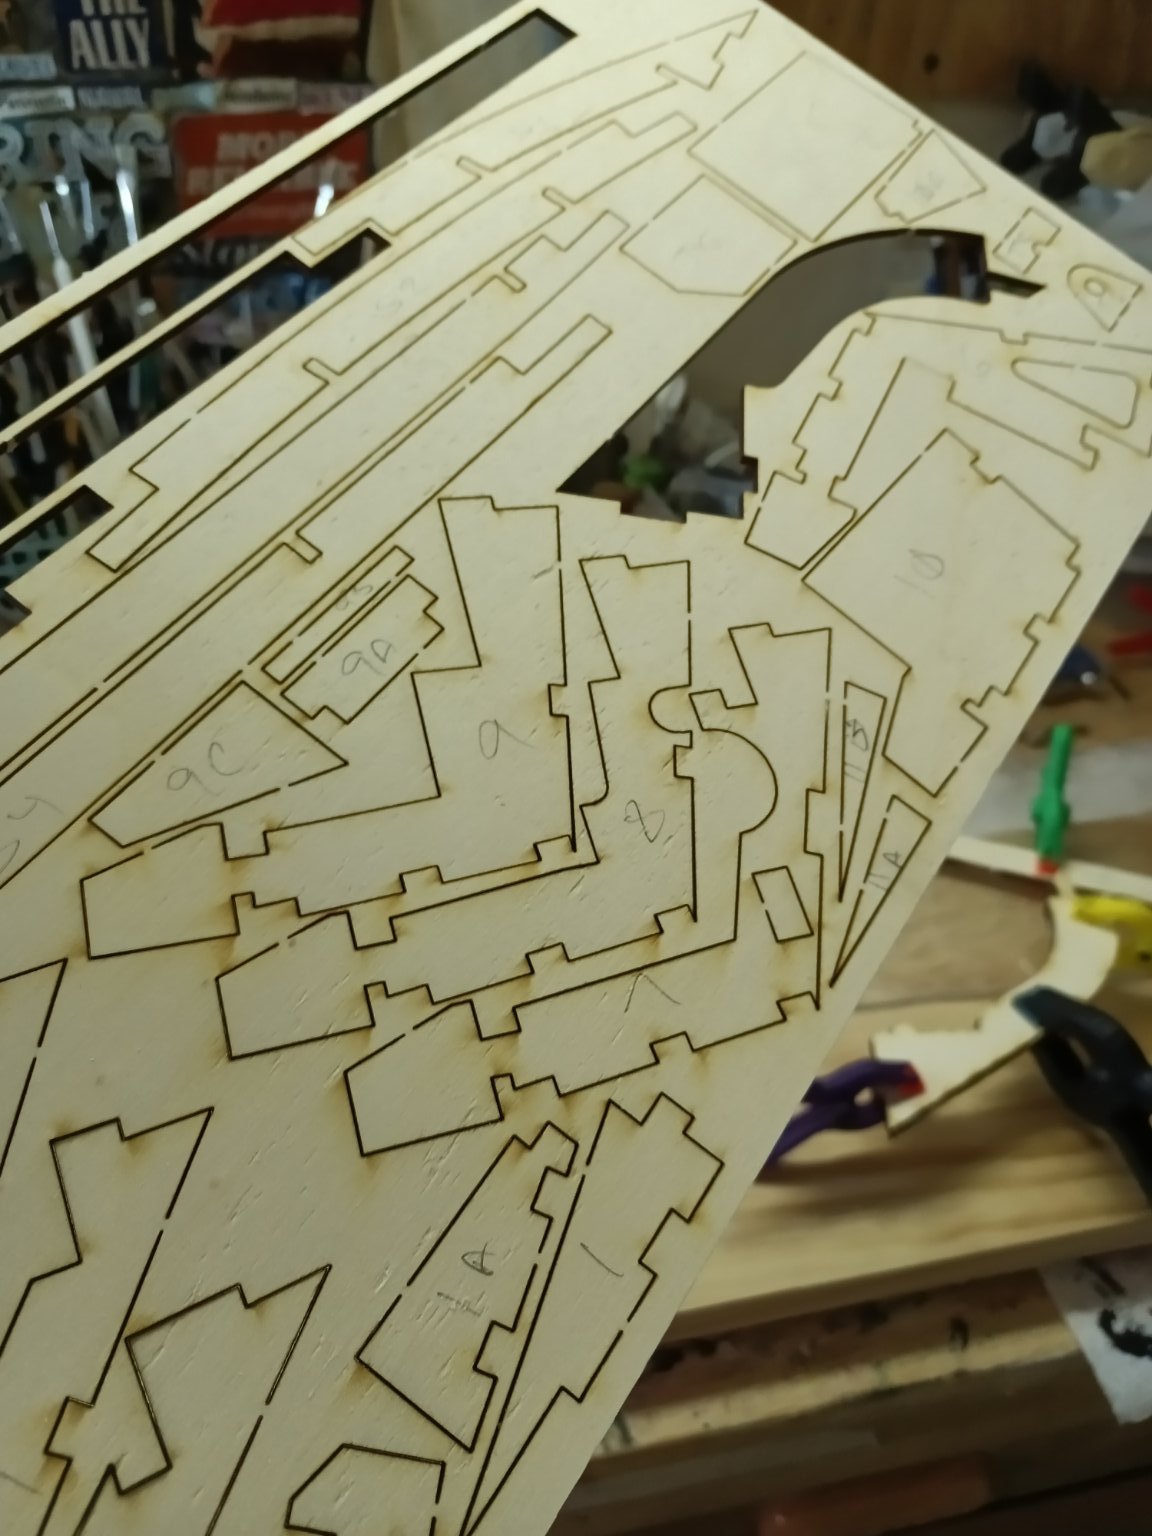
Laying out the frames and assembling the lateral supports. Really spend some time drawing out where the frames need to go. I glued them down with hot glue. Frames 6 and 10 have a specific orientation so be careful with those 2. The parts slid into place. Use epoxy to glue the supports together to keep them flexible.


- bolin, lmagna, GrandpaPhil and 9 others
-
12
-
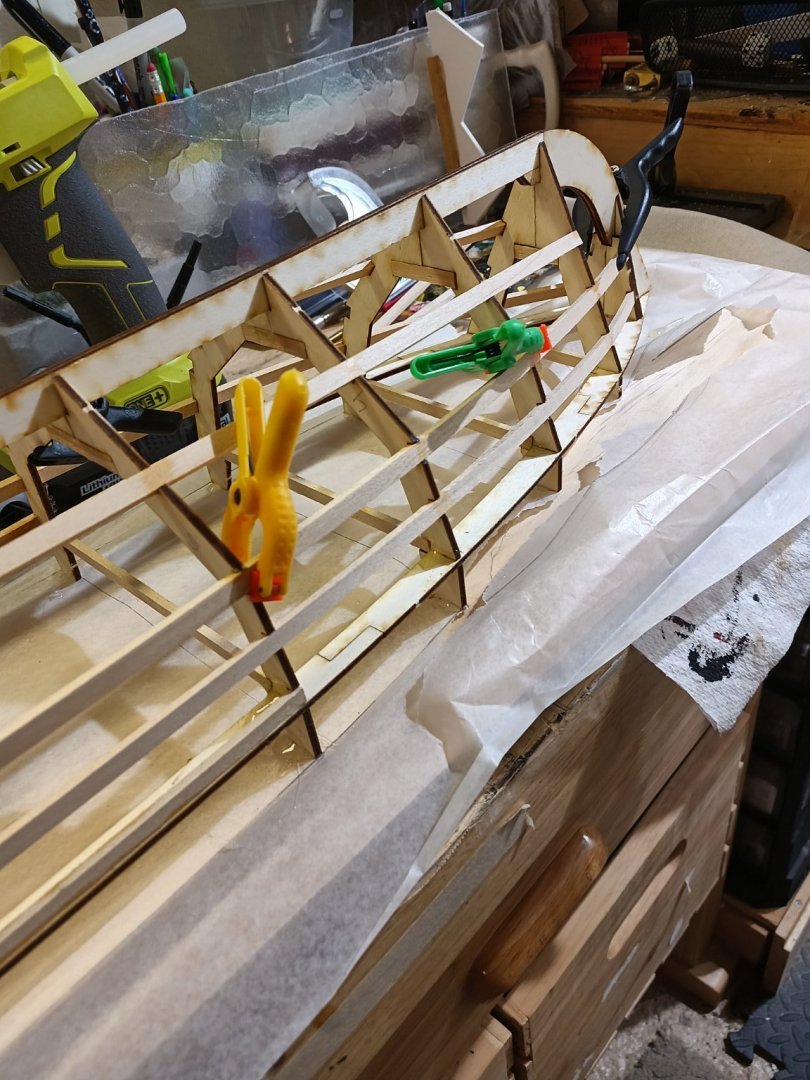
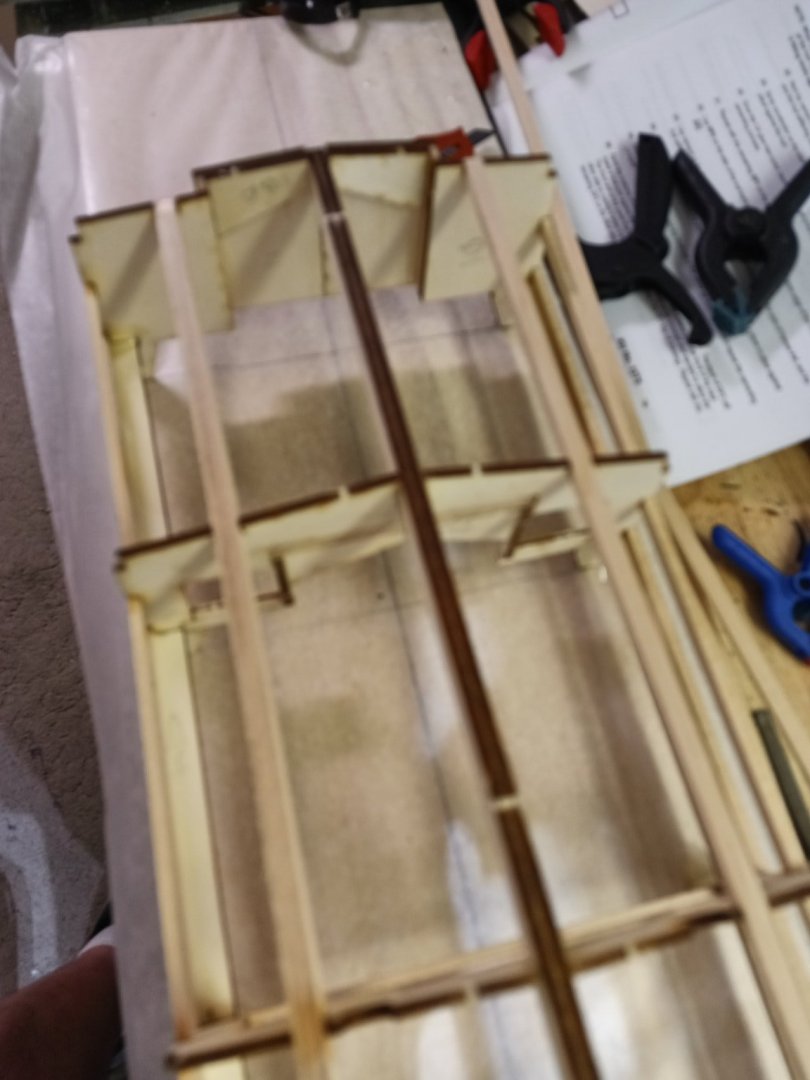
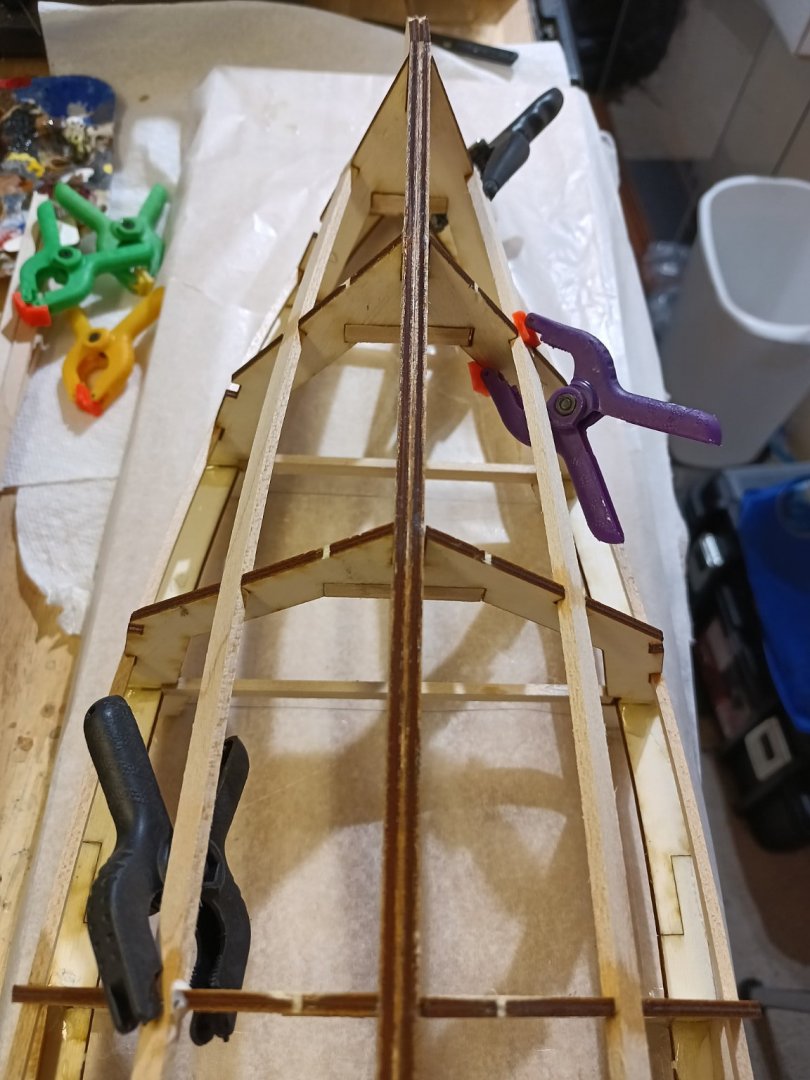
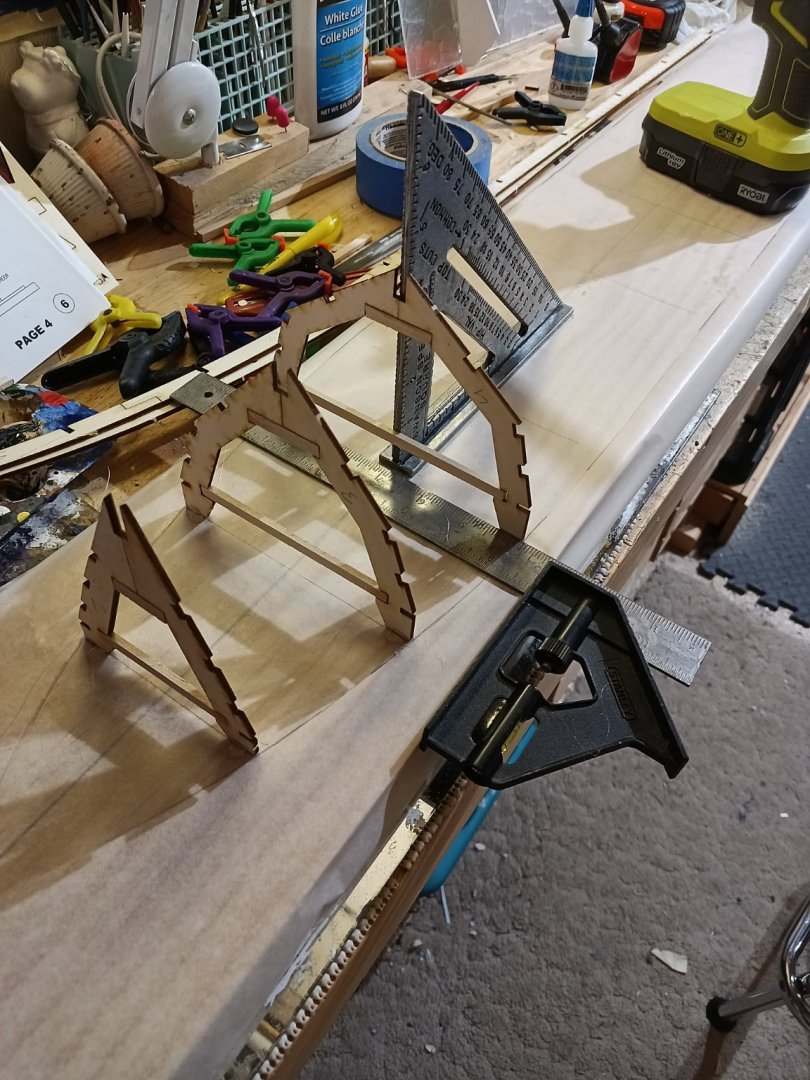
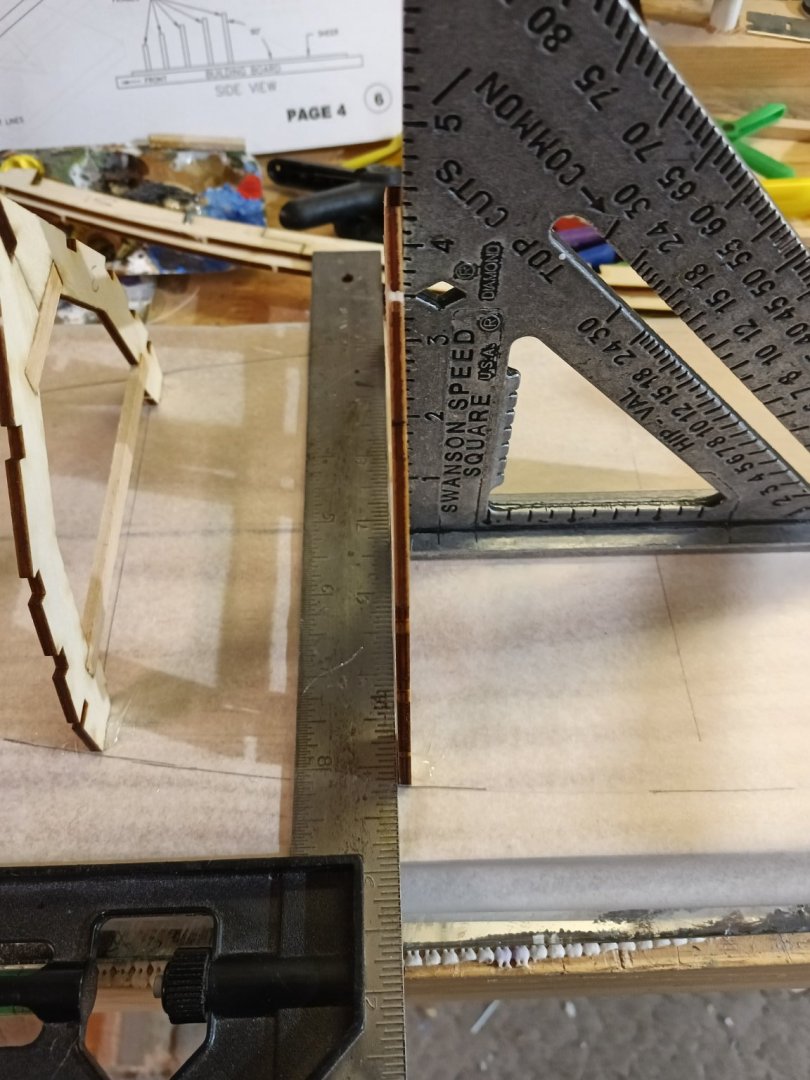
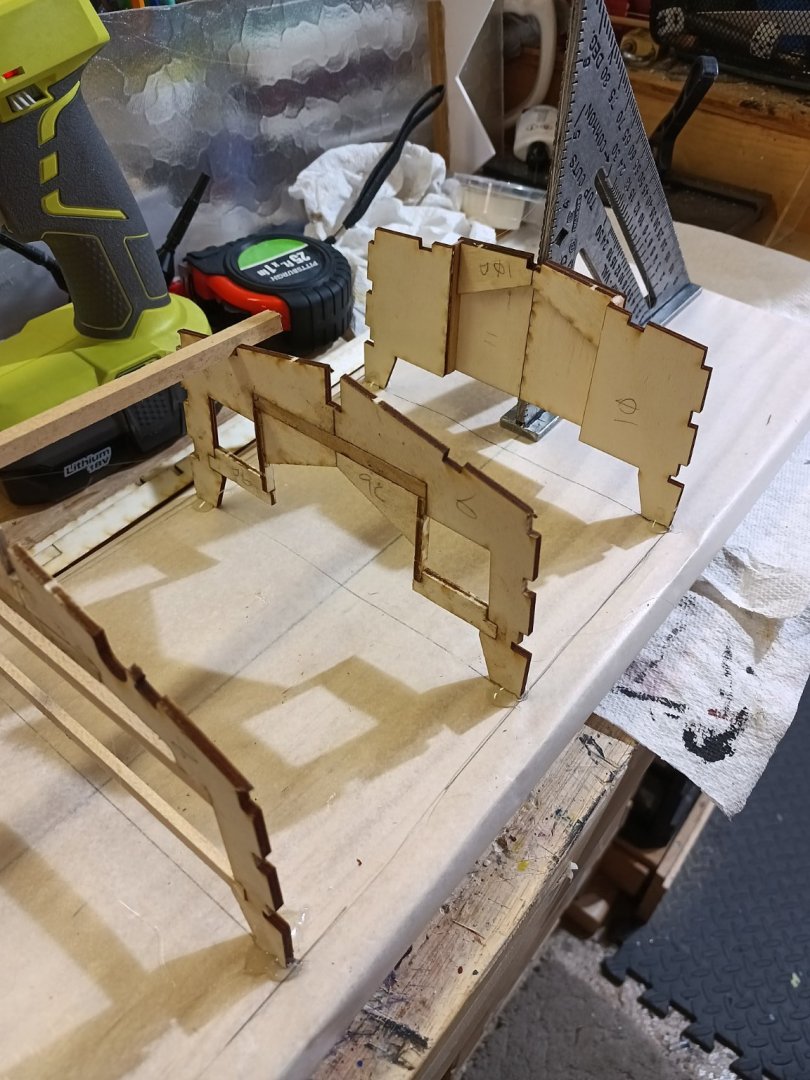
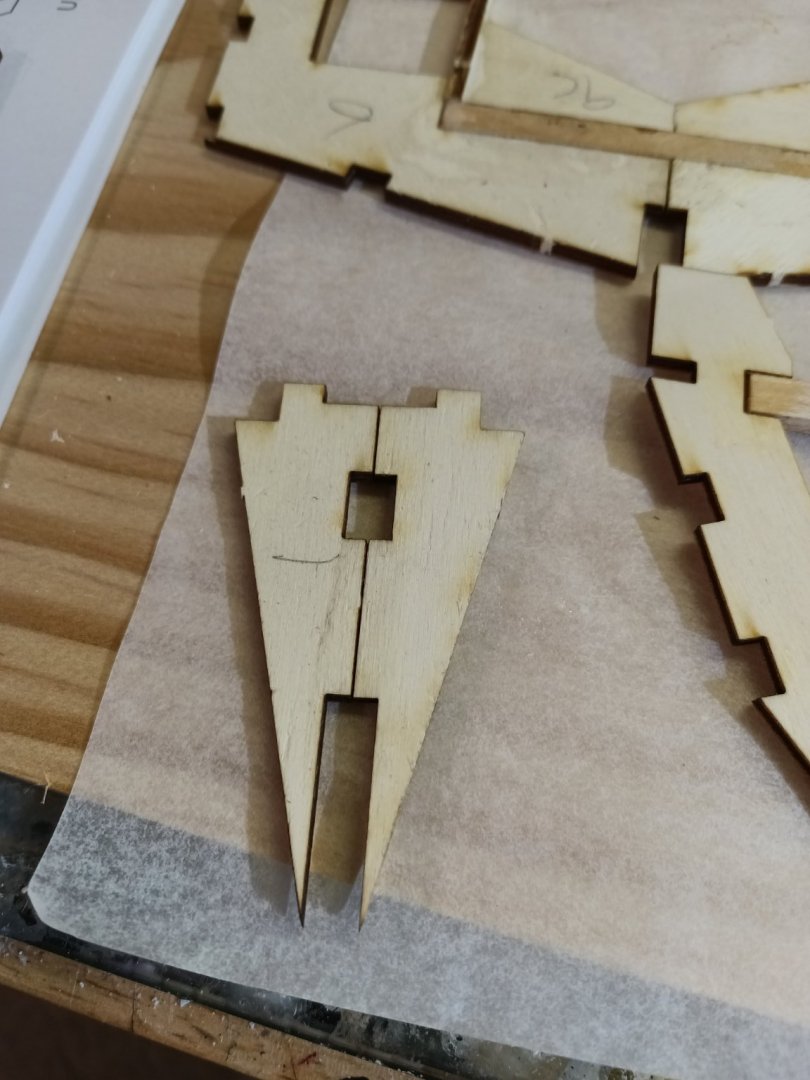
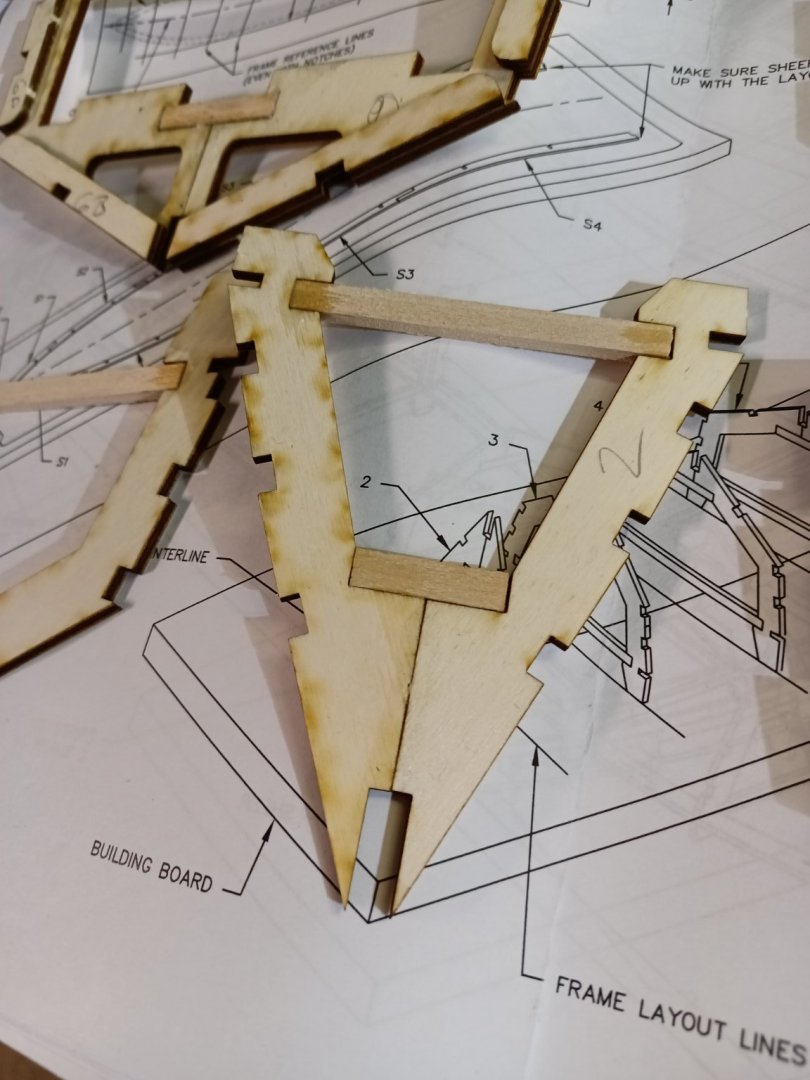
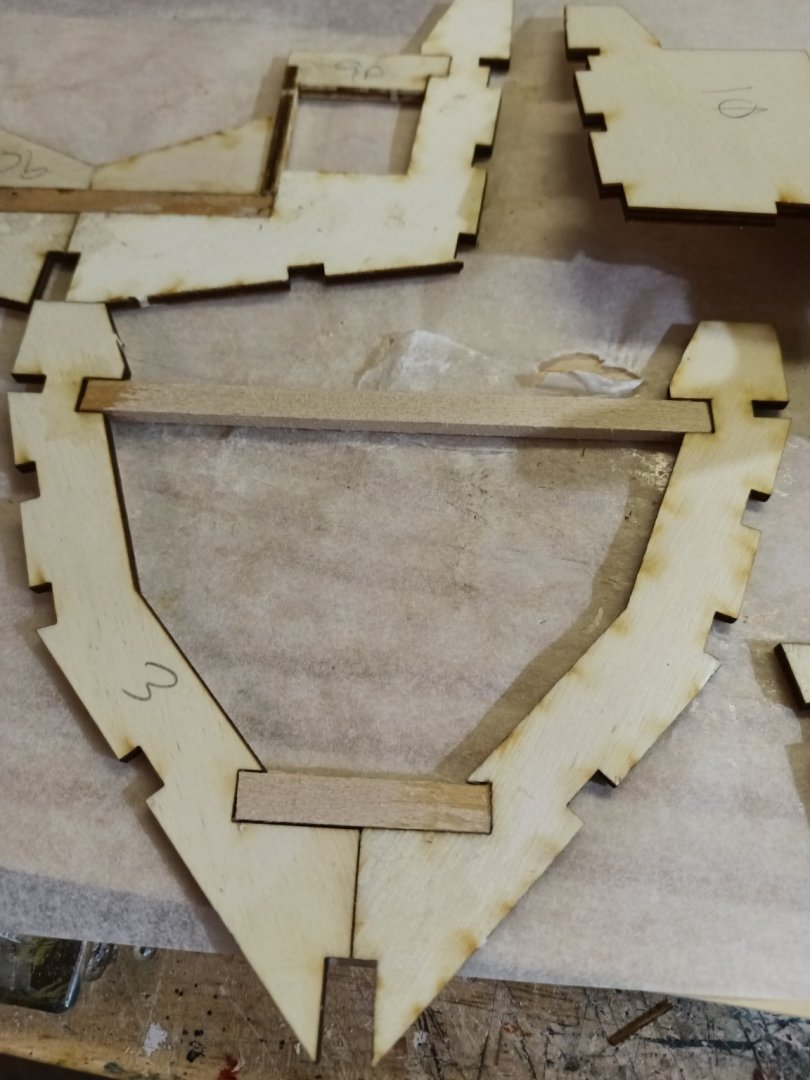
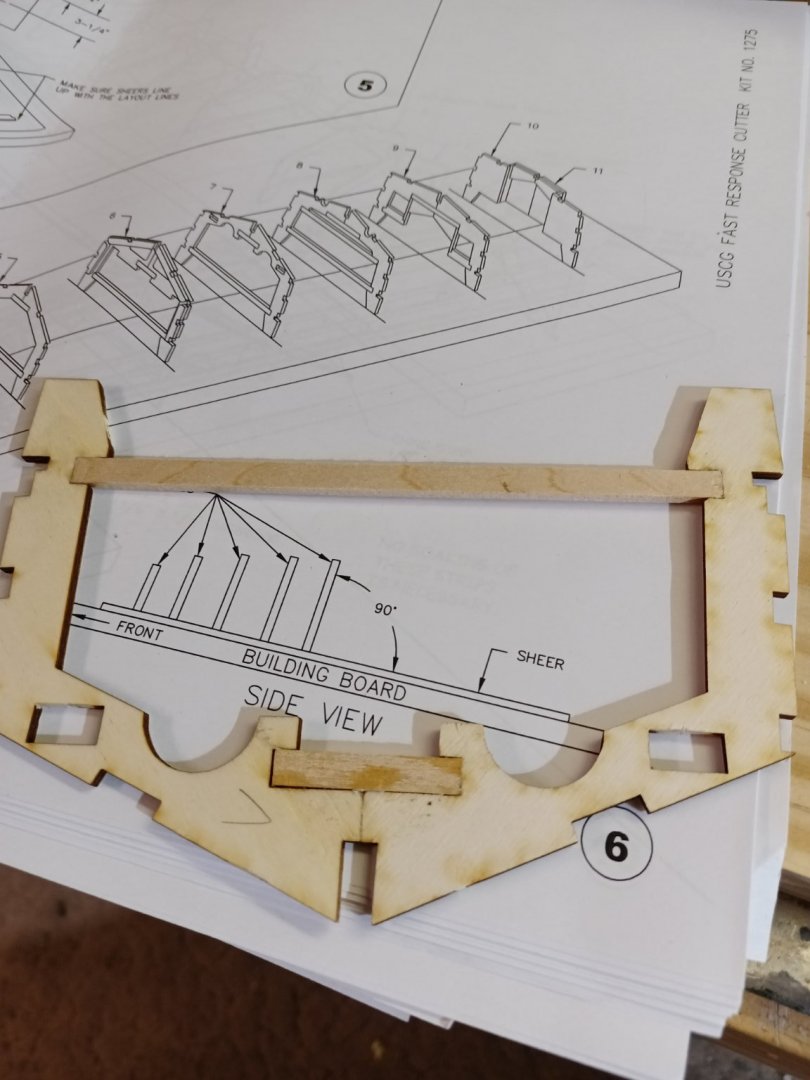
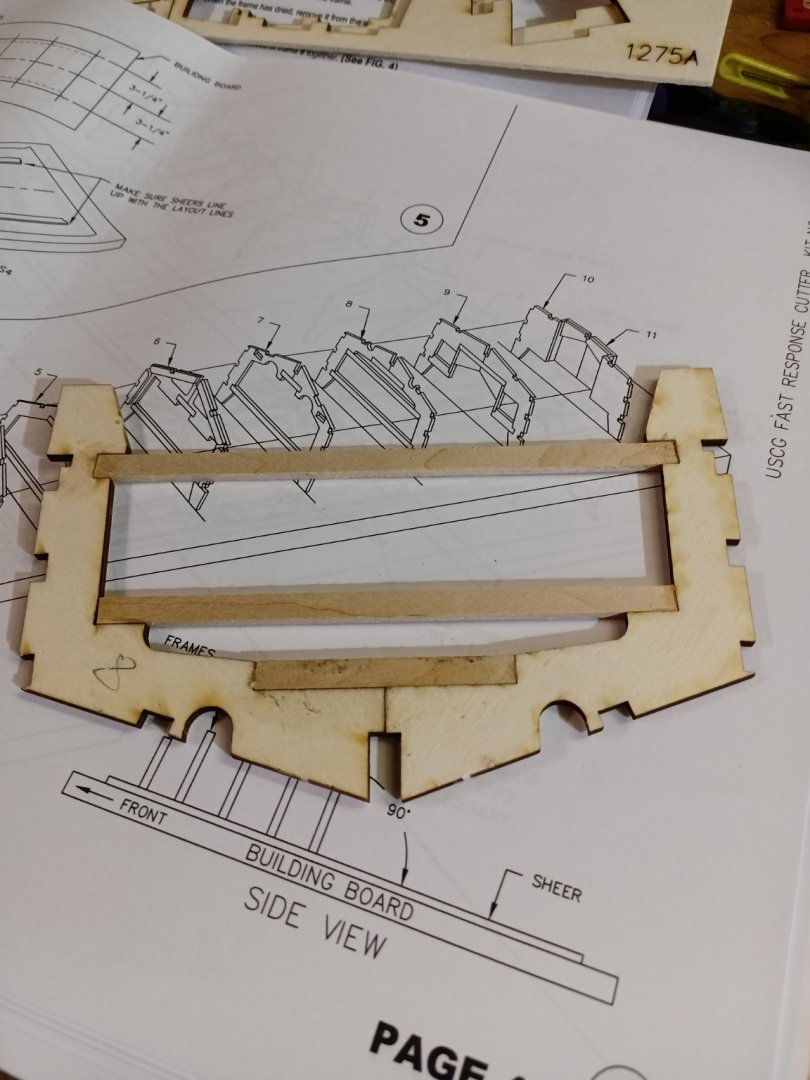
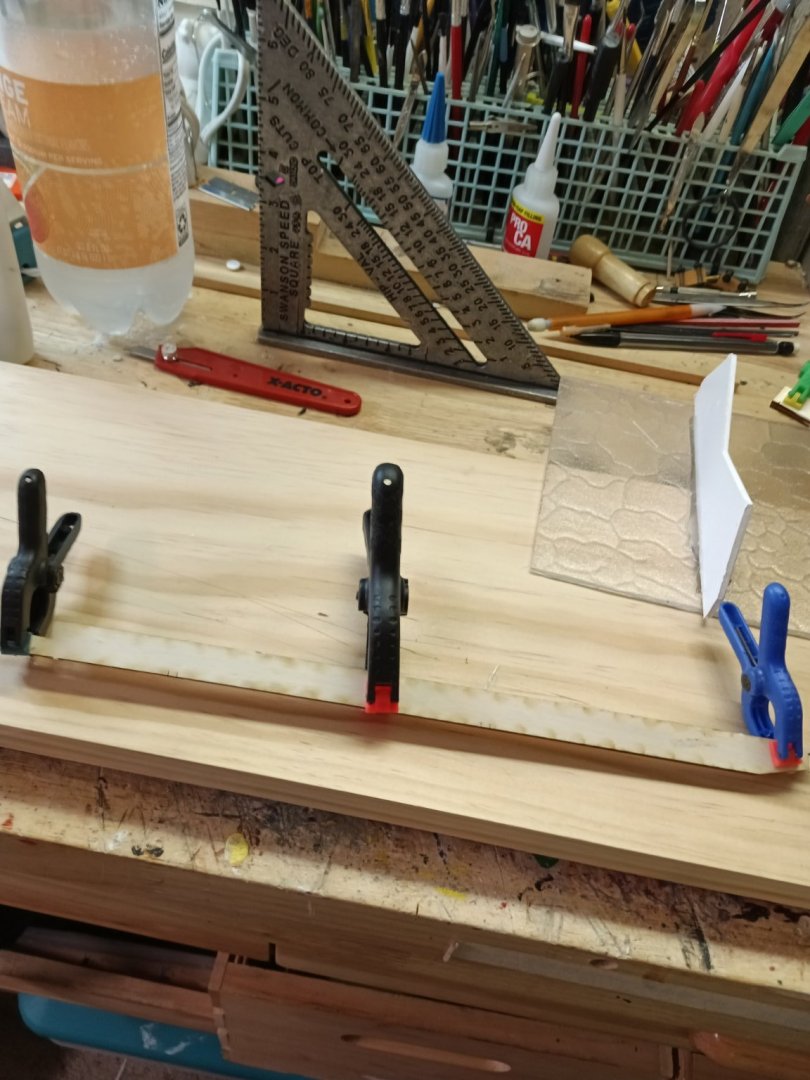
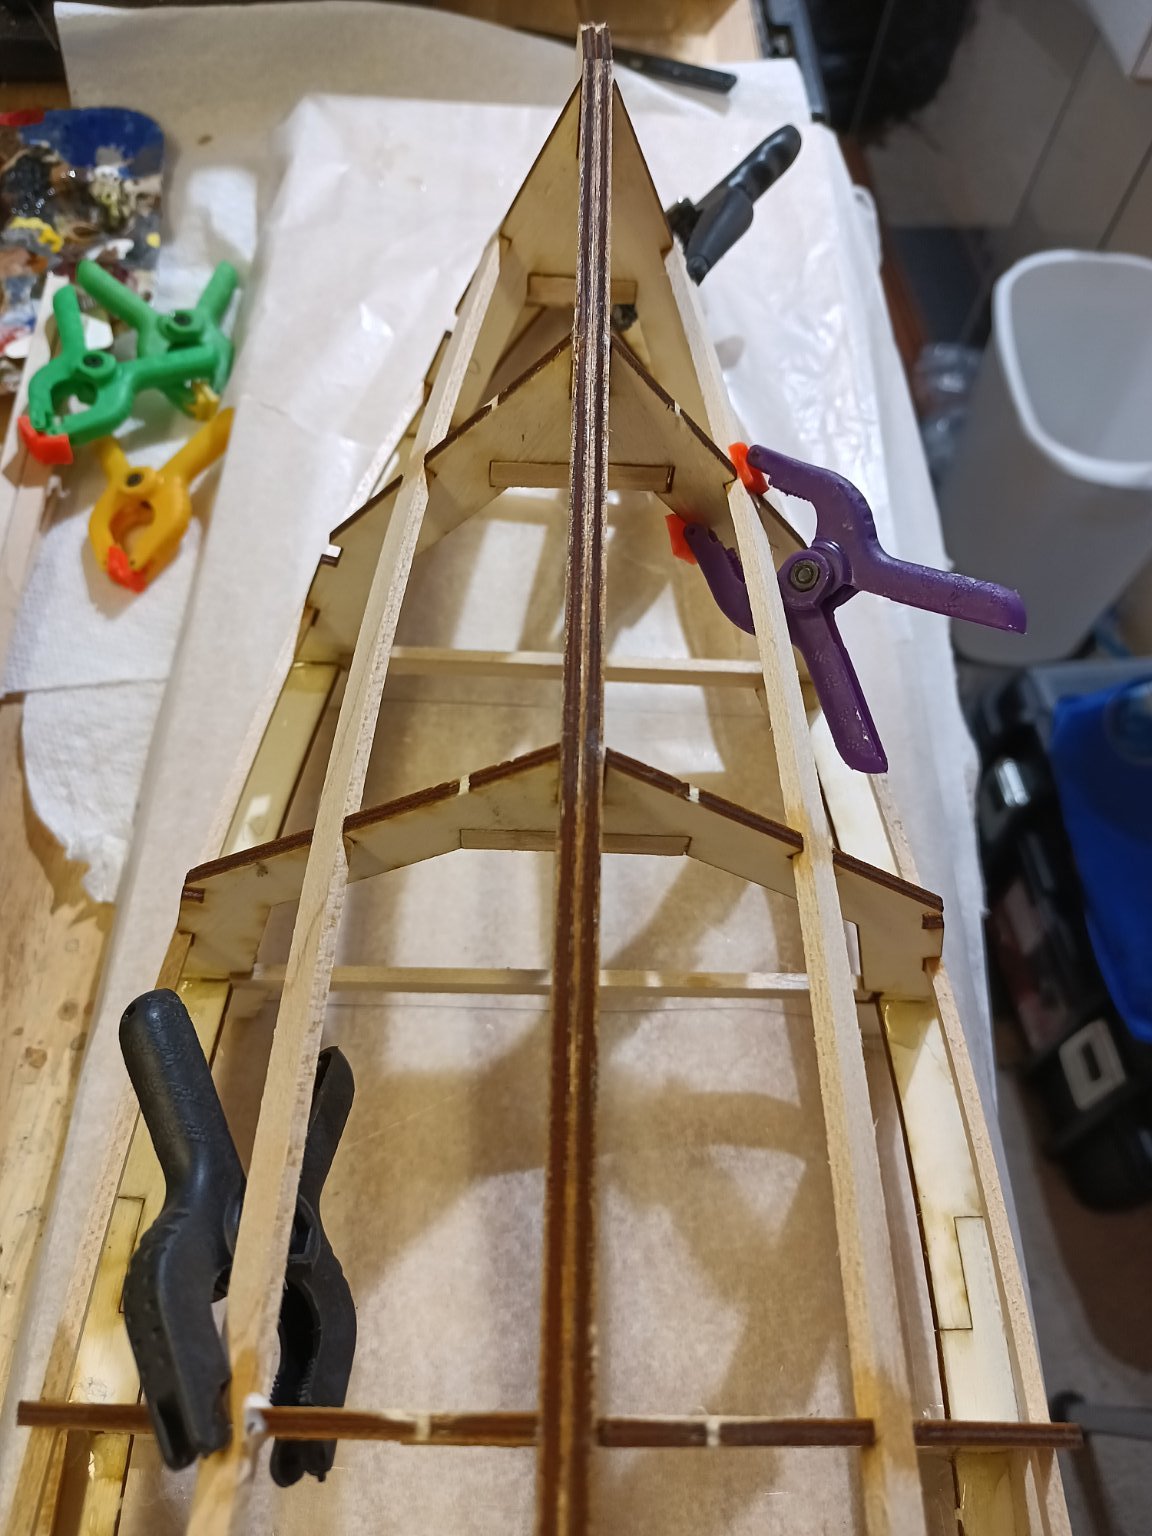
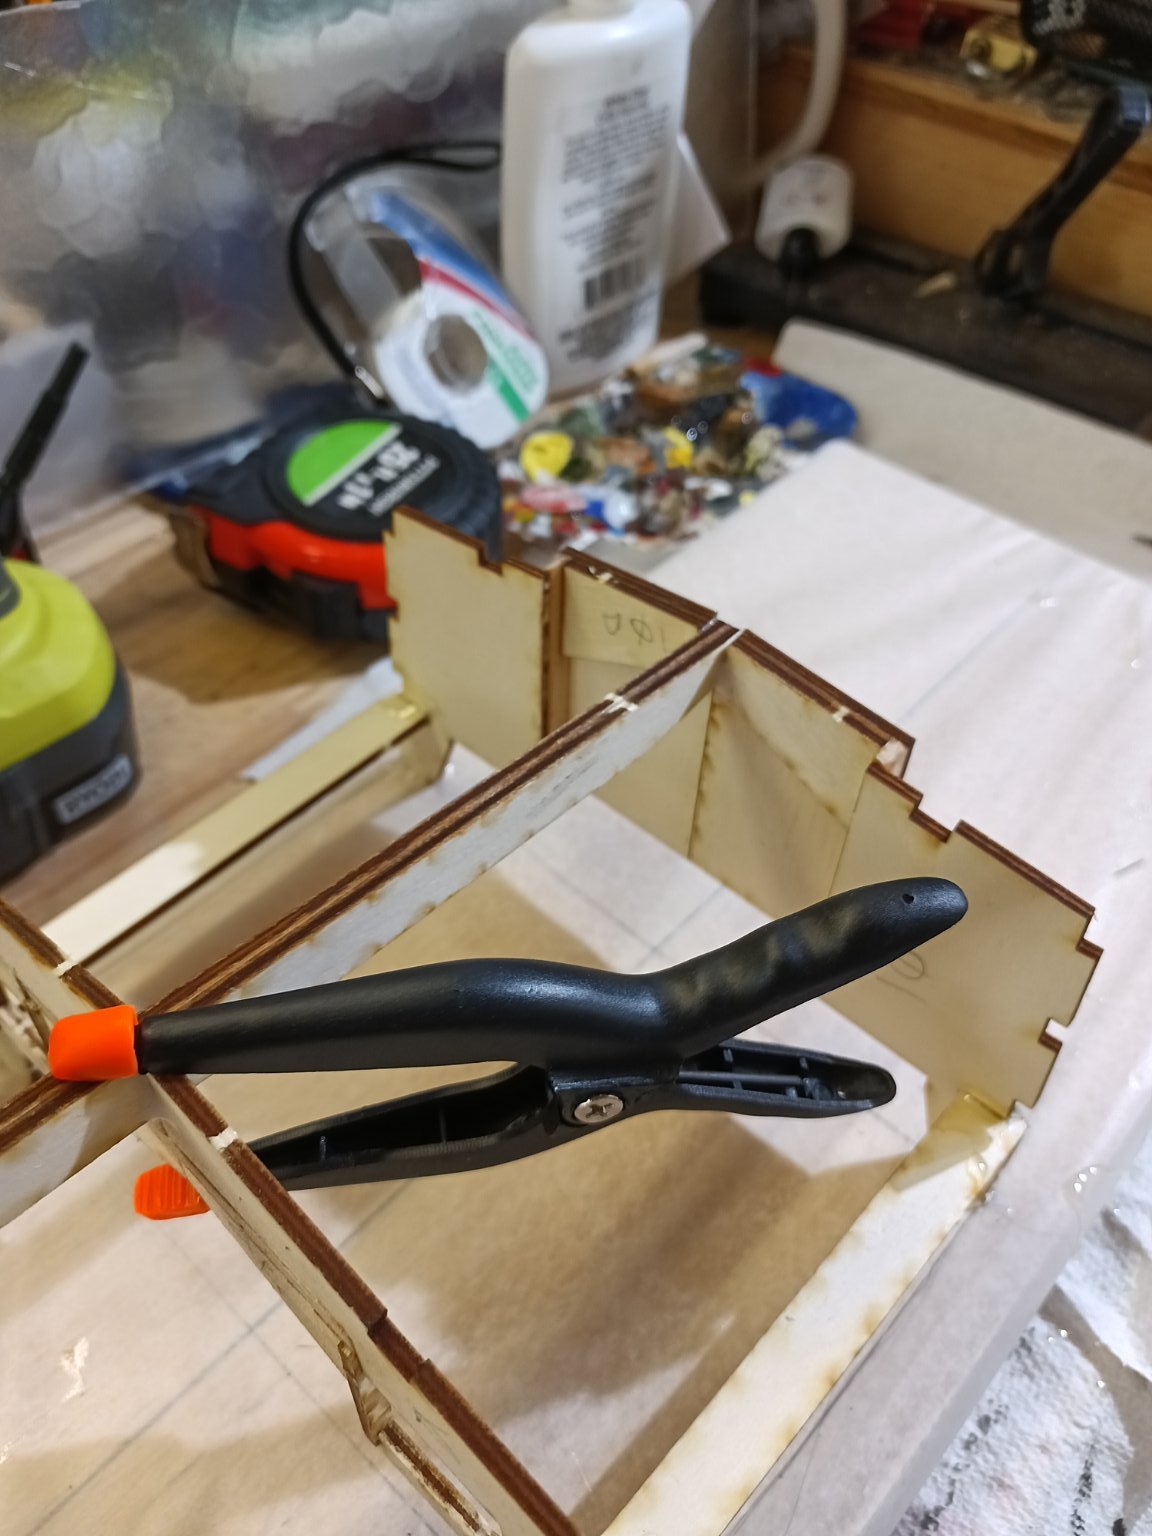
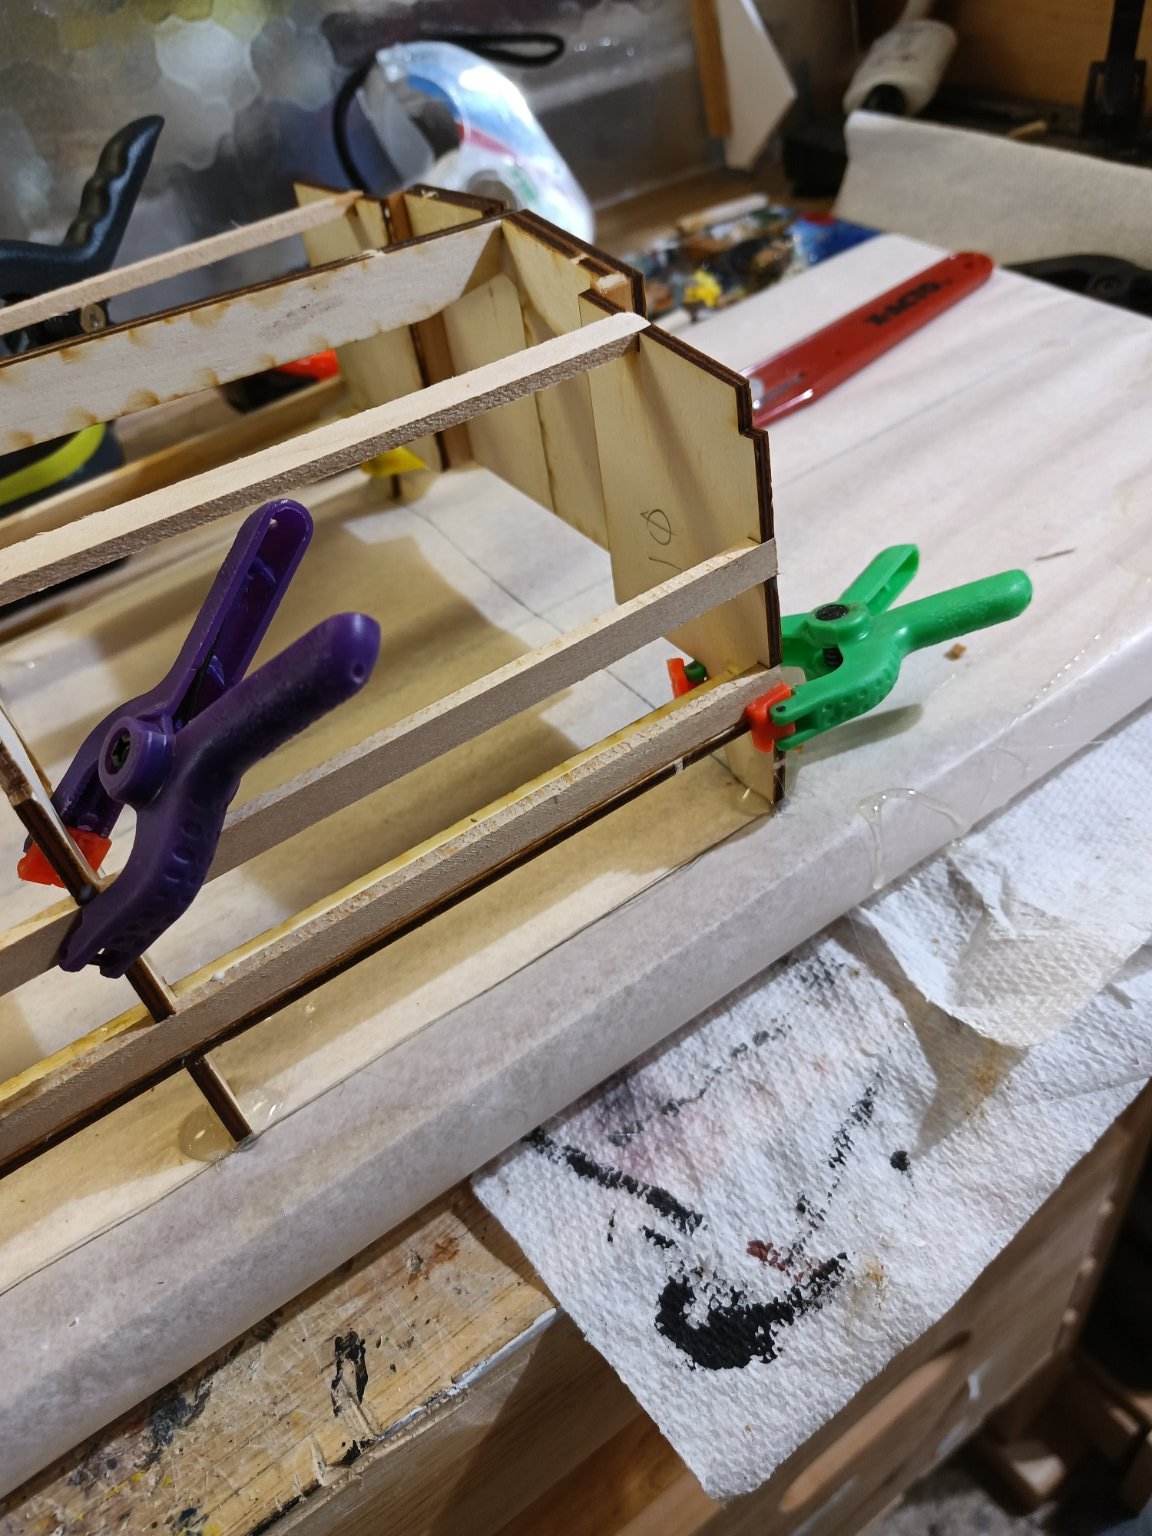
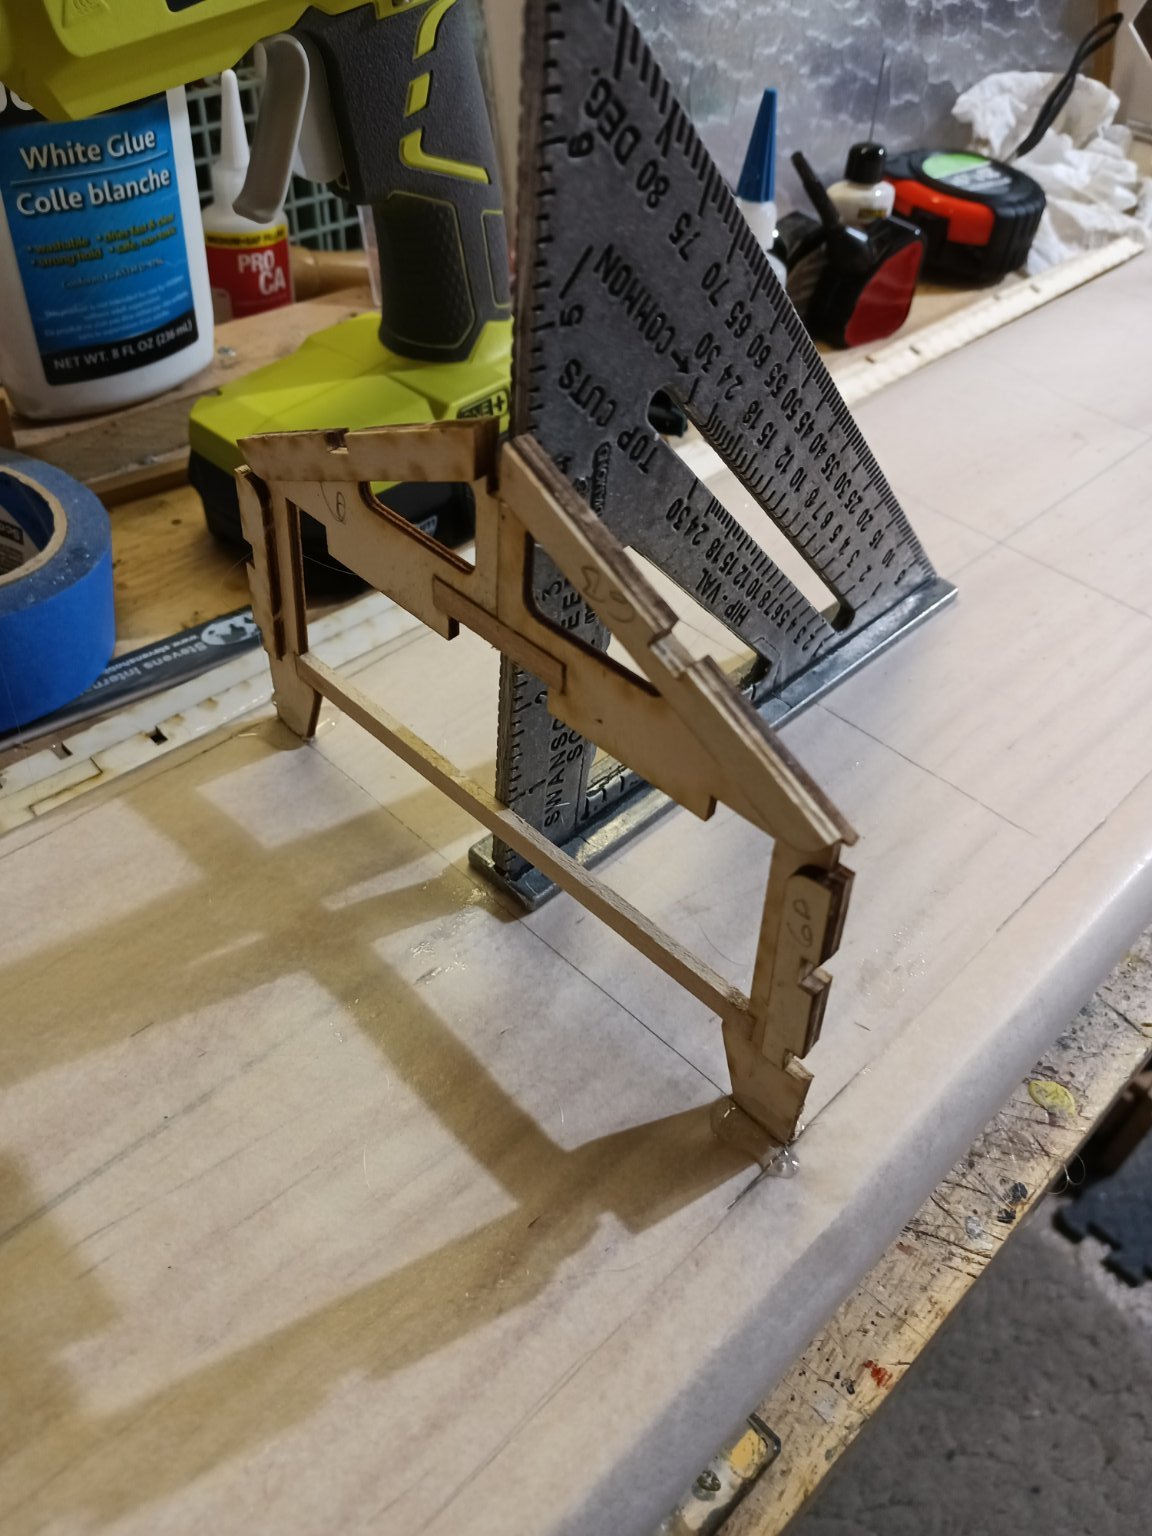
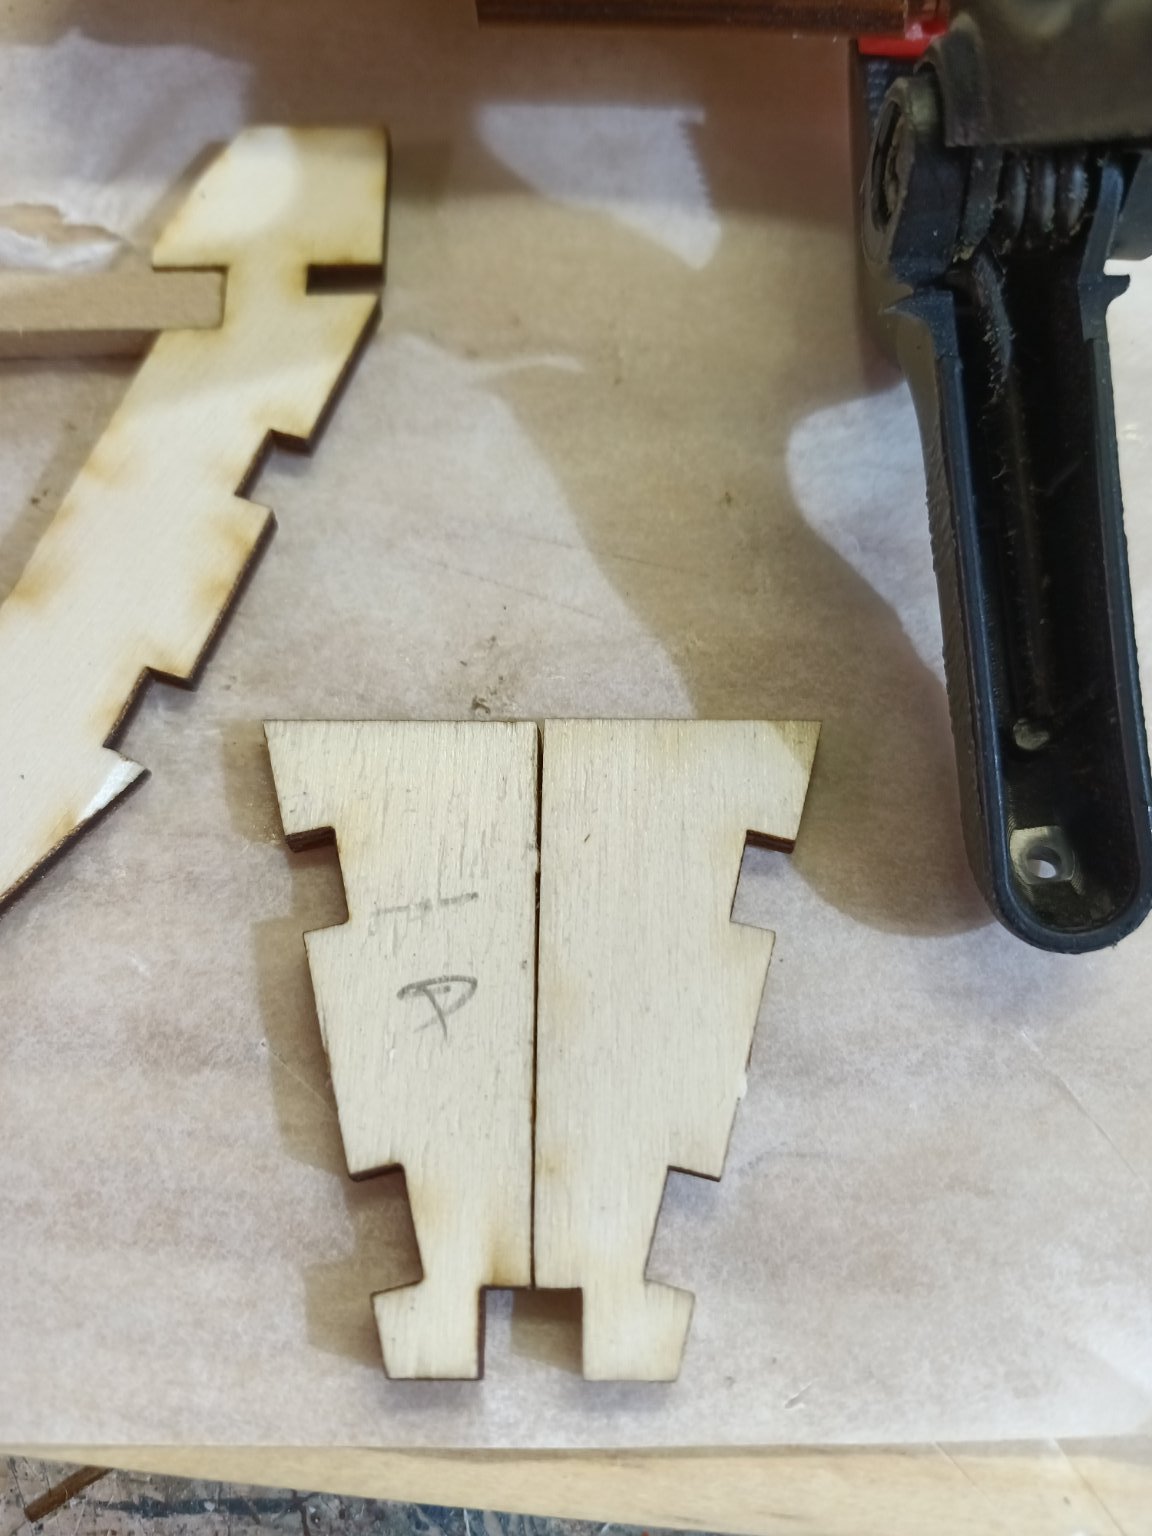
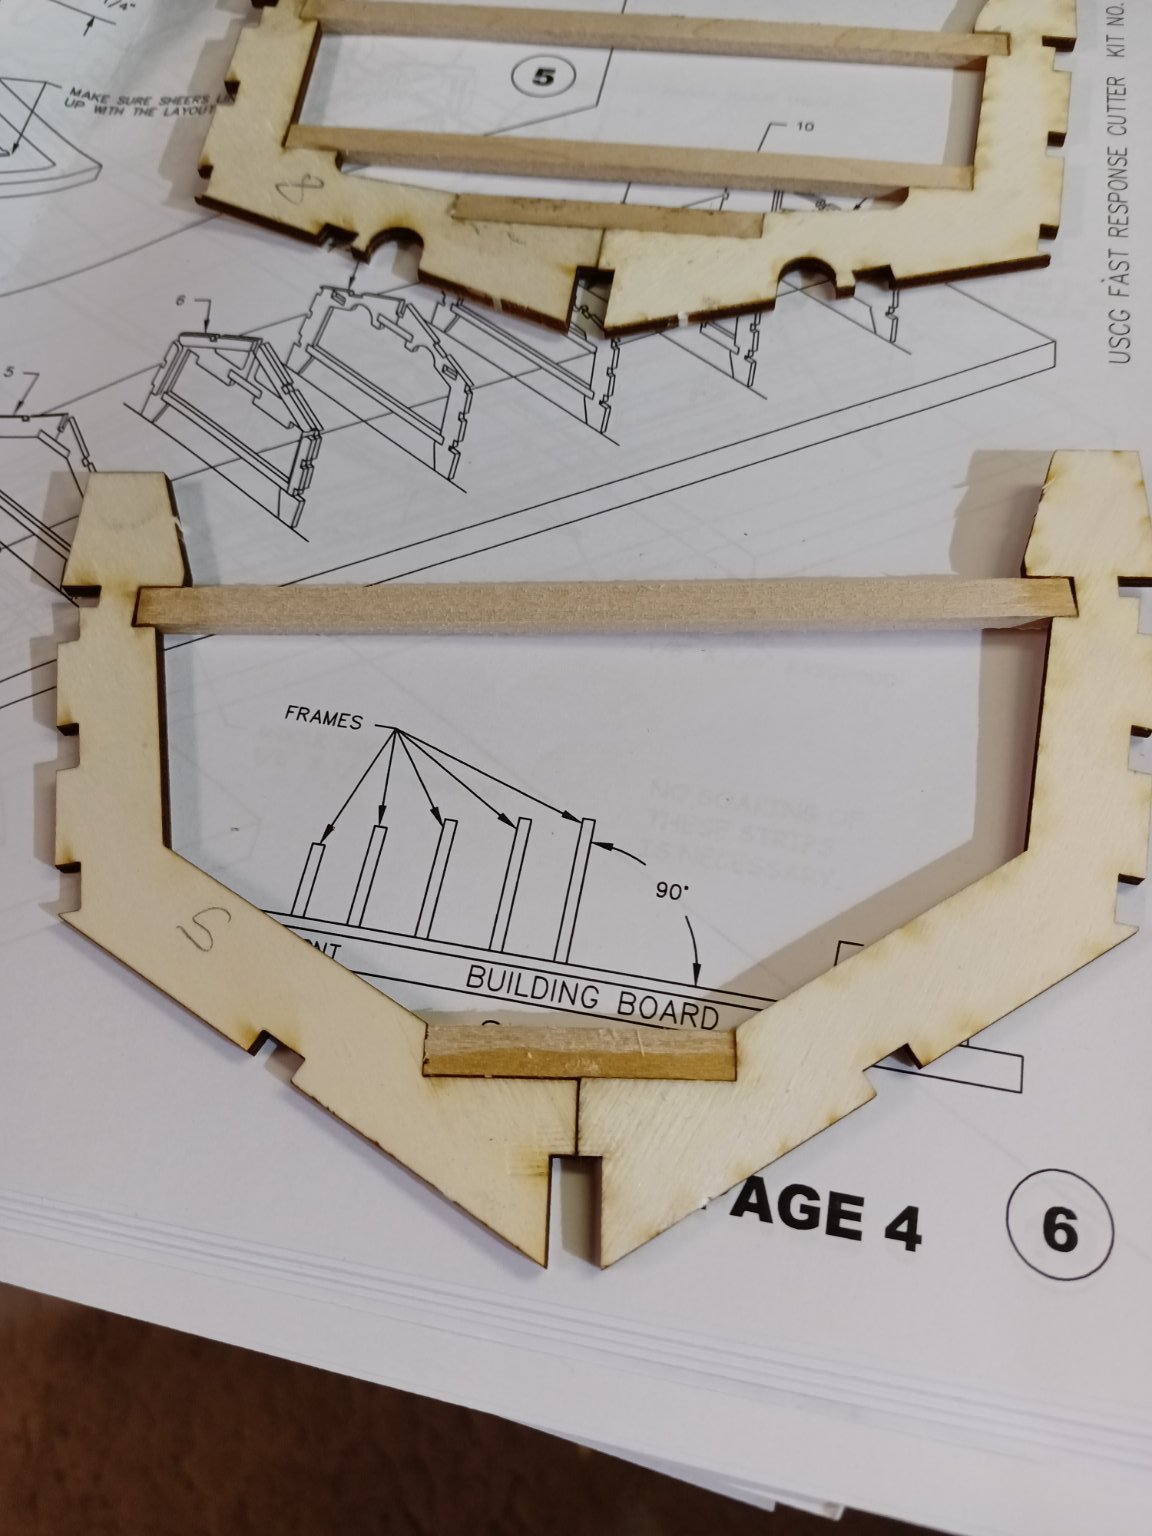
Frames individually assembled w/ 1/8 inch basswood strip.


- GrandpaPhil, Canute, yvesvidal and 5 others
-
8
-
Greetings All.
I just posted the unboxing video to Youtube:
Sorry the quality isn't great.
Enjoy.
- Nautical 1, Canute, mtaylor and 2 others
-
5
-
5 hours ago, Canute said:
Interesting build. Is this cutter named for Emlen the Gremlin, a long retired NY football Giants player?
It is indeed. After conducting some research the CG found out he had served in the CG in WW2. He earned 2 lifesaving medals while serving.
- mtaylor, Old Collingwood, lmagna and 1 other
-
4
-
Started gluing the frames. Keel pieces are doubled laser cut.

- mtaylor, GrandpaPhil, gieb8688 and 5 others
-
8
-
Greetings All,
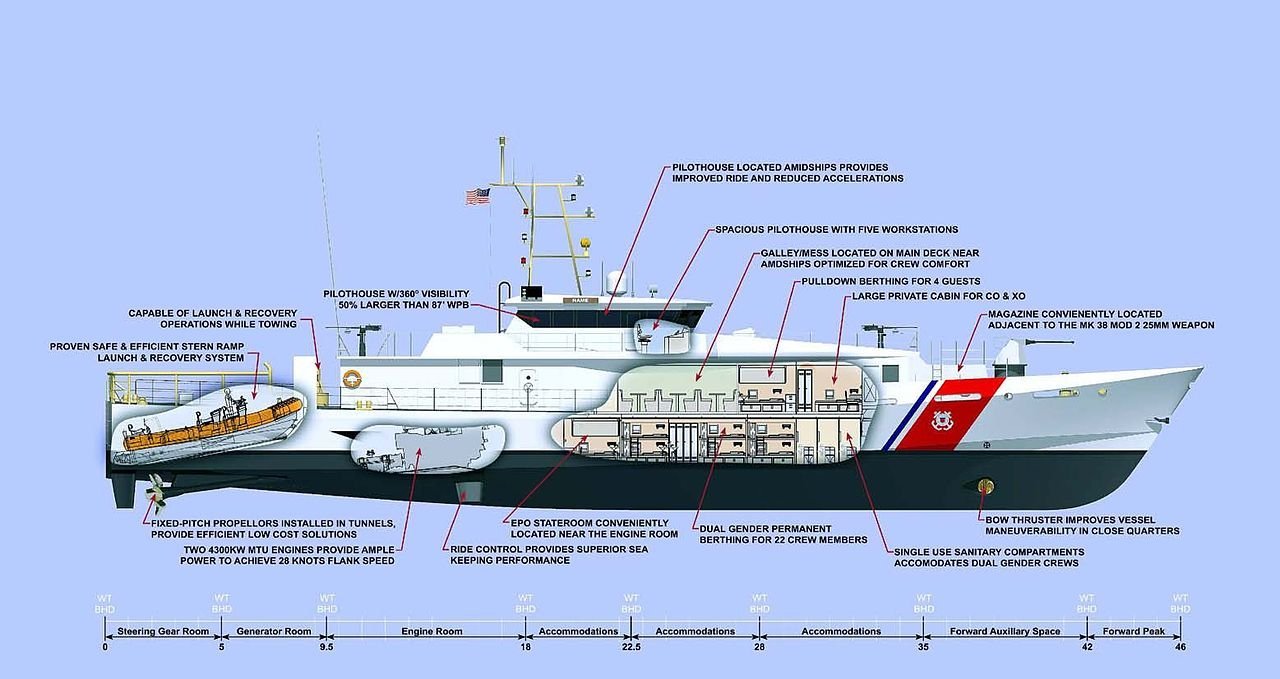
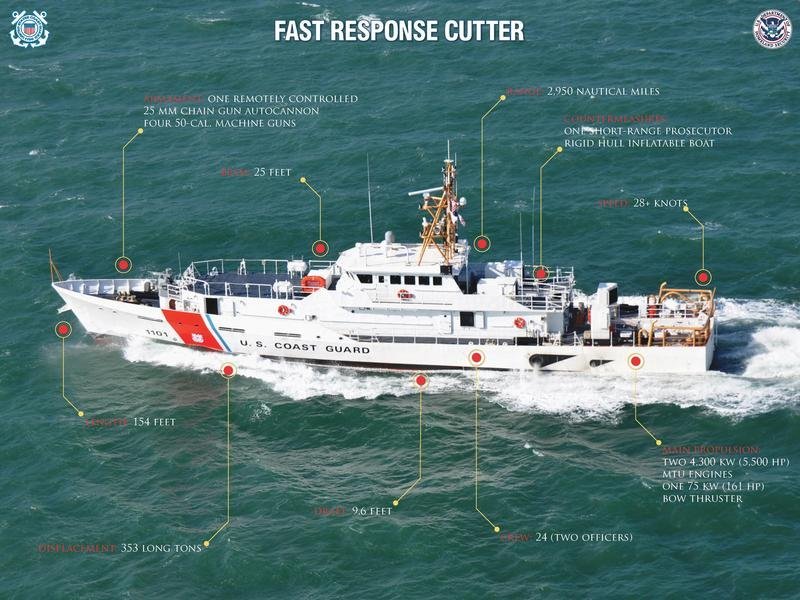
This is my build log for a USCG FRC (fast response cutter) at a length of 154 feet. This class is only a few years old and even though it is intended for R/C I will be building it as static for display.
I will likely post a Youtube video of the unboxing of the kit. So far from what I have seen this looks like a great kit by Dumas!
Pictures are from official USCG sources. Hull line diagram is from the actual vessel plans.
-
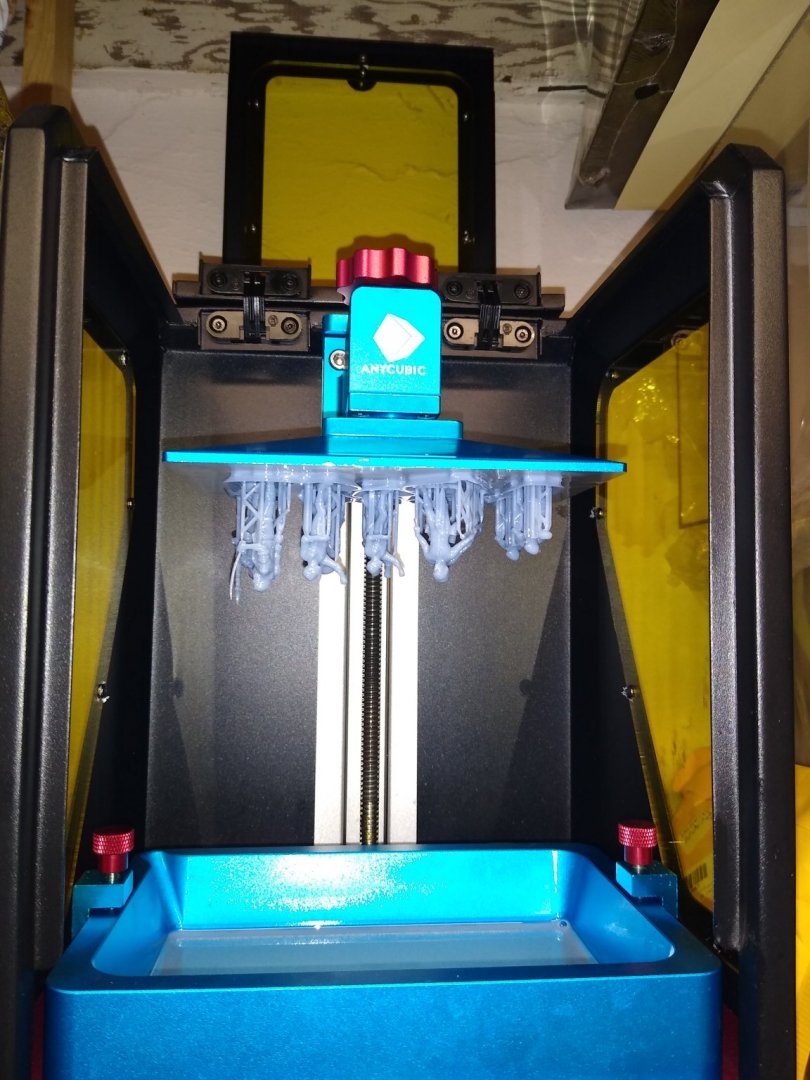
I have the Anycubic Photon. It takes up the same space as a blender. I use a tupperware pickle strainer full of isobutyl alcohol to clean the parts. After cleaning I have a UV Spotlight that shines down on a lazy susan which I can spin to move the object. The total space is maybe 3 feet by 2 feet. I HIGHLY recommend getting a 3D SLA printer to make even routine parts.
- mtaylor, Gabek, thibaultron and 2 others
-
5
-
This is a huge help thanks!
-
-
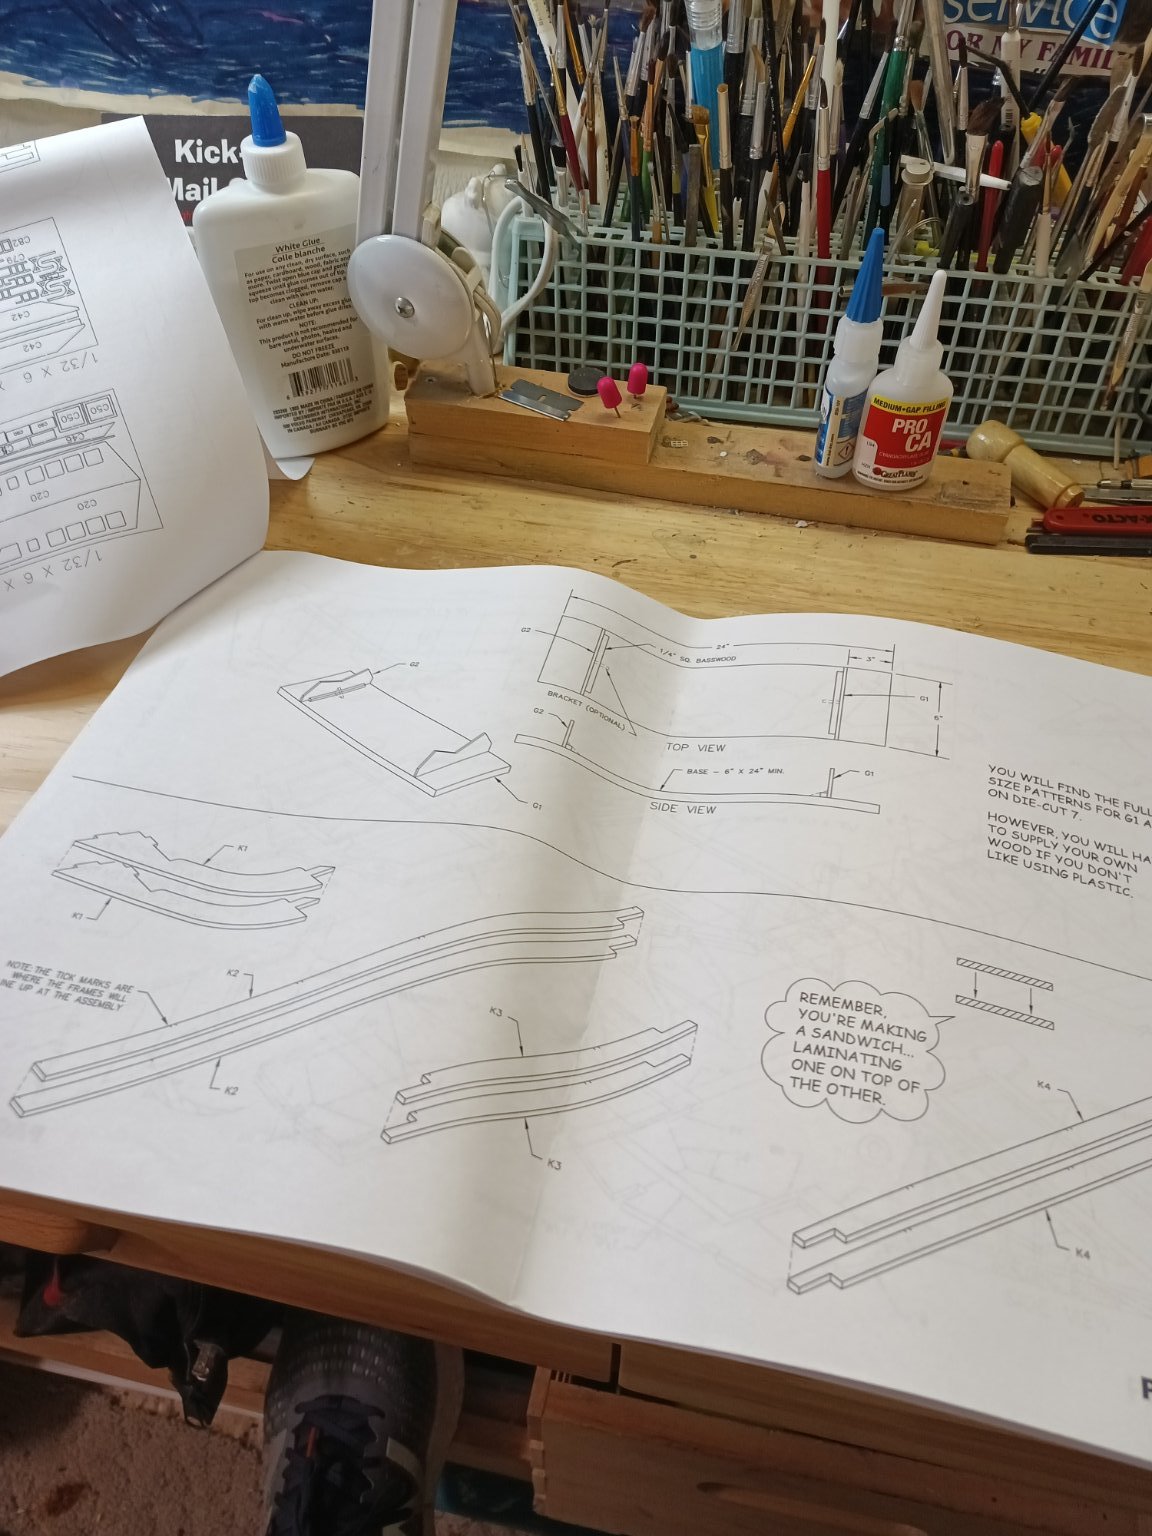
Greetings all,
A friend and I were recently donated a large cast off collection of completed ship models by a woman whose relative had died.
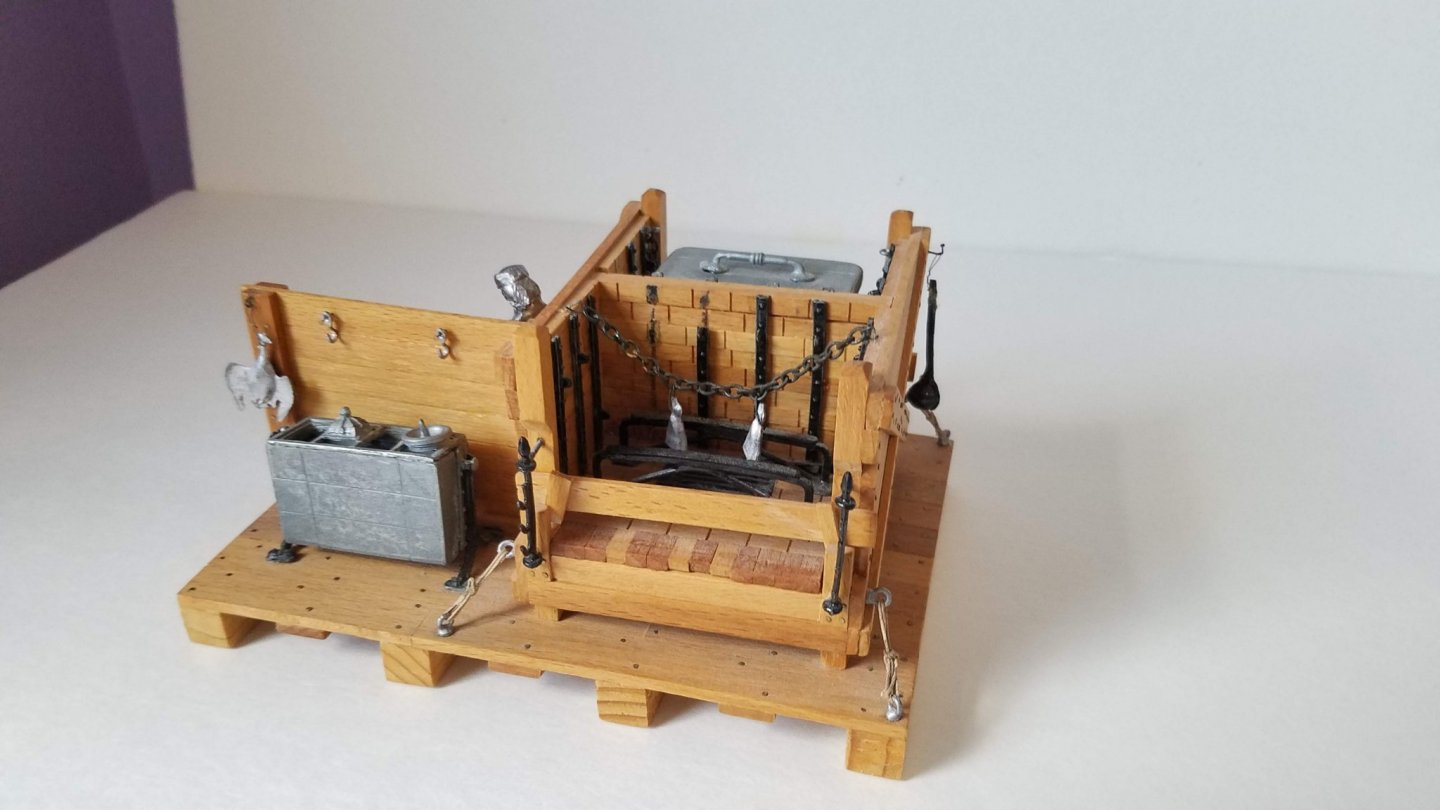
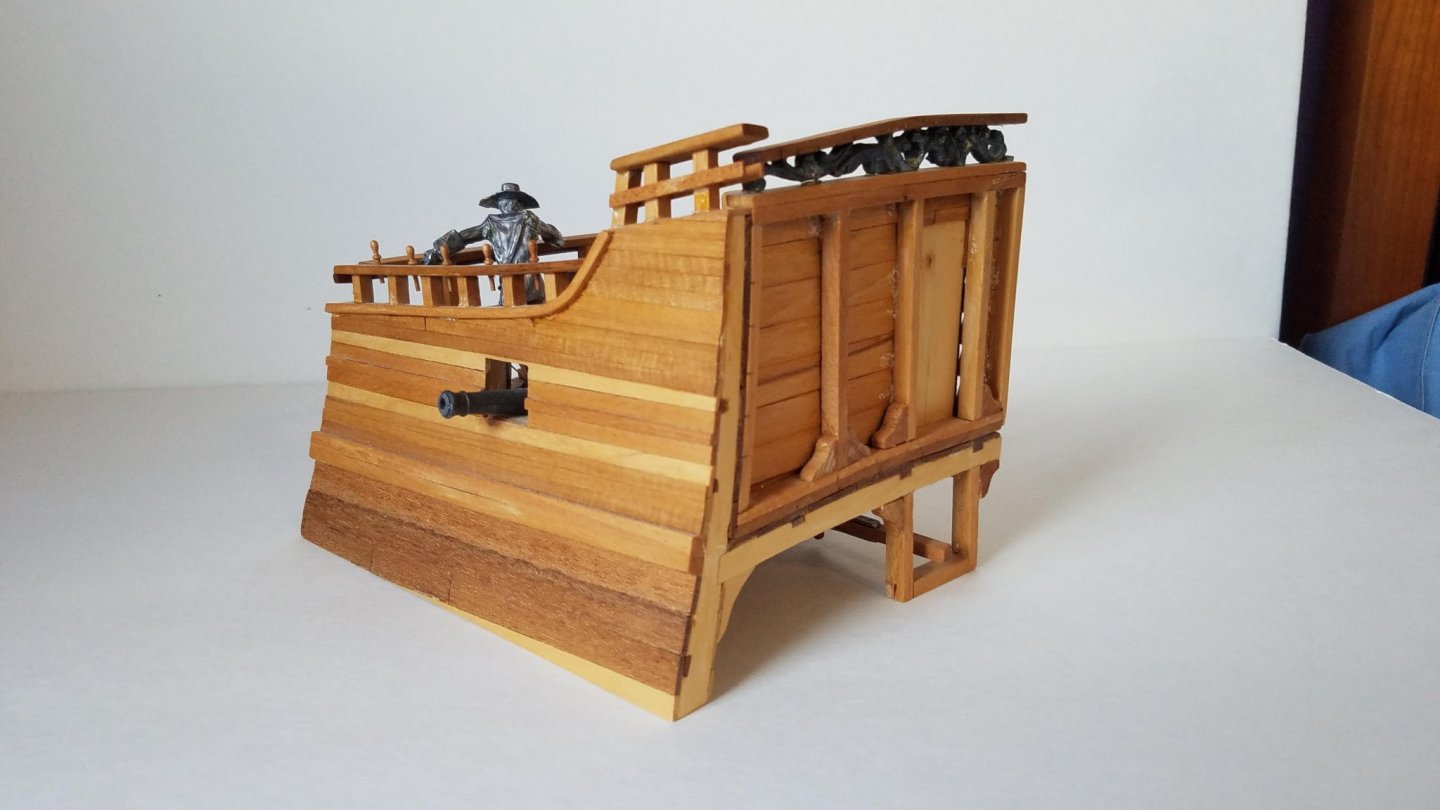
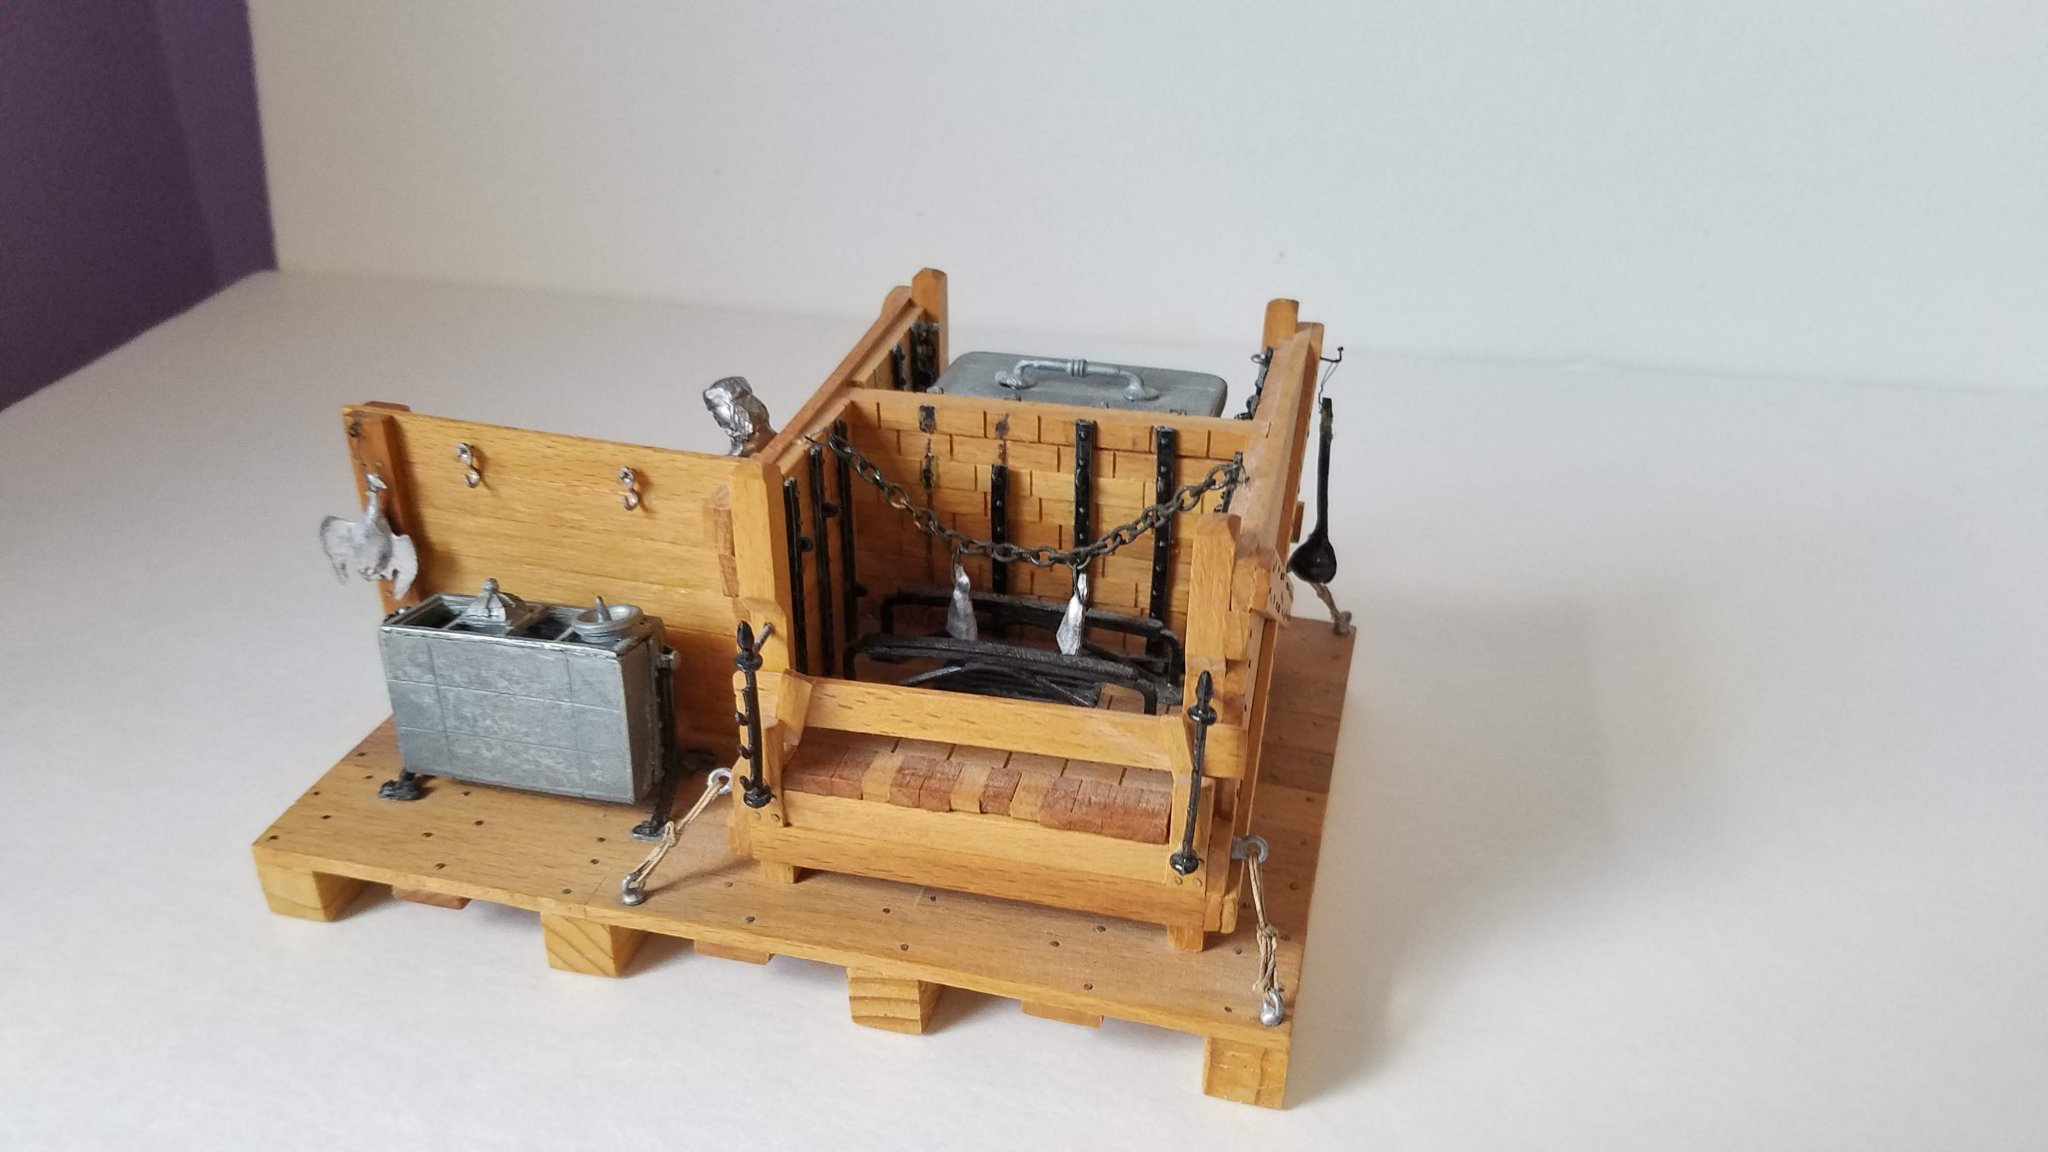
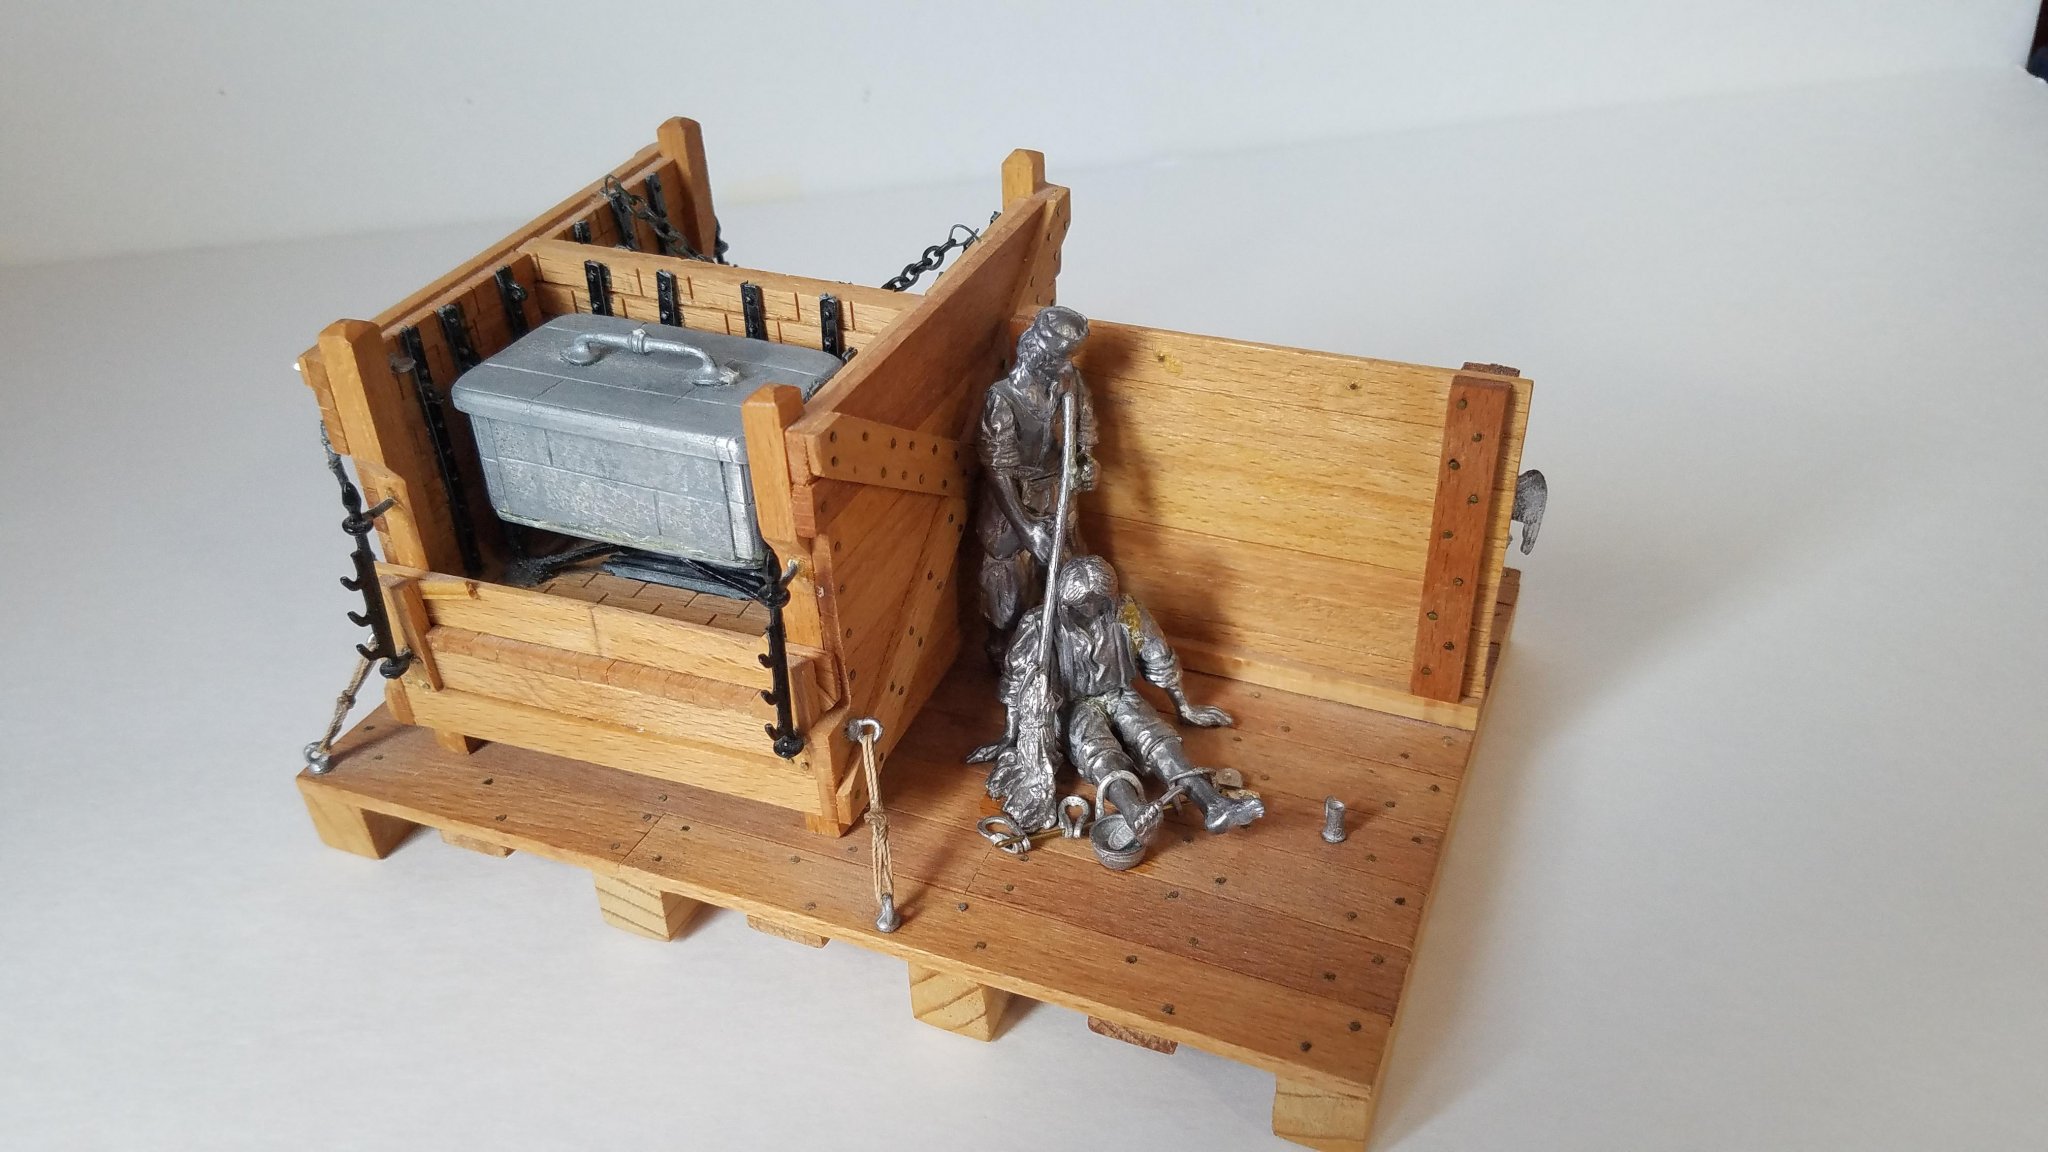
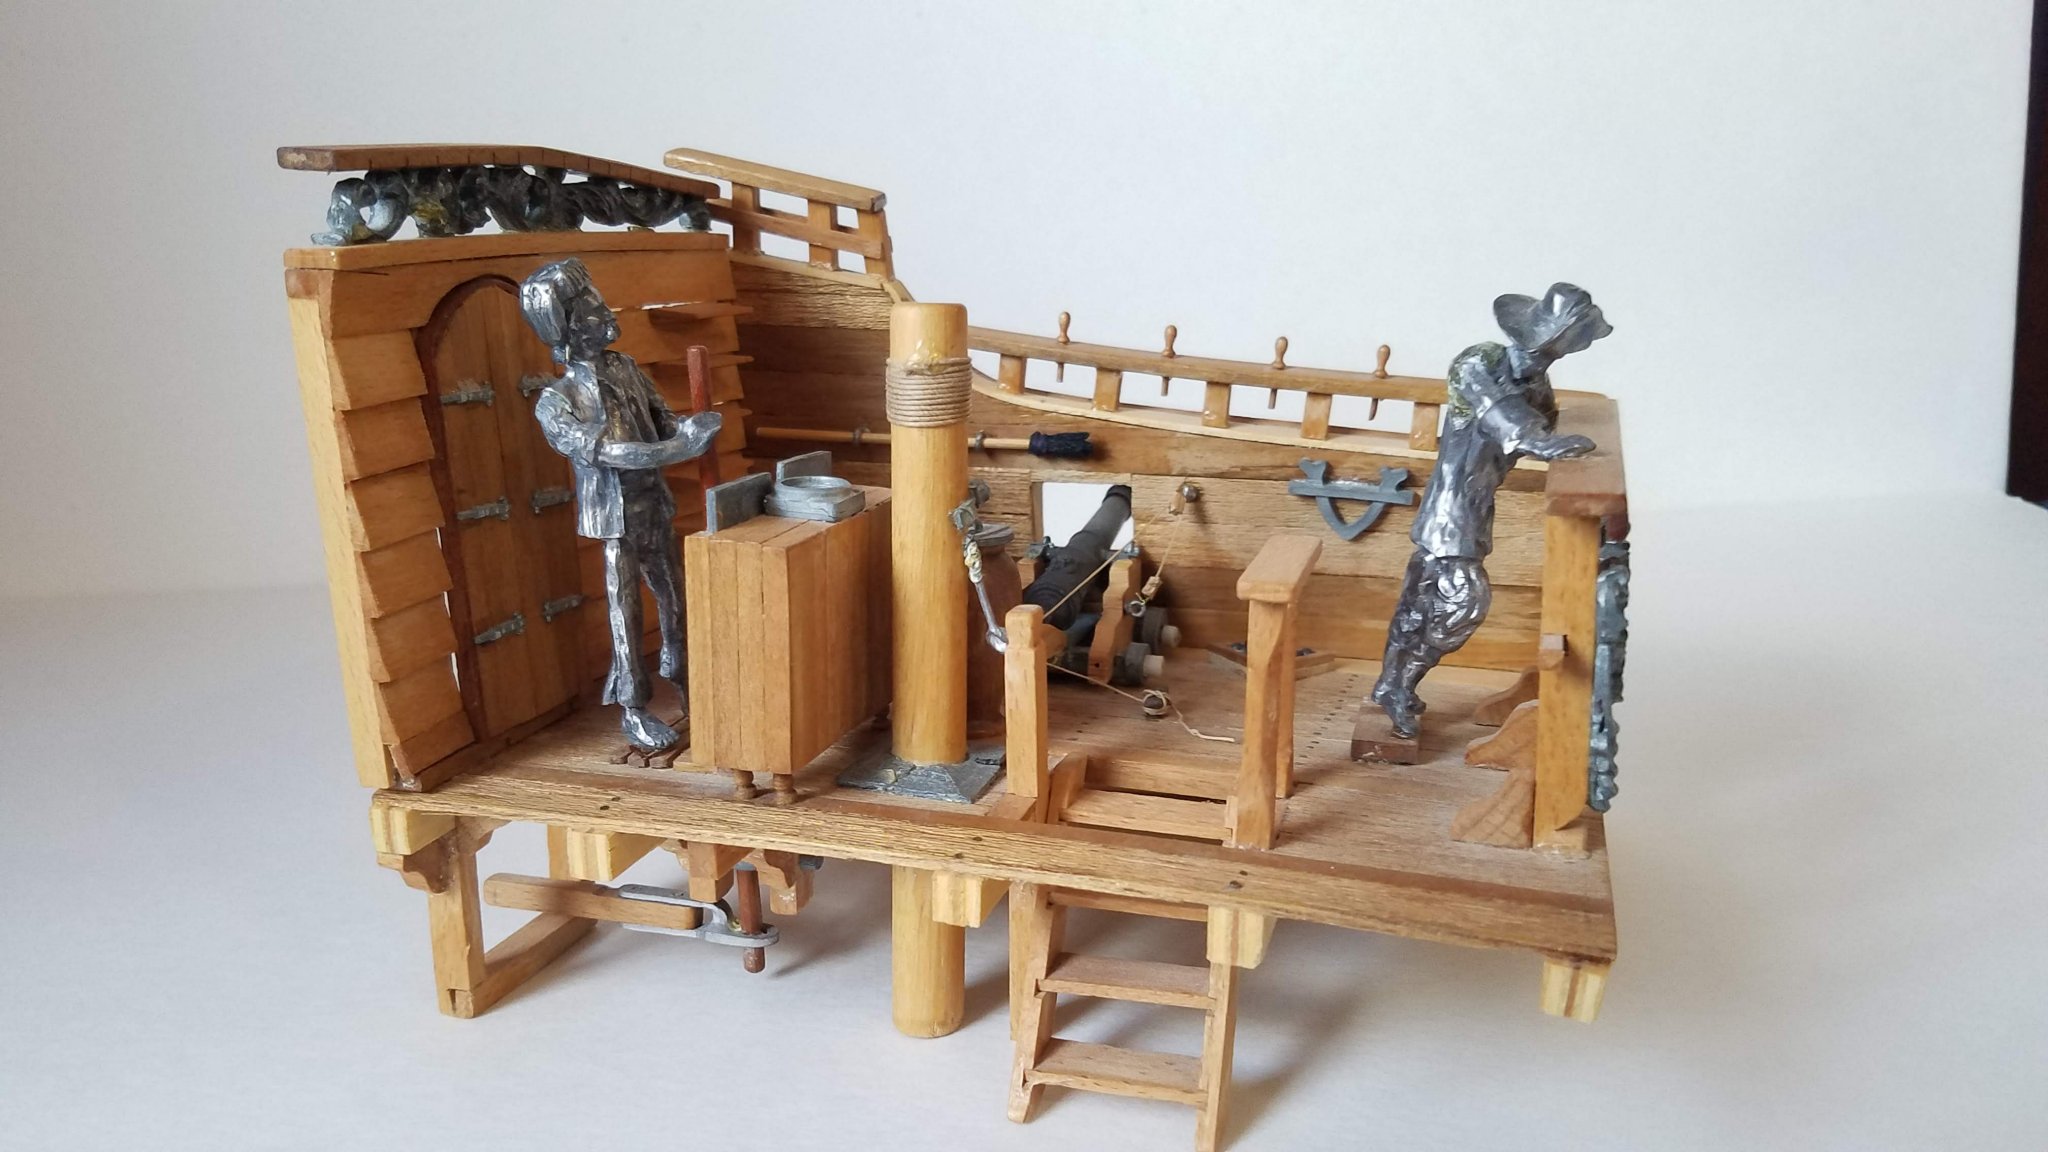
Among these were 3 built up kits of cross section/stations. One of which was the battle station kit still sold by Mantua. Another is of a "whip staff" steering station which I recall seeing but do not remember who made it. The last appears to be a ships galley complete with oven bricks and galley prisoner?
In addition to ship modeling I like to dabble in figure painting in multiple scales. I wanted to put some paint on the figures and use them at club displays or shows for nautical demonstrations. The previous builder apparently painted almost nothing as even his ship models have large quantities of bare pewter/lead exposed. My hope was to find an ad or box cover as a basic guide to see what these were intended to look like.
Here are a few of the pictures of the items.
I am not new to ship modeling but I am having a hard time even on the internet finding an image of these kits.
Thanks in advance,
TW


- Duanelaker, bruce d, ccoyle and 1 other
-
4
-
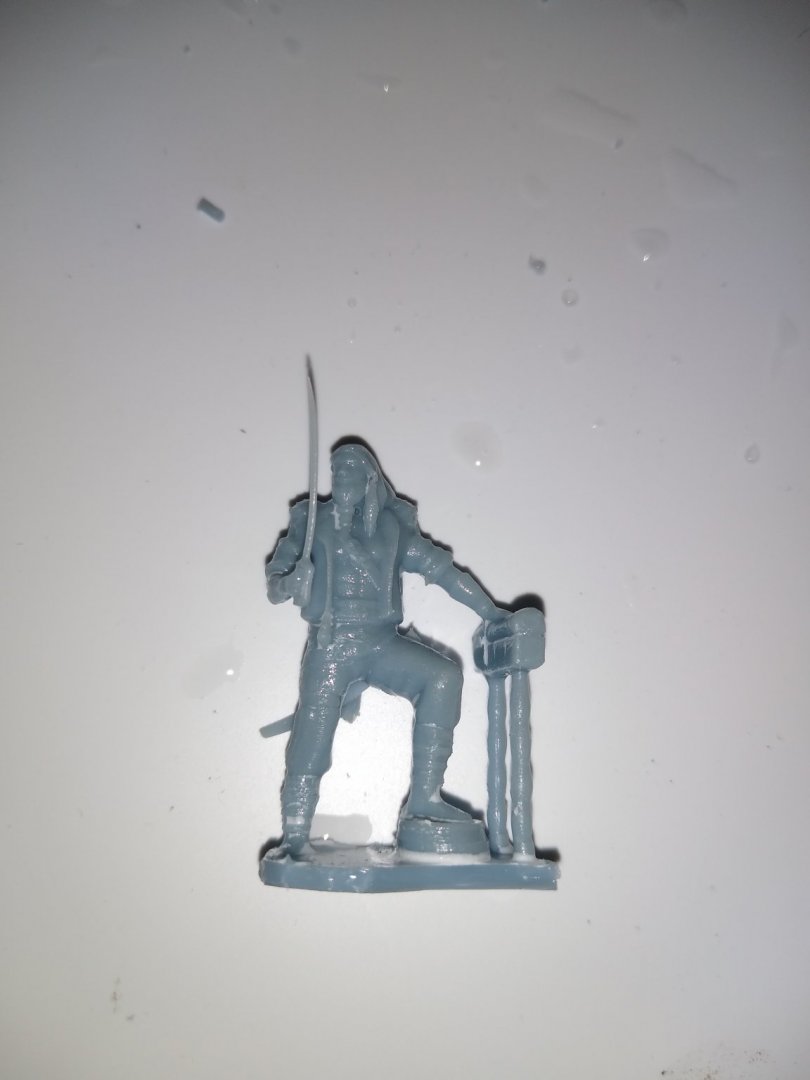
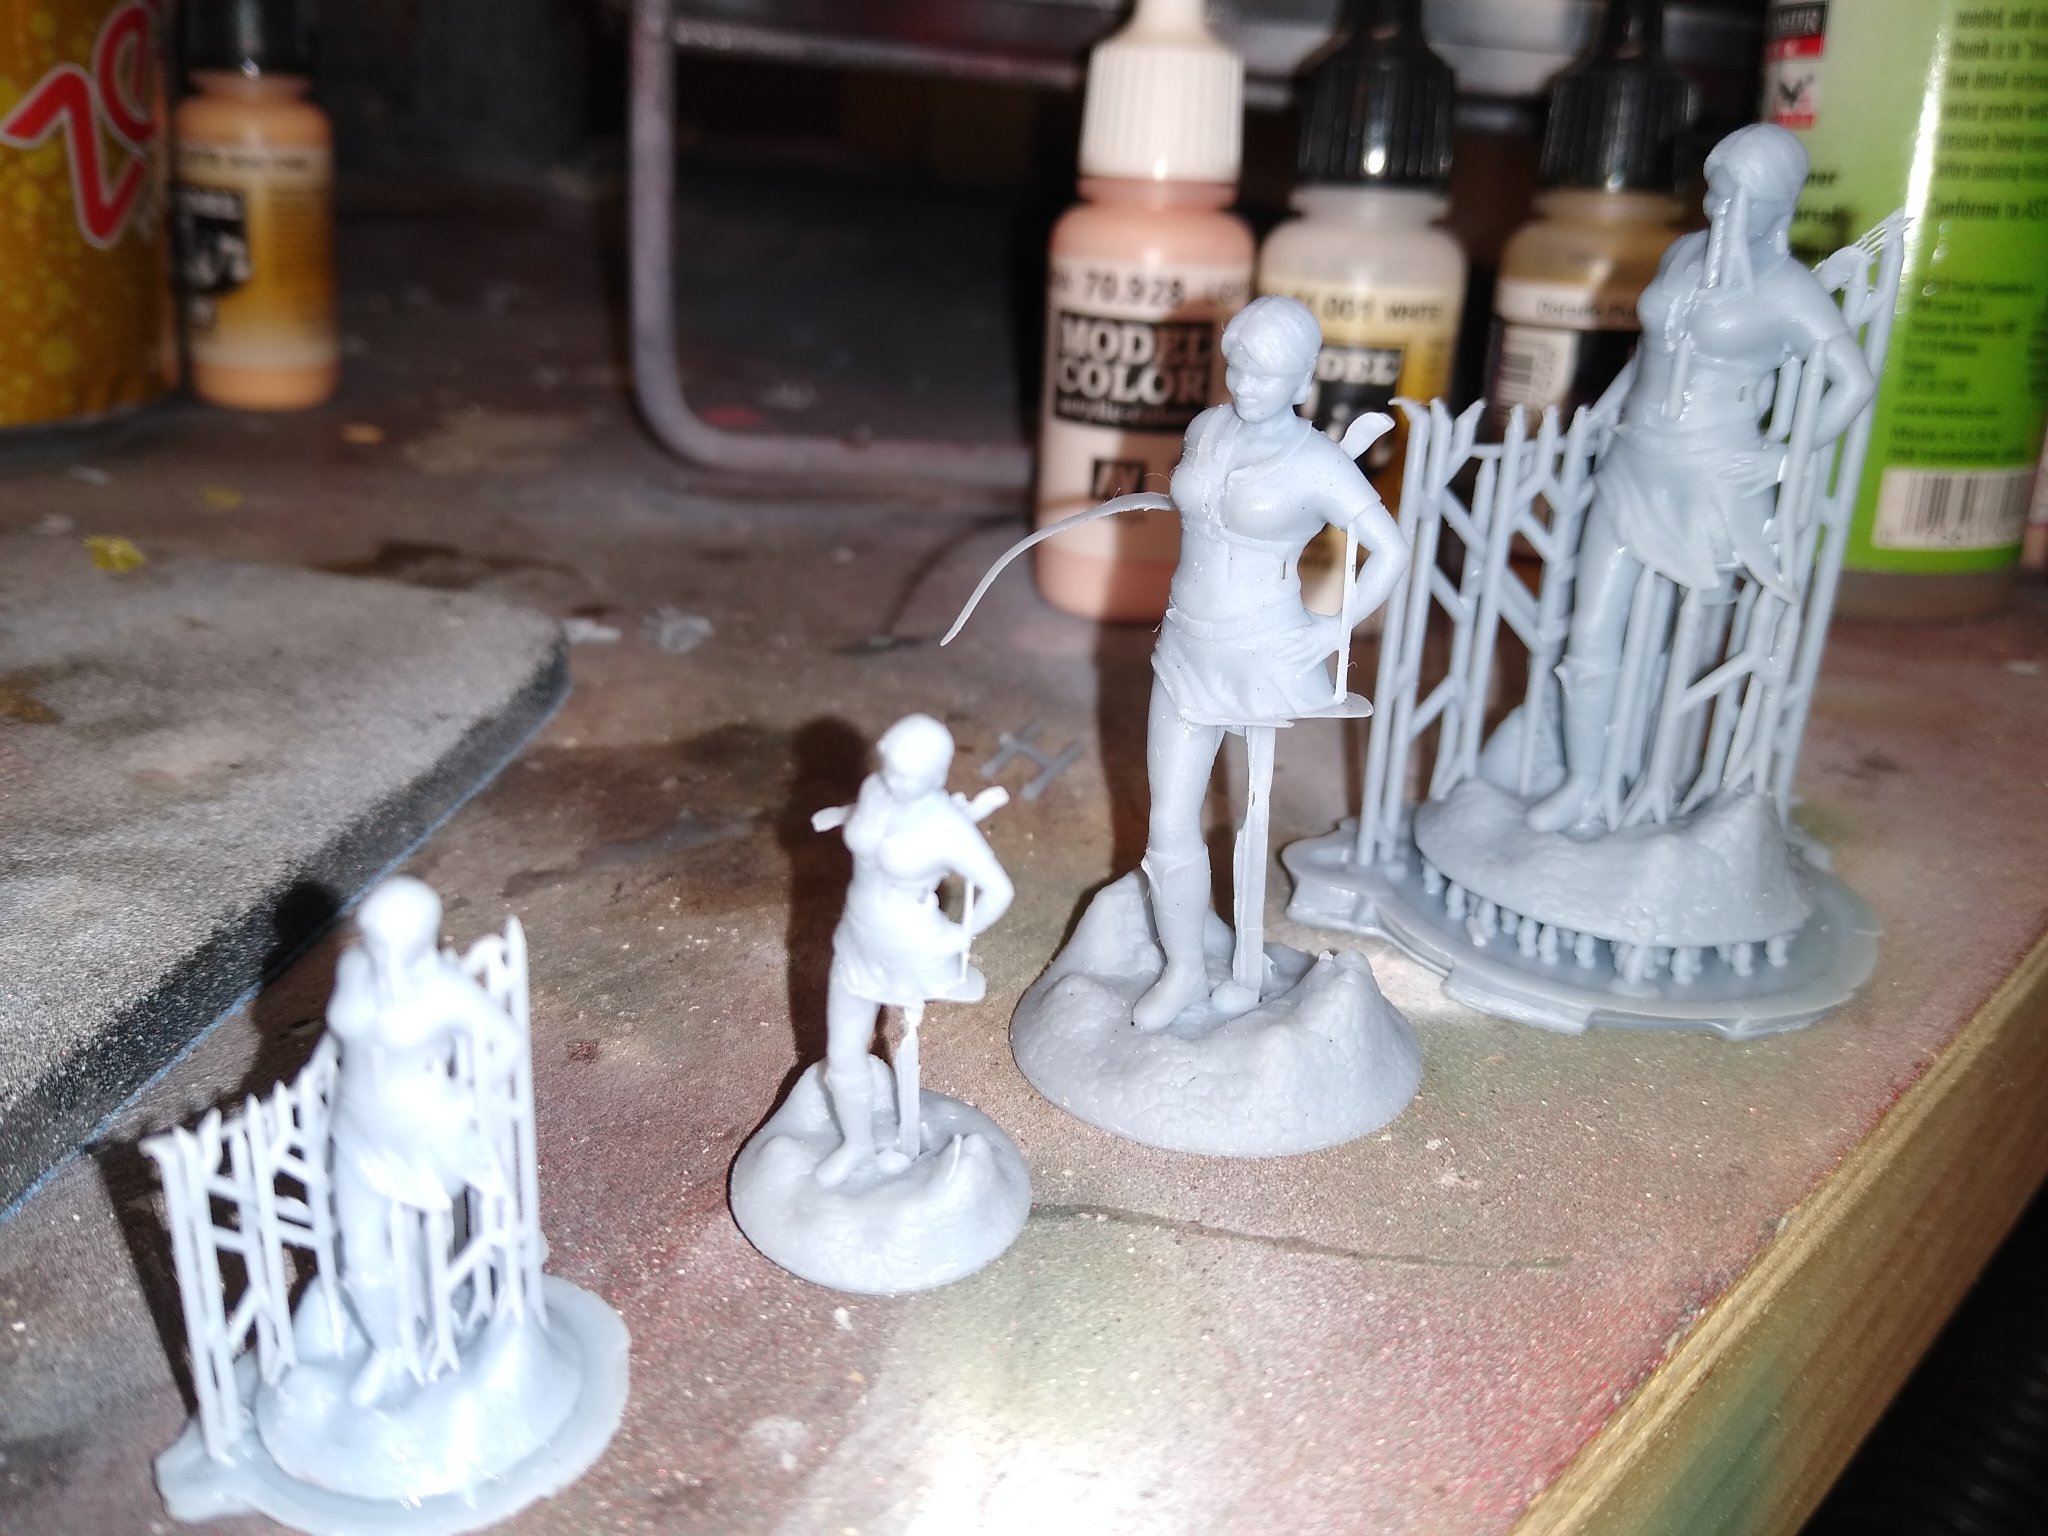
The biggest factor for 3d printing figures is the starting digital model (high res or low res) and how fine the printer can print per line. My printer can do lines down to .01 microns (1/10th a human hair roughly) so it can make them pretty fine. To succinctly answer your scale question there are presently 1/350th scale sailors for sail as a low res digital file. For that size it is probably more than adequate for a viewer to see guys with covers arms and legs in various poses that look the part. My biggest concern would be getting something this small off the print bed which usually involves a small flat head screw driver. I am learning to print with supports that make this process less damaging but it is still a learning curve. I would easily think a figure designed for 1/48 could be scaled down to 1/100 with a pretty fair amount of details retained. In the picture is one of my print failures (due to file corruption on the leg). In the picture I printed a female Archer at 1/24th scale, 1/35, 1/52, 1/48. Not pictured was the Archer in 1/87 and 1/96. These were all done using the same file and at the same time. At 1/96 the bow was VERY thin but most of the details translated well. Keep in mind I got this printer with resin for around 275 dollars American. It is NOT the too if the line but will easily do what I need it to. I hope this helps!

-
At first I spent about 6 hours in the free blender program but then just used Hero Forge miniature maker (super fun!) and spent about 20 bucks for the files!
- Egilman, Ryland Craze, mtaylor and 3 others
-
6
-
Greetings all,
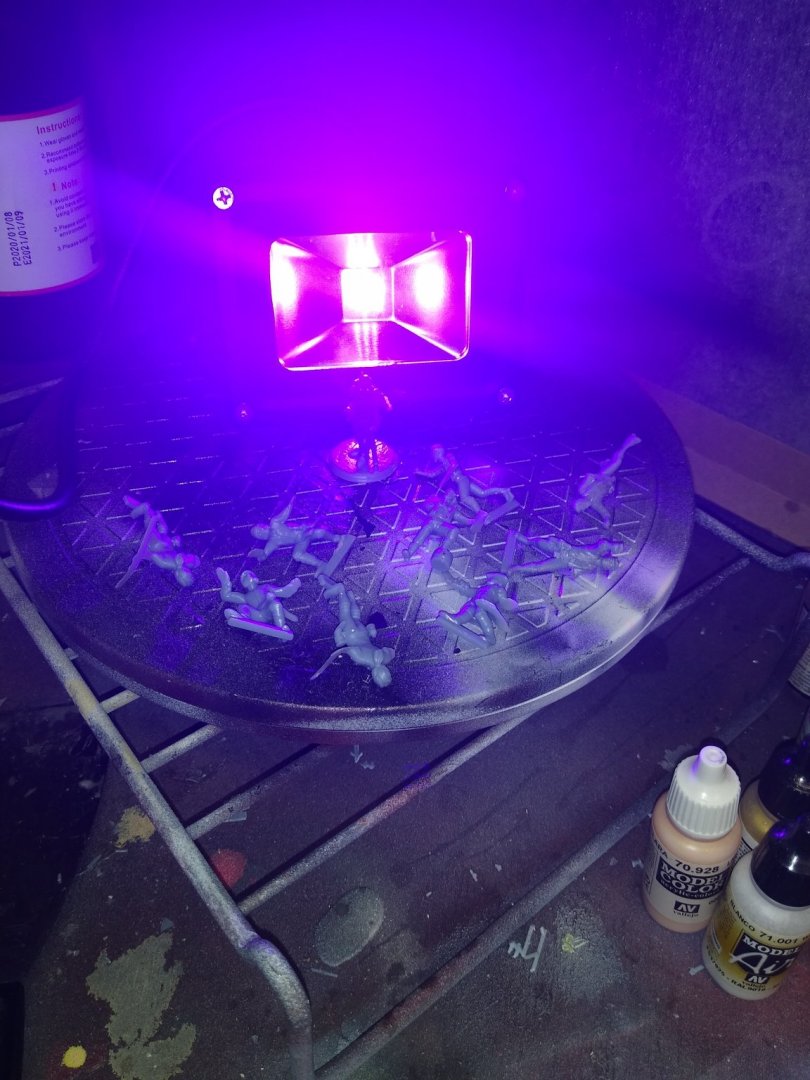
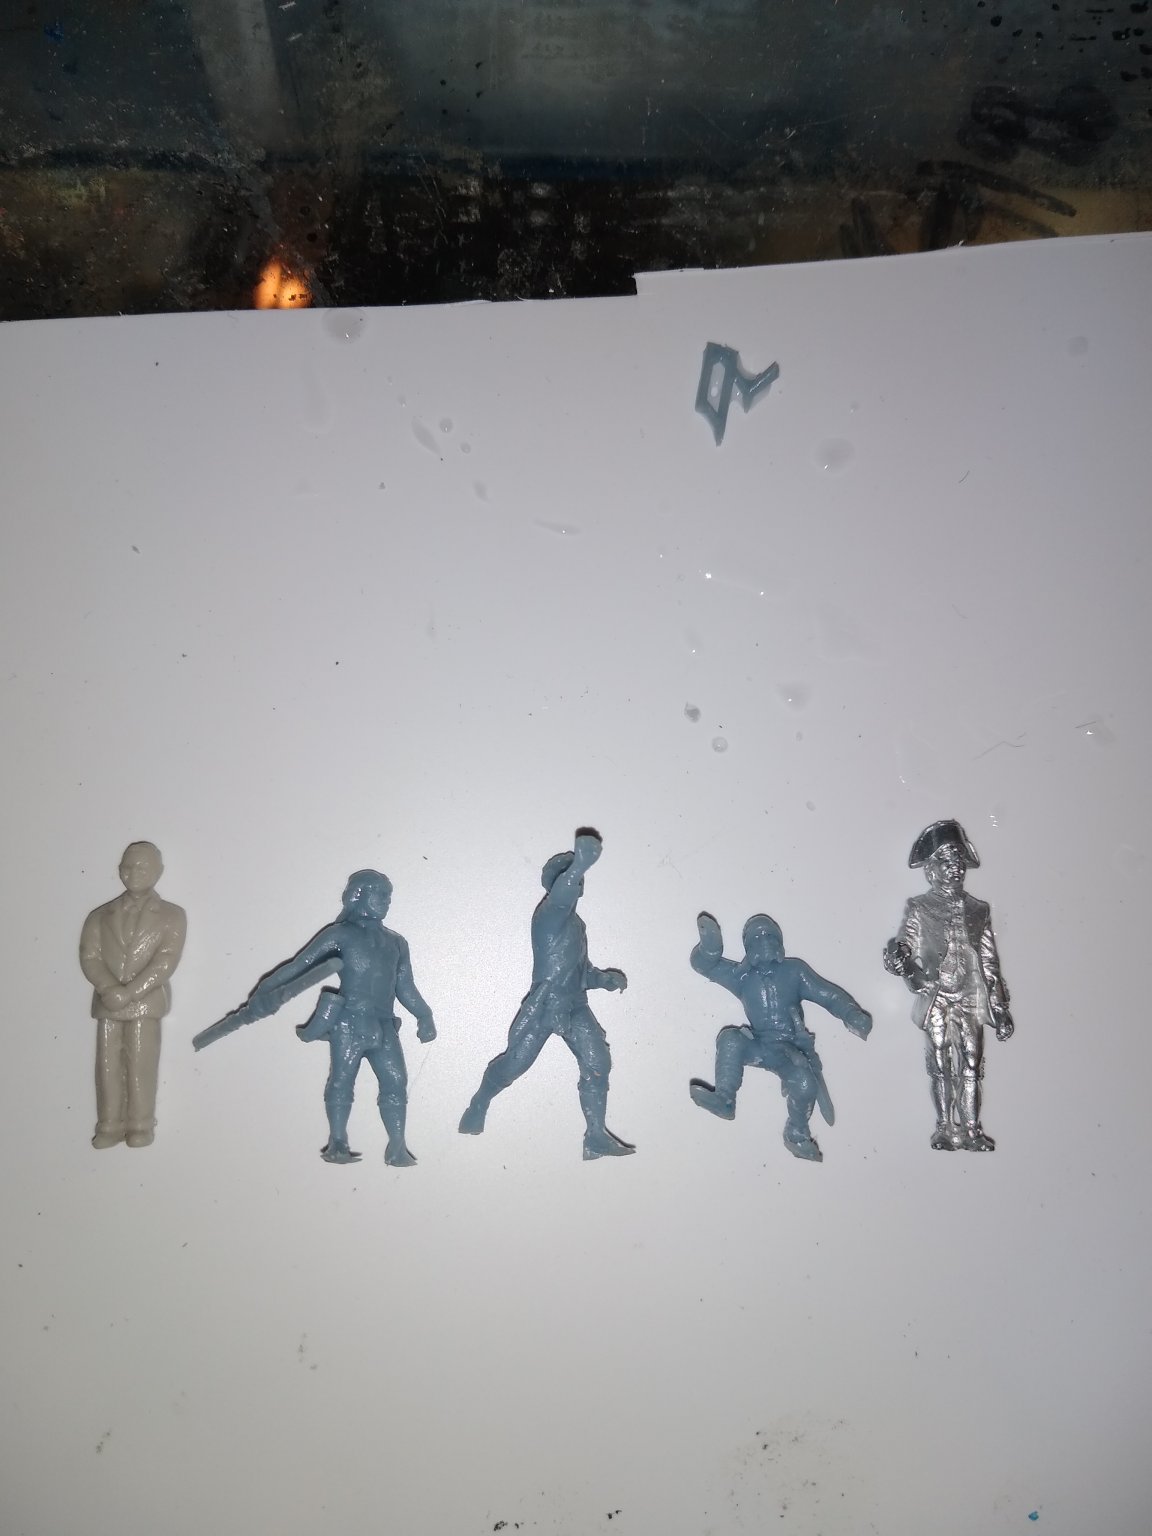
While I am pretty sure posting anything made from a 3d printer is probably bad form here I wanted to share a side project I worked on over the weekend. I personally love seeing crew figures on model boat/ships but always have a hard time finding them in the scales or poses I want. This weekend I digitally drew out 4 "age of sail" style crew in 4 poses in my 3d aoftware. I then printed them in 1/48 ish scale. The awesome part about having these designs is I can size them up to 40mm or down to 3mm tall. I think they would look at home on a pirate ship or navy vessel depending on how they get painted. In the second photo I have compared my prints to an Amati figure (right) and a 1/48 scale figure on the left. The figure with the saber was literally transposed from a Captain Morgan rum ad! The UV light is used to cure the resin.
Has anyone else done this?

- Moxis, MEDDO, Larry Cowden and 16 others
-
19
-
Final Call!
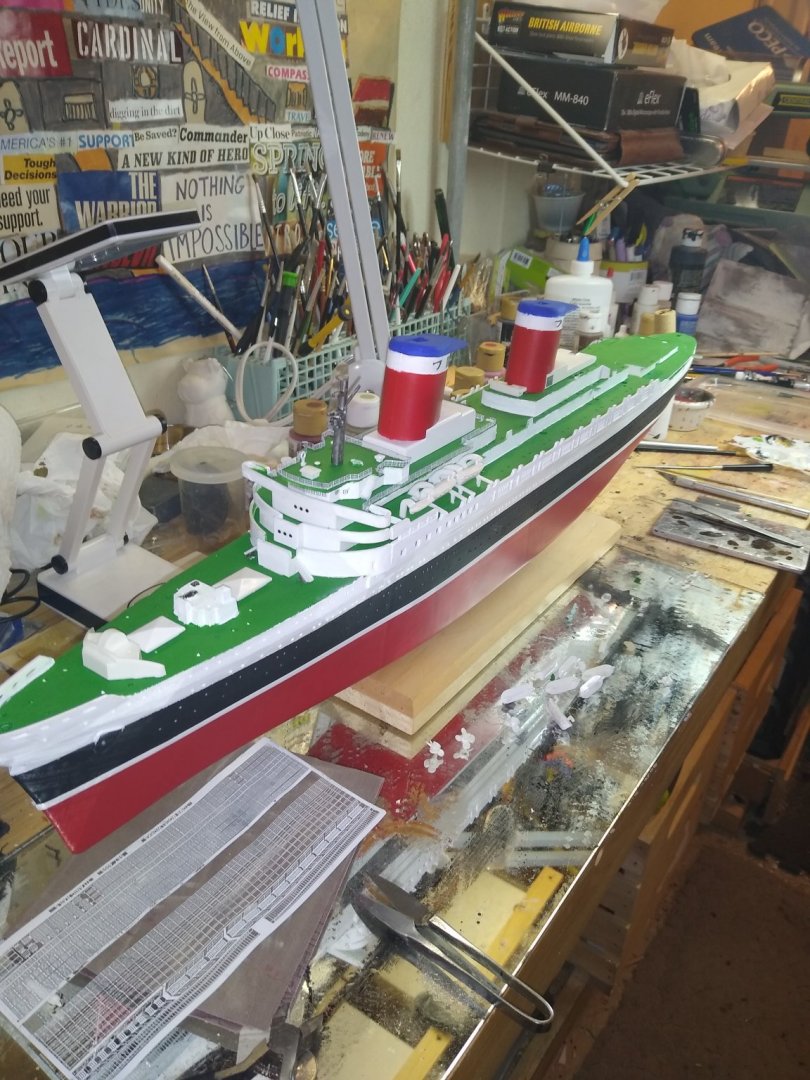
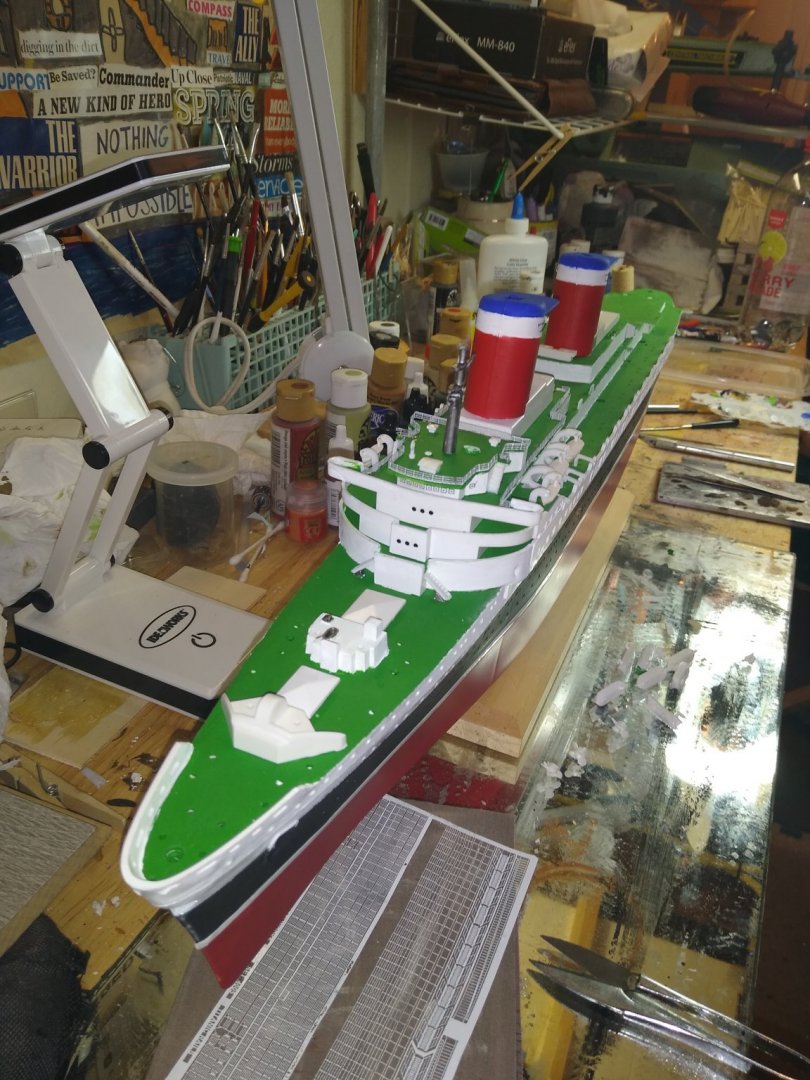
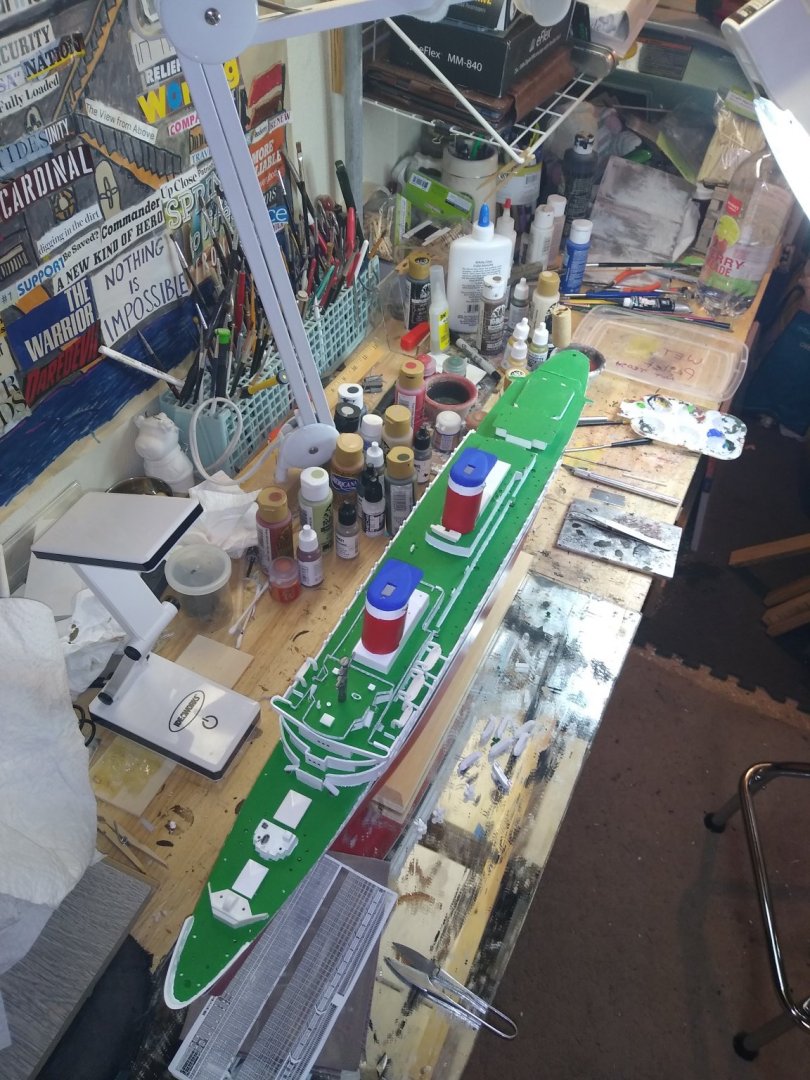
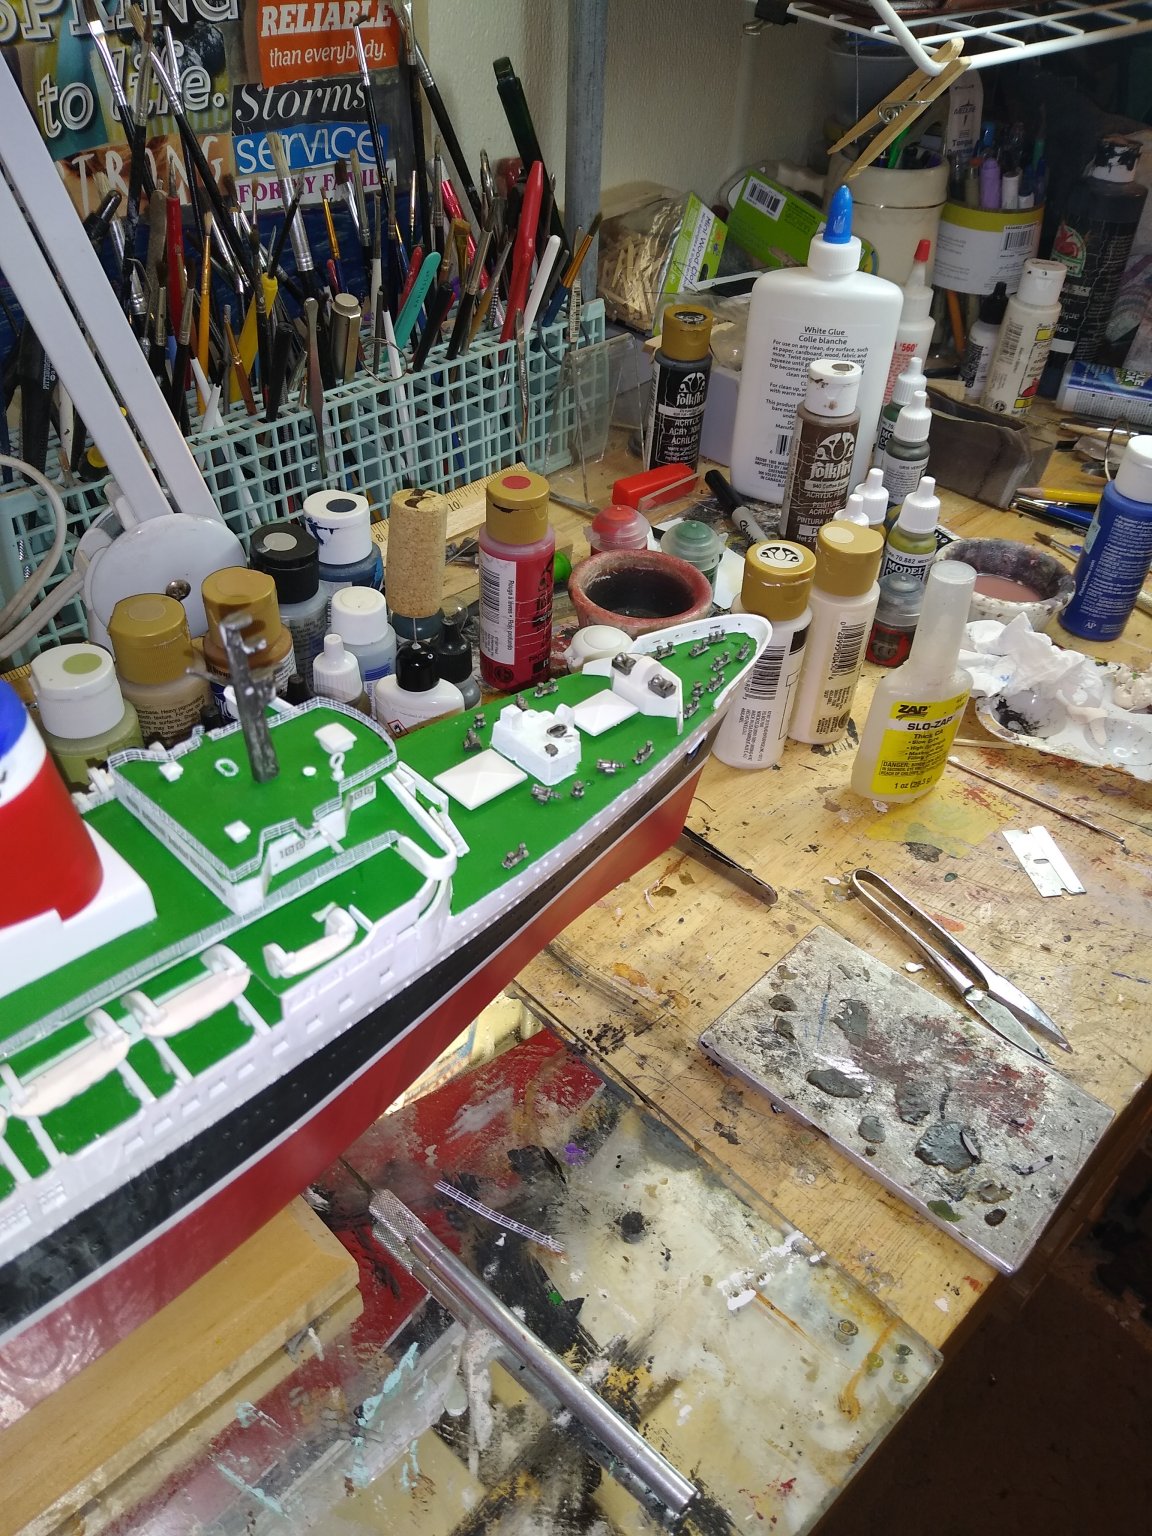
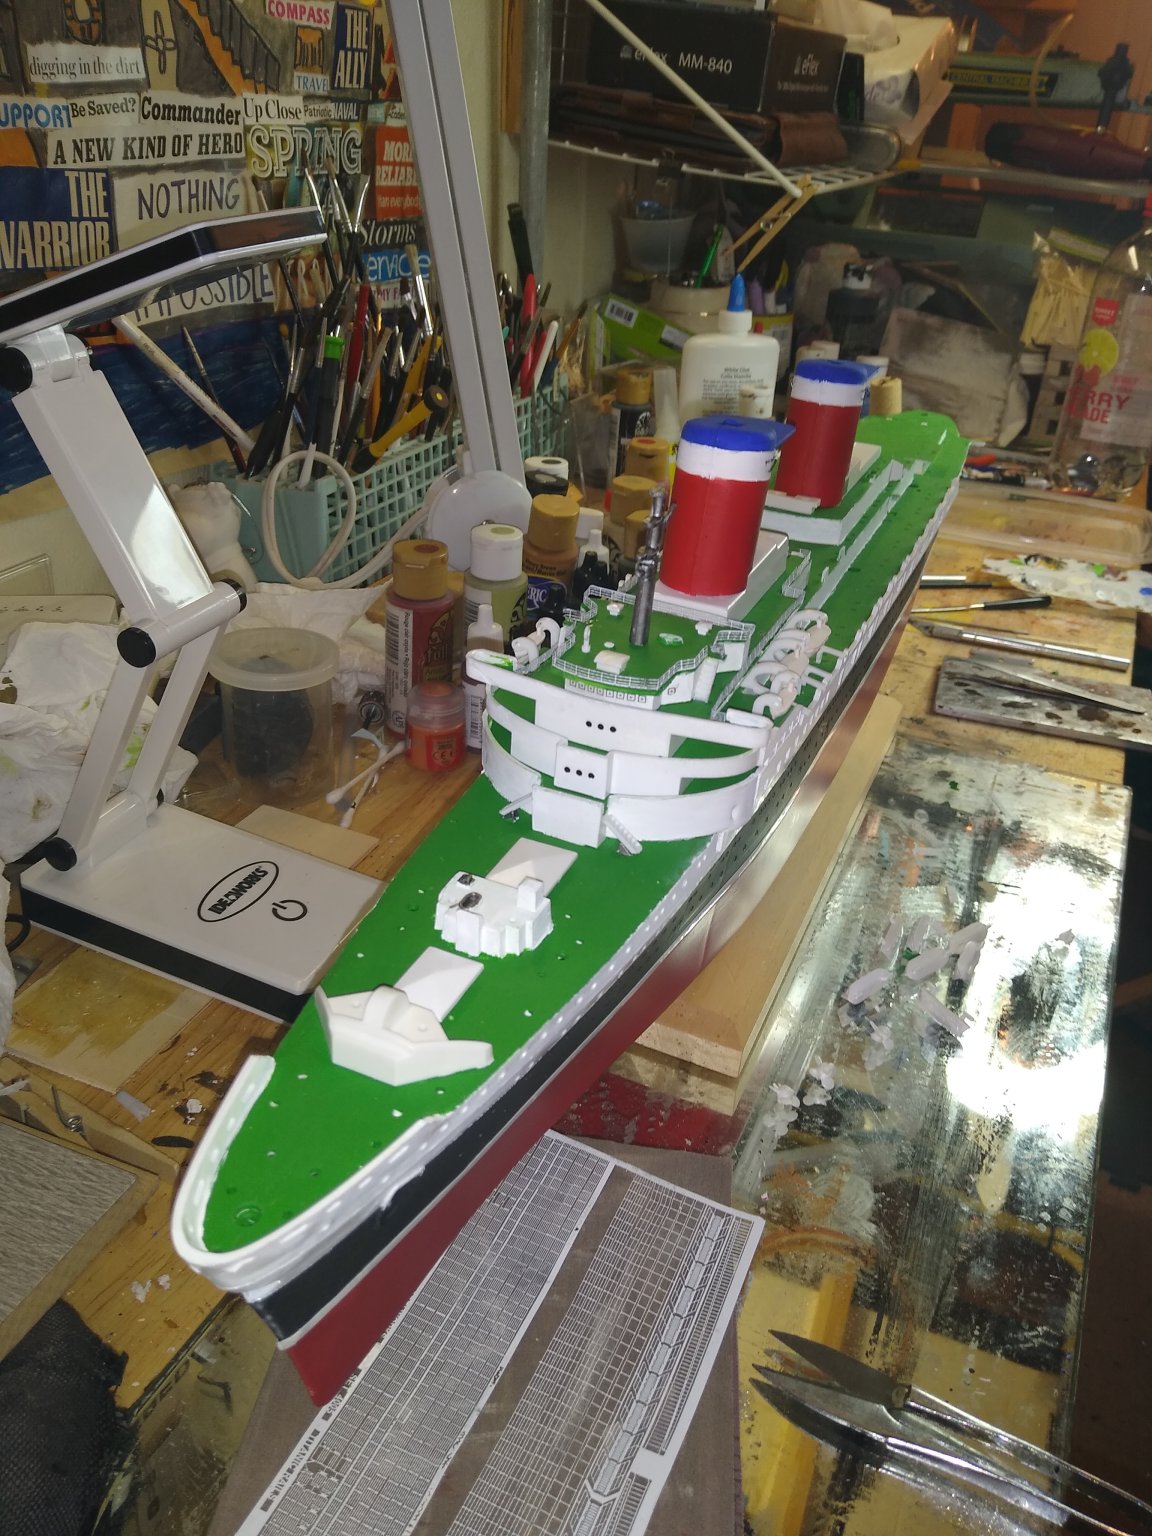
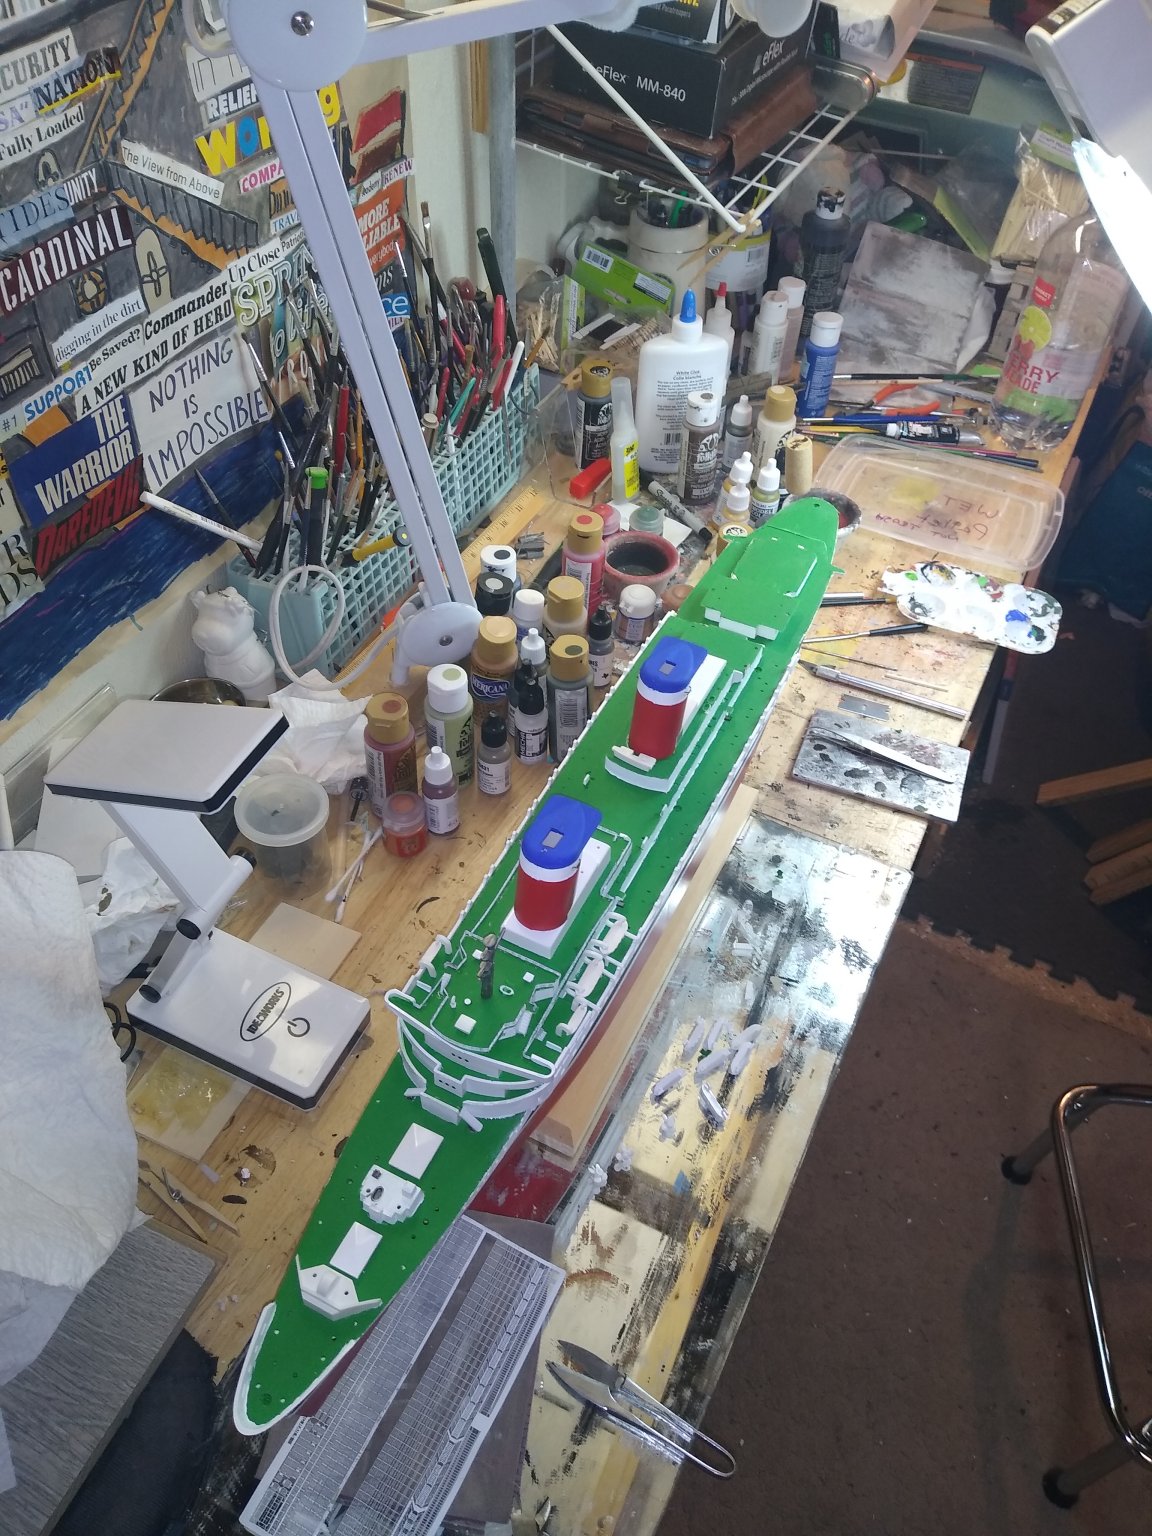
Sorry about the lack of follow up on this one. I struggled to complete this as the kit was infuriatingly inaccurate! I also found out the ship had lined out basketball and shuffleboard courts on the main deck. I added those using super thin pinstripe tape. The hand rails were finished and put in place using some new thinner super glue I got off amazon with a really amazing application tip.
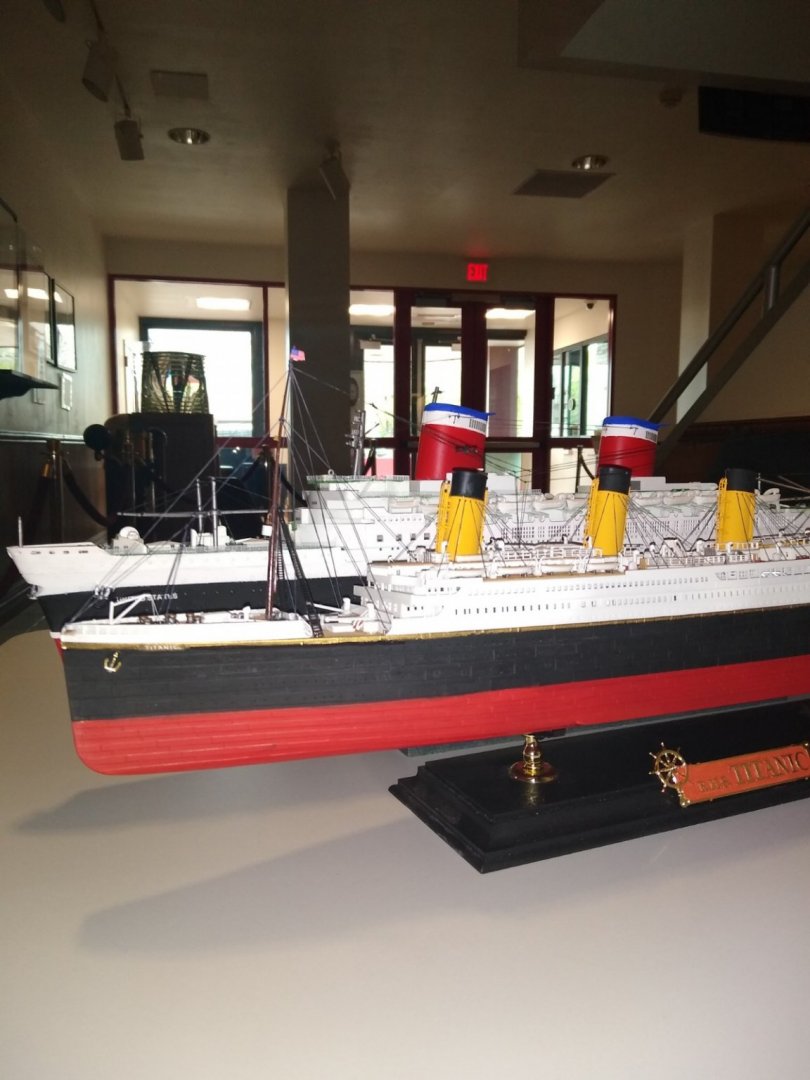
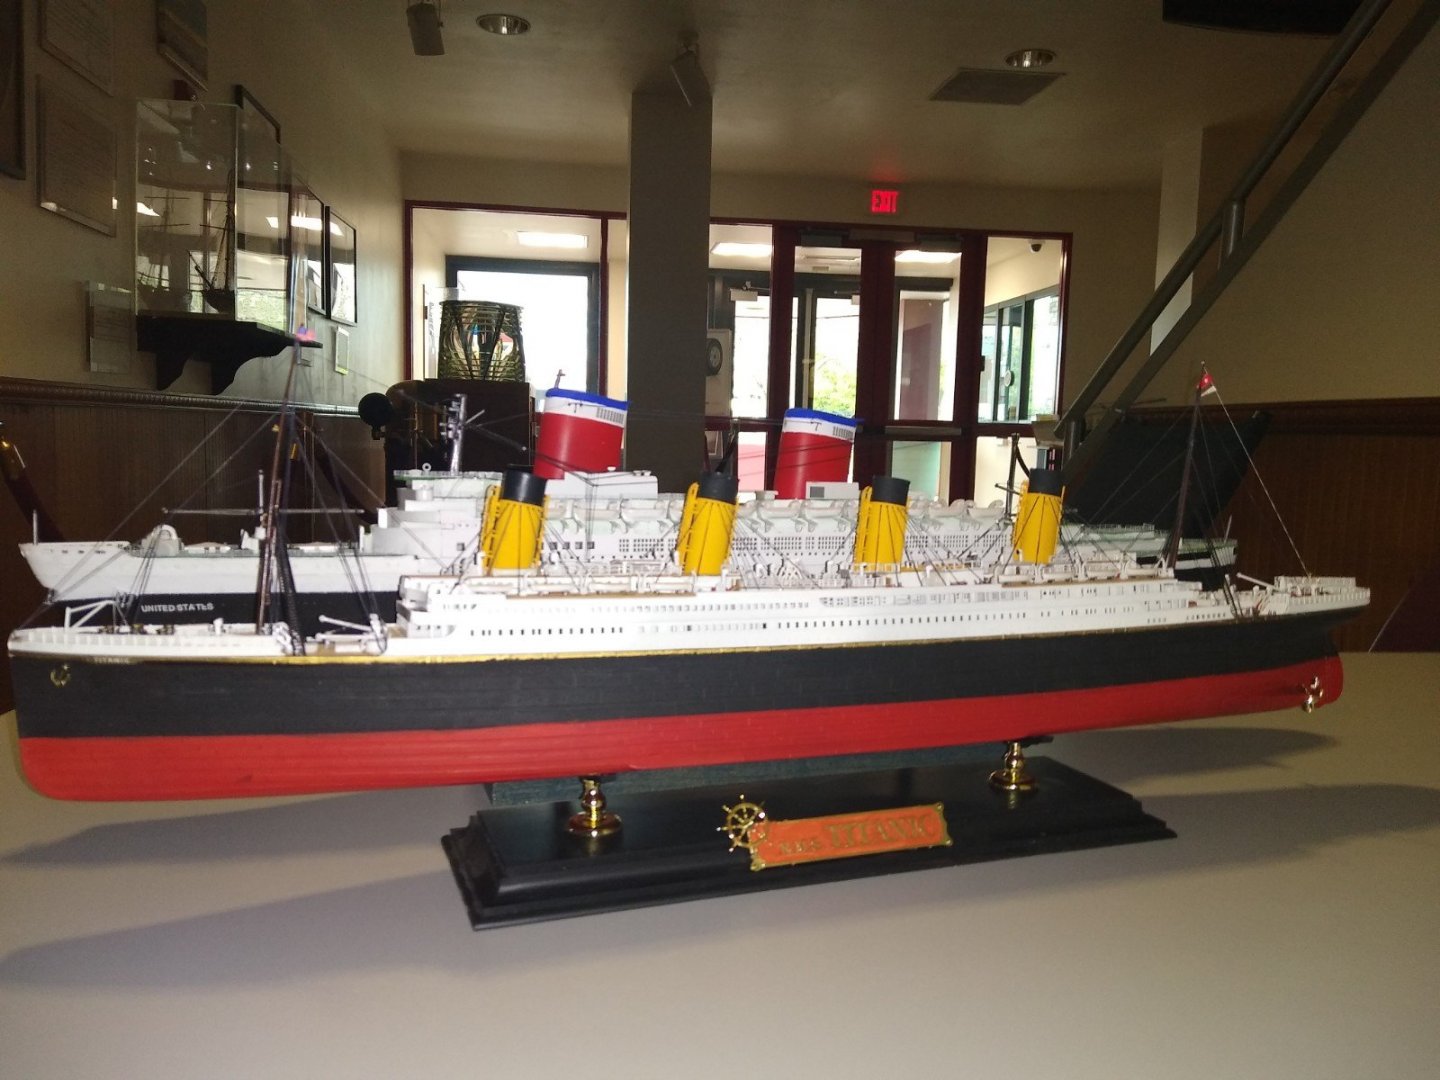
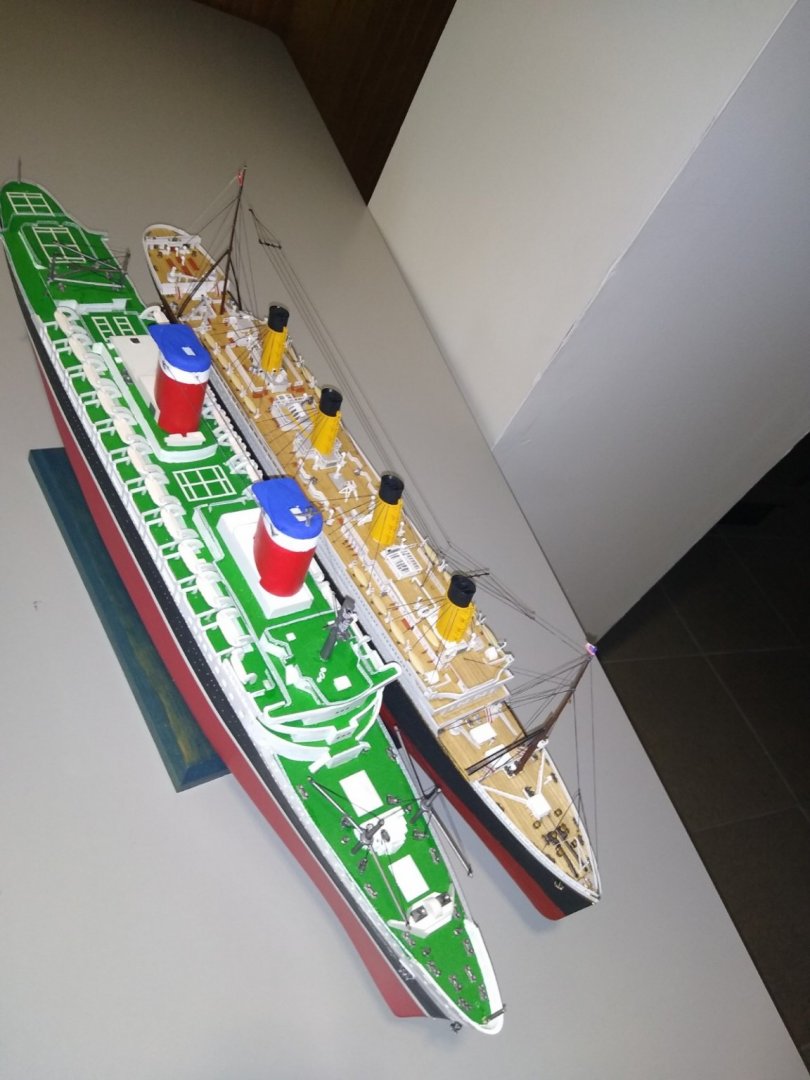
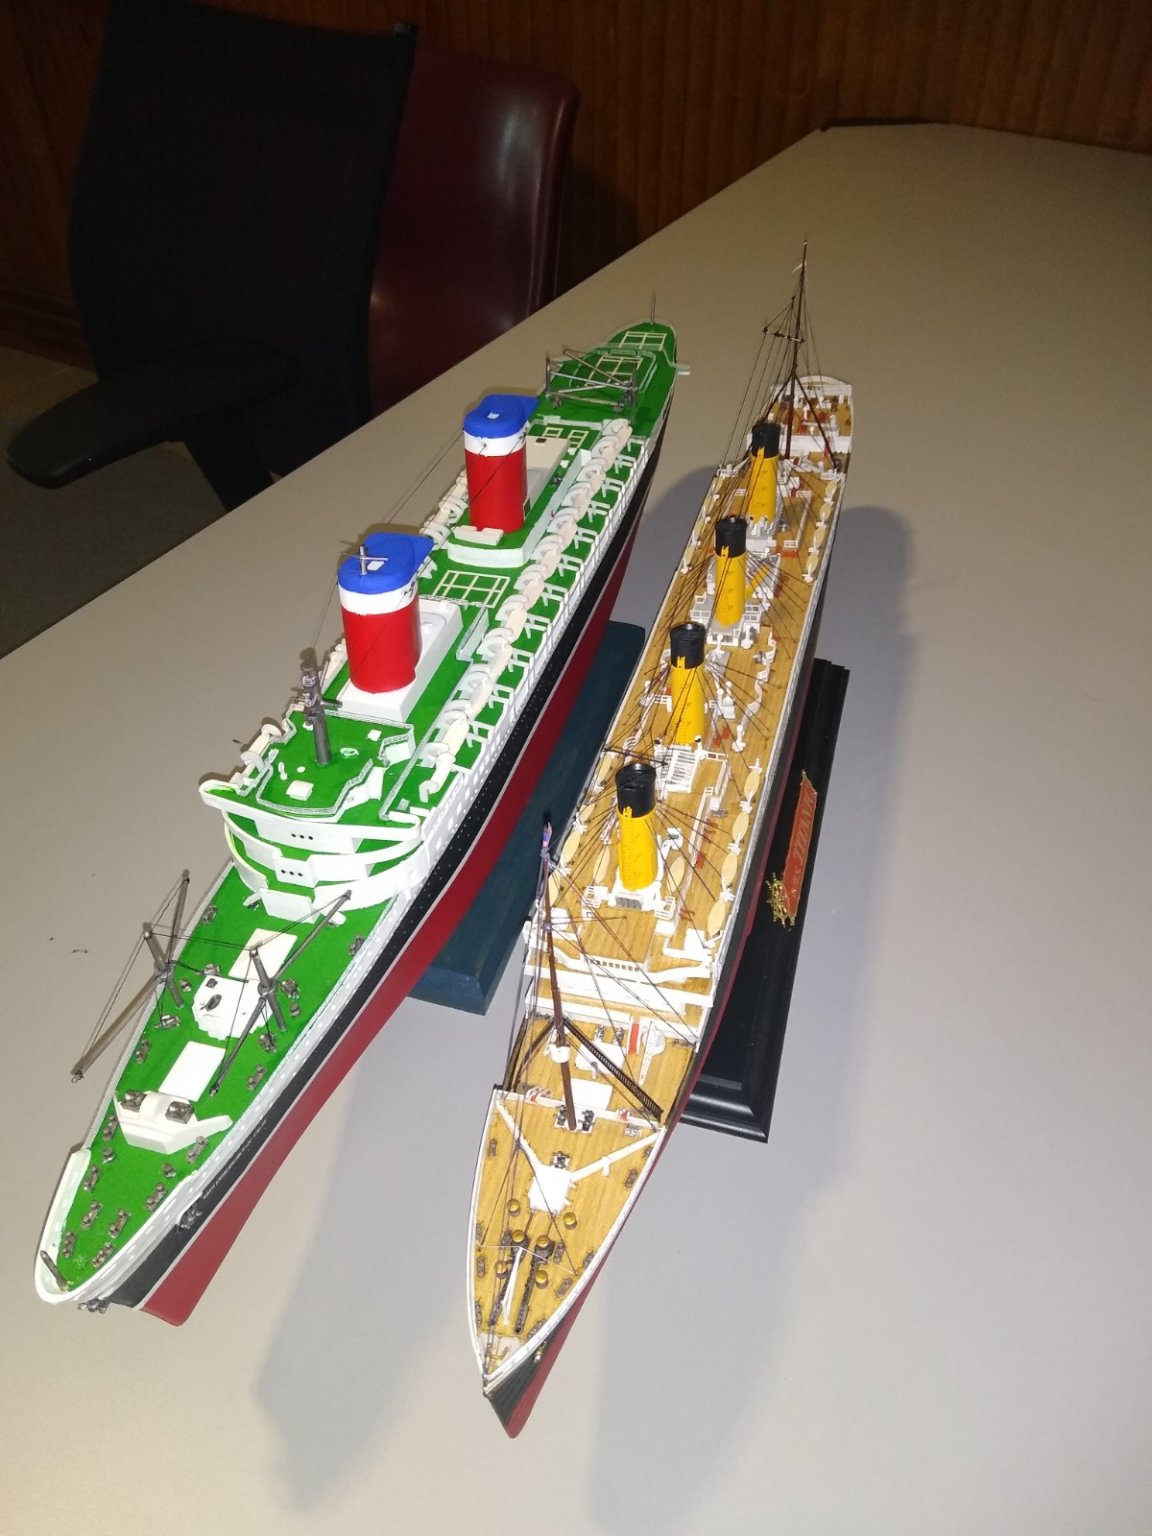
Finally here is the real comparison I wanted to from the get go. I constantly get asked how the SS United States compares in size to the Titanic. Well here you go!
Thanks to everyone who followed this thread. My overall rating on the Glencoe kit is unless you LOVE cutting plastic with your Dremel and are willing to put in some SERIOUS time with plans and photo etch I would look elsewhere for a good model of the SS United States.
Still the experience of painting her and working around her decks made me feel what a loss she would be if she went to the breaker's yard.
-TW

- GrandpaPhil and TOM G
-
2
-
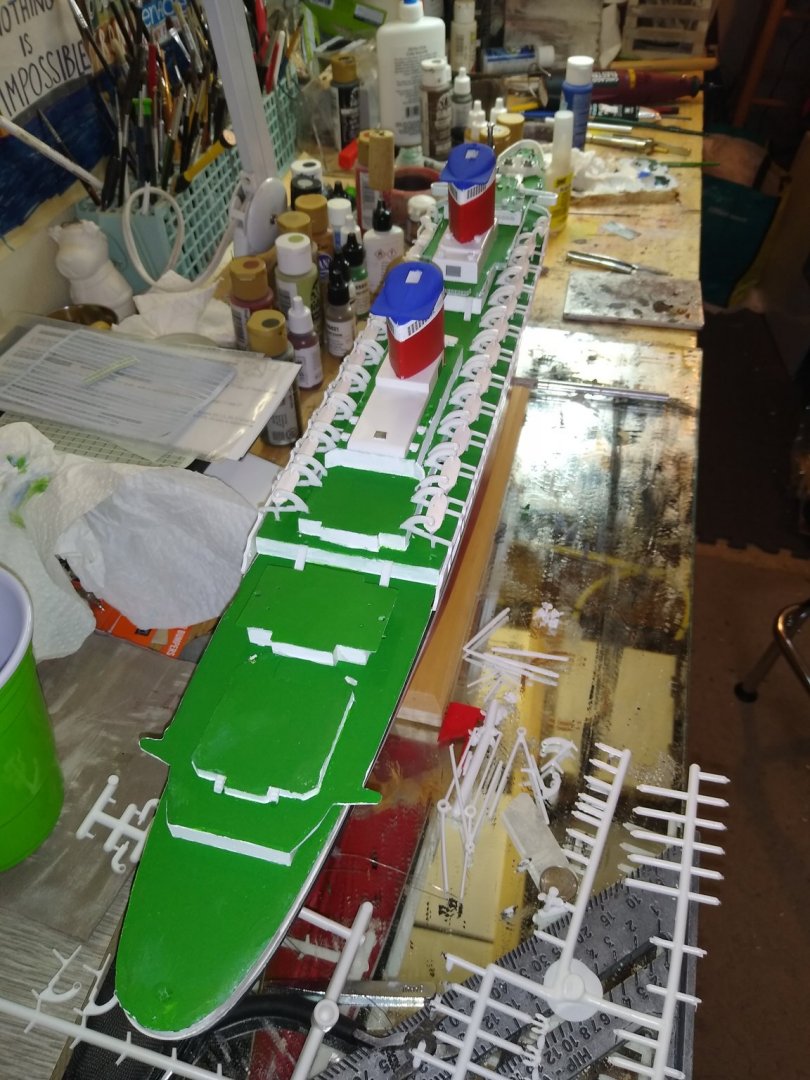
All lifeboats added and forecastle deck furniture. Screwholes filled and painted.

- GrandpaPhil, lmagna, CDW and 1 other
-
4
-
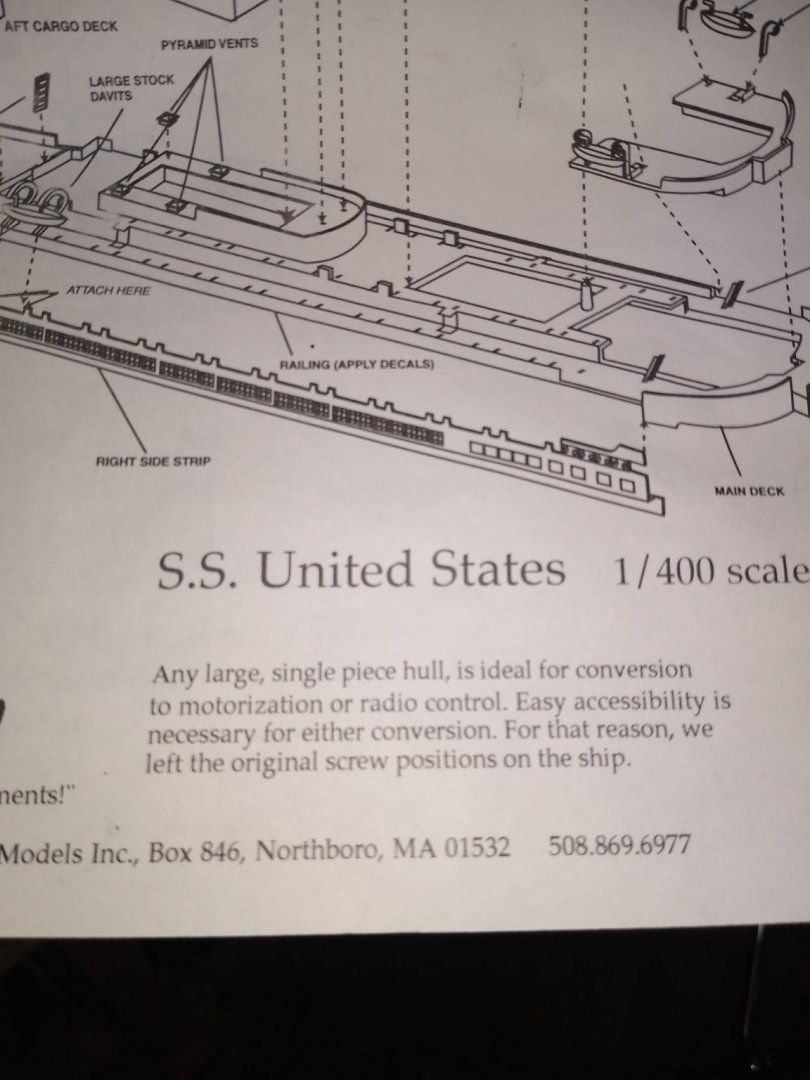
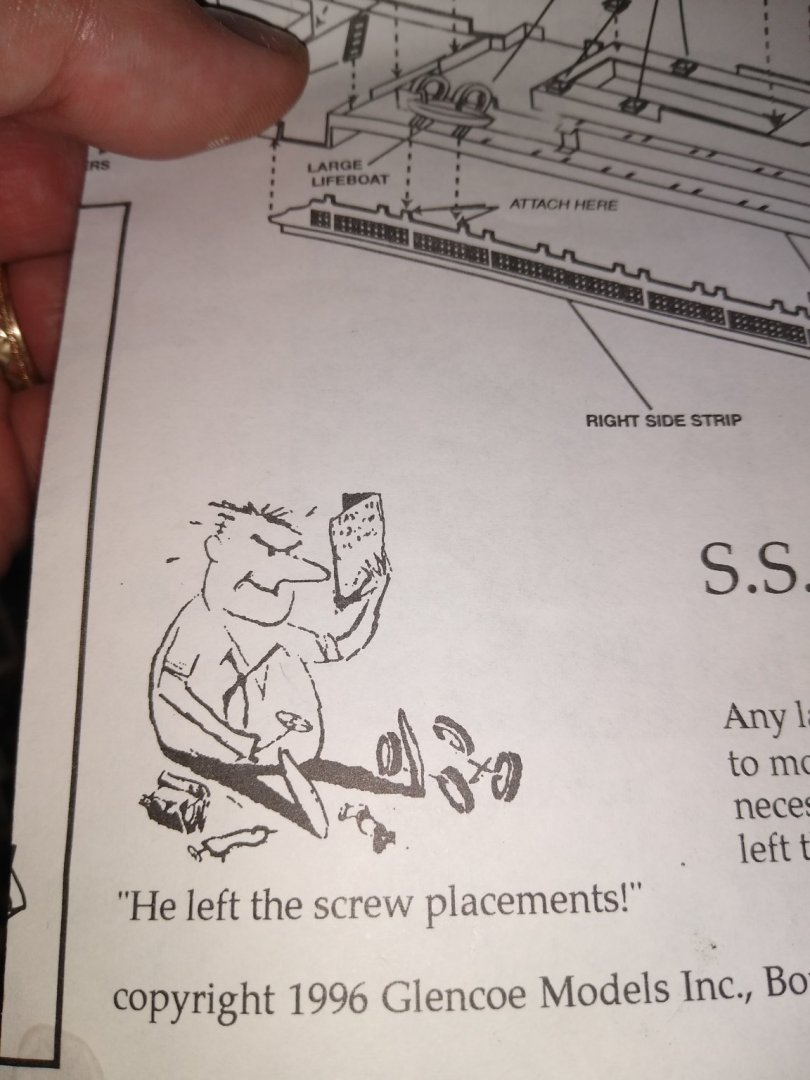
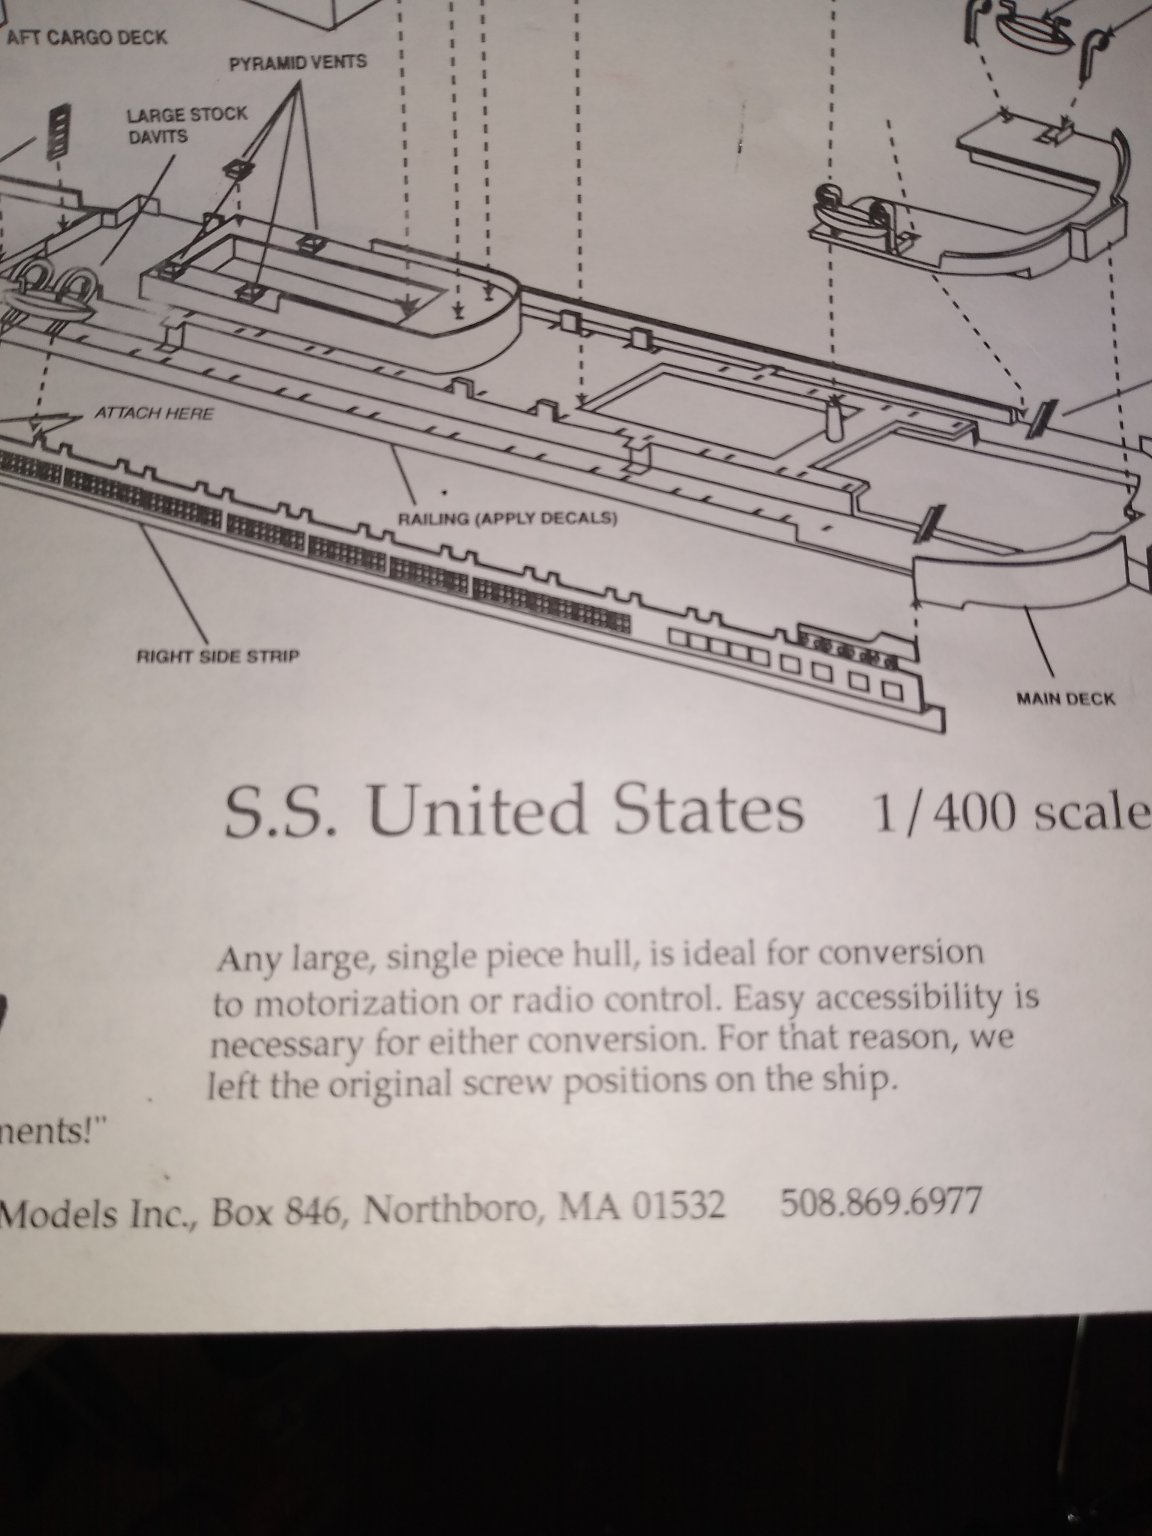
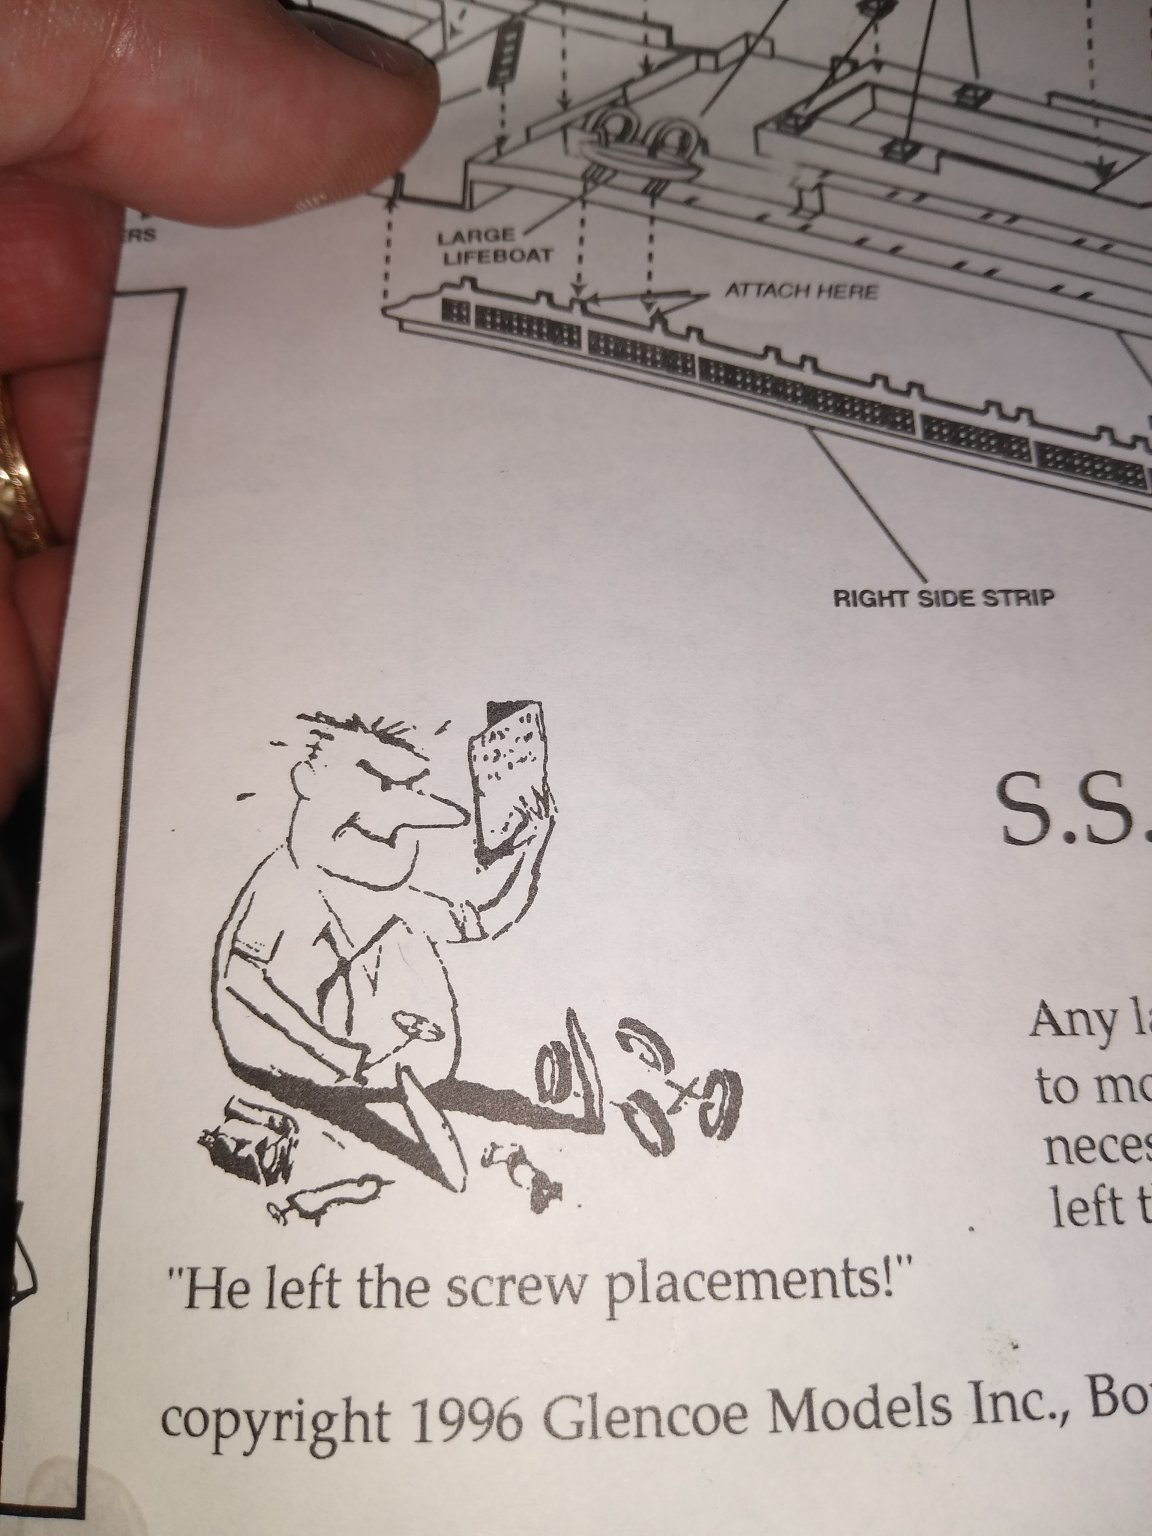
I thought the gaping giant holes in the deck were for a lift boom or something but then saw this little blurb on the instructions.
- Mirabell61, lmagna, Canute and 2 others
-
5
-
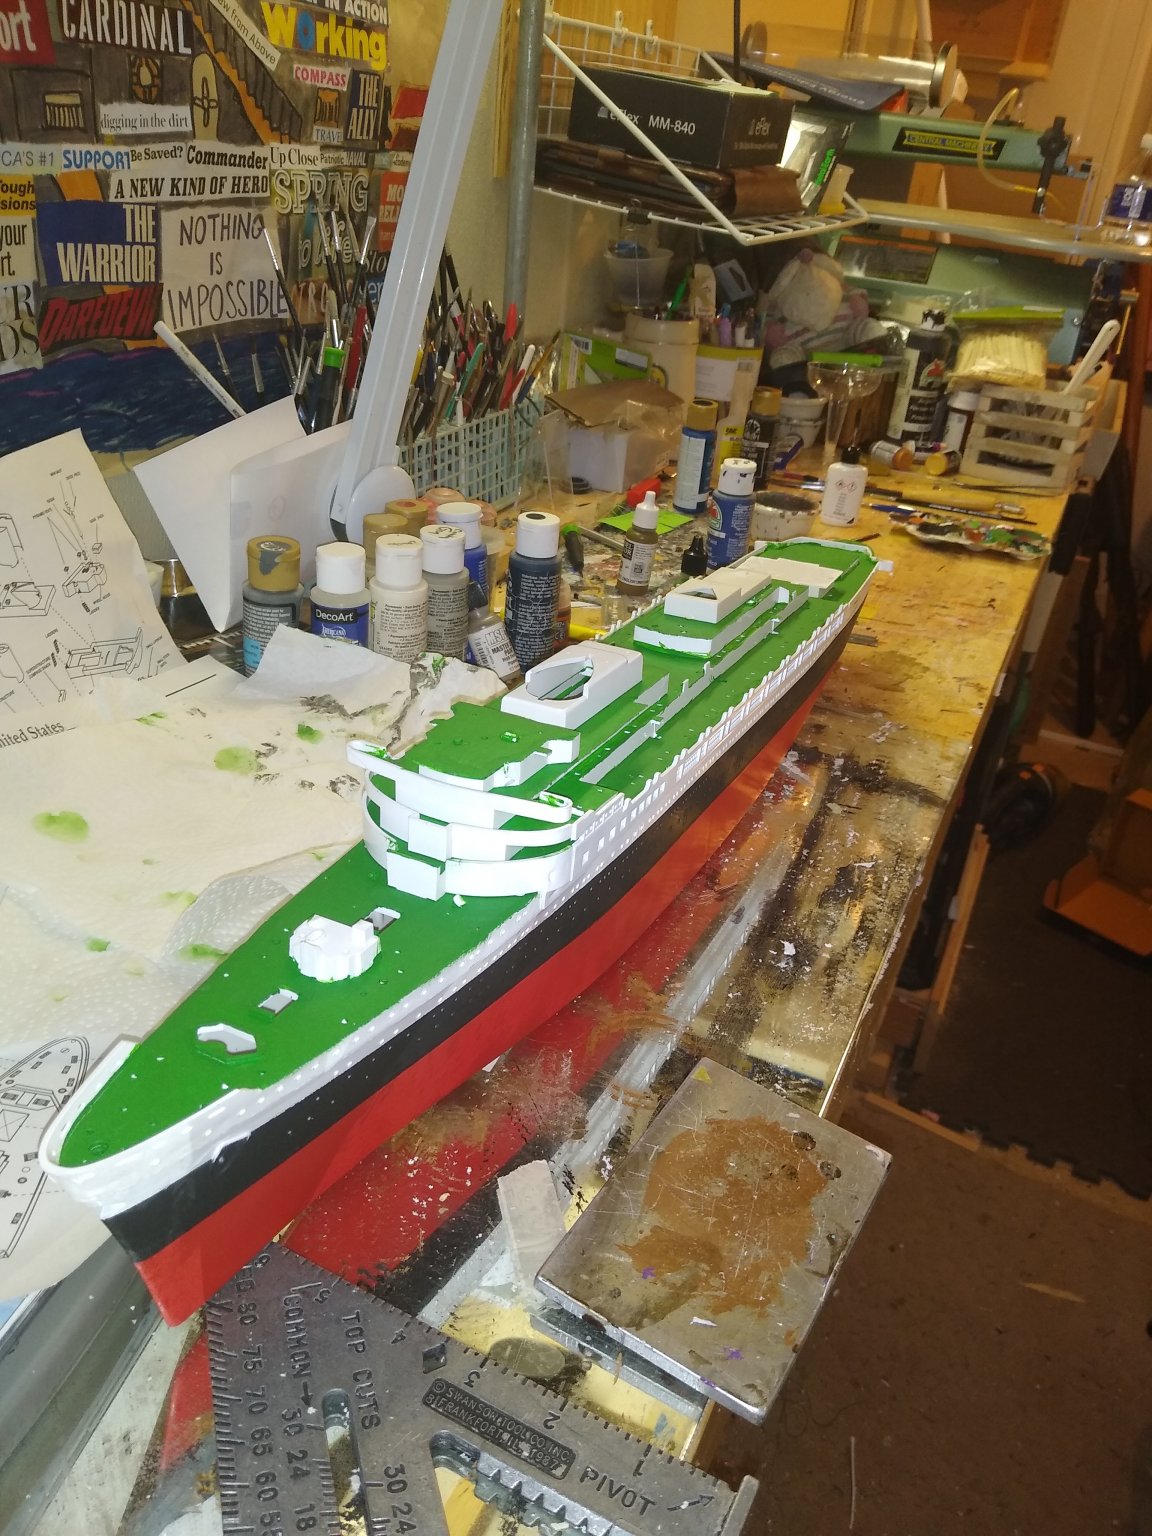
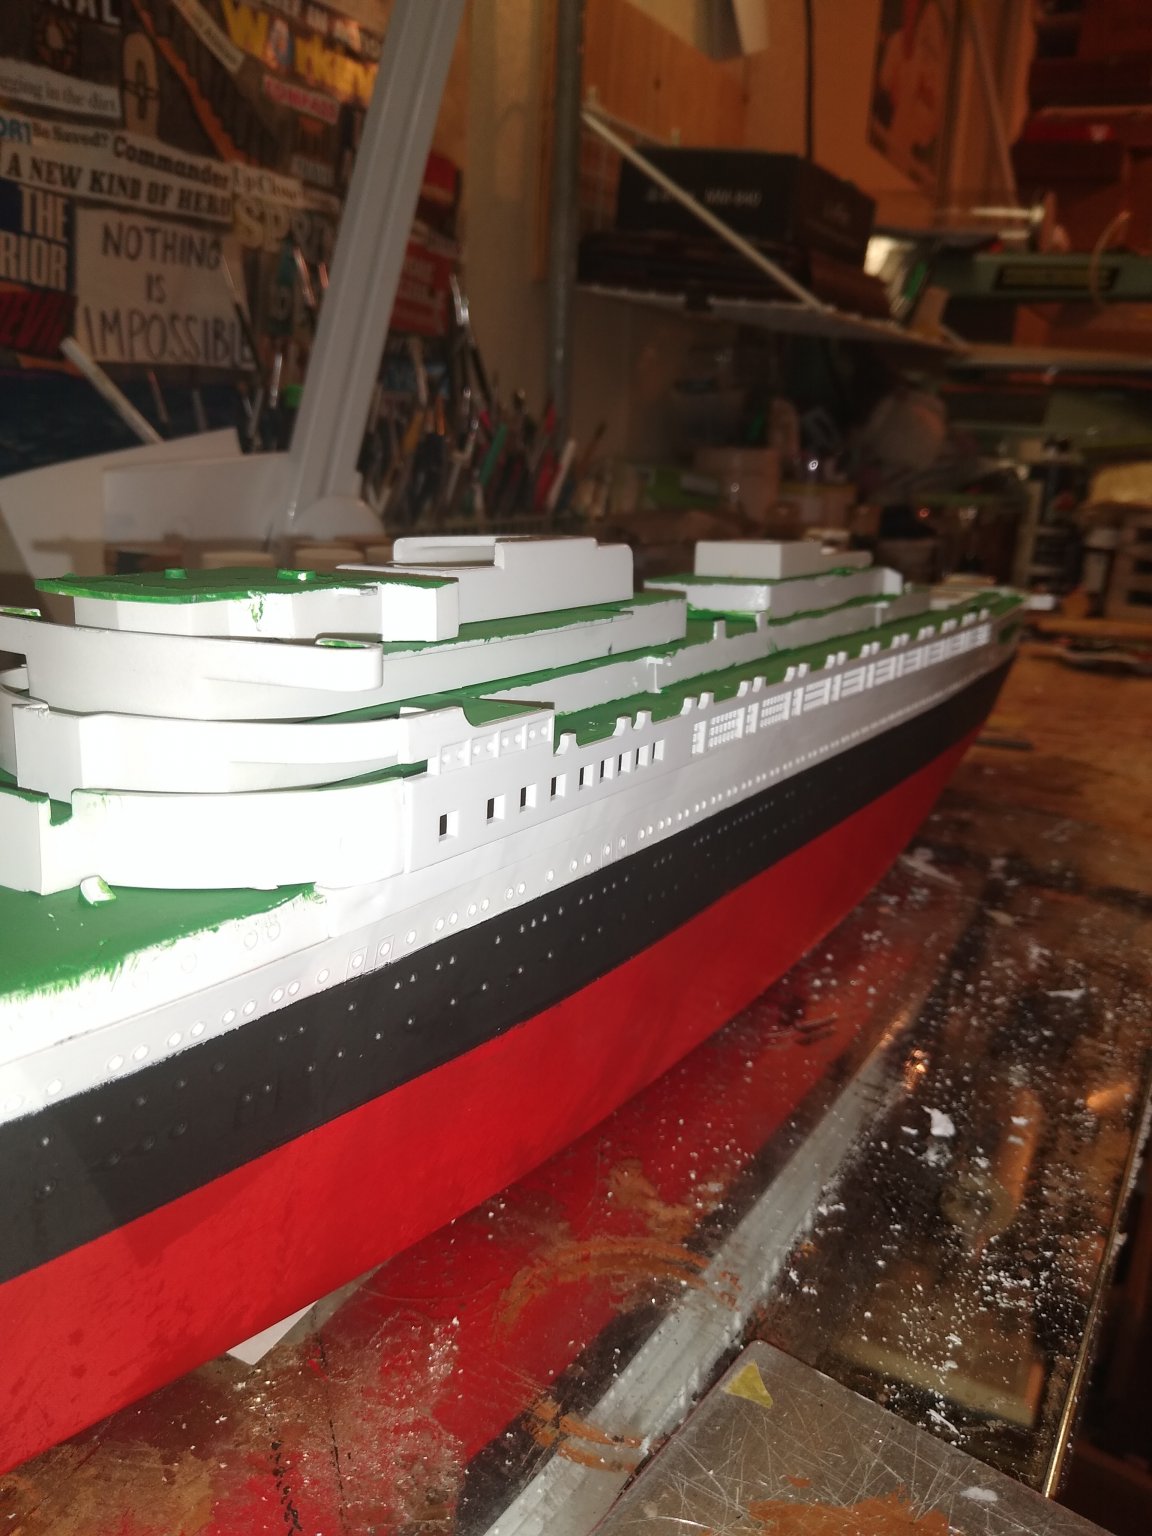
Lower pinstripe added. Handrails added to the upper bridge. A few if the very toylike life boats added.
- Canute, CDW and GrandpaPhil
-
3
-


USCG FRC Emlen Tunnell by highlanderburial - Dumas - 1:48 scale
in - Kit build logs for subjects built from 1901 - Present Day
Posted
I have been laying out the rudders. The kit clearly makes some changes from the original cutter for R/C operation. I looked at the actual line drawings of the cutter and see that the rudders are very far back on the actual ship. I scaled the drawing up from 1:50 to 1:48 which is what the kit scale as. The picture I took was of where the kit says to put the rudders stocks.