simon porter
-
Posts
34 -
Joined
-
Last visited


.thumb.jpg.6d6ee4bdbfaac2c58ecc77e7b80ae374.jpg)


-
 Obormotov reacted to a post in a topic:
Medway Longboat - Keel, Frames and build board discussion
Obormotov reacted to a post in a topic:
Medway Longboat - Keel, Frames and build board discussion
-
Trussben reacted to a post in a topic:
Medway Longboat 1742 by simon porter - 1:24 Scale
-
doxidad reacted to a post in a topic:
Medway Longboat 1742 by simon porter - 1:24 Scale
-
dvm27 reacted to a post in a topic:
Medway Longboat 1742 by simon porter - 1:24 Scale
-
Ryland Craze reacted to a post in a topic:
Medway Longboat 1742 by simon porter - 1:24 Scale
-
Ryland Craze reacted to a post in a topic:
Medway Longboat 1742 by simon porter - 1:24 Scale
-
Ryland Craze reacted to a post in a topic:
Medway Longboat 1742 by simon porter - 1:24 Scale
-
Ryland Craze reacted to a post in a topic:
Medway Longboat 1742 by simon porter - 1:24 Scale
-
GuntherMT reacted to a post in a topic:
Medway Longboat 1742 by simon porter - 1:24 Scale
-
GuntherMT reacted to a post in a topic:
Medway Longboat 1742 by simon porter - 1:24 Scale
-
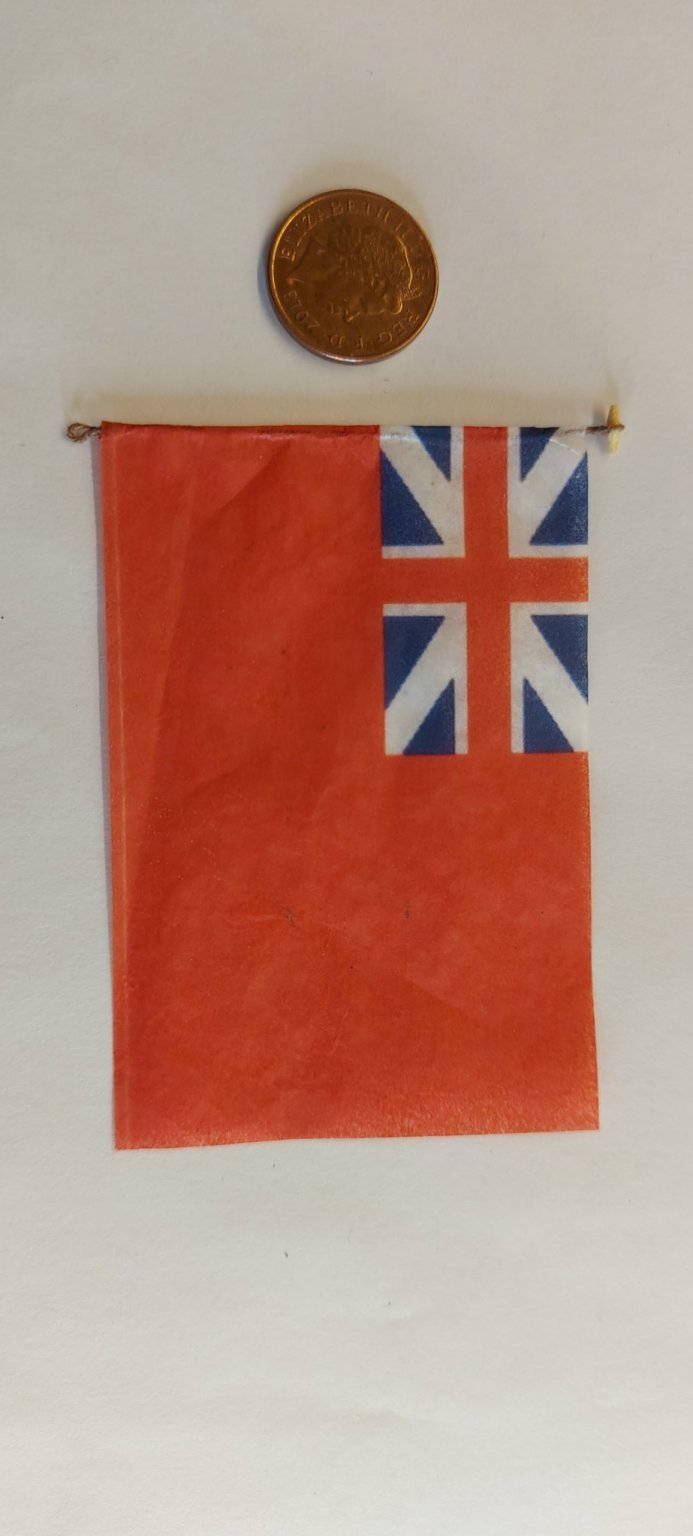
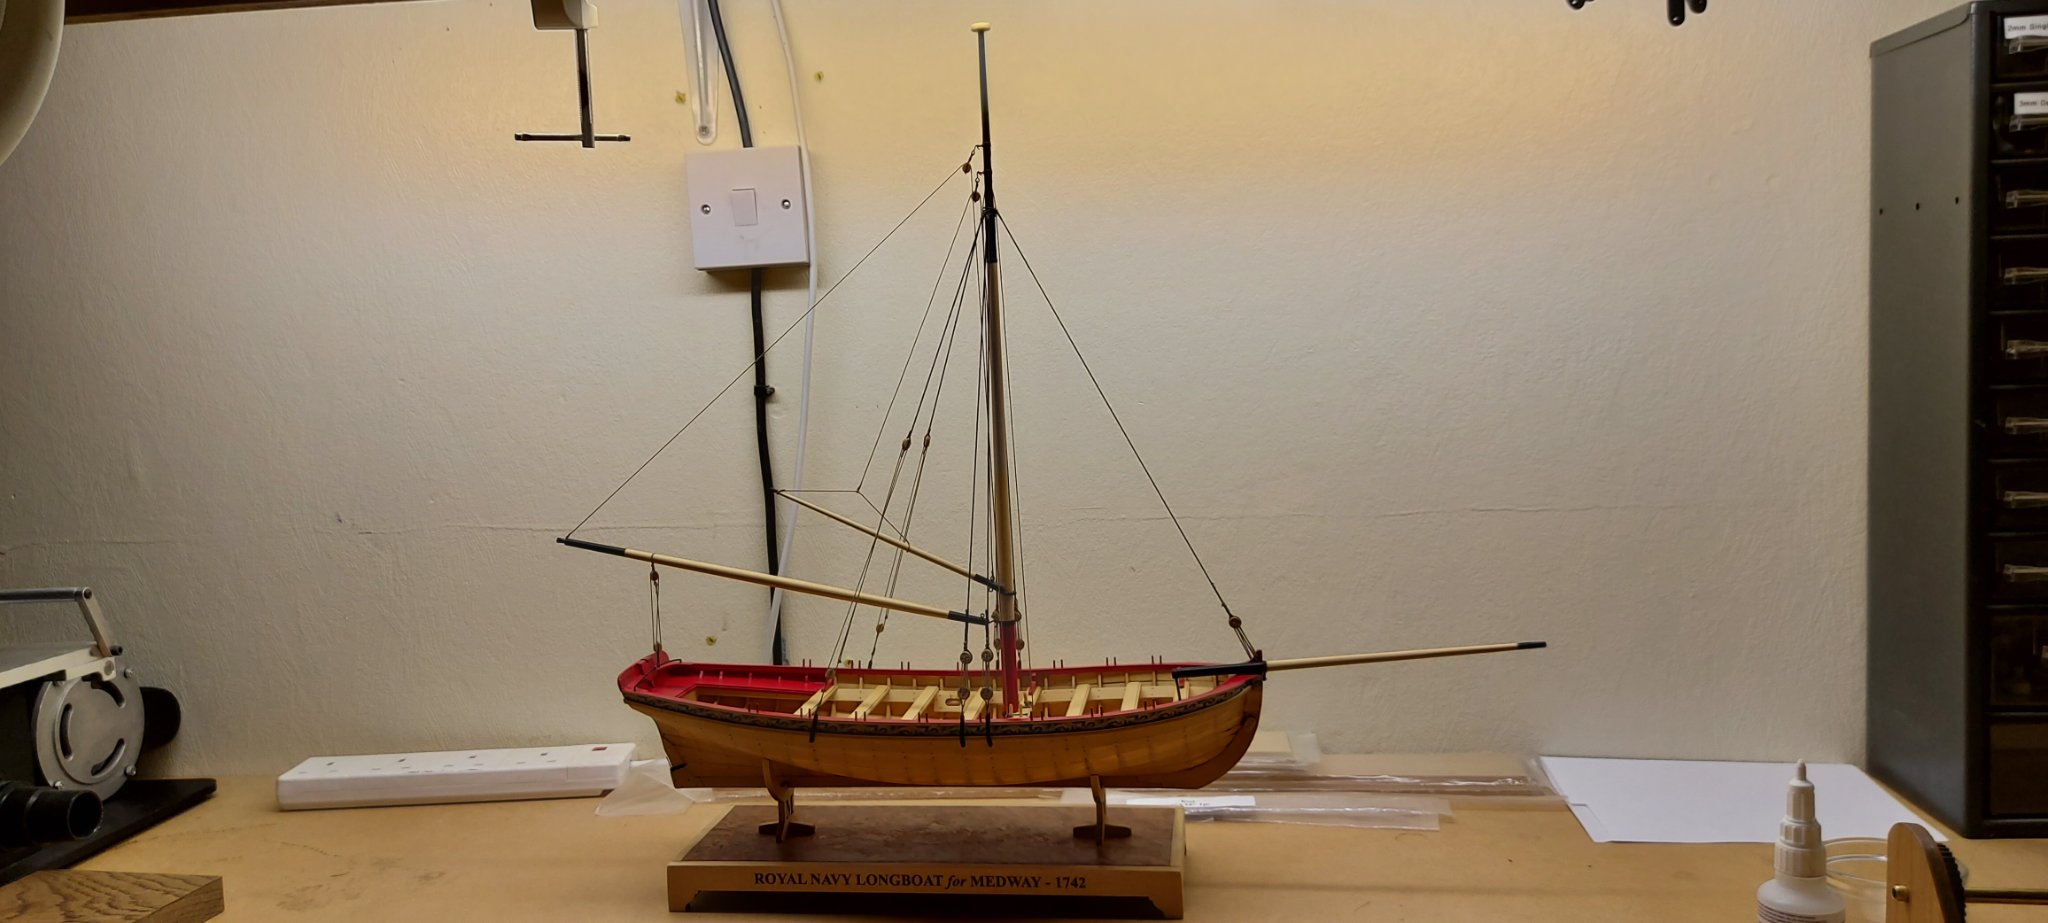
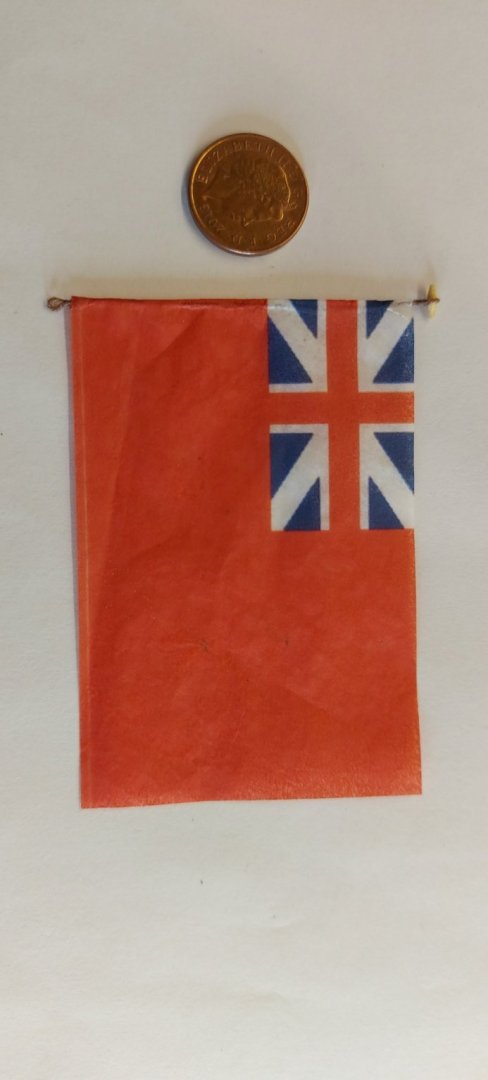
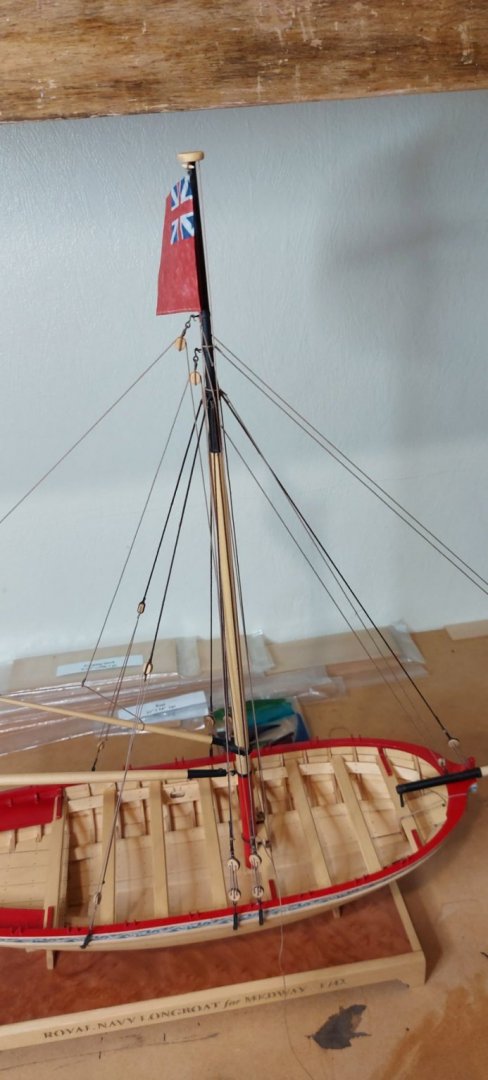
All thats left to do now is to shape the flag and add some rope coils befor making a case to display it in.
-
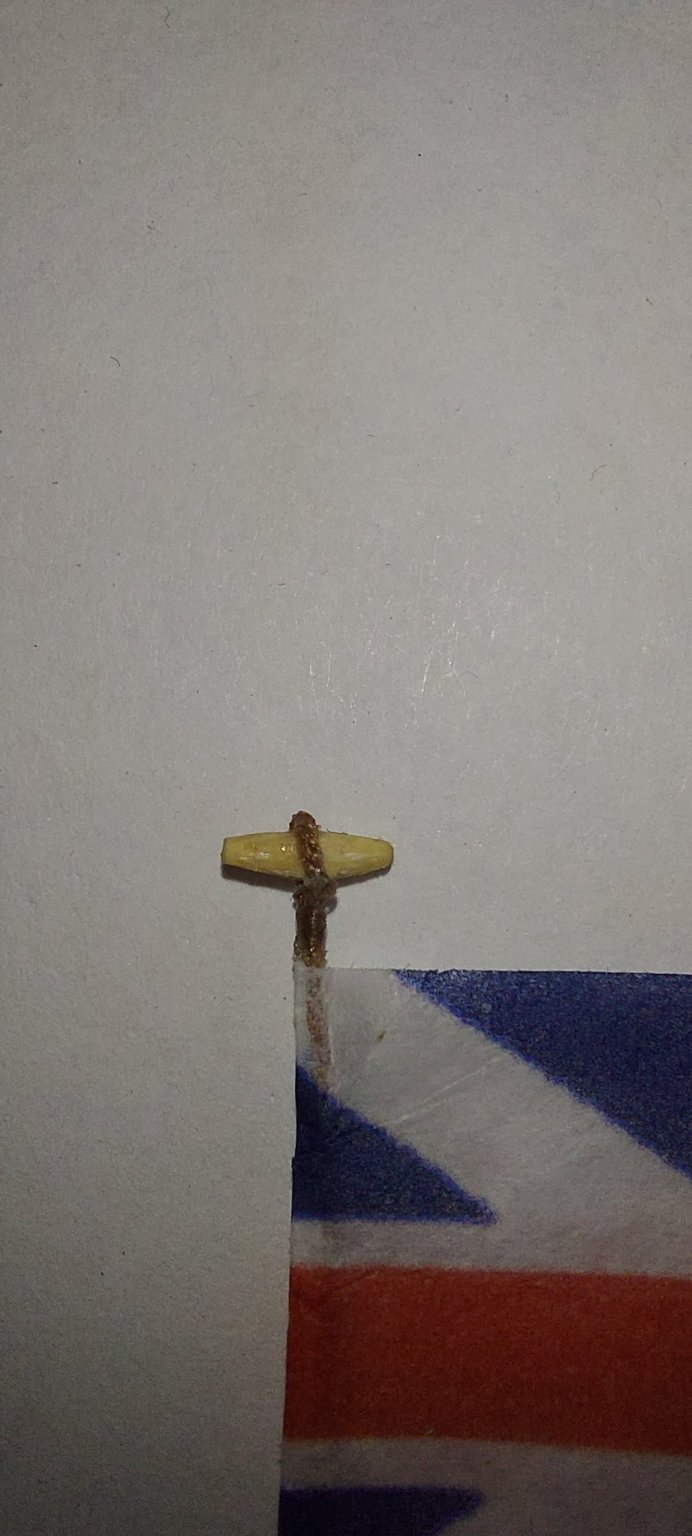
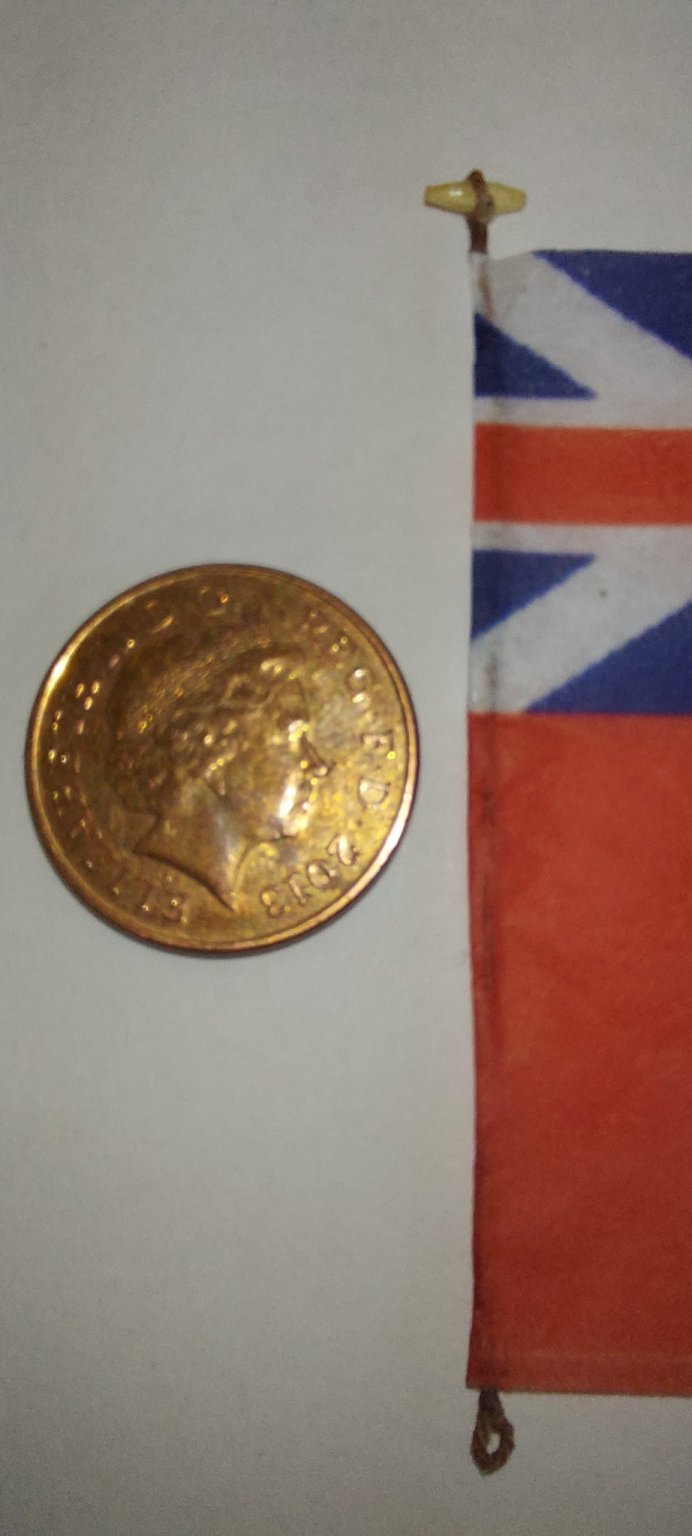
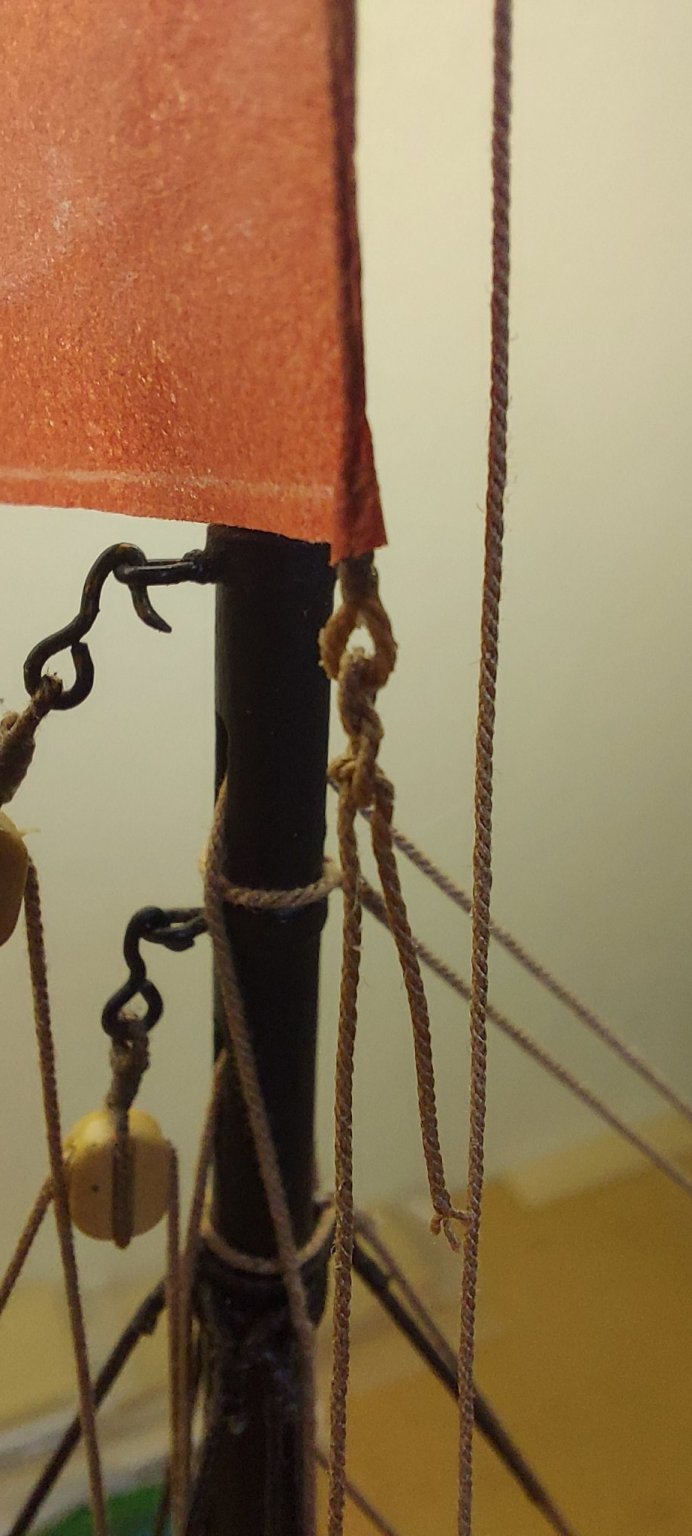
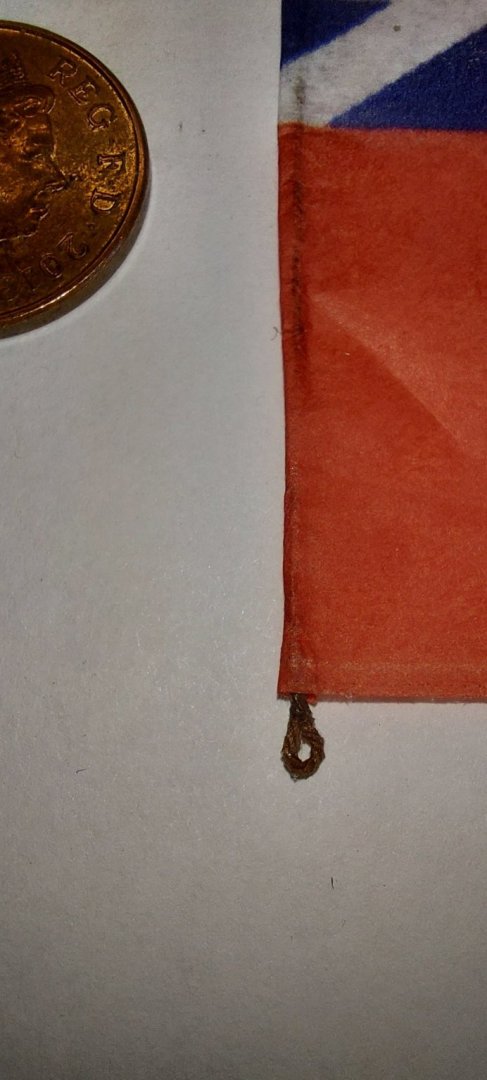
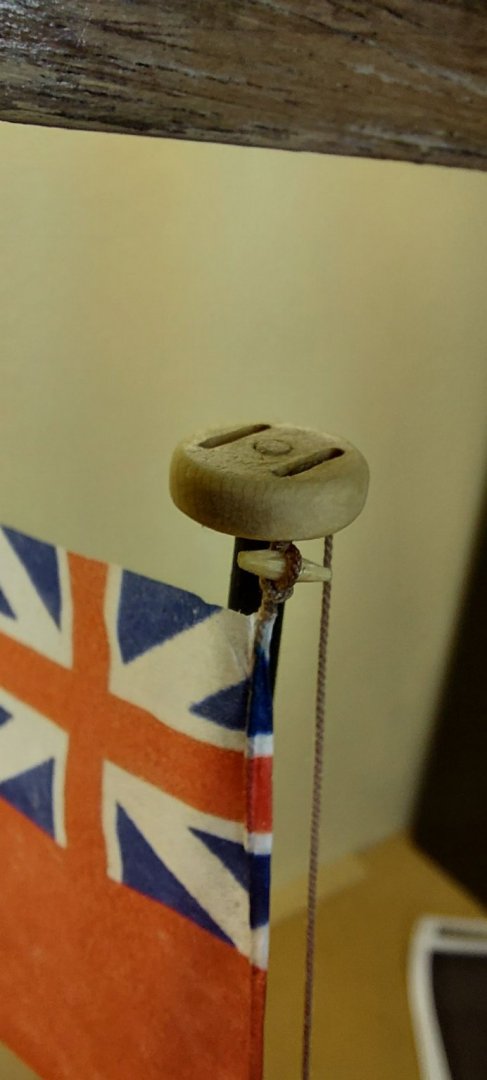
Next job was to make up the flag. I don't really know exactly how the flag was attached to its halliard but after a little research i came up with this.


-
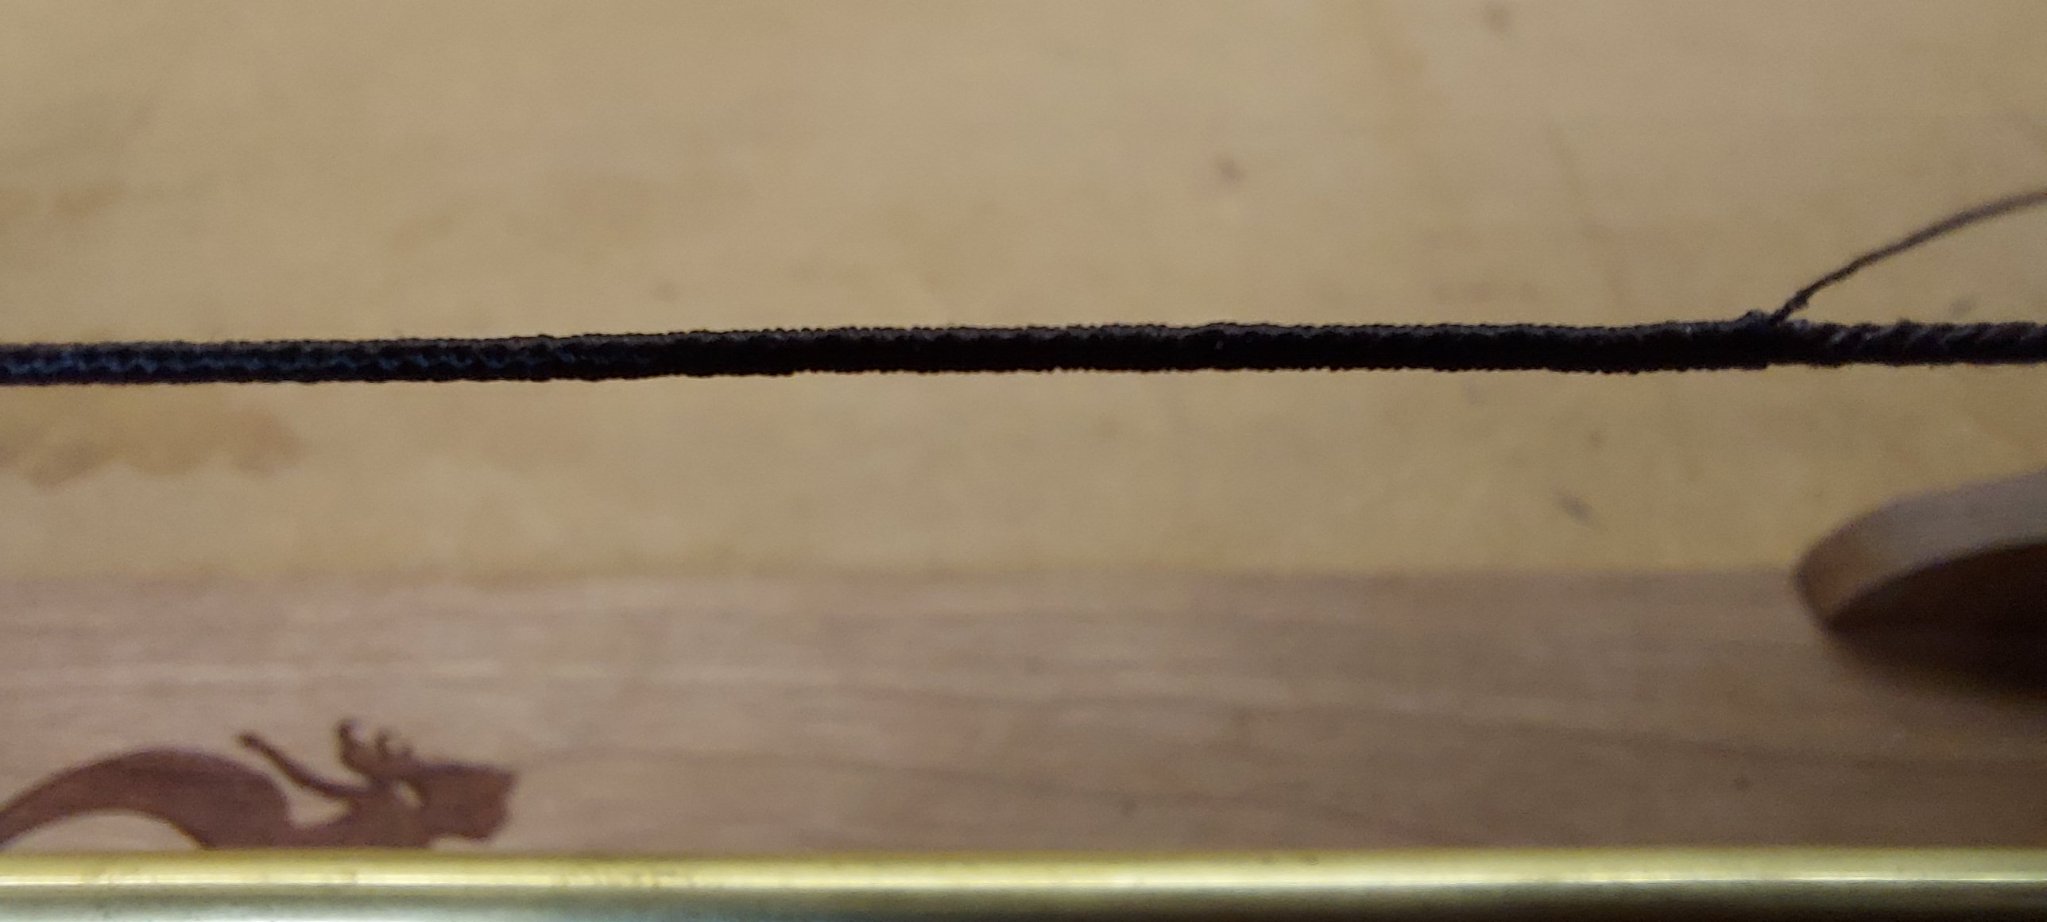
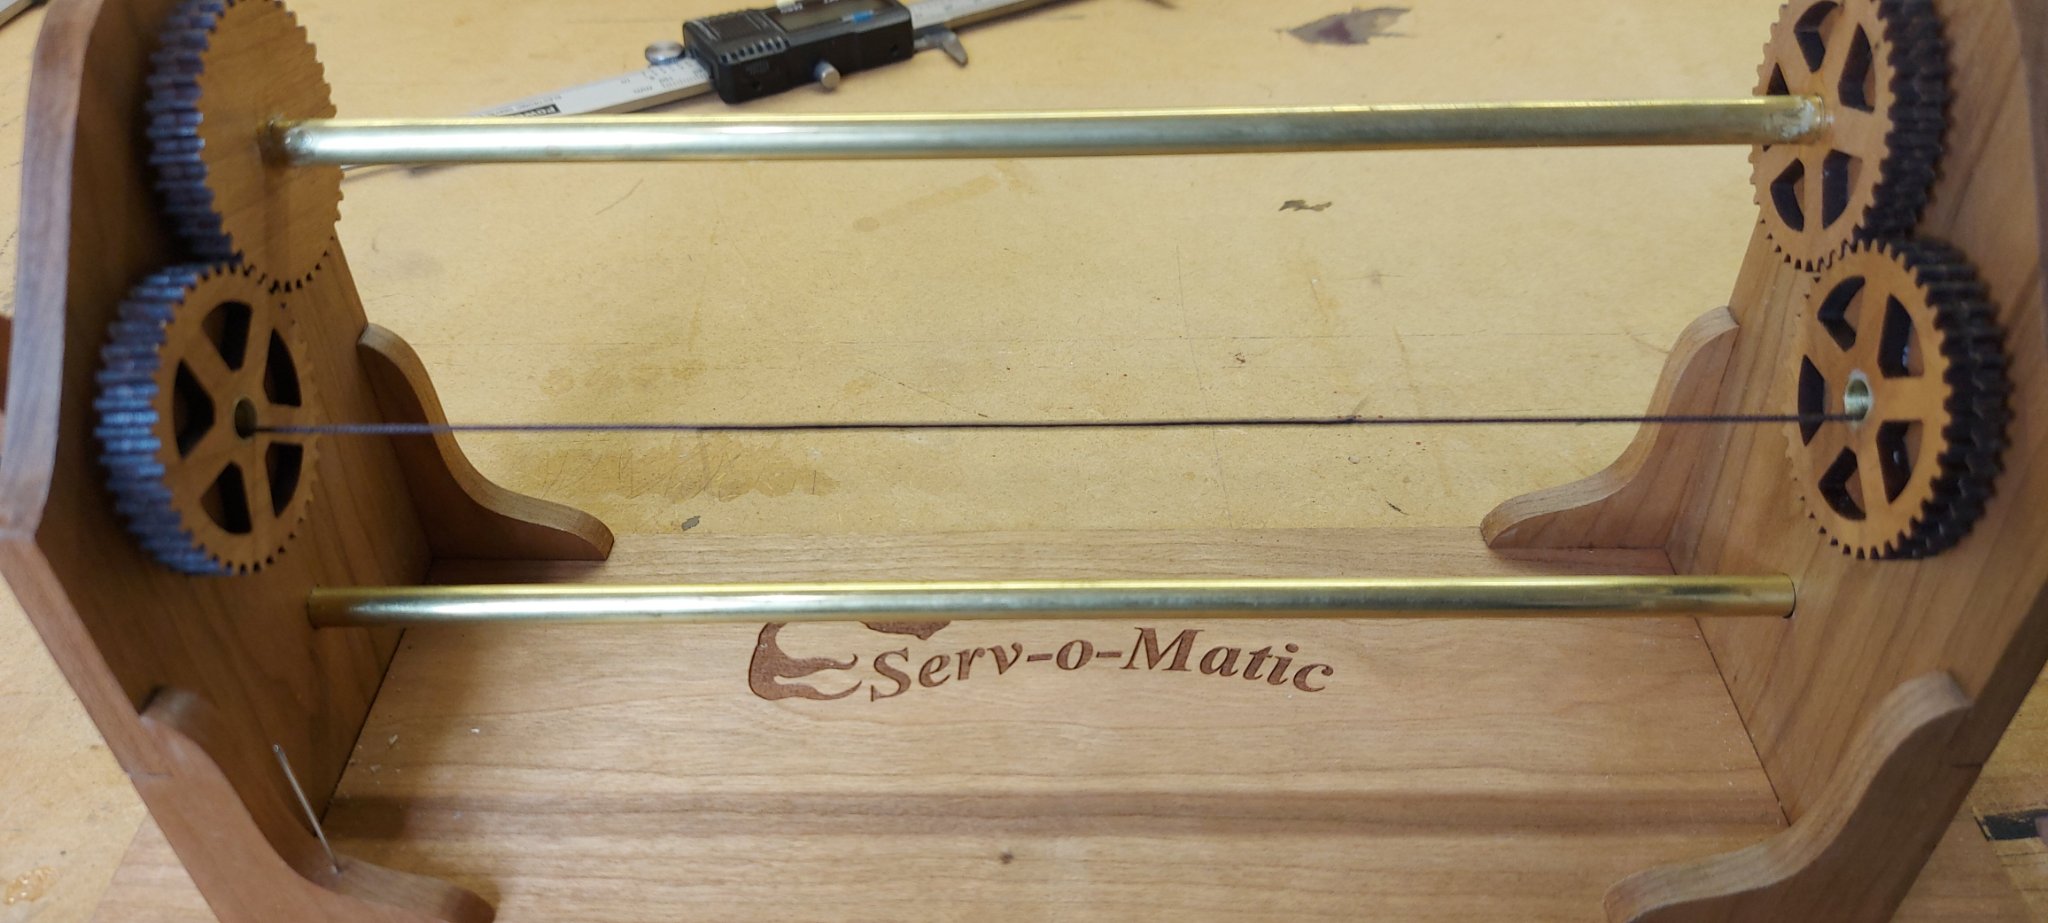
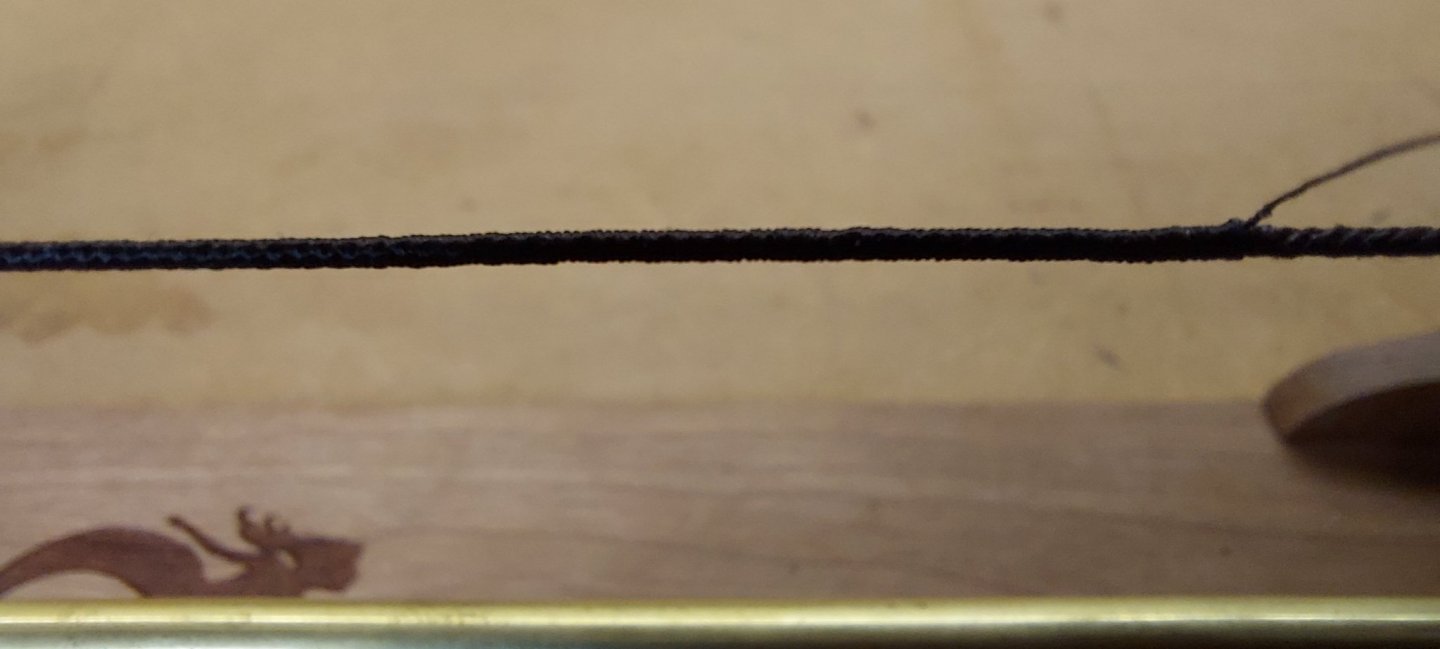
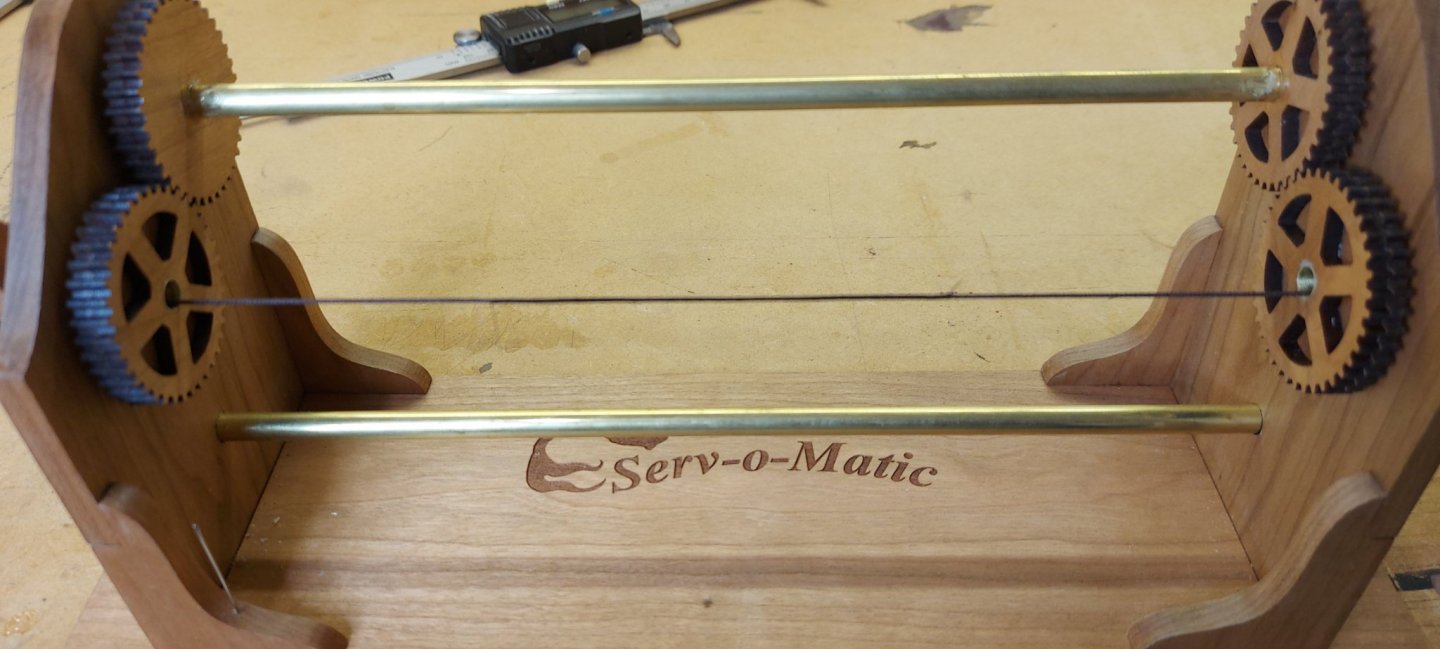
Next job on the list was to Serve my rope on my serving machine. This was the first time that i've ever done it, but using Chucks machine was very easy if you just took your time. I used dark brown fly tieing nylon as it was really thin.
-
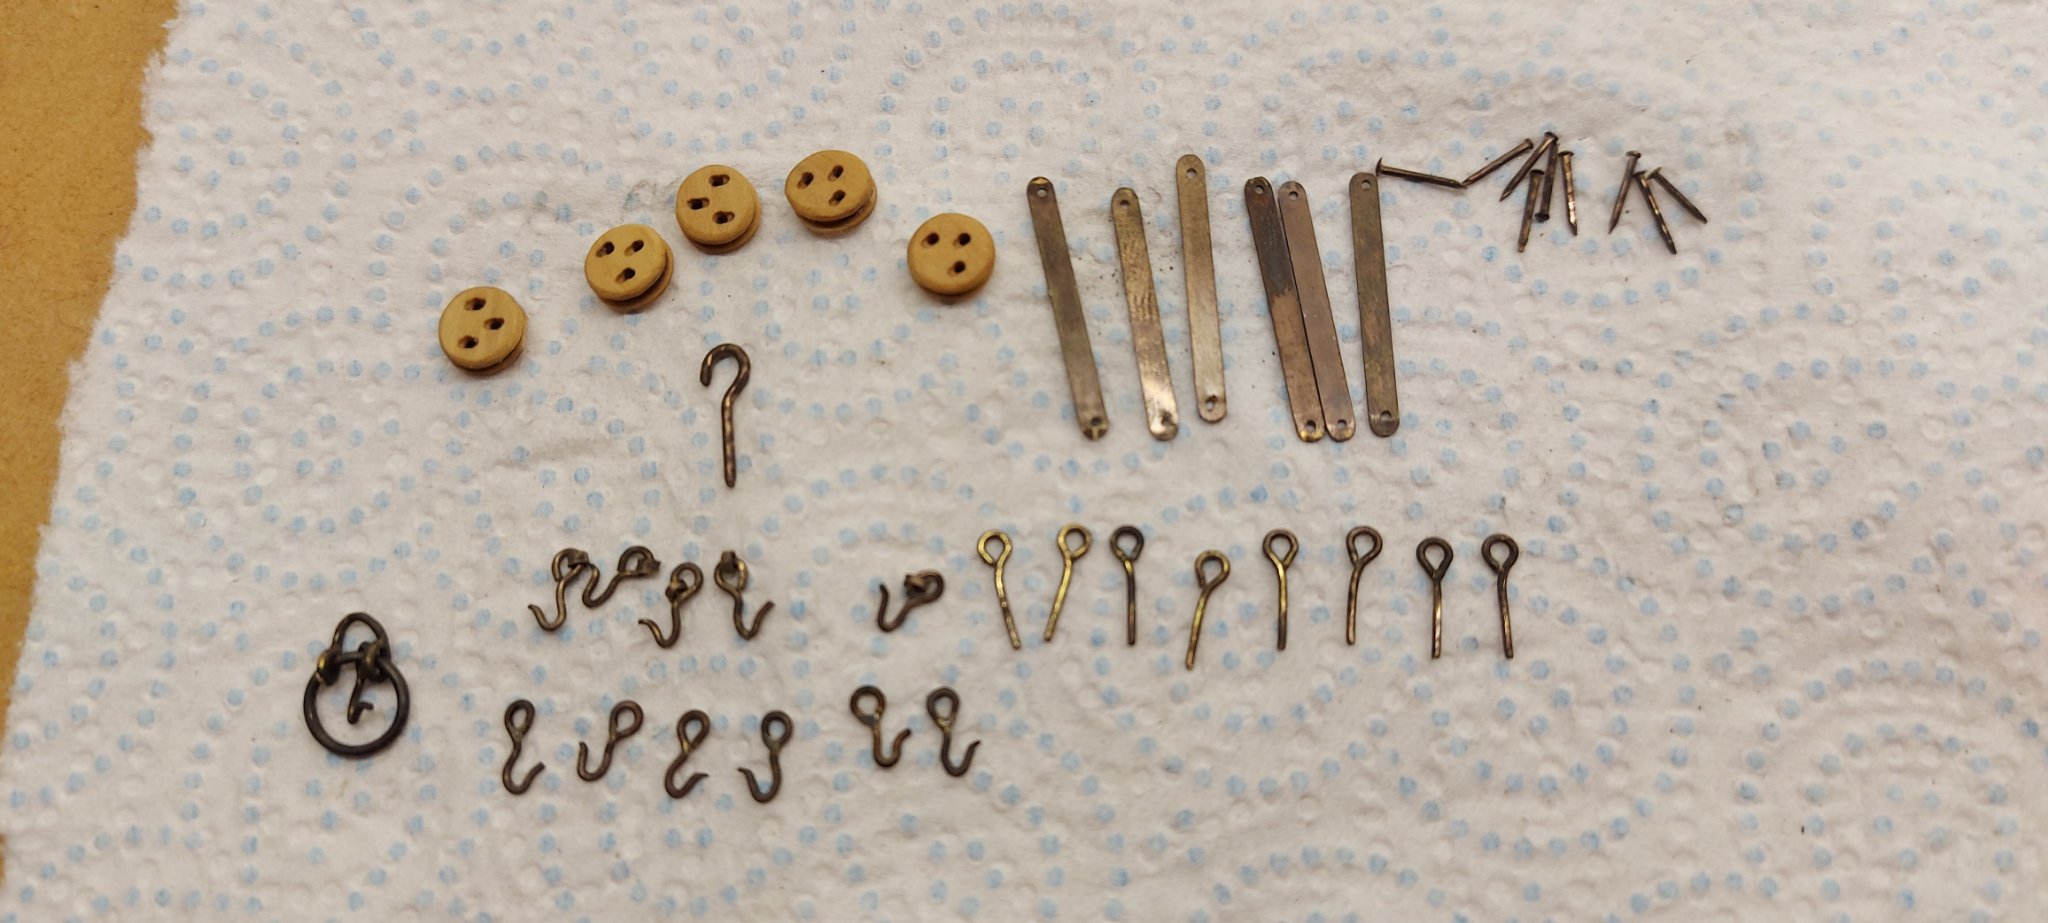
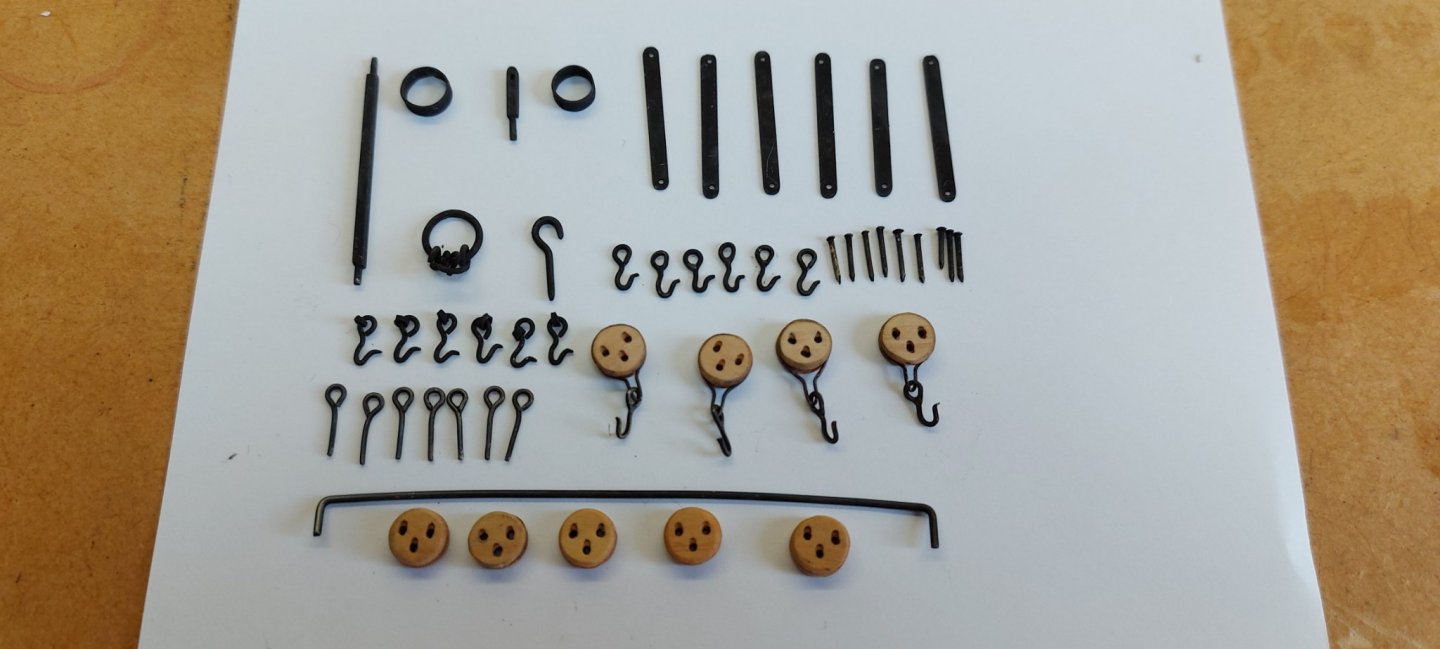
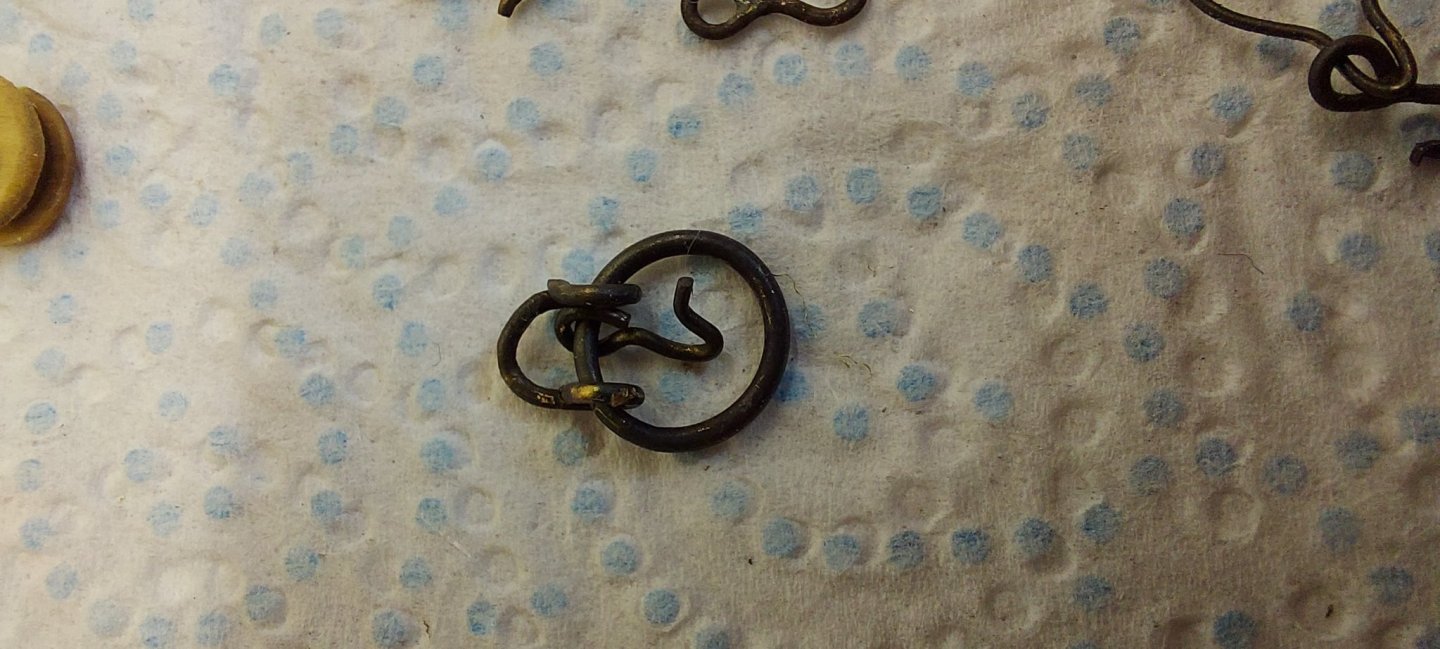
All parts after a second run through the blackening process.
-
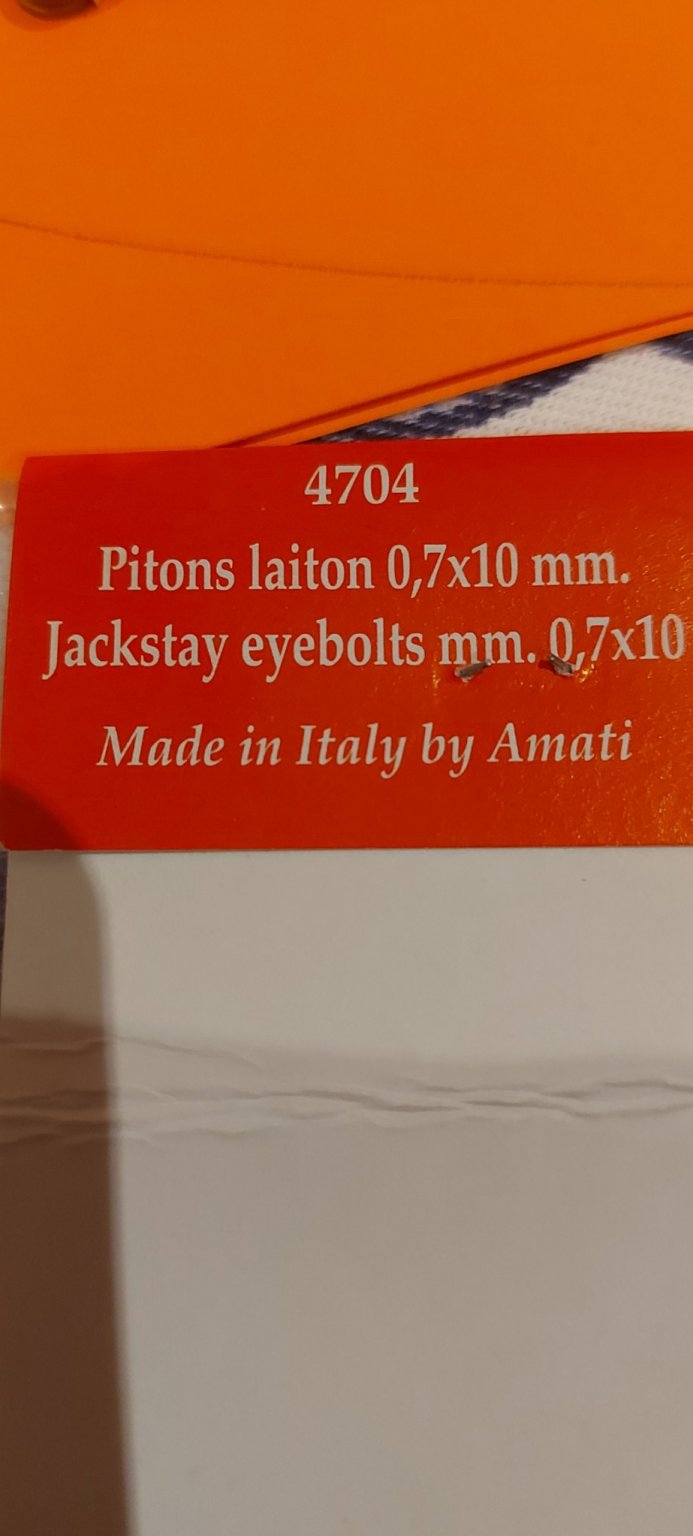
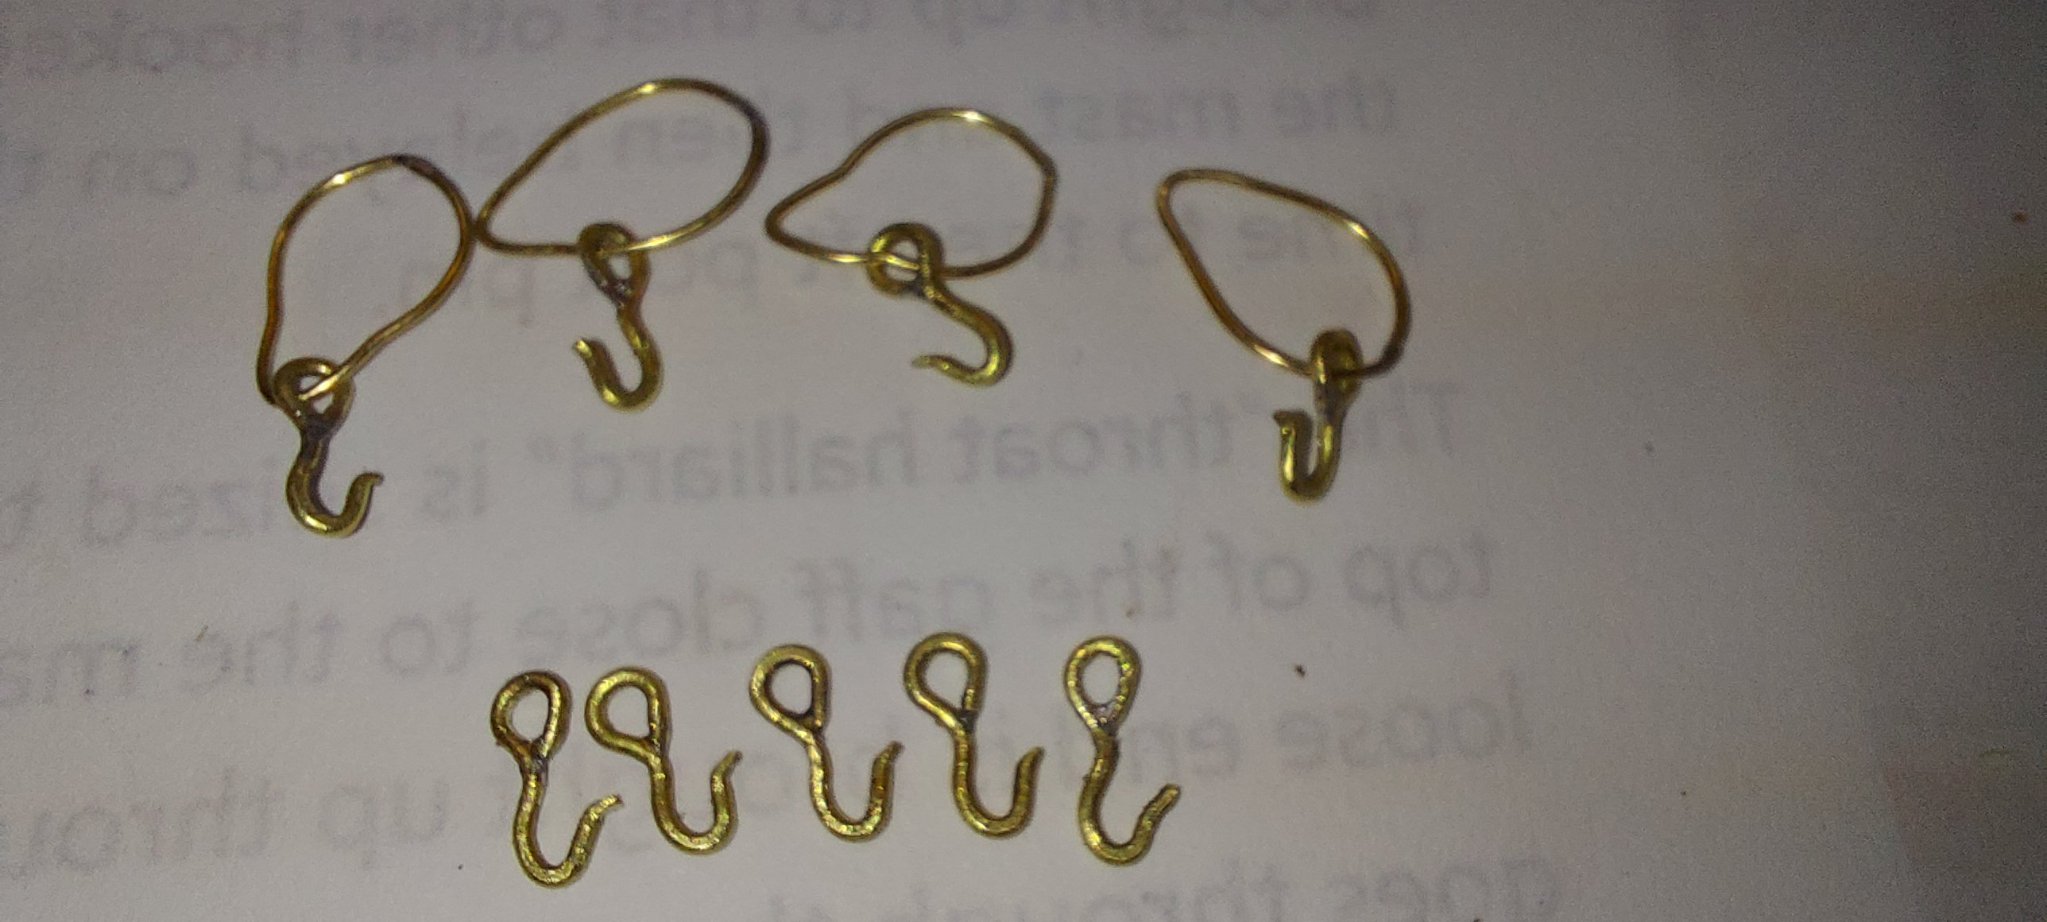
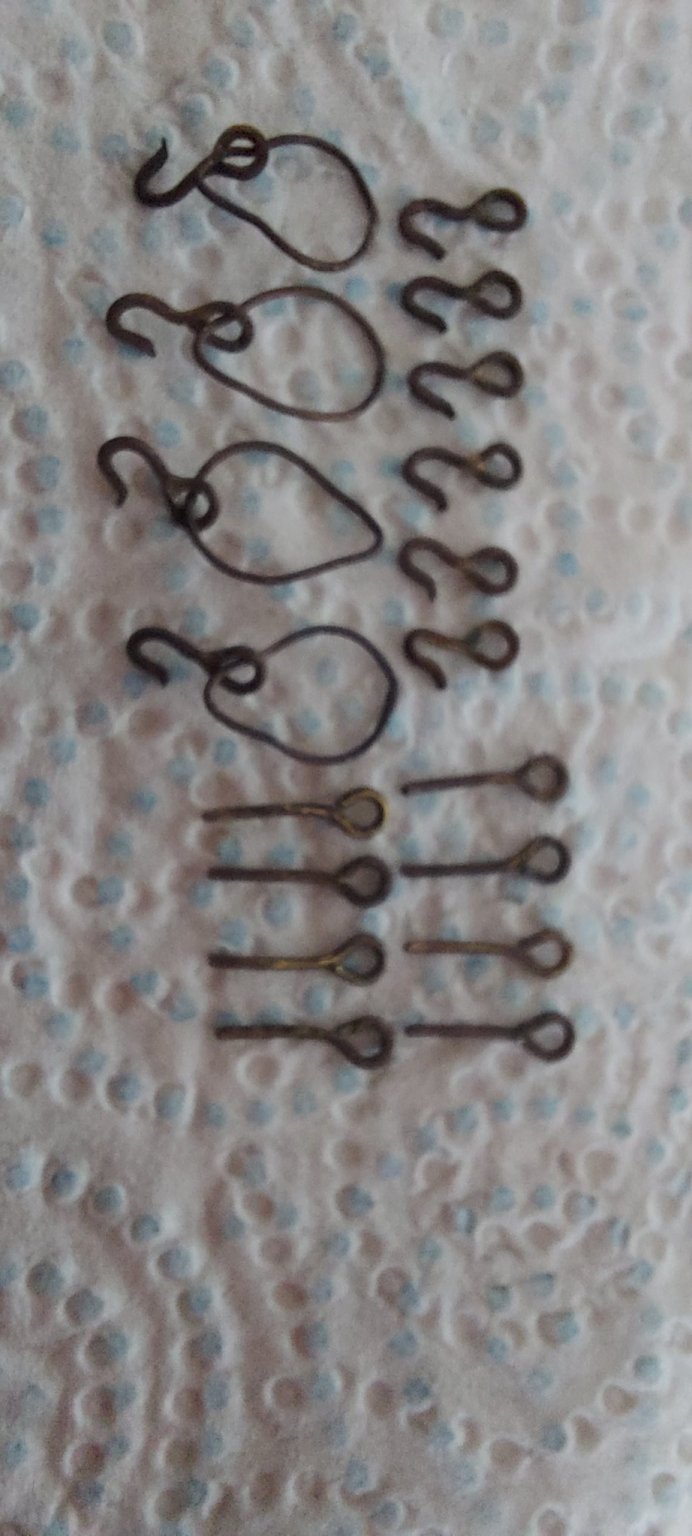
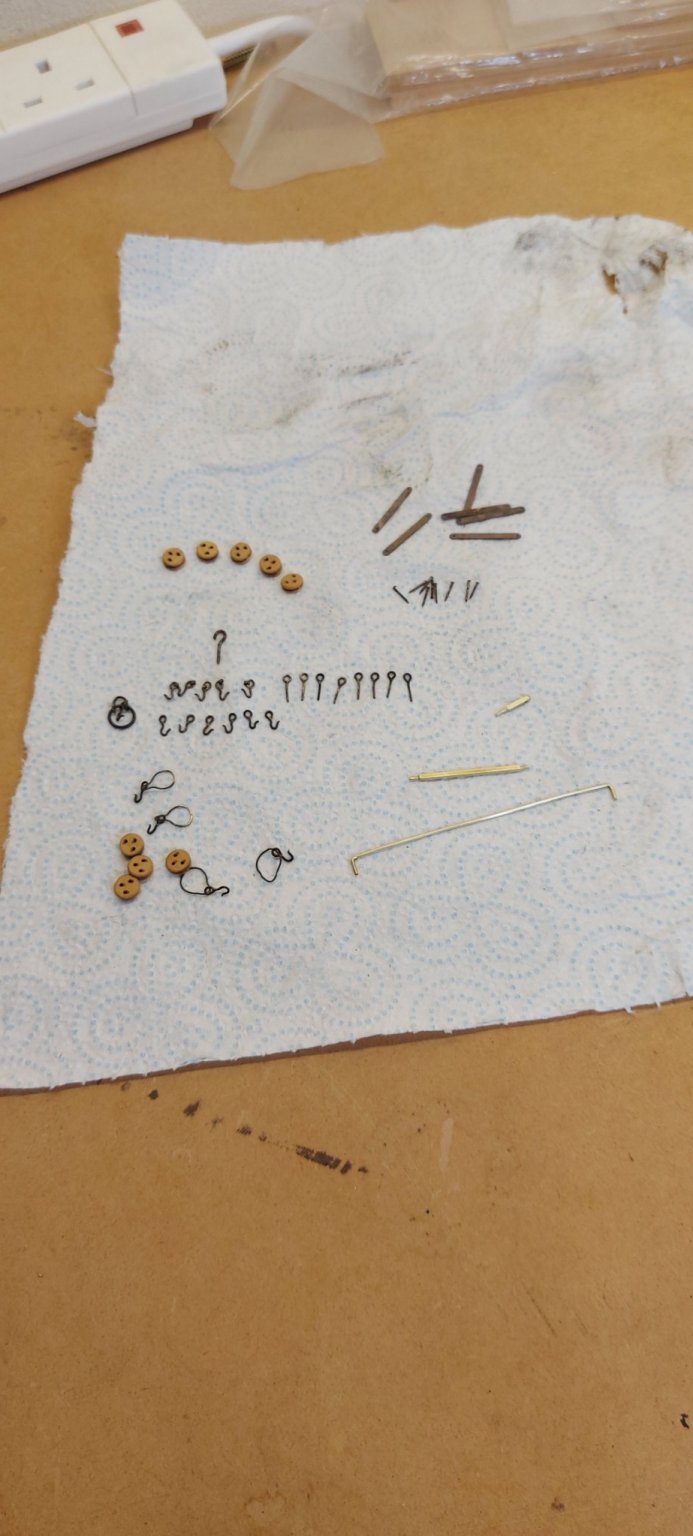
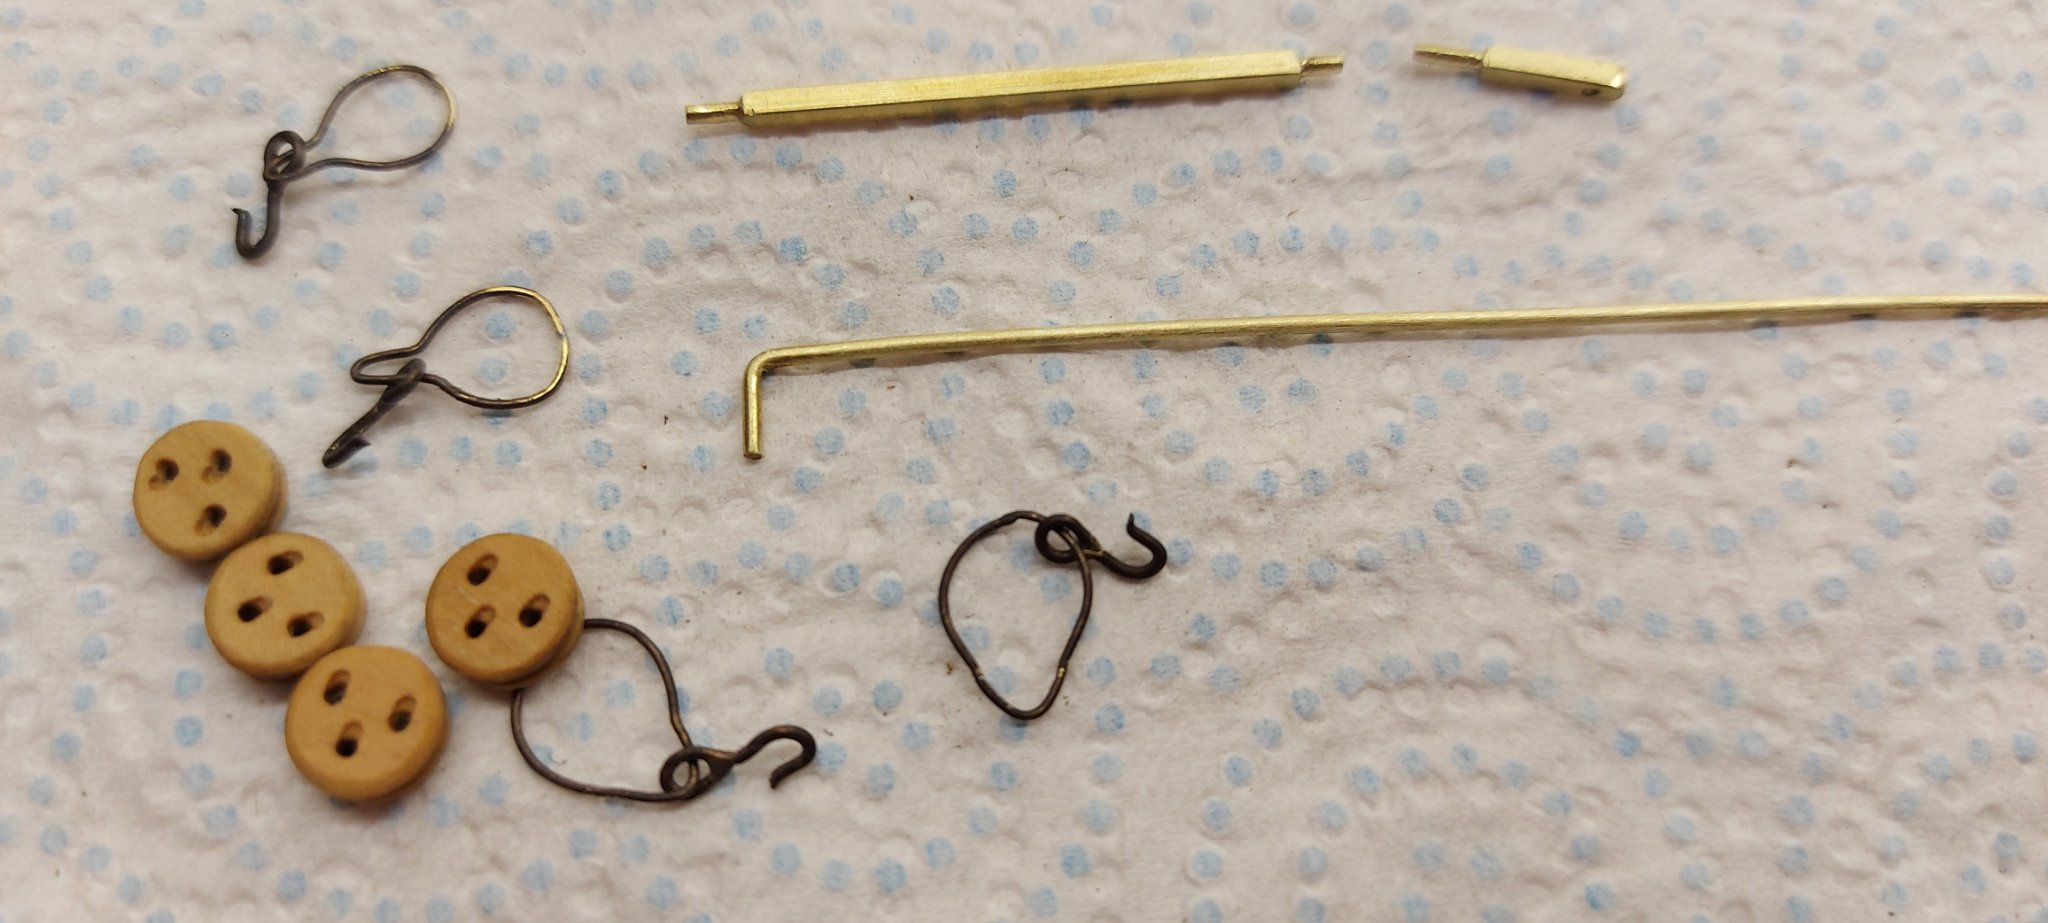
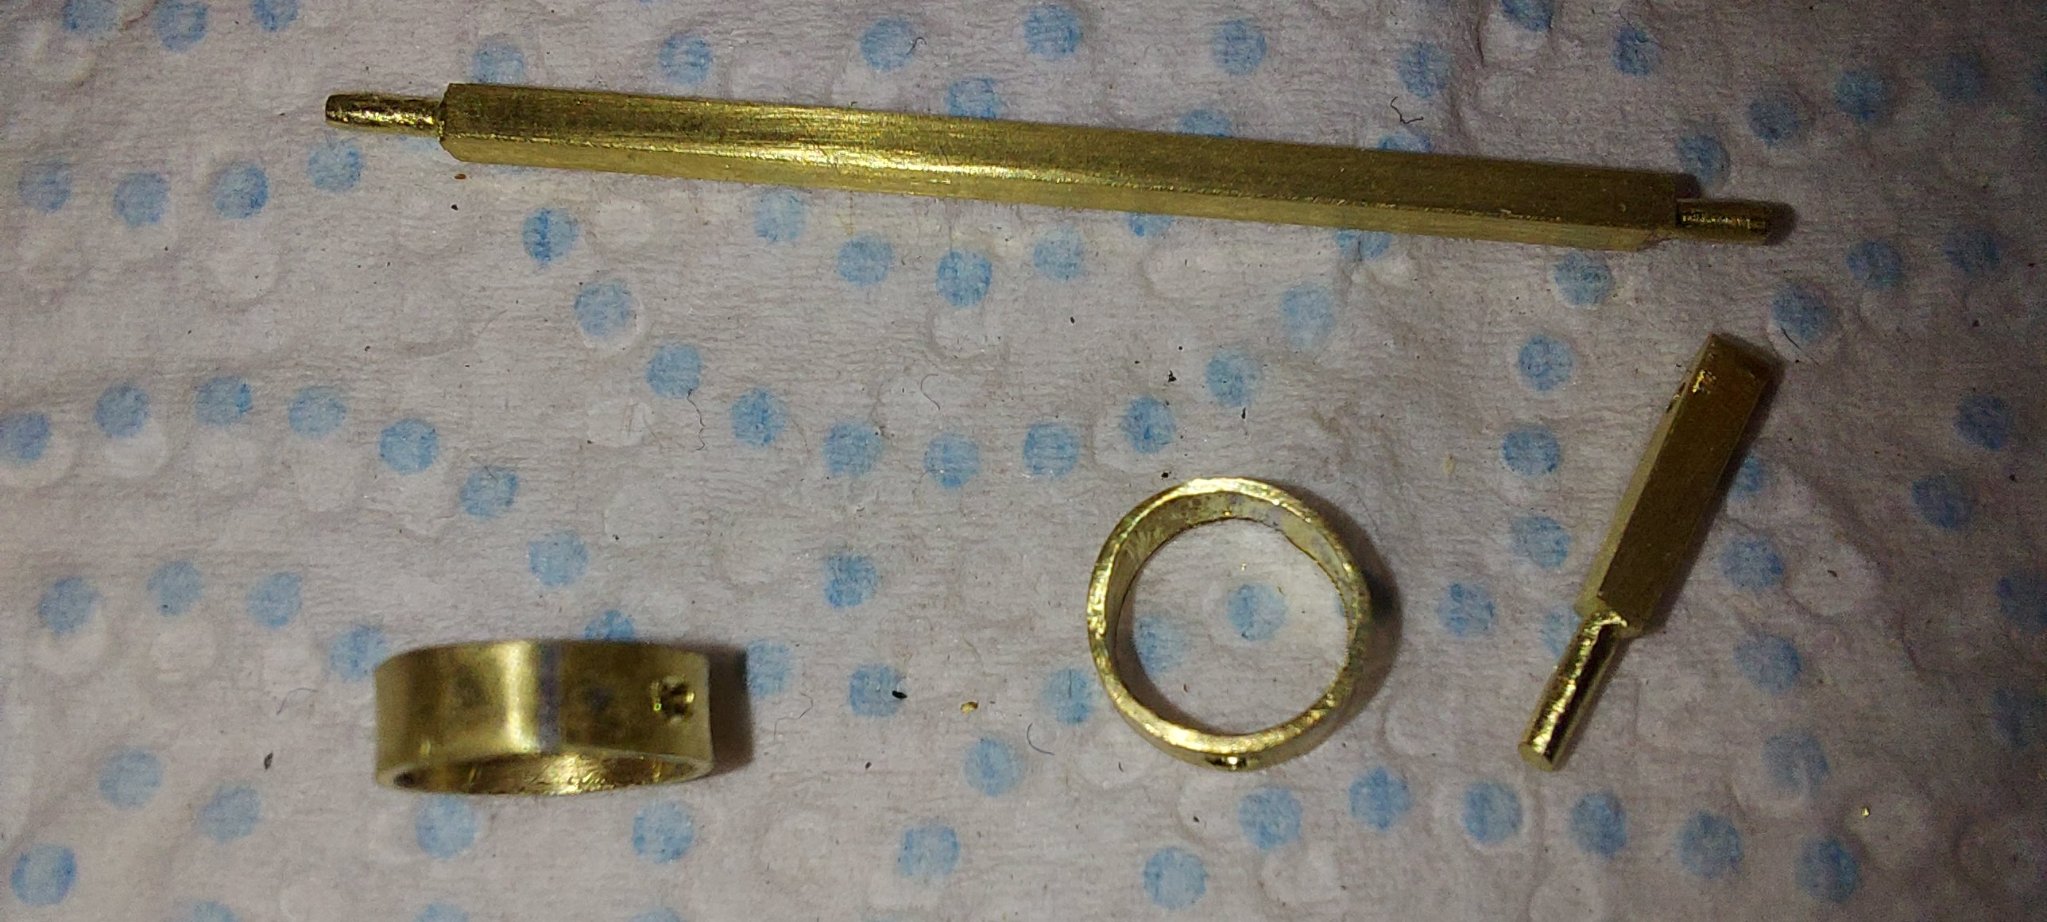
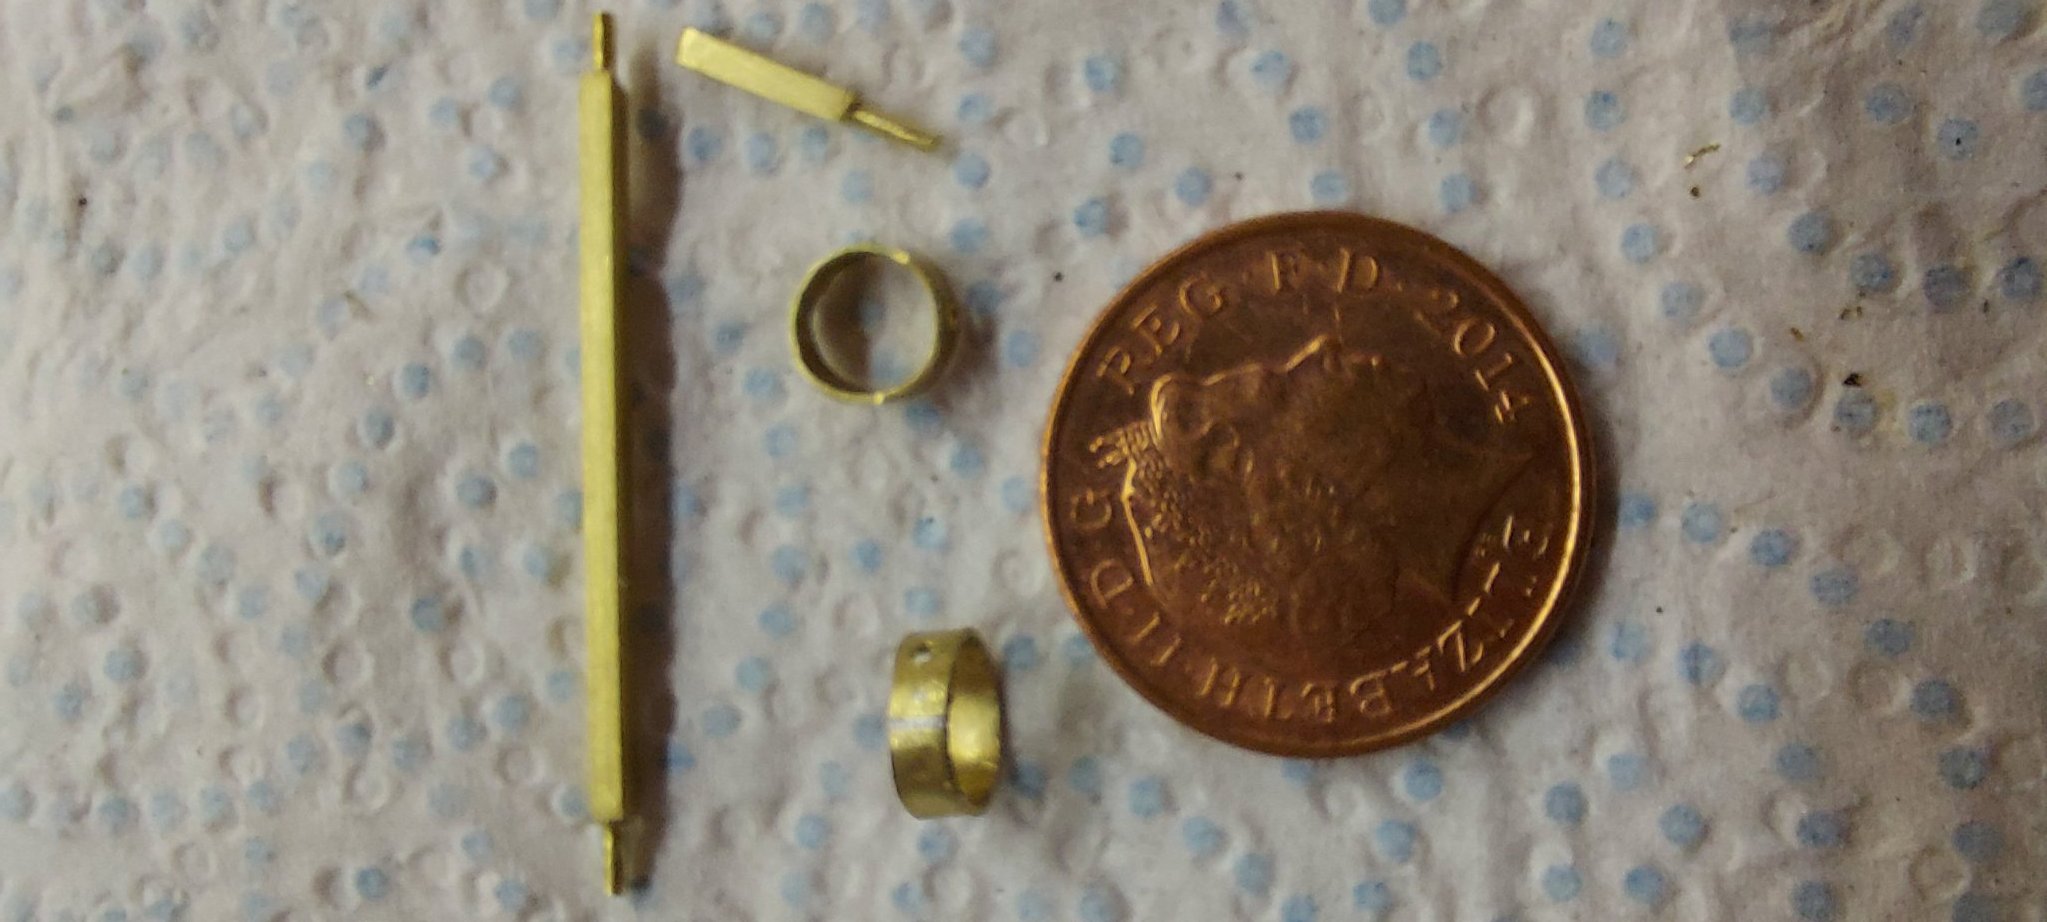
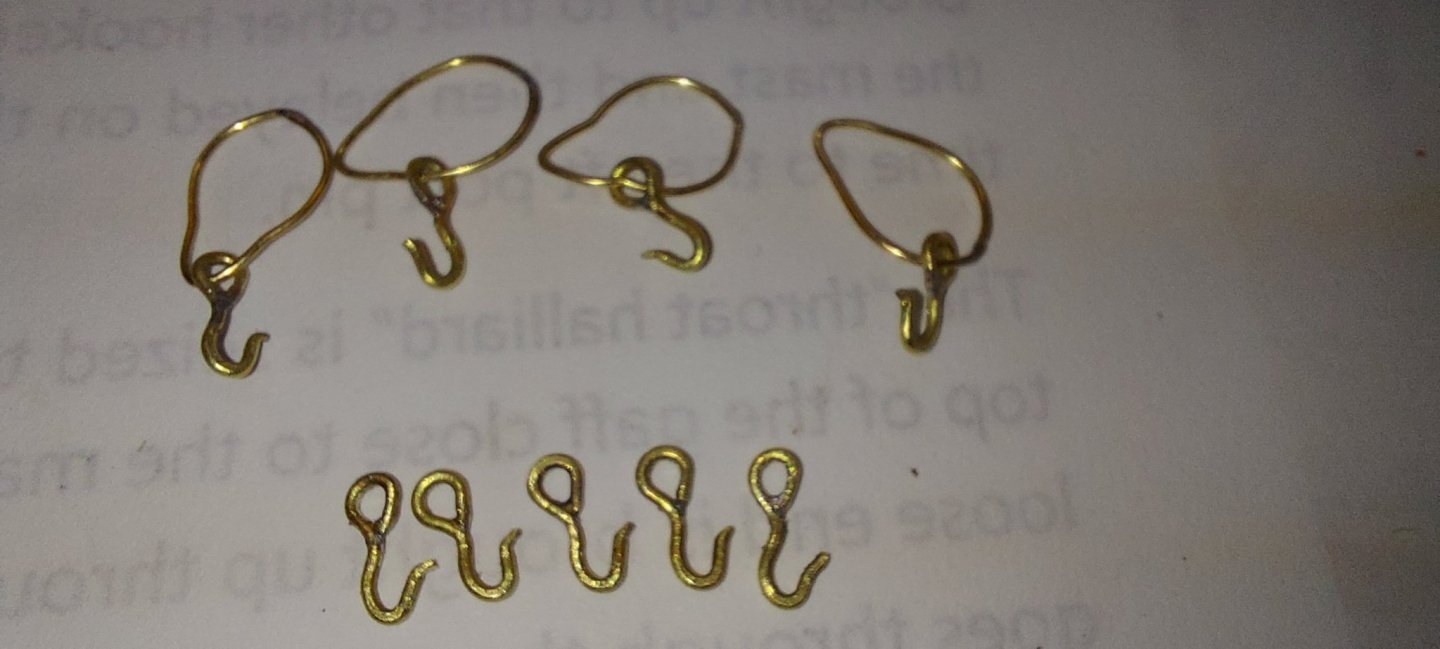
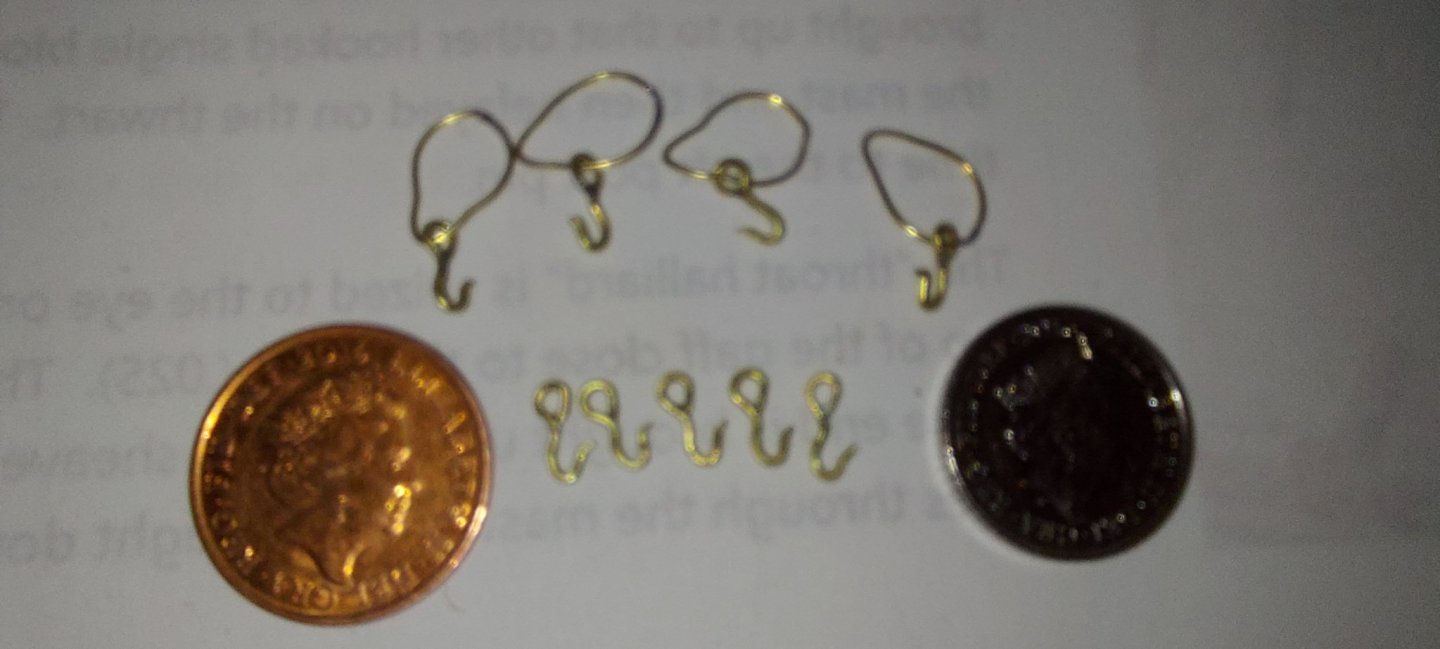
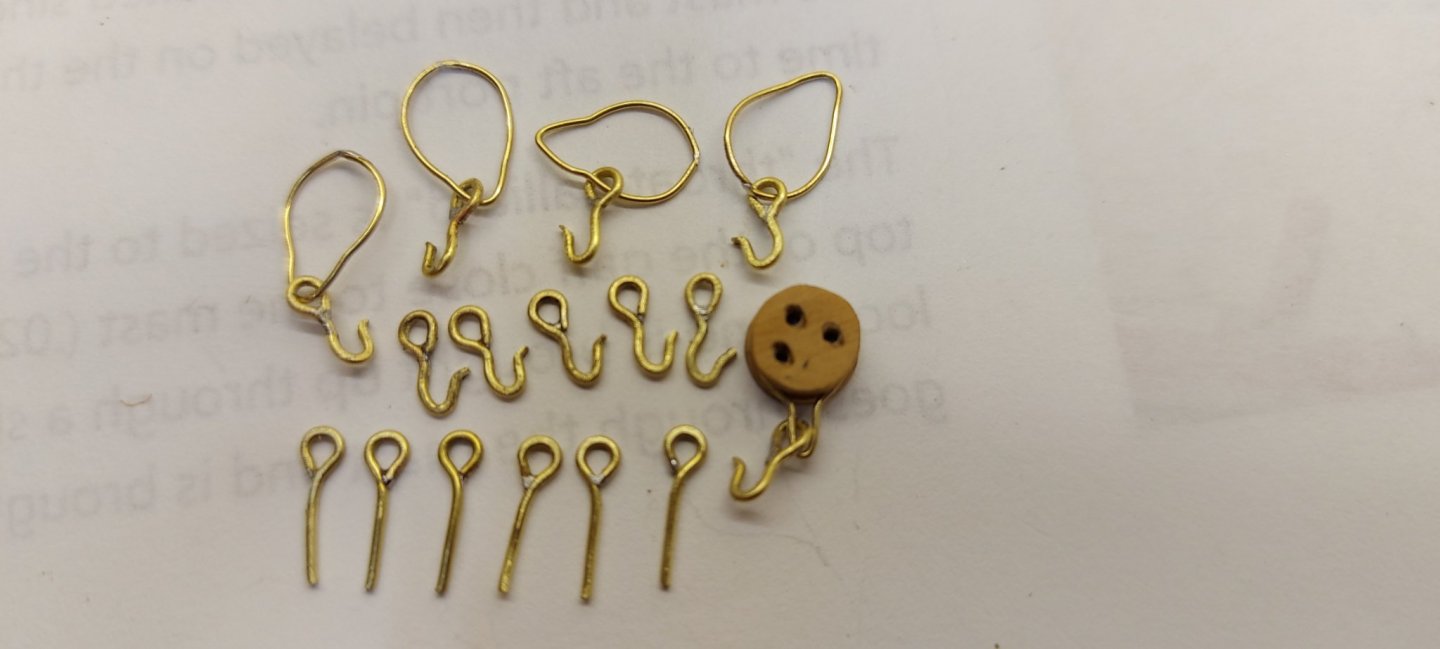
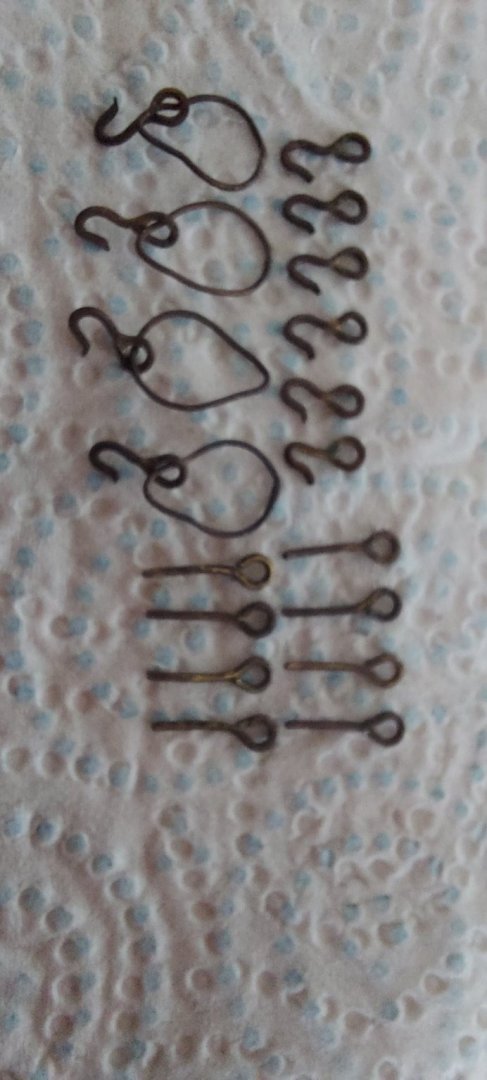
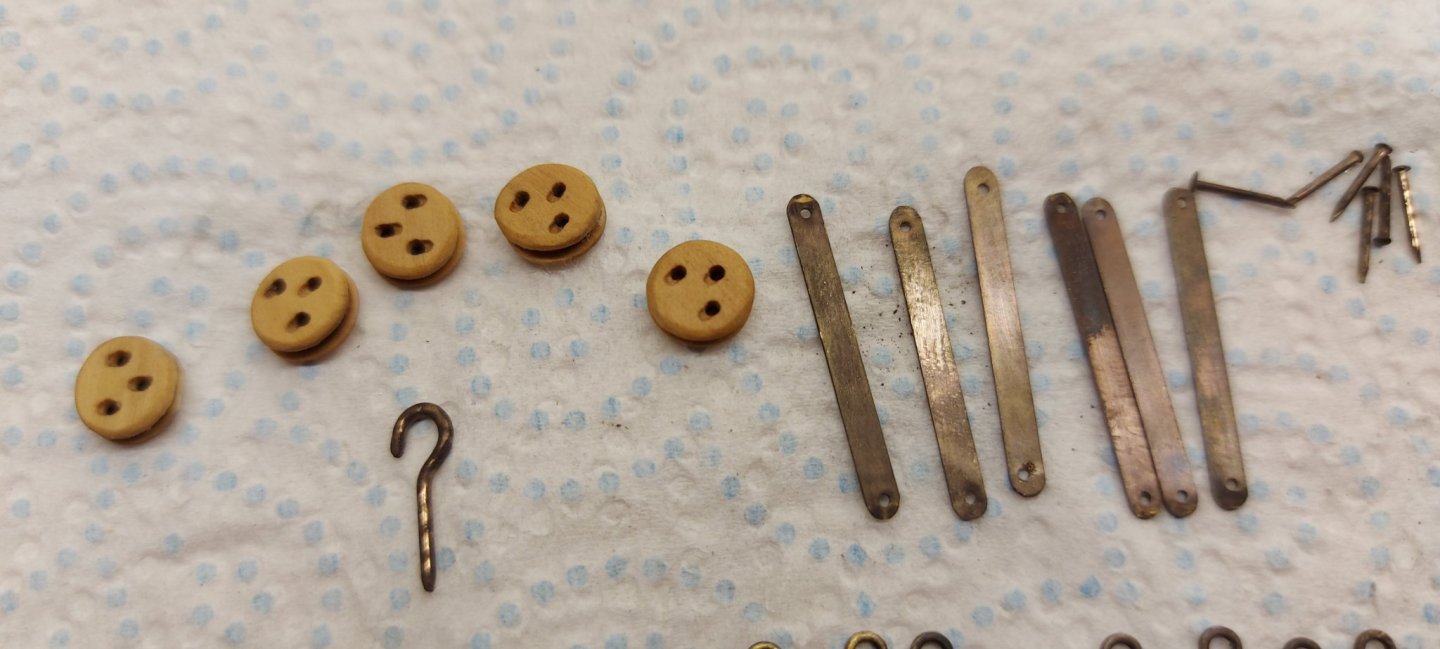
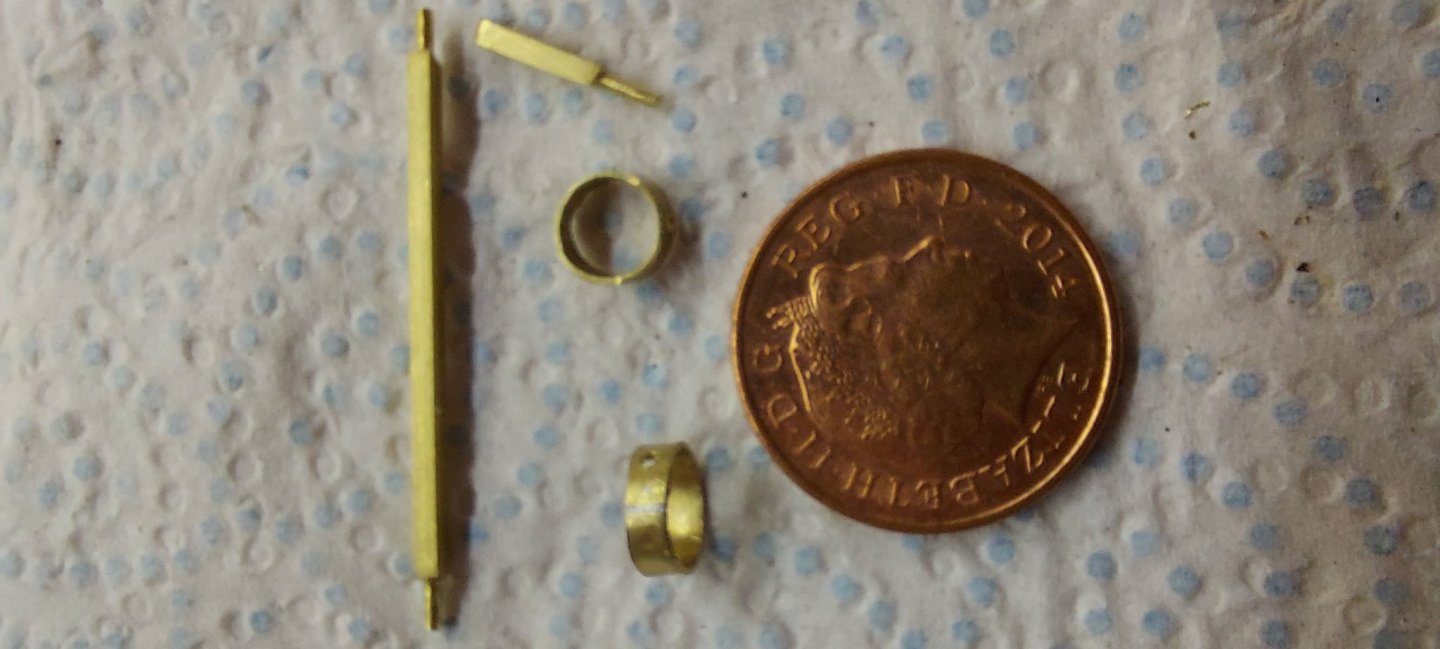
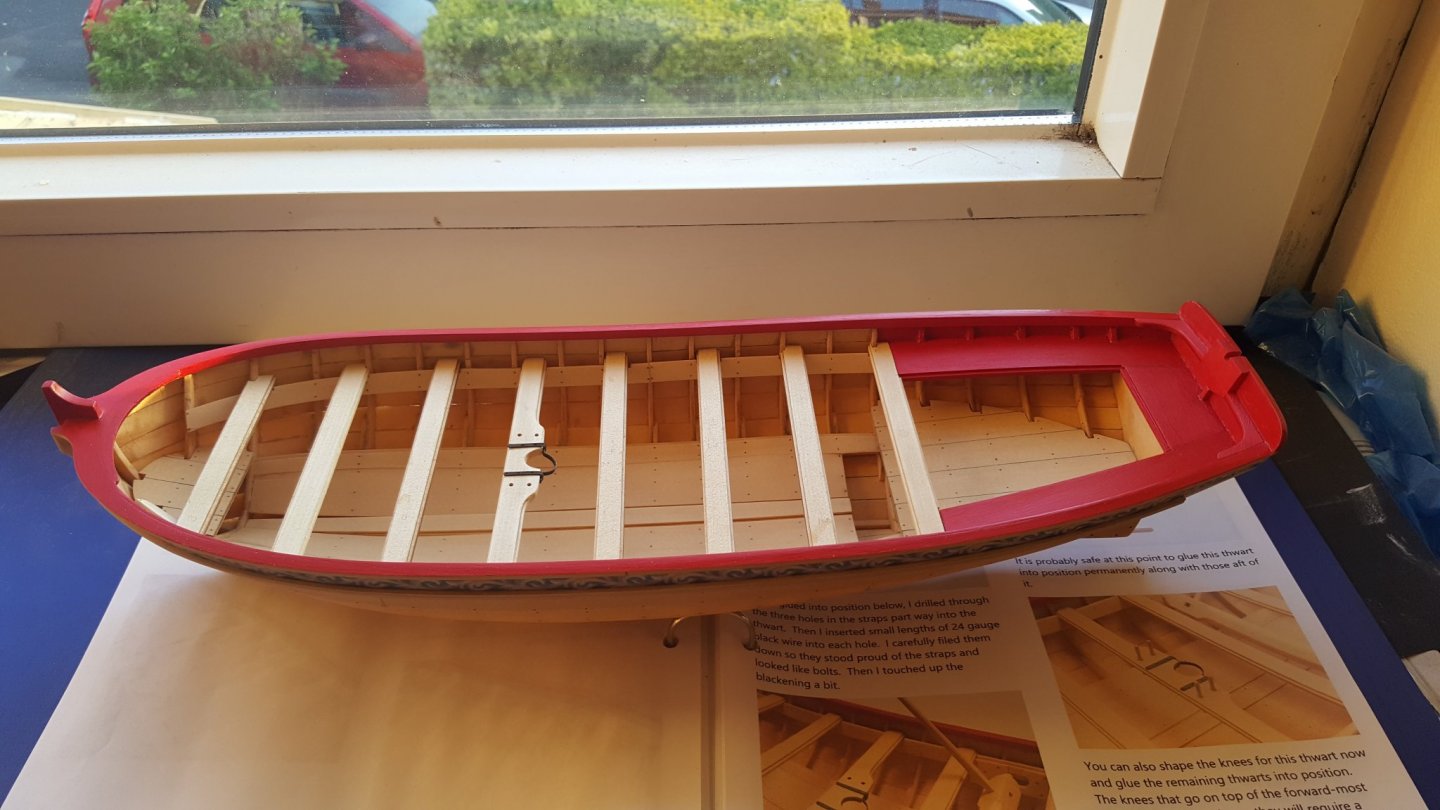
I wasn't happy working with the black wire supplied in the kit, (personal preference, and nothing to do with the quality supplied). What i wanted to do was use brass wire and some baught eyebolts so that i could shape and solder my own parts and then blacken them with Carrs blackening for brass, Here are the results.


-
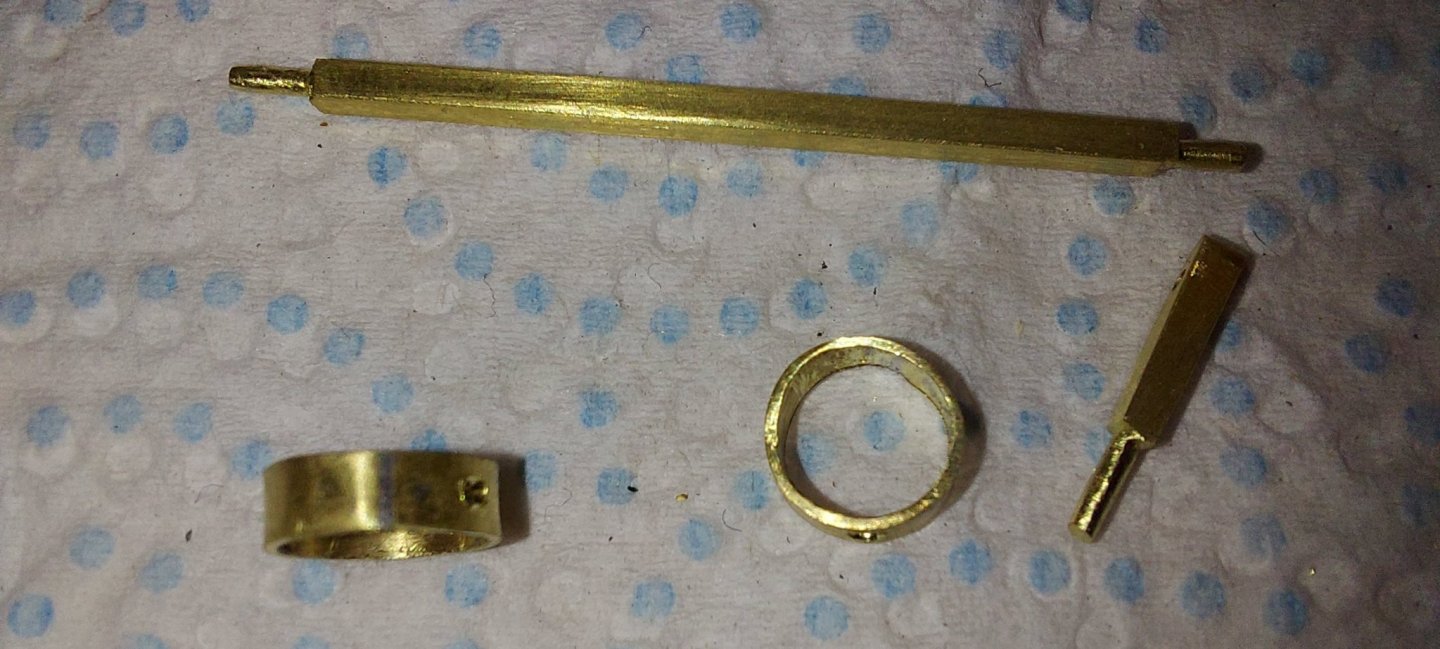
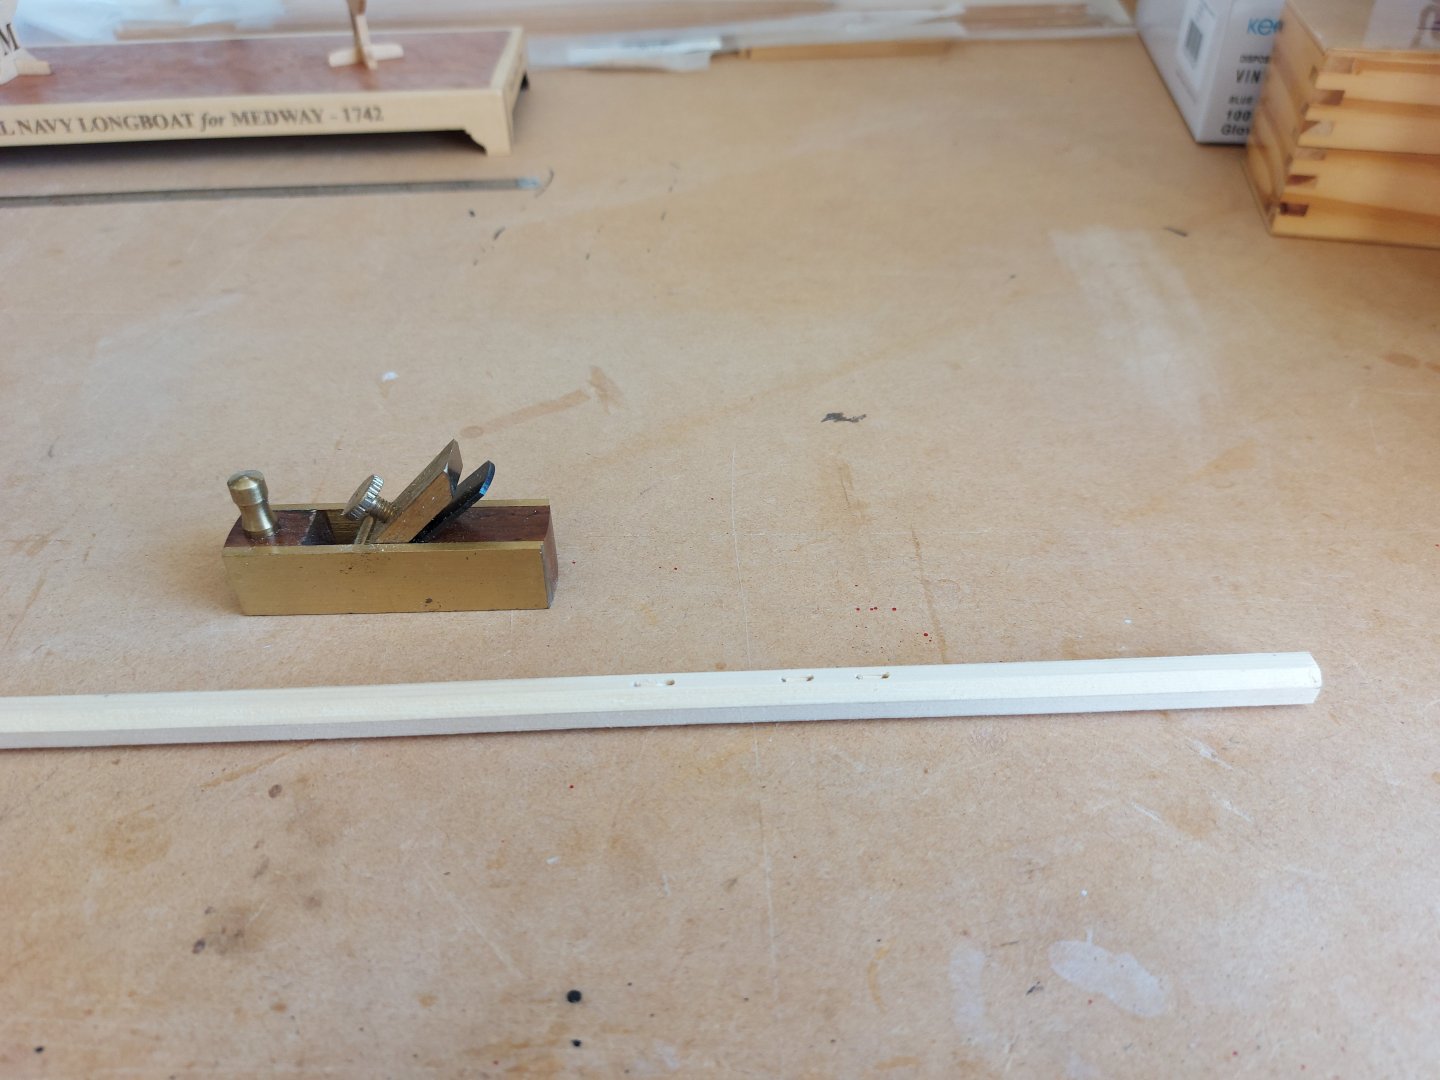
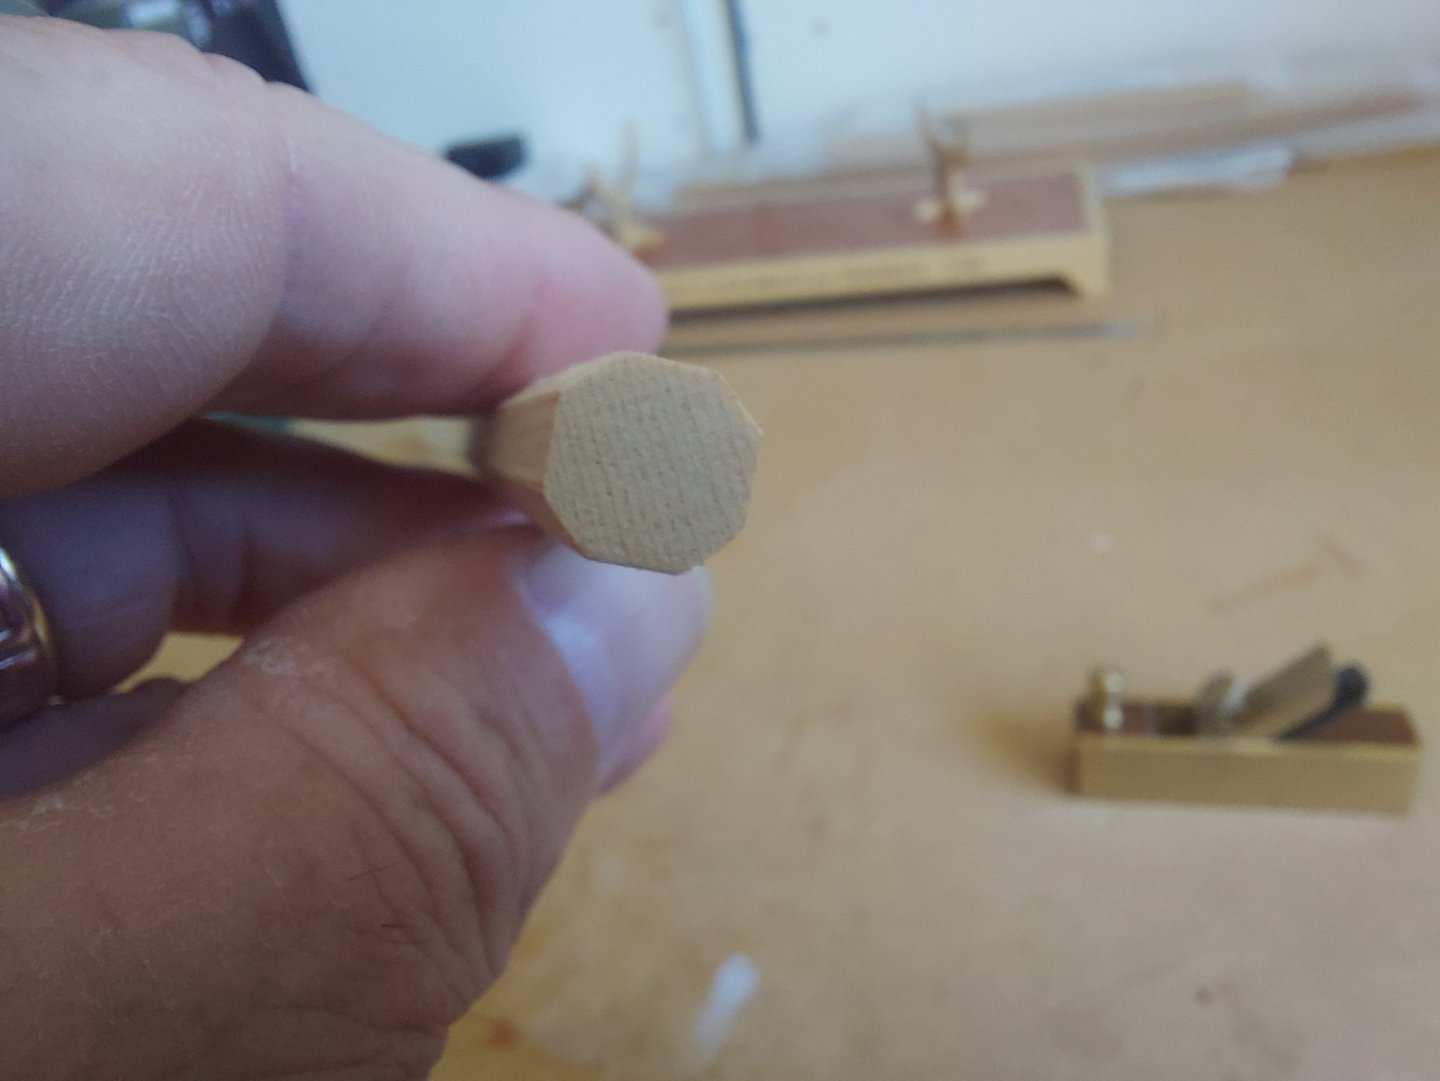
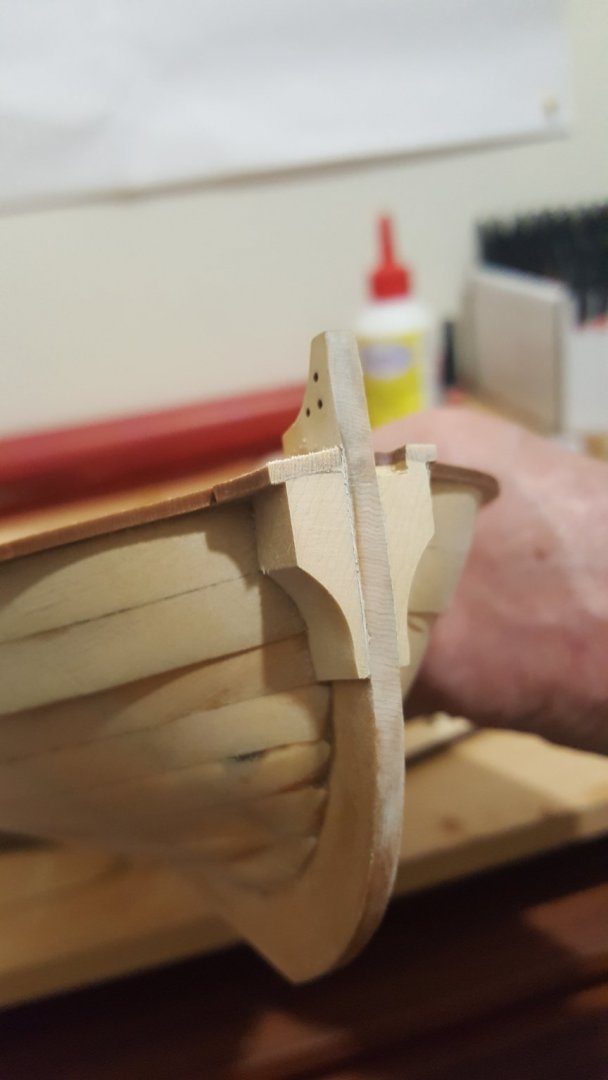
I used my mini plane to make the square stock octagonal befor rounding off and shaping on my Unimat lathe.
-
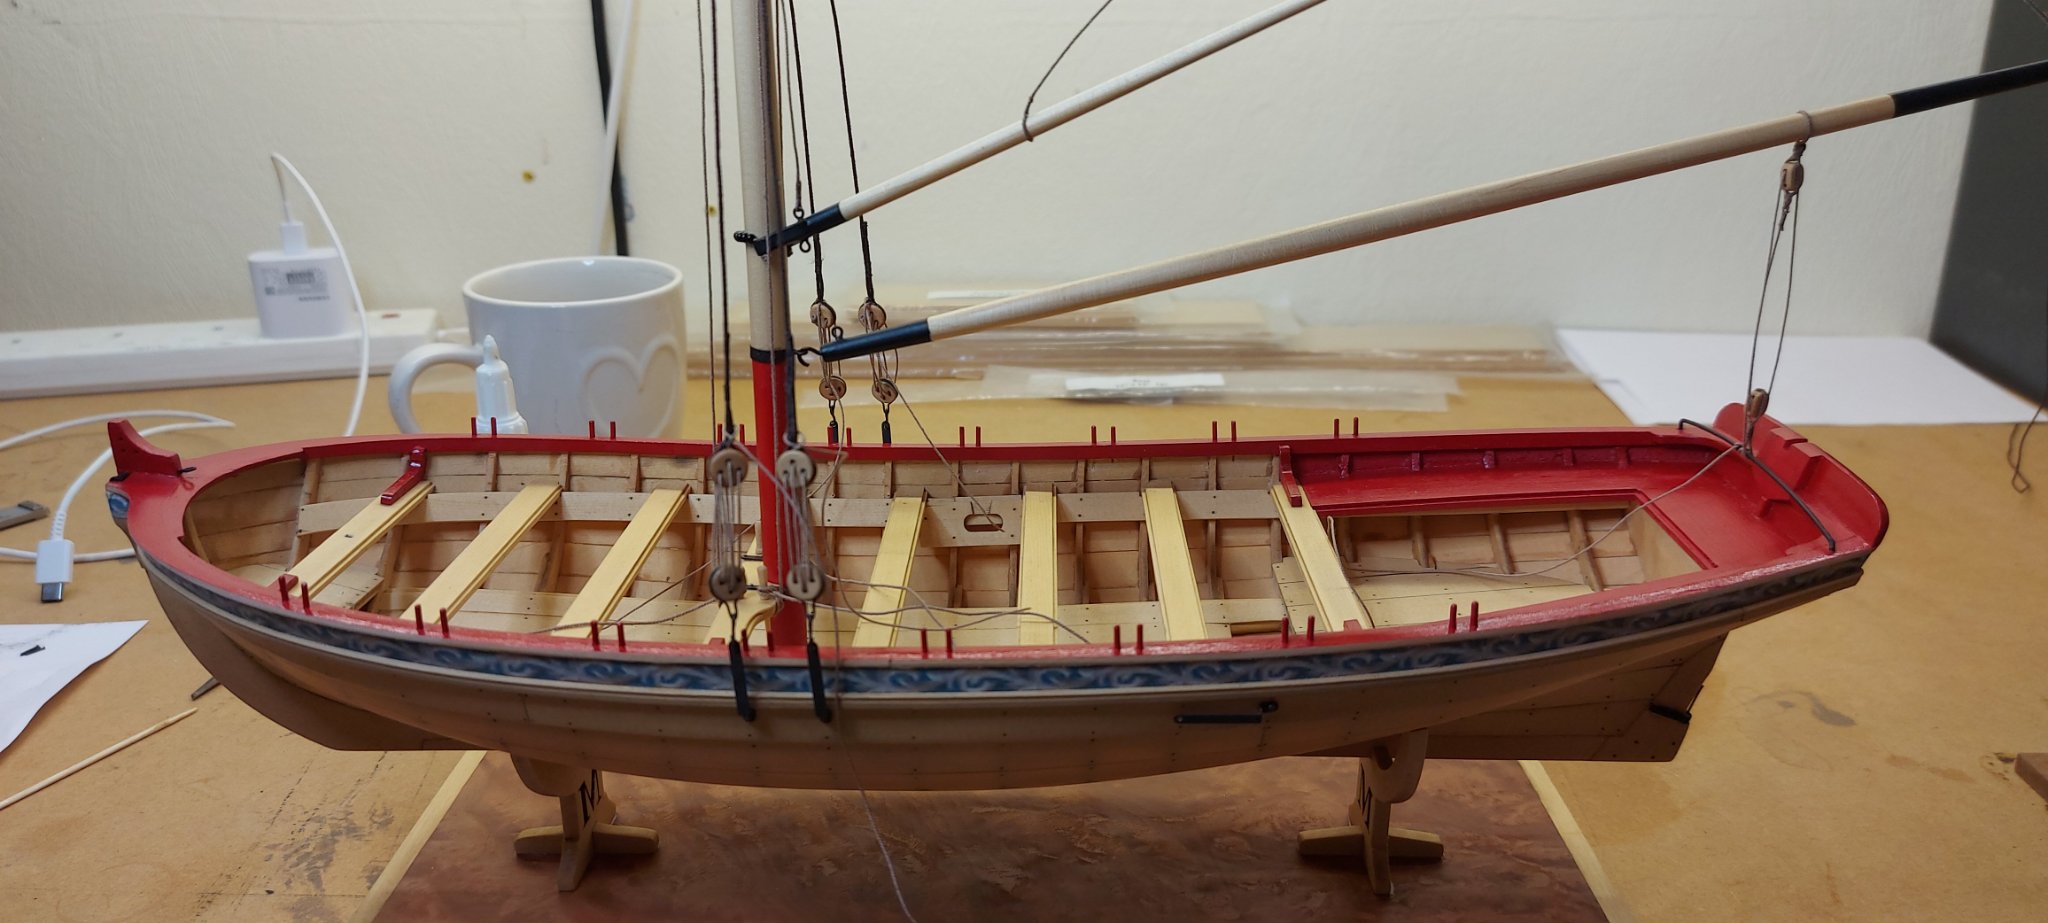
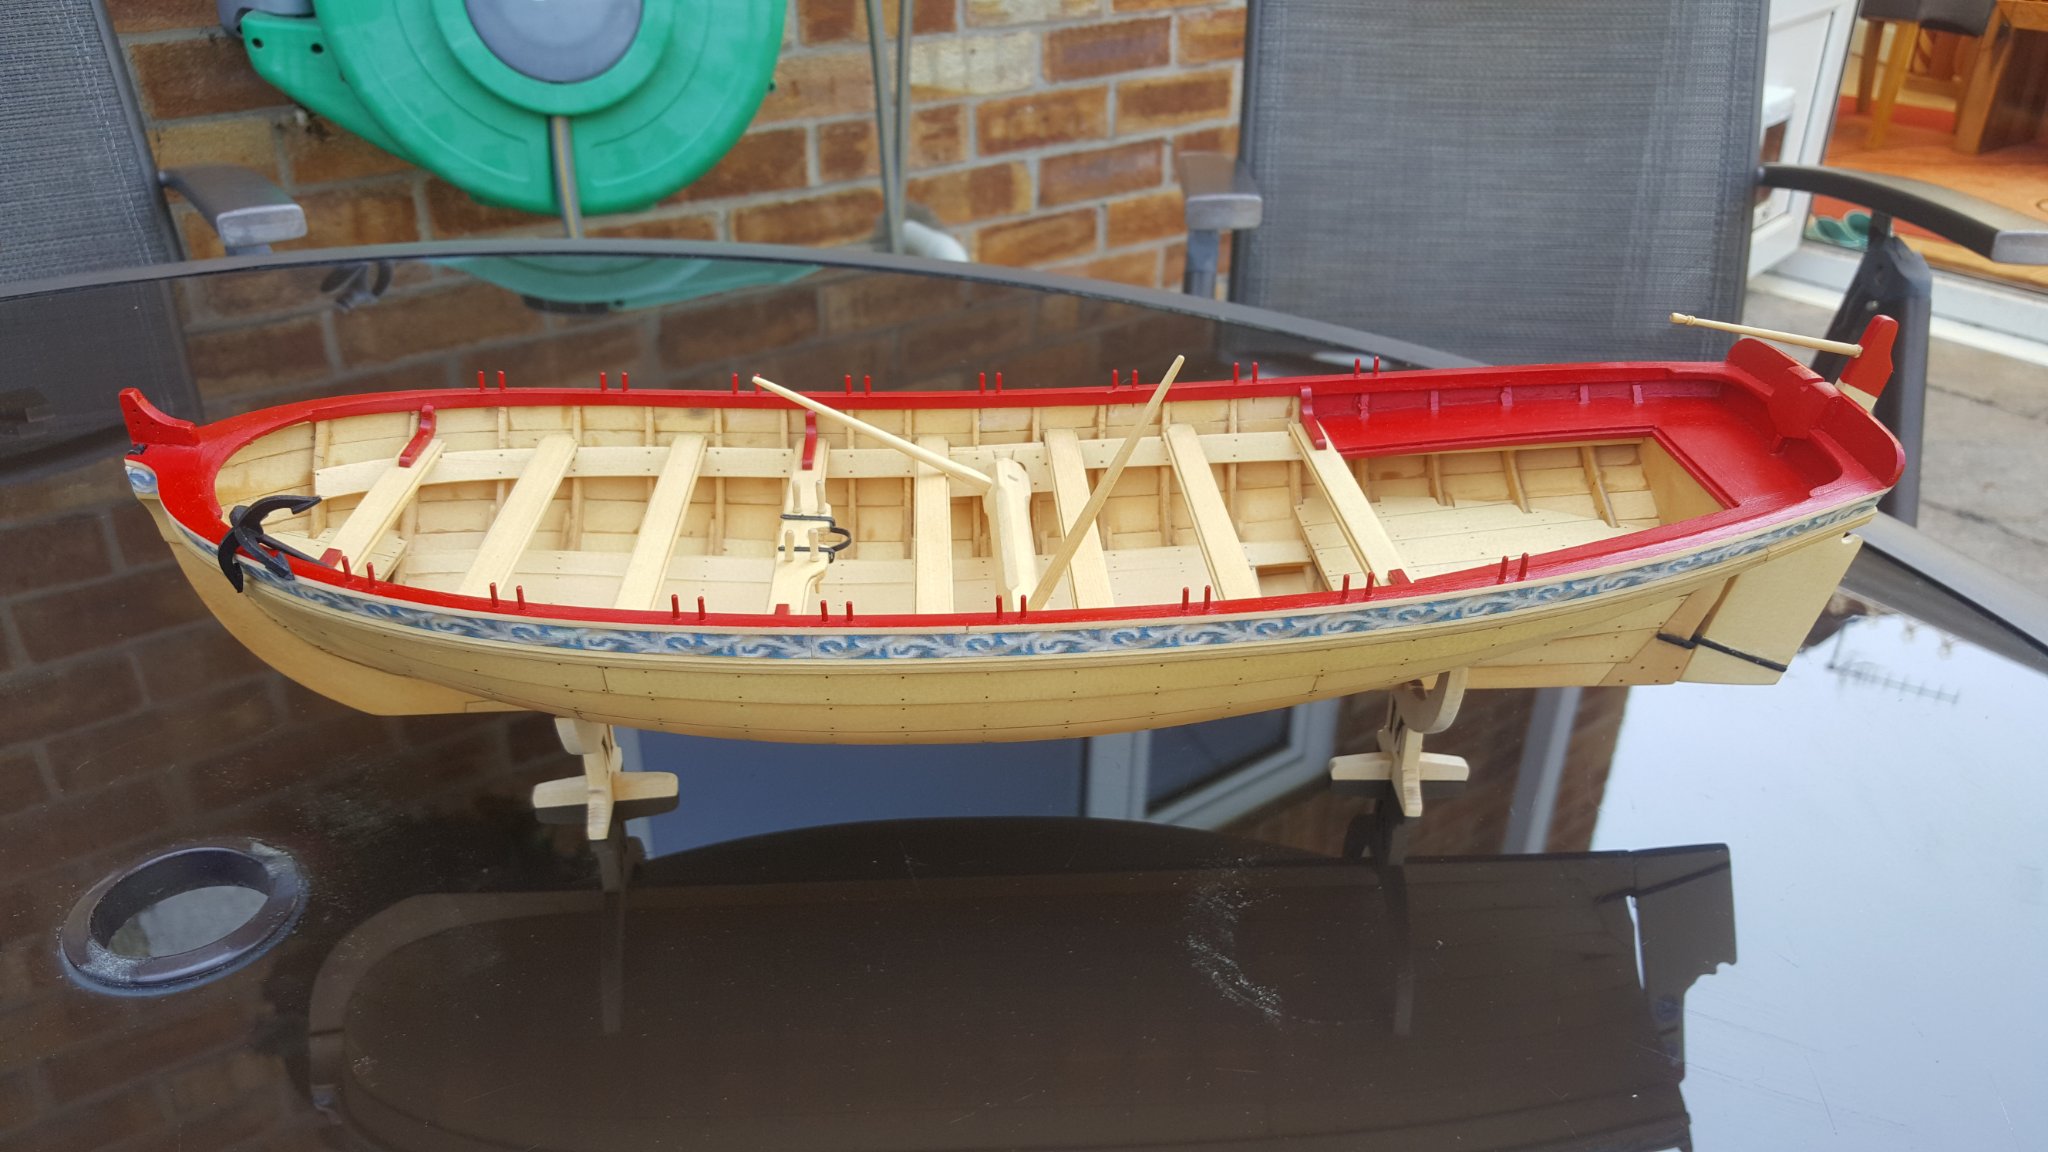
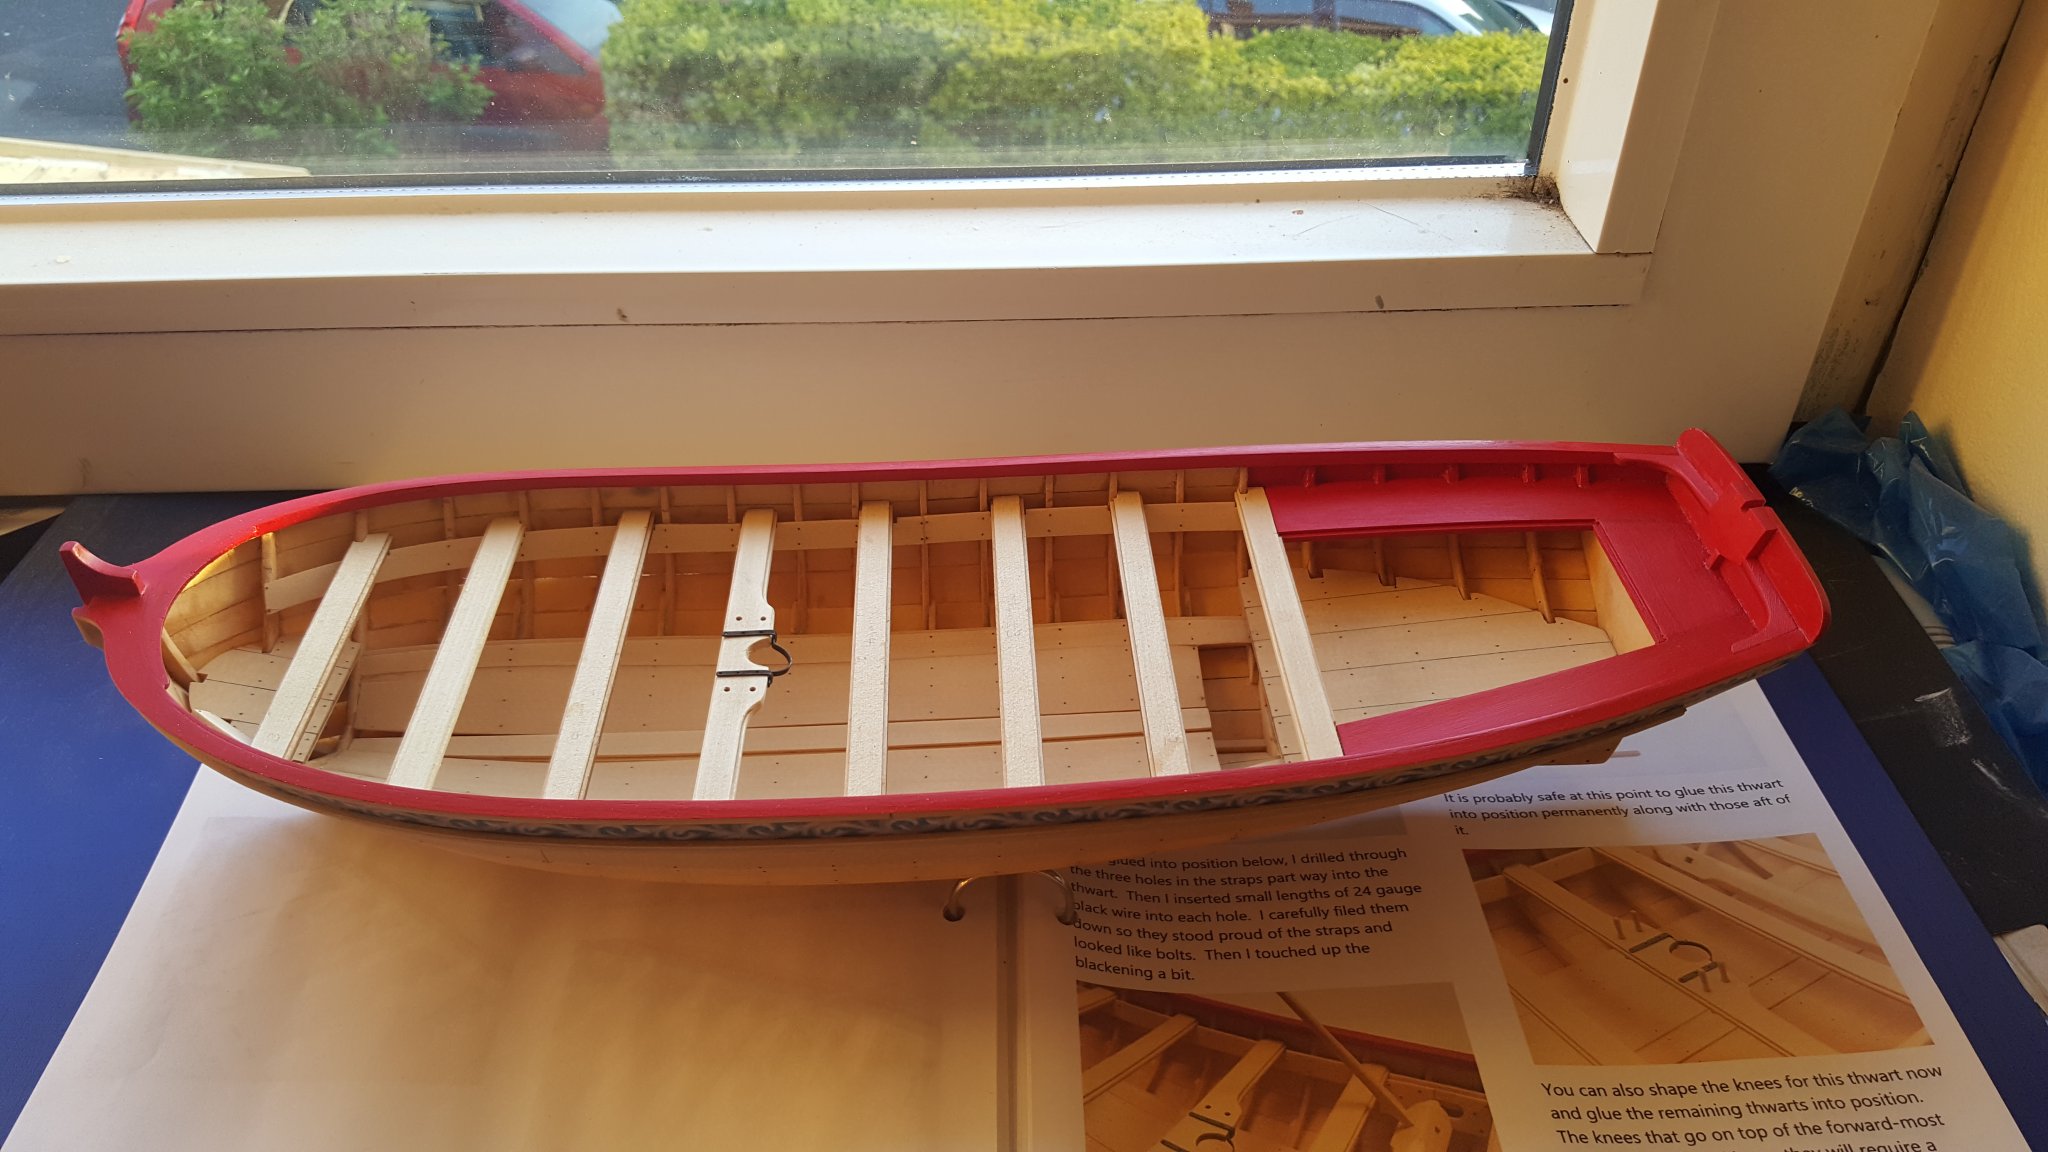
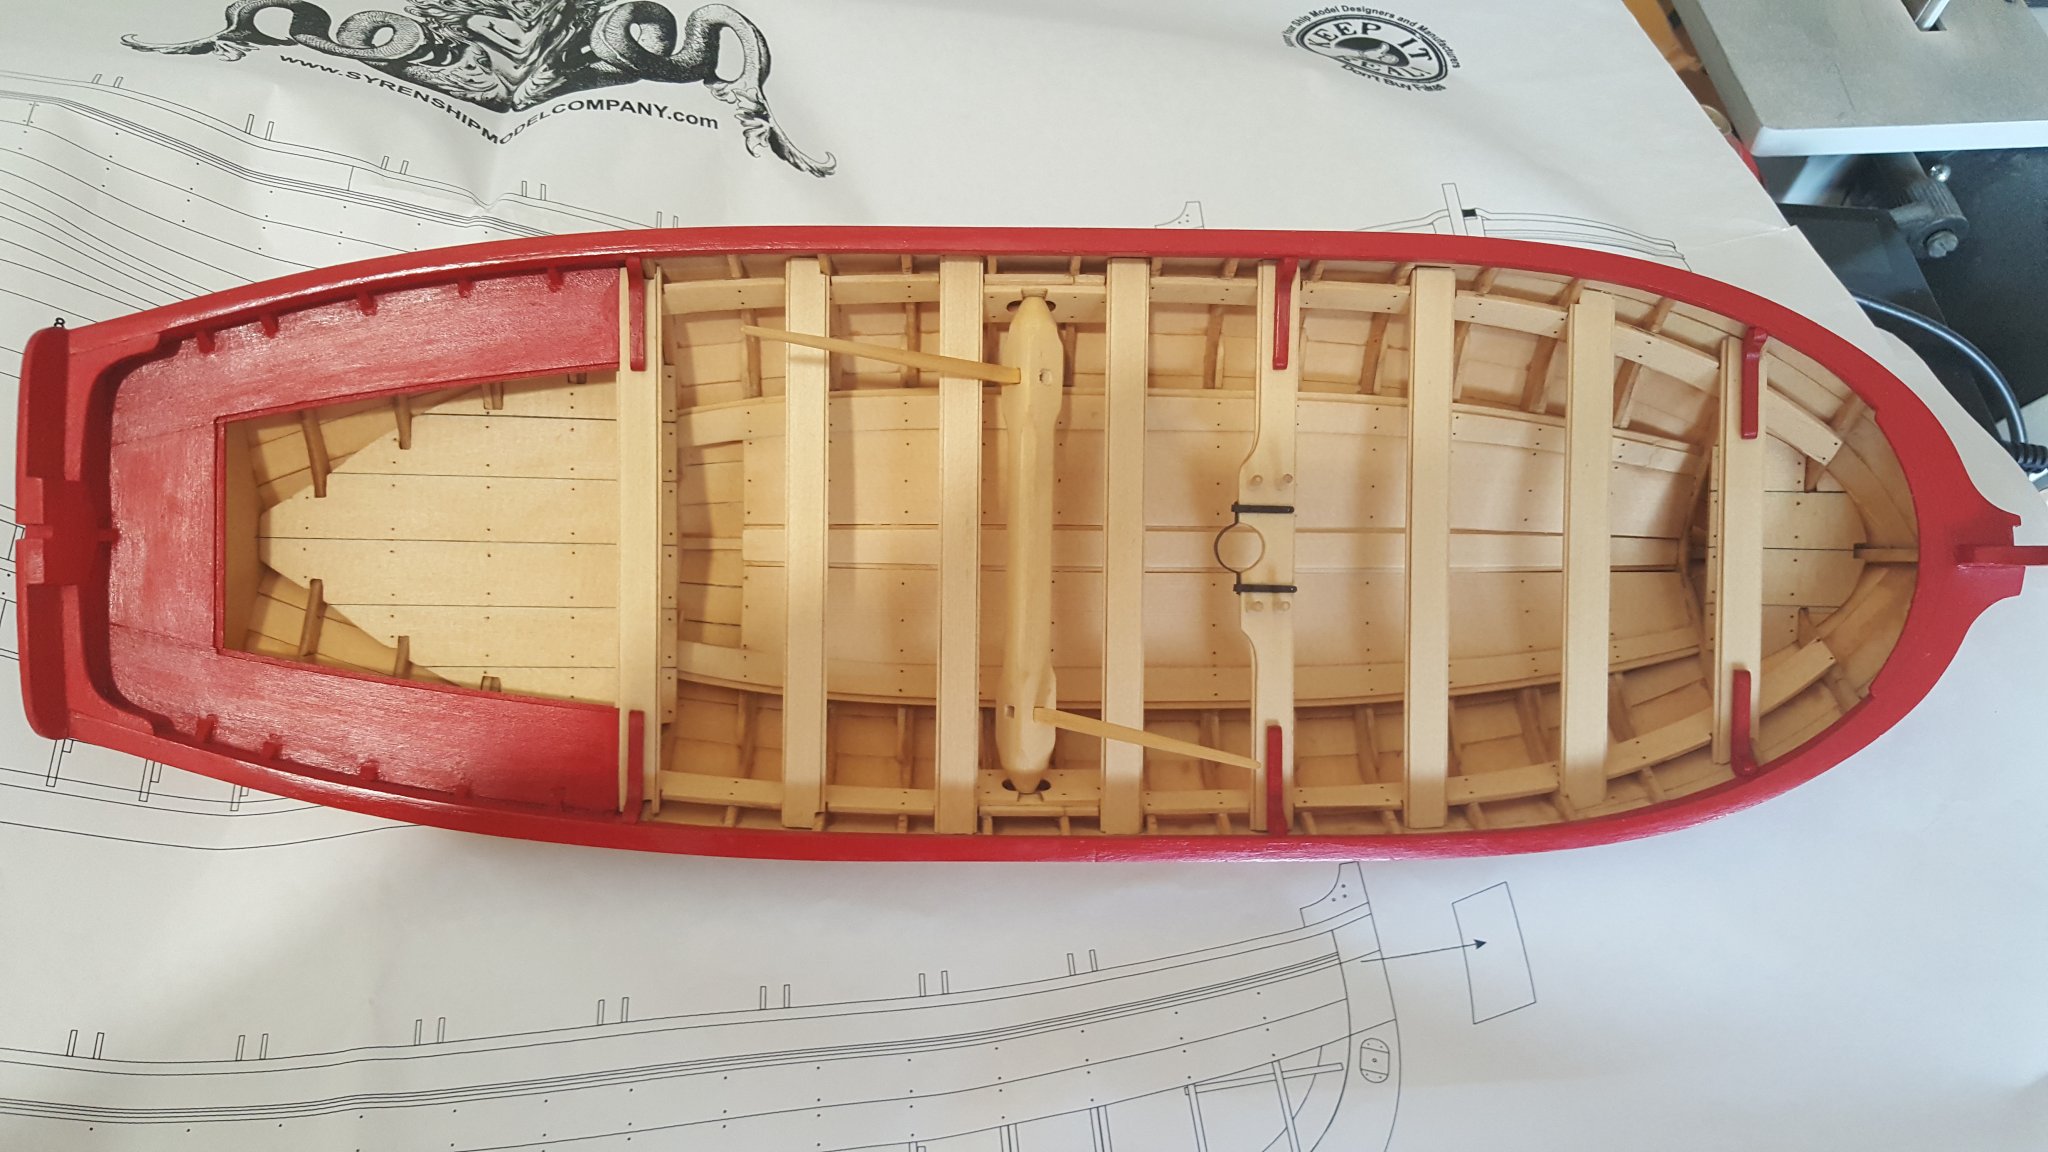
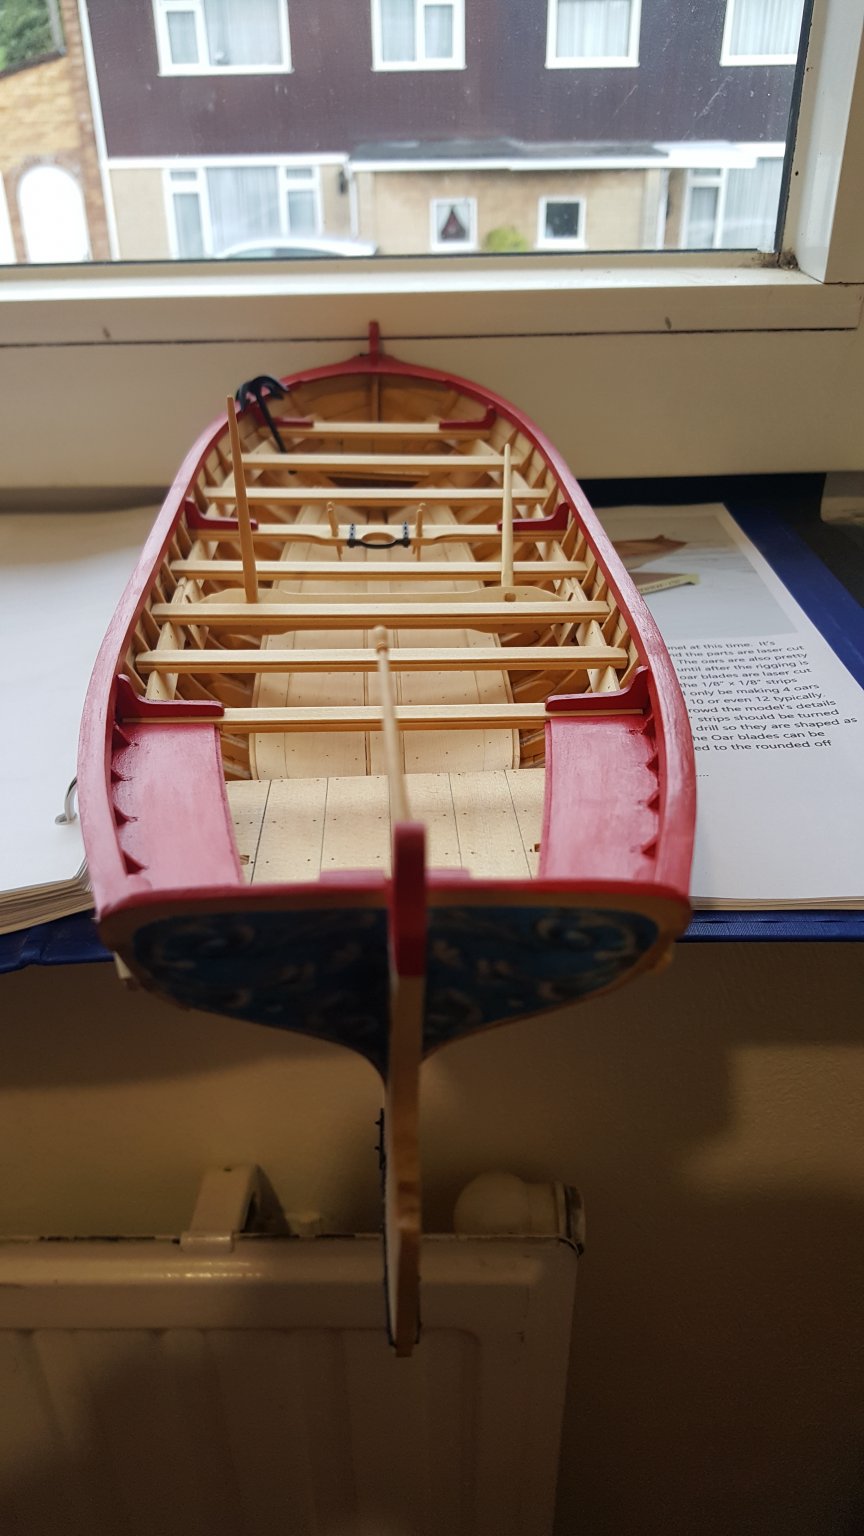
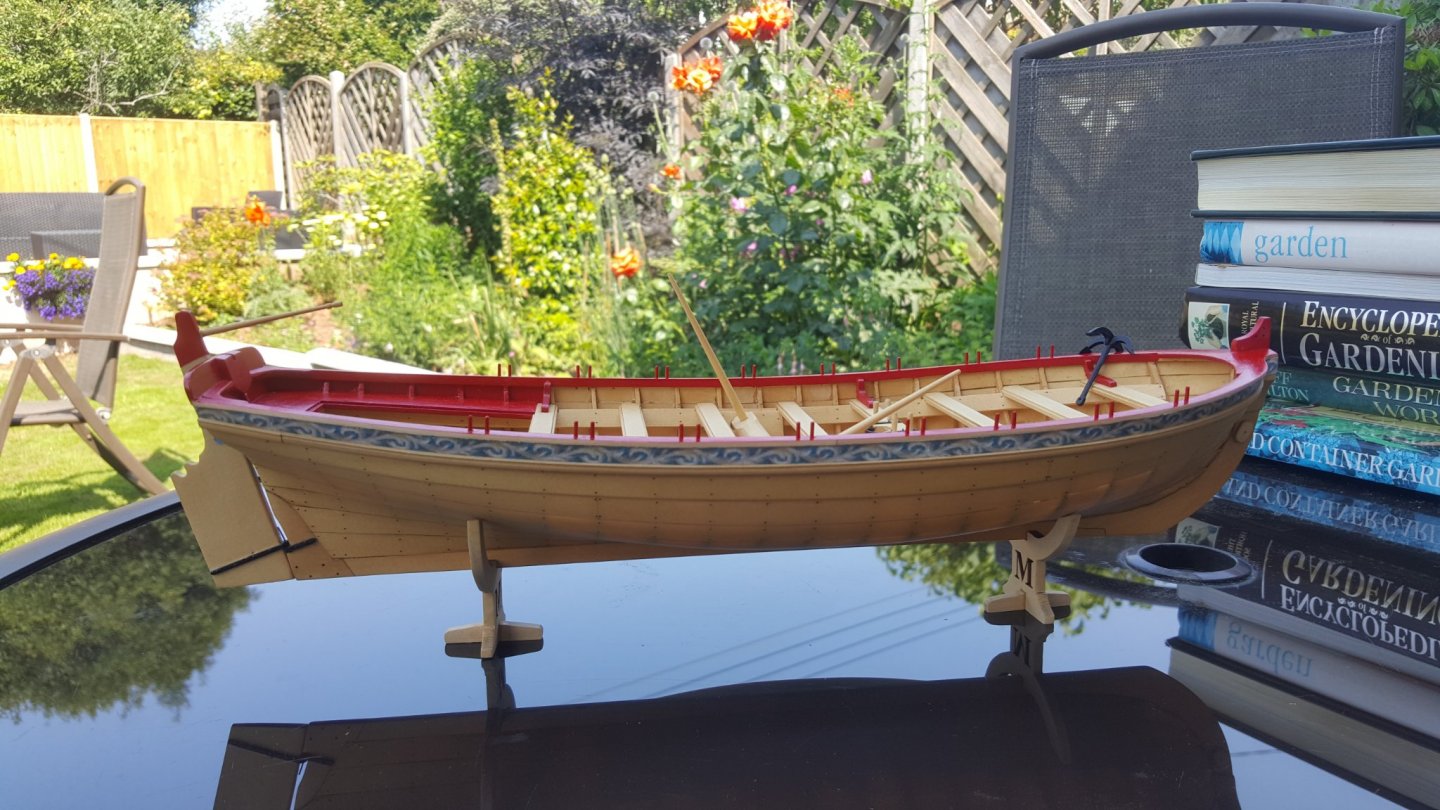
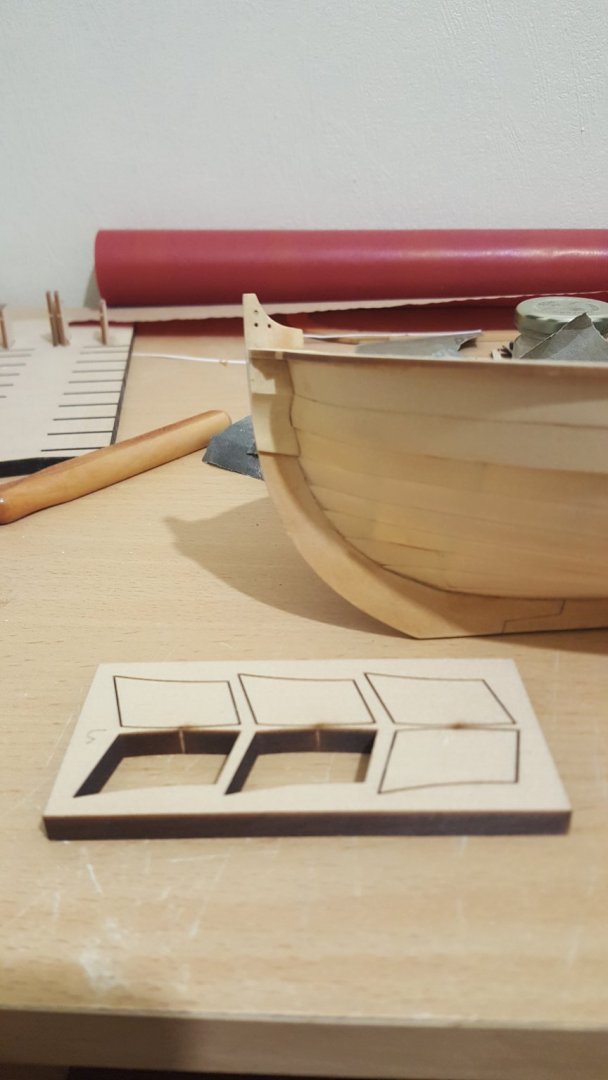
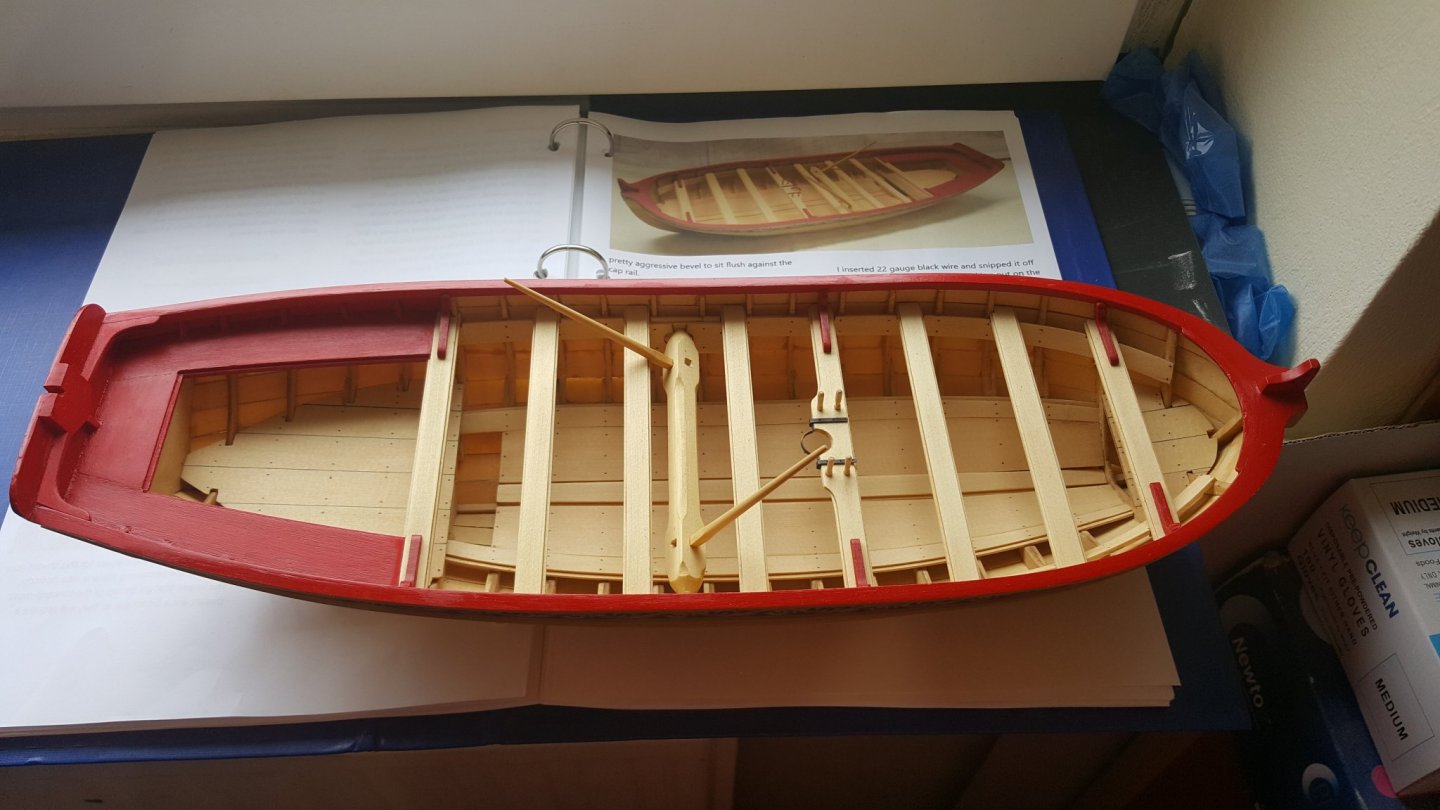
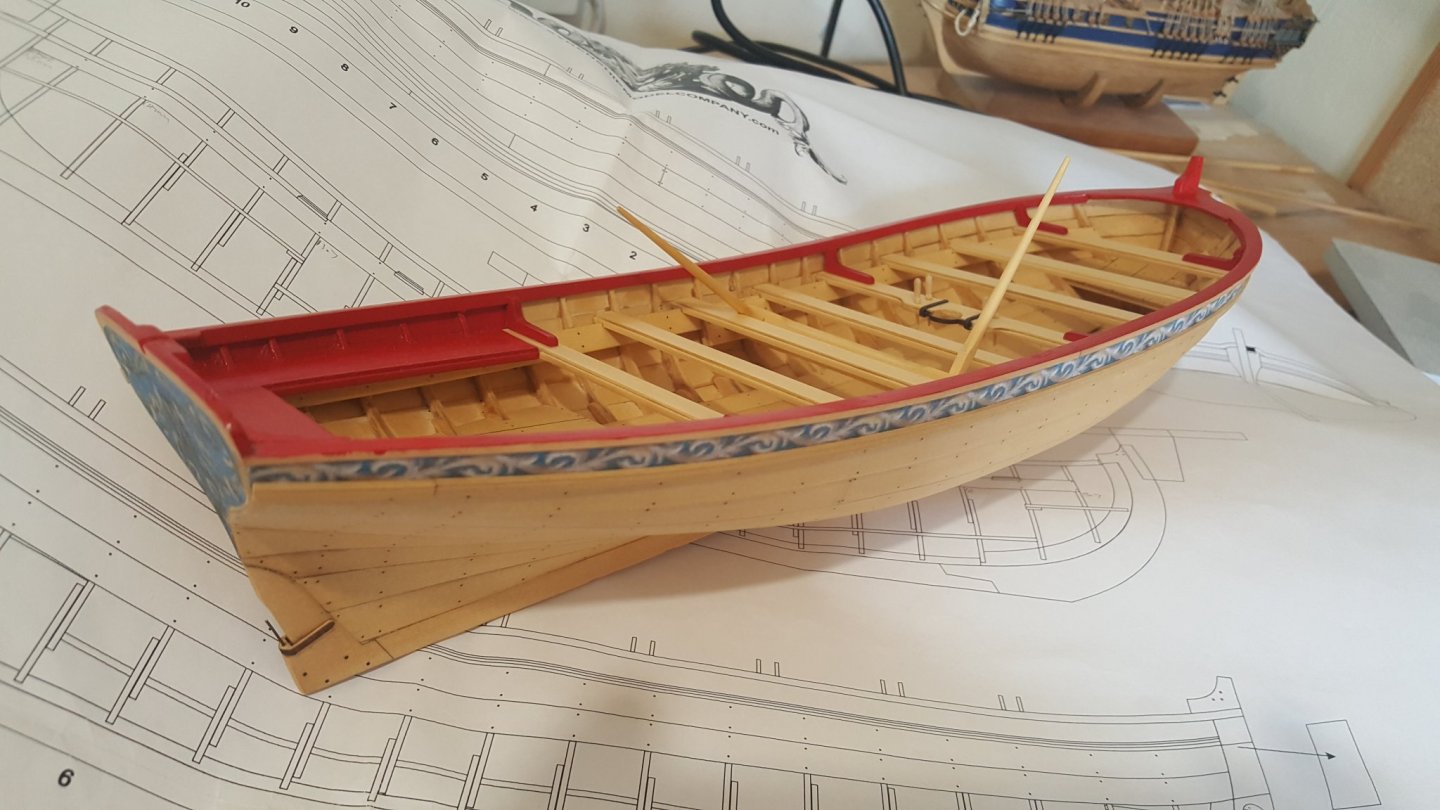
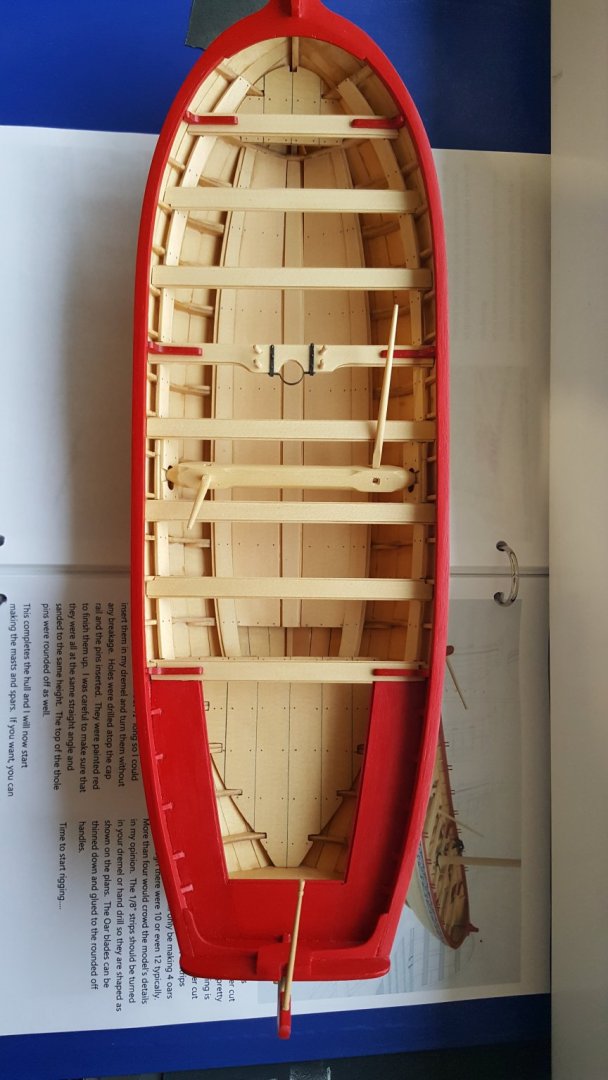
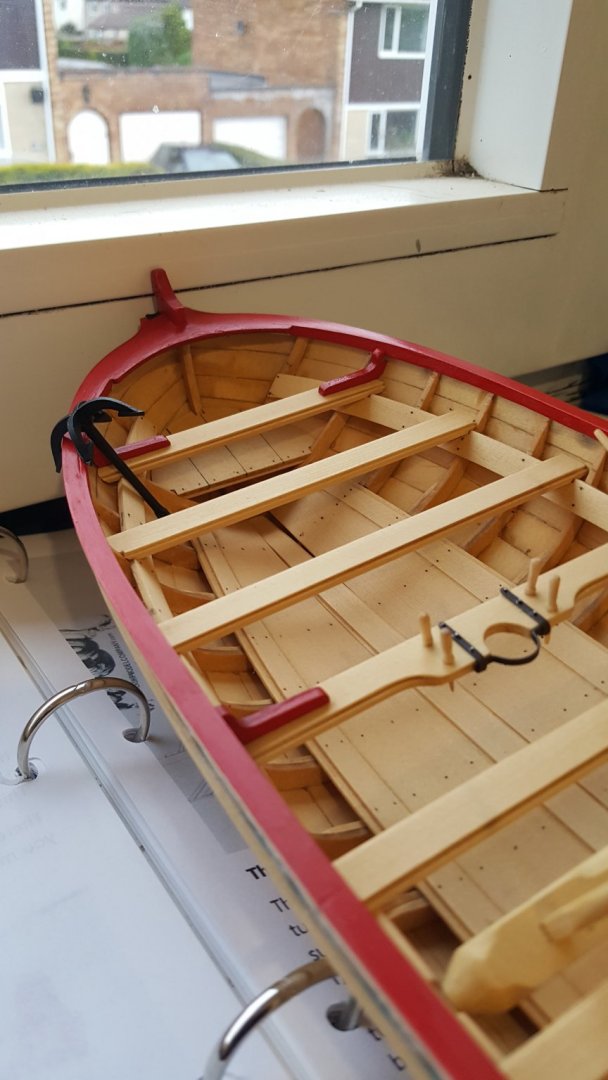
I thought it was about time that i updated my build log. First of all, a couple of photos of where i was up to.


-
Has anyone who purchased the stand tried filling in the letters with black paint and then sanding the surface to make good any over painting?
-
Thanks for all your replys guys. food for thought when I do another model.
-
Hi Justin. The ship in the background that you can see was my first ever build. It was a Sergal kit of HMS Presedent
-
Yes Ryland, just as soon as Chuck begins his overseas postage again.
-
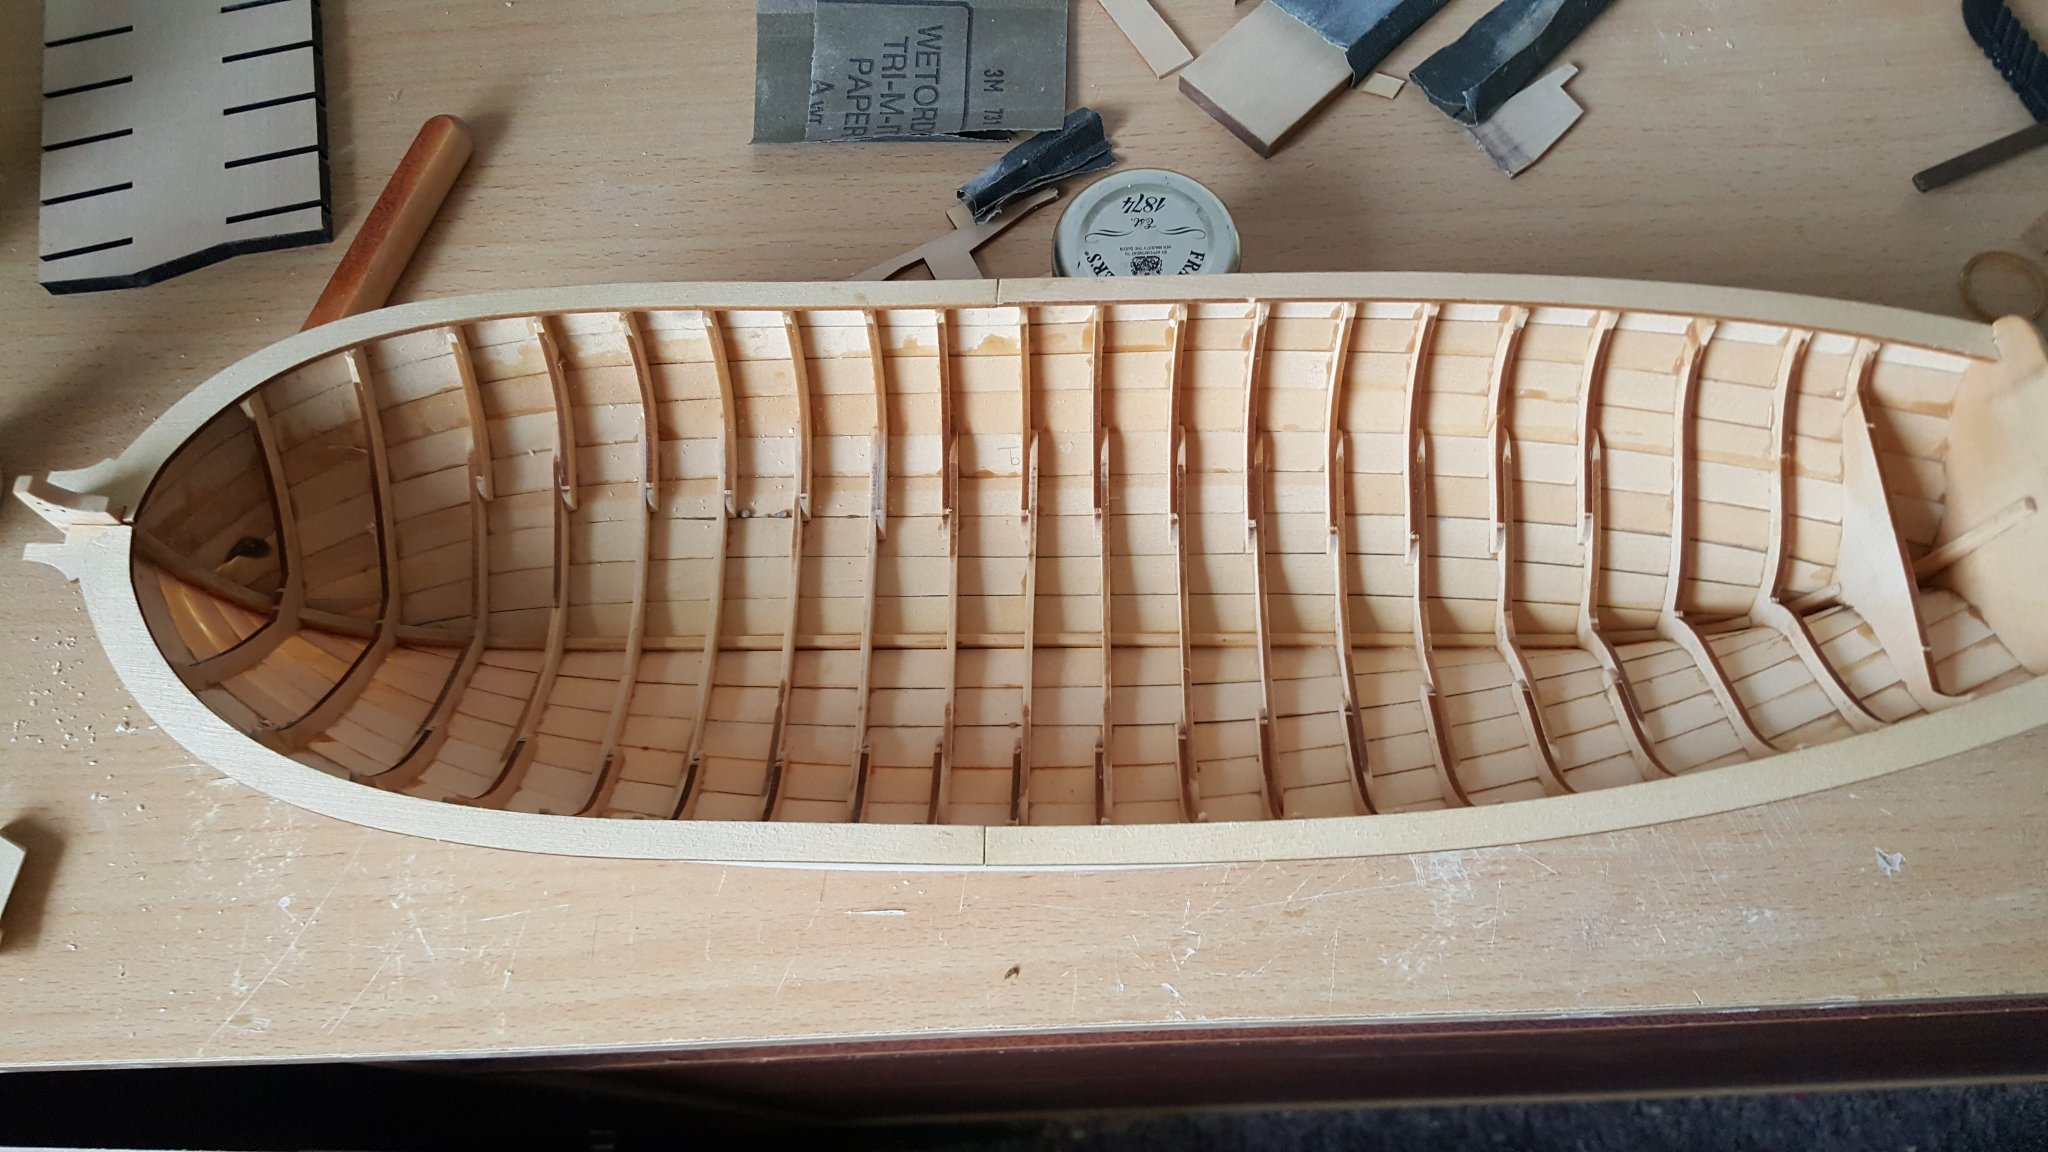
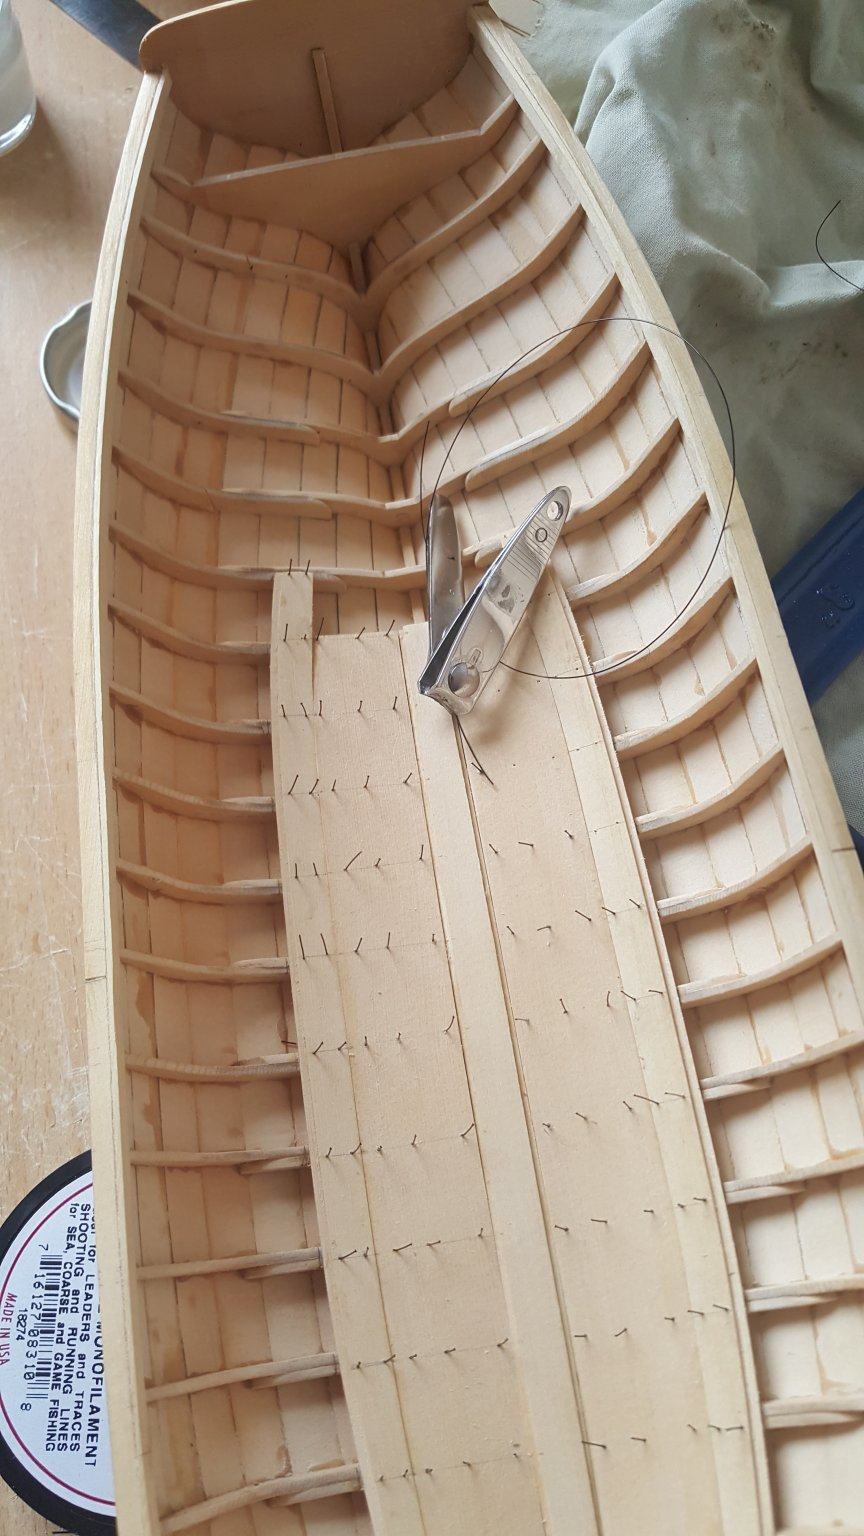
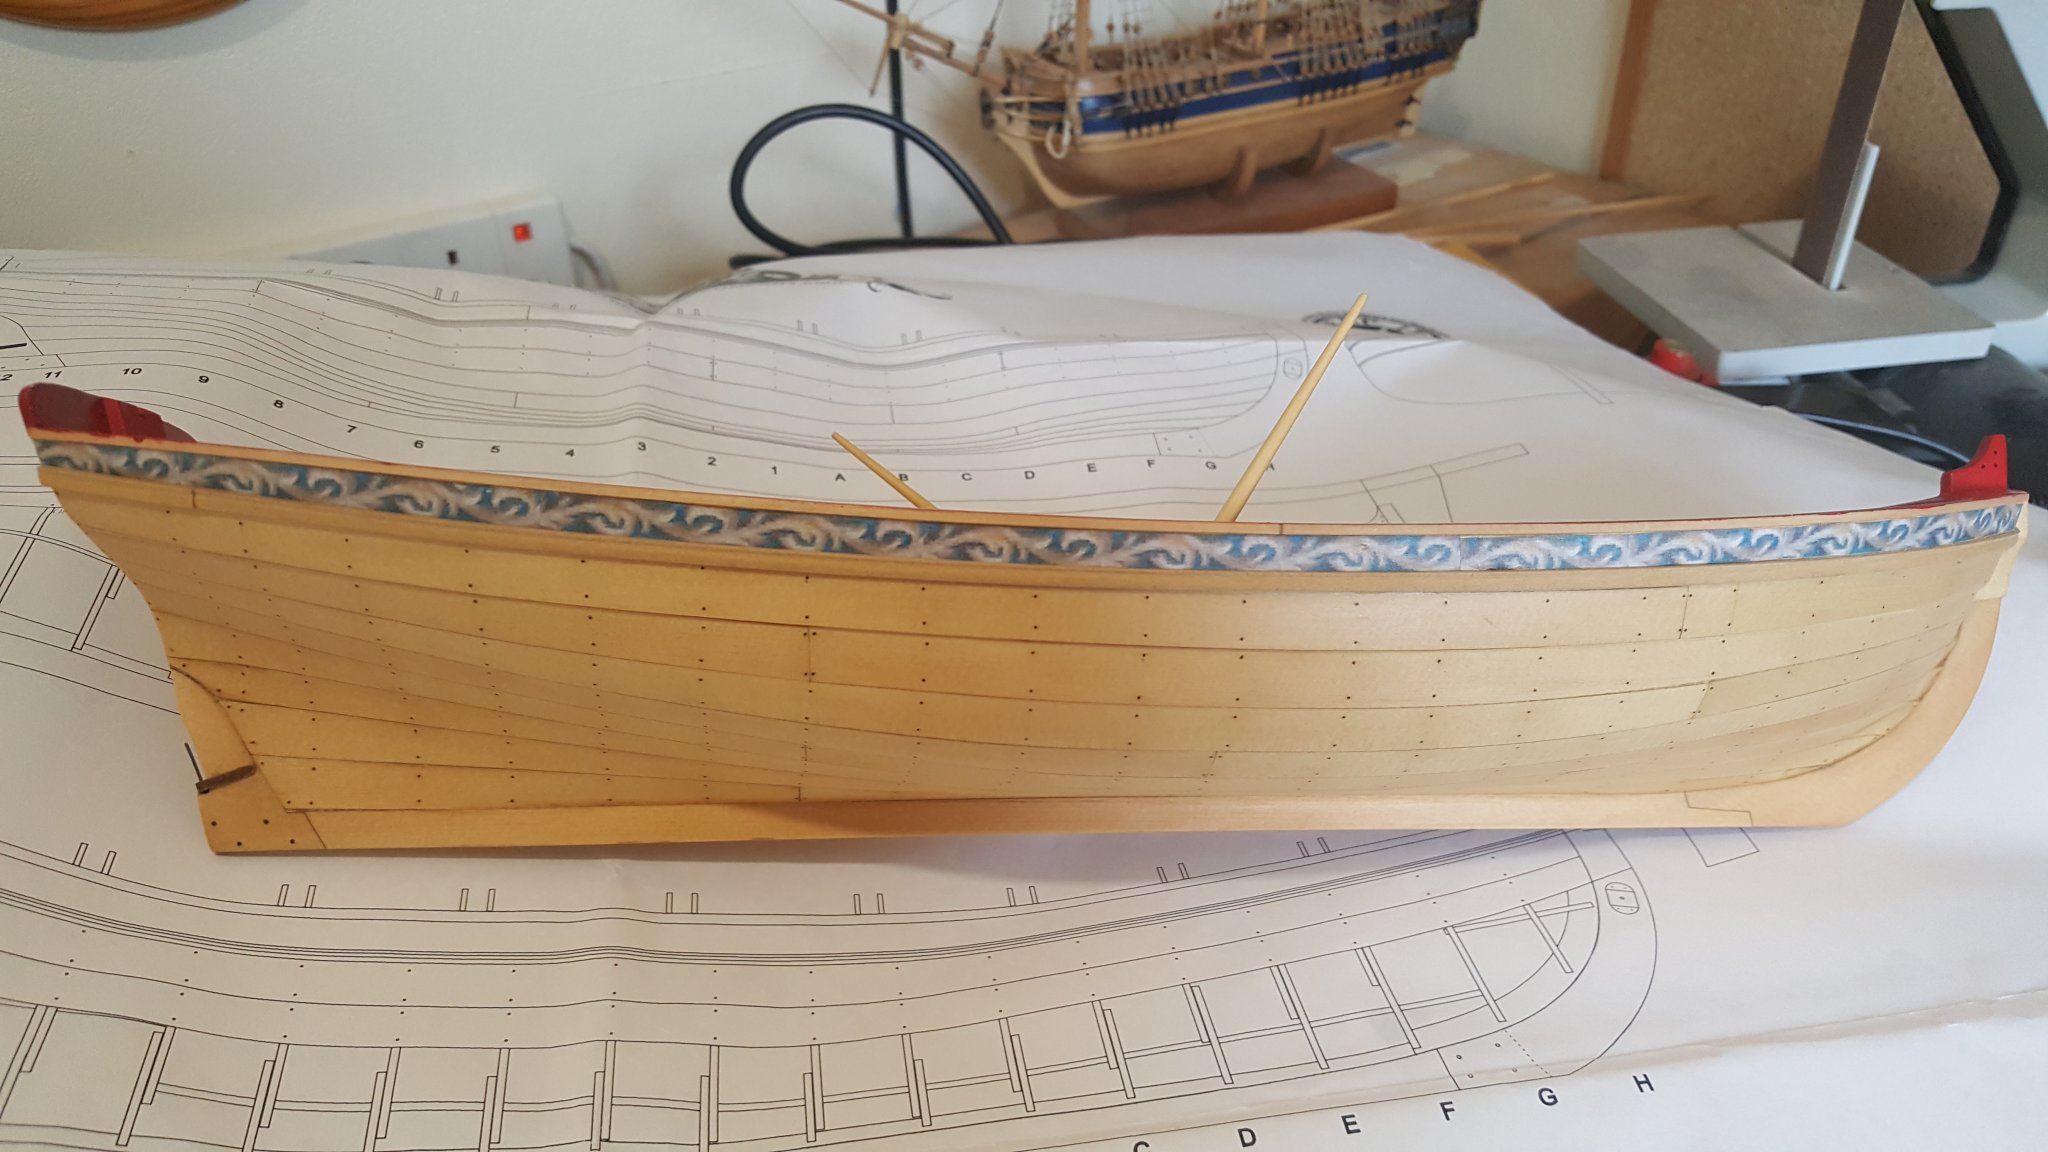
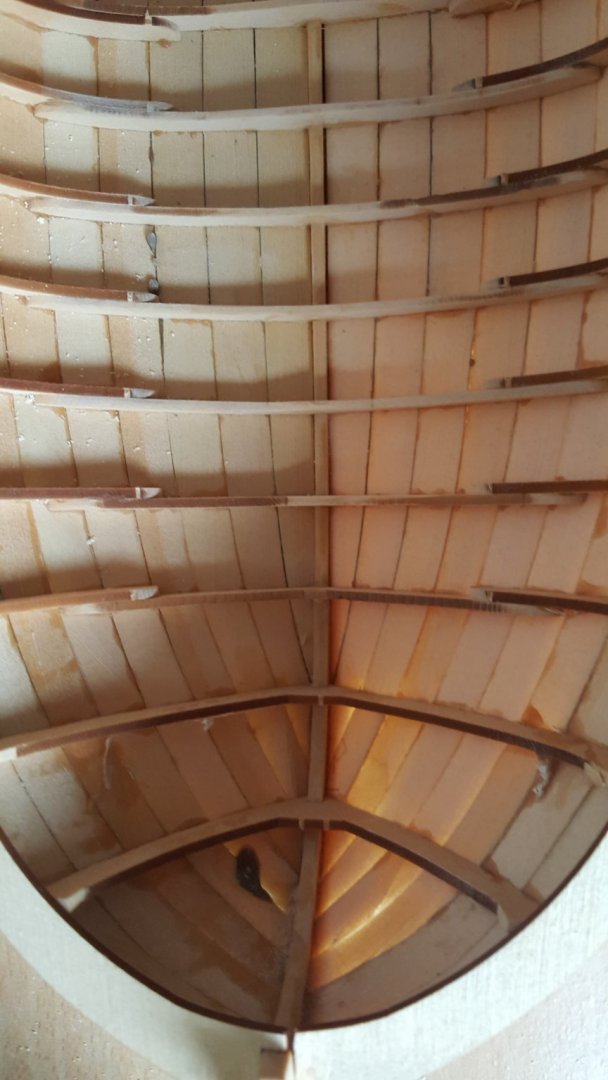
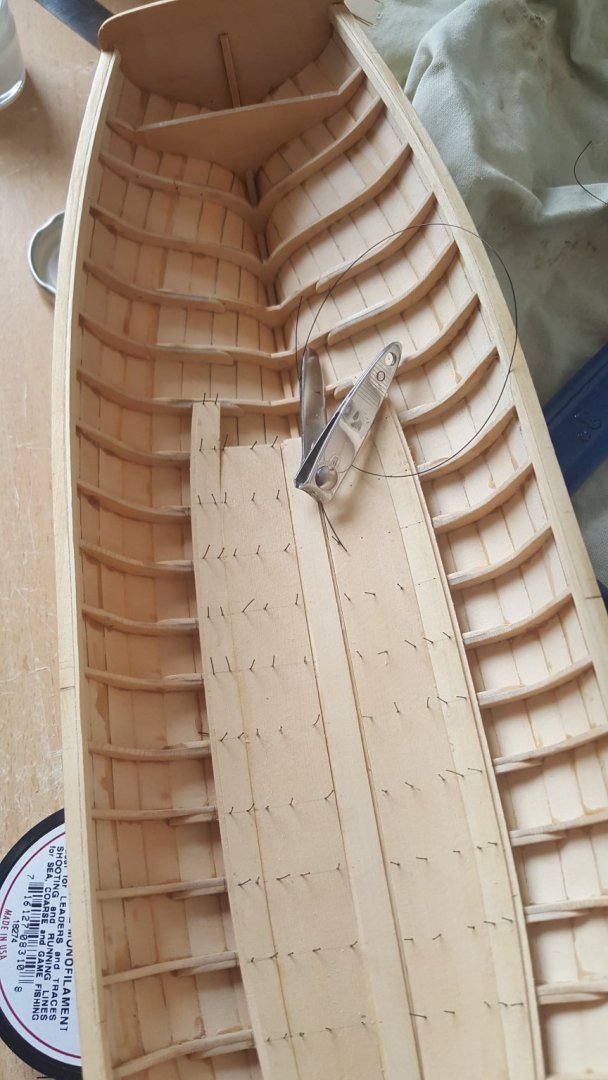
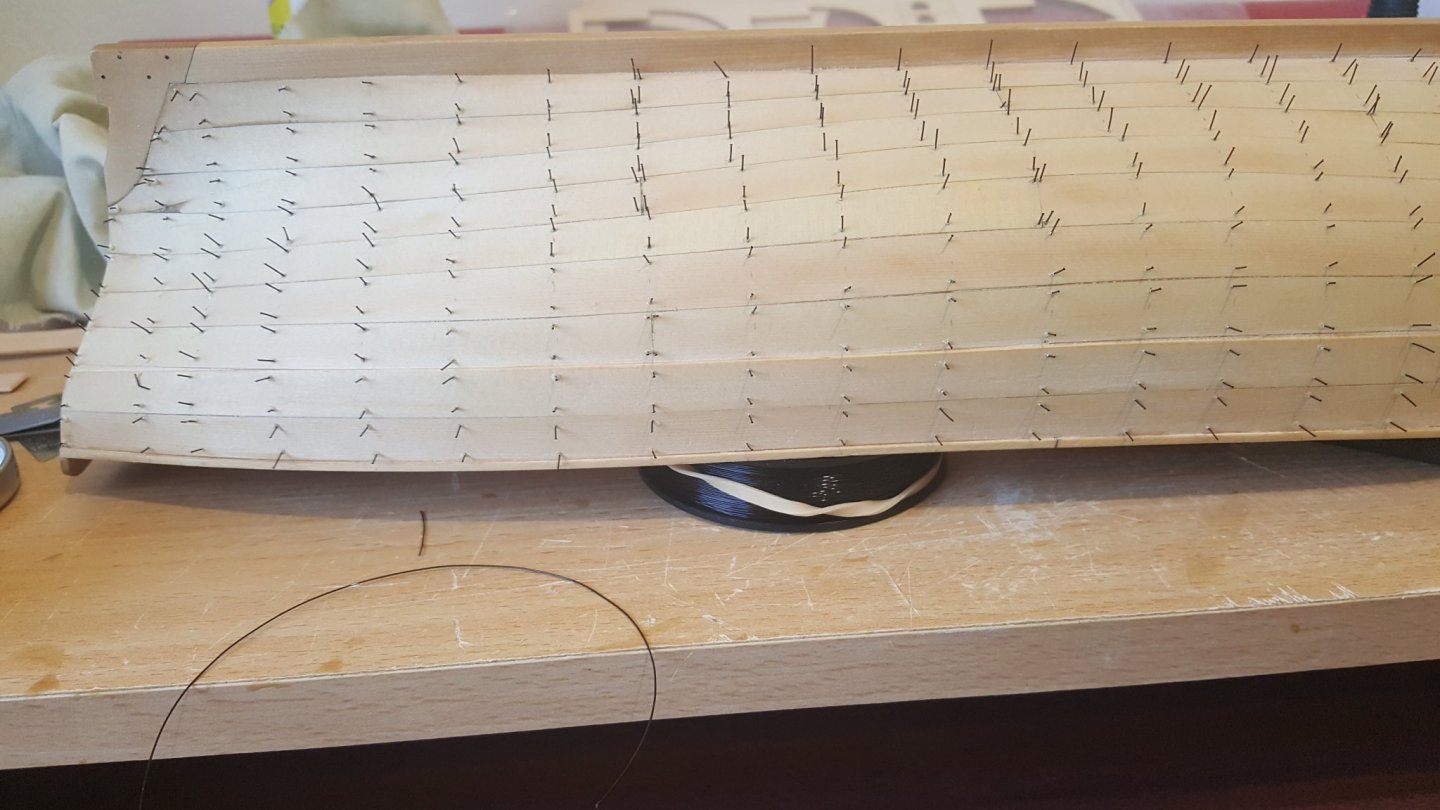
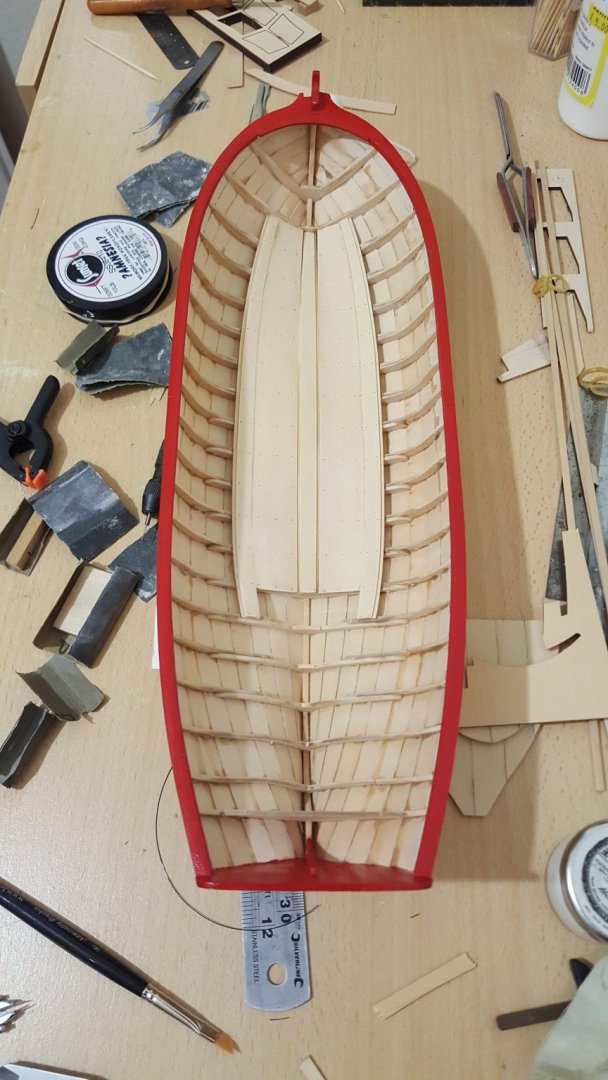
Hi guys. Been a long time since i posted anything . Had a few issues with my laptop, but got a new one now, so all sorted. The model is all but finished as regards the boat itself but i am waiting for the go ahead to purchace the masting and rigging set and a serving machine from Chuck just as soon as he is able to despatch overseas again. I'll post all the photos that i took and then answer any questions that you guys may have. The only problems that I had while making the kit was during the planking of the hull. Because it was my first time of doing a single planked hull i found it a little difficult bending the planks to shape using Chuck's method of using heat to bend the planks. I found it easier later on to soak the planks for a couple of hours, bend and clamp them in place and then glue them up once dry. I didn't think of doing this until half way down the hull. Because of these dificulties at the begining some of the planks didn't quite line up and when i came to the sanding stage some planks were paper thin after sanding and in a couple of places even went through particularly near the bows. Oh well, never mind, lessons learned. Also, i had trouble cleaning up wet glue on the inside of the hull as i went along as the full frames were in the way and it was very difficult to clean up once dry and the frame filling pieces were removed. Did anyone else have these problems or was it just my inexperience. Apart from that, everything else went well and i had great fun building the kit. choose files... Click to choose files


-
Thanks Rusty. Just used what I had to hand.
-
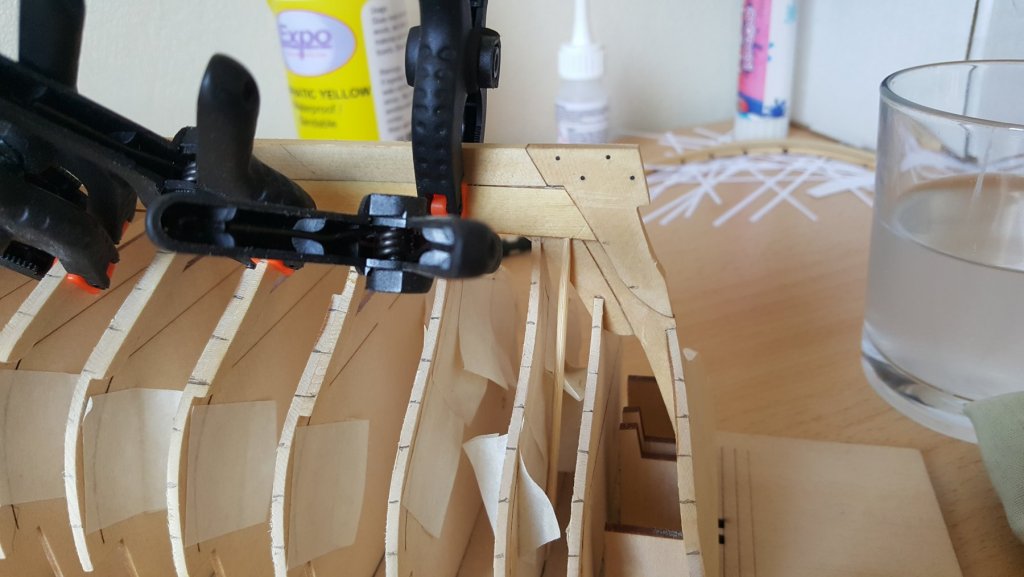
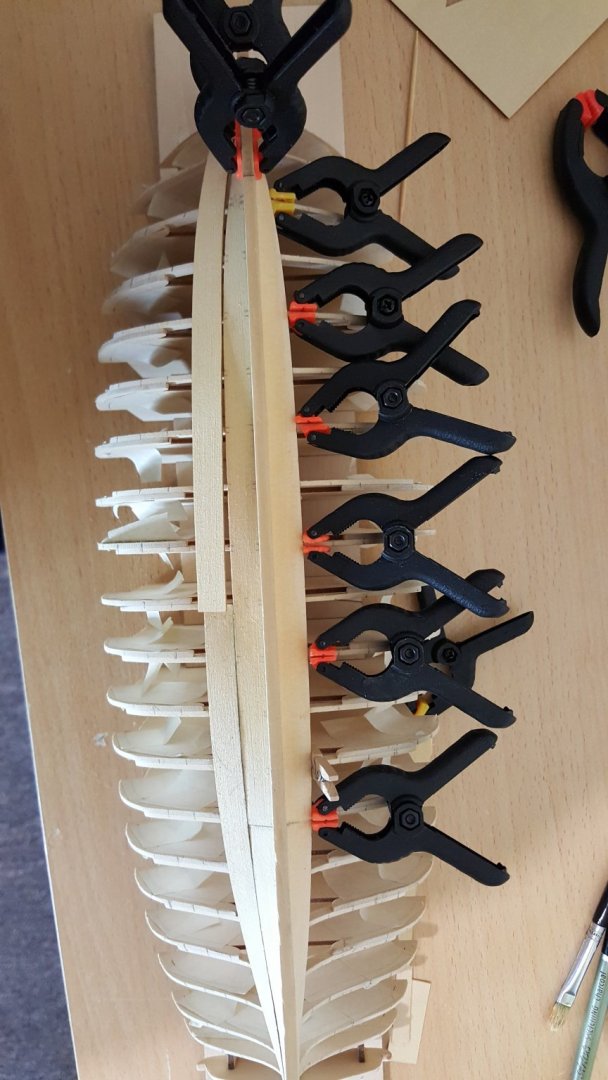
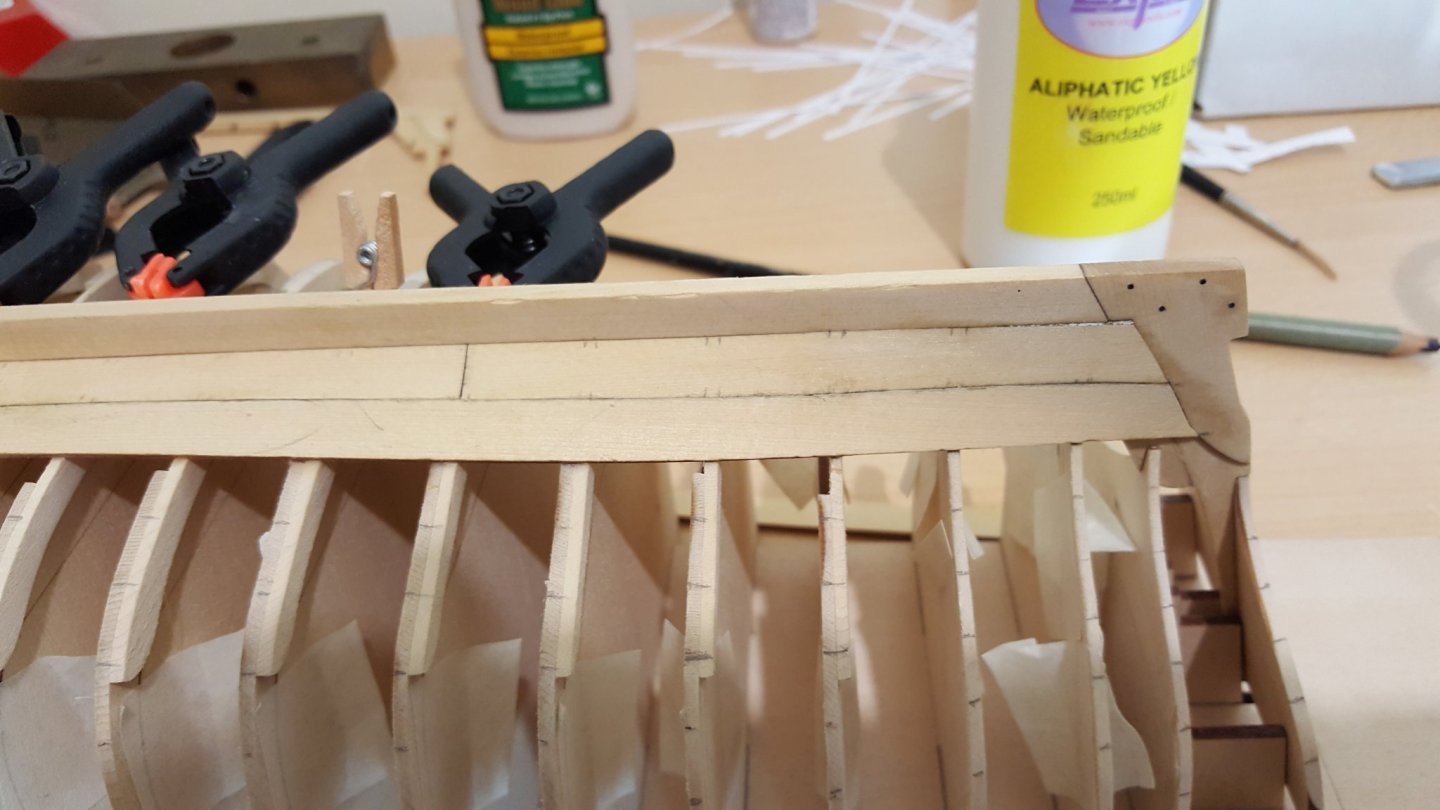
Now for the first plank. 😱 Managed to bend the plank to shape with the boss's hair drier with good results, but decided to use a couple of clamps to keep it in place while the glue dries. used a toothpick as an improvised clamp to put upward pressure on the plank against the keel at the very aft end.