


mattsayers148
-
Posts
685 -
Joined
-
Last visited
Content Type
Profiles
Forums
Gallery
Events
Posts posted by mattsayers148
-
-
-
Excellent, excellent, excellent!
- CaptainSteve, Cathead and ggrieco
-
 3
3
-
Incredible planking Boyd! The wait for your update was well worth it. Your bar is reaching Olympic proportions my friend.
- thomaslambo and CaptainSteve
-
2
-
-
-
It would seem that you guys are all correct. As CH said, conditions would determine order of setting sail. These vids give a good idea of the workings. Thank you guys for the input. I think Robb asked about this awhile back so hopefully this helps me, Robb and others to come up with new ideas for sail set up!
-
Thank you George, Robb, CaptainSteve, CH, Mark, David, Bug, Frank, miloman, and Boyd for your kind words of encouragement. Also thanks to all who hit the like button.
Finally got the re-rigging(aged ropes) finished on the 12inch smooth bore. It turned out to be quite interesting to remove and replace the ropes with the cannon affixed in place. So if anyone needs a lobotomy???
Any how, I picked up some muslin to begin working on the sail. Turns out it's almost exact to the kit supplied sailcloth so let the experimentations commence. I also found a blank, white handkerchief swatch in one of my vintage boxes of DMC and am trying a few coloring methods for the sails. Now I just need to get my hands on a yard of the hanky material. It's so thin you can see through it, so I'm not quite sure how it'll work out.
One thing I've been searching for and haven't found yet, is the order in which the sails would be set from the furled position. I'm thinking of having a sail or two opened to the wind, but not sure which one(s) that would be. So if anyone can point me in the right direction, it would be greatly appreciated.
-
Very nicely done CH! I'm a big fan of open viewing plans to see into the heart of a ship/boat. It's looking spectacular!
- CaptainSteve, mtaylor, Canute and 2 others
-
5
-
Happy birthday Frank!
- mtaylor, Dimitris71 and riverboat
-
3
-
-
-
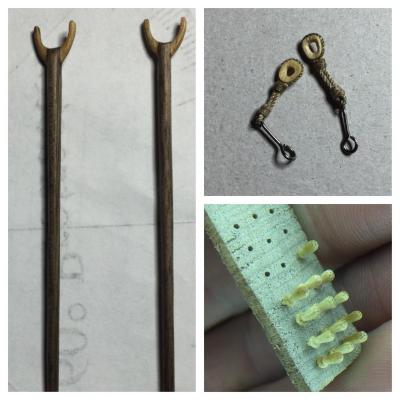
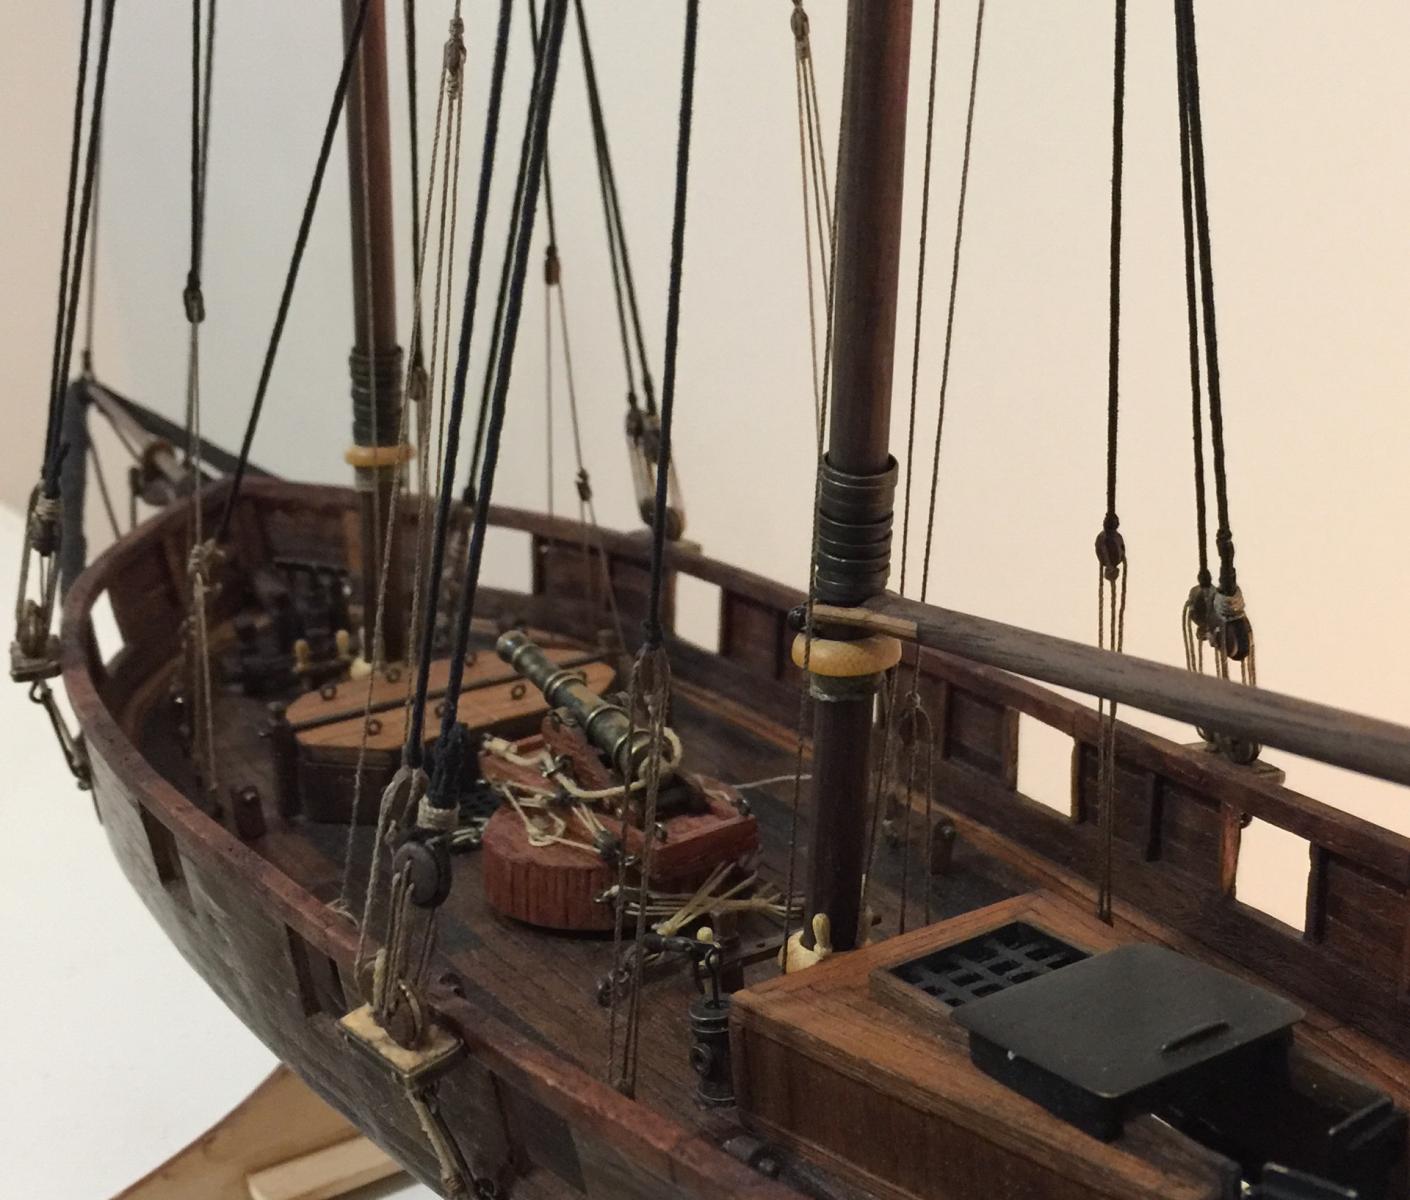
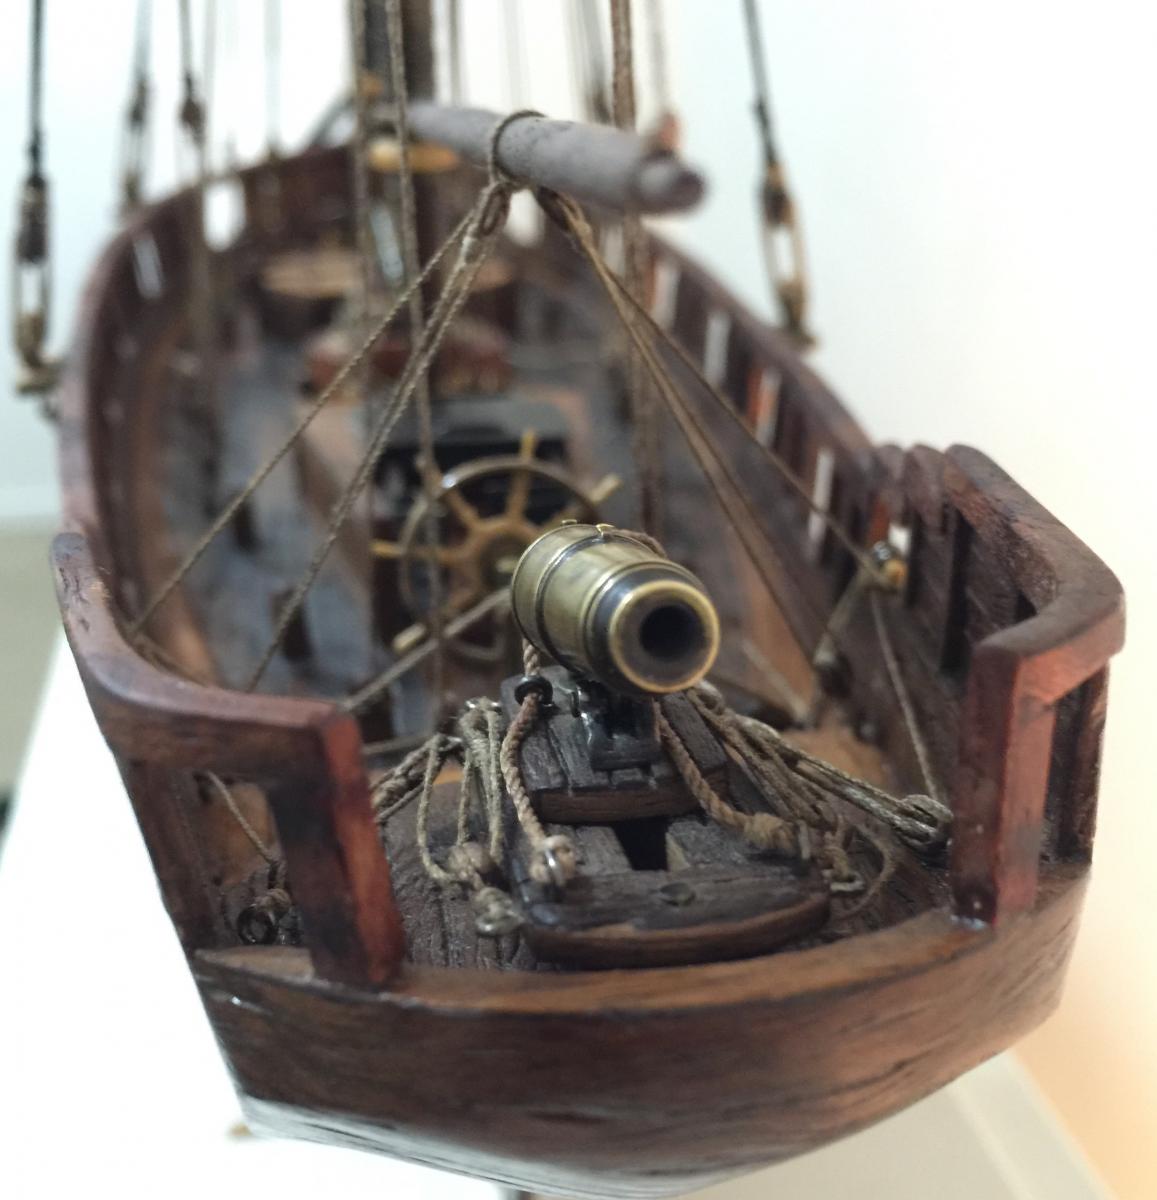
I decided to incorporate some more bamboo with the belaying pins and hearts. I used some light walnut on the jaws of the two gaffs and boom to give some contrast with the dark walnut as well.
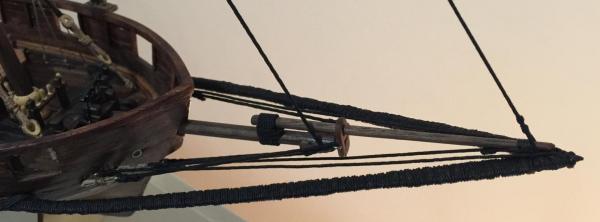
Now that the bowsprit is finished, the extended lengths of wood were joined together to give the front end a more solid, stronger look.
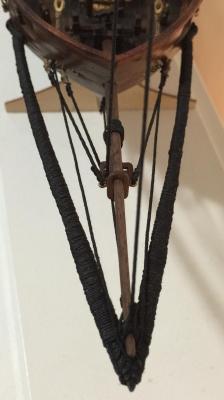
The remainder of the stays were served and installed. After that I went through and tightened up all of the lanyards and tackle, constantly checking to ensure that the masts stayed true.

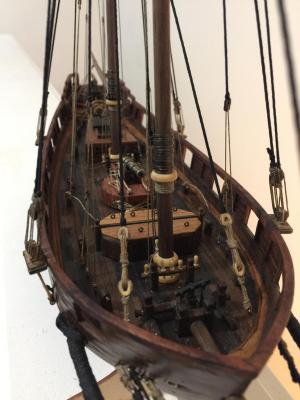
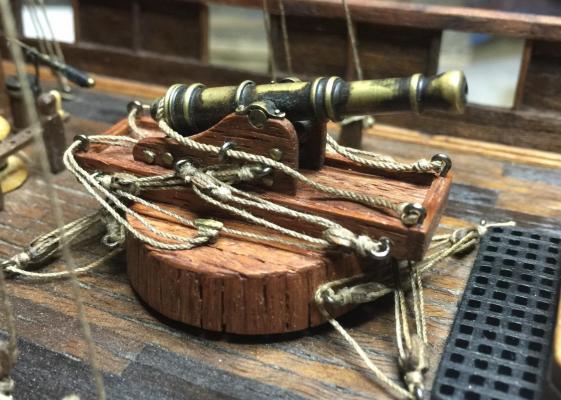
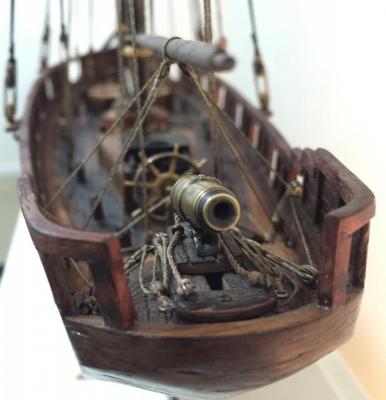
I also began replacing the tackle on the cannons. It was just killing me to see the rigging stained and the cannons tackle bright and clean. The steering mechanism and the carronade are complete, the long gun is still left to replace.
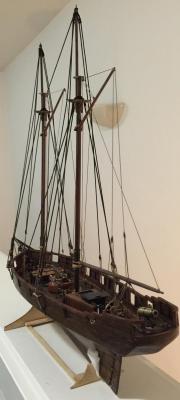
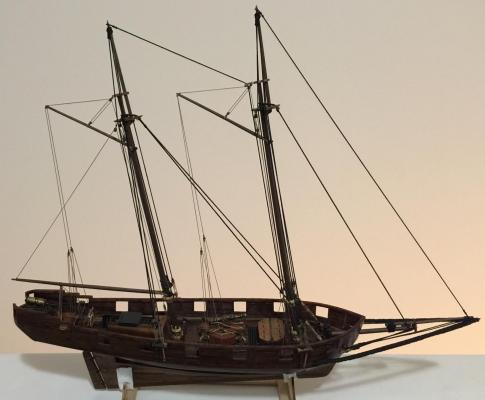
So here's the final look with the standing rigging finished. Now I begin the dilemma of what I'm going to do about the sail situation. Hopefully I'll have it figured out by the end of the year. Thanks again to everyone for the kind words of encouragement and for the likes.
-
-
-
-
-
-
Once again, looks great Robb! What I'm doing to deal with getting everything "tight" is I'm not tightening any of the lanyards until all of the standing rigging is in place. Then I can systematically "tighten" the lanyards and true up the masts.
As for the twisting of the top deadeyes, for me it came from the throat whipping. I had to crank down while doing the throat. Then push the whipping down while pulling up the tail end. Then do the straight whipping, all the while keeping the deadeye straight.
-
-
You've gone and out done yourself once again Frank!
- Dimitris71, mtaylor and riverboat
-
3
-
-
-
I don't want to clutter up your build log, CaptainSteve, so I'll post in my log a nice video involving your very Connie. If you wish to post here, by all means do my good man.
- CaptainSteve, mtaylor, GLakie and 1 other
-
4
-
Excellent job Cathead! You've done a lot of great custom work, I'd vote to continue that with the windows and doors.
- mtaylor, CaptainSteve, Cathead and 2 others
-
5


Charles W Morgan Whaleboat by Salty Sea Dog - Artesania Latina - Scale 1:25 - POF - first wooden boat build - SMALL
in - Kit build logs for subjects built from 1801 - 1850
Posted
Becky's a ginger, and remember...only a ginger can call another ginger, ginger! Just don't **** her off, she might give you a ten page punch list(even though we both know there's no need for any punch items).