ethanb
-
Posts
4 -
Joined
-
Last visited
Recent Profile Visitors
239 profile views

-
 clearway reacted to a post in a topic:
Black Pearl by ethanb - Zvezda - 1/75 with modifications - PLASTIC
clearway reacted to a post in a topic:
Black Pearl by ethanb - Zvezda - 1/75 with modifications - PLASTIC
-
tarbrush reacted to a post in a topic:
Black Pearl by ethanb - Zvezda - 1/75 with modifications - PLASTIC
-
tarbrush reacted to a post in a topic:
Black Pearl by ethanb - Zvezda - 1/75 with modifications - PLASTIC
-
mtaylor reacted to a post in a topic:
Black Pearl by ethanb - Zvezda - 1/75 with modifications - PLASTIC
-
hexnut reacted to a post in a topic:
Black Pearl by ethanb - Zvezda - 1/75 with modifications - PLASTIC
-
popeye the sailor reacted to a post in a topic:
Black Pearl by ethanb - Zvezda - 1/75 with modifications - PLASTIC
-
docidle reacted to a post in a topic:
Black Pearl by ethanb - Zvezda - 1/75 with modifications - PLASTIC
-
docidle reacted to a post in a topic:
Black Pearl by ethanb - Zvezda - 1/75 with modifications - PLASTIC
-
docidle reacted to a post in a topic:
Black Pearl by ethanb - Zvezda - 1/75 with modifications - PLASTIC
-
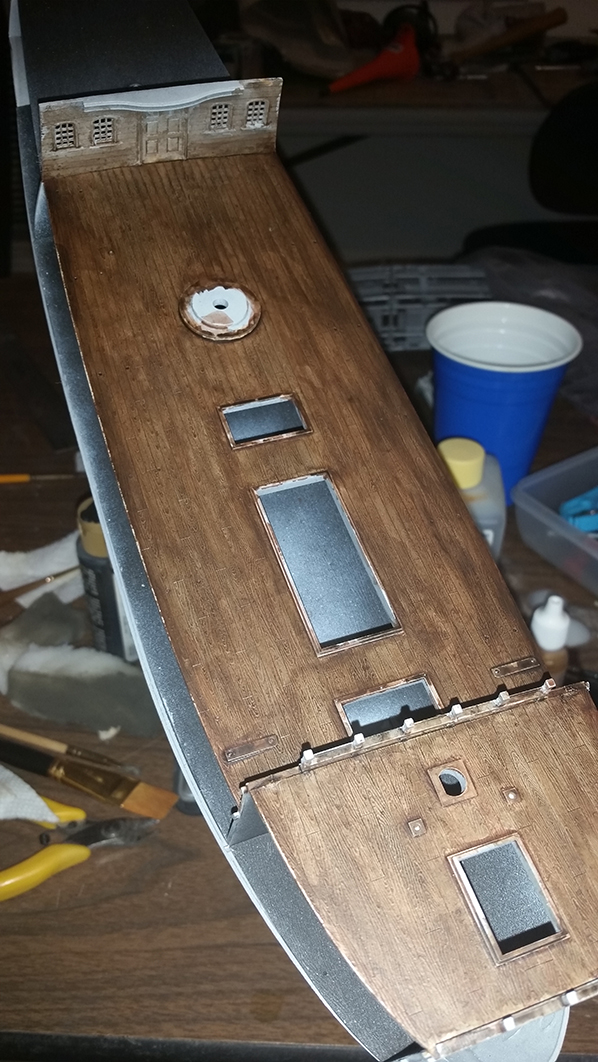
 Thanks Popeye! I have a feeling the breakup will become less and less noticable as I darken the wood but we shall see. Really, all painting is just a series of experiments right lol! So last night was a bit slower but I got 2 washes of Van Dyke Brown with a touch of black, in inks; on the deck. You can see in the pics the tone is still pretty good but I have a feeling the overall washyness may start to look a bit fake when looking at the deck as a whole so from here on out I will be mixing a couple shades of ink and doing the washes in very small areas. I hope in the end to be able to recreate the feeling of aged wood as well as show areas that get a lot of traffic being worn in a more distinct manner. Thanks to all for watching! I will be on vacation camping with some ATV's in the sand for the rest of the week so I probably won't get to hit this again until Sunday night.
-
popeye the sailor reacted to a post in a topic:
Black Pearl by ethanb - Zvezda - 1/75 with modifications - PLASTIC
-
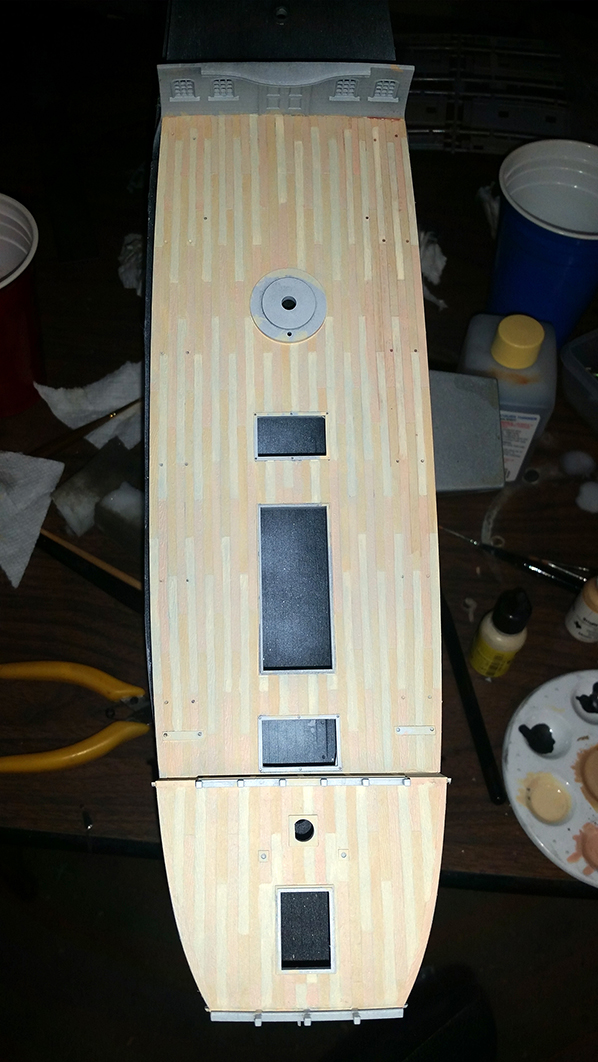
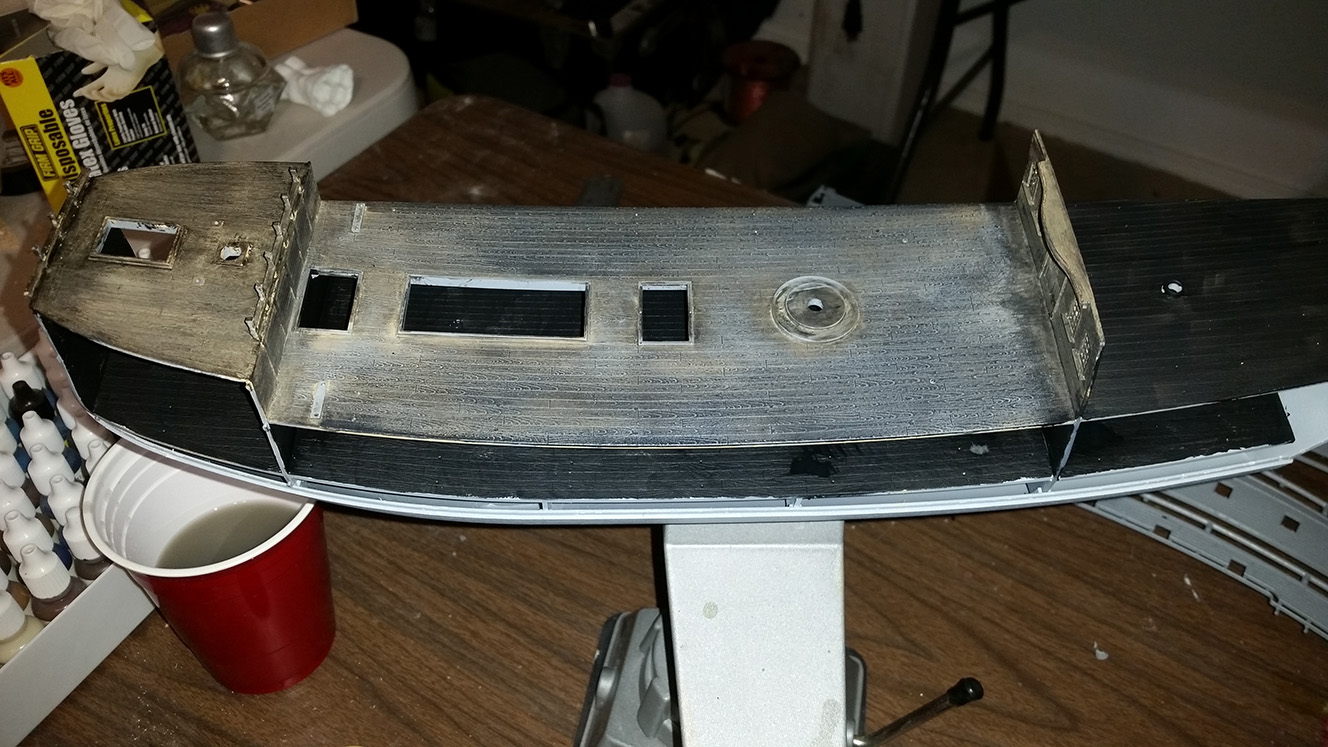
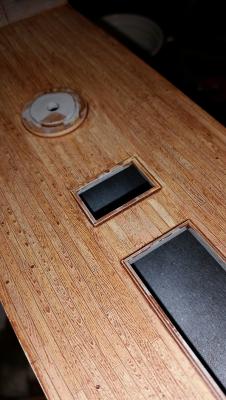
I think some pretty decent progress was made last night in painting. As I said before, over the weekend I cleaned off my first base coat and last night I applied a much better one! I am using Reaper acrylic paints and Dr. PH Martin inks for this project. This first pass was painted with Golden Highlight, thinned a bit with a custom thinning mixture that I use for everything. I use Acrylic Medium, Denatured Water, and a small amount of Isopropyl Alcohol, in a bottle and I have found this gives a great consistency and color flow to my paint. After the deck was fully painted I went in and painted each plank a different shade to provide breakup through the washes that follow. I used Golden Shadow, Tusk Ivory, and Tanned Highlight to create the plank colors. Next I mixed some inks together. This was Van Dyke Brown, Sephia, and a touch of Terra Cotta. I thinned this down quite a bit and tested as I thinned until the ink was just barely sticking; then washed the whole deck and as the ink started to set I would add or remove and move the ink around until it had a decent layer and looked natural. This is my base wood color. From here I will use inks to darken and age the wood until I get to the worn and darkened look from the films. I will do a decent amount tonight and post a reference image or two and my work in the morning!

-
Thanks Popeye! I am sure I will have specific sizing questions as I learn what things are called to ask about! I do plan on doing as much rigging as I can from the plans and maybe with the help of the forum; add in anything else that is missing. I appreciate the kind words cwboland! I was actually just researching techniques for the ratlines and shrouds last week! I am definitely going to be rigging those with thread, the plastic is well molded but without gravity on the lines themselves it will look too fake. This weekend was pretty busy and because of that I didn't get much done aside from cleaning my first paint attempt off and getting a coat of Tamiya Fine primer on as well as a proper first base wash. Will post pics and progress after a session at it tonight.
-
ethanb reacted to a post in a topic:
Black Pearl by ethanb - Zvezda - 1/75 with modifications - PLASTIC
-
ethanb reacted to a post in a topic:
Black Pearl by ethanb - Zvezda - 1/75 with modifications - PLASTIC
-
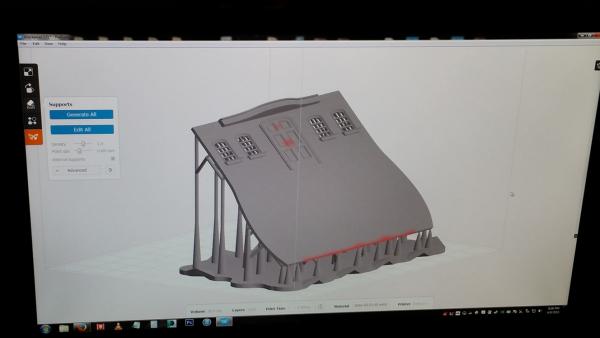
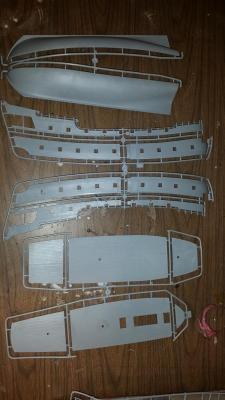
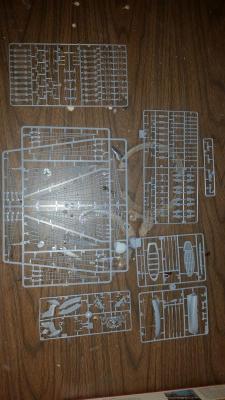
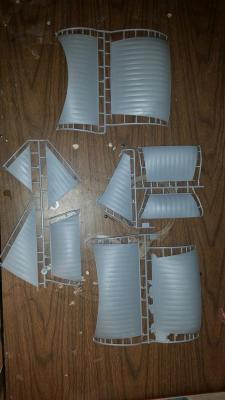
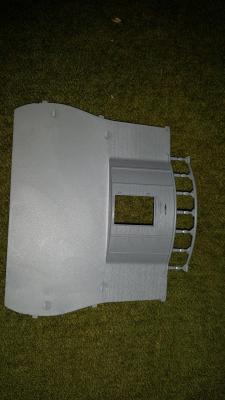
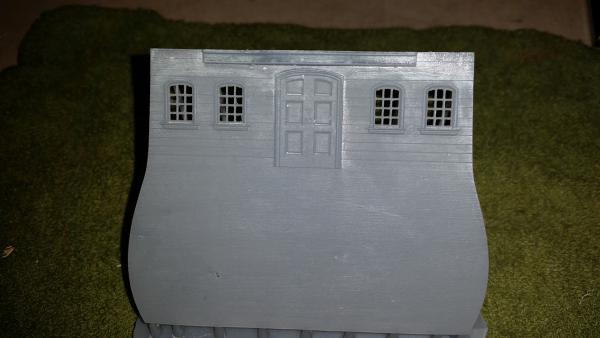
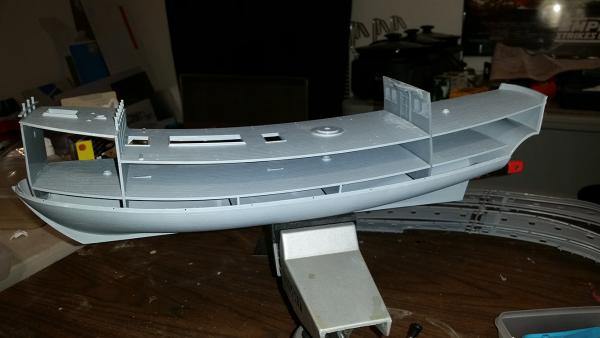
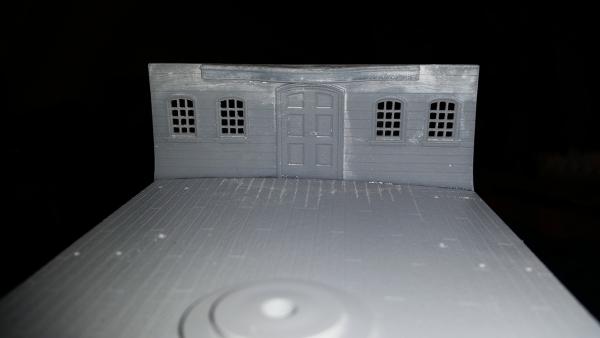
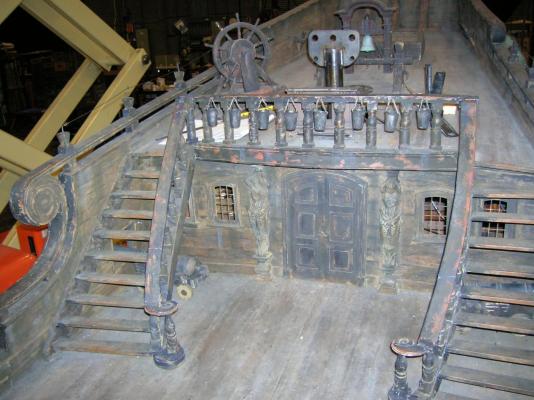
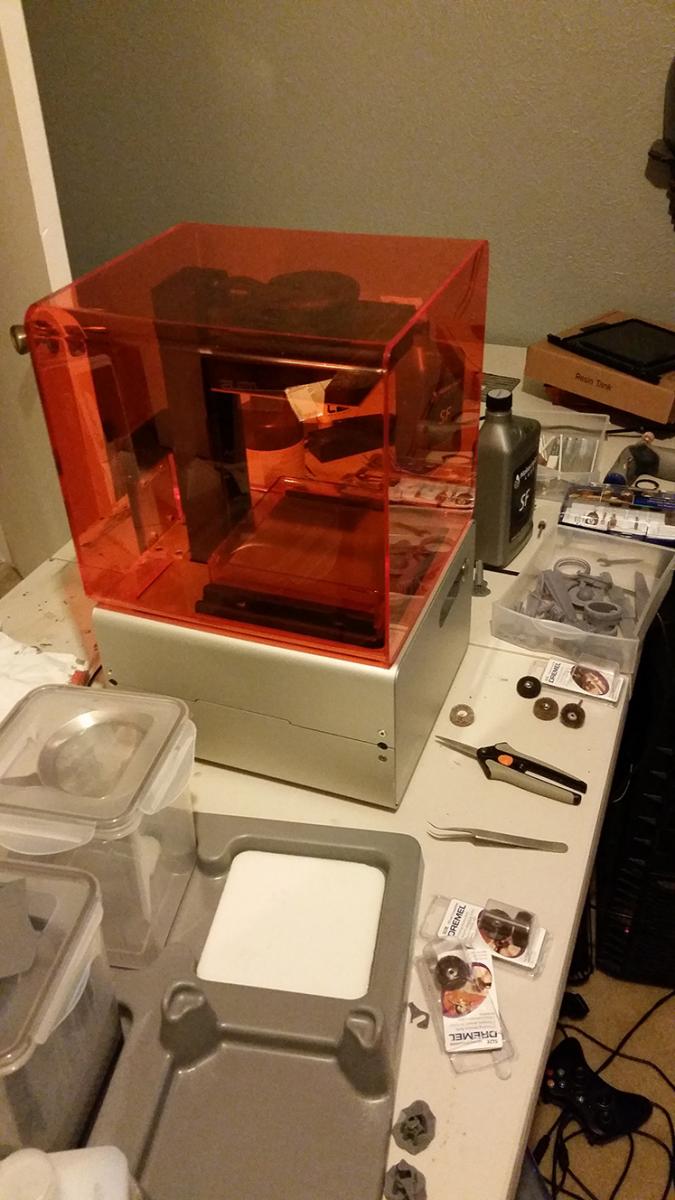
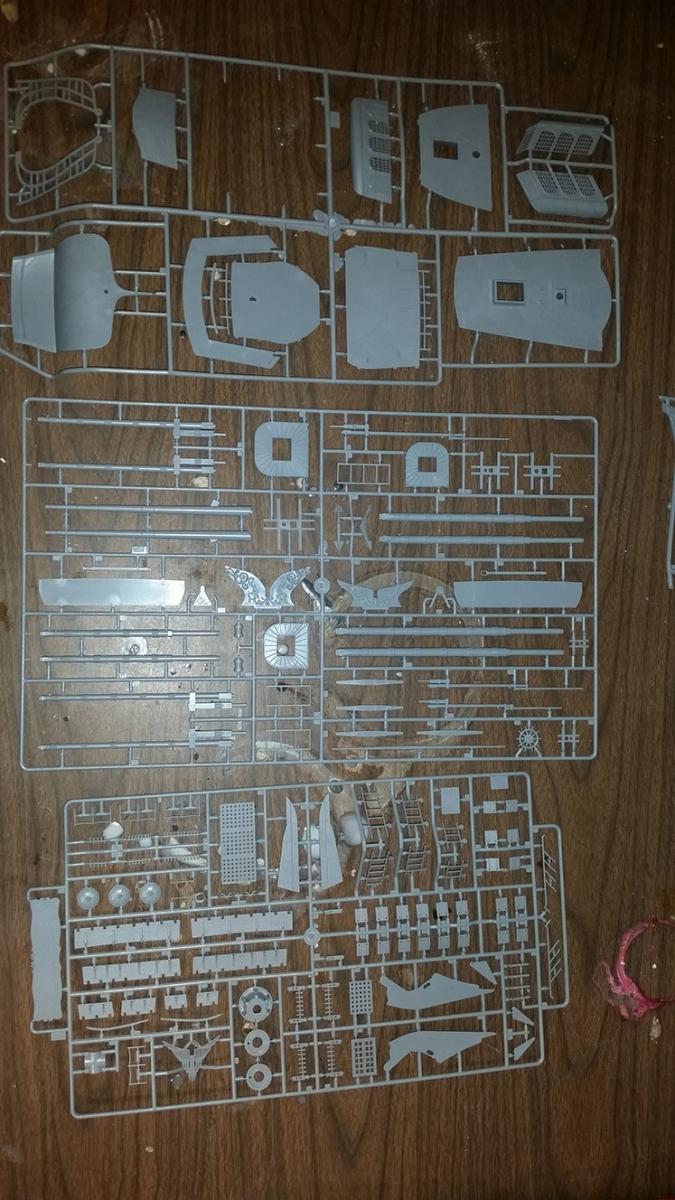
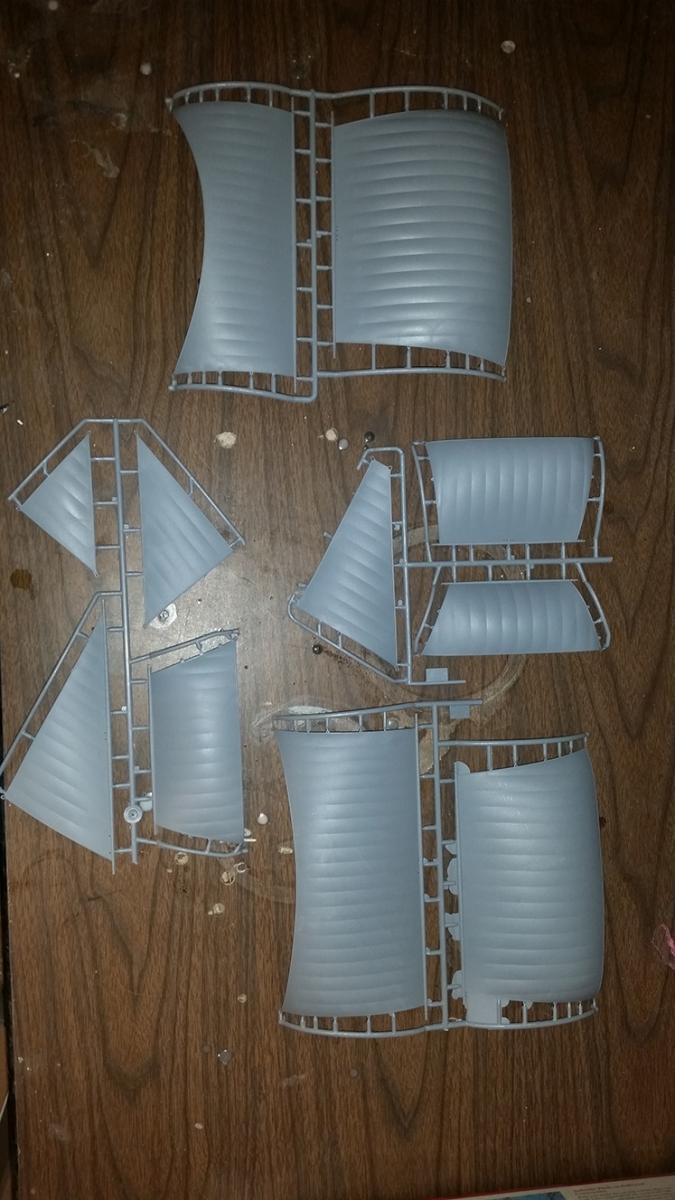
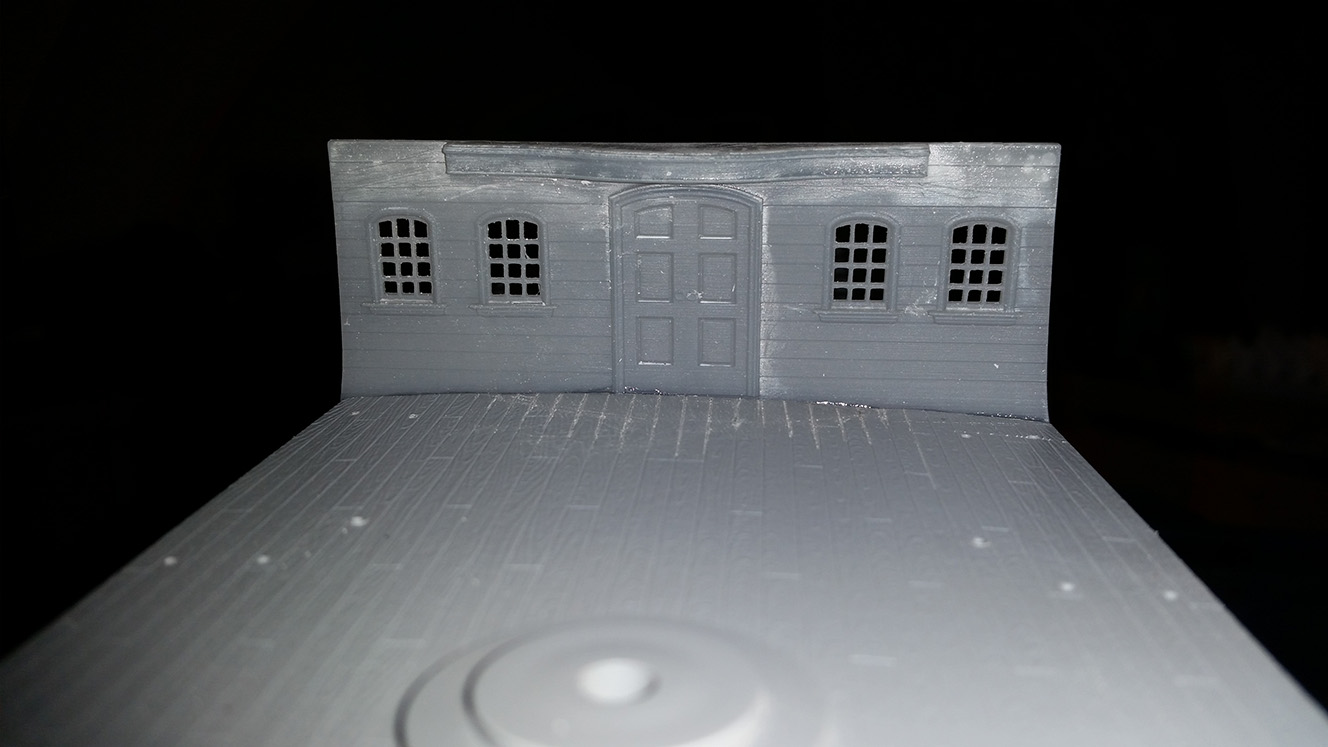
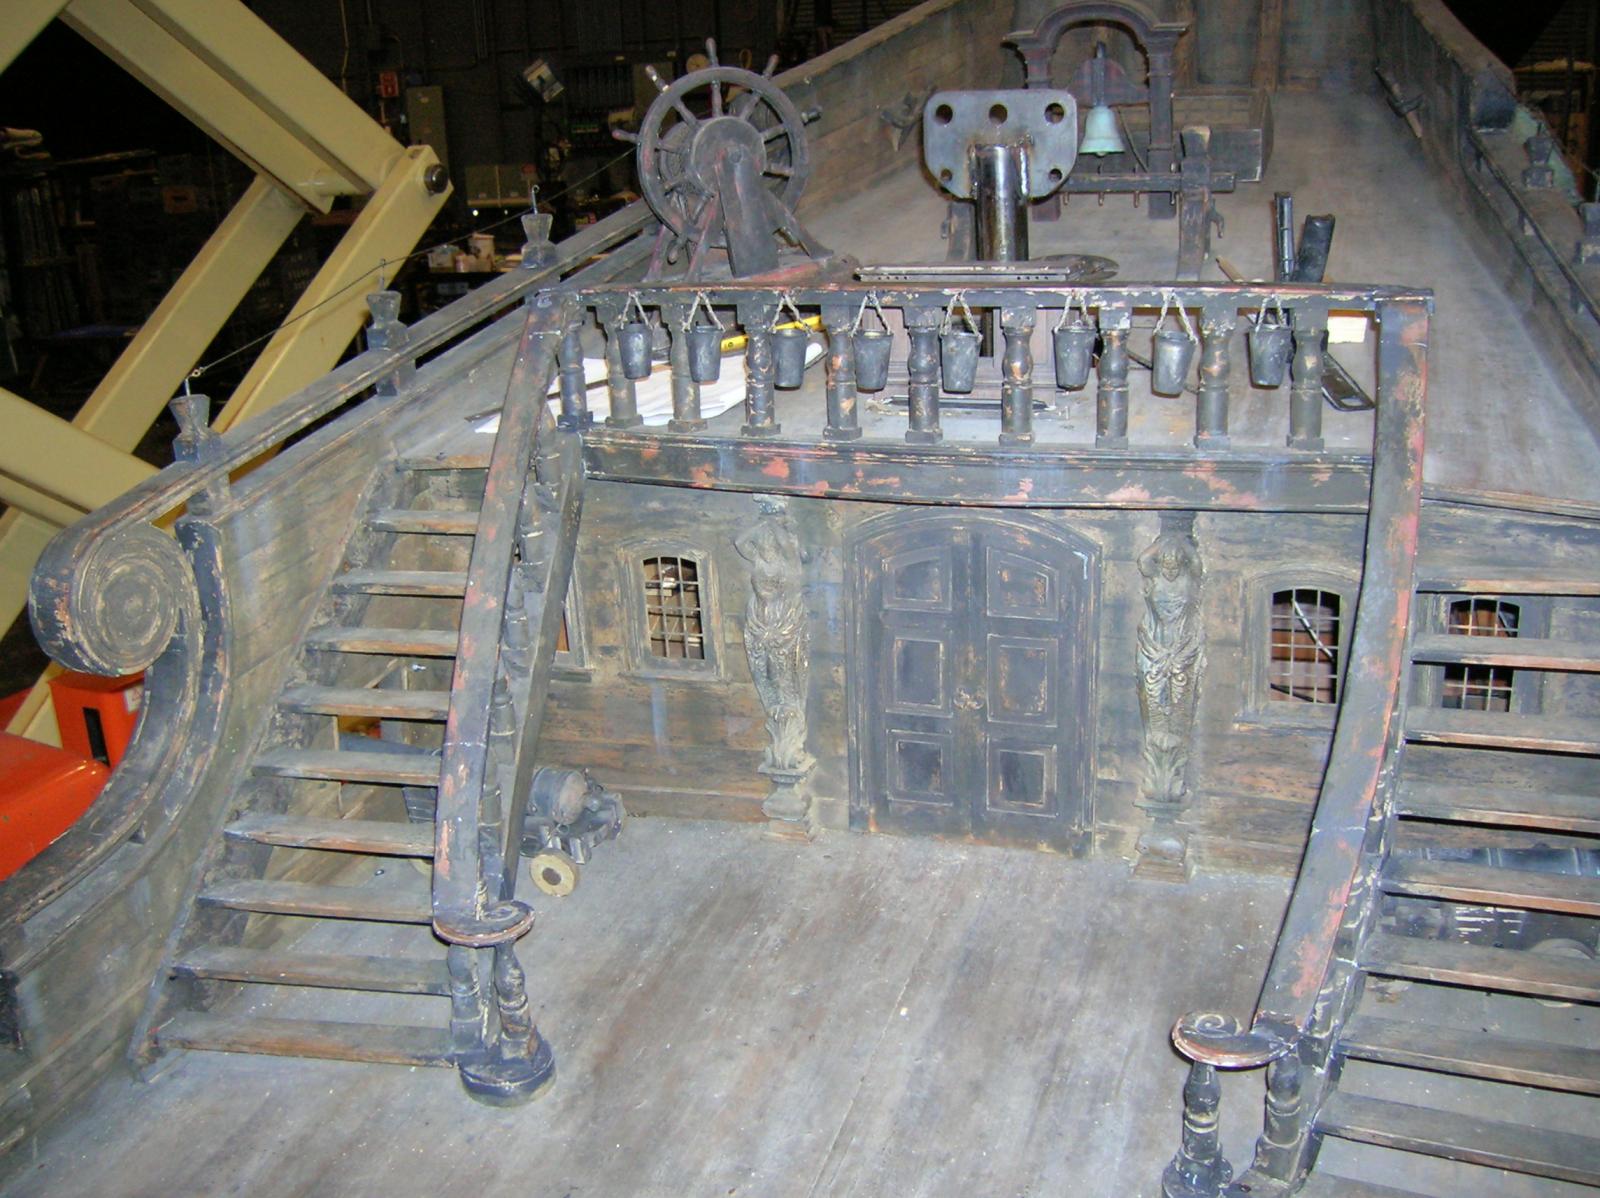
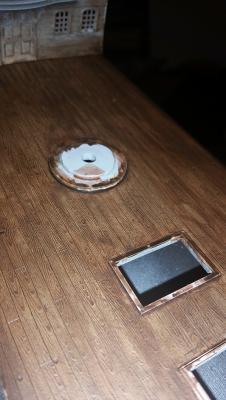
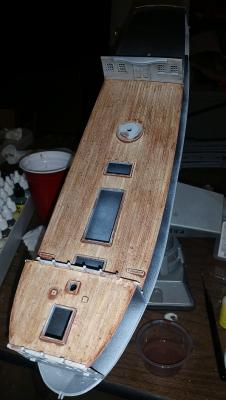
I've been trolling ship-building sites for years, checking out all of your amazing work in wood and plastic and finally decided to break the seal and get to building one of my own! I am a big fan of the Pirates of the Caribbean series and as far as licensed copies go, the Zvezda "Black Swan" is the closest representation of the Black Pearl and from reviews I have read; it is a really well put together kit. I have tons of modeling and painting experience but this will be the first ship I have ever built so I am excited to put my skills to the task! I received the package in the mail early this week and after gathering resources I was finally able to start the build last night. First note is this will be modified as much as I can to match the movie version and hopefully from your wonderful advice I can make it more accurate as a ship as well. I saw a couple diagrams of modifications that need to be done so I will just start at the beginning with a brief overview and then move right to the build. Mainly with the kit we are talking plastic. So the sails are injection molded, beautiful but horribly out of scale; so those will have to go. I need advice on how to create a proper sail plan and I have decided to use super thin vellum to make my sails. Next, the rigging and blocks are mostly plastic with few exceptions so I really want to make these from wood parts and thread. What size blocks do I need for 1/75 scale? 2mm, 3mm? Then I need to figure out how many! I am new to the ship field so terminology and numbers I will learn on the way. Finally the cannon will be upgraded and some actual kit parts will be changed and modified. So on to the first step: The major discrepancy of this kit is the rear cabin area. The stairs and the actual cabin wall are nothing like the movie so I tackled the wall first. I am a 3D artist as far as career goes so I took a picture of the original part and measured it out with calipers, transfered the image to my 3d modeling program and rebuilt the wall. Then using my 3d printer I made a prototype the part and if fit on the first go around! Last night the print had cured well enough to assemble the basic decks as you will see in the images below. The original piece My first prototype to test the size the final product the 3d file my 3d printer I am a little out of order so here are some quick shots of the kits parts! Back to the build Installed the decks a shot of the scratch built piece on deck My first attempt at adding a base color. Now here I already made a mistake! I want to build up the layers of paint and stain to match the ship seen below So I wanted raw wood with black inked outlines to get the grooves to pop but I forgot to thin the ink! Oops. So now its a greyish aged looking think. I will be fixing that. so this weekend I plan on getting a proper base color and adding any more additional decks required before doing some pre-painting while I wait for cannons to arrive!