-
Posts
34 -
Joined
-
Last visited
Content Type
Profiles
Forums
Gallery
Events
Everything posted by CKNavy
-
For me on this build I wasn't looking to make any money off of it. I was mainly looking for the chance to gain more experience in the art of model ship building. So basically for this model I looked at what I would use in consumables like paint, sanding material, glues etc... and added a little for some of my time. In conclusion as this is my first commission build I'm mainly in it for the experience. I know this likely has not answered your question but that's the best I can do at this time as I don't really have the answer myself.
-
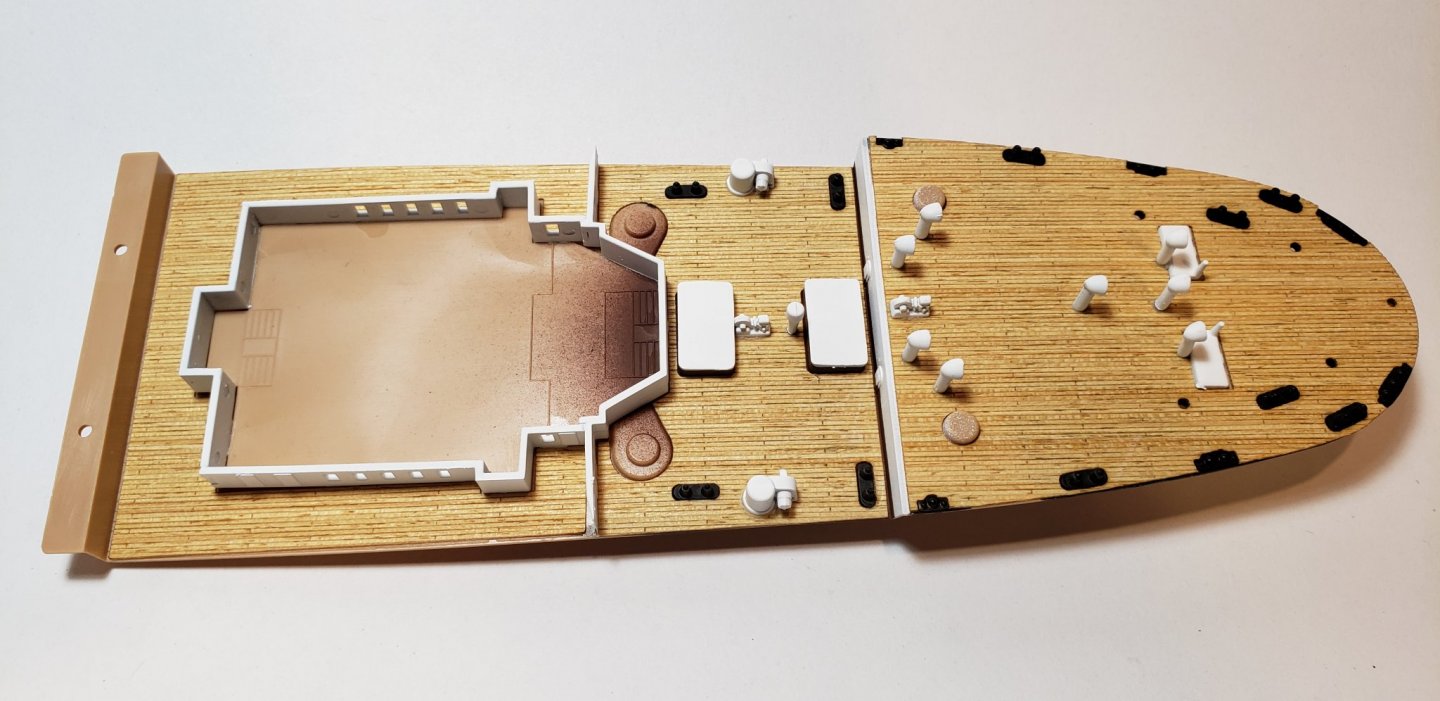
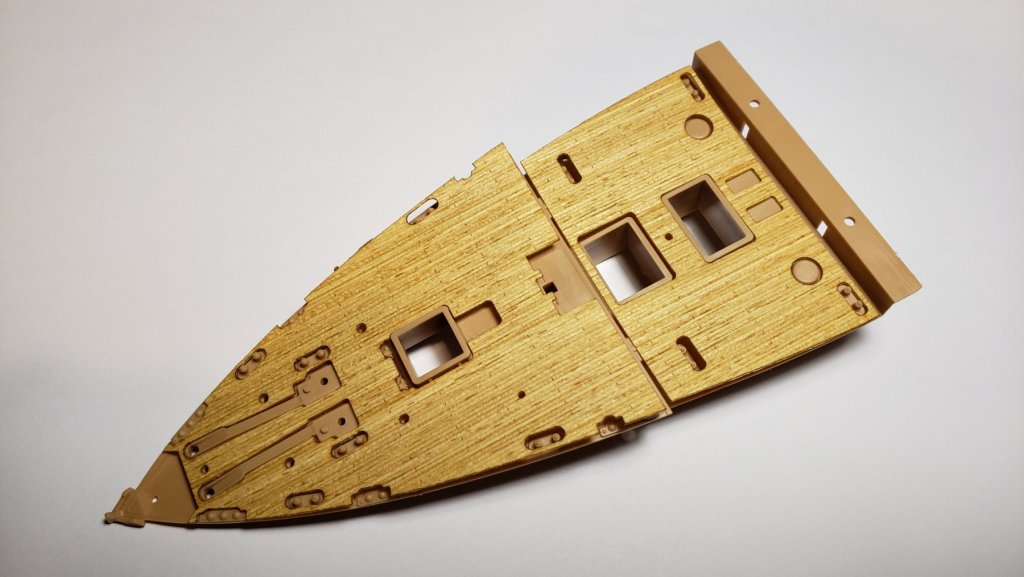
Well just like most of us I had to take a little time away, I had way to many things to do. I did get started on the Aft deck and the progress is coming along well. As I stated in my previous update, I did manage to seal the veneer before laying it down. The veneer deck is now in place and I have started to mount the various items and walls for the aft cabin. Currently working on the PE for the rear bridge. I will post a picture of that once I have it completed. That’s all for now.
-
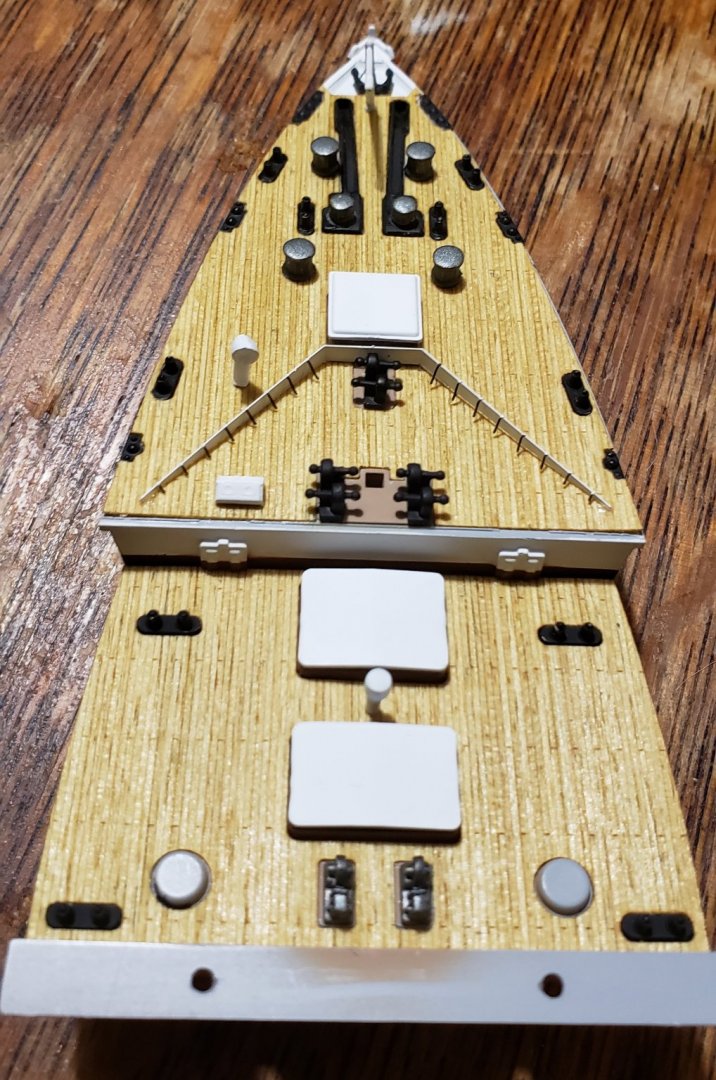
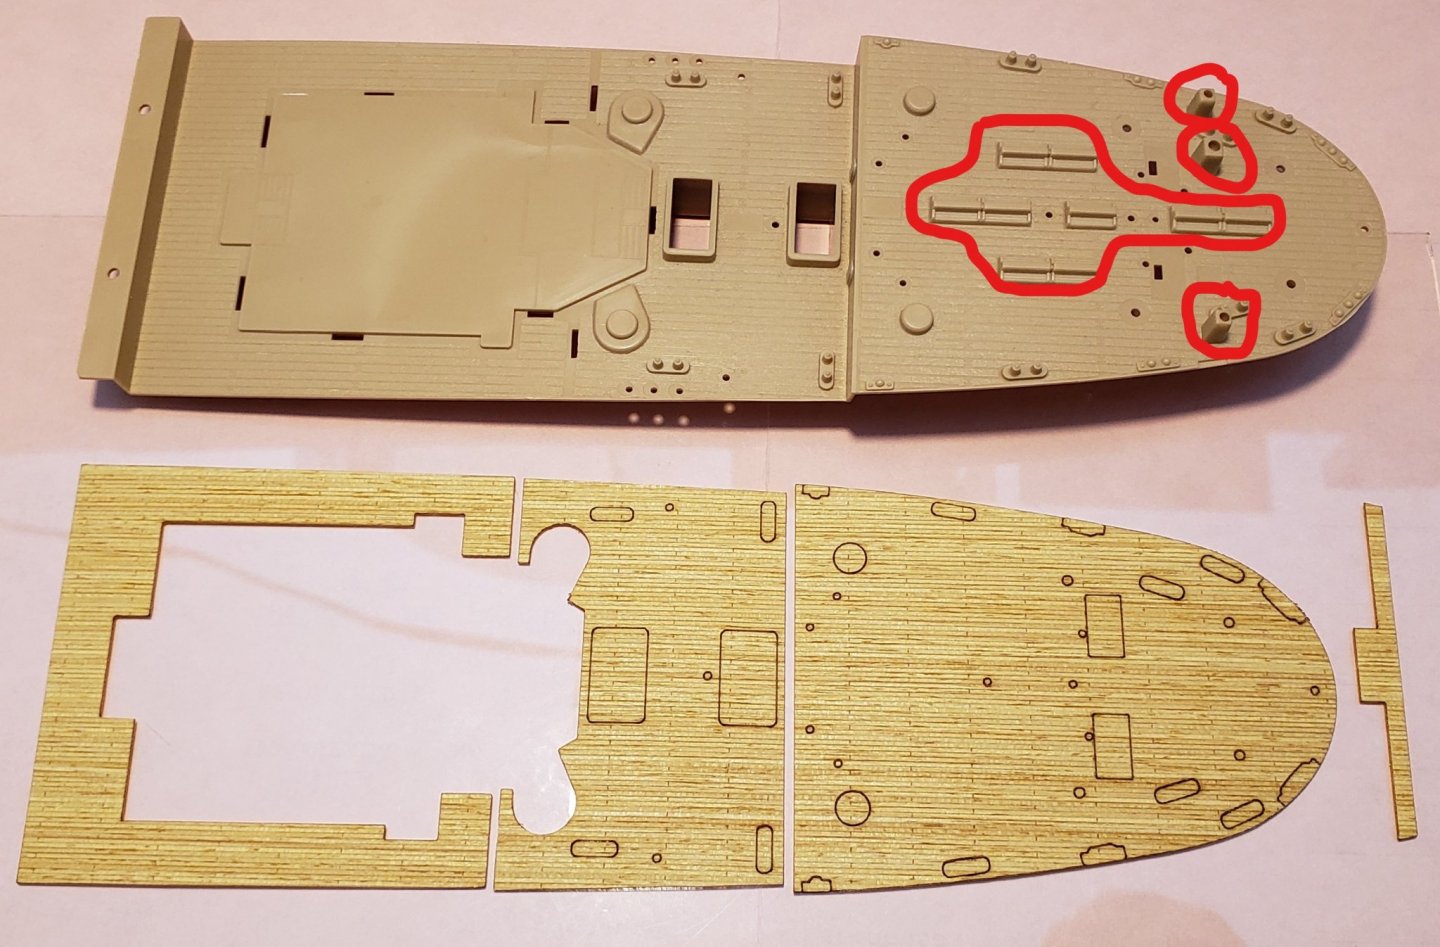
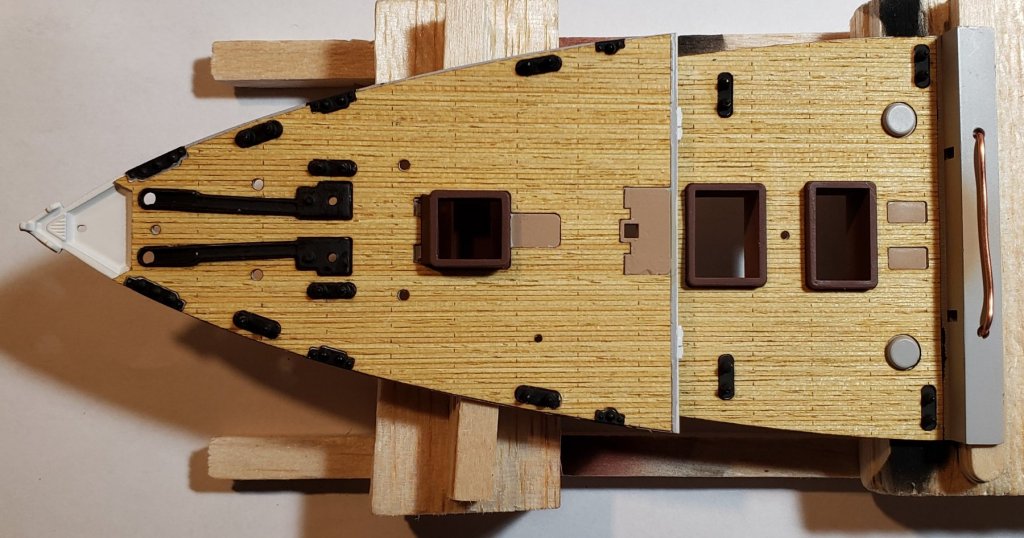
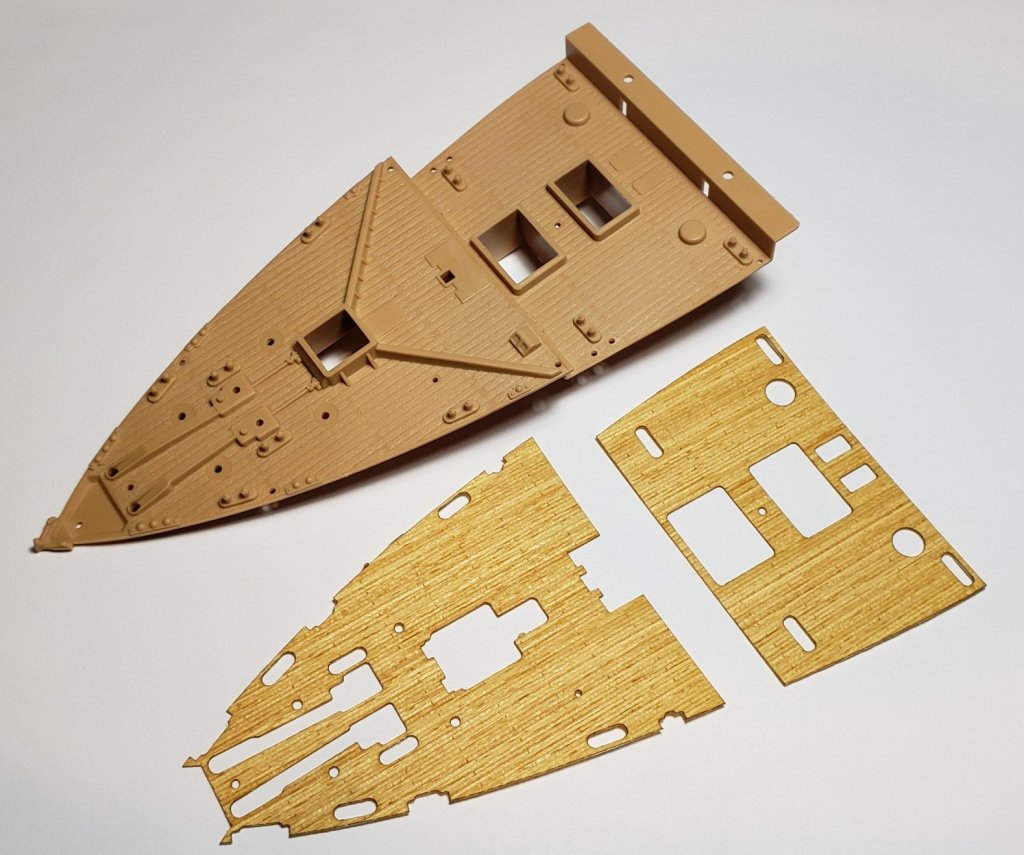
So here is a picture of what has been completed on the foredeck so far. The deck has been sealed and parts added. I will now be moving on to the aft deck and bring it up to the same status as the foredeck. Also attached is a picture of the aft deck with the veneer lying beside it. I have circled the items that will have to be removed to allow installation of the veneer. This time I will be sealing the veneer before placing it on the deck as I believe this will be easier than trying to paint around all the deck fittings etc...
-
Continuing to work on step #6 of the build plans. I after removal of the required items. I painted everything that would be showing after laying down the veneer decking. I did this so I could reduce the chance of getting unwanted paint on the deck. Now that the deck is glued down, I think my next step is to apply a protective coat on the deck for protection (I'm planning on applying Polyurethane gloss coat). As this is drying I will start to prepare all the items on step 6 that are to be installed on the deck including the PE to replace what was cut off.
-
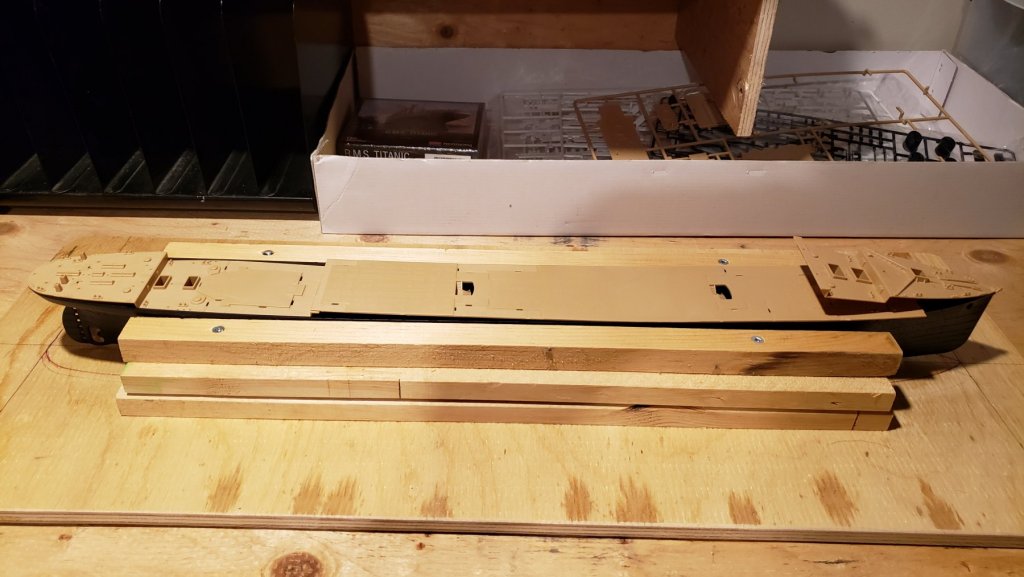
Step 2 of the instructions is now complete with the exception of installing the propellers, as I will do this later, as not to damage them. I decide that I would skip to step 6 and complete the assembly of the fore deck components. I have cut away the required pieces from the deck to allow the installation of the veneer wood flooring. Next to do is paint the components fixed to the deck before I secure the flooring so as not to get any pain on the wood.
-
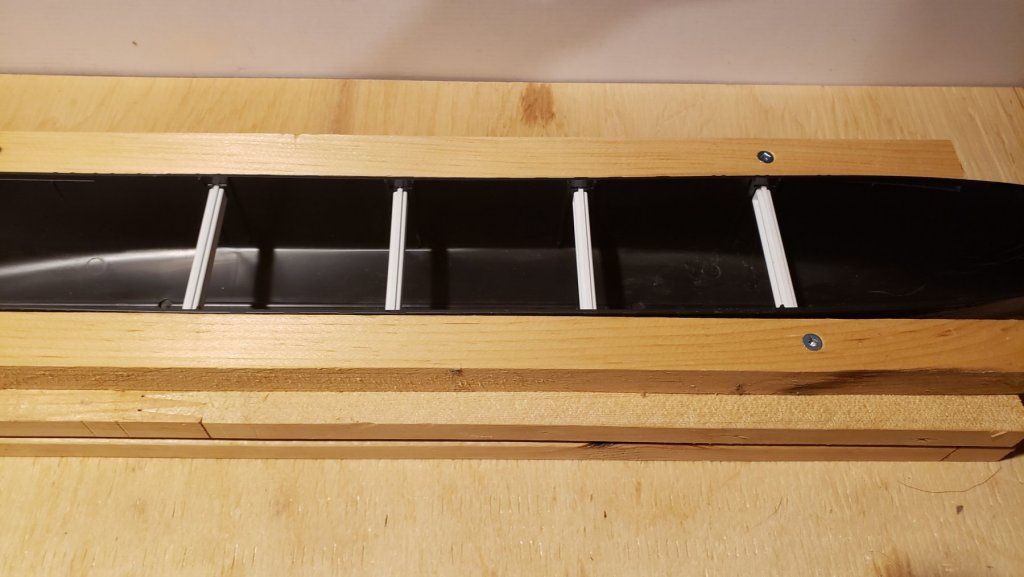
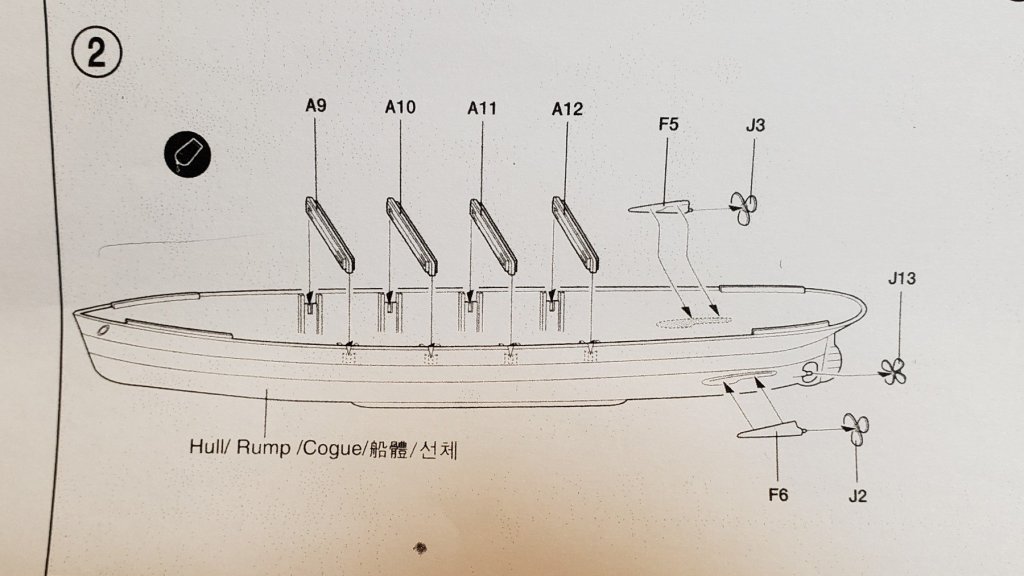
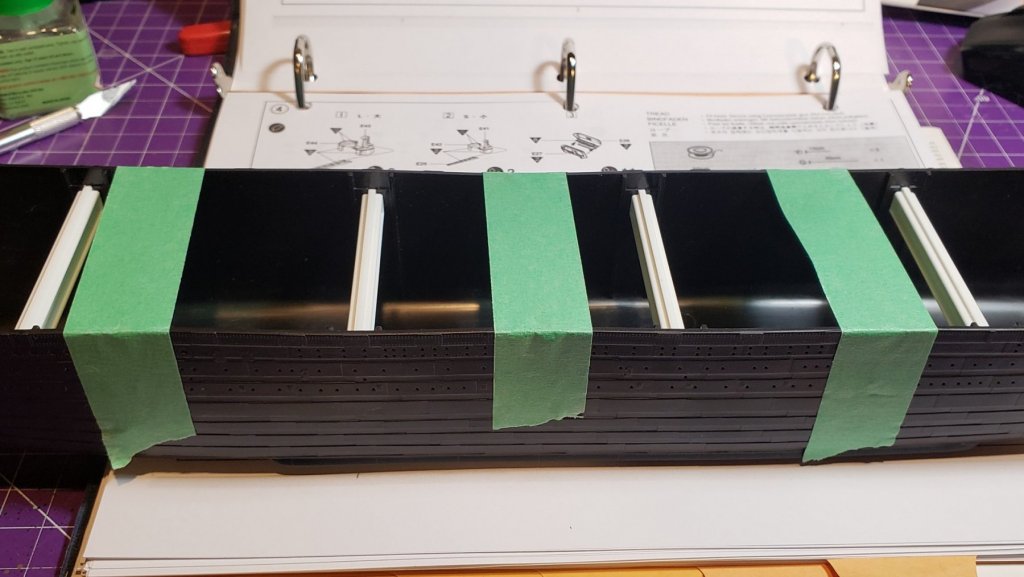
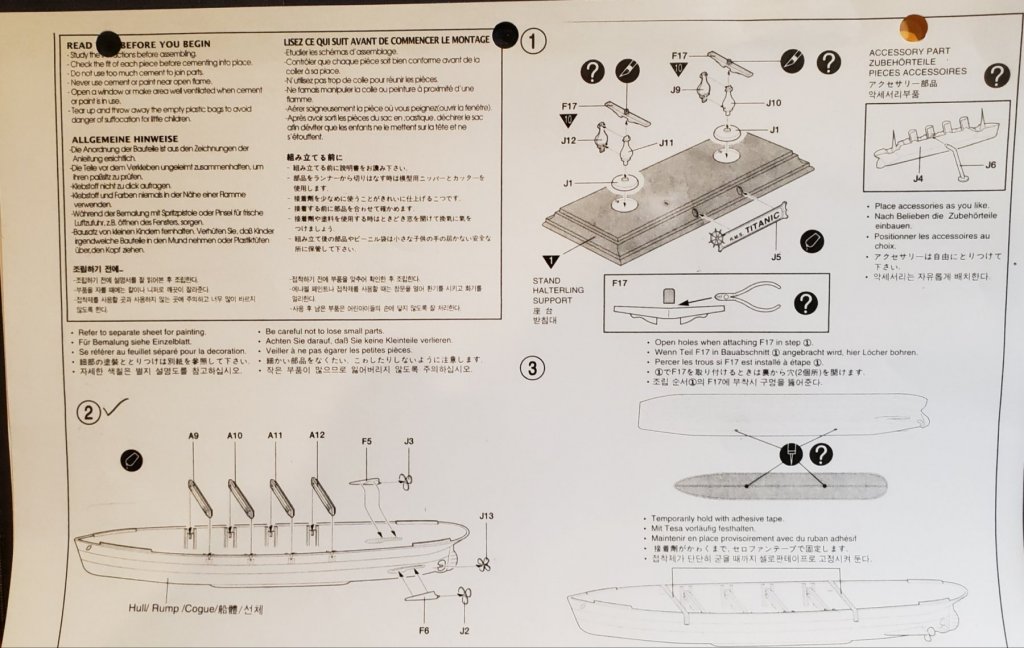
Referring to steps one, two and three of the build instructions I have decided to start the build by installing the cross braces in the hull and the propeller shaft covers on the starboard and port side. I decided I would do this first and then move on to assembling the fore deck so that later on in the build I do not place the deck on the hull without the braces in place. While doing this I noticed a mold line along the center of the hull from the stern to the bow that will need to be sanded before priming.
-
To start things off I have decided that I would build a dry dock to support the hull of ship as the build is in progress. By doing this, I am thinking that I will be able to use different types of jigs (Mainly handmade) to help support my hands during the build so I get the best effects that I can.
-
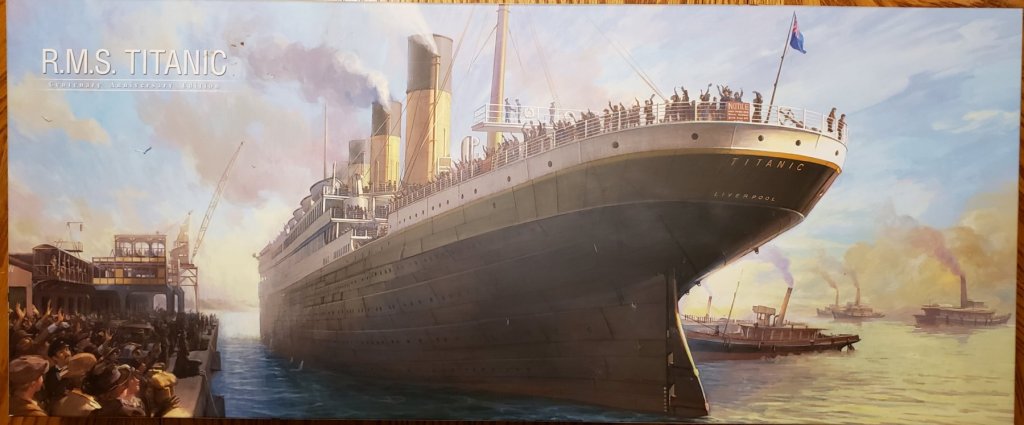
For years now, I have been thinking about building R.M.S. Titanic. Just like many other people, I have always had a keen interest in her history. By moving through this build, I am looking forward to gaining even more information about this amazing piece of machinery and how she helped shape our history going forward. Just recently, the opportunity came upon me to do so. Last Sunday I woke up made, my coffee and breakfast sat down in the living room and proceeded to figure out what I was going to do for the day. While sitting there I received a message from a colleague of mine in my model club. He asked if I would be interested in building a ship for someone. I was intrigued about this notion, as this would be my first commission build, so I replied to his message and said yes I would. He put me in touch with the person and the next thing I know is I now have a 1/400 scale model of R.M.S. Titanic in my shop. This build will include many firsts for me. My first ship of this scale, first time doing PE and First-time laying wood veneer. I hope everyone enjoys the build as I go along, and I will be open to any comments or suggestions as we move through. Thanks, Craig K
-
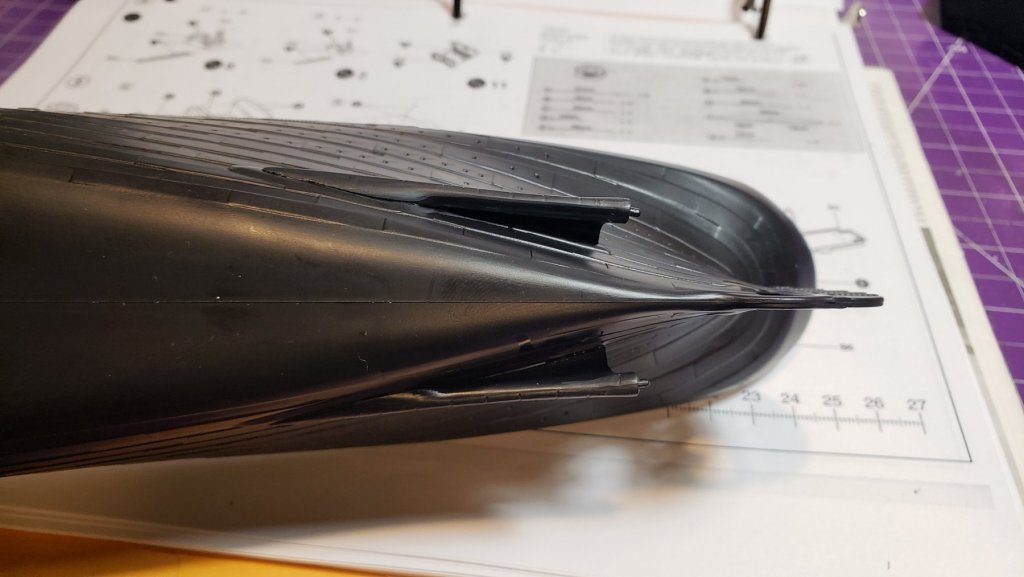
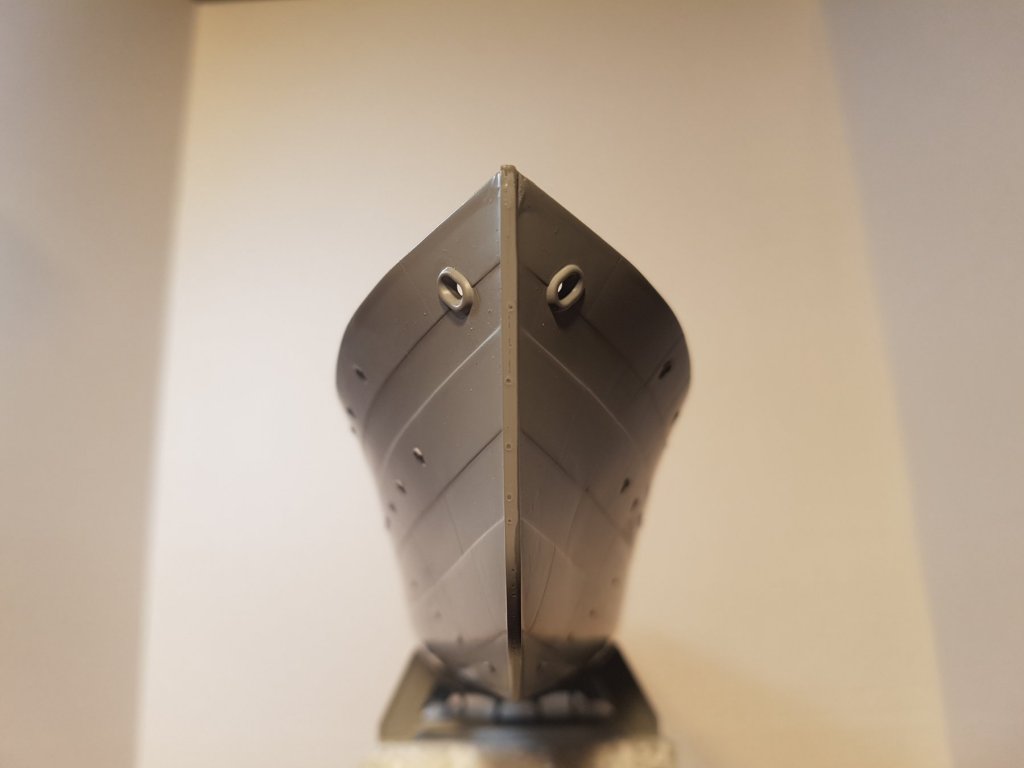
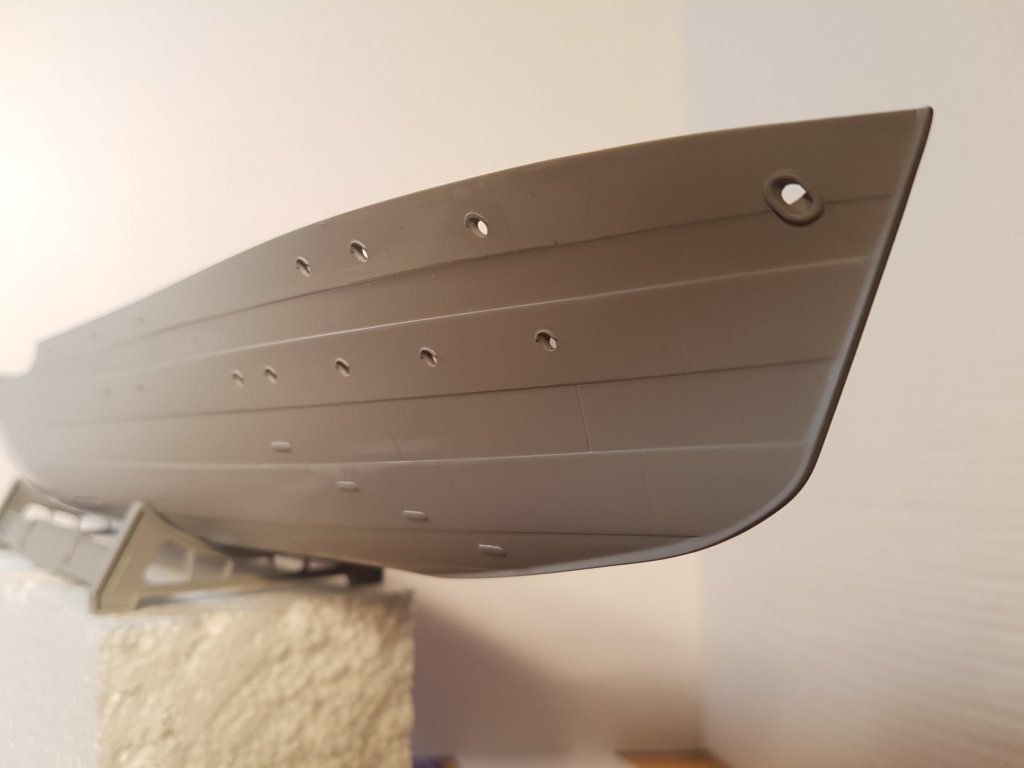
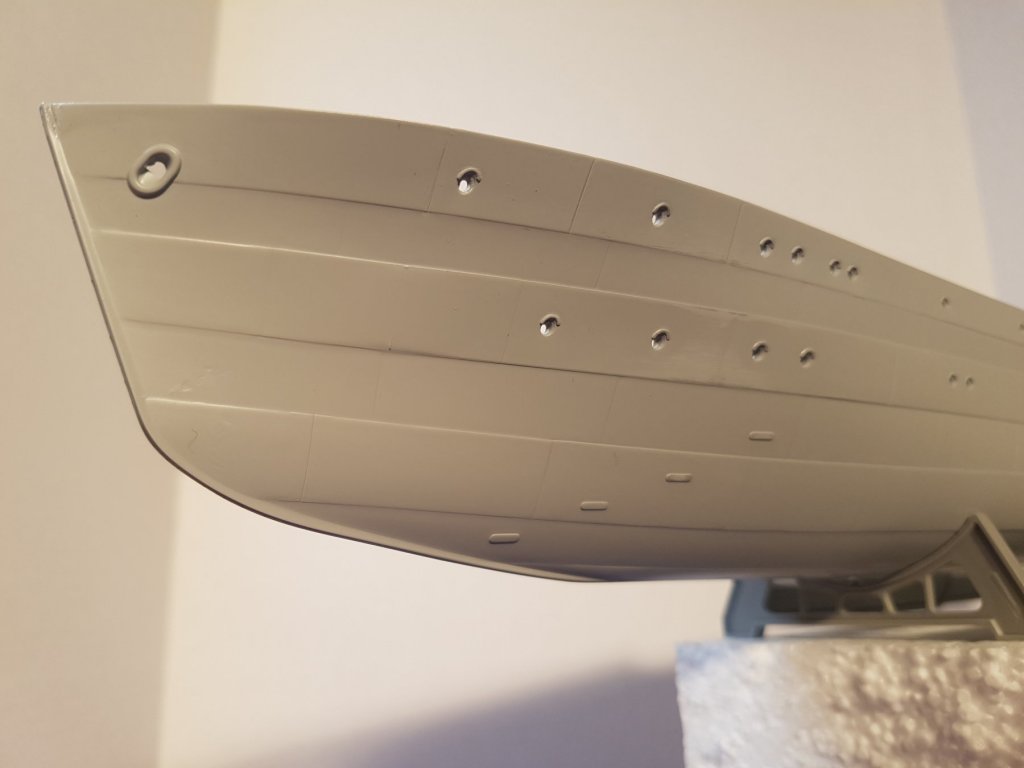
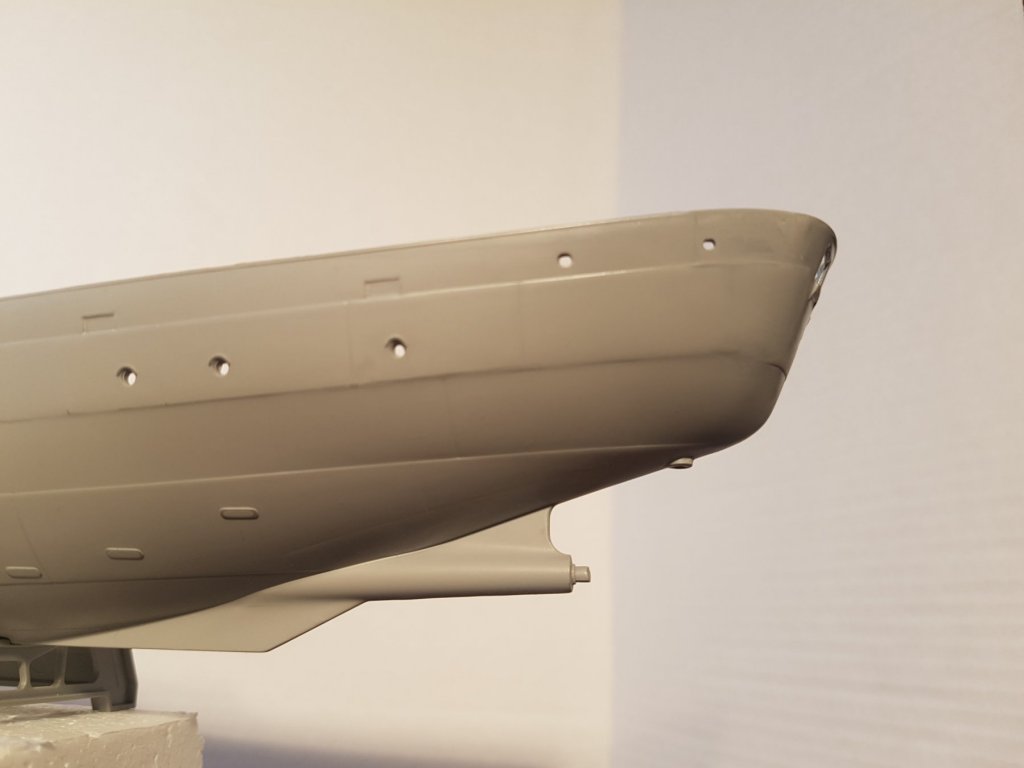
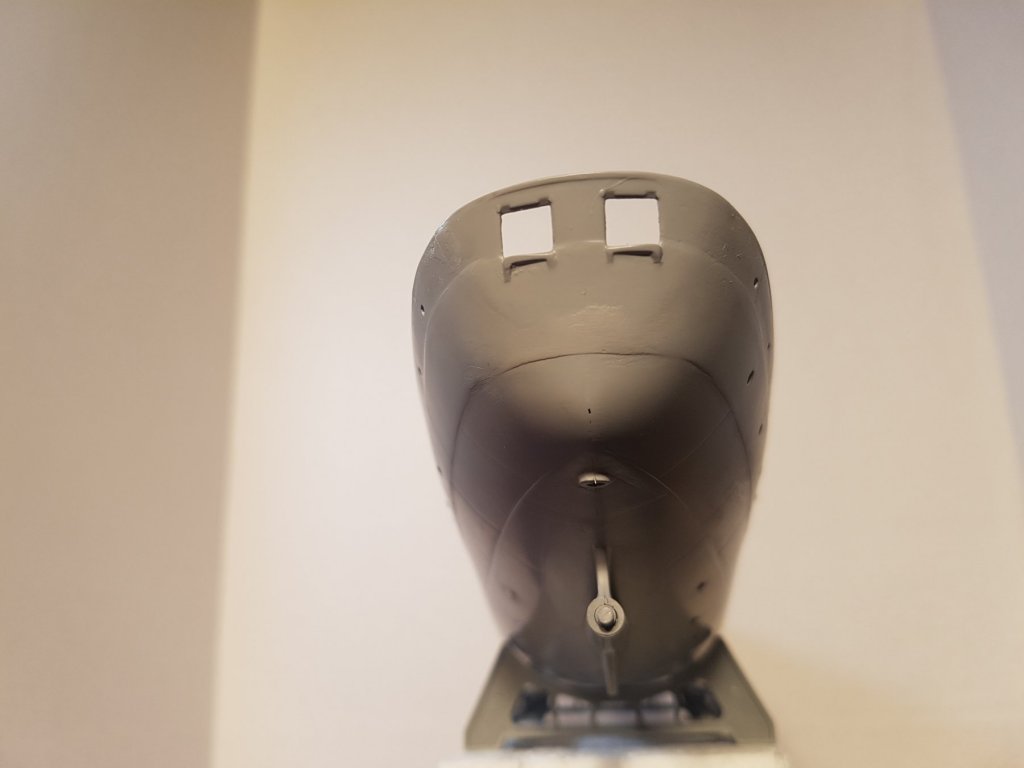
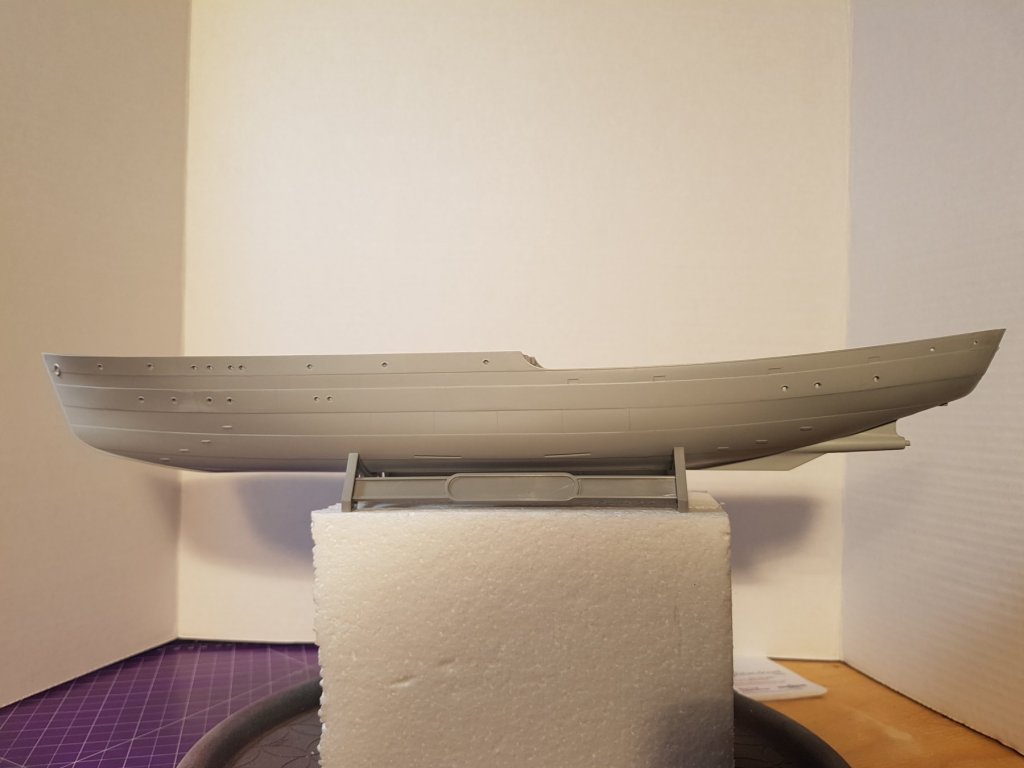
While the port and starboard sections of the hull fit together very nice, a lot of work had to go into the mounting of the stern section. This piece was glued on after the two side sections where assembled. Gluing was not the issue, the issue was the amount of filler and sanding that I had to put into it to hide the seems. Now that it is complete I'm quite happy with how it turned out. A little effort can go along way. One little mishap that I encountered was after gluing the side frames together I noticed that I had missed a small step in the instructions. I forgot to install the pin so the prop can be attached (see attached picture). To fix this I had to pull apart the already glued sections, install the pin and re-apply the glue. All in all it was fairly painless but had I not forgotten the pin I would have been that much further ahead. Overall the sections went together without issue and little filler. I'm going to leave the painting of the hull for now and I'm currently working on the assembly of the aft deck fittings. I will include this in the next update. Cheers - CKNavy
-
Welcome to the forum. Greetings from Ontario Canada! Craig
-
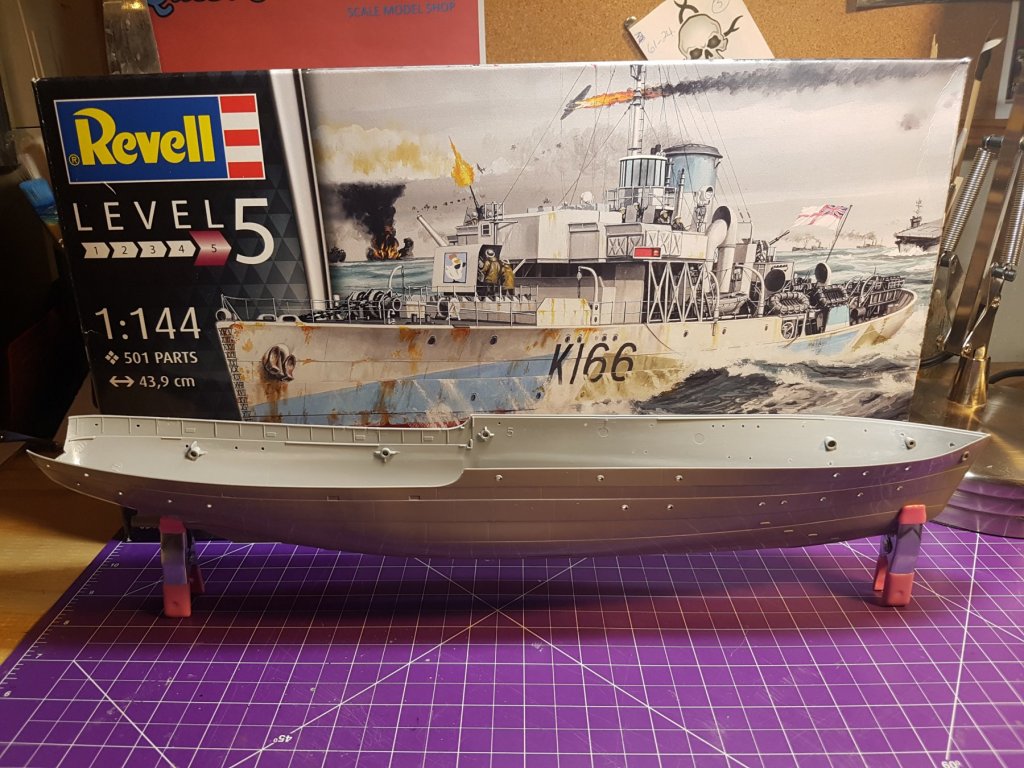
I have always wanted to build HMCS Snowberry and learn about it's history along the way. I found this version of the ship, it is made by Revell Germany and was created in 2016. From what I can see it is pretty accurate and comes with a lot of detail in the scale. I have found that you can purchase three different sheets of photo etch (PE) for this model but they are fairly expensive. From what I can see the detail with out the PE is still very good, for this reason I'm going to do a out of box build. As soon as I have some progress to show I will be posting an update. I hope everyone enjoys following along with my build Thanks, CK
-
Doris, I'm quite new to this forum and the art of ship building. I just found your build log and read through every ones posts up to now. I am very interested in following along with your build as what I see so far is amazing. Keep up the good work. CK
- 1,035 replies
-
- royal katherine
- ship of the line
-
(and 1 more)
Tagged with:
-
In some cases I use sanding sponges. They come in many different grits, shapes and sizes. Some are quite thin and can be cut to fit.
- 12 replies
-
- sanding sticks
- files
-
(and 1 more)
Tagged with:
-
From one rookie to another. Welcome aboard. I'm currently building the Bluenose II. Smooth Sailing! CK
-

This is an incredibly interesting place!
CKNavy replied to Dilbert55's topic in New member Introductions
Welcome aboard! -
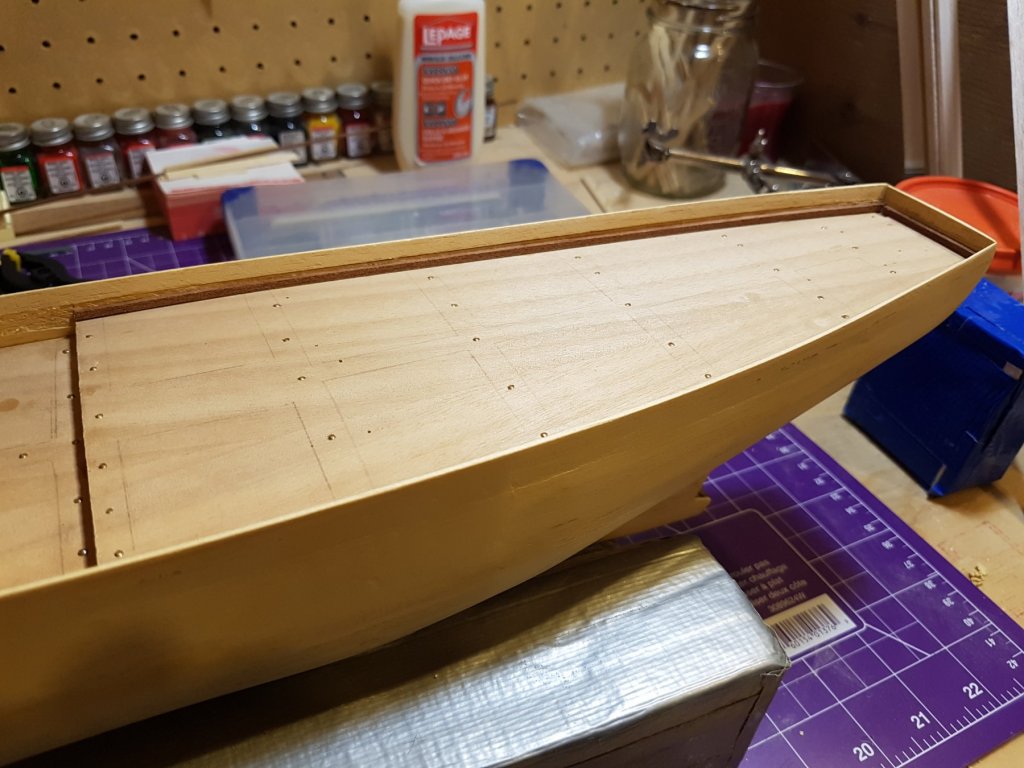
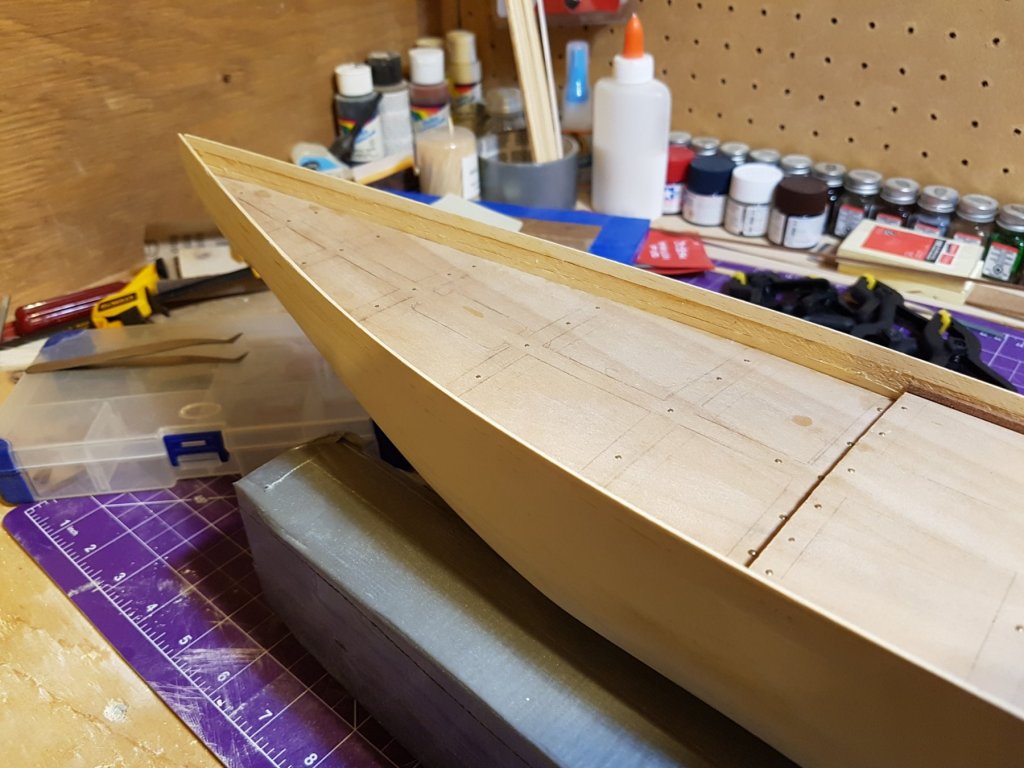
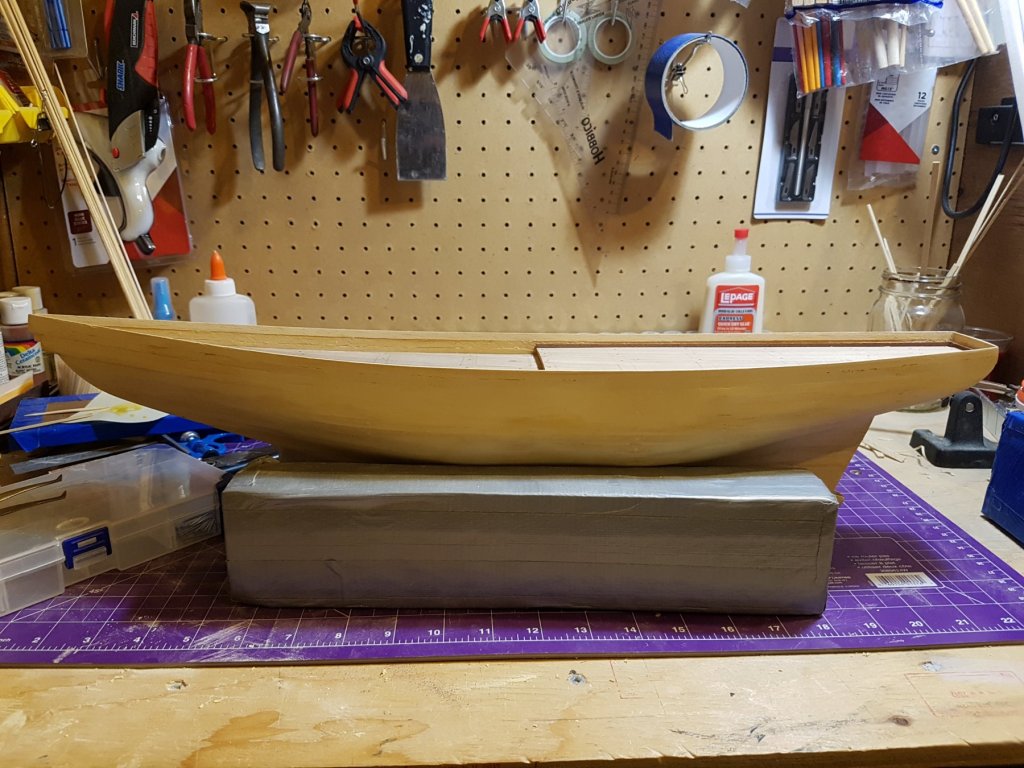
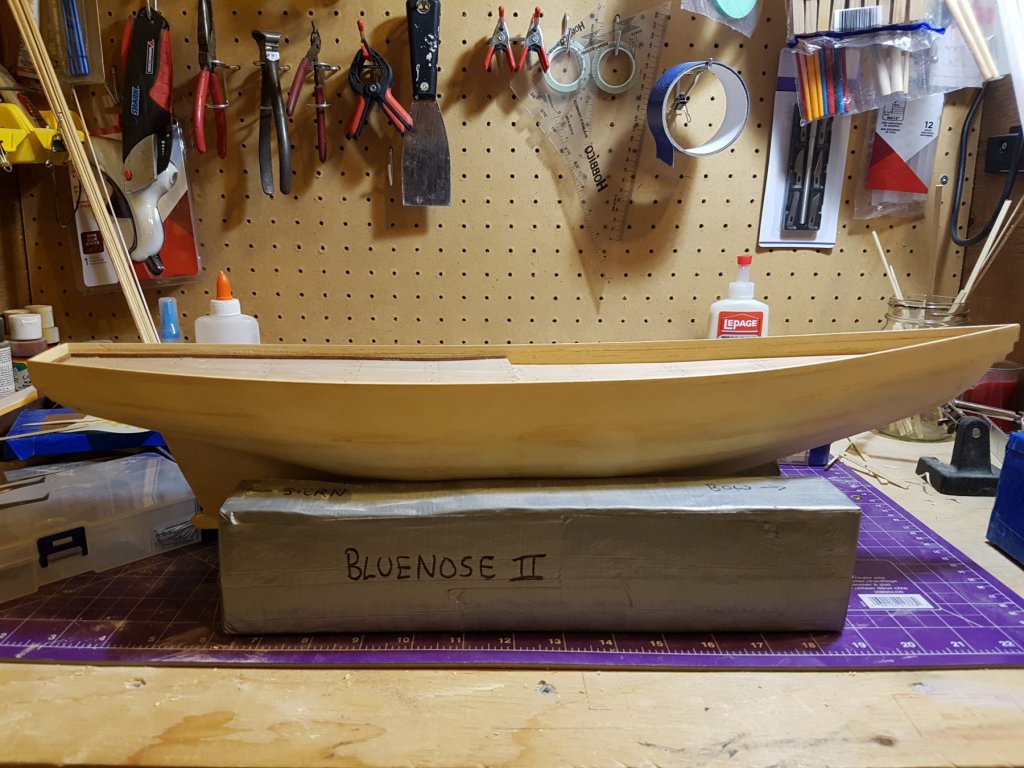
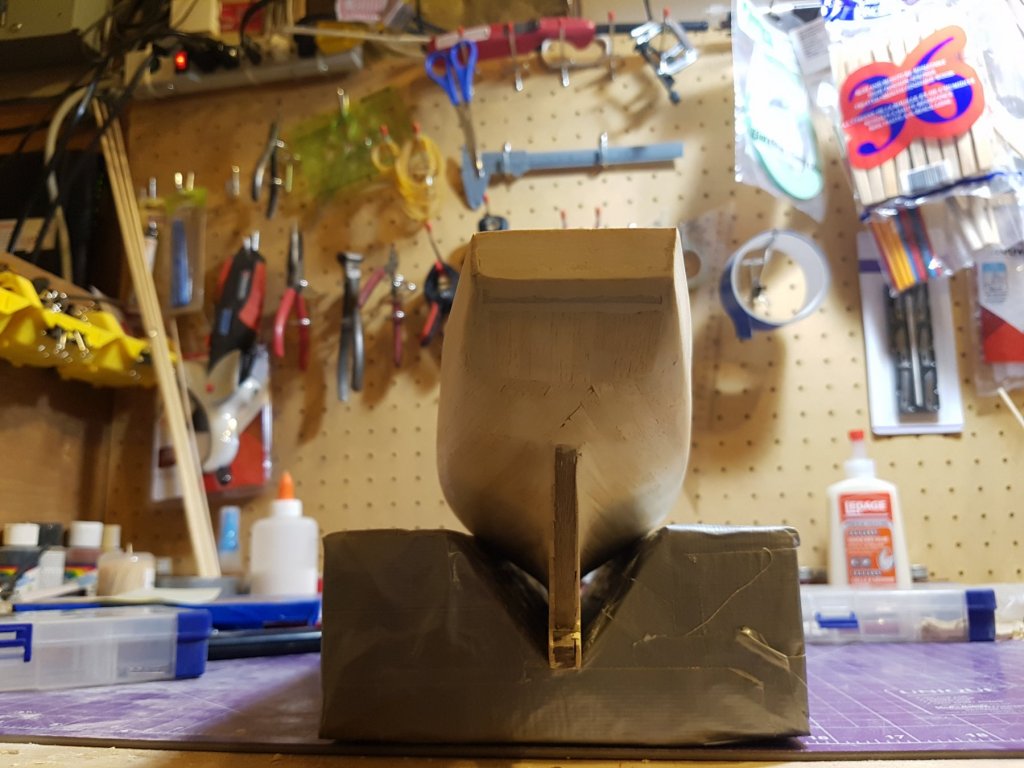
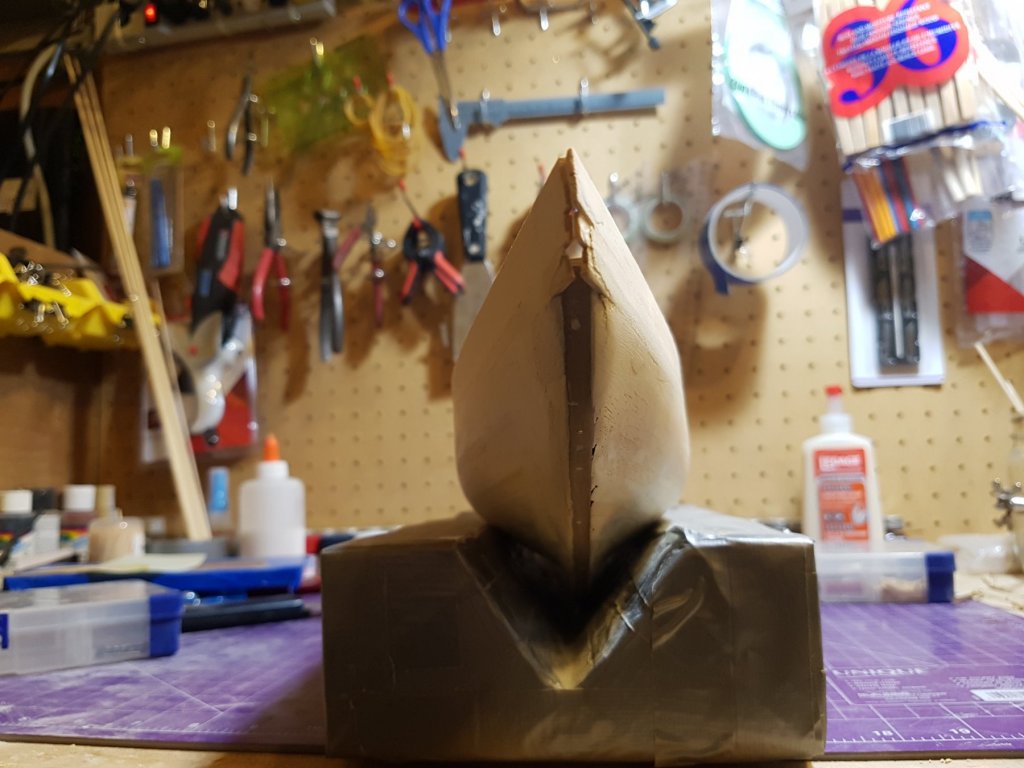
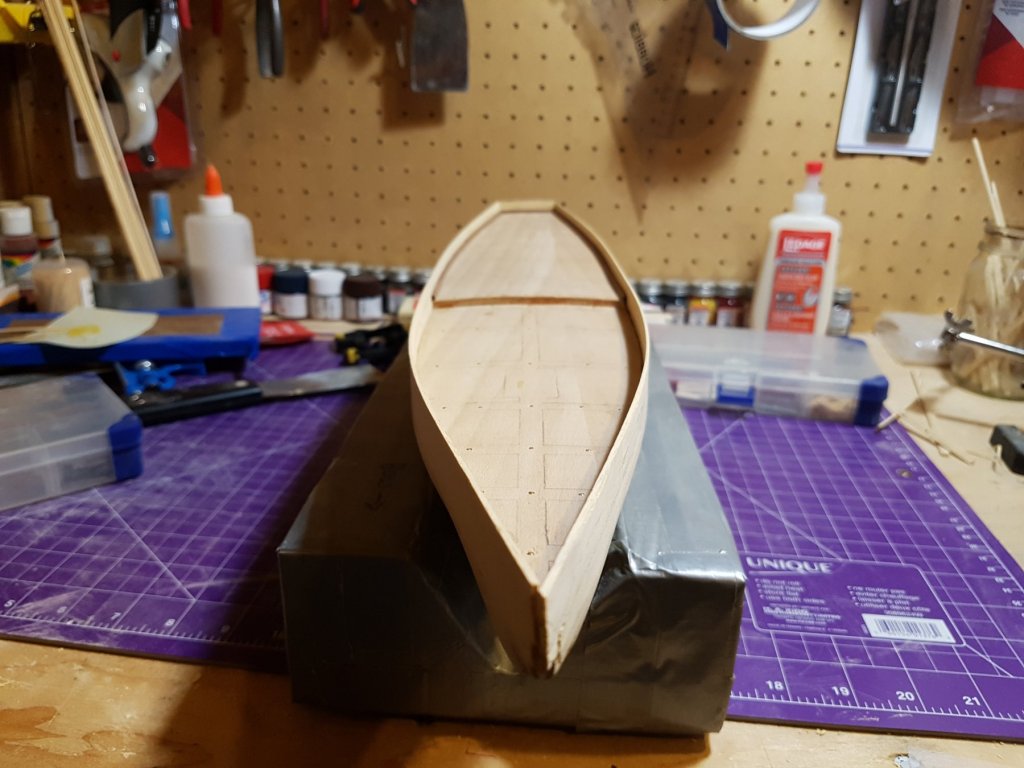
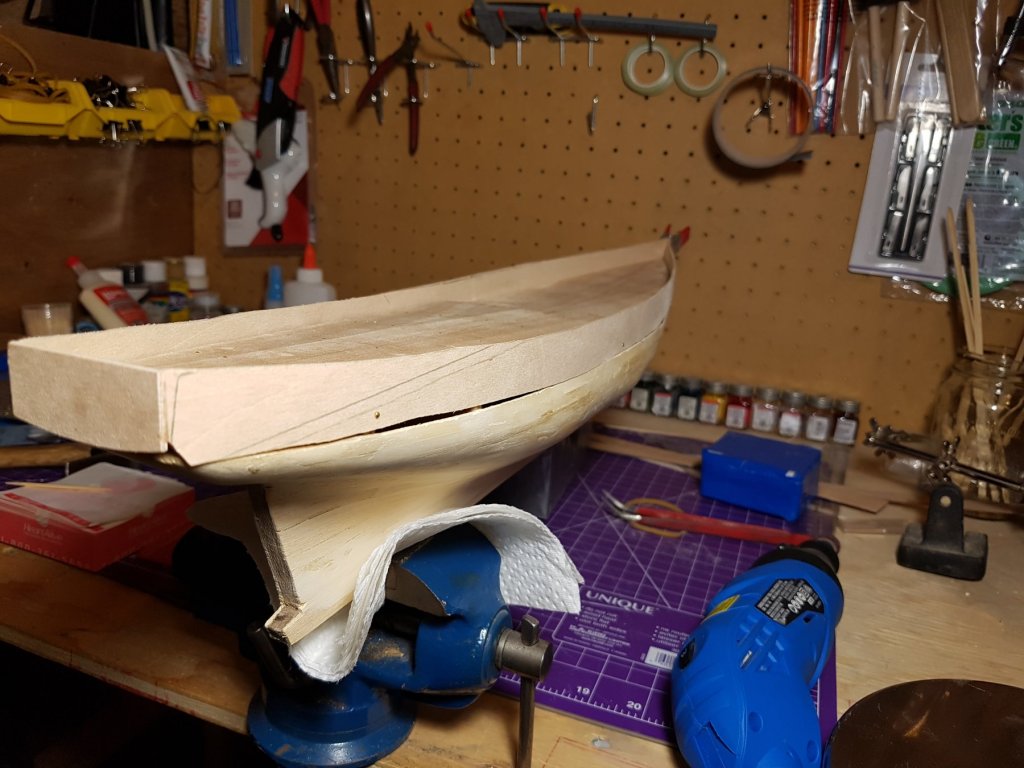
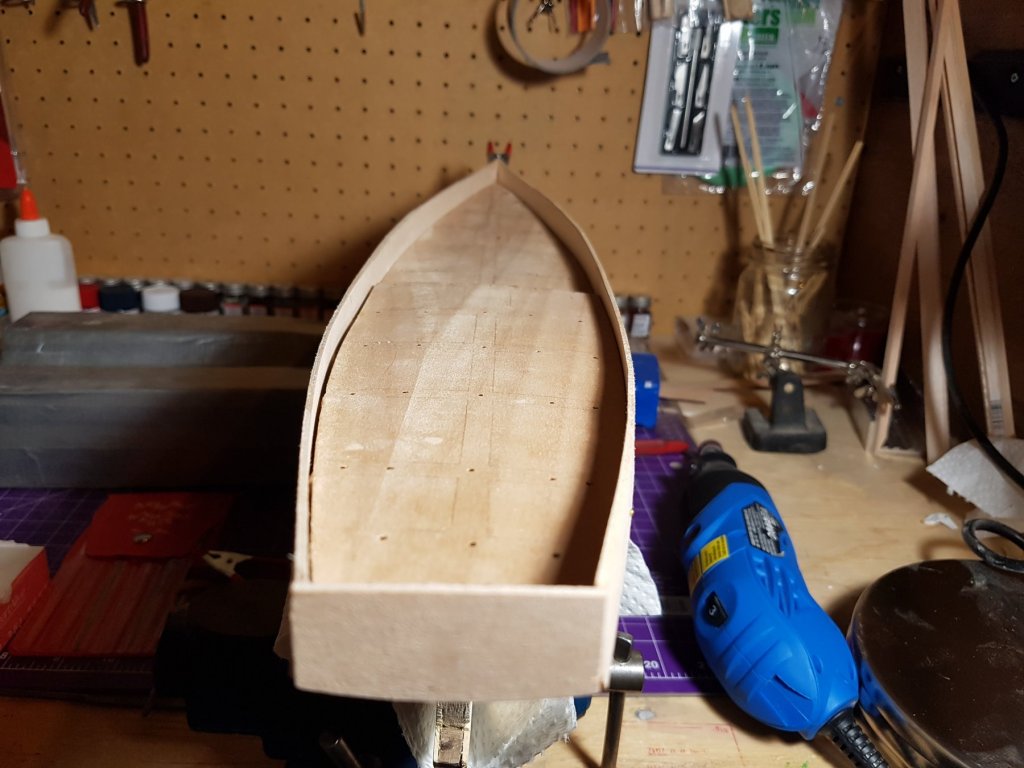
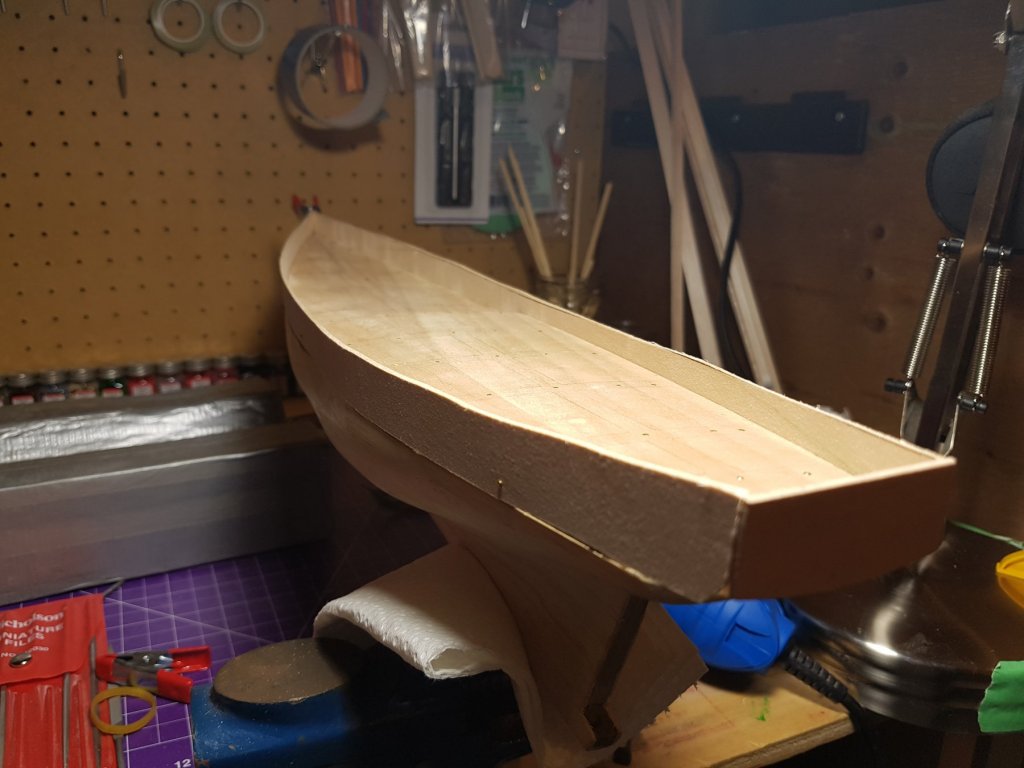
So I now have the bulwarks on the hull and I have started to install the water ways. Not sure if I'm going to continue with installing the deck boards or finish prepping the hull for paint.
- 14 replies
-
- bluenose ii
- artesania latina
-
(and 1 more)
Tagged with:
-

Do I Use Primer?
CKNavy posted a topic in Painting, finishing and weathering products and techniques
I'm getting very close to painting the hull of my wood ship. Some people say to use a sanding sealer first, and I have seen others just use primer to prep the hull. Does anyone have any tips or tricks they can share to prepare the hull for paint. Thanks, CK -
Do you have a close up picture of the finished bow section? Thanks, CK
- 21 replies
-
- bluenose ii
- artesania latina
-
(and 1 more)
Tagged with:
-
Nice work! I'm building this right now. I will definitely use some of your information for reference. CK
- 21 replies
-
- bluenose ii
- artesania latina
-
(and 1 more)
Tagged with:
-
Changed my mind. Did some more research, I'm going to back track a bit and make another attempt at the bulwarks. This time I'm going to make them out of the remaining deck planks that I have. I will post some pictures once I get started. CK
- 14 replies
-
- bluenose ii
- artesania latina
-
(and 1 more)
Tagged with:
-
- 14 replies
-
- bluenose ii
- artesania latina
-
(and 1 more)
Tagged with:
About us
Modelshipworld - Advancing Ship Modeling through Research
SSL Secured
Your security is important for us so this Website is SSL-Secured
NRG Mailing Address
Nautical Research Guild
237 South Lincoln Street
Westmont IL, 60559-1917
Model Ship World ® and the MSW logo are Registered Trademarks, and belong to the Nautical Research Guild (United States Patent and Trademark Office: No. 6,929,264 & No. 6,929,274, registered Dec. 20, 2022)
Helpful Links
About the NRG
If you enjoy building ship models that are historically accurate as well as beautiful, then The Nautical Research Guild (NRG) is just right for you.
The Guild is a non-profit educational organization whose mission is to “Advance Ship Modeling Through Research”. We provide support to our members in their efforts to raise the quality of their model ships.
The Nautical Research Guild has published our world-renowned quarterly magazine, The Nautical Research Journal, since 1955. The pages of the Journal are full of articles by accomplished ship modelers who show you how they create those exquisite details on their models, and by maritime historians who show you the correct details to build. The Journal is available in both print and digital editions. Go to the NRG web site (www.thenrg.org) to download a complimentary digital copy of the Journal. The NRG also publishes plan sets, books and compilations of back issues of the Journal and the former Ships in Scale and Model Ship Builder magazines.


