-
Posts
126 -
Joined
-
Last visited
Content Type
Profiles
Forums
Gallery
Events
Everything posted by M. Pajulahti
-
Glenn, I really like this ship, looking very good and you've built her very well. Markku
- 101 replies
-
- L Toile
- Billing Boats
-
(and 1 more)
Tagged with:
-
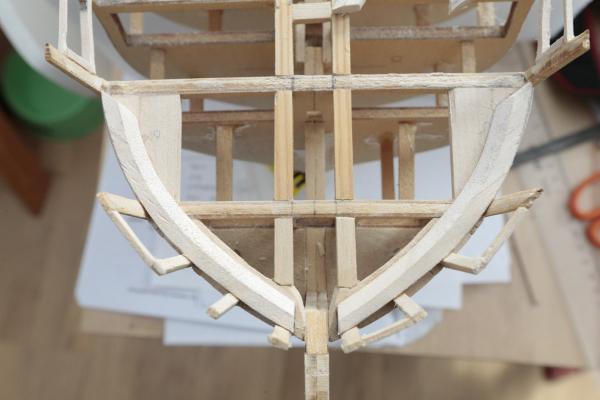
Hey K, When you laid your frame parts on the plans, did you turned them around also? I did with mine, and they were nonsymmetrical. Just for a tip, if you really want to make sure your ships other side will not be larger than other side. I have some photos about that problem in my Constitution topic. Meaning there is a mistake in the plans and that way you can check that out. Good luck with your build. Markku
-
Thank you Steve. Well, there should be more curved on the stern. On the plans it's pretty curved under the main rail. And comparing to lasercut topgallant rail -part, which is a lot more curved, but nothing I can do about it anymore. Other thing what i've been thinking is those bulwarks in the midship. On plans they are solid, but in the real ship they are removed, which seems to be common way to do it in models. As i am building this in current (after 1870) version, maybe i should remove those also? Markku
-
I've built that few years ago, it was my first wooden kit also and that was excellent choise for a first timer; Mare Nostrum is easy enough and there is many different things that allow great learning what becomes working with wood and metal fittings. Good luck with your build. Markku
- 134 replies
-
- artesania latina
- mare nostrum
-
(and 1 more)
Tagged with:
-
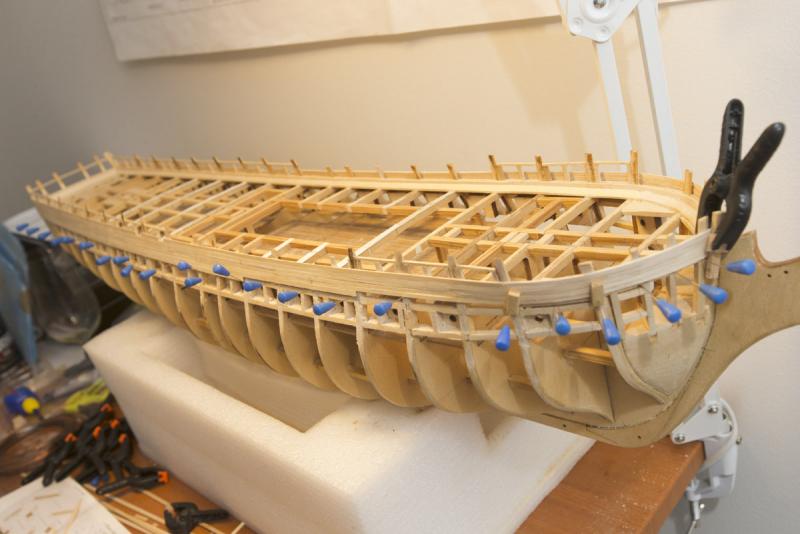
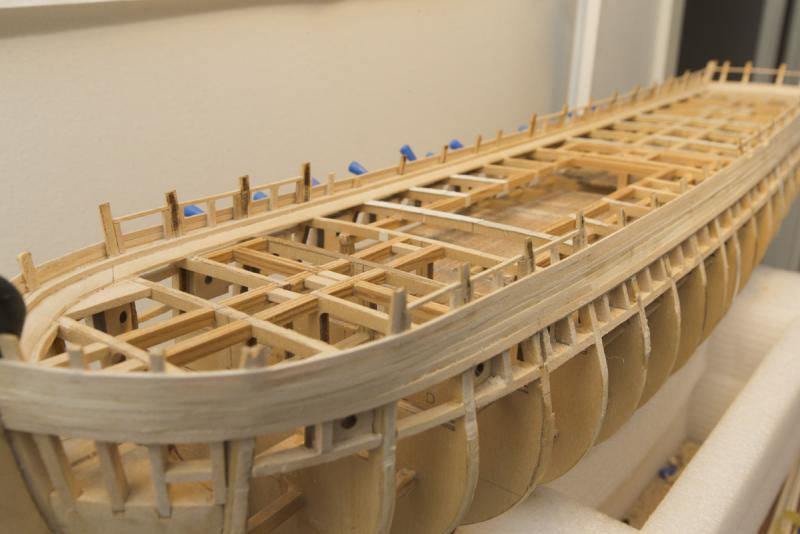
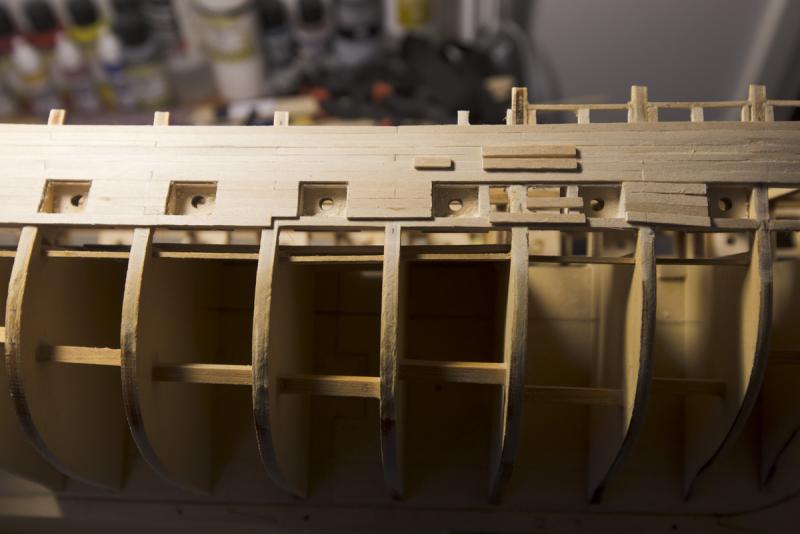
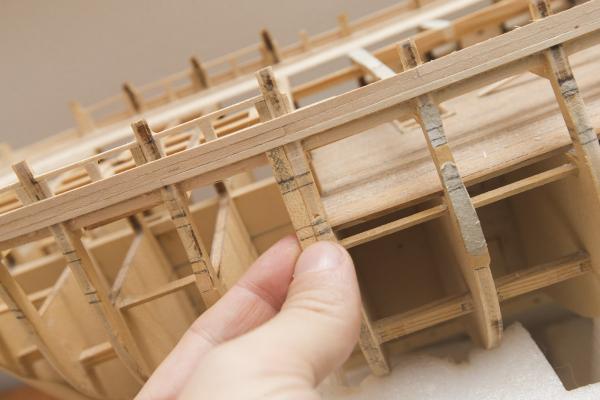
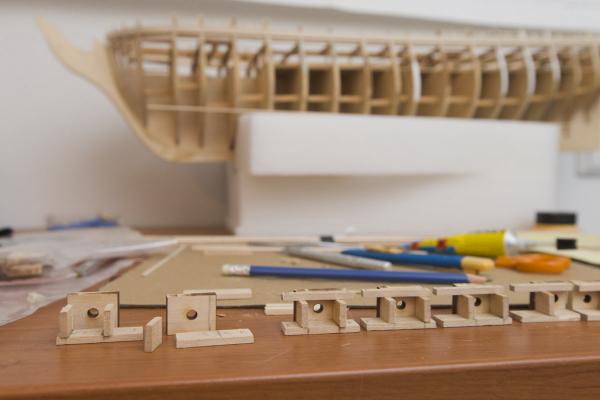
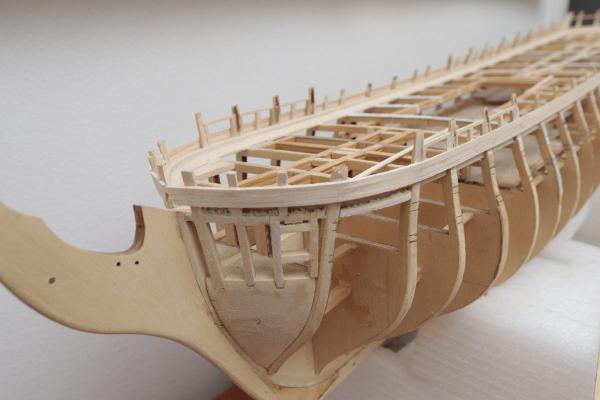
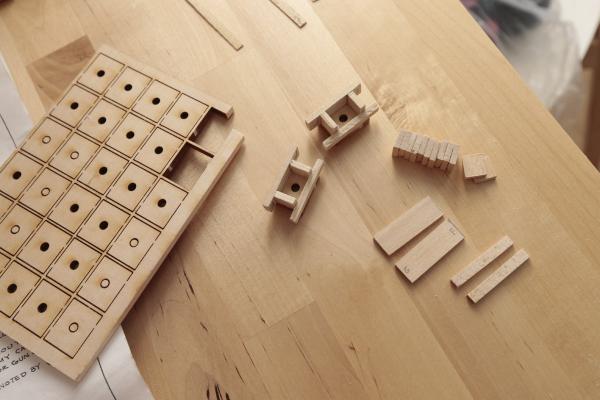
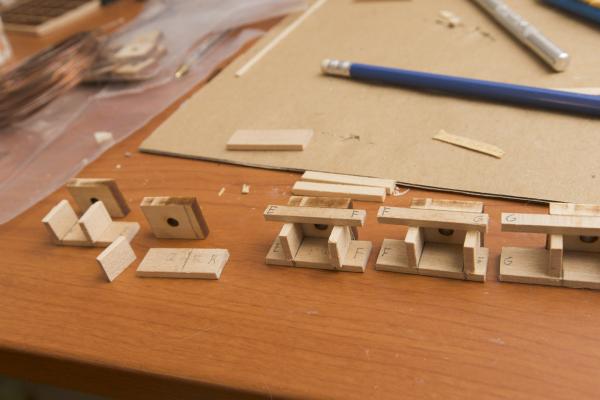
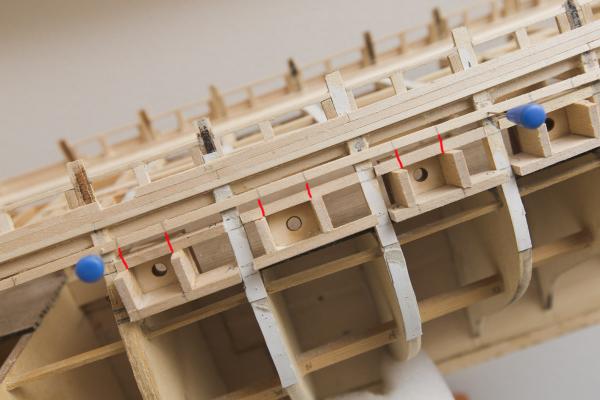
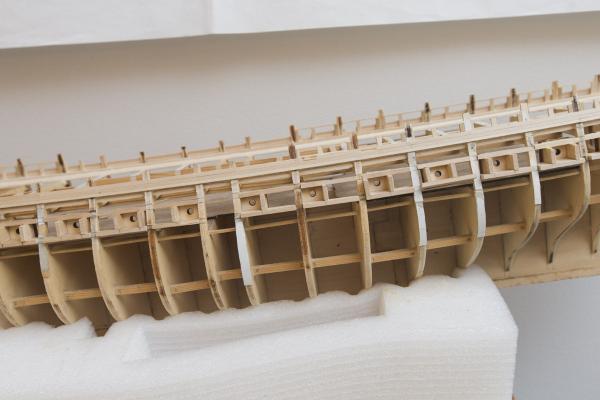
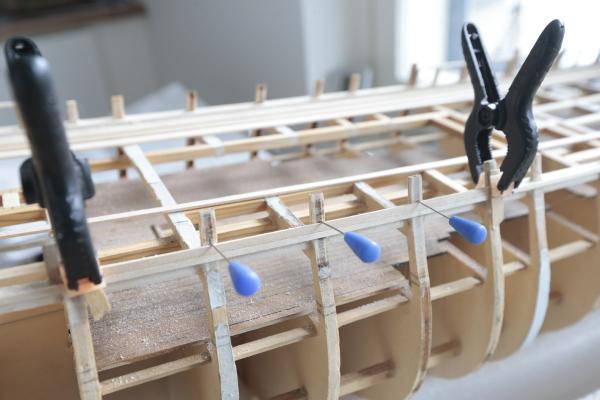
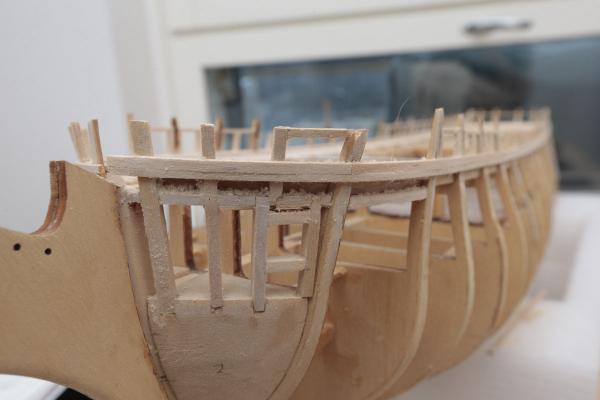
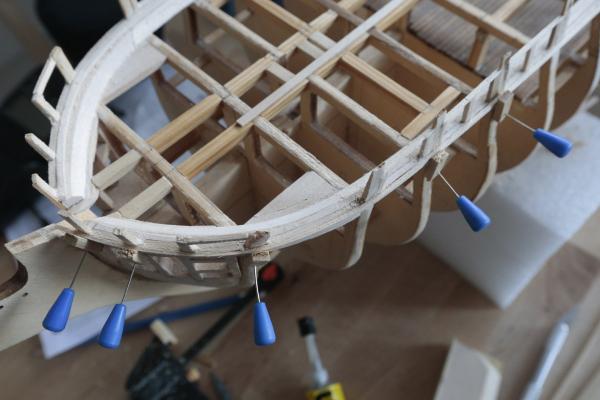
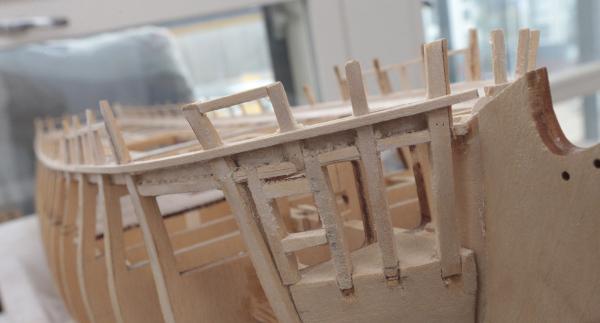
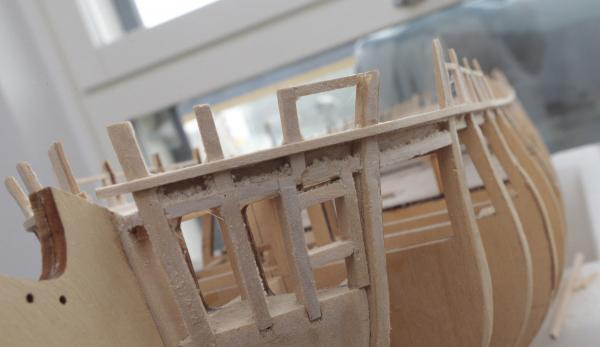
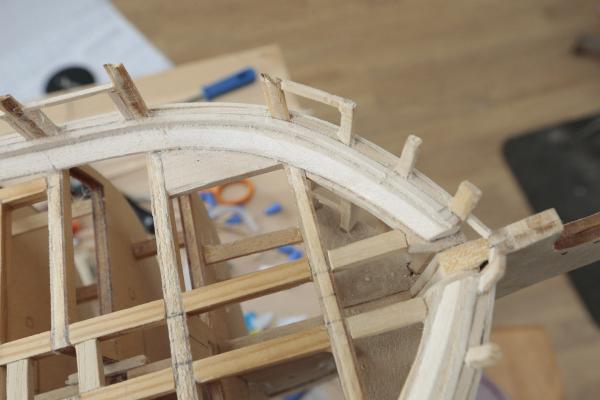
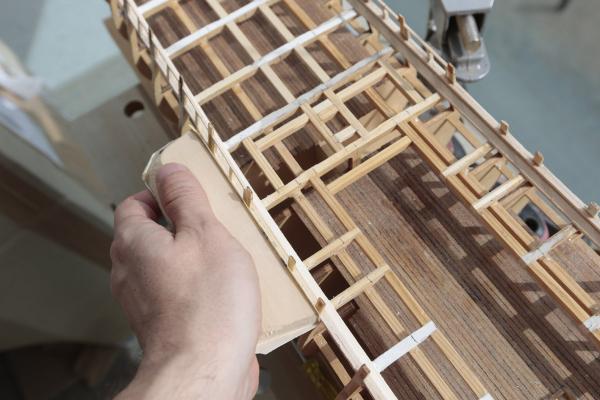
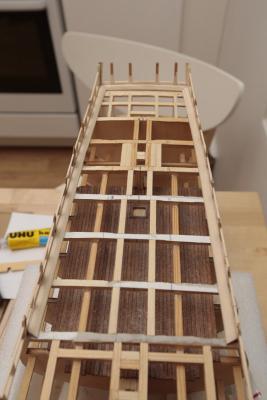
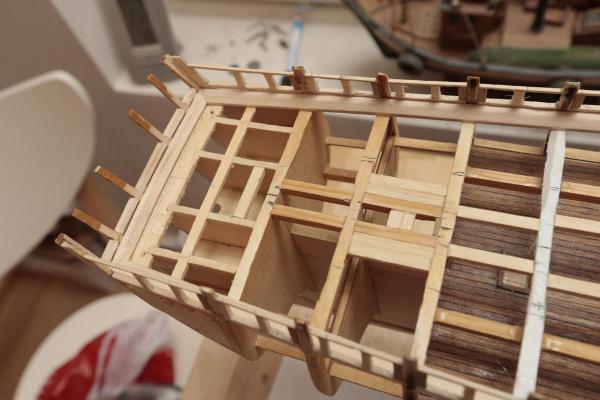
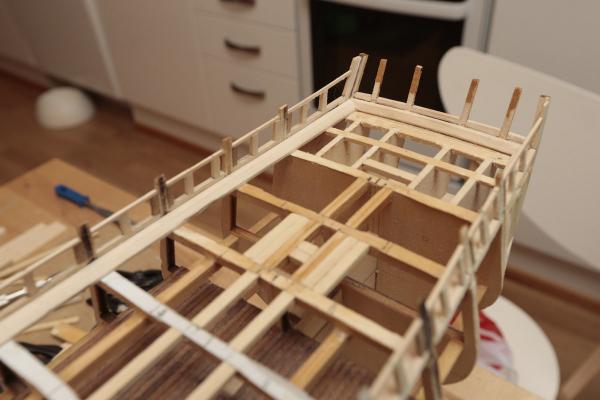
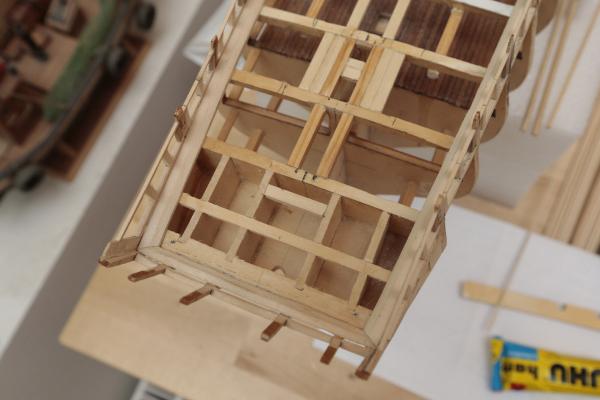
It's been a while from my last post, so it's time to continue this build again. I've added the outside planksheer and 2 ceiling planks above it. And now it's time to start making the gunboxes! Here we go... After adding the outside planksheer strip, it's very easy to find out the right position for gunboxes. I used one strip to transfer the marks: And same here. This is how I know the distance of gunports goes right: Nice row of gunboxes there already. Not glued yet. Markku
-
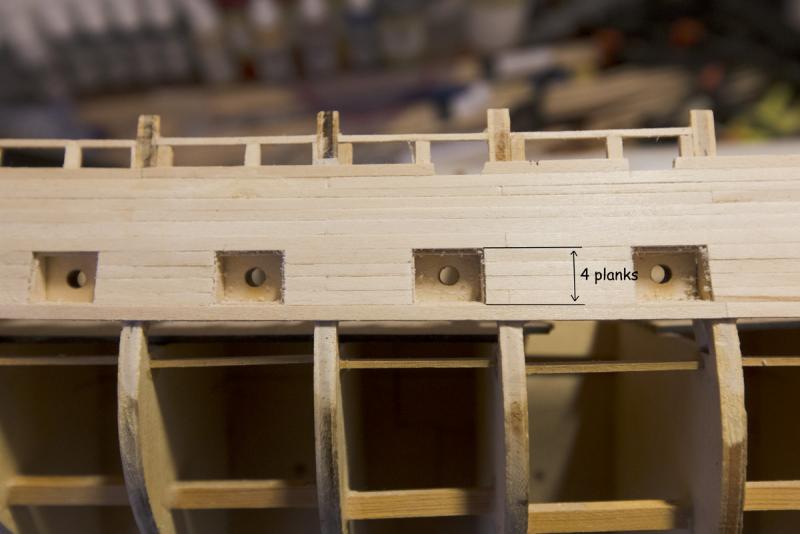
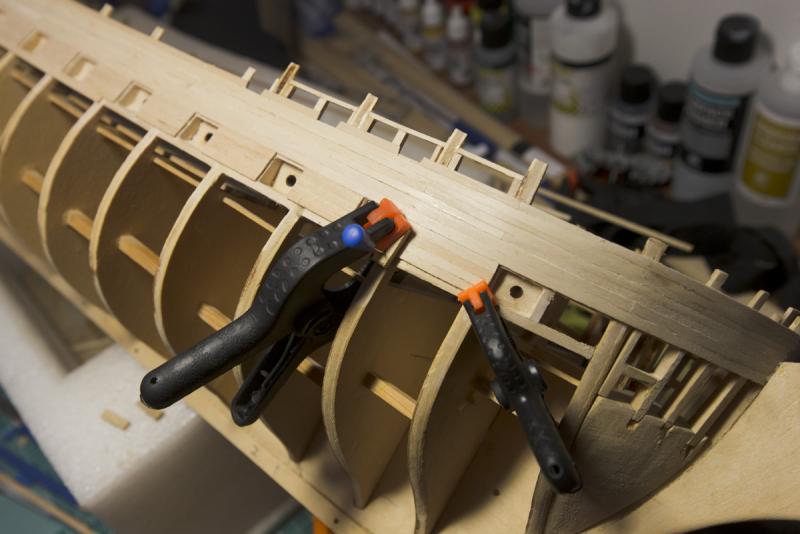
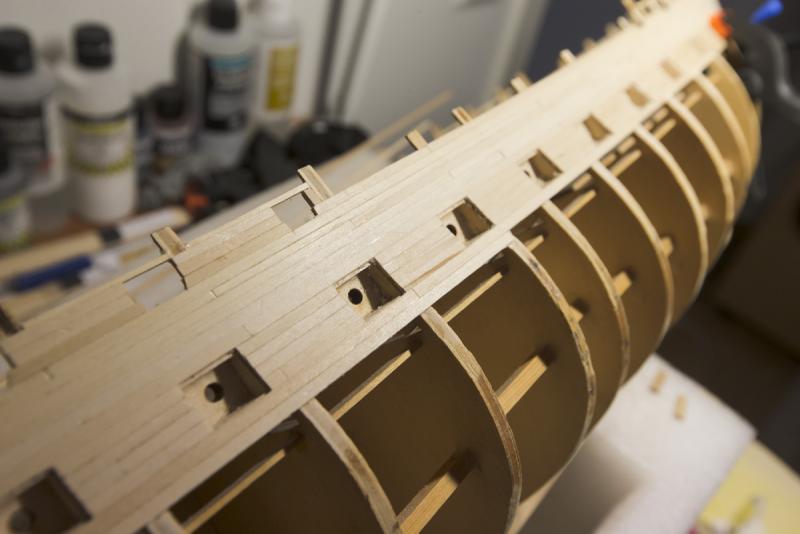
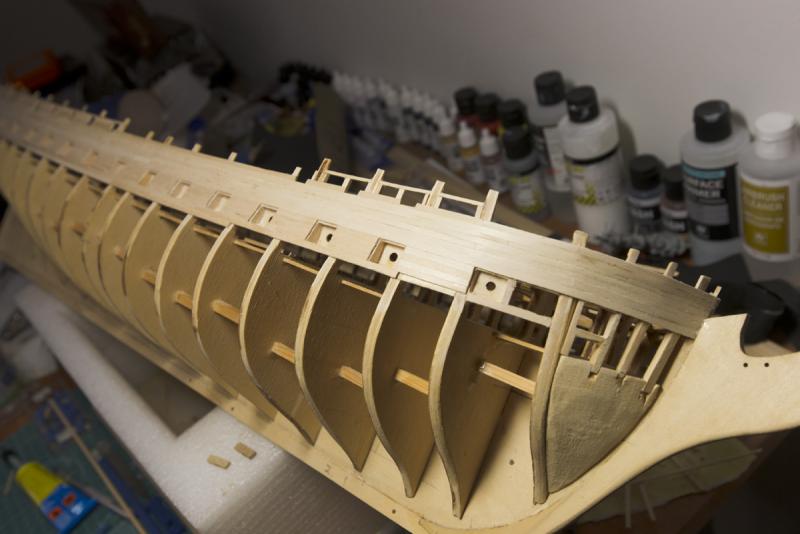
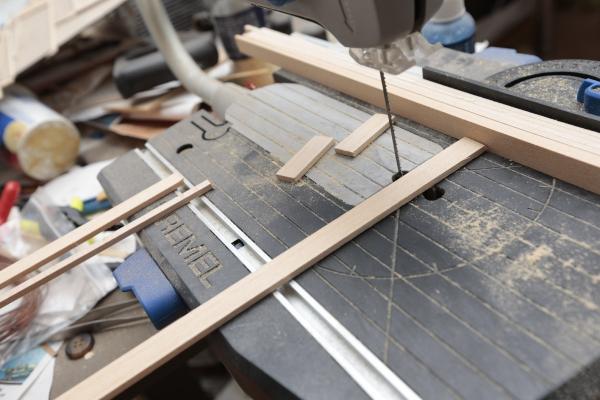
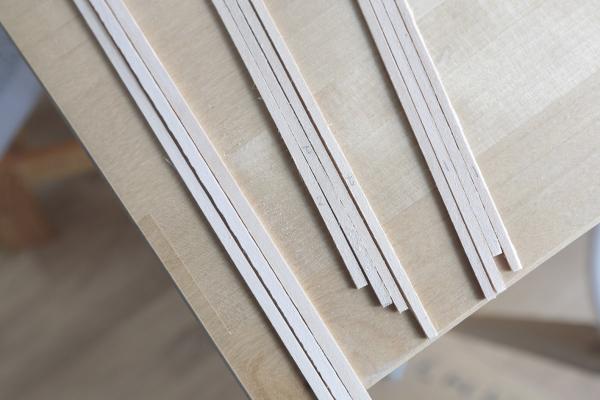
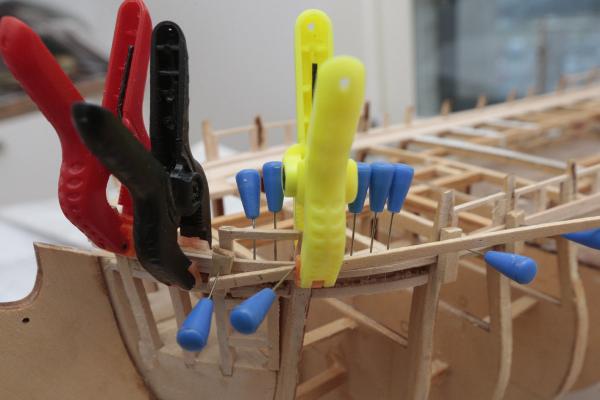
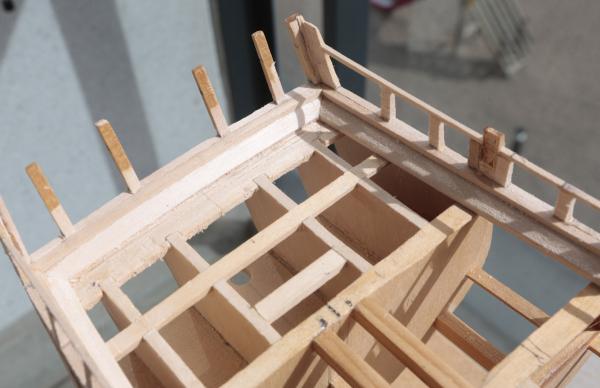
So I found out the bulwark planks are supposed to be 3/64" x 1/8" based on directions, but in reality they are too wide to fill the height of gun ports, where should be 4 planks: So to get the real dimensions, those planks need to be tapered thinner, like this, original ones on the left: Now my 4 planks fill the height of gun ports. And here we go, first planks: End result in bow: Markku
-
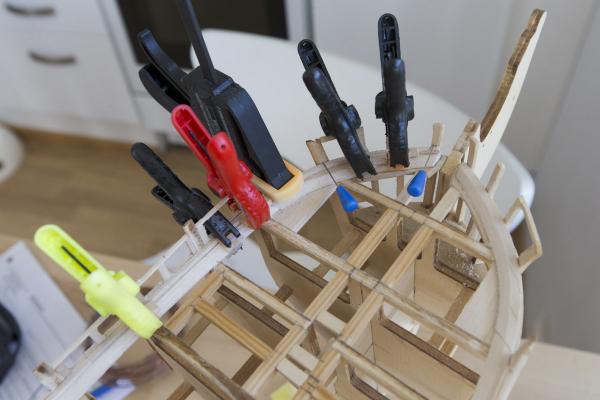
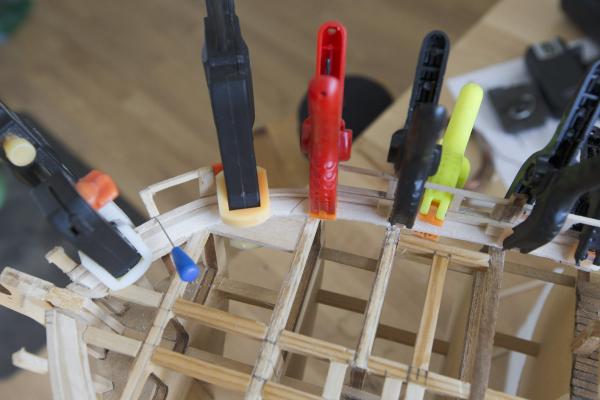
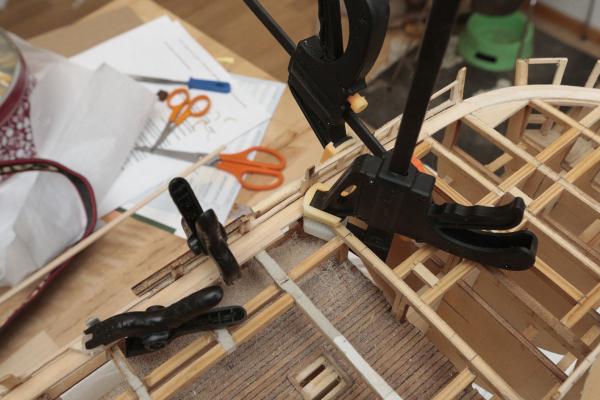
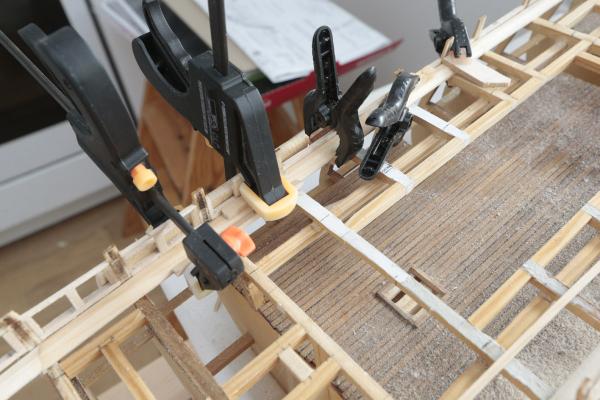
Last parts of waterways and done! I wonder did I glued them a bit too tight, because there really was a tight fit and needed to press them in place with power, but on the other hand I soaked them in hot water before glueing and I hope they sit in place well enough. There is also some little corrections I still need to do, but there they are, my waterways ready in place, finally! Markku
-
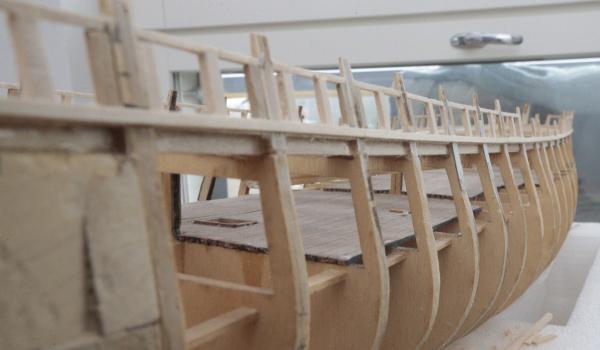
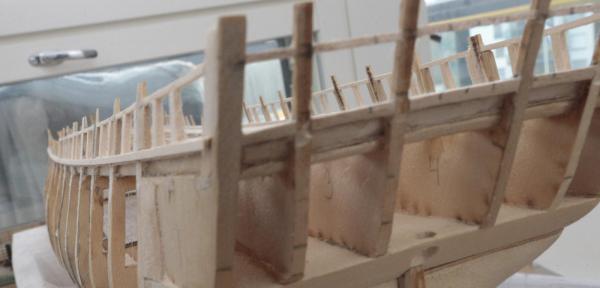
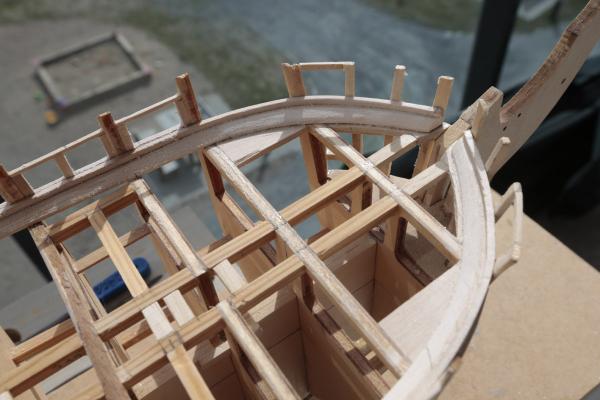
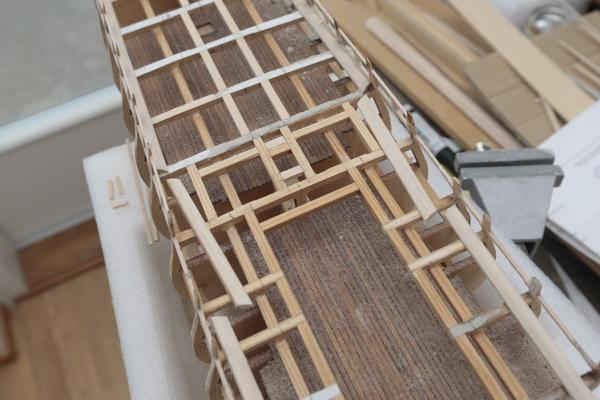
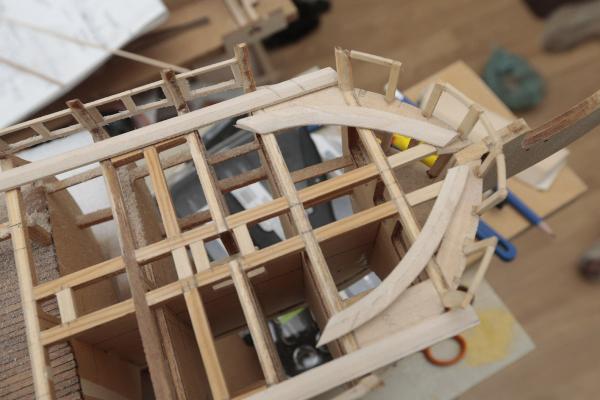
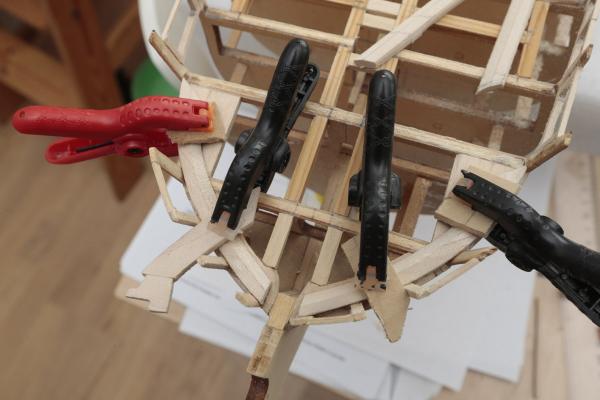
Wow, building this ship is the hardest work what I've done for a long time. Oh gosh how much it took sweating to glue these waterways and correct bulwark angles, but IT WORKED. Now I have waterways in stern area and my bulwarks are OK enough so I can be happy with this result. I'm doing the waterways in 9 parts so these are the first 3. Stern part was very tricky one, since it's not straight in any direction. There is a curve along the deck plus slight curve along the stern. Markku
-
Interesting idea to make the rivets! End result looks good. Markku
- 1,348 replies
-
- constitution
- model shipways
-
(and 1 more)
Tagged with:
About us
Modelshipworld - Advancing Ship Modeling through Research
SSL Secured
Your security is important for us so this Website is SSL-Secured
NRG Mailing Address
Nautical Research Guild
237 South Lincoln Street
Westmont IL, 60559-1917
Model Ship World ® and the MSW logo are Registered Trademarks, and belong to the Nautical Research Guild (United States Patent and Trademark Office: No. 6,929,264 & No. 6,929,274, registered Dec. 20, 2022)
Helpful Links
About the NRG
If you enjoy building ship models that are historically accurate as well as beautiful, then The Nautical Research Guild (NRG) is just right for you.
The Guild is a non-profit educational organization whose mission is to “Advance Ship Modeling Through Research”. We provide support to our members in their efforts to raise the quality of their model ships.
The Nautical Research Guild has published our world-renowned quarterly magazine, The Nautical Research Journal, since 1955. The pages of the Journal are full of articles by accomplished ship modelers who show you how they create those exquisite details on their models, and by maritime historians who show you the correct details to build. The Journal is available in both print and digital editions. Go to the NRG web site (www.thenrg.org) to download a complimentary digital copy of the Journal. The NRG also publishes plan sets, books and compilations of back issues of the Journal and the former Ships in Scale and Model Ship Builder magazines.


