


rafine
-
Posts
2,932 -
Joined
-
Last visited
Content Type
Profiles
Forums
Gallery
Events
Posts posted by rafine
-
-
Thanks so much Dave, David and the "likes".
Bob
- popeye the sailor, Canute, Zapto and 1 other
-
 4
4
-
Thanks so much Martin and the "likes".Martin, I'm feeling somewhat better, but it's still affecting my modeling.
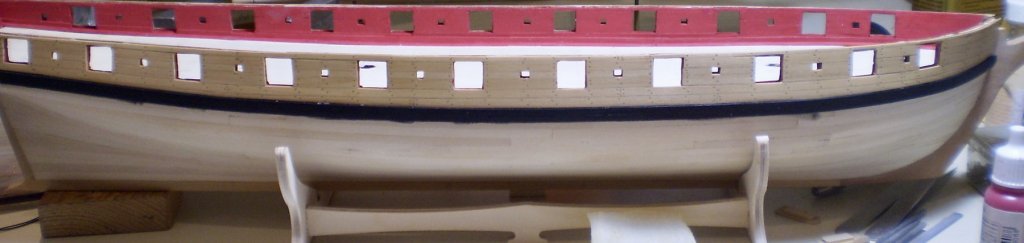
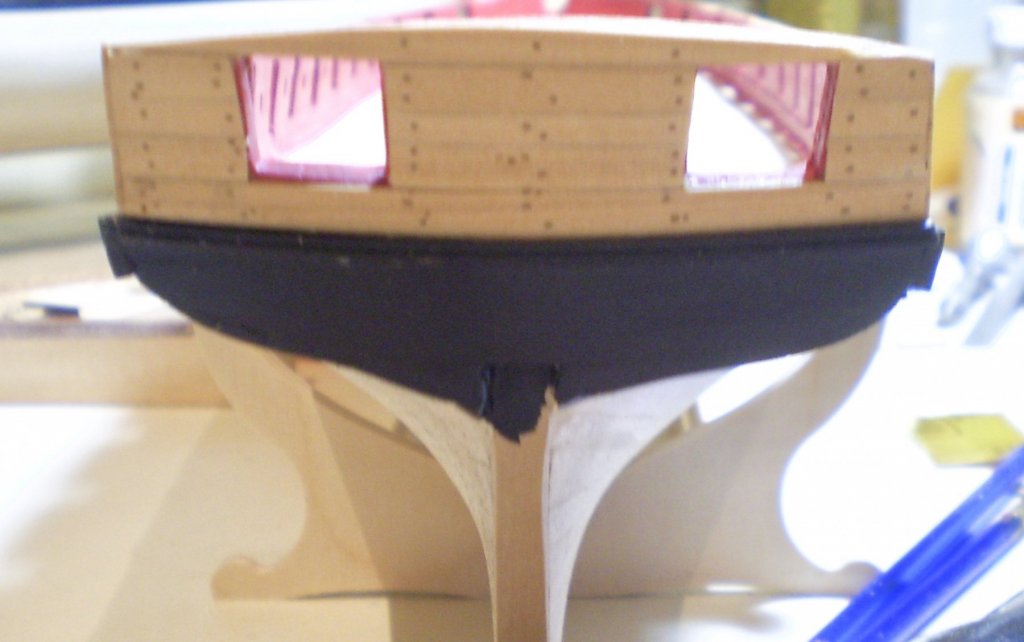
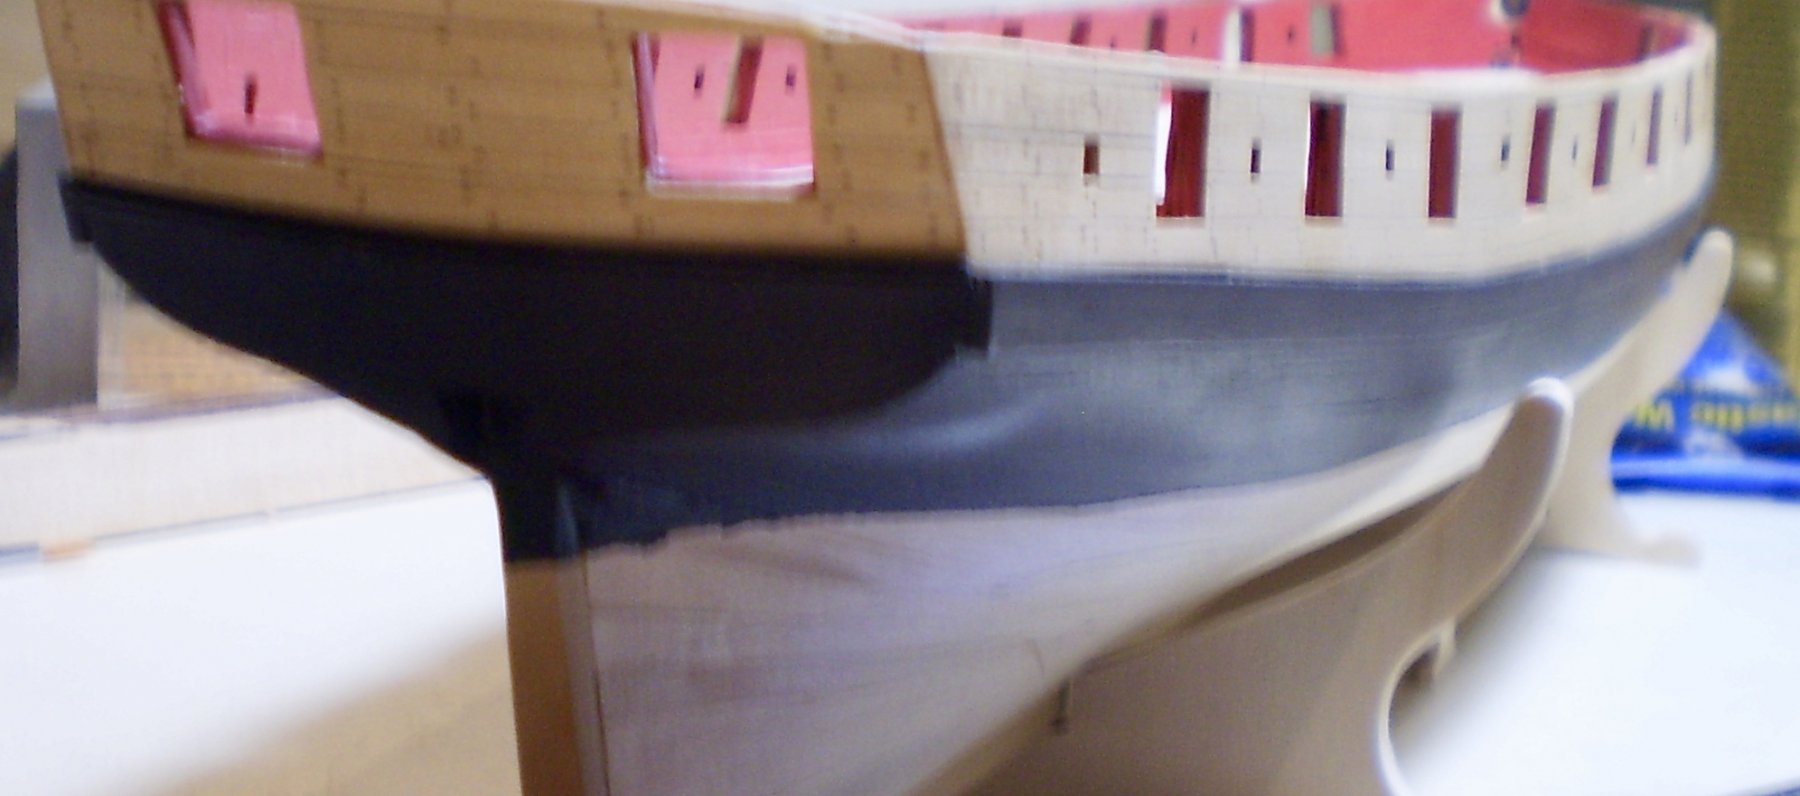
A couple of things accomplished. First, I added the wales. These were done with 1/16"x 1/8" boxwood strips. Although the instructions call for single strips of 1/16"x 1/4" on each side, I went to two strips to make bending and fitting easier. Scale length pieces were used for the same reason. The upper edge of the top strip was painted black before mounting to ease masking and painting. After the wales were mounted and painted, I then painted the area between the wales and the waterline black, as well.I got a little sloppy at the waterline, but that should be no problem ,since the copper will sharply define that line. Modelmaster acrylic engine black was used for all of the painting.
Bob

-
Thanks so much Denis and the "likes".
Bob
- Canute, popeye the sailor, egkb and 2 others
-
5
-
Ken, they look great. The only problem may be their size. They appear to be too large.
Bob
-
Thanks so much Joshua.I've been thinking about carronades. Since my intention is to mount them on sleds, rather than carriages, the kit guns will require extensive modification. Replacement may be easier. I appreciate your offer and would be interested to see what you come up with.
Bob
-
Thanks so much Jim and Zappto and the "likes". Greatly appreciated.
Bob
-
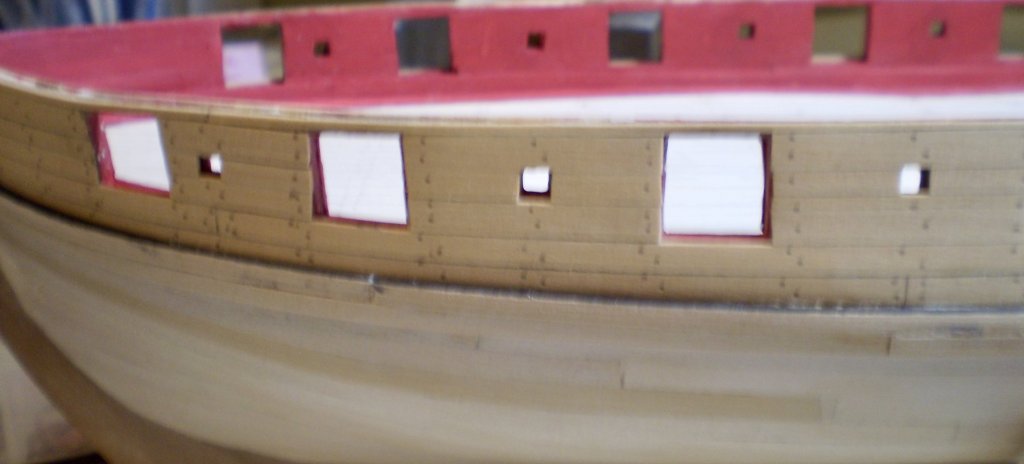
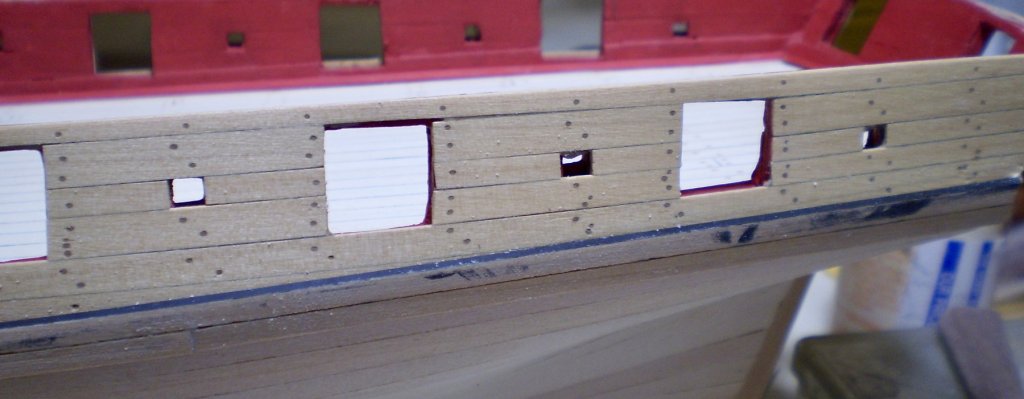
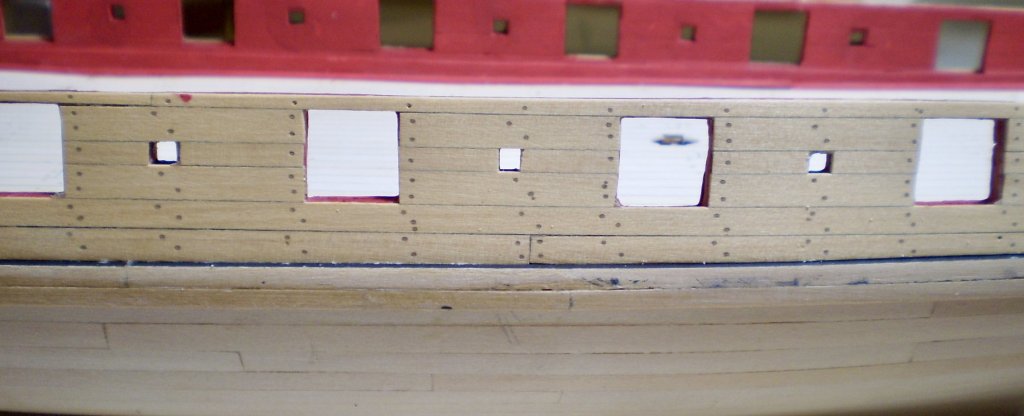
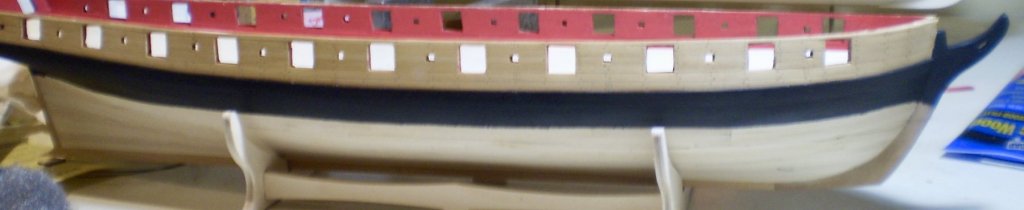
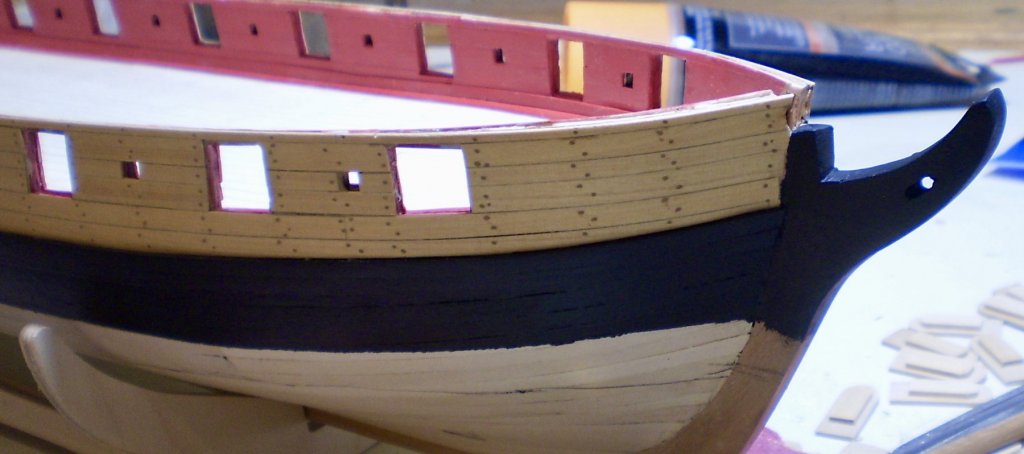
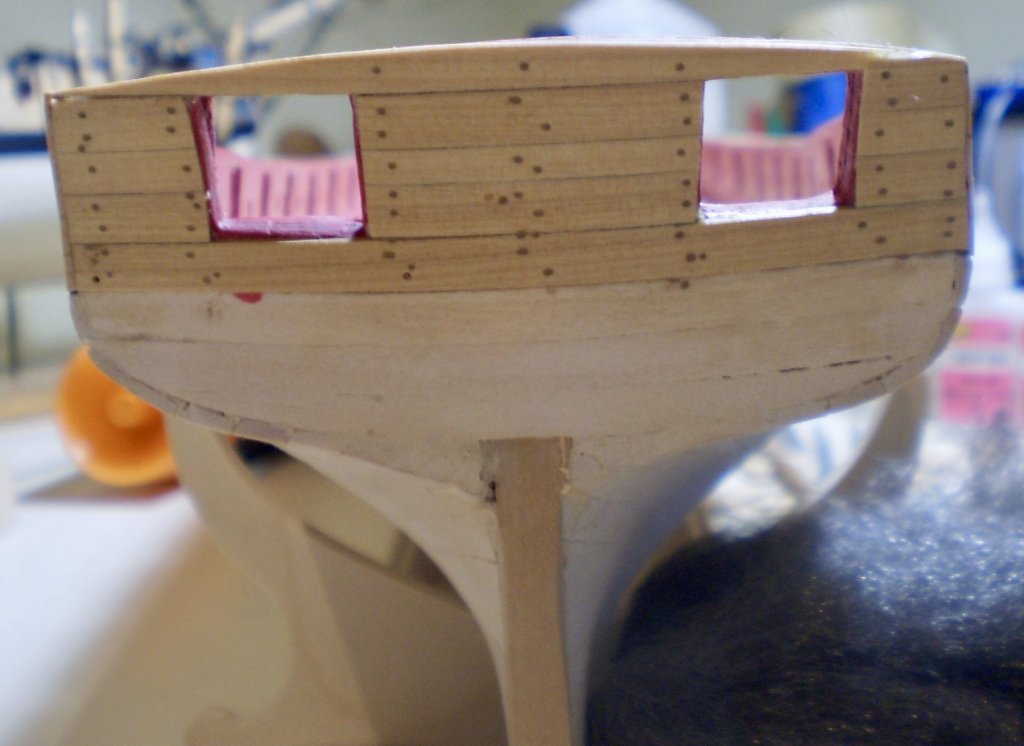
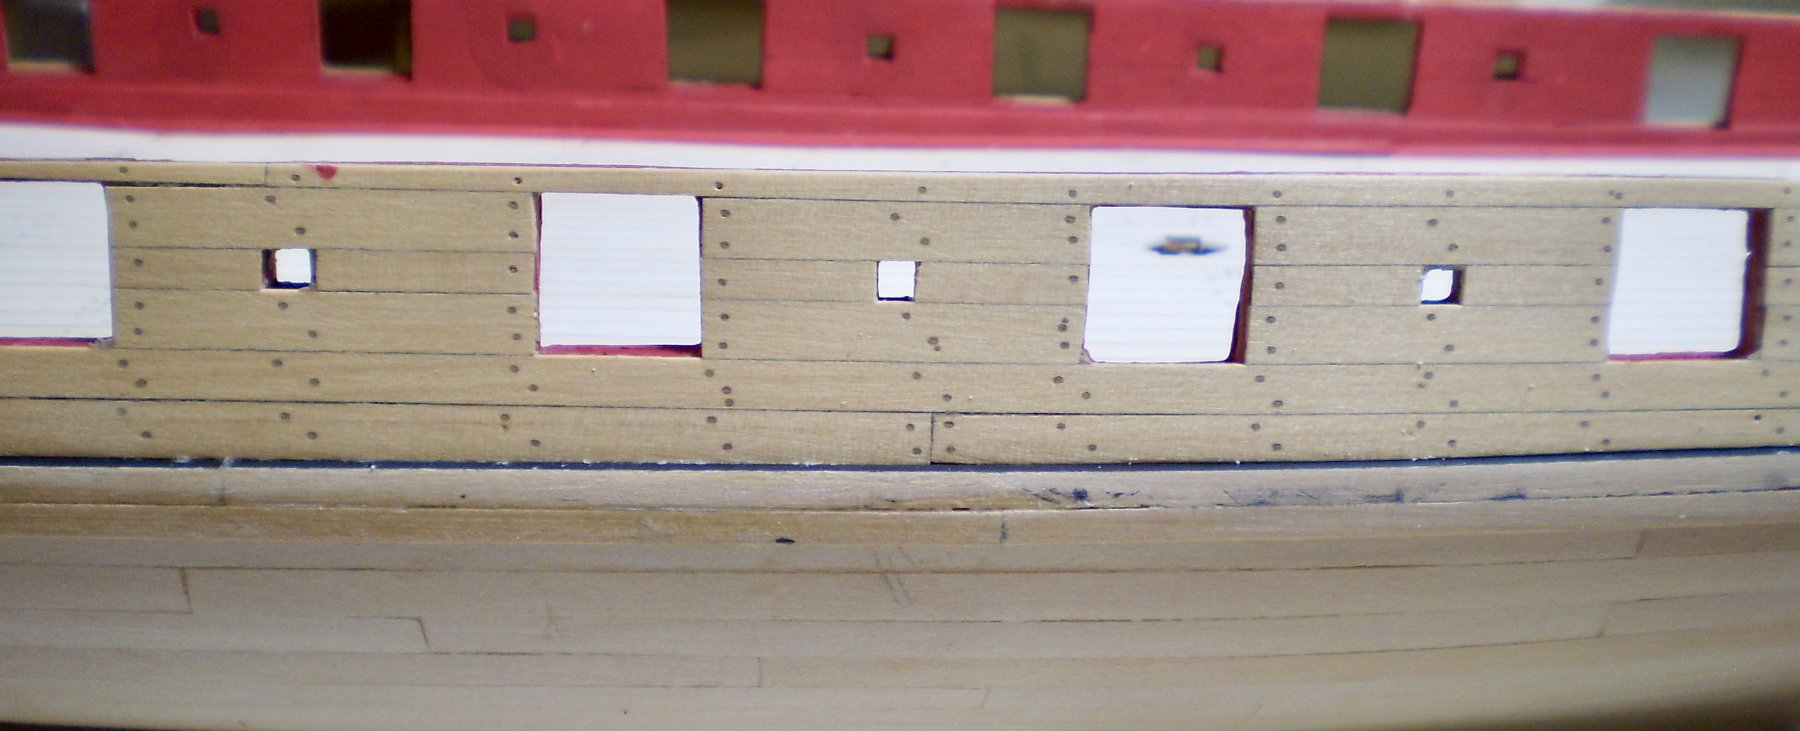
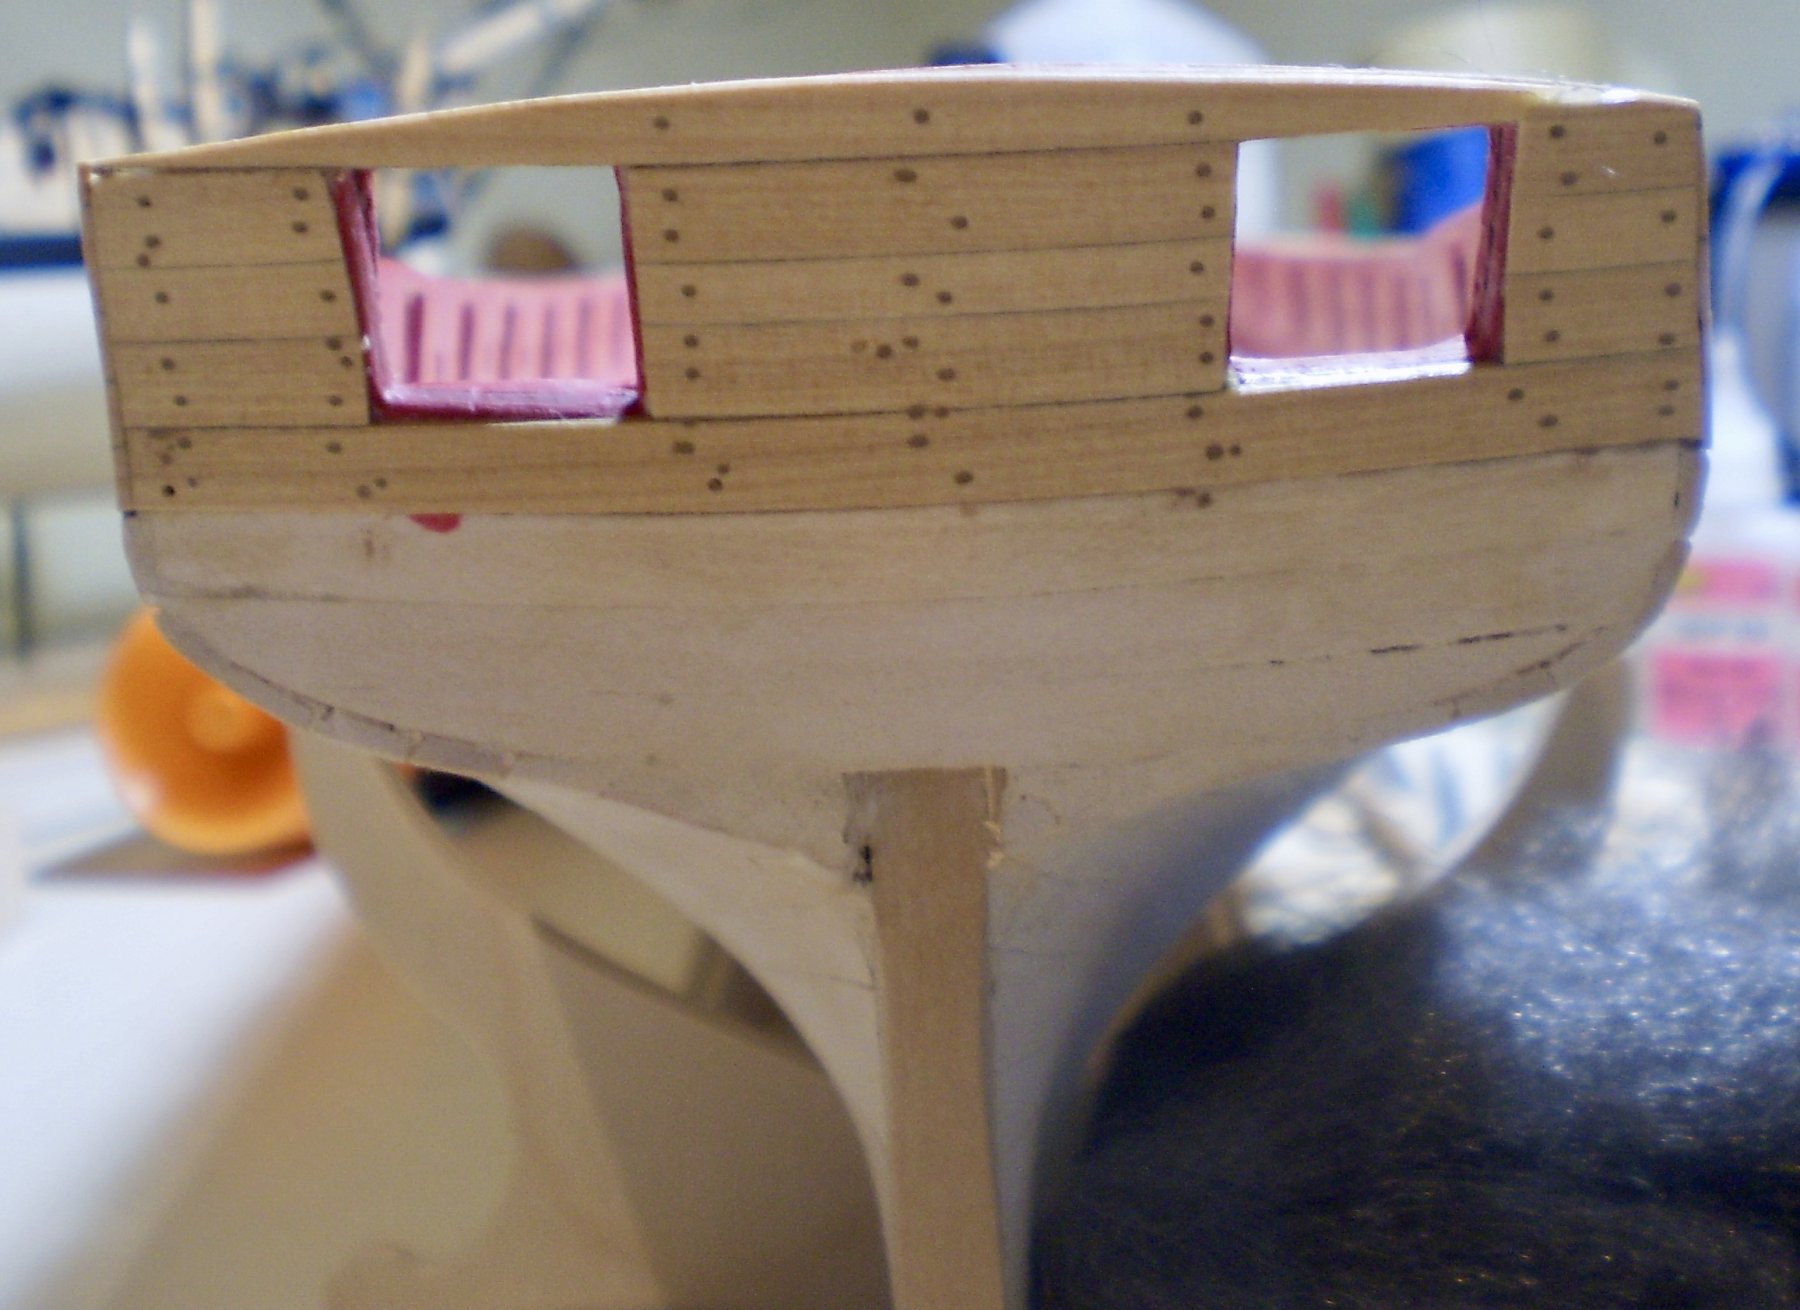
I've now done the upper hull planking. This is all of the planking above the wales.This was done with boxwood strip from the reopened Crown Timberyard. .Just as good as before. Fitting between the gunports and around the sweep ports was a pain, but not that difficult. After an initial sanding, I aded treenails by drlll and fill, using #75 holes and walnut filler. I'm not all that happy with the results, but in my current circumstances, I have no reason to believe that it would come out better if I did it all over again
 The final step was to finish with Wipe-on Poly.
Bob


-
-
-
I see that there will be no dust gathering on your bench Denis. You're off and running again.
Bob
- Omega1234, Piet, thibaultron and 4 others
-
7
-
Coming along beautifully OC.
Bob
-
Thanks so much Zappto and the "likes". Yes, Zappto, I use pencil on one side and one end of each plank.
Bob
- russ, Martin W, popeye the sailor and 2 others
-
5
-
Thanks so much Denis, thomas and OC for the kind comment, good wishes and votes of confidence, and thanks also to the "likes". I'm hoping to be doing better soon, both in my health and my modeling.Thanks again for the encouragement.
Bob
- KenW, Gahm, Old Collingwood and 10 others
-
13
-
Very well done on the hull planking Mike.
Bob
-
She's coming along beautifully Mark. Really nice work .
Bob
-
-
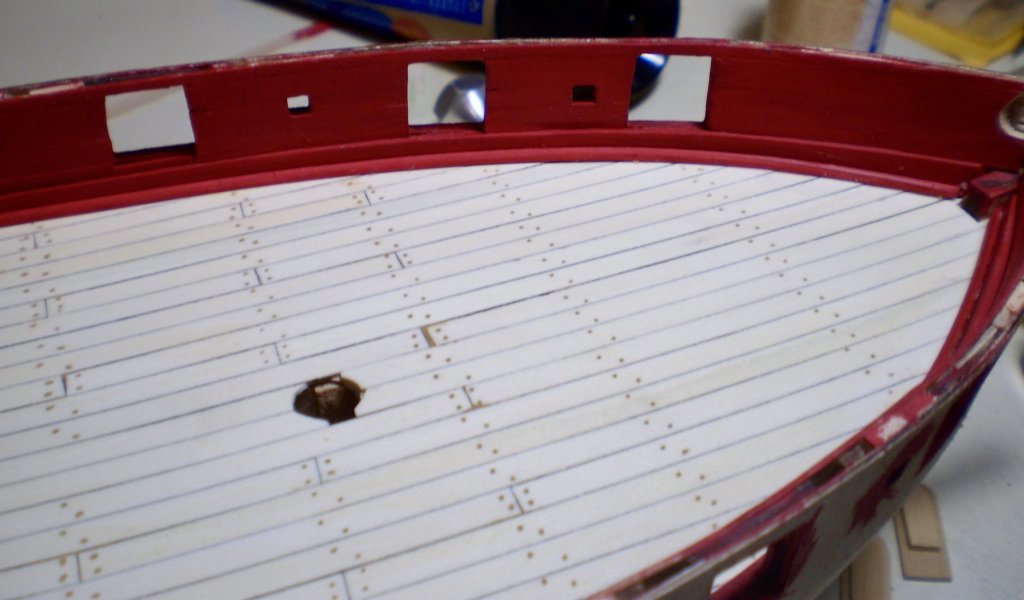
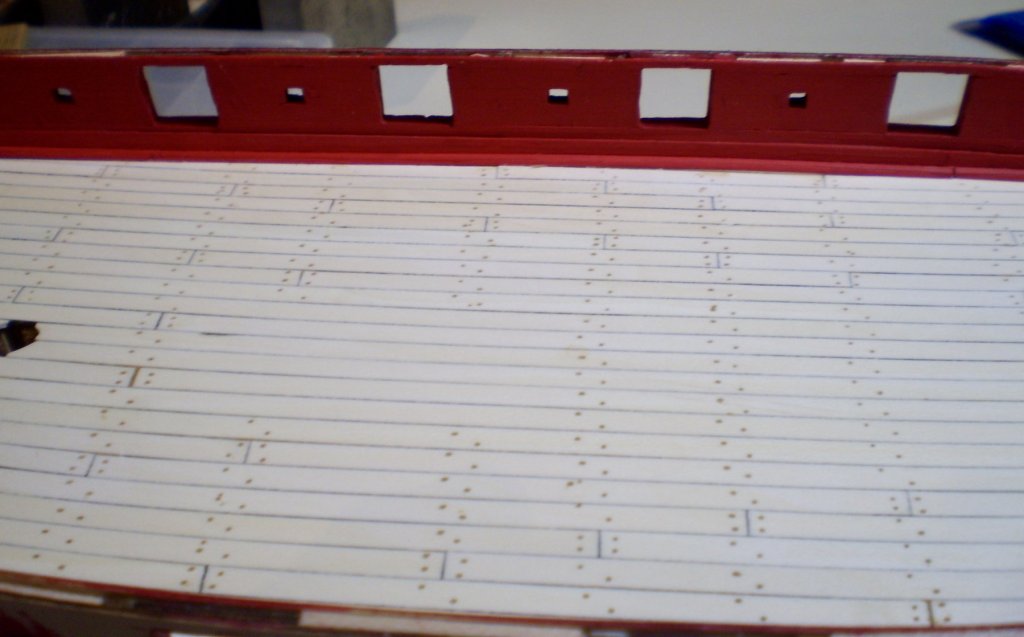
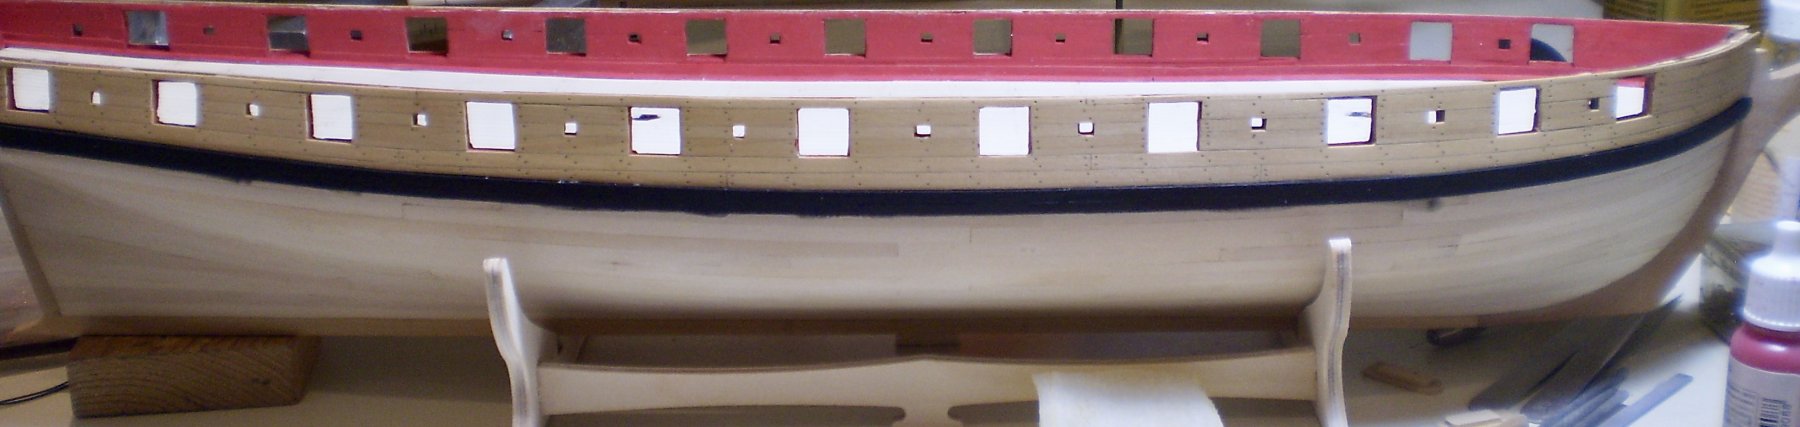
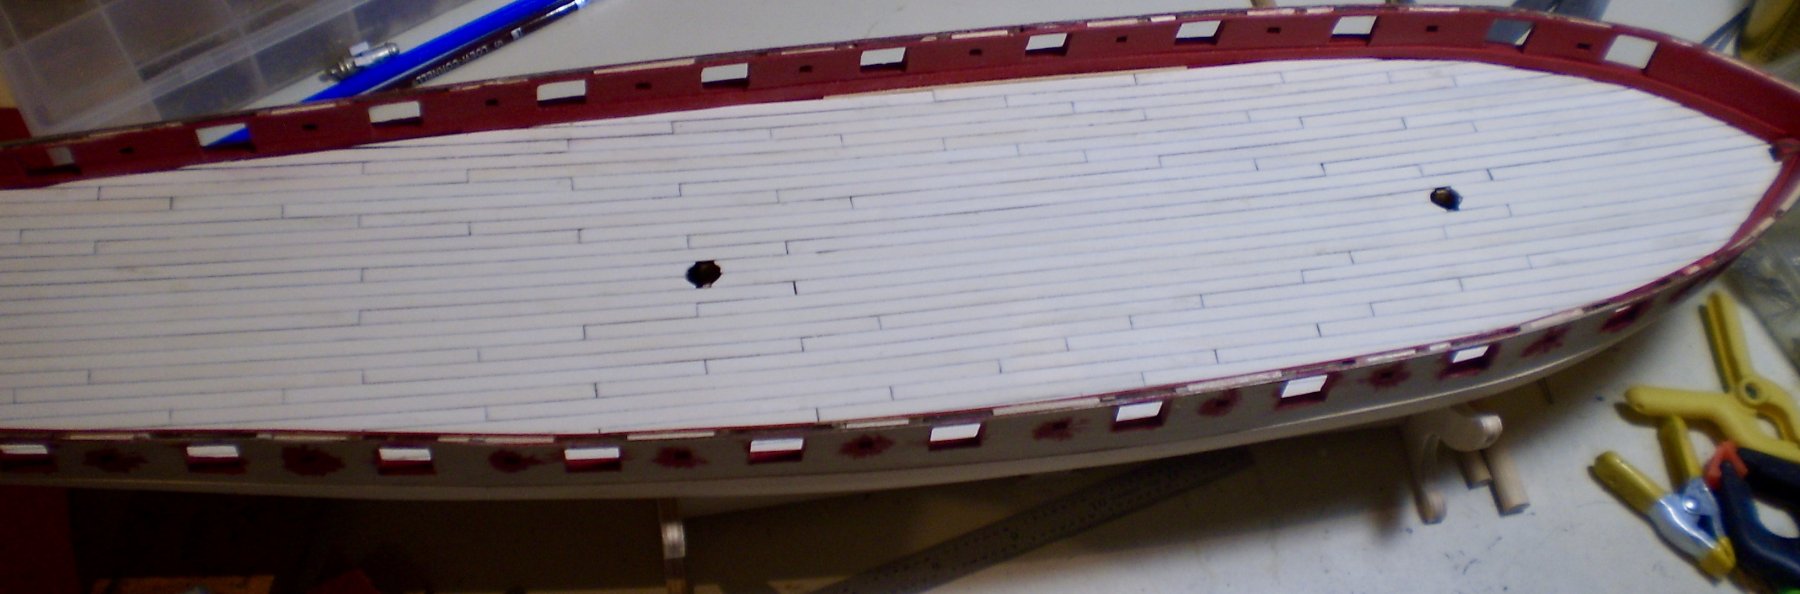
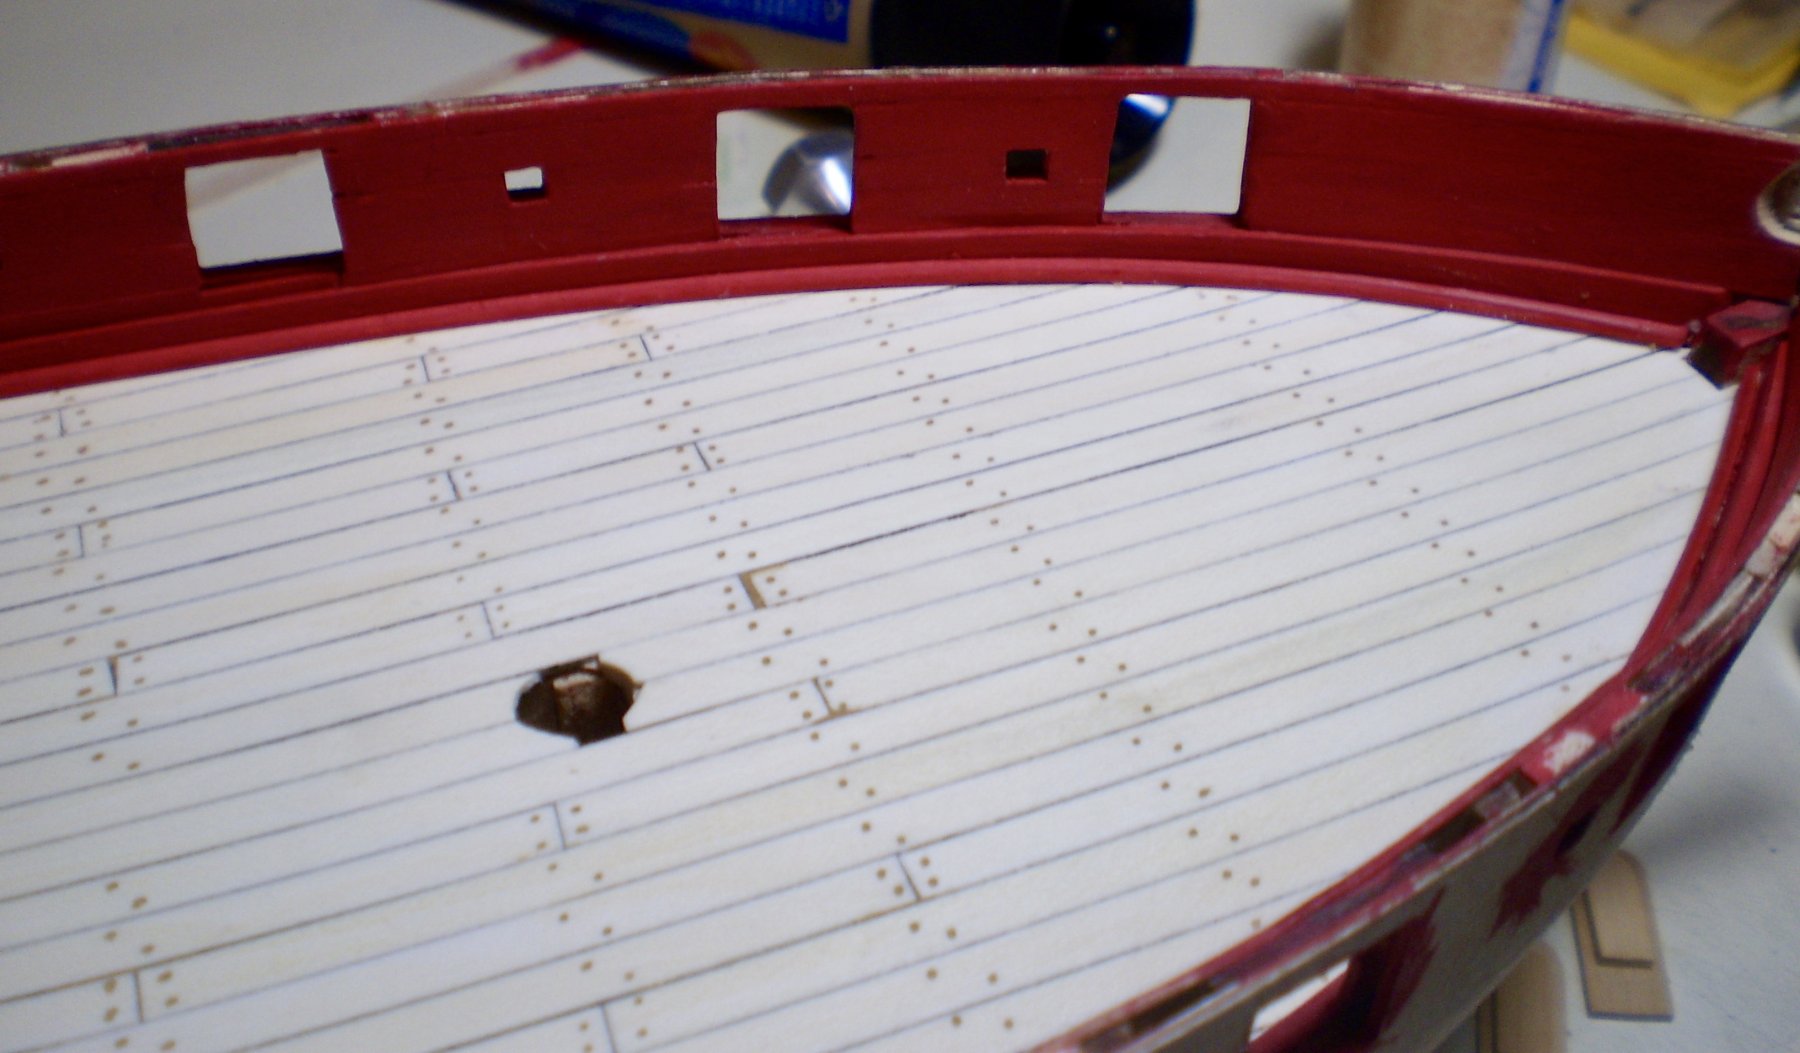
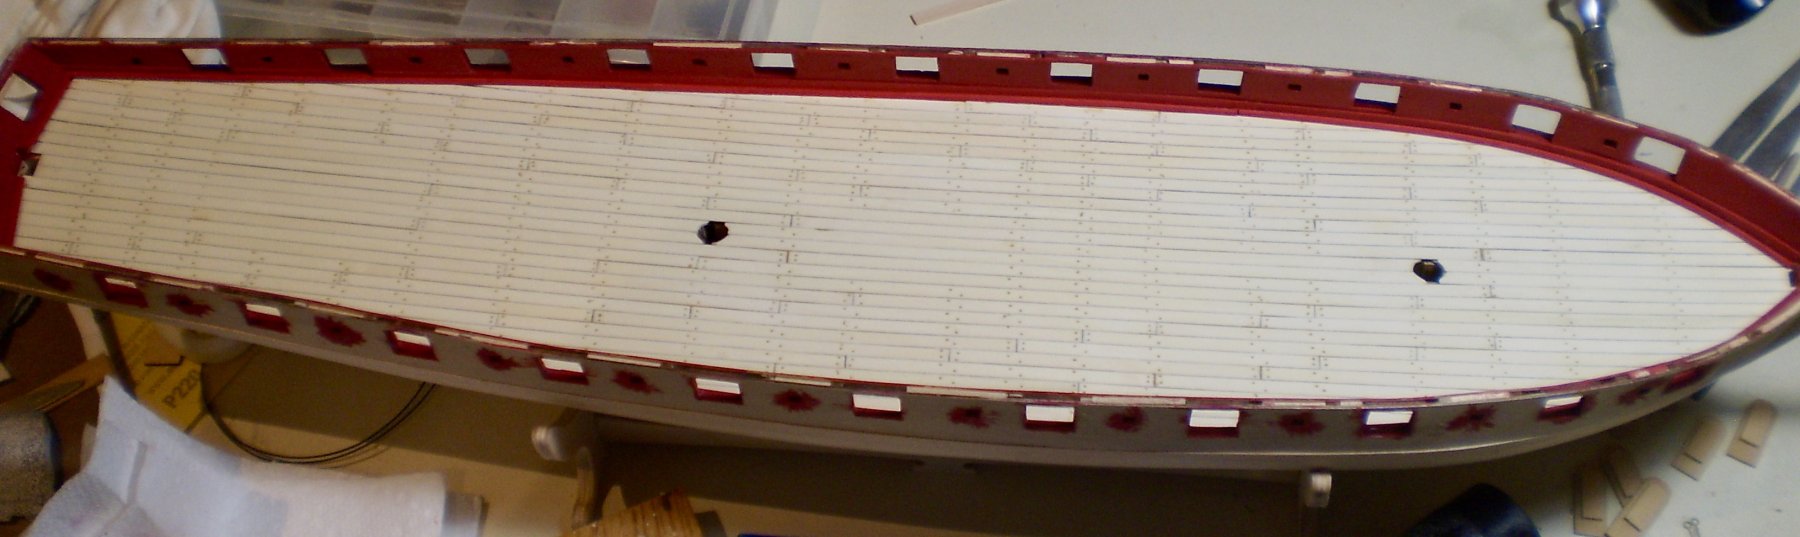
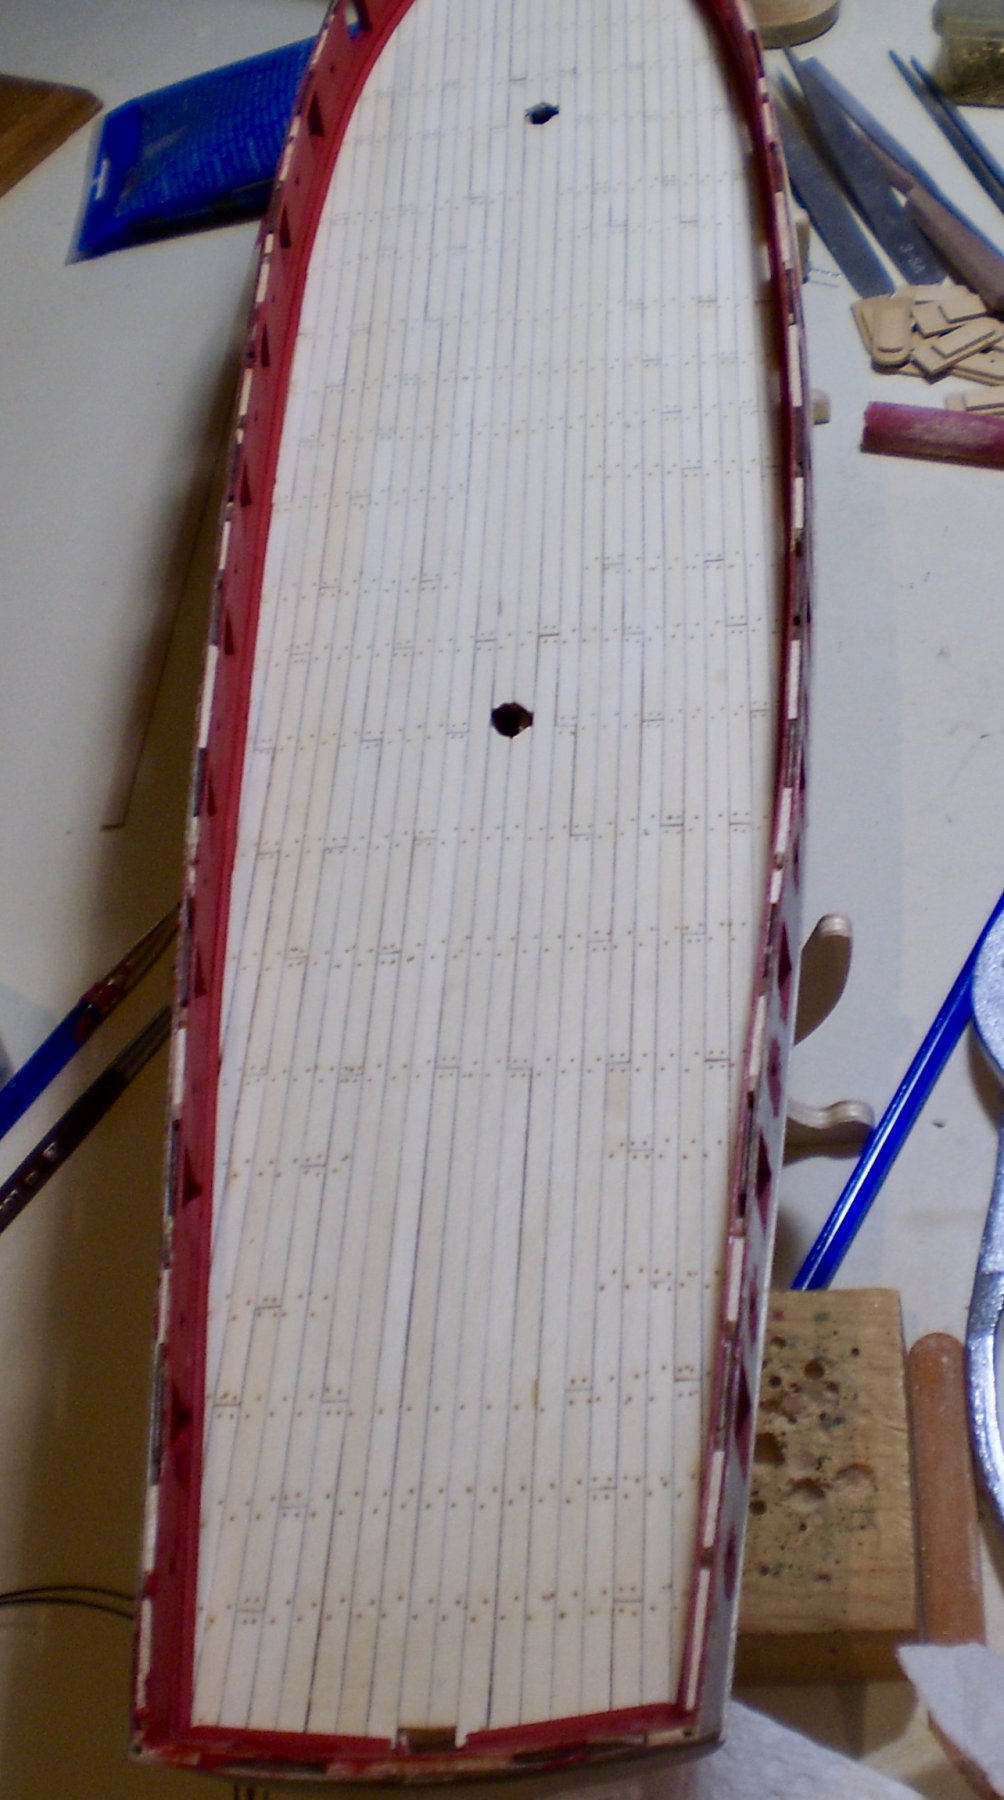
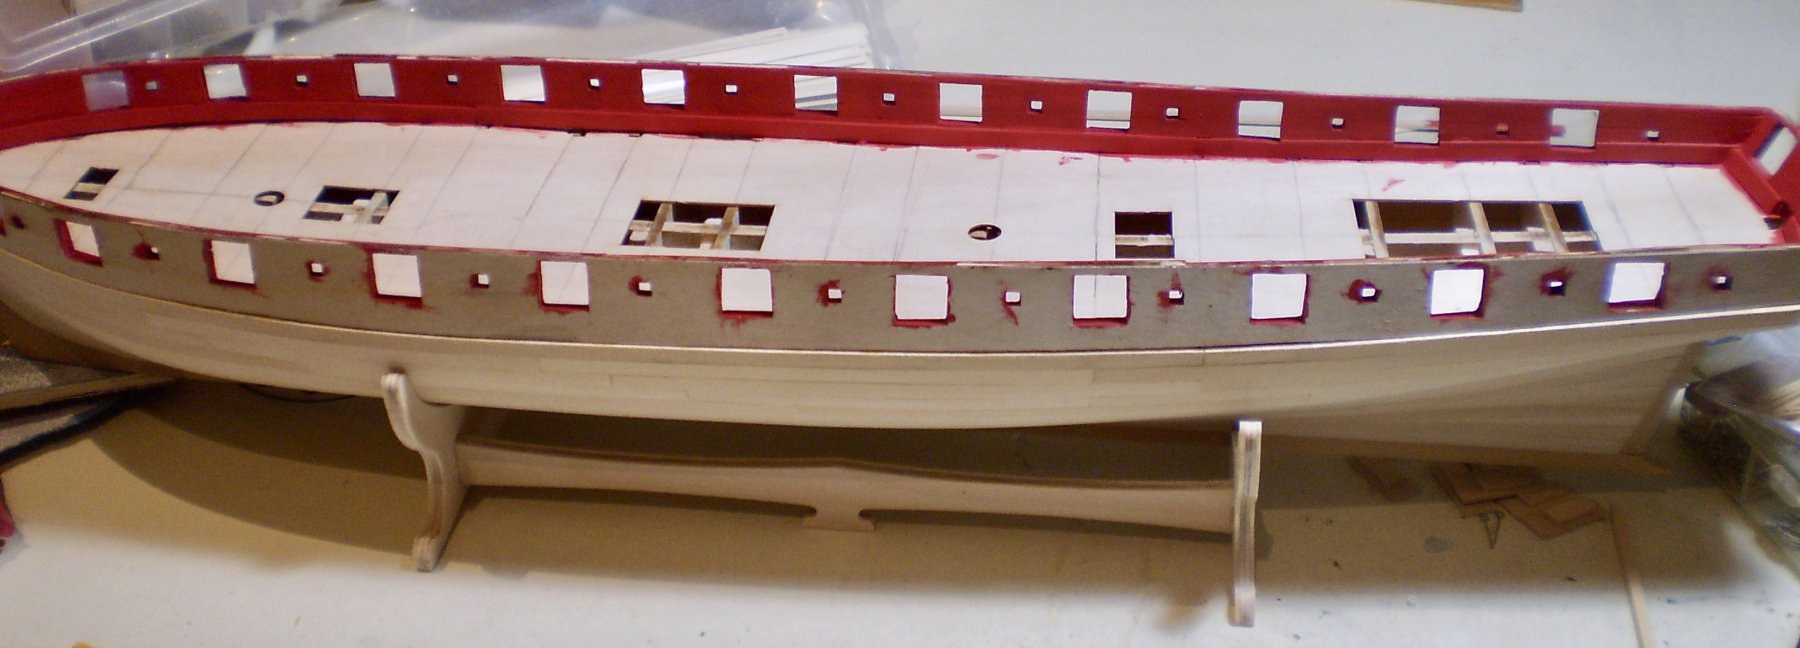
I've now completed the deck planking. The deck is planked with holly strips. I decided to plank over the openings in the subdeck and mount the deck furniture items on the deck, rather than inset them into the planking. The caulking is simulated with pencil on one side and one end of each plank. After the planking was complete, I "treenailed" the deck using the drill and fill method.The holes are #75, filled with golden oak filler. The deck was then finished with Wipe-on Poly. The next step was to add the waterway, which was done with 1/4 round strip that I had on hand. The waterway was painted red and then glued in place. Lastly, I touched up the bulwark paint, as necessary, as result off-me less than careful sanding of the deck.
Next up will be the planking of the upper outer hull.
Bob
i ha


- jwvolz, Gahm, EricWilliamMarshall and 25 others
-
28
-
Thanks so much Tim.I've thought about lining the ports, but have decided to wait until the outer planking is done before making that decision.
Bob
- Canute, Martin W, Old Collingwood and 1 other
-
4
-
Thanks so much Al and Nils for the kind words and thanks also to the "likes".
Bob
- egkb, Mirabell61, popeye the sailor and 2 others
-
5
-
Thanks so much OC and the "likes".Greatly appreciated.
Bob
-
Thanks so much Denis and the "likes".
Denis ,the upper hull will be planked with 1/32" boxwood strips. This will bring the bulwark strip even with the lower planking. The wale which is directly below the bulwark strip ,will be built up with another layer of planking. I'm not doing a second planking below the wale. Everything should work out fine.
Bob
- popeye the sailor, Rustyj, Martin W and 3 others
-
6
-
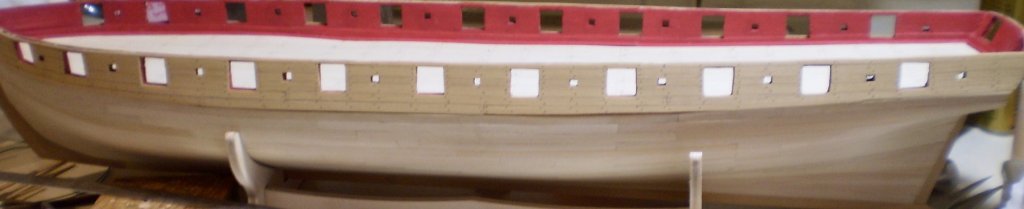
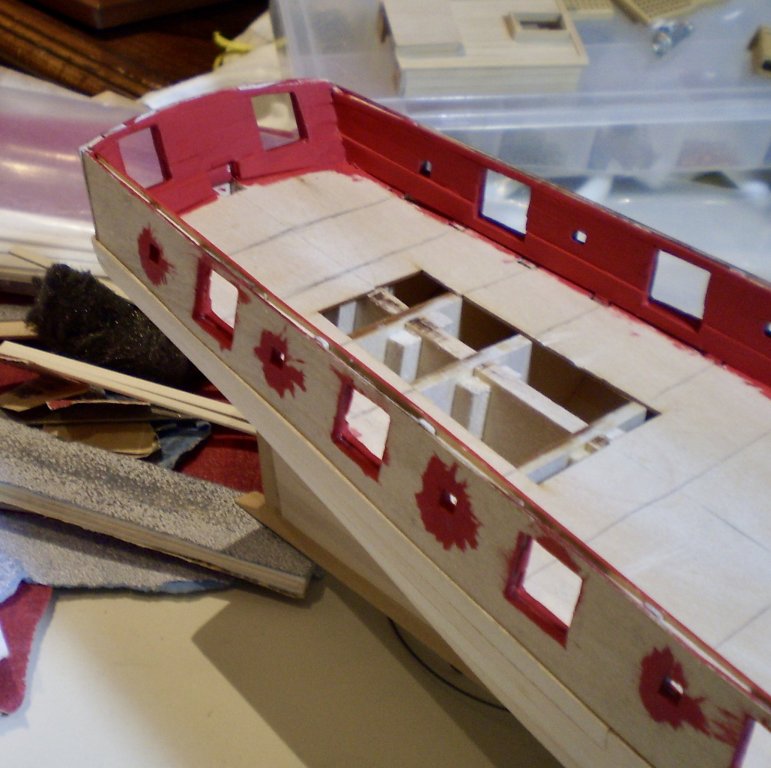
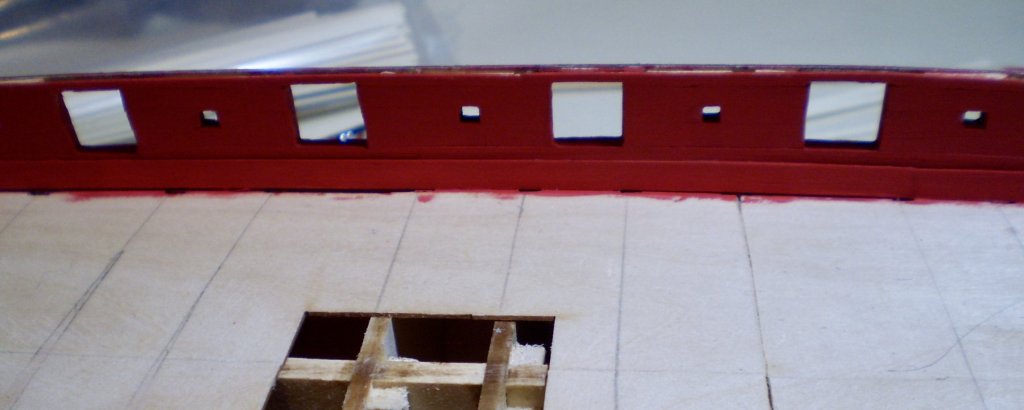
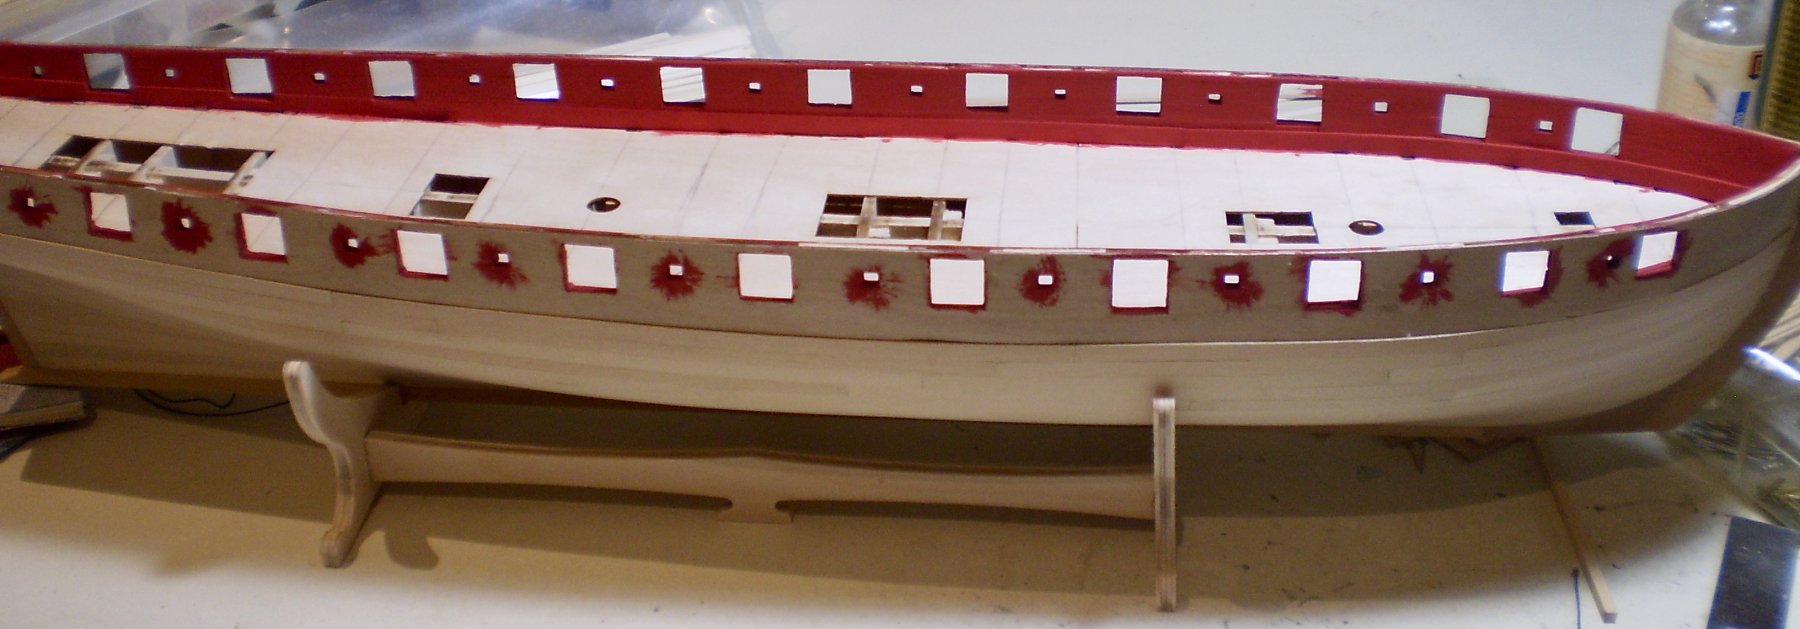
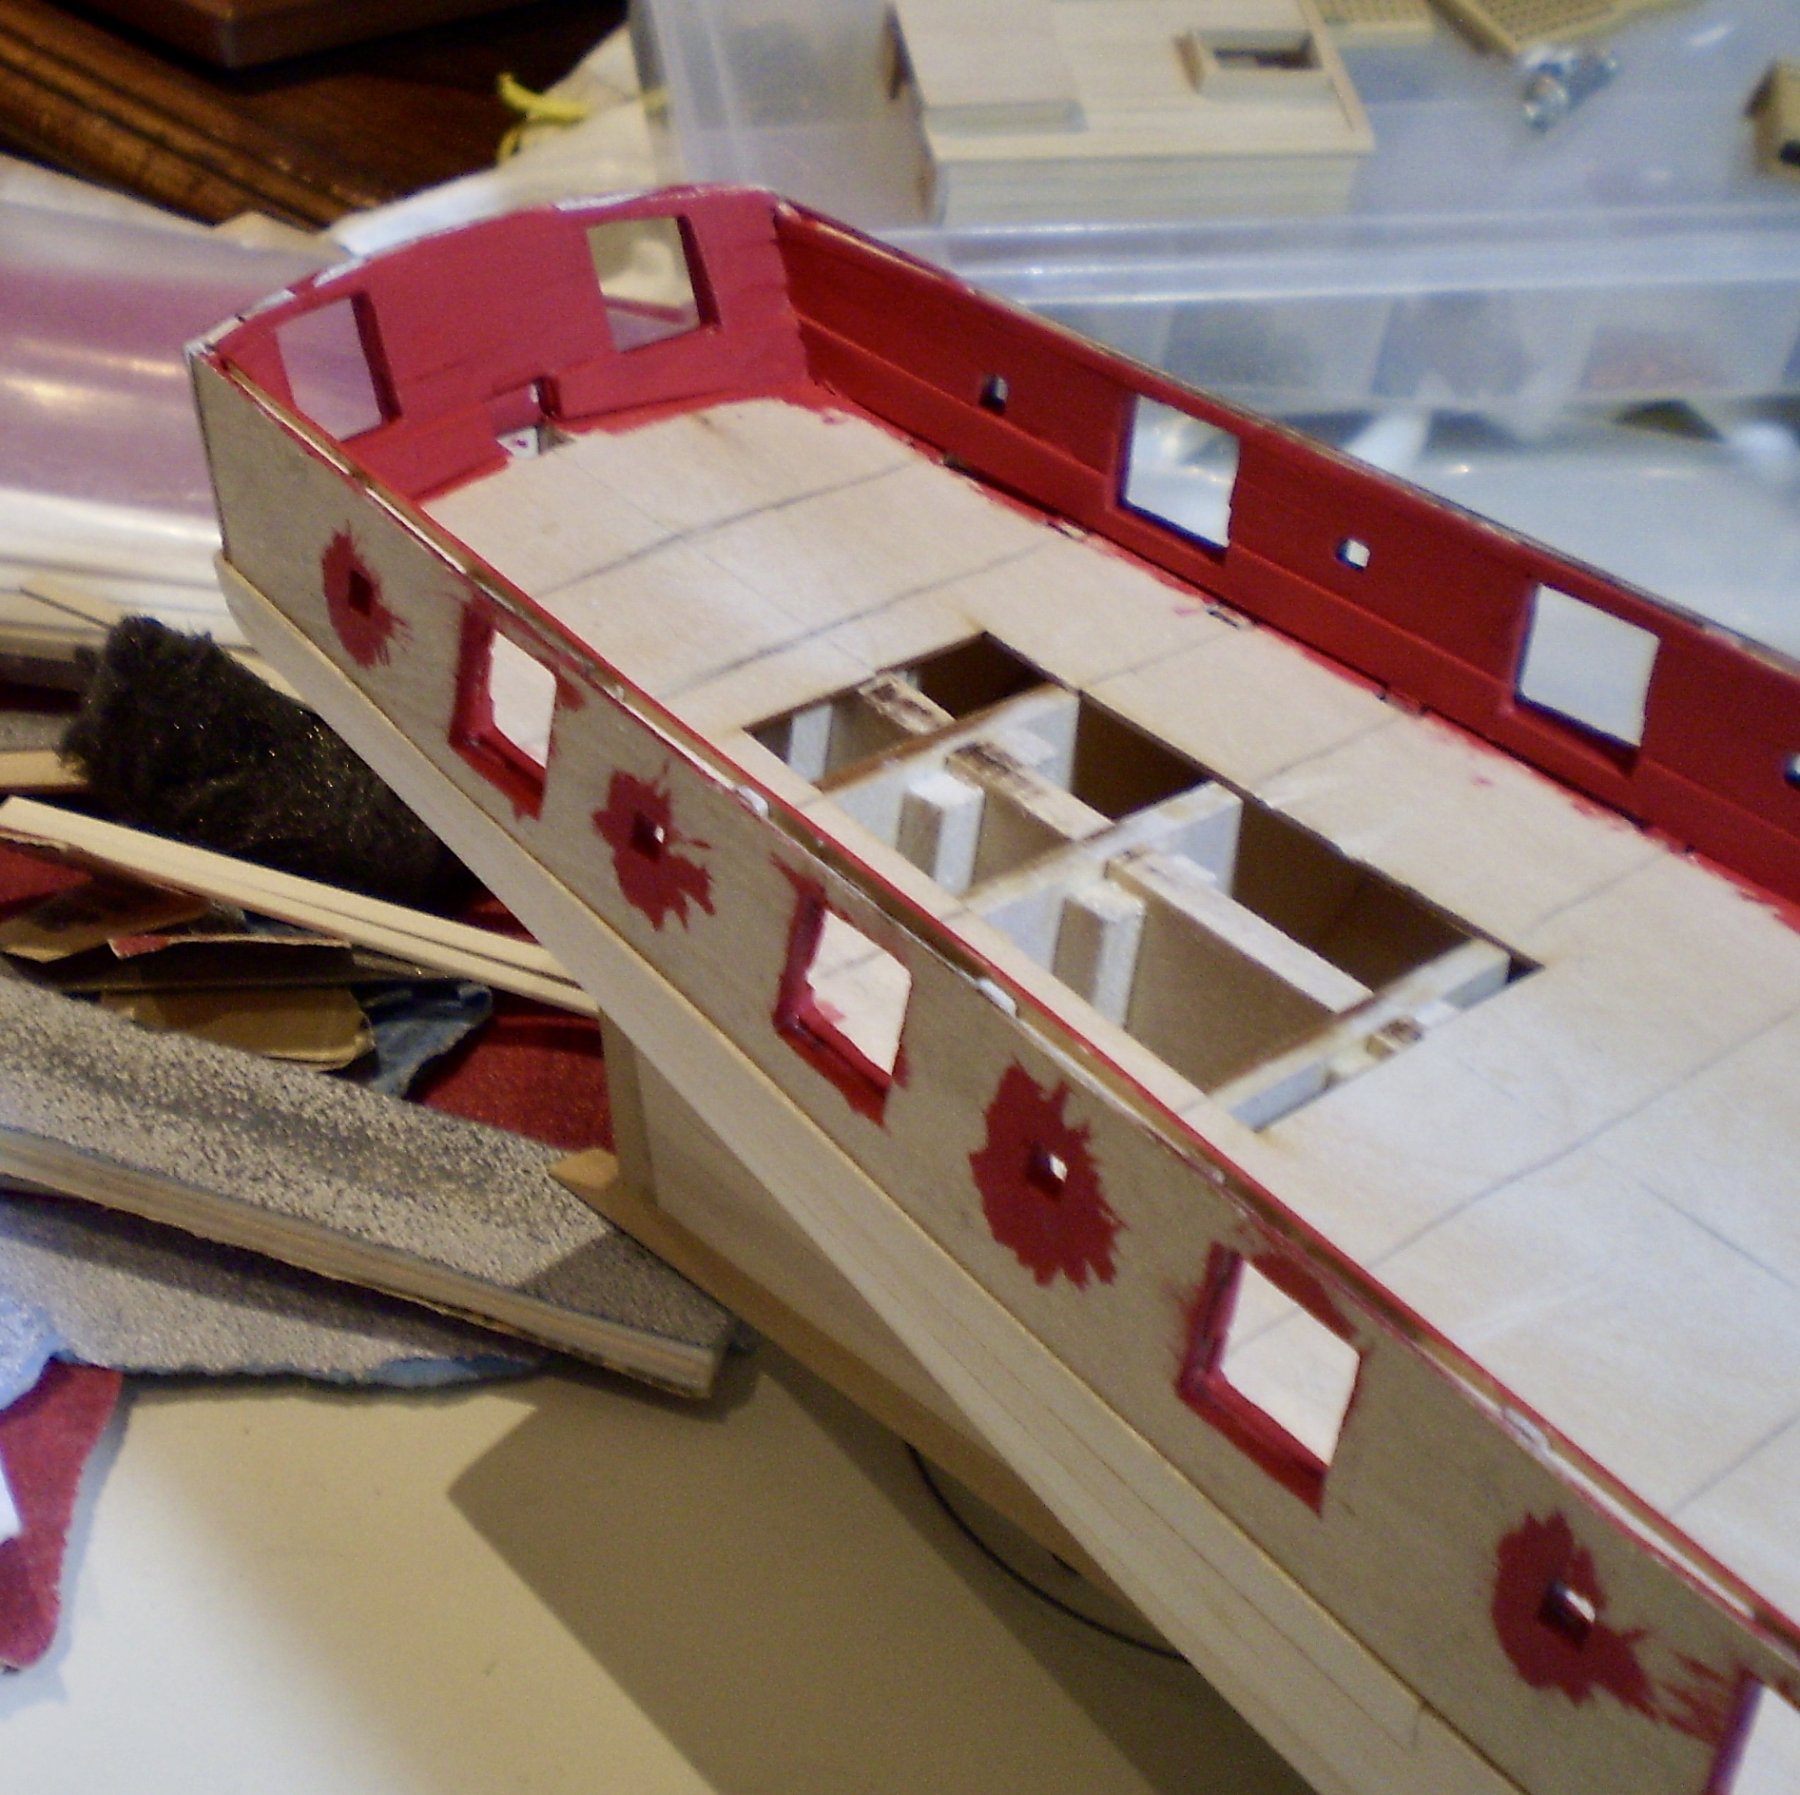
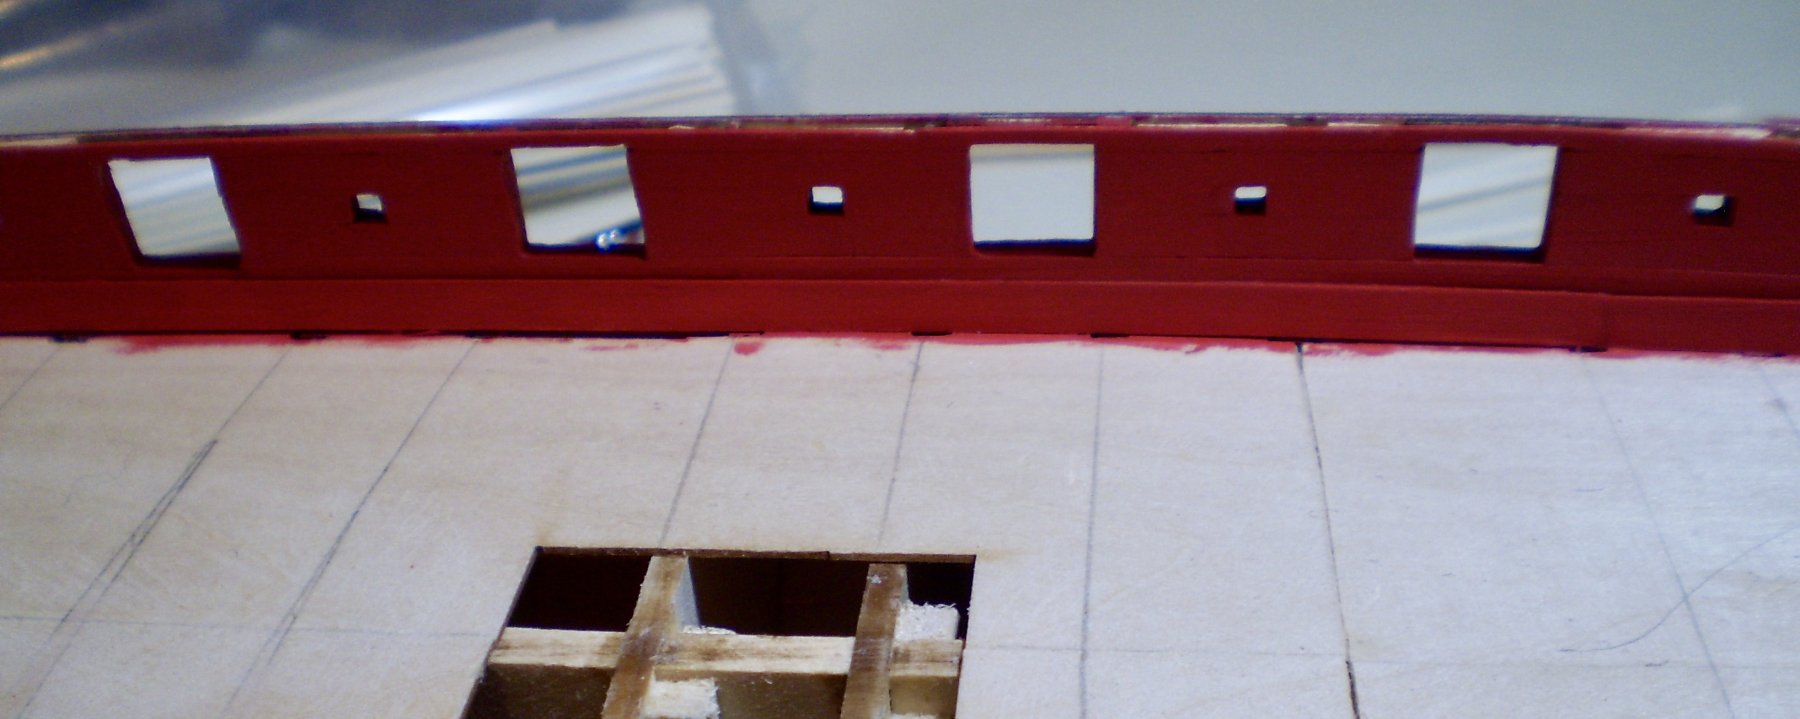
While awaiting my order from Crown Timberyard, I used what I could from my remaining stash of boxwood strip to plank the inner bulwarks. I used 1/16" strip for the spirketting and 1/32" strip for the remaining planking.This was fussy work because of the need to fit the planking around not only the gunports, but the numerous sweep ports as well.
After the planking was installed and sanded, it was painted, using four brush coats of Vallejo carmine red, lightly sanding between coats. Since I still don't have the wood for the exterior hull planking, I'm going to plank the deck next.
Bob


- Elijah, Barbossa, usedtosail and 29 others
-
32
-
That is a remarkable model Denis. The details show both your craftsmanship and your ingenuity. They are wonderful. Since you never work on one at a time, there must be something besides the steamboat ready to go.
Bob
-
Looking great OC.
Bob


Prince de Neufchatel by rafine - FINISHED - Model Shipways - 1:64
in - Kit build logs for subjects built from 1801 - 1850
Posted
Thanks so much Al.
Bob