Roubaix
-
Posts
13 -
Joined
-
Last visited
Recent Profile Visitors
418 profile views


-
 Nirvana reacted to a post in a topic:
Pen Duick by hof00 - FINISHED - Artesania Latina - 1/28
Nirvana reacted to a post in a topic:
Pen Duick by hof00 - FINISHED - Artesania Latina - 1/28
-
Nirvana reacted to a post in a topic:
Pen Duick by hof00 - FINISHED - Artesania Latina - 1/28
-
Vladimir_Wairoa reacted to a post in a topic:
Pen Duick by hof00 - FINISHED - Artesania Latina - 1/28
-
Kevin reacted to a post in a topic:
Pen Duick by hof00 - FINISHED - Artesania Latina - 1/28
-
Kevin reacted to a post in a topic:
Pen Duick by hof00 - FINISHED - Artesania Latina - 1/28
-
popeye the sailor reacted to a post in a topic:
Pen Duick by hof00 - FINISHED - Artesania Latina - 1/28
-
popeye the sailor reacted to a post in a topic:
Pen Duick by hof00 - FINISHED - Artesania Latina - 1/28
-
popeye the sailor reacted to a post in a topic:
Pen Duick by hof00 - FINISHED - Artesania Latina - 1/28
-
BobG reacted to a post in a topic:
Pen Duick by hof00 - FINISHED - Artesania Latina - 1/28
-
BobG reacted to a post in a topic:
Pen Duick by hof00 - FINISHED - Artesania Latina - 1/28
-
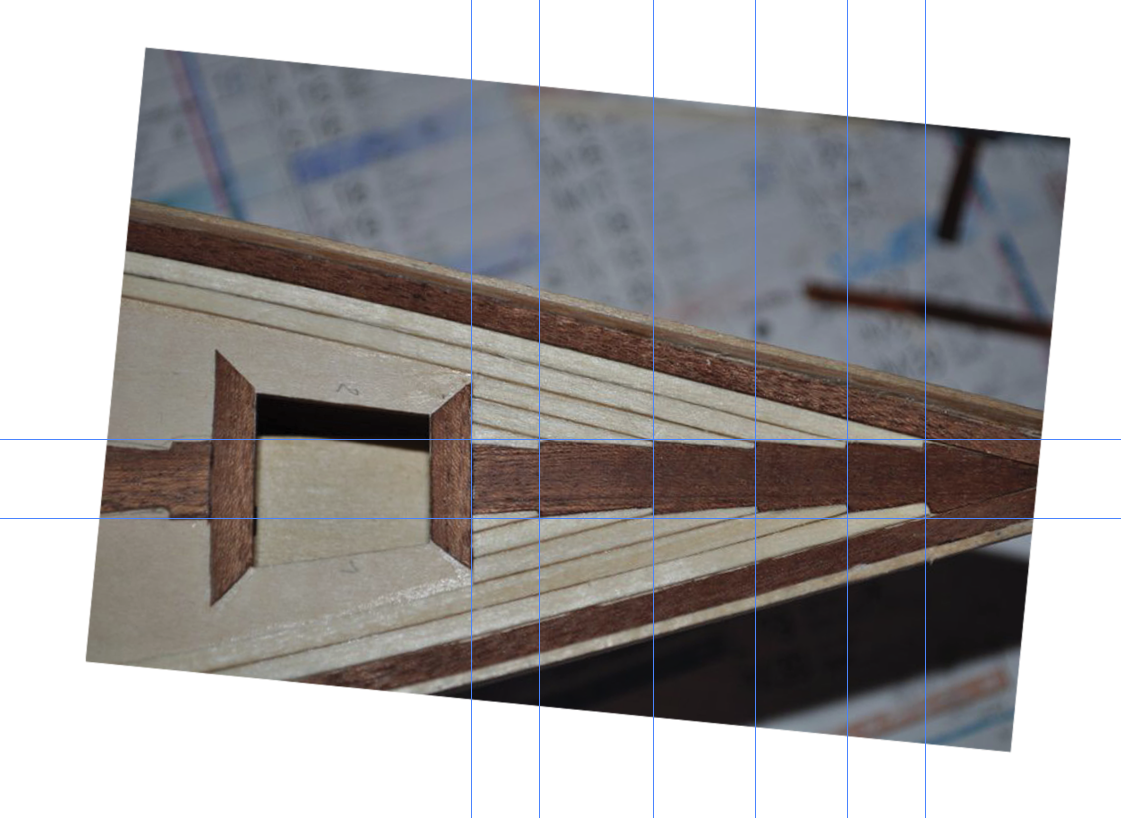
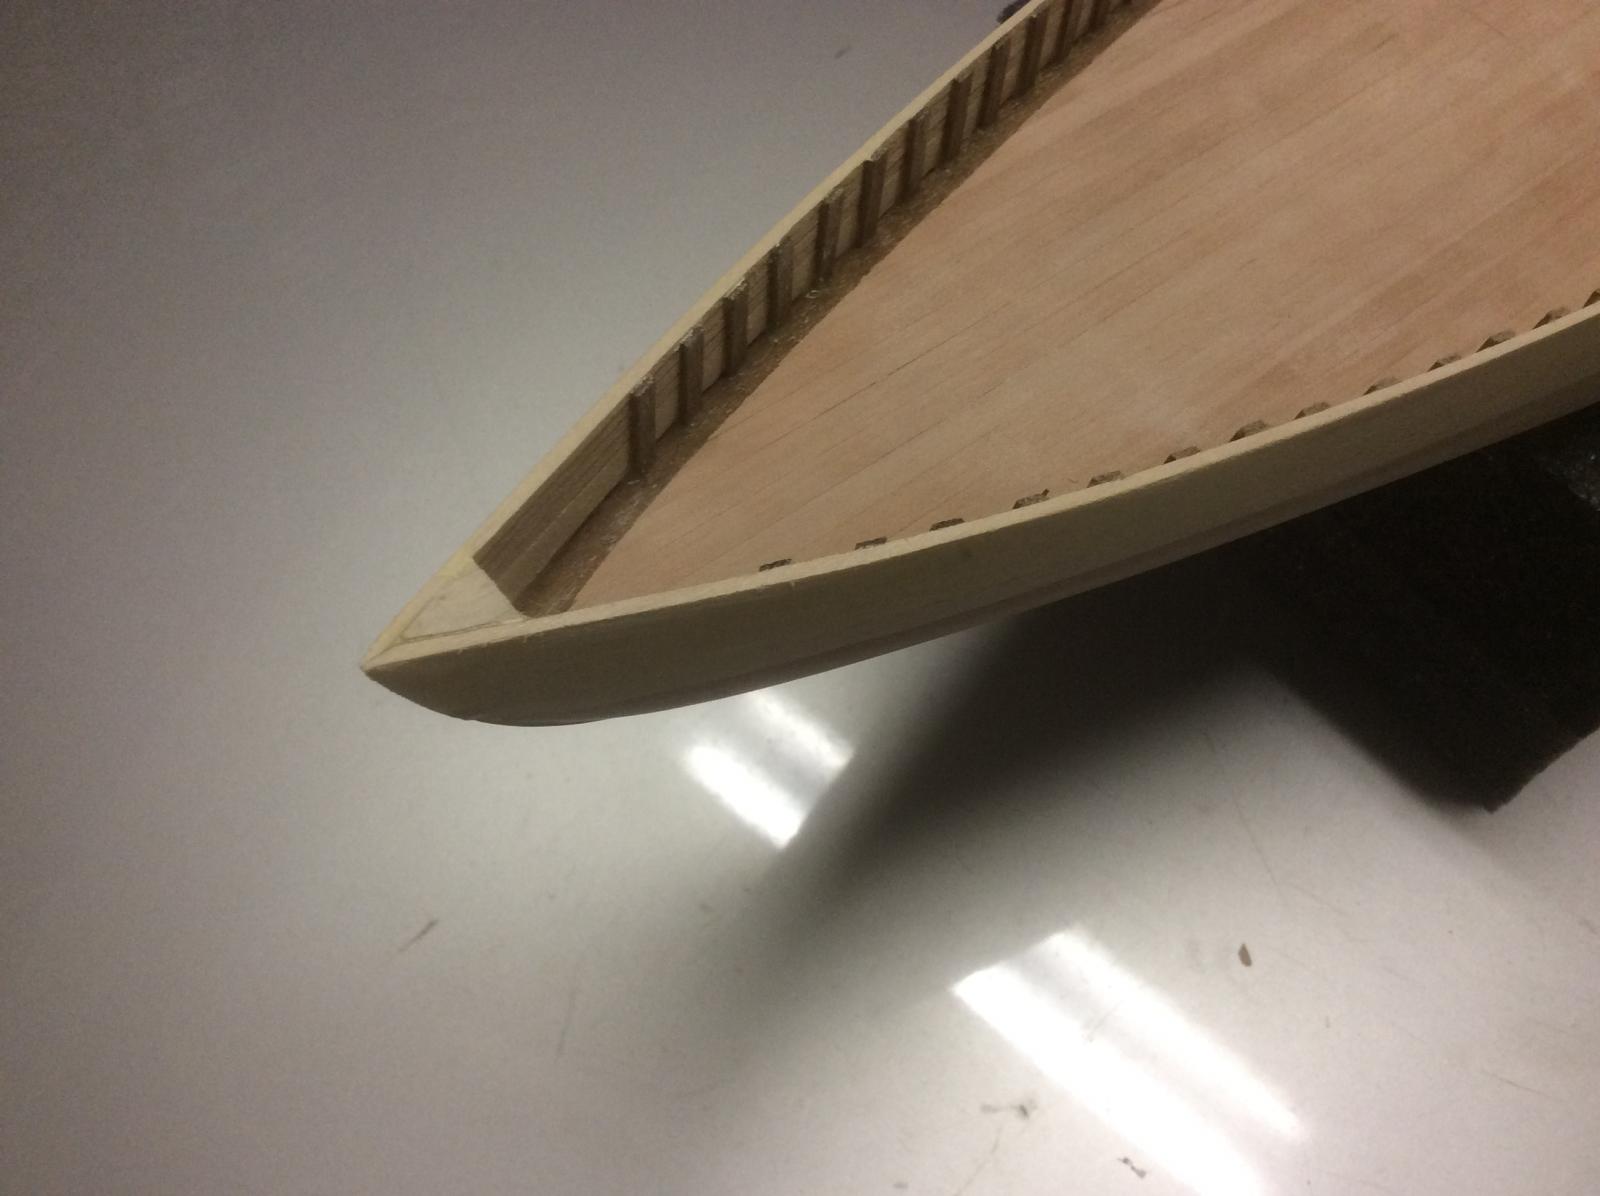
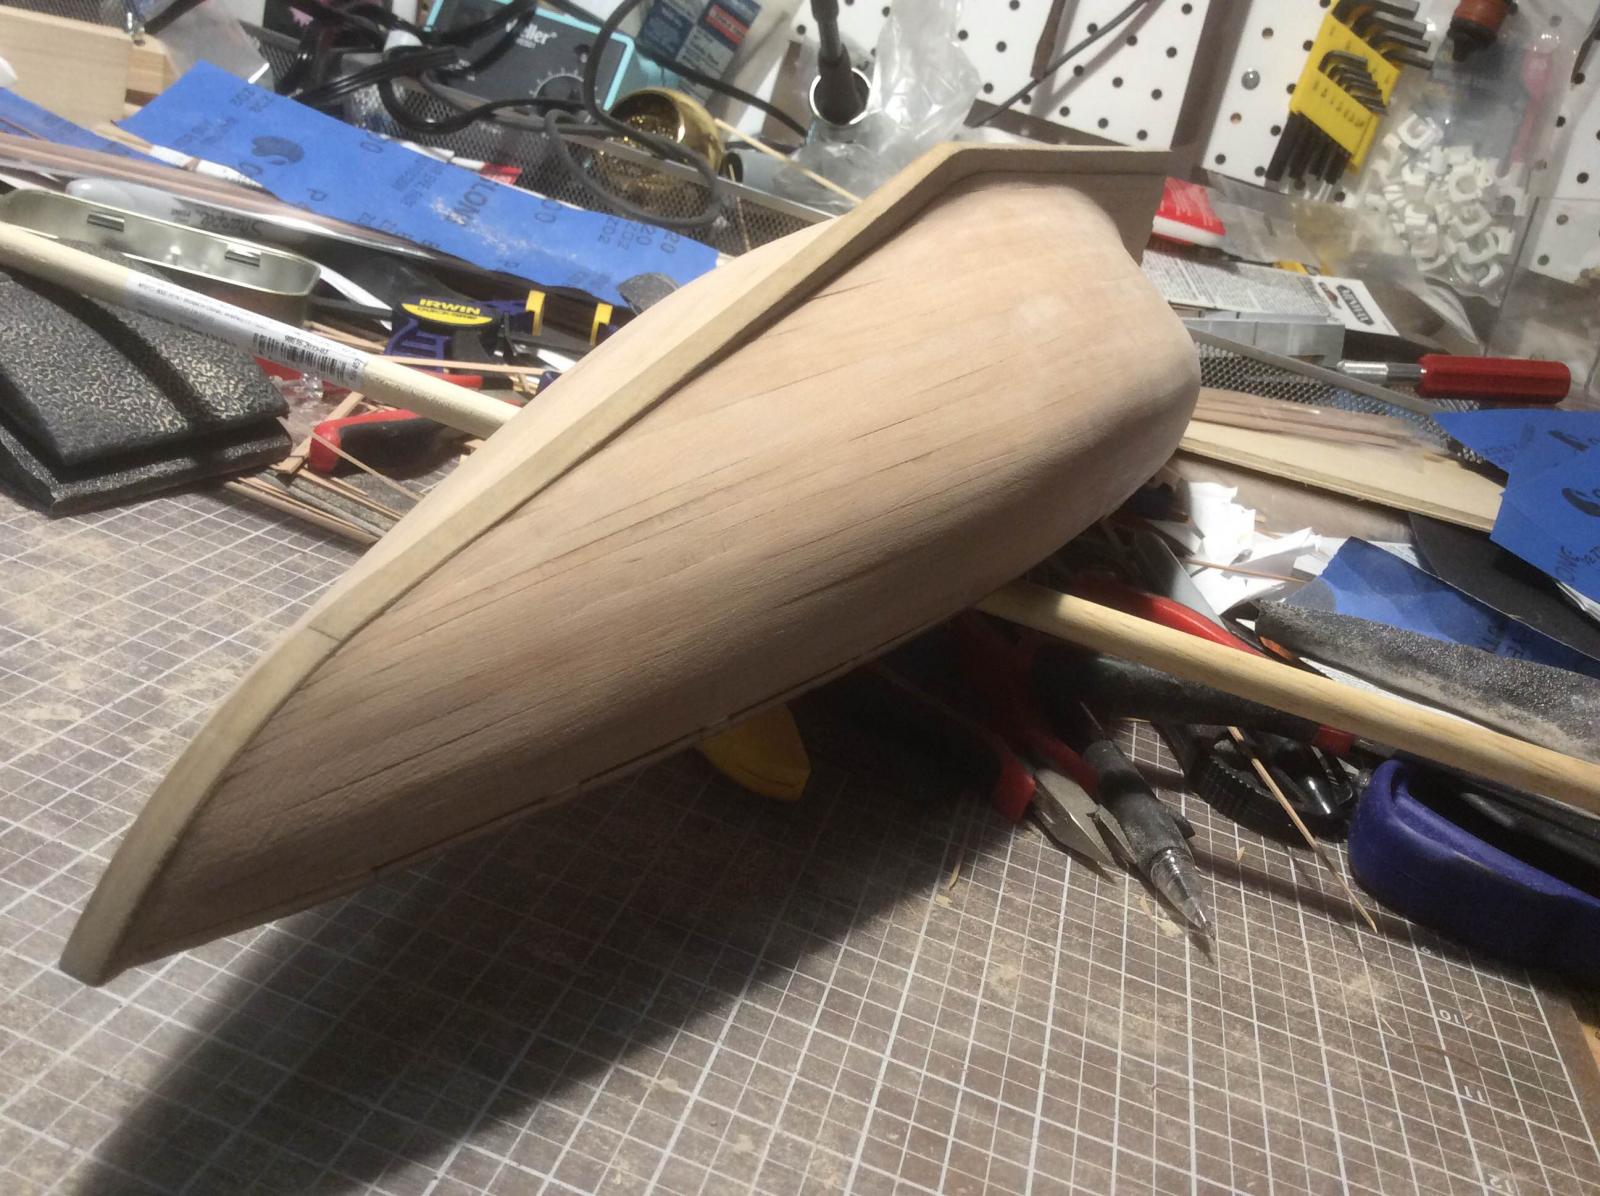
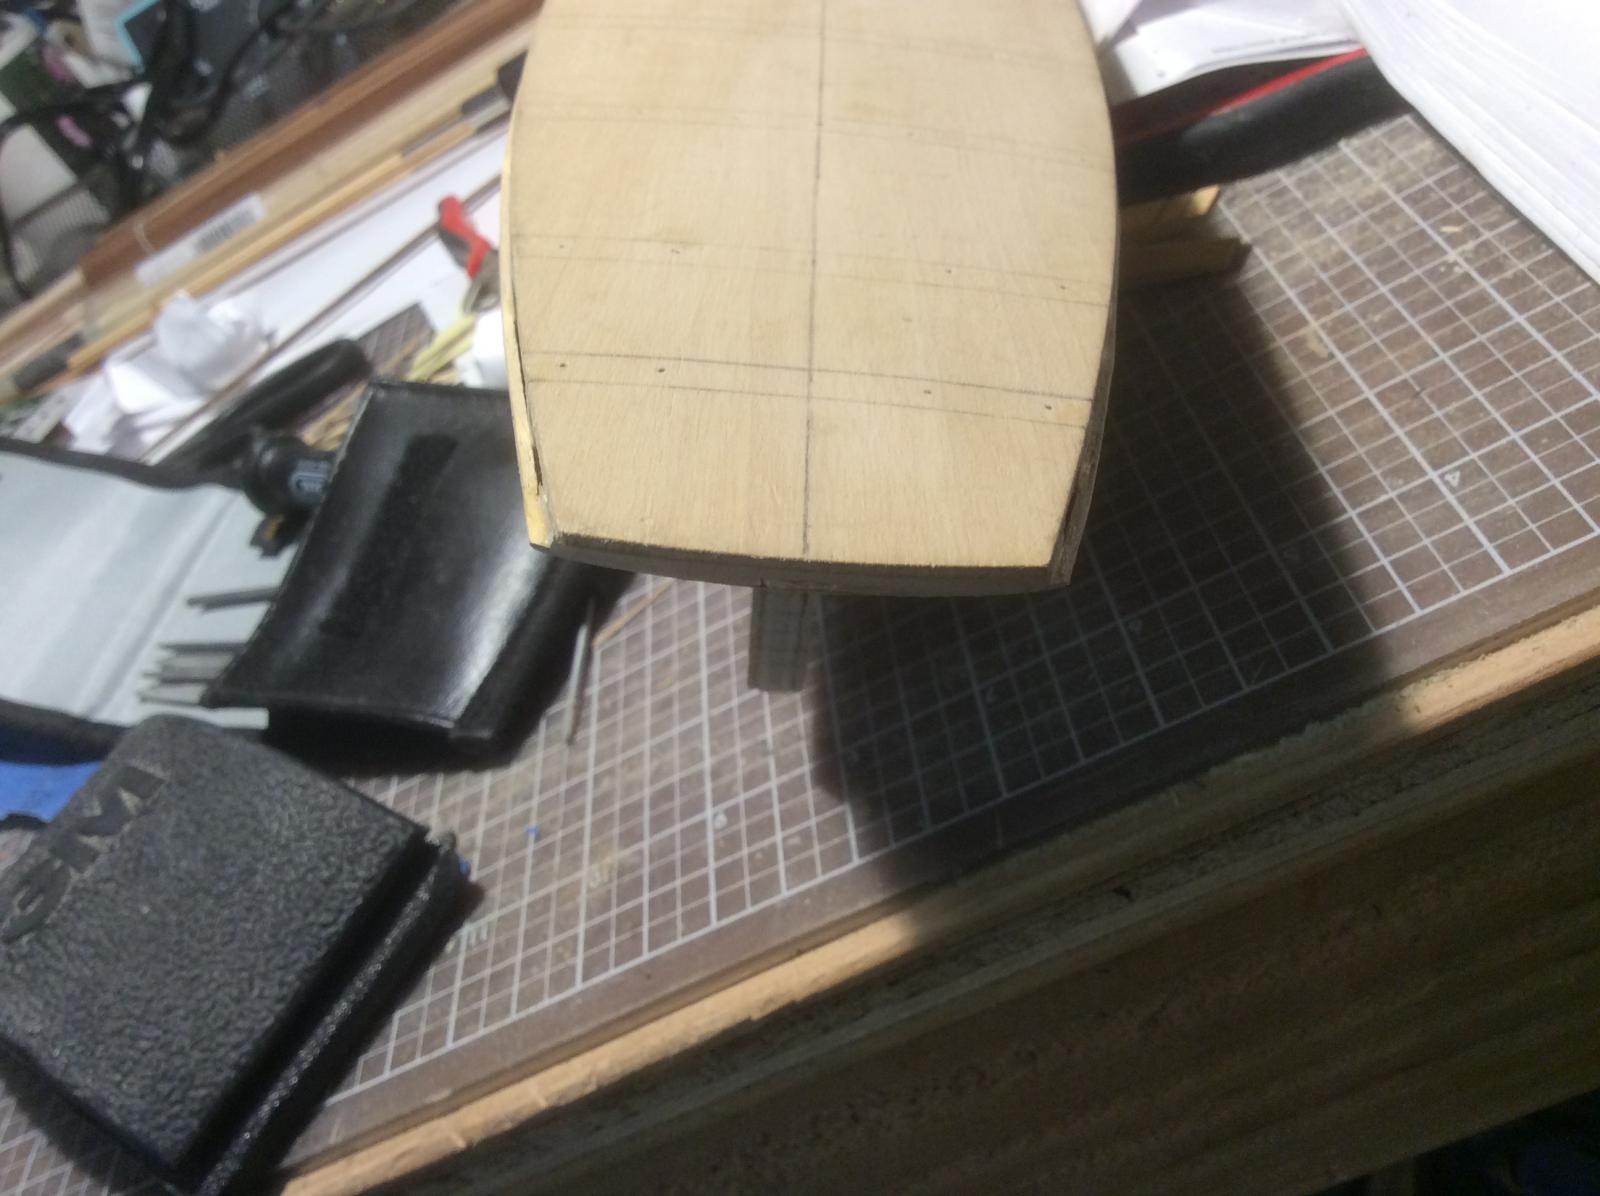
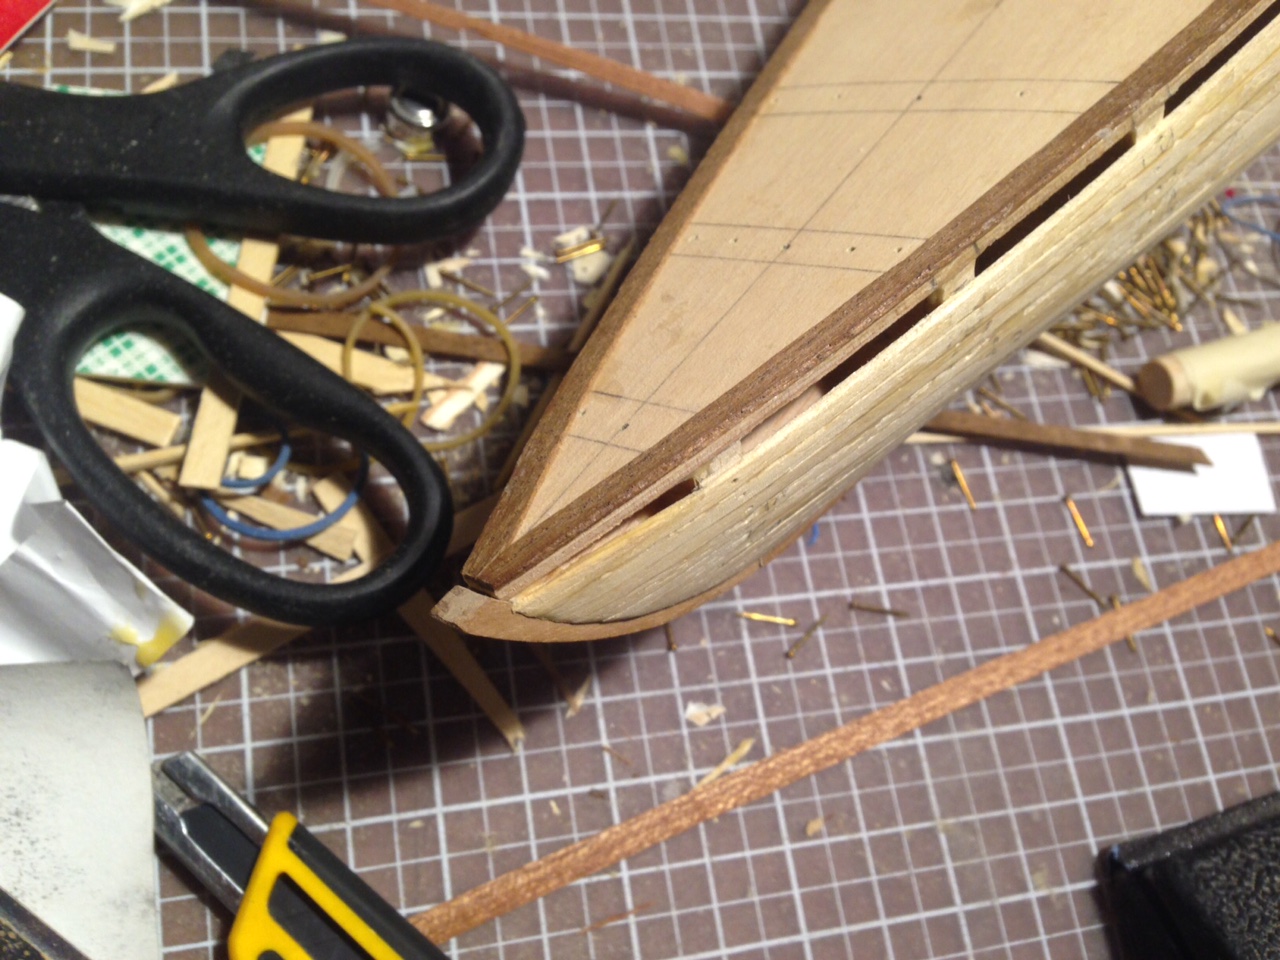
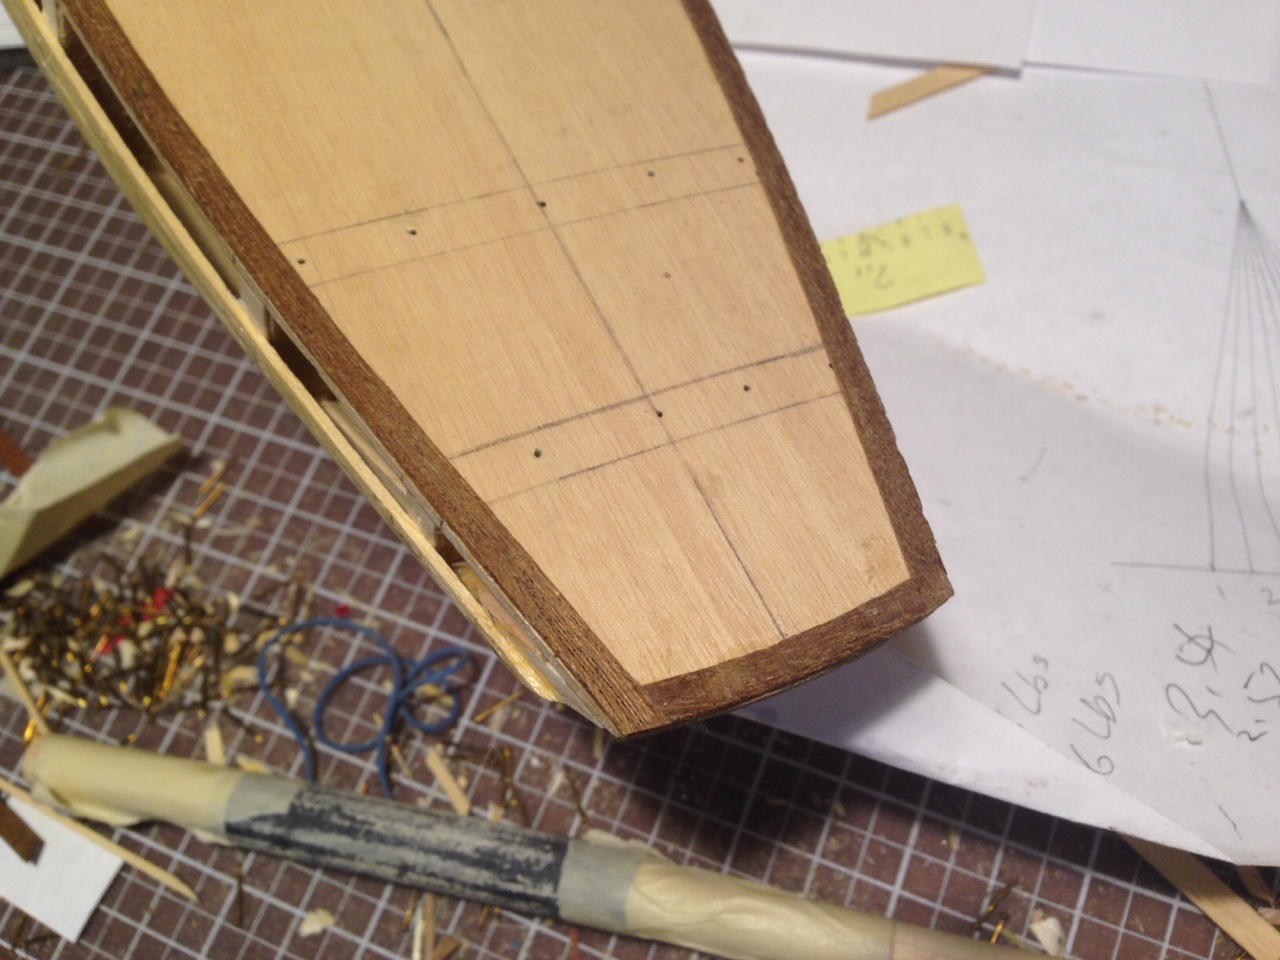
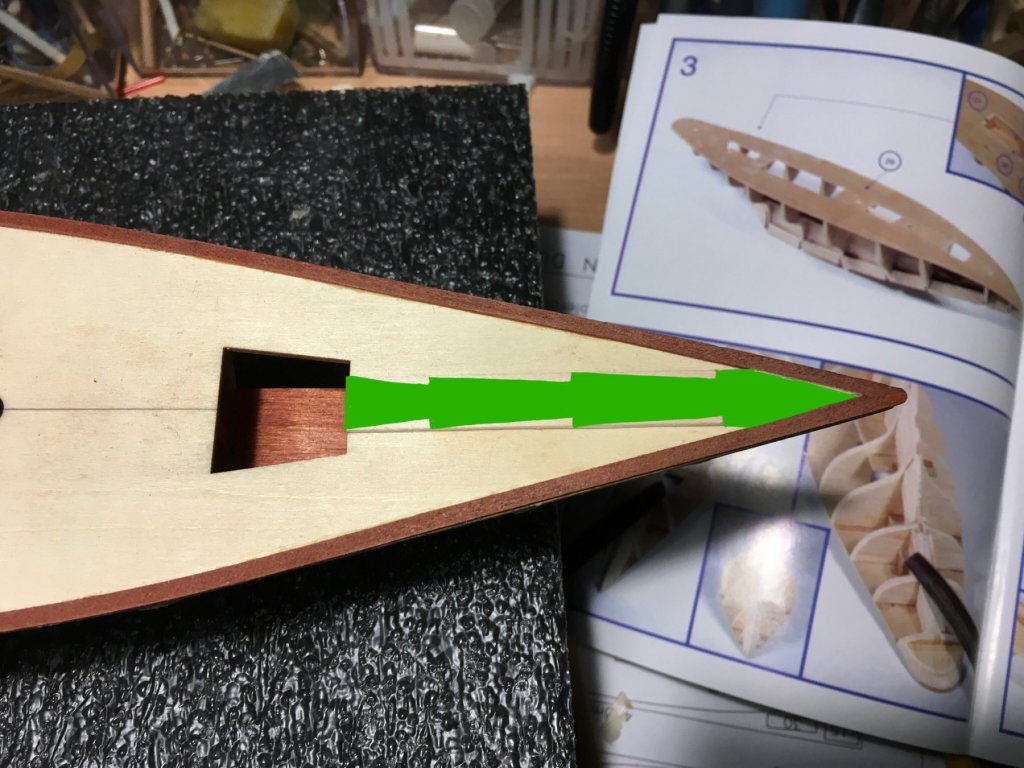
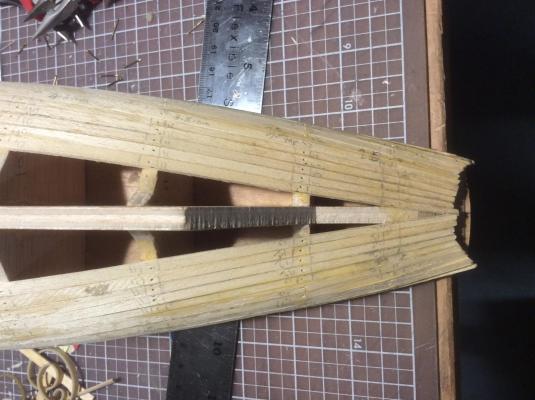
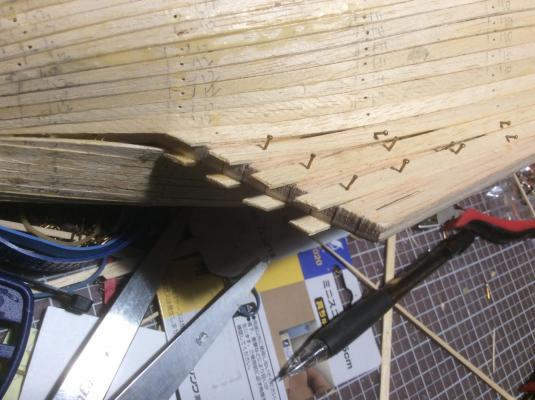
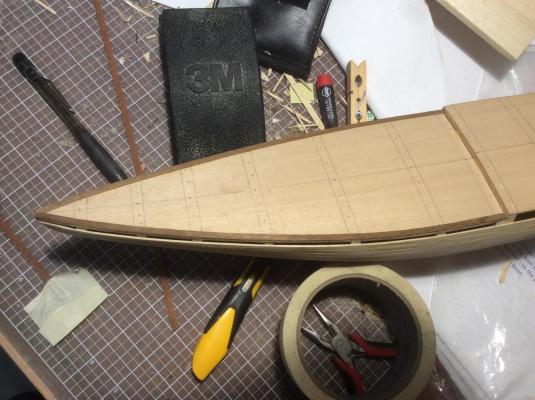
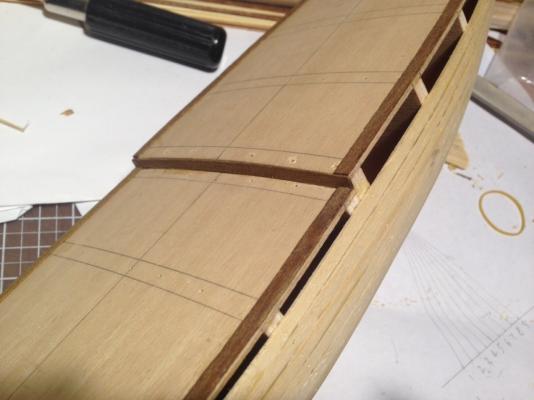
 So I had to scale one of your pictures to match to the 1cm wide plank lines(I assume you used the kit supplied 1cm mahogany plank) in photoshop. The two horizontal blue lines are set to be 1cm apart. The vertical blue lines are the positions of each apex. Taking the camera distortion into the consideration, those notches are not evenly distributed. I can print this image out in photoshop at 1:1 scale. It could be used as a general template. I probably need to make a few test pieces to see how it would work. I might have to pin down this king plank and add a few planks to make sure they fit nicely. I will report back.
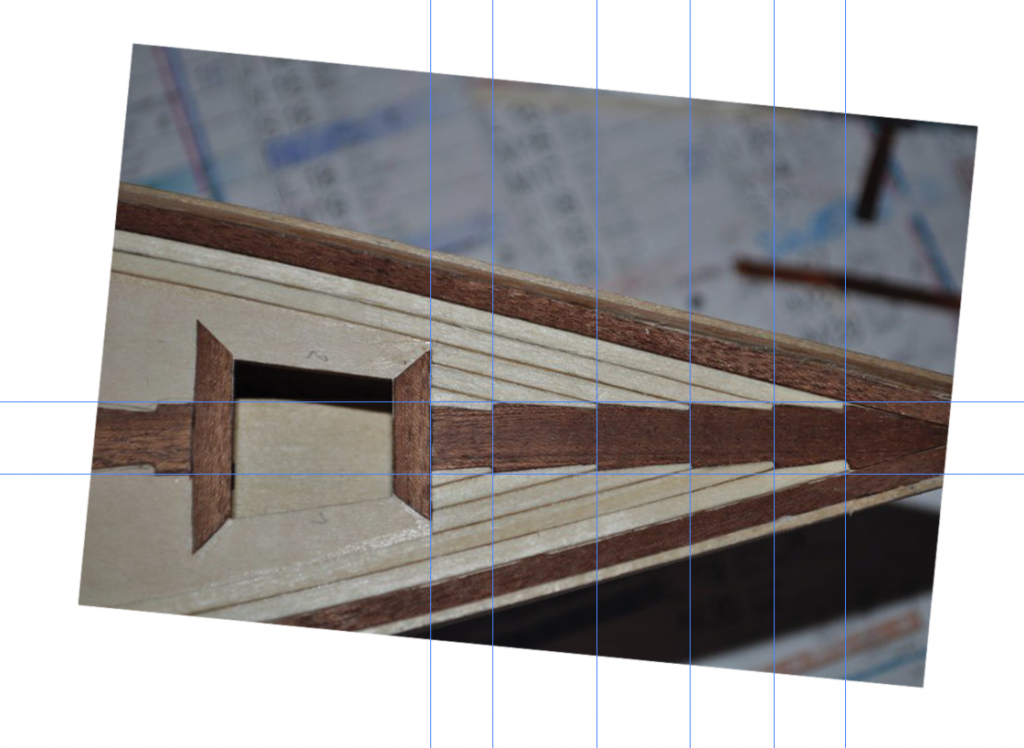
- 70 replies
-
- 6
-
-
- pen duick
- artesania latina
- (and 1 more)
-
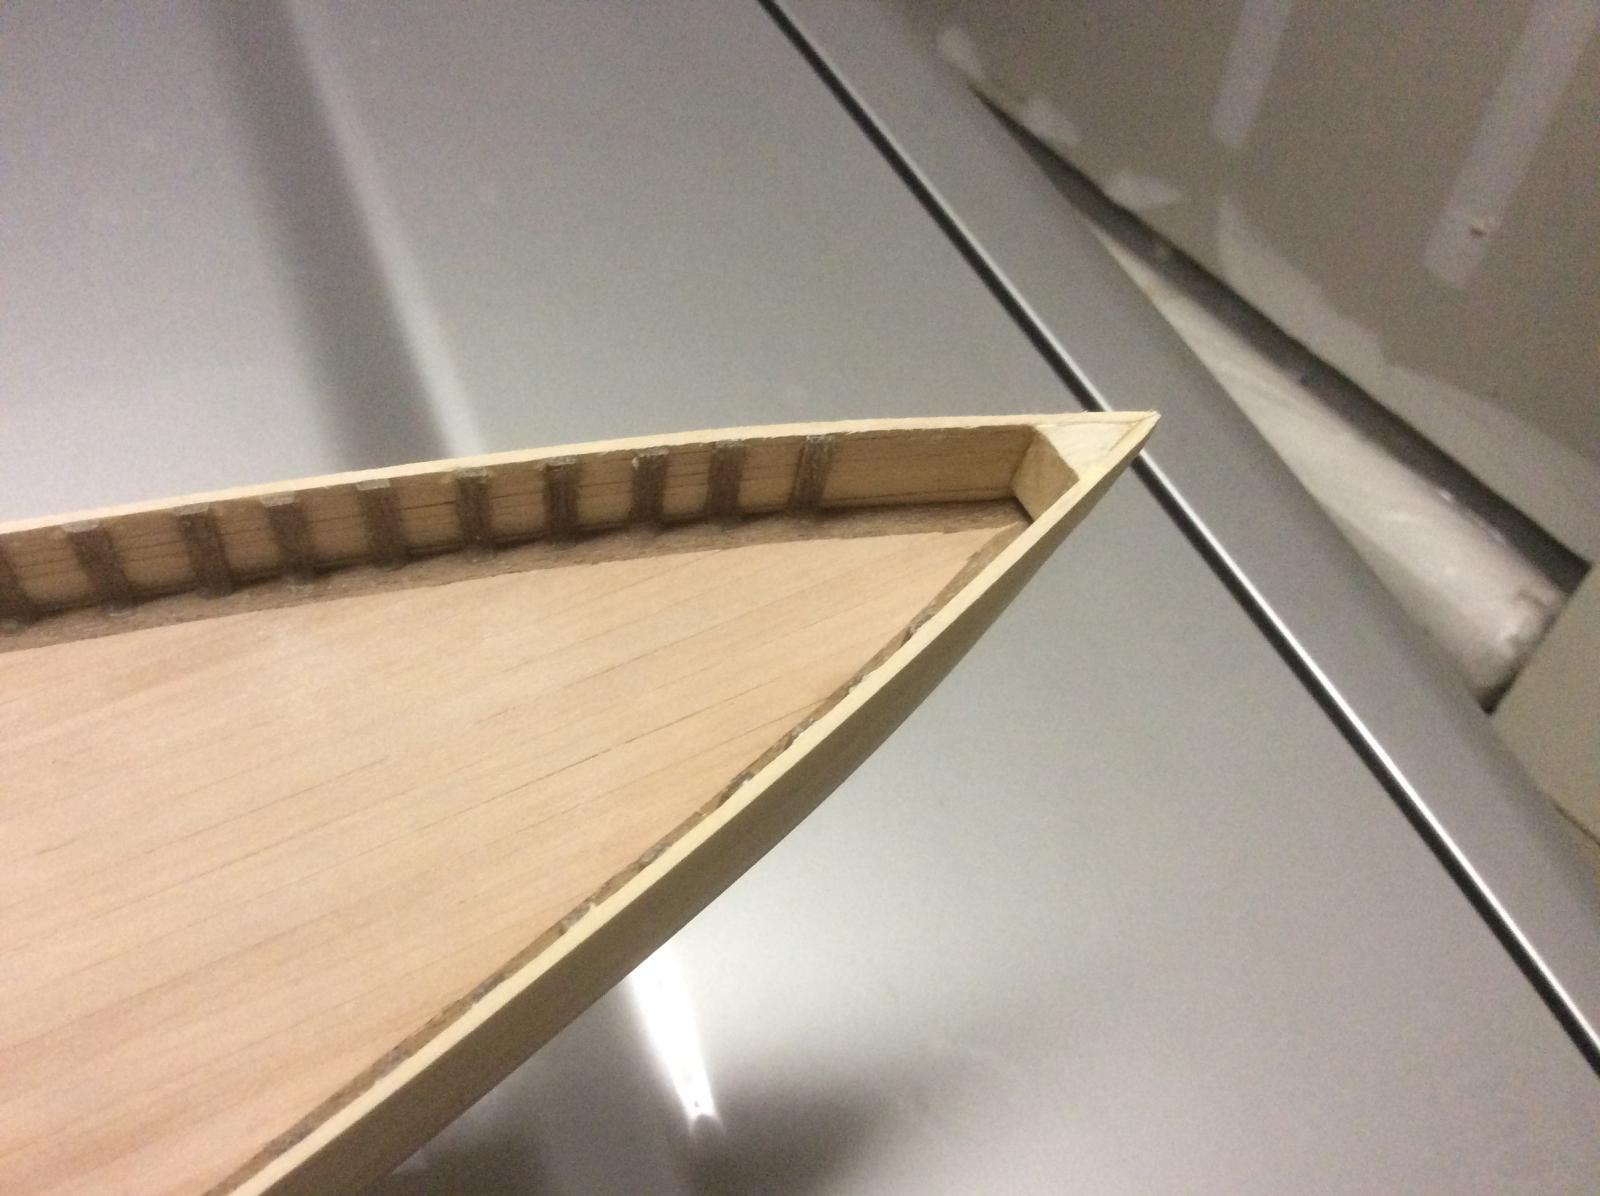
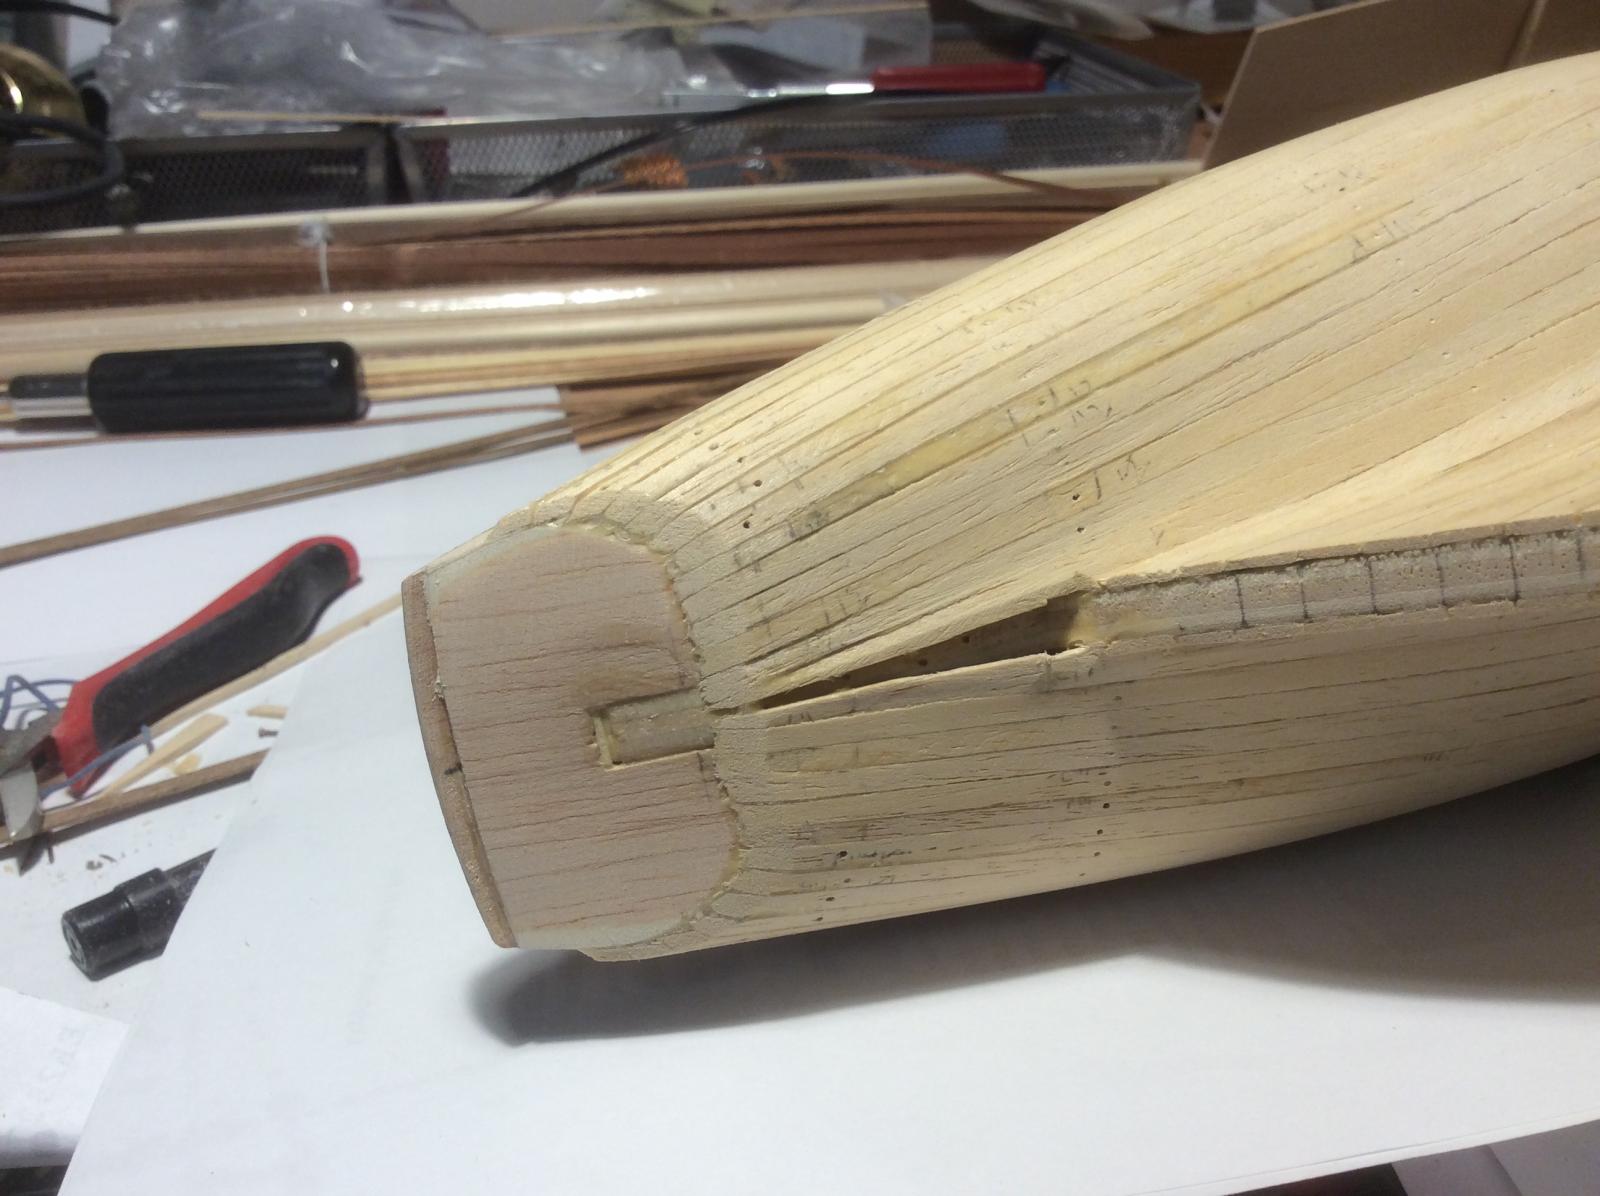
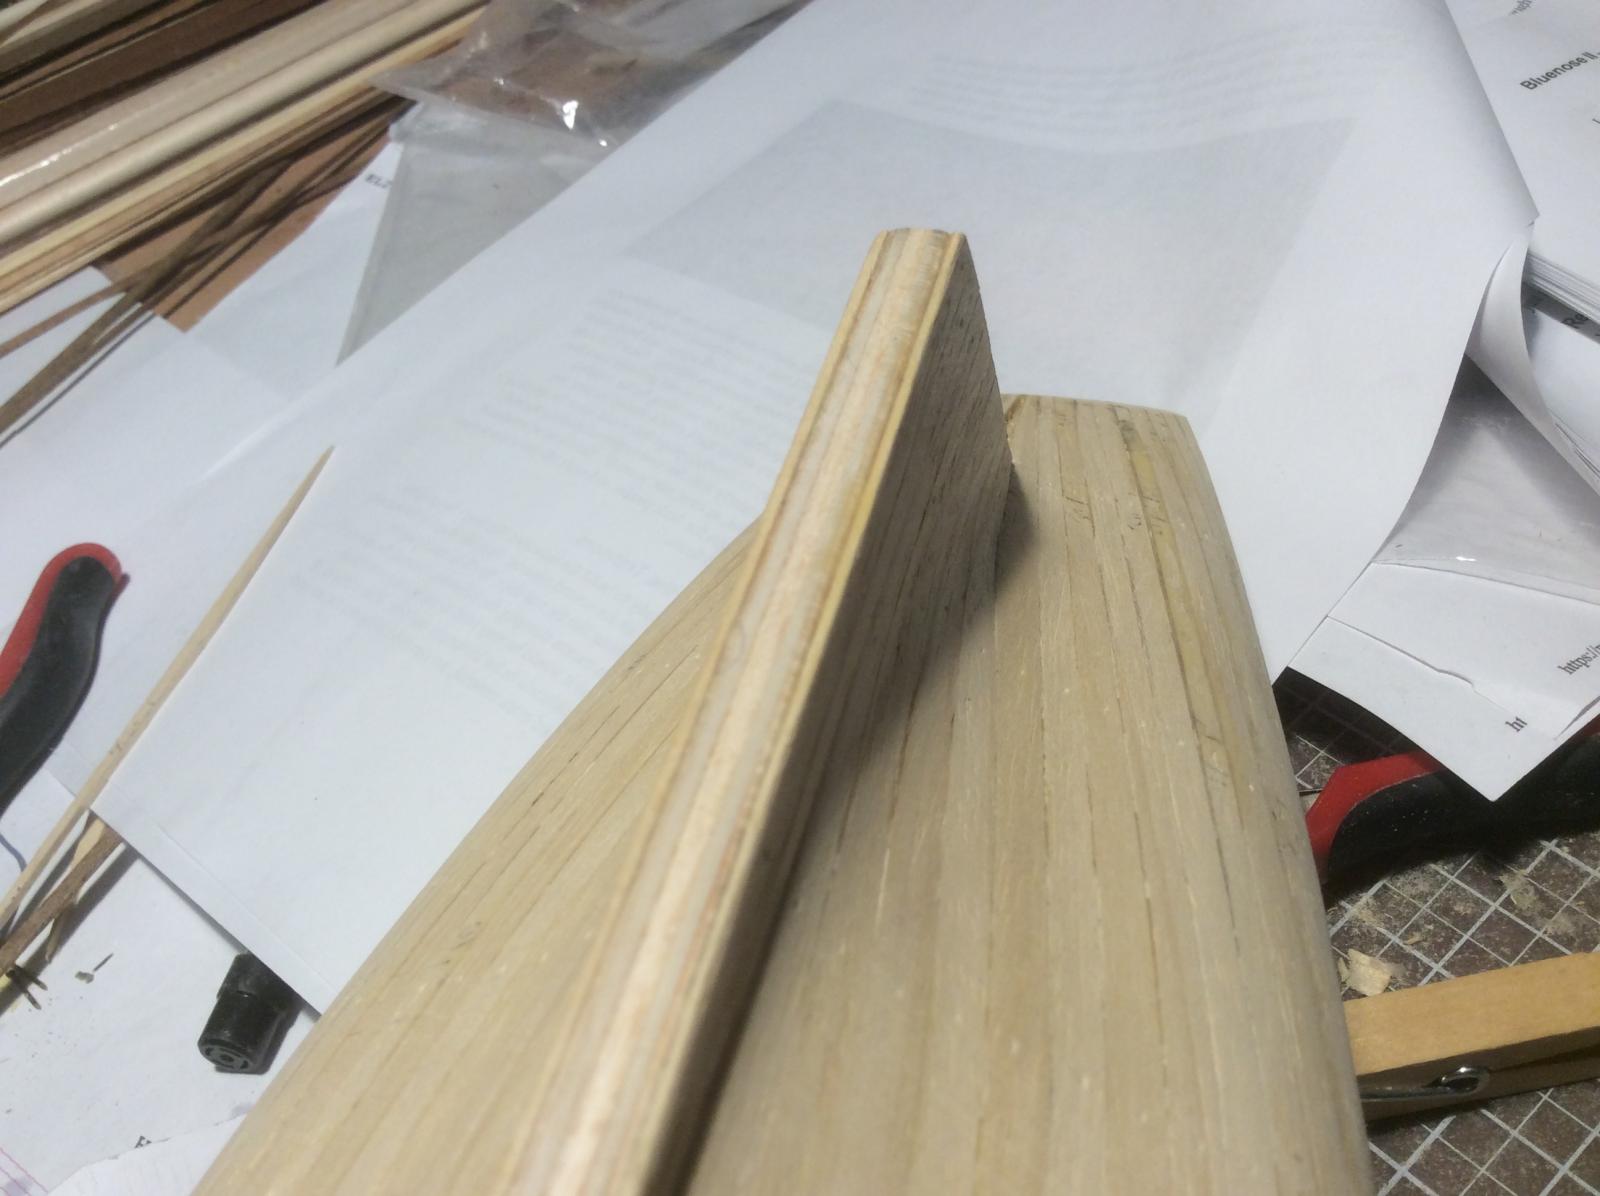
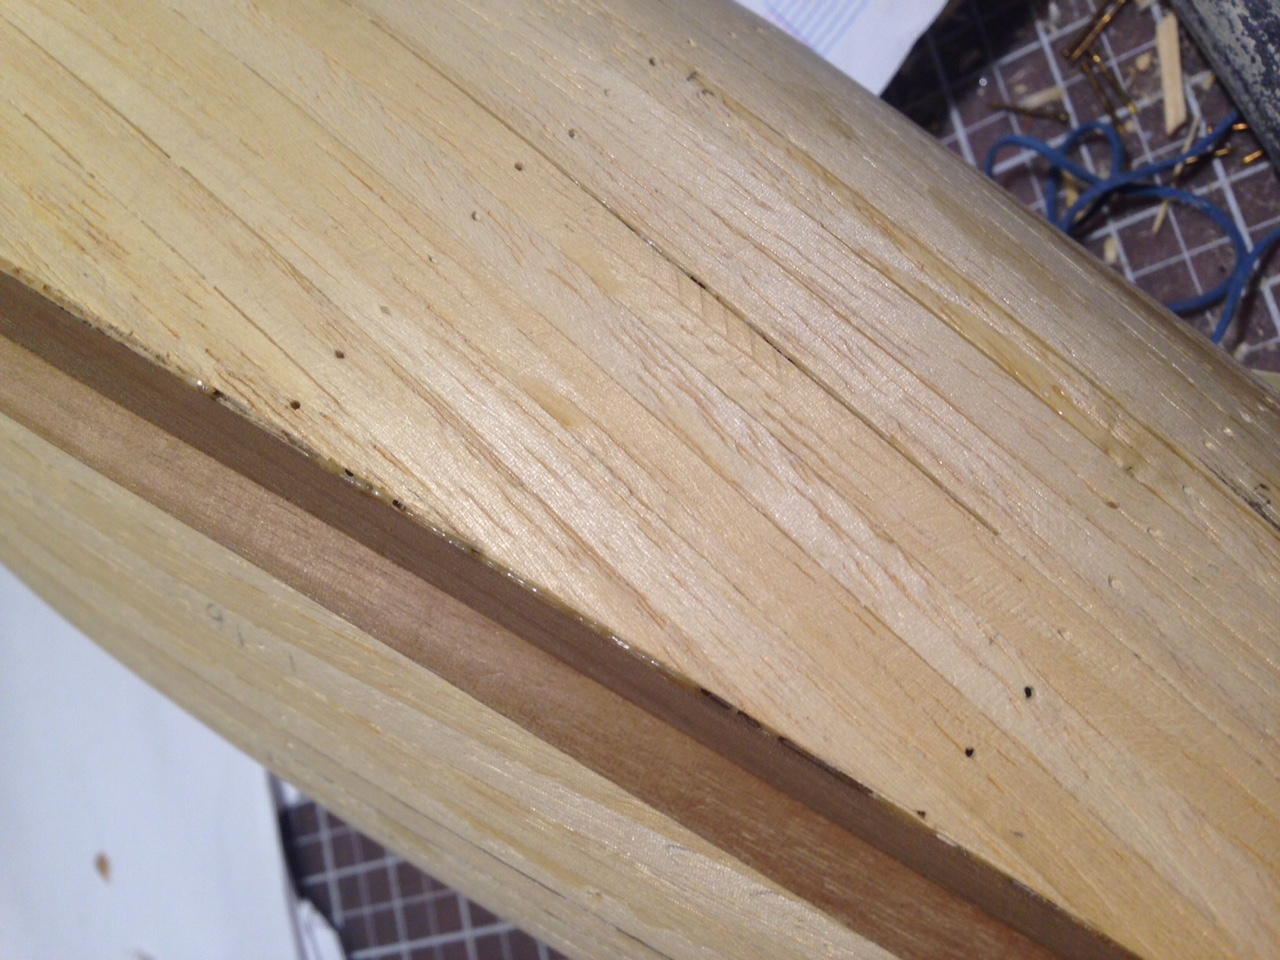
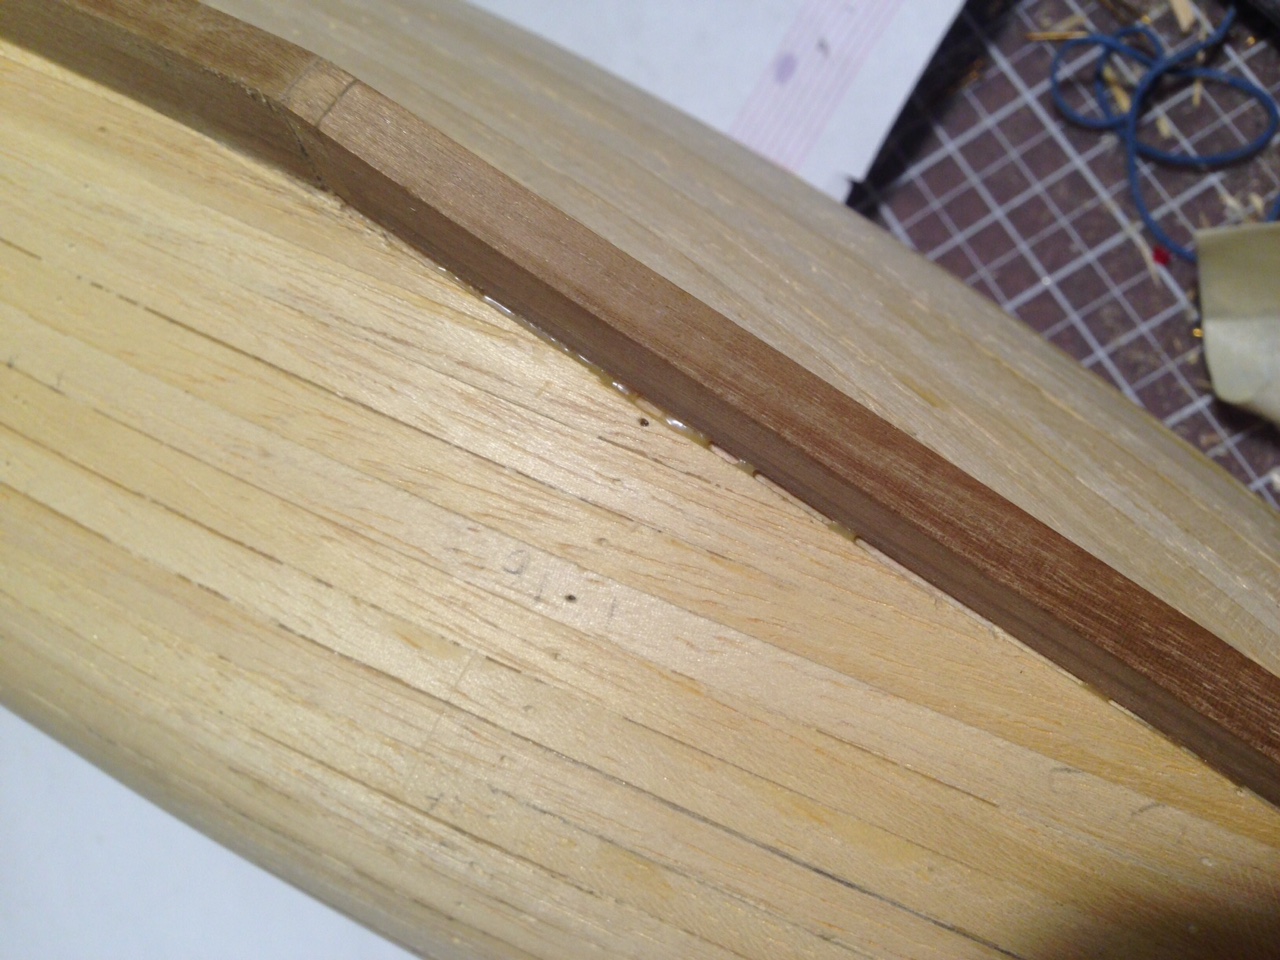
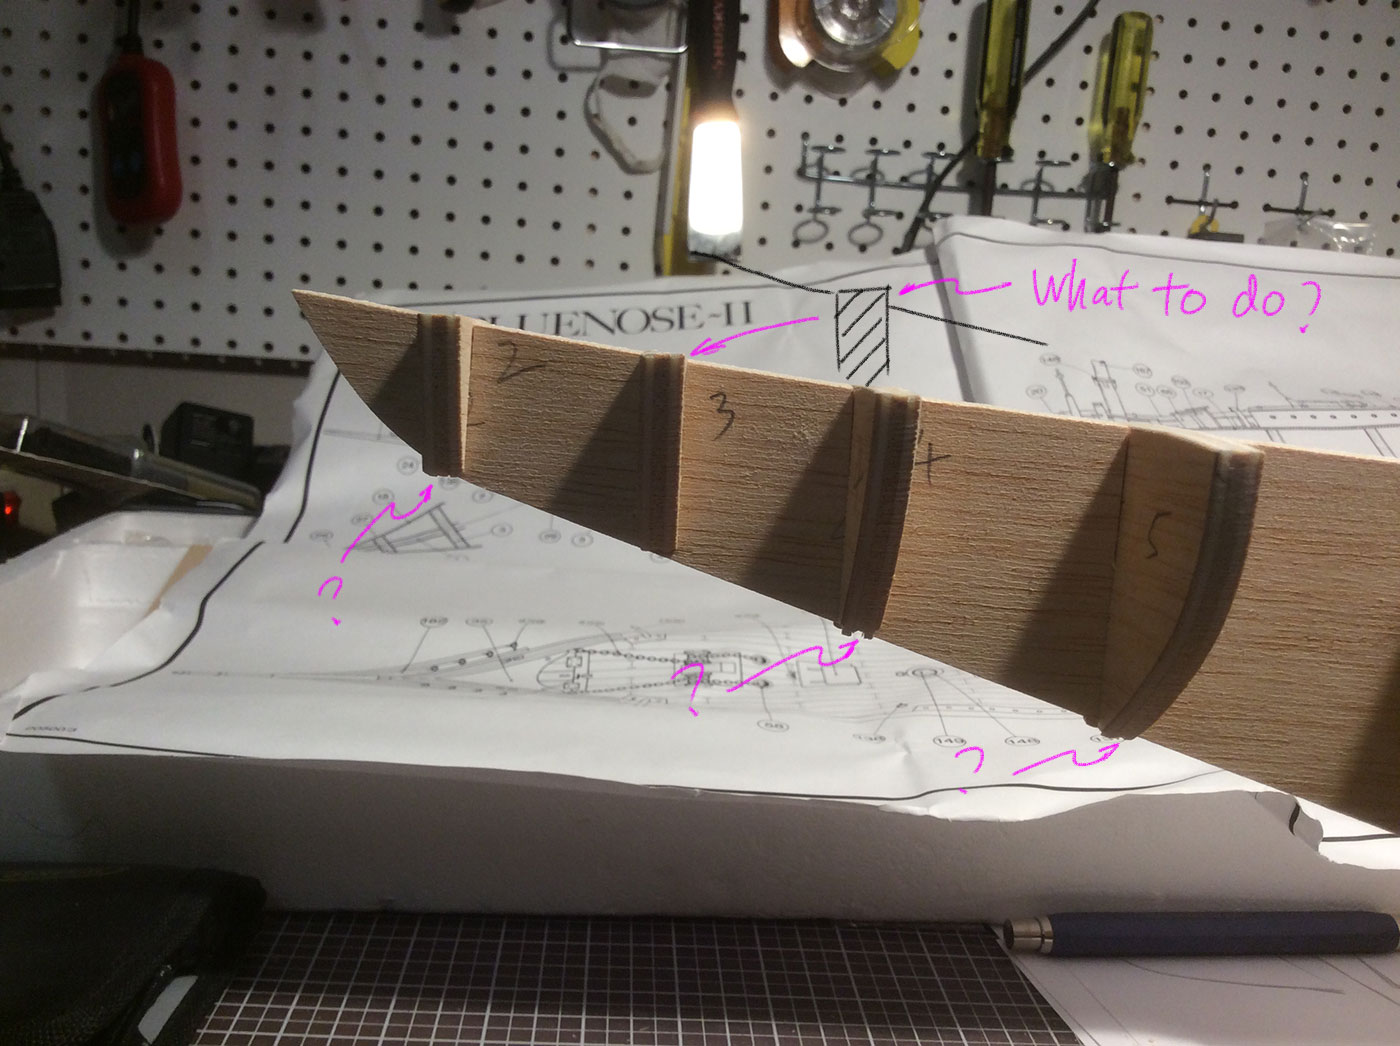
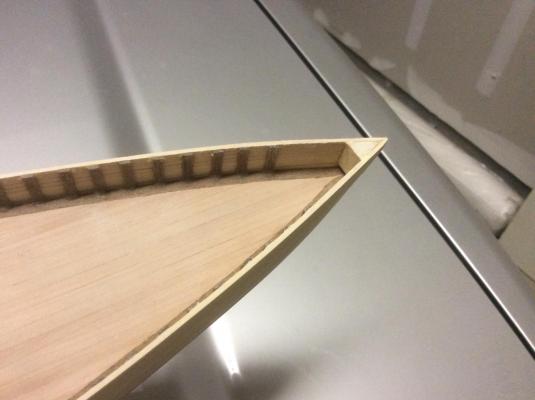
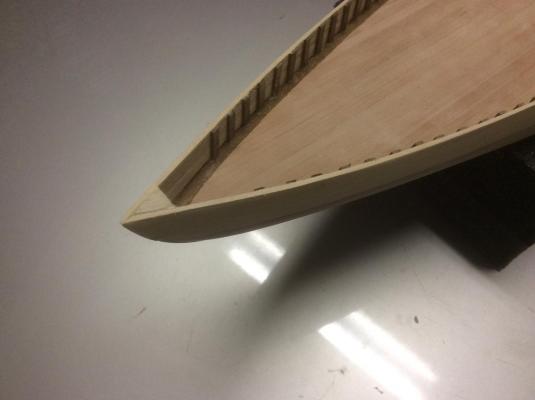
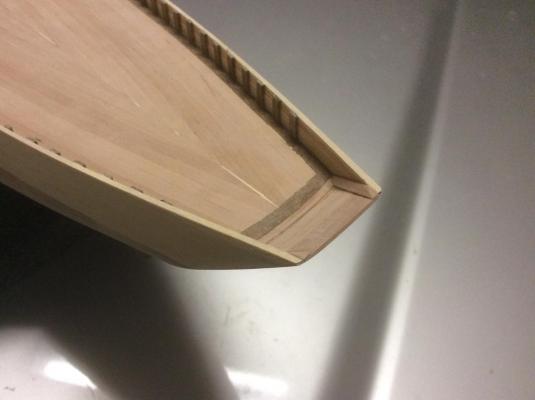
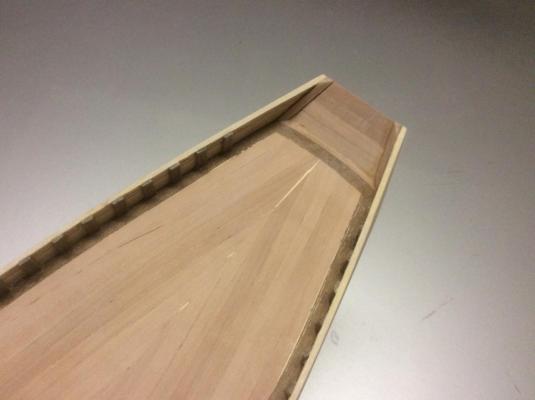
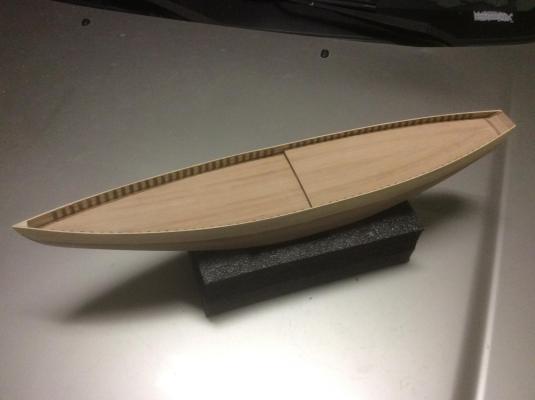
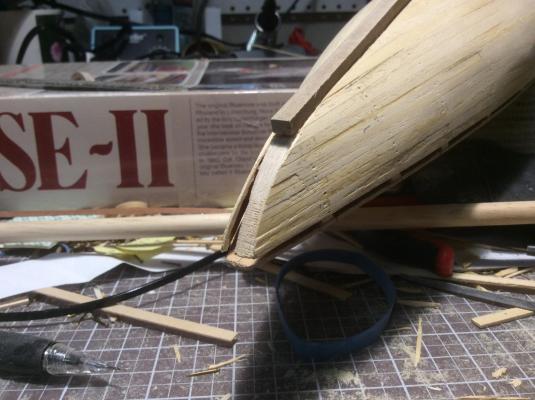
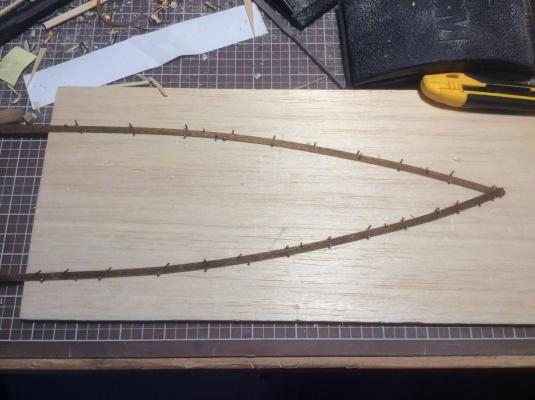
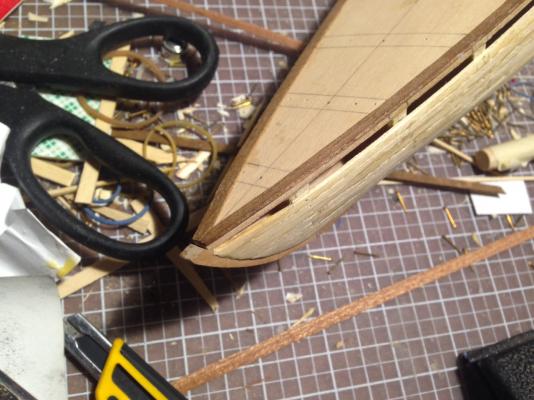
So I made a test piece with bass wood just to figure out the king plank. After making some pencil lines, things don't look quite right. The green area is the final shape with 25mm joggle interval. There're only two joggles not enough for the number of planks on either starboard or port side obviously. What's going on? Help please!


- 70 replies
-
- 5
-
-
- pen duick
- artesania latina
- (and 1 more)
-
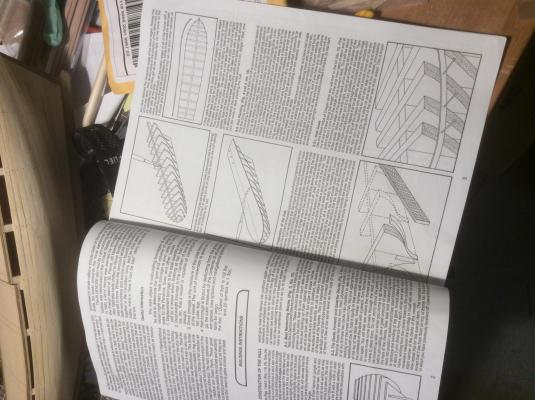
Thanks HOF for such a detailed explanation. I visited the bottom link. It's in French I think. What did you print out to assist with calculations? I plan to install water ways tonight and work my way in. I don't have a table saw. So working with mahogany is going to be tricky. I don't know if I can cut the king plank with joggles. Like you said, mahogany splinters so easily. So I might just use bass wood and stain it to look like mahogany.
- 70 replies
-
- 2
-
-
- pen duick
- artesania latina
- (and 1 more)
-
Roubaix changed their profile photo
-
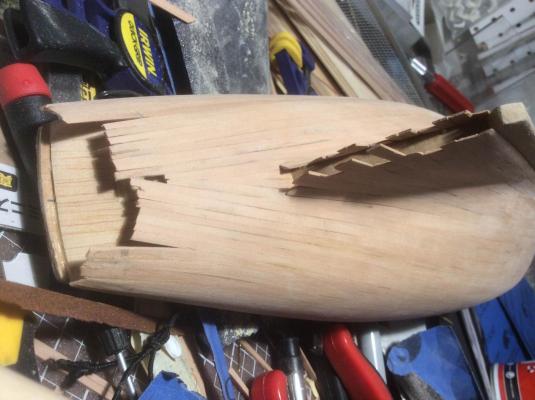
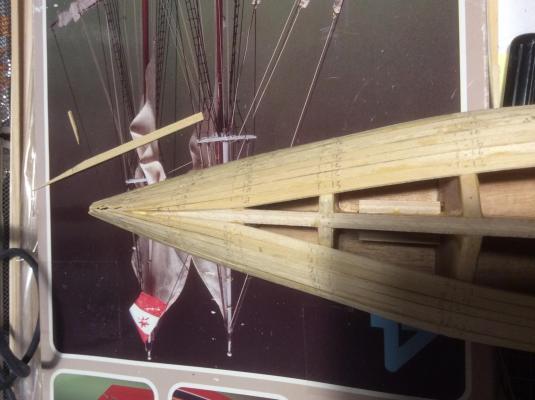
Hi, I just started the the same kit. Was looking for your original log because it had more photos. I asked you about the jagged center deck plank in your original post. But didn't get to see the reply before the post was deleted. So how did you make that jagged center plank? Did you lay down that "spine" first then planked the rest? Thanks! RB
- 70 replies
-
- 1
-
-
- pen duick
- artesania latina
- (and 1 more)
-
Hi Chuck, I plan to start on this 18th century long boat kit purchased from ModelExpo in 2015. It's a great kit. The instructions are very detailed and easy to understand. http://www.modelexpo-online.com/product.asp?ITEMNO=MS1457 The kit has a mast and rigging details. It's a simple kit. Now, I wonder if it's possible to add sails to this model. I want to learn how to sew sails. However, there's no sail shape templates and rigging details on the plans. So what would you recommend? Thank you. RB
-
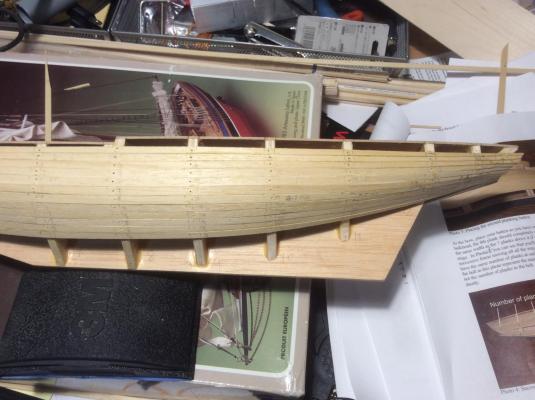
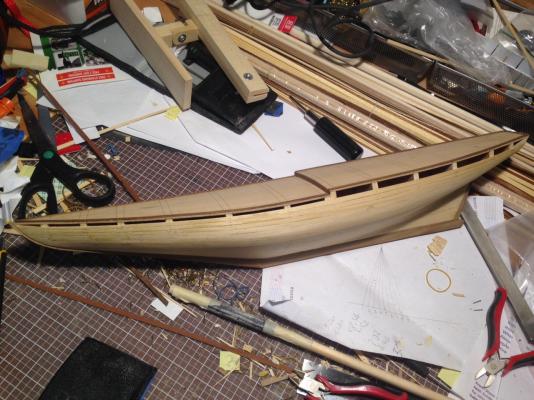
Guys, It's been a while since I updated on this. My day job is pretty demanding so I had to go pretty slow on the progress. So I just completed the hull and bulwarks. Now I'm looking to make scuppers, drill some holes and do some light painting on the bulwarks. The next step is to paint and stain the hull. I want a satin or flat black bulwarks and a stained then varnished hull. I don't have any experiences in staining and varnishing a wooden ship model. So I would like to receive some advice here. I looked on Youtube. There're a lot of varnishing videos, but they're all for life size boats, not scale models Can any one share some tips and tricks? Thank you. RB.

-
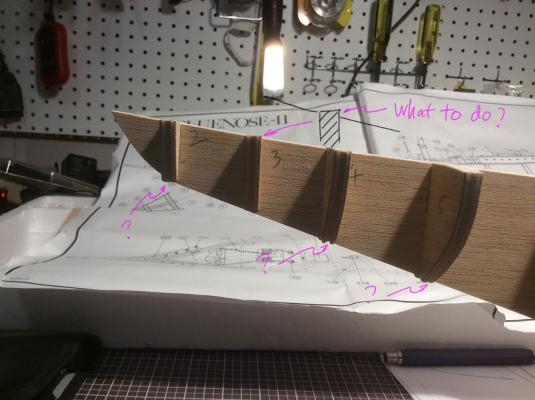
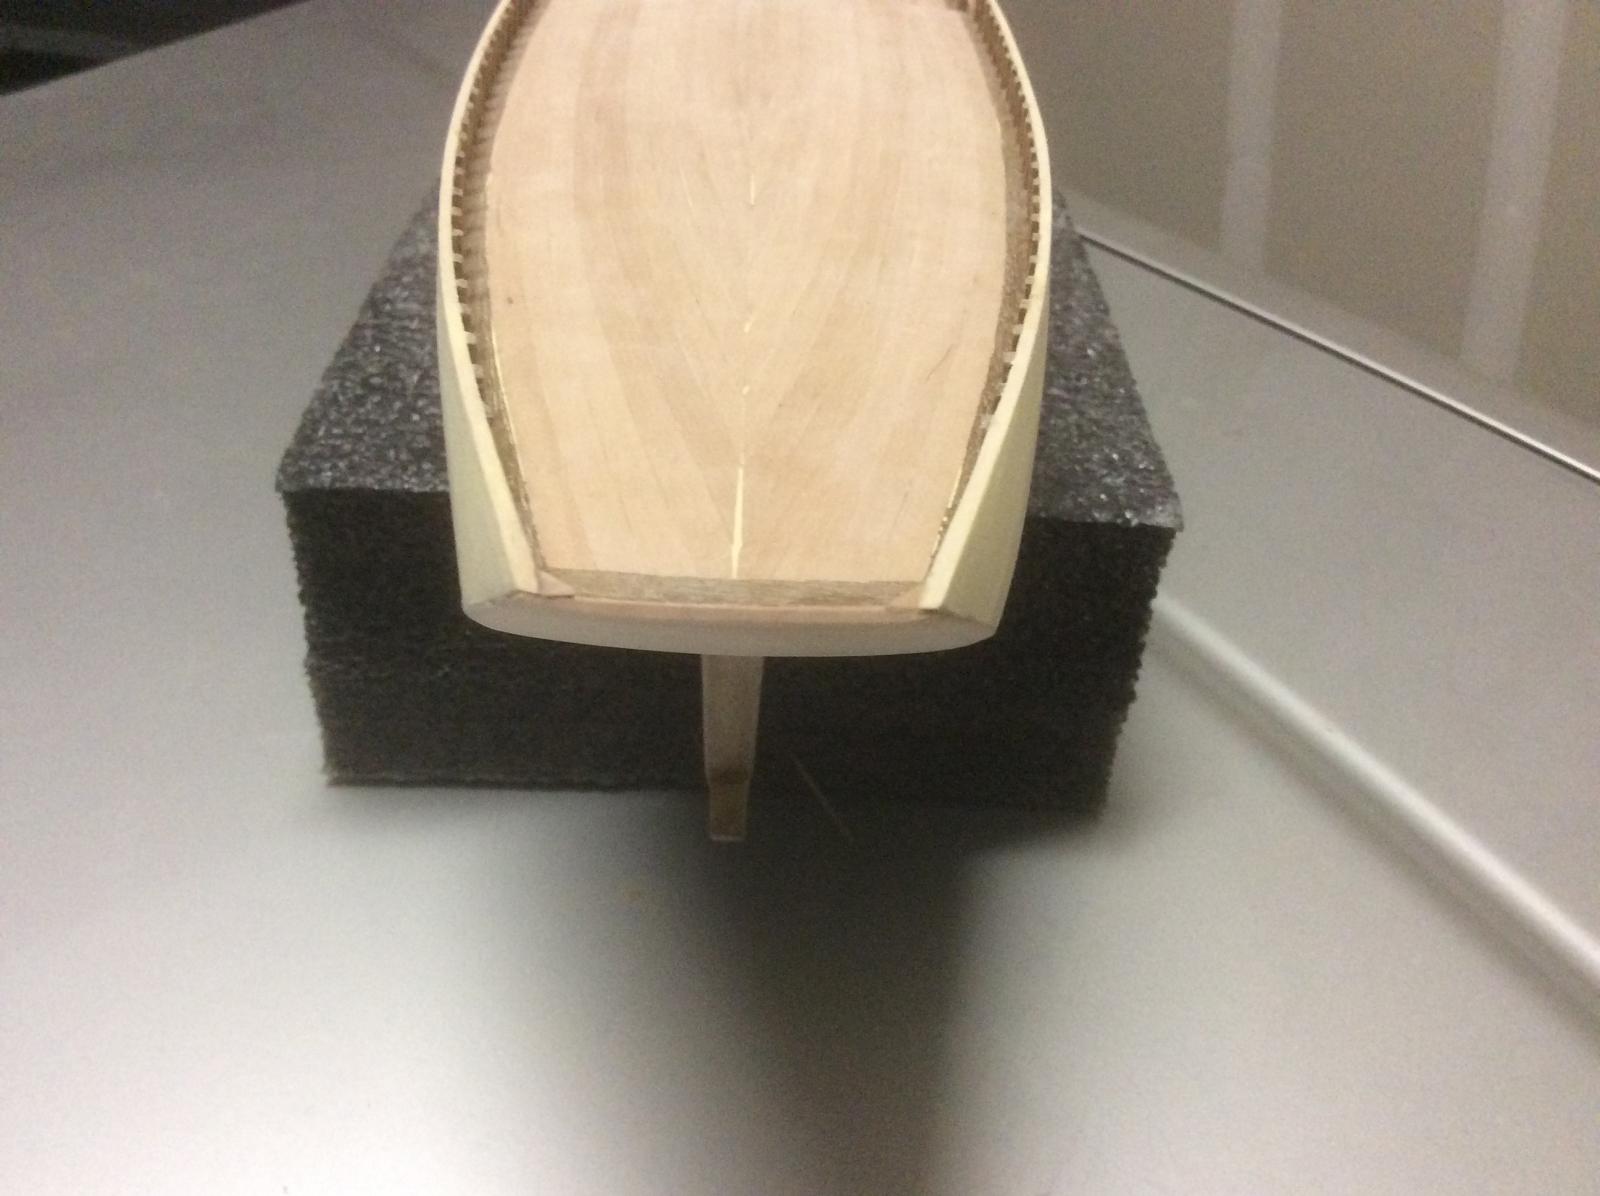
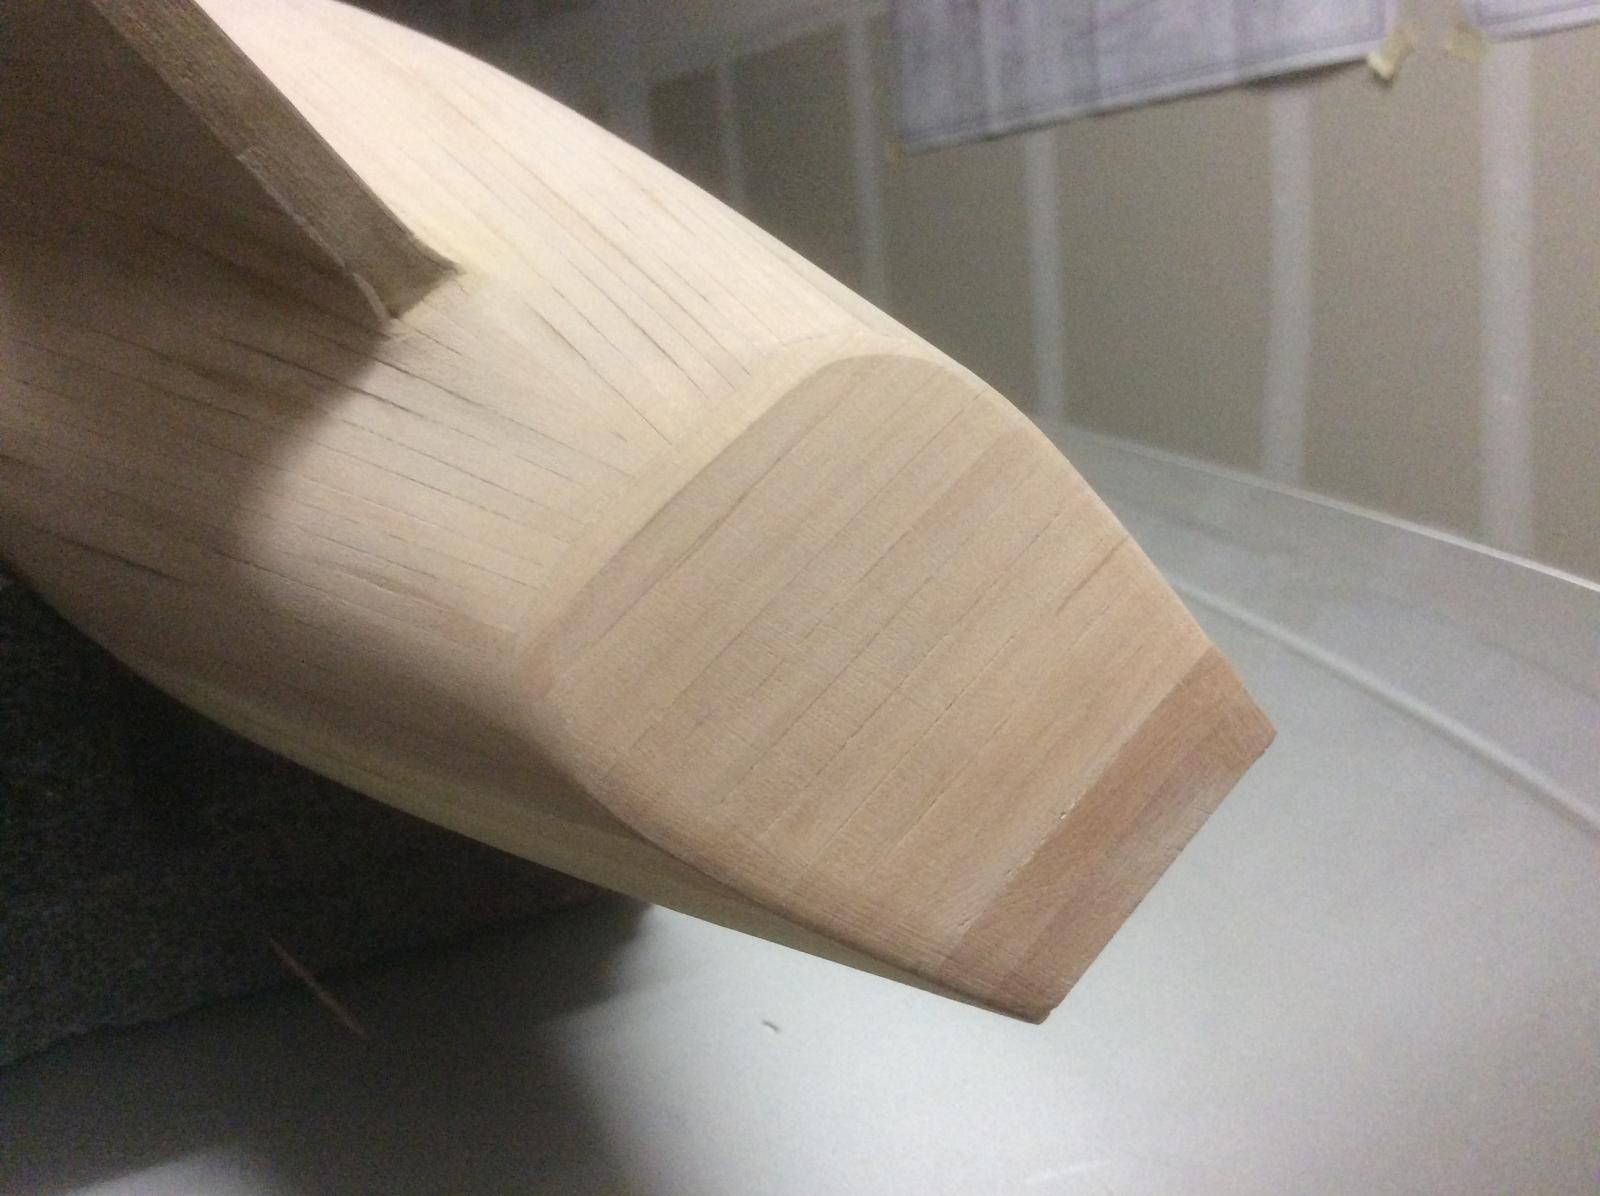
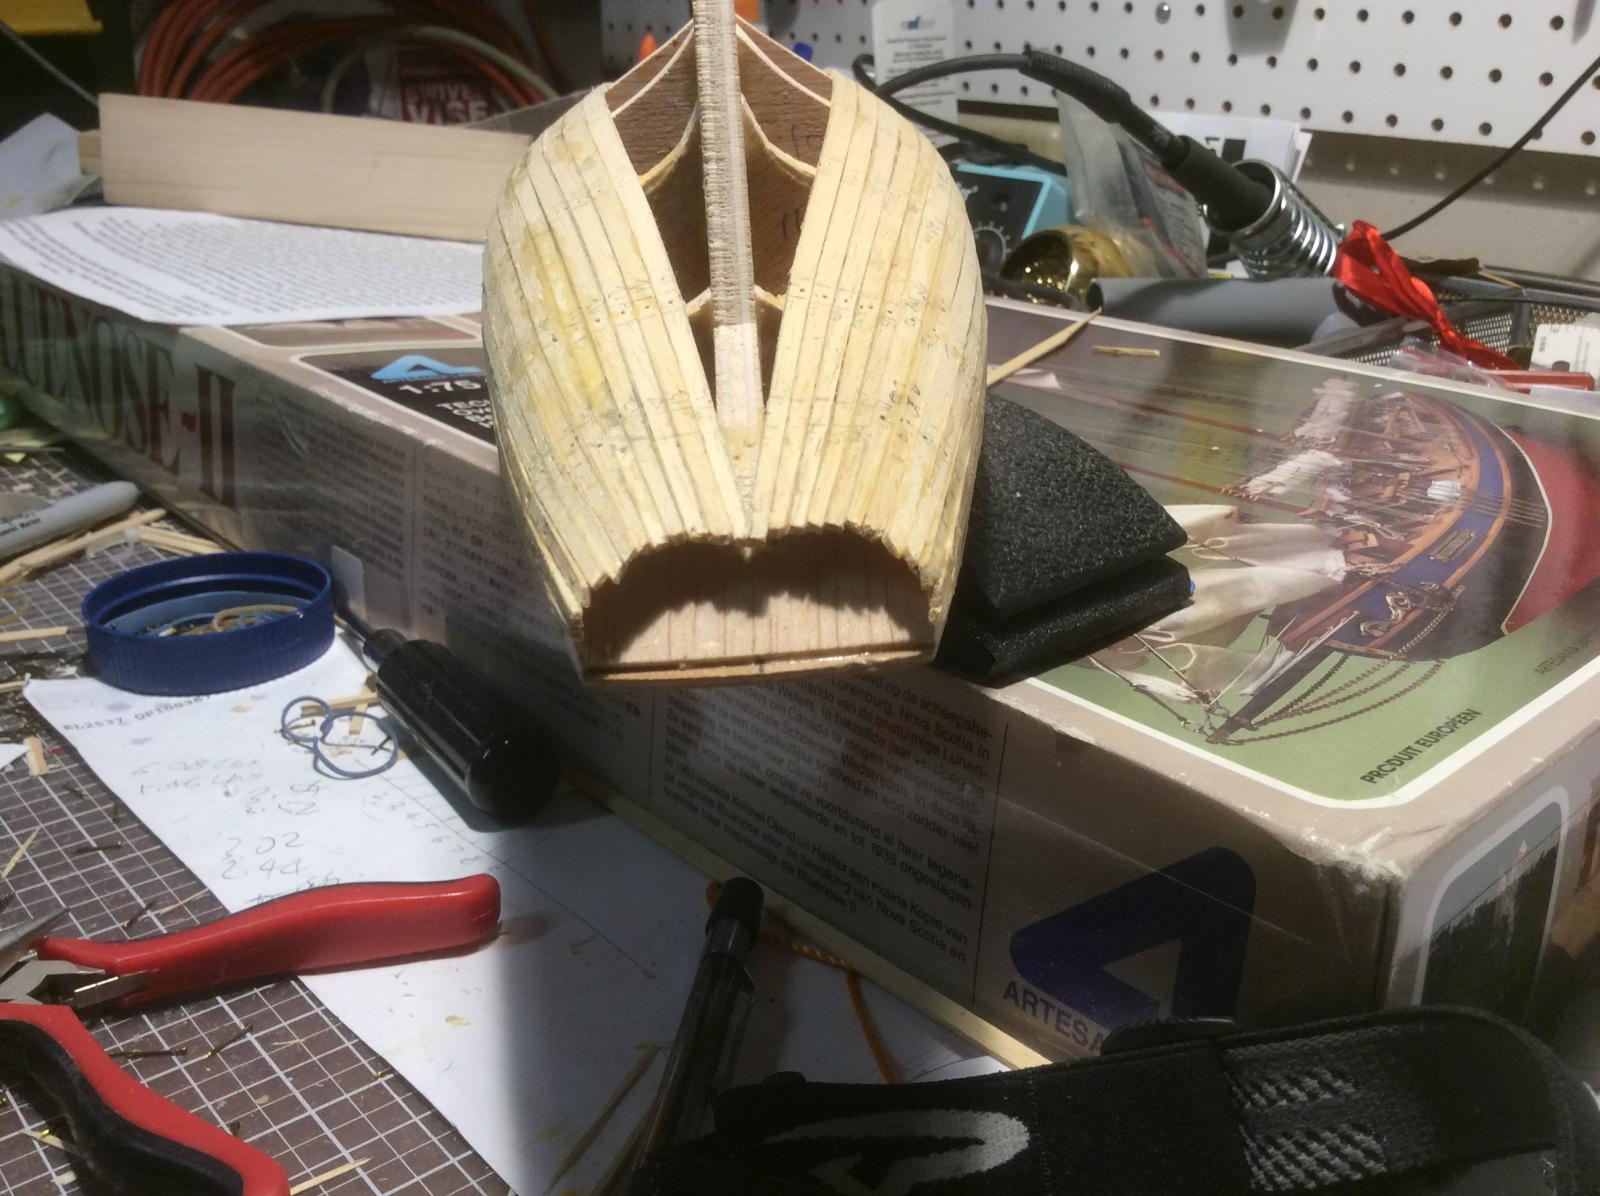
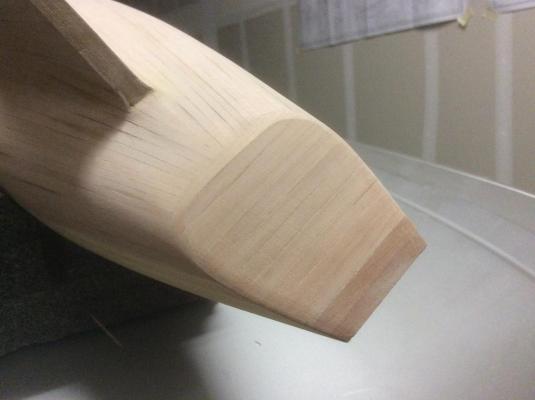
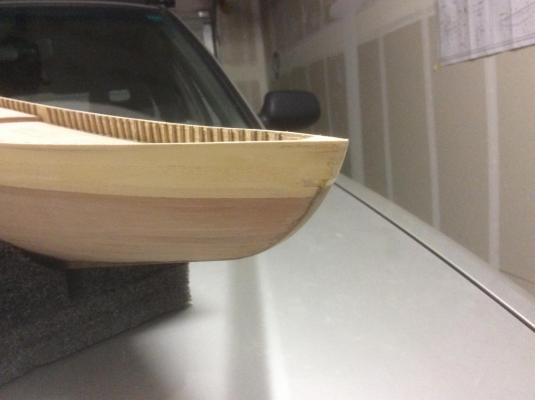
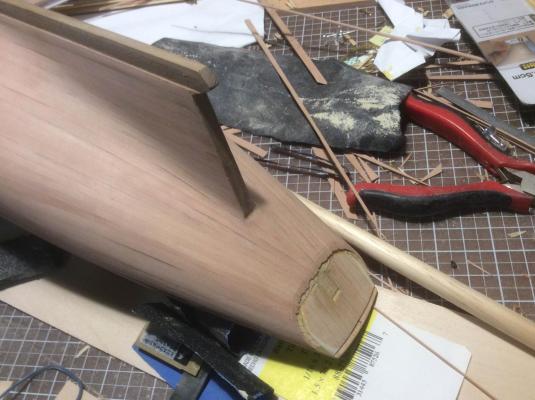
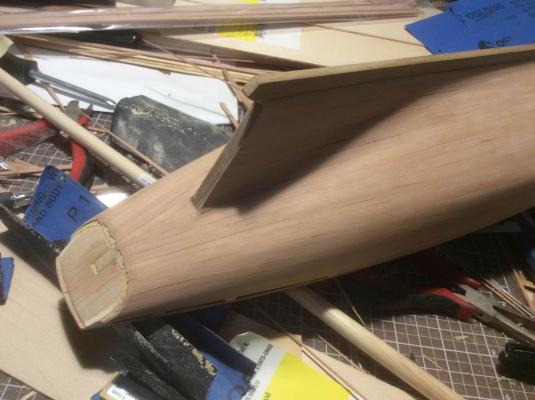
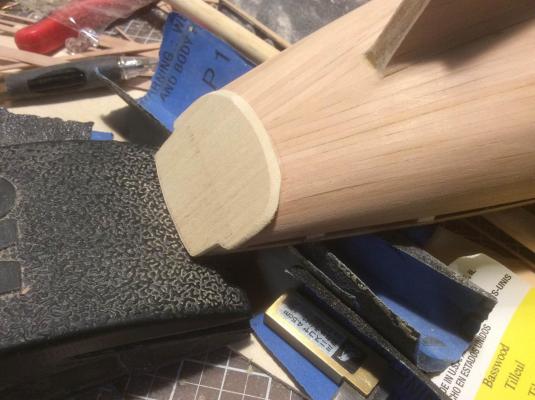
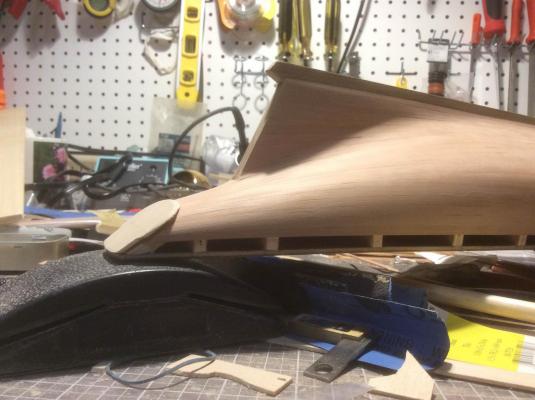
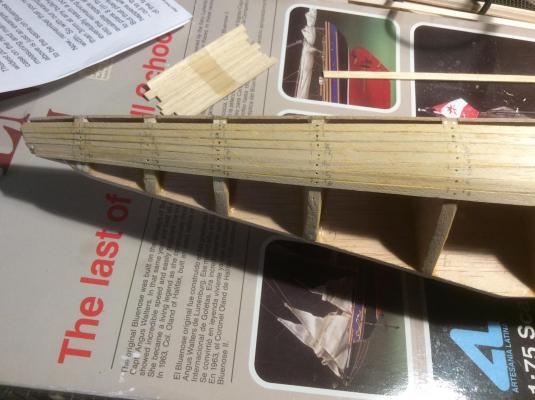
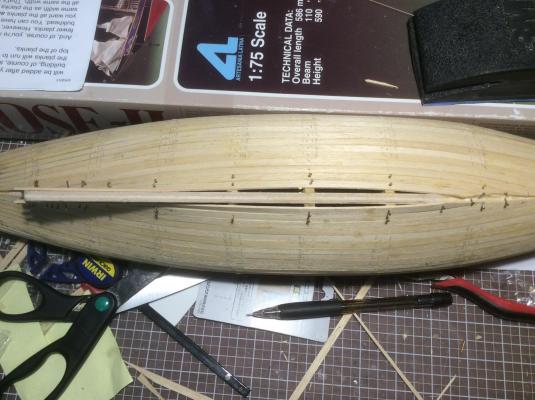
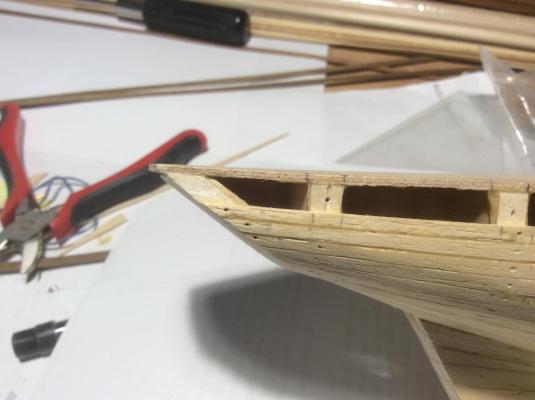
Some updates here. I've completed the second layer of planking last week. Now I'm thinking about the transom. How should I go about this? I'm thinking about planking the transom, but I just don't trust my skills at the joint where the transom planks meet the hull planks. How should those joints to be handled? If I were to plank the transom, the joints between the transom planks and the hull planks have to be very clean and tidy. I don't plan to paint the hull. Only stain and varnish, that's it. The other way is simpler. Just make a transom piece to cover the bow. I made a draft piece to fit over. It's not glued down or sanded yet. I can make the joint between the hull planks and this transom piece clean and tidy. Suggestions?


-
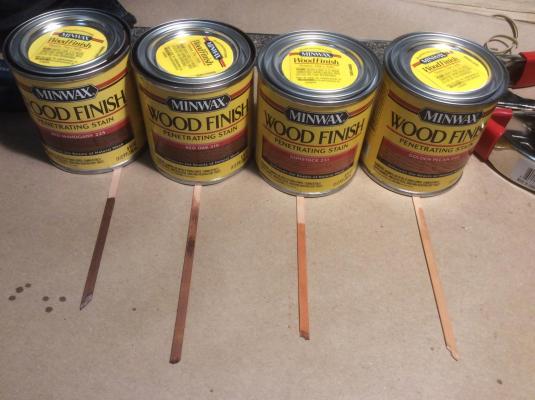
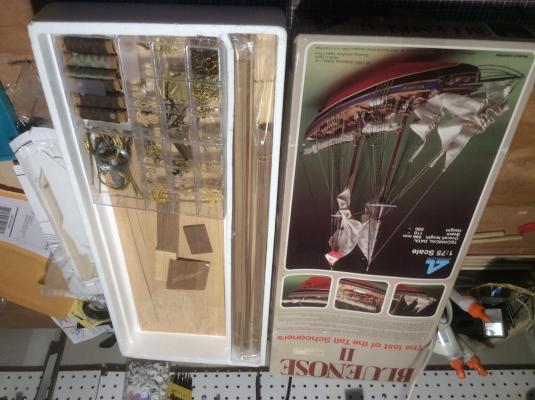
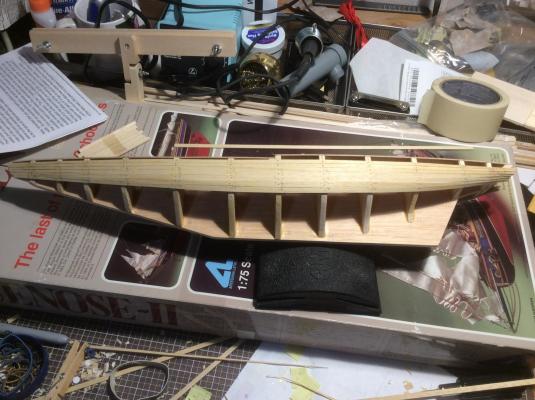
I was in the middle of changing a job in the last few weeks. So I haven't put much effort in my BN2. The good thing is that I'm back. I found the wood stain I'm looking for at Walmart. It's called Gunstock. See the pic(second from right). It has that rich reddish color, but not very dark. My next step would be double plank the hull. Any advice would be greatly appreciated. I also opened a separate thread in the planking forum. Thanks guys. http://modelshipworld.com/index.php/topic/11409-double-planking-technique/
-
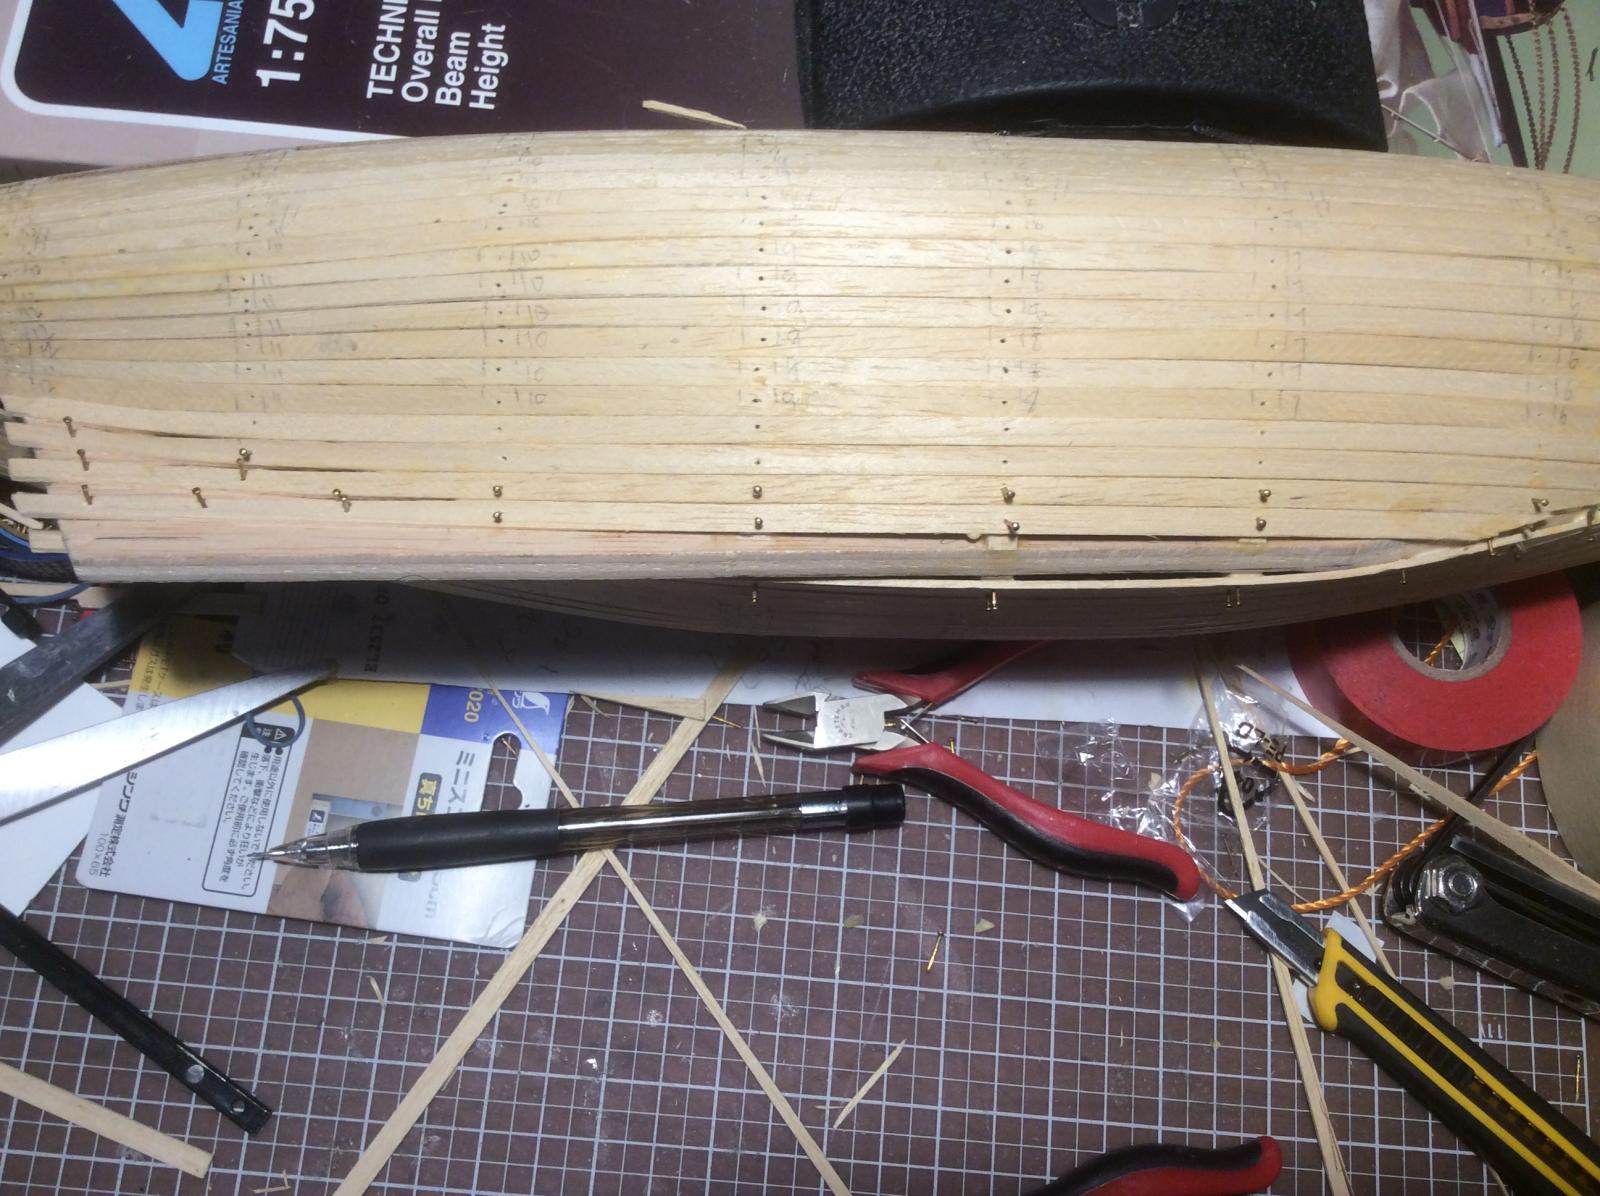
Hi guys, I'm a newbie here. I don't know if there's a technique archive for double planking. I'm in the middle of building the AL BN2. I finished the first layer of planking, now looking to start the second layer. I don't plan to paint the hull. Only stain and varnish. So I'd like to make the second layer look as nice as it could be. I don't plan to use nails. How can I keep the planks down while the yellow wood glue is drying? Any other technique on how to make the finishing planks look as clean and tidy as possible where they meet the keel would be greatly appreciated. Thanks. Shaun My build log: http://modelshipworld.com/index.php/topic/11195-bluenose-ii-by-roubaix-artesania-latina/
-
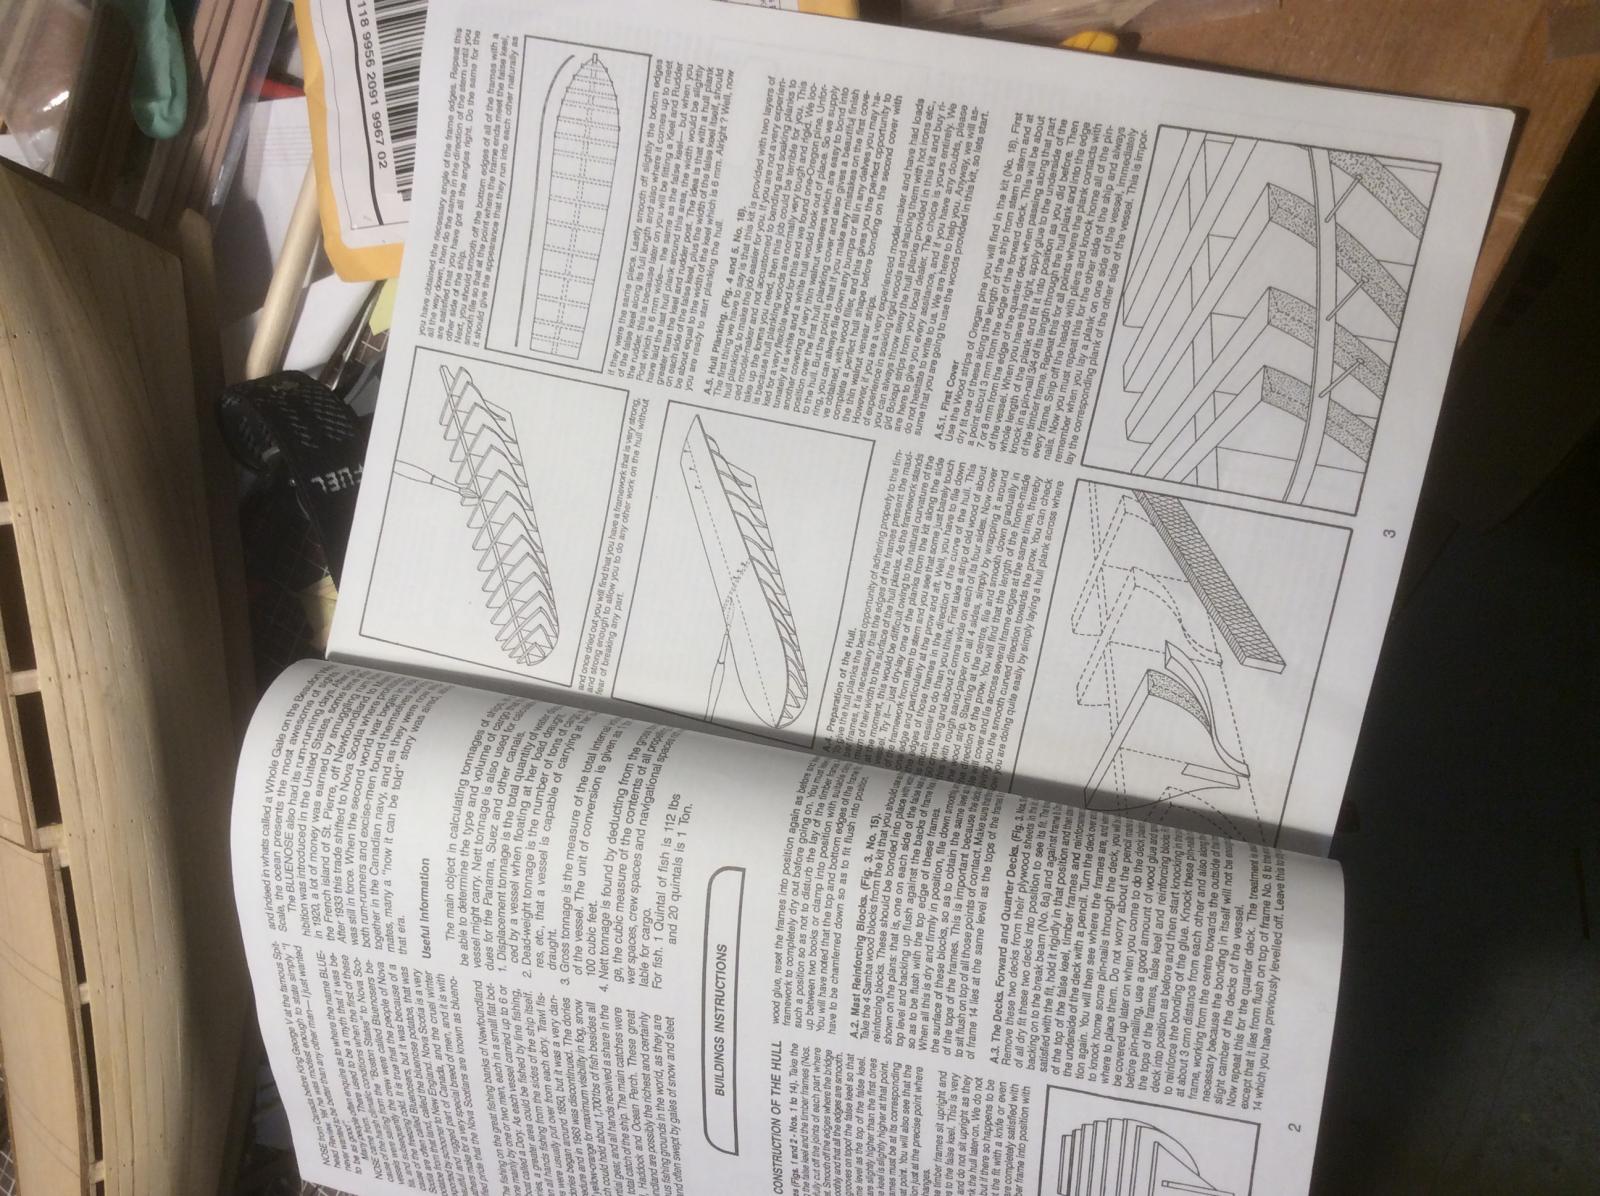
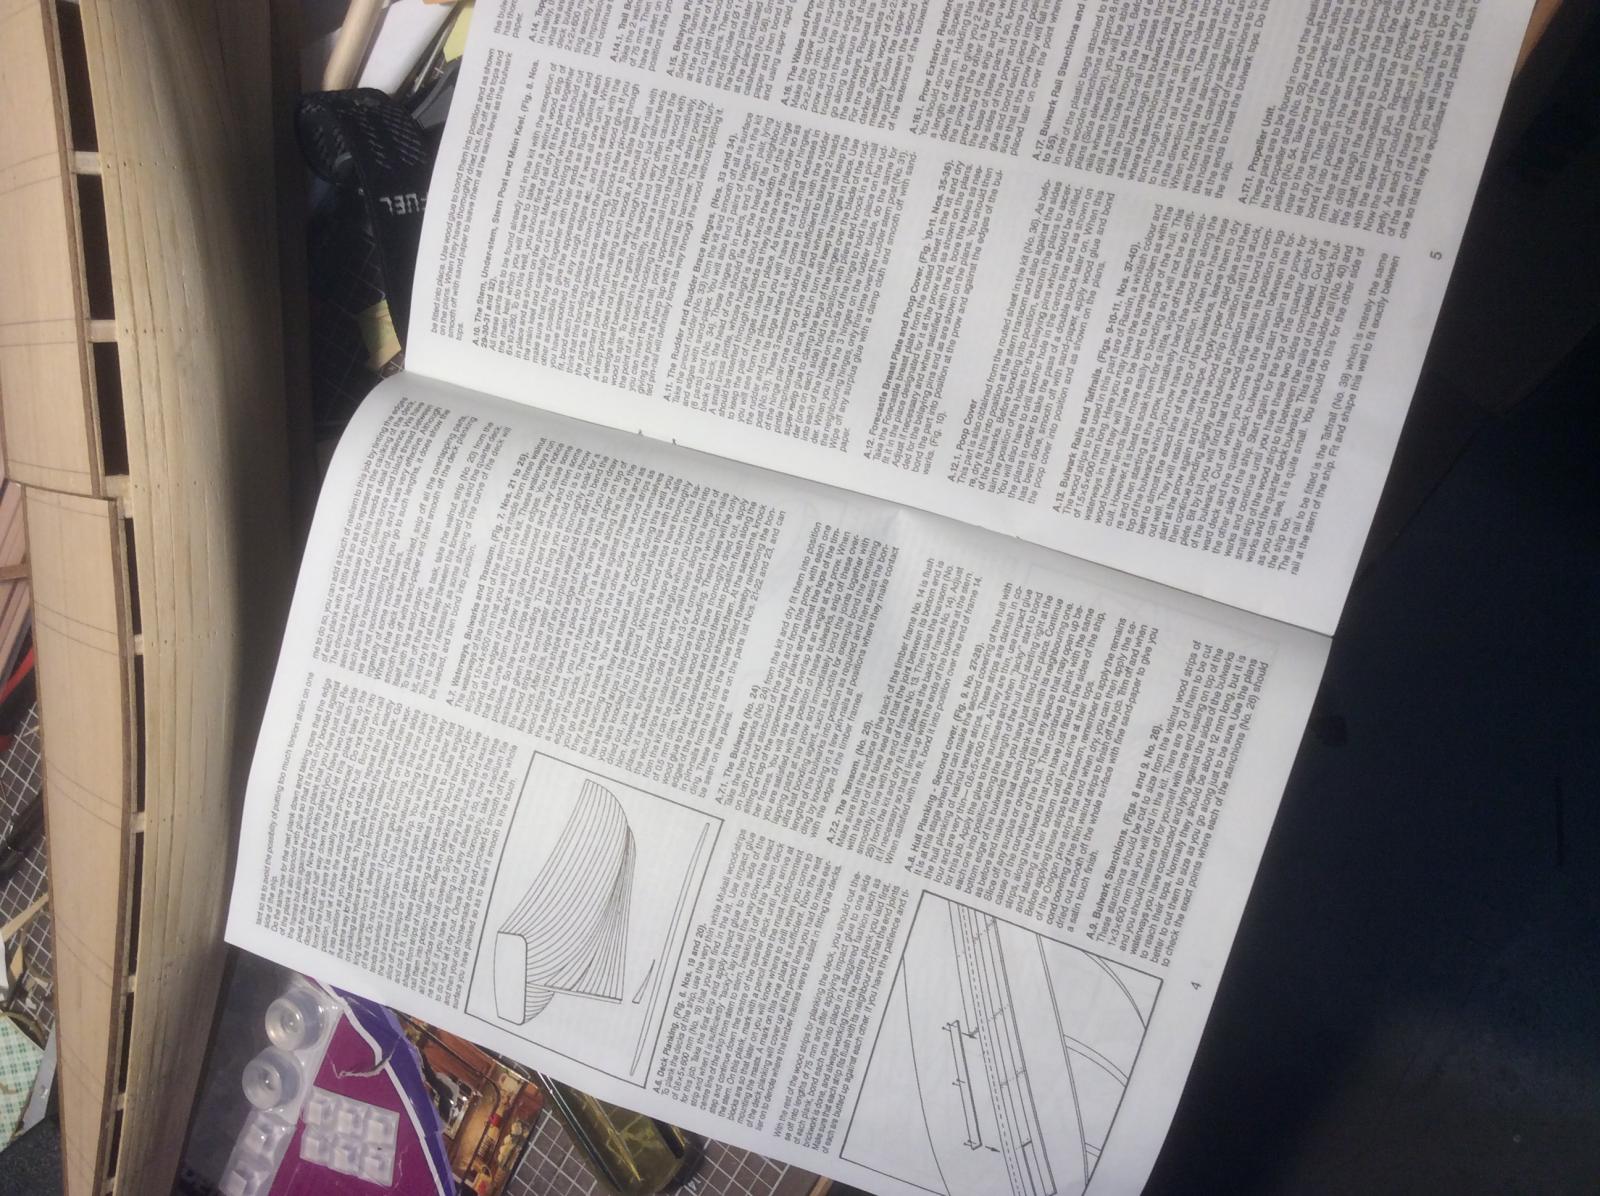
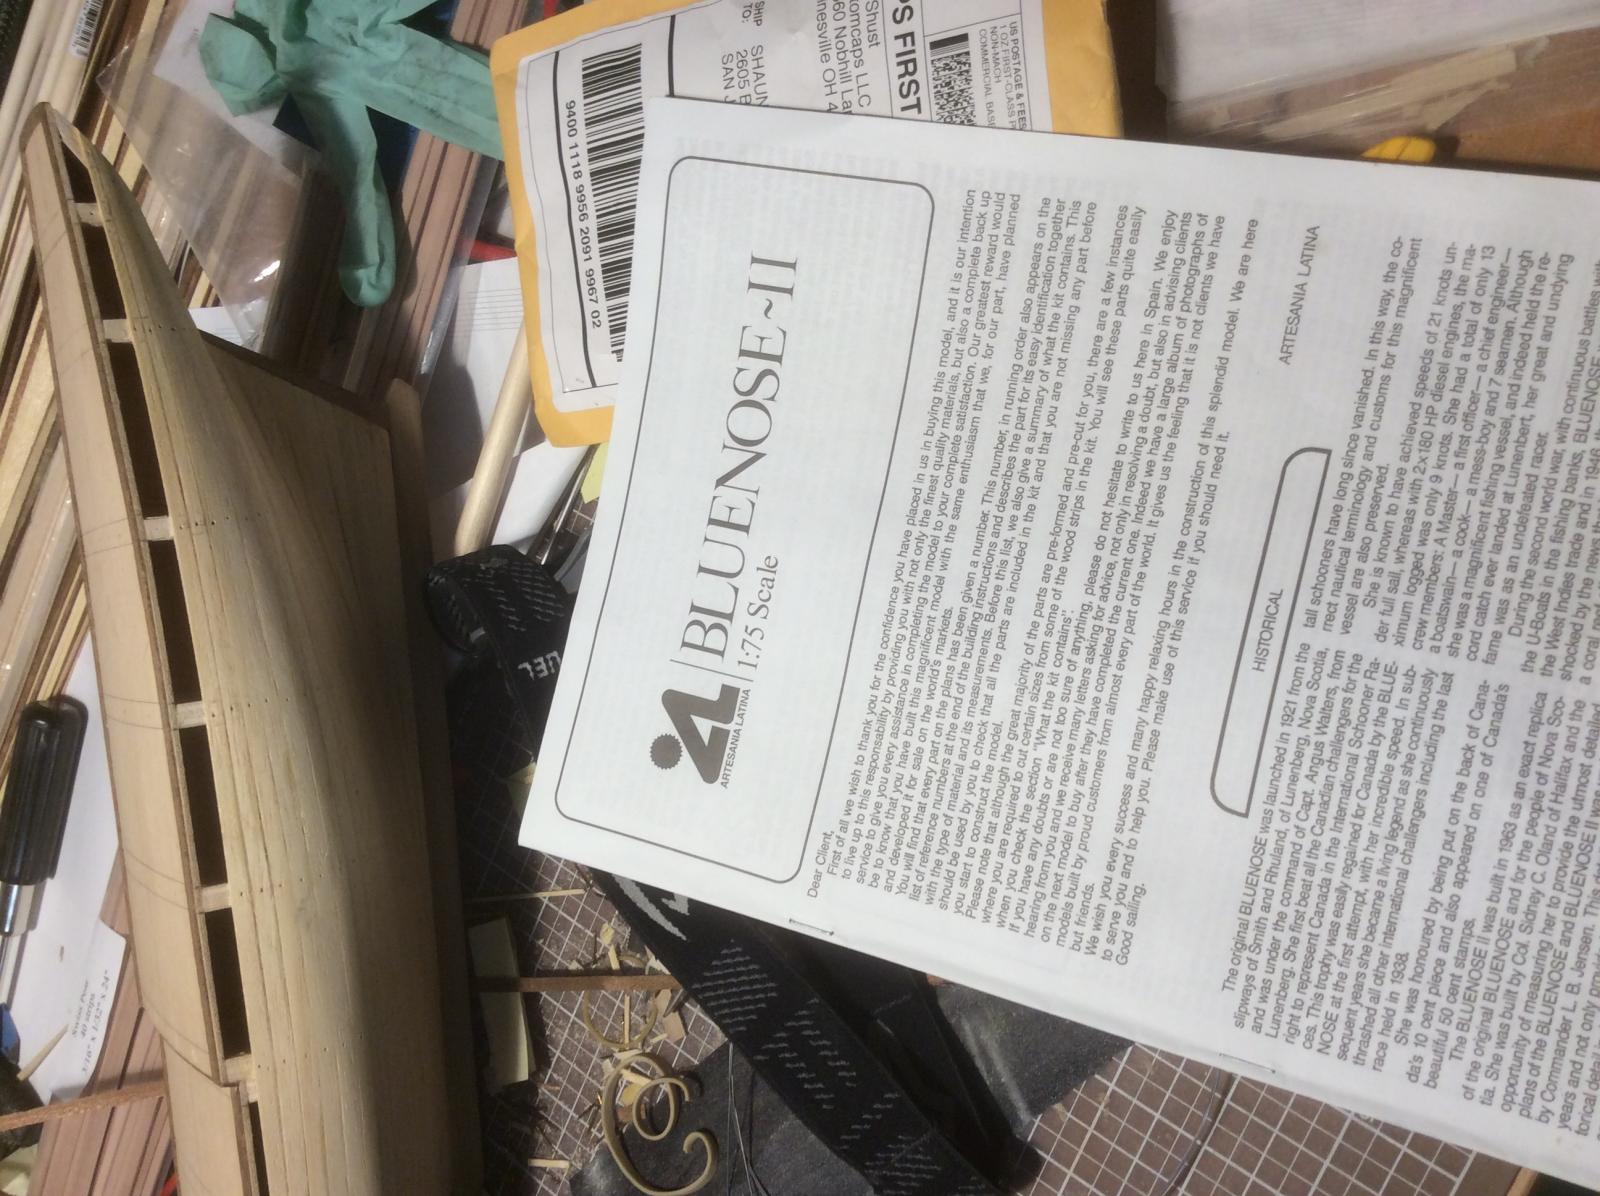
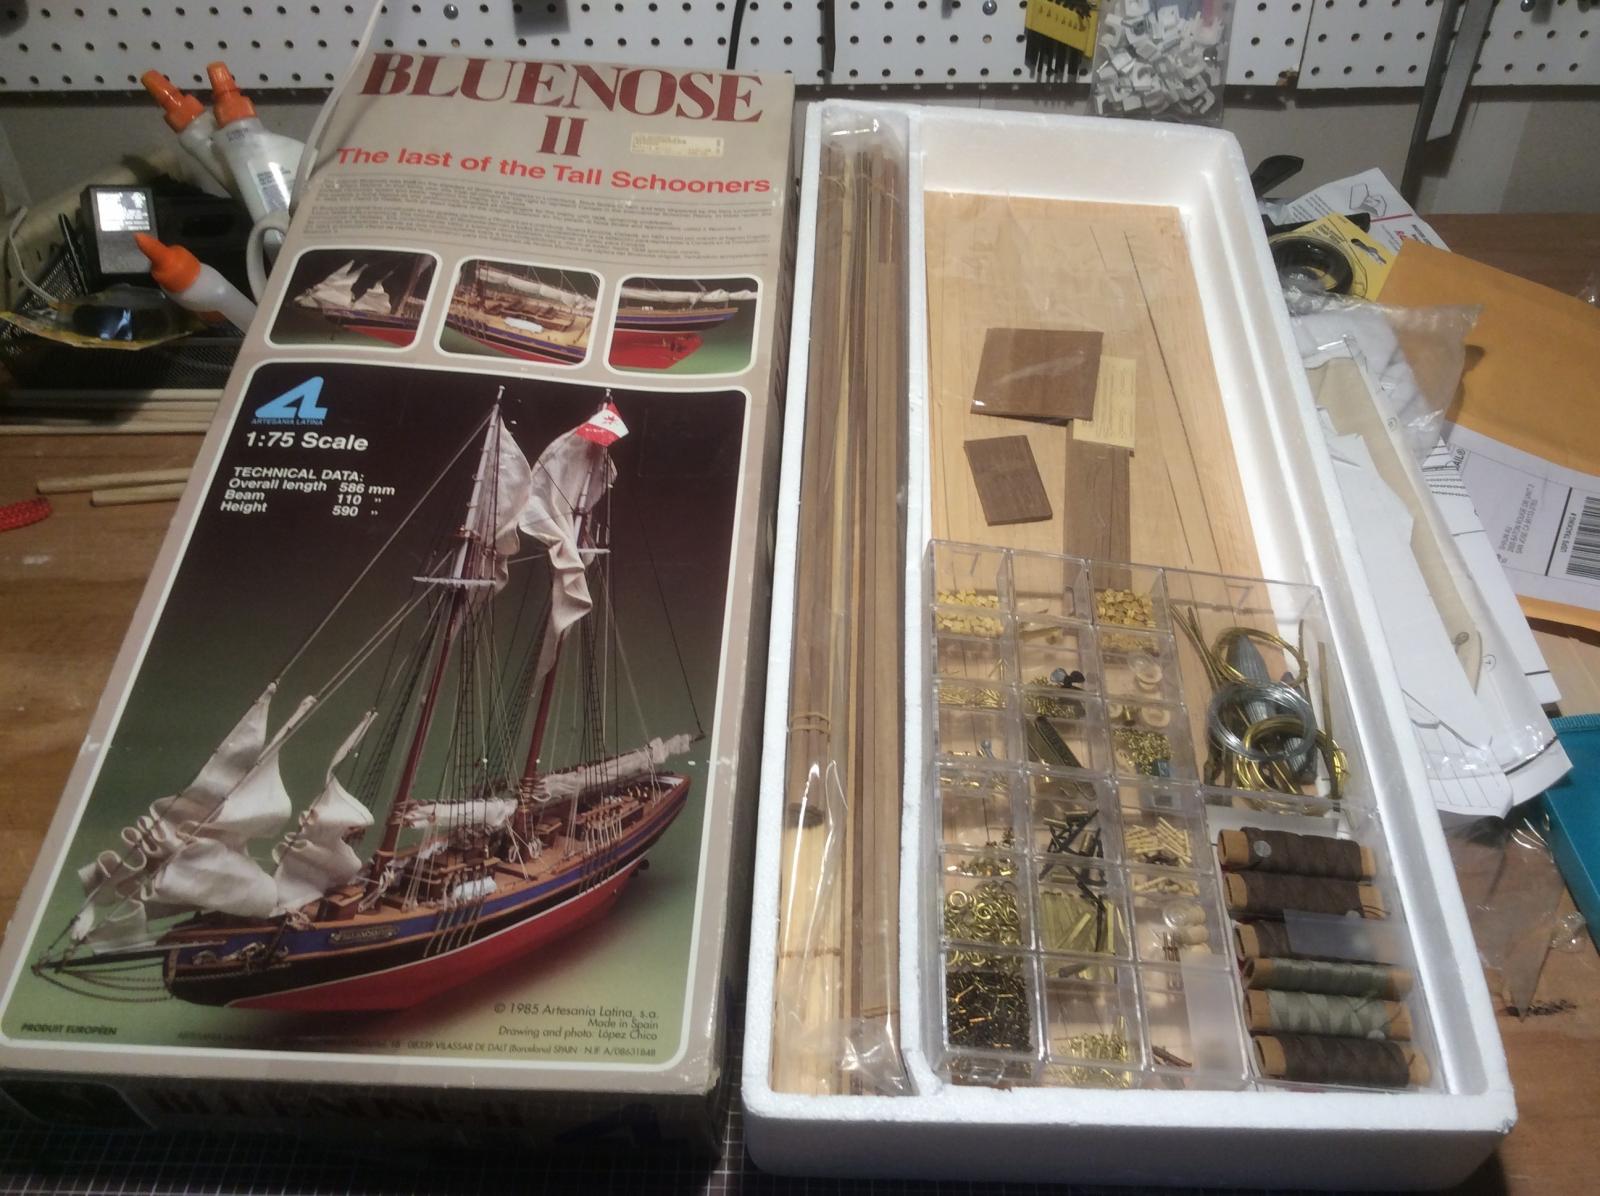
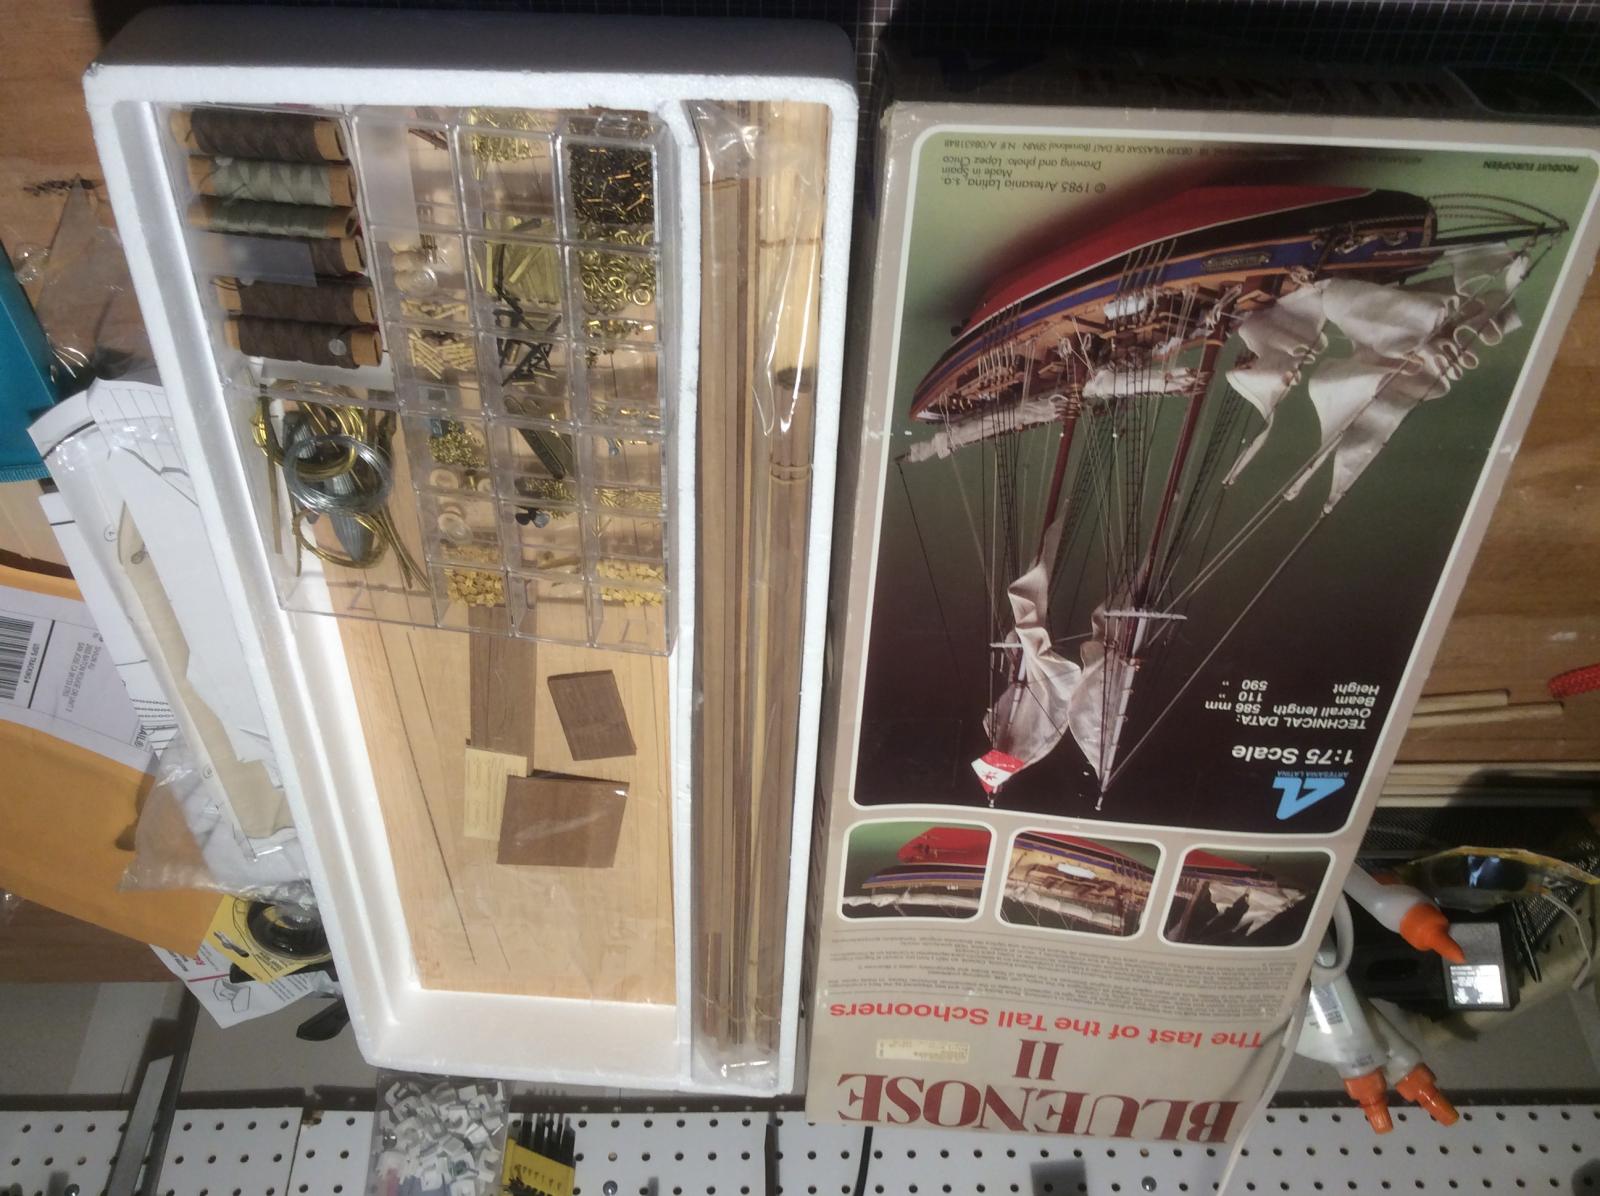
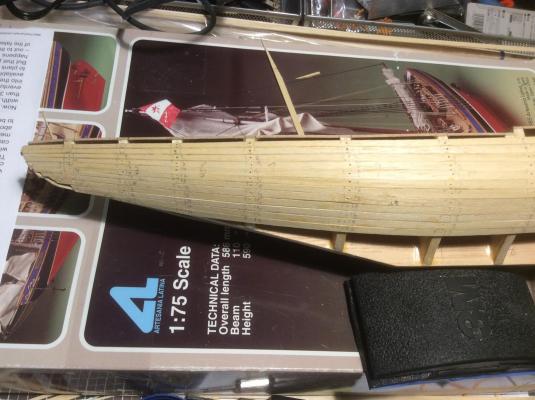
Wow, your kit is completely different from mine. Maybe your's is a European version. Even the hull color themes are completely different. See my kit pics. The instruction came with my kit is NOT nearly as nice as yours. Your's show full color detailed step by step instructions. Do you know where I can get the sapele planks? My Swiss pear planks look more pinkish. Not sure if I could stain them to make them look richer color.


-
Hi, Your BN2 looks fantastic! Really like how it came out. Congrats! I'm a newbie. I'm also building this kit. Did you double plank your hull? I really like the color of your hull in natural color(unpainted). Did you use the same kit planks supplied? How did you get that rich reddish color? I'm thinking about double plank the hull with Crown Timberyard Swiss pear planks. Any advice would be greatly appreciated! Here's the link to my build log. http://modelshipworld.com/index.php/topic/11195-bluenose-ii-by-roubaix-artesania-latina/?view=getnewpost Thanks. Shaun http://www.crowntimberyard.com/swiss-pear-strips.php
-
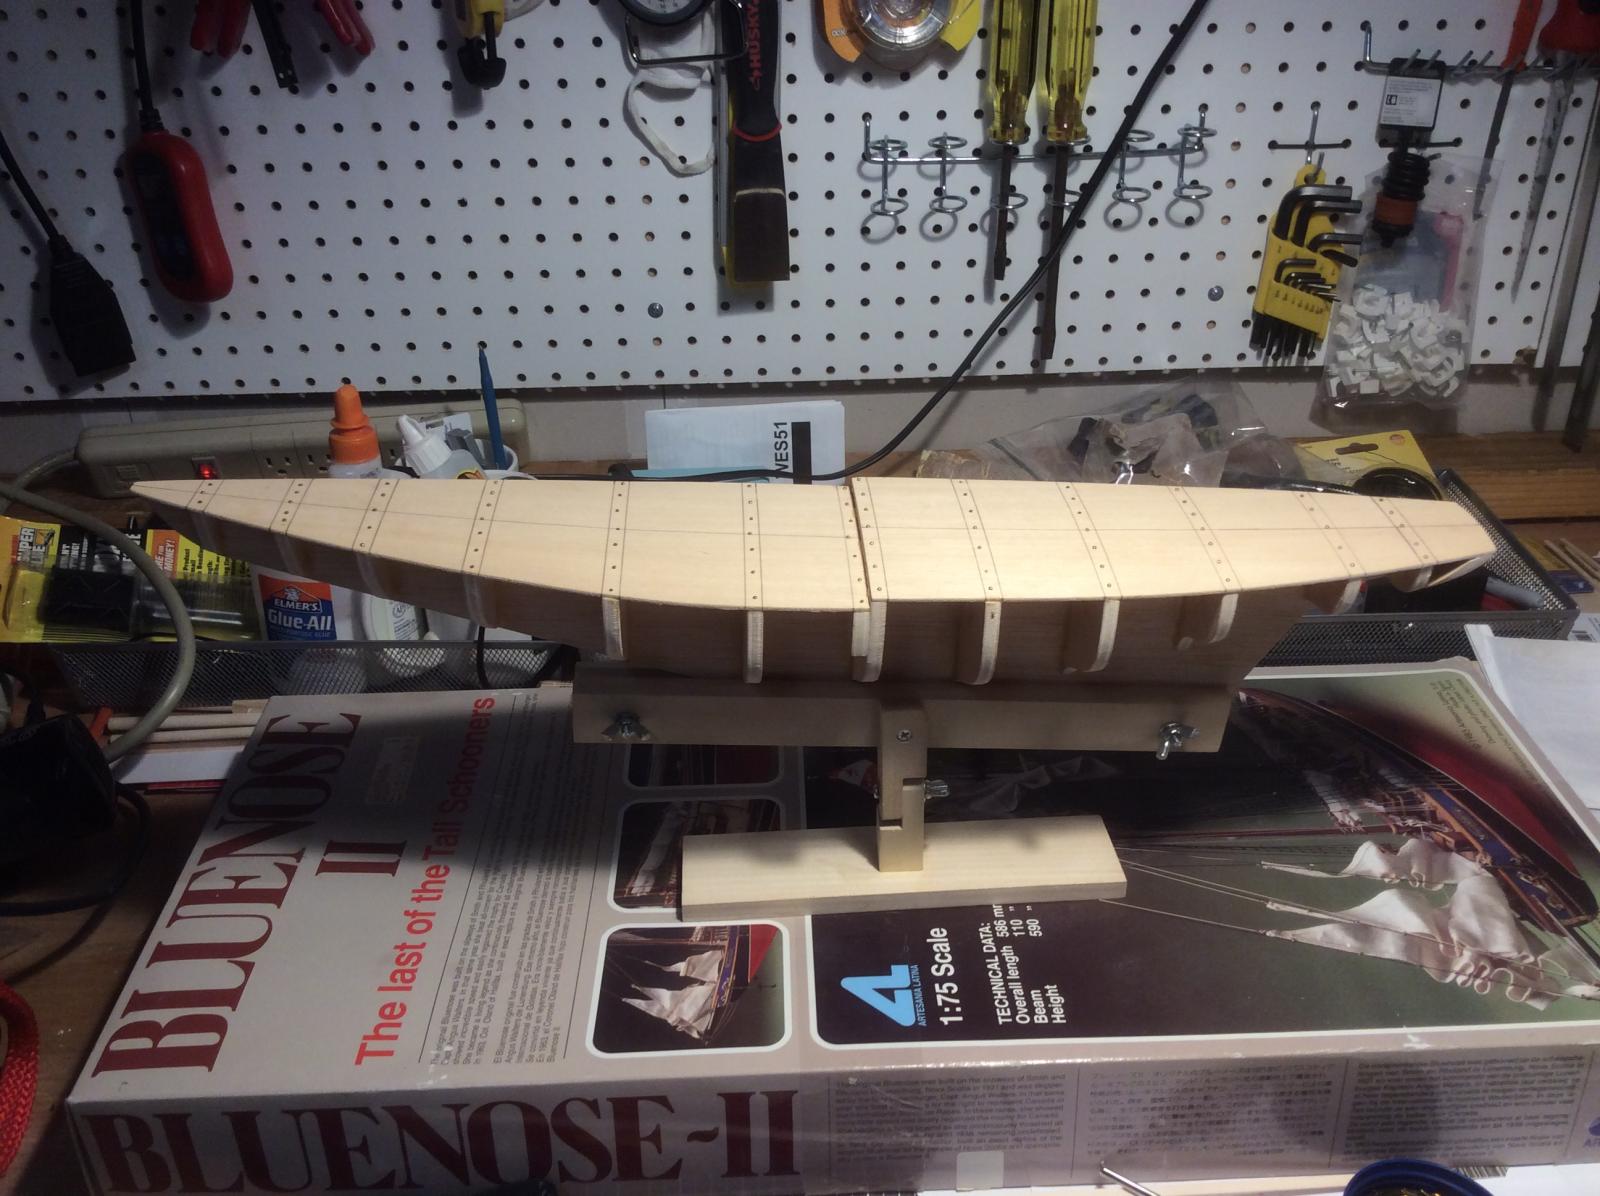
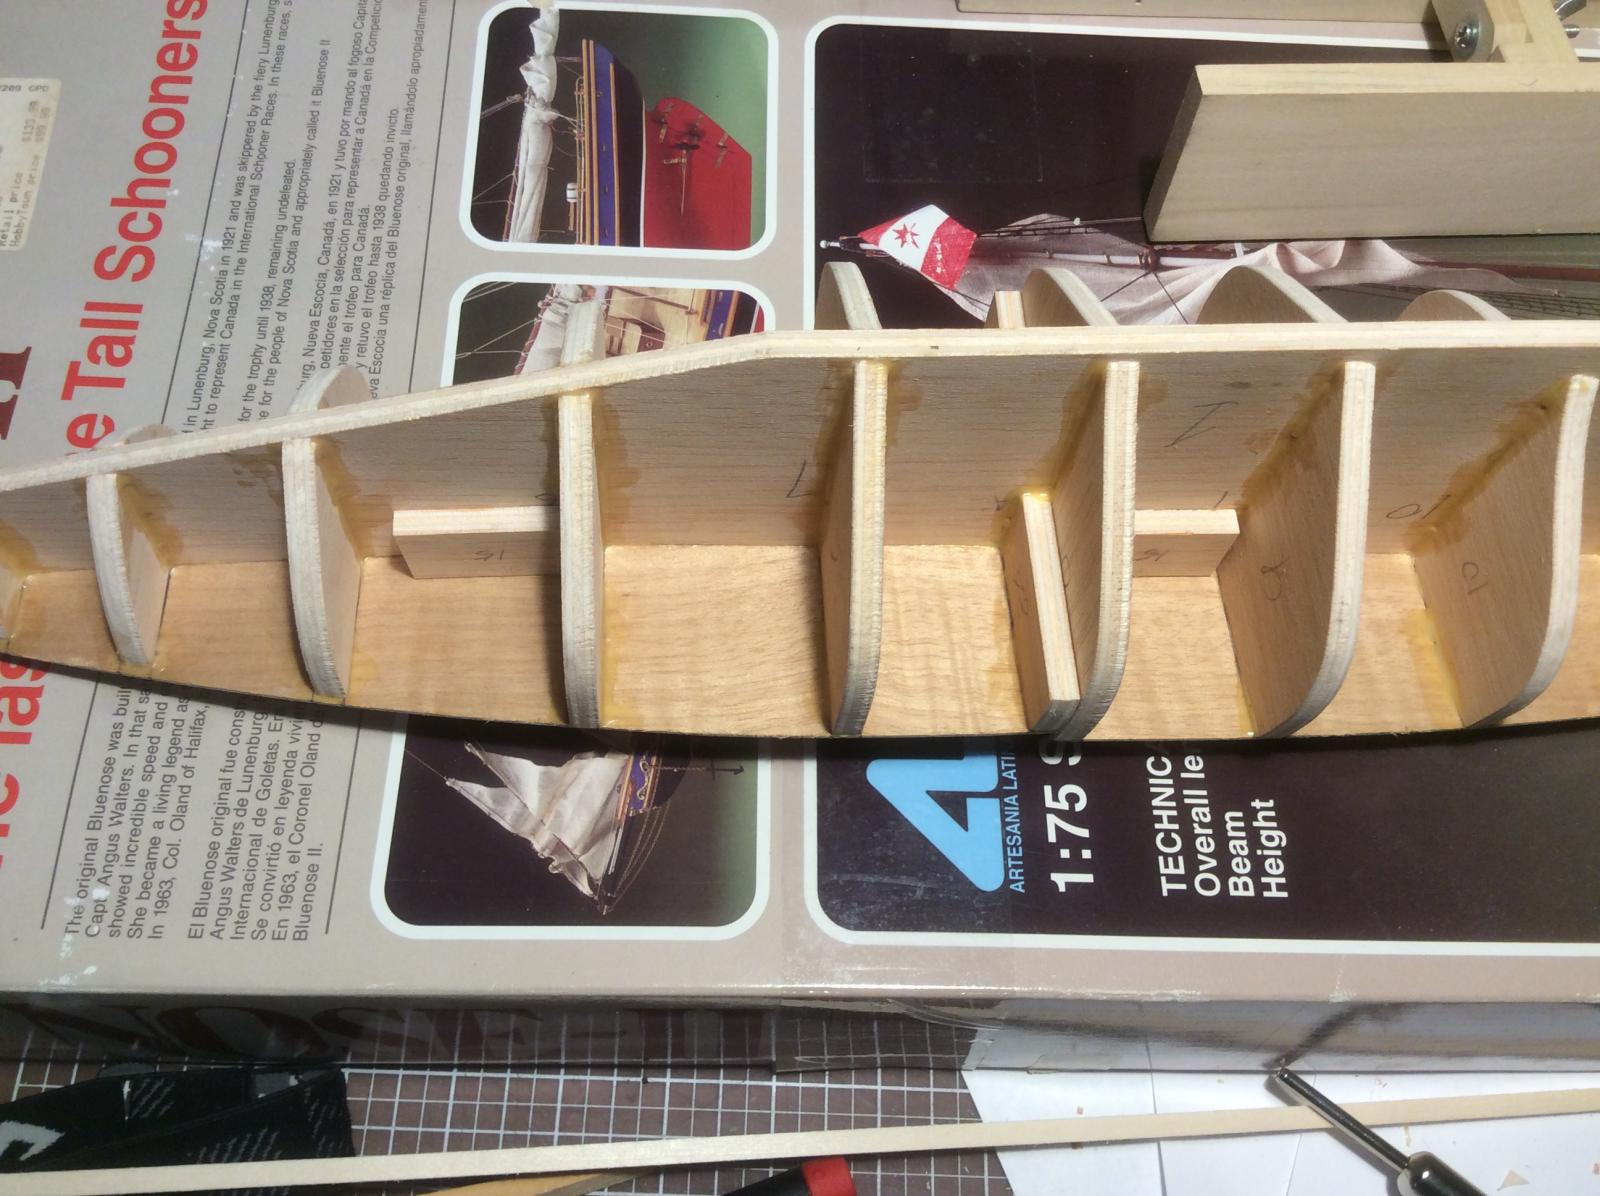
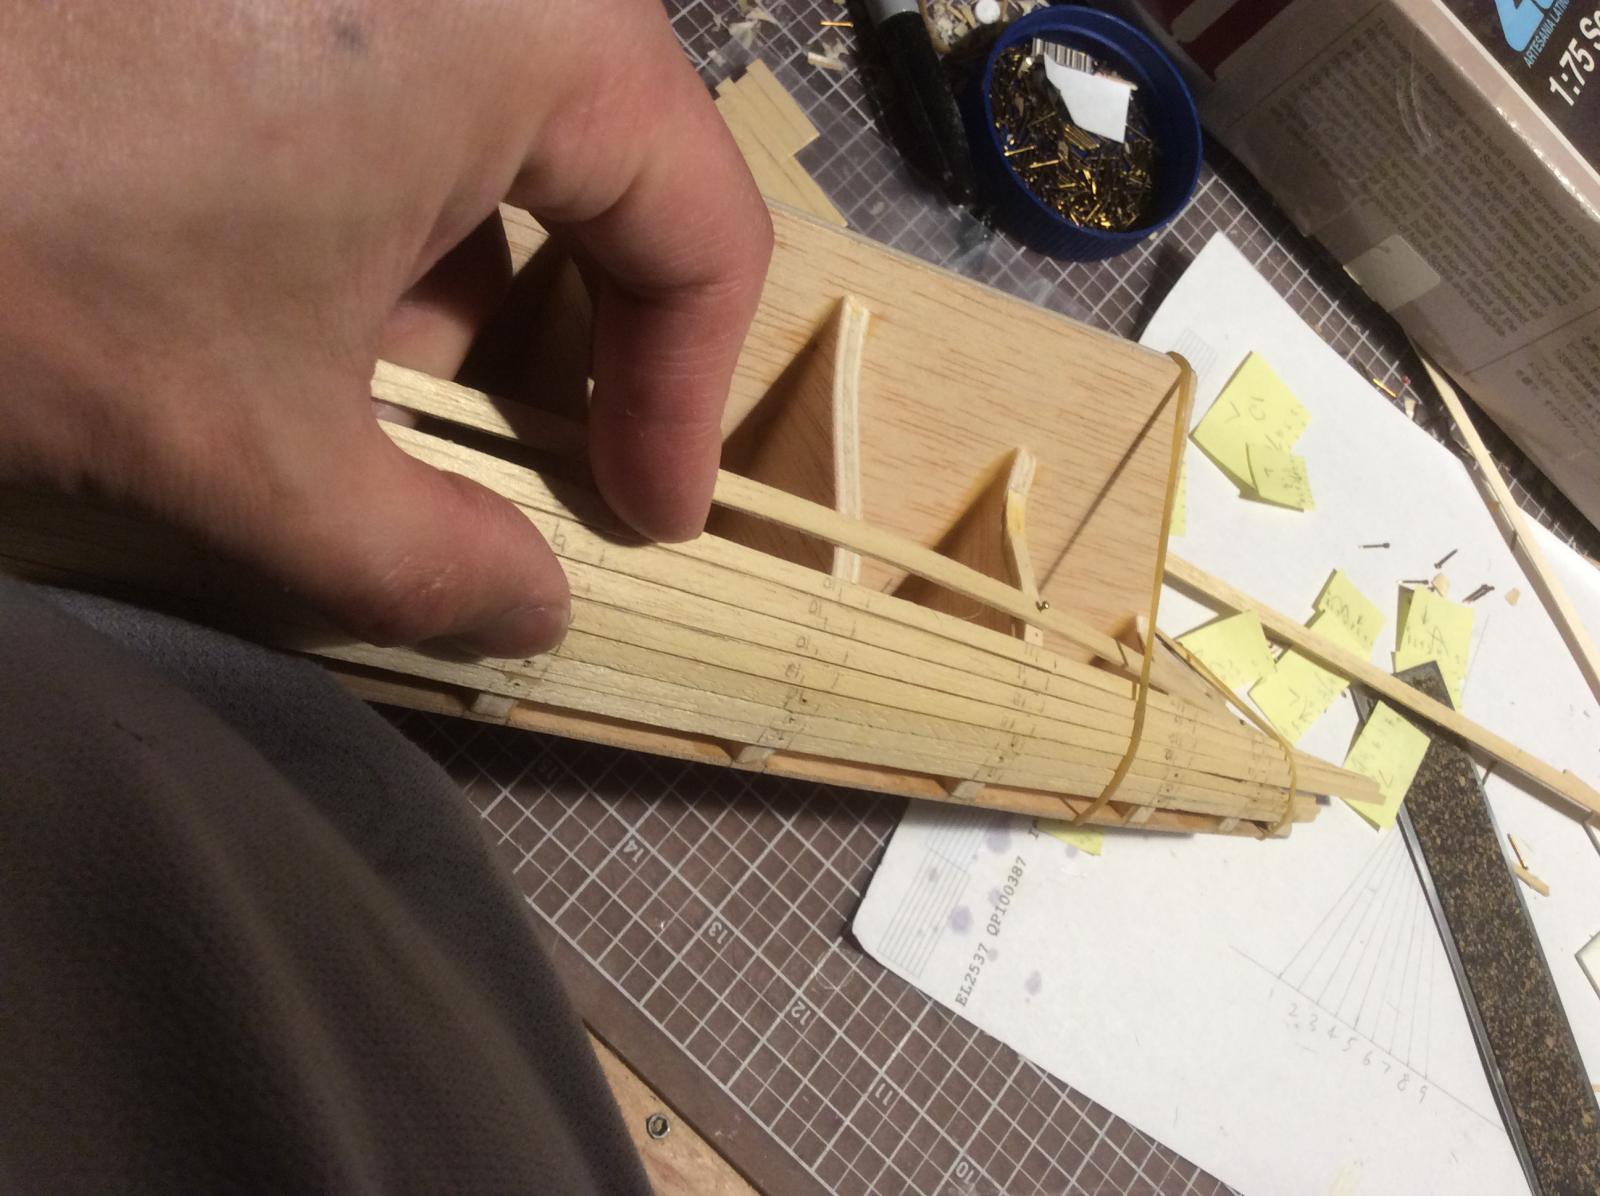
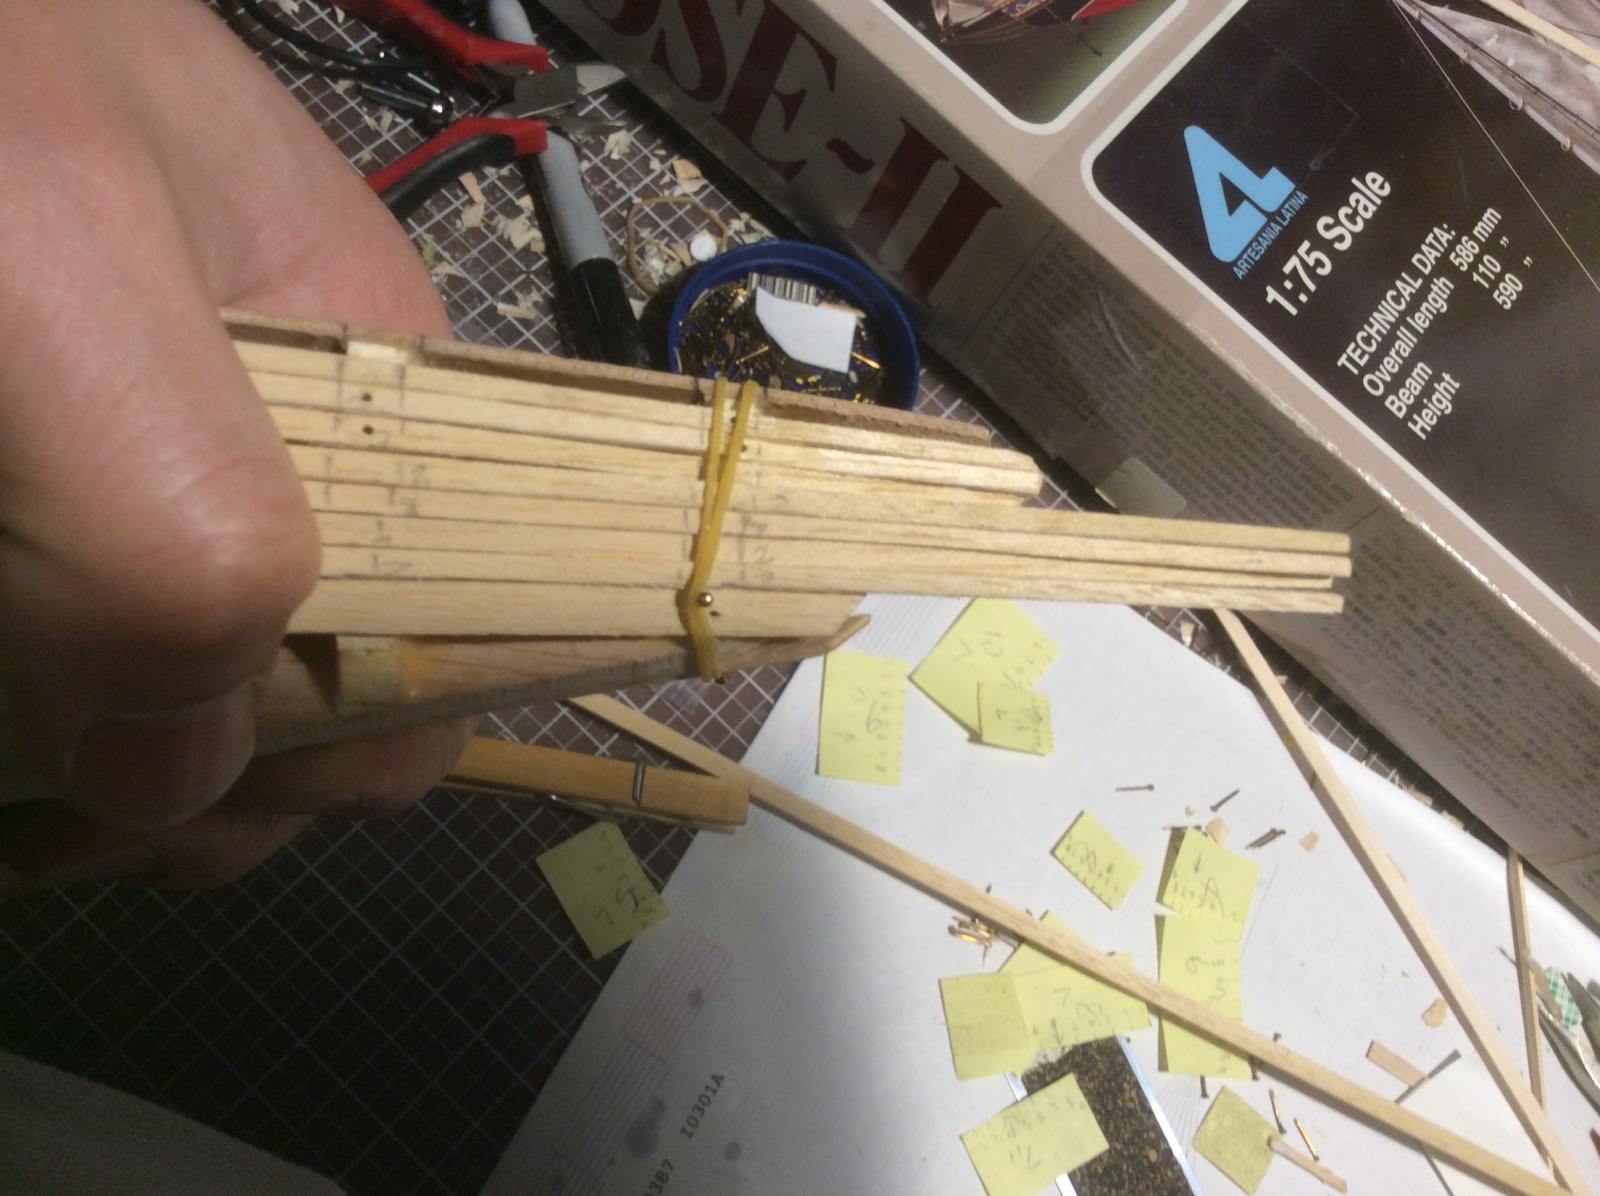
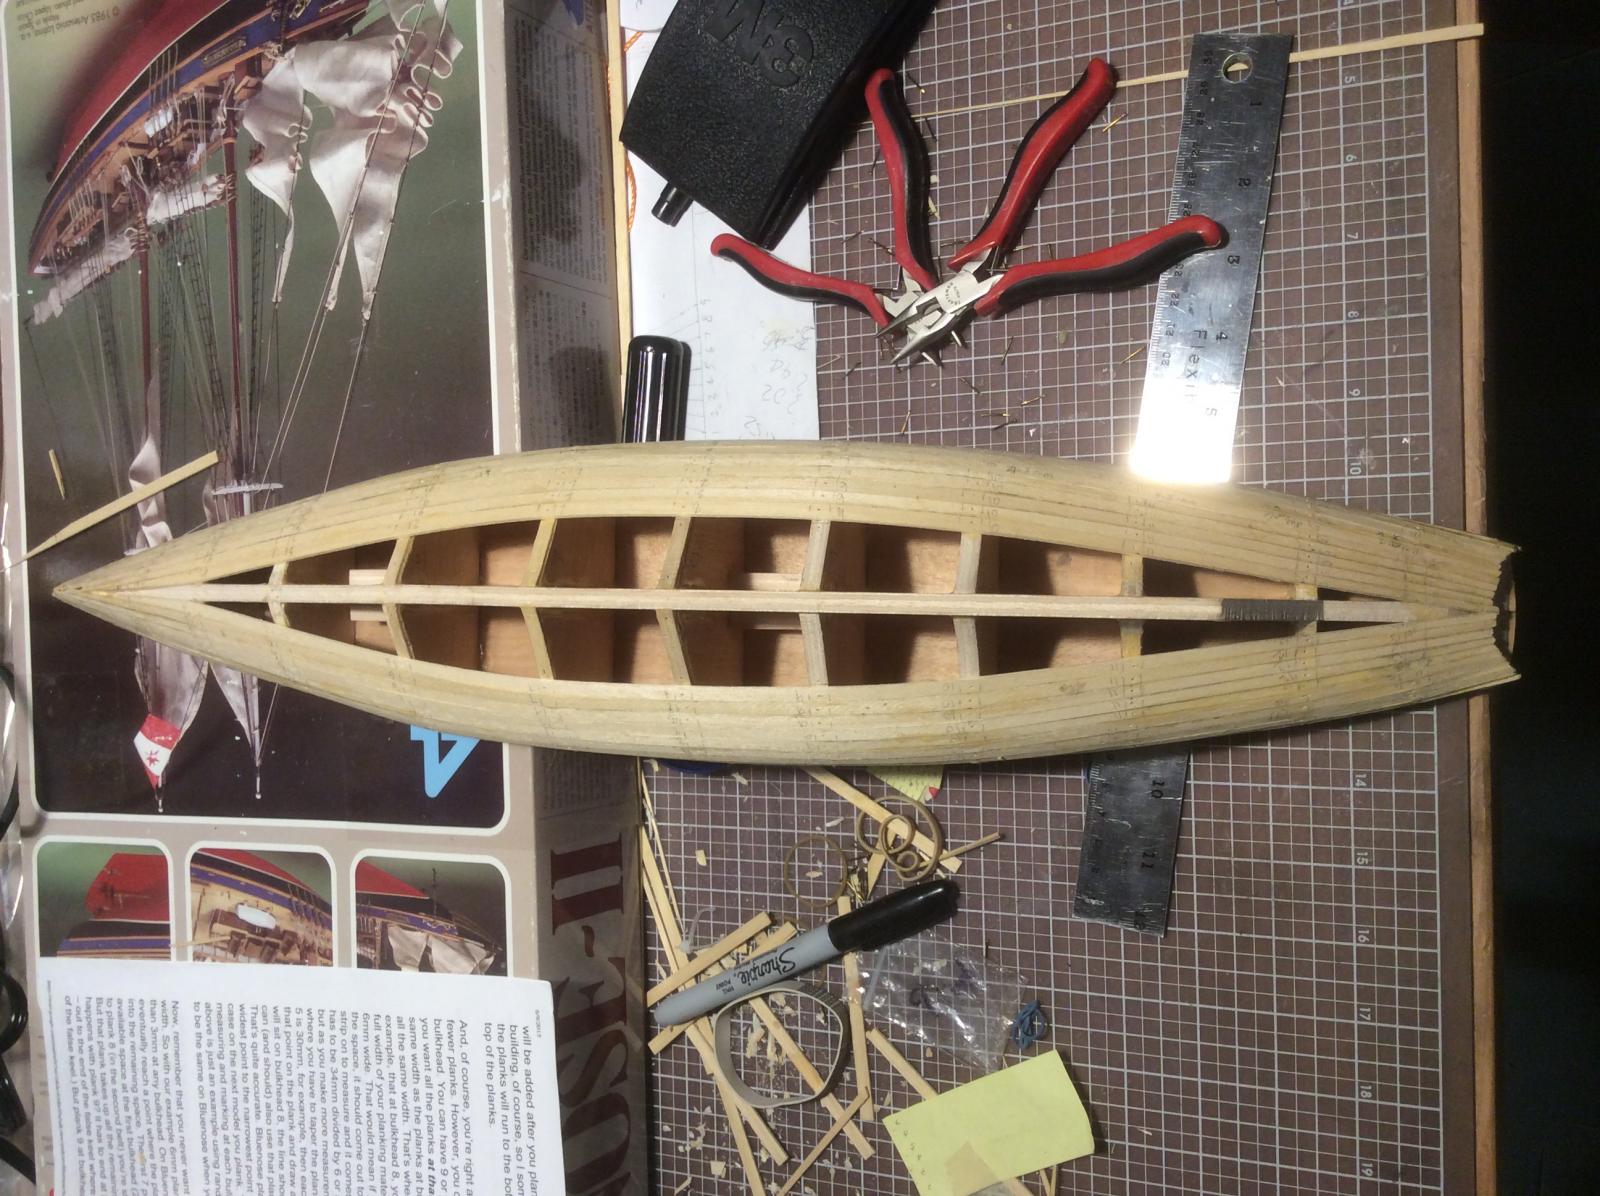
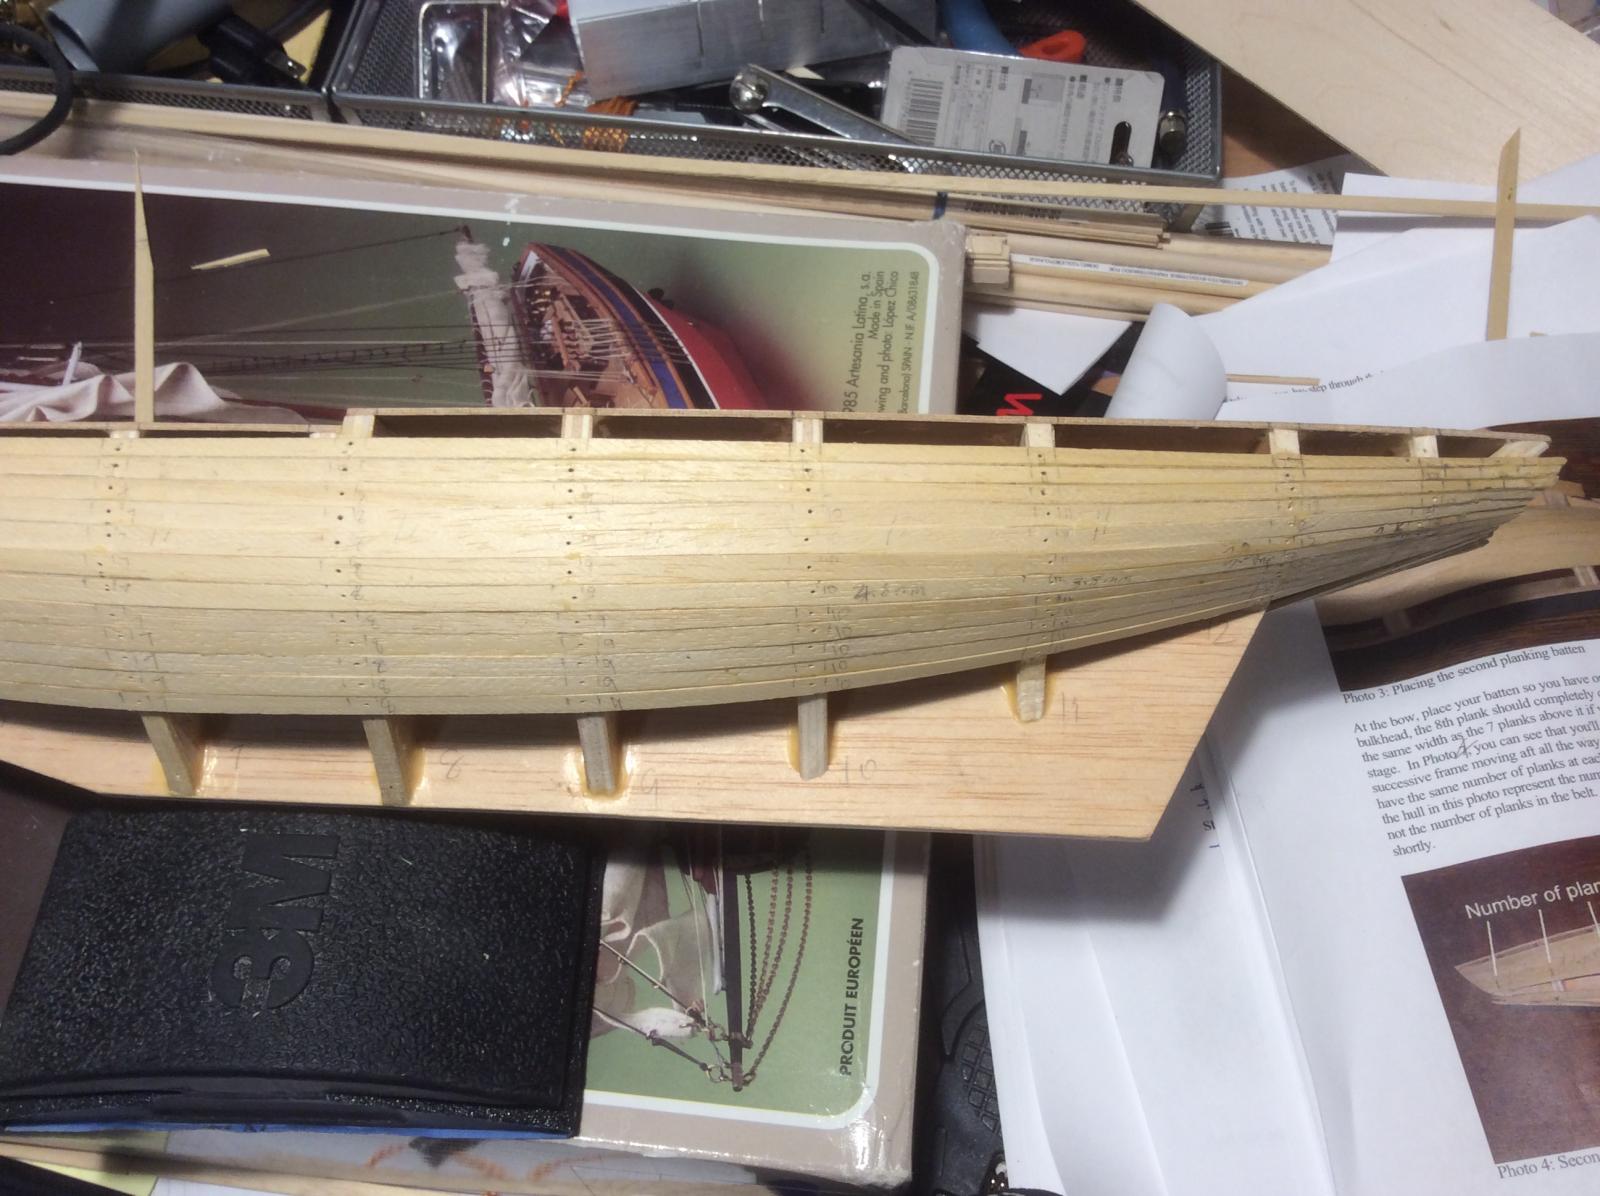
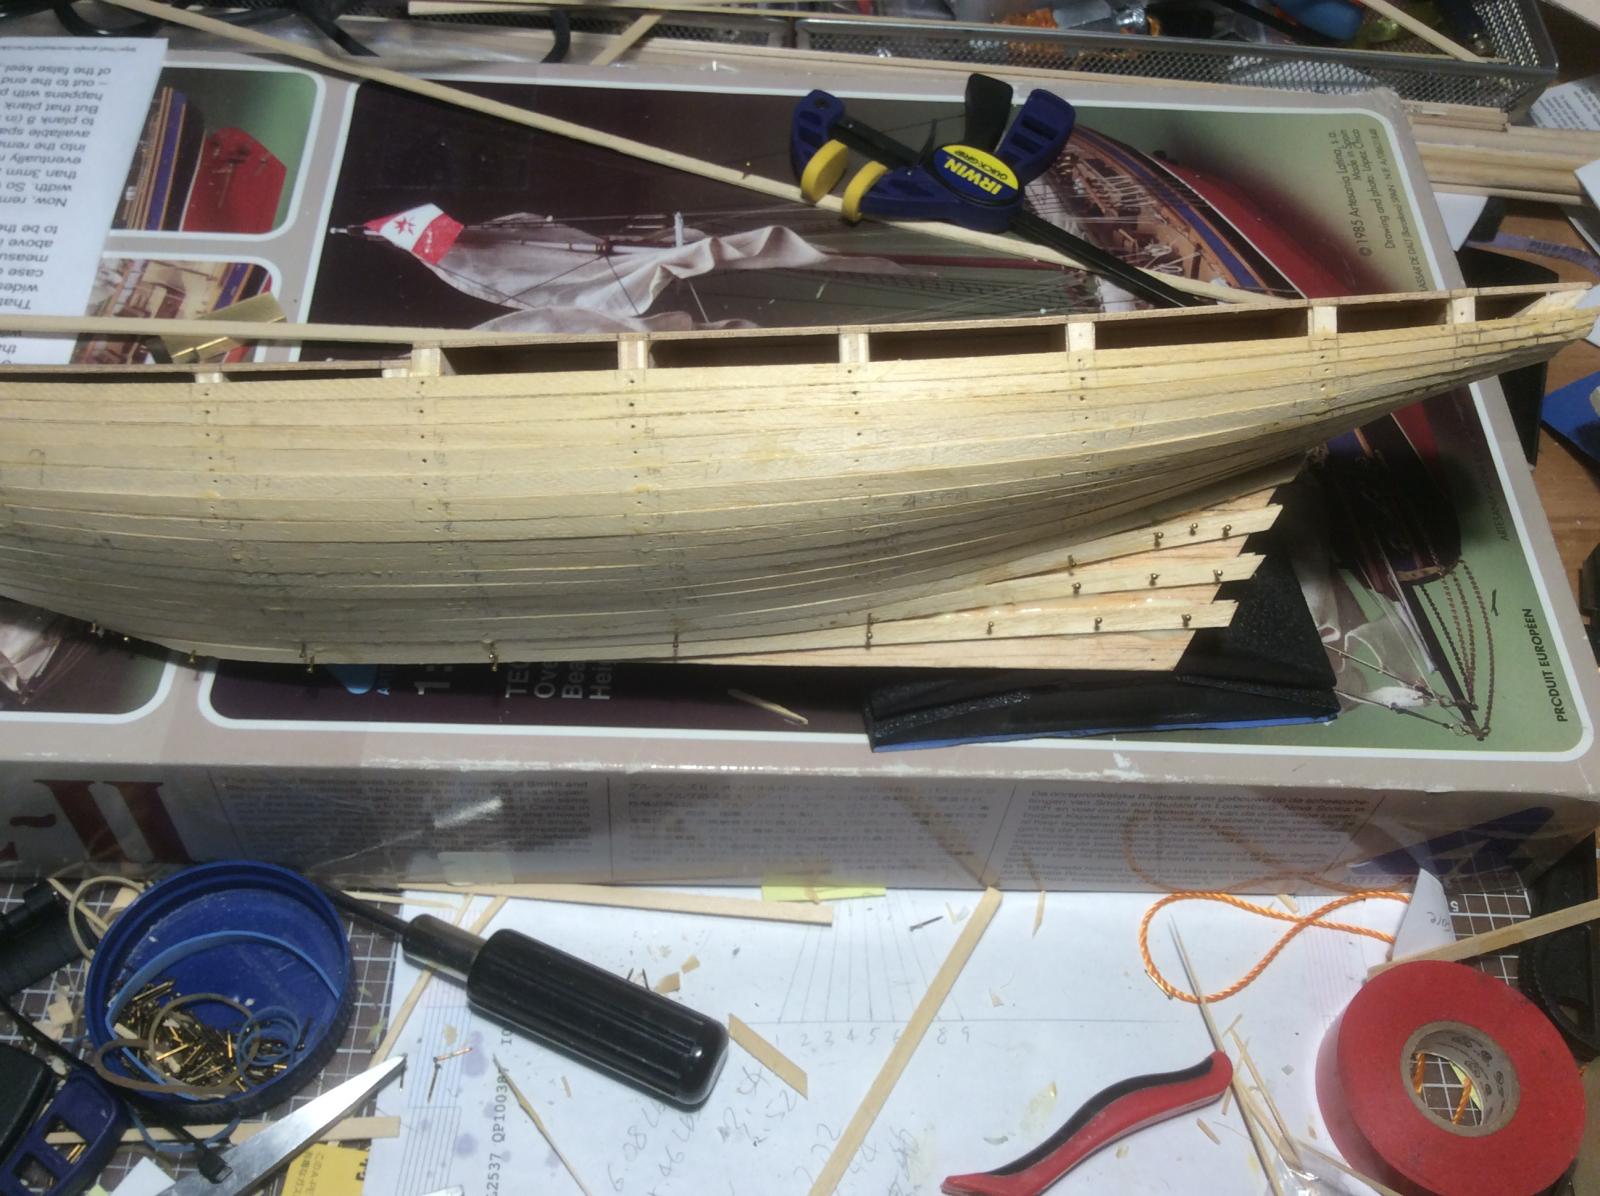
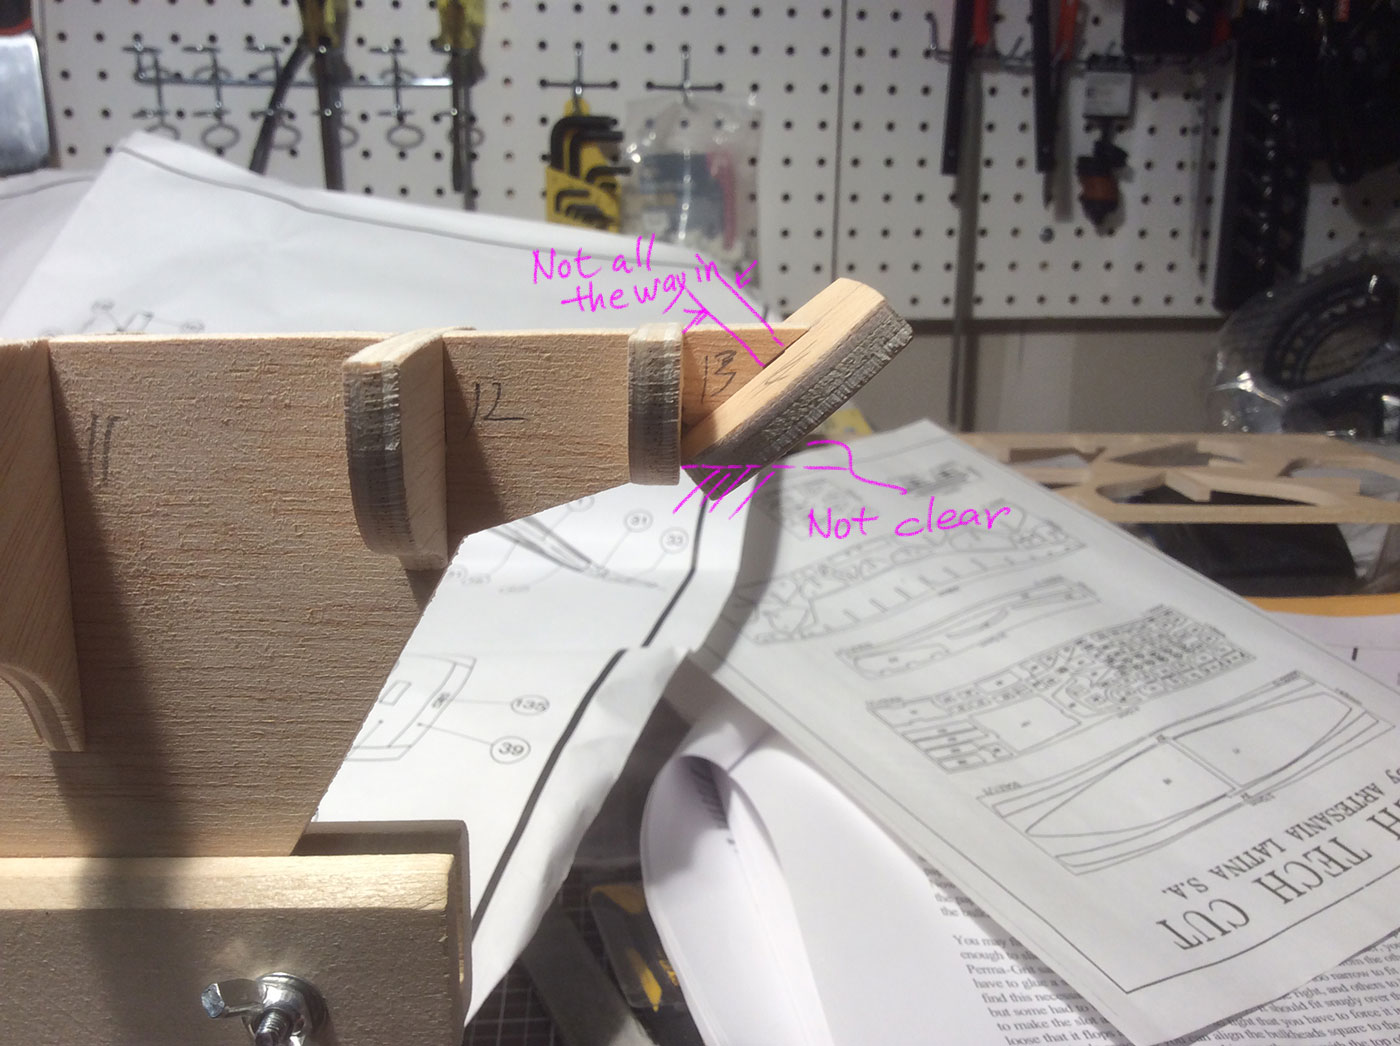
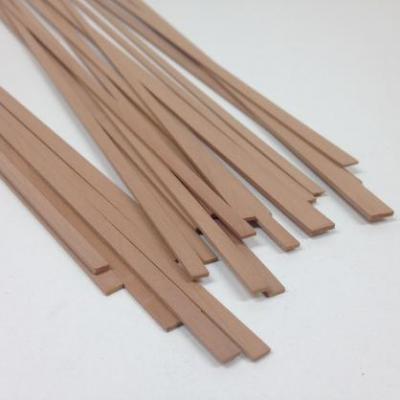
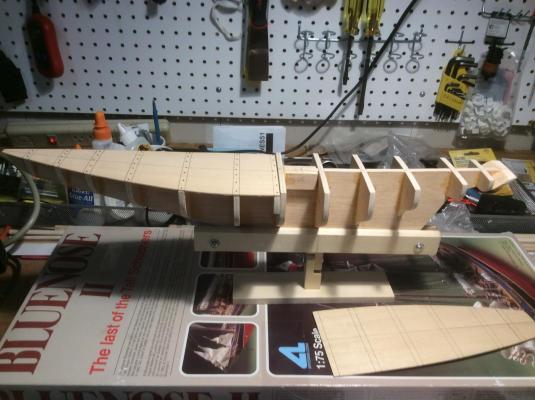
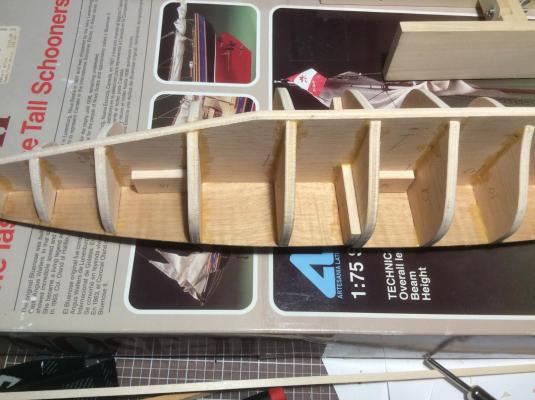
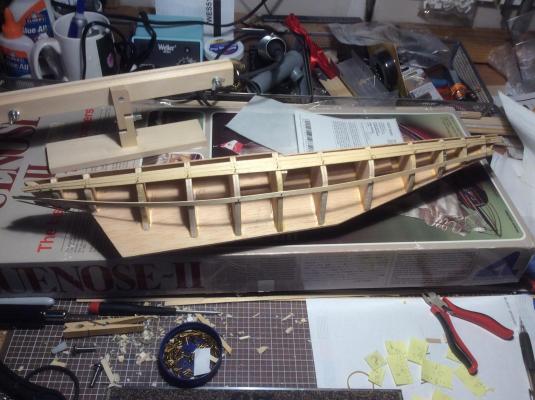
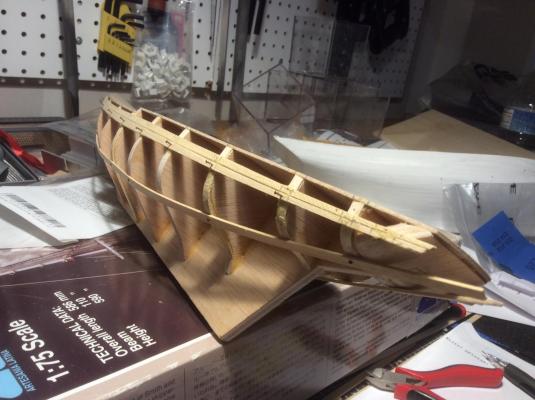
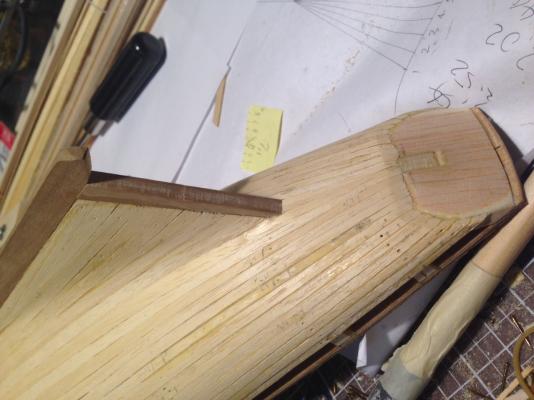
Guys, My AL Bluenose 2 has been progressing well. I haven't made a log yet. So I figure it's time to make one. The project started in May. I had a lot of help from John Earl(modelboatyard.com). I basically followed his online BN2 instruction. A big thank to him for his guidance with a newbie like me. http://modelshipworld.com/index.php/topic/10381-newbie-from-the-bay-area/ Now, I've completed the first layer of the hull planks. The next step is to add deck planks and second layer of veneer planks on the hull. I really like Bertu's BN color theme. Black bulwarks and unpainted hull. http://modelshipworld.com/index.php/topic/10177-bluenose-ii-by-bertu-artesania-latina-scale-175-fishing-schooner/ The Mahogany finishing planks came with the AL kit have a very corse grain. They crack so easily when I try to taper the planks. The edges don't follow my Xacto. They're not smooth. John told me that CrowTimberYard.com sells Swiss pear strips which has a fine grain and much easier to work with and it has that reddish color. So I ordered some of those and waiting for them to arrive. http://www.crowntimberyard.com/swiss-pear-strips.php Now I've started to think about the second layer of planking on the hull. Since this is a finishing layer, I have some concerns. 1. Gluing technique. If I put glue on the entire plank and attach it to the hull, there will always be some glue gets pushed to the edge, leaving glue marks. This could be very obvious at the keel where the plank will end. When I was planking the first layer, the glue marks weren't that critical because I could sand them down and they'd be covered by the finishing plank. But this time is the finishing plank. They need to be very clean and beautiful because I will only varnish them, not painting them. Any glue marks or residue would look bad. How to keep them clean? If I don't put glue on the entire length of the plank, only put glue at the bulkheads, will the planks form a solid hull surface for varnishing? 2. Where the planks and keel meet. This is the area where I have most of the concern. Each finishing plank has to be perfectly aligned at the keel. At the keel, any gaps or unevenness between two adjacent planks will look very bad in the end. I can't really sand too much because they're thin and too close to the keel. Any tips on how to get the plank/keel joints look very clean and smooth? If you look at the pics below, you will notice there's a bit of gap between the keel and the first layer of planks. Actually, should I fill those gaps with wood filler before putting on the finishing planks? This is my first boat model. I'd like to practice my planking skill a bit more. There were lessons learned while install the base hull planks. I'd like to practice more with the second layer of planking. Any advice would be greatly appreciated! Shaun


-
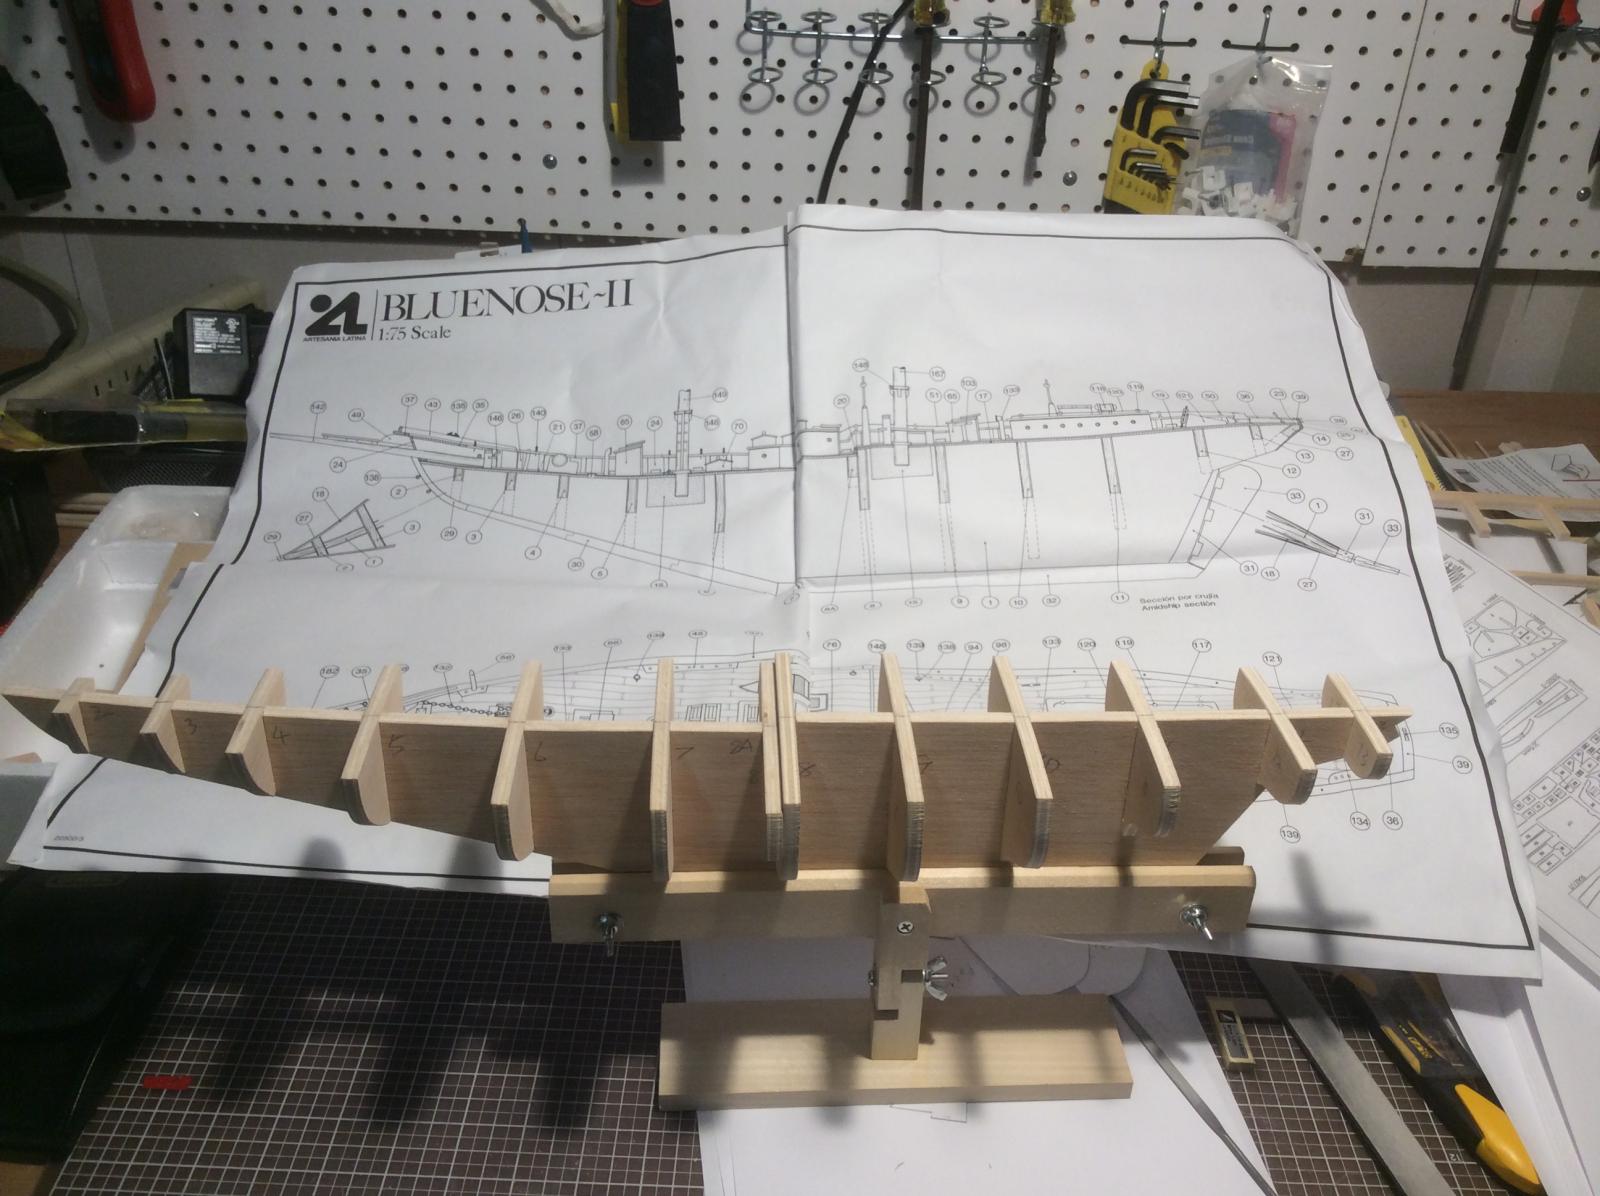
Hi guys, Newbie here. I recently got back into plank on frame model ship building. Years ago, I built a Billings Marie Jeane. It was a fun experience although the Billing kit wasn't nearly as nice as AL's. I was living in an apartment back then, didn't have a nice designated space such as a work bench. Now I finally have a work bench in my garage. I've decided to pick up the hobby again. My new project is the AL's Blue Nose 2. I found John Earl's BN2 tutorial and have decided to follow it step by step. http://modelboatyard.../bluenose2.html A few questions. I have started on the bulkheads and keel. I noticed the first few bulk head extend beyond the bottom of the keel. What to do here? The top of the few bulk head is not totally flush against the keel top edge. The keel top edge is curved. So it creates a "step" after the bulkhead. Will this edge be sanded down to make the edge of bulkhead follows the curvature of the keel? The No. 14 bulkhead(the last one on the stern). It doesn't quite fit into the last slot on the keel. It will bump into No. 13. Obviously, a lot of sanding needed on 13 and 14 to make sure they fit. What to go about those two? Thanks guys. Shaun