
henrythestaffy
-
Posts
56 -
Joined
-
Last visited
Recent Profile Visitors
820 profile views


-
 mtaylor reacted to a post in a topic:
Redoing Oseberg
mtaylor reacted to a post in a topic:
Redoing Oseberg
-
KrisWood reacted to a post in a topic:
Redoing Oseberg
-
Redoing Oseberg
henrythestaffy replied to KrisWood's topic in CAD and 3D Modelling/Drafting Plans with Software
I am not sure if i can be of any help but i use fusion 360 and have an interest in oseberg. My services are at your command if you wish. paul -
henrythestaffy reacted to a post in a topic:
Roman Quadrireme Galley by Ian_Grant - 1/32 Scale - RADIO
-
mtaylor reacted to a post in a topic:
Roman Quadrireme Galley by Ian_Grant - 1/32 Scale - RADIO
-
mtaylor reacted to a post in a topic:
Roman Quadrireme Galley by Ian_Grant - 1/32 Scale - RADIO
-
Glen McGuire reacted to a post in a topic:
Roman Quadrireme Galley by Ian_Grant - 1/32 Scale - RADIO
-
henrythestaffy reacted to a post in a topic:
Roman Quadrireme Galley by Ian_Grant - 1/32 Scale - RADIO
-
 Ian_Grant reacted to a post in a topic:
Roman Quadrireme Galley by Ian_Grant - 1/32 Scale - RADIO
Ian_Grant reacted to a post in a topic:
Roman Quadrireme Galley by Ian_Grant - 1/32 Scale - RADIO
-
Ian, I have reduced the eagle to 4.5mb with 3D builder and it looks ok especially if the print was small. You need to open the STL file with 3dbuilder and then on the left top toolbar hit the import model button. Once that is done the other buttons on the toolbar will become selectable. Click on the model to select it. Then select Edit on the toolbar and then simplify on the far left of the toolbar. You should then see a reduction slider on the toolbar with the number of faces on the model. I slide the slider along about half way and reduced the faces quite a bit. It would be a case of experimenting with how far you want to go. Once you have decided where you want the slider to be hit the reduce faces button and depending on the power of your computer a little time later it will produce a result. Once you have what you want hit the save button and you are right to go with Tinkercad. regards Paul
- 502 replies
-
- 3
-
-
-
- Quadrireme
- radio
- (and 1 more)
-
Glen McGuire reacted to a post in a topic:
Roman Quadrireme Galley by Ian_Grant - 1/32 Scale - RADIO
-
Ian, I couldnt find that eagle on thingiverse. Do you have a link to it and I will see if I can make it a little smaller megabyte wise. Fusion 360 is also able to do it. I like your boat by the way. Last year I printed some rostra/rostrum and copper plated them. It was an experiment to see whether I could do it or not. I dont think I would bother again, the copper finish was a bit rough. The rostra turned out ok. I got the pictures from the Athlit study on academia. If you have a resin printer then the detail on the eagle will be ok even at a smaller size. Regards Paul
- 502 replies
-
- 2
-
-
- Quadrireme
- radio
- (and 1 more)
-
Ian_Grant reacted to a post in a topic:
Roman Quadrireme Galley by Ian_Grant - 1/32 Scale - RADIO
-
Glen McGuire reacted to a post in a topic:
Roman Quadrireme Galley by Ian_Grant - 1/32 Scale - RADIO
-
Ian, If you are using windows there is a program built in called 3d builder. If you import the eagle file into it there is an option to simplify which will reduce the size in megabytes. It might be an option to consider. regards paul
- 502 replies
-
- 3
-
-
- Quadrireme
- radio
- (and 1 more)
-
Hi Patrick, I saw your message regarding the cannons. Send me a pm and i try and help you out. regards paul
-
henrythestaffy reacted to a post in a topic:
ALGOMA STRONGFIELD by JKC27 - FINISHED - 1:200 scale - Equinox class lake freighter
-
henrythestaffy reacted to a post in a topic:
William Sutherland's concept of ship hull design, 1711
-
Kevin, i am not at home to try it out on fusion, but i was wondering whether the loft command would be of use. Paul
-
Have you thought about printing them?
-
henrythestaffy reacted to a post in a topic:
Process for 3D printing of carronade
-
henrythestaffy reacted to a post in a topic:
Lady Nelson by Dave_E - FINISHED - Amati/Victory Models - 1:64
-
Process for 3D printing of carronade
henrythestaffy replied to tkay11's topic in 3D-Printing and Laser-Cutting.
Tony here is the finished model from the sketches. If there is anything I have missed or not designed correctly just point it out and I can adjust it. Paul.png.6d3db5fa47163033dc556d3884df9200.png)
-
Process for 3D printing of carronade
henrythestaffy replied to tkay11's topic in 3D-Printing and Laser-Cutting.
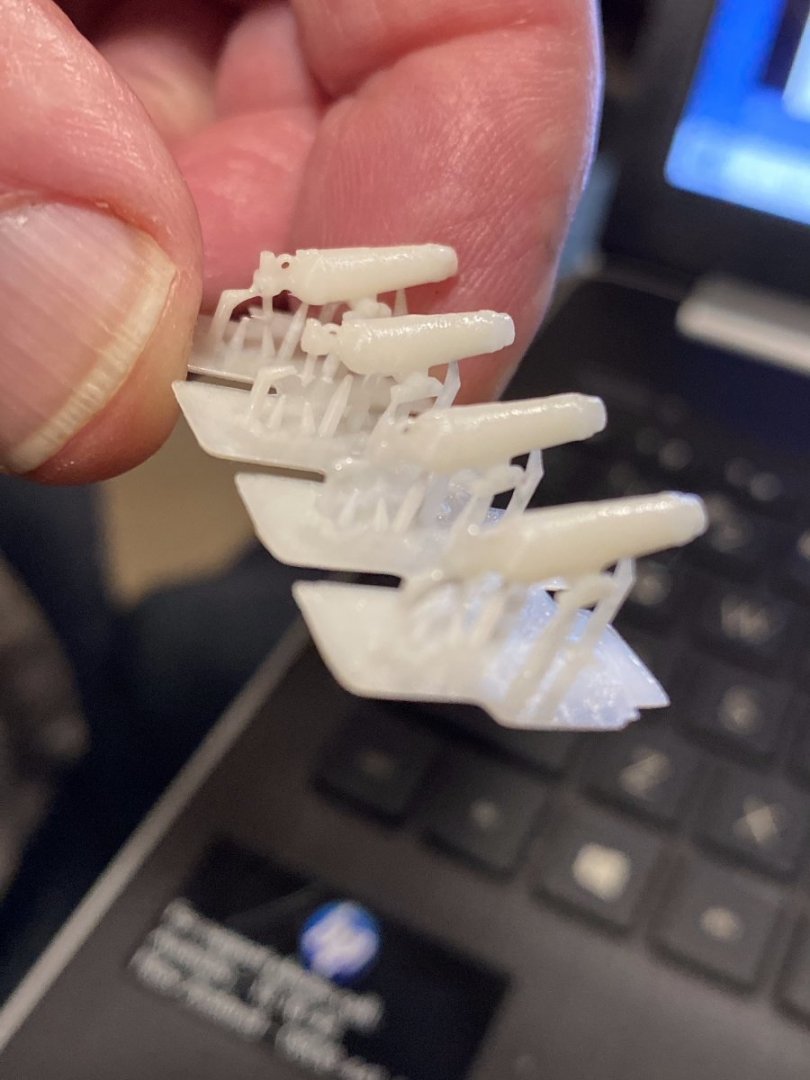
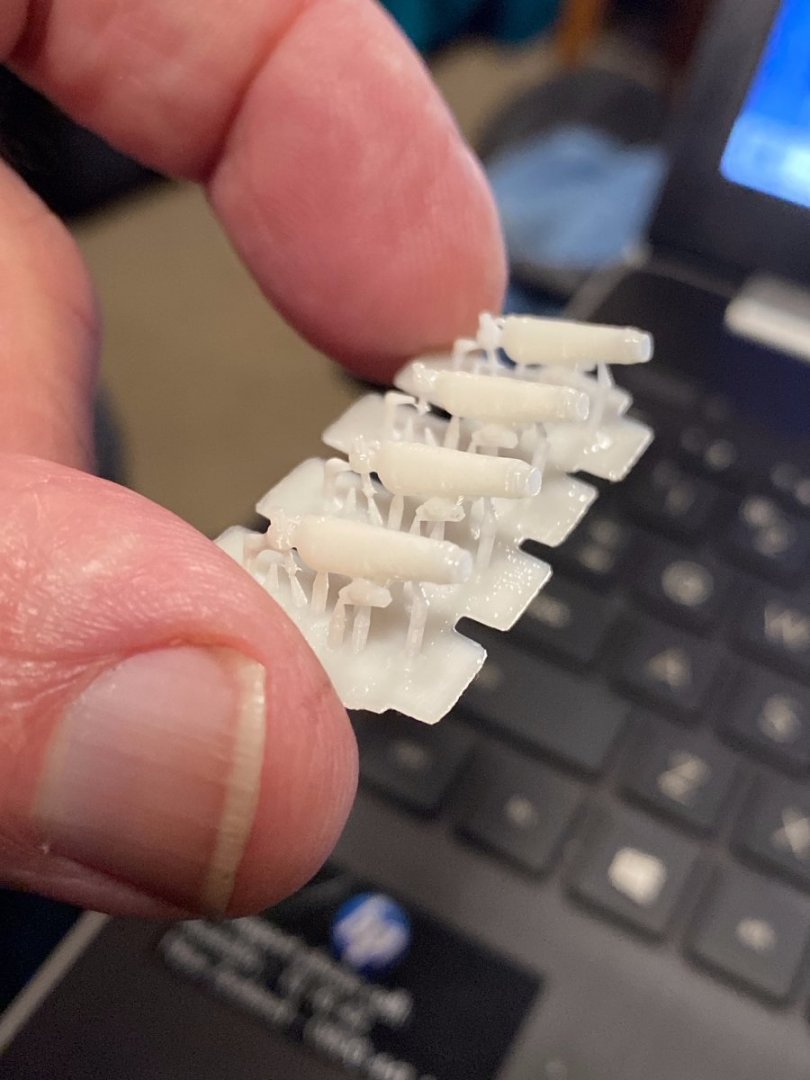
Tony, I am not sure what printing companies do but I can tell you that I take the picture that you posted above and import it into Fusion 360. I then create the model and scale it down after I am happy with the end result. The screenshots show the carronade after I have scaled it down from the size it would have been when originally created, which is the size of the drawing. I then save it as a mesh and import it into my slicer where the supports are installed. That can be a bit of trial and error. The last shots show the end result. As you can see they are very small. The detail is there except for the thin handles on the screw. Paul.png.0b1e615e6f8da082b4f7b059cd0bba00.png)
.png.543076c7995d268744e4d365dd845abd.png)
-
3d printing process
henrythestaffy replied to henrythestaffy's topic in 3D-Printing and Laser-Cutting.
Ron, When I use white resin the printer is set to 60 seconds for the first five layers and then 6 seconds for the rest. How did you arrive at 2.3 seconds for your print? Do you use the slider in the slicing software to simulate the print? It is a great tool for identifying "islands" which are the bane of all resin print jobs. Using default support positions will only go part of the way to a success print. I would also look at angling the parts so that the angled edge is printed first and gains a nice connection to the supports before the strain of a full edge is printed. Paul -
Process for 3D printing of carronade
henrythestaffy replied to tkay11's topic in 3D-Printing and Laser-Cutting.
Tony, if you have a picture or pictures of the carronade you want I would be only too happy to create an STL file for you. The scale is unimportant at this stage as it can be adjusted prior to printing. You can also have a look on some of the sites that allow you to download files but you can not always find the one you want. This way if you have a particular gun in mind I can make exactly what you want. Regards, Paul -
3d printing process
henrythestaffy replied to henrythestaffy's topic in 3D-Printing and Laser-Cutting.
Kevin, I would look at why the fep sheet is winning the tug of war with the build plate by firstly checking the size of the connection from the supports to the model. It appears they are not strong enough to handle the pulling forces. The strength of the support is only as good as the point it connects to the model in most cases. Maybe alter it to make the connection a little deeper and wider. Second, as suggested above, tilt your model in a way that creates a lesser amount of connection to the fep. Say around 30 to 40 degrees. Printing a large surface parallel to the build plate is not a very good habit to get into. When a model is tilted you can get away with using finer supports. If these steps dont help then i would look at replacing the fep sheet as it seems to have too strong a hold on the model as it prints. Good luck. Paul -
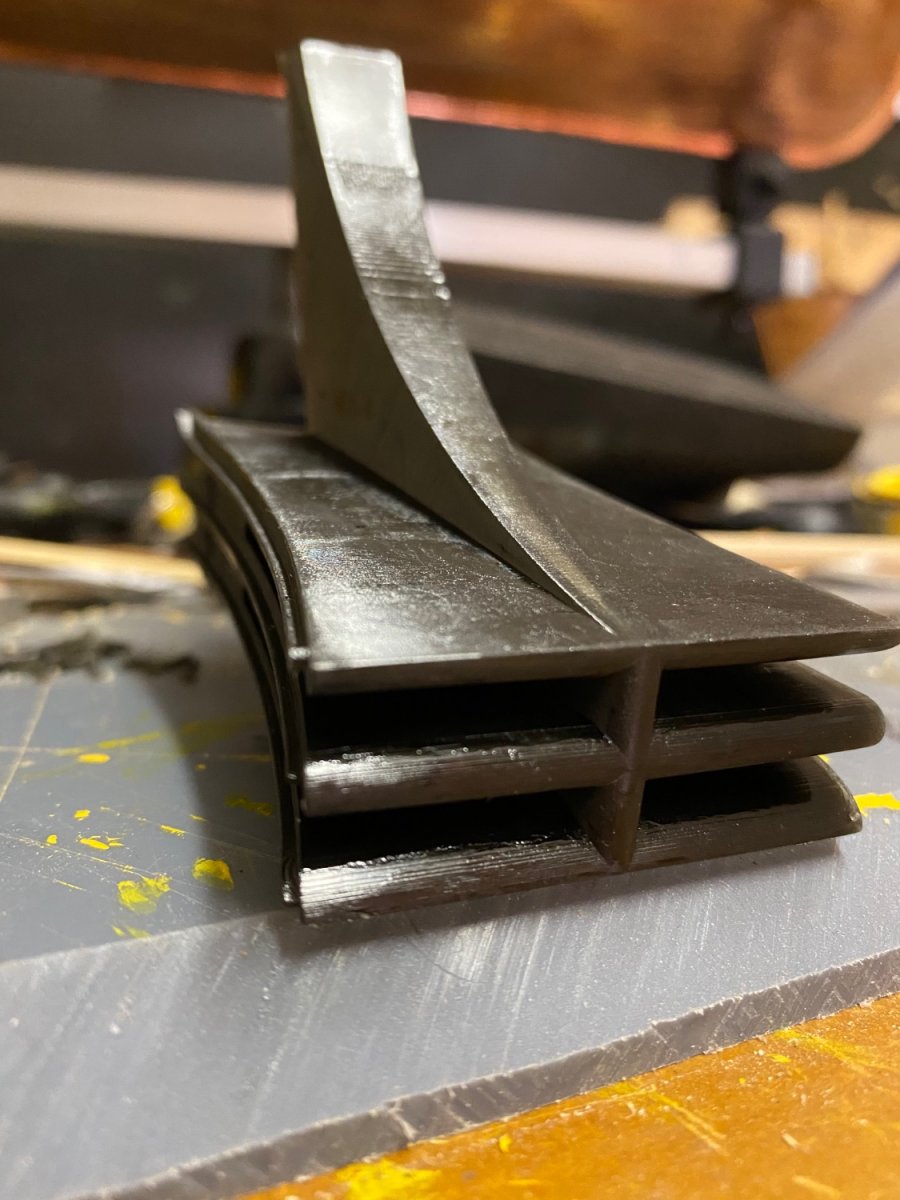
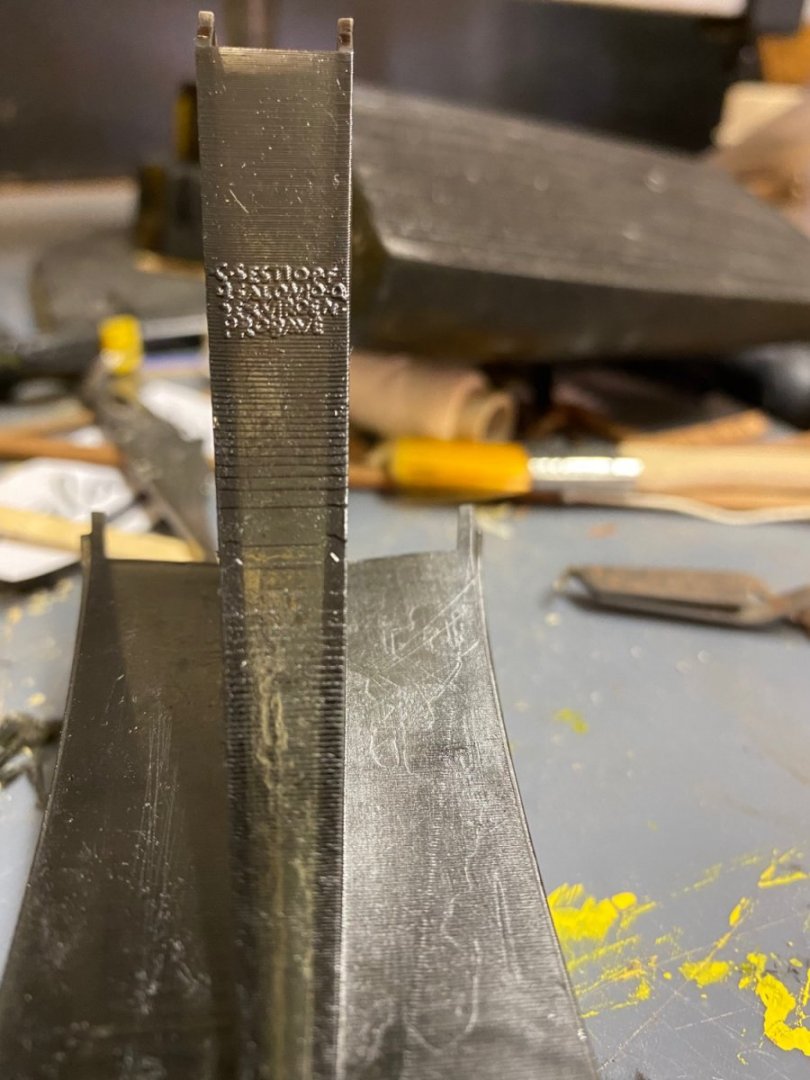
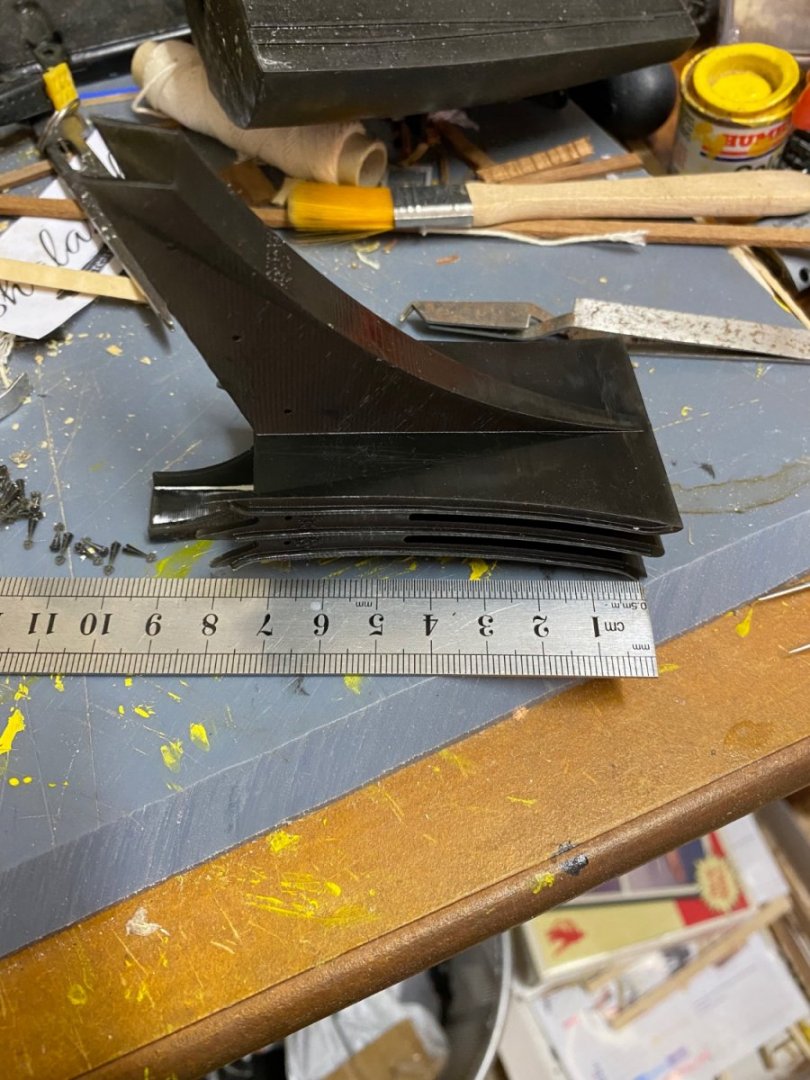
I used the Egadi 1 as a guide to create the following rostra to see whether it could be done. Doesnt look too bad apart from the print lines on the close ups. The latin text comes up ok too.

-
Steven, if you did want them printed what size and how many holes would you need?
- 739 replies
-
- 2
-
-
- Tudor
- restoration
- (and 4 more)
-
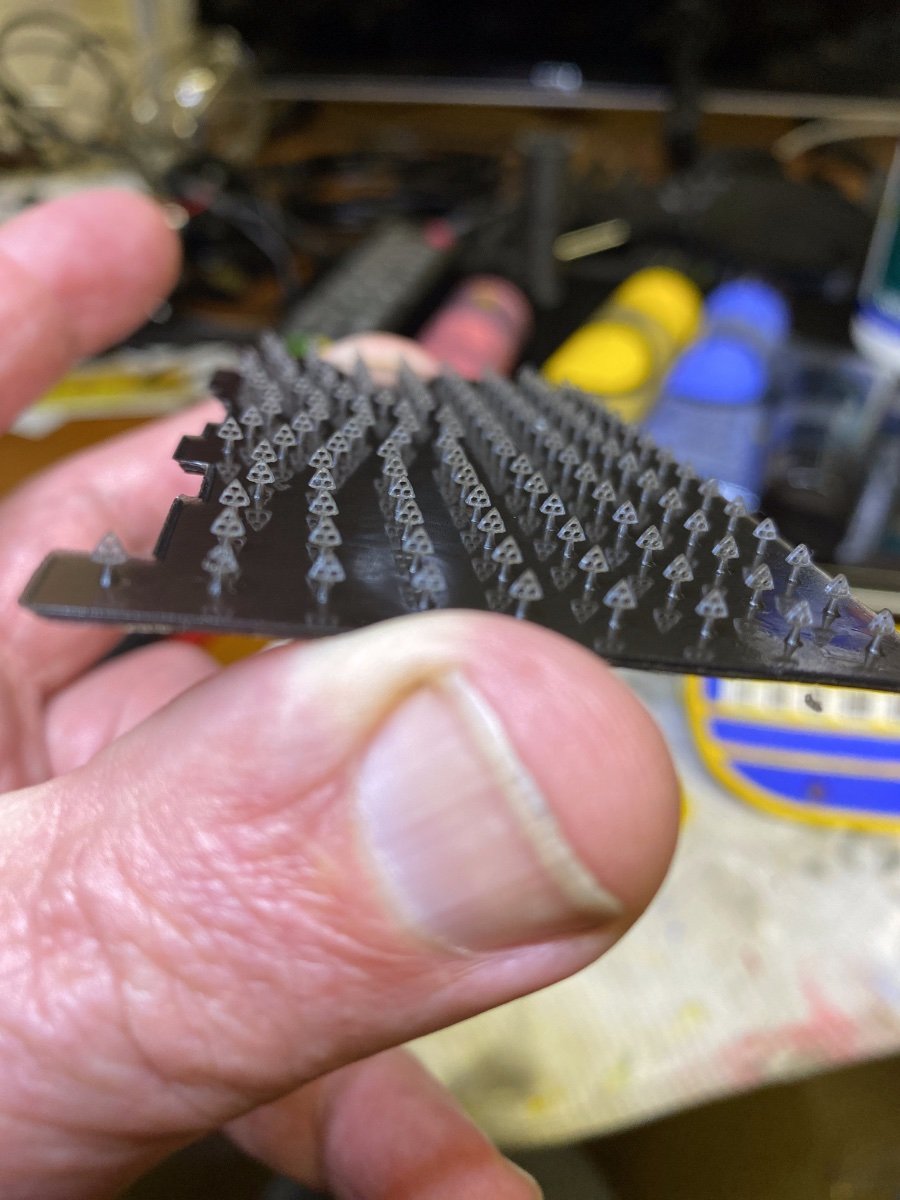
Steven i have two lots of deadeyes totalling about 250 so far. The sides are a bit straighter than the previous ones but not completely straight. I found they didnt print very well unless i added a bit of meat around the holes. I have made the ends a lot tighter as you wanted as well. I reckon if i print this amount again it should give you enough to complete your task . I should have them finished on monday for you. regards Paul

- 739 replies
-
- 13
-

-
-
- Tudor
- restoration
- (and 4 more)