-
Posts
862 -
Joined
-
Last visited
Content Type
Profiles
Forums
Gallery
Events
Posts posted by aydingocer
-
-
-
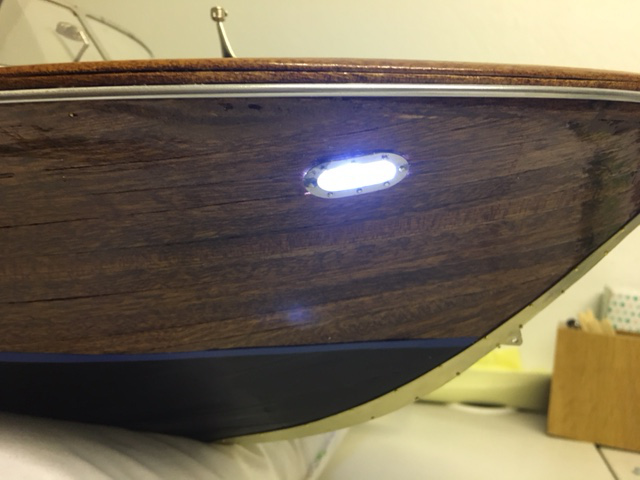
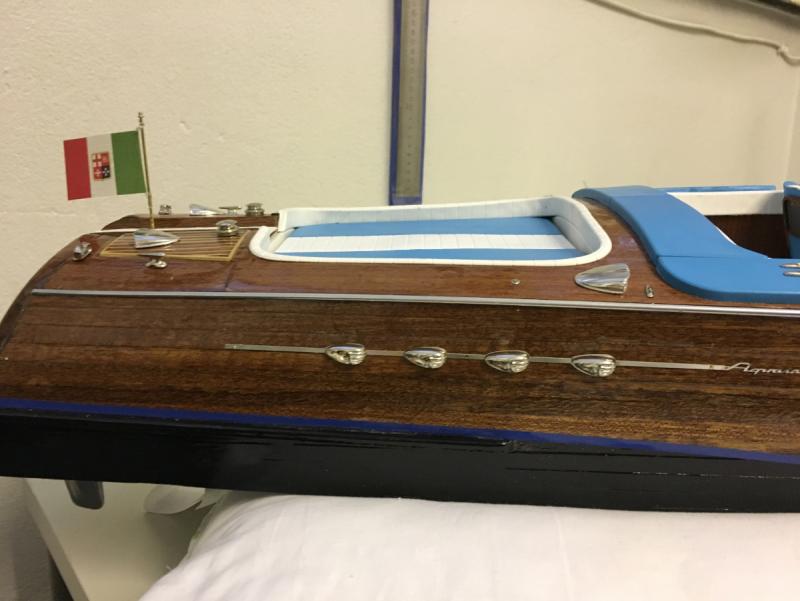
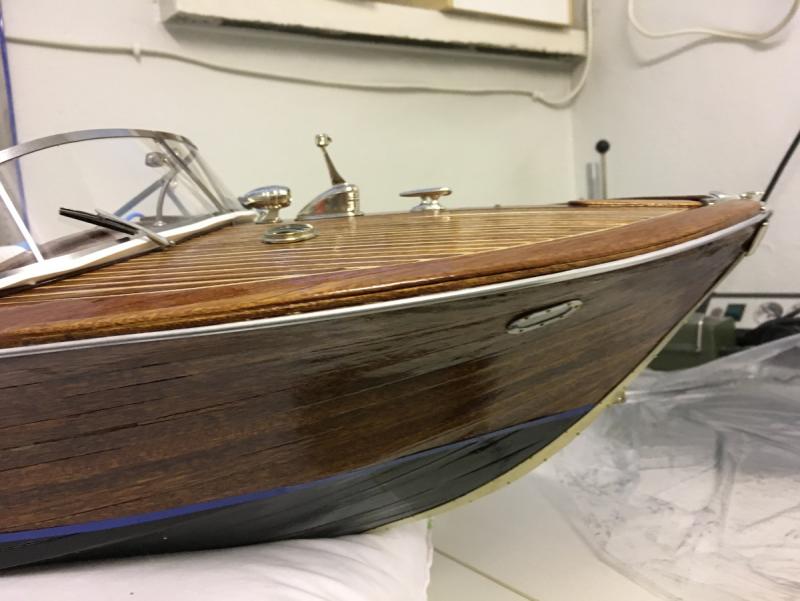
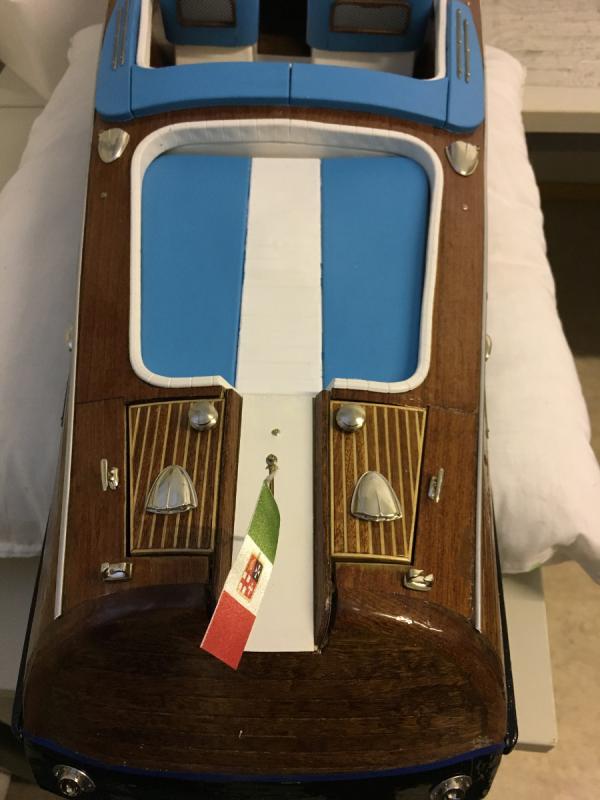
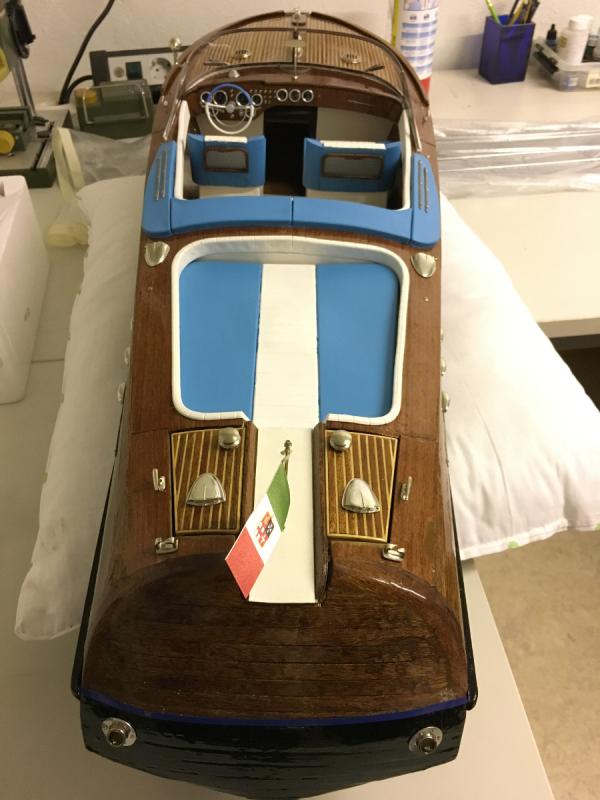
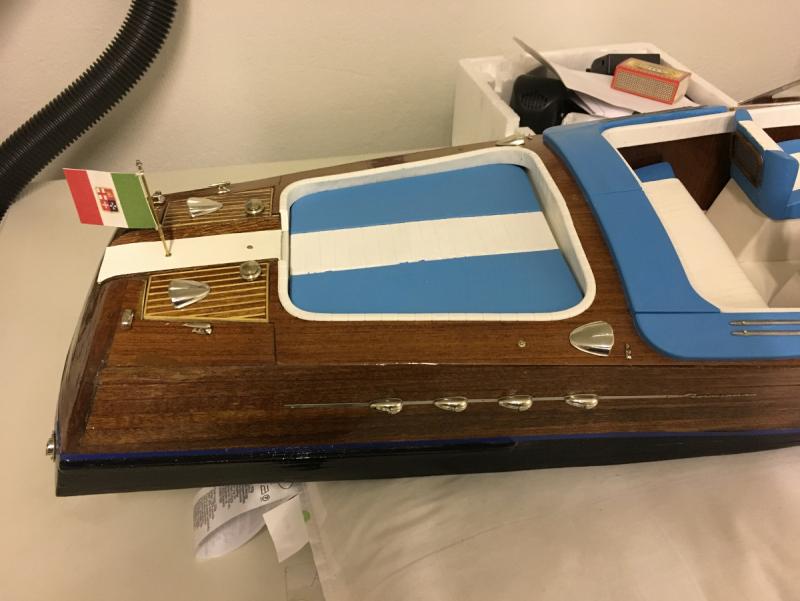
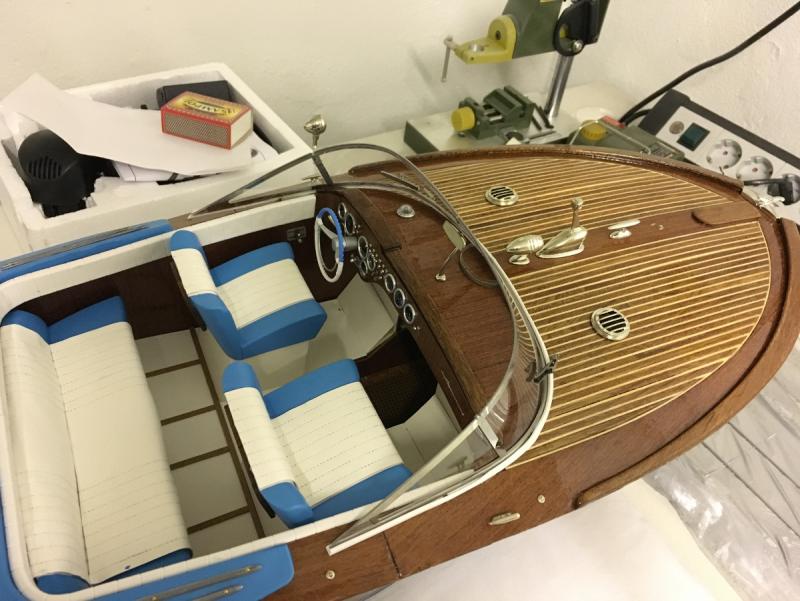
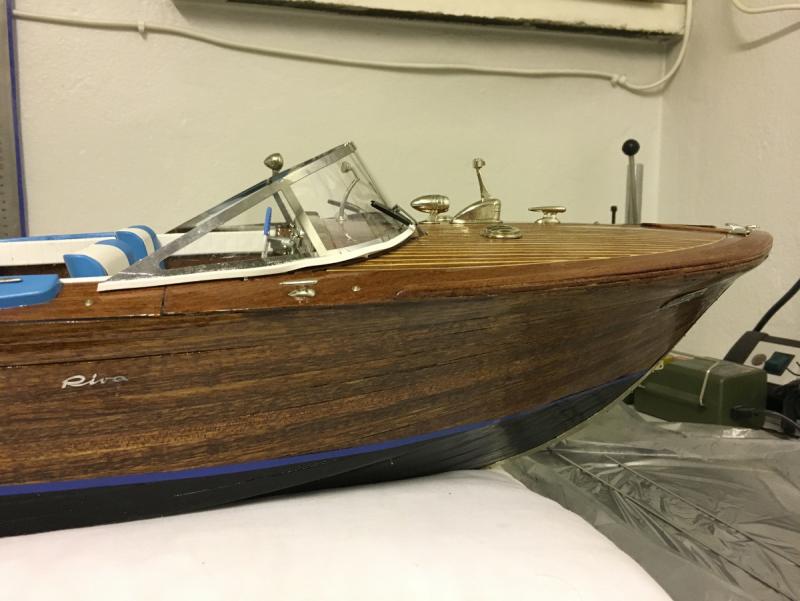
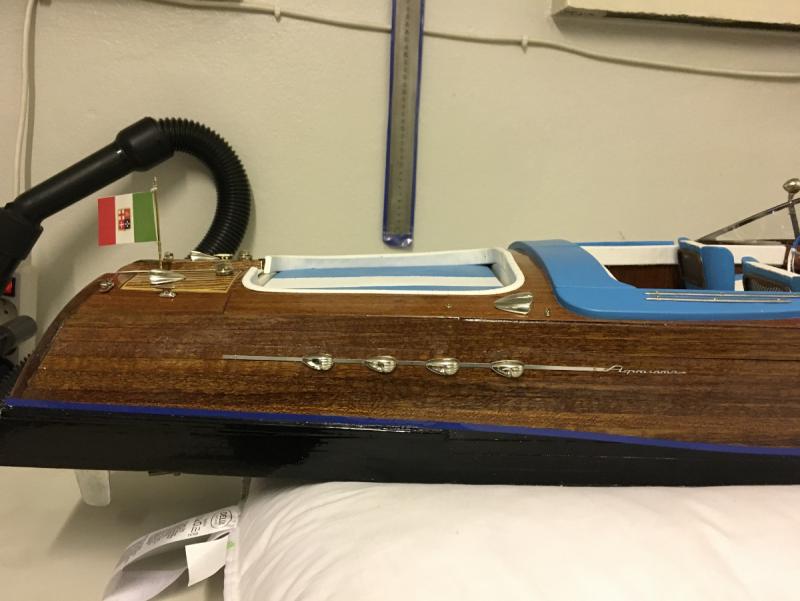
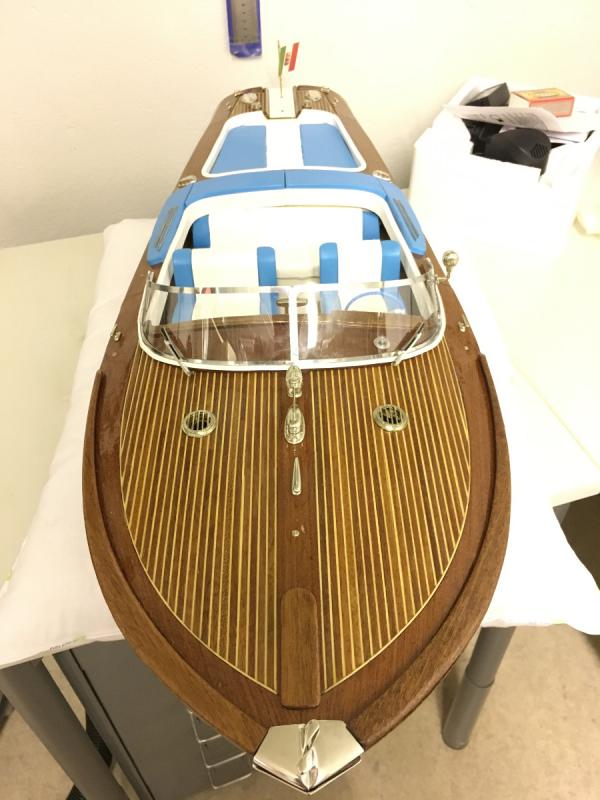
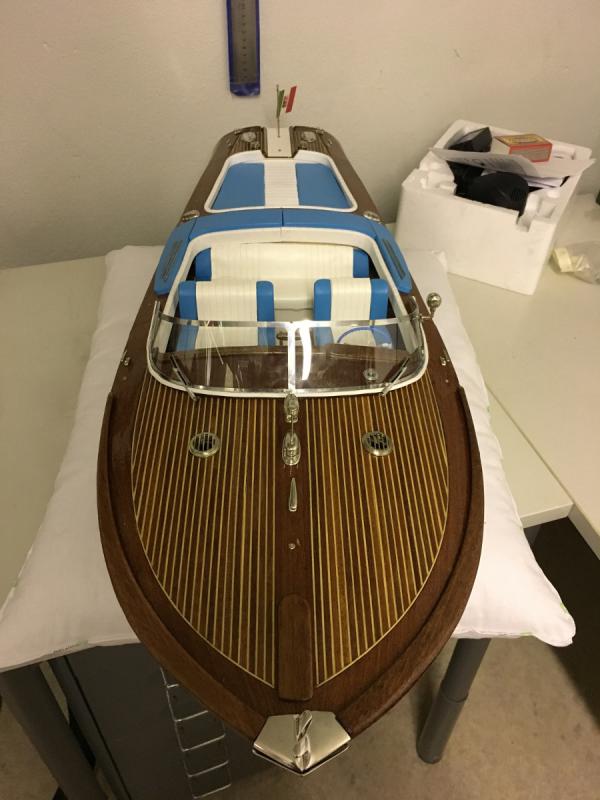
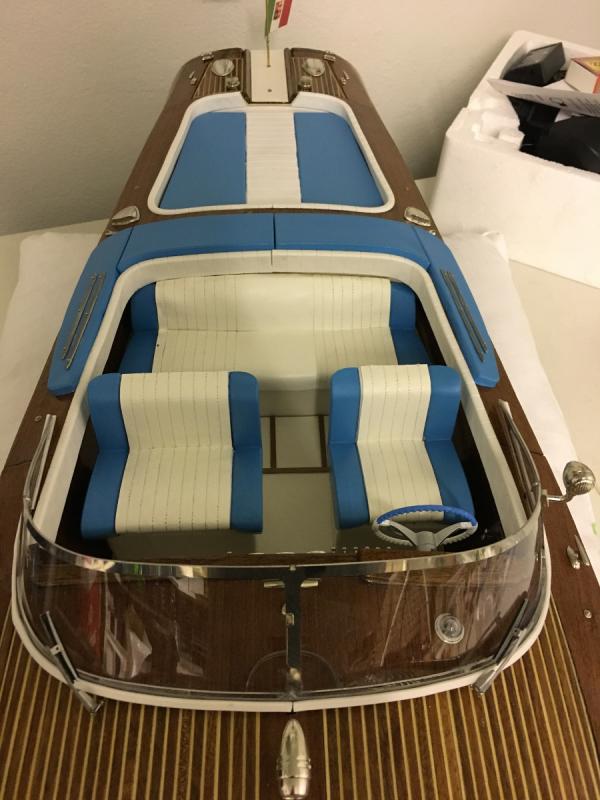
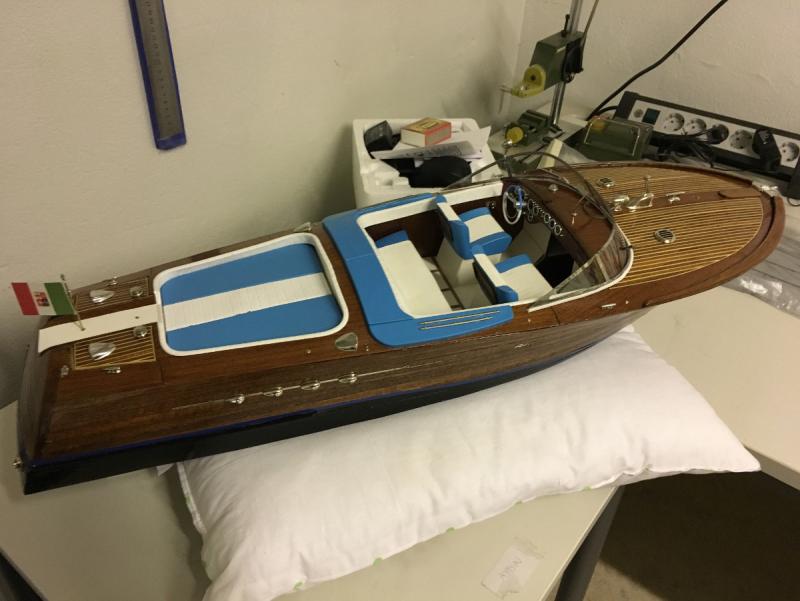
Build day 48. Finishing the looks.
1 hour today.
140 hours into build in total.Thanks a lot for the good wishes and appraisals!
I can't wait for the maiden voyage either but it may unfortunately have to wait until better weather conditions. Right now it is well below freezing point, which is not the most convenient weather for it
 . I hope, though, to be able to perform some floating and balance etc tests, in a bathtub or similar.
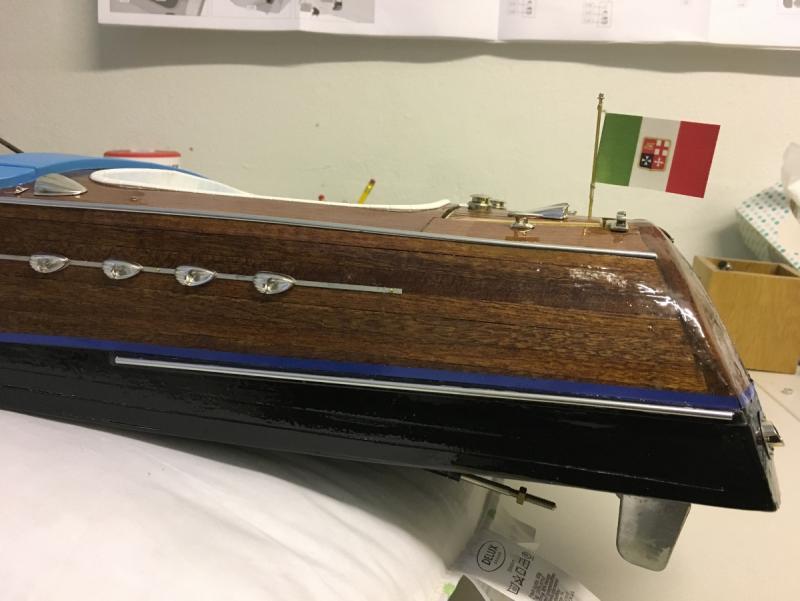
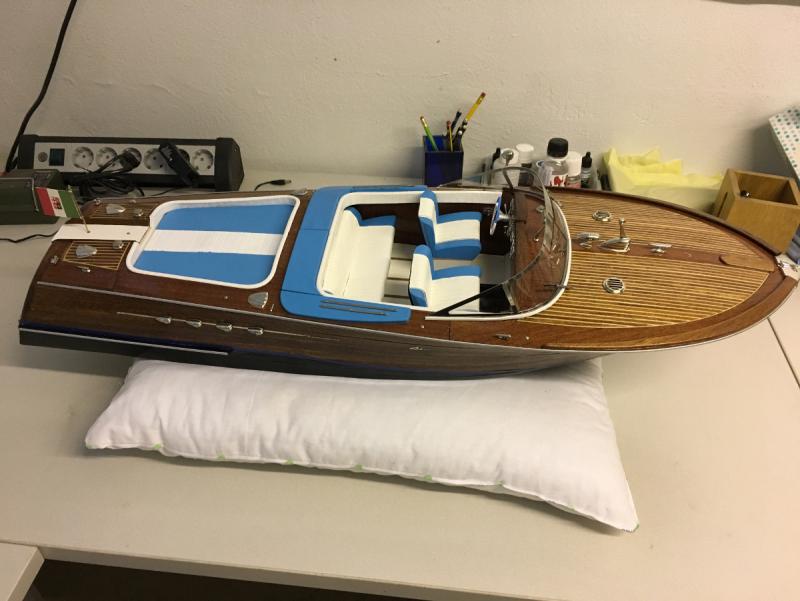
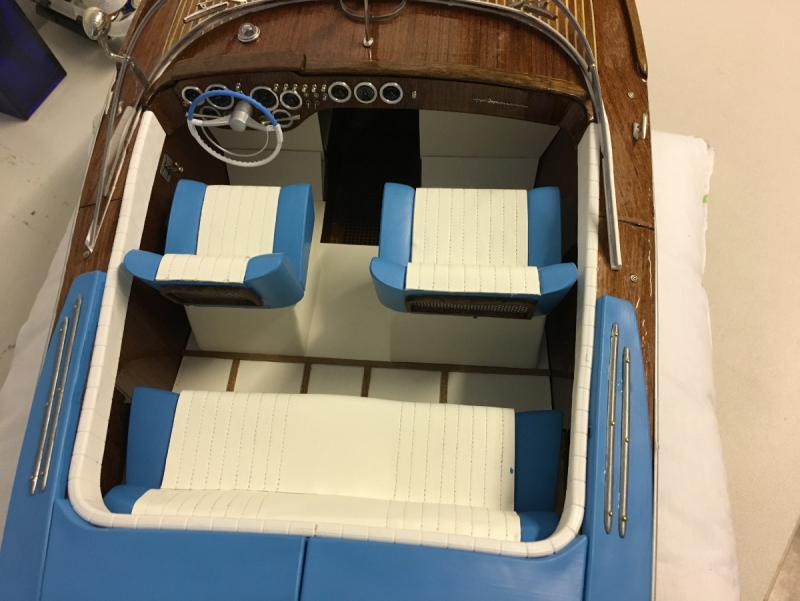
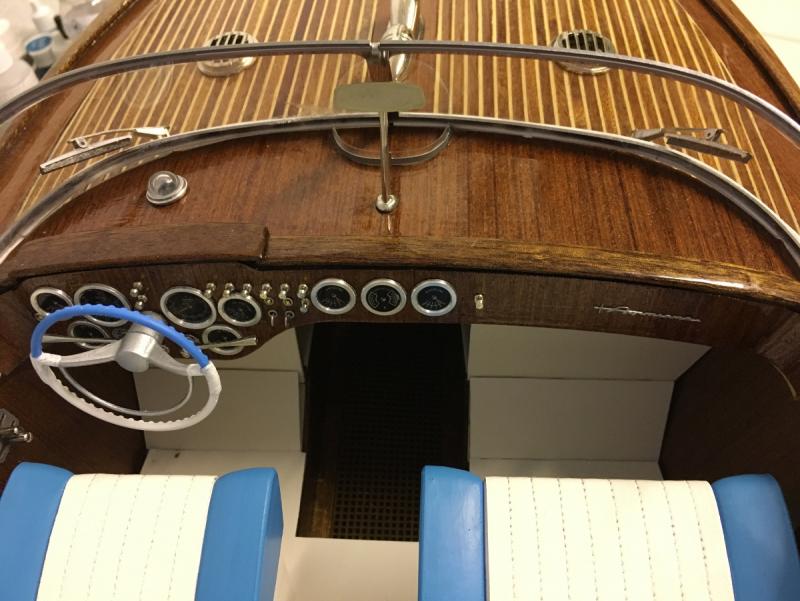
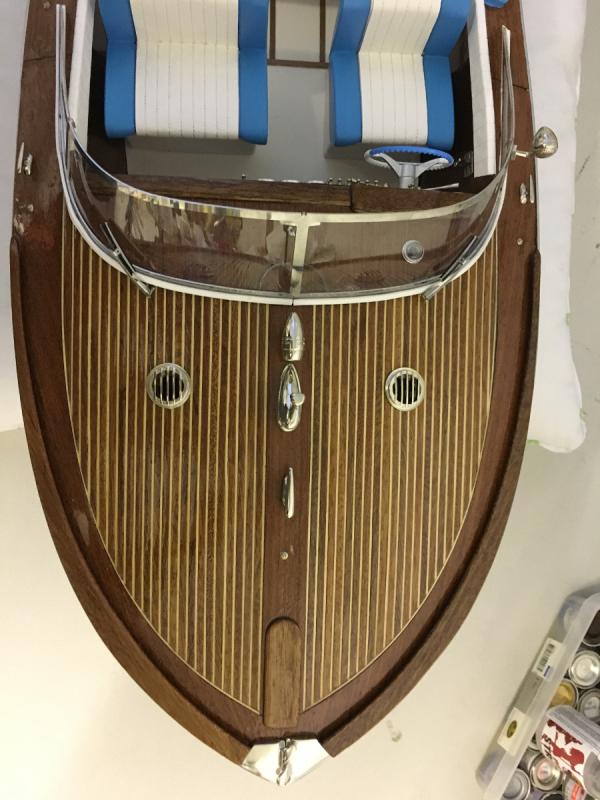
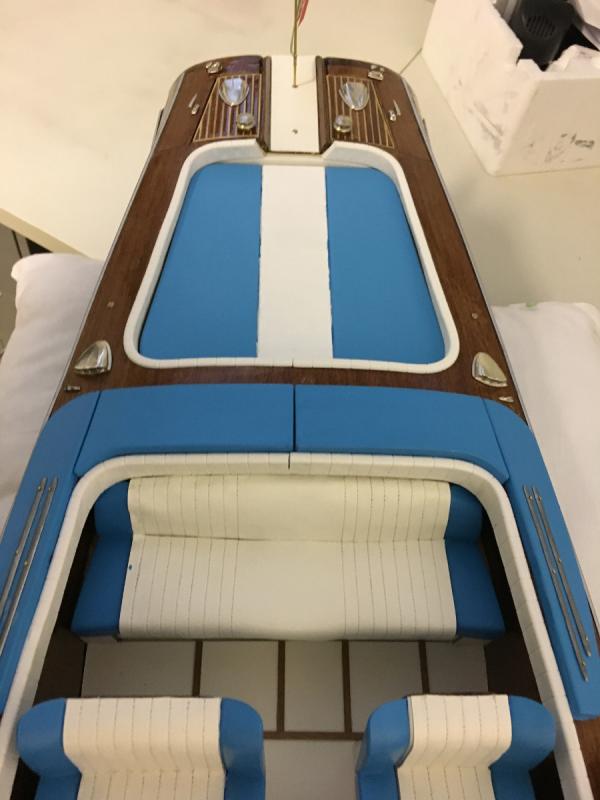
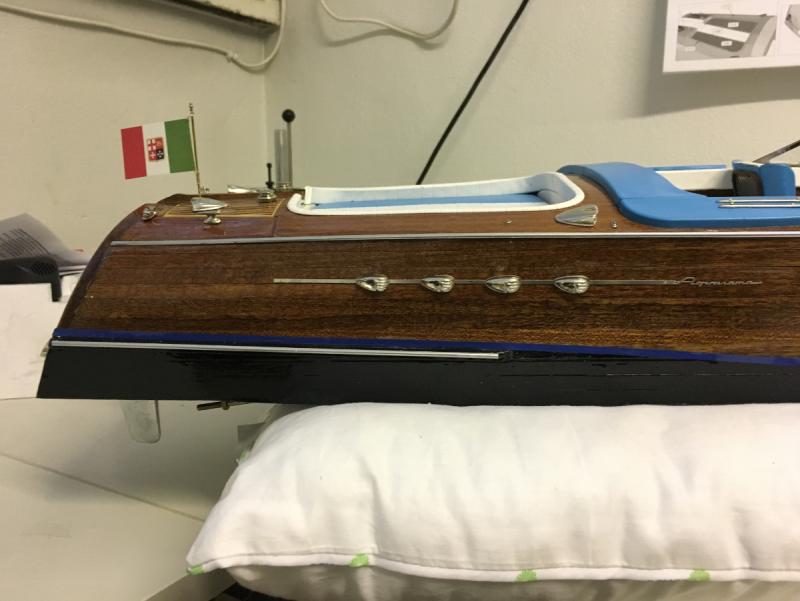
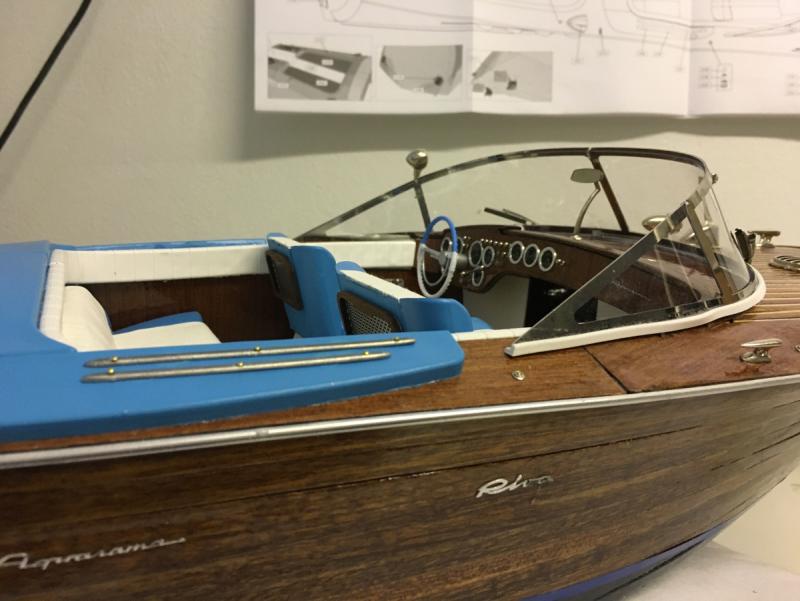
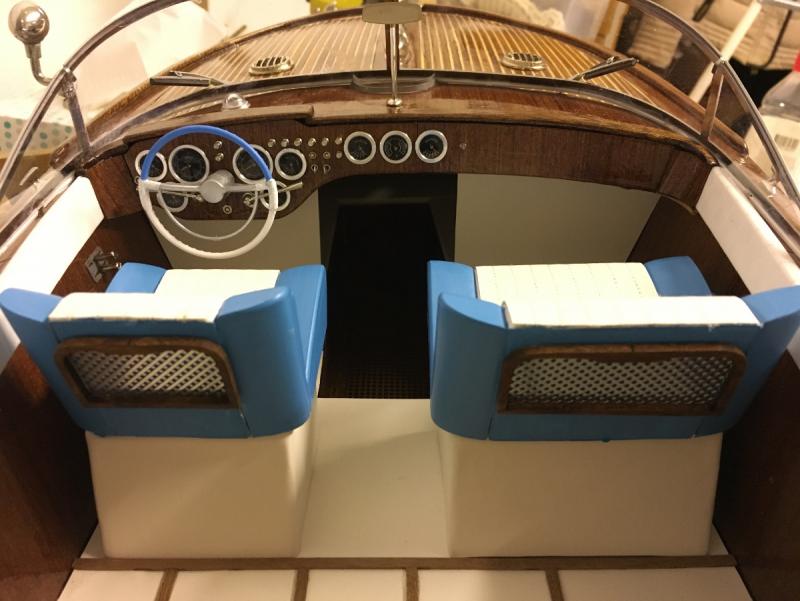
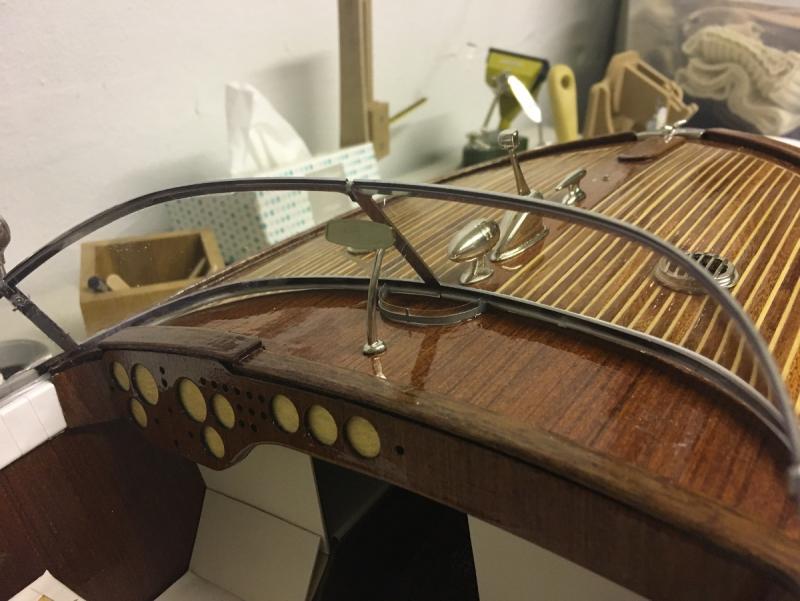
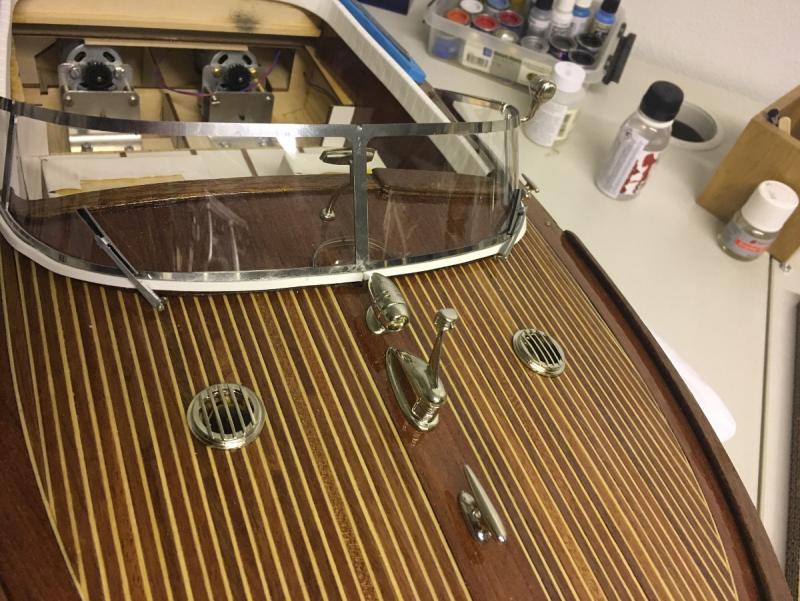
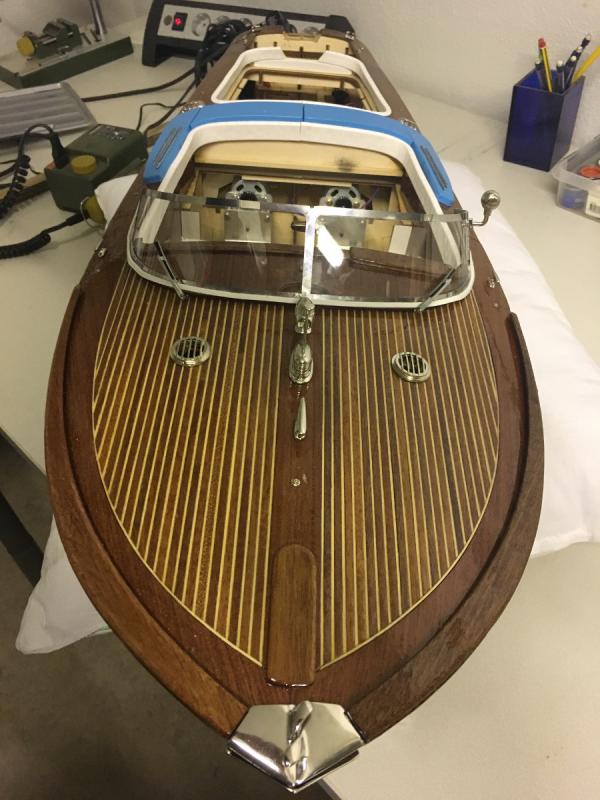
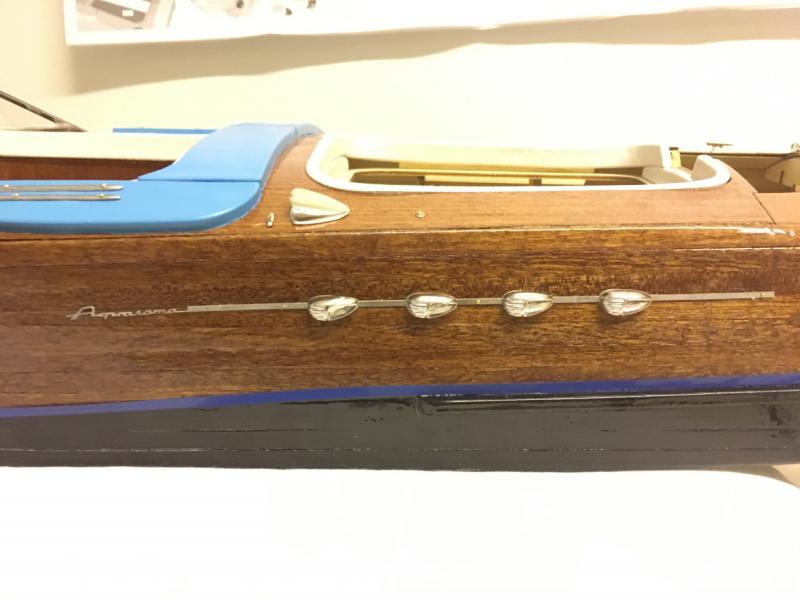
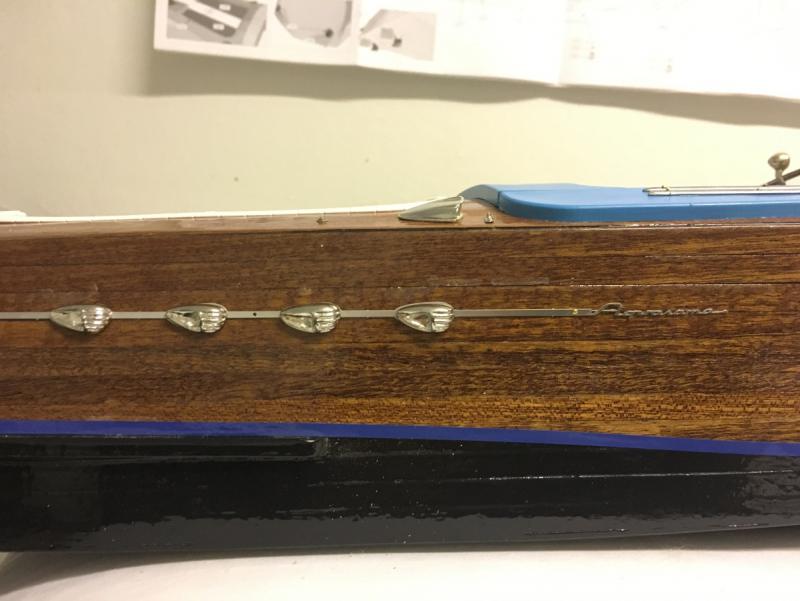
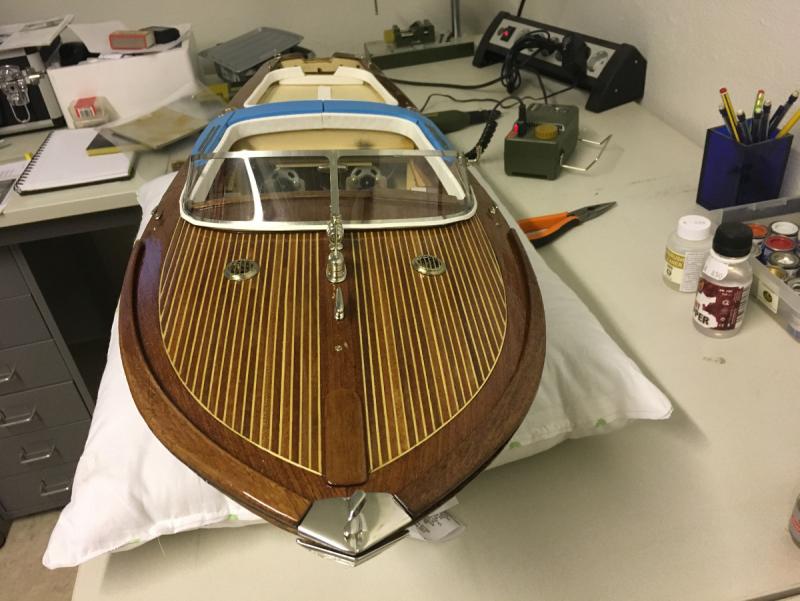
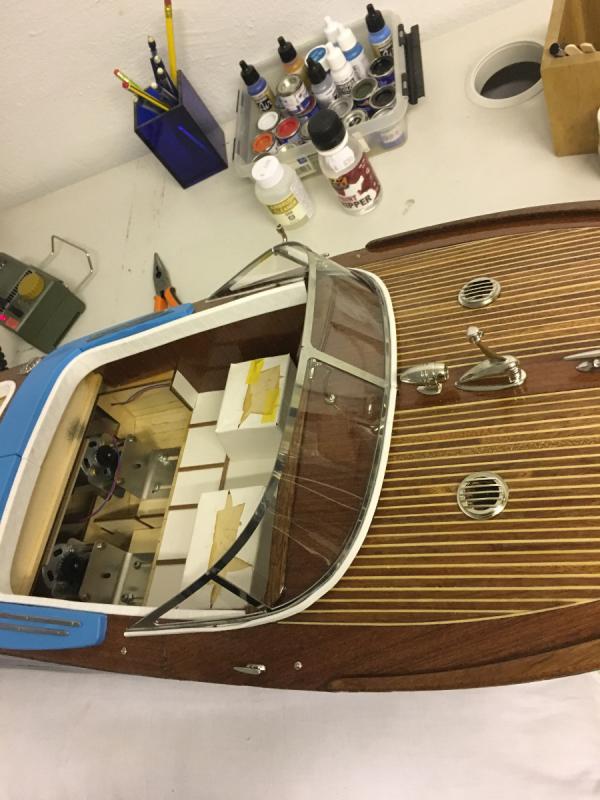
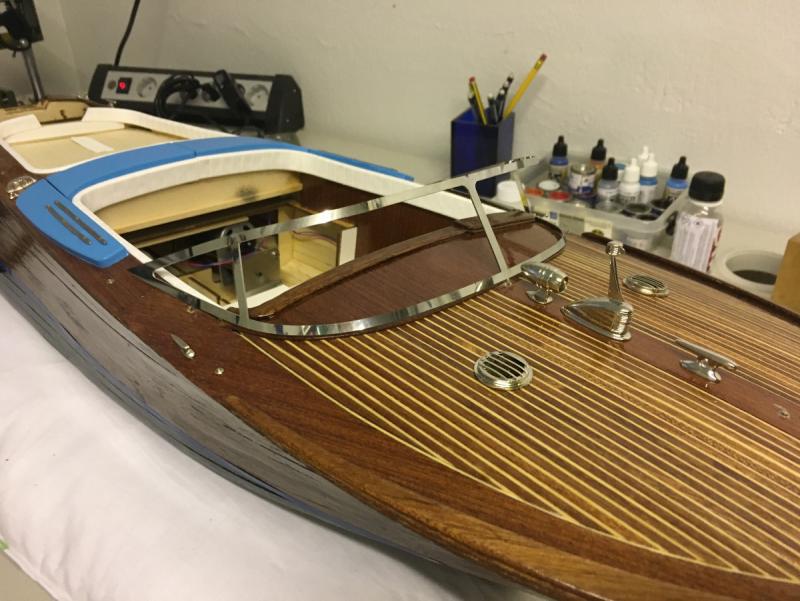
Today I installed the side metal bars and only the the radio control connections are remaining. I will probably have time to do them next weekend. Other than that, my Riva is ready, at least by the looks!
I will continue posting as long as there is anything worth sharing with other parts like radio setup and floating tests, but until then thanks for watching and have a good time! Here are some final photos for enjoyment!
- gjdale, Robin Lous, puckotred and 11 others
-
 14
14
-
End of Build day 47.
3 hours today.
139 hours into build in total.Well, this is the result of today. I will install the side lines tomorrow, once the paint has dried. Not much work left really. After this, it will be installing the radio control units.Here are some photos for your enjoyment. Thanks for watching. -
-
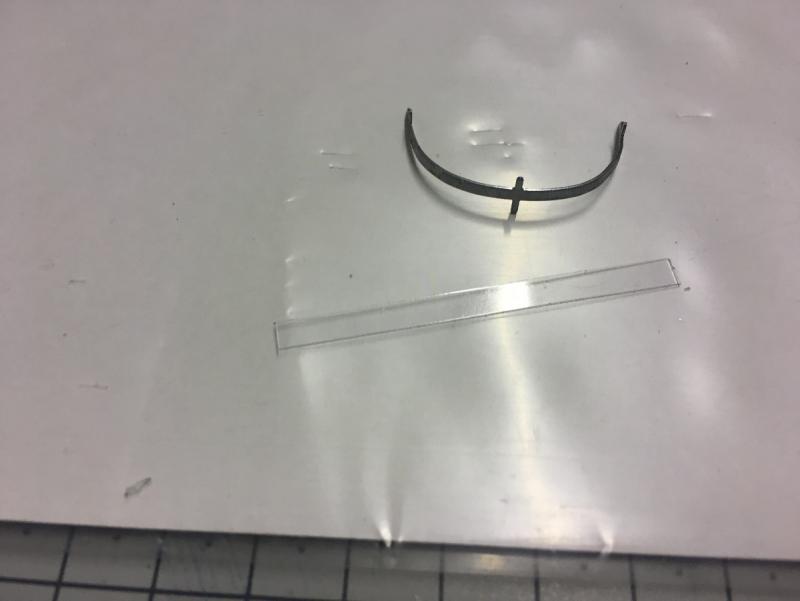
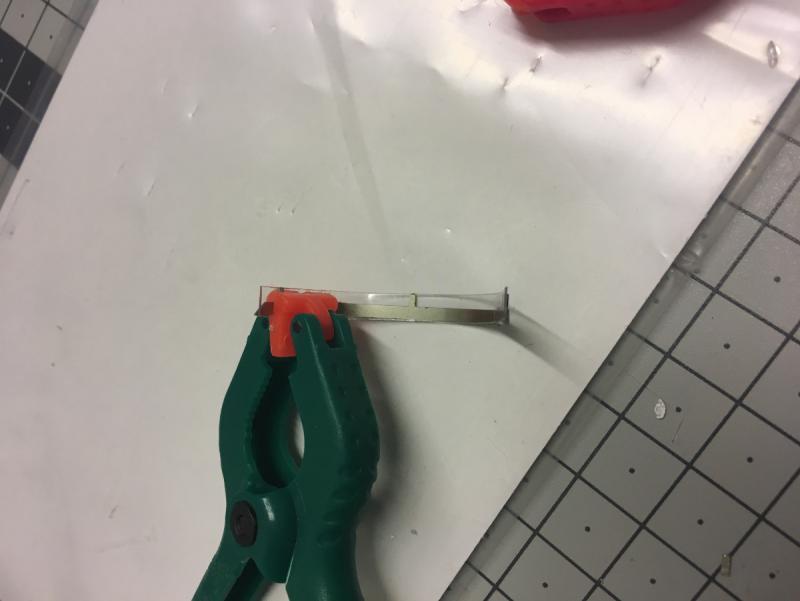
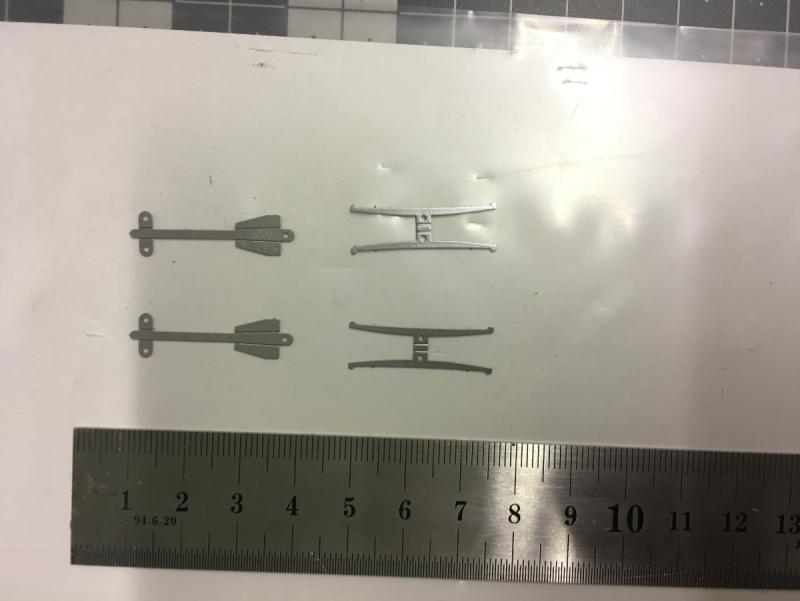
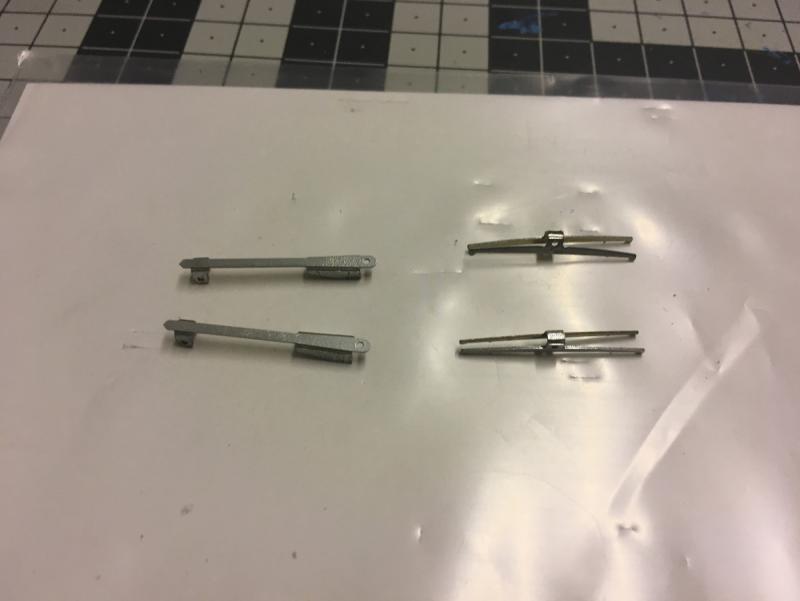
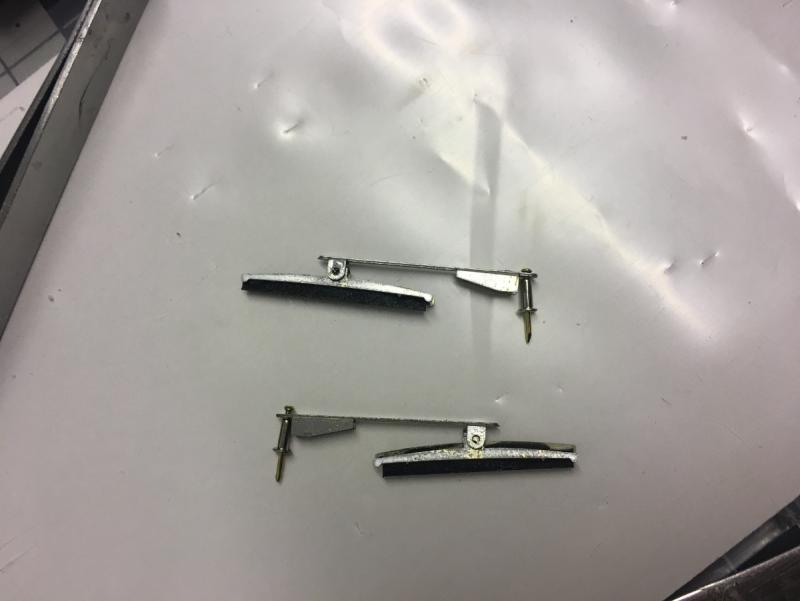
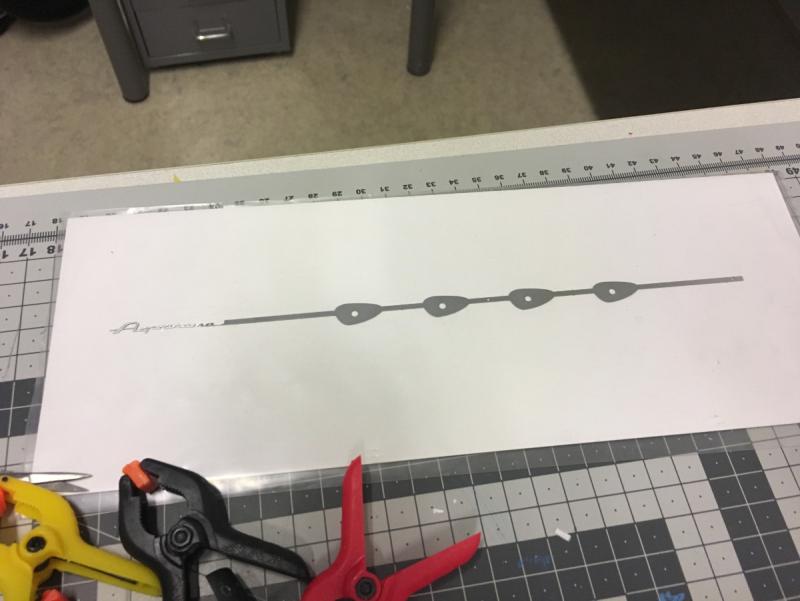
Side frames (those which will go along the edge of the deck. Apparently in the earlier versions of the kit they were supplied in metal, while in the new version which I have they are in plastic. I assume it will make it easier to install and with a good paint job they will look like metal:
Sprayed with glossy chrome paint. Waiting to dry:
-
-
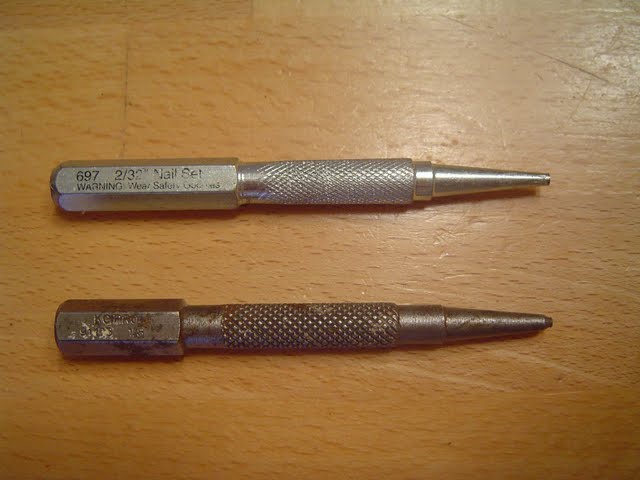
If you have checked my earlier posts, I had installed the exhaust pipe frames without nails due to a mistake I made in the order of installation, i.e. I had glued the exhaust pipe before installing the frame, making it hard to hammer the nails. Now I have the necessary tool and it is time to hammer those nails:
-
-
Build day 47. Almost there...
Nowadays due to busy work schedule the weekends are the only days I can only spare time for my Aquarama.
Excitement builds up as the end comes closer.
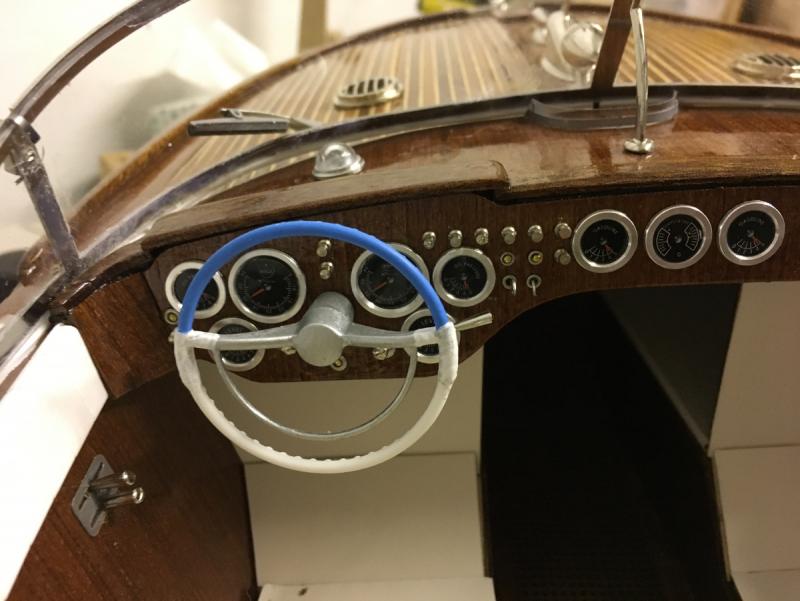
First thing today, the steering wheel in place:
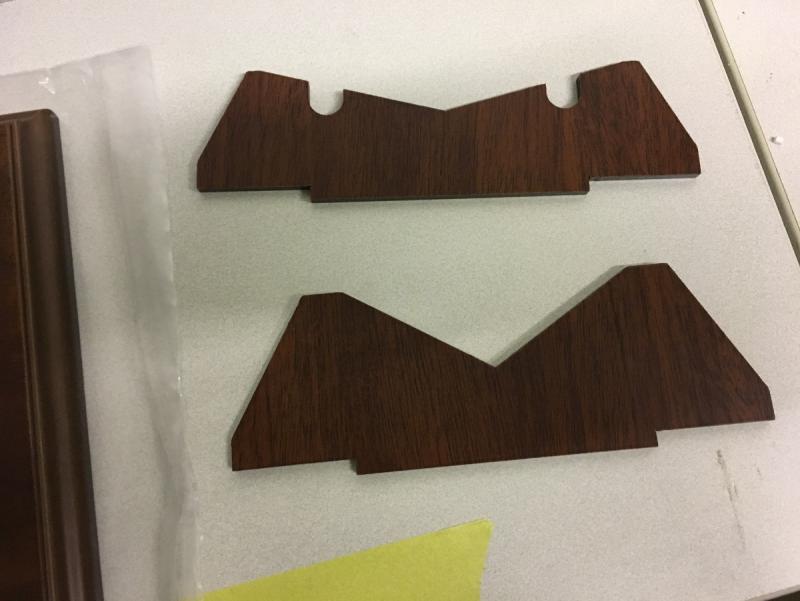
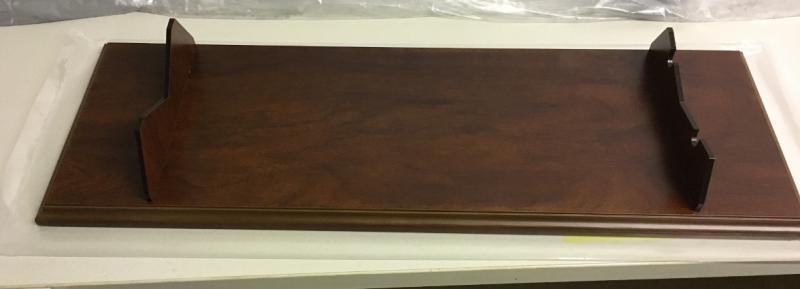
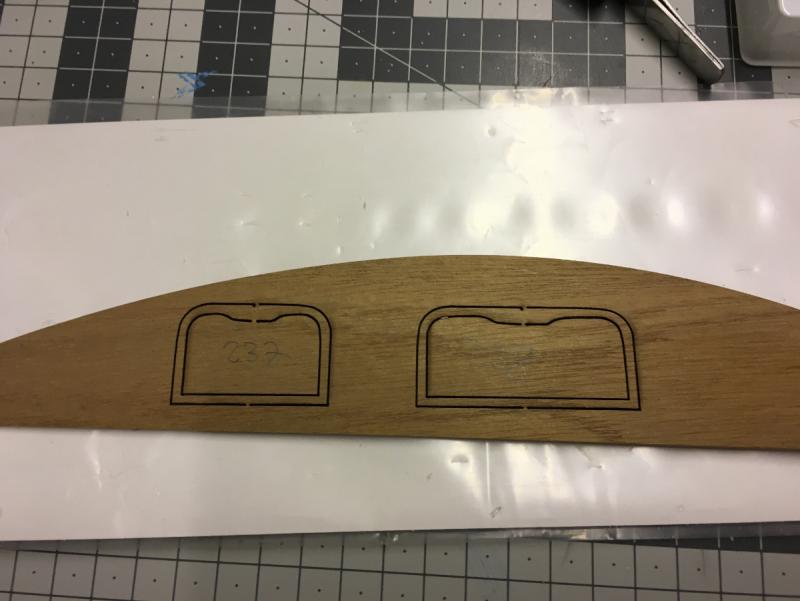
Then, the trays at the back of the front seats:
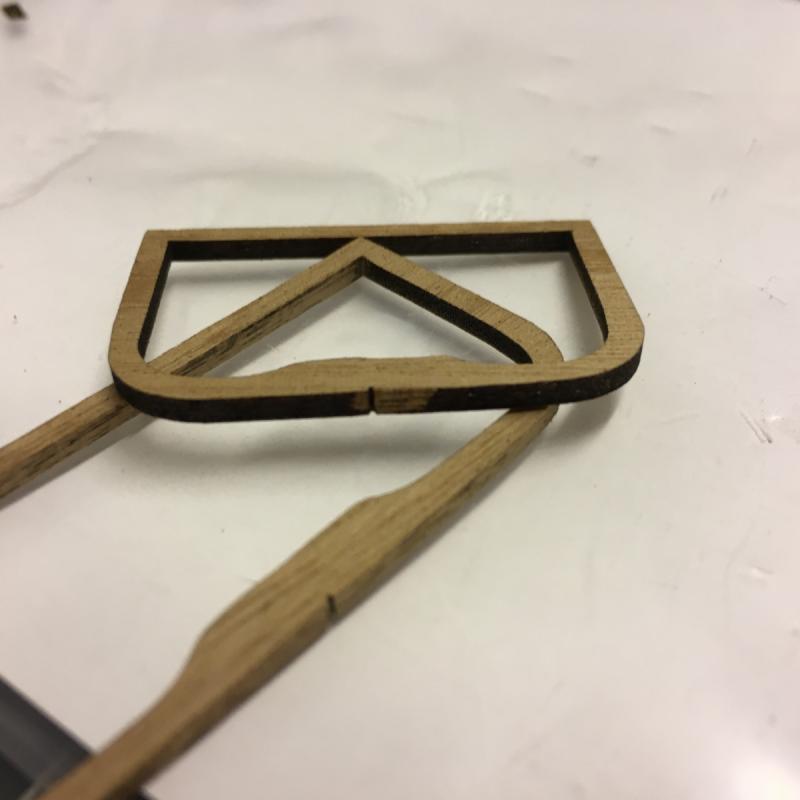
1. Detach the mahogany frames:
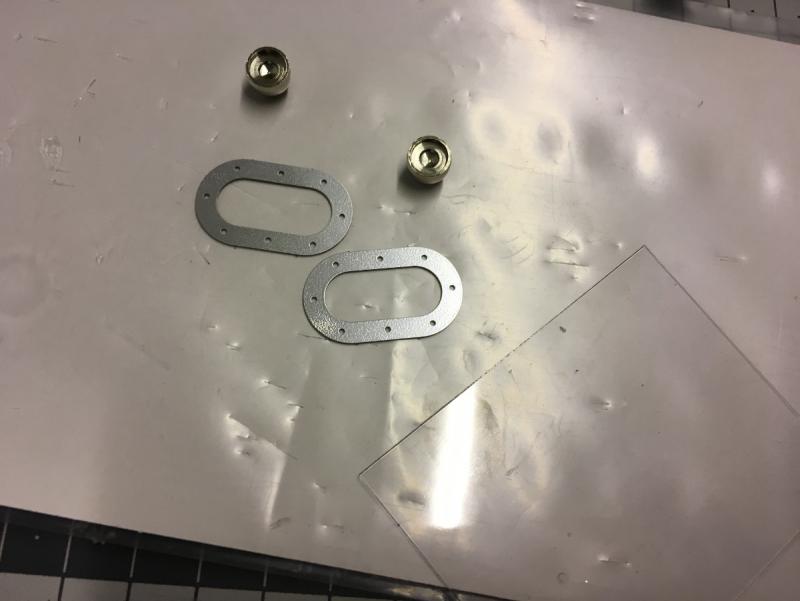
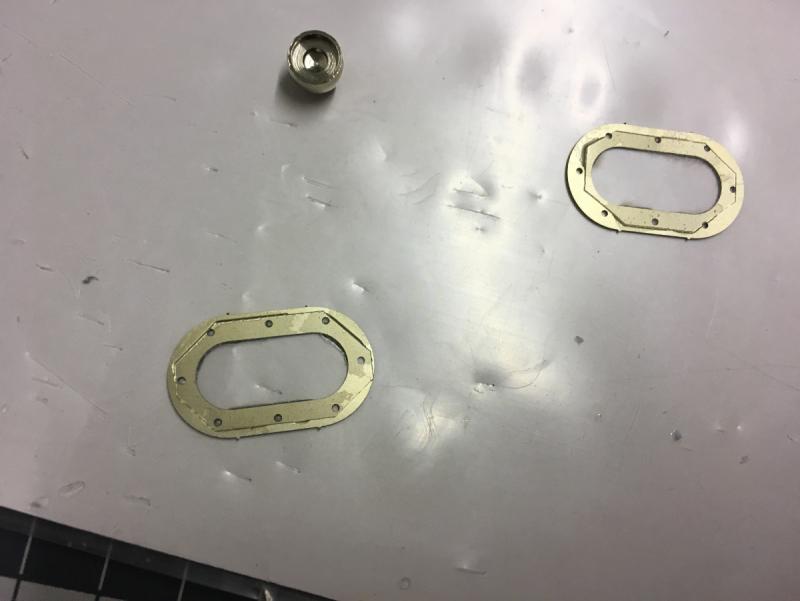
2. Sand away the laser cut burns (in the photo you see both cleaned and uncleaned):
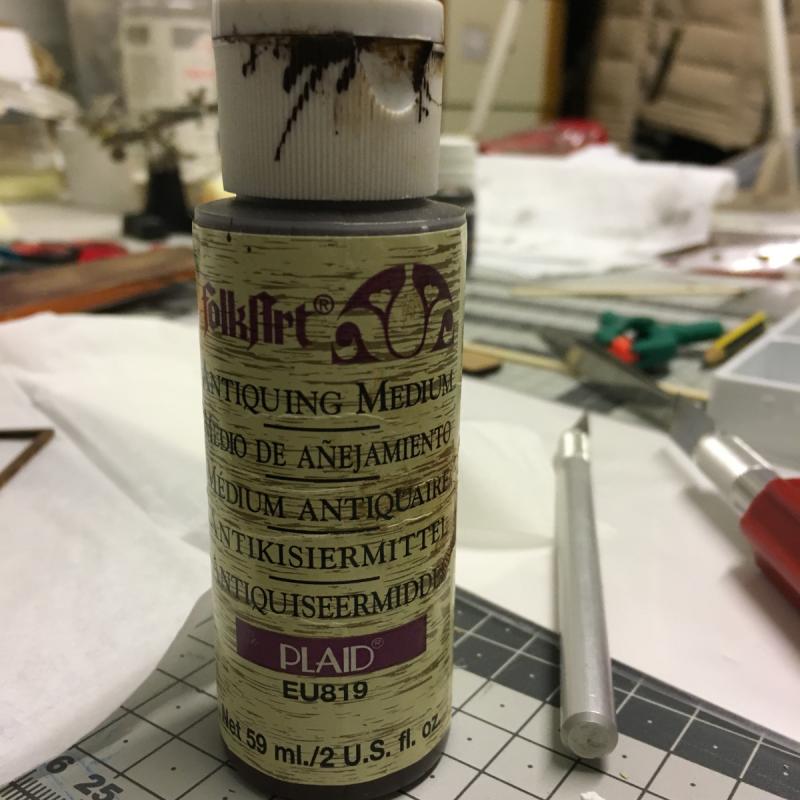
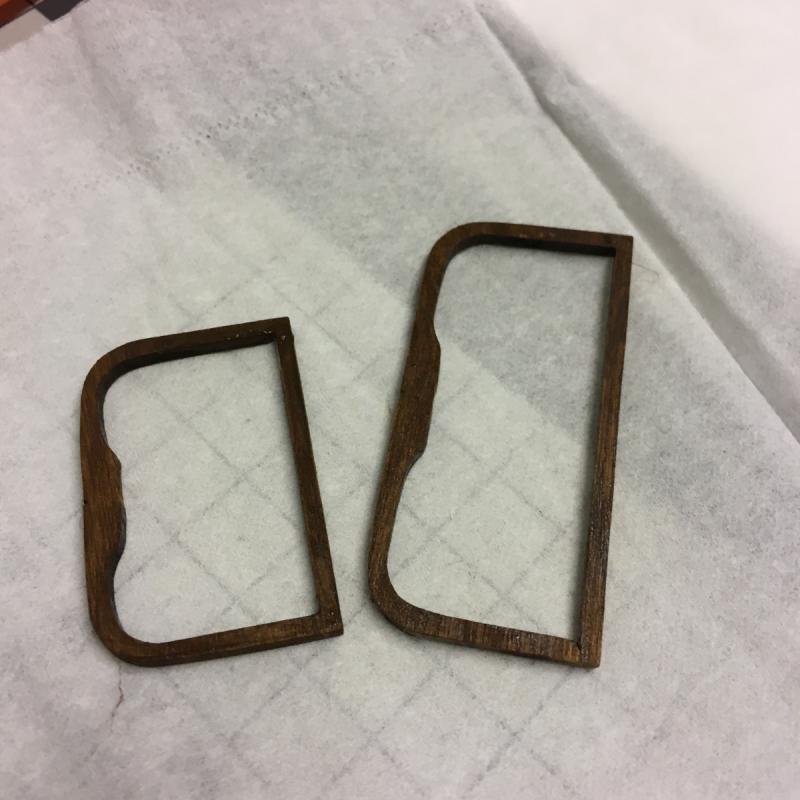
3. Stain the frames:
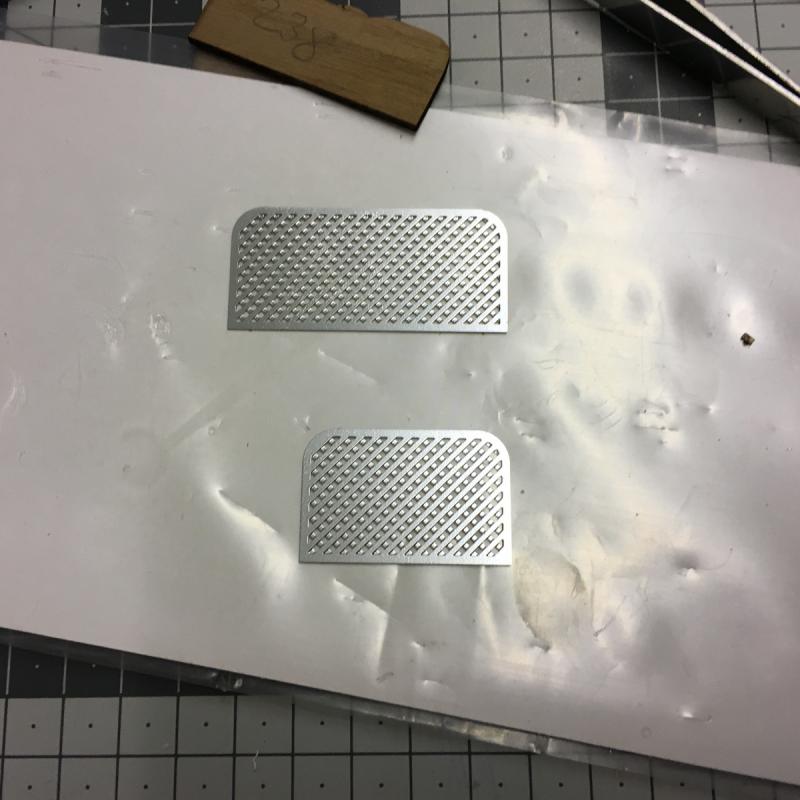
4. Detach the photo etched grills and glue them to the frames:
5. Trays in place (so are the front seats):
-
Great!
It's a tray for sunglasses and other small things.
The dashboard looks fantastic...and the compass...wow!
Robin

Oh, I learned something today

- EJ_L, Robin Lous and mtaylor
-
 3
3
-
-
- usedtosail, gjdale, CDW and 7 others
-
 10
10
-
-
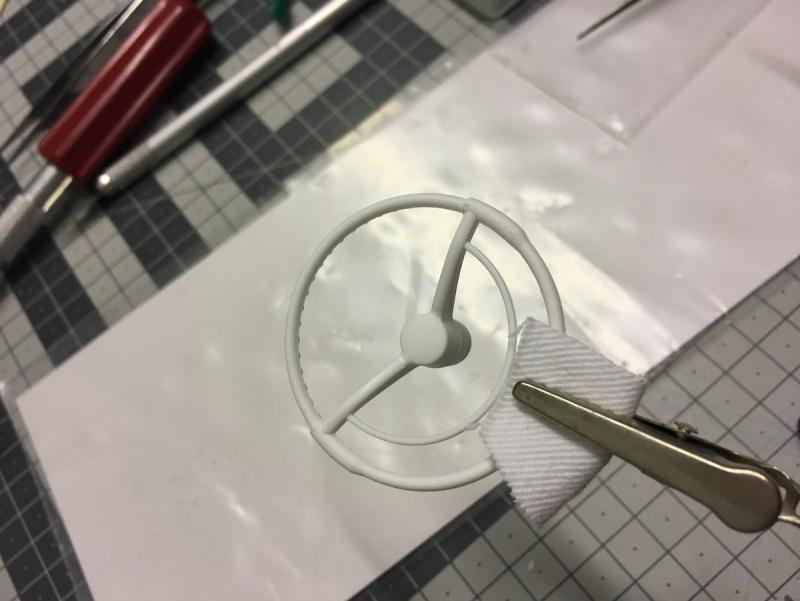
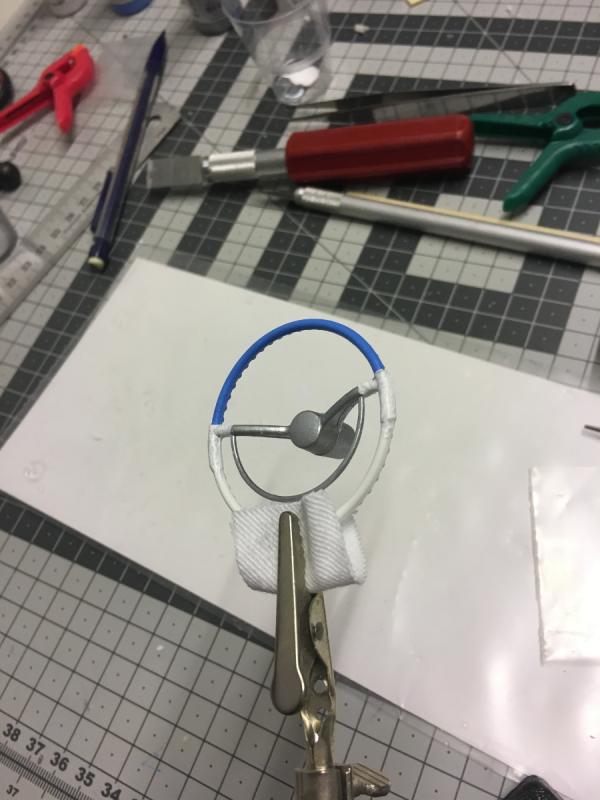
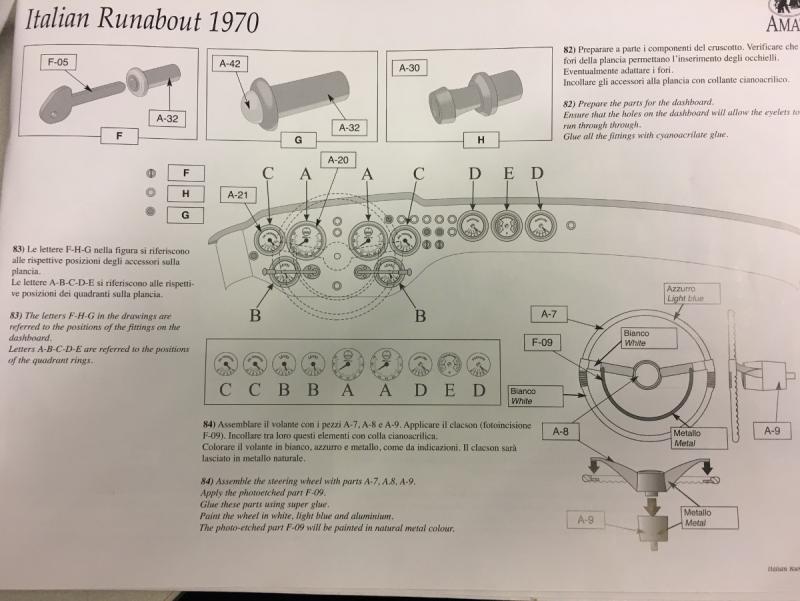
Steering wheel. NOTE: The instructions sometimes deviate quite a lot from the parts which come with the kit, I guess due to the version updates the kit has gone through in years. I would appreciate if they would update the instruction manual, too, to match the new list of parts. The steering wheel is one example. It comes in a single piece in the kit, however according to the instructions you have to assemble it from several parts:
Painted and waiting to dry, before installation in place:
-
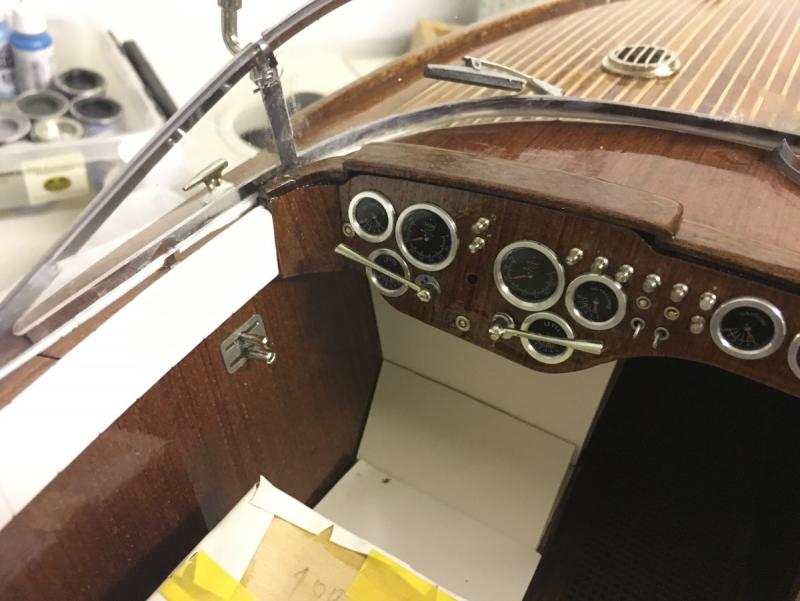
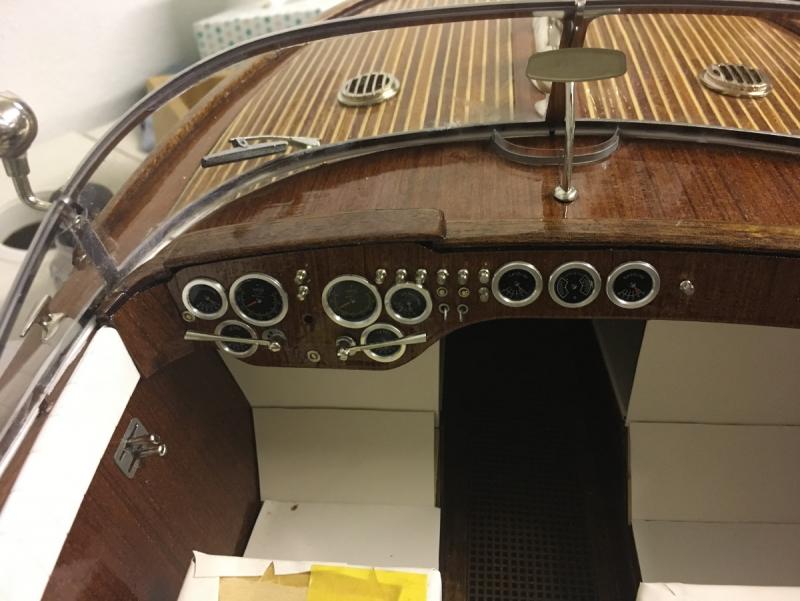
Next on the line is the dashboard decoration. Seems to be a lot of fun.
Instructions:
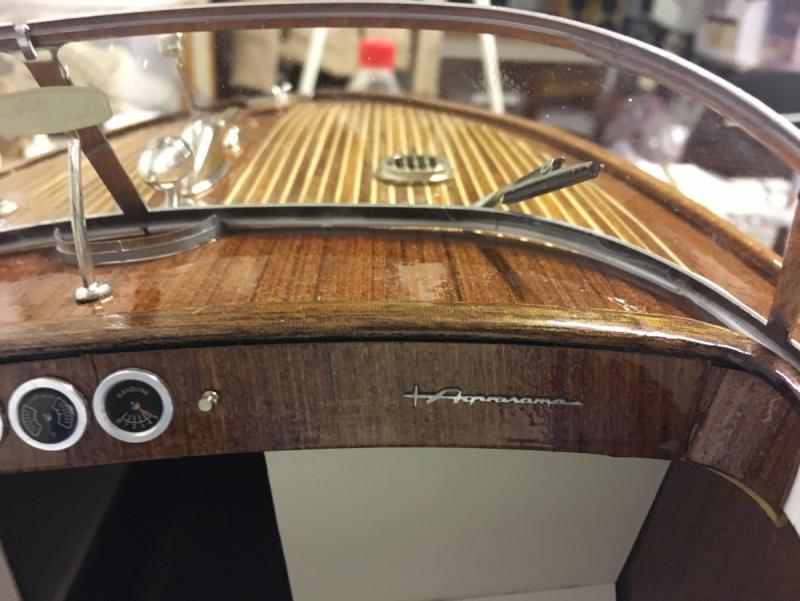
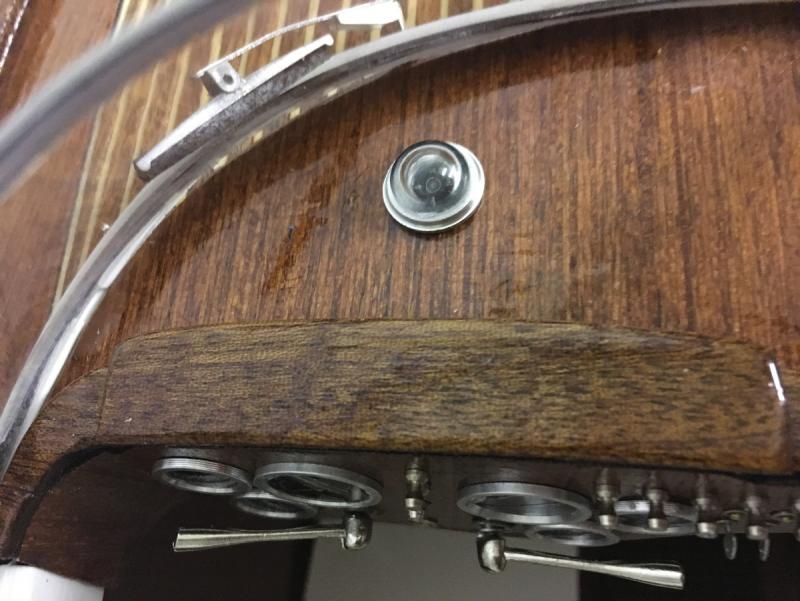
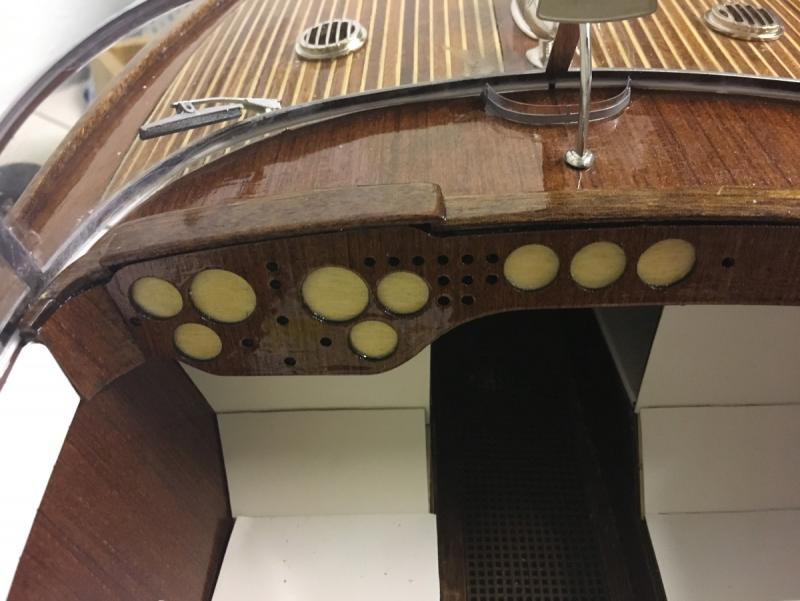
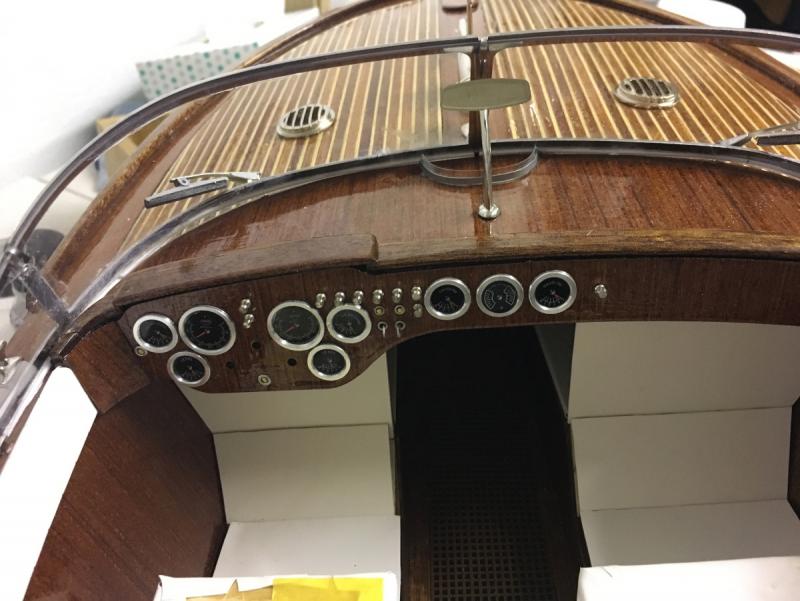
The current status of the dashboard:
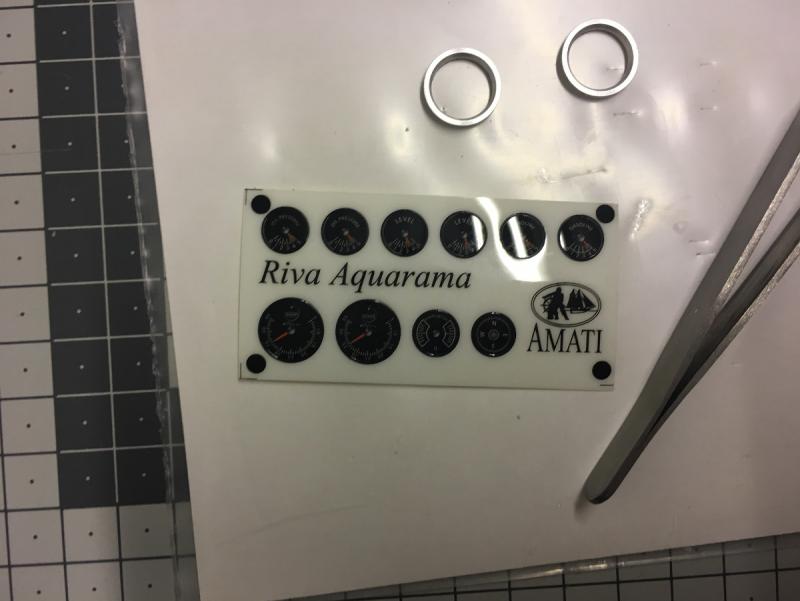
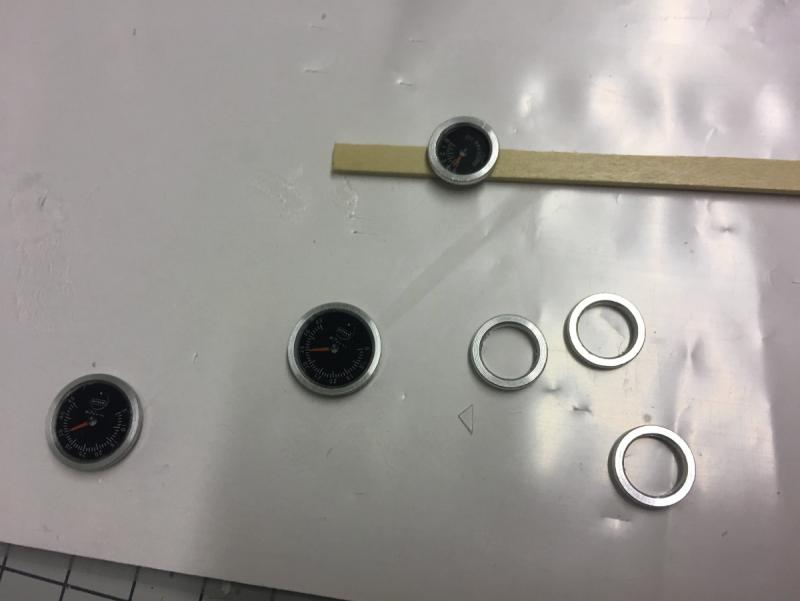
Gauge stickers (they don't actually stick, you'll have to use glue) and a few frames:
Stickers being glued in the frames:
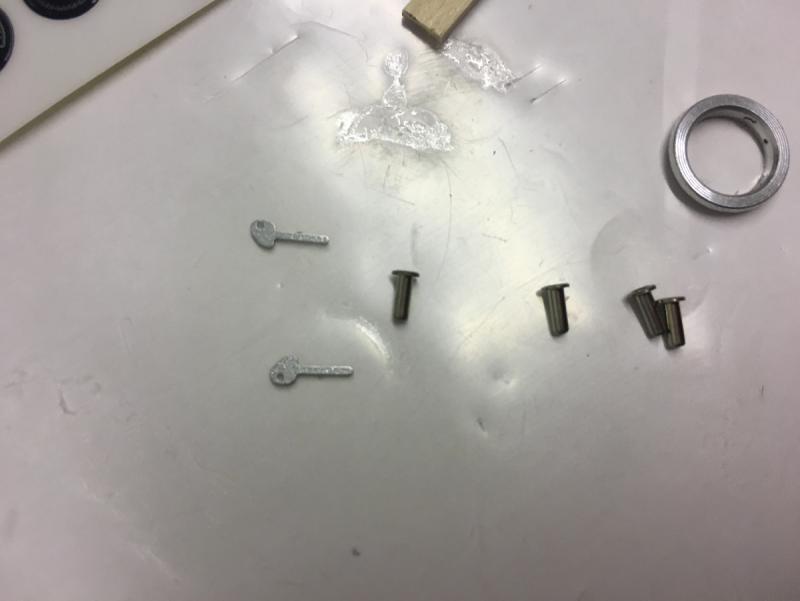
Example of more components, here the keys and its slots:
Installed them one by one on the dashboard. Quite annoying sometimes to run after small pieces which snap from the tweezer and run under the table:
-
-
- Robin Lous, gjdale, WackoWolf and 4 others
-
 7
7
-
-
-
-
-
-
-



Riva Aquarama by aydingocer - FINISHED - Amati - RADIO - A new challenge for a so-far static ship builder
in - Kit build logs for subjects built from 1901 - Present Day
Posted · Edited by aydingocer
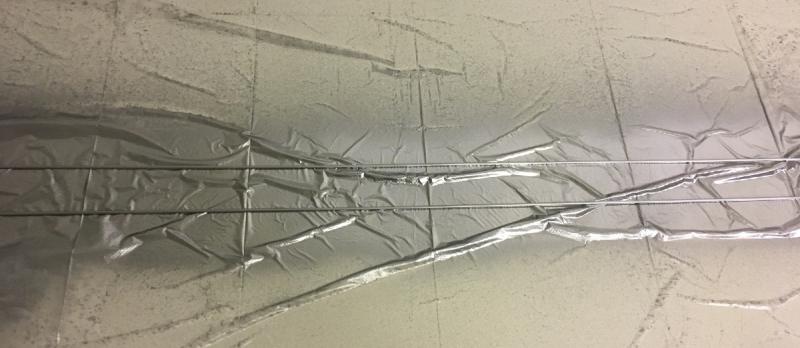
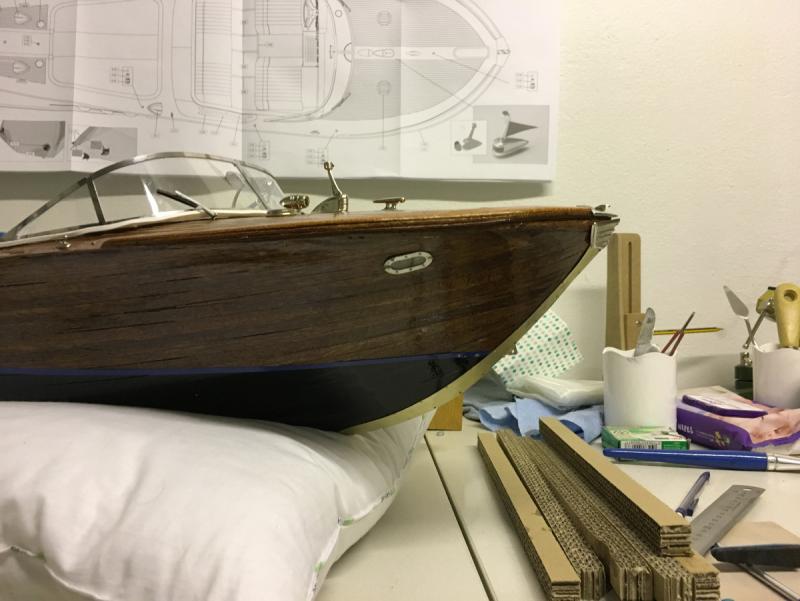
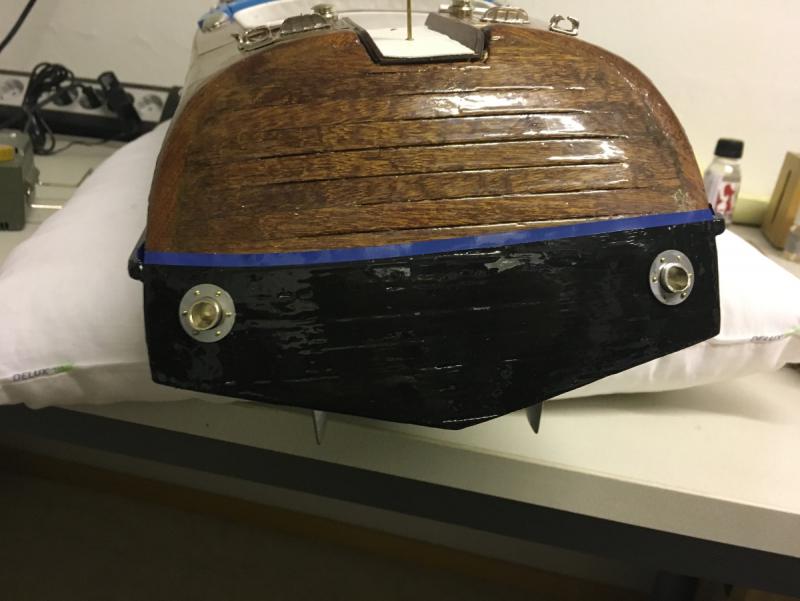
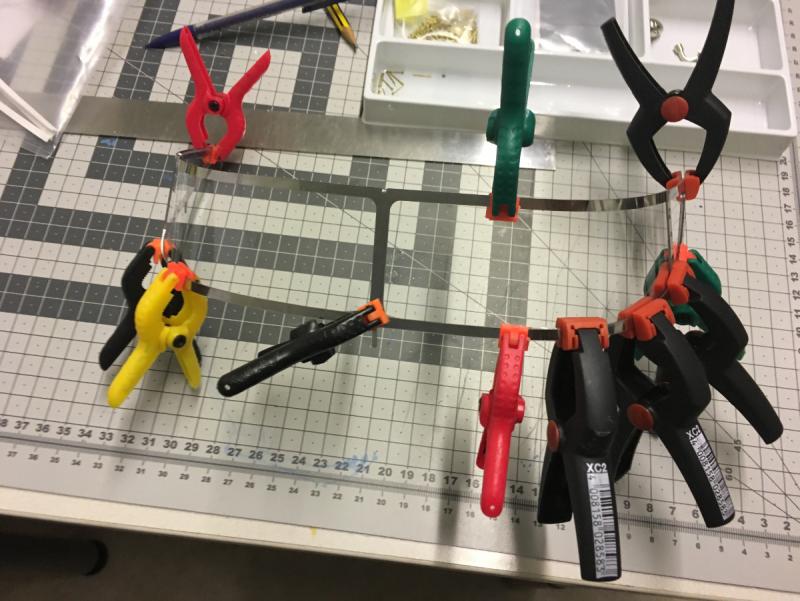
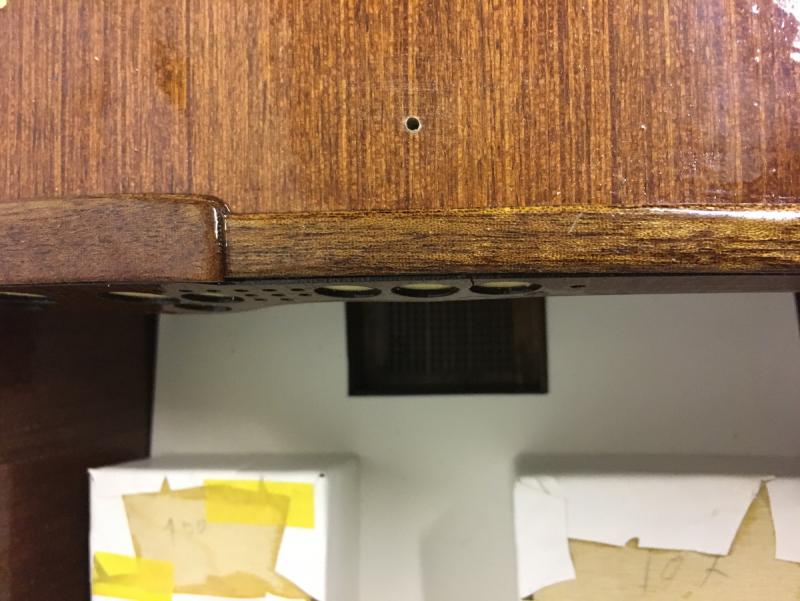
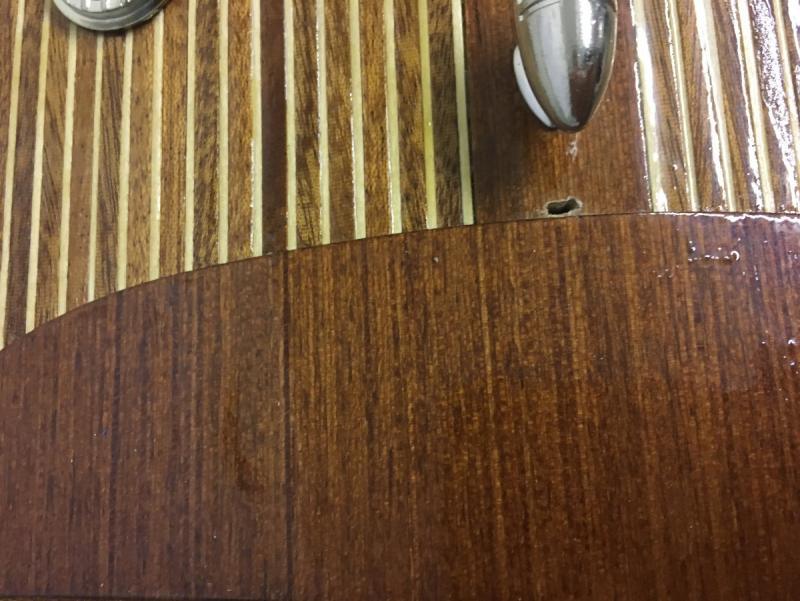
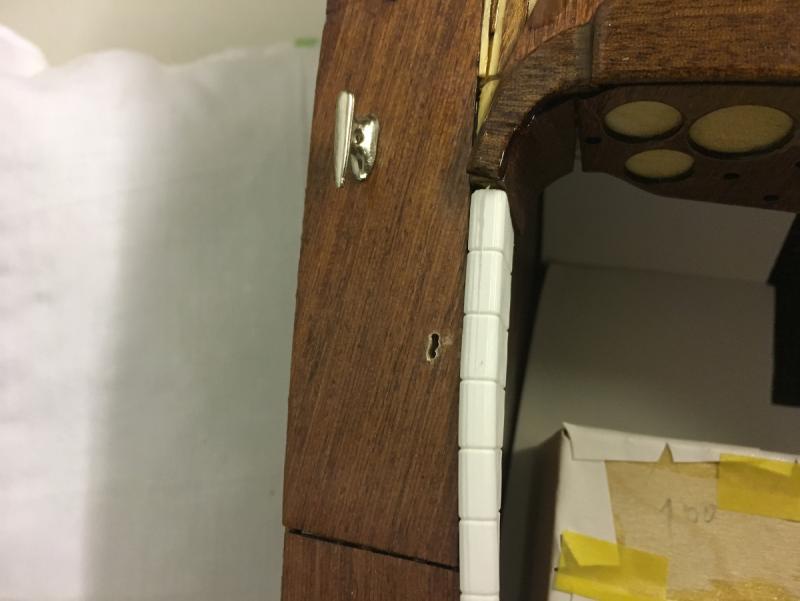
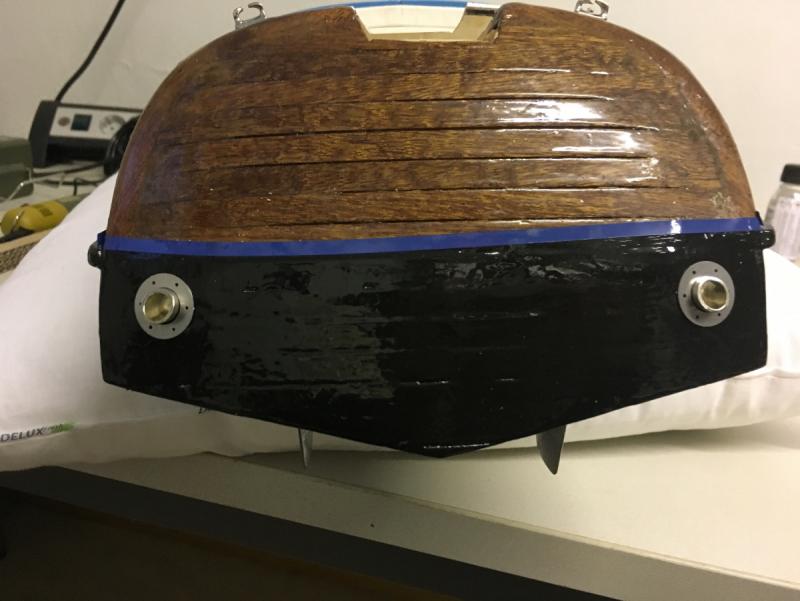
Yes, you saw right. The blue tape has a gap at a couple of spots. I plan to glue those gaps and coat the entire tape with a thin layer of z-poxy.