-
Posts
66 -
Joined
-
Last visited
Profile Information
-
Gender
Male
-
Location
Finland
Recent Profile Visitors
-
 GrandpaPhil reacted to a post in a topic:
Mayflower by Winlich - FINISHED - Constructo - Scale 1:65 (First build)
-
 GrandpaPhil reacted to a post in a topic:
Mayflower by Winlich - FINISHED - Constructo - Scale 1:65 (First build)
-
Dear colleague!
I hope you will understand me and take my trouble with understanding! The thing is that I have the whole kit for assembling the model, but I lost the assembly instructions... CONSTRUCTOR is not exist and I can not ask for a copy. Help me please!!!! I would be very grateful if you could send me a scanned copy of the instructions (not pictures, just a text description) at abp2007[at]gmail.com. -
 Bontie reacted to a post in a topic:
Mayflower by Winlich - FINISHED - Constructo - Scale 1:65 (First build)
-
 Bontie reacted to a post in a topic:
Mayflower by Winlich - FINISHED - Constructo - Scale 1:65 (First build)
-
 Winlich reacted to a post in a topic:
HMS VICTORY by Kevin - FINISHED - Caldercraft - 1/72
-
 Winlich reacted to a post in a topic:
Mayflower by Jolley Roger - Artesania Latina - 1/64
-
 Winlich reacted to a post in a topic:
Wasa by fmodajr - FINISHED - Corel - 1:75
-
 Winlich reacted to a post in a topic:
HMS VICTORY by Kevin - FINISHED - Caldercraft - 1/72
-
 Klinko reacted to a post in a topic:
Mayflower by Winlich - FINISHED - Constructo - Scale 1:65 (First build)
-
 Winlich reacted to a post in a topic:
Wasa 1628 by JanV - Corel - scale 1:75 - Vasa
-
 Winlich reacted to a post in a topic:
HMS VICTORY by Kevin - FINISHED - Caldercraft - 1/72
-
 Winlich reacted to a post in a topic:
Mayflower by Winlich - FINISHED - Constructo - Scale 1:65 (First build)
-
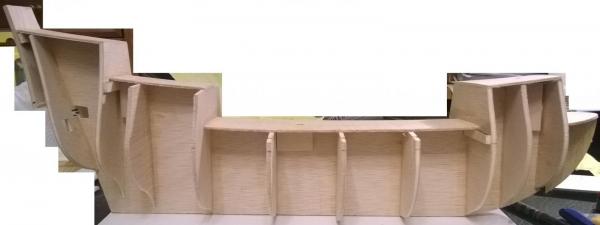
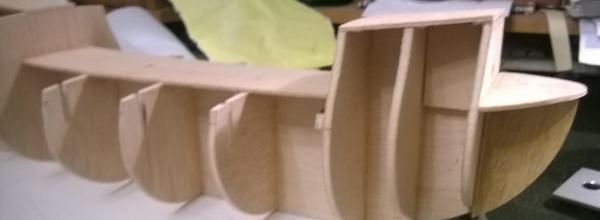
Hi Klinko, How did you glue the bow reinforcement wrong? For some reason I missed 1 reinforcement in the middle and thought that it didn't matter. However since the false deck is bend towards the edges, I had difficulties later (planking) since the false deck wasn't "fixed" on the other side. I needed to put plenty glue underneath the false deck (and bend it correctly) to make sure its tight before I could continue. If the false deck wouldn't have been leveled correctly, It would have been impossible to fix later. The bow especially is a place where you can see if the false deck is too high or low in other end, and how it's sides are sanded. It will have effect also on the hull plaking when you close the deck level (bending, since the hull planks continue upwards from the deck level, there cannot be a gap between the bow deck and the hull planks) and how the hull planks meet the bow sprit planks. So looking back, making the base correct, helps you lots of trouble and remediation in the next phases. I would try to remove carefully the bow reinforcement and if the reinforcement brakes, you can make new one using the part # 26 (2x6x600), since at least with the Constucto kit there were still about 15 pieces extra remaining in the end. I'm sorry I can't help much with the glue removing (I know that there are guys here in the forum who knows everything about glues ), I didn't use any glue/water/else mixing and if I had to remove a piece, I just used carefully brute force and tried to mitigate if something broke (like in later stages using sand dust and glue in visible gaps). Also any marks in the keelson and the false decks will not be visible after planking, just get the angles, height, place right and symmetric. If I missed the actual point, please put a photo . EDIT: Looking back my pictures, it seems that I missed 2 reinforcements, the one in middle and also the bow. putting them also as attachments.
- 79 replies
-
- mayflower
- constructo
-
(and 2 more)
Tagged with:
-
 mrshanks reacted to a post in a topic:
Mayflower by Winlich - FINISHED - Constructo - Scale 1:65 (First build)
-
 mrshanks reacted to a post in a topic:
Mayflower by Winlich - FINISHED - Constructo - Scale 1:65 (First build)
-
 captgino reacted to a post in a topic:
Mayflower by Winlich - FINISHED - Constructo - Scale 1:65 (First build)
-
 Shipyard sid reacted to a post in a topic:
Mayflower by Winlich - FINISHED - Constructo - Scale 1:65 (First build)
-
 yvesvidal reacted to a post in a topic:
Mayflower by Winlich - FINISHED - Constructo - Scale 1:65 (First build)
-
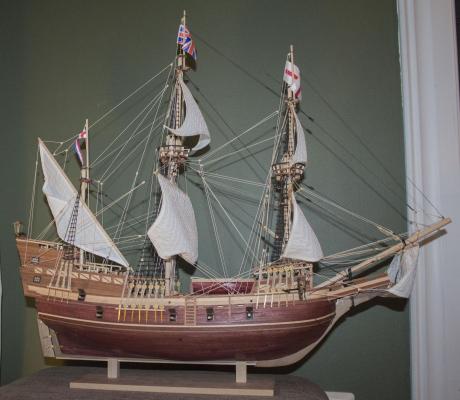
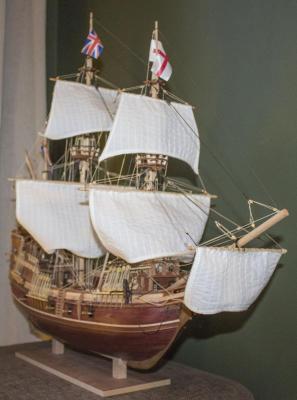
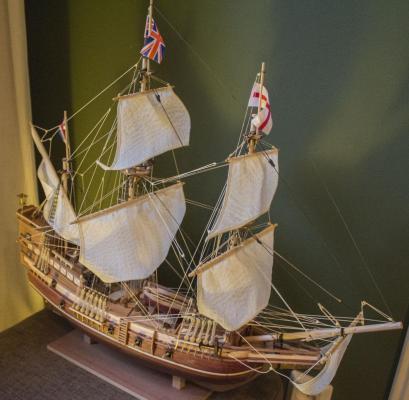
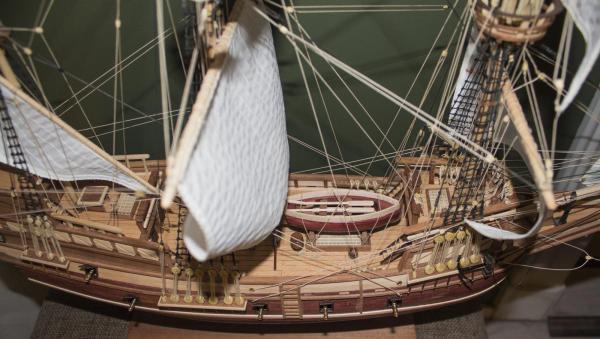
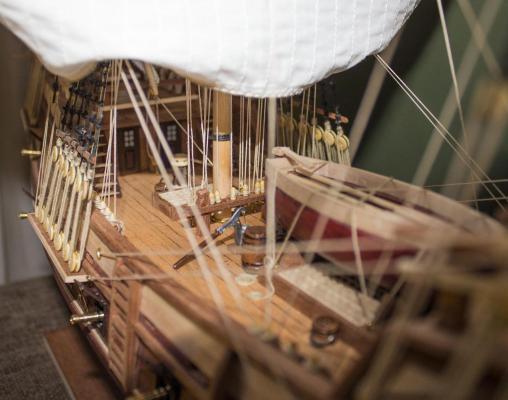
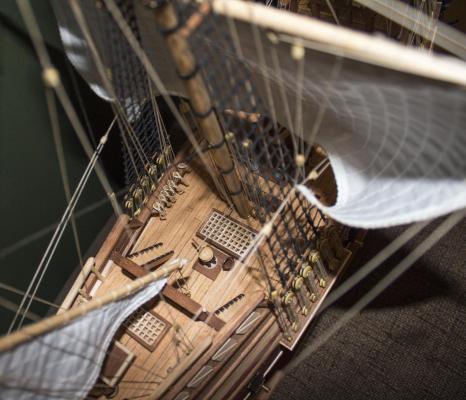
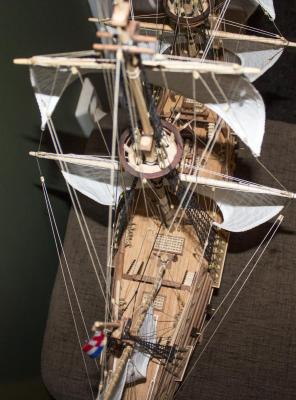
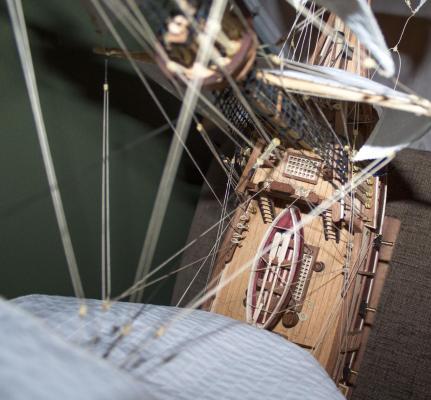
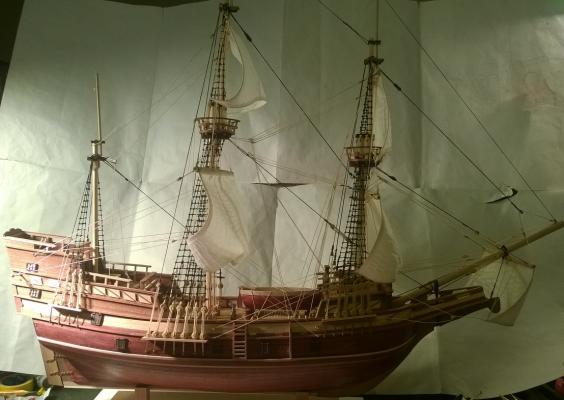
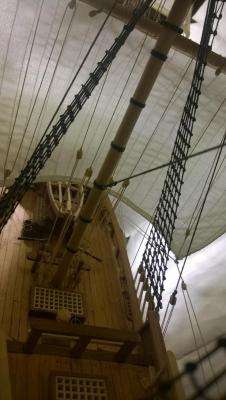
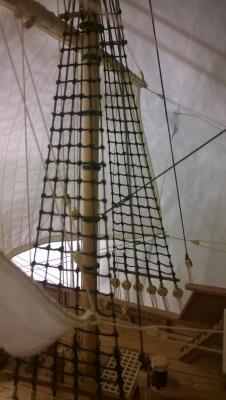
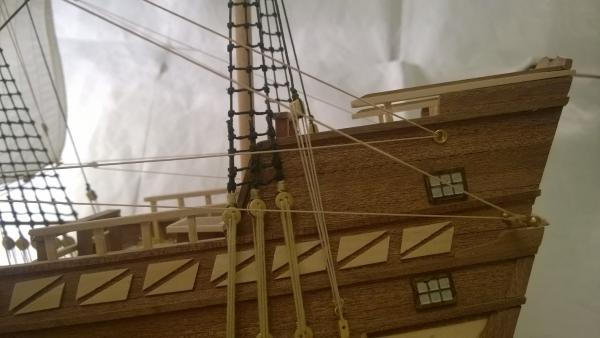
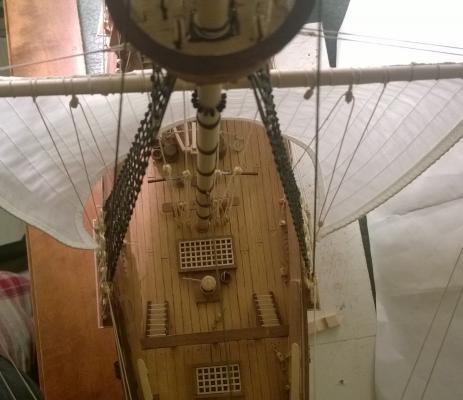
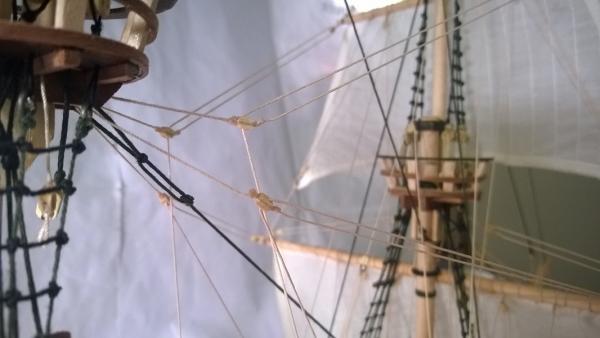
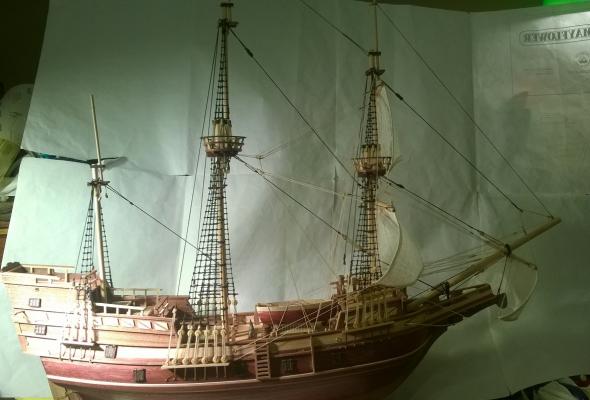
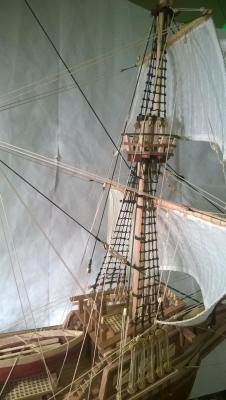
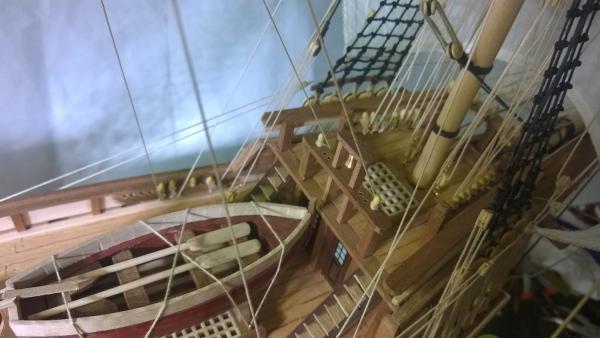
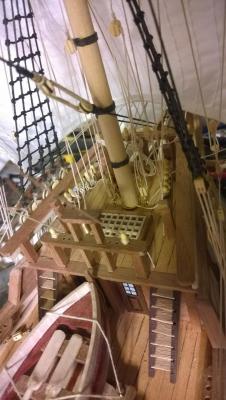
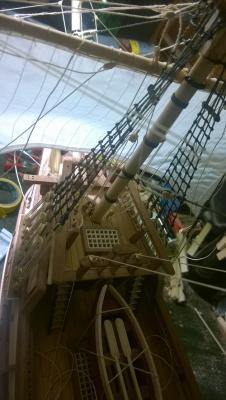
6.7.2015 Finished. Attached the rear lamp and guns. Few minor adjustments here and there but otherwise my first wooden build finished! Few last words: Very interesting project, learned a lot in both model building and also how things worked back when the ship was build. The more I started reading, the more I wanted to add details but as I said before, I decided to settle this one to the kit build and concentrate on realism and details in the next build. Constructo Mayflower definitely isn't beginner build as the sales person said, but it can be done if you search Internet for explanations and details and read Model Ship World . Seriously, without this forum I wouldn't have probably finished this one. I read in some one's signature that "there are only two ways: the fast one and the correct one". I definitely boosted this, in 3 months there were 2-3 days that I didn't touch the build. The longest days were maybe 10-11h building. I didn't quite understand the remediation needed later if some base element isn't quite there -> In next build: plan ahead few moves, do it once, do it properly, do it in time, if it's not 100% ok, remove it and do it again, only then move forward. Next model will take much longer and I need to find better place to build, where I can leave the project hanging even for longer period of time. I'm more than happy to take more detailed pictures if someone is building this model and wants to see how I did some part. Next model... I don't know yet. I'm somehow drawn to the HMS Victory because of the level of details (and many build logs available), but lets see. Open for suggestions! -W
- 79 replies
-
- mayflower
- constructo
-
(and 2 more)
Tagged with:
-
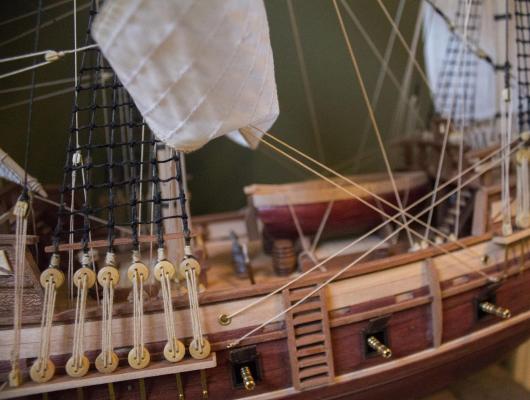
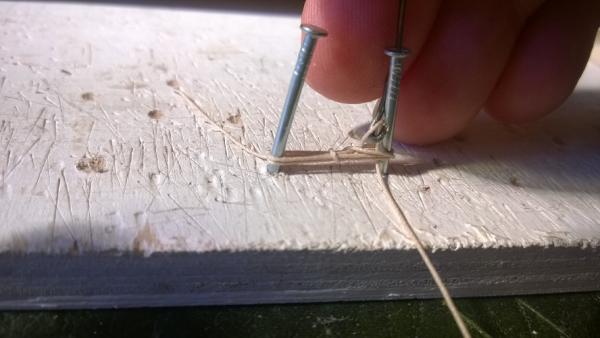
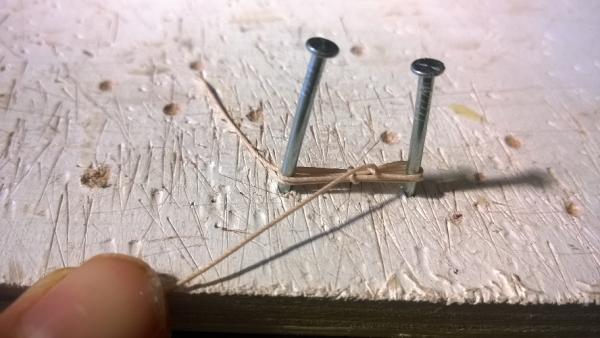
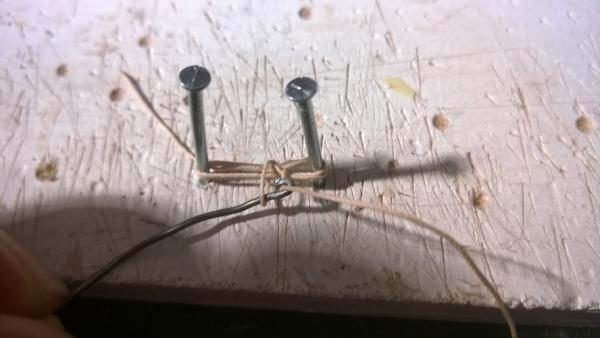
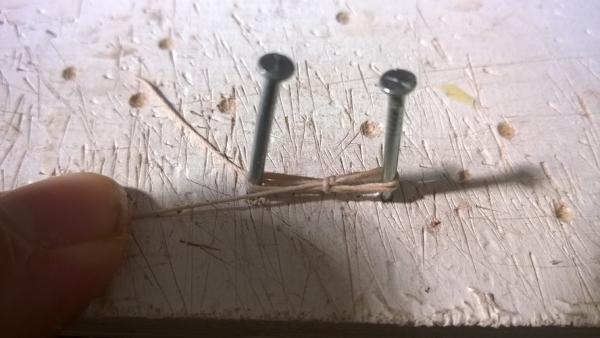
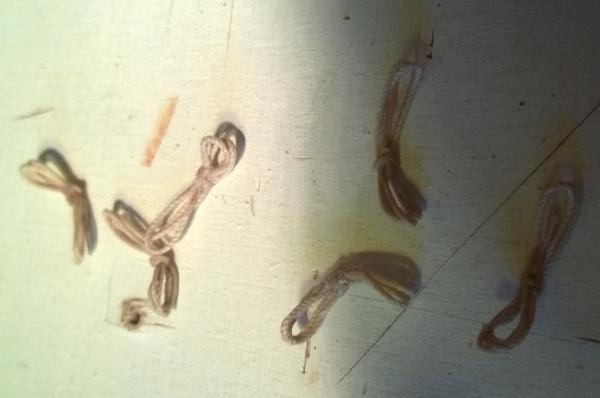
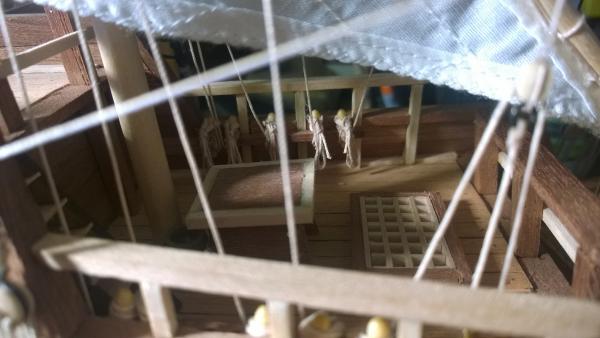
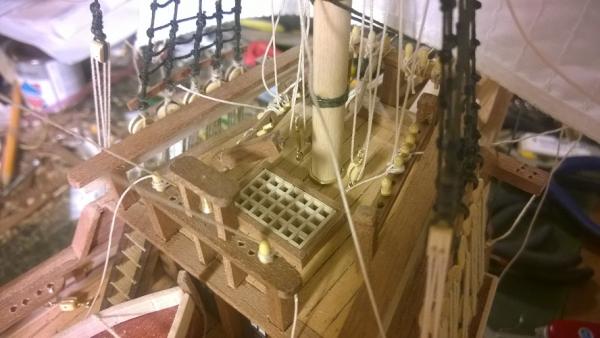
4.7.2015 Preparing coils Today it was making coils on top of the belaying pins. If I calculated correctly, there are 64 lines connected to the belaying pins. Learning: Before I started to connect the lines to the belaying pins I read info on how they are actually done. I understood that 4 loops (up and down counting as 1 loop) is the "real" way of doing it. I noticed that after 3 loops it becomes more difficult since the area in the lower belaying pin is coming very small so I went for 3 loops. Now when I try to attach the coils on top: As the result the coil seems to be "swollen" somewhat because there is so much rope already around the belaying pin, so maybe I should have done only 1 loop, put CA and then attach the coil afterwards.
- 79 replies
-
- mayflower
- constructo
-
(and 2 more)
Tagged with:
-
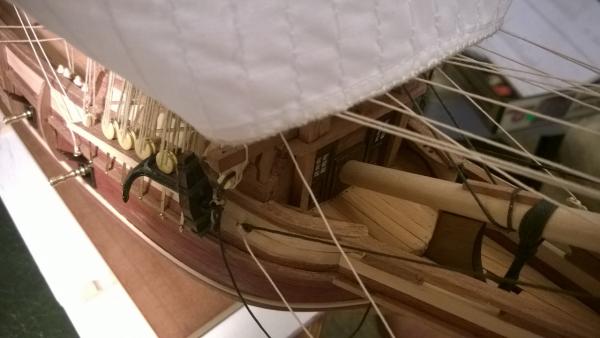
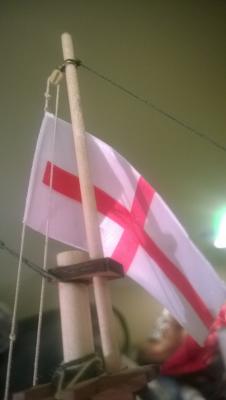
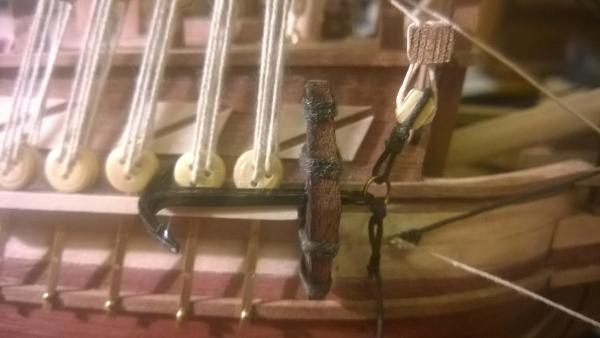
3.7.2015 Anchors and flags Anchors were fairly easy to attach. Even thought the guide suggested putting anchors way before, it was a good idea to leave them in the end so that they won't disturb the other rigging work. Flags are poor quality "stickers" that stick out straight. I read how the flags were actually tied, but I decided I will stick with the kit and not build the "eye" and "bar" to attach the flags. I'll probably try to moisture the flags and put some weights for one night so that they would seem more natural. I'm still missing the coils around the belaying pins, gluing guns and the lantern.
- 79 replies
-
- mayflower
- constructo
-
(and 2 more)
Tagged with:
-
Looking very nice!! I only hope there would be more detailed pictures, descriptions and accessories you used to have that result . -W
- 44 replies
-
- agamemnon
- caldercraft
-
(and 1 more)
Tagged with:
-
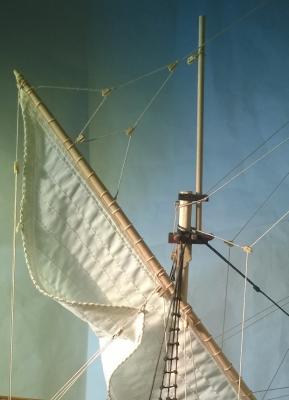
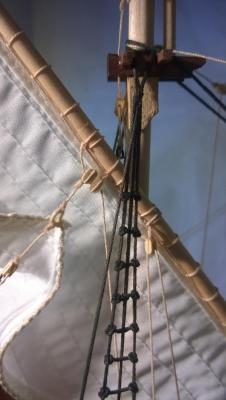
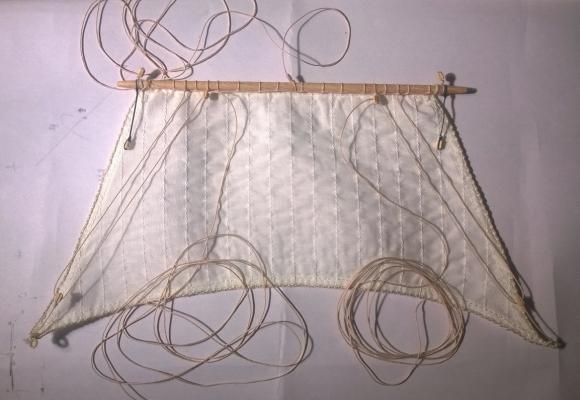
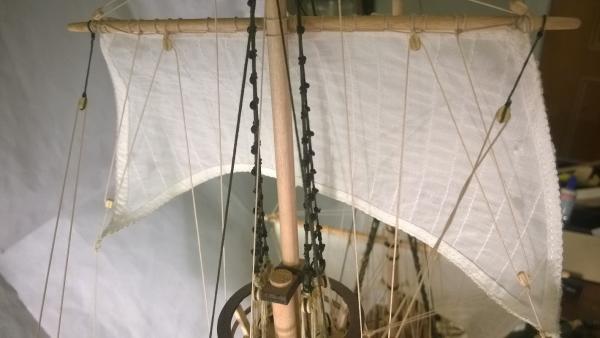
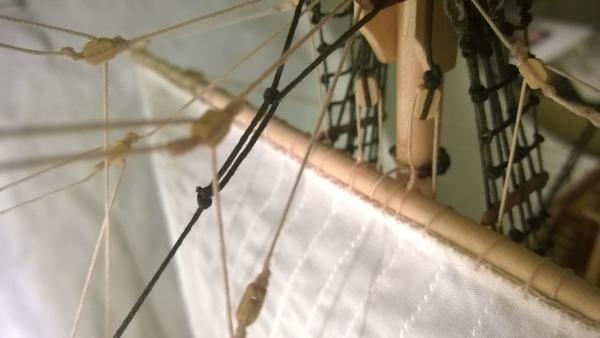
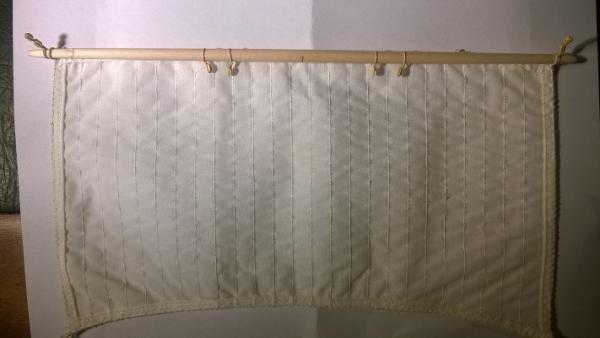
2.7.2015 Finishing Mizzen yard and sail Few differences again in the guide and with the plan. Even in the plan there are two different connection points for the lining to the belaying pins.
- 79 replies
-
- mayflower
- constructo
-
(and 2 more)
Tagged with:
-
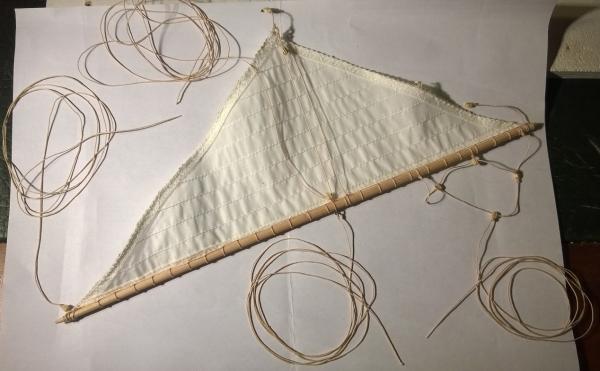
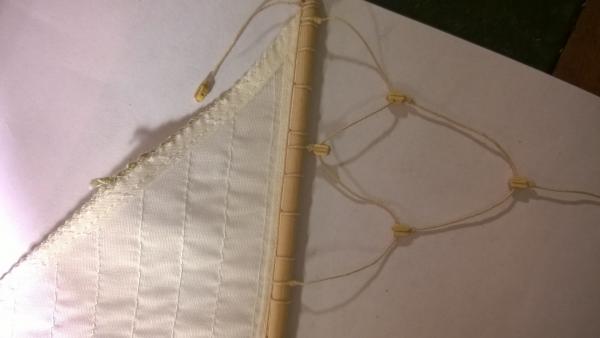
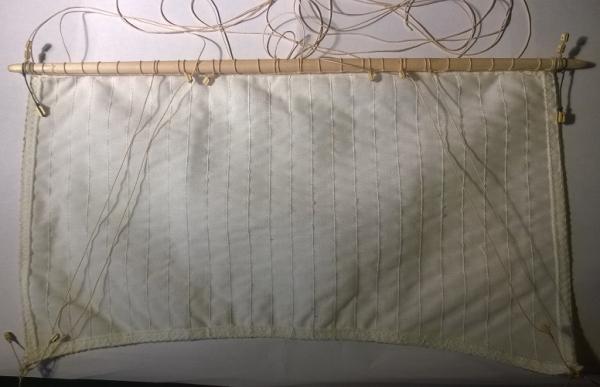
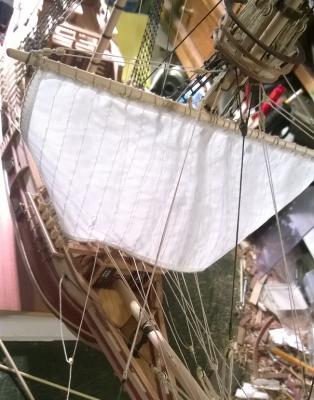
1.7.2015 Preparing Mizzen yard and sail. Everything went pretty smoothly today. I spent quite a time thinking the position of the sail in the mizzen mast. The sails are ready made in Constructo kit, but looking at the guide and looking model I found in Internet, the sail is positioned differently. Also, in the Constructo part guide says that the mizzen yard is 215mm, and in the plan it's clearly 265mm. Also the sail's longest side is 260mm. Next I examined the sewings, which are different in few models. I decided to use the long mizzen yard (265mm) and attach the longest side of the sail to the yard.
- 79 replies
-
- mayflower
- constructo
-
(and 2 more)
Tagged with:
-
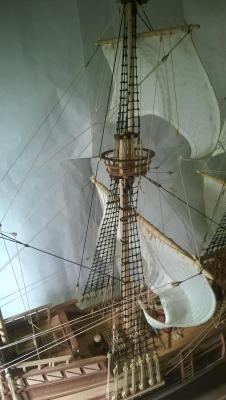
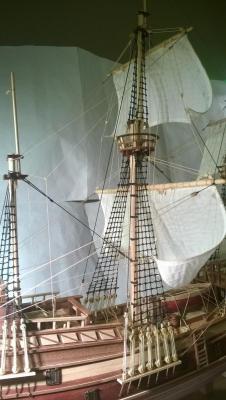
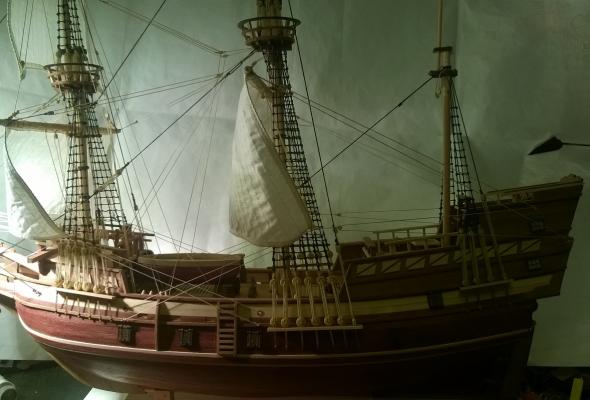
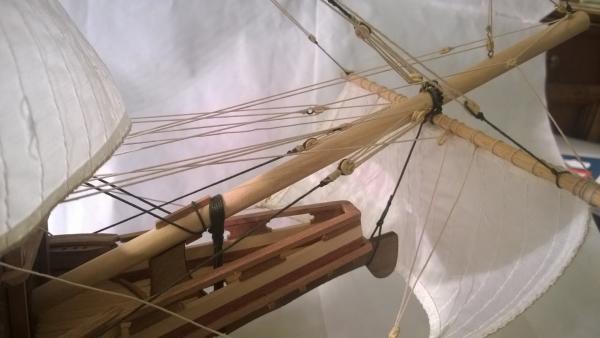
30.6.2015 Finishing main top yard and sail. I adjusted a little bit the position of the sail on the main mast I did yesterday. I loosened the main sail tacks and let the clue-line block raise. Two reasons for this a) It gives a bit more lively look (not all sails are flat) and gives better visibility to the deck lines and accessories . Only one mistake today: I put the sail wrong side front in the main mast top yard, so had to rework a bit, luckily I noticed that before moving forward putting the yard in place.
- 79 replies
-
- mayflower
- constructo
-
(and 2 more)
Tagged with:
-
29.6.2015 Main yard and sail Finished prepping the main yard and sail, putting all the lines that are going to get attached already in place both in yard and also those who are attached to the main mast. Basically only lines I didn't already prepare were the main topsail sheets and the 2 main tacks. After the preparations I started connecting the lines and putting the 4 needed double blocks in place. Again, didn't yet put any glue into the belaying pins after connecting the lines, because if I need to adjust them later when the main topsail is in place.
- 79 replies
-
- mayflower
- constructo
-
(and 2 more)
Tagged with:
-
28.5.2015 Preparing main yard. Learnings: If I don't learn from 2 already same mistakes, maybe after the third... Power drill + Yard tapering + too much power on sandpaper = broken yard.
- 79 replies
-
- mayflower
- constructo
-
(and 2 more)
Tagged with:
-
27.6.2015 Finishing fore mast rigging Today finished fore mast rigging. I still didn't put the coils on top the belaying pins because I'm not sure if still some of the pins will be used later (hard to insert the line if there are coils on the right and on the left belaying pins).
- 79 replies
-
- mayflower
- constructo
-
(and 2 more)
Tagged with:
-
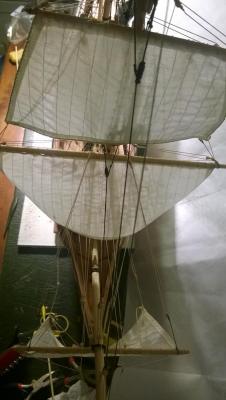
25.6.2015 Completed the fore main yard rigging. Comeback from yesterday's struggle, managed even pour the paint to the floor yesterday when I was finishing up... Anyways, today finished fore main yard riggings. I was pondering quite a while the position of main tackle clue garnet, should the line go in front of the sail or in the back (as in the guide). If the idea of this line is to reef the sail or even pull it up to the yard. Well, I ended up putting that line in the back of the sail as in the guides and in this ready model: http://www.shipsofscale.com/gallery/vosullivan/mayflower/index.html
- 79 replies
-
- mayflower
- constructo
-
(and 2 more)
Tagged with:
-
24.6.2015 Operating with the Fore yard. Managed to blow the yard to pieces and breaking my belaying pin rack... I started tapering the fore yard by attaching other end to the drill and using sandpaper on the other end. Everything started smoothly until I pressed medal to the pedal and gave too much pressure with the sandpaper -> the yard cracked into 3 pieces. Not only did I that once, by twice. Learning: Patience pays off, use the sand paper pressure gently and eventually I ended up using just sand paper and forgetting the drill. After the tapering, I put some color into the yard (same as I used in the deck planking) to give it a bit better color and attached the sail and the blocks to the yard. Eventually I was in the same point as yesterday and started sorting out the lines to the belaying pins. When I was about to attach the last lines from the spritsail yard, the left side belaying pin rack came off. Learning: Put the belaying pin racks in place _firmly_ already in the beginning. Let's hope now it stays in place, as the result the base of the rack is not so smooth anymore, there are bit of glue marks now visible after the repair in a small space.Not my day today...
- 79 replies
-
- mayflower
- constructo
-
(and 2 more)
Tagged with:
-
Oh my... Just realized why the connector piece's (lower mast and upper mast) holes were that small! I made the holes larger and larger and eventually when the 6mm and 8mm masts went through, there wasn't room left (~0,2mm). Well, now I know what tapering means and also learned that the reason was to lower the weight of the yards... AND masts..
- 79 replies
-
- mayflower
- constructo
-
(and 2 more)
Tagged with:
About us
Modelshipworld - Advancing Ship Modeling through Research
SSL Secured
Your security is important for us so this Website is SSL-Secured
NRG Mailing Address
Nautical Research Guild
237 South Lincoln Street
Westmont IL, 60559-1917
Model Ship World ® and the MSW logo are Registered Trademarks, and belong to the Nautical Research Guild (United States Patent and Trademark Office: No. 6,929,264 & No. 6,929,274, registered Dec. 20, 2022)
Helpful Links
About the NRG
If you enjoy building ship models that are historically accurate as well as beautiful, then The Nautical Research Guild (NRG) is just right for you.
The Guild is a non-profit educational organization whose mission is to “Advance Ship Modeling Through Research”. We provide support to our members in their efforts to raise the quality of their model ships.
The Nautical Research Guild has published our world-renowned quarterly magazine, The Nautical Research Journal, since 1955. The pages of the Journal are full of articles by accomplished ship modelers who show you how they create those exquisite details on their models, and by maritime historians who show you the correct details to build. The Journal is available in both print and digital editions. Go to the NRG web site (www.thenrg.org) to download a complimentary digital copy of the Journal. The NRG also publishes plan sets, books and compilations of back issues of the Journal and the former Ships in Scale and Model Ship Builder magazines.


