BubbleHead
-
Posts
103 -
Joined
-
Last visited
Content Type
Profiles
Forums
Gallery
Events
Everything posted by BubbleHead
-
 I see, I bought other glue bottles but the hole was too big but these look good I will try them. It takes longer to unclog the glue bottle than to do the job. Thank you Glenn very much. T0m
 -
Thank you Glenn. I have torn off several rows of planking and replaced them sometimes it worked sometimes it didn't. I will do another Winnie when I'm finished with this one. Practices, practices, practices. I have never seen the CA applicators with the super thin nozzle and spatula you are discussing. Where might I find this if it's OK to ask? TJ
-
Thank you Frank I think that's what I'm going to use. TJ
-
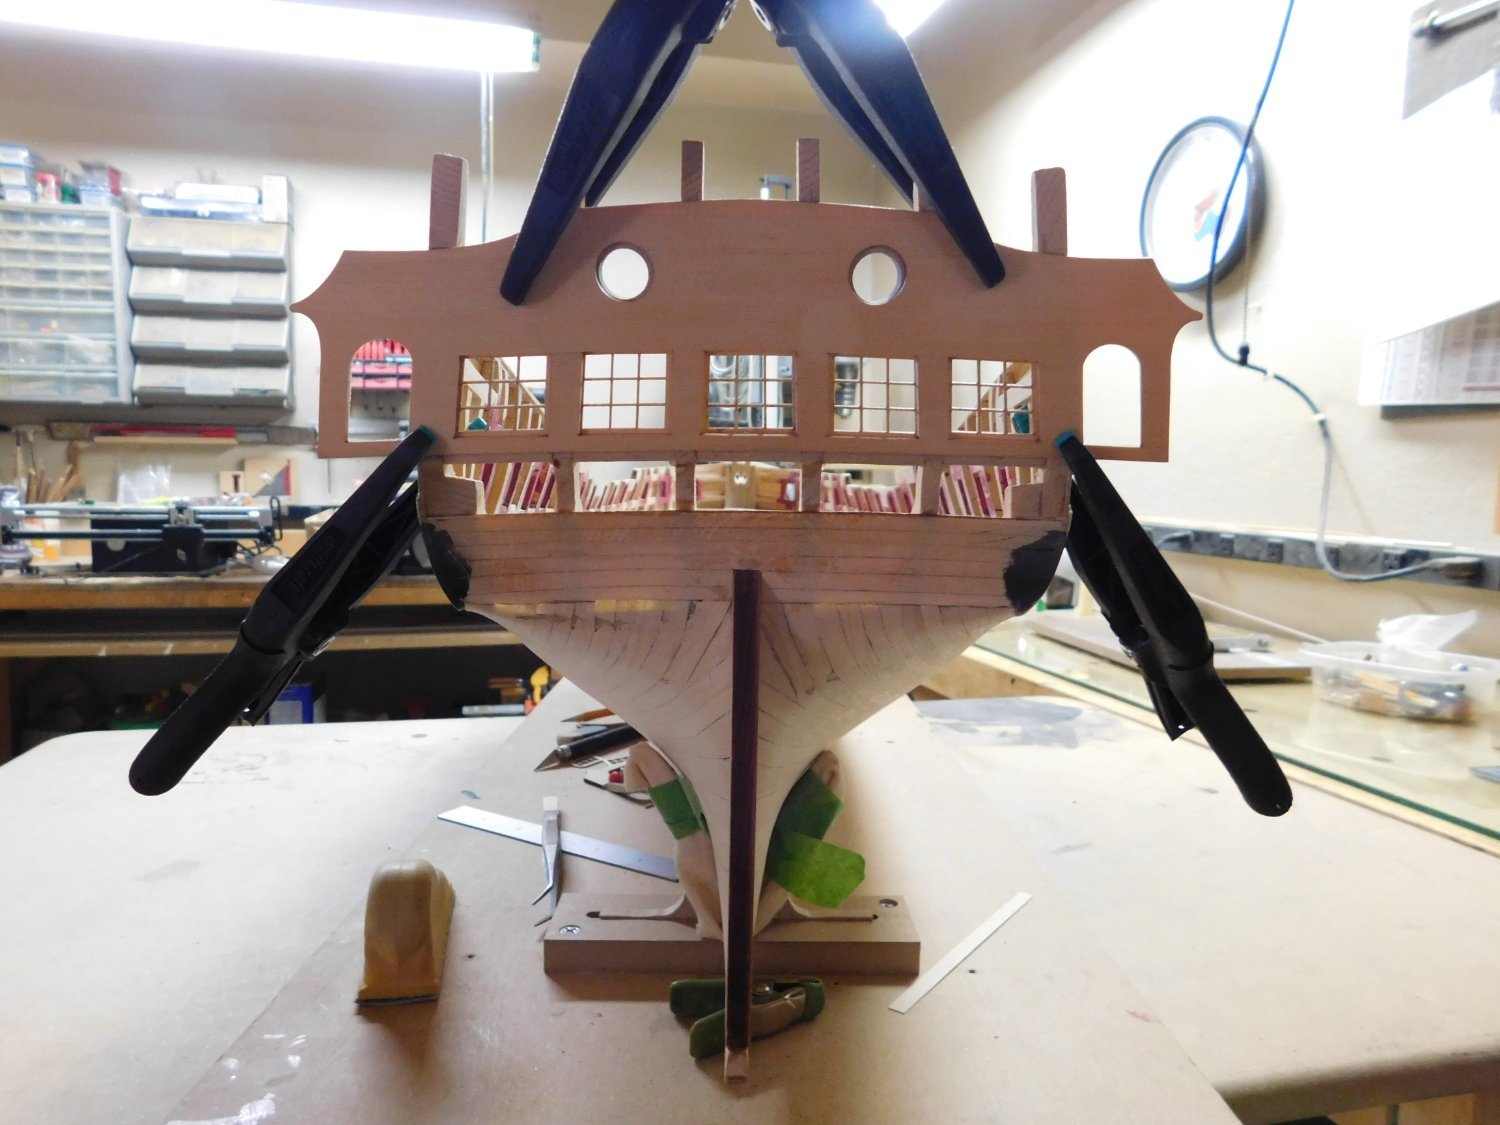
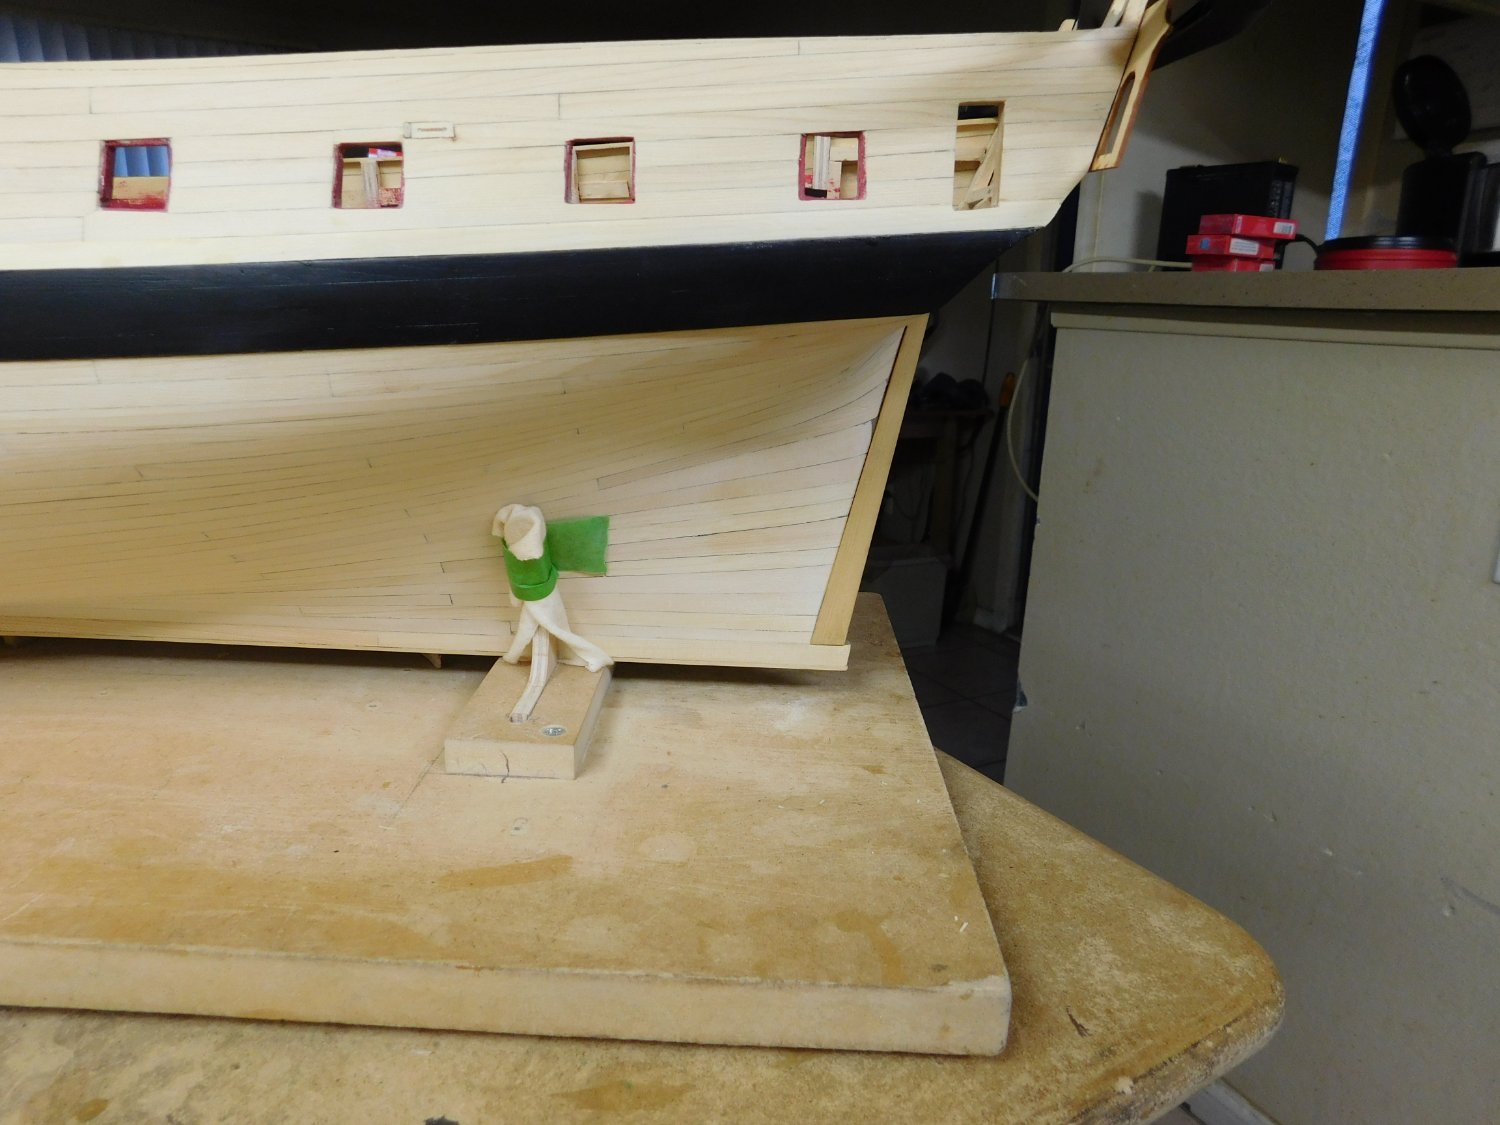
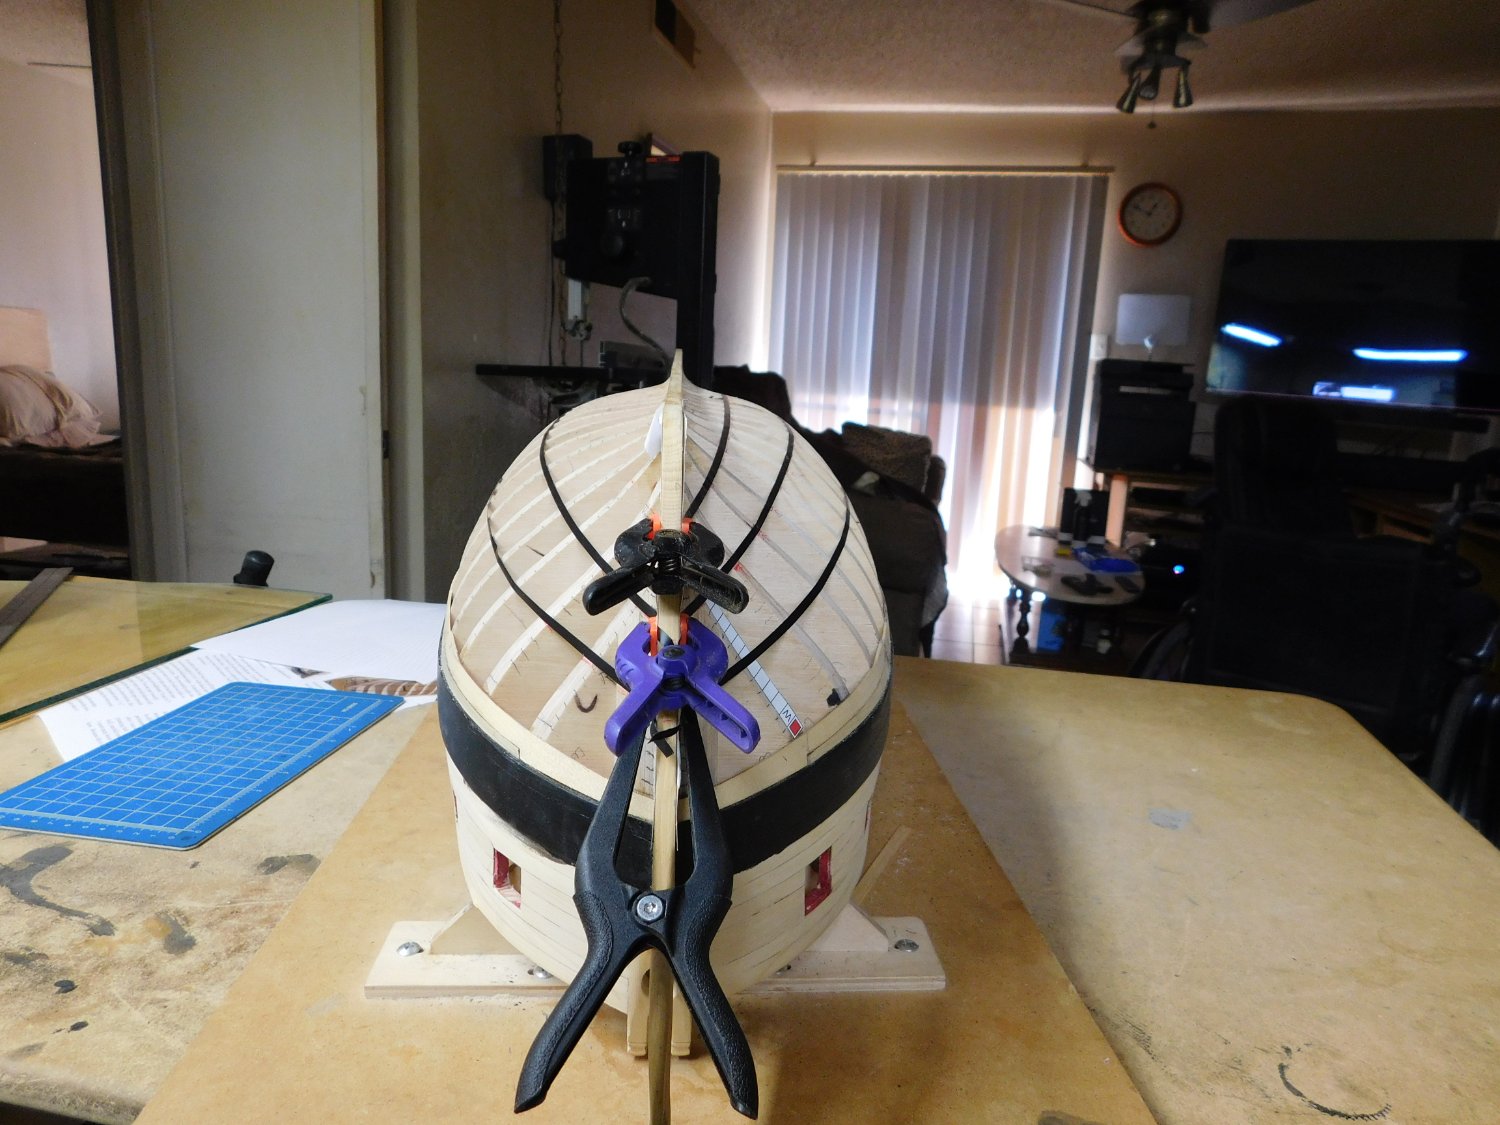
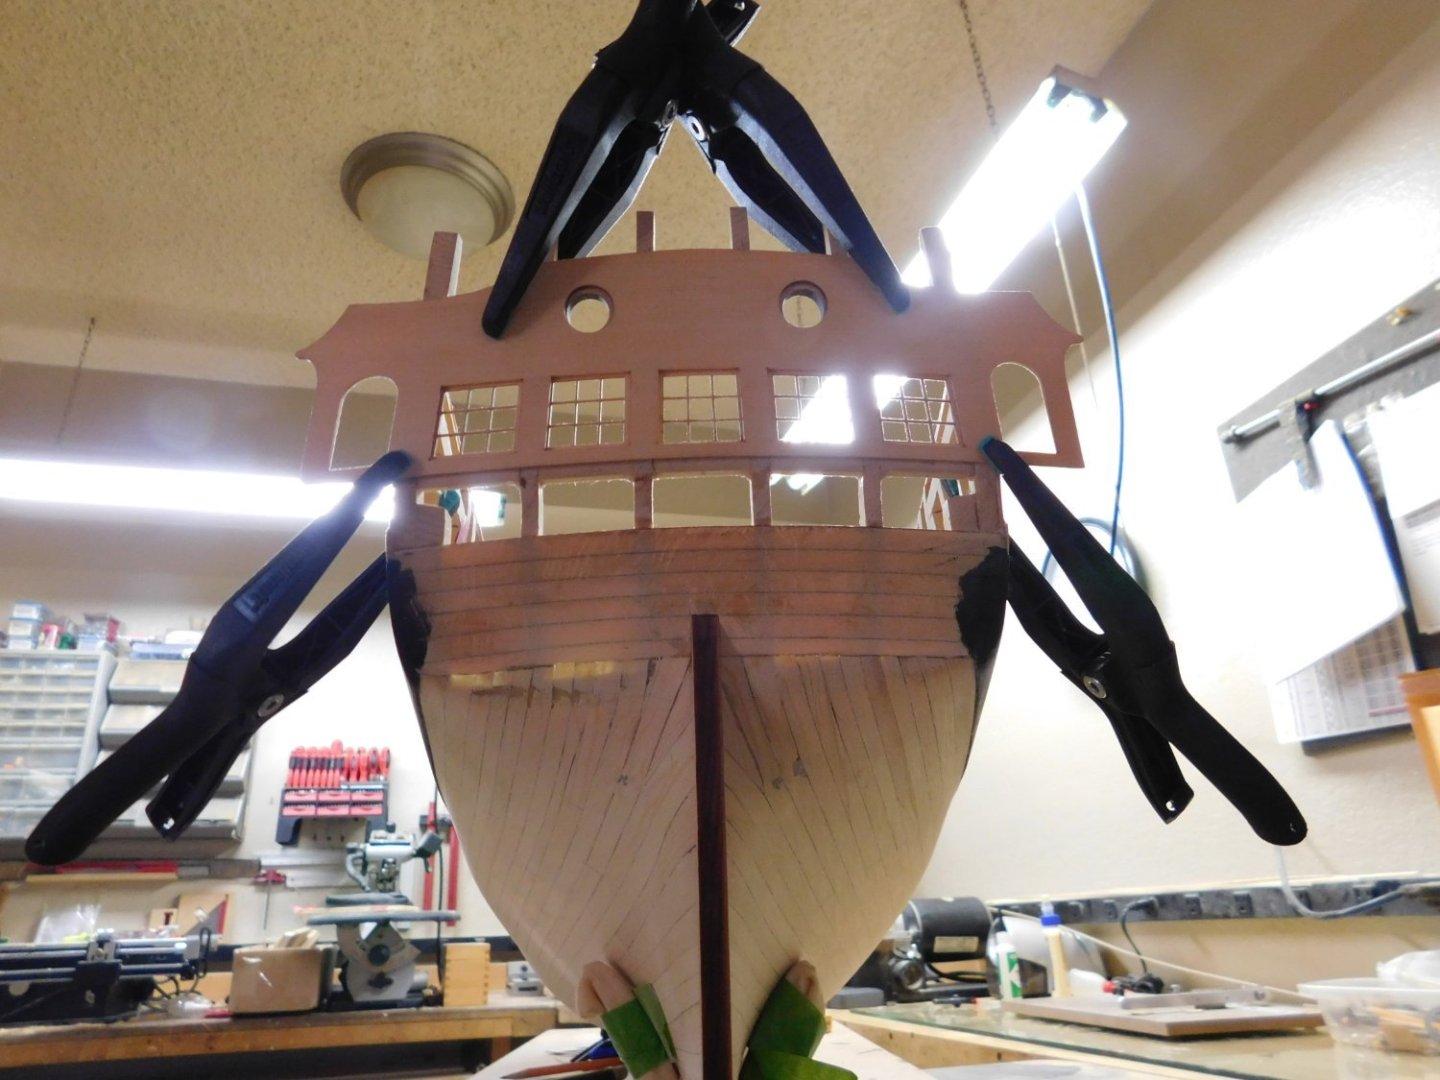
Started chapter three I lined up the transom windows It Took a bit but finally everything looked good. port and starboard measure the same distance from the hull out. From the transom to the lower counter measures the same and looks good. That is it looks good to me. I will make the final window adjustment after gluing the transom on. Tom


-
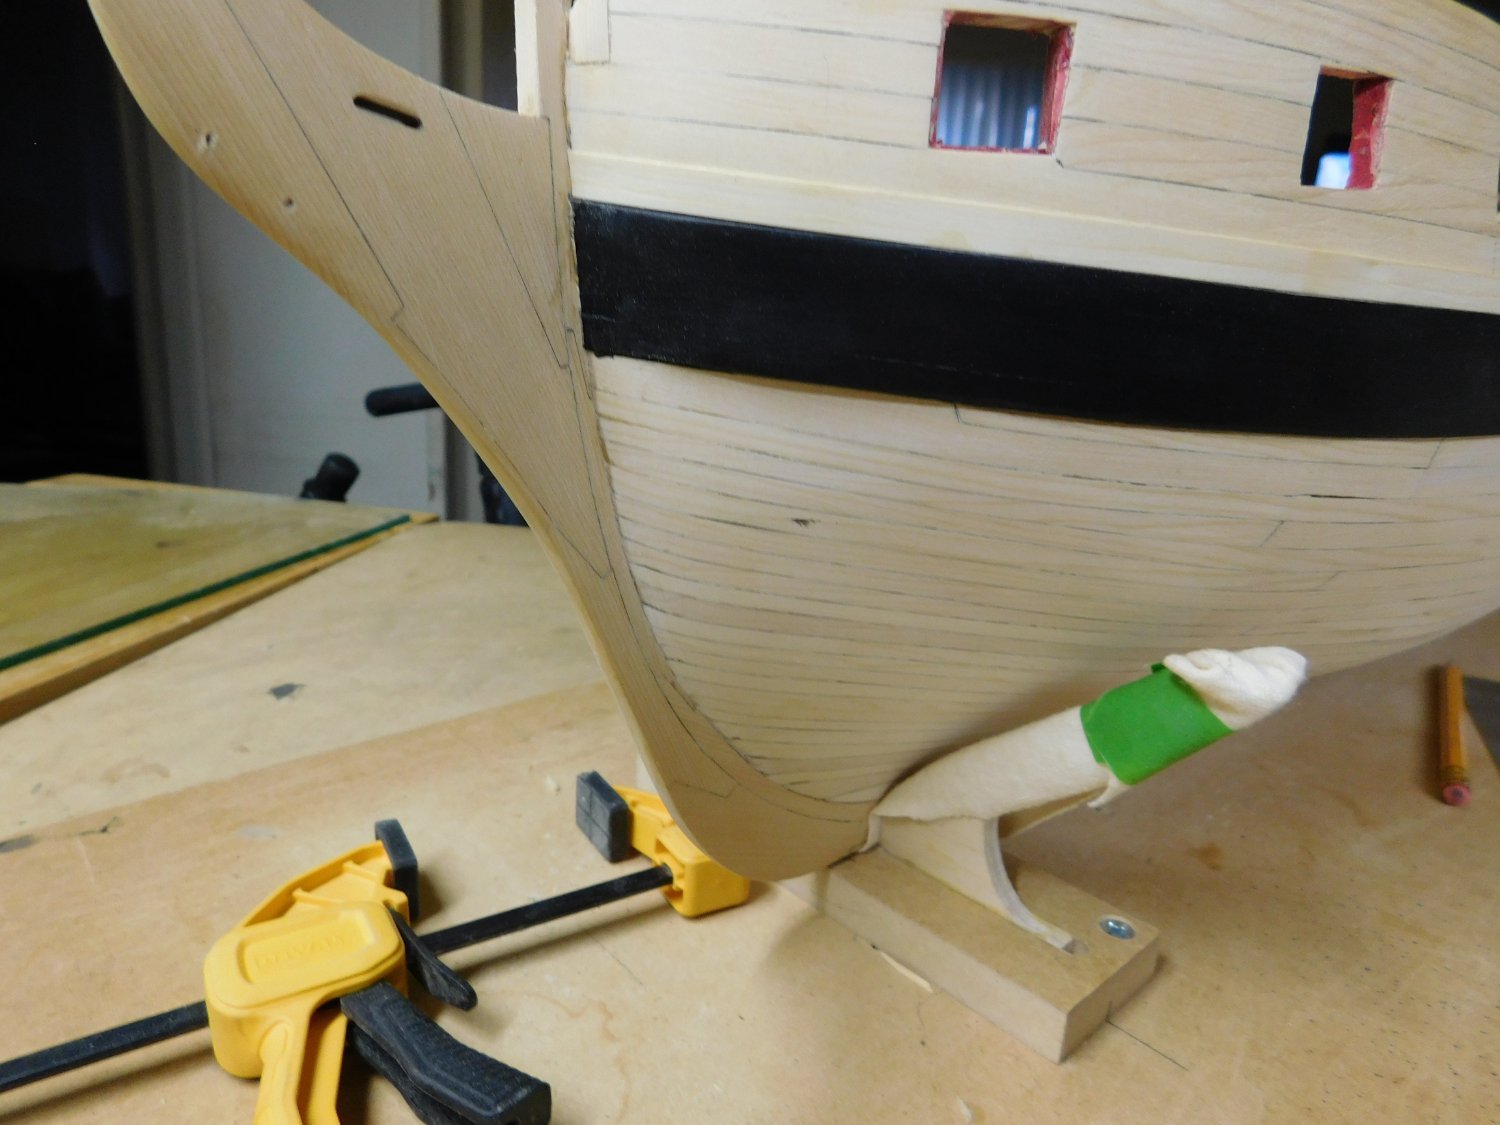
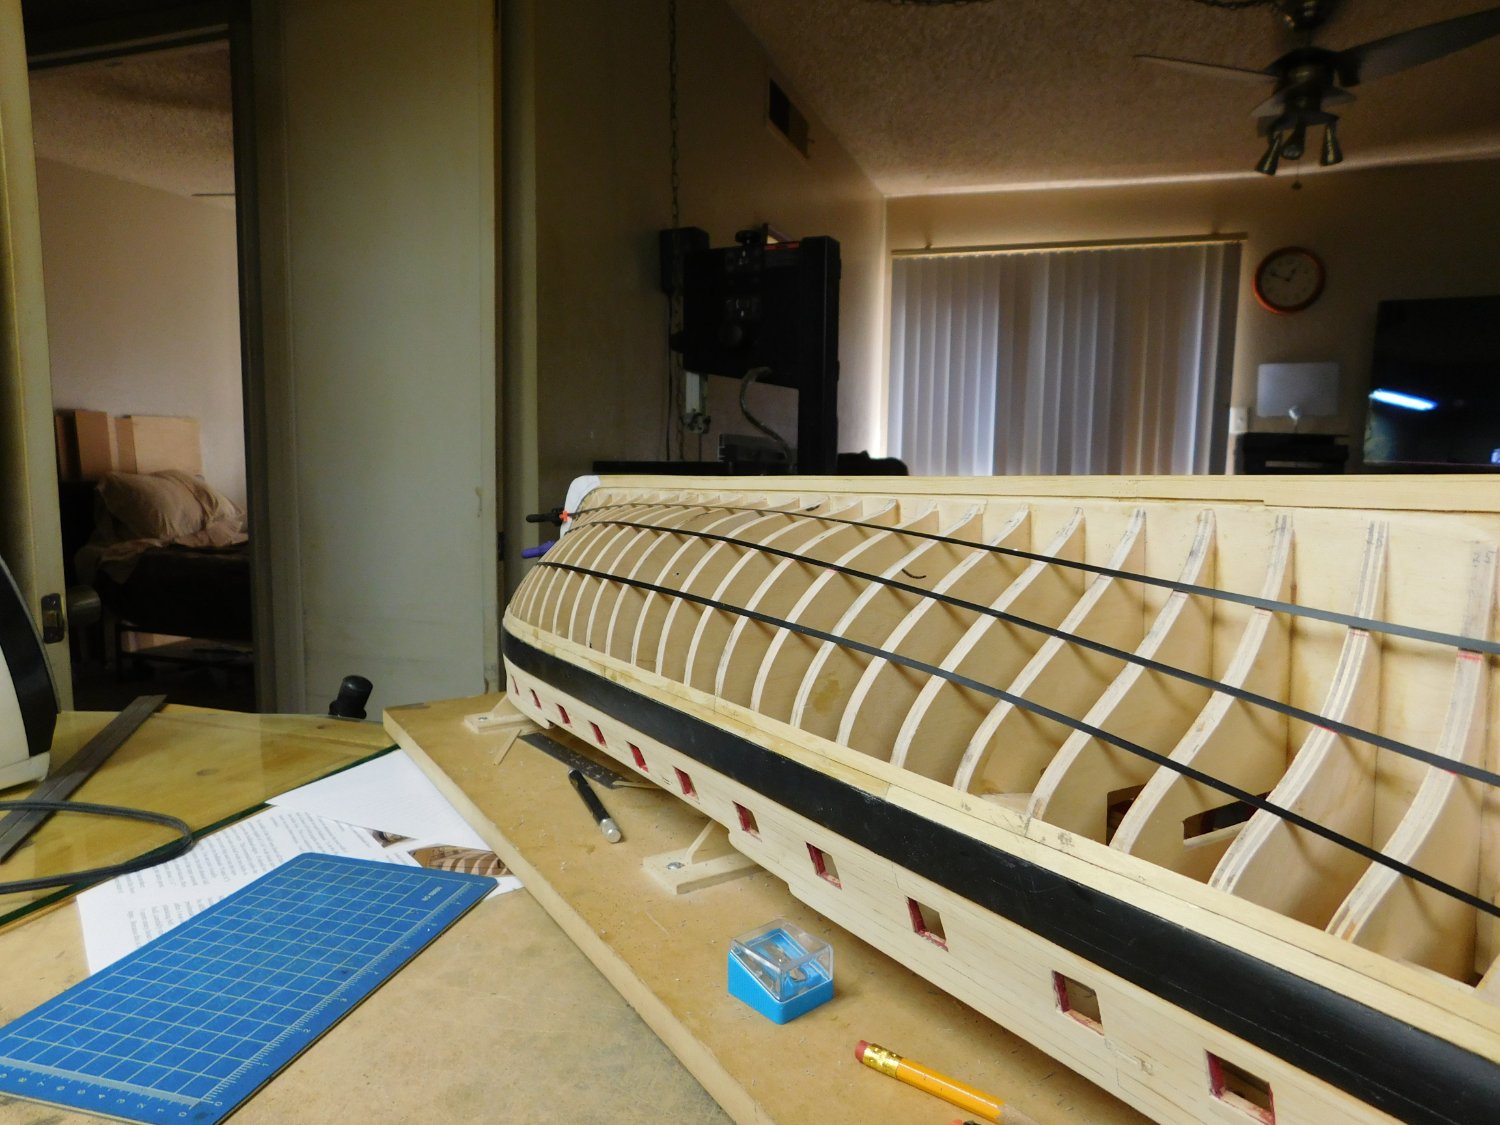
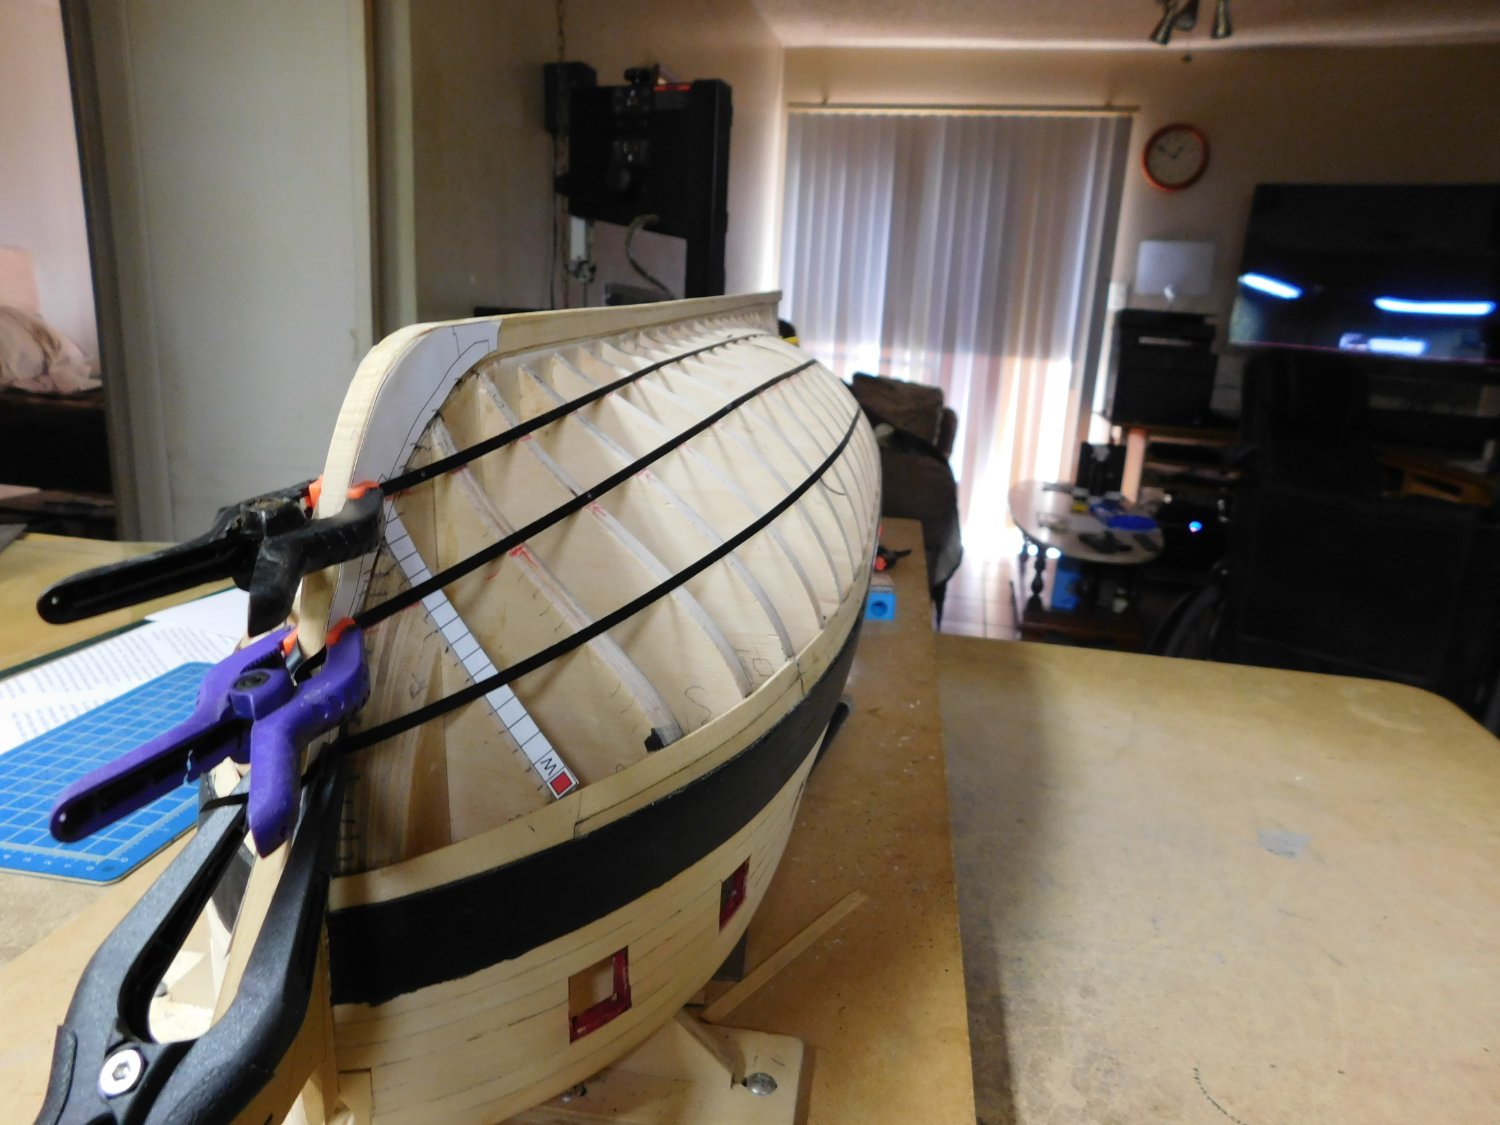
As you can see what a mess. I sanded through at the stern, there's a hole at the bow which I didn't see untell l I sanded. Gaps everywhere. The dry fit would be good but when I added the it seemed not to fit right. I think it was part me and part medium supper glue I used. I think next time I will try thin supper glue if it doesn't run all over the place. The big problem is on the bottom which is a grate mess it looks like only two or three planks. The line out looked good but I didn't follow the game plan. I think because in the lining off none of the planks were 1/4" wide so as I was planking I changed it dumb. Anyway I"m moveing with the build and I will follow the game plan the next time and use thin supper glue or ti bond and wate. TJ
-
No not giving up. Right now trying to straightening out the line to match the keel to fit the garboard. Maybe non of this mess will not show too much as it's on the bottom. Tom
-
Thank you Frank for the encouragement. I will be finishing it mostly, put the decks in but I think that will be all. The hull is a mess. the gentle S at bow turned into a giant slalom and I got lost in the planking count. By the time I found the mistake it was too late besides the mistake started with the whales. It's OK because I really would like to learn Chuck's way of doing hull planking, lining off, and things. That is another thing I didn't follow the tic marks. I keep thing 1/4" when the plank was less according to the tic marks. Don't know what I was thinking couldn't follow my own game plan. Thank you Frank for your excellent tutorial on hull planking. I hope I will get the big picture next time Tom
-
Thank you
-
How wide the garboard be 5/16, 3/8?
-
Thank you I'll give it a try, but doesn't the white glue leave the thread stiff at the ribs and leave the thread straight at that point and not flowing around? Sitting here thinking about this and just had a thought. When I make sails I use fabric glue cut about 50% along the folded edges because I can't fold, hold and sew at the same time and make it right so I glue them down and the fabric has been left all floppy just like no glue was used. I think I'll give it a try and see if it will stick to the wood.Either way I'll see what works for me.
-
I used pin 1/8"striping tape and didn't like it. Only sticks two or three times. Have to find some other method. Tom
-
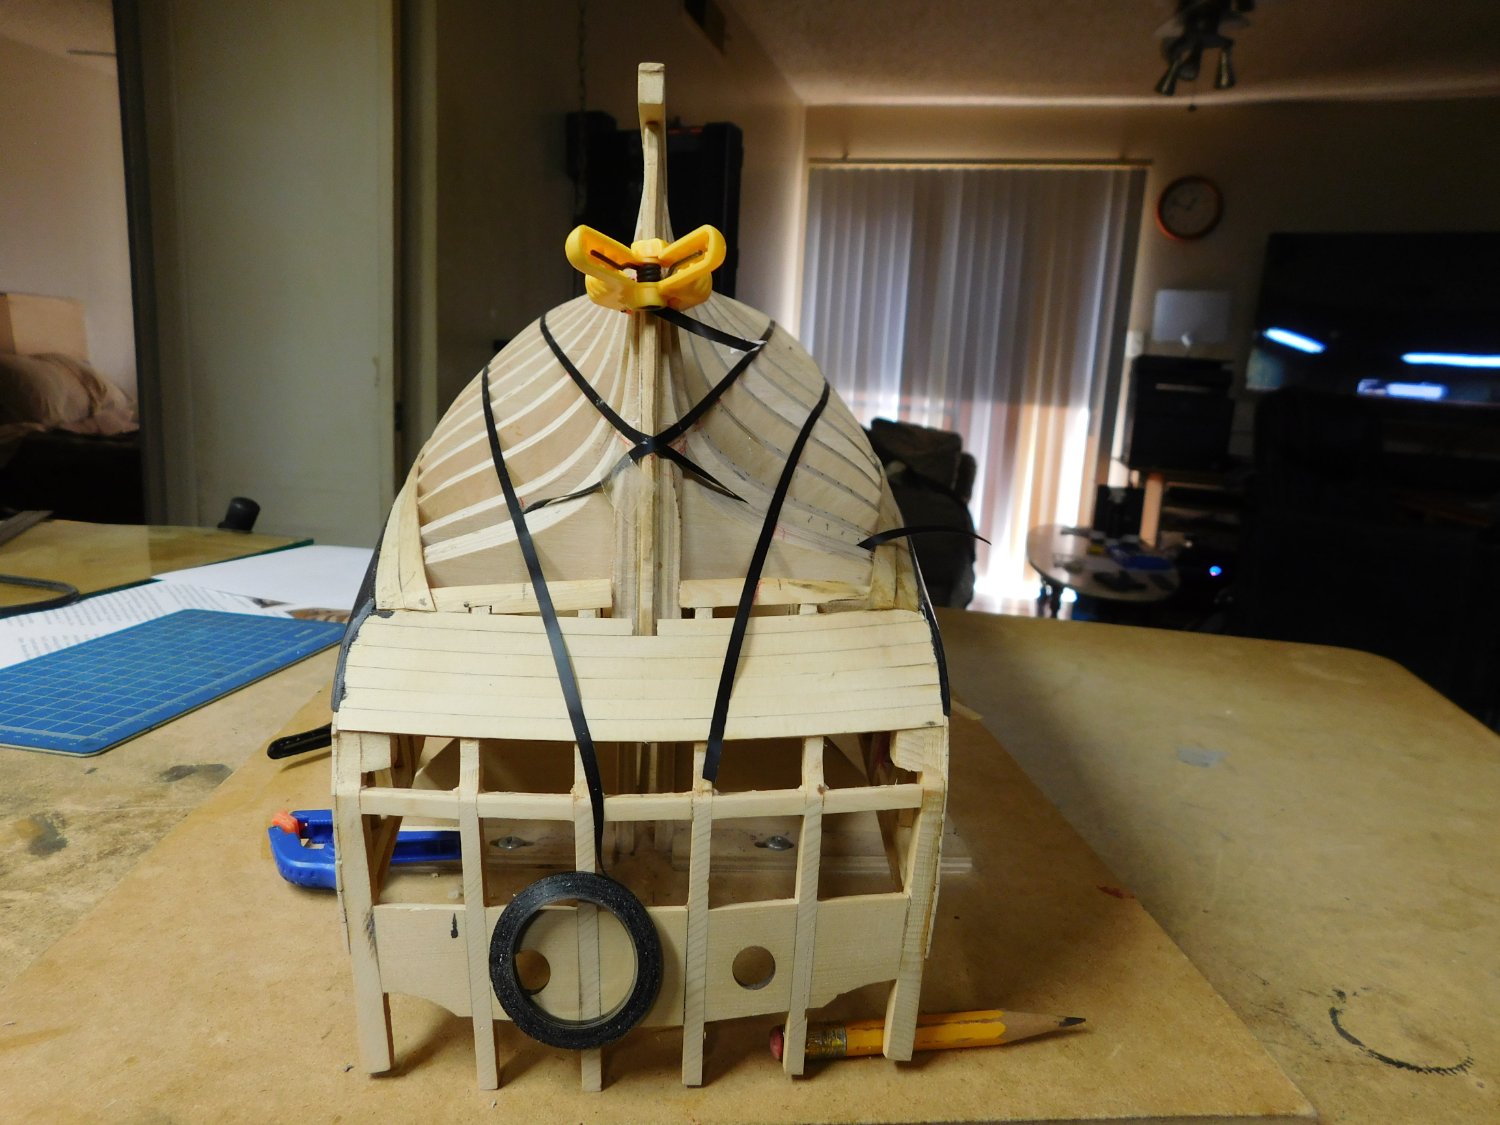
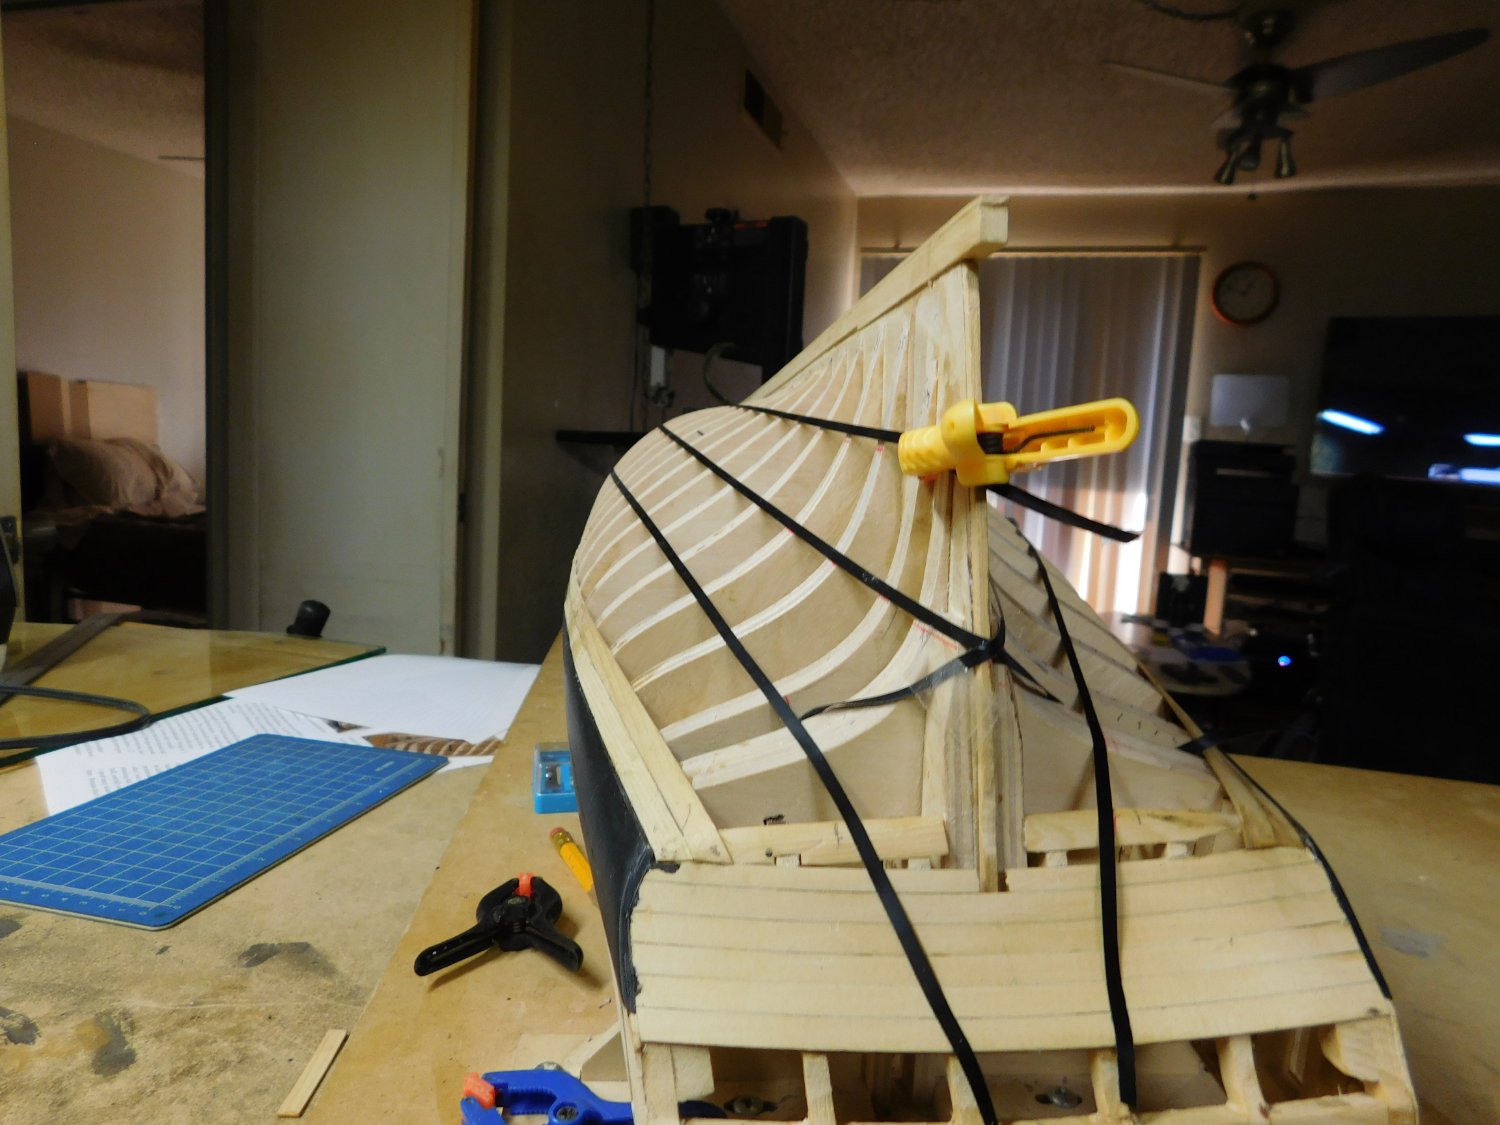
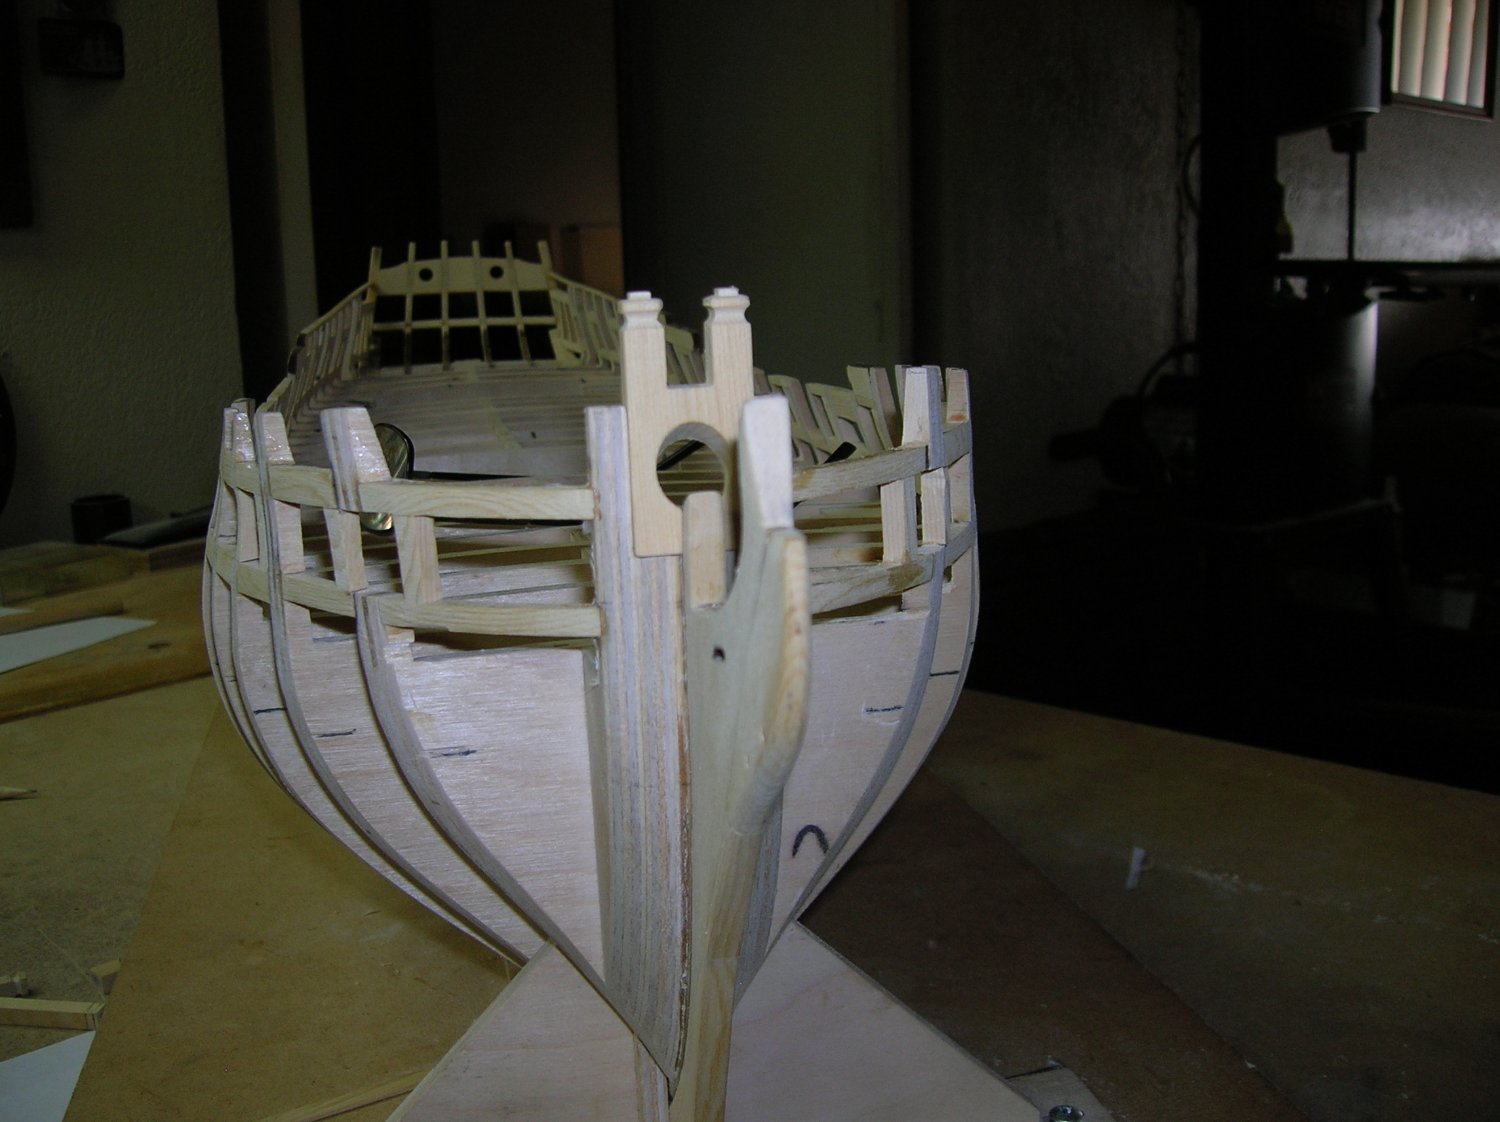
Hi no, I haven't given up. I re-did the whales six times and was still not satisfied but moved on. This is my redo and practice one, have decided to build another. Started the lining off. This is the part I really wanted to learn as Mr. Passaro stated in his great planking tutorial on all the compromises having to do when not knowing the proper way of planking the hull and I have done them all, thought he was describing me. Thank you, Mr. Passaro, for your planking tutorial simplified things for me. I have finished ticking the port side and almost the starboard just have to get out the tick fan. Tom


-
I was thinking of decal paper if there is such a thing. Haven't reached that chapter yet. Can you even print on it will the ink dry? Things to test. Tom
- 1,784 replies
-
- 1
-

-
- syren ship model
- winchelsea
- (and 1 more)
-
I have been asked for a model of the Arizona for a memorial for one of the American Leagon Post and this is the one I have choesen. Not being a plastic builder I hope I'm u p to the challenge. Glad to see you hear, hope you get back up so I might learn. I have been looking for a websit that build these. Have any suggestions eould be appreciate. Veery nece work. Tom
-
I save all the old #17 blades because it takes me two or three times to get it right. But I'm a long way from any moldings. I will post some pic. Tom
-
Thank you gentlemen. Looks like the best way is to make molding tool to the specific applicaton as you go and the tool will most likely end up in that other drawer. I looked at Goodwin's Construction and Fitting of English Man of War quite intricate molding I liked how they explanded where they went, good thing I saved a lot of old chisle blades. Tom
-
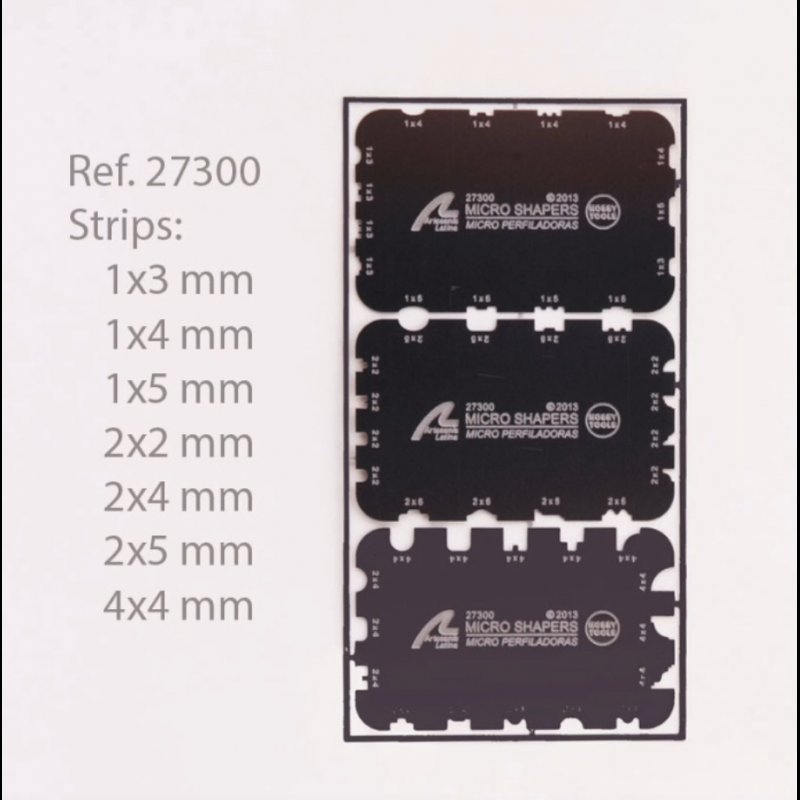
I just saw these moldeing scrapers and was wondering what the consensus is for the tools. Will they work for quarter scale ships I'm sure they will work for Artesania Latina models. Or do they belong in that other drawer. Thank You for your time Tom

-
Thank you very much: I see you finnish the wales then plank up above. The first plank thats run at the bulk head marks that is one piece from bow to stern to set every thing is that right?
-
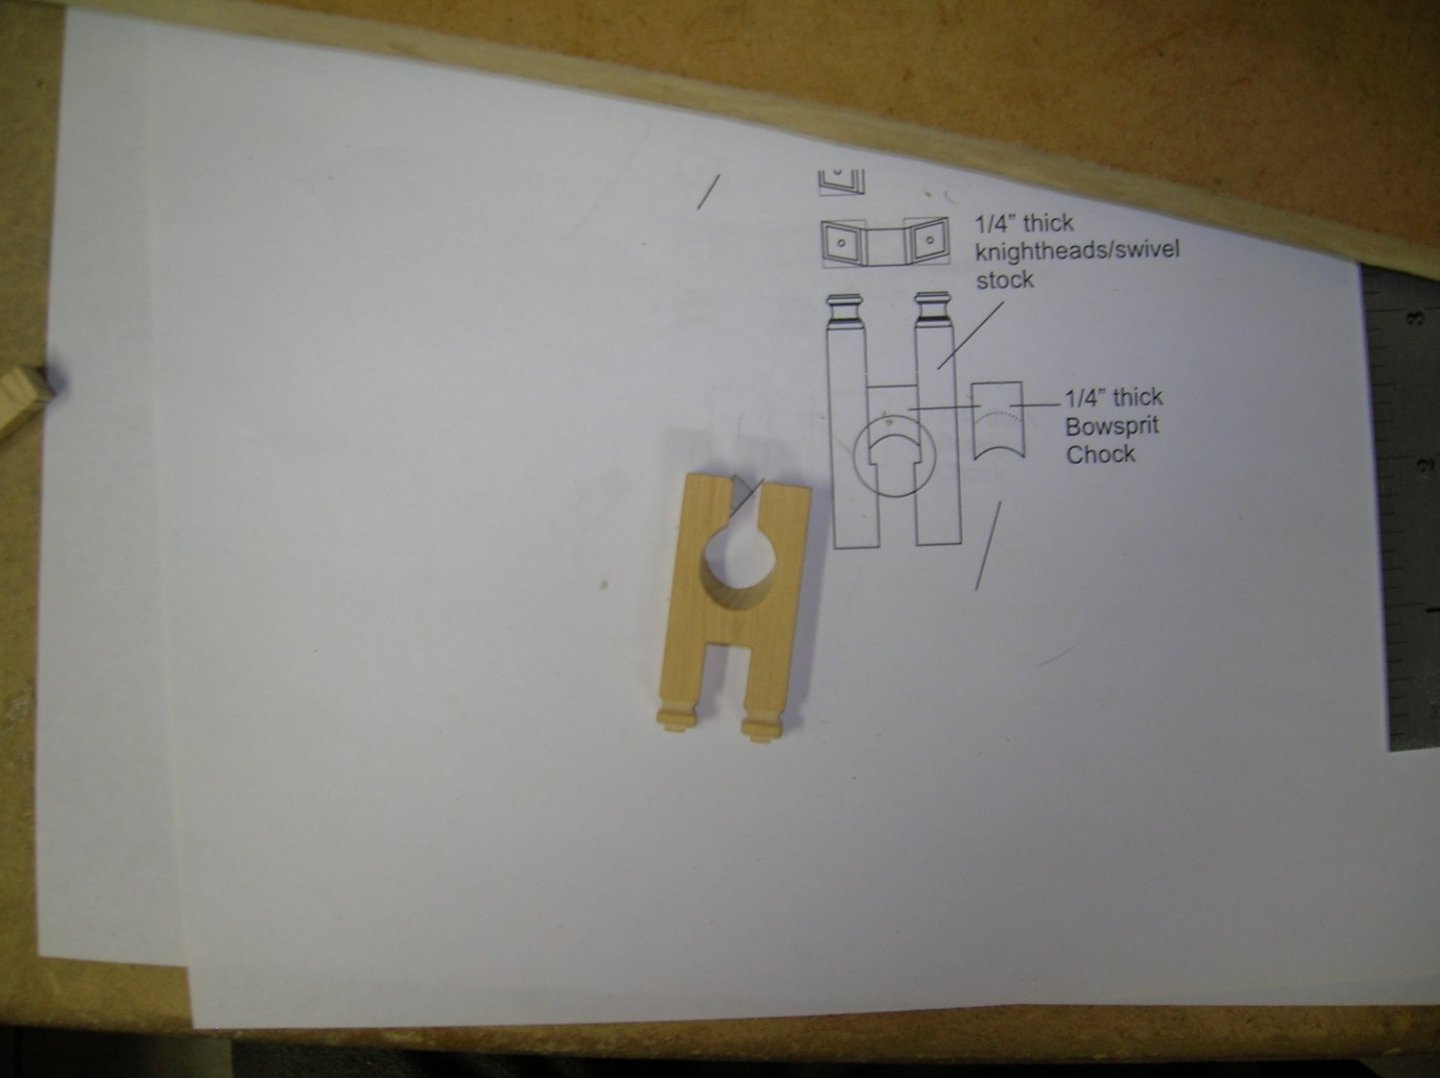
Please question on the Black Strake and Wales. You lay down the first layer of planks 3/64 thick for the wales and 1/64 thick for the black strake (according to the materials list) then add the planking above the black strake around the gun port whitch is 3/64 thick. Is correct, if so then when adding the second layer of the black strake you have to fit it in the hole between the whales and gun port (upper planking). Is this correct. Looking at some pic it looks like in the first layer of the black strake is the same thickness as the wales. 2: Is the black strake flush, even with the wales and stand proud gun port planking. Or wales stand proud of the black strake and blake stands proud of the gun poud of the gun port planding.
-
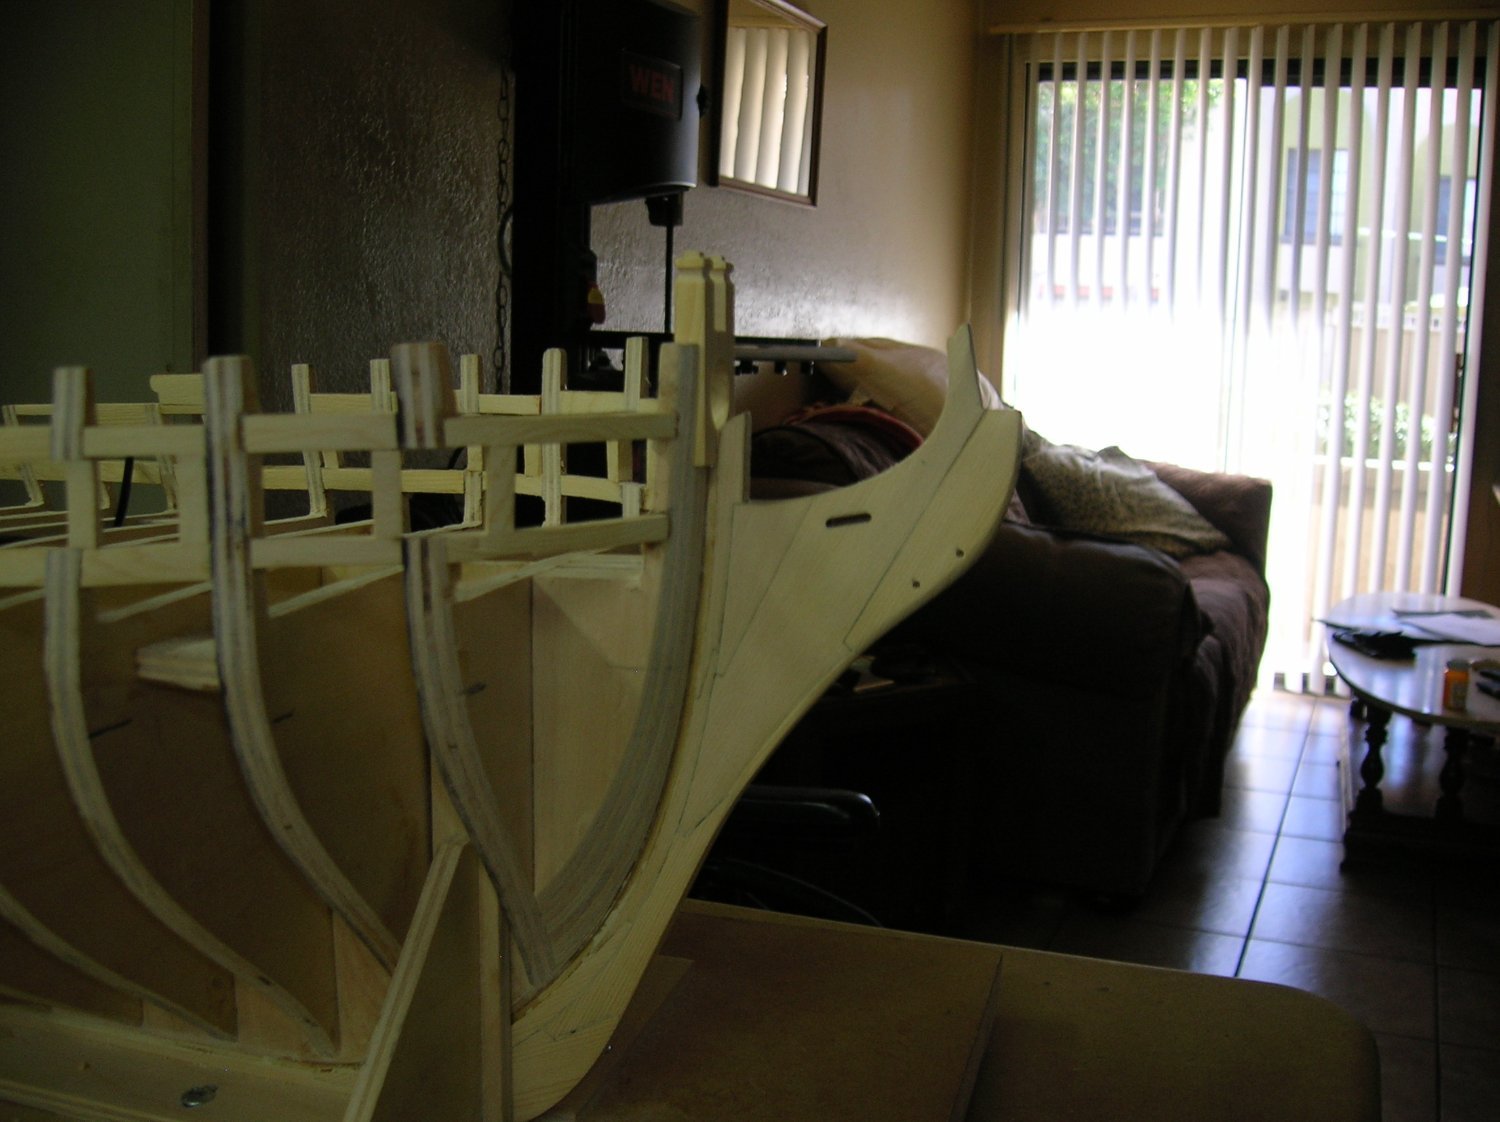
Thank You Sir. Cut up some battans and ran them for the wales, to my suprise they followed the lines on the frames that is all but one frame. Both sides measure out as a match that was the bigest suprise. I used doubble stick taspe as you can see for the alignment of the battan. At least I'm not moveing backwards any more yet.
-
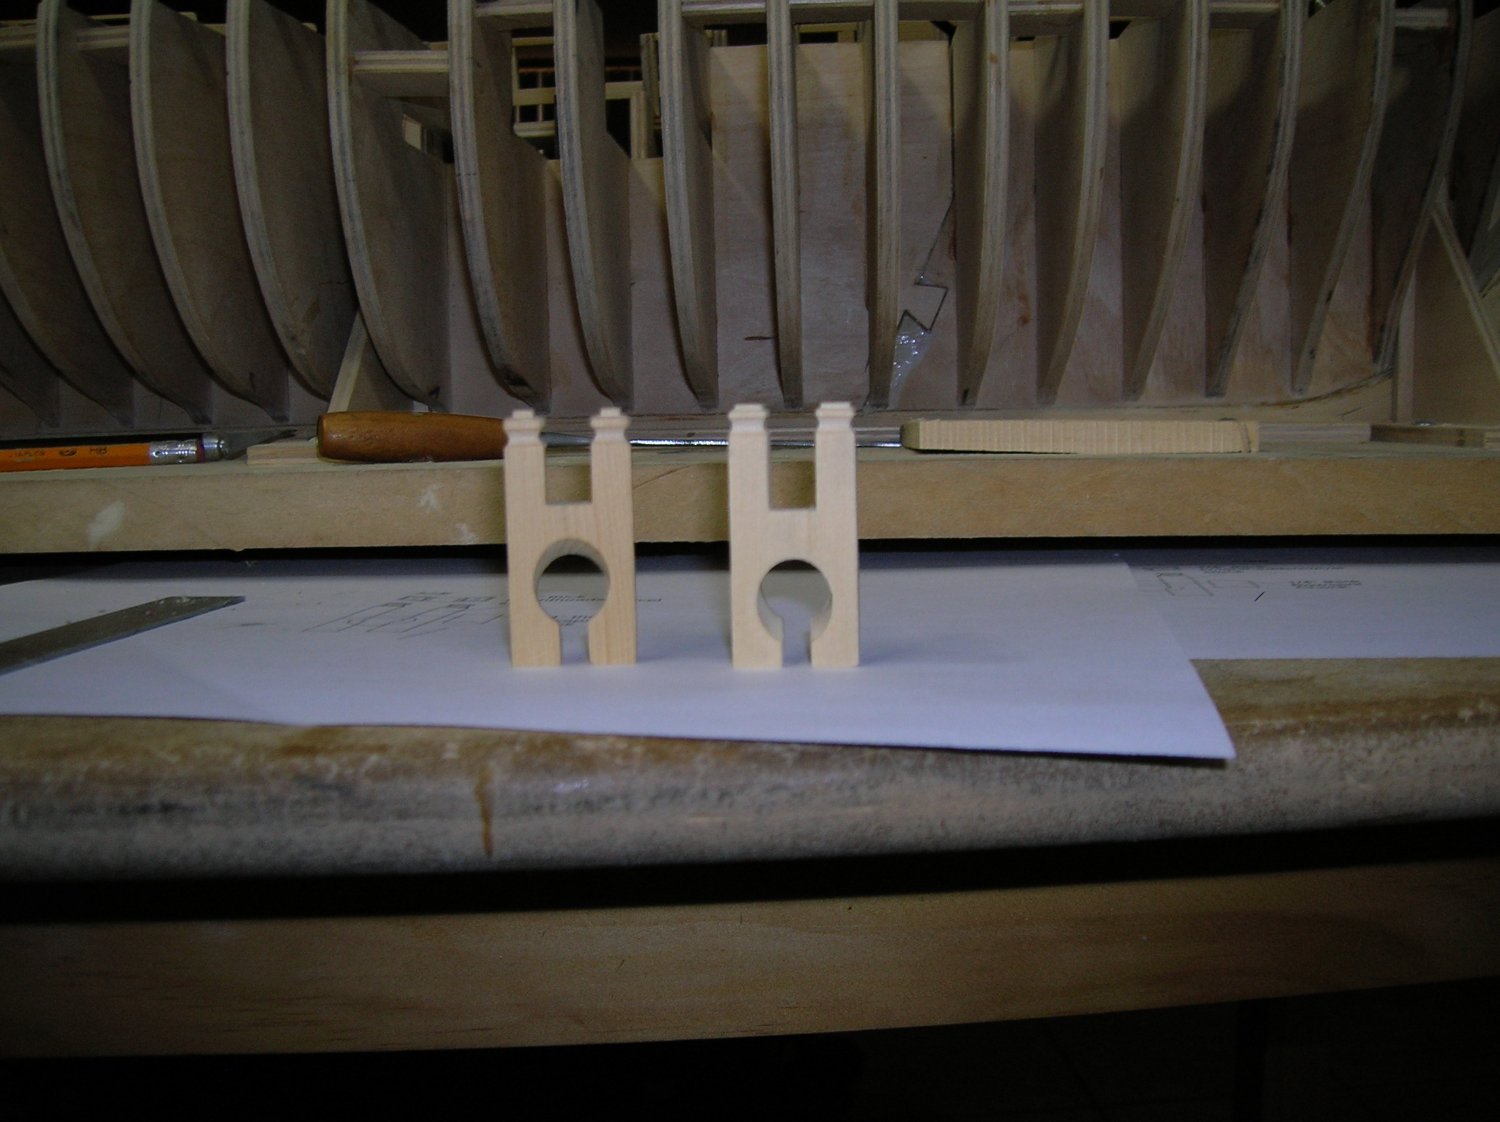
I finally get to move on to chapter two. Made another Ballare didn't like the first one didn't like.
-
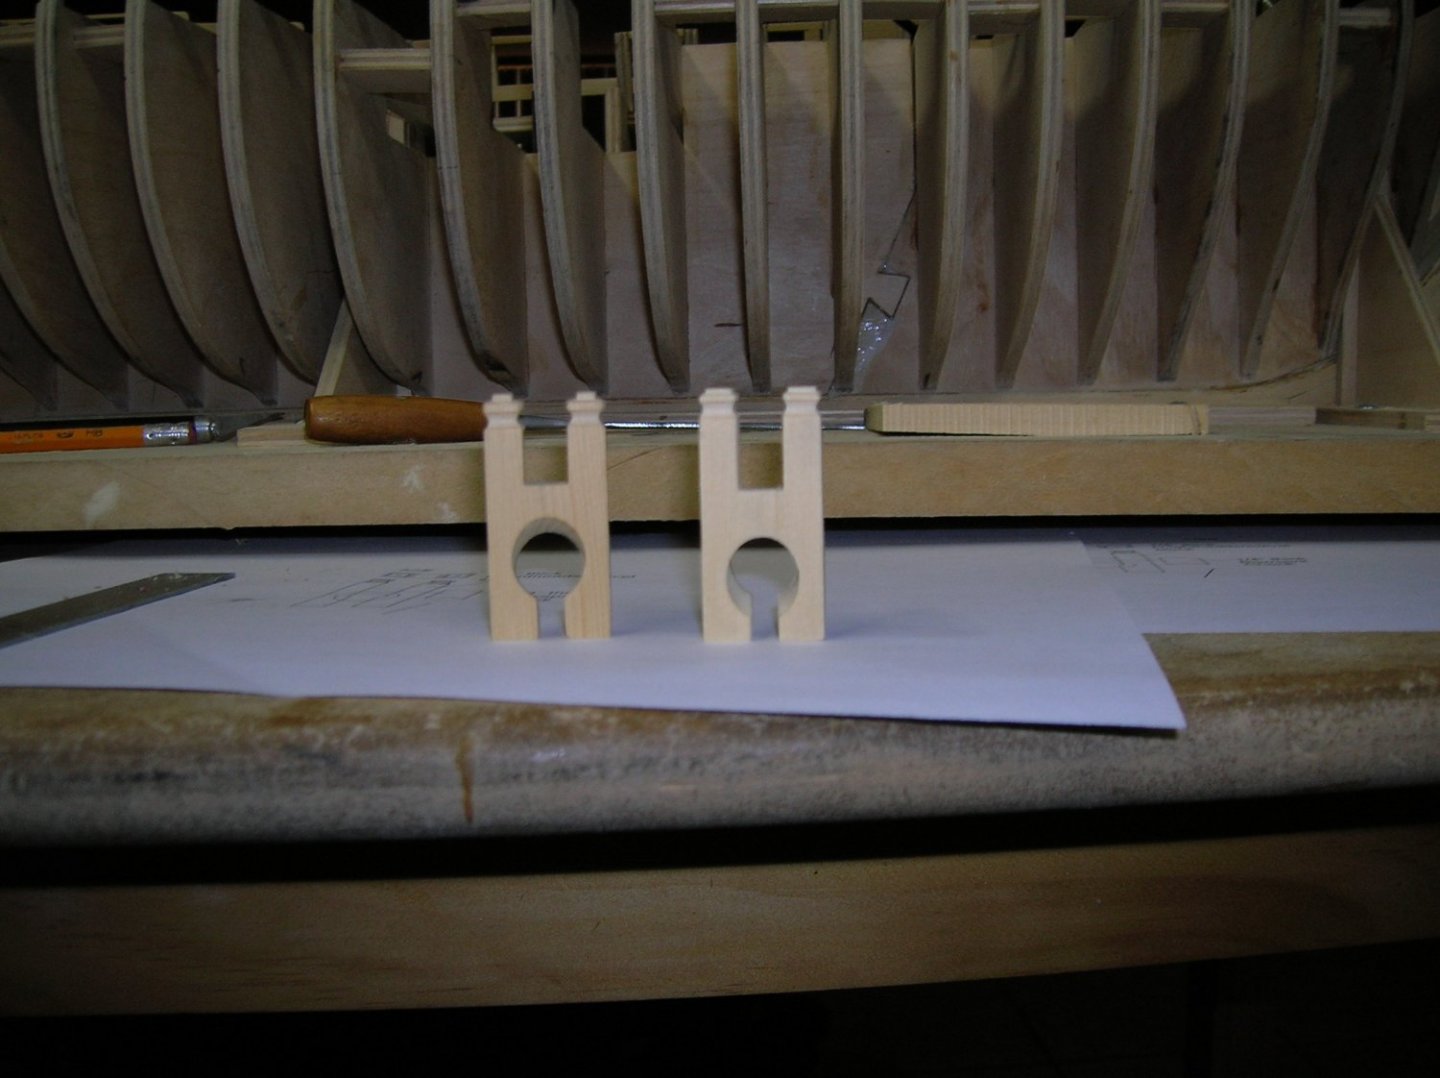
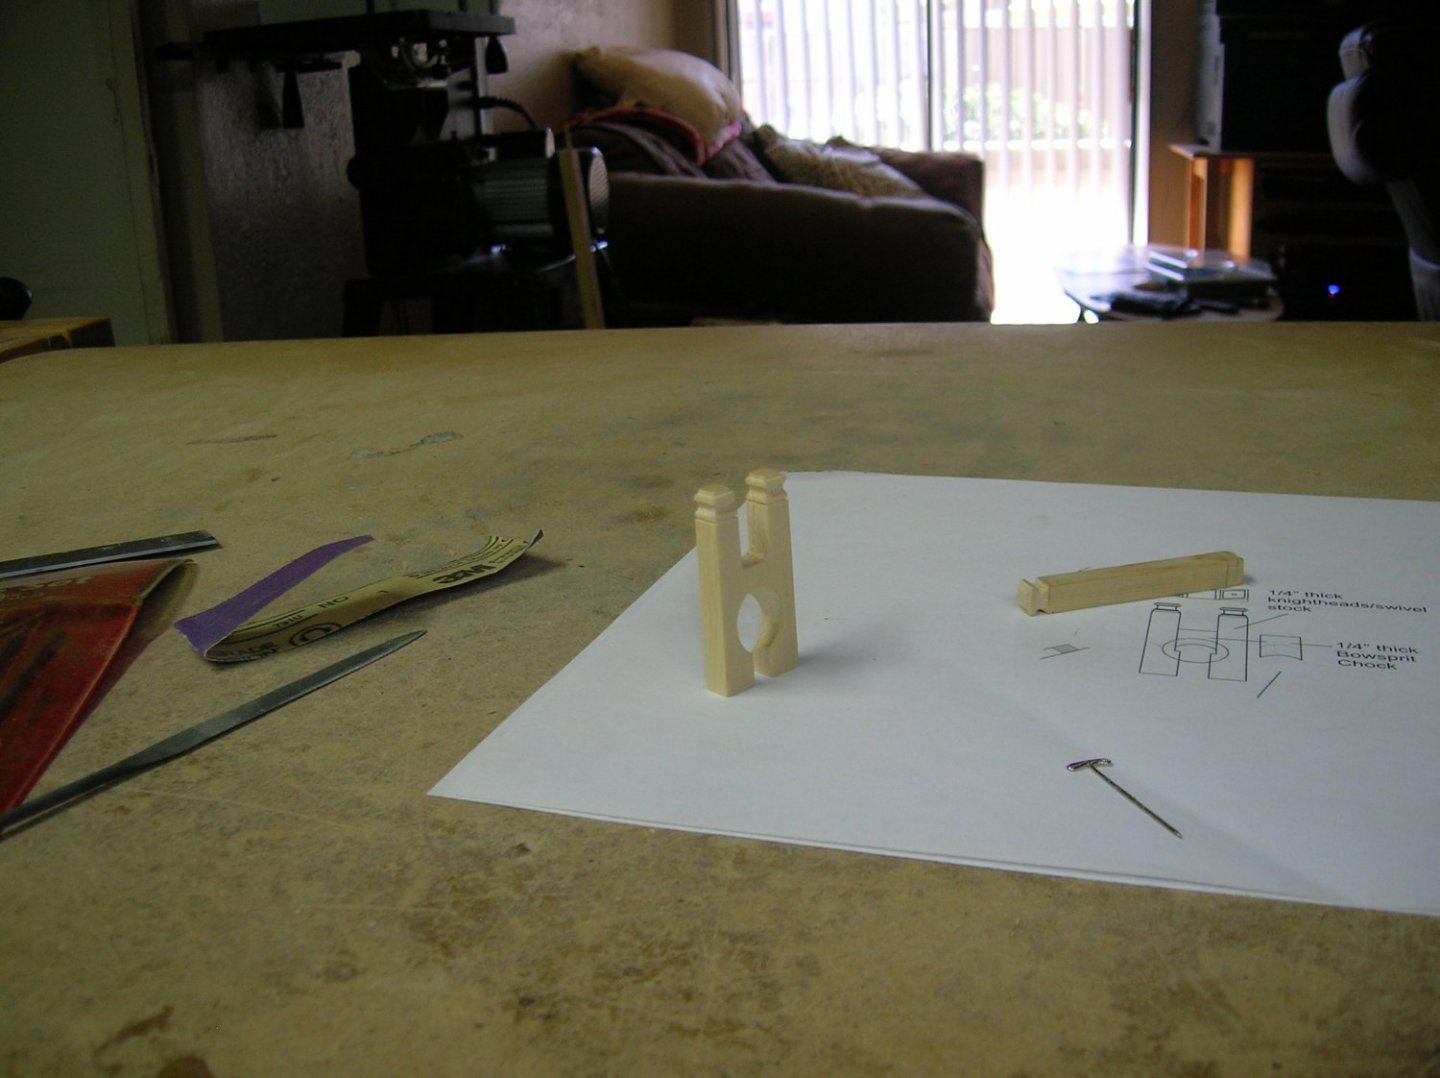
I finally got all my mistakes, redos, crashes fixed and ready to move onto chapete two. Hopefulley I'll do better. Hear is my rendition of the ballard's. What do you think should the top be thinner they are just under 1/16" or just take them off and put new one's on as the square is a little small. Tom

-
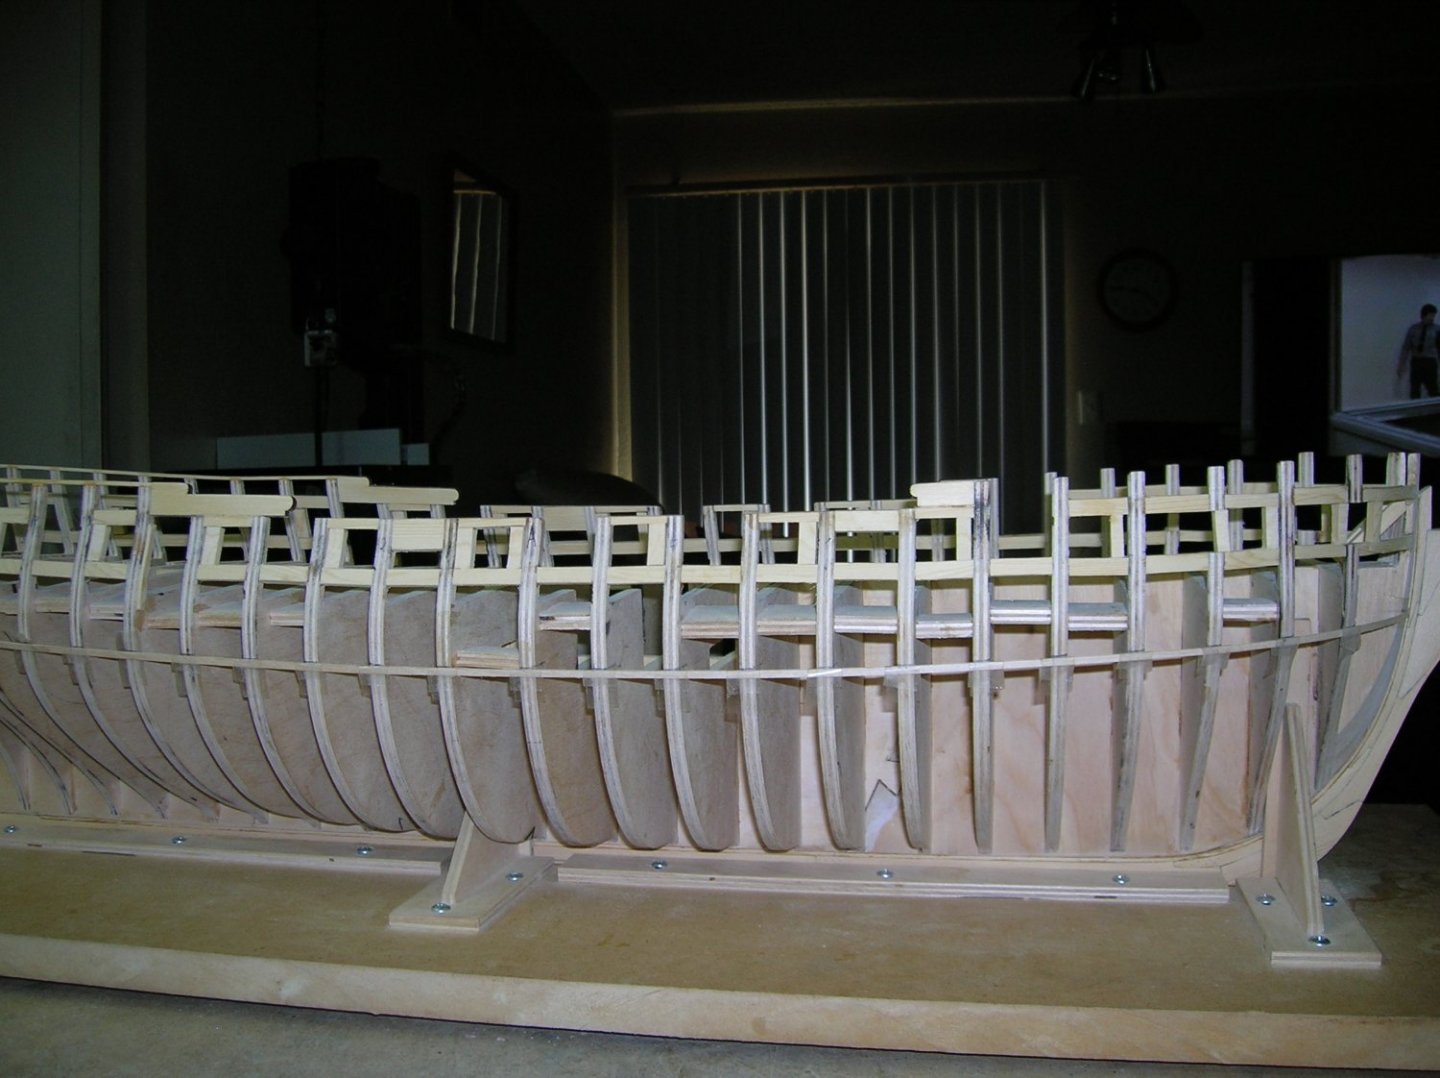
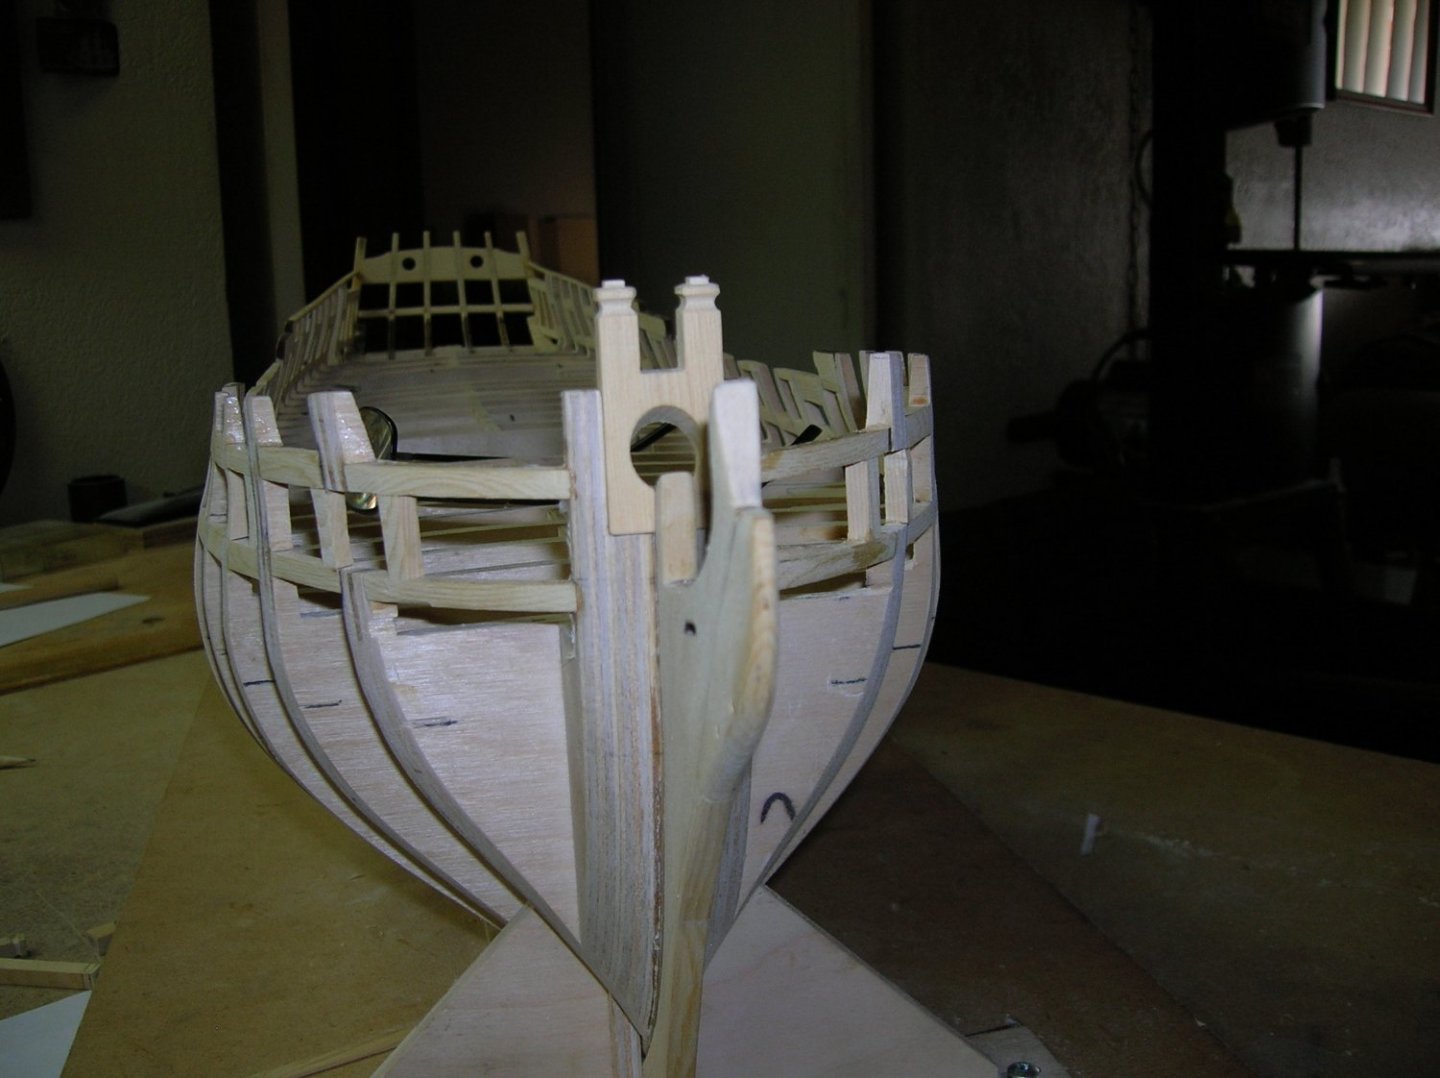
Frank to my suprize it made the curve. The frames fit a little tight in there slots. As I put each one in had to bend each slot a little open to get the frames in and it created the curve. Then pursh all frame bottoms on the bench to make them even and all lines on the mark. I tried everything for three days short of rubbuer glue to keet thoese little devels in. Tom