-
Posts
53 -
Joined
-
Last visited
Profile Information
-
Gender
Male
Recent Profile Visitors
-
 Mr Whippy reacted to a post in a topic:
USS Constitution by Avi - BlueJacket Shipcrafters - 1:96
-
 Altduck reacted to a post in a topic:
Constitution by jfinan - FINISHED - BlueJacket Shipcrafters
-
 billt reacted to a post in a topic:
Constitution by jfinan - FINISHED - BlueJacket Shipcrafters
-
 Bill Morrison reacted to a post in a topic:
Constitution by jfinan - FINISHED - BlueJacket Shipcrafters
-
 Bill Morrison reacted to a post in a topic:
Constitution by jfinan - FINISHED - BlueJacket Shipcrafters
-
 chris watton reacted to a post in a topic:
Constitution by jfinan - FINISHED - BlueJacket Shipcrafters
-
 scrubbyj427 reacted to a post in a topic:
Constitution by jfinan - FINISHED - BlueJacket Shipcrafters
-
 KurtH reacted to a post in a topic:
Constitution by jfinan - FINISHED - BlueJacket Shipcrafters
-
 Avi reacted to a post in a topic:
Constitution by jfinan - FINISHED - BlueJacket Shipcrafters
-
 sjanicki reacted to a post in a topic:
Constitution by jfinan - FINISHED - BlueJacket Shipcrafters
-
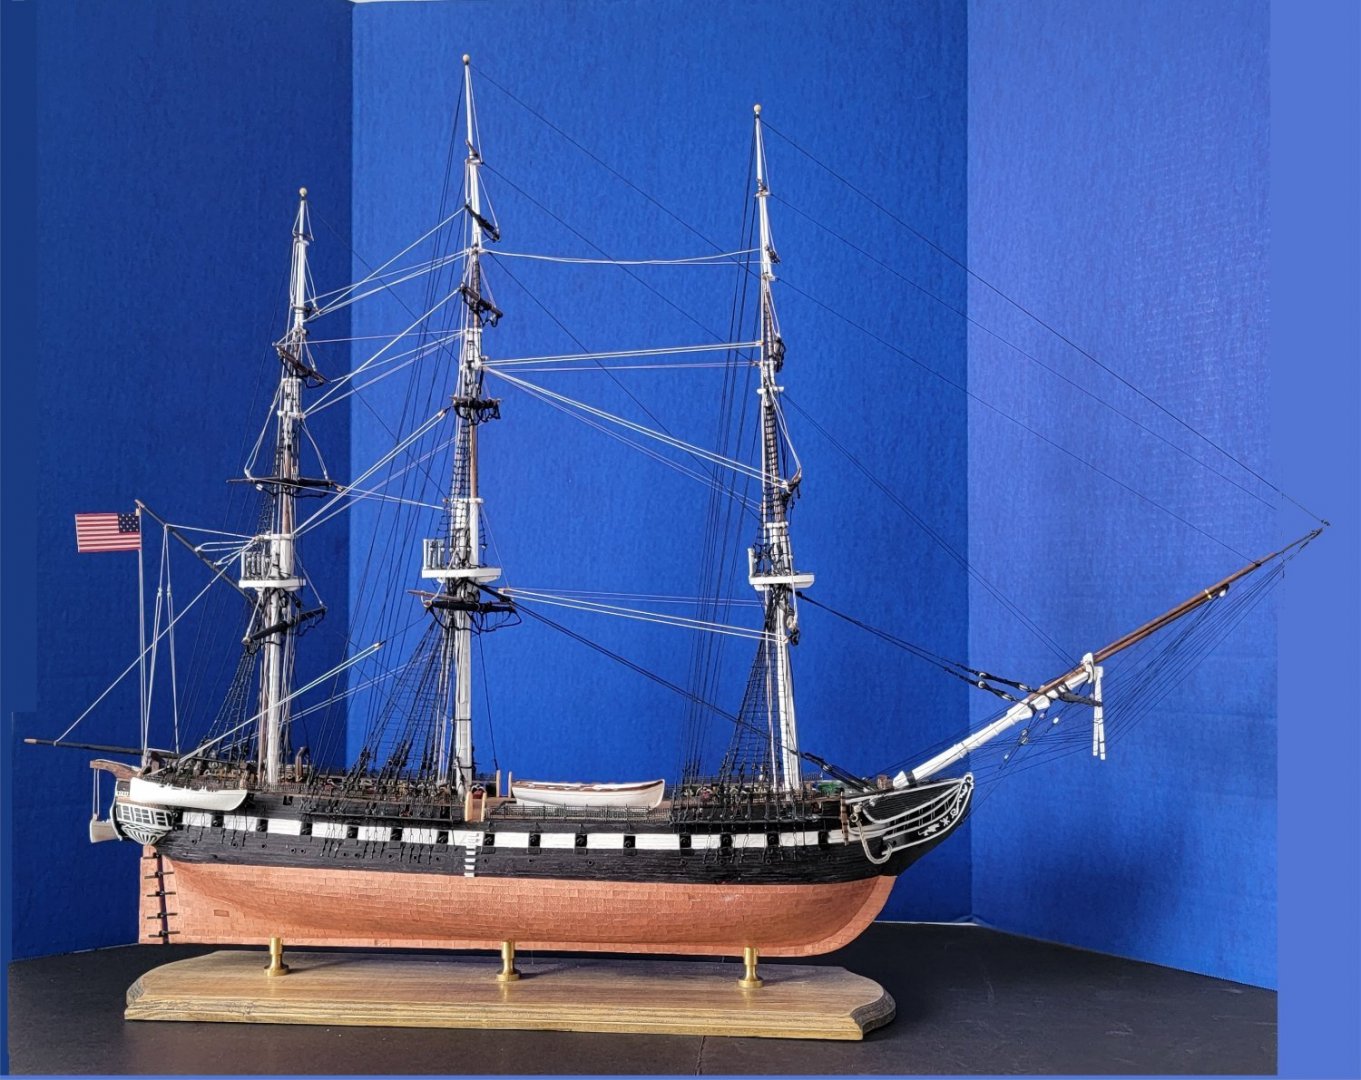
When is a model finished? I mean, I could go on and detail until I go completely insane or I can finish the running rigging and call it complete. And that's what I've done. A bit of a rest and on to the next one. Thanks, Nic at Blue Jacket Shipcrafters, for the advice, encouragement, and support.
- 104 replies
-
- constitution
- BlueJacket Shipcrafters
-
(and 1 more)
Tagged with:
-
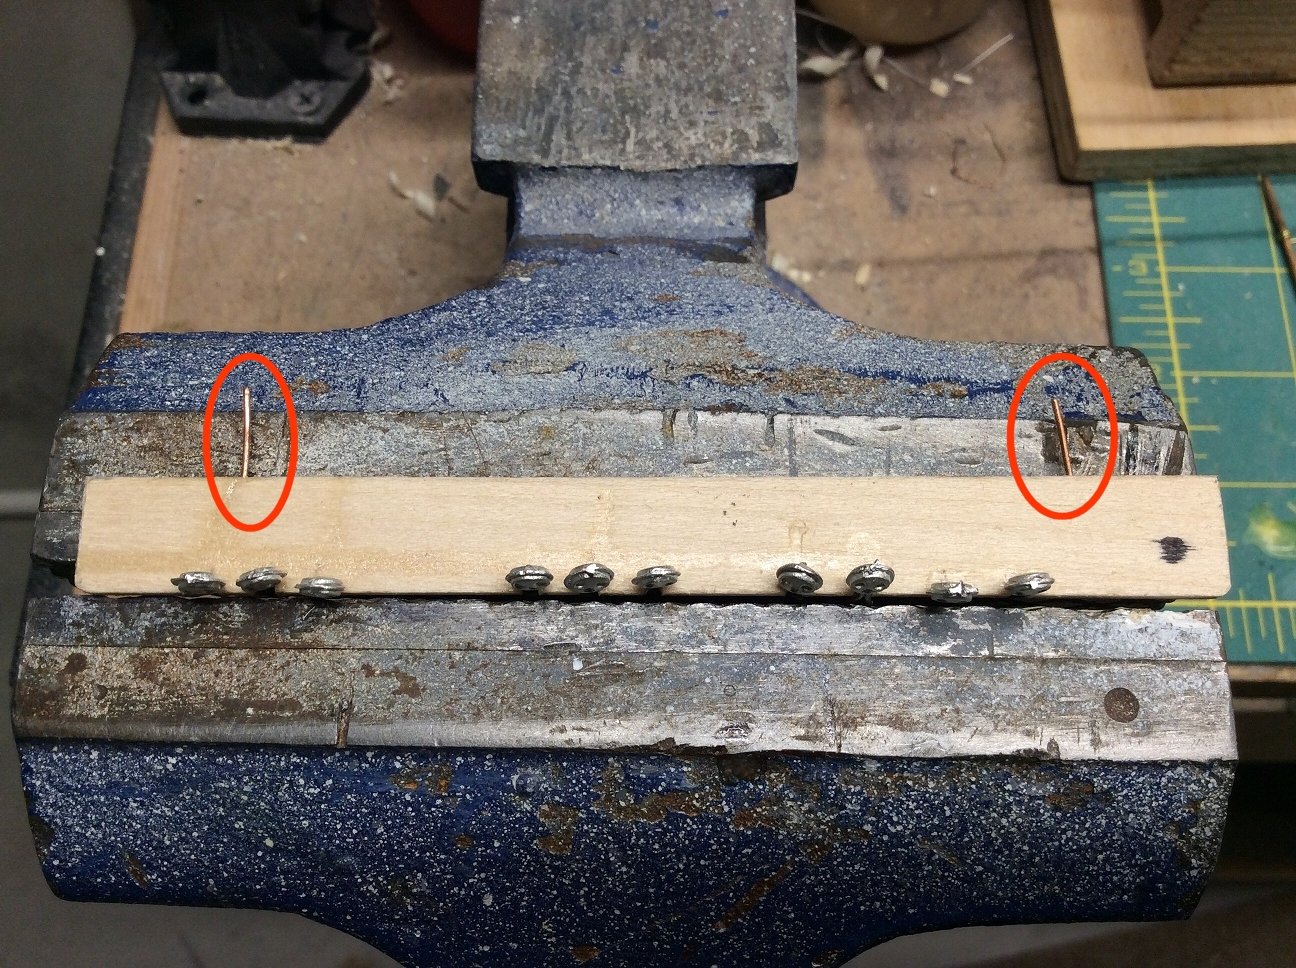
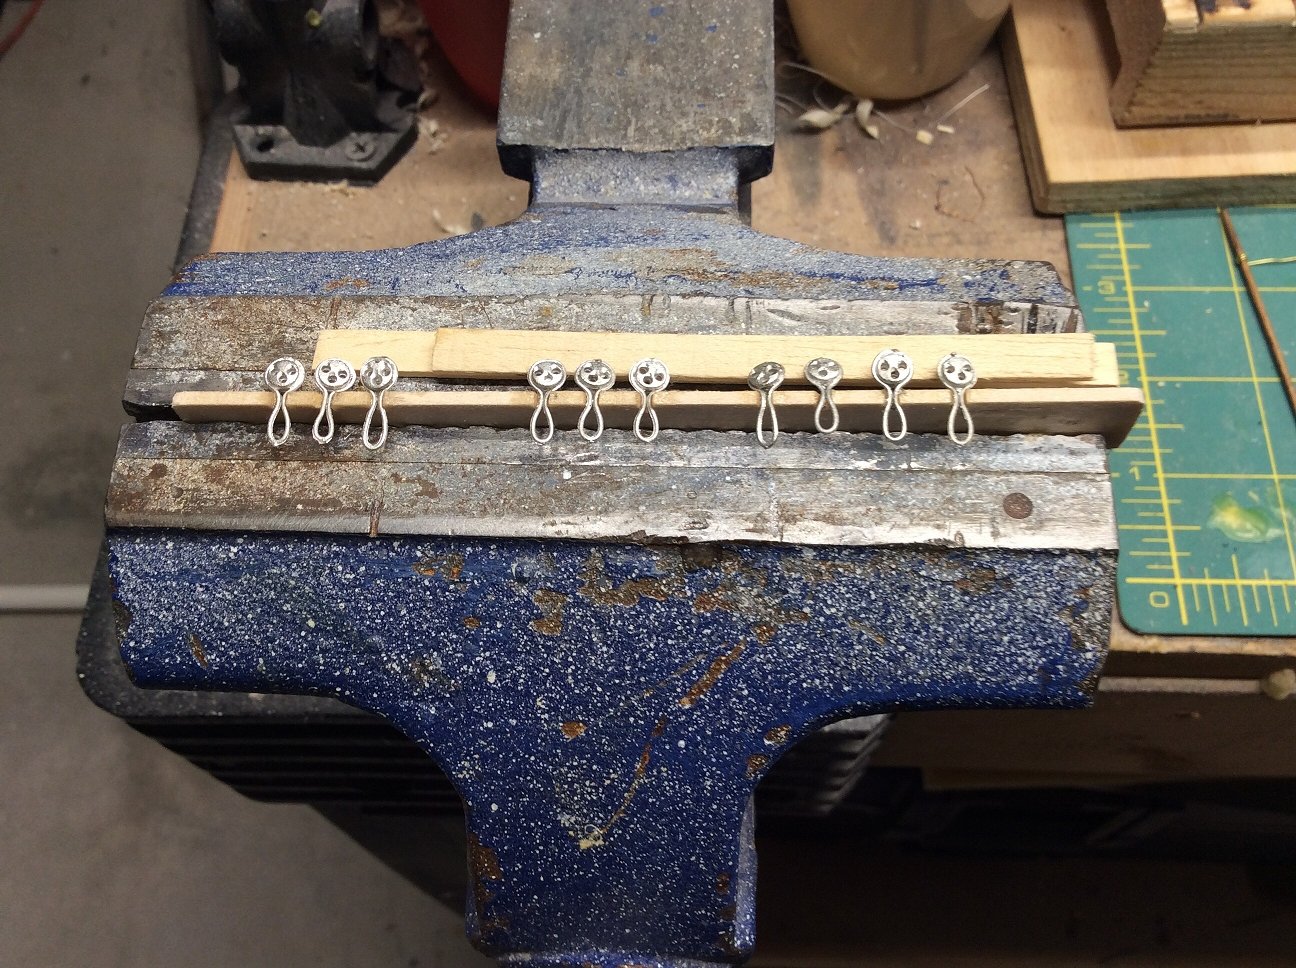
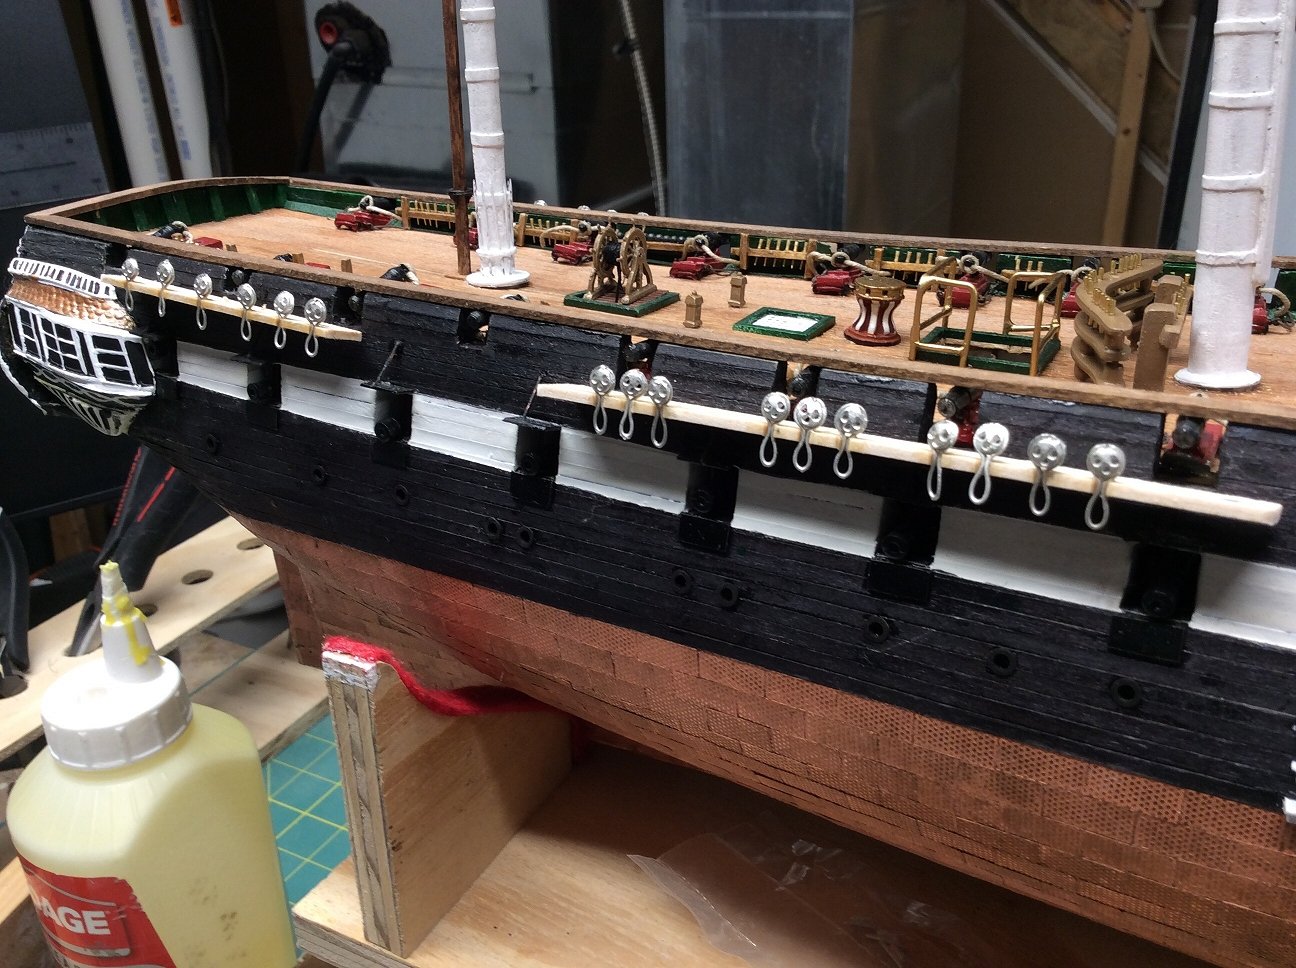
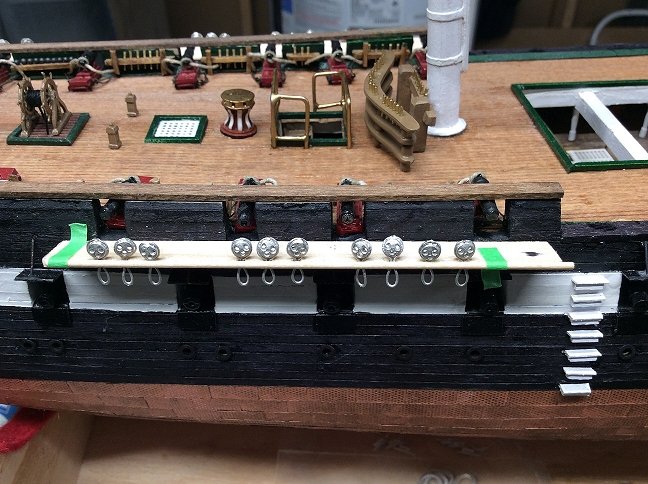
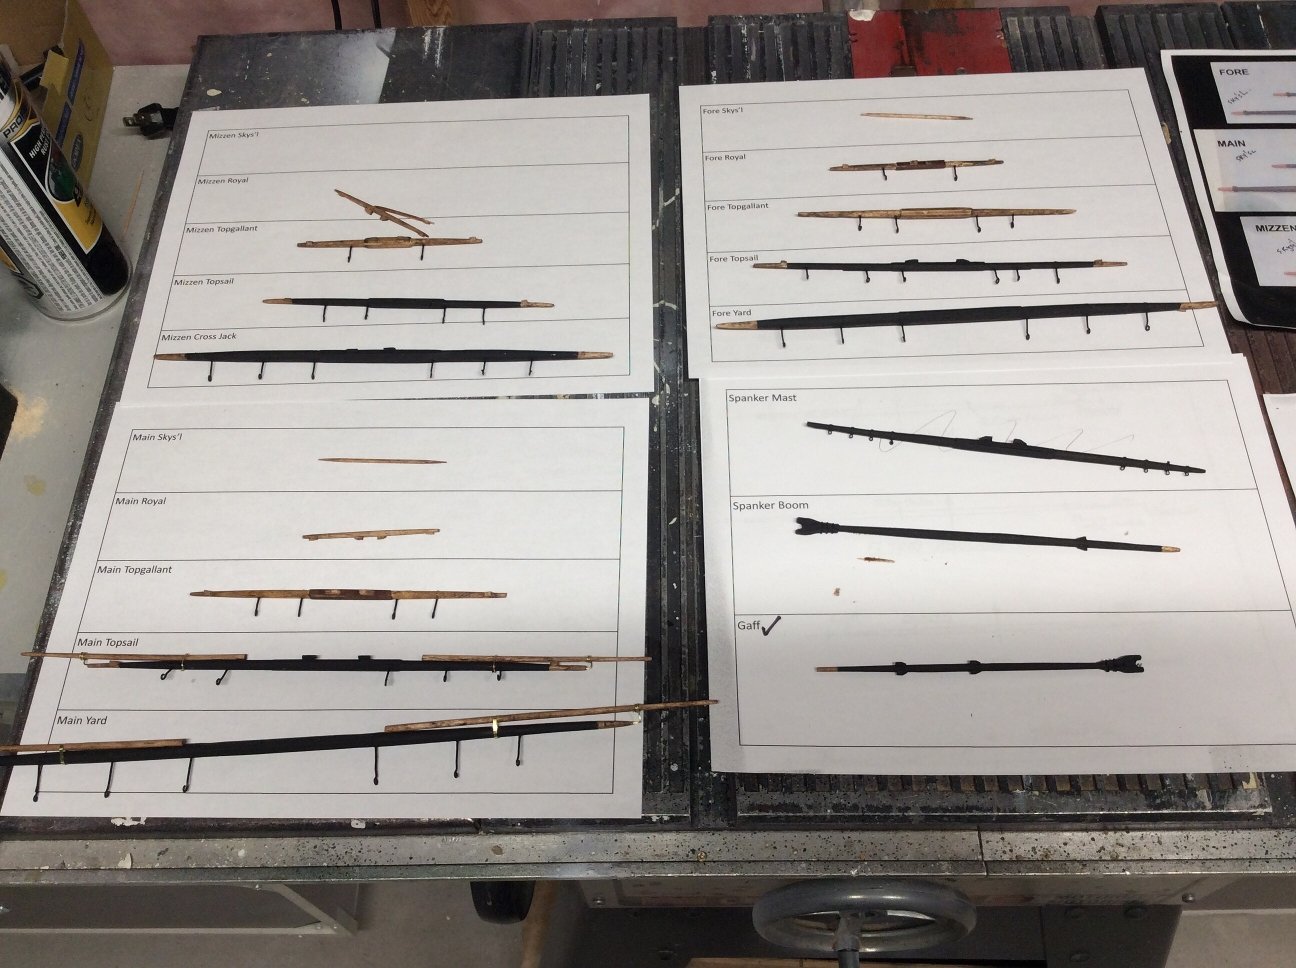
In research I've discovered several different ways of setting up the ratlines. I've decided to "fix" the lower deadeyes in place on the channels and build from there with the idea of having as few moving parts as possible. I added two small lengths of wire to the channels to assist in gluing the channels to the hull. The channels are "roughed in" and I'm contemplating the small half-round lengths to finish off. The deadeyes are cleaned then glued to the channels. The channels are rough fitted to the hull. I'm contemplating using some 1/2 round to tidy up the channel edge. Further, I've begun work on the spars. Note the sheets to keep things organized.
- 104 replies
-
- constitution
- BlueJacket Shipcrafters
-
(and 1 more)
Tagged with:
-
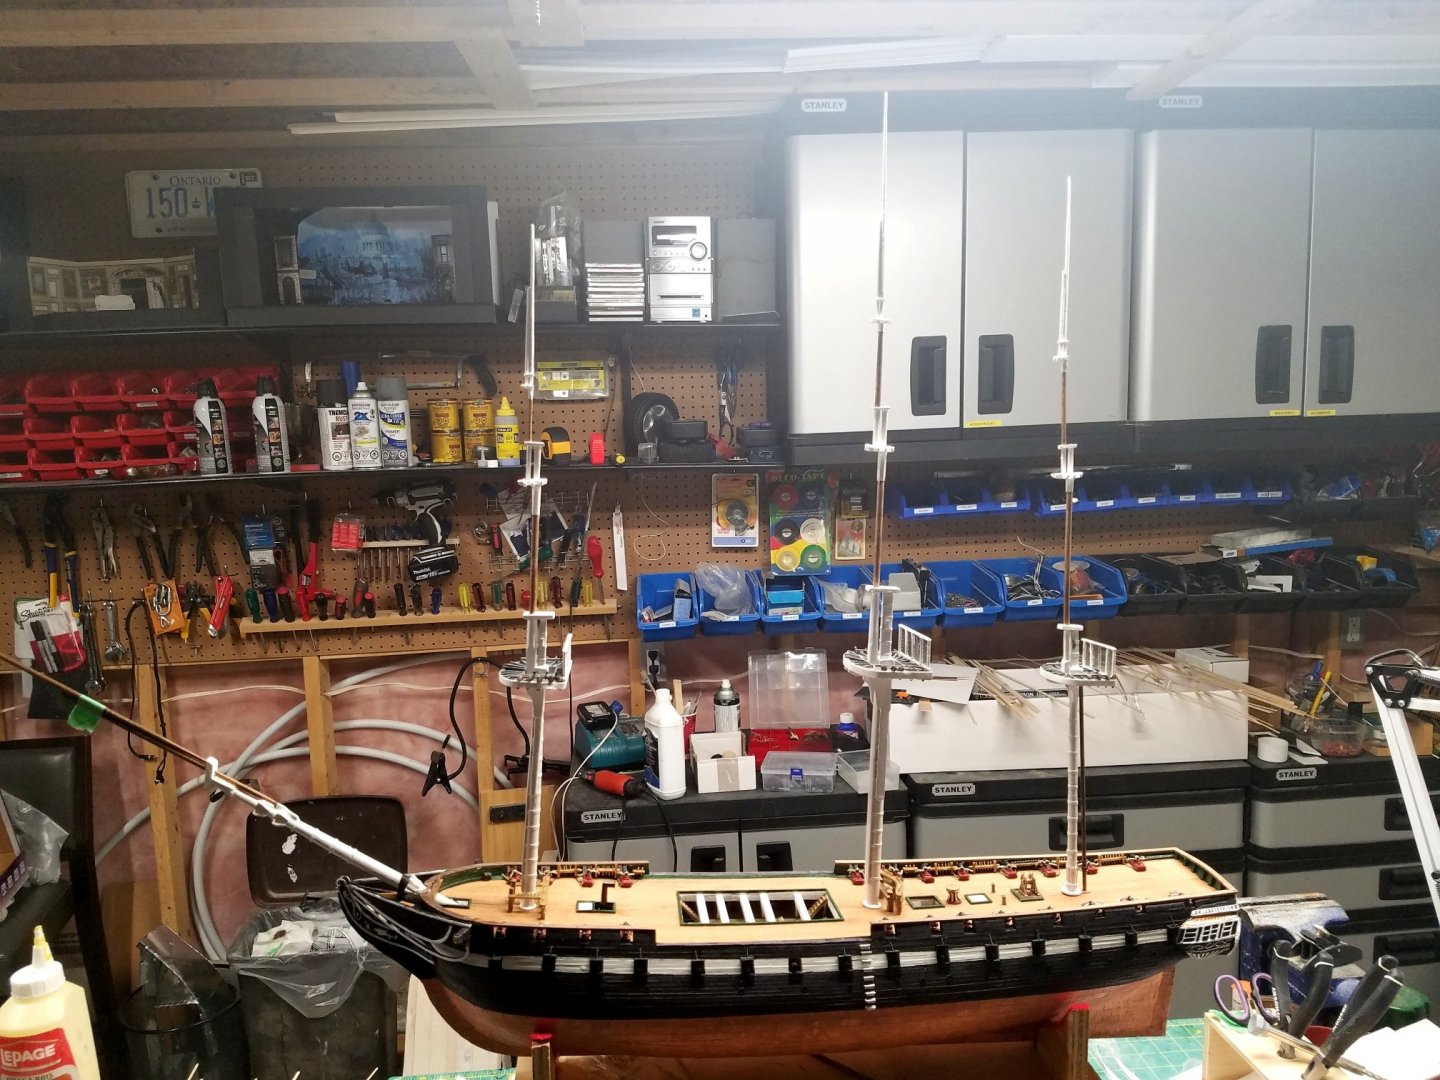
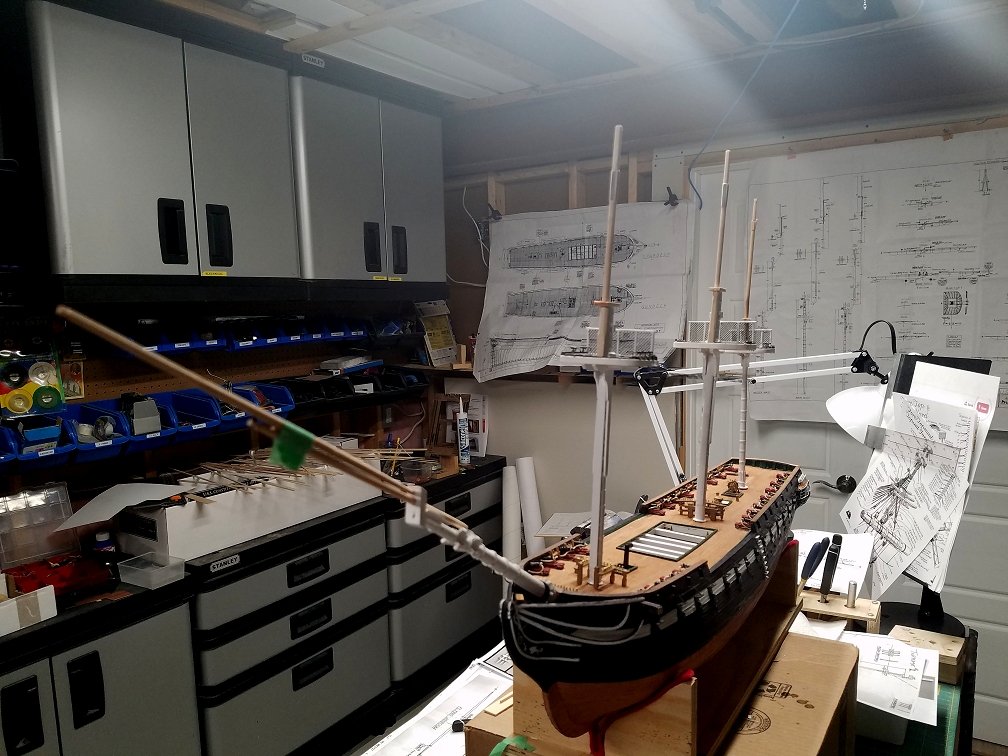
Topsails and royals are rough installed. Now on to the spars. I don't know how I managed without a mini-lathe prior to this. I'm wondering if I should have added the blocks before installing. Mmmmm.
- 104 replies
-
- constitution
- BlueJacket Shipcrafters
-
(and 1 more)
Tagged with:
-
 jfinan reacted to a post in a topic:
Constitution by jfinan - FINISHED - BlueJacket Shipcrafters
-
Jay, can you flip these photos? I'm gonna lose my lunch!
- 104 replies
-
- constitution
- BlueJacket Shipcrafters
-
(and 1 more)
Tagged with:
-
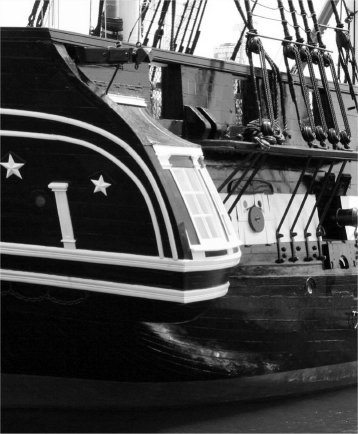
Just an update on the quarter gallery issue. As mentioned above, I've been trying to get the galleries to meet the port and starboard edges of the transom. I was doing this based on current photographs. Wrong! Nic Damuk has reminded me that the BlueJacket plans reflect the Connie as it was in 1812/15 where the galleries actually butt against the transom so that the transom sticks out beyond the galleries. Waddyaknow! I had it right the first time. For me, this means I don't have to rebuild! Thanks, Nic, for the reminder to FOLLOW THE *&*%^^ INSTRUCTIONS!
- 104 replies
-
- constitution
- BlueJacket Shipcrafters
-
(and 1 more)
Tagged with:
-
Thanks Jay. I share your pain regarding the galleries. I have attached my second attempt to the hull and I'm going to revisit them soon. I just can't seem to get them to line up with the edge of the brass transom plate. In the meantime, I've just rough fitted the top masts and jib boom after turning them on a mini-lathe ( a birthday present from my missus). As Kurt has pointed out they're a real challenge as, at different points, they are round, square, and worst of all, octagonal. For the last part, I started with square, added thin strips to the flat four sides, added filler on the seams, and sanded to "octagonal". Close enough!
- 104 replies
-
- constitution
- BlueJacket Shipcrafters
-
(and 1 more)
Tagged with:
-
 jfinan reacted to a post in a topic:
Constitution by jfinan - FINISHED - BlueJacket Shipcrafters
-
 jfinan reacted to a post in a topic:
Constitution by jfinan - FINISHED - BlueJacket Shipcrafters
-
Thanks Nic! I hope your ticker is functioning well and you are having a good holiday. One thing I've noticed. Photos don't lie. I've got some serious clean-up to do!
- 104 replies
-
- constitution
- BlueJacket Shipcrafters
-
(and 1 more)
Tagged with:
-
 jfinan reacted to a post in a topic:
Constitution by jfinan - FINISHED - BlueJacket Shipcrafters
-
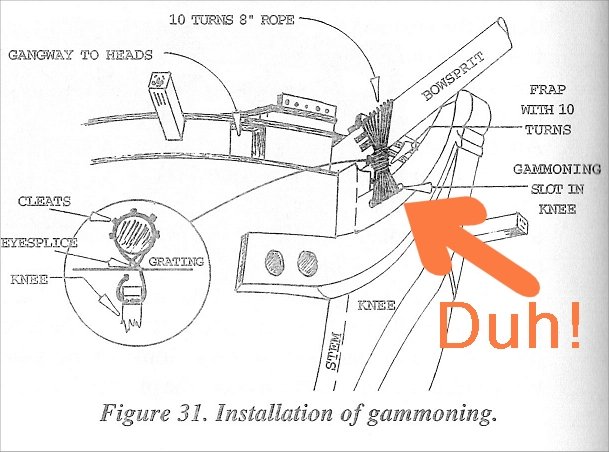
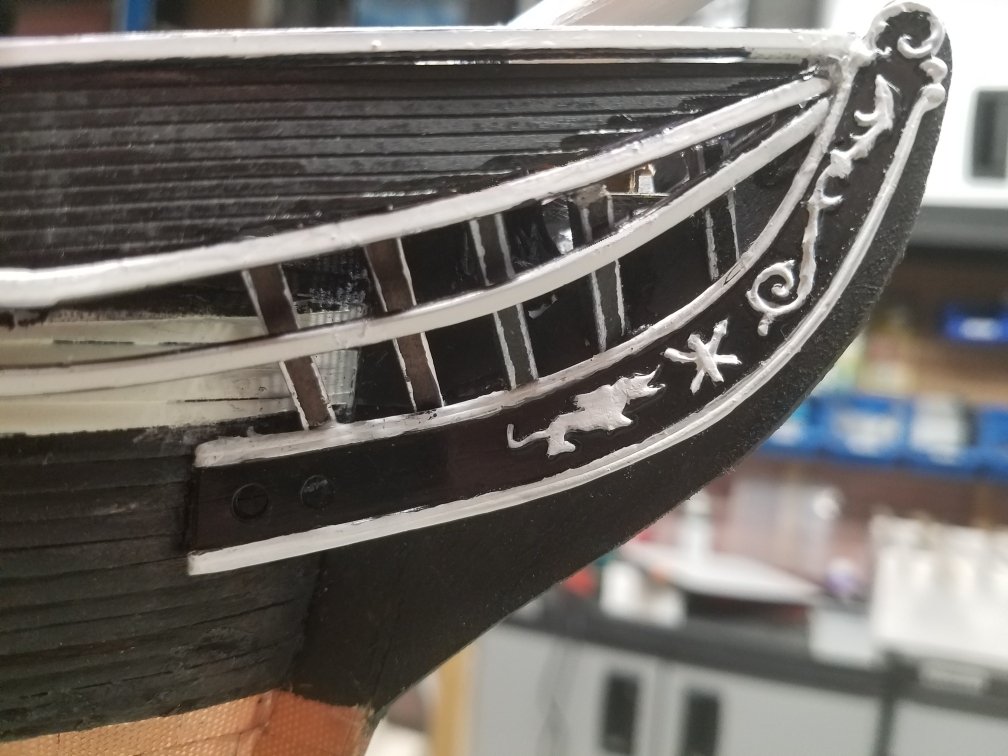
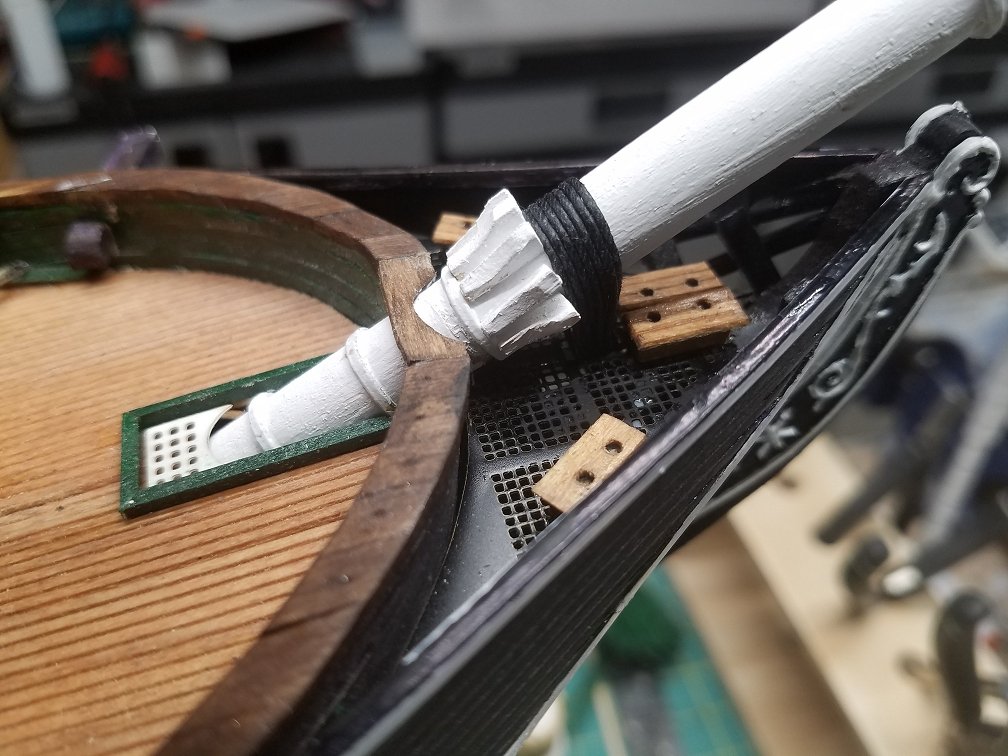
Have you ever missed a step that cost you a week of work? I was all set to install the gammoning that ties the bowsprit to the ship when I discovered that I had missed installing a "slot" in the knee through which the gammoning goes. To get in to install the slot, I had to remove all bowhead rails and timbers. Anyone who has built this boat knows what a pain they are! Each one is sized, cut, painted and placed individually. Anyway, a week later, it's done. I have revised and deleted all explicatives from this submission. 🙂
- 104 replies
-
- constitution
- BlueJacket Shipcrafters
-
(and 1 more)
Tagged with:
-
 jfinan reacted to a post in a topic:
Constitution by jfinan - FINISHED - BlueJacket Shipcrafters
-
 jfinan reacted to a post in a topic:
Constitution by jfinan - FINISHED - BlueJacket Shipcrafters
-
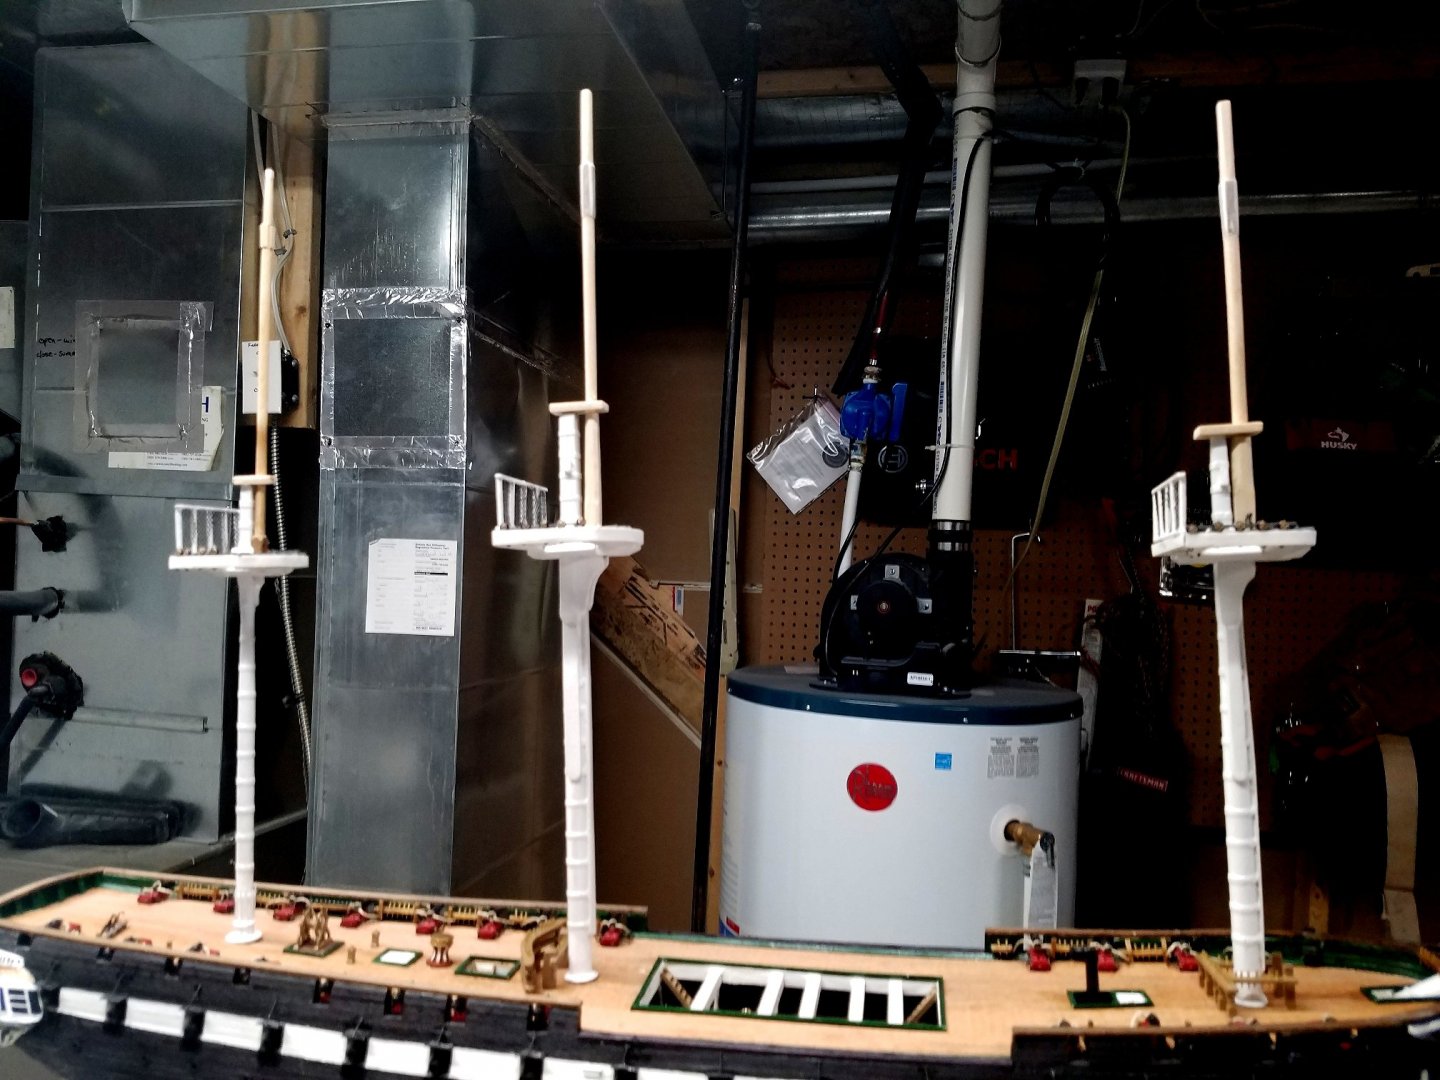
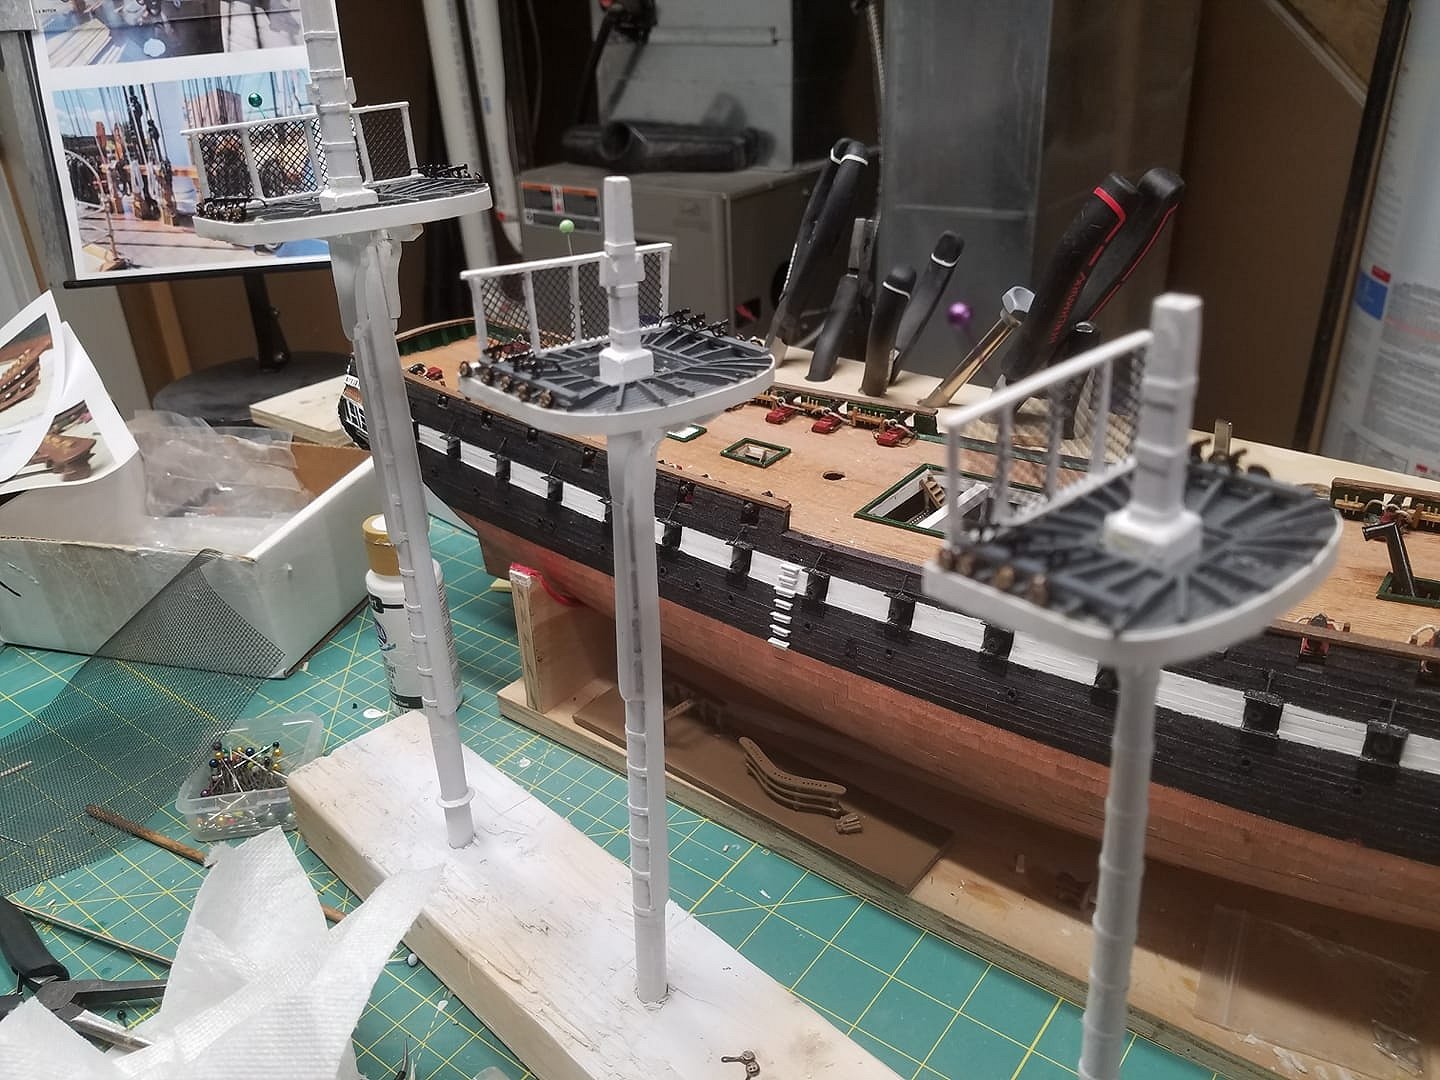
It's been some time since I've reported in. Several unsatisfactory attempts to form up and paint the stern galleries caused me to abandon the project for a while but I'm back at it. Here are the fighting tops finished and married to the lower fore, main, and mizzen masts. The netting on the tops is taken from standard vinyl screen used on screen doors. It's cut and mounted on the diagonal to better mirror the original. The trim around the tops and the rings on the masts is standard cardstock.
- 104 replies
-
- constitution
- BlueJacket Shipcrafters
-
(and 1 more)
Tagged with:
-
Enjoy the great weather and enjoy the trip. Pass on my best wishes to Nic Damuk at Blue Jacket who is recovering from heart surgery. Best wishes! Drive safely!
- 104 replies
-
- constitution
- BlueJacket Shipcrafters
-
(and 1 more)
Tagged with:
-
In the past, I have used a small plane to shape my masts and yards. I'm thinking it's time to invest in a small lathe with an accompanying chuck. I had settled on the one Mico-Mark sells only to discover they won't ship that item to Canada. I'm one disappointed Canuck! It seems to me the chuck is essential for this kind of shaping. Ideas (sources) are most welcome and thanks in advance!
-
I have the Marquardt book, purchased at the Constitution Museum gift shop, and indeed, it is a great reference. That said, I have resolved not to sweat any detailing that will not be seen. As my late Irish mother would say, "A blind man would like to see it". Thanks re: the deck. I had to fill to microscopic gaps (just big enough to grab the eye) but now they're pretty much invisible. I used the two decking sheets from Blue Jacket. In hindsight, I wish I had experimented with ink (wipe on/wipe off) between the planks to add some realism. I might still experiment on some stained deck scraps to see what I can come up with before adding any other superstructures to the deck. After that, I'll flip a coin as to what to tackle next...the transom detail or the bowheads. Either way.....yikes. As you have mentioned, Kurt, it's essential to look into the future and ascertain the consequences. What I would give for a simple "order of operations".
- 104 replies
-
- constitution
- BlueJacket Shipcrafters
-
(and 1 more)
Tagged with:
-
Dear fellow Audi Owner! To be honest, the build is a challenge. If you are a novice, you really should look elsewhere. The instruction book is a substantial compendium of historical information, such as differing descriptions of many iterations and renovations to the ship from 1797 onward, occasionally interspersed with model instructions and advice. If you are used to seeing straightforward step-by-step build instructions in chronological order, you won't find it here. That said, if you love having plenty of options, and enjoy personal research, this one's for you! Good luck!
- 104 replies
-
- constitution
- BlueJacket Shipcrafters
-
(and 1 more)
Tagged with:
-
I'd like to take a moment to say thanks to all of you who send along words of support and advice. This build is a monster! A special shout-out to Kurt Hauptfueher. His attention to detail is inspiring and humbling!
- 104 replies
-
- constitution
- BlueJacket Shipcrafters
-
(and 1 more)
Tagged with:
About us
Modelshipworld - Advancing Ship Modeling through Research
SSL Secured
Your security is important for us so this Website is SSL-Secured
NRG Mailing Address
Nautical Research Guild
237 South Lincoln Street
Westmont IL, 60559-1917
Model Ship World ® and the MSW logo are Registered Trademarks, and belong to the Nautical Research Guild (United States Patent and Trademark Office: No. 6,929,264 & No. 6,929,274, registered Dec. 20, 2022)
Helpful Links
About the NRG
If you enjoy building ship models that are historically accurate as well as beautiful, then The Nautical Research Guild (NRG) is just right for you.
The Guild is a non-profit educational organization whose mission is to “Advance Ship Modeling Through Research”. We provide support to our members in their efforts to raise the quality of their model ships.
The Nautical Research Guild has published our world-renowned quarterly magazine, The Nautical Research Journal, since 1955. The pages of the Journal are full of articles by accomplished ship modelers who show you how they create those exquisite details on their models, and by maritime historians who show you the correct details to build. The Journal is available in both print and digital editions. Go to the NRG web site (www.thenrg.org) to download a complimentary digital copy of the Journal. The NRG also publishes plan sets, books and compilations of back issues of the Journal and the former Ships in Scale and Model Ship Builder magazines.


