


Jonesey
-
Posts
60 -
Joined
-
Last visited
Content Type
Profiles
Forums
Gallery
Events
Posts posted by Jonesey
-
-
The pink tube you can see in the vice is from an old vacuum cleaner.
I cut it down, applied a dozen or so layers of gaffa tape on the end to seal it, put red hot water in it for plank softening
-
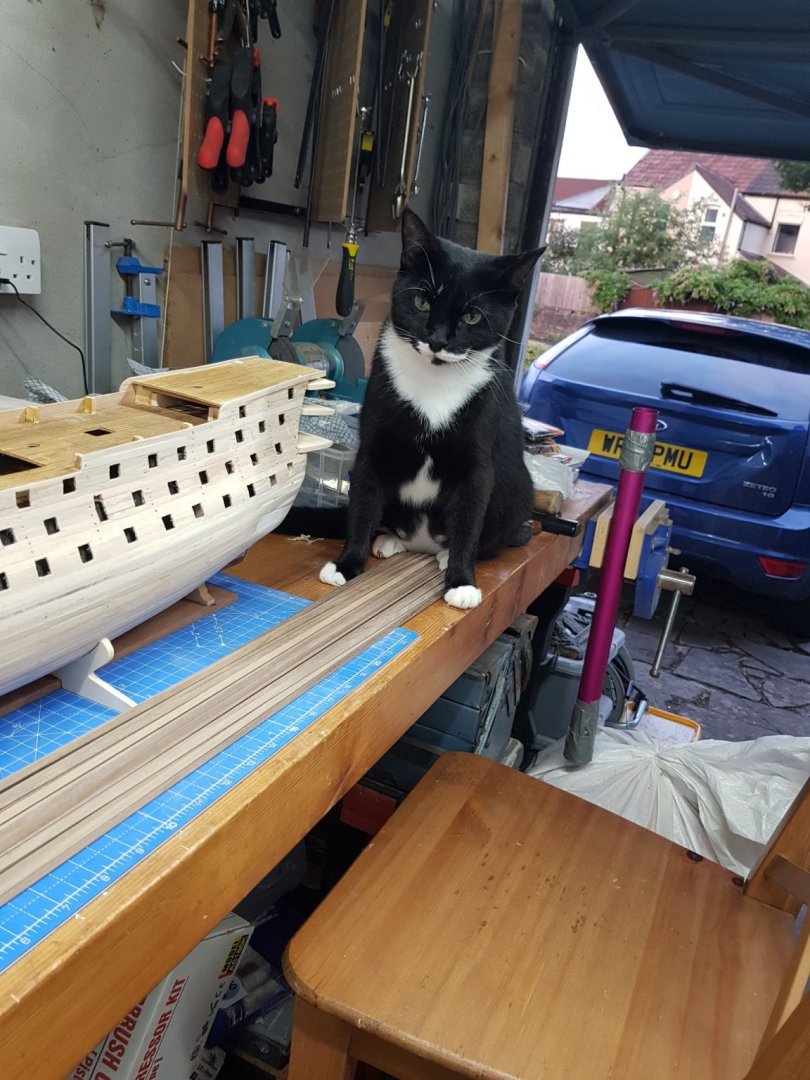
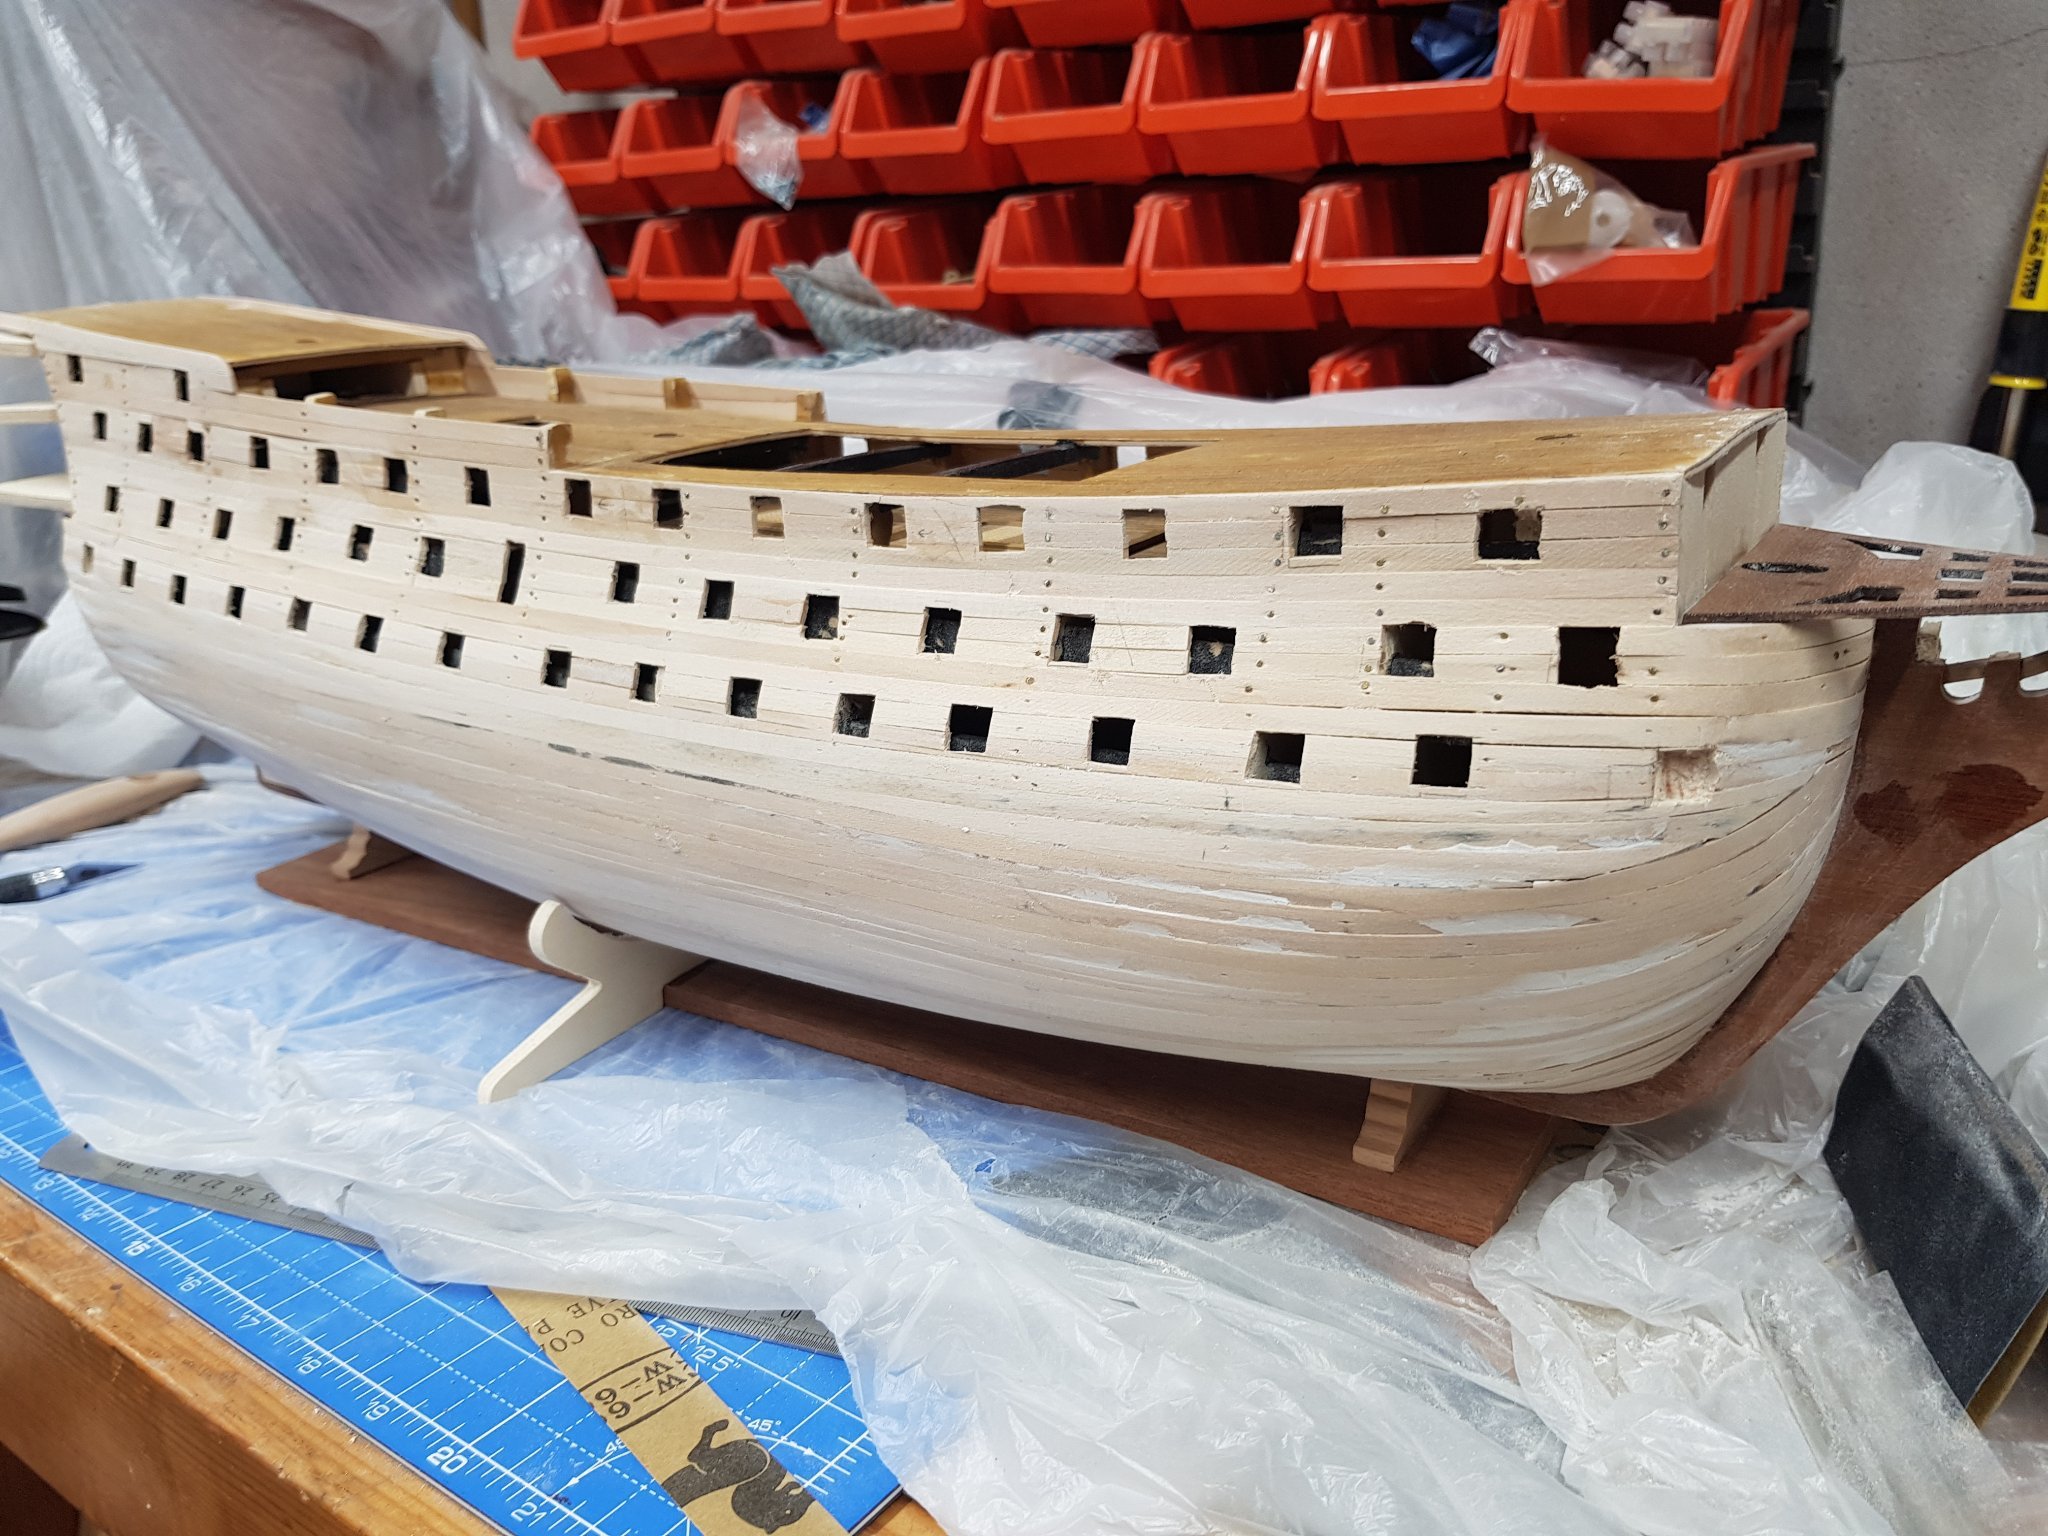
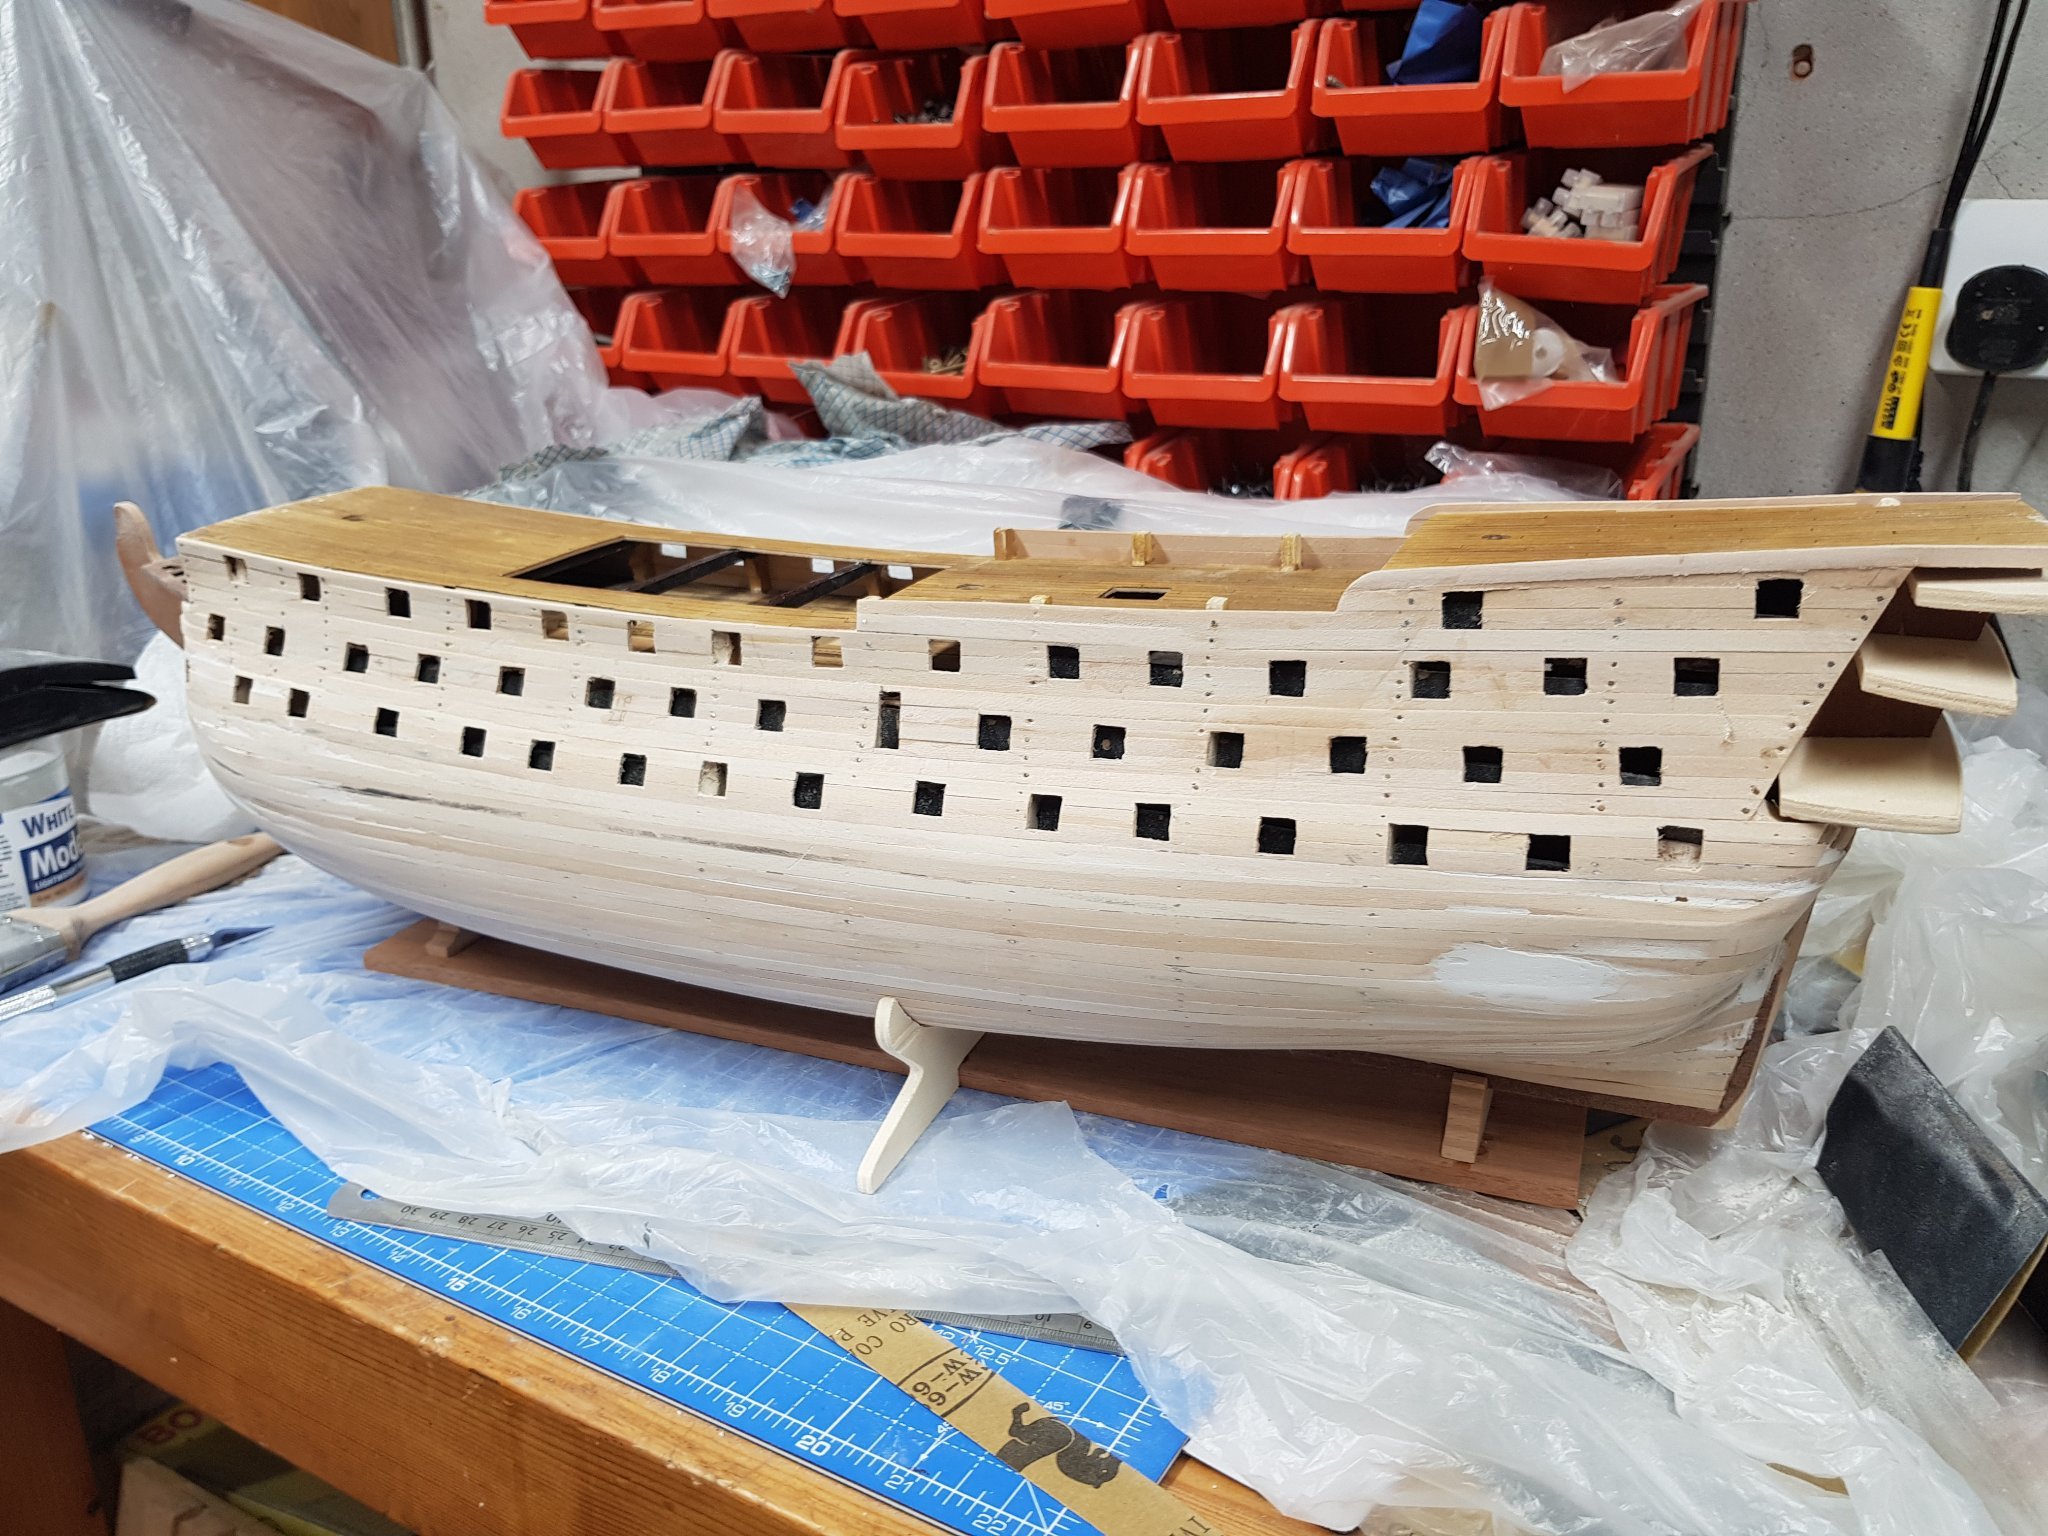
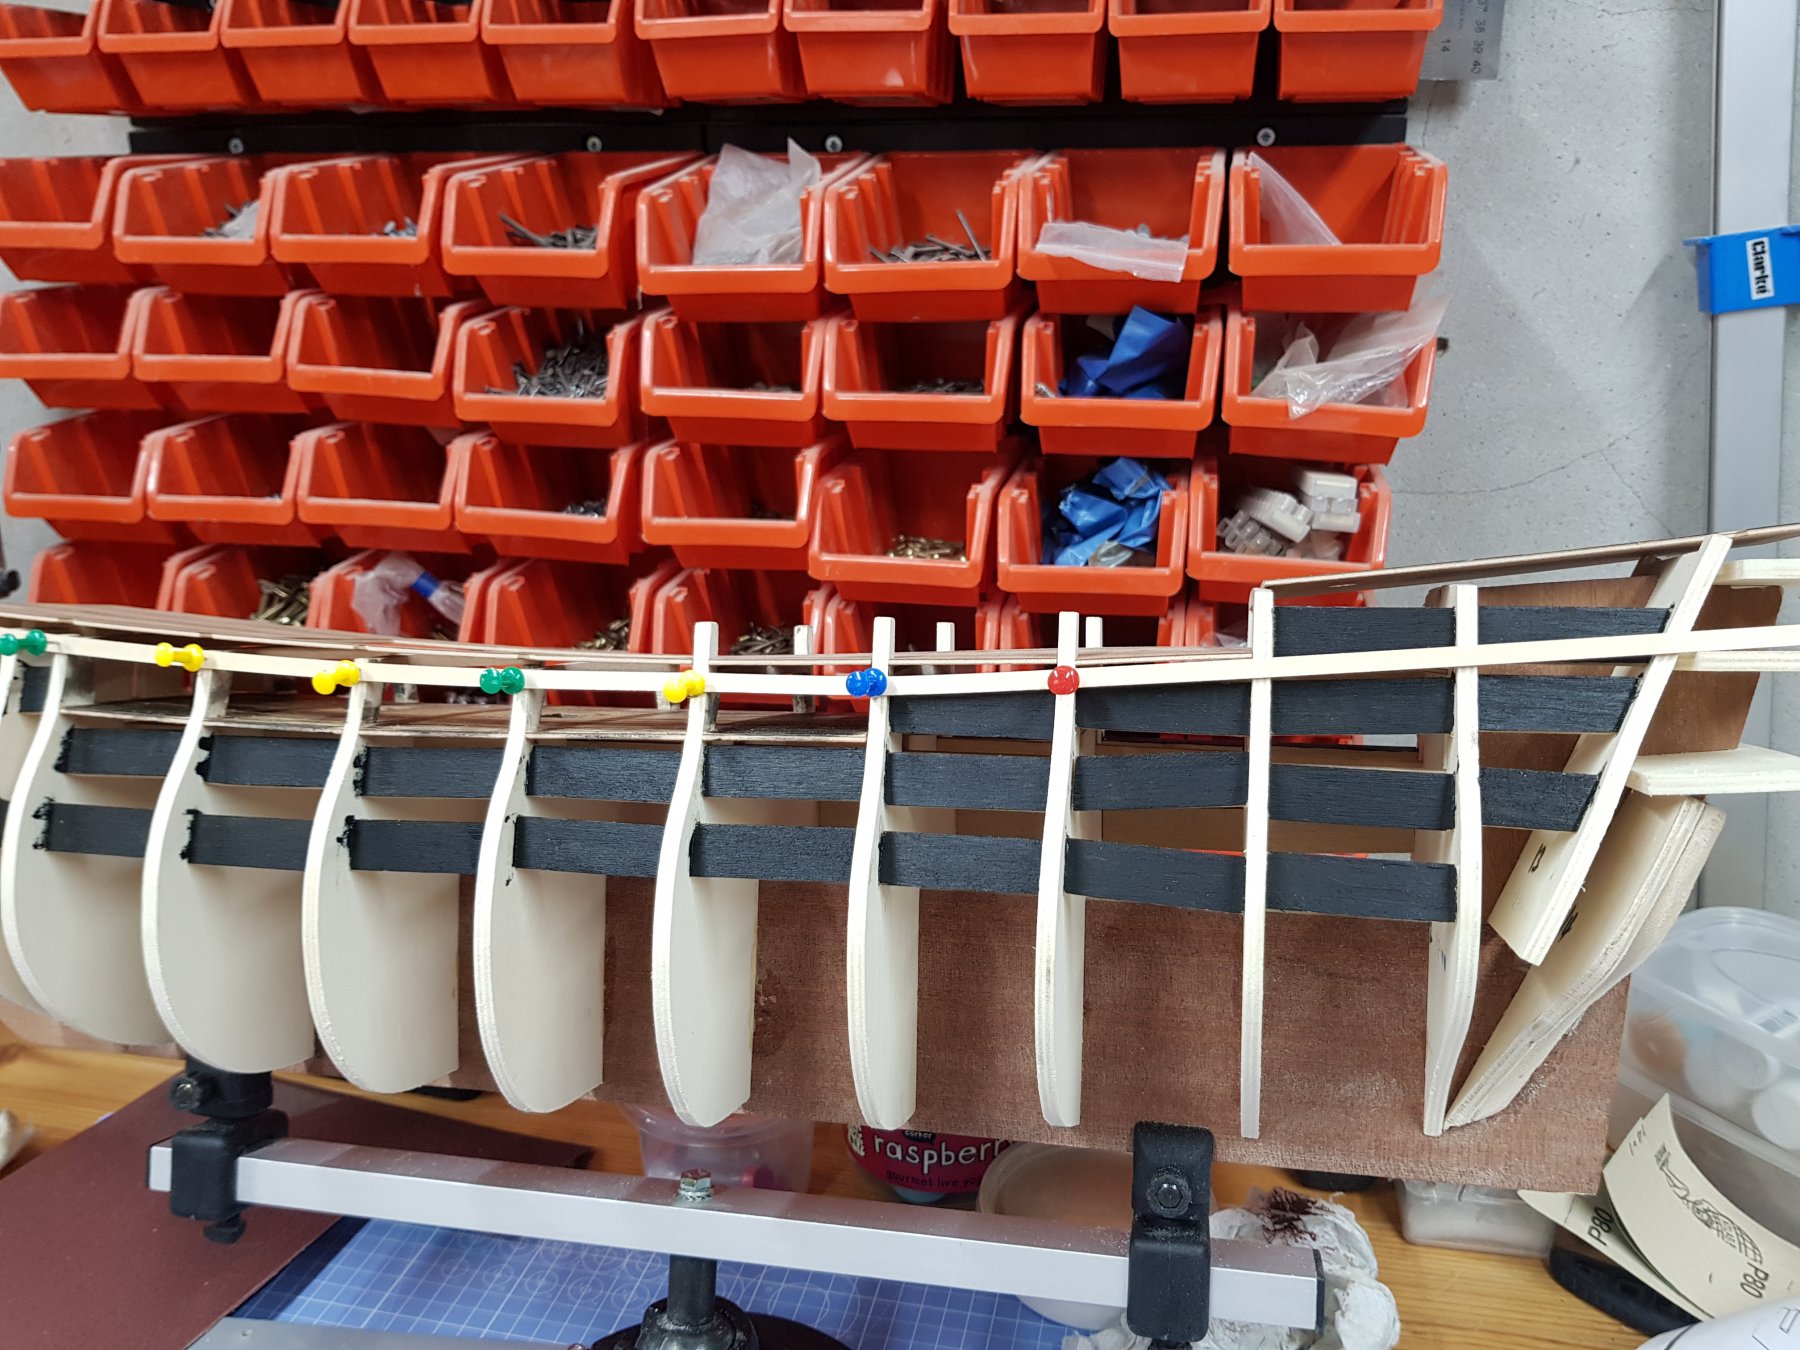
I can't believe it's been so ling since I posted, or indeed worked on the model
Anyway, I've reached a milestone of sorts - the first layer of planking is now complete
The hull is riddled with errors & mistakes, some avoidable, some entirely of my own making and some due to a total lack of experience
This is my first ever attempt at planking
See what you think


- GrandpaPhil and egkb
-
 2
2
-
-
-
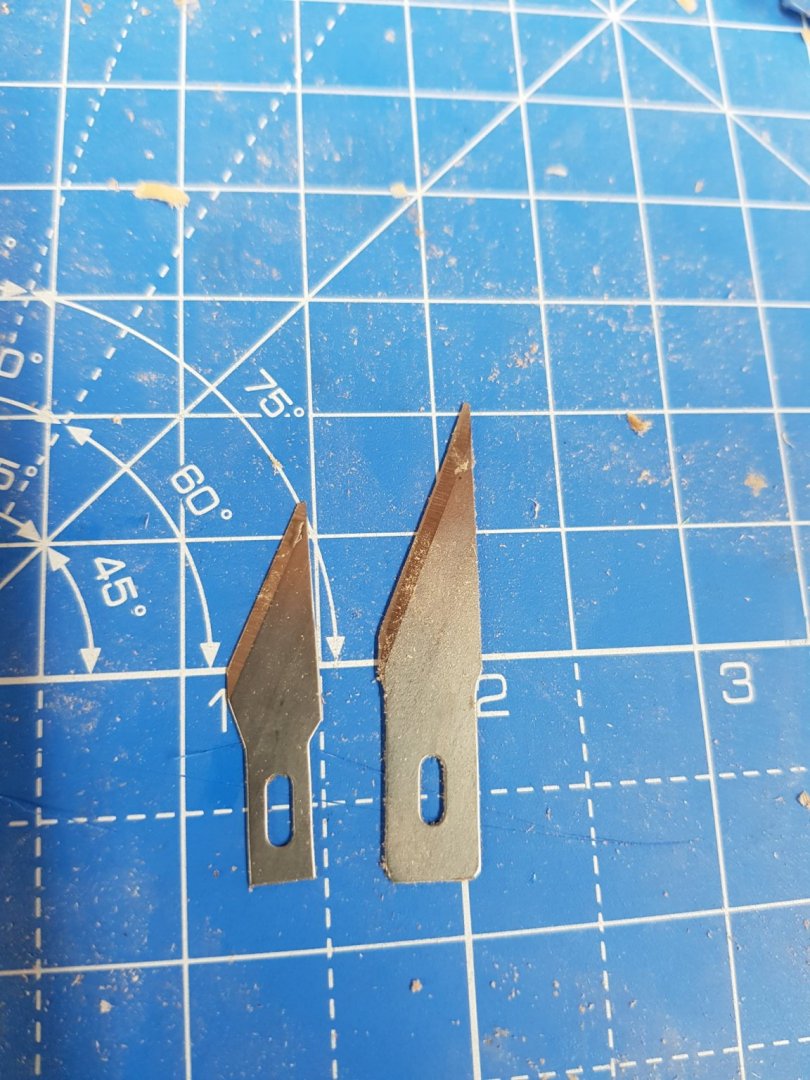
Can someone tell me what the difference is between these 2 blades?
I need some more of the larger ones, but the ones which arrived are the smaller ones
Thanks
-
I believe you make these from one of the rounded dowels, cut in half and the centre portion cut out (it alludes to this in the diagram)
-
Hi Eugenio
Progress has been very slow this last year - work & life always get in the way
However, I've moved the shipyard from the garage to our old kitchen area which doesn't get any use and intend to carry on in the warm throughout the winter.
My first layer of planking is progressing - I'm hopeful this is the most complex part of the build, but time will tell!
- egkb and Eugenio Treviño
-
2
-
Yep. Corel instructions leave a LOT to be desired.
It's sometime quite unfathomable exactly what you're supposed to do and crucially, in which order
-
Personally I think you'd be better off planking the deck yourself
Colour one long edge and one short edge of each plank with a black felt tip (one that doesn't run!) to simulate the calking before applying glue
-
Looking good David!
Patience is definitely the key
-
Yes, regarding that Elmers link on Amazon UK, it says "product currently unavailable" which is a shame
- thibaultron and mtaylor
-
2
-
Your build looks absolutely fine so far, well done
I'm delaying the option to fit copper tiles until I see how the first layer of planking turns out.
I'm more or less at the same point as you on my Corel build but the really challenging parts are up next - lower hull/stern/bow
I'd post some pictures but I'm currently soaking up the sun in Gran Canaria 😎 -
Had a bit of an accident tonight.
I snapped off the top of one of the bulkheads 😕
After sanding the edges down there was a gap of about 2 mm which meant the piece I intended to glue back on was 2mm lower than it should be, so I had to make a small filler to raise it back up
If it all sticks ok, it shouldn't be a problem as the top deck isn't glued down yet and the offending piece will be hidden on the outside by the hull planking and on the inside, it's covered by the top deck
Set me back by another evening though.
-
-
-
-
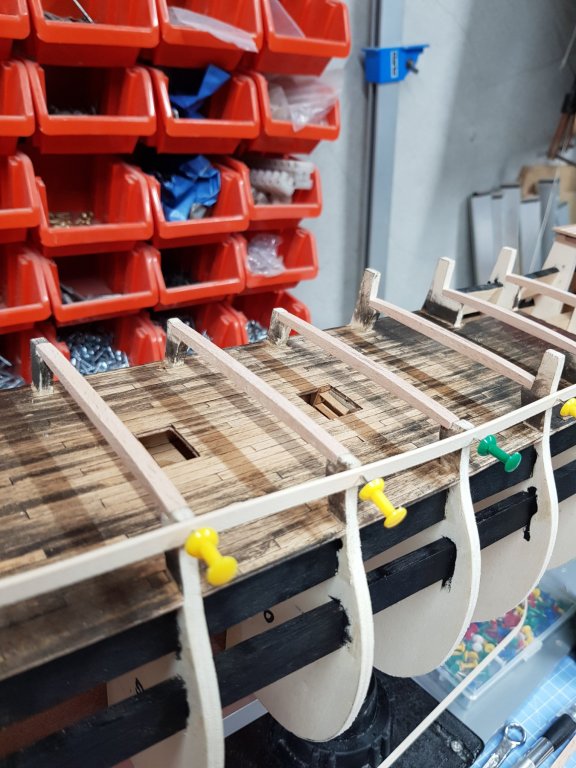
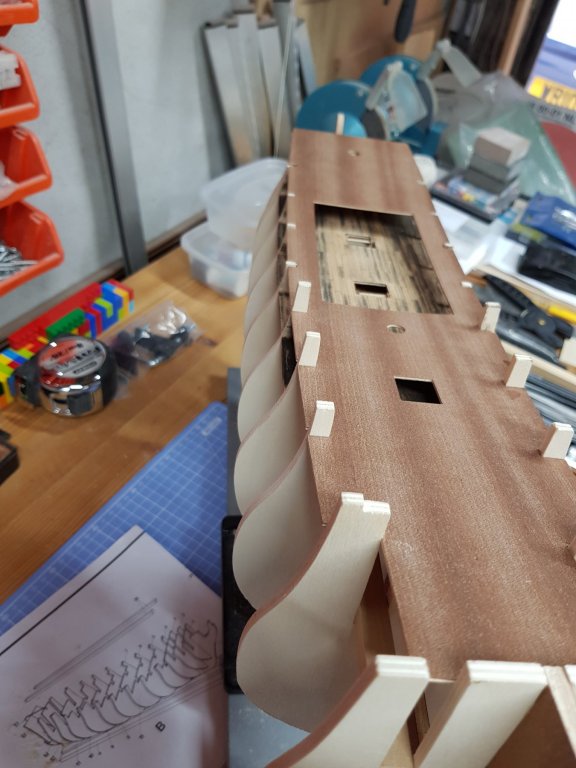
Had a break from stern fillers today and did some other stuff
Finished installing the gun port backings and painted them black.
Cut, shaped and dry fitted the deck beams part 28
Tested the fit of one blank without bending, just to get a feel for how much bending is required
All in all, I thoroughly enjoyed today's efforts
The lower deck I've attempted to age it. I applied some walnut stain (which comes out black) then scraped it back to reveal the original surface.
The walnut has really penetrated into the deck but looking it closely, it's left some lovely black lines in the grain after scraping
I'm not worried about some of the blacker areas towards the front & rear of the deck as these areas will be hidden by the main deck


-
Of course I don't mind. Great to have you on board my friend
Just as I'm following your build
-
Plenty of dry fitting to come!
Thank you Sea Hoss (great name & avatar)
-
Nice insight Phil.
I did manage to look at a couple of pictures from Challenger's build and they show about 80% of what I'd like to see, but I think a germ of a plan is forming inside my less than stellar mind - so I'll let it runs it's course and see what it comes up with
Thank you
-
Thank you Vane for your kind words of encouragement
I must admit it's a bit disheartening to ask questions which seem to be ignored by members of the community
All I'm really trying to avoid is making mistakes but with some of these issues I seem to be literally making it up as I go along with little or no guidance
I will keep on muddling through as best I can
-
I'm so glad I found this thread.
I'm having the same problem with the stern fillers as Rob was having way back on page 1
Beautiful build by the way. Looking forward to planking now and hopefully getting the hull finished
-
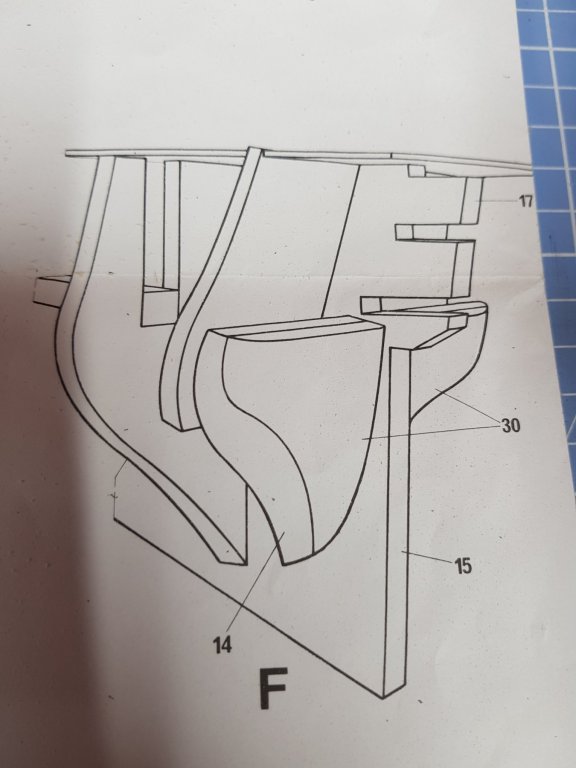
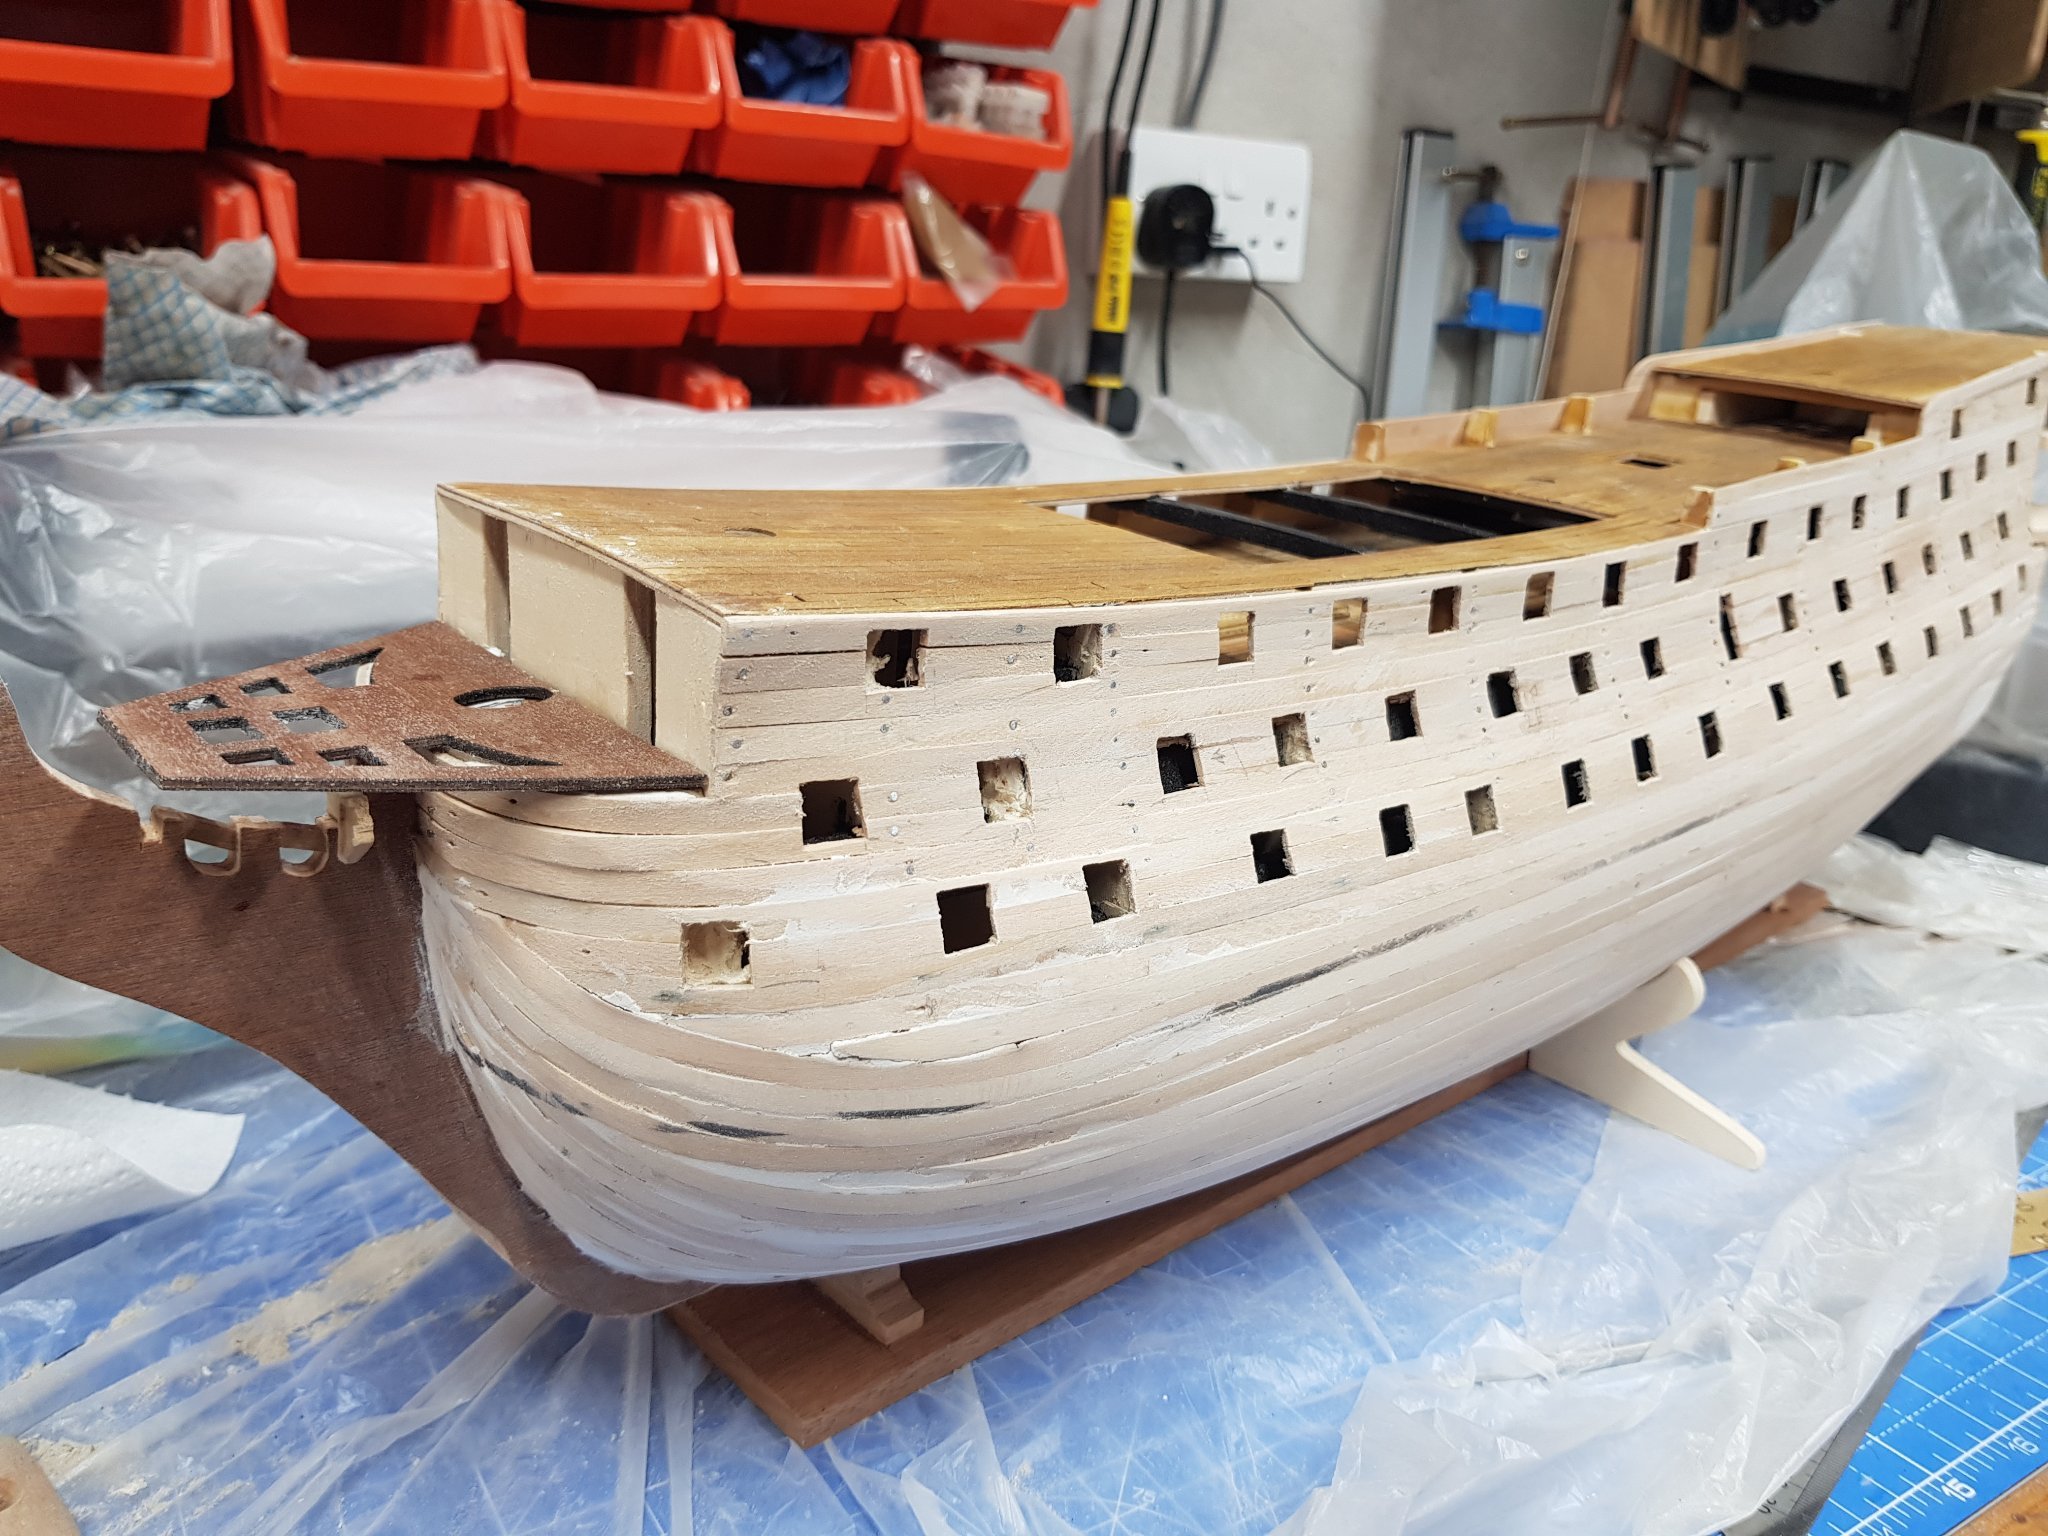
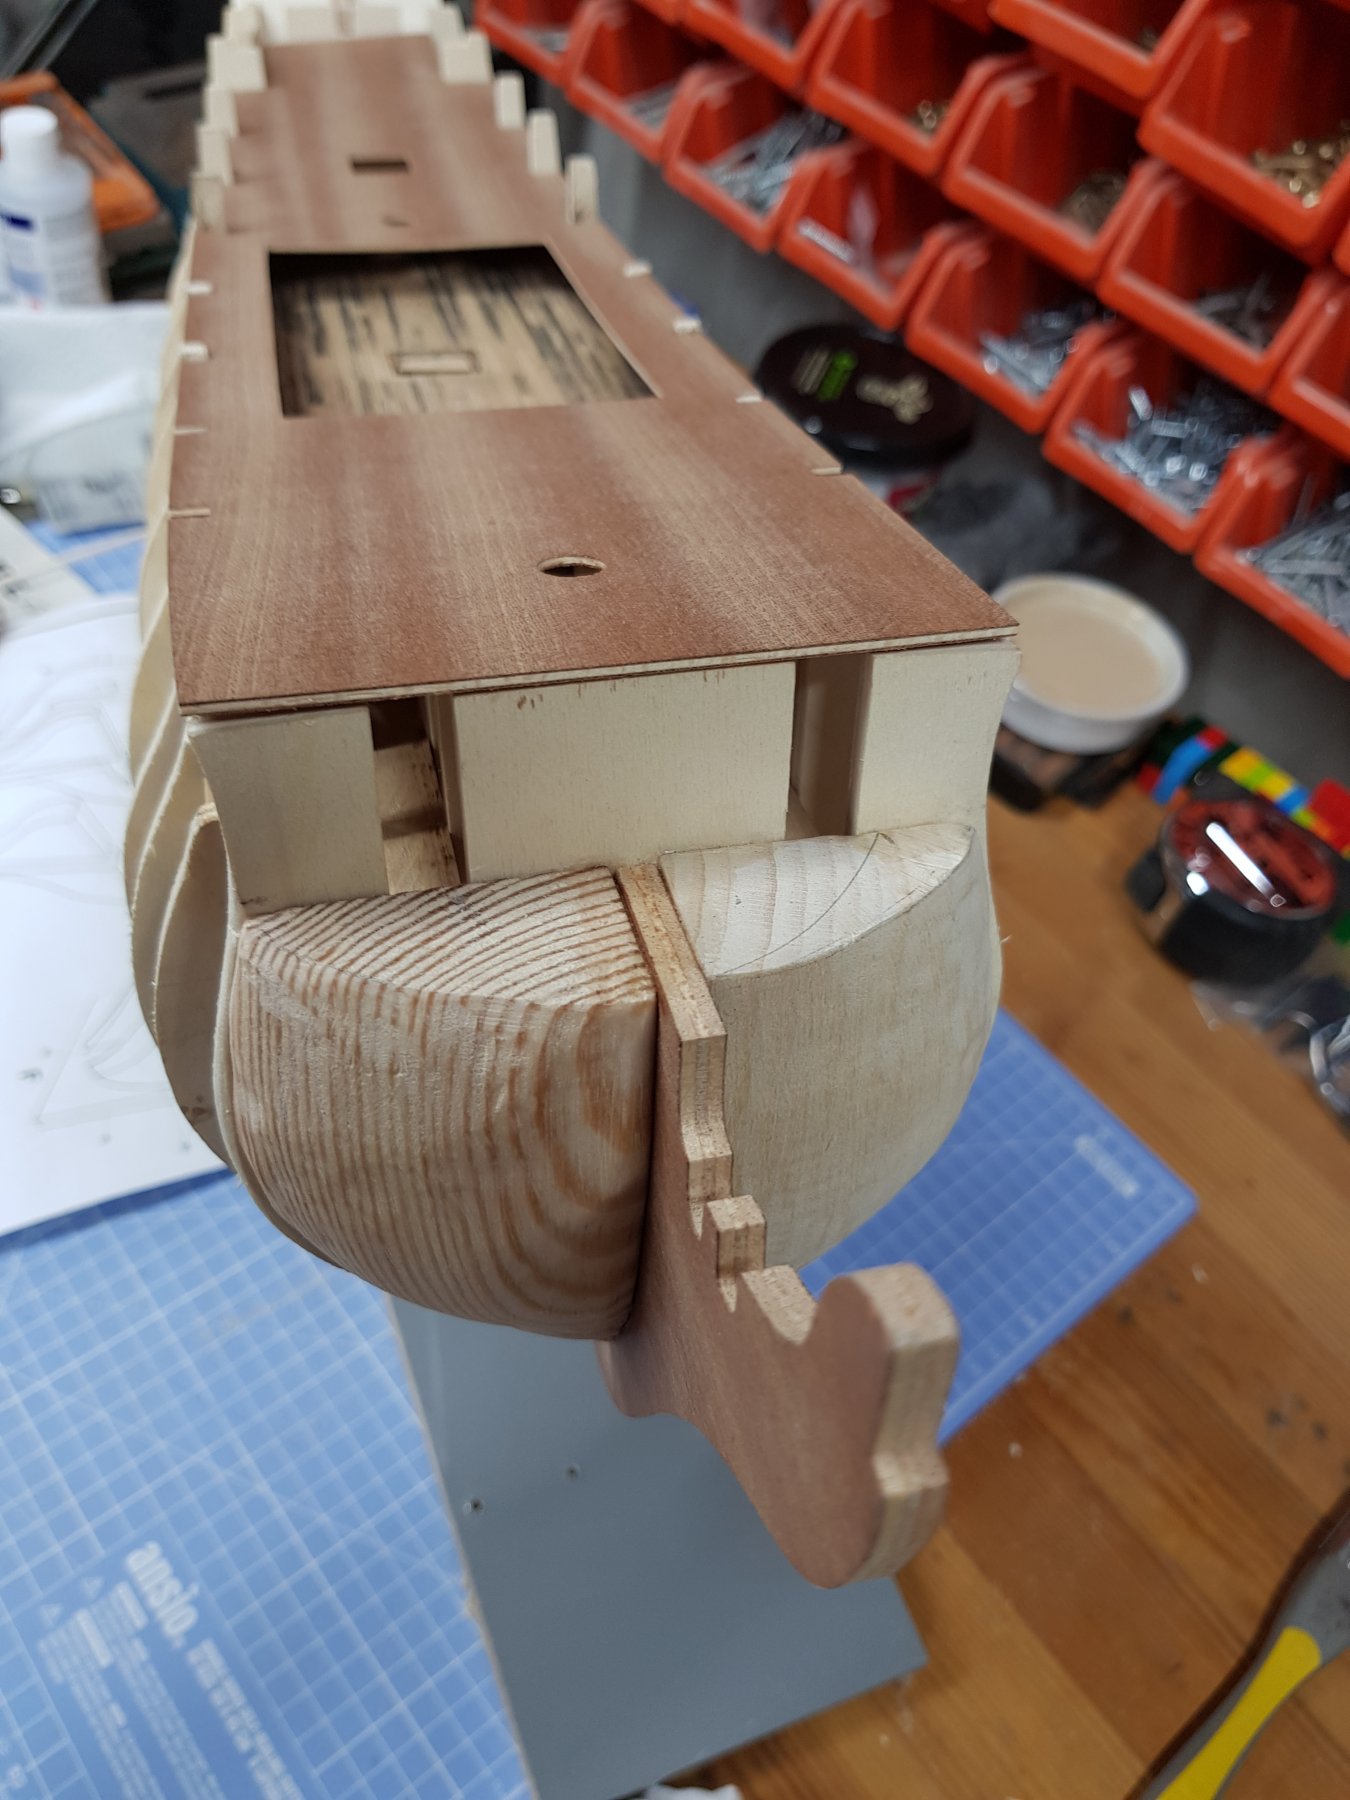
Which brings us to my issue.
Looking at the plans, plates E & F show the placing of the stern fillers
I'm concerned about how these actually get shaped into place
Looking at the diagram in E, you can see the original piece supplied by Corel mounted on the frame.
The piece shown on the right of the figure shows a dotted line which is meant to be carved out.
So far so good
Now compare it to the diagram labelled F
looking vertically down, the piece is shaped with a nice curve where it attaches to frame 14
But in E, it's shown as a straight cut which doesn't make sense.
Likewise, the taper of the bottom of the piece in F again shows a curve, but in E there appear to be more material left than is carved out in F
Totally confused by this. I don't want to remove too much material as correcting this afterwards would be a major pain and I want to try and get this right.
so, any ideas dear people?

-
Hi all
It's been a while since I last posted so a quick update followed by my current problem.
Work has been slow just having evenings & weekends to work in the shipyard, but I've done the lower deck planking, fitted the bow filler pieces, installed the gun port backing on the starboard side and have started work on the stern fillers


HMS Victory by mfrazier - Sergal 782 - 1:78 scale
in - Kit build logs for subjects built from 1751 - 1800
Posted
Mark, your health is far more important than building a ship!
Get yourself well before you even set foot back in the shipyard