
Slowhand
-
Posts
236 -
Joined
-
Last visited
Content Type
Profiles
Forums
Gallery
Events
Everything posted by Slowhand
-
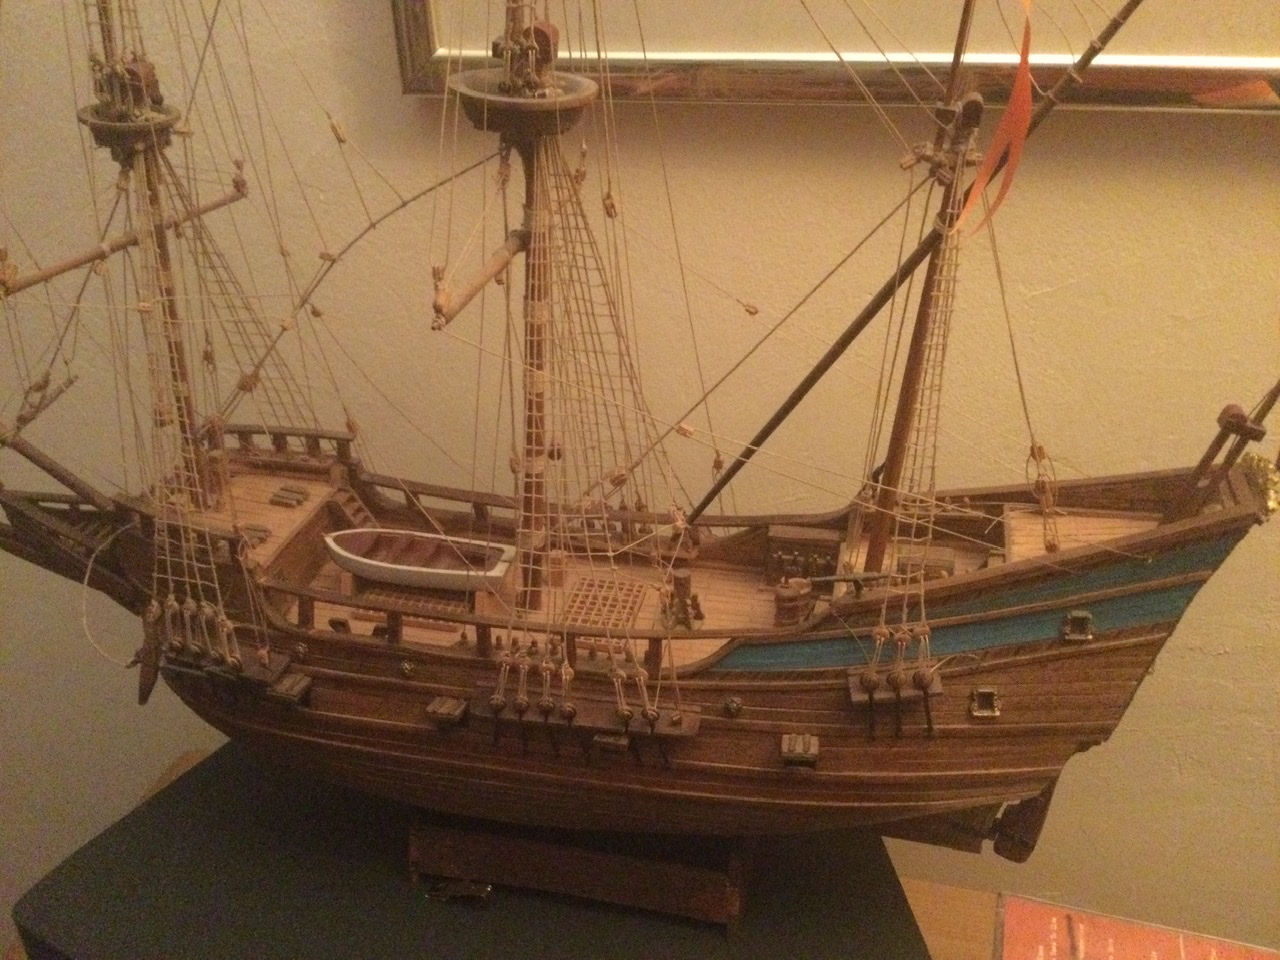
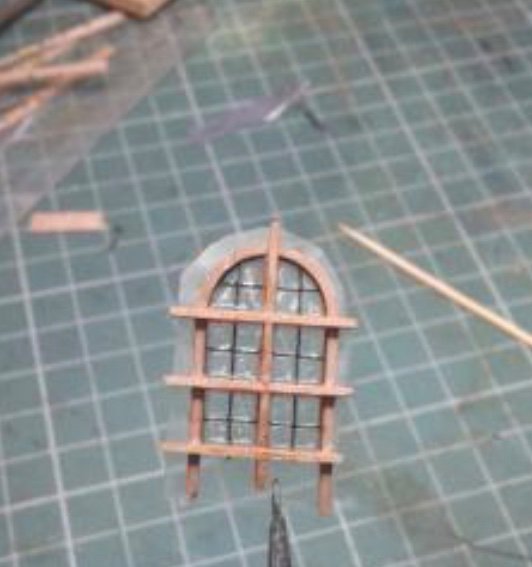
I wonder if this build was ever completed such a shame if it was not? I am thinking of building this kit and was wondering how Costeo made the windows shown in first post of the build. Alway think a galleon looks better if the window / doors etc are real apertures.
-
Nice build, you can sail on a gaff rigged ship The Golden Vanity which is nearly identical to a Mumble-Bee. I did this year, a weekend sailing round the Isle of Wight anti-clockwise.
- 206 replies
-
- 2
-

-

-
- Vanguard Models
- Brixham trawler
- (and 2 more)
-
Mayflower by tj456 - 1/19 scale
Slowhand replied to tj456's topic in - Build logs for subjects built 1501 - 1750
Hi, TJ before you start on the starboard side and lose access to the port side do you think your thin ribs will be strong enough? -
Tim thanks, I must have been expecting the filler to do too much. You’ve probably seen David Duckett’s models, your Spitfire is as good.
-
A question for Tim, which I forgot to ask when thread was previously alive was when I tried doing similar with a Guillow's Hurricane I found getting a finish on the in-filled wood incredibly frustrating. Applied a filler and sanded and found the finish was mostly good except for a few areas where filler broke away. So filled these and sanded again then another rough area had appeared and so on. One step forward and one step back. Being in Uk, filler was not exactly the same as yours but tried at least two and same problems. Eventually accepted would not get a prefect finish.
-
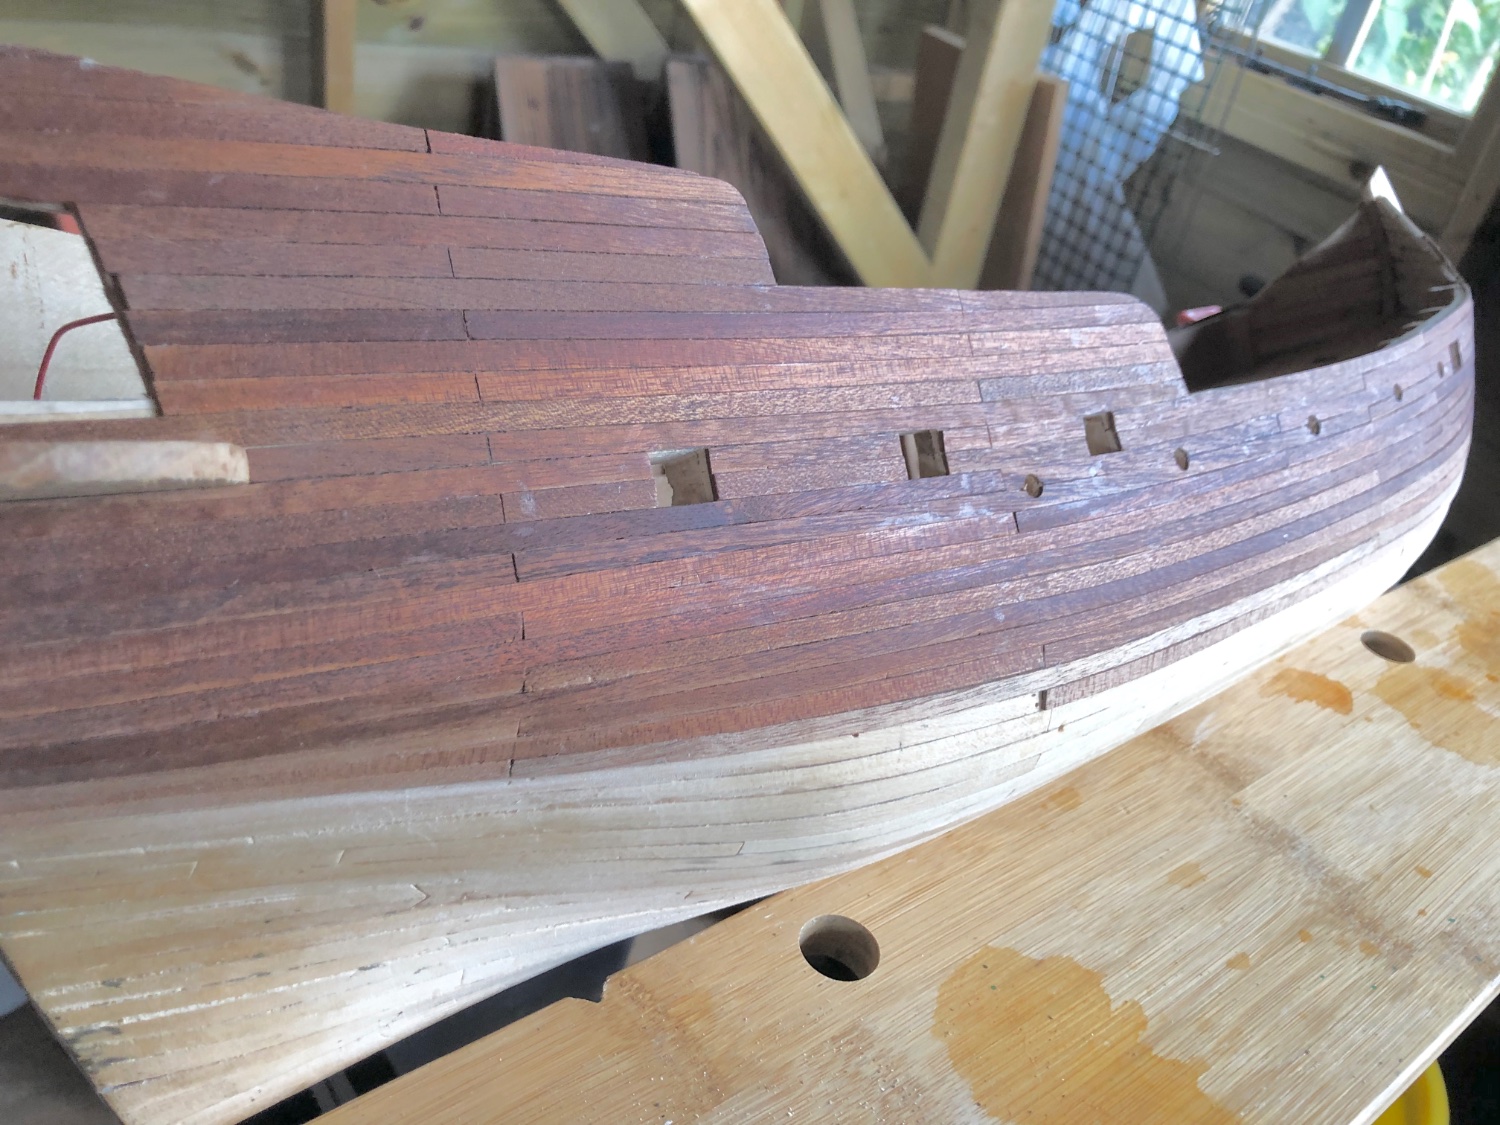
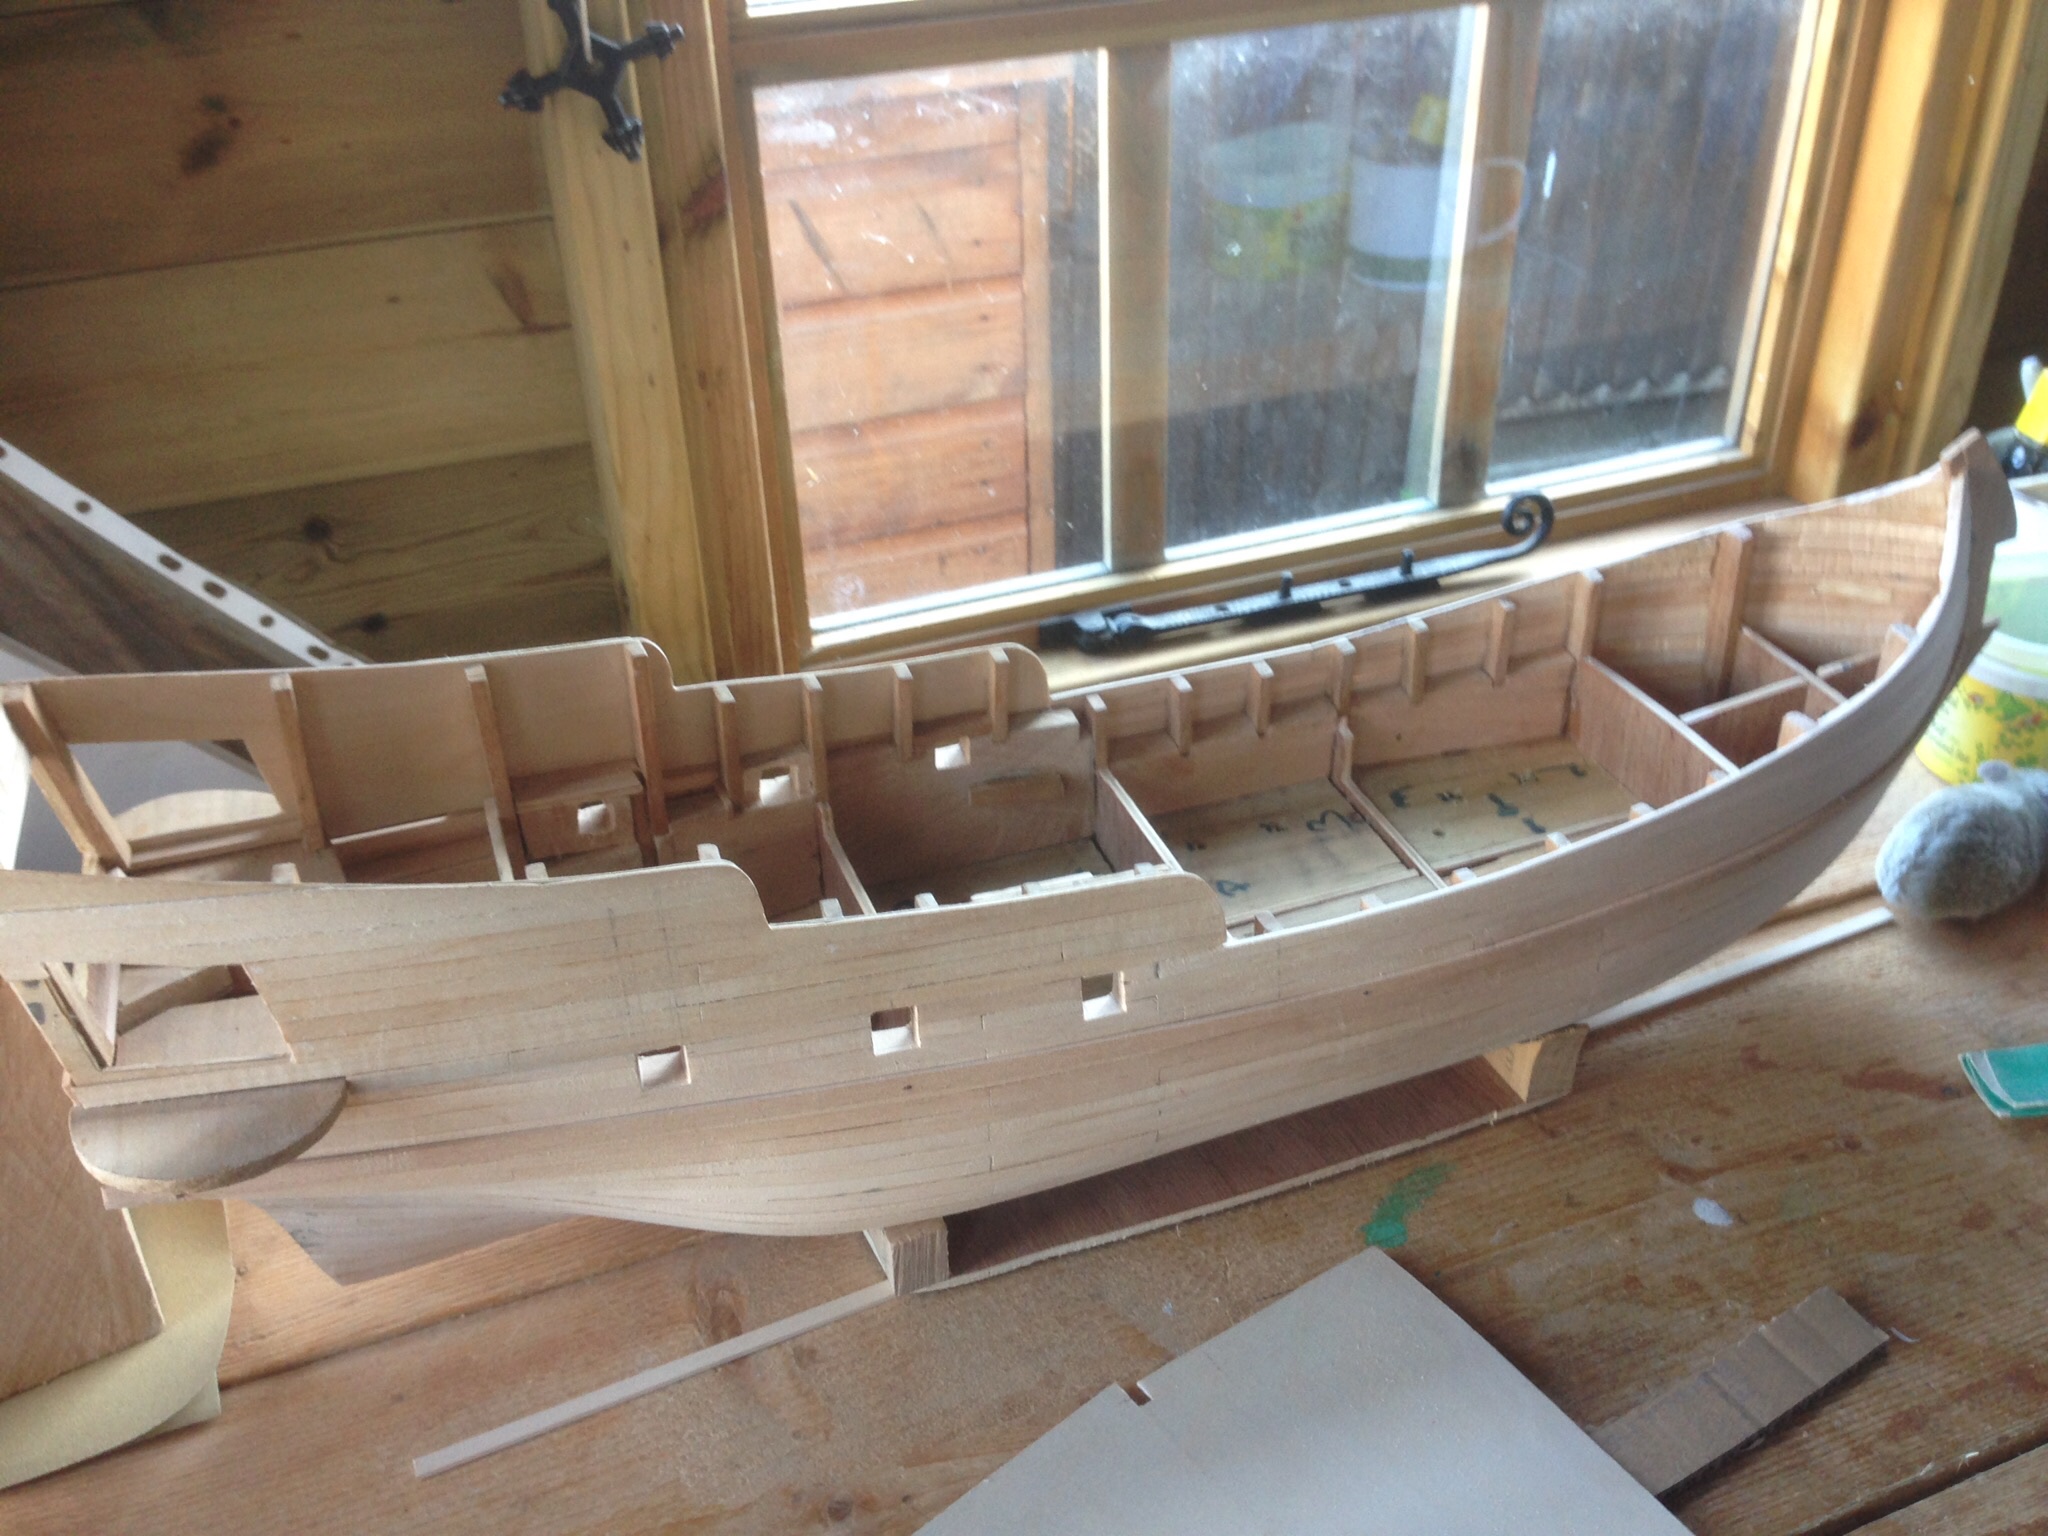
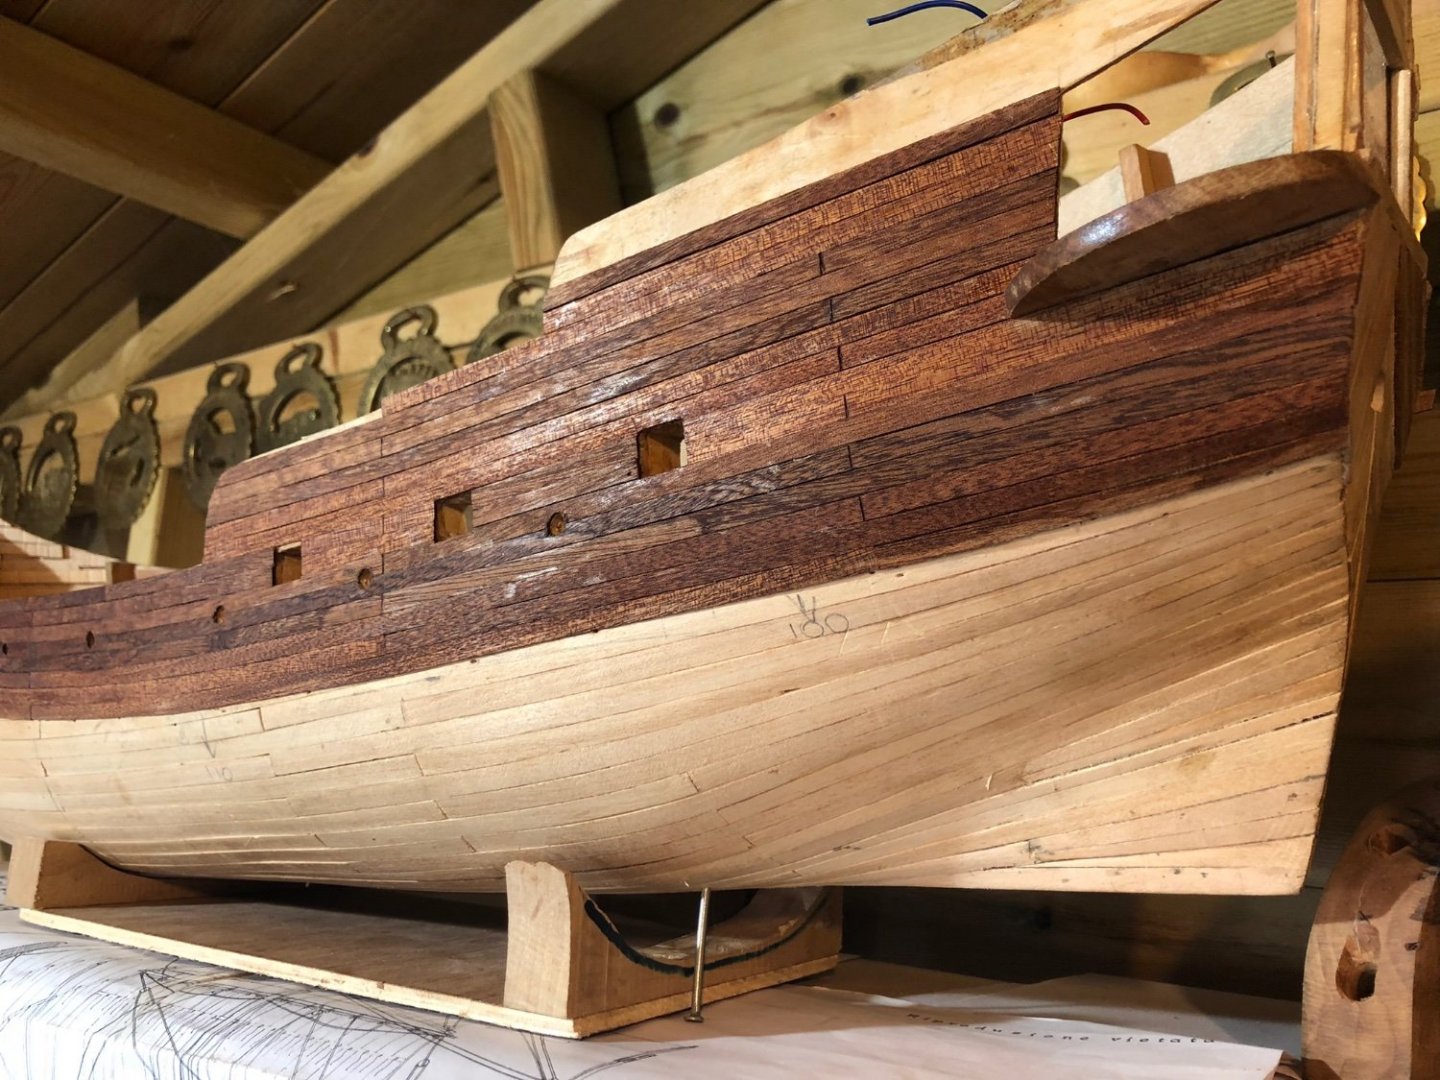
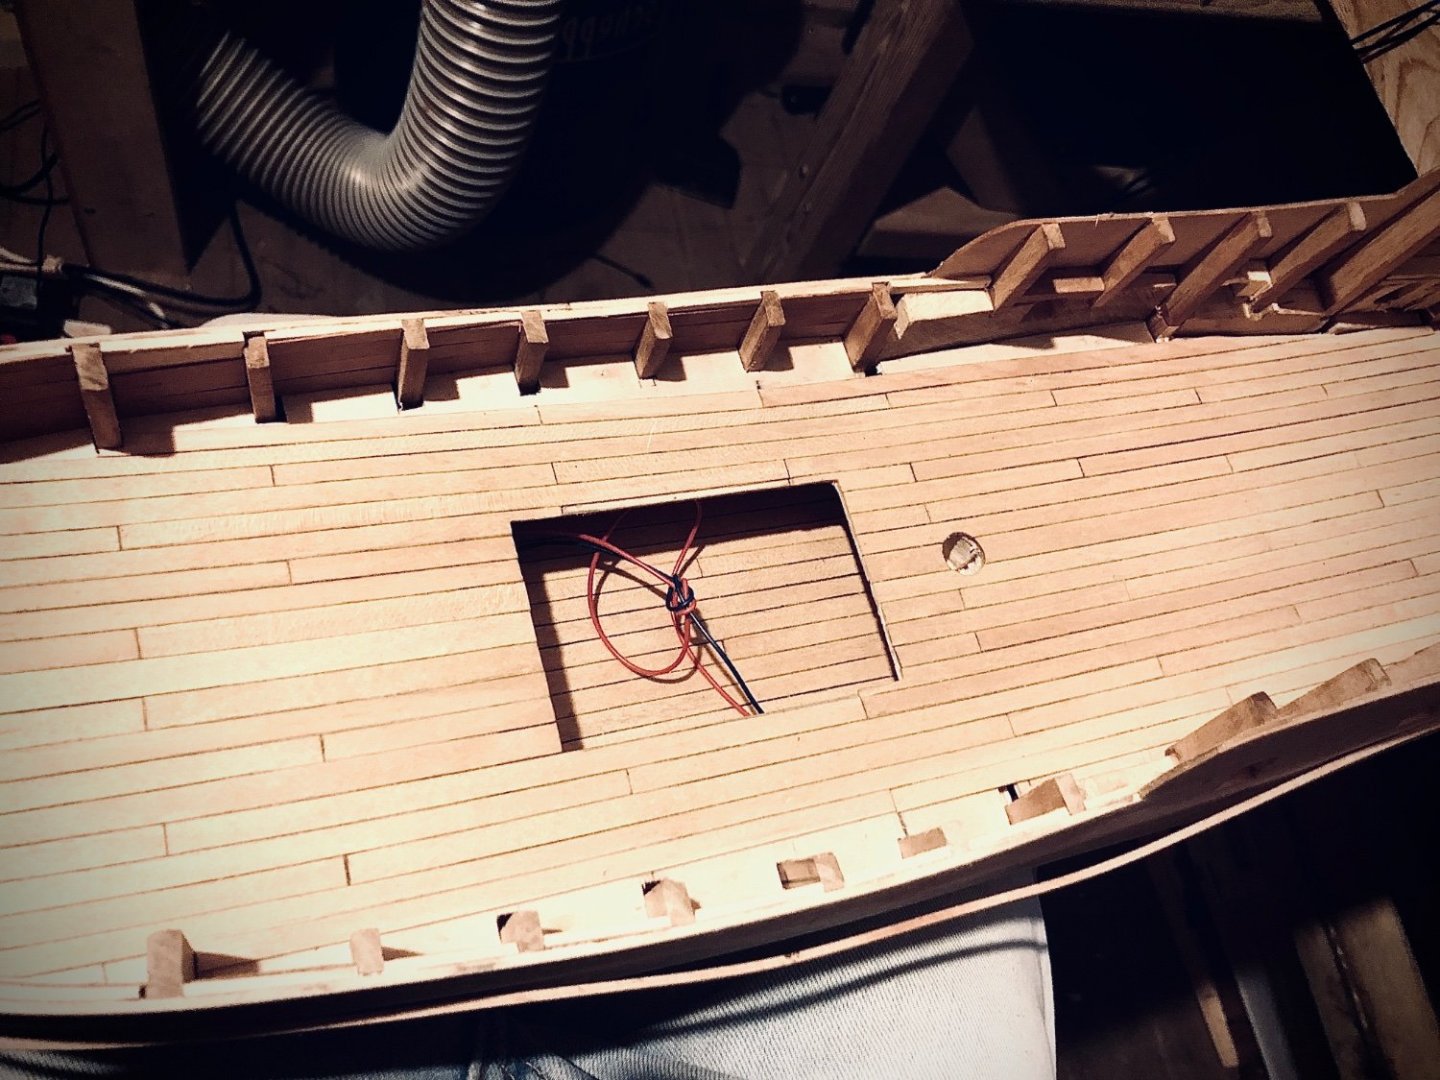
Living up to my name, Slowhand, that’s just about the end to the upper hull planking on both sides. Below that is below water-line and will be covered in ‘white stuff’ so I can use Lime. Rather than adding separate post for more planks just added photo update.


-
Well this took longer than expected but caught up with the port hull side planking. Cold weather slowing down drying of the wood glue and the length of the hull has meant progress much slower than hoped for. For the first time in a while happy where builds going. Eedge bended planks at bow that removed need to spile so thanks Chuck
-
Just stumbled across this, what a wonderful build, are you using lime for the planking? And I guess you used a scroll saw for the bulkheads.
-
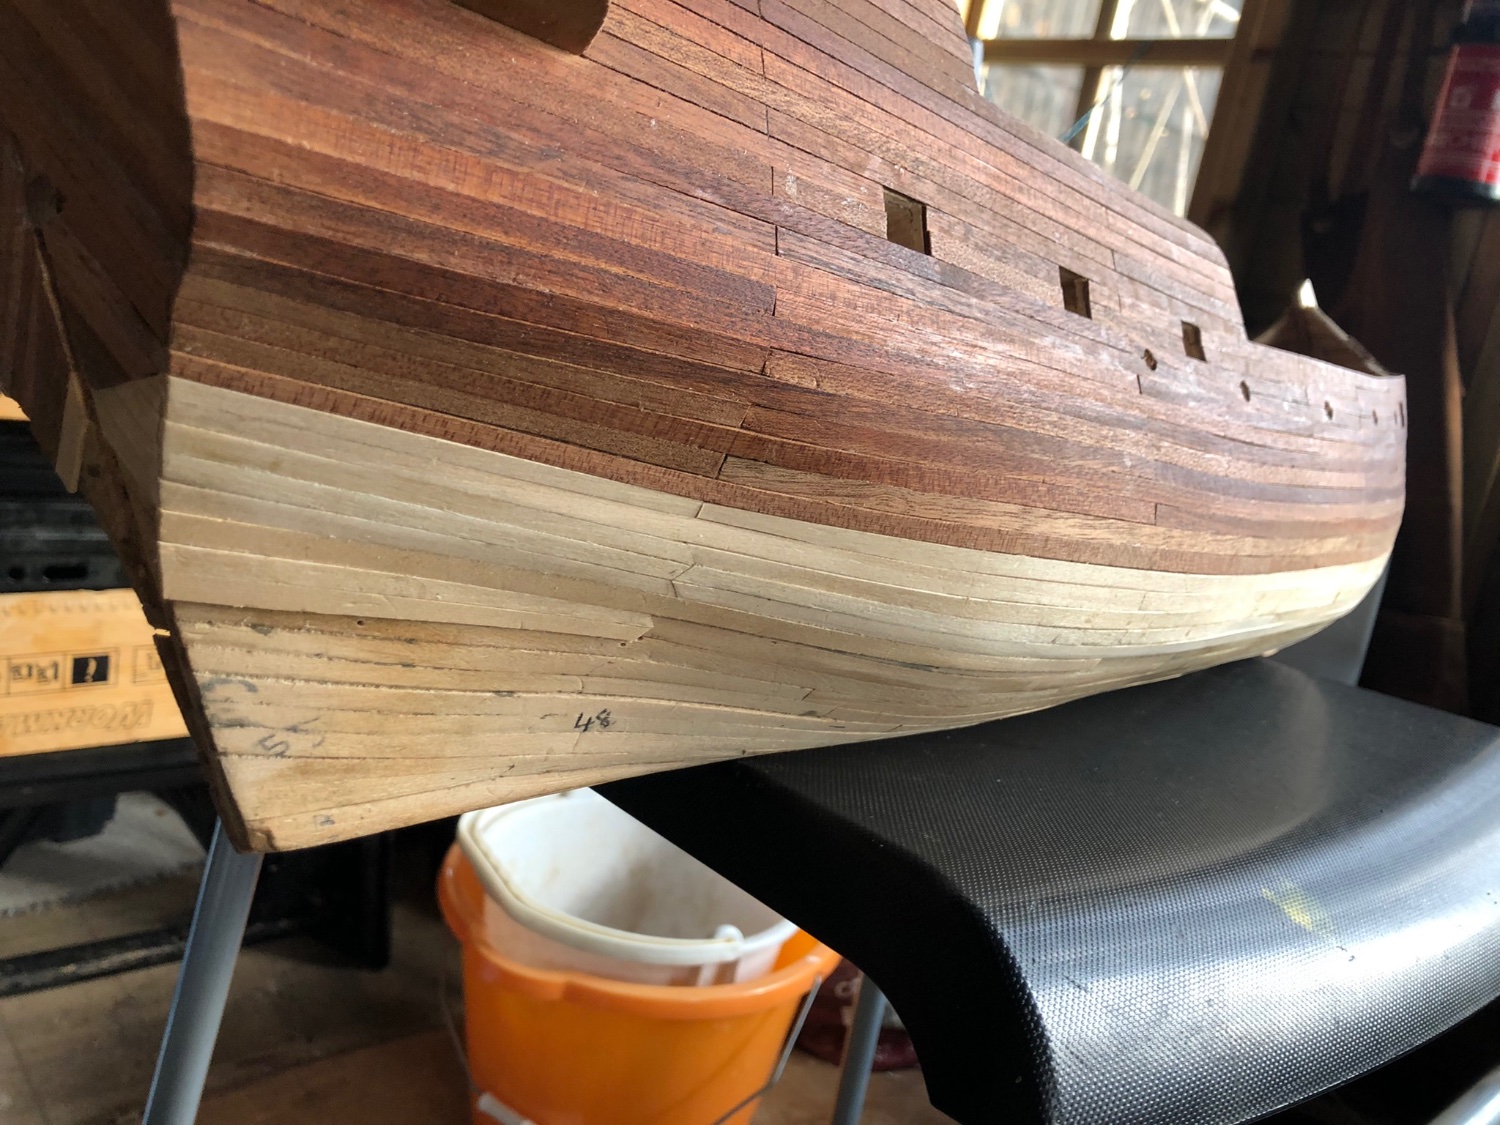
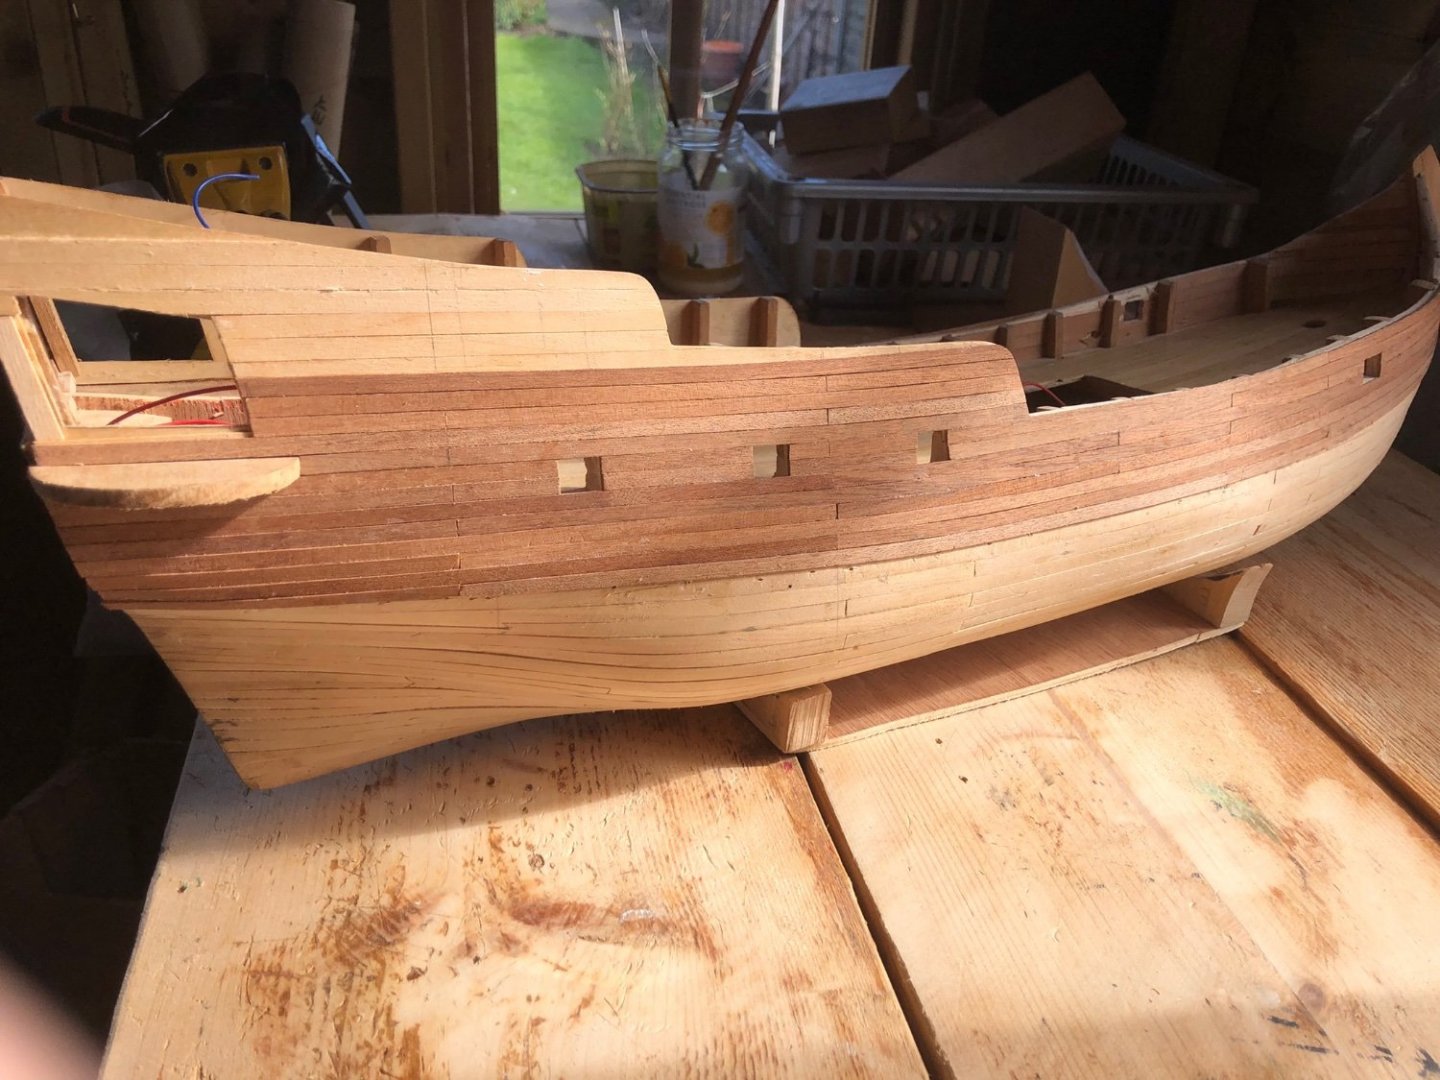
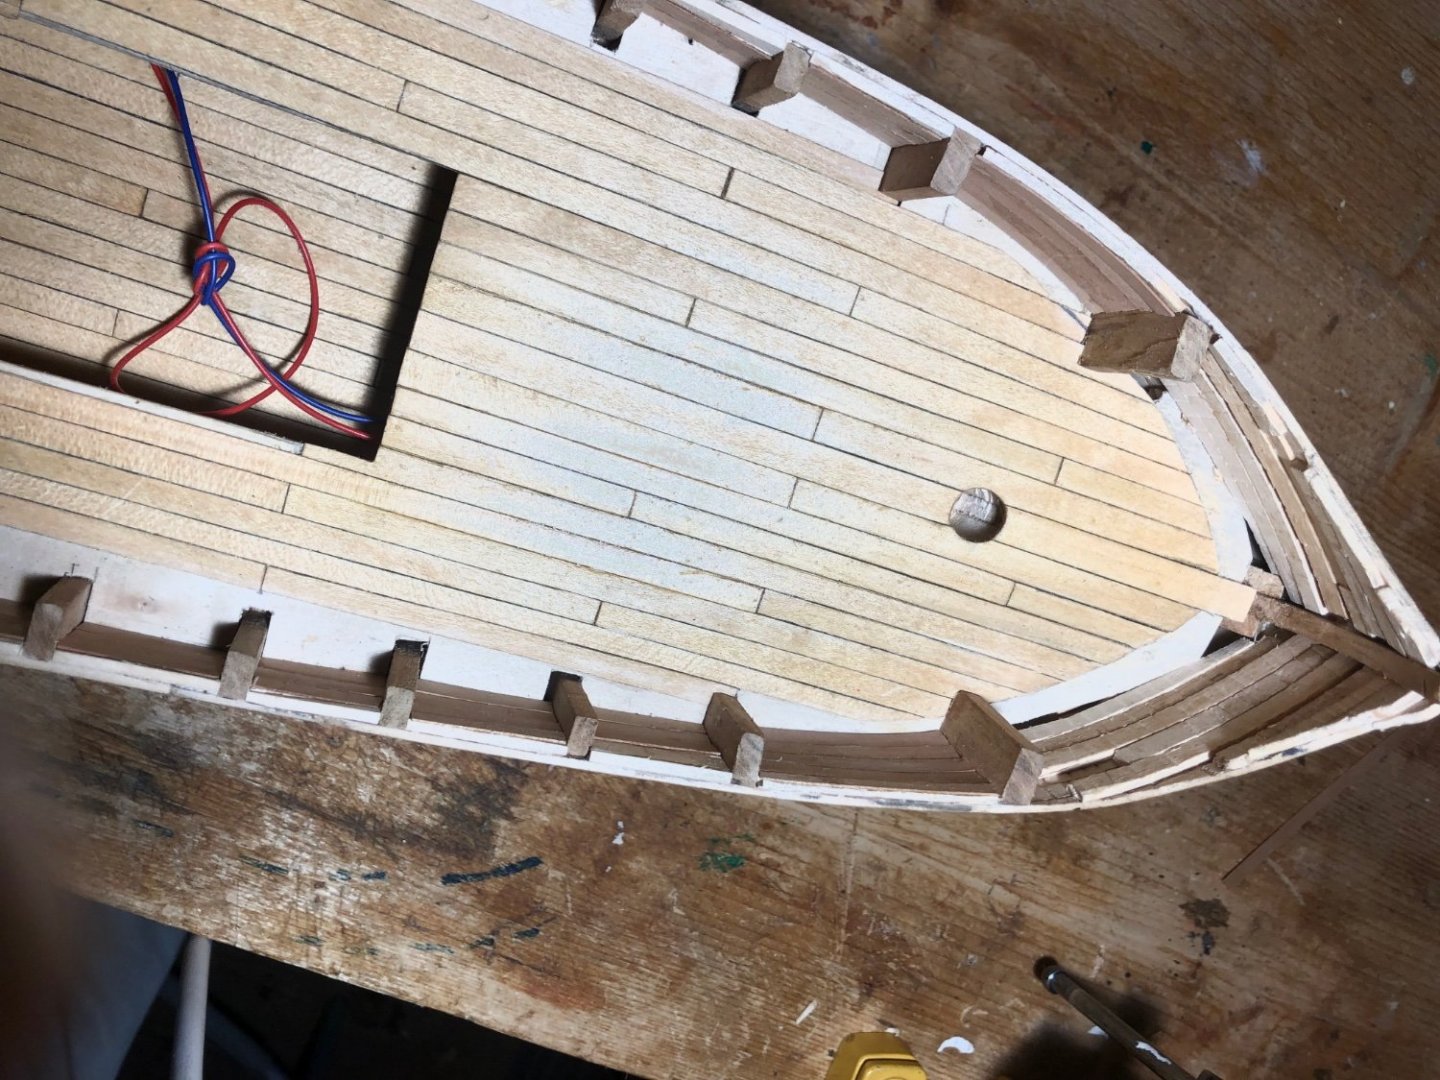
Well it’s been a time since my last post, bit of problem getting sheet pear or cherry wood which I need to do final layer of planking at the bow and mid ships, hopefully edge bending will remove need to spile. Intended supplier no longer has any in stock. The bow almost like a Viking longship. Decided to put project to one side, but before doing so would plank the stern as neatly as possible to encourage me to pick it up again some stage in future. Planking in mahogany best compromise as uncertain supply in pear may do below below waterline in lime and cover with whitestuff as in orig model. Just received a Dumas Tiger Moth so that’s next.
-
Yes Doris, your work is quite amazing a true crafts person
- 1,035 replies
-
- 3
-
-
- royal katherine
- ship of the line
- (and 1 more)
-
Thanks Steven, I’ll just keep on going, trying my best.
-
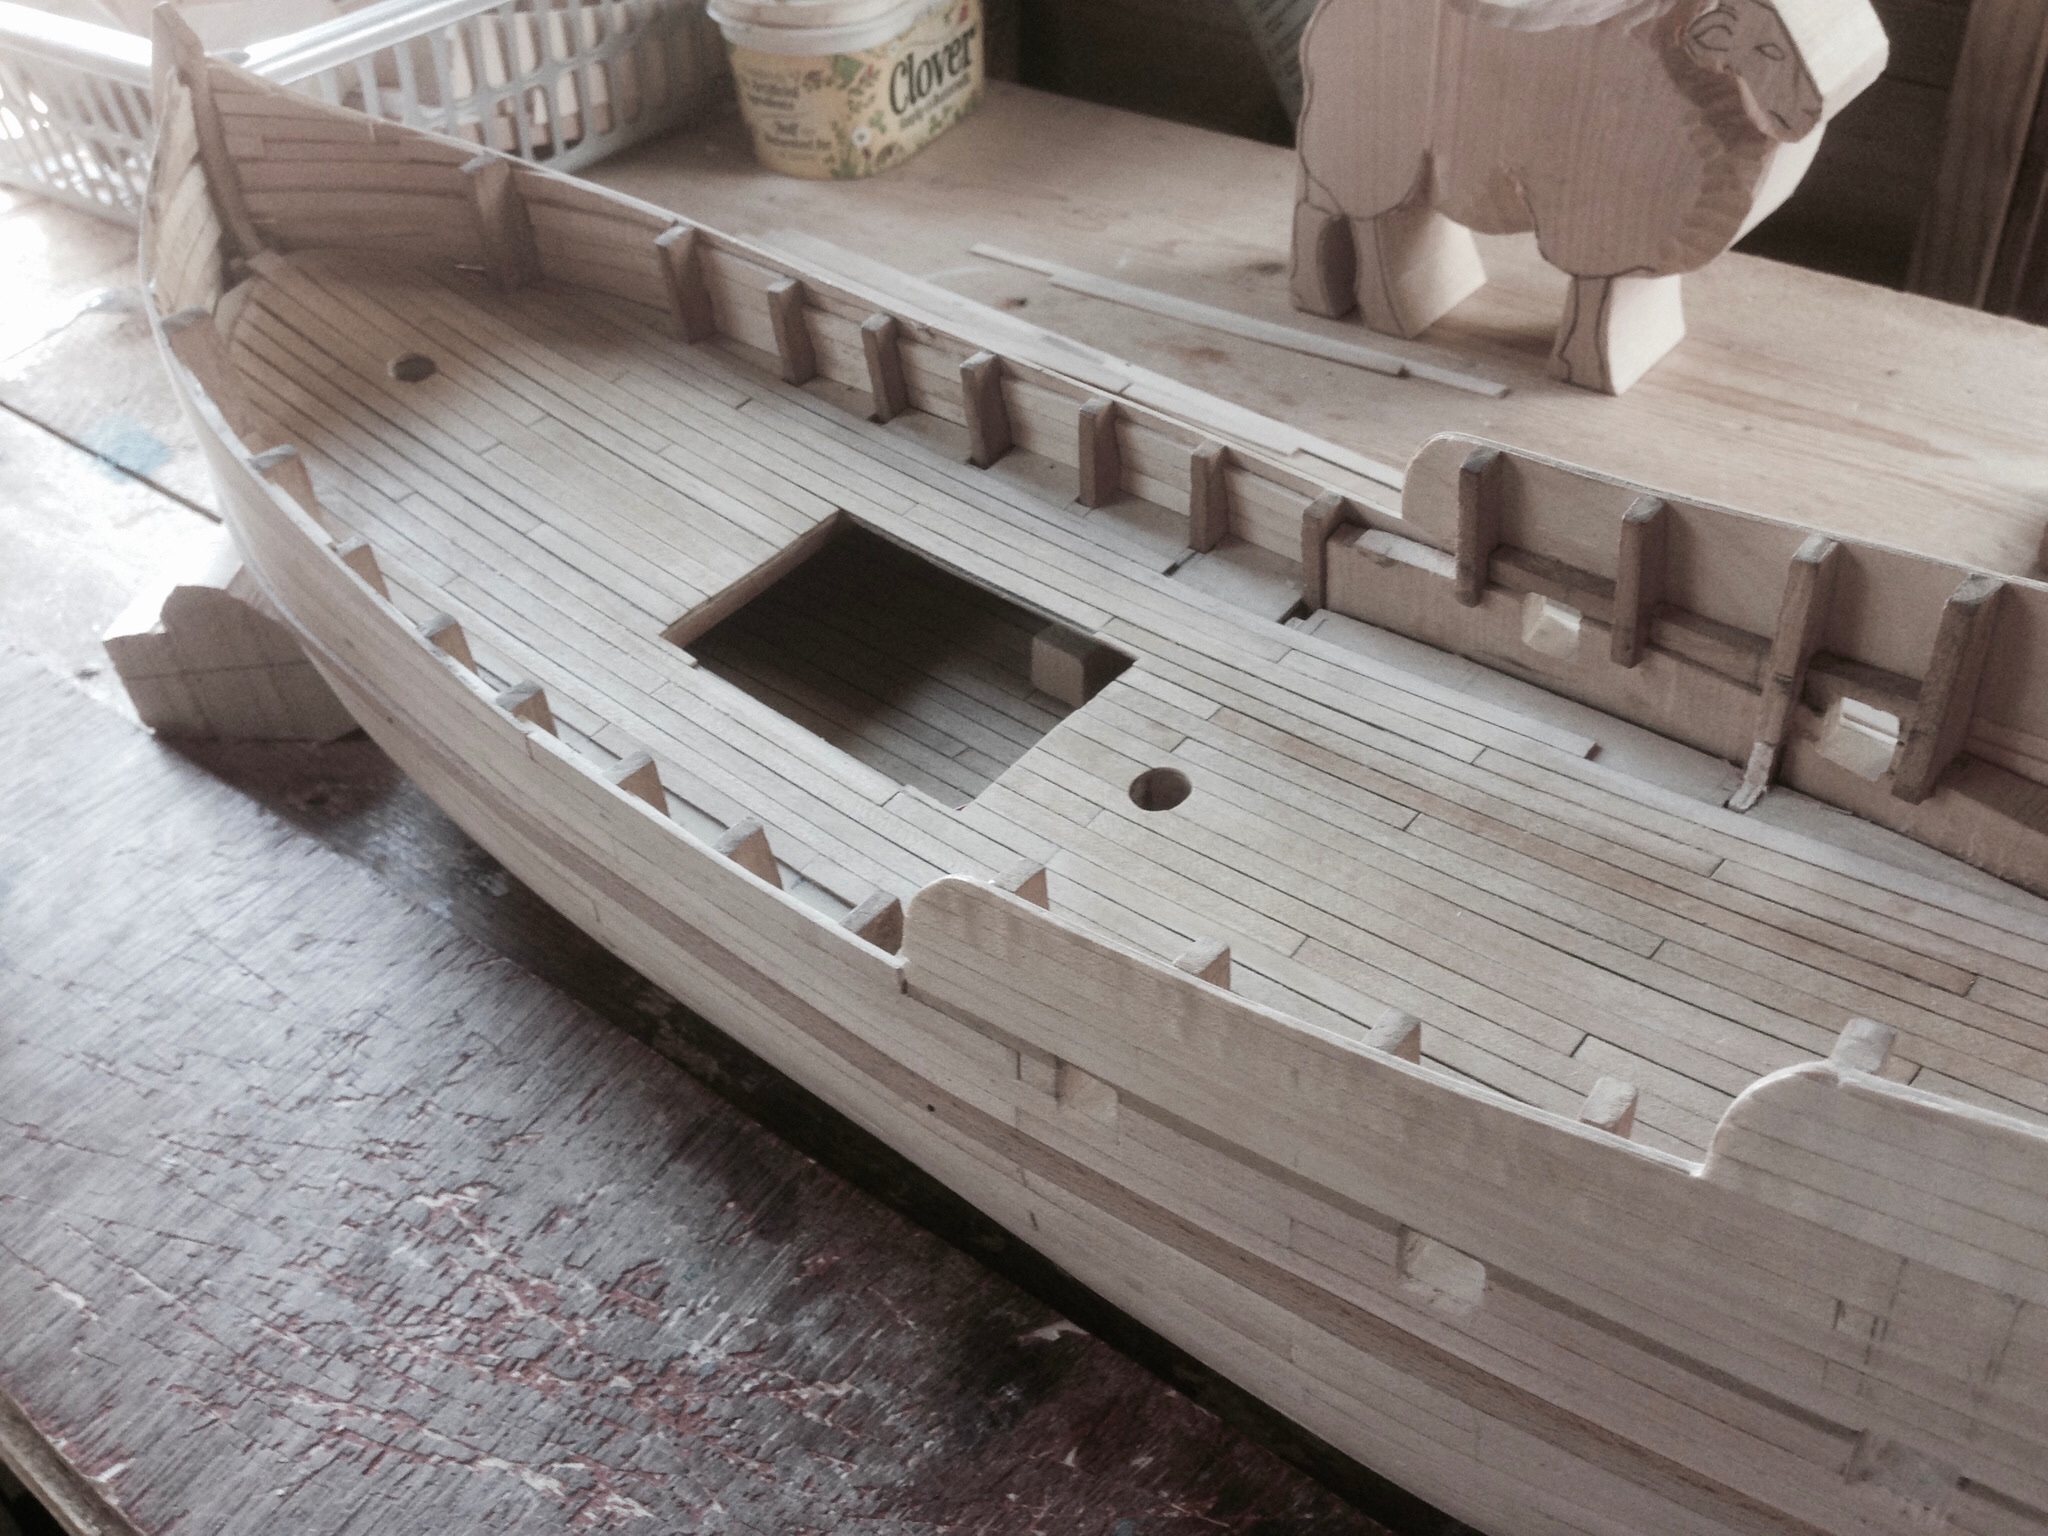
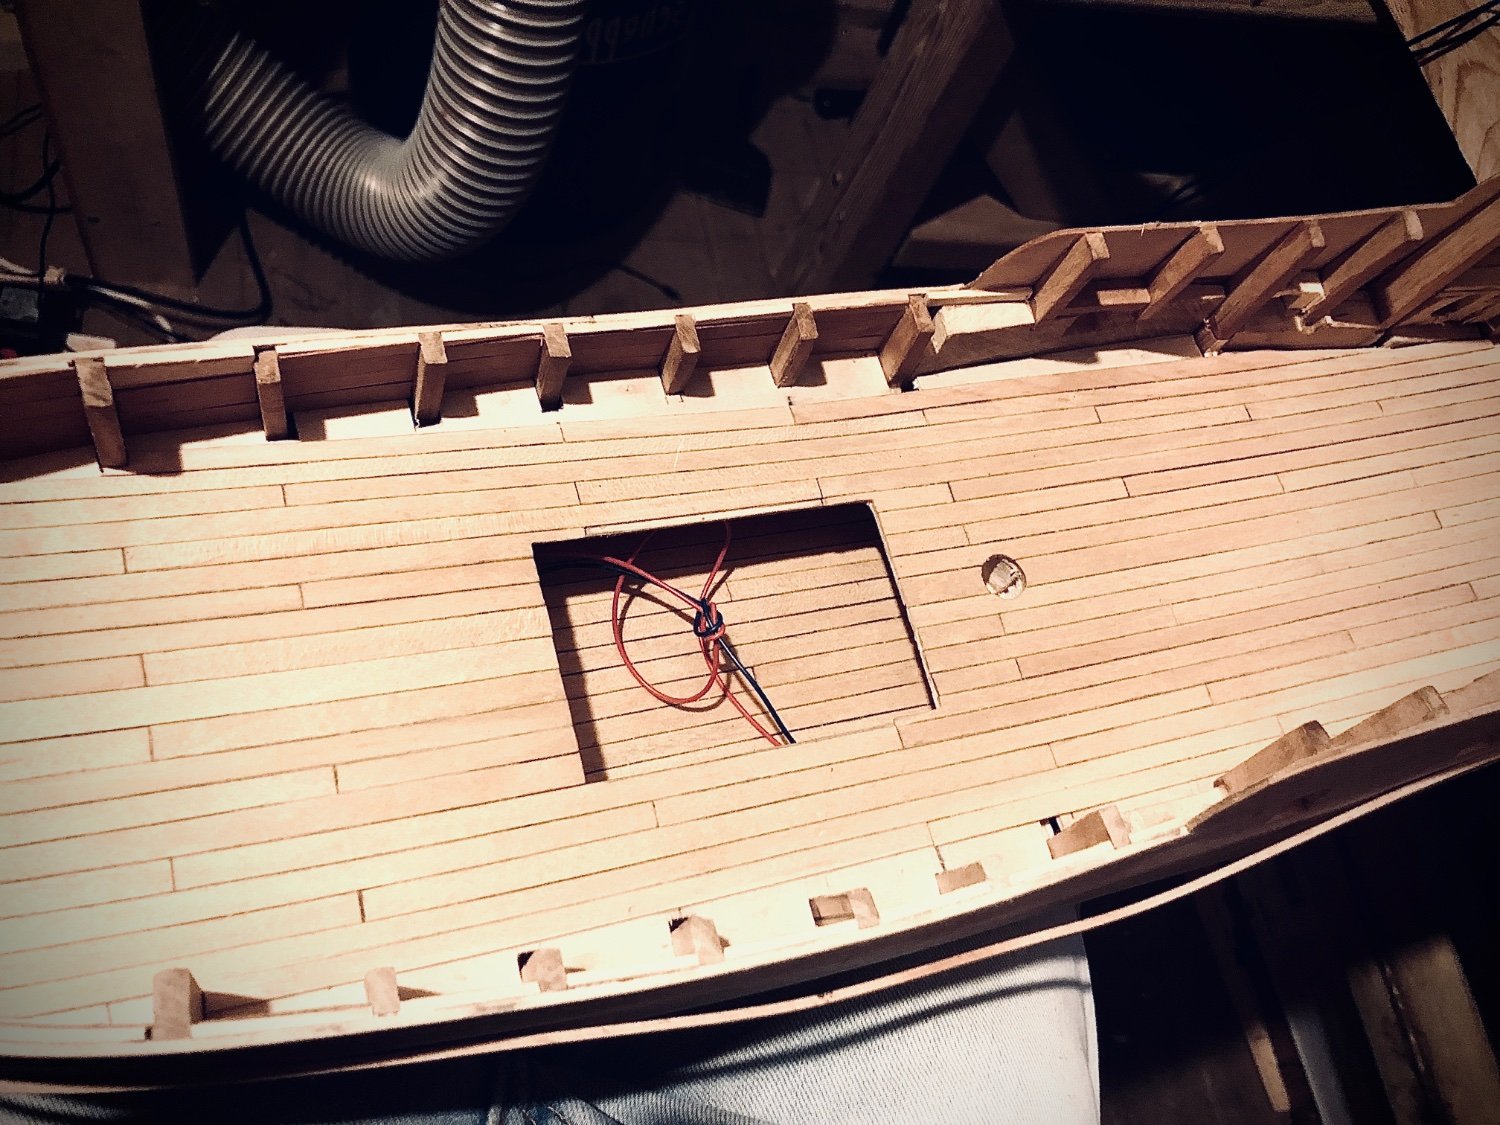
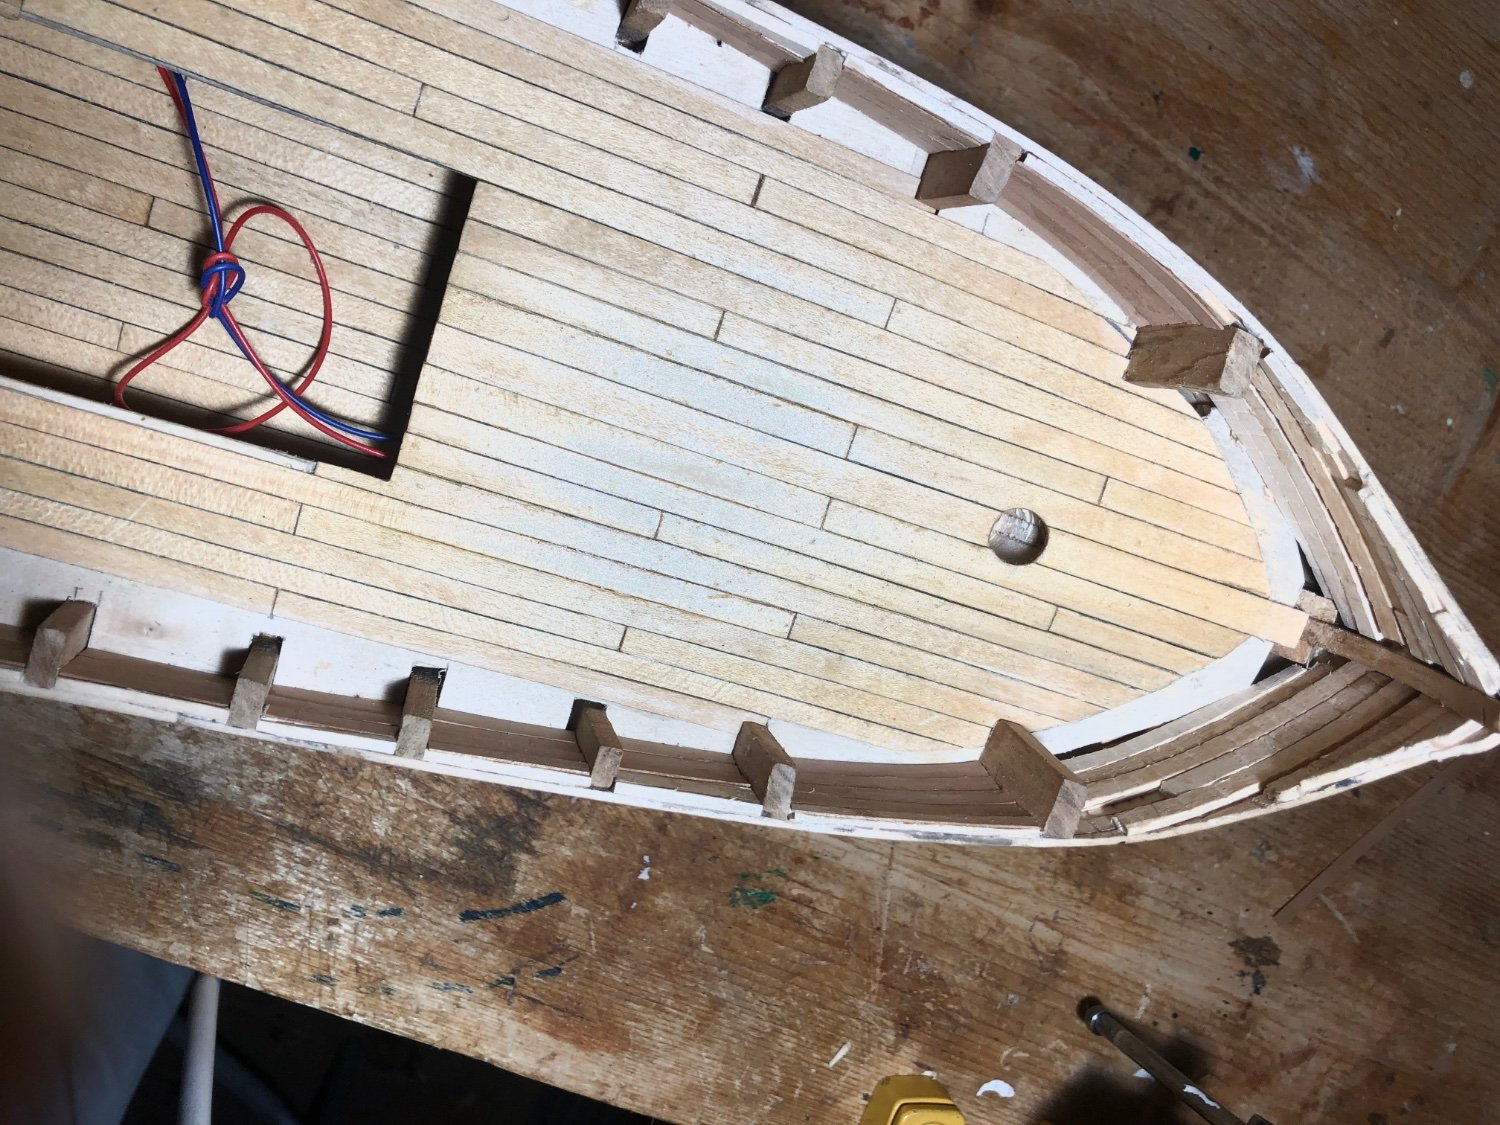
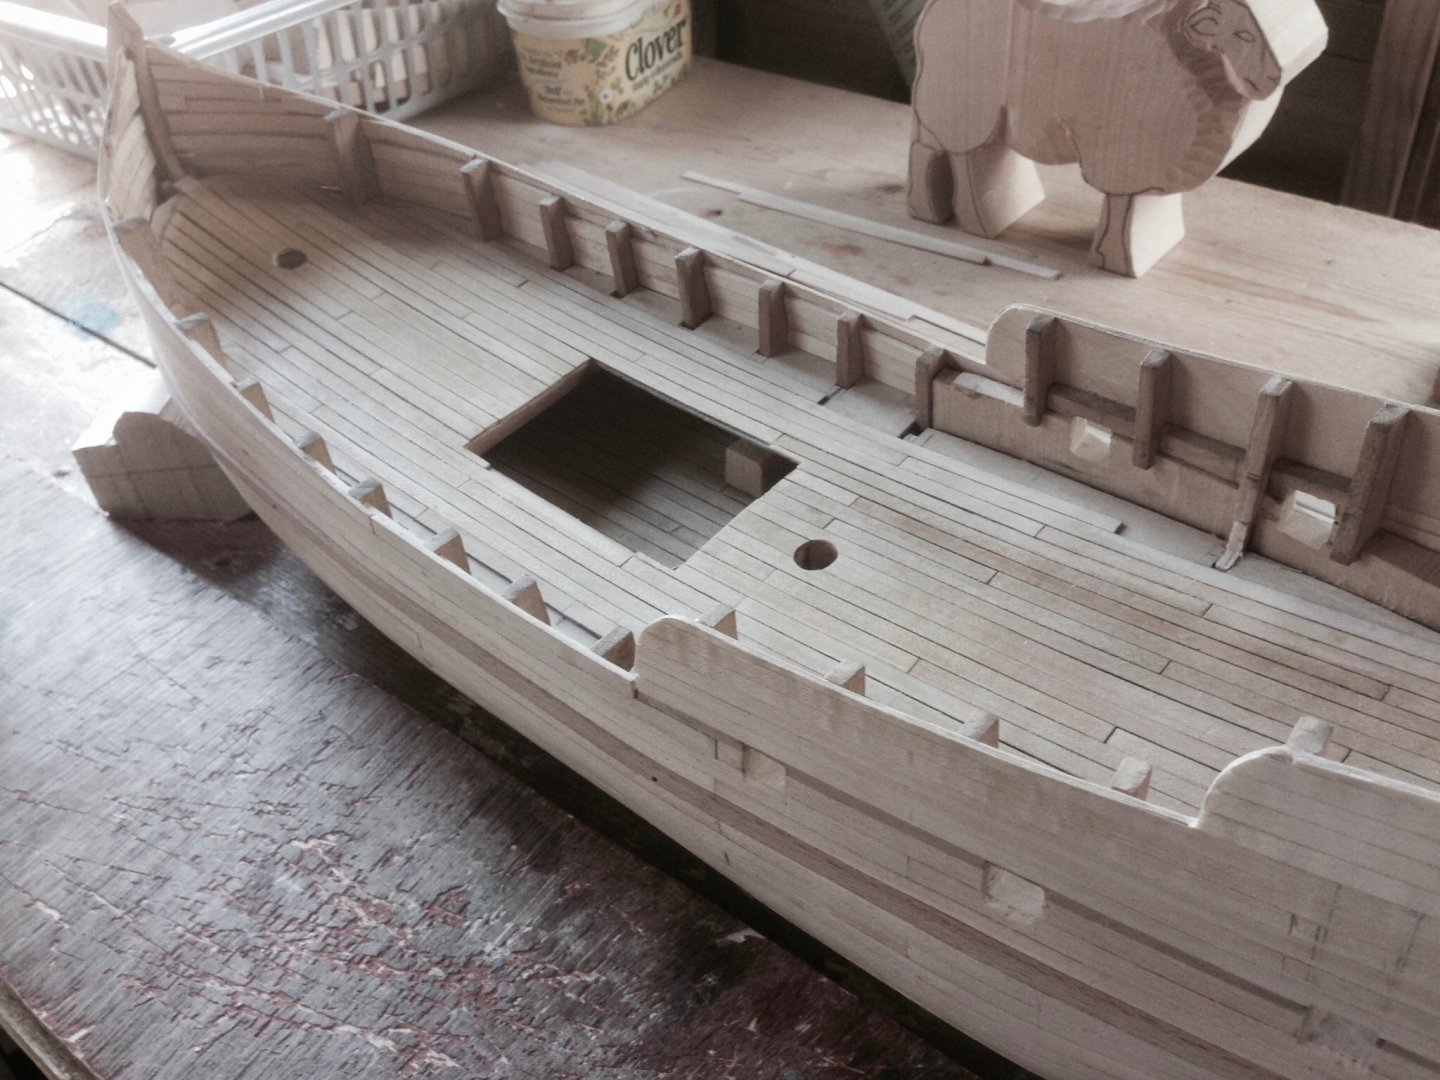
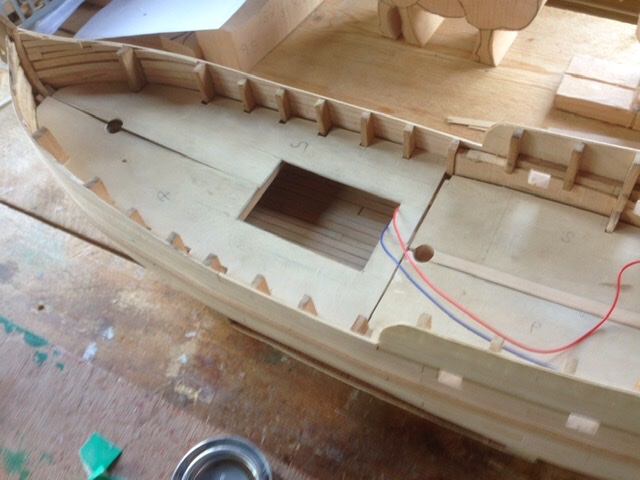
Well that’s the main deck planked apart from the edges waiting for a power? saw to do the curved pieces. Not sure why a couple of planks appear darker after applying Danish oil, never mind it’ll be covered by the quarter deck if another coat of oil doesn’t reduce contrast. Next up two additional gun ports towards the bow and holes for the oars
-
Yes this worked a treat, 1 to 1 PVA water then added dust to make a sticky mix. thx everybody
-
Ah interesting. I have always used white glue it appears to be the default in the UK. When I mix the wood dust with neat PVA it initially matches the wood then darkens significantly as it dries. The final finish Danish or wipe on poly makes no difference to the mismatch between the wood and the filler. Off to the shed to try a 1:1 mix plus water.
-
I know it’s a very well known technique to fill gaps, cracks with a filler which matches the wood, but when I mix PVA with a wood dust say lime , cherry or beech the mix always dries darker than the original wood dust. The only time the filler is a matching colour is when there’s hardly any PVA there and the mix is too crumbly to be much use. My friend in my wood working group has the same problem. Tried different UK manufacturer’s but to no avail. Any suggestions please?
-
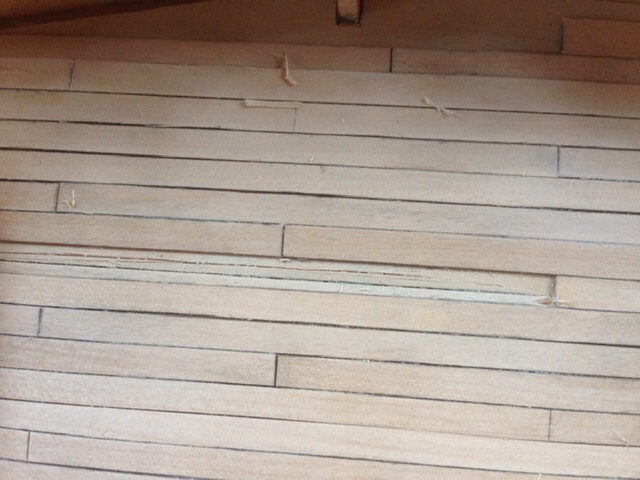
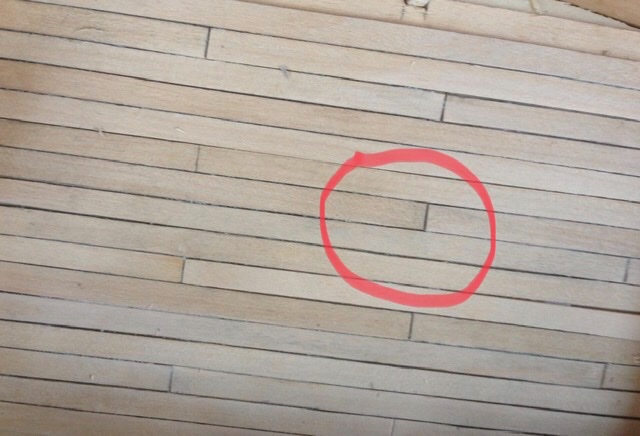
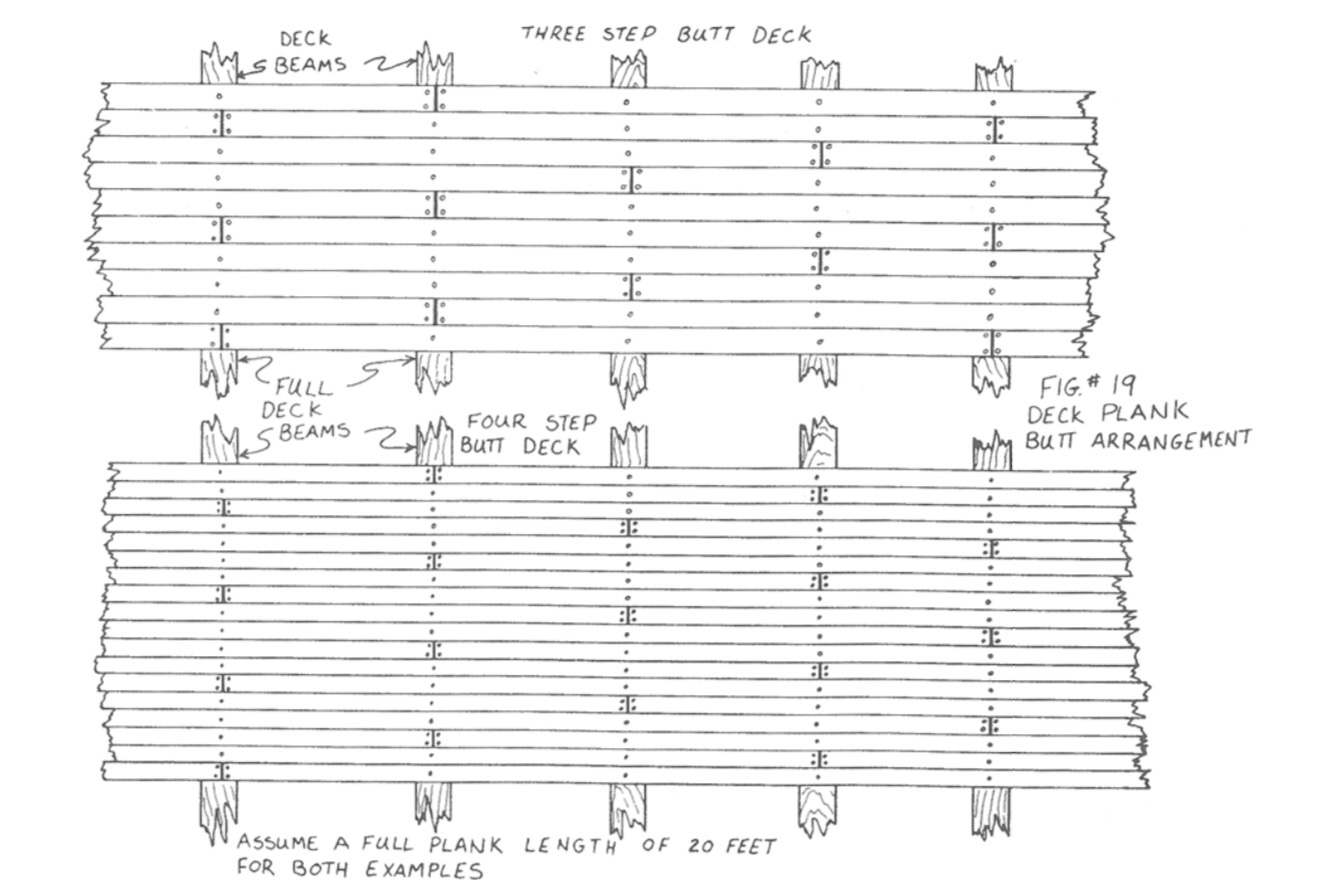
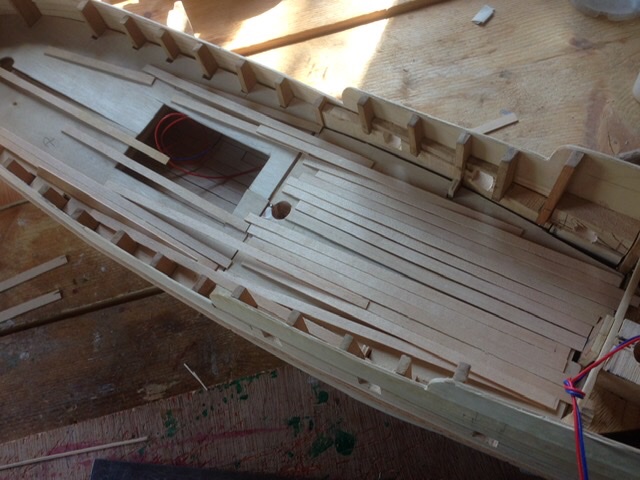
The OCD in me noticed a plank right in the middle was not quite right. None will be visible when the grating is in place but it was dead centre. A trick I learned earlier was it’s easy to remove a plank by slicing down the middle with a scapel and levering off the rest without damaging neighbours and putting in new plank. Might be of interest for newbies. Getting the 3 plank butt shift pattern so easy using the NRG guide.

-
Took a while to get the false decks cut to fit and then lots of deliberations on the width of deck planking. Finally settled on 6mm which at 1/32 is 7 “ plus. Looks about right, needed to cut down the 8mm maple to 6mm wide by hand.

-
Always felt, planking a deck is a bit like mowing a lawn, easy, but very satisfying. Nice work on your decks and for the rest of the build it’s really come to fruition after your earlier struggles.
- 318 replies
-
- 2
-
-
-
- fluit
- abel tasman
- (and 2 more)
-
MONTAÑES by Amalio
Slowhand replied to Amalio's topic in - Build logs for subjects built 1751 - 1800
Amilio, I think you’ve started showing off making these double spindles😜 -
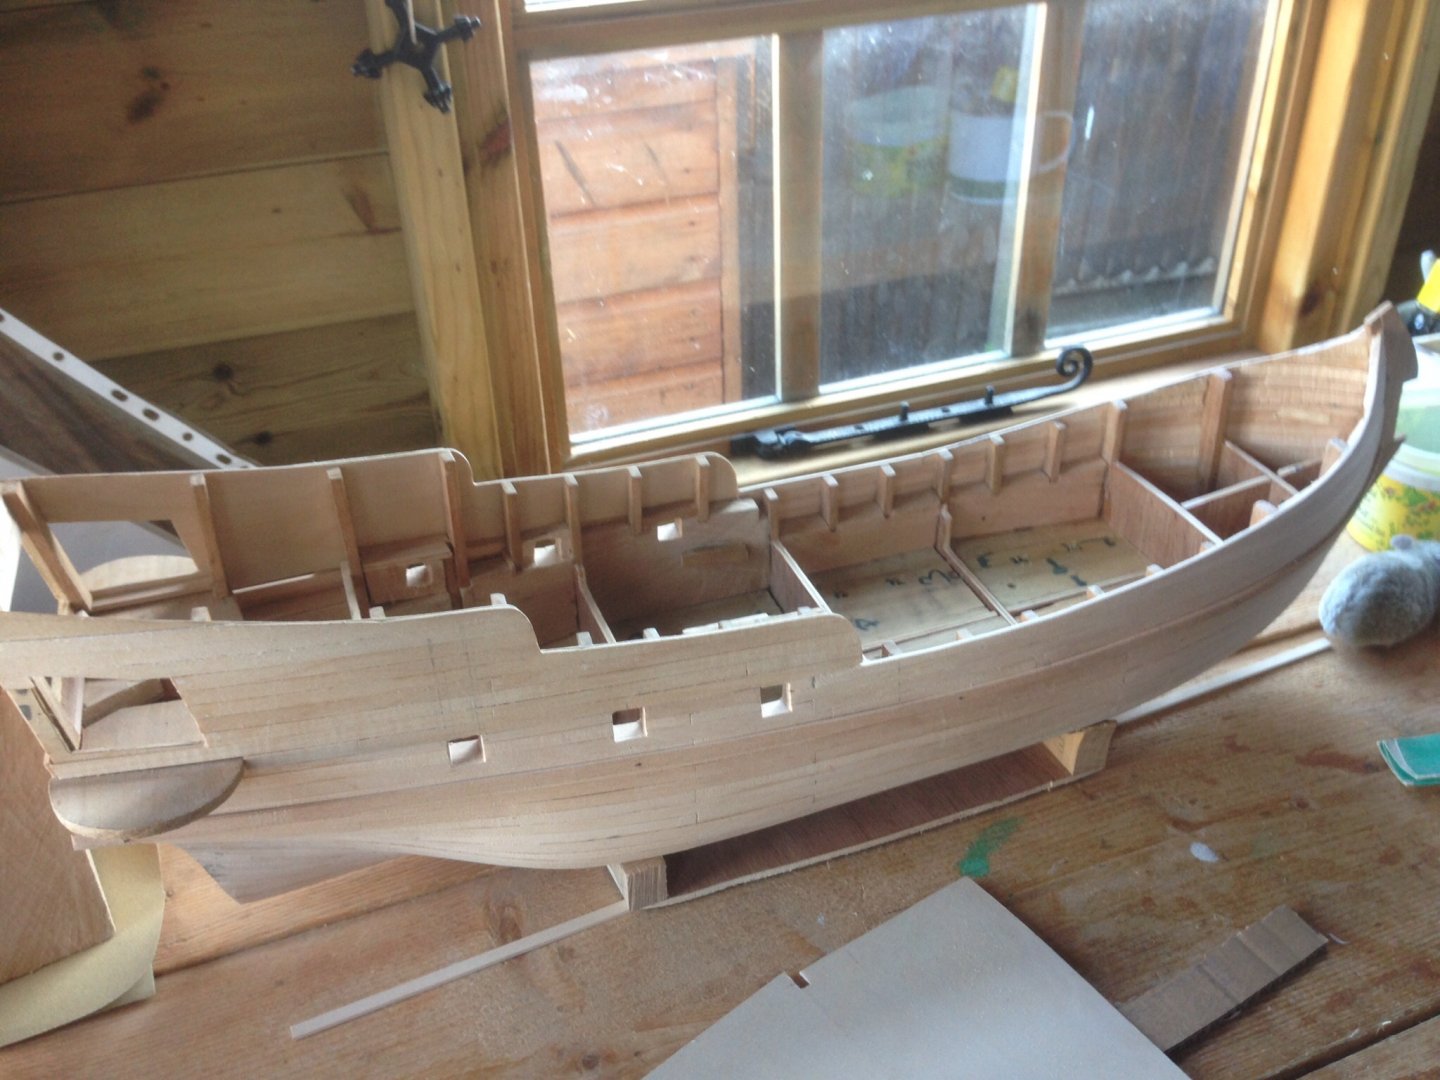
Finished port side of hull, first planking layer. Bow planks have sharp corners, not sure if this is realistic, mind there is some sort of a precedent. The Hamble Star my first dinghy at an old club, sailed like a brick, second down. Portsmouth yardstick of about 15000.

-
Tim, I think you will start a whole new way of building Guillows airplanes. I’d best buy one before they sell out. When I last looked they had sold out of Spits, plenty of Hurri’s though.
-
Hi Tim, forgot to ask did you use a table saw to cut the balsa infills, a Byrne’s by any chance?
-
1:2 T-800 'Terminator' endoskeleton - Agora Models
Slowhand replied to James H's topic in Non-ship/categorised builds
Well you’ll have a ready supply of Mercury if you need it. edited It was the T1000 of Gary Sinise not this one better terminate myself. -
What a fantastic build, always thought the silverskin and dope covering of Guillows suited the WWI planes best as well that’s closer to the originals. Your idea of in filling with balsa and using wood sheets works perfectly for WWII planes. I think you’ll start a trend.
-
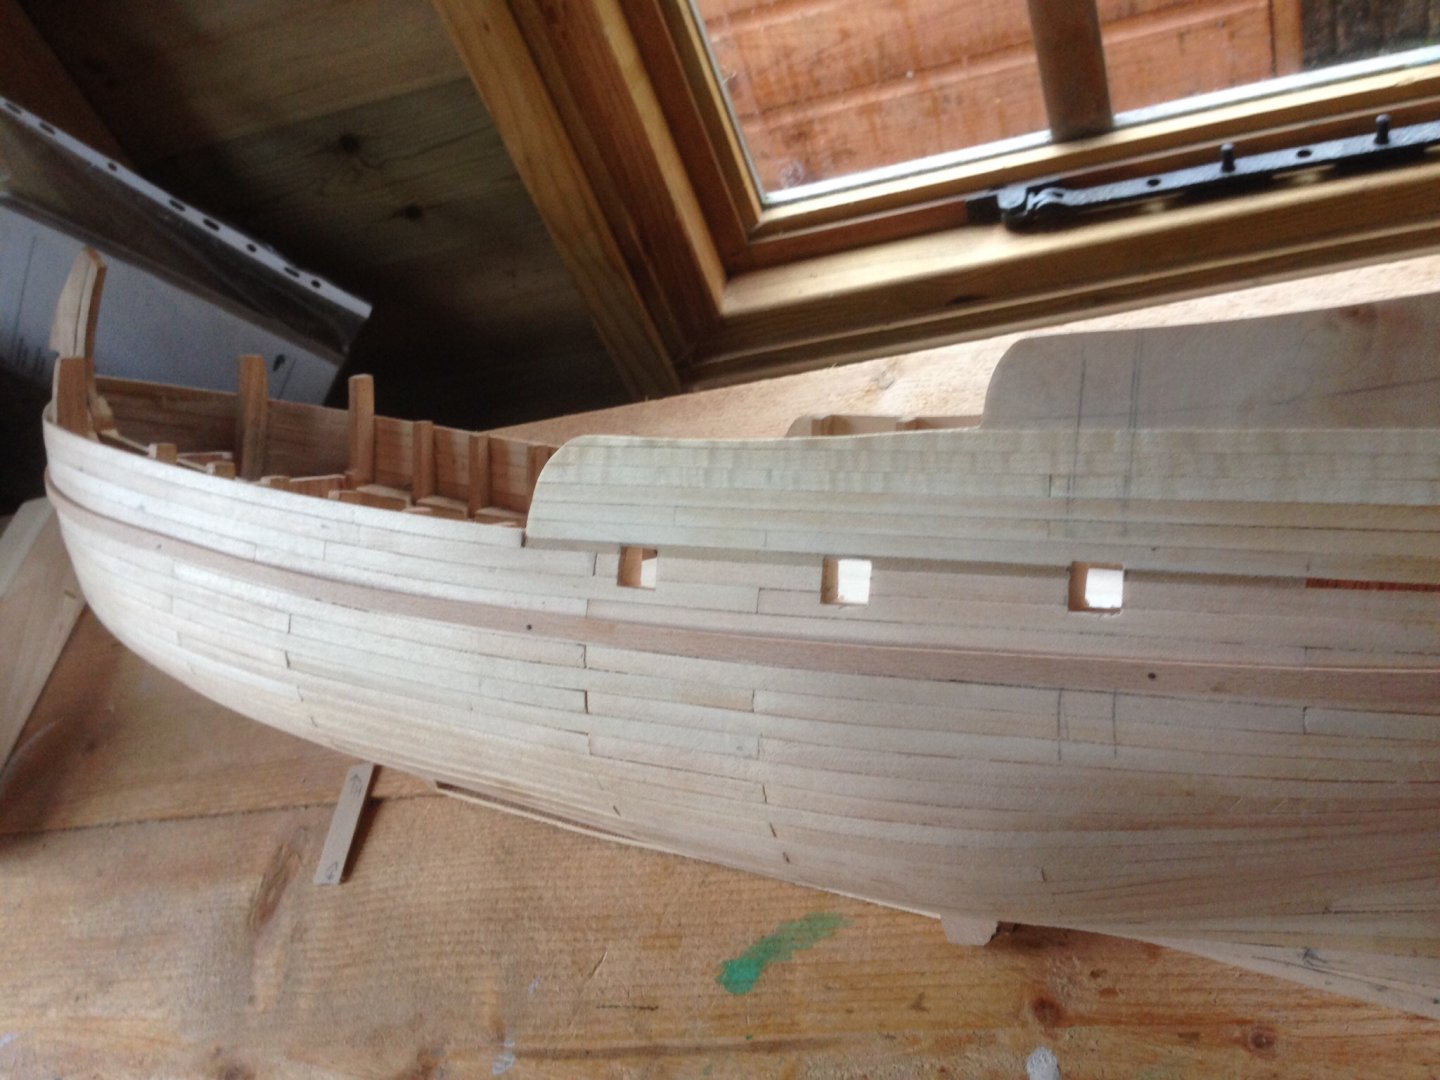
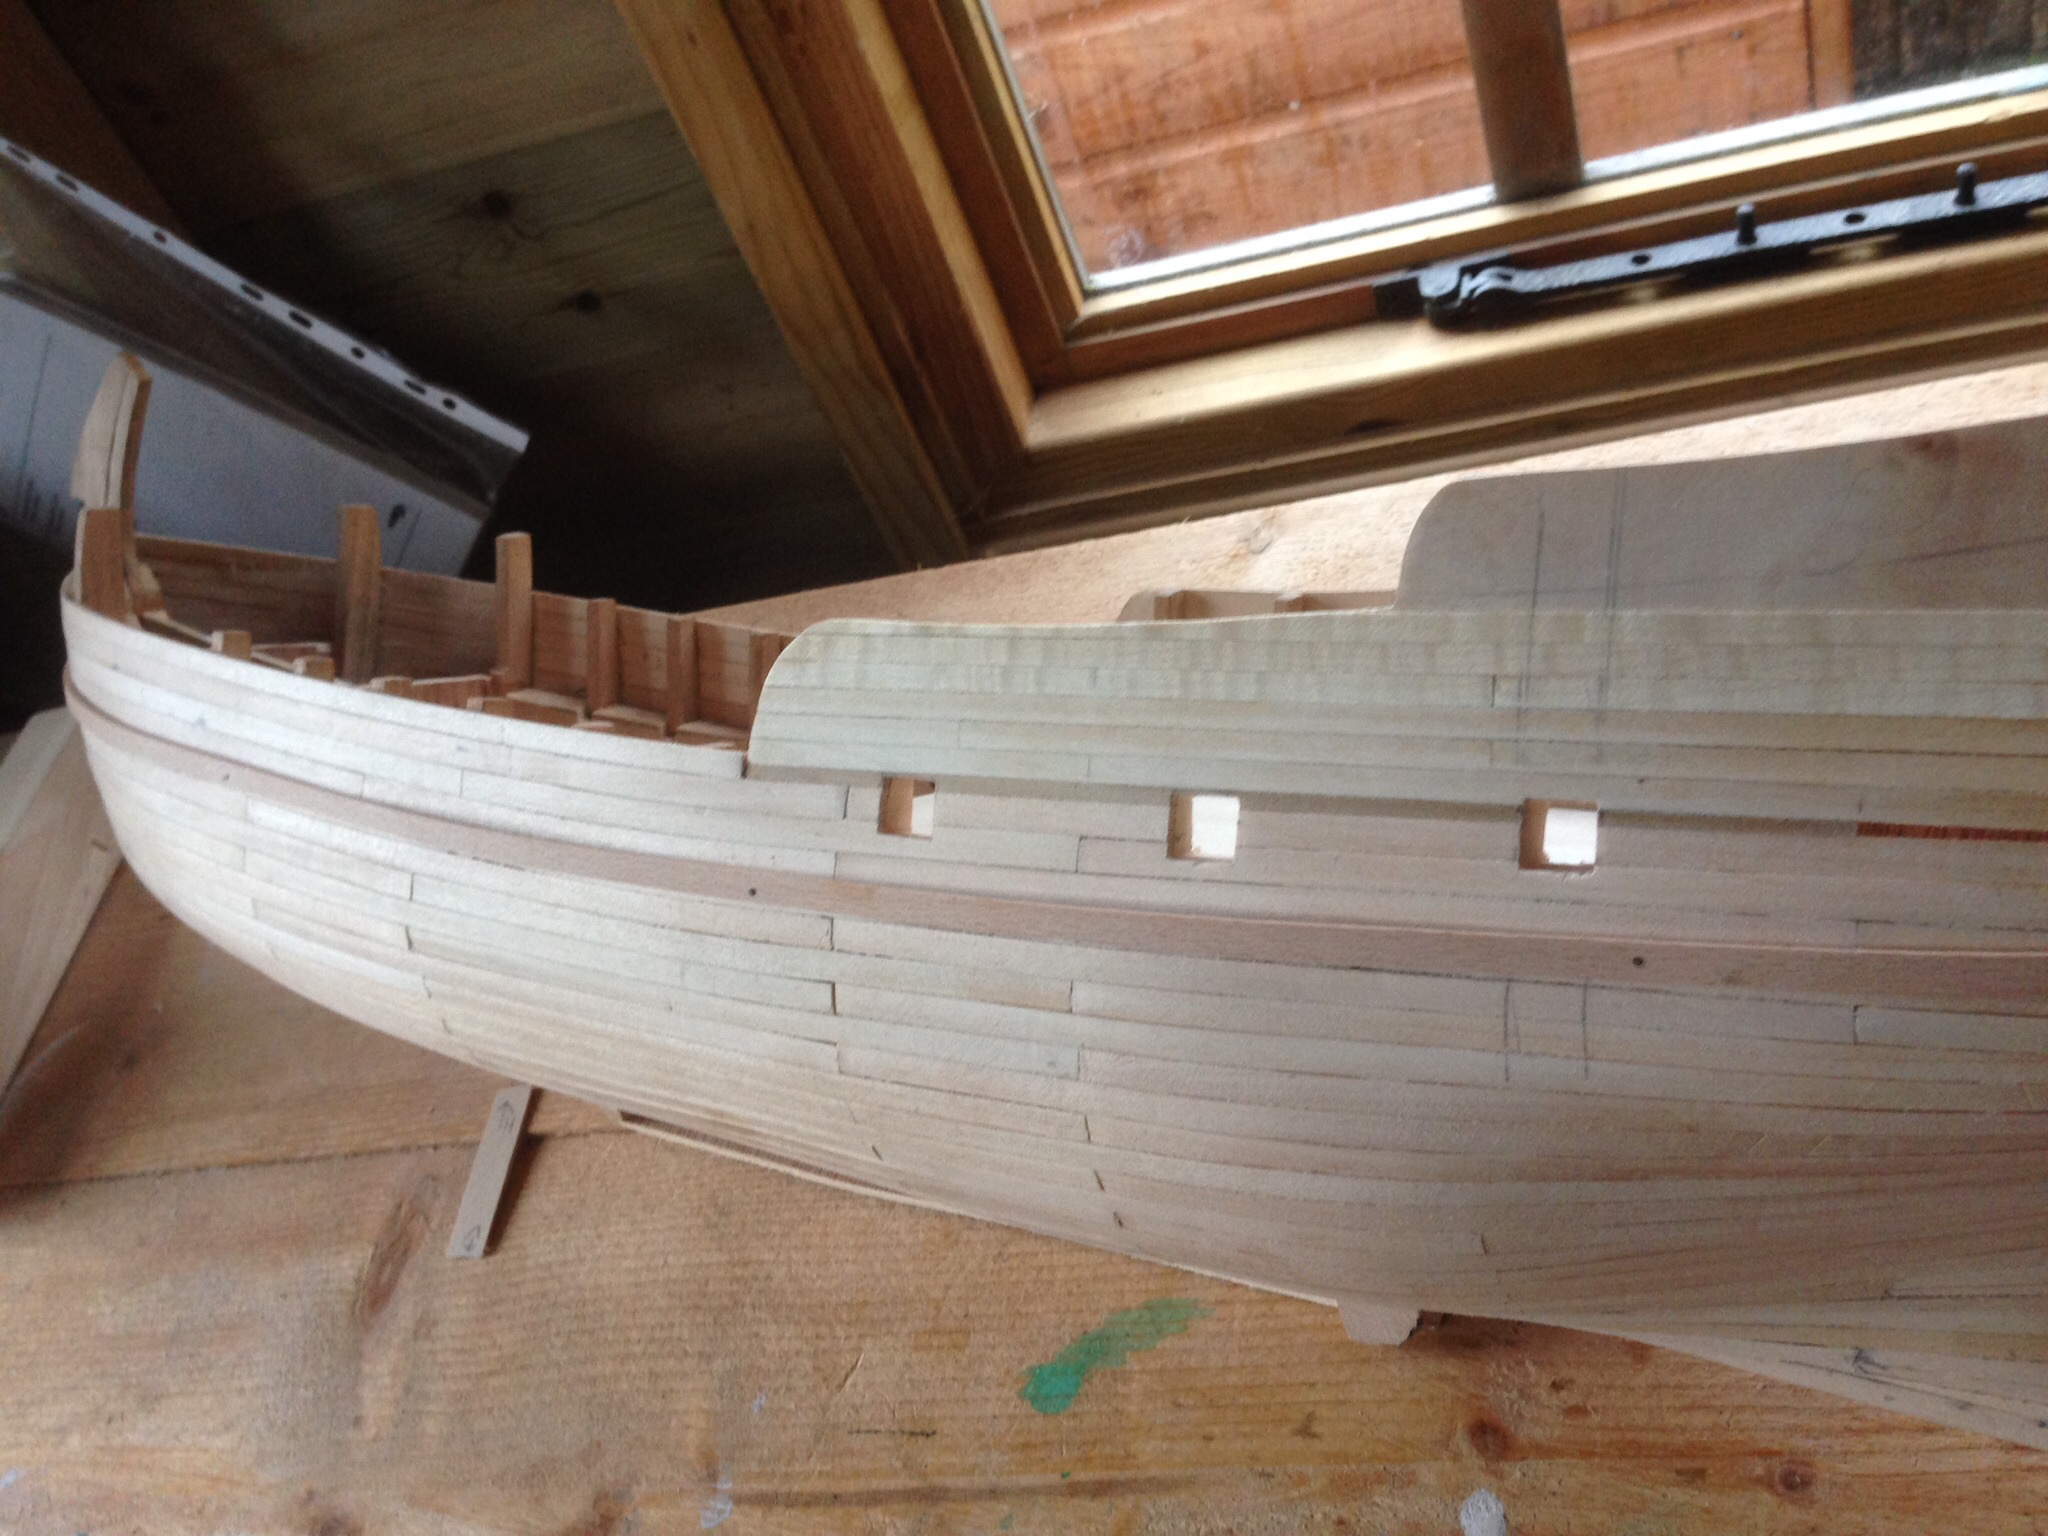
Cutting the gun ports was where it could all go wrong and have a lot of remedial work and relegated to that other model ship forum. Made some sanding sticks to shape them after drilling 4 holes into the hull , then belated remembered I had a square metal file which was far better at getting sharp corners. Better in the flesh than on film so happy, mind it was hard to get the ports as I wanted them. Pinned on some flexible beech as temporary wales to give reference points on what’s quite a large hull.