


Corey
-
Posts
27 -
Joined
-
Last visited
Content Type
Profiles
Forums
Gallery
Events
Posts posted by Corey
-
-
-
-
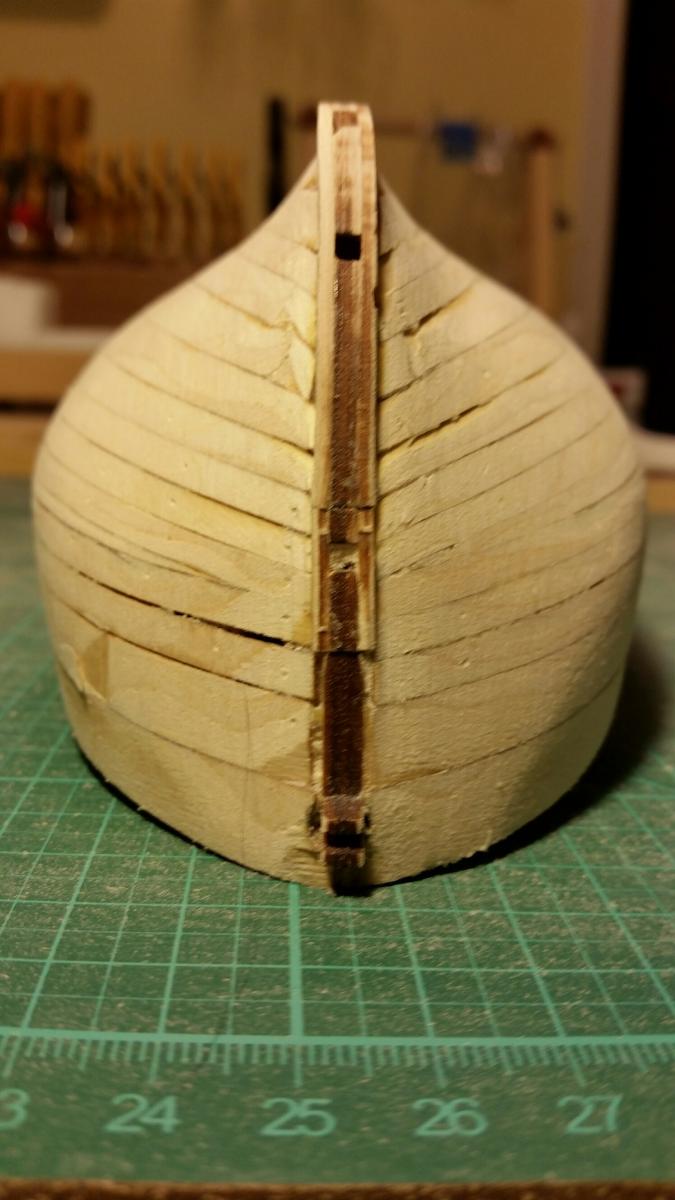
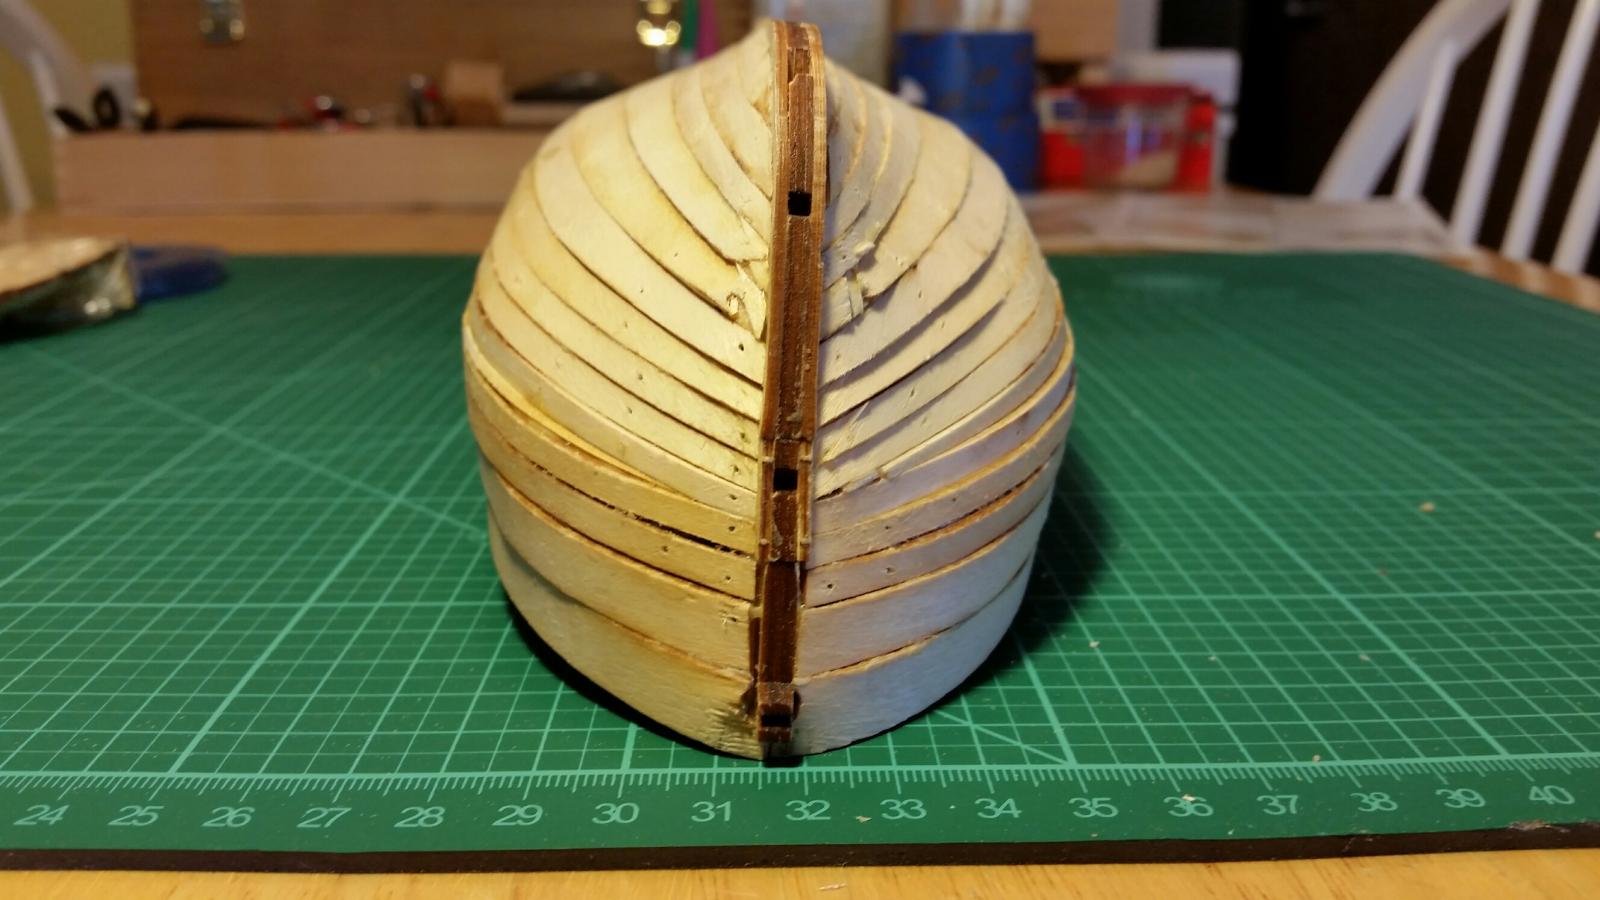
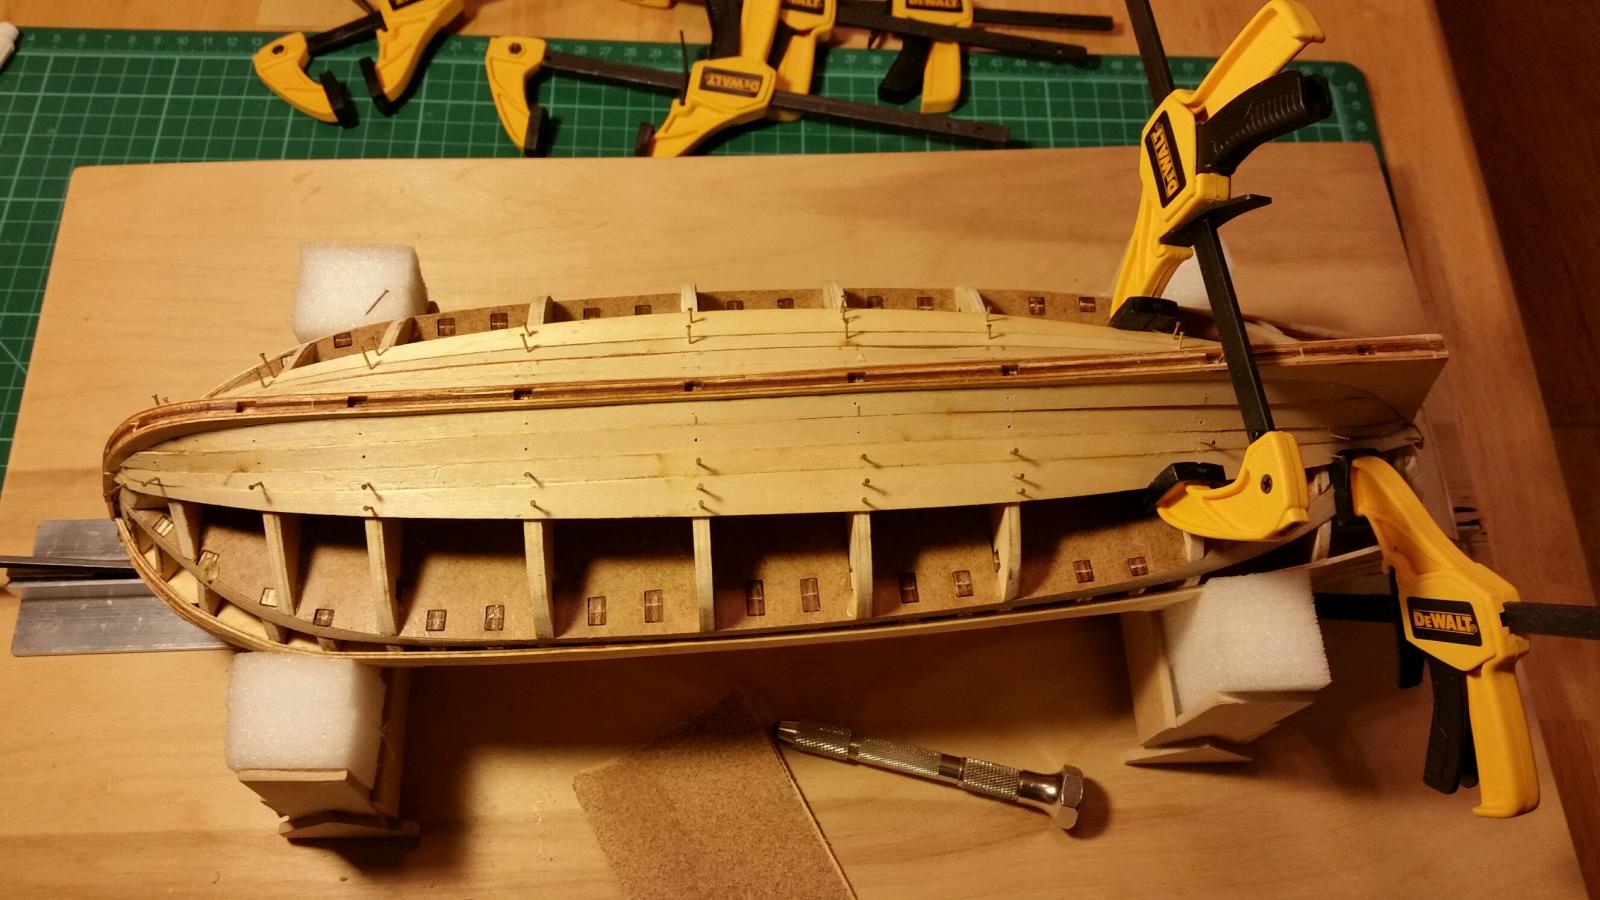
Sanding and filling the hull.
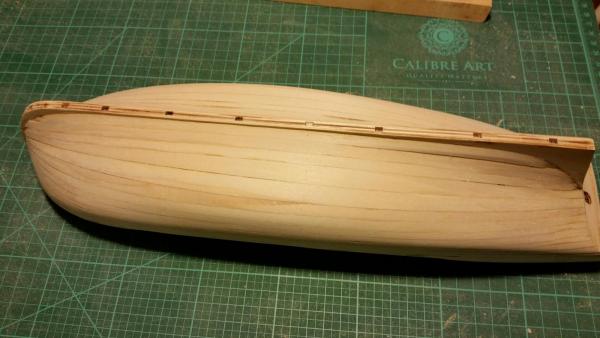

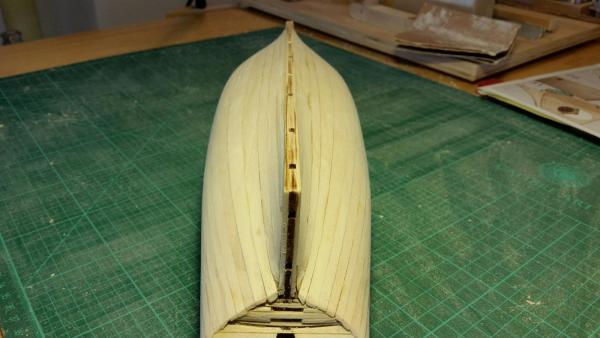
Getting close!
- mtaylor, coxswain, GrandpaPhil and 2 others
-
 5
5
-
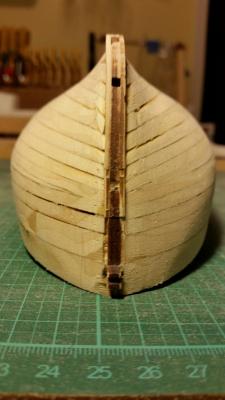
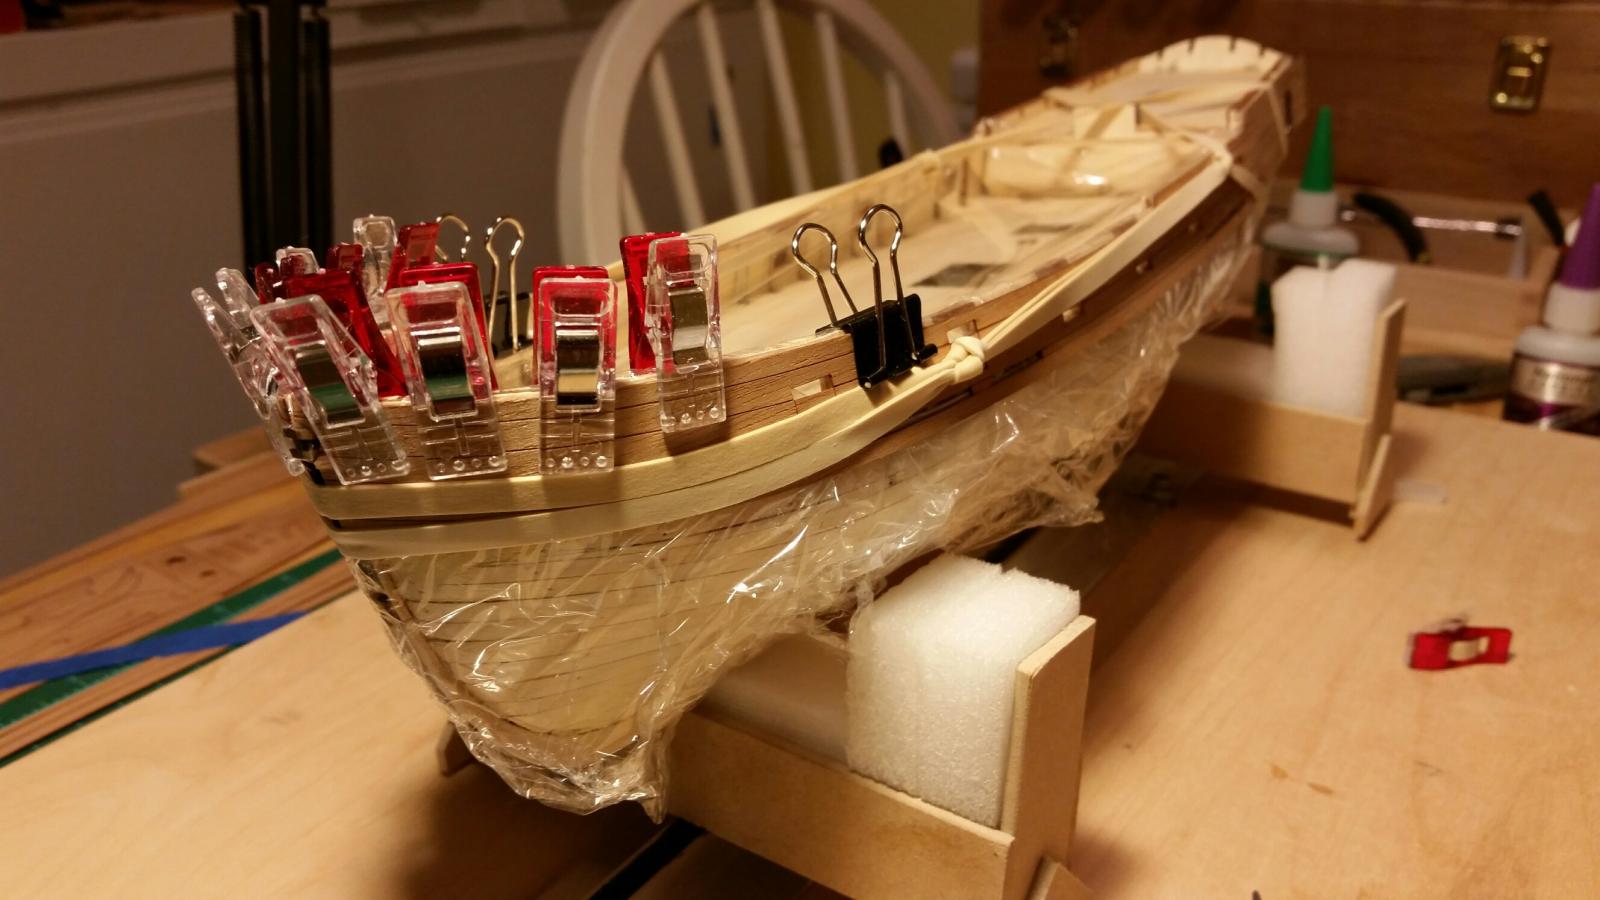
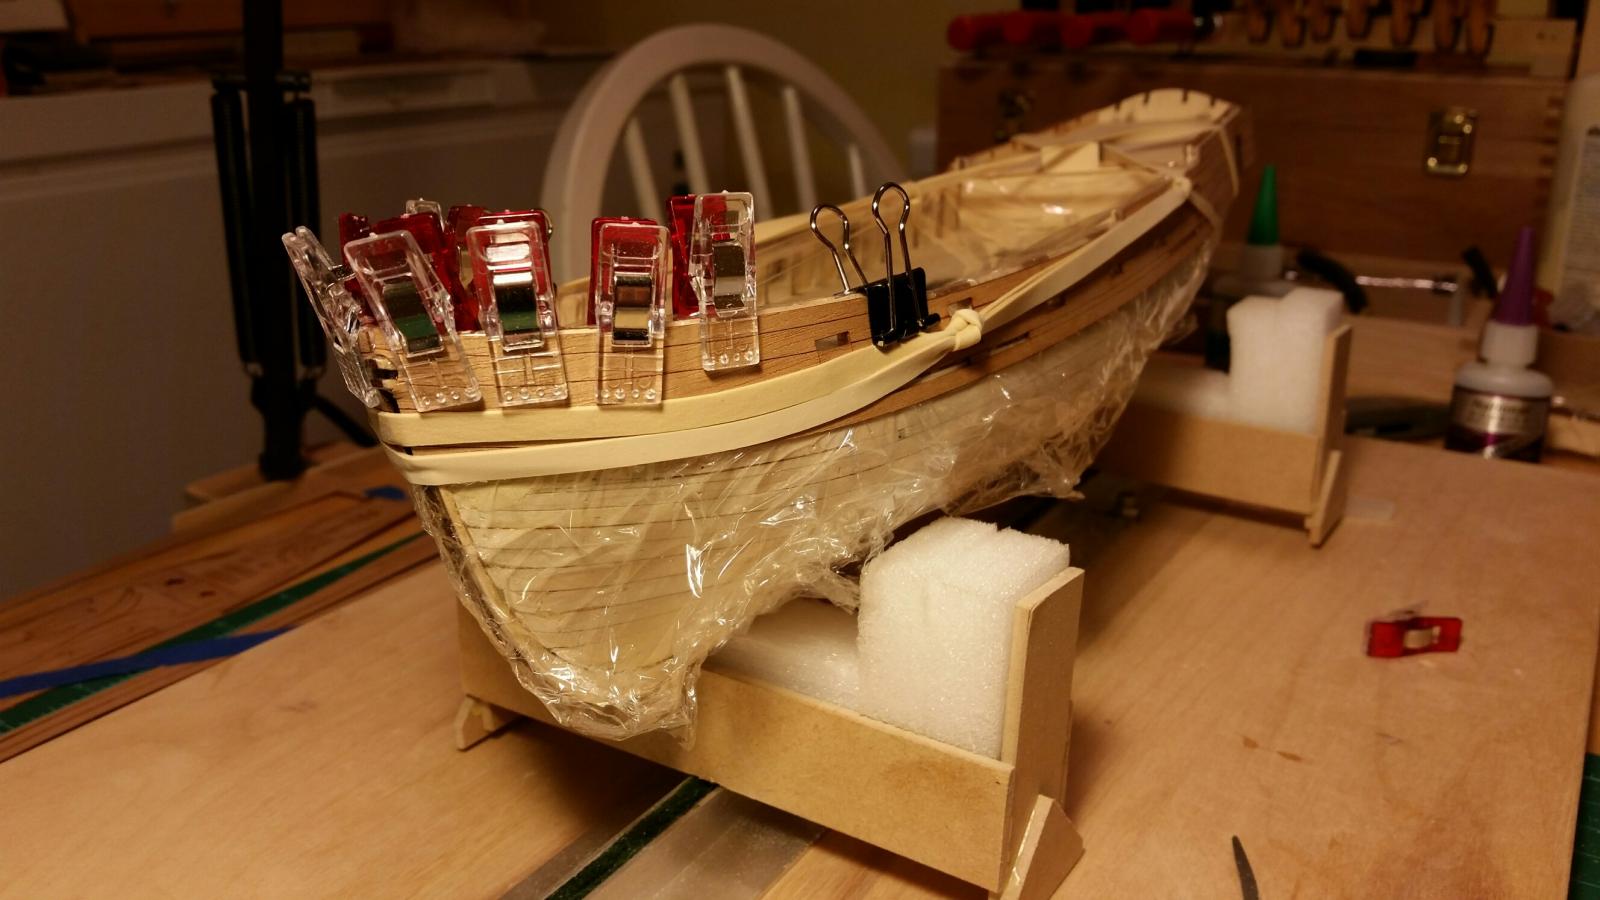
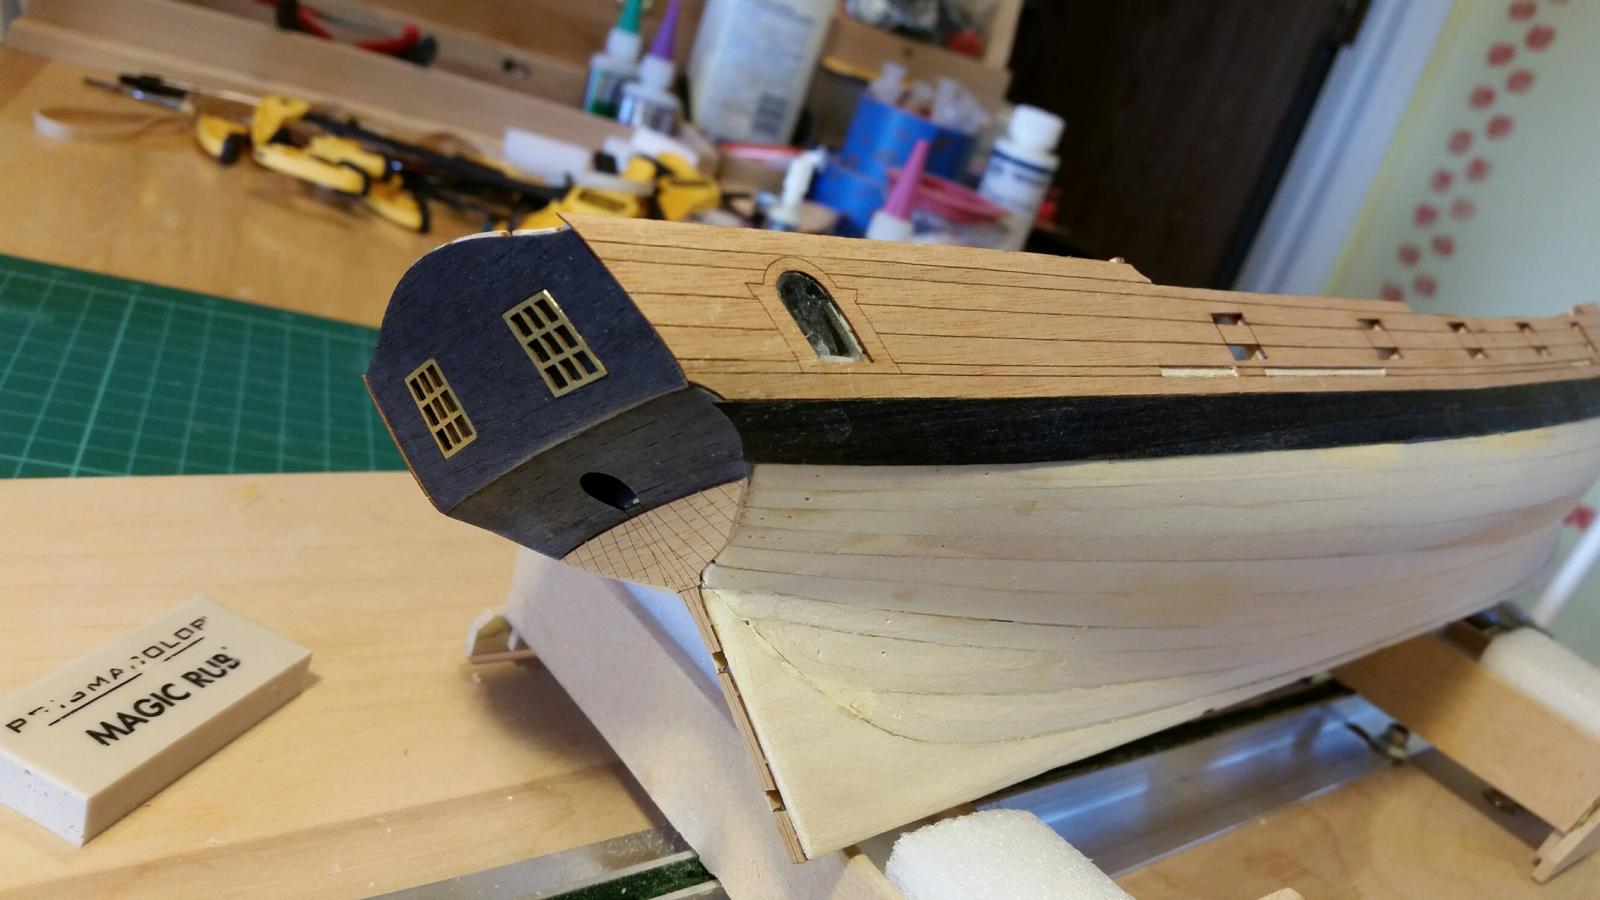
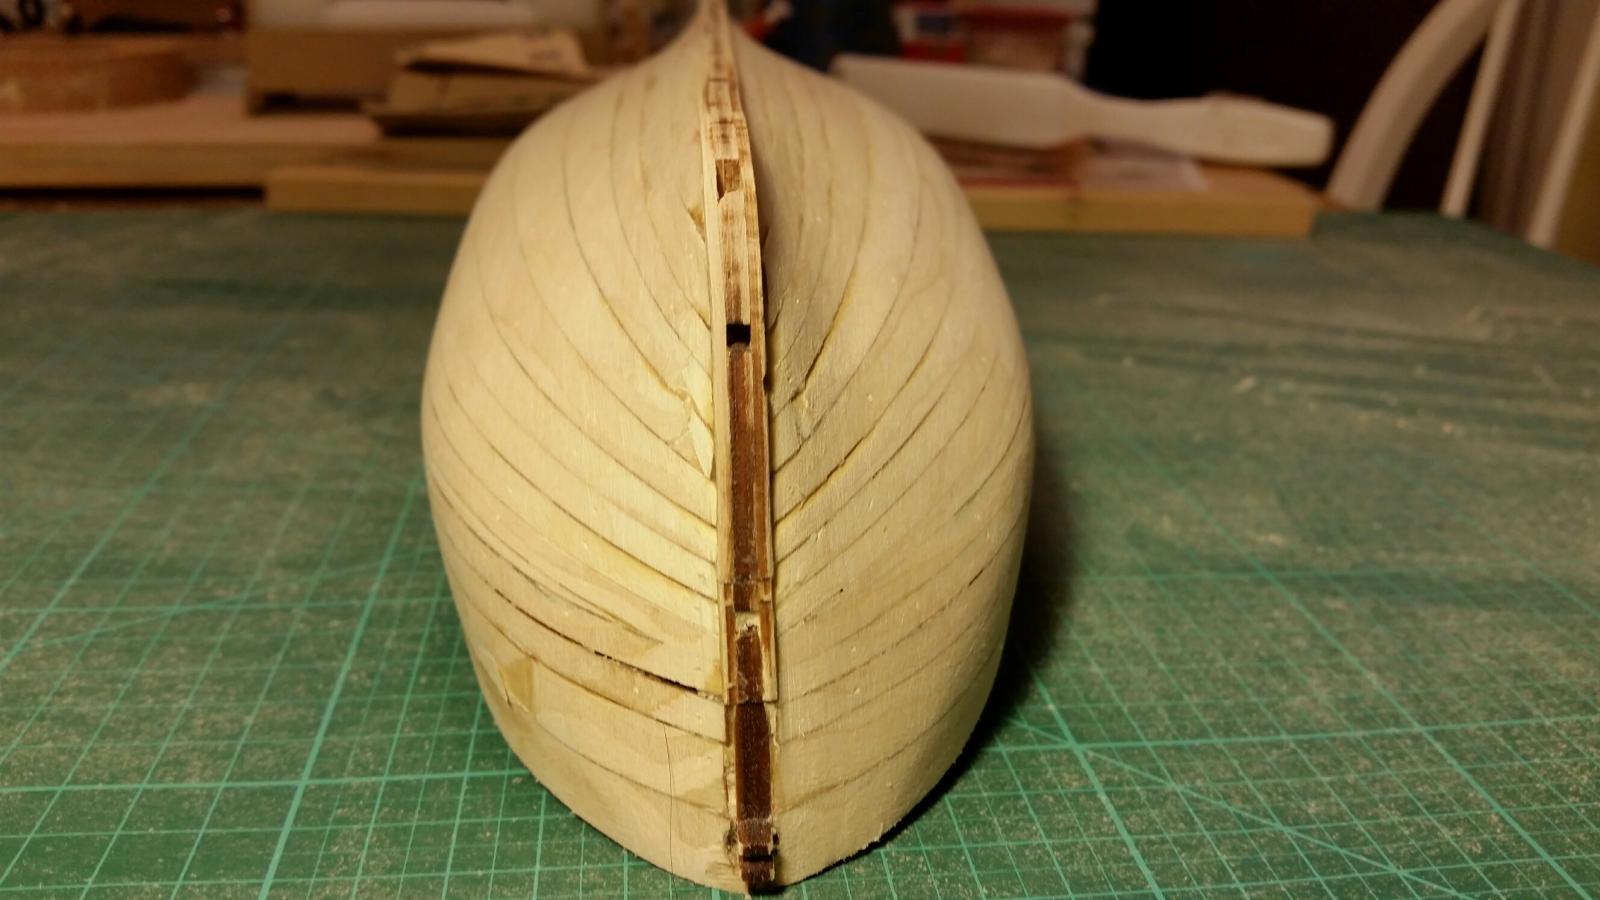
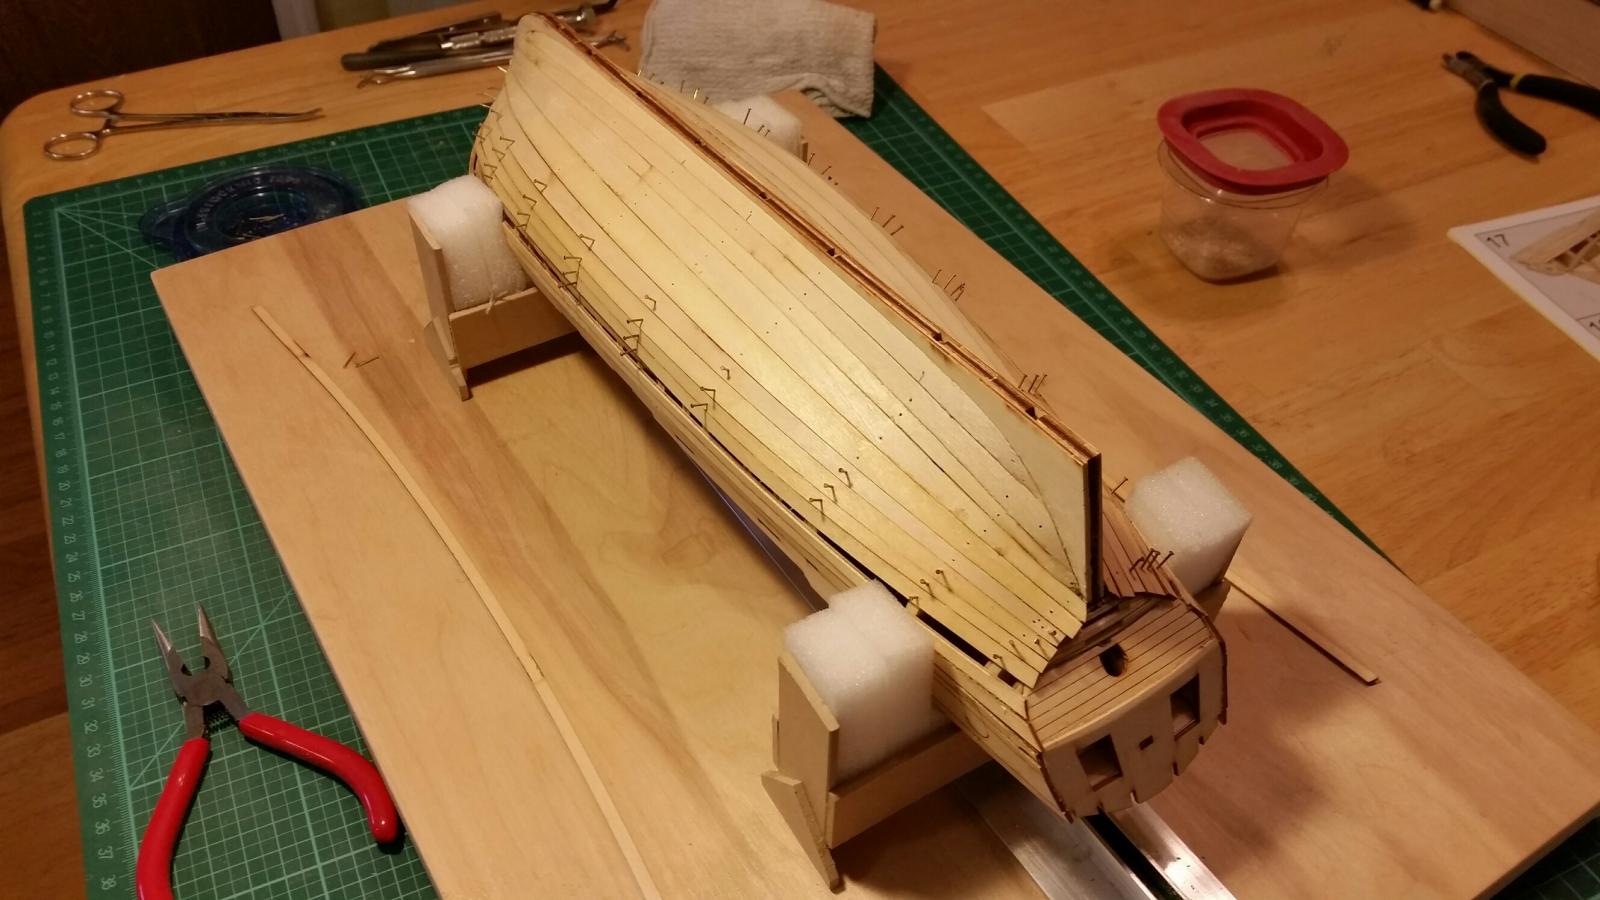
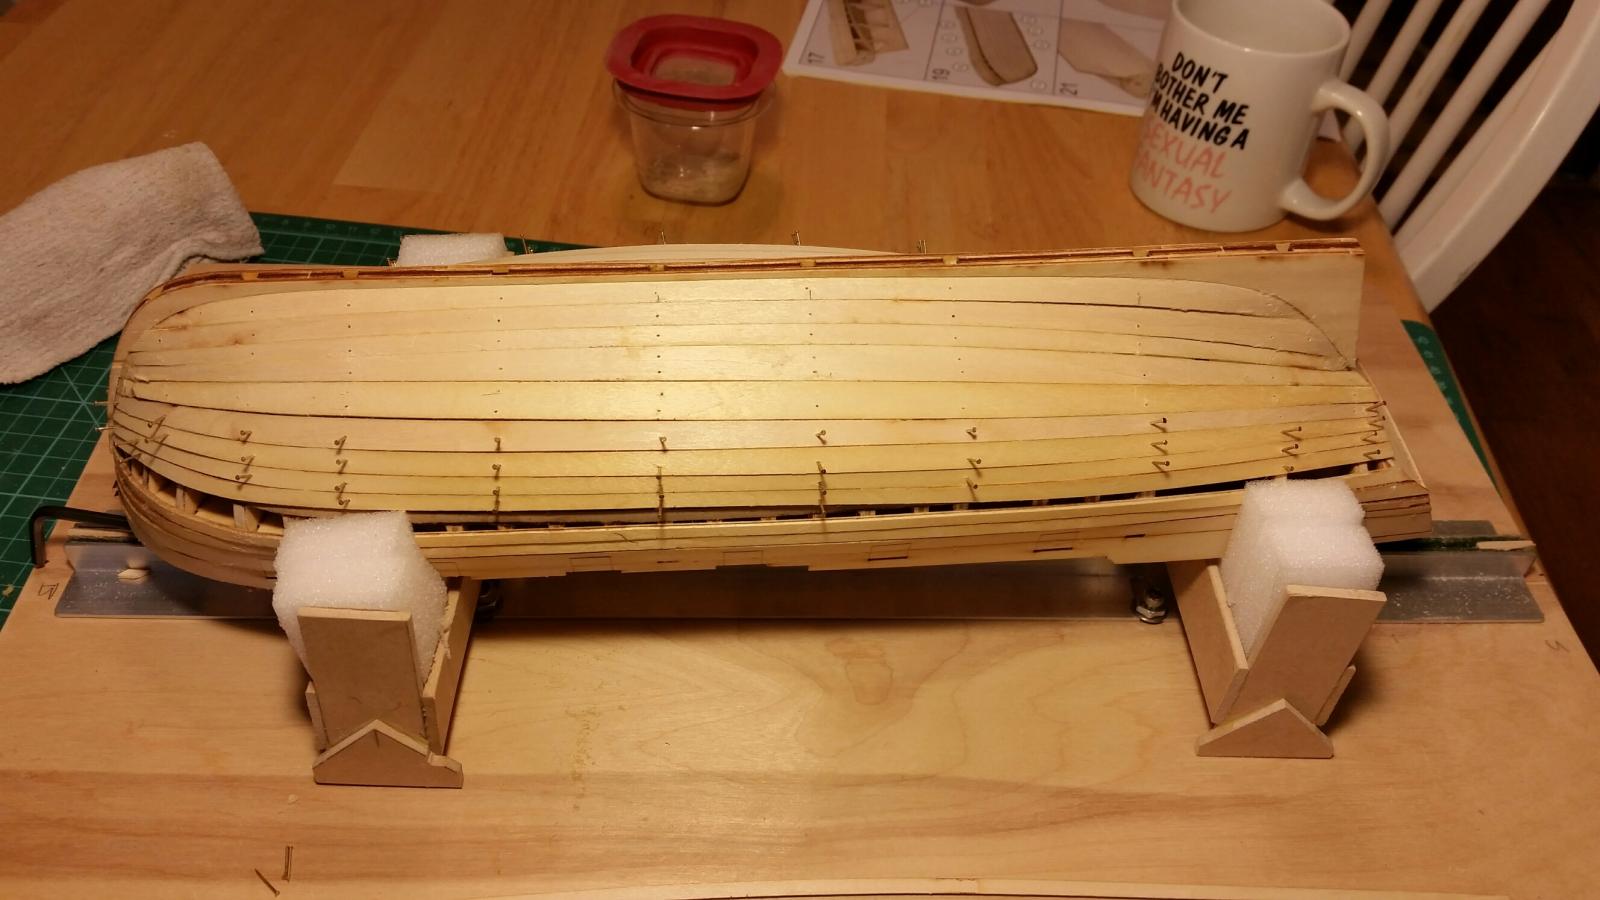
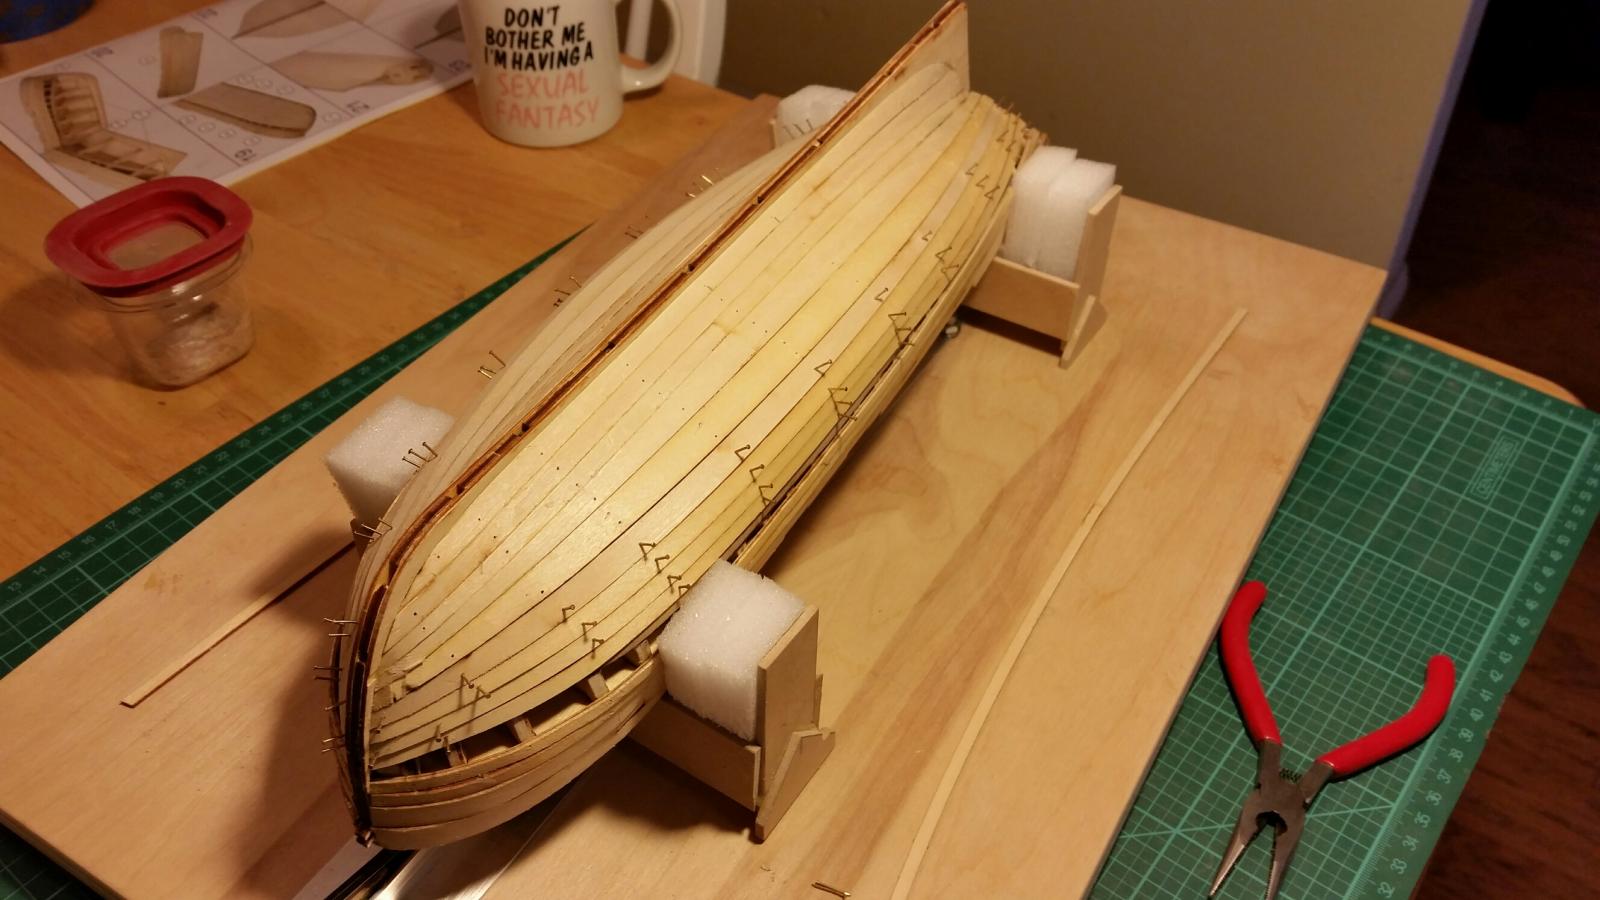
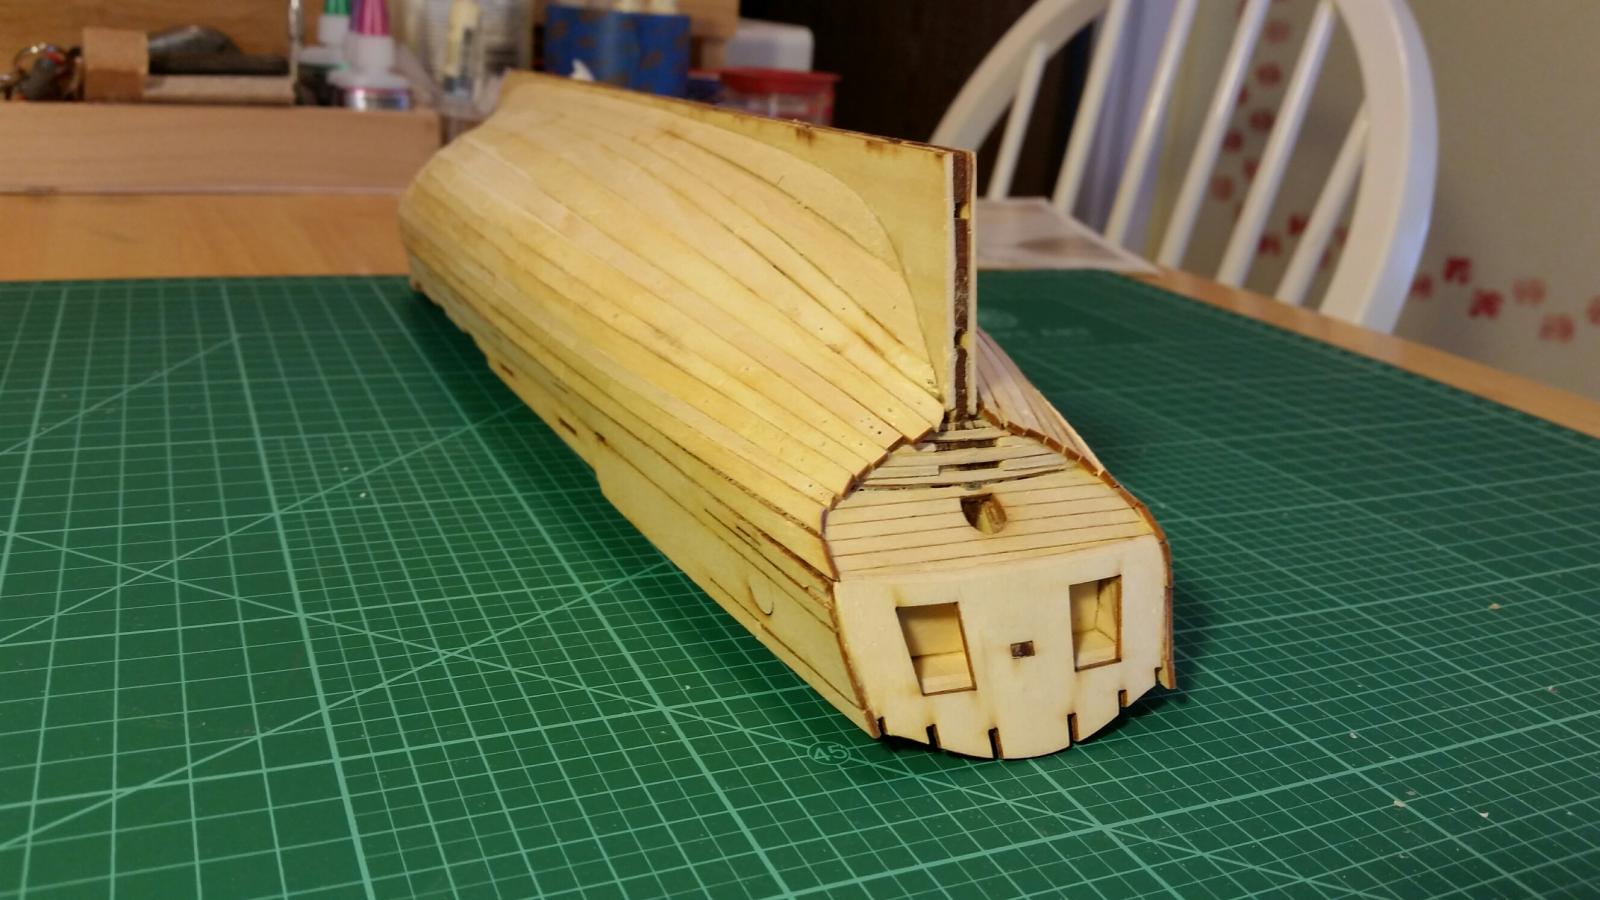
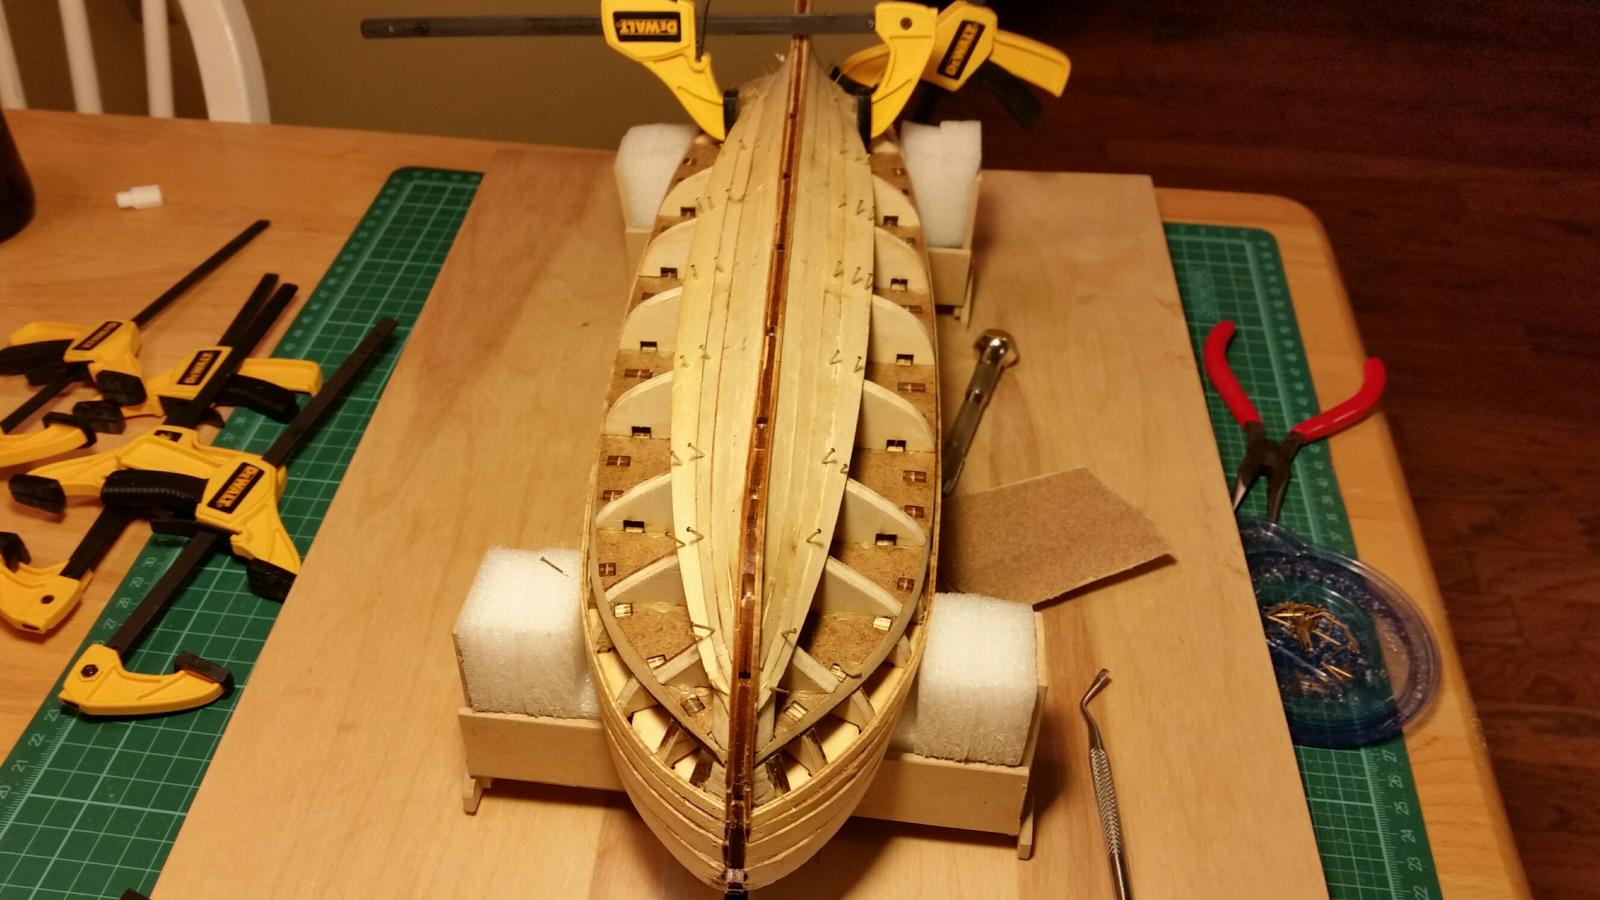
Okay, back to work! Completing the initial planking on the hull.

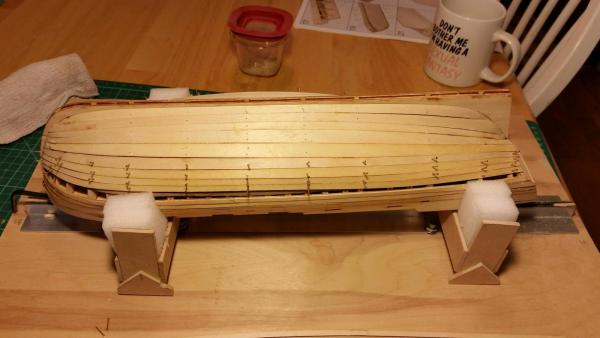
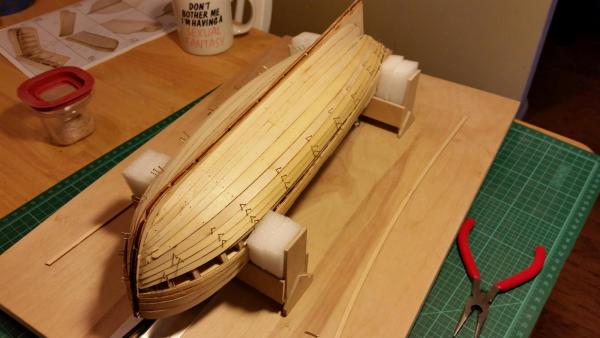
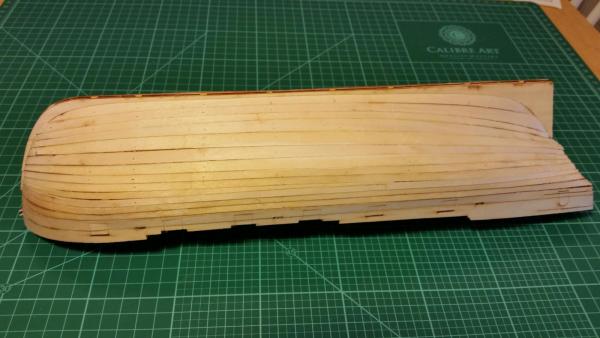

Yes, it's a little rough

- mtaylor, GrandpaPhil and coxswain
-
3
-
-
-
-
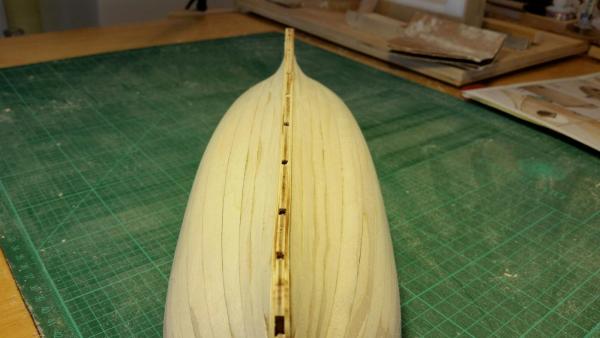
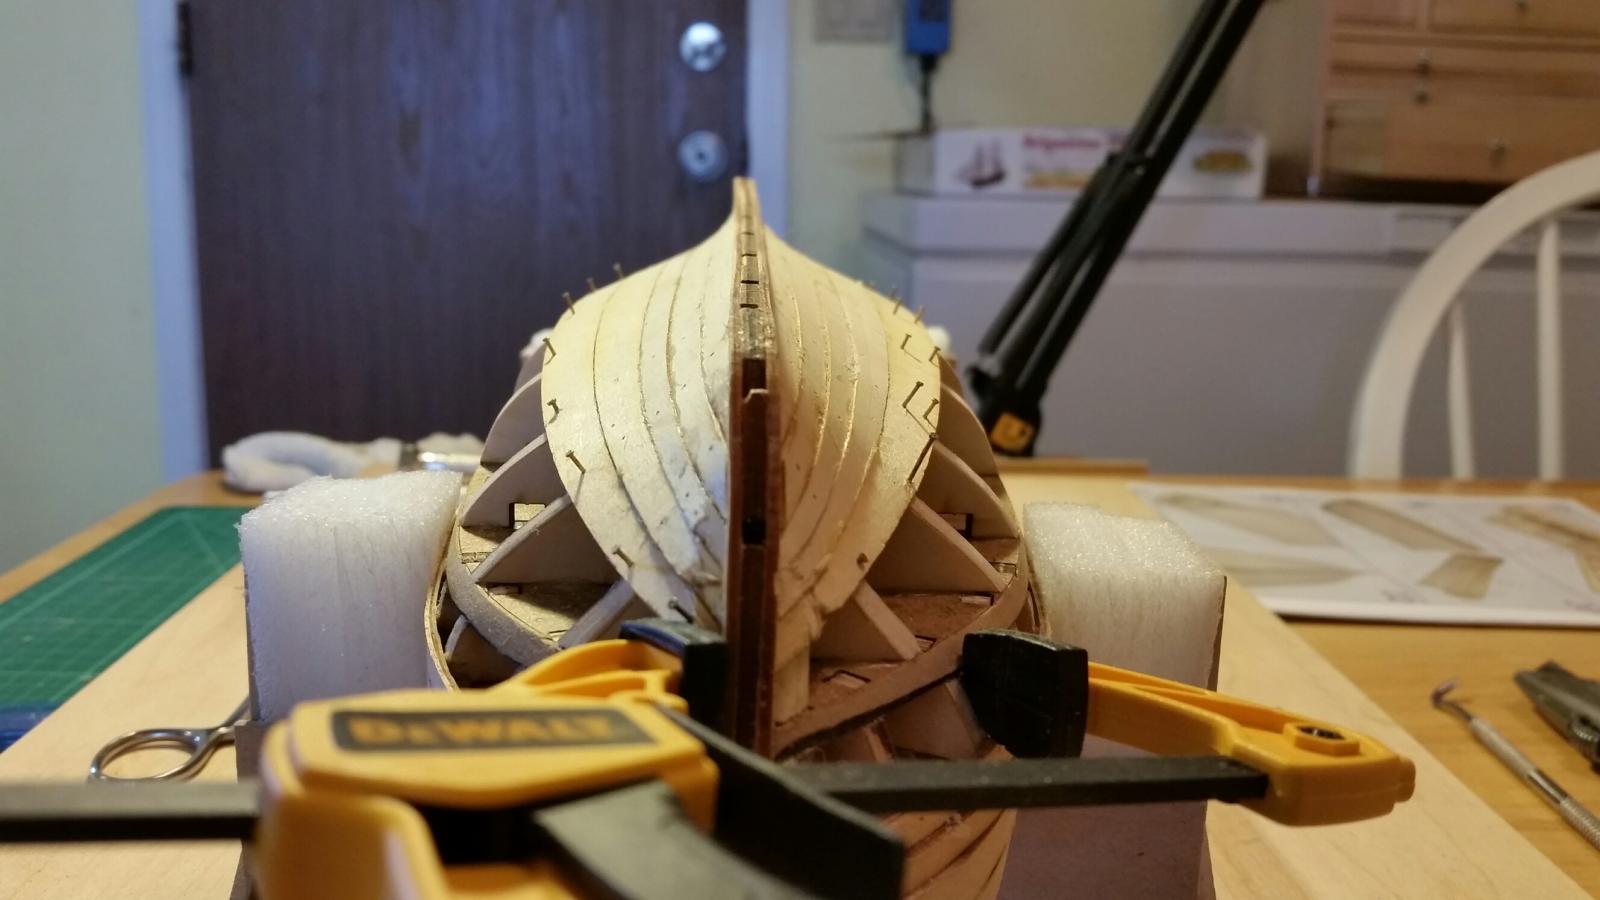
So the build continues with the first layer of planking. I'm a little worried about the sloppiness of some of the glue joints but I'm hoping sanding and filling the gaps will fix all the flaws.


- mtaylor, coxswain, Seventynet and 2 others
-
5
-
Wow Brian, truly a work of art and a piece to be proud of. As I go through some of these build logs I can only hope that some day...
Corey
-
Thank you avsjerome2003,
Is "Crackers" your moniker or a type of fair-the-well? If you have any suggestions or see that I'm doing something wrong, PLEASE, I'm all ears.
Corey
-
Hey Mark,
Thanks for the tip. Yes, I'm using PVA glue and I'll try using alcohol the next time I screw up.
I learn something new every time I'm on the site. I just discovered yesterday, while reading a build log, that I should be sanding the laser char off of each part. My model kit directions are in Russian so I'm missing all of those fine details and essentially assembling this model by the seat of my pants.
I wish more people would chime in with suggestions and thoughts. I could sure use the help.
Thanks again,
Corey
-
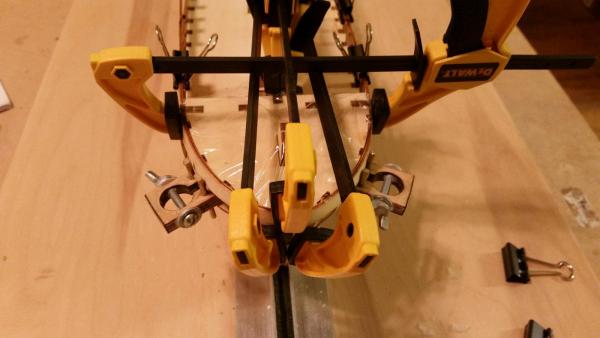
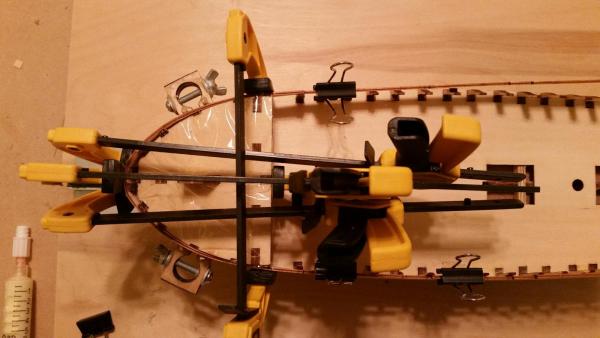
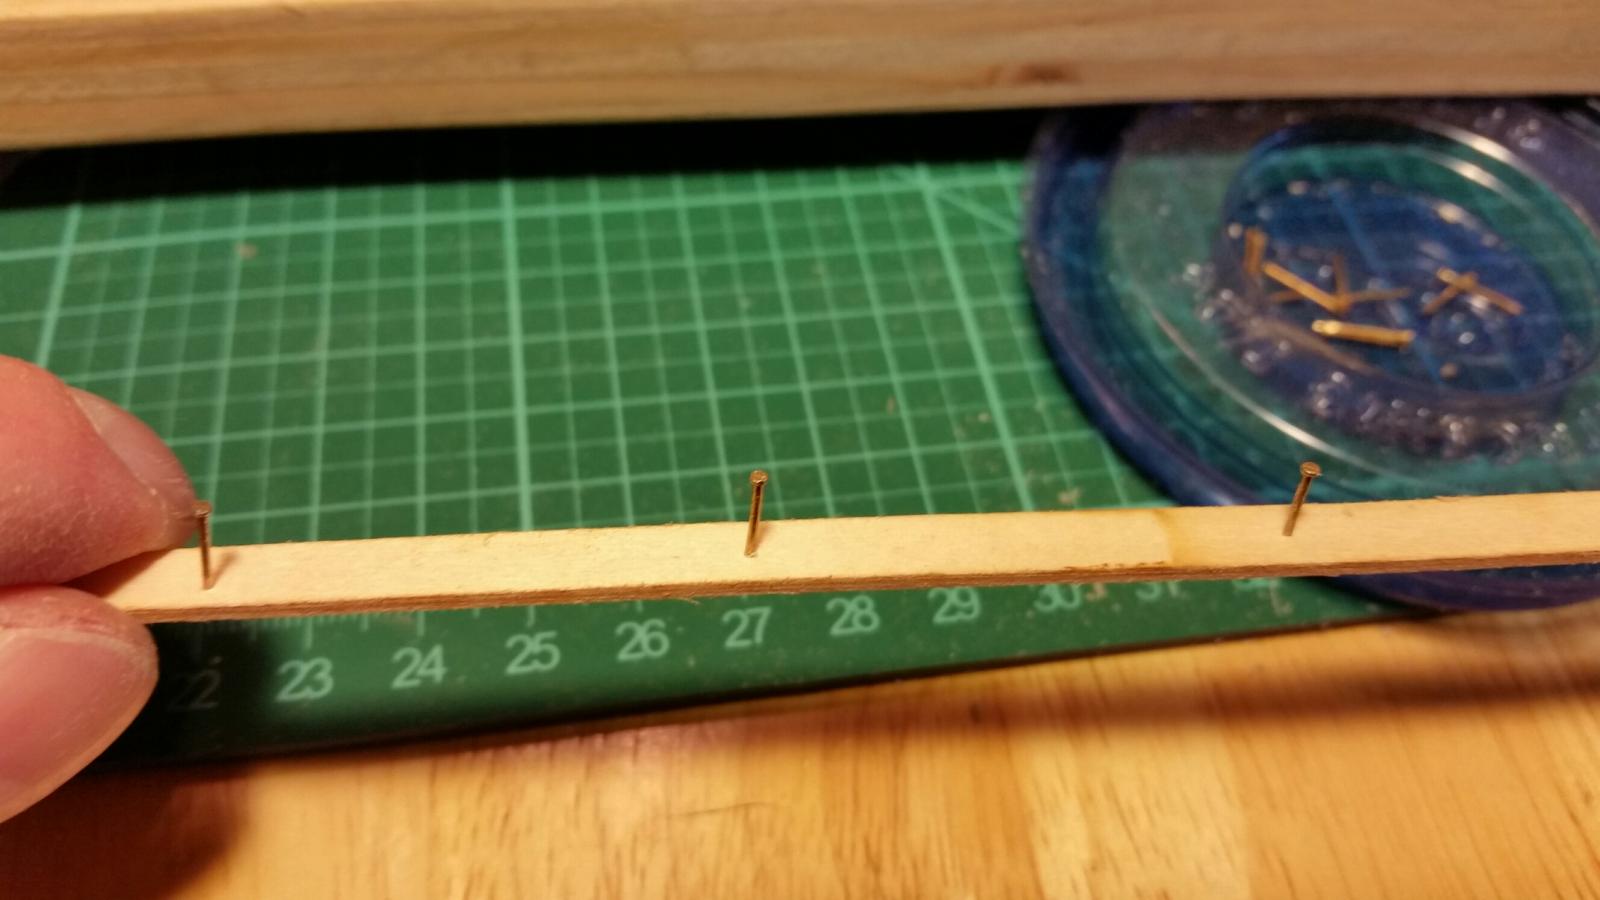
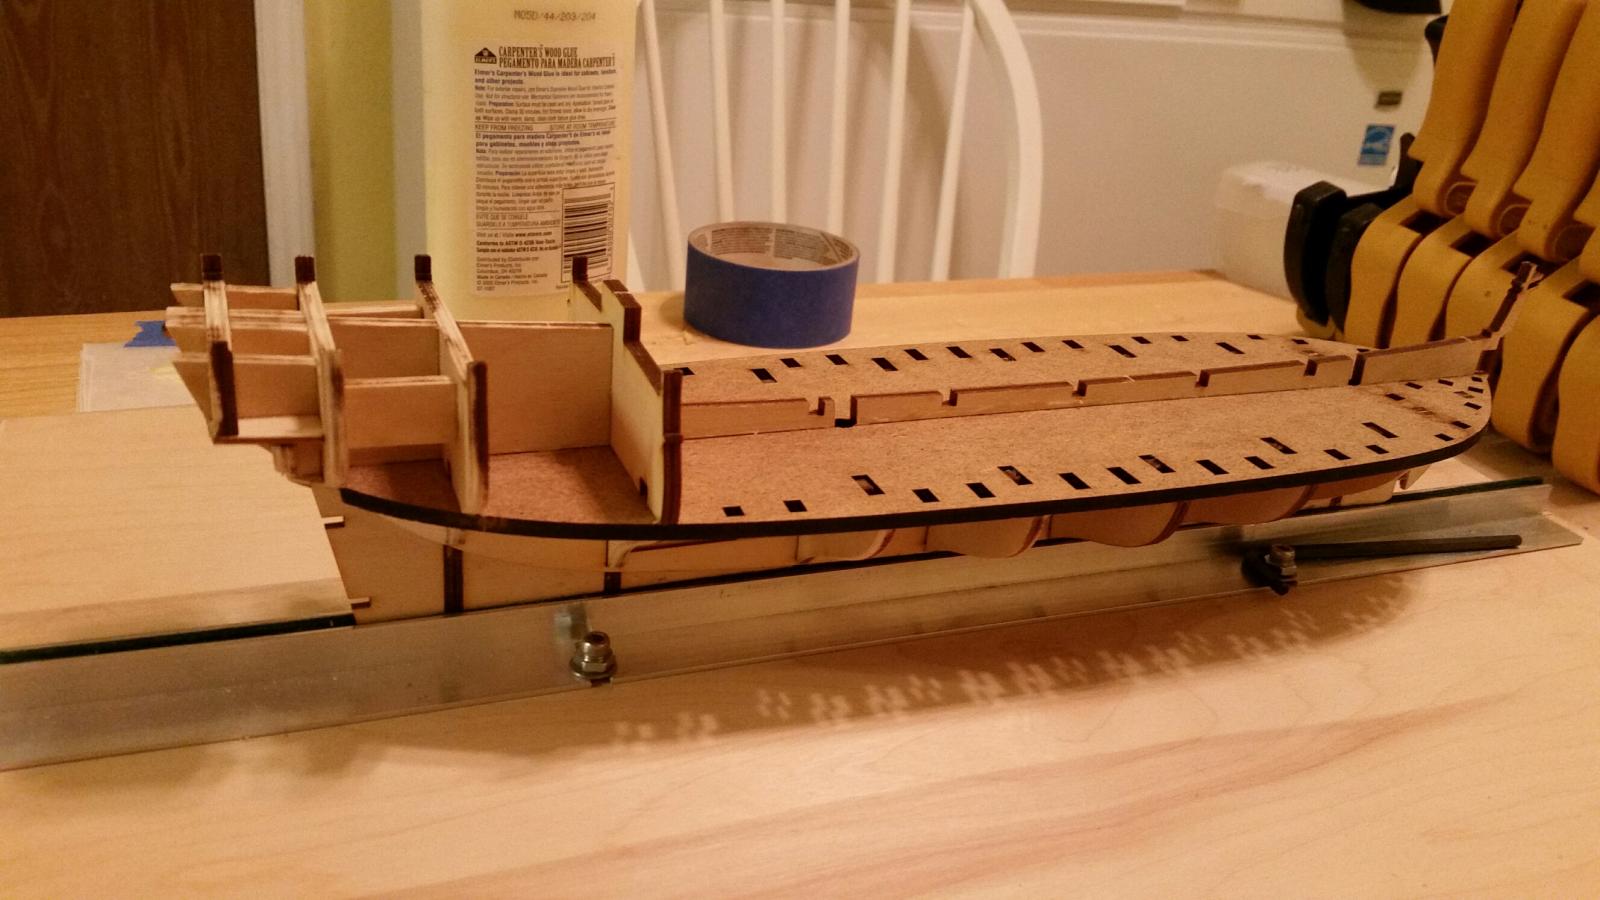
Better late than never. After gluing the second bulwark plank and letting it dry I discovered the top of the plank was higher on the right side than on the left. It took several minutes of gentle prying to get the glue joints apart without tearing or breaking anything. I need to be more careful!
-
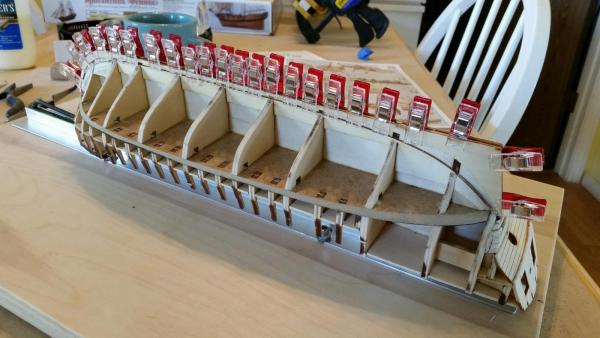
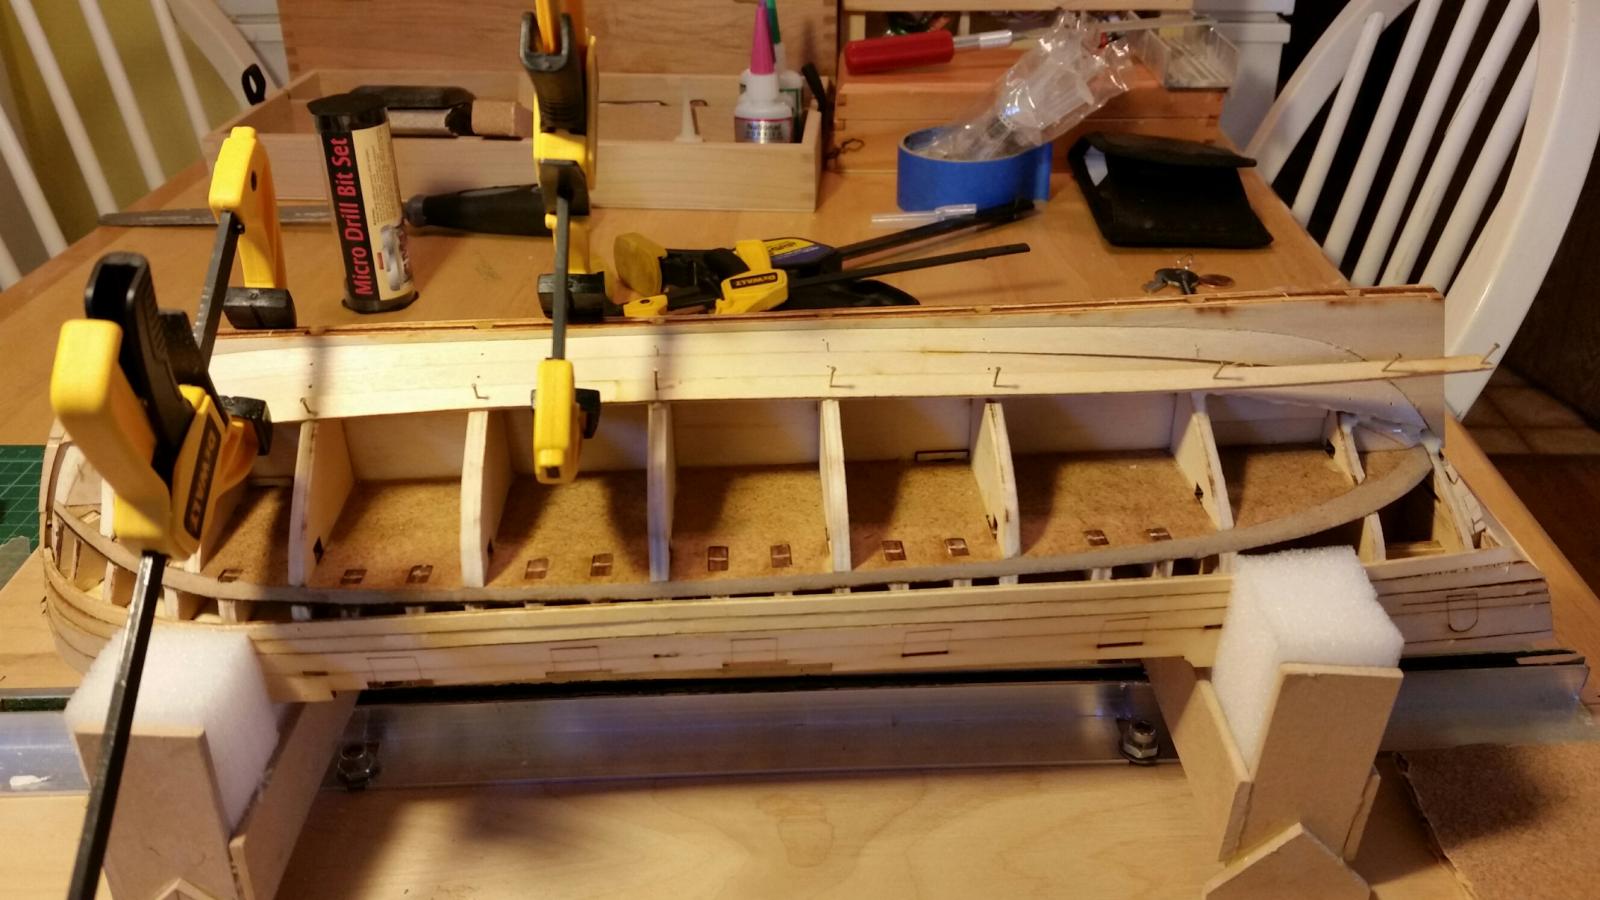
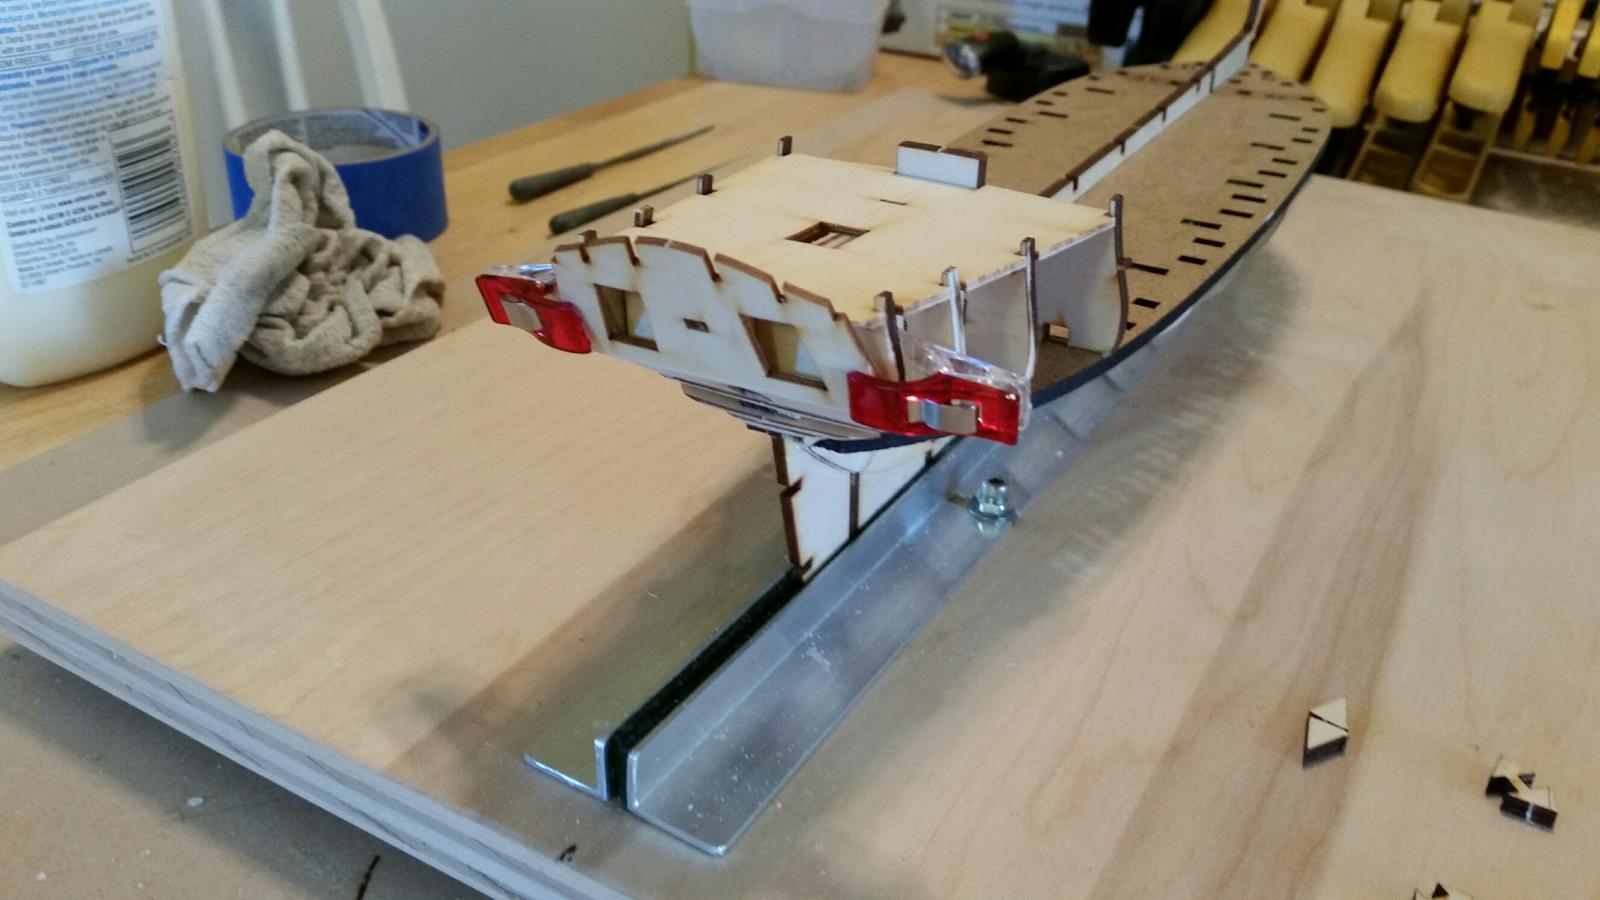
Just a couple more pics of the bulwark planking:

- GuntherMT, Seventynet, mtaylor and 3 others
-
6
-
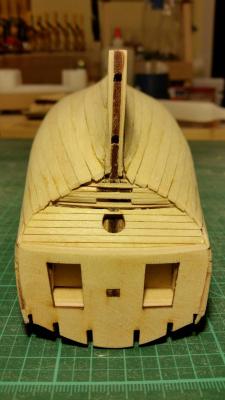
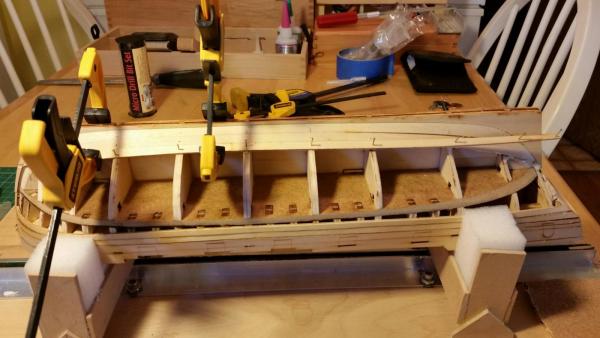
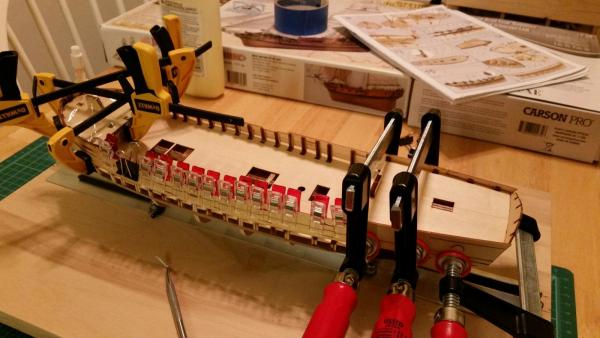
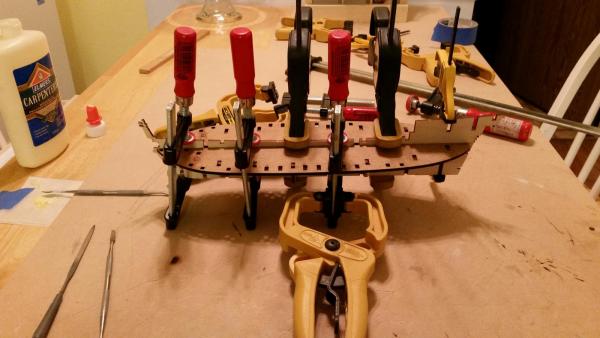
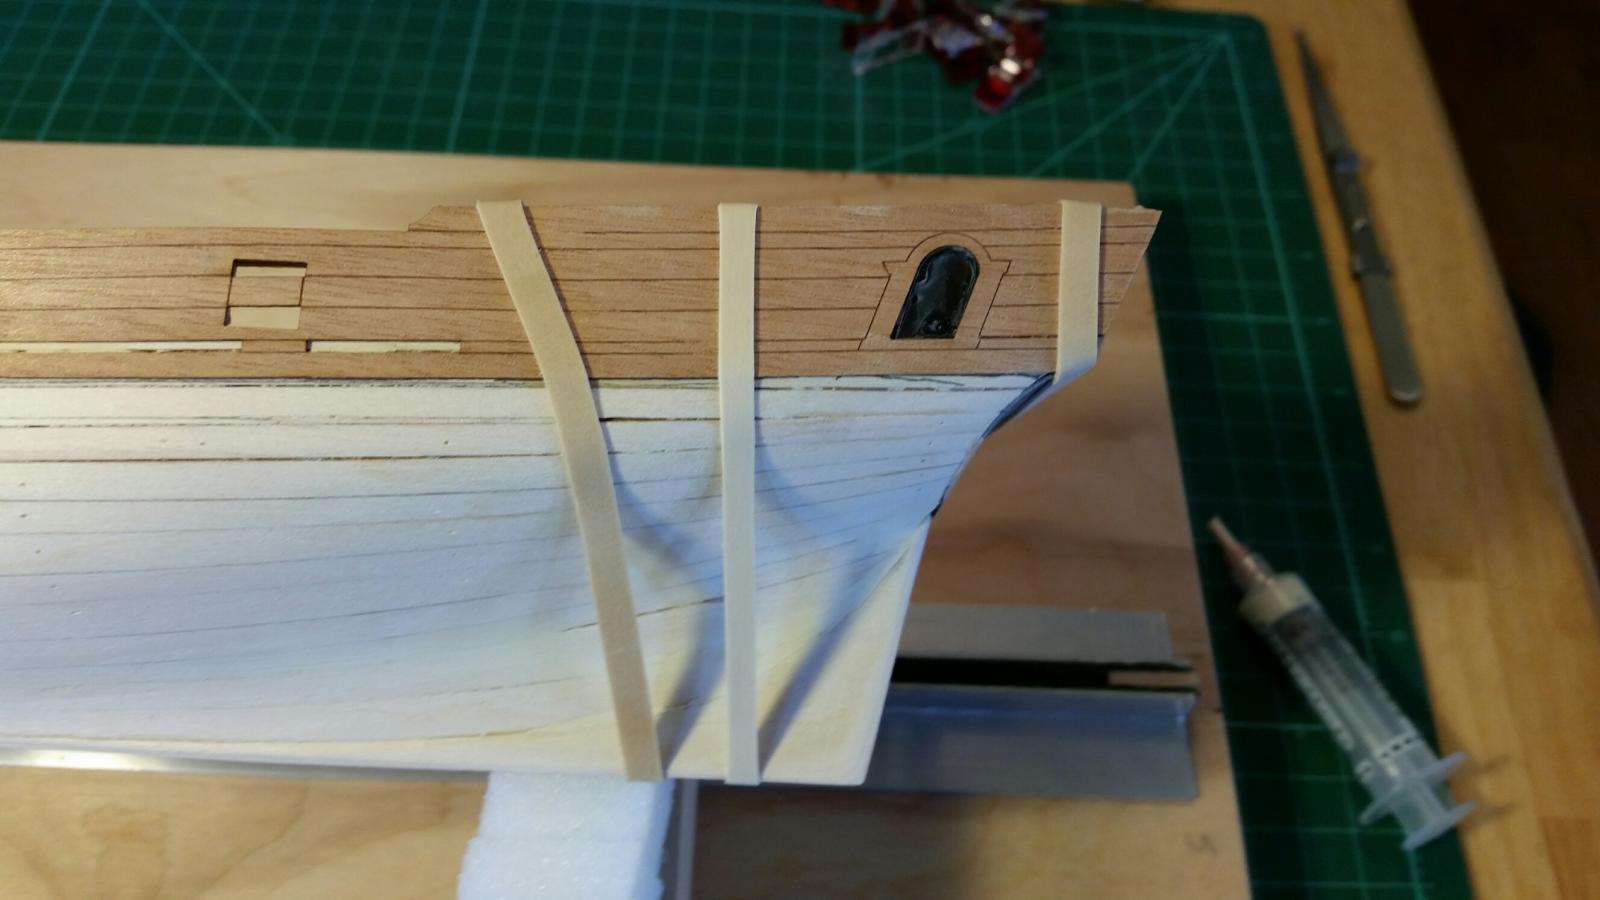
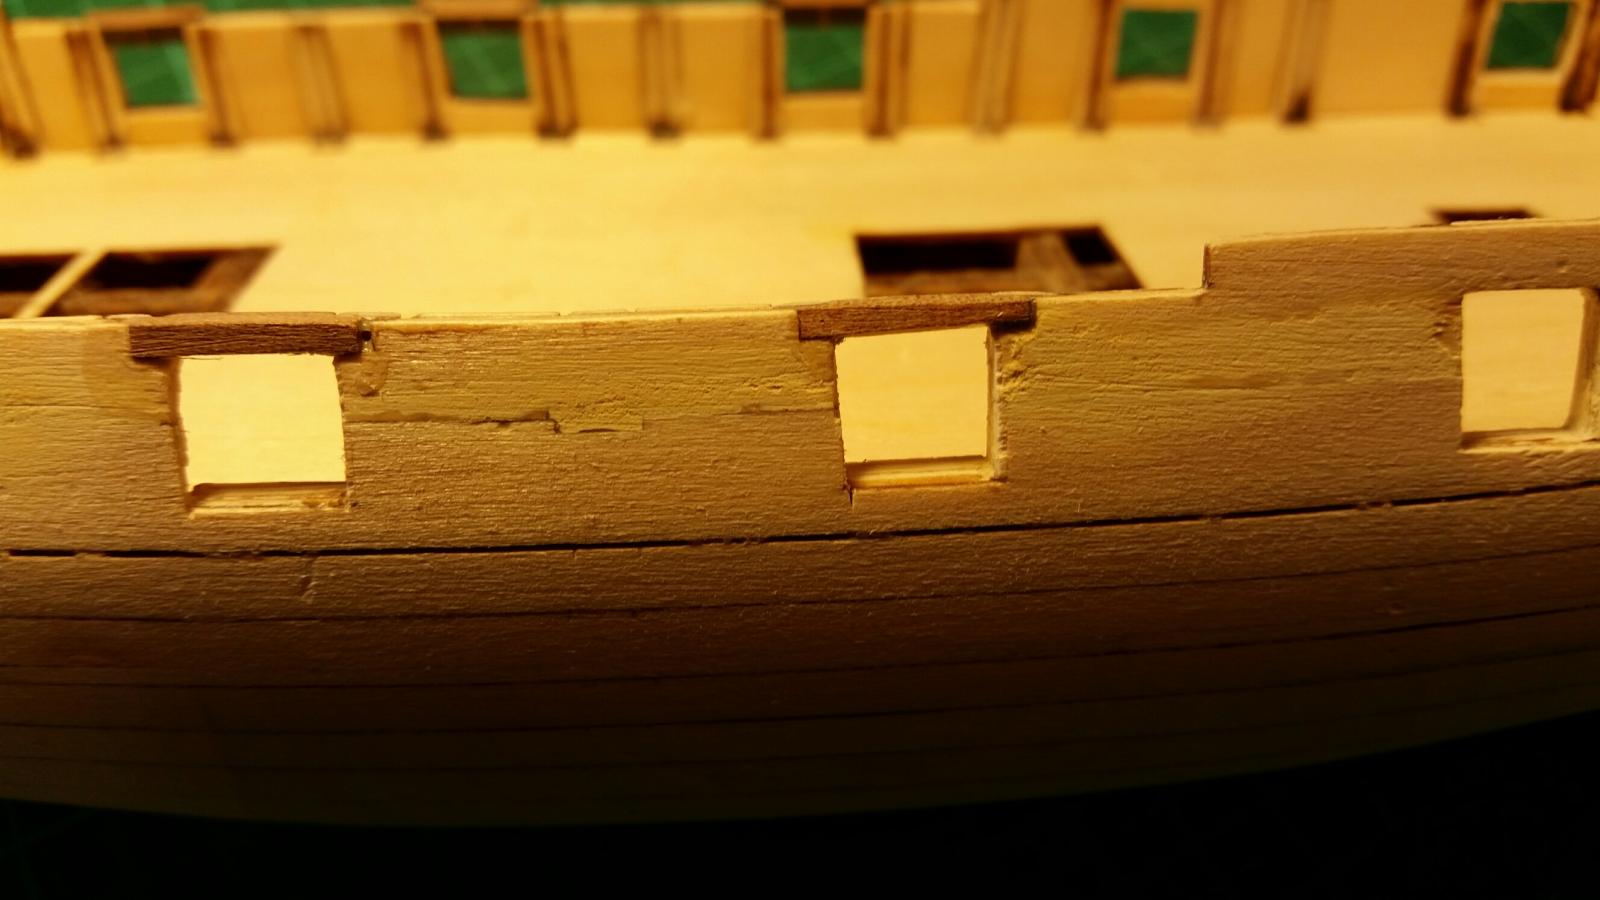
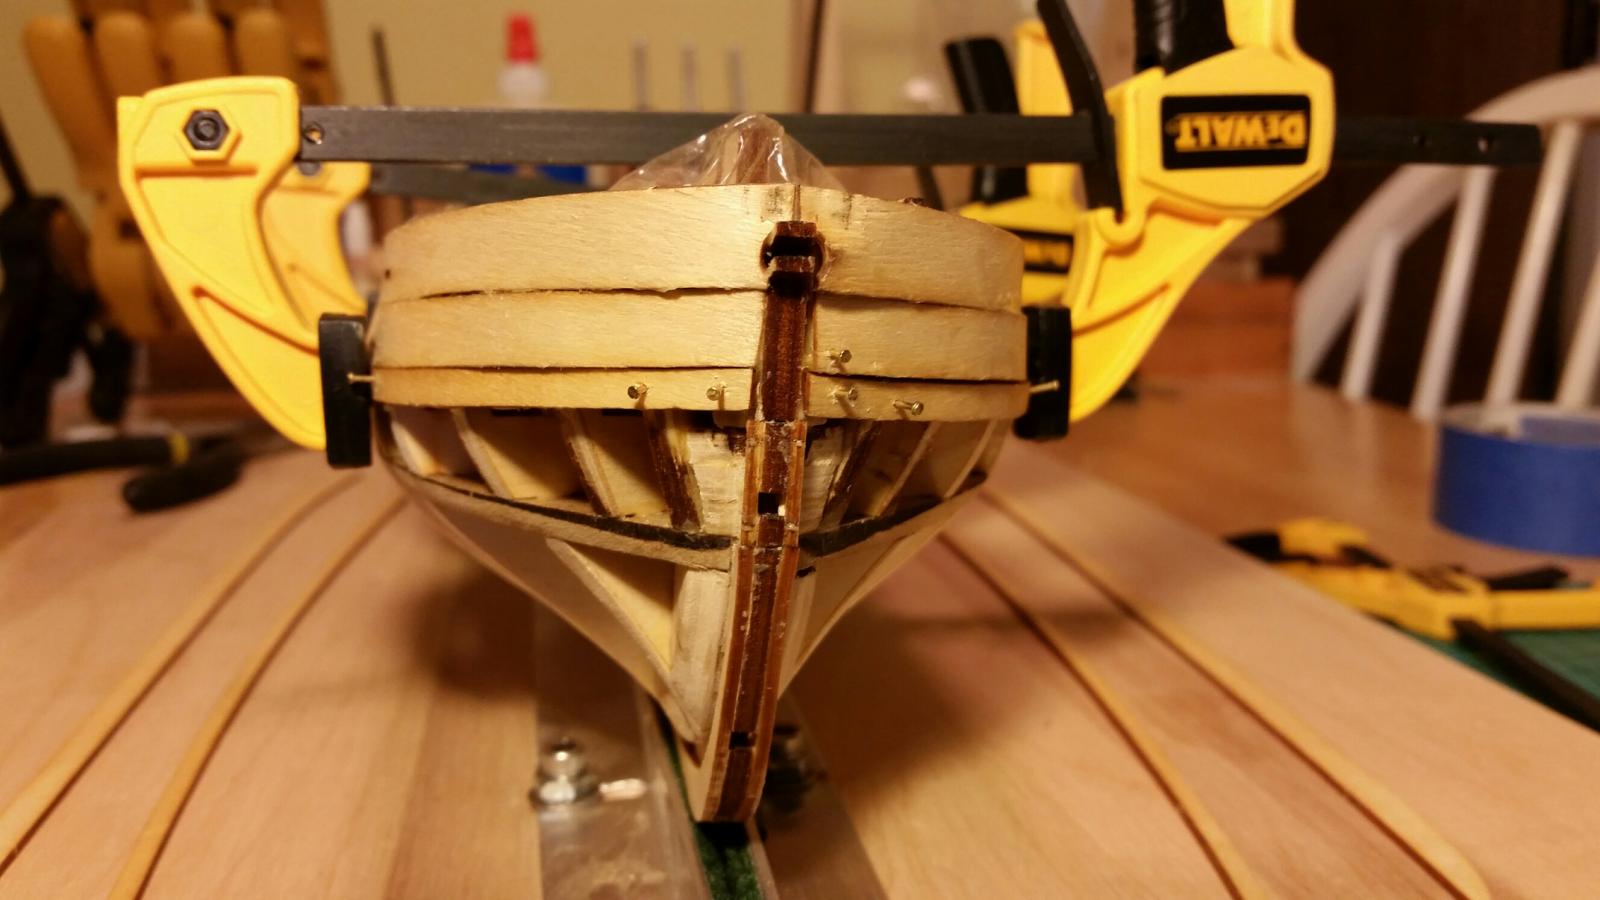
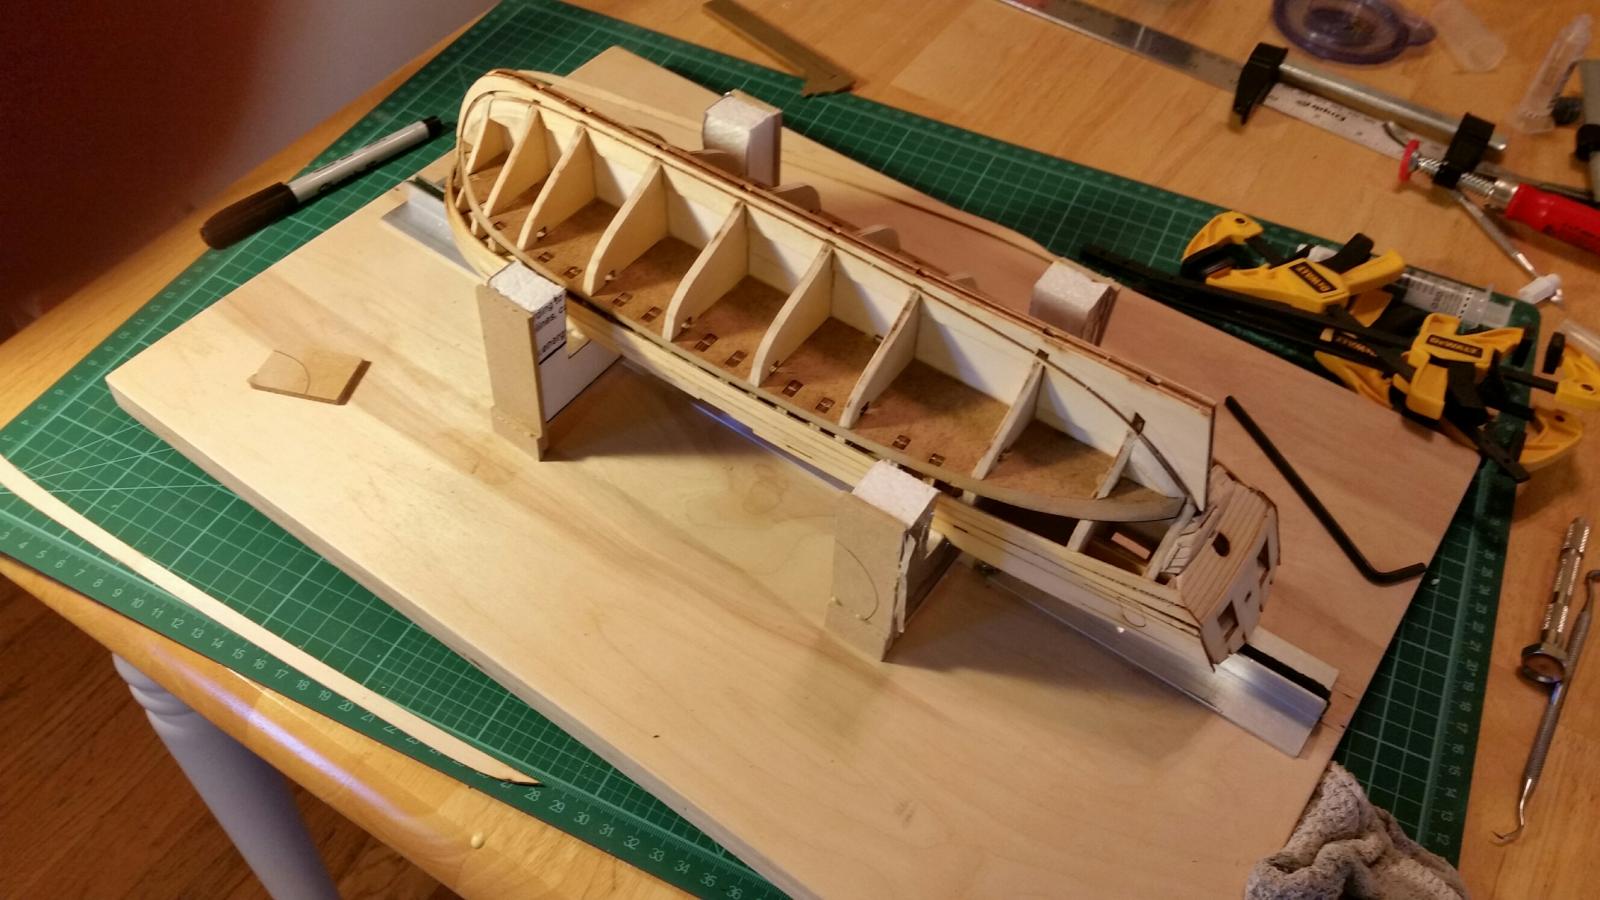
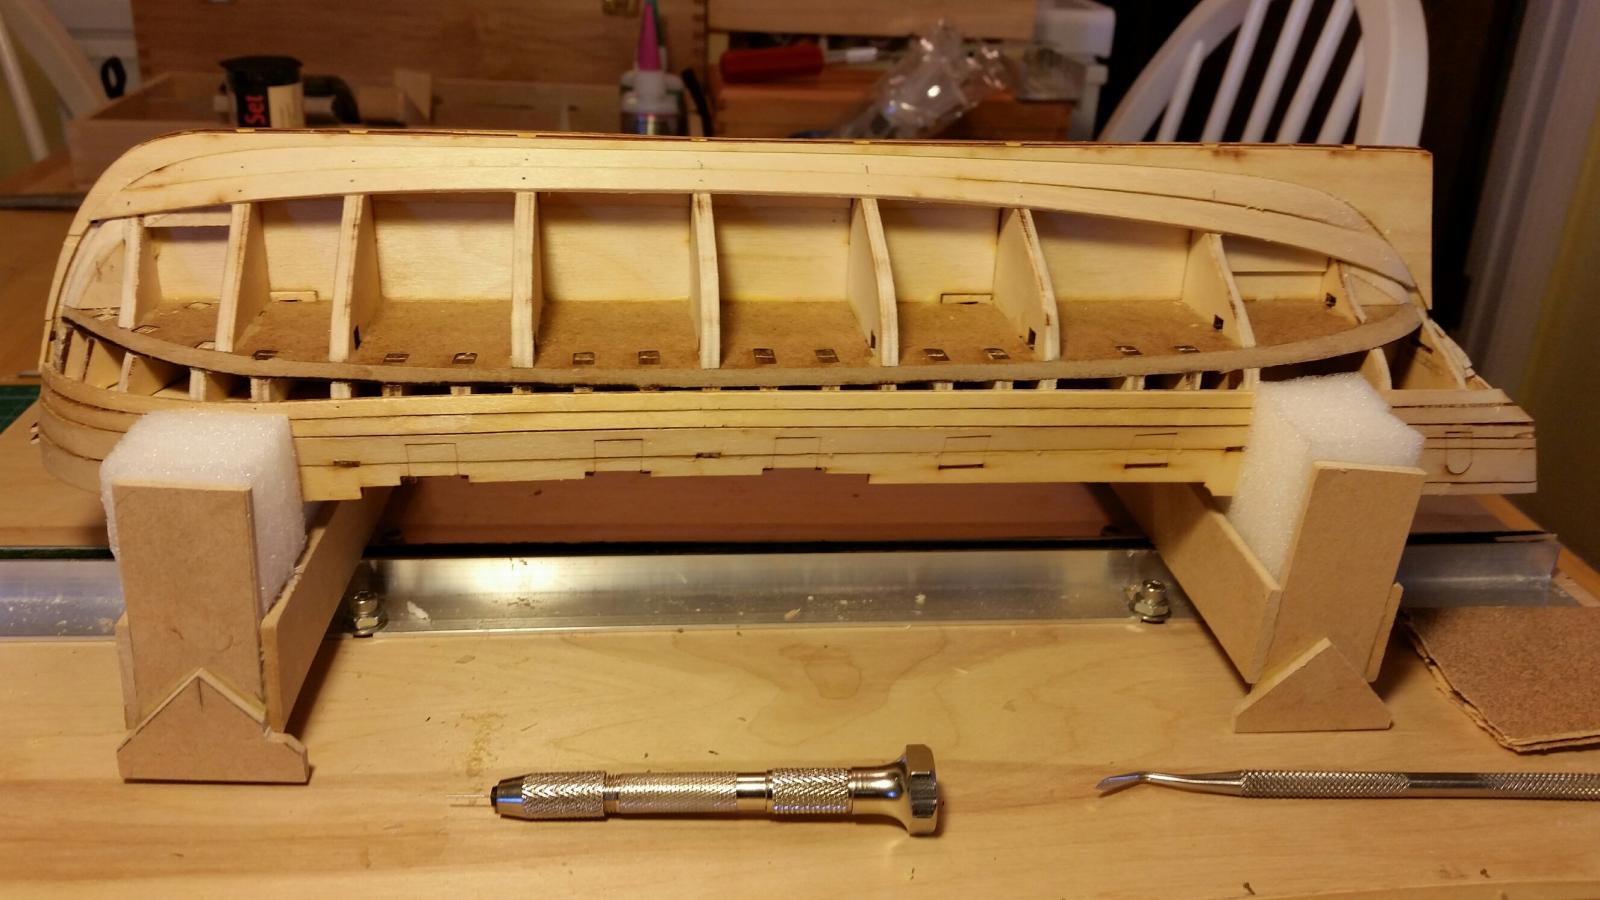
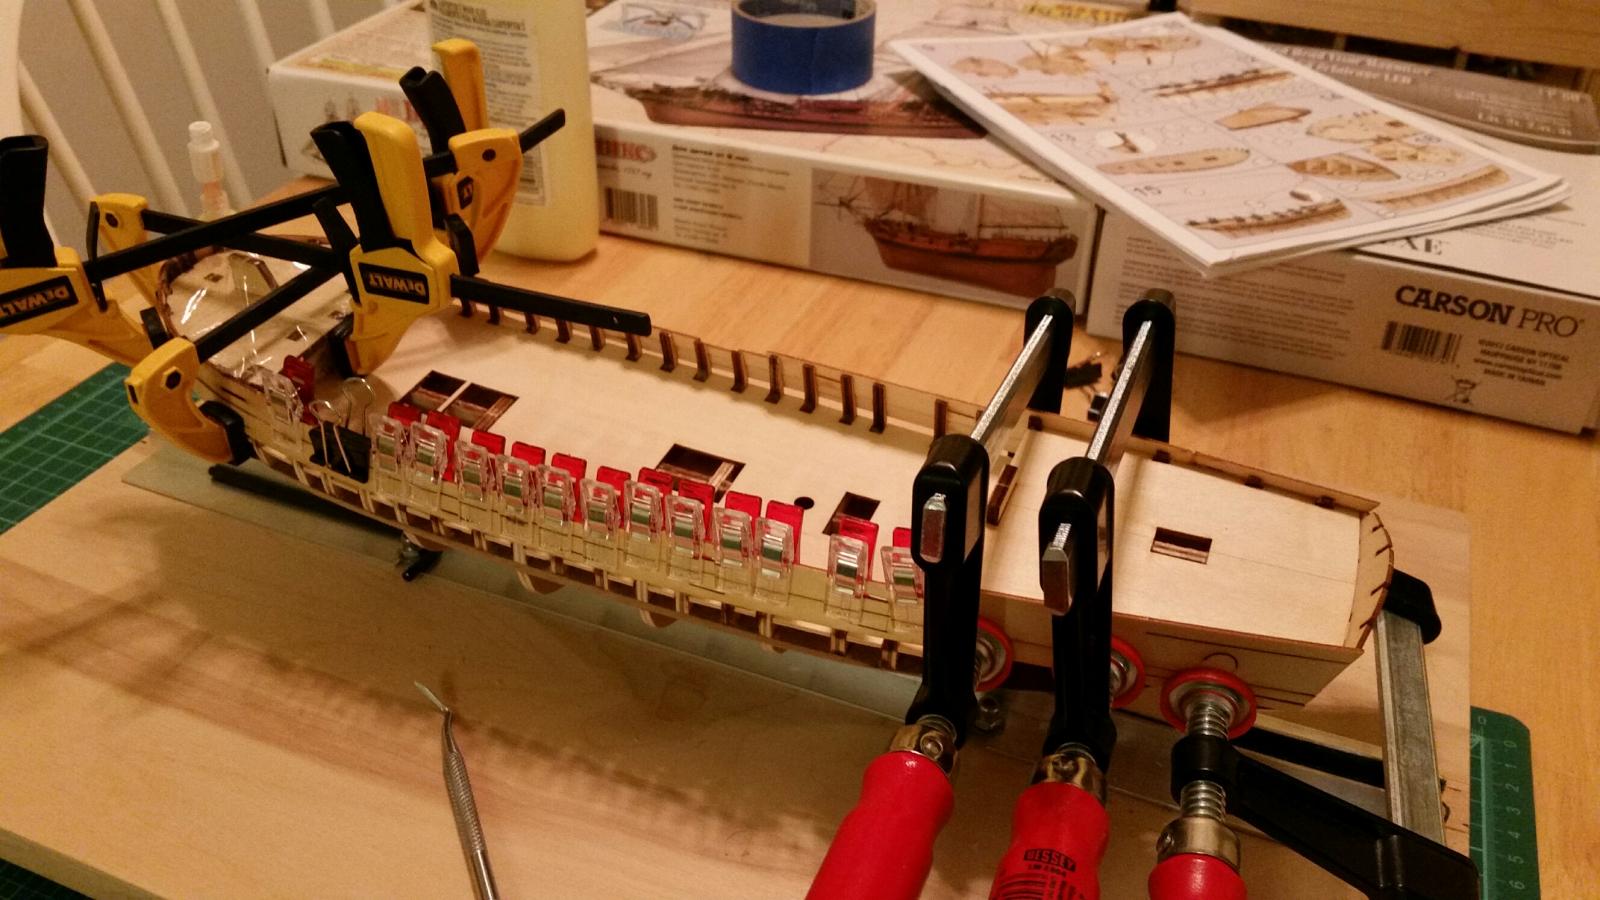
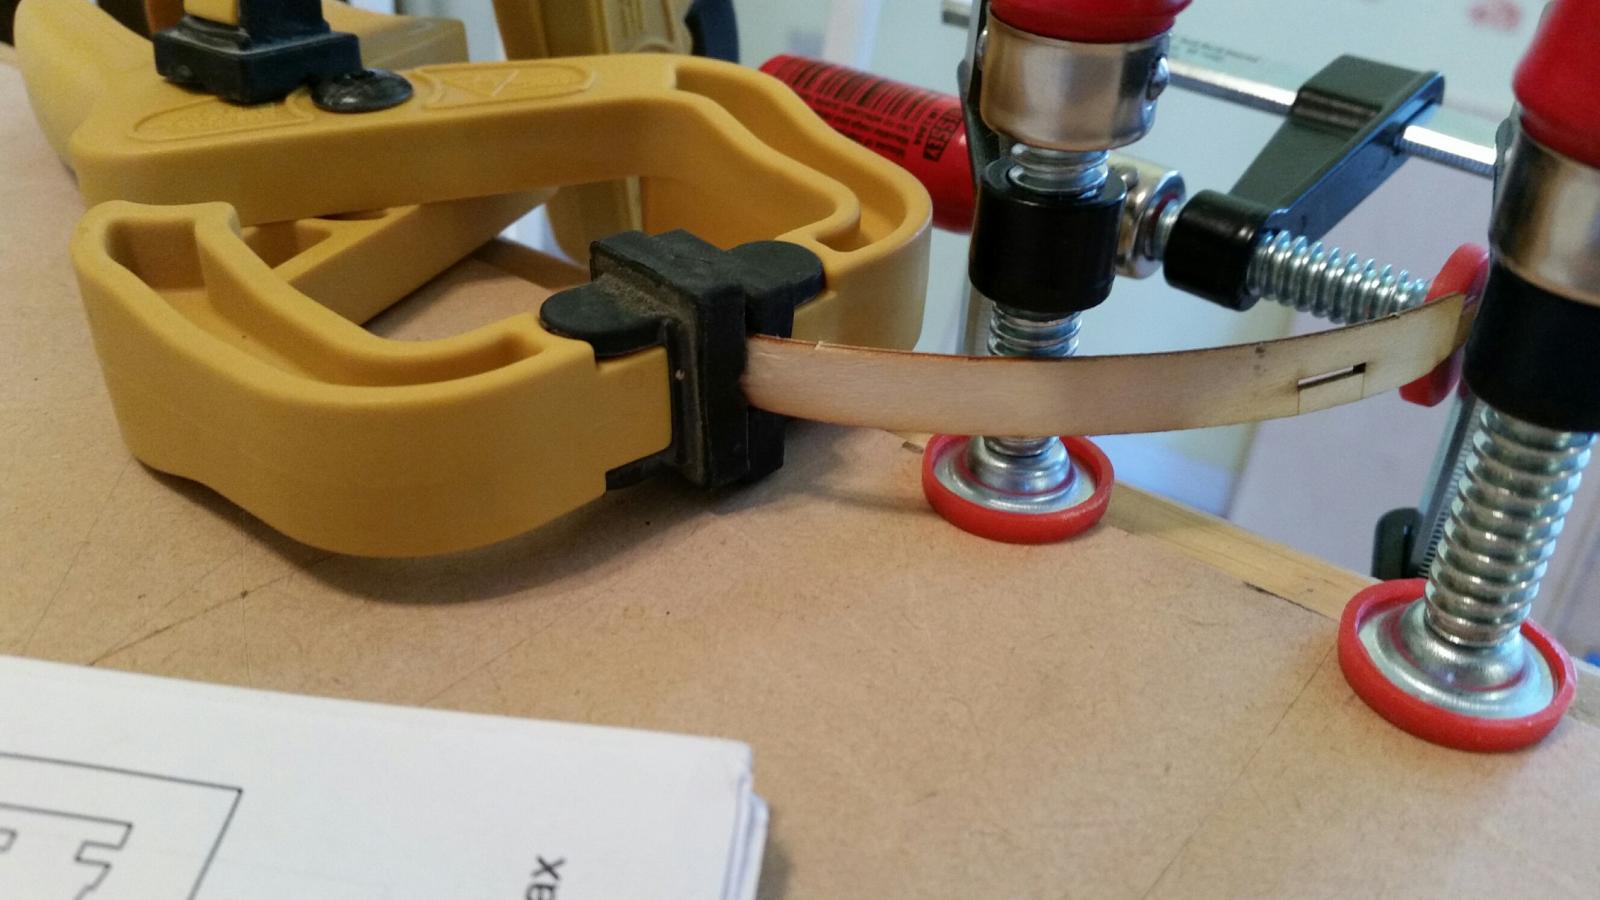
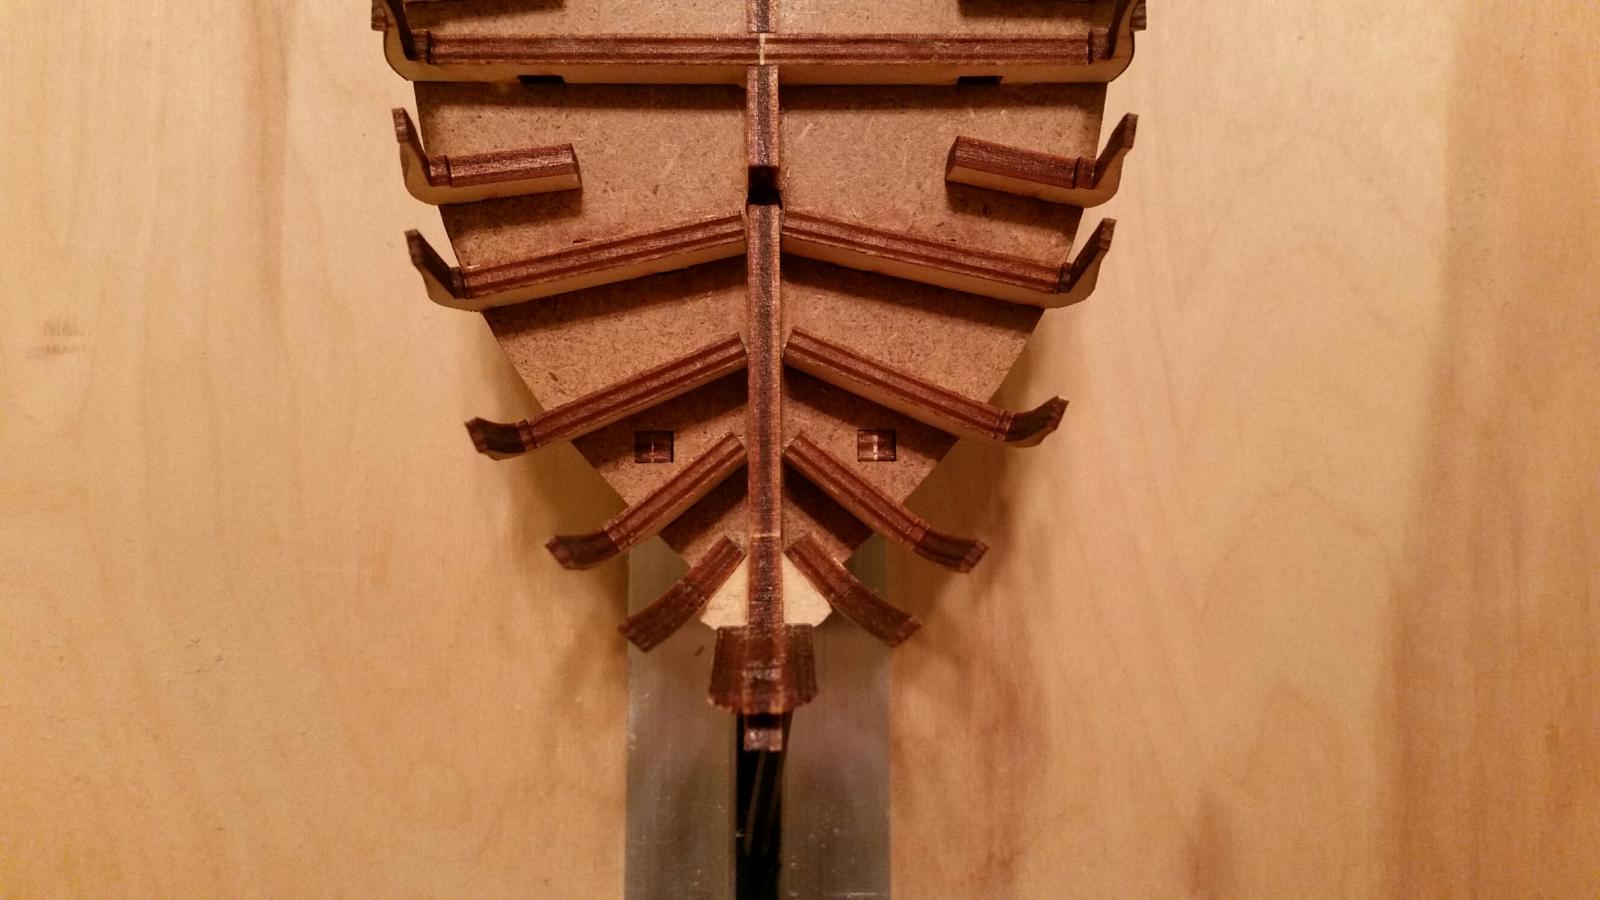
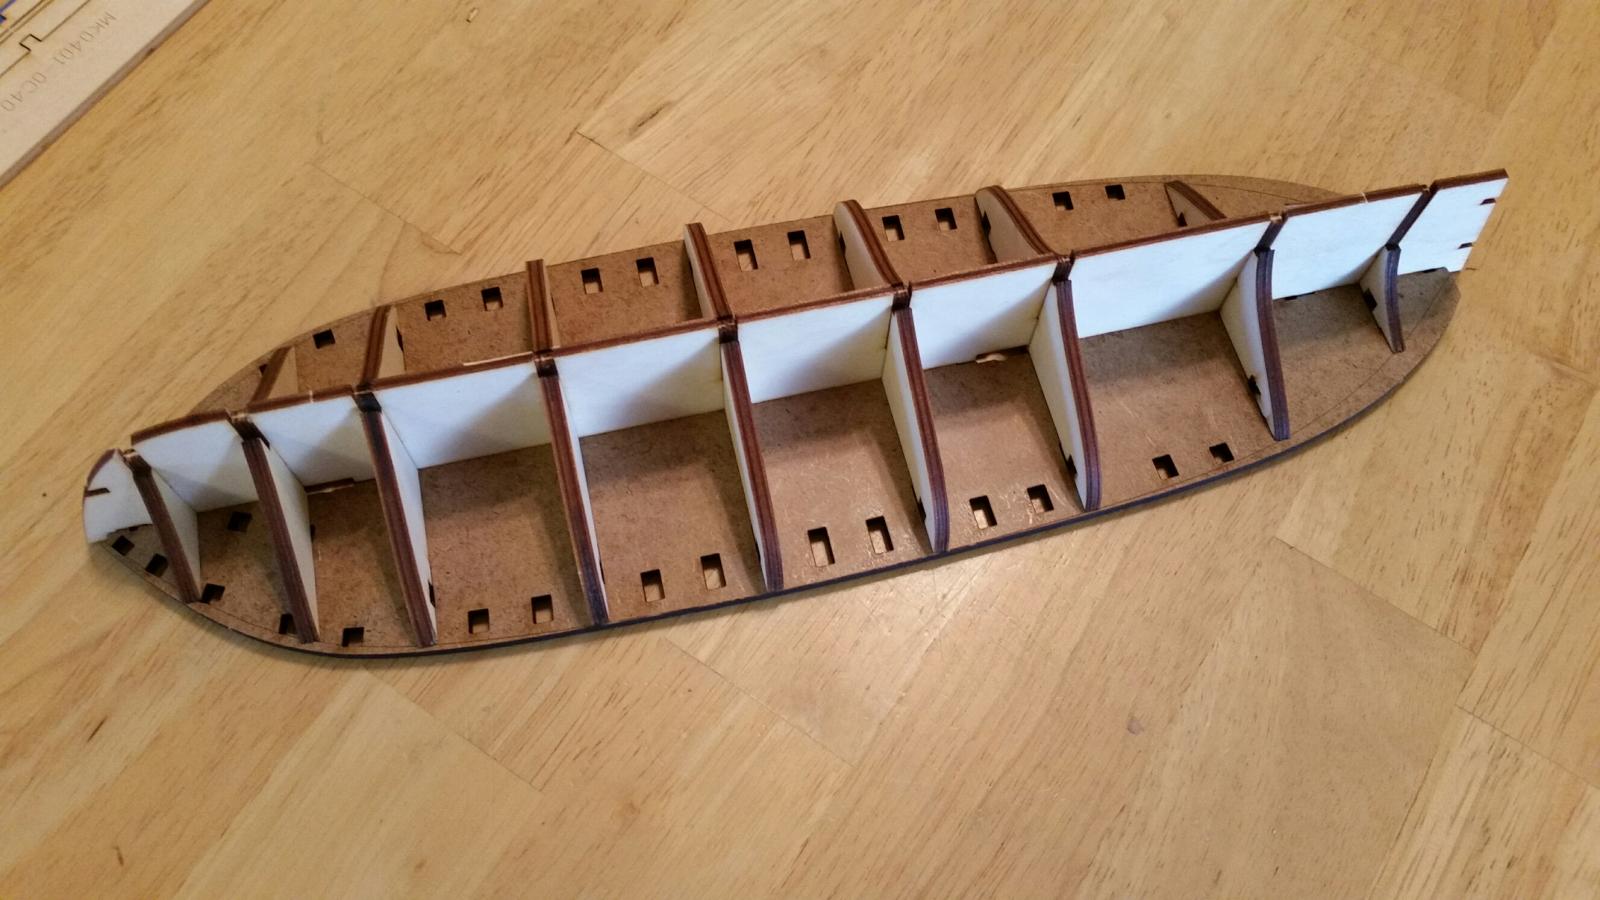
So far so good. I was on a work stretch so I haven't made a whole lot of progress on the model. I finished the stern portion, put in the sub-deck and started the base planking on the bulwarks.
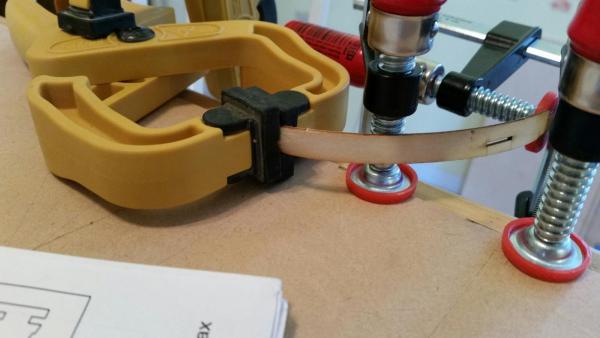
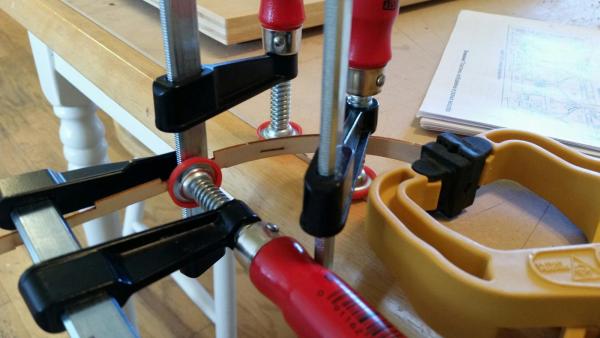
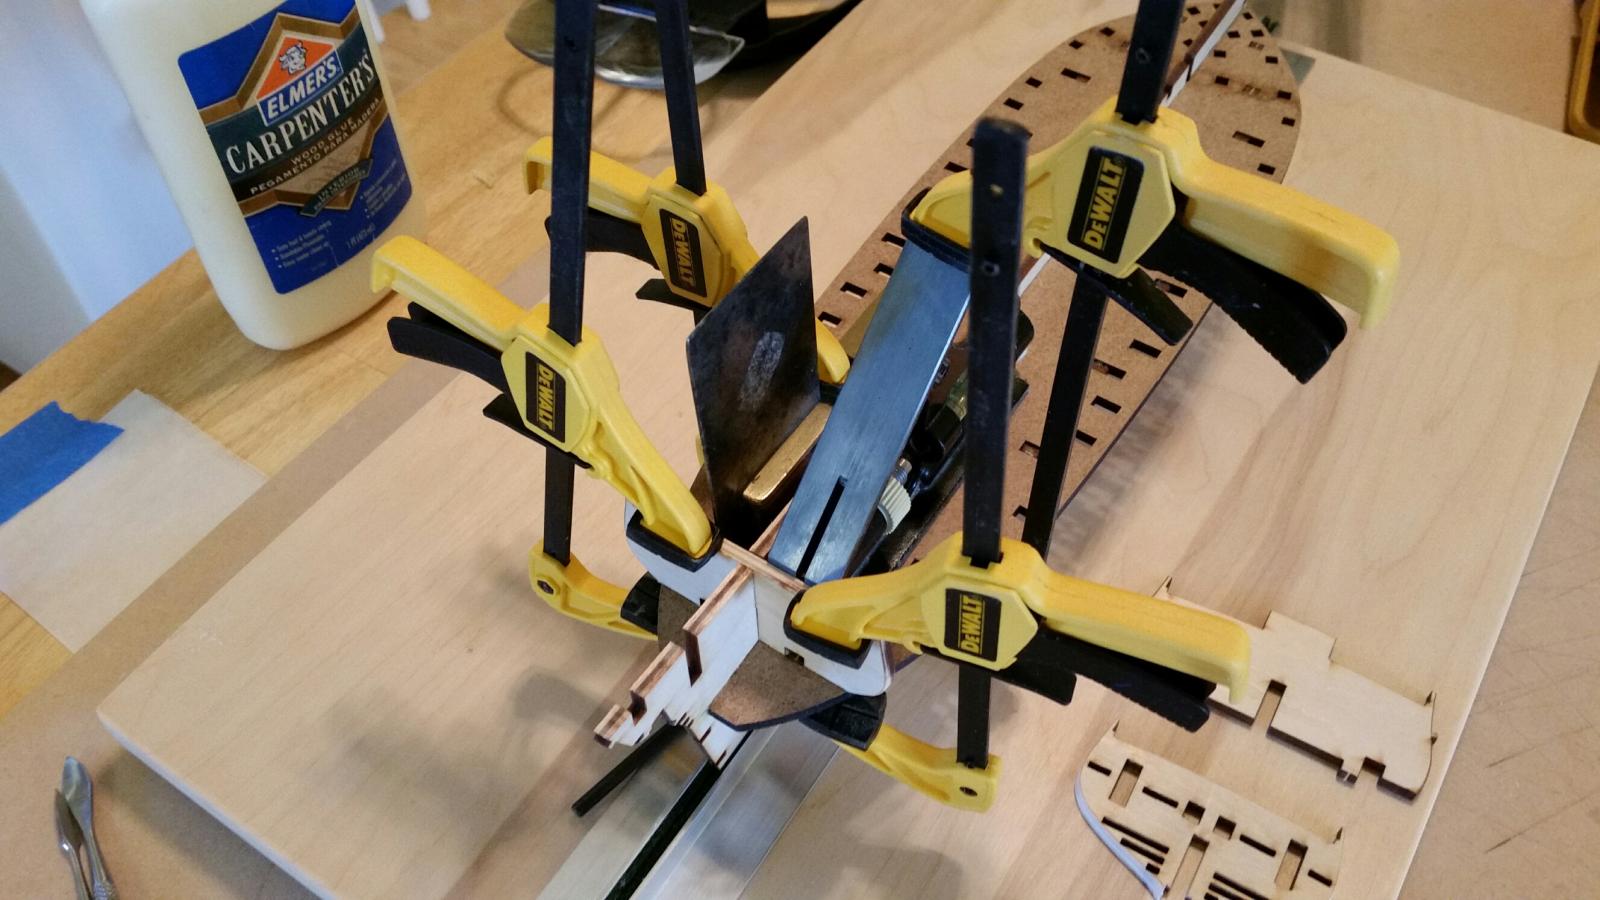
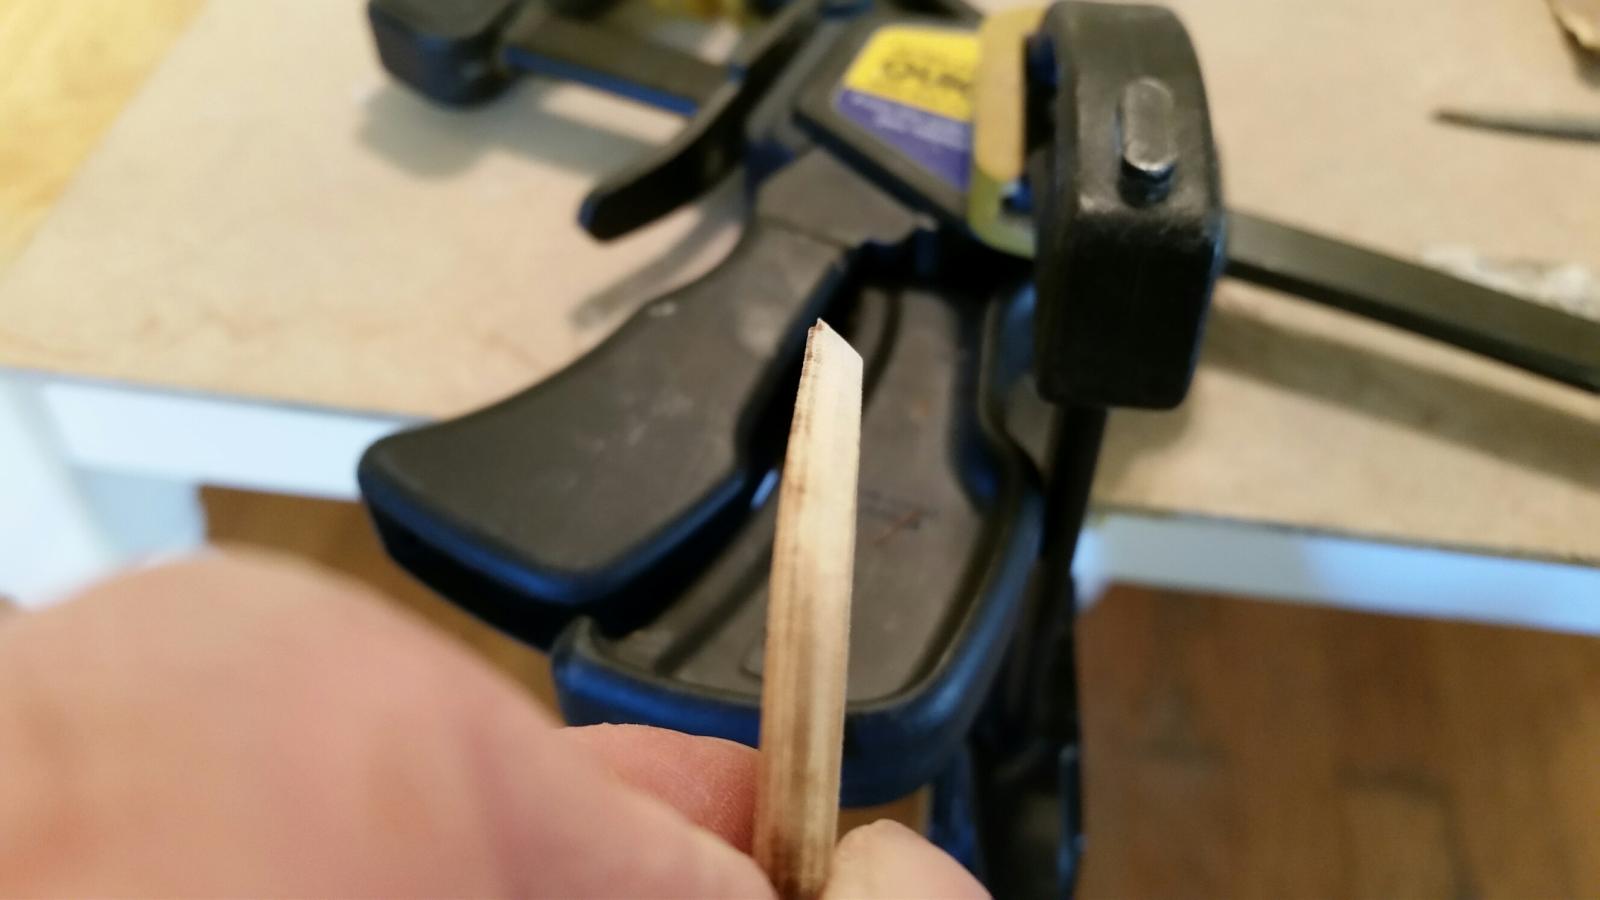
I don't have a plank bender and the planks that go on the bulwarks are plywood. I decided to steam the plywood planks which may not have been the best option because the outer layer tended to separate and wrinkle on the inside radius of the bend. Strategically placed clamps prevented this from becoming a major issue. Initially I formed the planks into the basic shape of the hull using clamps, allowed the planks to dry then glued and clamped them to the hull. I found it was easier to clamp the steamed planks directly to the hull to form them then glue them on when dry.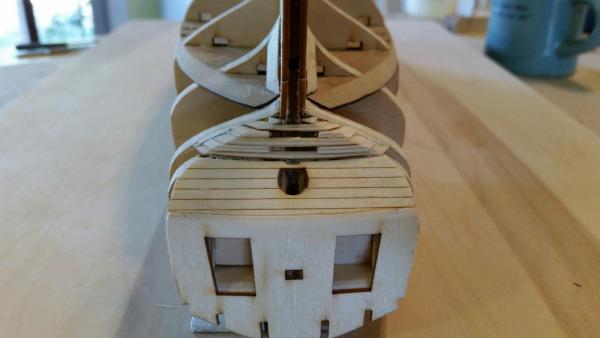
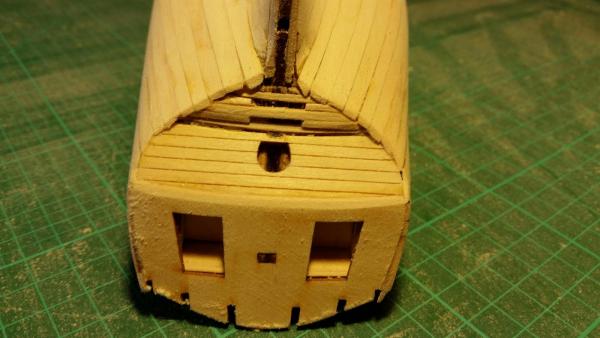
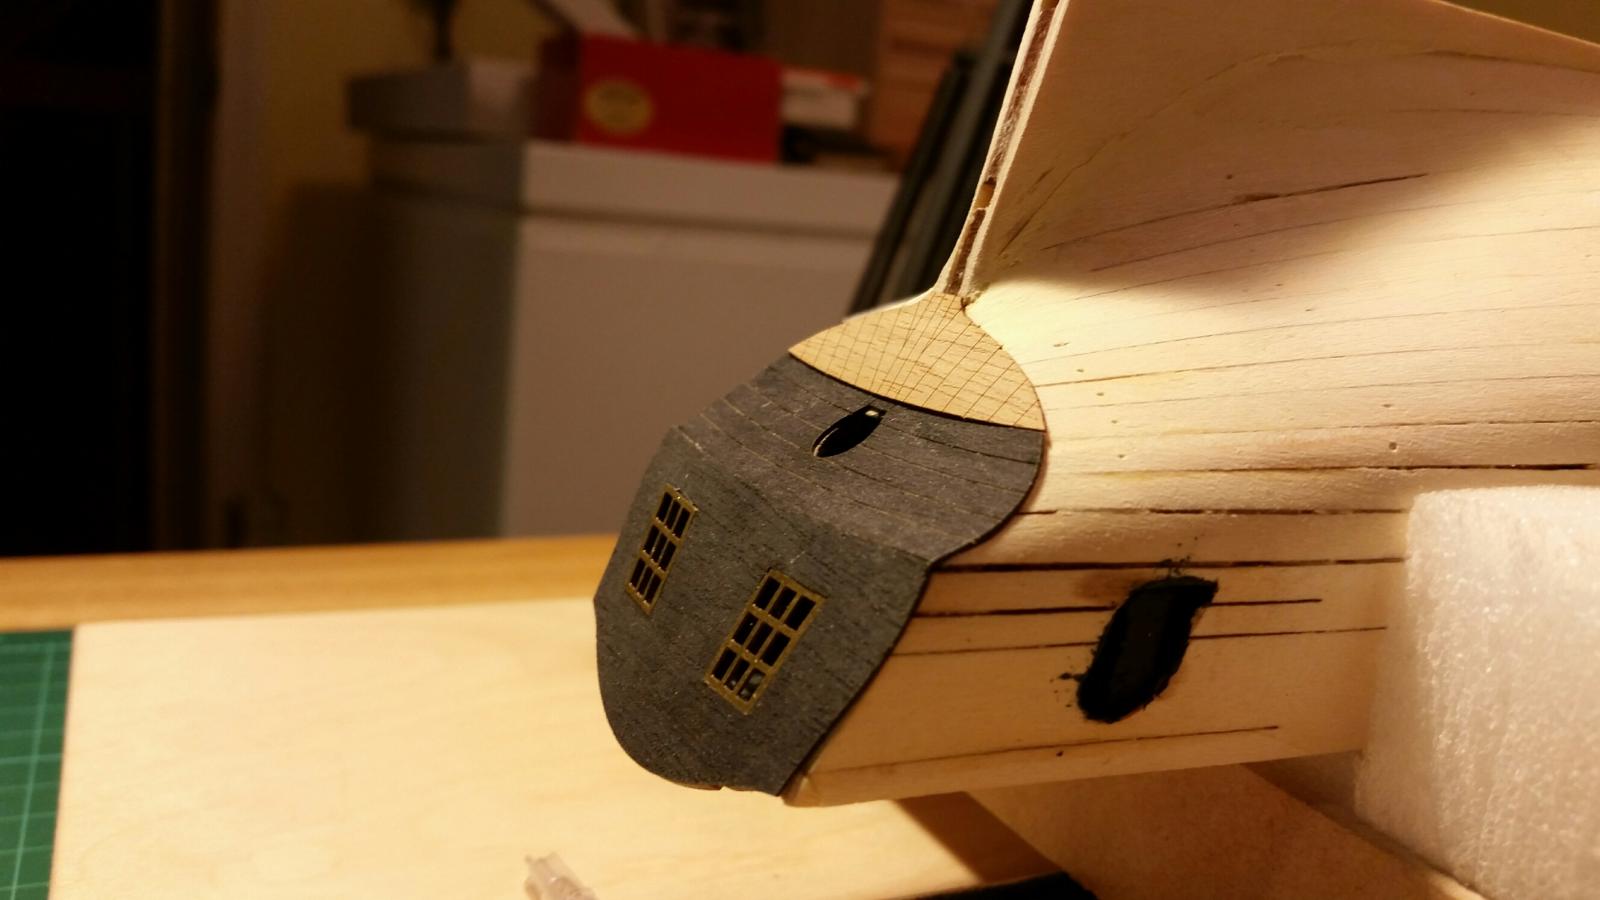
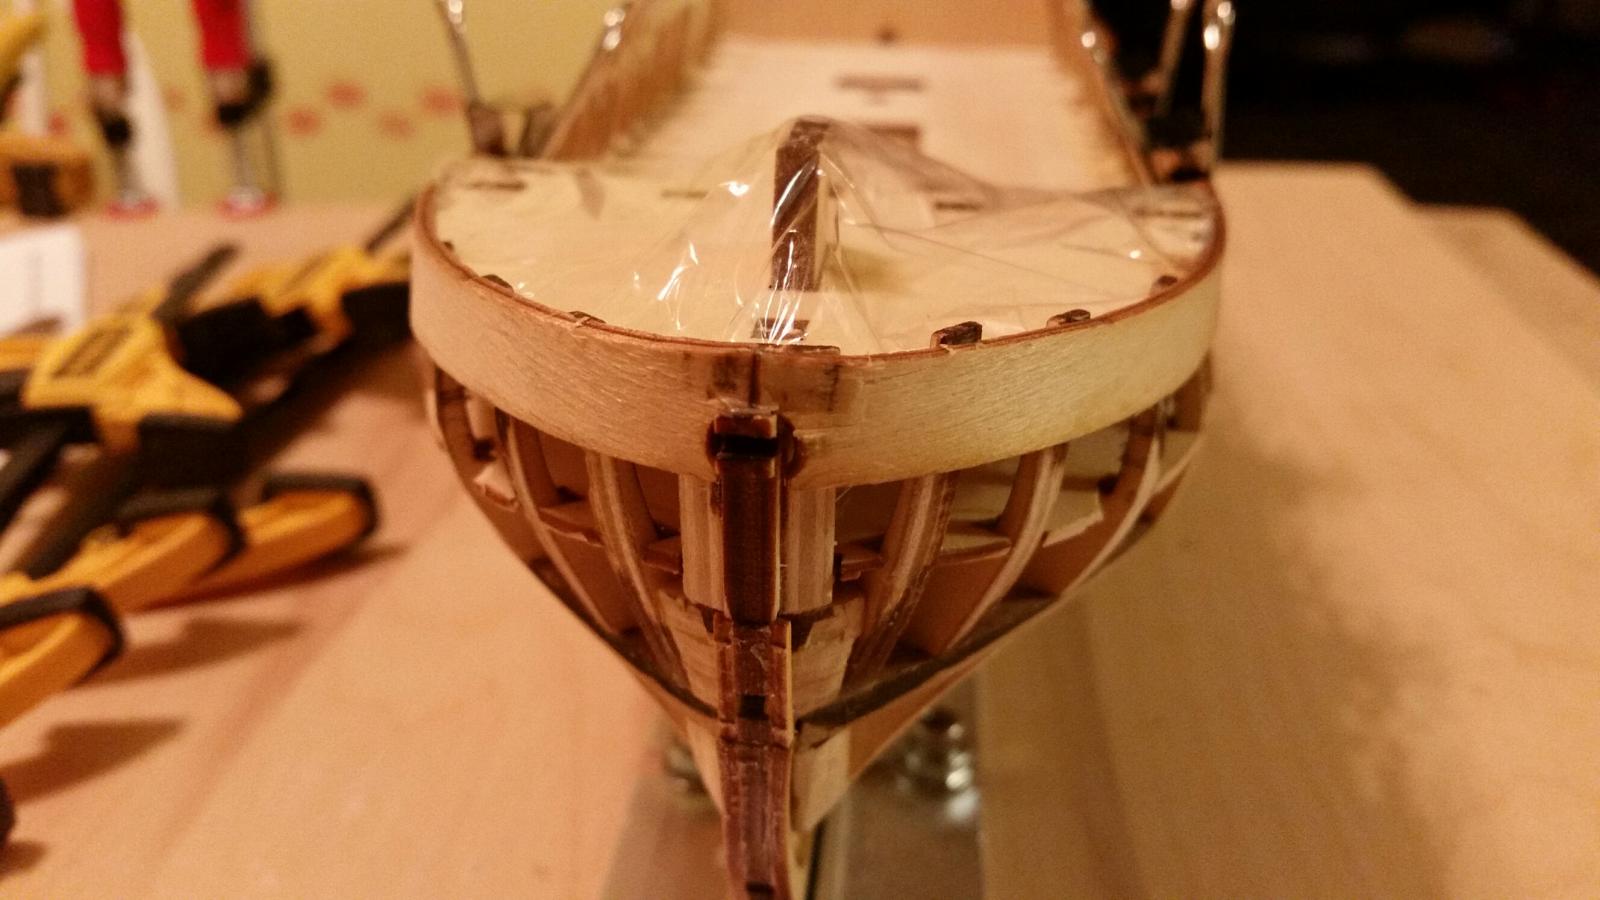
Stern section complete
Sub-deck added
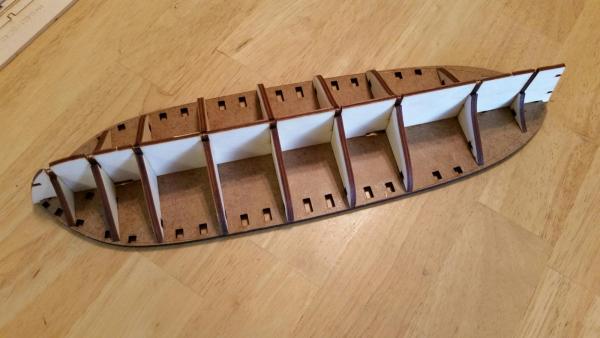
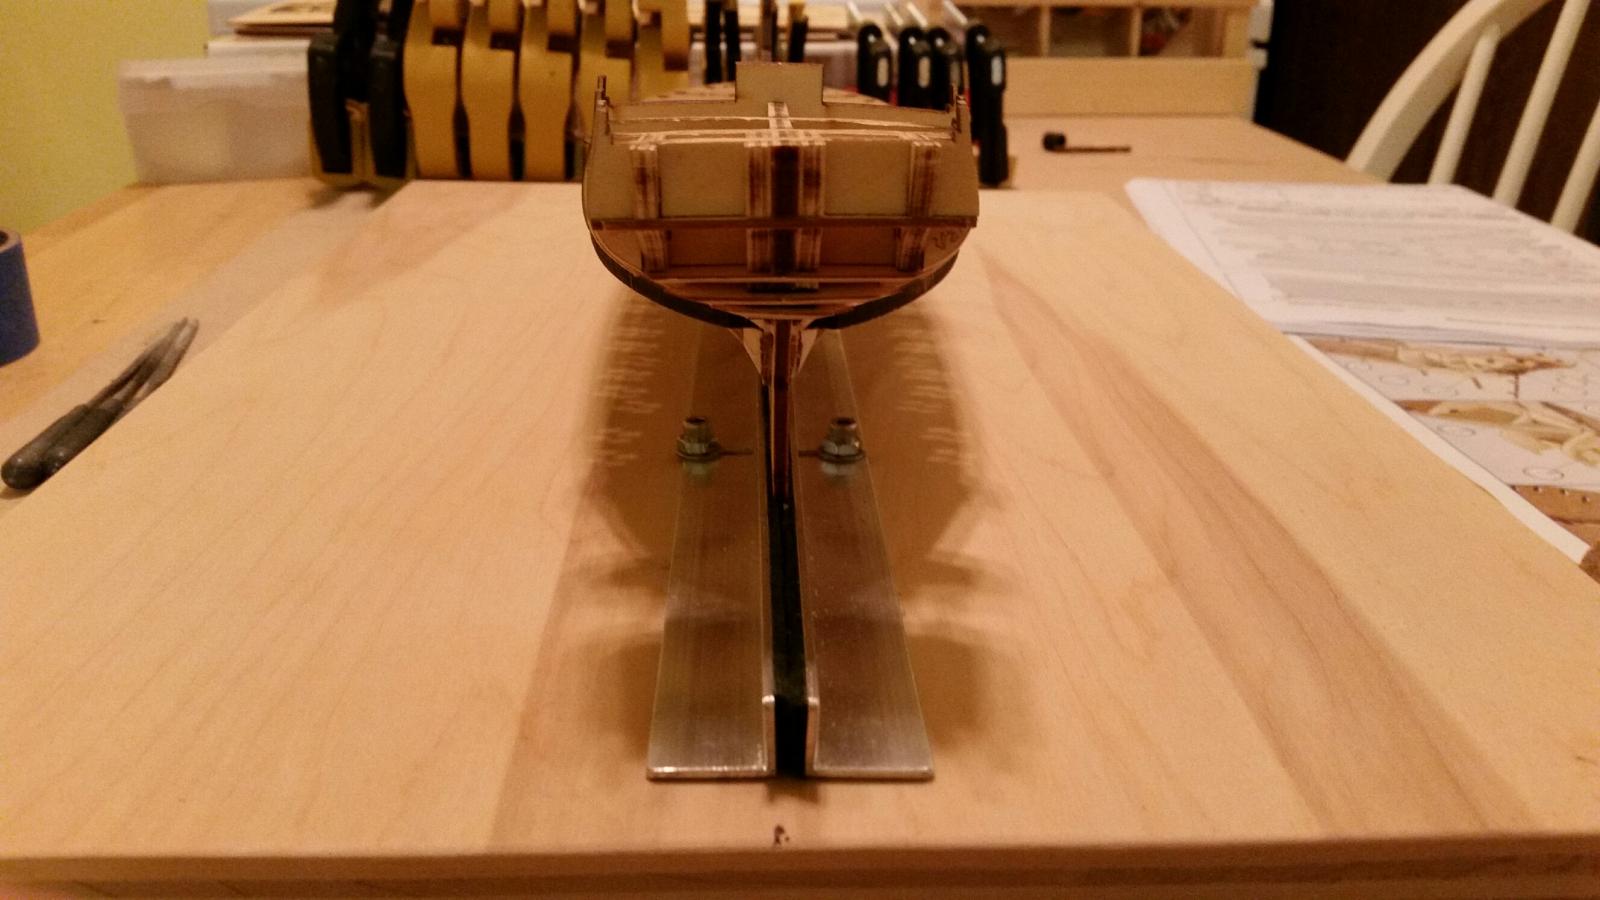
Preparing the keel for planking
Forming the plywood planks
Planks glued on and clamped
Not too shabby at the bow
- Mike Y, coxswain, Seventynet and 3 others
-
6
-
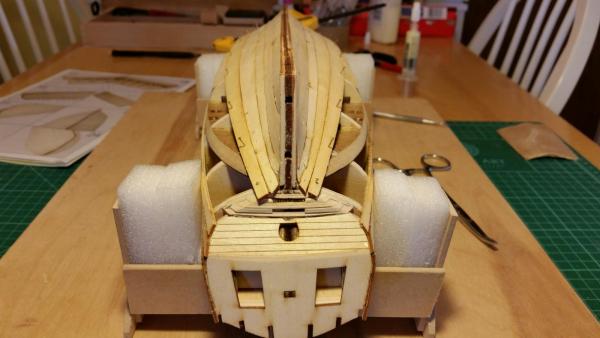
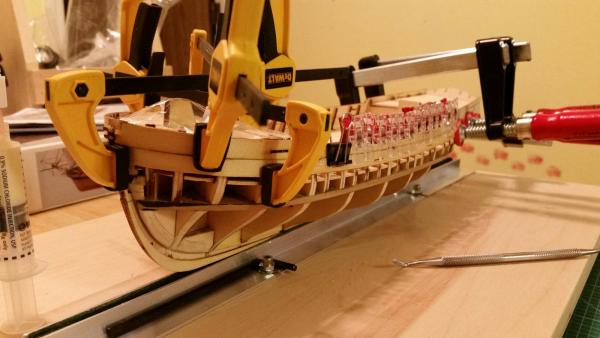
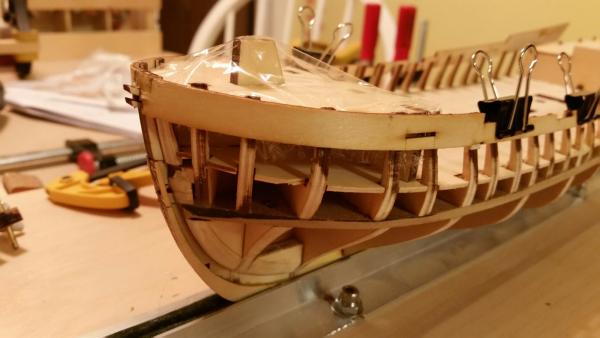
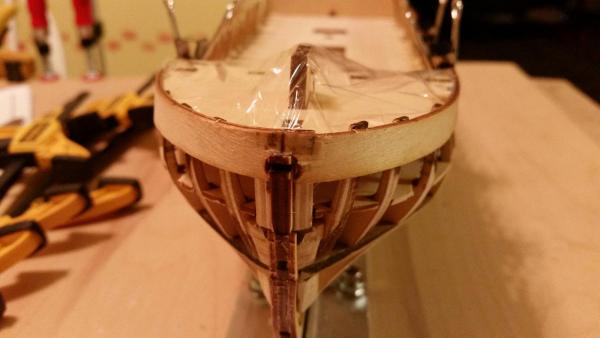
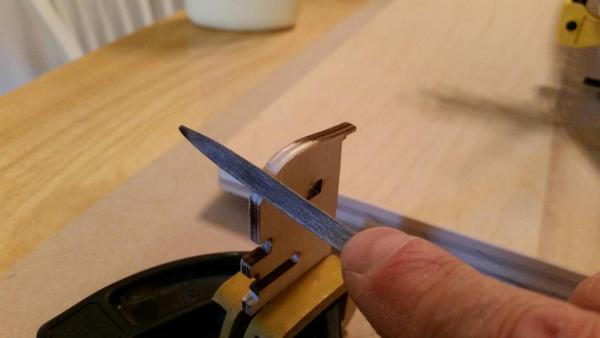
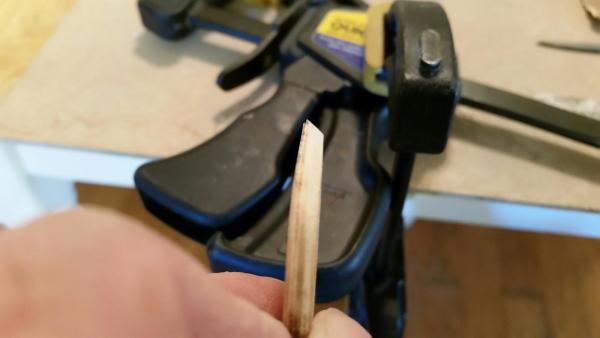
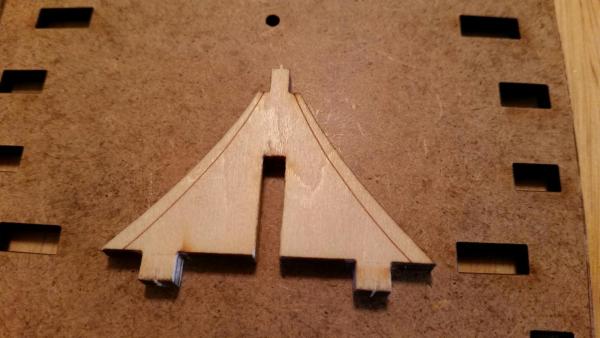
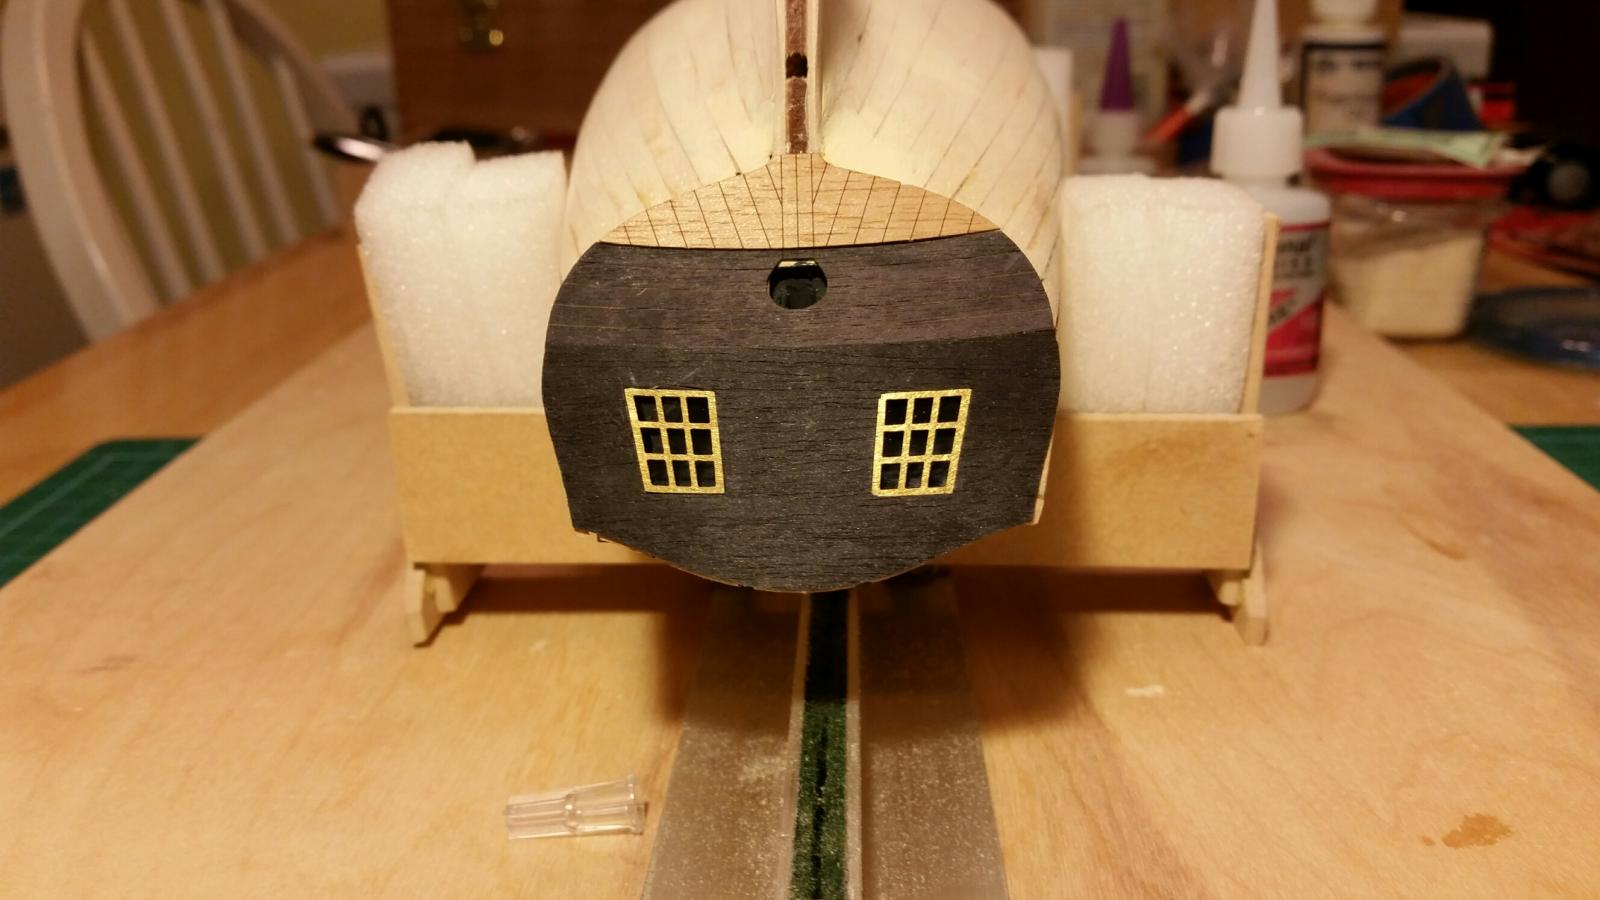
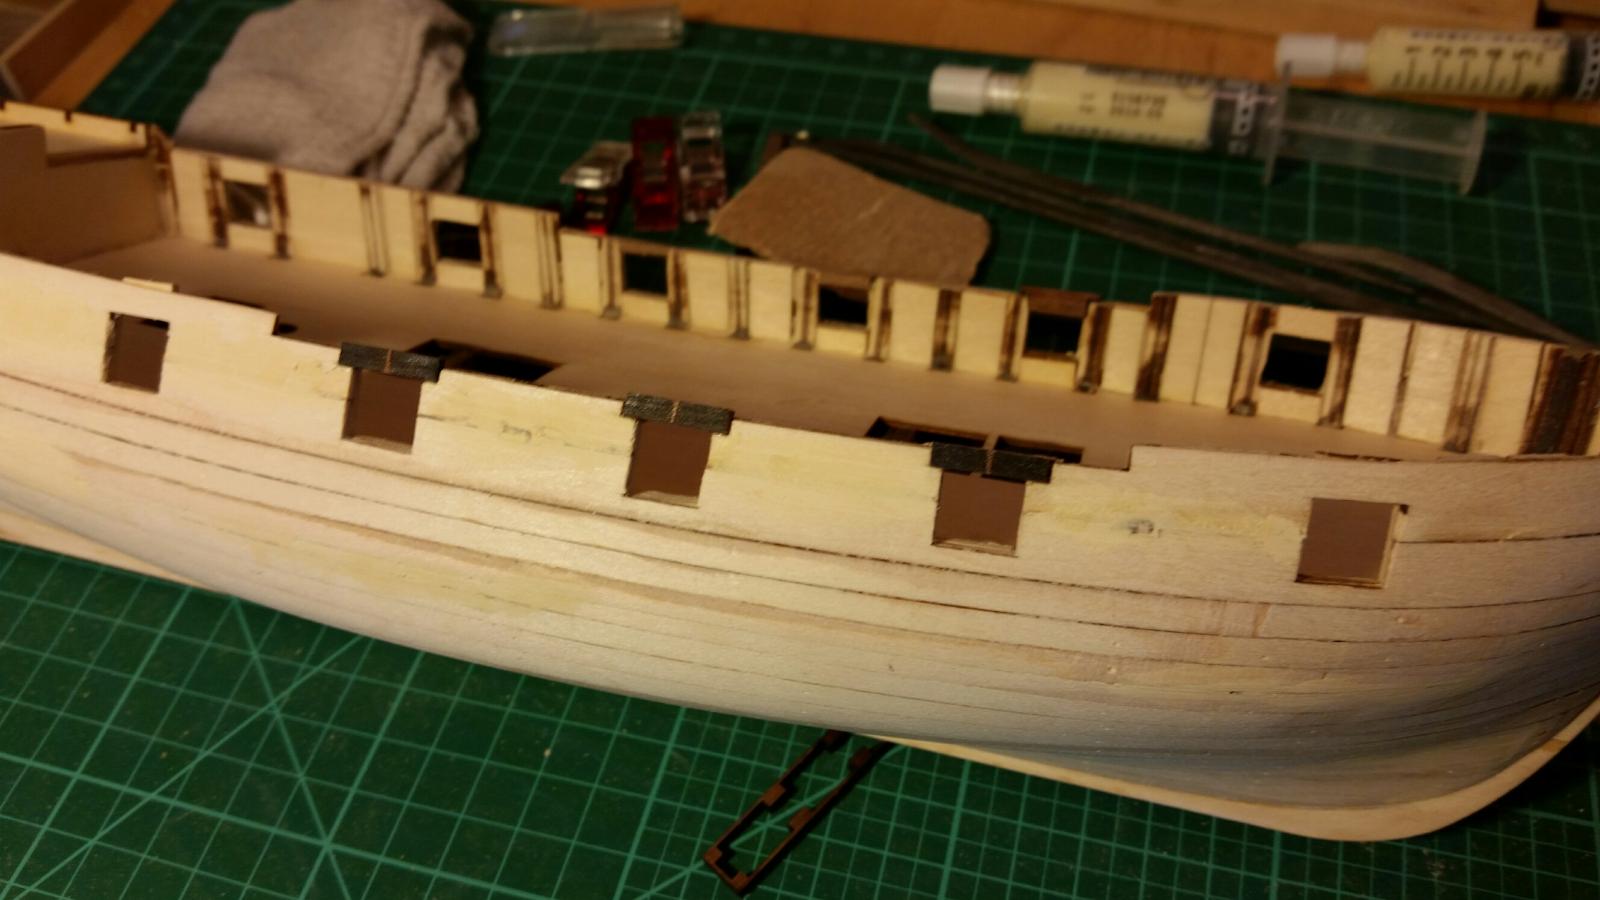
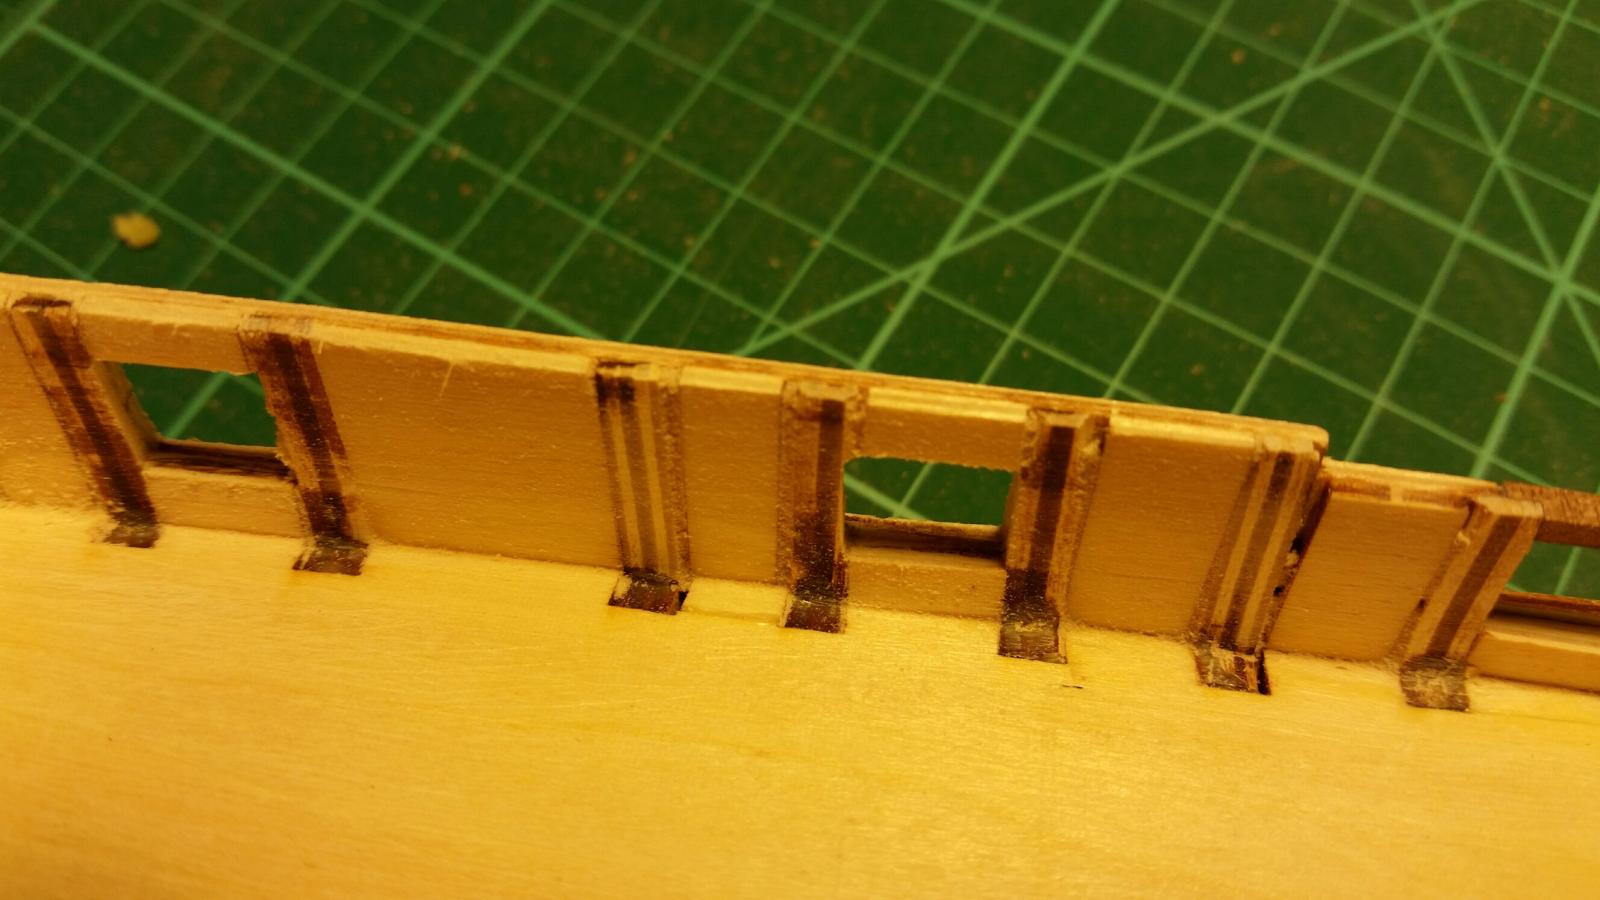
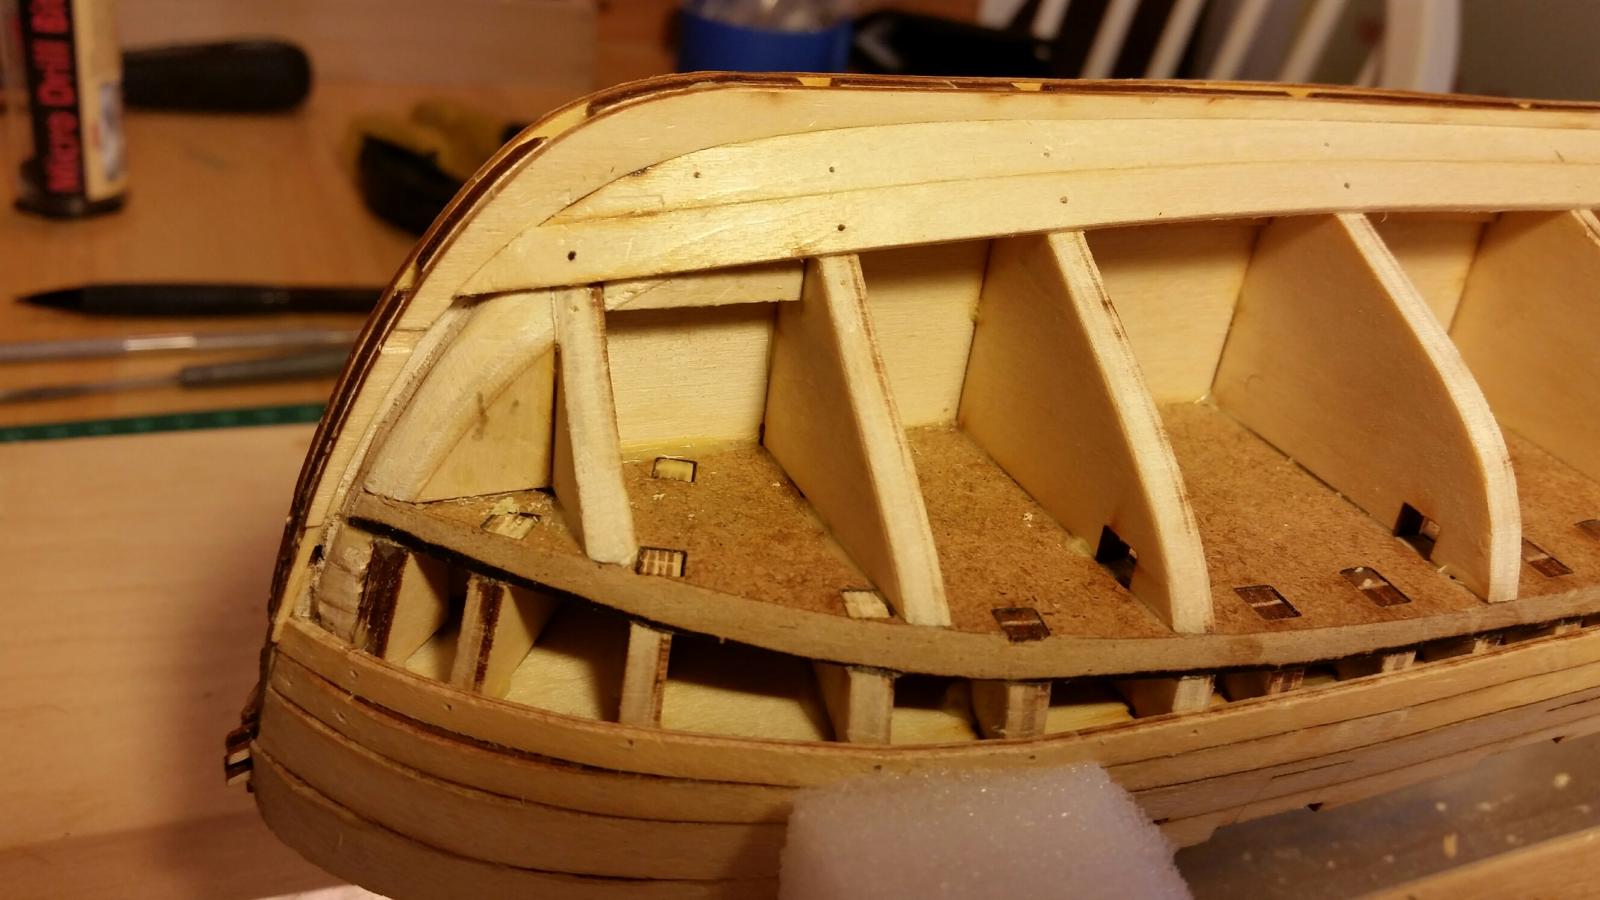
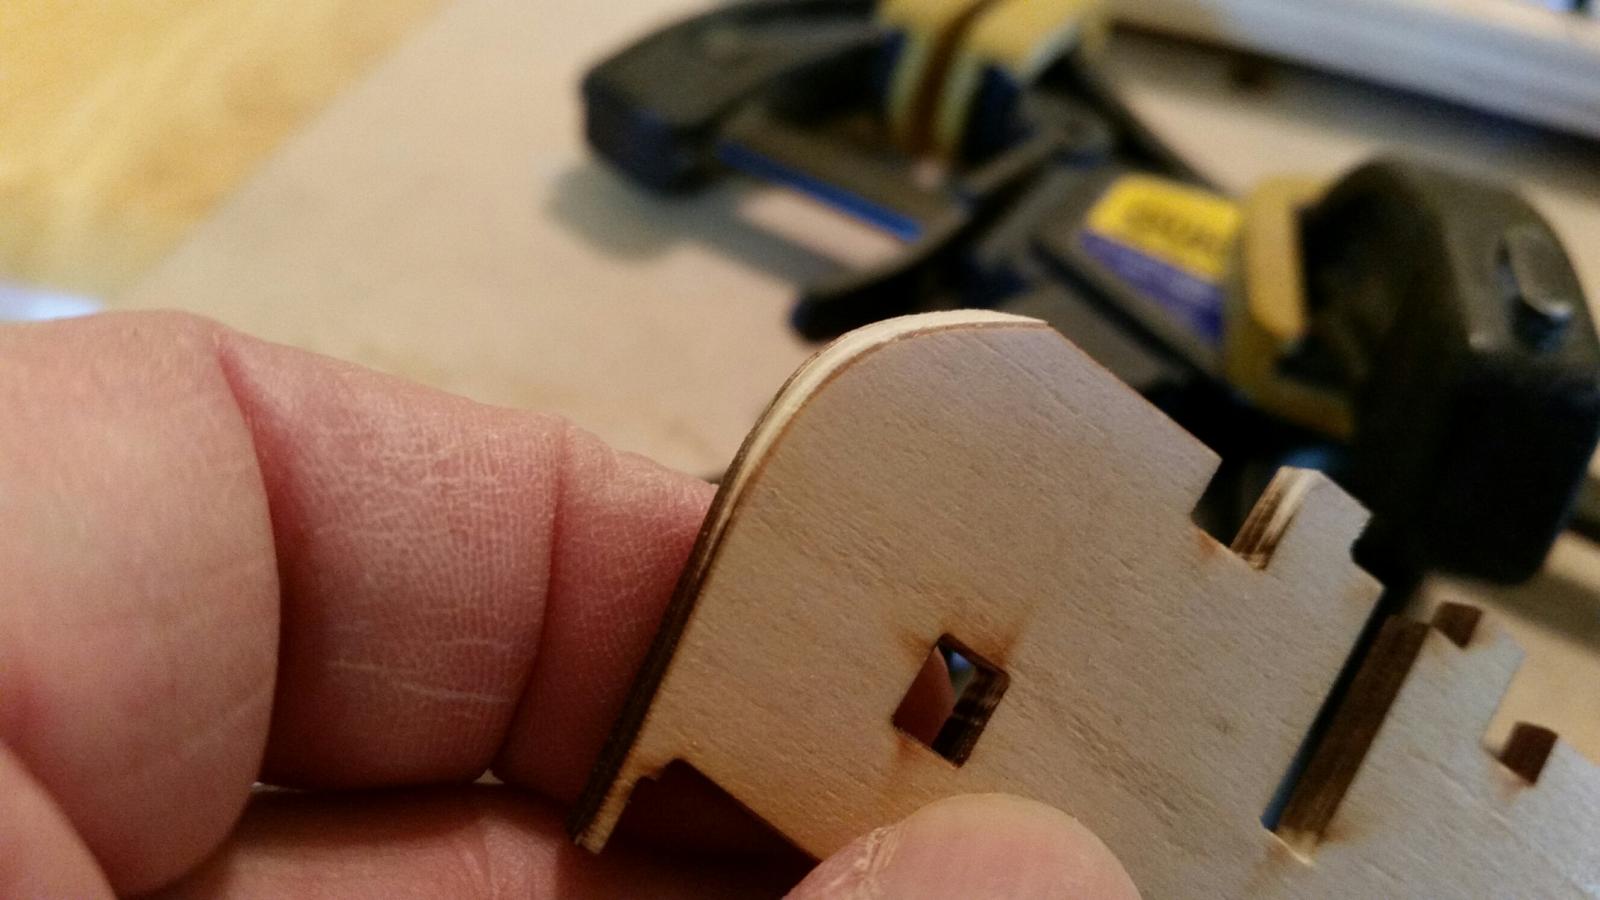
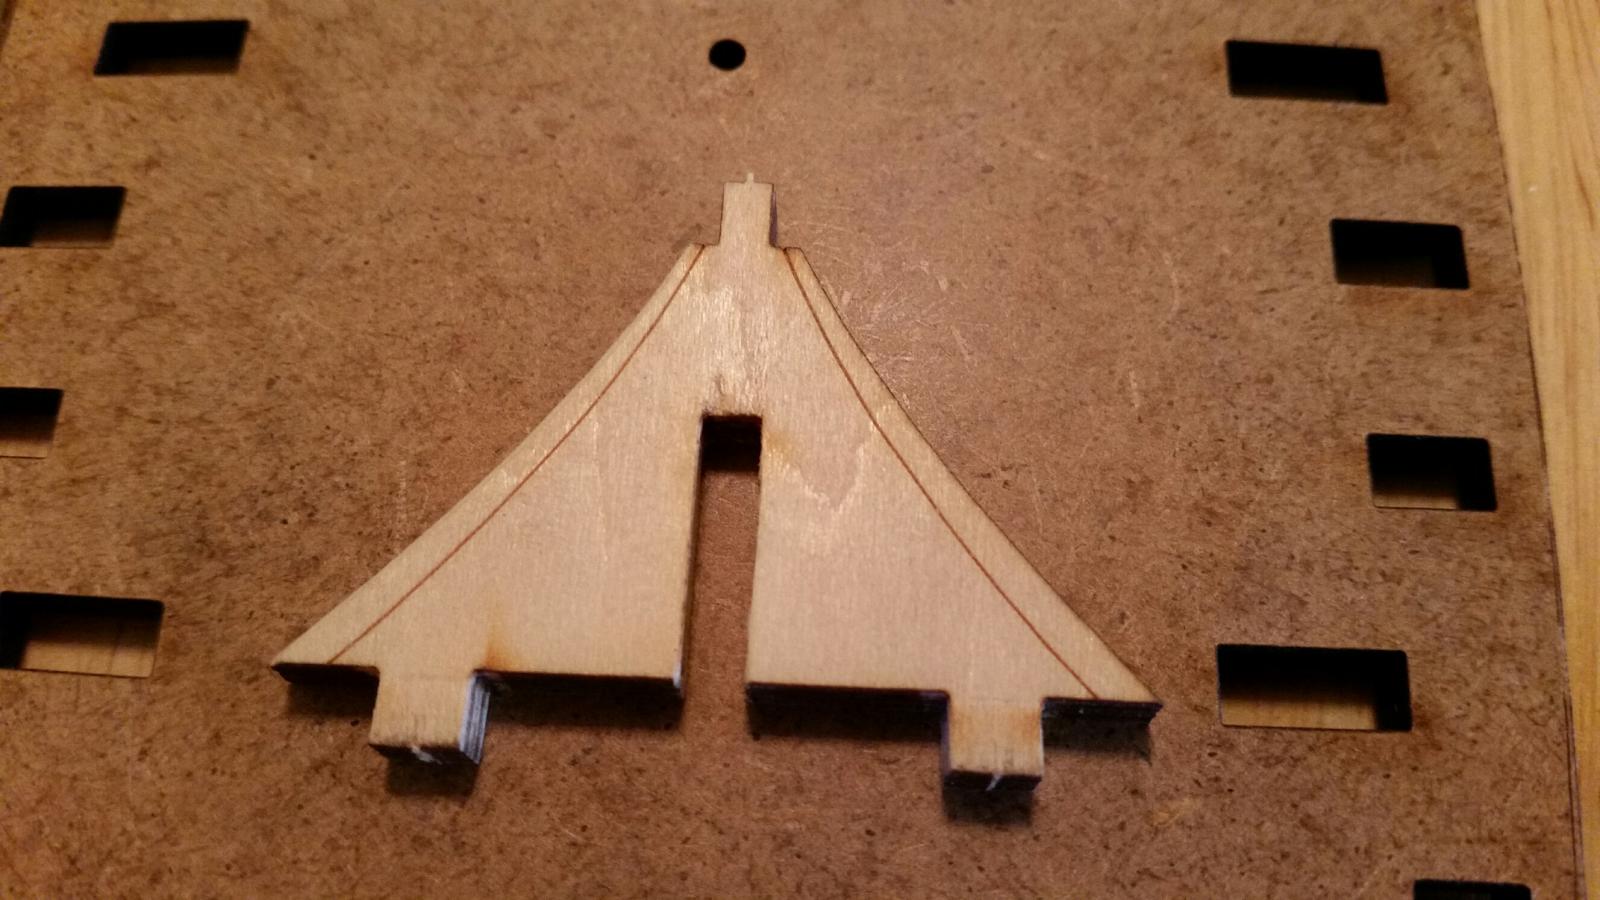
Fairing bulkhead frames. Not much different from the real thing:
-
-
A question for those more experienced ship modelers. I'm about to glue in the sub-deck. Should I apply glue to all the frame parts that will come into contact with the false floor or just parts of the frame?

Okay, anyone?
- Mike Y, avsjerome2003 and coxswain
-
3
-
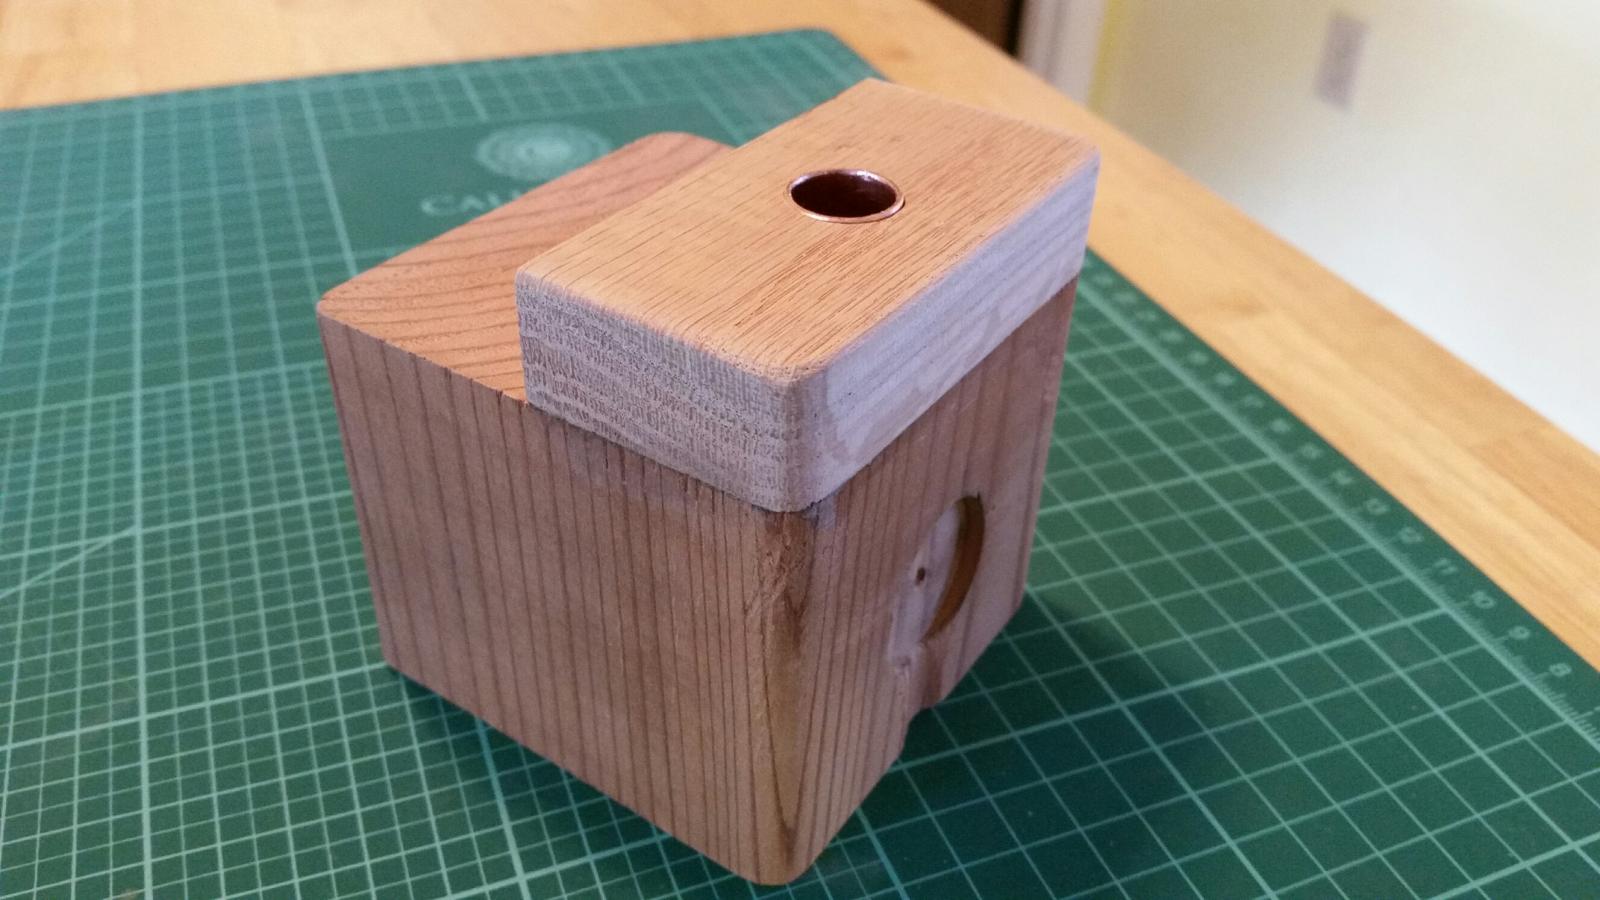
I've made some mistakes which I've been able to fix but I won't go into detail. I've also learned a couple things. Clamps can push a piece out of position and posting on this site doesn't work the way it's supposed to. I can't "Add Photo to Post" and I can't copy and paste from a Word document. I don't know if it's my computer (windows 10) or the site. I have Adobe Flash and it is enabled.
I'm pleased with my progress on the build so far and I really enjoy being a part of the MSW community.
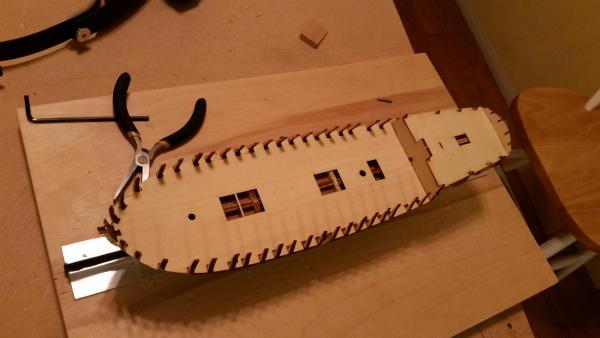
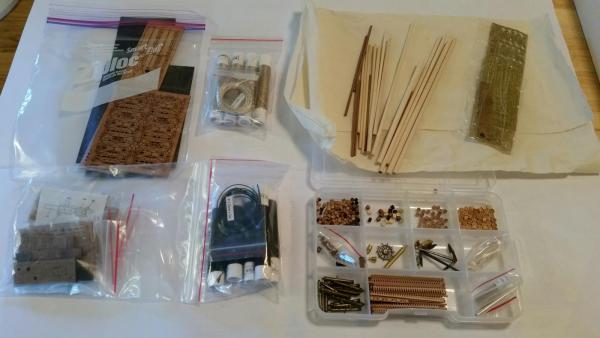
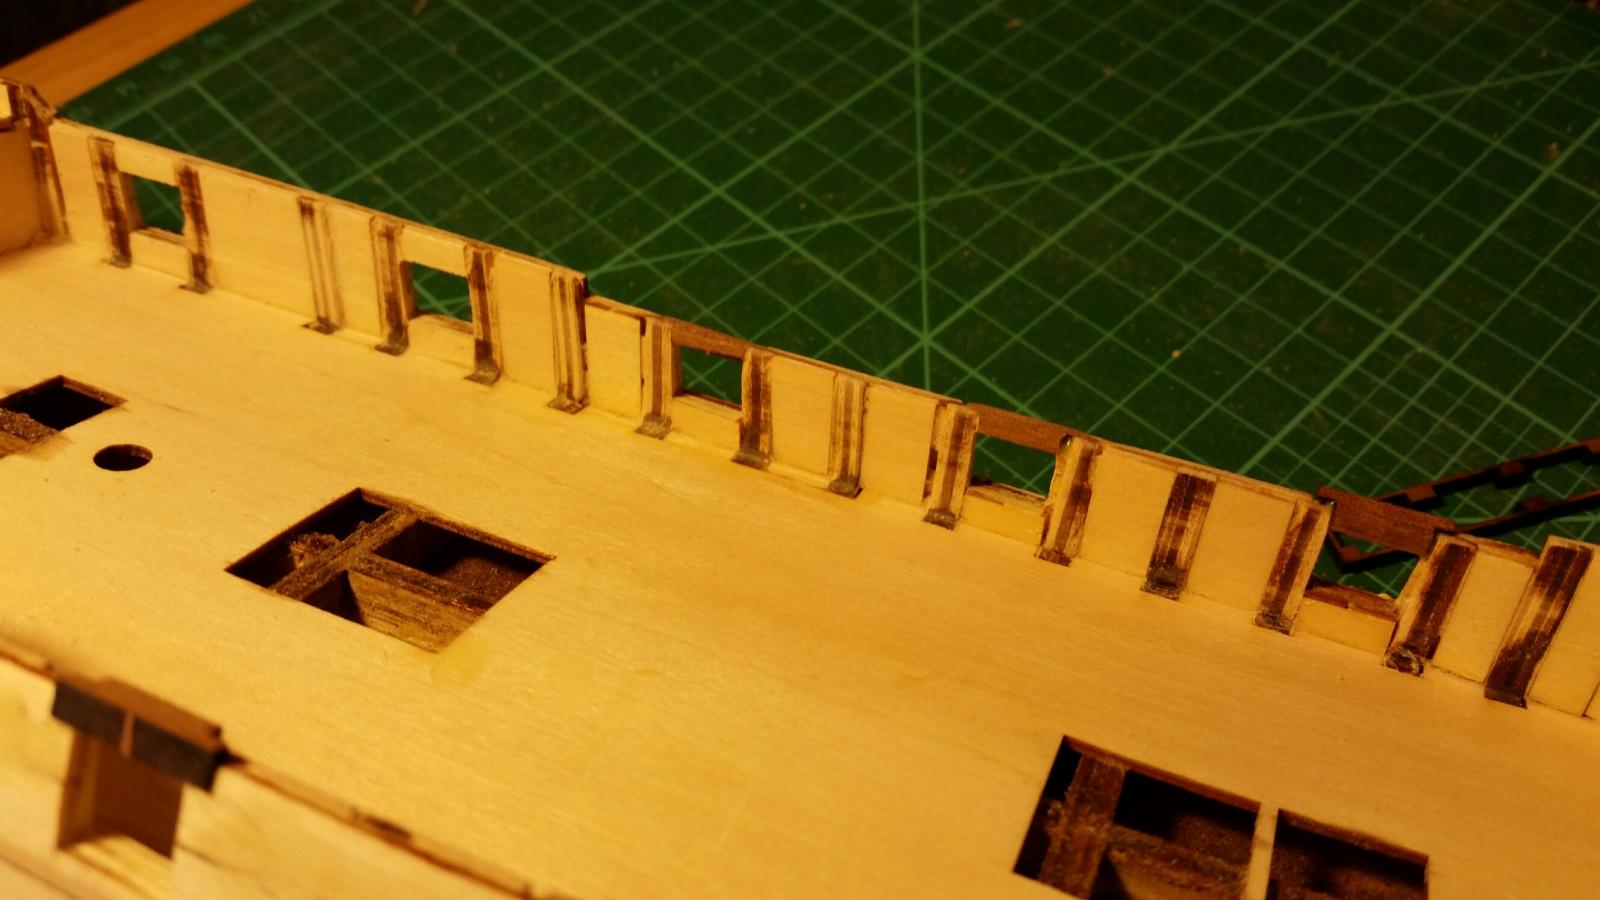
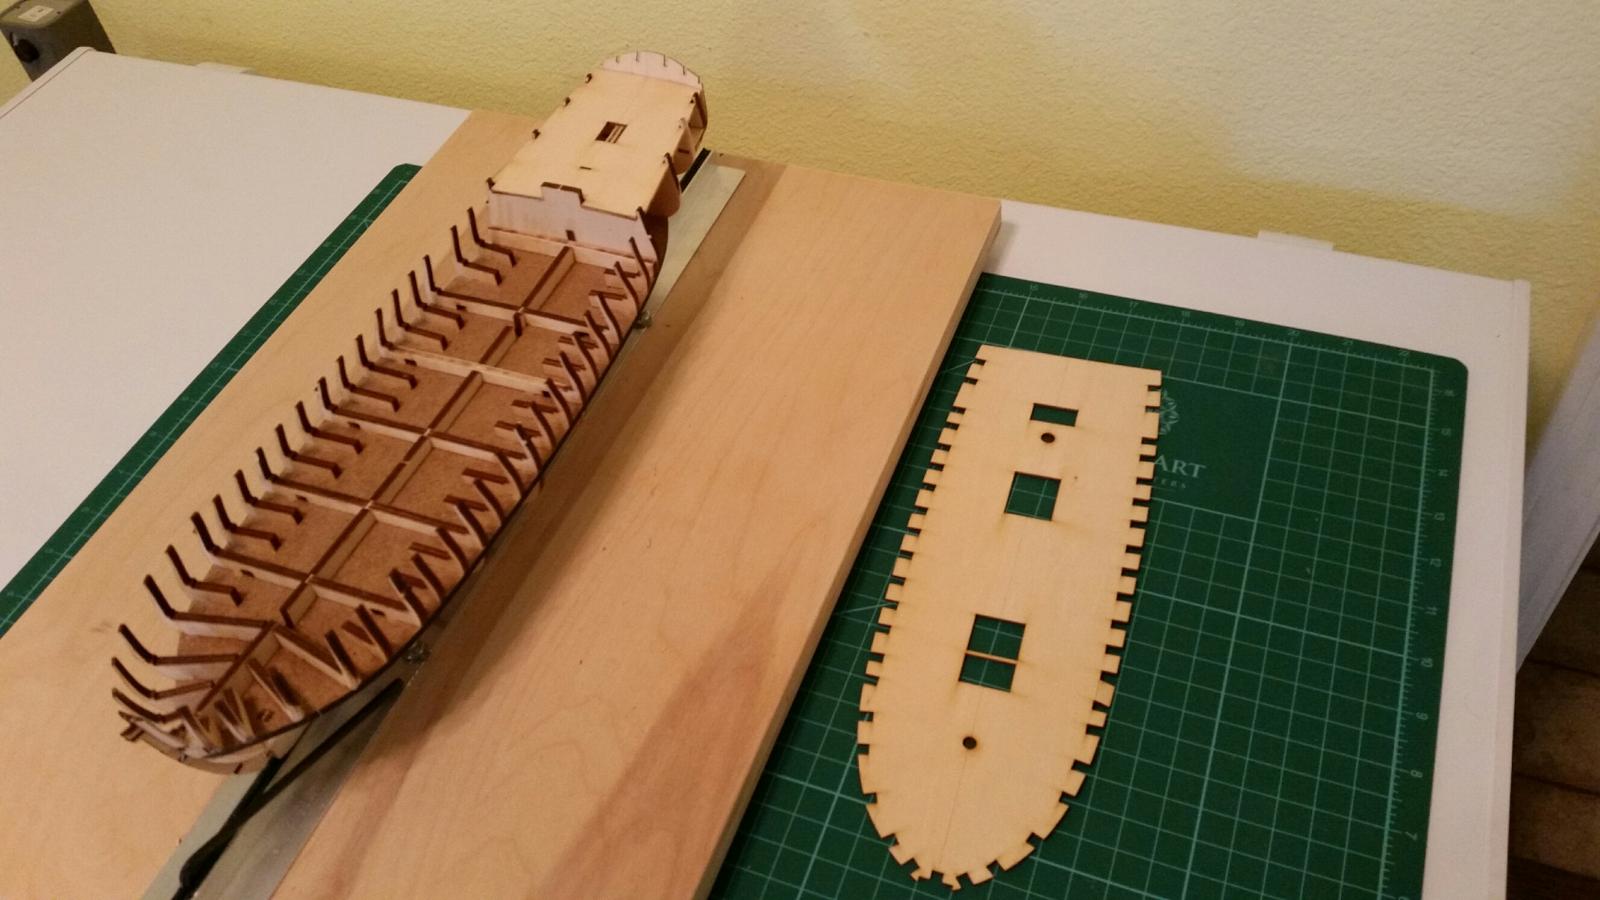
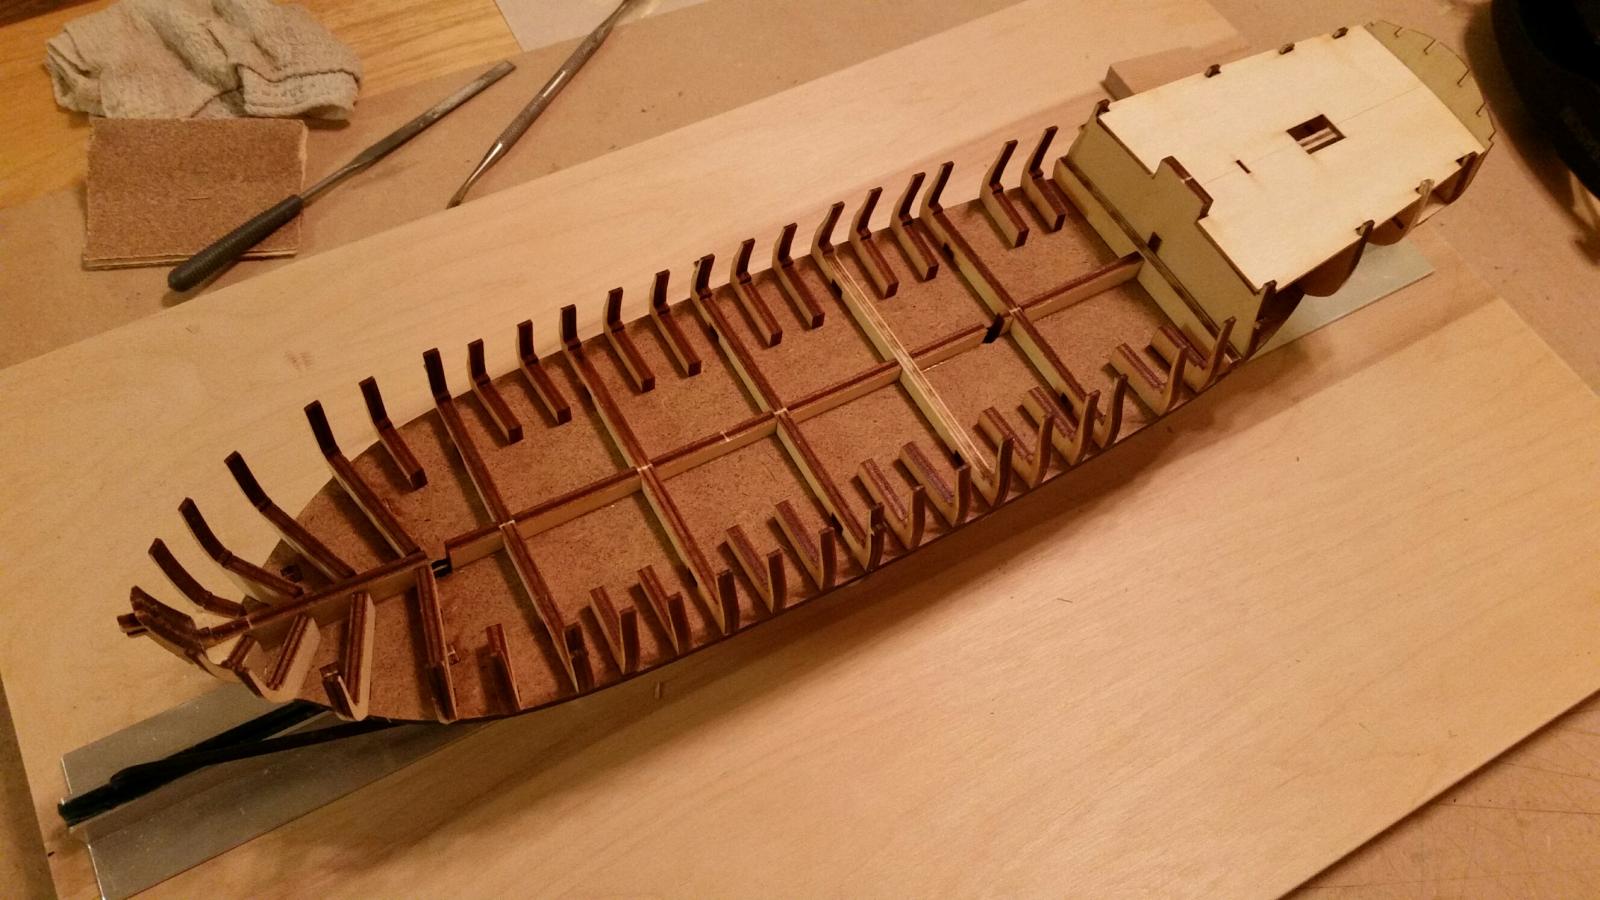
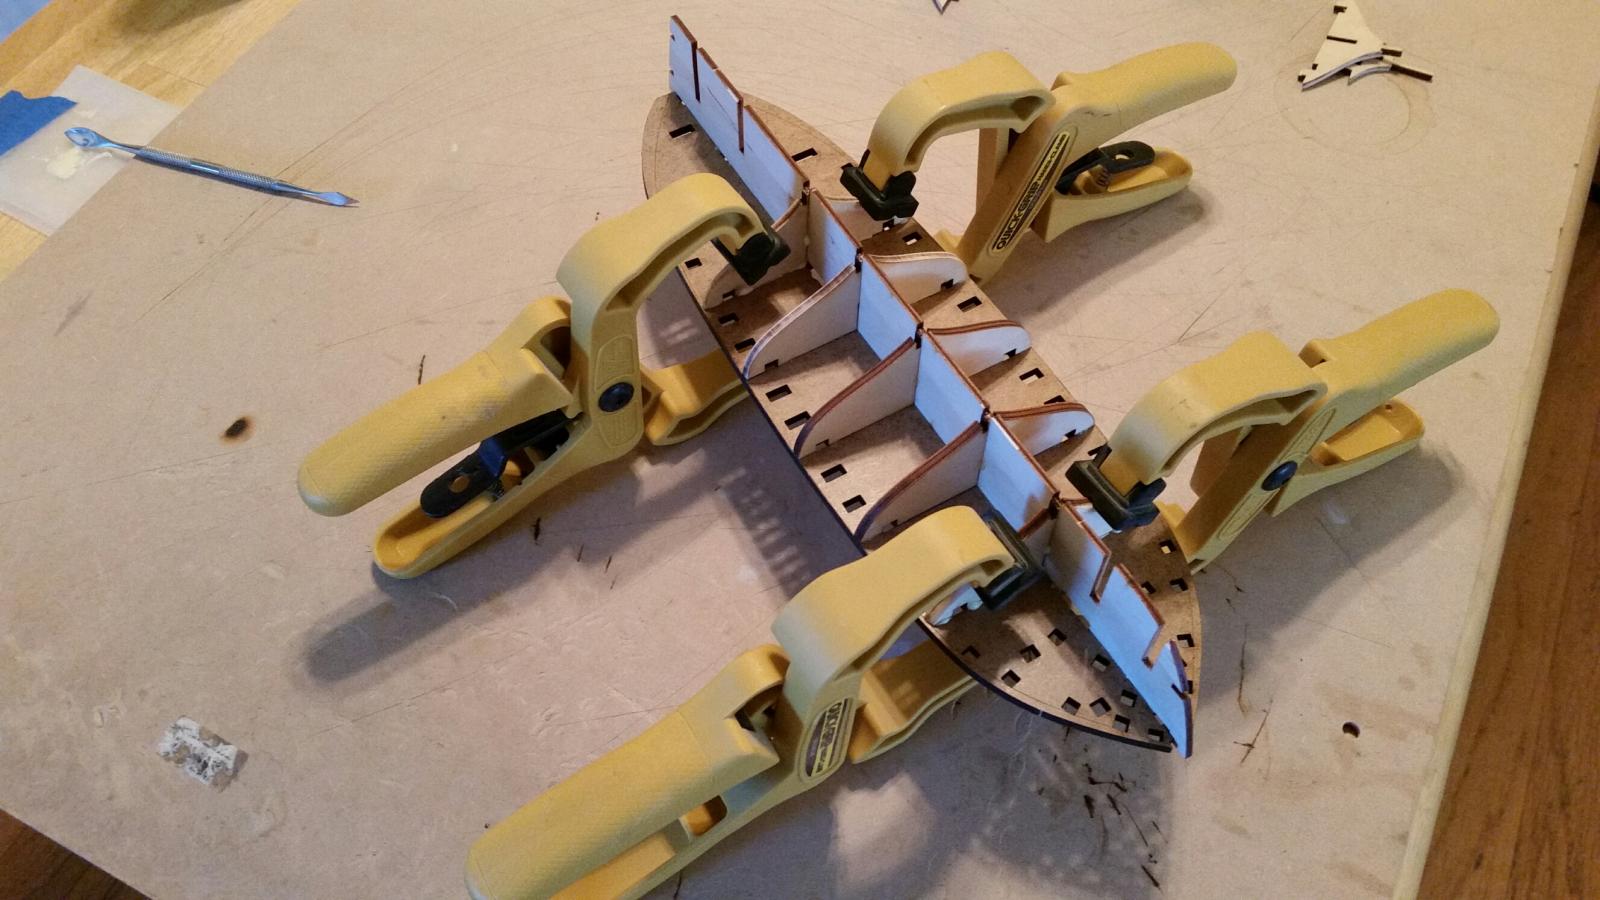
Photos 1 - 3 Framing the bulwarks

-
-
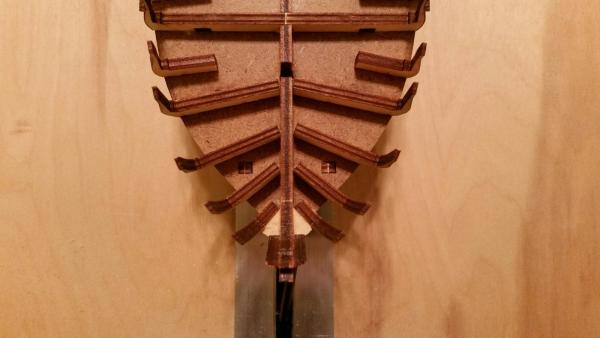
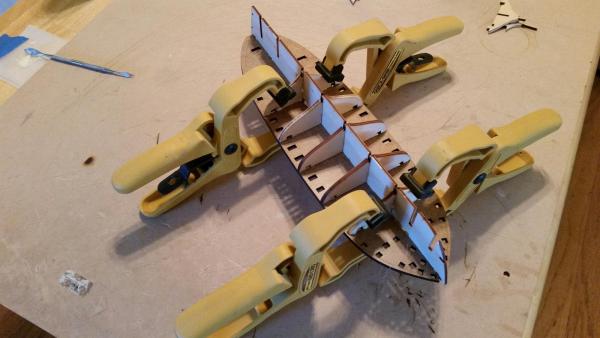
So far I've glued up the hull frame, glued on aft section parts and started on the bulwark framing. I can't get the photos added to the post. When I place the cursor where I want it and click on "Add to Post" nothing happens so here's a list of the pics and a brief description:
Photos 1 - 2.......Gluing up the hull frame.
Photo 3...............My work station/kitchen table.
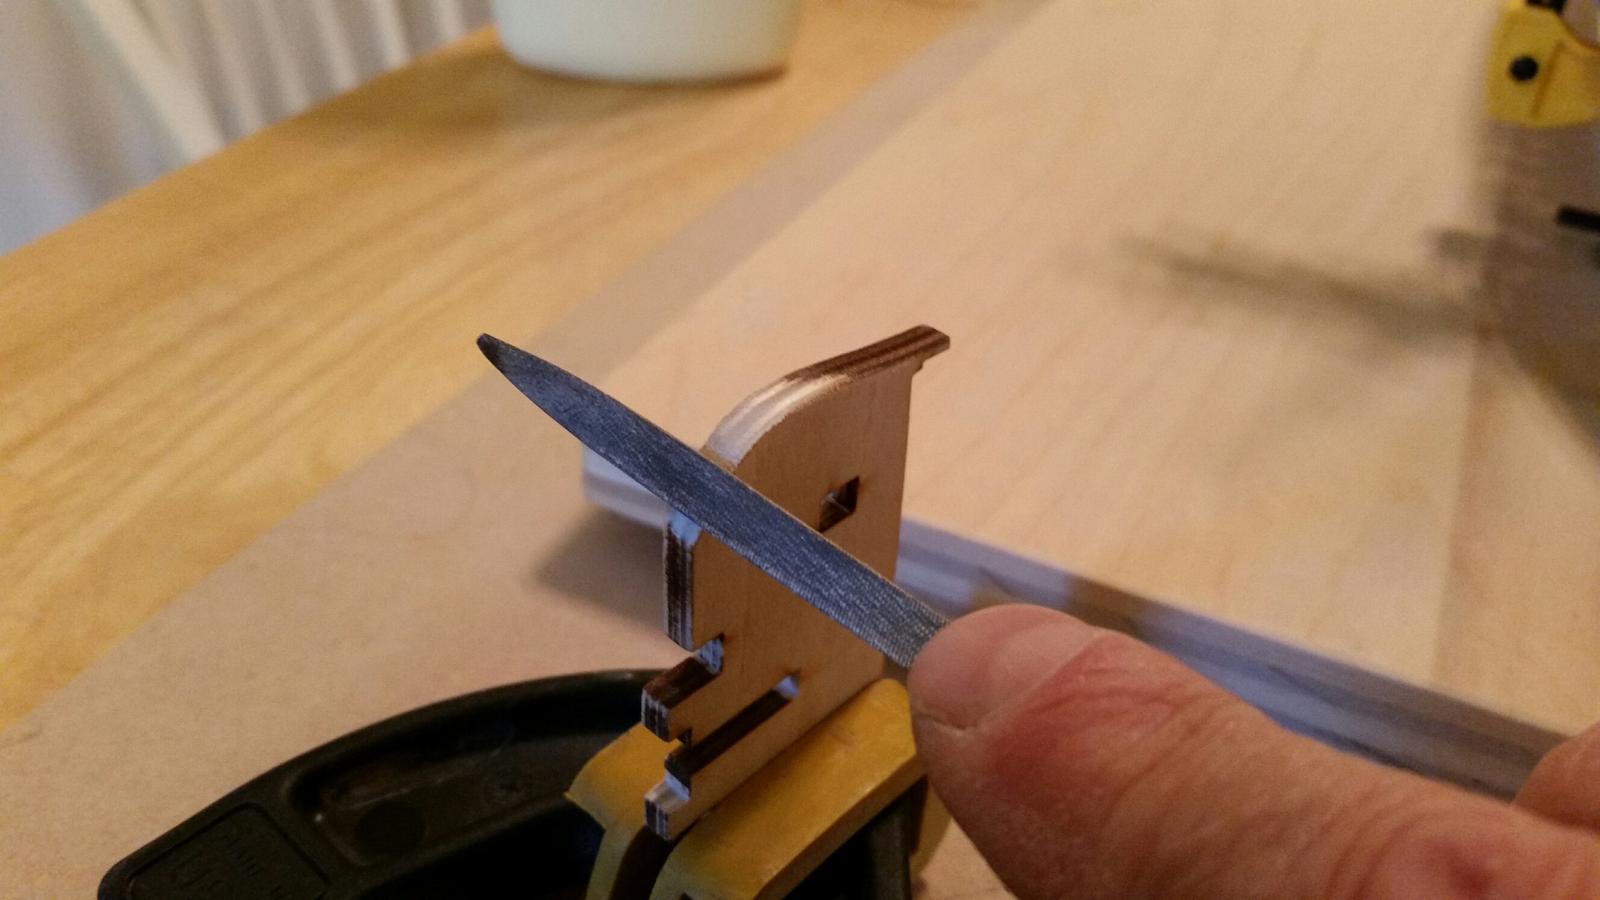
Photos 4 - 6........Filing the bevel (fairing) the bulkhead frames/bevel profile.


- Seventynet, GuntherMT, yvesvidal and 5 others
-
8
-
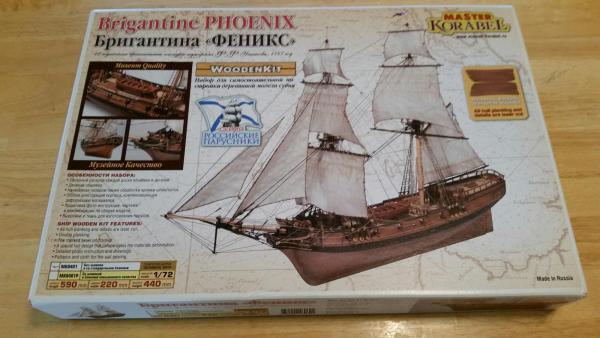
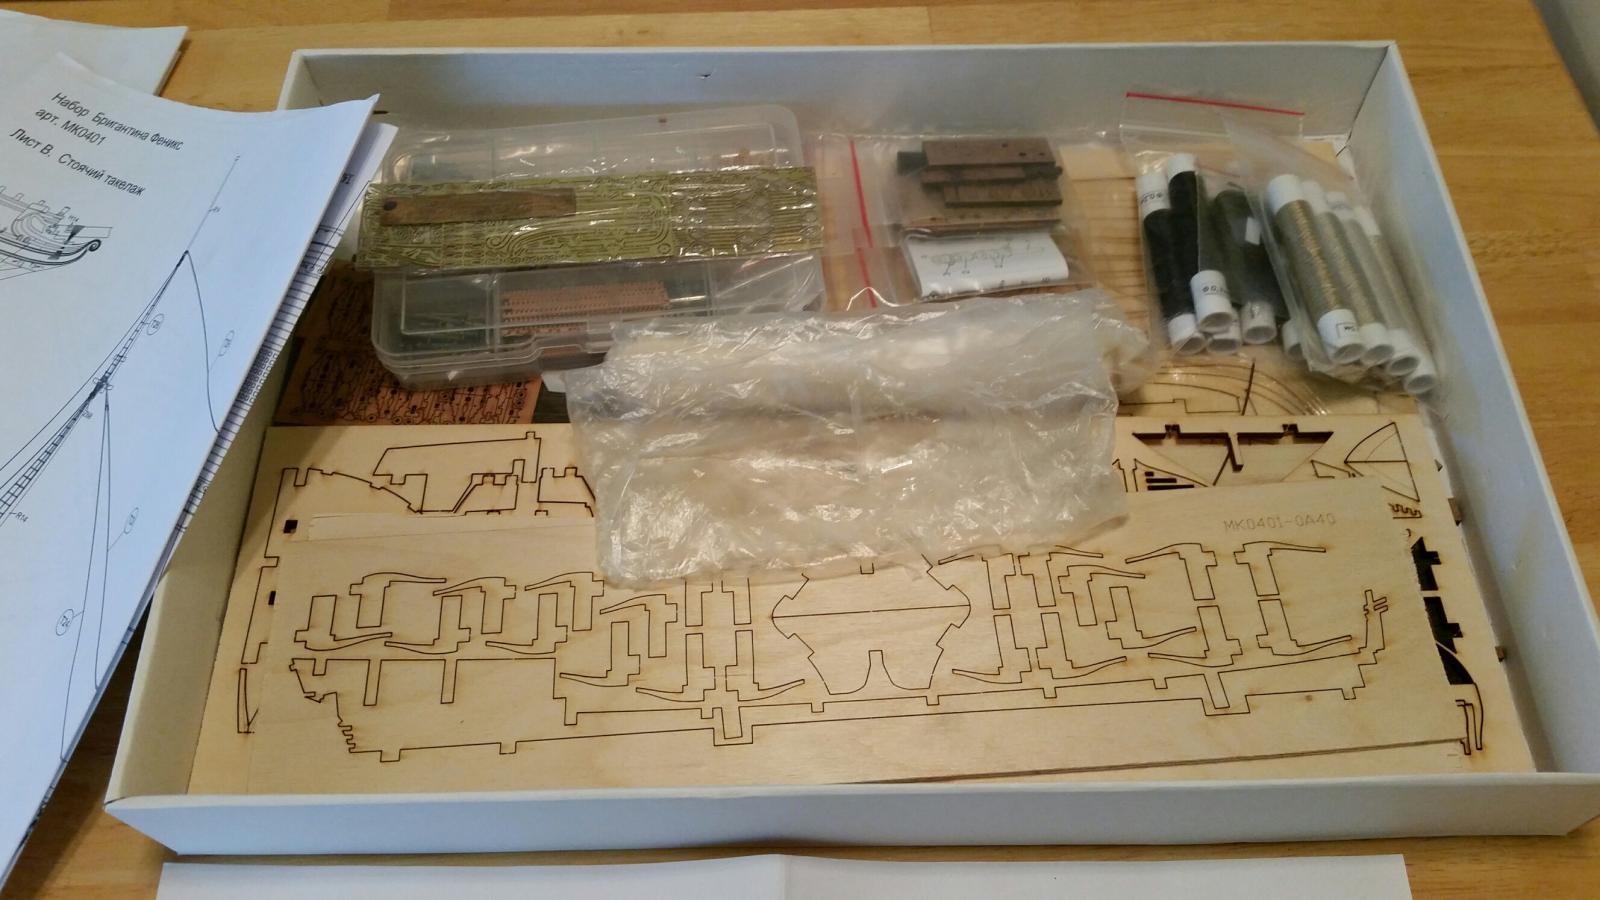
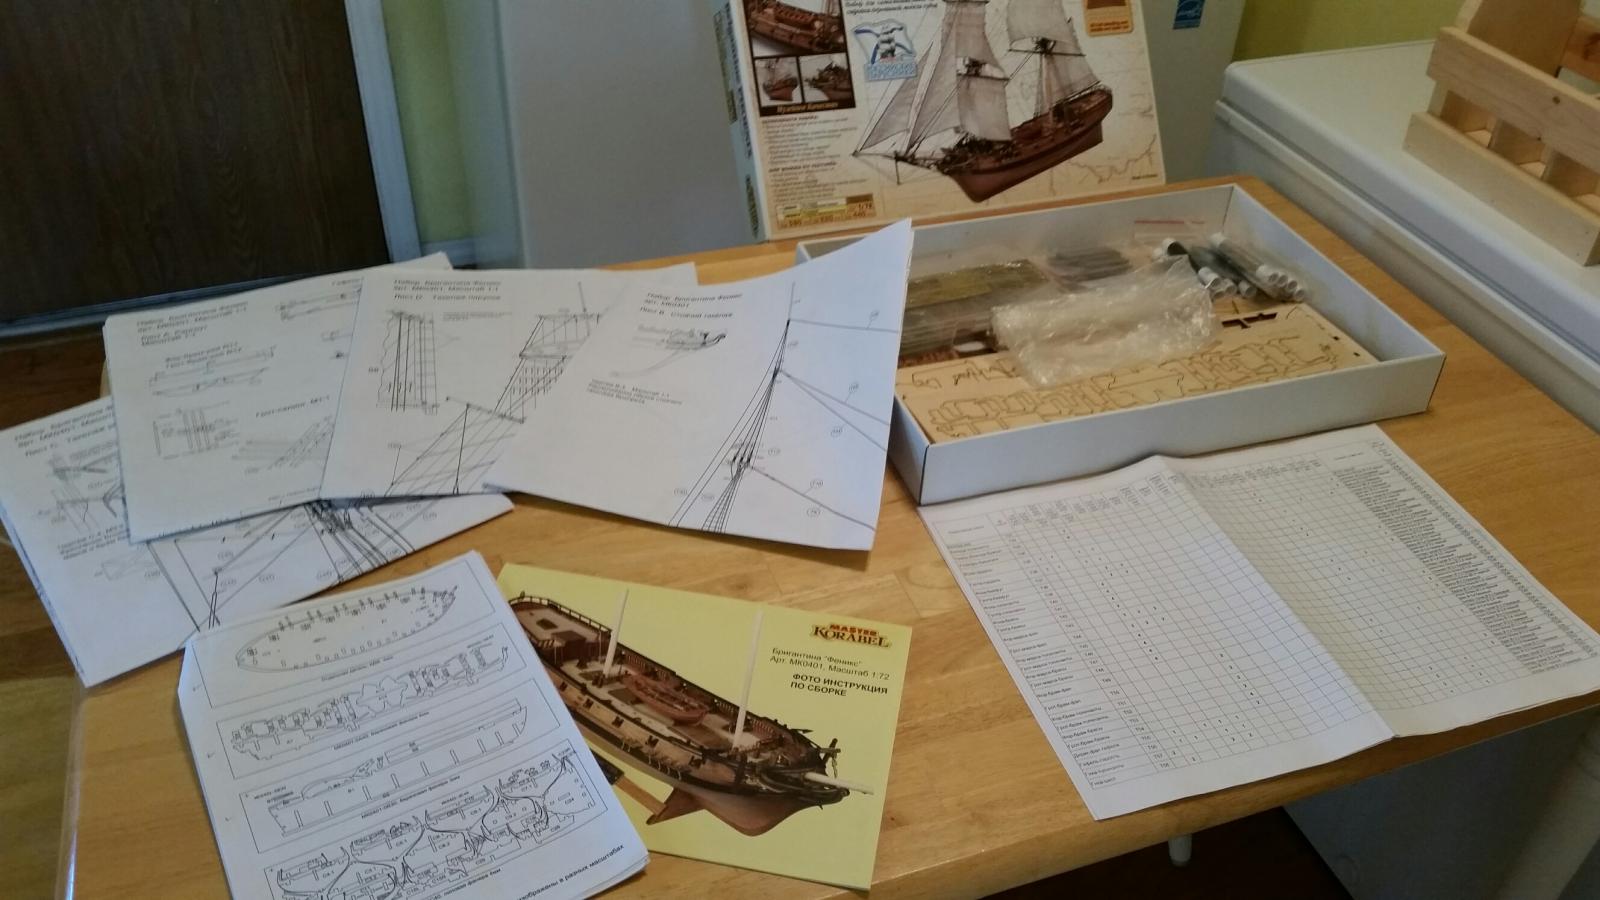
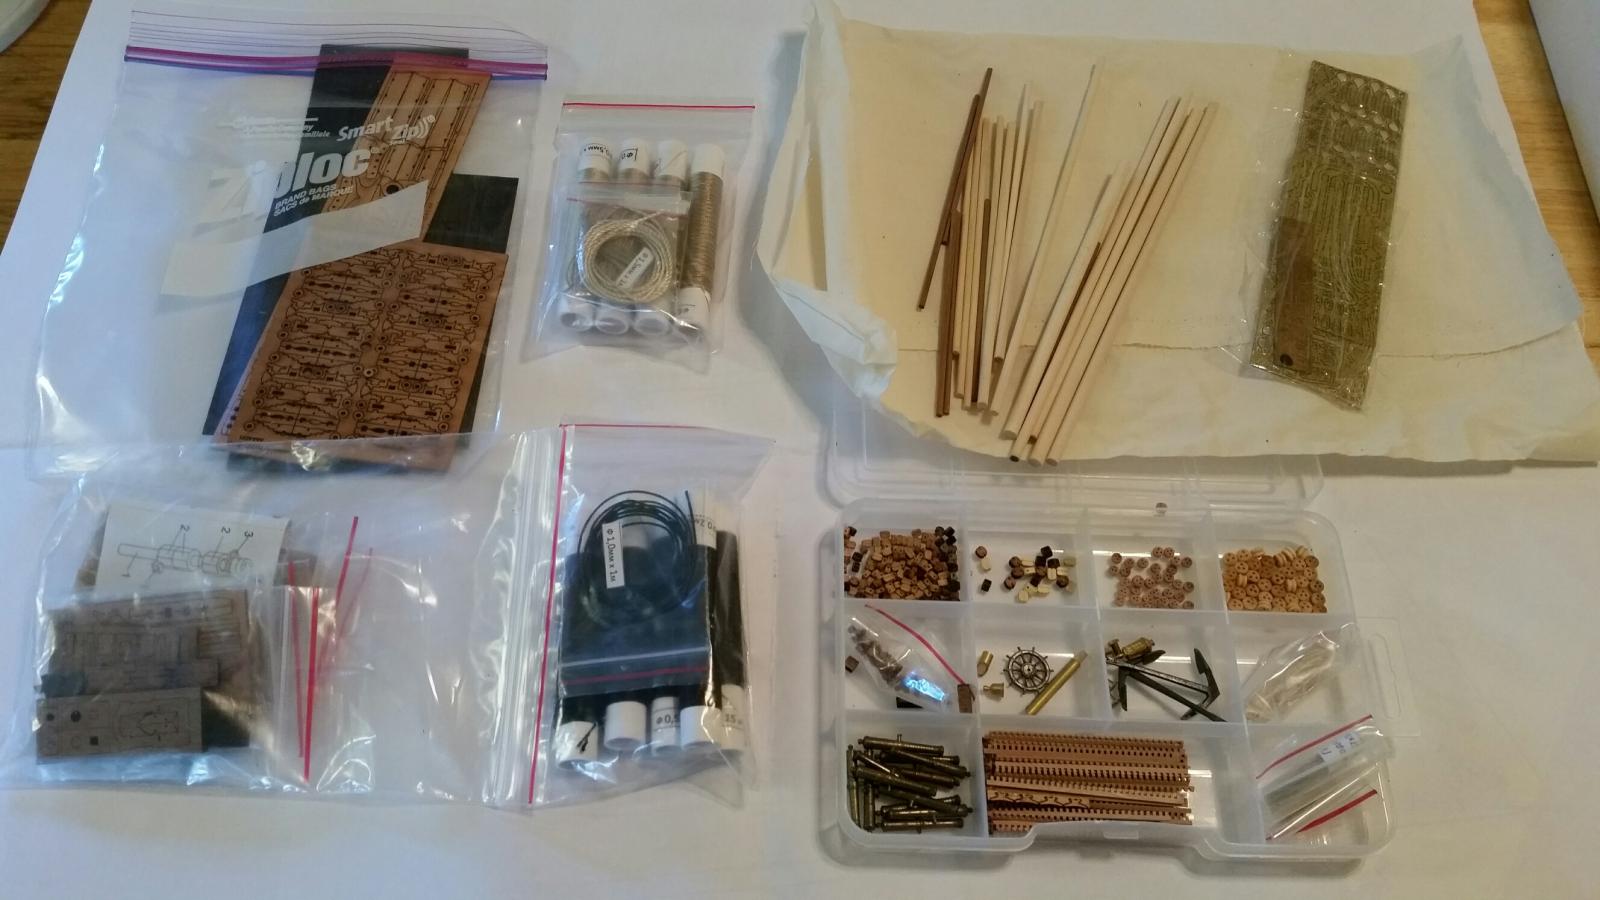
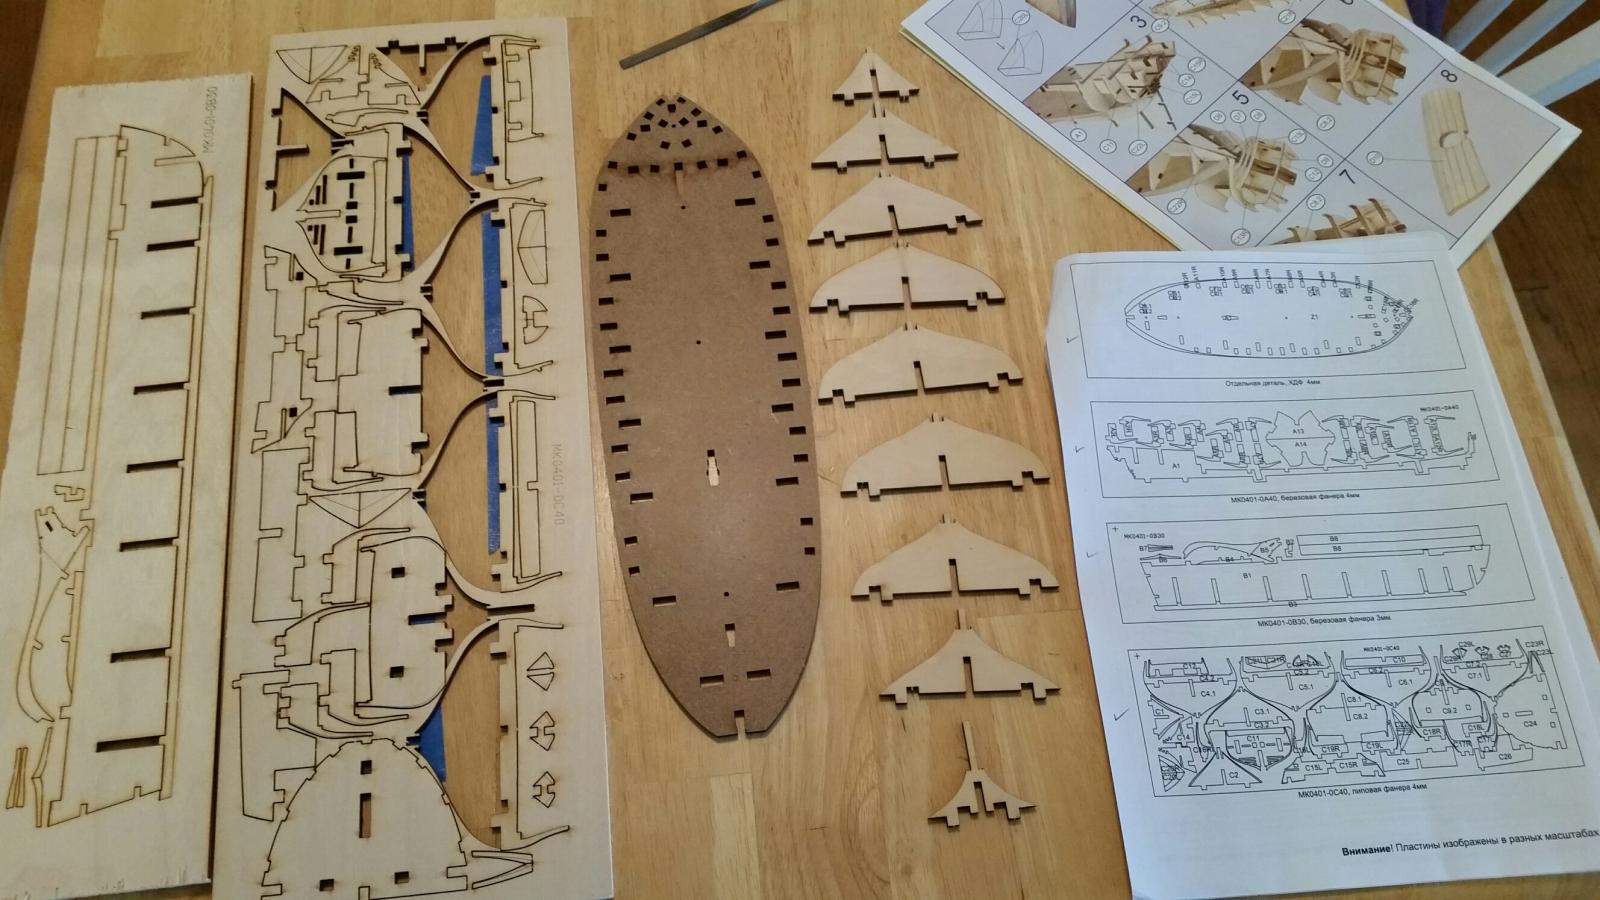
First off just let me say that I'm a true DIRECTIONS kind of guy. I never do anything without first reading the directions, and I mean anything. As an example: I read several books on ship modeling before this kit was even in my possession. So, I'm a little nervous because all the directions for this kit are in Russian. I don't know if it's possible to translate them into English but I may try.
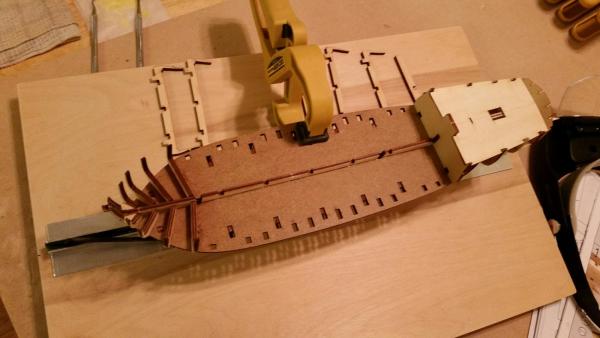
The hull design for this model kit though is like a puzzle. The pieces go together in such a way as to keep all the parts square and true. The bulkhead frame pieces have laser drawn lines around the edges to assist in beveling. Using the picture guide and parts map, included with the kit, I was able to find and dry fit all the basic hull parts in no time at all. Long story short, I've decided this is a great kit for a first time build.
Shall we begin? The official opening of the kit and the dry fit of the initial hull parts. I'm using blue painters masking tape to keep the loose part in the panels until ready for use.


- yvesvidal, mtaylor, Seventynet and 5 others
-
8
-
-
Much appreciated Mumin,
I chose this model kit initially because of the fine detail. Upon further investigation it seemed that it would perhaps be a good choice for a first time build with the laser cut planking and the hull design. We'll see.
Thanks so much for the links. These will be a great resource for me.
Corey
-


 My happy little corner of the kitchen.


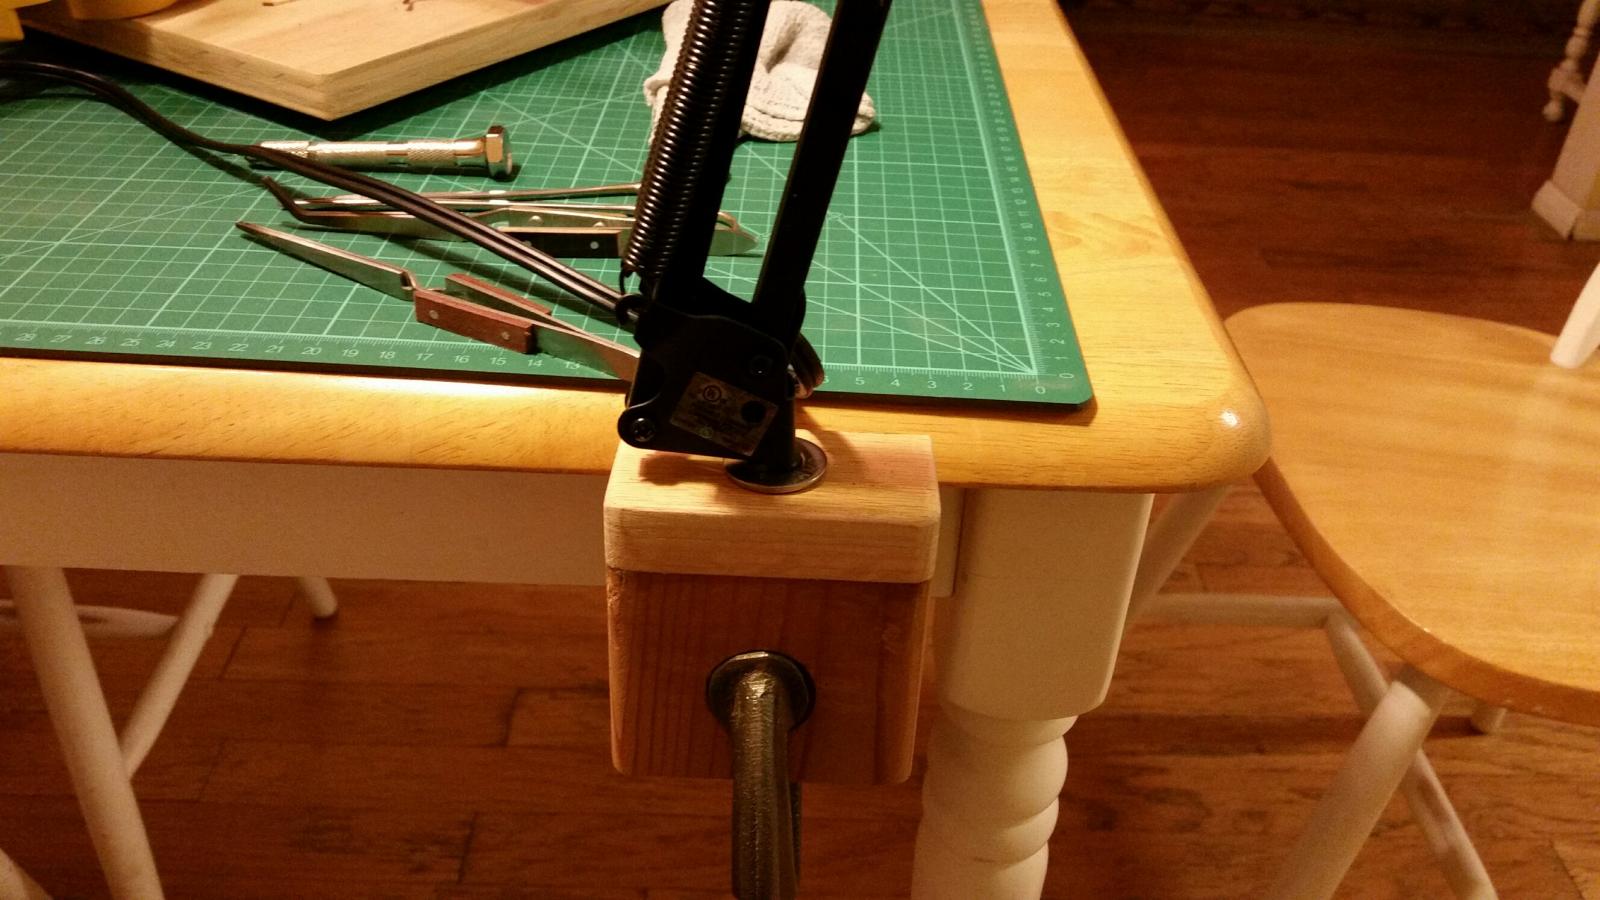
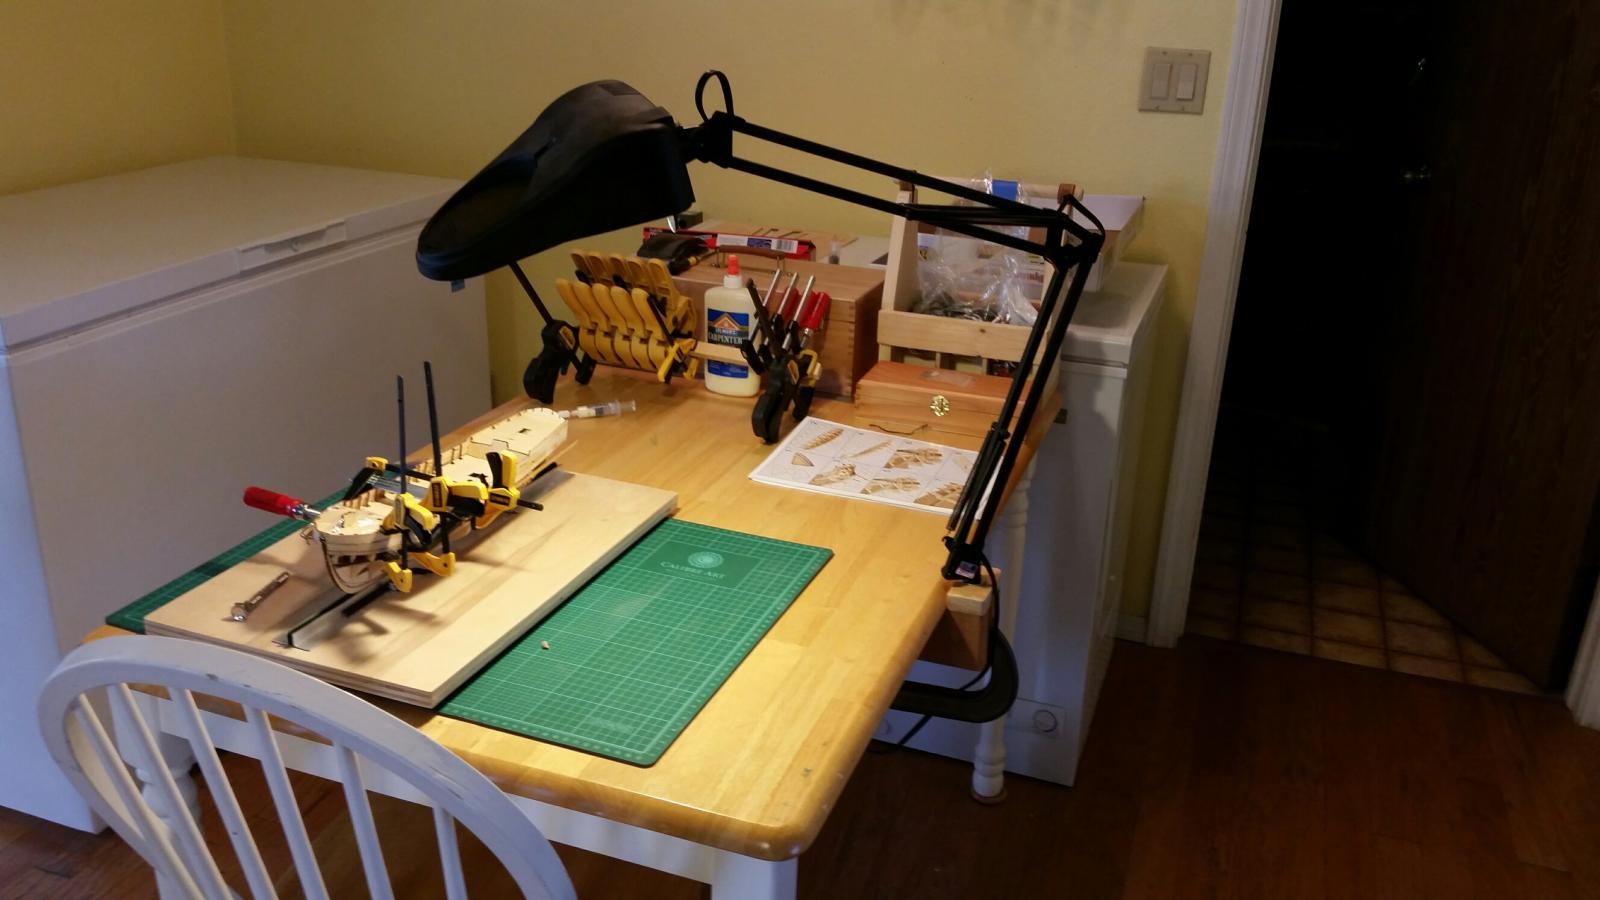


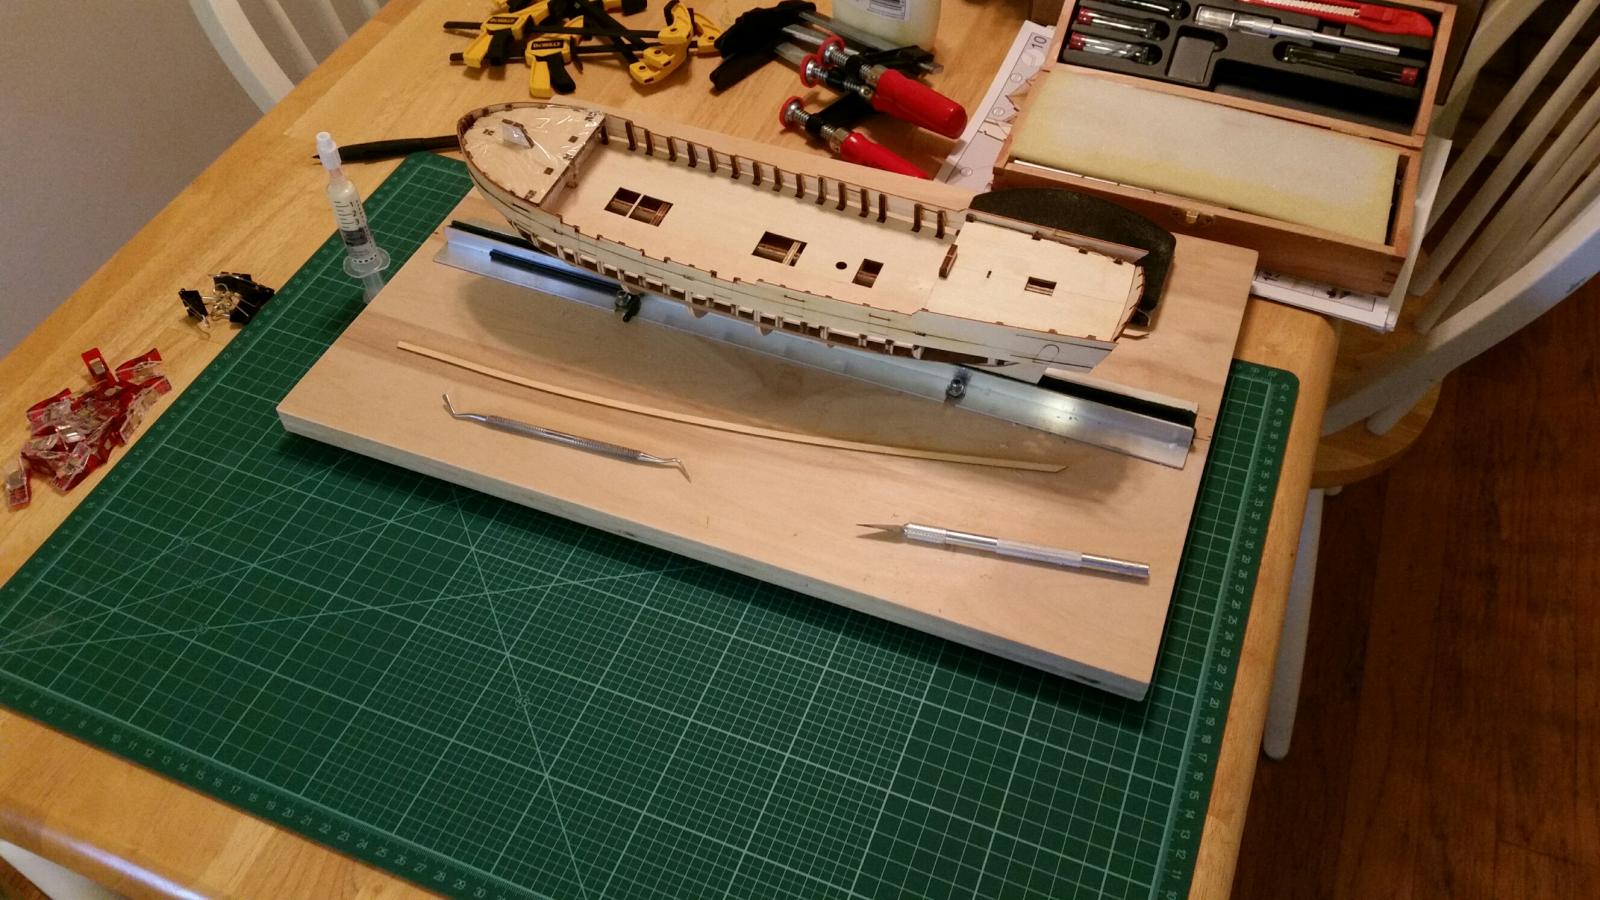


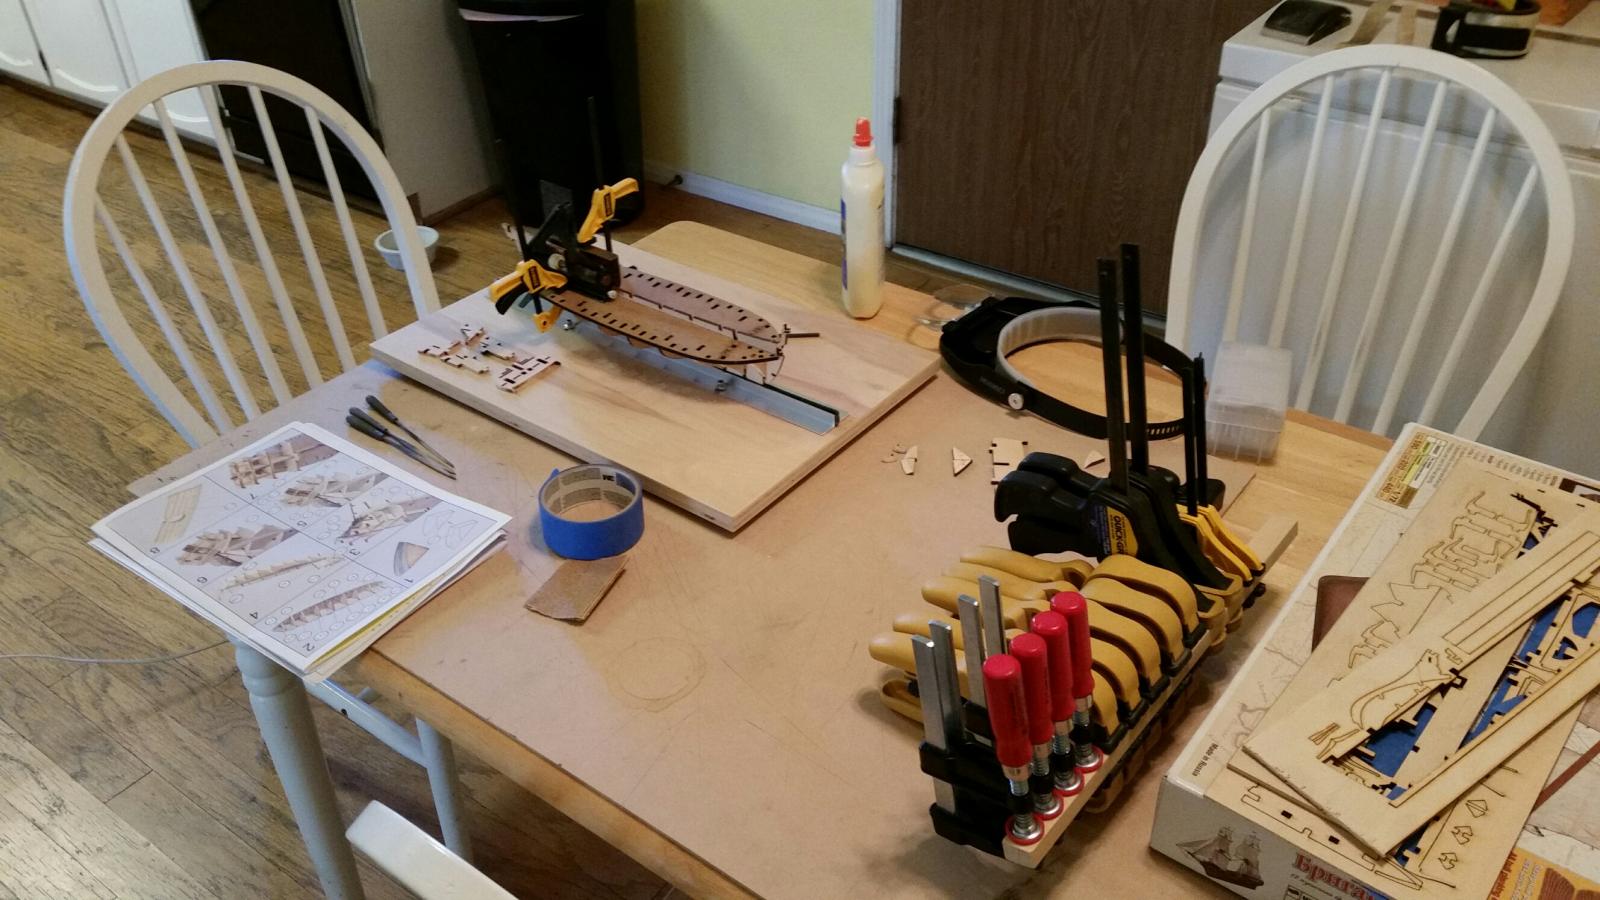


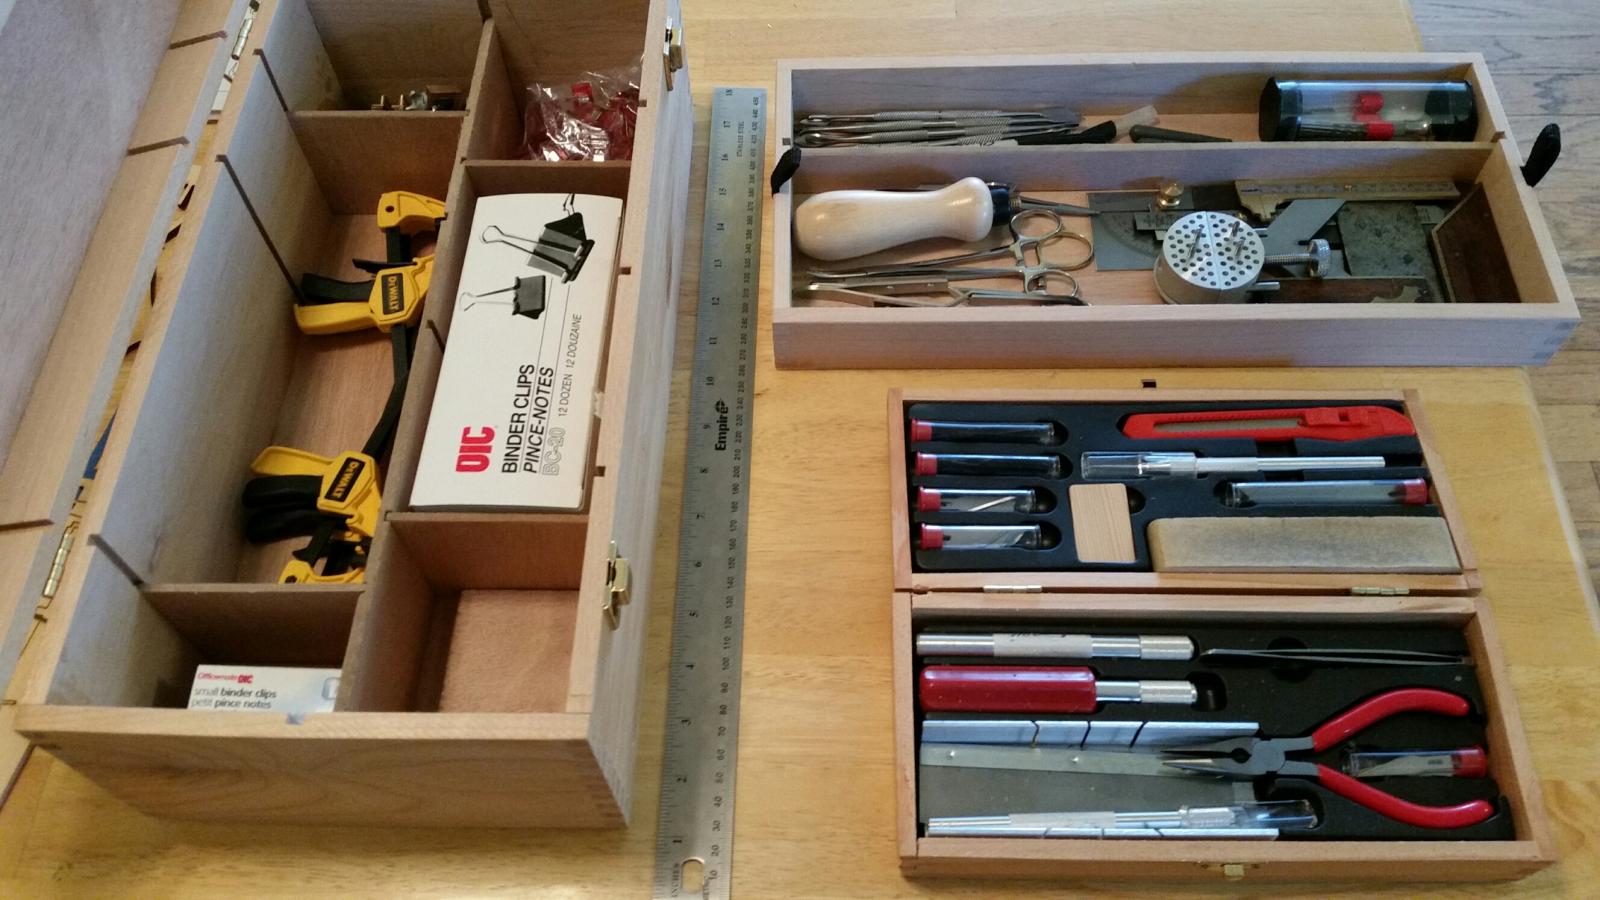
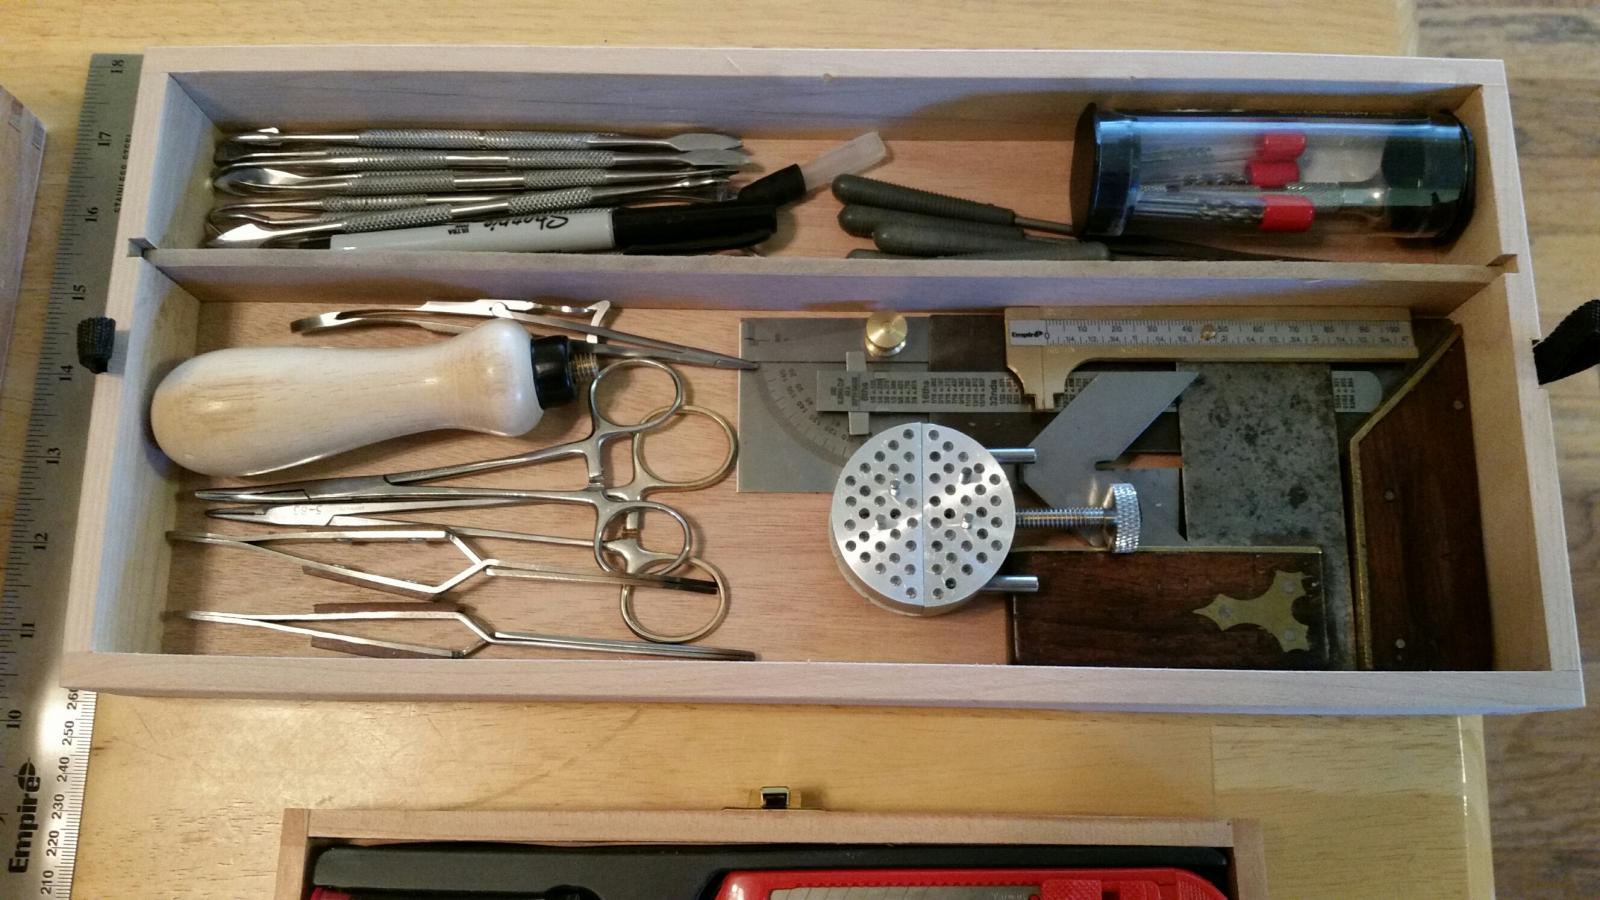
Work station clutter
in Modeling tools and Workshop Equipment
Posted · Edited by Corey
I find when I'm about to take photos for my build log, which I try to do frequently, I tend to tidy my work space up a bit. I wouldn't want to give my fellow modelers the wrong impression and let them see just what a total slob I really am.
Before,
and believe me it has been much worse!
After