Script
-
Posts
436 -
Joined
-
Last visited
Content Type
Profiles
Forums
Gallery
Events
Everything posted by Script
-
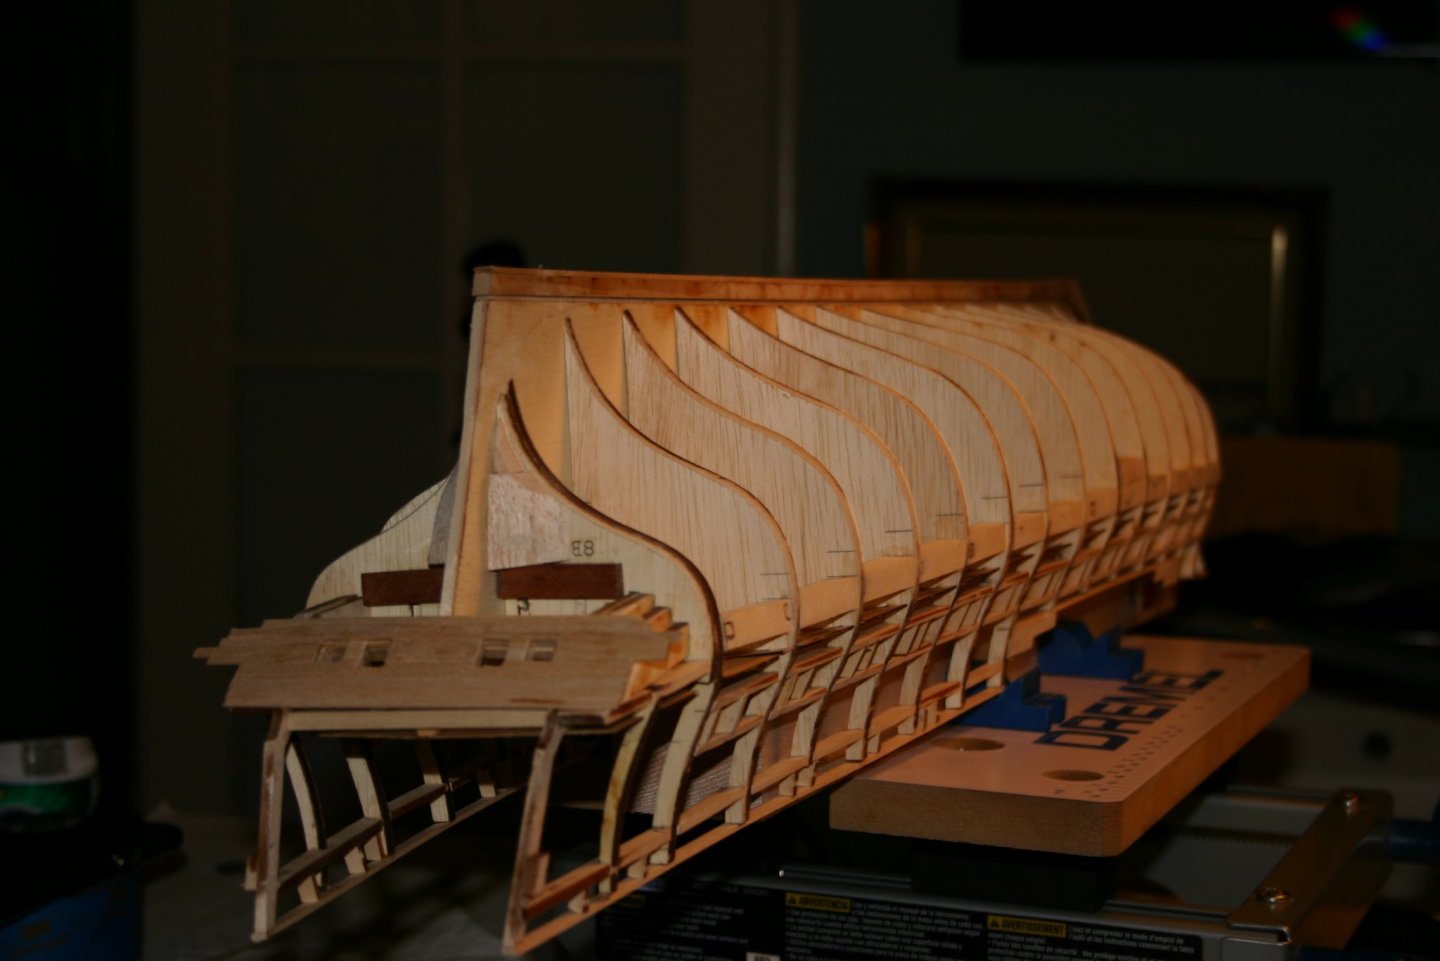
 Yes, at some point this will be a complete build! Finished the fairing below the waterline and then moved to staining and painting. Also added the transom to the stern. Since I had removed some of the stern frames they had to be trimmed and reset. upon review I set them out of order and will have to adjust before adding a stern rail. prepainted plack planking was added at the waterline.
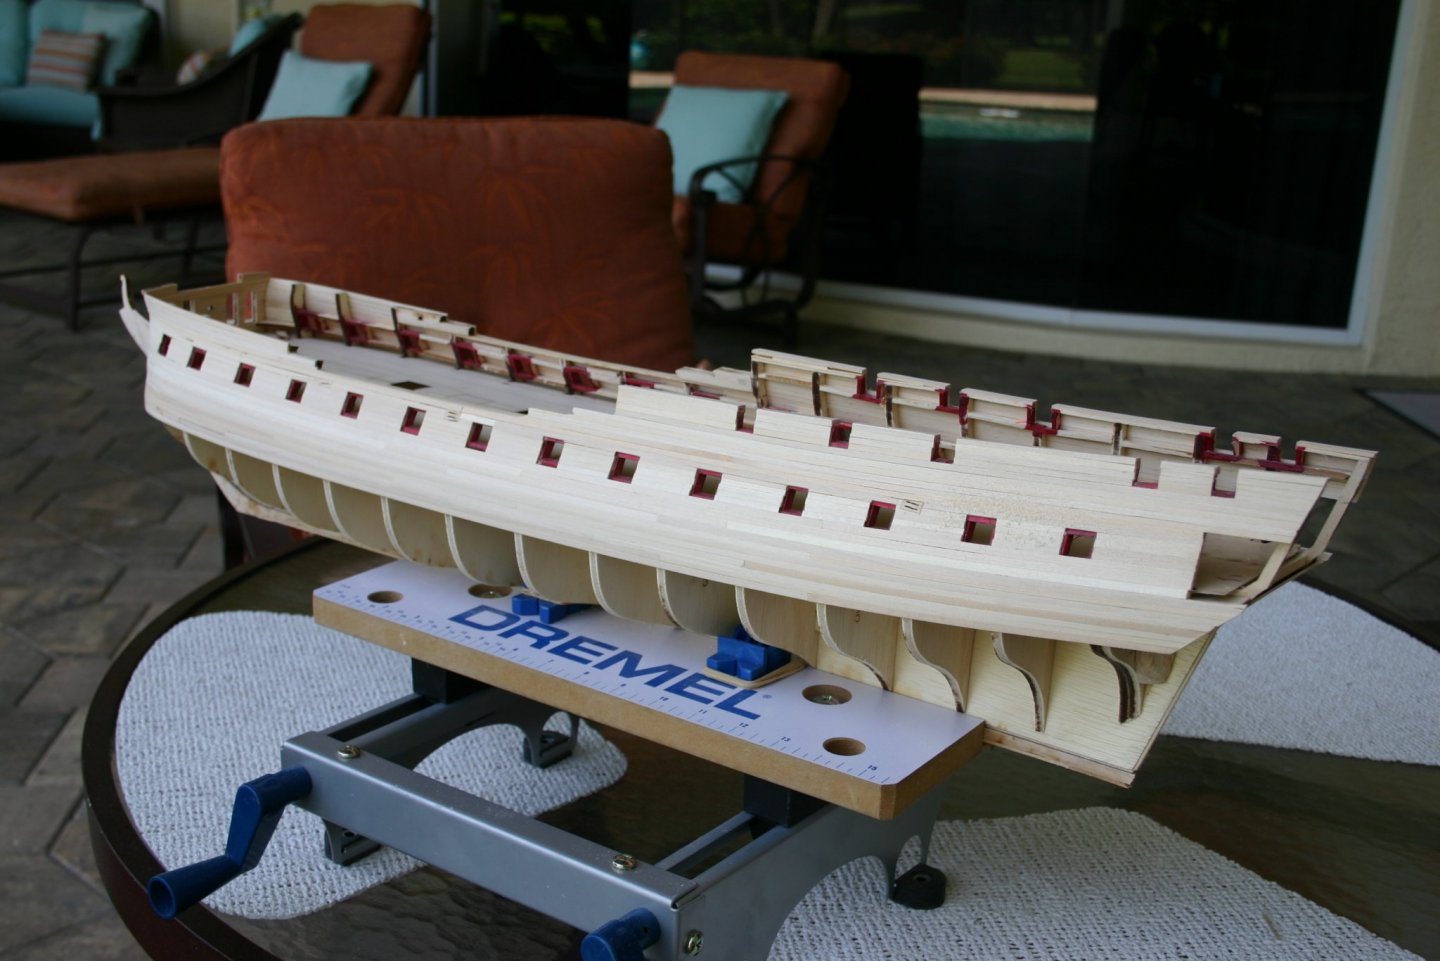


-
Excellent! Looks full size.....not scale....What's next?
-
kpnuts, Your bike is going to be a real work of art when you finish and watching the build is great! Back in my youth in the '60s I remember all the bikes but all I could afford was a bicycle...single speed Sears and Roebucks special earned from a paper route. I did build a 1/8 scale of a Triumph but do not remember the brand. your posts have inspired me to try and find another cool bike build. I am familiar with Tamiya from their military models so will start there..... Jim
-
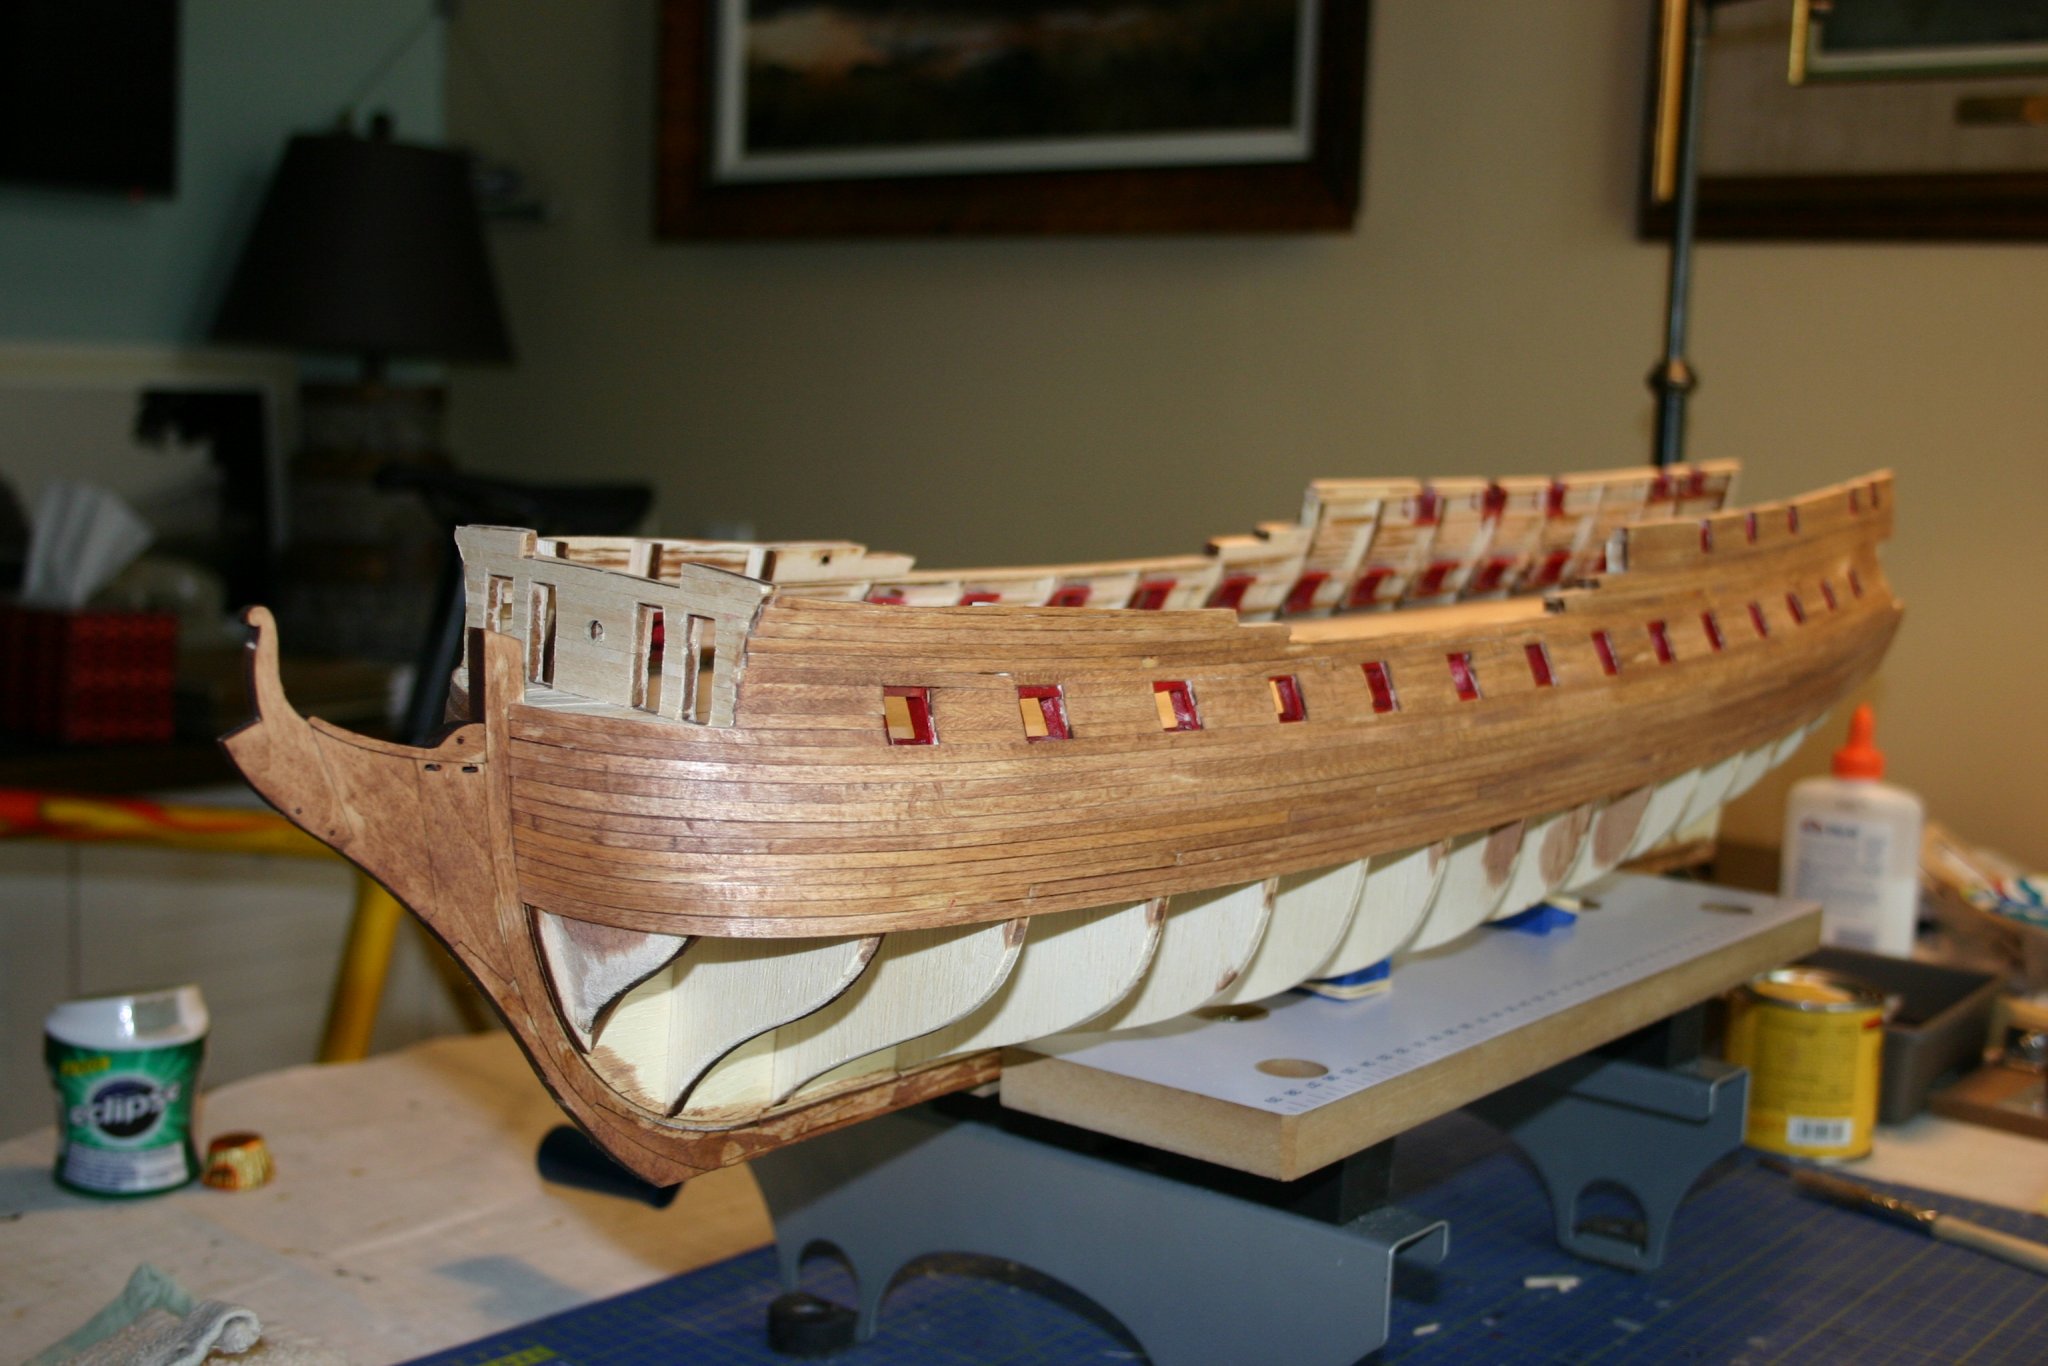
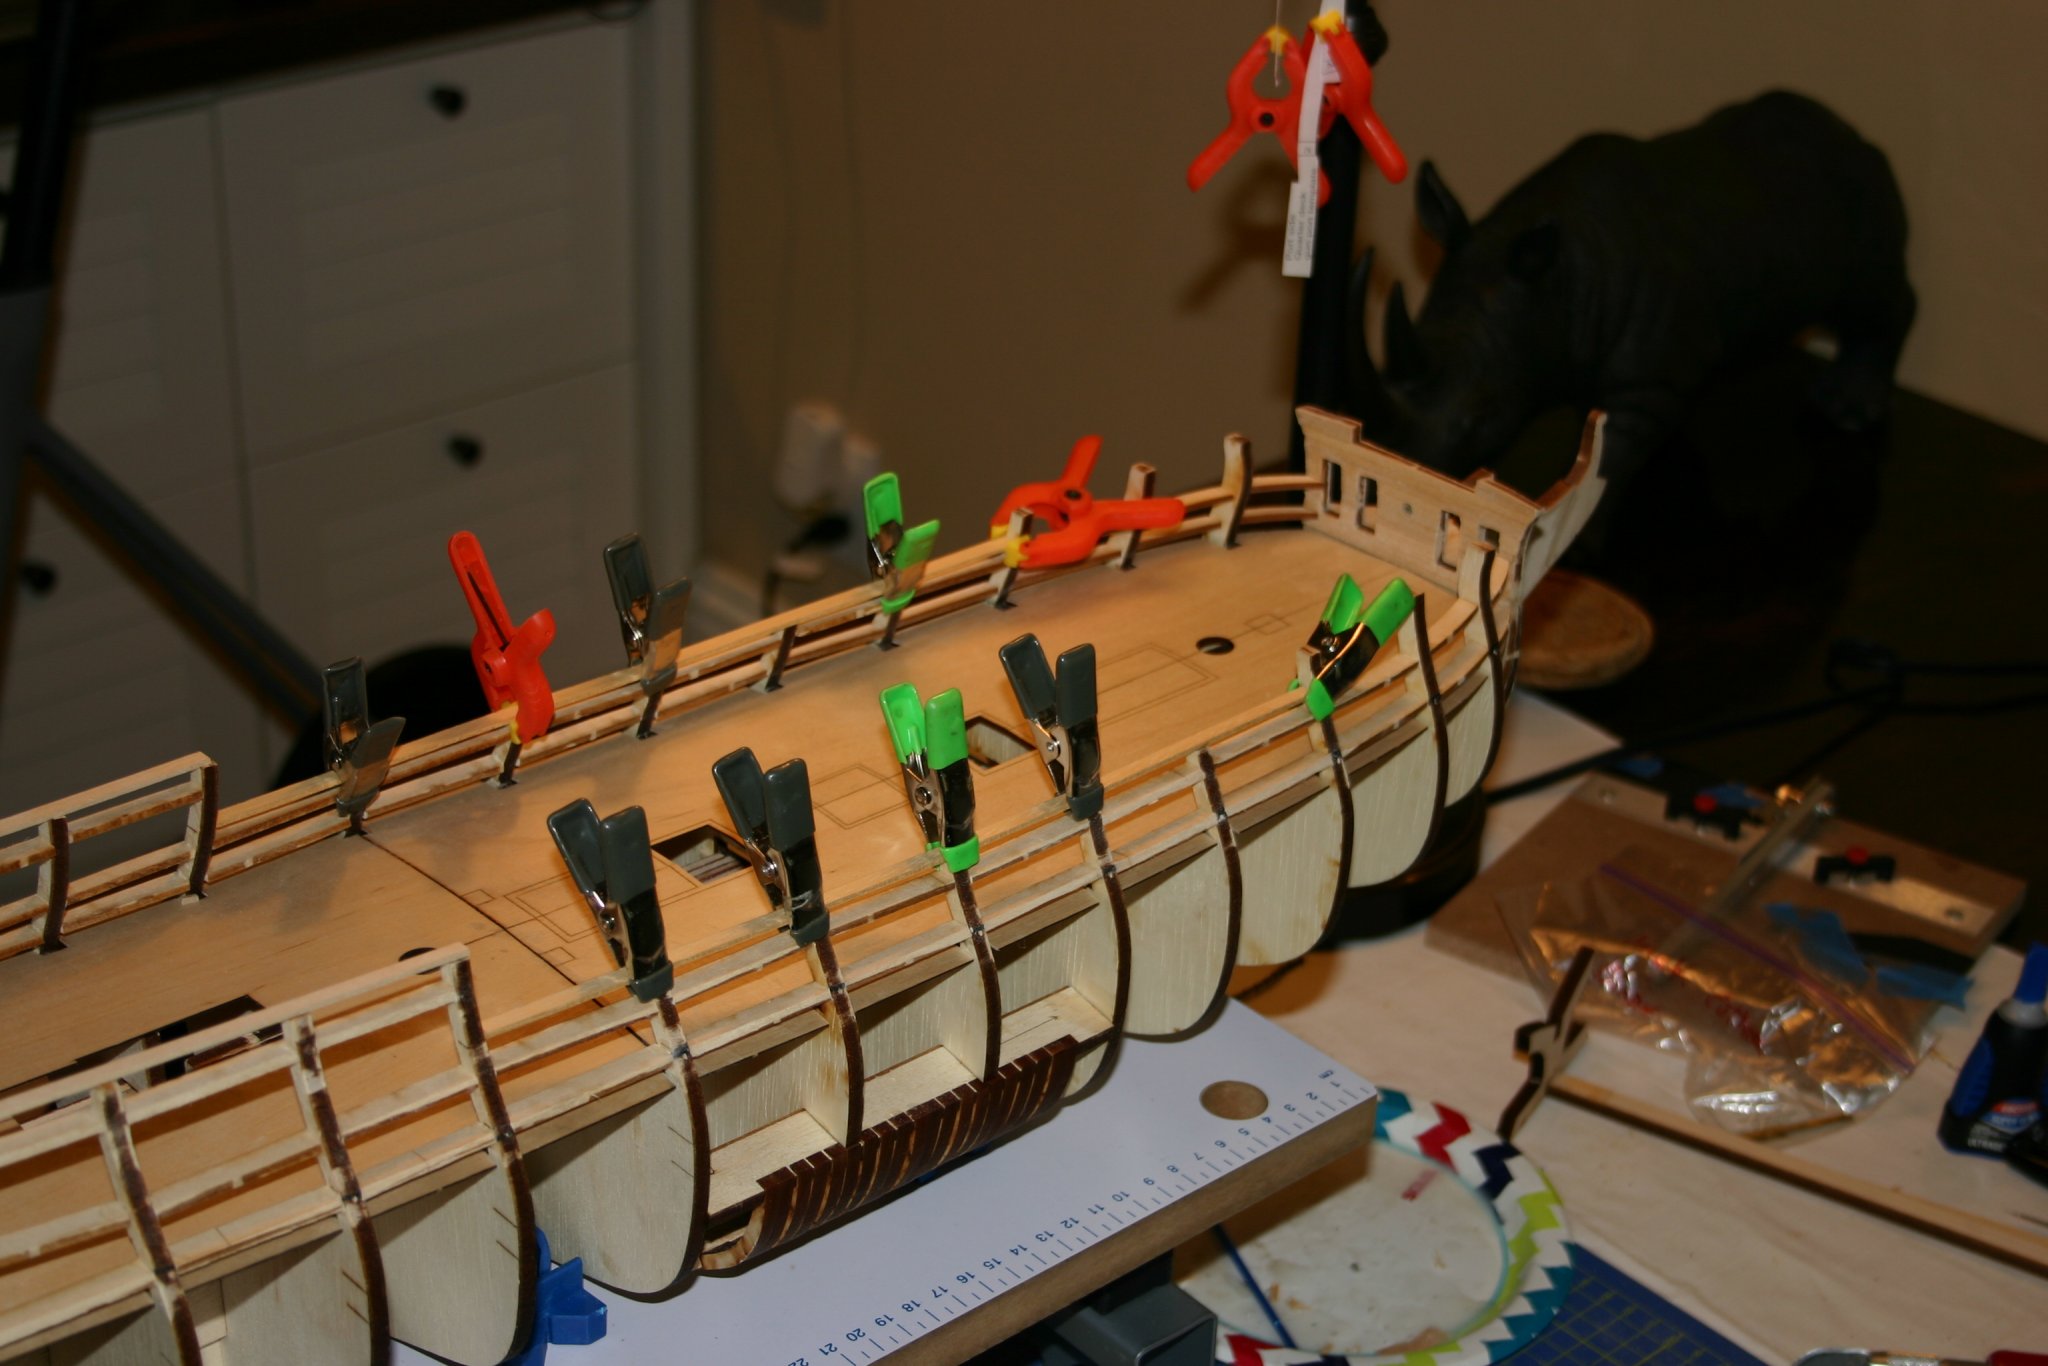
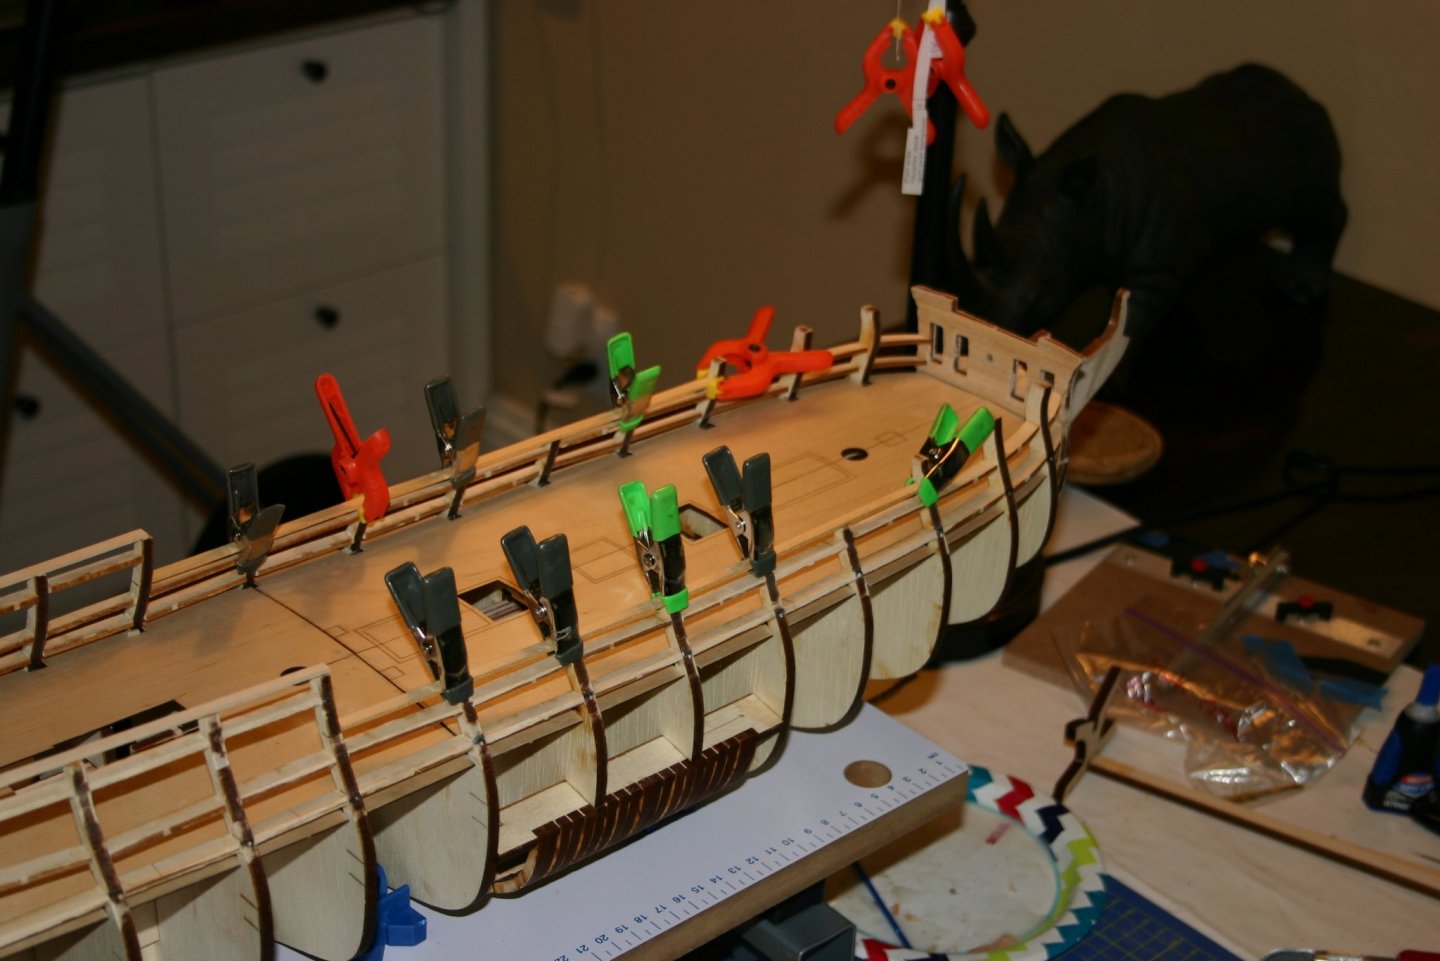
Somehow I succeeded in deleting my previous post.....Oh well... Once I had built the (now deleted) plank bender and started the planking process, I discovered a long lost tool I had acquired years ago from Amati.....a plank bender! Then the planking began with with my not being able to find the right size planking for the wales......so I just used the 1/8" planks. My next change was to not do the sweep ports...I do still have the templates so can add them later but it seems my nerves were not up to the accurate trimming required. After completing the port side, I'm going to test some stains and prepaint the black strake and wale overlays black before installation. Before proceeding, there is a lot of sanding in my future...................


-
Looking Great Bossman!
-
Yep......paint and wood filler...and excess wood from previous projects....... I cobbled up my effort for the stern ports and did a bit more fairing. Still have a lot of sanding on the on the gun deck and quarterdeck. Which will take me to planking the hull above the wales....
-
Hi Bossman,........Found your log and will be watching.......you are a superior modeler and it's great to see what is ahead from your posts and photos and how you've handled things!
-
Thanks, Bossman! It's been quite a while since I've done a wooden ship and even longer for planking. I do appreciate the encouragement! And there will be some mistakes.... Thanks! Jim
-
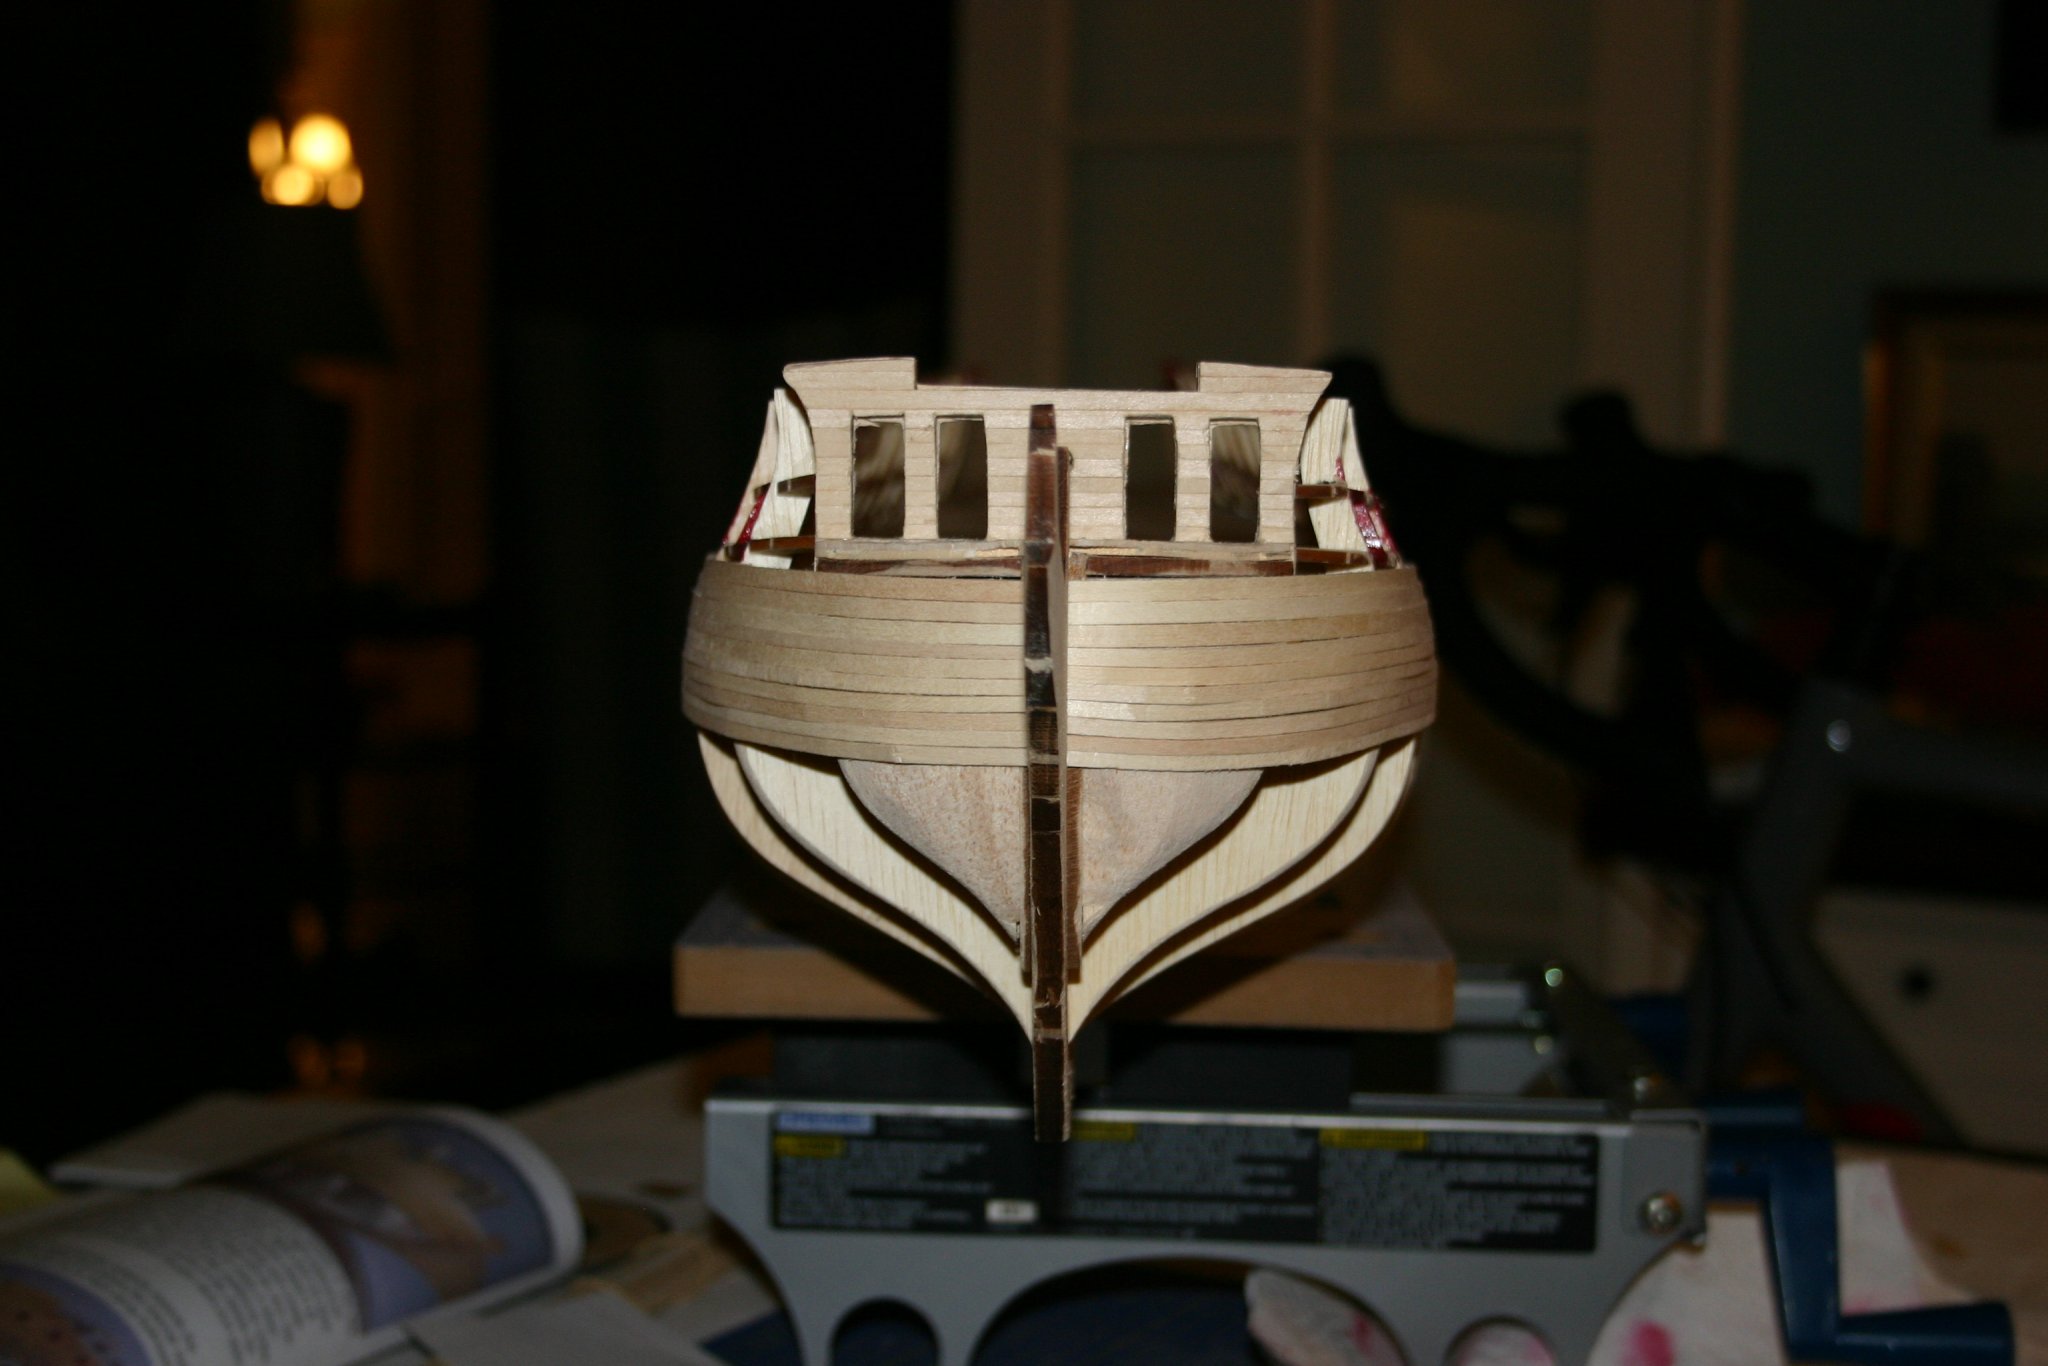
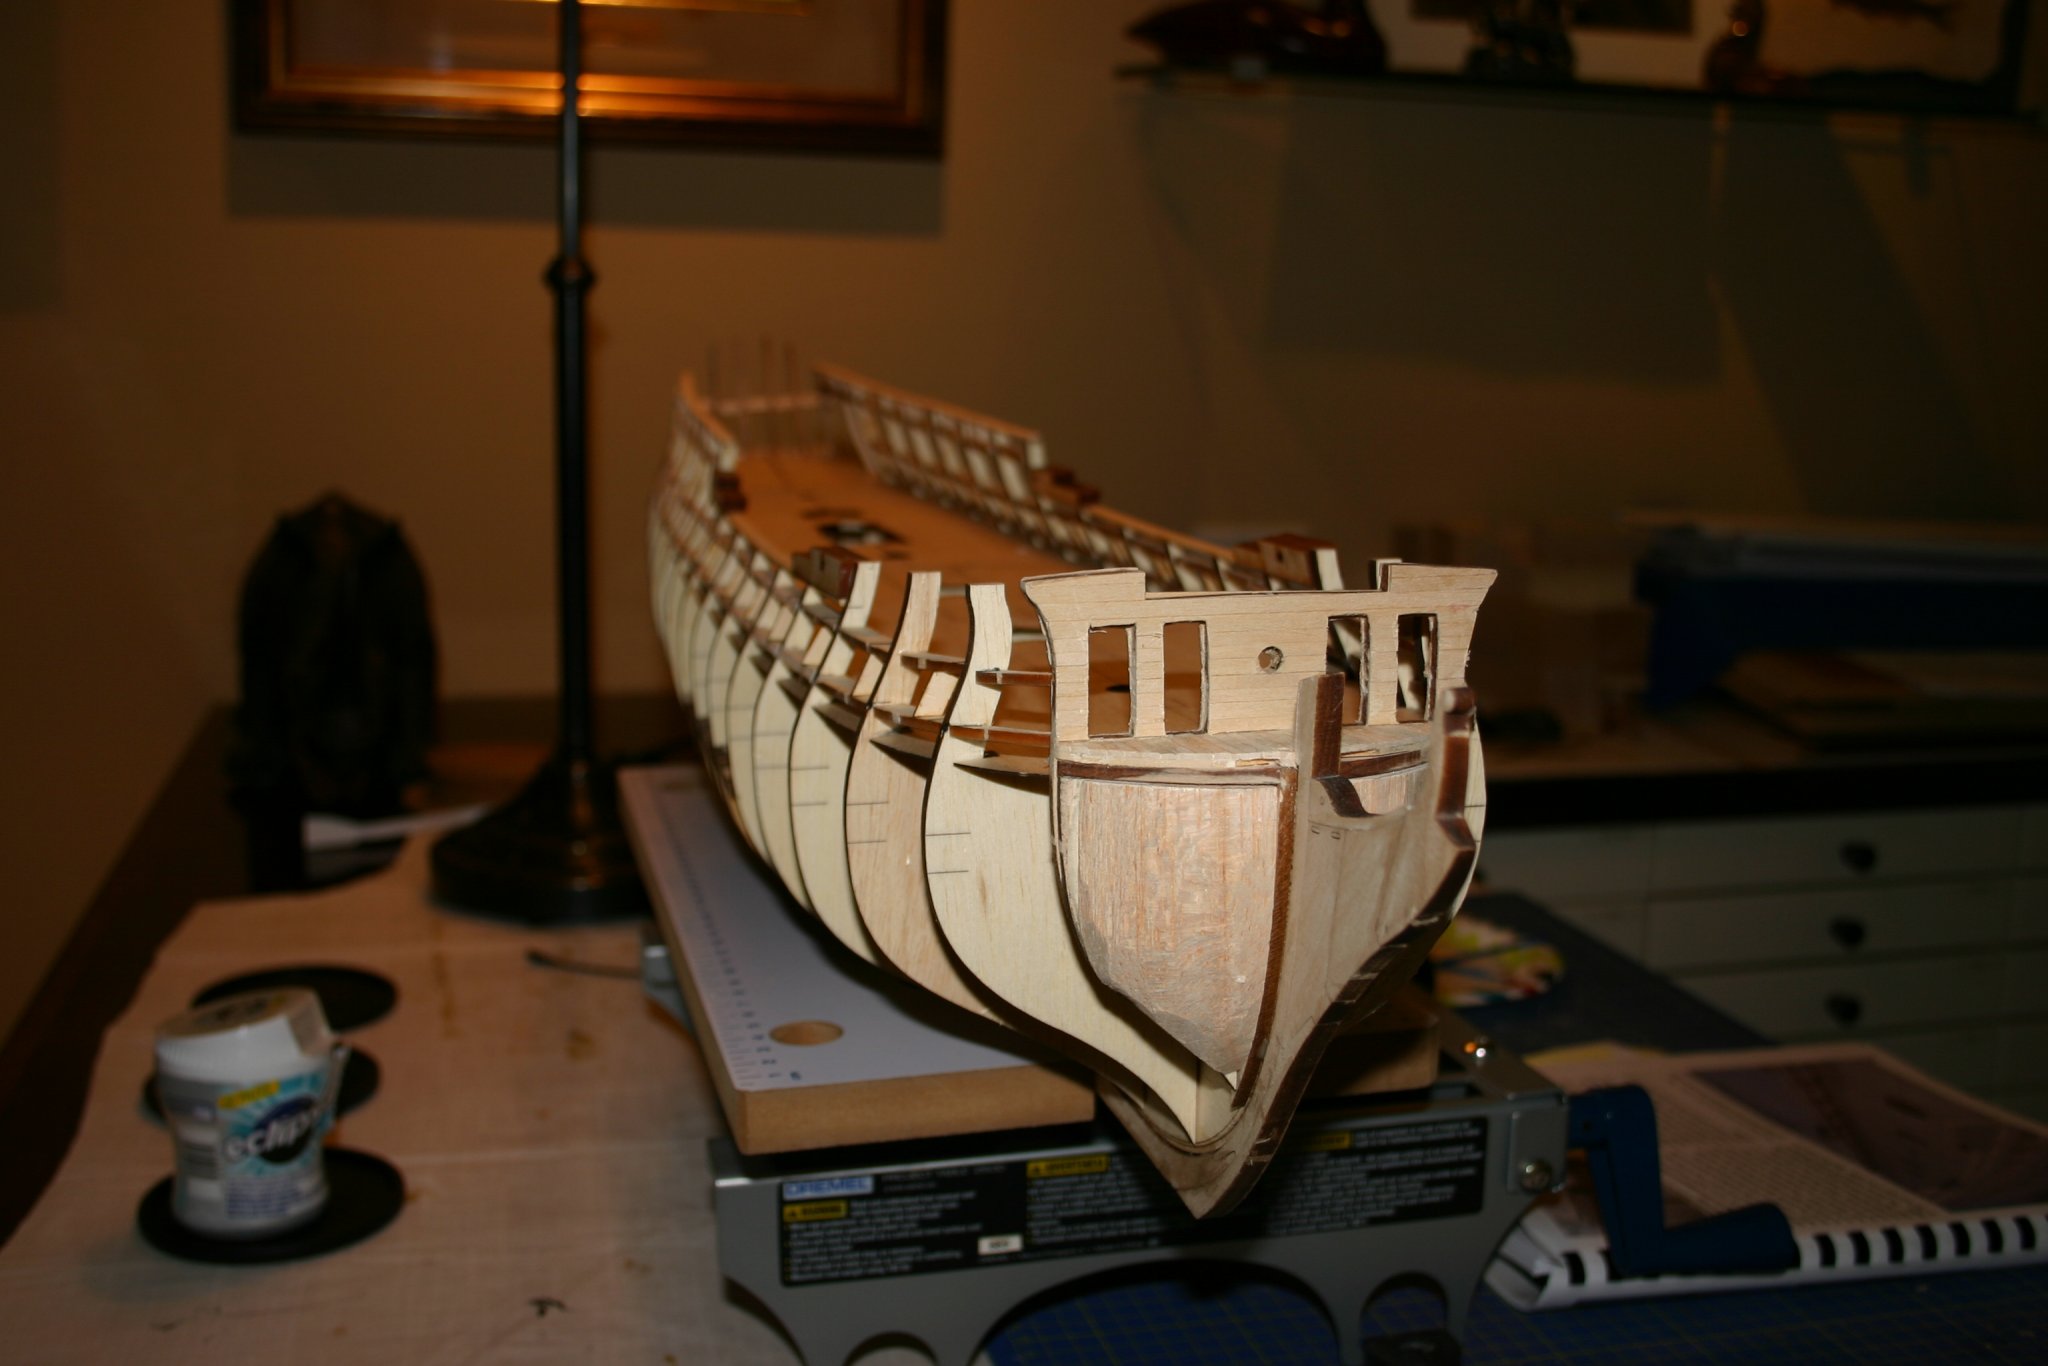
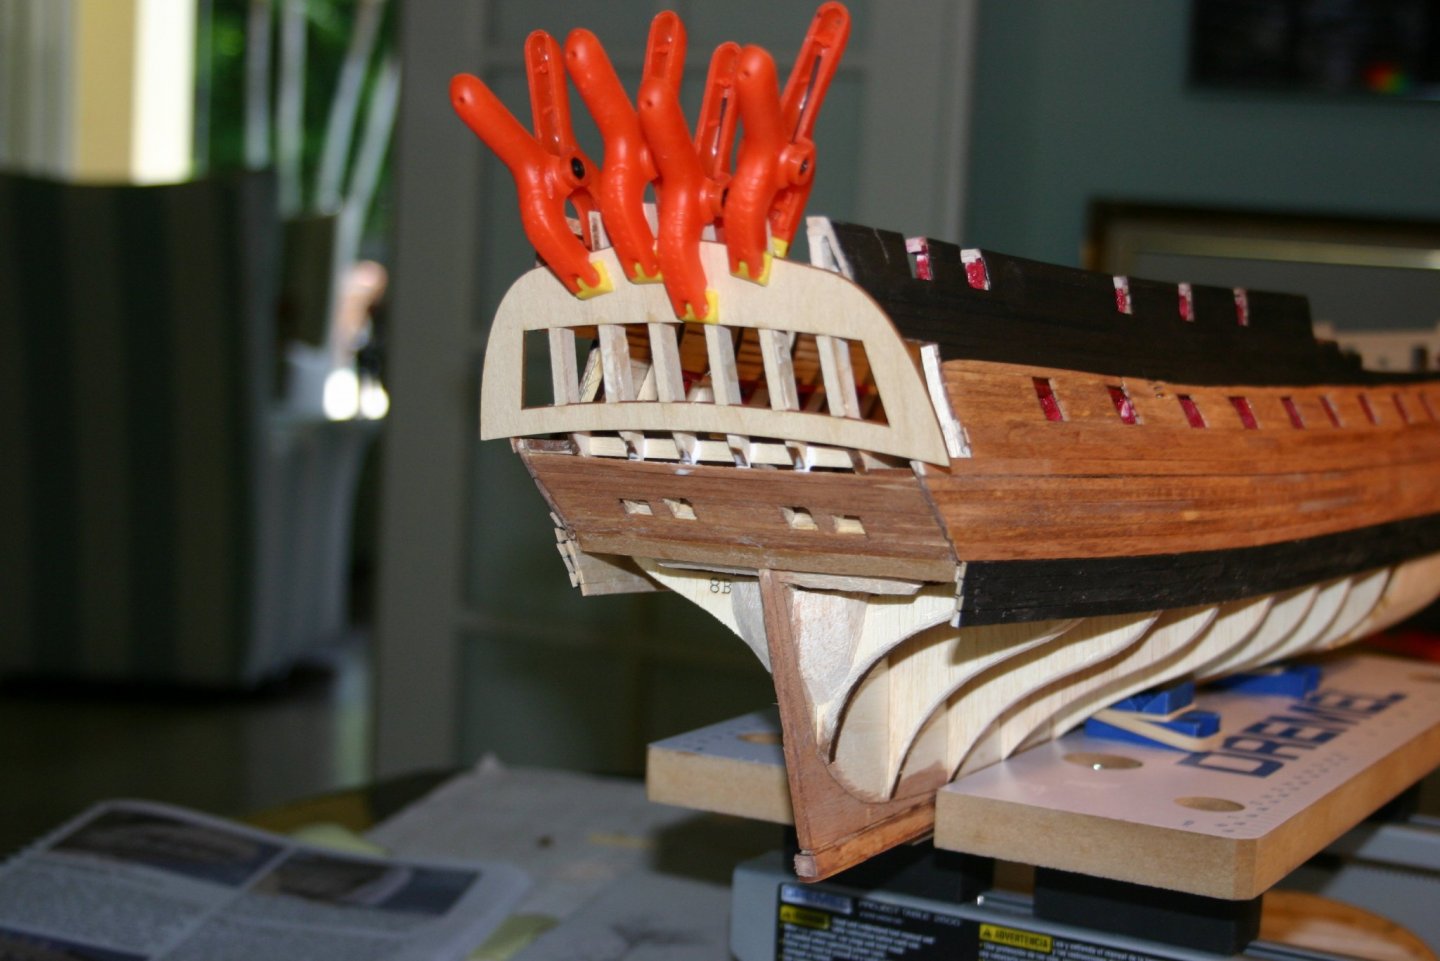
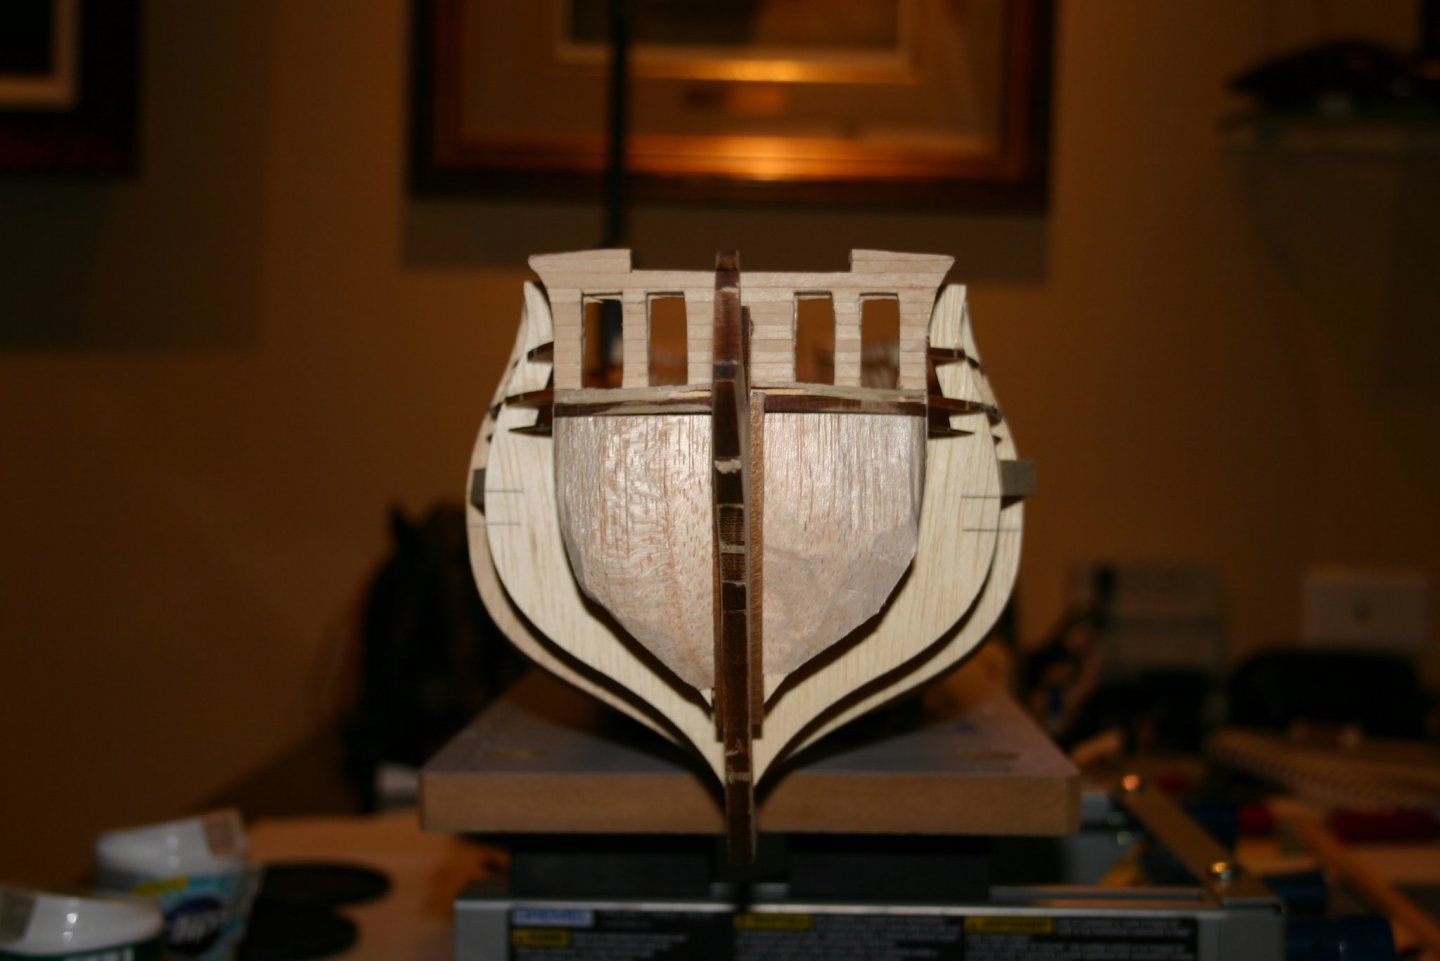
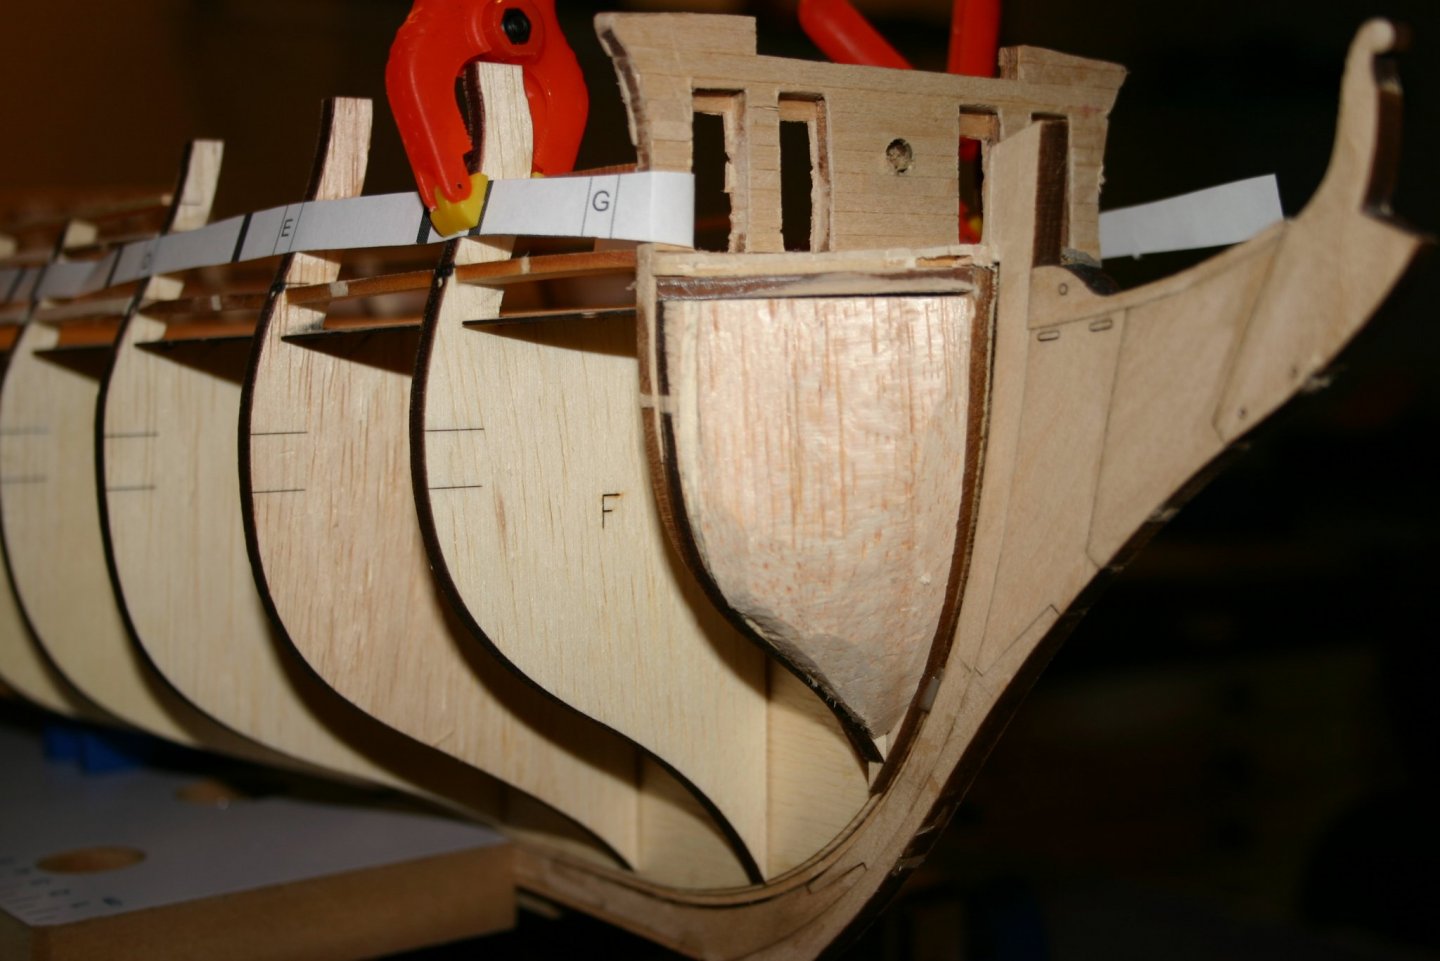
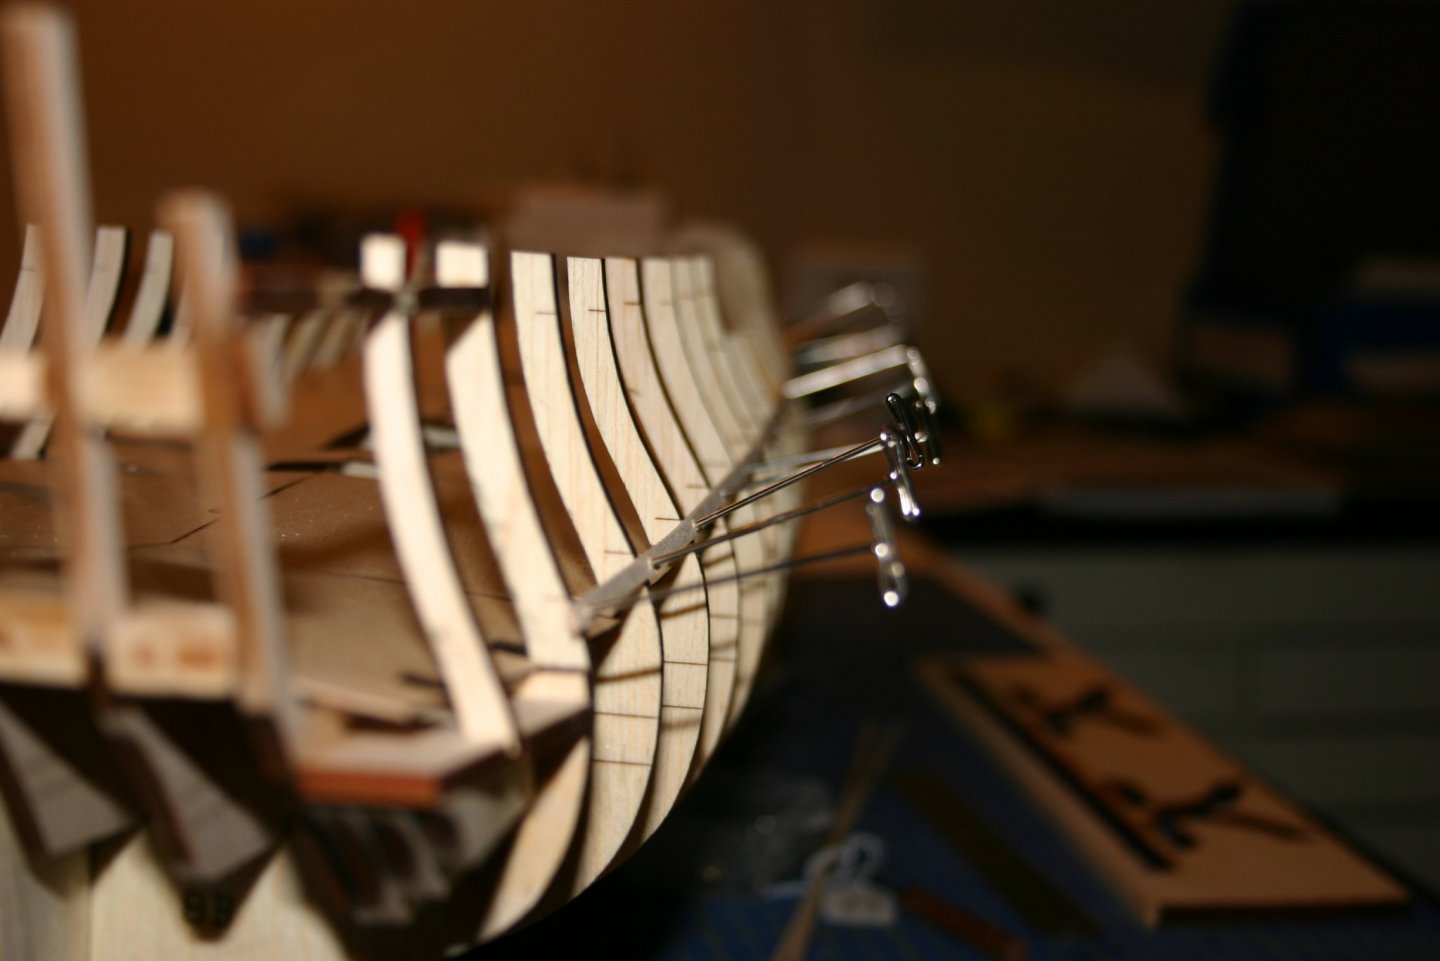
So I did some preliminary fairing and then proceeded to set up and mark the sweep ports using the templates. Then I ventured to a place I have been avoiding.....the stern! When I first set up the framing and then used the template for the windows, the gentle sweep left me with a concave stern. My installation of the stern frames seemed right but I didn't pay attention to the concavity and installed the sills and lintels. My new plan is to rebuild the stern using the removed parts and adding whatever bracing is necessary. I'm going to use the laser cut transom to set up the openings and the add the sills and lintels from the inside......we'll see.


-
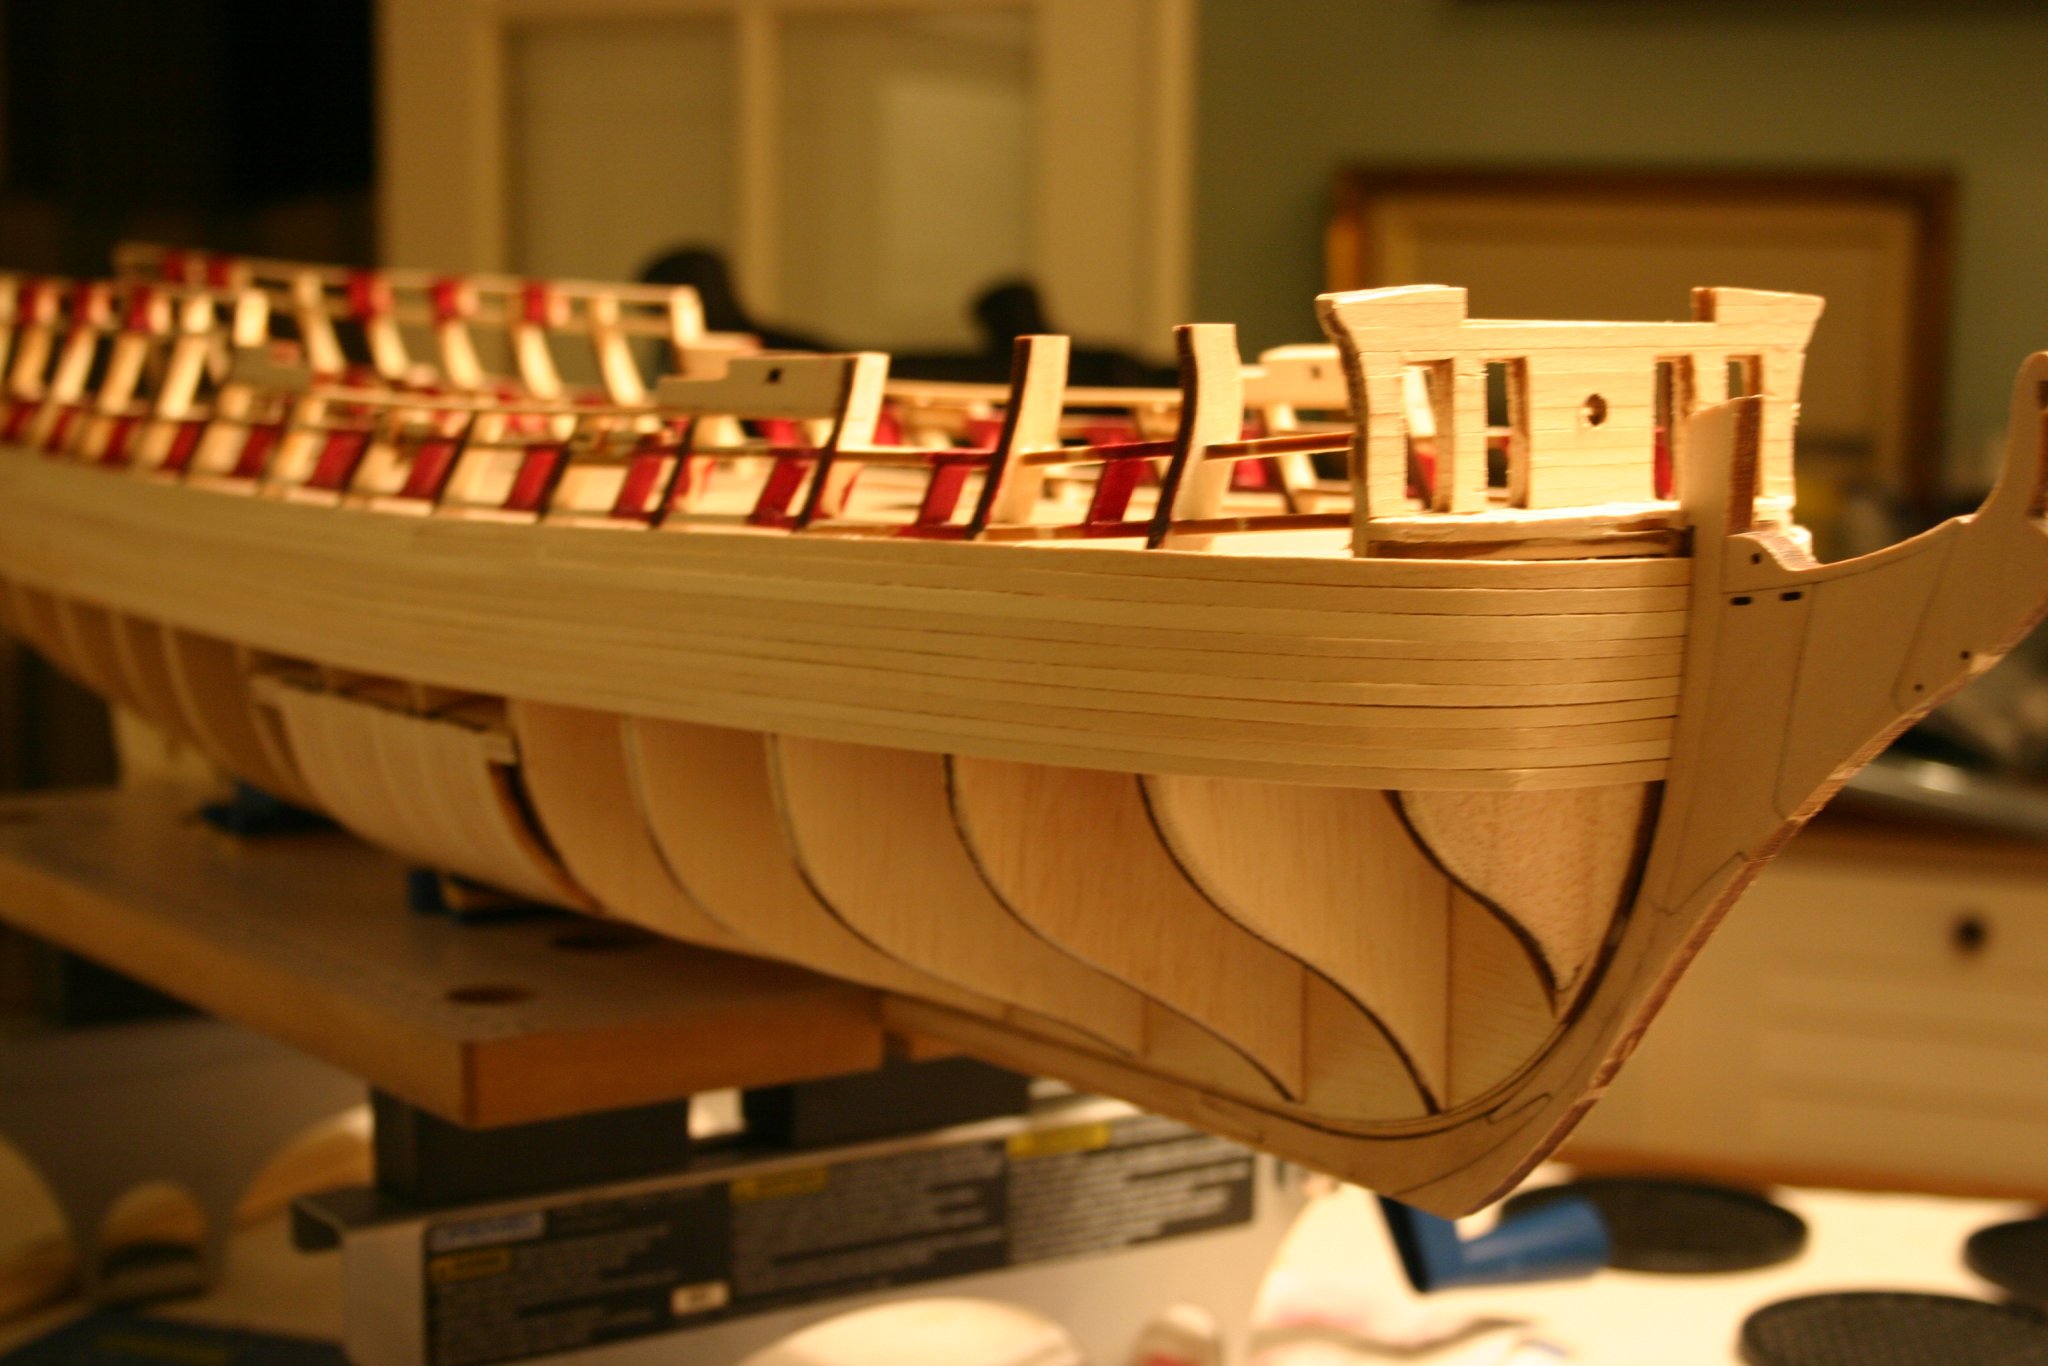
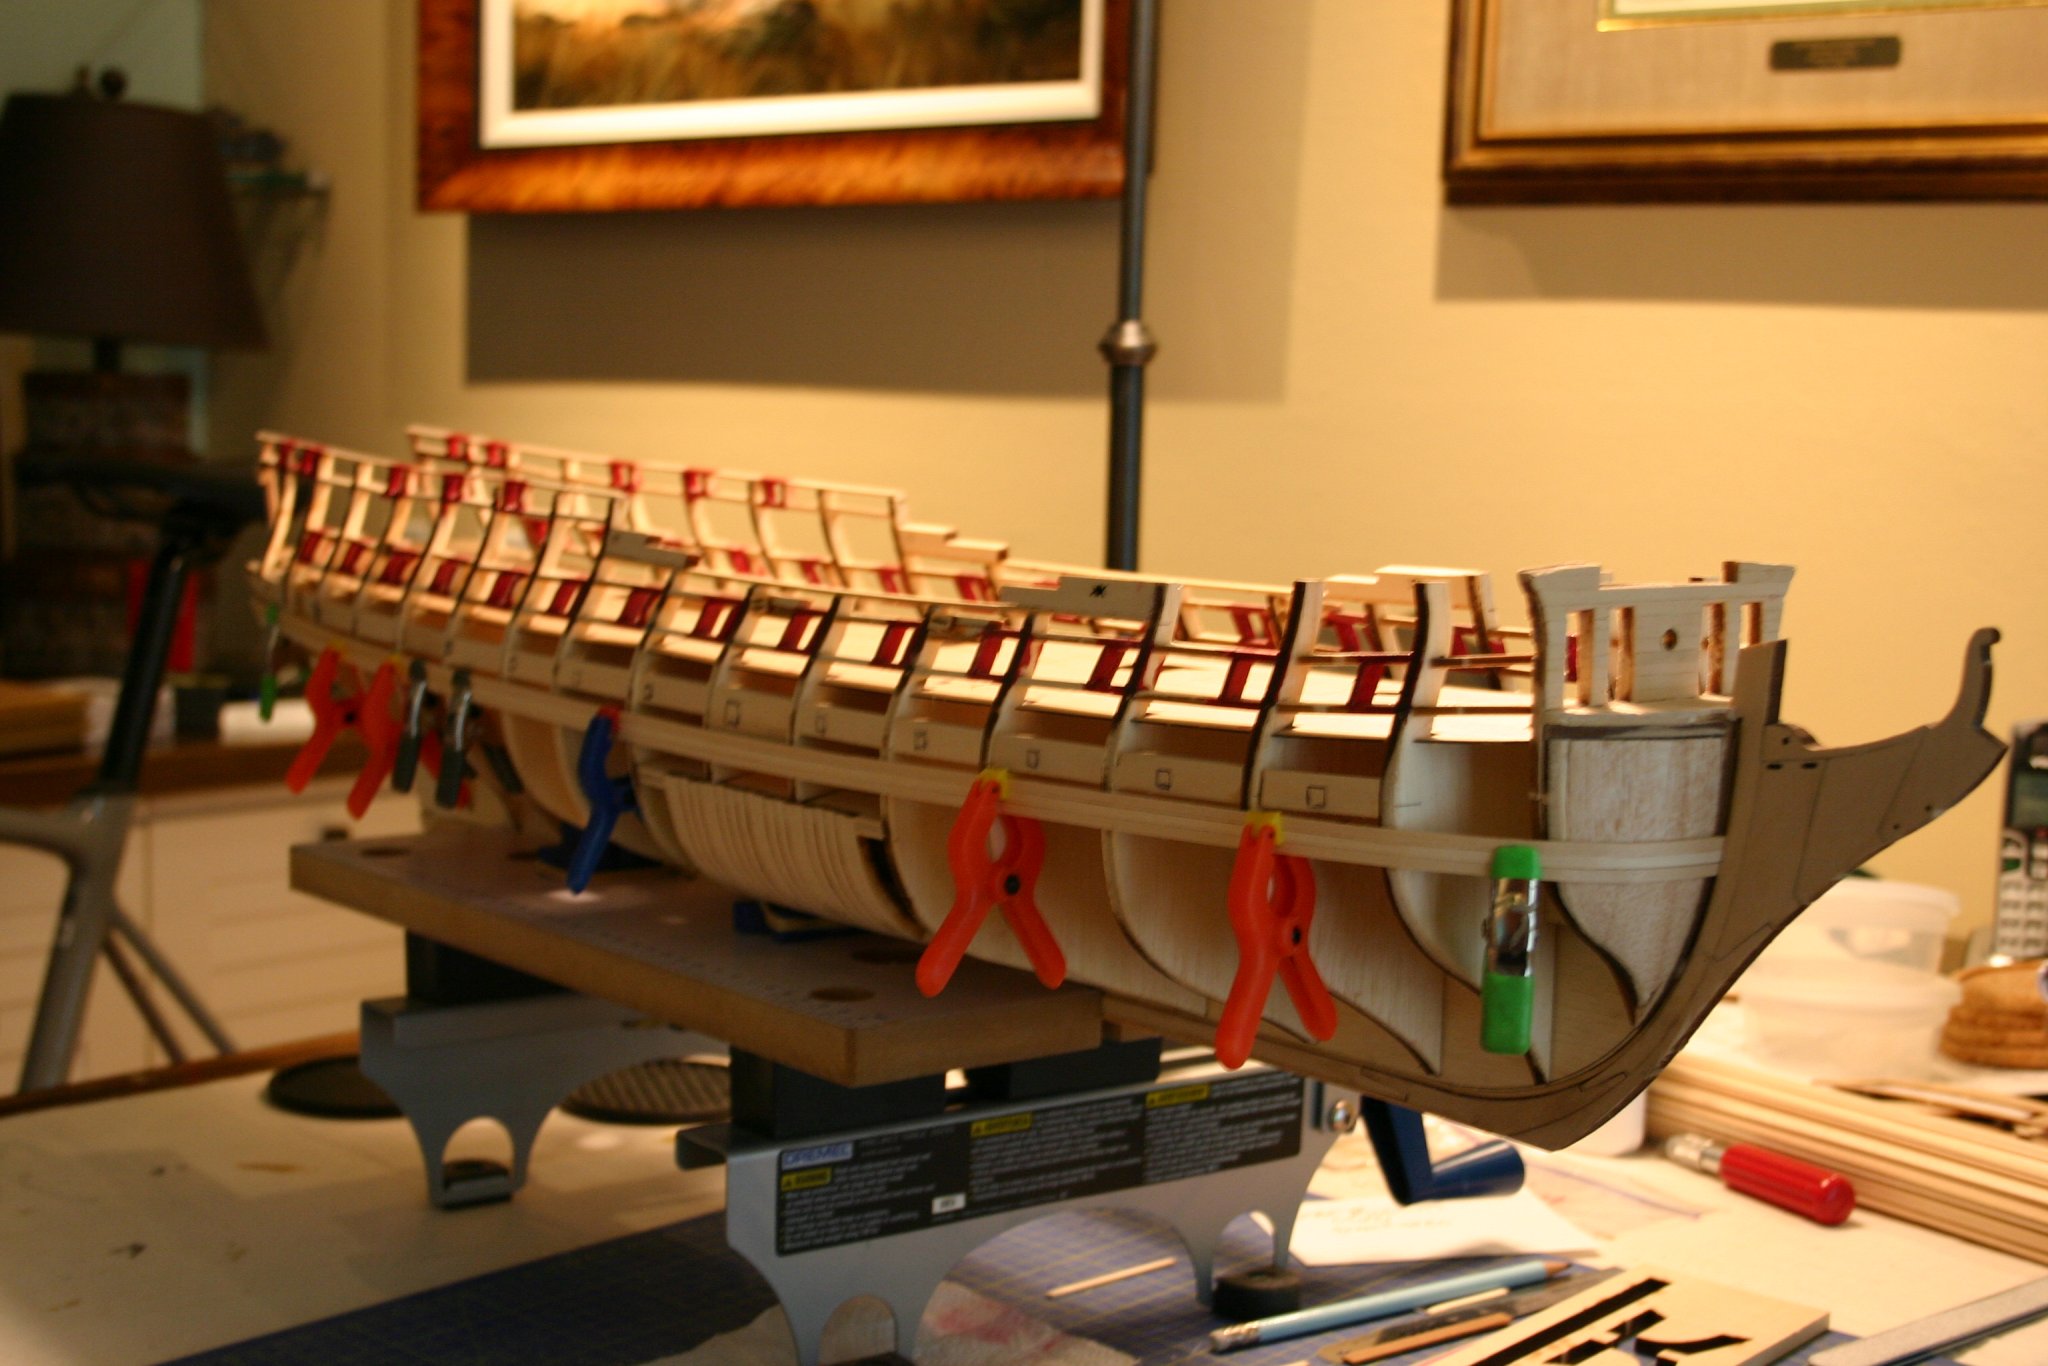
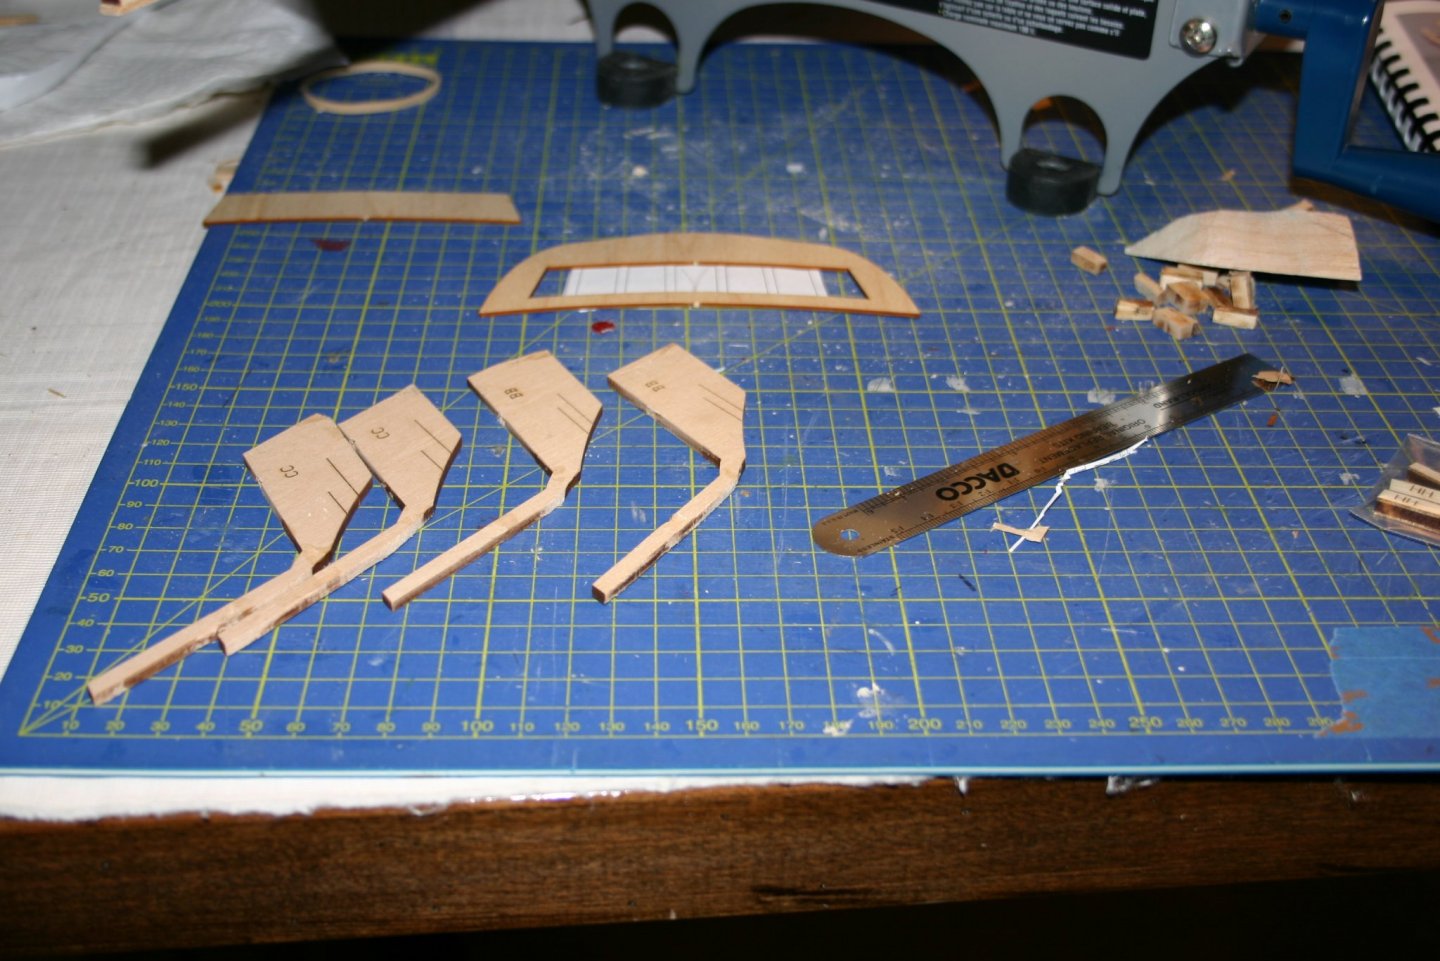
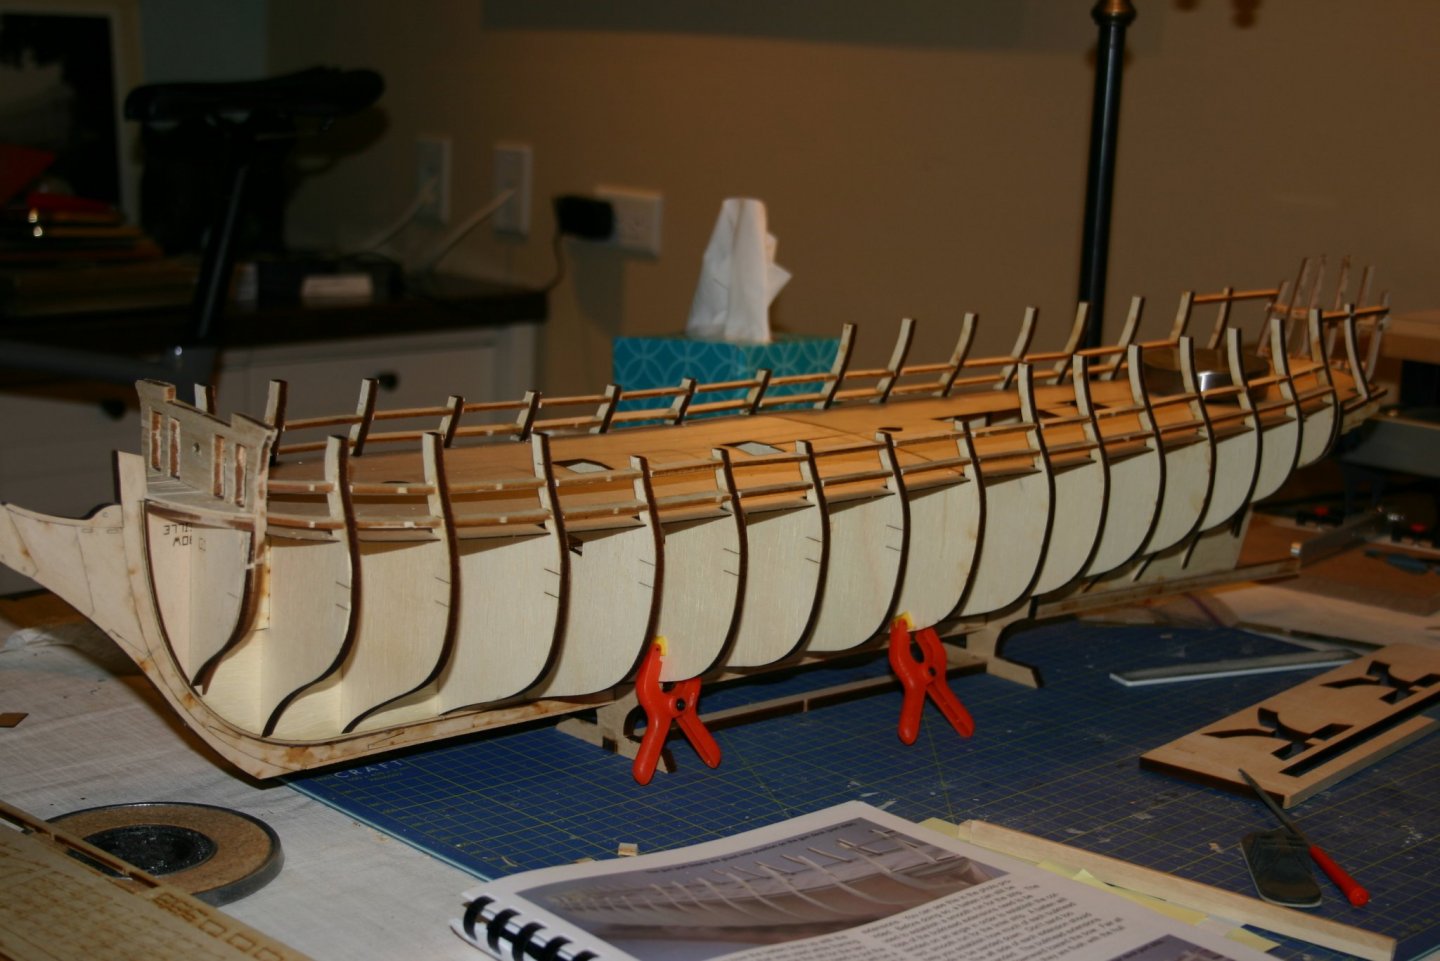
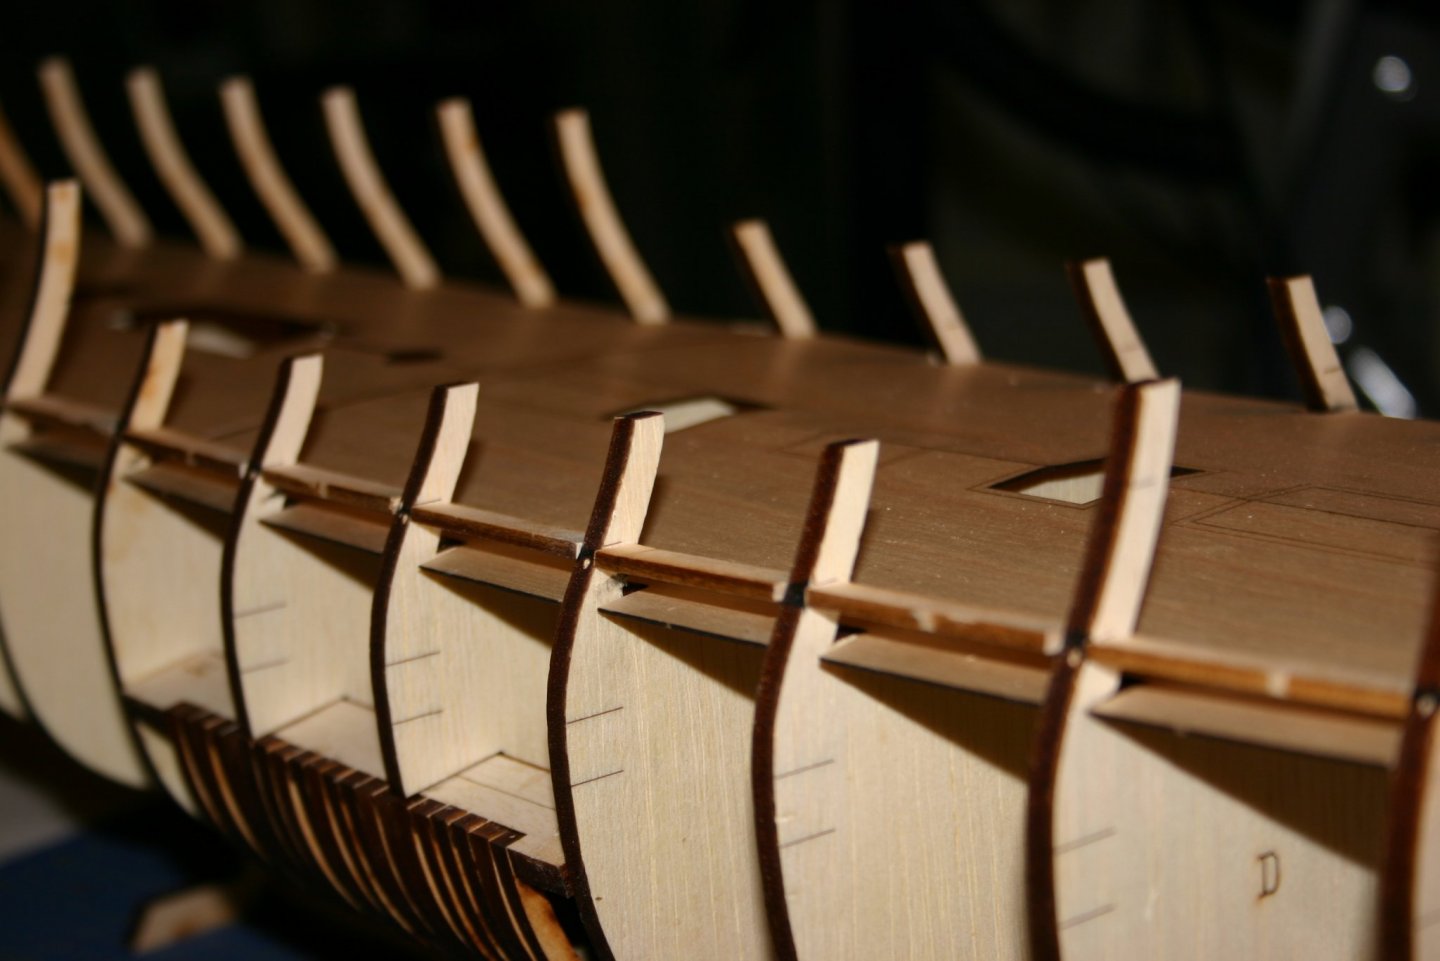
Hance pieces have been added. Sweep port frames have been added. The next step will be cutting out the templates for the sweep port frames.... Will do some fairing and then perhaps tackle some of the stern work I've been avoiding......adjusting and aligning the window sills and adding the stern ports on the lower counter.... This is a very important area and I'm afraid I did not get the stern frames set right so may be doing a bit of deconstructing.....

-
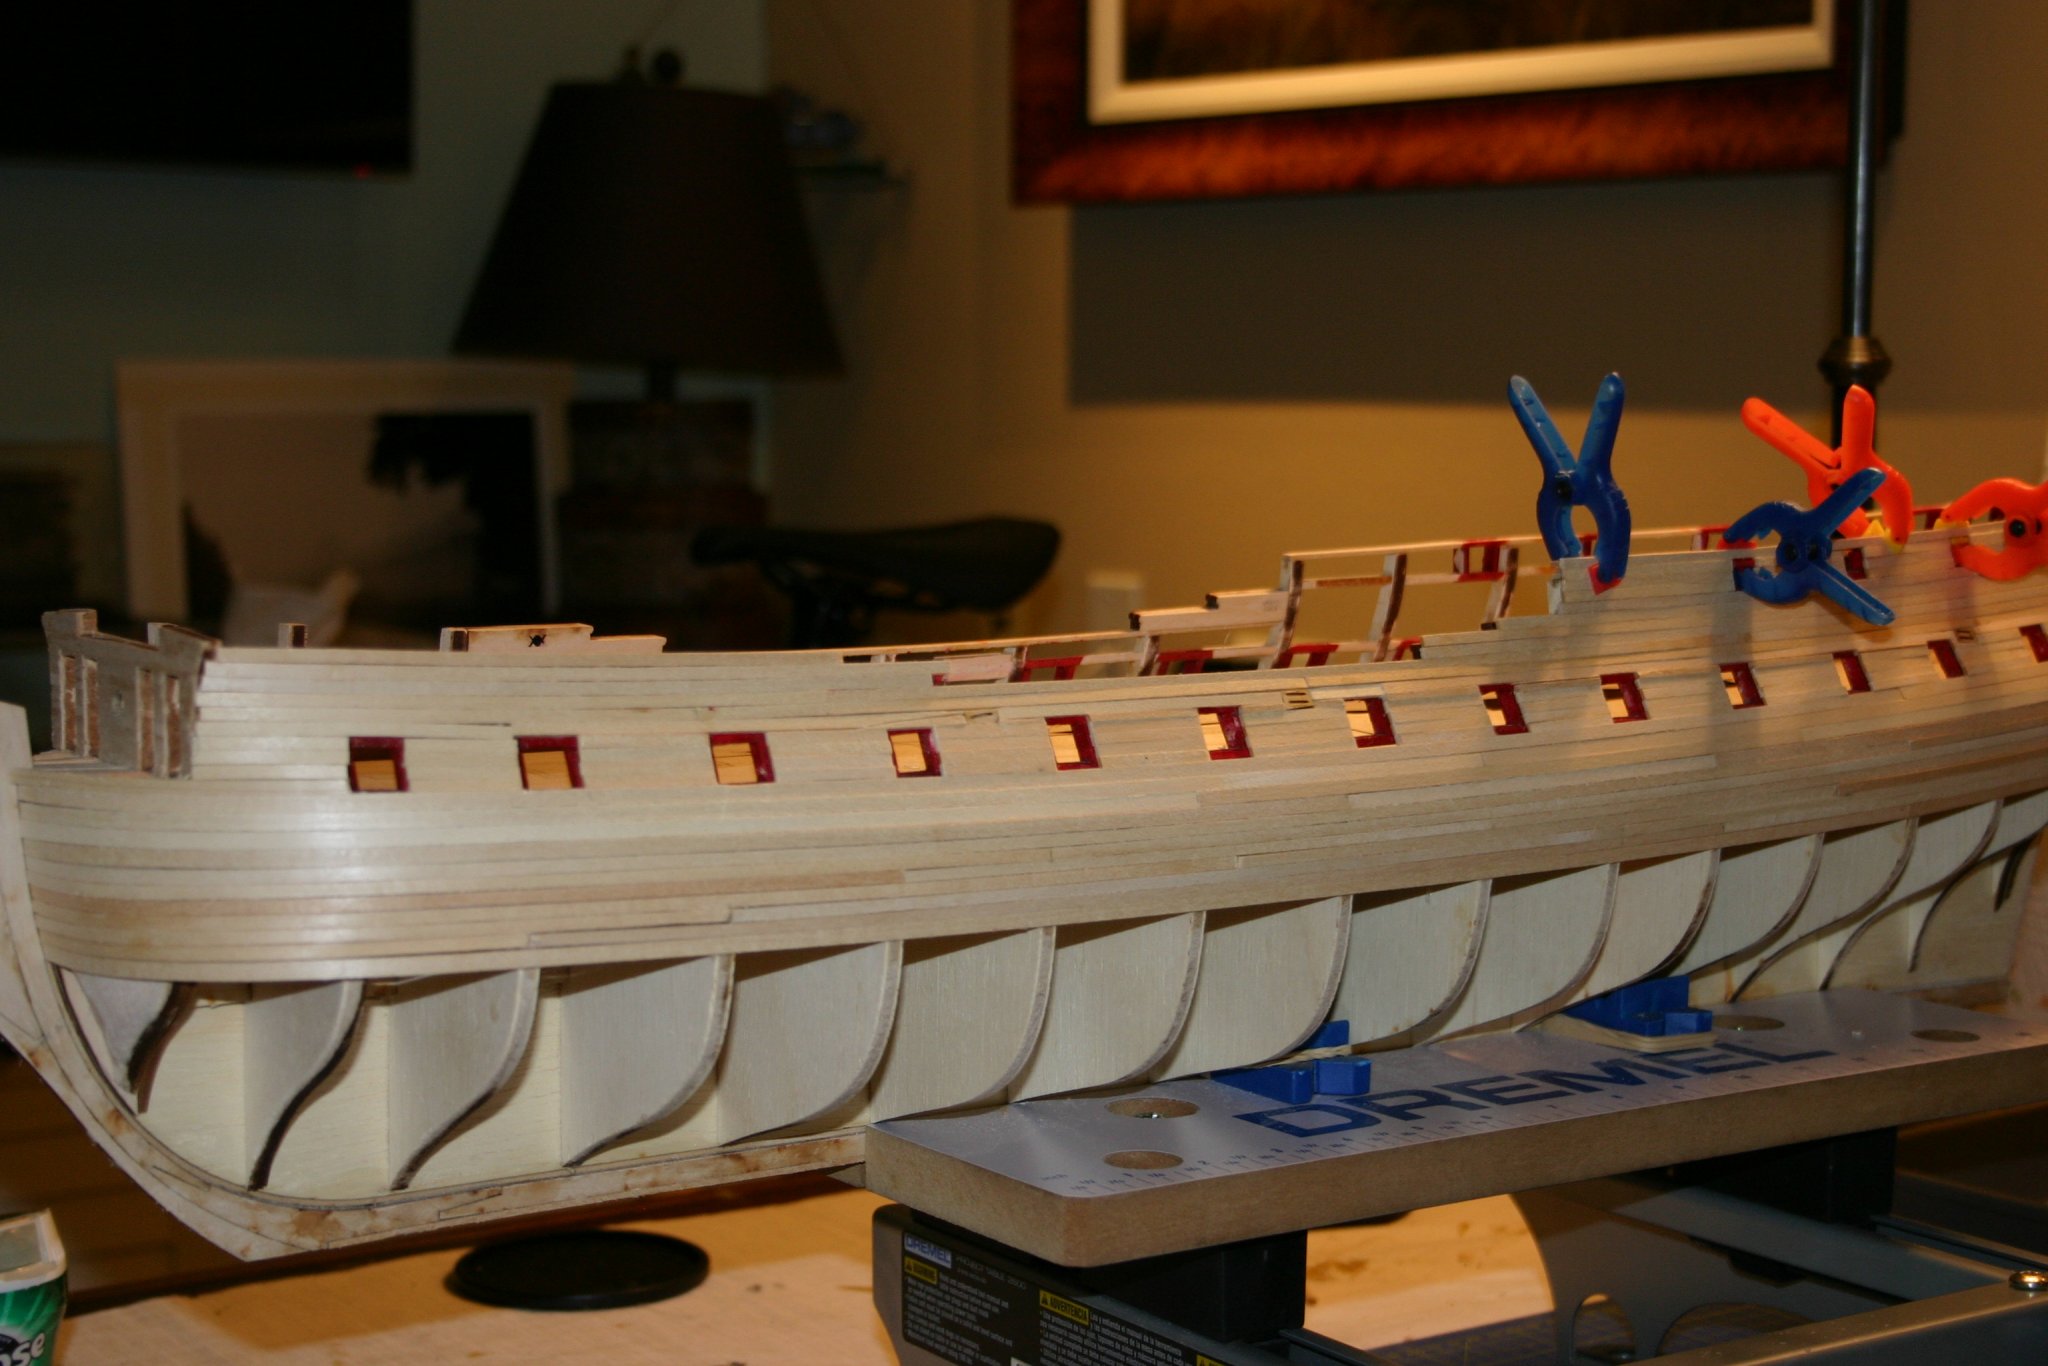
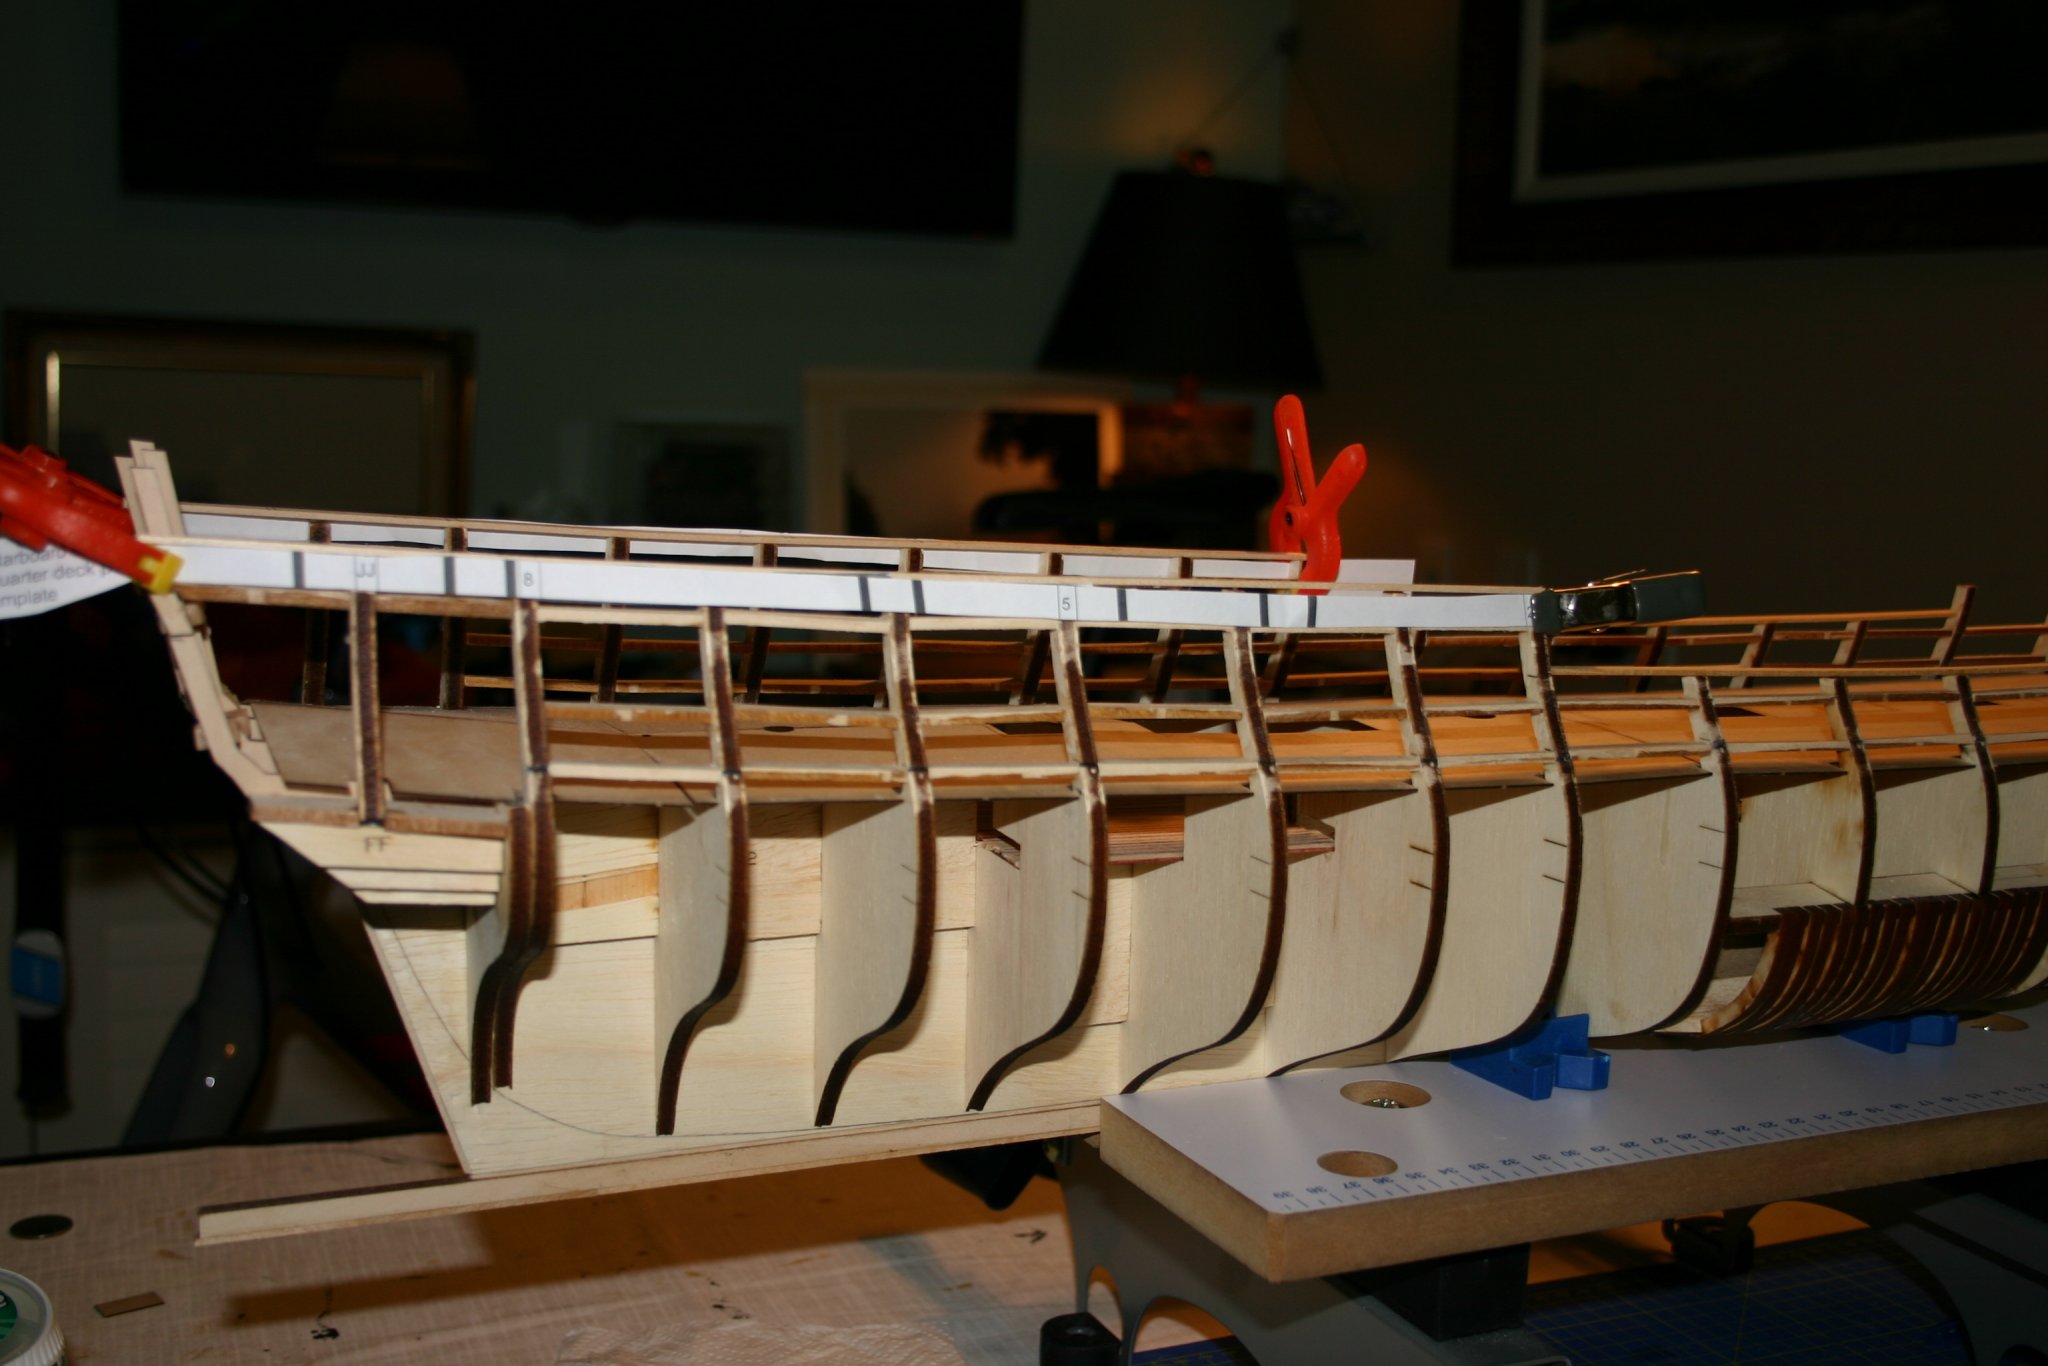
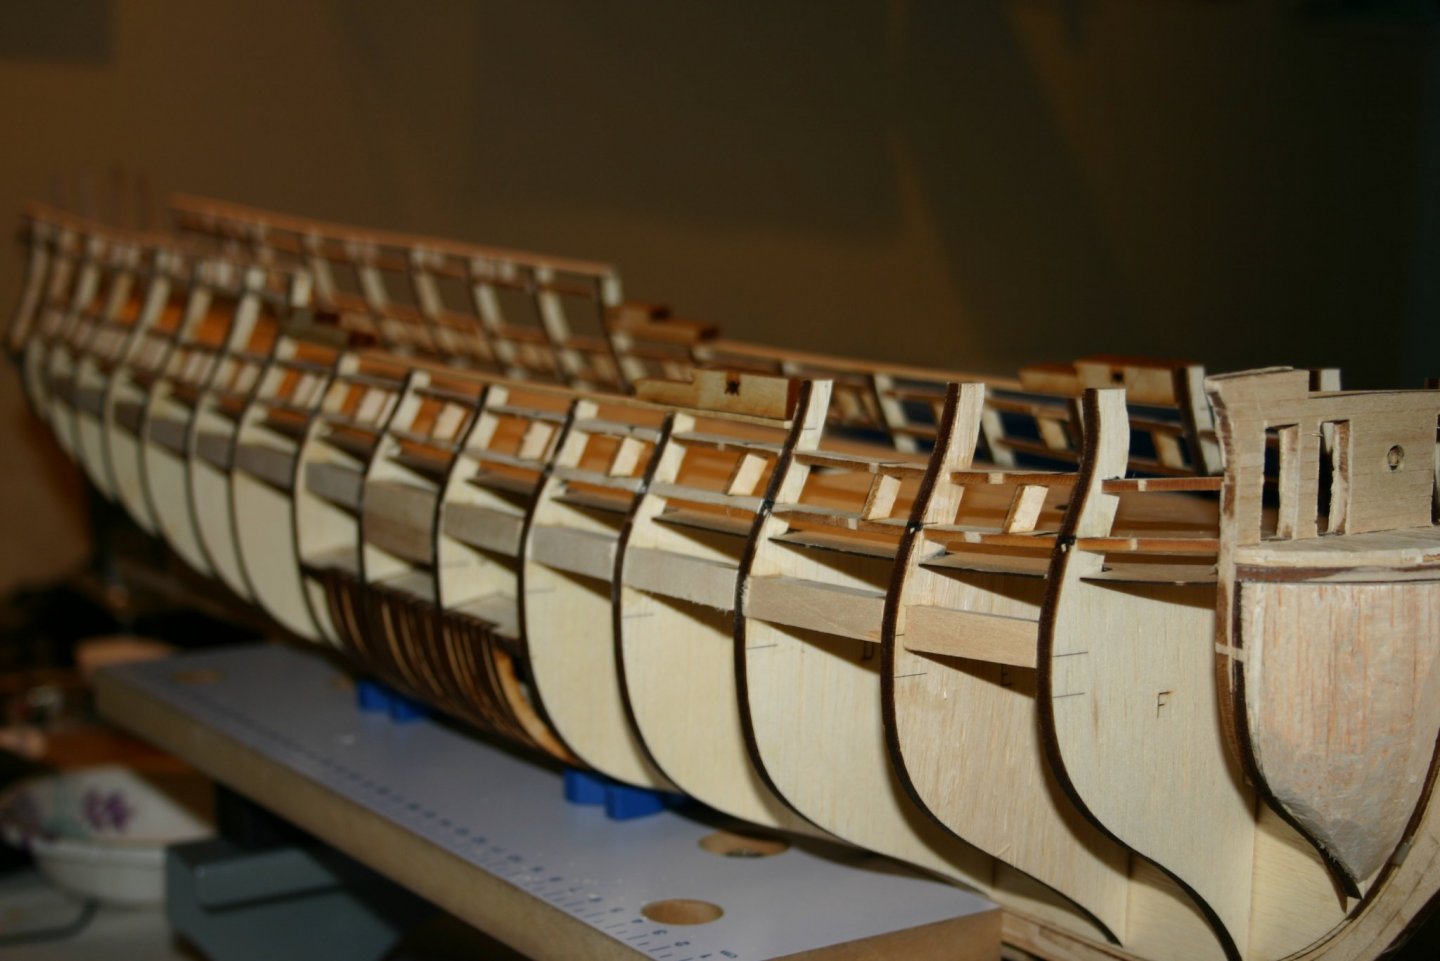
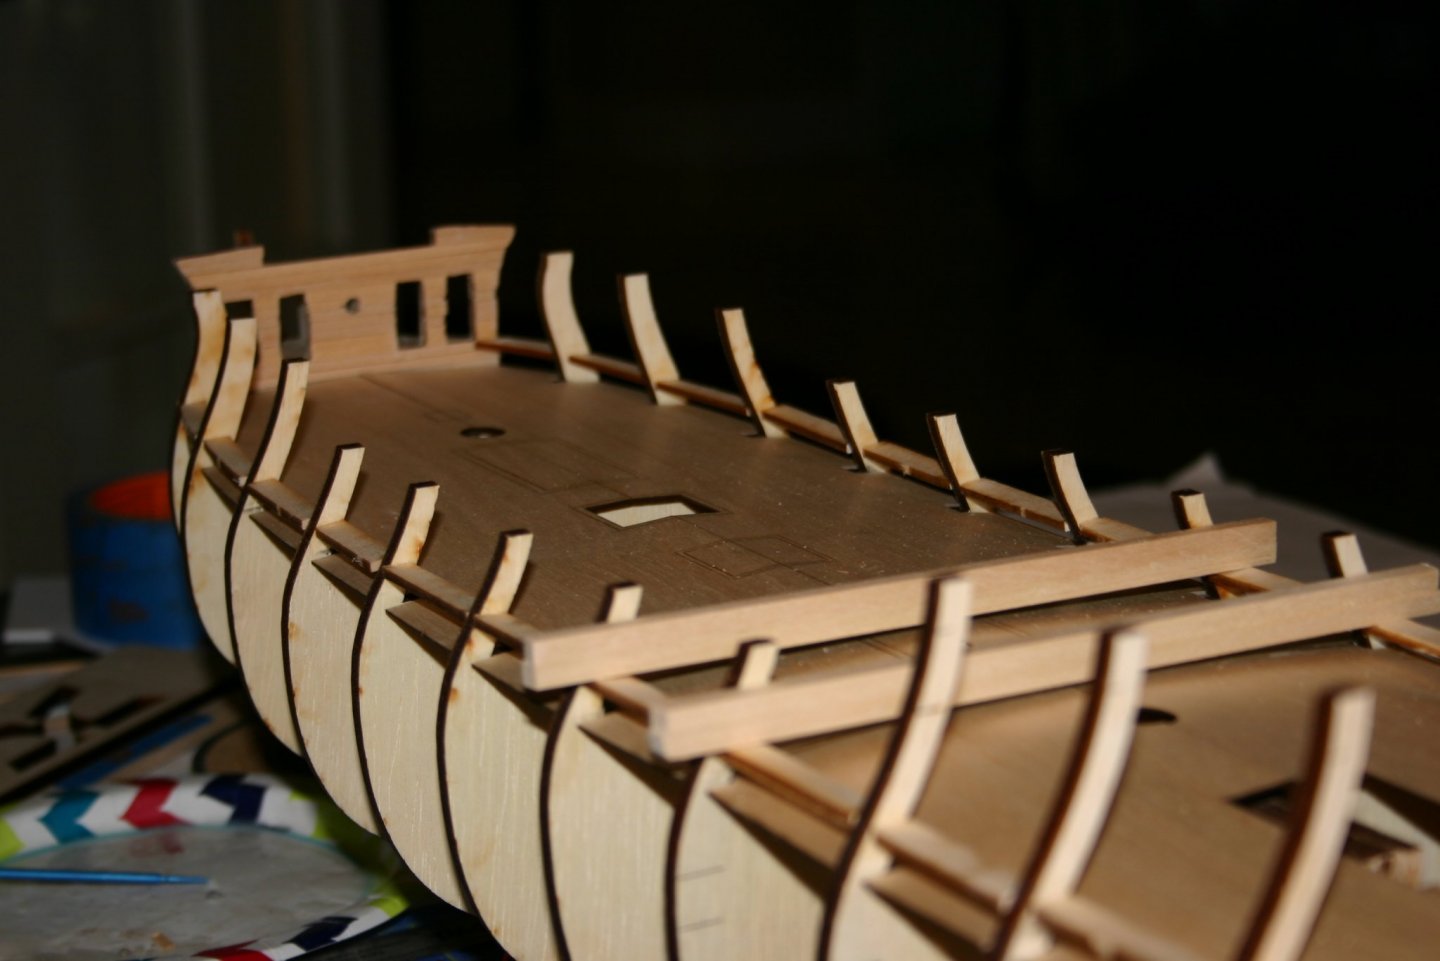
Thanks for looking in, Yves! So another day, another stick or two. I am just about to the major fairing project....and am not quite sure of the process I'll use. Got power tools and all kinds of manual wood removal stuff.......I guess different areas will require different methods. After setting up the templates for the gun port sides for both the gun deck and quarterdeck, I spent this morning on installation of the sides. Chuck did an excellent job on the pieces and the jigs for the sills and lintels as there was minimal trim and adjustment. Got my other balsa bow filler loose trimmed as well.....


-
Seems like all the shots look the same but there is progress...... Placed toprails and the finished the quarterdeck gun port side installations. Will trim out the framing tomorrow. Set up for marking the gun deck port sides and prepped most of the pieces. Also made my first balsa insert for the bow. Will finish it when the fairing begins in earnest. I did spend yesterday sanding all the sills and lintels smooth for planking. Just a side note to see who's out there. I can remember when one would be posting to a build log and could almost always find their log on the first two pages......searched to number four to find this one. I realize most of that has to do with replies to postings but it seemed easier to get through a review of most current logs and leave comments easily. I'm certain a big part of todays volume is associated with COVID19. It is always nice to know someone is watching...........


-
Great engine work, Grant! I will confess at this point that the rod/piston/cylinder parts for my 540K were so badly formed I opted to build the engine without some of the internals.... At the time, I was going to be the only one to know that. Since you've done such a fantastic job I felt obligated to recognize your excellence and my lack of patience/skill to accomplish what you have. Fantastic job!
-
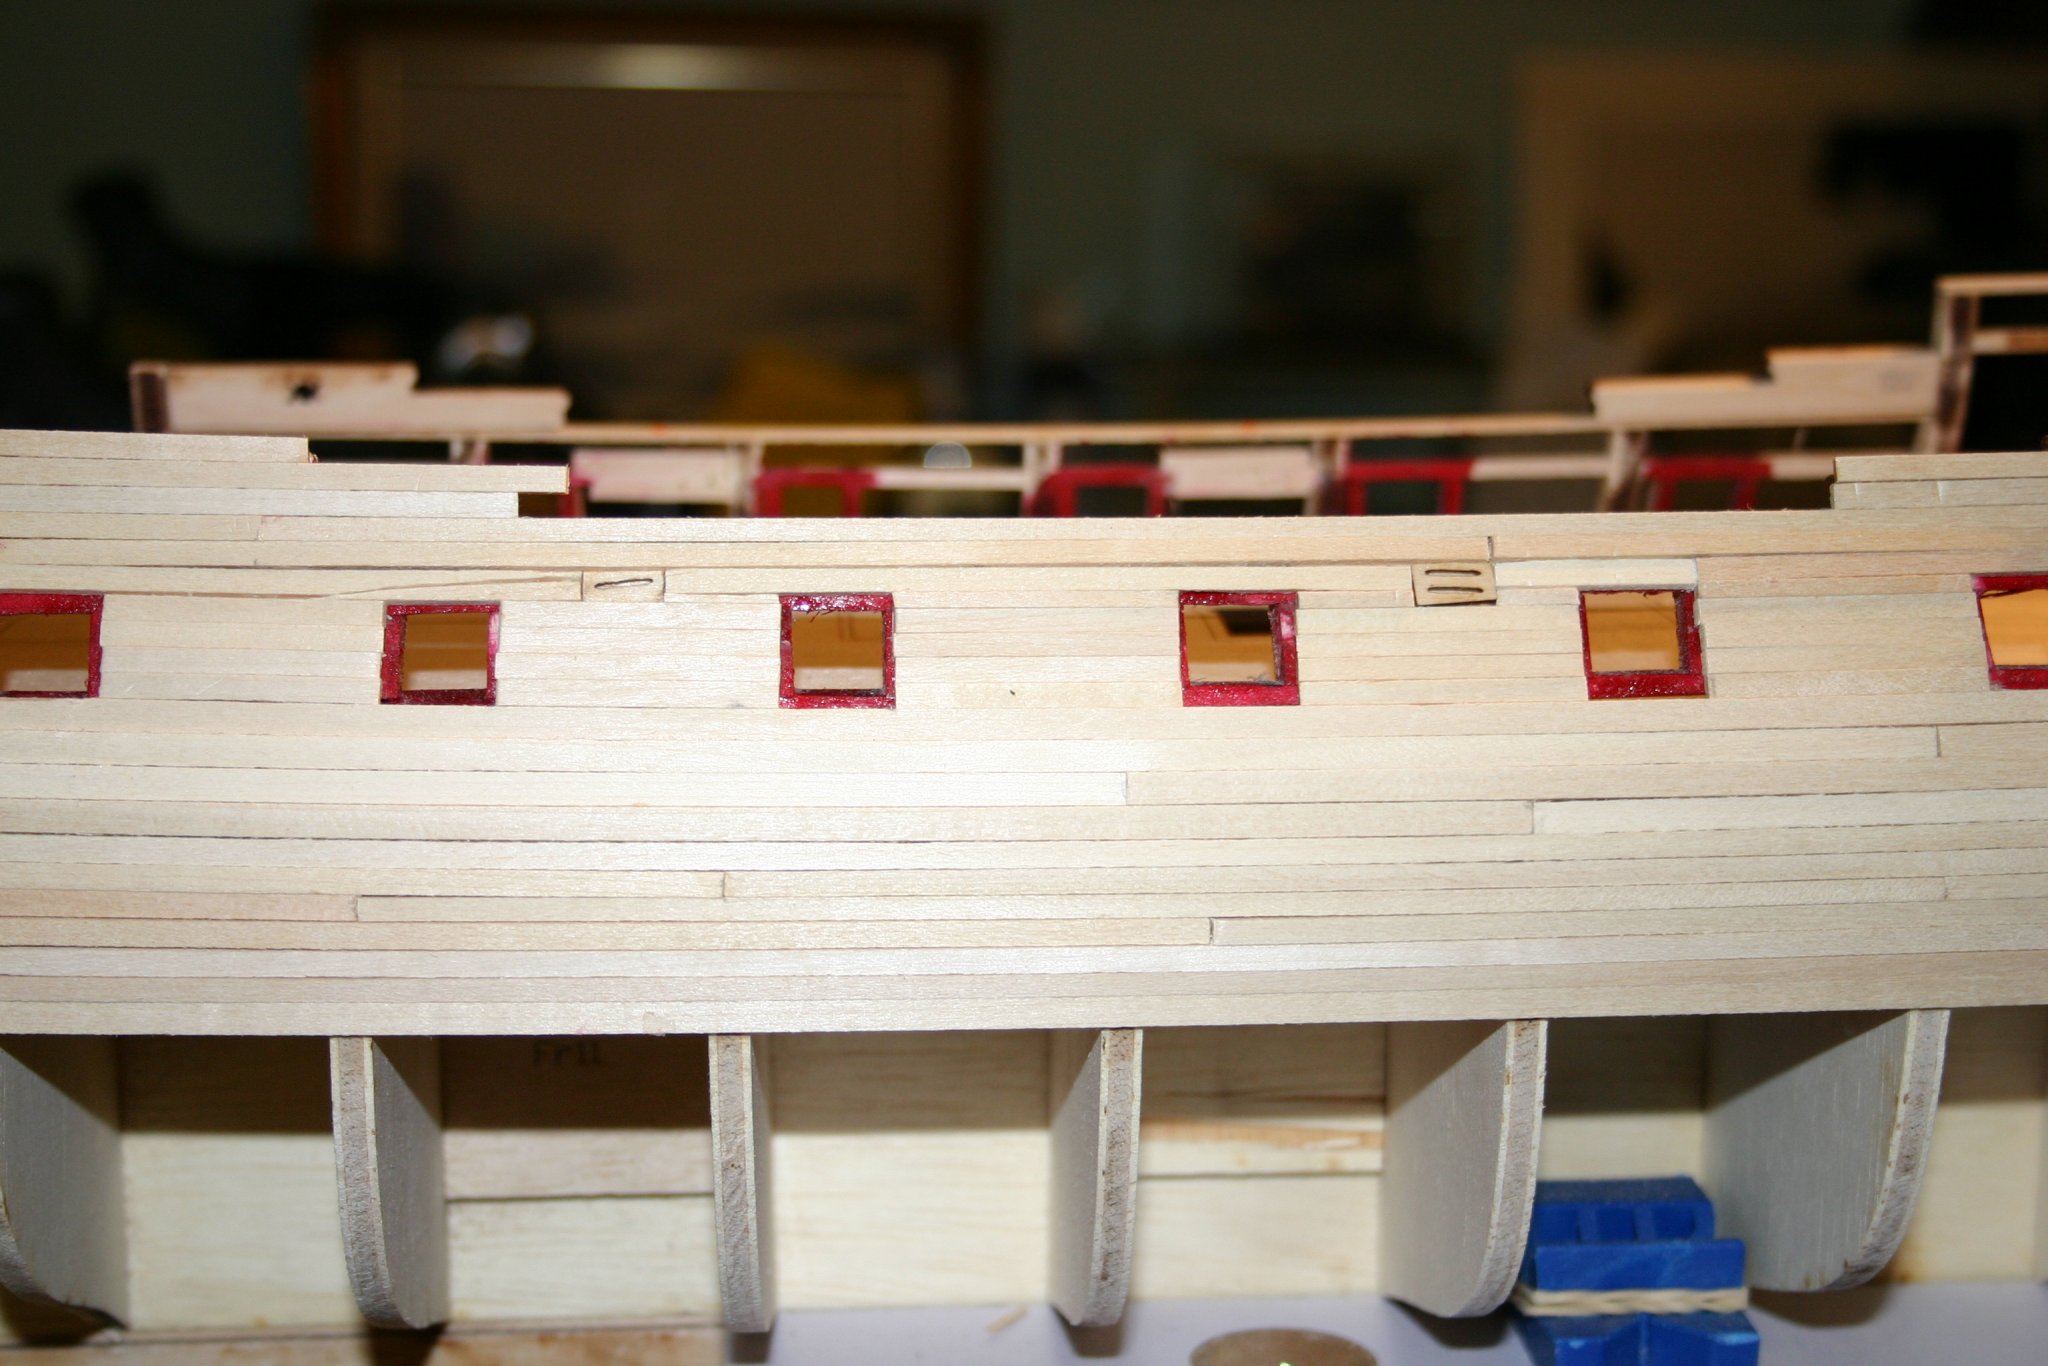
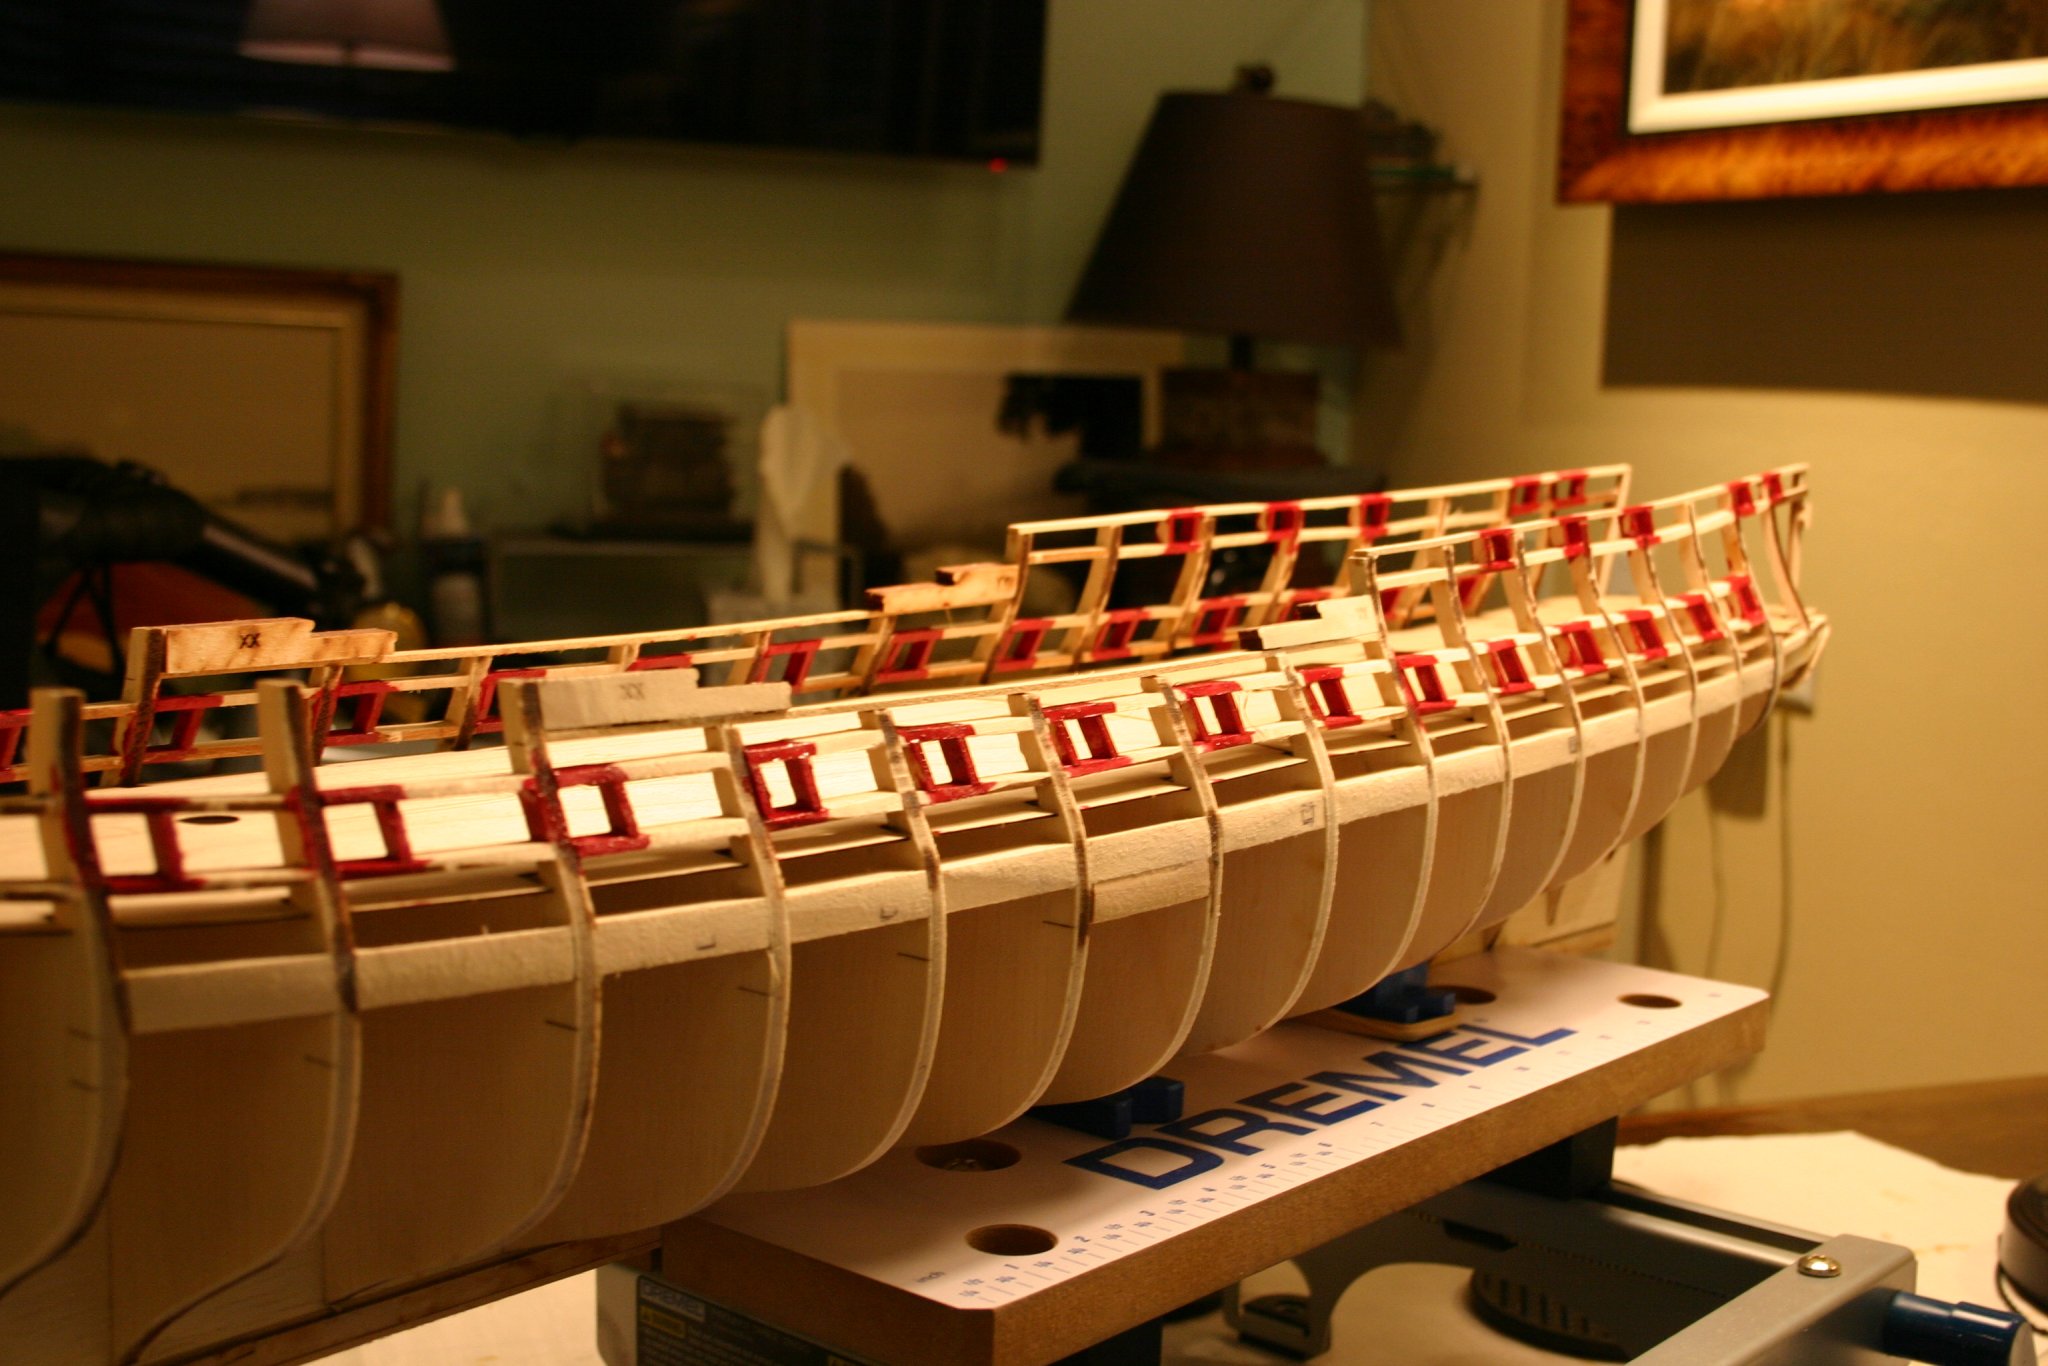
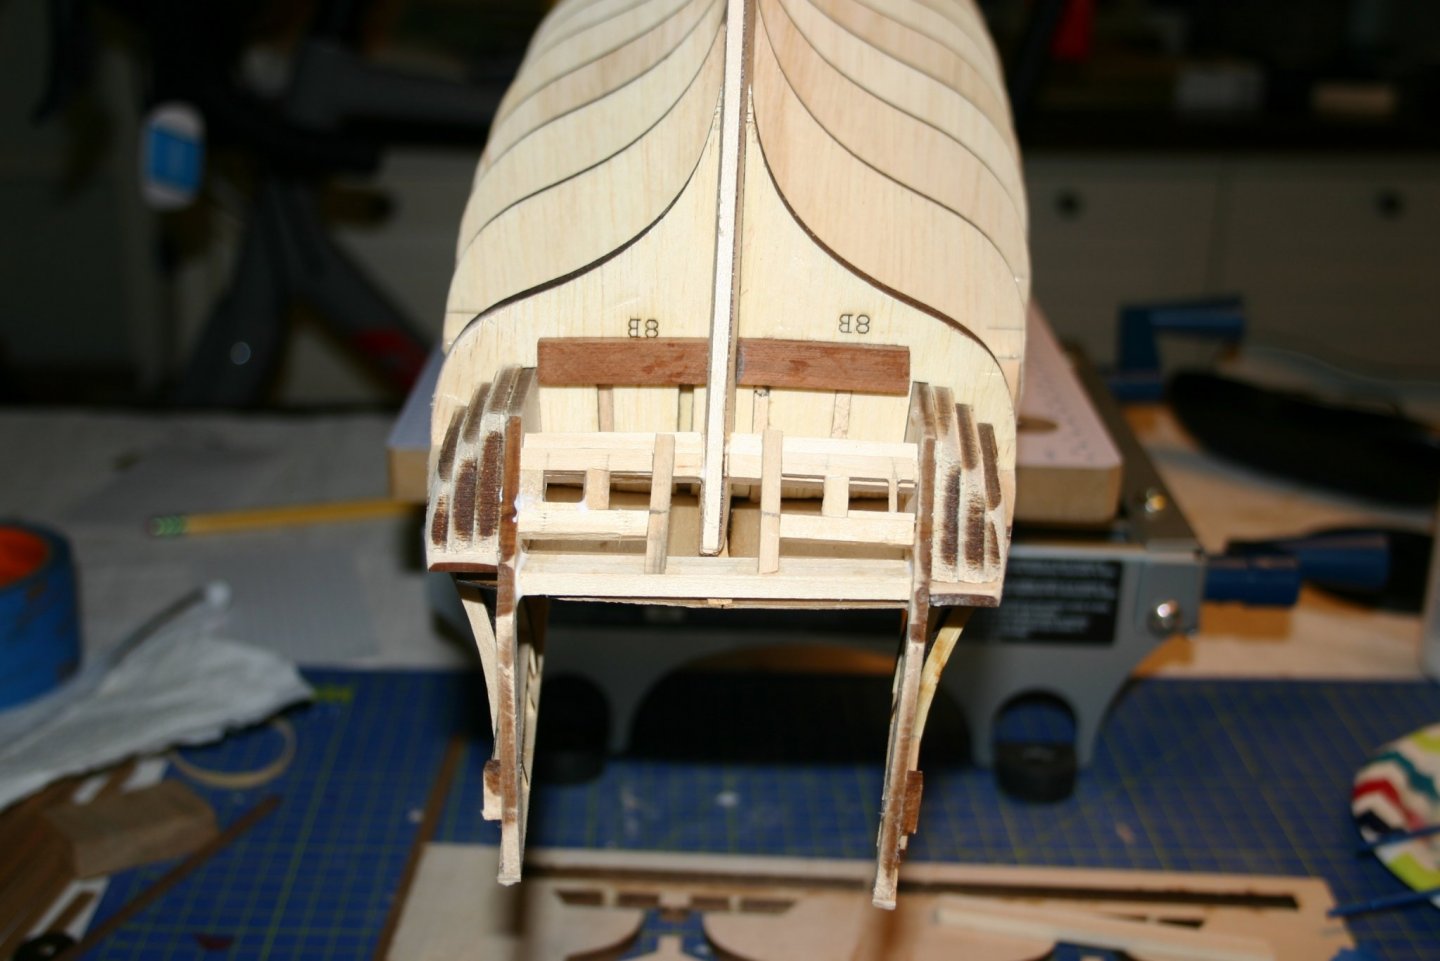
Gun Deck sills and lintels completed.......now on to the quarterdeck. I do have a bit of cleaning up to do on the beakhead bulkhead planking.....doorways are not finished.....going to do more up shooting to see what I miss since most of the time one is looking down at a project..... And then on to adding balsa support for planking and fairing

-
Finished the gun port sills and now ready to start the lintels. The instructions mentioned a 3/8" strip provided but either I lost it our just could not find it so I did the two 3/16" strips glued together as shown. Feels like progress! Also........balsa has arrived so now I can get back to fairing.....
-
Hi Grant, Nice to see a familiar name here.....even though it is the 'orphan' area......🙂 You may not recall but we had communicated on some different projects a number of years ago. (2013 or so.) Anyway, I have yet to open the box for the kit you are building, which I had purchased about the same time I acquired the MB 540K roadster kit. Needless to say, I will be a regular follower of you project! My MB540K kit is a partial completion....life interrupted....but before it was mothballed, I had found Paul Koo and ordered his CD's and some other tools he has for the kits. My current lockdown project is the US Frigate Confederacy kit that also dates back to 2013 or so. I shall be in the front row watching your progress! Regards, Jim
-
Started on the gun port sills....... being left handed, I started on the starboard side before I noticed. Presumably this wont make any difference. Still waiting on balsa......

-
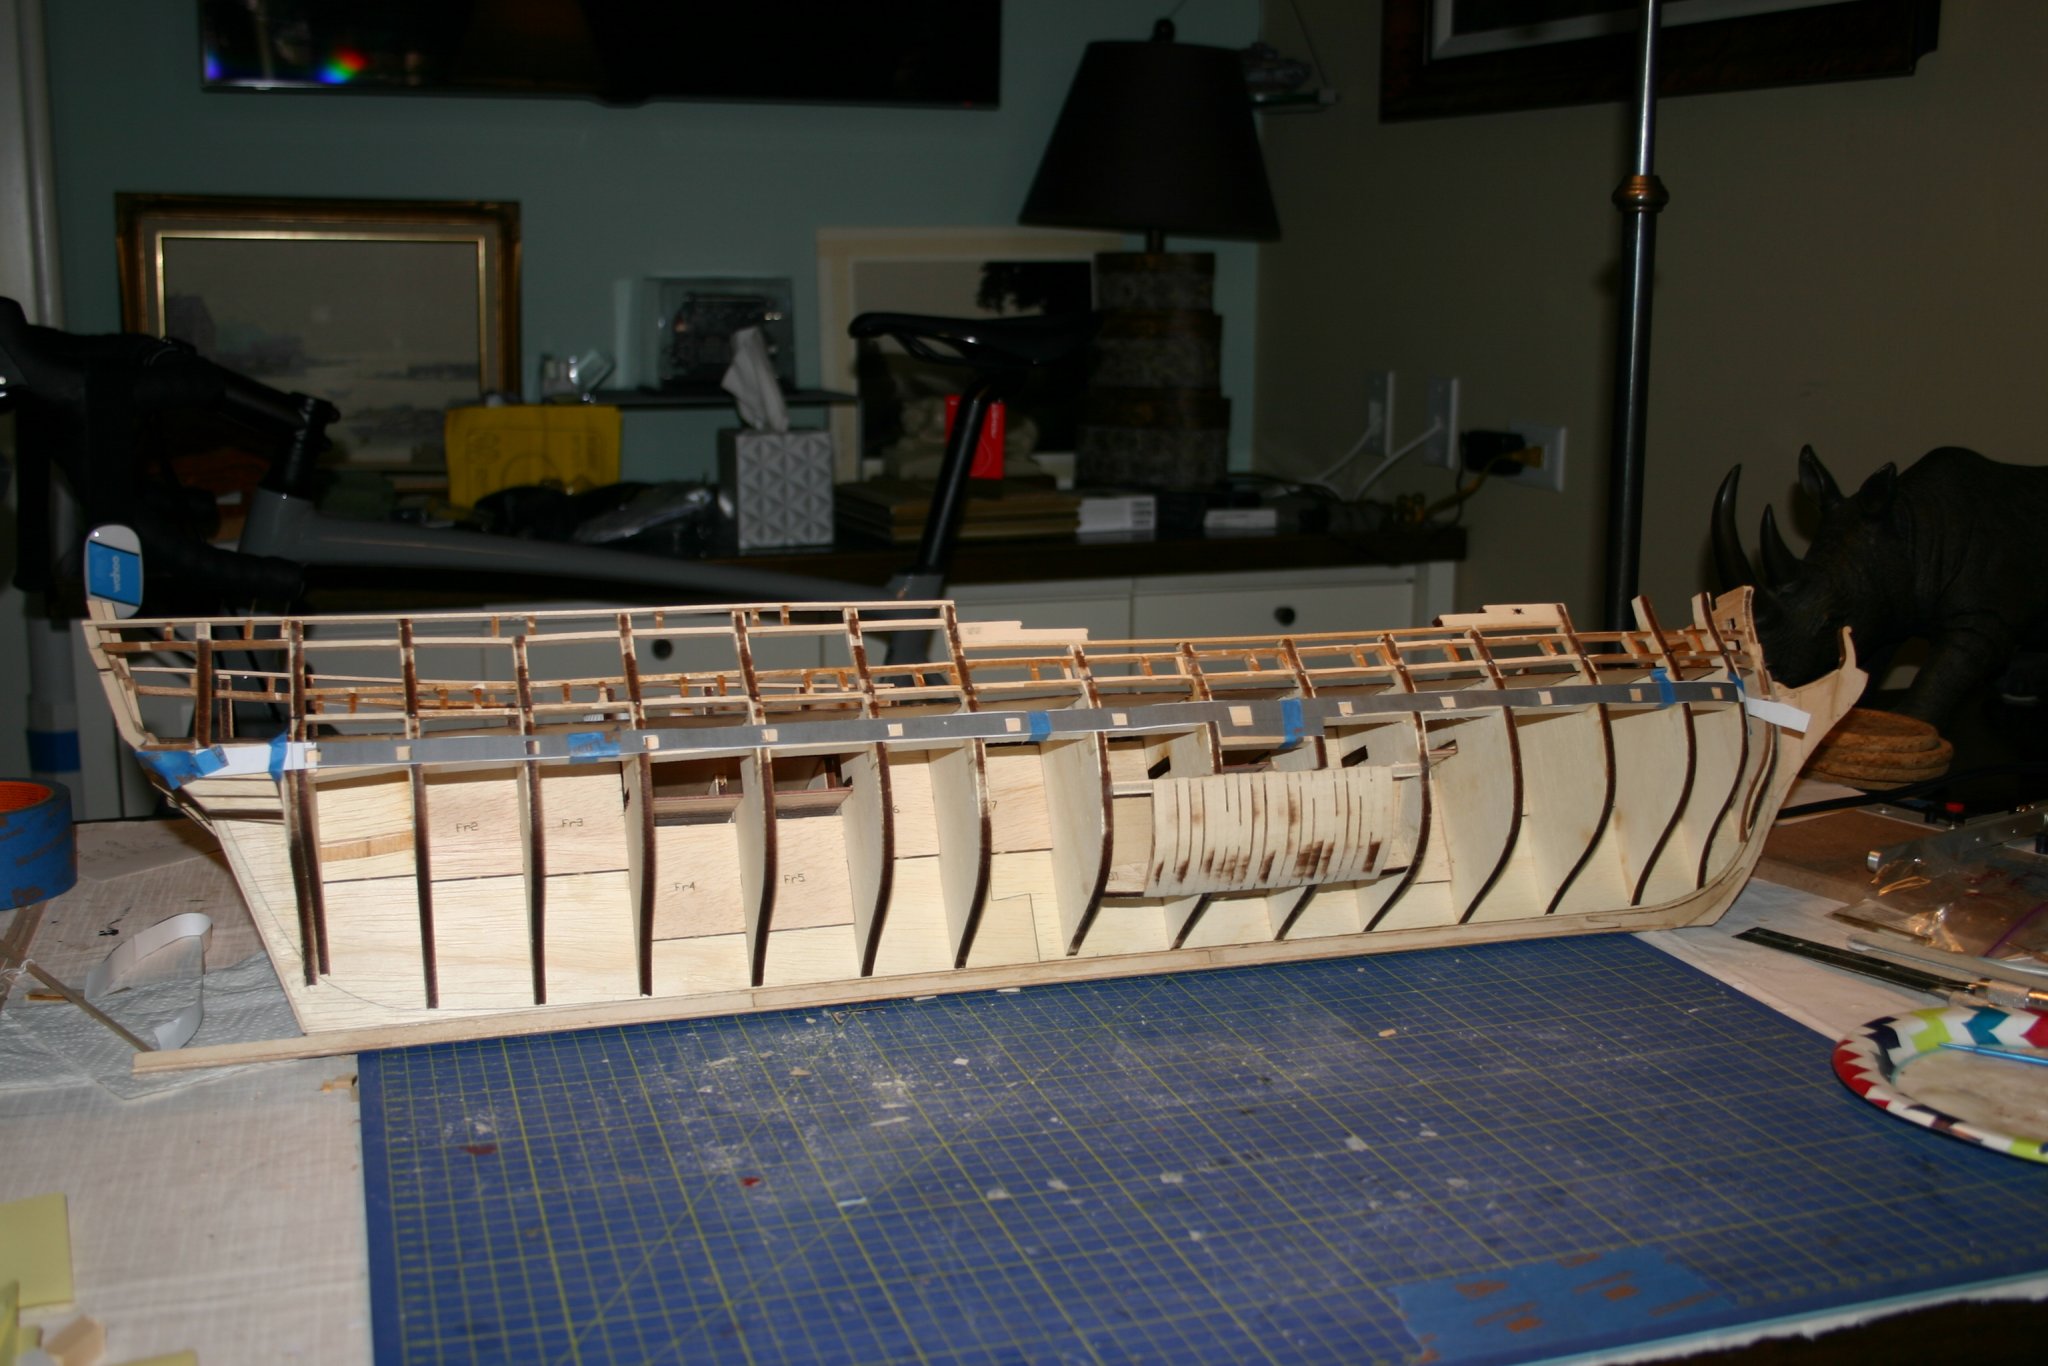
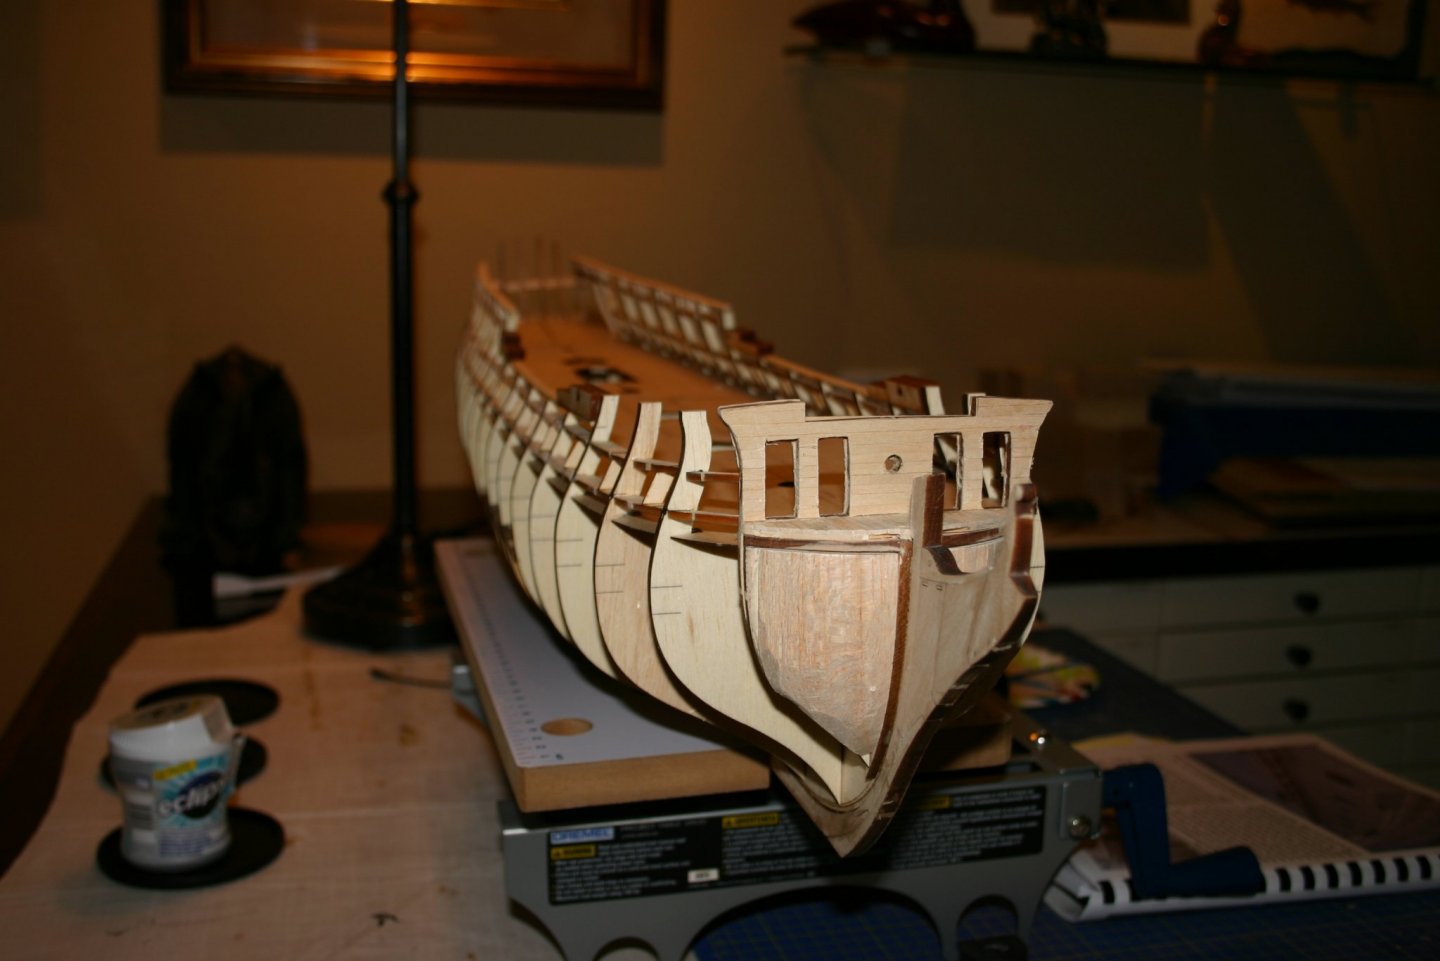
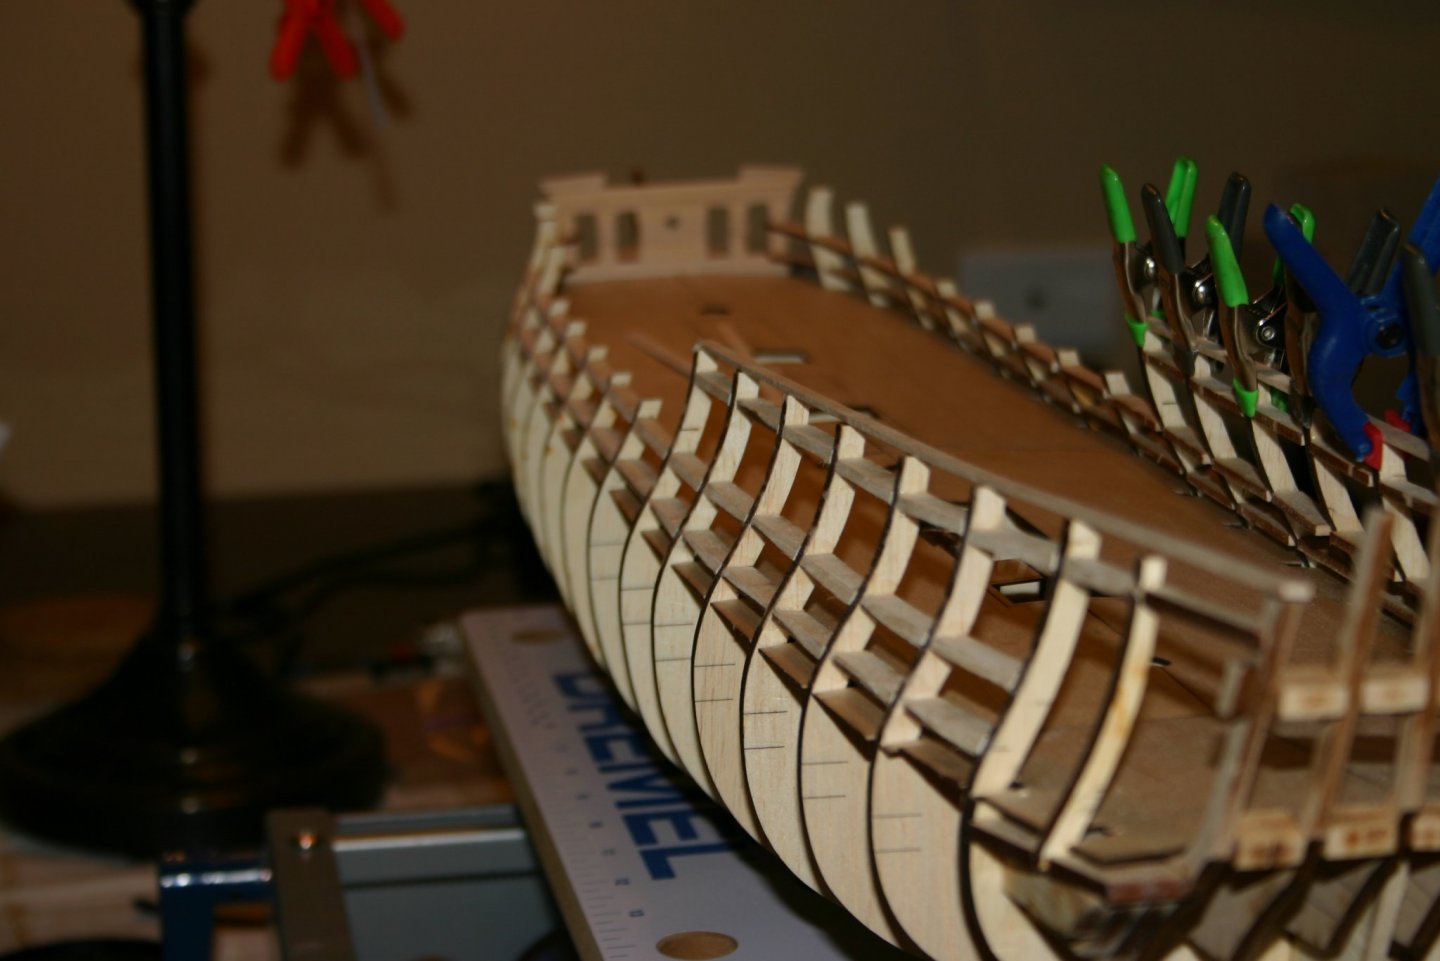
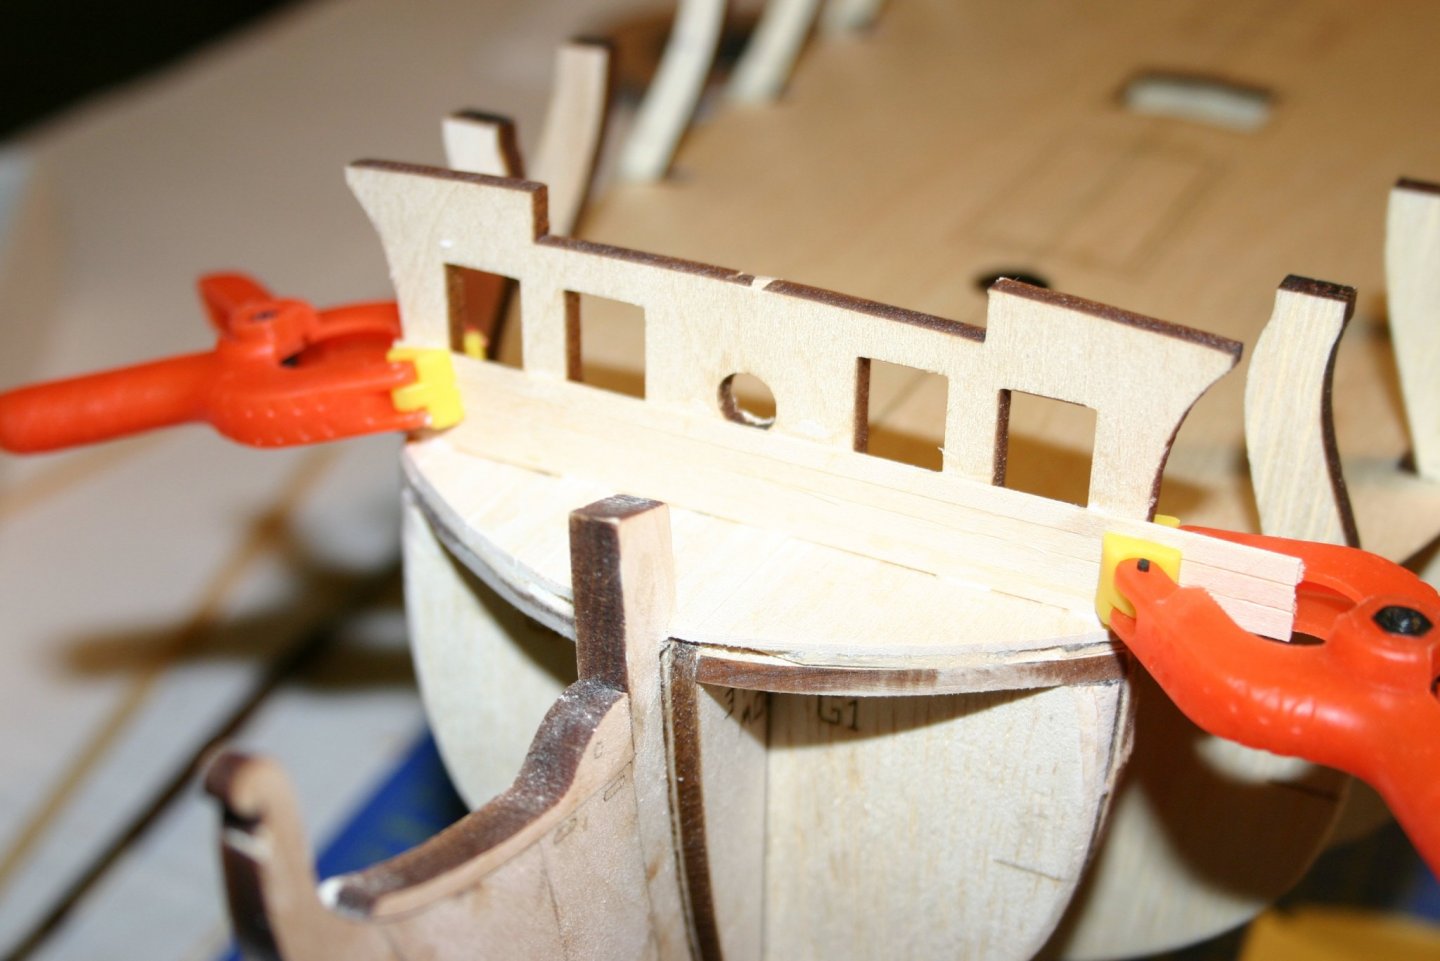
A little progress while awaiting the balsa........ Got started on the planking of the Beakhead Bulkhead at the Bow...Hmmmm....that could be the name of a PUB!!!

-
Thanks Fright......was a labor of nostalgia......I built the Lee about of Popsicle sticks and scrounged material back when I was in the Cub Scouts..... Unfortunately that one became a funeral barge for a pet turtle......Oh Well,,,,
-
Hi Edward, Thanks for looking in! Although I may not do something every day, under our current circumstances it will probably be a lot more often than weekly. I shall try to keep it interesting! Just got notice of shipment of my balsa wood for hull filler.....! Regards, Jim
-
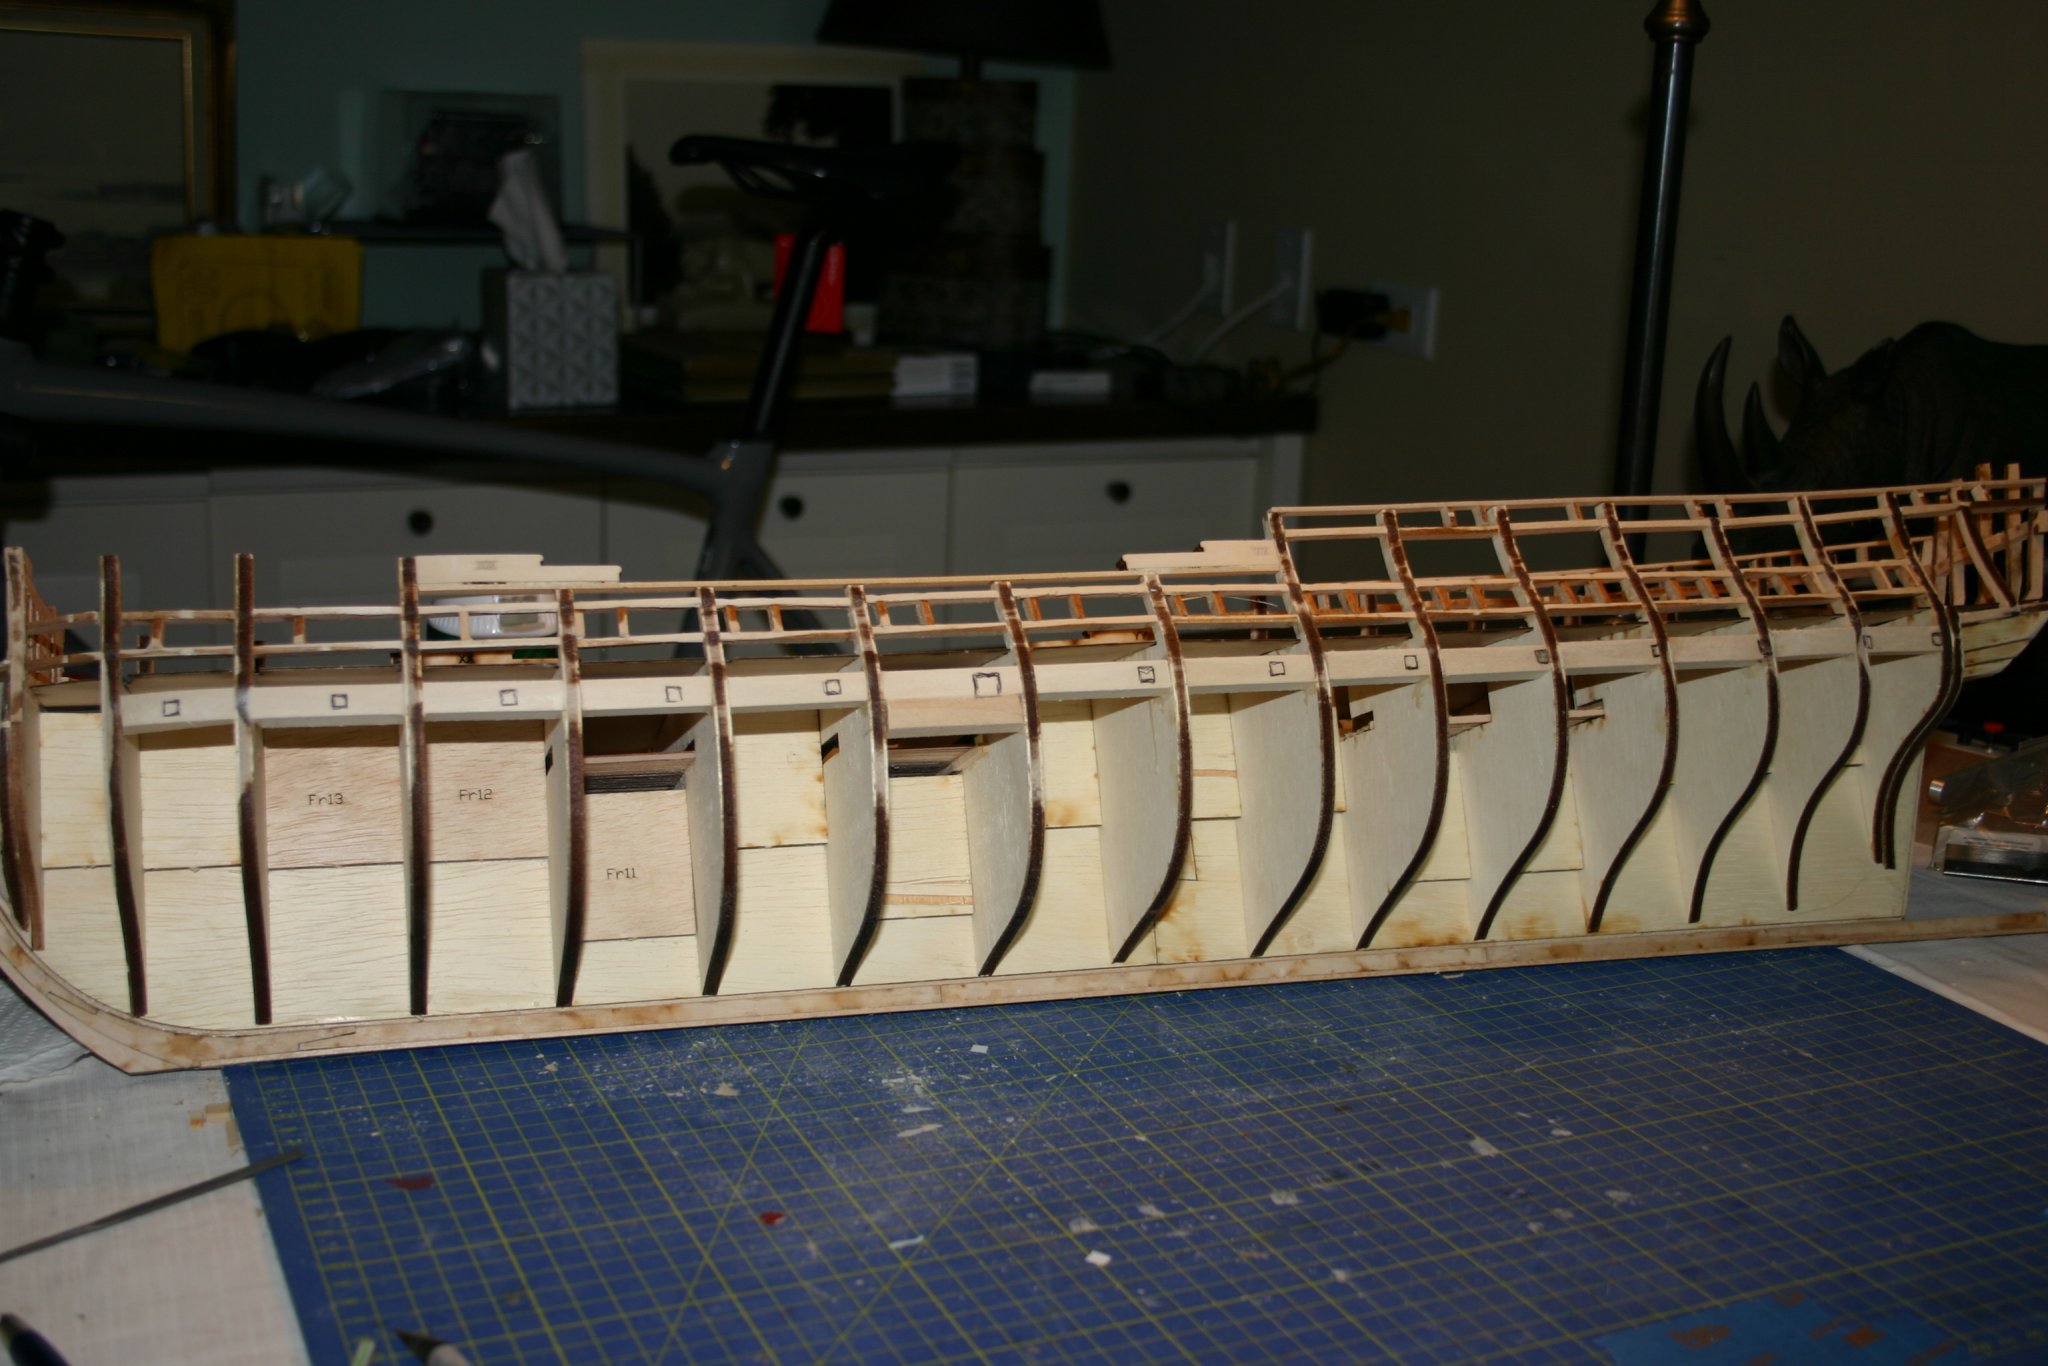
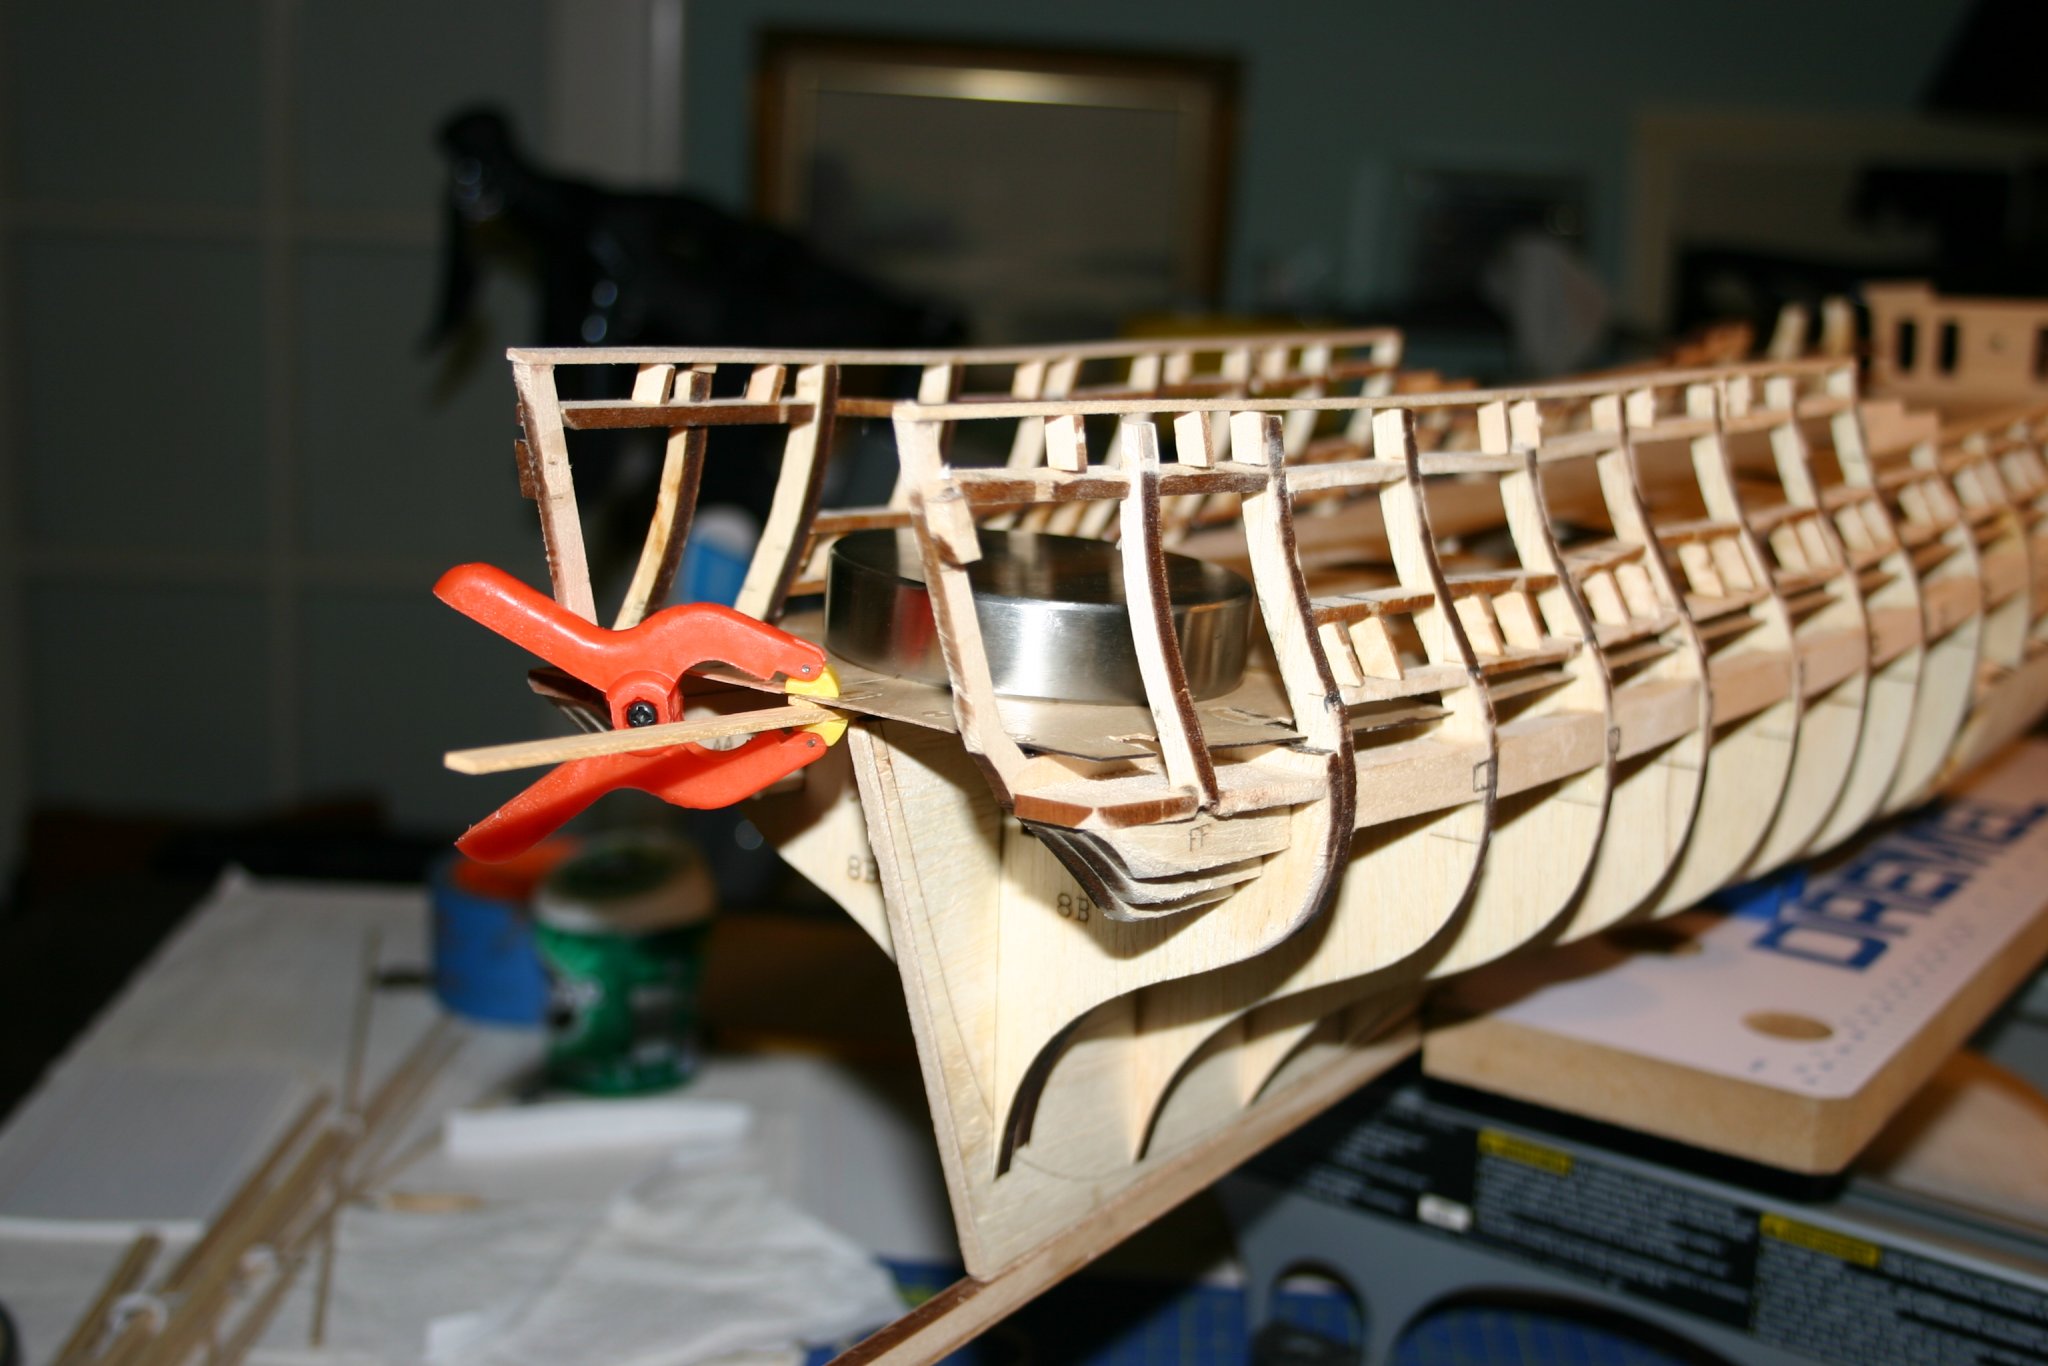
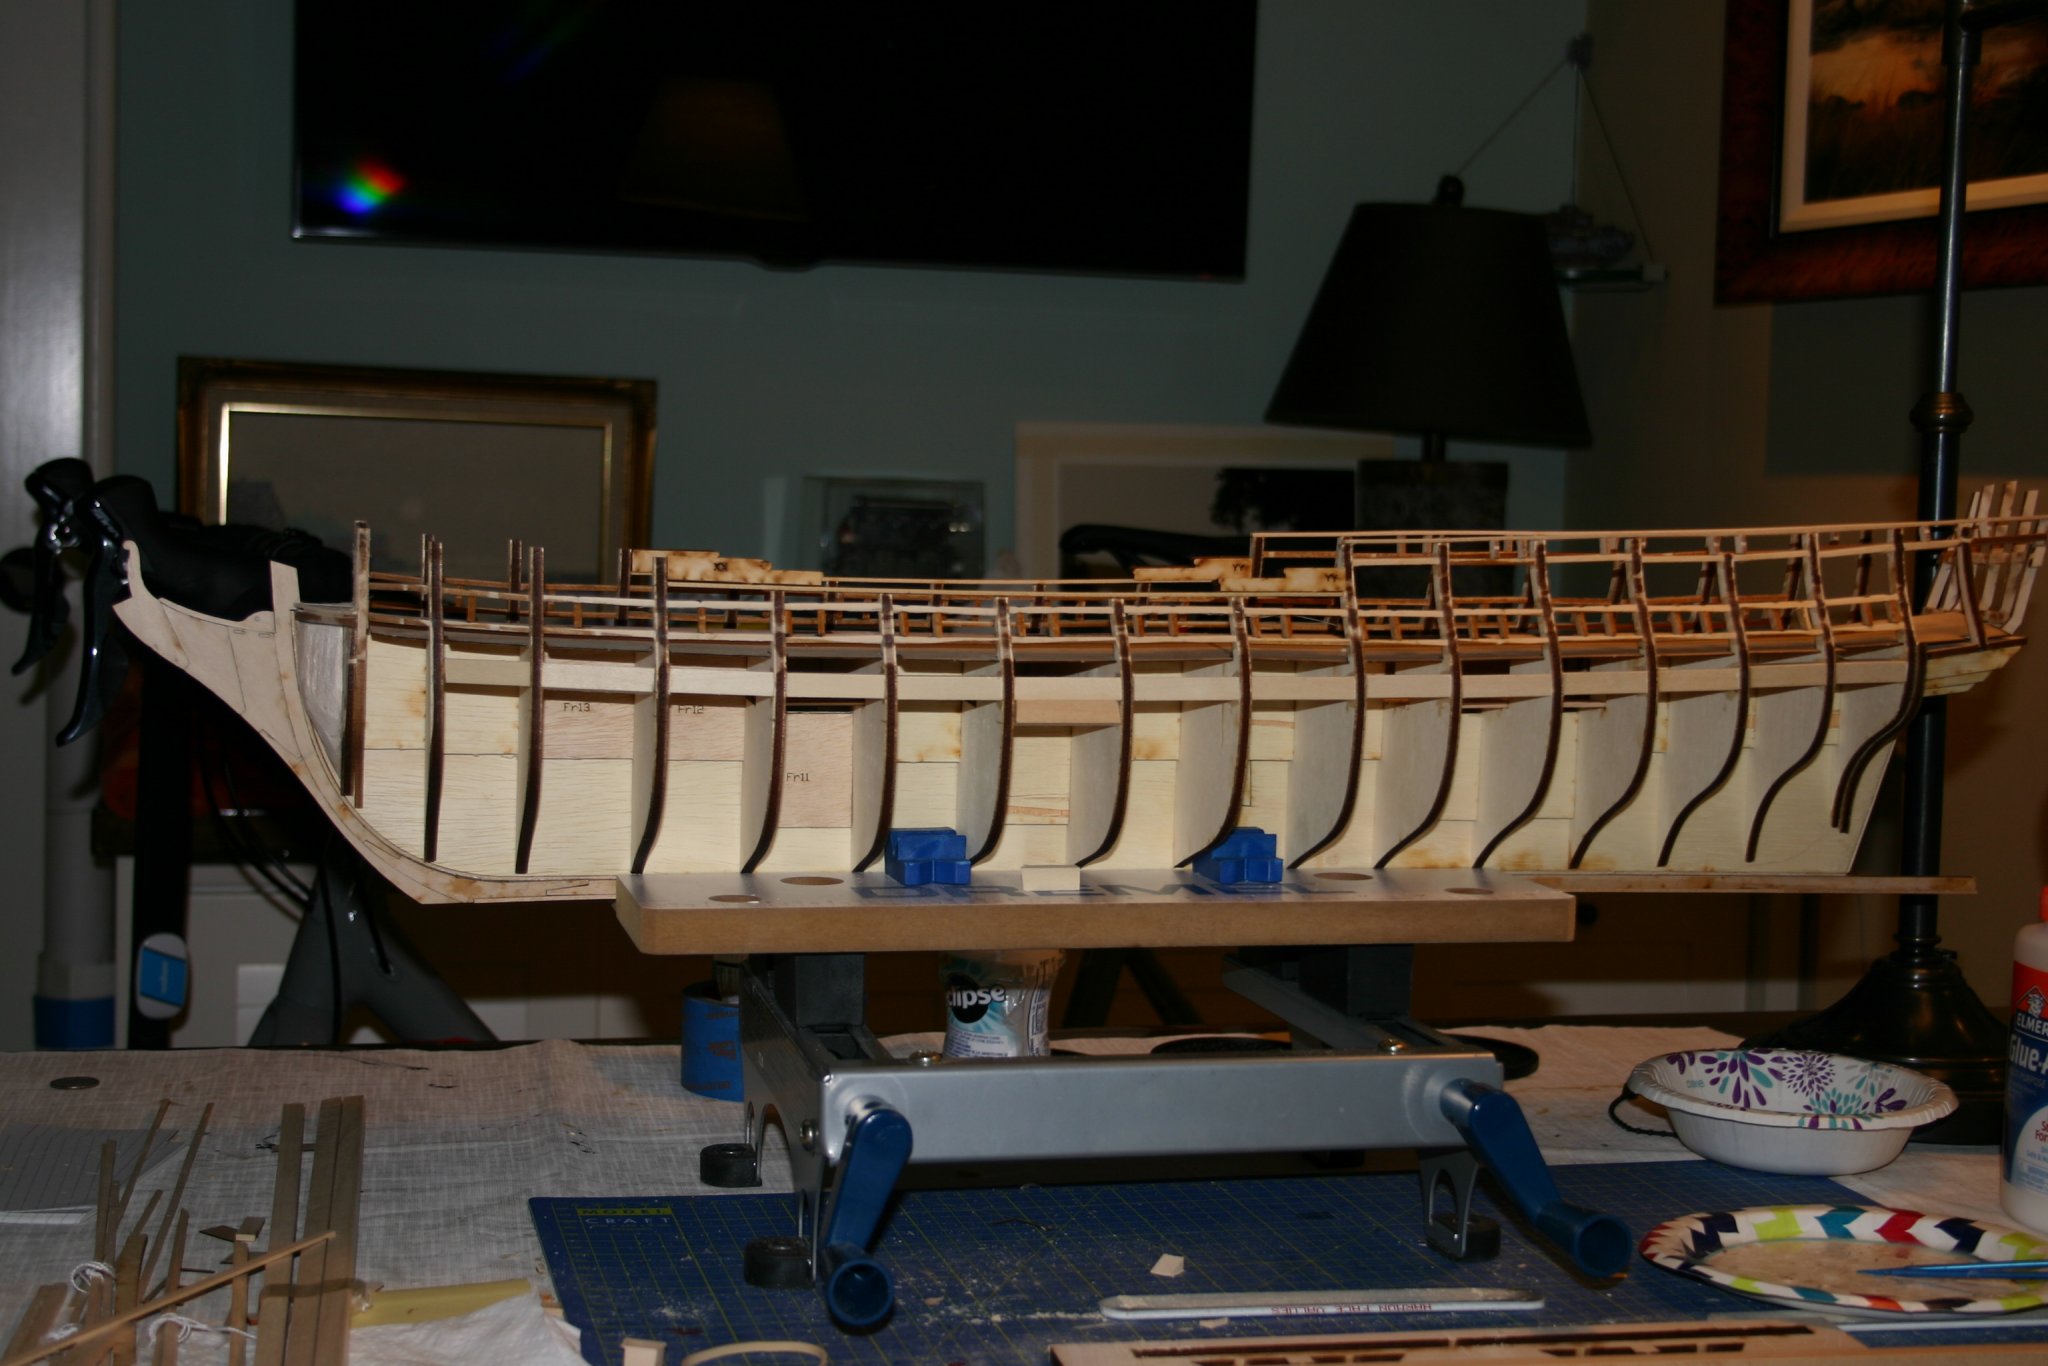
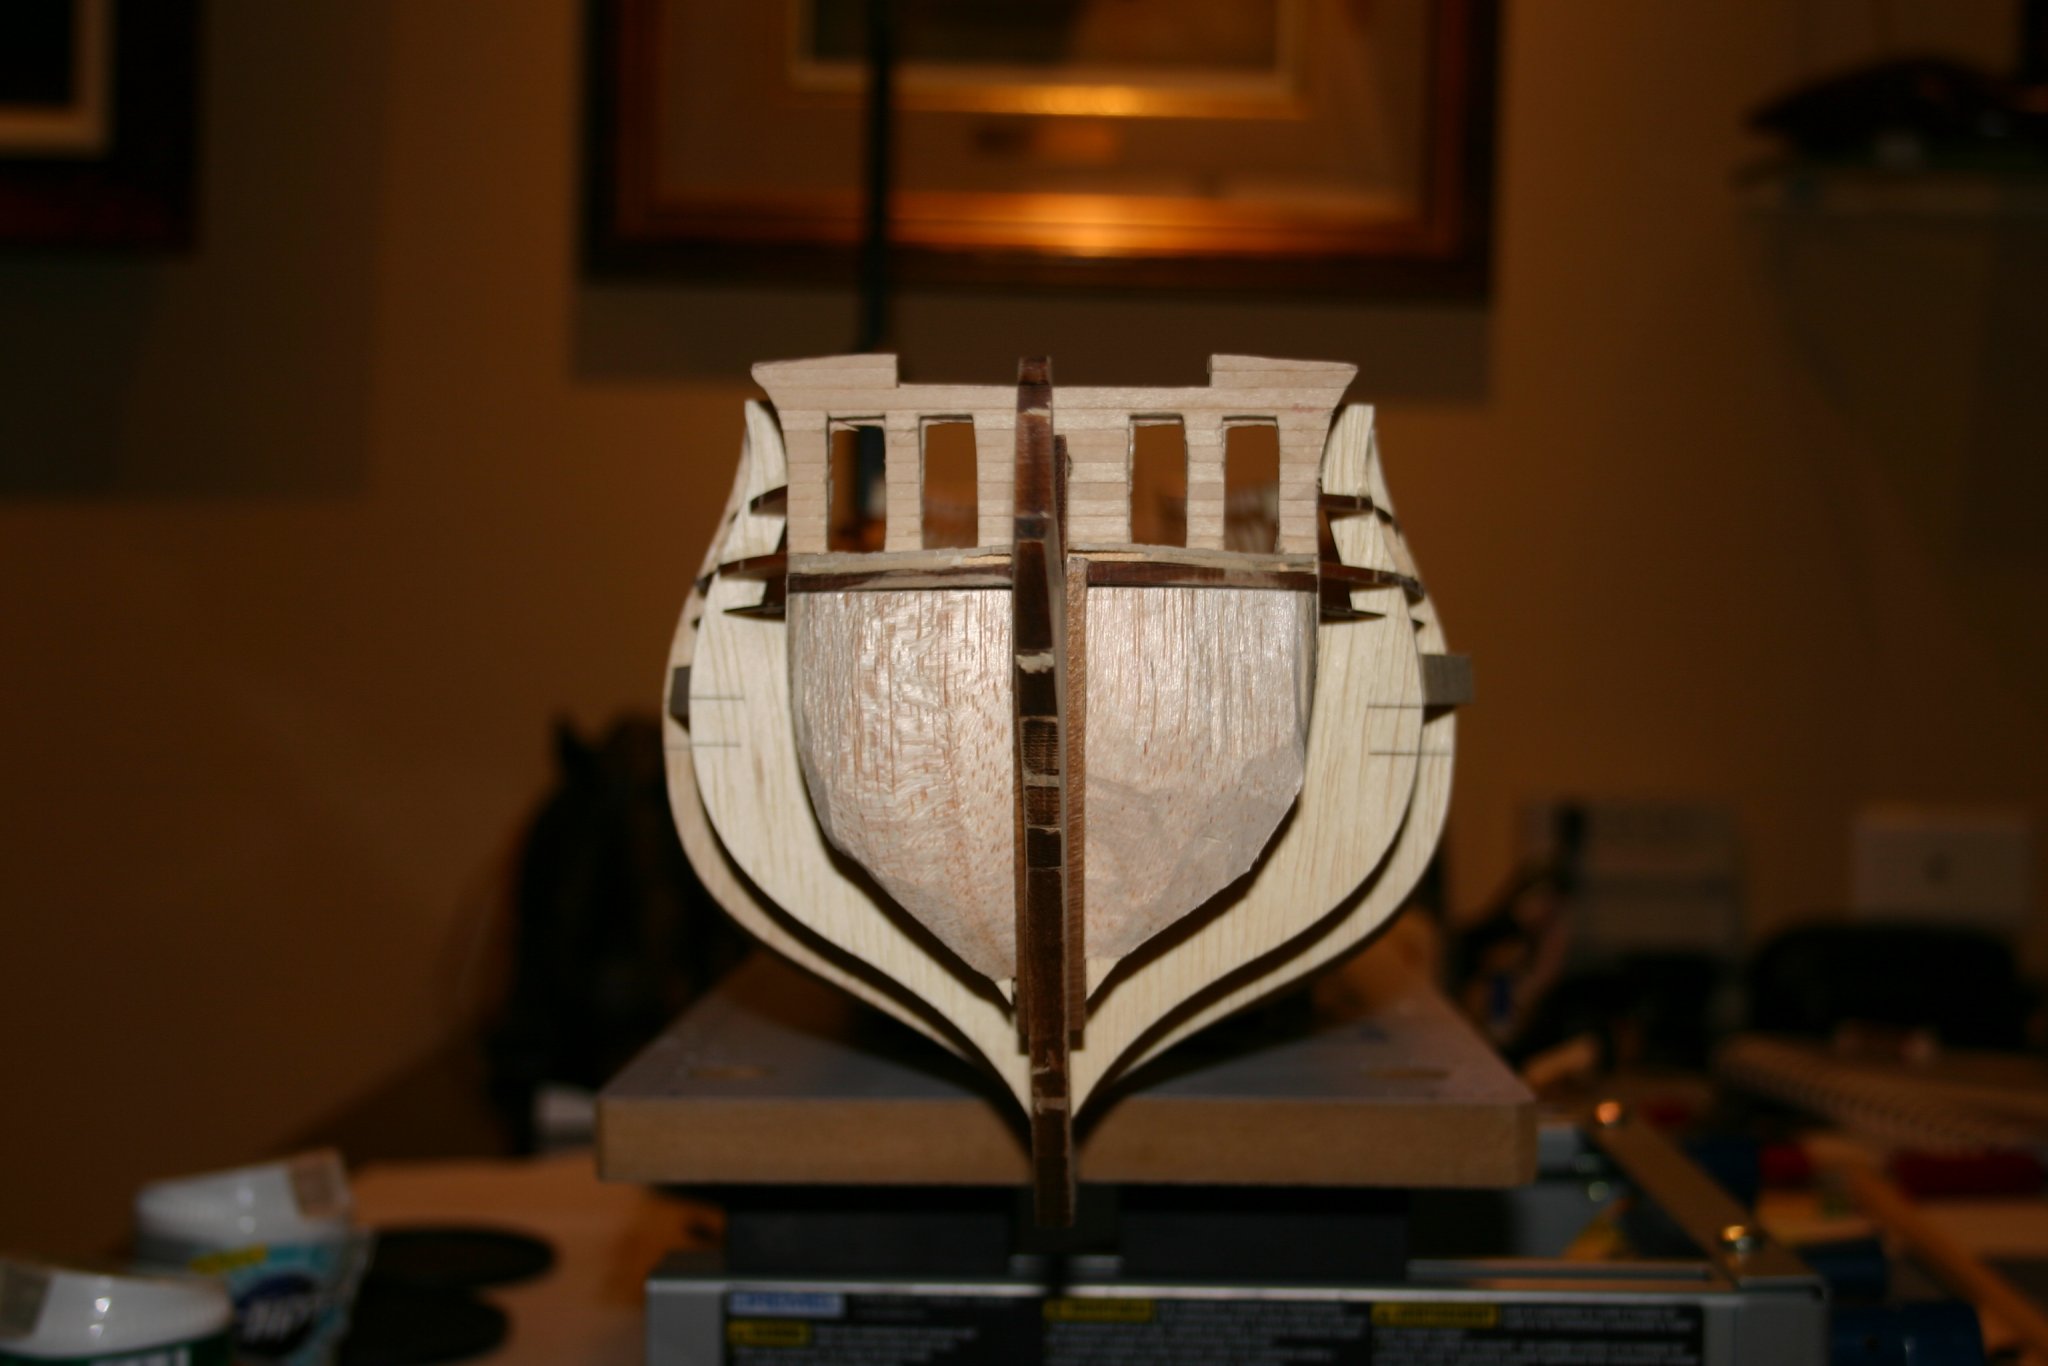
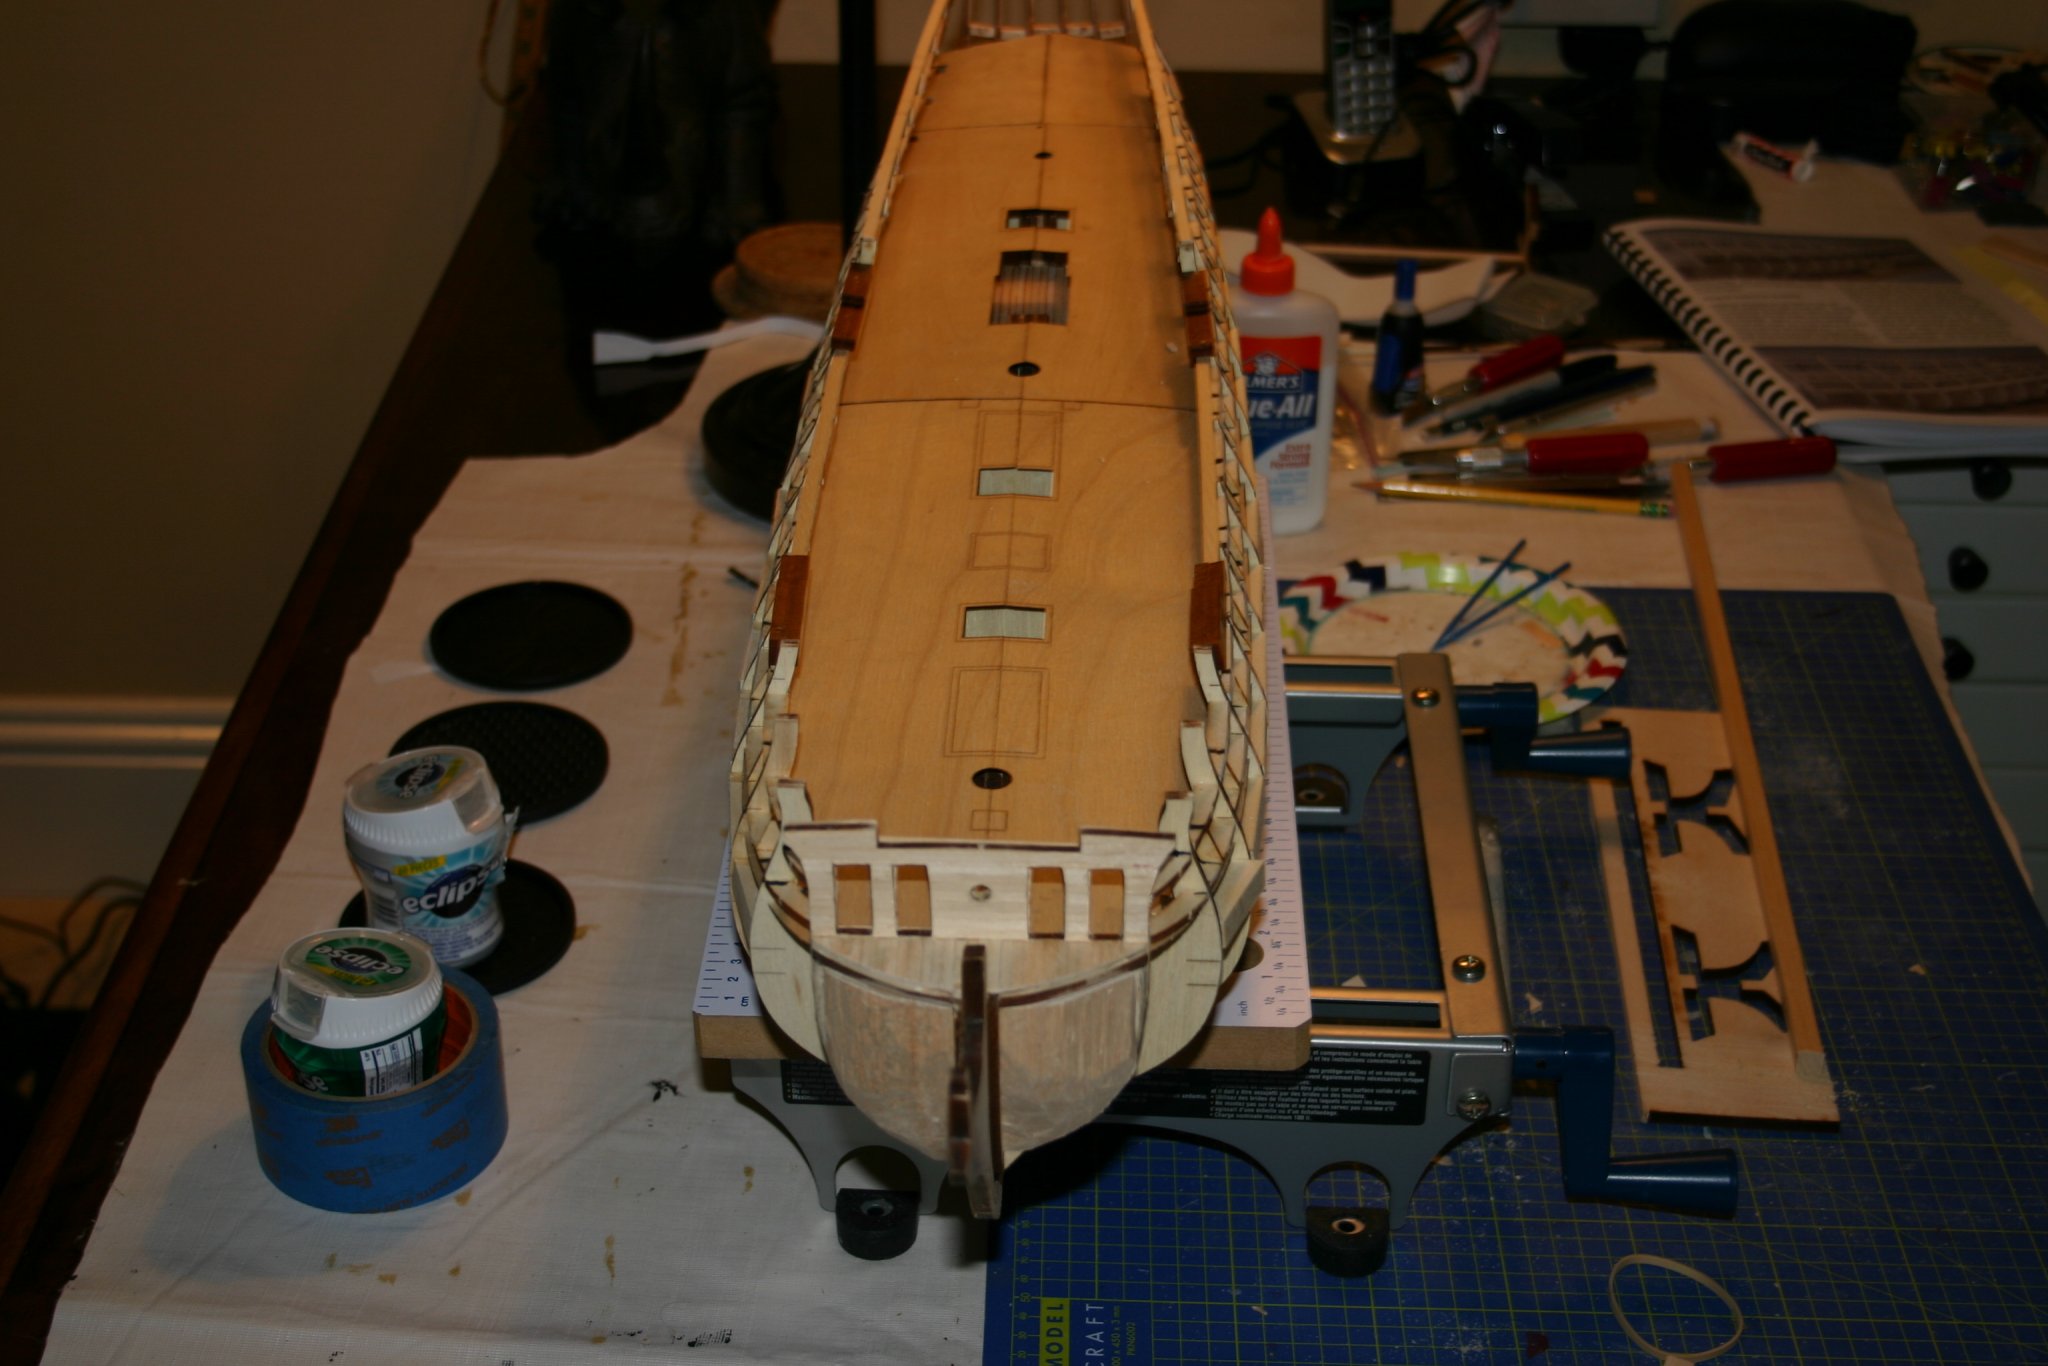
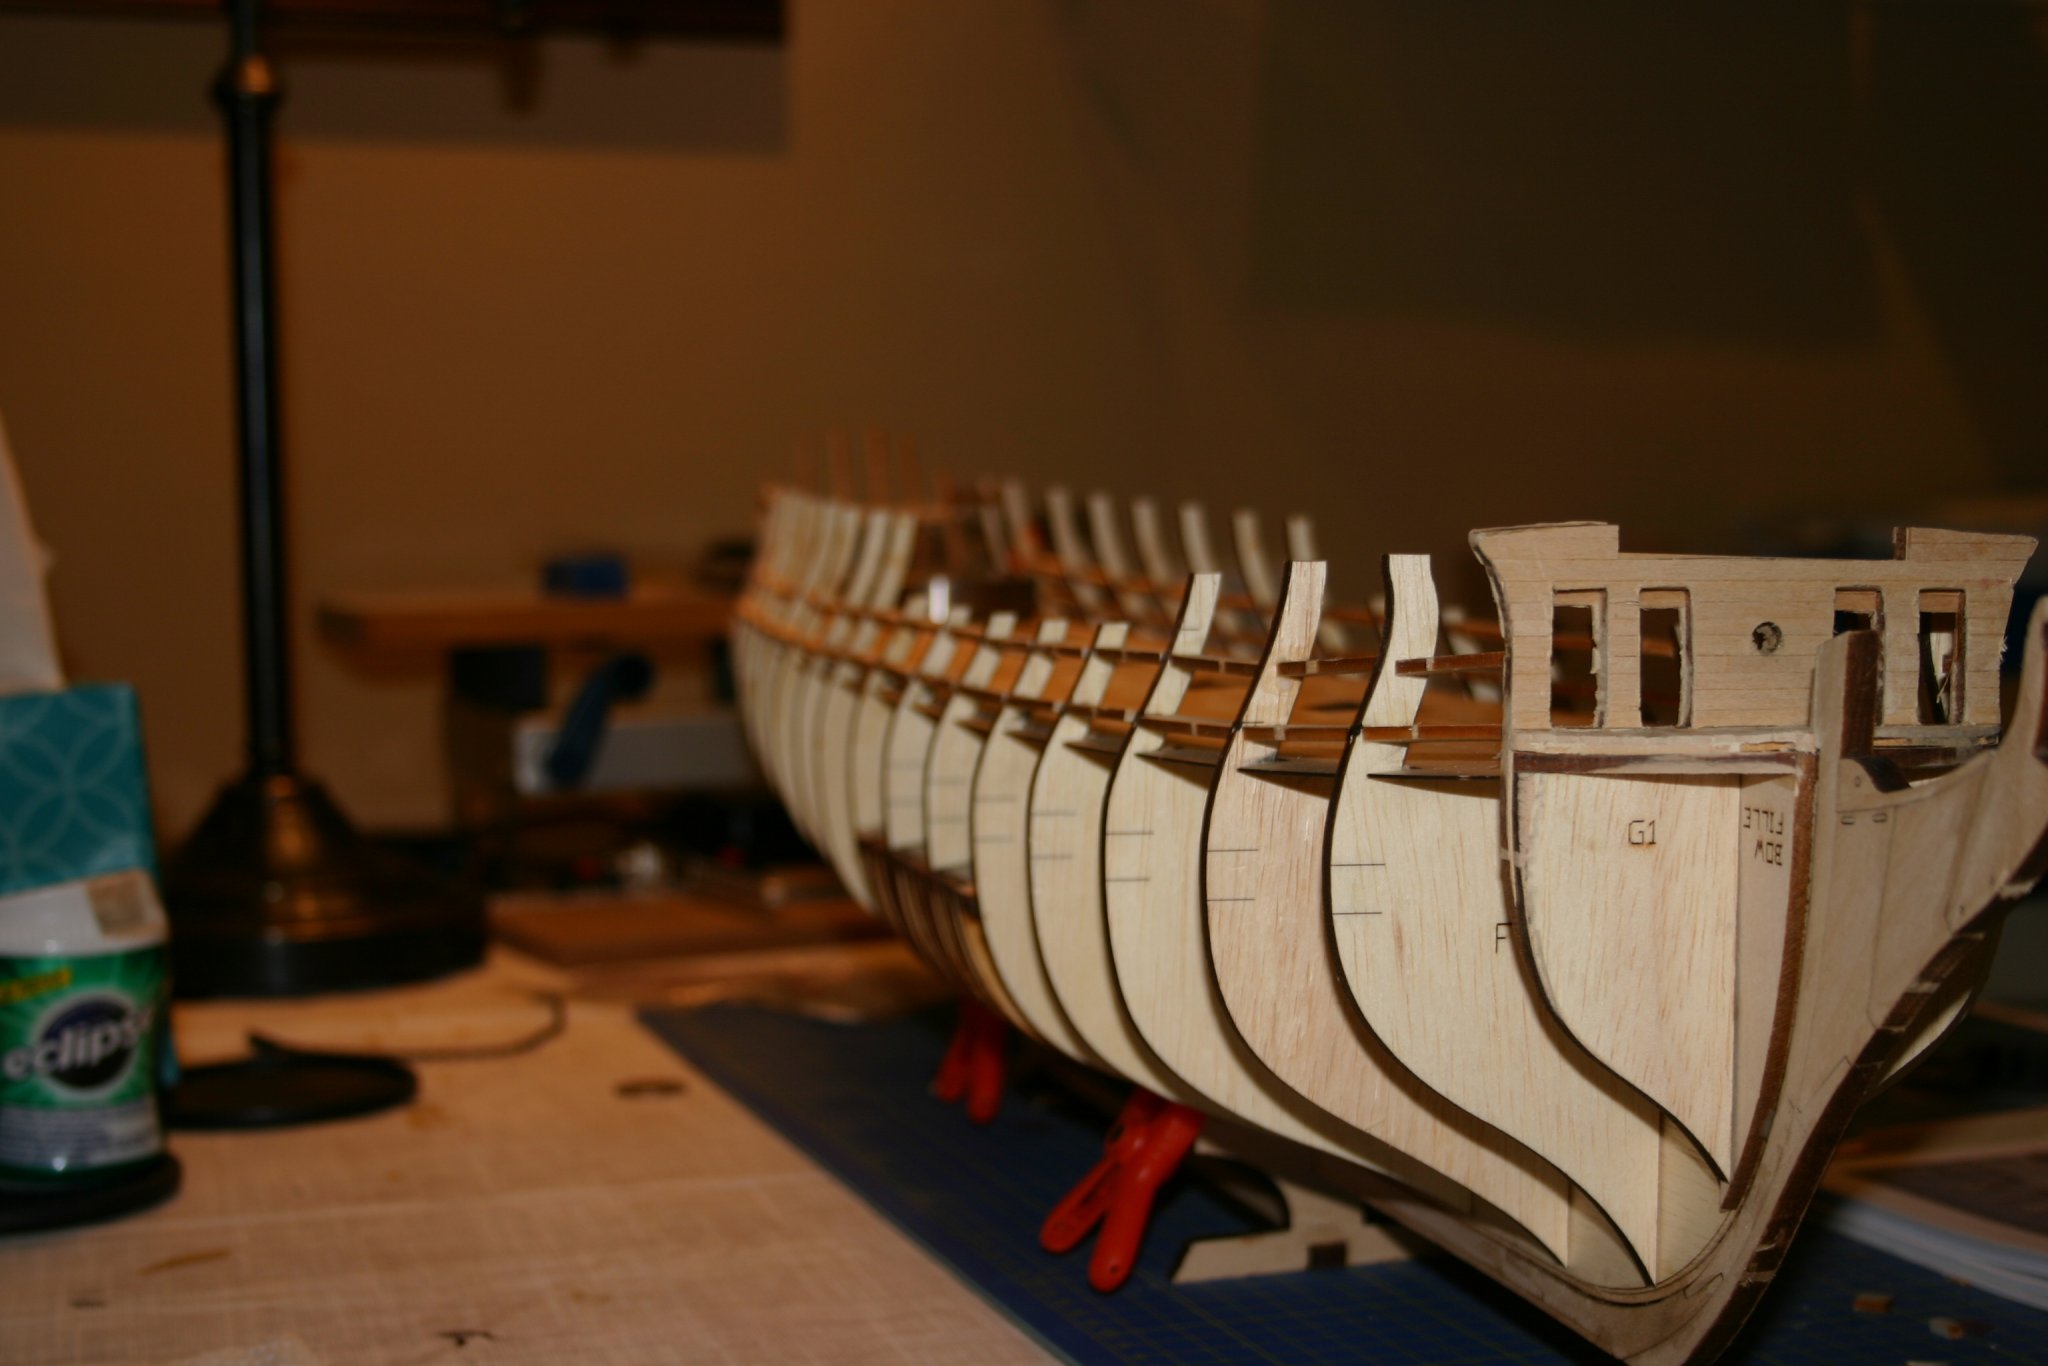
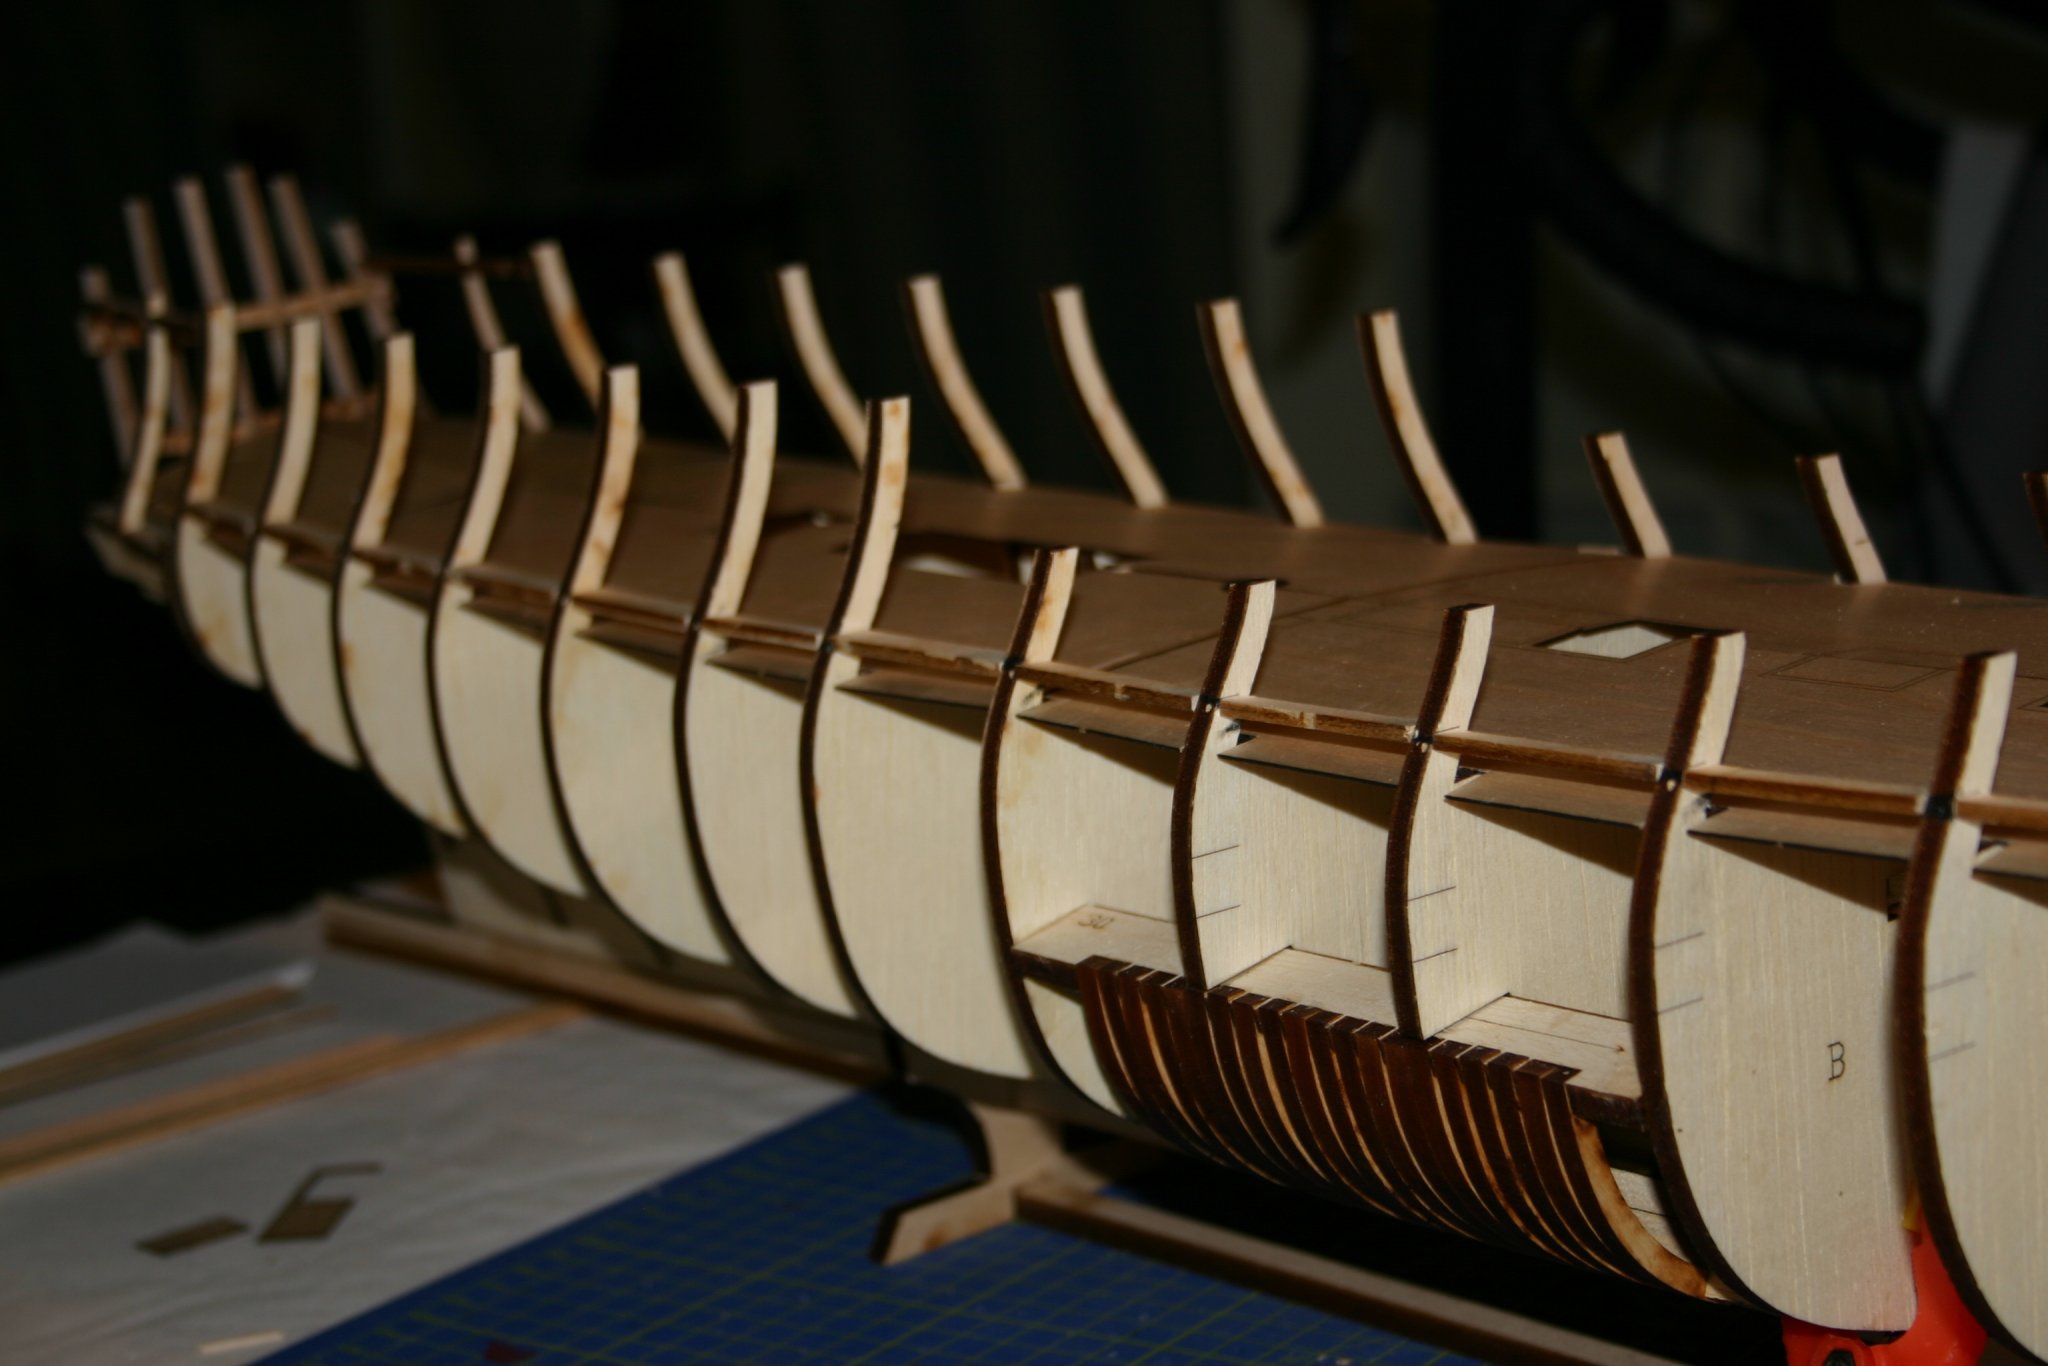
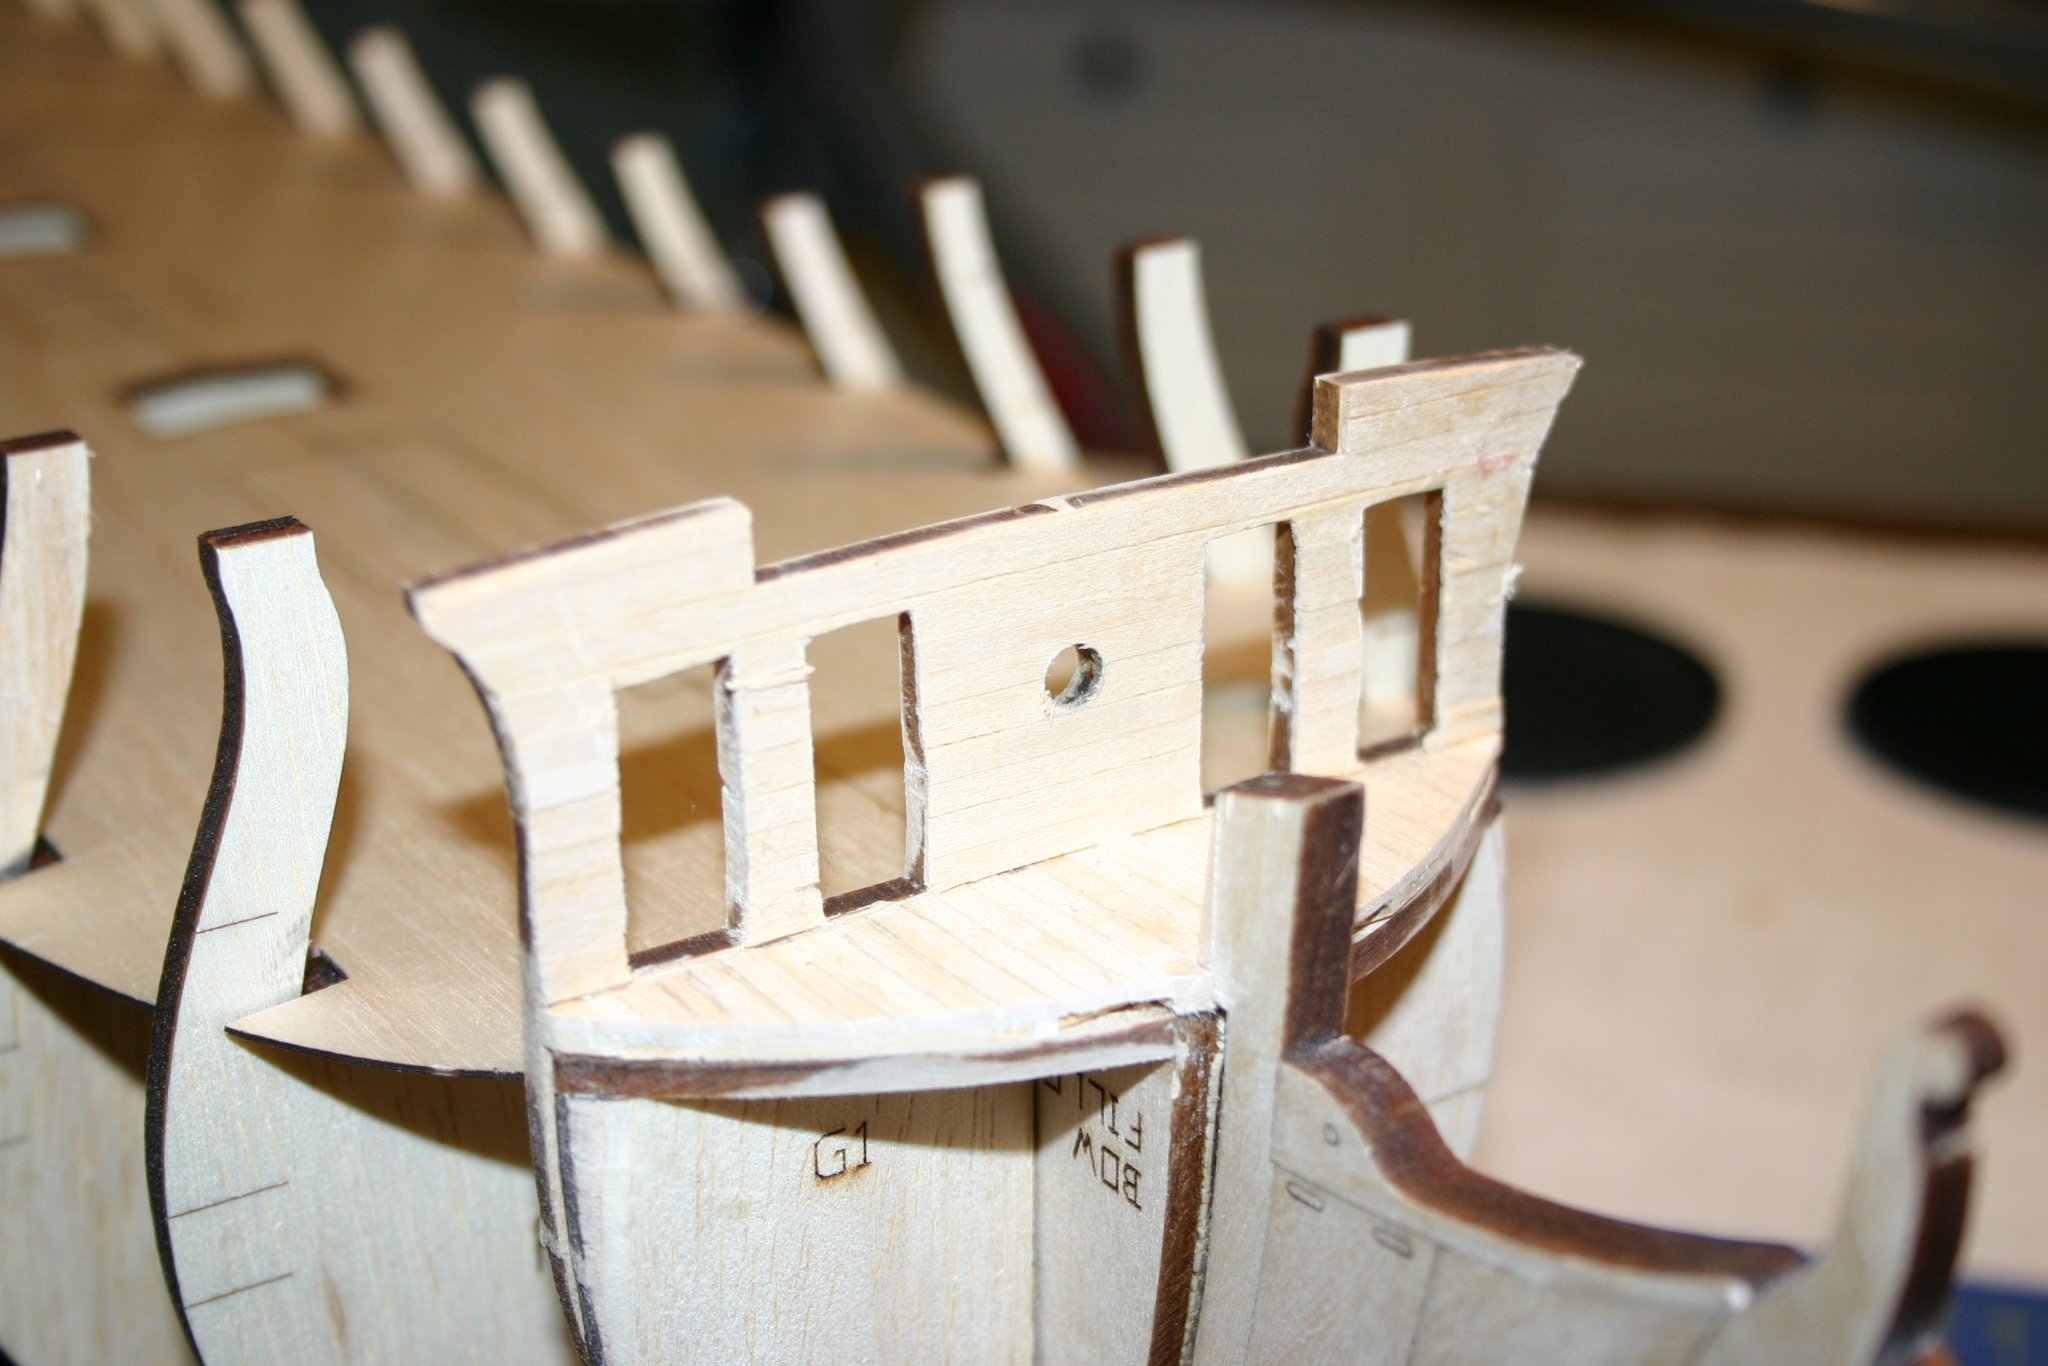
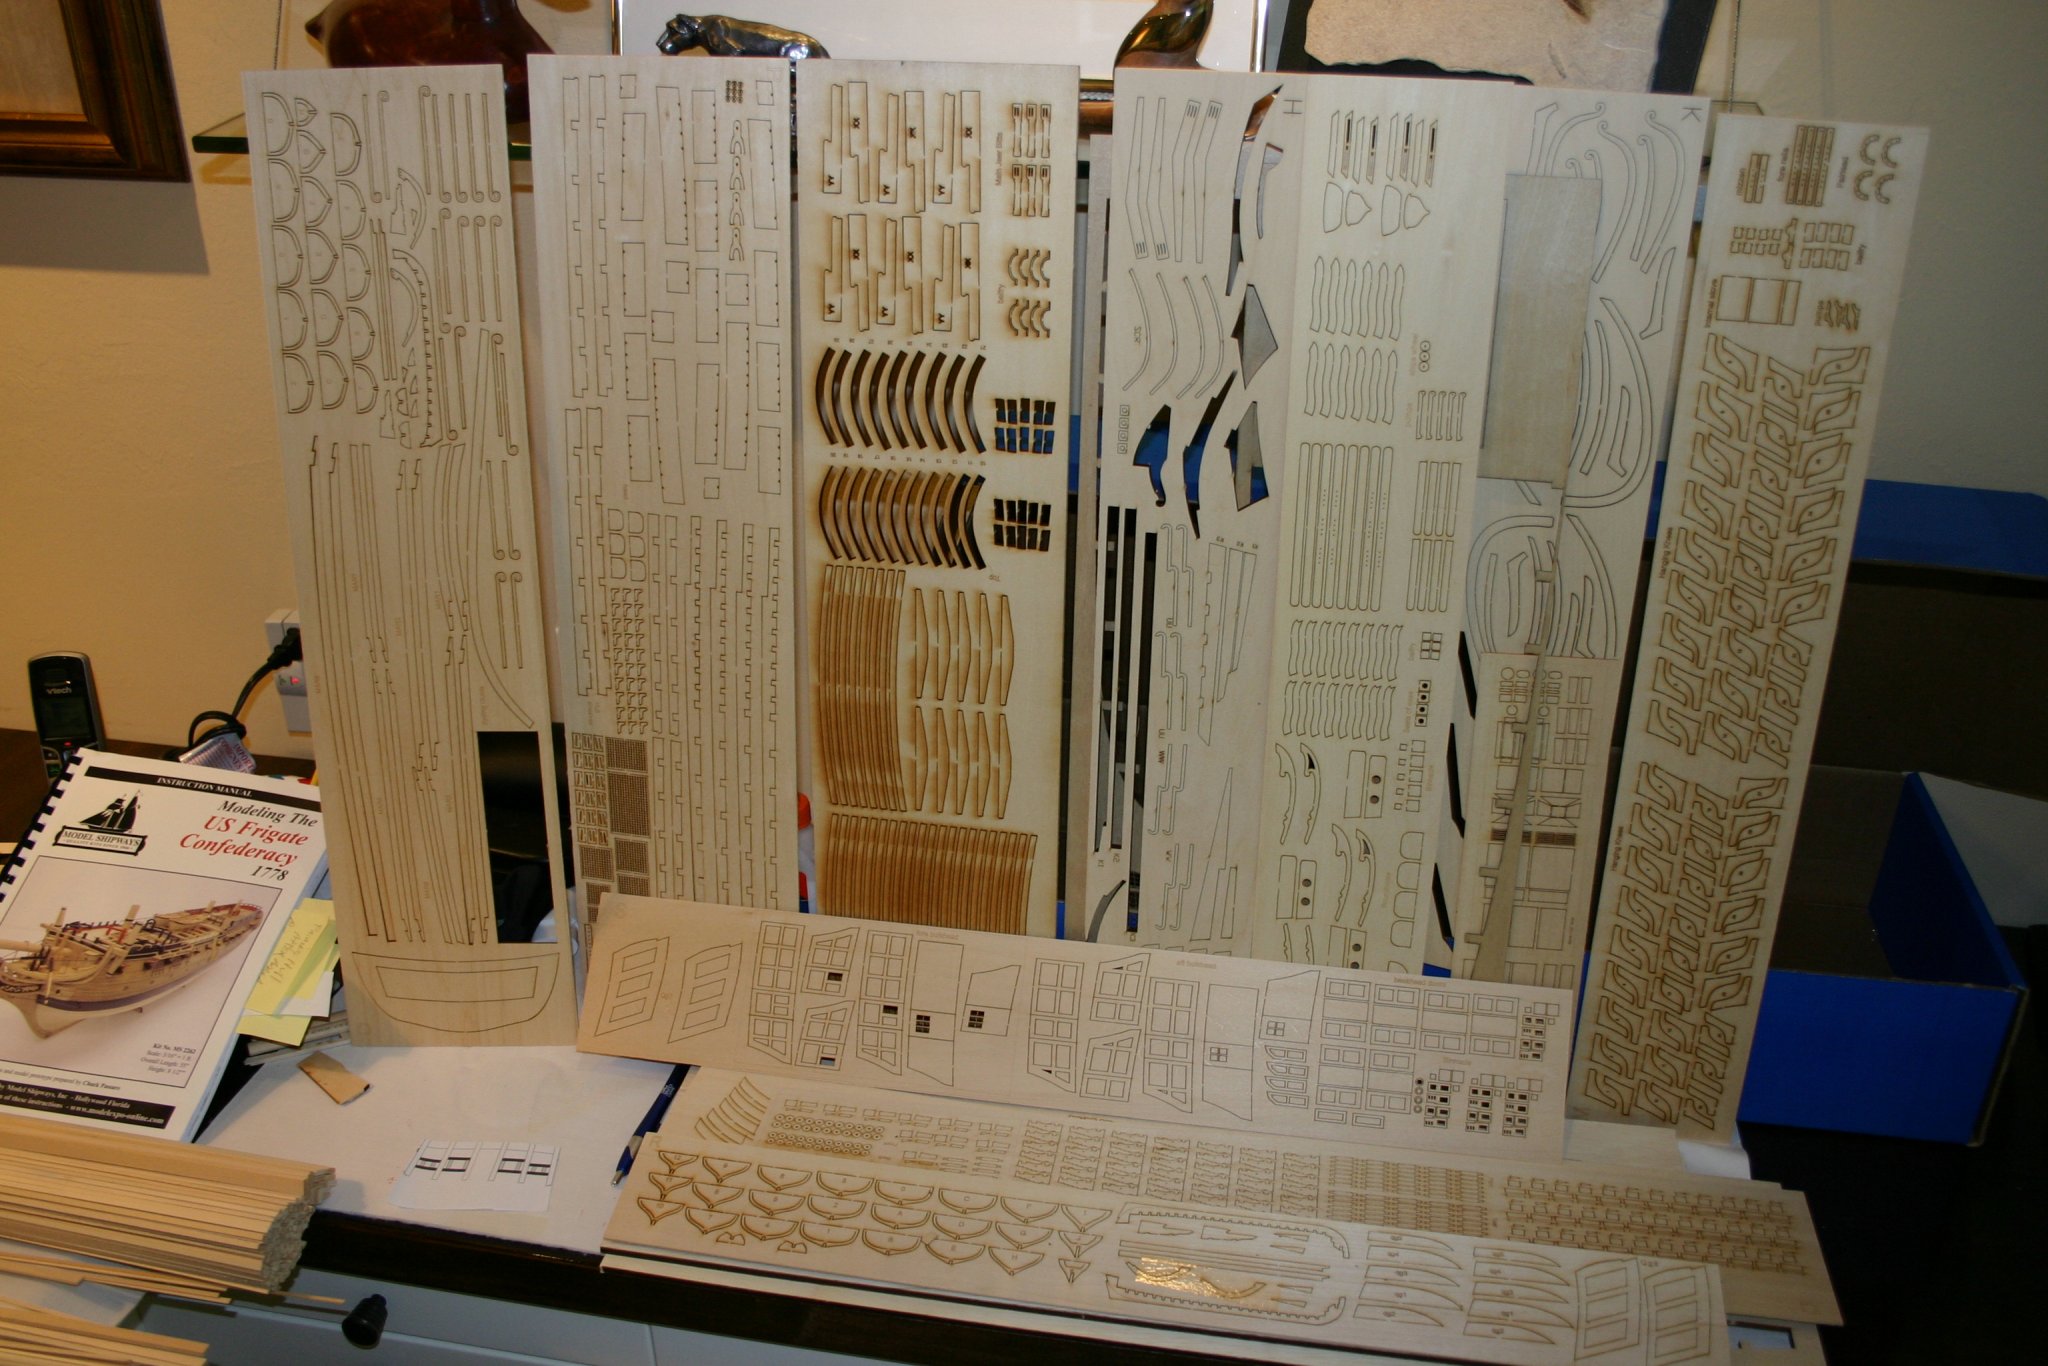
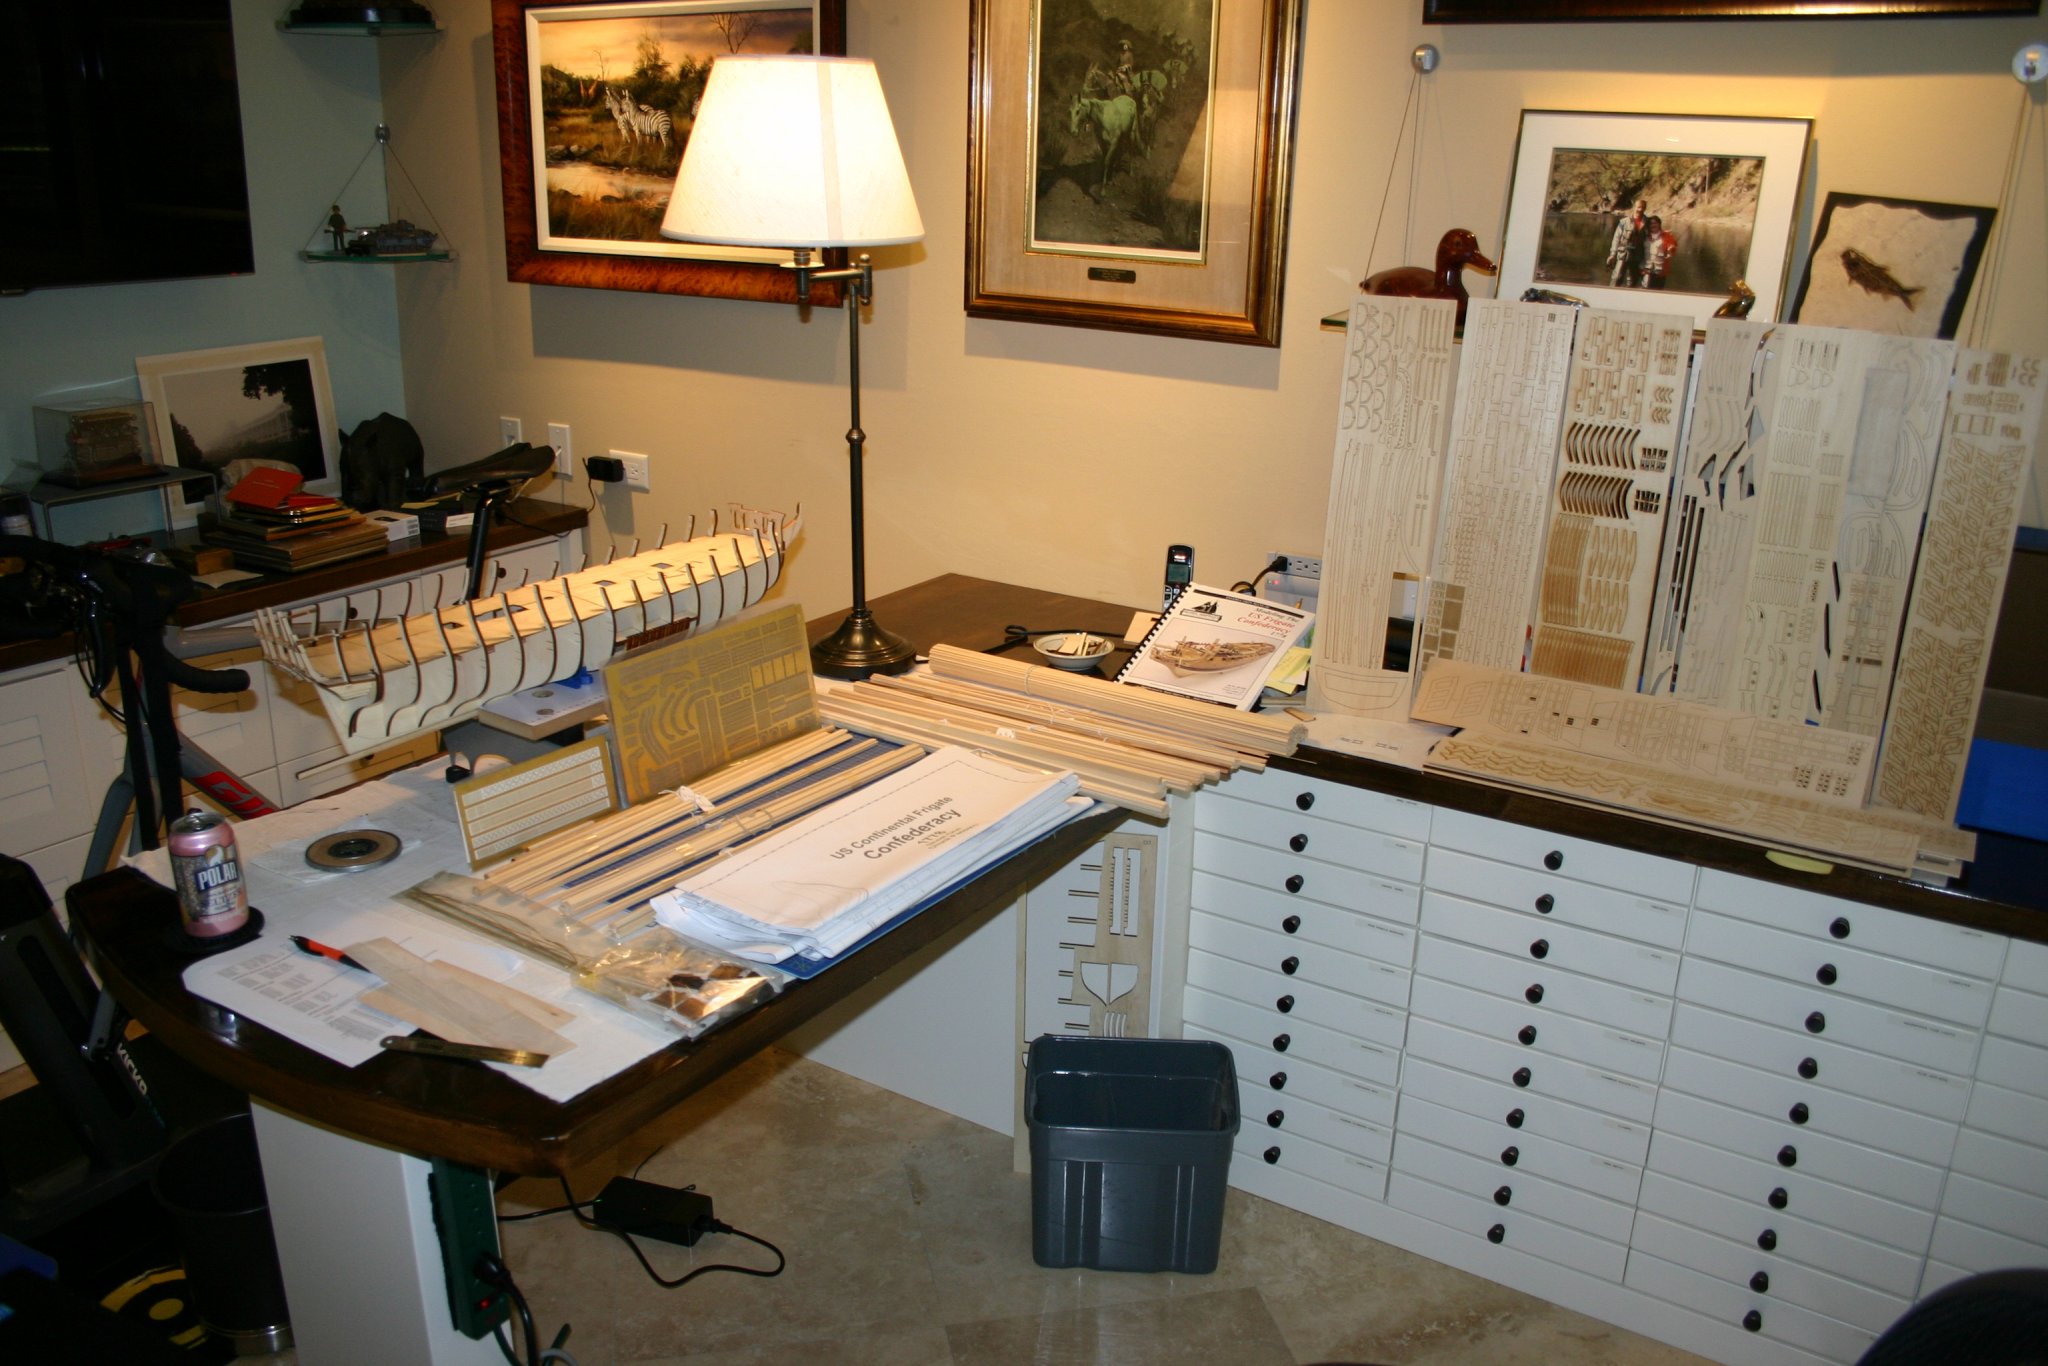
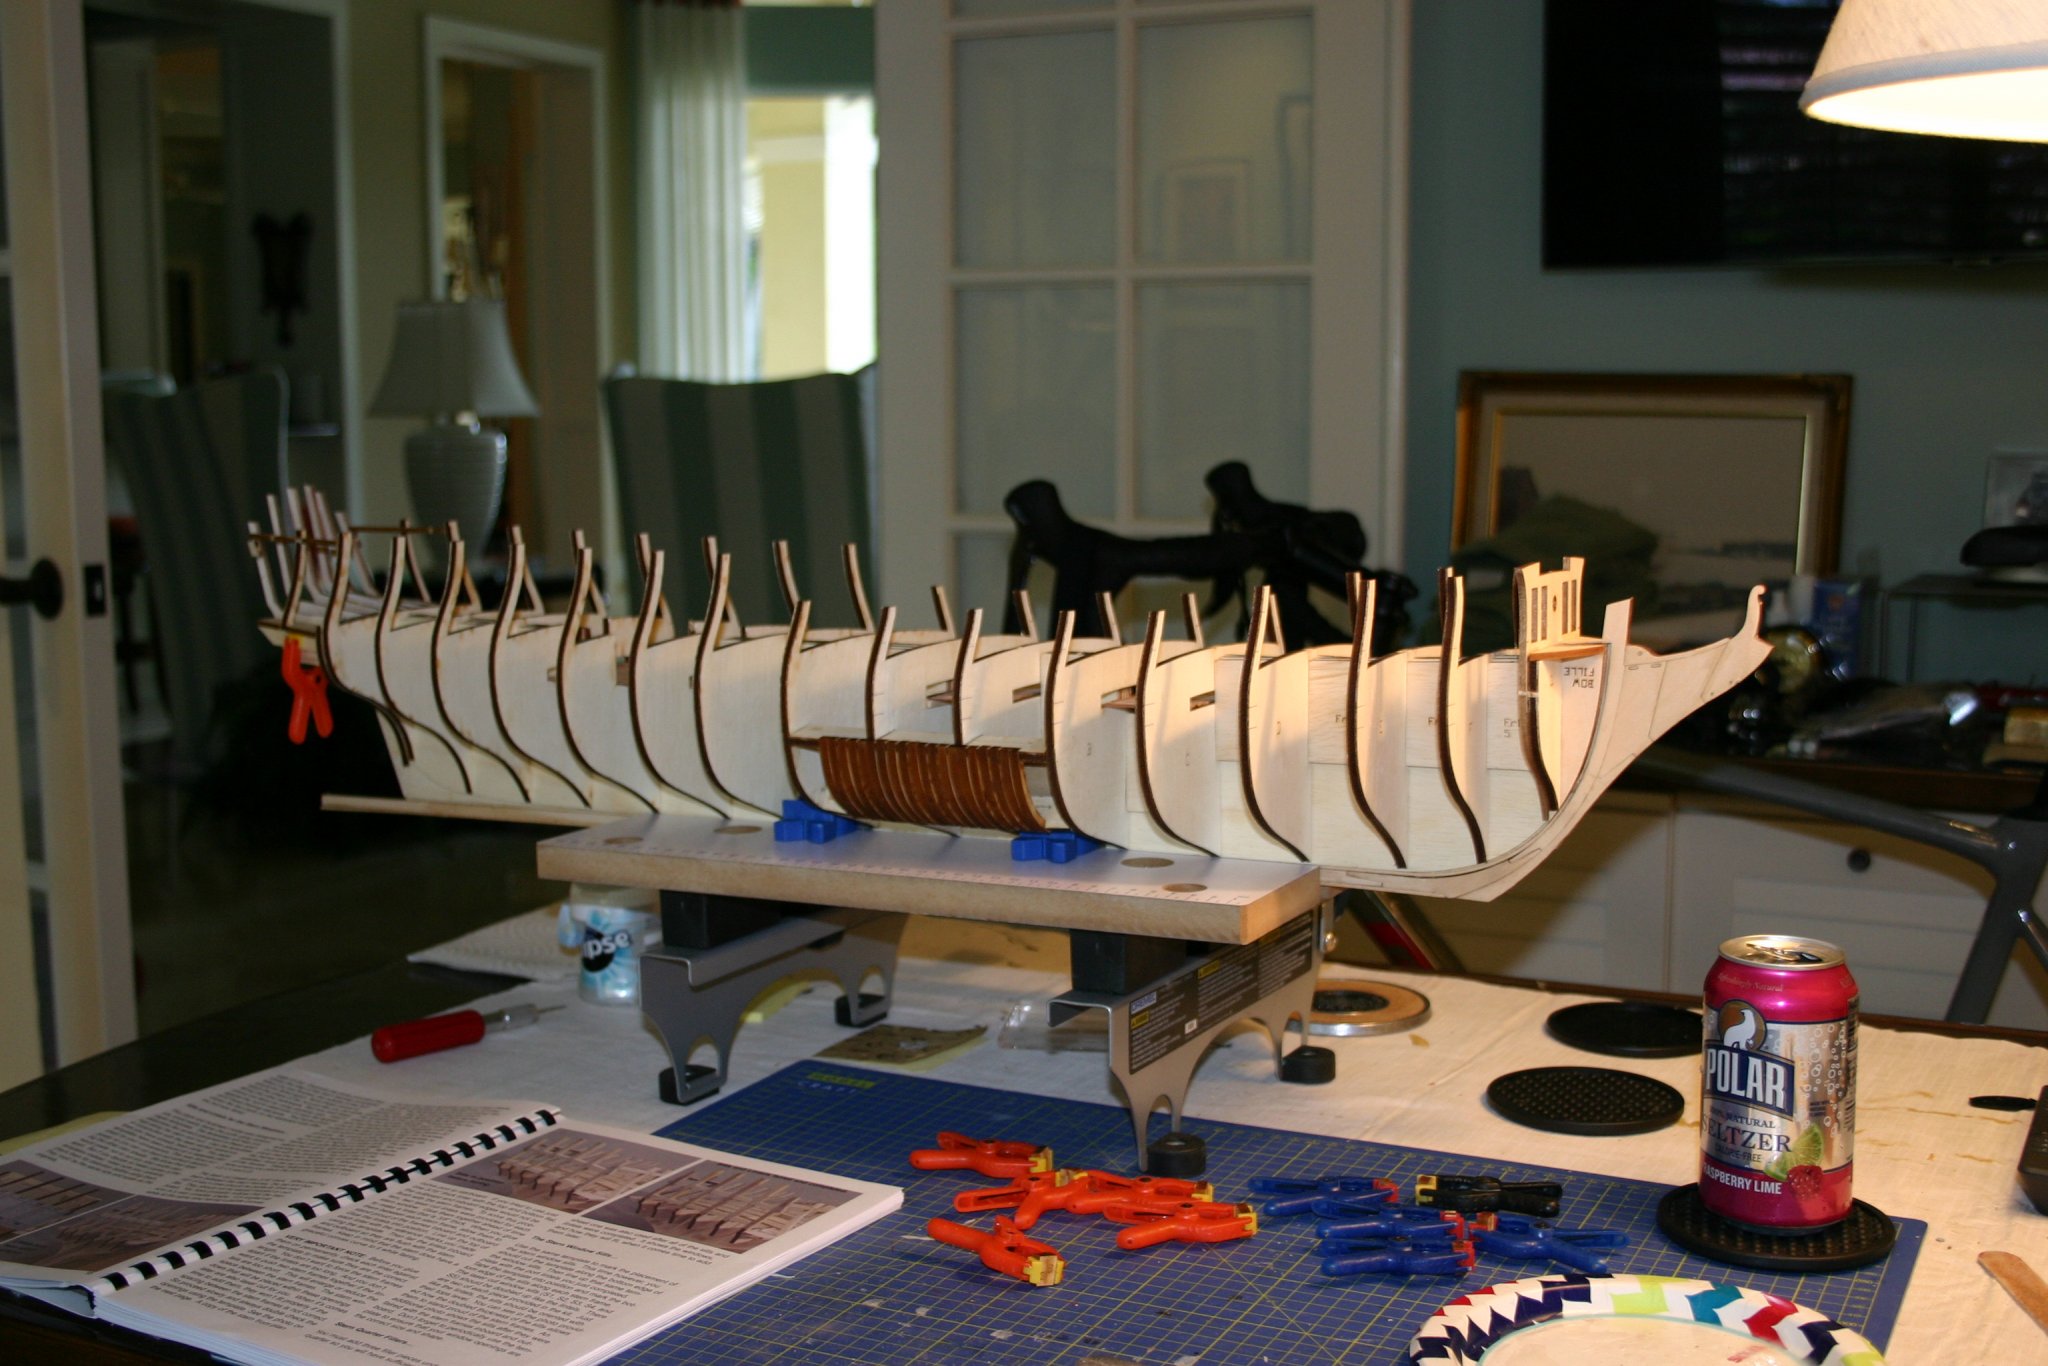
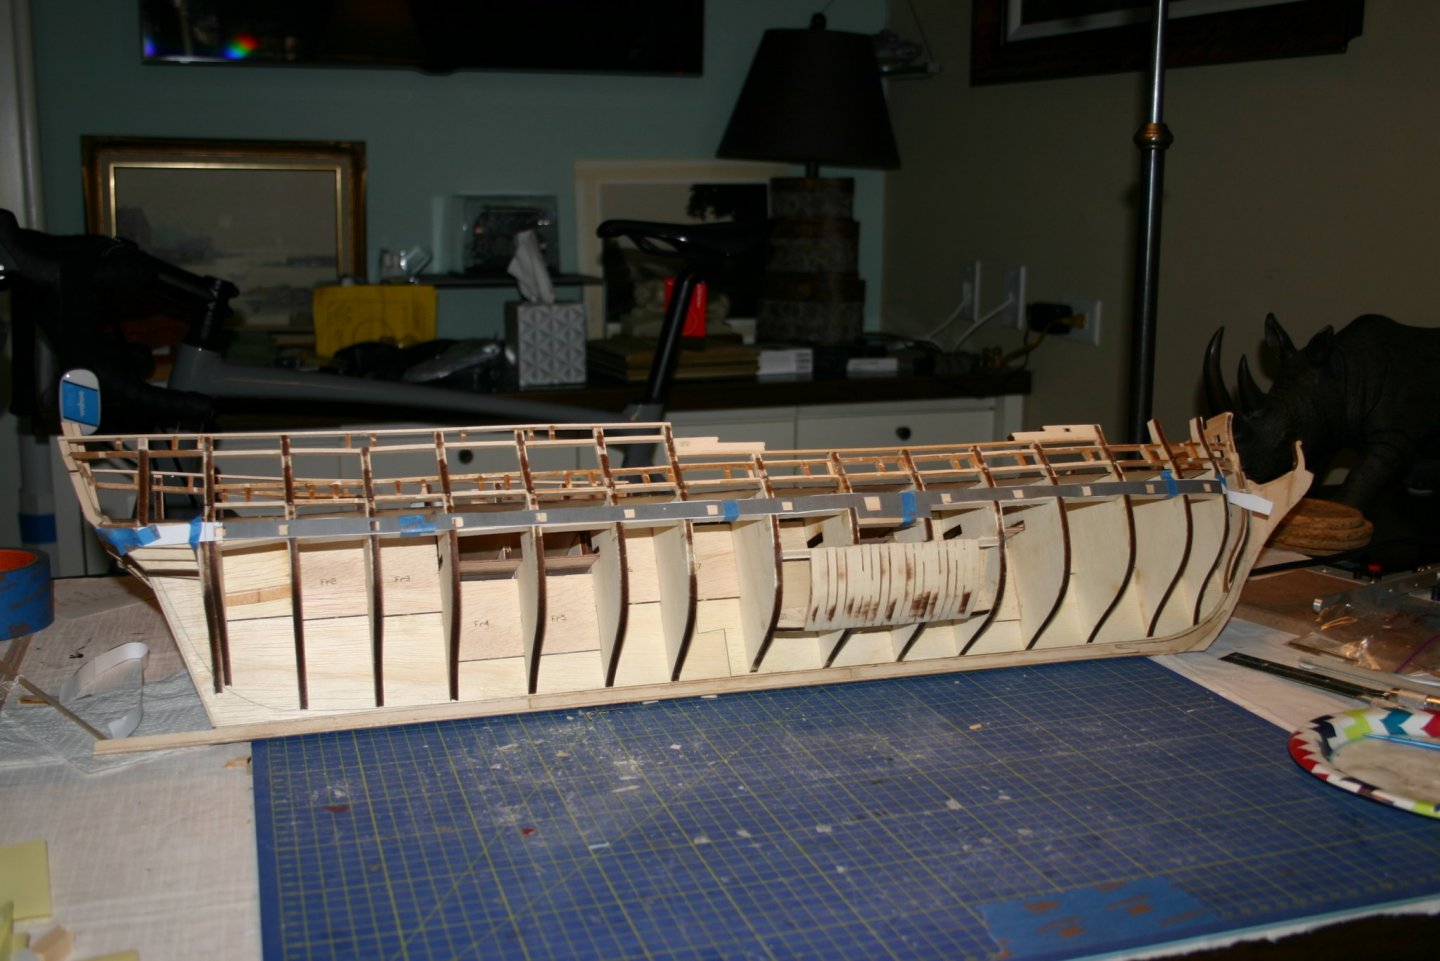
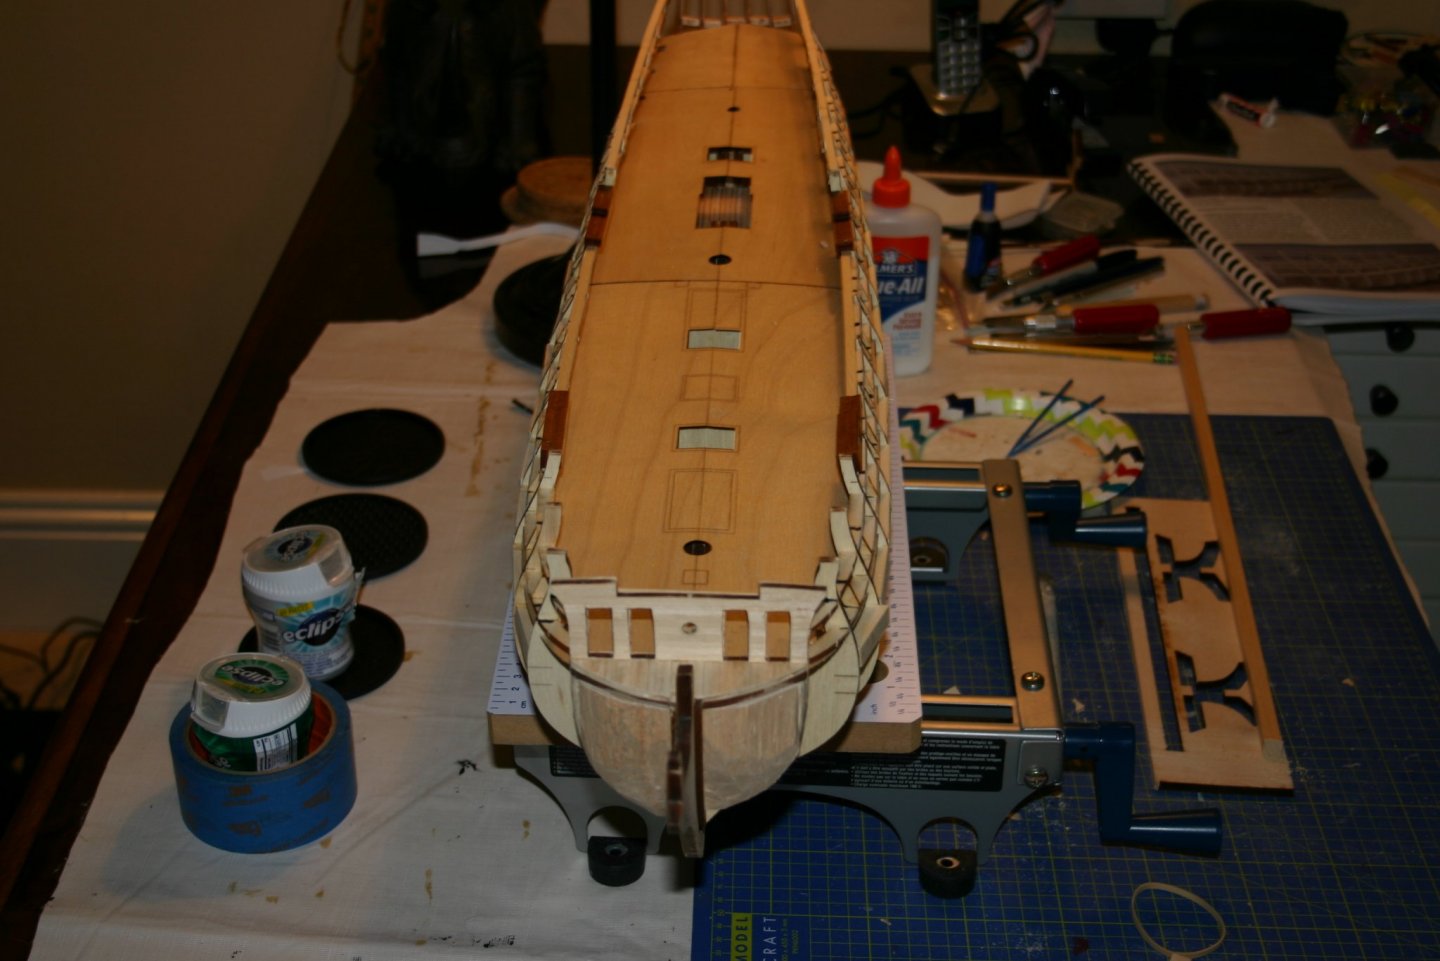
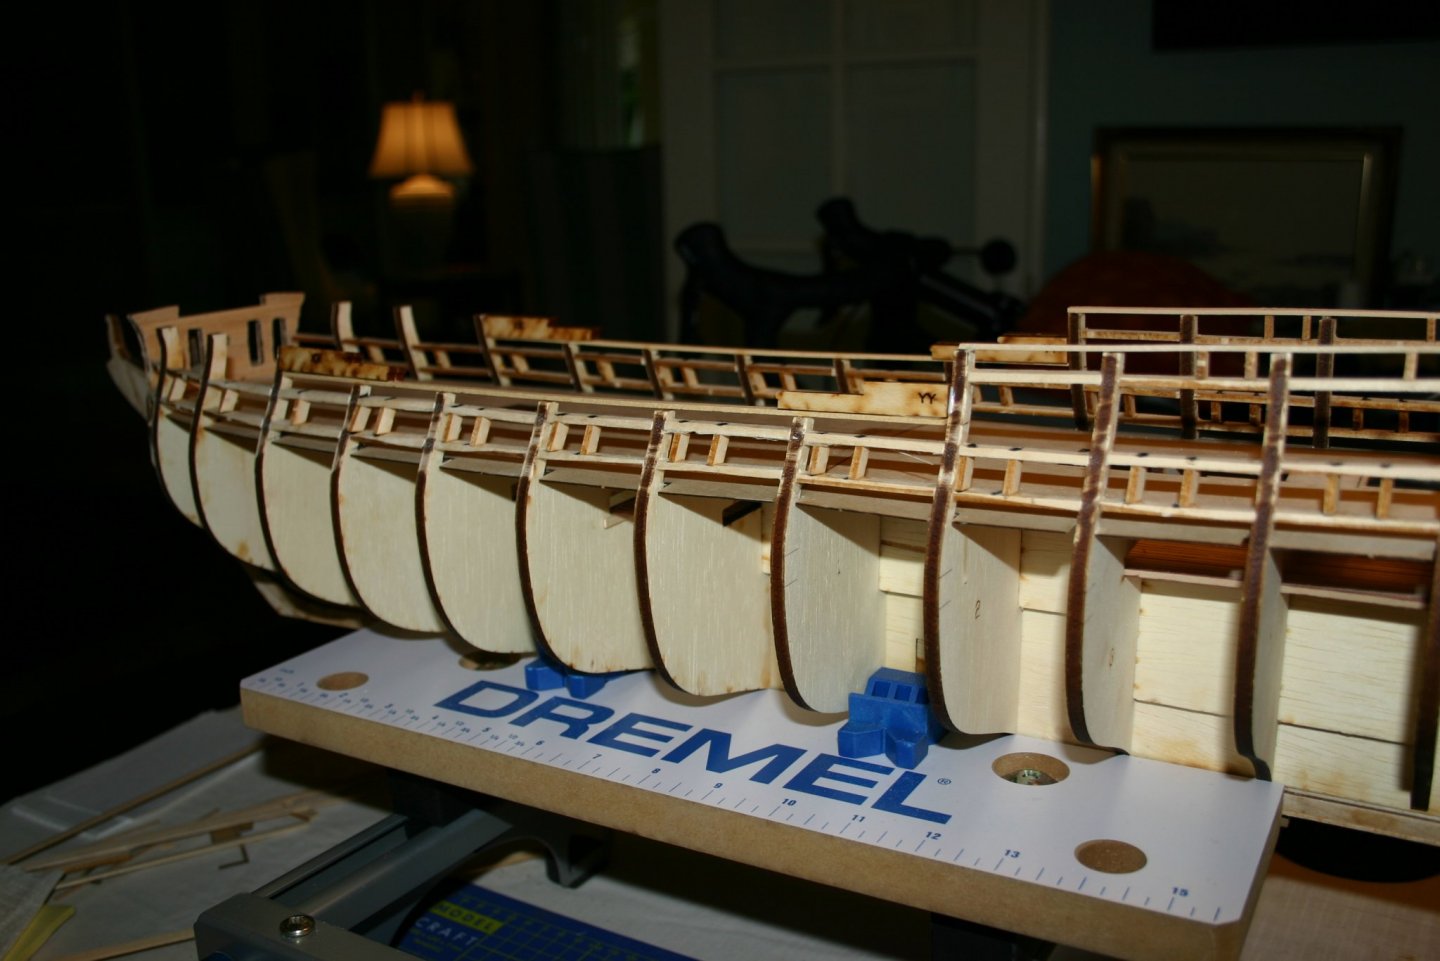
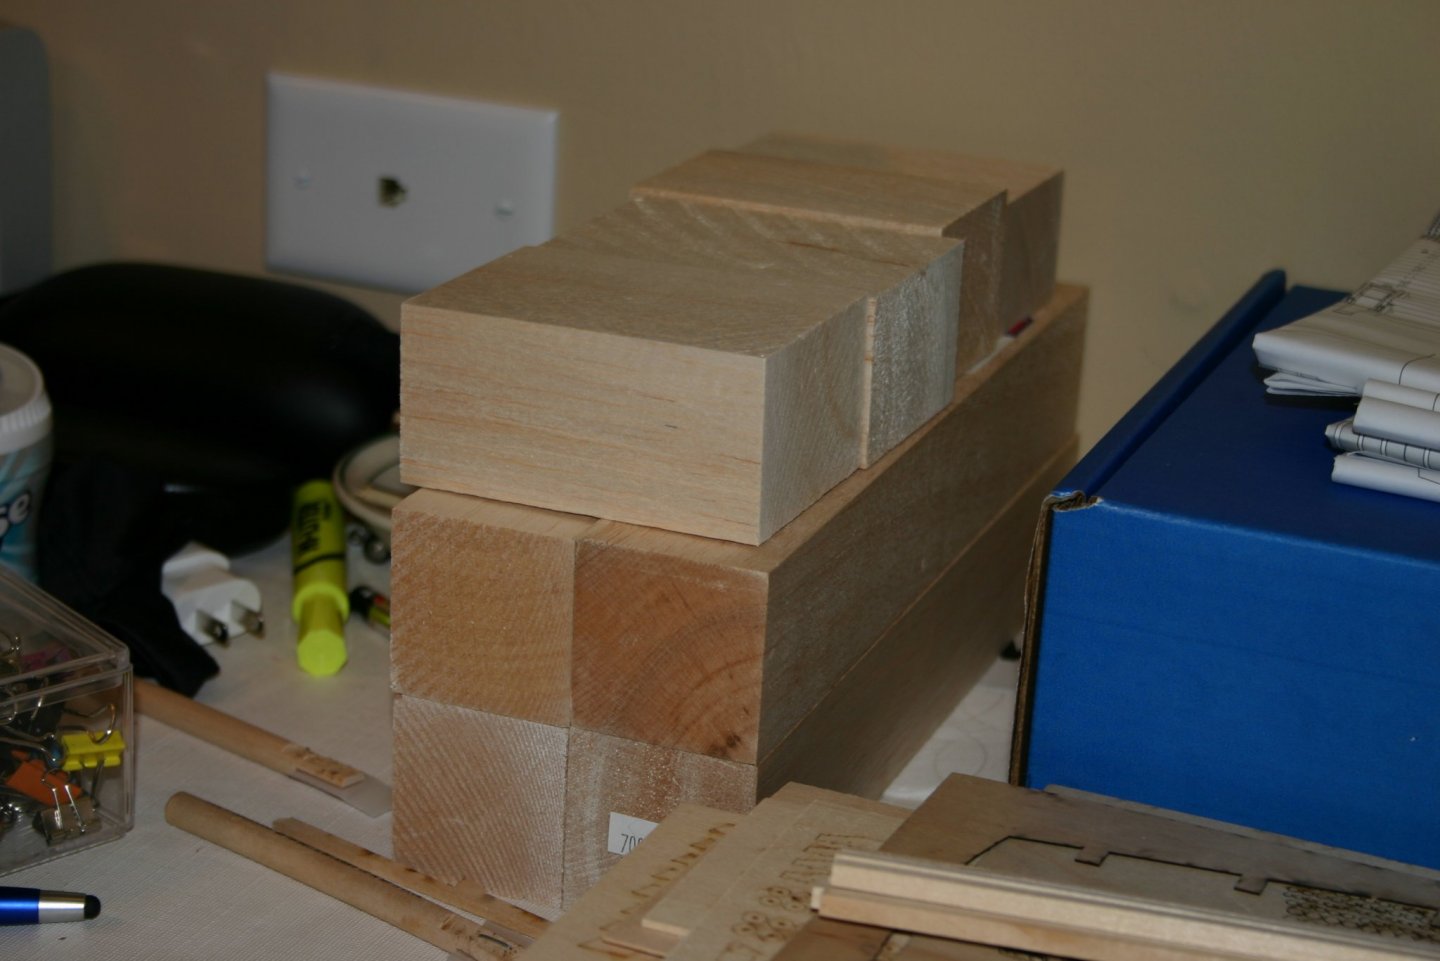
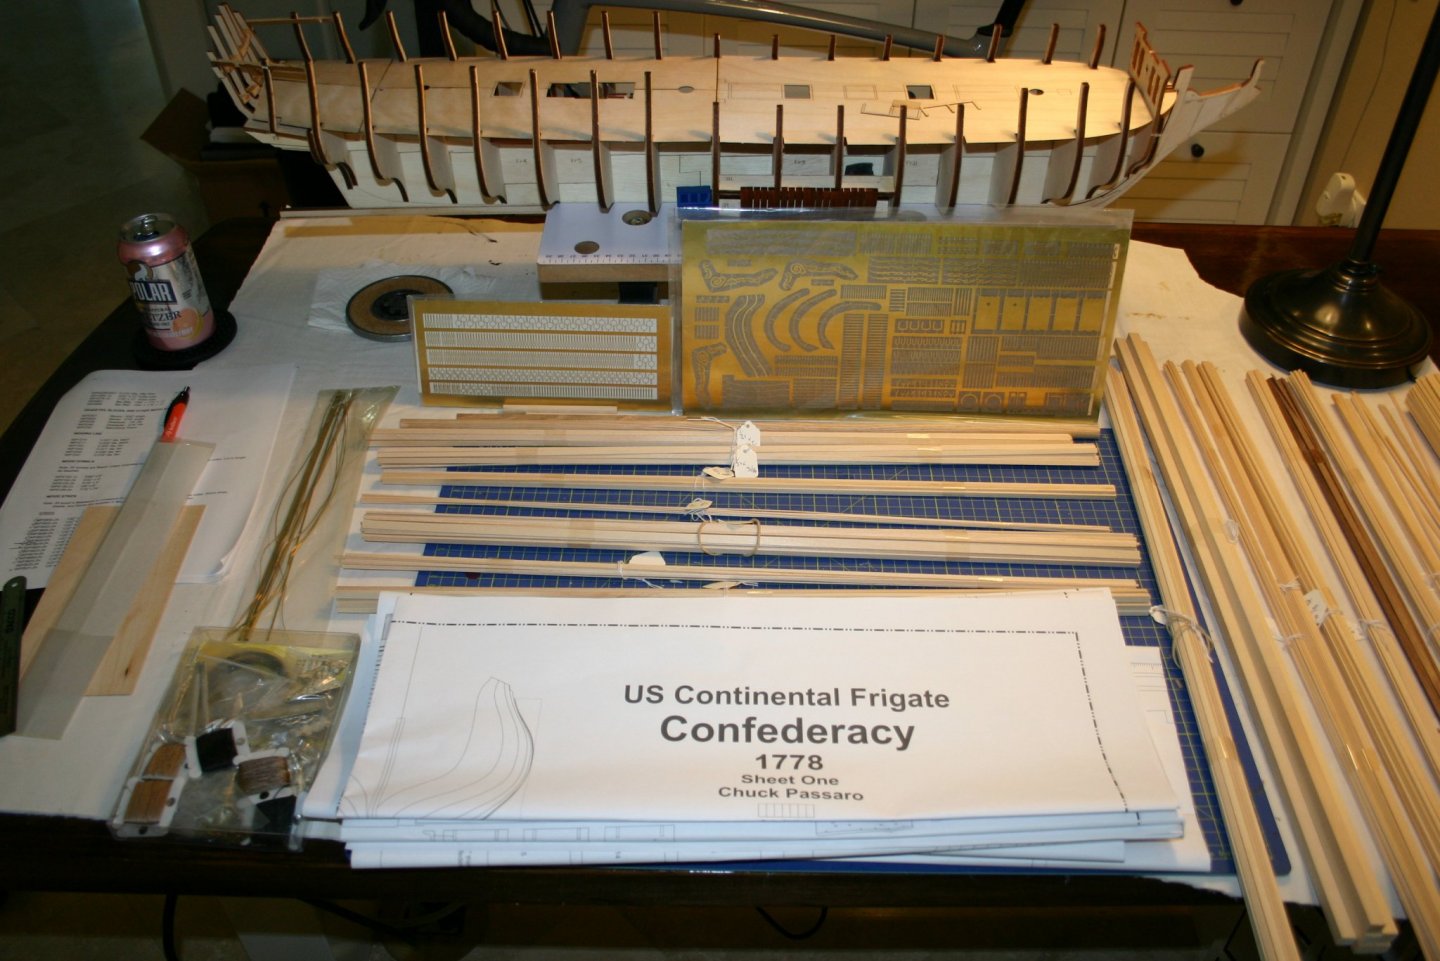
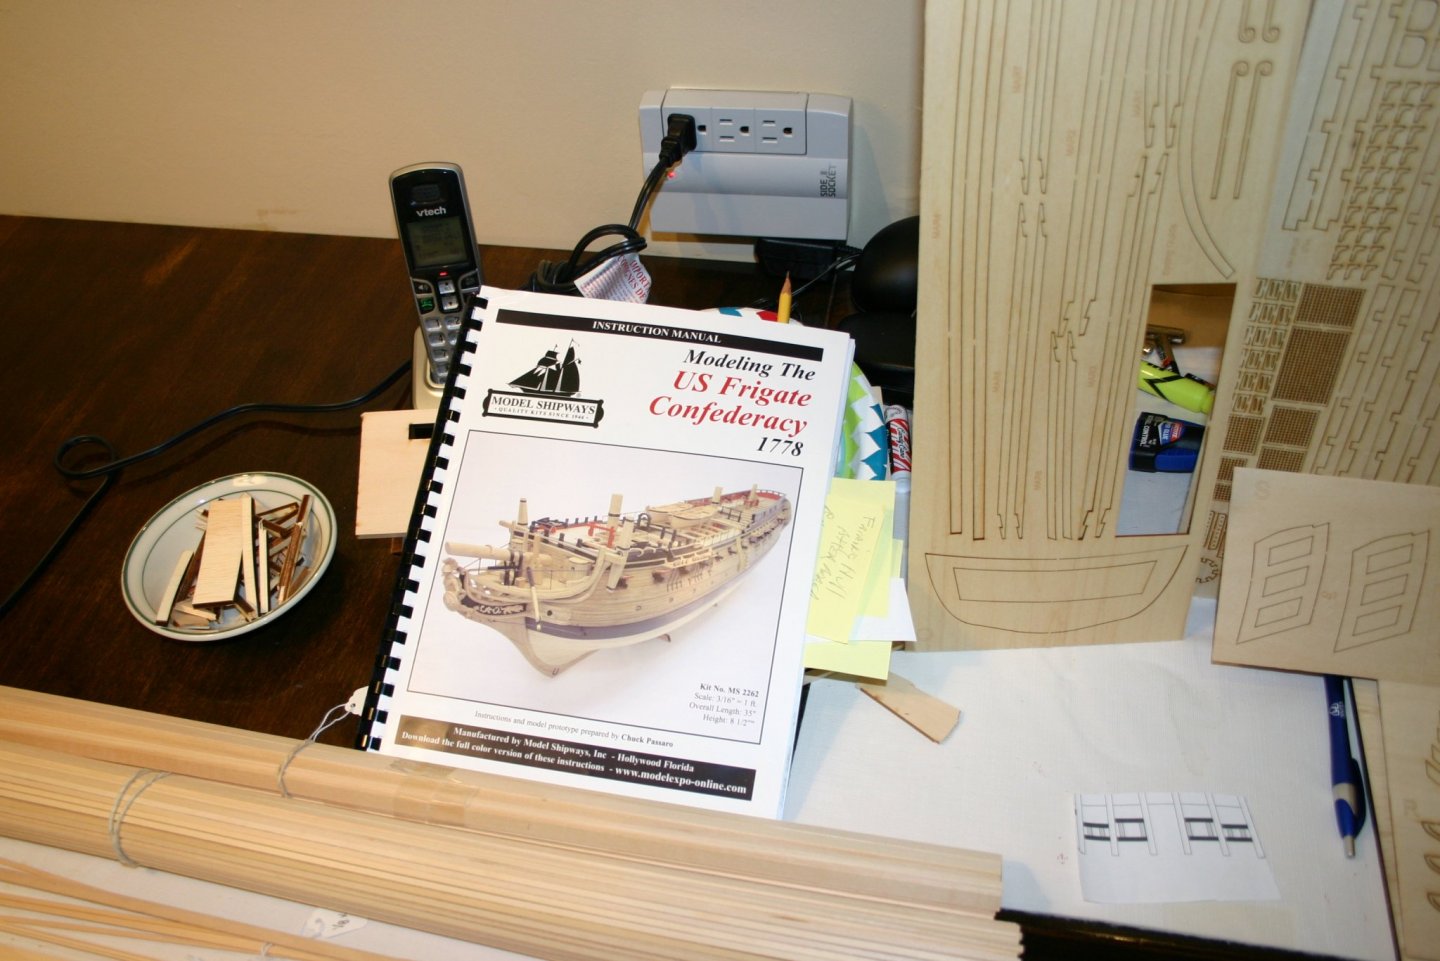
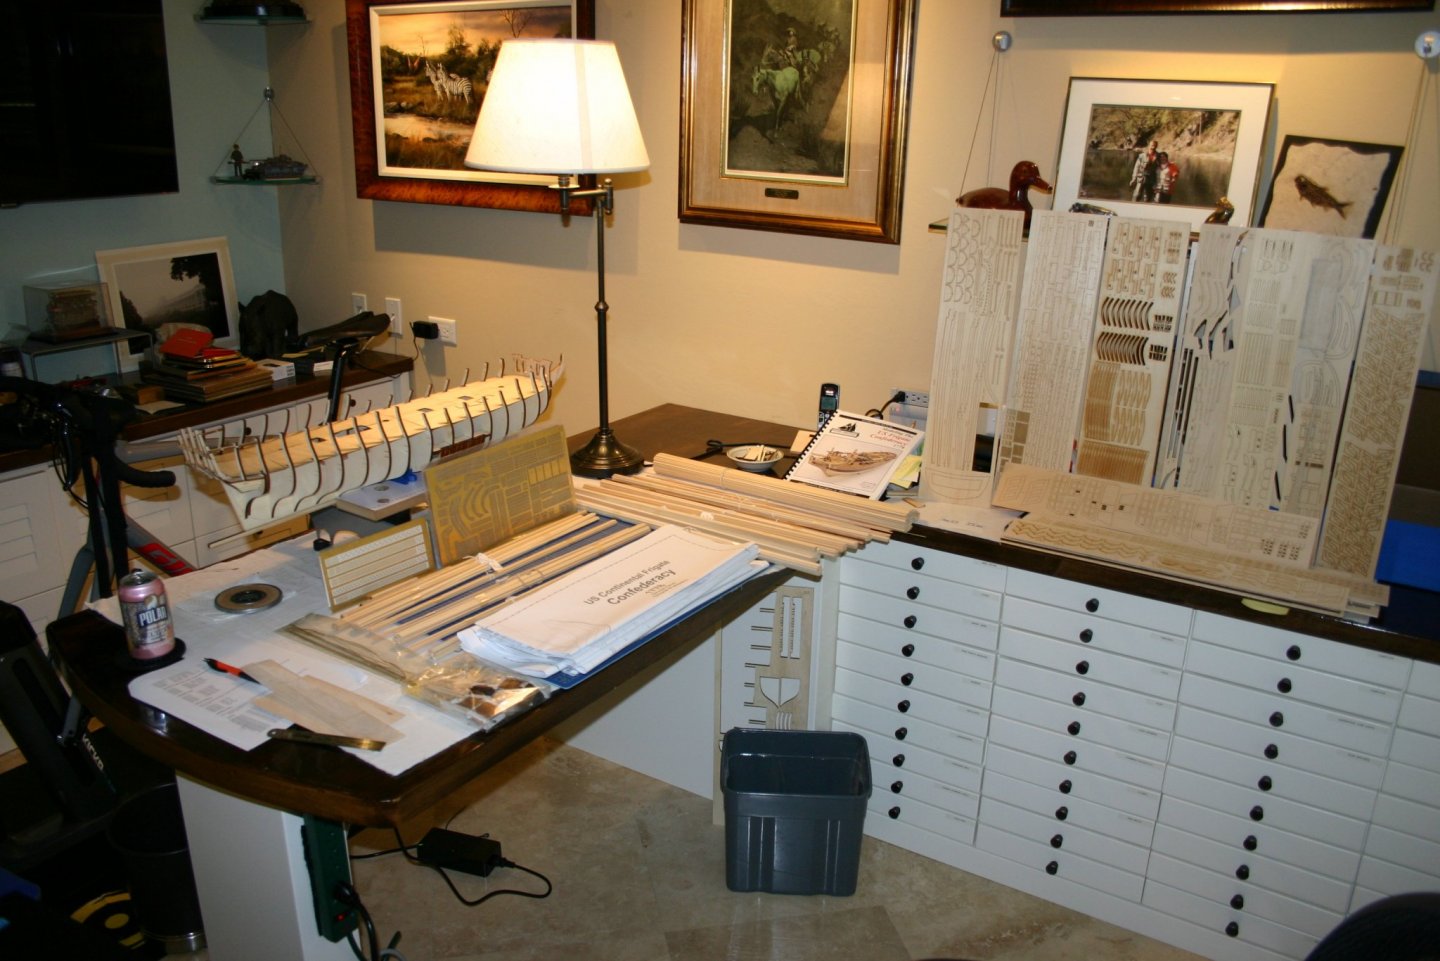
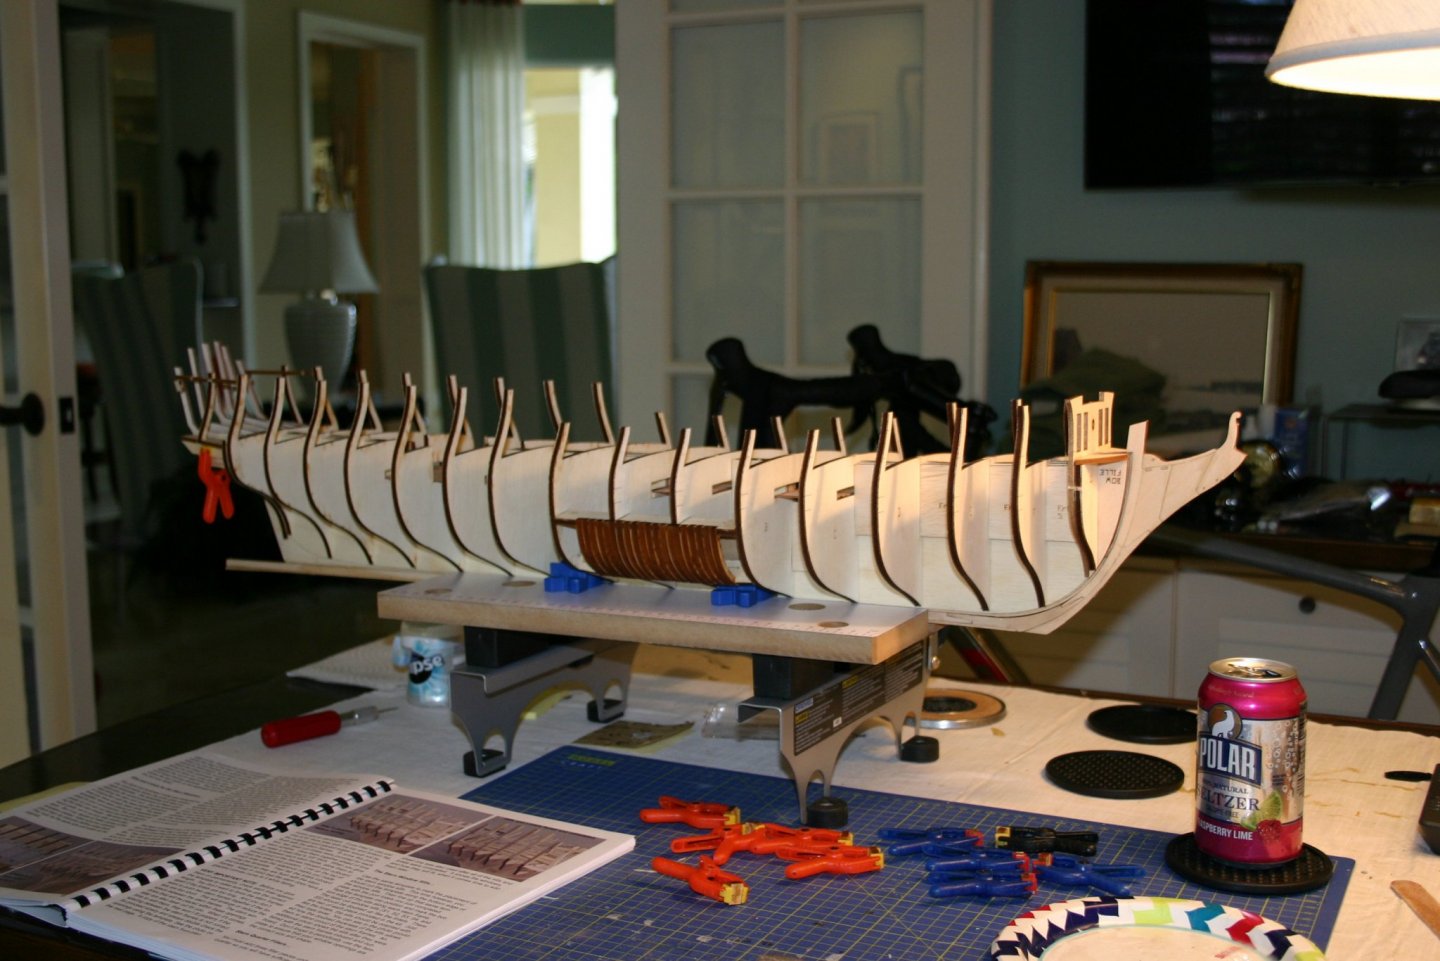
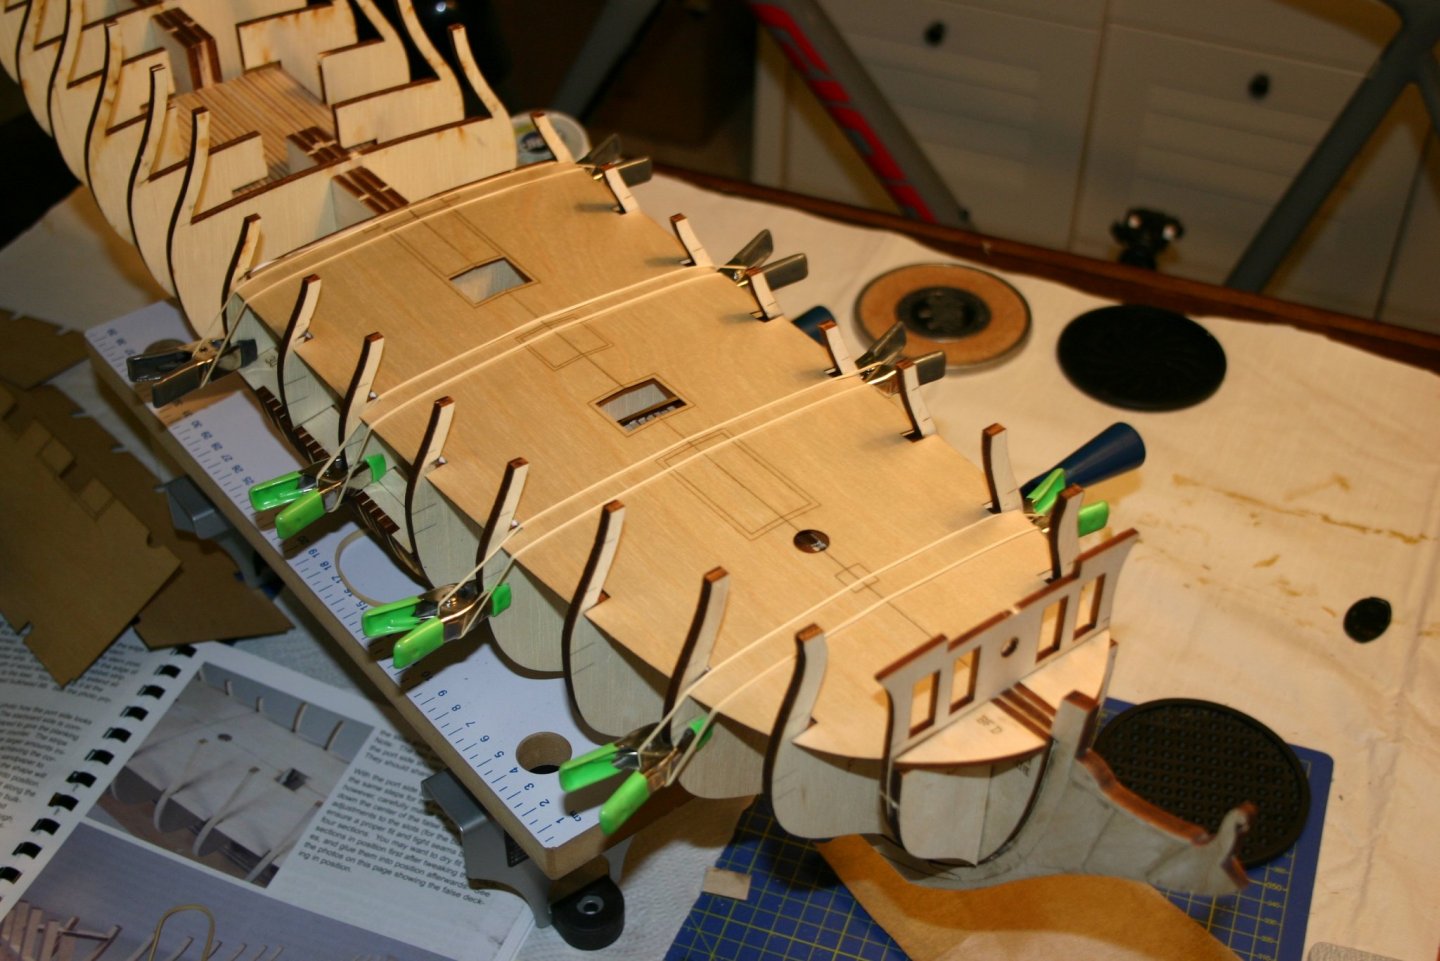
So ..... I had started a log a few days ago and realized it was a pretty sloppy job....some pictures of a hull and excuses so here I am starting again..... Bought the kit about 7 years ago along with the upgrade brass cannon and figurehead from Chuck at Syren. It was fortunate that I was able to find the little brown envelope with the cannon and figure since it wouldn't fit in the box and had been moved around for the last seven years. The following are photos of most of the parts, instruction manual, plans, partially started model and my work area. this is an excellent kit. My previous Model Shipways experiences gave me confidence to purchase this when I did. This strange time means a slight adjustment to build order. No balsa (have ordered some) means I am bypassing fairing the hull for now and proceeding with some other steps. Once i remember how to do so, i'll insert pic explanations by the appropriate picture...for now....here's my start!

-
Hi Rodger, Your Lee is looking great! I made my cross braces with a much more primitive jig. My process also involved using rigging thread but I threaded separate lines and then used tension on the lines to hold all the rings in place and then used CA to hold them. I also used CA for those wood cap rails and formed the bends in the wood similar to what Iran describes but without a bending iron. I wet the wood...windex....and gently formed it on a wood plank using pins to hold the curve shape until set. I traced an outline of the curve on the plank and used that for a pattern. Your finished model will be excellent! Cheers, Jim
-
Amazing work, Grant! You work is inspiring......you have amazing patience and concentration to be able to achieve such fine work in such small scale. Unless, perhaps, you are much larger than we mortals.......... :D Cheers, Jim
-
Roger, Looking fine! Makes me remember some of the issues you are describing. Your narrative is very thorough...much better than my random ramblings. Keep up the great work! Cheers, Jim