jimdaniels
-
Posts
19 -
Joined
-
Last visited
Recent Profile Visitors
480 profile views

-
 CaptainSteve reacted to a post in a topic:
USS Constitution by Jim D - Model Shipways
CaptainSteve reacted to a post in a topic:
USS Constitution by Jim D - Model Shipways
-
Børge reacted to a post in a topic:
USS Constitution by Jim D - Model Shipways
-
CaptainSteve reacted to a post in a topic:
USS Constitution by Jim D - Model Shipways
-
CaptainSteve reacted to a post in a topic:
USS Constitution by Jim D - Model Shipways
-
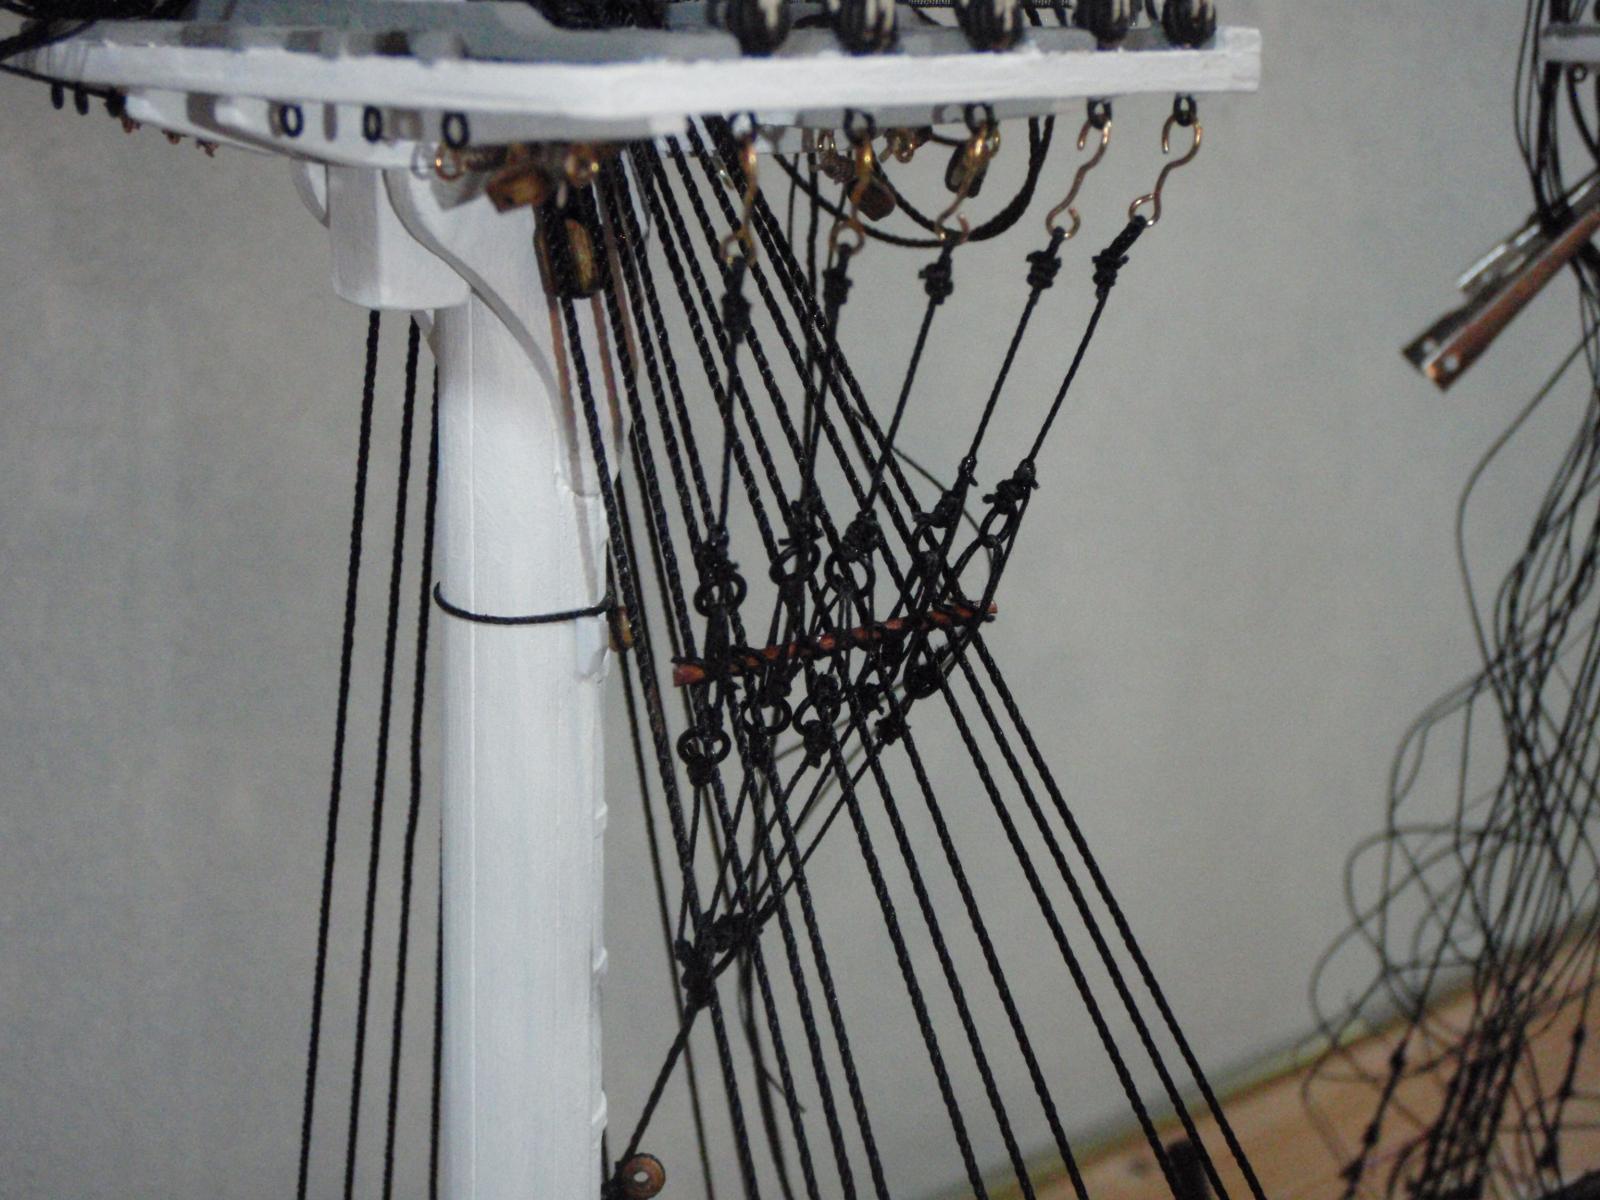
Yikes! Another eight million ratline knots! Good grief! Jim D
-
jimdaniels reacted to a post in a topic:
USS Constitution by Jim D - Model Shipways
-
jimdaniels reacted to a post in a topic:
USS Constitution by Jim D - Model Shipways
-
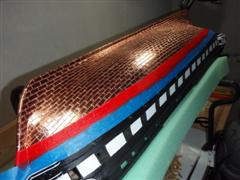
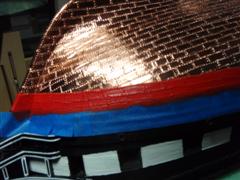
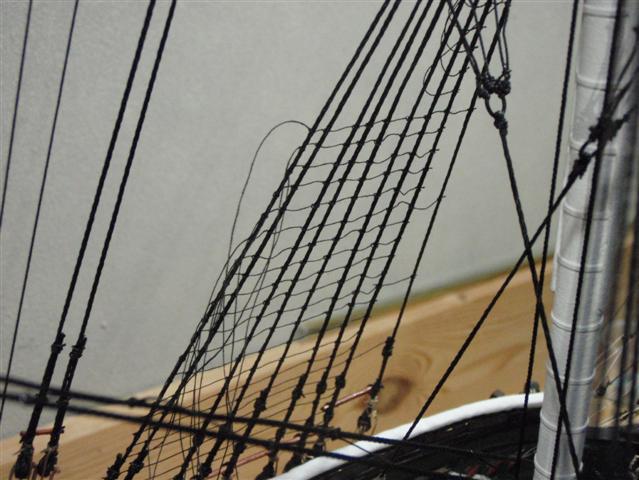
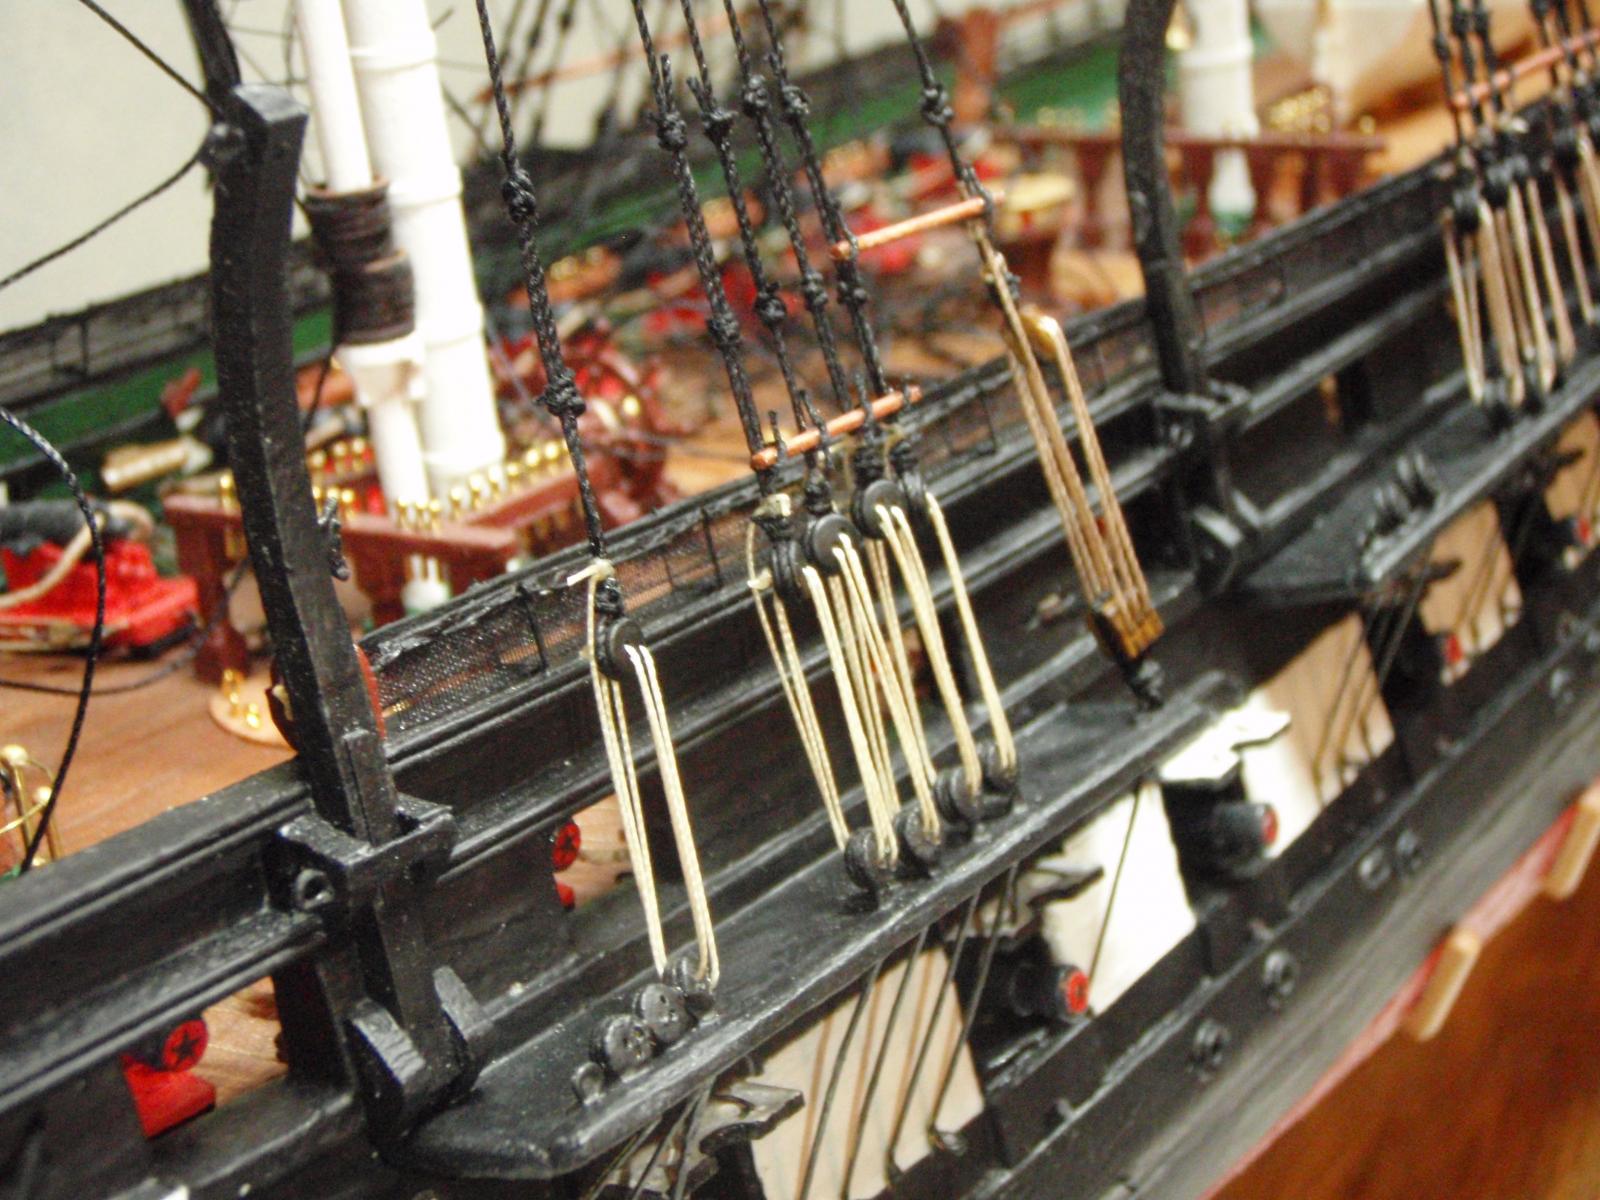
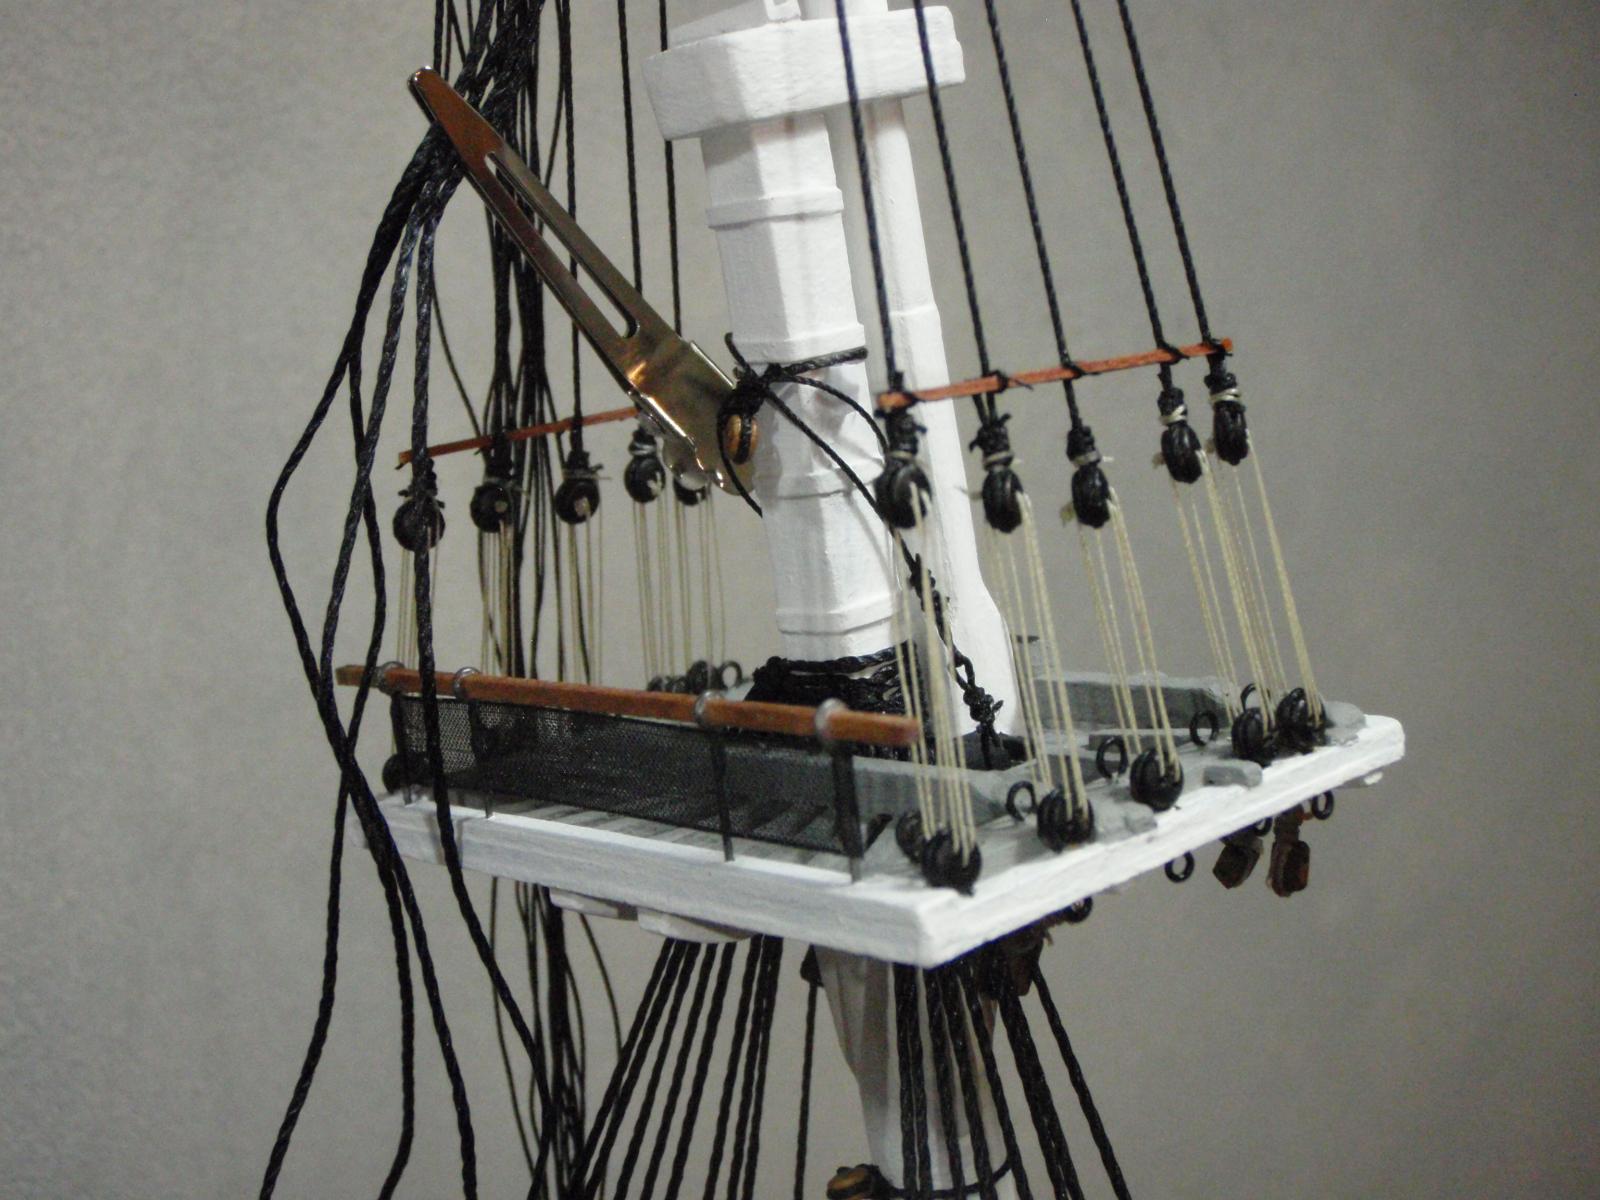
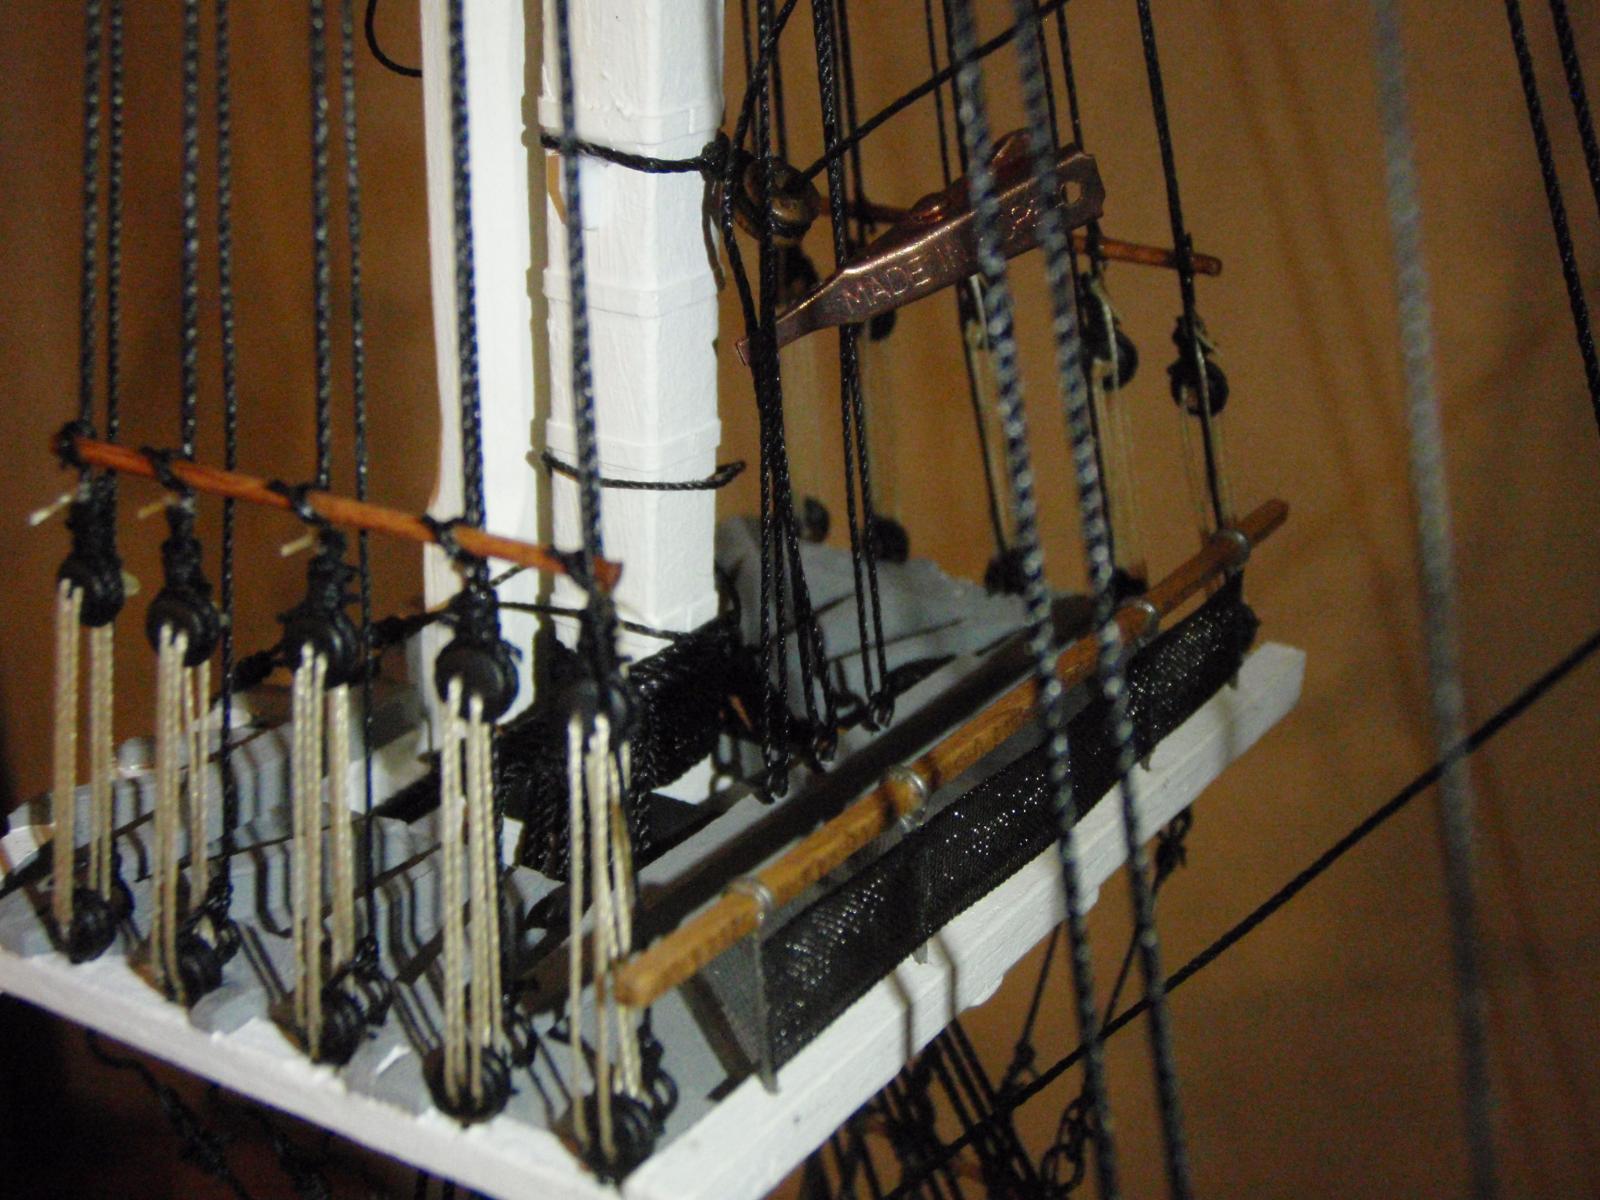
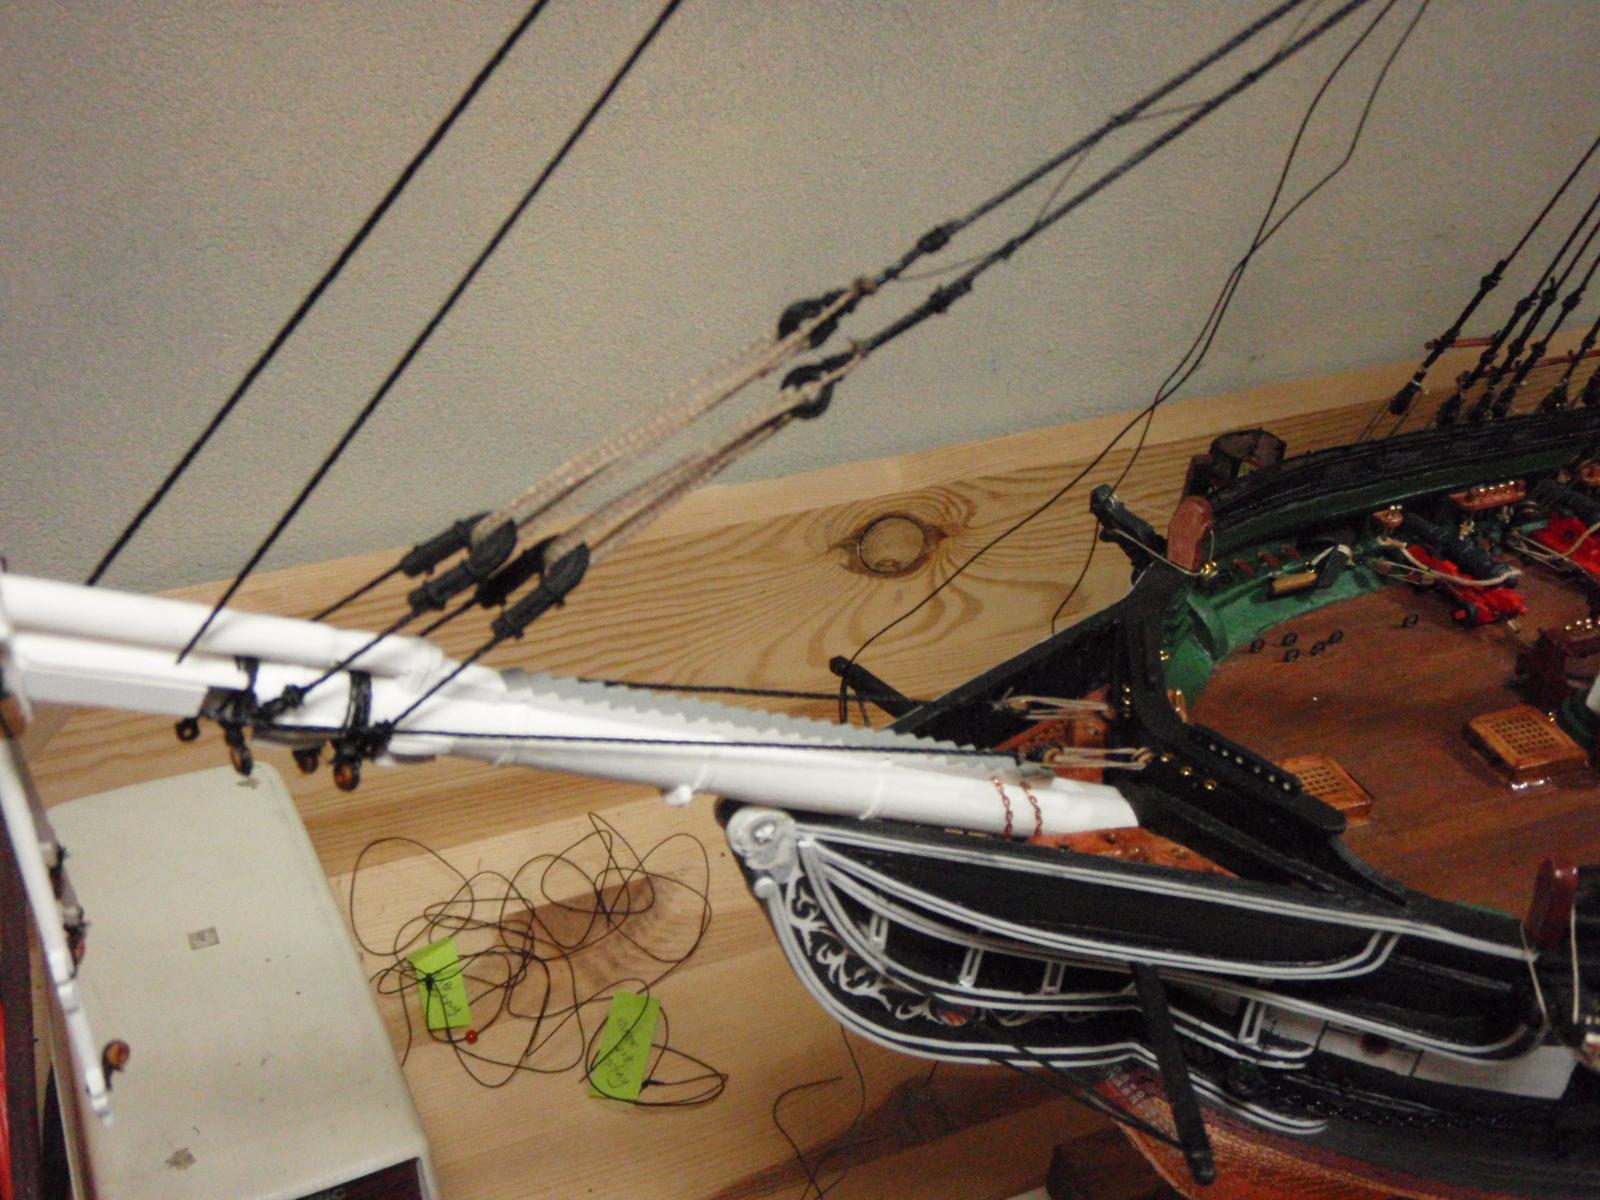
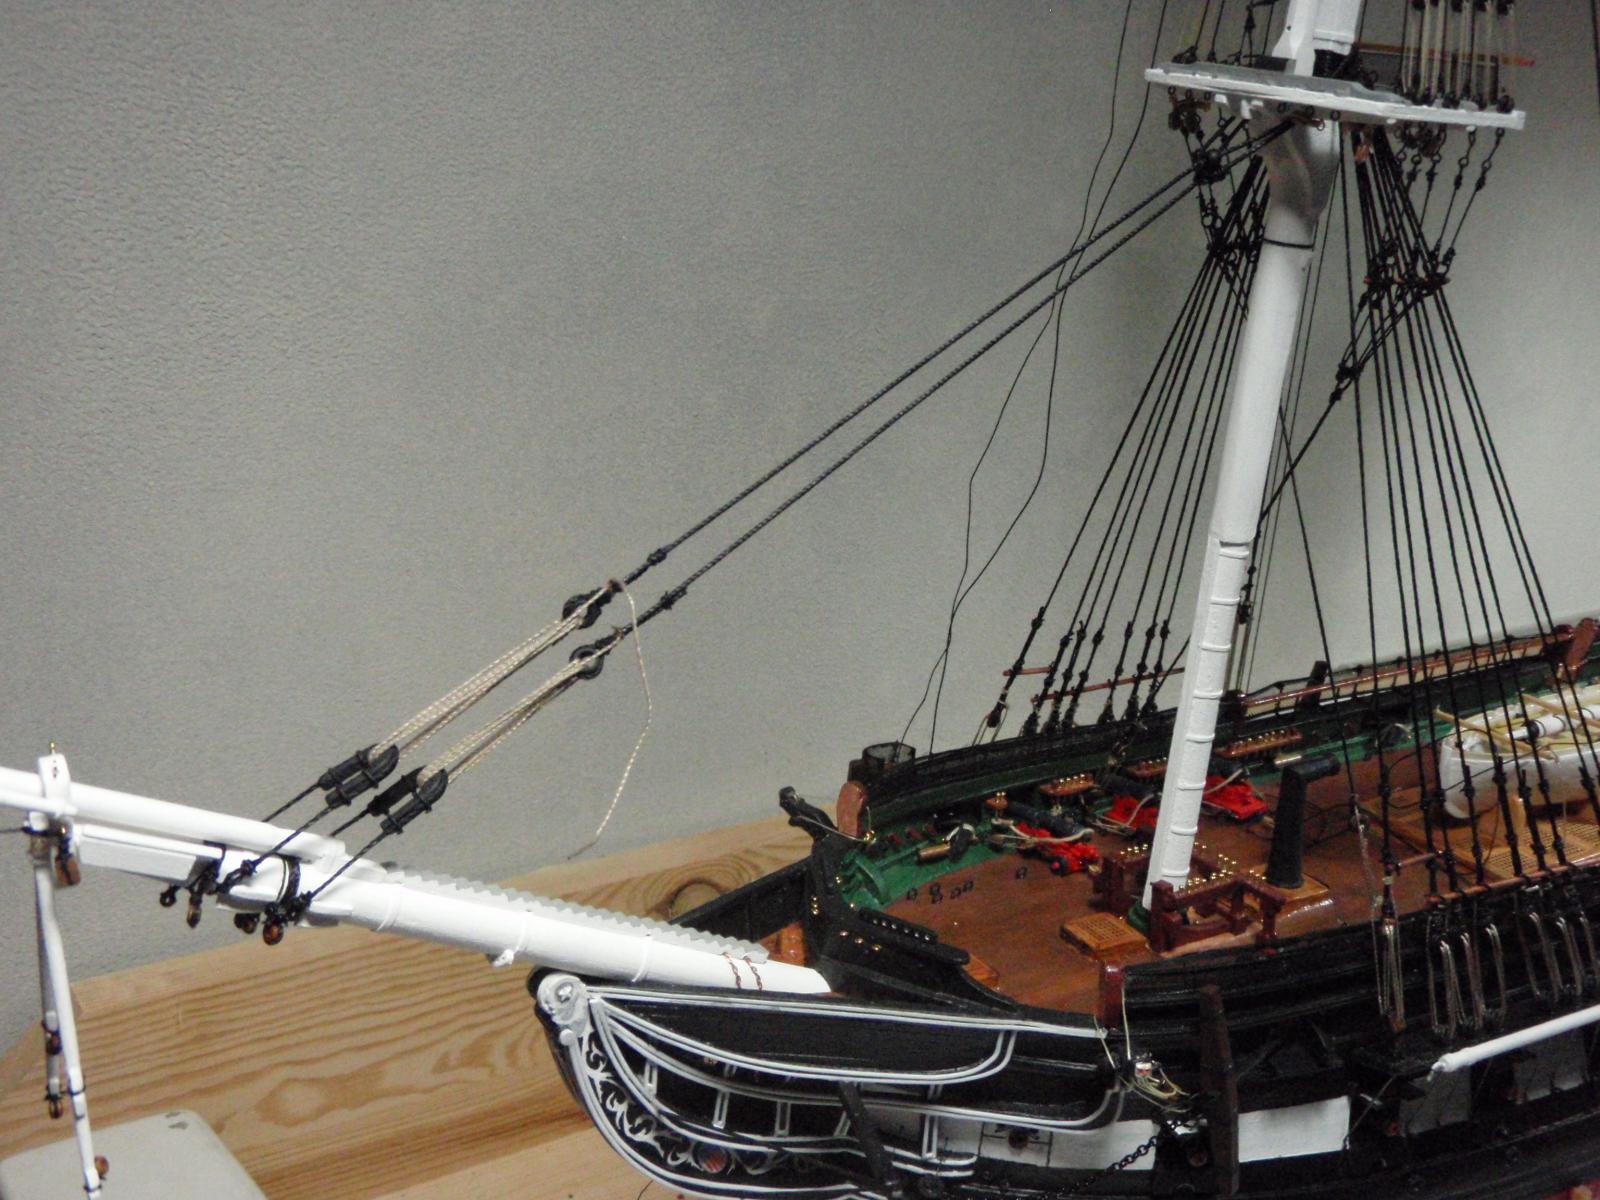
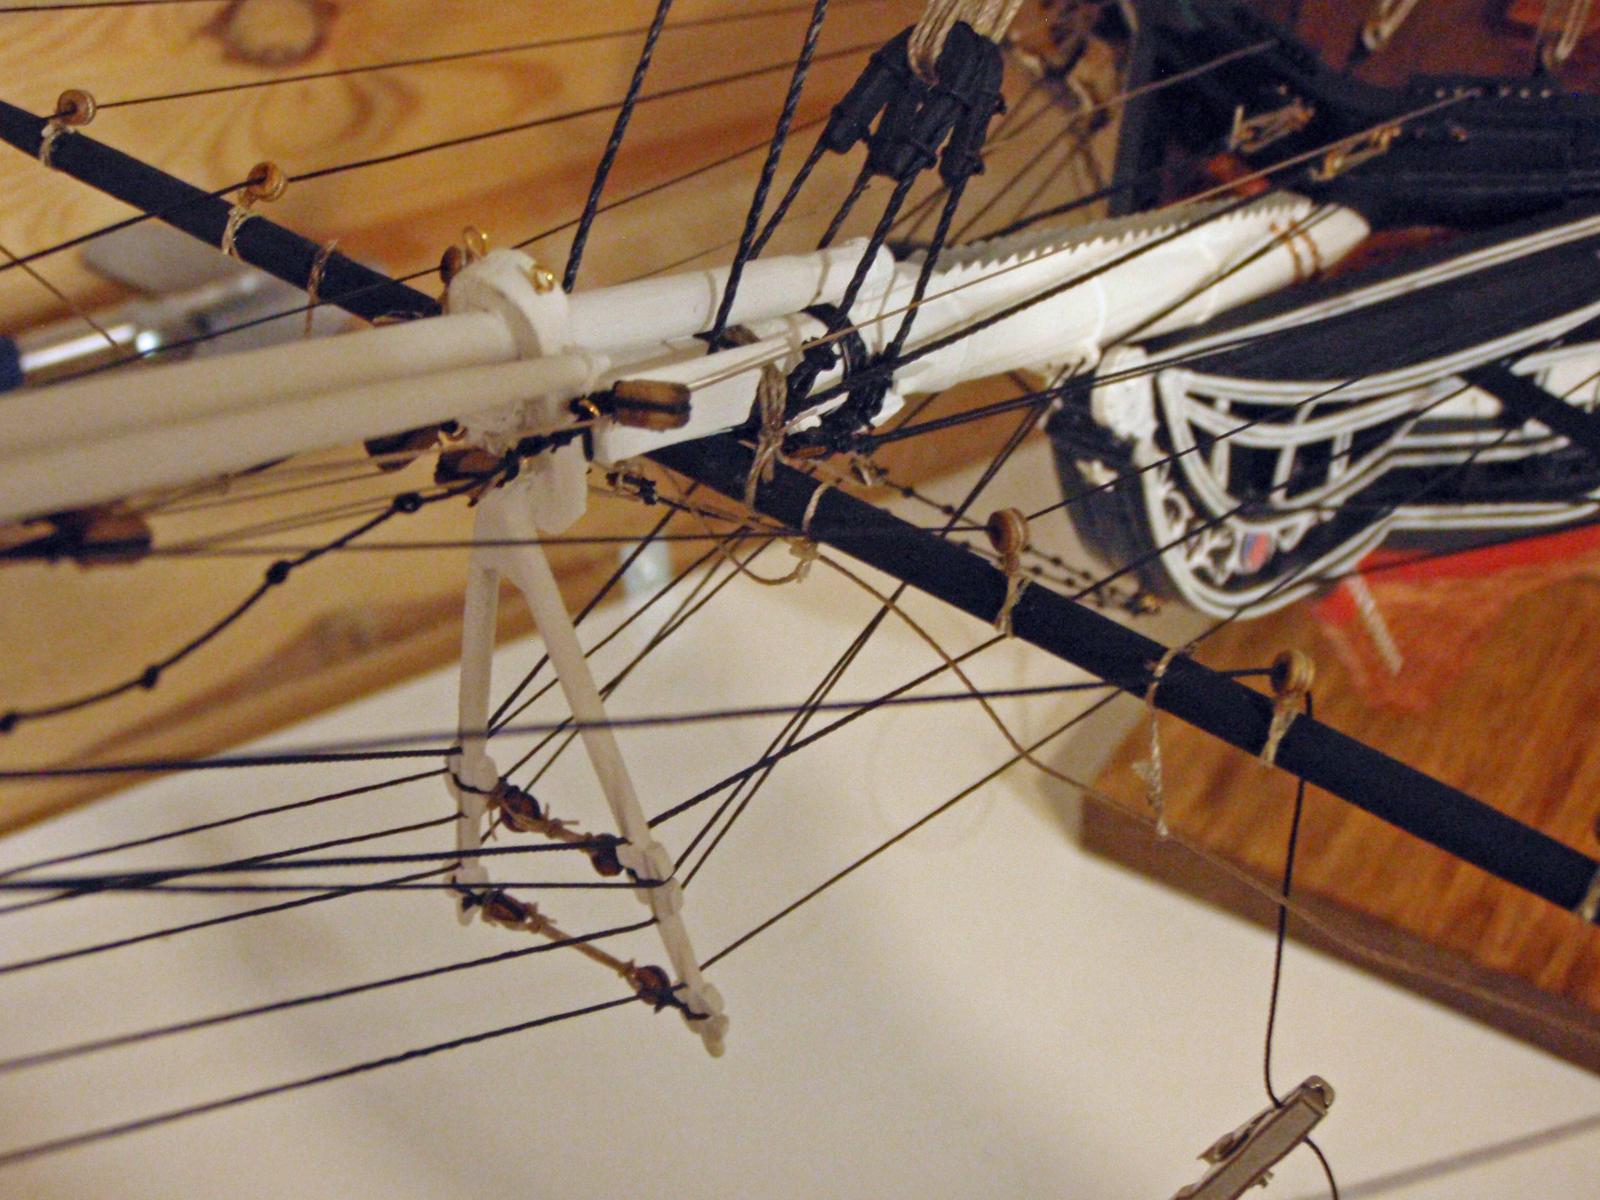
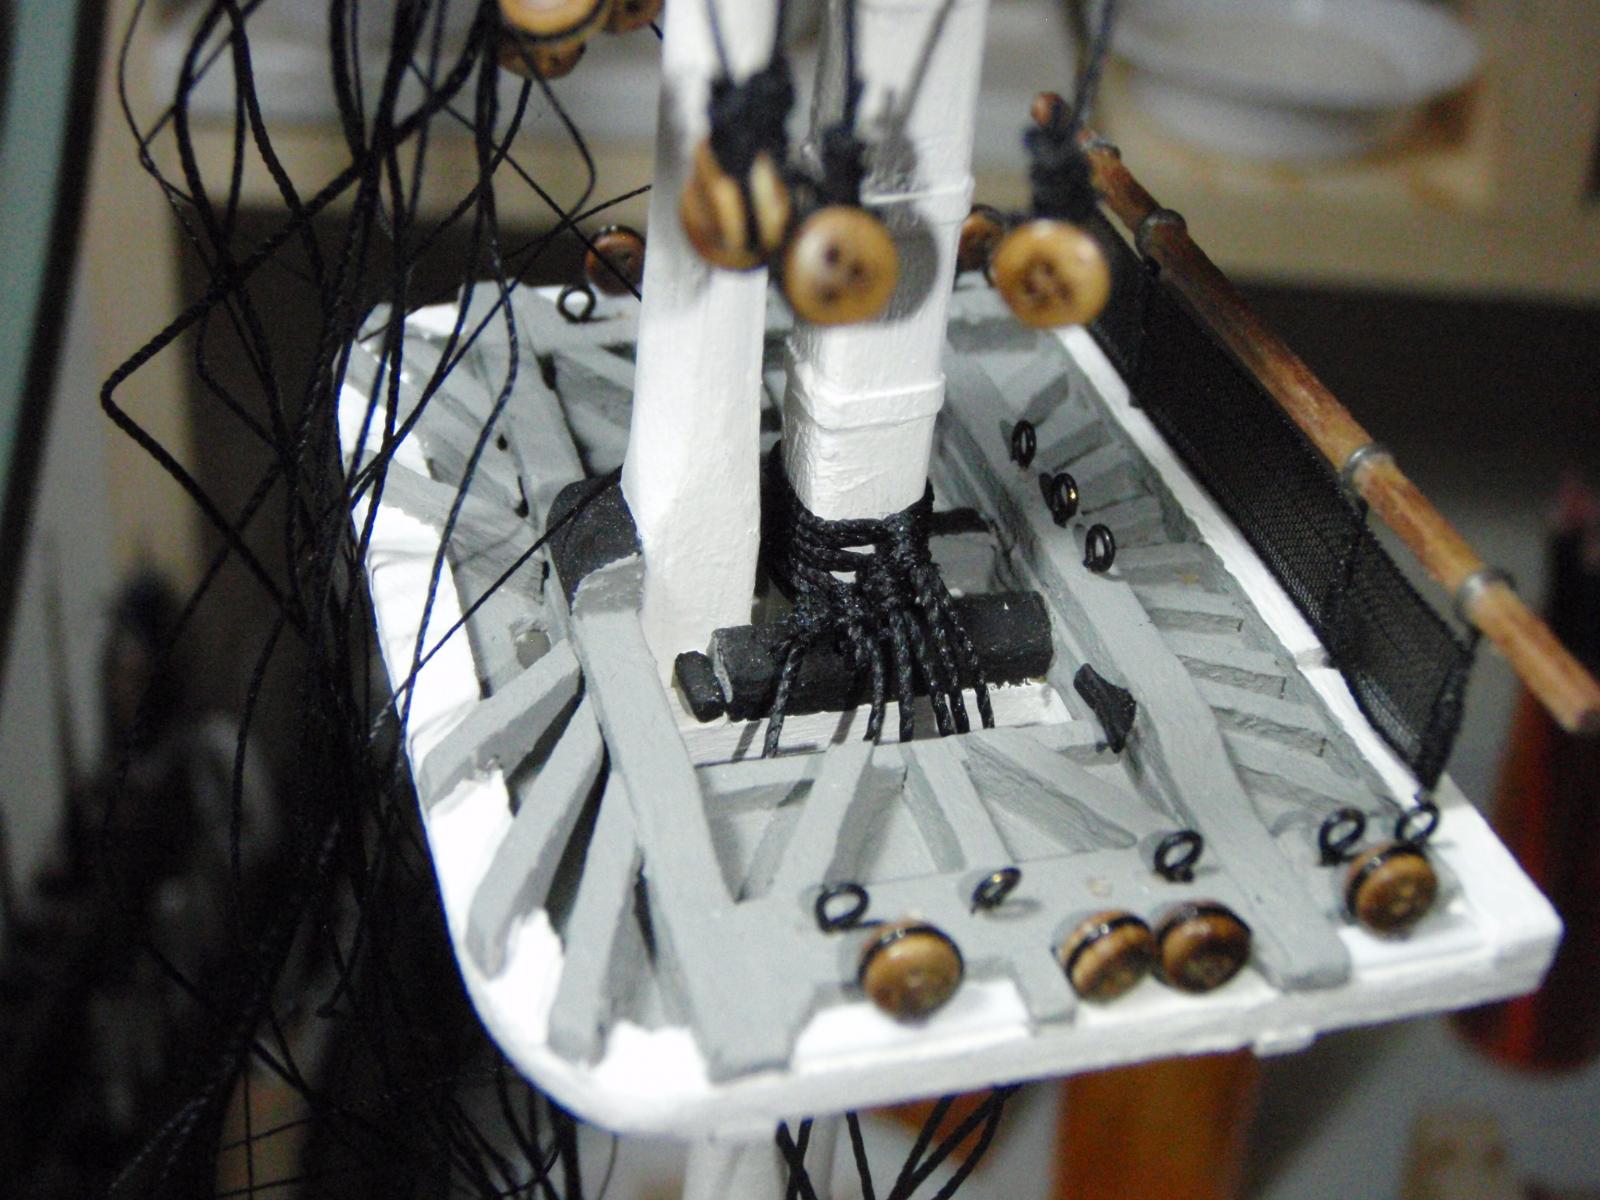
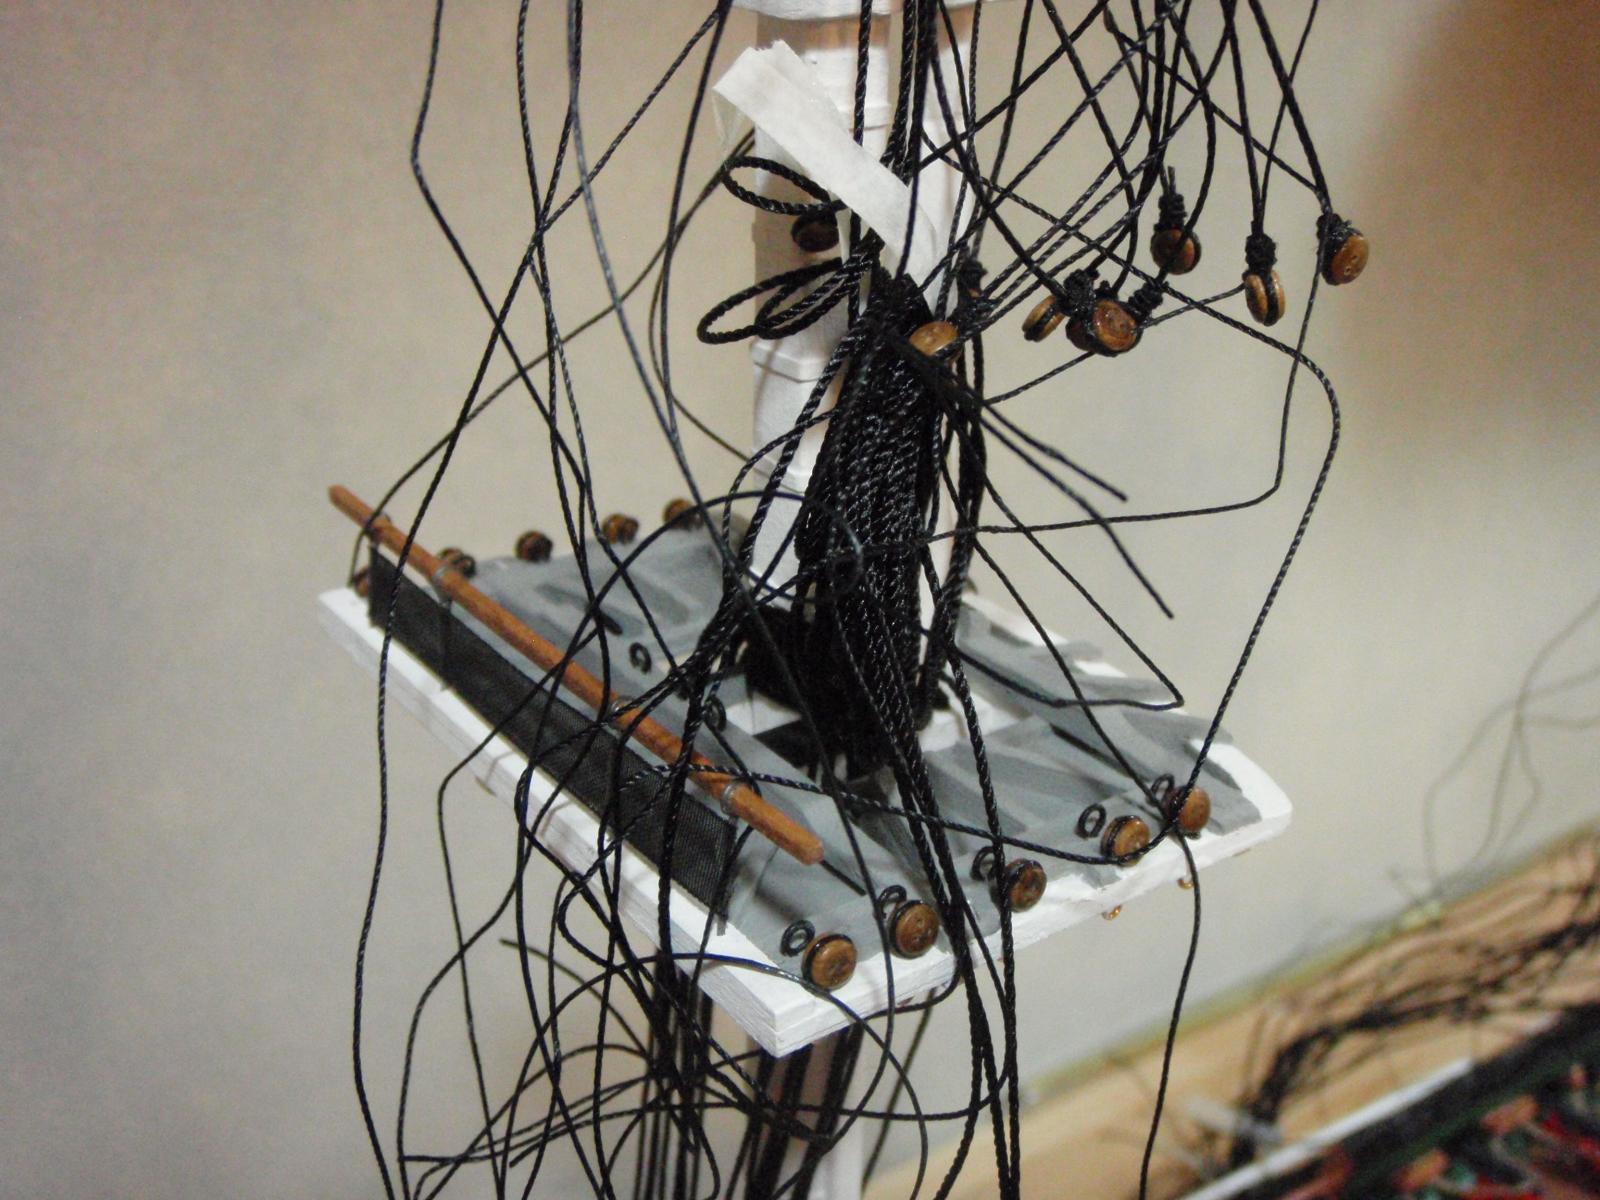
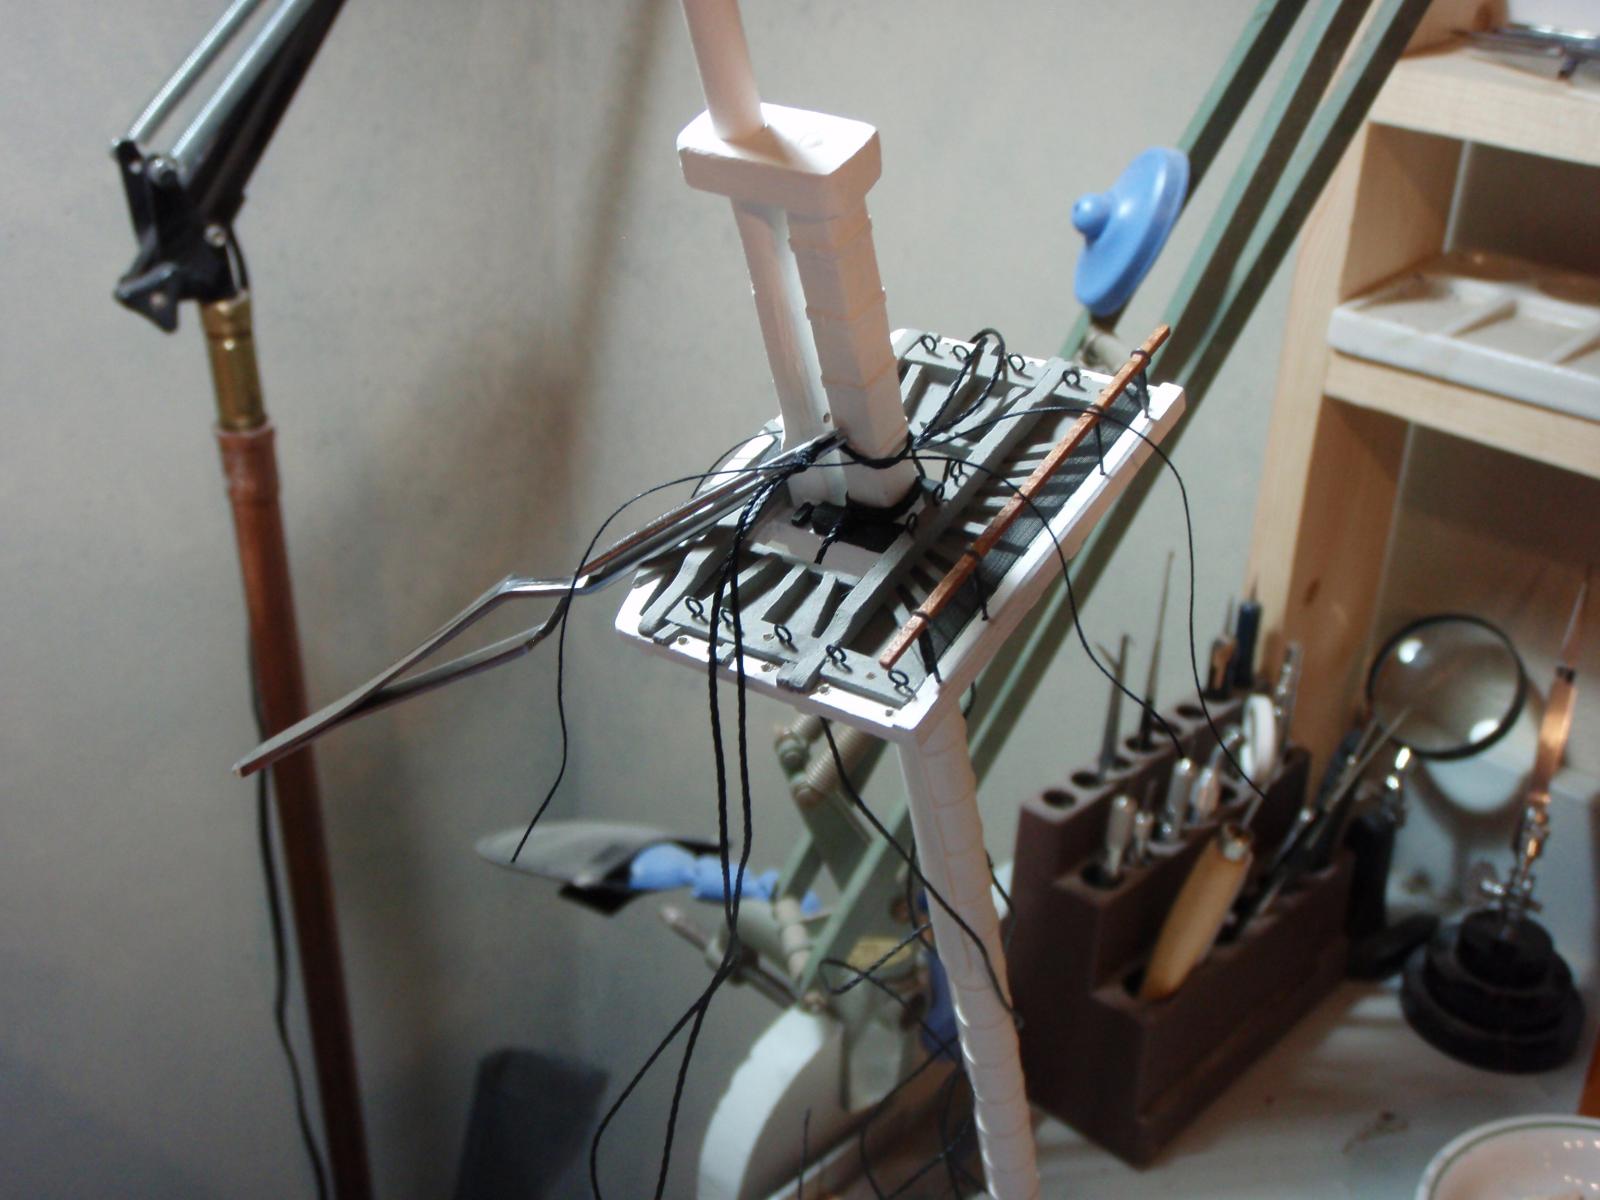
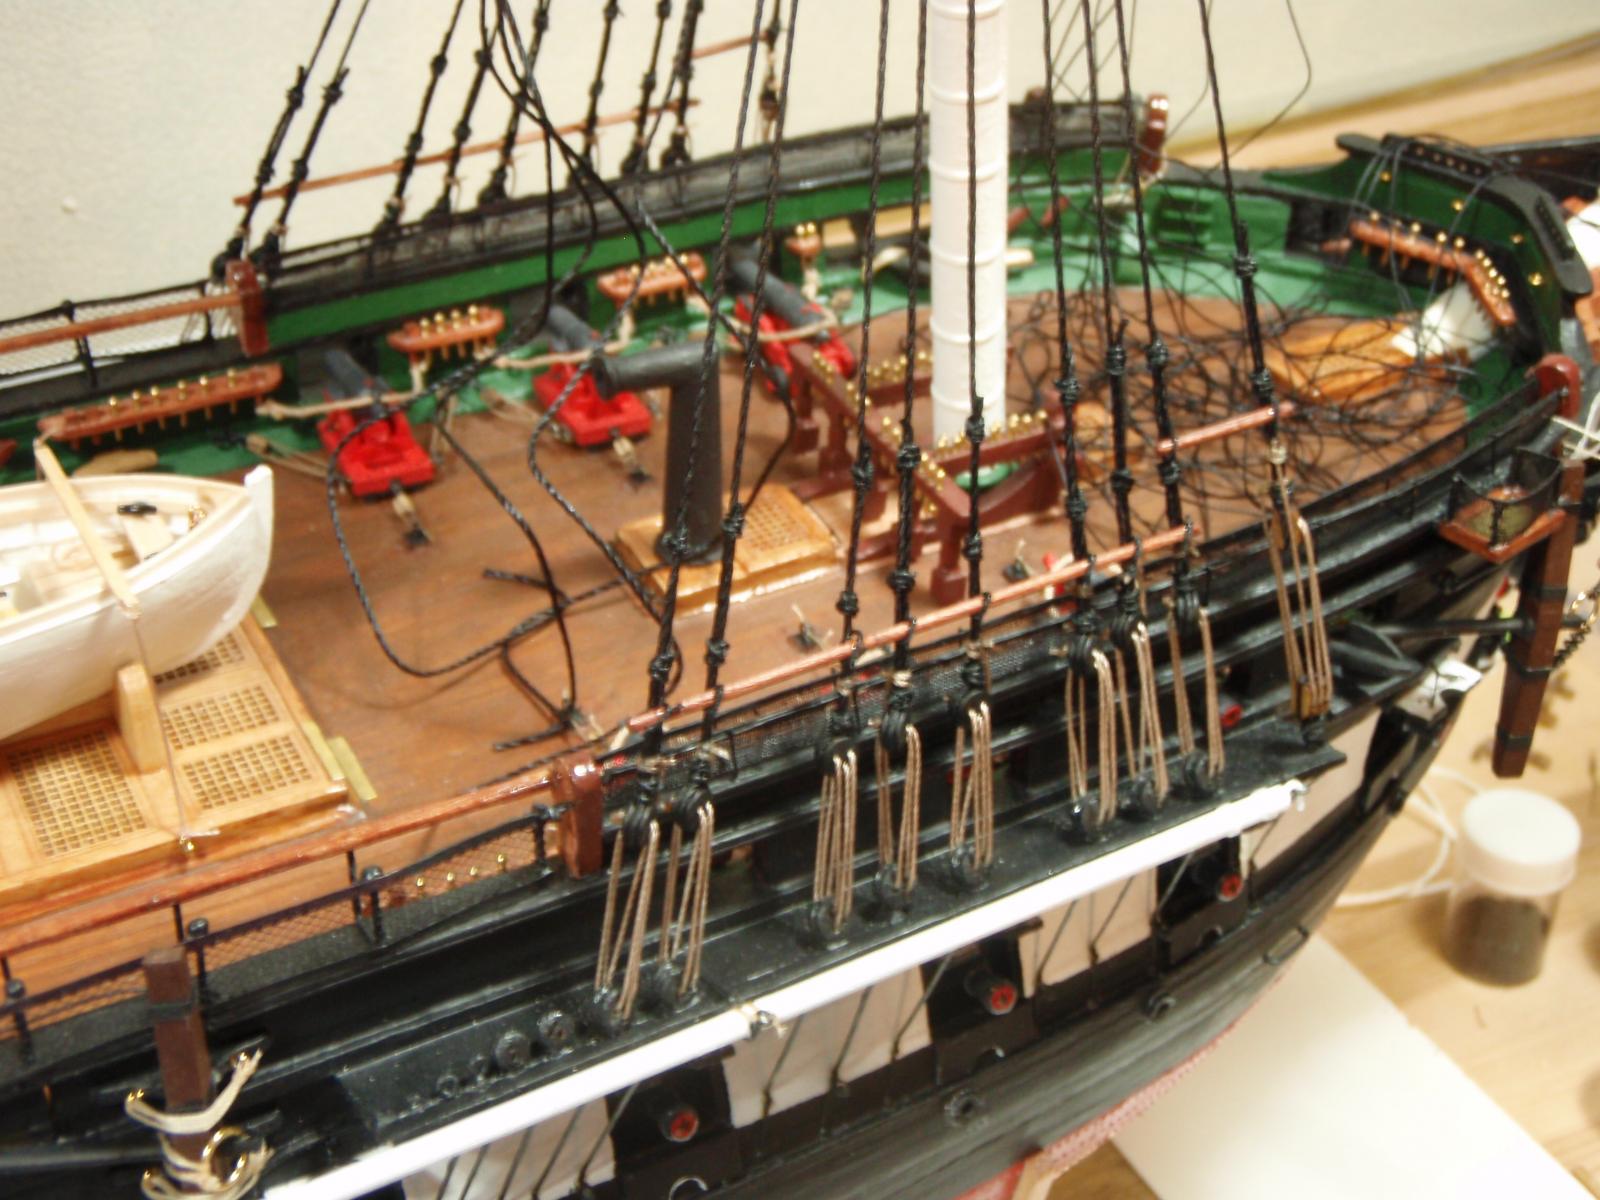
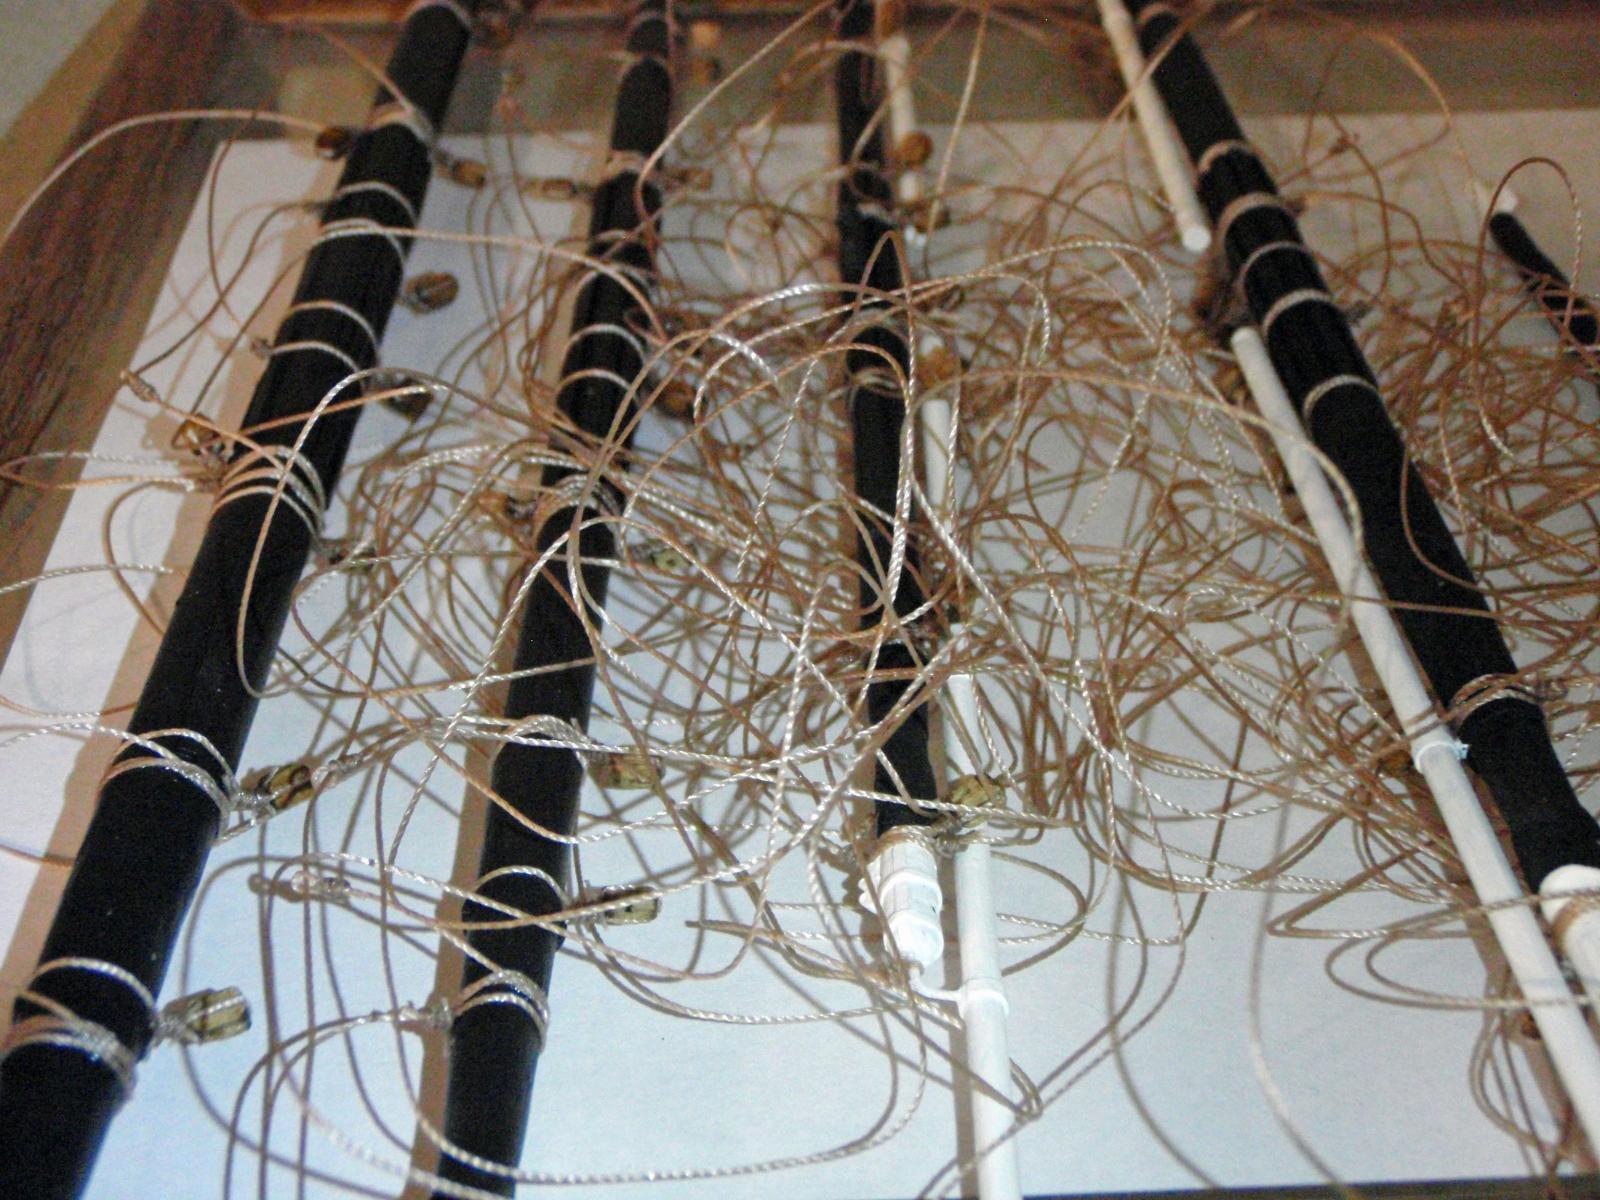
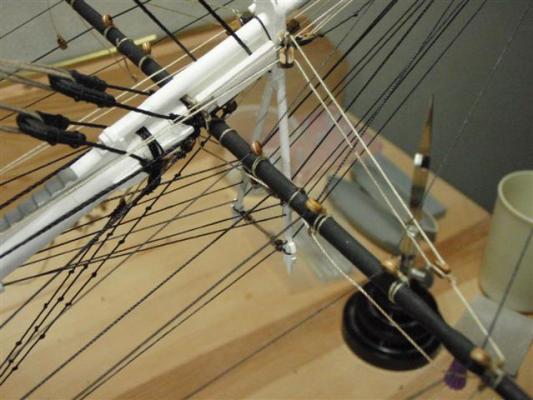
Bob...my apologies for the delay...I have two straight rows of copper at the waterline...since that is last to apply they cover the ends of the rows that are curved into the waterline rows...then of course the red strip is painted on...does this answer the question? Also, I am making progress...it just doesn't seem like I am making progress...lots of ratlines to work...and they are a challenge to keep straight and aligned...get one row good and the next or the next after that messes things up... Some photos...I have cheated a bit and worked some running rigging in between work on ratlines... Jim D Some ratlines in progress... Spritsail yard running rigging...

-
Ferit reacted to a post in a topic:
USS Constitution by Jim D - Model Shipways
-
Ferit reacted to a post in a topic:
USS Constitution by Jim D - Model Shipways
-
Still doing ratlines...not posting photos since a ratline is a ratline is a ratline... Later! Jim D
-
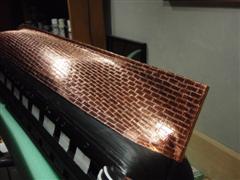
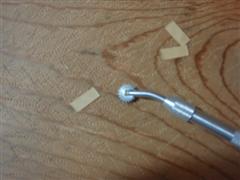
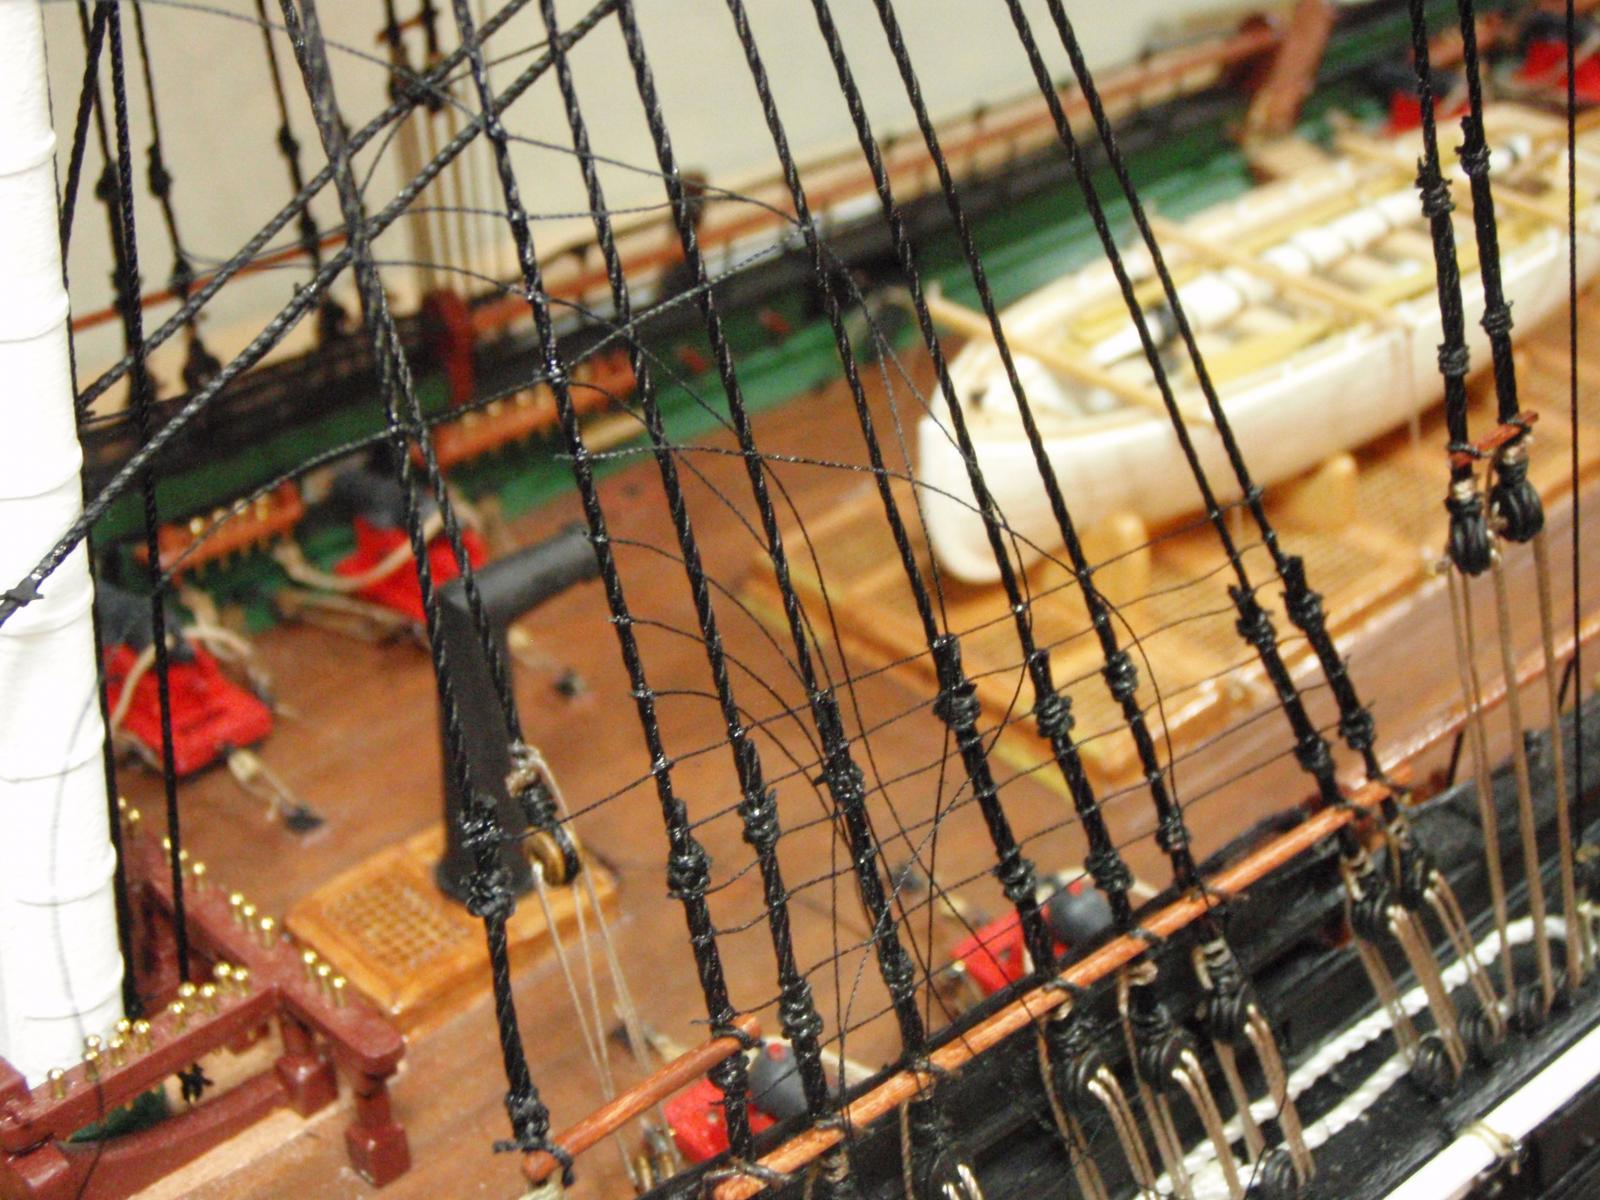
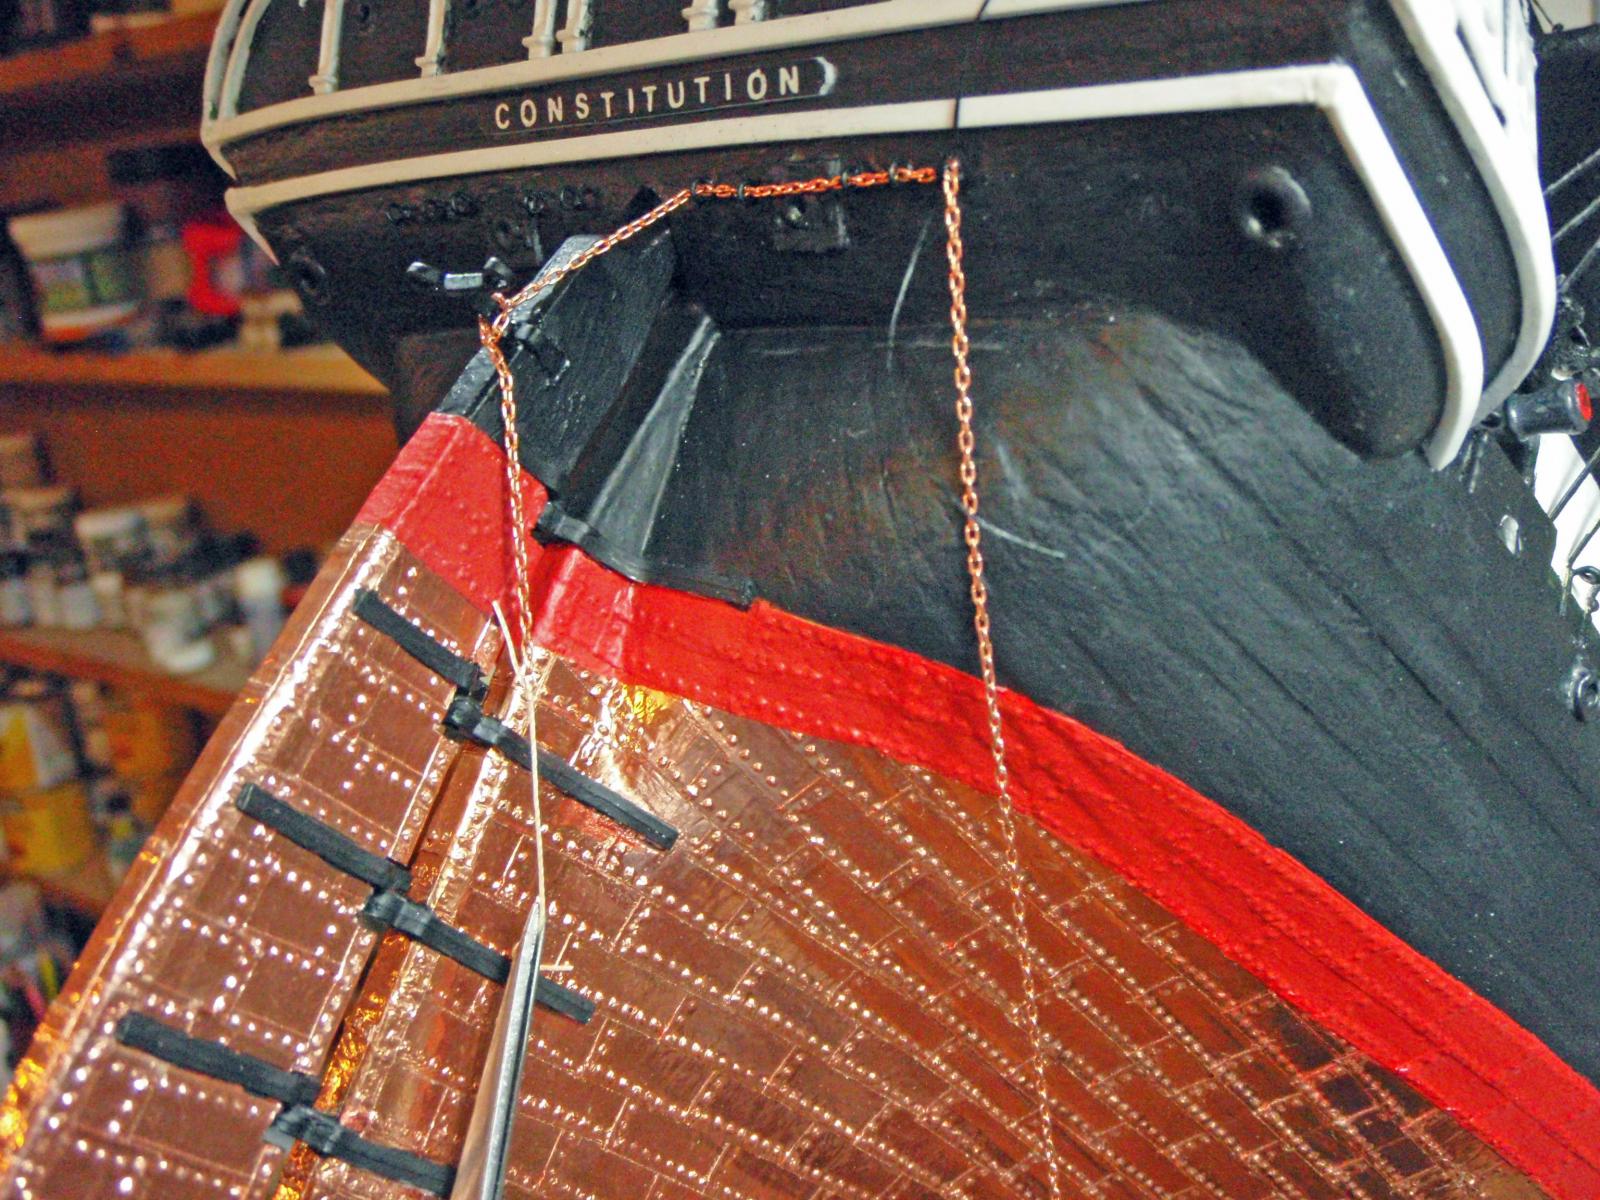
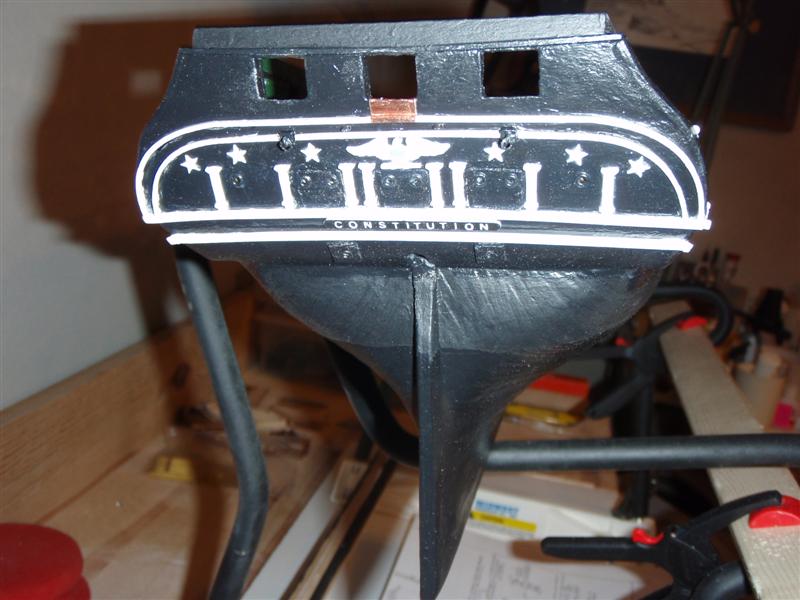
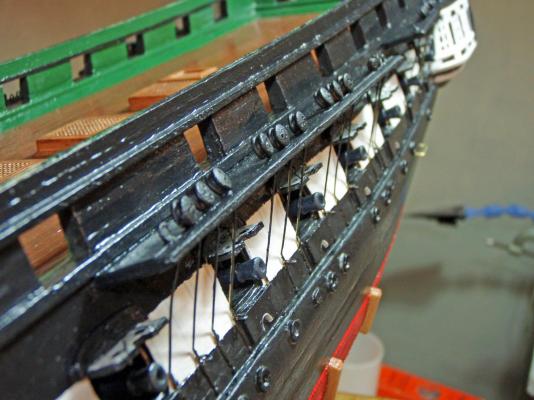
Thanks Jay! Yes...rigging can be confusing...I have already miss-placed a stay here and there...belayed a few in the wrong places...had to re-do a few...or overlooked one that should have been pre-rigged! Ugh! Thankfully all get into place eventually...and the jury rigs don't show!! Bob, copper plating is a study in patience...humility...preparation....and a focus on one plate at a time. Hull preparation is an important first step...you neeed a surface the copper will "stick" to and not lift off...I prepared the hull with a full coat of primer, black paint, and a sealing coat of flat polycrylic so the copper plates had a smooth clean surface to adhere to...no dust...no dirt...no finger prints. I used the copper tape and sliced the "plates" to length with an inexpensive paper cutter...then worked each plate one at a time...first I used a ponce wheel to simulate the rivets...scribe the rivets on the "paper" side and only on two sides depending on how you are laying on the plates...when you apply the plates you will overlap on the plate previously applied which will provide the continuity of the rivets..."flick" the paper backing off (this is not always as easy as it sounds...it is way too easy to bend up the plate just trying to get the paper backing off)...I used the tip of a #11 exacto to do this...and carefully apply the plate...pressing it gently but firmly in place...repeat....repeat...repeat. There is no short cut for the hull to look good... Hope this helps... Jim D
-
jimdaniels reacted to a post in a topic:
USS Constitution by Jim D - Model Shipways
-
jimdaniels reacted to a post in a topic:
USS Constitution by Jim D - Model Shipways
-
jimdaniels reacted to a post in a topic:
USS Constitution by Jim D - Model Shipways
-
Thanks! The camera I am using right now is an Olympus Stylus 270 (7 mg pixels) point-and-shoot...it does have a macro option for close-ups which I use...but I also use regular focus as well... Jim D
-
jimdaniels reacted to a post in a topic:
USS Constitution by Jim D - Model Shipways
-
CaptainSteve reacted to a post in a topic:
USS Constitution by Jim D - Model Shipways
-
All...I found some early photos and added them to previous posts via the edit process...an attempt to get them into sequence...thanks!! Jim D
-
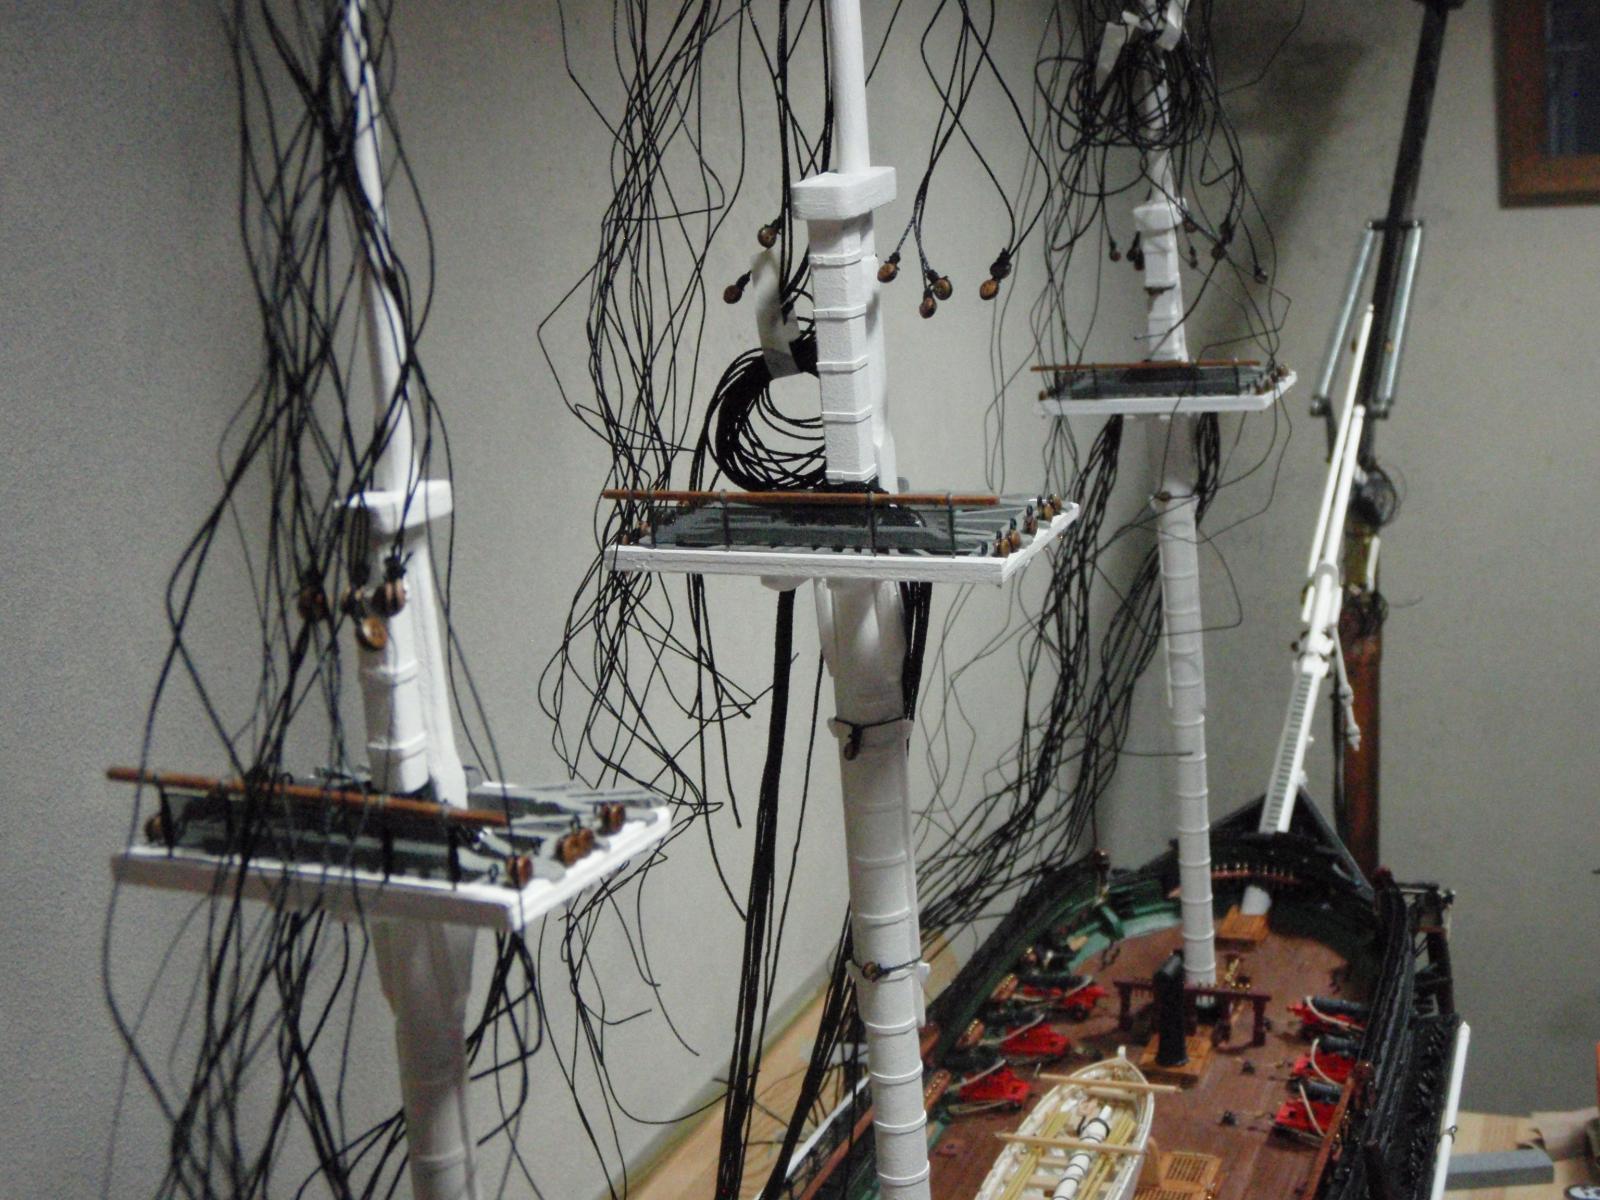
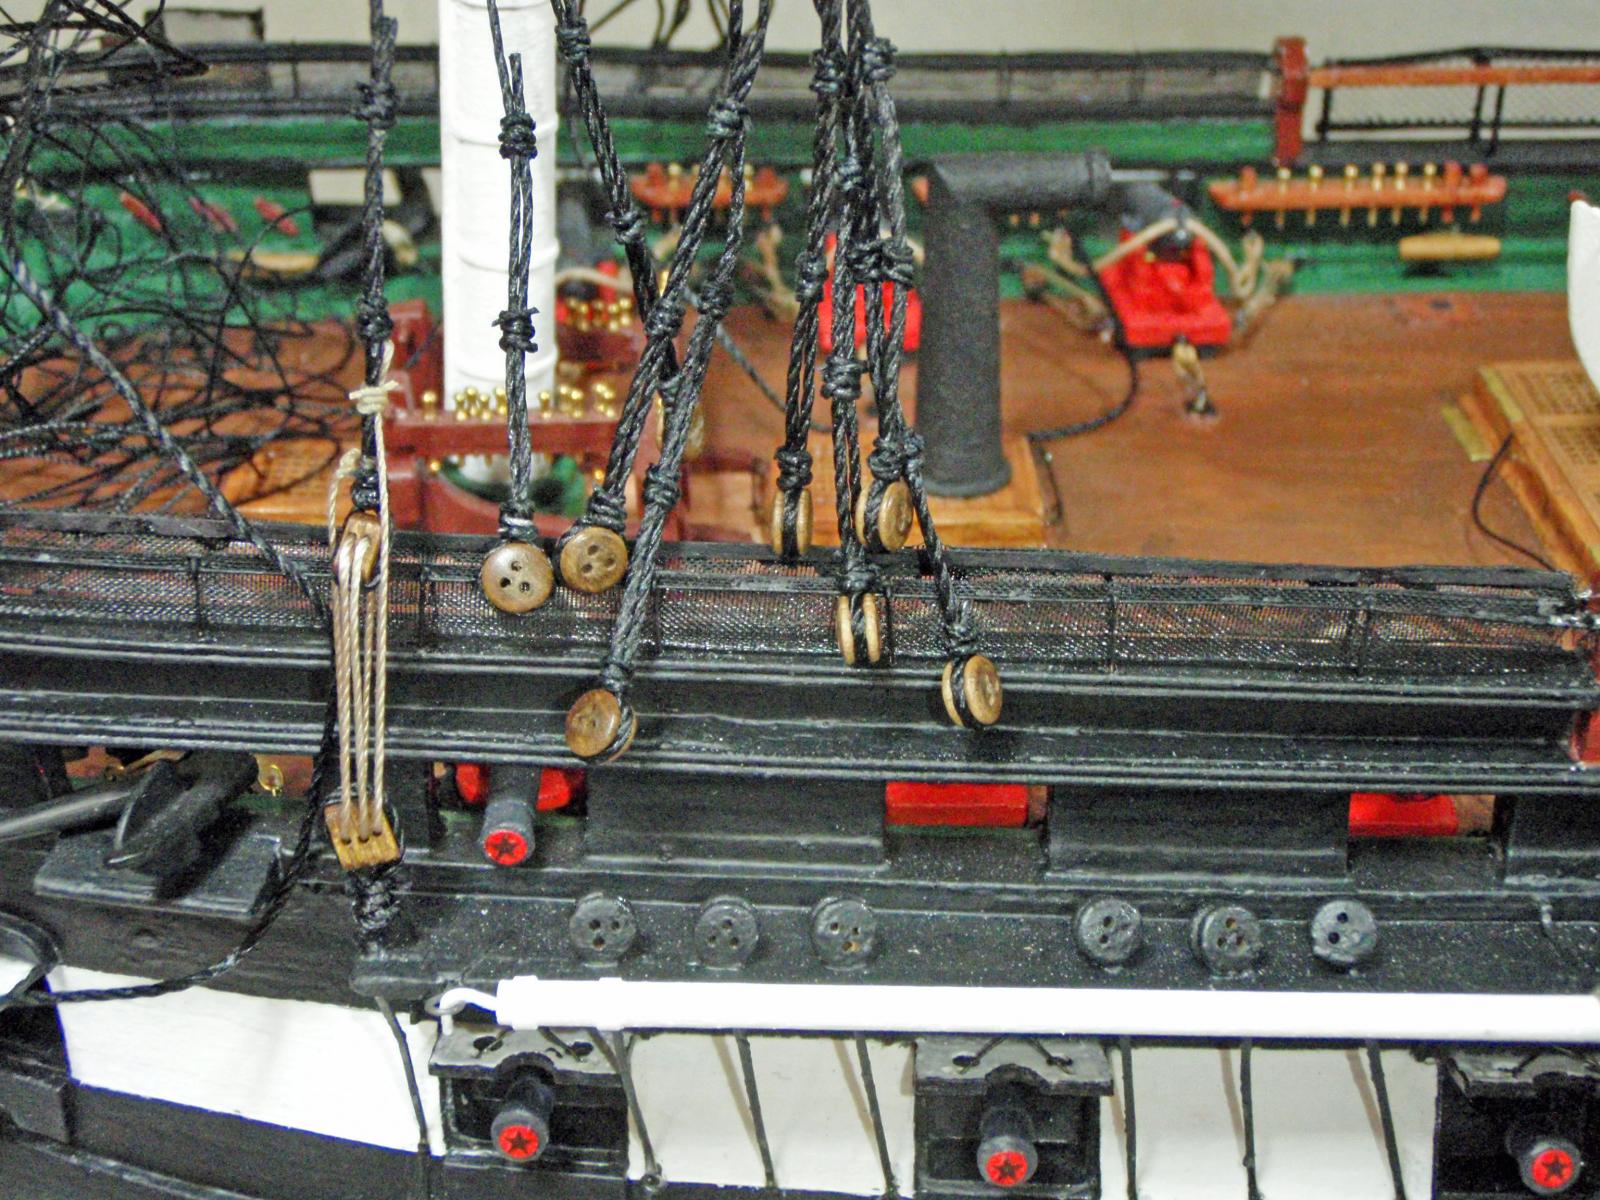
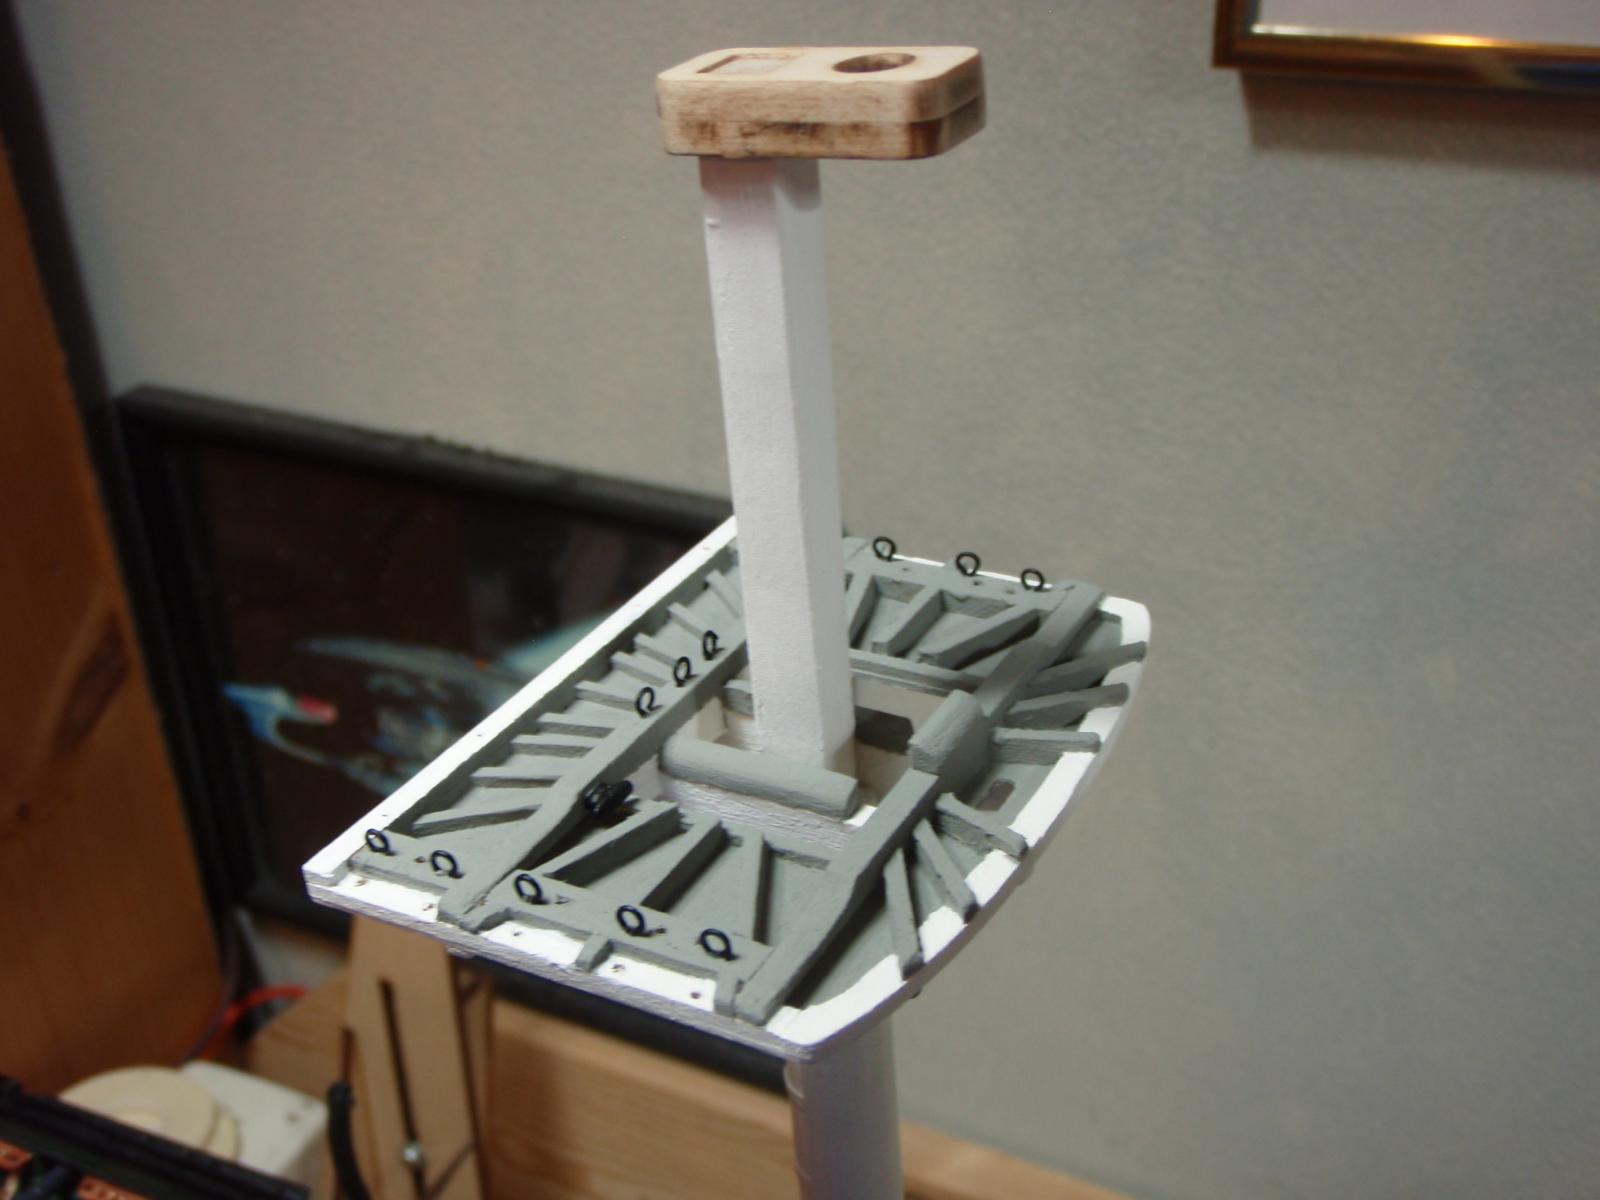
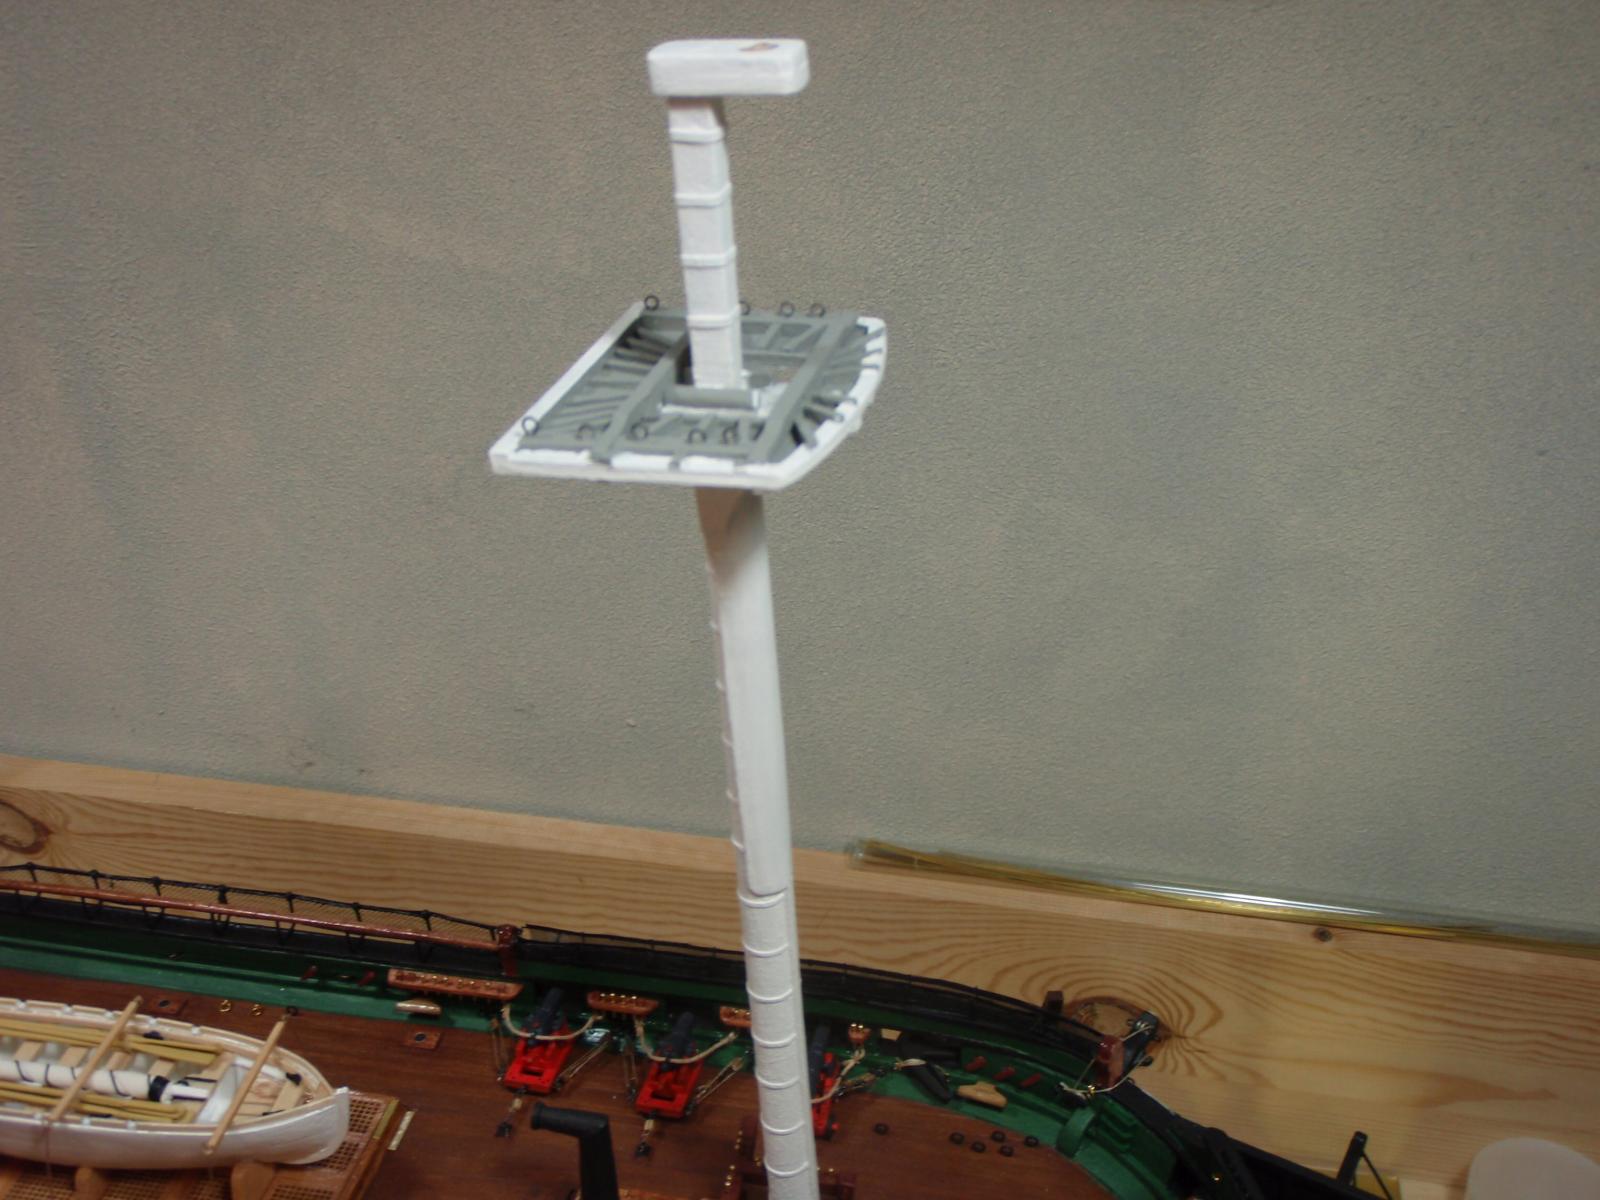
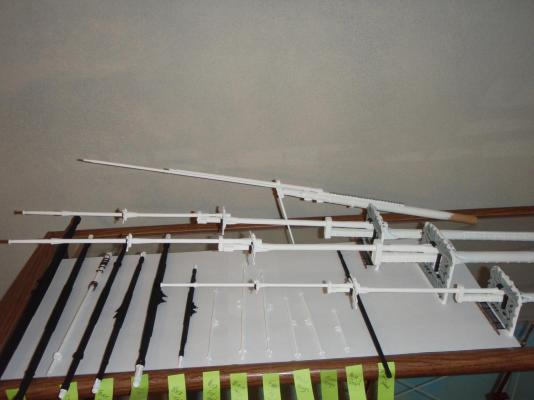
Coming along...two photos to share...one is just a wide view of where I am at now...the other is a view of a set of ratlines in progress on the Fore mast shrouds...my technique, if you can call it that, is to anchor a set of thread lines up the left shroud at the right spacing...then place a drop of CA+ to anchor them in...then I can go back and run the threads across the shrouds tying a knot at each shroud...seems to save a bit of time and the pre-set threads assure that the spacing starts out in the right place... Jim D


-
jimdaniels reacted to a post in a topic:
USS Constitution by Jim D - Model Shipways
-
Thanks all for the support! Geoff, I have watched your build for inspiration, help, and support...as well as the builds of other shipmates...and a lot of "I wish I thought of that!" hindsight! A reconstructured build log is not as detailed as if I did it as I was working the steps...I also discovered that I am actually missing 20 or so photos of early hull details such as the coppering...hmmmm... Anyway...I am, as I said, doing the ratlines...just started...so I will be able to post more details...thanks again! Jim D
-
jimdaniels reacted to a post in a topic:
USS Constitution by Jim D - Model Shipways
-
jimdaniels reacted to a post in a topic:
USS Constitution by Jim D - Model Shipways
-
jimdaniels reacted to a post in a topic:
USS Constitution by Jim D - Model Shipways
-
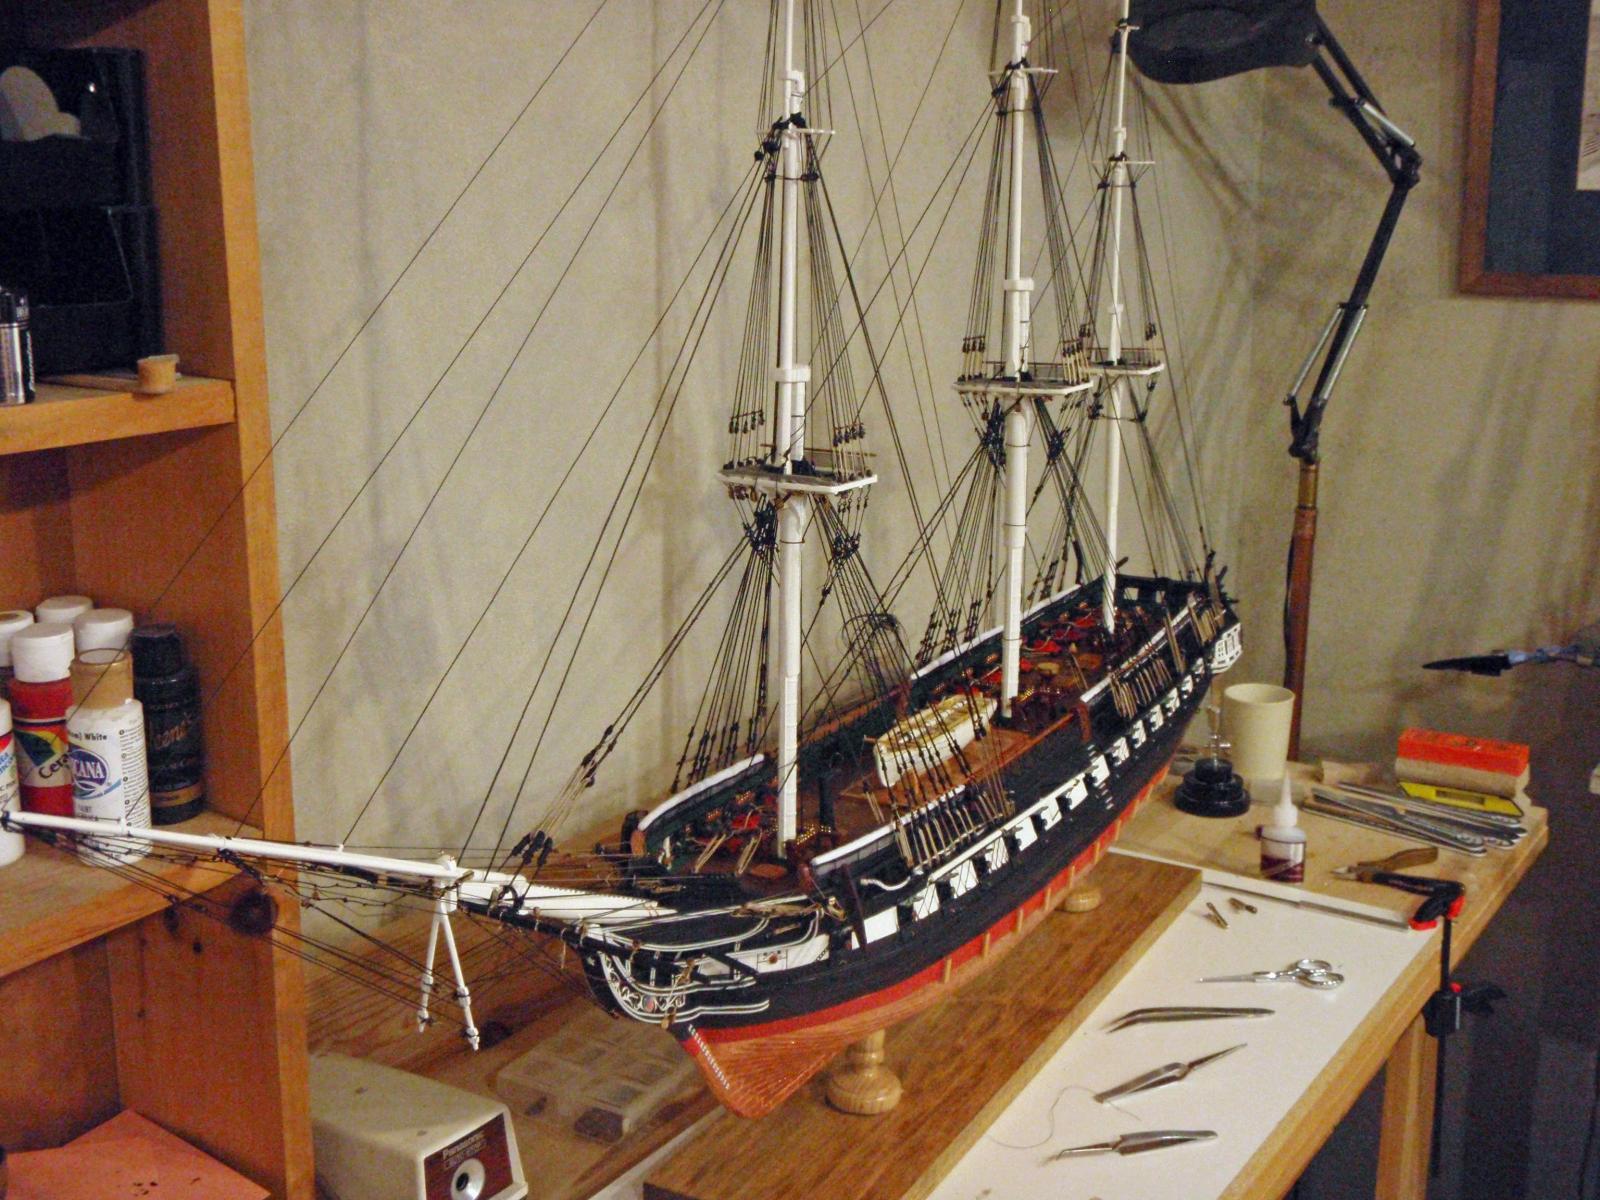
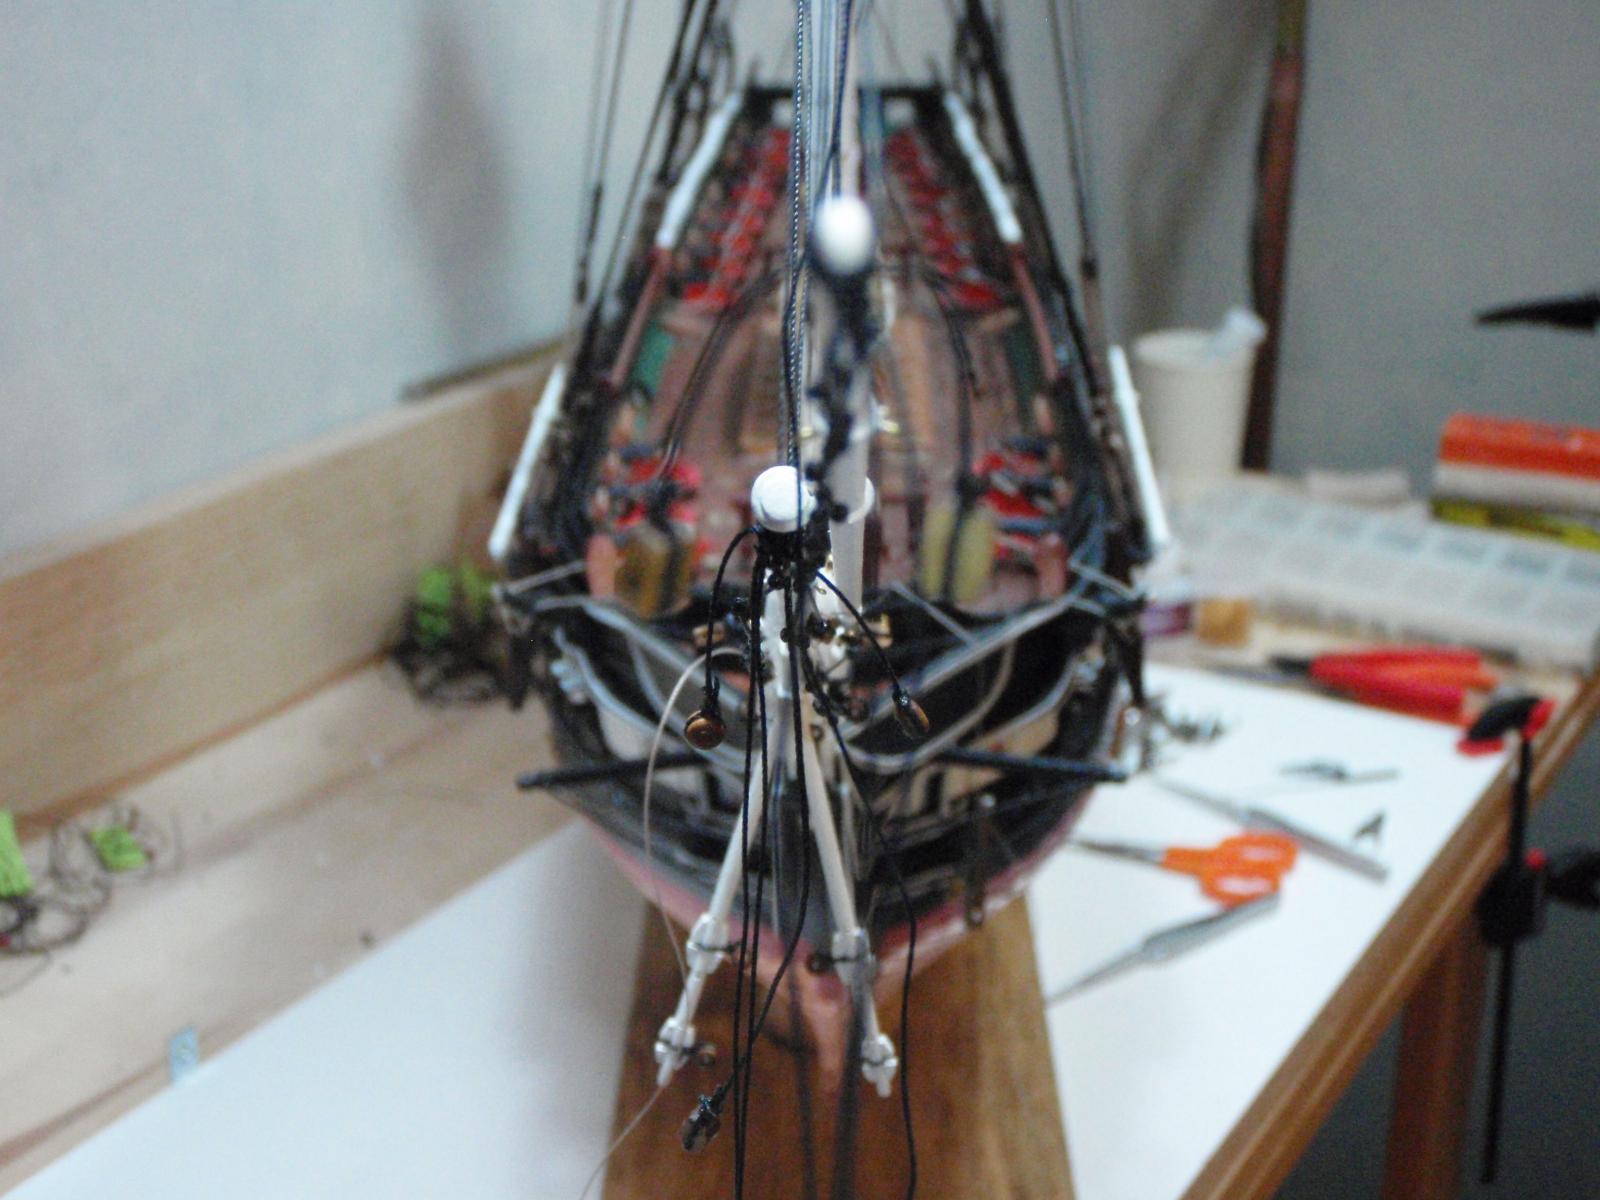
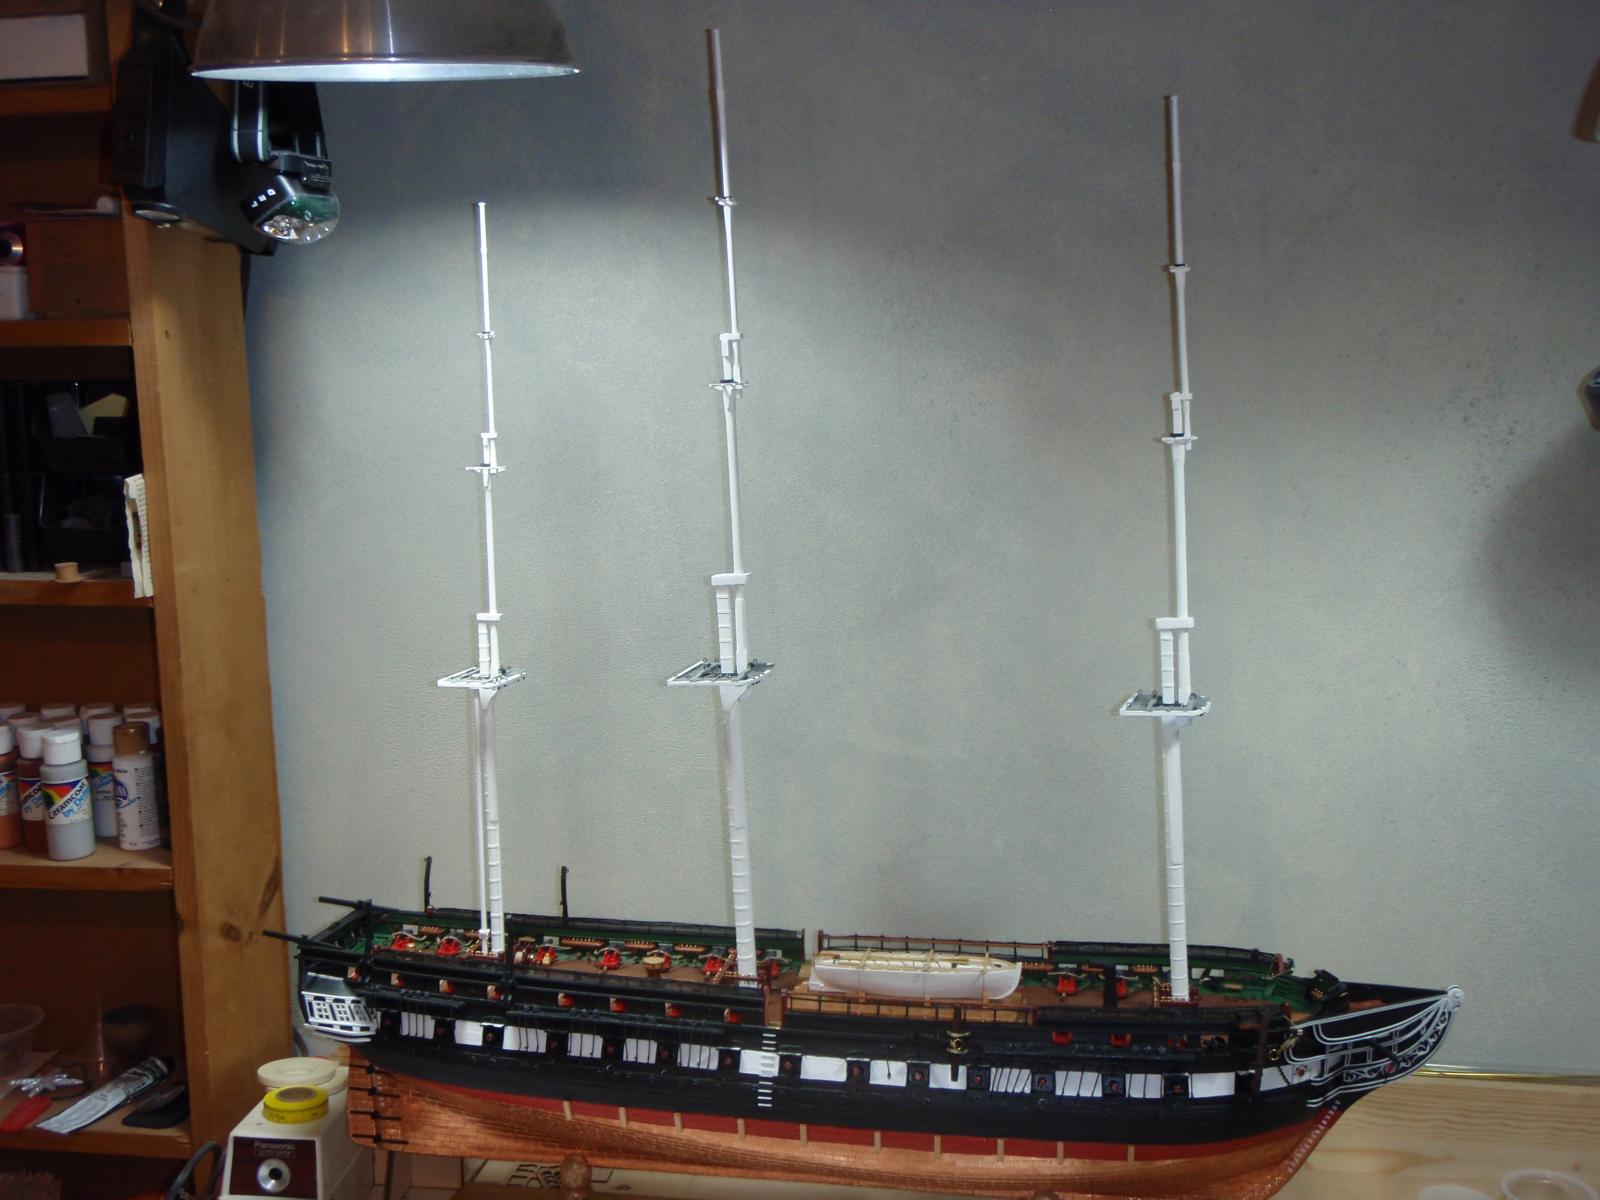
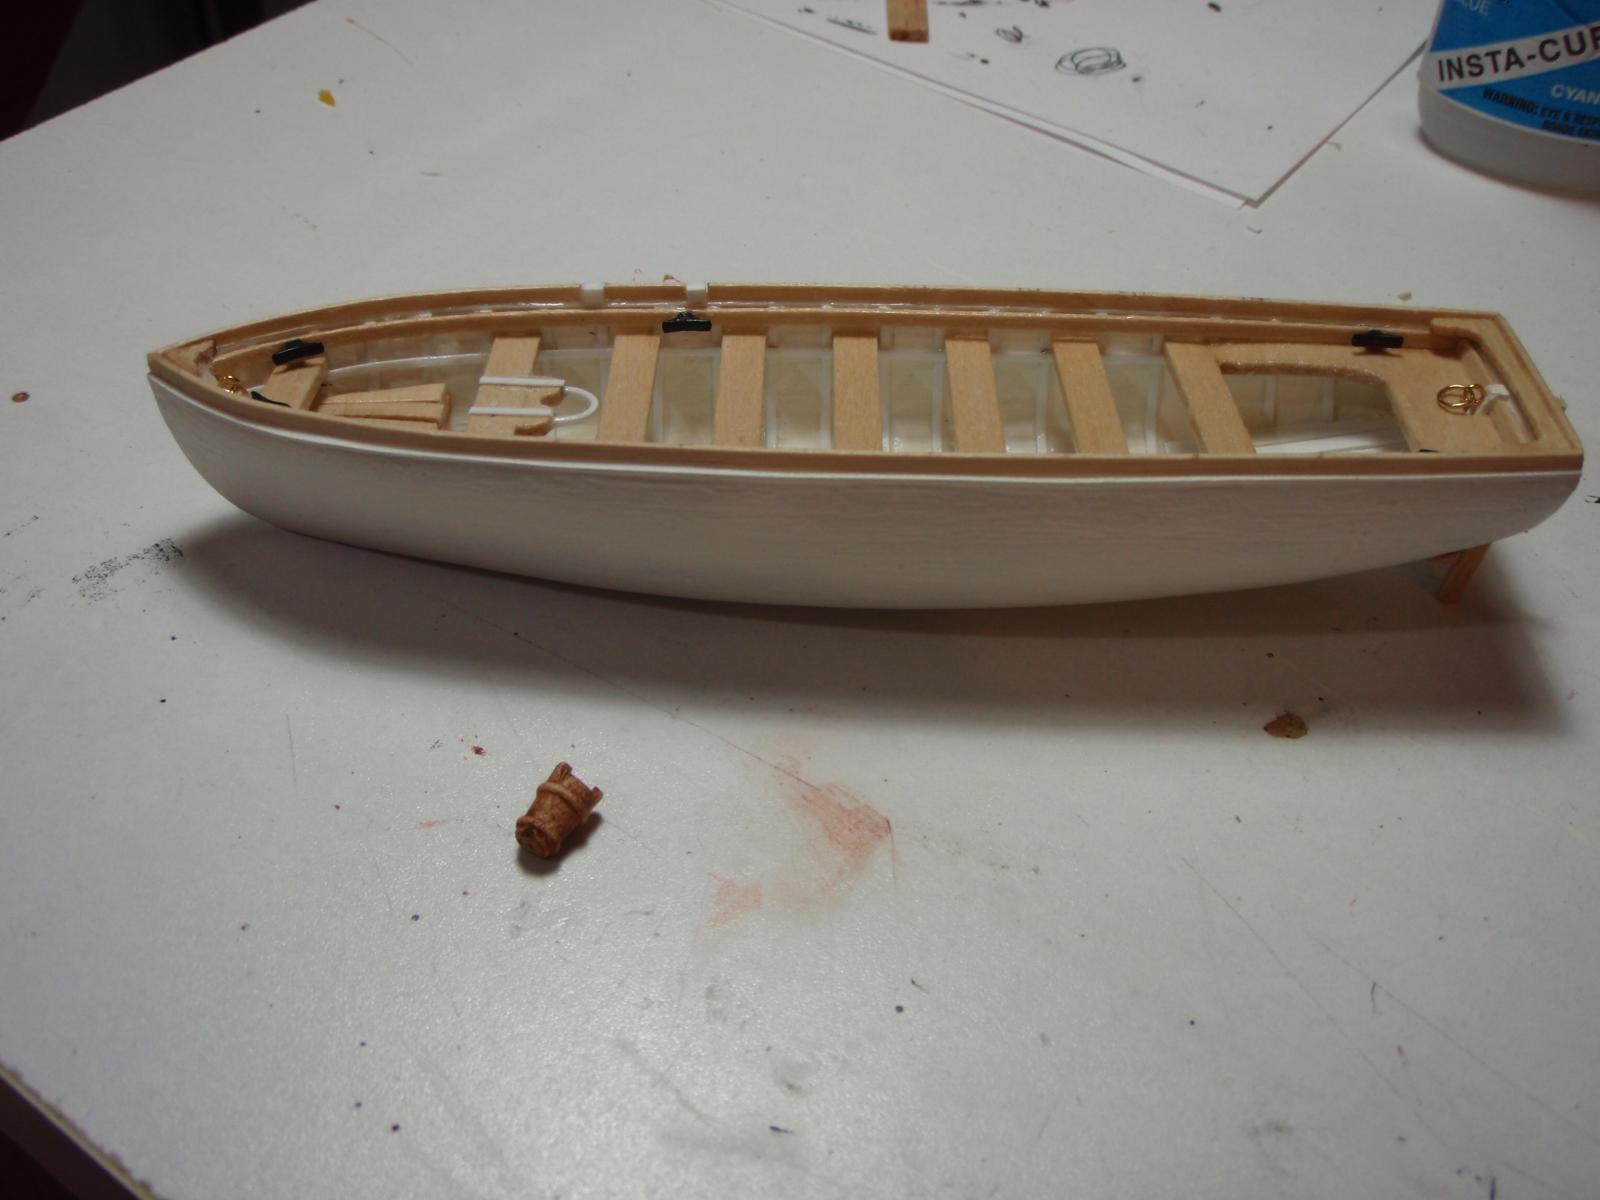
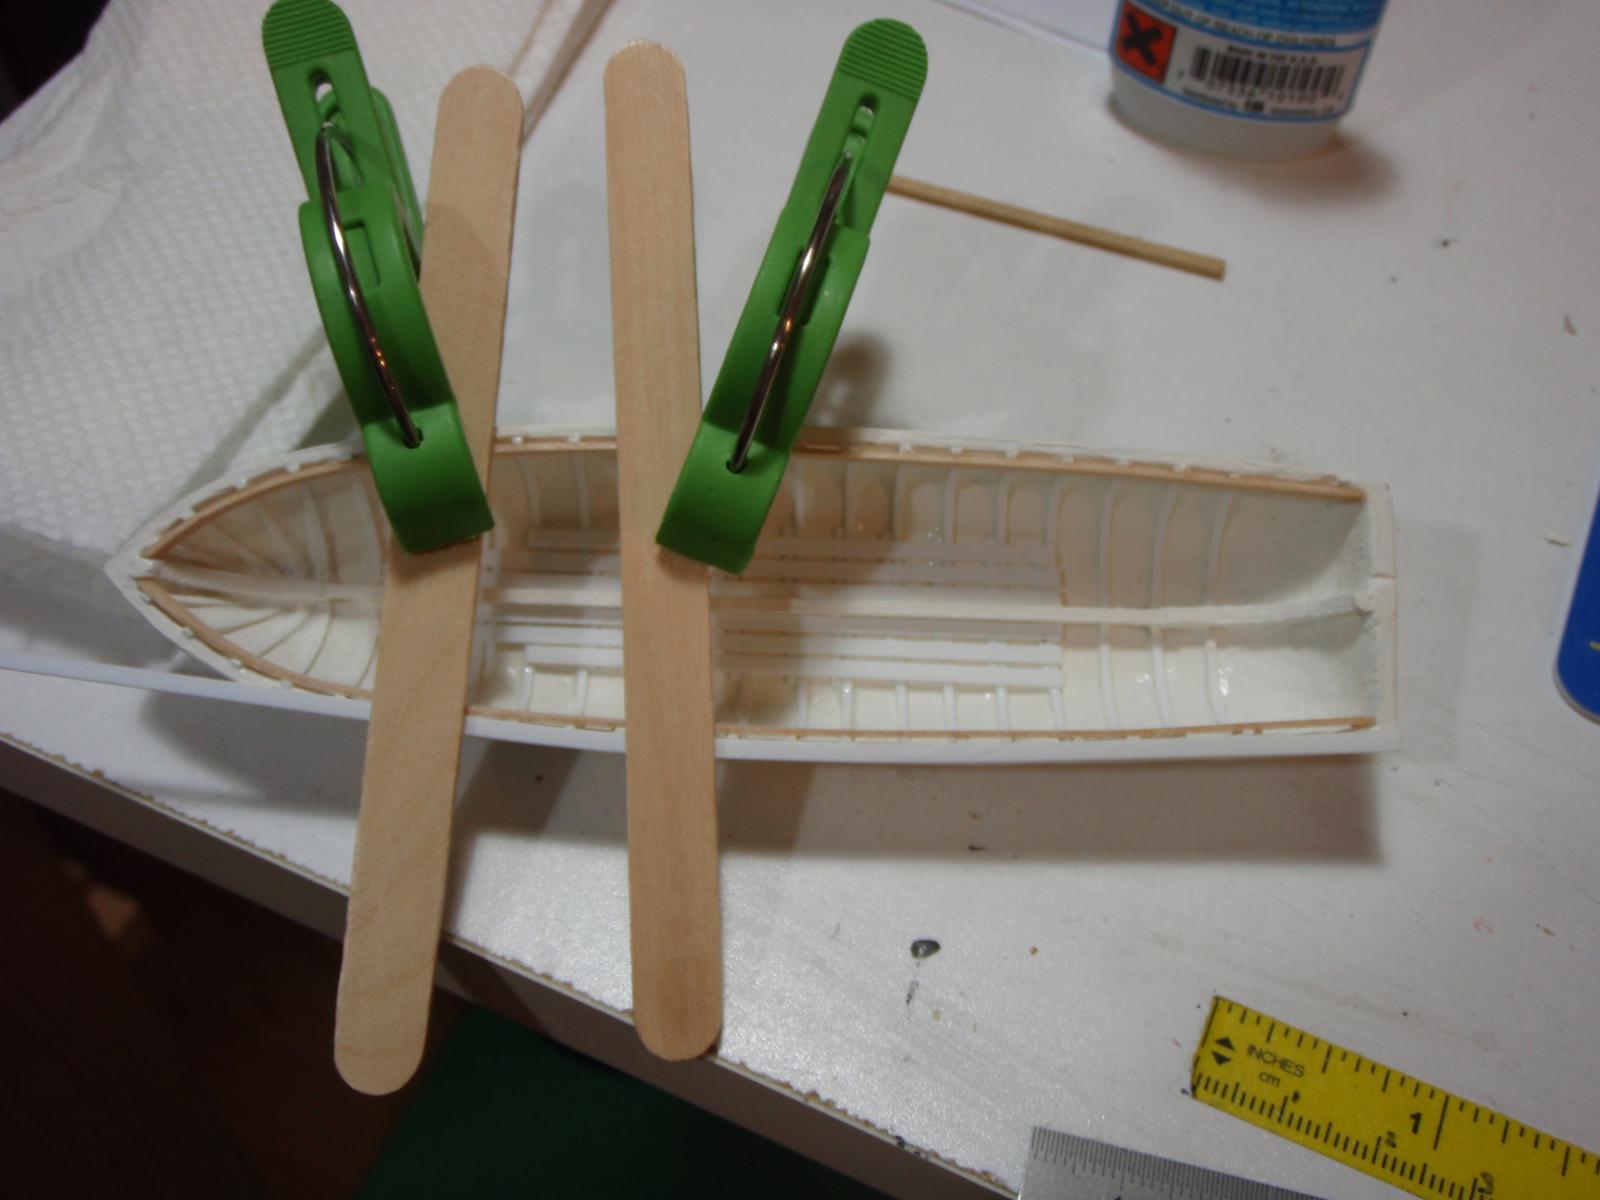
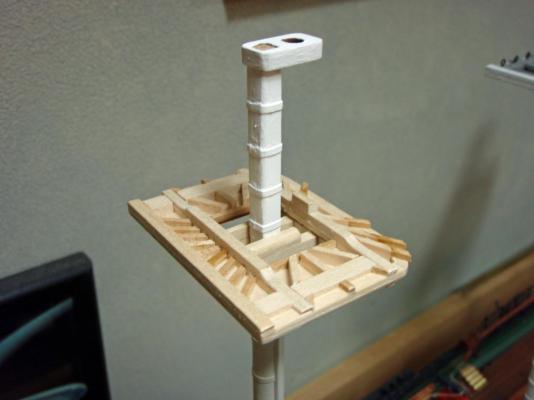
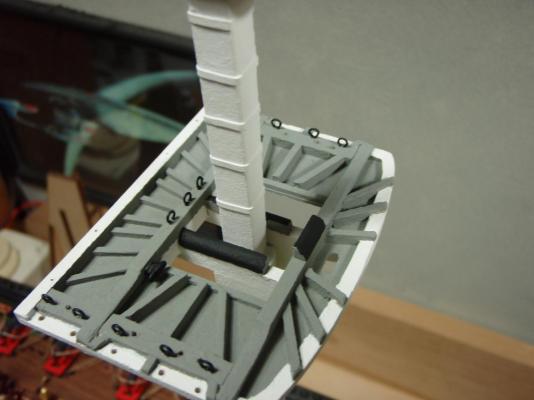
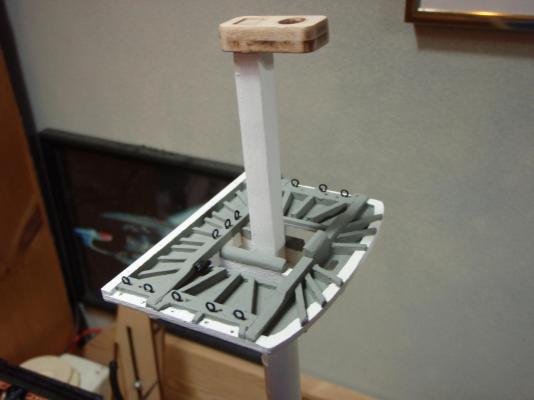
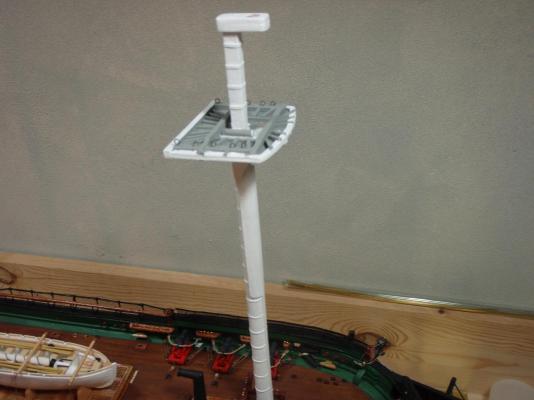
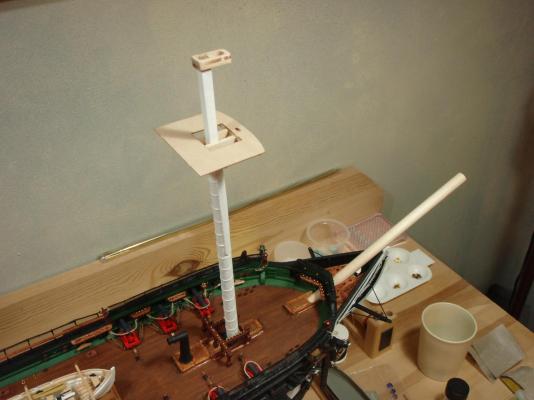
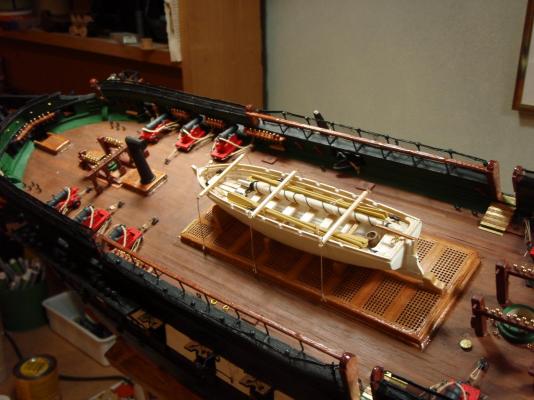
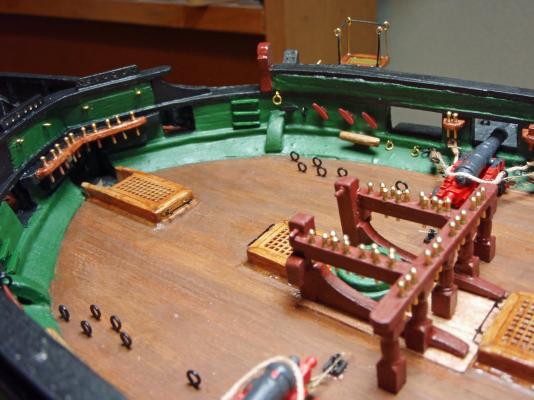
The pinnace is secured on deck... Jumping ahead...starting the masting and rigging phase...

-
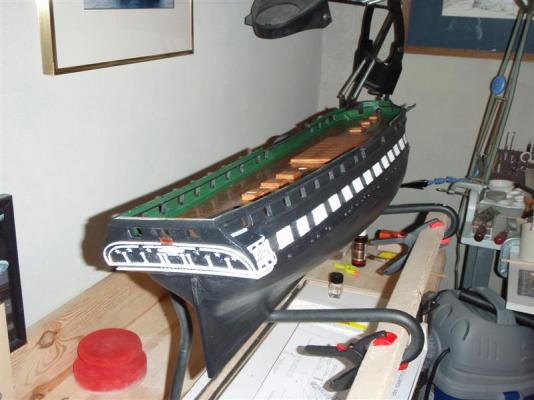
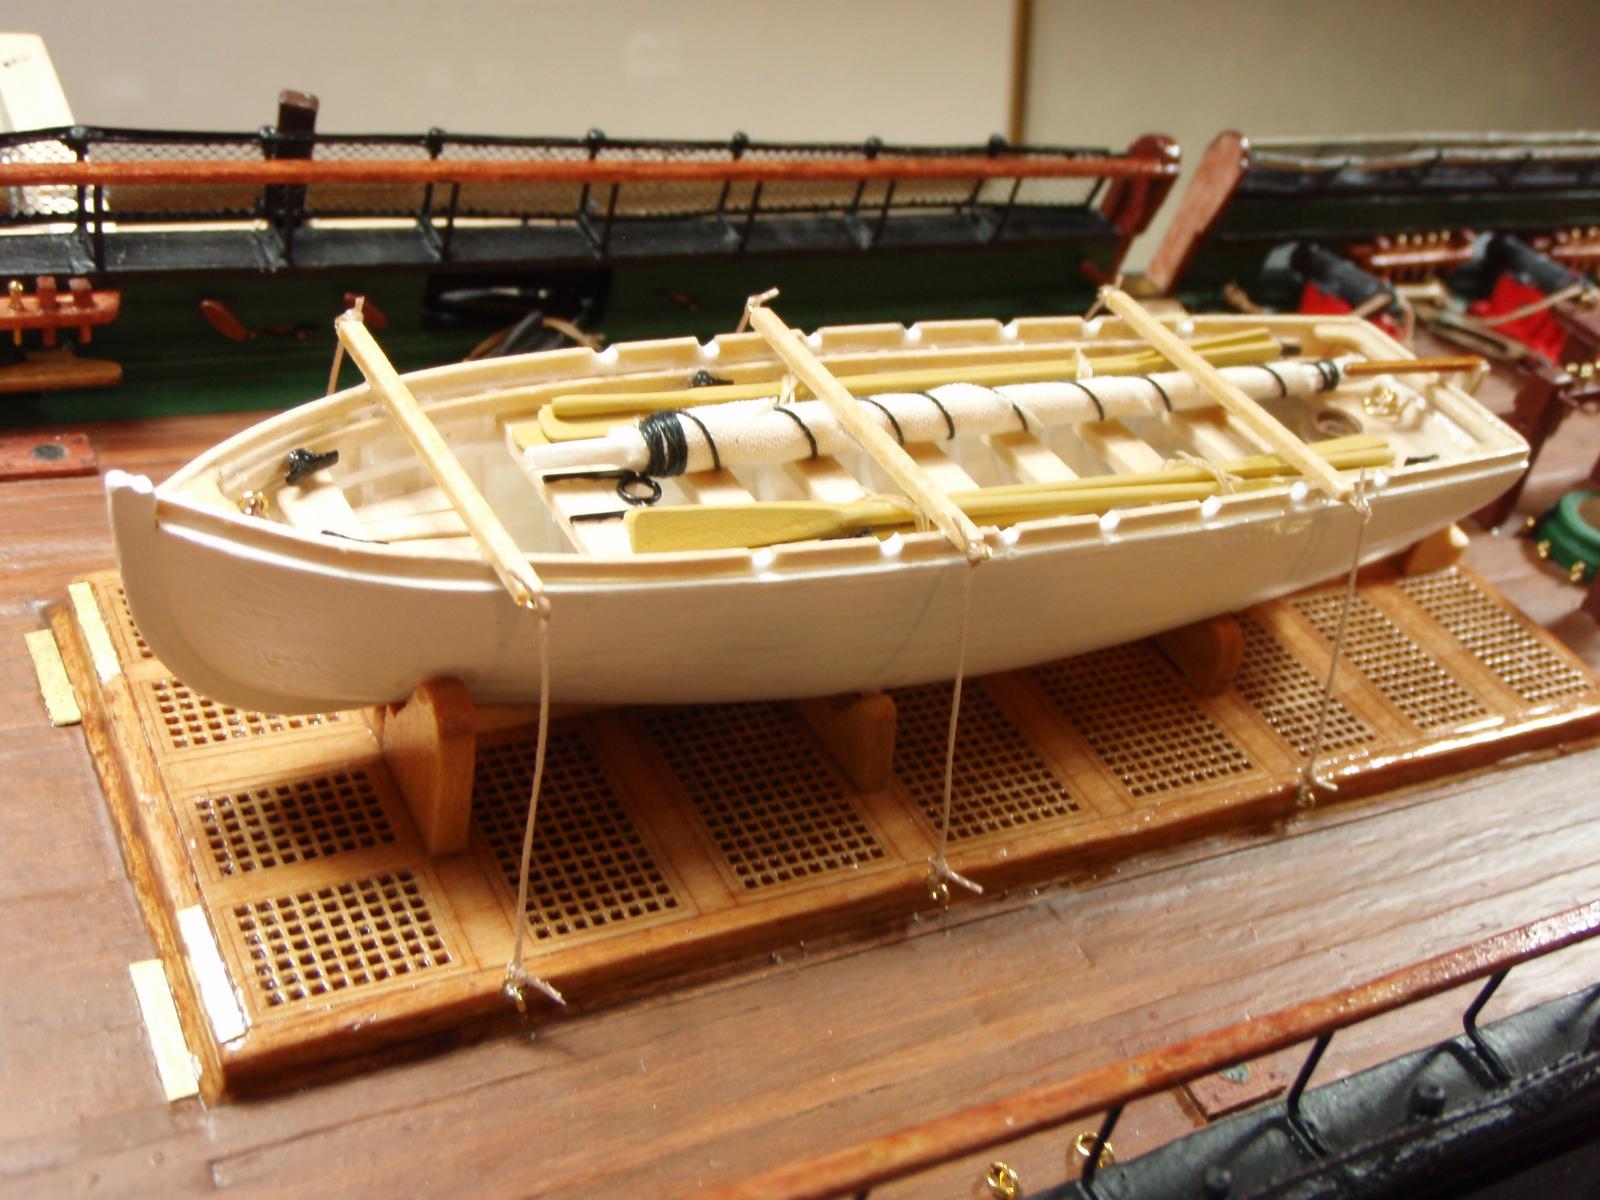
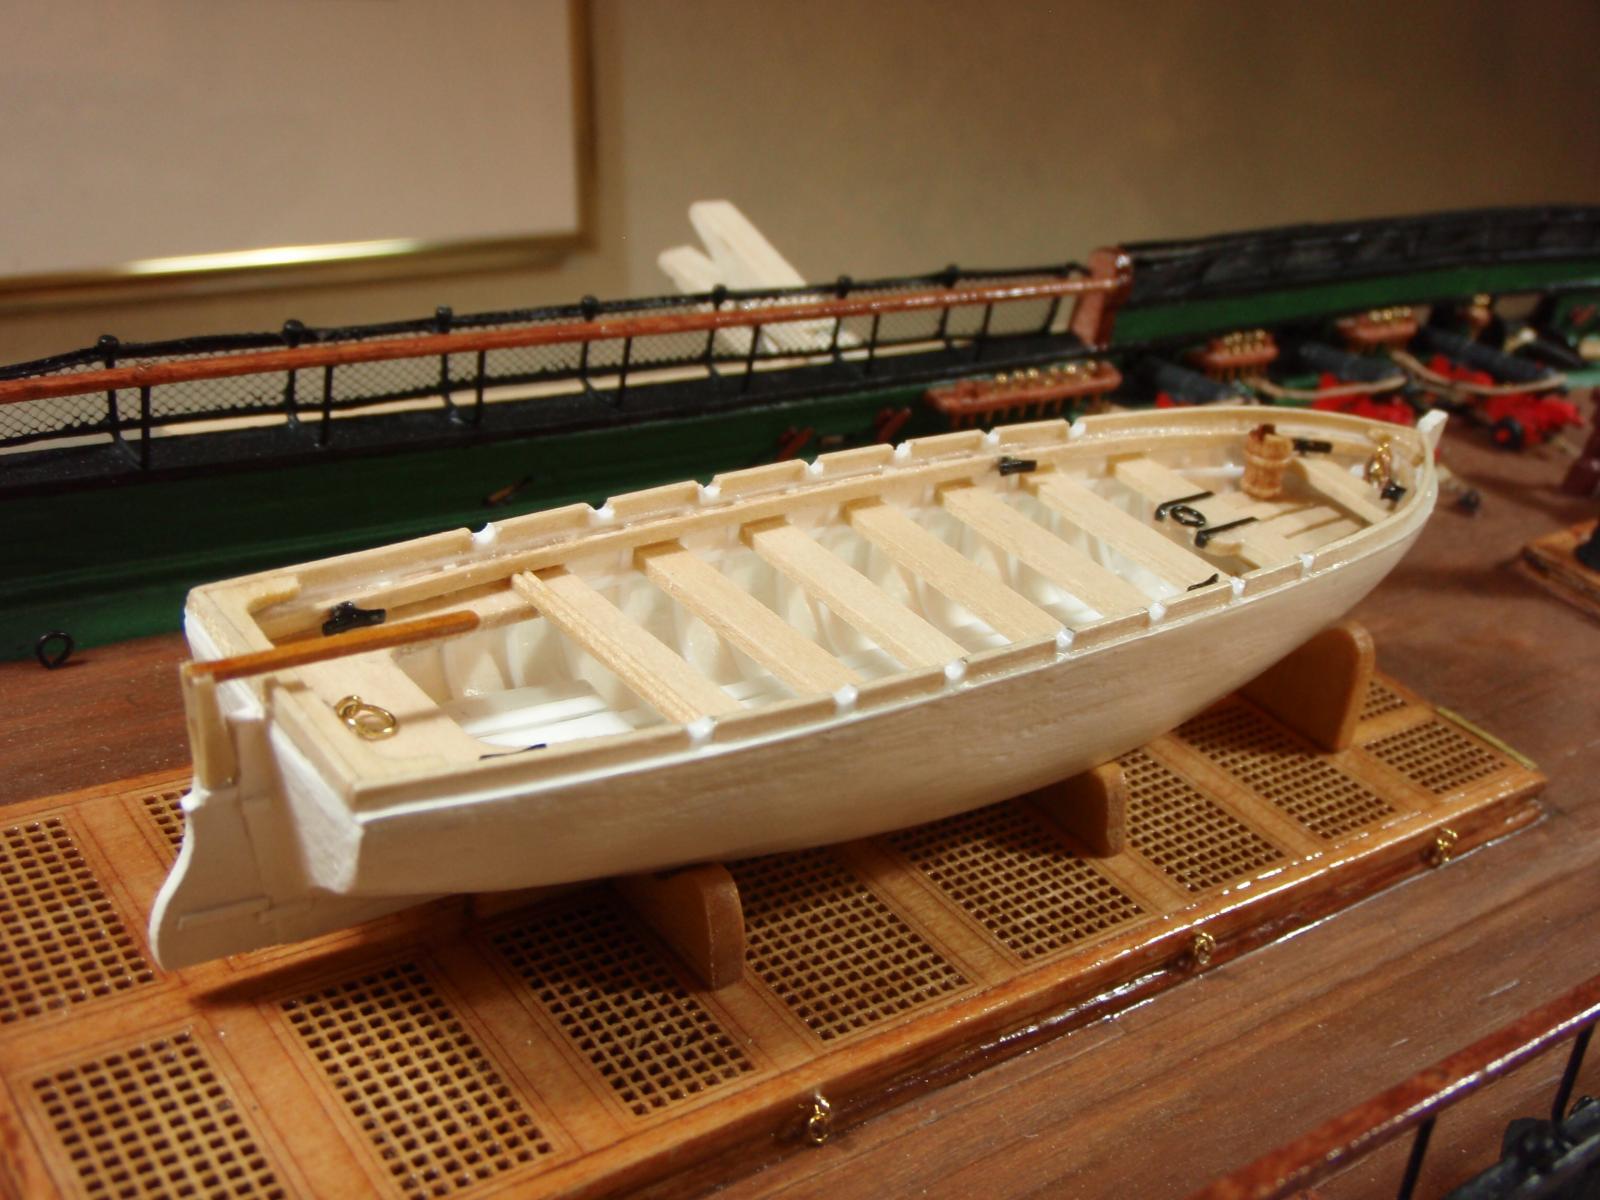
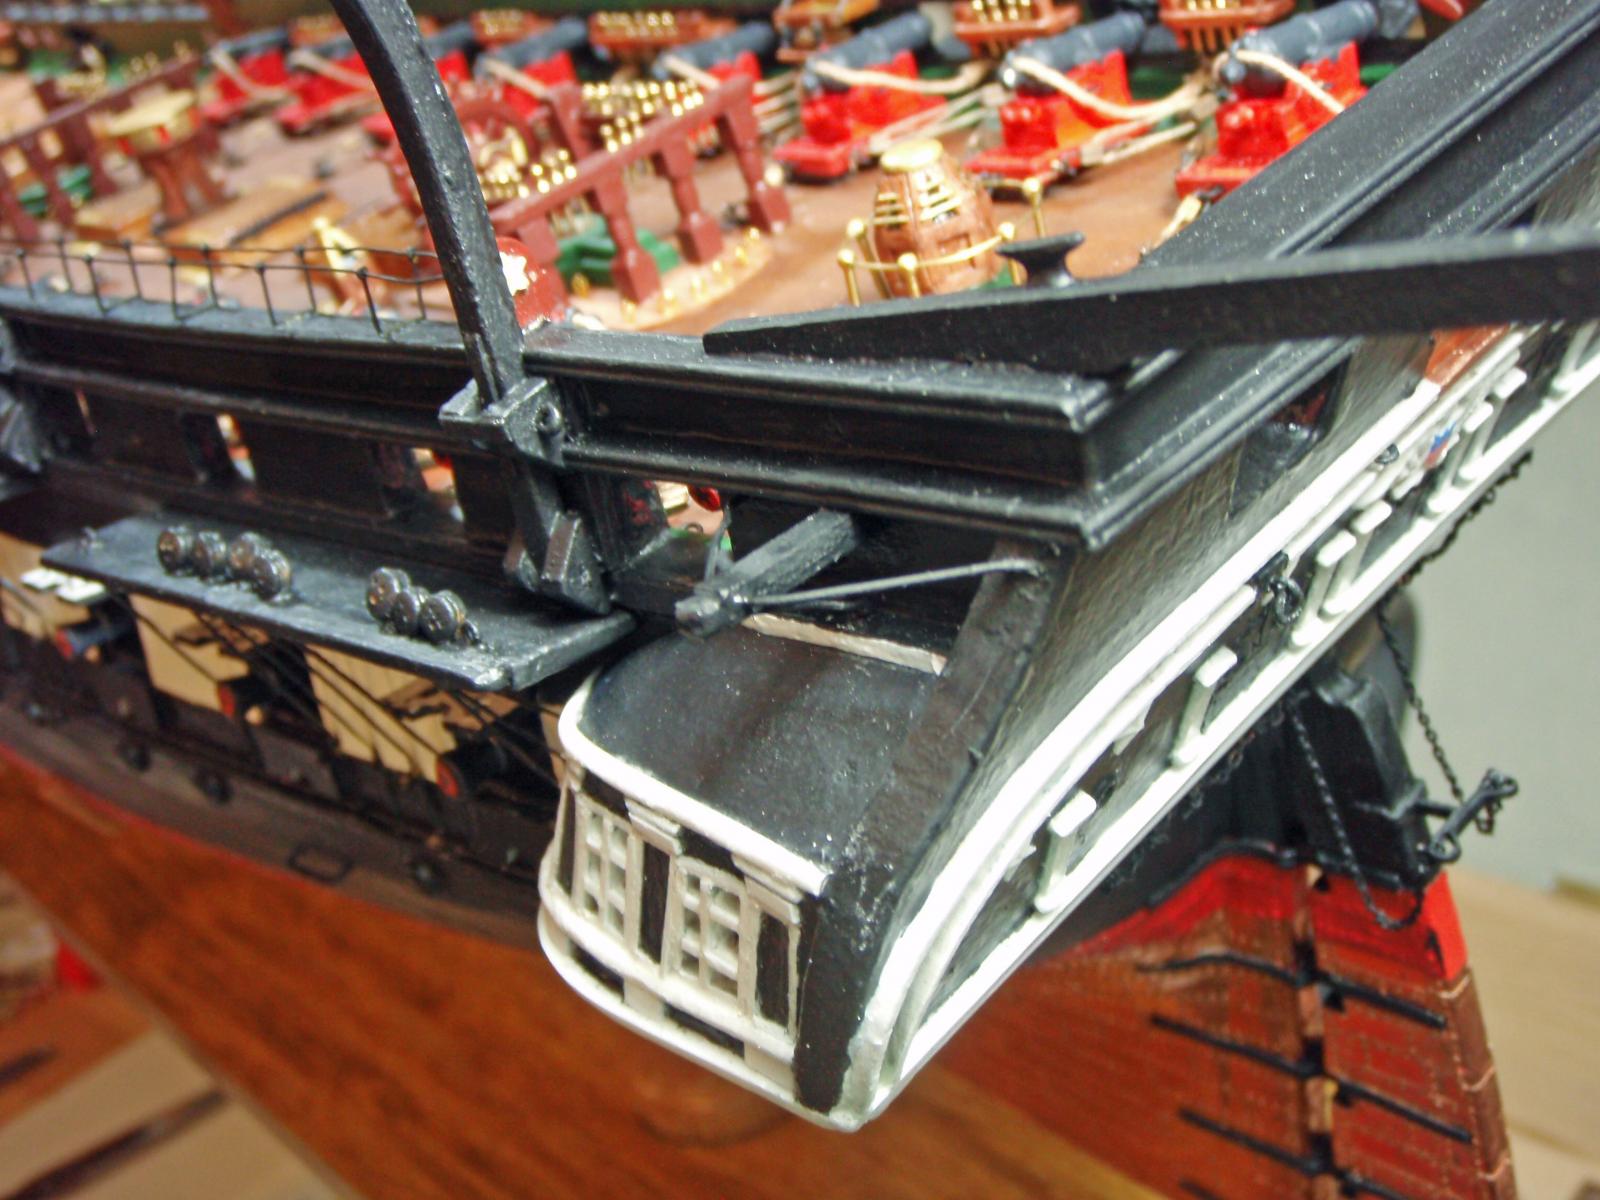
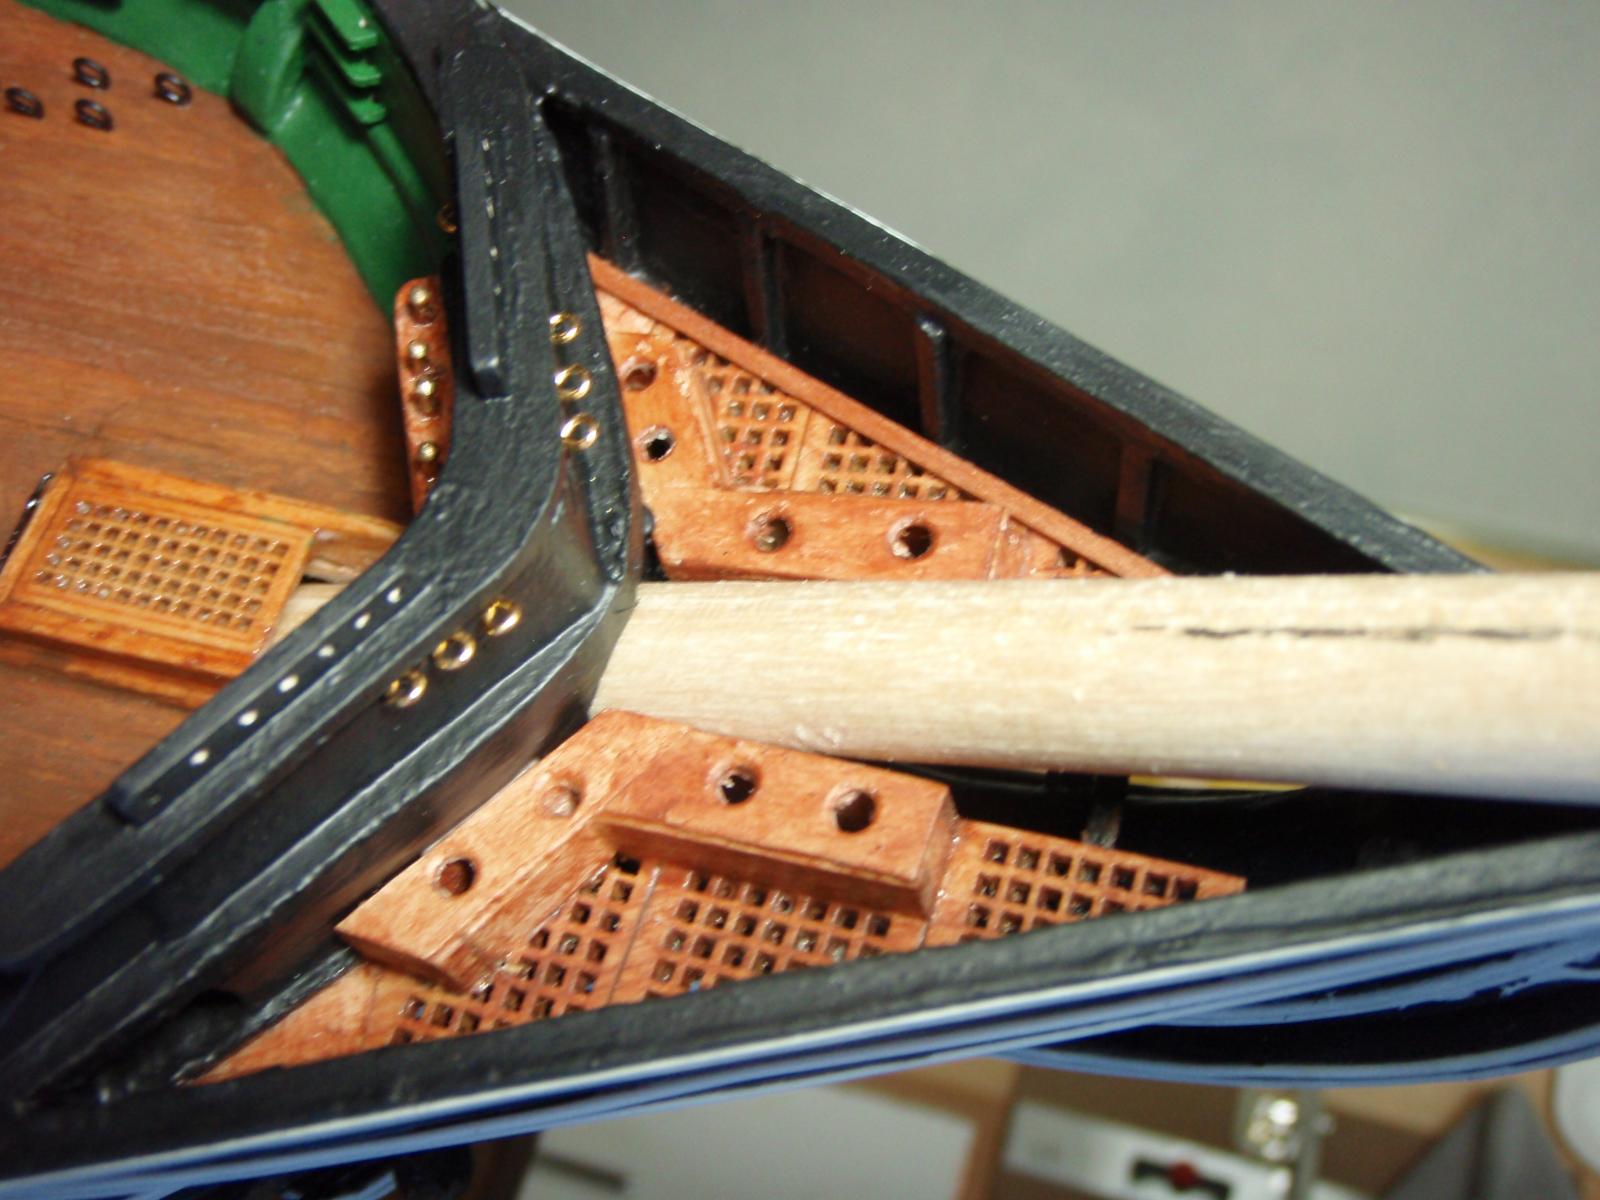
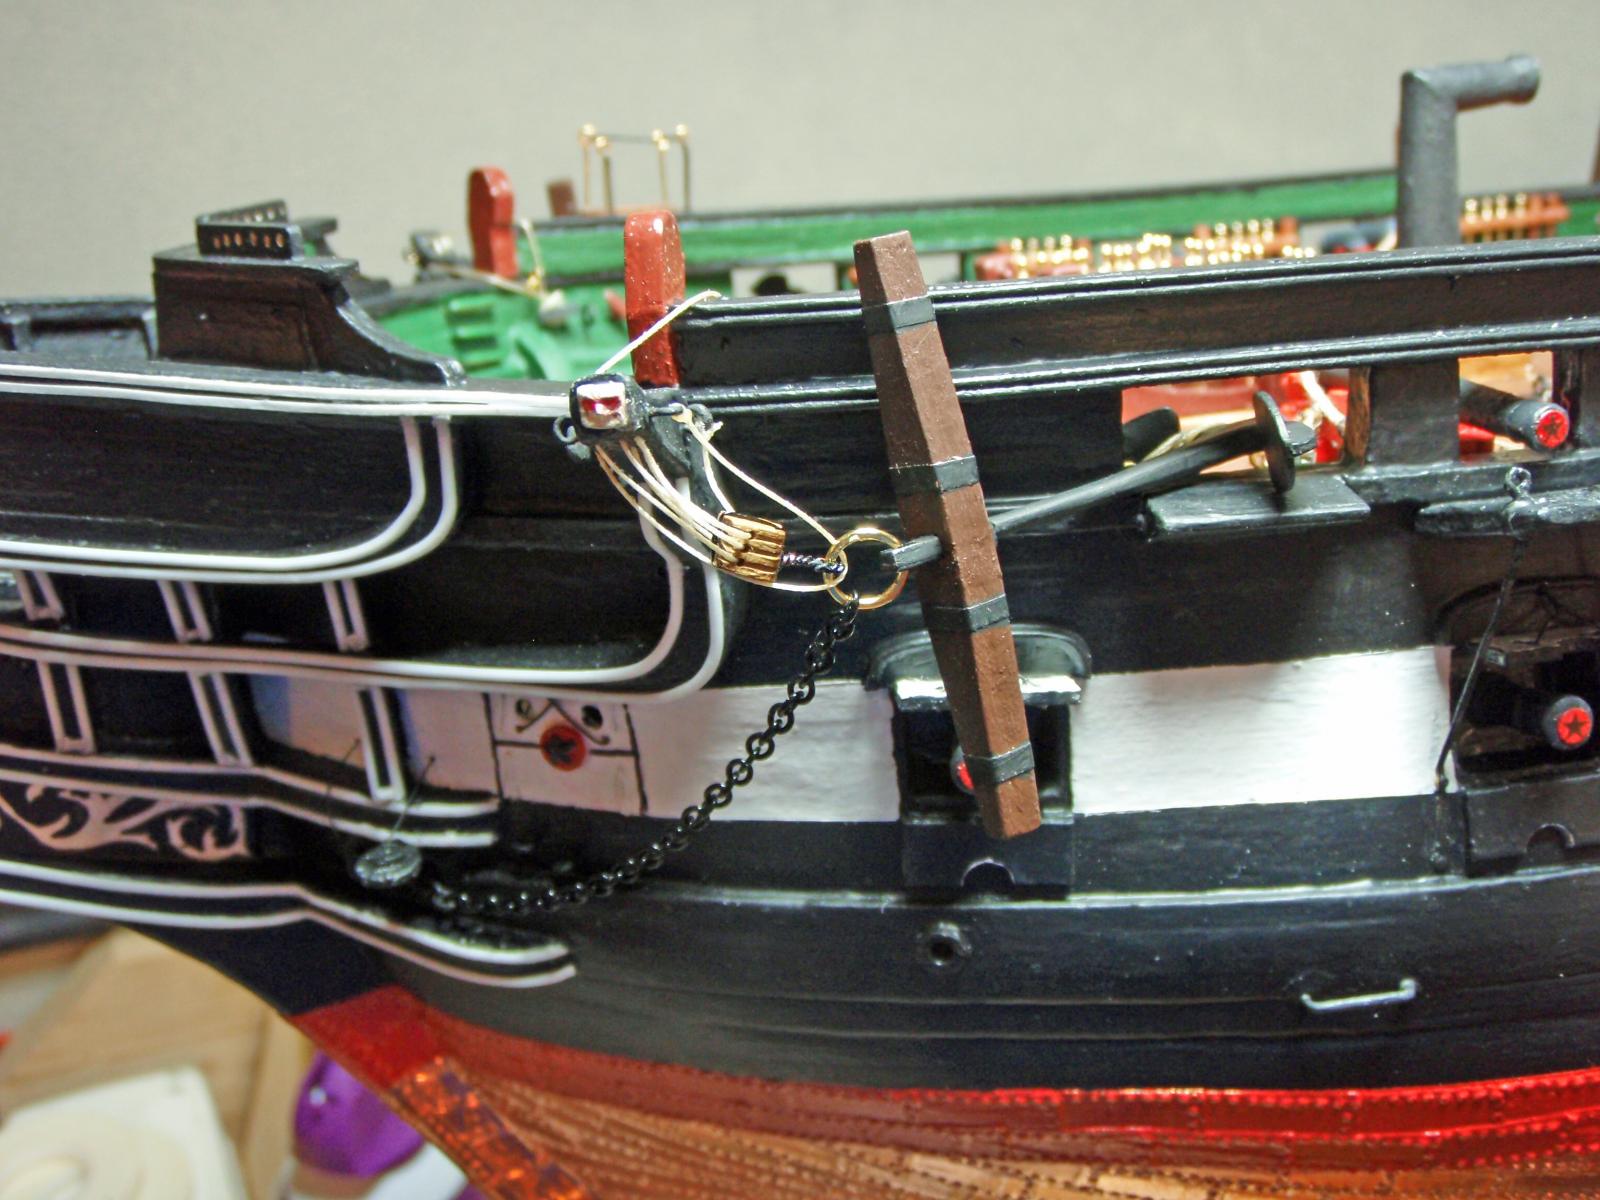
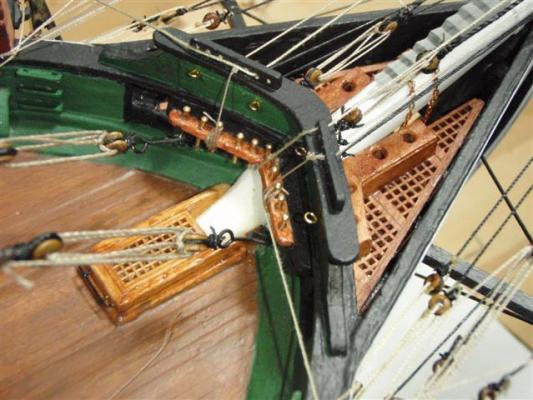
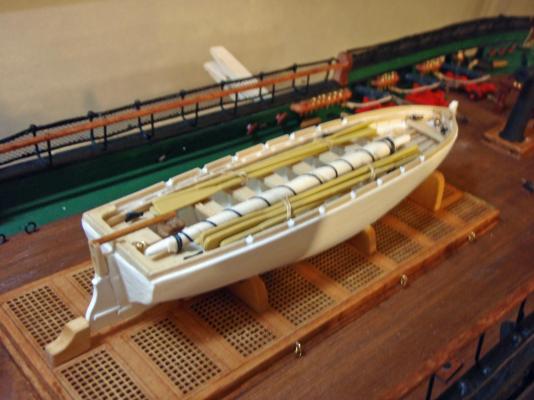
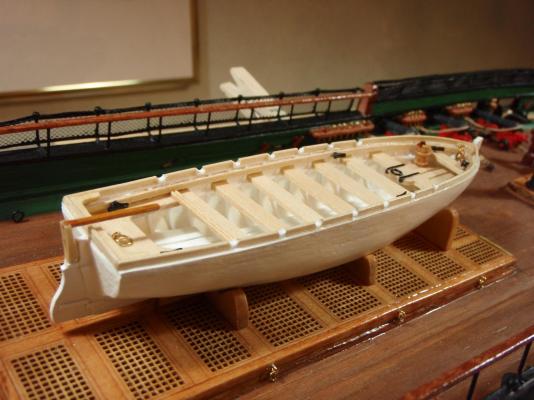
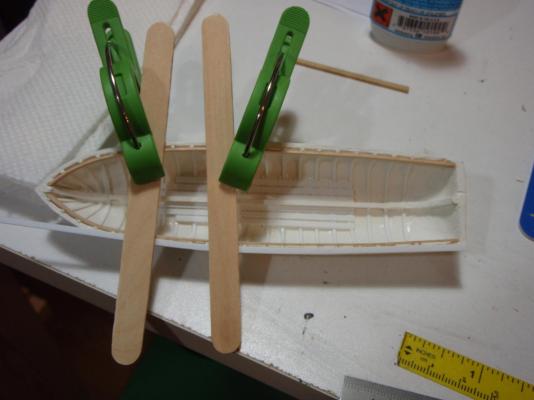
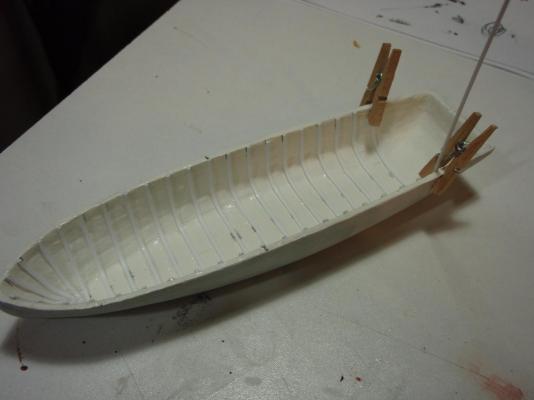
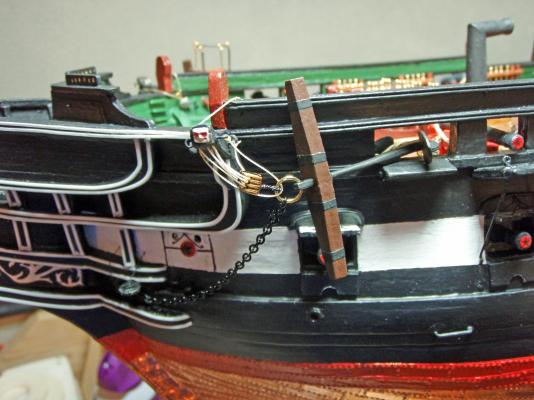
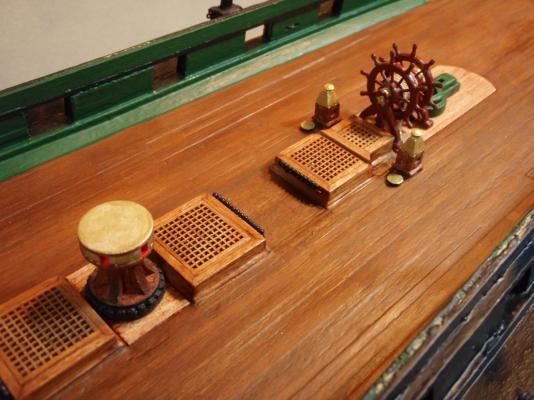
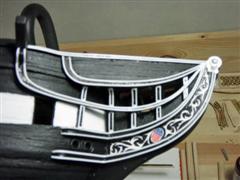
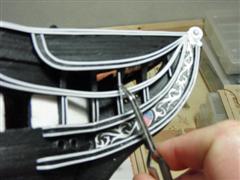
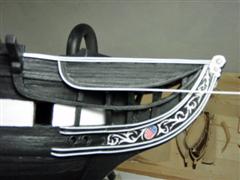
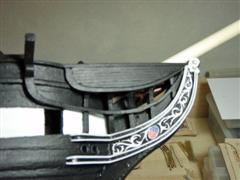
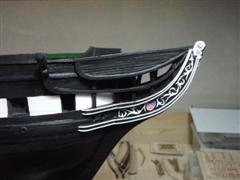
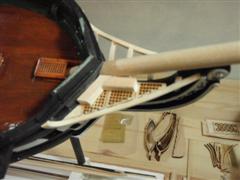
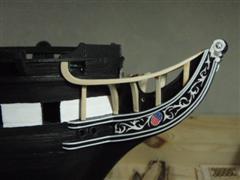
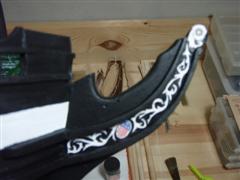
Of course the ship's boats required attention. Here is the pinnace that will mount to the center deck. Stern details including the quarter gallery and the stern bumkin... The bow is taking shape...the bowsprit is loose fit to shape the seats of ease and bow grills... The stern details include the rudder...


-
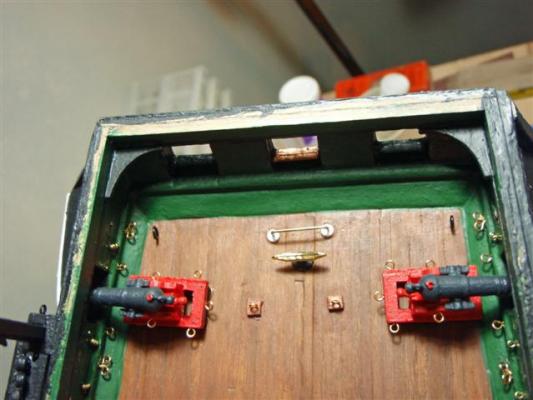
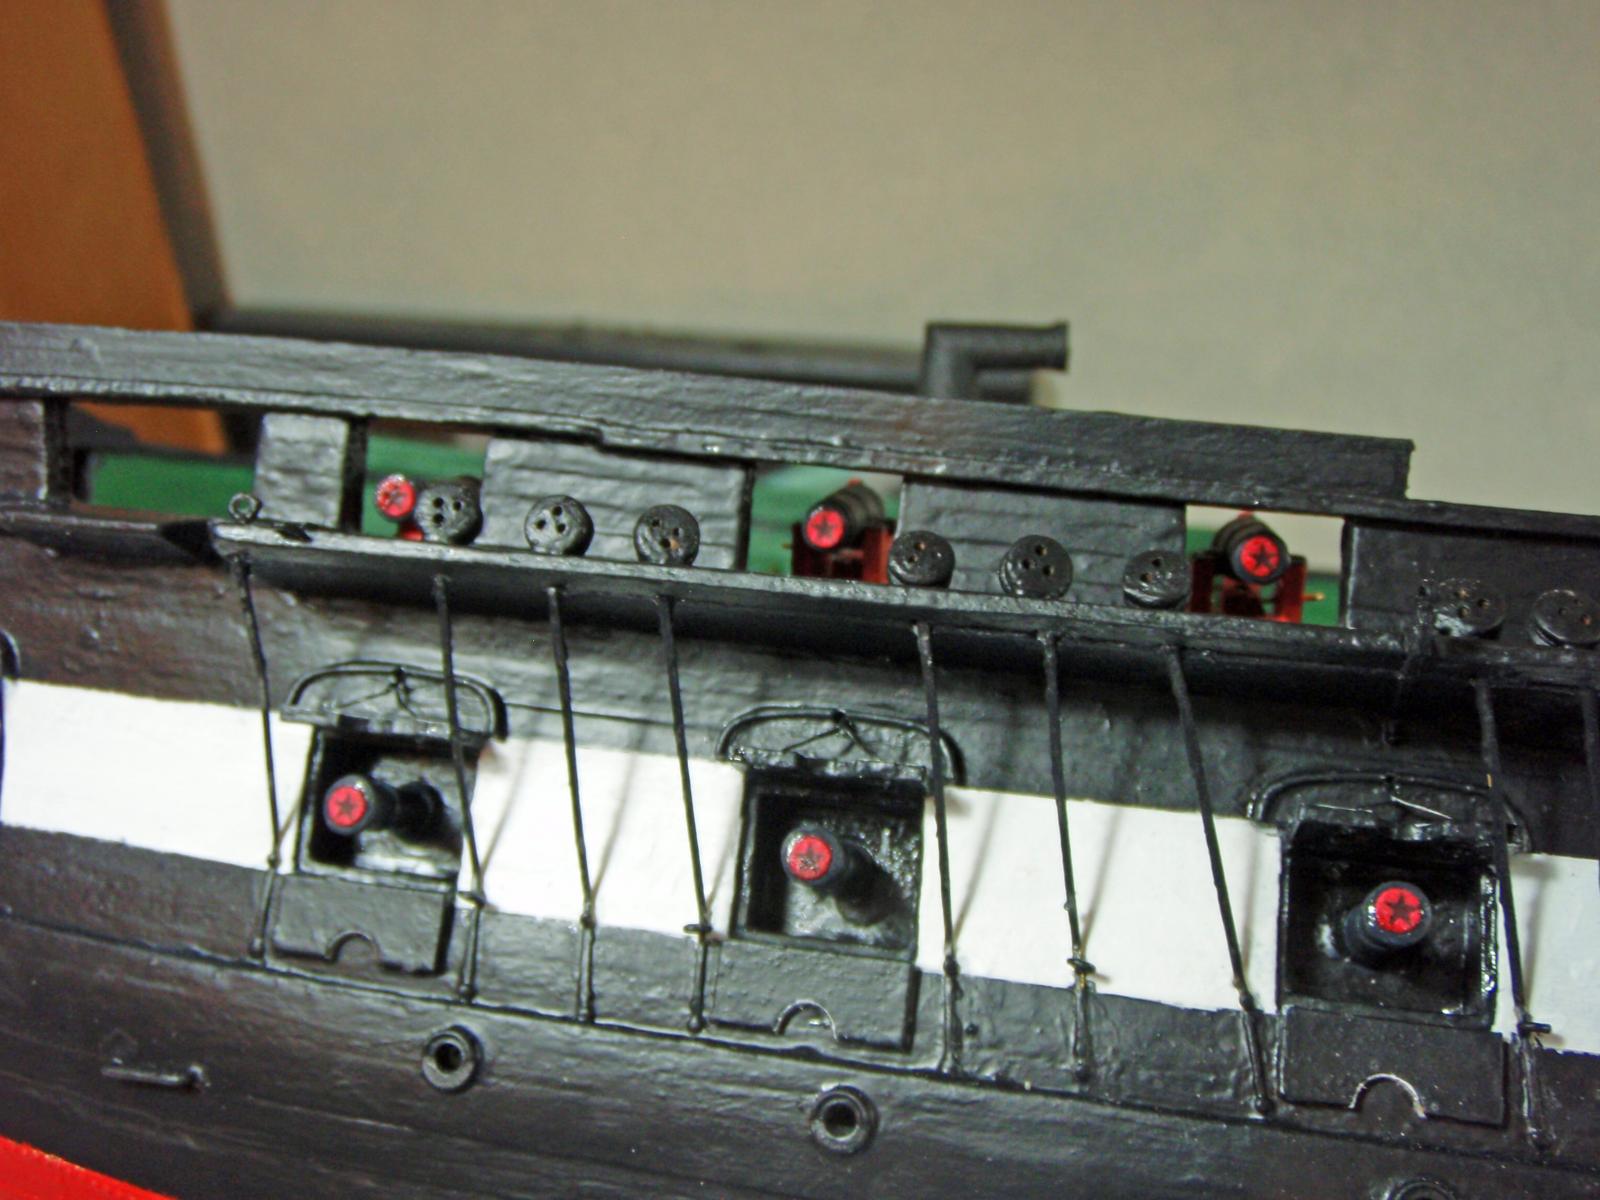
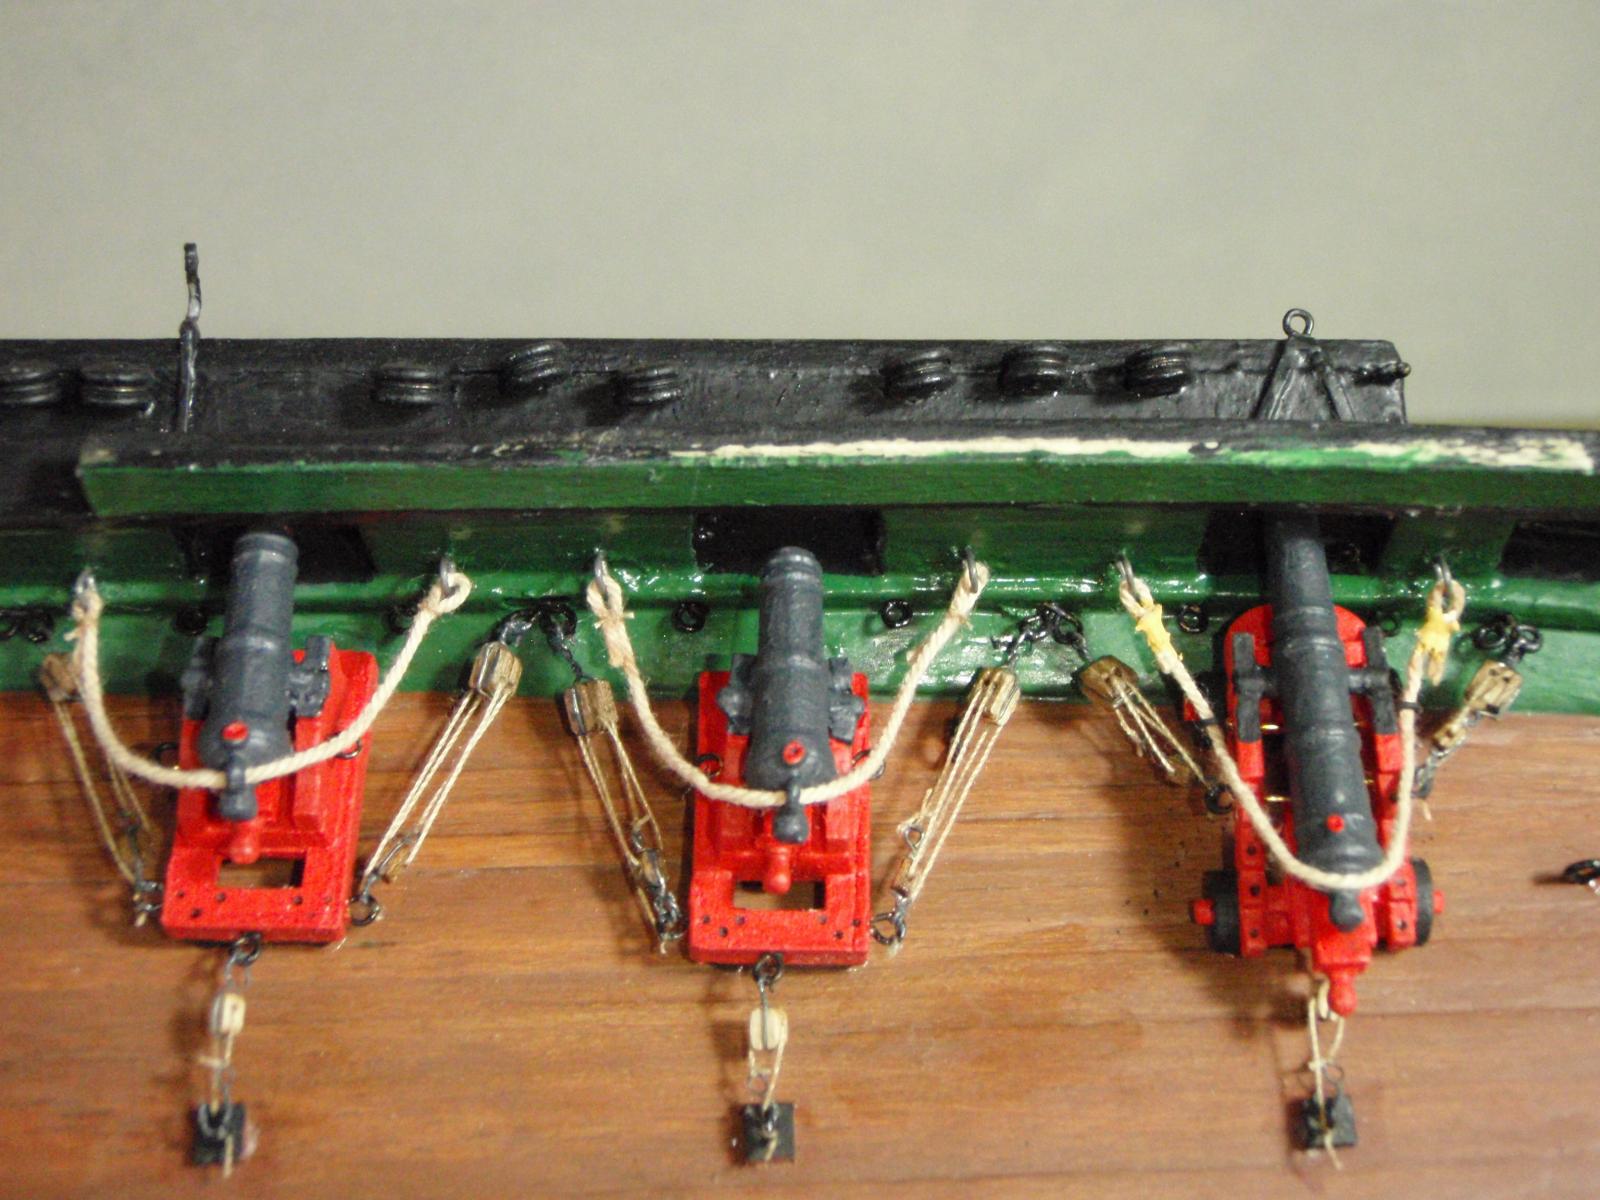
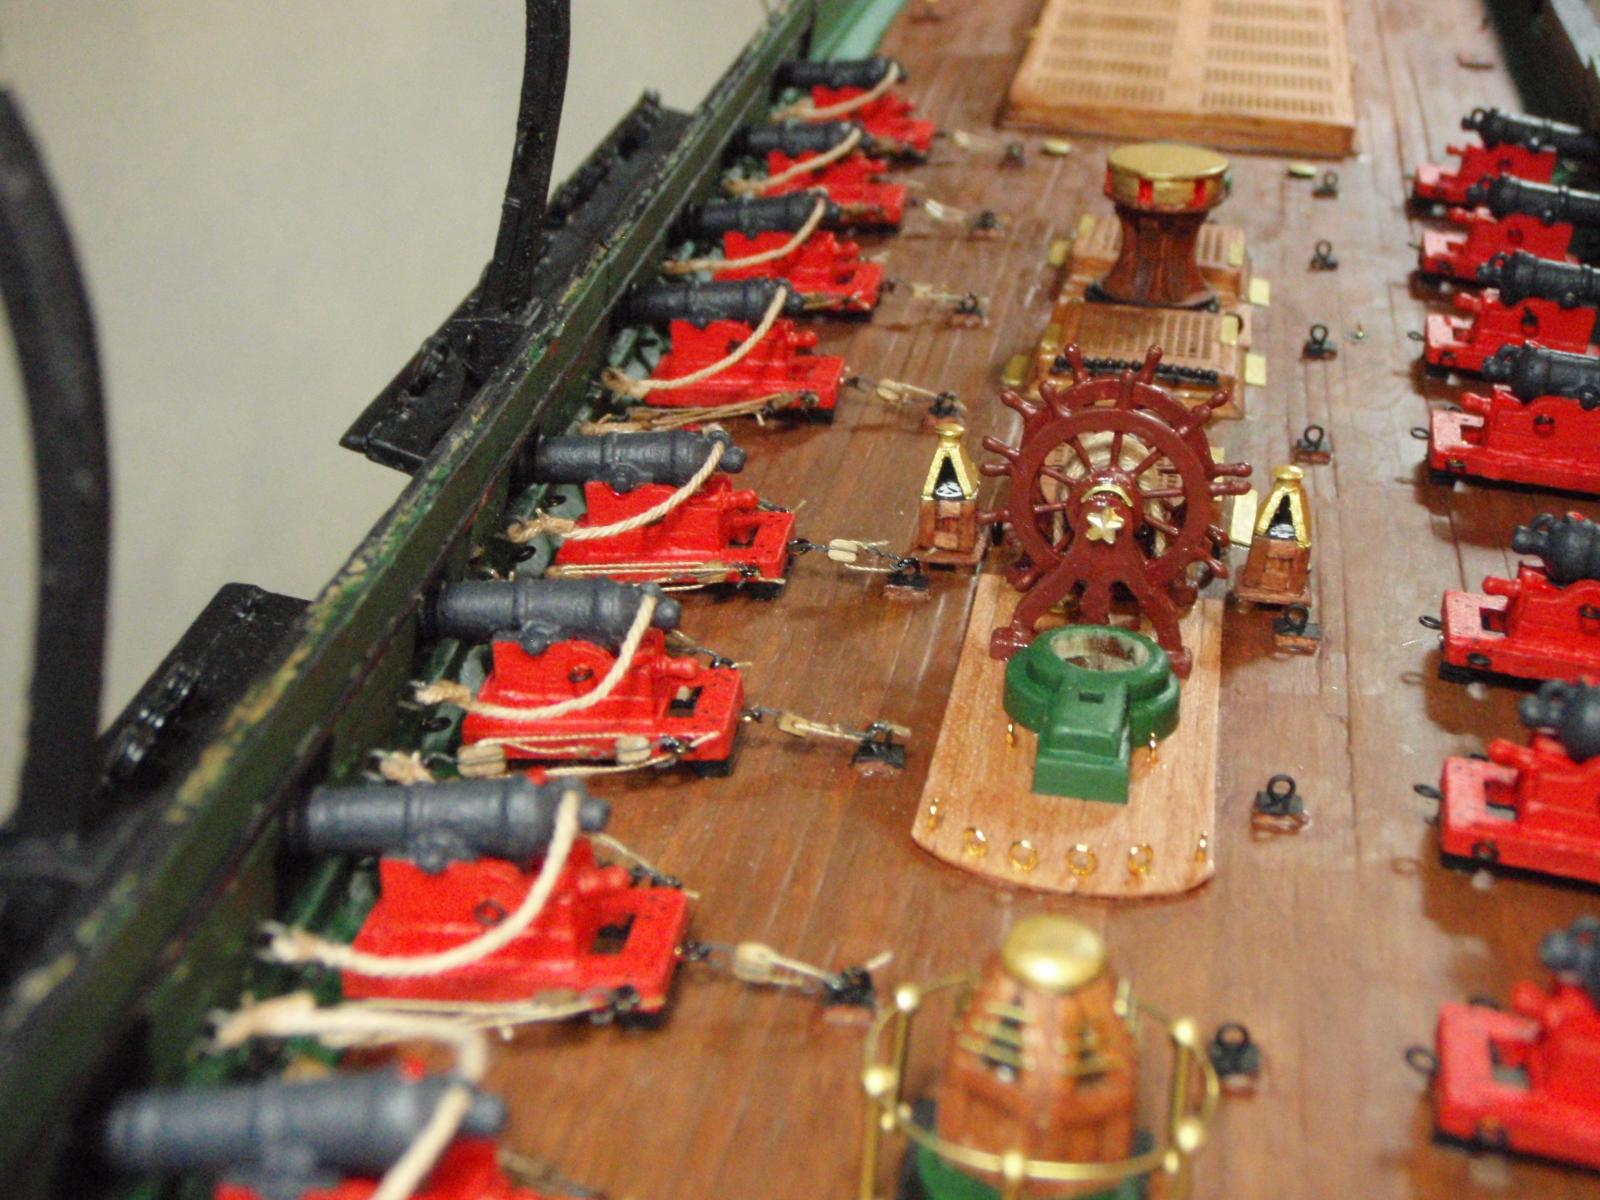
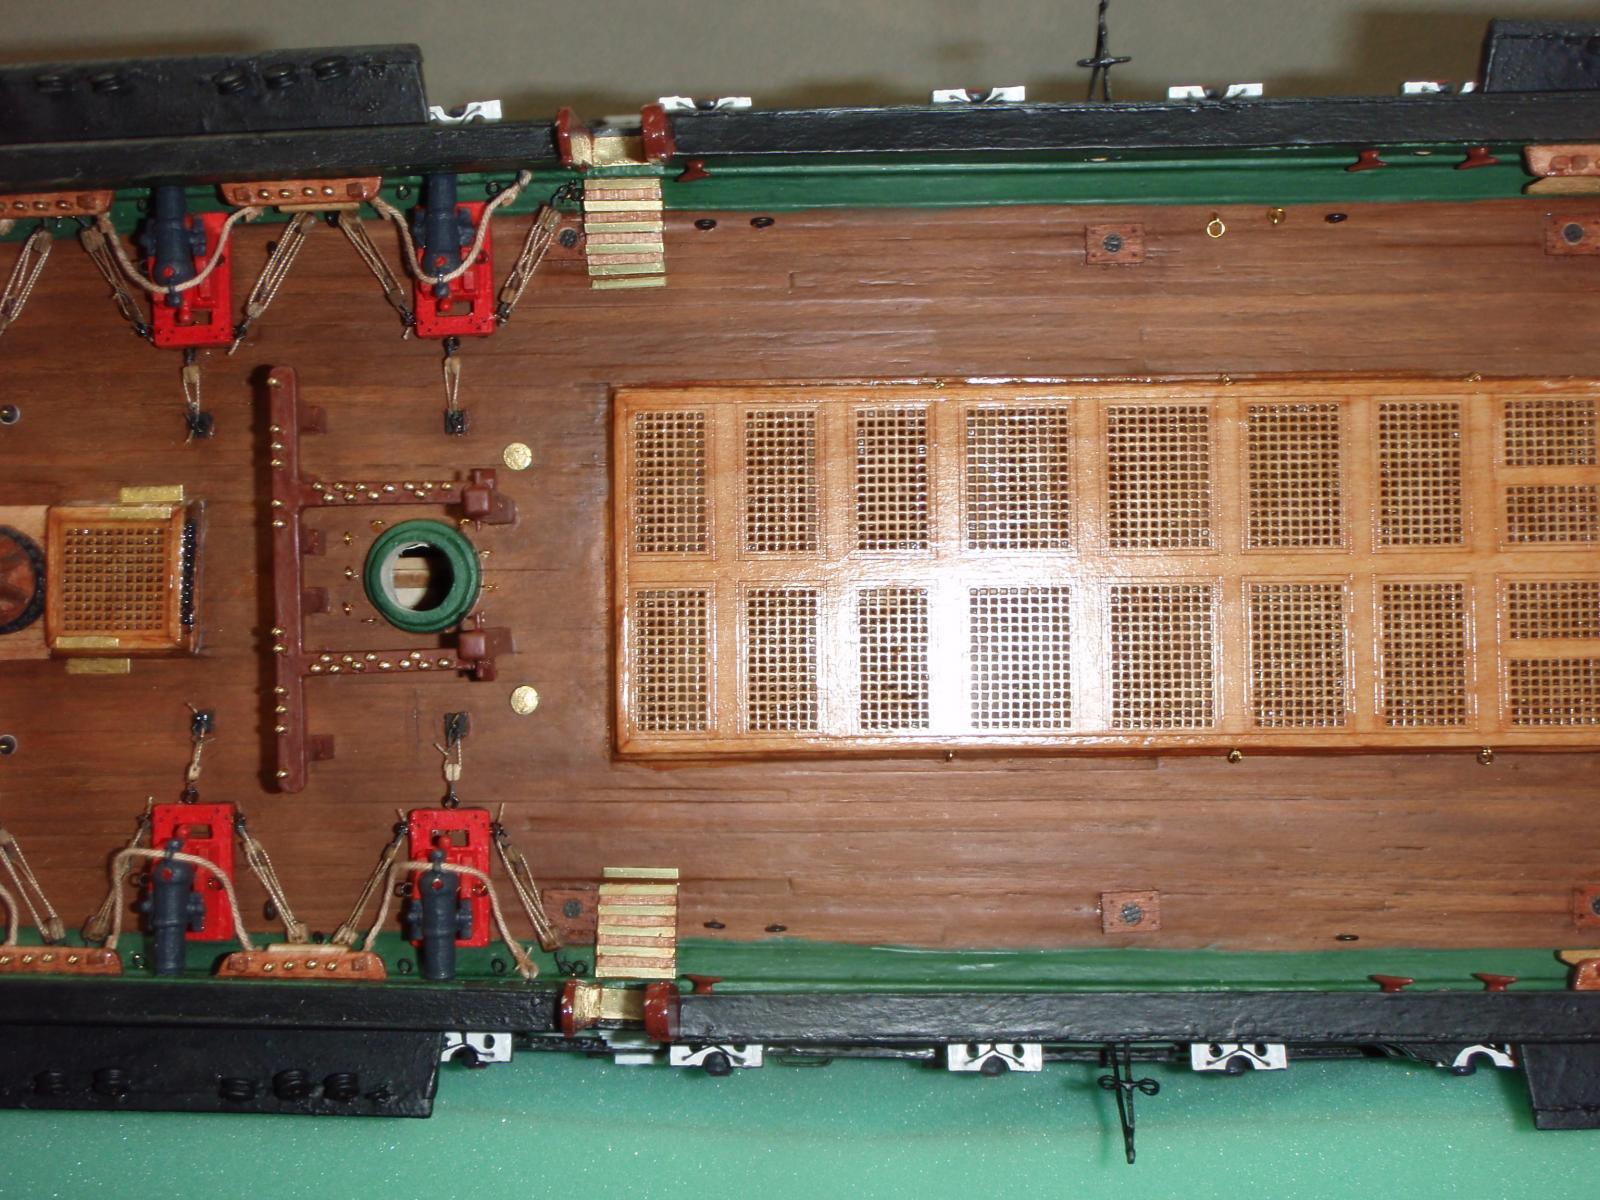
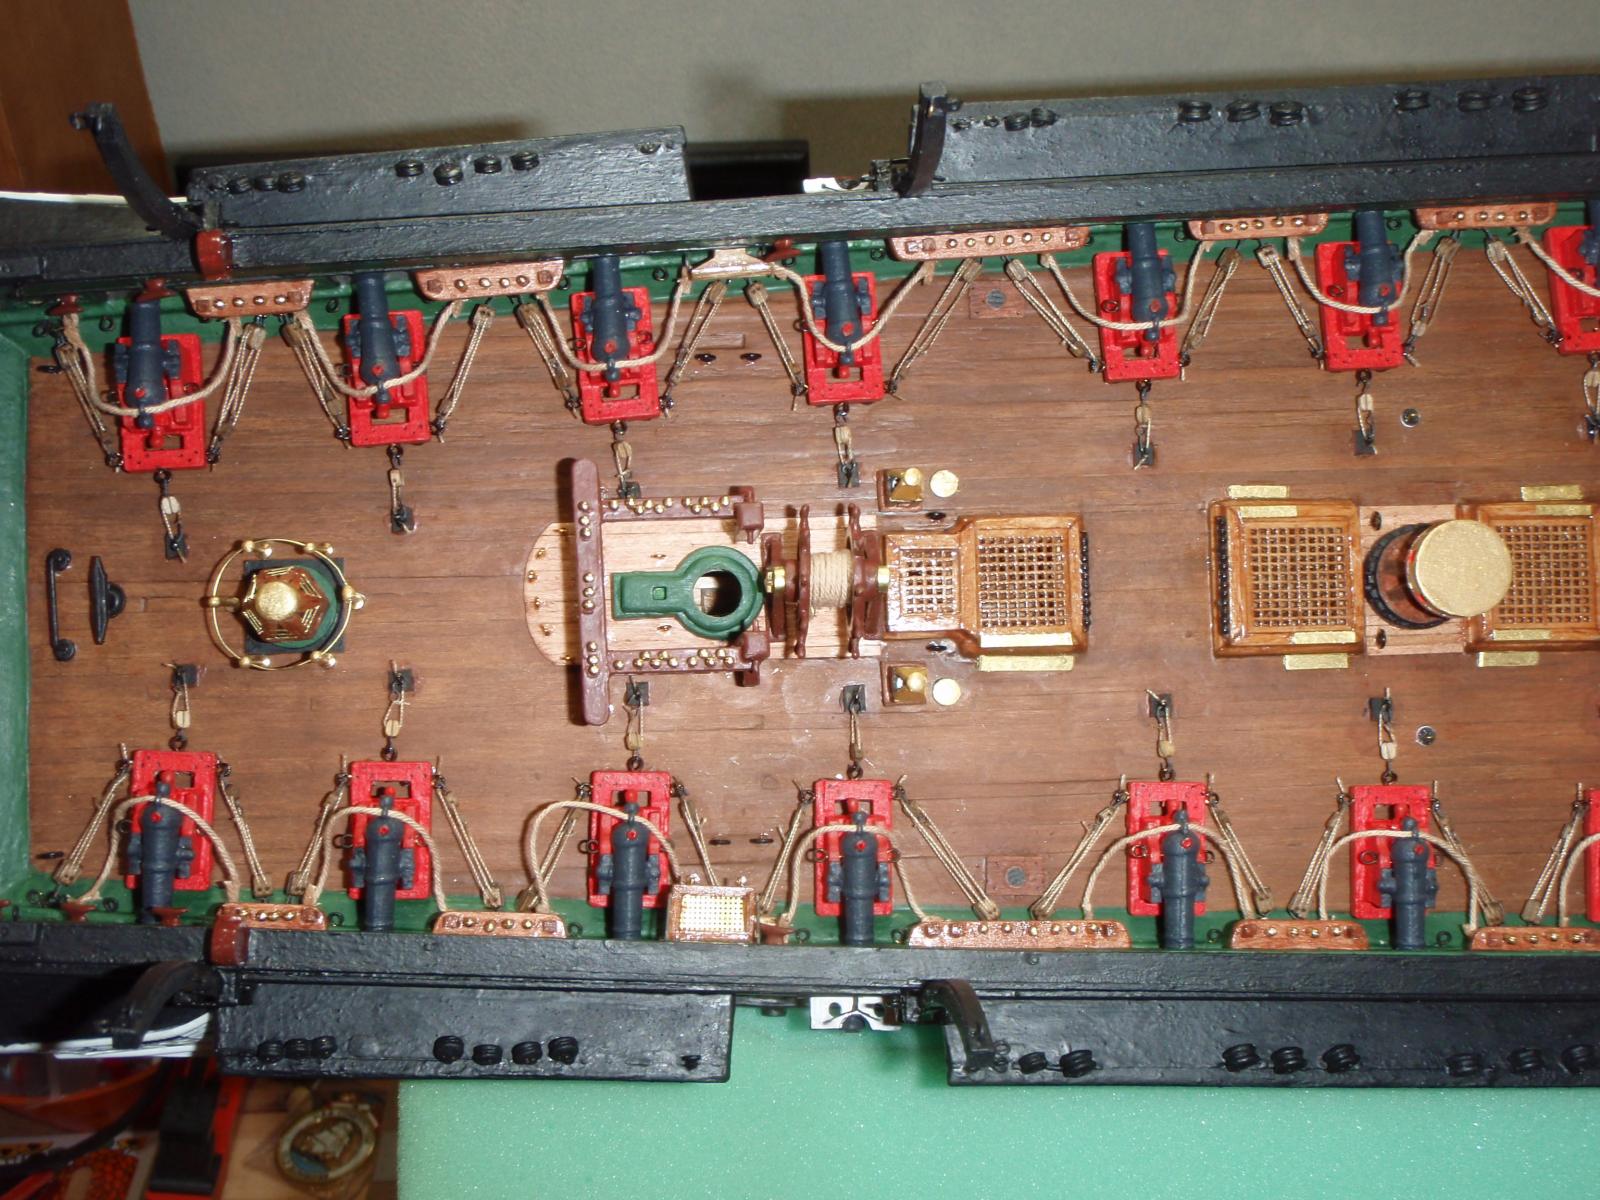
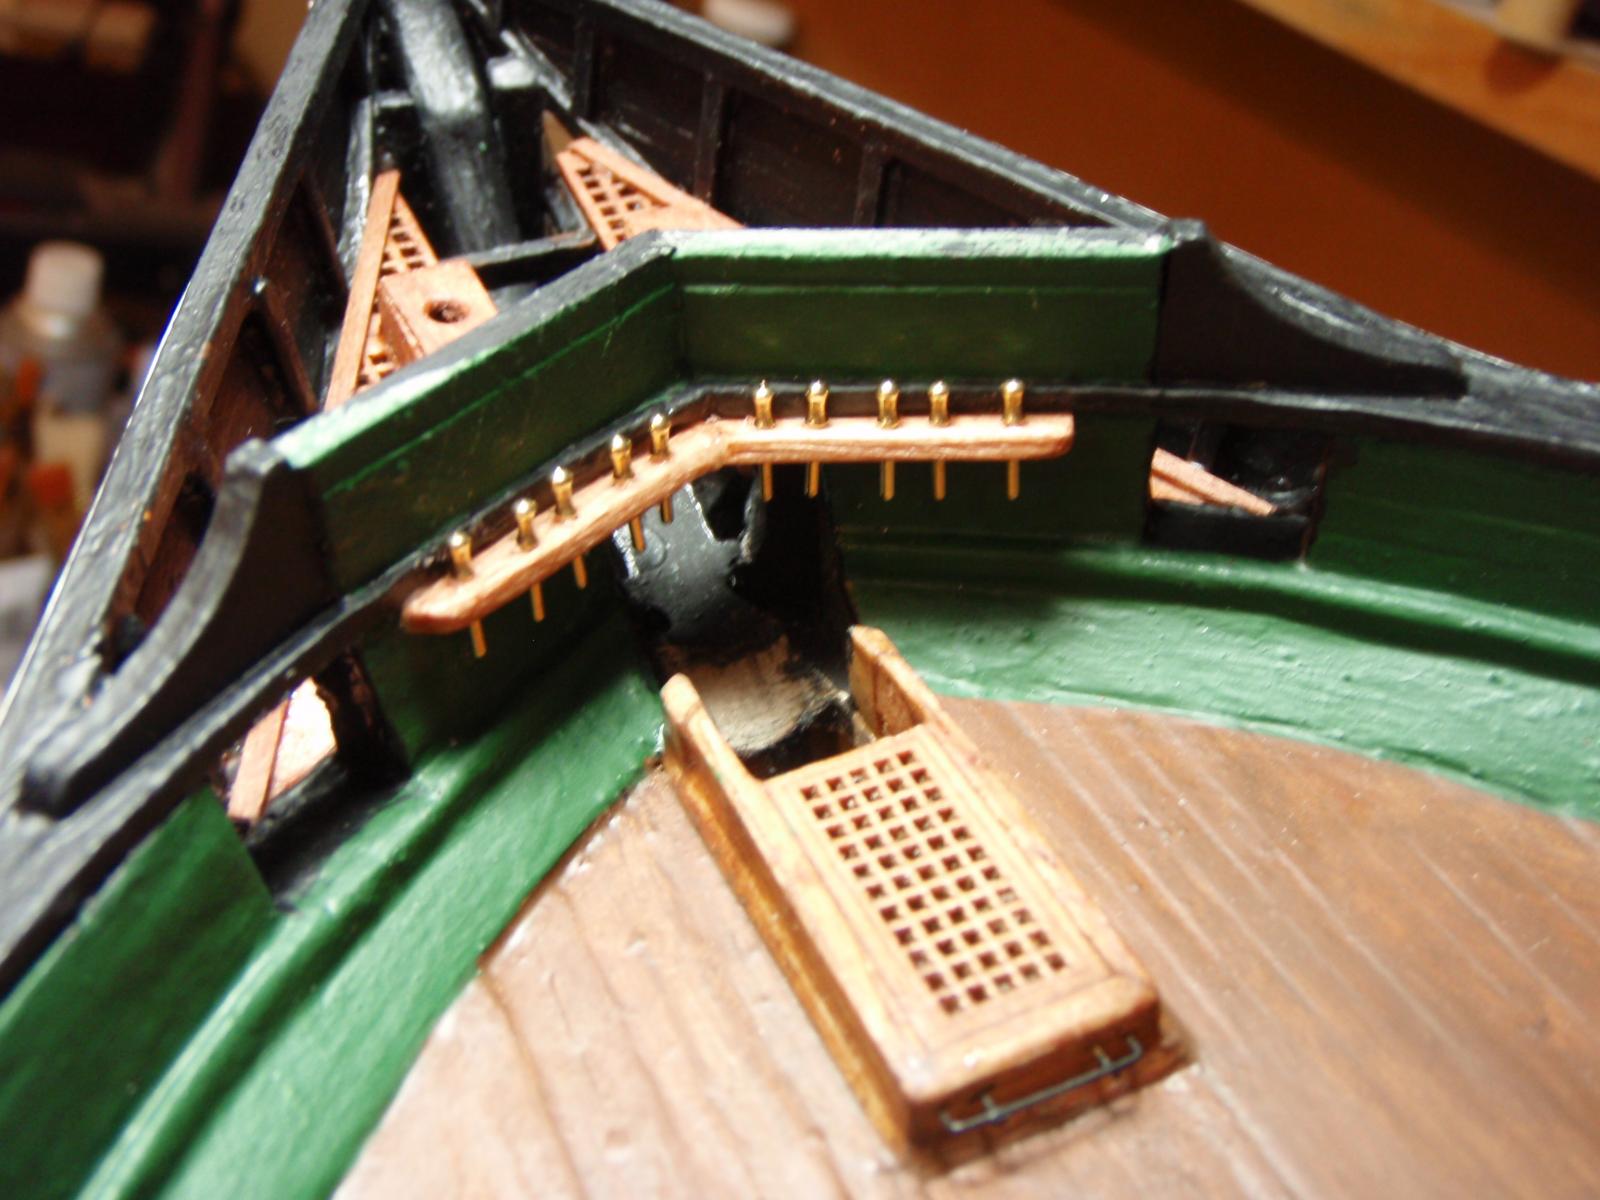
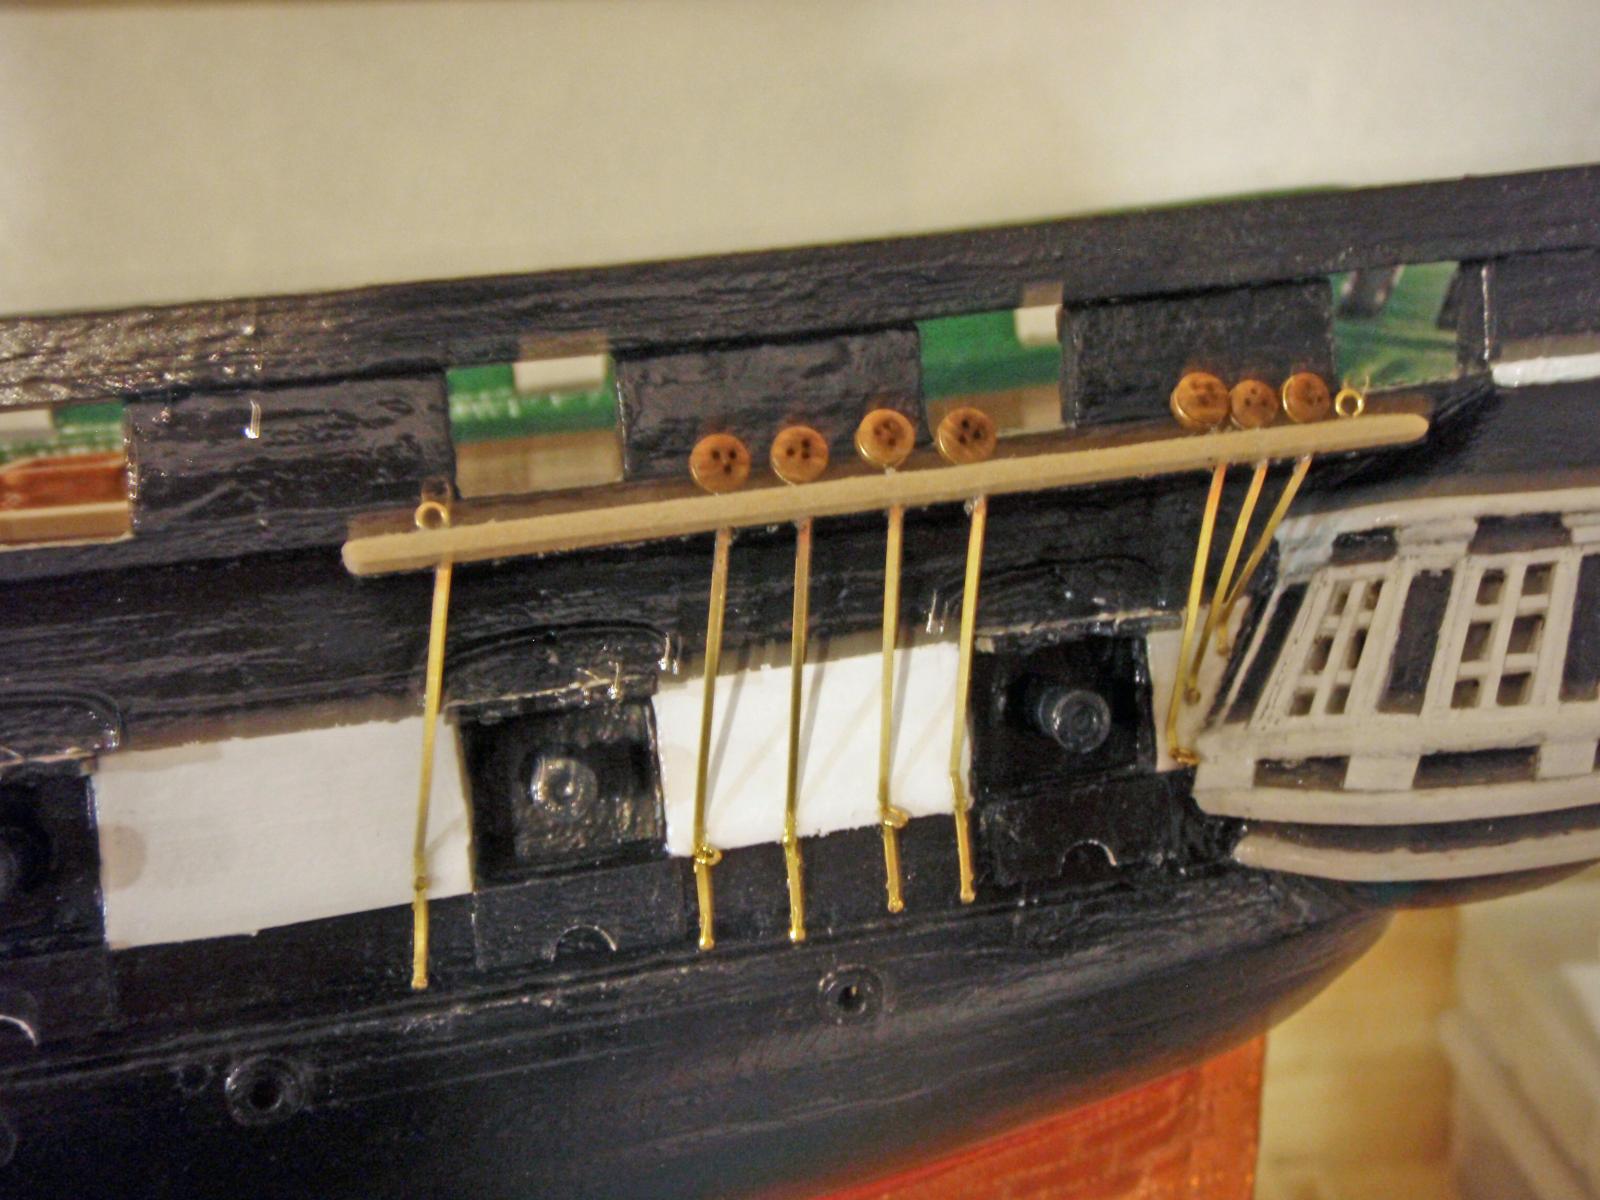
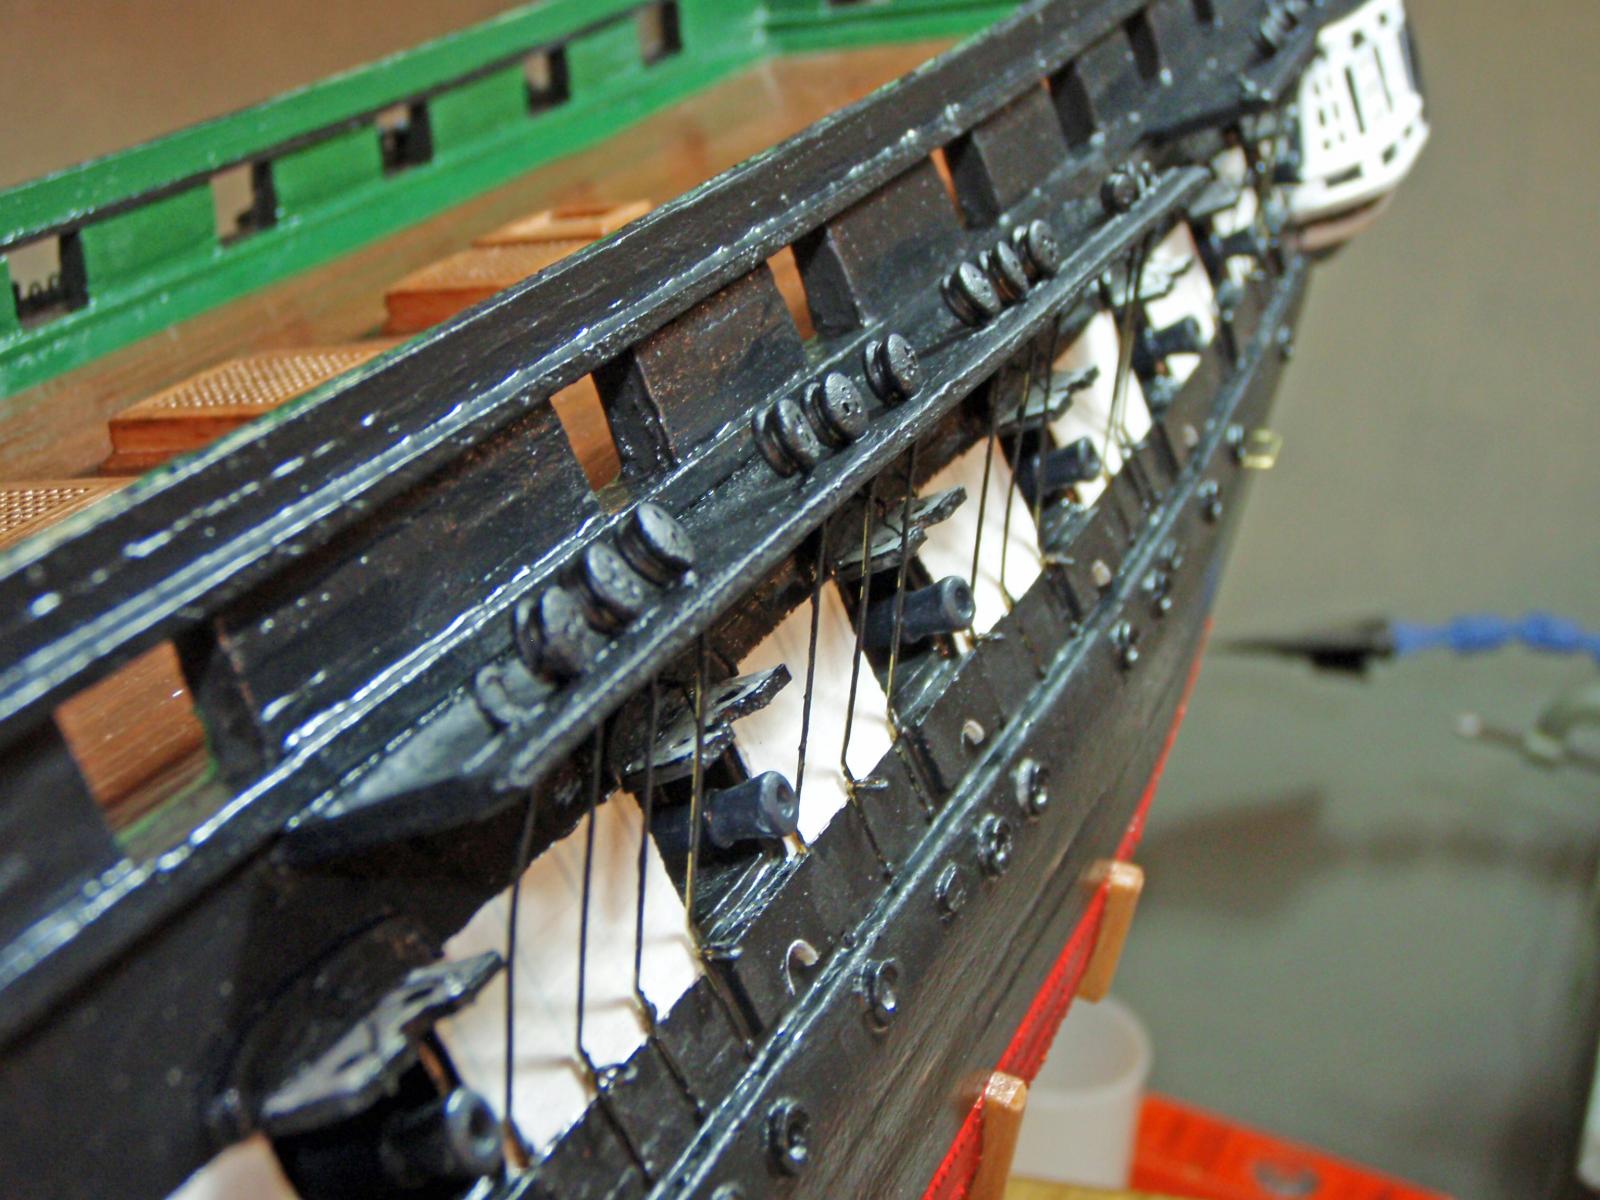
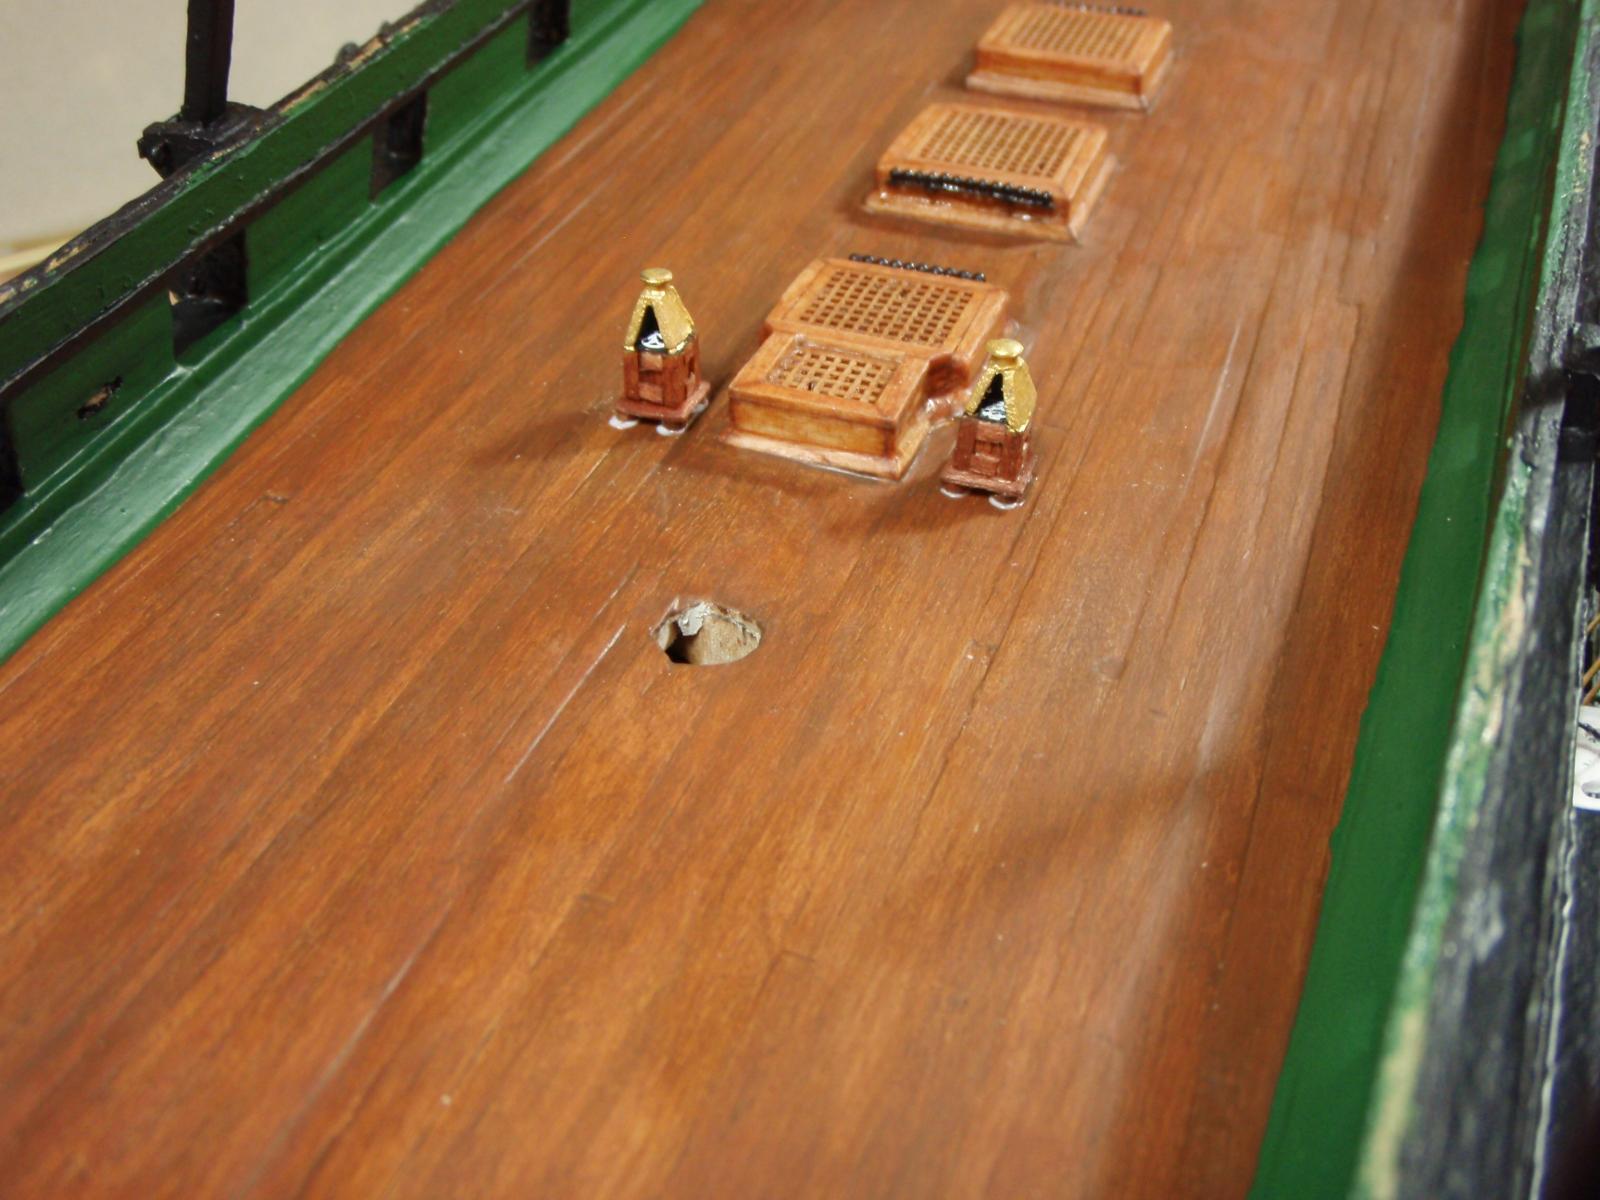
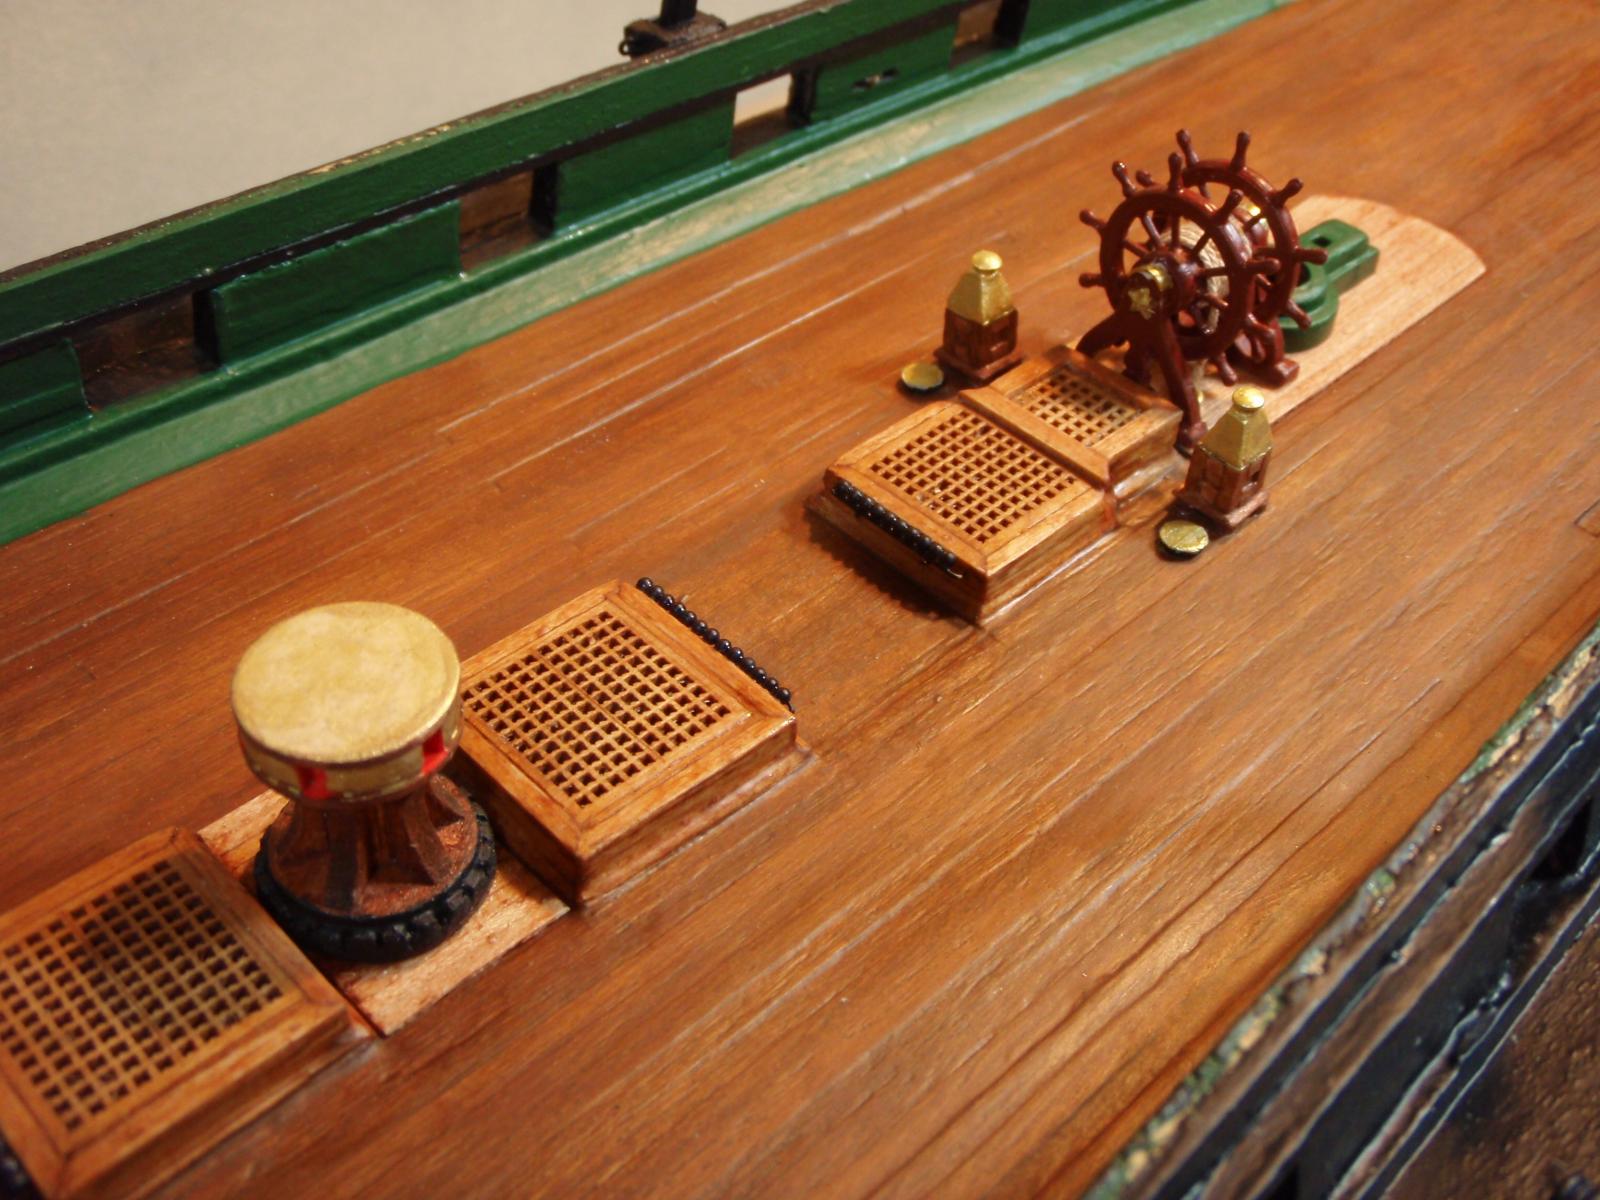
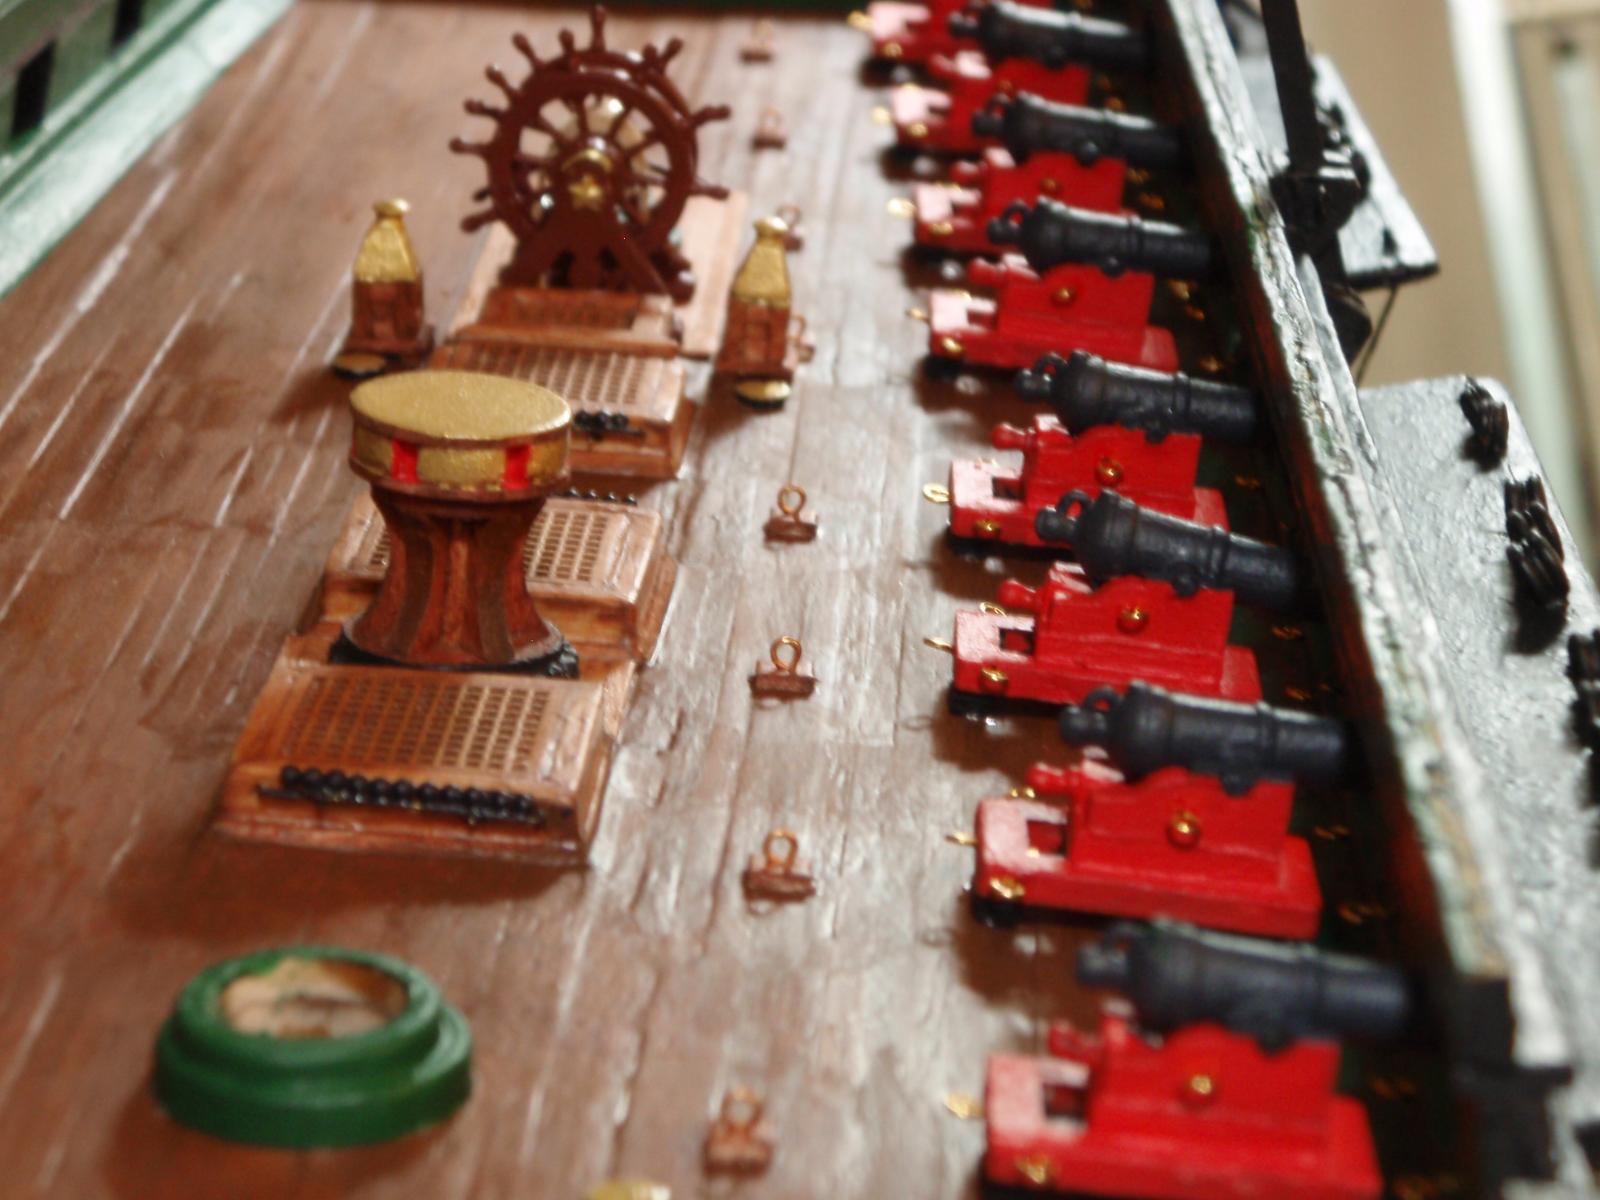
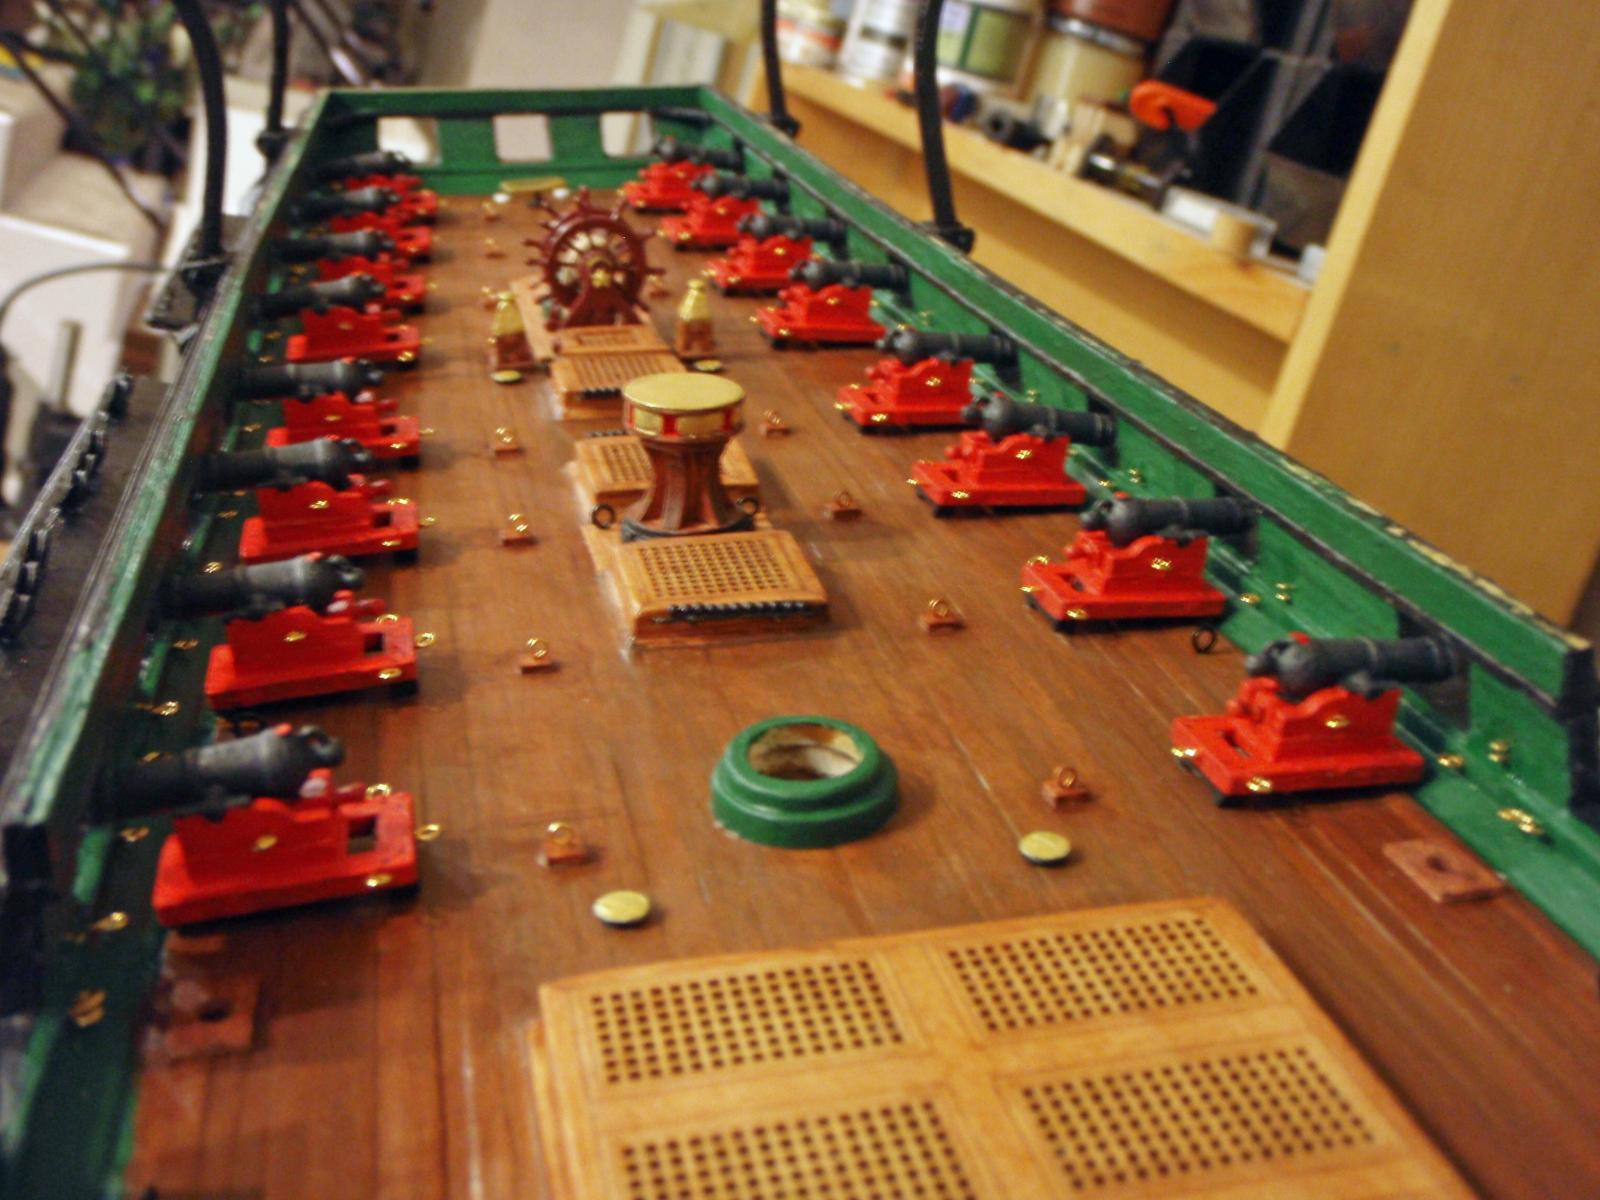
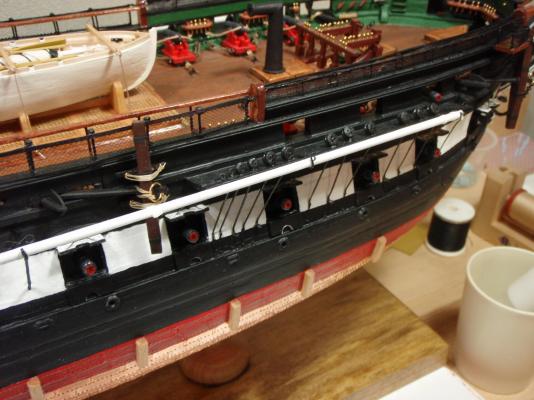
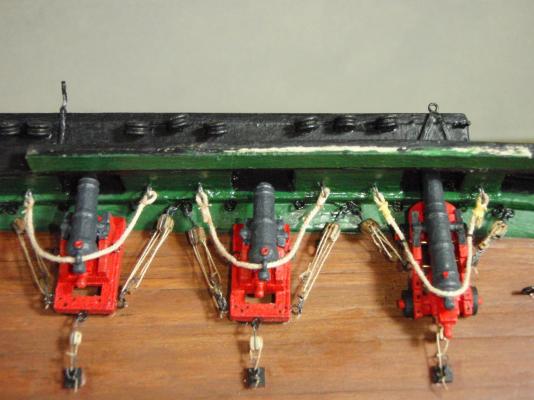
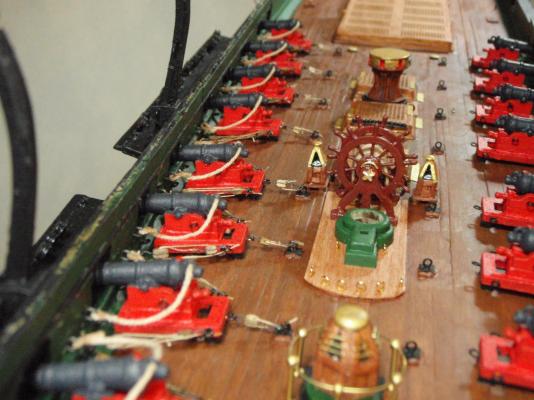
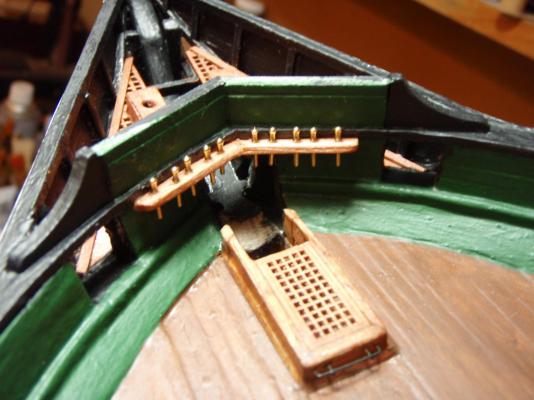
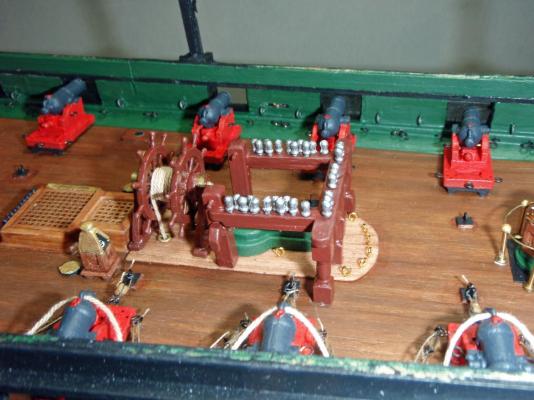
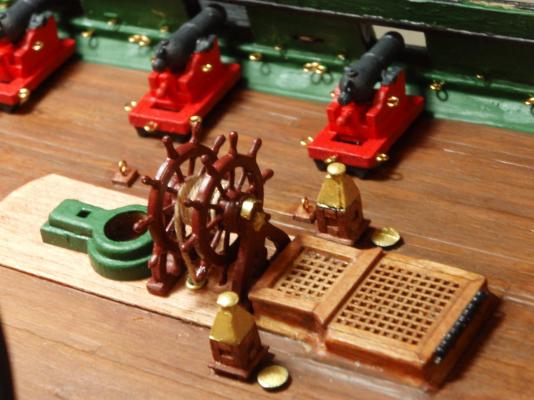
The cannon rigging was progressing... These fife rail belay pins are original to the kit. They were too short so I replaced all of the belay pins with longer brass pins...


-
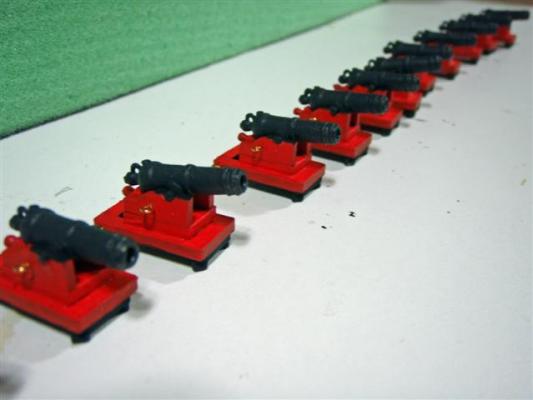
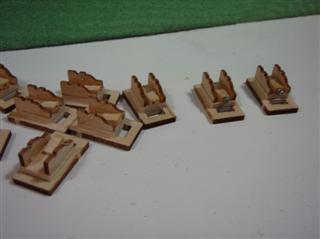
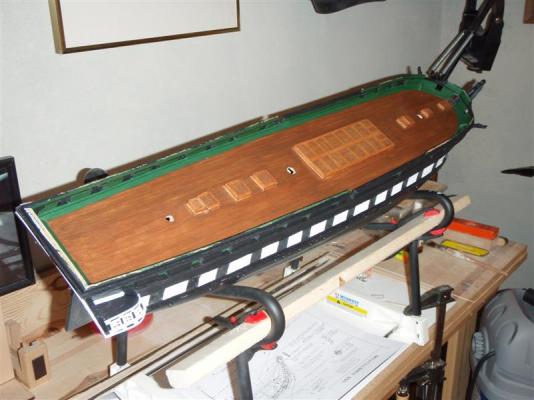
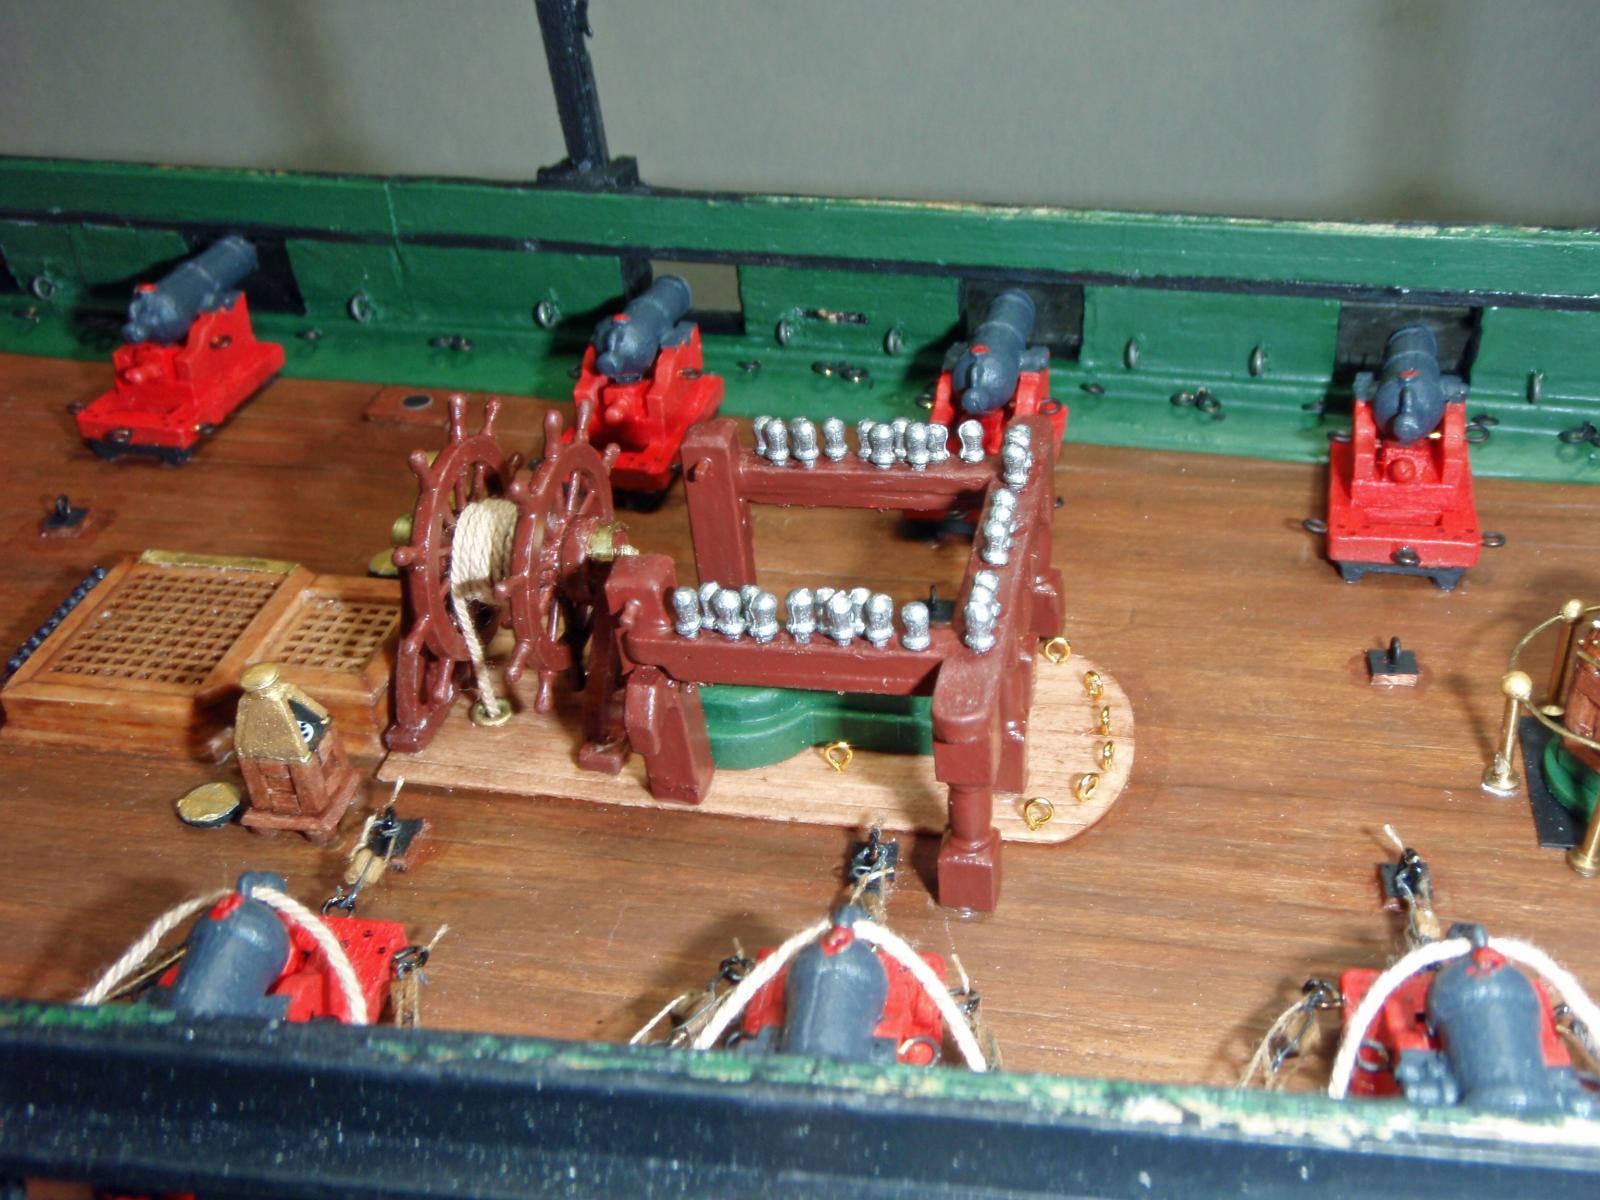
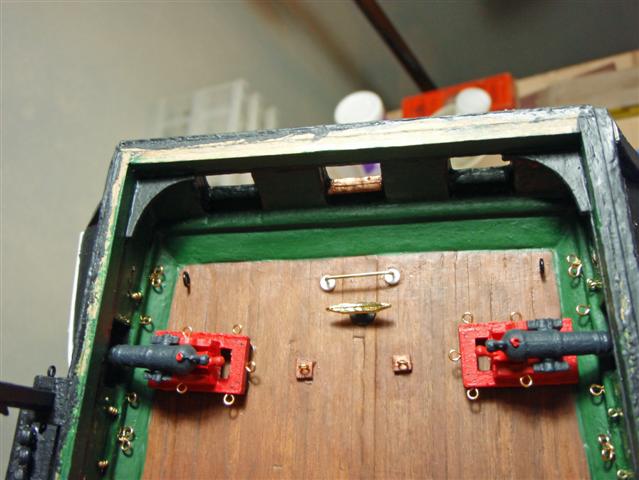
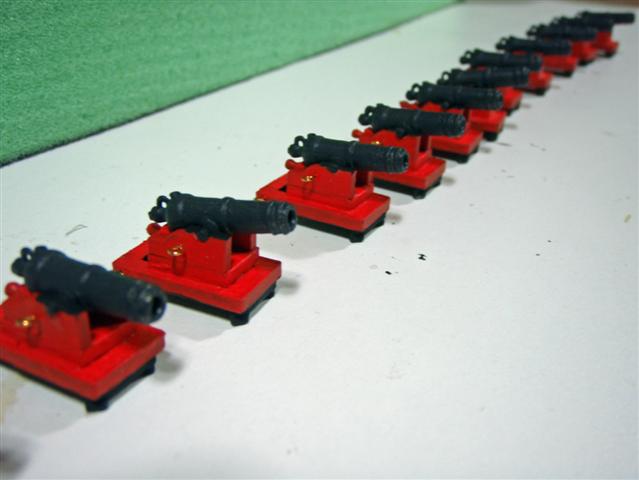
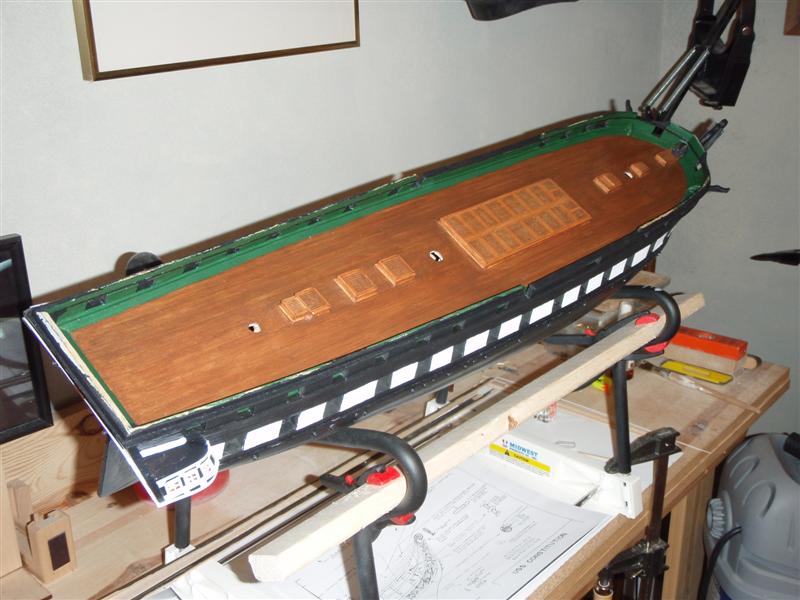
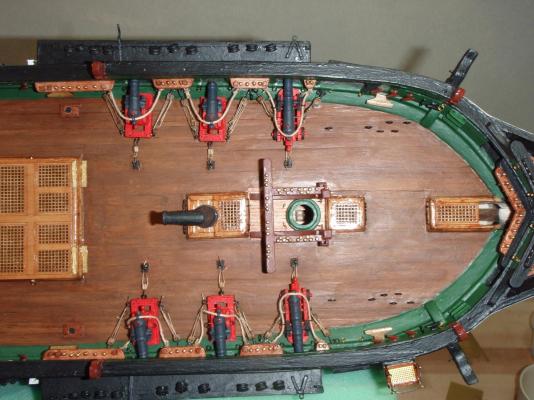
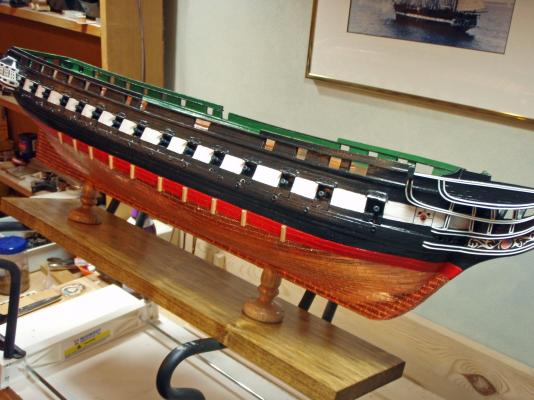
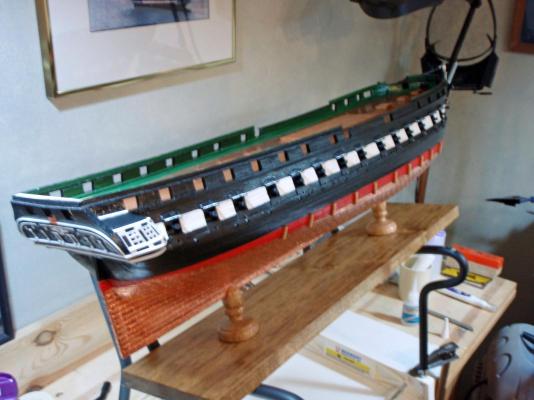
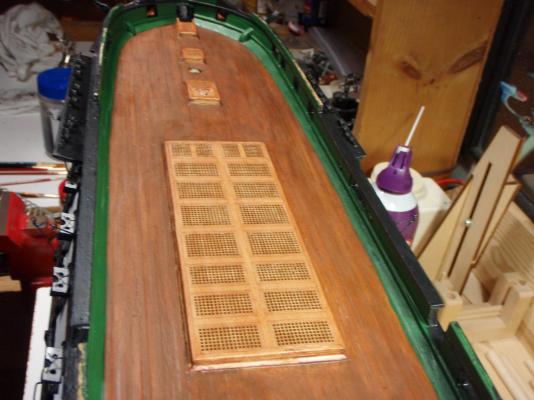
OK...I will reconstruct an abbreviated build log for my Conny. I started the USS Constitution kit by Model Shipways around the Fall of 2010. I neglected to take pictures of the very early stages of the build such as the false keel, bulkheads, and planking...well...a bit more. And, I discovered that I am missing a whole bunch of early photos (if I find them I will append them into the log). EDIT: I found some early pictures of the build and I will insert them here! Some early photos of the bow structures coming together... Adding more and more hull details... Some of the deck details are taking shape... Deck cannons are being placed... More deck details...


-
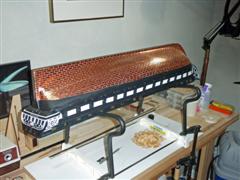
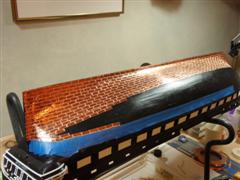
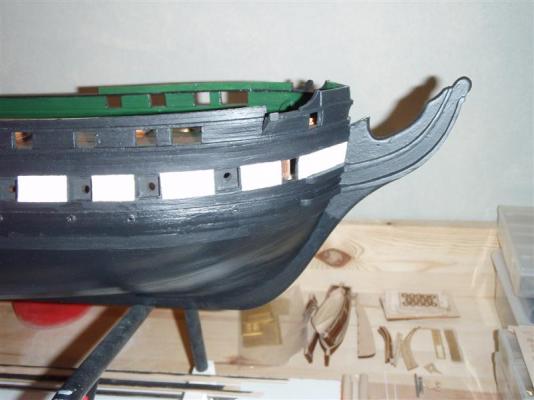
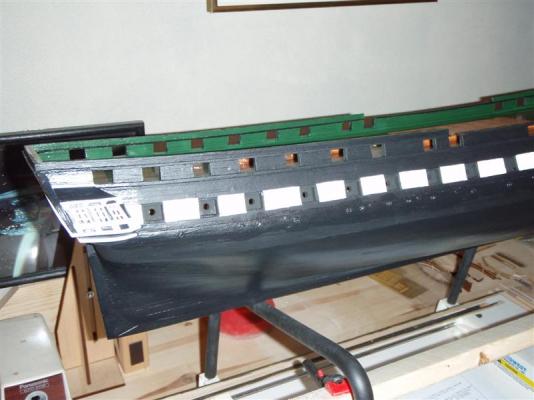
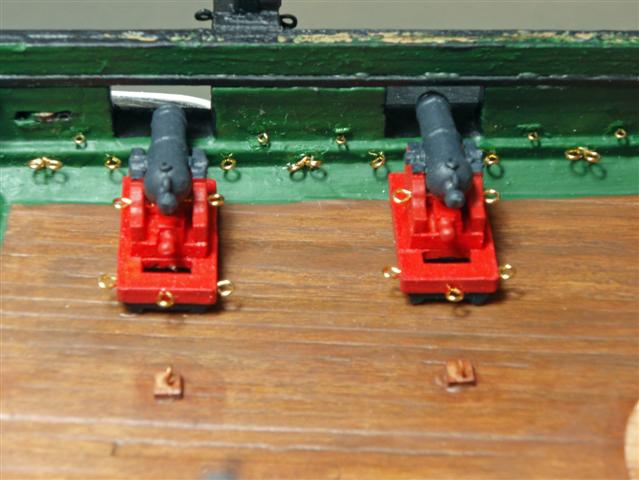
Help...I have some questions: First is where do we post questions, any place special? Second, can the title of the log post be editted (e.g., change USF to USS)? Third, can the sequence of posts be changed to make the latest post the first instead of the last? Thanks? PS: Thanks for the answers... Edit: I found some more early photos so I will add them here to try to bring them into sequence... Jim D Progress on the basic hull prior to coppering... These show the copper plating of the hull...I used the ponce wheel to mark the rivets...had a pile of backings!! Coppering in progress... Nearing completion and the final results... Starting the cannon builds...lined them all up like a production line! Starting to mount the cannons on deck...