Sandor Laza
-
Posts
38 -
Joined
-
Last visited
Content Type
Profiles
Forums
Gallery
Events
Everything posted by Sandor Laza
-

Down-sizing rope ratio compared to the proper scale
Sandor Laza replied to Sandor Laza's topic in Masting, rigging and sails
I checked it, and it seems to be (almost) fine. This is Cannonniera Ollandese #2, 1:43. 18th century cutter. Main mast diameter at deck is 12 mm on the model. If the circumference of the main stay is half of the diameter of the mast, then the main stay diameter should be 1.91 mm. (I hope I am not screwing this up!) And that seems to be too thick to me. Please correct me if I am doing something incorrectly here. -
Down-sizing rope ratio compared to the proper scale
Sandor Laza replied to Sandor Laza's topic in Masting, rigging and sails
Thank you, Allen! I calculated the exact sizes/diameters already. The problem is that they appear to be too thick on the model. I was thinking about to scale the ropes back to 80%. E.g. instead of 2 mm,I would use 1.6, and so forth. Cheers, Sandor -
Dear all, I am trying to calculate the size of ropes to use to my model. I calculated the rope sizes according to the scale of the model, but they feel to heavy. For example, my stay should be 2 mm diameter, but it feel to much. As I recall, I have read somewhere that one should approximately 80% diameter compared to the "proper" size. In other words, I should use 1.6 mm instead 2 mm. Is there an "ideal" widely used down-sizing ratio?
-
I have a ropewalk and I can make two or three thread ropes that look realistic. If I want to make a thicker rope, I tried to make a three threaded rope from the two threaded ropes I made, but they don't look realistic, the original threads are too prominent. Shall I try to buy thicker threads to start with? Or is there a trick to make thicker ropes?
-
Making small nails with round head
Sandor Laza replied to Aleksei Domanov's topic in Metal Work, Soldering and Metal Fittings
Thank you for sharing this! The set of nails coming with my current kit have uneven heads and they look kind of ugly on the model. I was looking for nails with round head, but couldn't find a supplier. I never believed that I can make my round headed nails so easily! Thank you again!!! -
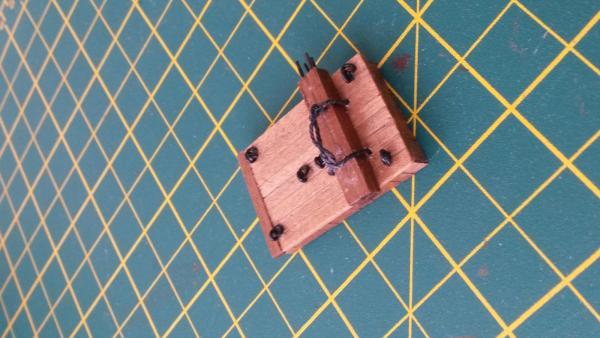
Dear All, I attached a photo of one of the models of the ship in question, for your reference. As I understood, the guns on it are in "battle" position. I would much prefer to show them in "peacetime". Just want to say that I appreciate your help and enthusiasm!

-
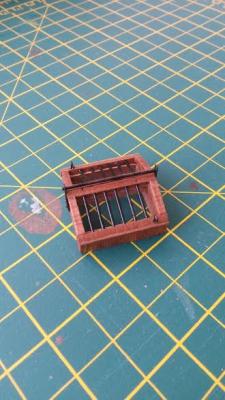
Dear All, I am building the model of the ship "Cannoniera olandese n.2". I have seen plenty of photos of the guns in battle position, but I want to show the guns when they are in "transport" position. Could you please let me know where can I find some materials on how the guns were tied to the deck when they were not in use. I have some drawings, but they are not clear at all. Thank you
-
Bending sharp edges on brass strips
Sandor Laza replied to Sandor Laza's topic in Metal Work, Soldering and Metal Fittings
Hi Moxis, Thank you for the photos, I was thinking about making a similar jig! -
Bending sharp edges on brass strips
Sandor Laza replied to Sandor Laza's topic in Metal Work, Soldering and Metal Fittings
Thank you, I followed the link, your build is absolutely stunning! I will follow your thread it is truly educational! -
Bending sharp edges on brass strips
Sandor Laza replied to Sandor Laza's topic in Metal Work, Soldering and Metal Fittings
Thank you, I tried this yesterday and works great! -
Bending sharp edges on brass strips
Sandor Laza replied to Sandor Laza's topic in Metal Work, Soldering and Metal Fittings
Thank you! -
Bending sharp edges on brass strips
Sandor Laza replied to Sandor Laza's topic in Metal Work, Soldering and Metal Fittings
Thank you, it is a good idea! I will try it! -
Dear All, Can anyone recommend tools or tips on how to create sharp edges on brass strips? I am creating hinges and other small brass parts for cannons. I can bend the metal but the edges are too round. I saw people are talking about special pliers etc. but I could not find them on the internet? Any advice would be really appreciated. My metal work looks kind of ugly at this moment... Thank you!
-
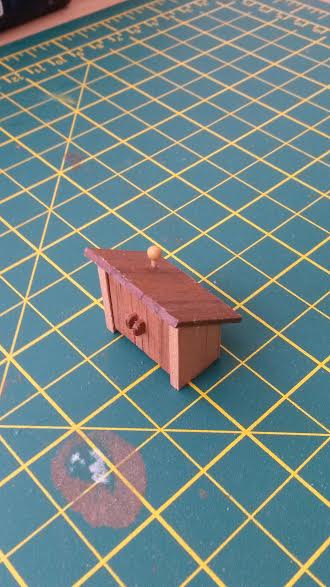
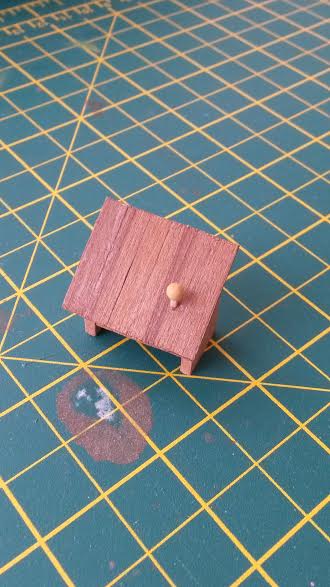
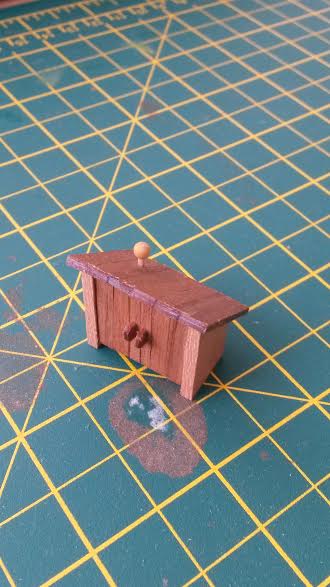
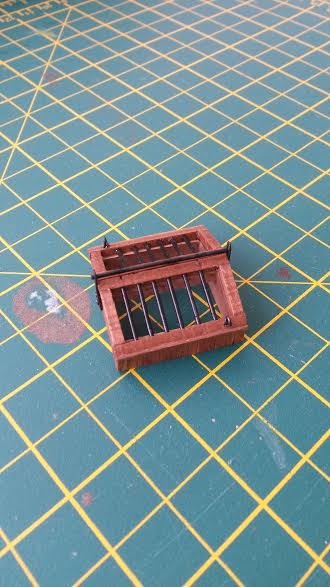
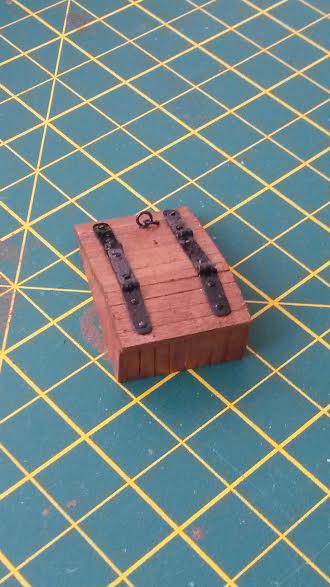
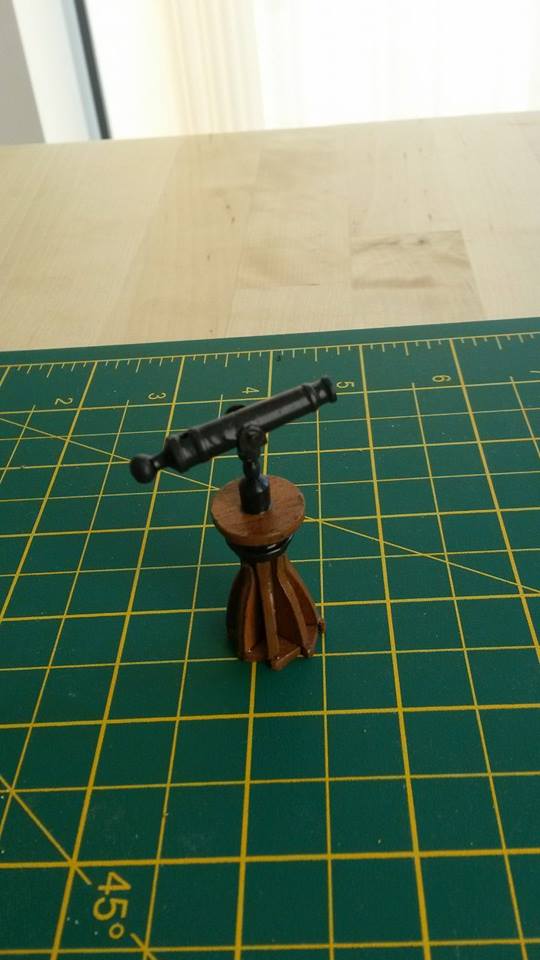
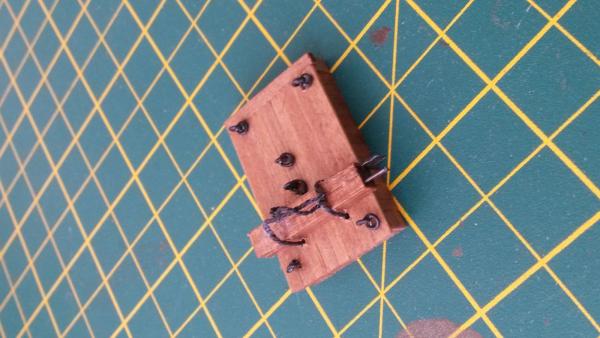
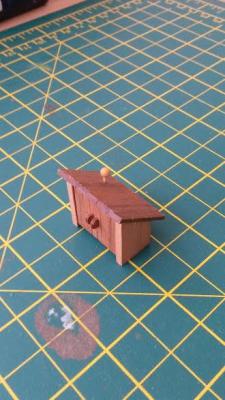
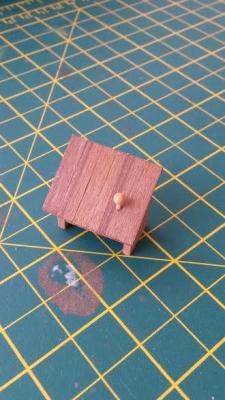
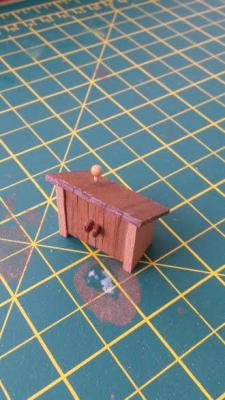
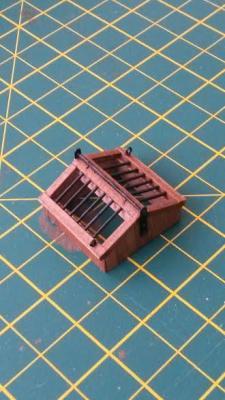
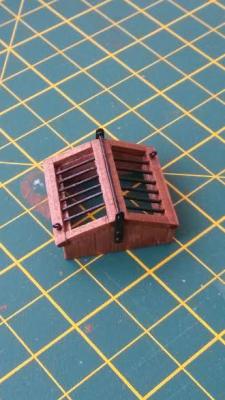
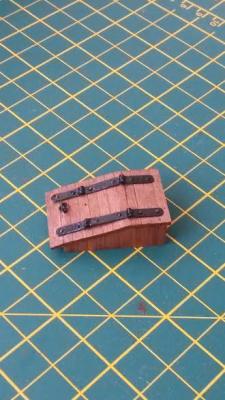
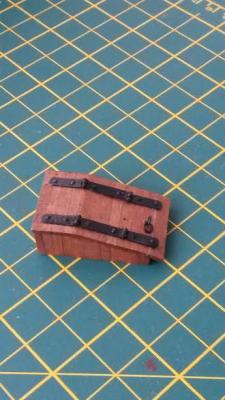
Dear Jan and All, Thank you for your interest, I will come back to the rudder issue in a subsequent post, there are a number of issues there and I need to put my mind around them before posting. Moreover, I just want to finish planking the hull just to see how the rudder would fit to it. Talking about planking. Work is progressing slowly but steadily. I must say, loads of wood filler and loads of sanding. Nevertheless, one side is almost done (although I the same days ago, but I always discover some imperfection, but I will have to stop at some point...). Meanwhile I decided to upload a few bits of deck furniture that I made earlier. Not a big deal, but I would like to document each part of the ship to make the life easier for anyone who decides to build this ship in the future.


- 15 replies
-
- 4
-

-
- cannoniera olandese
- mantua
- (and 1 more)
-
Hi Jan, Thank you for the link! Yes, I have seen the photos, but the rudder assembly is not clearly visible on them. Meanwhile I contacted the maritime museum in Den Helder. They told me that their ship is on loan, so they can't make photos for me, but they sent a link to a photo gallery of a model in the maritime museum in Rotterdam. It is brilliant!! The photos seem to support my suspicion that this part of the plan is not correct! http://maritiemdigitaal.nl/index.cfm?event=search.getdetail&id=100085101 Anyway, I think this photo gallery will help me a lot!!! Best regards, Sandor
- 15 replies
-
- 1
-
-
- cannoniera olandese
- mantua
- (and 1 more)
-
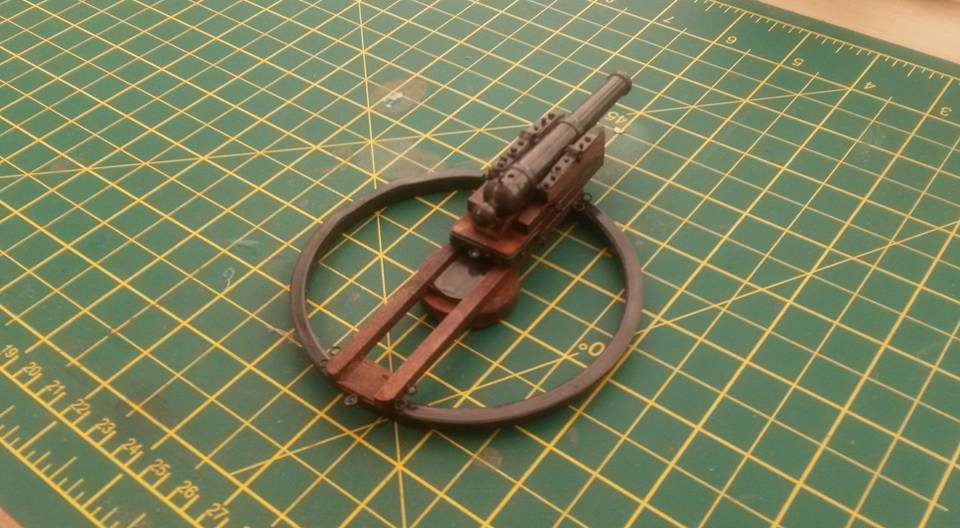
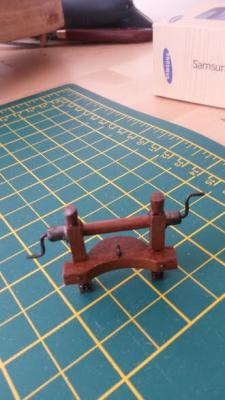
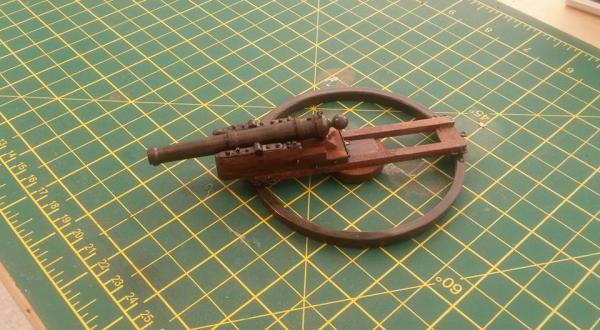
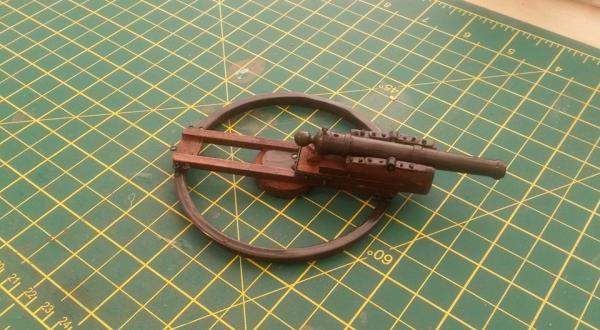
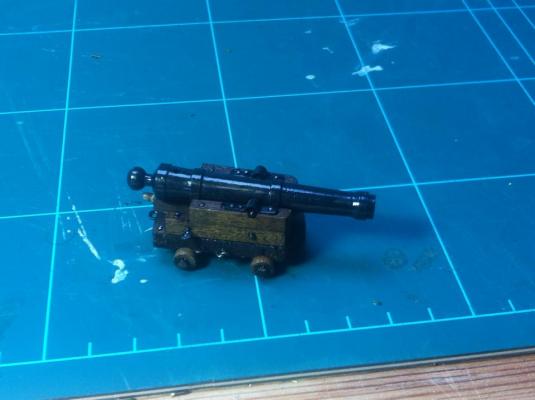
Dear All, Here is the last cannon I made for the ship. Planking still needs a lot of sanding/wood filler but I will get there eventually. At this moment I am thinking about building the rudder, but I have some difficulties believing what I see on the plans and on some of the existing models. The question I always ask myself building the ship is "Why would they do that way?" I think on a ship all things have to be practical to the extreme, so if there is no practical explanation for something, I start to doubt the plans... Anyway, I will collect all my concerns and I will open a topic, I am sure the experts here will be able to give me an answer! Meanwhile enjoy the cannon!
- 15 replies
-
- 5
-
-
- cannoniera olandese
- mantua
- (and 1 more)
-
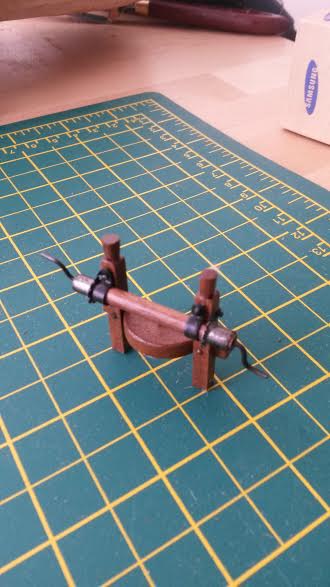
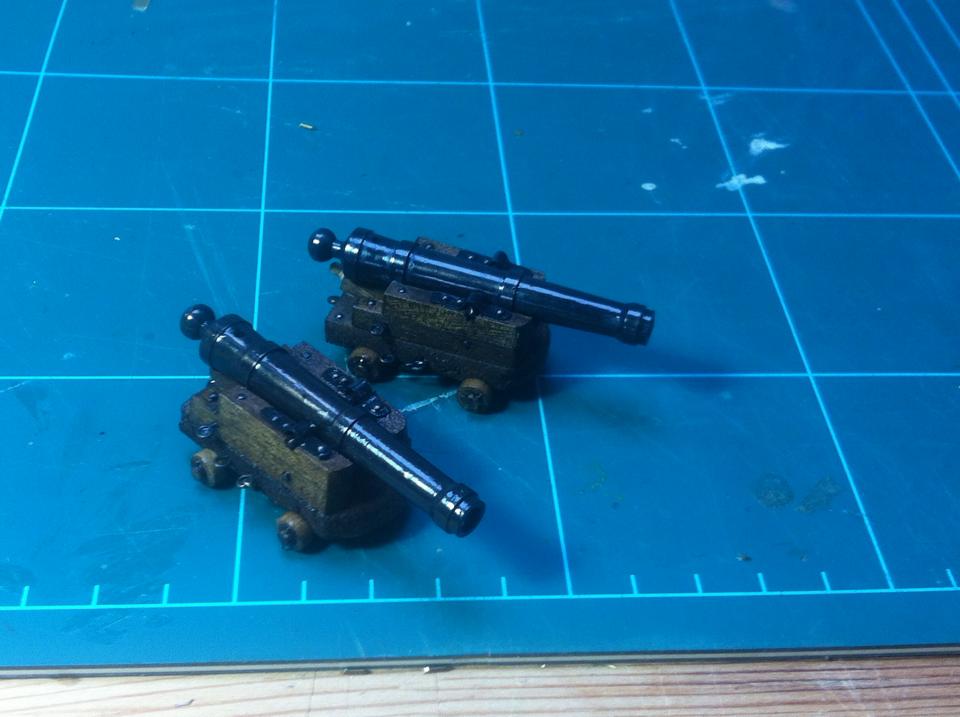
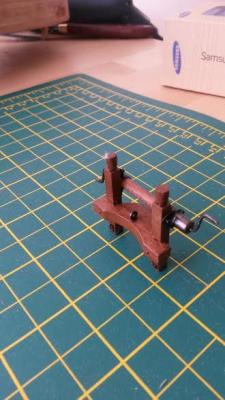
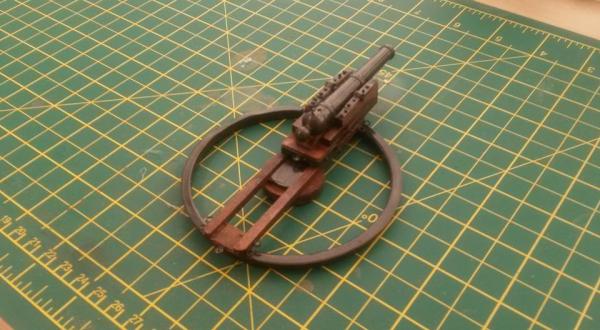
Dear All, Two more cannons I made while doing the planking (apparently wrongly :-) on the ship... I wish a beautiful Christmas to you all!

- 15 replies
-
- 5
-
-
- cannoniera olandese
- mantua
- (and 1 more)
-
Hi Ian, Thank you for the comment! Well, then I am building another wrongly planked ship... Anyway, I like my pattern better, but I will make sure that I will include a comment in the building log marking that it is planked incorrectly! Thank you for the comment again and have beautiful Christmas!
- 15 replies
-
- 1
-
-
- cannoniera olandese
- mantua
- (and 1 more)
-
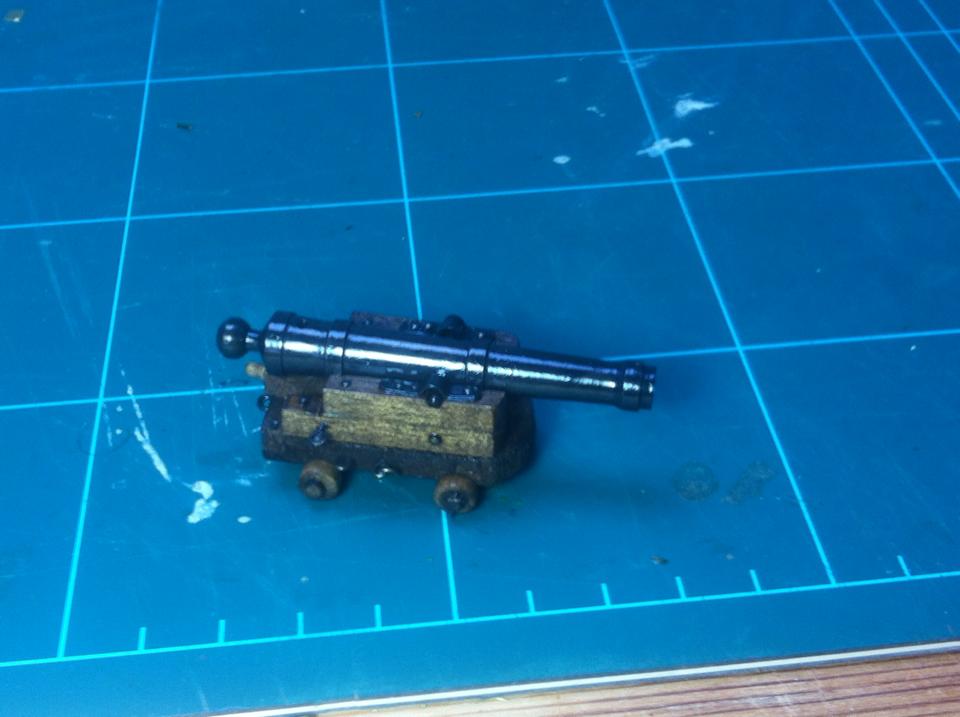
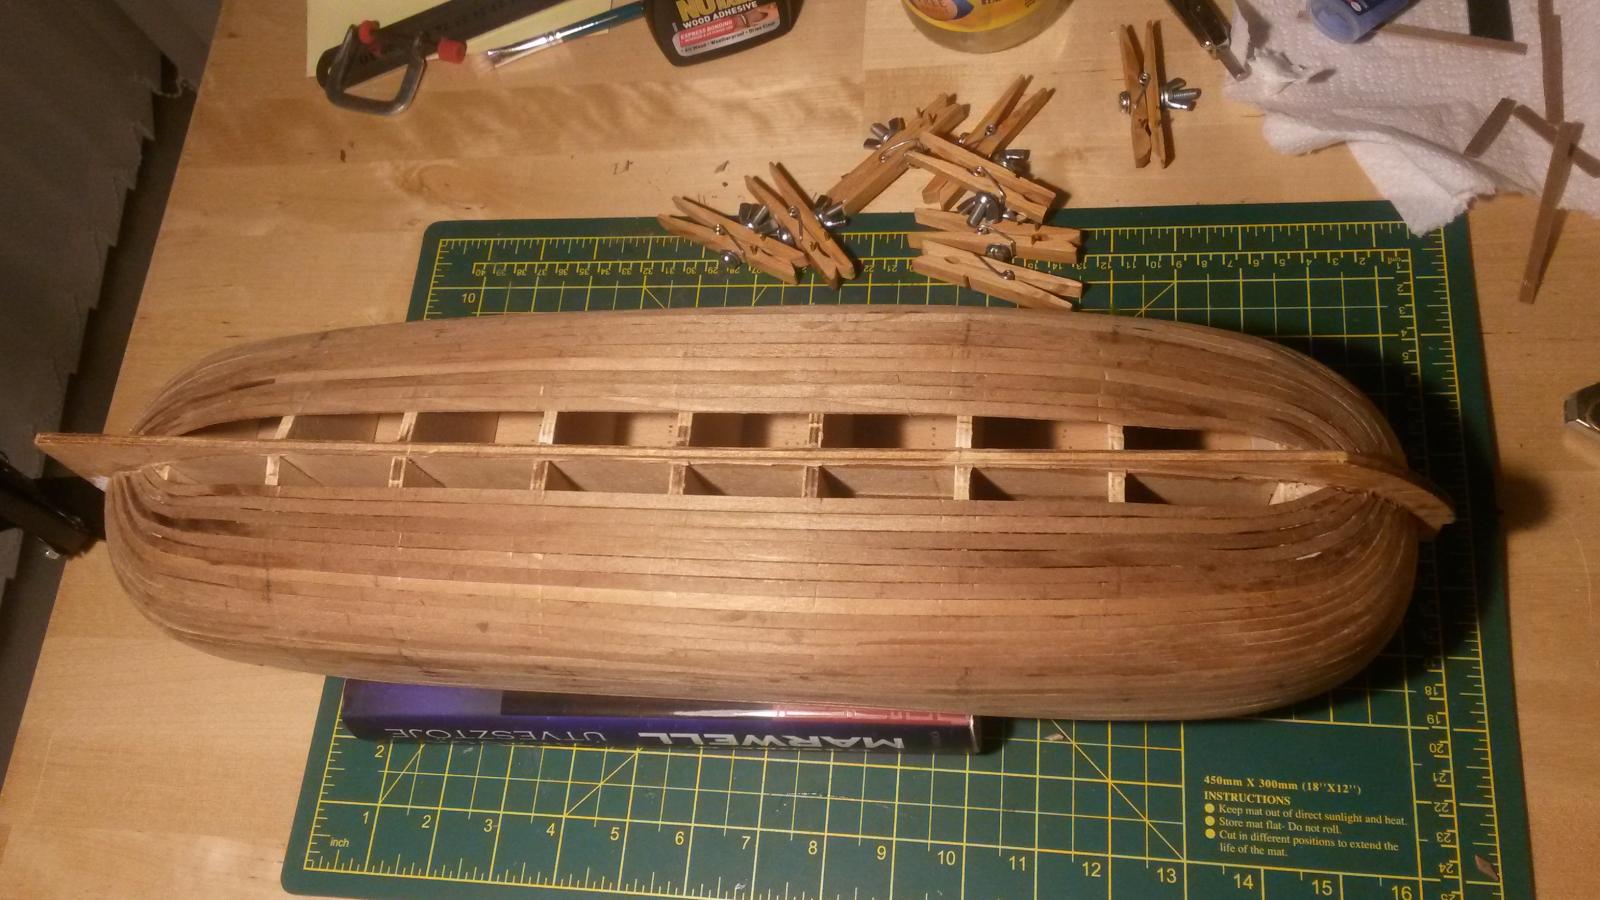
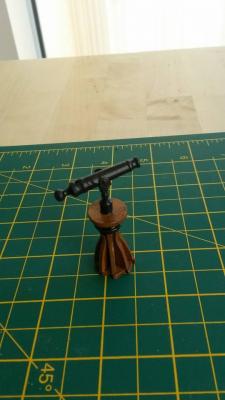
Dear All, The first round of the planking is ready, but I will need to do some touch-up on it. I must admit, it is way better than I expected but still need some work filling the gaps with wood filler and sanding. I am curious myself how it will look at the end. Meanwhile here is a photo of another gun that I made when I was fed up with planking:
- 15 replies
-
- 1
-
-
- cannoniera olandese
- mantua
- (and 1 more)
-
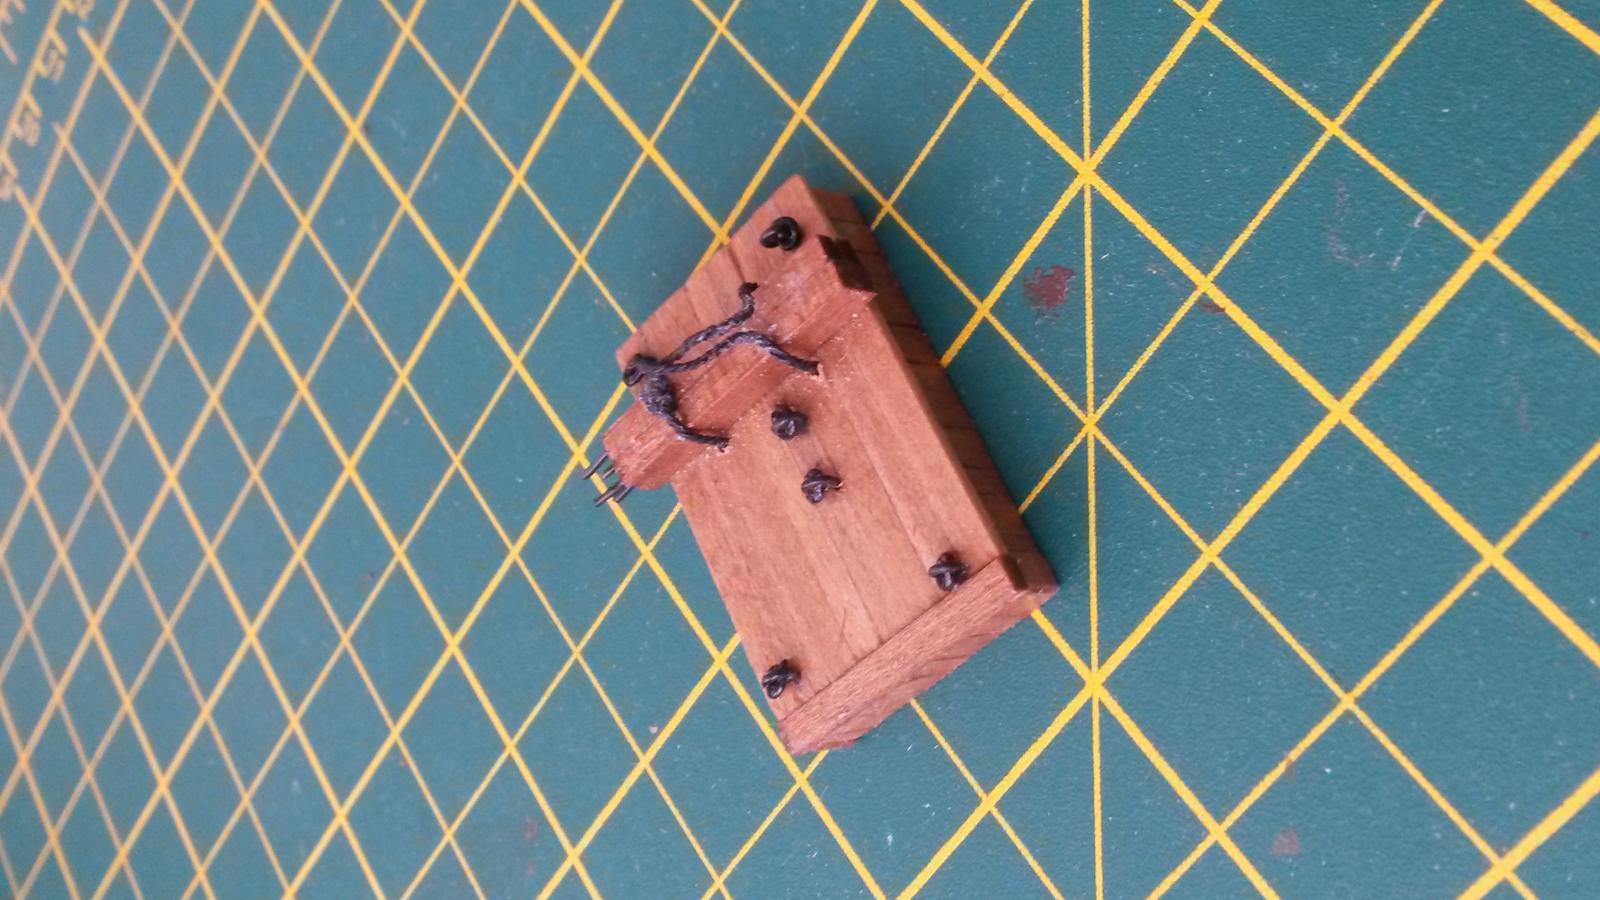
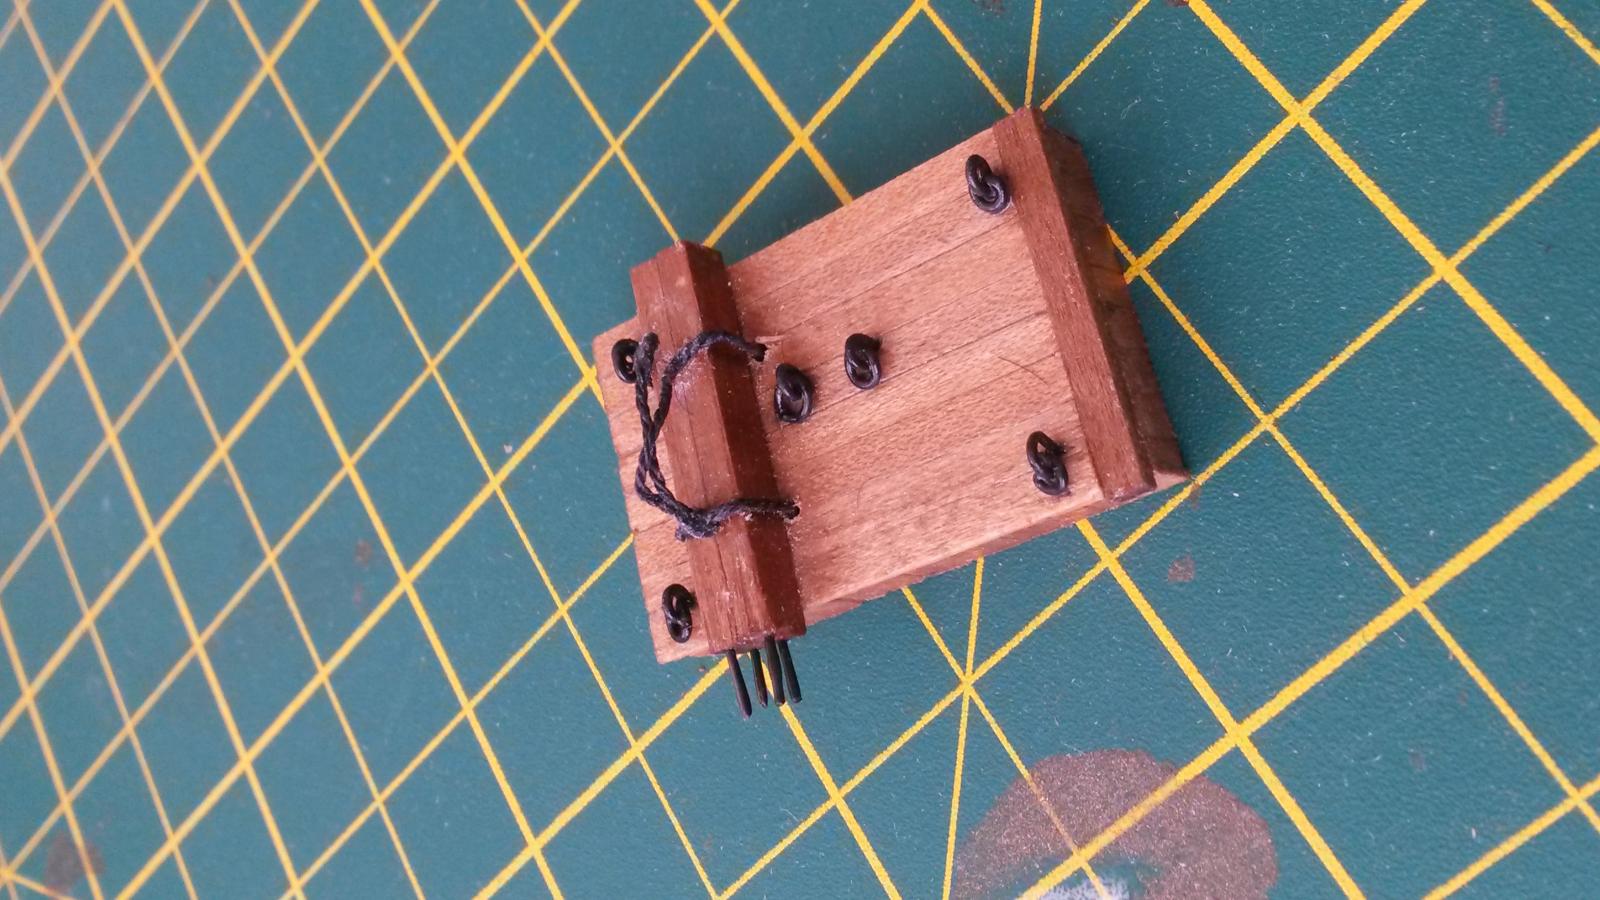
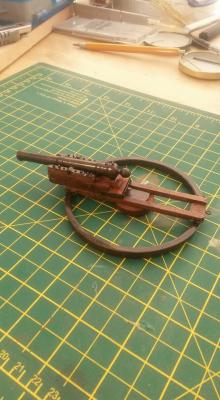
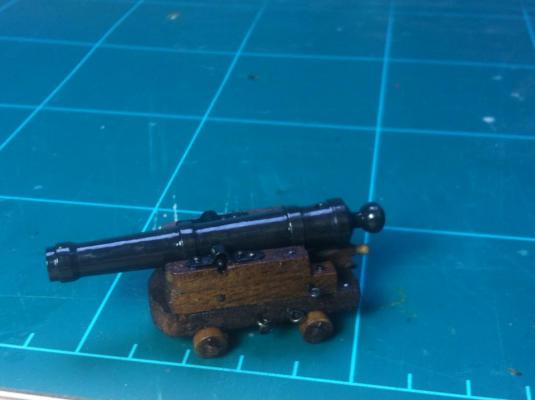
Dear All, As I mentioned in my previous post, I spent a lot of time figuring out how to plank this ship. Meanwhile I decided to do something else just to progress a build a bit. I decided to build a cannon. I made some research on the topic and that was off-putting too... I never built a cannon before and it turned out that real cannons are way more complex than I originally imagined! Finally I decided not to overcomplicate the matter and make only a few small modification to the kit design to make it more realistic. But I decided that on point in time I will do build a proper model of a cannon, just to see if I can make it! Here are some photos of my firs cannon(s). The photos are slightly discoloured for whatever reason. Still, I hope you will get the gist.


- 15 replies
-
- 3
-
-
- cannoniera olandese
- mantua
- (and 1 more)
-
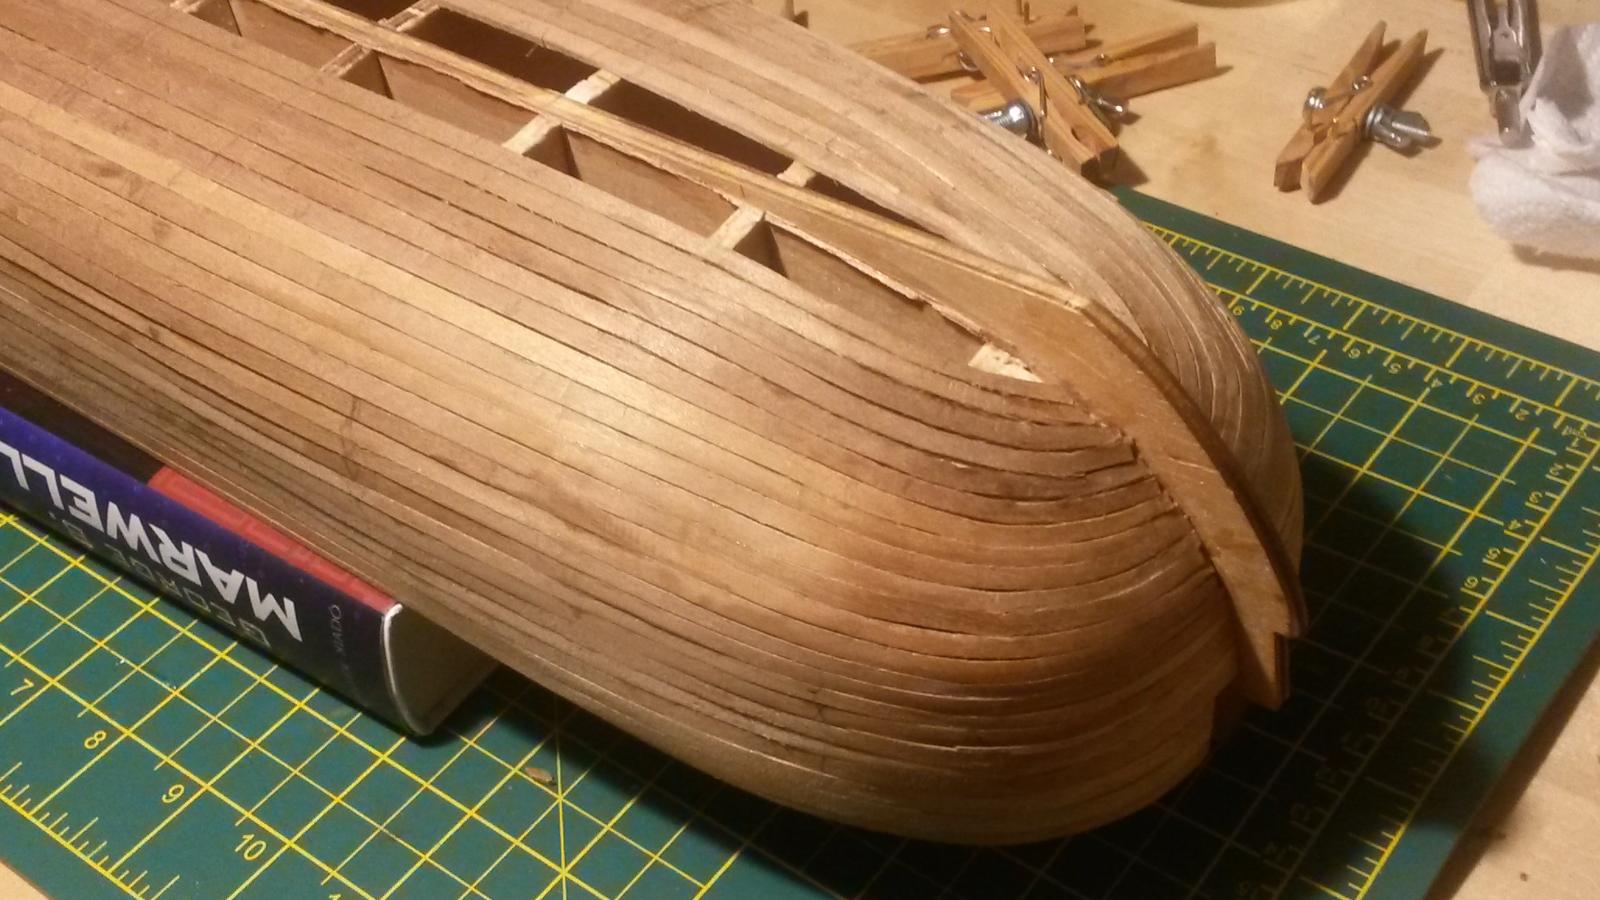
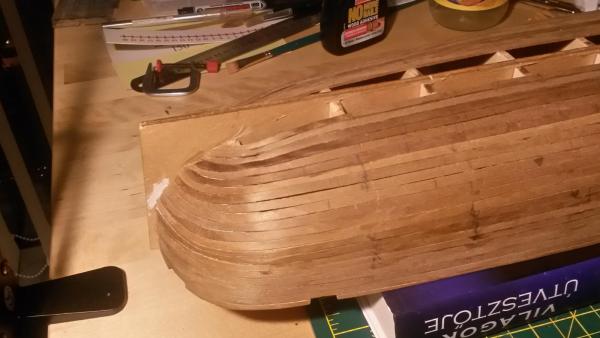
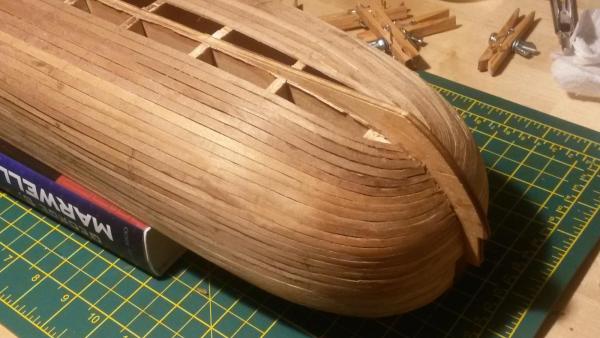
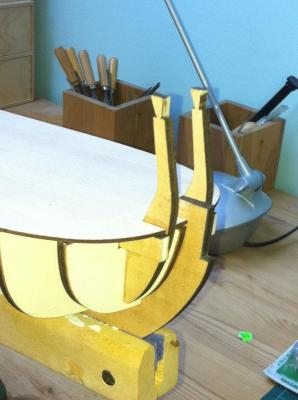
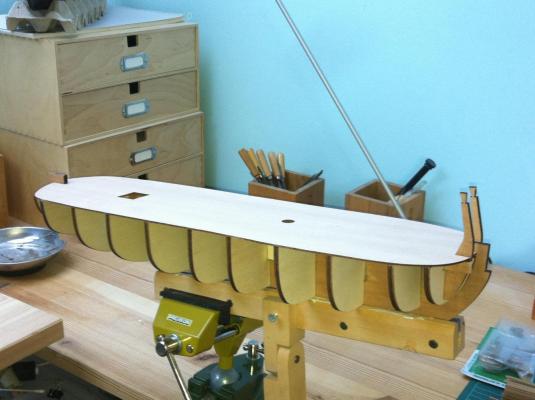
Dear All, I started the planking of the ship back in 2013 and stopped a few weeks later because I hit a small planking problem that needed to be solved... But before that, here is the ship with planking almost finished: As you can see, the first few planks starting from the board bend naturally. Unfortunately when one reaches the fifth plank, the shape of the hull would force the planks in an unnatural direction. Following that natural bend would mean that some of the planks would not end on the keel but on other planks. You can see a planking here that followed that path: (this is not my ship, just using the photo to demonstrate the point...) I believed (rightly or wrongly), that this is not correct and I will attempt planking the ship in such a way that all plans end on the keel. Unfortunately this requires bending the planks laterally which is not an easy undertaking. An additional problem is that this is a single planked ship, so, the work needs to be very precise, no opportunity to hide the problems with a second planking. (I was thinking about putting on second level of planking, but achieving the laterally bent look would have been equally complicated.) I decided to give it a go and if things go badly, I can always apply a second planking the "easy way" that you can see on the picture above. Now that I am almost ready, I would give you two advice if you decide to follow my path: Fill the area between the first and the last three bulkheads with balsa wood and shape it to form a base for the planks. (I marked the area to be filled with blue rectangles on the picture blow. Pre-mark the curvature of the planks on the balsa wood to make sure it looks nice and natural. This will save you plenty of troubles... Anyway, I will post more images after I finish the planking. Meanwhile I will post some photos of the deck furniture and the cannons I built while I was fighting with the planking...


- 15 replies
-
- 4
-
-
- cannoniera olandese
- mantua
- (and 1 more)
-
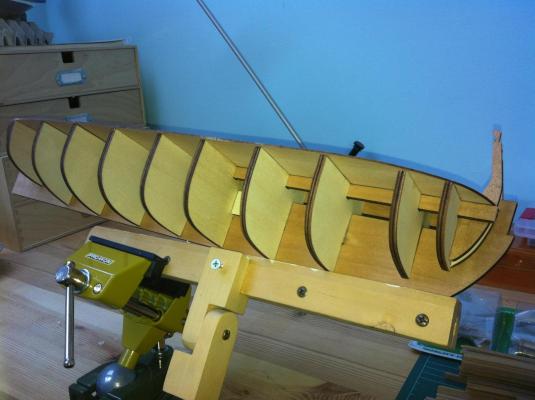
Dear All, Thank you for your encouragement on my previous post! I am attaching some photos of the first step of the build. I assembled the keel the bulkheads and the deck. The keel was slightly bent so I needed to straighten it a bit. Otherwise the kit was precisely cut, so it was easy to make it. For a cautionary word for the beginners: make sure that the bulkheads are precisely orthogonal to the keel, it will help planking a lot!
- 15 replies
-
- 2
-
-
- cannoniera olandese
- mantua
- (and 1 more)
-
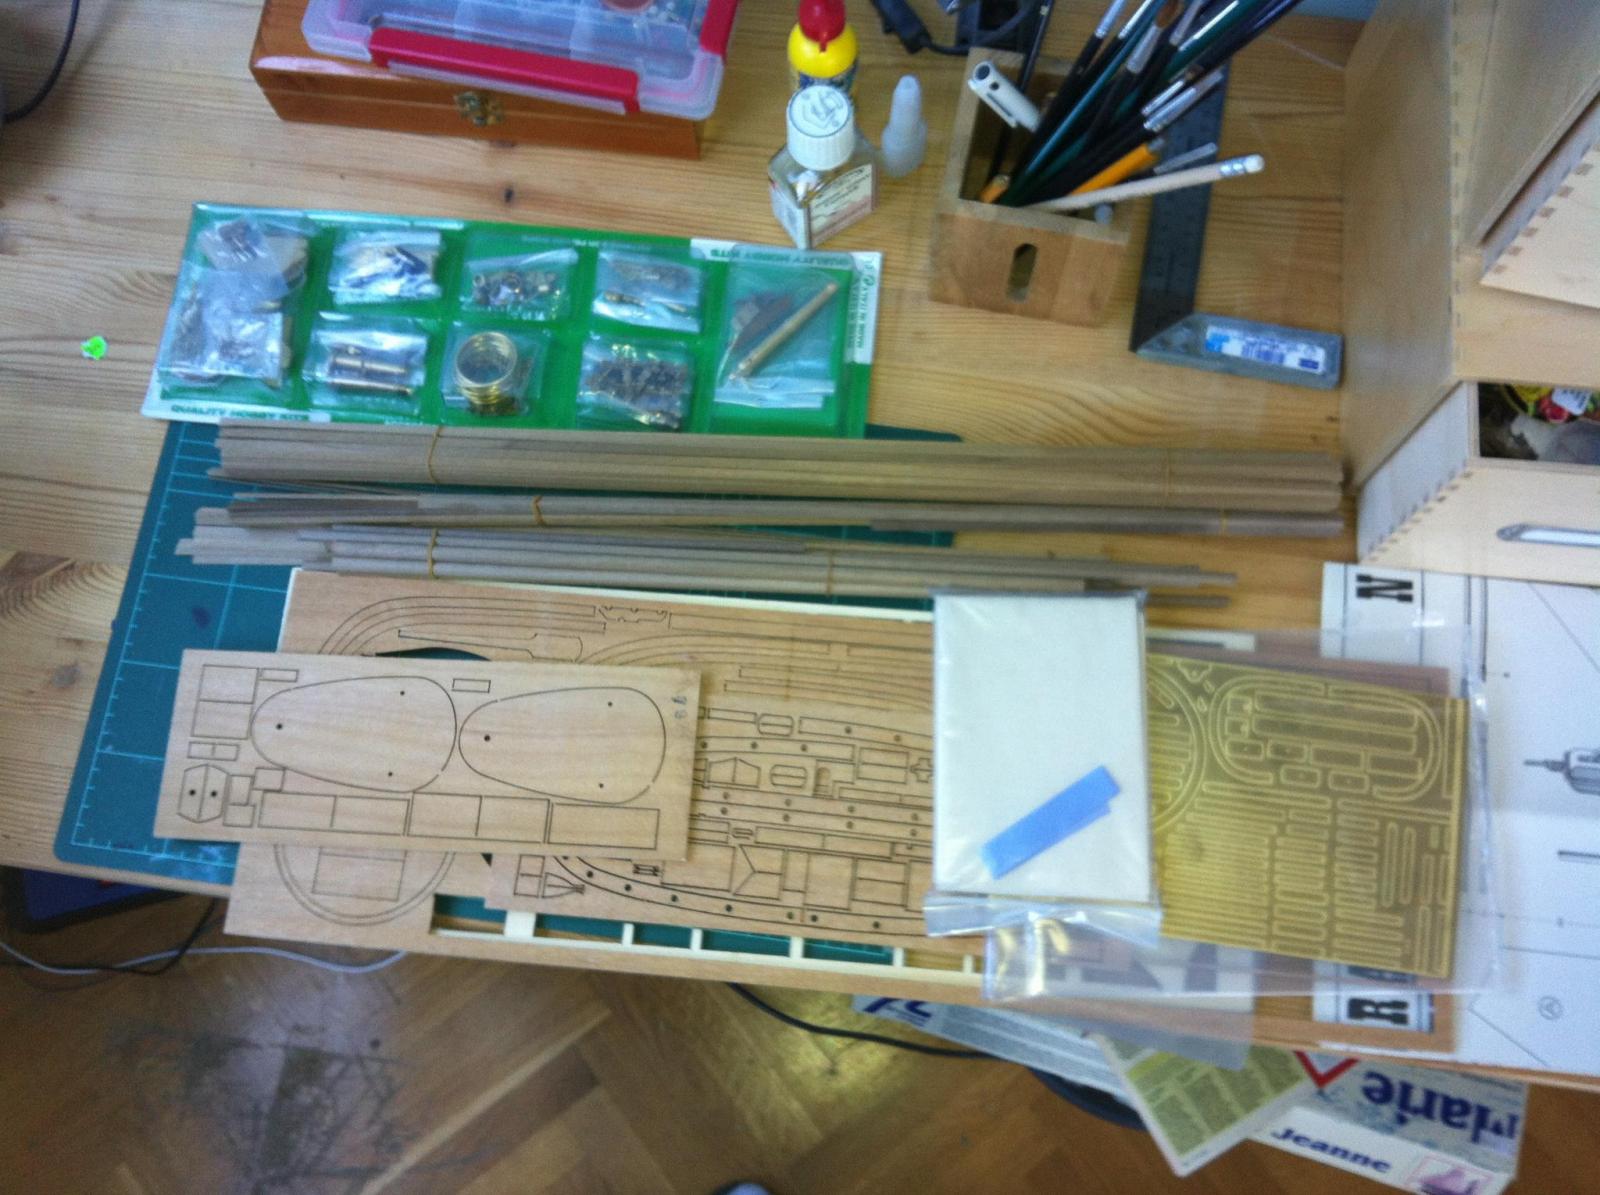
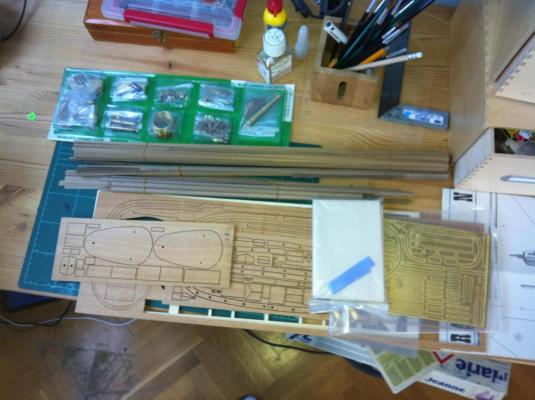
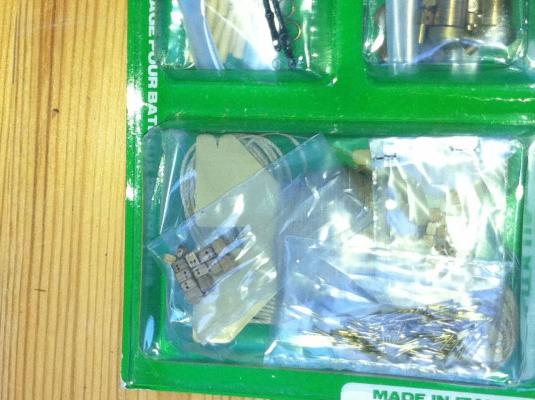
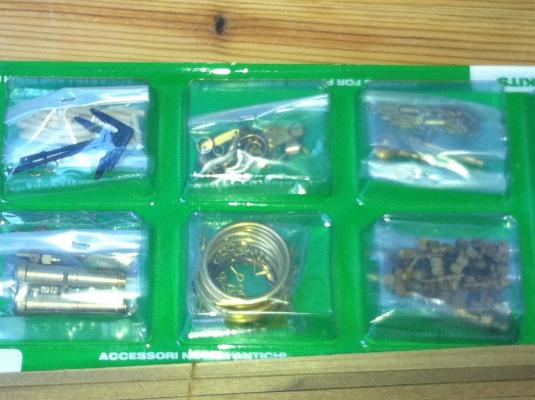
Dear All, I started to build this kit in 2013 and it is still a work in progress. Meanwhile I changed jobs twice and countries once, but I am optimistic, I will do finish this ship sometime... Anyway, here are some photos of the kit when I opened the box. I will post some photos on the build progress soon...
- 15 replies
-
- 4
-
-
- cannoniera olandese
- mantua
- (and 1 more)