jxtbone
-
Posts
10 -
Joined
-
Last visited
Recent Profile Visitors
412 profile views


-
 WackoWolf reacted to a post in a topic:
Amerigo Vespucci by jxtbone - Mantua - Scale 1:84 - 1931 Italian Navy Training Ship
WackoWolf reacted to a post in a topic:
Amerigo Vespucci by jxtbone - Mantua - Scale 1:84 - 1931 Italian Navy Training Ship
-
EJ_L reacted to a post in a topic:
Amerigo Vespucci by jxtbone - Mantua - Scale 1:84 - 1931 Italian Navy Training Ship
-
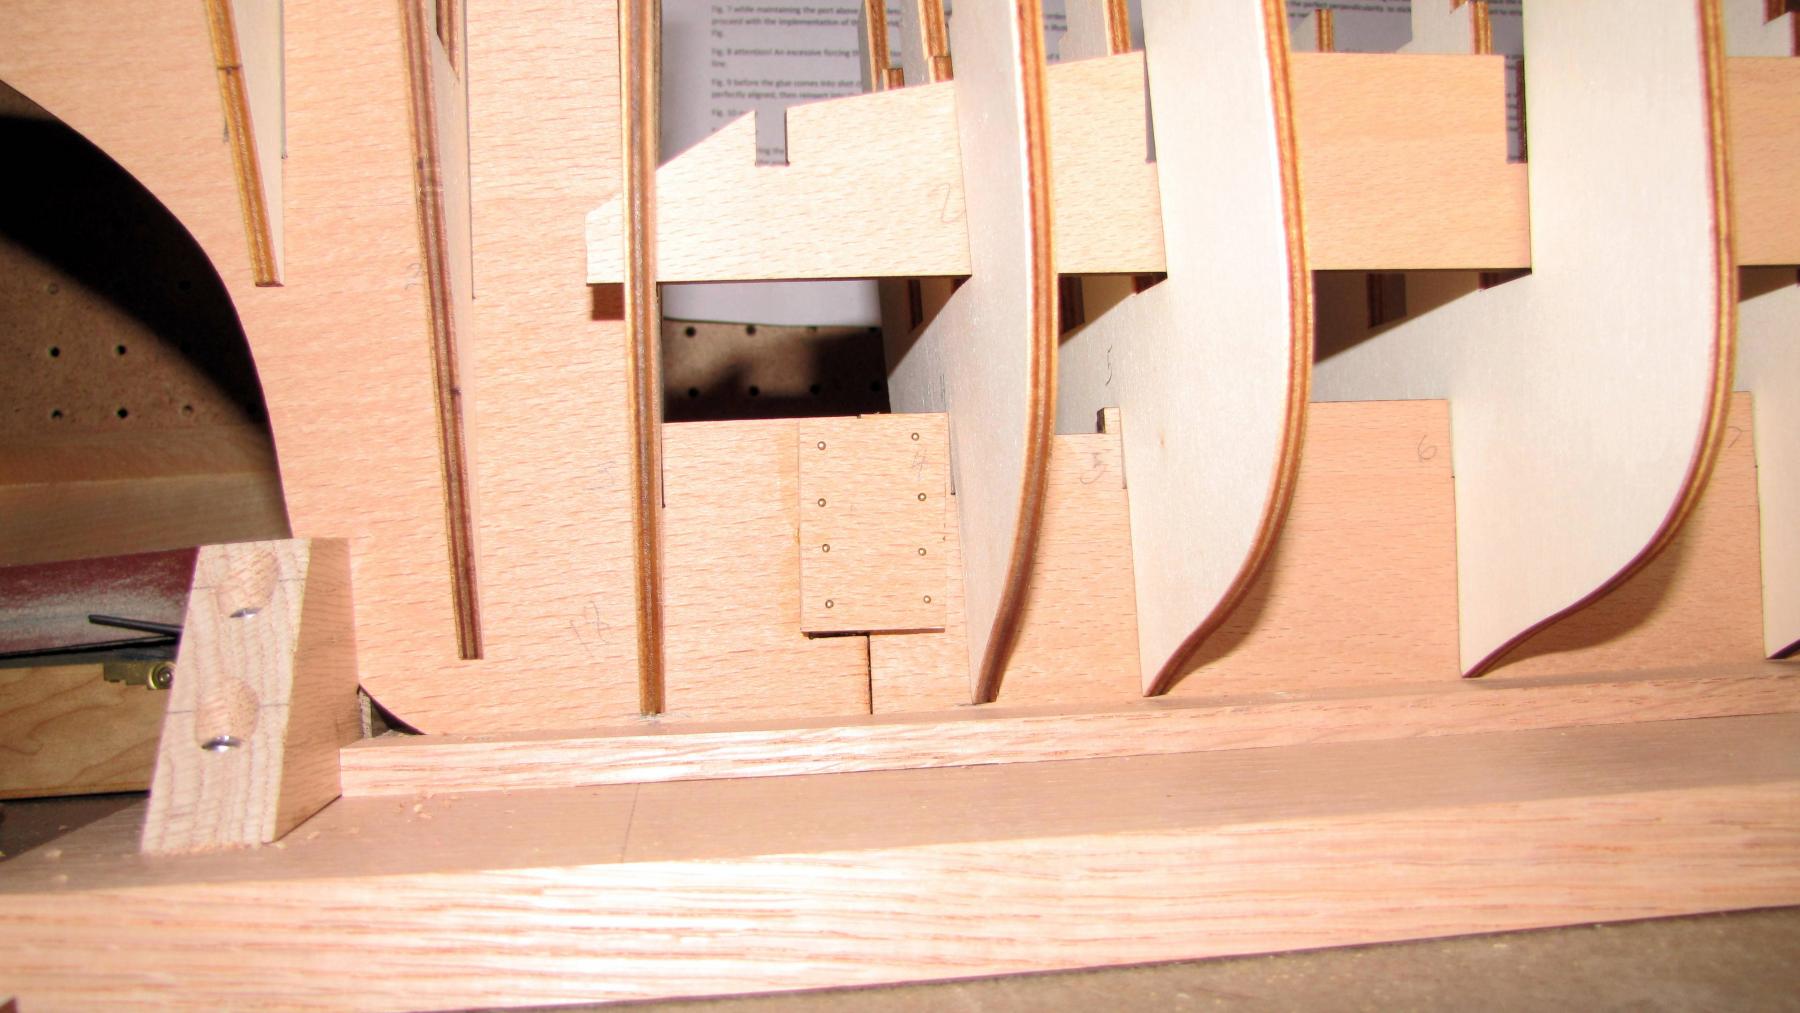
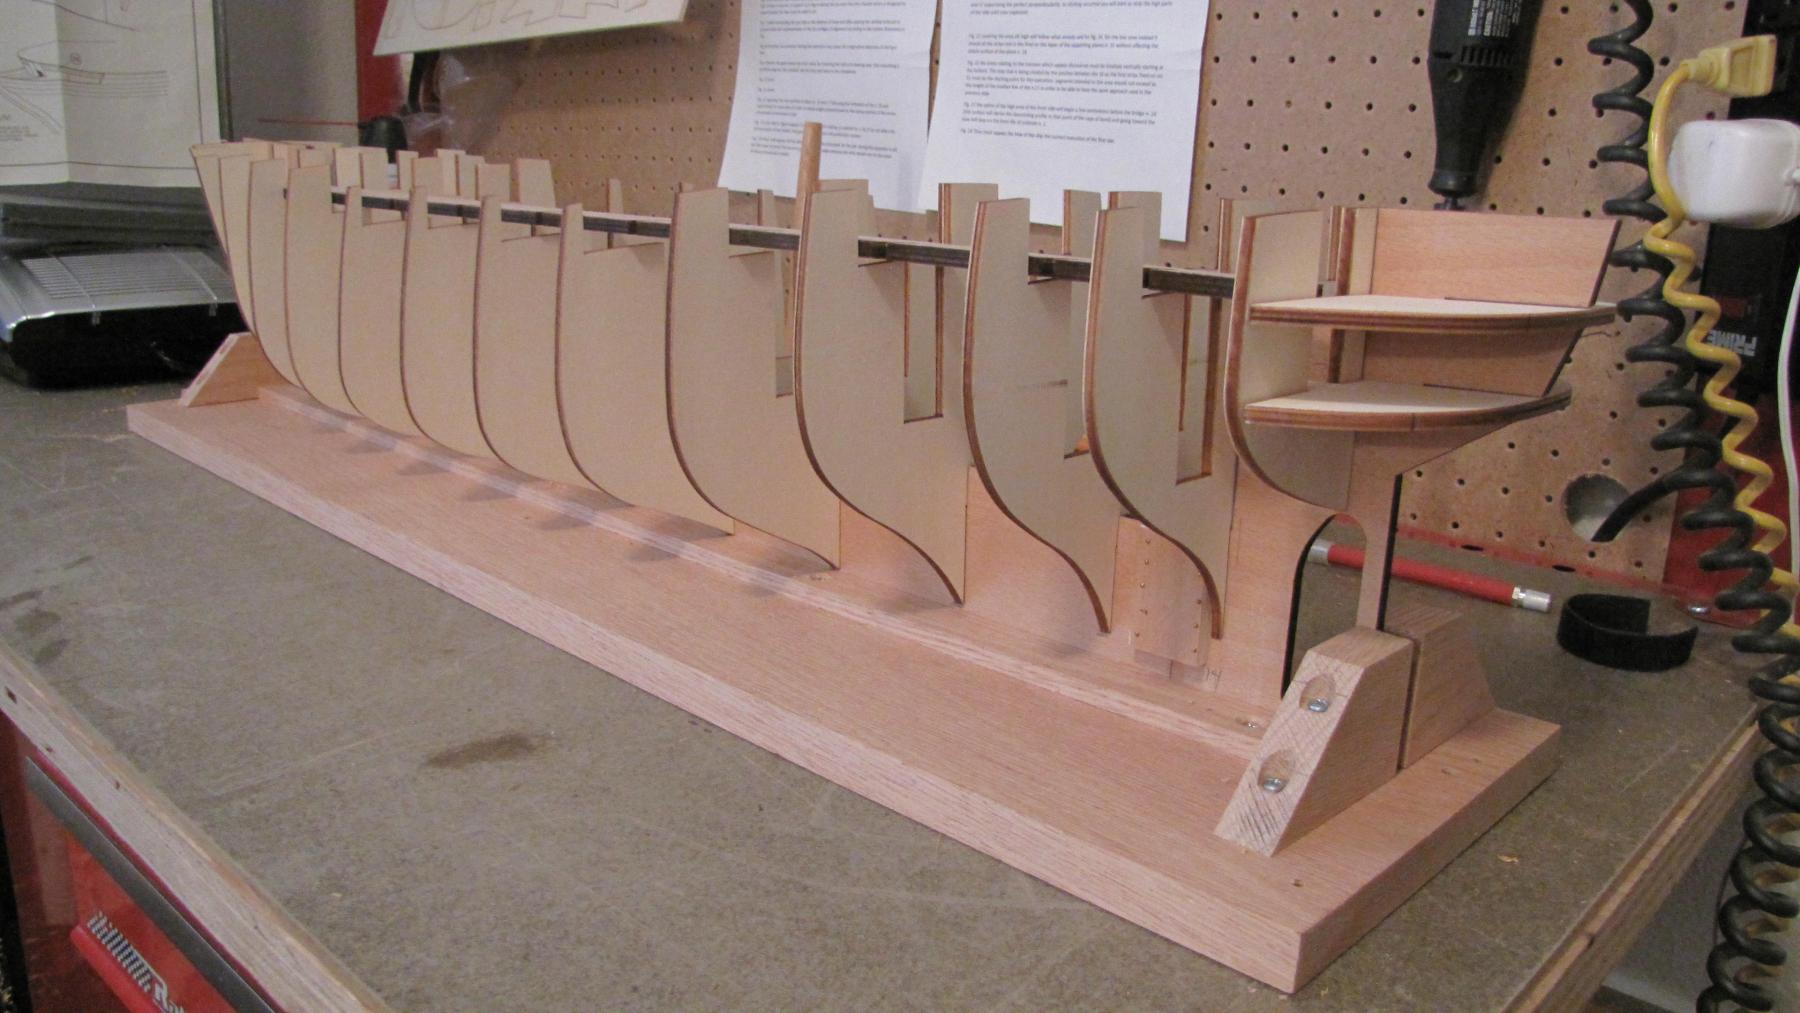
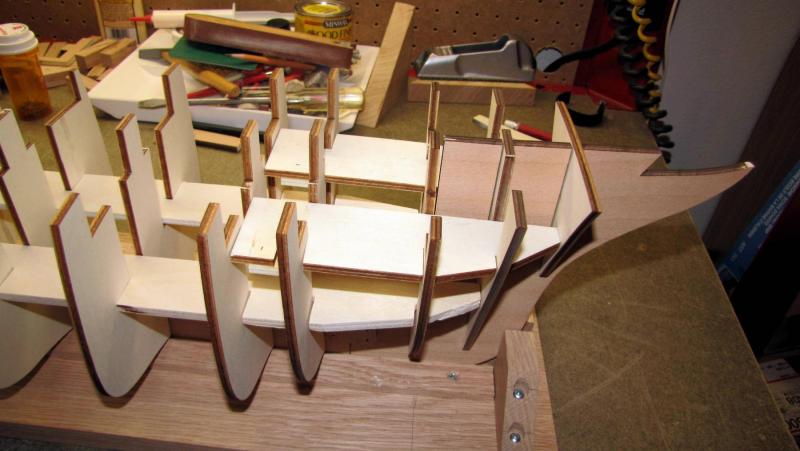
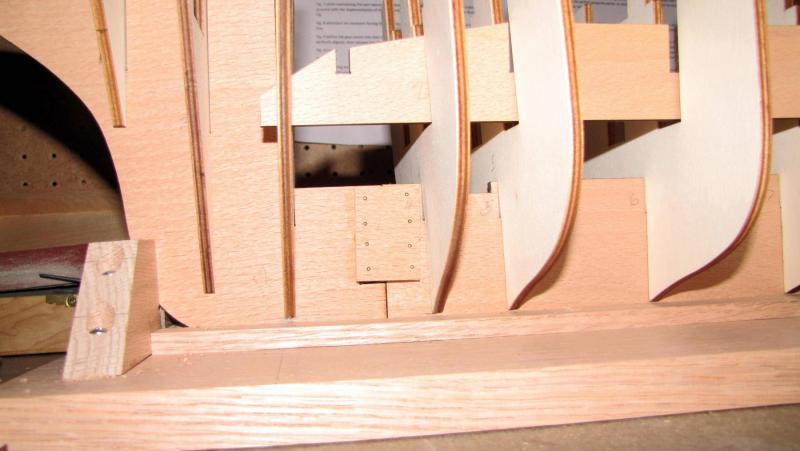
 Time for an update. Lot of other responsibilities lately impinging on what I really want to do. I have gotten all of the framing bulkheads and horizontal reinforcing bridges glued into place. I have also started rounding off the edges where the first layer of planks will need to fit smoothly across, or terminate as at the bow and stern. I tried cutting a rabbet into one side of the kneel but I'm not really happy with the result so will do the other side by beveling the plank. Basically, trying both of EJ_L's suggestions. I'll add some photos after I manage to take some that are in focus. Darn ship keeps moving around.
 -
Story reacted to a post in a topic:
Coastal Cargo Carrier or Japanese 'Steel Truck' by Story - PLASTIC - scale 1/100th - 1931-1951
-
jxtbone reacted to a post in a topic:
Still Learning rabbit - rebate
-
jxtbone reacted to a post in a topic:
Still Learning rabbit - rebate
-
EJ_L reacted to a post in a topic:
Amerigo Vespucci by jxtbone - Mantua - Scale 1:84 - 1931 Italian Navy Training Ship
-
jxtbone reacted to a post in a topic:
HMS Vanguard by gbarlow - FINISHED - Amati/Victory Models - 1:72
-
jxtbone reacted to a post in a topic:
Advice for planking
-
Thanks, EJ. I think I'll give rabbeting a try, at least on a test piece first, lol! With over 40" X 2 to do i should get fairly proficient by the time I'm done.
-
Steve 12345 reacted to a post in a topic:
Amerigo Vespucci by jxtbone - Mantua - Scale 1:84 - 1931 Italian Navy Training Ship
-
EJ_L reacted to a post in a topic:
Amerigo Vespucci by jxtbone - Mantua - Scale 1:84 - 1931 Italian Navy Training Ship
-
Hey, Shipmates. Before I get all of the bulkheads set into place and glued, a question came to me concerning planking. Some of the books I've read say to make a rabbet in the kneel for the bottom-most plank to lay in, other books (including the instructions with this kit) do not mention this step. Is this a necessary thing to do or just a good thing to do? I think I'd like to try doing a rabbet but I'm not sure how to go about it. Any thoughts or suggestions? Thank you in advance! John

-
jxtbone reacted to a post in a topic:
USS Tennessee
-
Interesting historical build, and ingenious use of materials like the hull from another ship. I believe i have seen examples of these trucks being shot up in Victory at Sea which I've been watching. Nice work!
-
Antony, it isn't your eyes. I are a John.
-
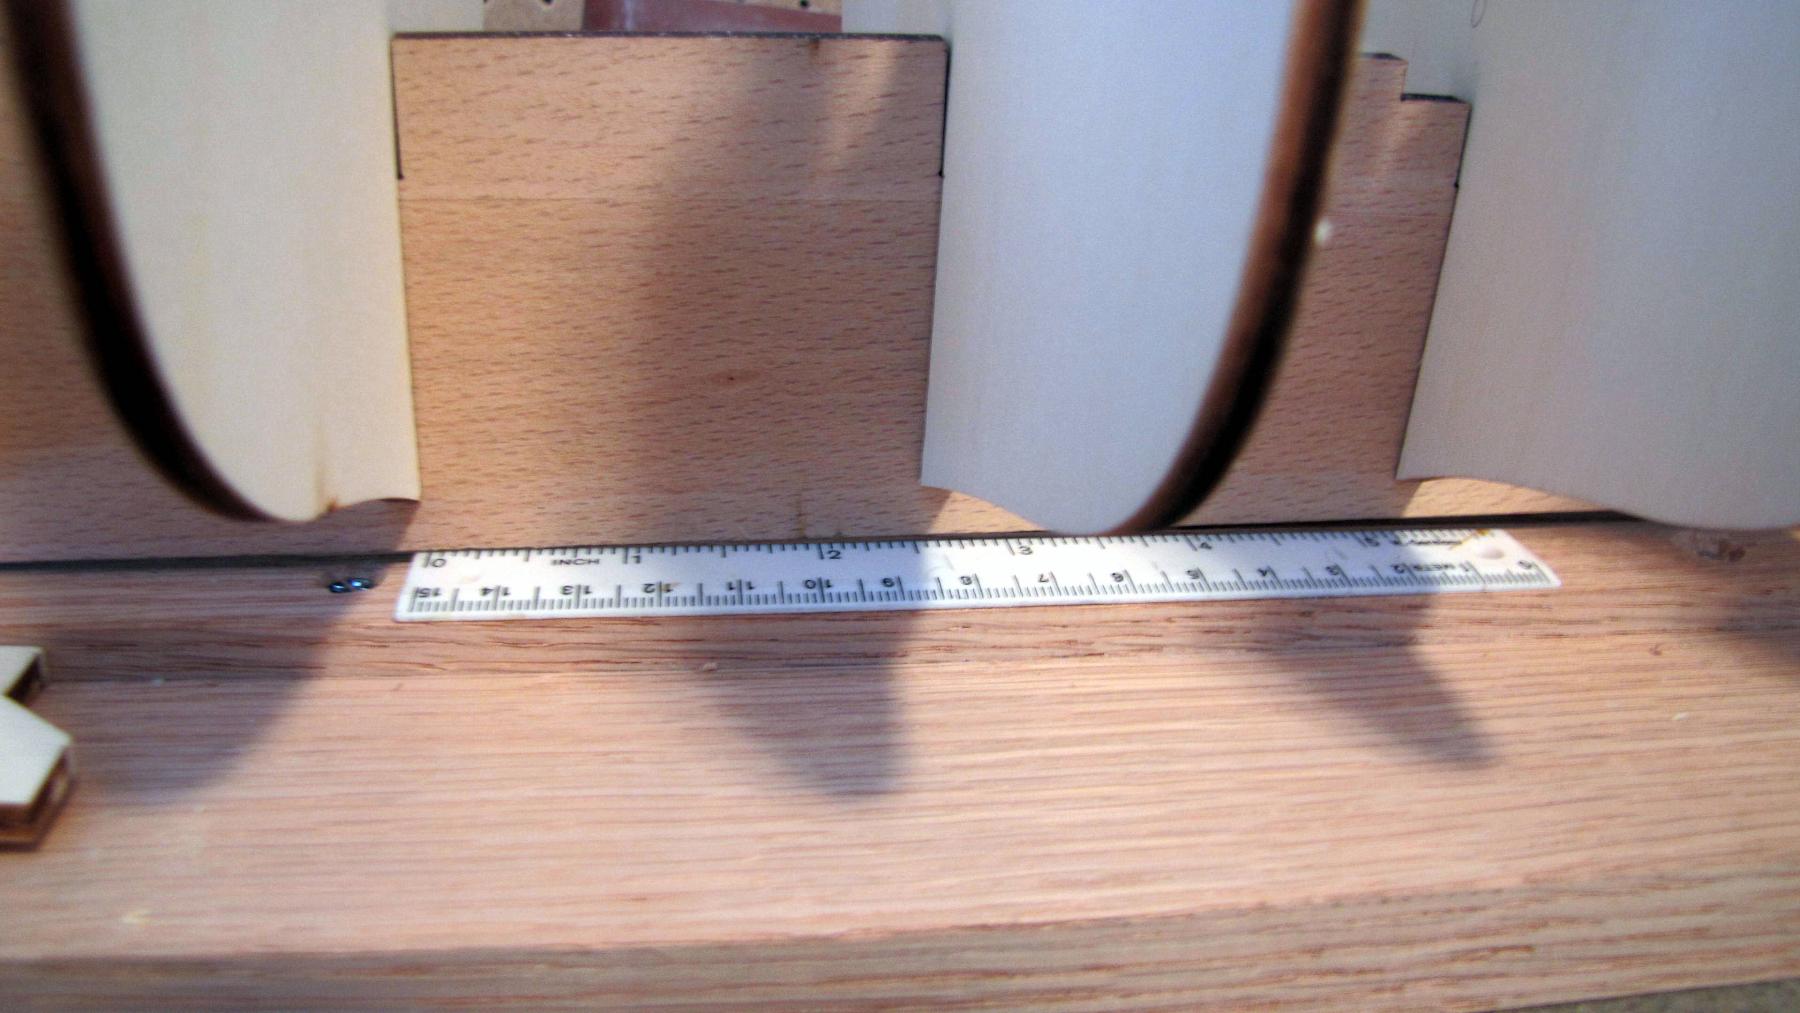
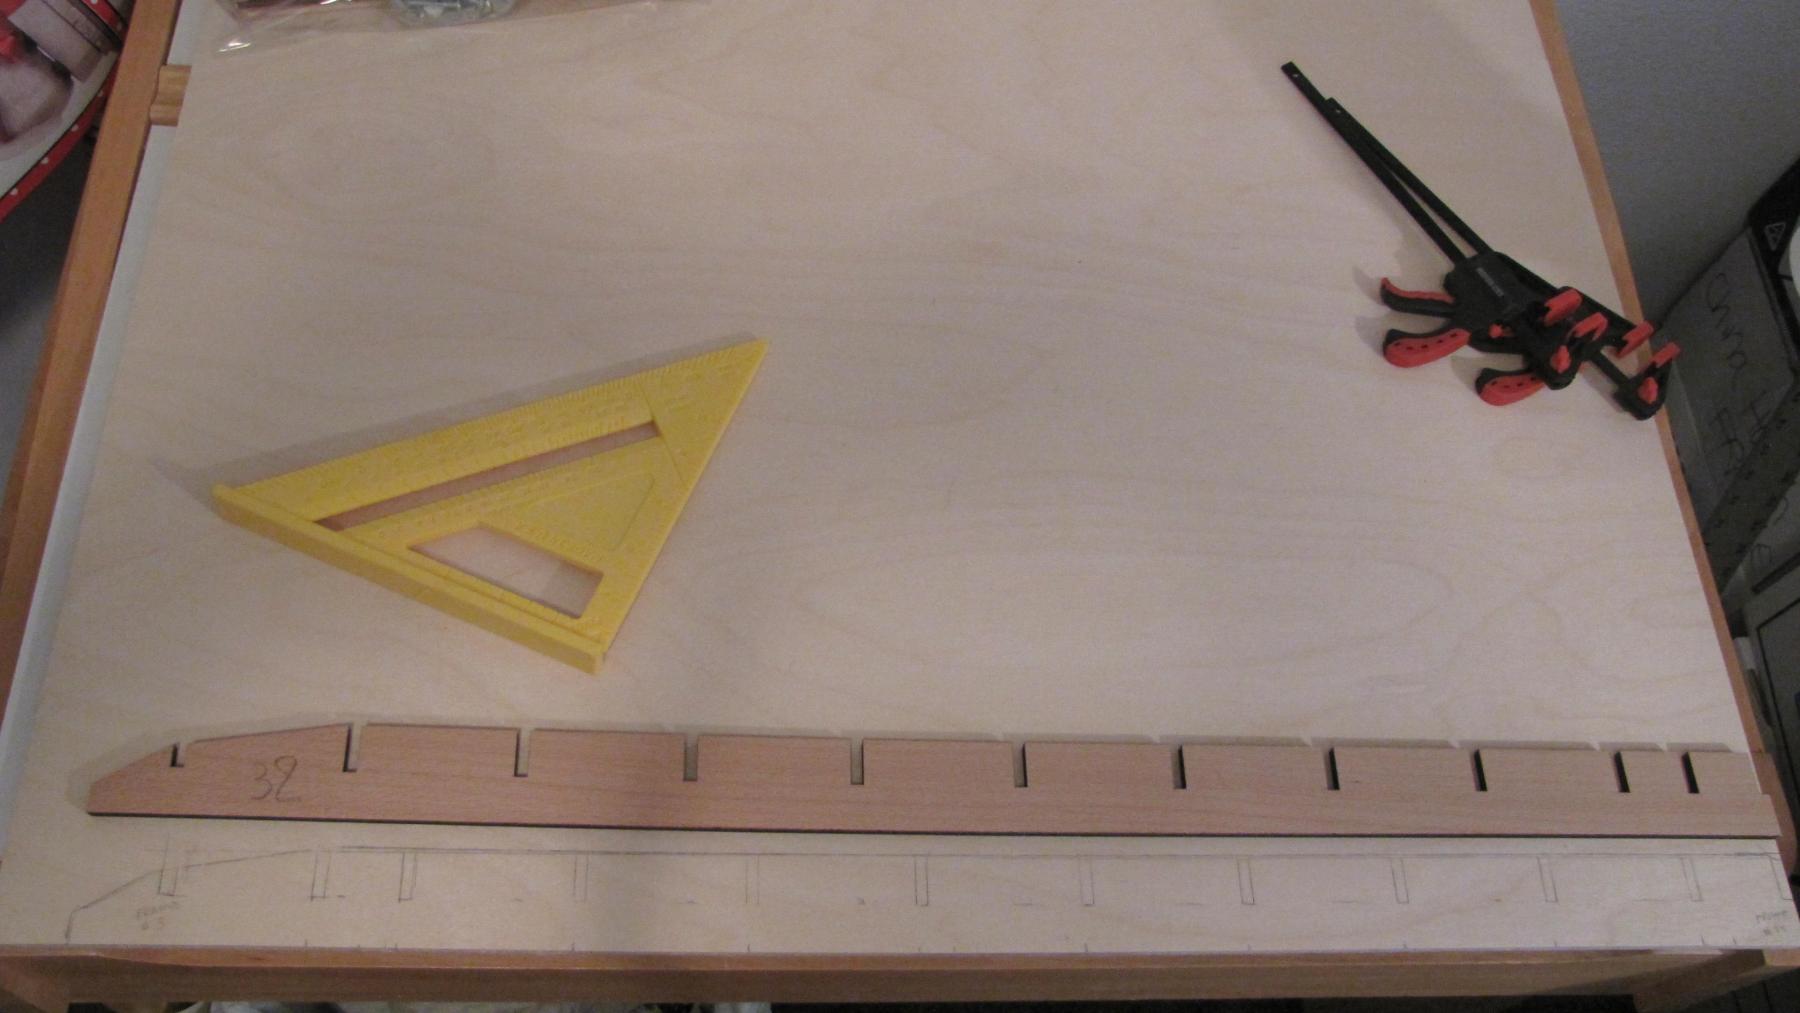
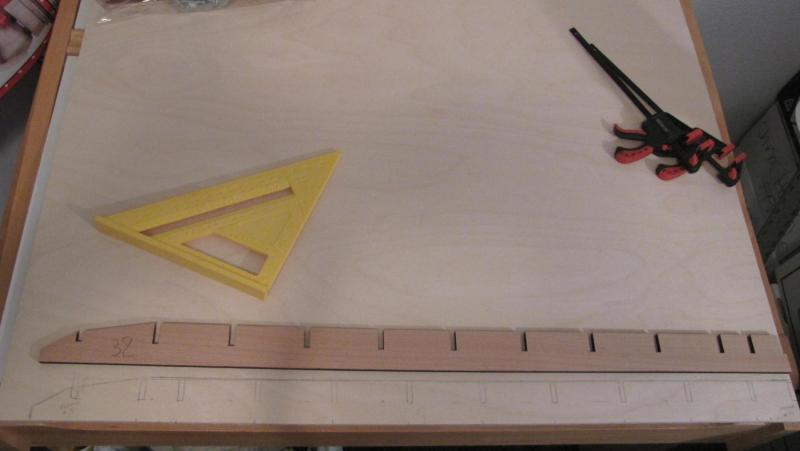
Fabrication of two new longitudinal bridge has been completed. I used the portion of the original bridge which had the correctly spaced bulkhead notches to layout the new bridge template, I then taped the two bridge strips together and notched them on my table saw, cutting just short of the required depth, figuring it was better to cut too little than try for exactness on a table saw. (My carpenter Dad once said he was going to get me a board stretcher for Christmas but I guess he forgot to buy one. Or something.) I hand filed the notches to the correct depth and rounded off the inside/lower corners of the strip so it would rotate easily into position. The next thing is to dry fit and check the position of each bulkhead with a square to be sure each is 90-degrees vertical from the kneel and equidistant from each other on both sides. I'll pin them in place with temporary strips and once everything checks out (including re-reading all instructions and plans ) I'll glue everything into permanent position. . .

-
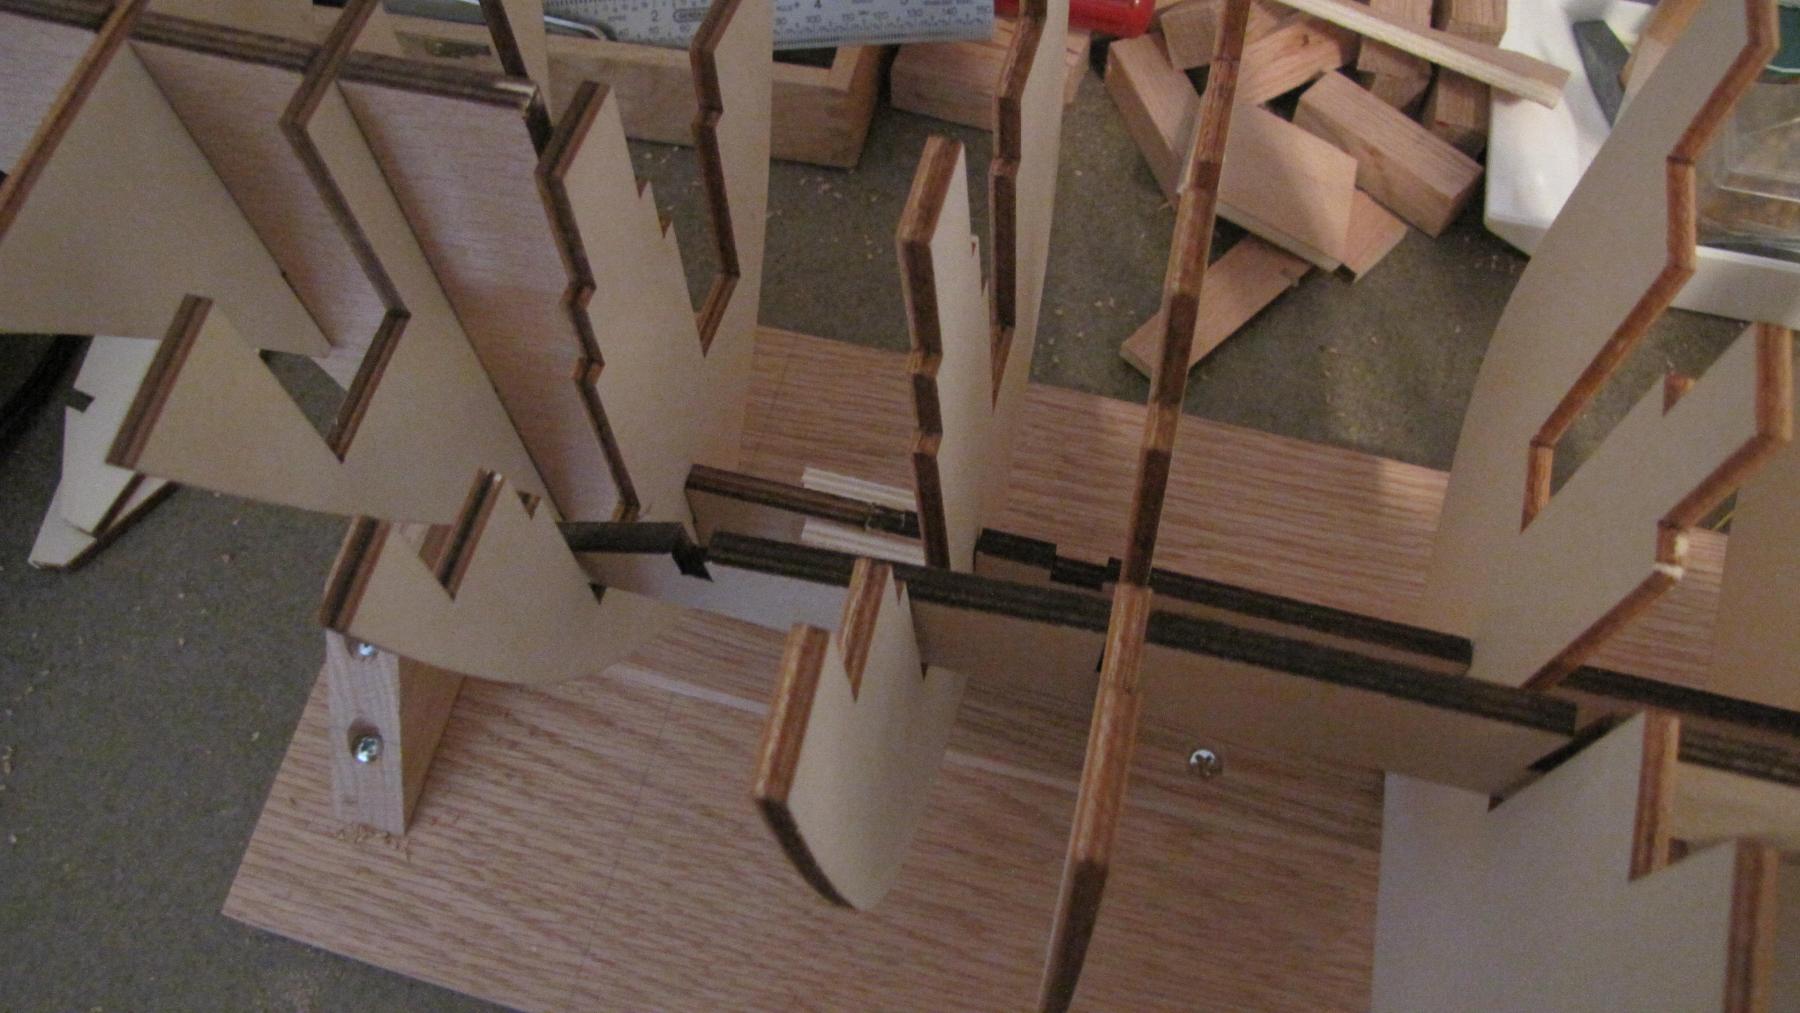
First step: read up on ship building techniques, to learn new things and to remember lessons learned in the past but now hazy. I found Ship Modeling from Stem to Stern by Milton Roth and especially Ship Modeling Simplified by Frank Mastini to be very useful, they are both easy to read, follow, and understand. Second step: Build a straight, flat jig to support the hull. I used some red oak I had on hand in my woodworking shop. Third step: Free the laser cut keel and frames from their boards. The keel, stem and stern pieces had to be spliced together. The factory cuts are correctly proportioned. However... Fourth step: the rig slots on the reinforcing bridges are not correctly located so I am fabricating new ones from 1/4" (6 mm) birch plywood. Thankfully I have a pretty complete woodworking shop to handle situations like this.


-
Looks like you are off to a great start with your Amerigo. I'm having challenges right away on my 1:84 Mantua kit: The slots in the rib bracing don't match the spacing for the ribs set by the keel, so I'm fabricating new bracing. Best wishes and keep posting! JXT