Eric W
-
Posts
133 -
Joined
-
Last visited
Content Type
Profiles
Forums
Gallery
Events
Everything posted by Eric W
-
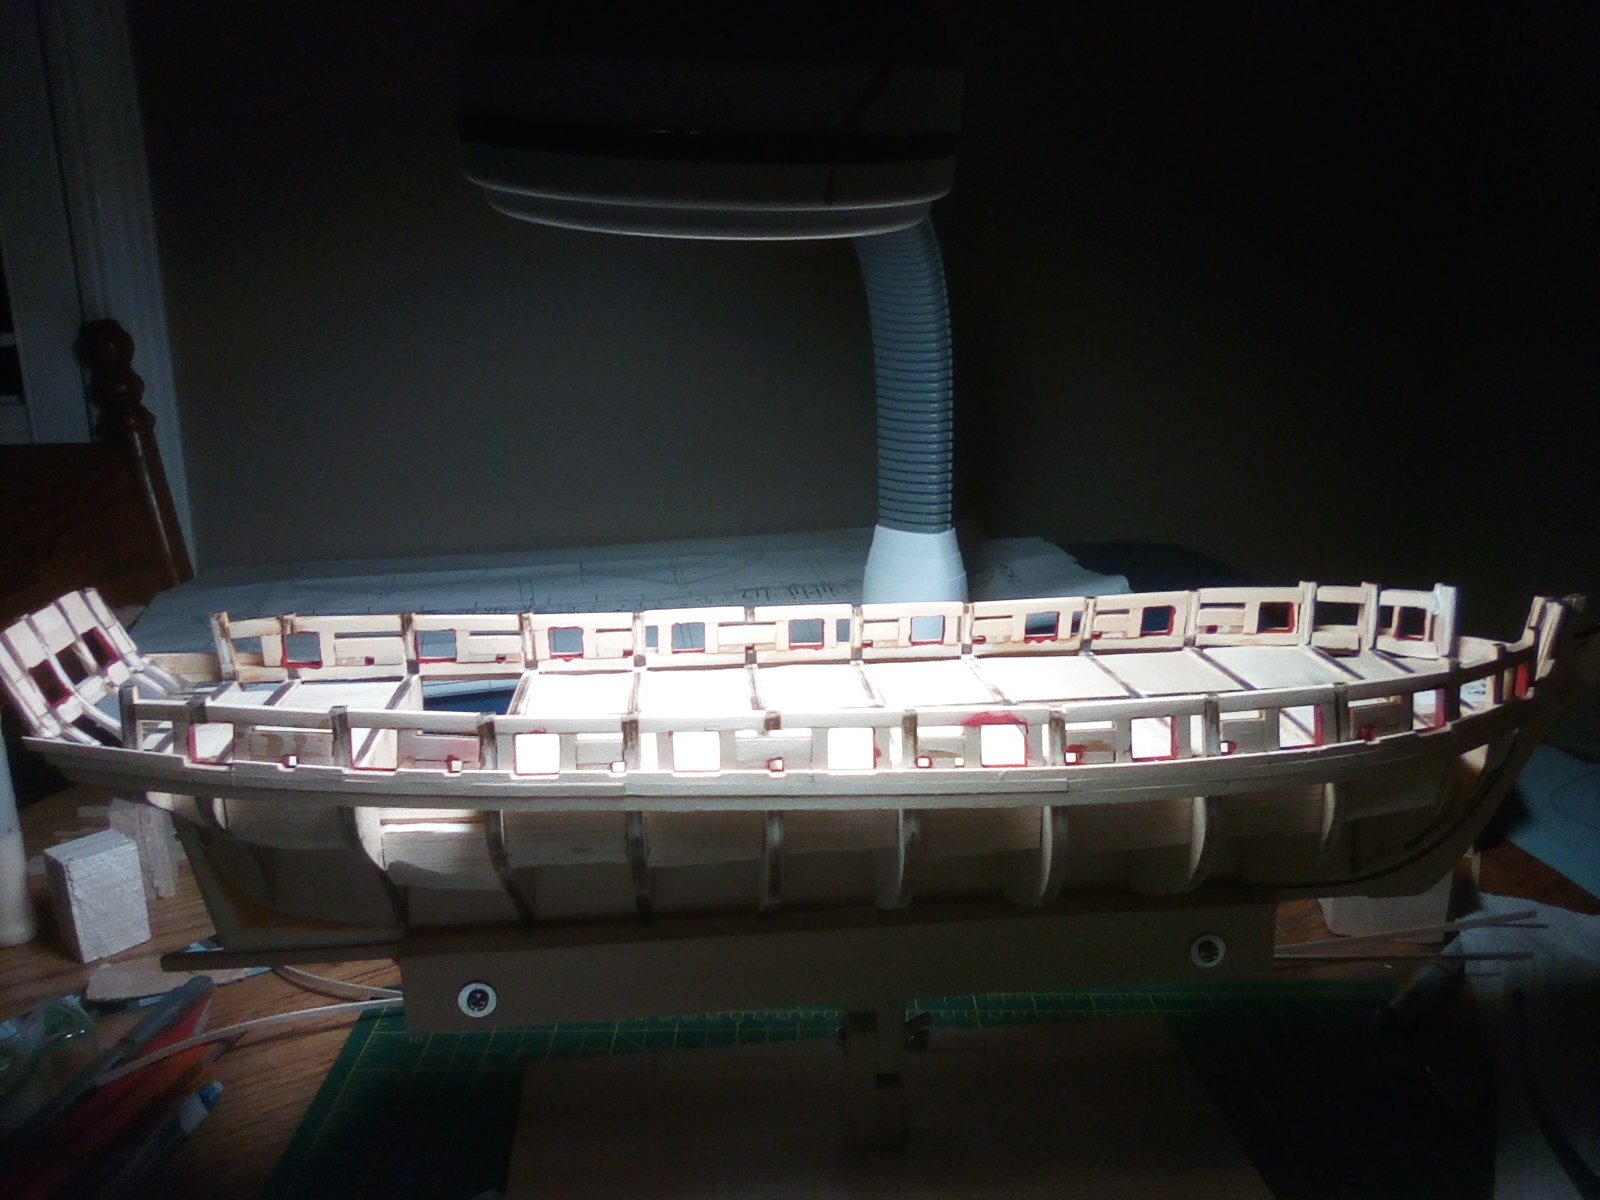
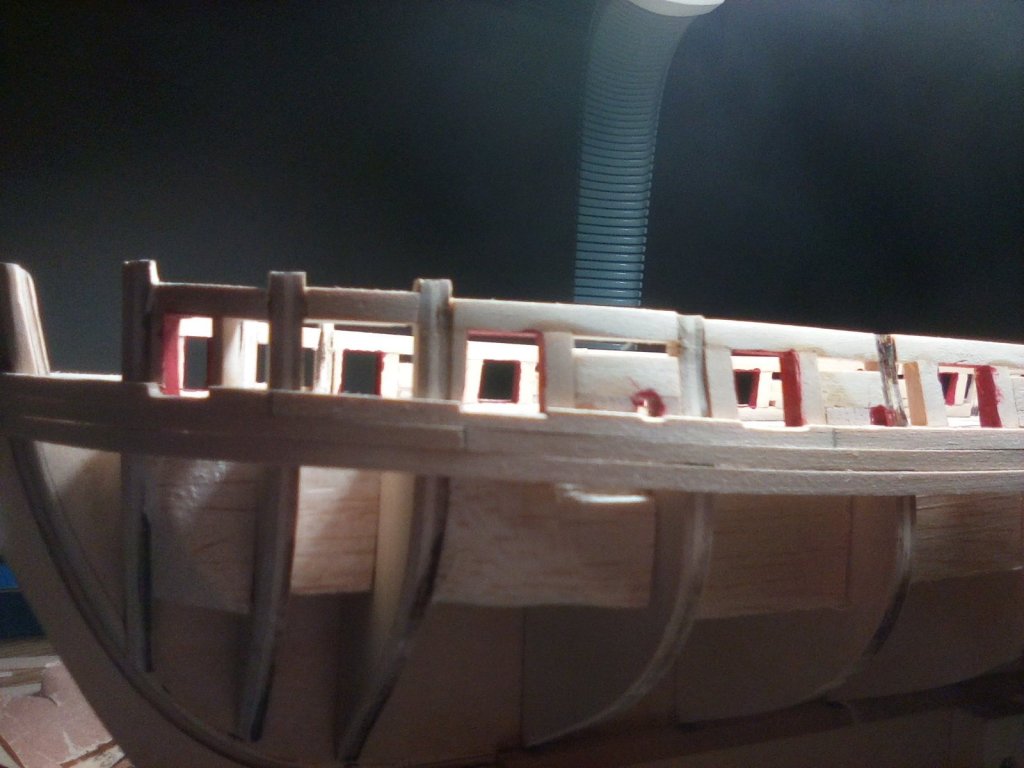
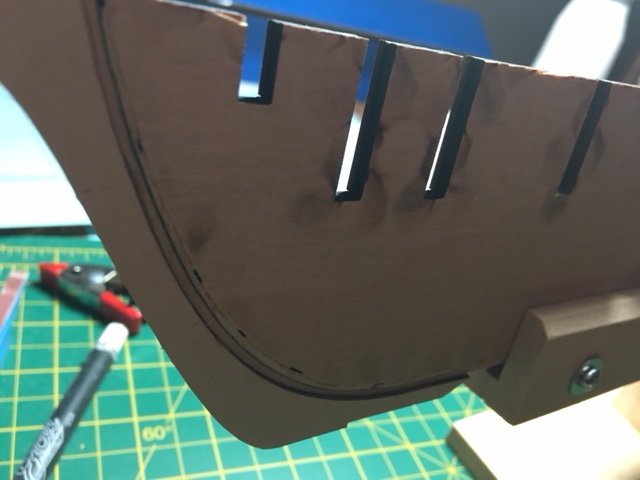
First swipe at cutting out the gun and sweep ports. A bit rough still, but coming a long. I'll probably leave a little room prior to fitting the port lids, any recommendations on this?

-
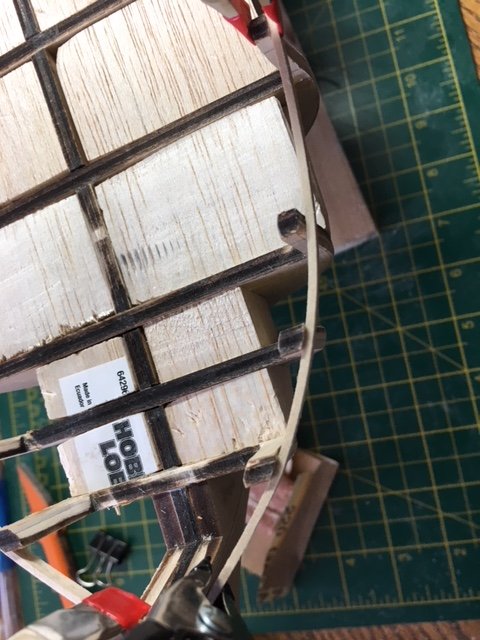
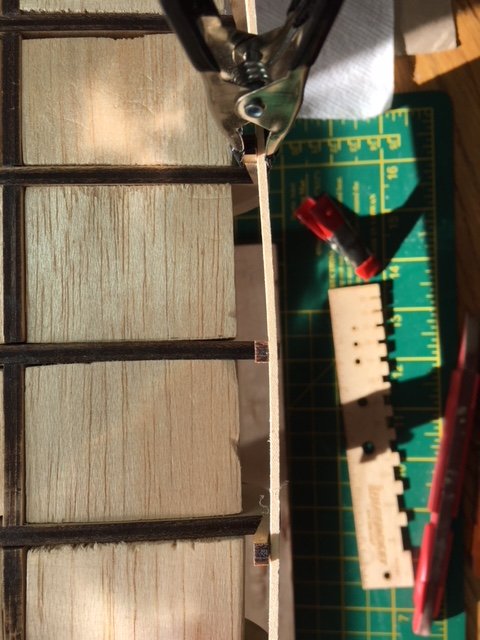
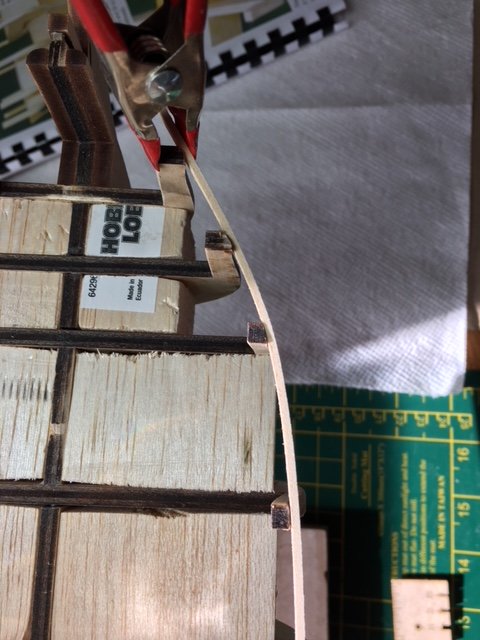
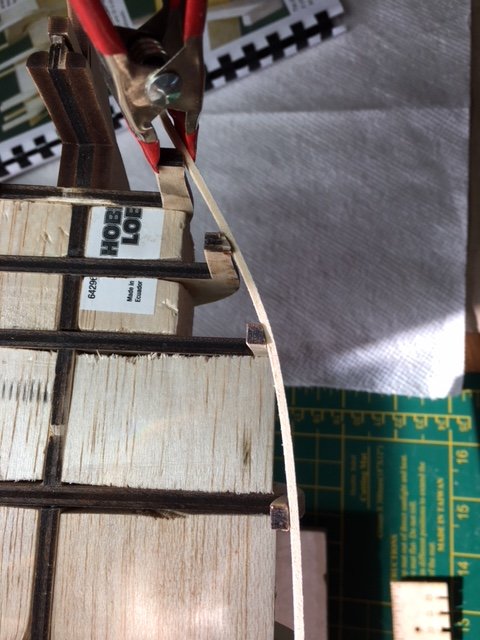
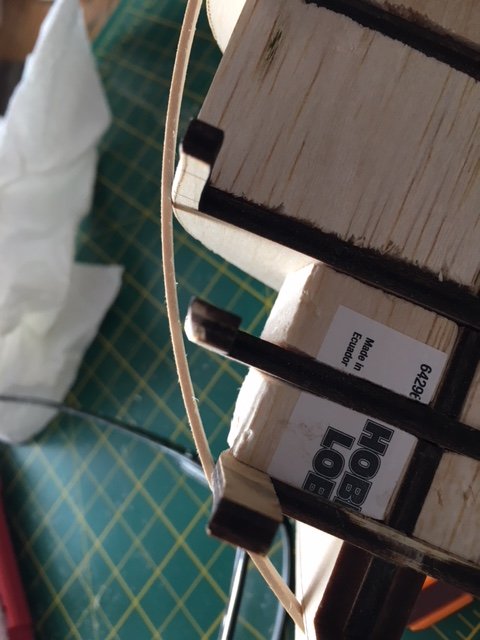
As this is my first POB build, I think I have discovered a certain "zen" in planking. I am really enjoying the process. Don't get me wrong here, I suck at it am making copious mistakes, but it is totally taking away the stress. Also, I am using the hull itself as my "jig" , and bending planks to the hull prior to cutting them. You can see this with the top plank still damp from soaking. So far this has worked fairly well. I will probably be painting vs. Staining to hide some of the gaps and nicks. I was going to lightly sand the planks once in place to also mitigate some of the fitting issues.
-
All Hail to the wales! Sorry couldn't resist. Love Chuck's practicum. So far it has not led me astray. However, I was a bit concerned when he starts Chapter 5 with a statement assuming. The builder has previous POB experience......NOT this guy. I did look at a couple of POB guides, but Chuck's instructions and photos are too notch, so forward!
-
I am also going to take Chuck's advice and fill in the spaces on either side of the stern ports.
-
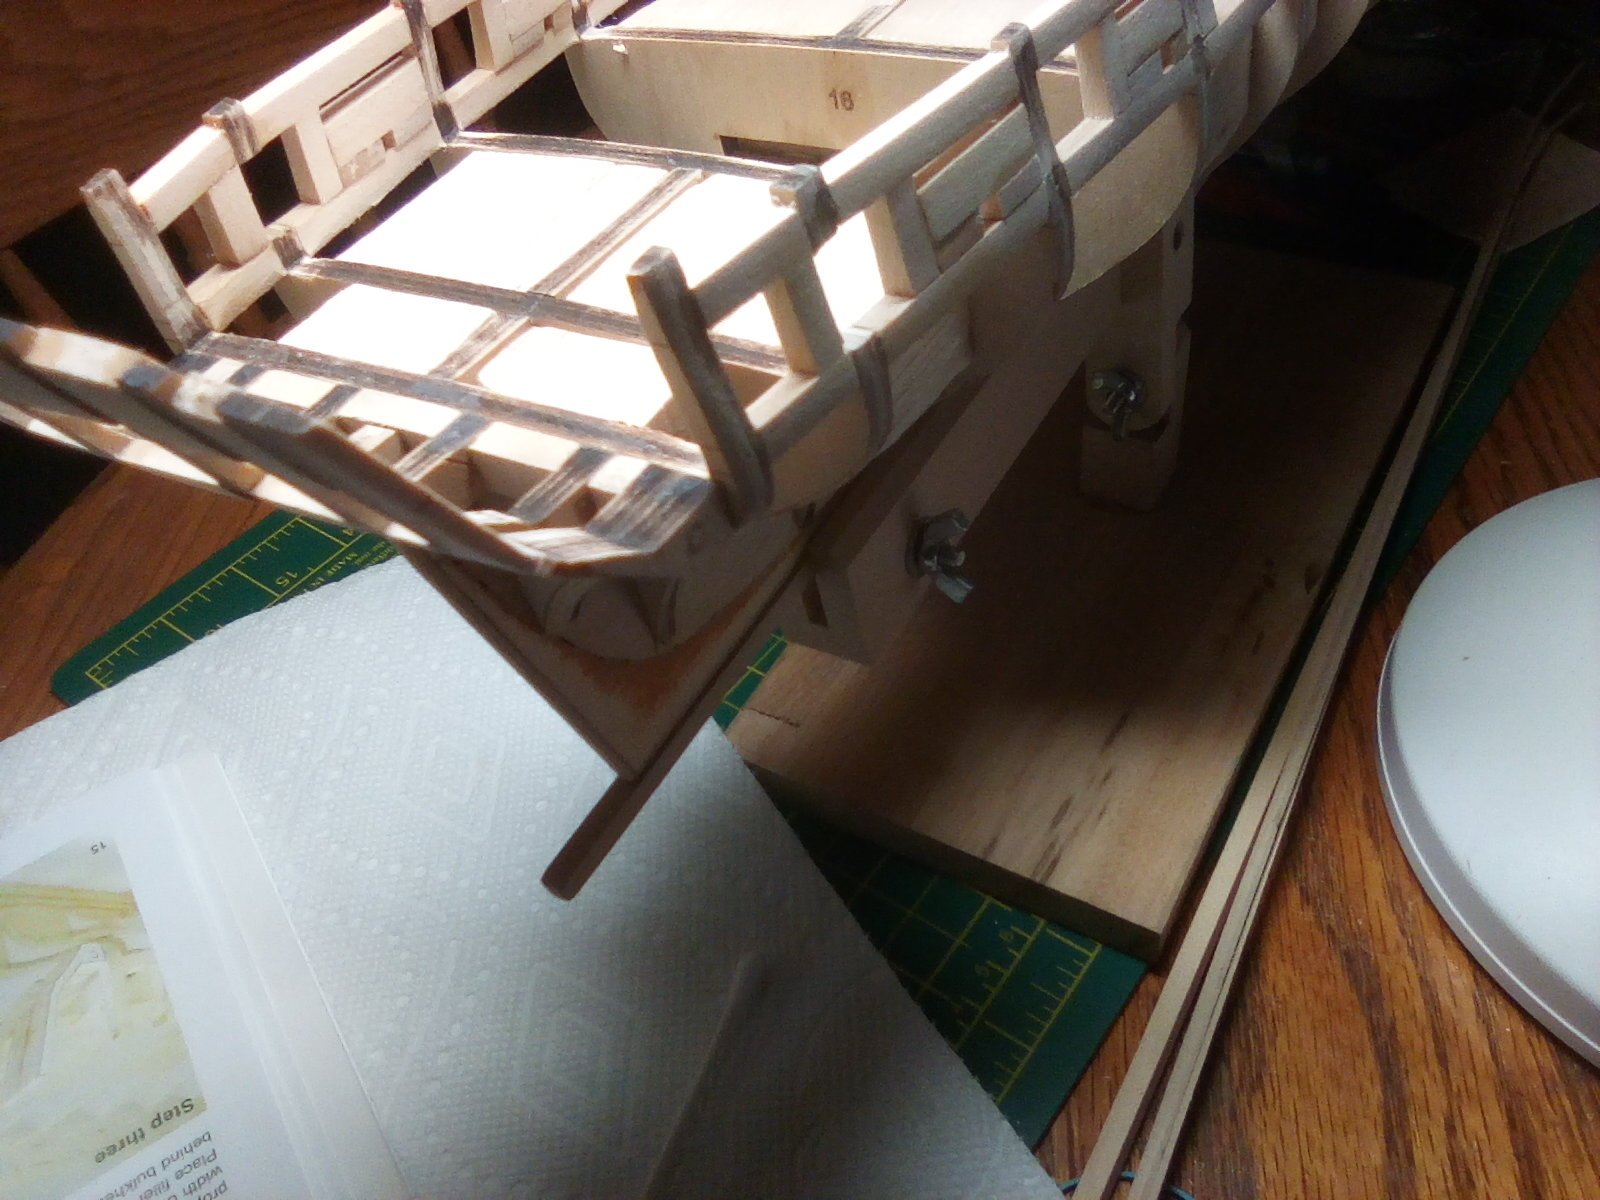
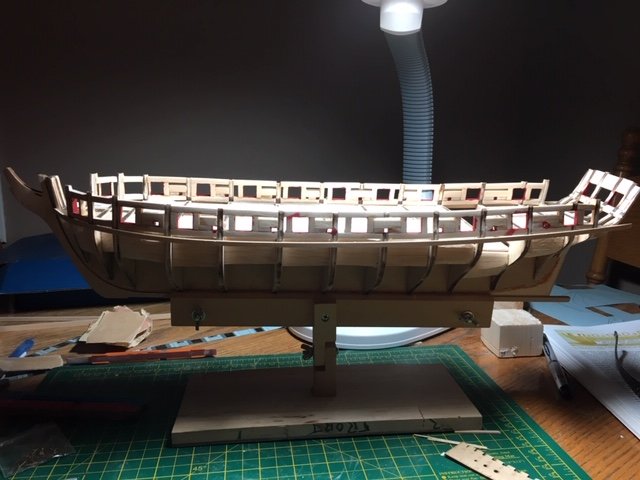
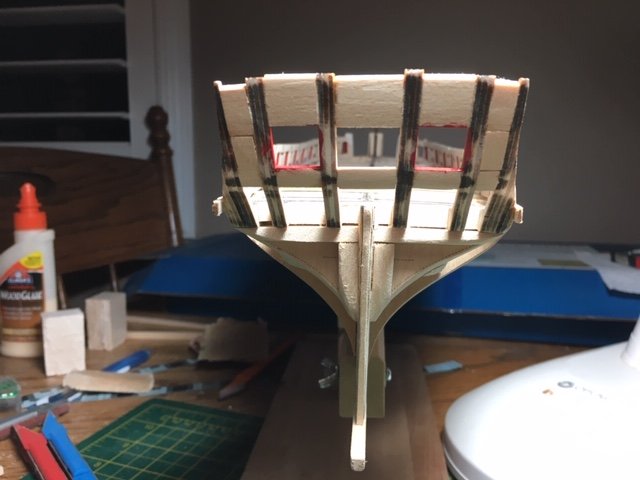
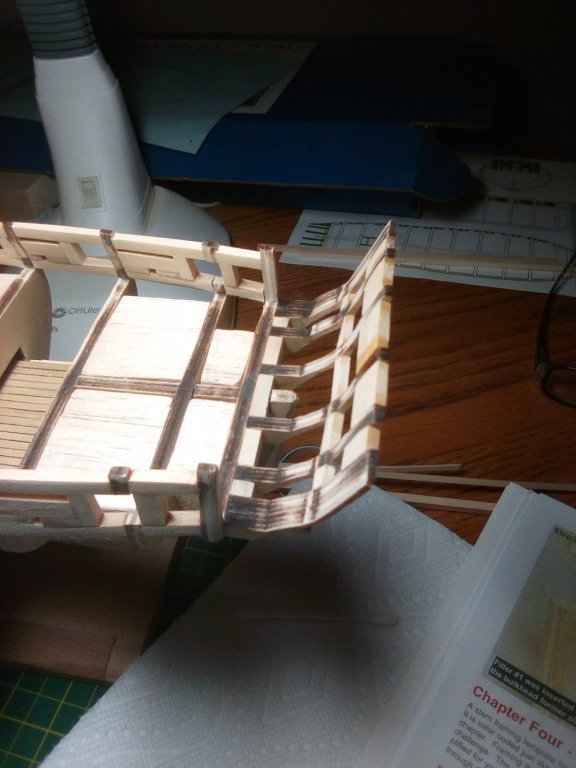
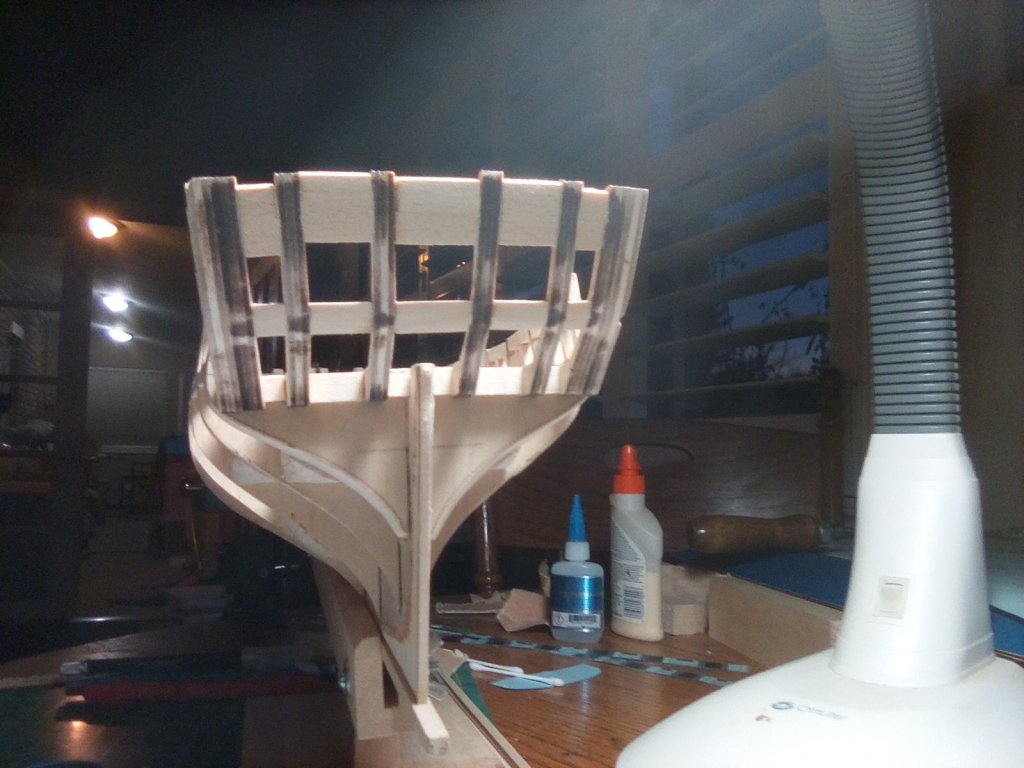
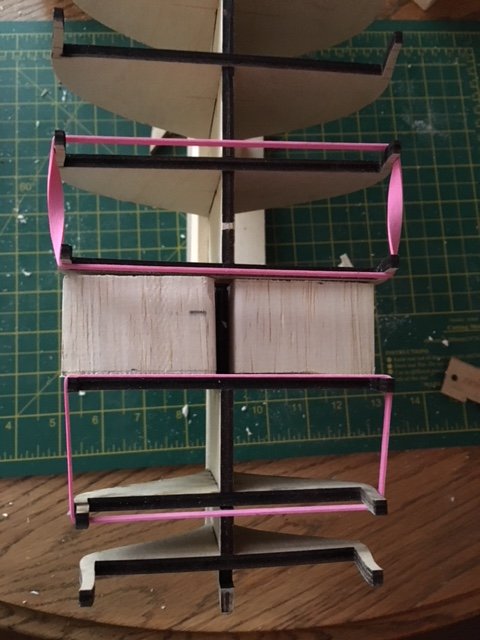
Stern framing....egad! Most of the pieces on this kit have been excellent. My stern frames were a bit warped, though. When I first had everything fitted, it looked about as straight as an eight year -old's mouth. I should have taken a photo then. After sanding and re-gluing some pieces, I have the following result. Better, but there is a slight curve aft on the port side. I am using "hope" as a method, and hoping it will come into line once I start paying planks. It is pretty flexible.

-
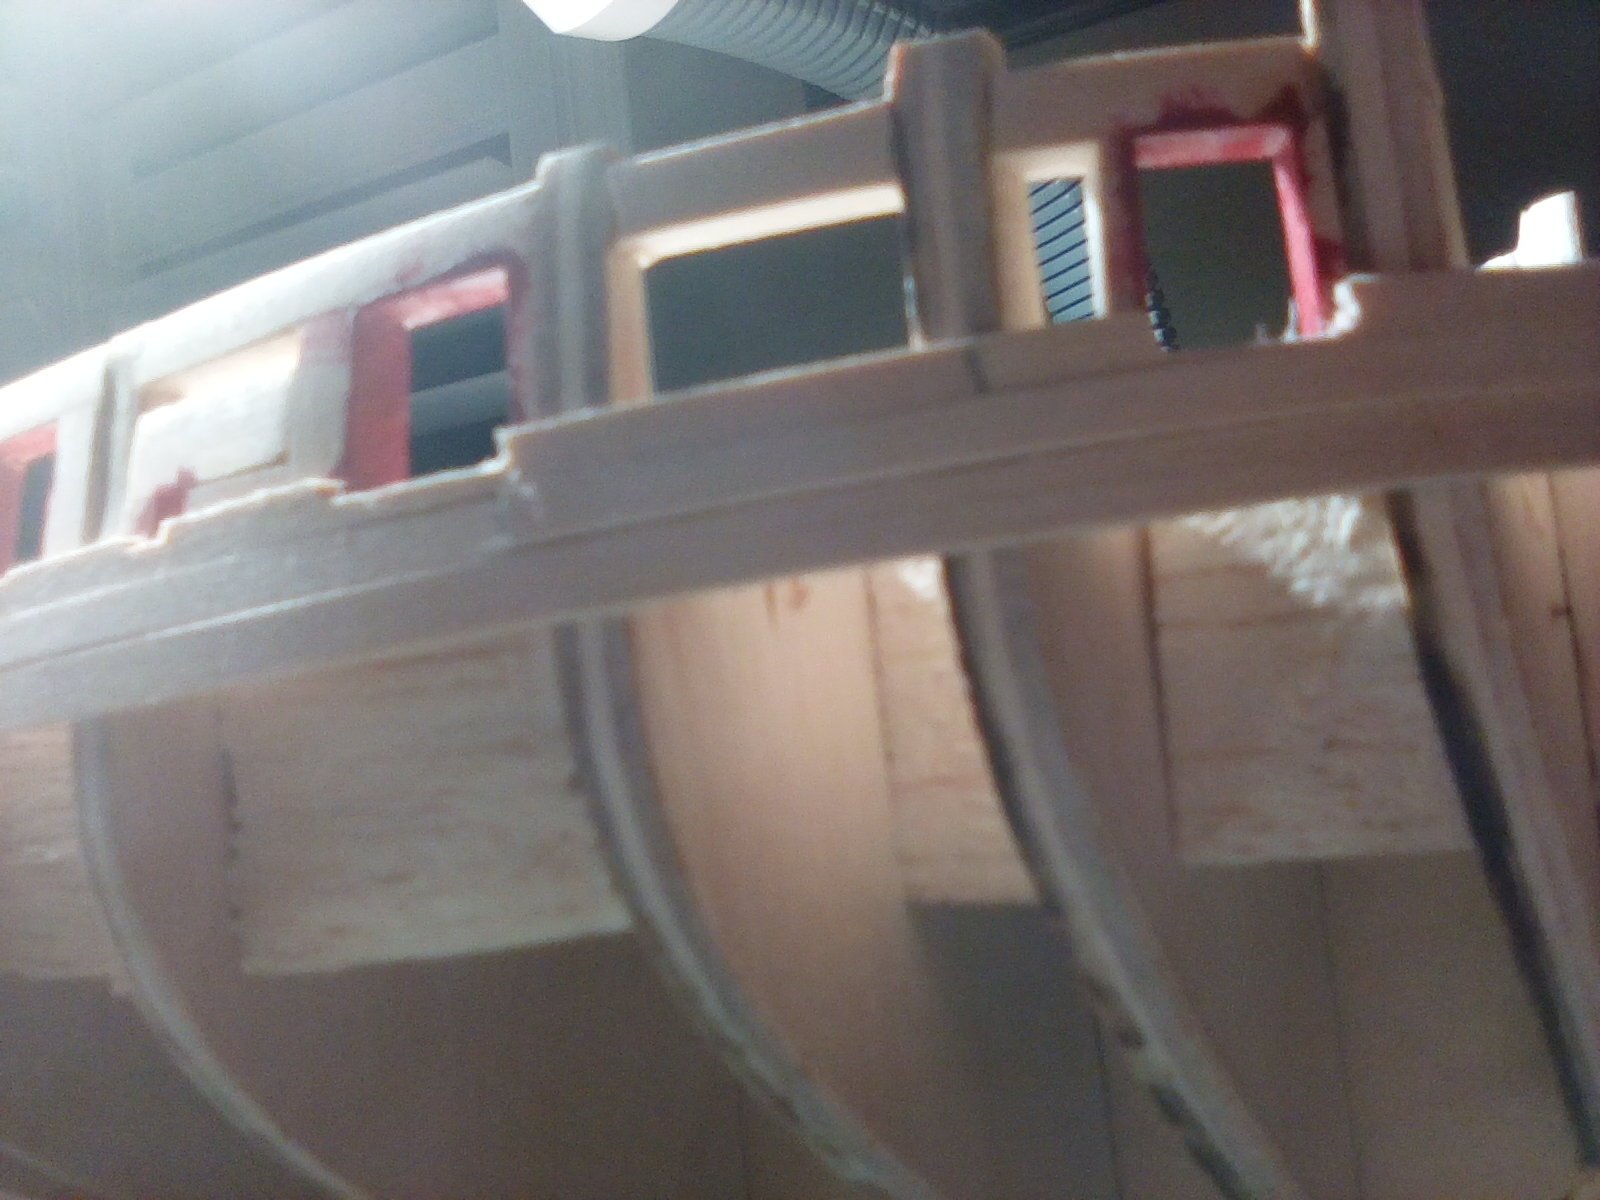
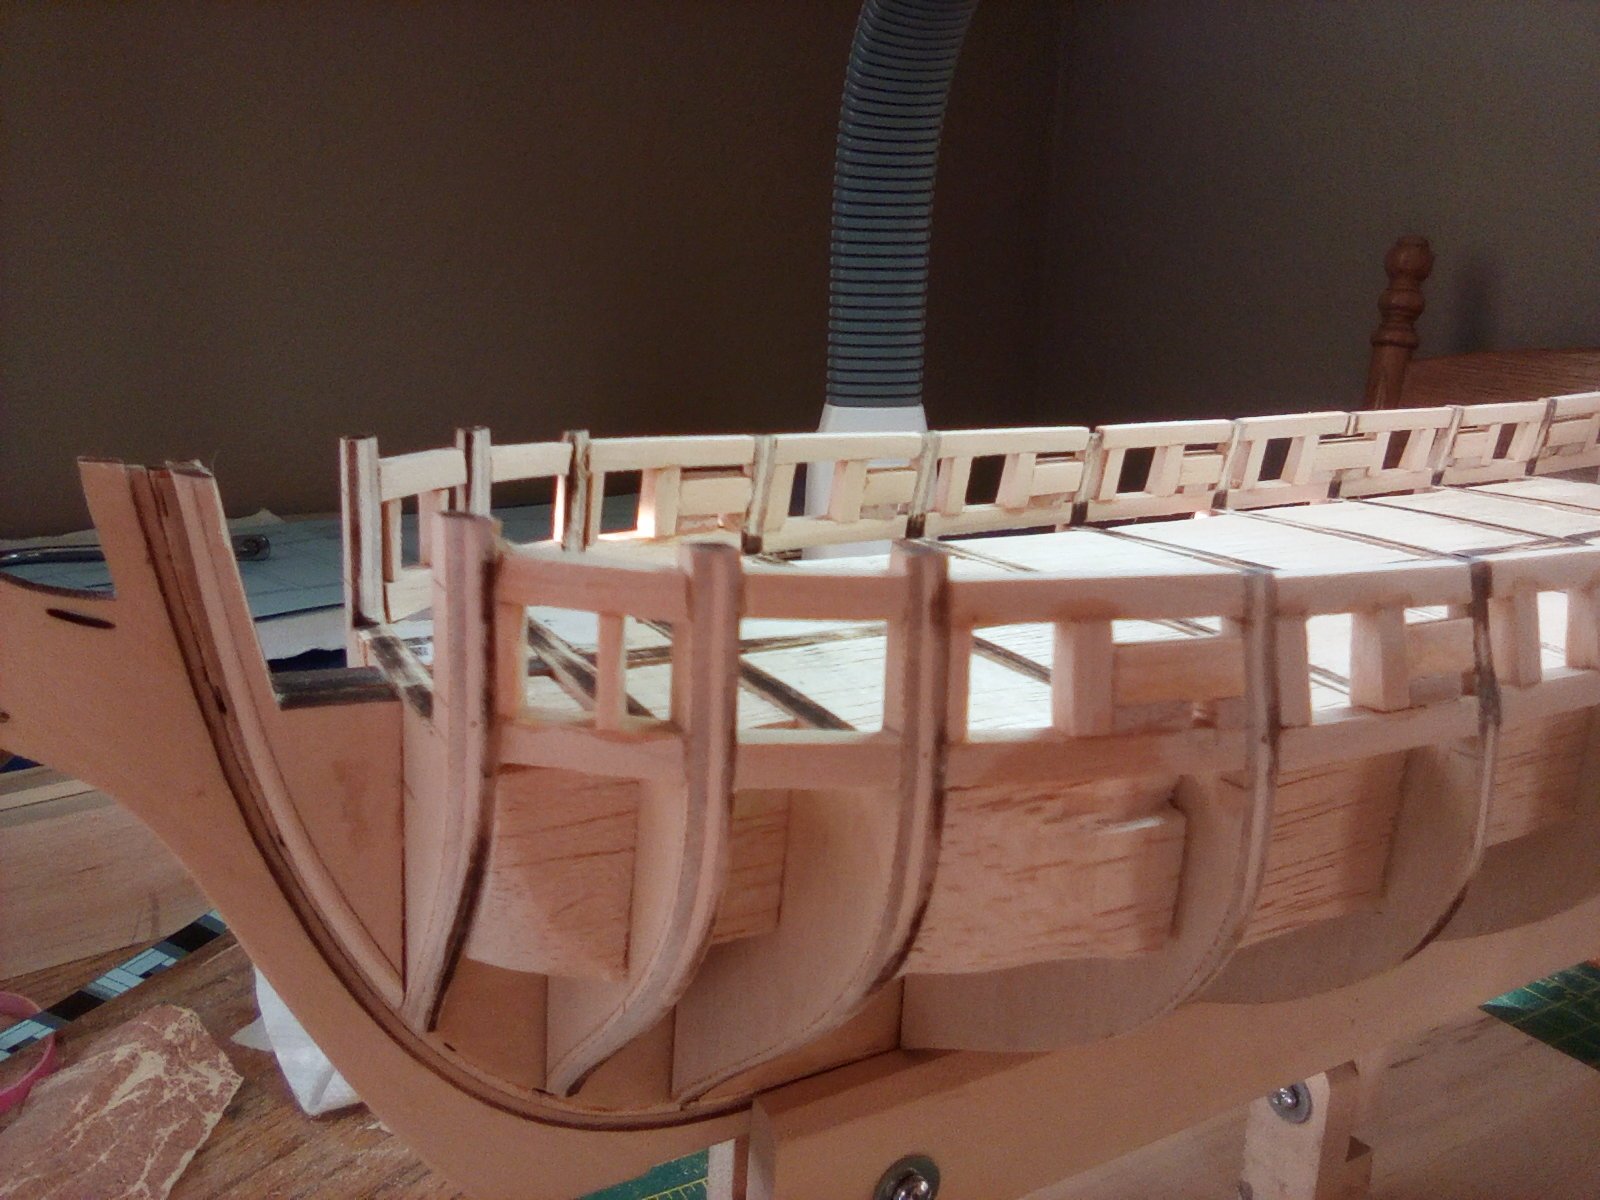
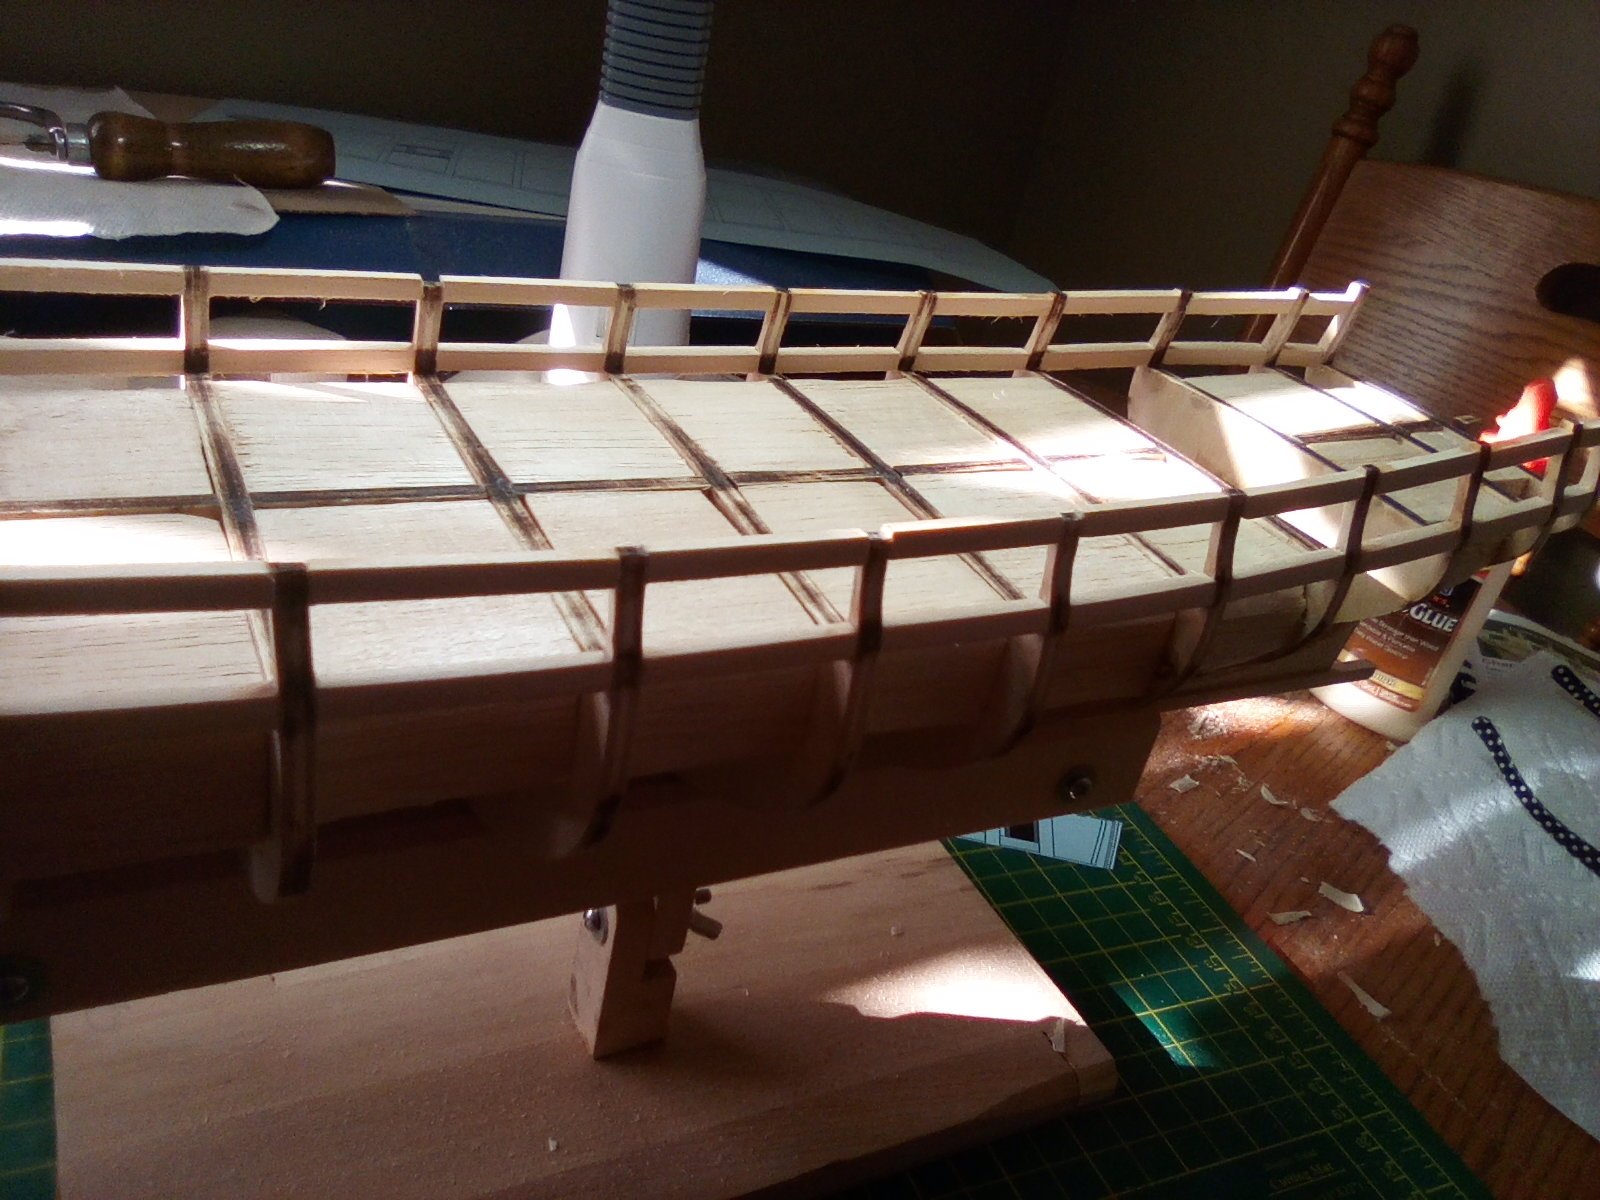
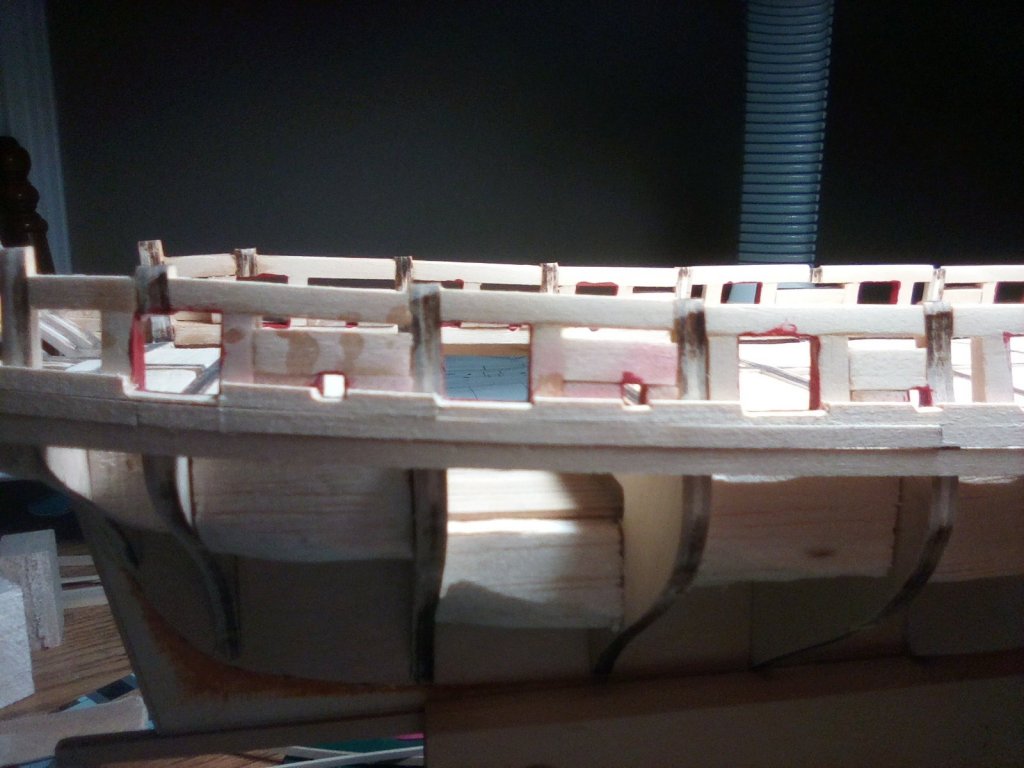
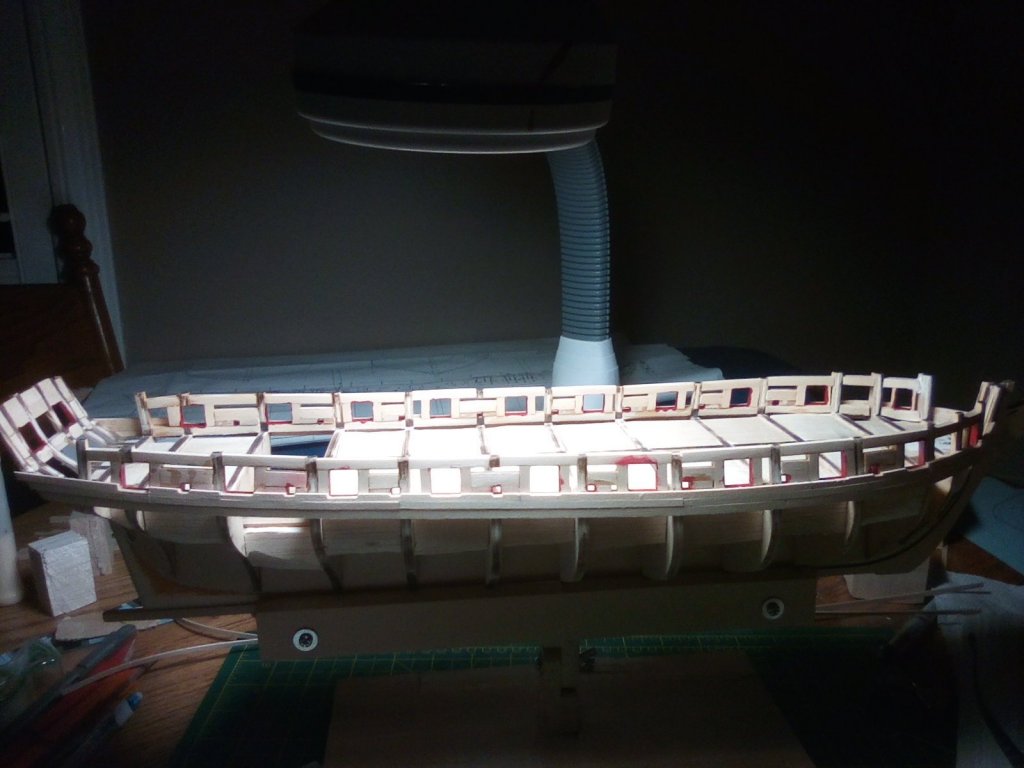
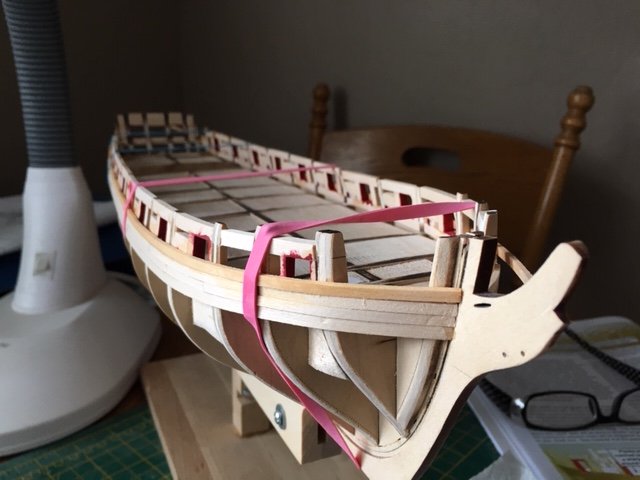
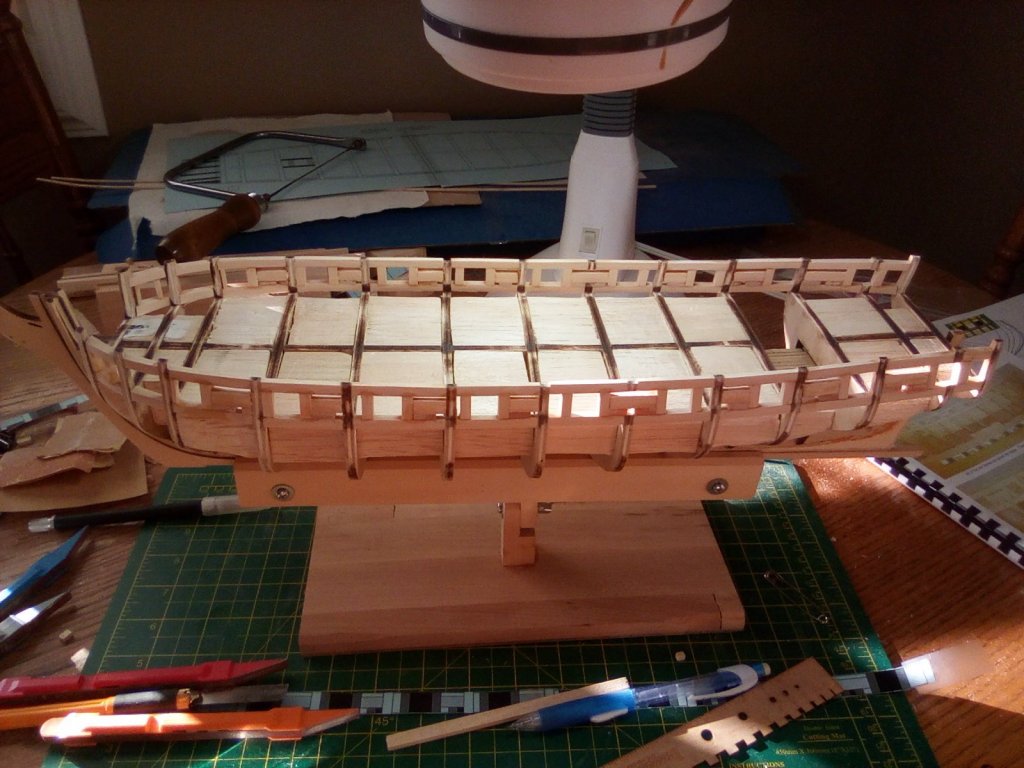
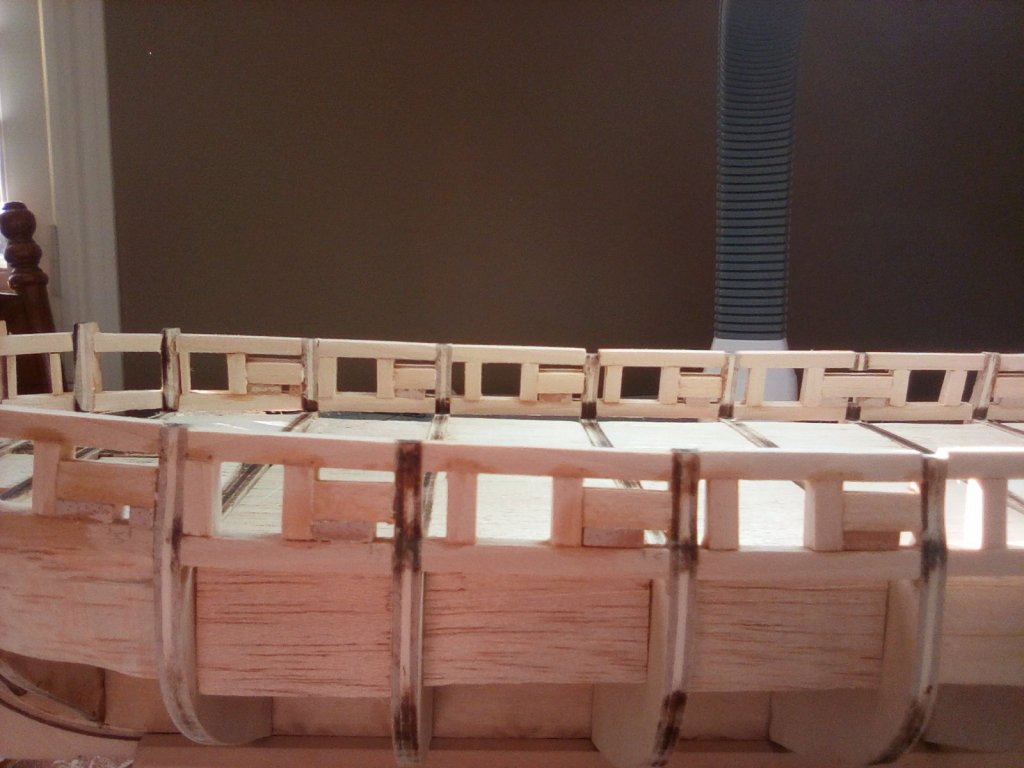
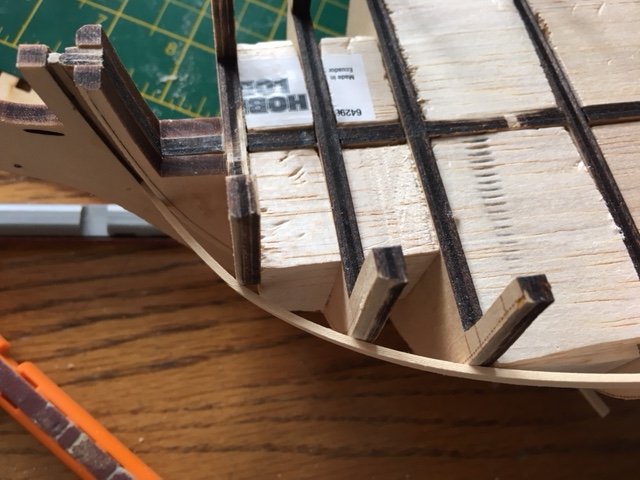
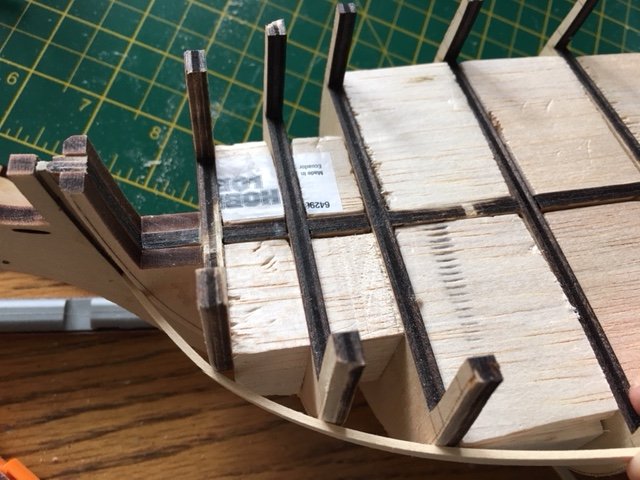
Closing out the weekend with the gun ports and sweep ports framed. I also started the initial sanding on them. I took Chuck's advice and sanded a bit in between each color frame. This gradual process definitely works well. Also, for the sweep ports, I used some leftover 1/8 x 3/8 basswood. Cutting at 3/16 gave me the perfect width. With that, I just had to sand or cut for length.


-
Looking great. I'm my humble opinion, the hardest part was the hull, but the templates are sound....trust them. This is a great starter kit for rigging. My biggest issue was reading the plans closely and getting the blocks in the right position on the masts. Also, recommend you leave the skylight clear and put in a false bottom. A piece of lightly stained basswood worked well for me. Oh, and I did not like the waterline tracing tool. I went with a piece planking material and traced it referencing the plans. I found that much easier.
- 104 replies
-
- 2
-

-
- revenue cutter
- BlueJacket Shipcrafters
- (and 1 more)
-
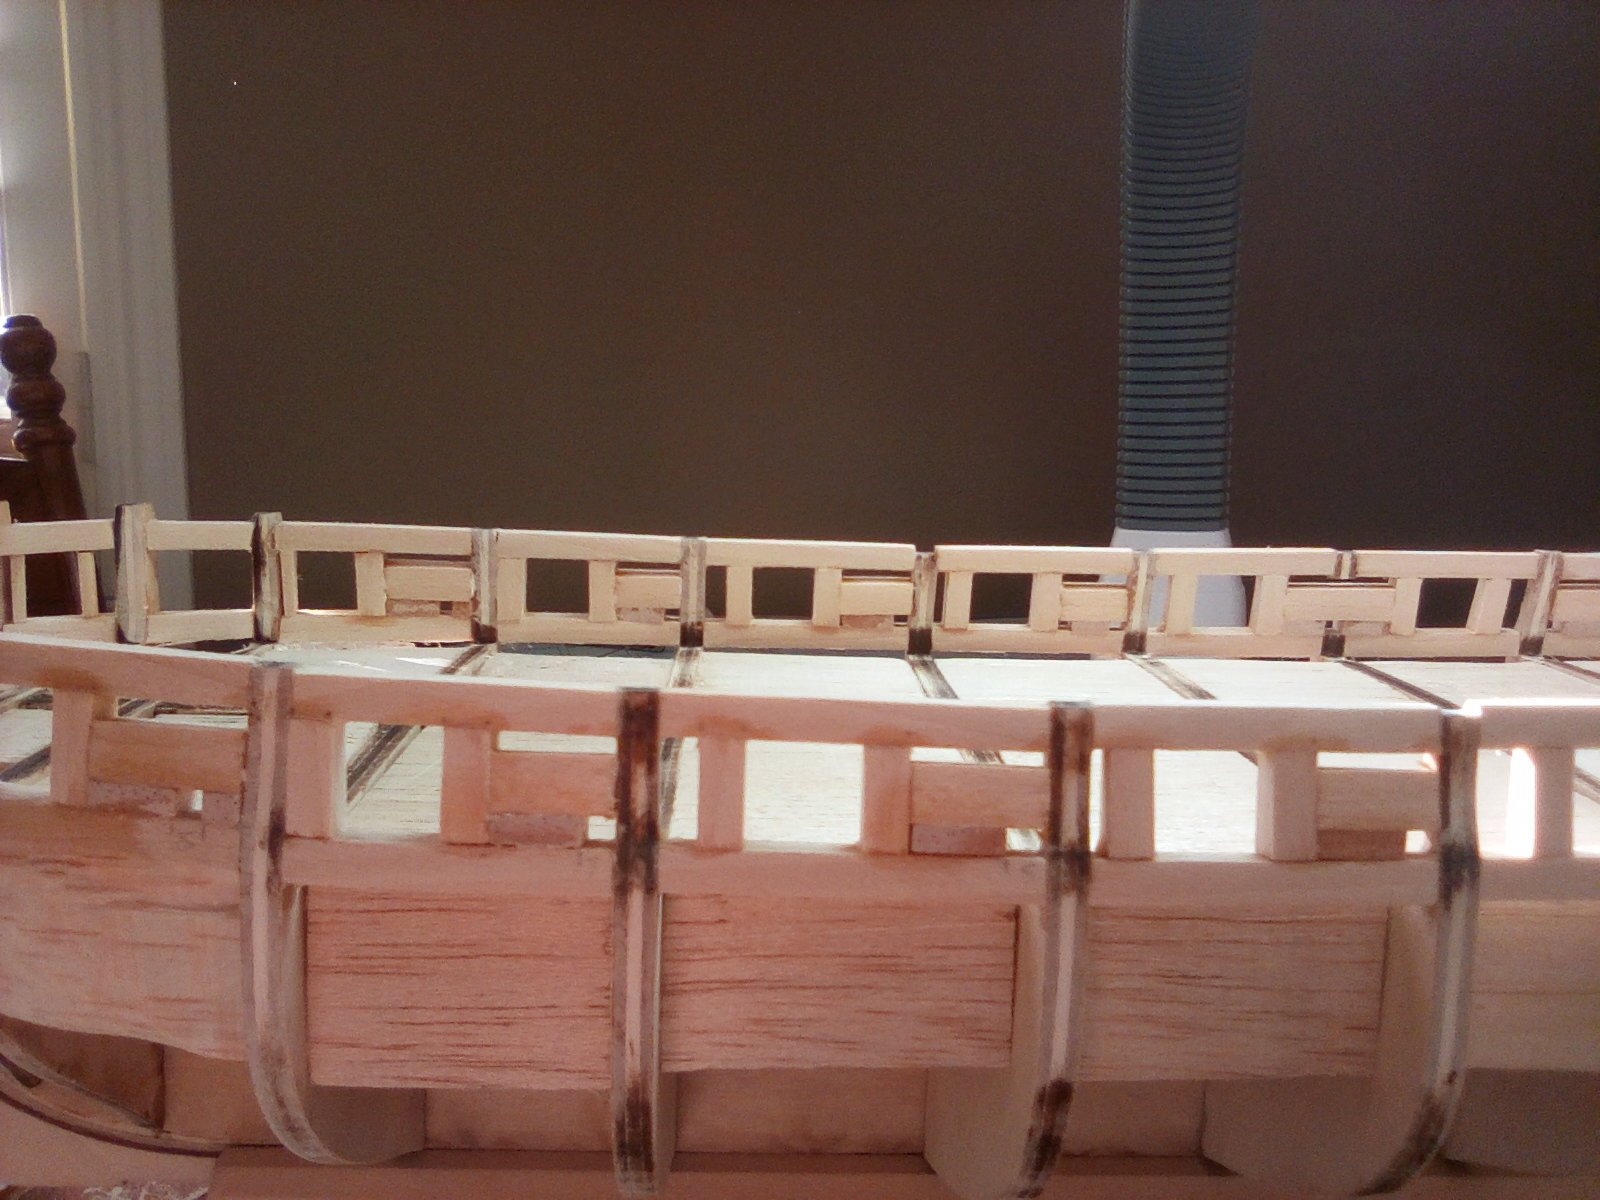
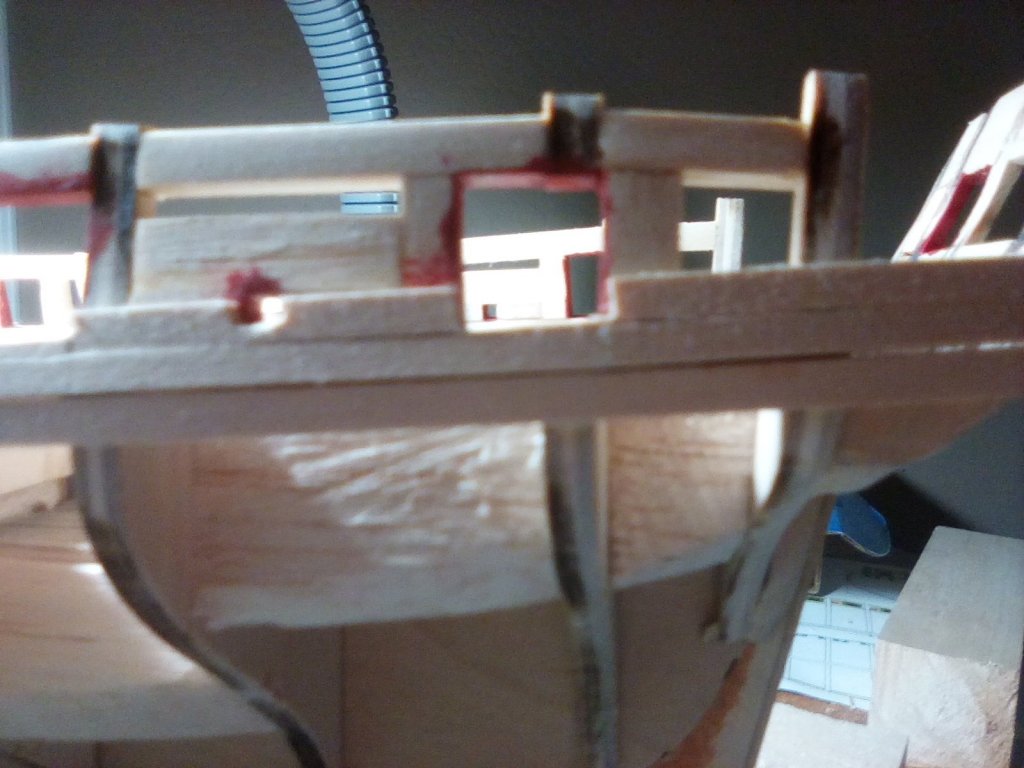
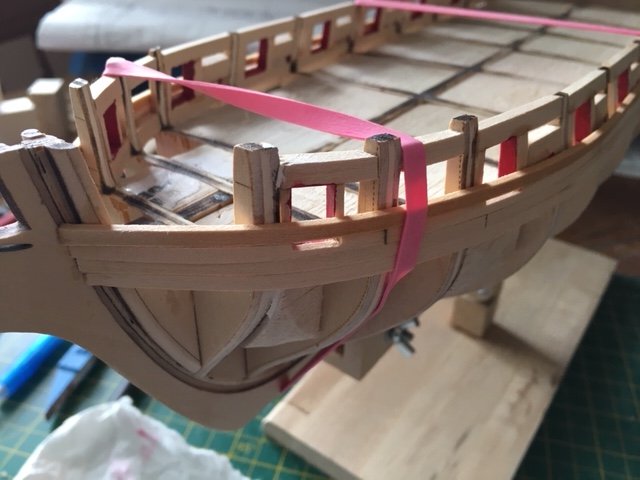
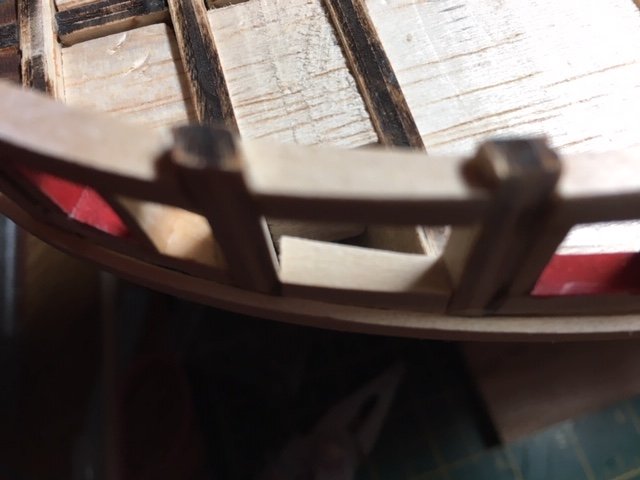
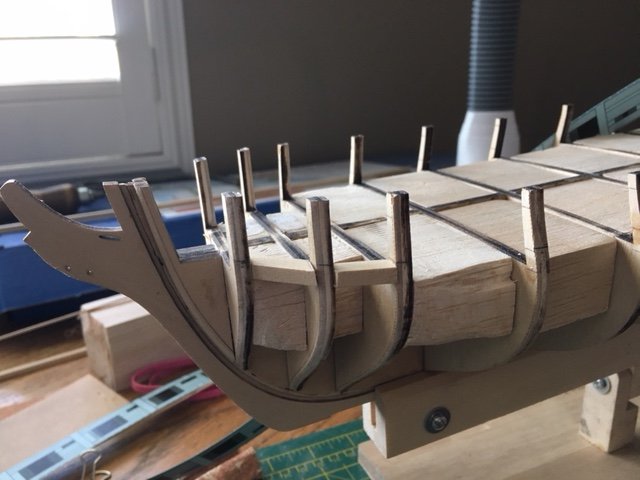
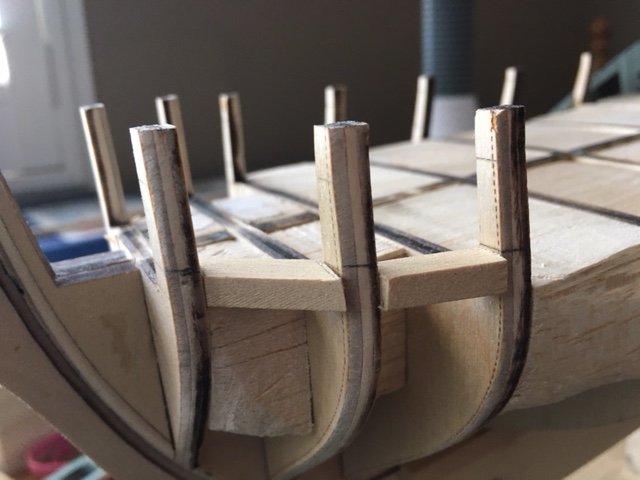
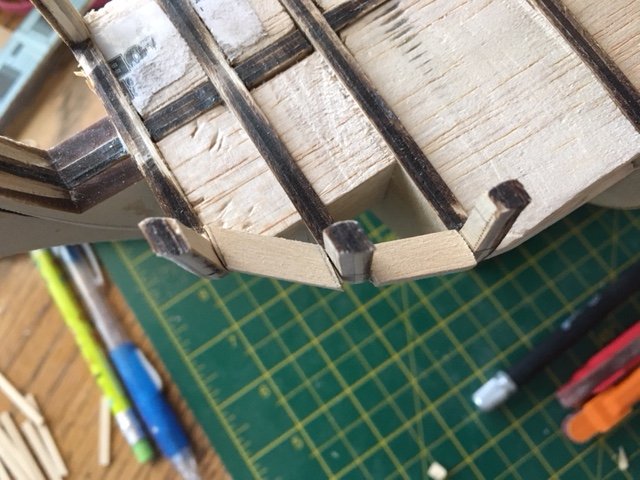
Suprise, I did not in fact quit the build, just had a bit of a hiatus over the summer. Spent last couple months building the port sills and lintels and sanding them in place. I think I may have sanded myself into a bit of a corner on the two forward most gun port sill pieces on the starboard side. Specifically how they are bowed around the second bulwark. Can that be hidden by the inner planks later, or should I try to fill it now?


-
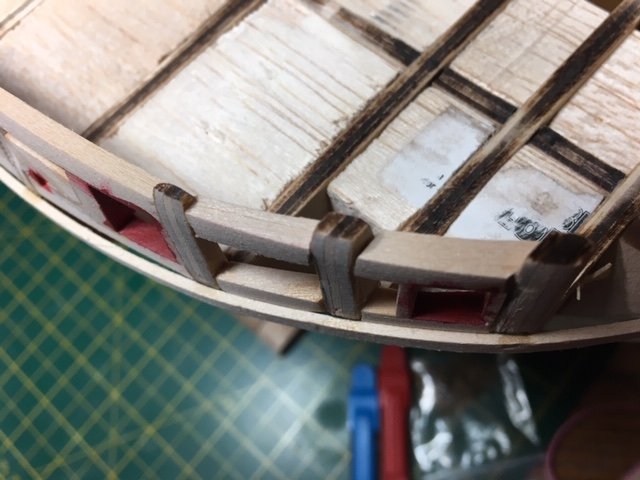
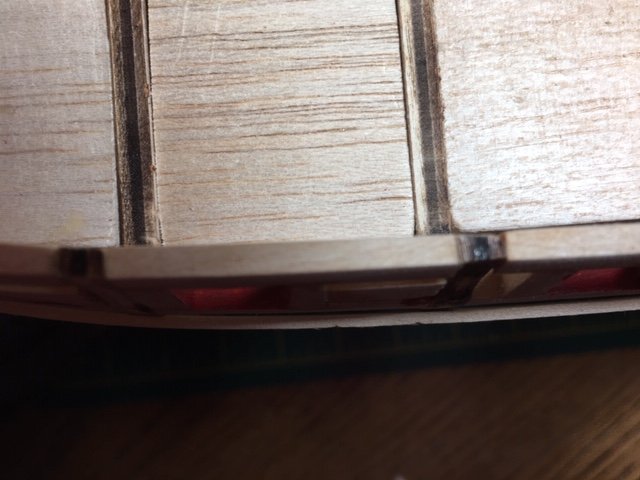
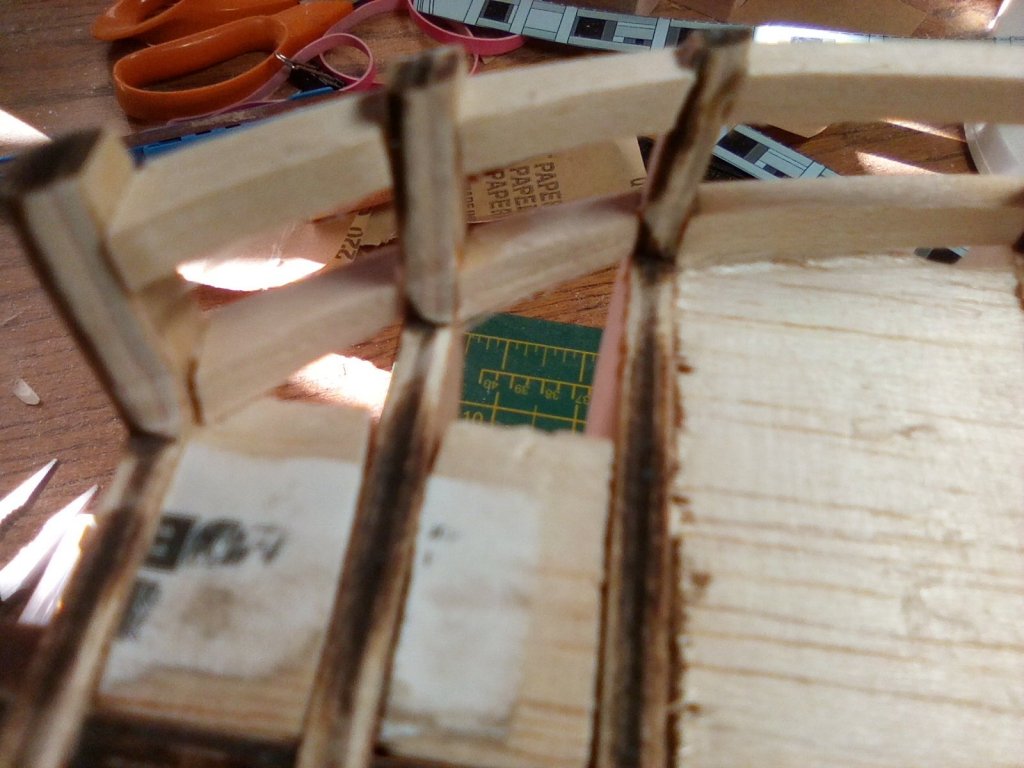
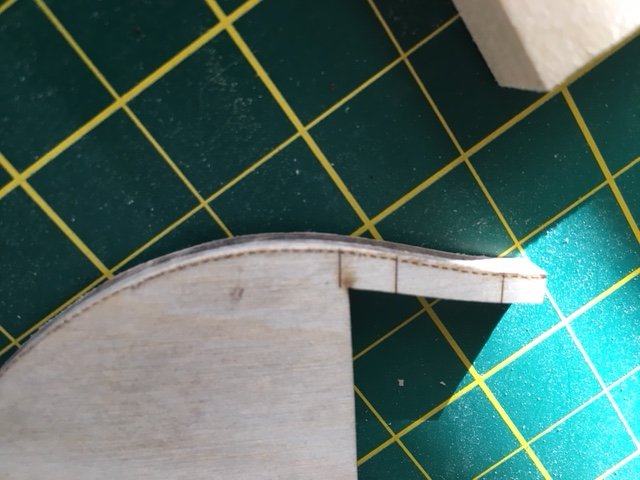
Finished fairing and marking the lower port sill with the batten this weekend. Got two pieces of the sill cut and rough fitted. Probably going to need a little spackle to make a nice joint.
-
Okay, I think it's time to jump into the deep end of the pool and move onto Chapter Three.

-
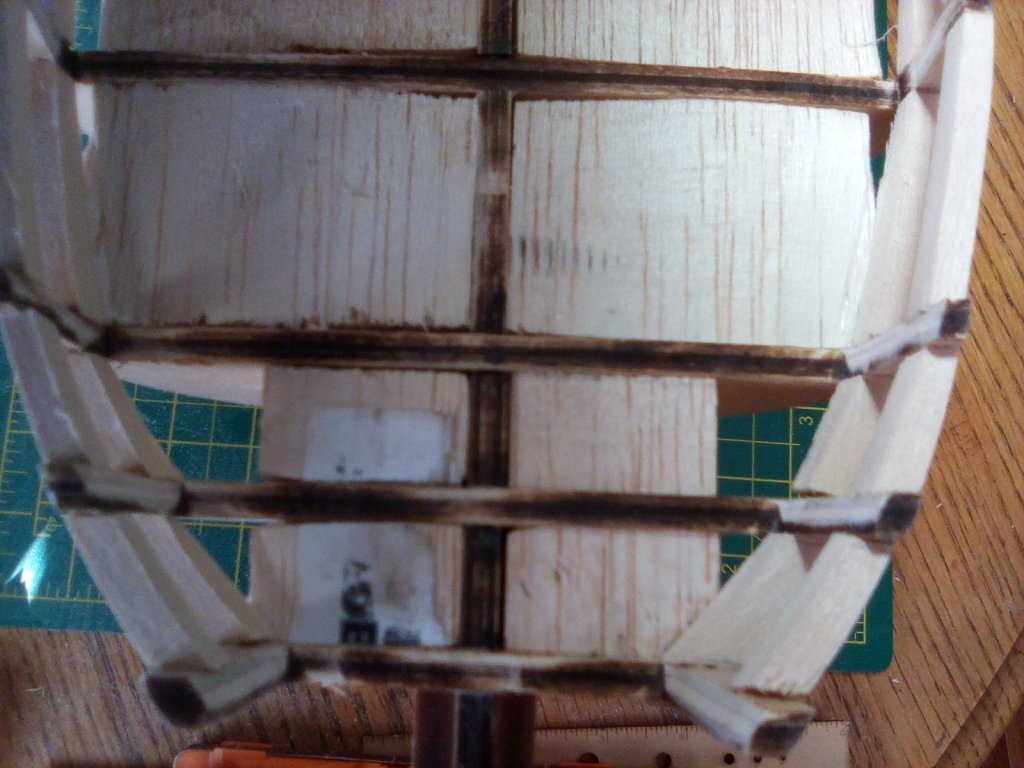
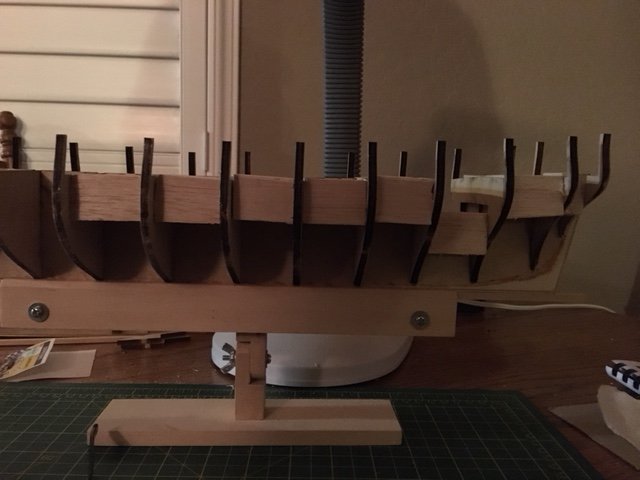
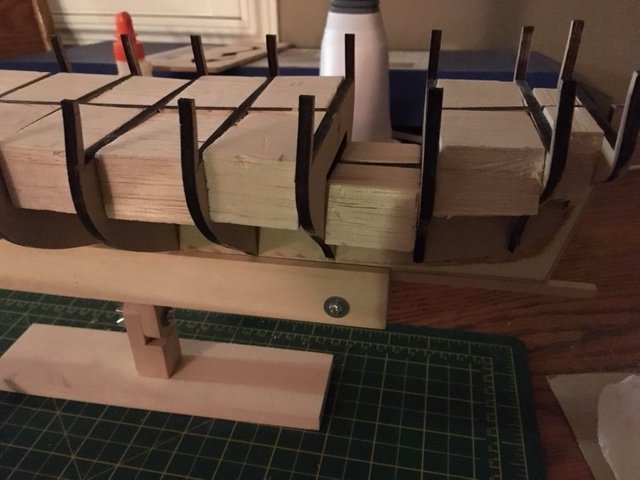
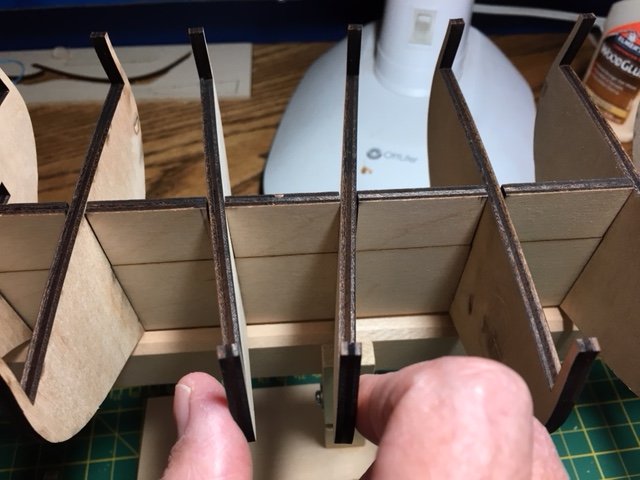
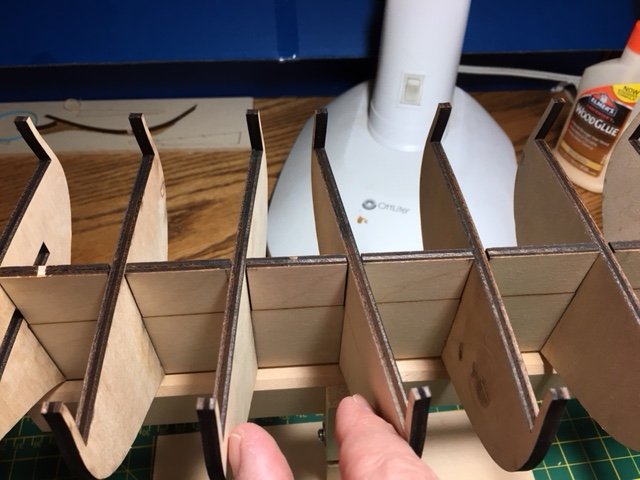
At the sixth bulkhead (center of the photo below) I have noticed a bit of a bulge. My concern is the upper portion is already at 1/8" of an inch. I think it needs to be brought in a bit though.
-
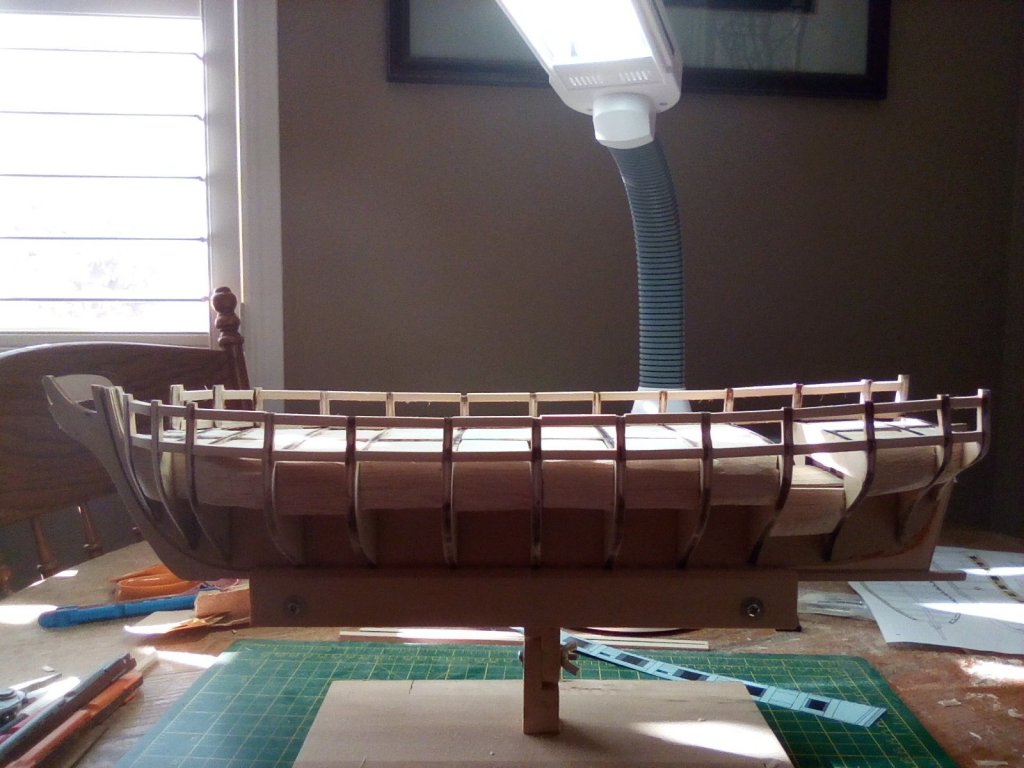
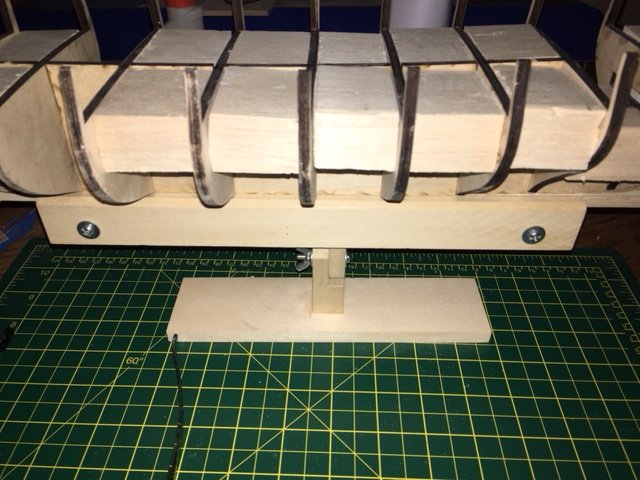
Getting a little bit better form today.

-
I was able to glue in the bukhead fillers, but I think I was a little too cautious about fairing the bulkheads first. I have quite a ways to go between P and N in the bow.
-
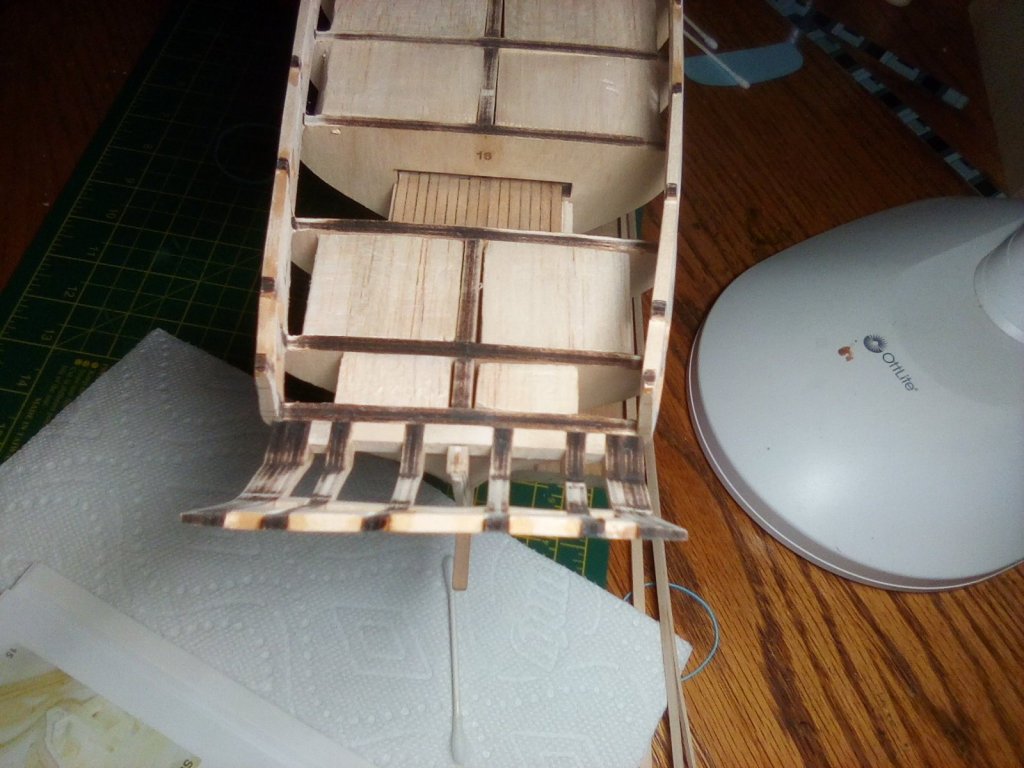
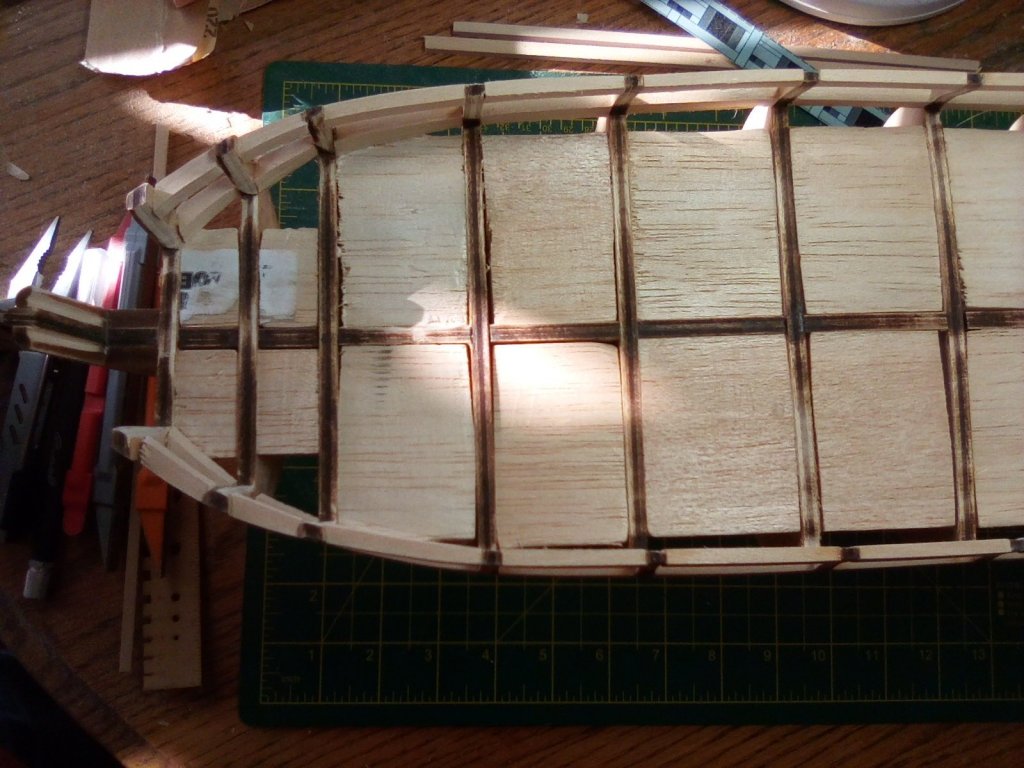
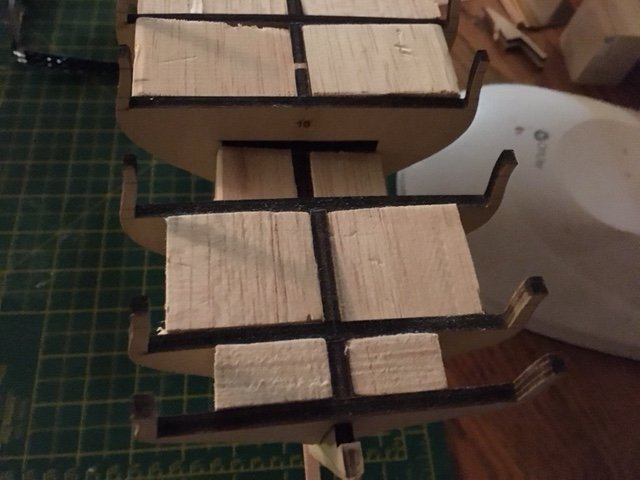
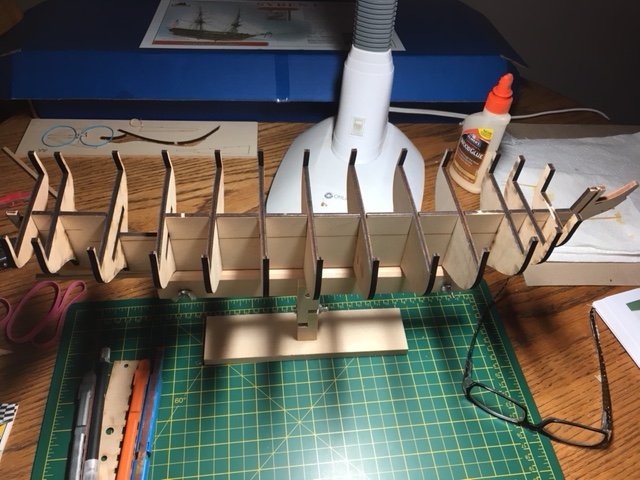
Here are a couple shots of the bulkhead fillers that I was able to get done over the weekend. I am going with balsa since it is pretty malleable and light, yet I think it will sufficiently stiffen the bulkheads. I am sticking with the praticum's suggestion of about 1" by 2" for the filler blocks. These are only dry fitted so far.
-
Thanks Jim. I see what you mean with the the photo. That certainly would be a good idea for the deck planking. I also like how you have left the bulkheads somewhat exposed.
-
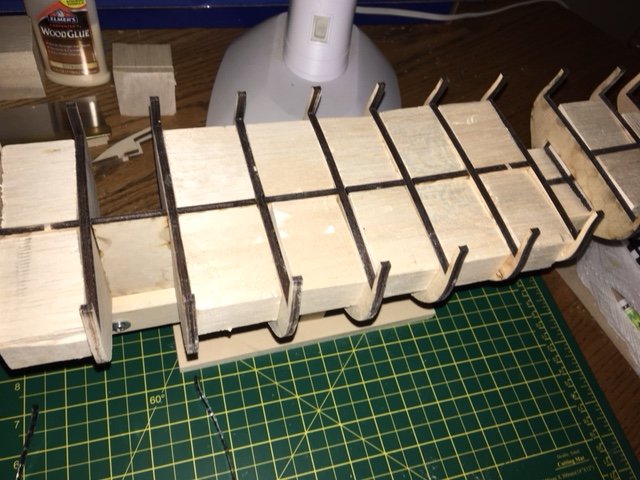
Going with Russ' advice and bracing each bulkhead with a 1 5/16" block. Looks like it is working pretty good so far.

-
I am using these great sanding stylus from Lumberton Industries. They come in four different grades of coarseness. I think several people have come up on the net in various build logs with trepidation about going at the bulkheads with chisels. I am definitely in that camp. The sanding belts on each stylus are about a quarter inch wide, so they work great on the bulkheads.


-
Wow Svein, it looks just like a solid hull build. The lines look very nice though.
-
Thanks Russ, that definitely helps.
-
So, after reading through a couple of logs, it seems quite a few folks are gluing the bulkheads to the BF prior to bevelling and fairing them. Yet the instructions say to bevel prior to installation. I also have quite at bit of play in my bulkheads, but I think that will be fixed with the filler pieces. Be happy to get some opinions on this issue.
-
Thanks Antony. The support on MSW is very good.
-
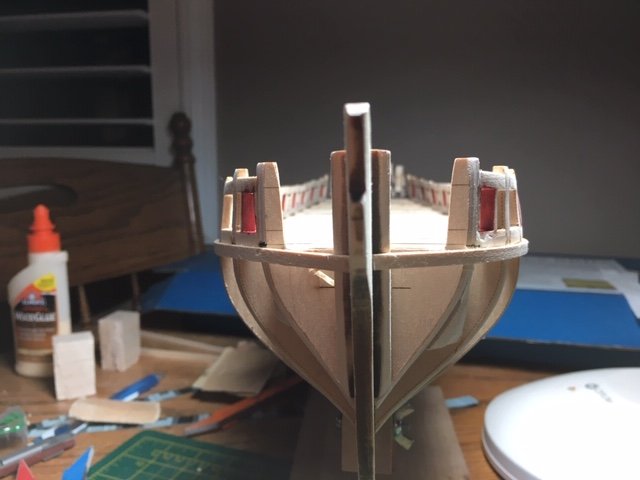
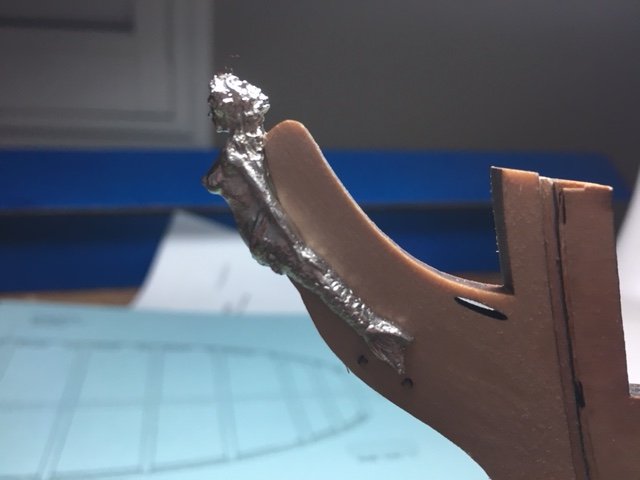
Setting the figurehead seems to be a ubiquitous part of Syren blogs, so I did not want to disappoint. I have a wee gap behind the head and may need filler, or should I work the taper more? She looks good everywhere else.
-
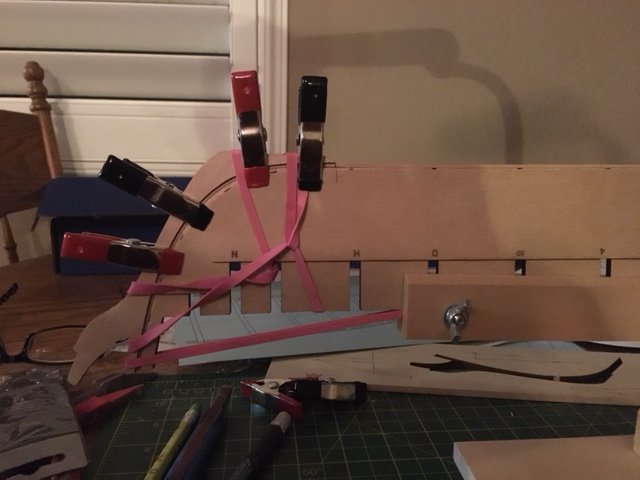
I think I got the rabbet line set. I have 1/16" on both sides. I like Chuck's Idea of setting the rabbet strip in between the stem and keel.

-
Jgrace, my only other build prior to this was the Revenue Cutter. With two ensign builds under your belt, you should be fine. The only area I struggled with was the running rigging plan, because it was mis-labled. I sent my questions to Nic at Bluejacket and he sent me back photos of the edited plans. I believe Al redrew them based on this edit. The hull required a bit of sanding, but the stem and stern moulds were good.