Ray1981
-
Posts
95 -
Joined
-
Last visited
Content Type
Profiles
Forums
Gallery
Events
Everything posted by Ray1981
-
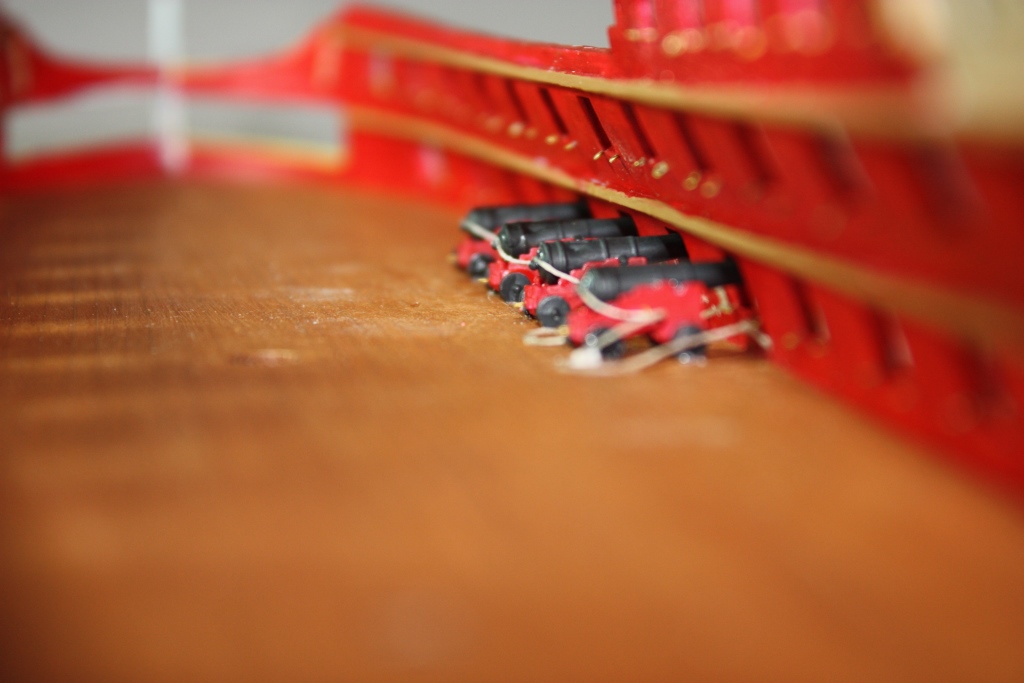
 Hey Lukas, I will make some pictures tomorrow and post them. I rigged all the guns with less rope as Mark suggested so now its time for the next step. Thanks for asking
 -
All I can say is go for it!!! I have the Le Glorieux which is about the same and it is a real fun kit to built. Grtz Ray
-
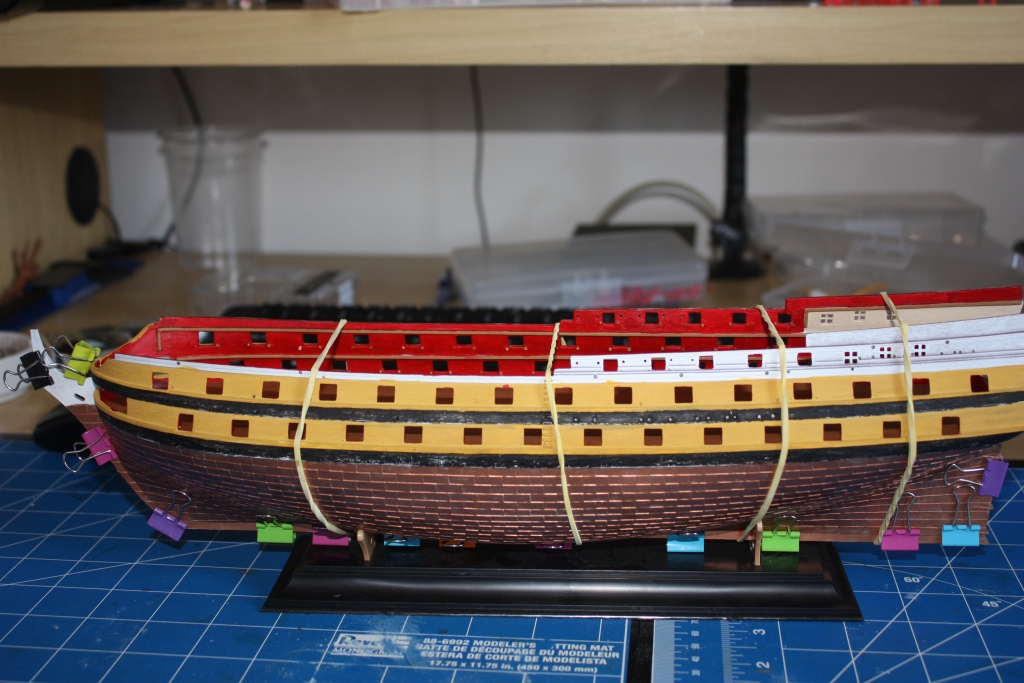
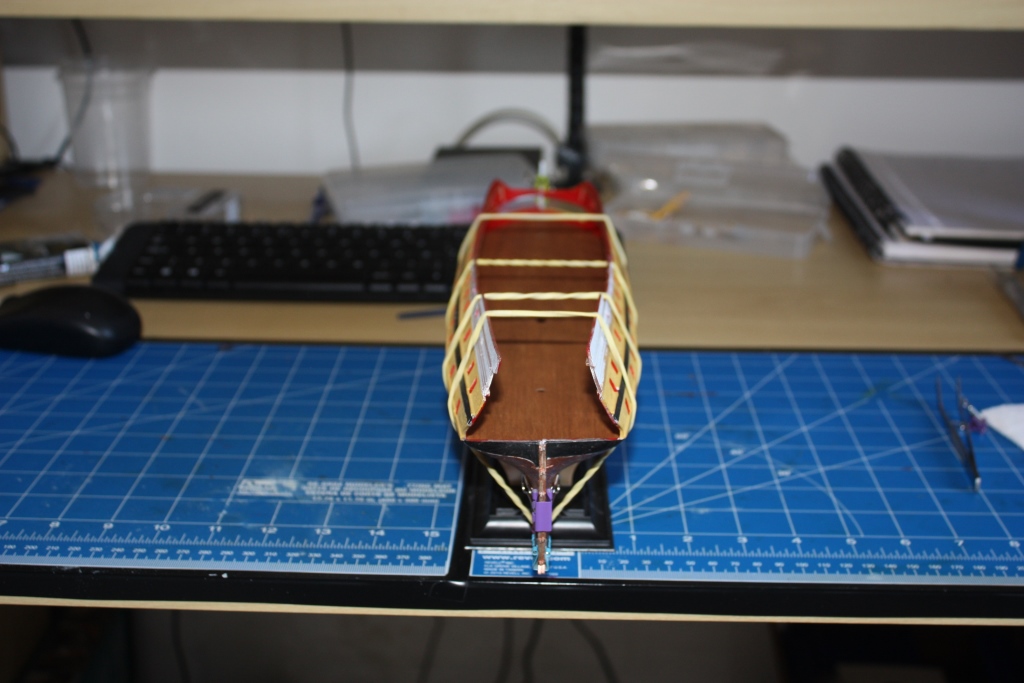
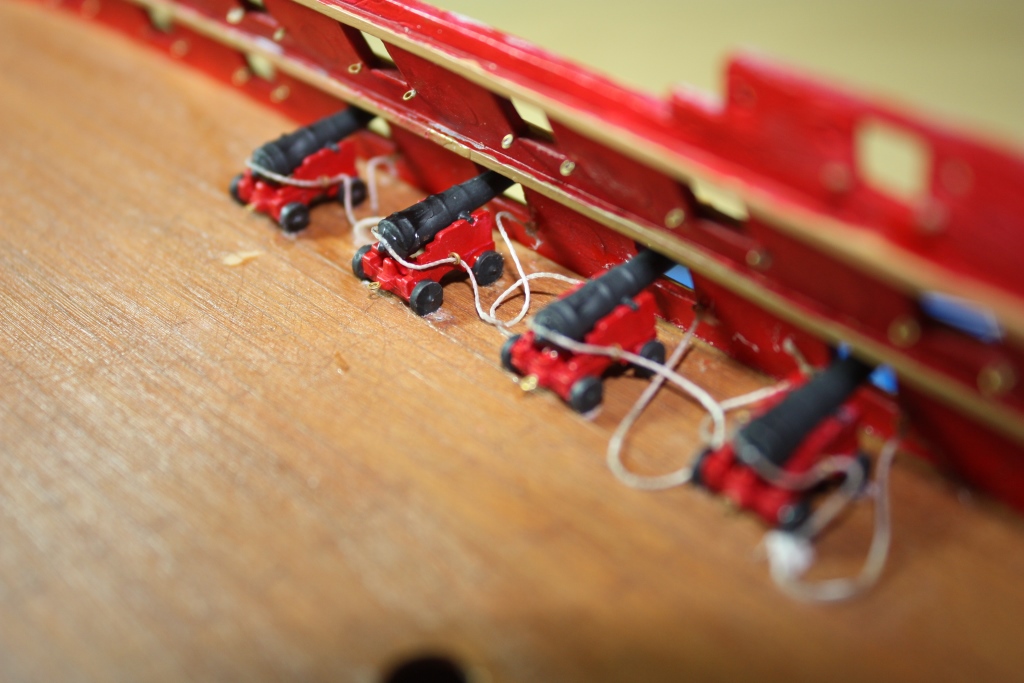
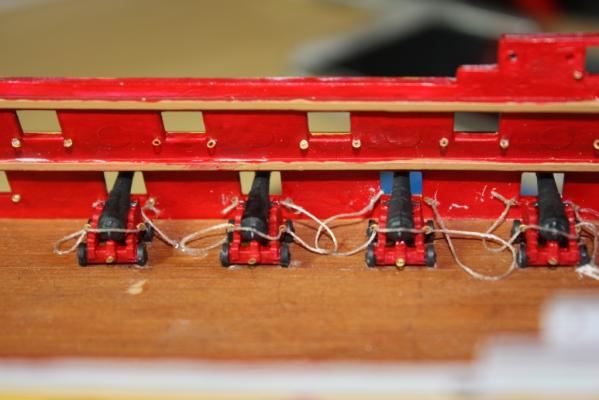
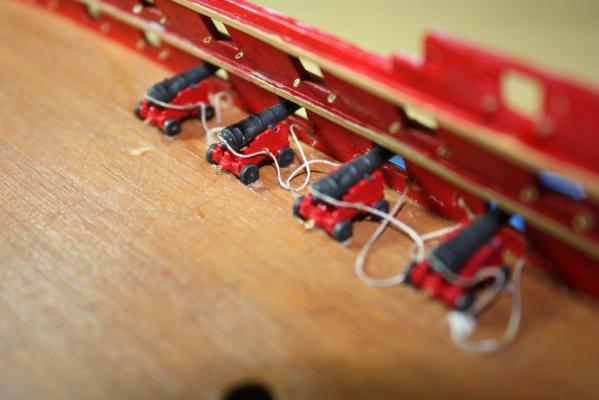
Hi Fellow Ship Modellers, Today again a bussy day in the morning I stasrted with painting the two other decks and because I actually liked the result as in previous post I applied the same technique After this job I started to glue the hull and lower gun deck After this job I have waited for several hours to be sure everything has dried and the hull stays in form. On the keel I applied some putty and Mr Surface 1200 so this will look like one solid piece ( I hope) And than after some hours I started with gueling and rigging some canons. Well this is going to be a nasty job. I have mounted eyelets allready before I glued the hull and glued the lower gun deck. So first of all it is quiet a difficult job to glue the deck without distroying the eyelets. But this job was possible with only two eyelts broken (I replaced them allready). Than as mentioned I glued the first canons also this is not an easy job and time consuming. But with sufficient patience this is possible. I udes CA which is vissible a little bit but I hope with some gloss cote this will dissapear. Well at the end of the day im not disspaointed it looks pretty nice and I had lots of fun doing these jobs. I hope the gurus here like to see the results as shown here on the pics. If anybody have some comments on how to improve a certain thing feel free to advise me im eager to learn something. Grtz Ray


-
Thanks Elijah Im waiting for the oil paint to dry good. Eventhough I placed the oil paint on a carton for an hour or so it takes more than 24h to dry I think it would be better to leave the oil paint on the carton for about 3 hours so the carton can absorb most of the oils and only pigment is left it dries faster that way. I just took a look and I think tomorrow morning it will be dry and im hopefull it seems to be better as I thought. I was a bit pessimistic but even for that this forum can be helpfull when the gurus tell you it doesnt look that bad I think also tomorrow I wil l glue the hull and do a finishing touch on the canons so I can start with the lower gun deck. In other words I think its going to be a big day tomorrow Grtz Ray
-
Thanks Mark thats a good idea too! I will let it dry good and will try what you explained. Thanks guys!!!!
-
I was thinking about that too but Im not sure if a acrylic vernish will hold on this oil paint?
-
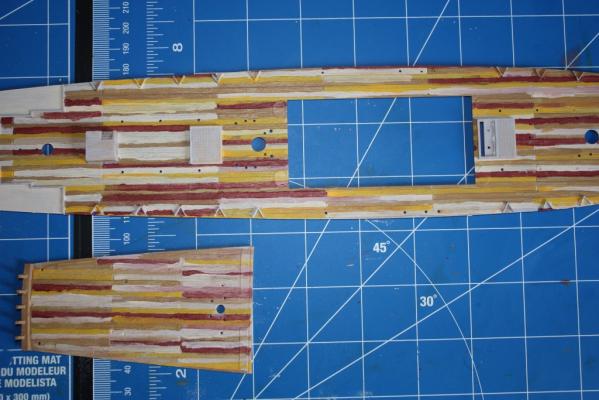
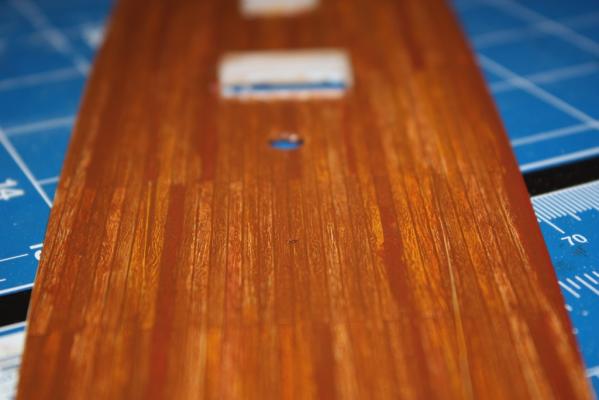
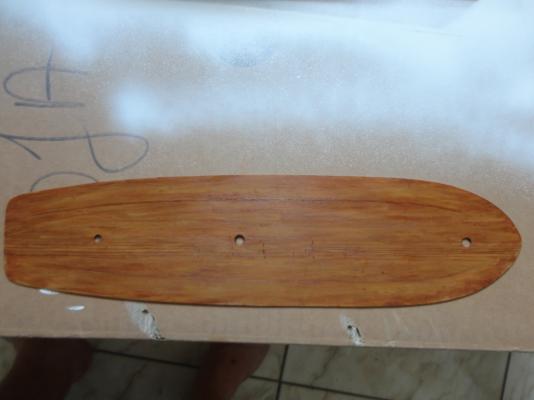
well it is too shiny but maybe after drying that dissapear and i was hoping for a more warn out effect. Maybe a wash over this will create that effect. I started like this After the aint dried I painted it with oil paint a mix of dark brown and raw sienna. What I saw on youtube I looked much better as I have now. Probably I need a littl emore patience and see the result tomorrow if it is dry by then.
-
Today I painted the upper deck but im not sure yet how im going to call it.....a dissastre or failure. It was hard working but at the end im not really pleased (yet). Here are some results. I hope im able to clean this up. Grtz Ray
-
Painting with brushes
Ray1981 replied to Ray1981's topic in Painting, finishing and weathering products and techniques
Indeed Ulises this thread I've read and it really explains very clear what dry brushing is. Just by reading it you should be able to make a decent attempt, at least I could. But good to mention I'm a rookie in scale modeling -
Painting with brushes
Ray1981 replied to Ray1981's topic in Painting, finishing and weathering products and techniques
Its all a bit experimenting. I bought some styrene plate, cut a piece and scribed some plating. Than I started to test to see what works best for me. This is an easy and cheap way to find out what works without distroying your work See an example below. http://modelshipworld.com/index.php/topic/12912-weathering-a-copper-hull/ Grtz Ray -
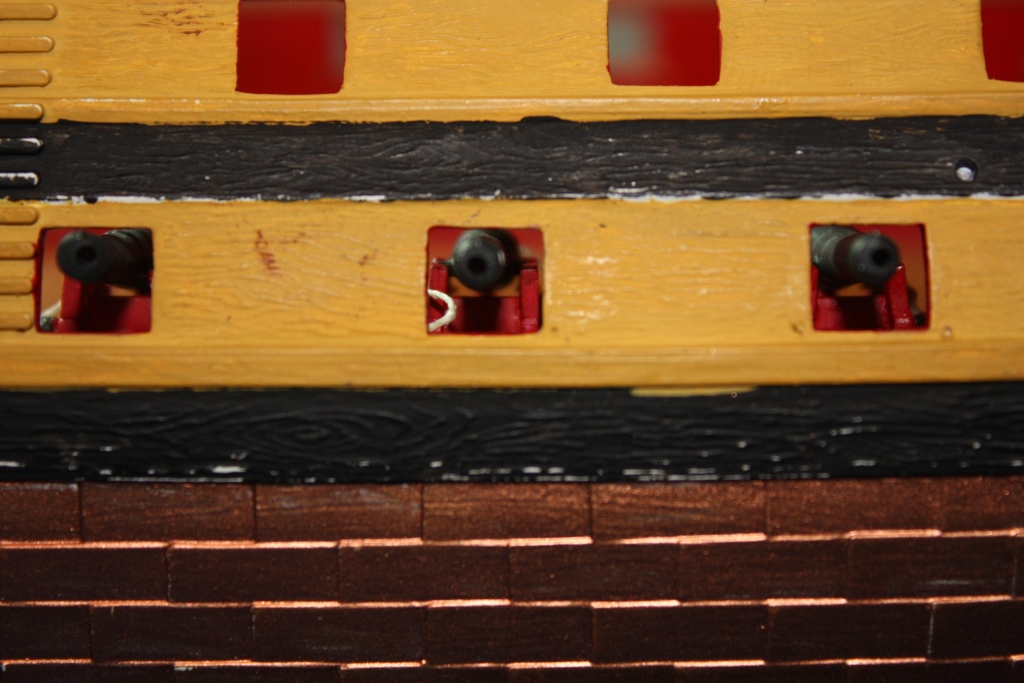
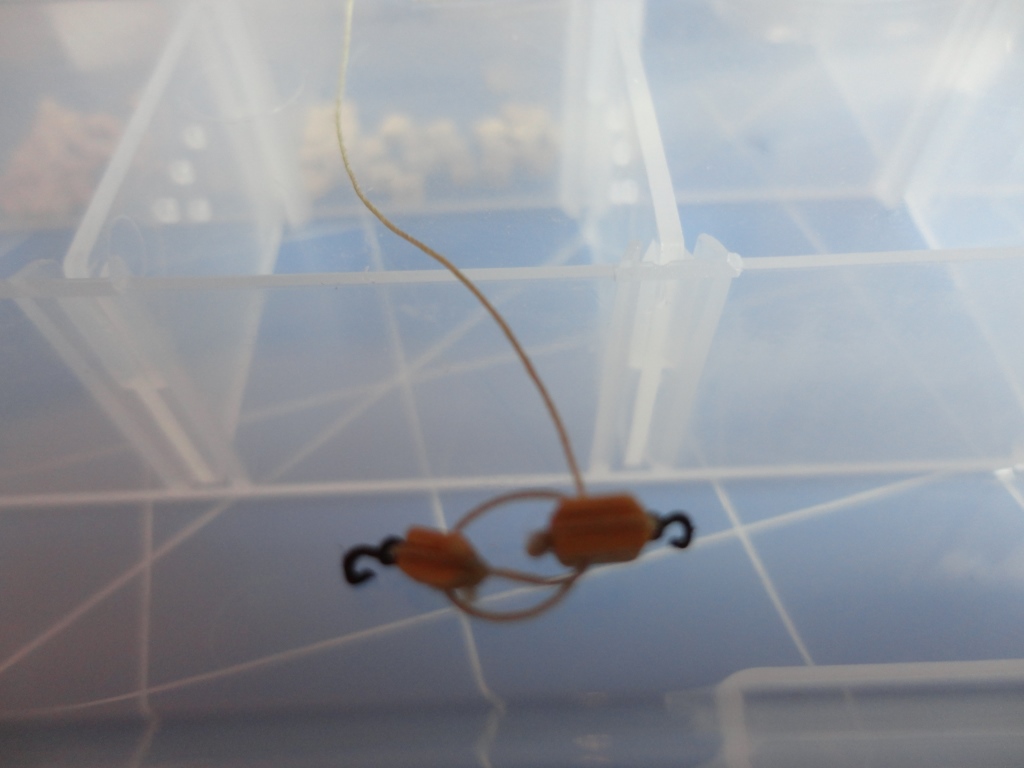
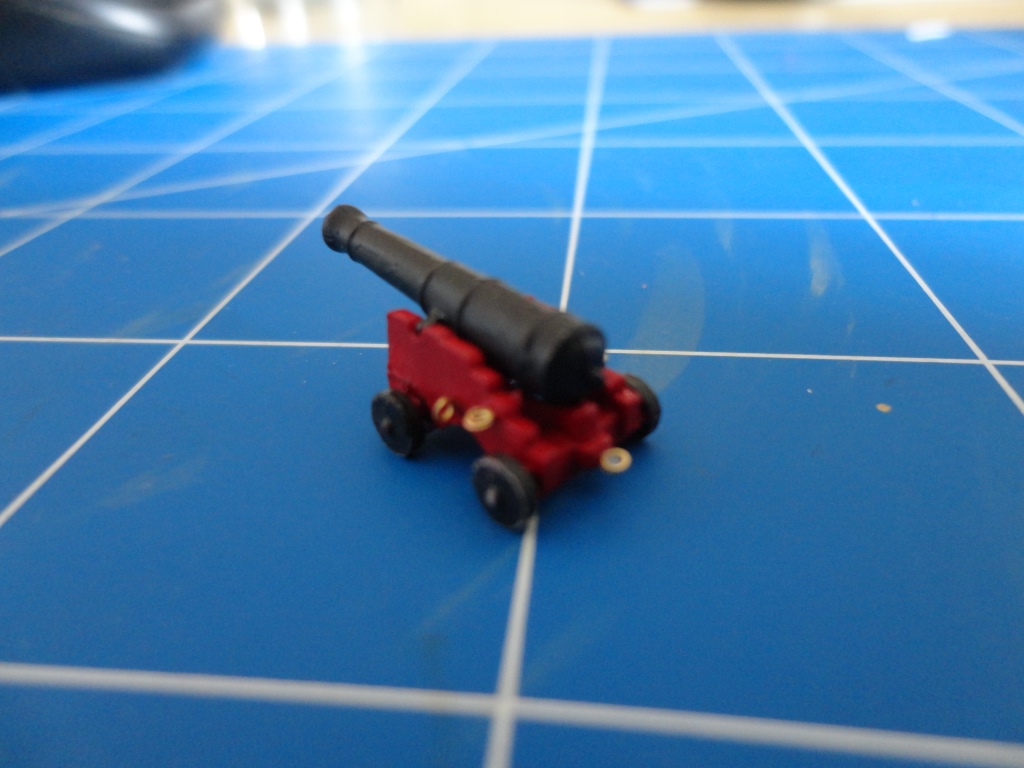
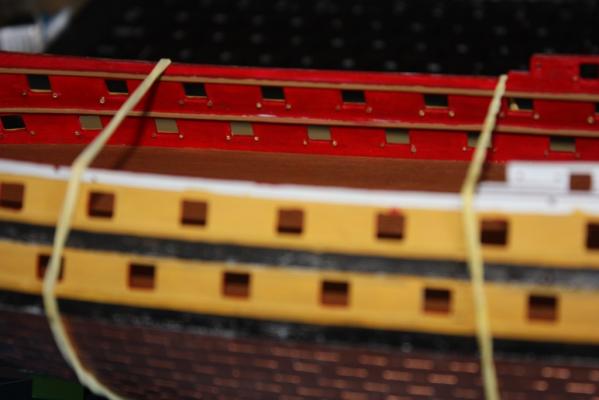
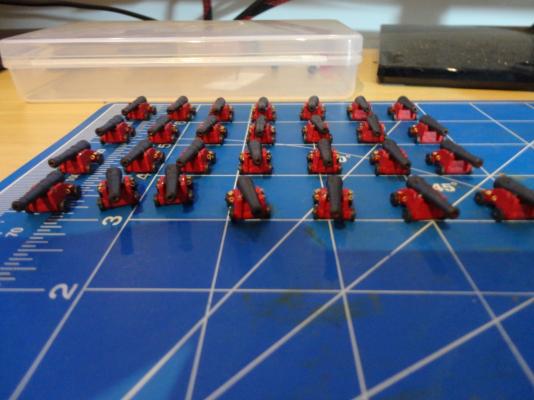
Again a update guys I hope its not to boring for the people who follow this log. It was agian a bussy day. I was able to finsih the 28 32-pounders for the lower gun deck. I started with painting the hull as well, to get the color I liked I had to mix a little bit I took Revell nr15 and 16 and mixed them on a ratio of 7:4 to get the yellow sand color. I tried to make the gun rigging as well with some blocks and thread. This was quite difficult and time consuming. I think I will use these block only on some of the 18-pounders on the 2nd deck and on the 16 8-pounders on the main deck


-
Weathering a copper hull
Ray1981 replied to Ray1981's topic in Painting, finishing and weathering products and techniques
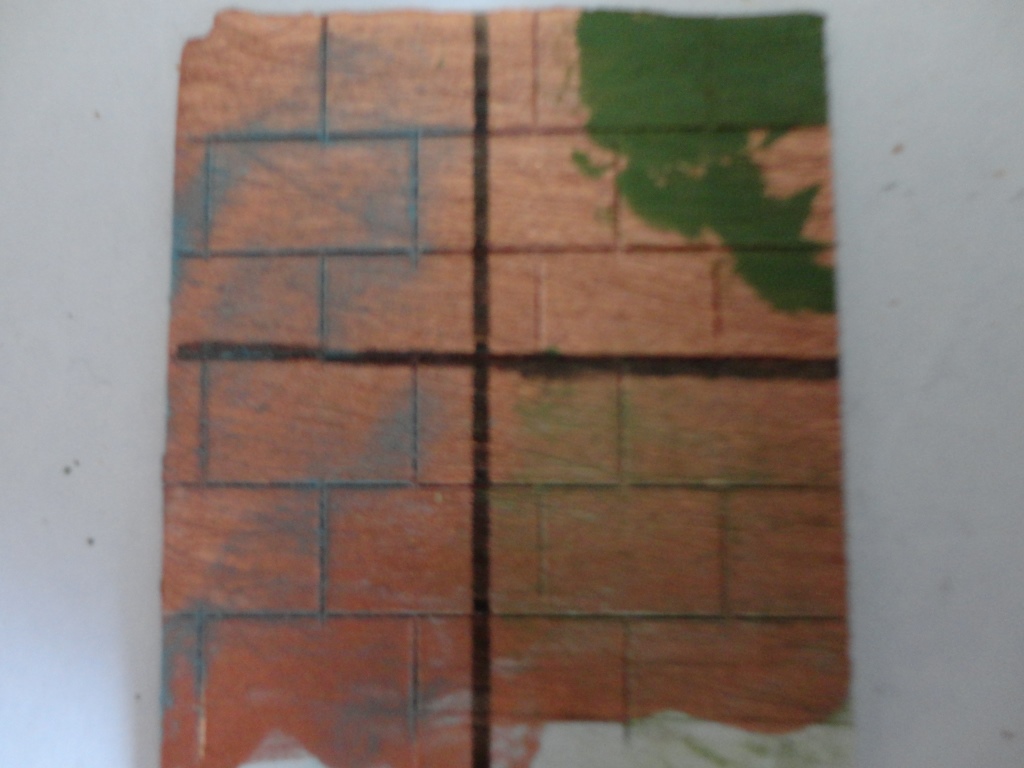
Hi Folks I've been trying some things regarding this weathering of a copper hull. I've done 3 tests. 1) Using the Humbrol Chrome Oxide with a gloss verniz. The result is vissible on th etop right of the test plate I used. As you can see this is a dissaster. 2) I used the Humbrol Chrome Oxide with Decal soft from Revell so you get a wash effect. The procedure works better but it is not the right color (Chrome has a different color while oxidized as Copper so makes sense). Result is vissible on the right bottom side. 3) I took a turquoise enamel paint and applied the dry brush technique. This result is visible on the left side. I think I will go for option 3 even though I really would like to use these powders as I have seen nice results but for this purpose I think it doesnt work. The turquoise has a much more realistic color for copper oxide. But if anybody has other opinions or ideas feel free to give them. Grtz Ray
-
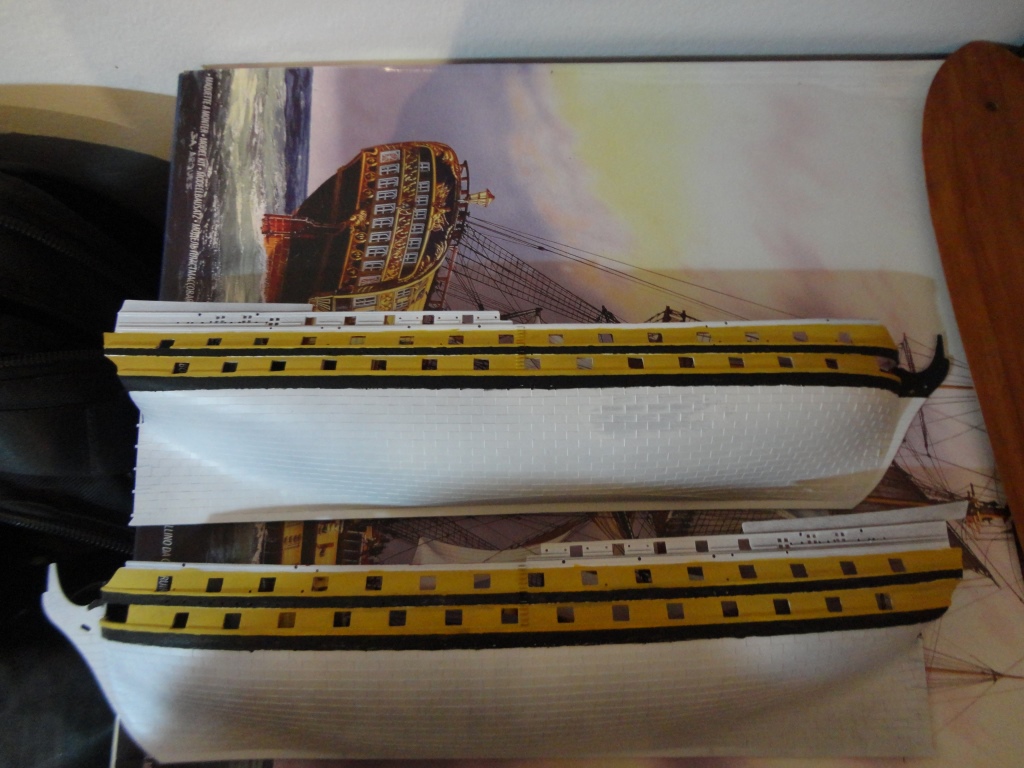
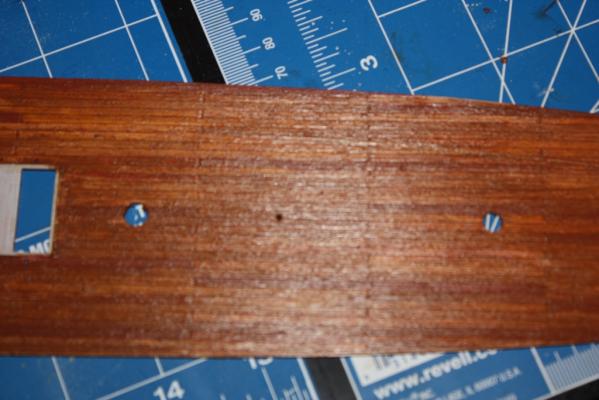
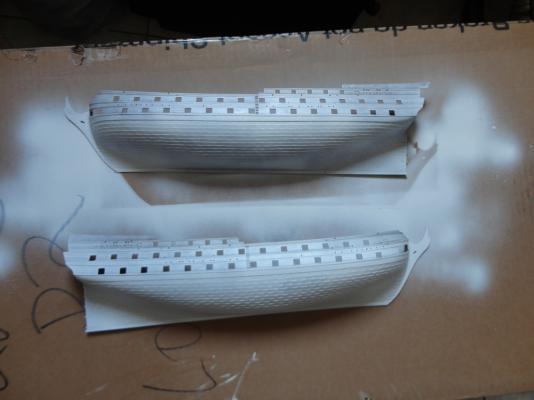
Thanks Mark, I hope you were talking about the first picture because the second picture is how the kit came. Only the lower gun deck doesnt have any planking so I tried to made them for myself. But I was affraid I would destroy the whole deck so I stopped after a couple of planks.
-
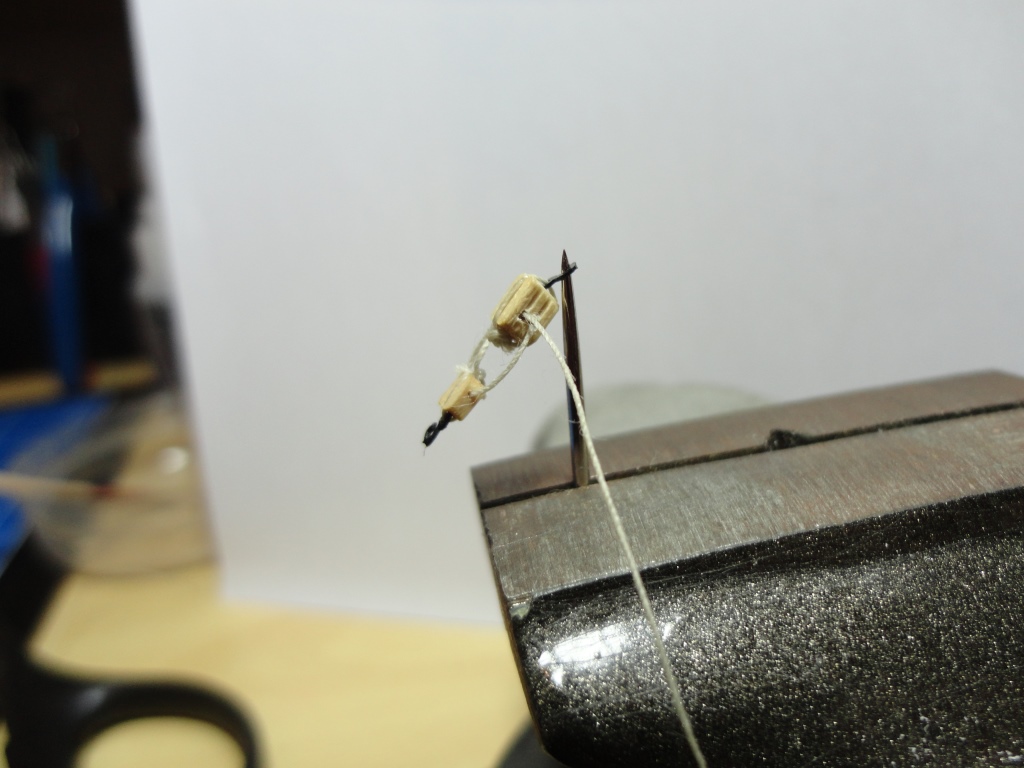
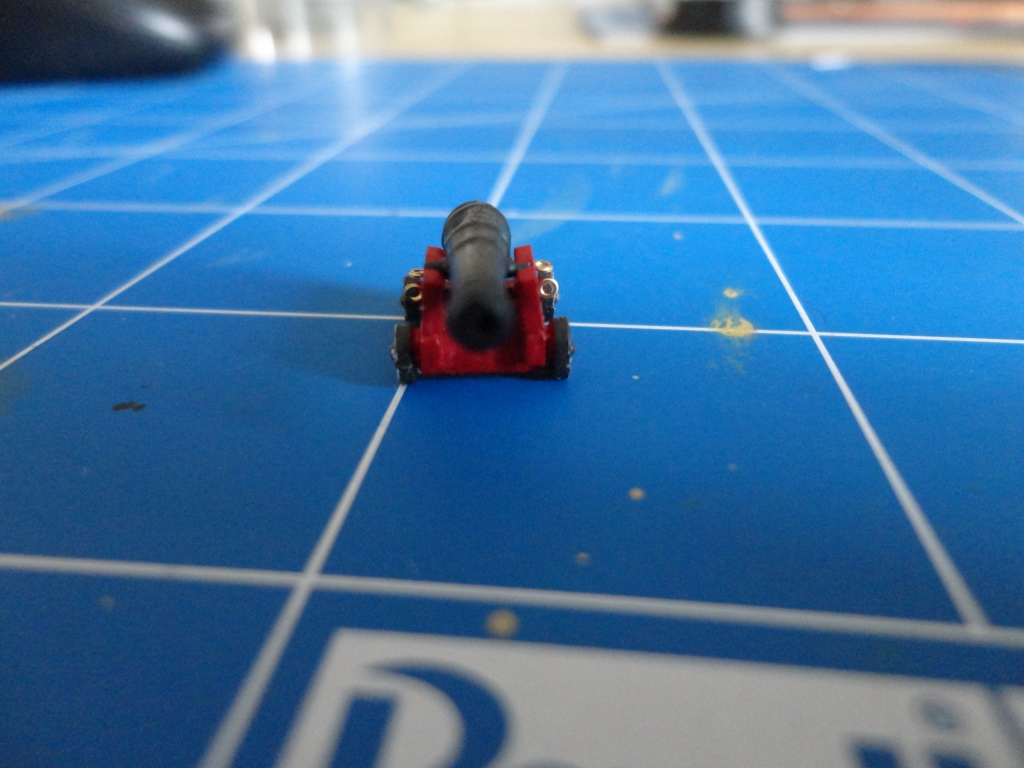
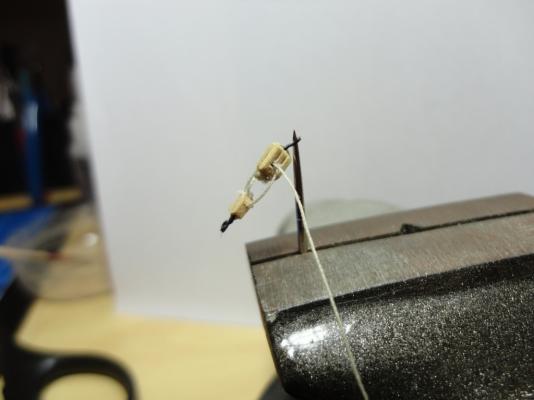
Well today I started with painting the guns for the lower gun deck and it was experimenting to get those eyelets into the gun-carriage. This was very very cool to do and for the first time ever dooingsomething like this im not dissapointed in the result. Here the prototype: So tomorrow I will do the same for the other 27 guns. Grtz Ray


-
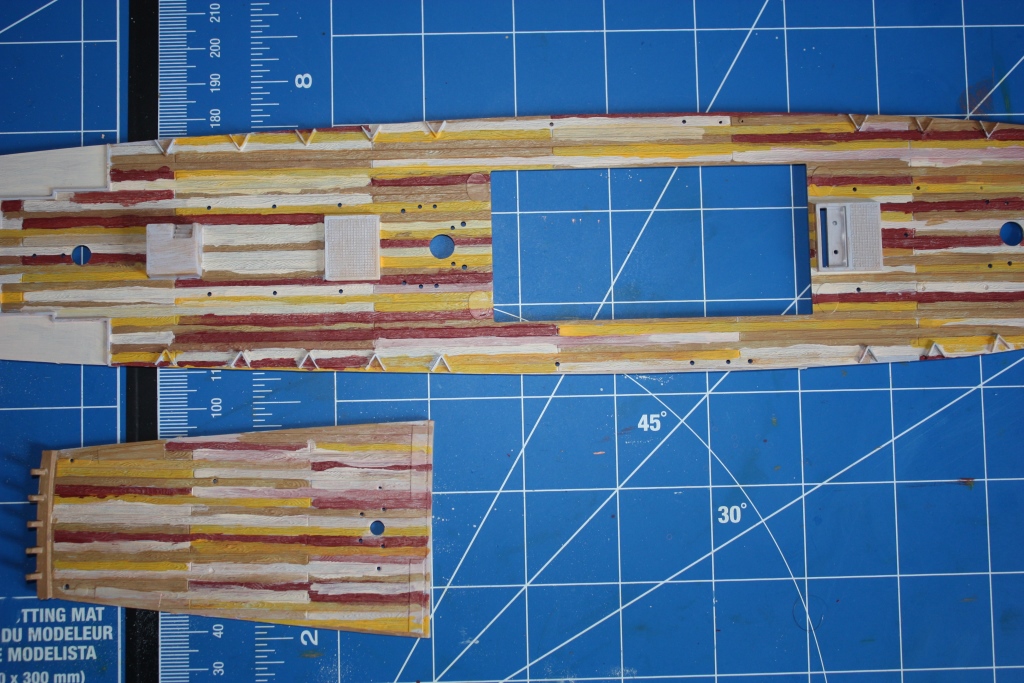
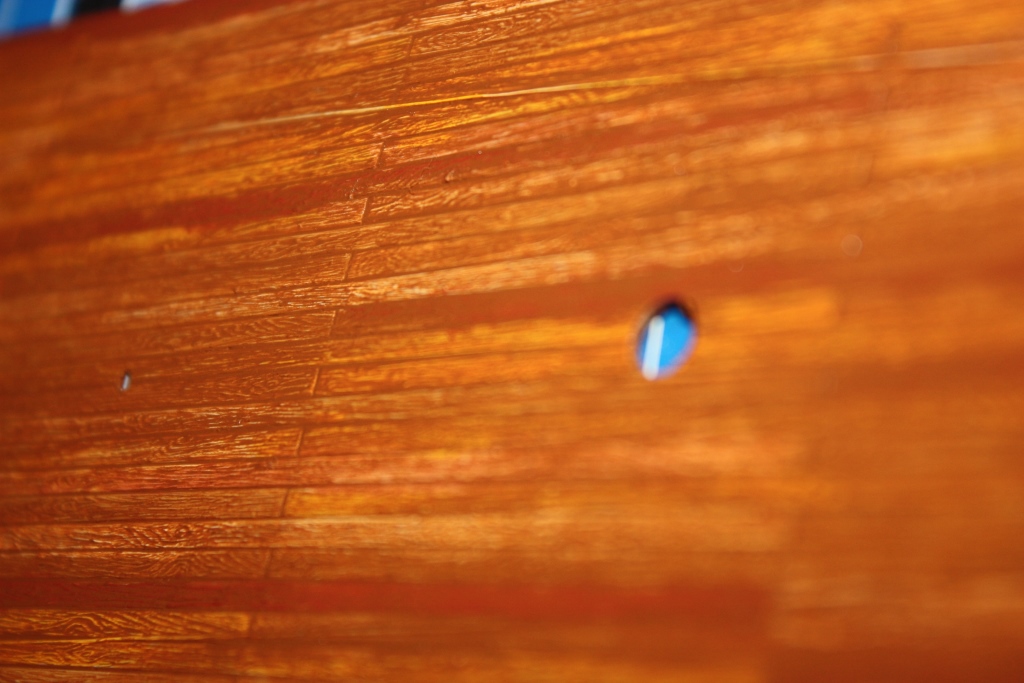
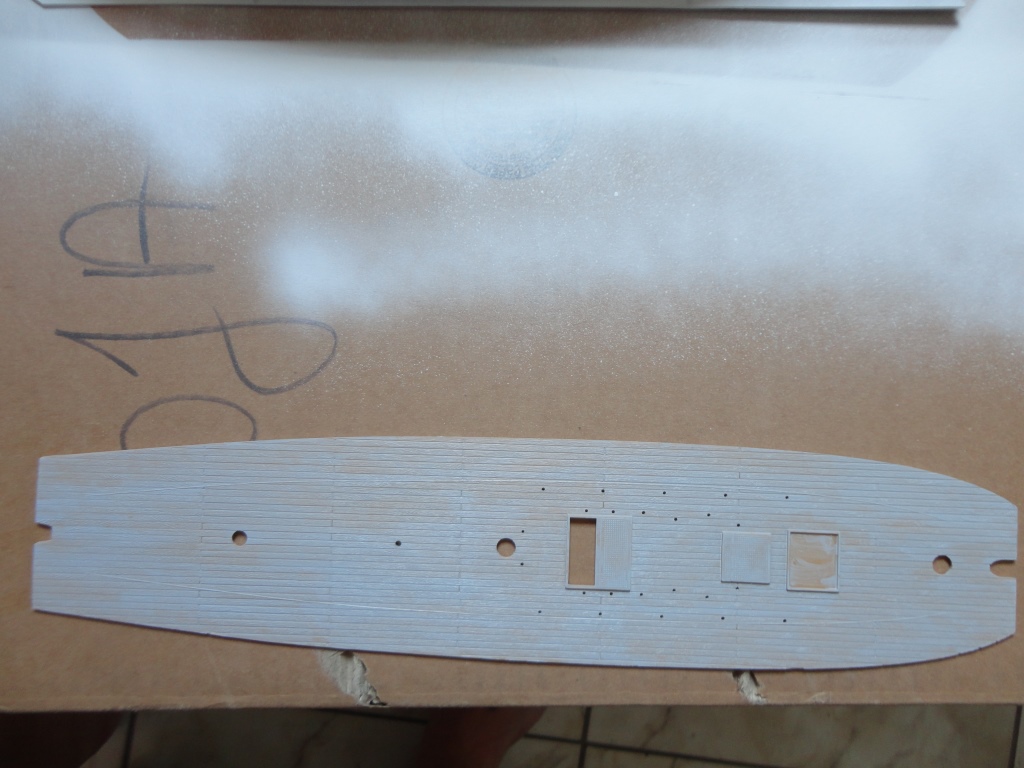
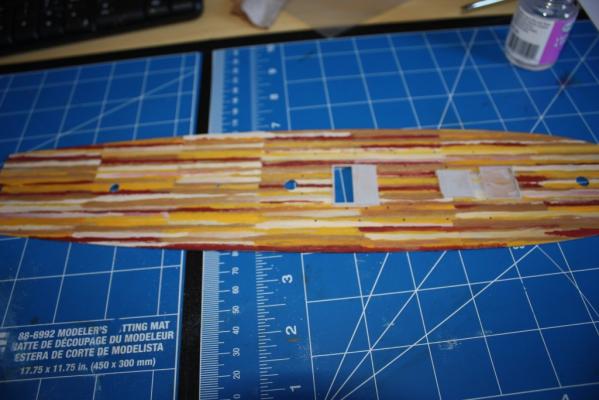
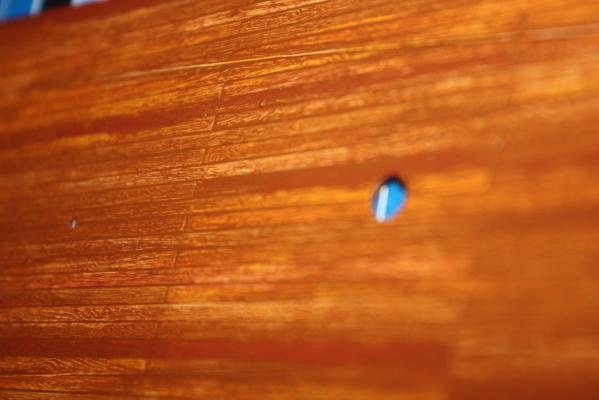
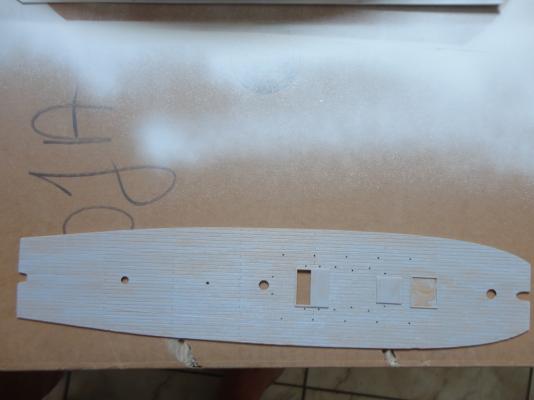
Hello all, I was able to makea little bit of progress yesterday. And one thing was a dissaster. I started withthe lower gundeck because this deck will not be vissible this deck doesnt show any planking so I thought lets try to do this for myself hmmmm that was a bad idea. I used a exacto knife and started to make planks it doesnt came out as I wished to be. Further Iused some light wood color paints and when this was dry I painted over it with dark brown oil paint. The lower gun deck Further I started with priming the second deck and the hull. Soon more guys. Grtz Ray
-
Masking Problem
Ray1981 replied to mikiek's topic in Painting, finishing and weathering products and techniques
Who would want to cover a wood grain. I there is something i like to see is a beautifull wood grain. I use one thin layer of primer (but this is not always needed) that I think the paint and do 1 or 2 layers. This without loosing the wood grain. -
I agree it would be very helpfull if there were more video tutorial on how to do any rigging. Very helpfull together with the standard books that are recommended here on the forum. Grtz Ray
-
Masking Problem
Ray1981 replied to mikiek's topic in Painting, finishing and weathering products and techniques
Well my experience with plastic kits is that when you use too much paint the wood grain dissappears. I dont know if you get this issue when you make a wooden kit like you are doing, but i think yes. Im interested what the specialists say on this question. Grtz Ray -
Painting with brushes
Ray1981 replied to Ray1981's topic in Painting, finishing and weathering products and techniques
I used on my bounty a wash from simple paint on water base. I painted the deck with a light sanndy brown color and covered that witha gloss finish so it is smooth to let the wash flow. when it is dry you could use a dark brown paint (water paint like they use for children on school). I used random strokes and had all over the place uneven paint. Whe it was dry I took a cloth and made it a bit wet and startedto brush the paint with the wet cloth totake of some paint. When I got what I like i let it dry and appkied a flat finish. This method is safe because you covered you base color the sand brown with a finish if you dont like your wash you can clean it with a wet clothand do it over again. I dont have pictures here but I thought I posted a video of this somewhere. Dry brushing would be also a good topic to search on btw. I hope this helps you a bit Gryz Ray -
Weathering a copper hull
Ray1981 replied to Ray1981's topic in Painting, finishing and weathering products and techniques
Hi Pete yes i will post the results. I had to work for a while so im not at home (i travell a lot for work) so please be patience and I will show if this is working. Further i recommend you to check the the Log from dafi on the victory and do a search on Le Superbe from BE you will get some nice ideas. Im new to to this hobby and this was just something I thought that might work.......who knows grtz Ray -
Masking Problem
Ray1981 replied to mikiek's topic in Painting, finishing and weathering products and techniques
I dont know exactly what you did before but I think it makes sense this unfortunate result because the apply another layer of paint over an existing layer. I think you painted everything sand brouwn after that the red gunports and than sand brown again. So the gunports have less paint layers as the rest of the area. I would try to mask the gunports and paint the rest in sand brown give it a good time to dry and then mask the sand brown and paint the gunports red. I think that would give a better result. But I'm a novice there are maybe easier ways to try to avoid your problem. Anyhow I hope I could help you a tiny bit Grtz Ray